


kpnuts
-
Posts
1,026 -
Joined
-
Last visited
Content Type
Profiles
Forums
Gallery
Events
Posts posted by kpnuts
-
-
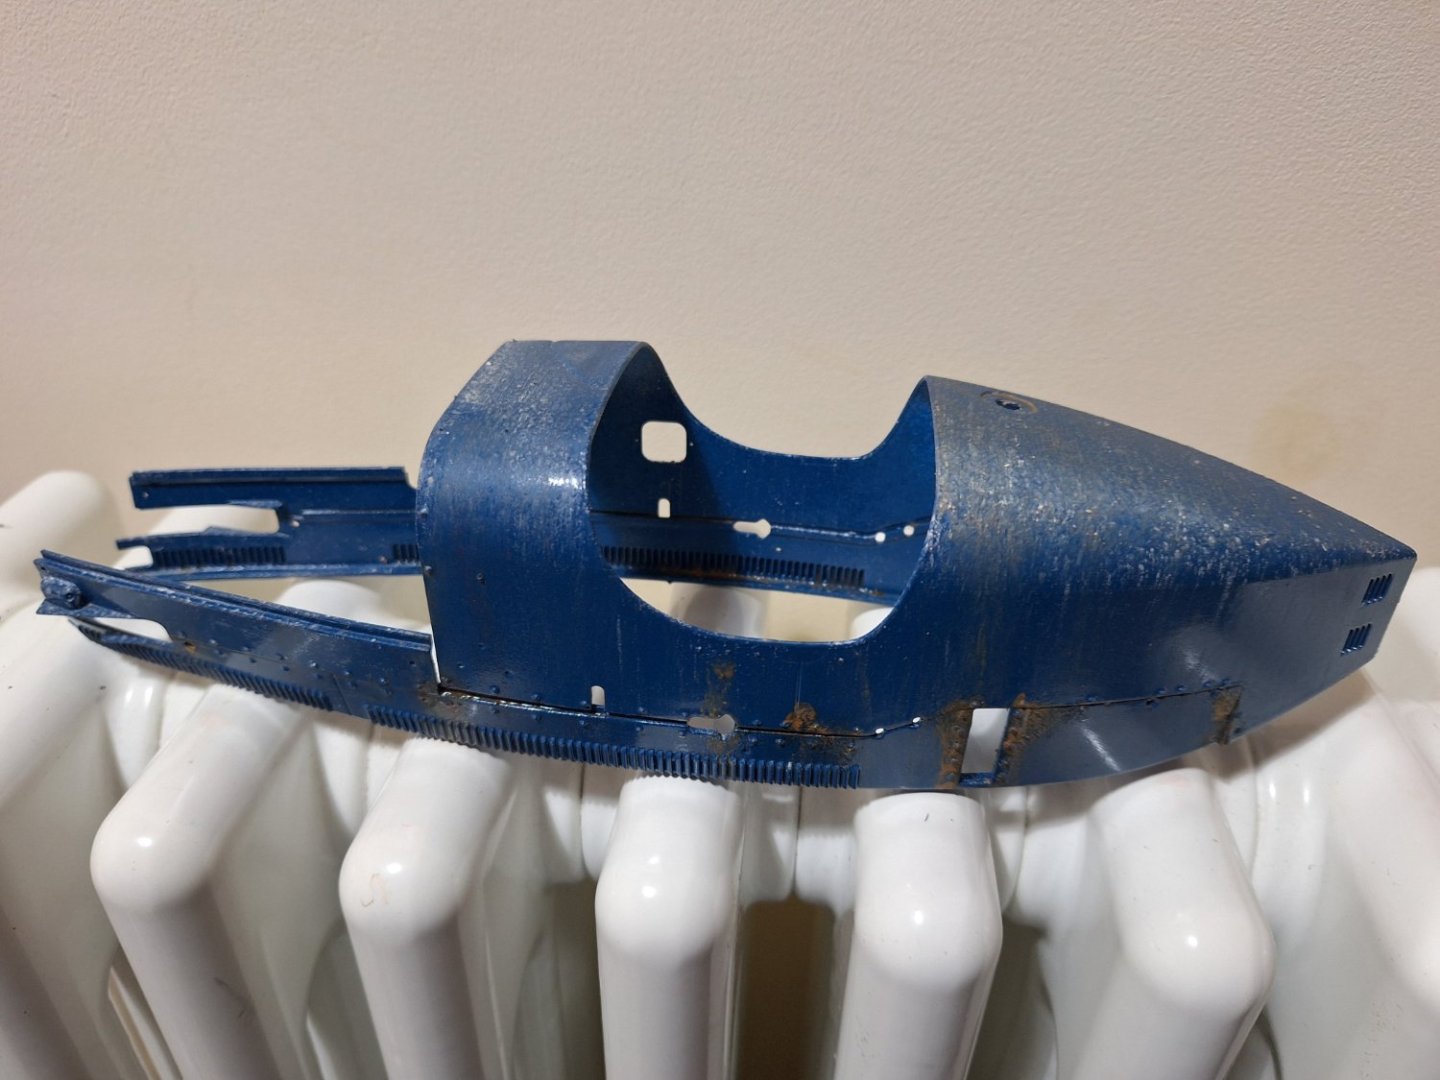
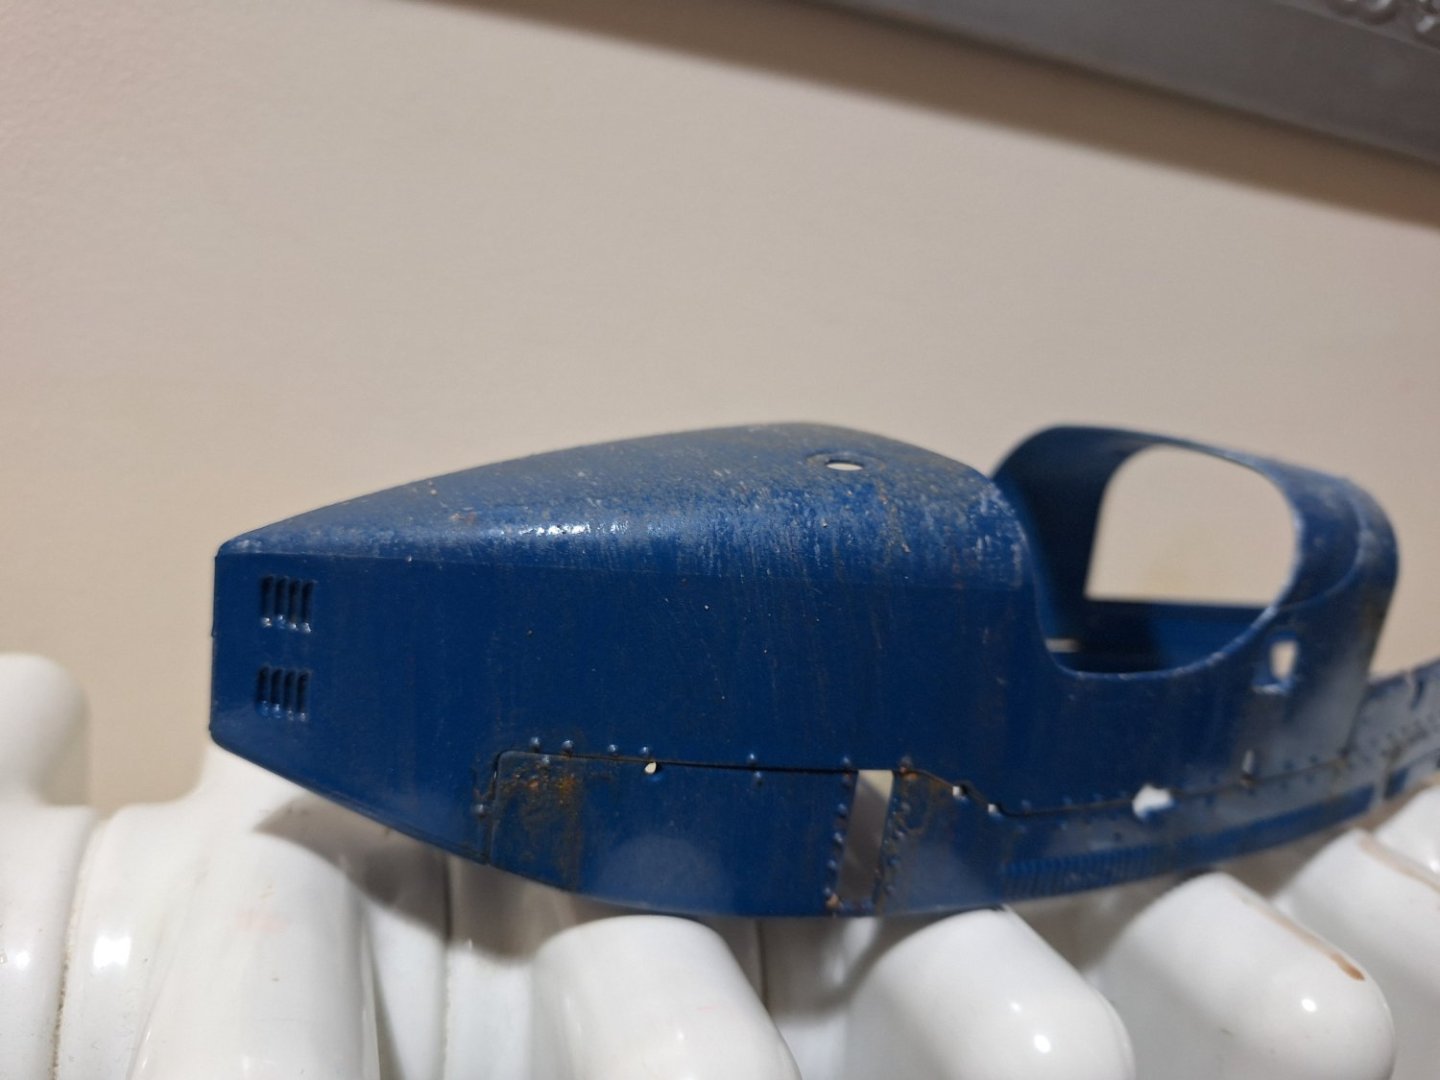
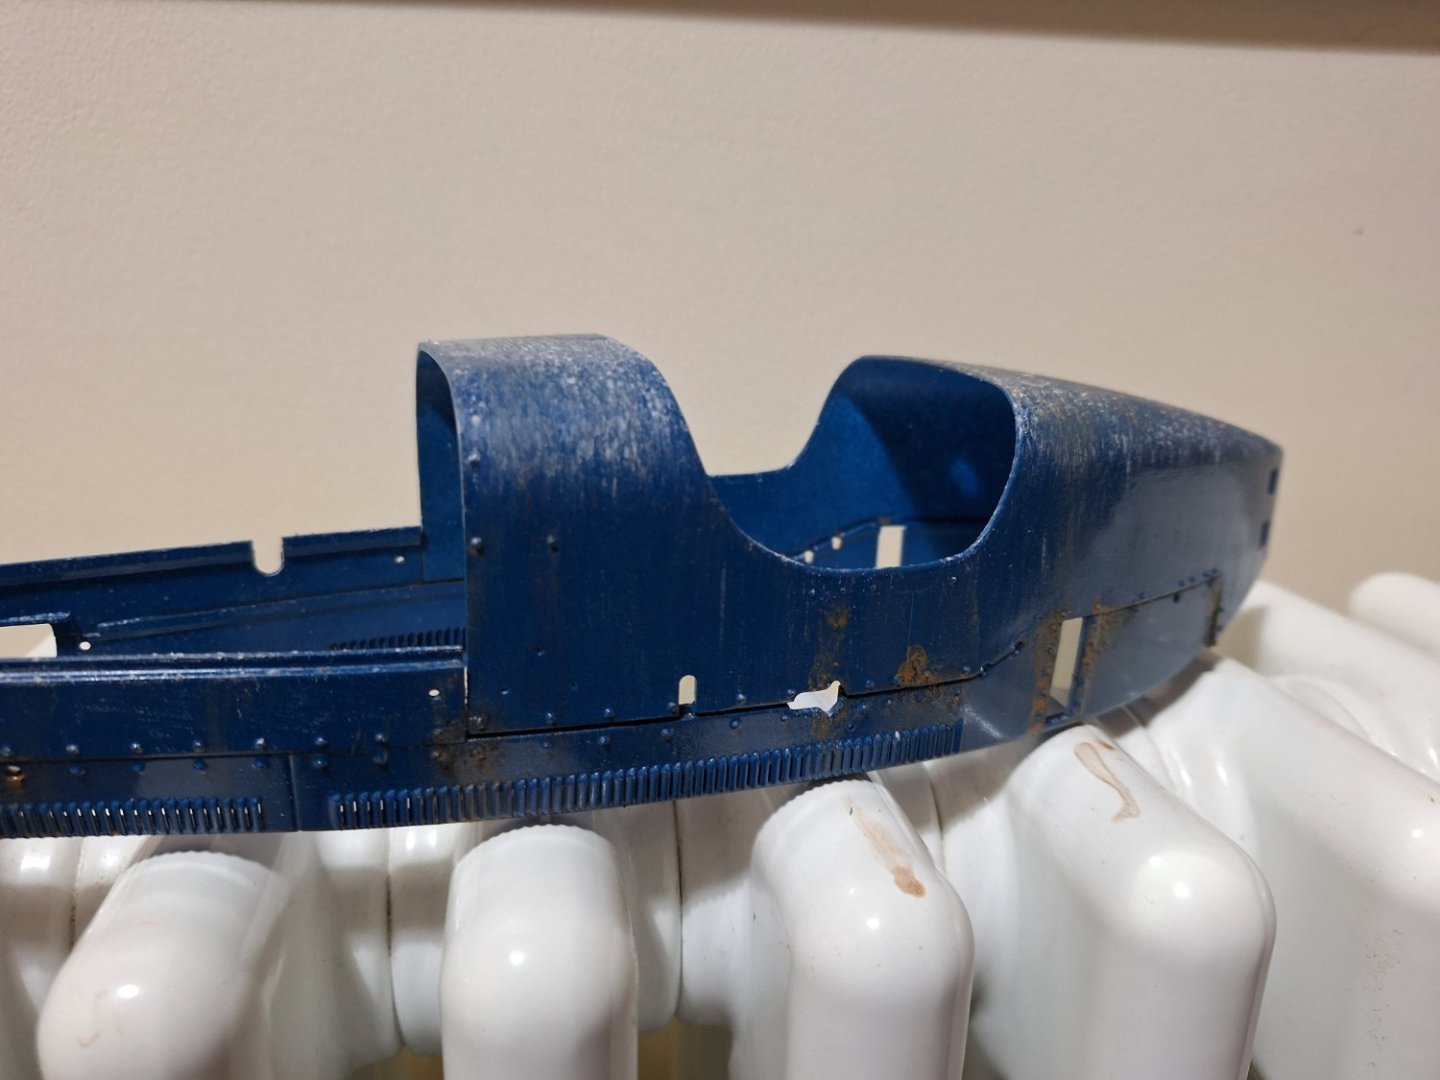
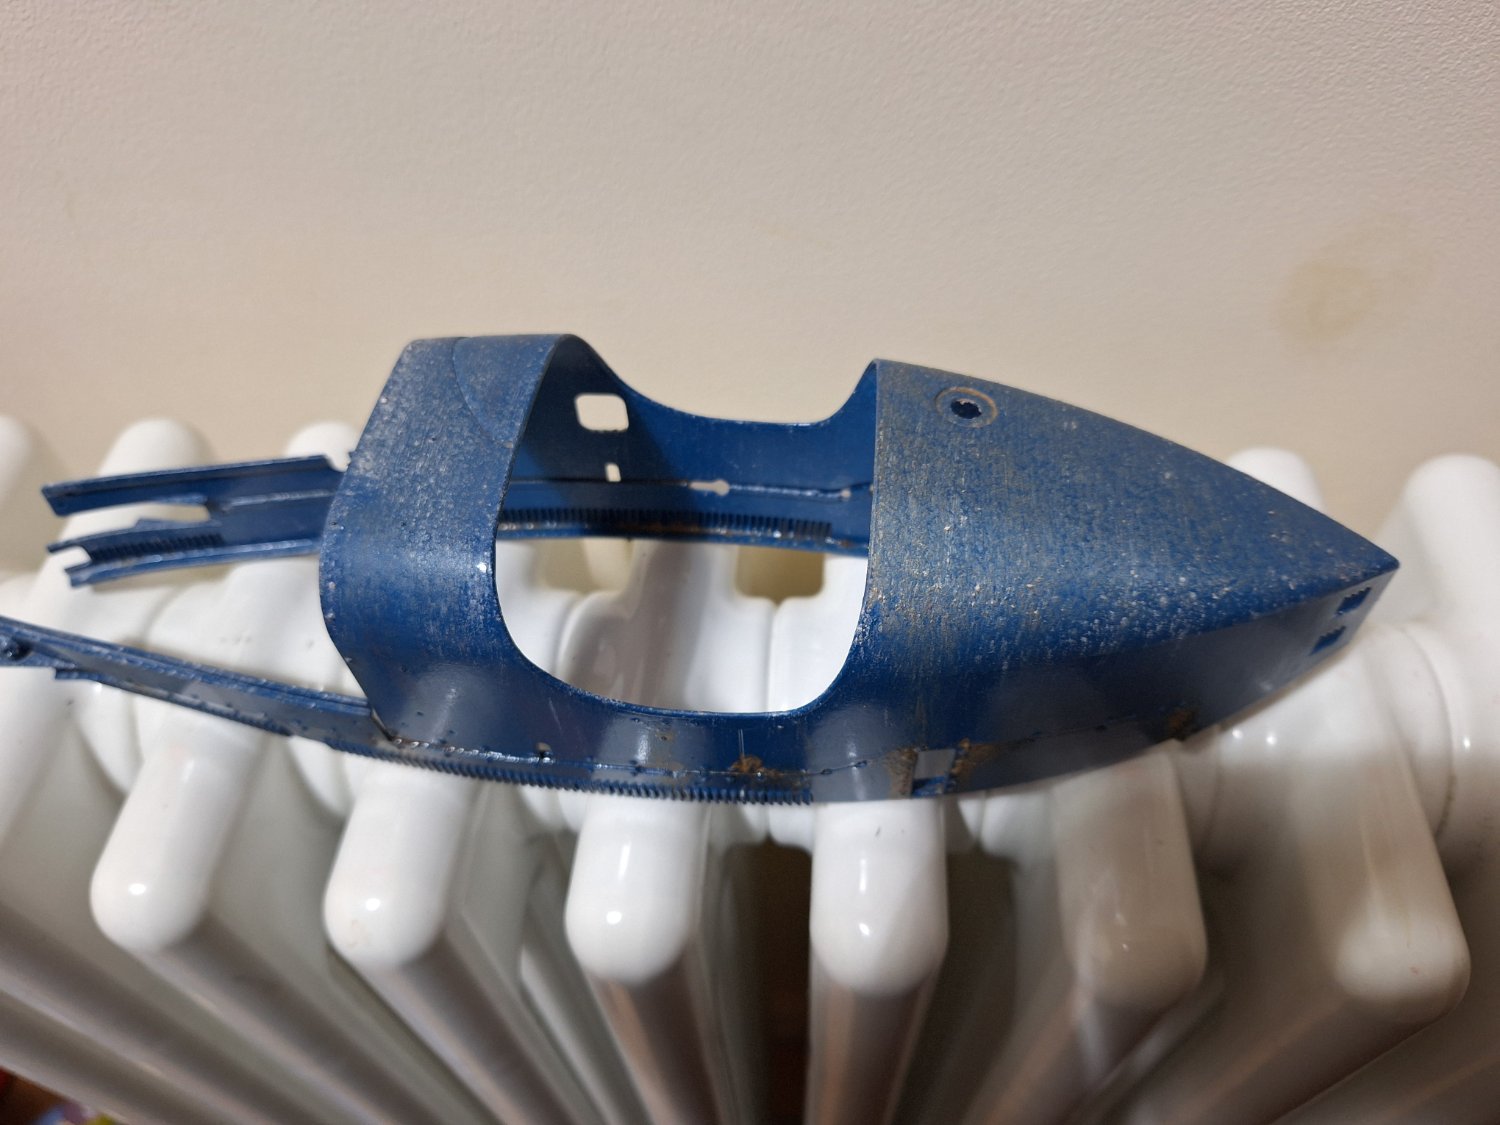
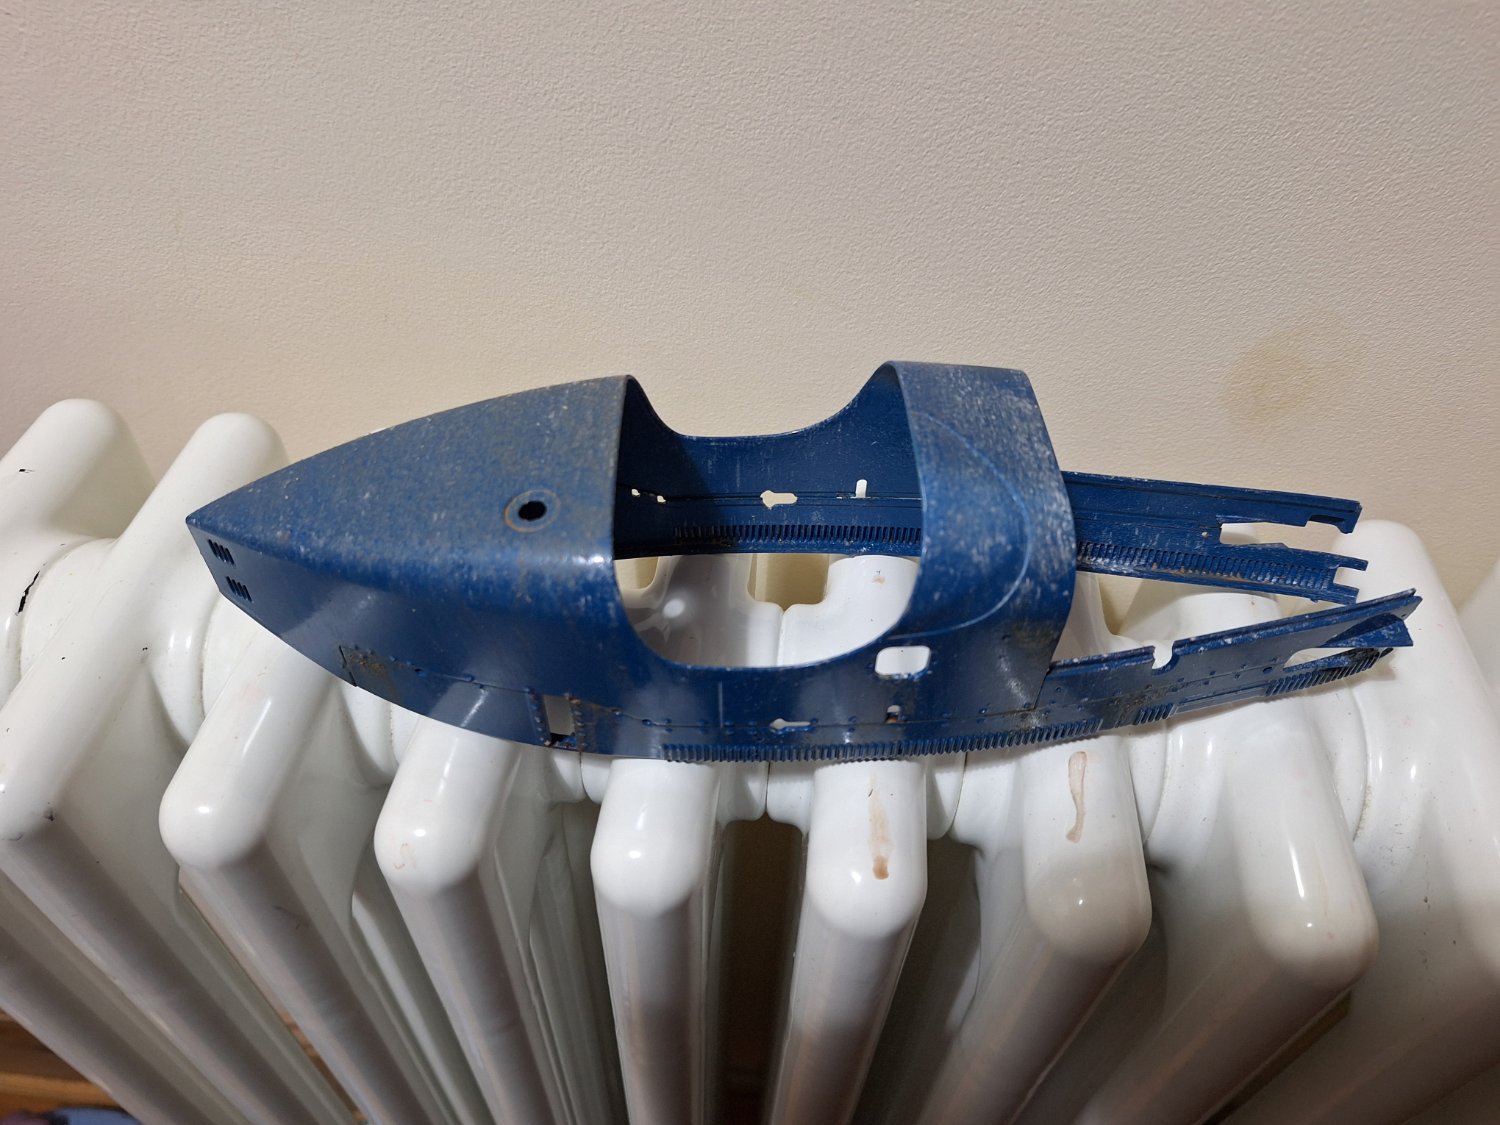
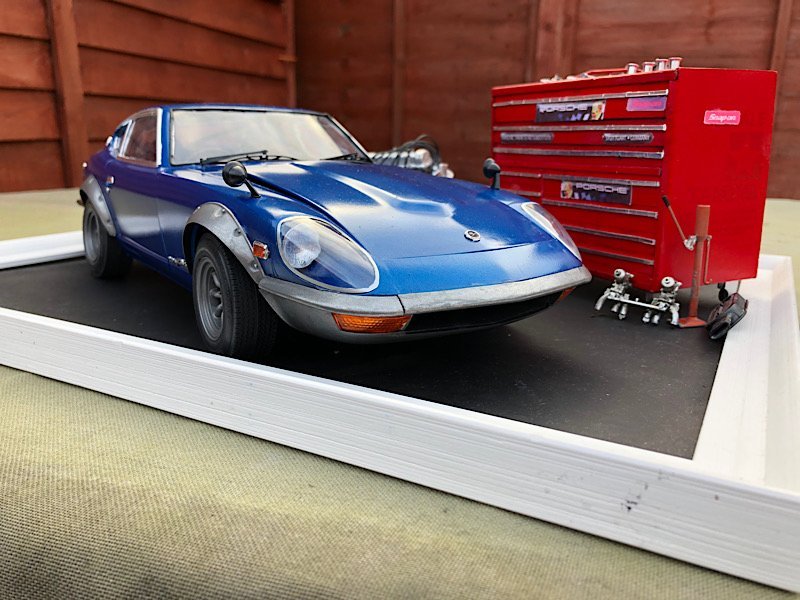
Worked on rusting and dirtying the bodywork.


-
More done to this poor old thing.


-
-
I have a story for that, a wealthy banker stored it in a barn at the start of ww11 so the Germans didn't get hold of it and maybe died or went abroad and forgot about it.
- Ryland Craze, yvesvidal, Egilman and 5 others
-
 8
8
-
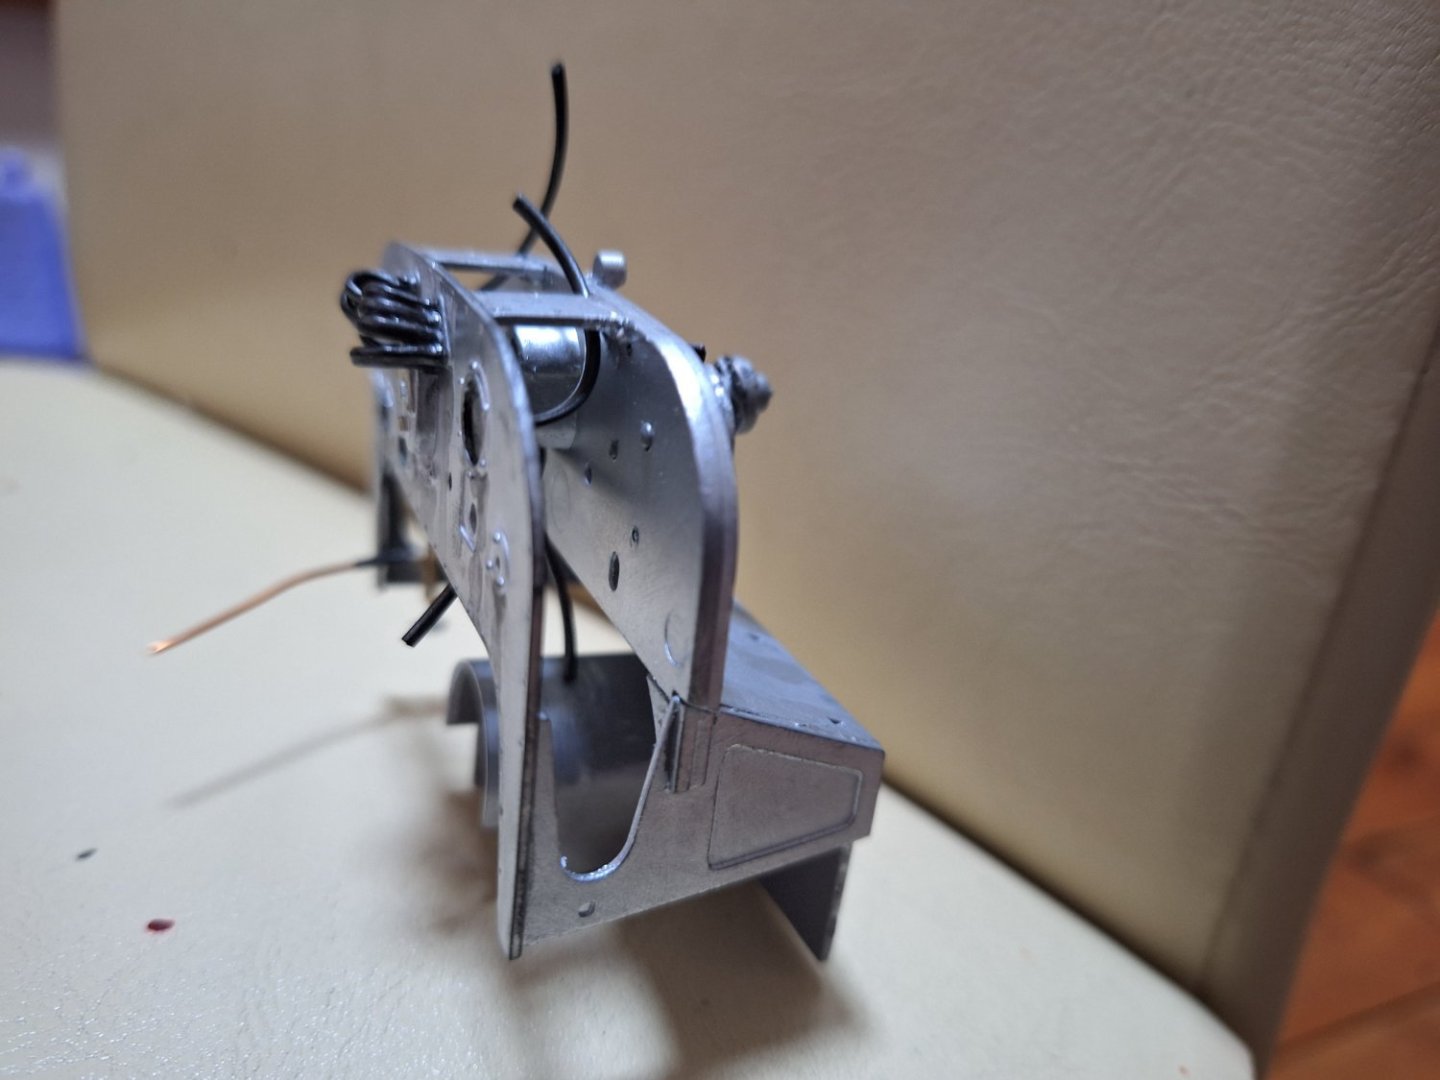
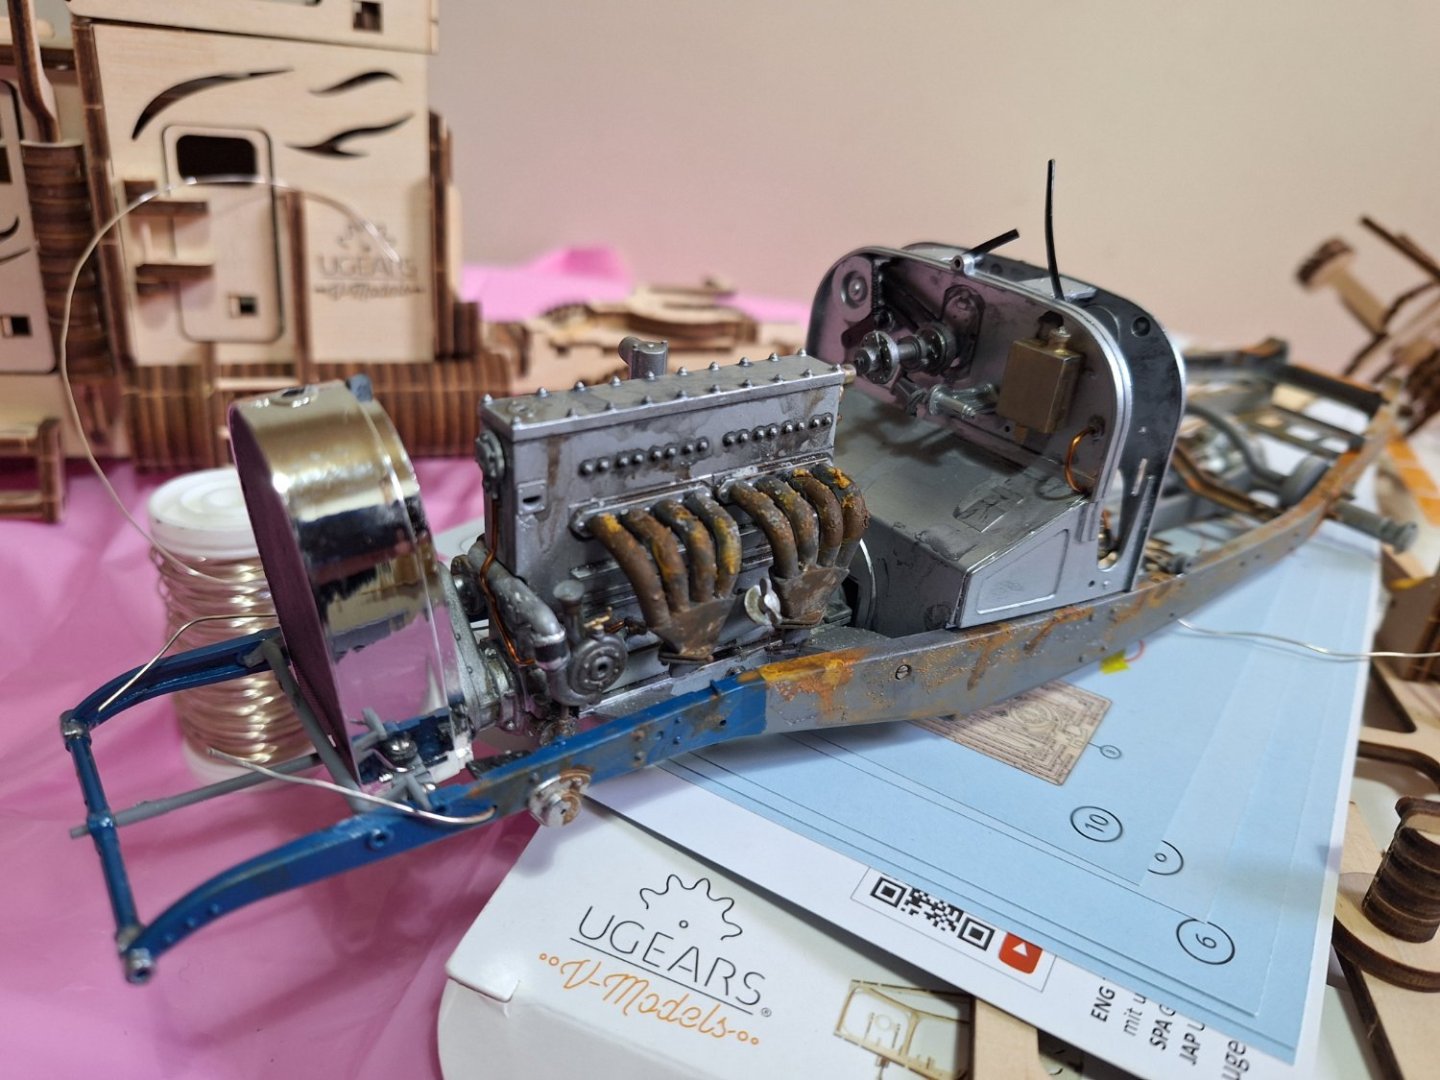
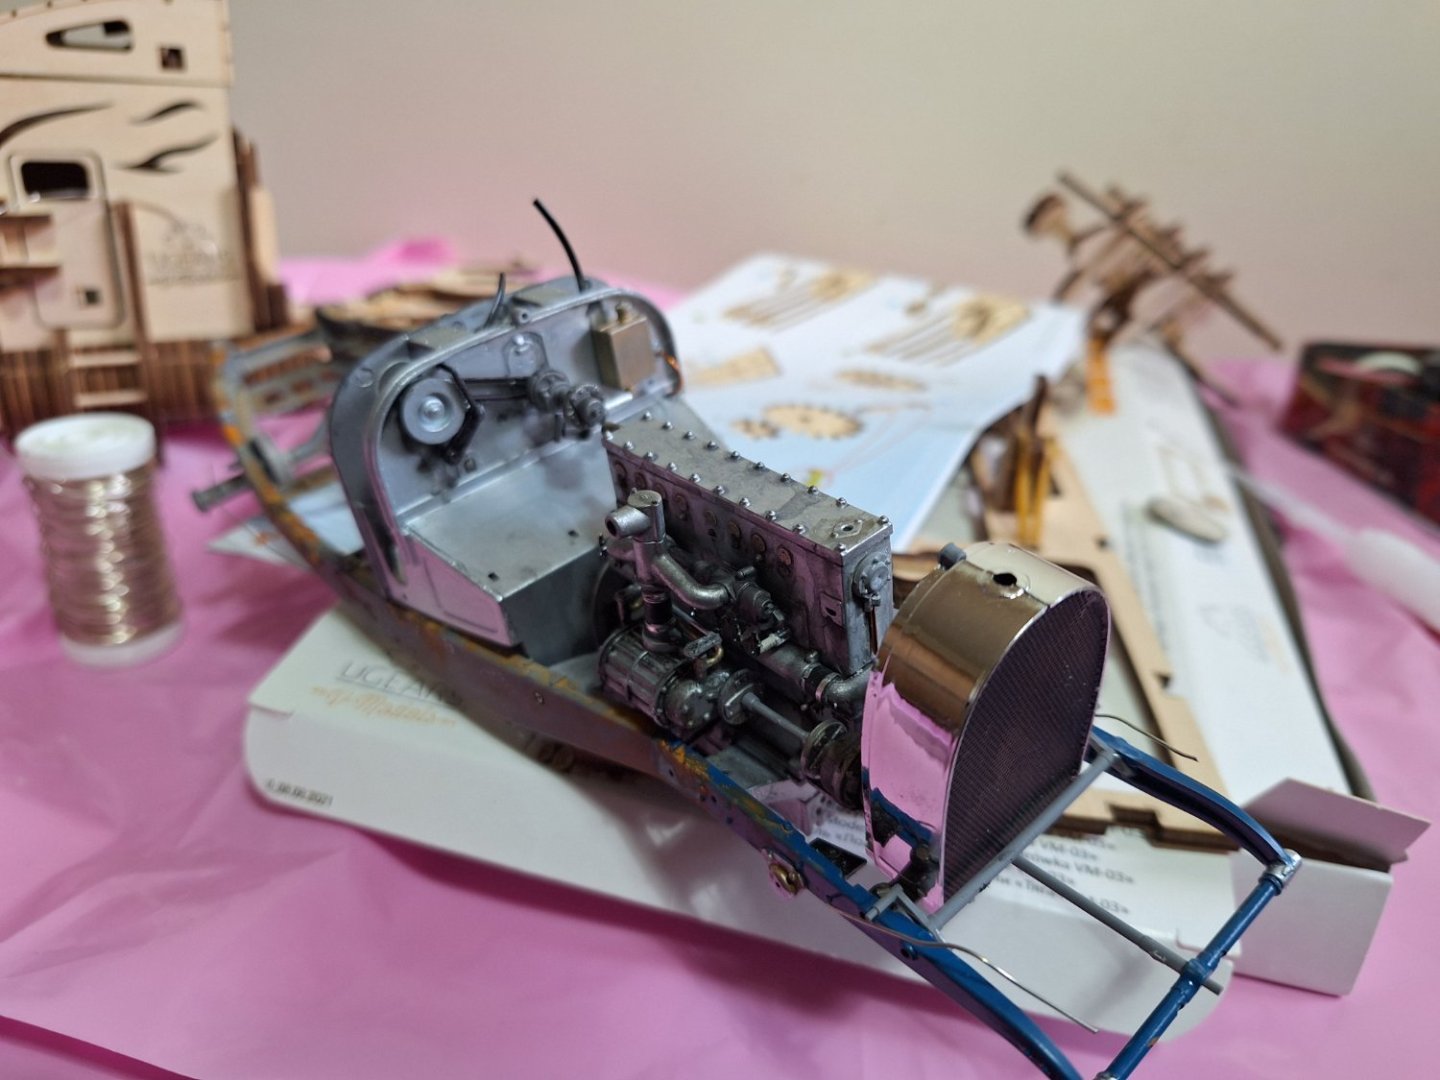
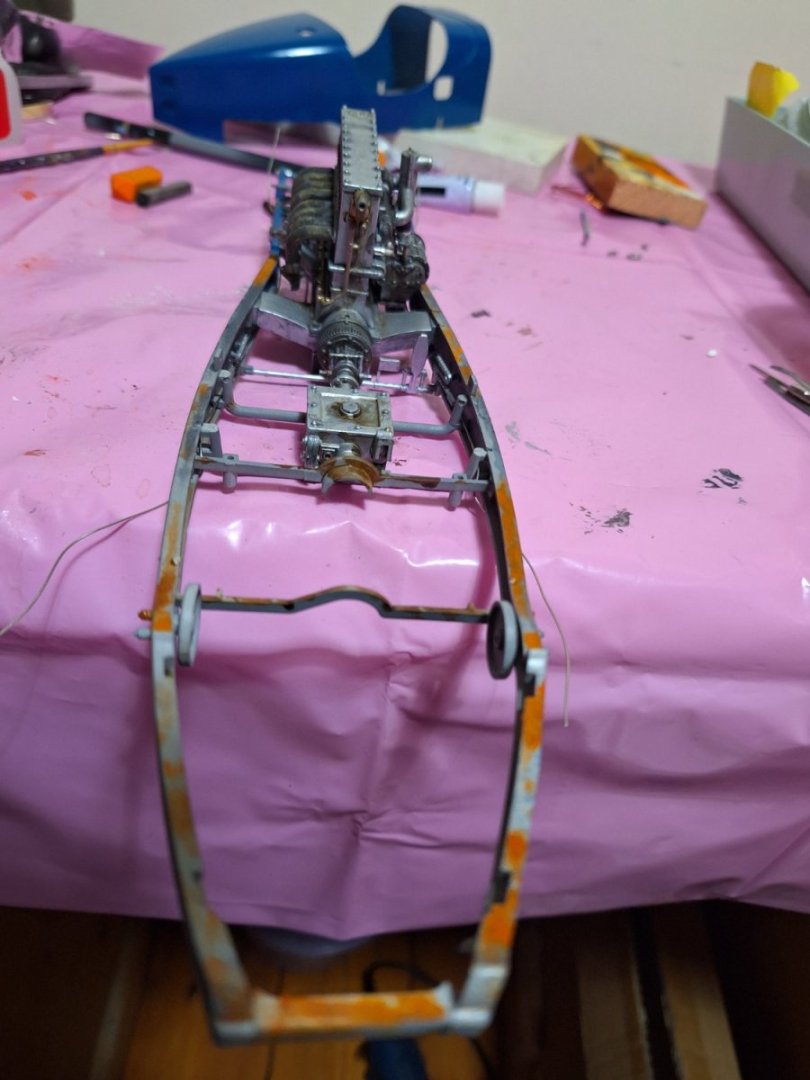
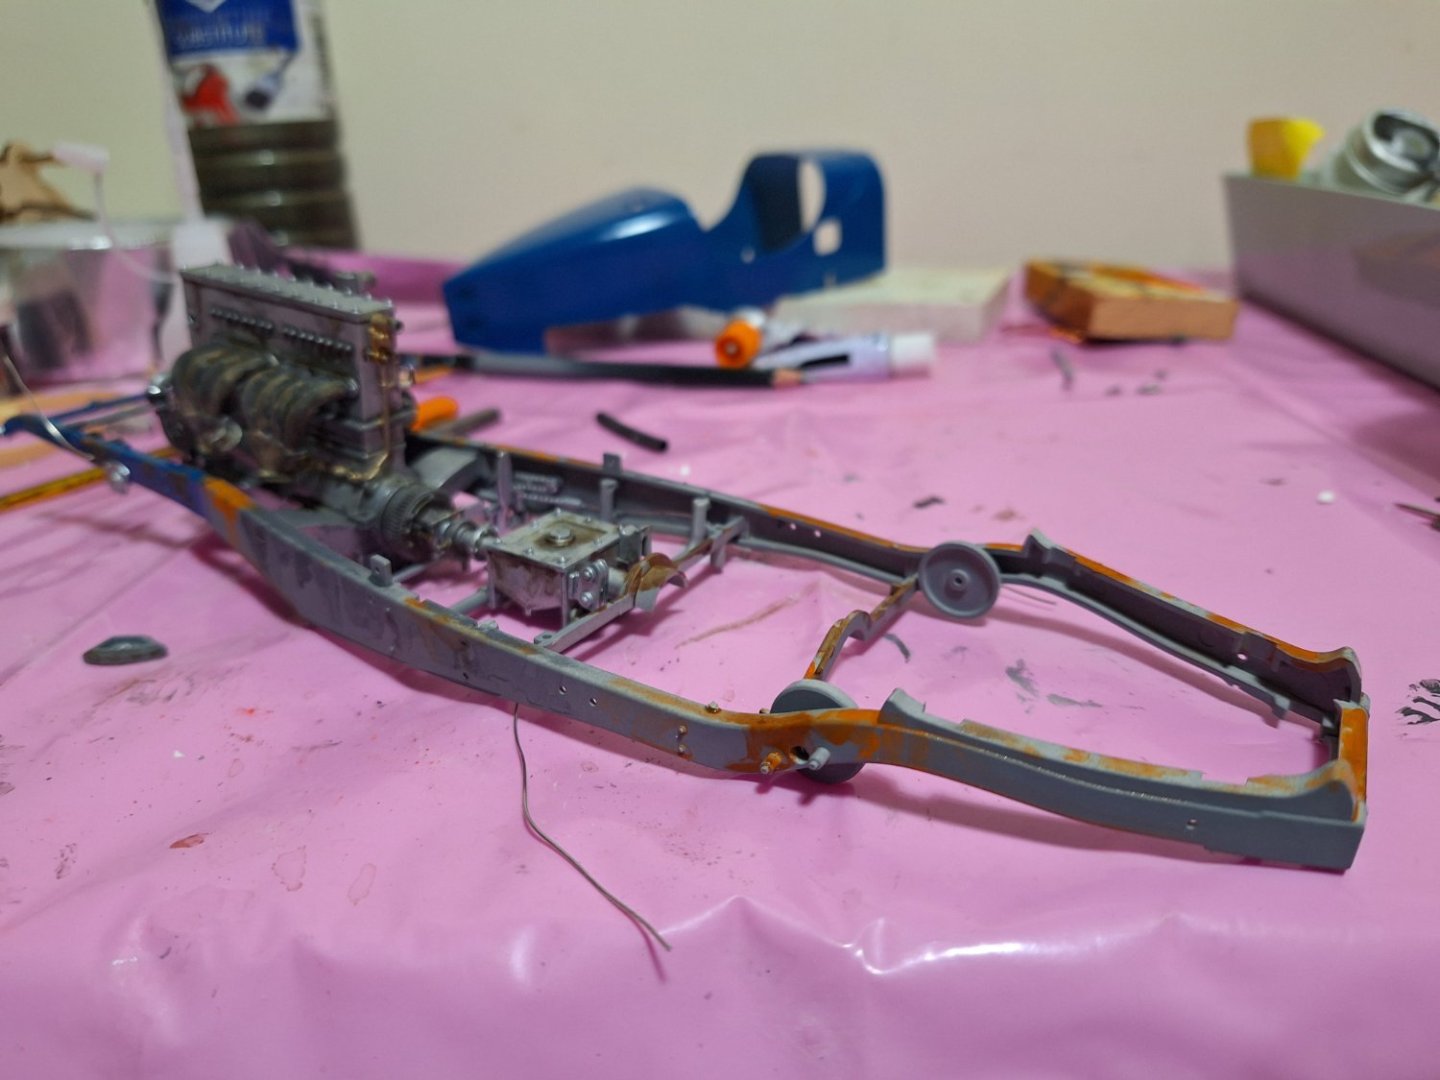
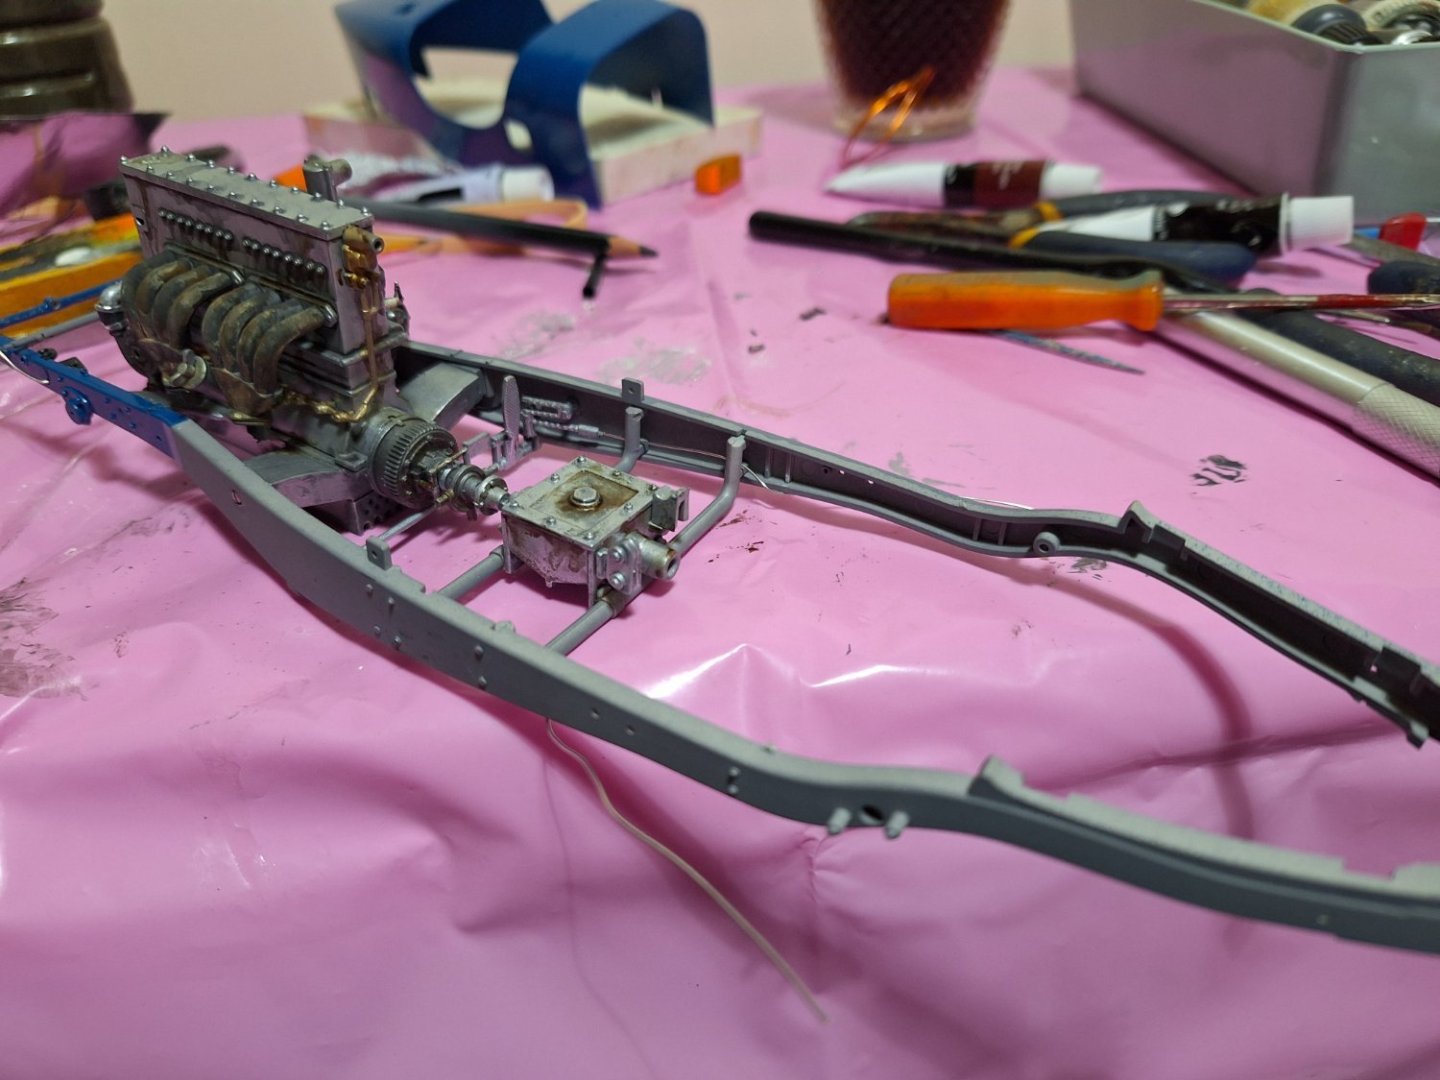
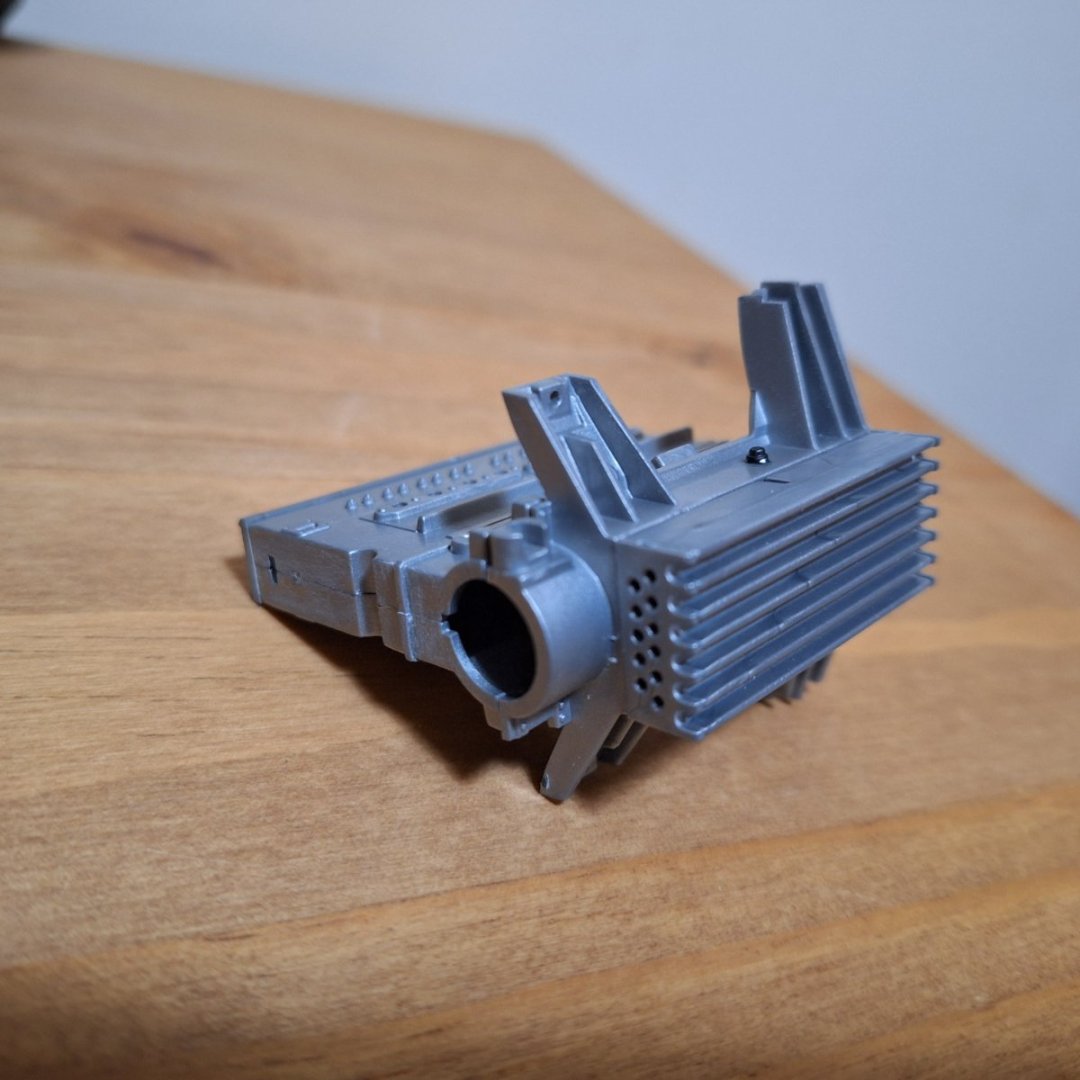
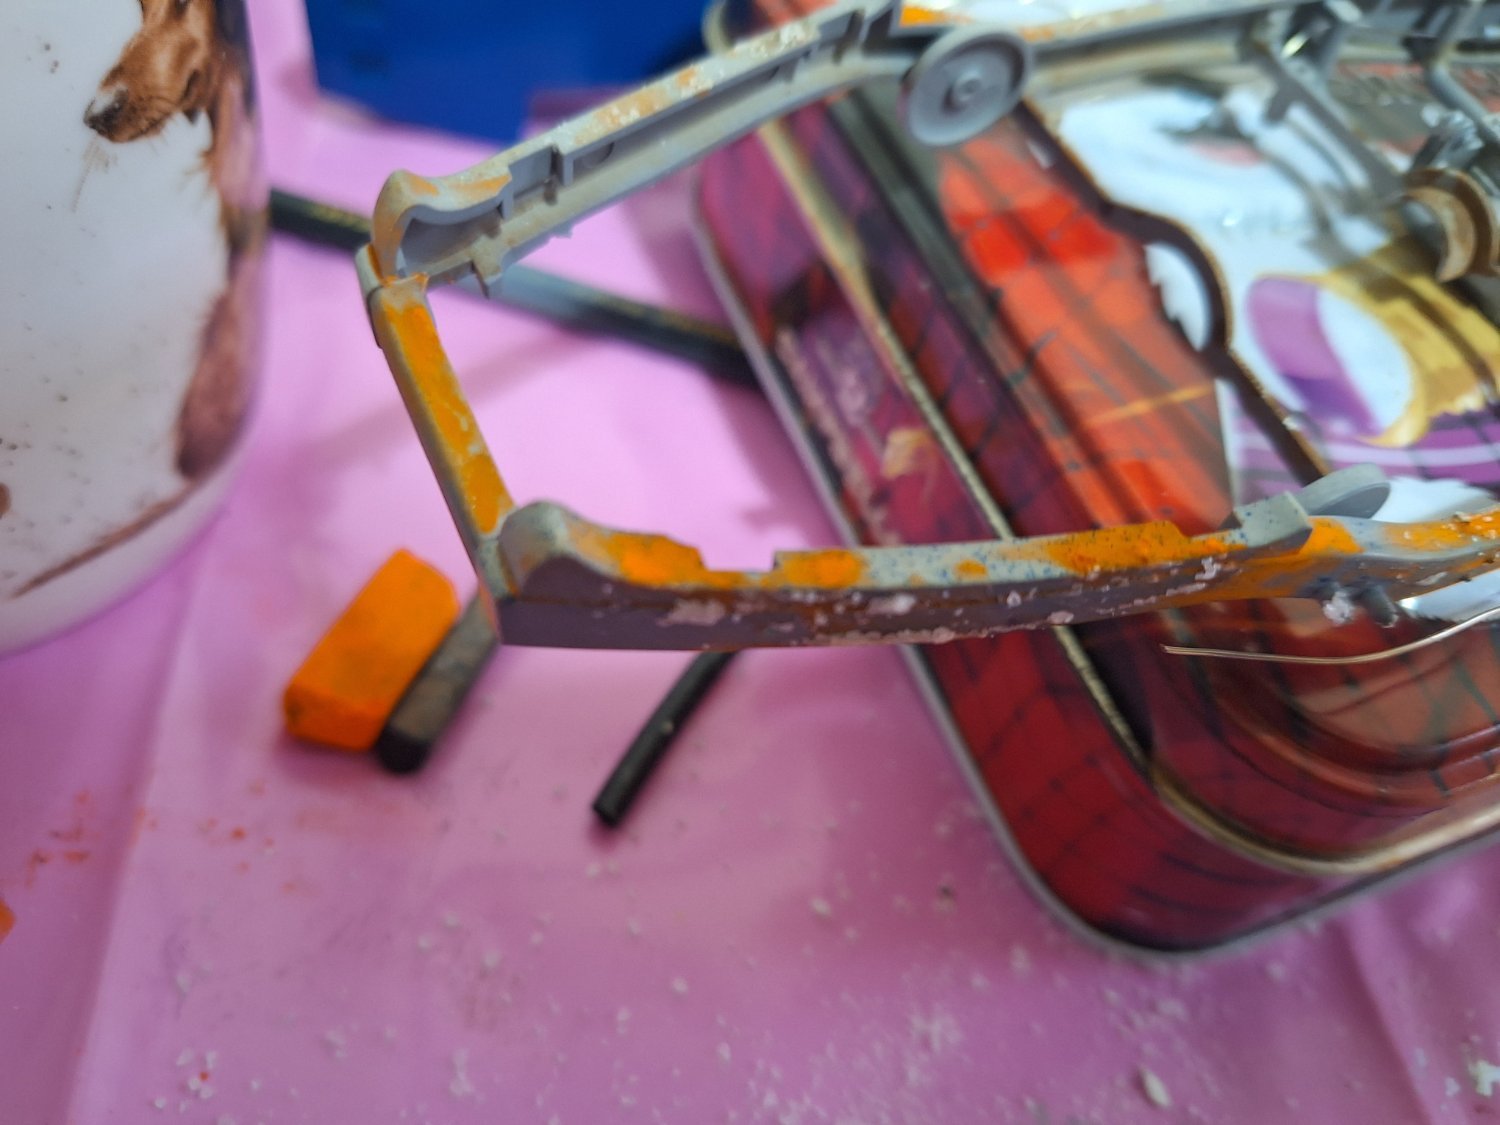
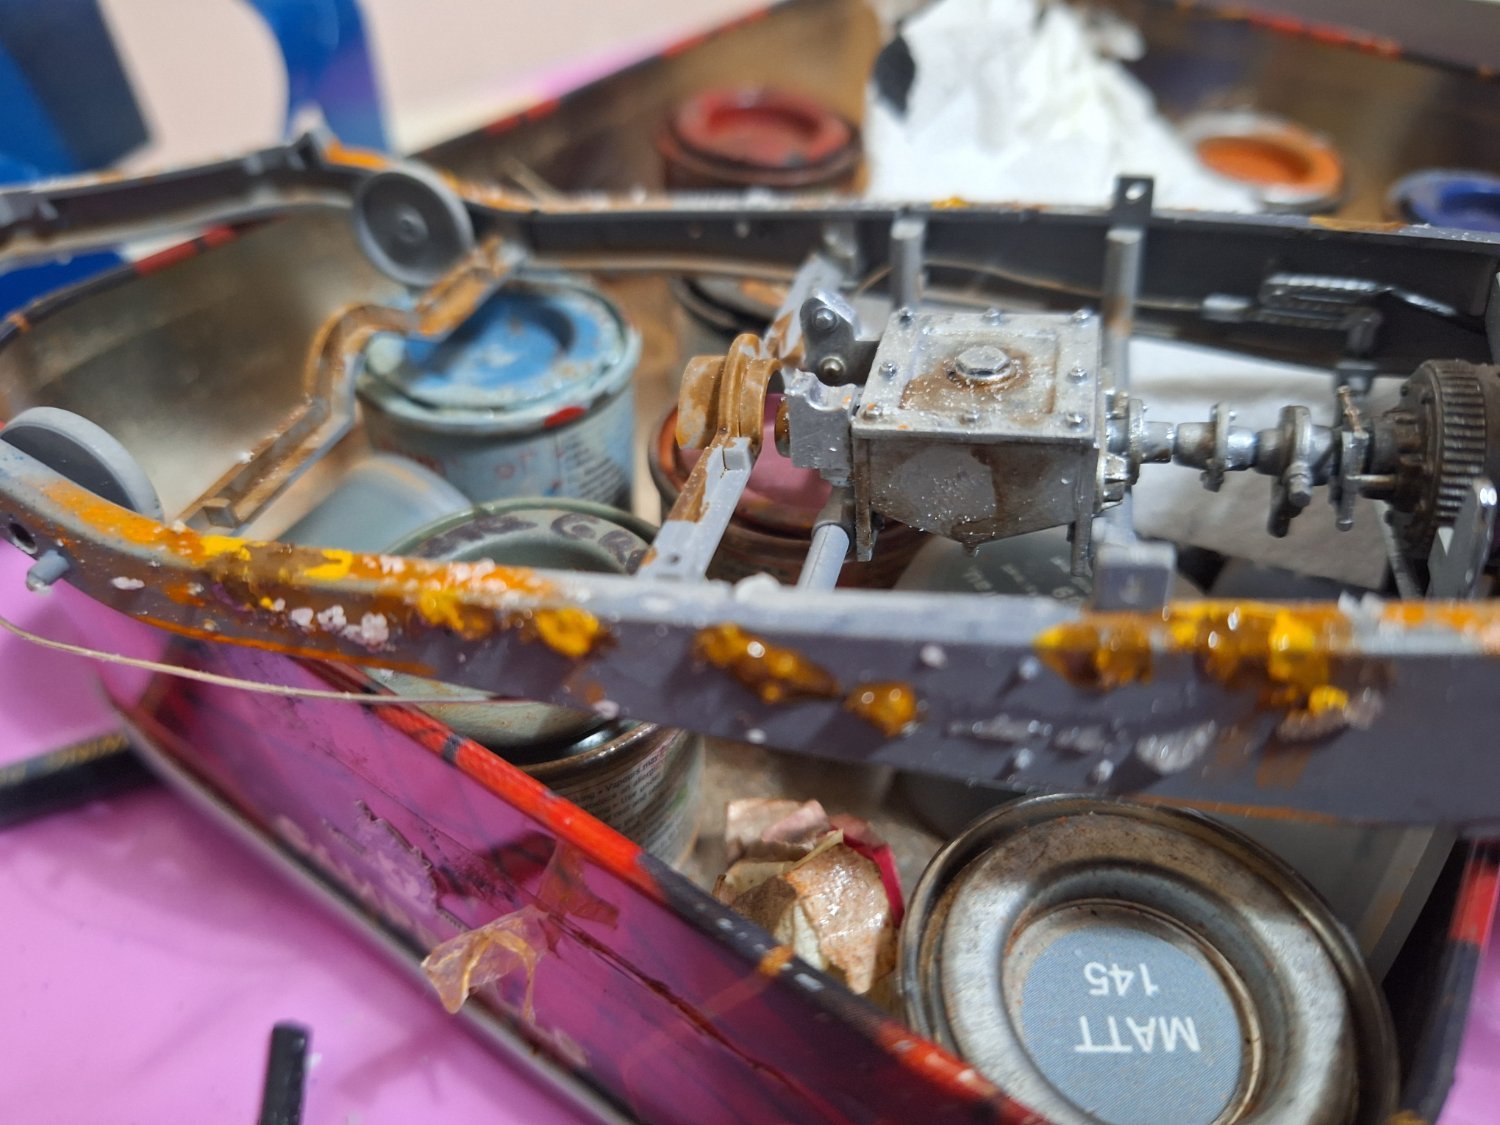
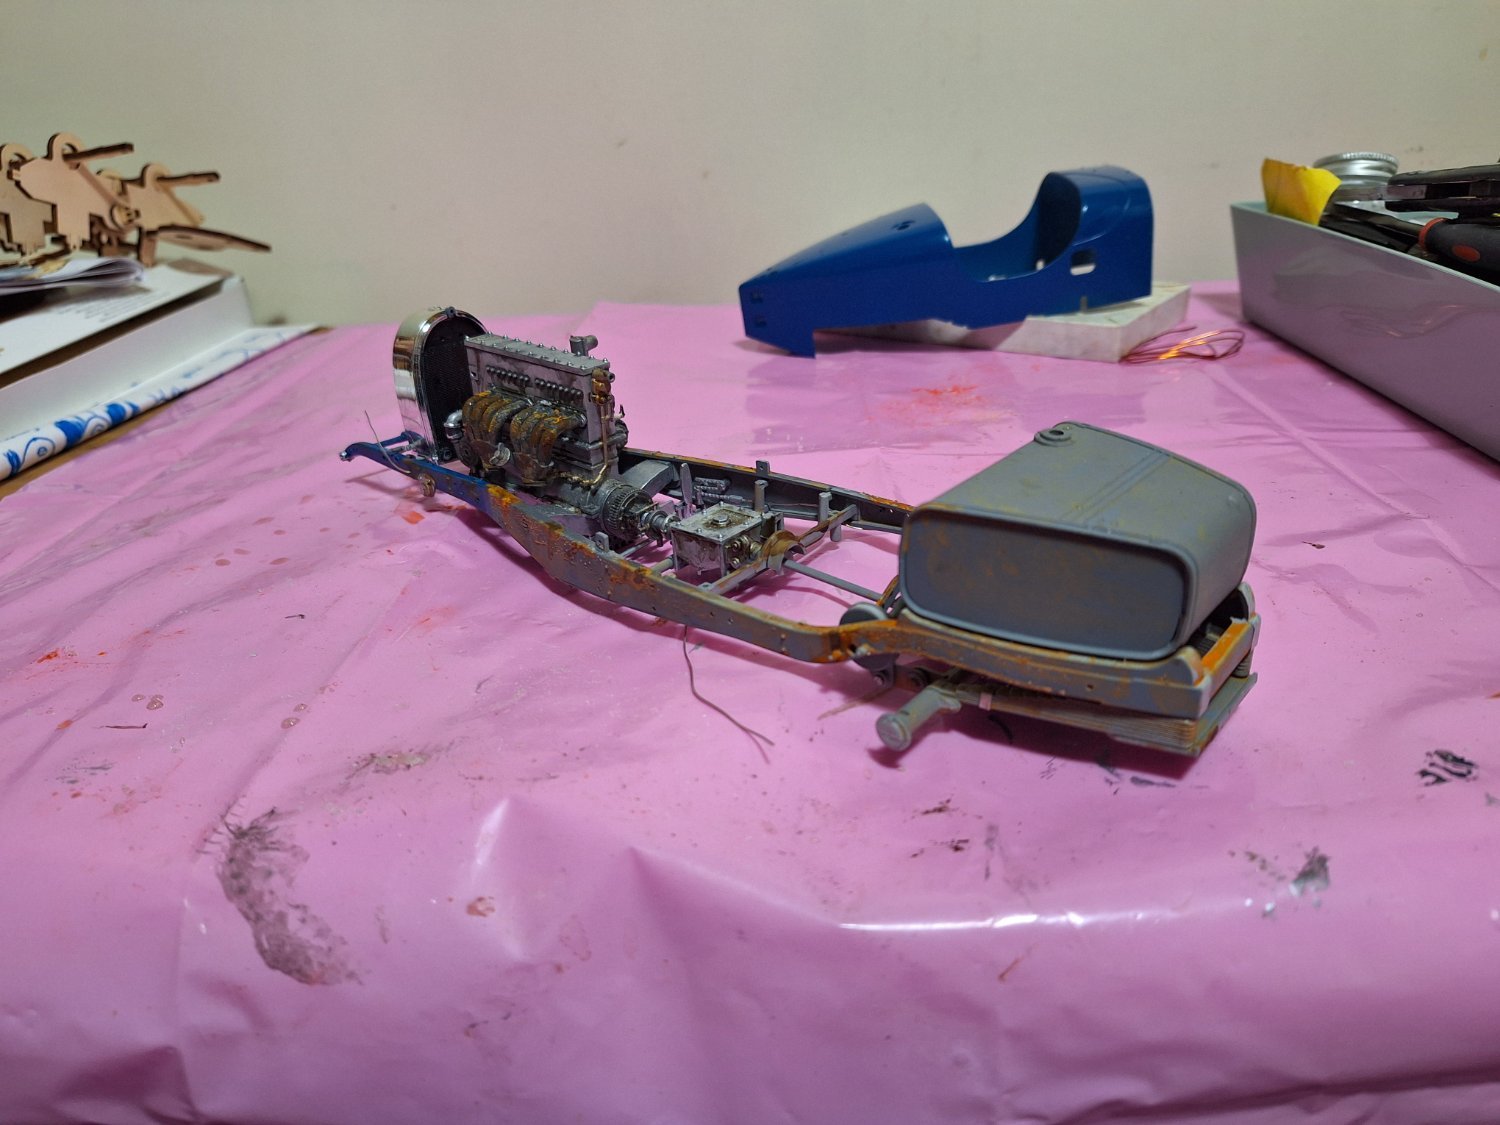
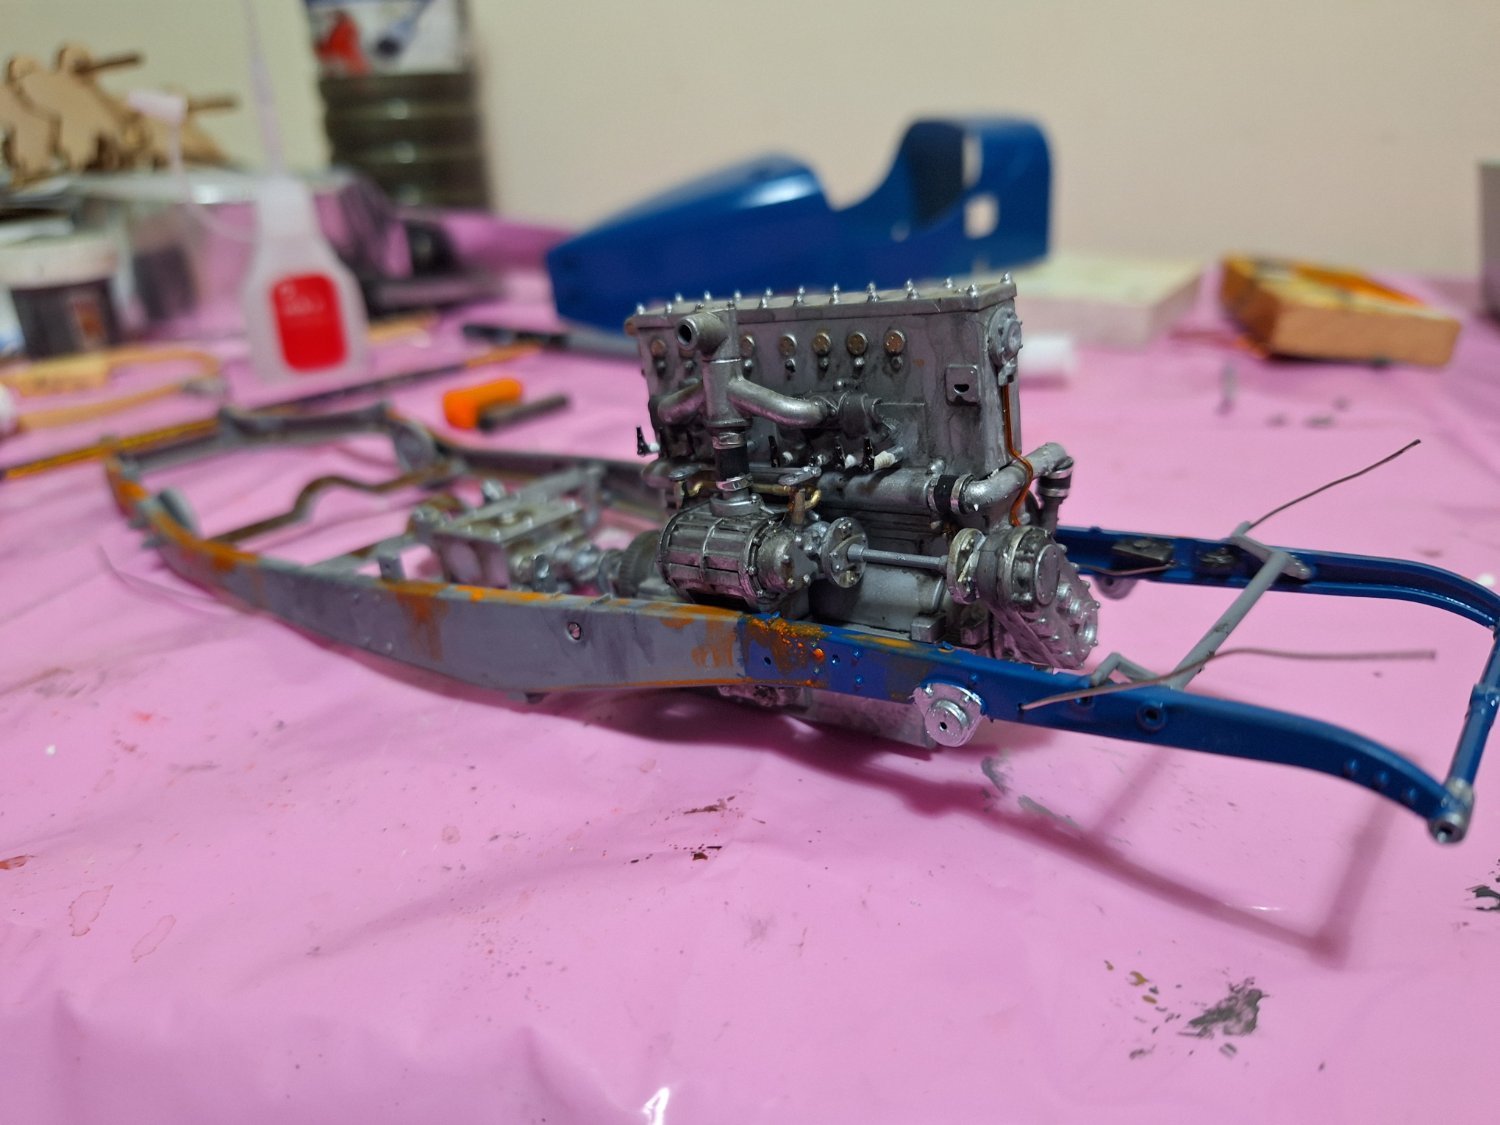
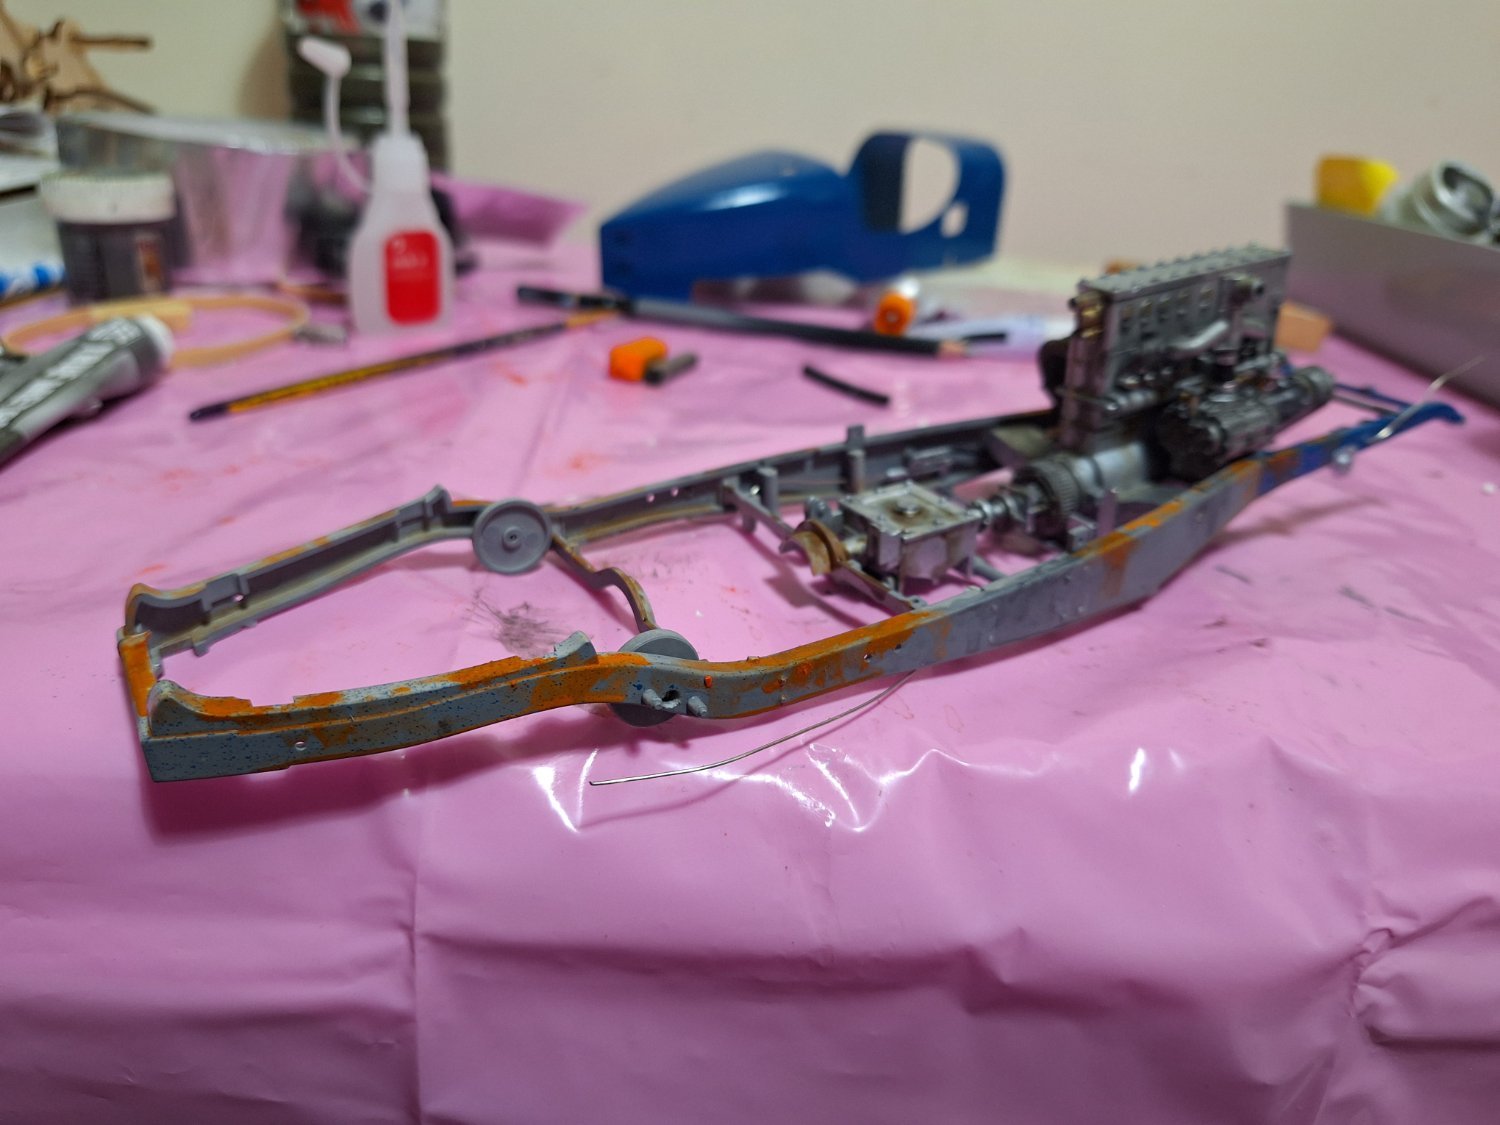
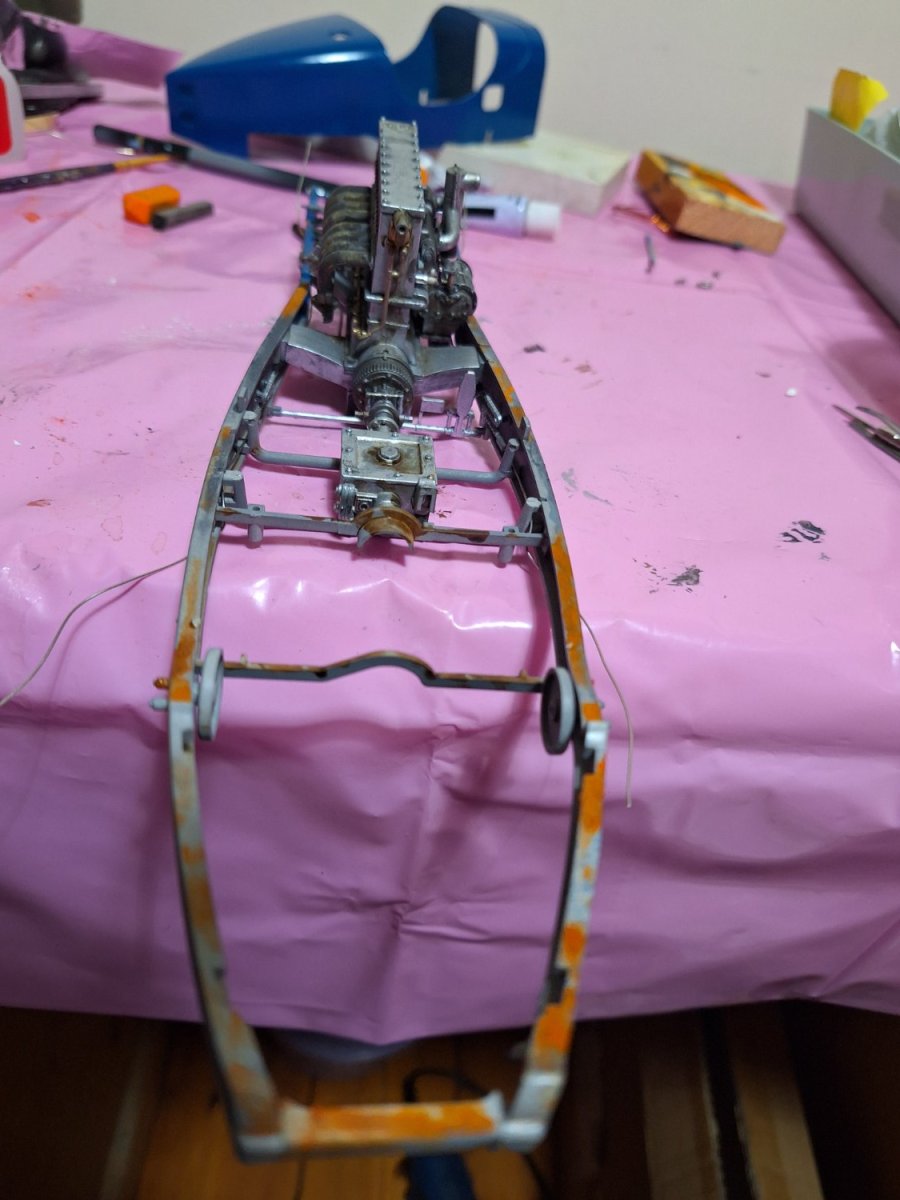
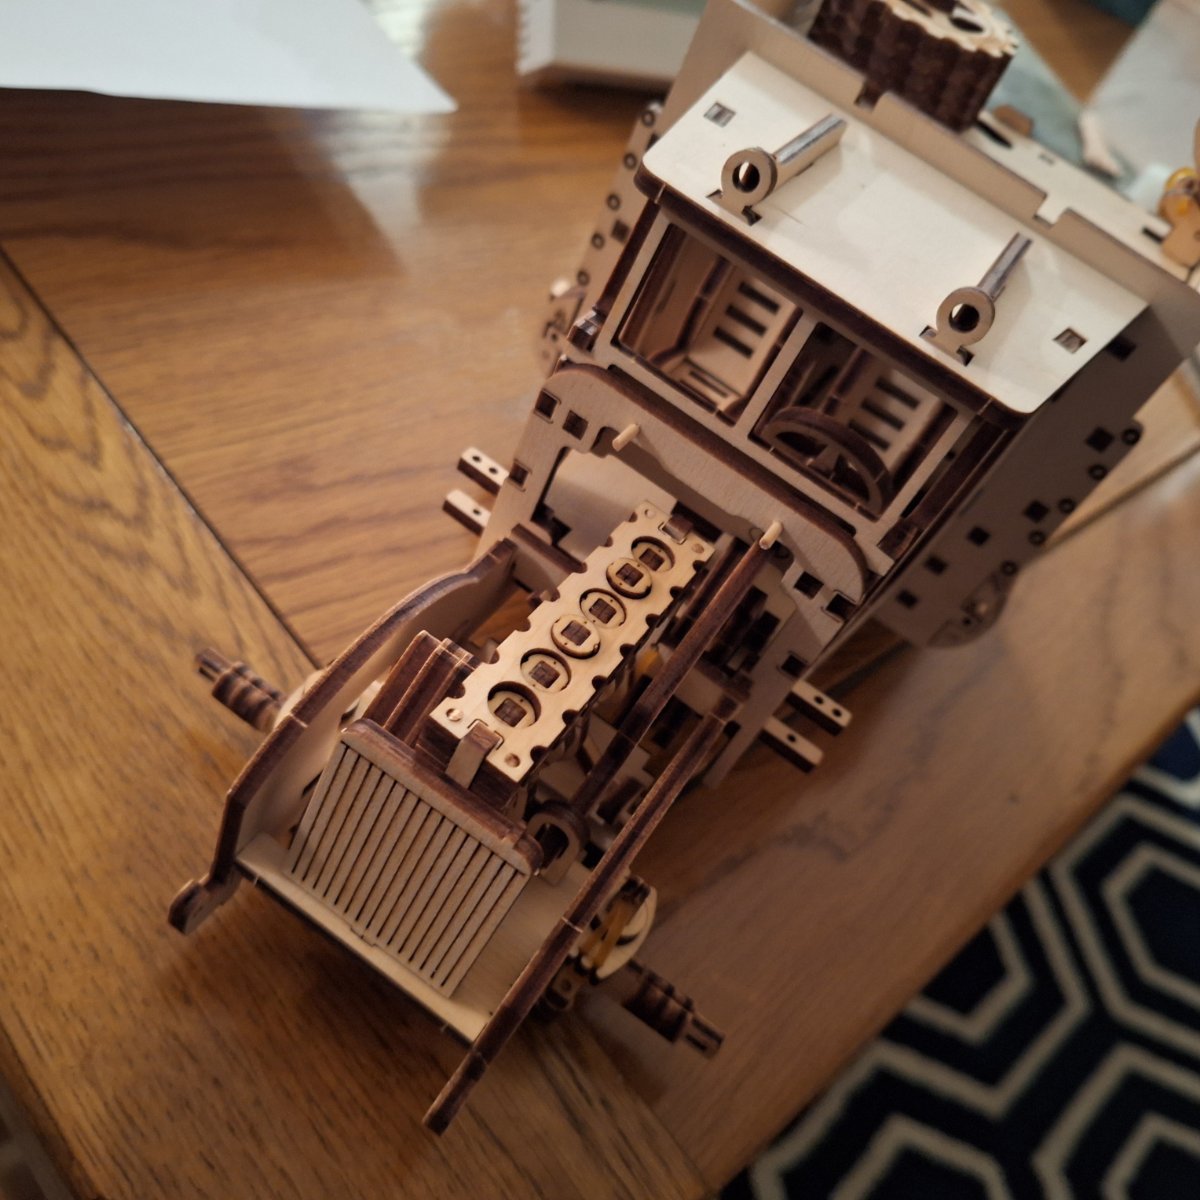
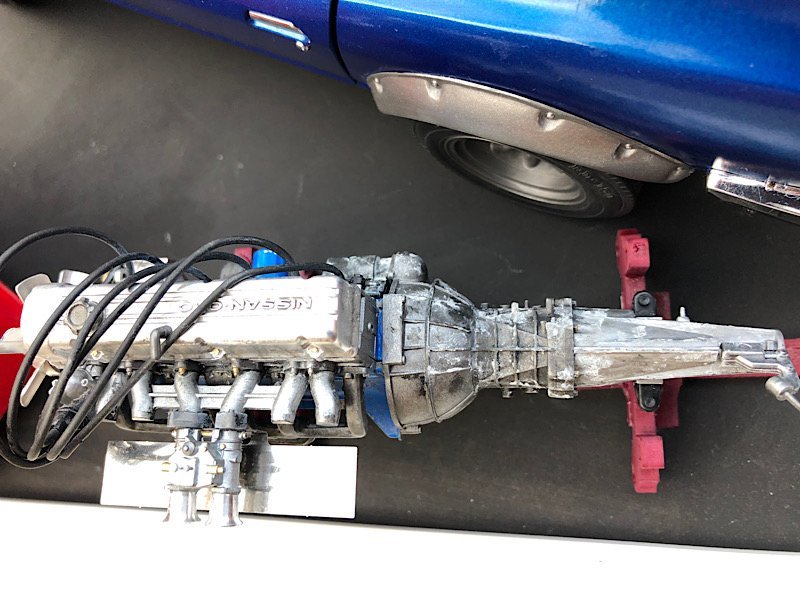
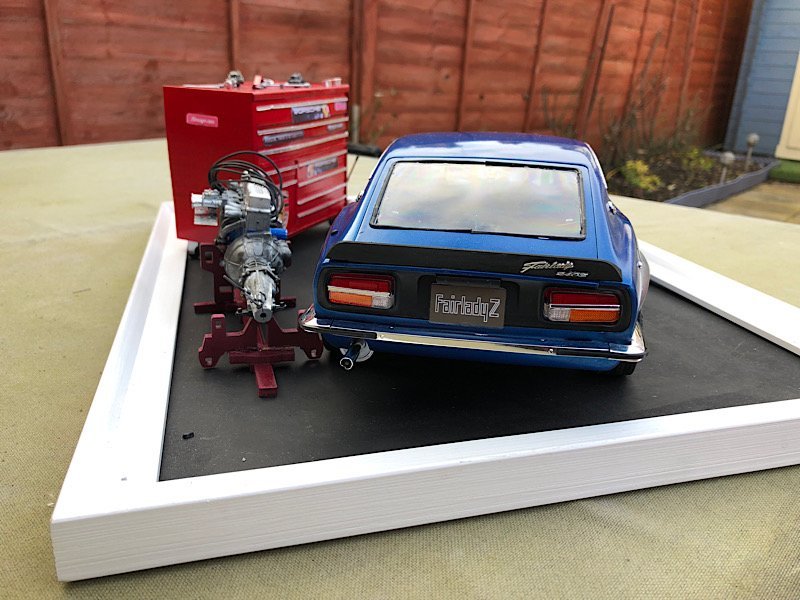
Started dirtying up the chassis, got so many ideas about staging this wreck, I really want to show the chassis and engine separate from the bodywork, thinking in a barn with body parts piled up somewhere, so many ideas.


- yvesvidal, Ryland Craze, Jack12477 and 9 others
-
12
-
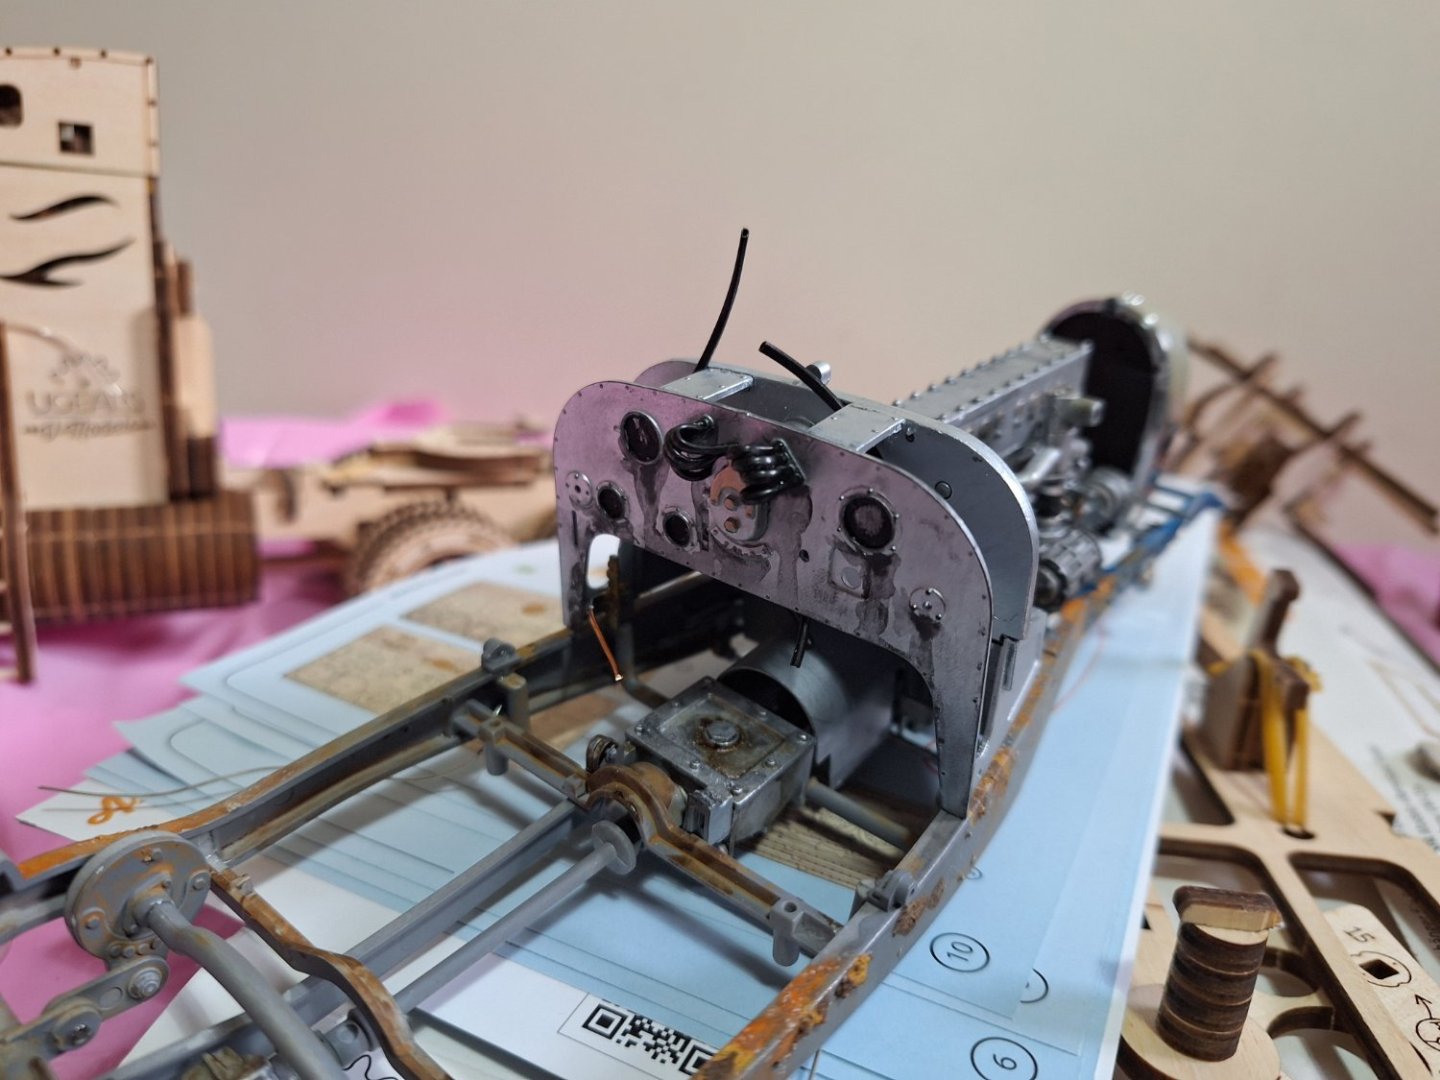
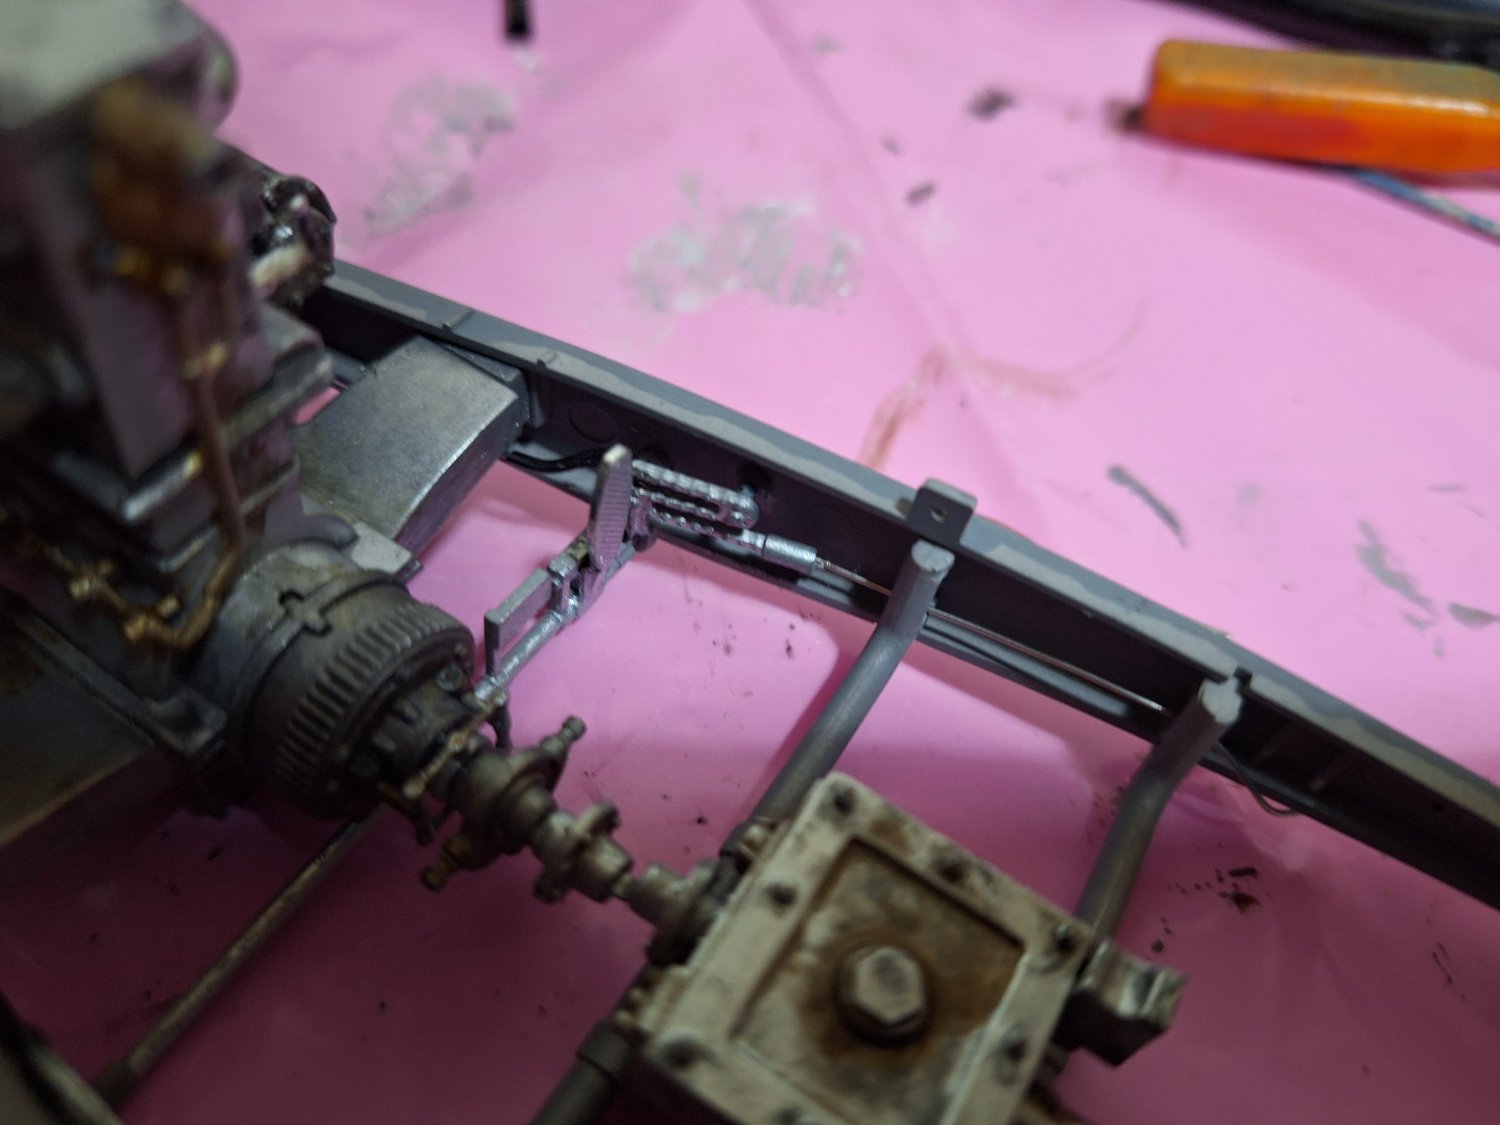
So I'm getting less and less impressed with this kit, the instructions would have you in stages 1 and 2 glue parts 32c and 33c in then in stage 8 would have you attach the silver wire with the vinyl tube the chain is very fragile and the tube is a very tight fit, thus its an impossible task (at least without risking breaking the chain, also you have to add the silver wire to a slot in the back of parts 32c and33c which is on the inside and so can't be seen. I had to carefully remove the parts to attatch the wires then glue the parts back in with the wires already attached. They would have been better saying to attach the wires at stage 1 before you glue the parts in place, doing that would not interfere with any assy after that and would make life so much easier.

- popeye the sailor, Javlin, druxey and 12 others
-
15
-
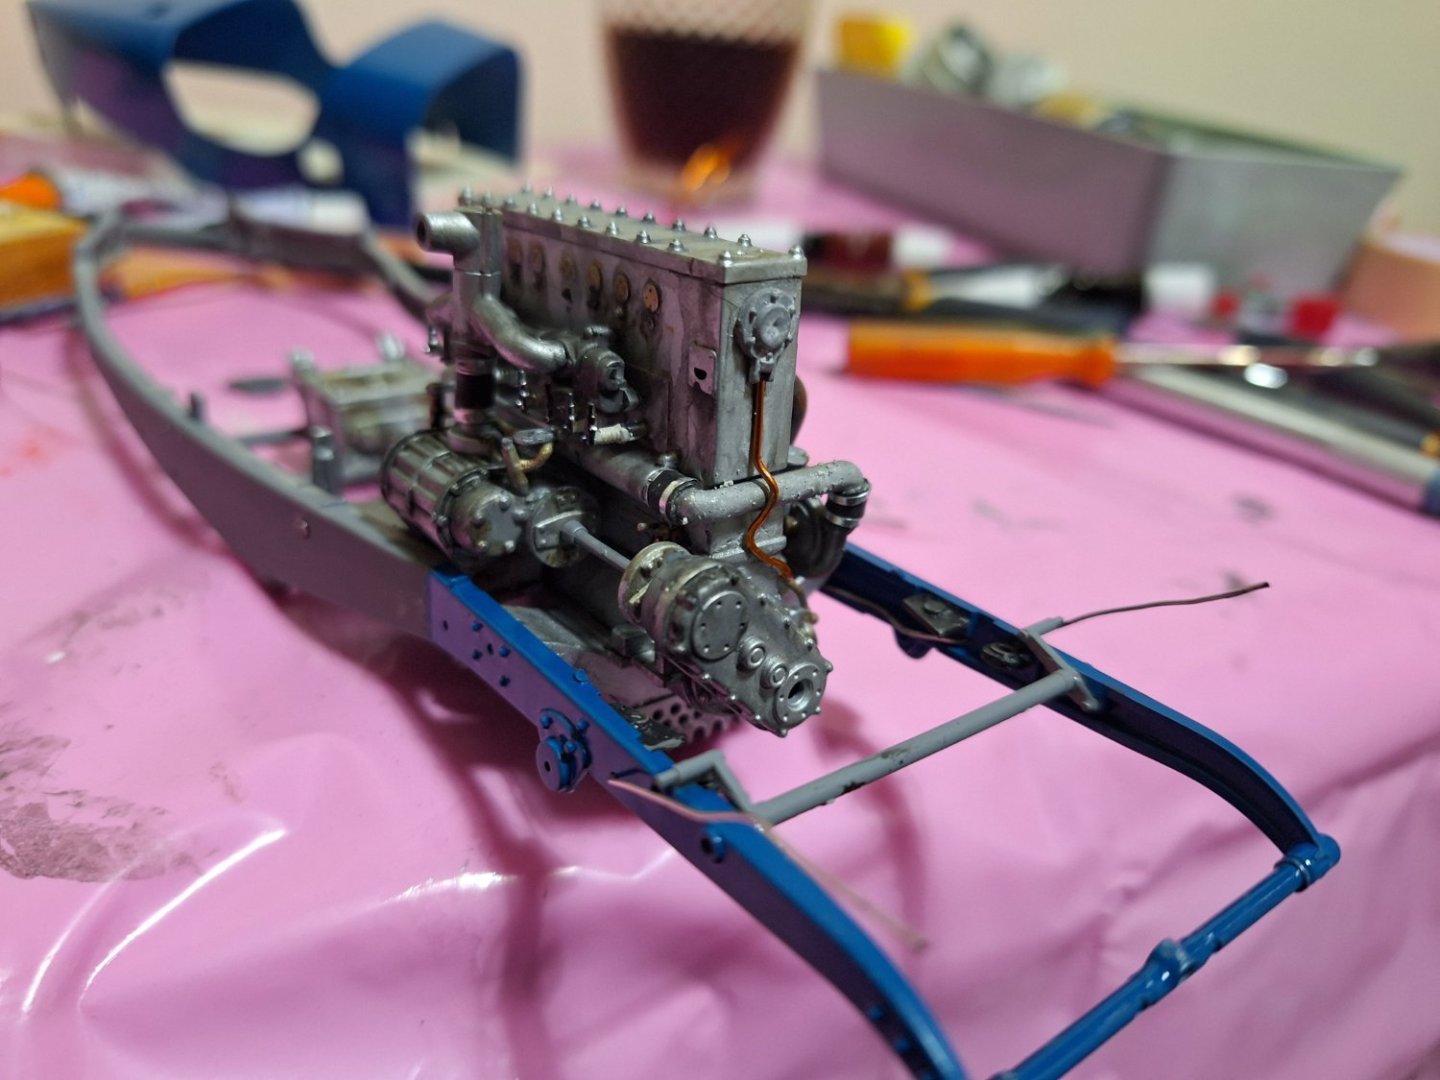
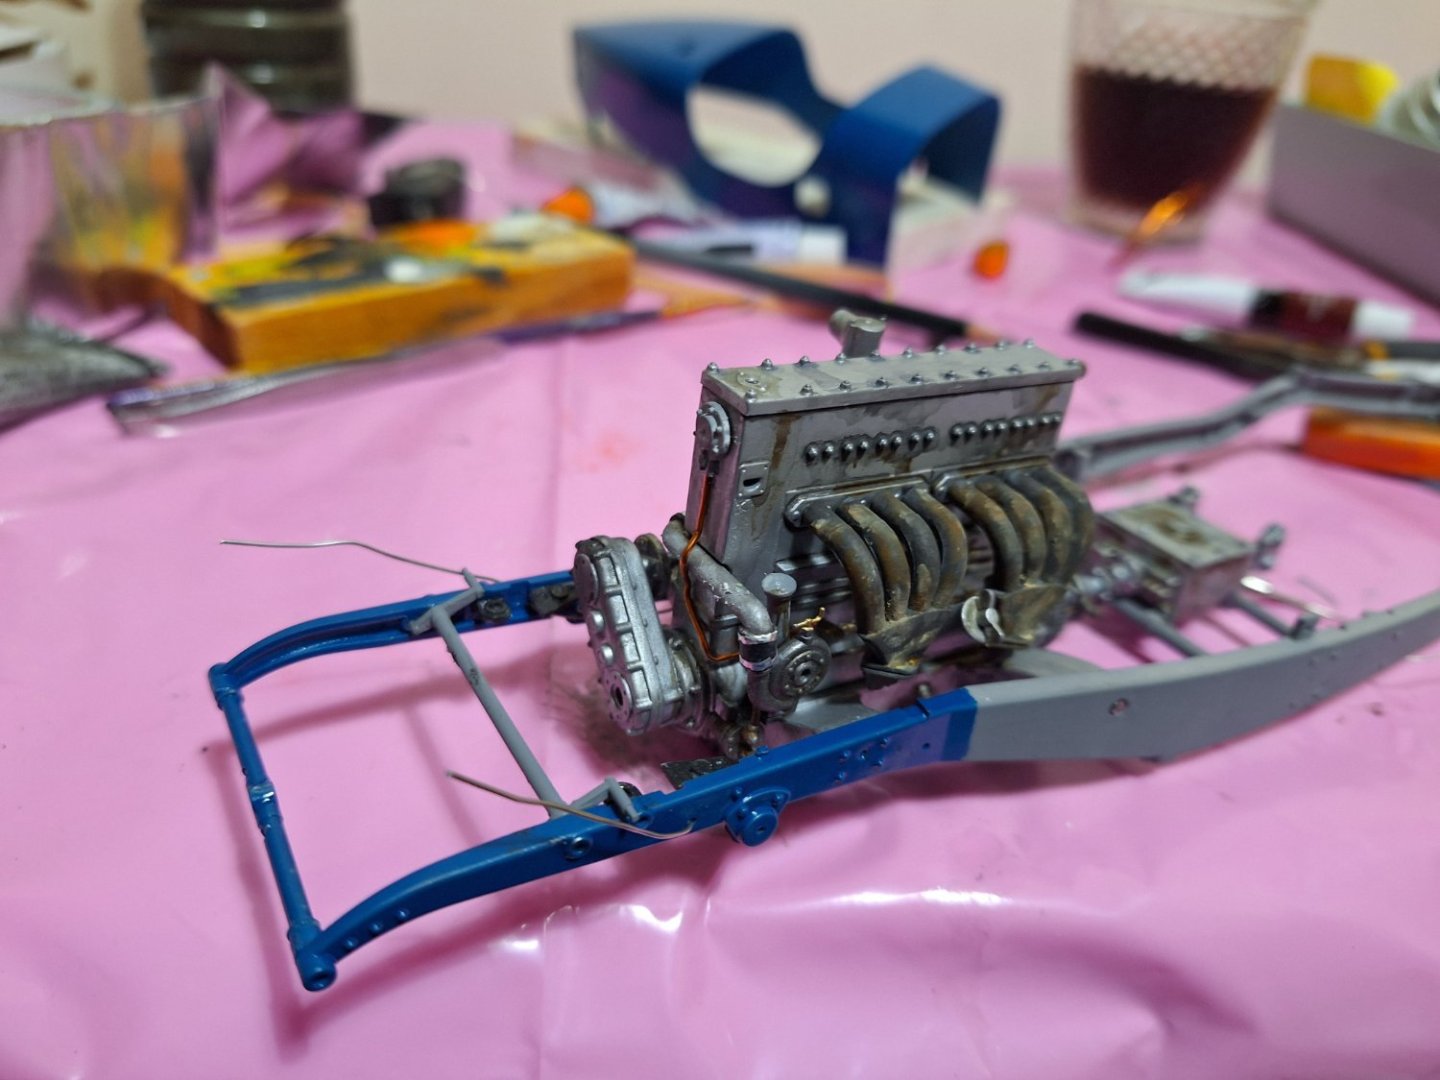
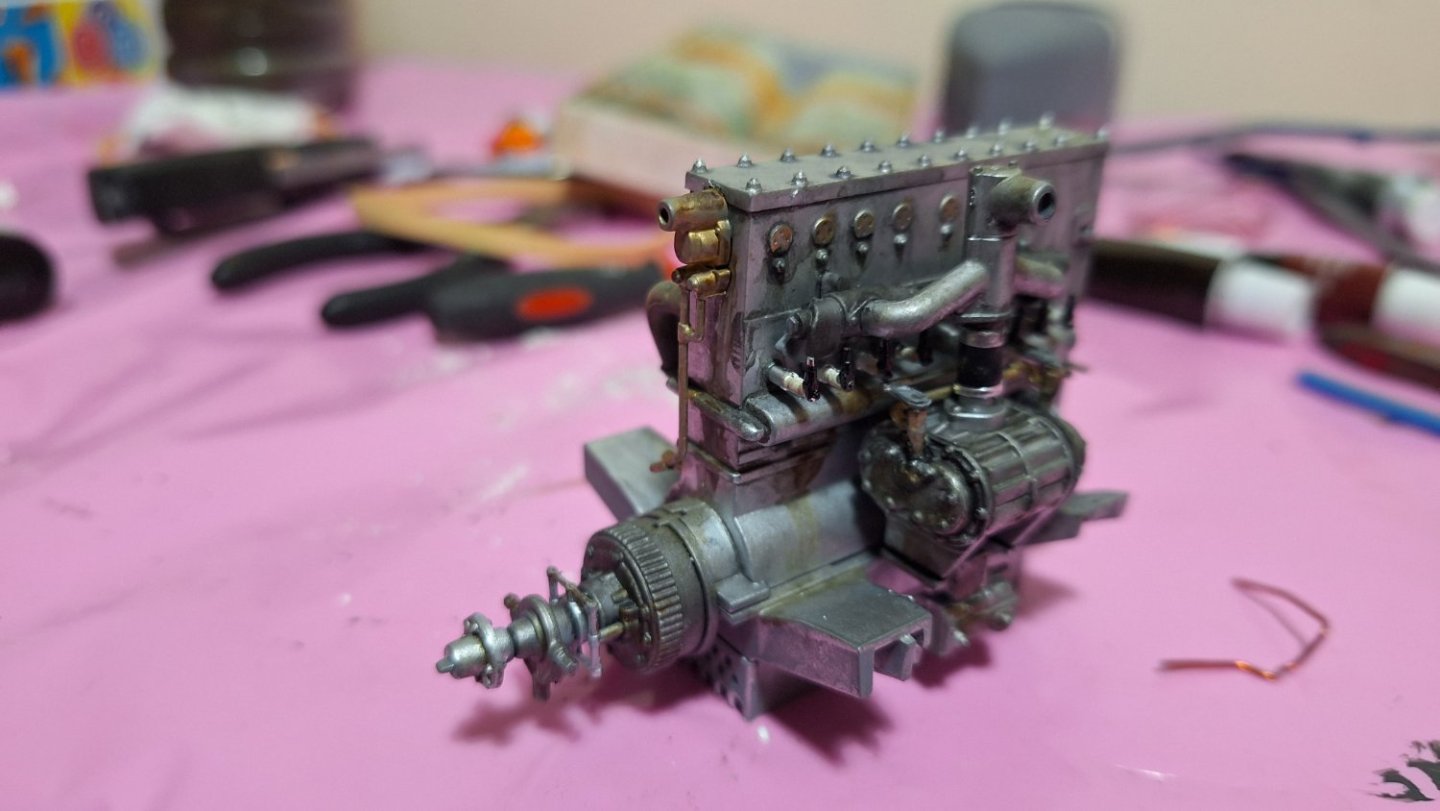
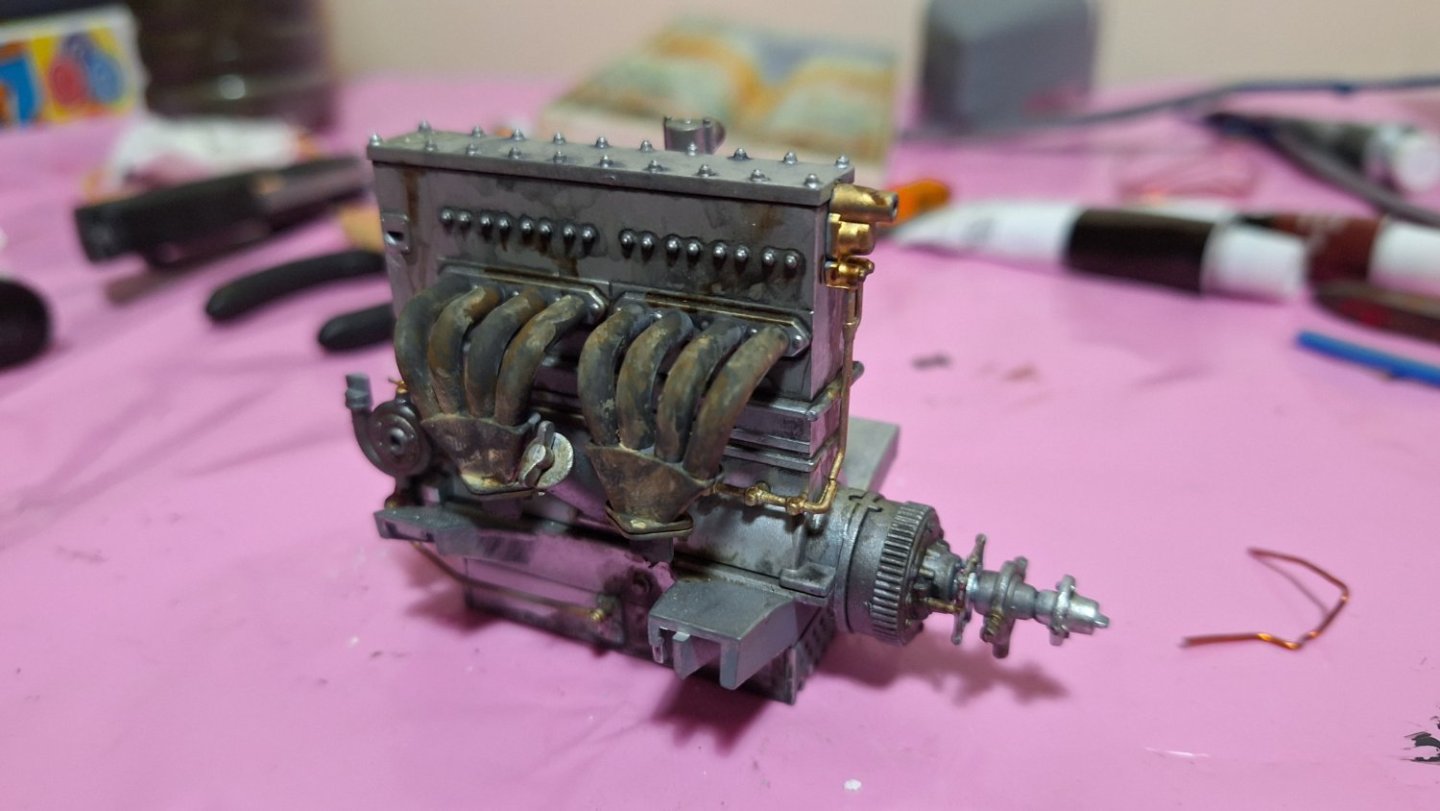
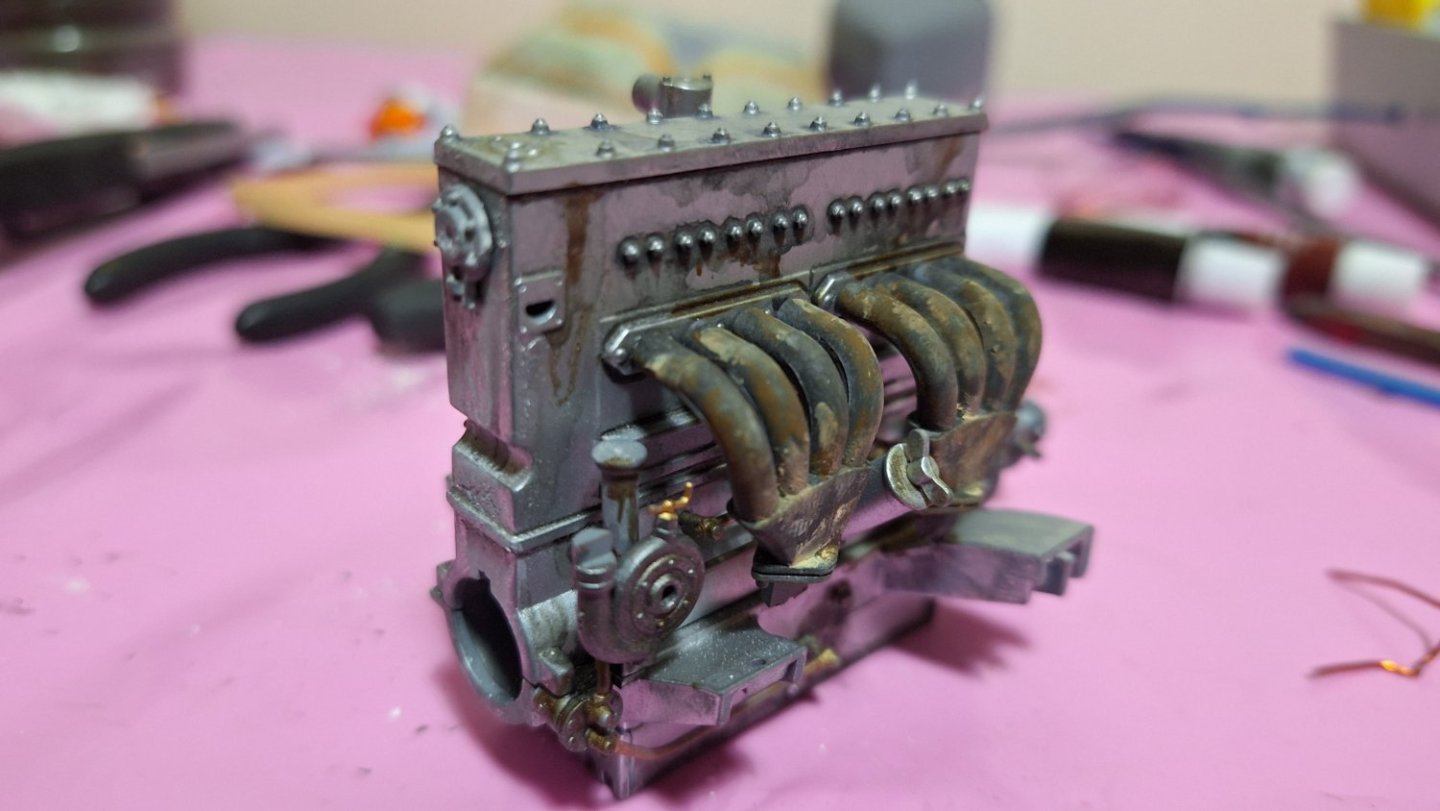
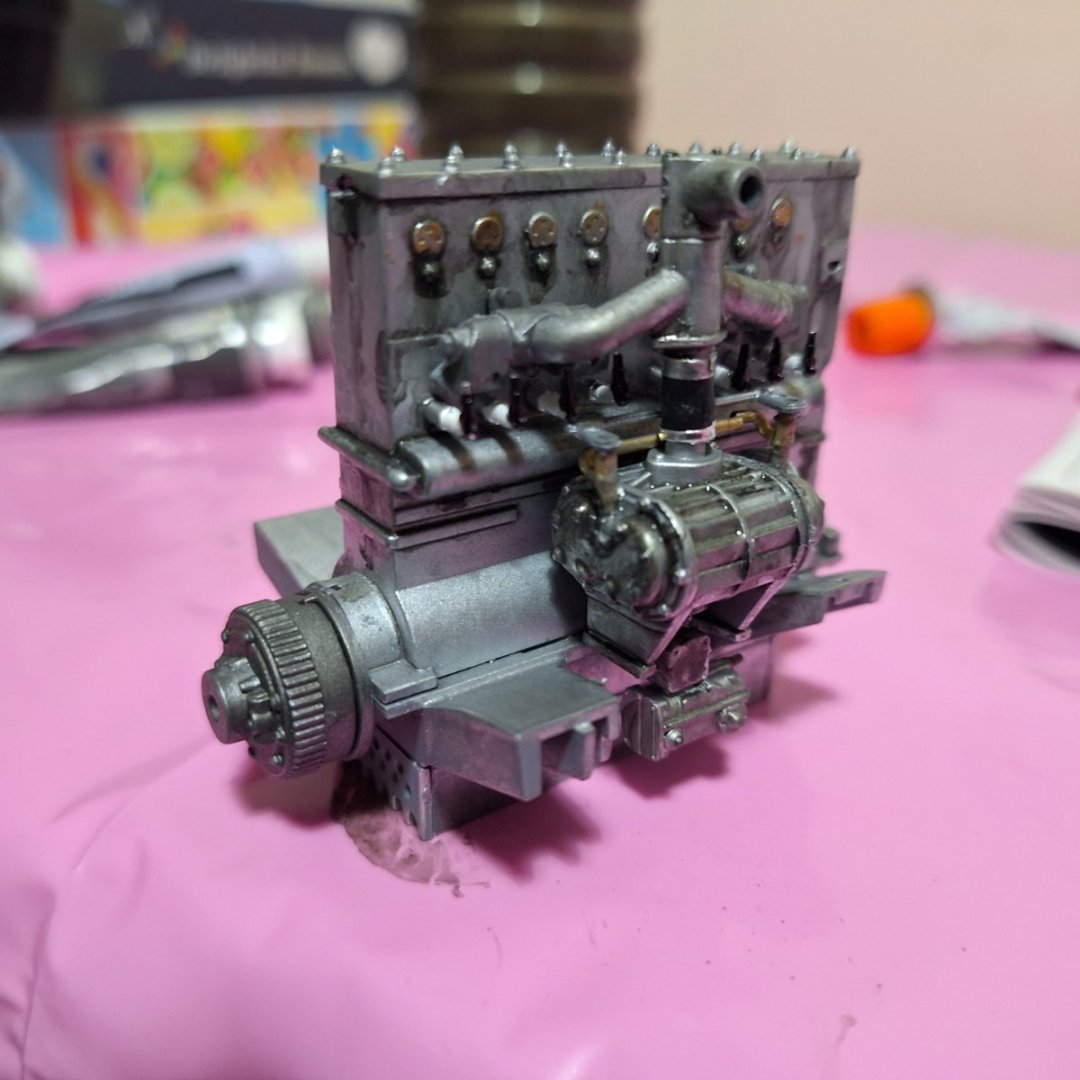
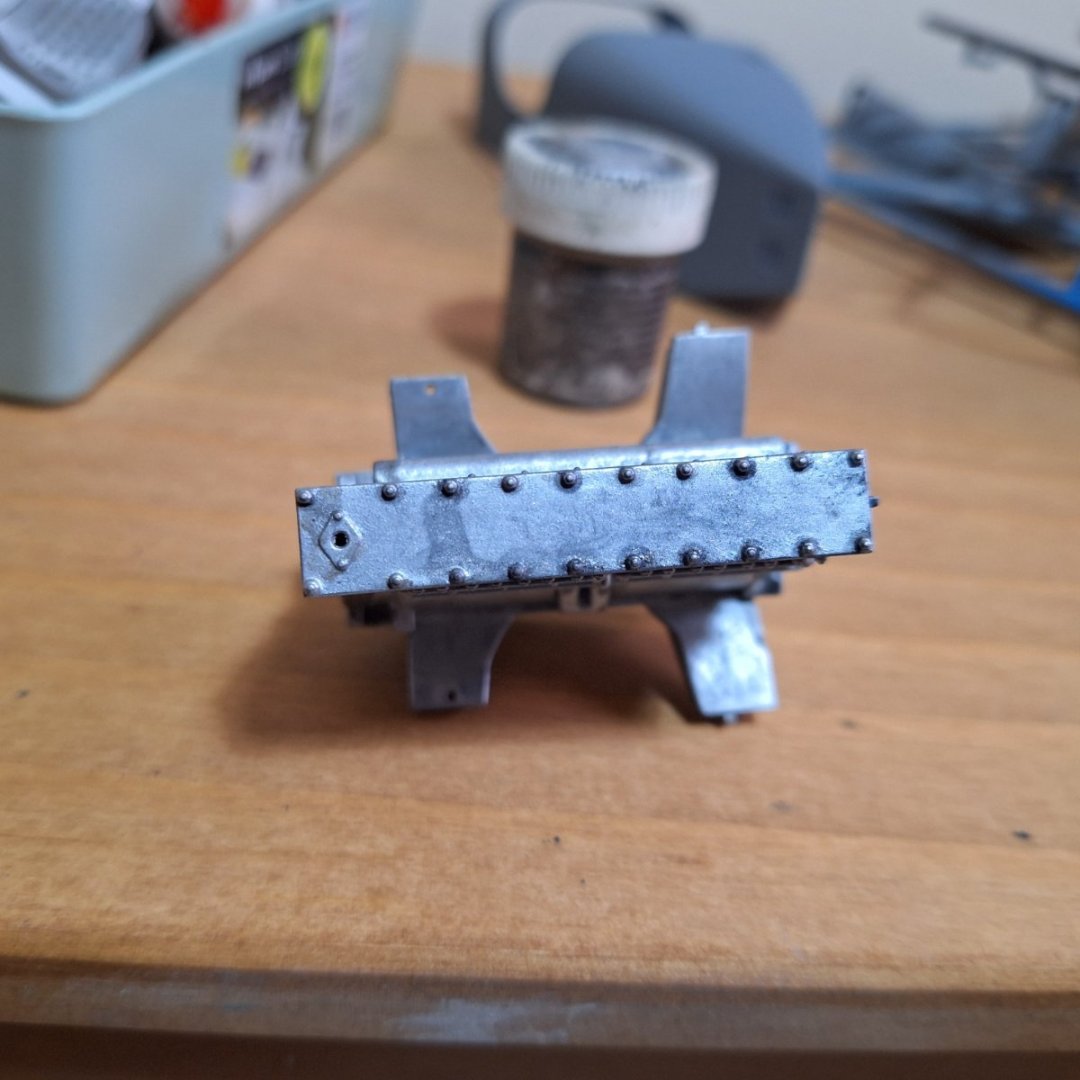
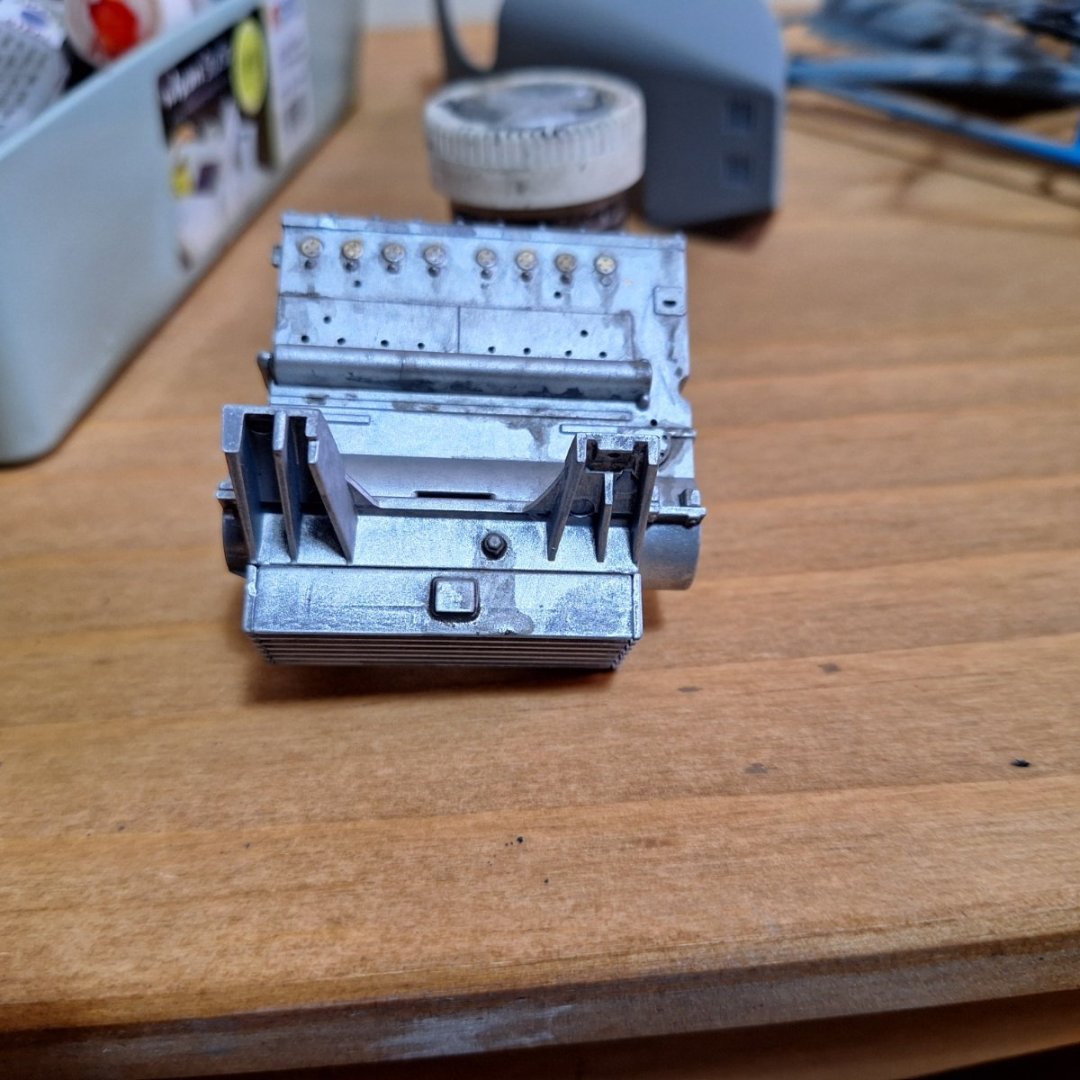
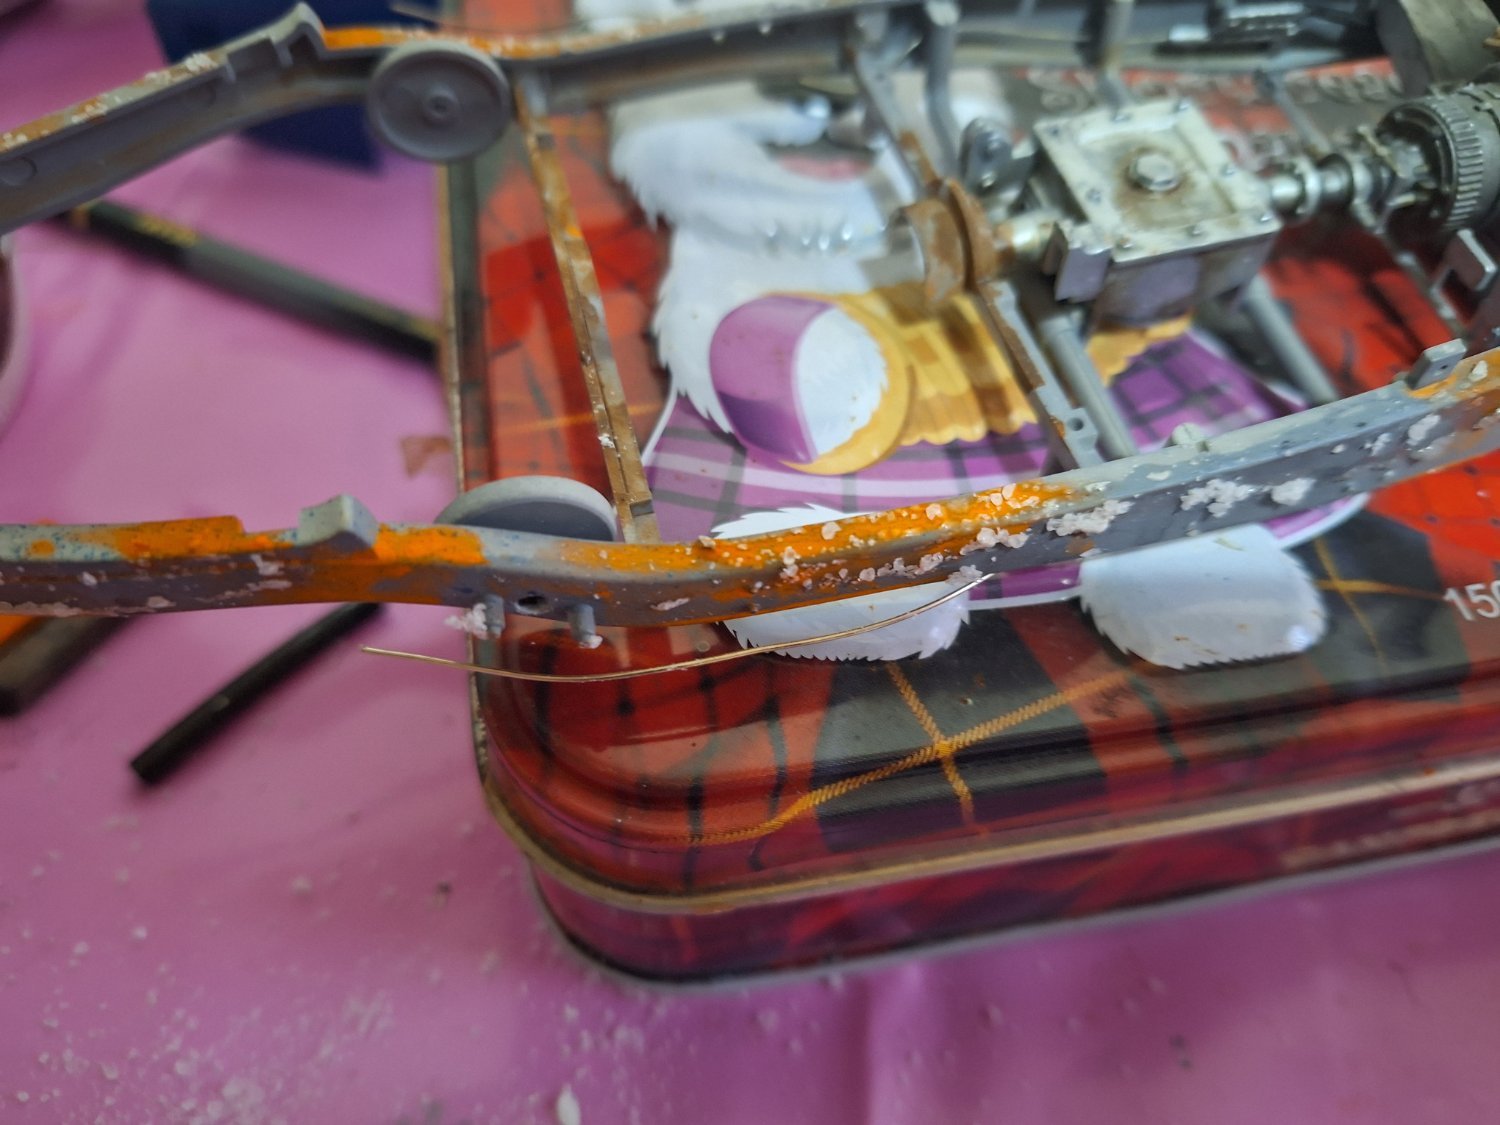
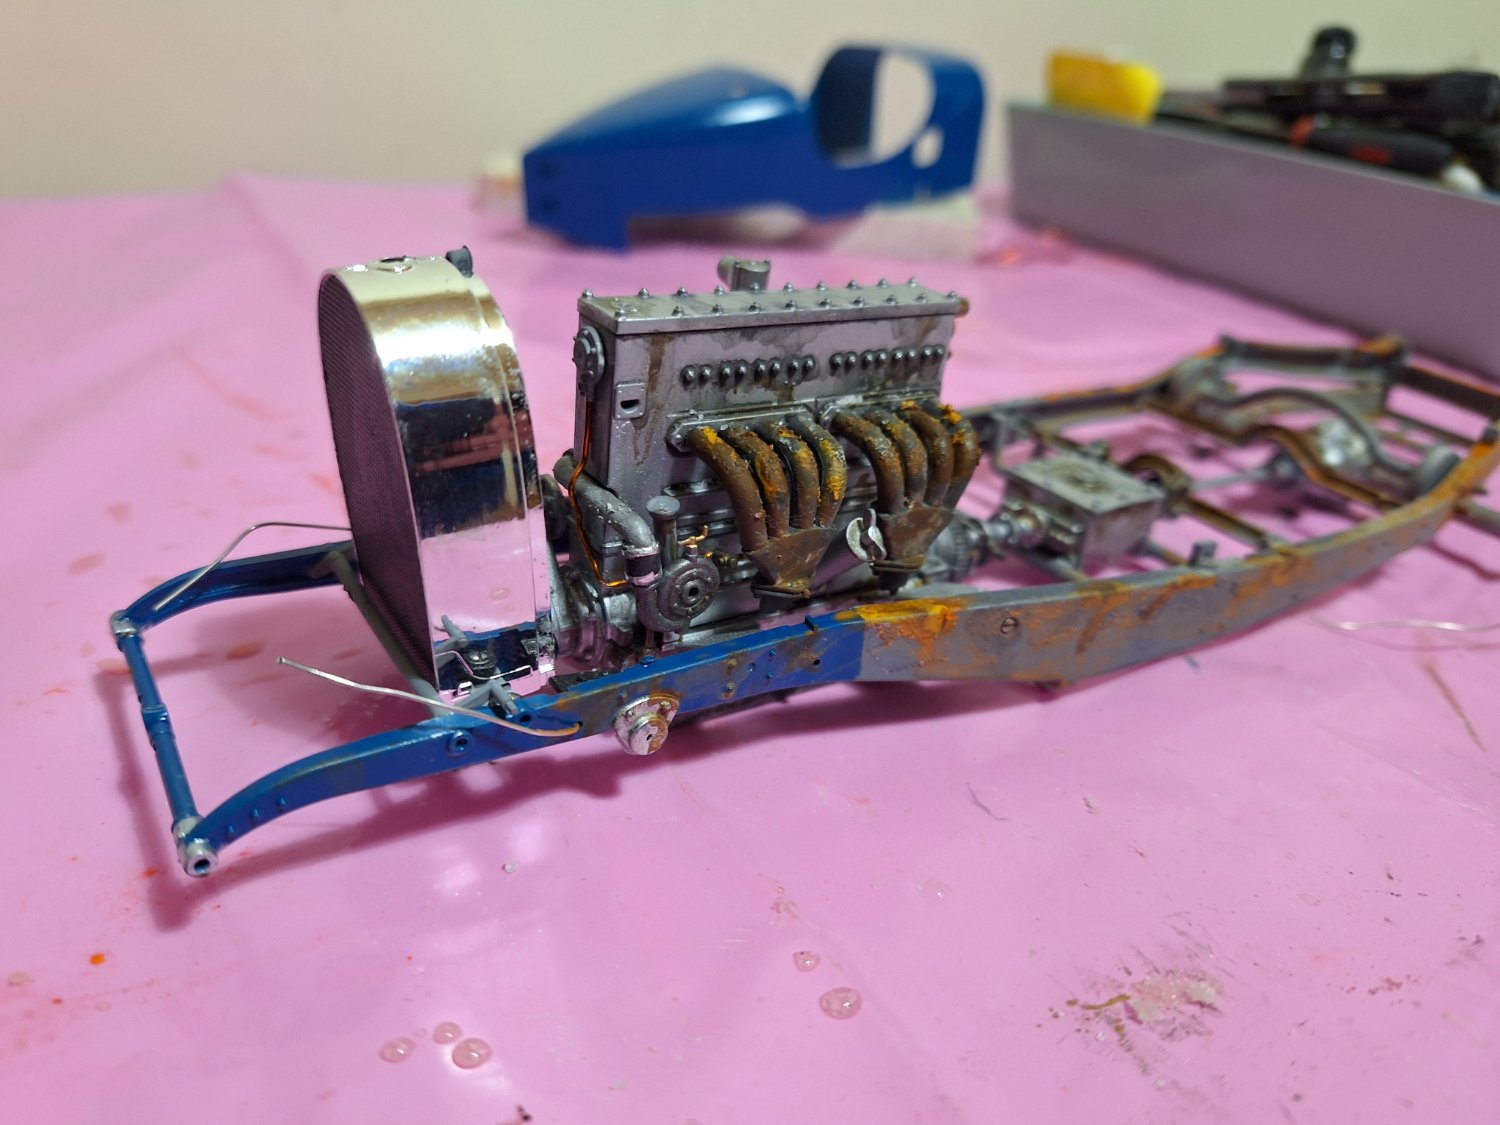
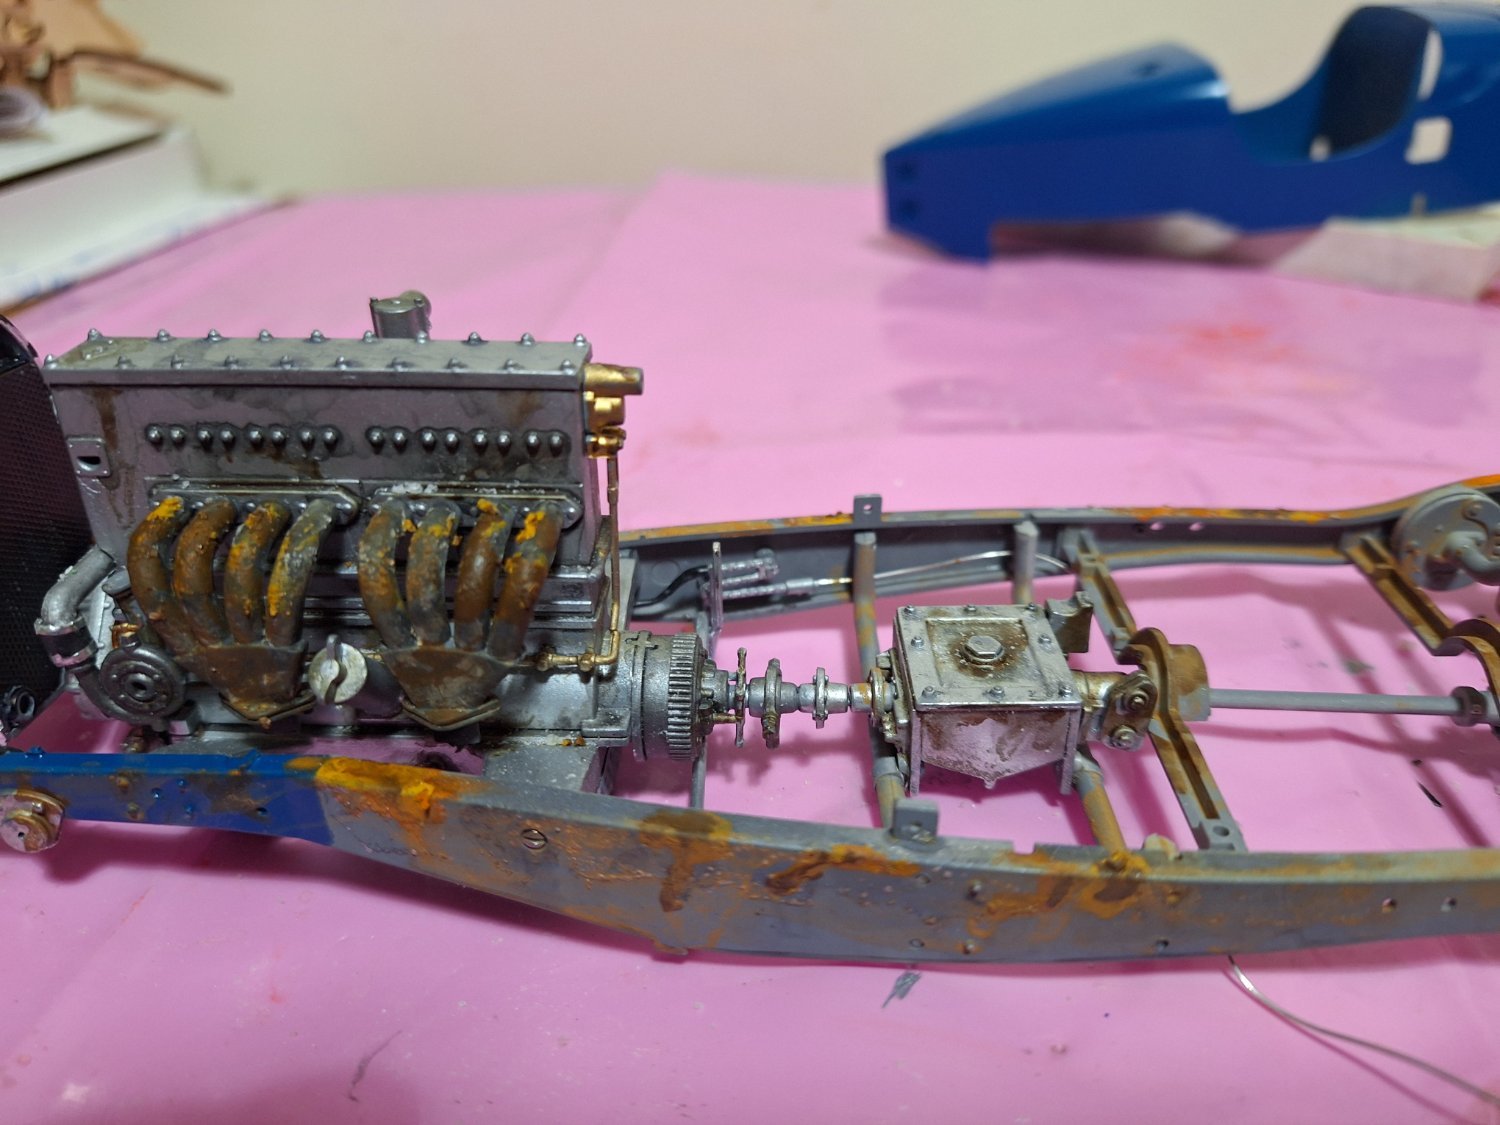
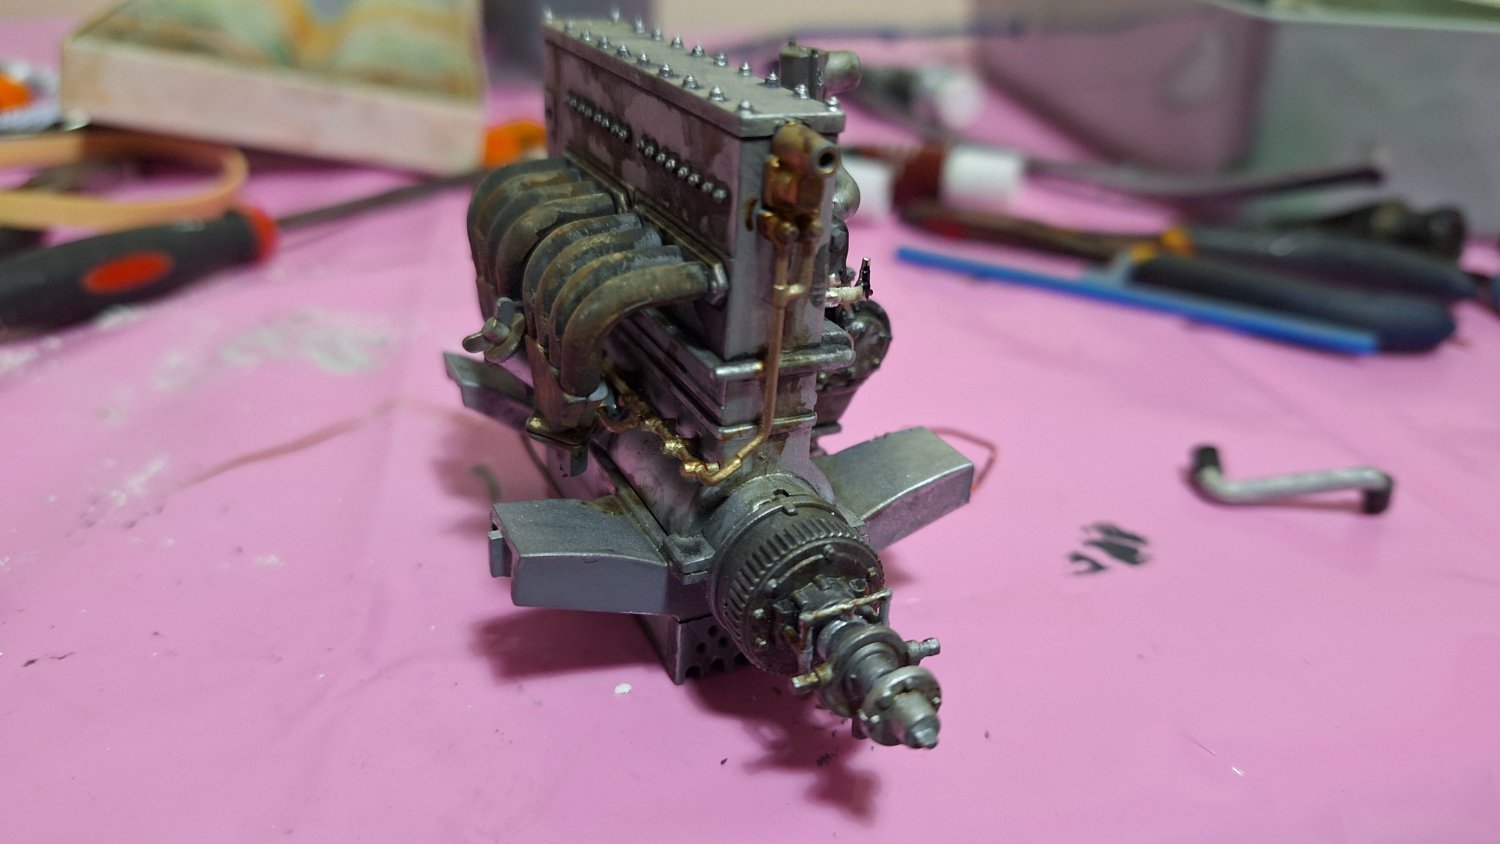
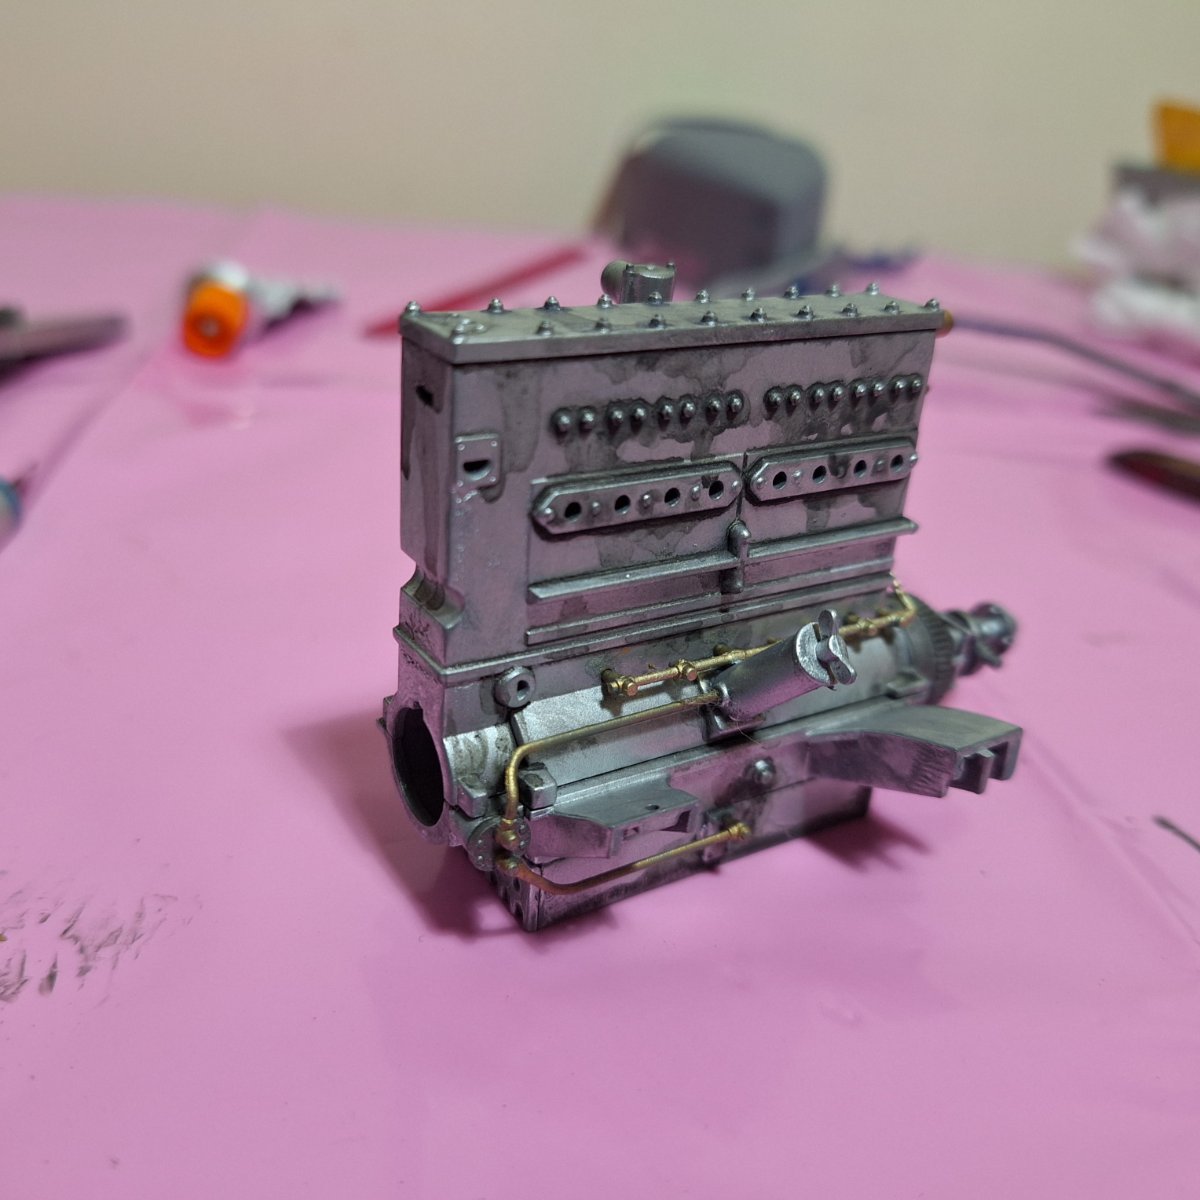
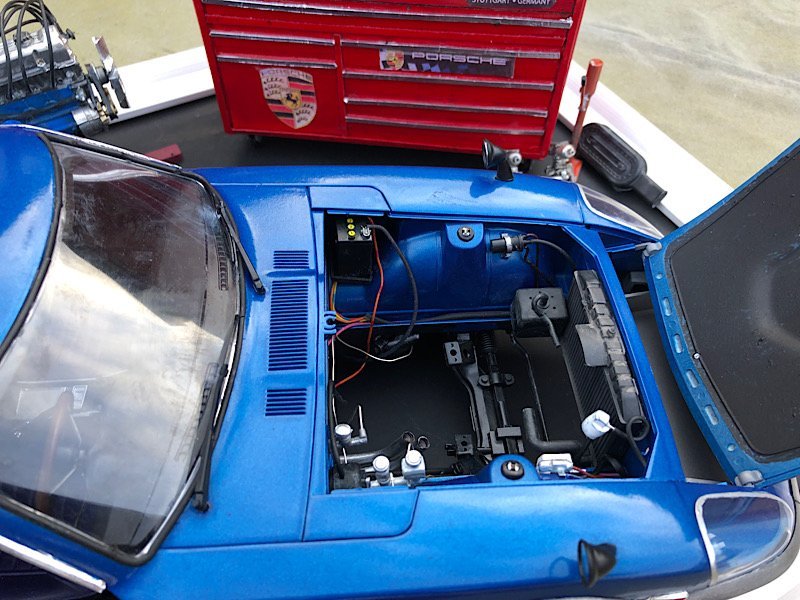
Hi all more done to this, did the exhaust with a combination of pastels and paint, quite pleased with how it's coming along, doing the corrosion on the water pipe with a combo of talc and pastels ground up (need to get more texture on it yet, may use a bit of salt)


-
-
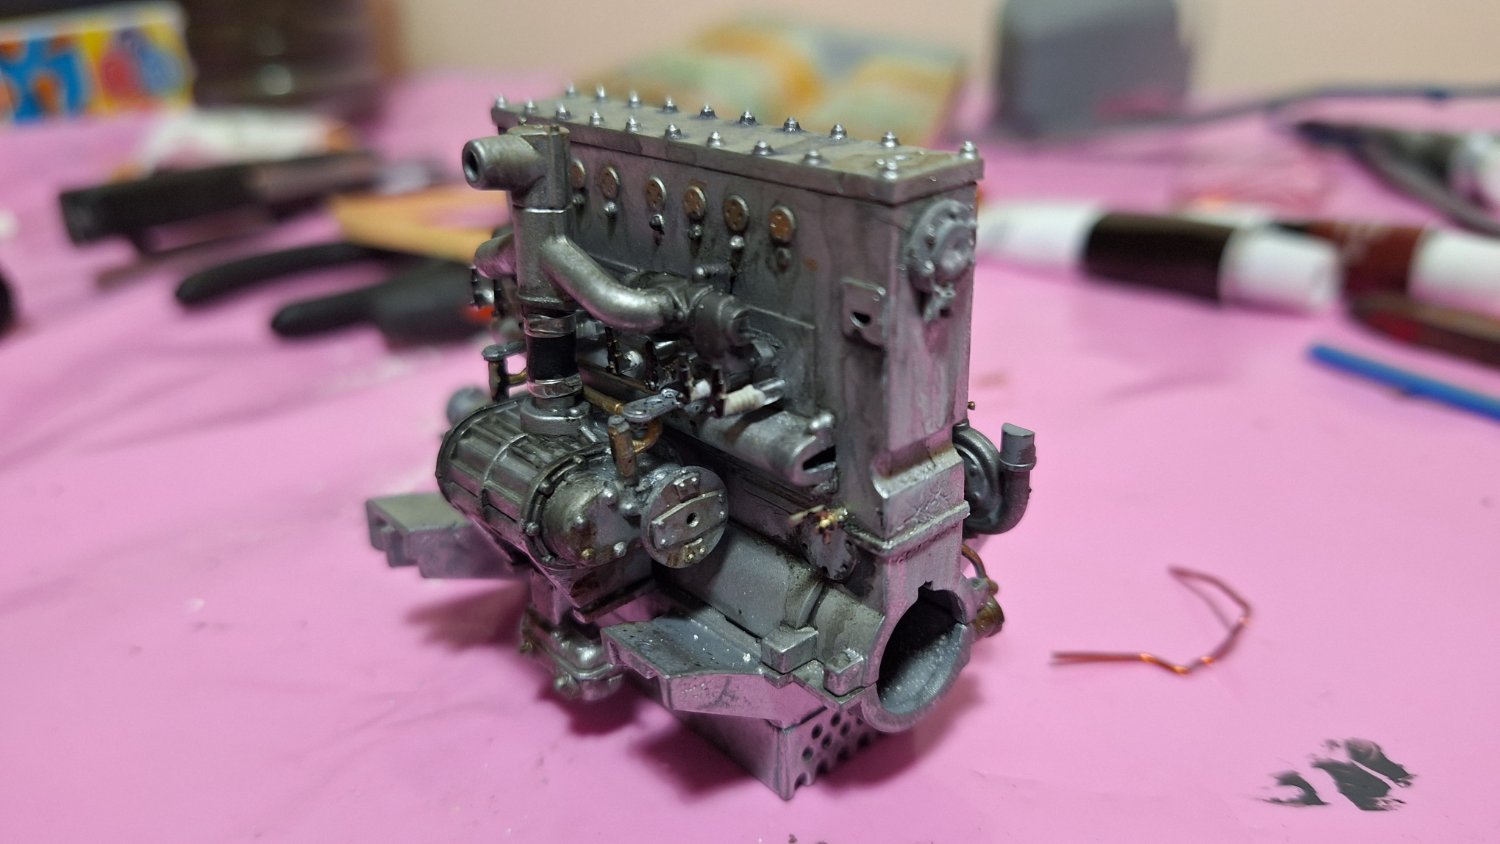
Hi all bit more done to the engine.


- Canute, Landlubber Mike, mtaylor and 9 others
-
12
-
I used to have a YouTube channel but deleted it because i had someone tell me the traction avant wasn't about in ww11 I said it was and posted some pics on there it got very abusive from there on to the point of saying they would find me and kill me (obviously they couldn't, or I hope so) anyway lots of links to stuff I posted on there obviously don't work now.
-
-
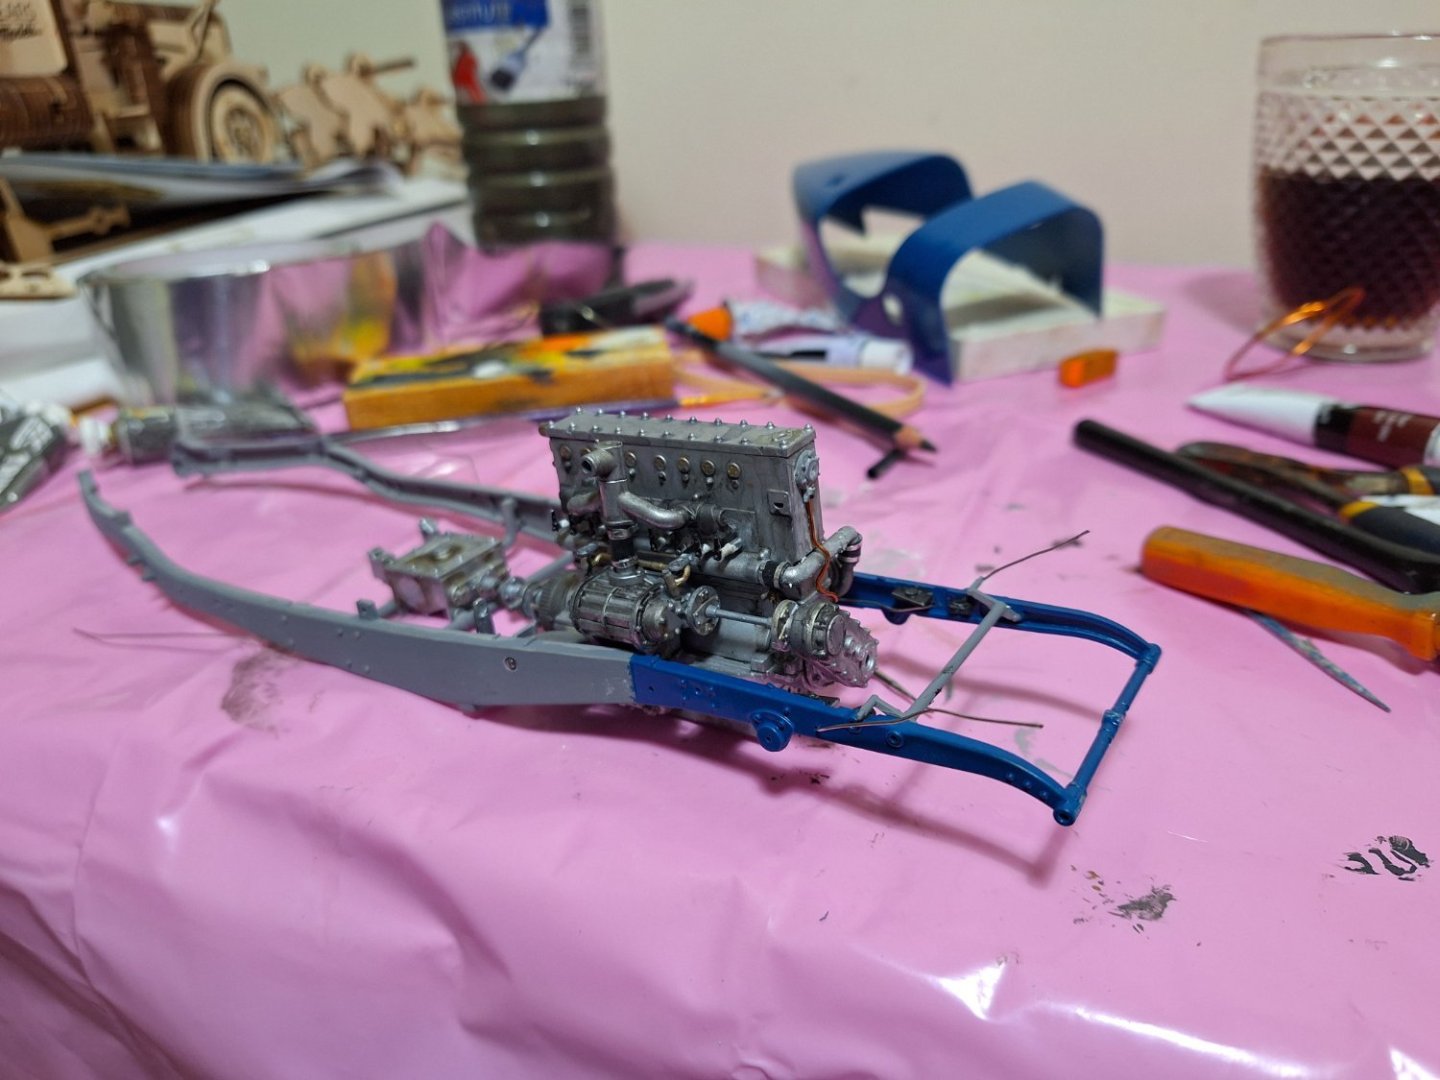
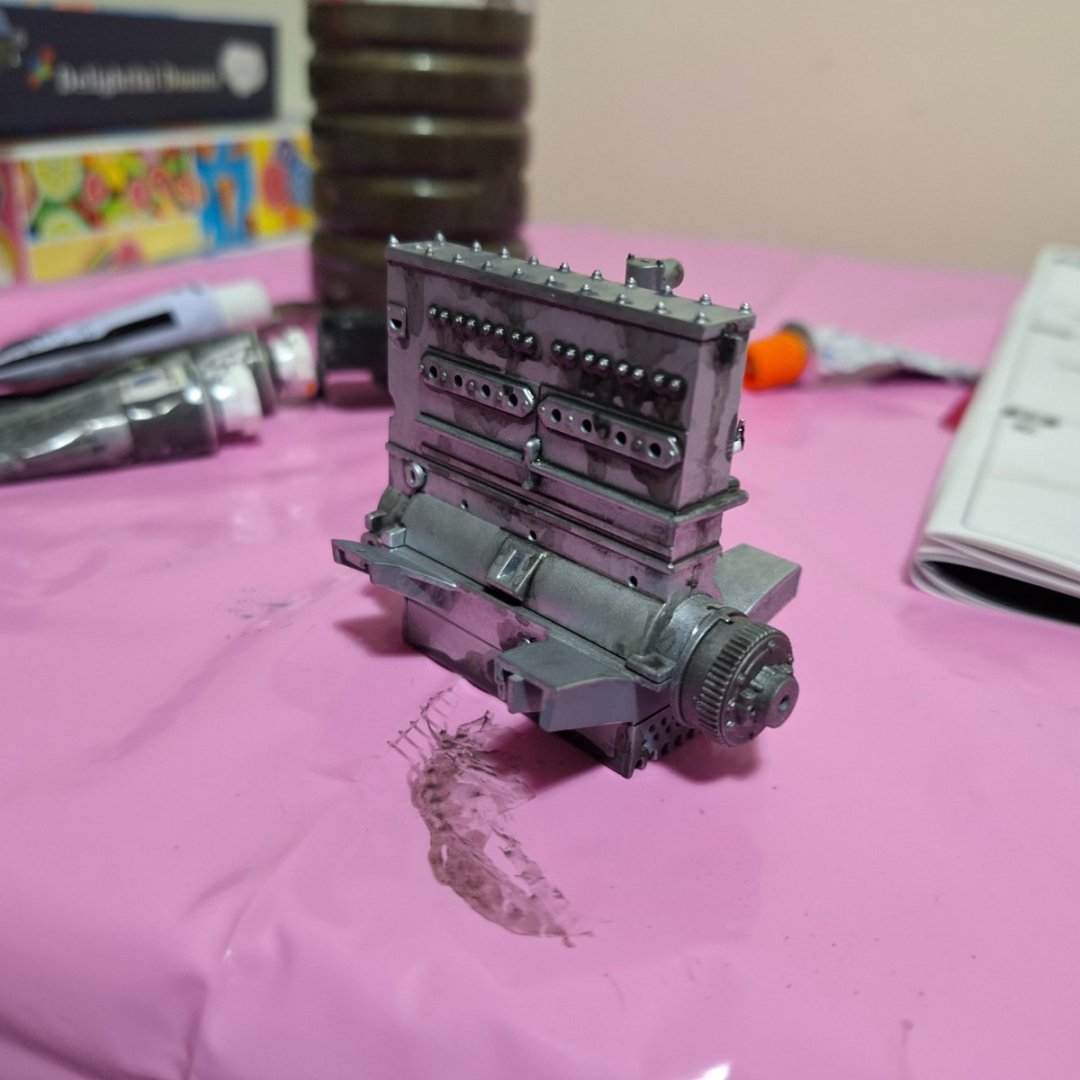
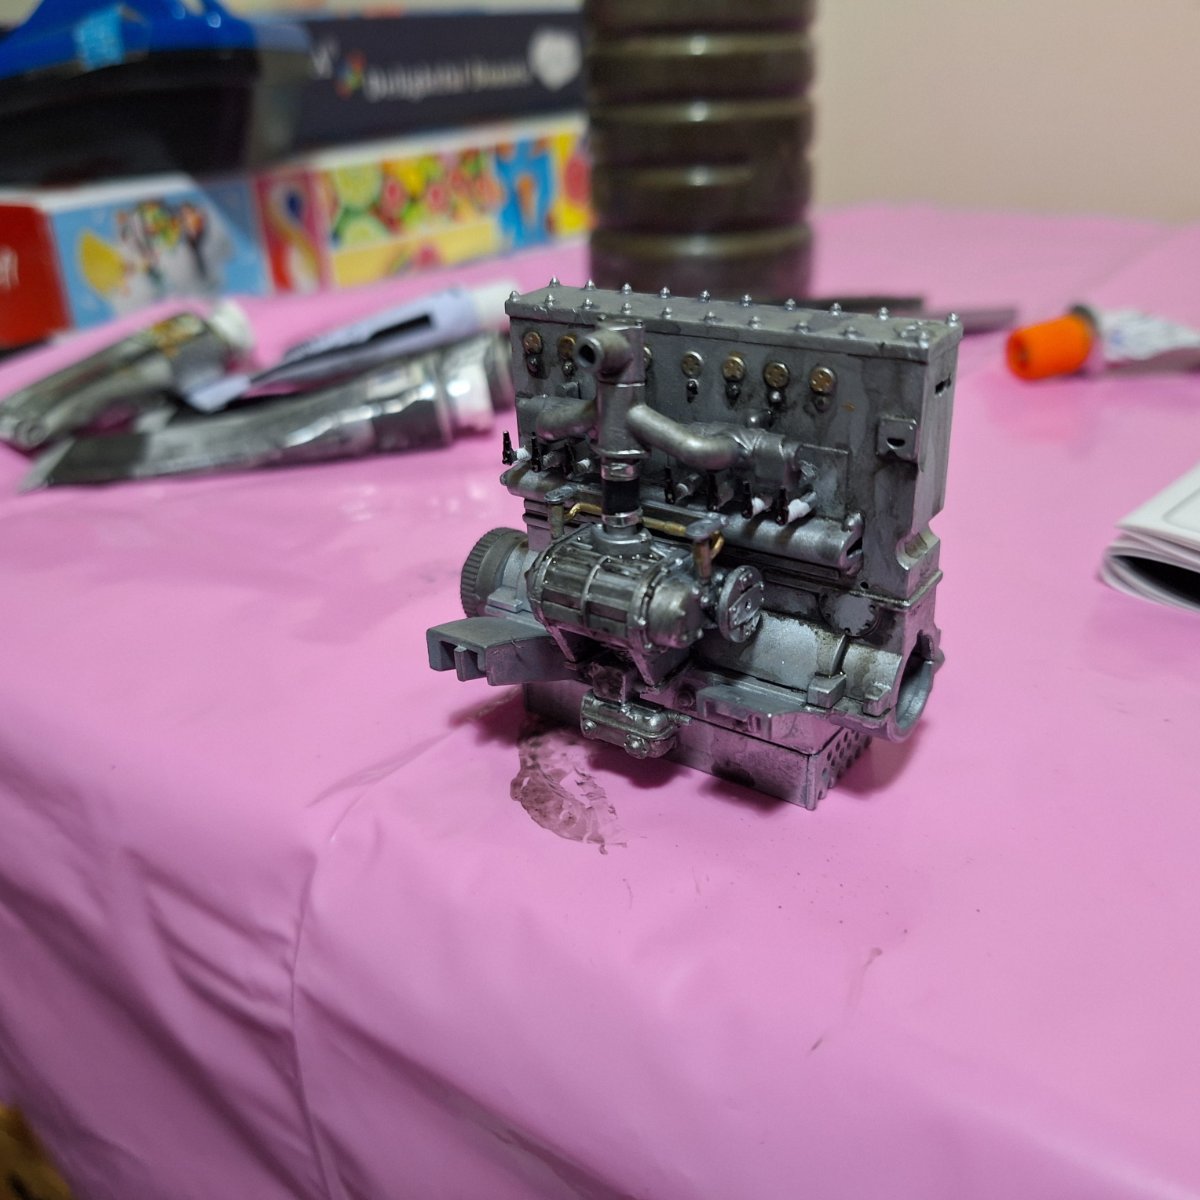
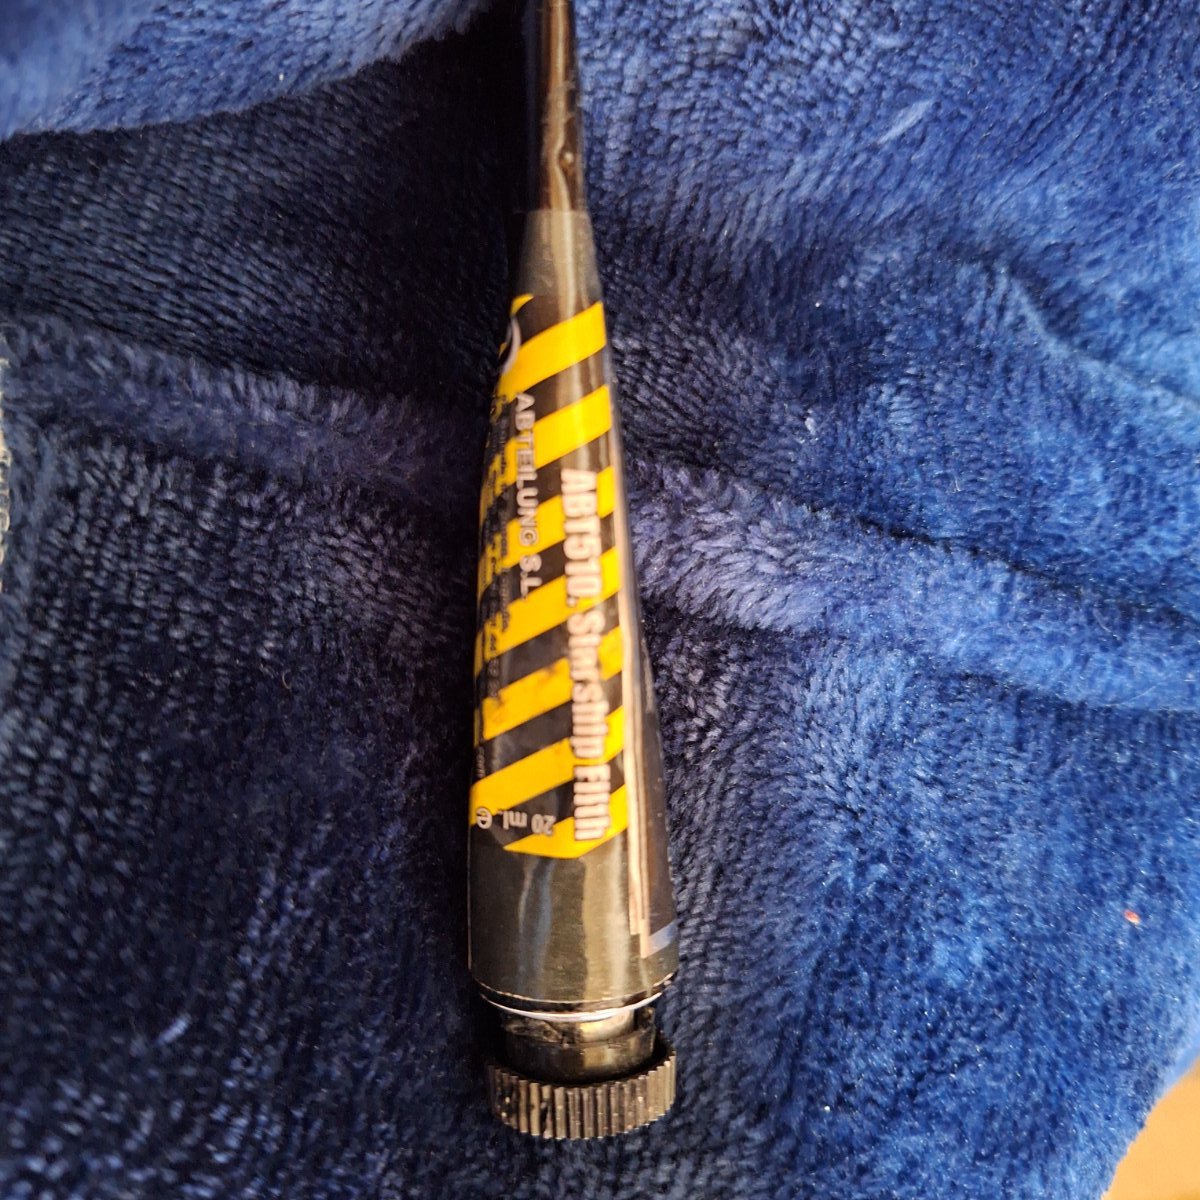
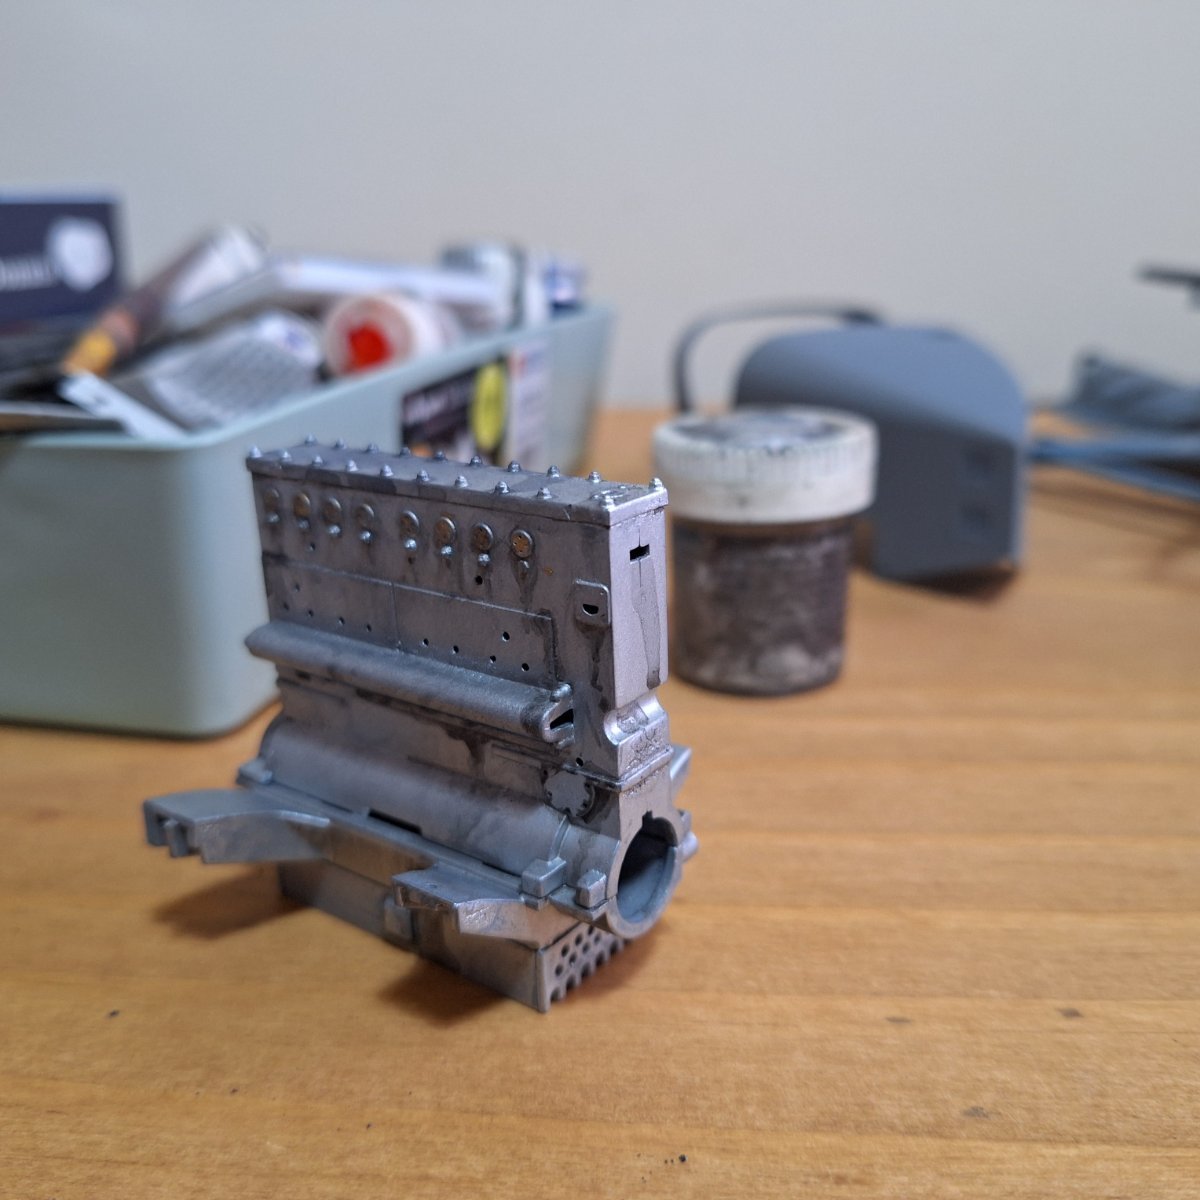
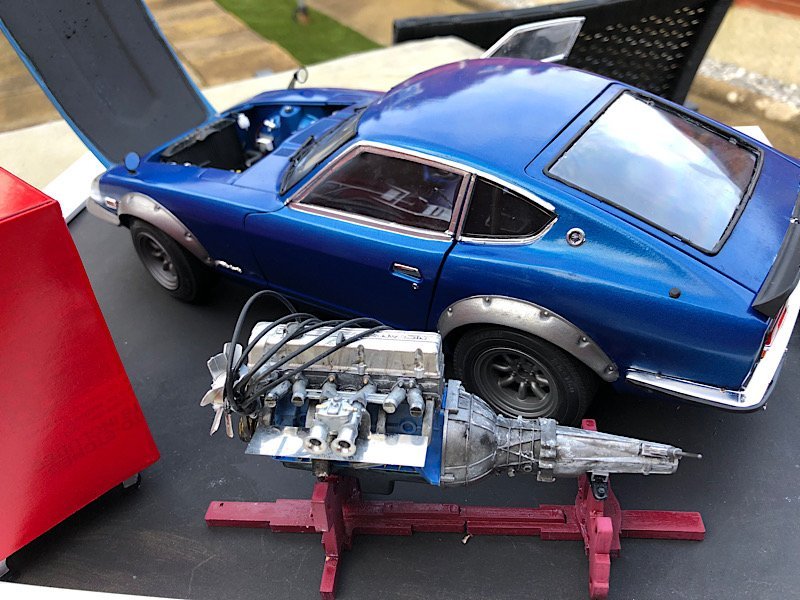
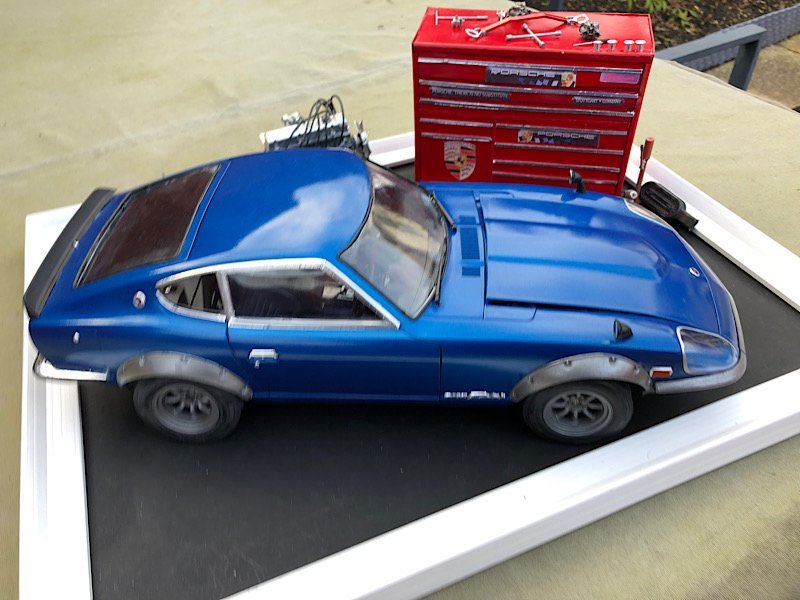
I know it's the hard way round but I've decided to do it as a barn find first then do it as a full restoration.
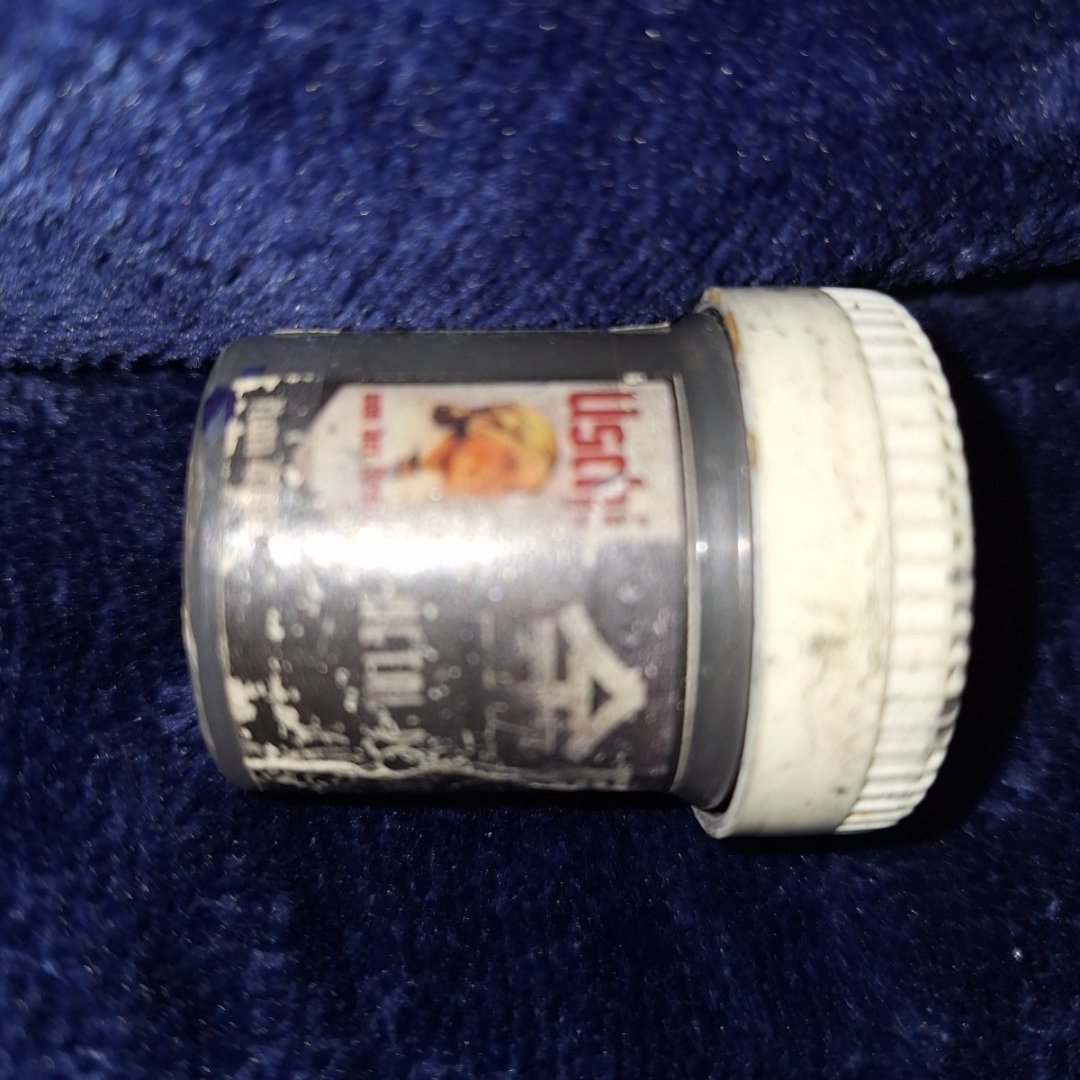
So far I've used these two items for the start of the weatheringAnd made a start weathering the engine.
And added some body colour to the chassis.


- Jack12477, king derelict, Egilman and 7 others
-
10
-
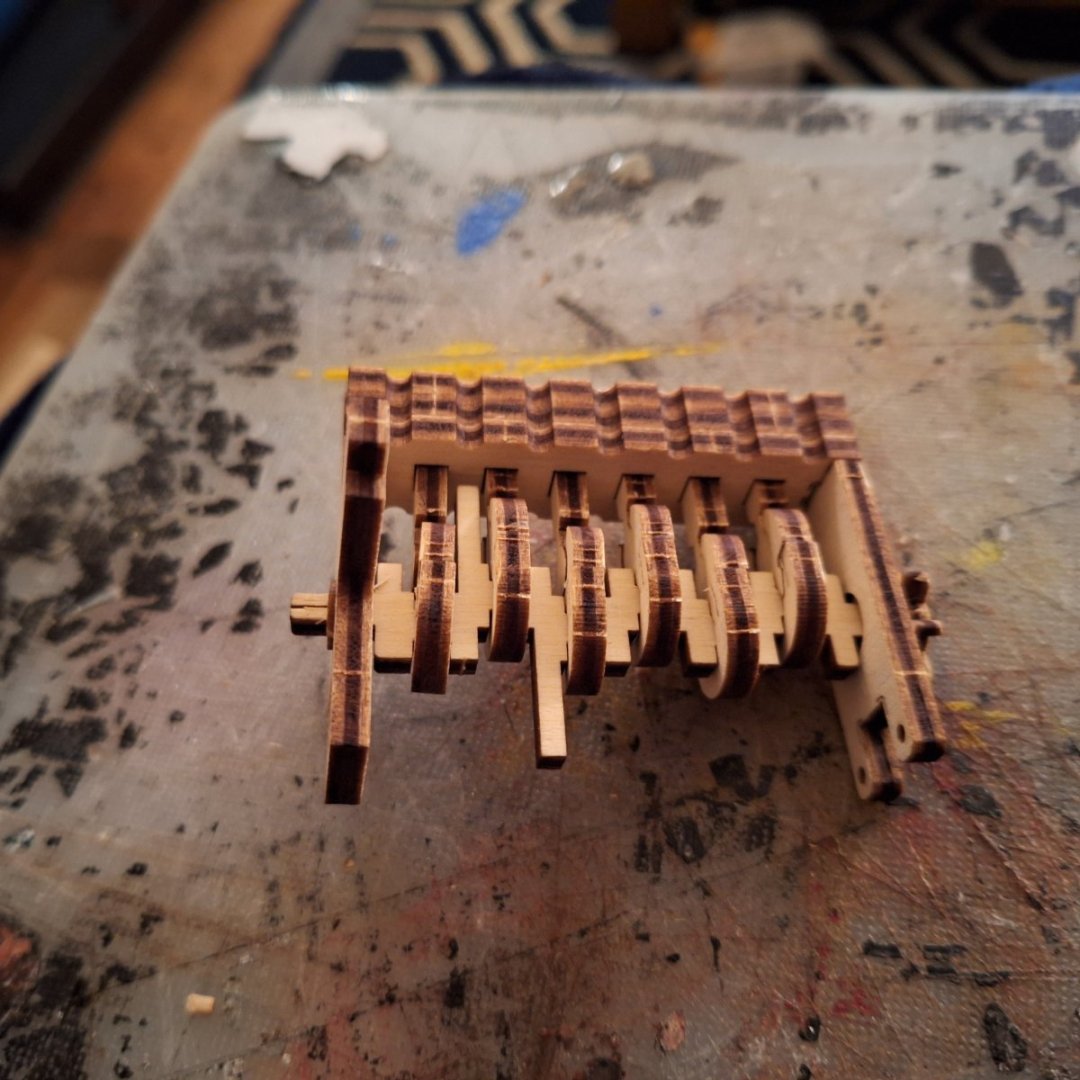
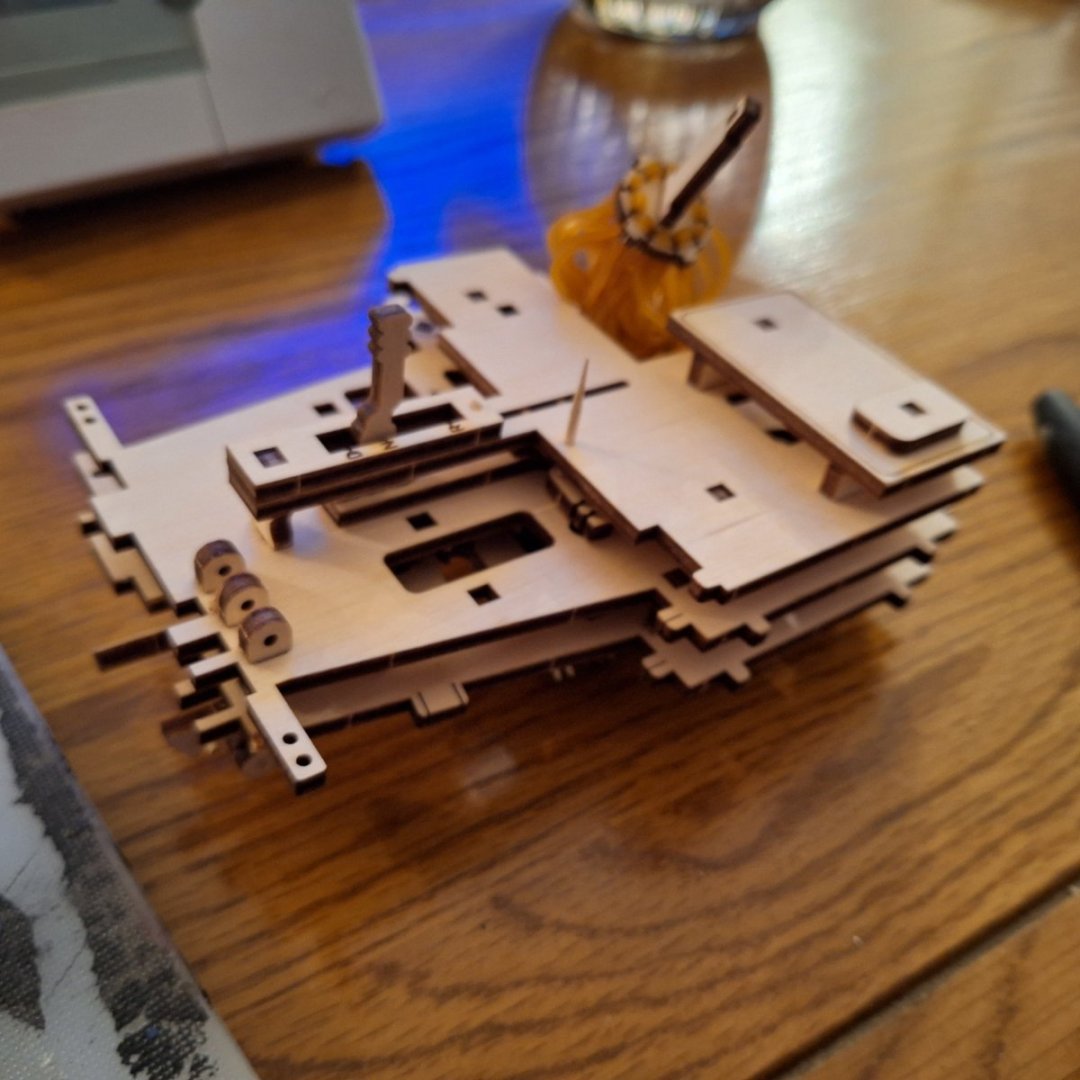
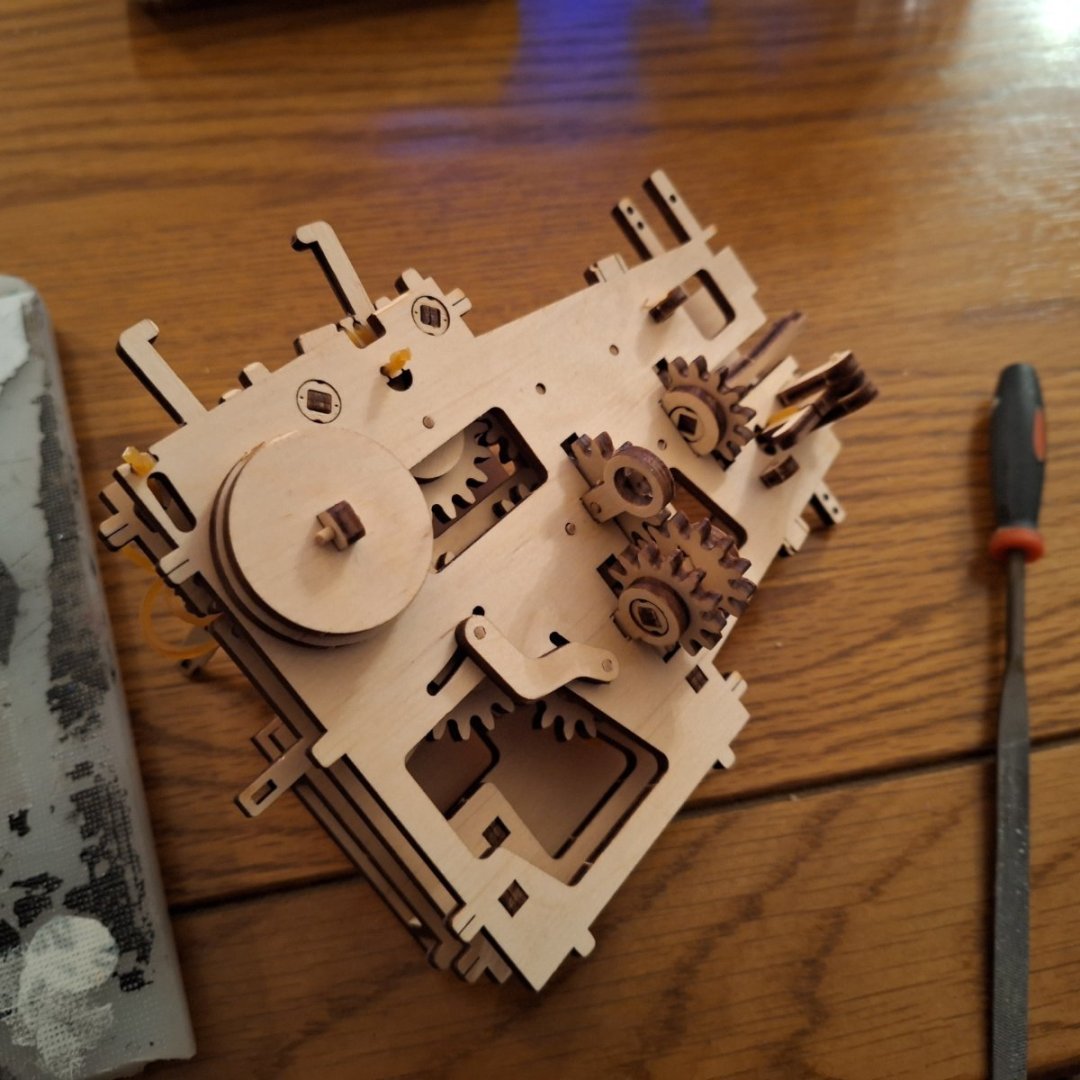
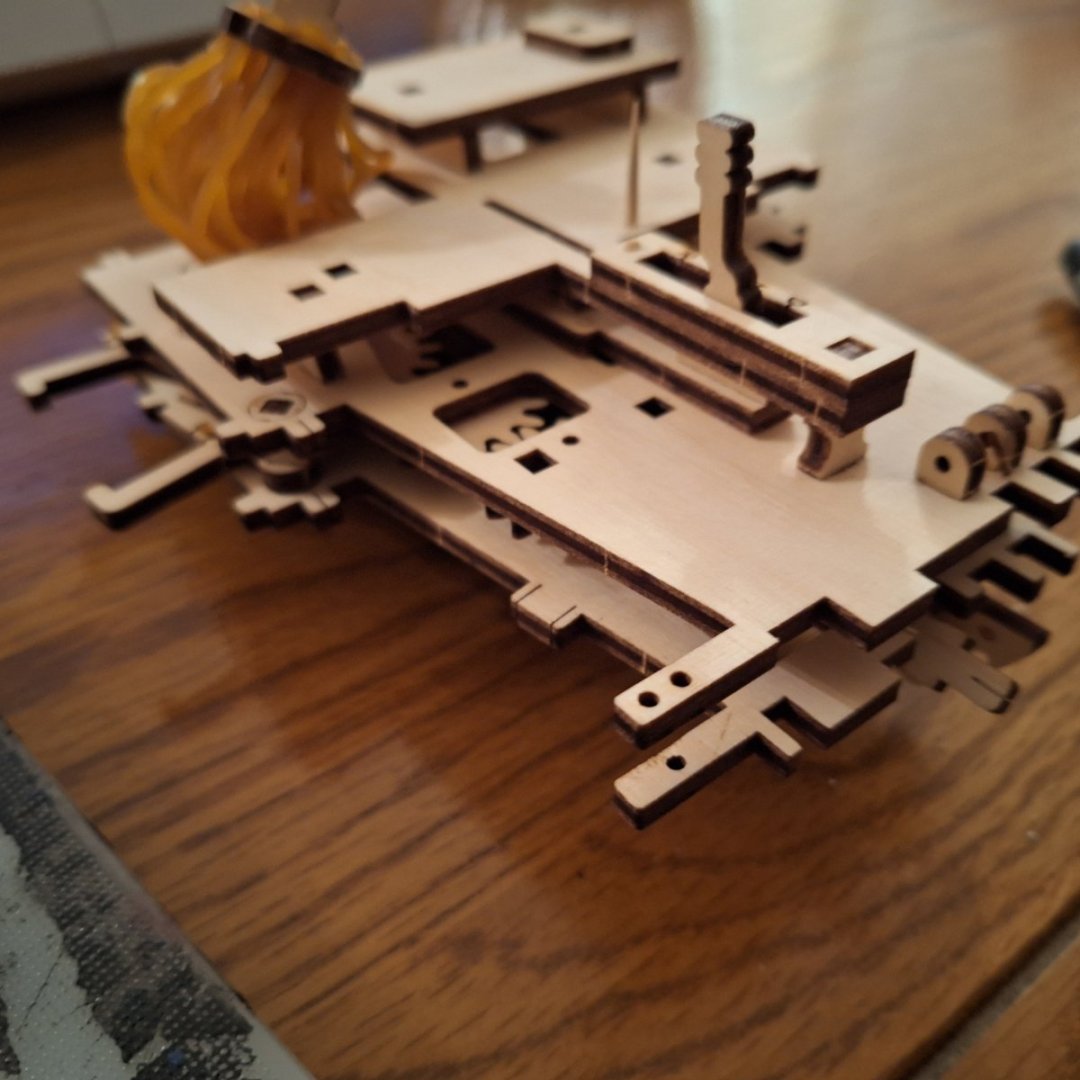
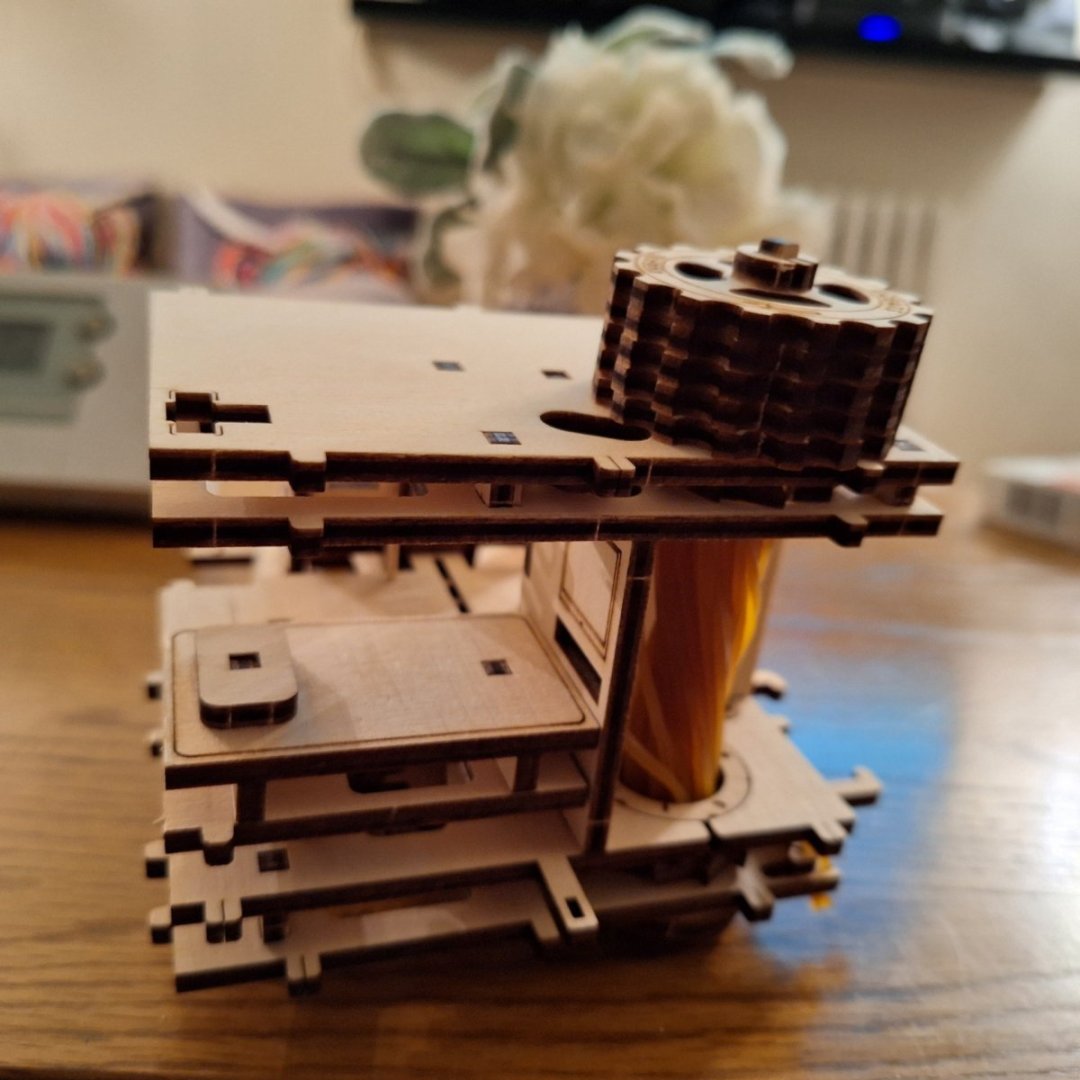
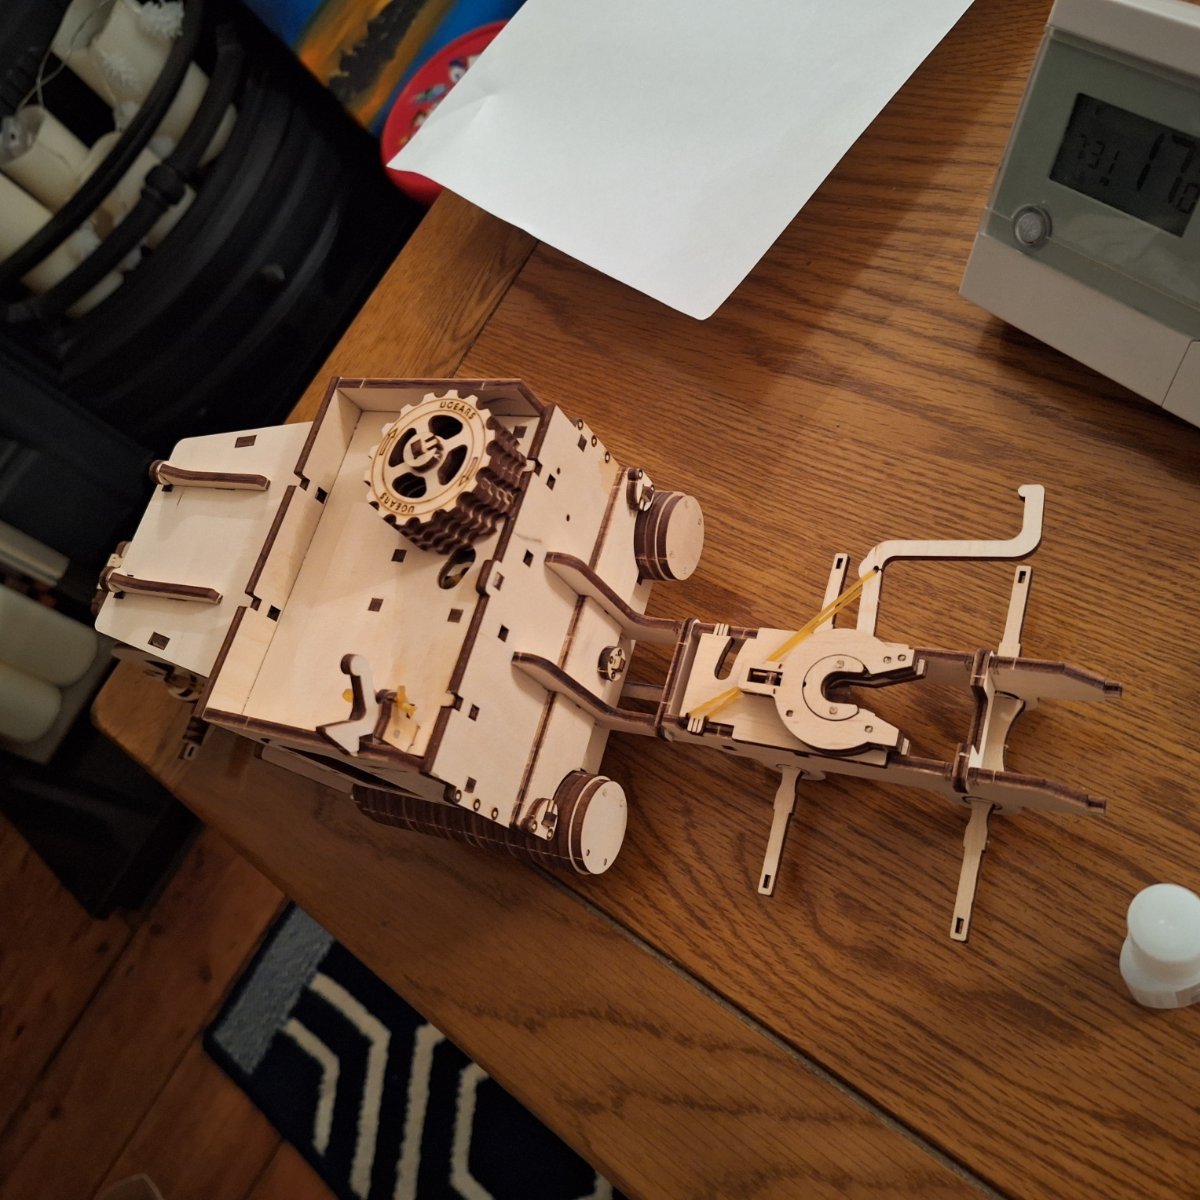
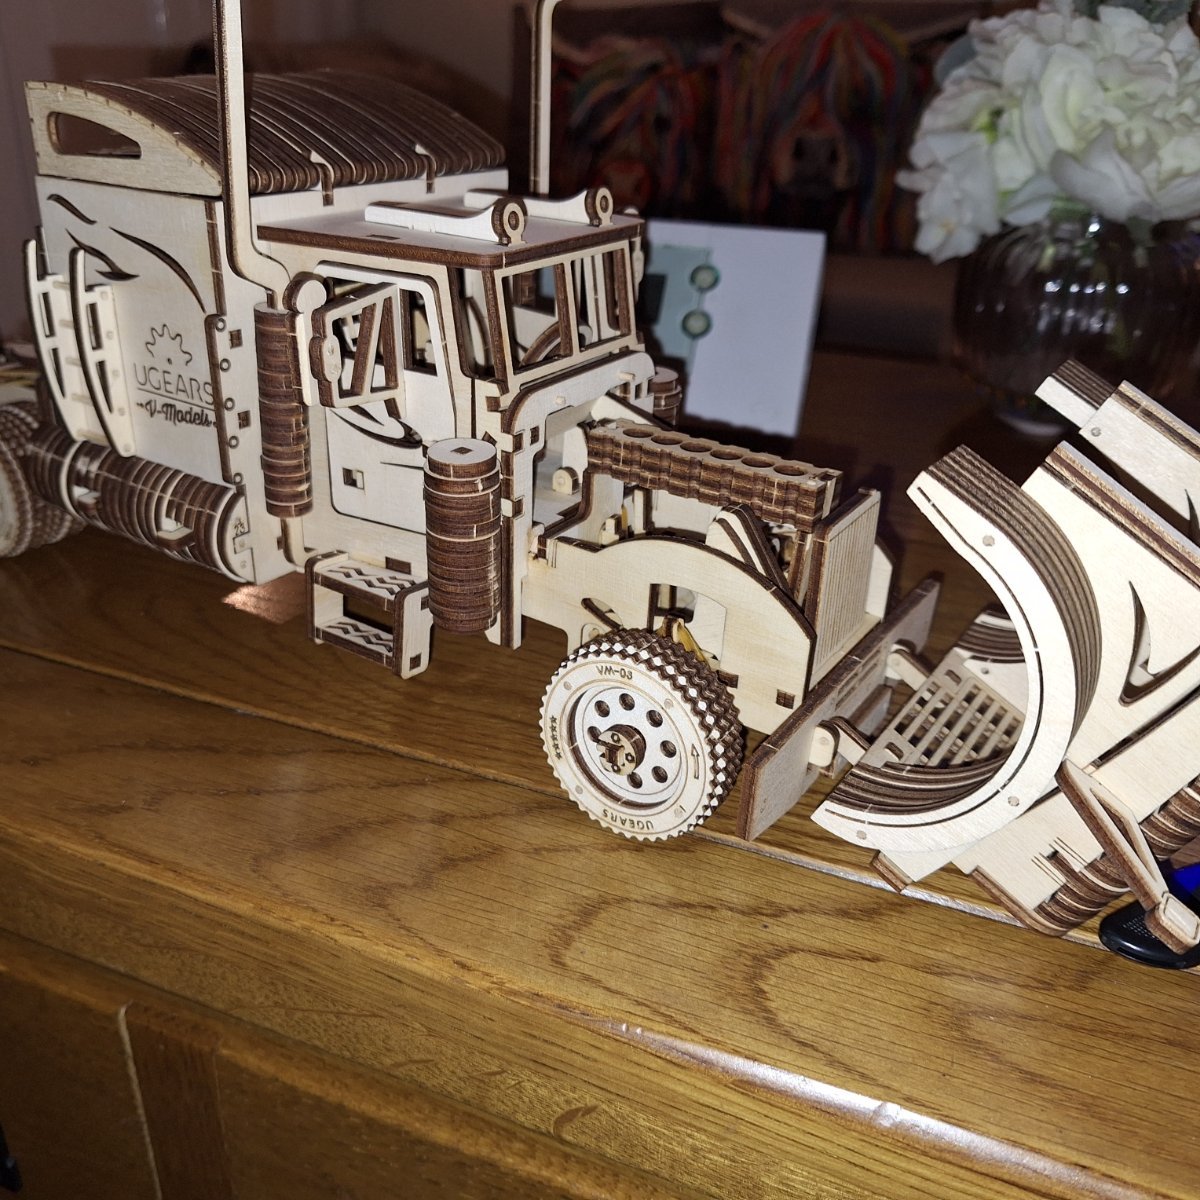
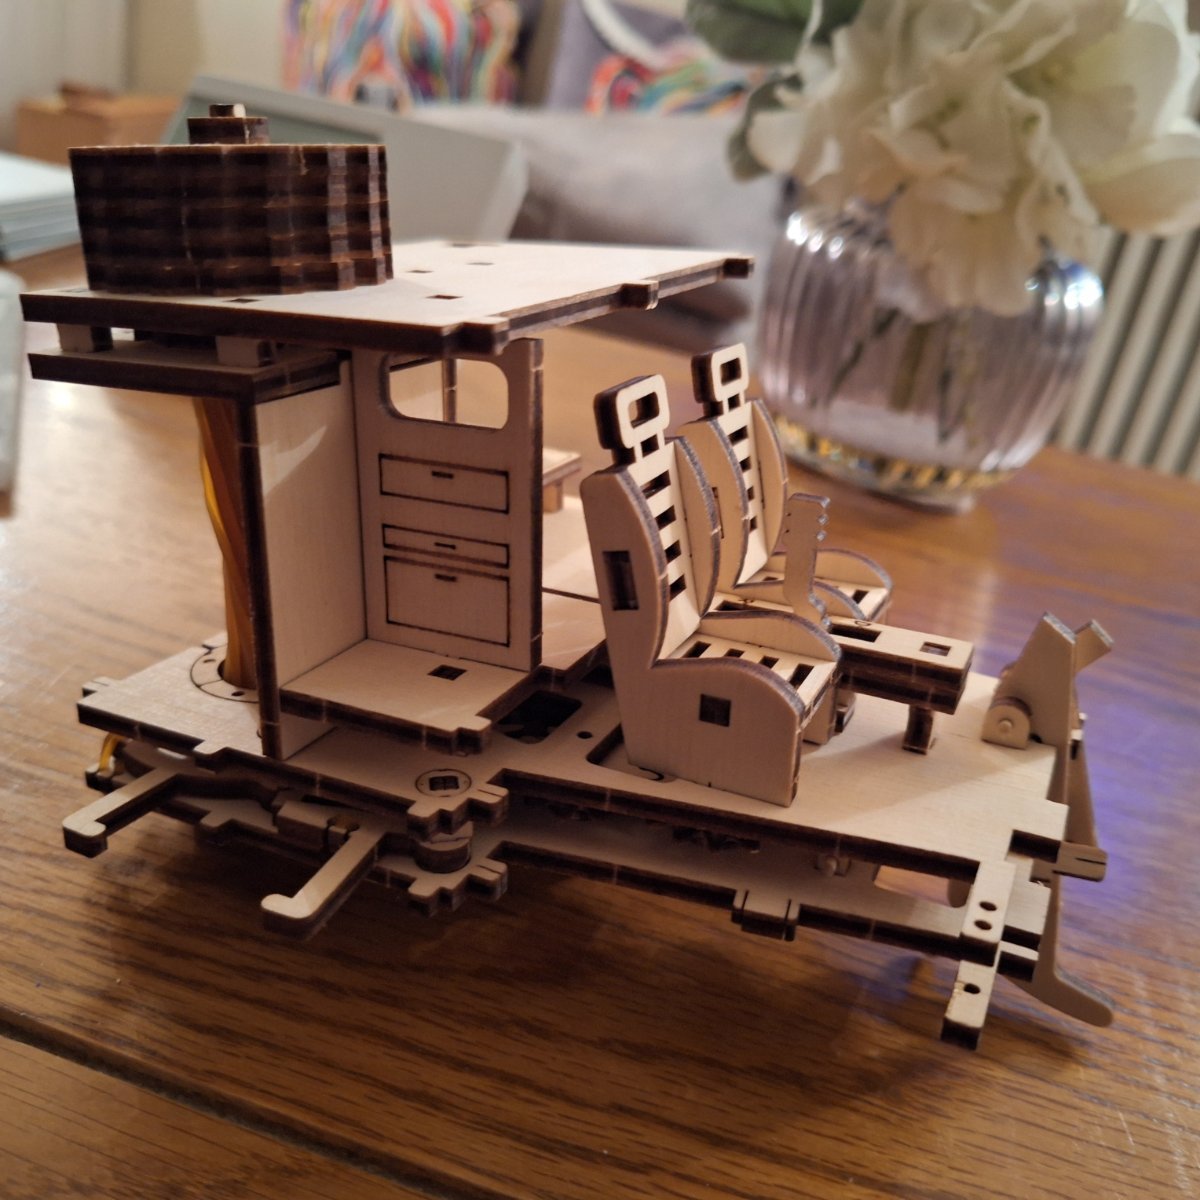
Hi all whilst waiting to find the stuff to continue the bugatti I decided to start this.
I've built a few of these kits, first thing I've noticed is they have changed the con rod to crankshaft connection and I don't see it lasting 10 seconds when it's running, still I think if I remove the con rods and pistons (as long as I leave the crankshaft I think it will still work so I may remove them.


- mtaylor, GrandpaPhil, Egilman and 4 others
-
7
-
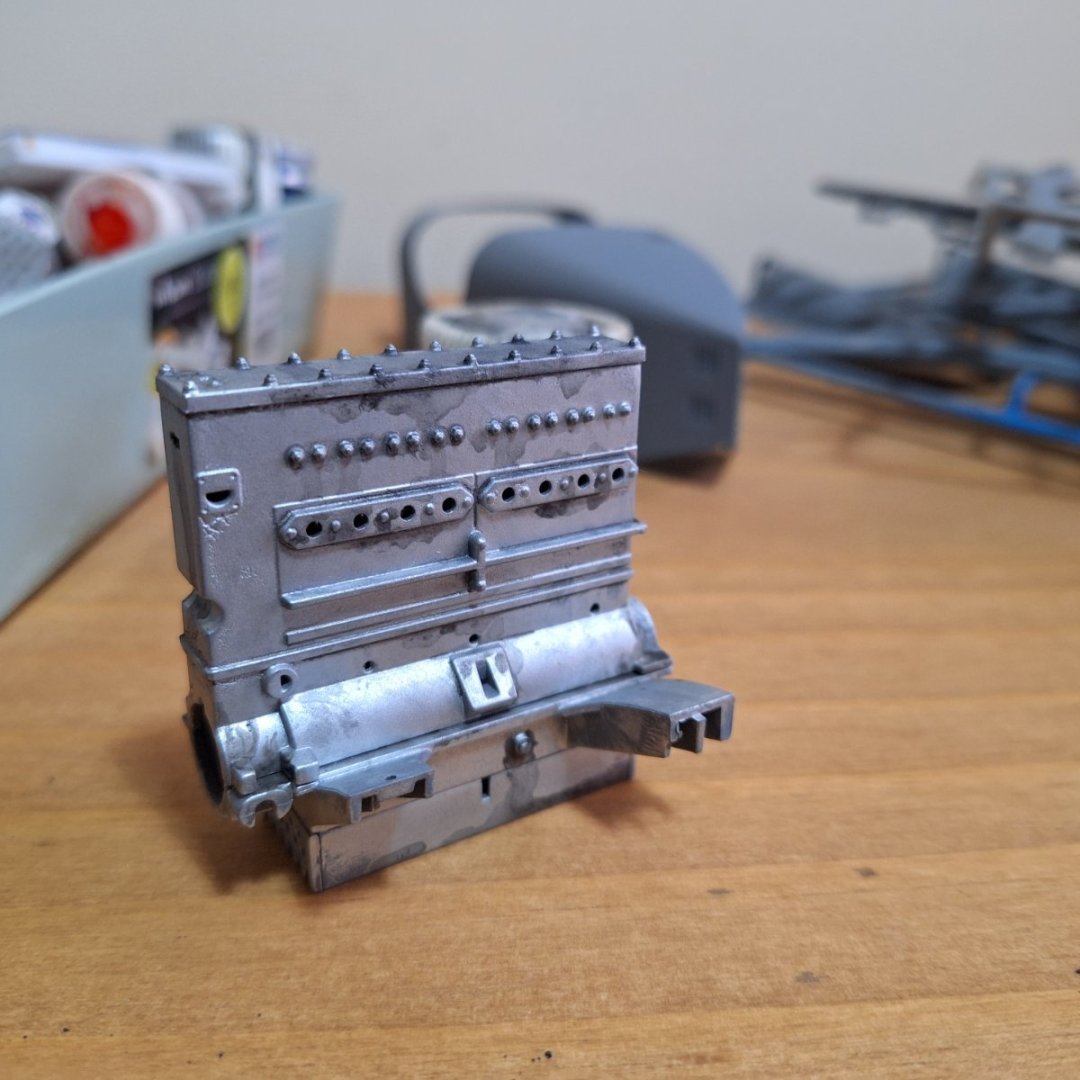
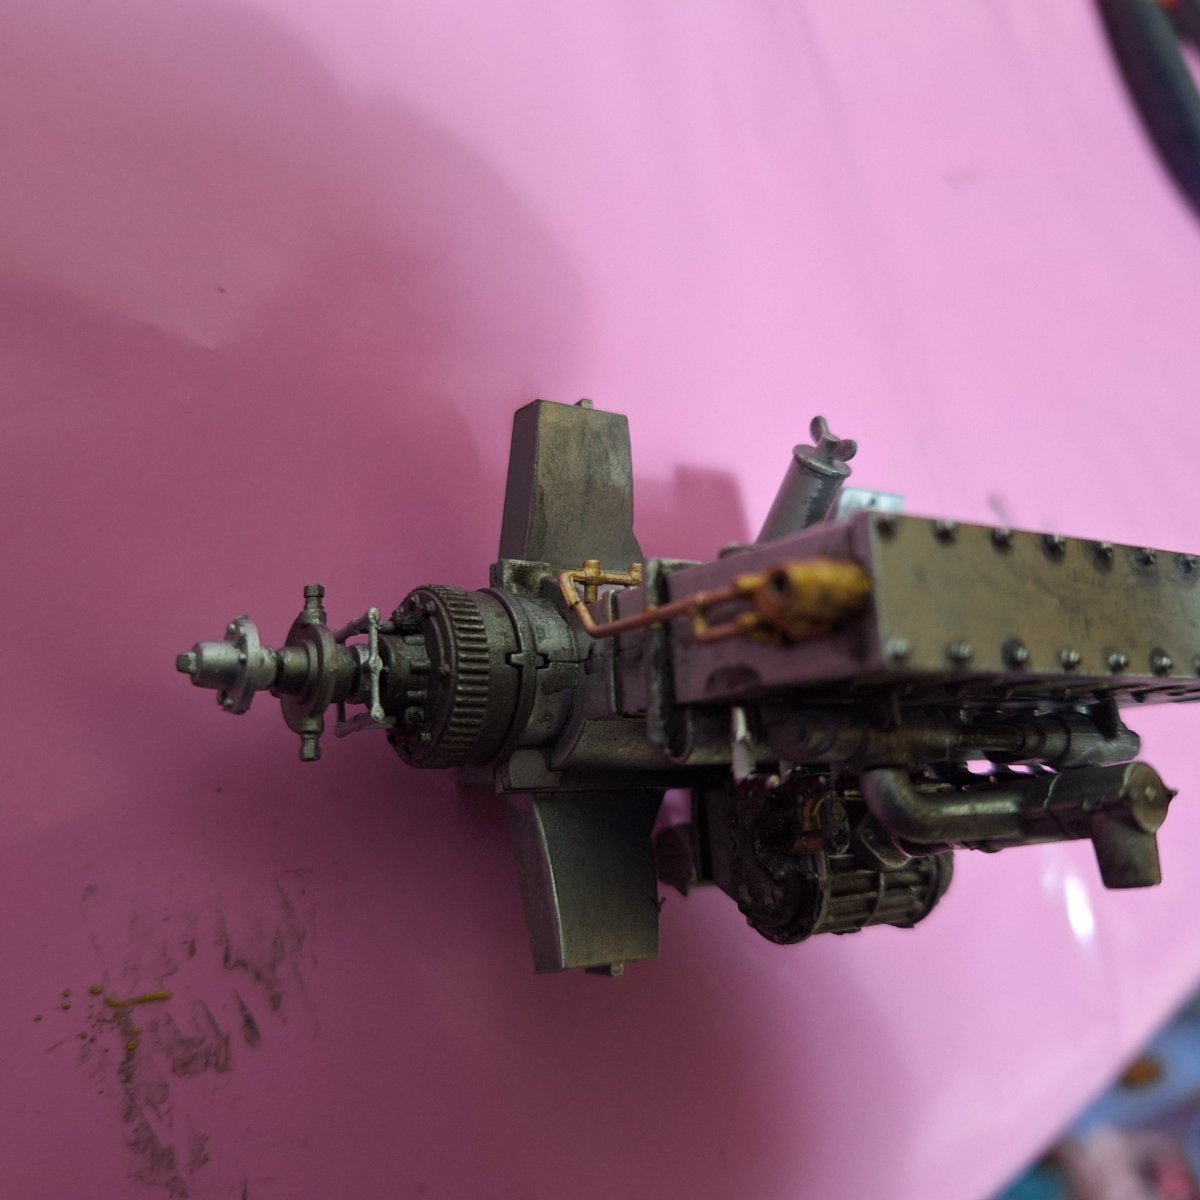
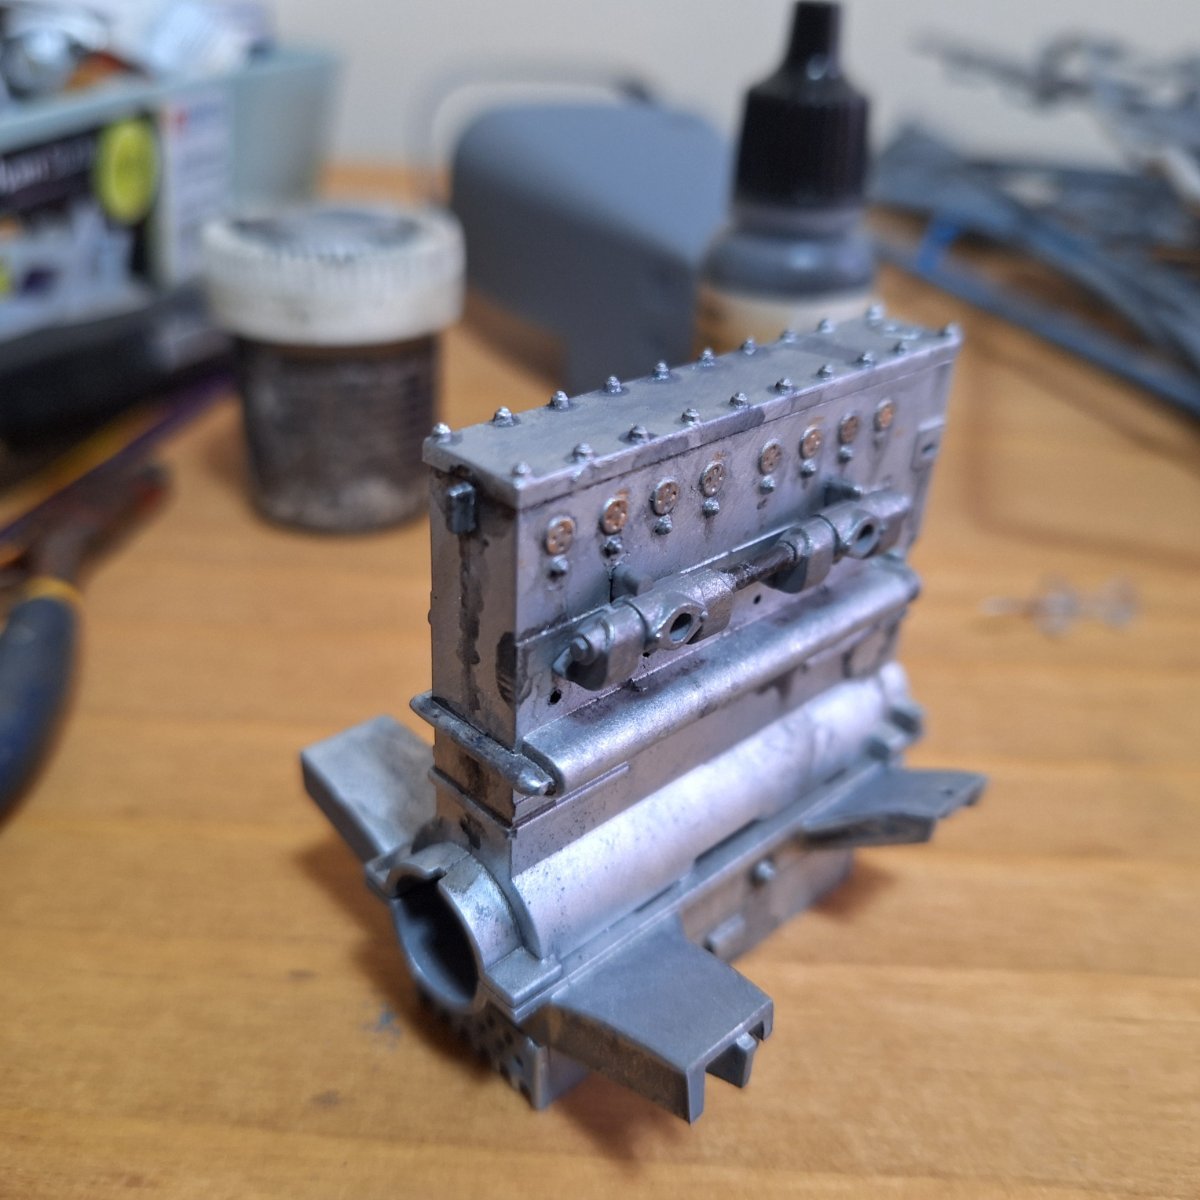
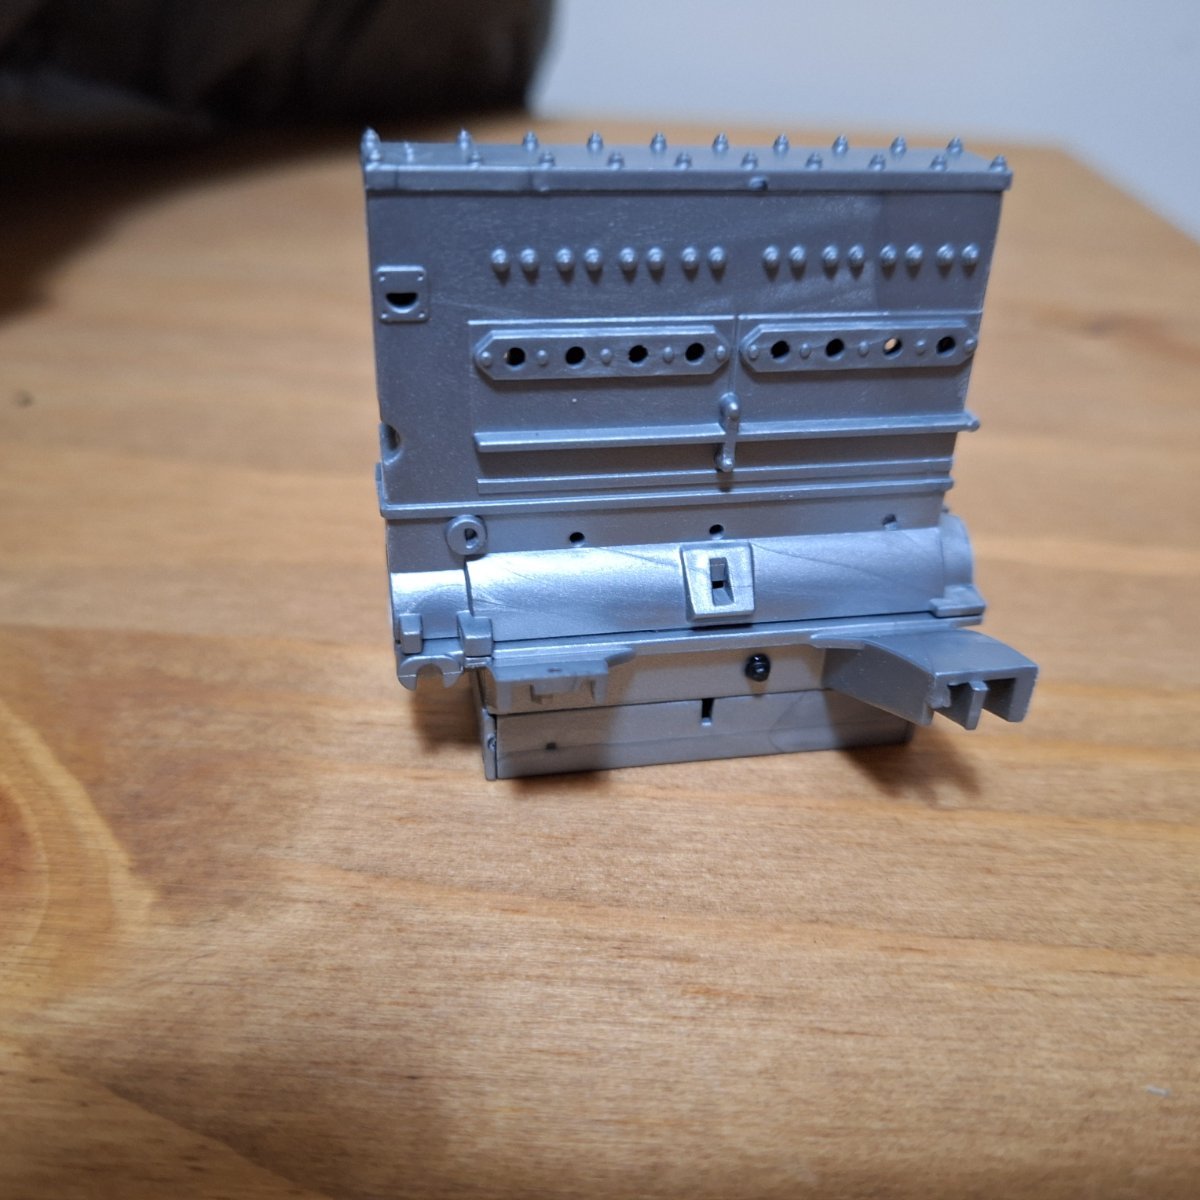
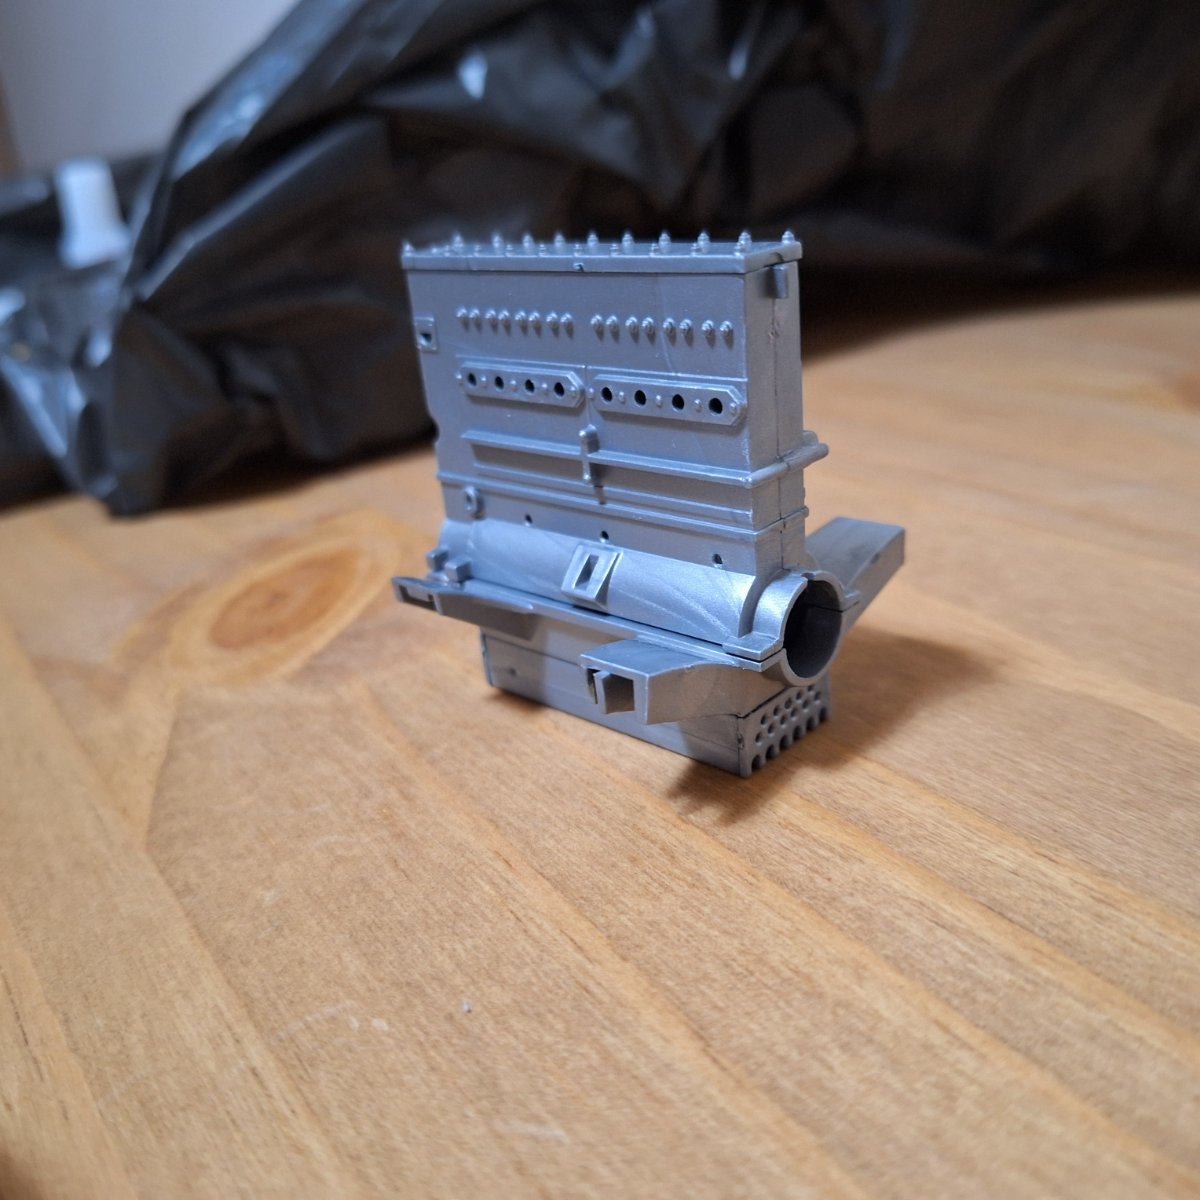
Hi all sorry I've not posted progress on this for a while, since I stopped building I put all my modelling stuff in the shed ( we have the grandchildren in the spare room when we have them and don't want to take risks with the dangers of model supplies and our precious grand children) I have favorite products for painting engines and can't find any of them in the places I thought I put them in the shed.
I've filled and primed the engine but done nothing else to it so not really anything worth posting, I will find the paints I'm looking for, this is really just to say I've not stopped again.
-
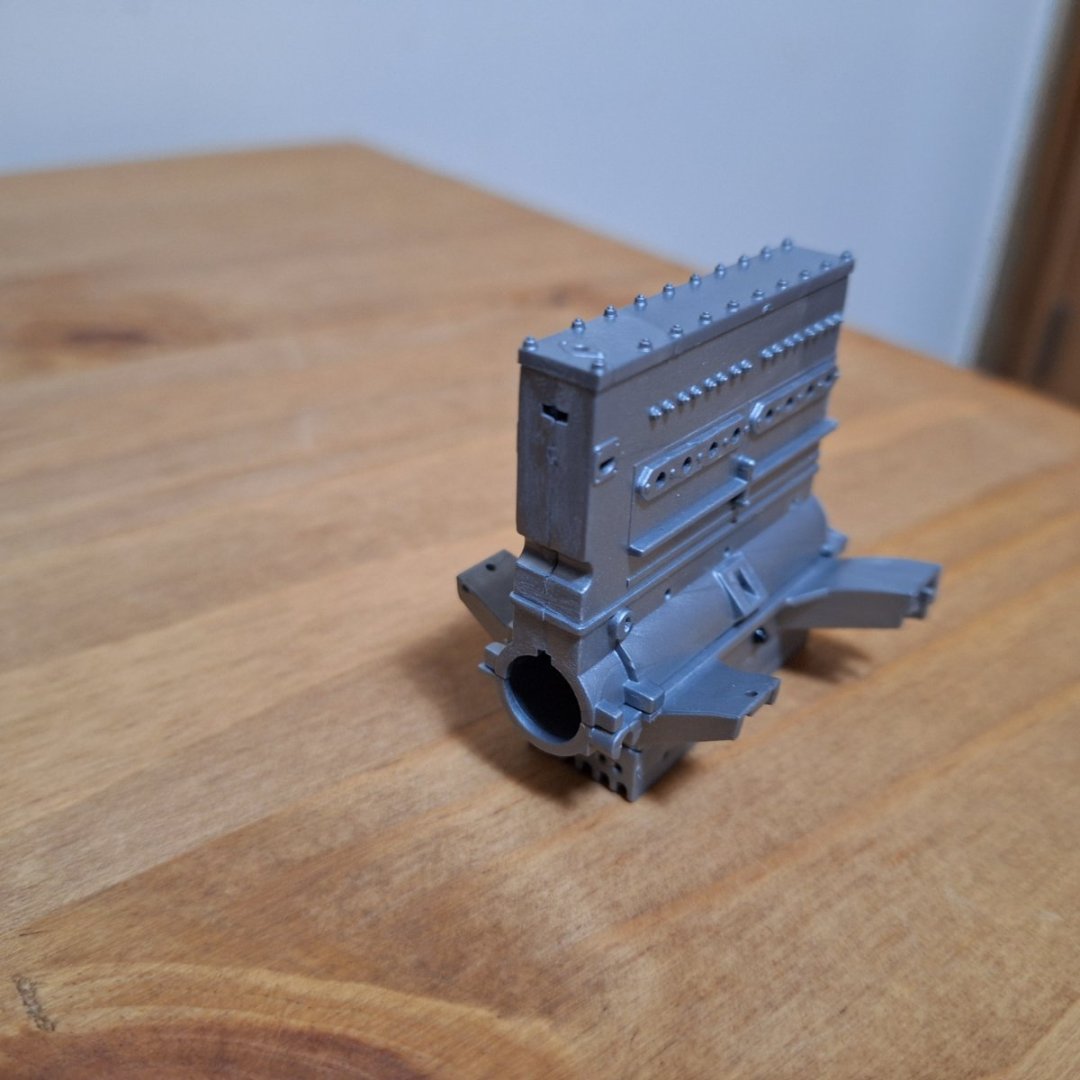
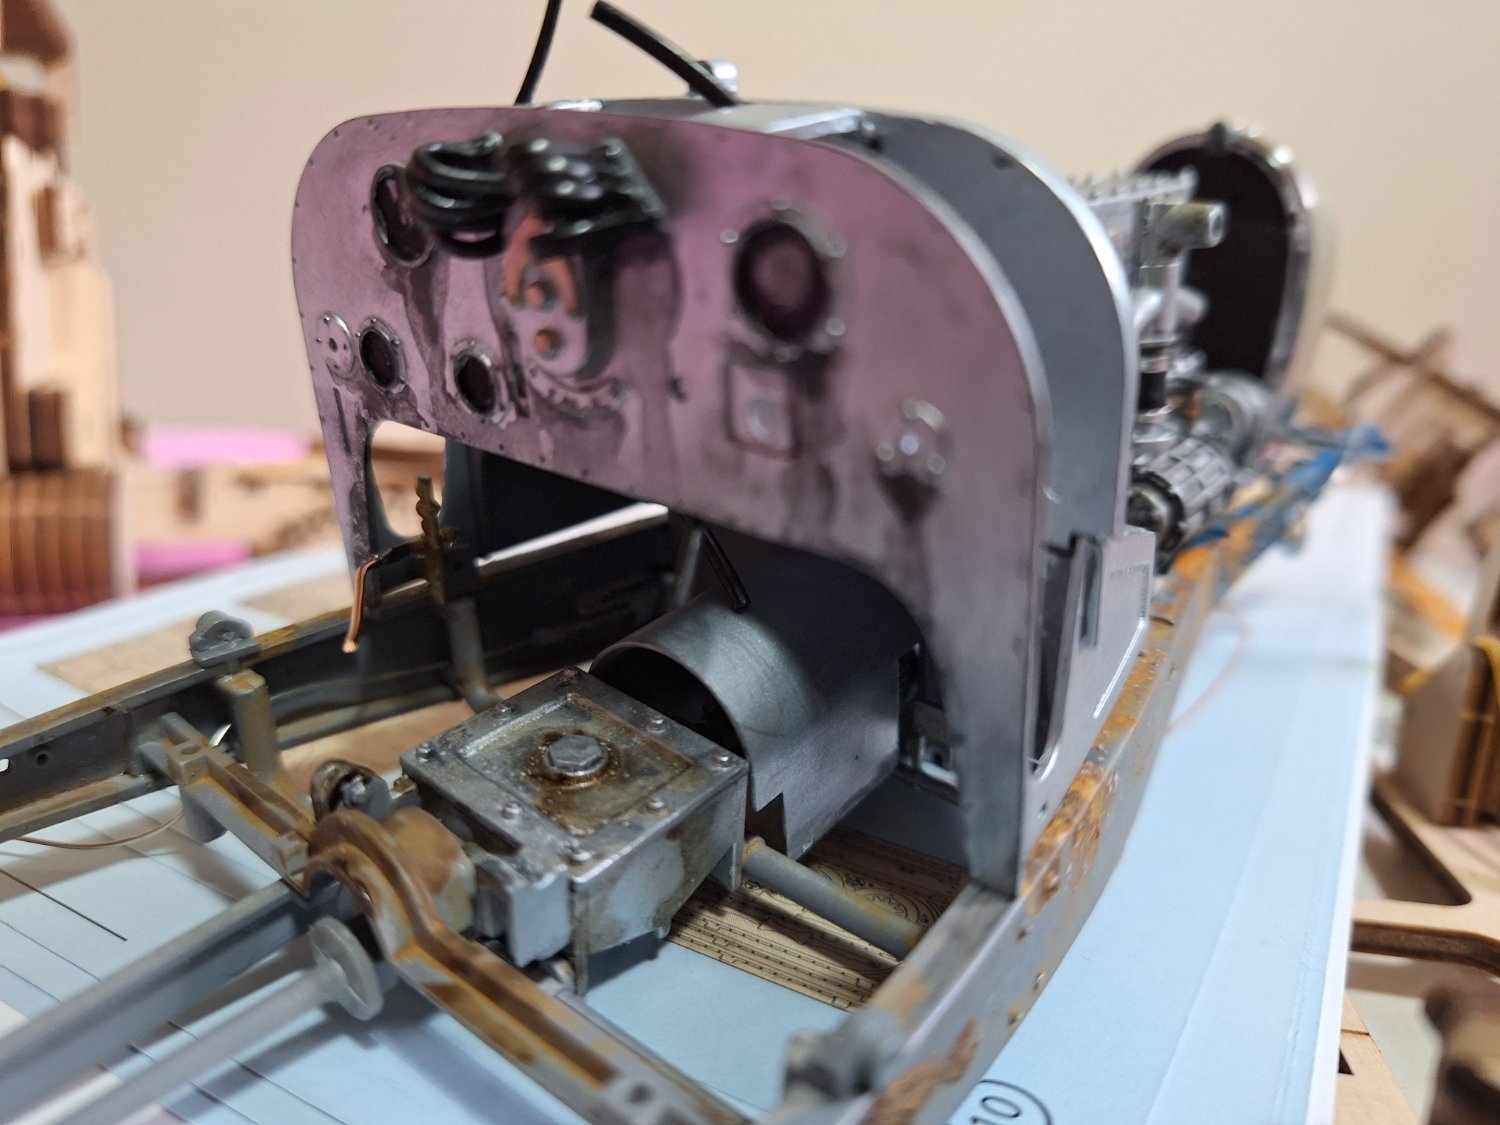
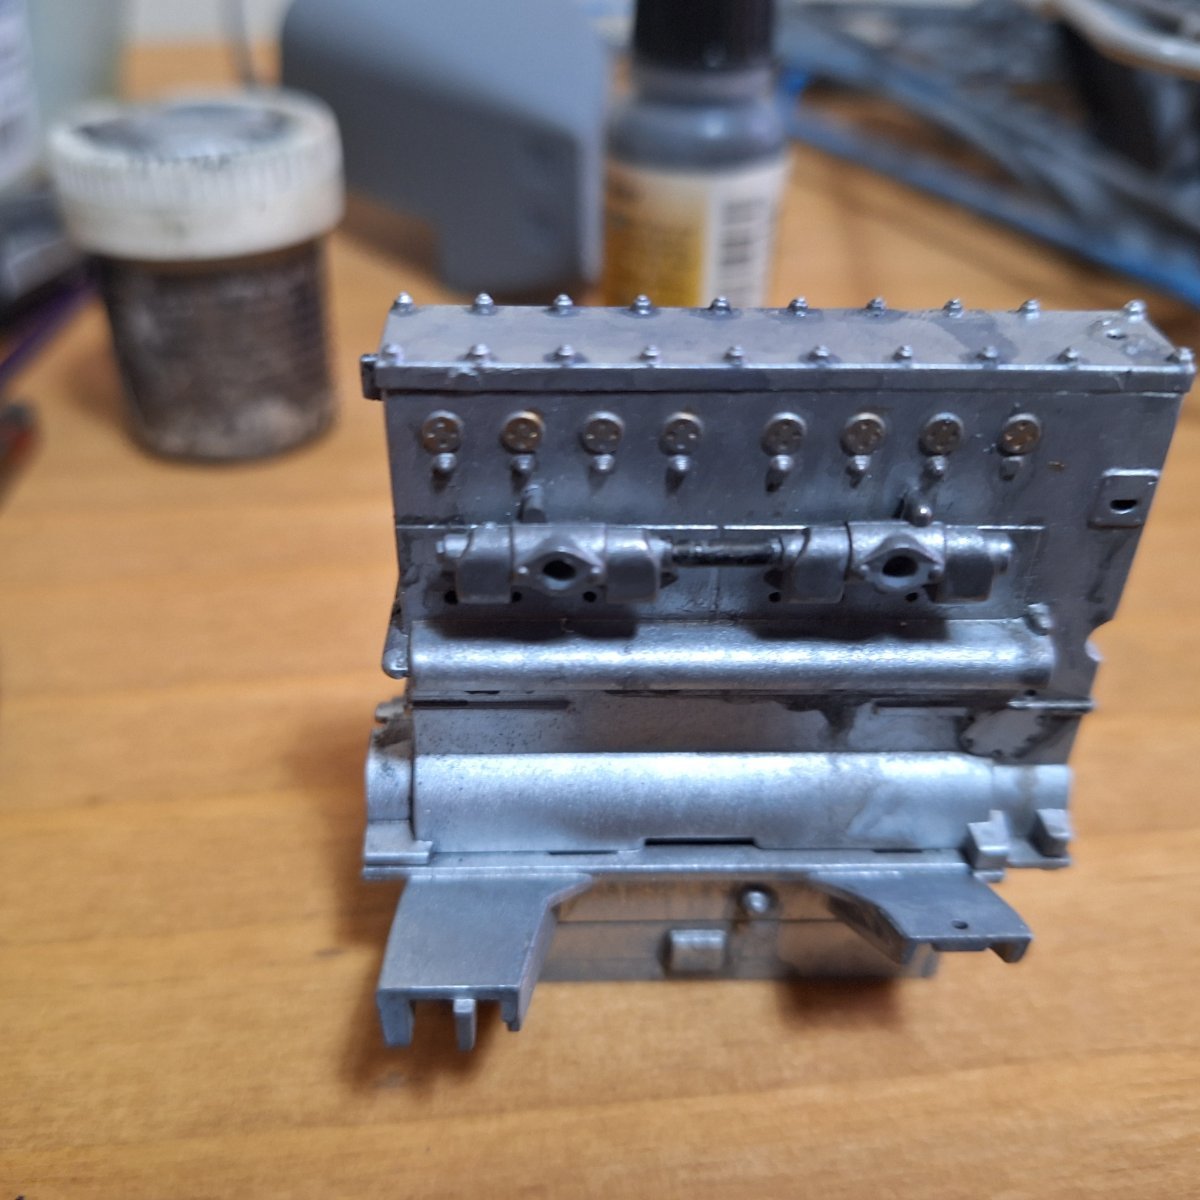
Made a start on the bugatti I've been reliably informed that only the factory cars had the machine polishing so I don't need to replicate it as I'm depicting as a race car.
Anyway I've made a start
I've read on another forum where someone said what a joy this was to build "the fit is sublime and the detail is exquisite " sorry I don't agree, this is a totally new mould, I think the detail is soft and I've barely started and the engine block needs a lot of fettling the sump front end sits too high if you use the locating areas it sits 1/2 a mill too high which when you add it to the engine leaves a gap at one end, I cut the locating area off which fixed that.
The 2 half's of the block when joined together have a molded pipe which is thicker on one half than the other, small details but they take time to fix so 7 bits glued together and 1 1/2 hours down, no paint yet (waiting for it to come) I will admit not building it in the order of the instructions (because I don't have the paint yet) they have you start with the chassis I have briefly checked the body molds and they do look OK but I'm not impressed at what I've seen so far, there is a lot for filling needed between the sump and the block already. I was so looking forward to this kit, now I'm dreading it.
Not a great start back into modelling. Paint won't be here till. Saturday so can't get much more done.
 )
)

-
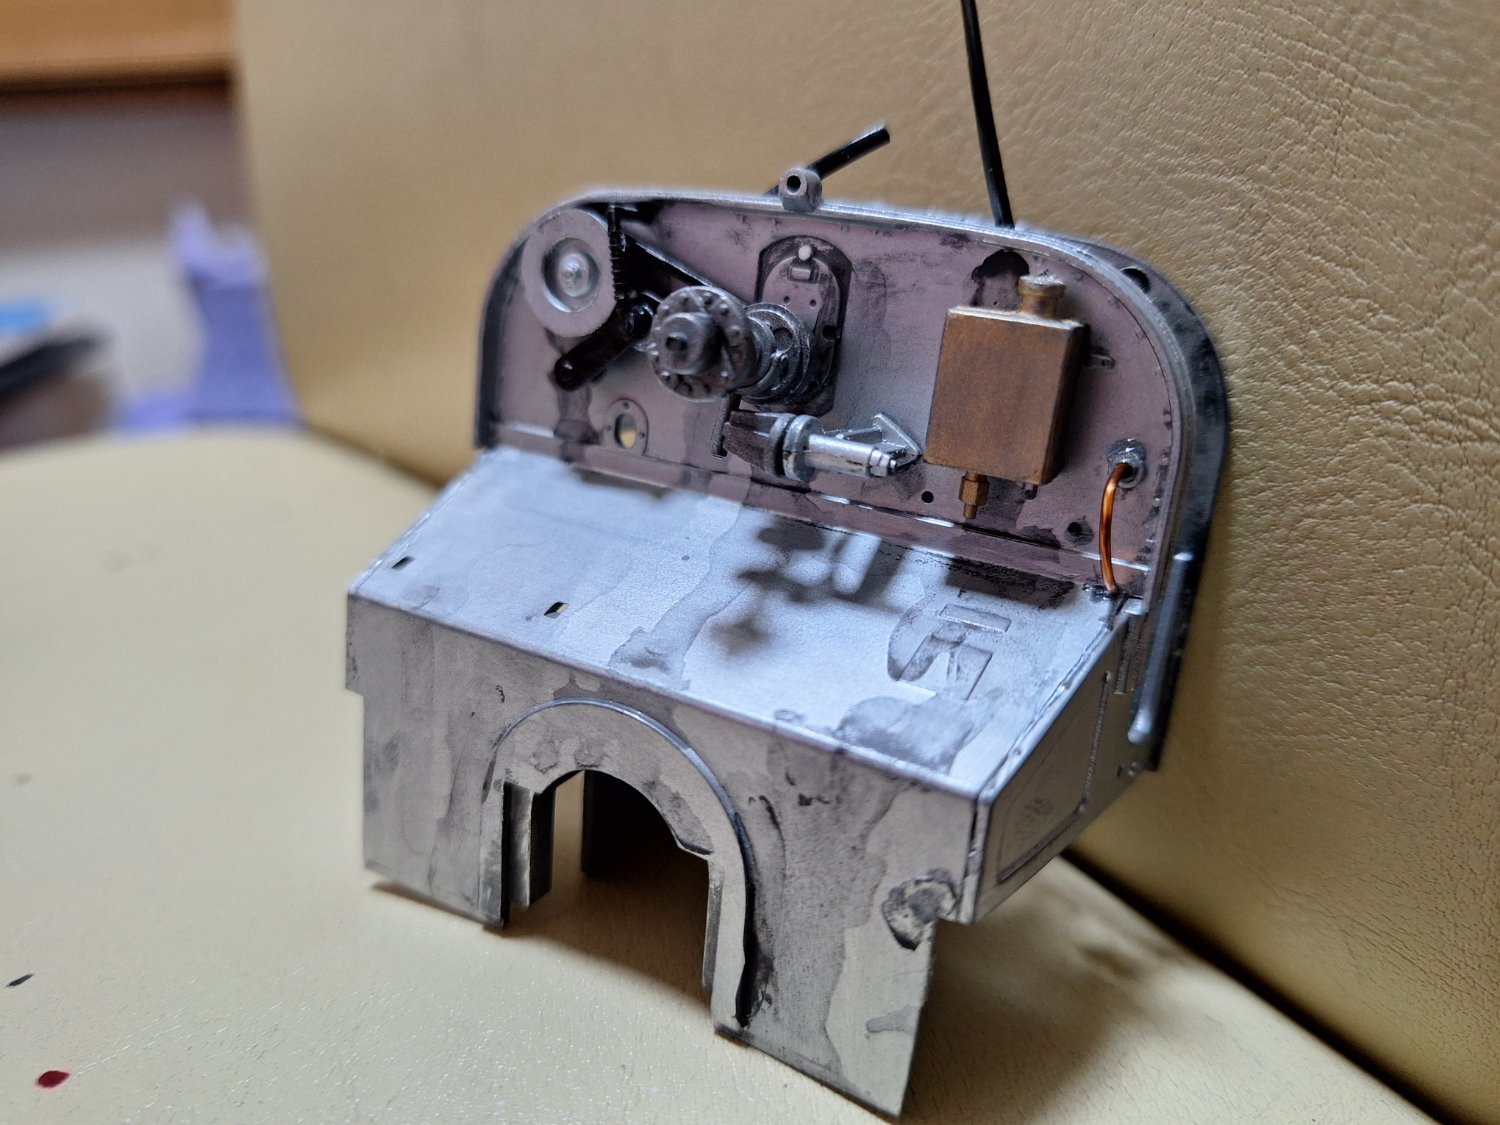
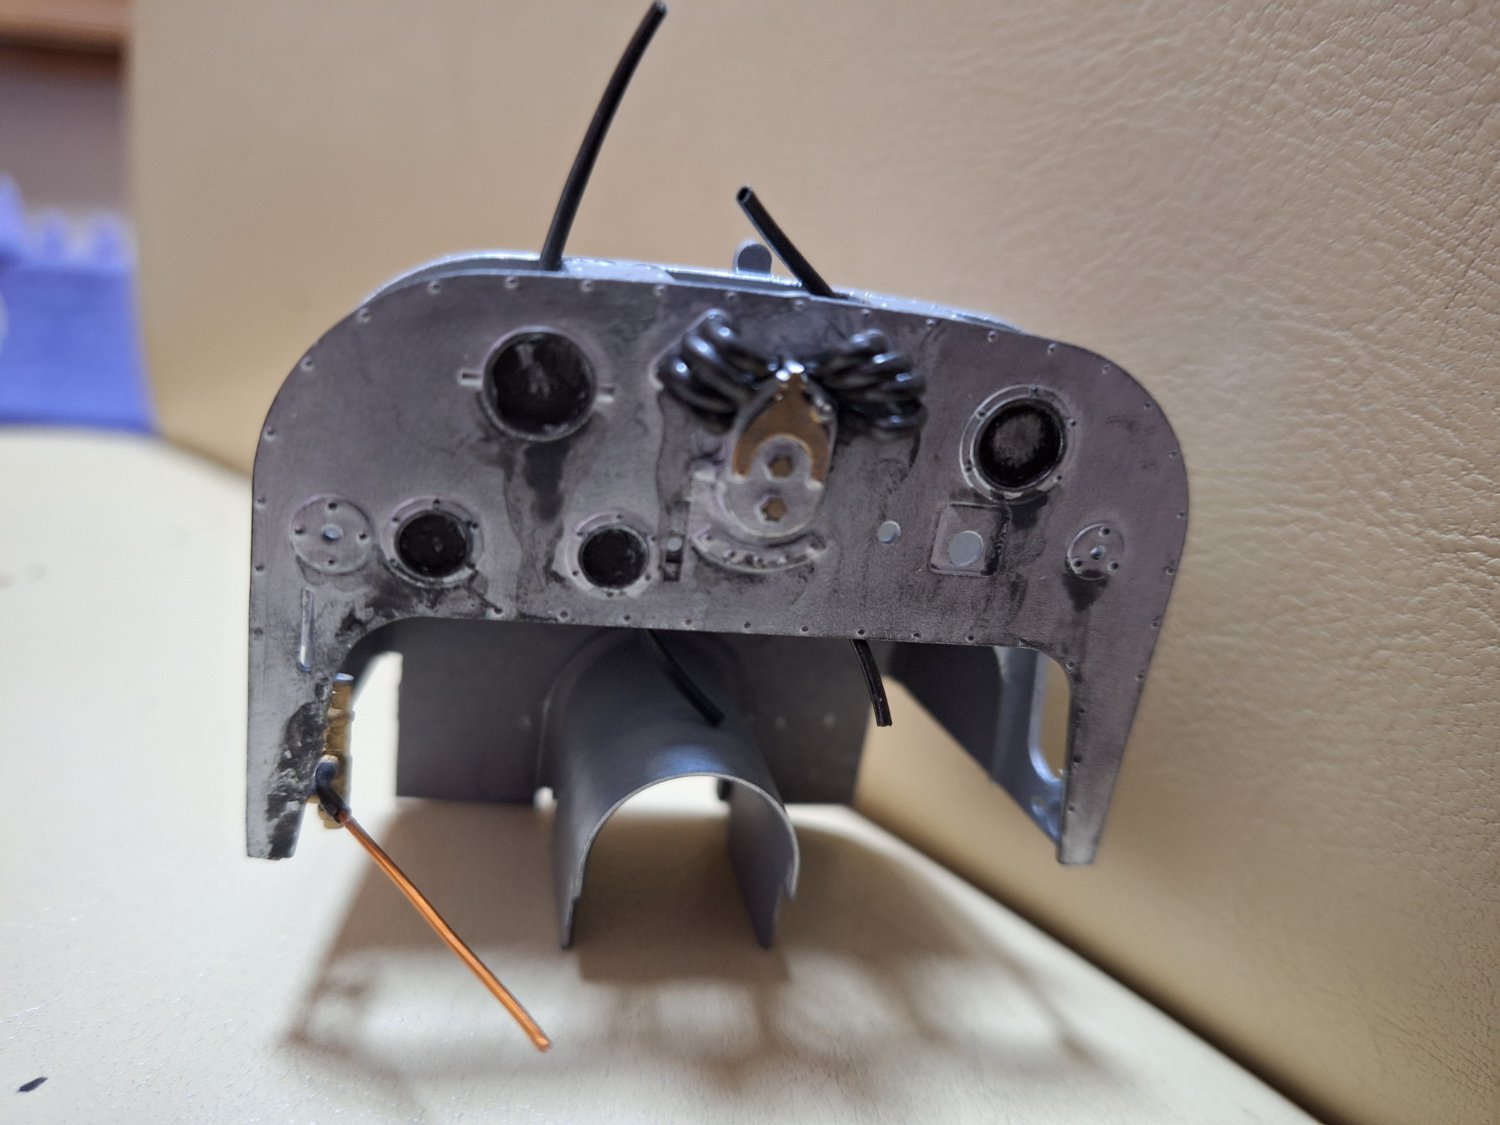
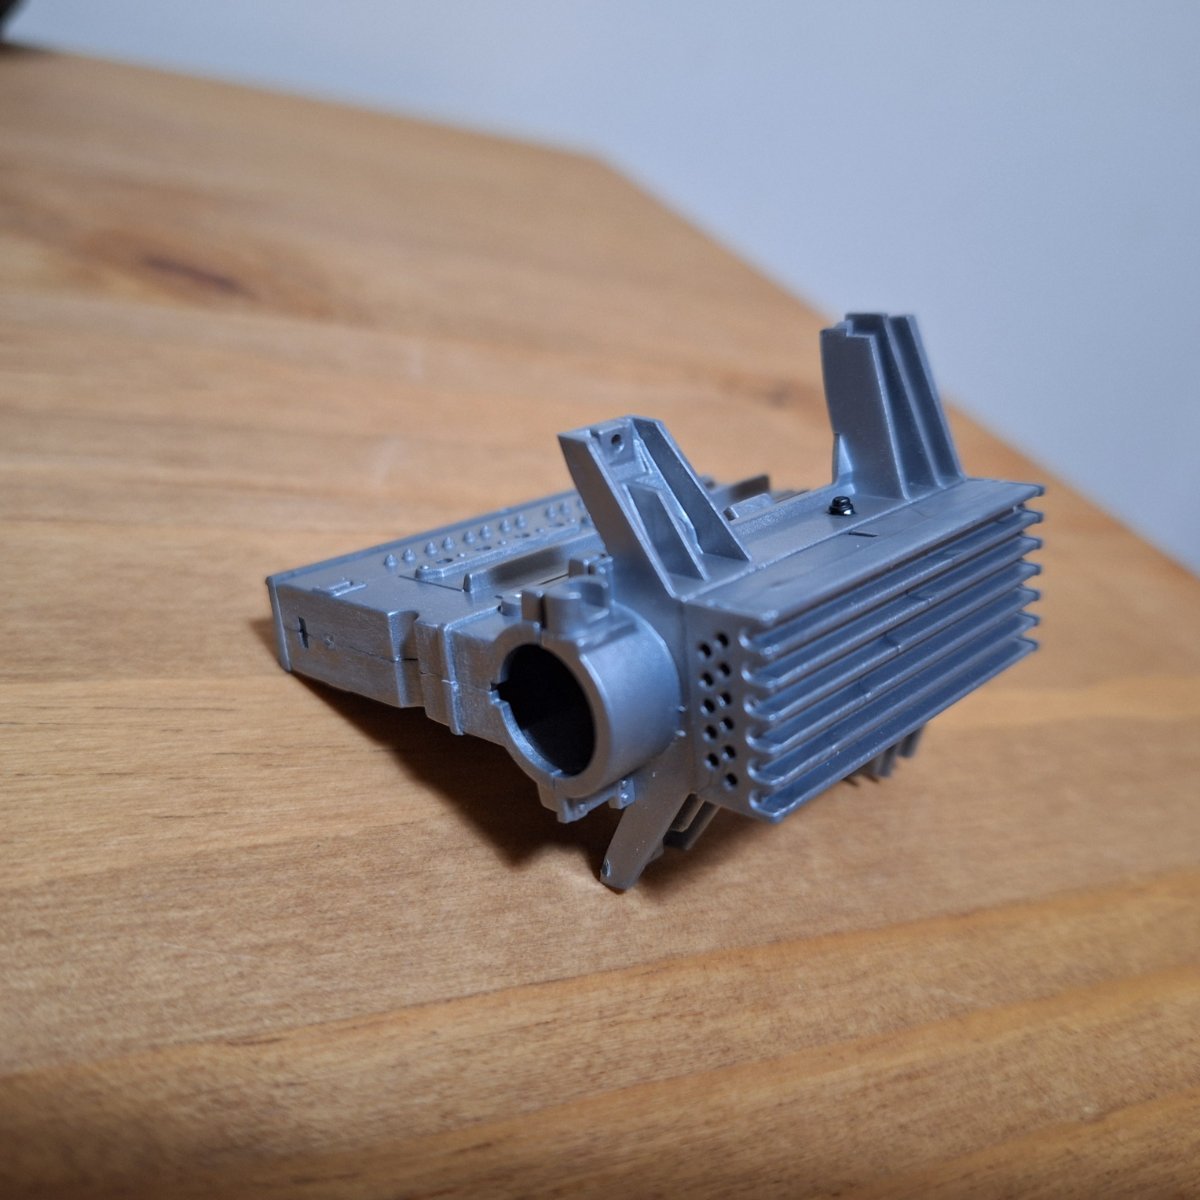
Hi all well I want to start this but first problem is the bulkhead and parts of the engine are machine polished and is quite a big part of the car but it's not indicated it the model in any way, I can't think of a way to portray it
-
Thats the stuff
- Old Collingwood, Egilman, Canute and 2 others
-
5
-
In the 80s a friend of mine had one and had it Sprayed with purple which had little flakes of gold in the paint (was all the rage at the time with all sorts of metal flakes, can't remember what it was called) and in defraction tape (if you can remember that you're showing your age) he had the enlarged datsun in a wedge shape on the lower part of the doors it looked awesome.
- Old Collingwood, Canute, mtaylor and 2 others
-
5
-
Thanks Mark, don't know what happened there
- Egilman, mtaylor, Old Collingwood and 1 other
-
4
-
Thanks Yves
Keith I hadn't even thought of that, I will on the next one.
- Jack12477, Egilman, Old Collingwood and 2 others
-
5
-
-
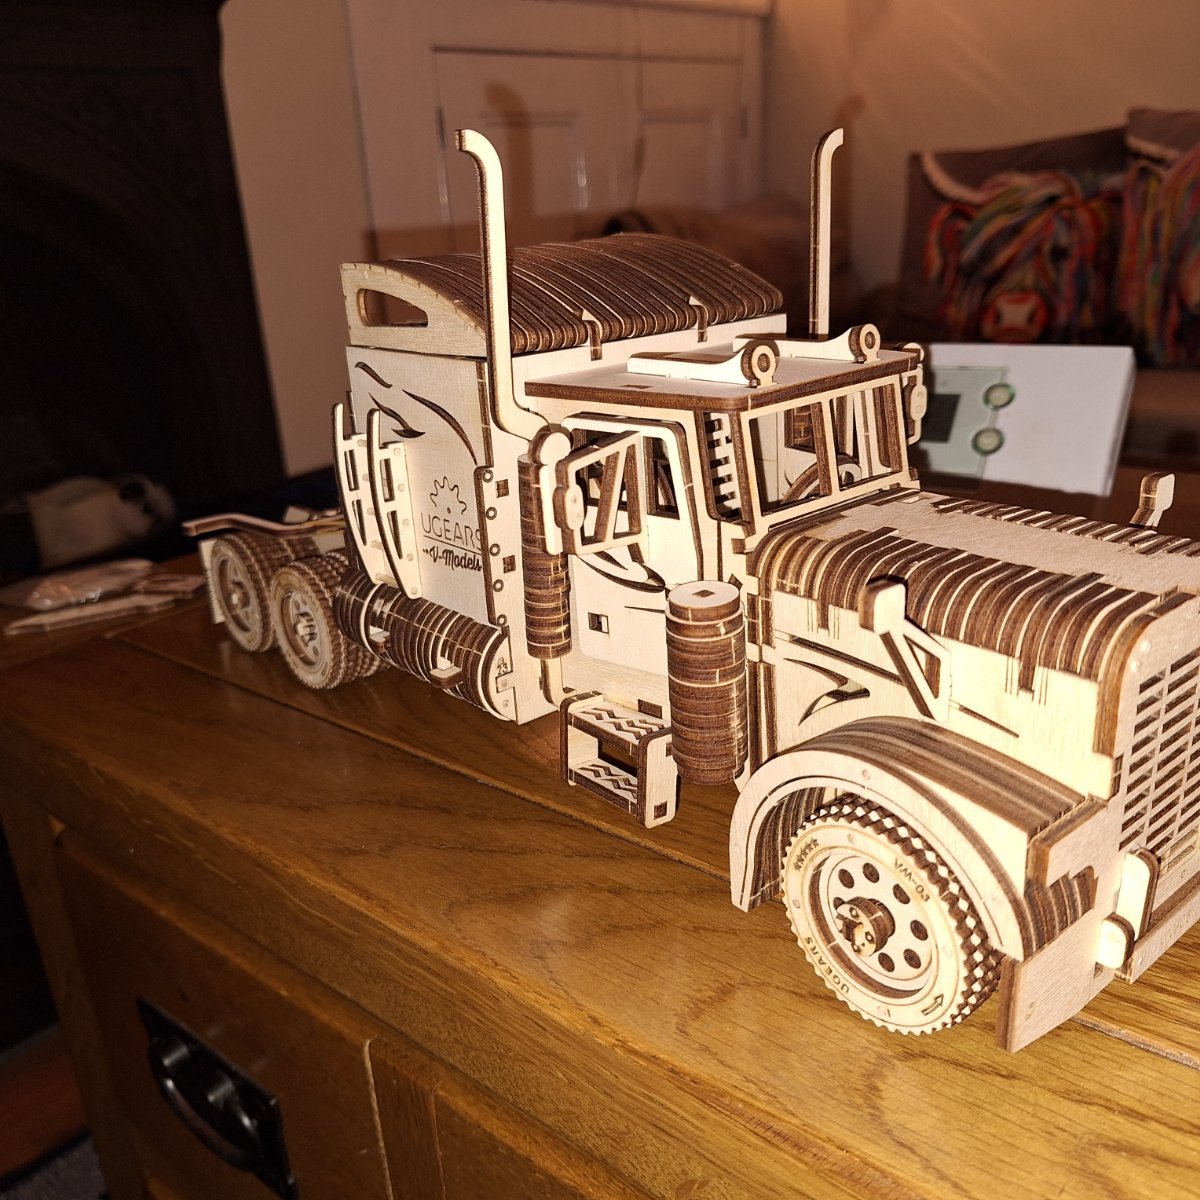
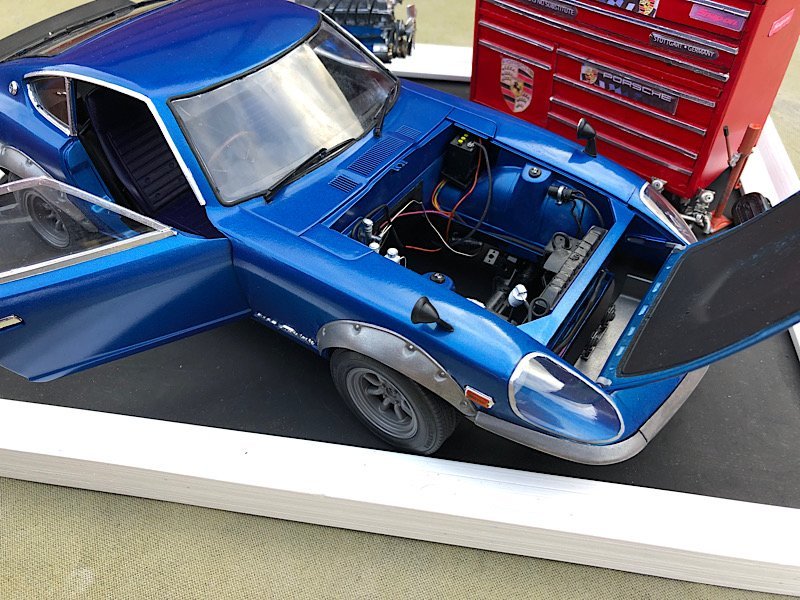
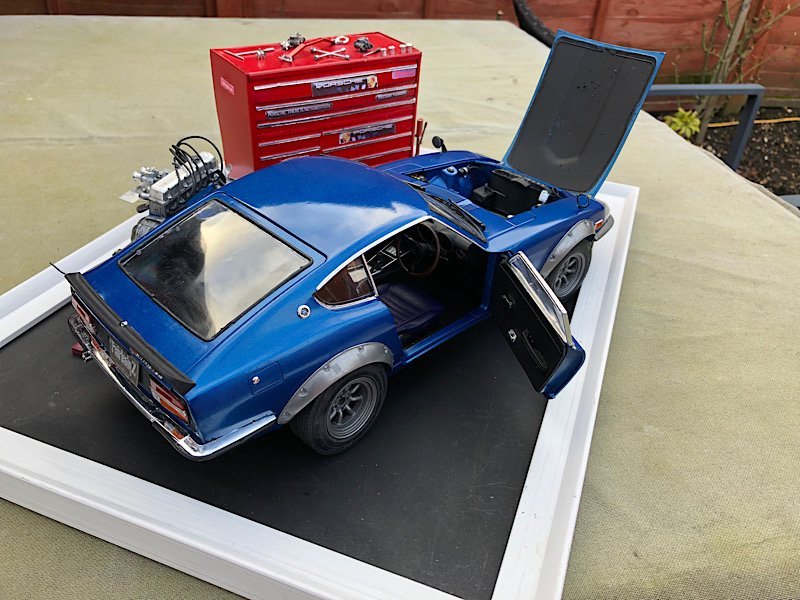
Hi all so sorry I've not been on here for so long tbh I've got more into painting and drawing (let's face it it's cheaper than modelling, peice of paper and a pencil, and maybe some paints)
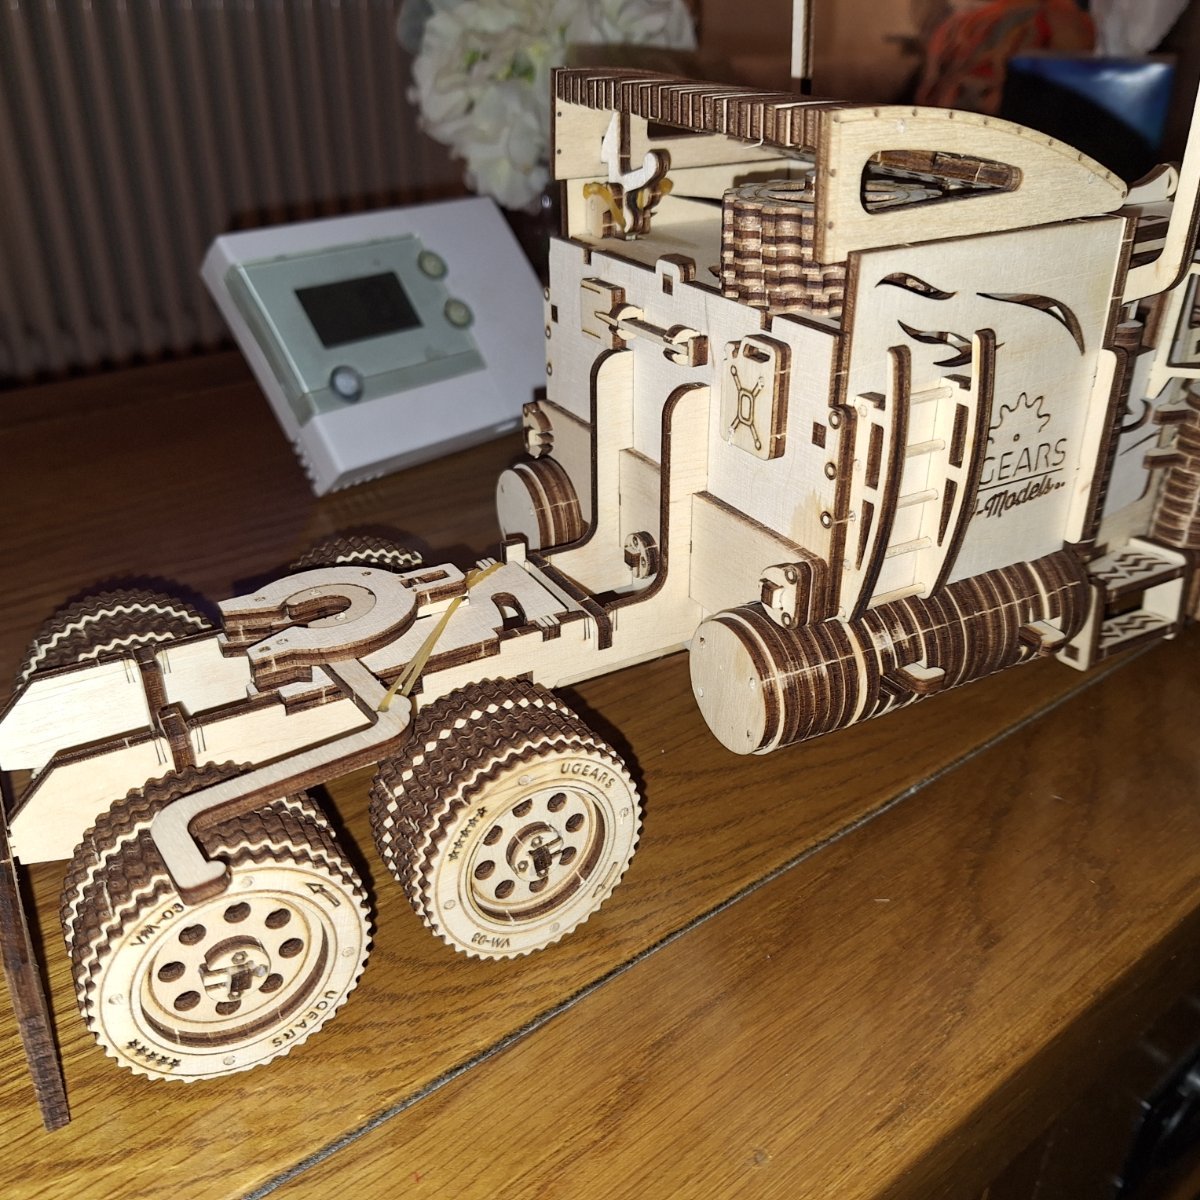
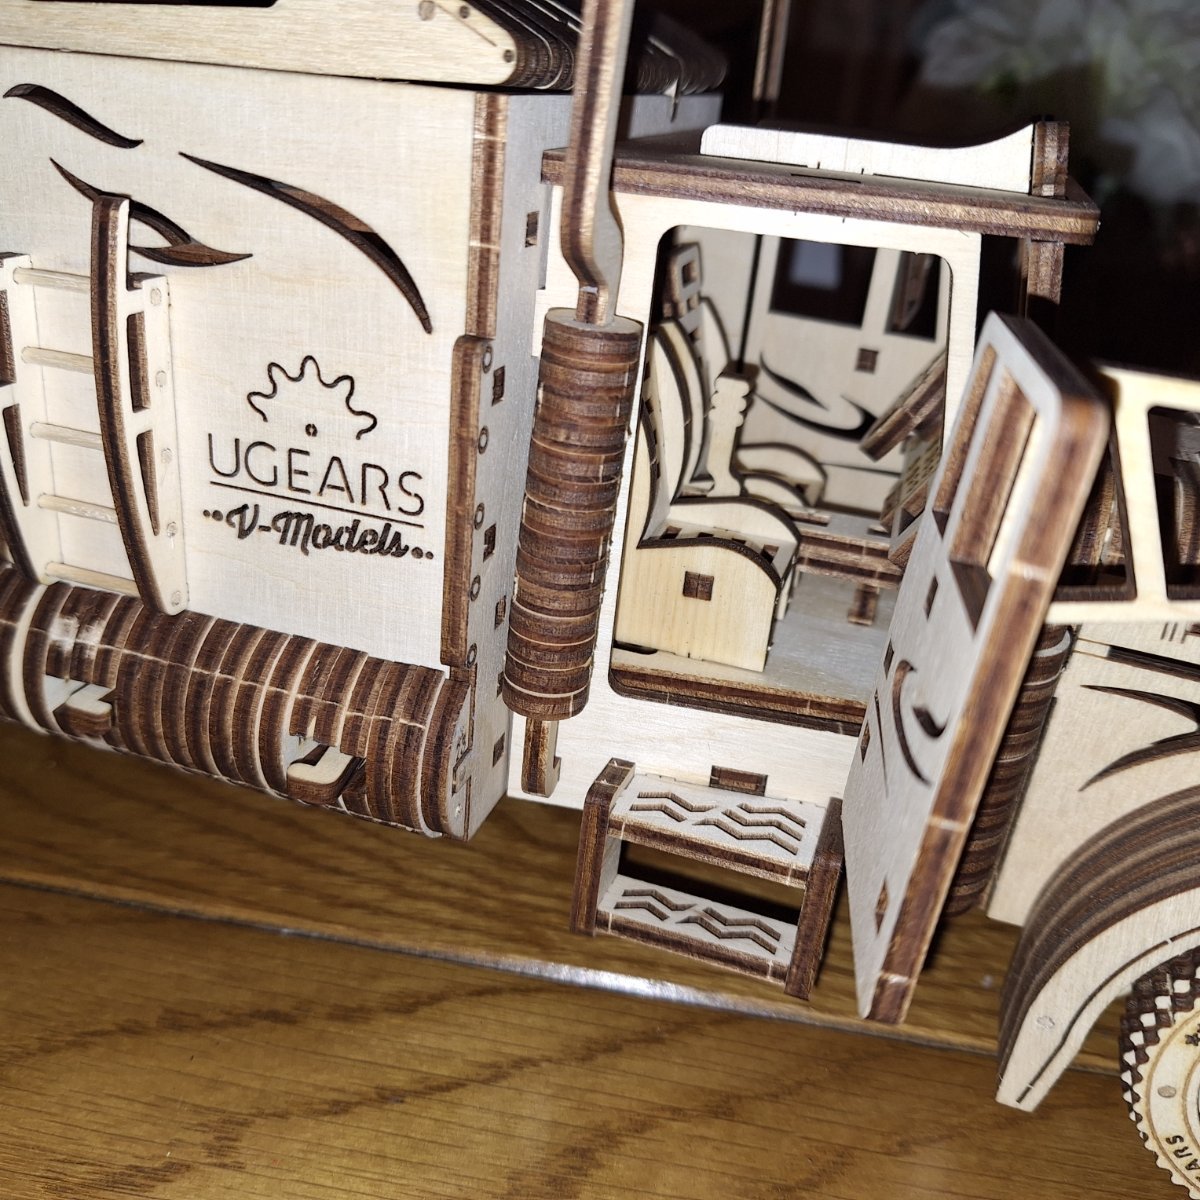
Anyway in-between painting and drawing I did this (I won it off ebay, was a bit of a glue bomb and missing some bits had loads of warped body panels but turned out OK, I will have italaris bugatti type35 b as a Christmas pressie so have that to look forward to

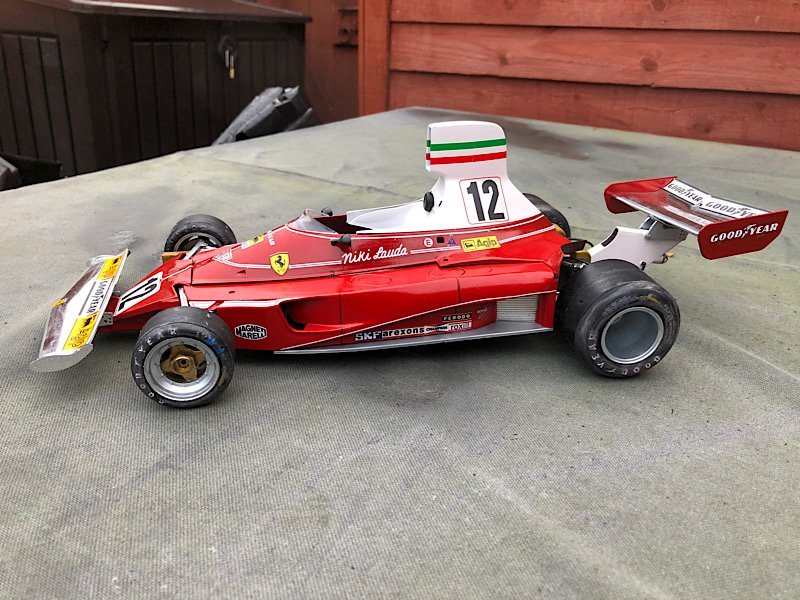 IMG_9398.HEICIMG_9399.HEICIMG_9400.HEICIMG_9398.HEICIMG_9399.HEIC
-
-
Thanks for the reply, I am now a more enlightened person, now if you could just explain the meaning of life (I don't believe it's 42)
- Jack12477, scrubbyj427, Canute and 3 others
-
6


Bugatti Type 35b by kpnuts - Italeri - 1/12
in Non-ship/categorised builds
Posted
Thanks guys, well that was a daft mistake, still this one was special order, he wanted it heavier for better road holding so had it made out of iron, think I got out of that quite well, and a very convincing story if I do say so myself😄