seahawk1
-
Posts
25 -
Joined
-
Last visited
Content Type
Profiles
Forums
Gallery
Events
Everything posted by seahawk1
-
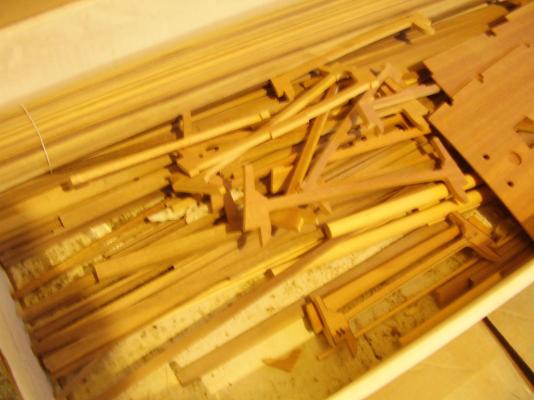
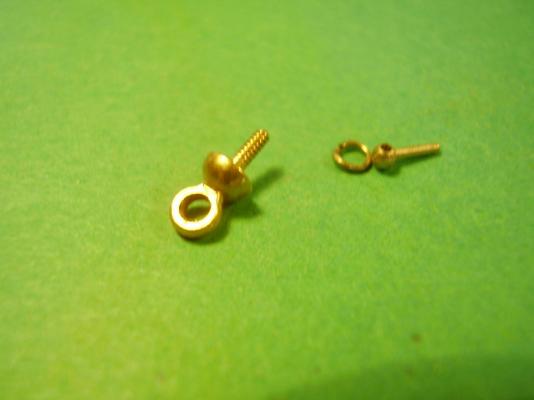
If you find some, please let us know. I have a few of both types of these, but will looking for quite a few more. I cannot remember where I acquired the ones on the left, but the ones on the right I got from ME many years ago. Michael
-
JP, You could have a look here: http://www.victor-model.com/products/soling-1-meter I have built a number of these kits as they were real popular a few years ago, but interest died out to continue competition sailing. these are all kits and the Soling is a true 1 meter boat. Seems the big issue at this point is obtaining a sail servo (no you cannot use a regular servo for the sails). Futaba made the best ones, but discontinued them. I heard that Hitec makes one, but am not familiar as I have not used them. I have their Mary J Ward kit on the shelf, but haven't gotten around to it .yet. Michael
-
The only difference I am aware of is most leather dyes are water based, which will raise the grain of wood, though that may be dependant on the type of wood being used. Alcohol based wil not raise the grain and you can glue to the dyed surface, if needed. There are some dyes that are tung oil based as well. Michael
-
Edwin, This is where I get my dye from. As it comes in powder form, I do not see any problems as far as HAZMAT getting it to BC. You can purchase individual colors, as listed, but the full set is a bit cheaper and it lasts a very long time. i prefer the alcohol based over water based as it is non grain raising. Any questions, please ask. http://www.lmii.com/products/finishing/dyes/aniline-dyes-alcohol-soluble Michael
-
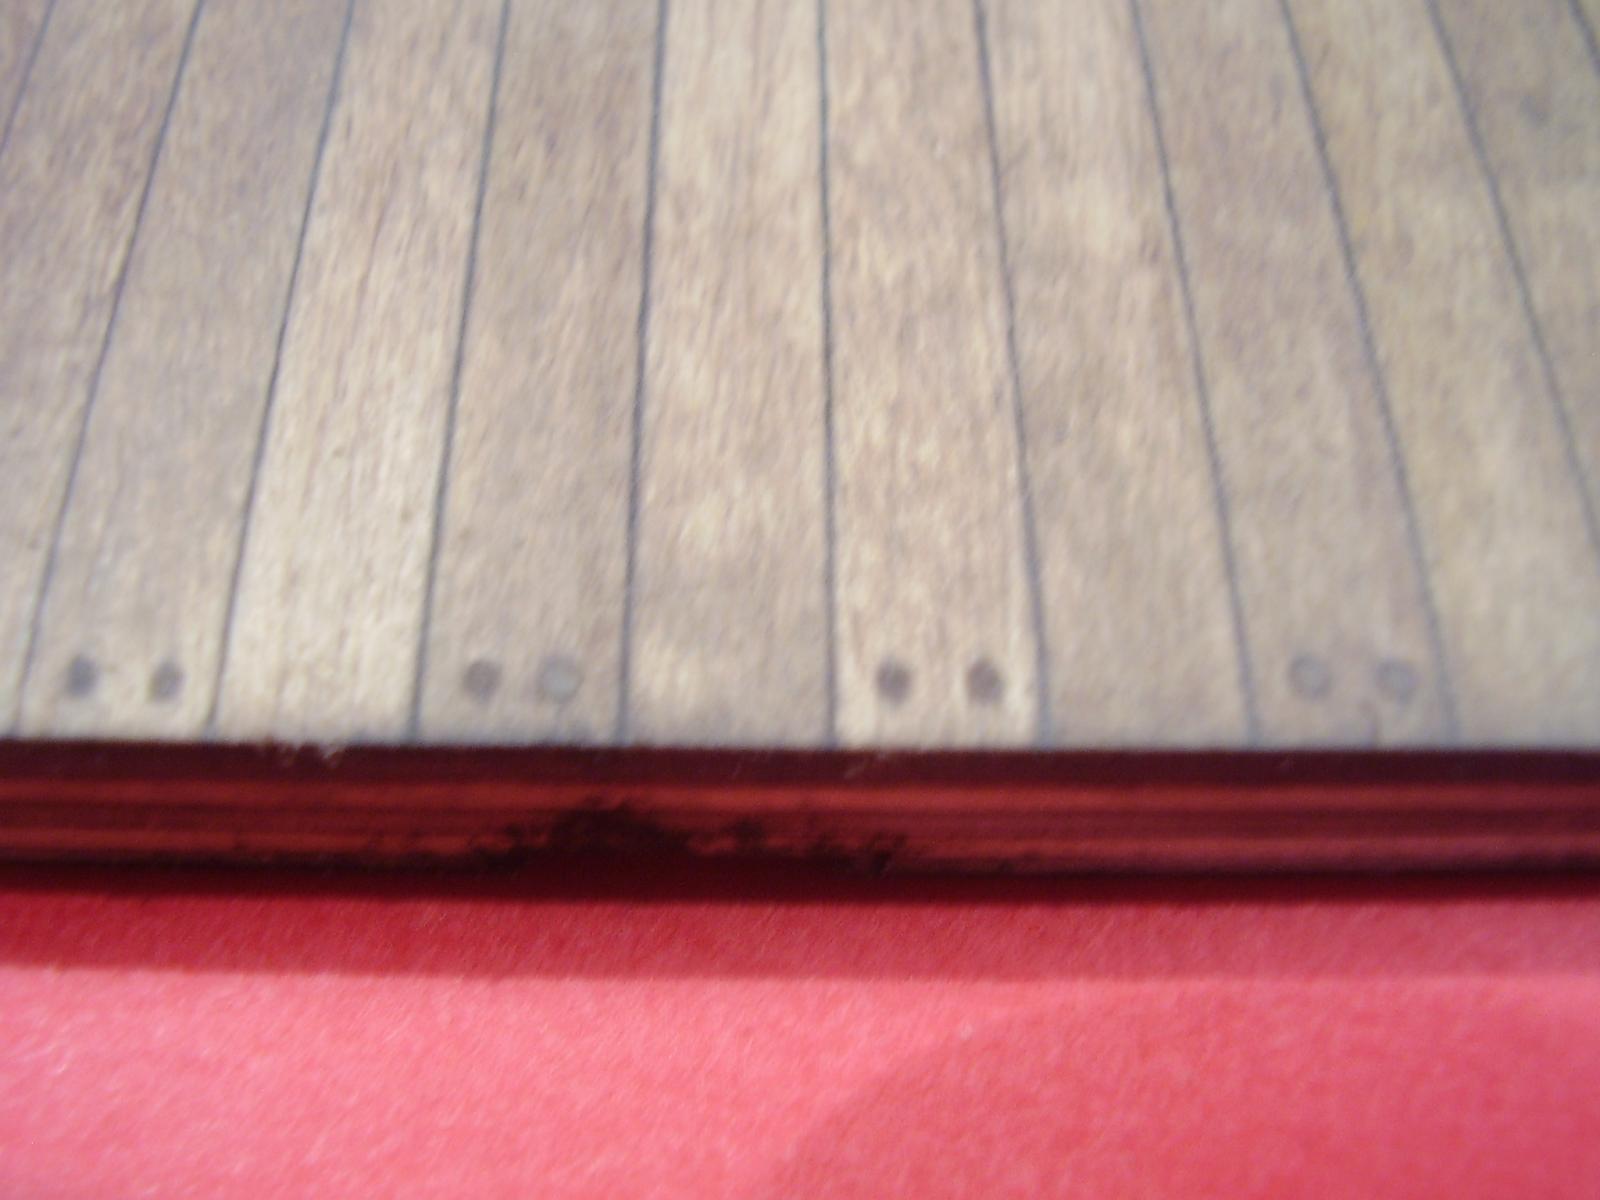
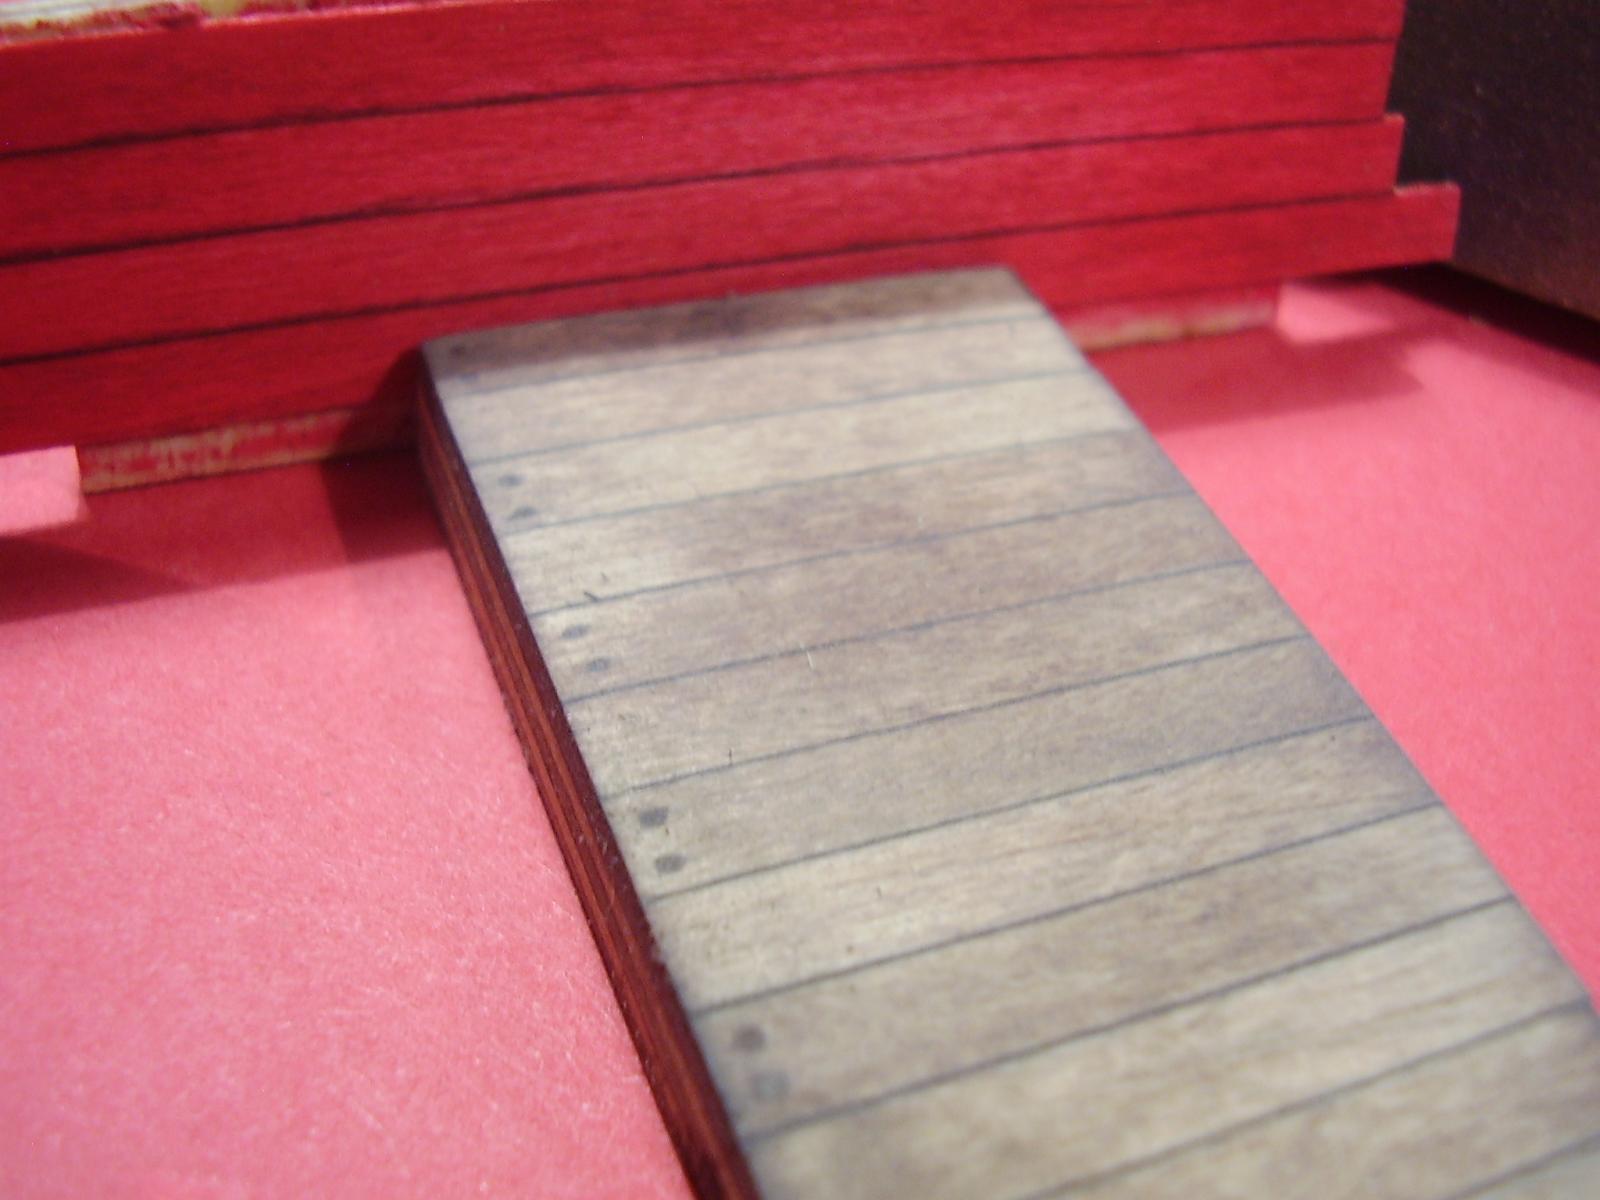
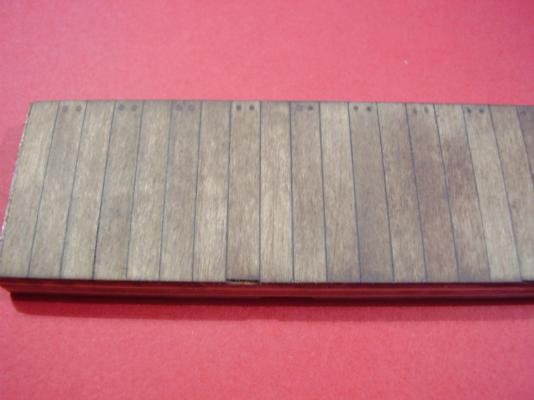
Been some time since I posted, and really, not much progress made. Received a wood order to replace some bad wood, so ready to try it again As it has been a while since I planked a deck, I made a piece to fit in the lower rope locker (which will more than likely not be seen) and planked /treenailed. Then I tried some 'new' Minwax stain called "Weathered Oak". When applied, it goes on VERY silver/grey, but I do like the end result.........Hope the rest of the 3 decks come out as well. I am also going to use Aniline dye for the colors, so the bulwarks / gunports will be red, just not paint. I have used dyes like this before, as I have built the occasional violin and this is what I use to color them. I use alcohol based dyes as they will accept any finish. Michael

-
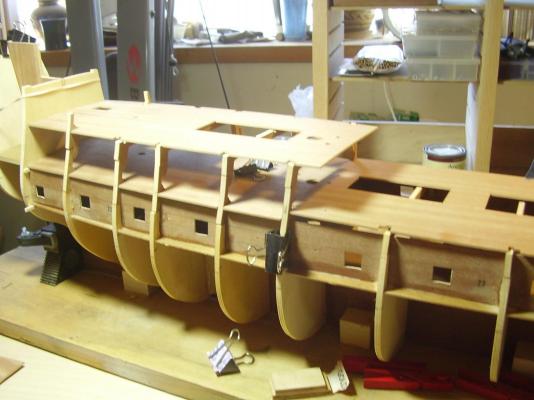
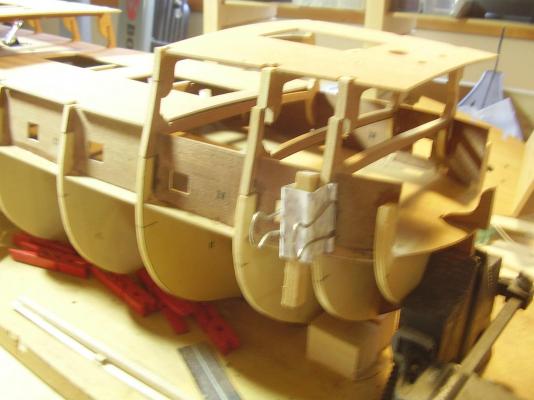
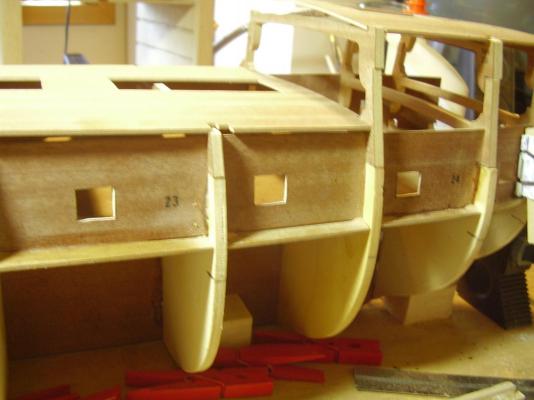
Jp, I could certainly use some photographic help with this! i just finished installing the gunport frames on the 01 deck and preparing to install all the bow filler blocks. After that, it seems to make more sense to plank the lower hull to completion so I don't have to turn it over and over when installing all the guns and upper decks. In the process of revamping the wokspace a bit, then will have more to post. Michael
-
Even though I posted this in my WVH thread, i will say again I cannot be more pleased with Corel's customer service. In no way were they obligated to replace my gun carriages due to me having a very old kit. Not only did they send all new carriages, but added a note that anything else I need due to the age of the kit, just let them know and it will be sent immediately. Can't ask for more than this. Michael
-
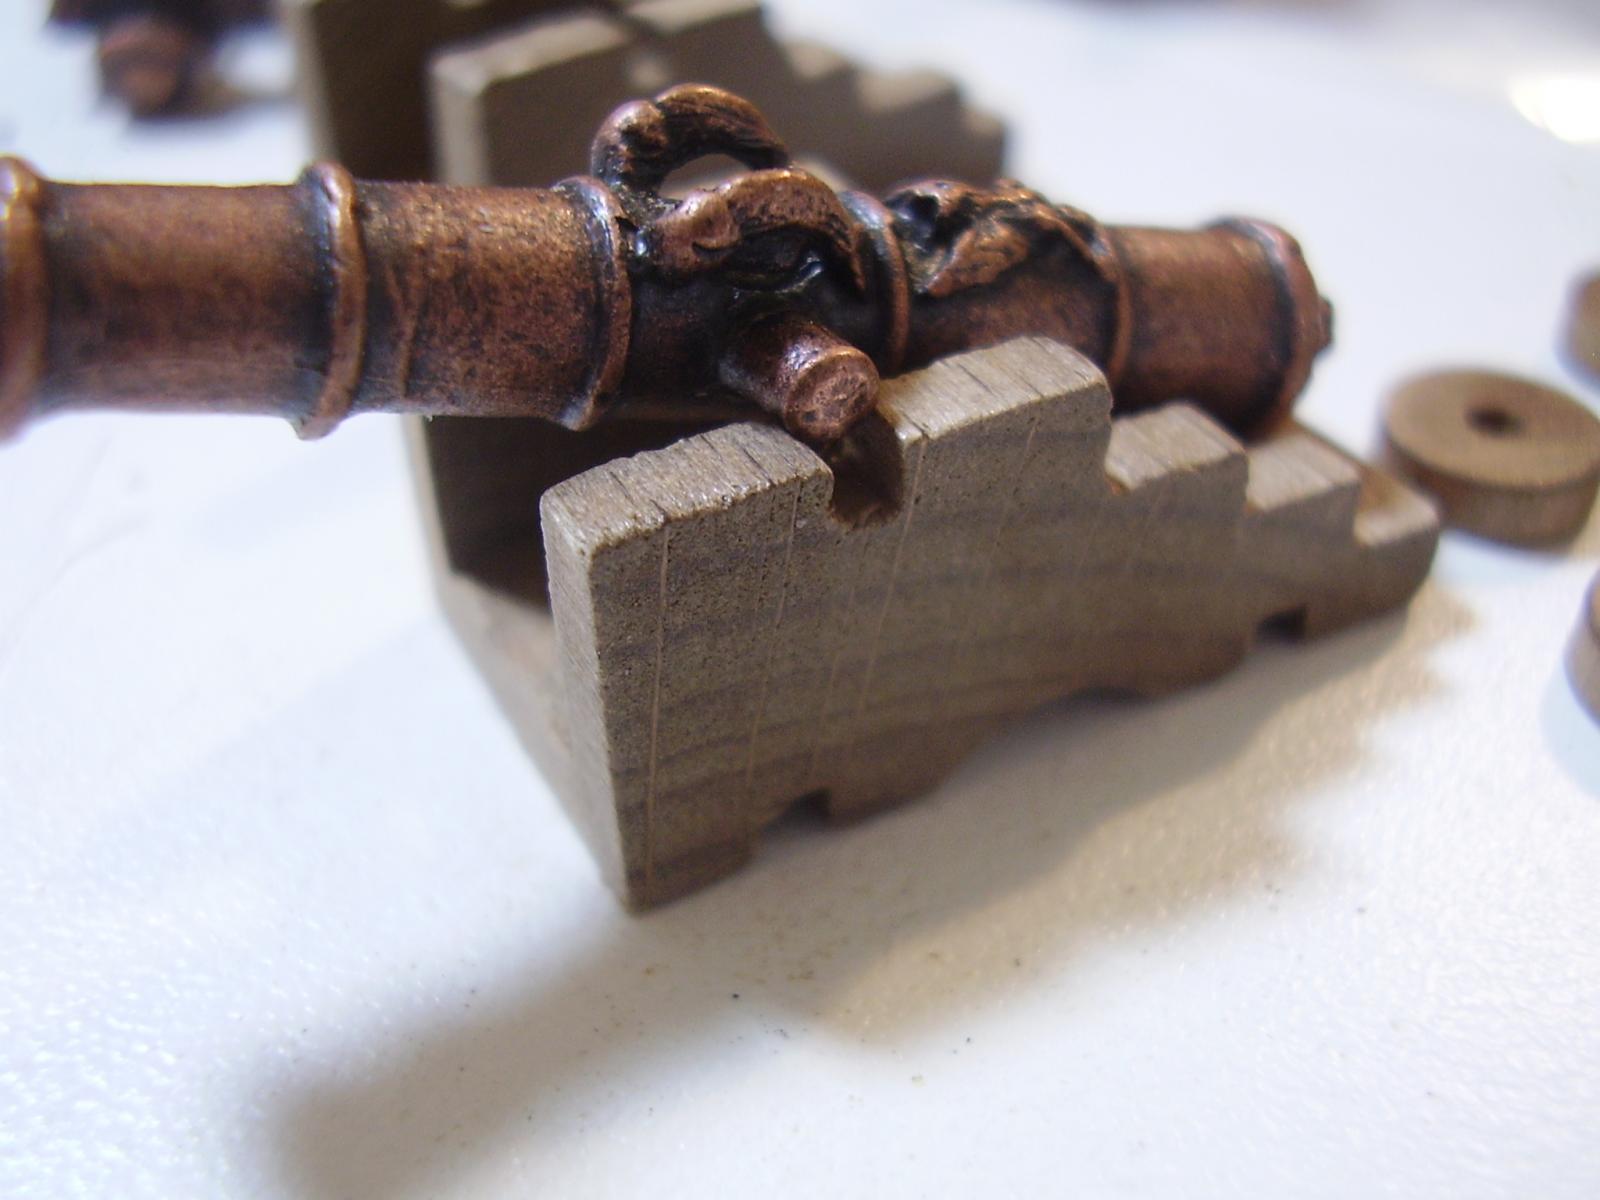
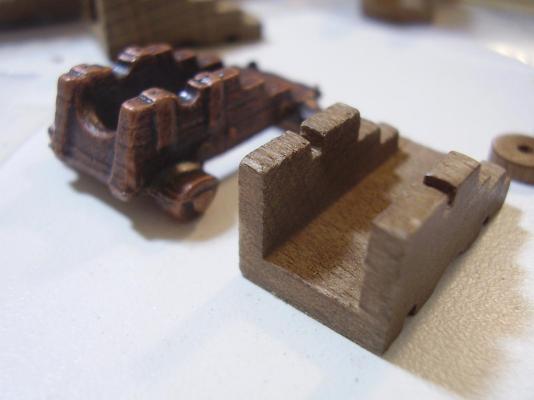
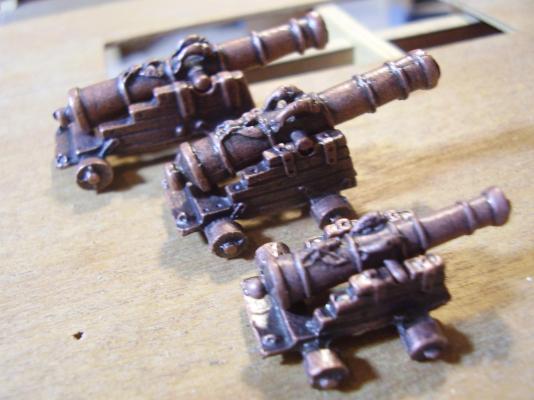
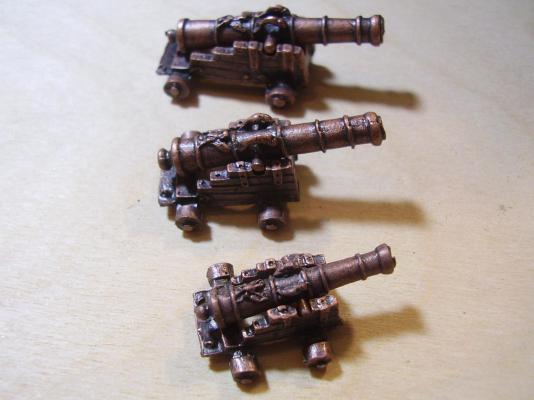
Today is a good day. The replacement carriages from Corel arrived! Three different sizes, including all precut wheels and axle rods. They will require a bit of work, but much less than building my own. Now I can at least confirm the gunport openings are correct before I glue on the port frames. I have decided not to do any painting, just use various tones of wood throughout. I ordered some basswood for the decks, but that order has been lost to this point, so don't know when that will get here. I should make some progress by this weekend. Michael


-
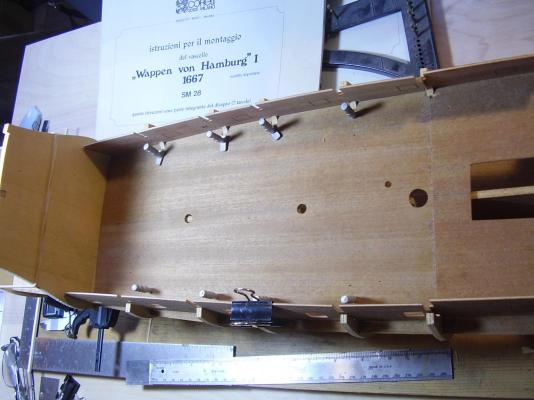
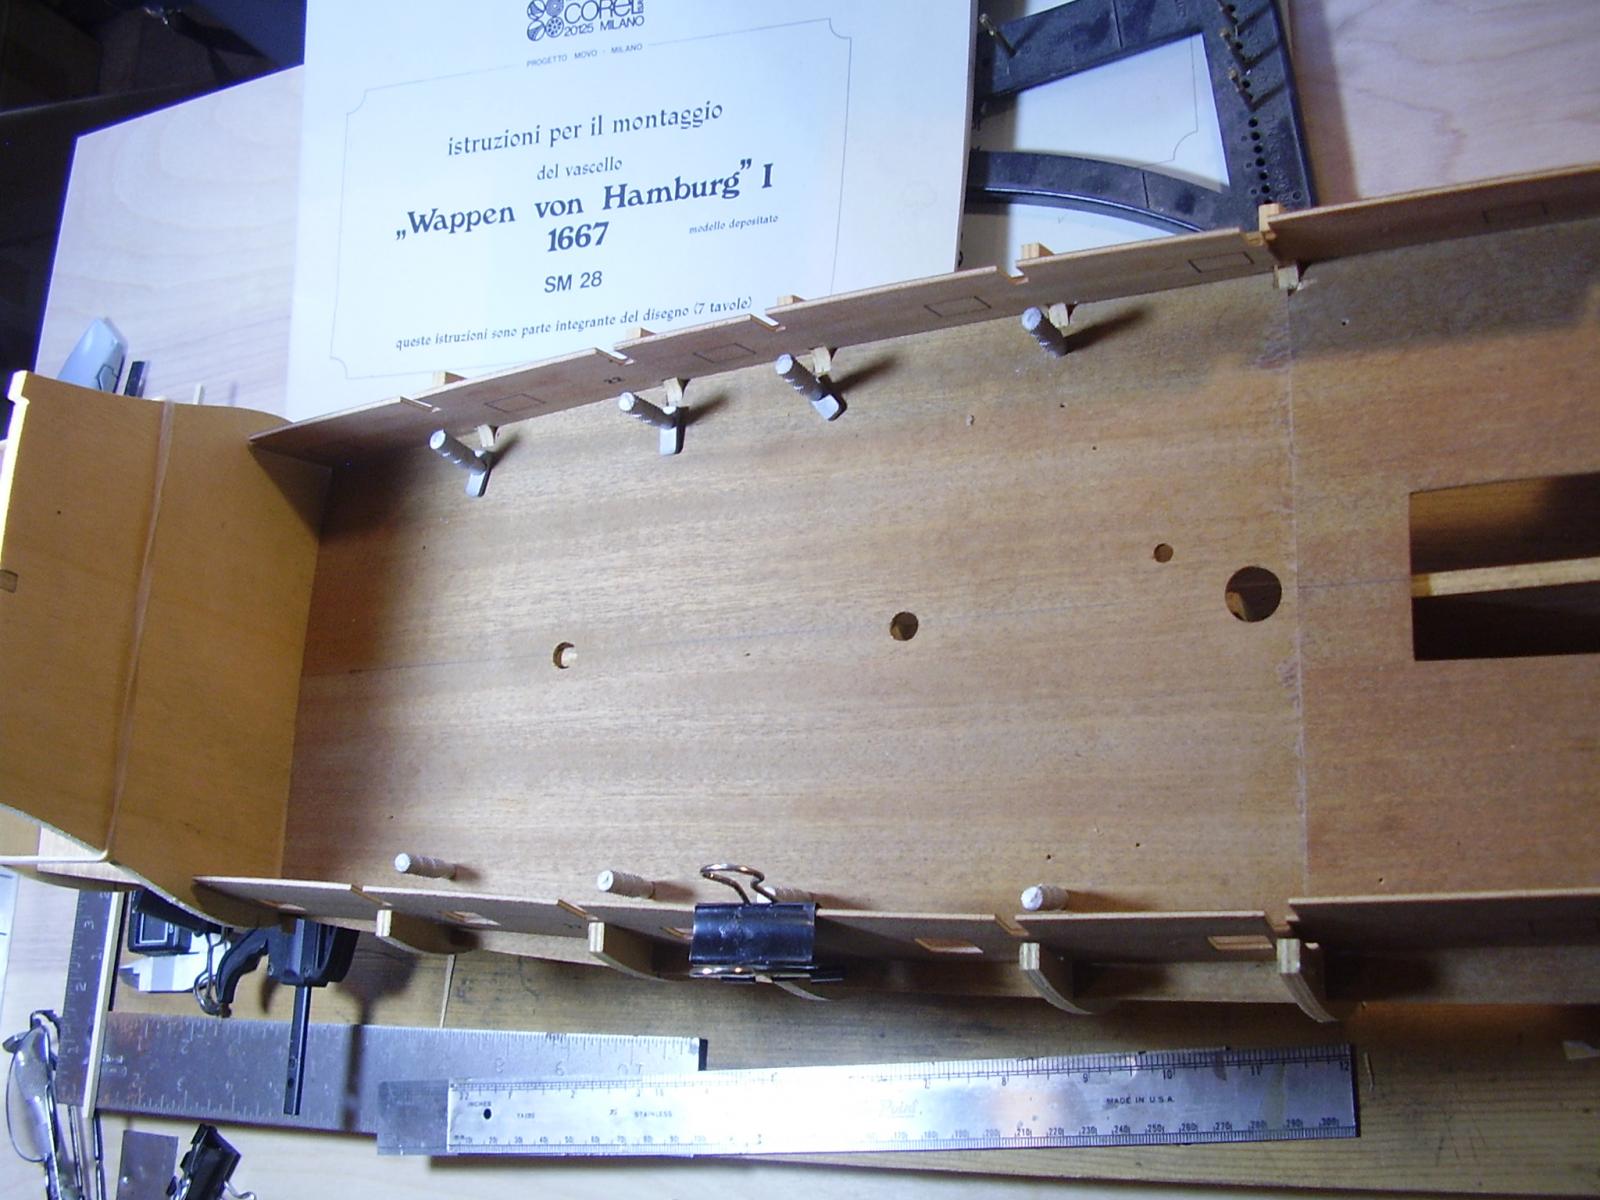
I finally have a day to spend some time with this build. The lower bulwarks and lower deck glued down, and dry fitting/marking all the decks and supports. Still waiting on the carriages from Corel and have some lighter deck wood ordered. I will plank all the bulwarks and depending on how it looks, may leave it rather than paint it. Doing one deck at a time will be very time consuming, however, starting on the lower deck with my thoughts of how I want it to appear will be a great help as I hope to improve as I move to the upper decks (which will actually be seen). Michael
-
Thanks, we are going to need it. Been a great year so far
-
Thanks Chris. I have been looking over those bow parts on the plans as they are not real clear as to which parts go where. I may end up closing those very forward ports, but haven't decided yet. If you, by chance, have any photos of yours in the early build stage, especially in the bow area, they would be much appreciated. At this point, I am still waiting on the replacement carriages from Corel to check all the gunport heights before proceeding further. Michael
-
Now I can see just how much of the lower is not going to be very viewable. Will more than likely limit detail on the rear lower 8 guns, but will still plank all the decks. There is however, the option of adding another companionway or hatch to expose that unseen portion of the ship. Decisions, decisions..........lol.


-
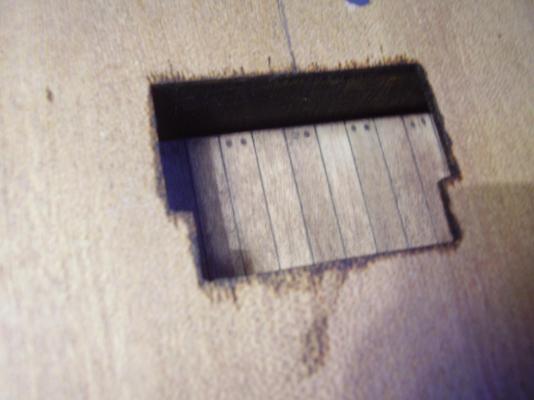
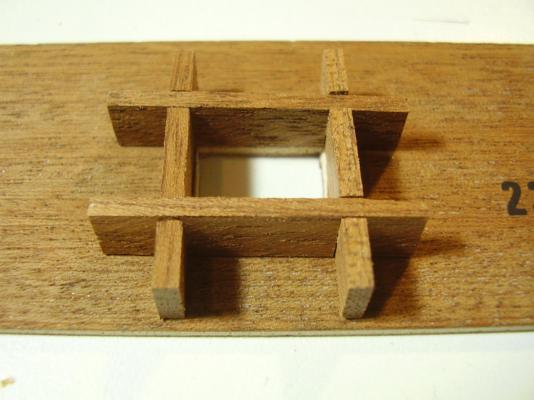
Edwin, Thanks for the comments. Also noted we are in somewhat the same part of the world. I live in Southern Oregon, but also have a small place just outside Birch Bay Washington-summer cabin. Curious to see how long it takes parts from Italy to arrive to the US West coast. I did determine a way to use this corner punch that works well on this printed walnut ply. The ply is 2mm thick, but the walnut is very hard on #11 blades. I use the punch, aligned with the straightedge and just tap through the walnut outer, very fast and clean. Then just a couple of passes with the #11 blade, and the ports are cut, nice and square and will be finish sanded/shaped after the gunport frames are attached.


-
Just an FYI, Corel responded as noted in previous post, and messaged me today that all new WOOD gun carriages are on the way to me. Corel indicated that it has been 'several' years since these kits had cast carriages and that anything I needed to build this kit is only an email away through them. Still cutting out gunports as of today Only 30 or so to go. Michael
-
A quick update. I sent an email to Corel outlining the gun carriage issue, and received this reply: Dear Sir, we are really very soprry for the problem. Please let us have your complete address and we'll send you all the gun carriages! Waiting for your answer, regards This is customer service and I applaud Corel for standing behind thie, even though, as I told them, I bought this kit many years ago! And yes, I am a devout SEAHAWK FAN.........GO HAWKS! Michael
-
I was only able to get one full deck of gunports cut out today, but that is enough to enable me to prefit the port frames and gunport covers. The frames are precut walnut, slotted to build a 'square' that glues to the outside of the bulkhead which is then planked over on the outer side. The covers all all precut as well and actually fit over the openings. Some additional material will have to be added to secure the planking around the openings. The hinges themselves are photo-etched on copper sheet, no hinges-though this may change or at least 'appear' they are hinged. Michael


-
Larry, The cut-outs are inked only, so I clamped down the parts with a straightedge to scribe, and also used some aluminum angle that I have trued for the vertical cuts. I also tried a tool I forgot that I had, (purchased with this build in mind) from Micro-Mark. A 90 degree cutting stamp that is designed for either mounting in a press, or smacking (tapping lightly?) with a hammer. This tool isn't too bad, but I found it much easier and cleaner if the cuts are pre-scribed with a blade first. I think I like the cut with a #11 blade better though.


-
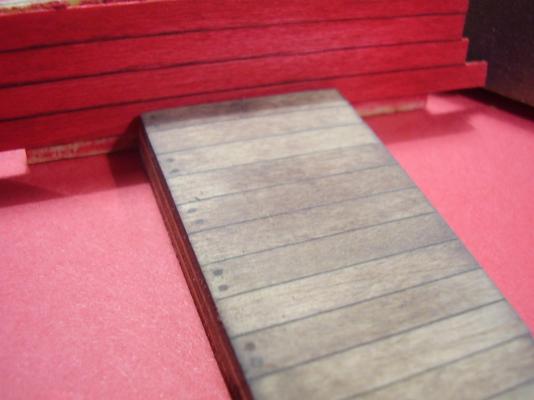
Equipped with a fresh supply of #11 blades, today will be spent cutting out all the gunports. The majority will go fairly quickly as the parts are 2mm walnut ply. The last 4 bulkheads will be a bit more work as they are made up of 4mm and 5mm walnut ply. If one looks closely at the 2mm sheets, you will notice several small holes. This is due to all these parts being stapled together, courtesy of Corel at no additional charge. I have also steamed and clamped the rear deck supports using the adjacent deck support beams for the correct curve. Michael


-
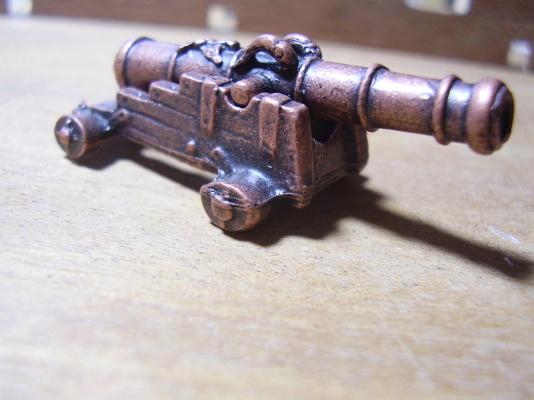
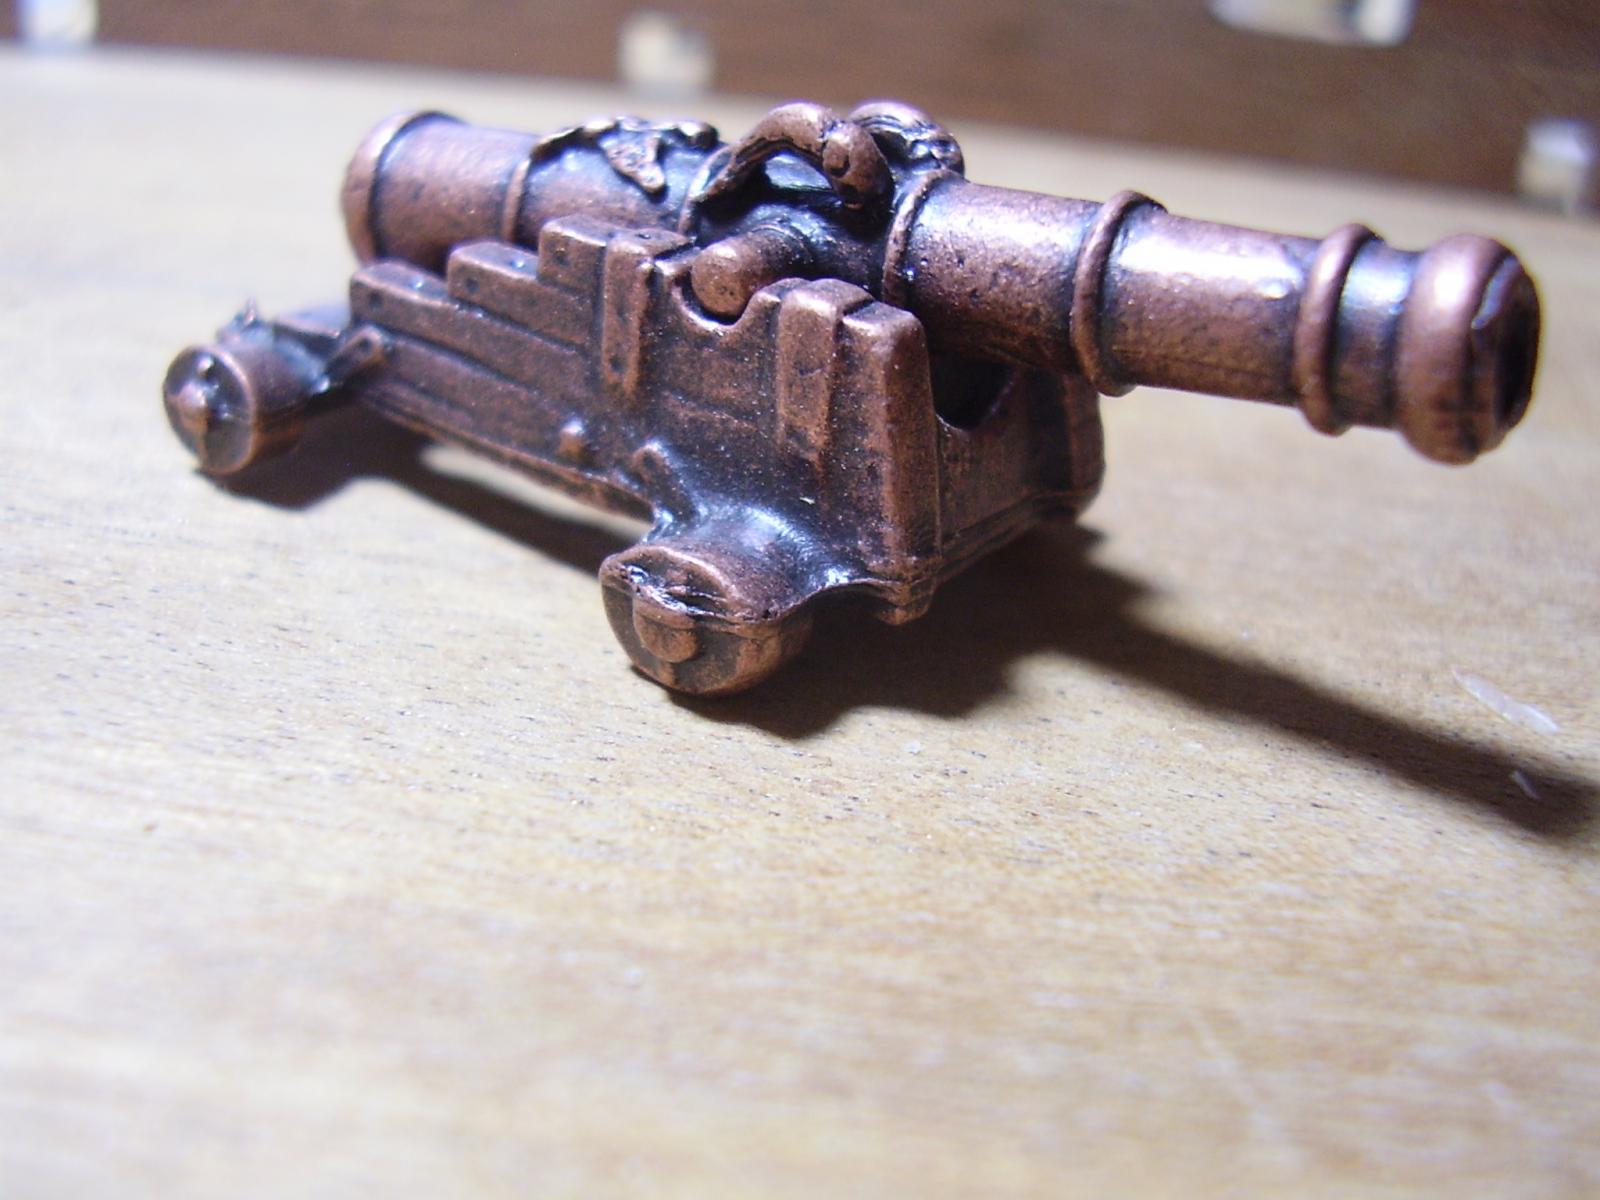
I do not have a year this kit was made, but I bought it about 10 years ago. Most of the barrels will require some cleanup to remove some casting flash. Michael
-
Considering that there are 3 different gun sizes, with the majority of of the smaller ones being seen, and very few on the lower decks unseen, will probably rebuild all the carriages and rig them. This is truly the one aspect of this rather expensive kit that I see as un acceptable. It would, to me, seem very difficult at best to rig these guns as provided. The barrels themselves are going to be a challenge to clean up as well. michael
-
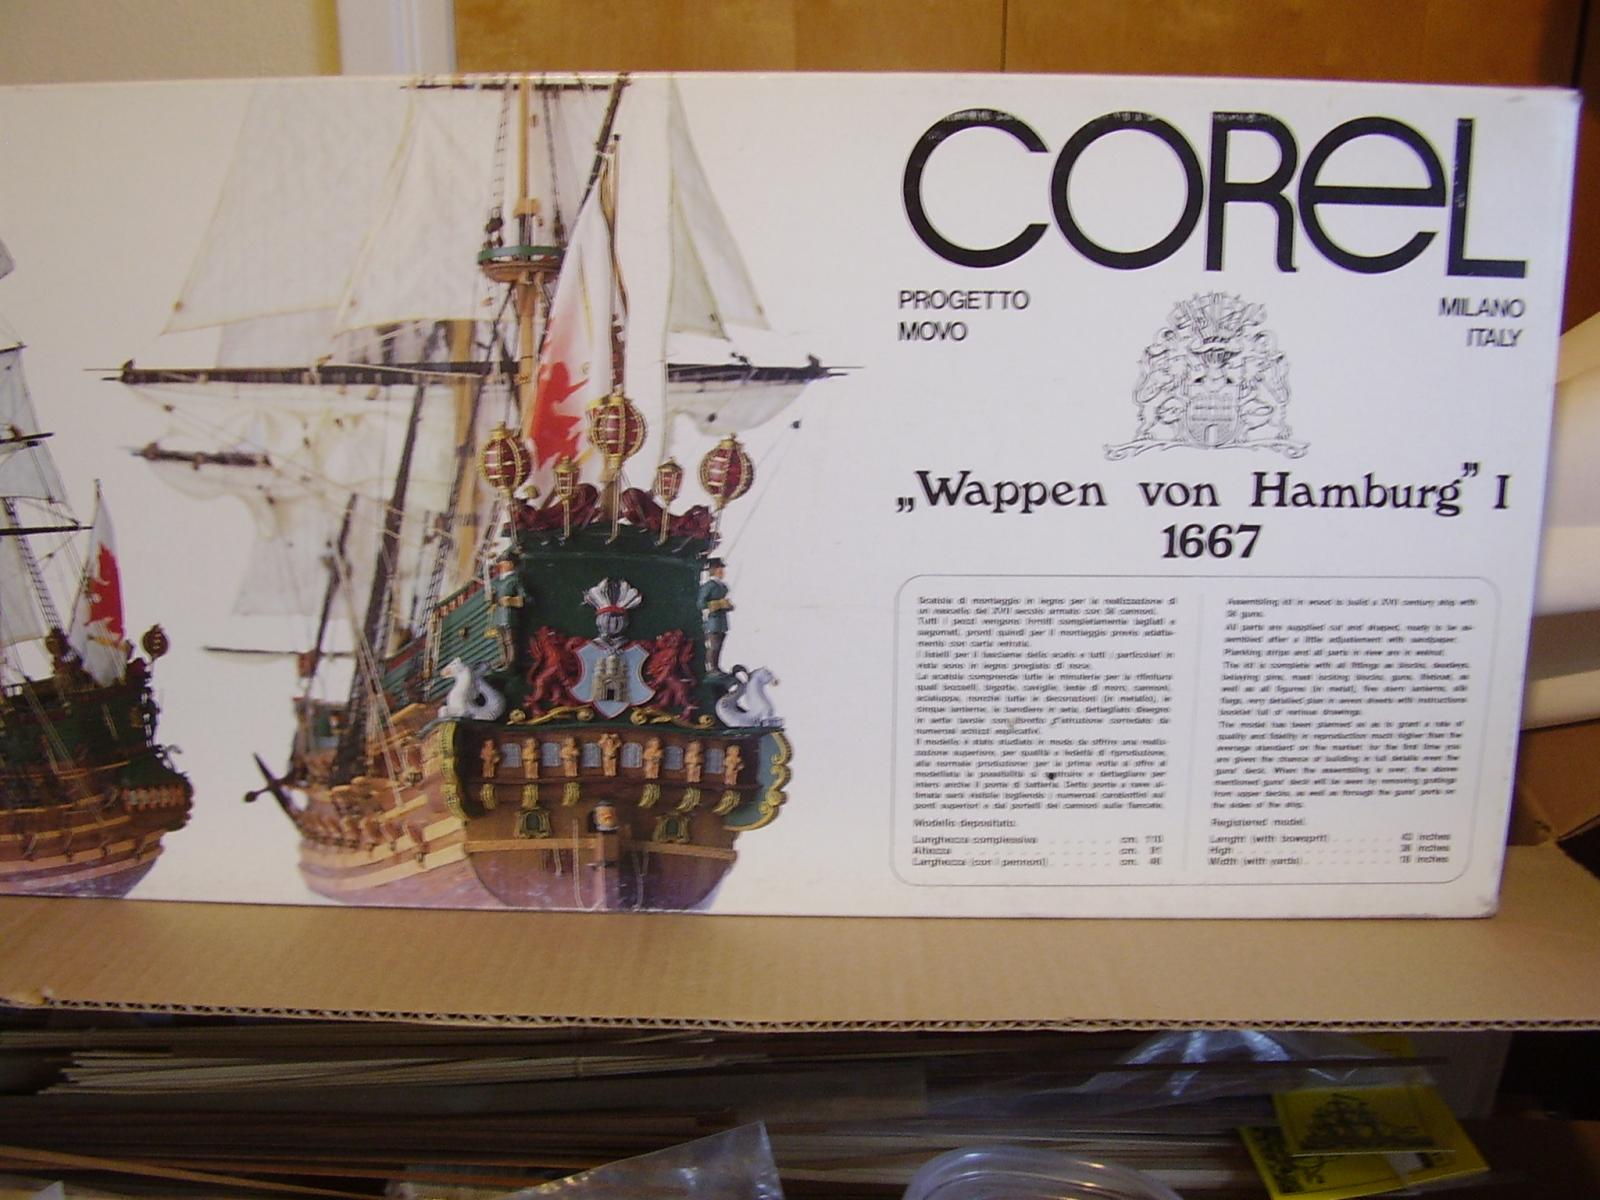
I bought this kit many, many years ago as I was always drawn to it, knew my skills at that time were not up to the task. While I built other, simpler kits, this one always drew me back. Then, one day, I saw it advertised on Model Expo at a 'close-out' price I could not refuse. So, a few days later, a rather large, extremely heavy box was left at my door. Upon opening, I realized that my skill was still not up to what it should be, so in the closet it went. Now is time to build this beautiful ship, so hope those that have built one will chime in with some hints and tips, and those that feel this is a 'someday' build will follow along. So here we go. All the wood is very high quality walnut and ply and appears to be more than ample supplies. Many pieces are precut which may or maynot be a good thing. All parts are indicated, though scattered, on the seven plan sheets. My only gripe so far, is the horrid gun carriages-I have already decided that most, if not all the carriages will have to be built. Even after time spent in storage, the only precut frame to be un-warped was the false keel, which was steamed and clamped for several days. At this point, nothing has been glued as I am still pre-fitting the frames and 1st deck level as this will dictate how the rest of the build will go. All the gunports and other openings are well marked on the wood and will be cut out prior to any actual assembly. I will show the parts as I prepare them for use, rather than try to show all the parts at once. Michael