oldpaperone
-
Posts
31 -
Joined
-
Last visited
Content Type
Profiles
Forums
Gallery
Events
Everything posted by oldpaperone
-
 And there is this ( from 1841 ) https://commons.m.wikimedia.org/wiki/File:Saturday_night_at_sea.jpg
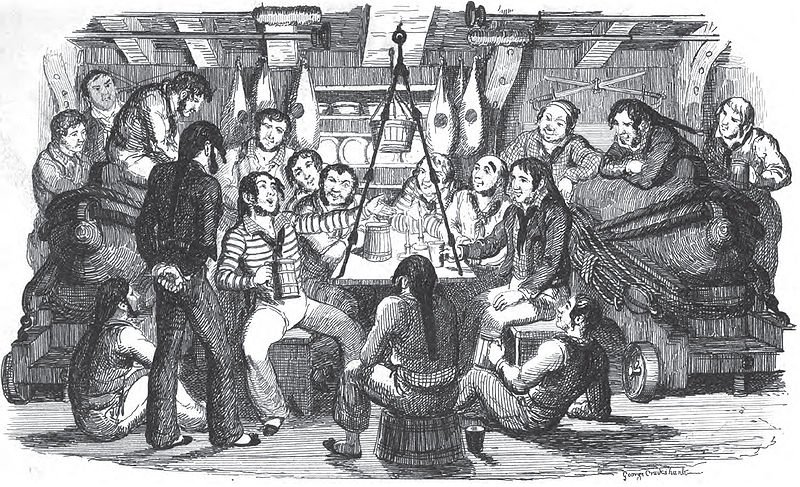
-
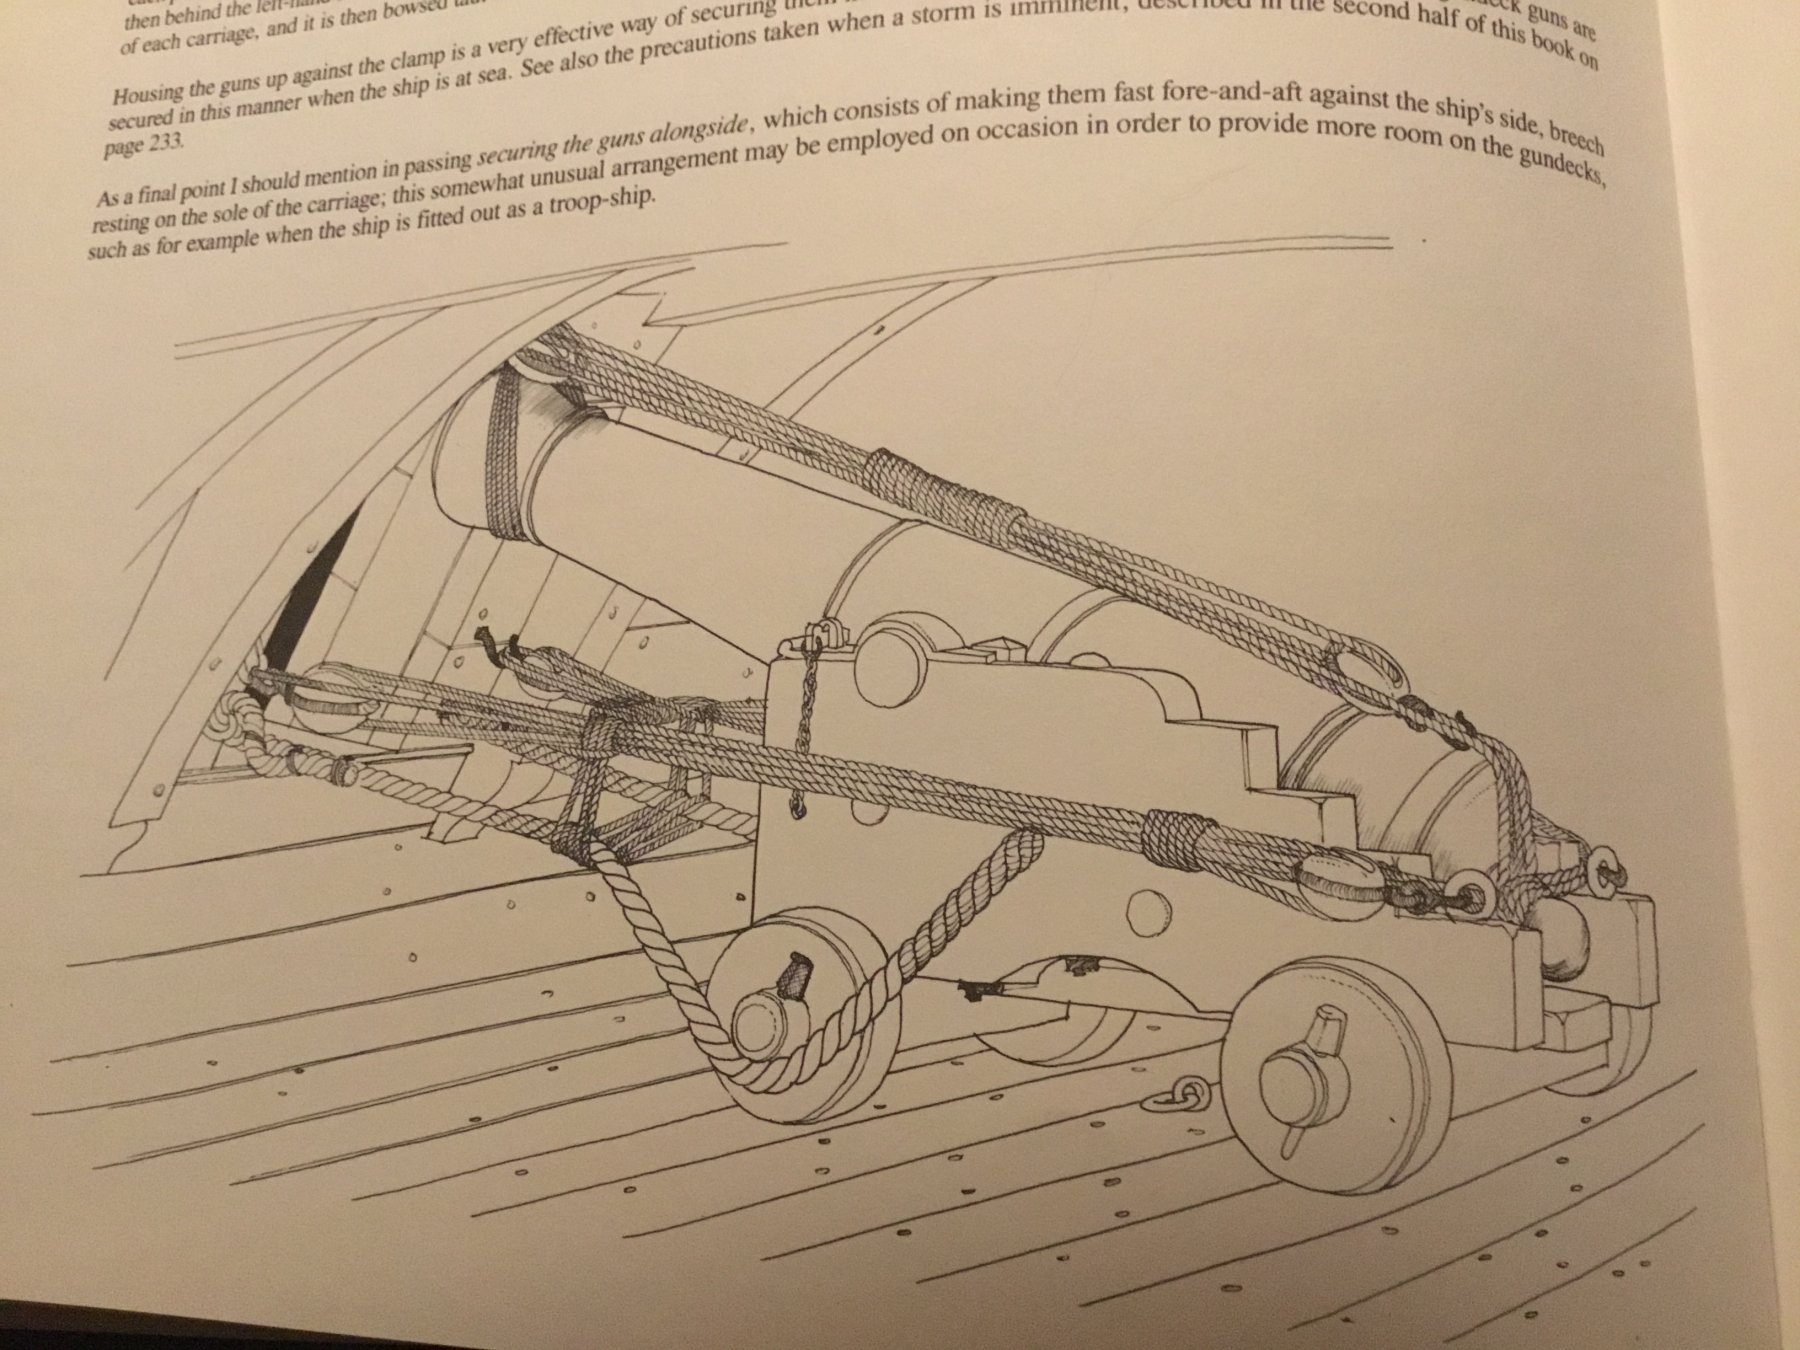
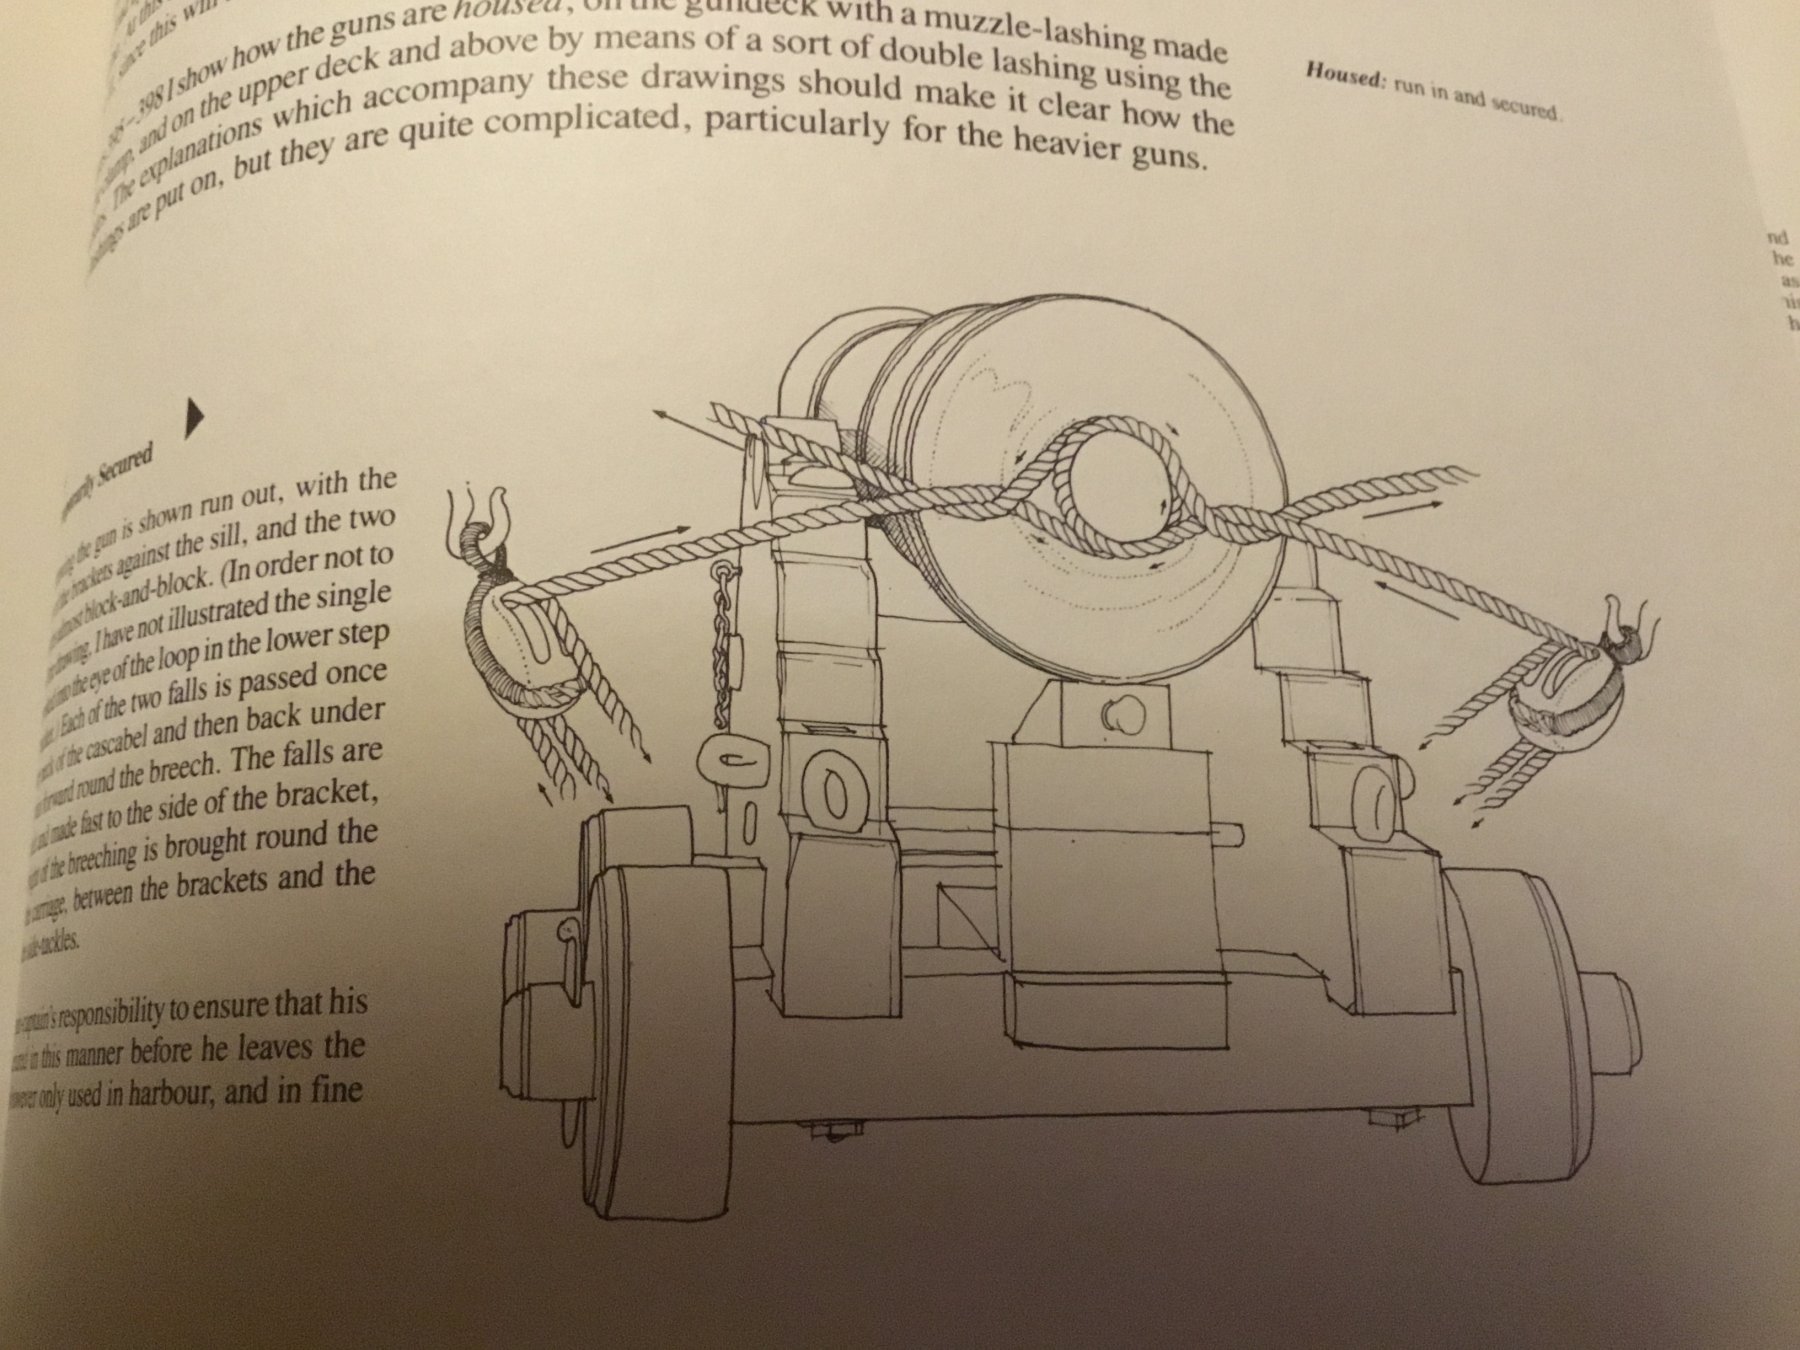
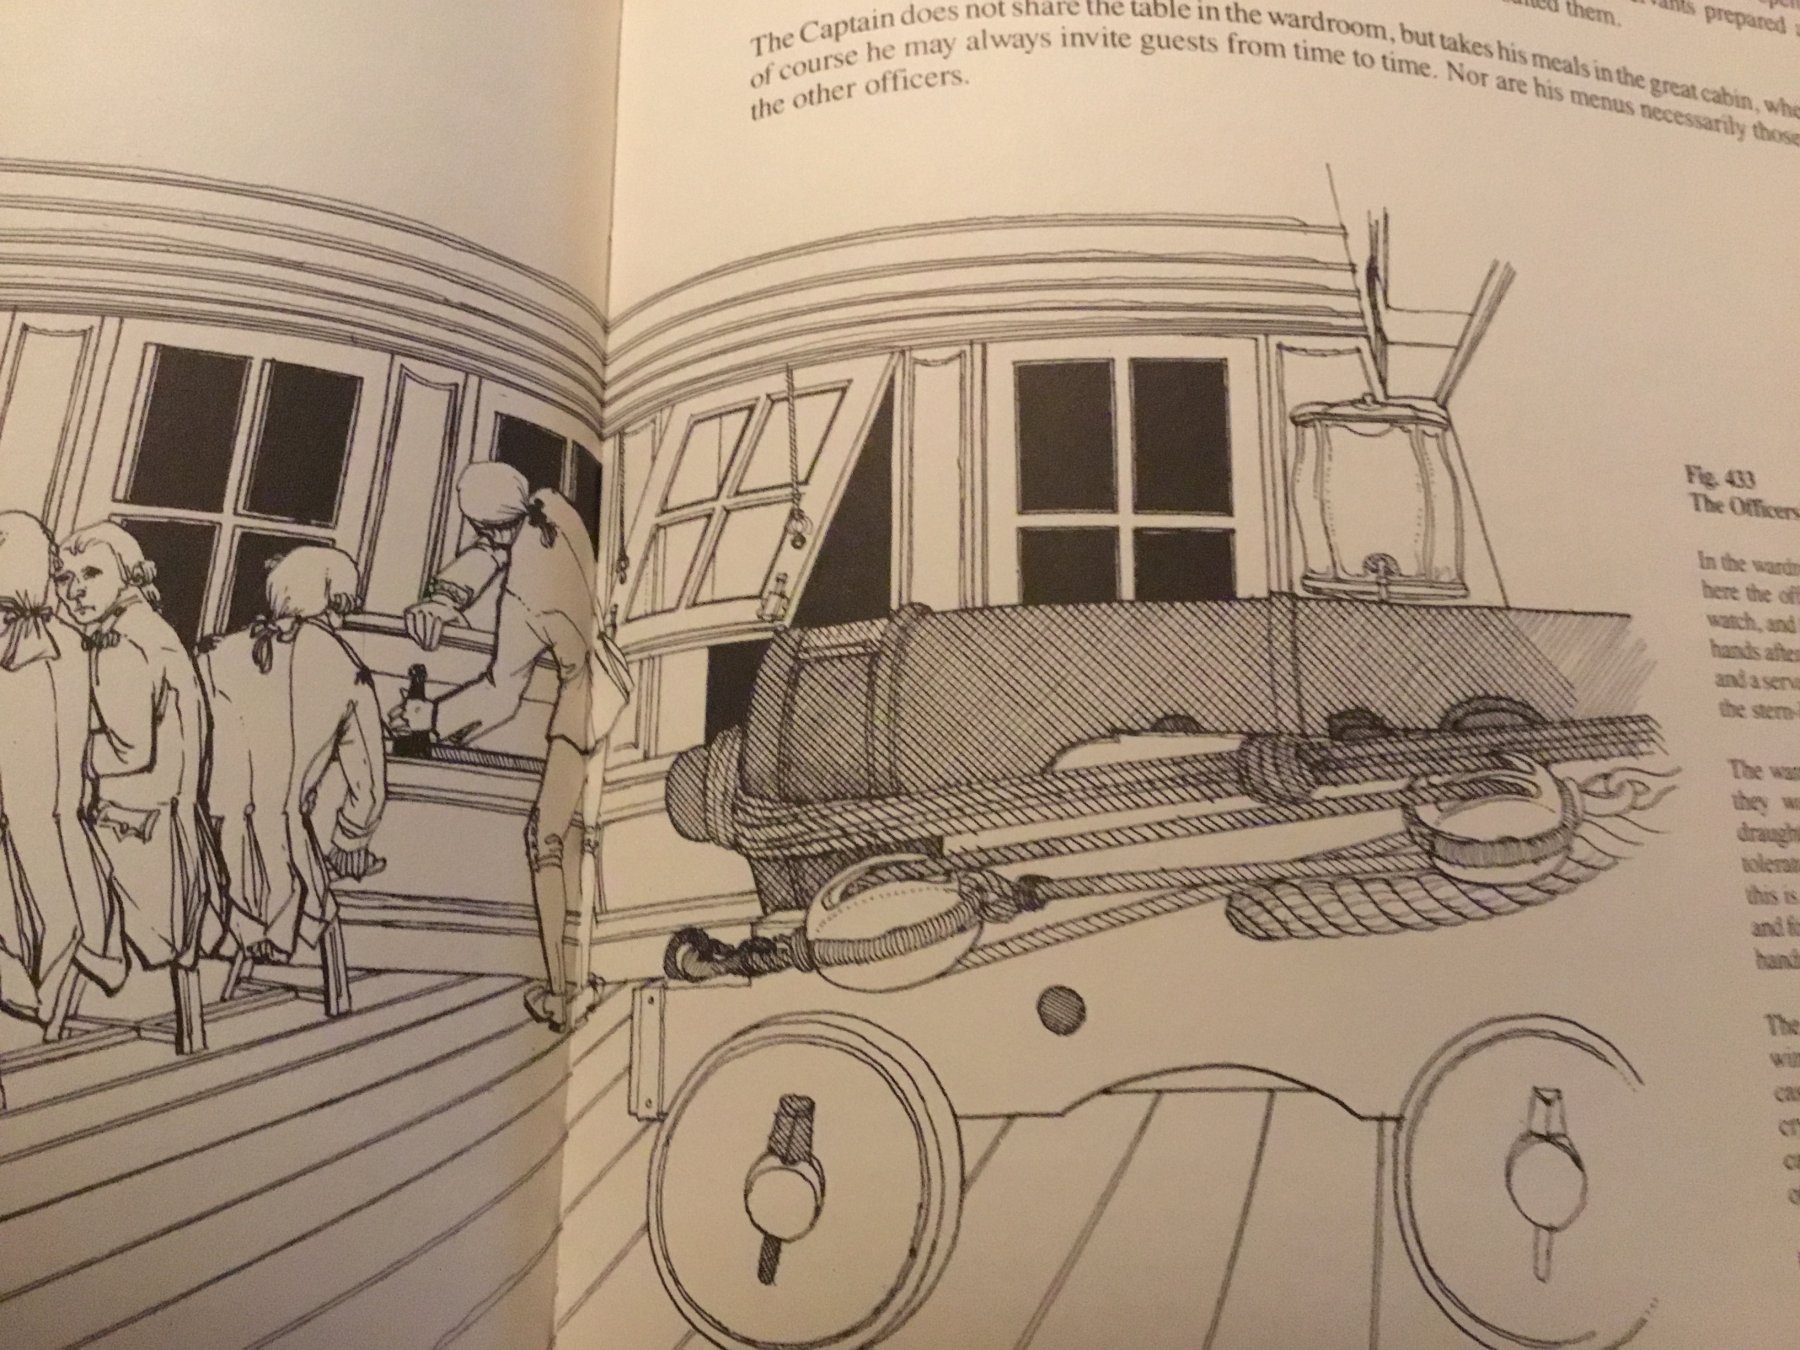
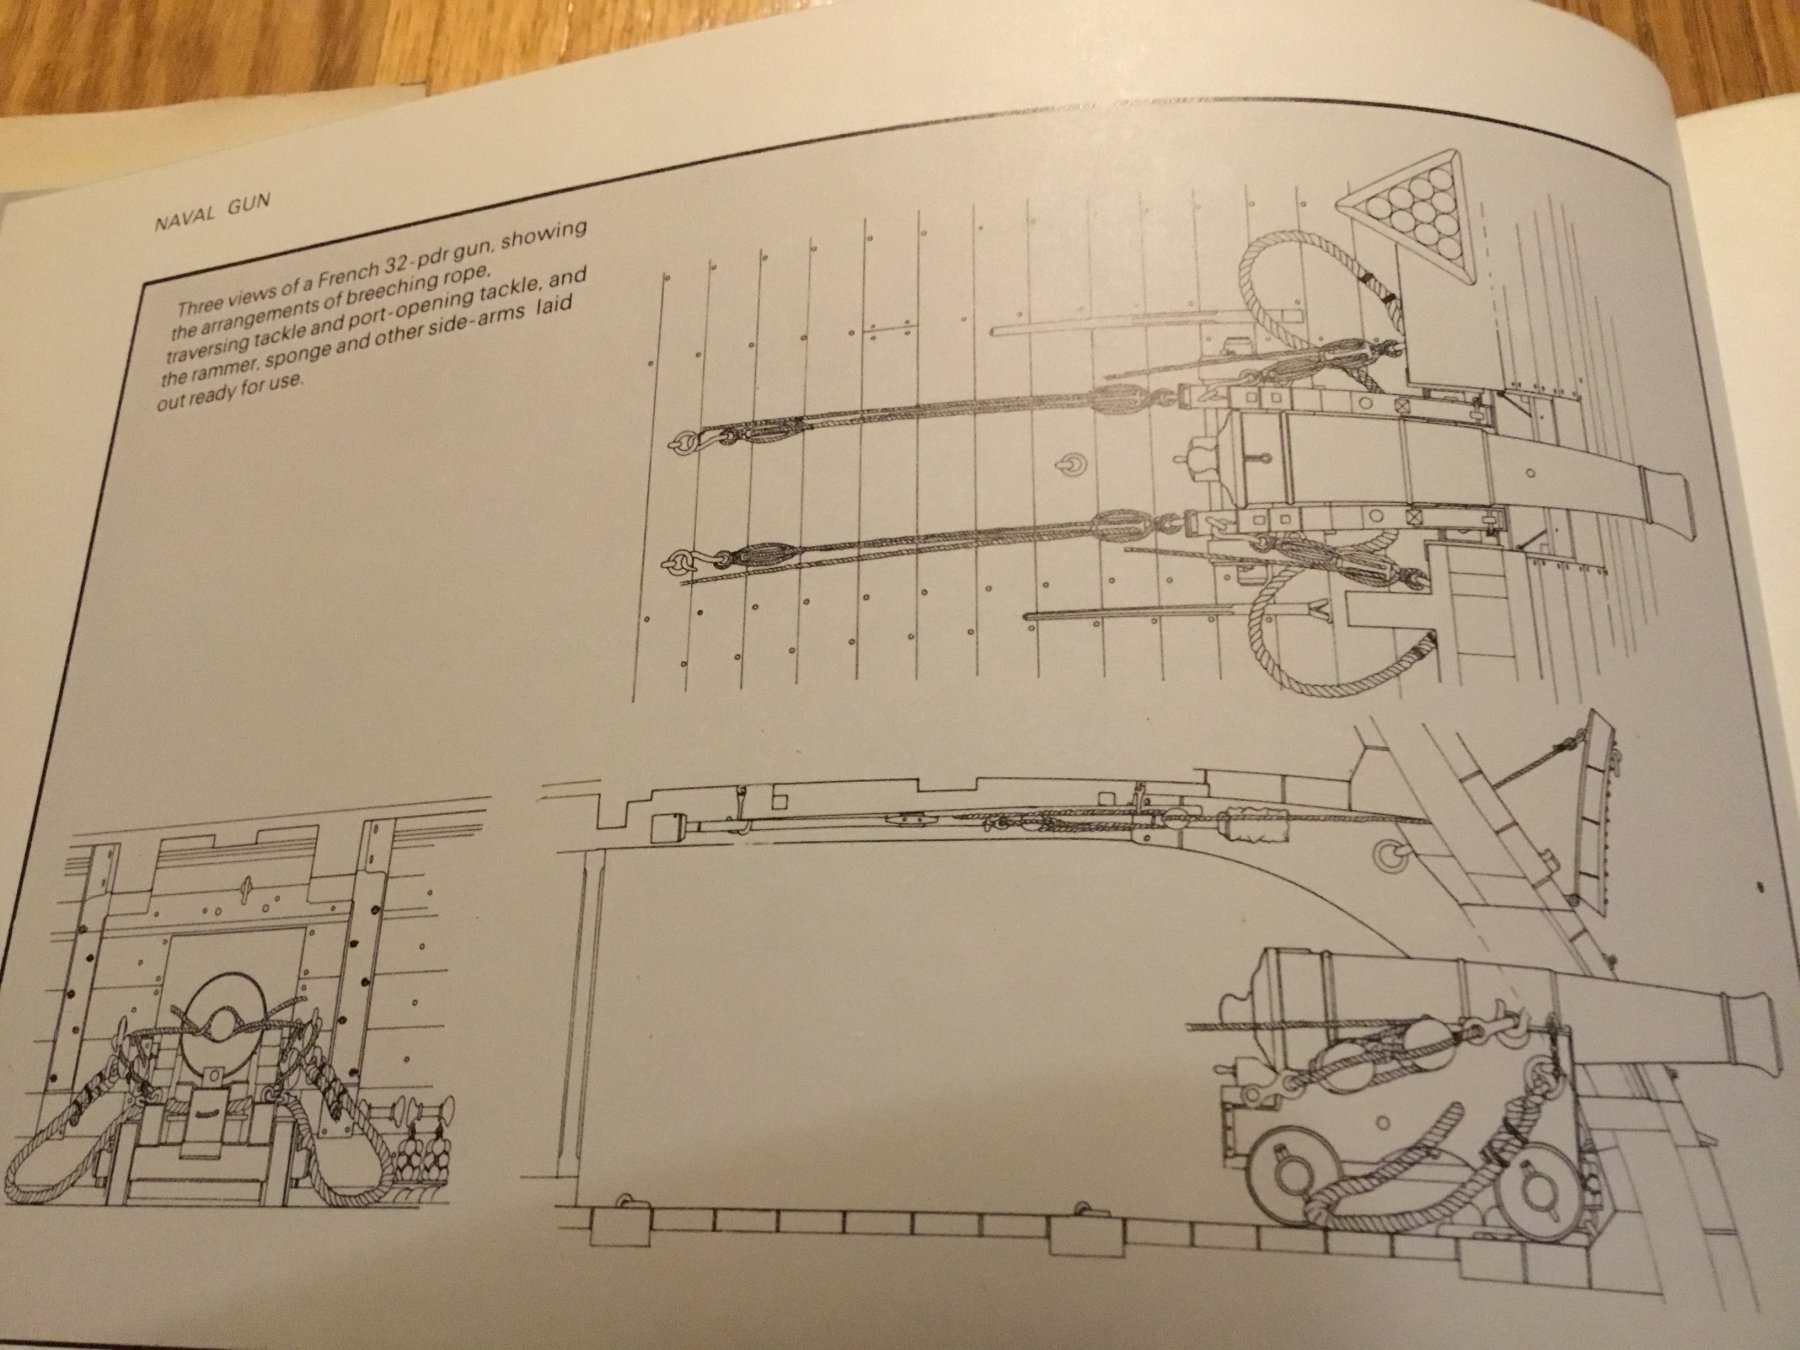
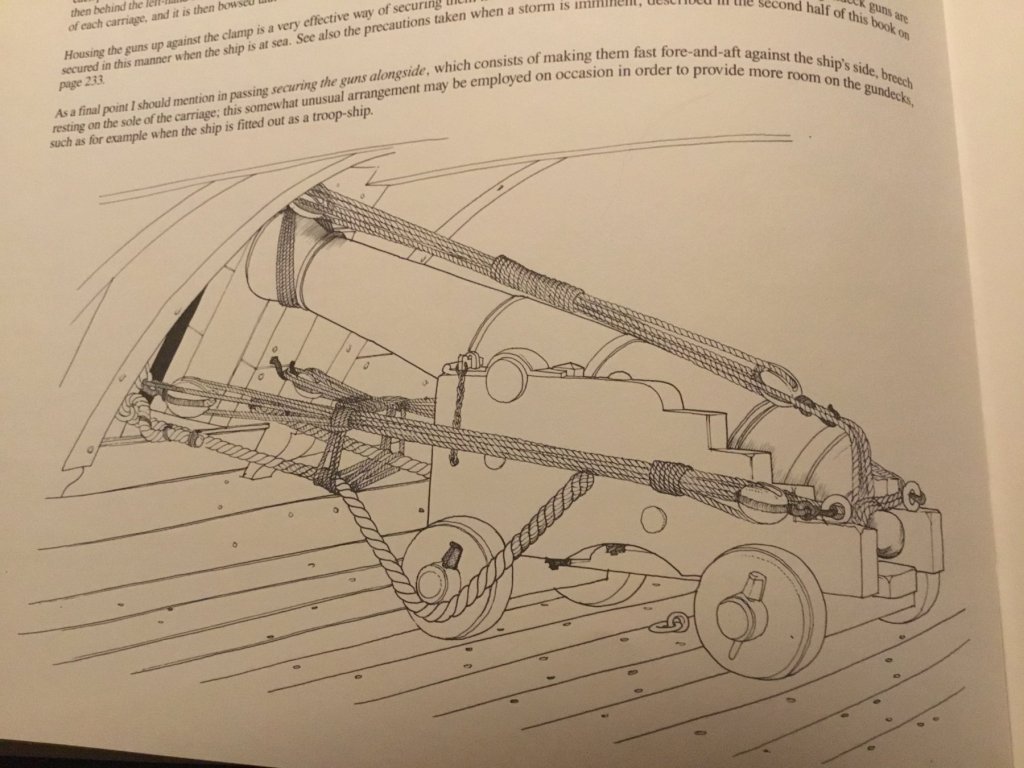
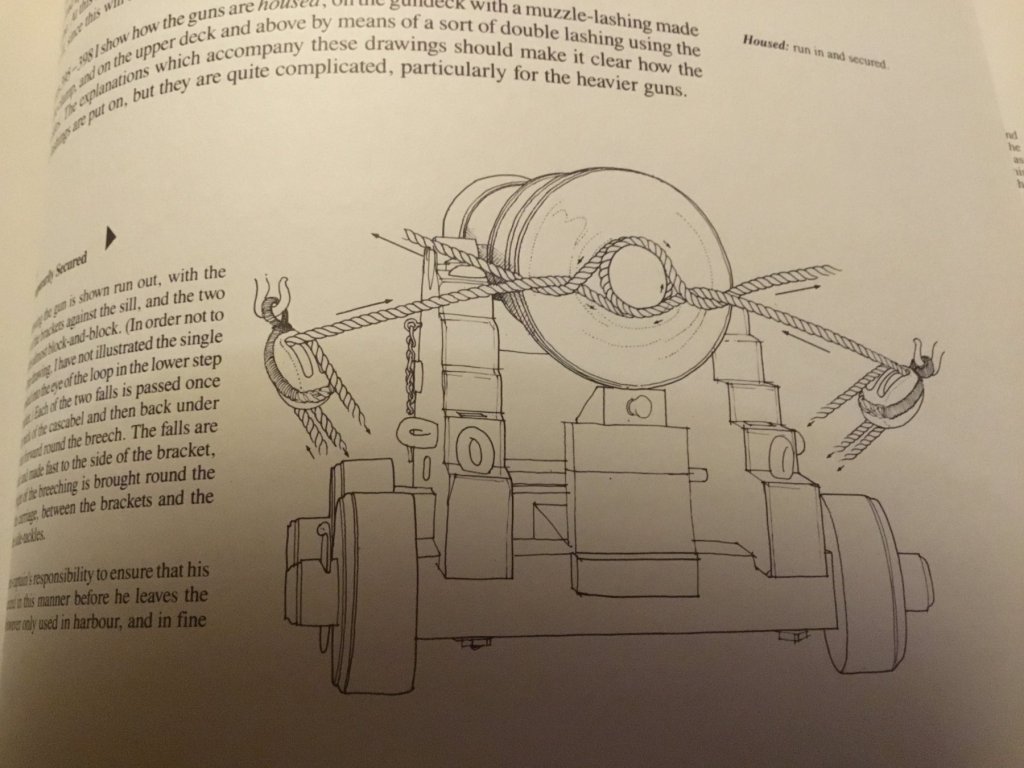
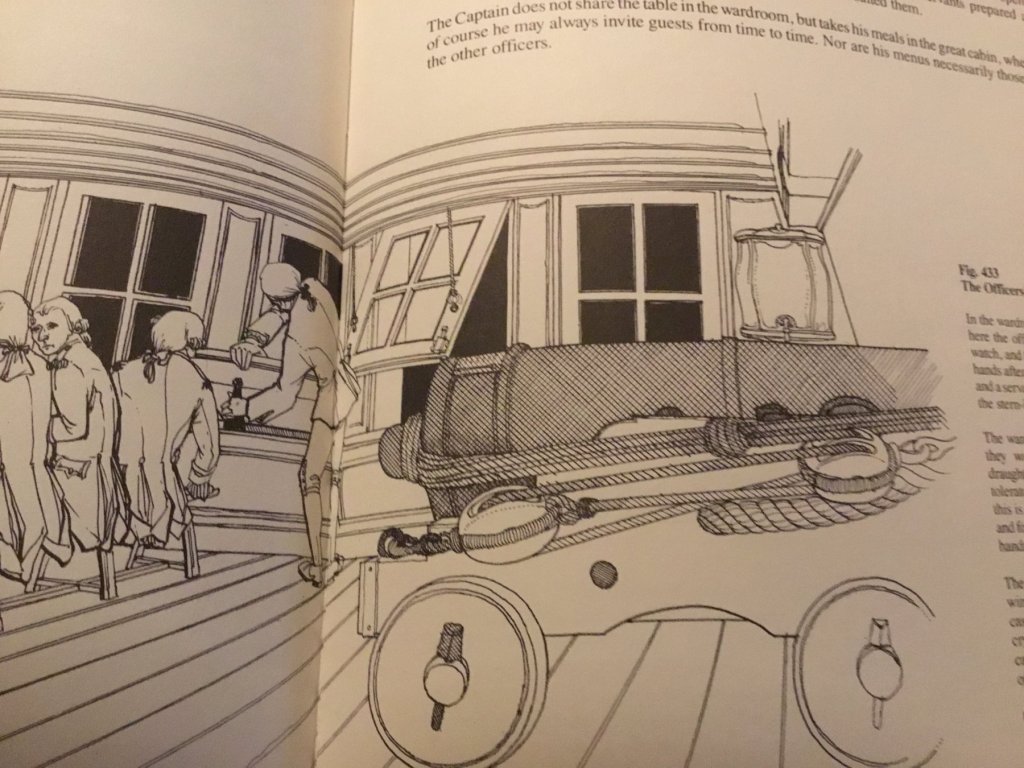
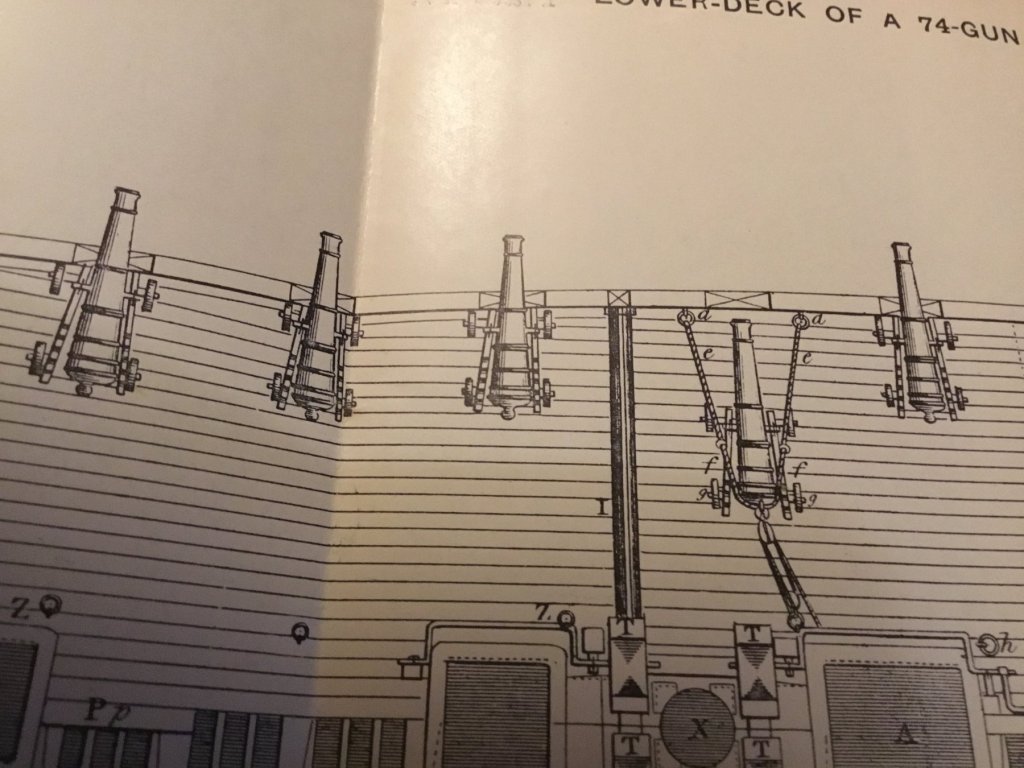
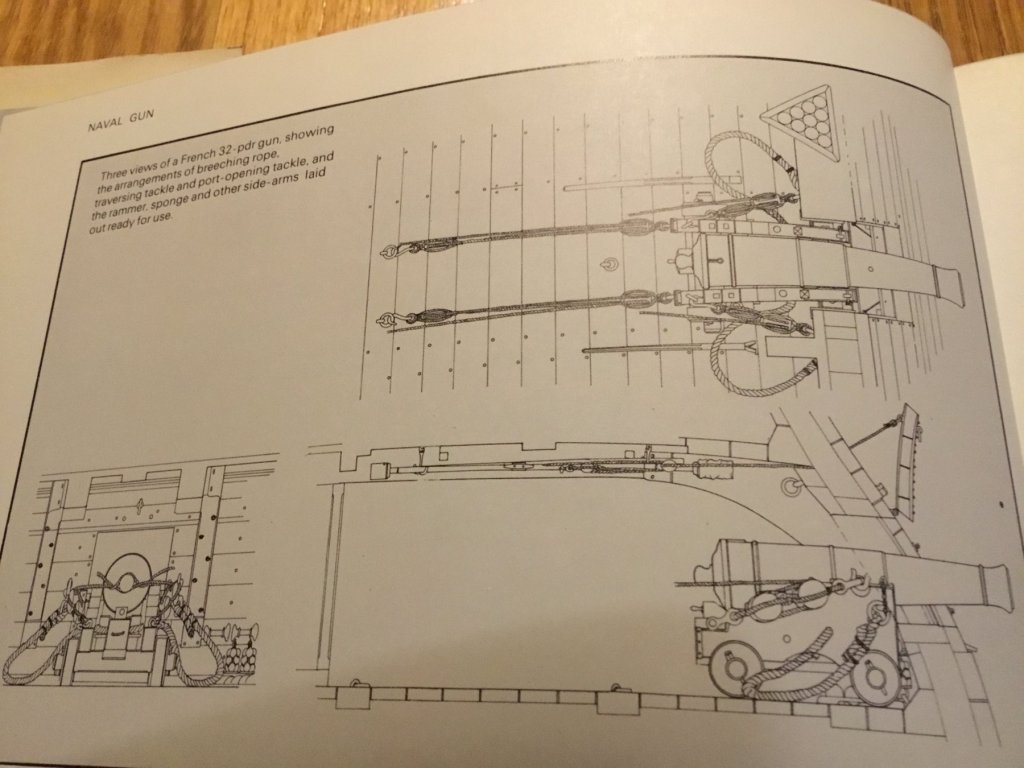
A few exaples from my library. The guns were lashed when not in use, often with multiple lashing ropes. Different when made ready for action.The first three are from Boudriot’s 74 gun ship book.
-
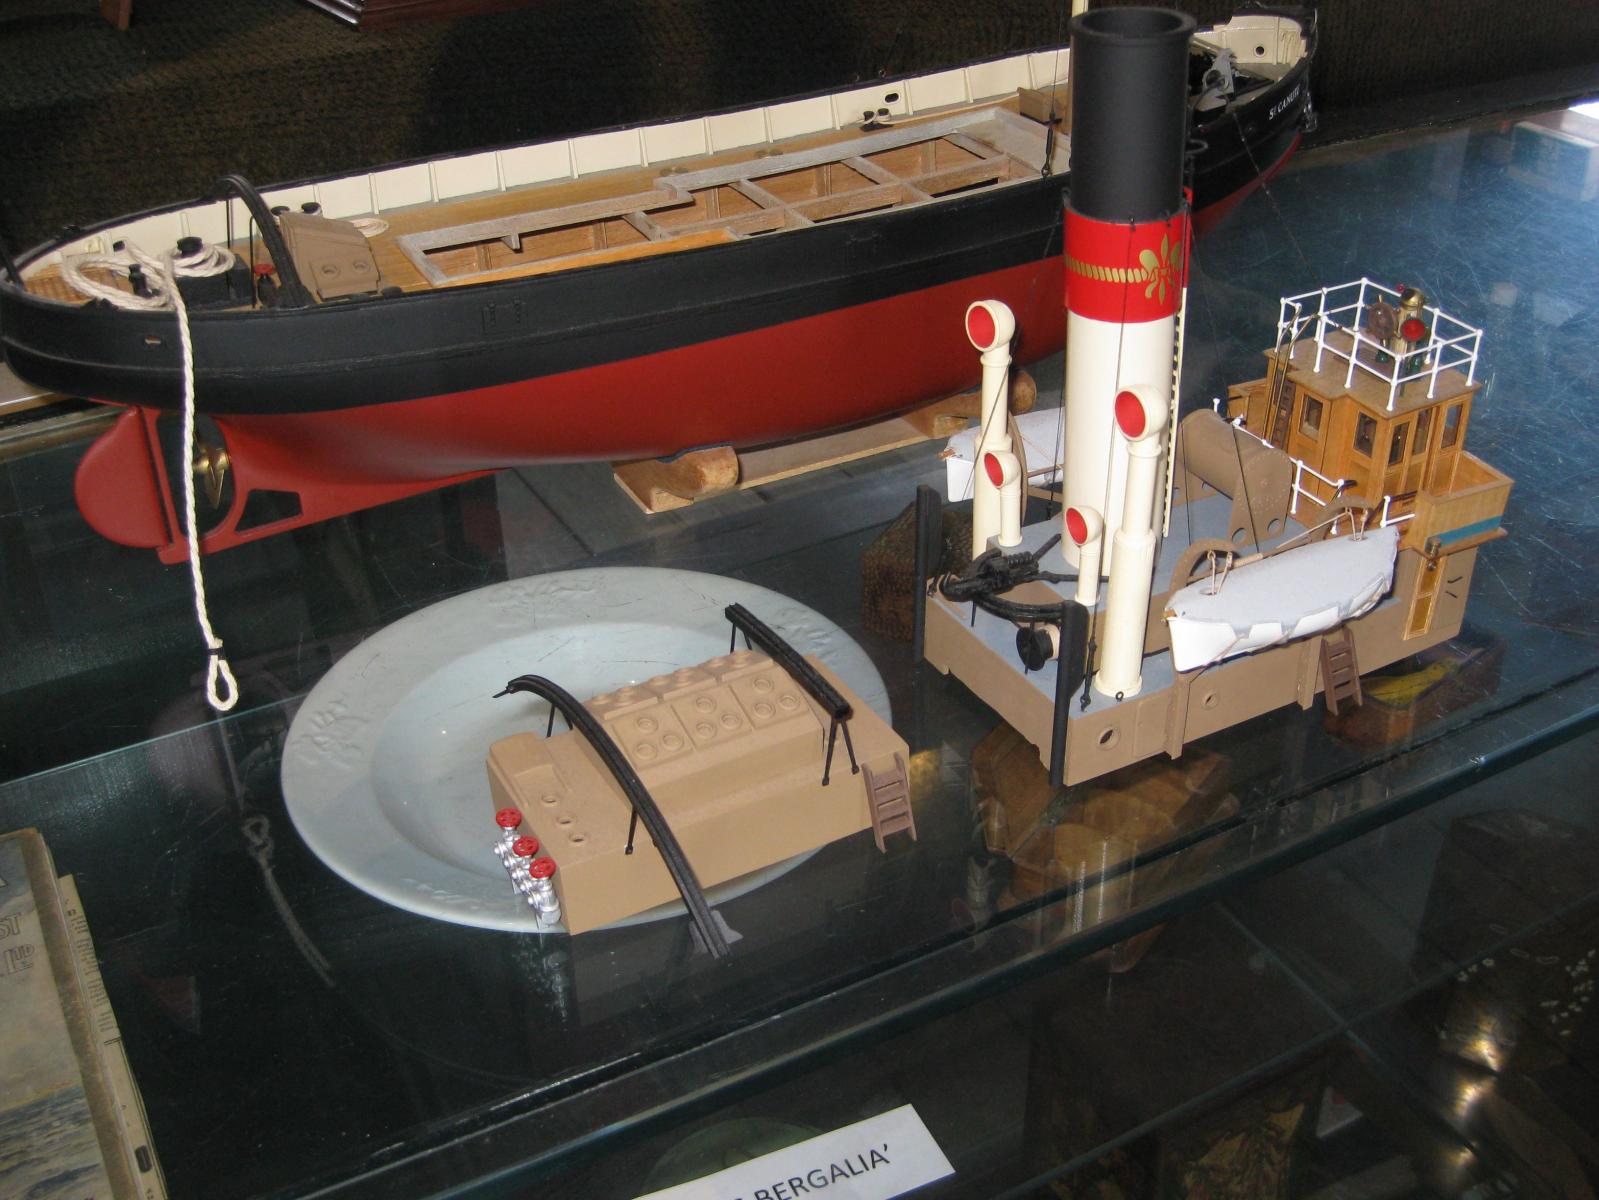
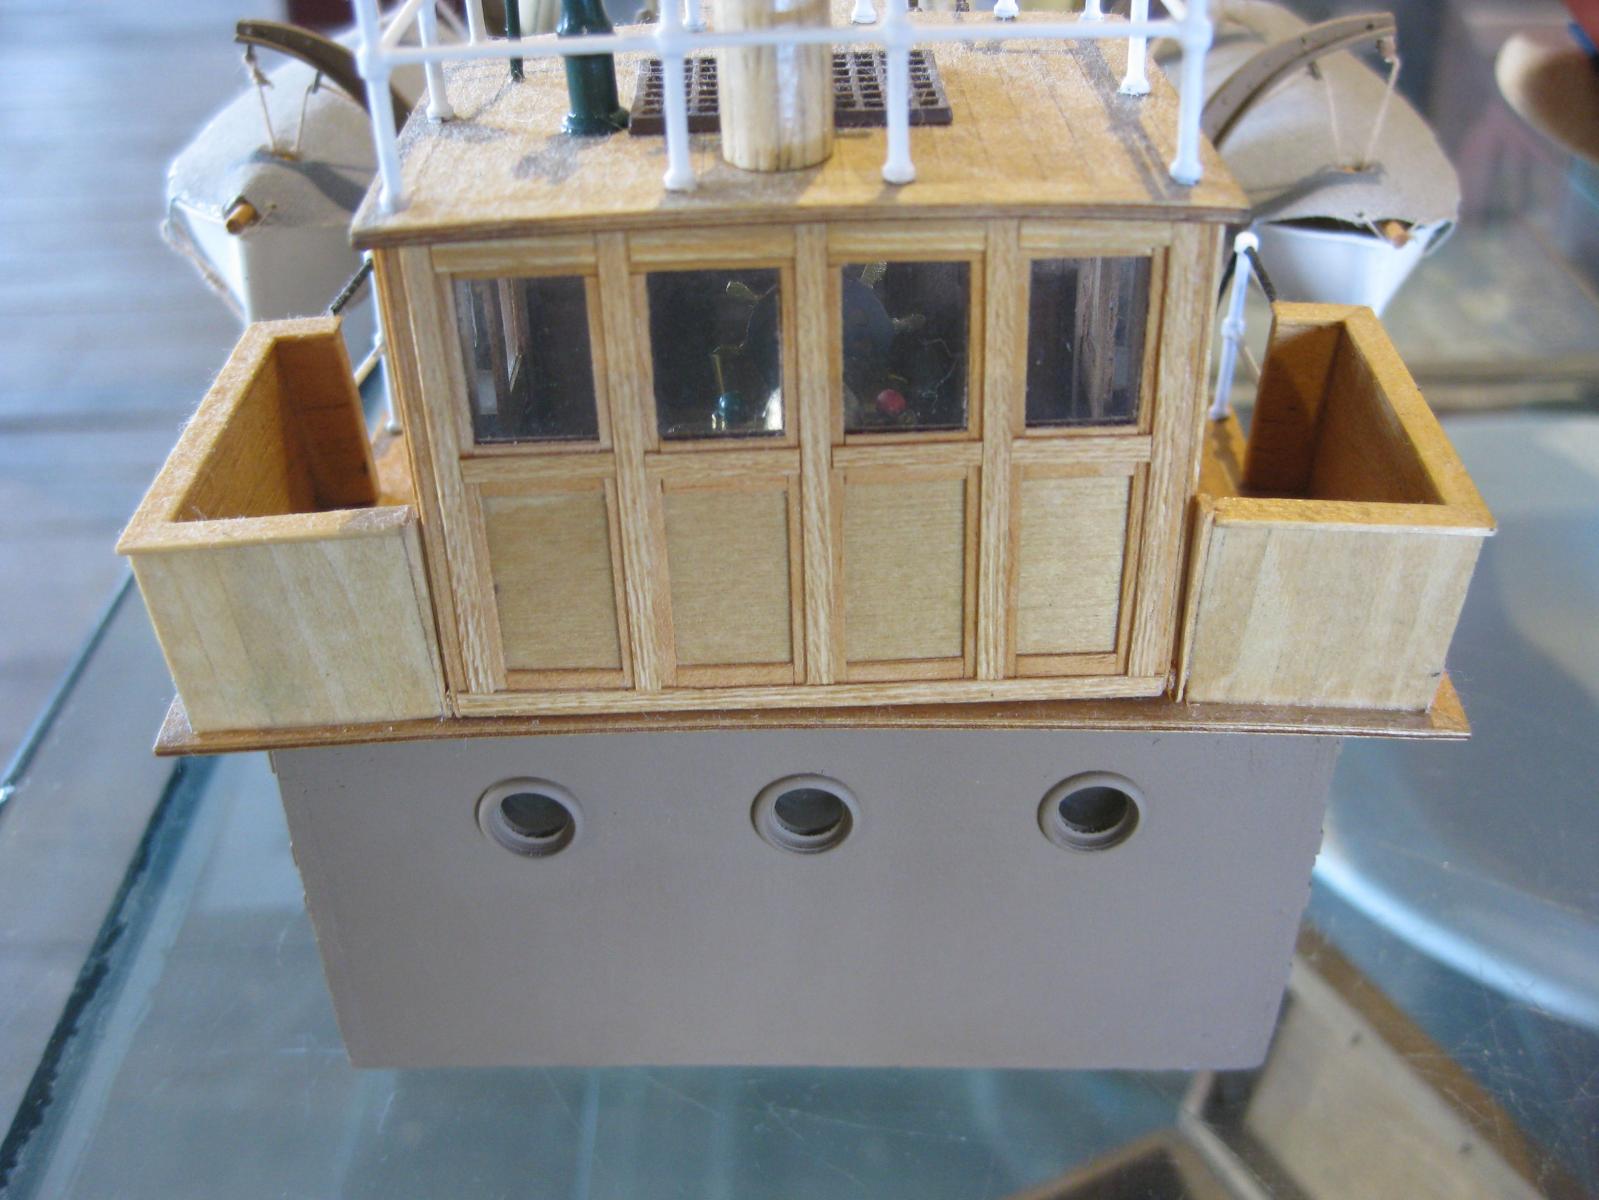
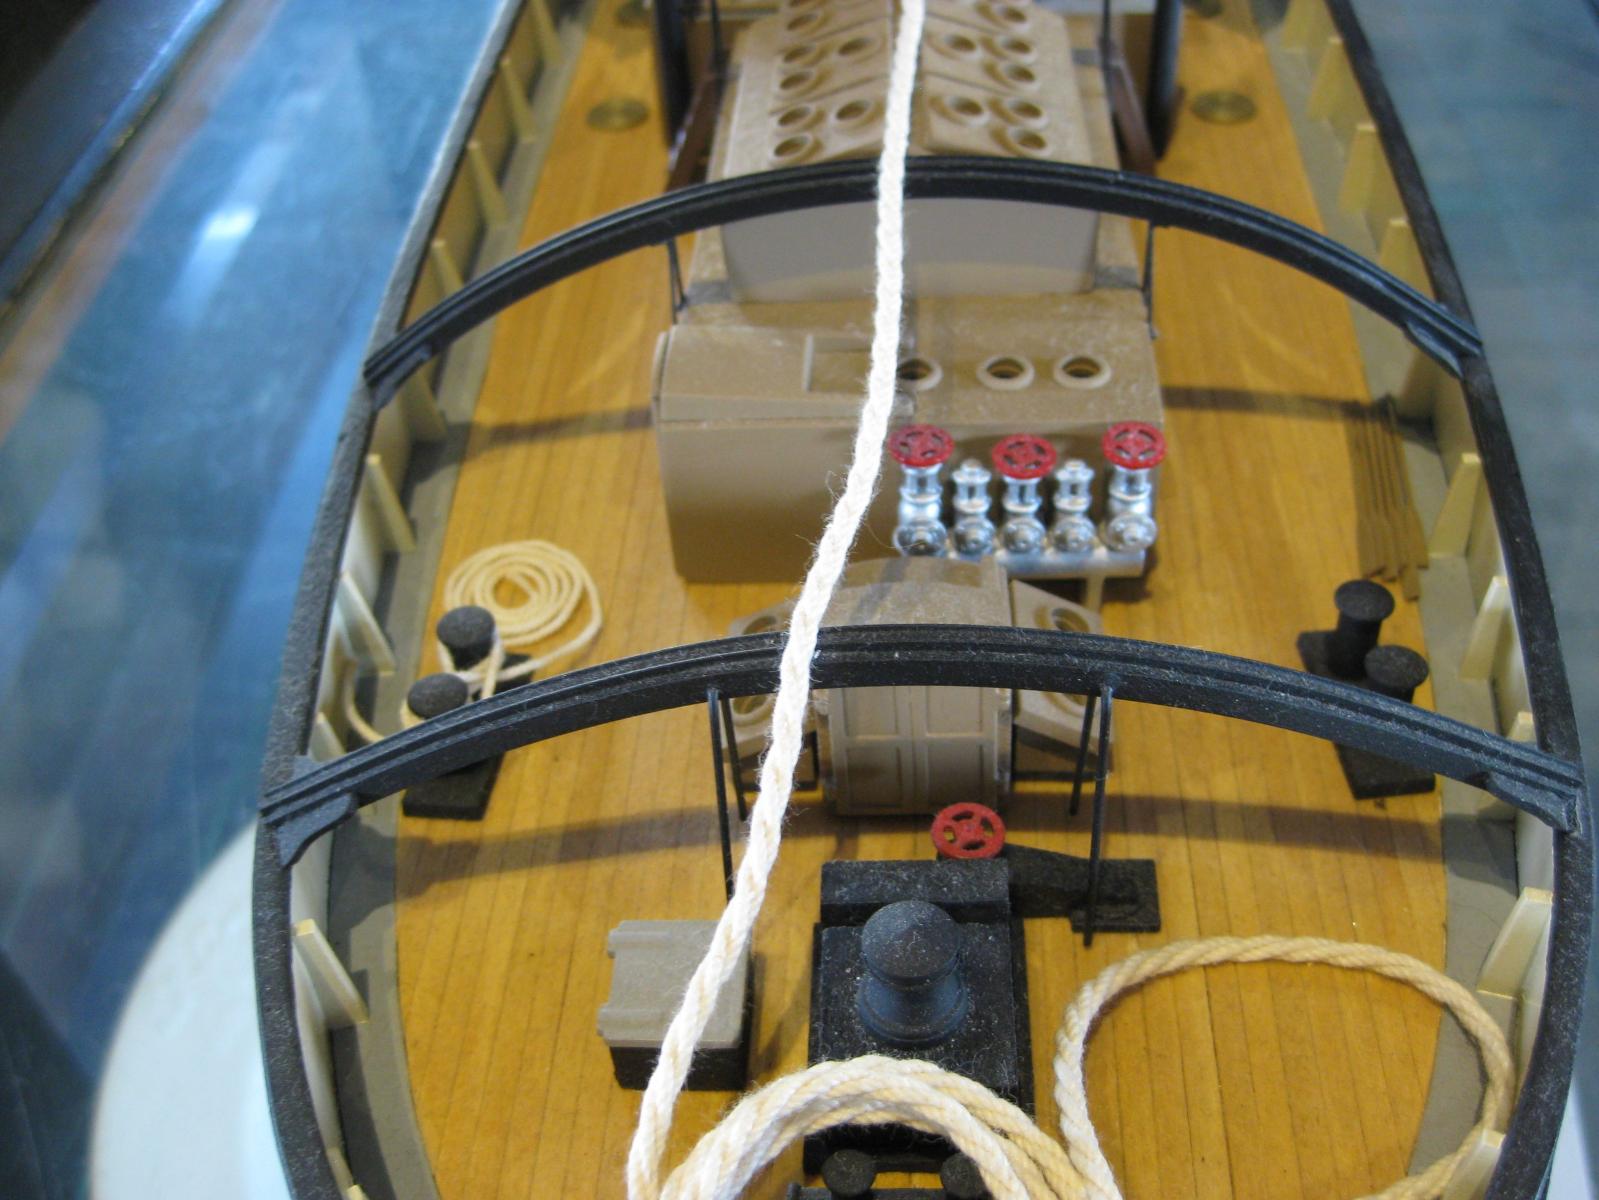
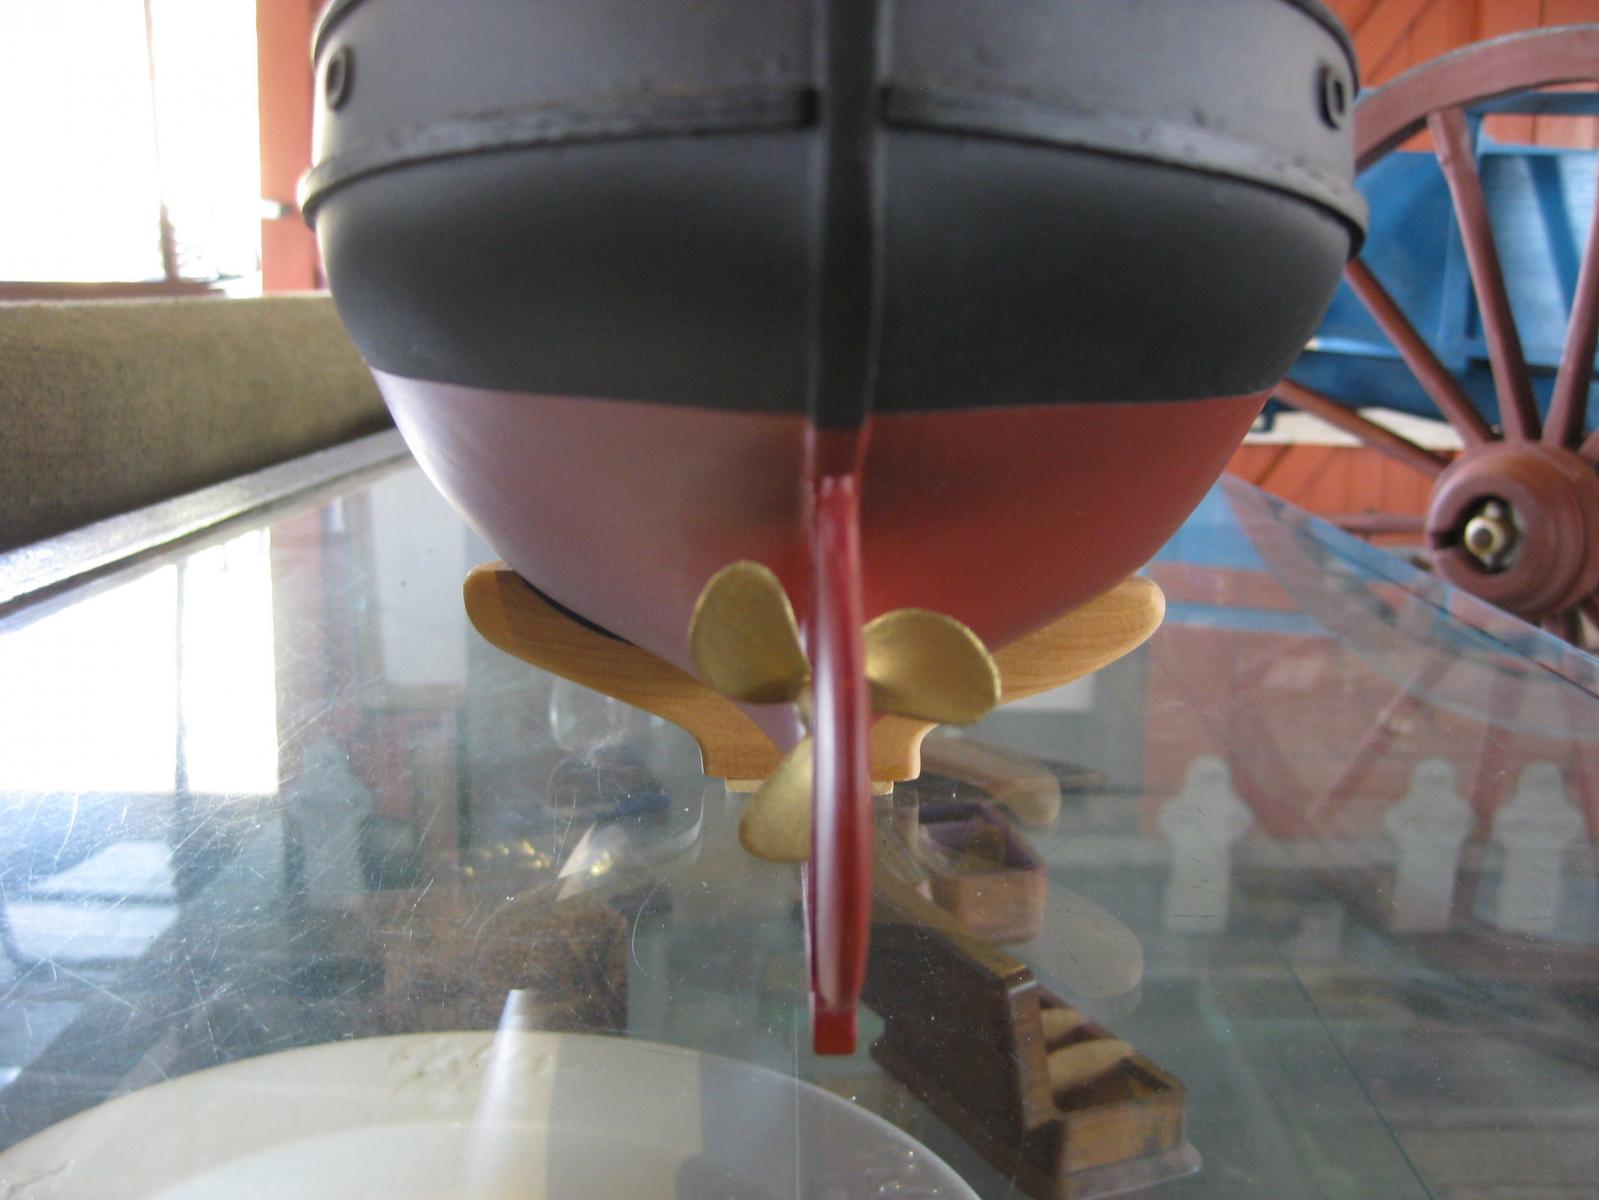
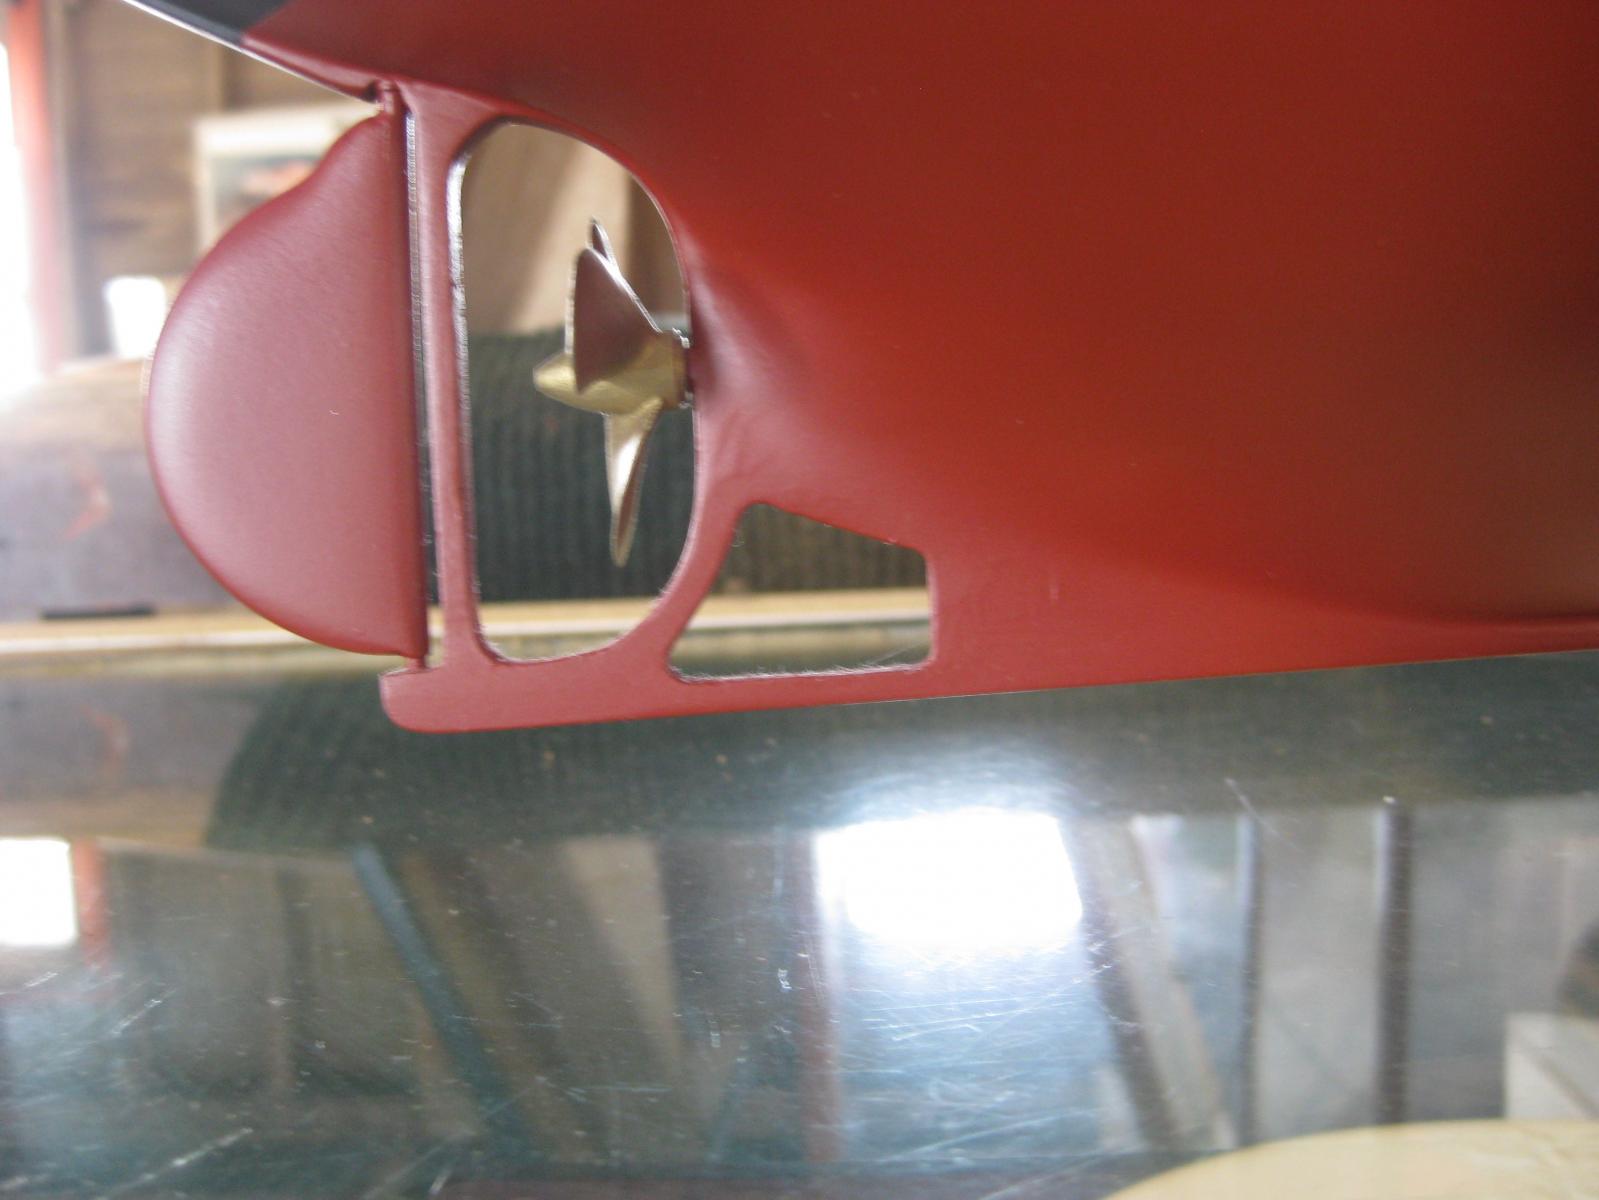
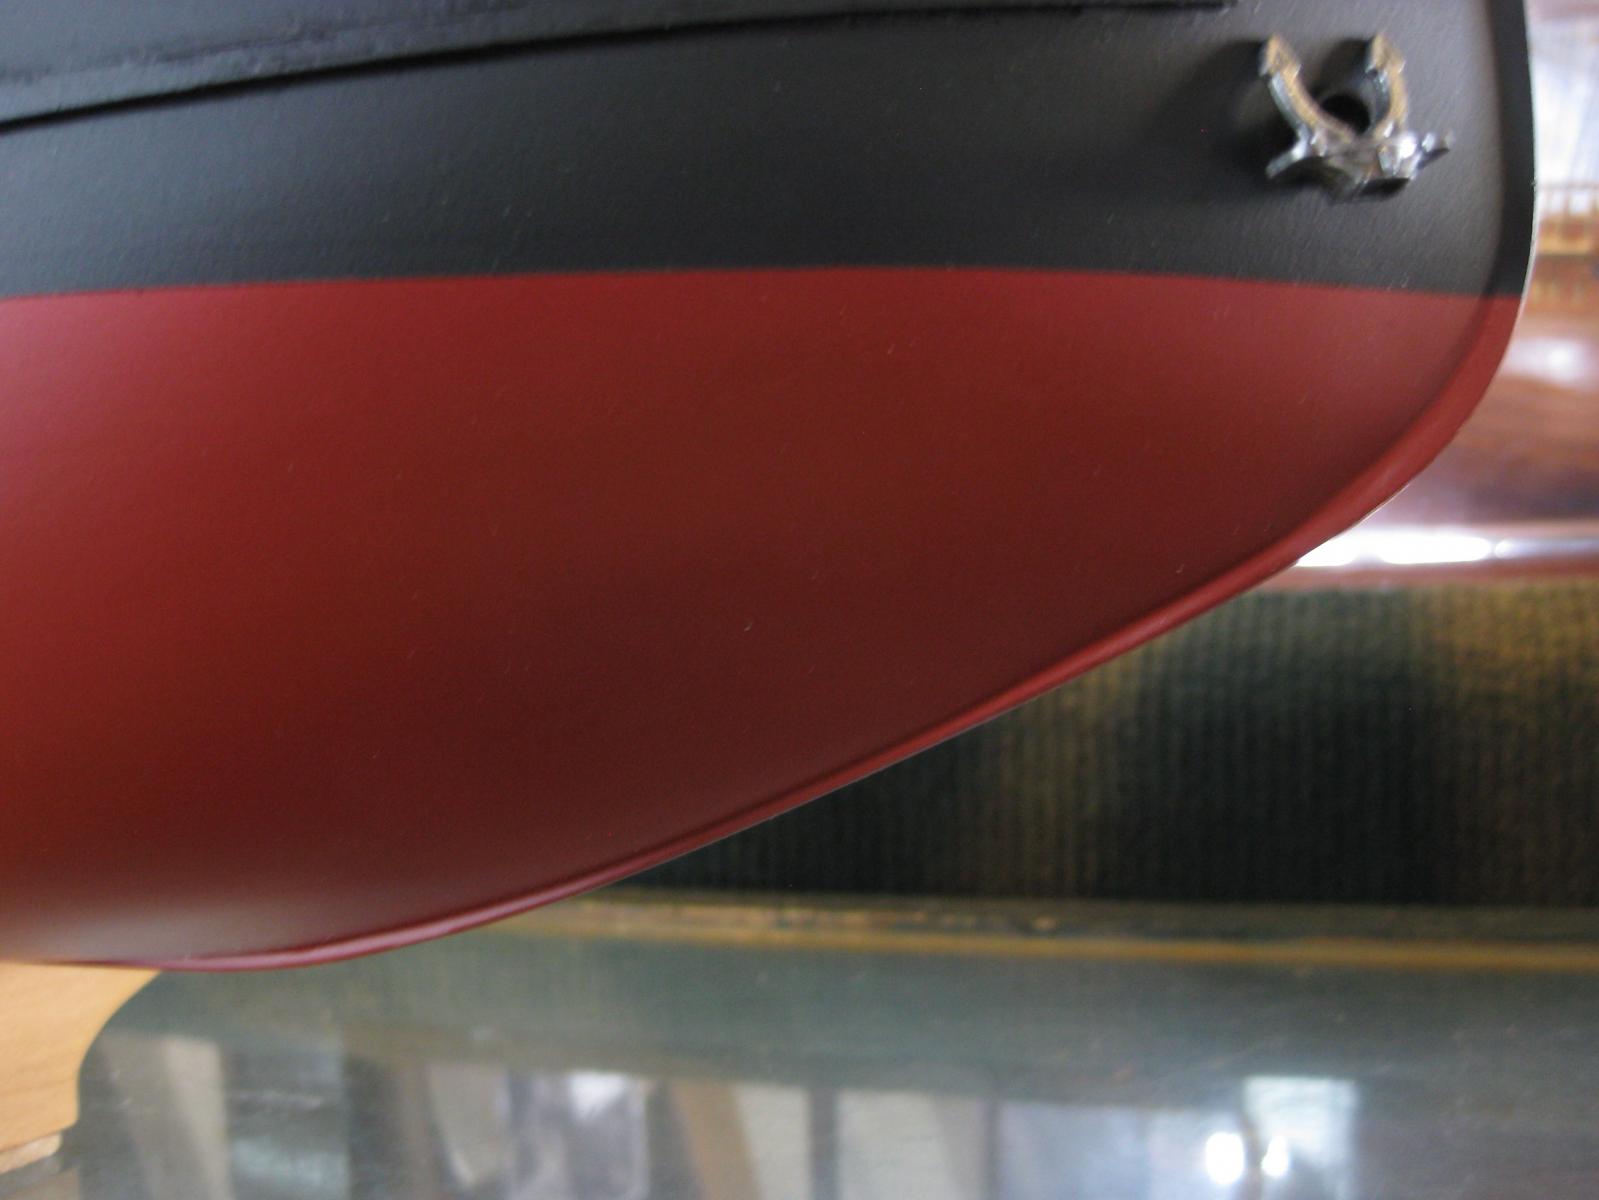
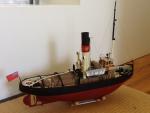
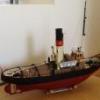
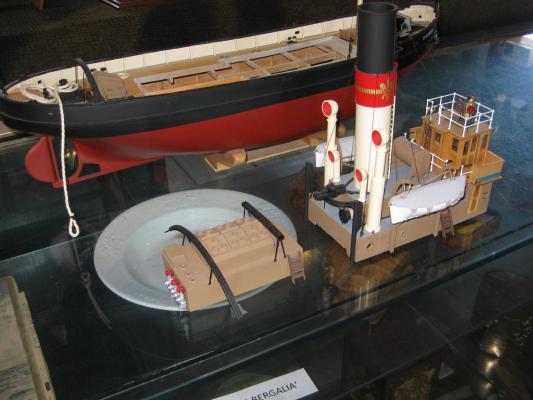
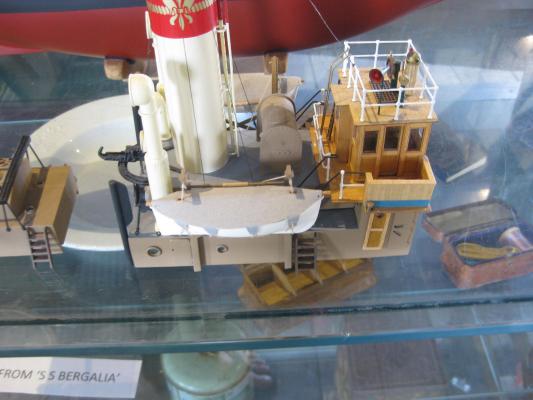
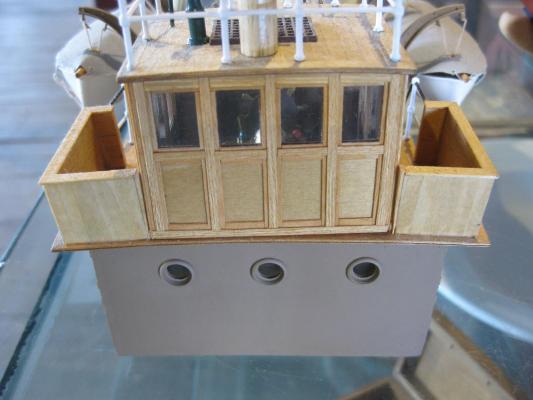
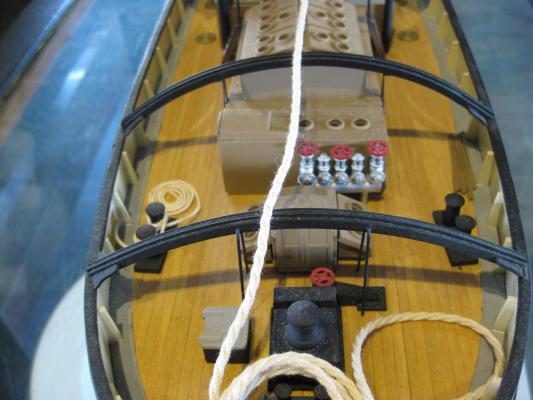
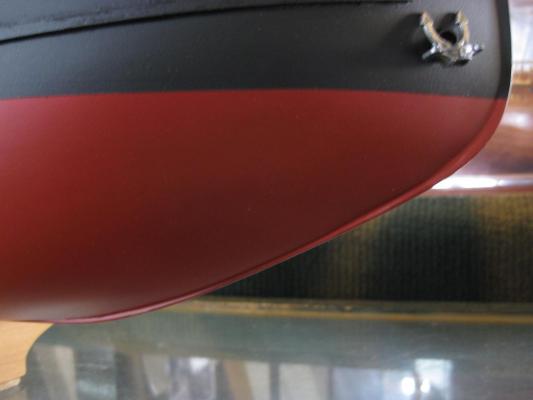
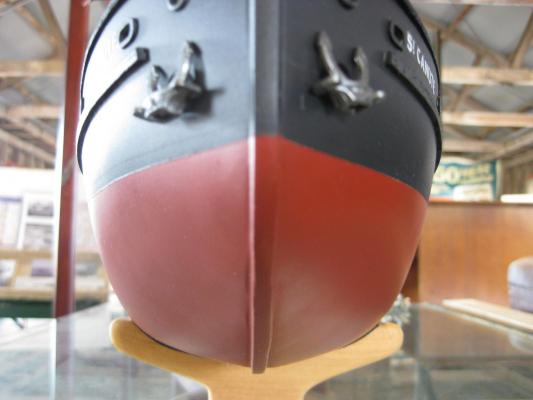
Some photos of my completed model.


-
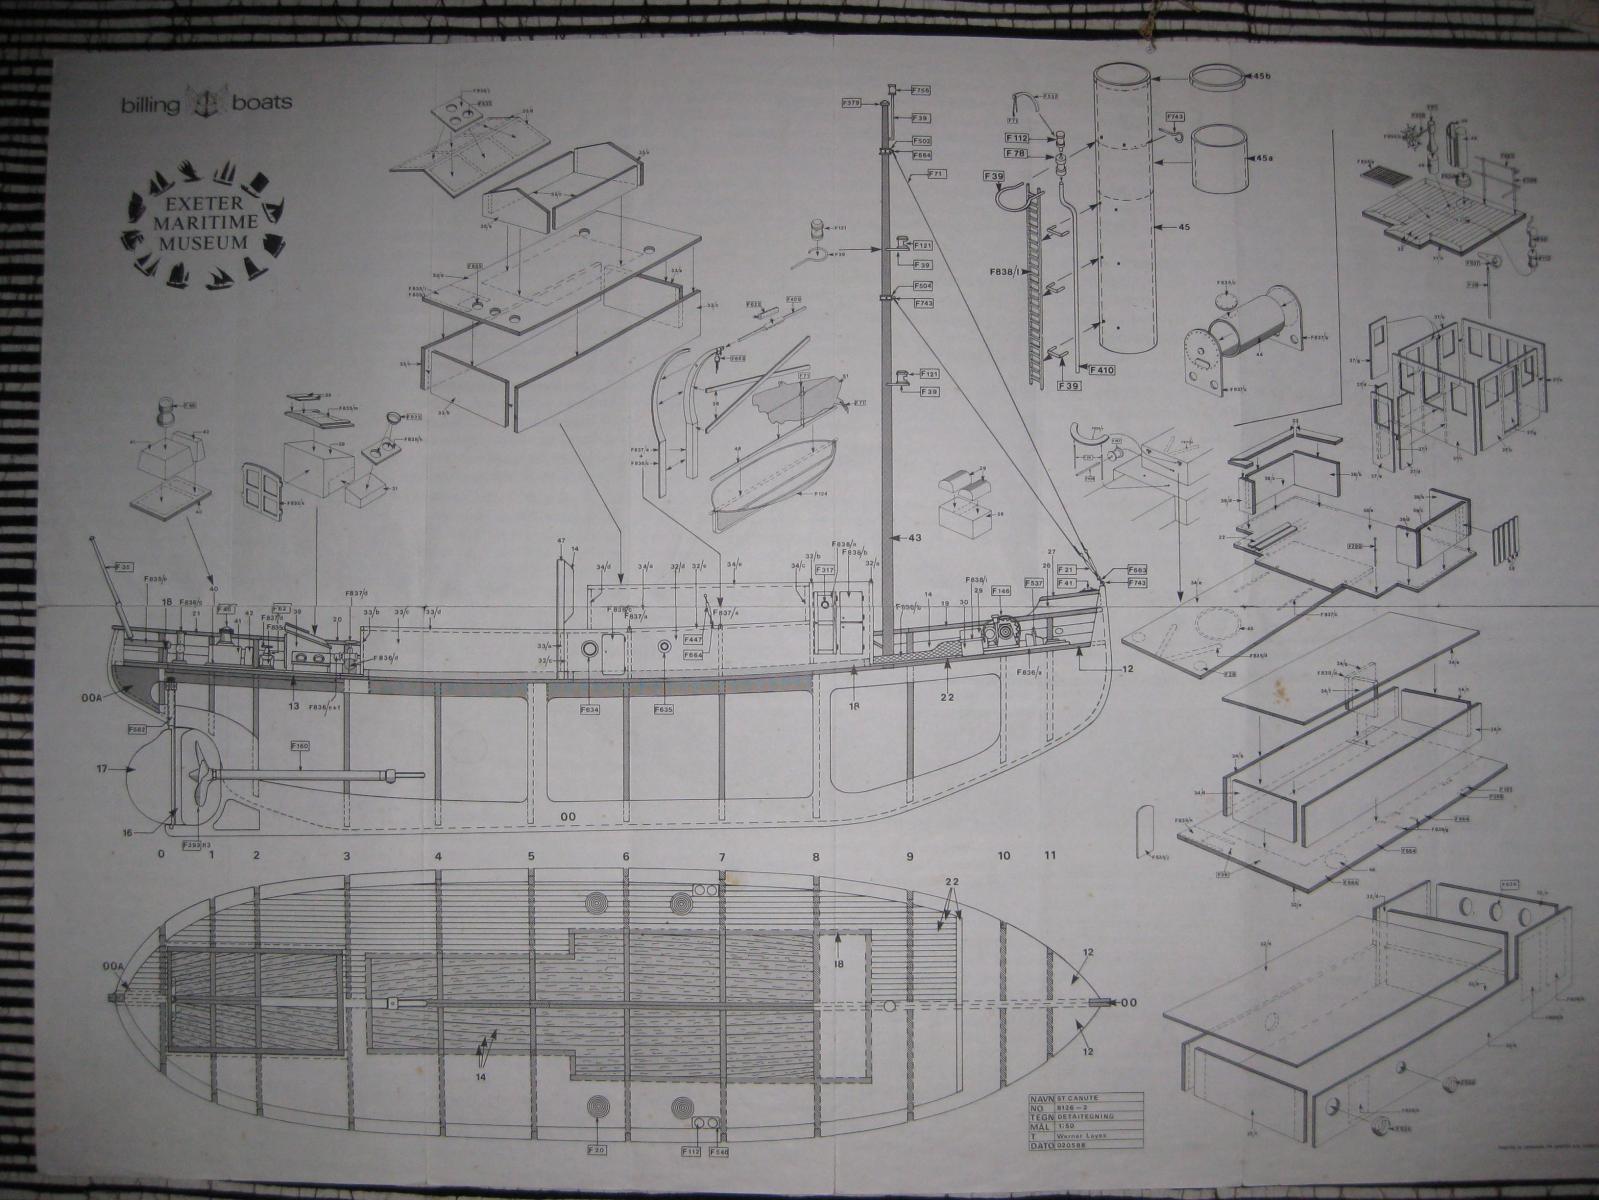
The model is in an exhibition - once I get it back I'll post some photos if a few weeks. Also I have some photos of the original ship when she was in the Exeter museum. Chris
-
Les, sorry, but I have no construction photos - I build the hull in the early 1990's. I do remember running the first top 5 or 6 planks parallel to the bulwark, then one or two planks parallel to the keel line and then filling in the rest in - not strictly in a shipshape way, but more just to cover the hull. The final skin was achieved with car body filler and sanding till perfect. Chris
-
I checked in my files and found some bits I stashed after i finished the build - is this what your are missing? Chris
-
I have completed this kit - let me know if I can be of assistance. I do remember building the hull in 2 halves - left and right. Chris
-
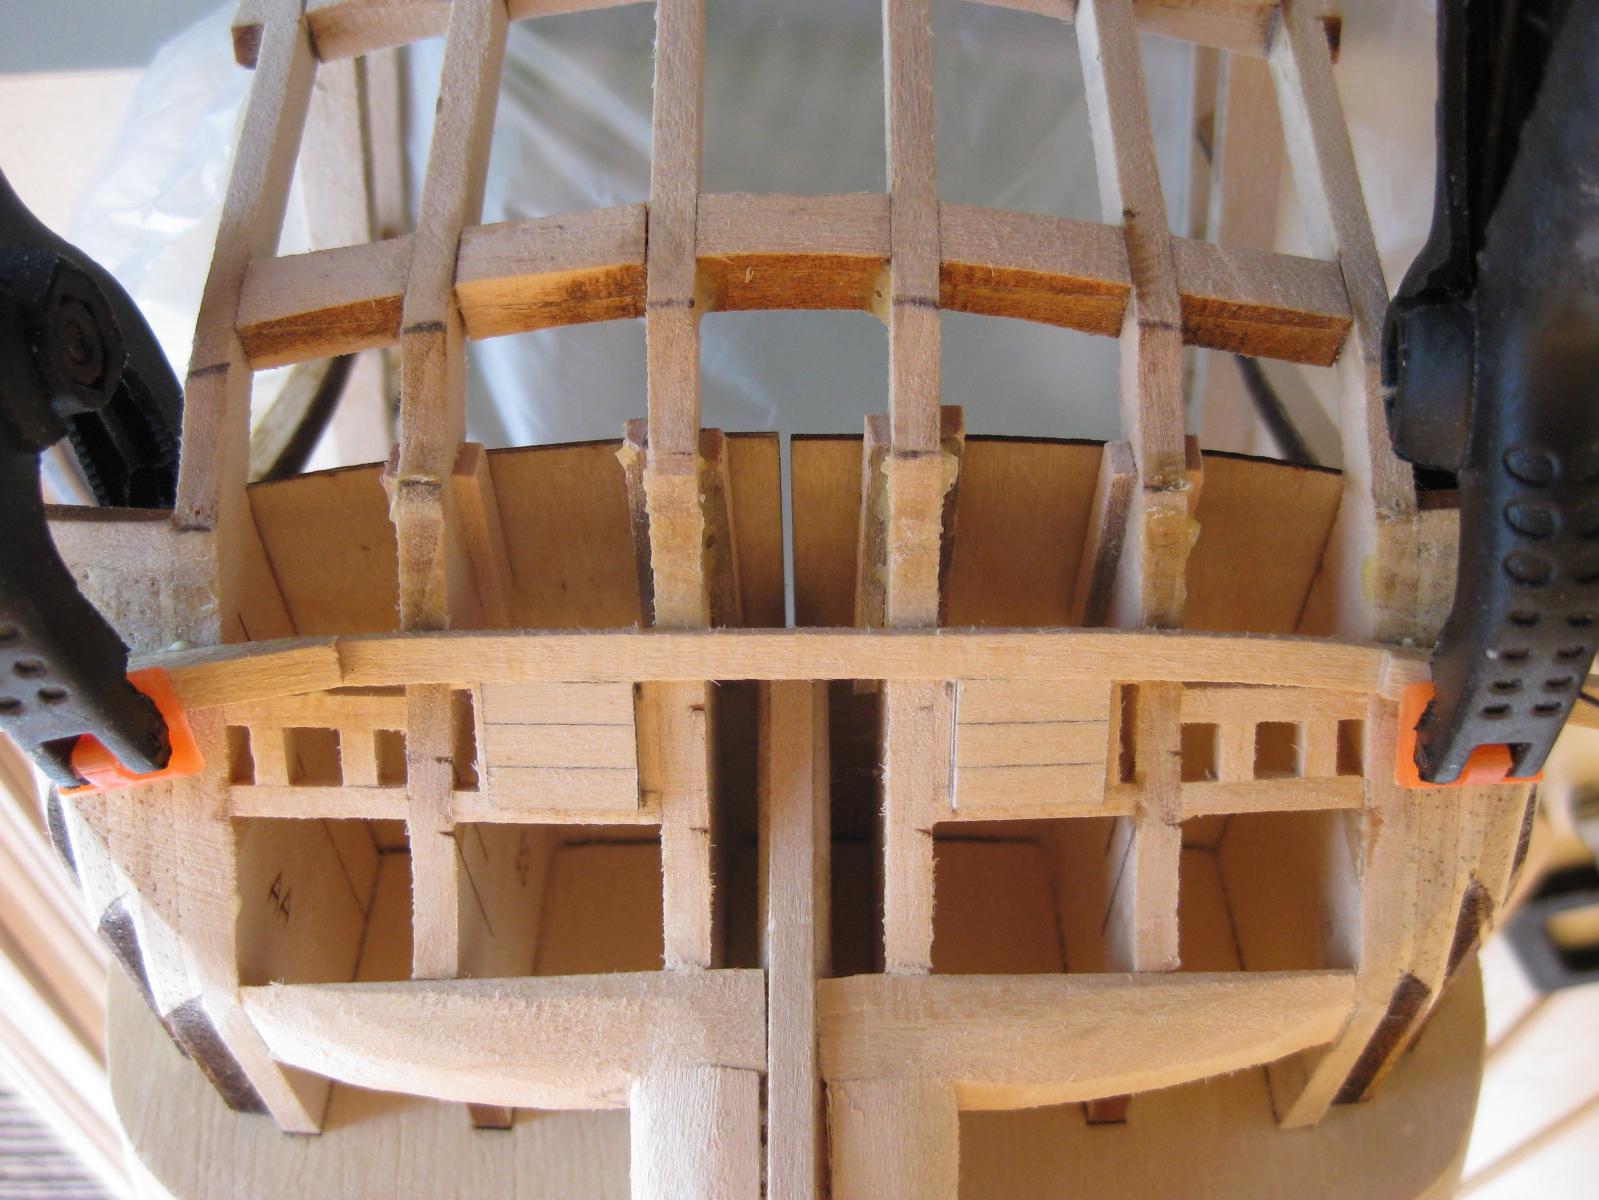
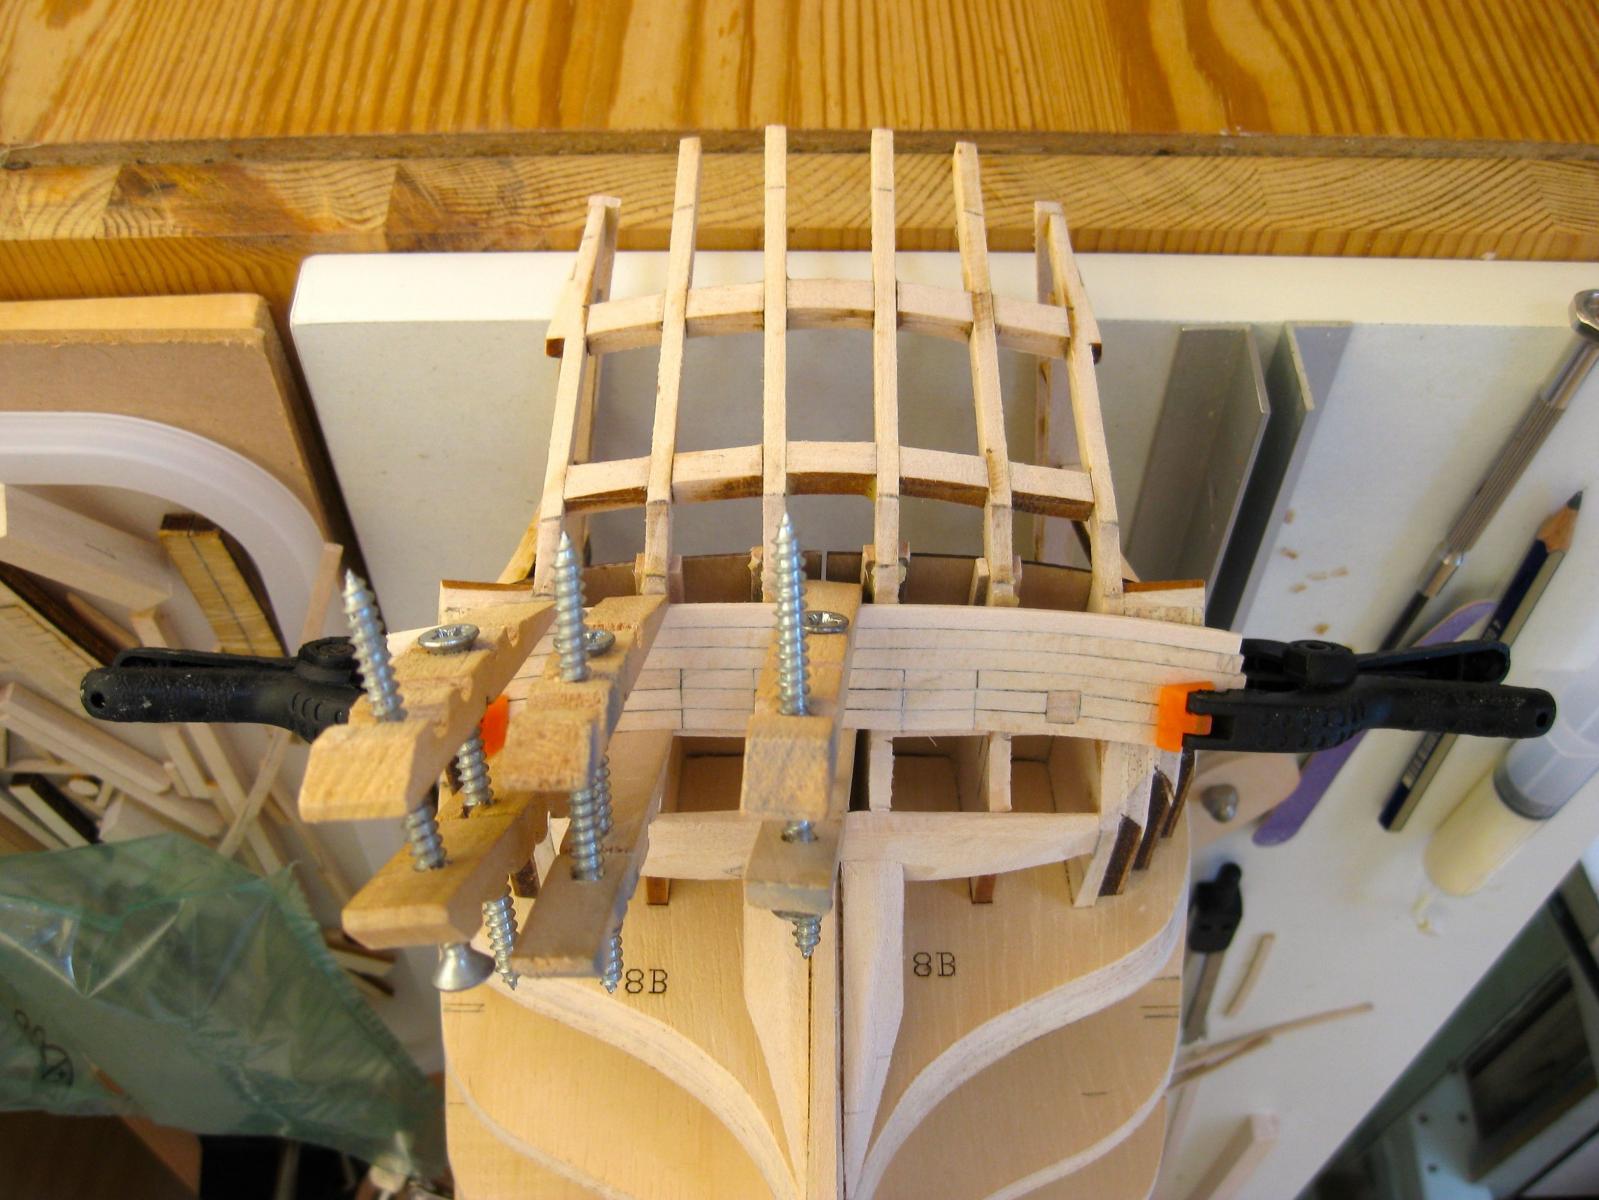
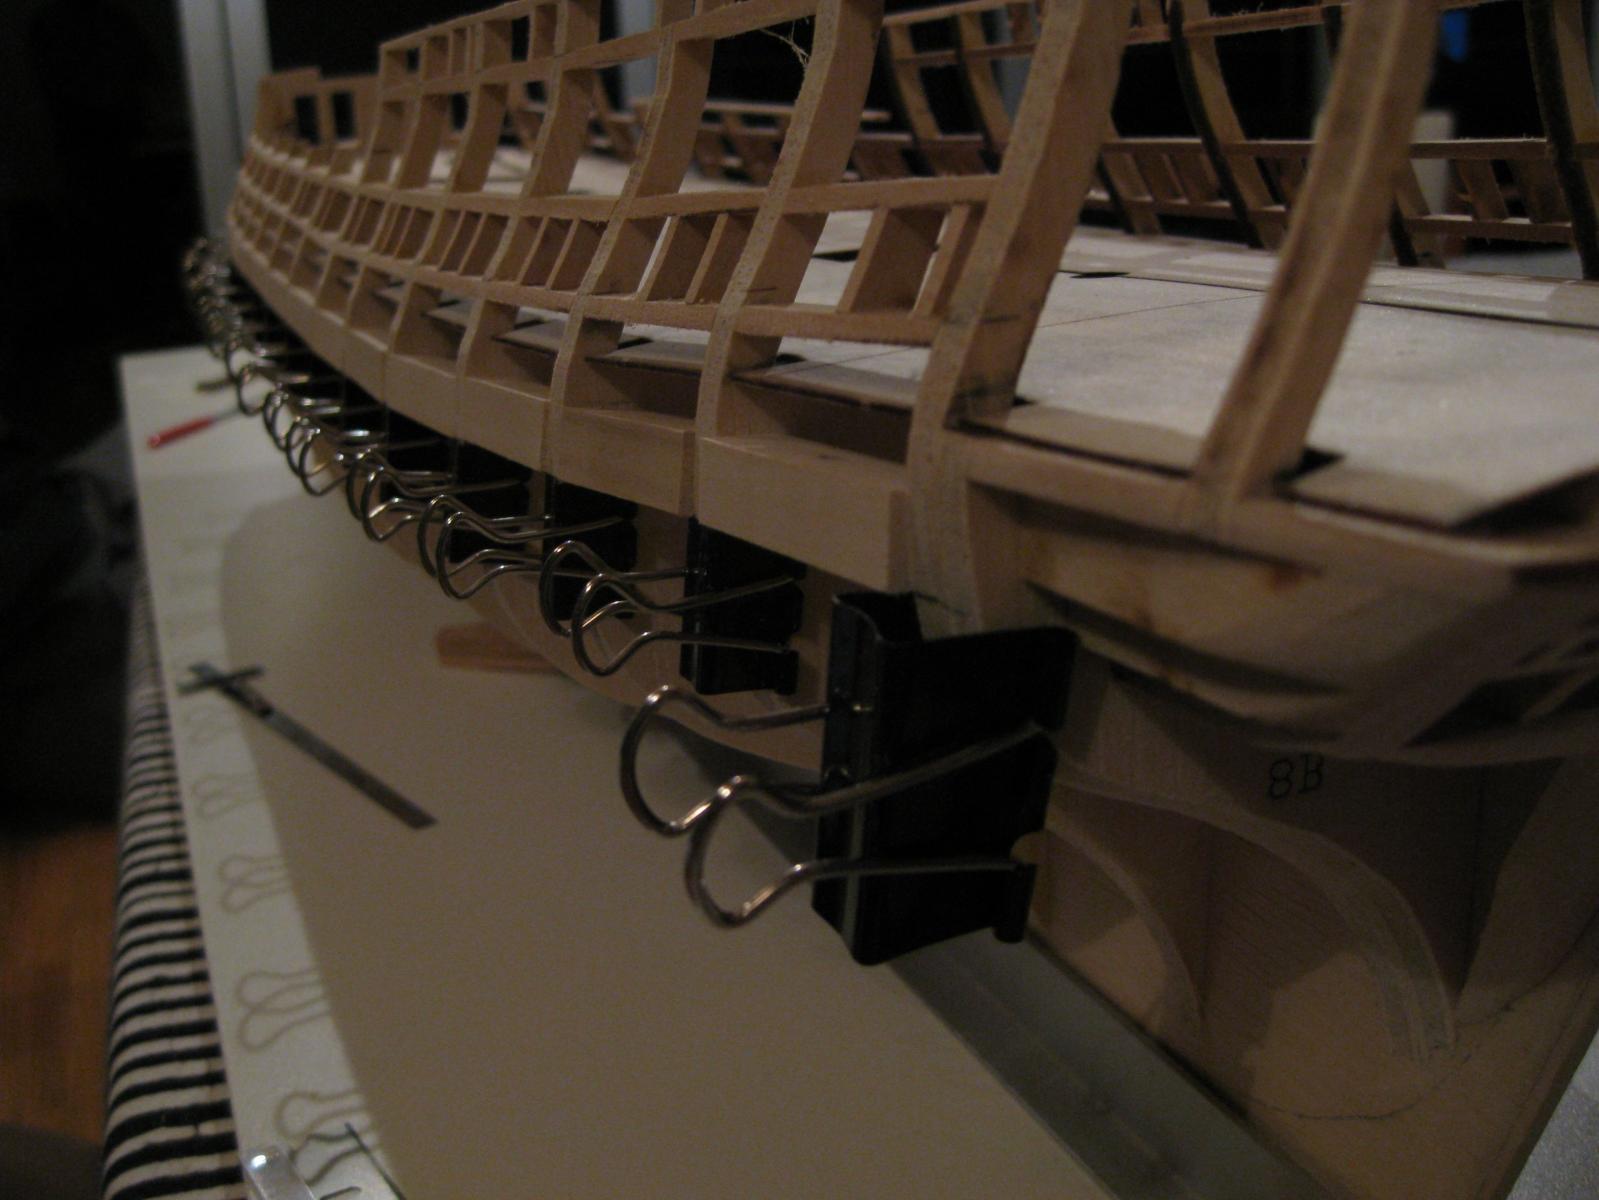
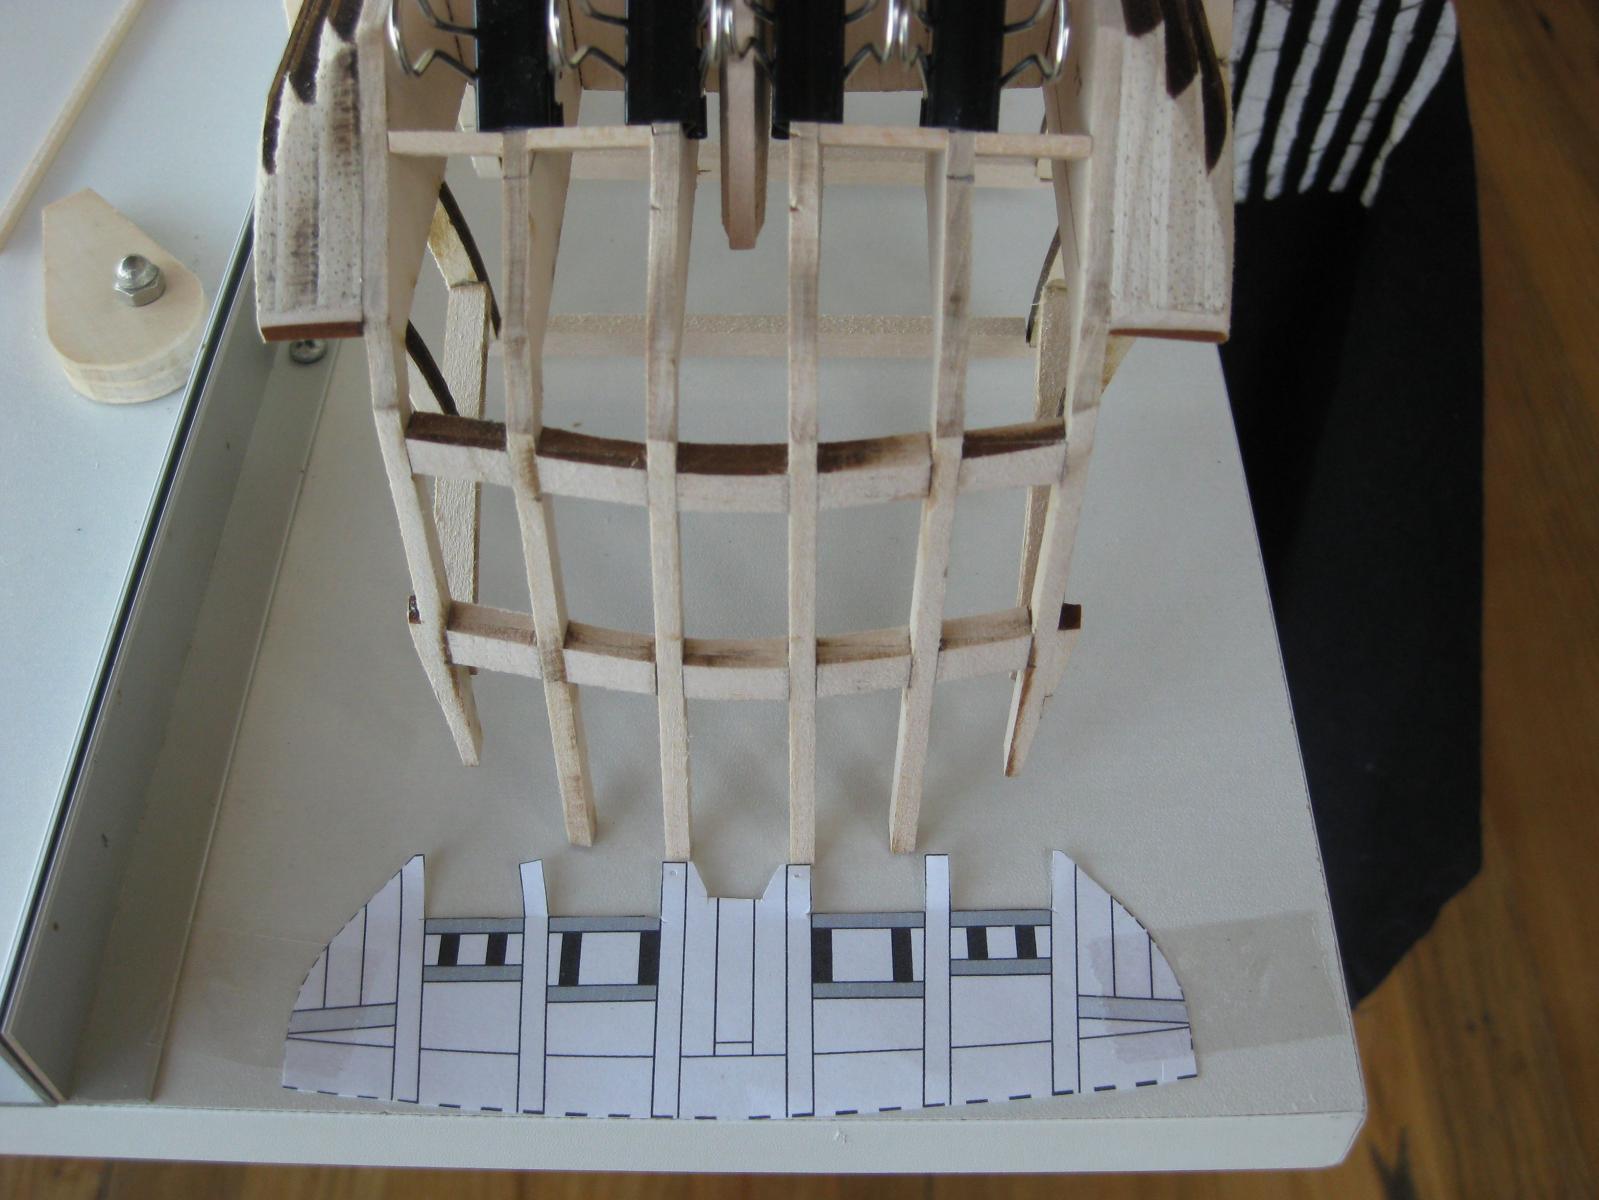
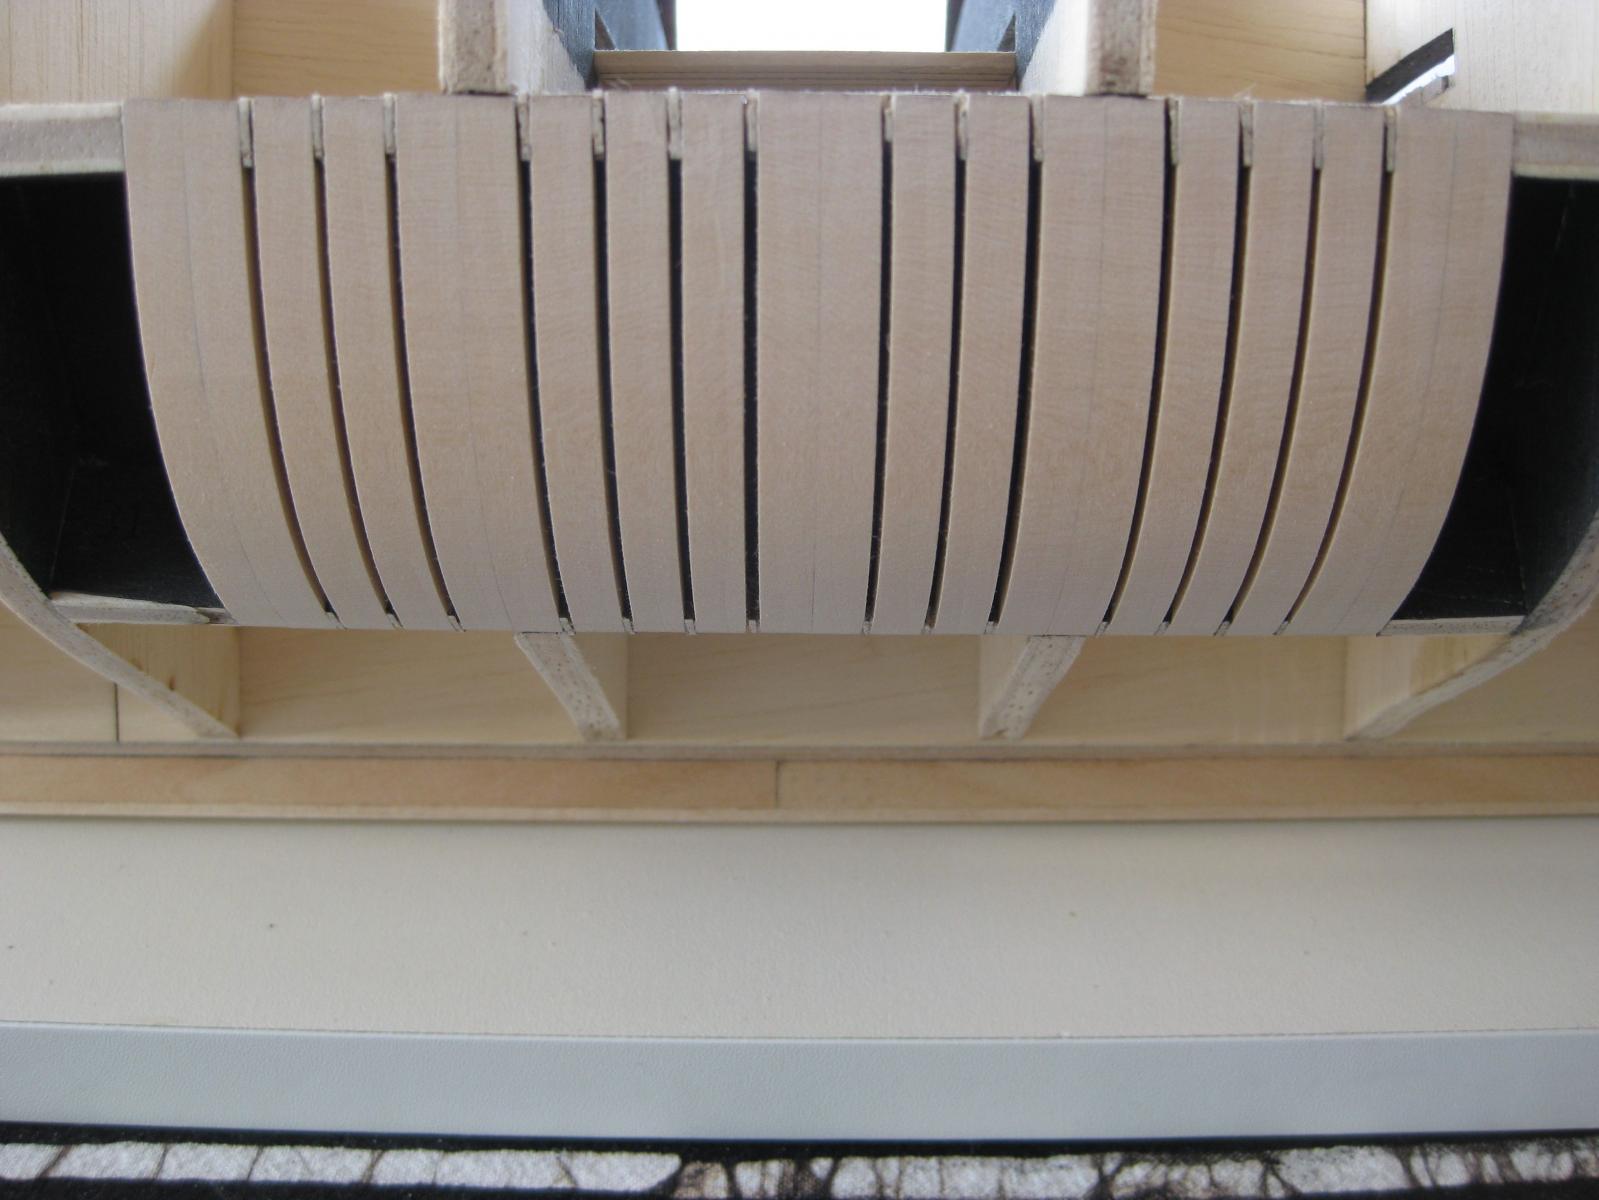
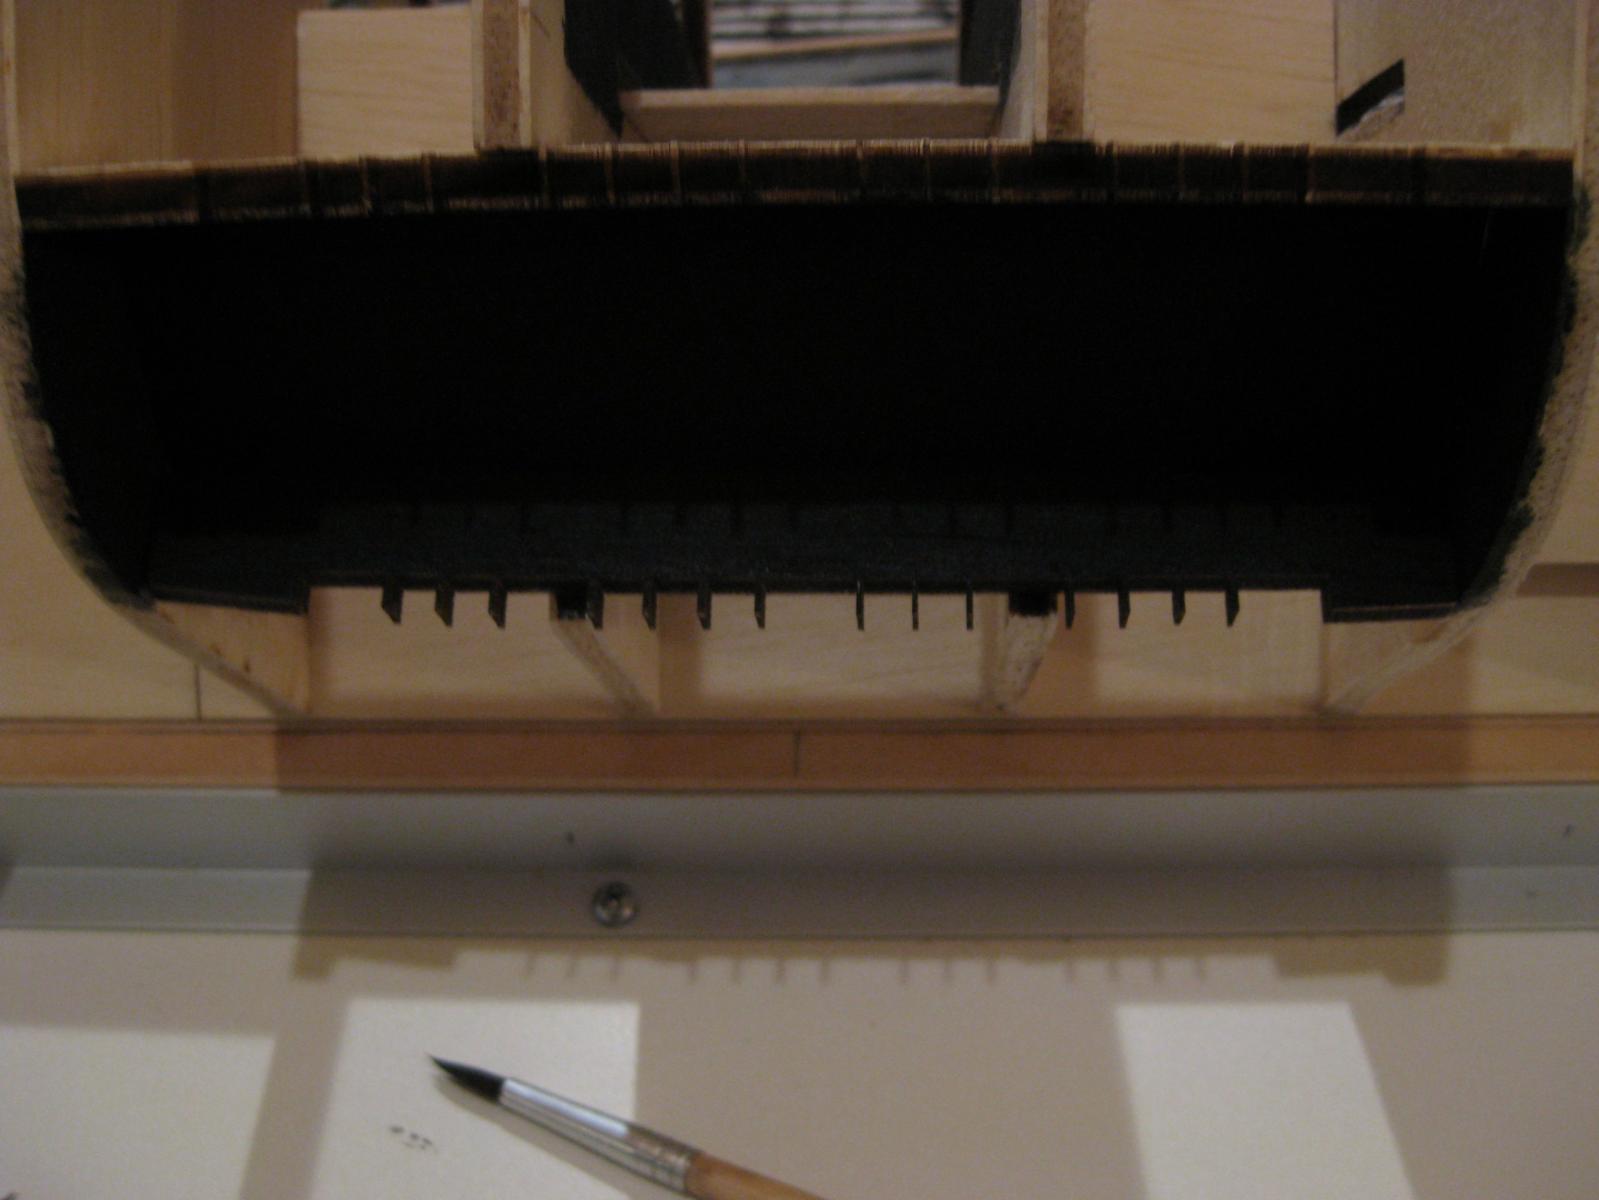
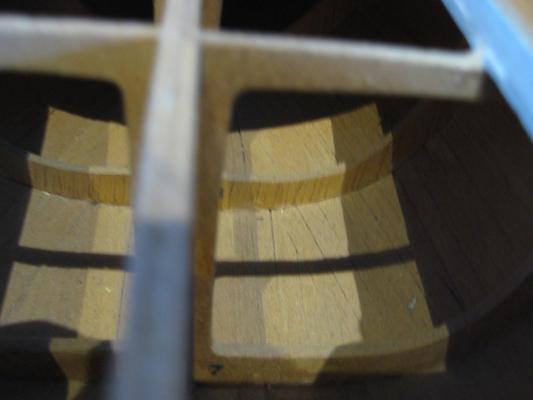
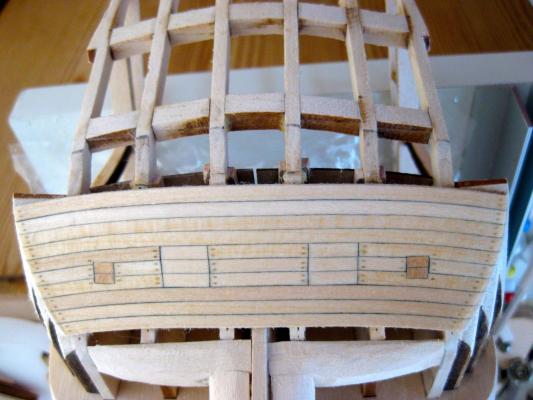
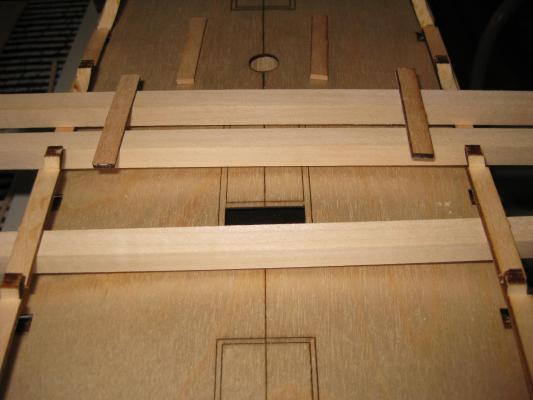
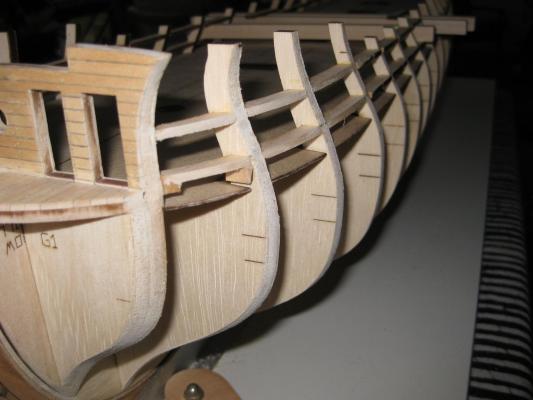
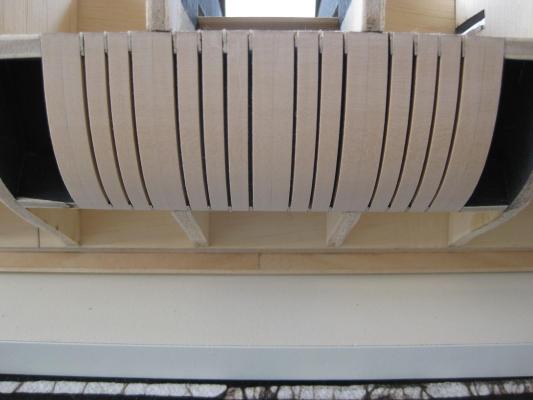
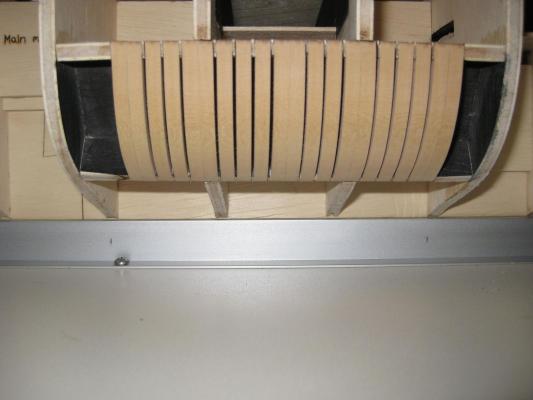
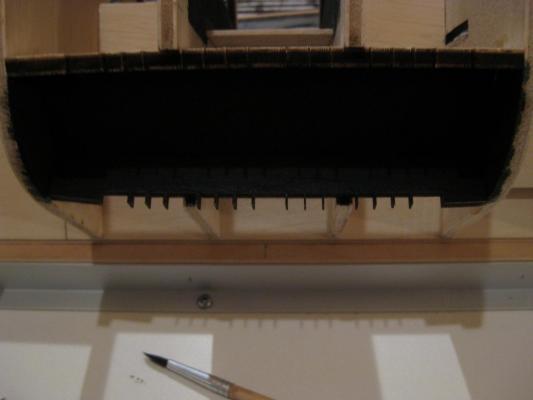
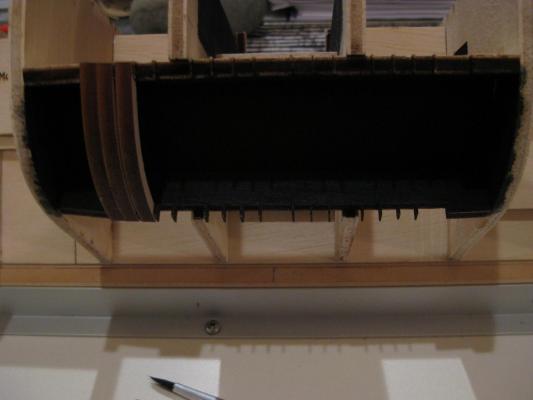
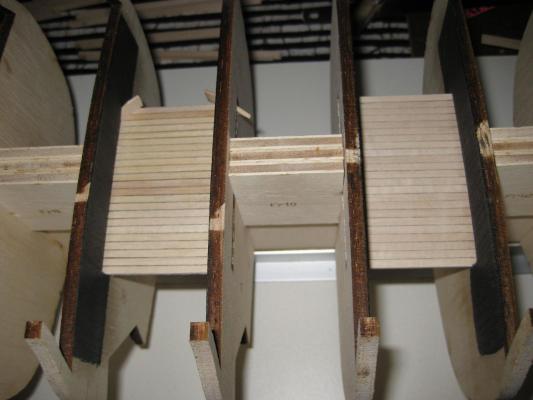
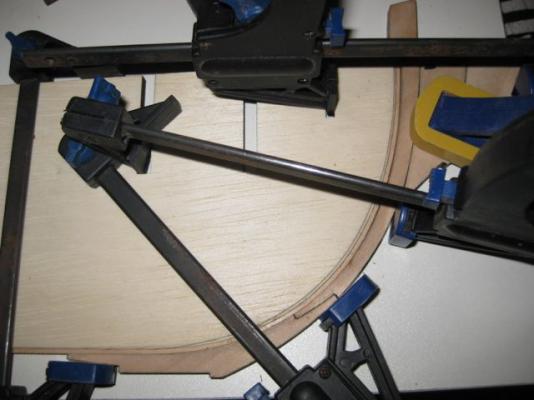
For anyone still following this - the build has not been abandoned (my projects always take me years to finish - I guess, too many things on the go all at once). Anyhow - some photos of the counter planking: (This stage looks perfect with the naked eye - why do things always look worse on the photos?)

-
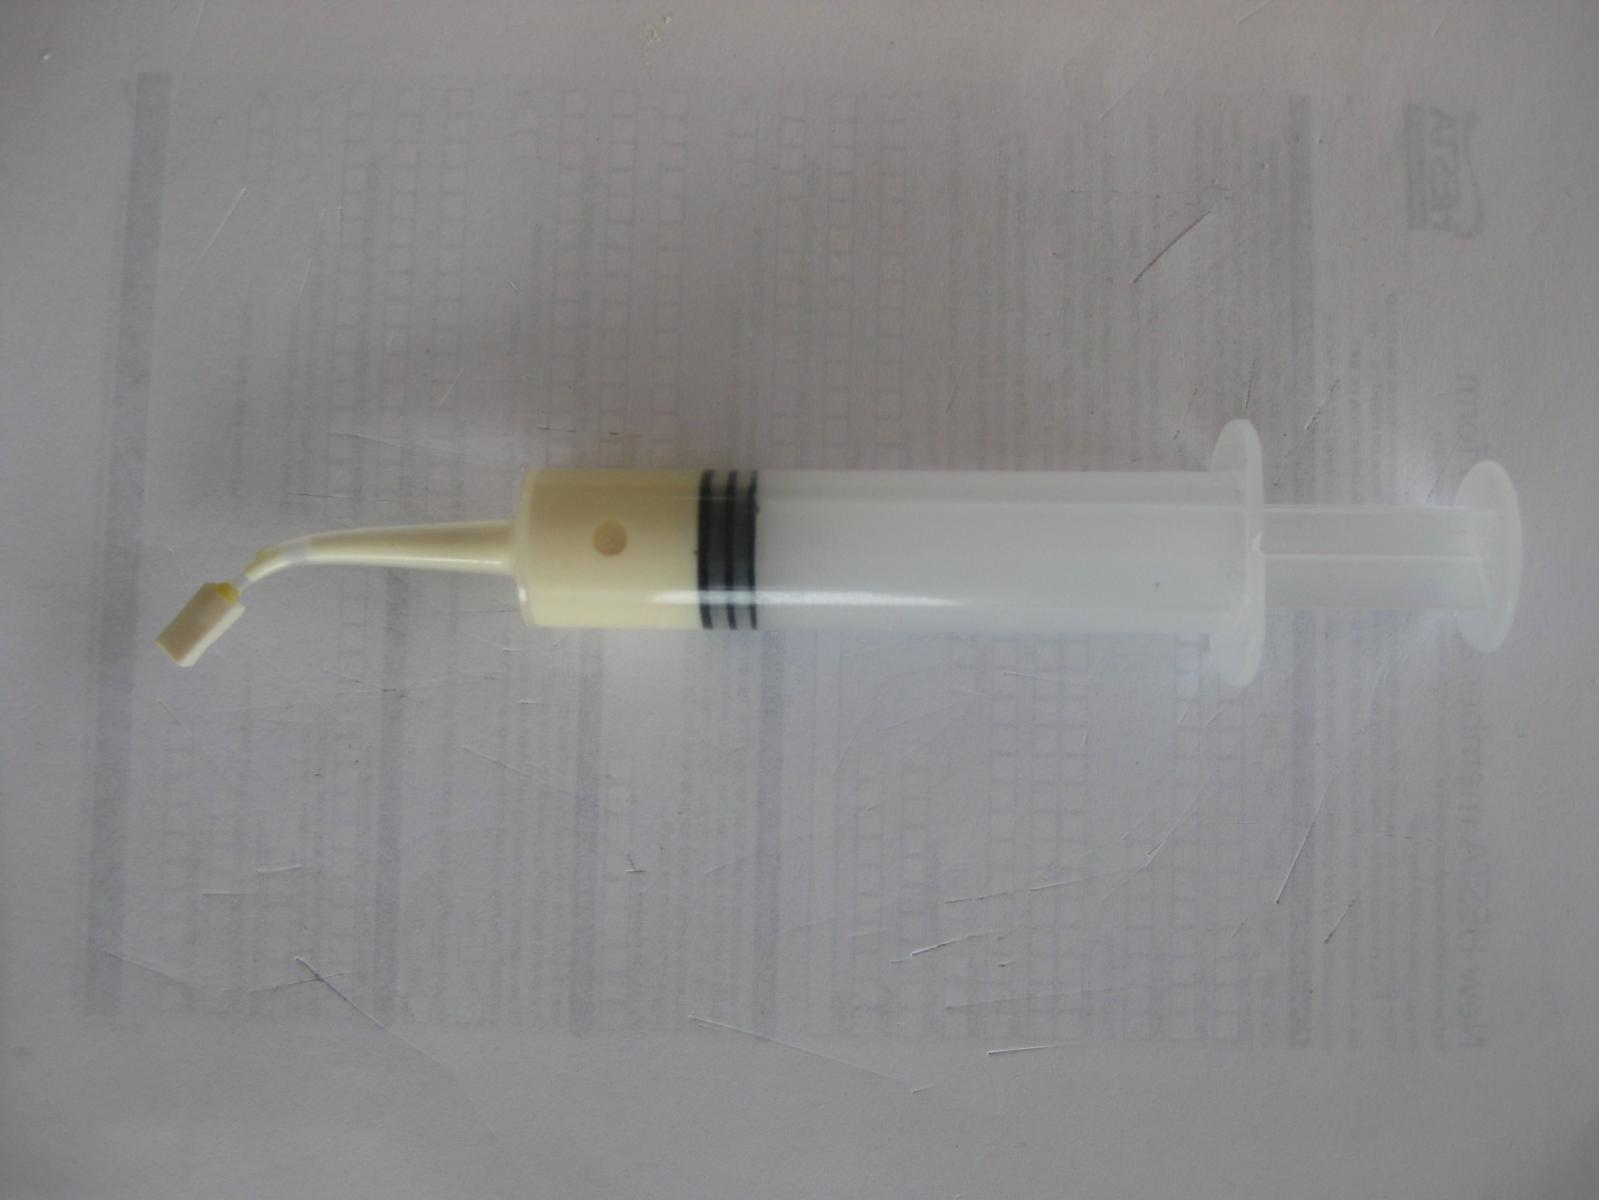
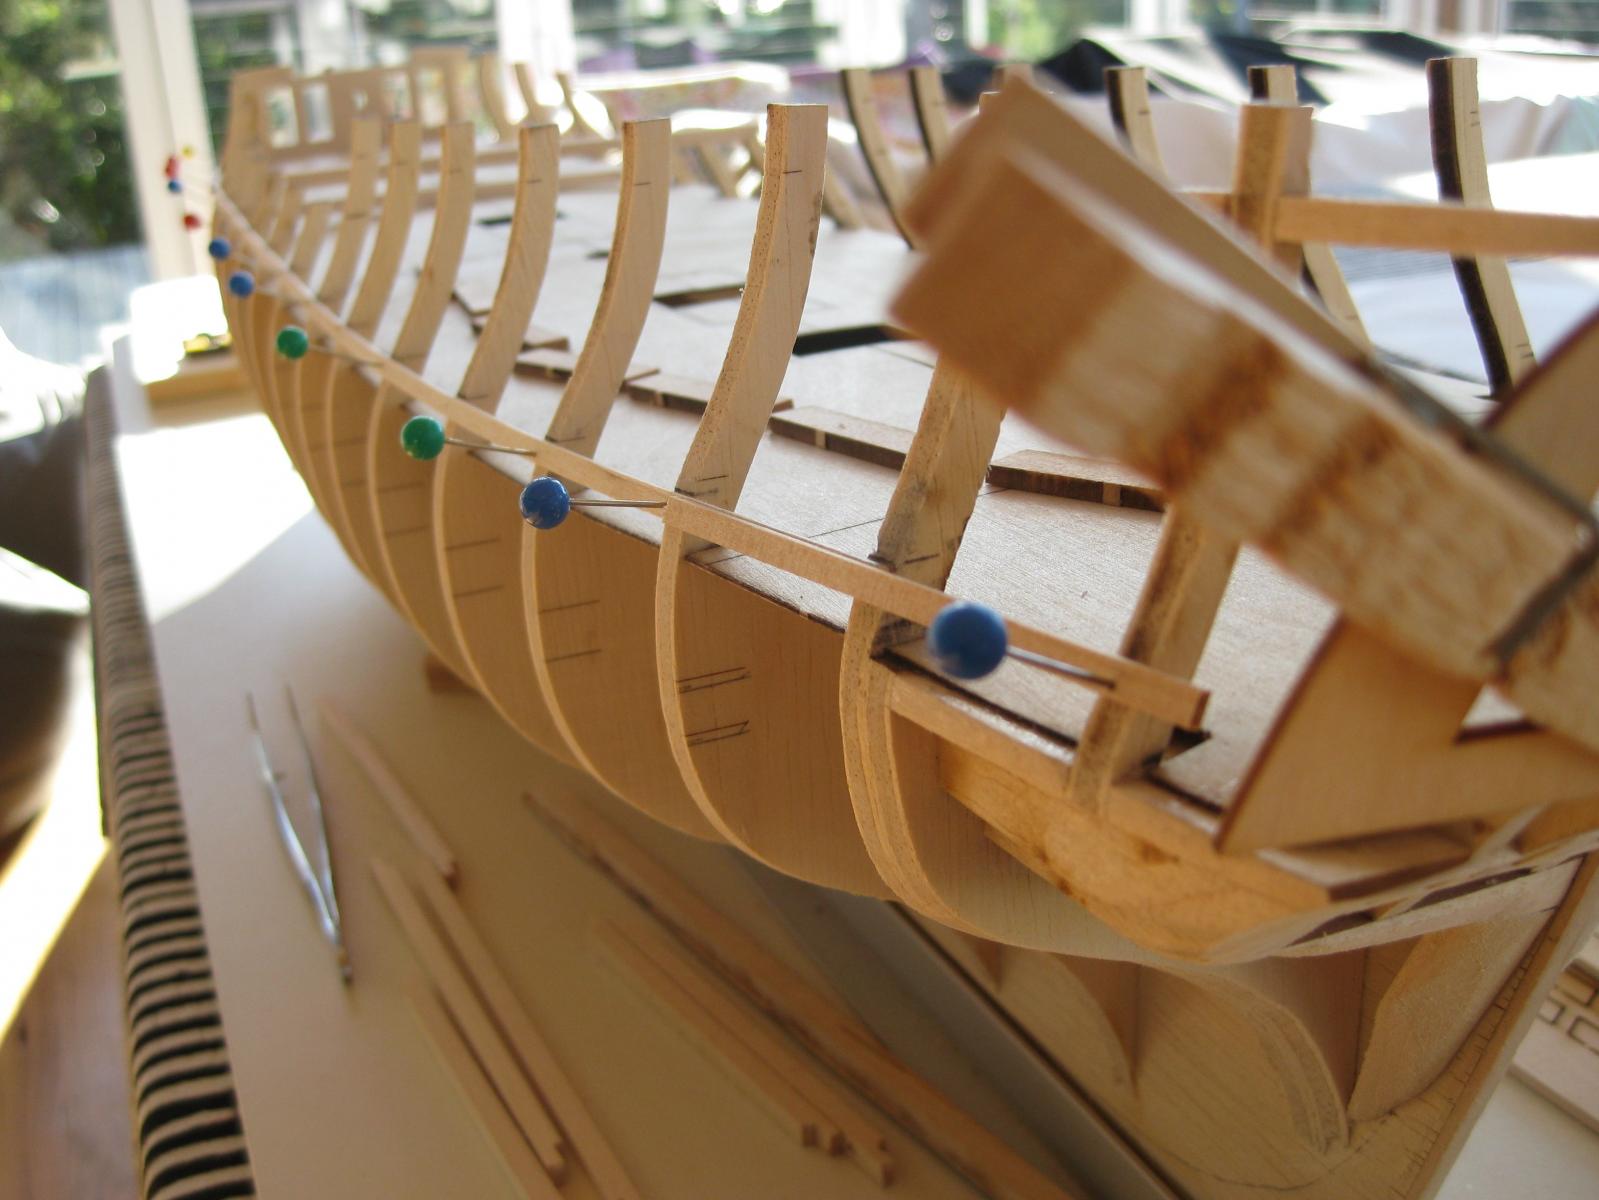
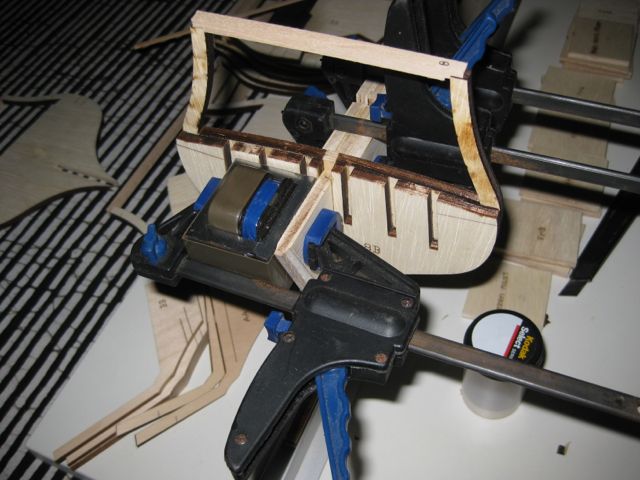
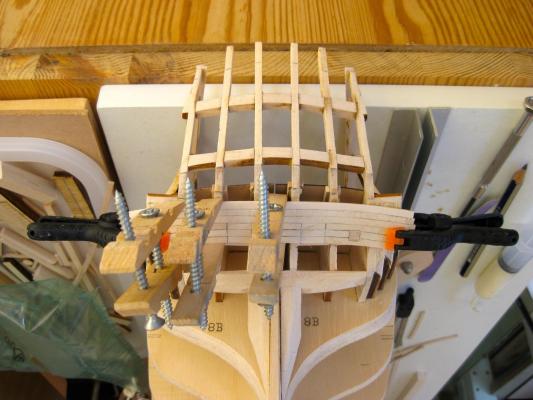
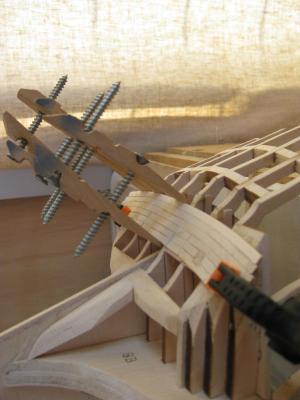
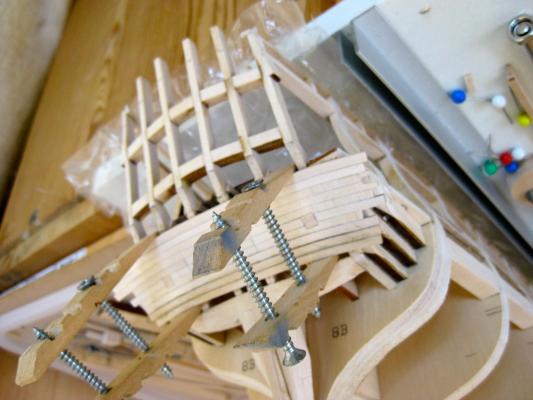
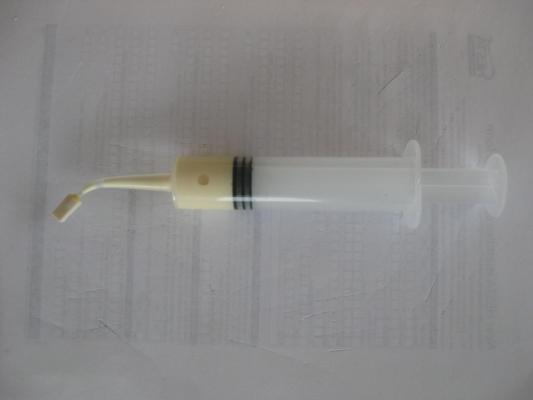
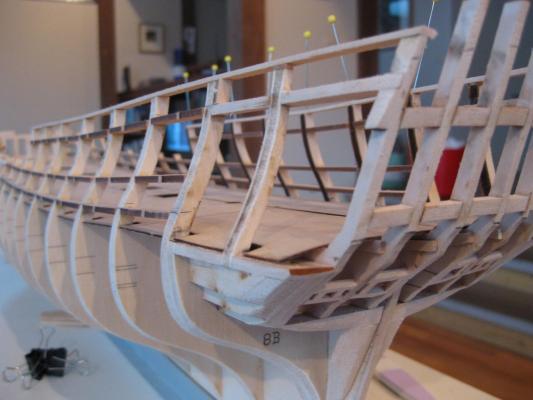
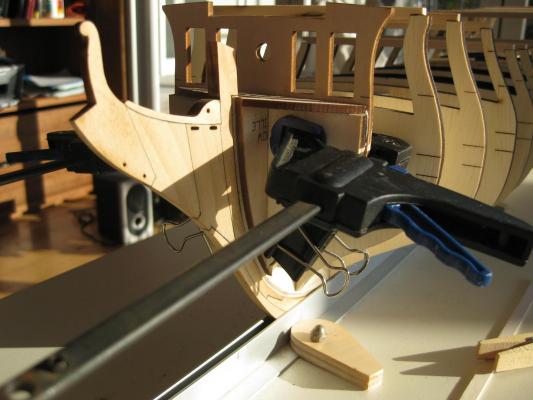
Next step after the gunport framing - aligning the sweep ports after using a batten to mark it out .The line needs a little more fine tuning. My glue gun.
-
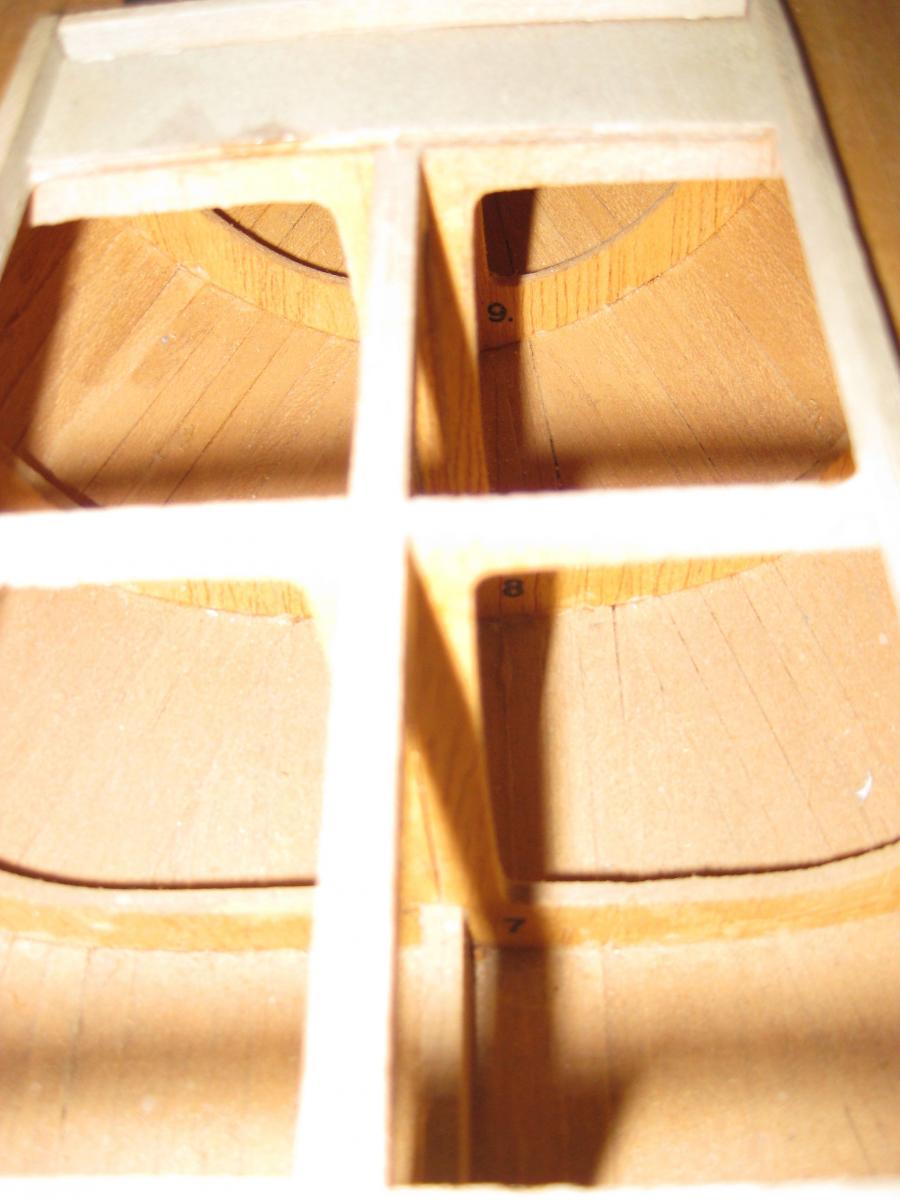
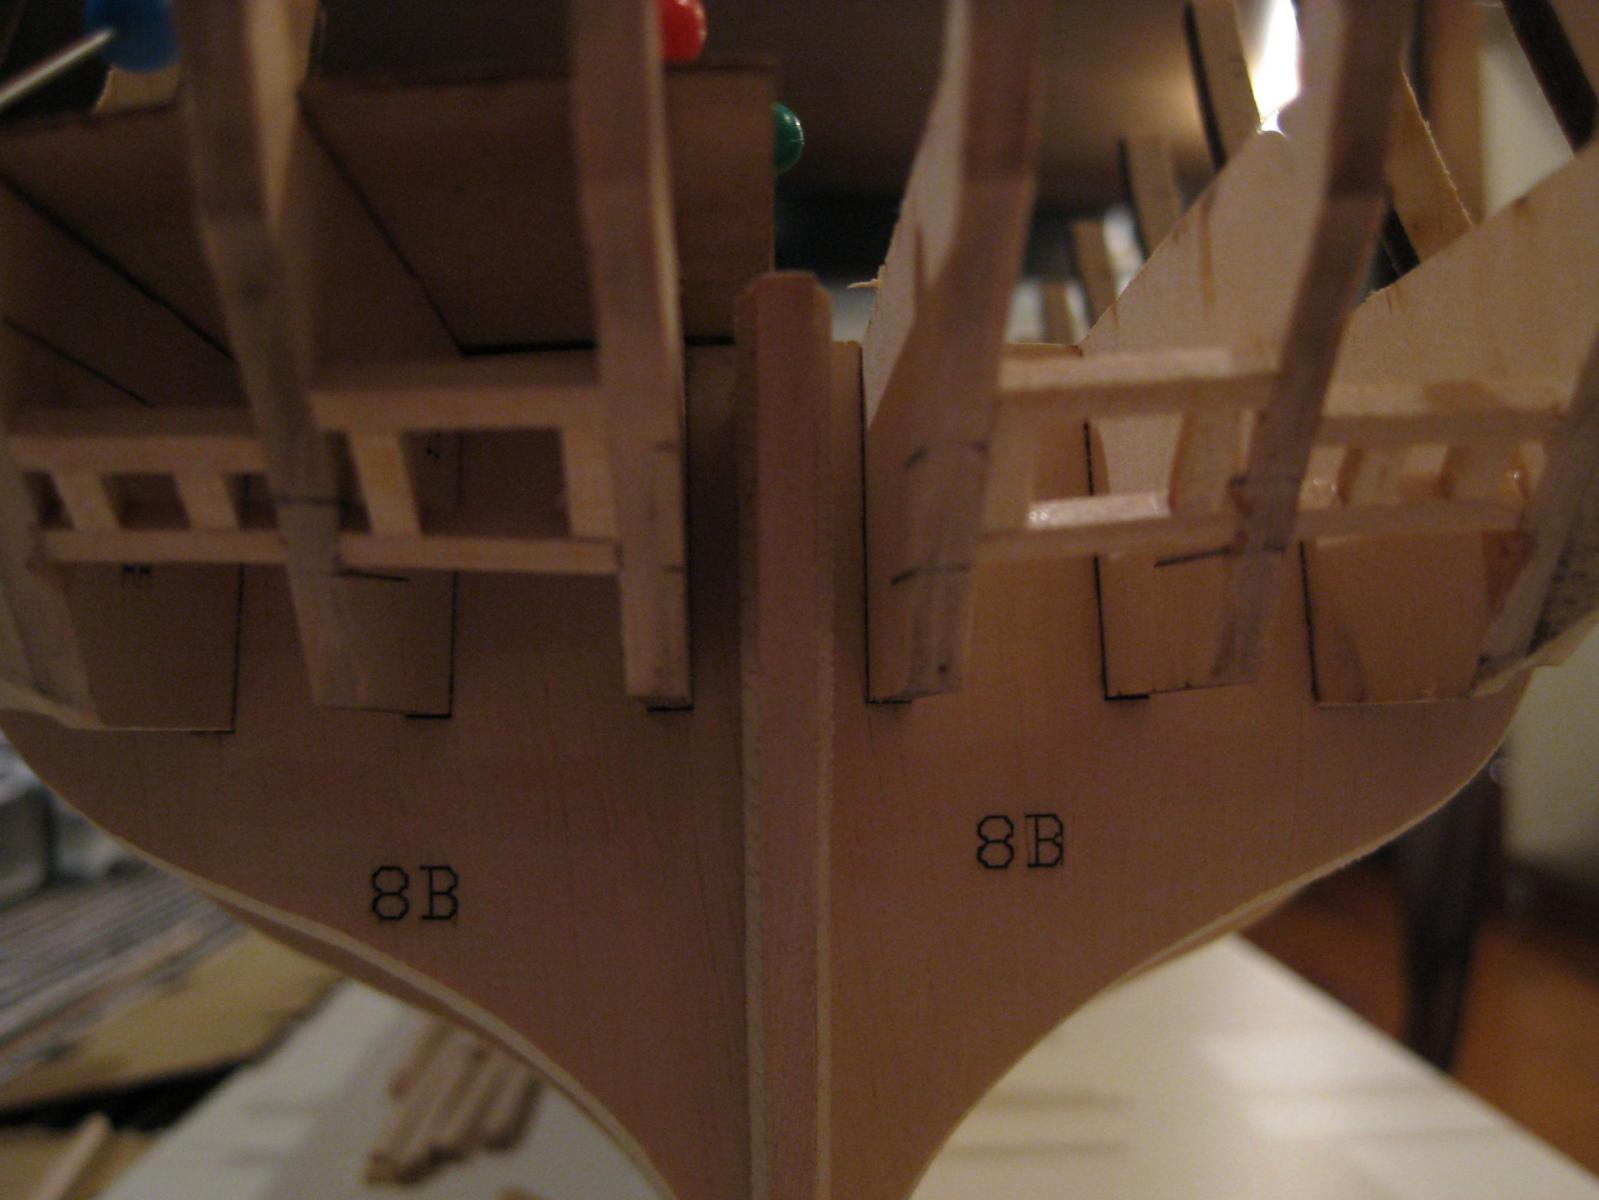
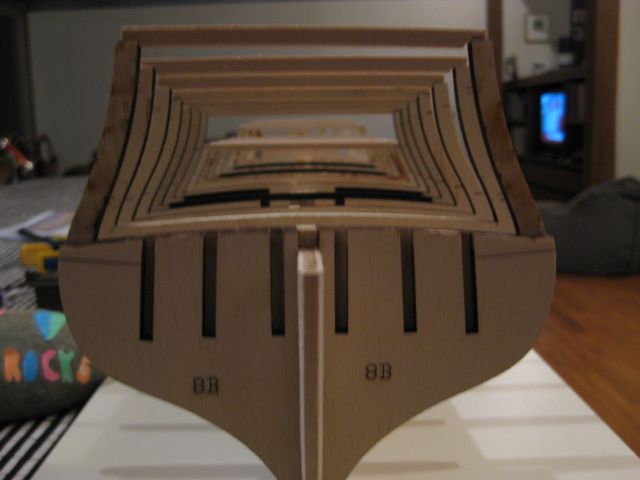
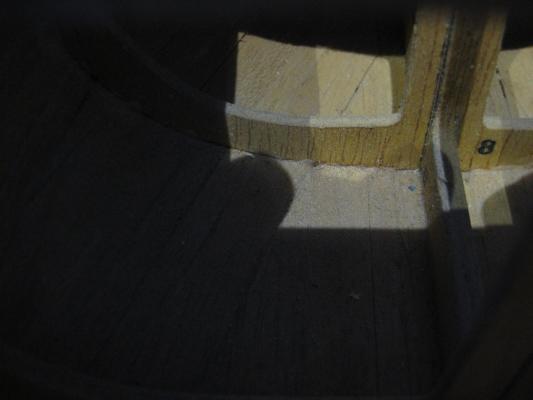
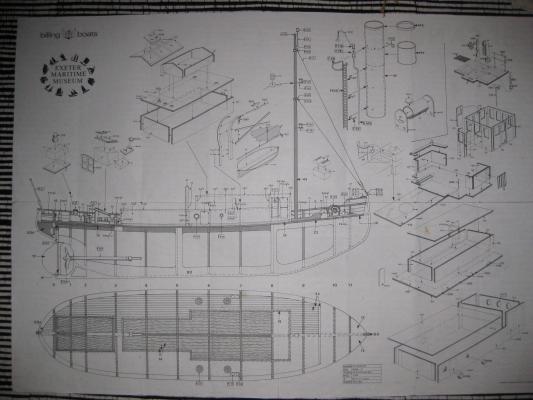
Checking the manual - Chapter 9 has a photo of the cabin deck showing a pronounced camber.
-
Does that camber matter? I will re-check against the drawings. The deck is following the camber of the number 8 frame. Thanks for checking my progress.
-
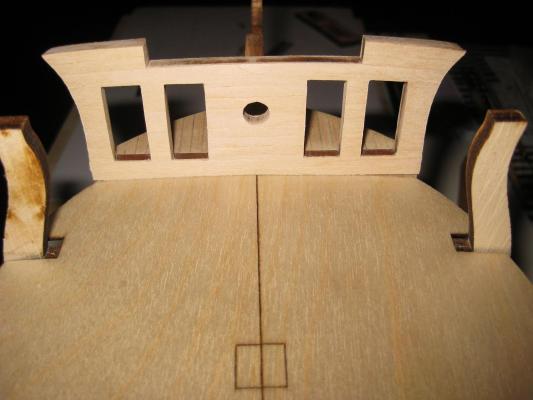
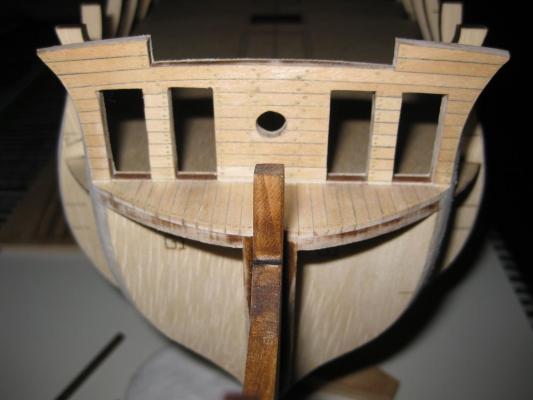
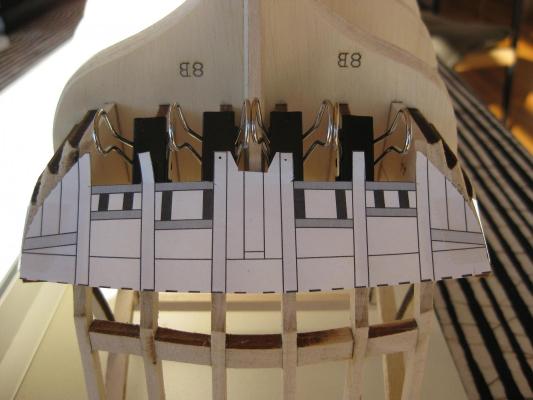
Progress on the beakhead planking - i decided on the more defined,darker trenail simulation The inboard wall of the beakhead - no trenailing on the planking. I did a test piece with trenails, but these vanished once the red colour was applied. A batten to align the gunport sills and lintels Spacers keep the gunport height constant Looks like a good,pleasing to the eye, line of gun ports Top rail Nice curve


-
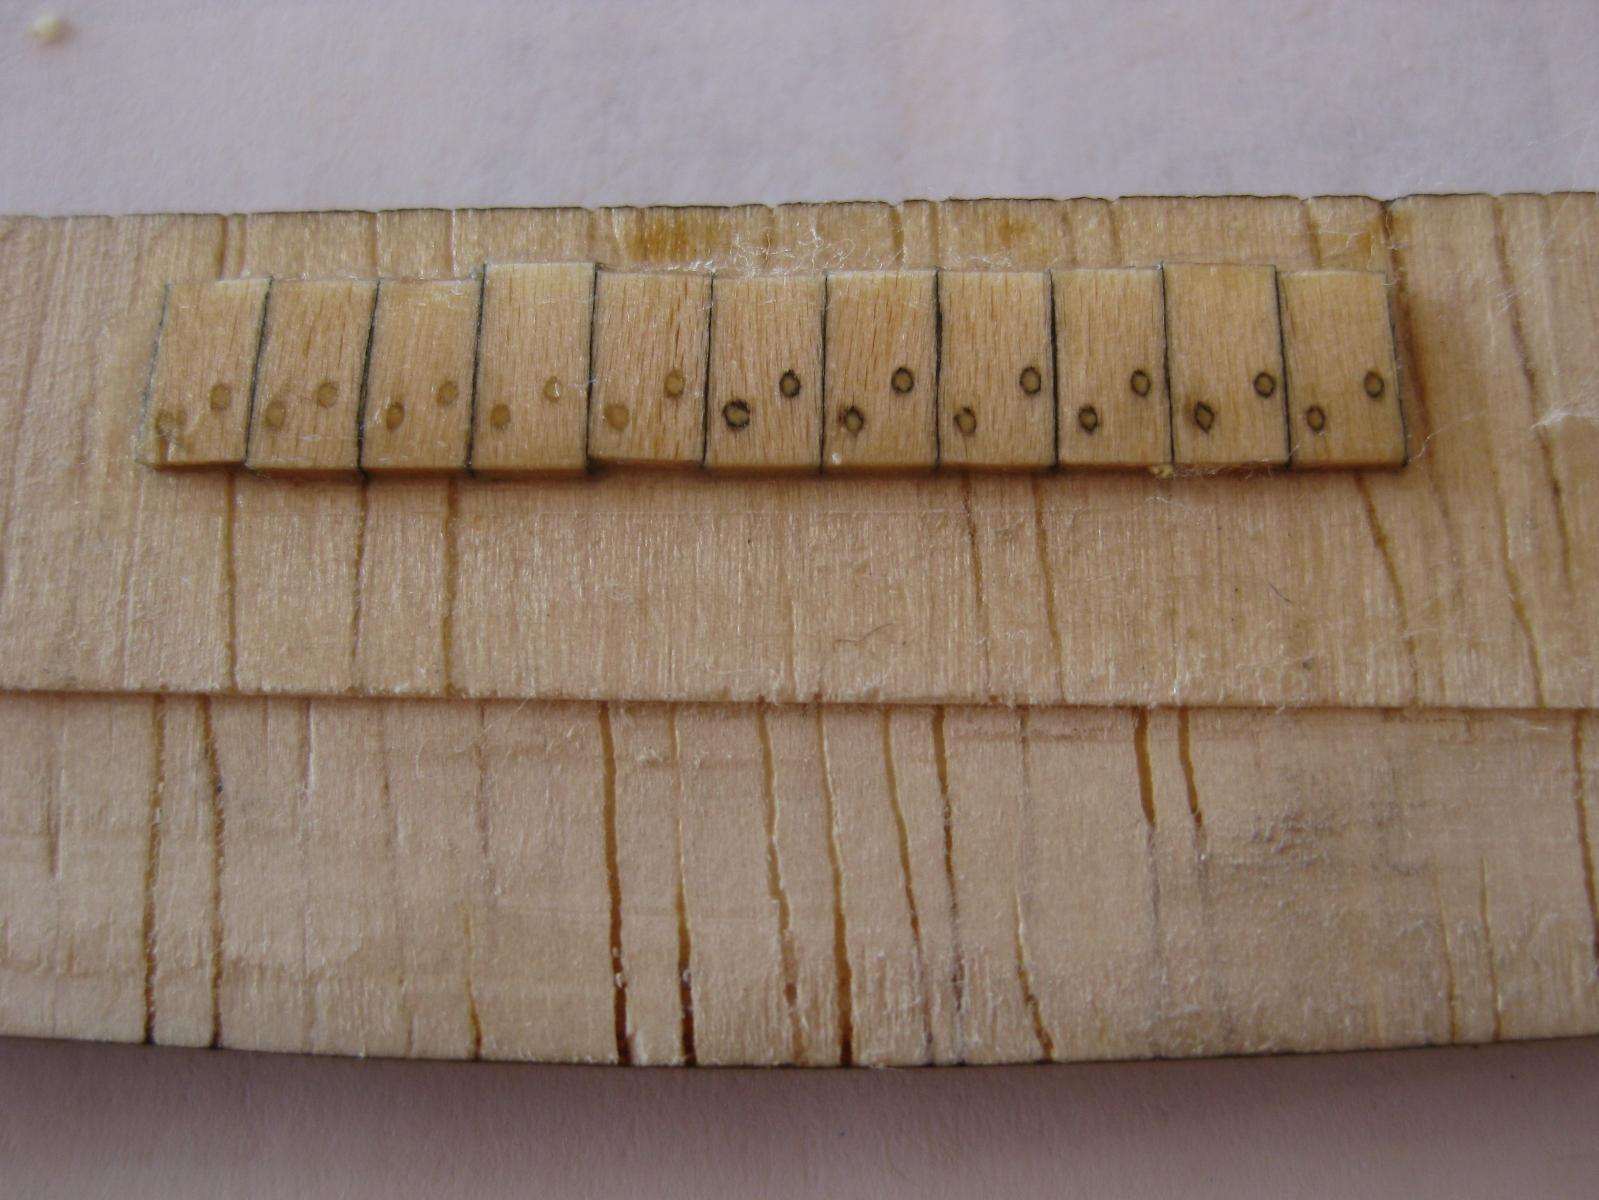
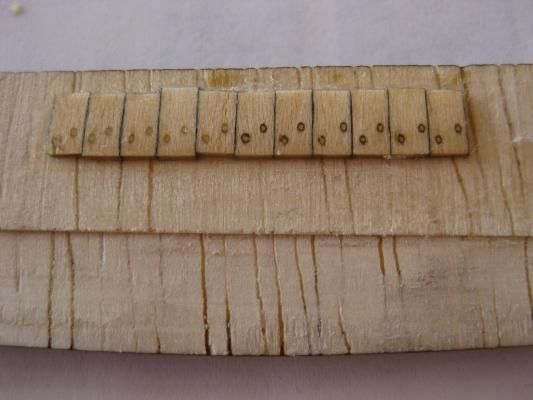
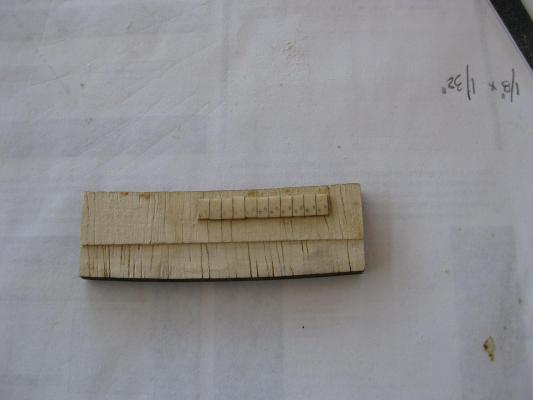
Working on the trenails the simulated effect using a filler. I've done a test run to see the result of my two options and to get some feedback - which do you guys think should be used? Close-up - a few on the left side of the tester with less definition compared to the more visible option on the right: and from further away
-
I'm trying to get my head around the filler strips under the counter - how are they finished against the rabbet in the bulkhead former. Any hints? Chris
-
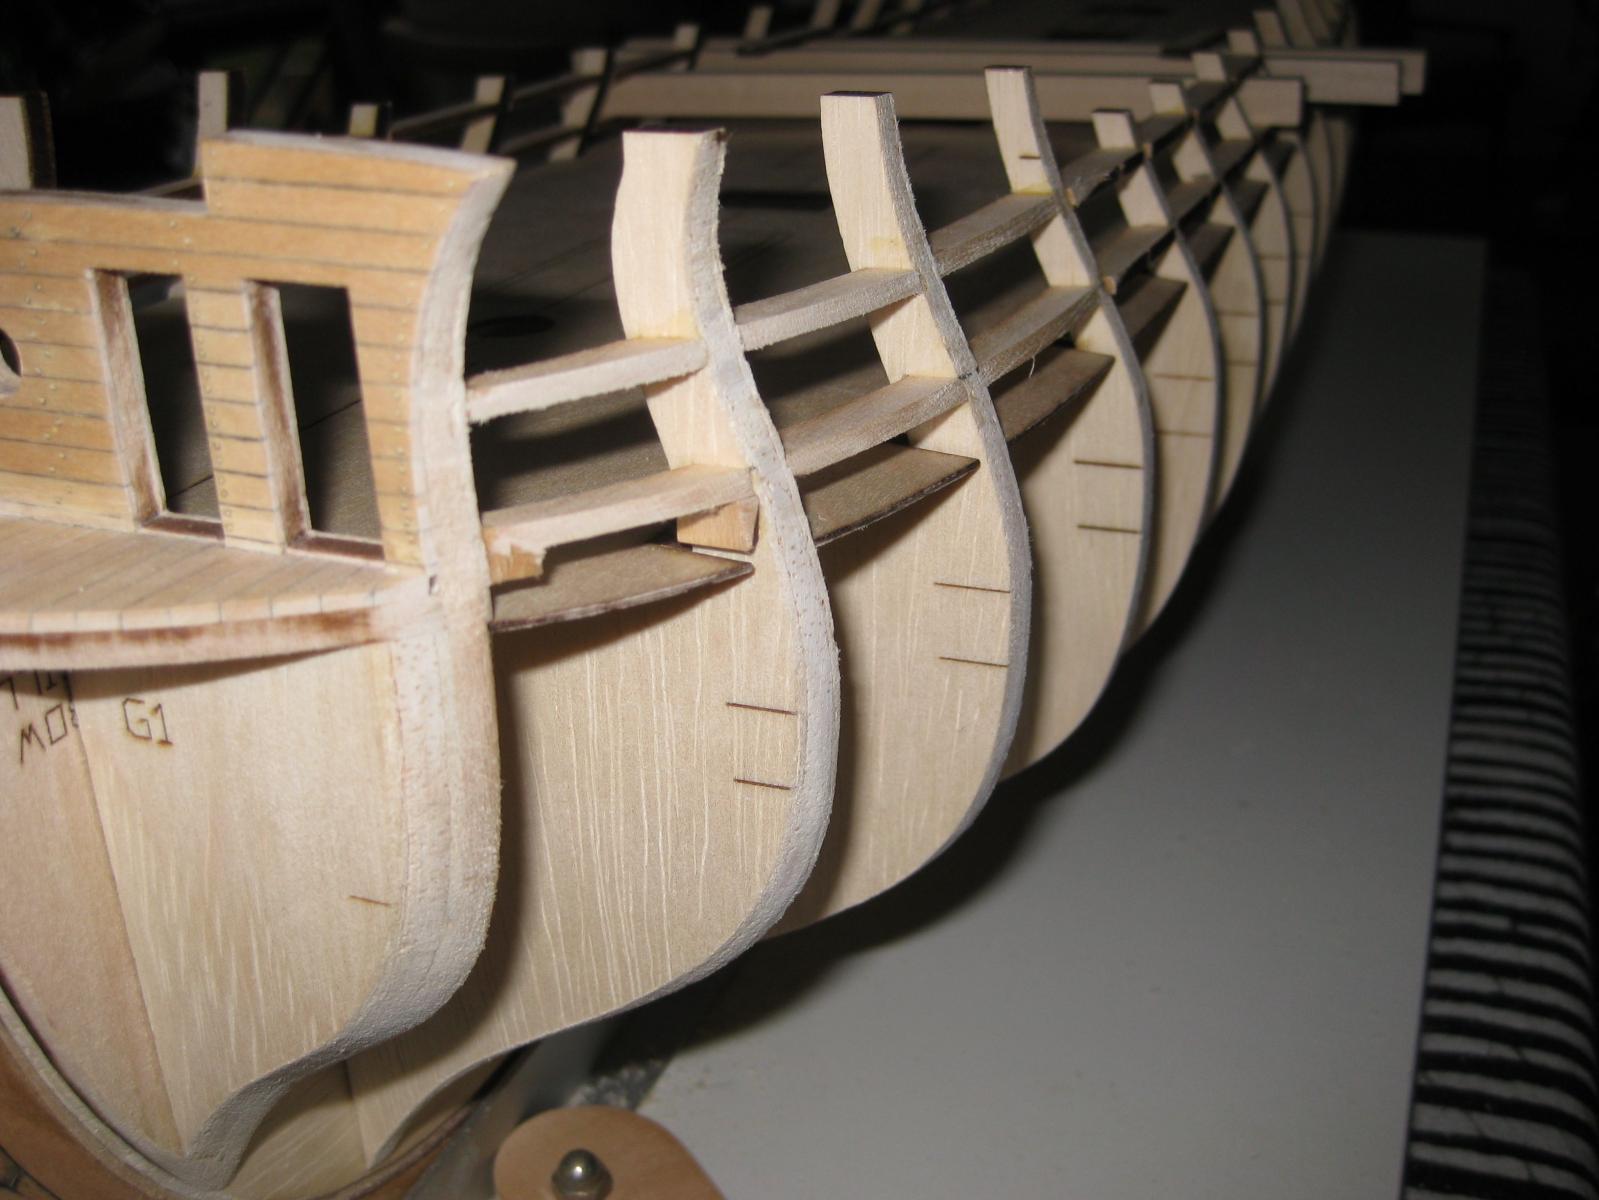
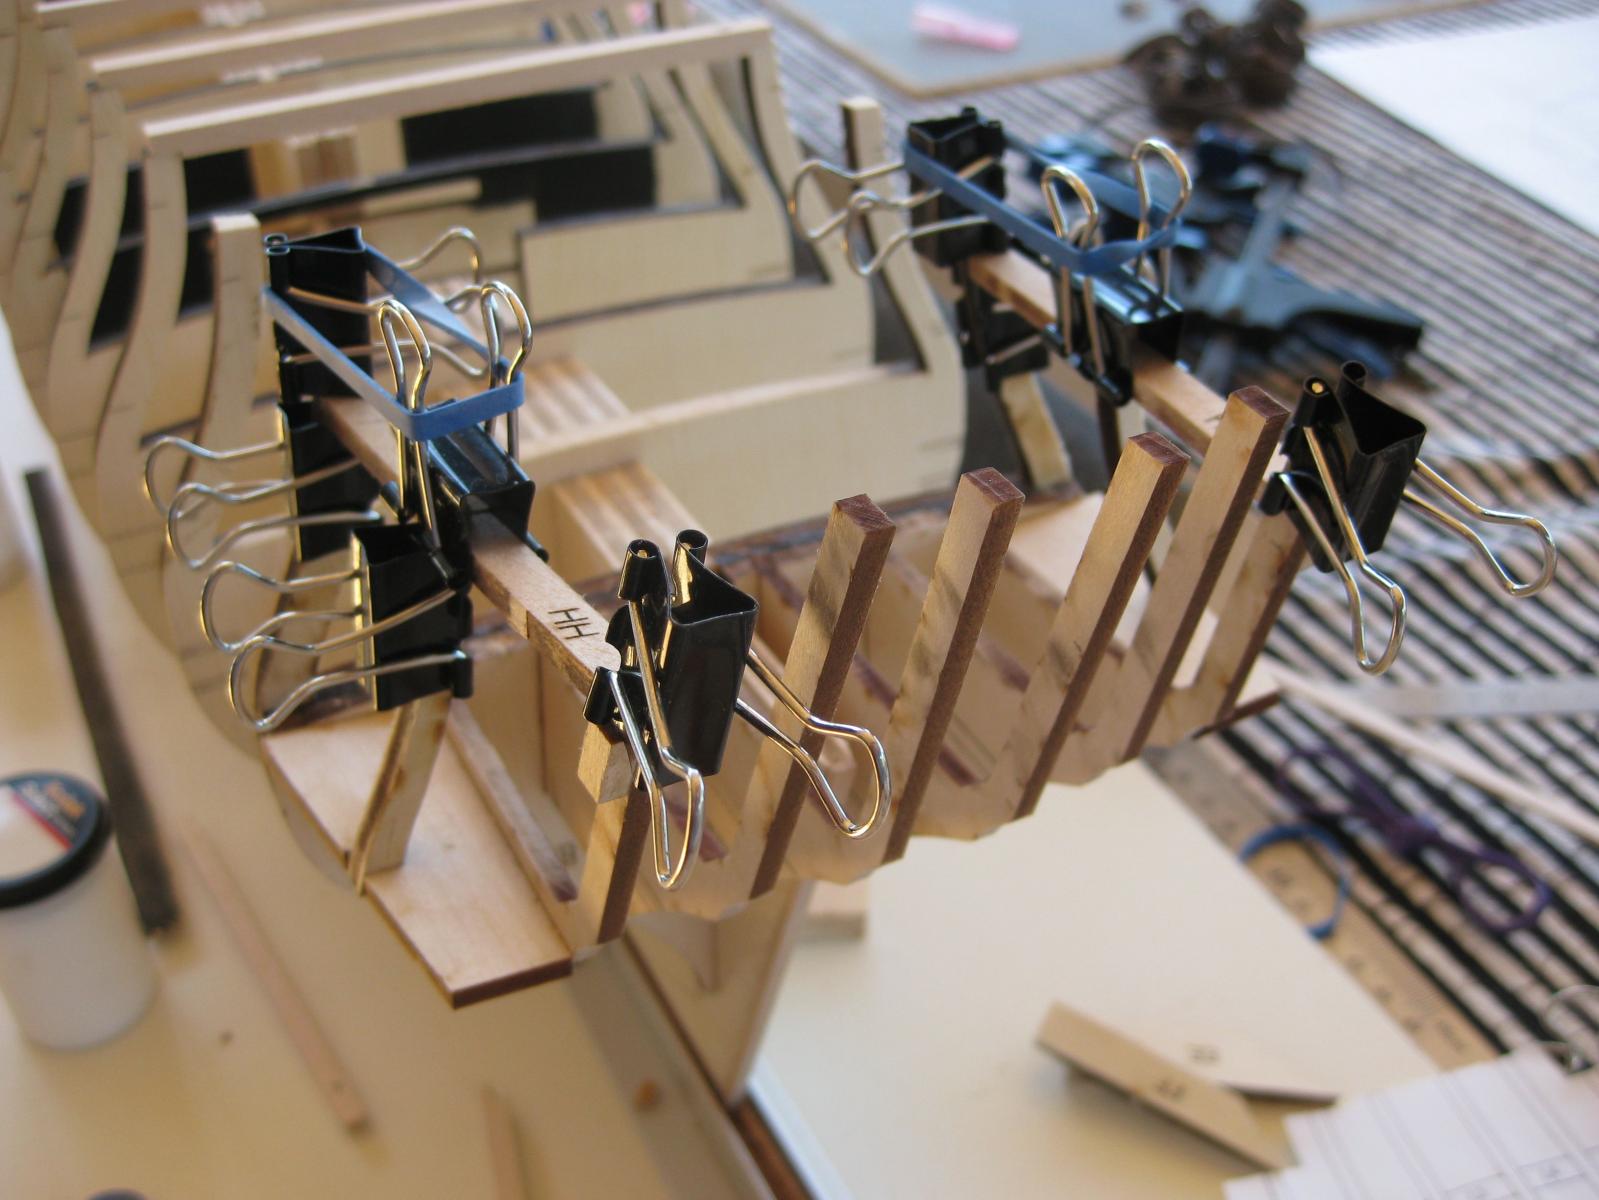
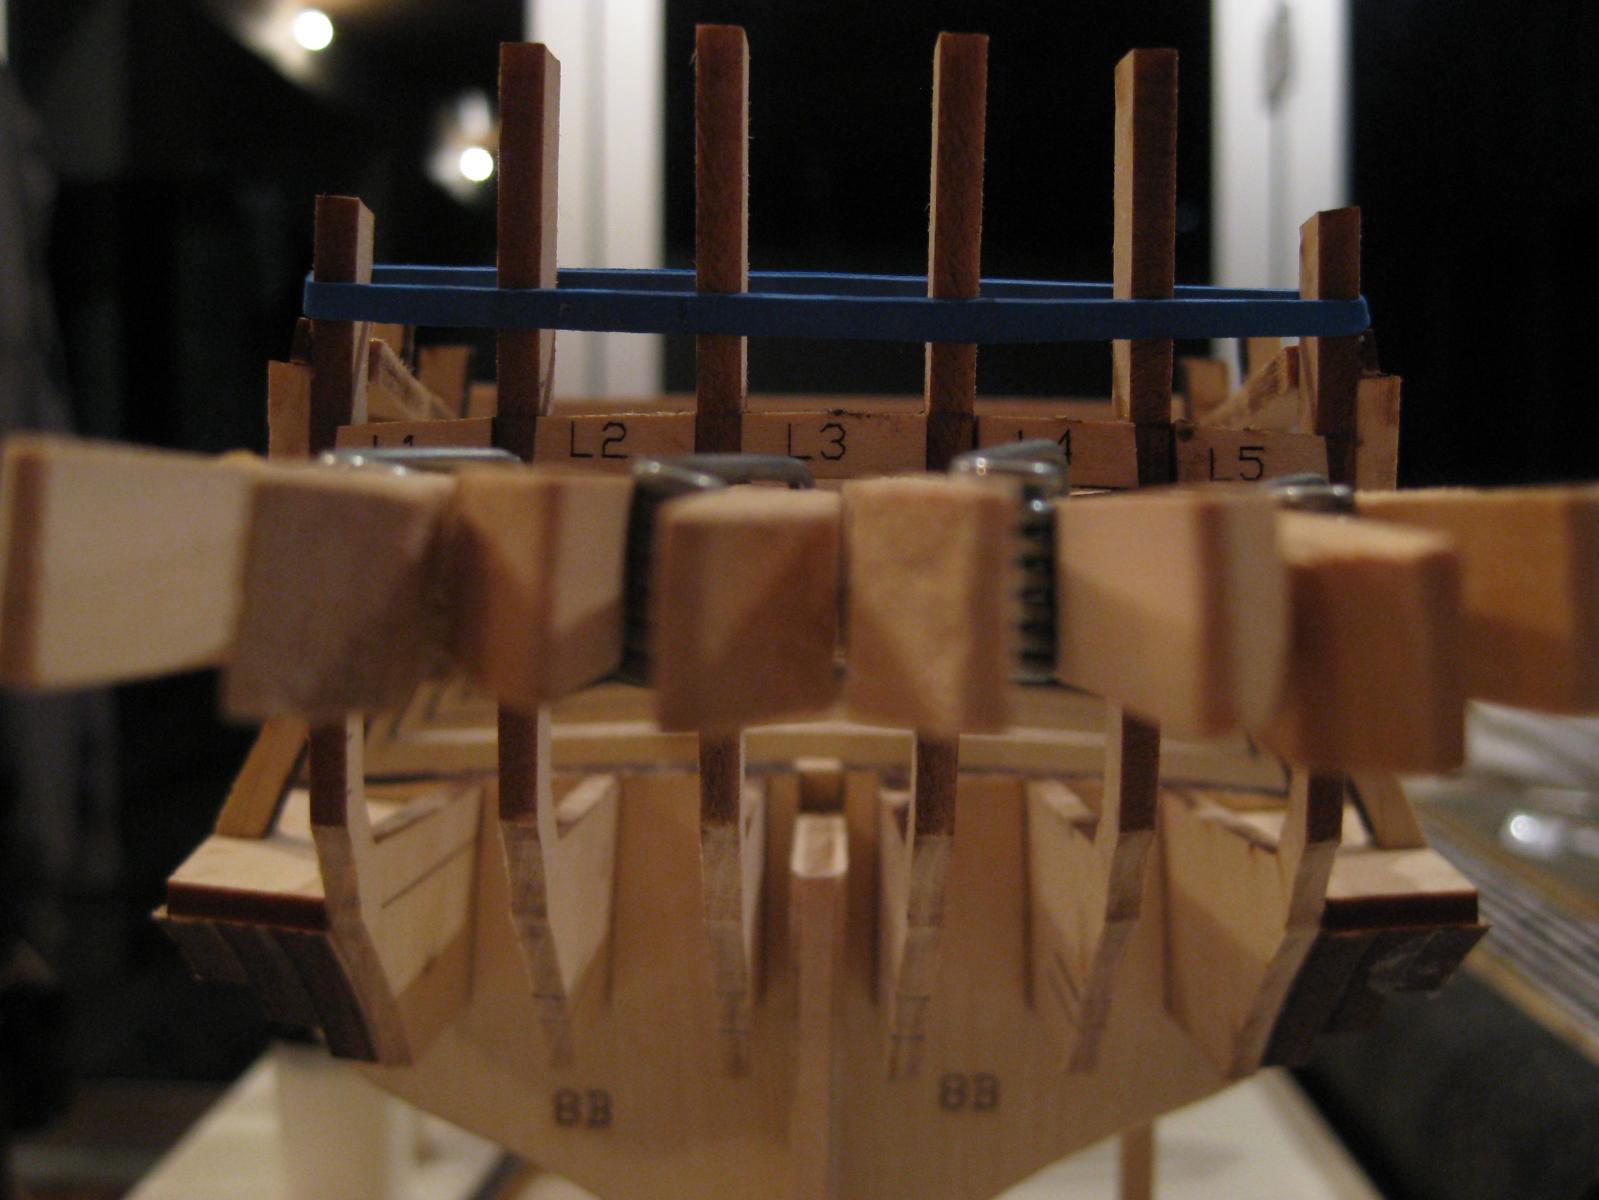
Thanks for the supportive comments. I glued in the frames and faired these to the hull - this removed the laser char. Thanks for the watchful eye, Ben. Its good to know I have masters watching over my progress. The frames were then treated with wipe on poly (with a DASH of oak stain). Next the stern ports - aligning the sills. Then the lintels and mullions And then the whole frame in place and faired.


-
I found an interesting quote in "The Naval History of the United States Volume 1 (of 2) by Willis J. Abbot" "One slight disaster to the American cause alone remains to be mentioned. The "Confederacy," a thirty-two-gun frigate built in 1778, was captured by the enemy in 1781. She was an unlucky ship, having been totally dismasted on her first cruise, and captured by an overwhelming force on her second."
-
I meant the separating tabs between the exposed frames. But as you pointed out ,Chuck, these do become covered by the planking. Next - the box is painted and the frames are going in.
-
Working on the exposed framing now - I have an idea of slightly trimming back the little separating tabs , so that they are not visible (or do these become covered by the planking ?)
-
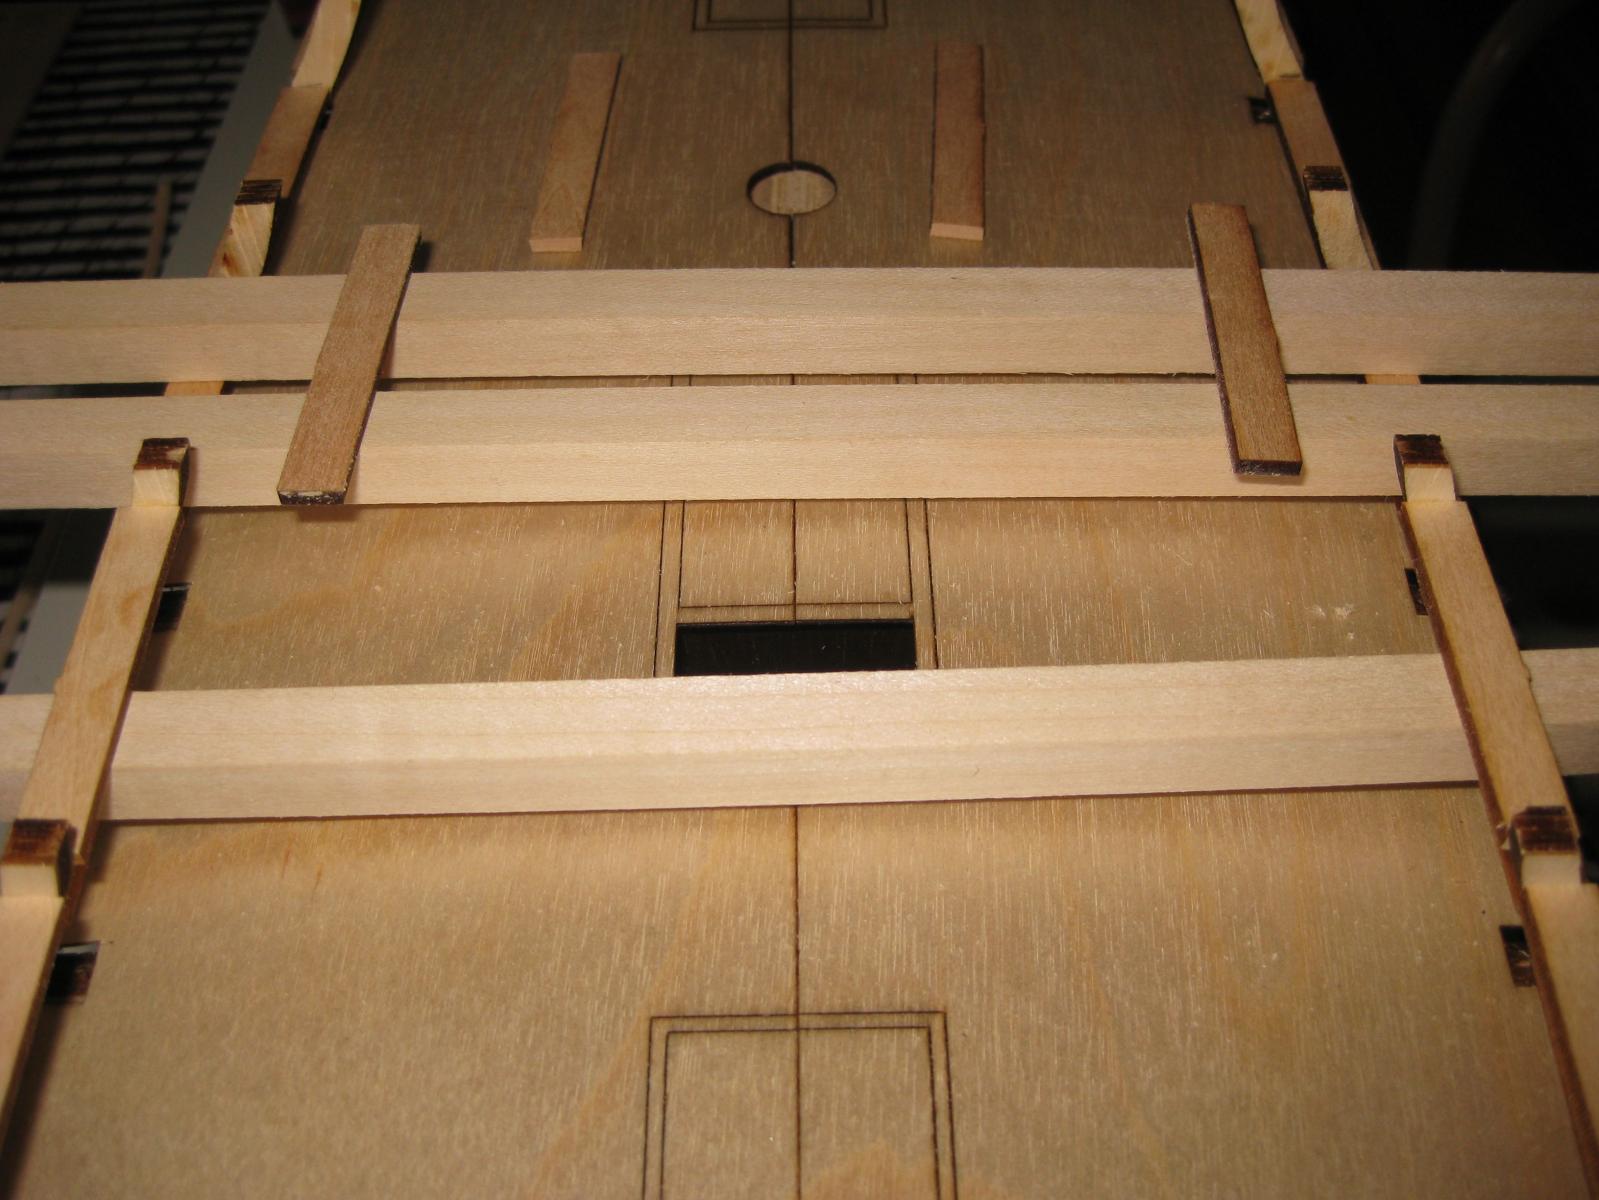
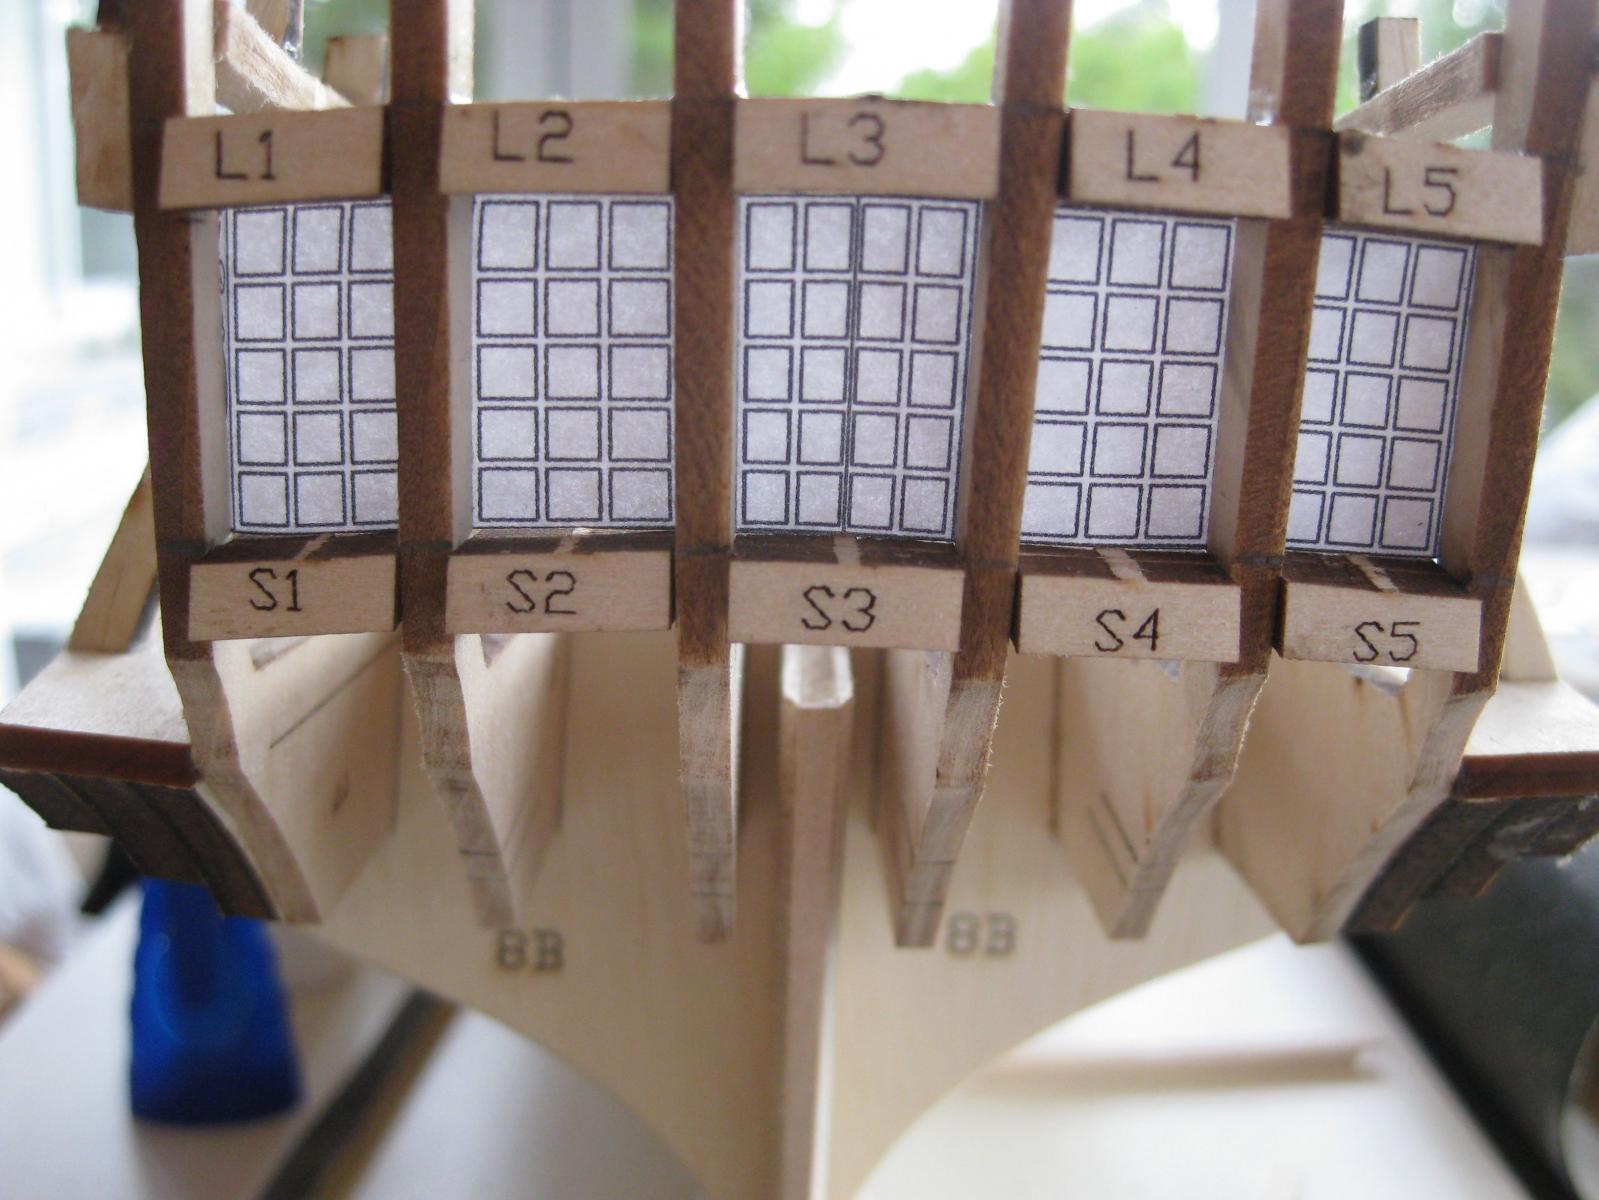
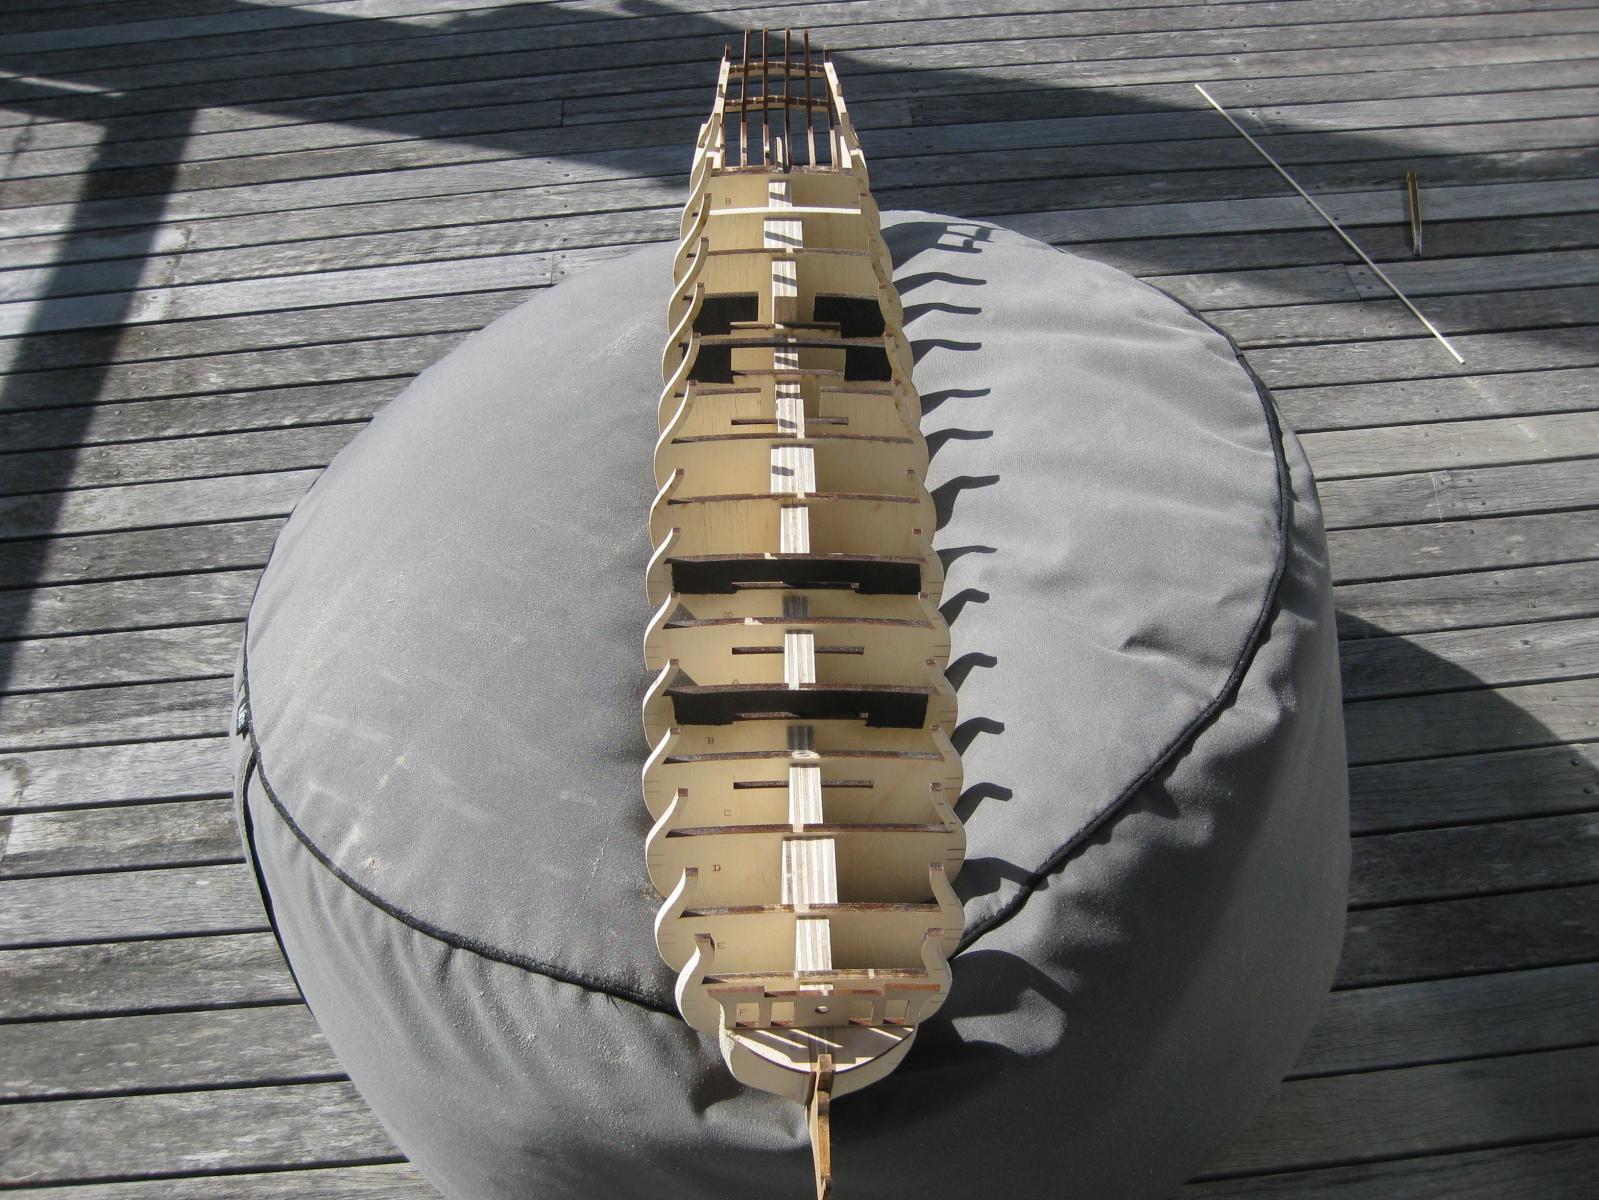
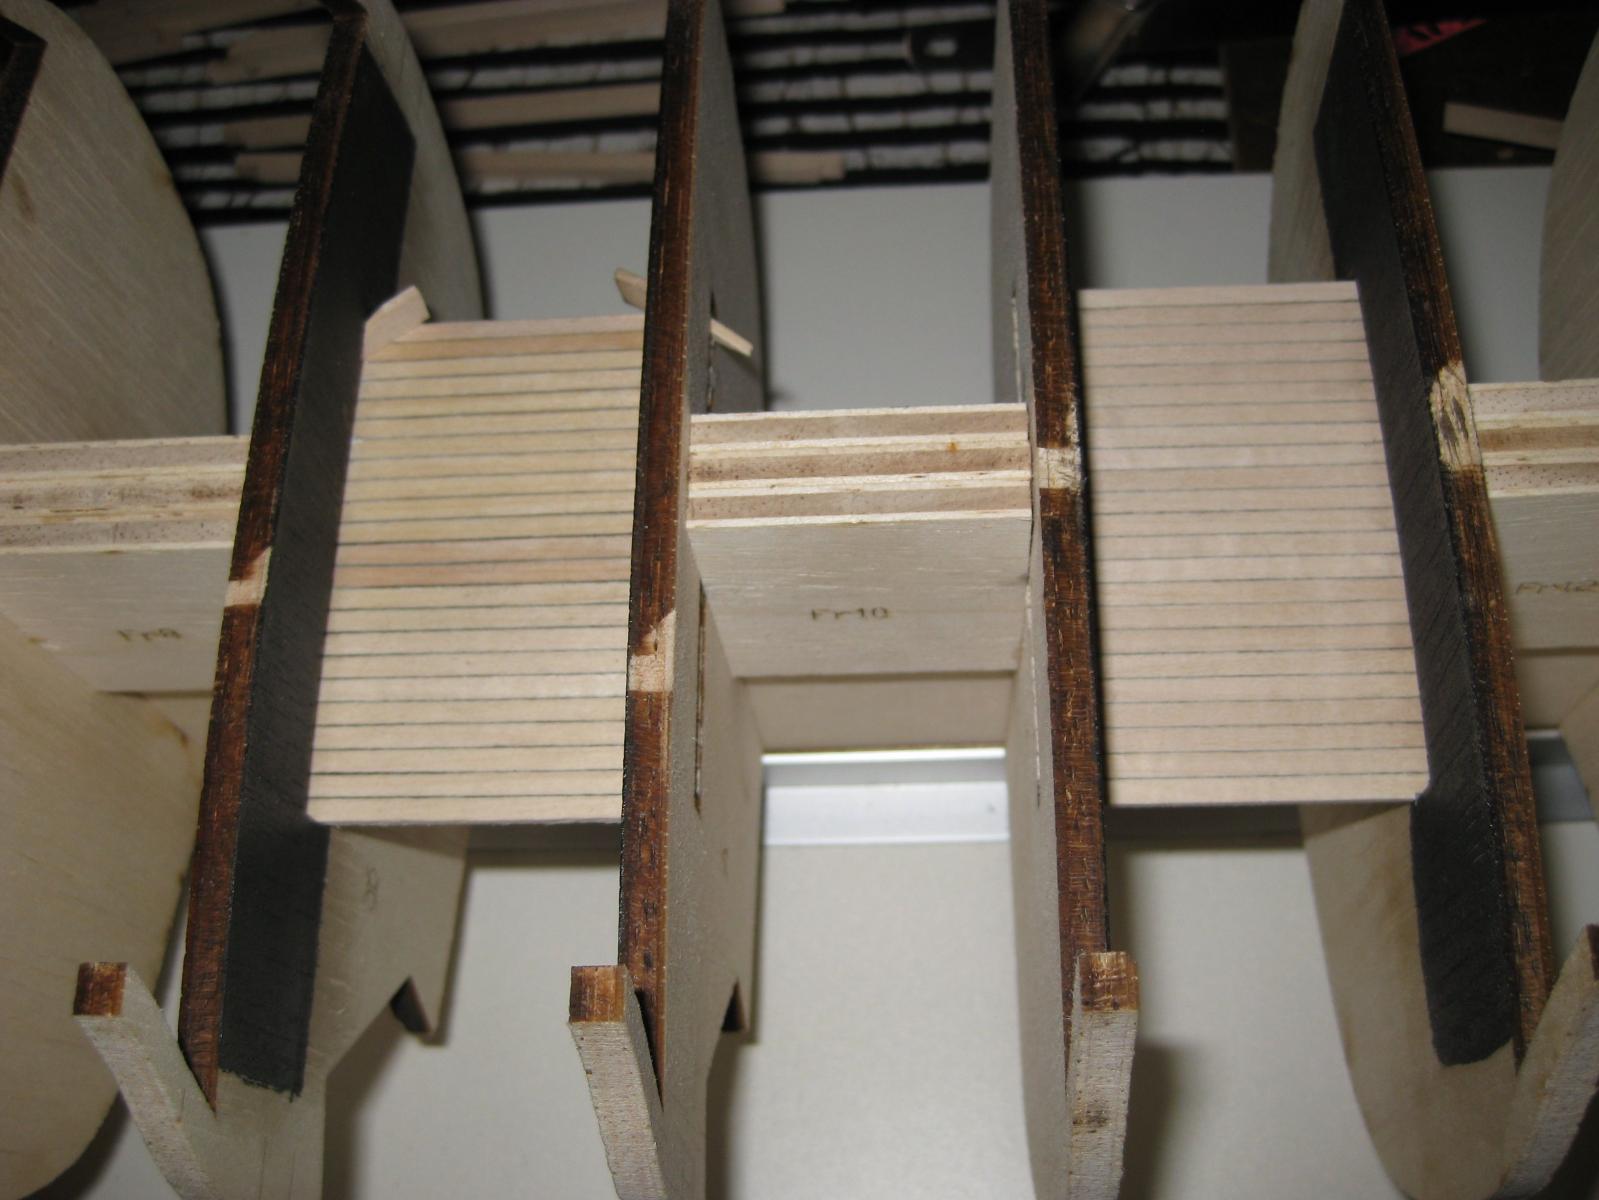
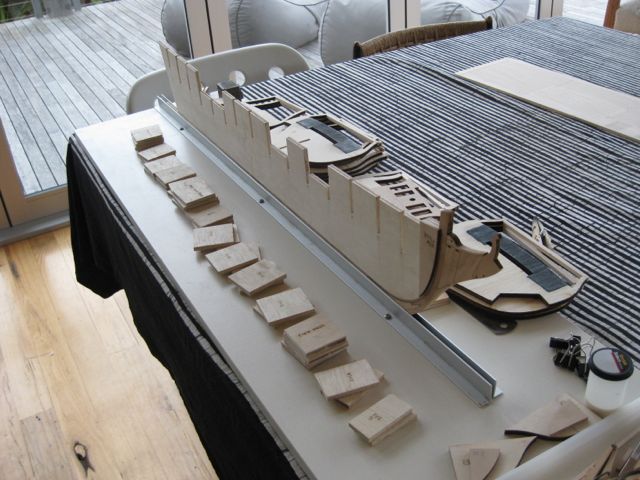
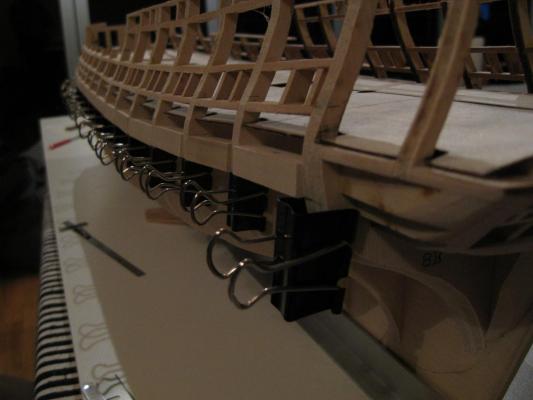
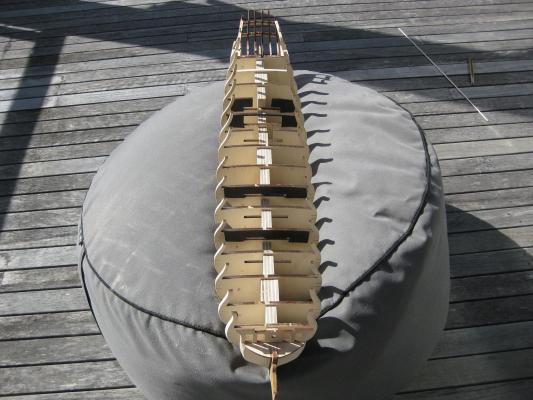
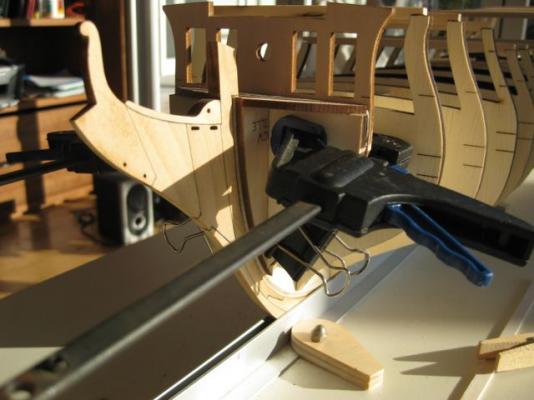
Progress 1.Bowfillers 2.Stern - I decided to complete this before fairing the hull, but am I going to pay for this later? 3.Lintels and sills going in 4.Checking the alignment against the future window placement 5.Fairing the hull on my fairing station 6.Lower decks are going in - the pencil line for caulking Last Day of Summer here - could this mean more modelling time?


-
Thanks for the advice.
-
Yes, keeping it all square is the key. I'm still puzzled at the stem dimensions - I had to modify it by at least 5mm (more than just removing the laser char ) so that the length along the curve was the same as the bulkhead former. Fairing of the hull has begun - any tips? I plan to do the fairing first and then do the sub gun deck platforms.
-
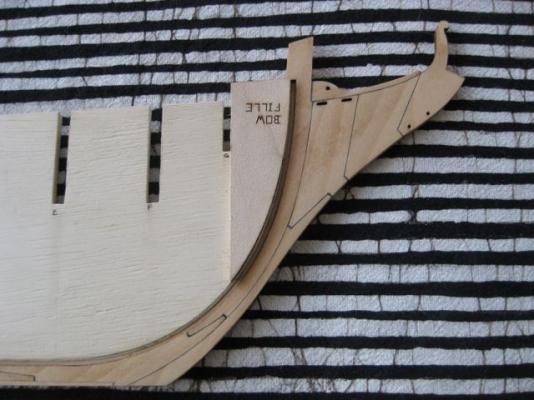
Further progress: 1.The stem is glued to the bulkhead former 2.Keel bolts - drill/refine with a push-pin/shade with pencil/fill with wood filler/sand/ finish with wipe on poly 3.Getting ready for the frames and fillers 4.Bow fillers 5.Frame 8 being trued 6.All the frames are in Next step - fairing the hull


-
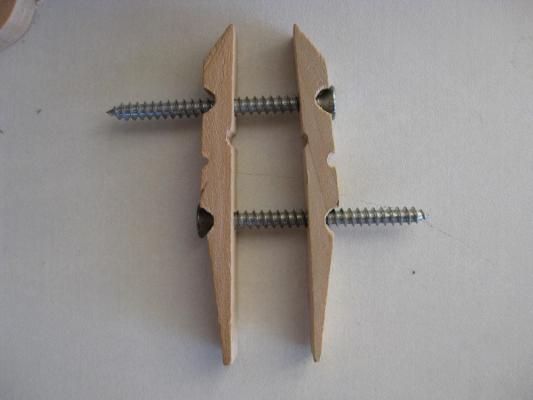
Hi all Grant - the name is from my days of card modelling and these are cam cleats indeed. Chuck - all laser char removed - still needed to remove 1.5mm from each scarph to shorten the stem to mate with the curve of the bulkhead Augie - thanks. I'm following your build for hints. Chris
-
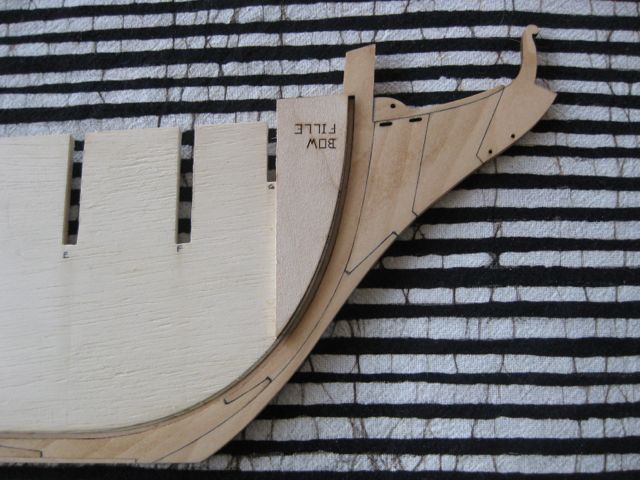
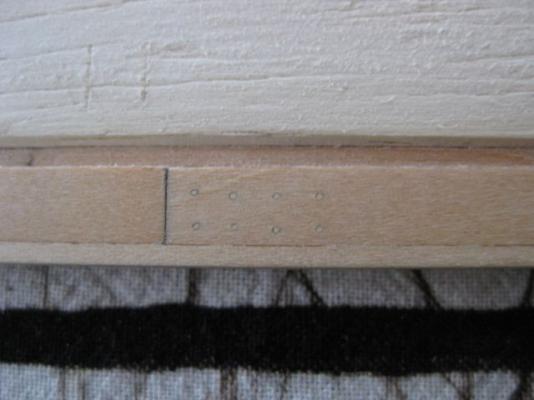
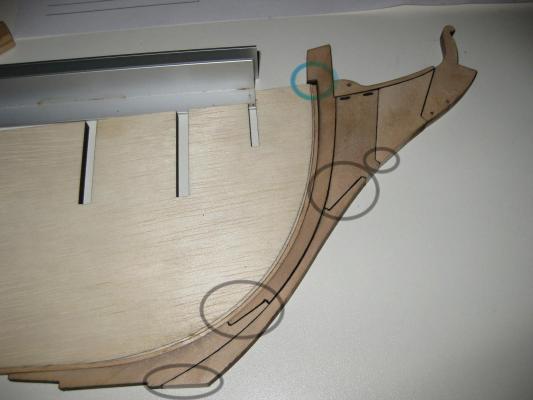
And the ever troublesome stem. It needed adjustment in all of the scarf joints (marked with black circles) to overcome the gap at the top (blue recircle) - the stem was longer than the bulkhead along its curve by approximately 5mm. It now fits perfectly along the curve of the bulkhead.
-
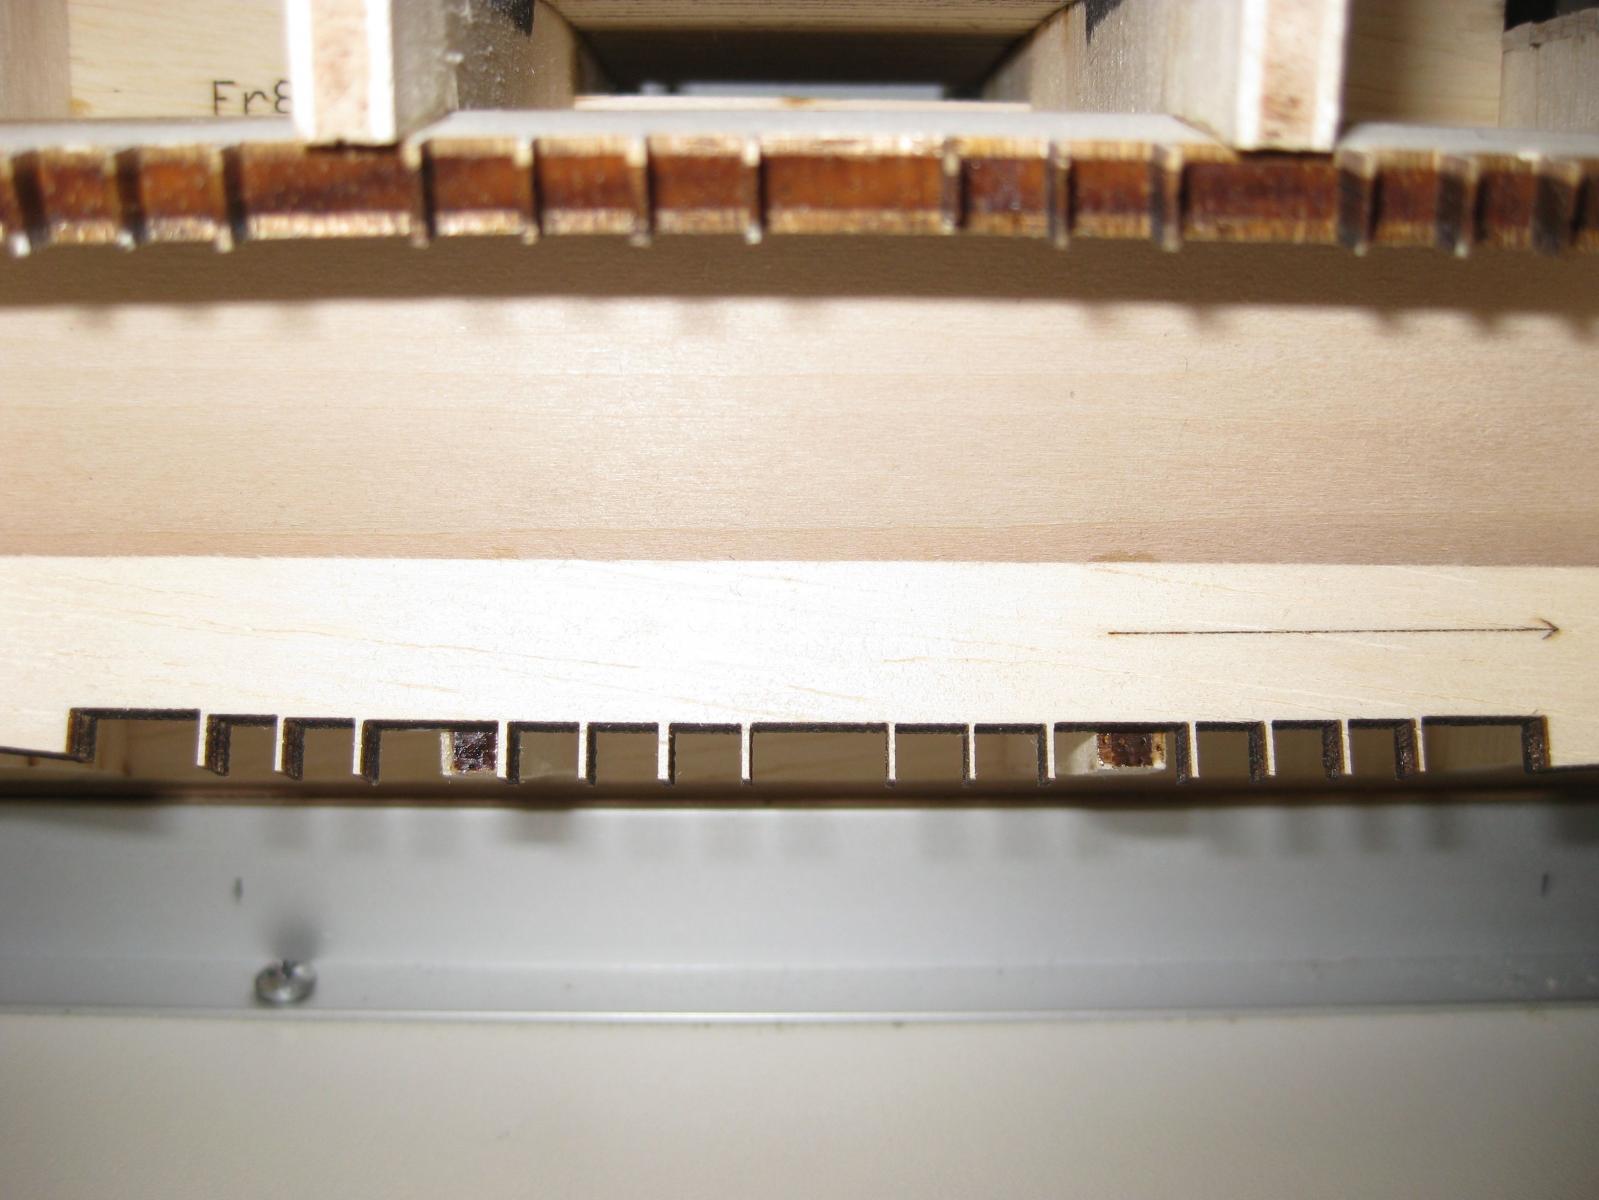
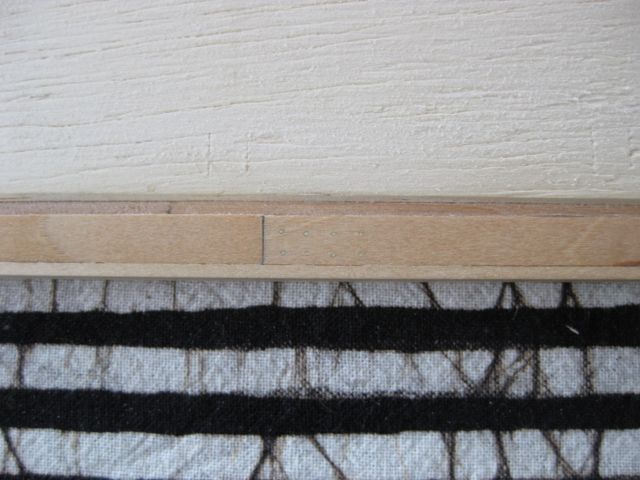
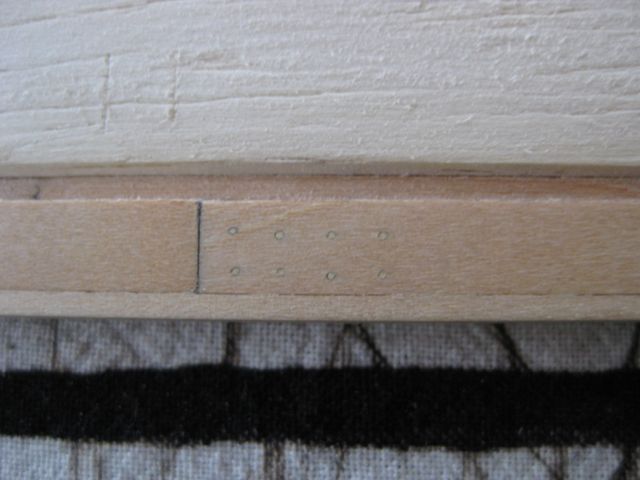
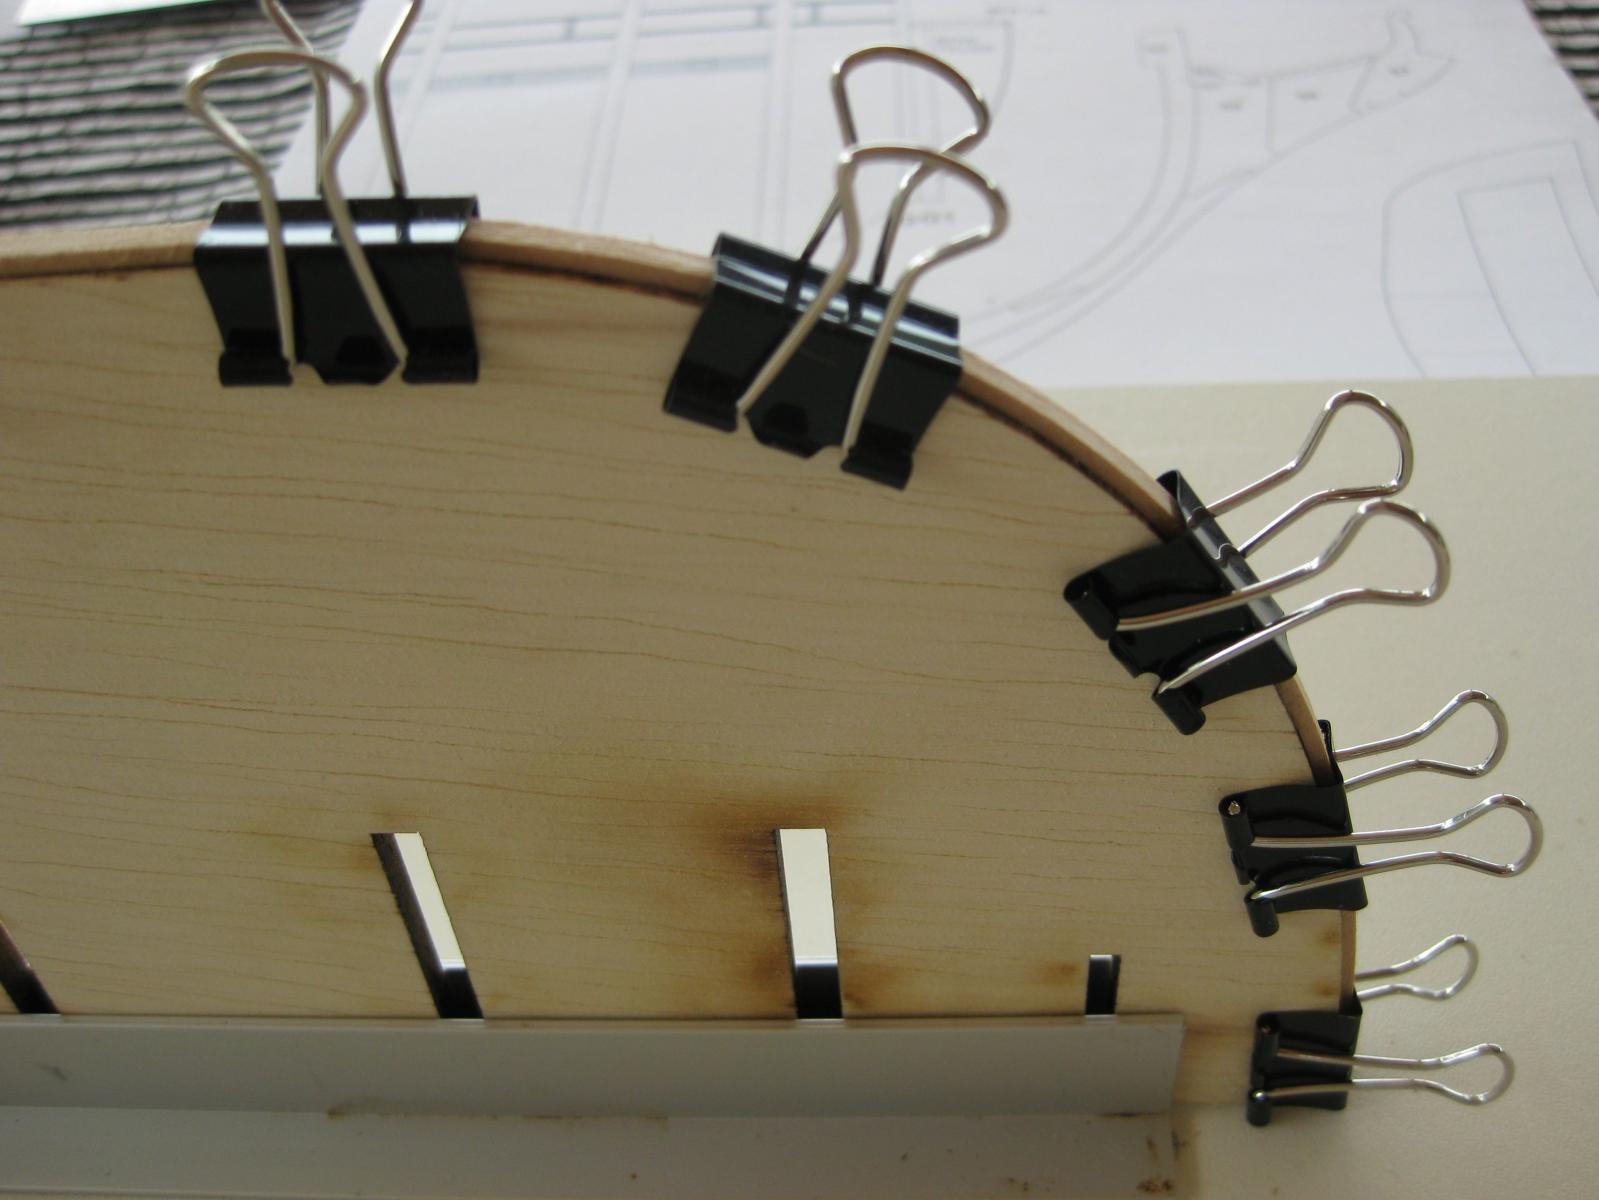
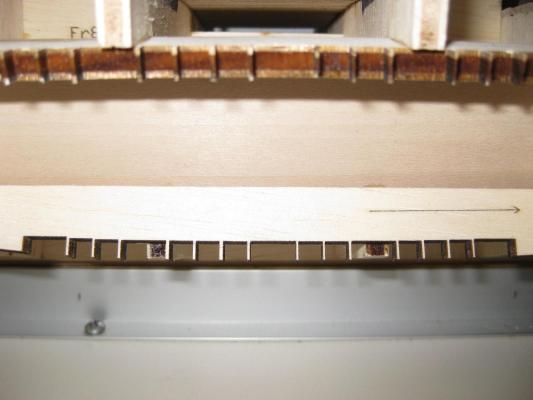
Adding the rabbet forming strip.