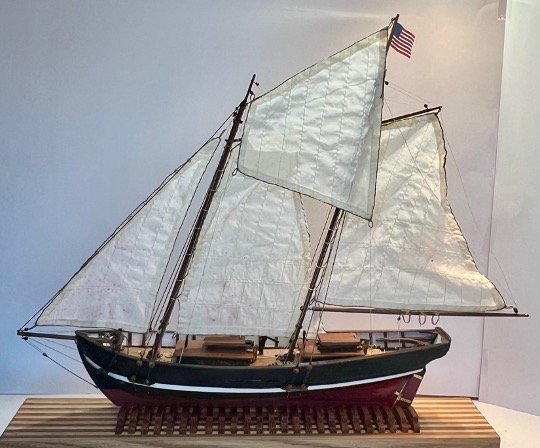
Recently, I started posting on MSW. I started the USS Perry on 12/15/24 and will describe some interesting modifications that have brought me to the current stage of my build log. I must acknowledge the generous coaching of a USSCMSG member who has mentored me for 25 years. To build the Perry, he recommended I follow Chuck Parrasro's instructions on the Modey Shipways website for the 1/16=1" scale USS Syrene, a similar ship of this era in the US Navy, as well as his instructions on Model Shipways Sultana of 1767.
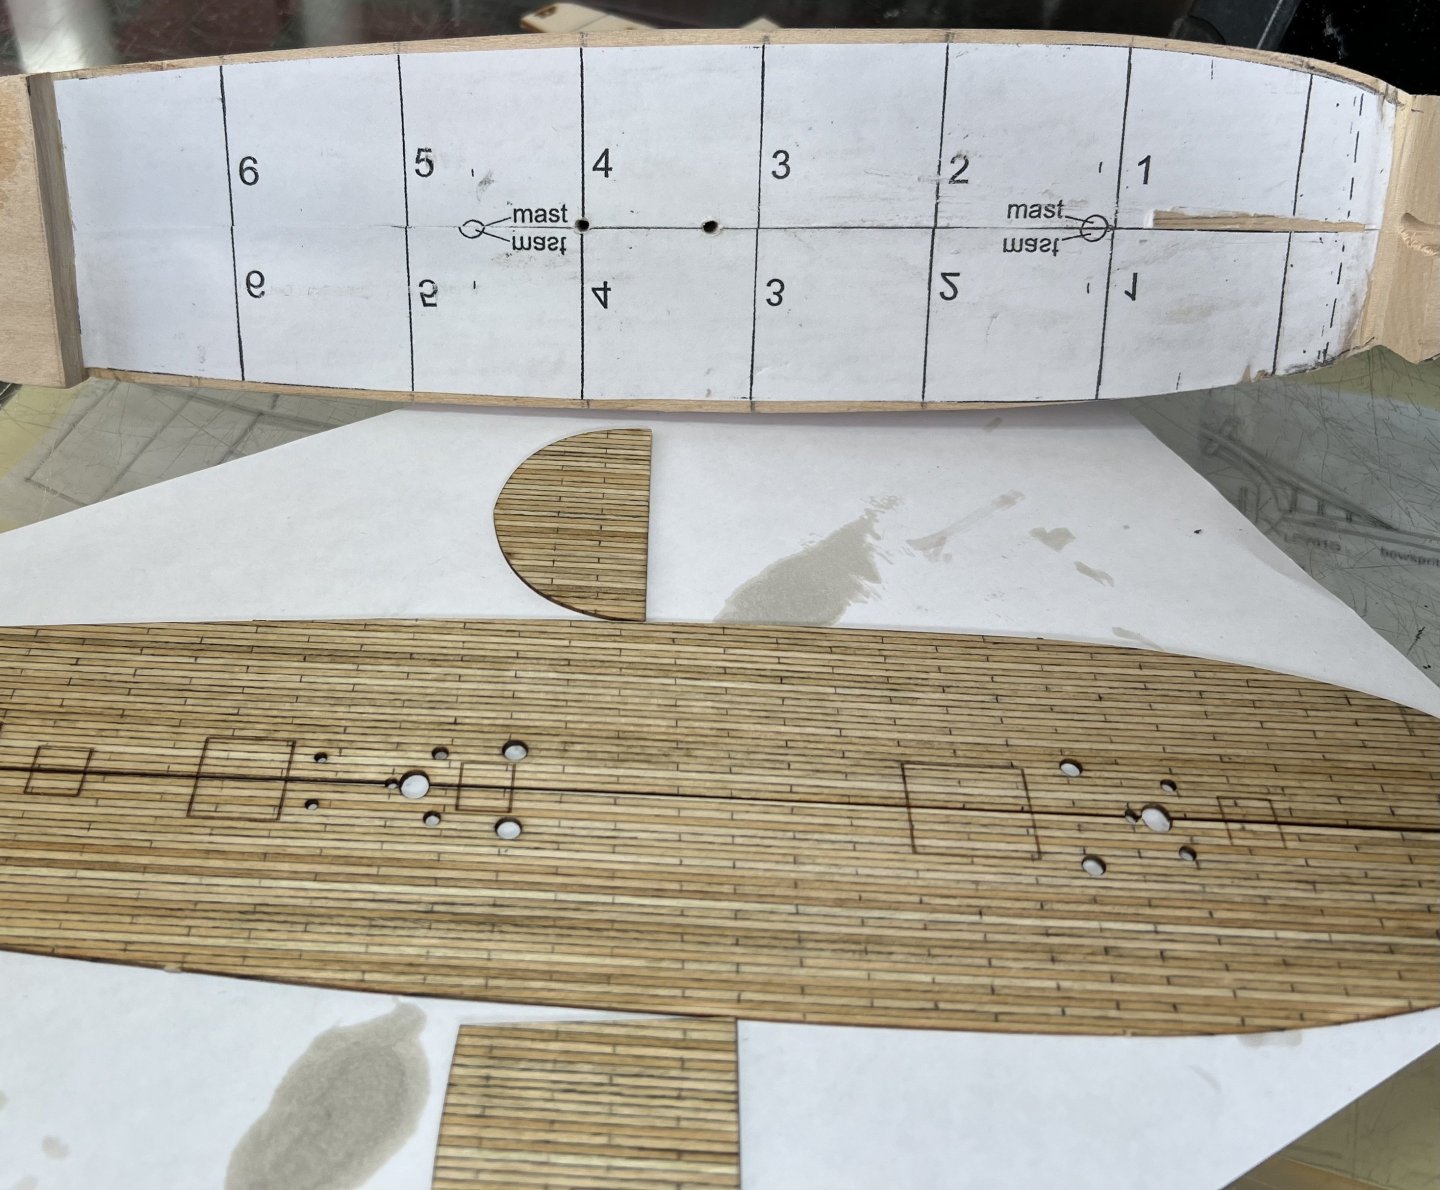
To begin with, I copied all templates and pasted them on the hull and penciled horizontal lines on each of the deck planks.
I started following Bluejacket BJ's instructions. For the past decade, I have used as a workbench a table with a glass top that allows for plans and other pertinent documents to be stored below that table top.
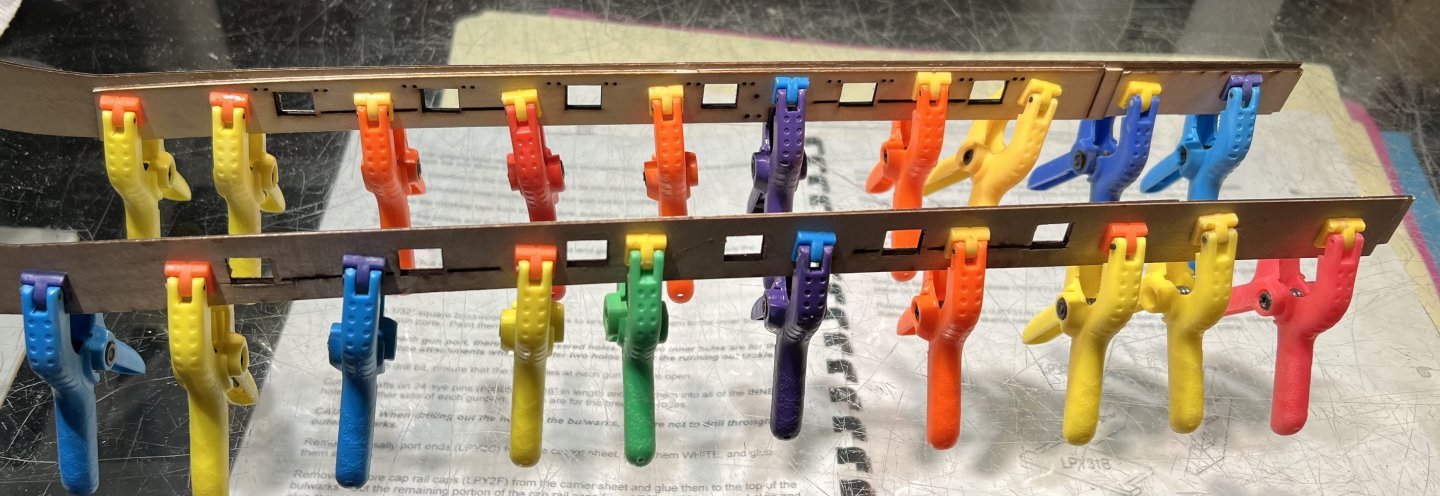
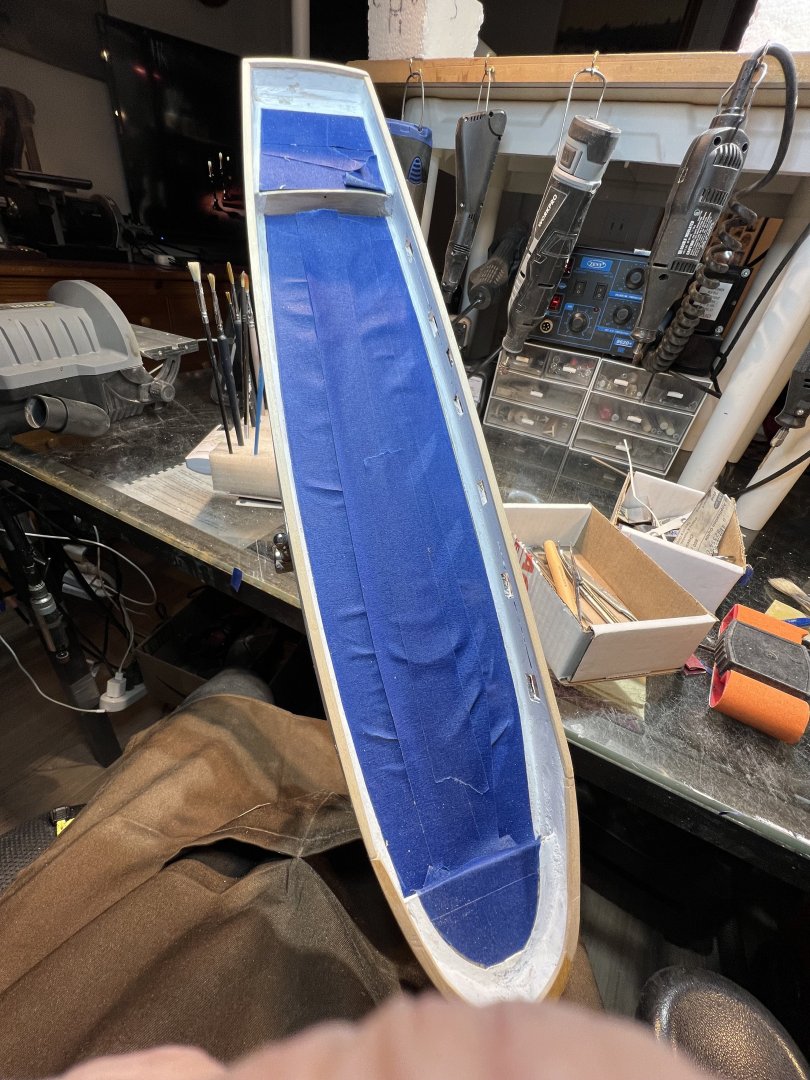
Taped deck and installed cap rails.
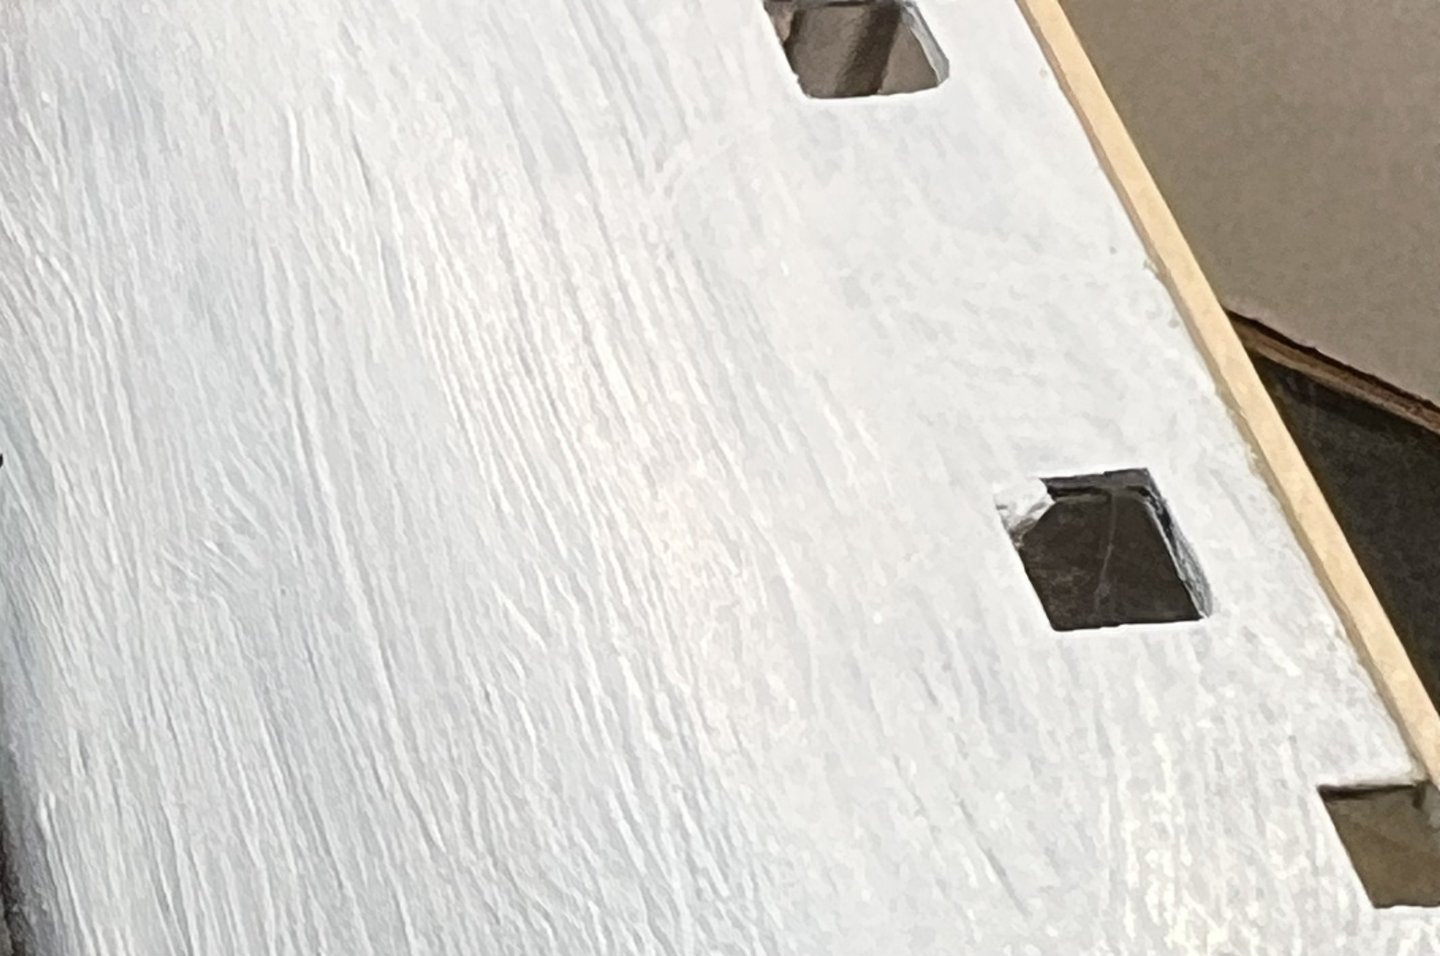
To rid the brush marks I was advised to sand with 350 grit, buy quality brushes, and use model paints (Tamiya).
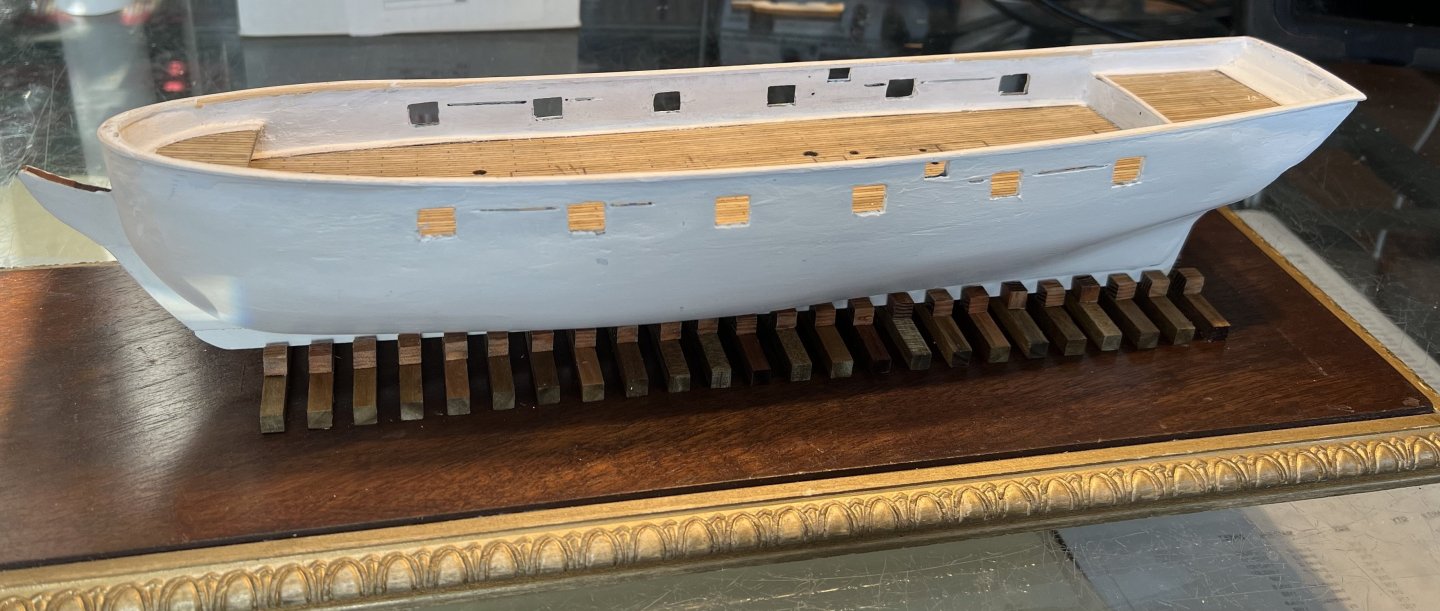
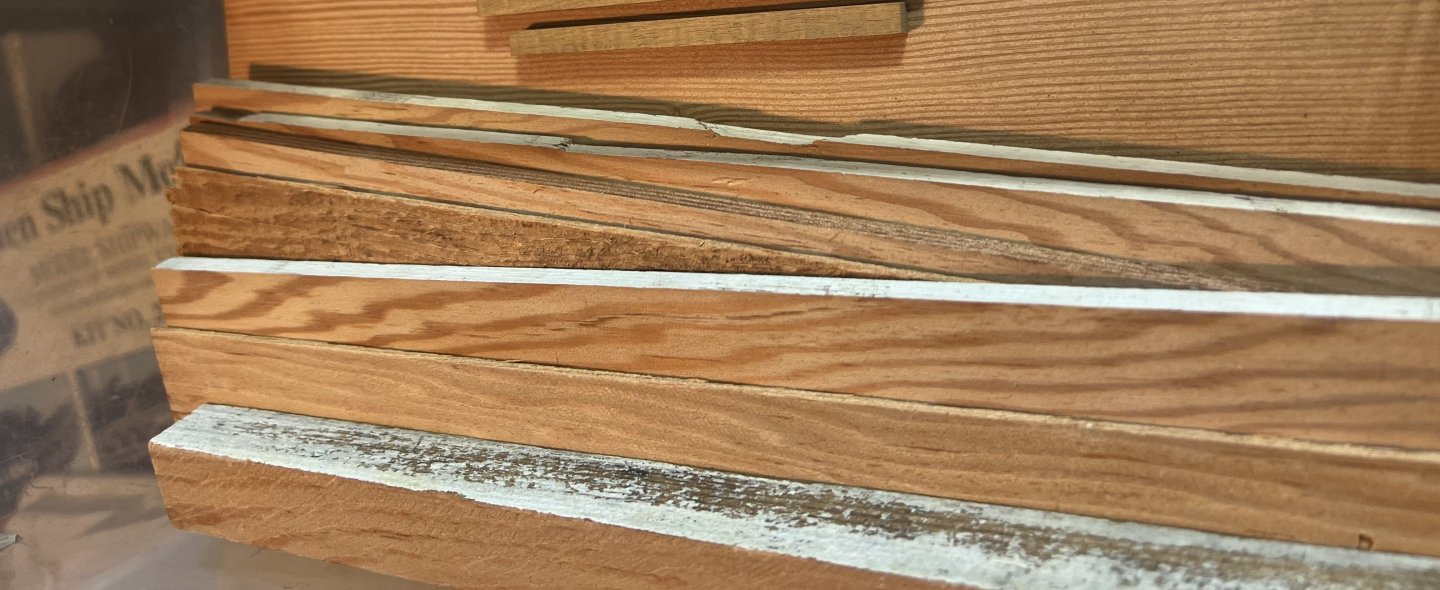
From a Guild member, I acquired wood from the real USS Constitution which I have used to make block stands for many of my models.
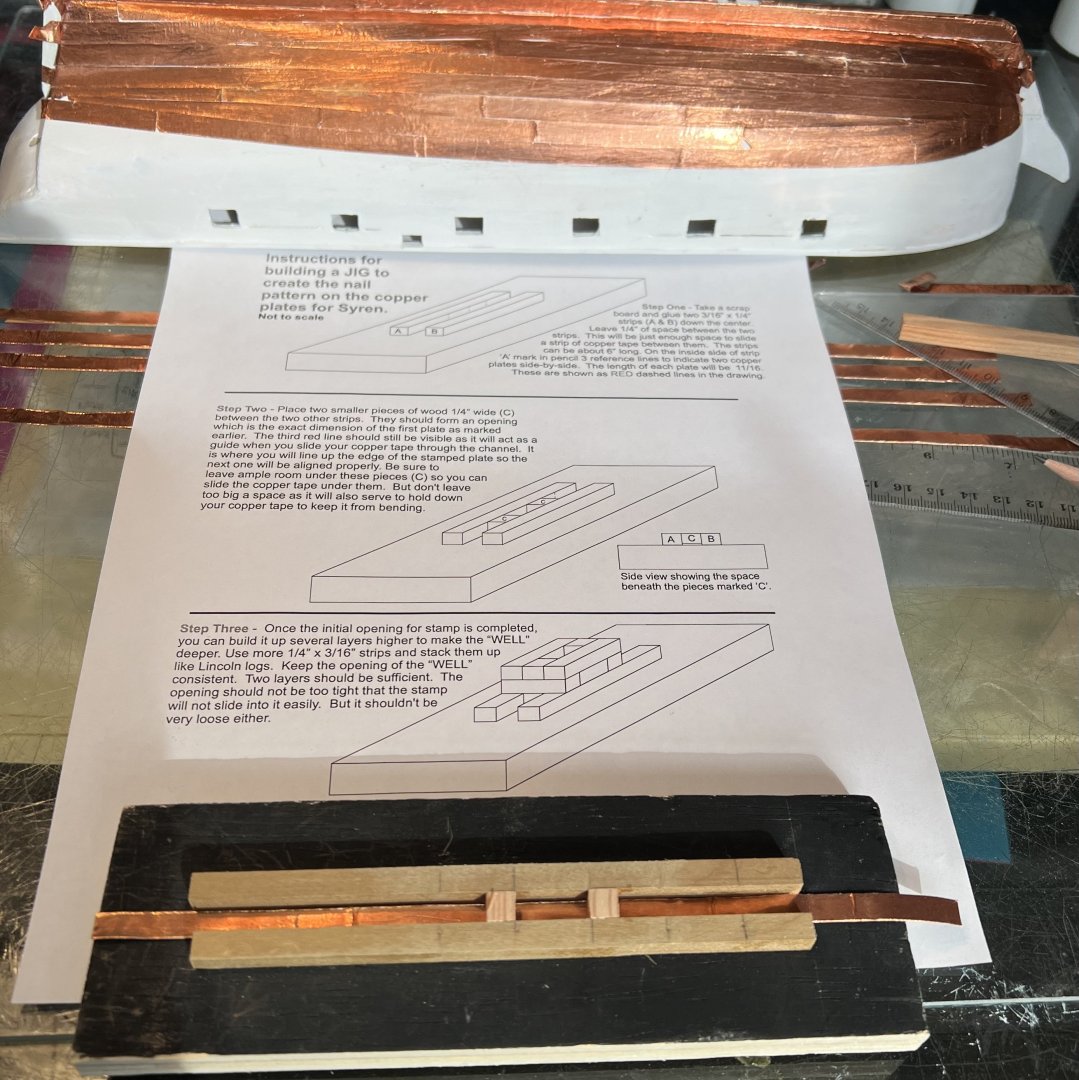
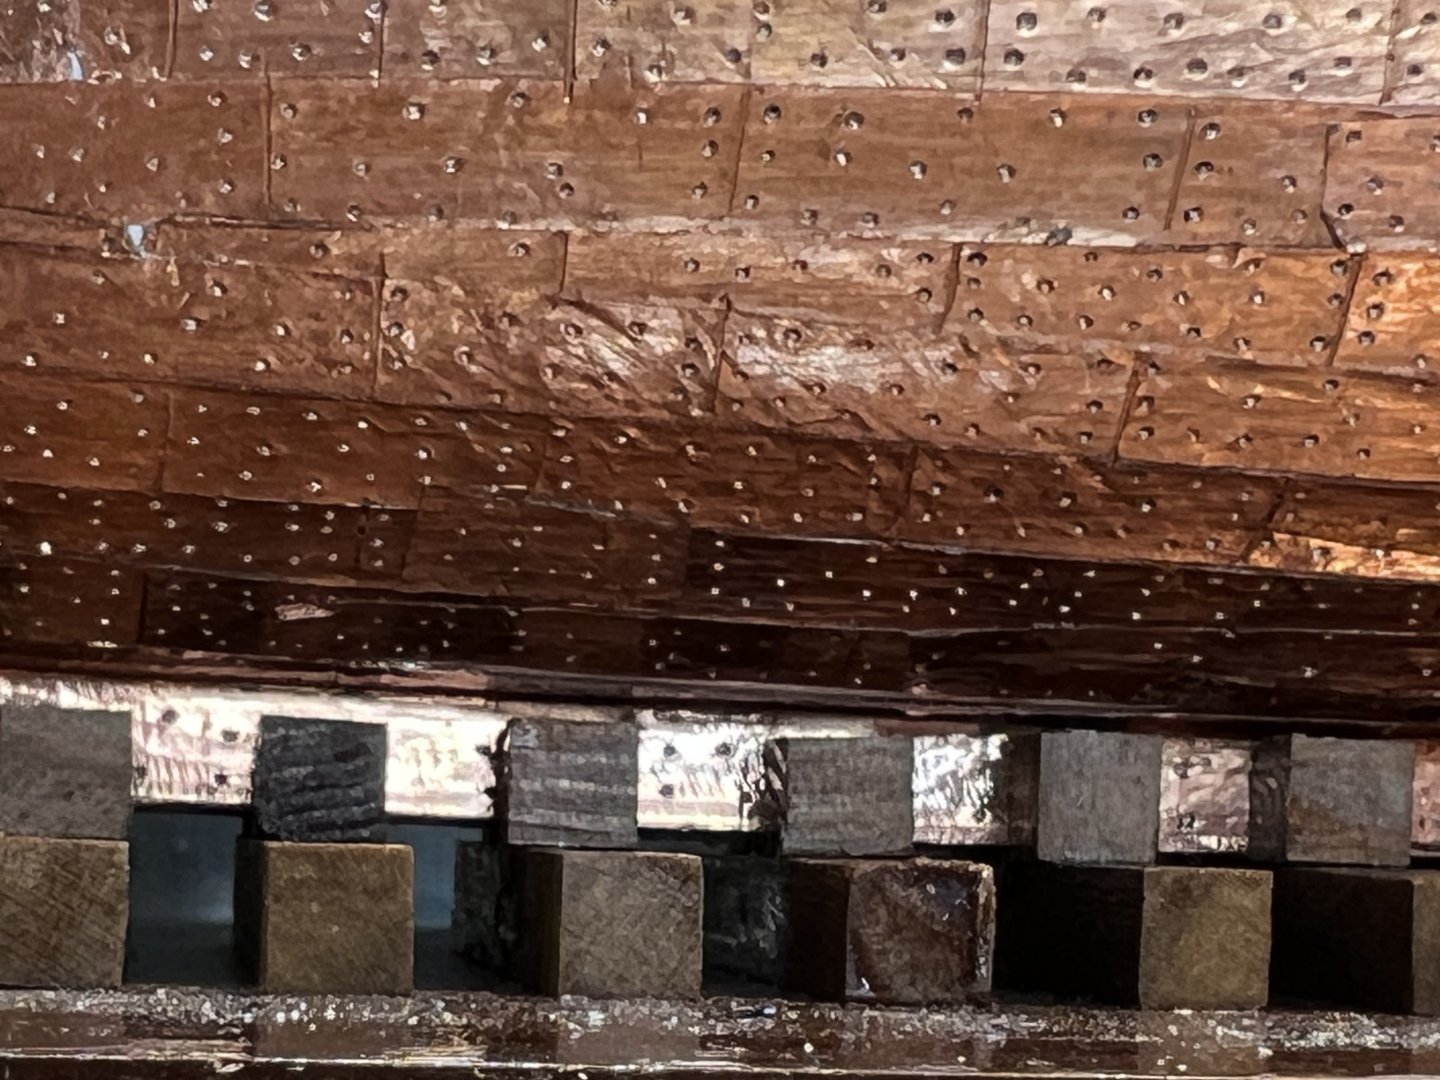
Built Chuck Passaro's tape jig and made nail perforations in simulated copper sheathing.
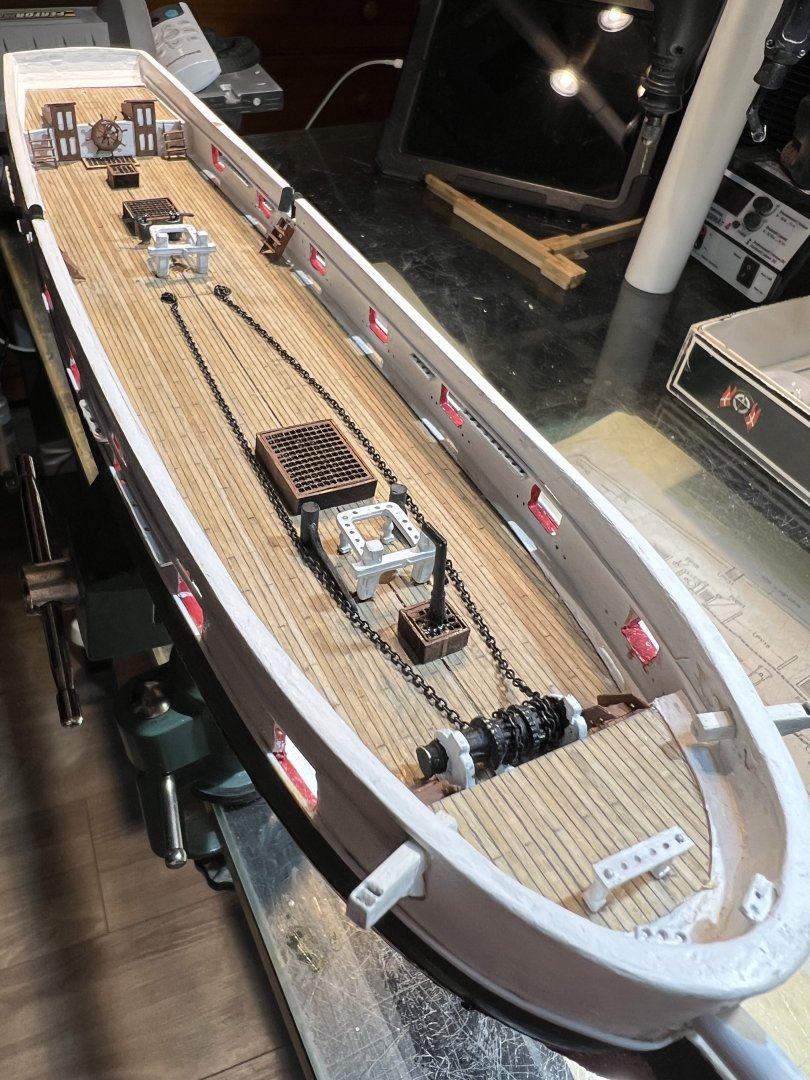
Installed furniture, added 6 more pins at the bow, and installed chains according to BJ's instructions. First, I blackened the chain with Brass Black at a 9:1 ratio with water, because ships did not use a gold or brass chain. At the time, this ship was built the Navy was just beginning to install chains and it is unlikely that chains would have been used on a ship built in 1843. As you will see, I had to undo and redo with Syrene's line,
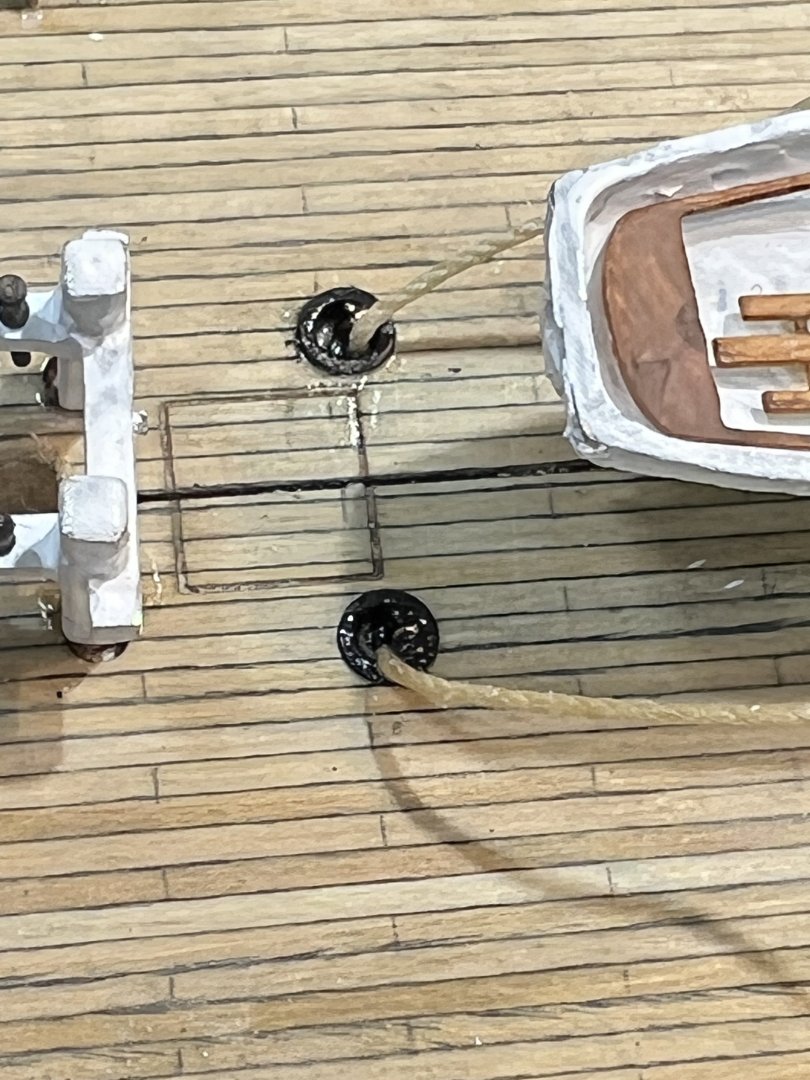
I was advised to touch up the white paint and remove the gloss on the anchor line scuttles by using 2 parts water and one part matte medium.
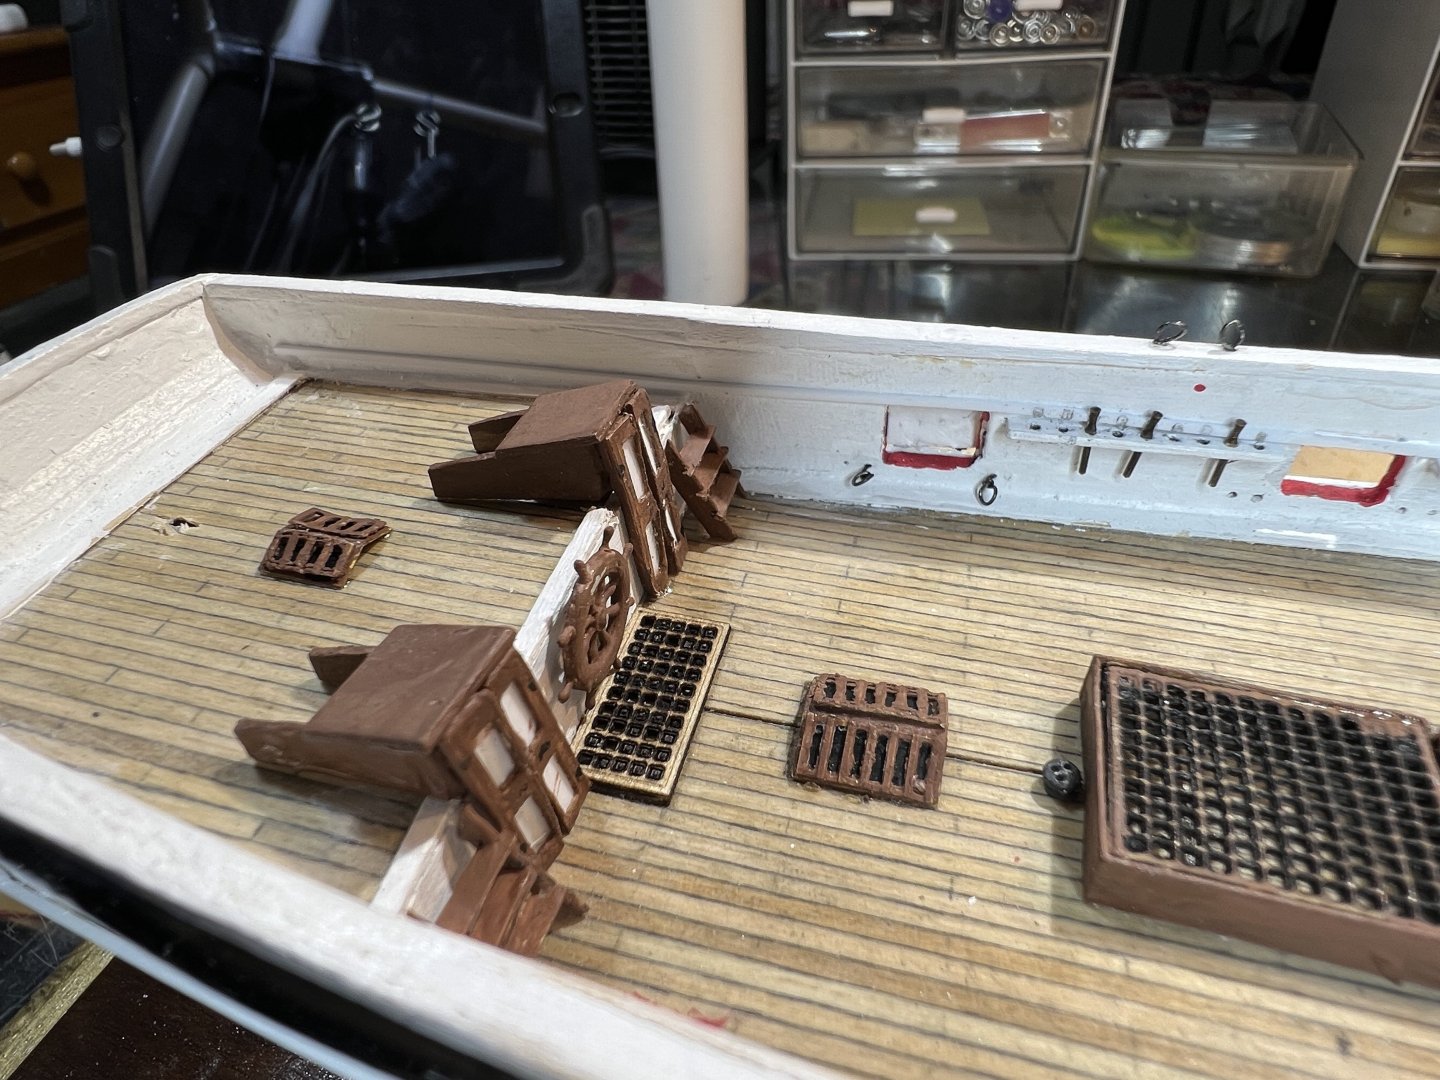
I have been advised to vertically cut the companionway doors in half with a Zona razor saw to make them more accurate. I was also advised to paint the skylight frames brown and to simulate the glass skylights. This is done by cutting clear plastic to fit the skylights and painting the underside black.
Following other NRG USS Perry build loggers, I purchased Syrene and Model Shipways deadeyes and blocks to replace the BJ white metal fittings. I then installed the deadeyes for the shrouds using my unorthodox method. I found it difficult to follow Passaro's method of making links to connect the deadeyes to the hull because the deadeyes for the Perry are 3/32" are smaller than the 3/16" scale of his Syrene. My method was to take 28 gauge dark annealed wire wrap it around the deadeye and twist it to the correct length.
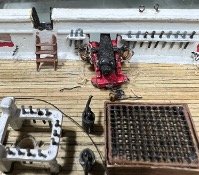
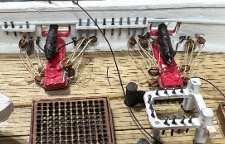
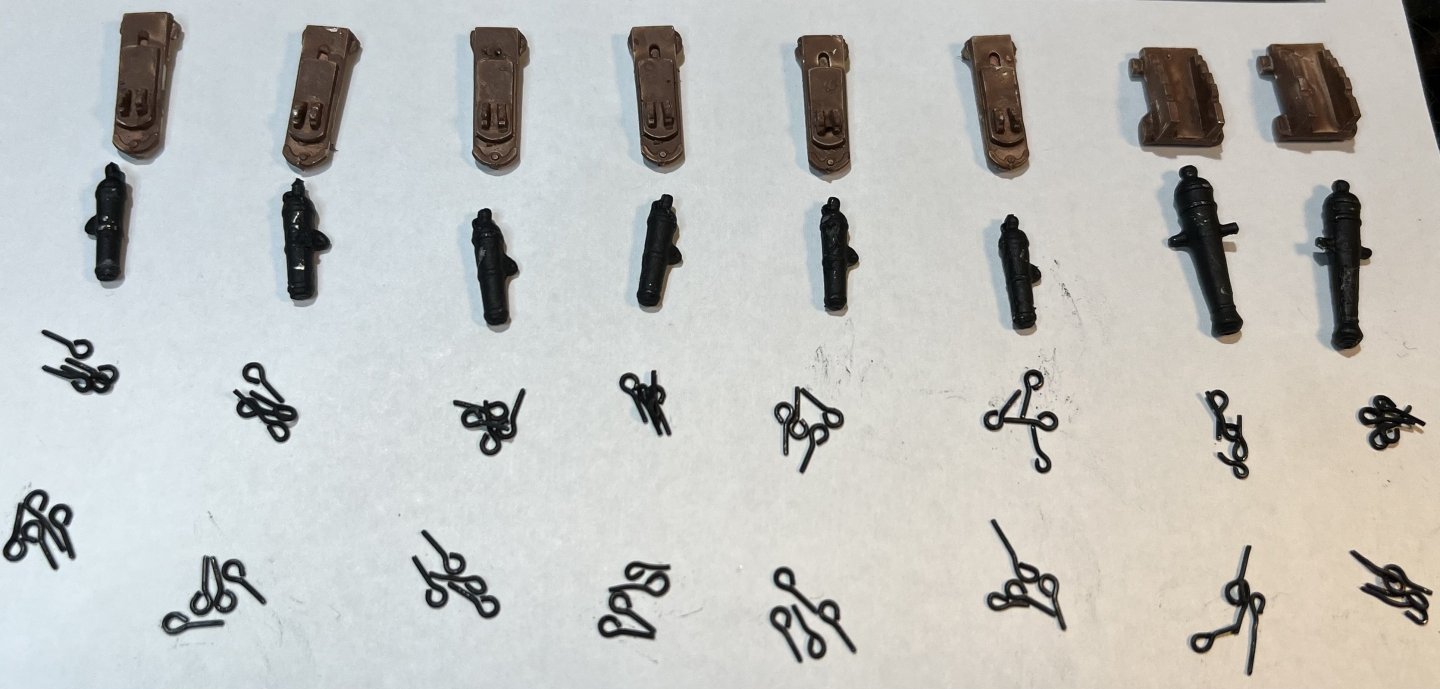
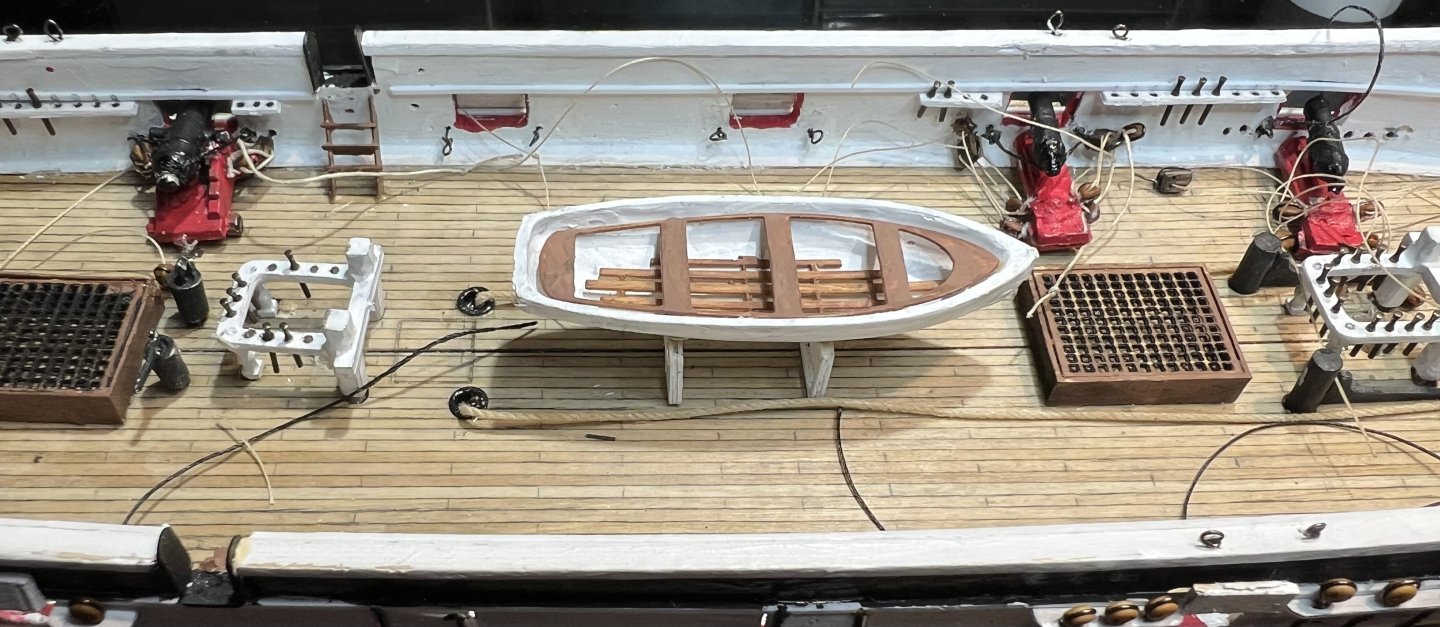
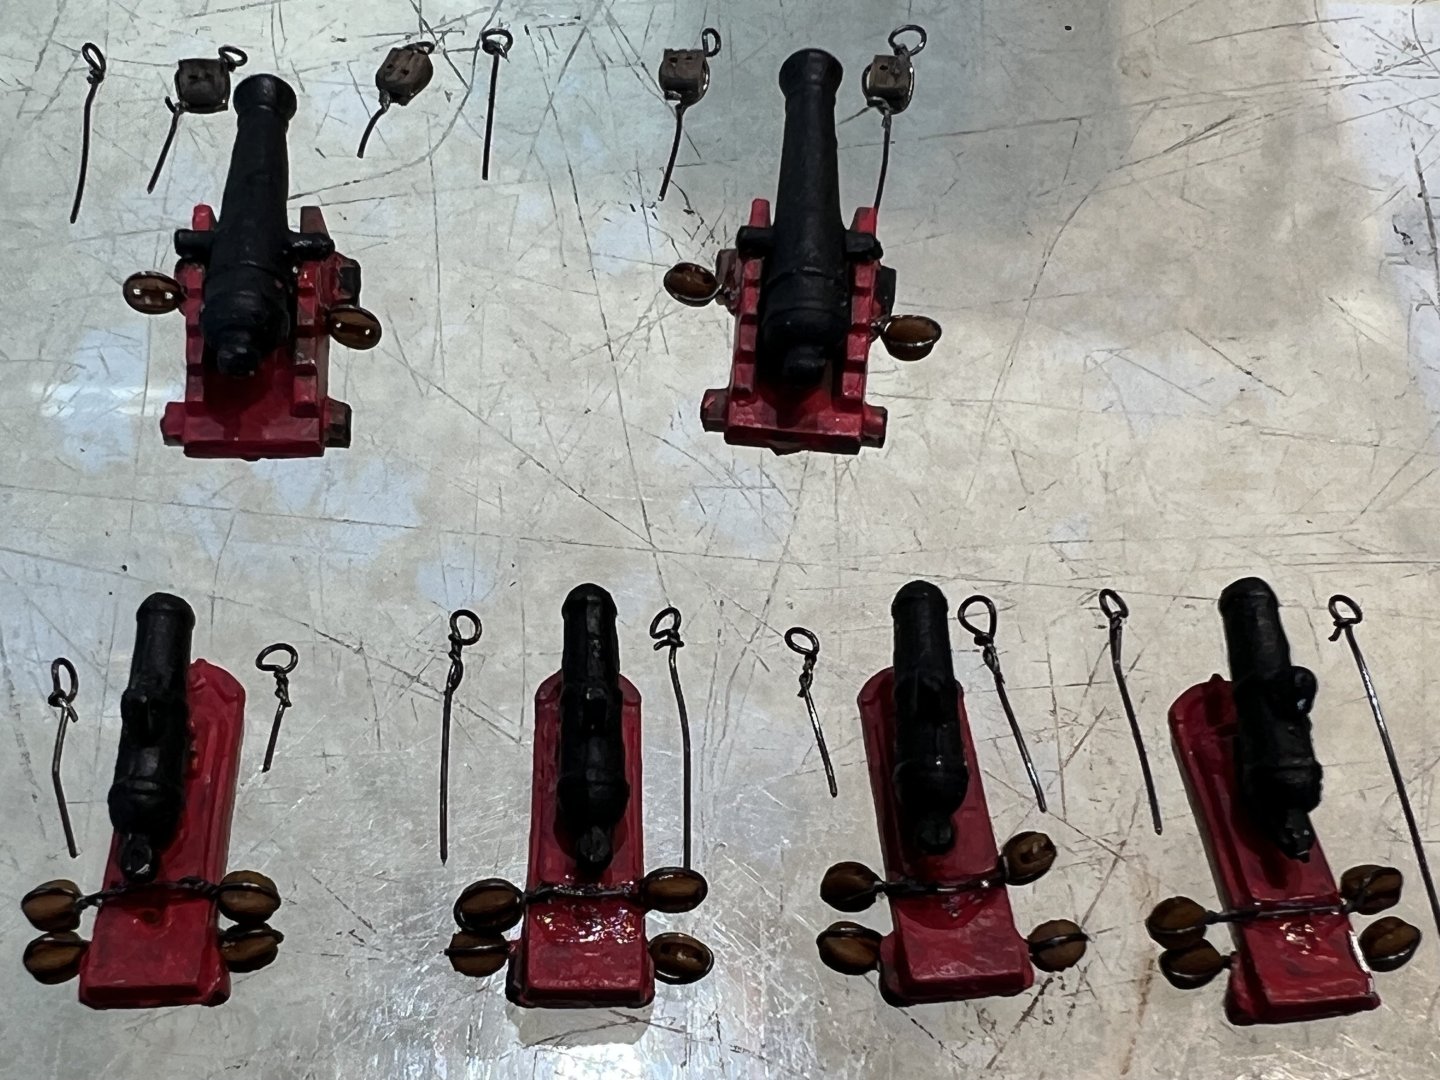
I painted the cannon carriages red, as well as the inner port frames, painted the cannons black, and made eyebolts from the annealed wire,
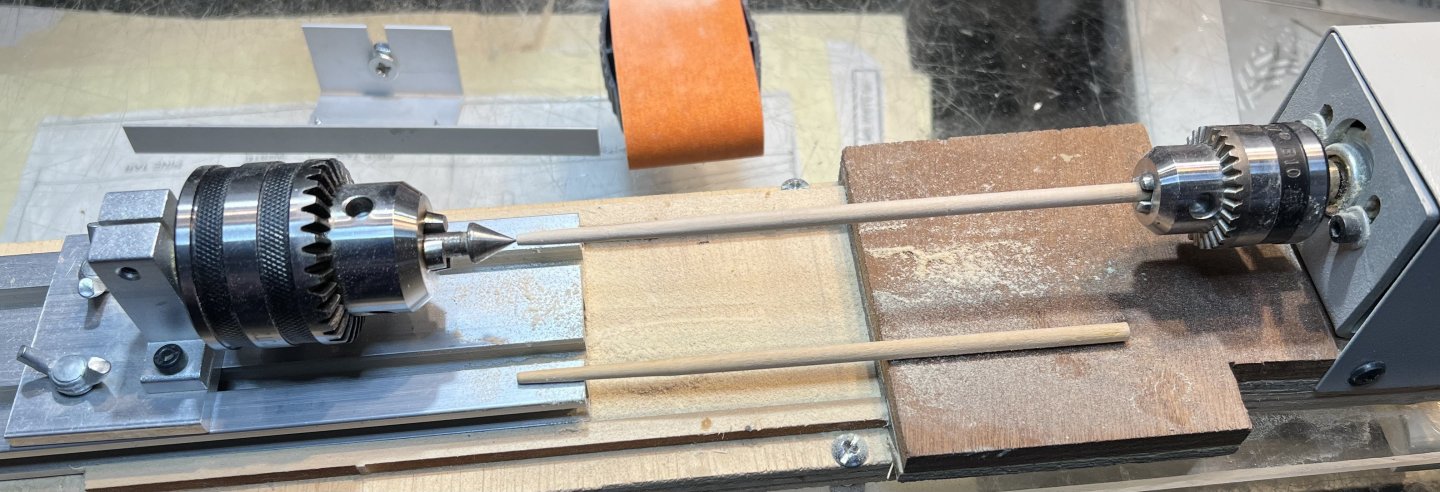
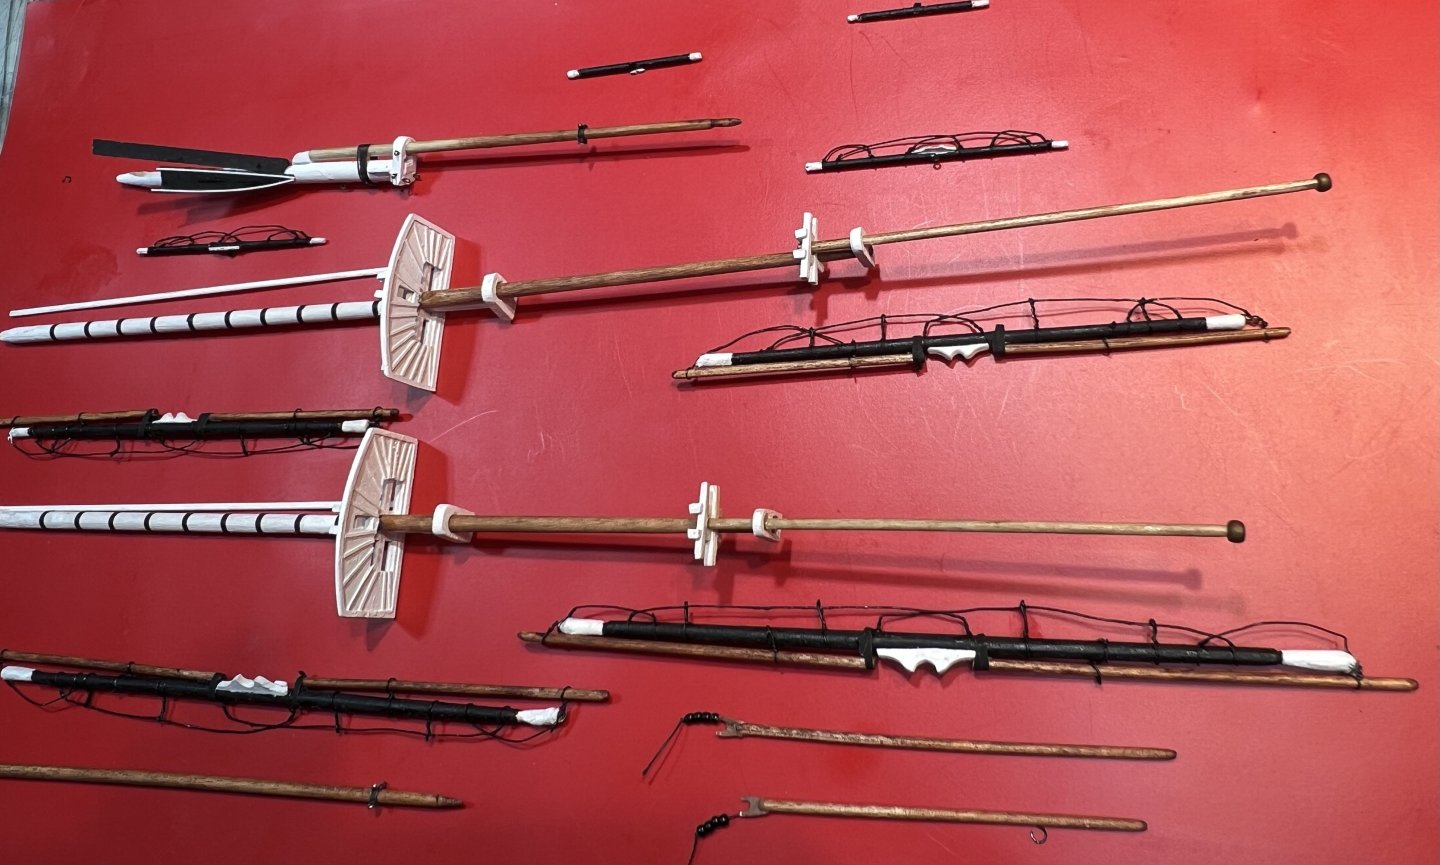
In preparing the masts and yards, I used my modified Vevor mini-lathe tapering lathe.
Following Passaro's Syrene instructions, I added battens to the fore and main topmasts, added lower mast irons, foot ropes to all but the royal yards, painted the rear fish white, stained the jib boom, stuns'l yards, jib boom, boom, and gaffs, and installed the ball truck to the top.
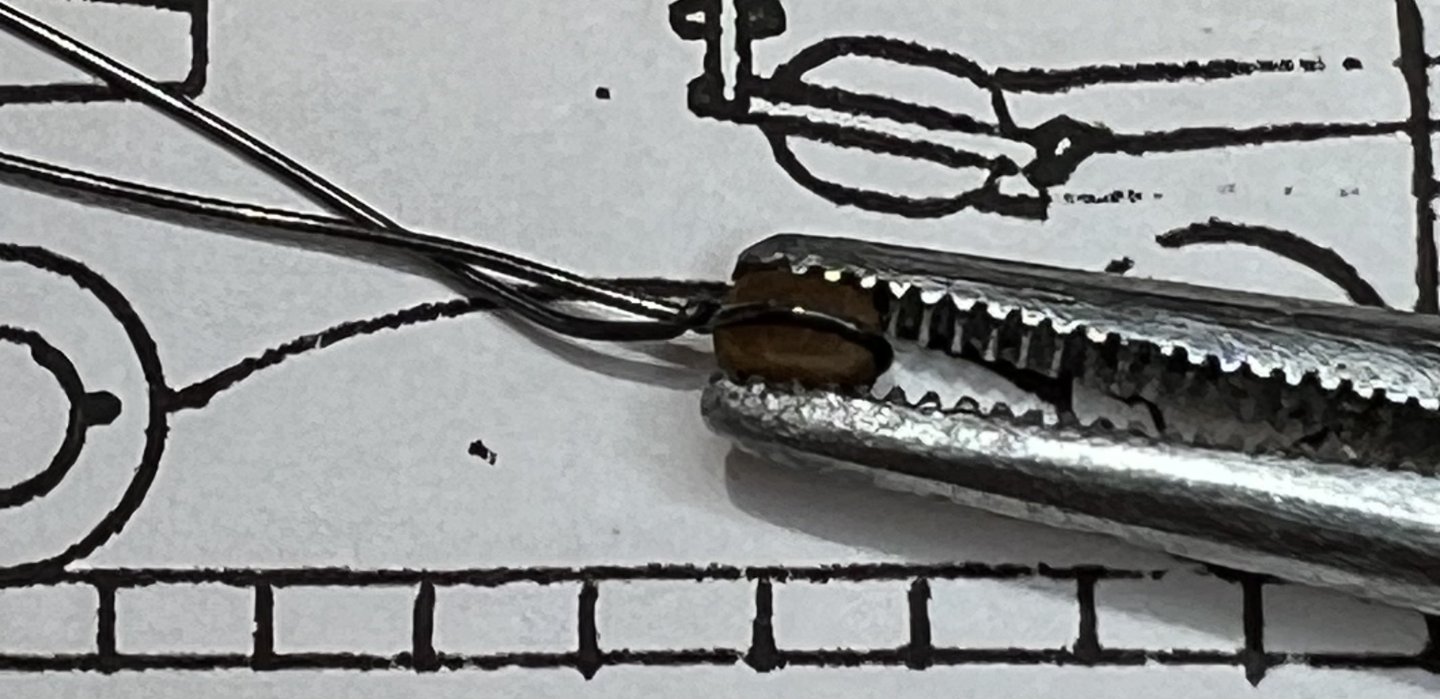
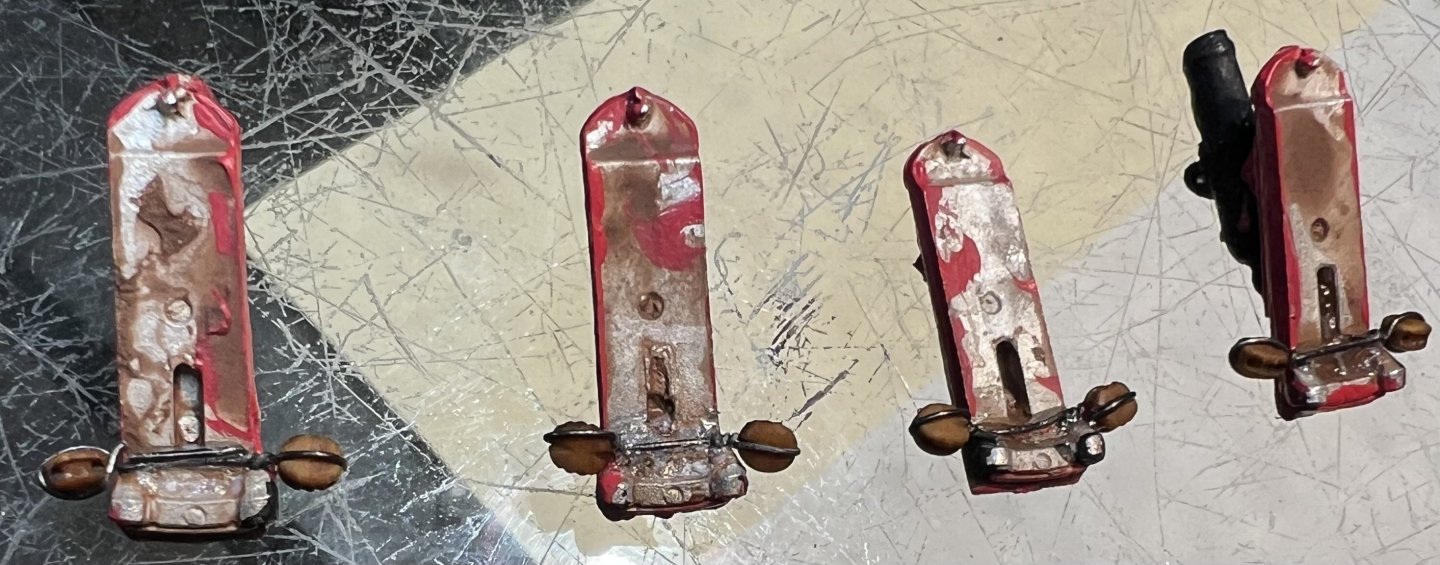
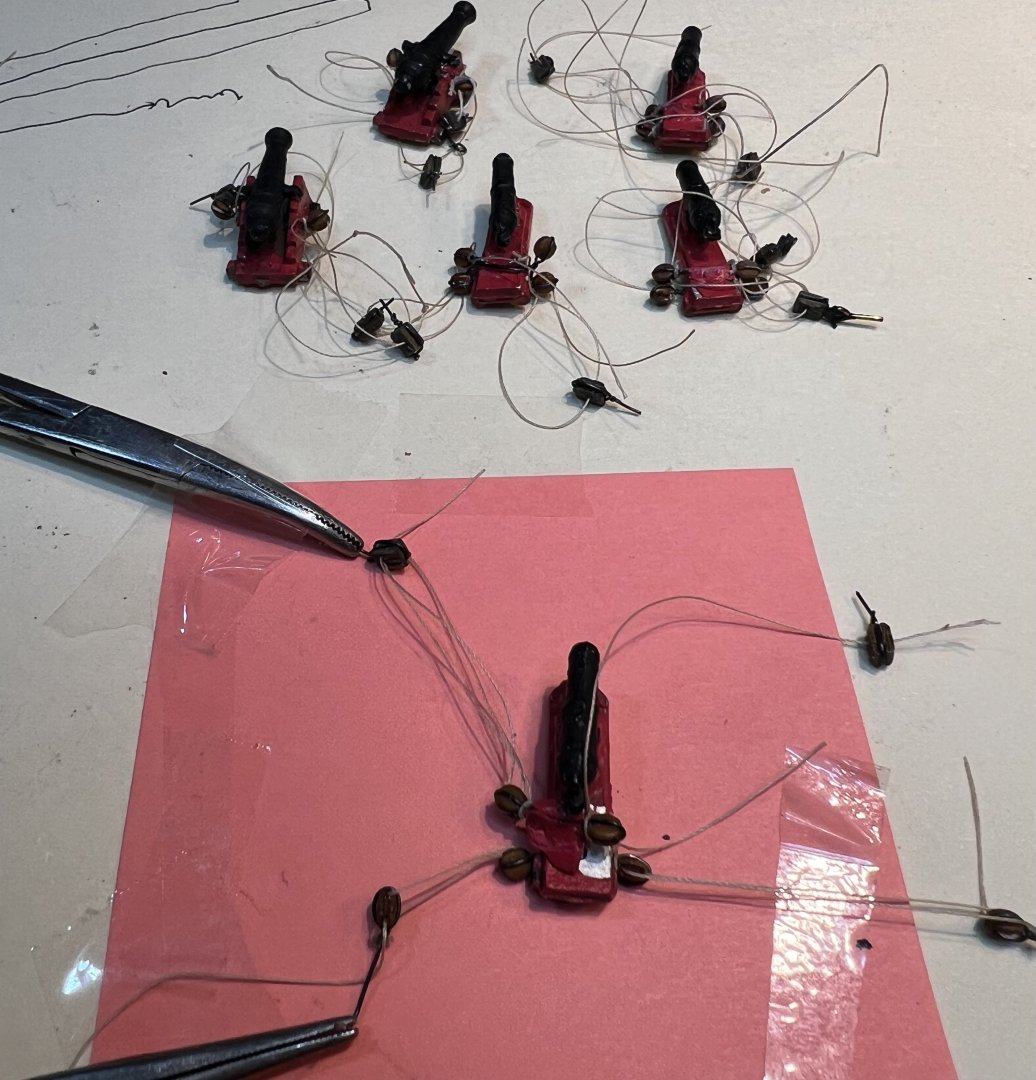
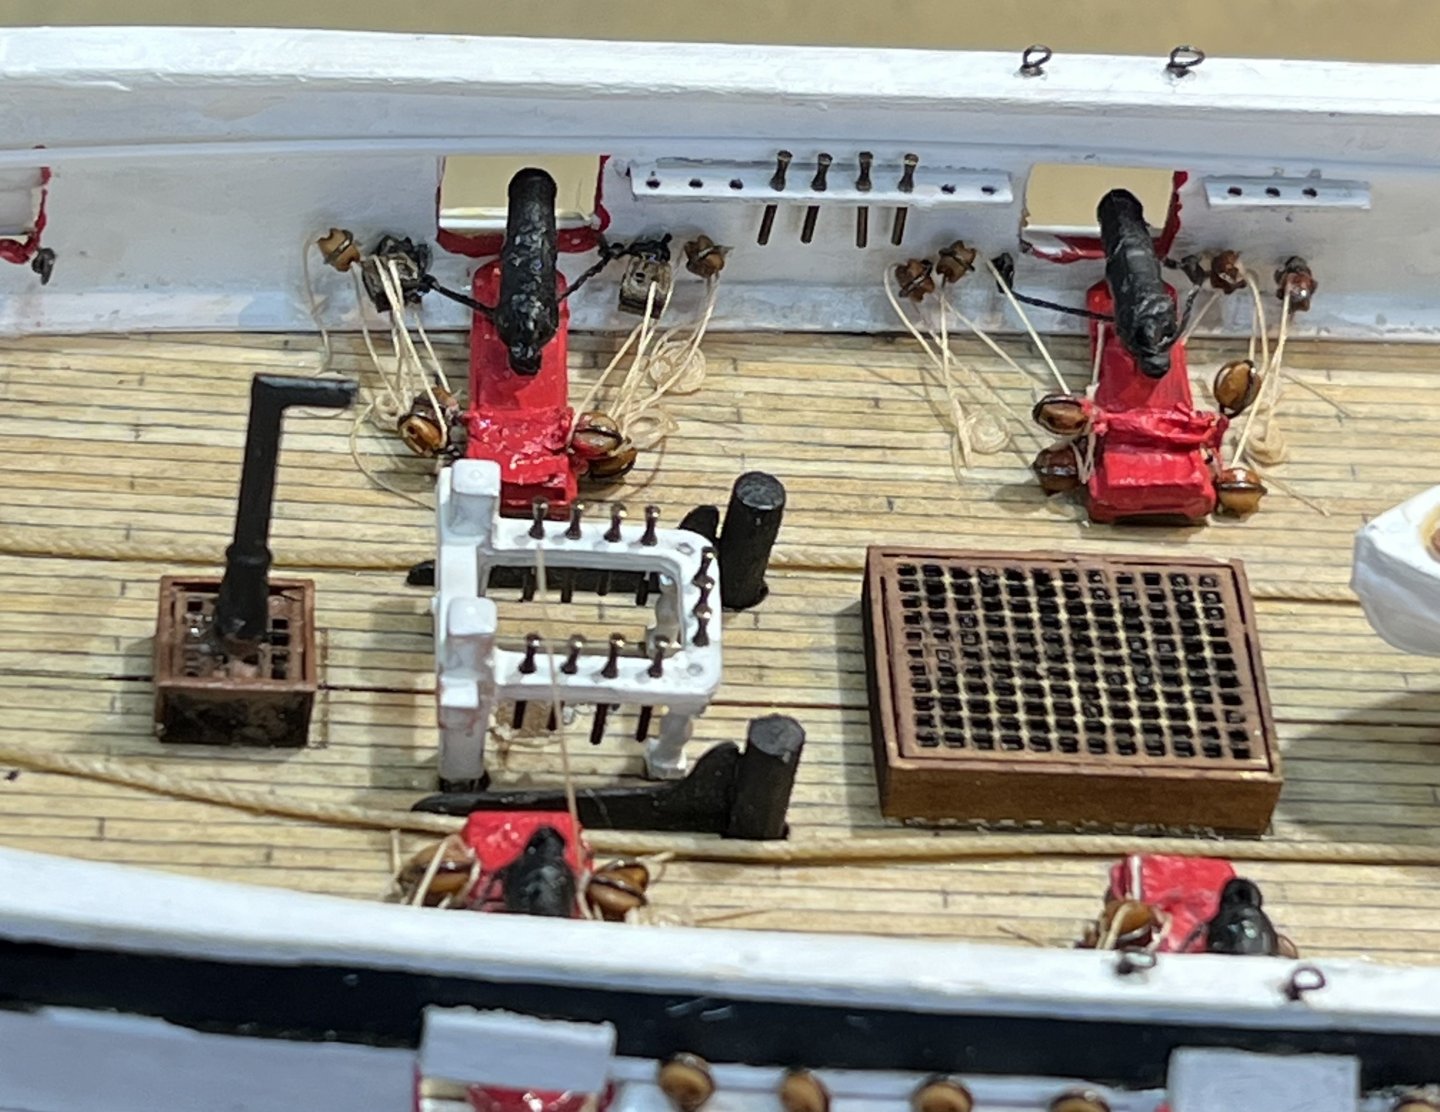
Before rigging, I had to install the cannons to complete the deck accessories. I started by using a hemostat to hold the block, secured my annealed wire, connected the other end to an additional block, and attached it to the underside of the carronades.
I secured the wire eye bolts to the bulwarks with one long tail that was to be fitted through the hull.
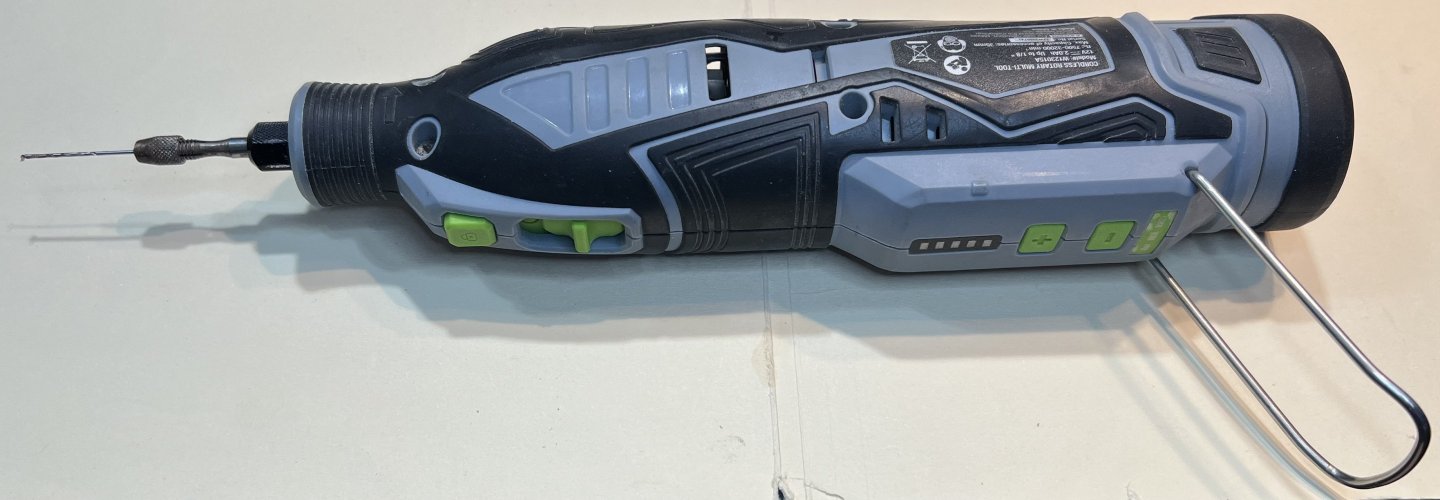
Using a portable drill with an extension and 5/128" bit, I reached through the cannons and furniture and could appropriately place the hole for the eye bolt. I then drilled hole through the hull, grabbing the end and attaching it with glue on the inside bulwark and cutting off the eye bolt tail and painting over the outside hull. Thus, securing the eye bolt in its proper place.
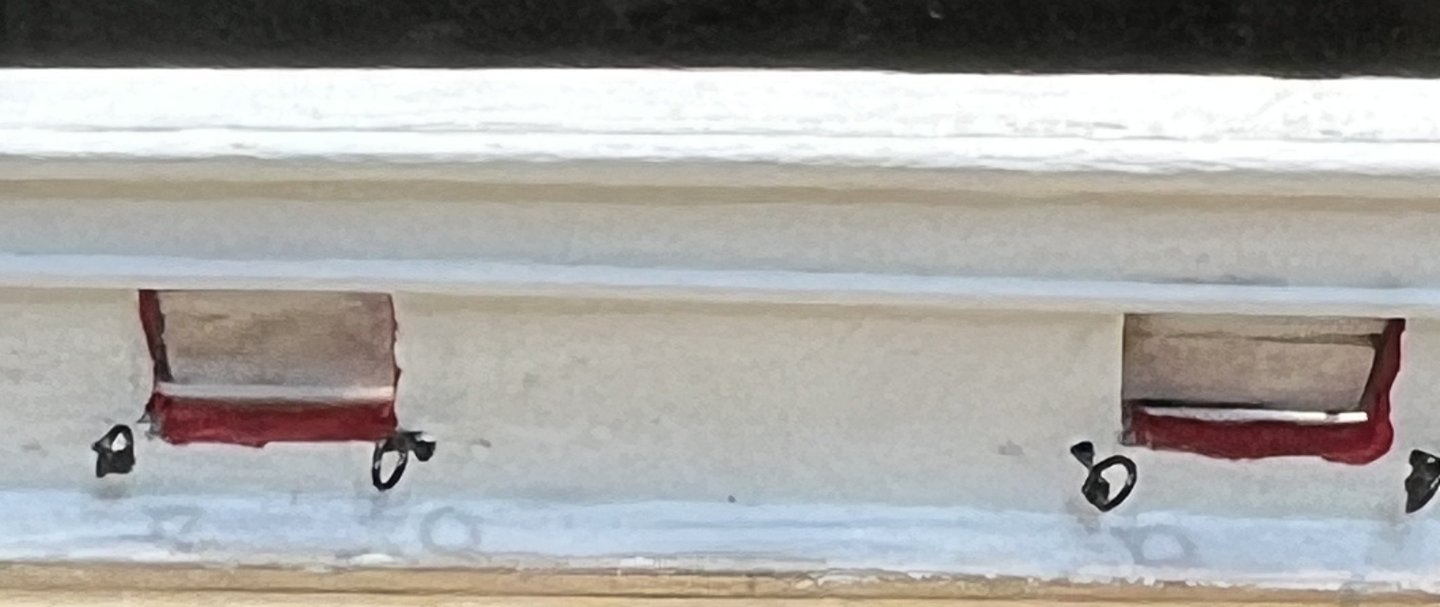
I also installed eye bolts in the empty ports.
I then attached lines to cannon blocks.
I then attached the breech lines first to hold the cannon in place.
Used clamps to tightened lines.
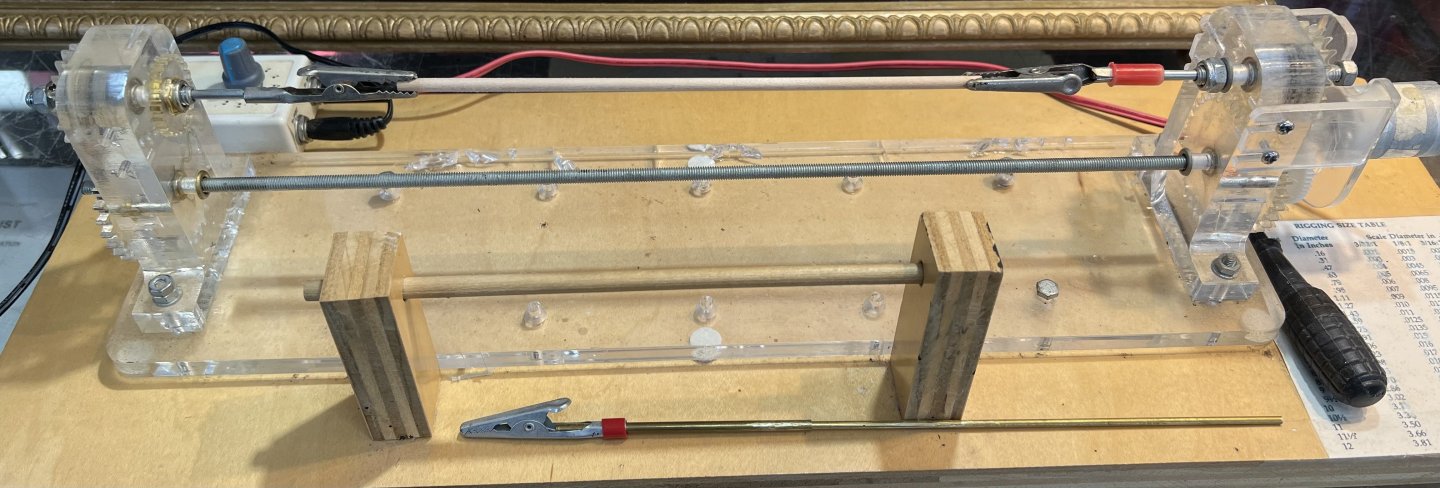
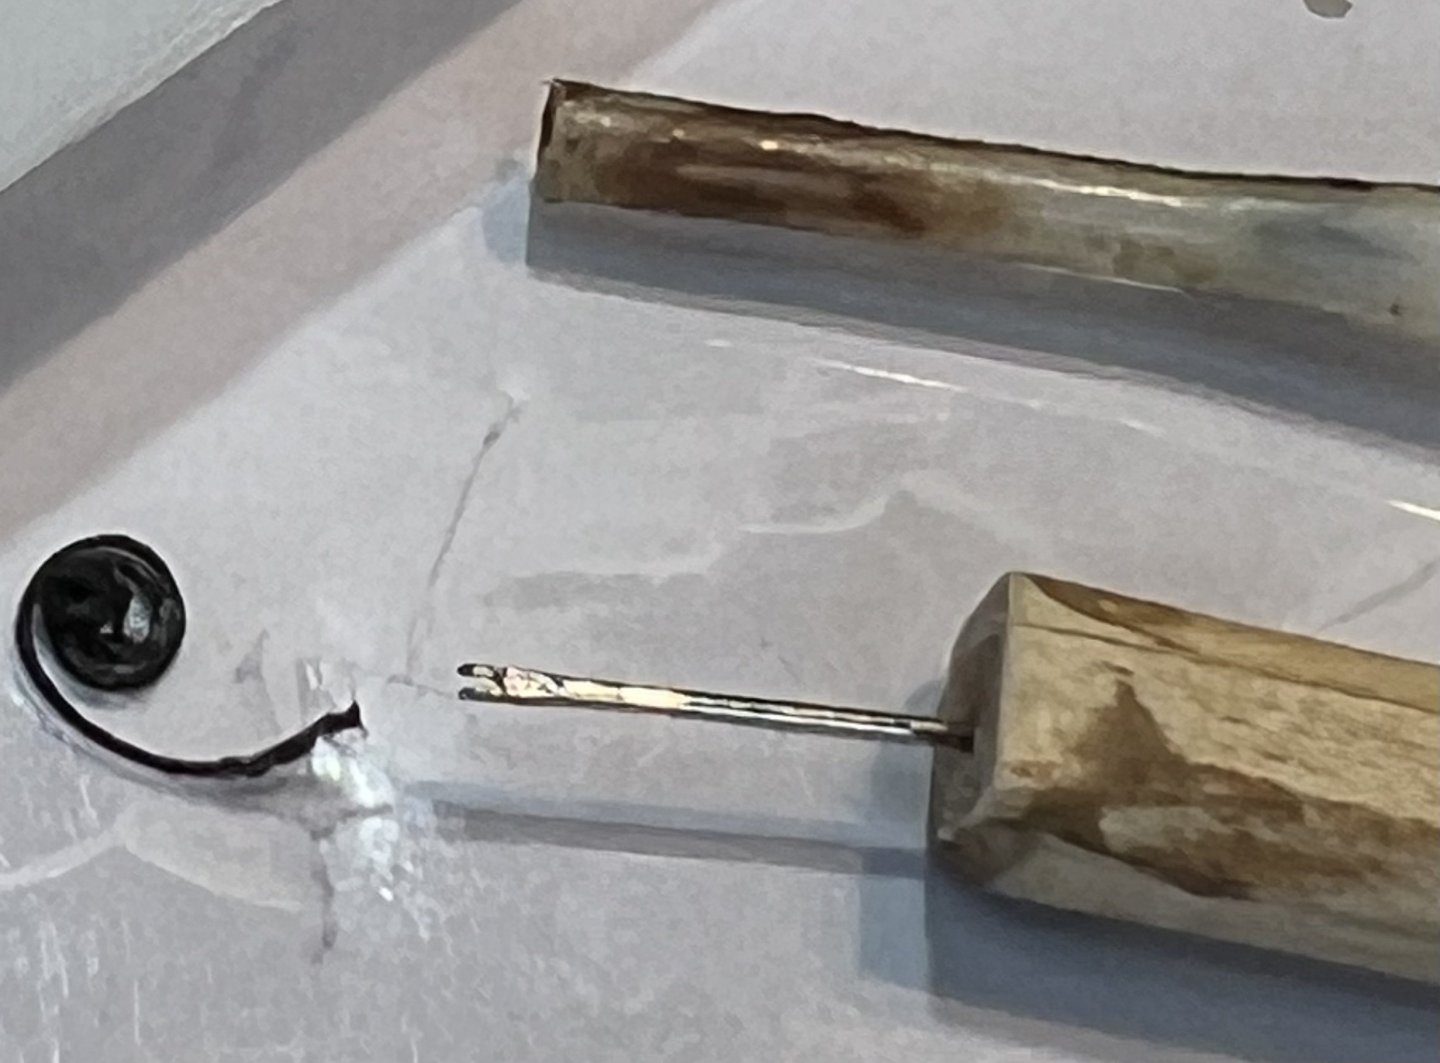
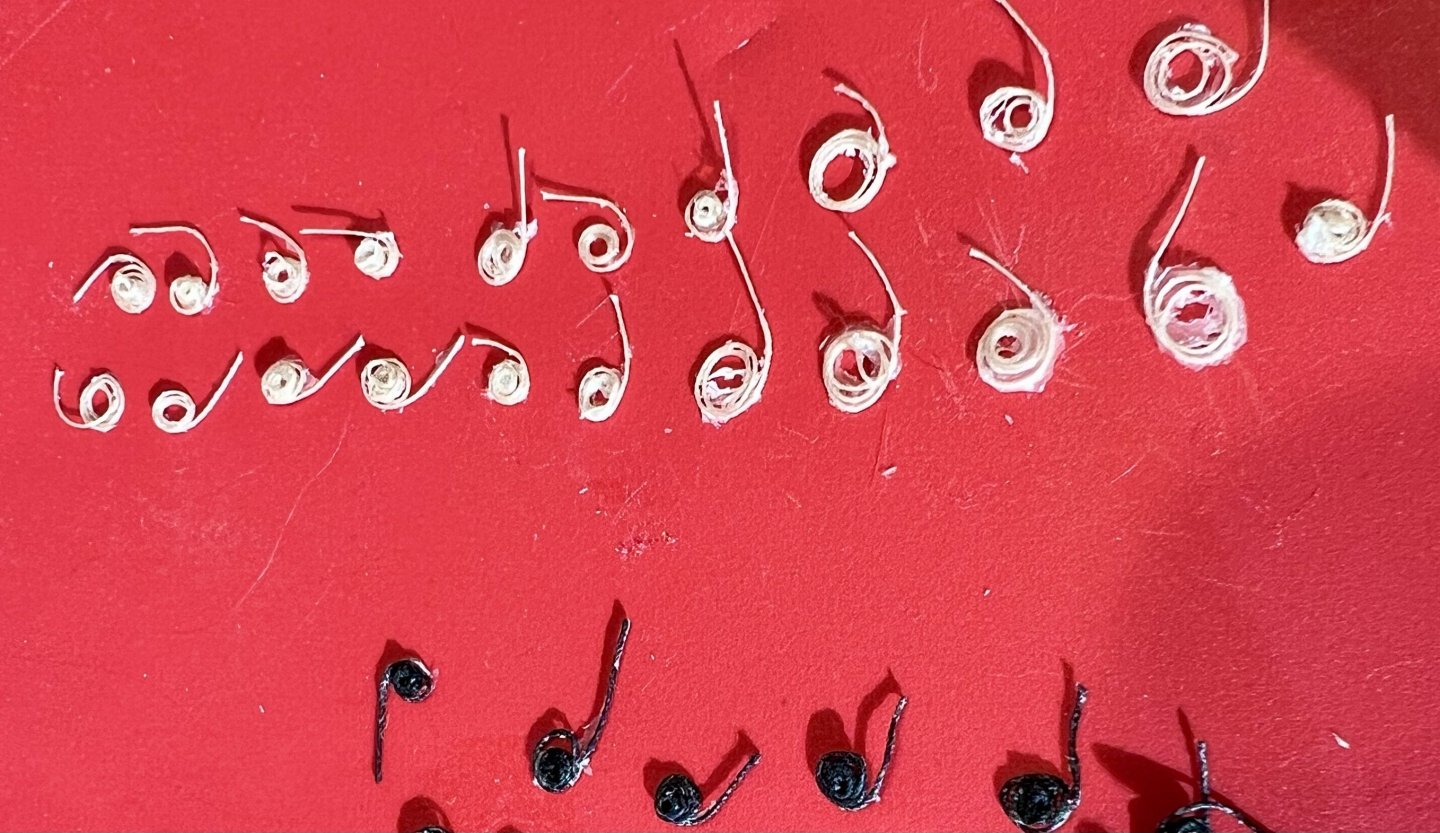
To create a coil, I cut off the head of a needle and installed it into a Dowell. I would use it to grab the end of a line and twist it to the appropriate size. I used a dropper mixed 50/50 with water and a matte medium to lubricate the twisting.
This method worked well on BJ's .010" line but the .005" line kept popping up. To solve this, I cut a piece of clear plastic and pressed it over 1/2 of the coiled line, and let it dry overnight. Another method would be to add 5% rubbing alcohol to the matte medium to penetrate the line.
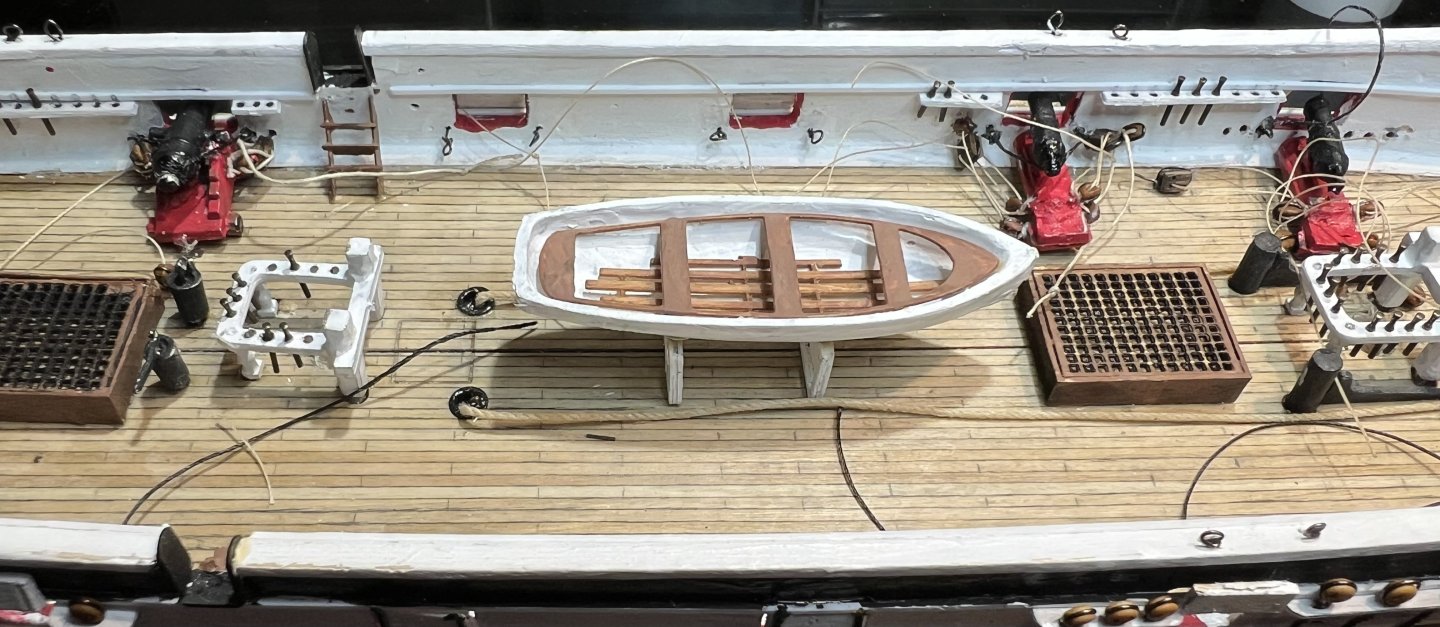
Tightened lines and installed coiled lines.
I still must rig the lifeboat and install its oars.
This is my progress to date and I am now ready to rig this kit
This is also my first post in years.

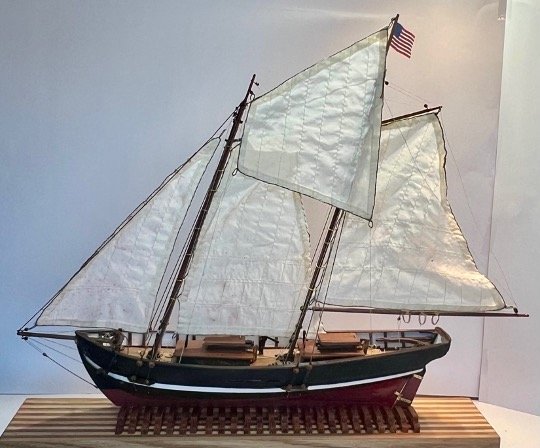
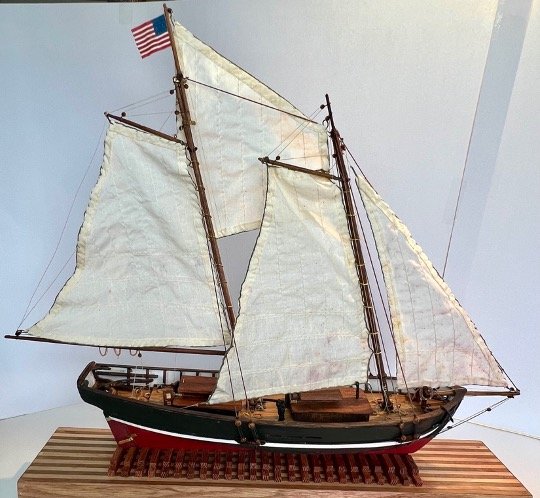
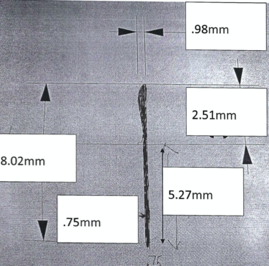
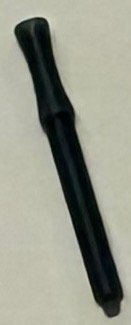
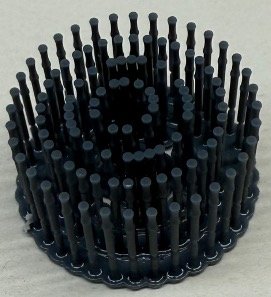
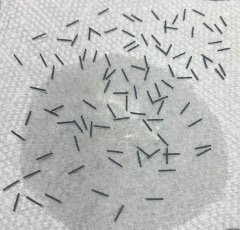
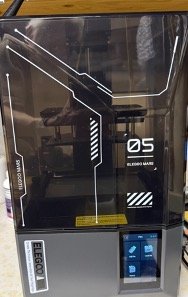 to make the extra belaying pins
  needed for this 1/8th model Bluejacket USS Perry model
  .
. 

 Now back to the model