Hi all and many thanks for your responses and words of encouragement.
A bit of narrative to go with the photos so far:
First of all, Why?! - I’ve been on the Queen Mary a couple of times and, as far as big passenger ships go, she is a beautiful and impressive vessel. I did an Atlantic crossing with my family and it was one of those great life experiences. Despite force 9 gales, I felt utterly safe and protected by this boat - it has soul. It’s also one of, and possibly the last of its kind - a liner, not a cruise ship. It is graceful with a sleek hull profile, built for strength and speed and with immense power, enough power to light and heat its home city of Southampton.
At 1:100, it’s a big model. The reasons being: 1) My eyesight is not what it used to be so the bigger, the better; 2) The maths is easy. Get the full size dimensions and divide by 100!
The big issue is the lack of plans so Im working off a few line drawings, a number of books and a 1:400 Revell kit.
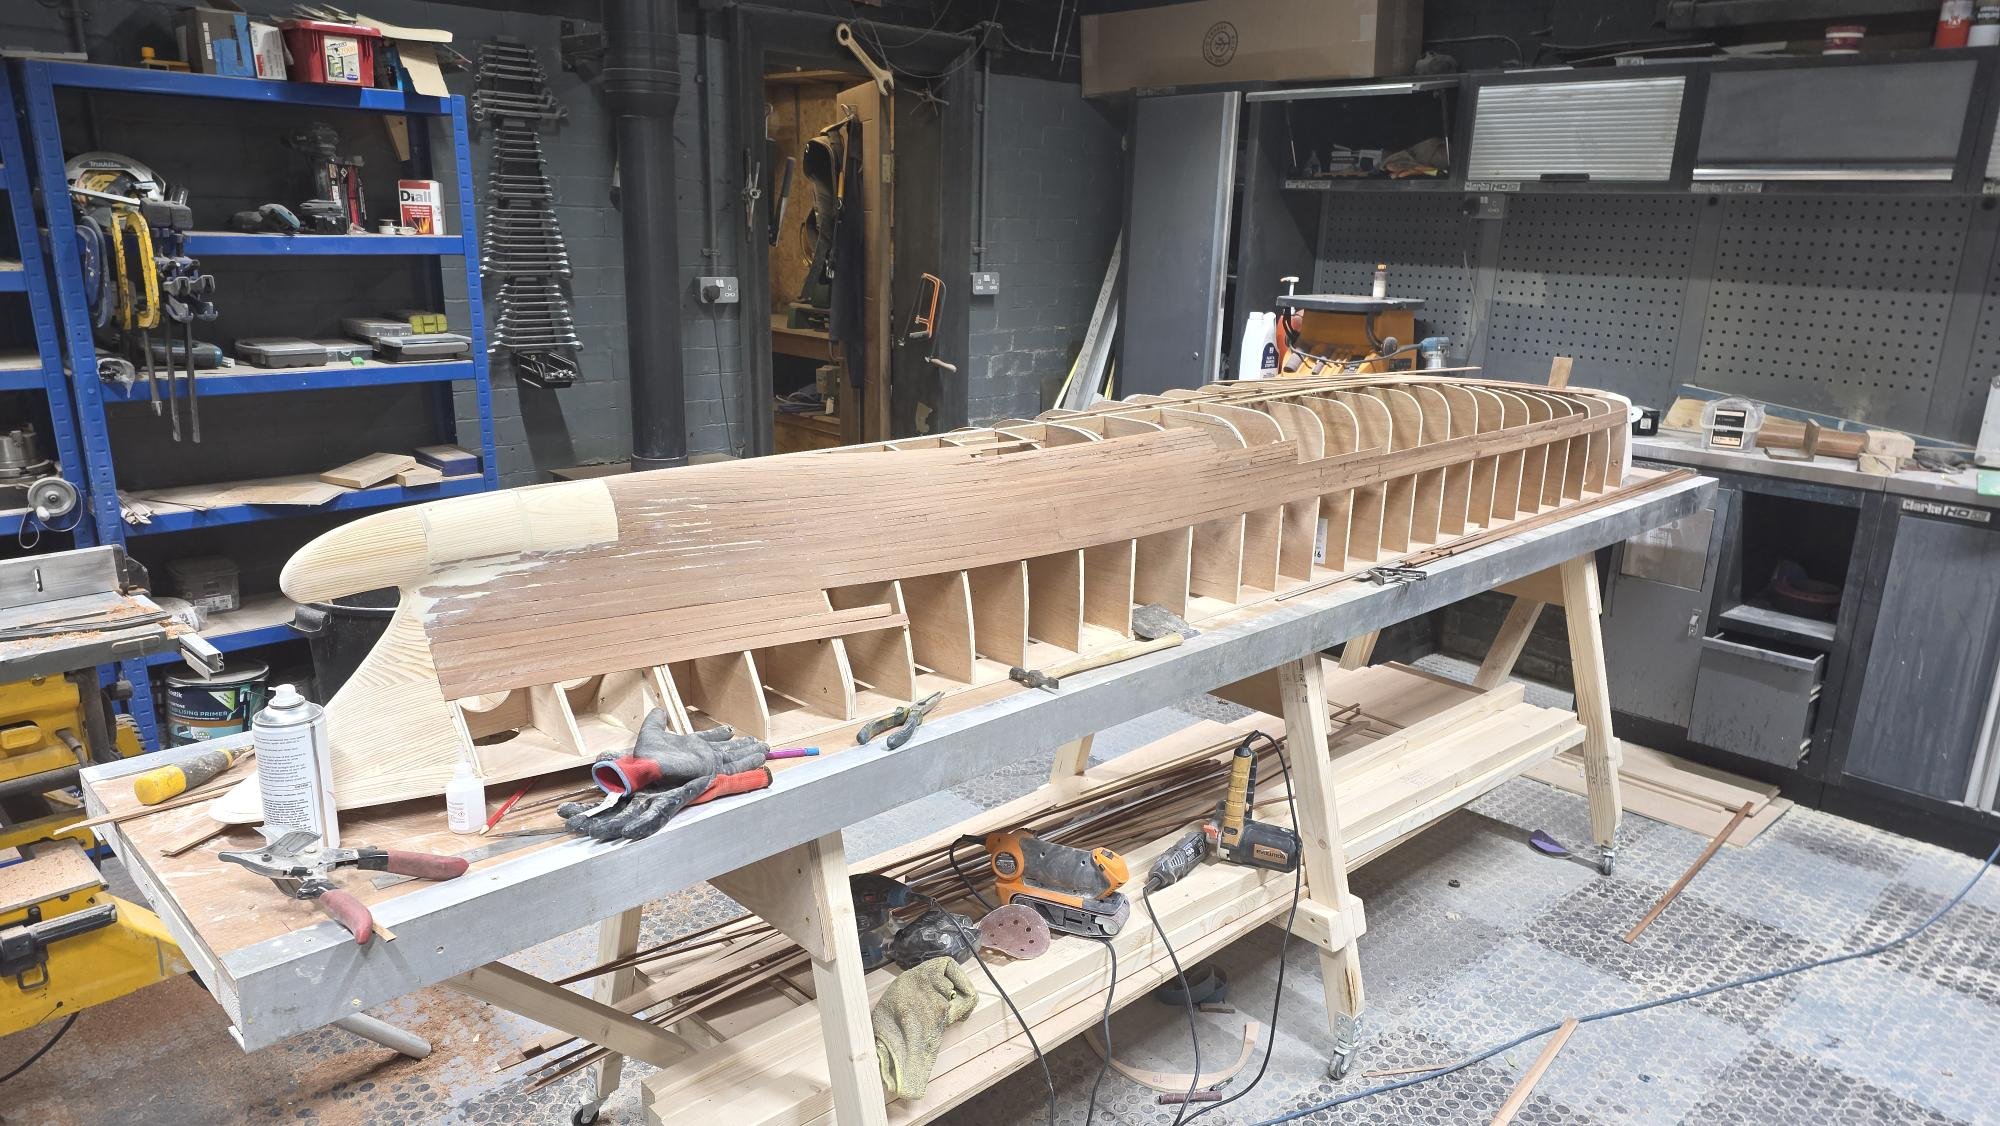
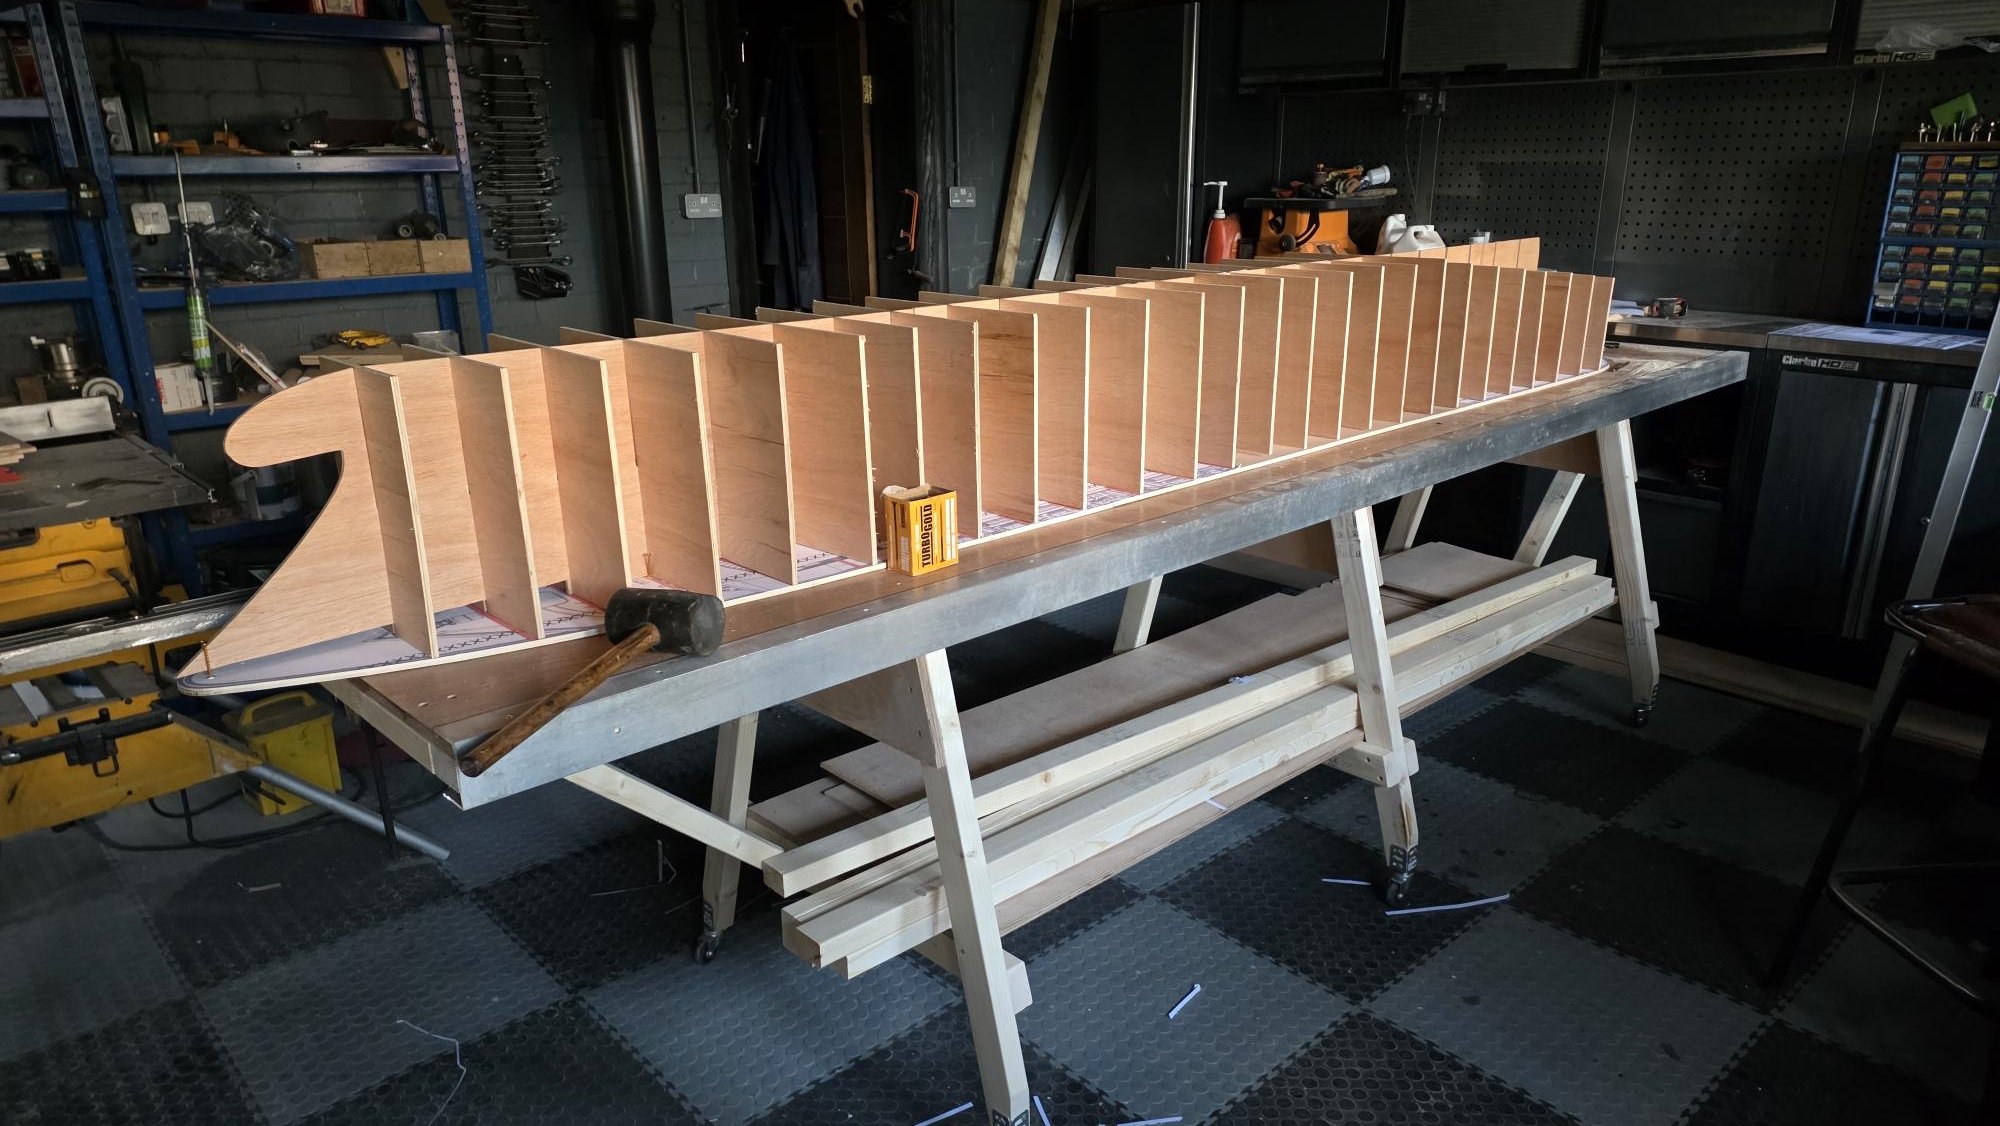
First thing I did was build a construction bench. It’s as rigid as possible with two 4 inch aluminium channels forming the table and with levellers built in.
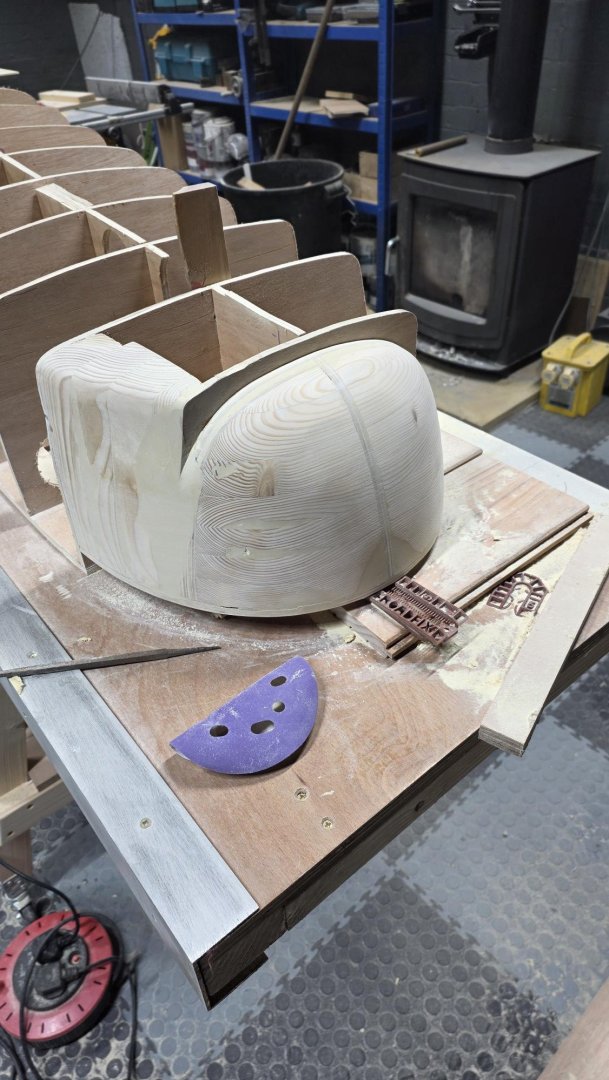
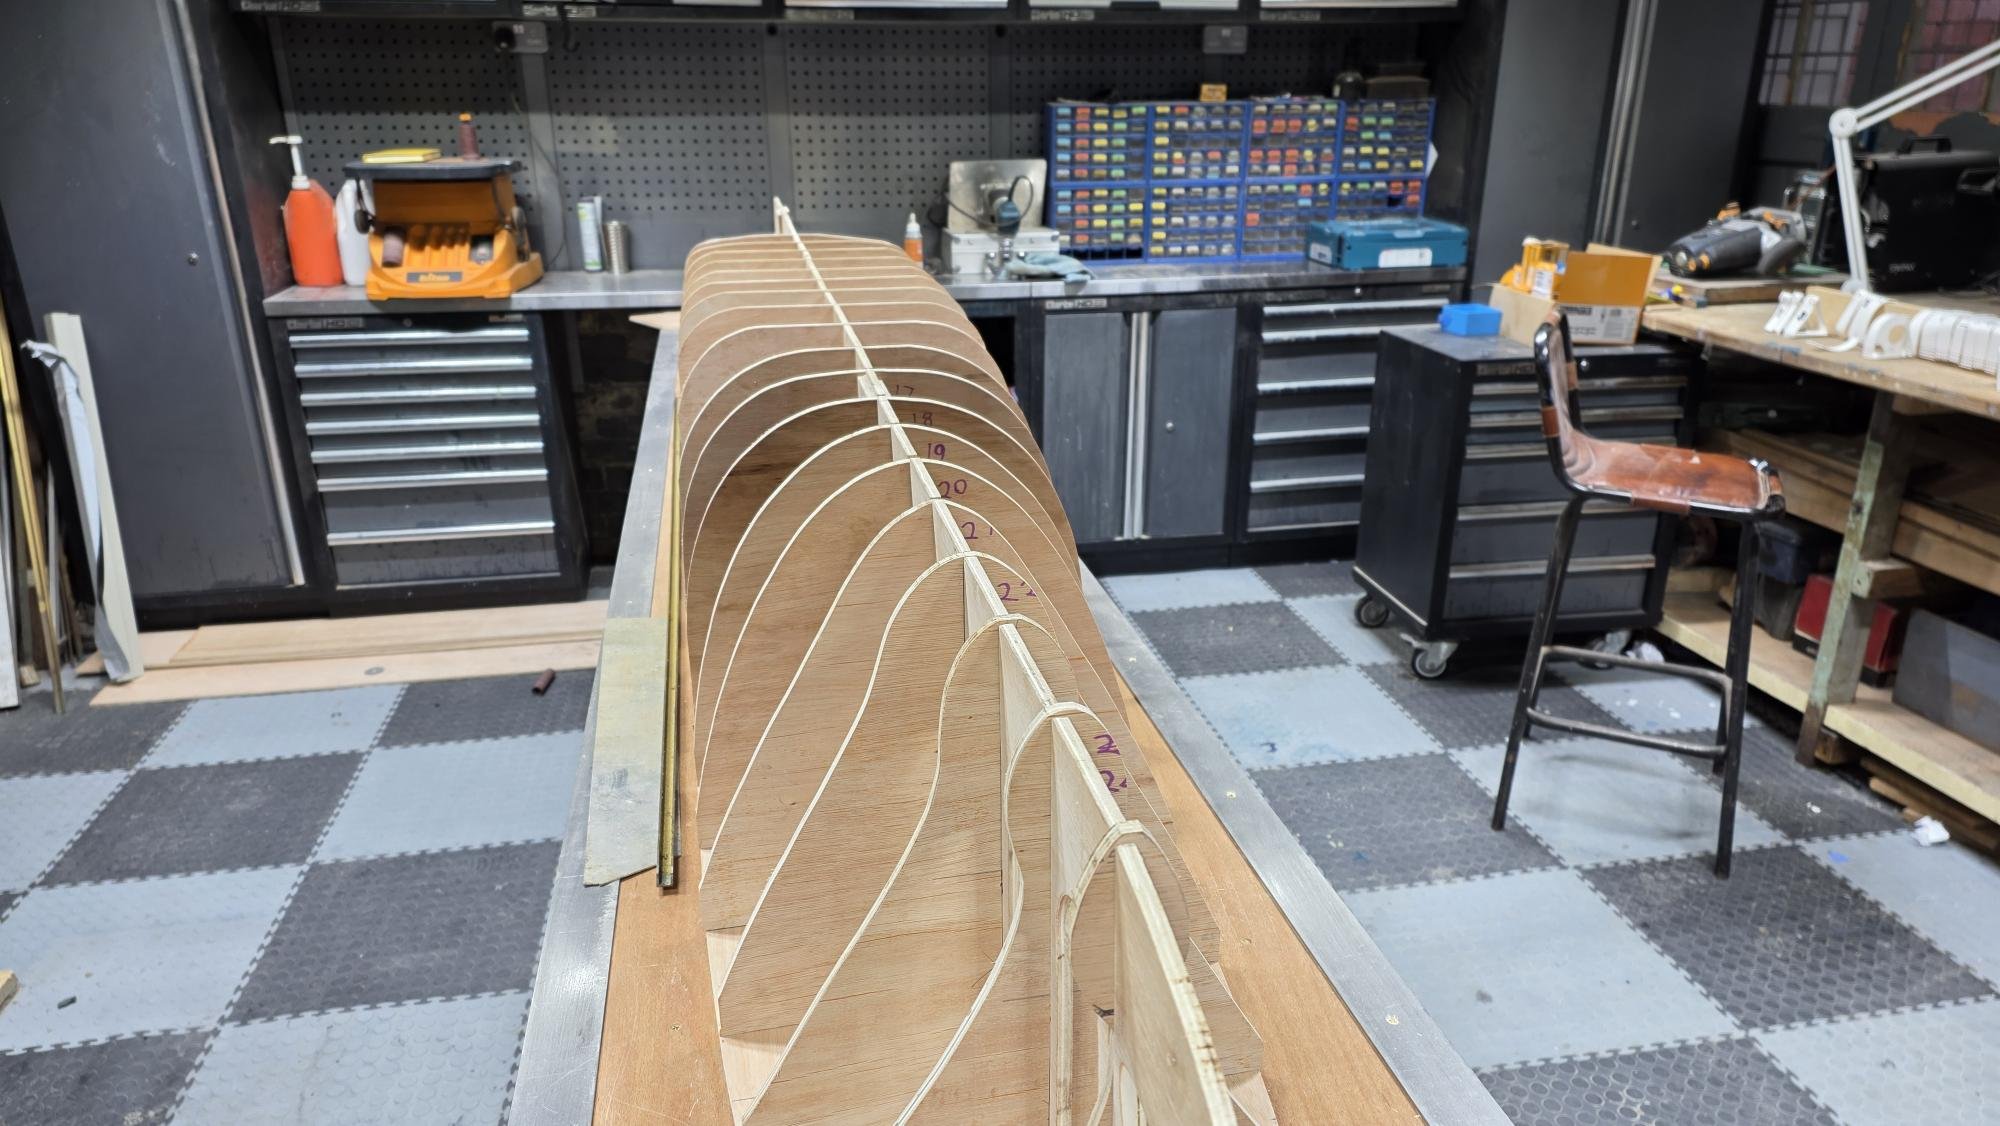
In order to get the hull profiles, I bought the kit off eBay and then sliced the hull into 26 sections (see photo) I then took photos and enlarged them 4 times on the computer and from that made the plywood profiles. Not ideal but Im struggling to think of any other way of doing it.
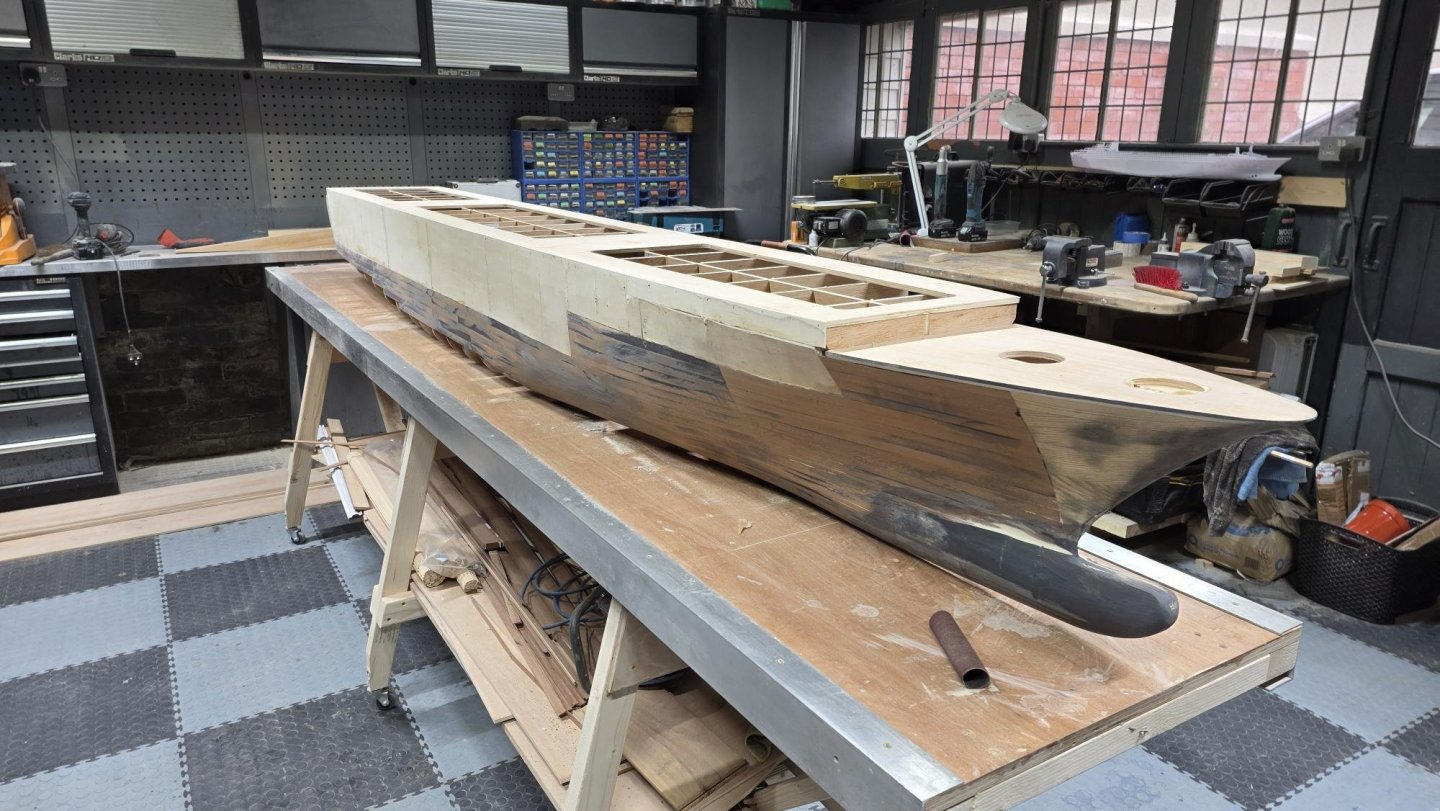
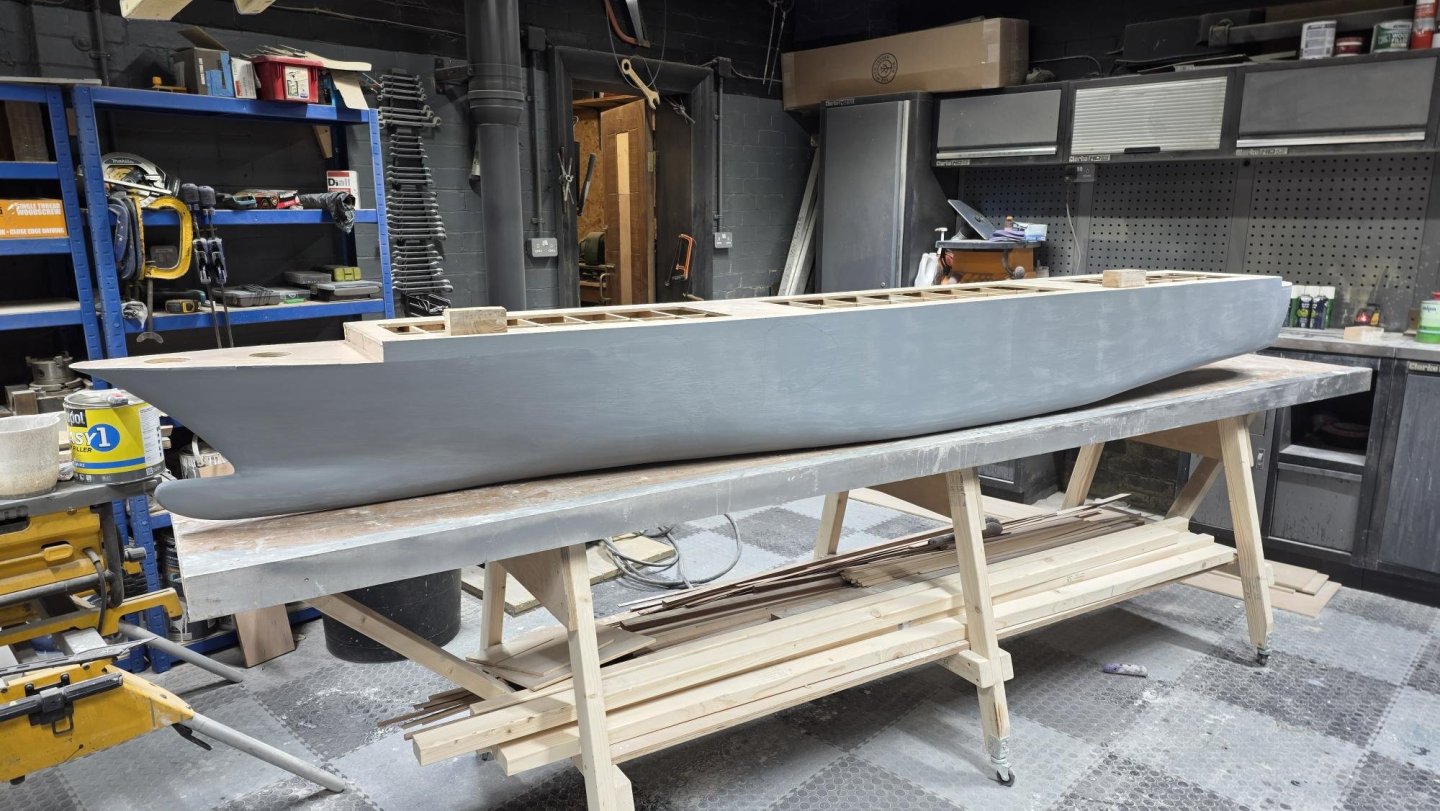
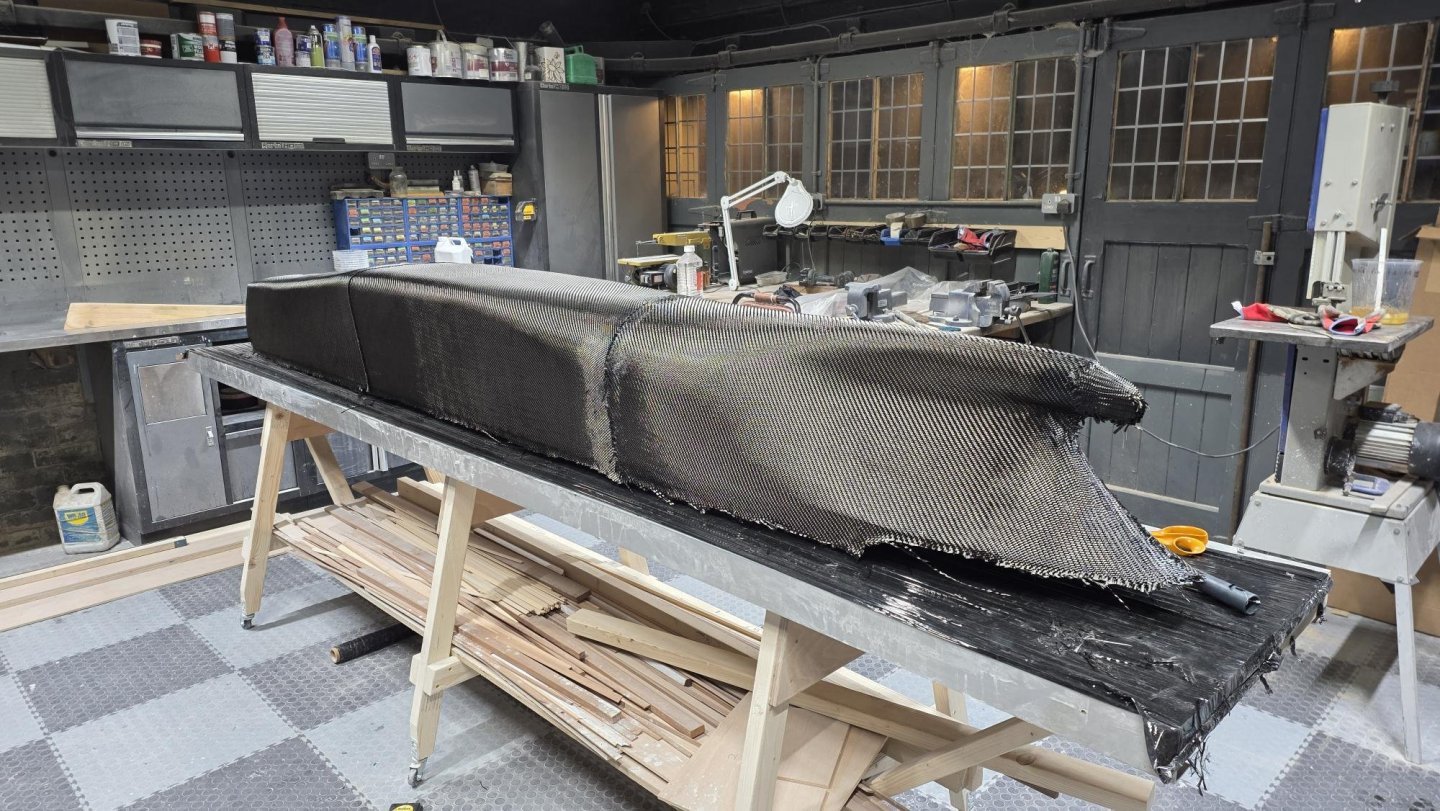
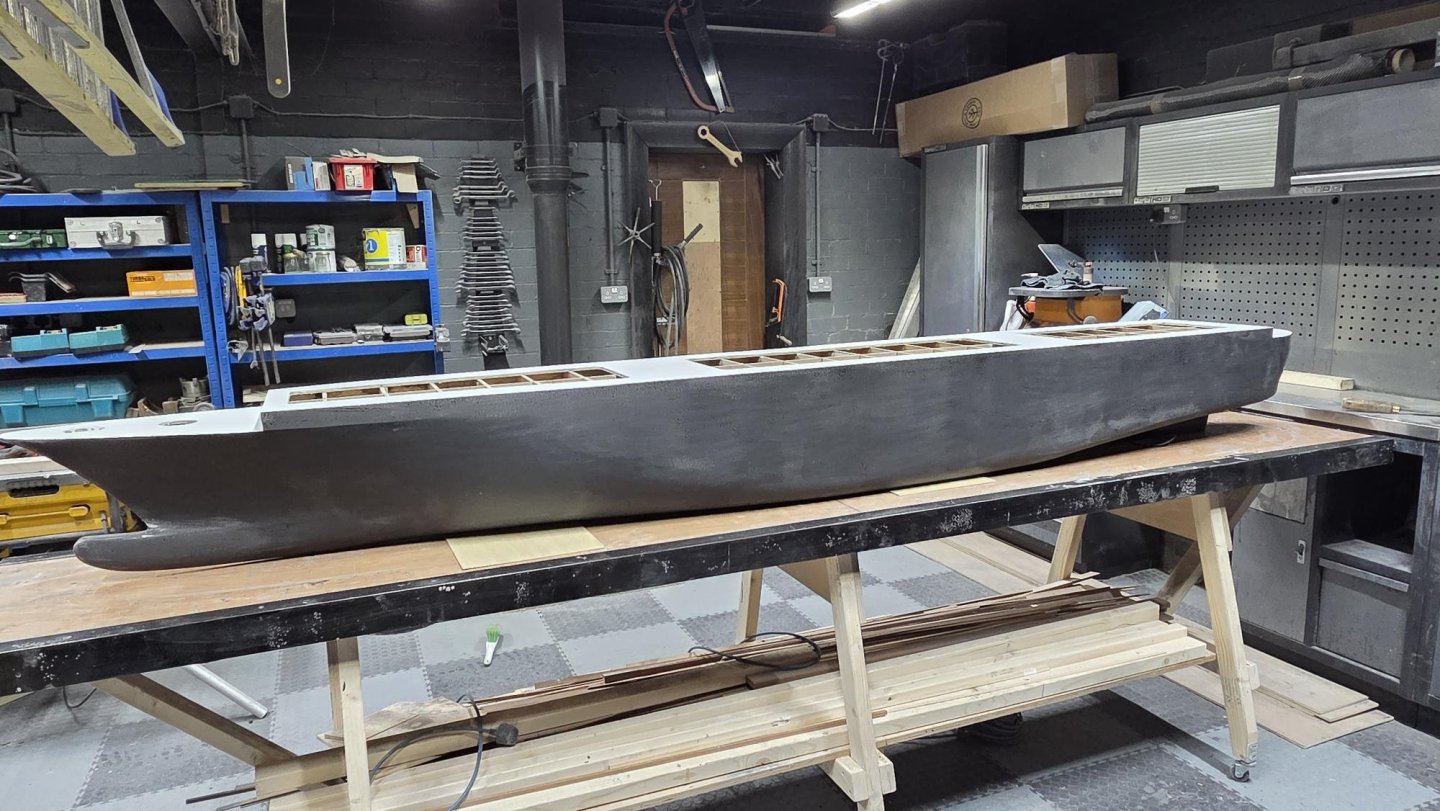
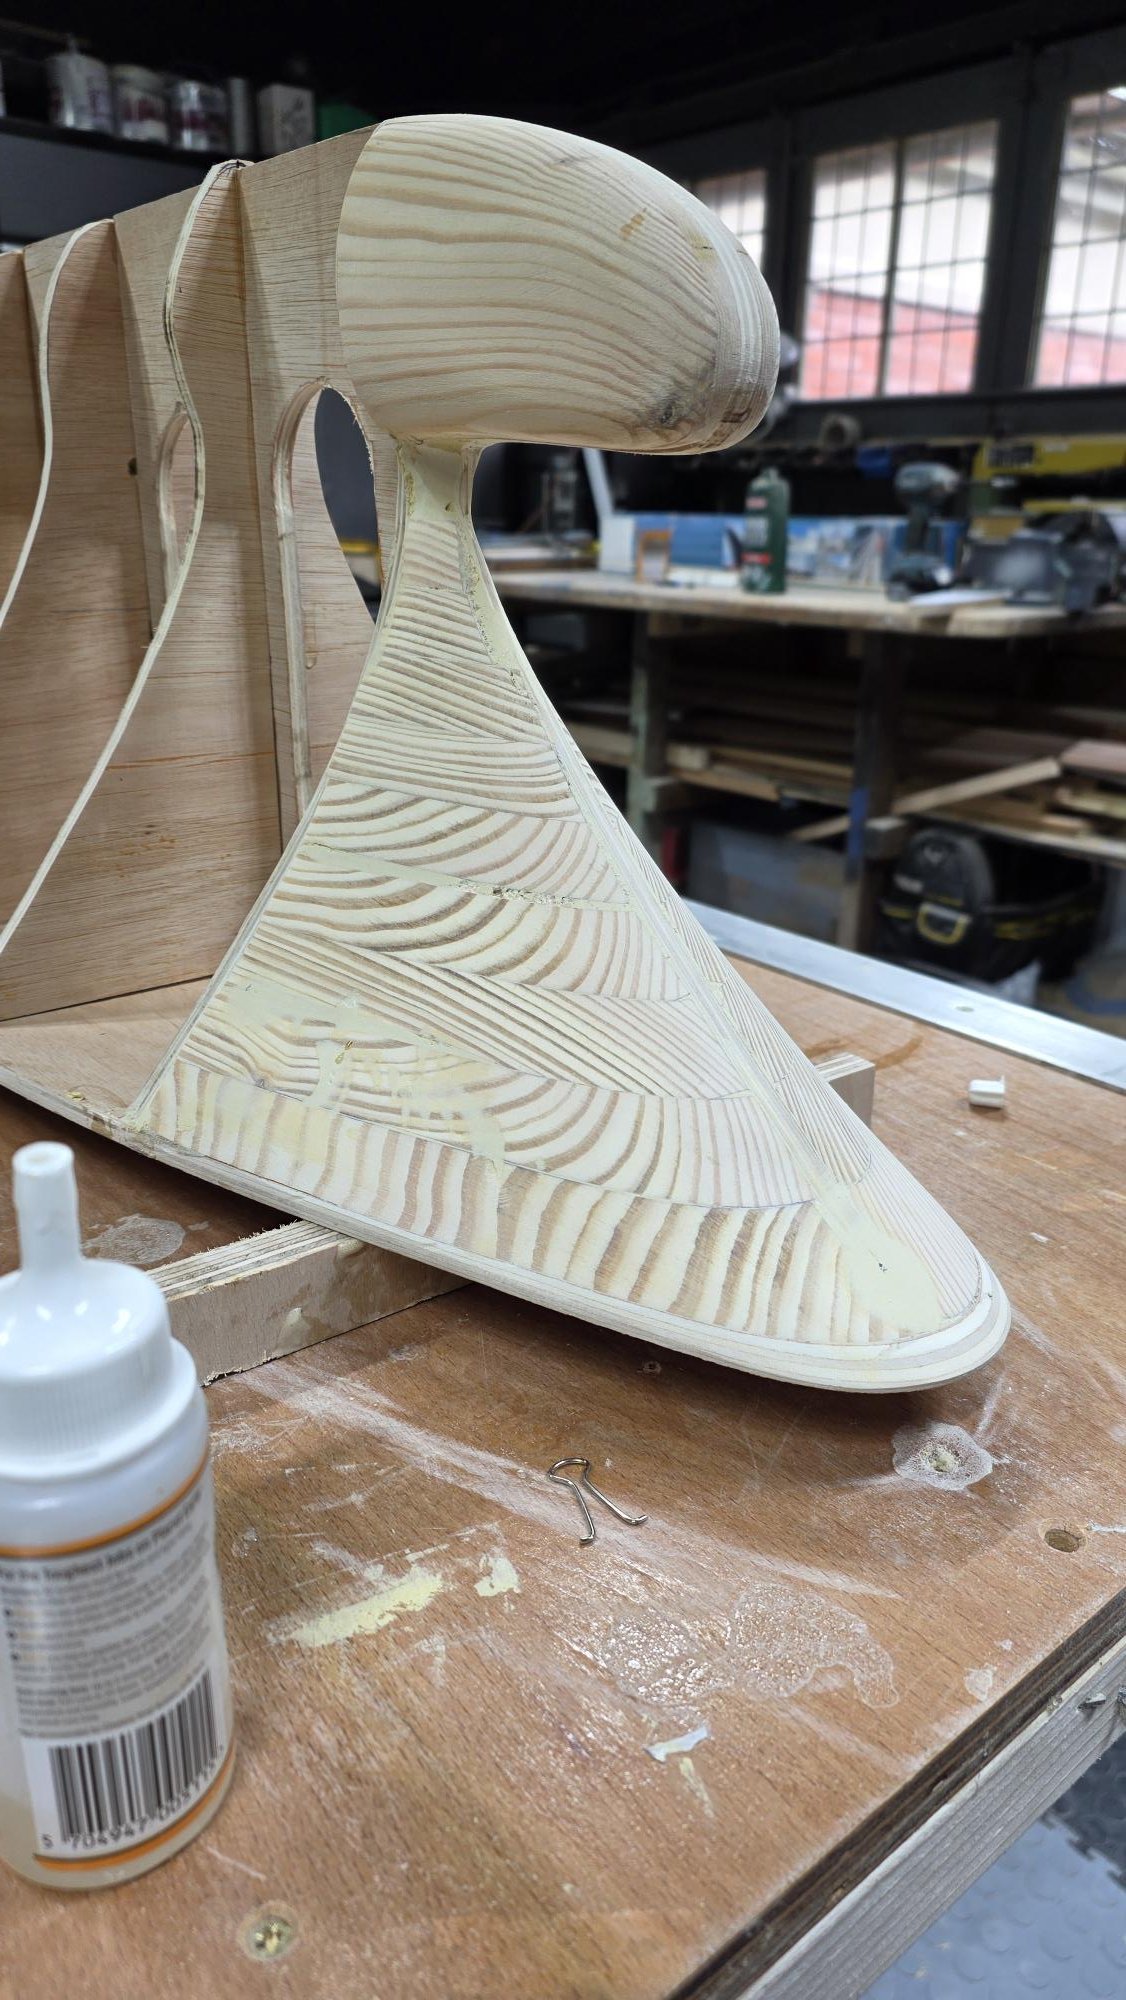
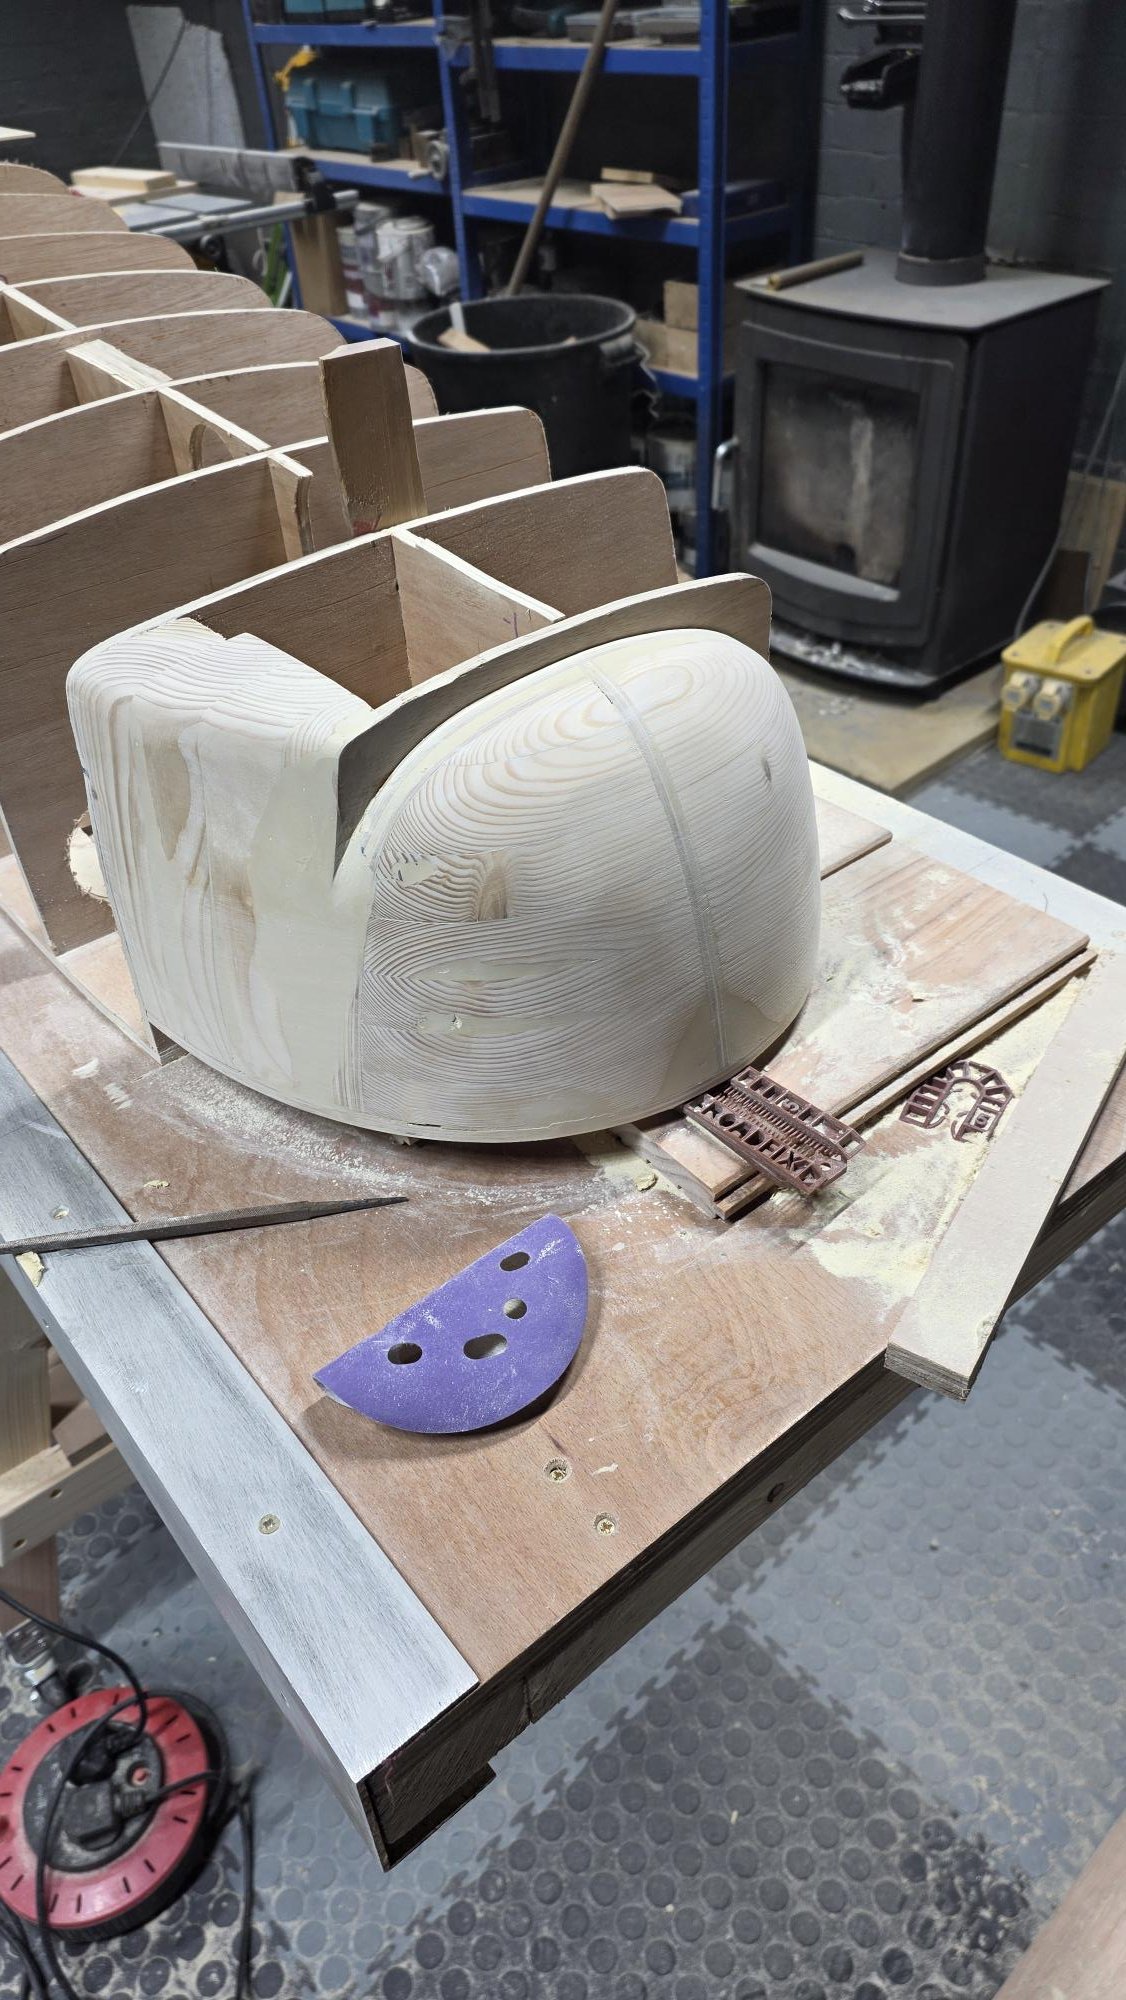
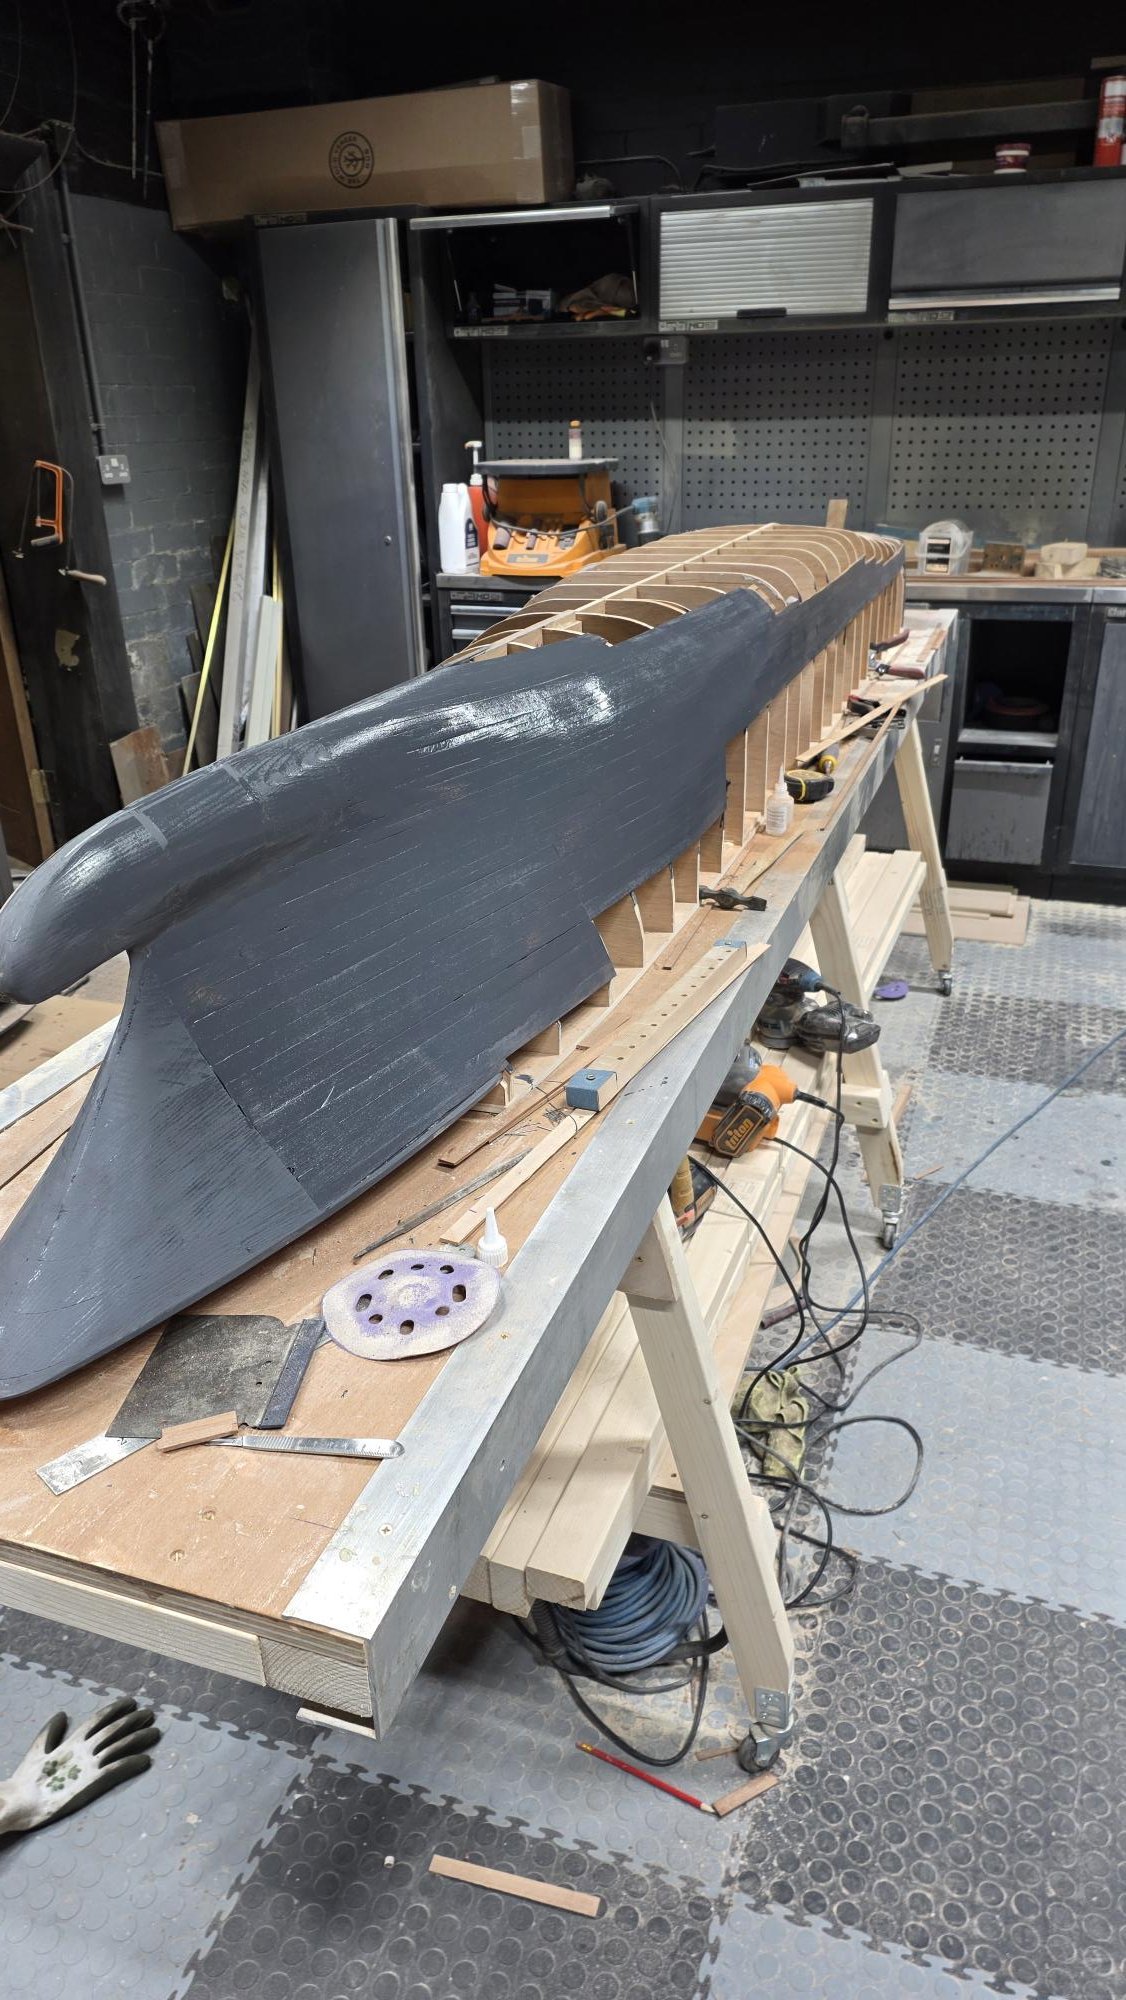
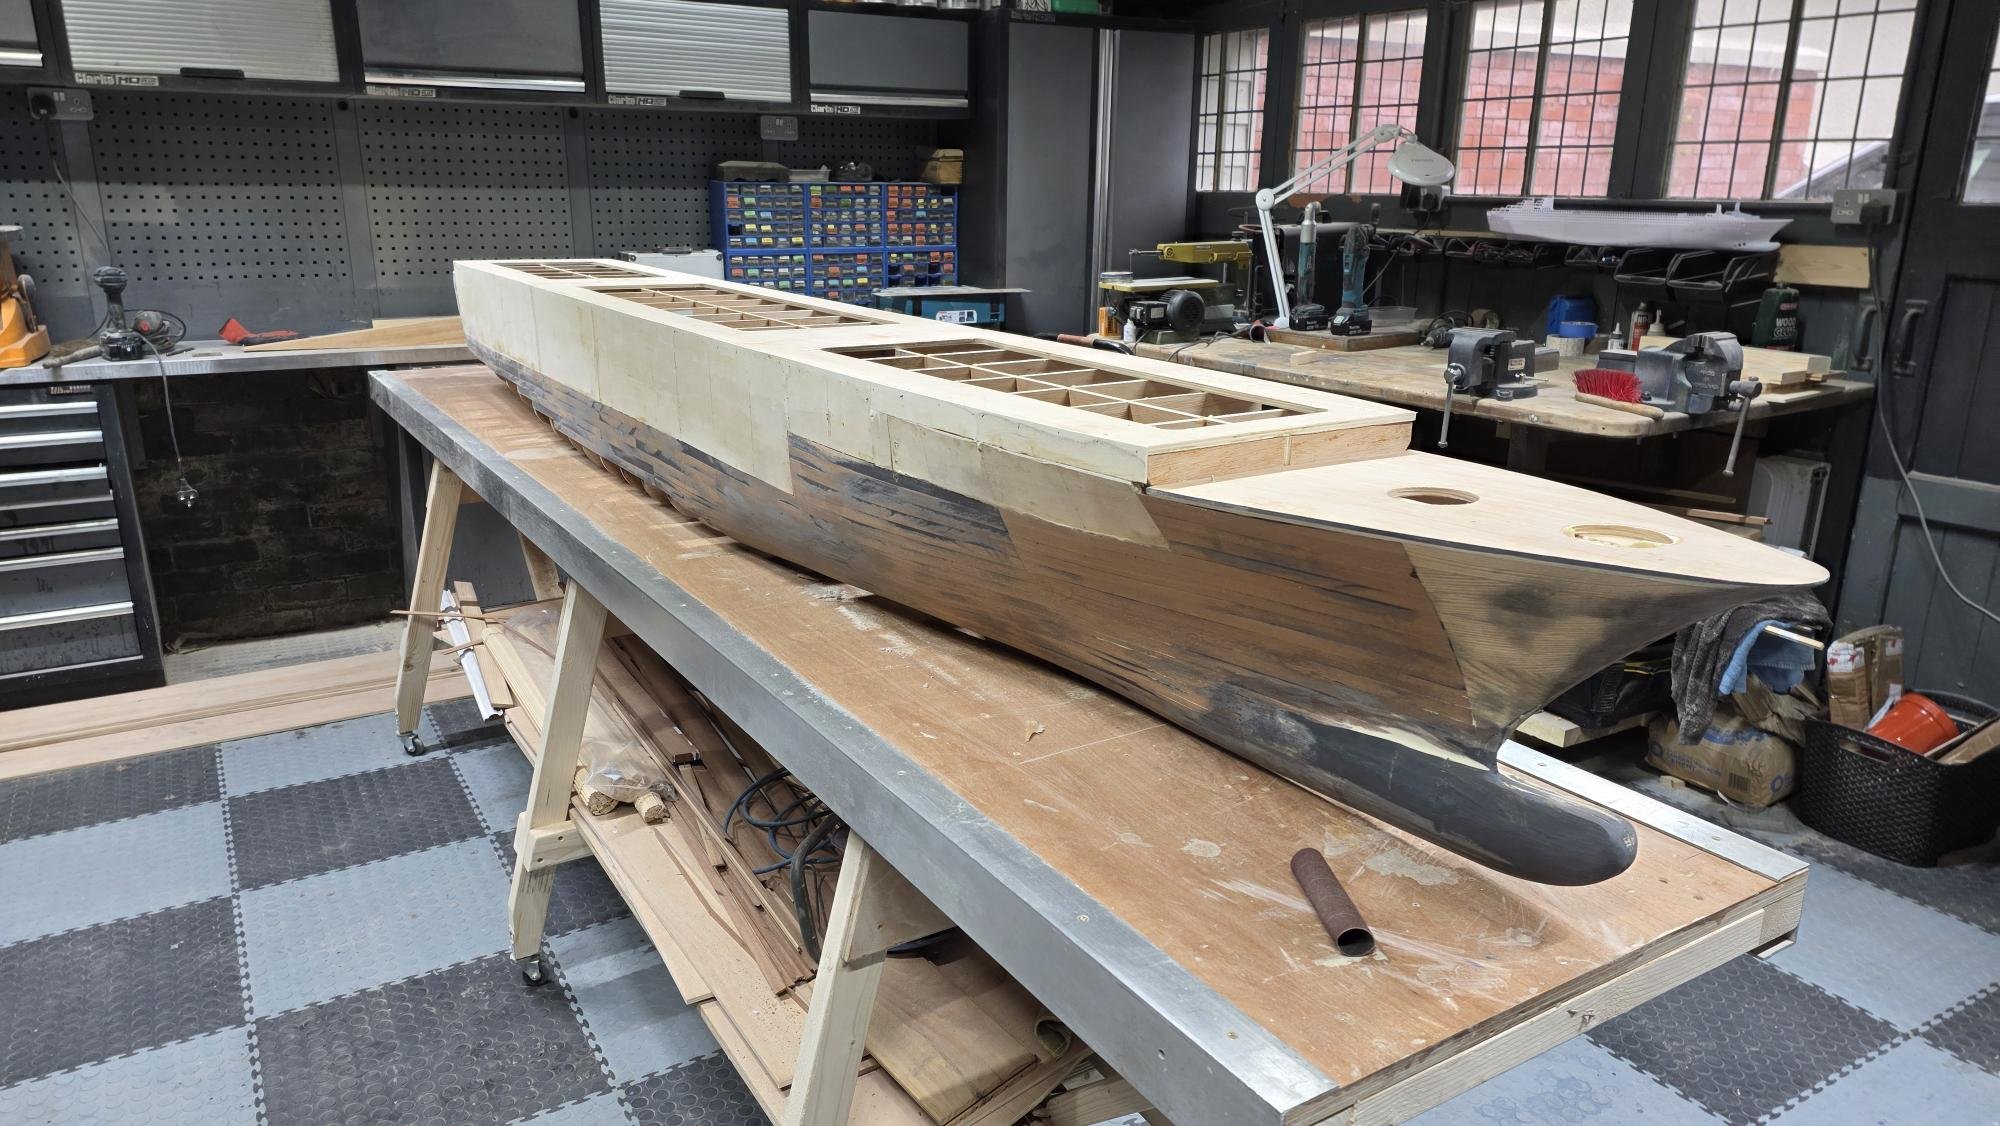
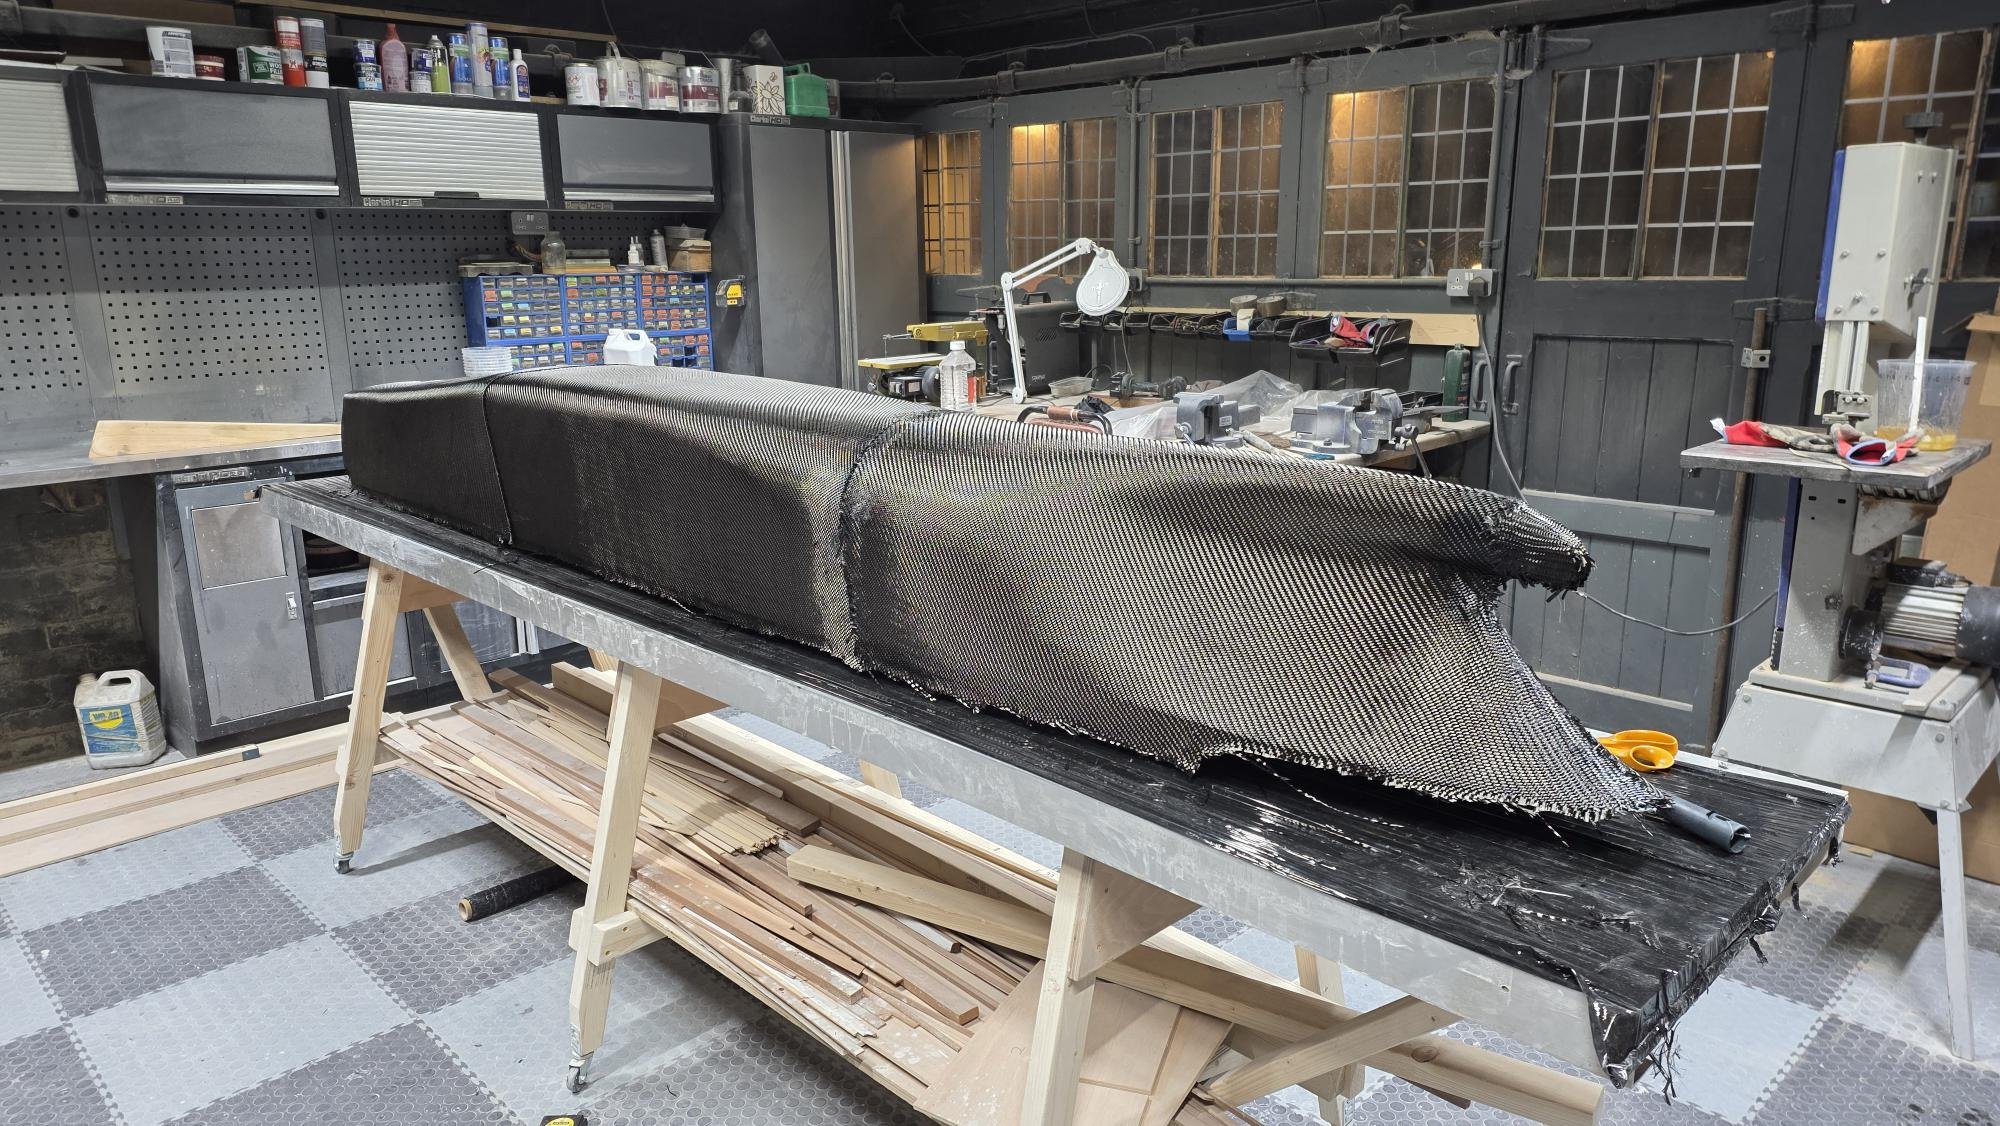
Construction from then on has been reasonably traditional, planking and then filling with epoxy filler. The bow and aft have been carved out of bits of wood hanging round the workshop. I have also laminated it with carbon fibre cloth and lots of coats of epoxy to give it further strength.
I noticed that the shape about one third down the hull didn’t look right - it looked a bit fat/pregnant so I cut out about a two foot section on both sides and remodelled it - it was a case of removing the odd quarter of an inch or so but it has made all the difference.
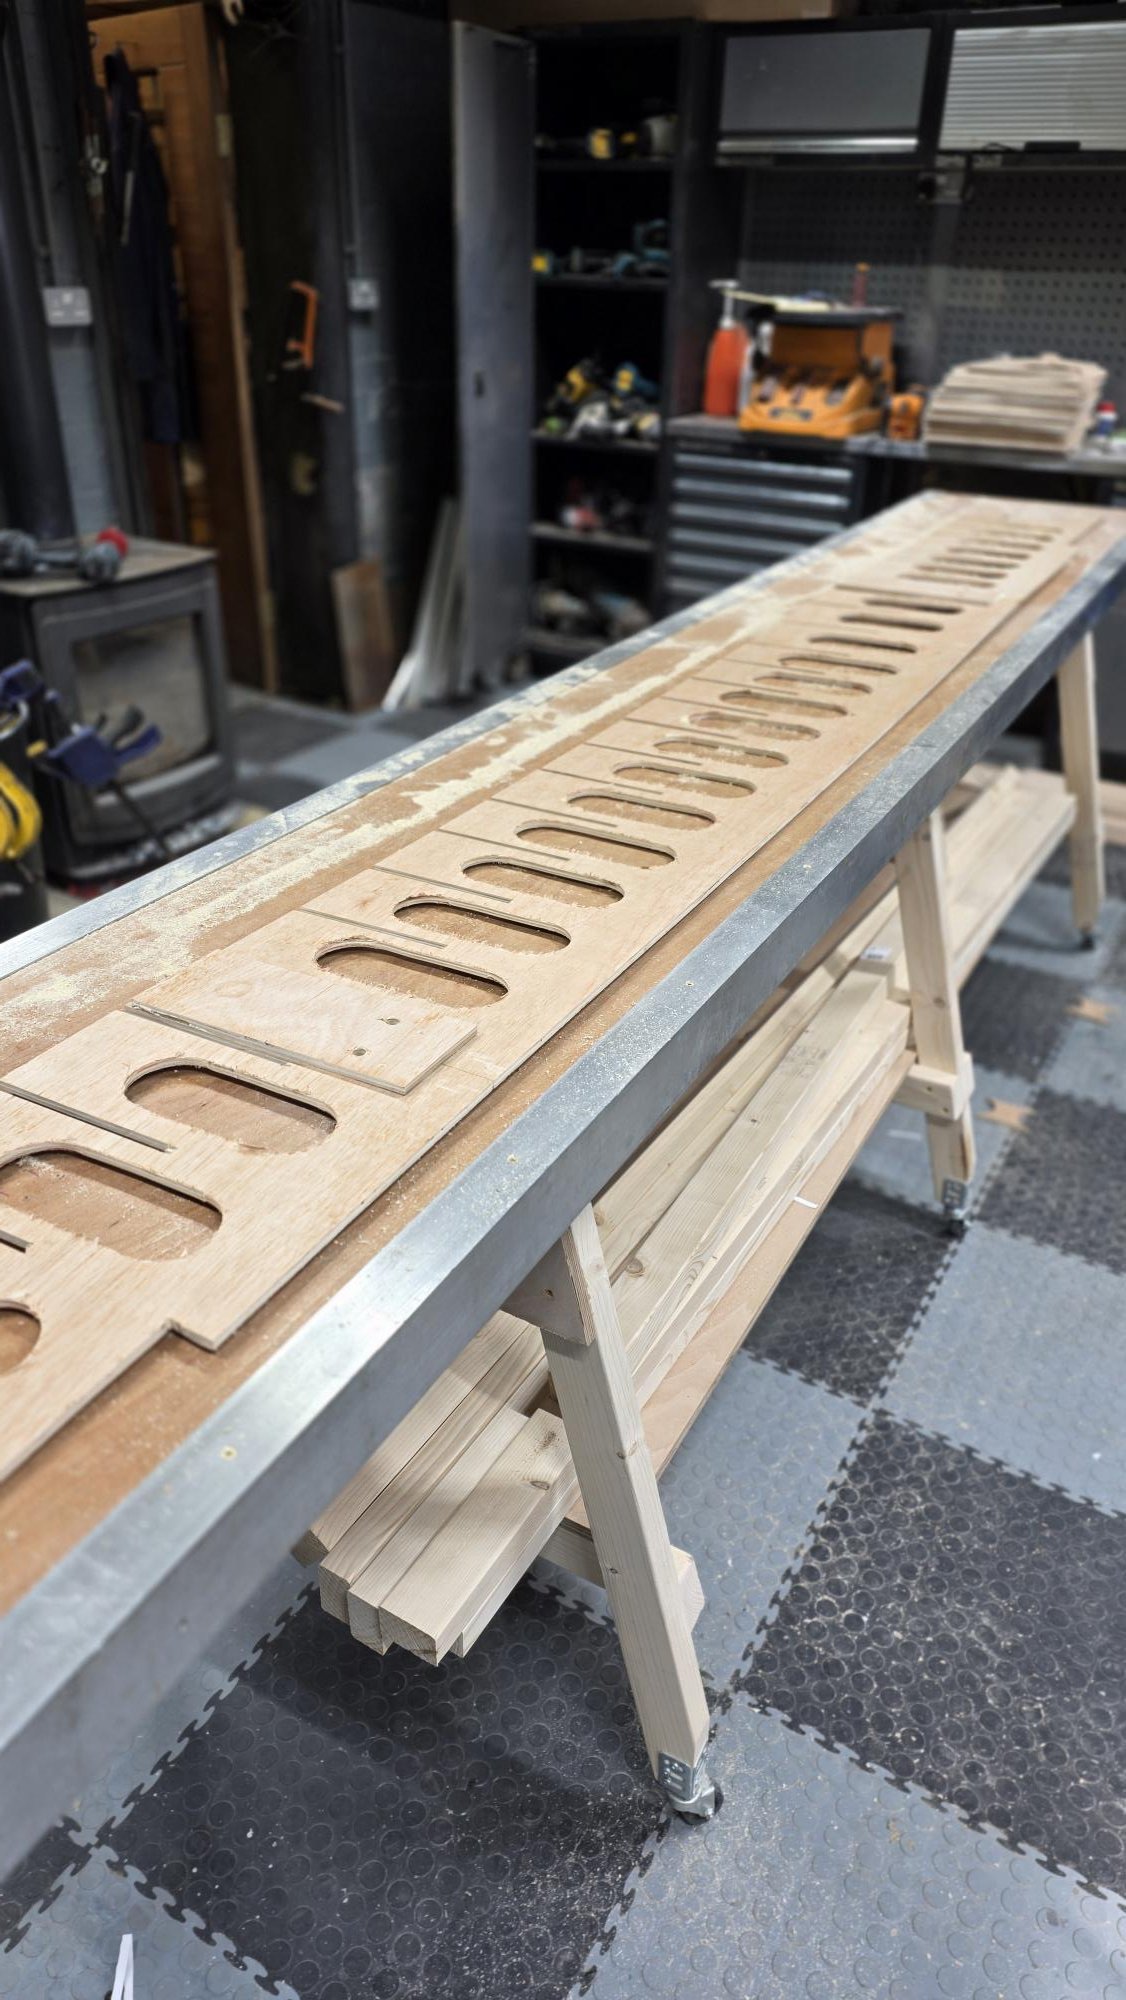
The next job will be cutting out sections of the hull to take the hull balconies and various openings, portholes etc. There wont be much hull left when this is done! From then on emphasis will probably move on to the computer/ laser cutter/3d printer. There is a lot of repetition and using various technologies will be a godsend.
Hope this is of some interest and I will post regular updates from now on.
Cheers all.