HOLIDAY DONATION DRIVE - SUPPORT MSW - DO YOUR PART TO KEEP THIS GREAT FORUM GOING! (Only 36 donations so far out of 49,000 members - C'mon guys!)
×


fluffybunny
-
Posts
4 -
Joined
-
Last visited
Content Type
Profiles
Forums
Gallery
Events
Everything posted by fluffybunny
-
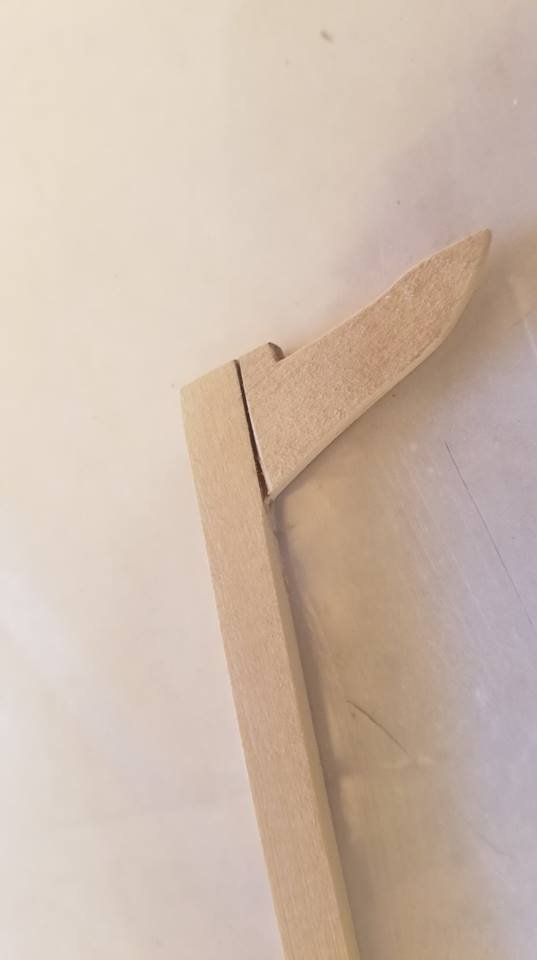
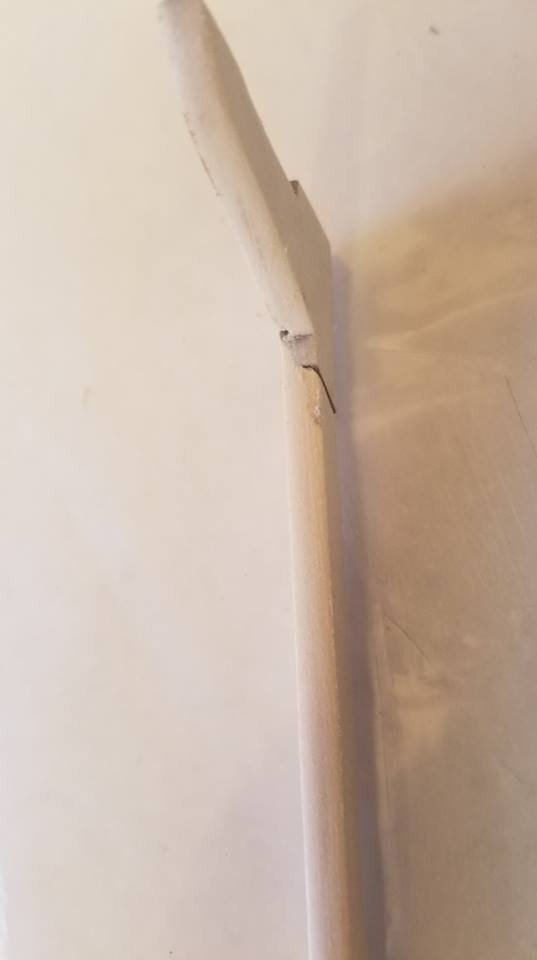
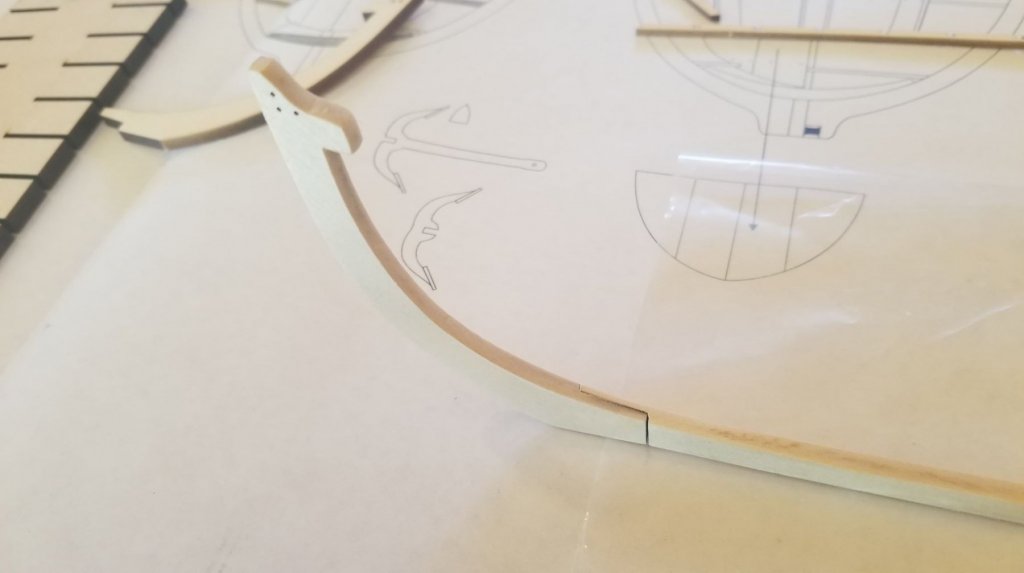
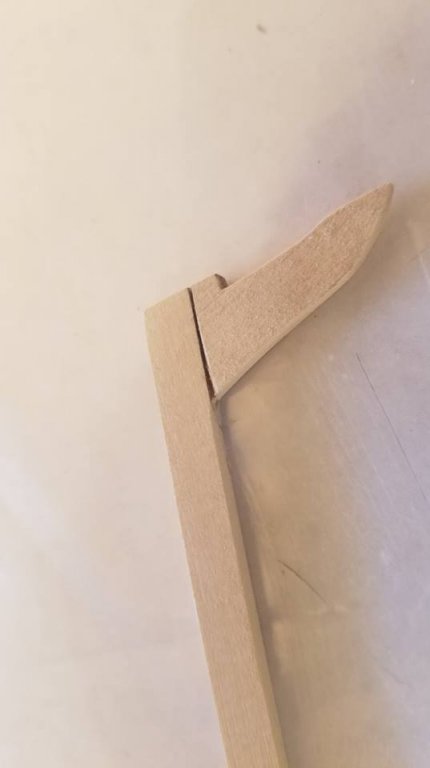
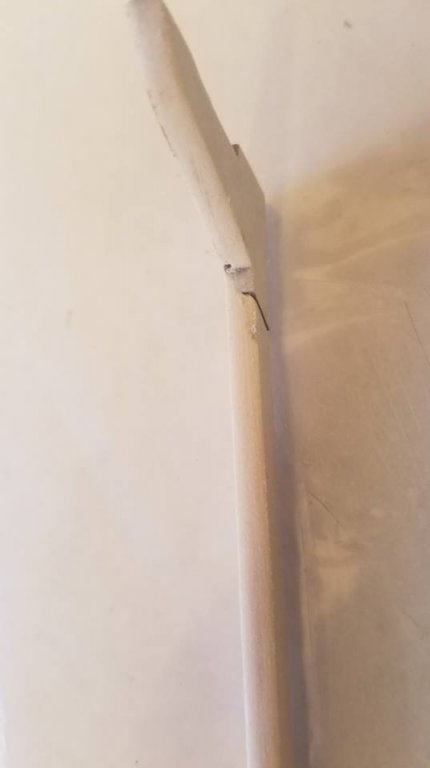
 Thanks for the advice, I'm not discouraged about it, I'm learning a lot already and enjoying it. I know that it is not going to be perfect because I'm learning but this first step I probably worked a little too fast. Biggest issue is trimming things too much, as I've read in other places, its easy to take more wood off, hard to put more back on. I need to decide what I am going to do if I'm going to continue with this keel or switch over to the other keel. I took the other 4 keel pieces and test fit them, everything fits fine with no issues. My biggest concern is at the joint on the stern of the ship it looks a little funny. Looking through Chucks build log it looks like the top will be covered so I might be over thinking it. The gap on the vertical joint might be a little too much. Also looking at these pictures close up helps show the little areas that still need a touch of cleanup. I also am thinking through how I am going to keep the 1/32 rabbet throughout the length of the keel. I'm going to have to think about that for a bit before gluing.
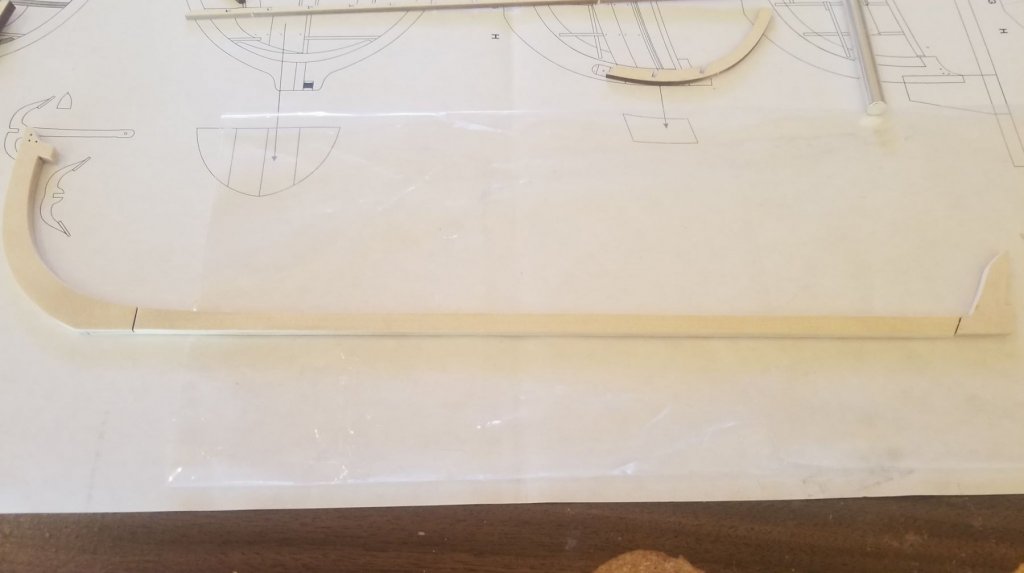
-
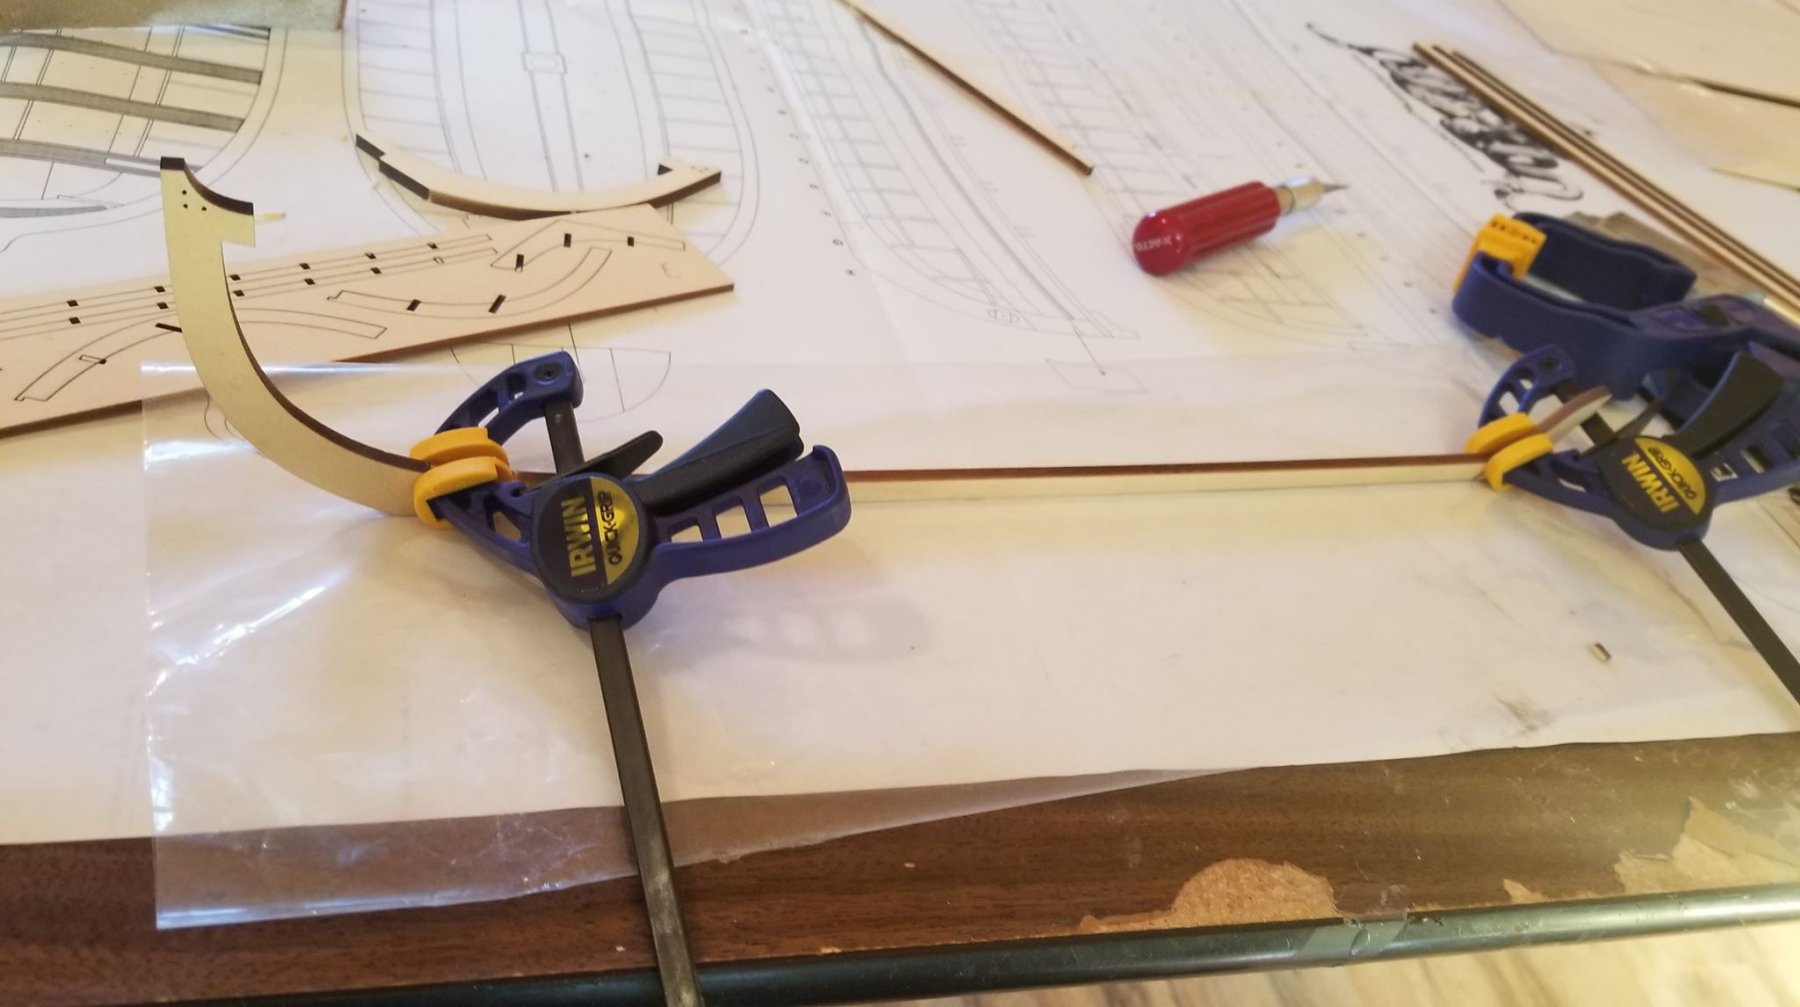
I started on the keel today. First off this is my first ever ship build. I am attempting to do the complex method with the lap joints first. I've never used I used the method that chuck recommended with the #11 blade then some files. I had some issues. I knew using the #11 blade that I would have to even out the entire area of the joint. I ended up having some issues doing that. I found towards the end of the process that I took off a little bit too much wood in areas, but not enough in others. The files I were using were really narrow. I found using a wider sanding block would probably be a better solution for next time. I glued it up and have it clamped but there is a little bit of a gap that I'm not sure exactly yet how I'm going to fix it, or if I just use the simple keel. Having the option for both really helped me with if I screw something up I can try another option. I'm going to see what it looks like tomorrow after it drys really well. In the clamps it looks decent and that it might work but we will see.

-
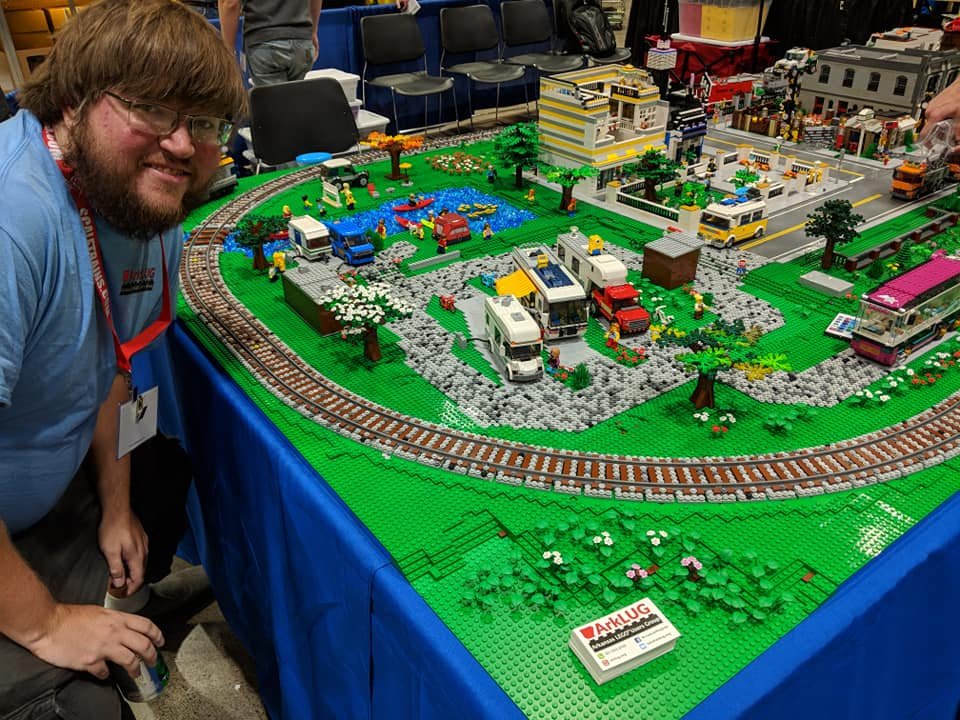
Hey everyone. I received my kit the other day and I am slowly reading through all of the build logs that have been done up to this point making sure I understand the process before I start. A little background on me if your interested. My wife and I spent the last year living on the road full time in our motorhome. We sold our house, and most of our possessions except for everything we could fit in a 10x15 storage unit. One of my other hobbies, that took up a lot of room in the storage unit, was lego. I really enjoy building things in lego. I took on one large project while in the RV and that was building an RV park. I have also built wood model airplanes in the past, as well as a fair number of traditional plastic model kits, but nothing really to this level of fit and finish. Our new house which we moved into 3 weeks ago is about 30 min from lowes/home depot so building up a shopping list for the various tools I'm going to need. I have a few things already but need to stock up on sandpaper and a few other things. Looking forward to getting started and sharing my progress and well as learning from everyone on here! Richard
-
This is the start of my build log for my first ever model ship. Looking forward to getting started!