gunslinger4hire
-
Posts
34 -
Joined
-
Last visited
Content Type
Profiles
Forums
Gallery
Events
Everything posted by gunslinger4hire
-
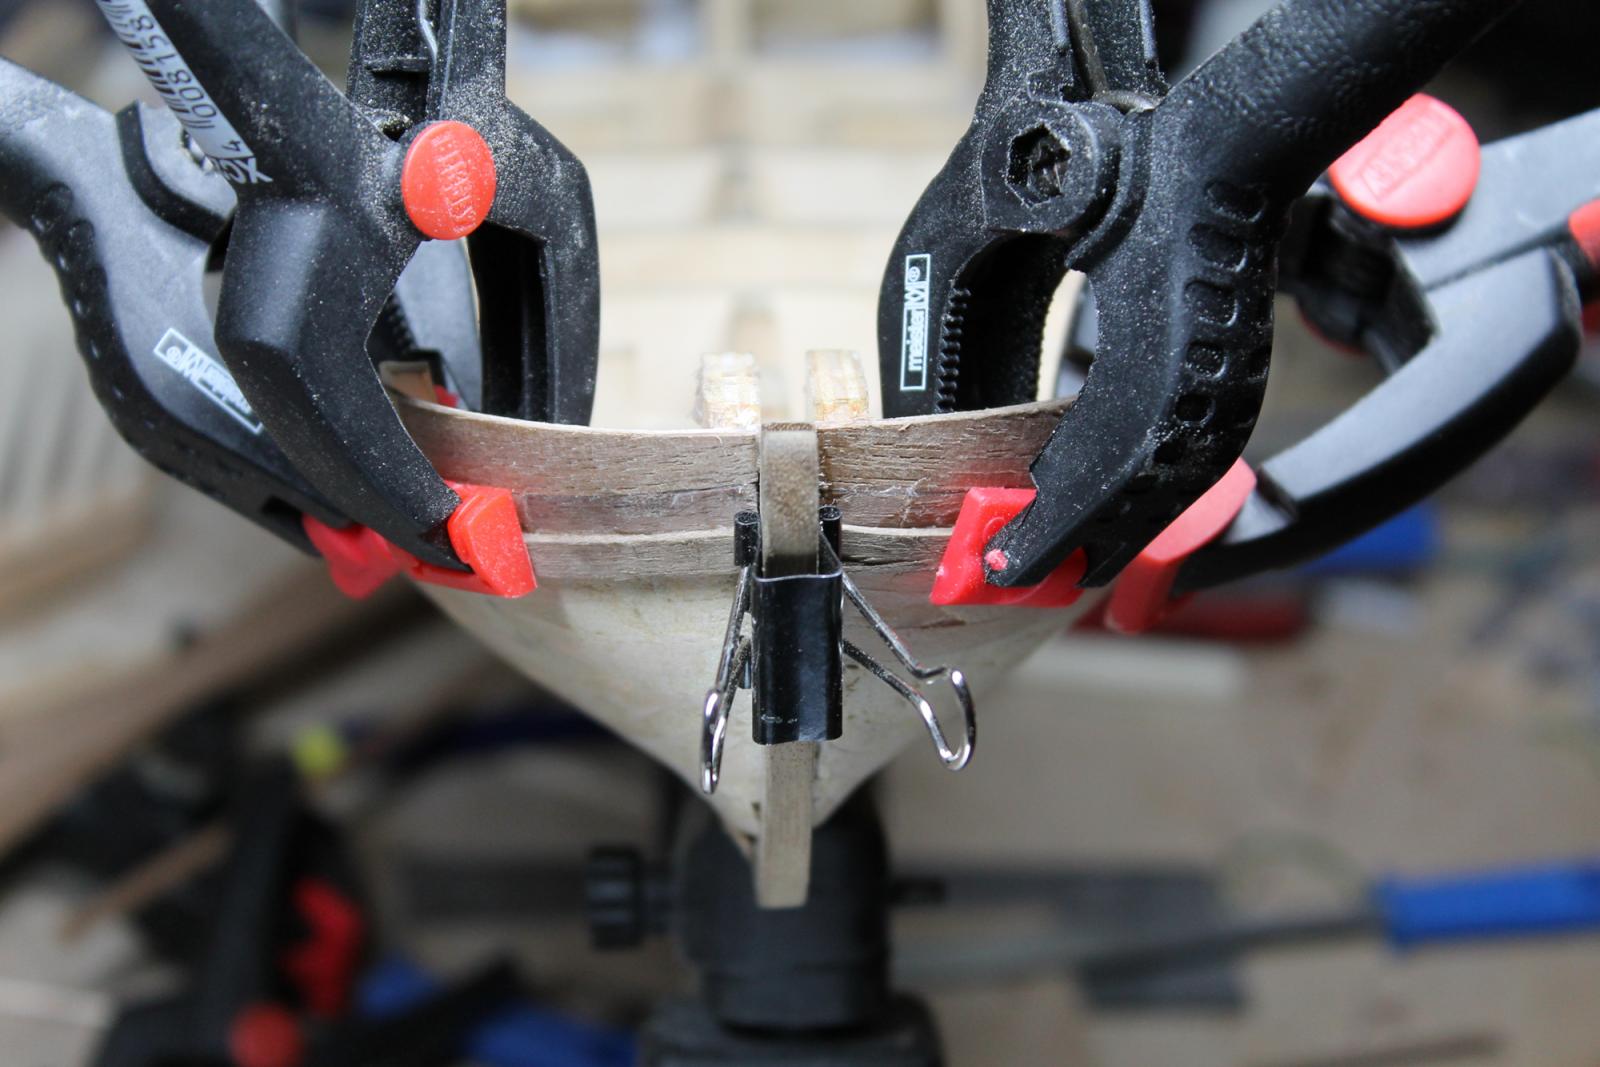
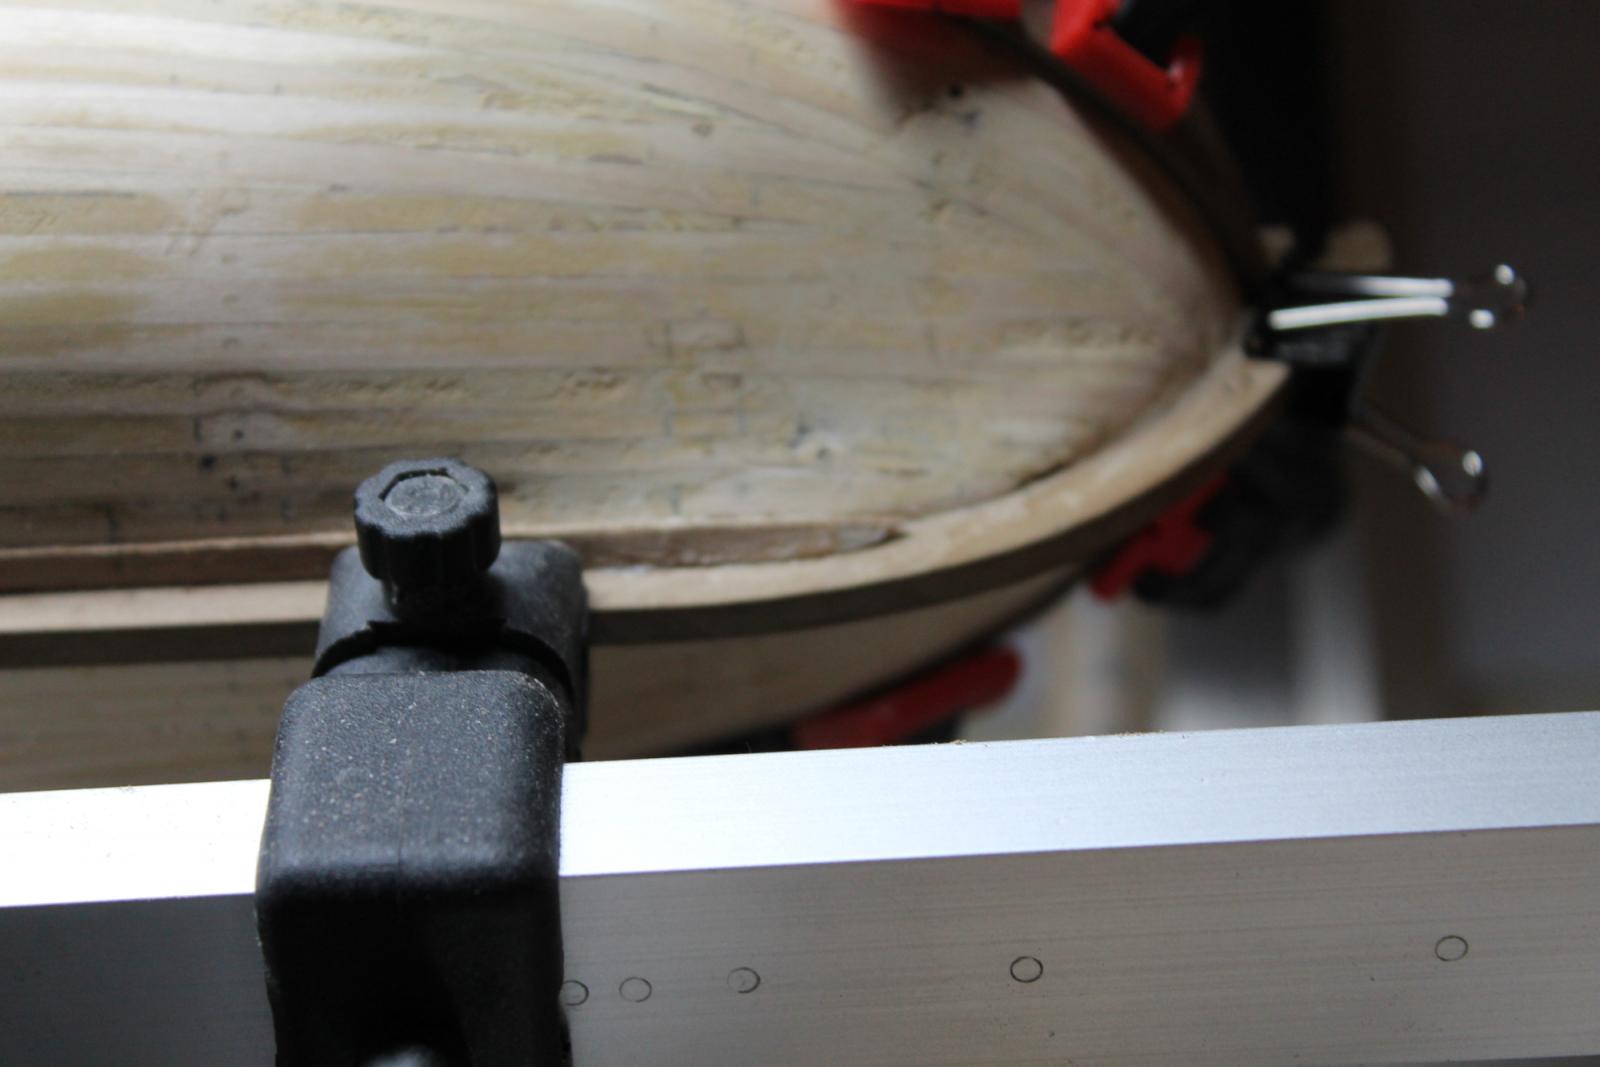
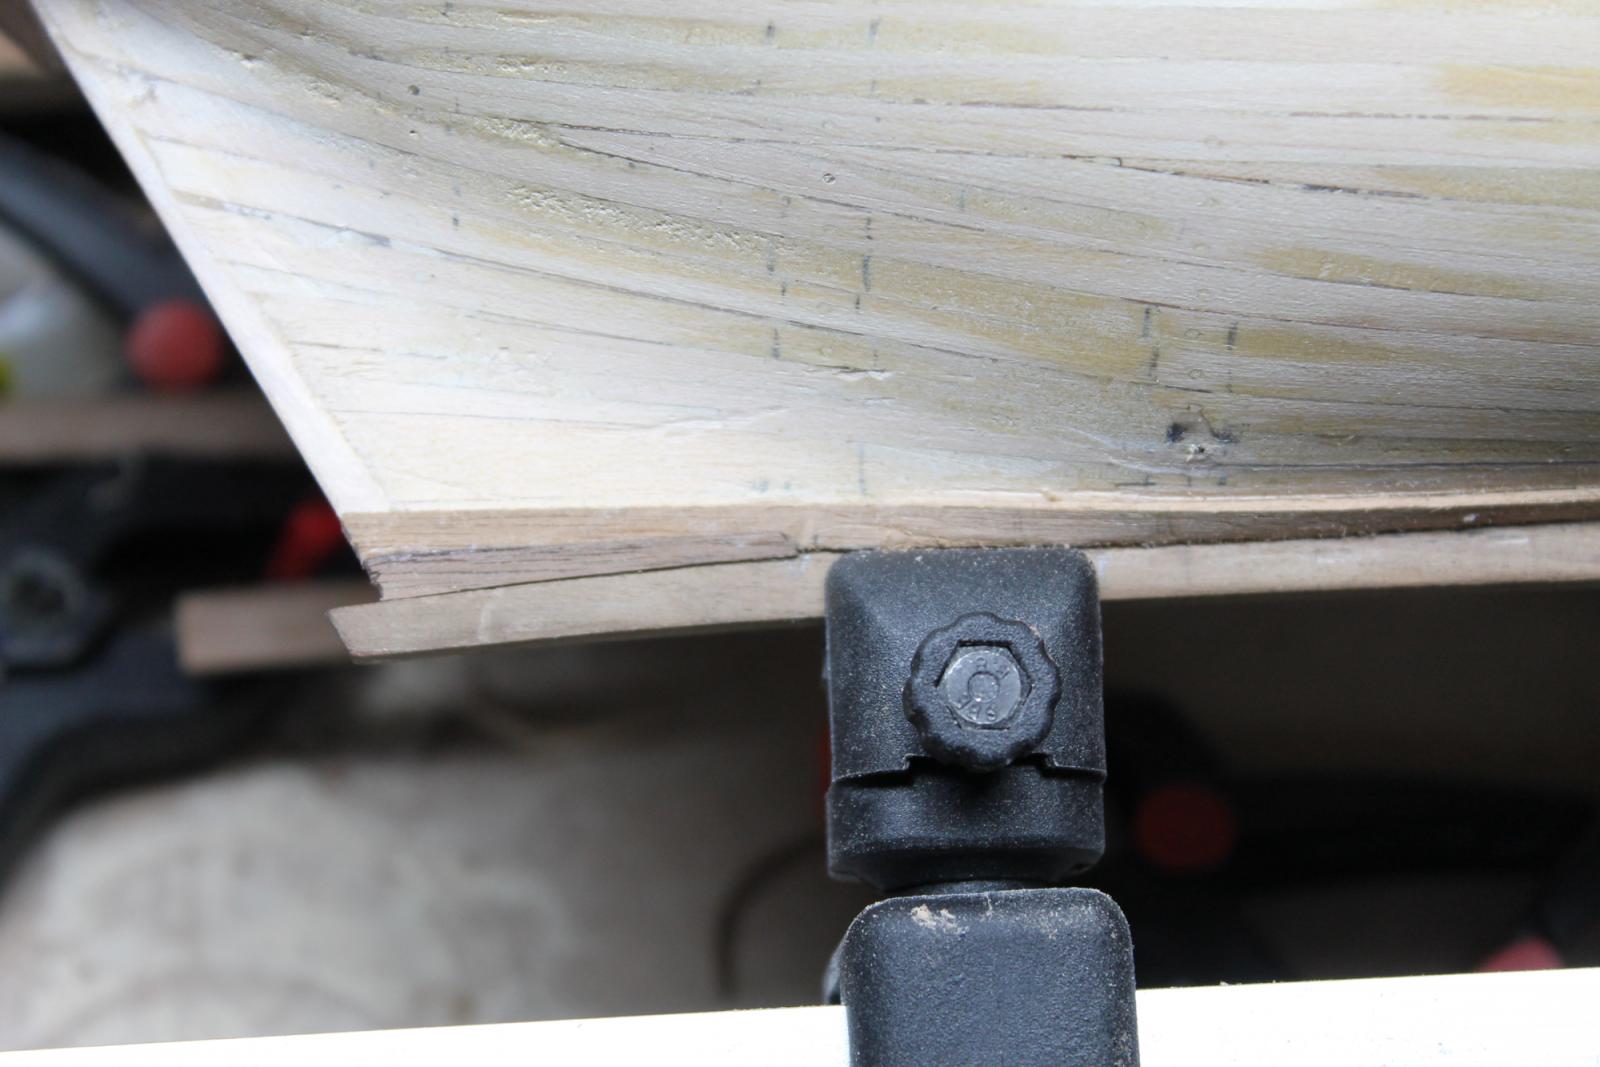
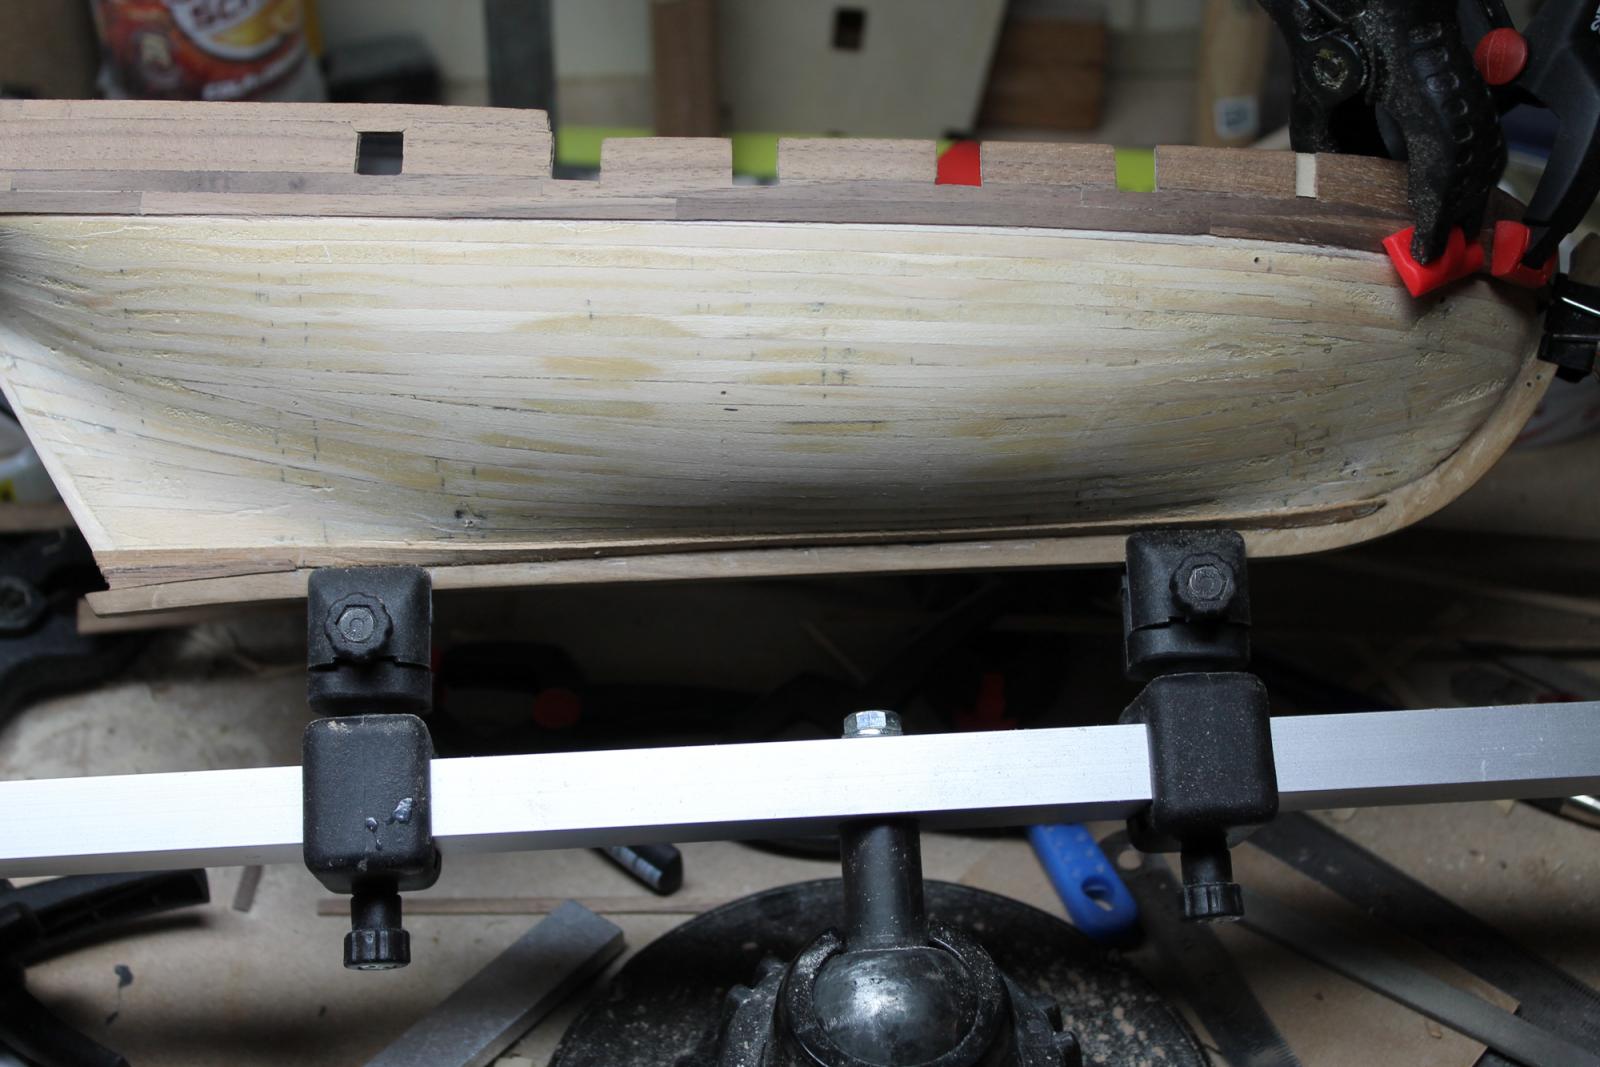
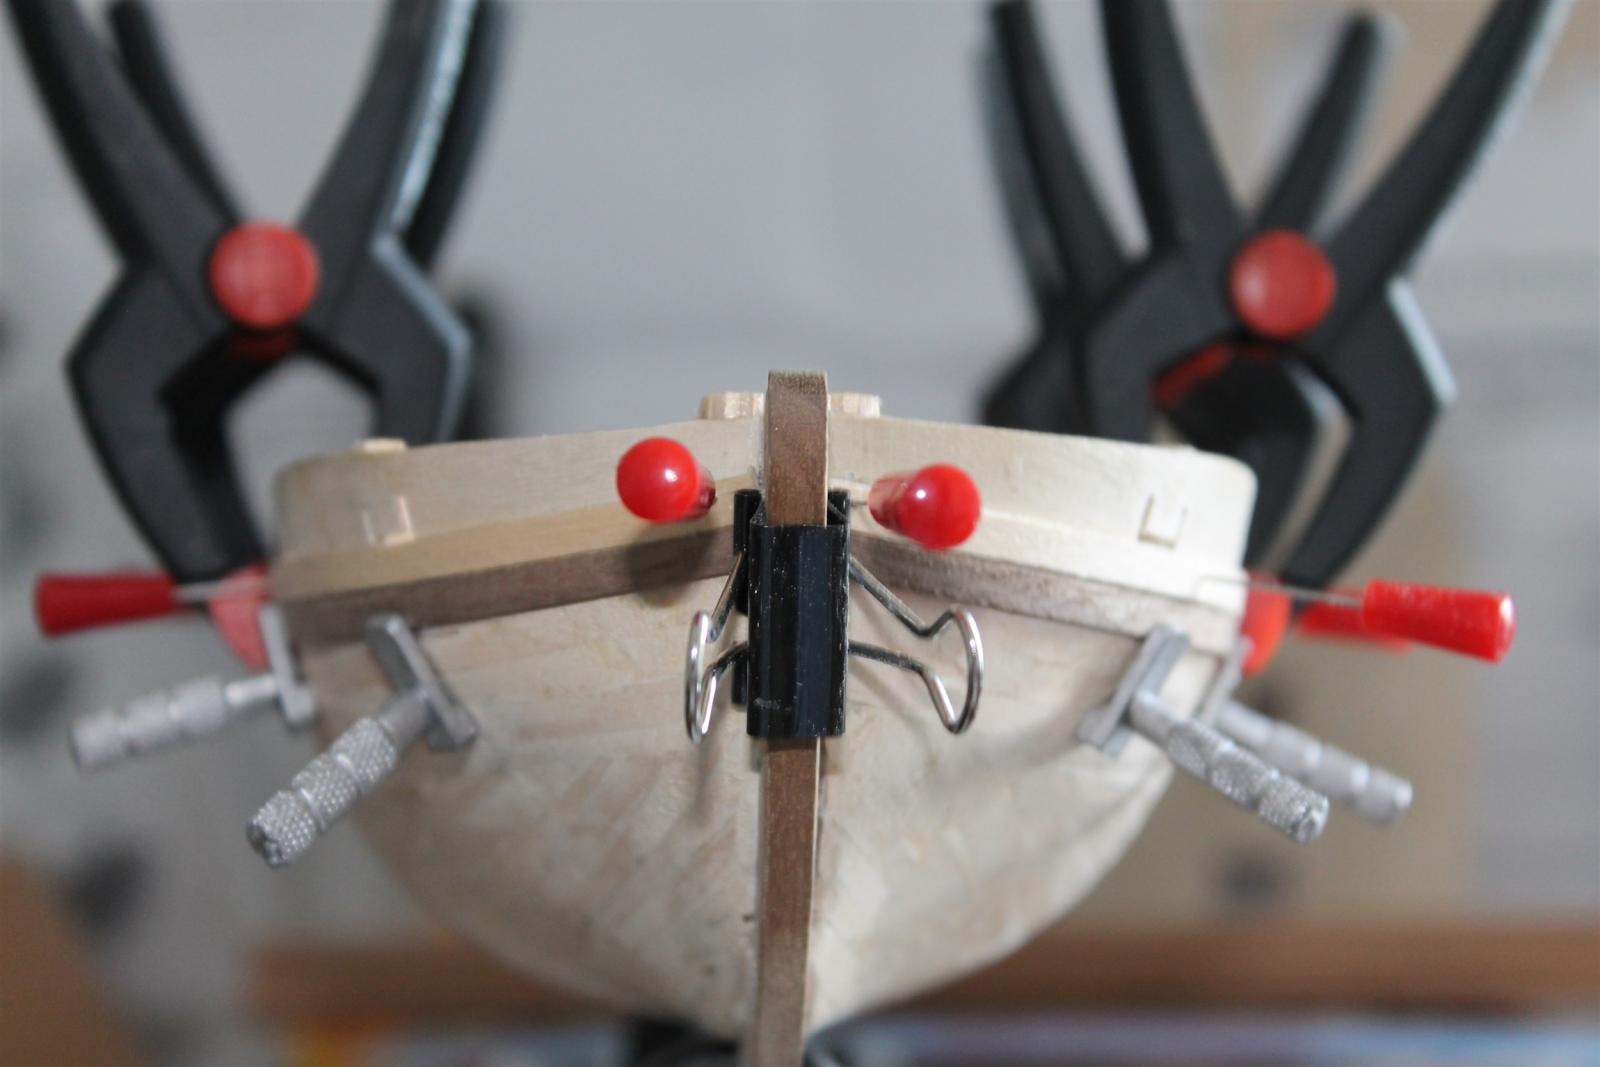
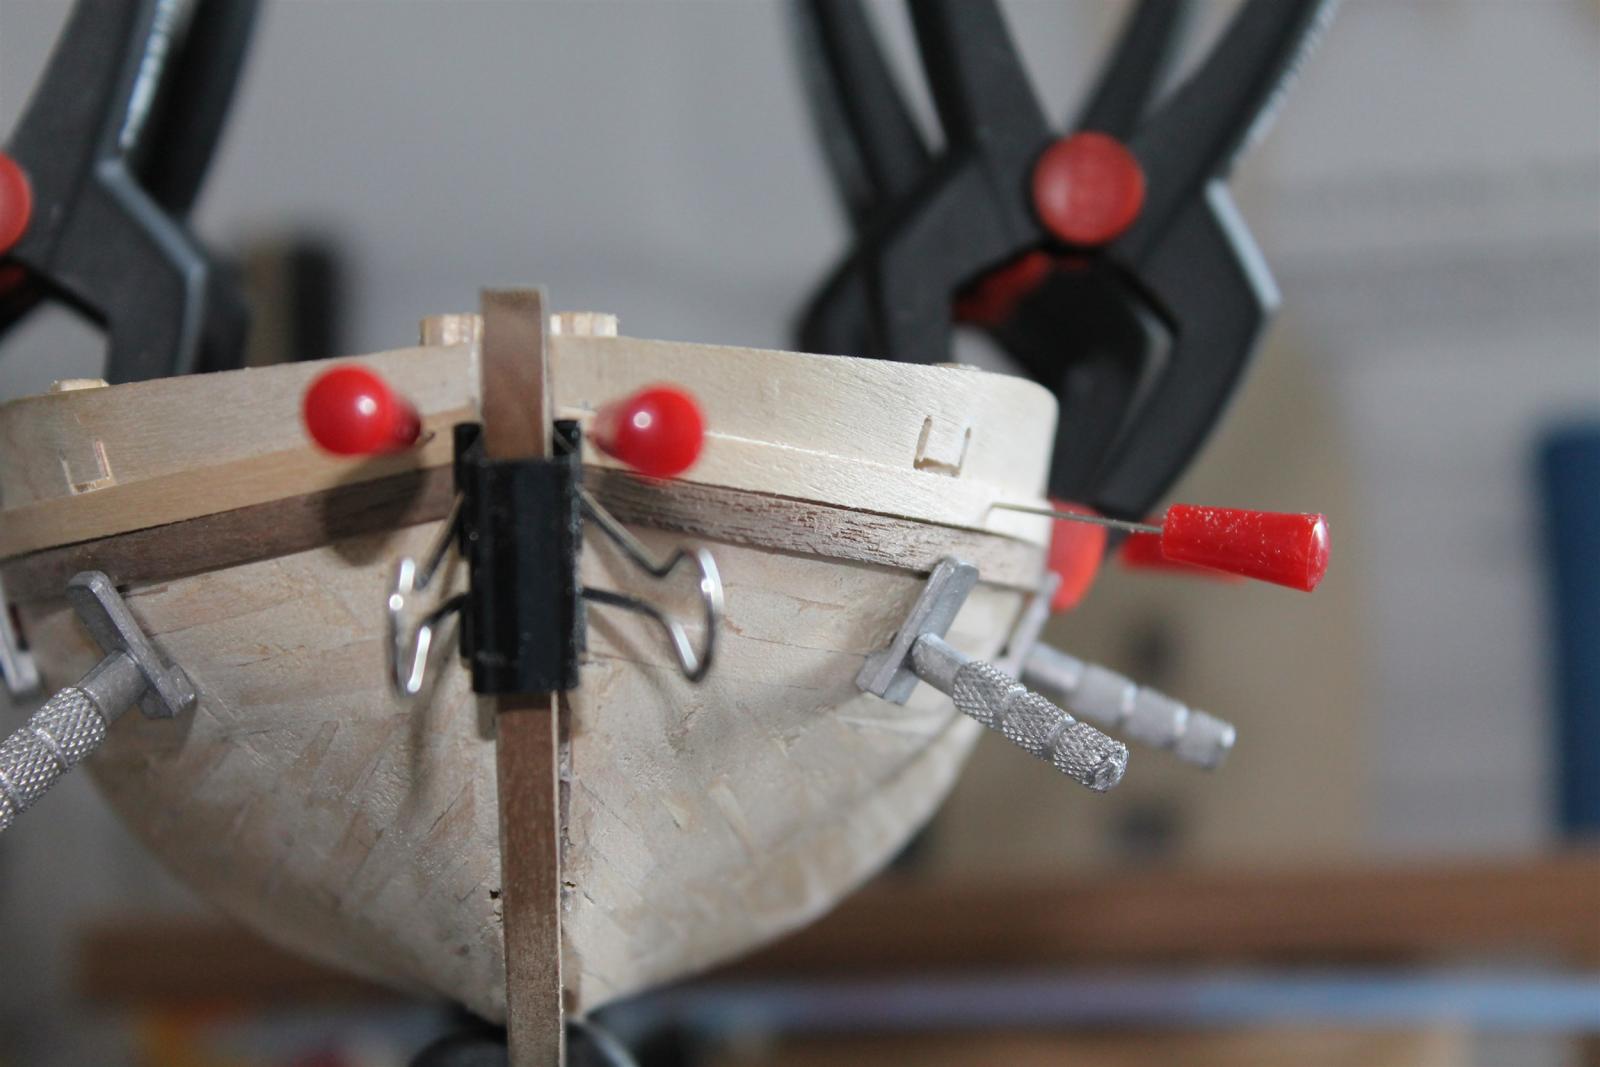
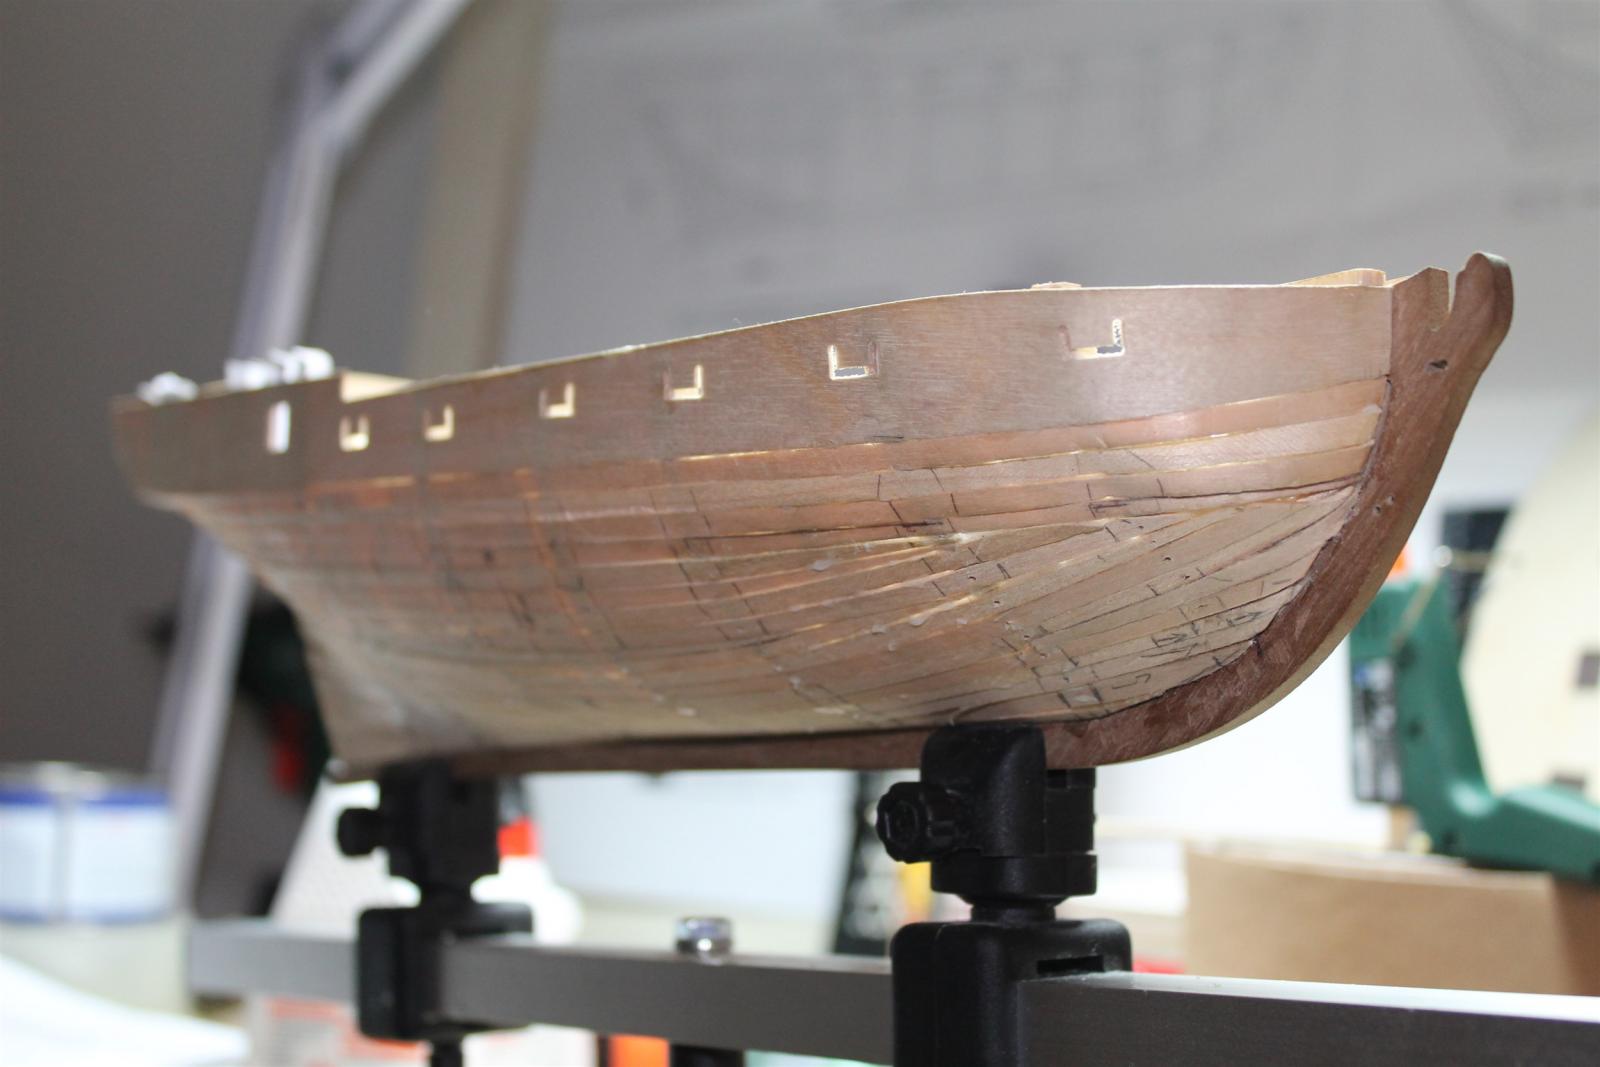
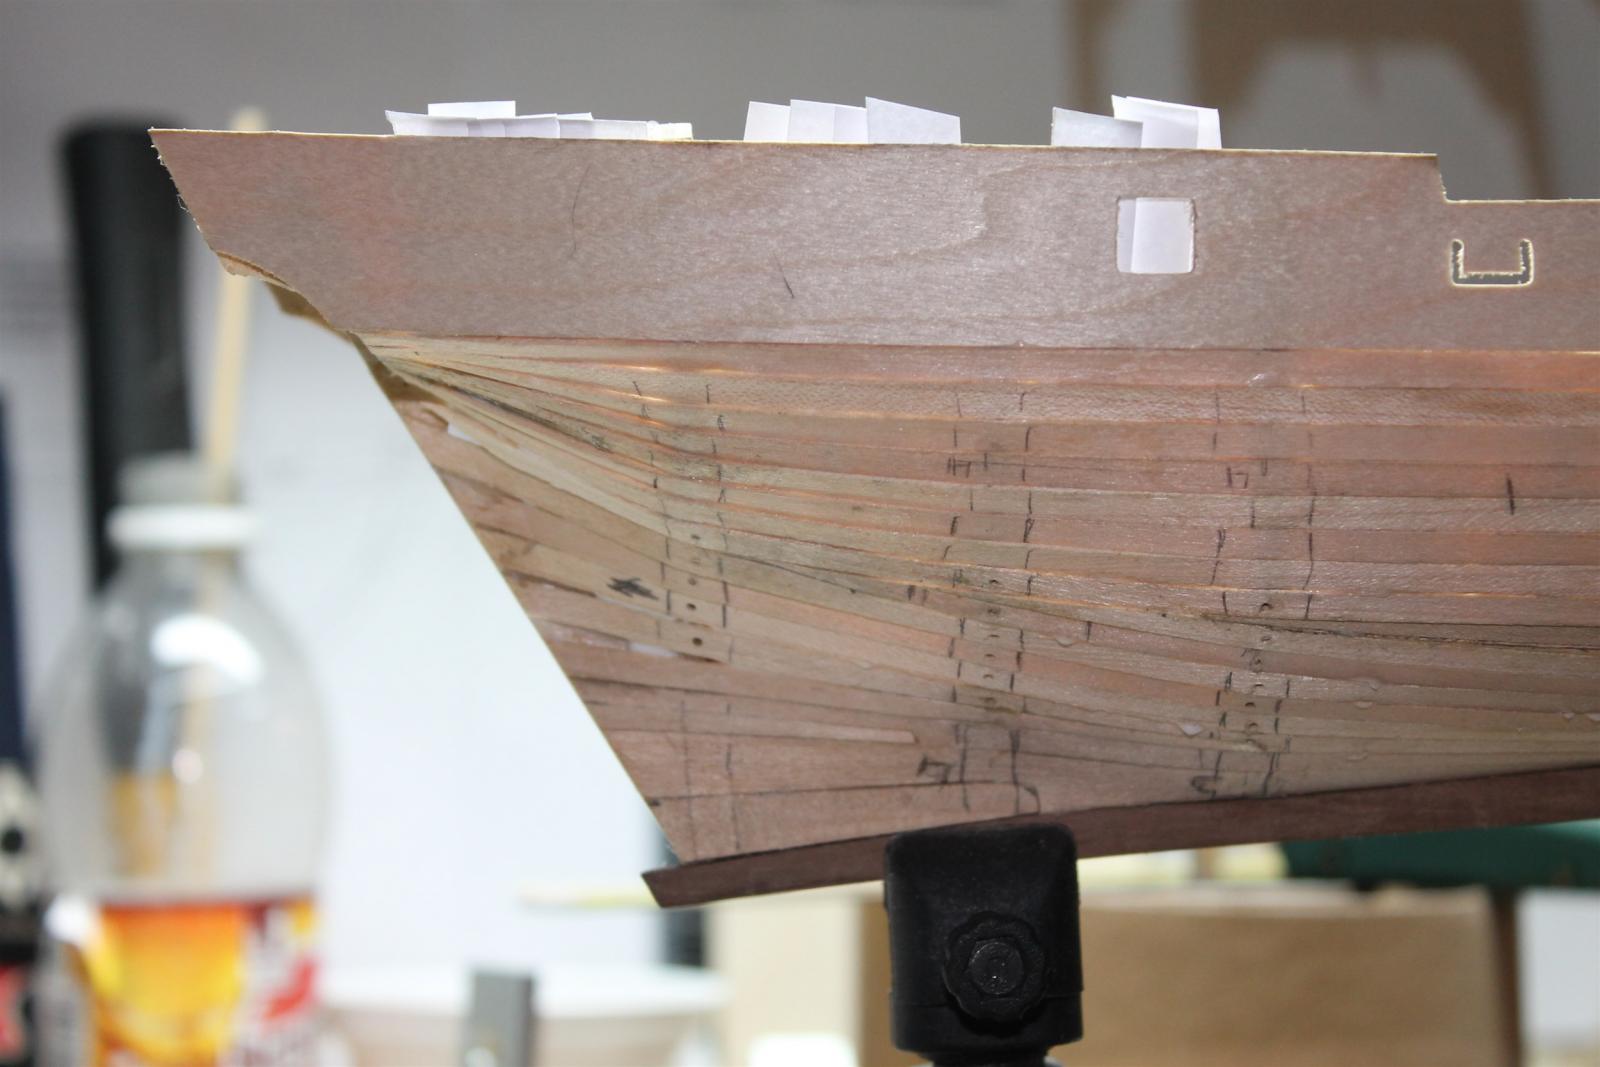
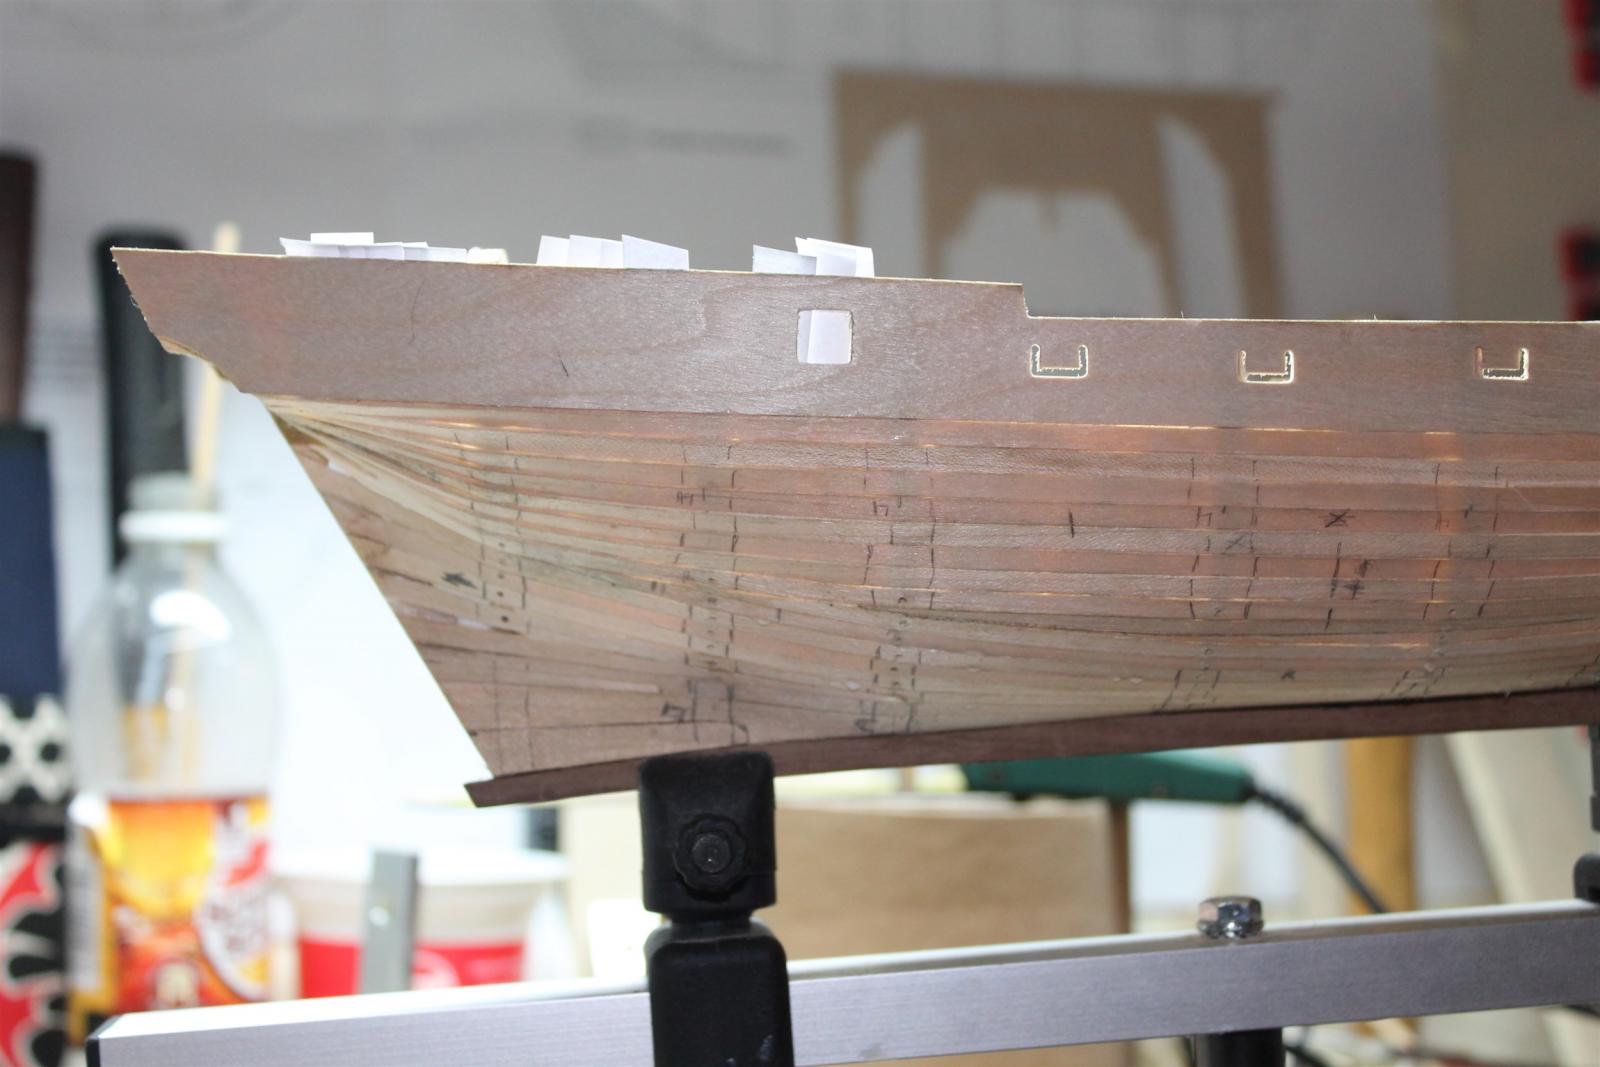
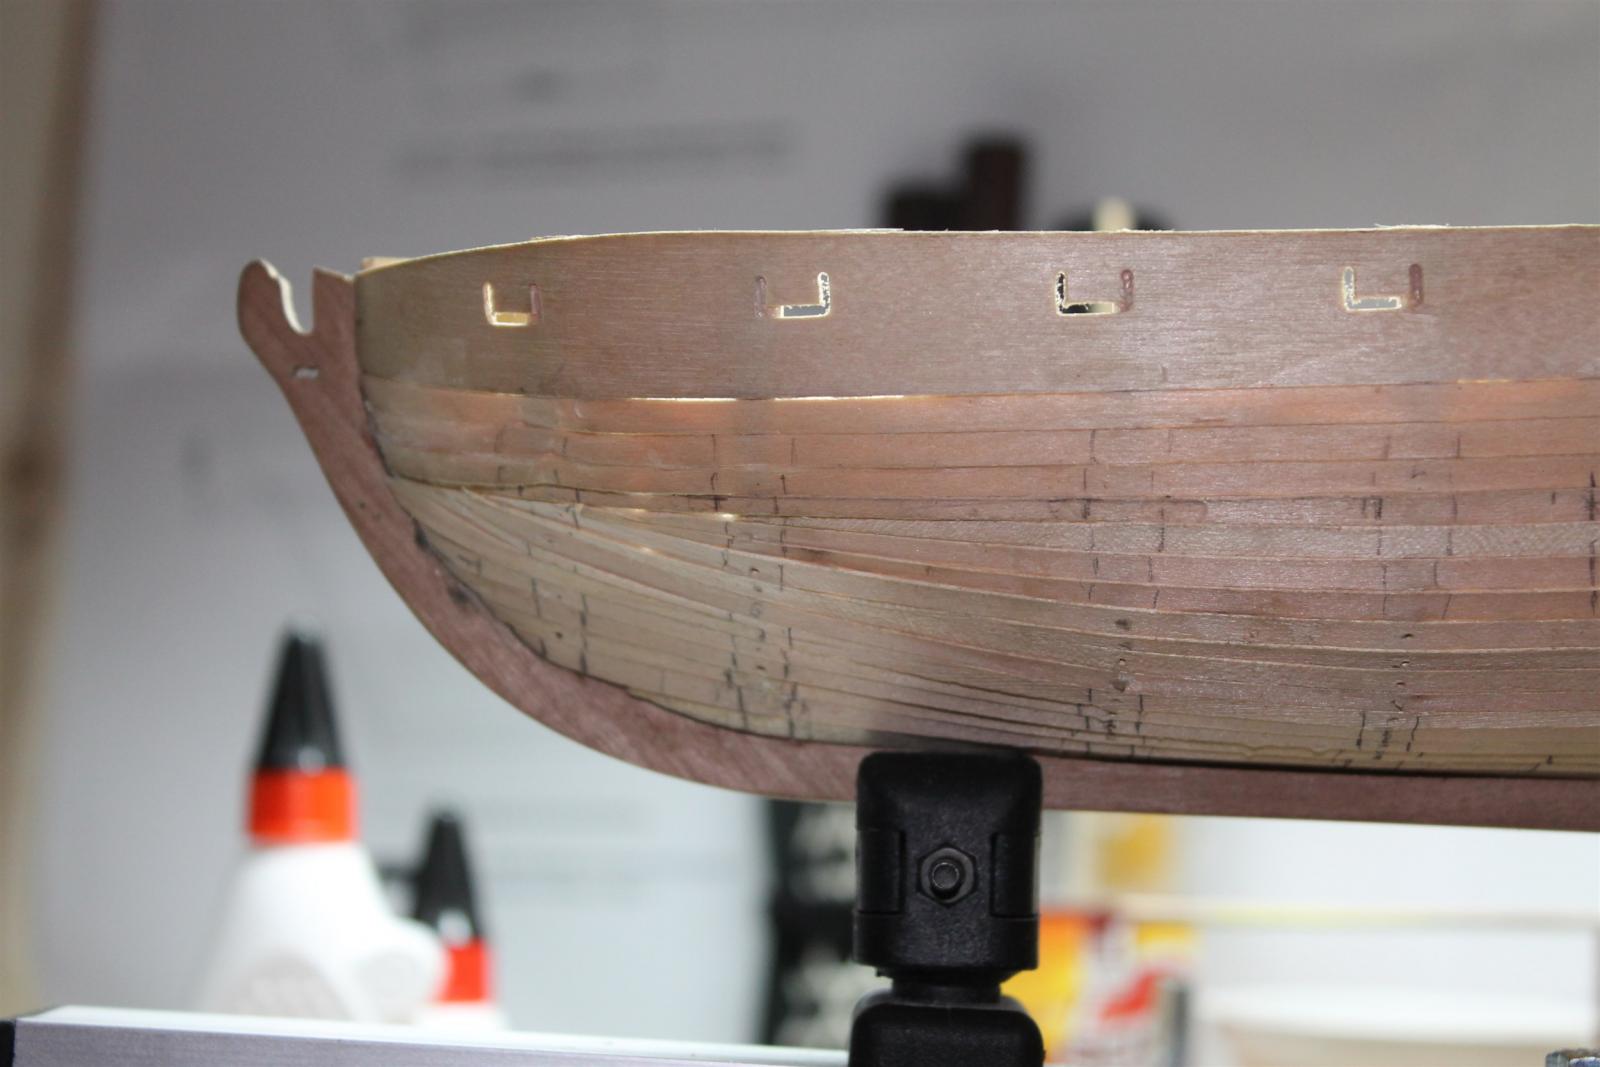
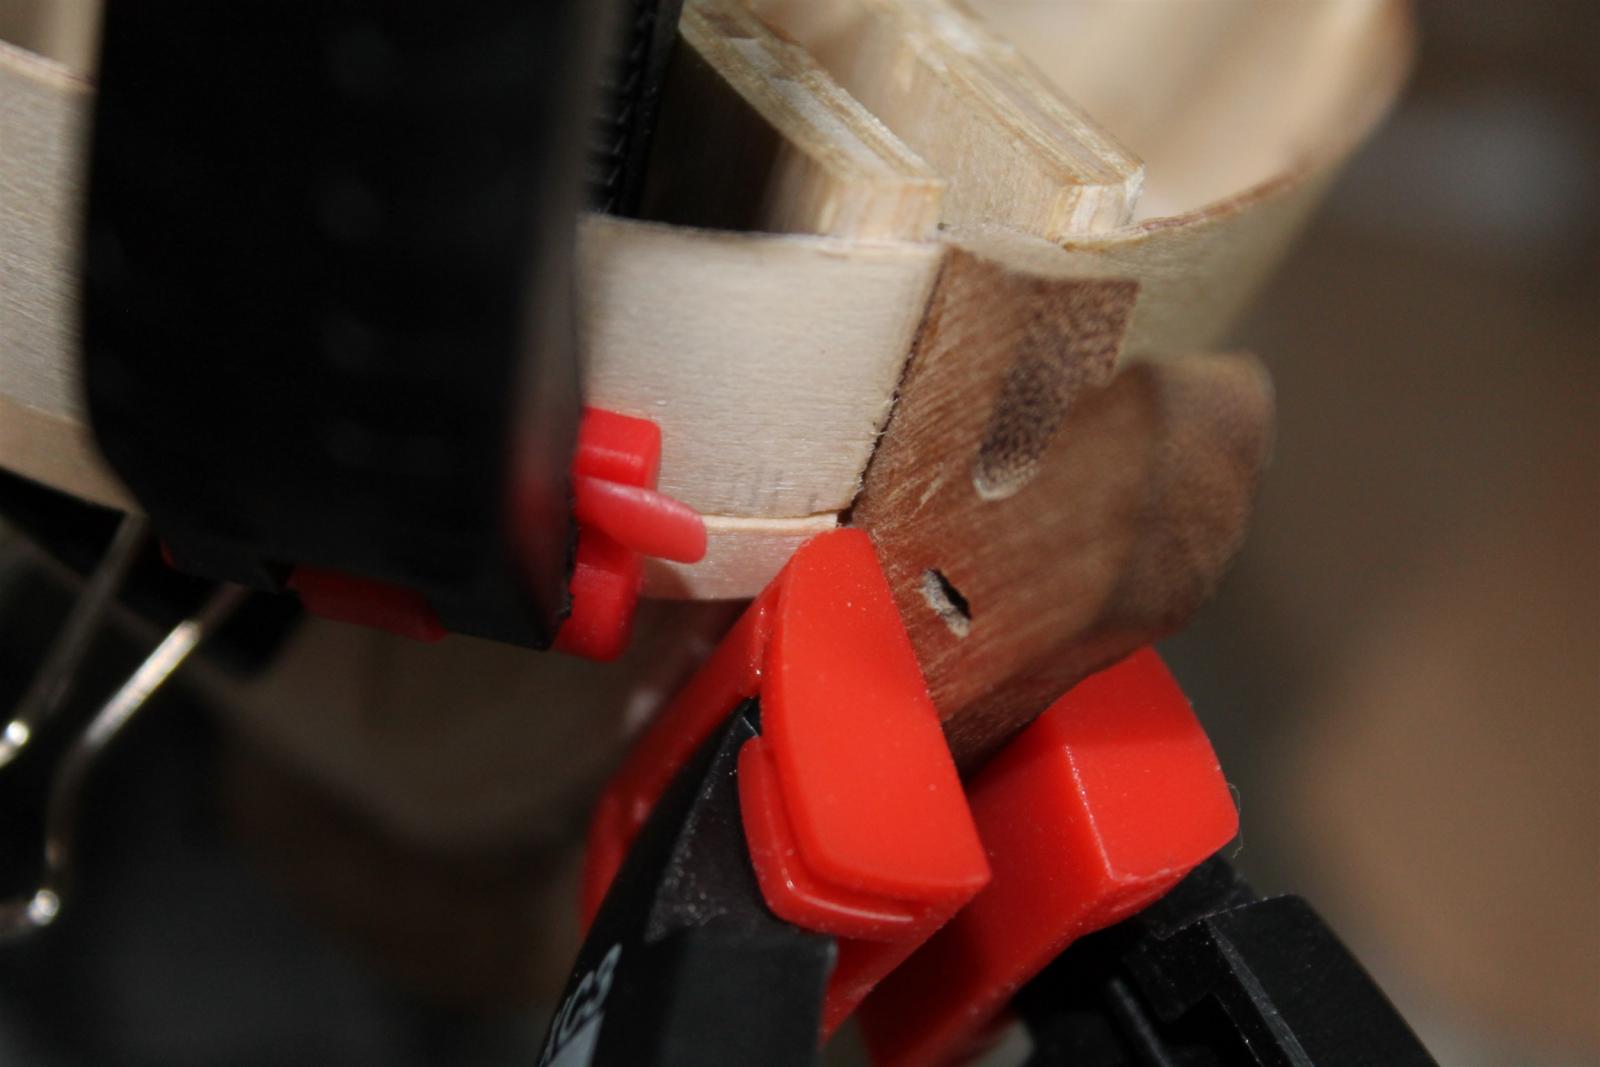
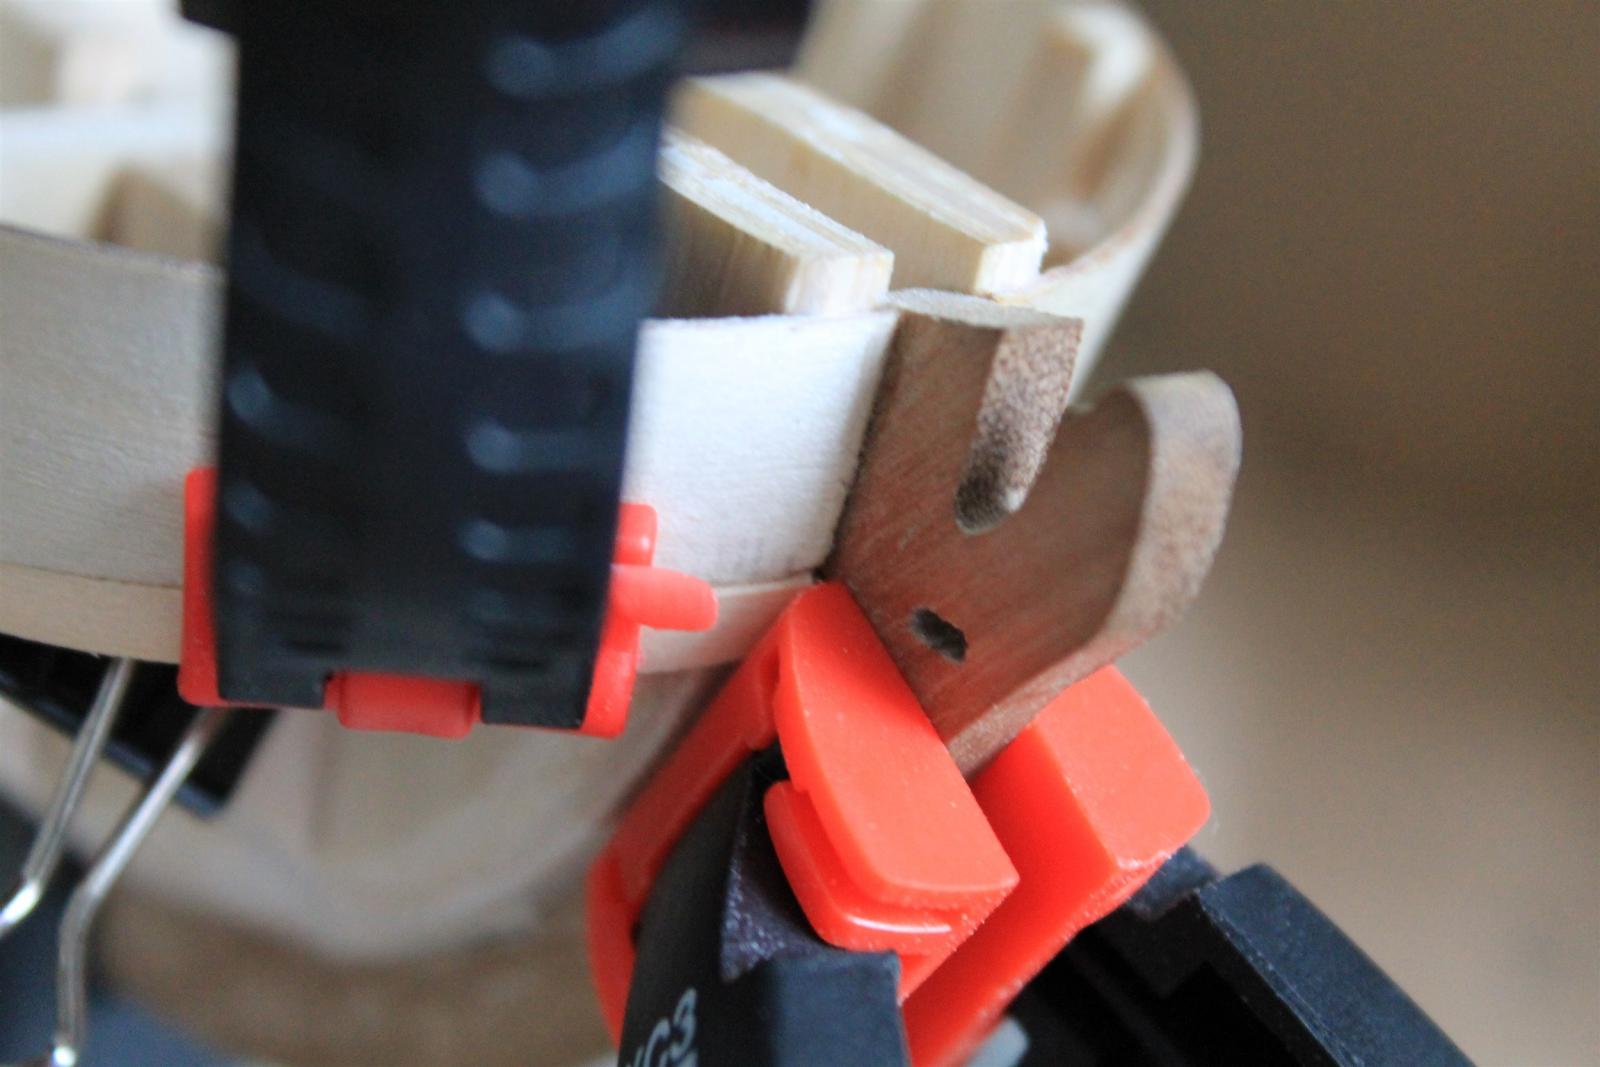
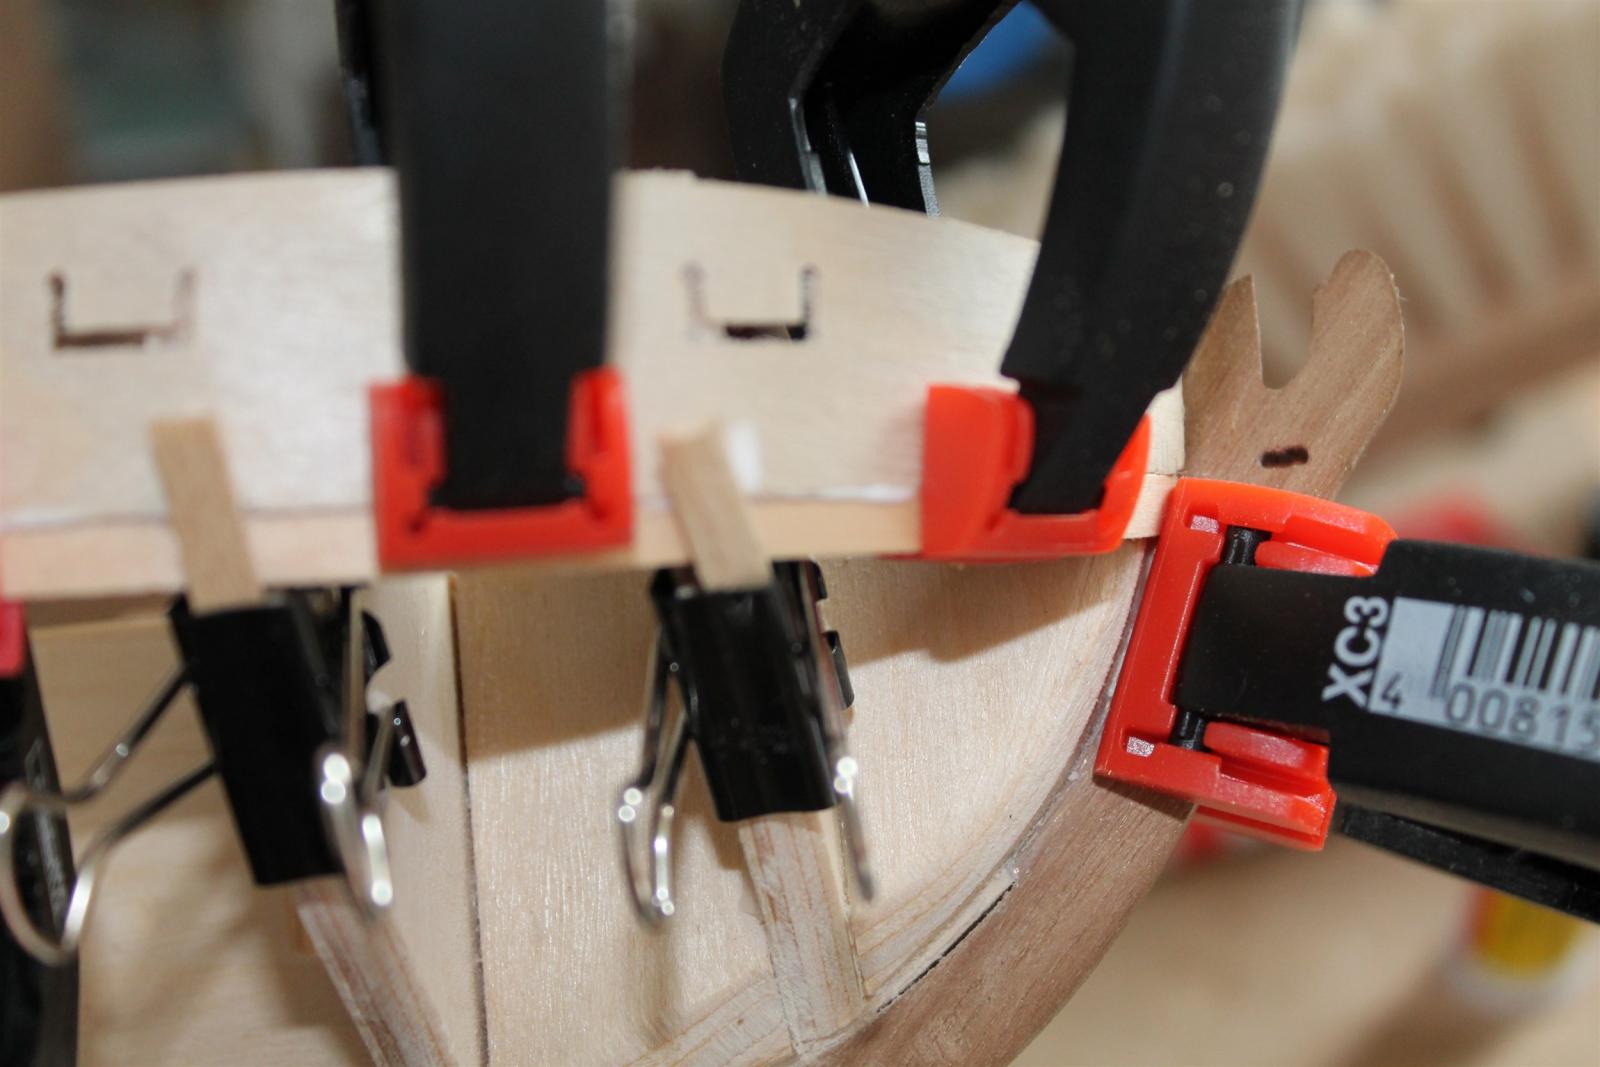
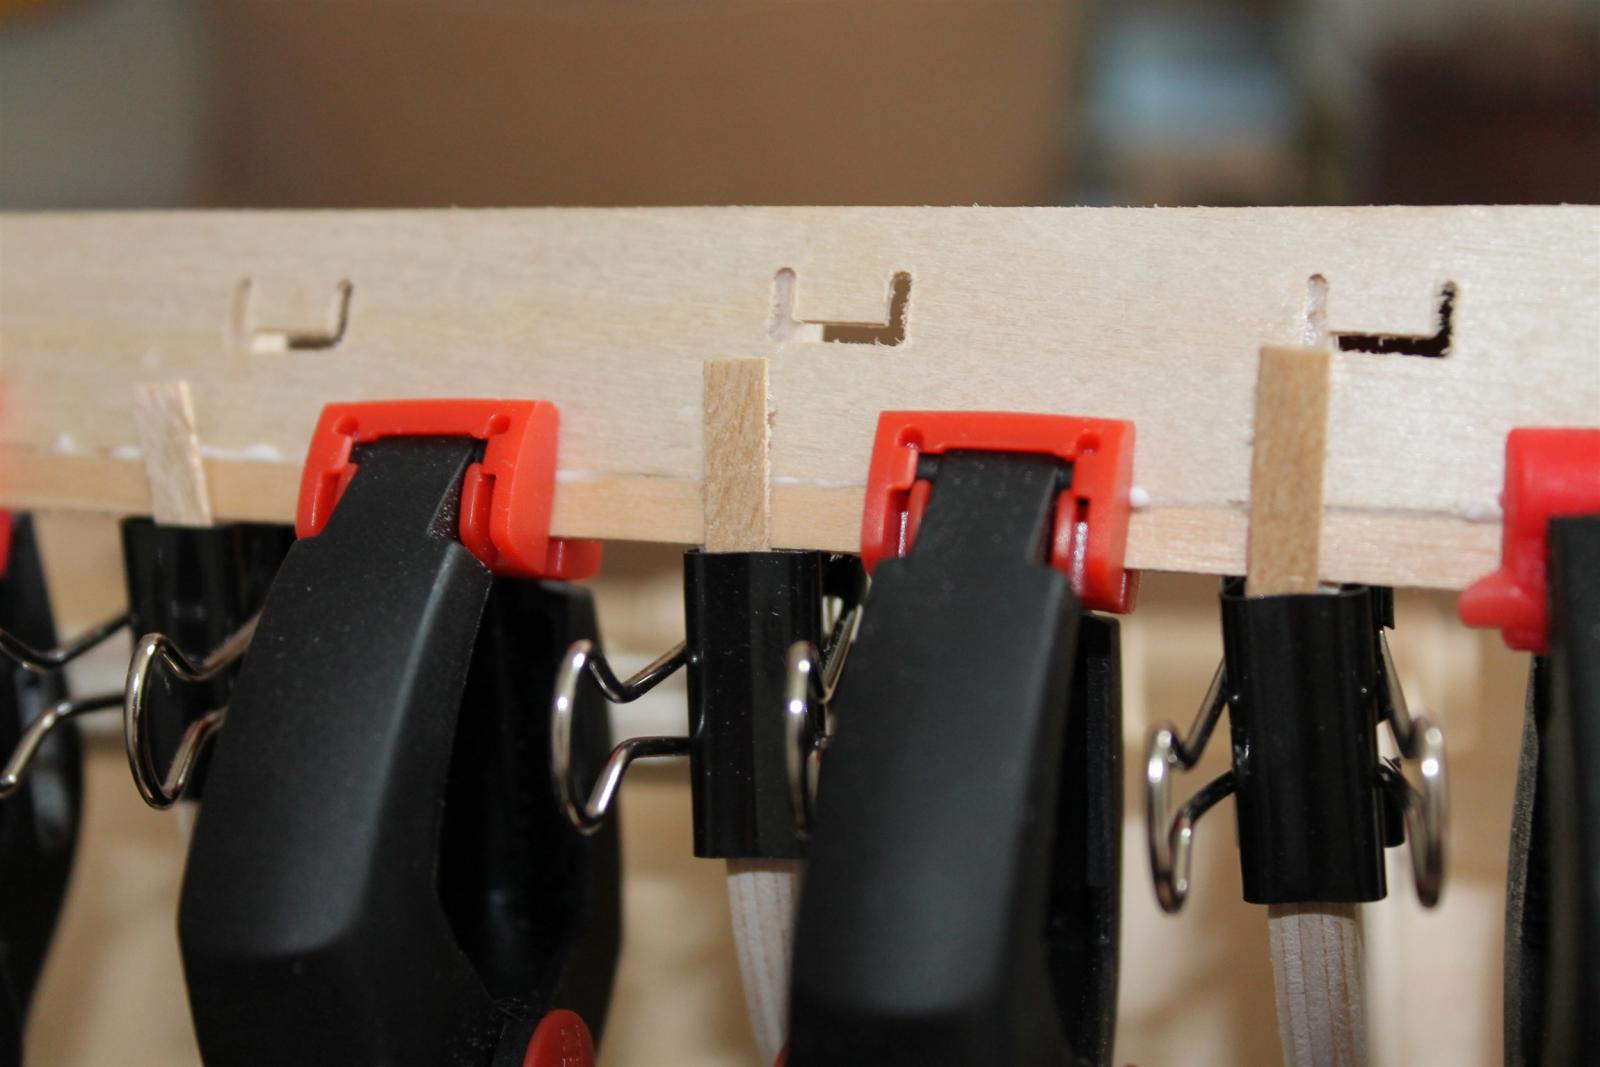
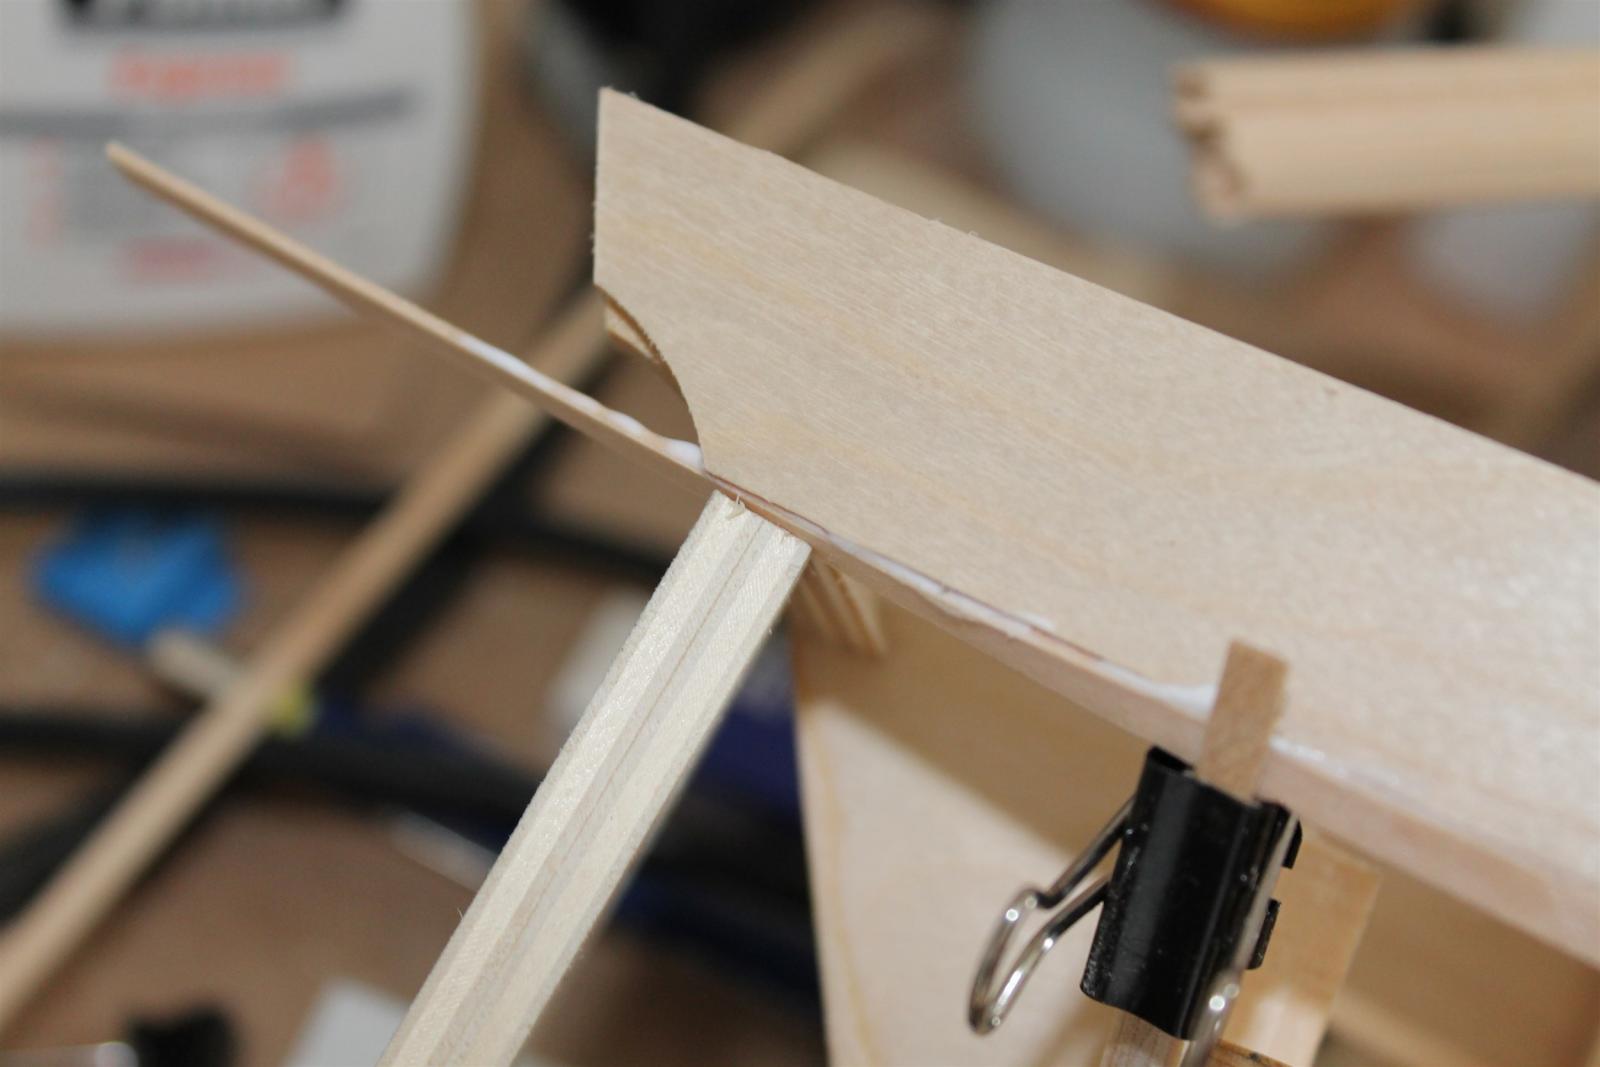
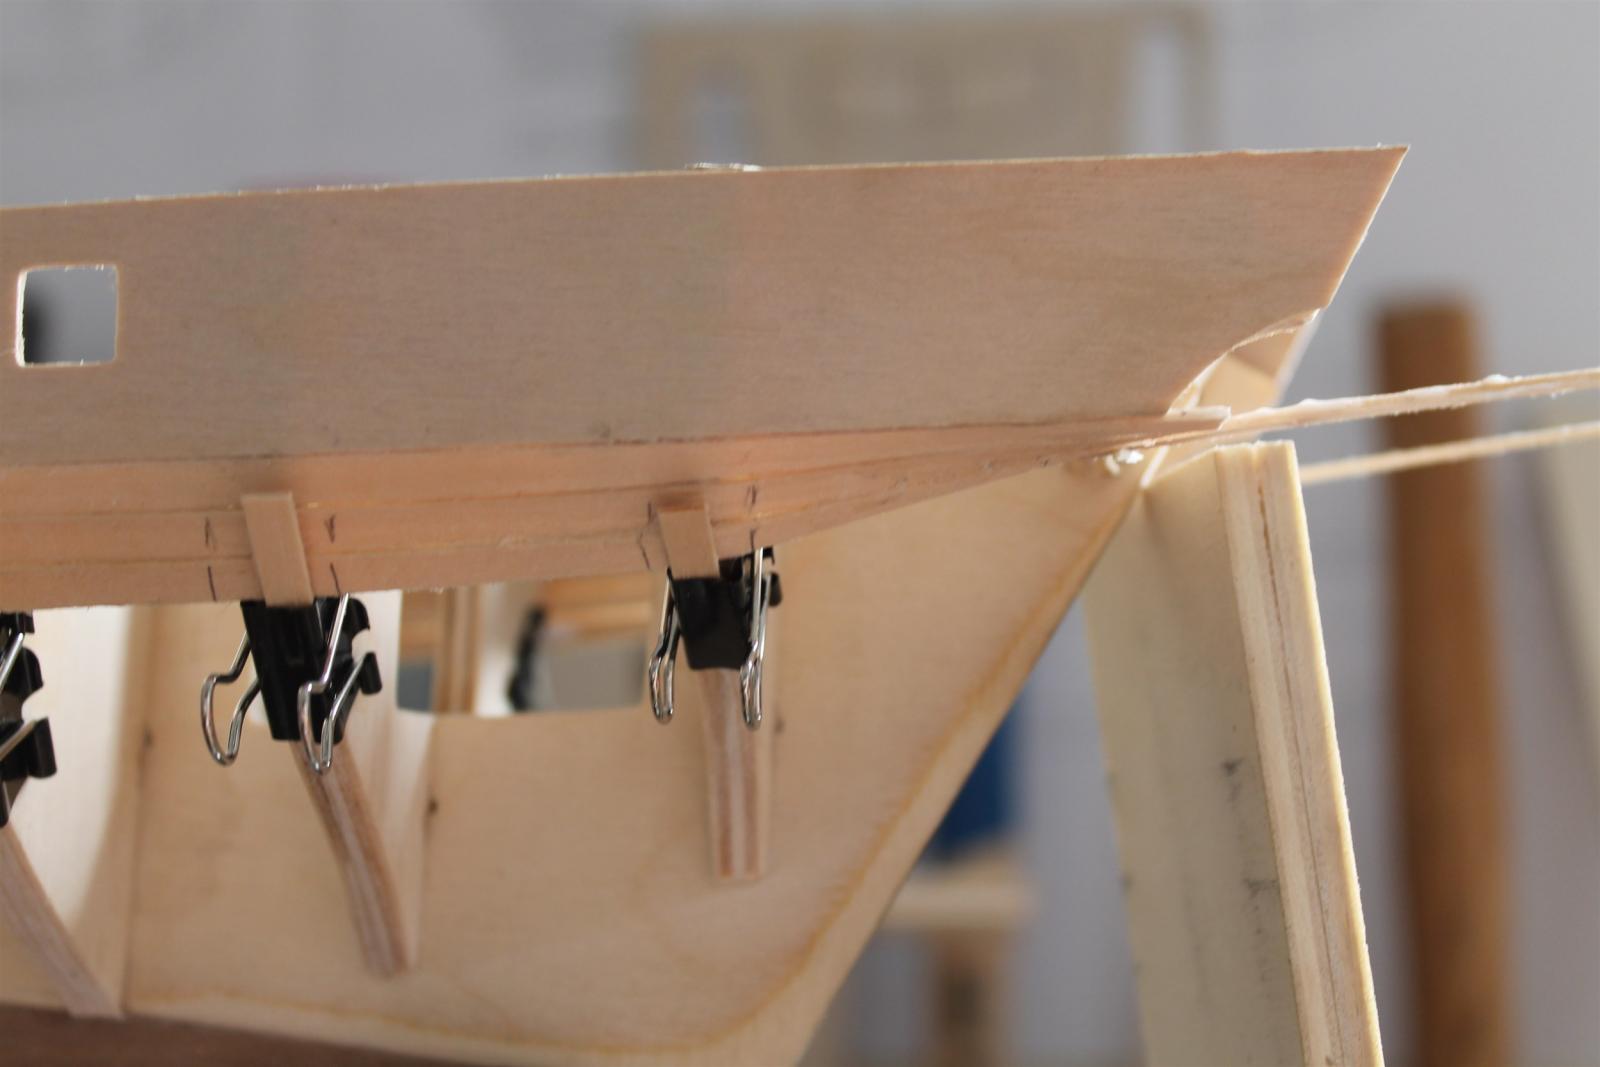
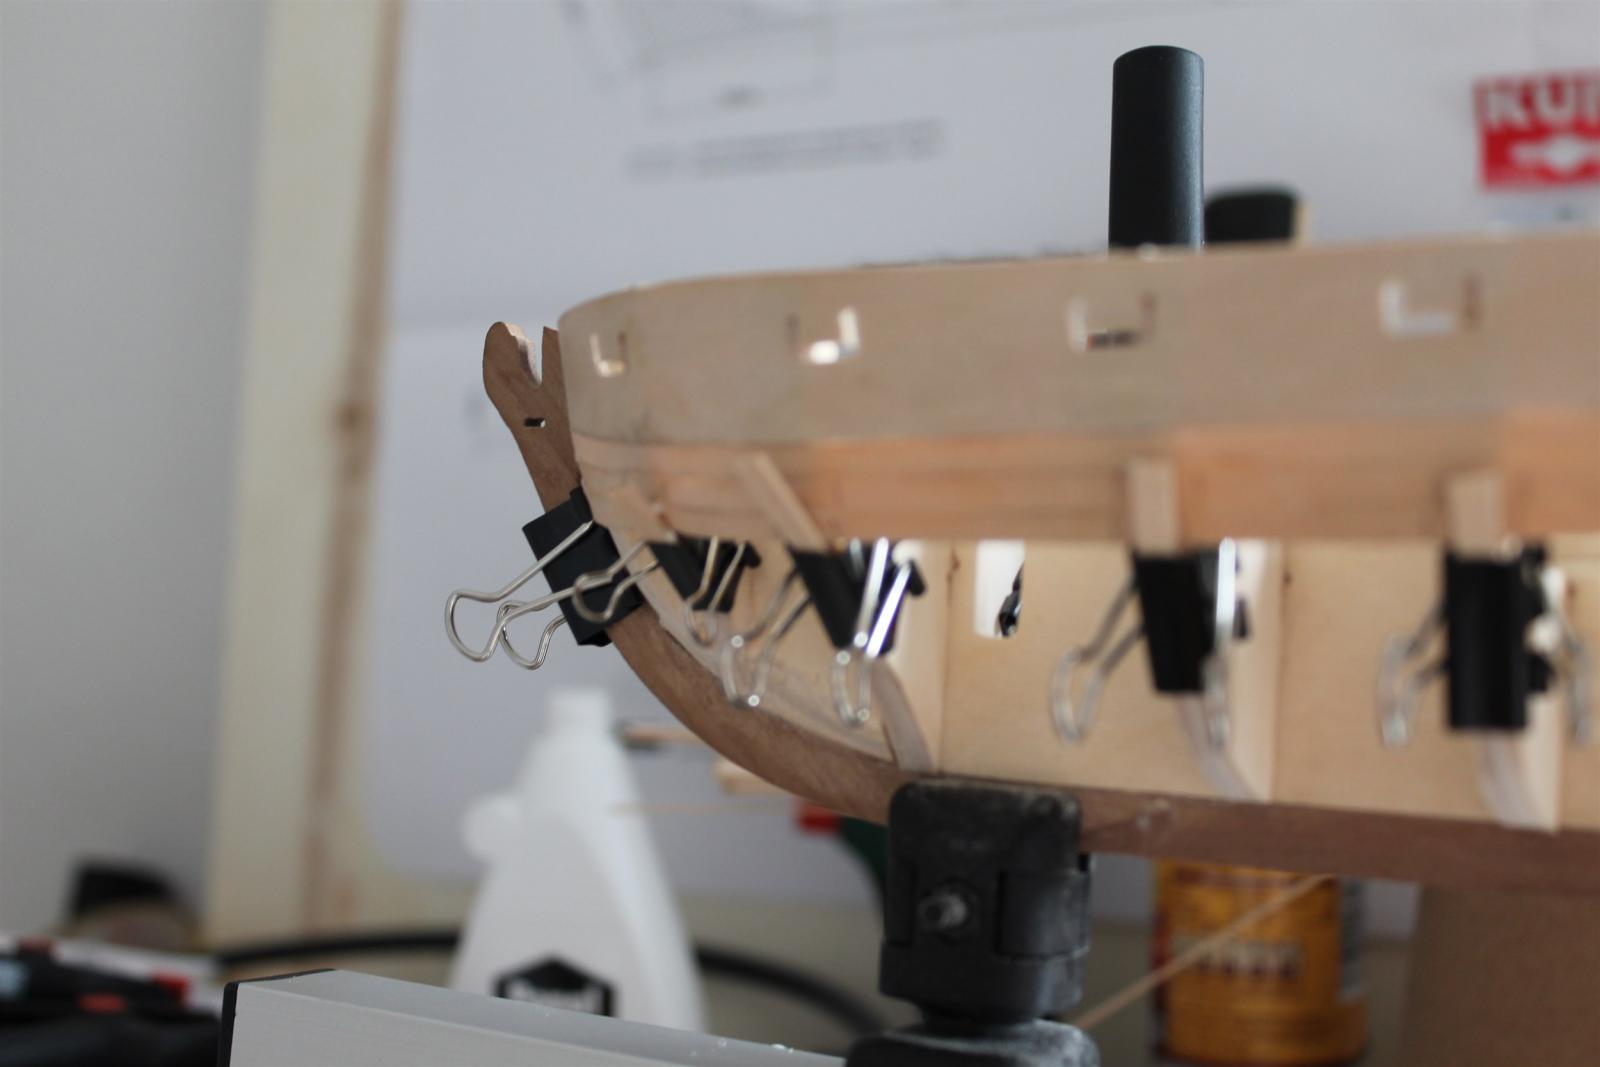
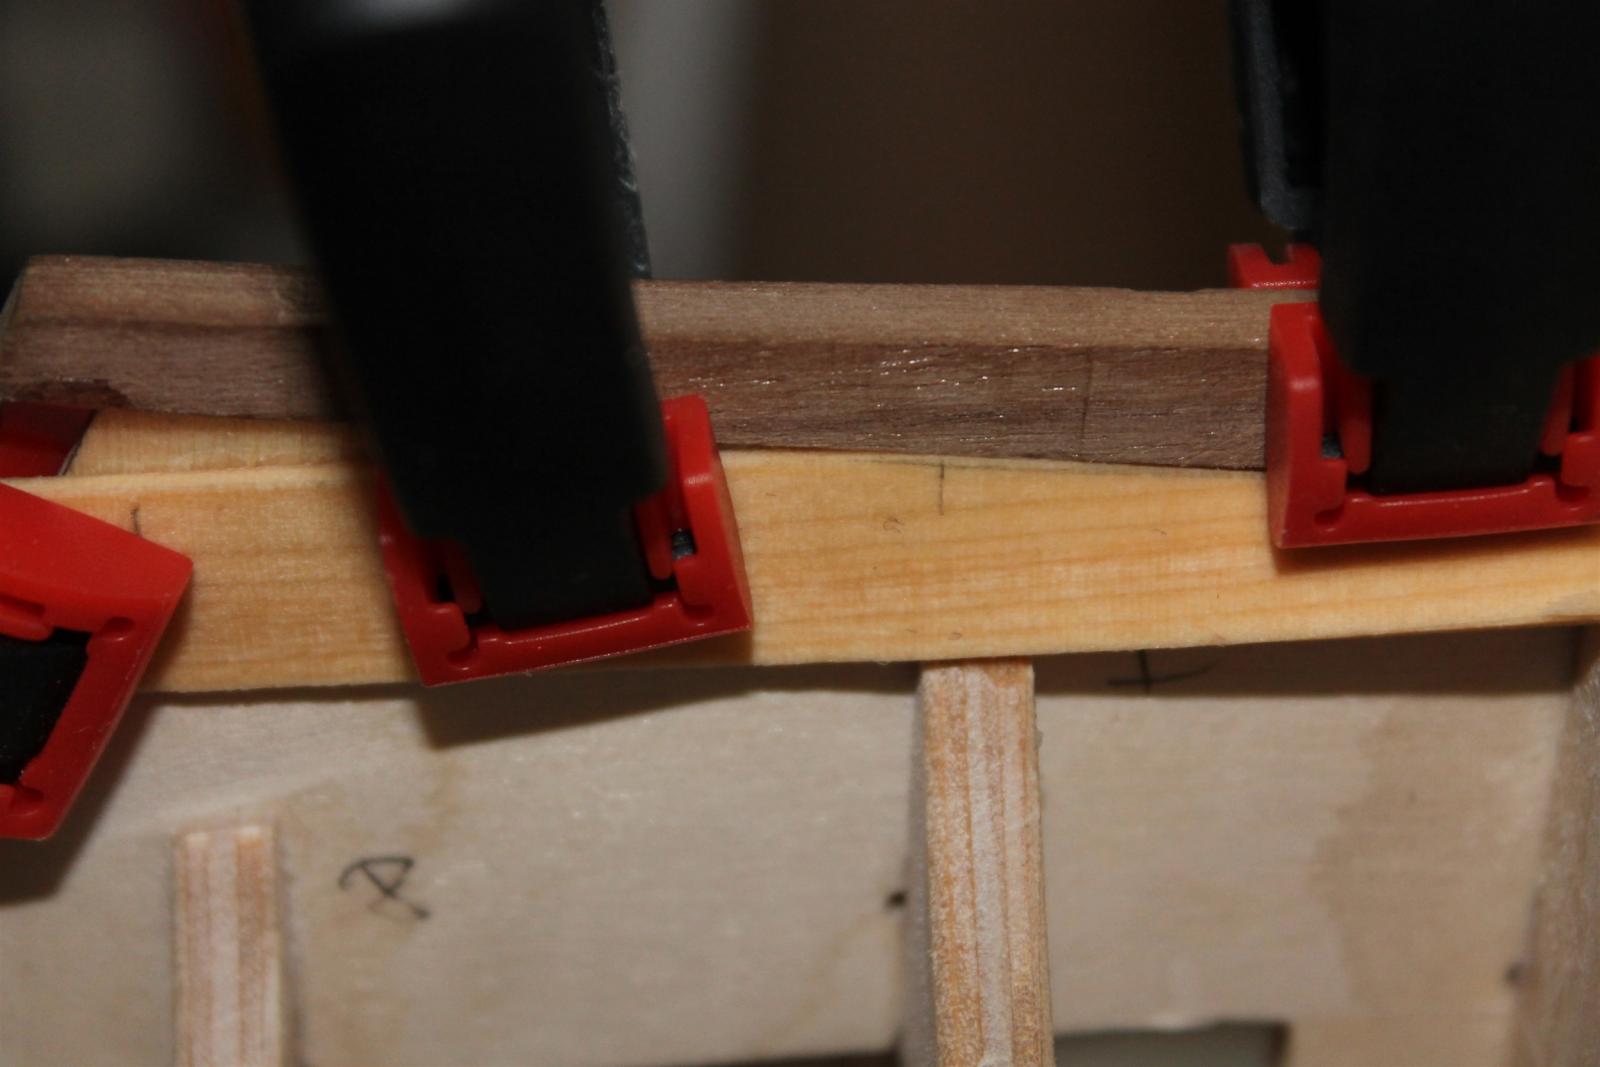
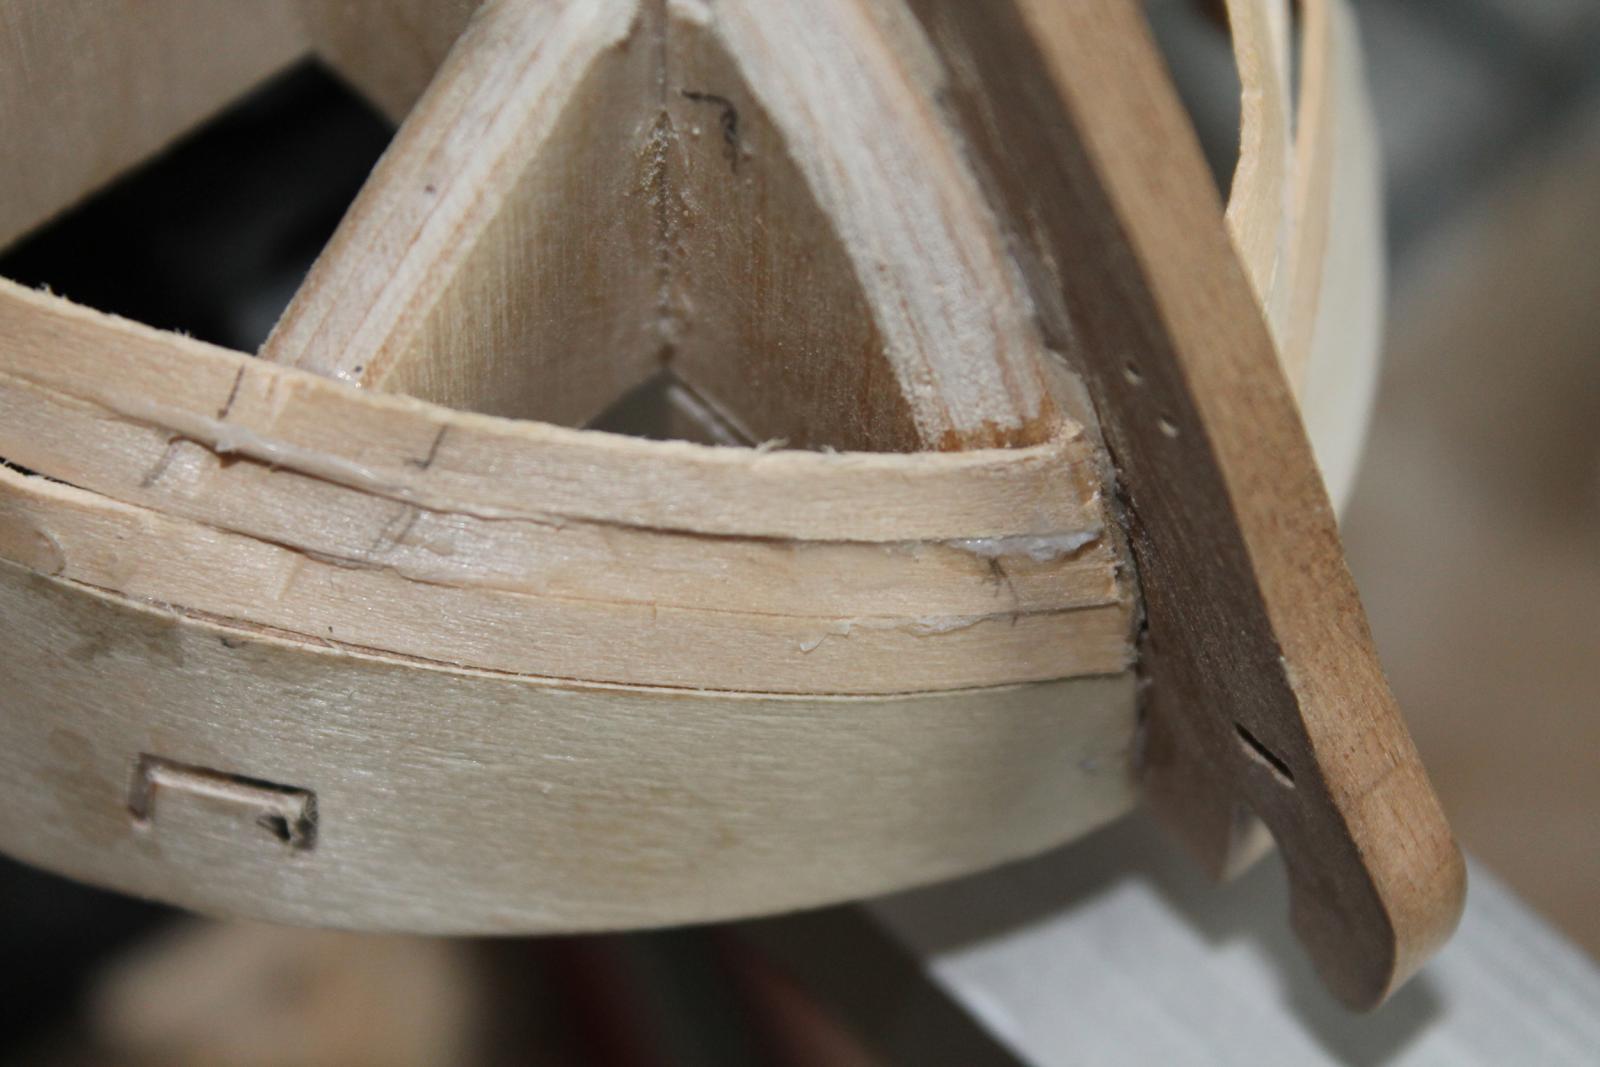
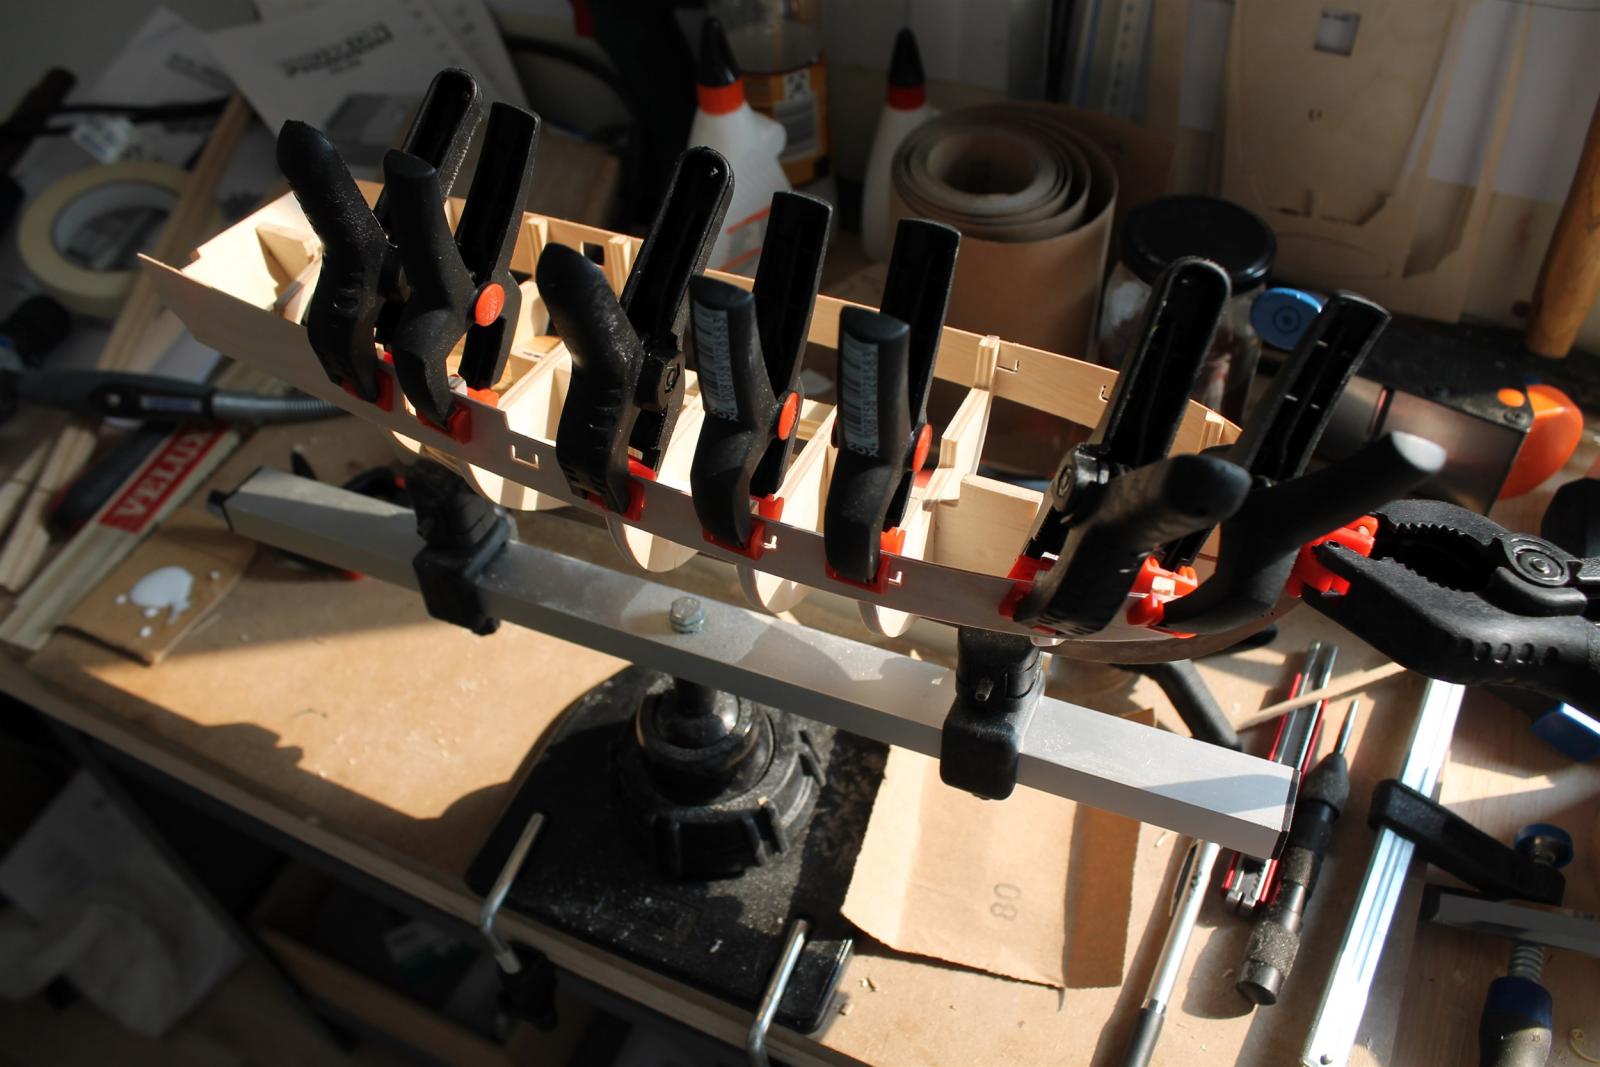
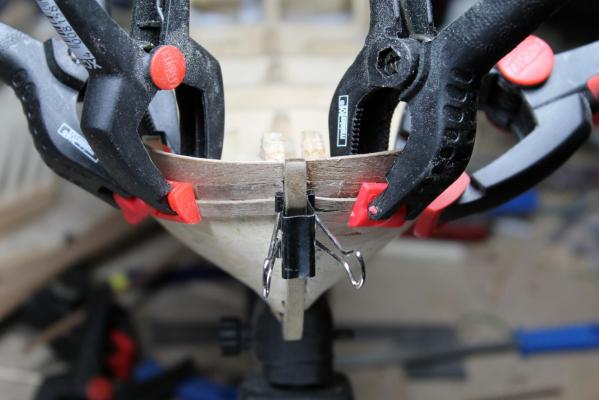
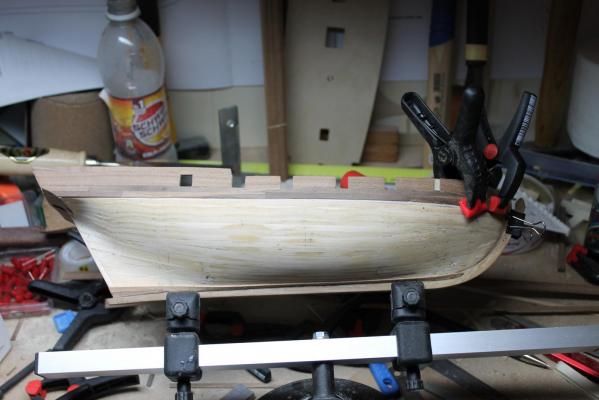
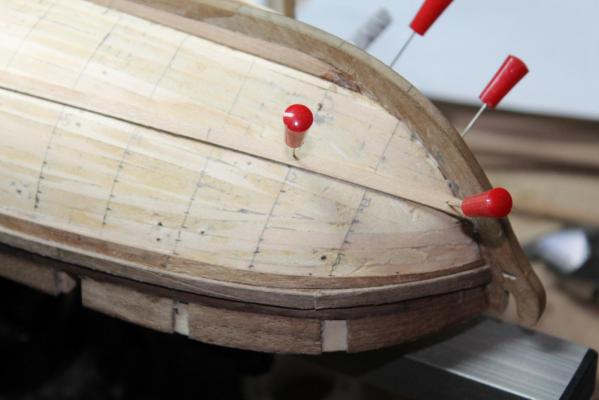
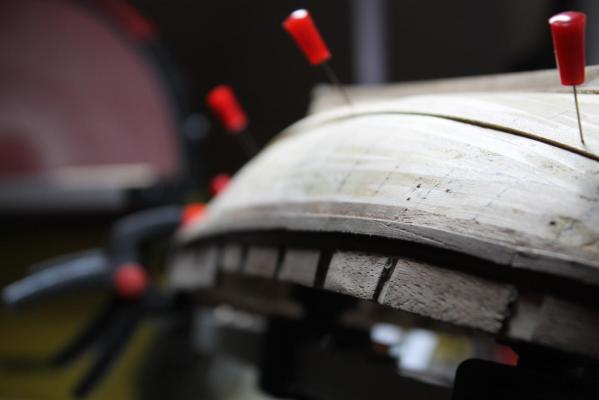
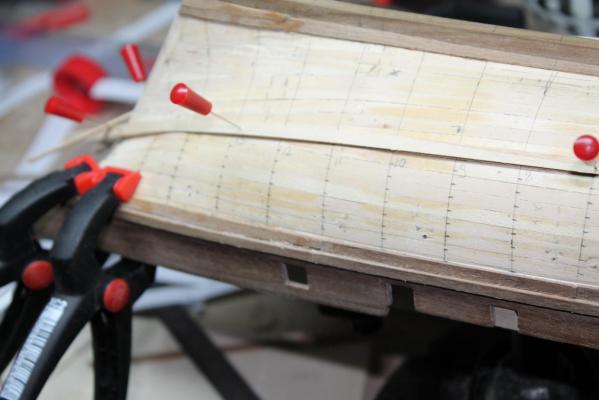
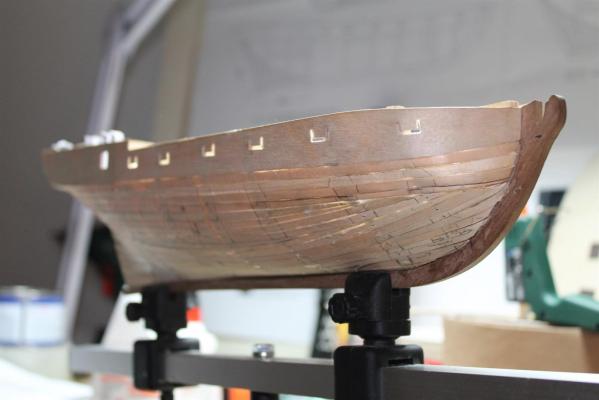
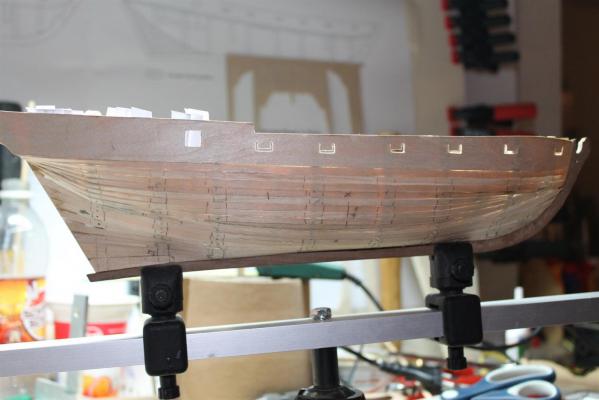
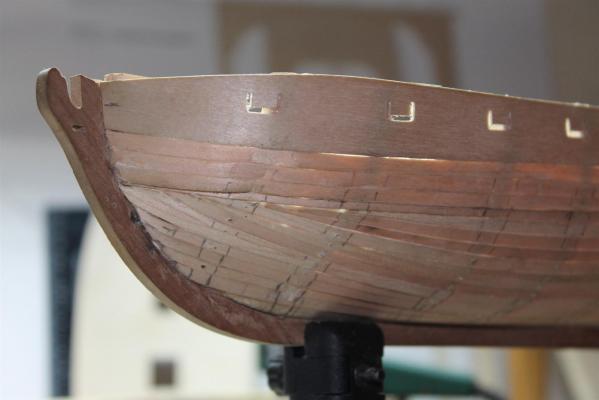
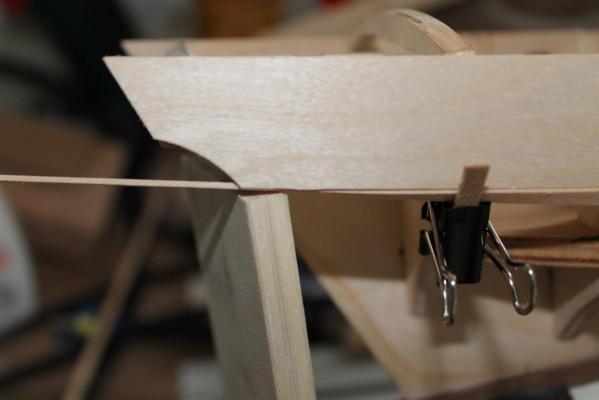
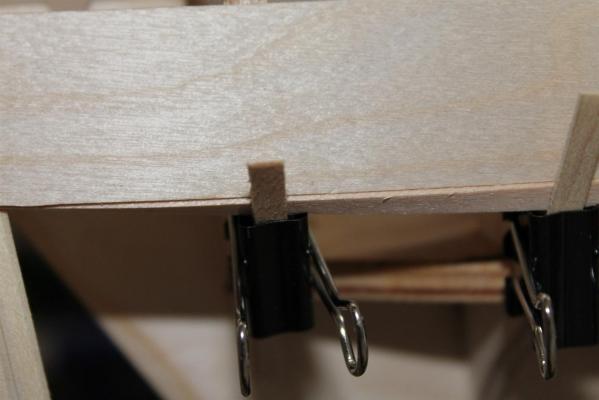
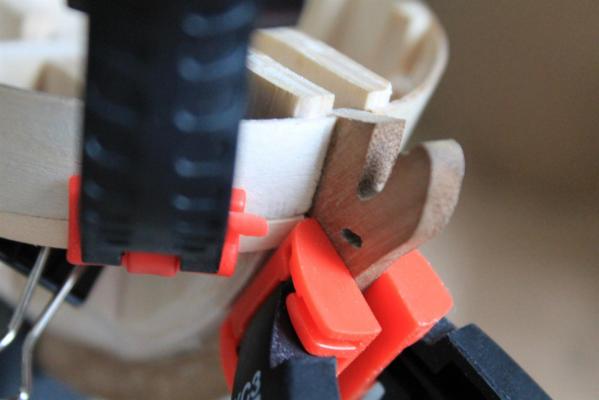
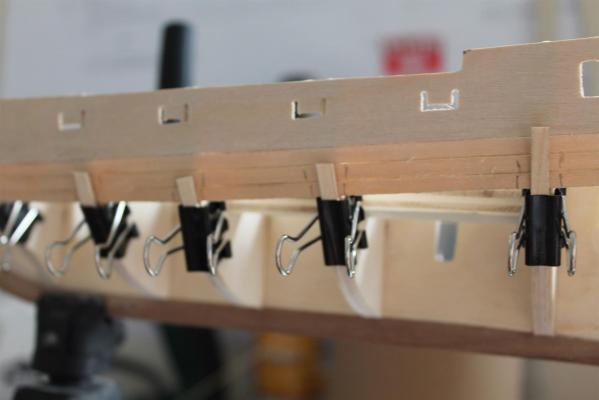
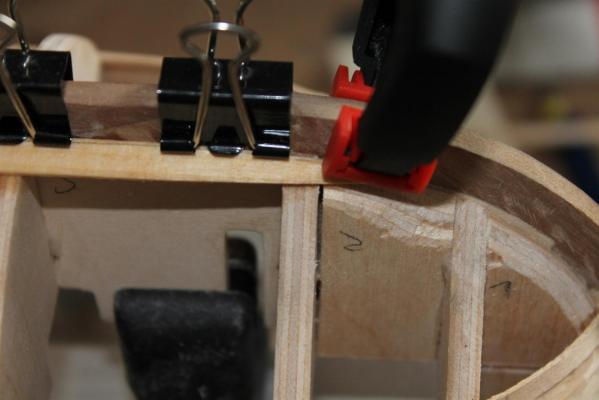
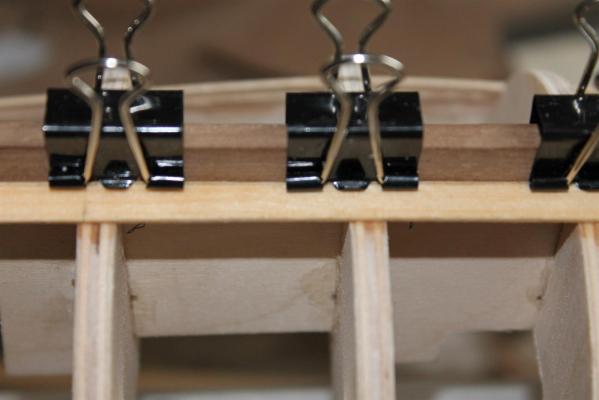
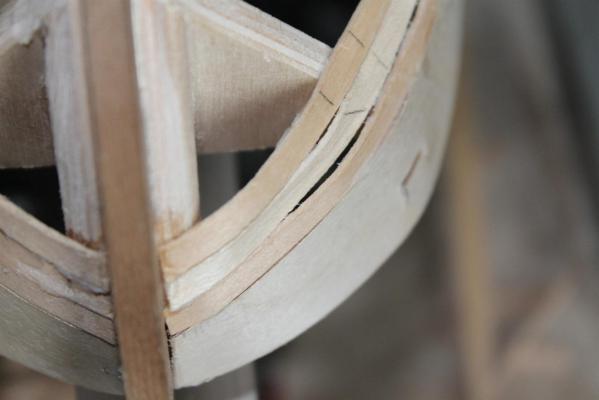
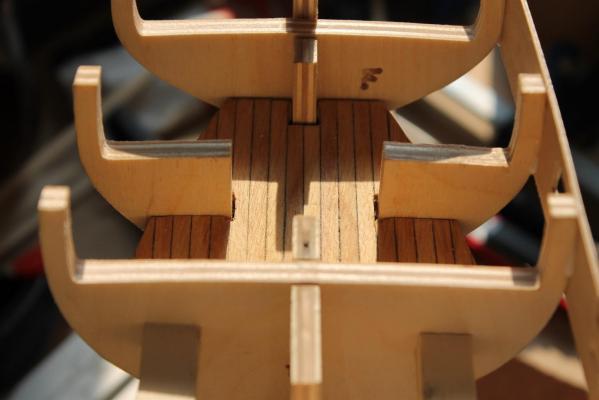
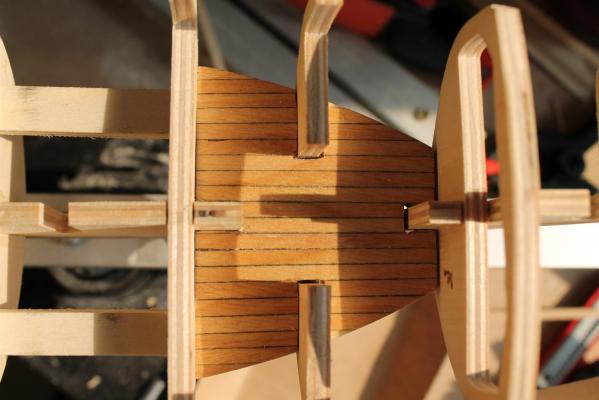
 Update second planking: the garboards are installed also the first row of spiled planks... following the tutorials it works like a charm...
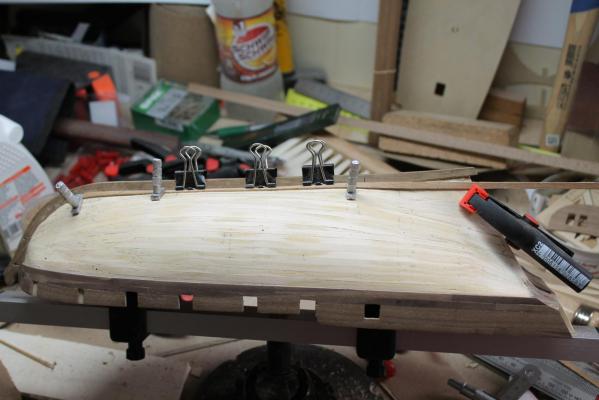


-
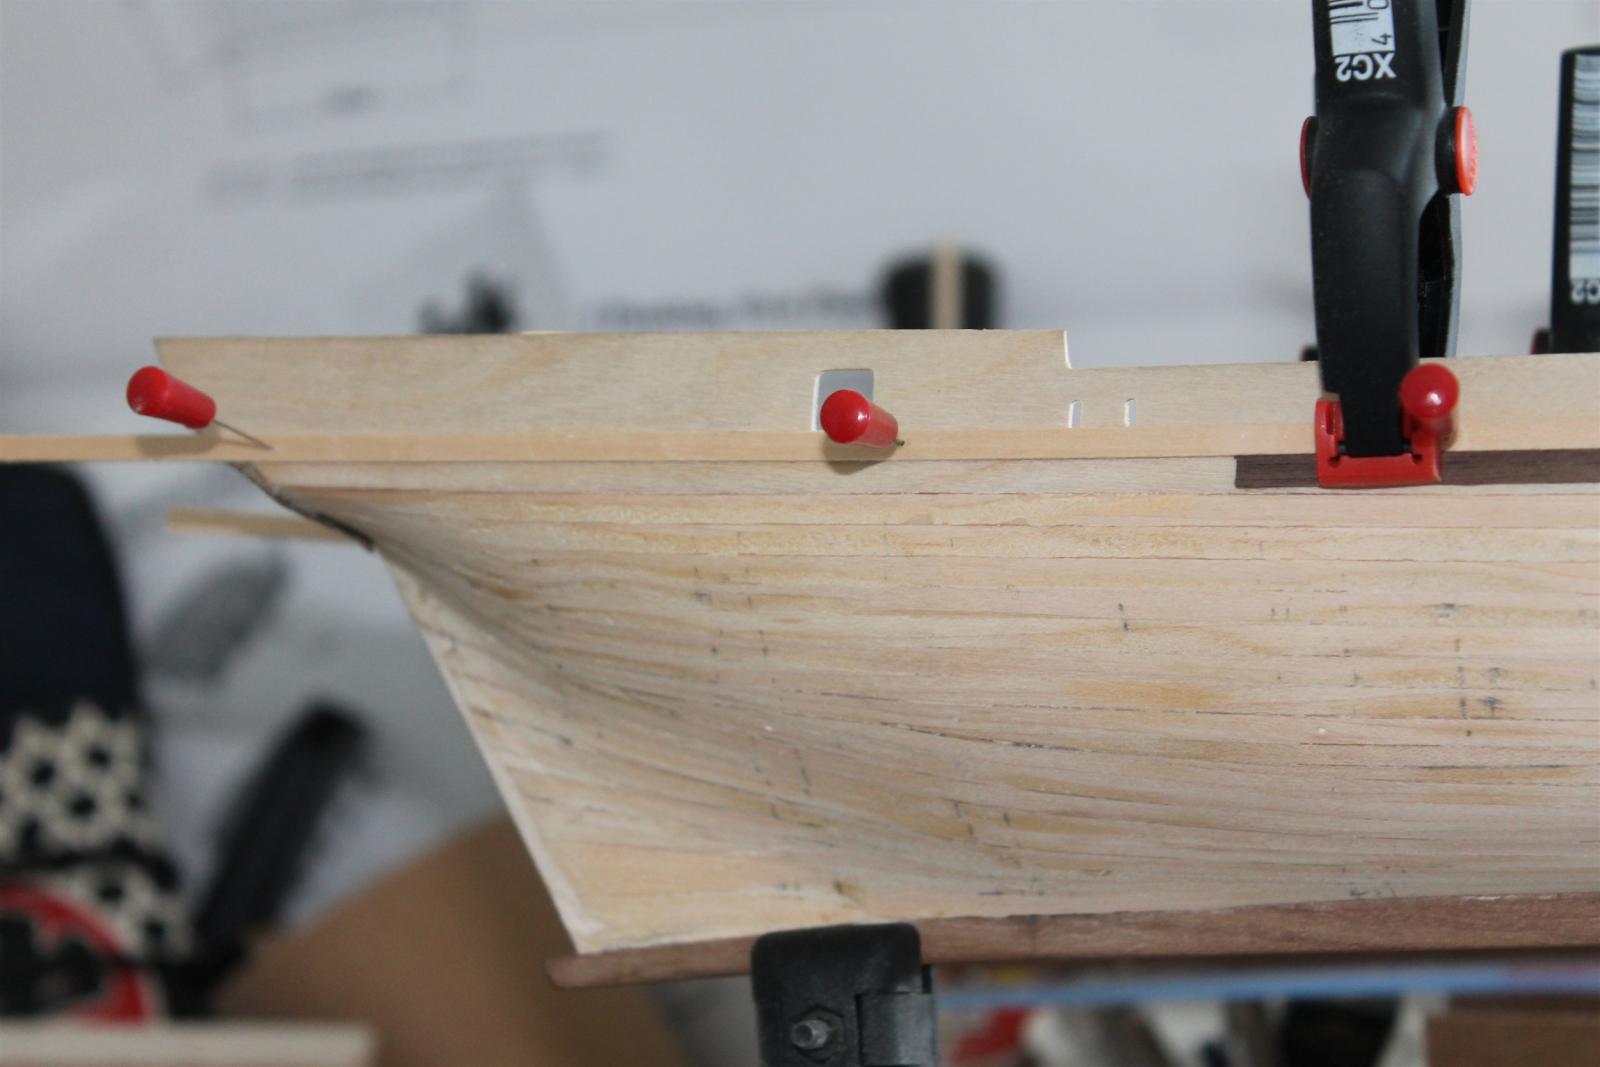
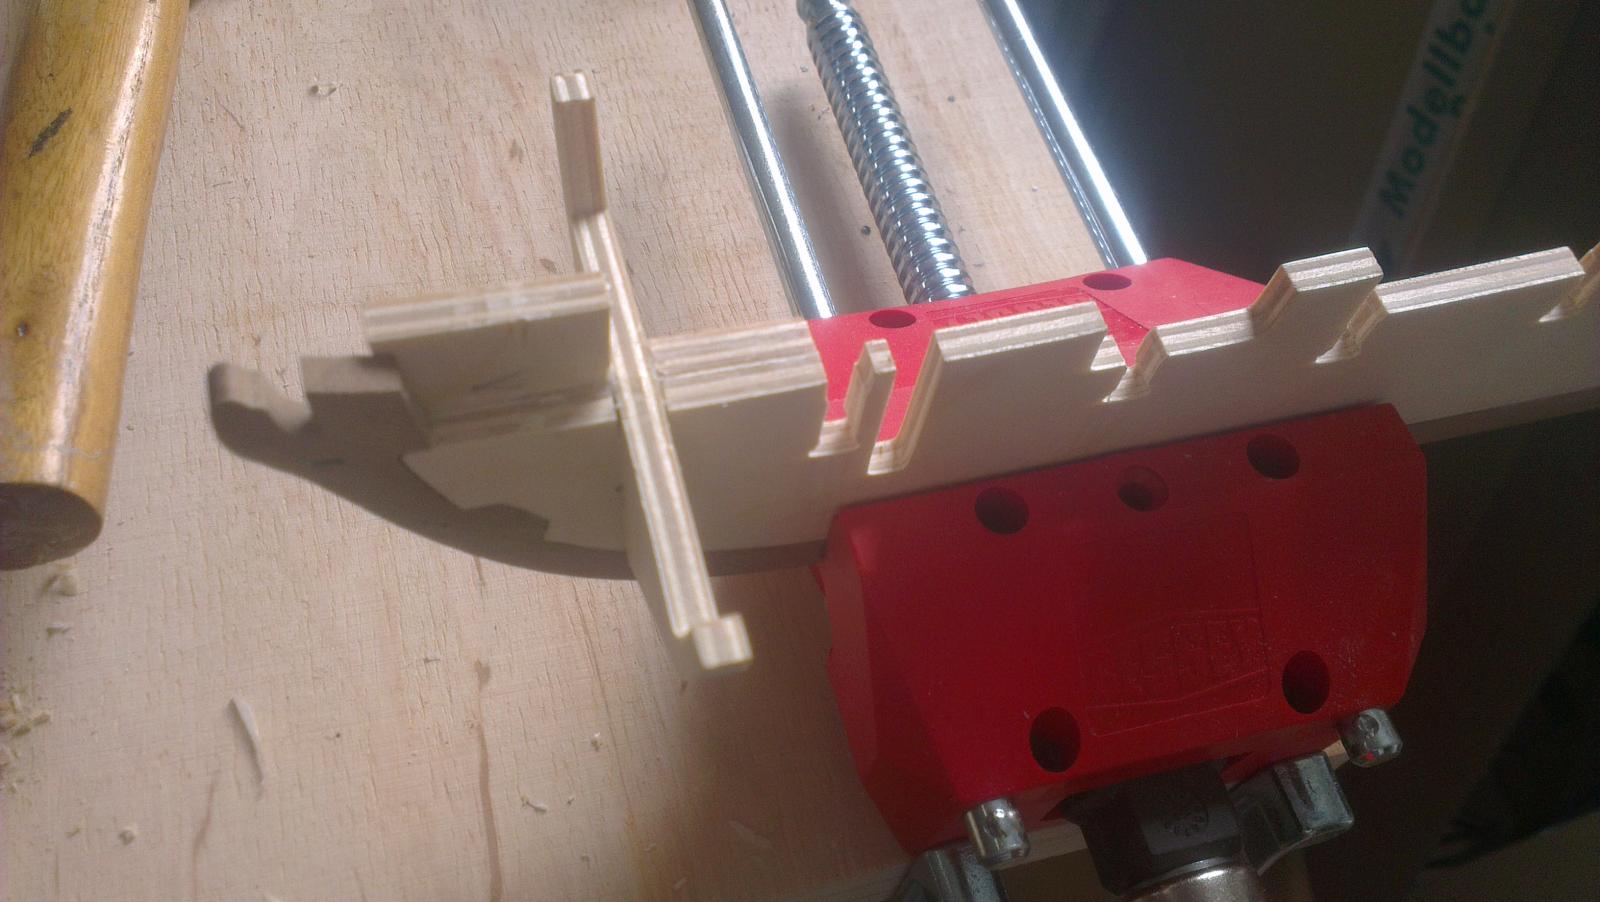
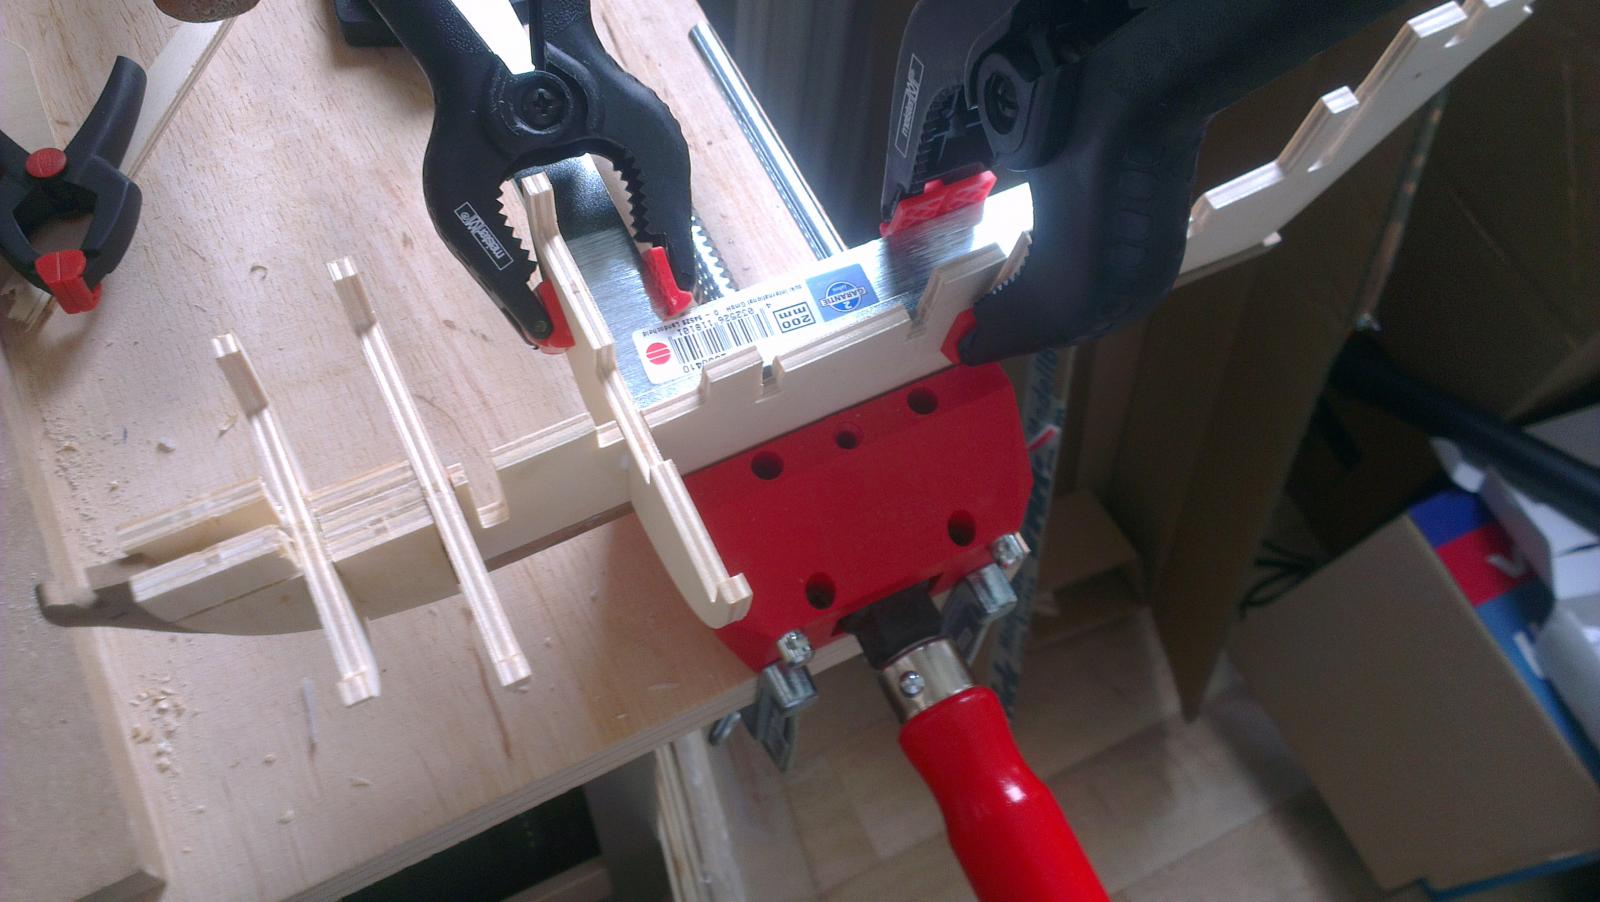
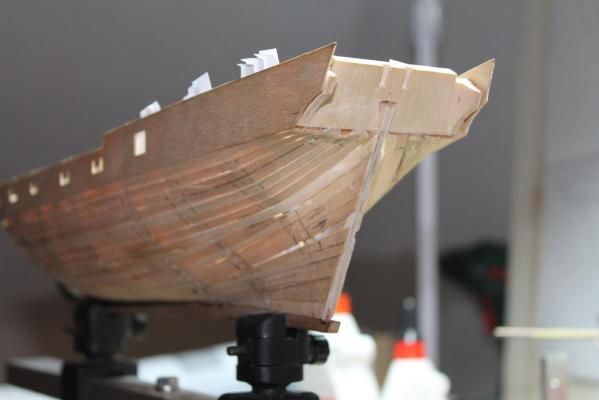
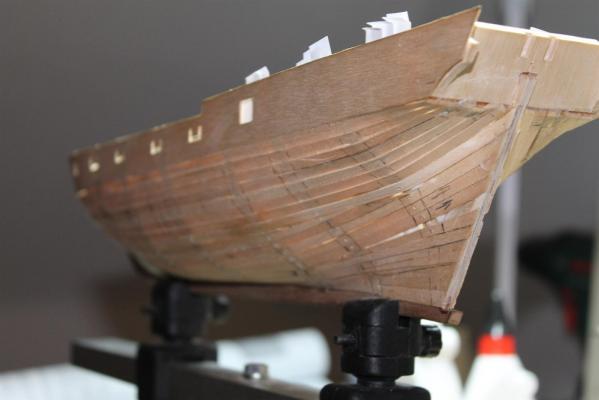
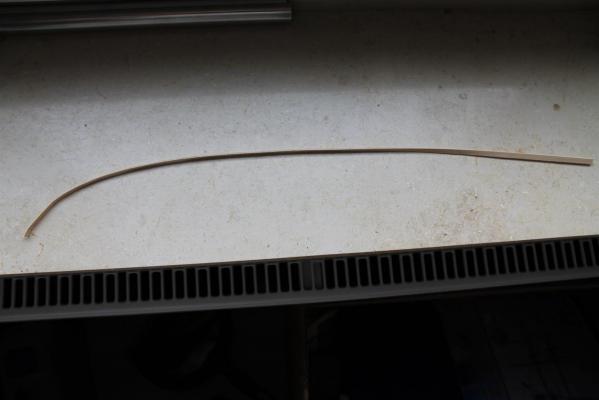
Howdy, i have some questions about how i should do the garboard strakes best. a) propper alignment - how do i finally align the garboard, especially that it wouldn't come to high at the bow? planking the deadwood - when i dry fit my garboard, if i let it run without bending, it will run in a steep angle up the deadwood. is the garboard wrong or should i bend it, that it follows the keel?
-
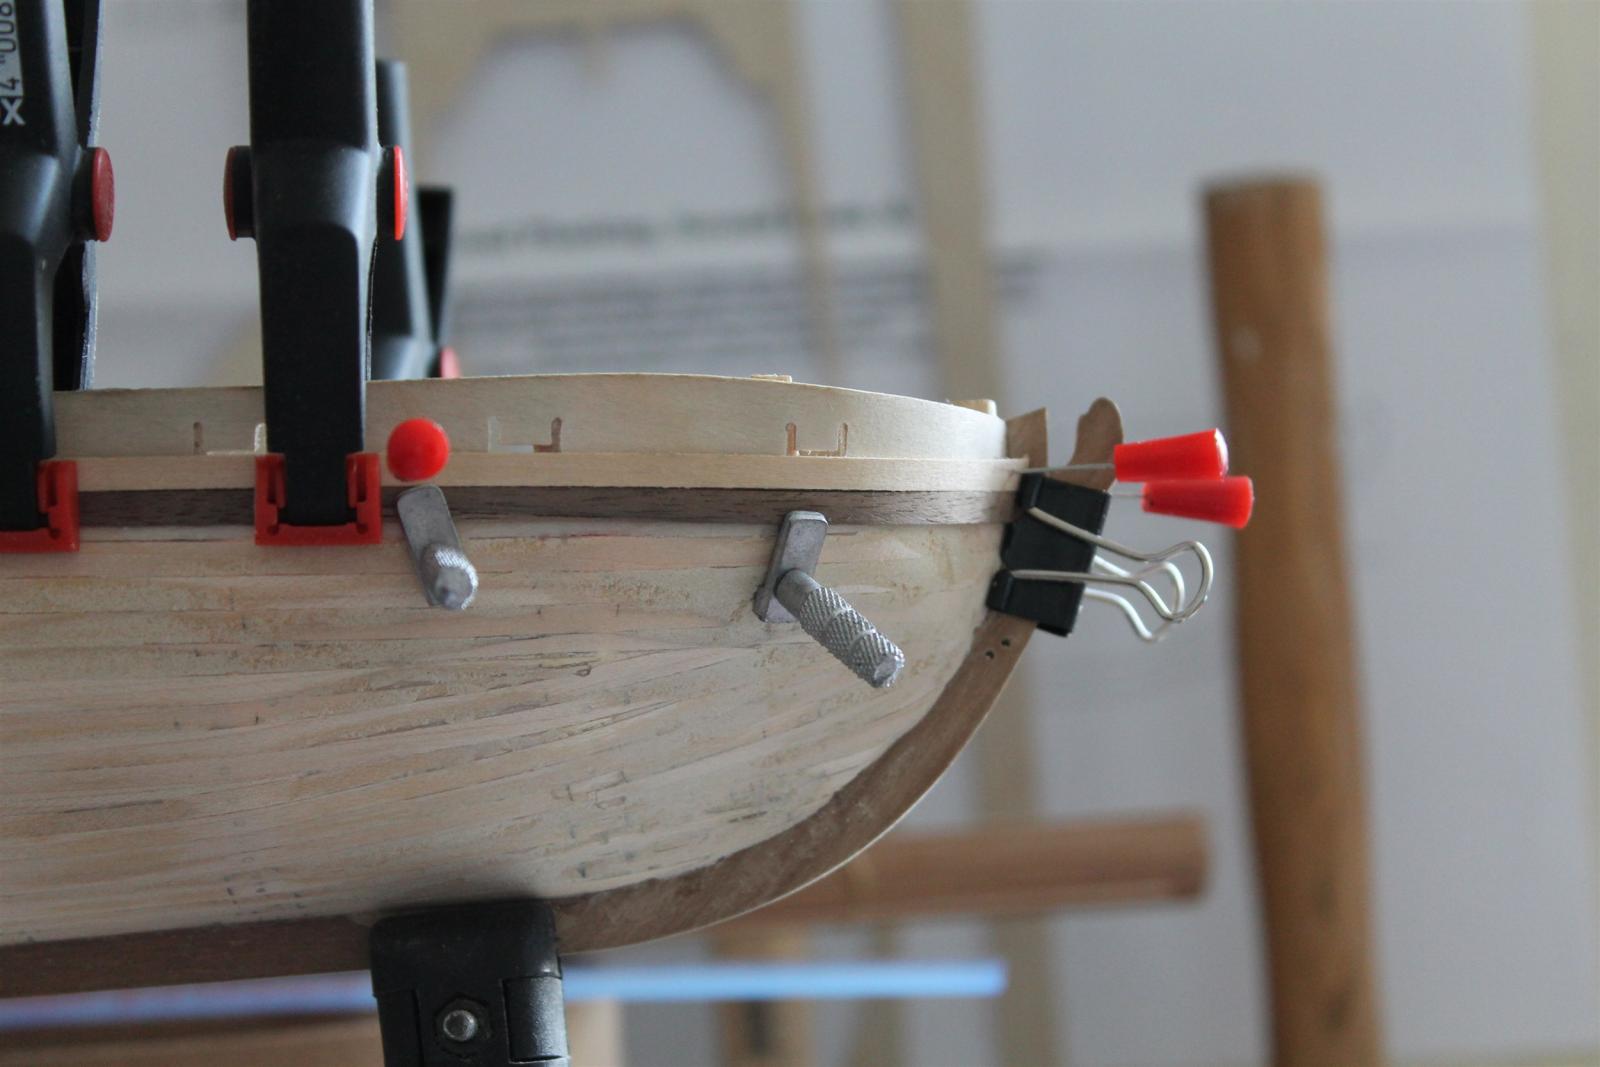
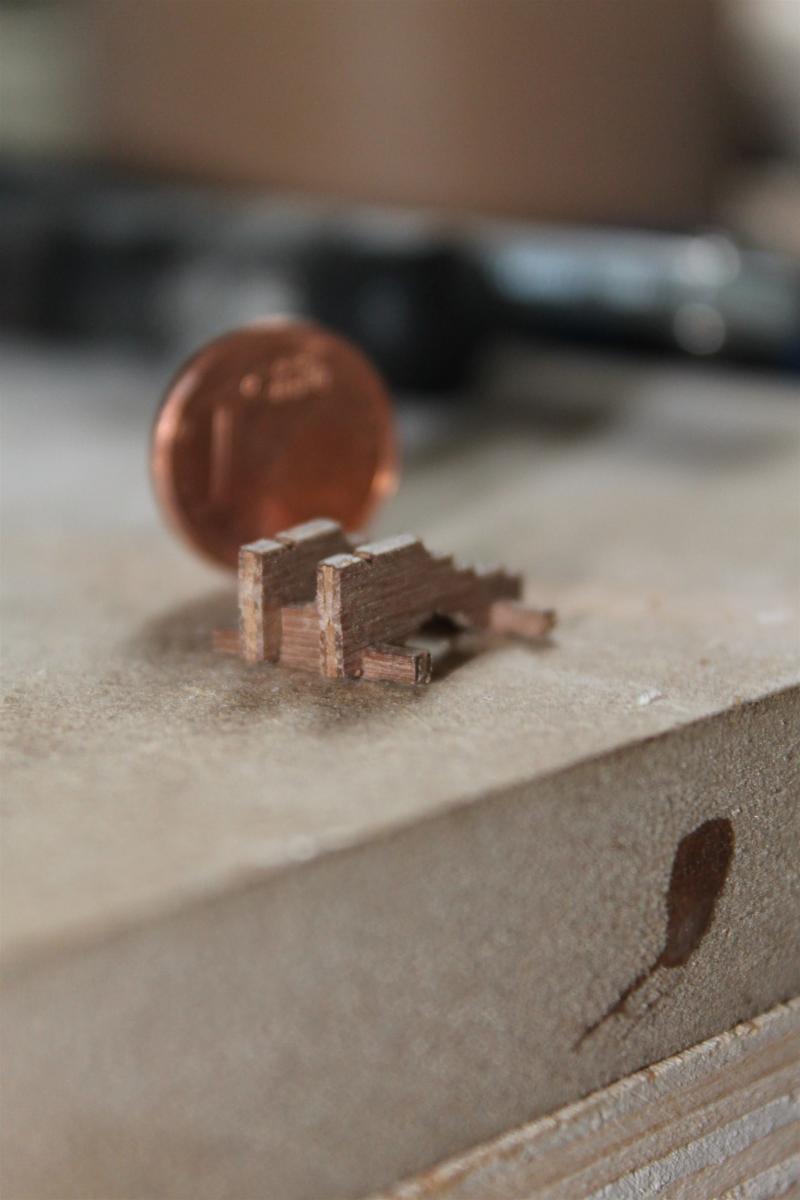
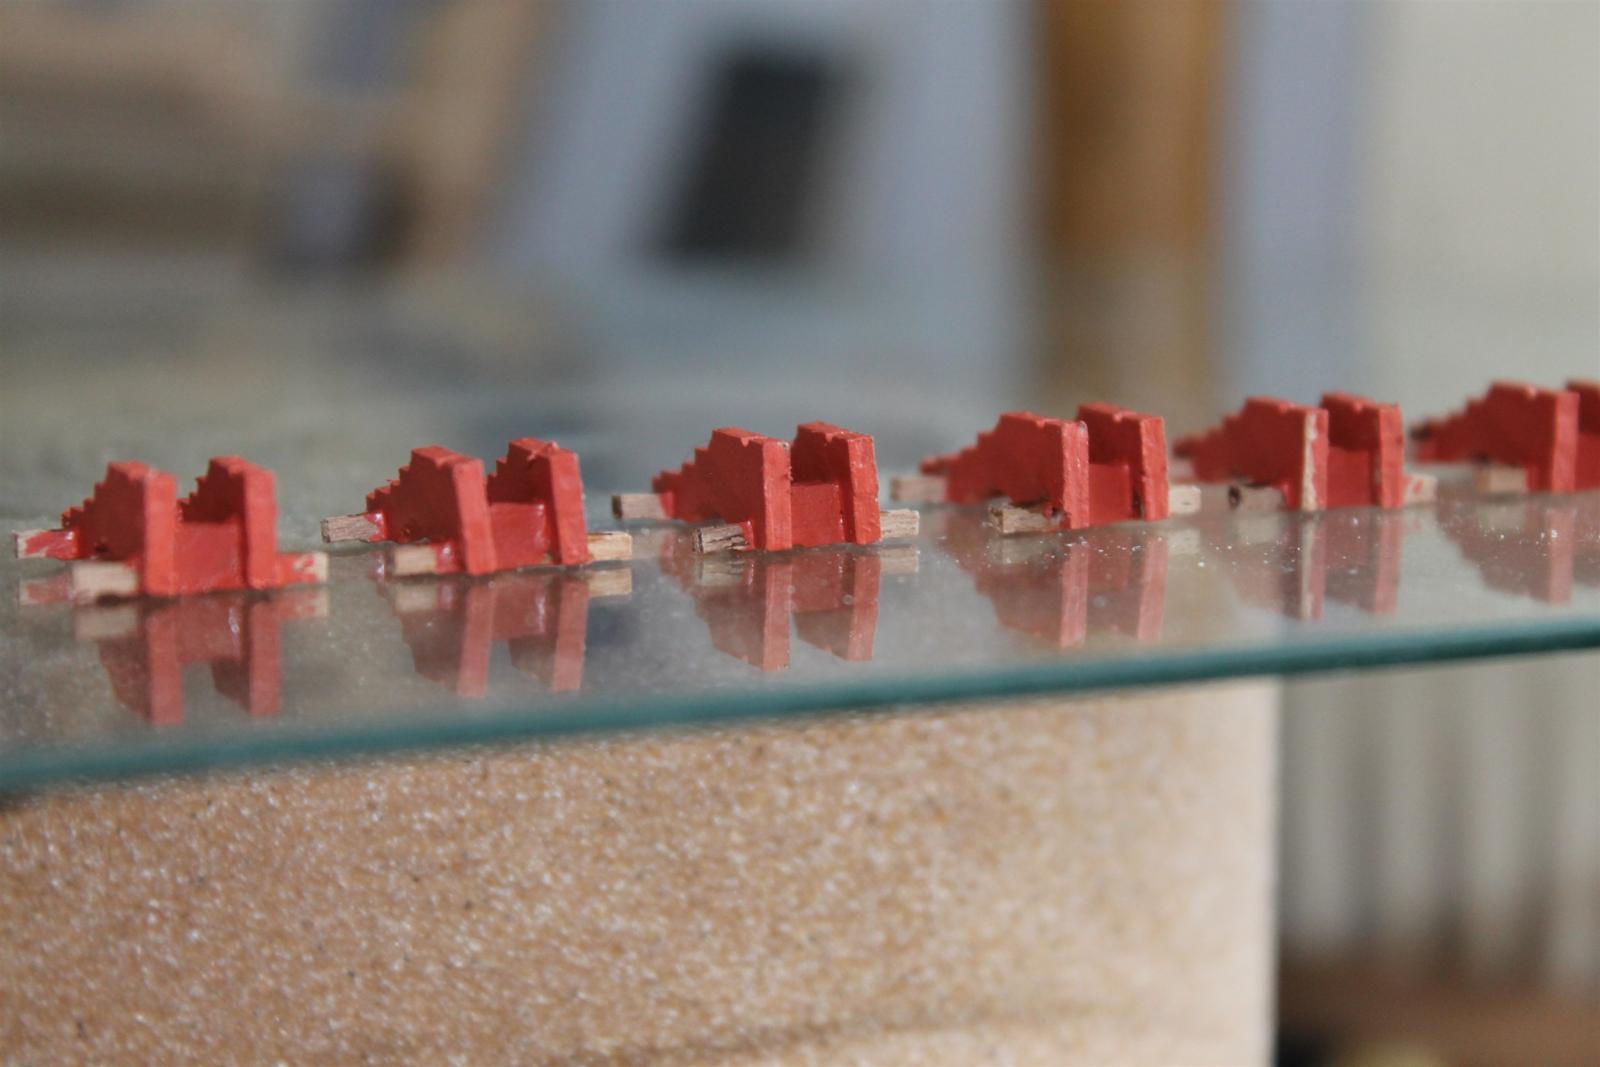
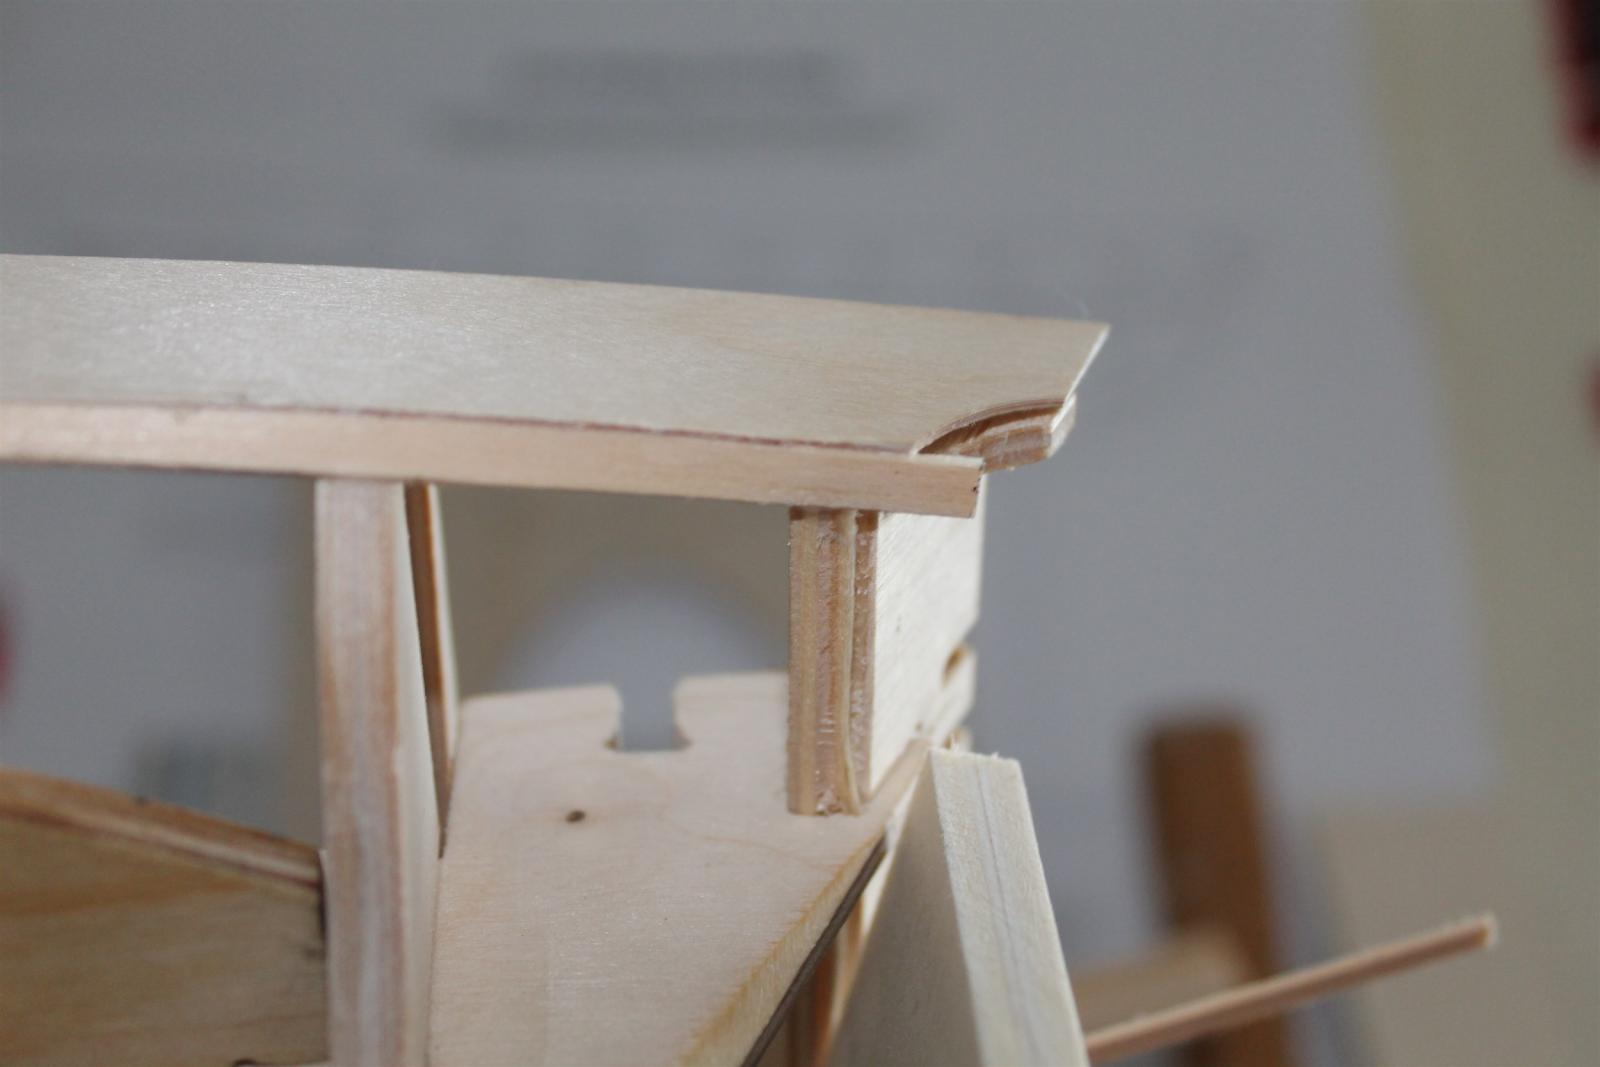
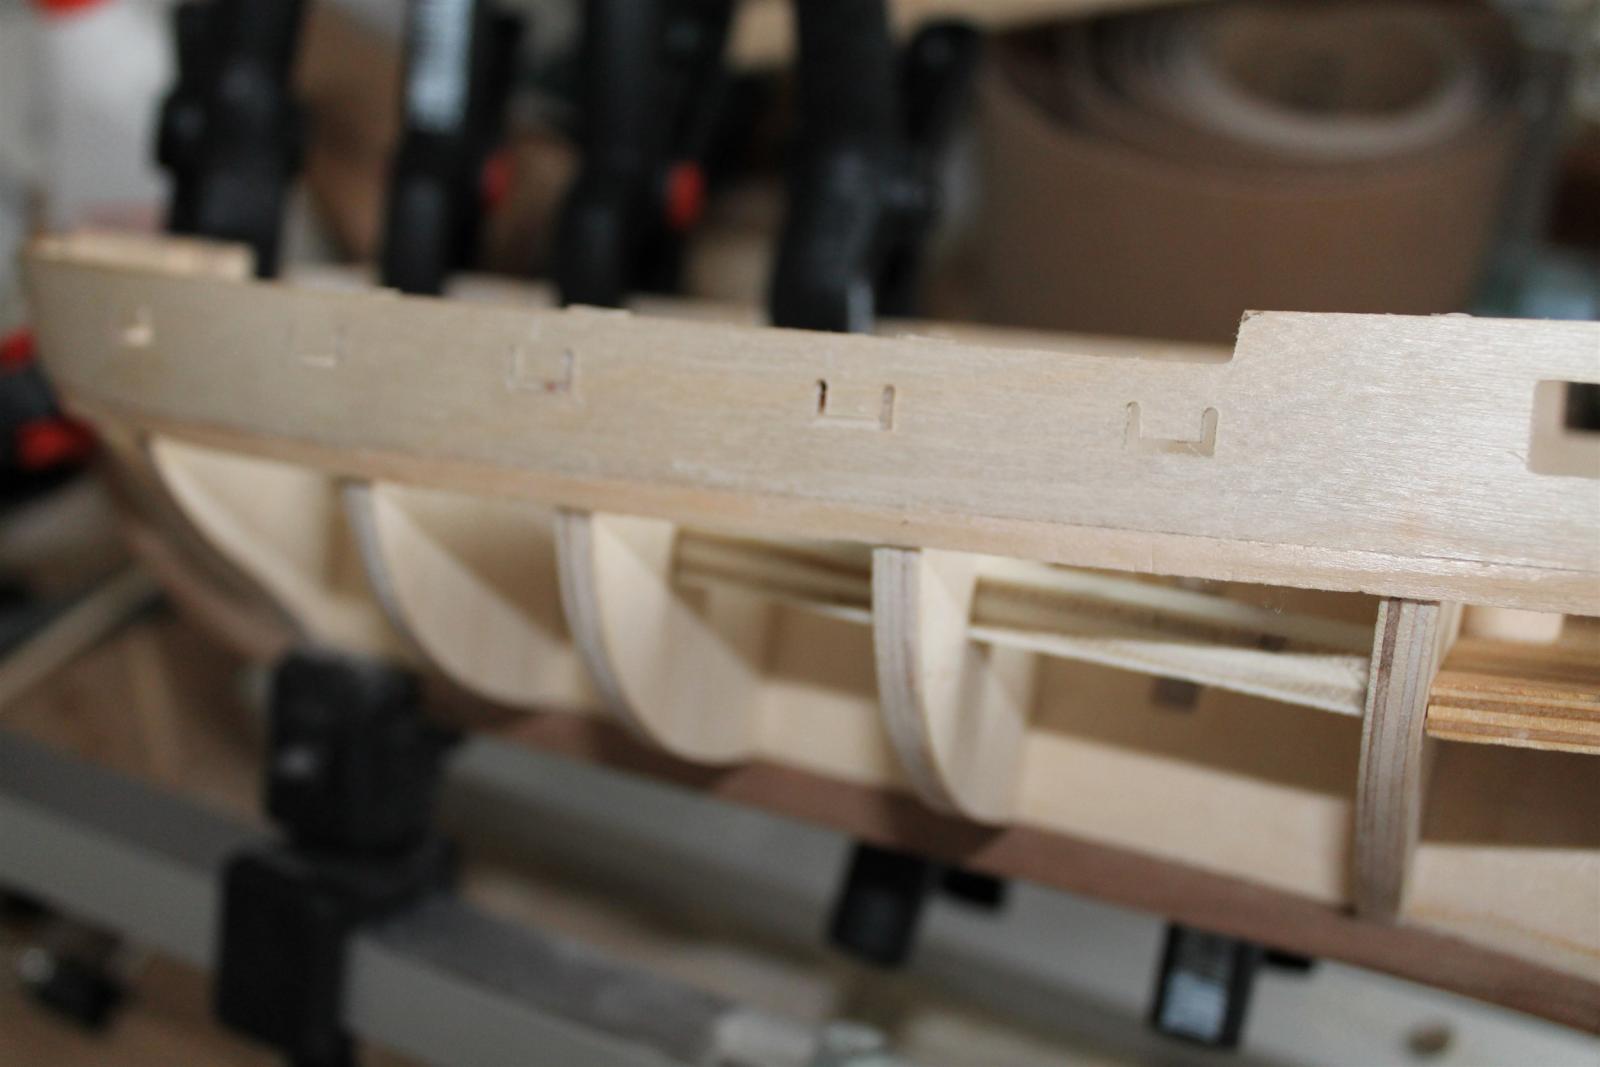
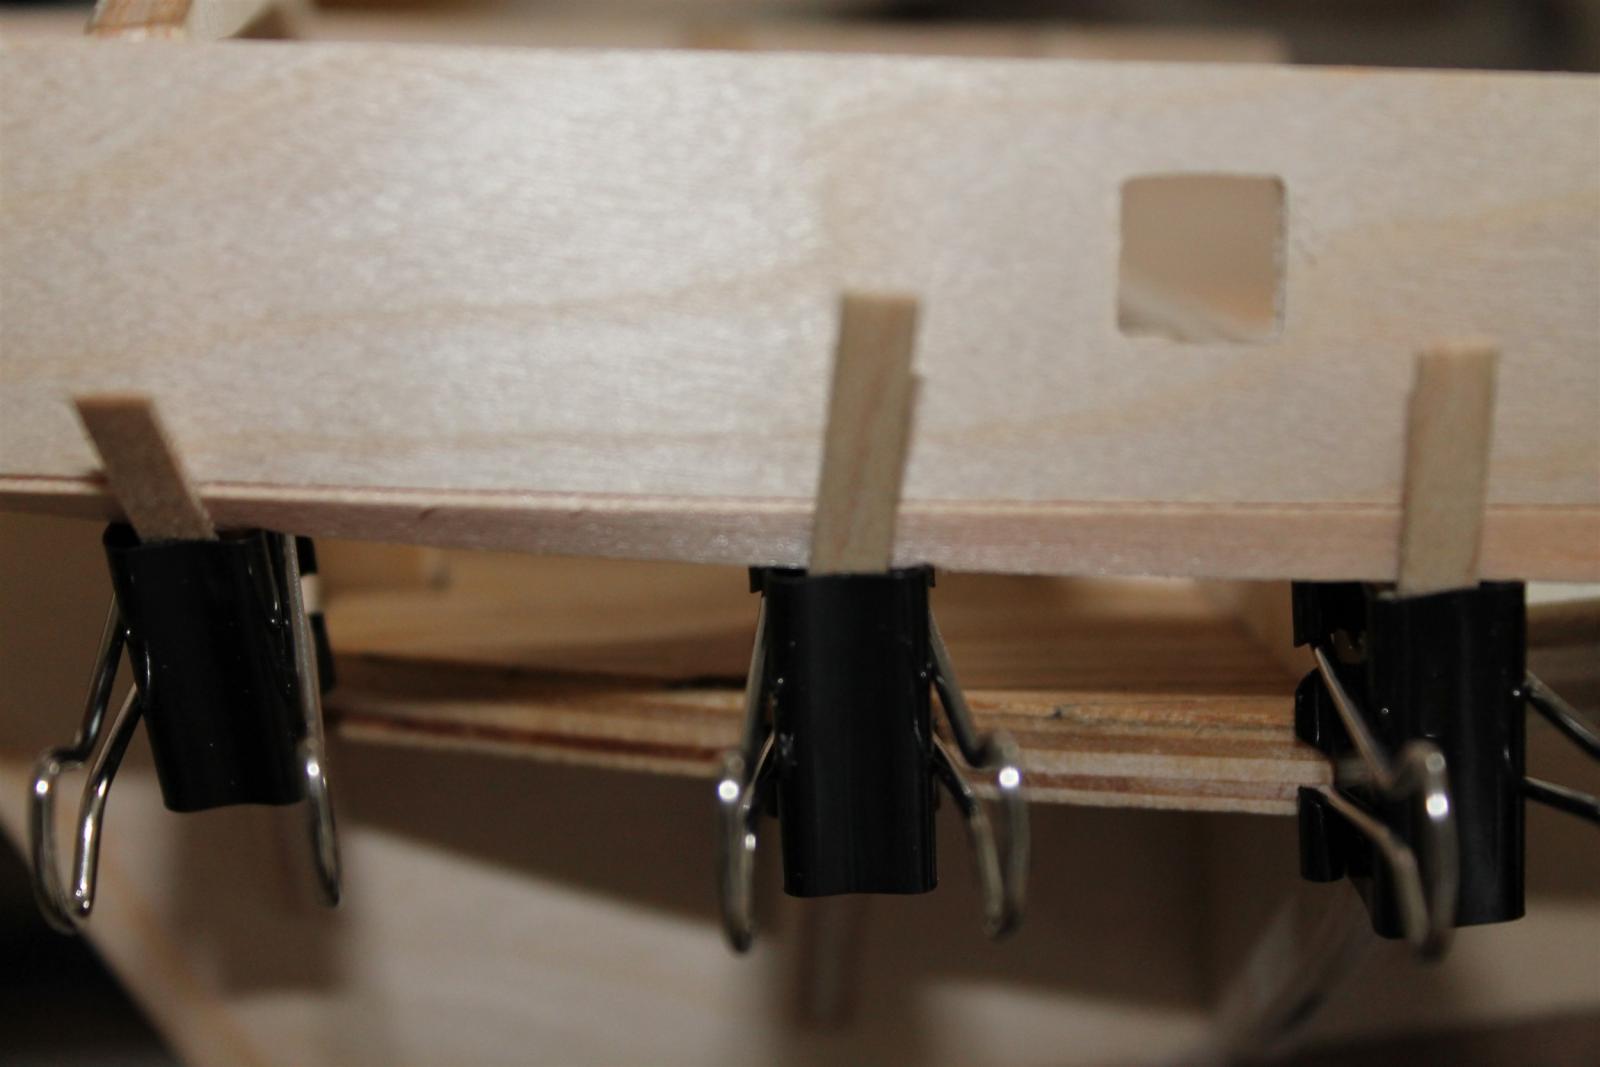
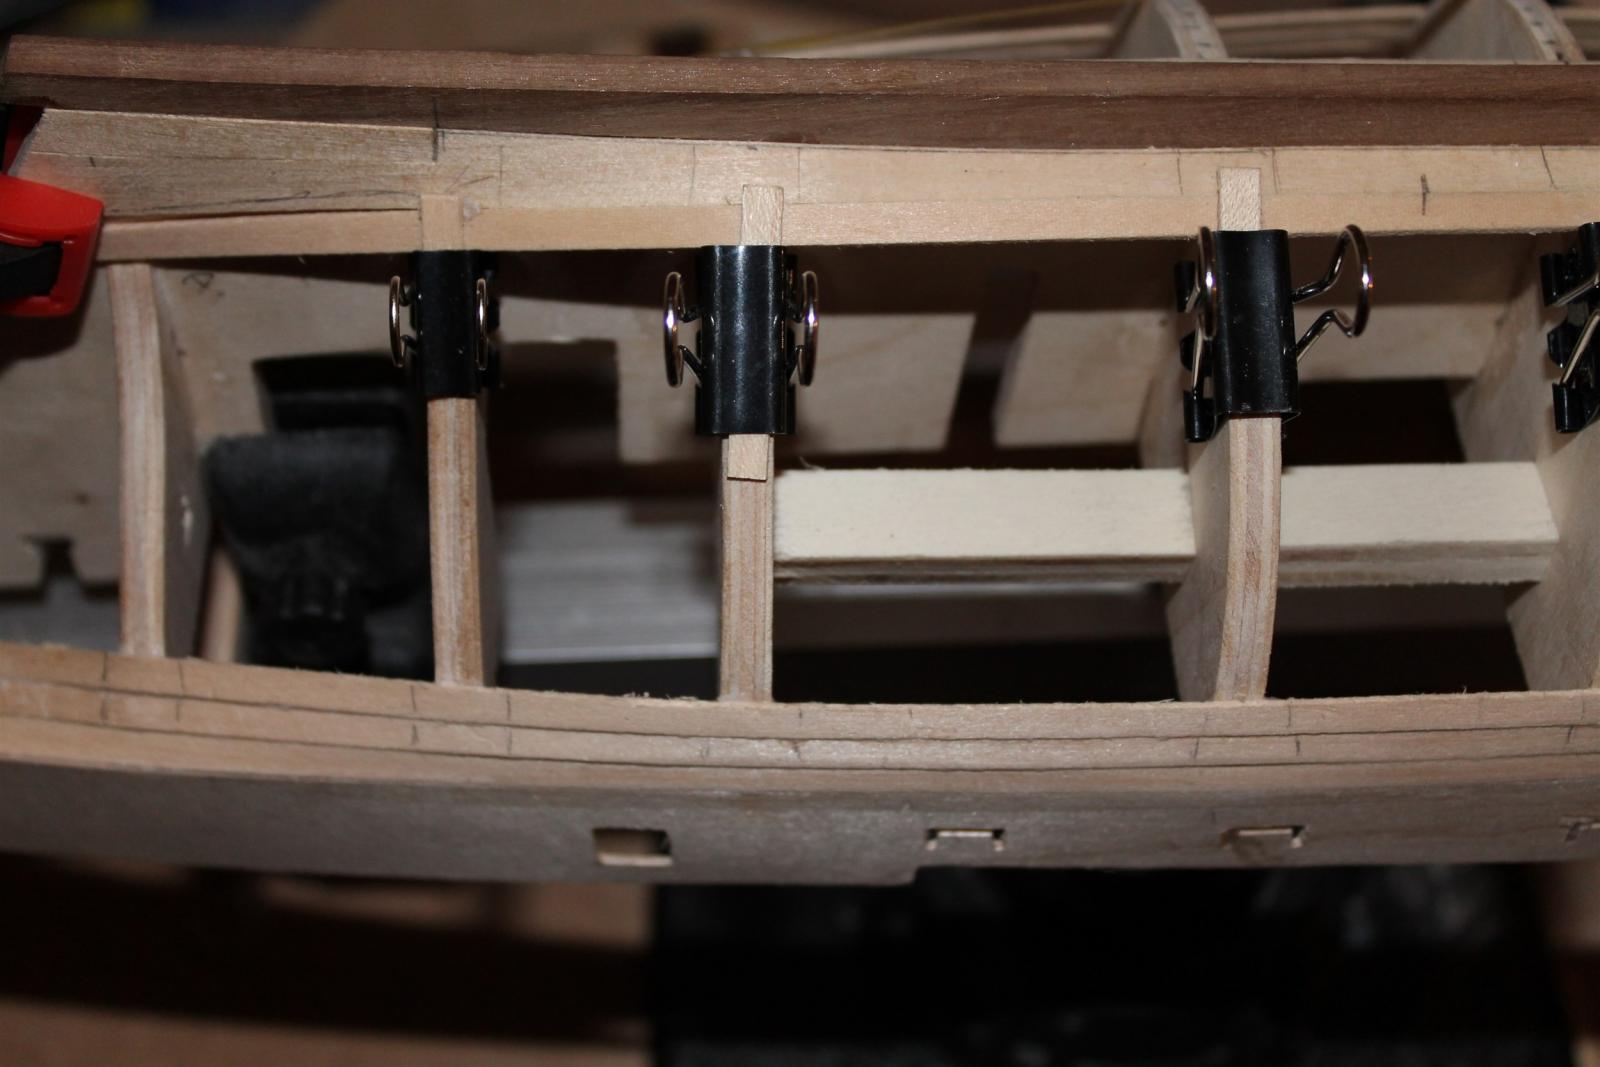
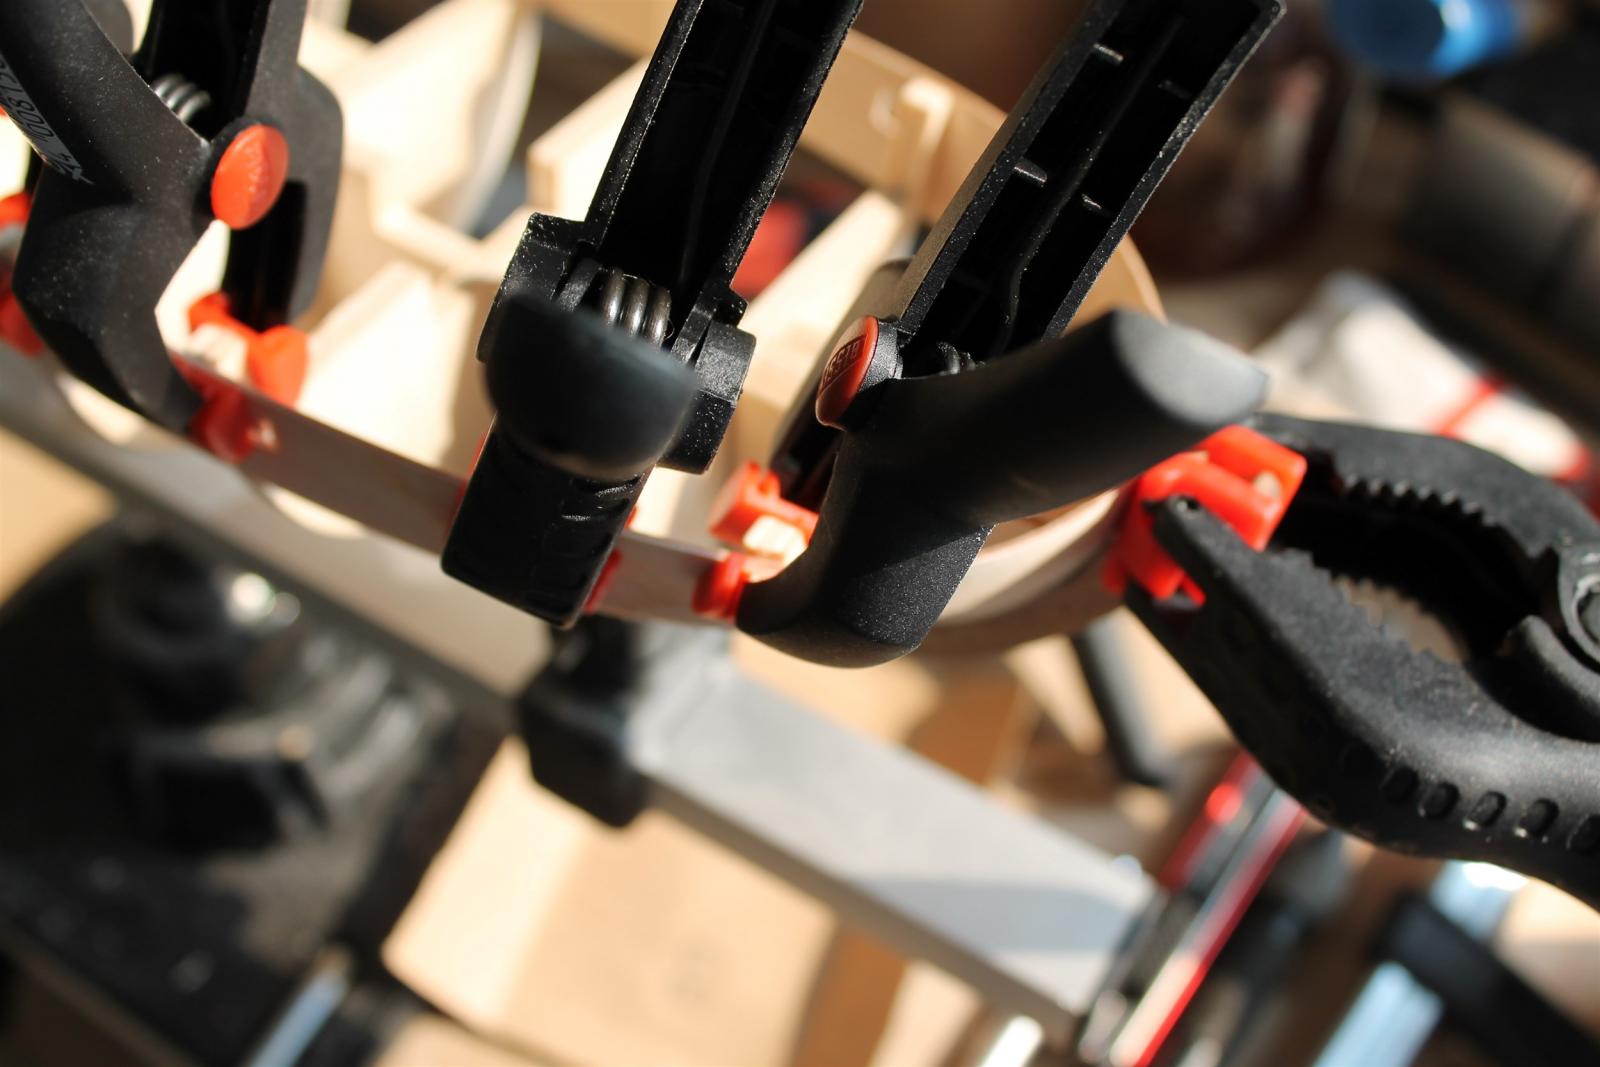
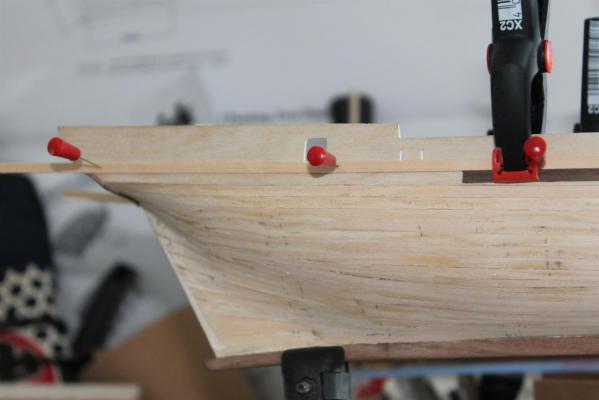
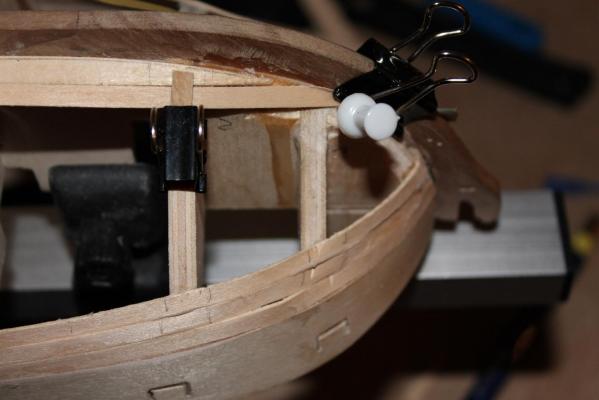
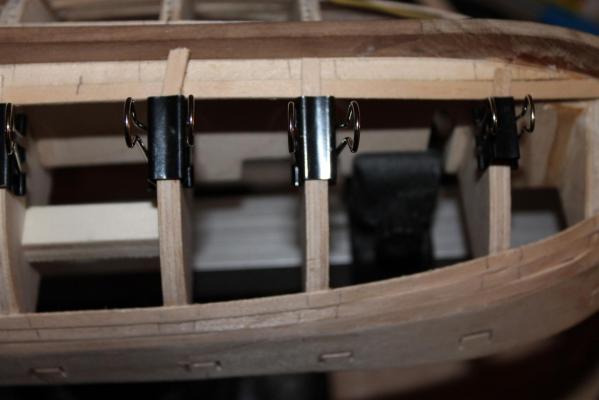
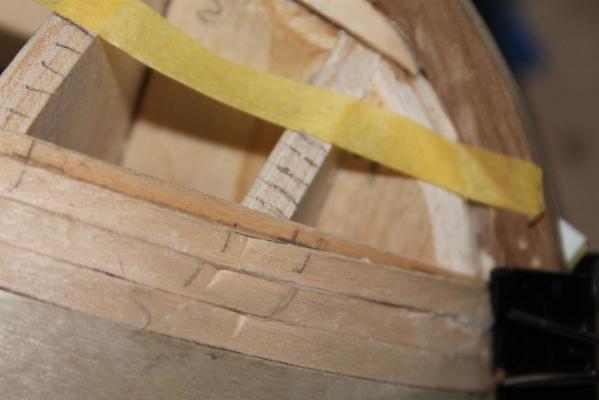
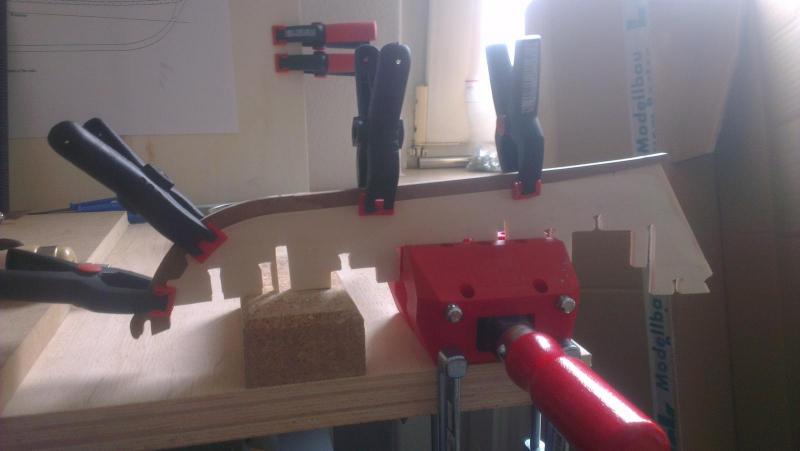
Hi Mike, probably both types, the push pins and the planking screws, have their advantages. With the push pins you need less unplanked space to work with. Best result with both is done, drilling the holes you need. I like the firm pressure you can put on the plank. What i dislike, is the cheap quality of the screws and the clamp pieces. I plan to use the screws more often, especially around stem and stern... At the gun openings i was a little messy, when i opened them. And filing back the overlapping planks opened the gun ports a little more. While i thought about removing the planks and cutting new ones to correct the wrong measurements, i got the idea to simulate the vertical and horizontal logs, that supported the ports. So i can correct the opening and add some detail. Even if it will be not so historically correct. ;-) Also really excited about the next steps. Trying to sharpen my accuracy this turn... ;-)
-
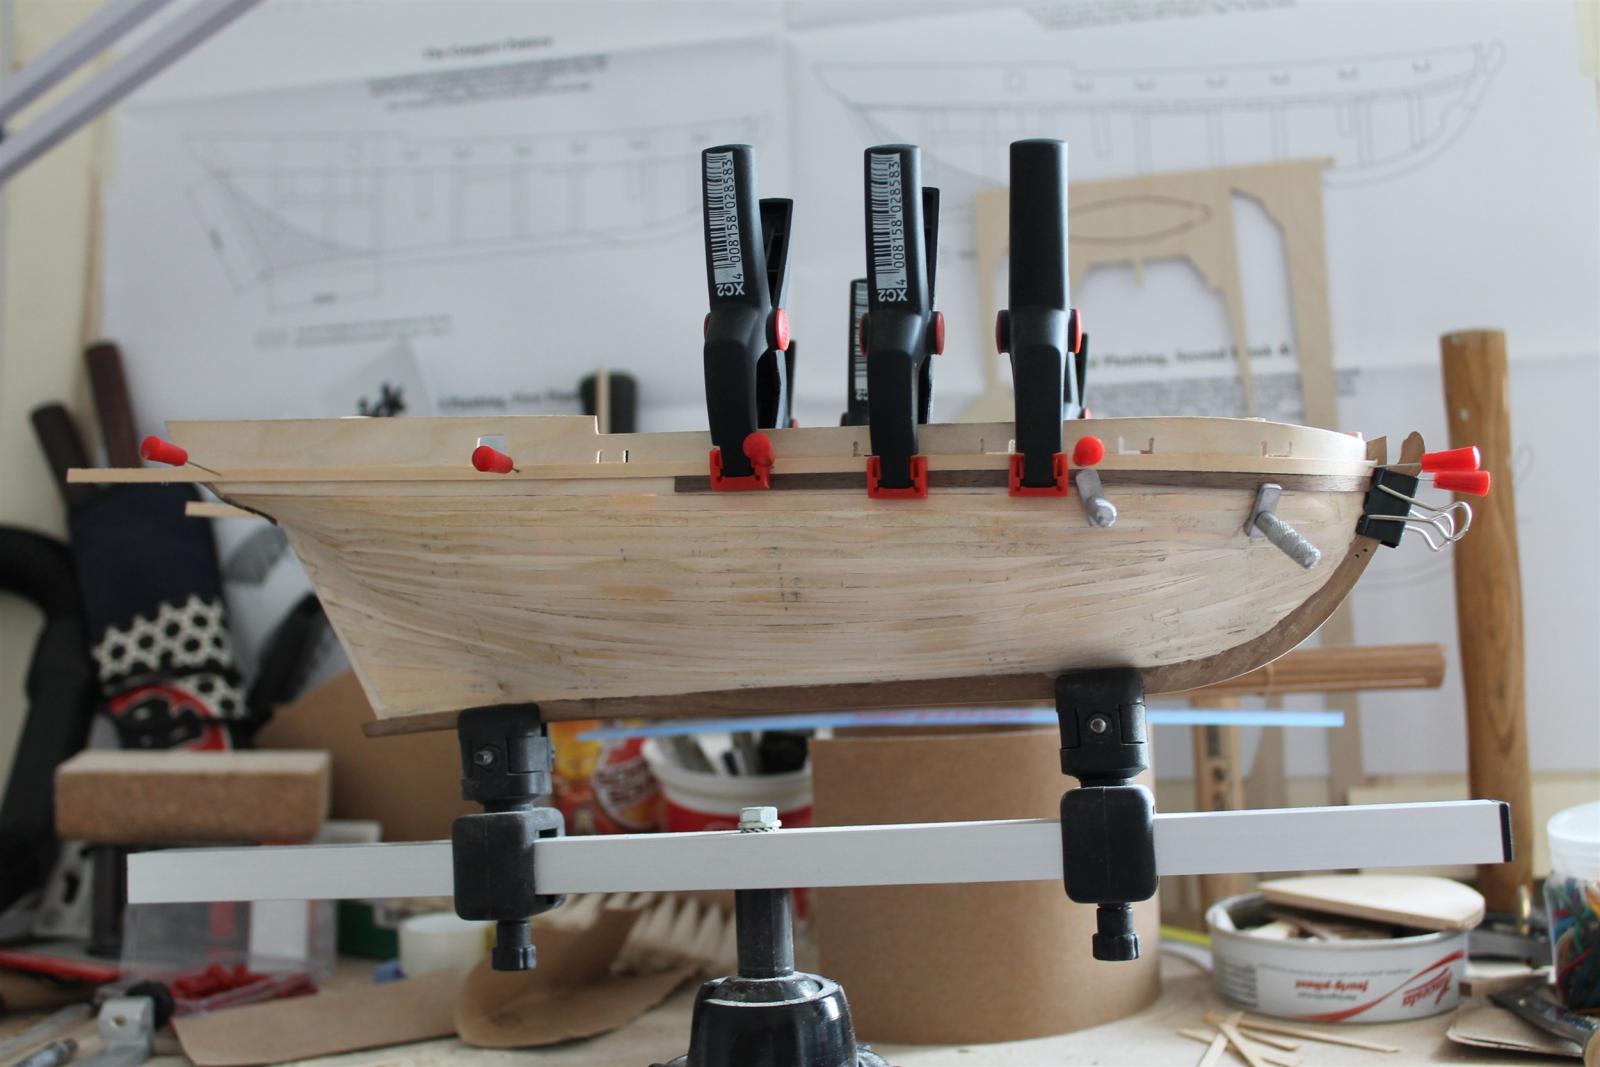
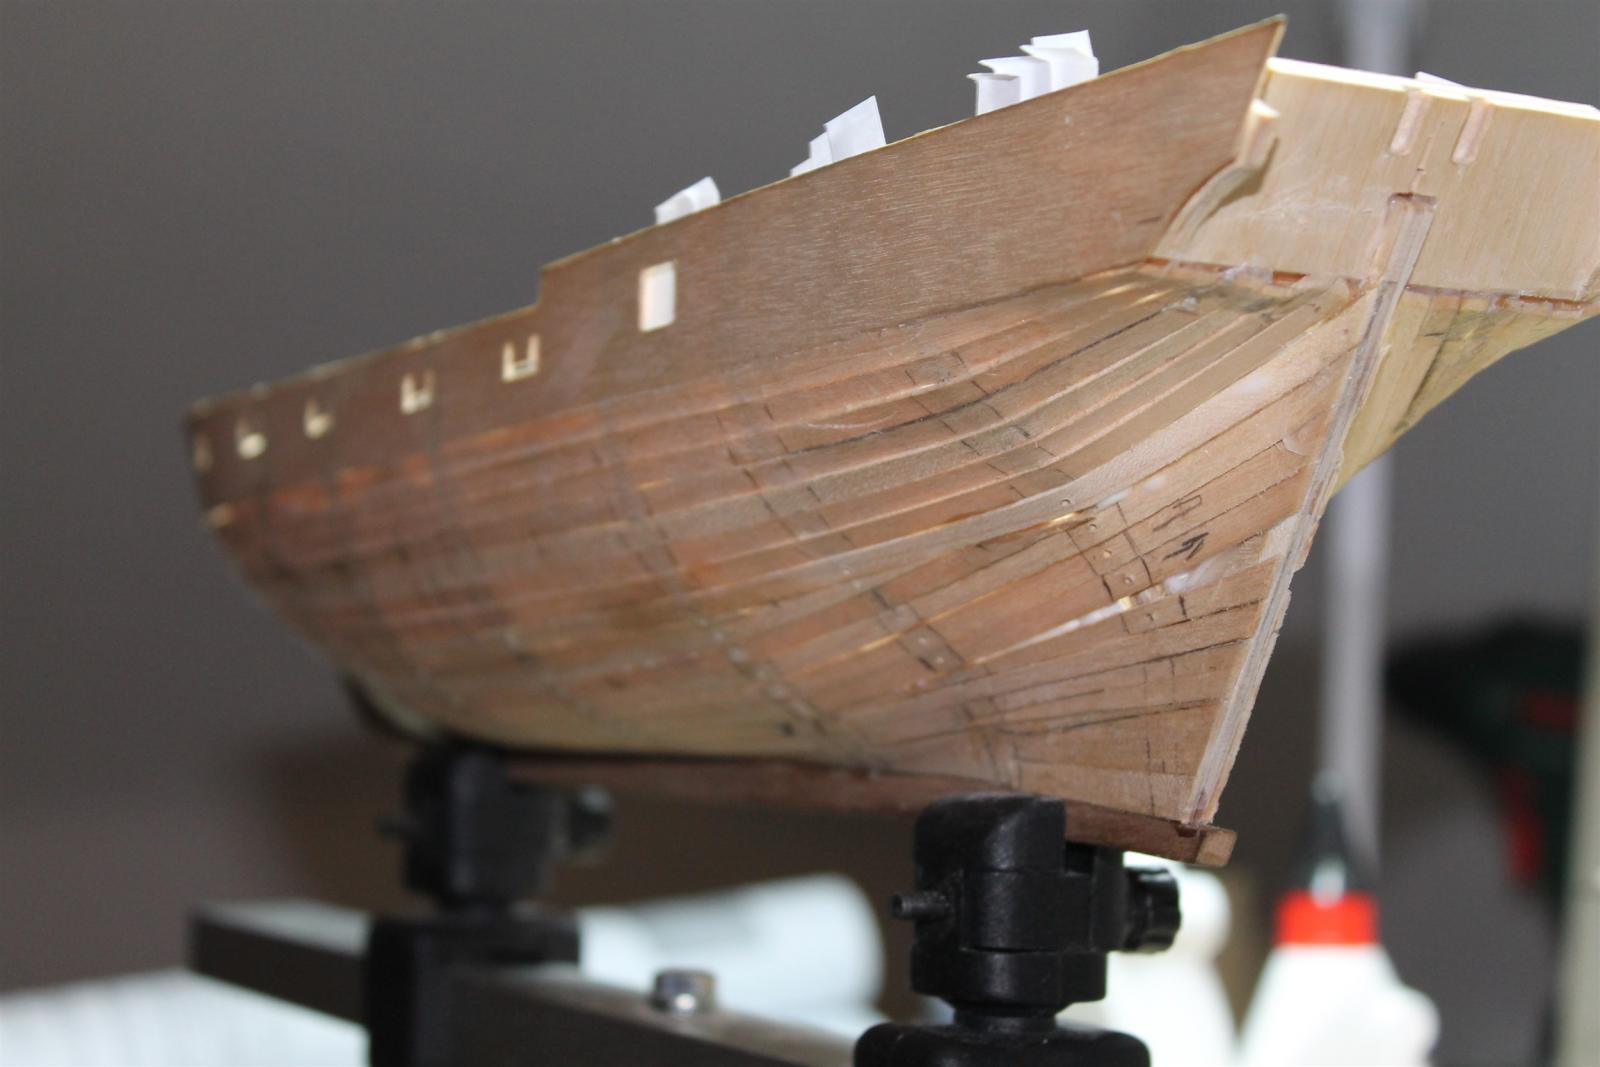
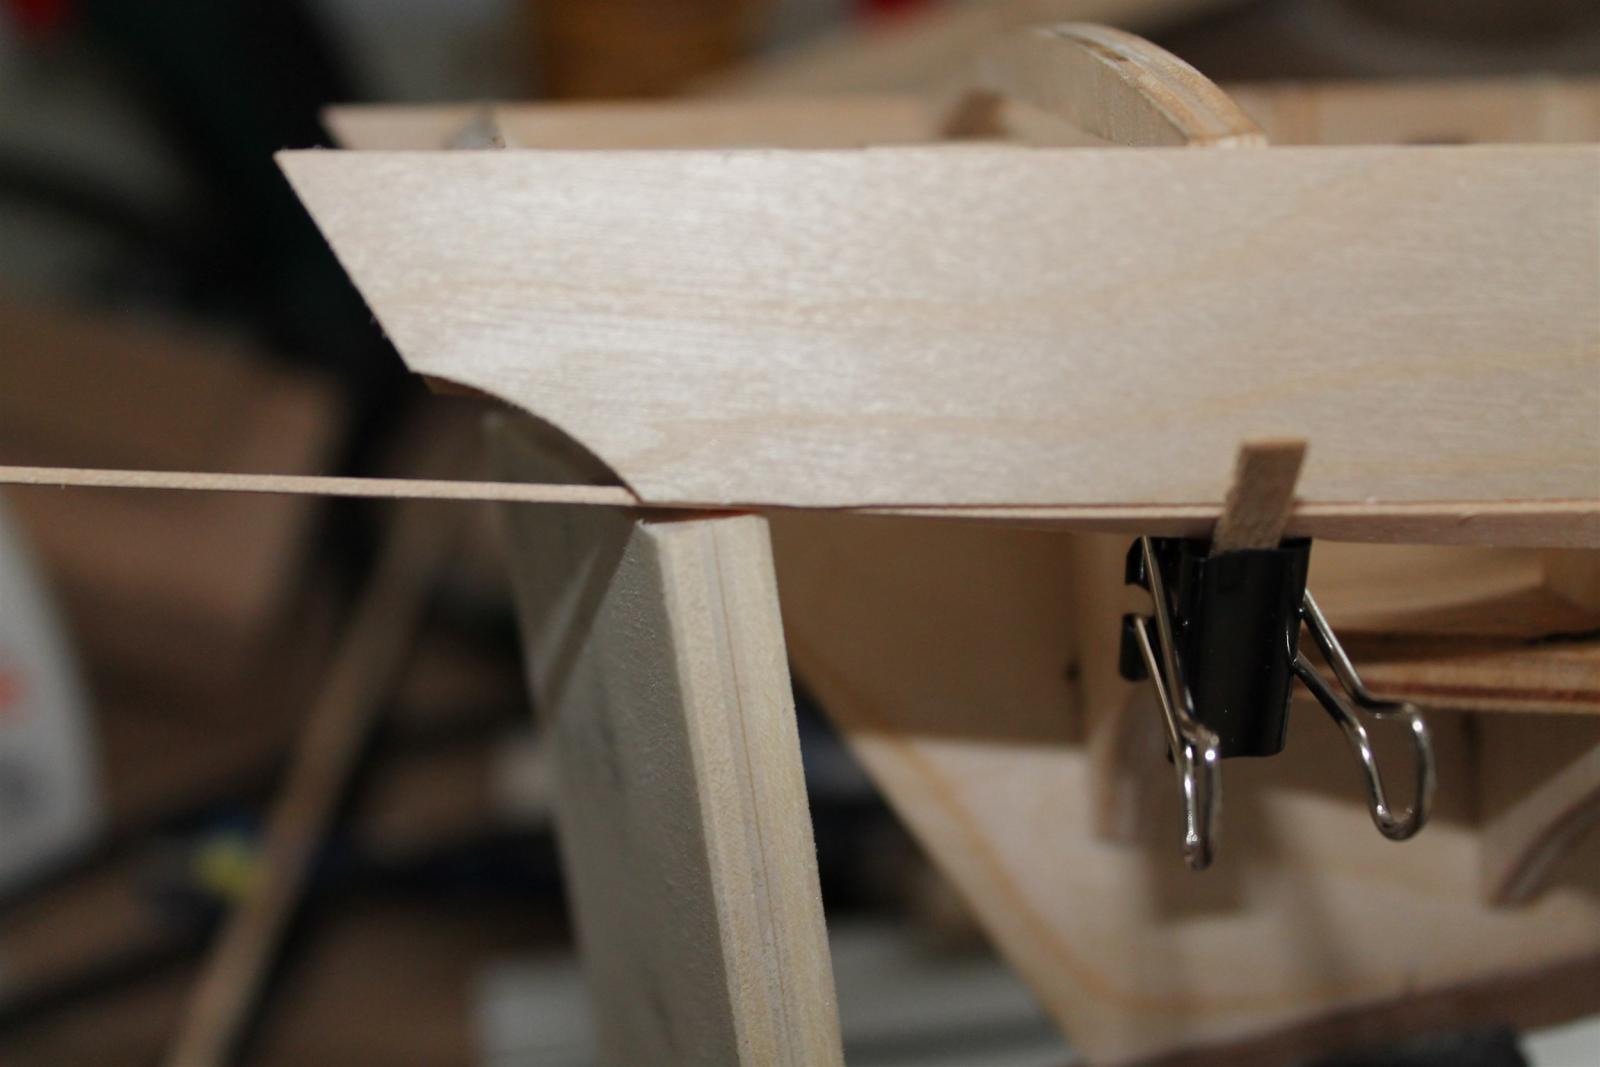
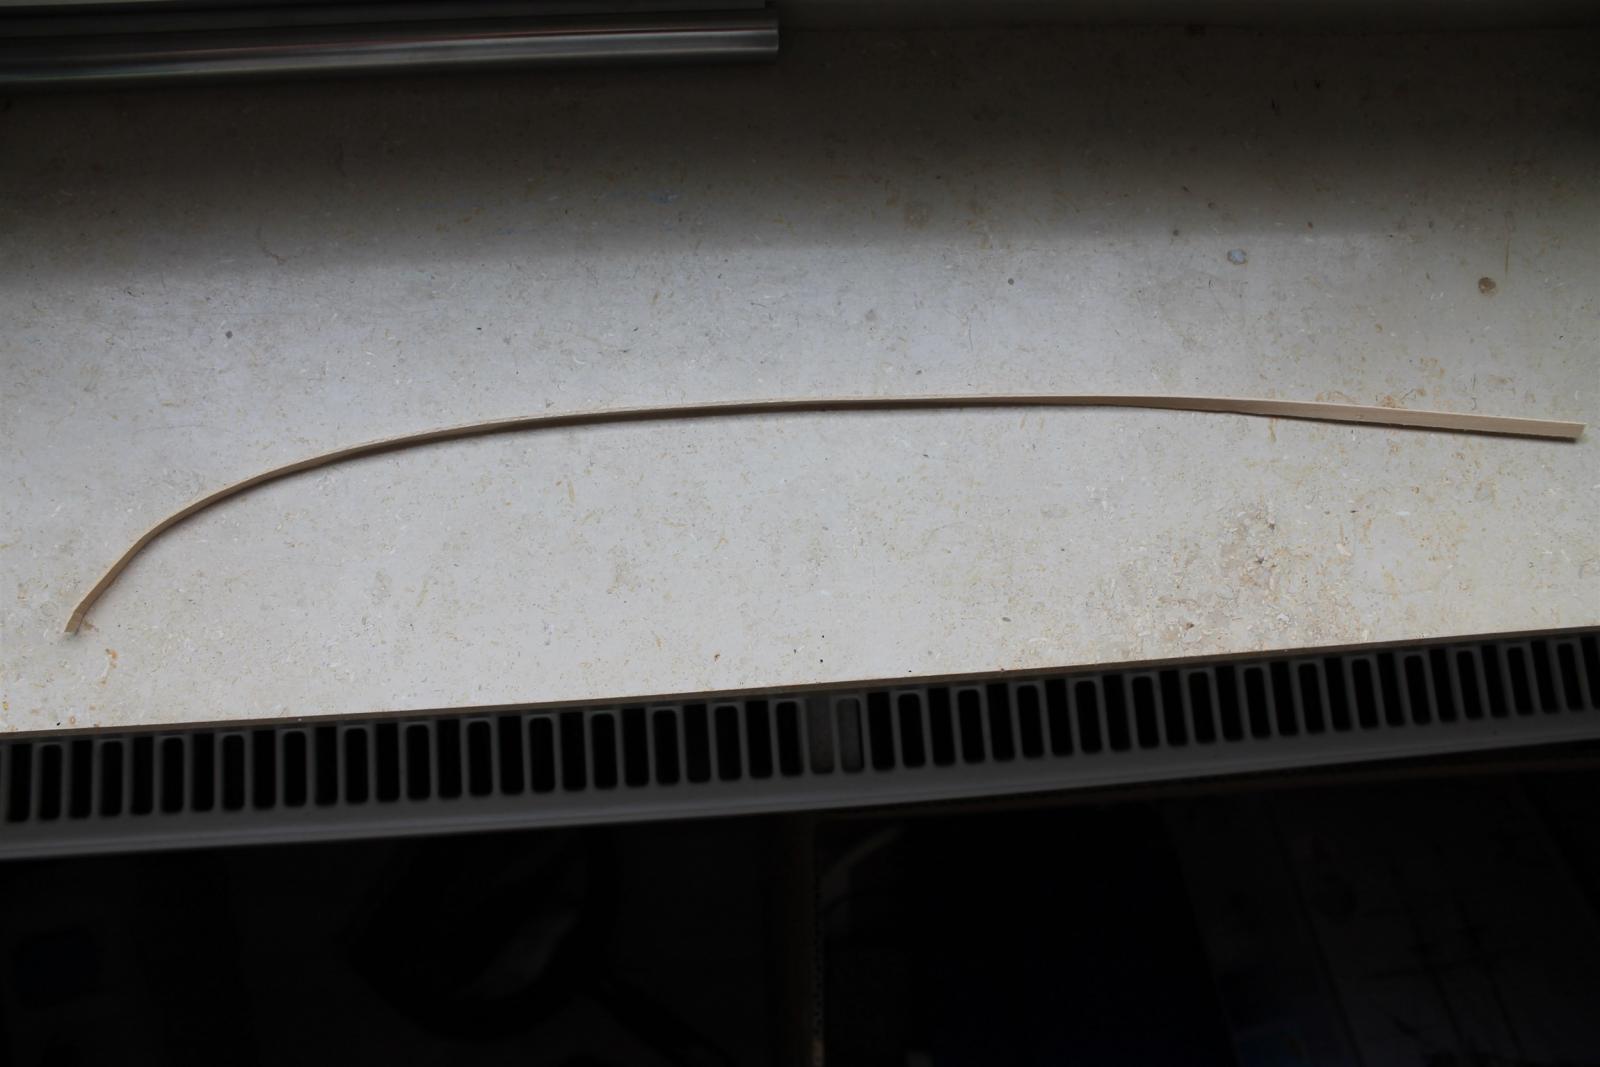
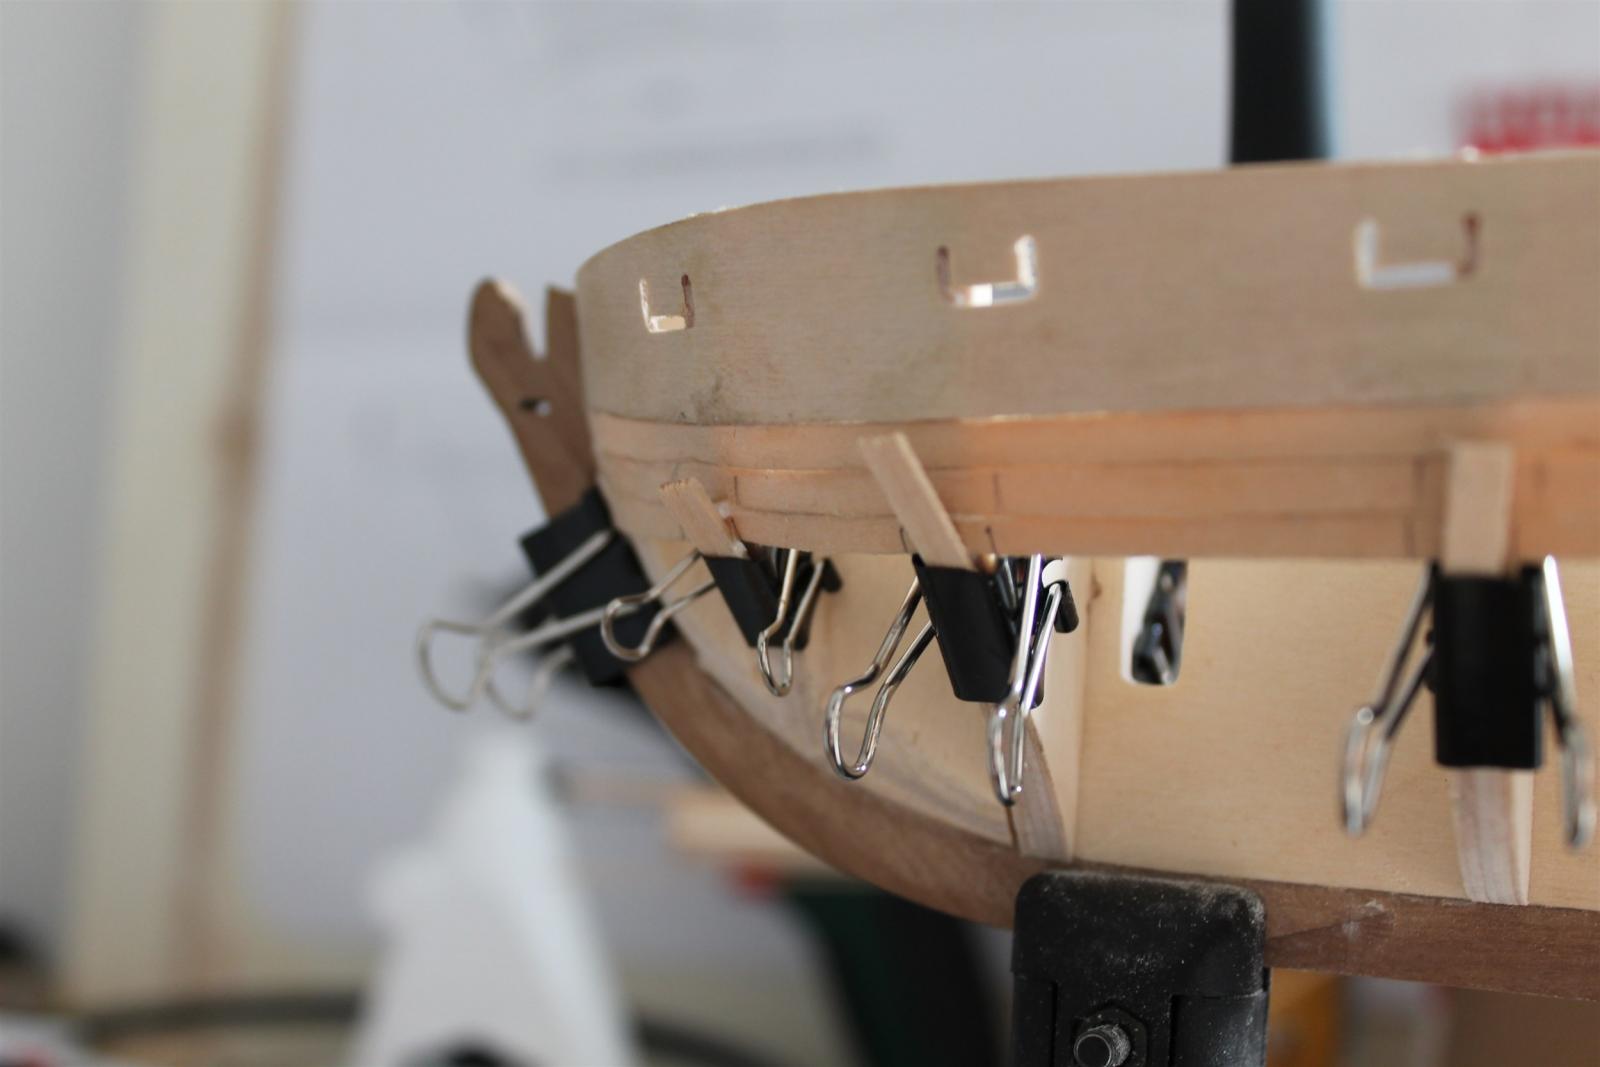
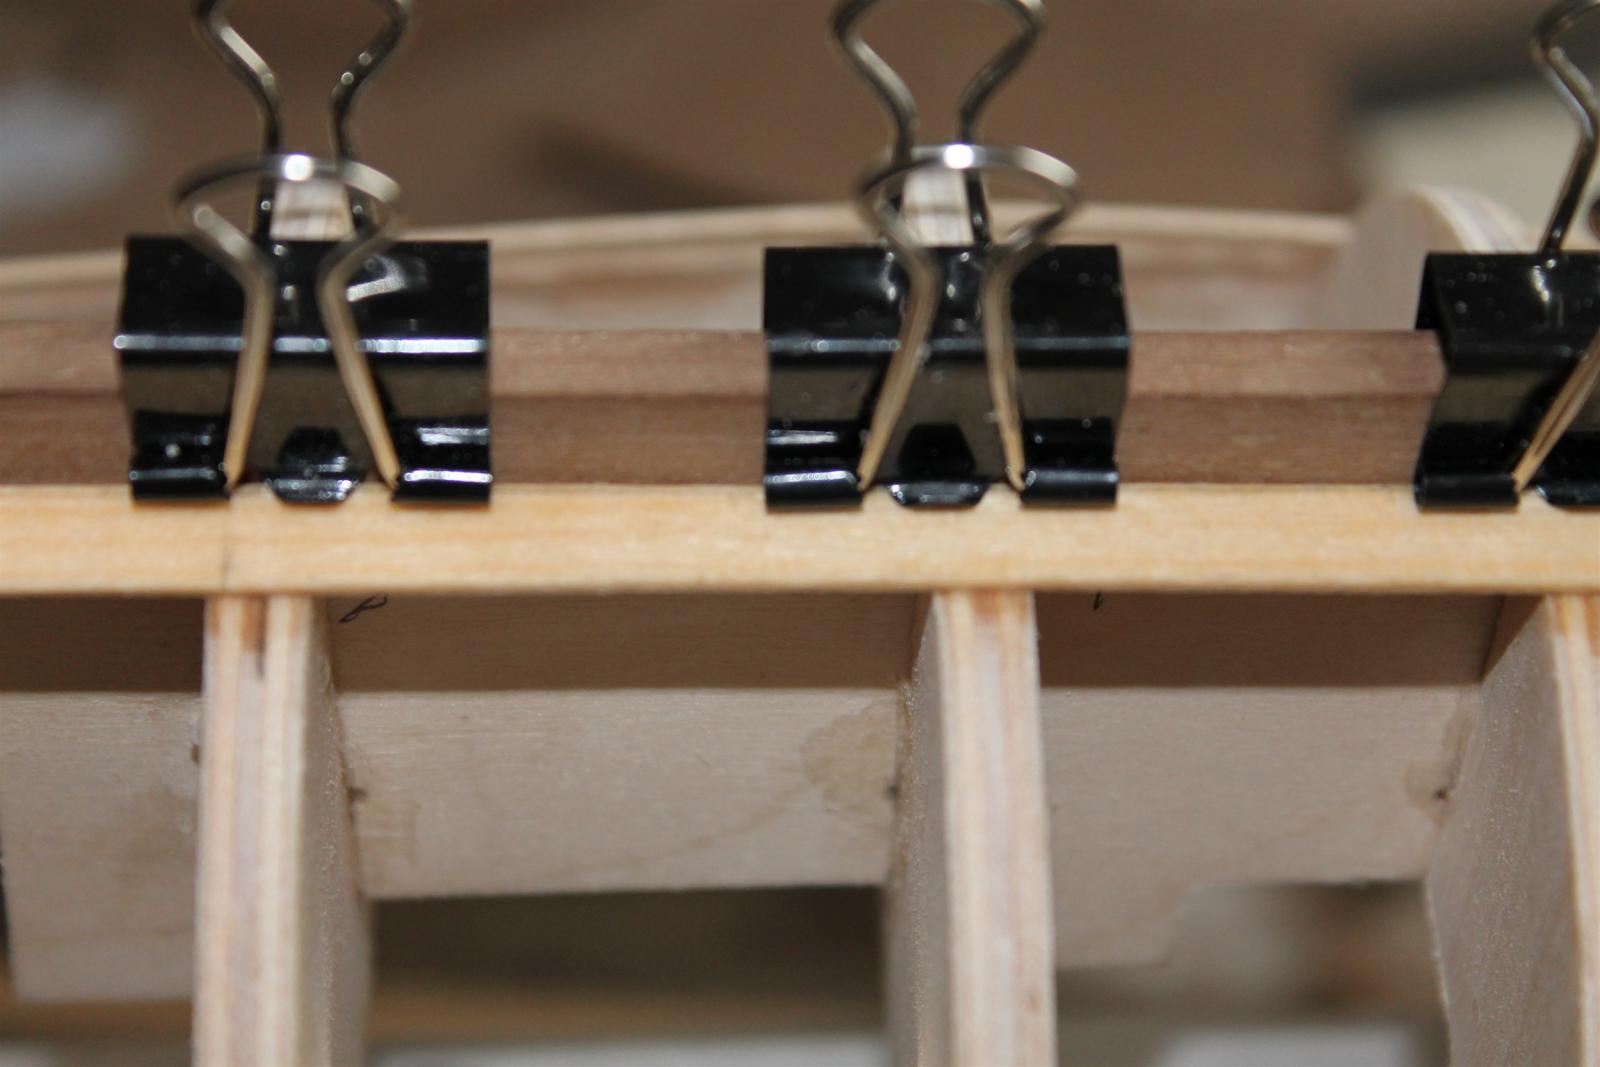
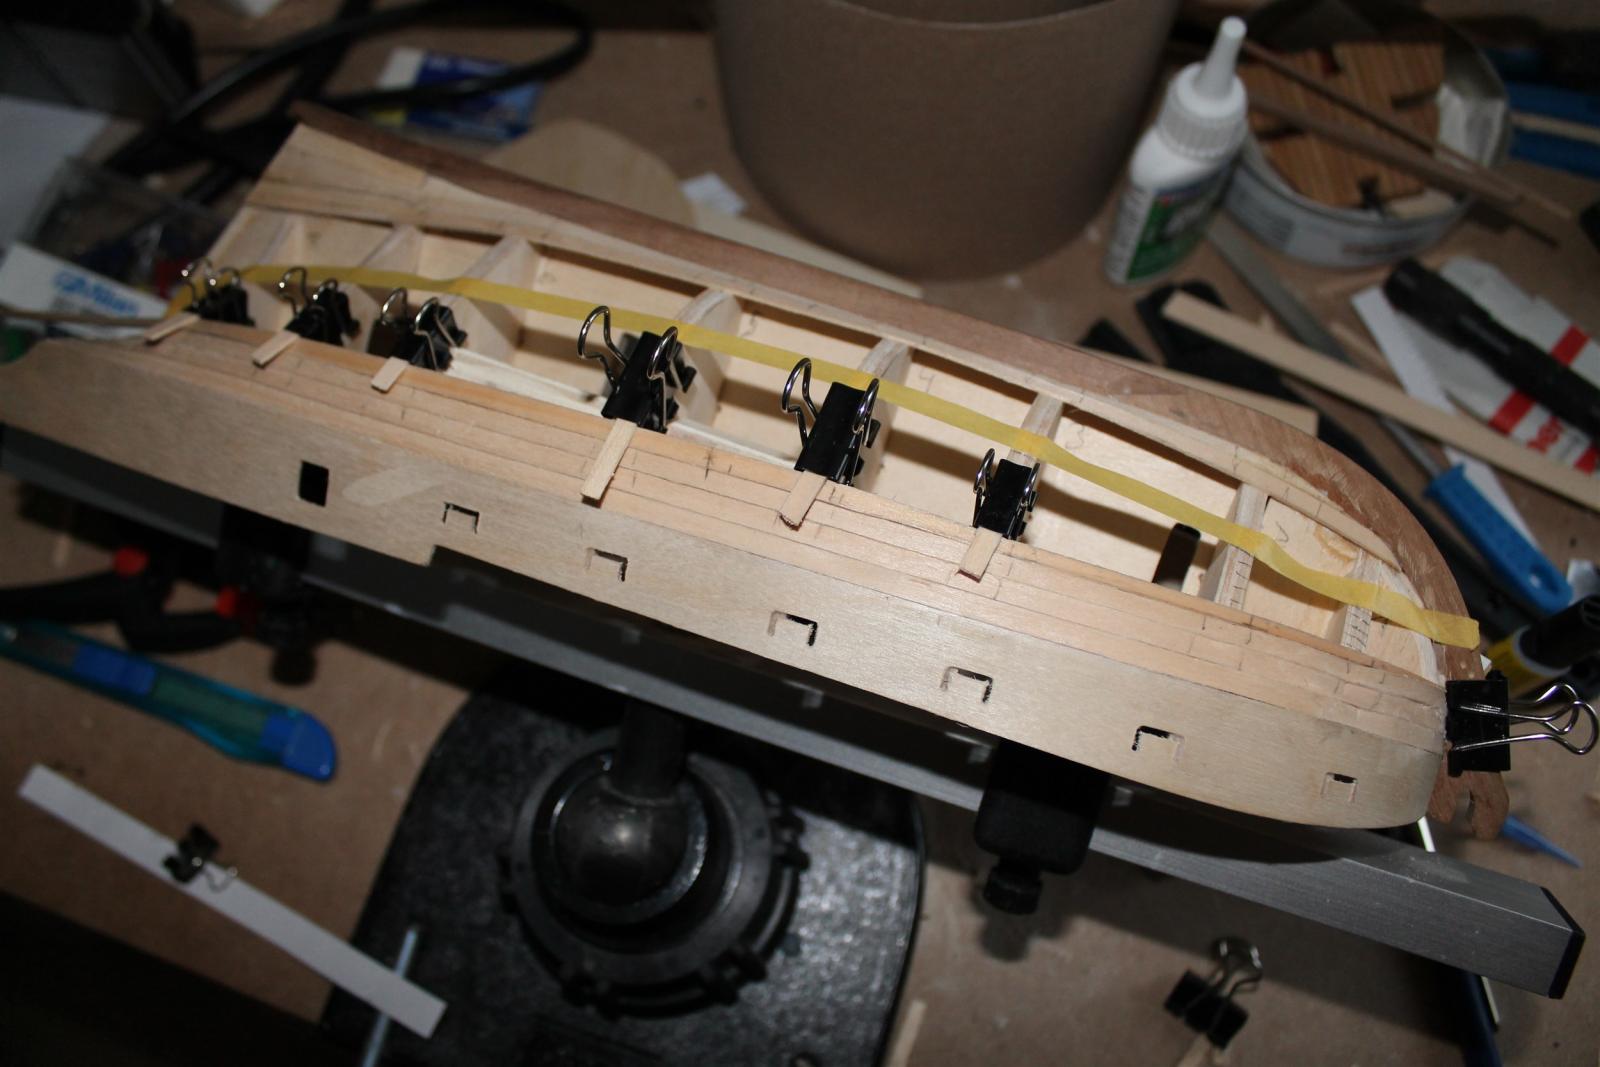
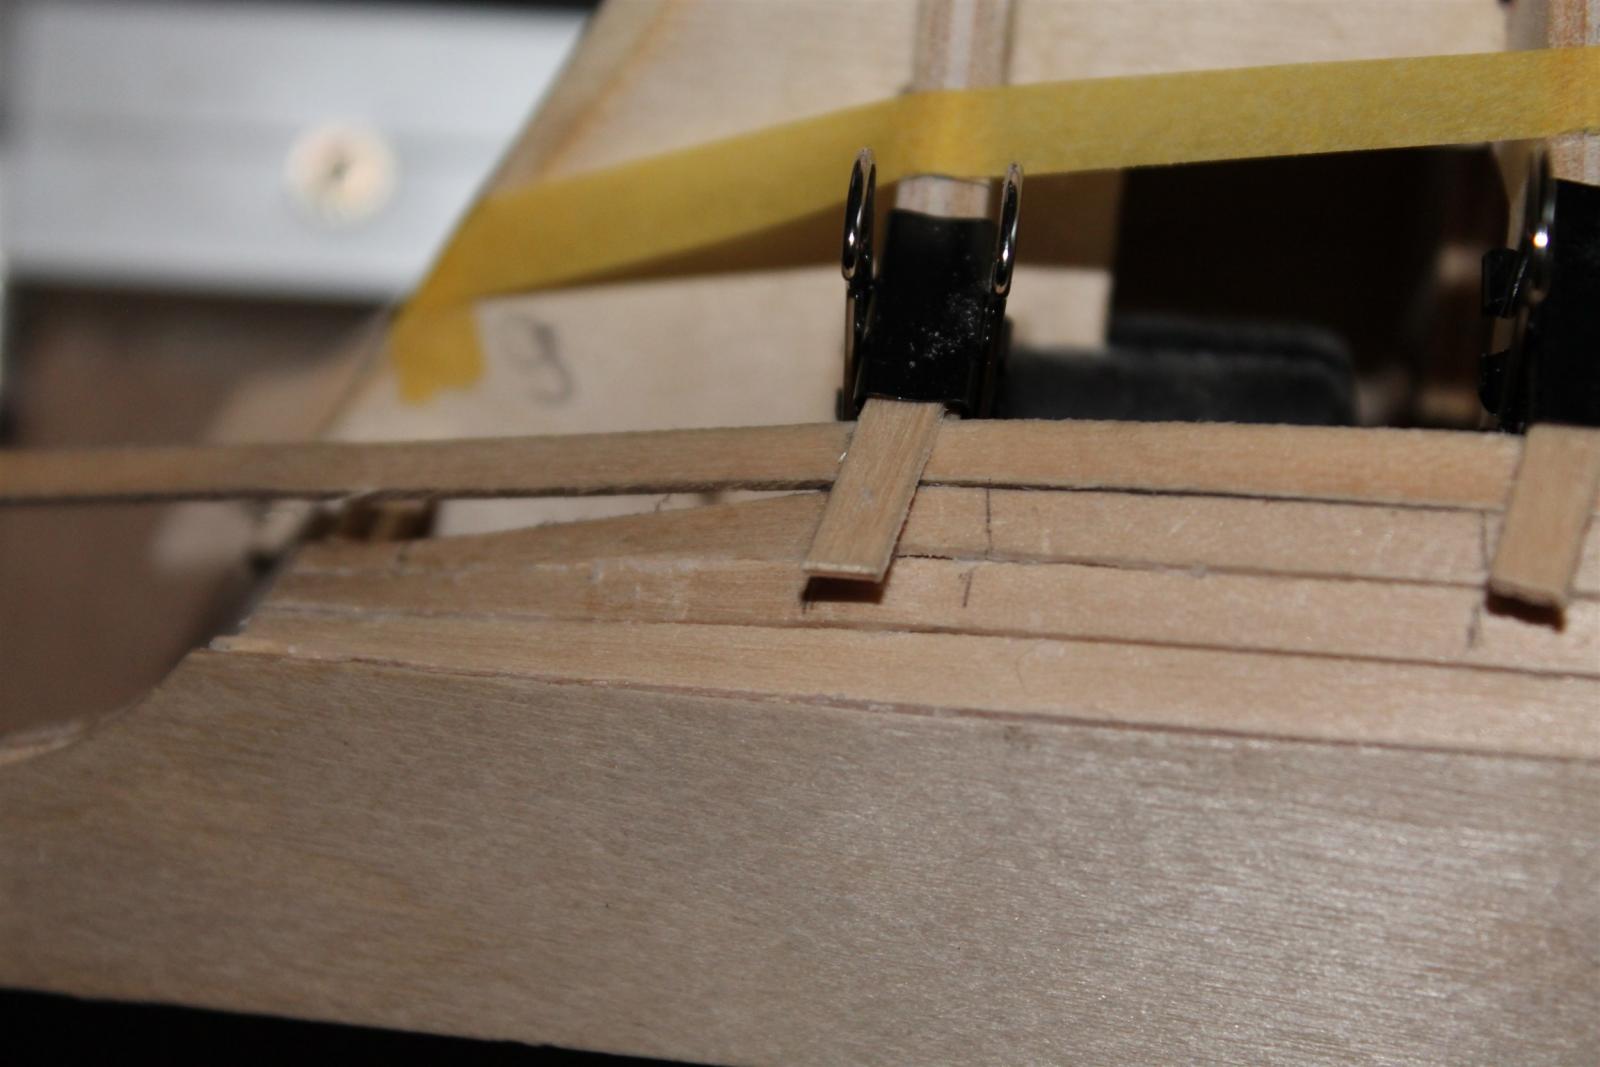
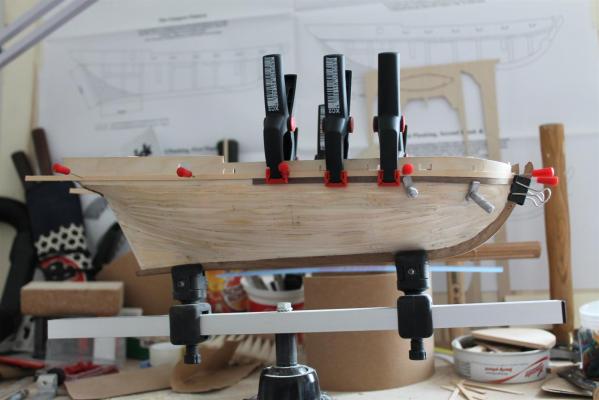
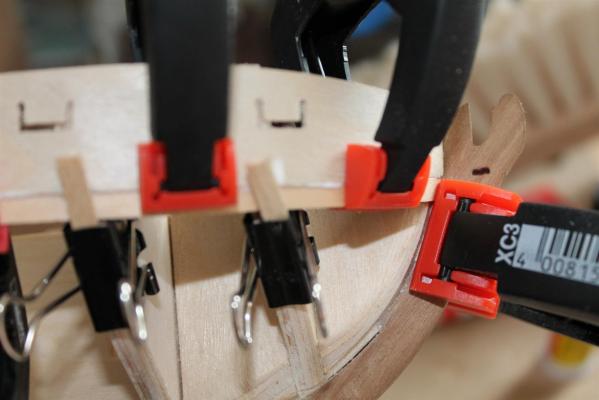
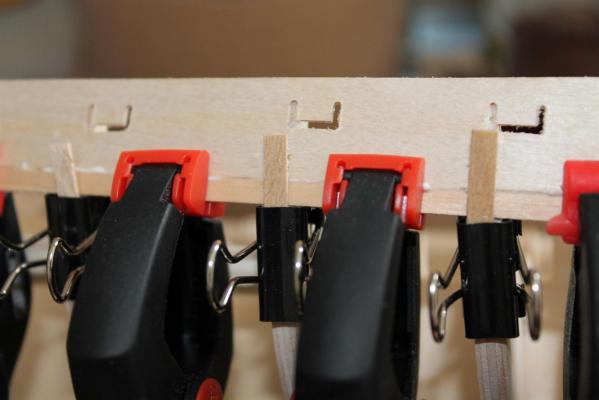
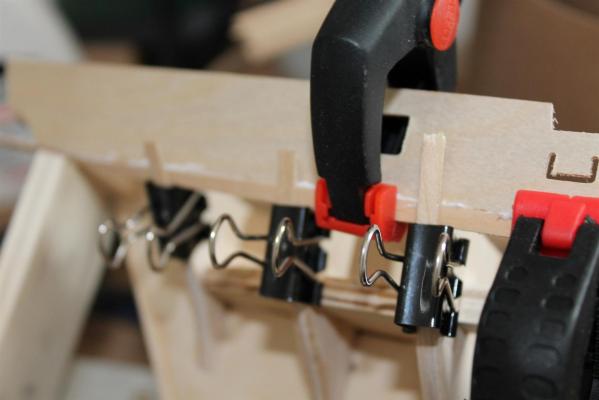
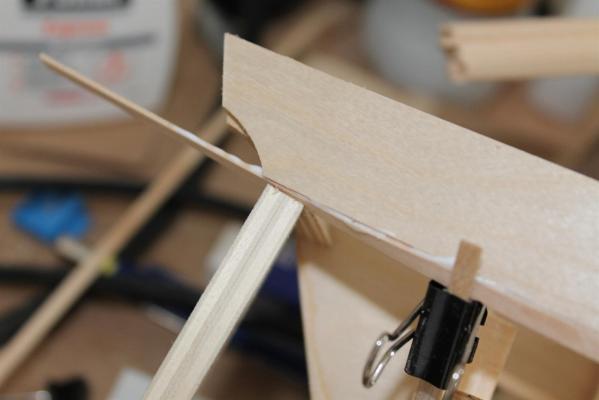
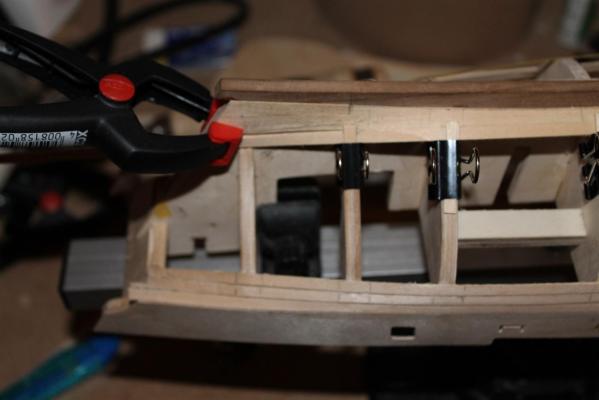
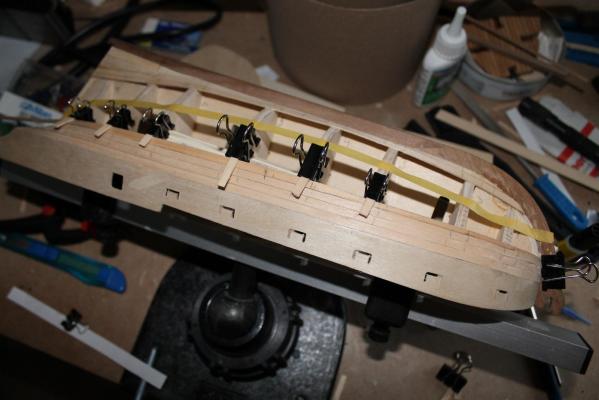
So, on Saturday i started 2nd planking. I will use planks cut at 10cm length to plank the hull. I also ordered some wider strips to cut the tapered planks out of them. The supplied planks i will use where useful or they will get a chance later on planking some of the plywood stuff.


-
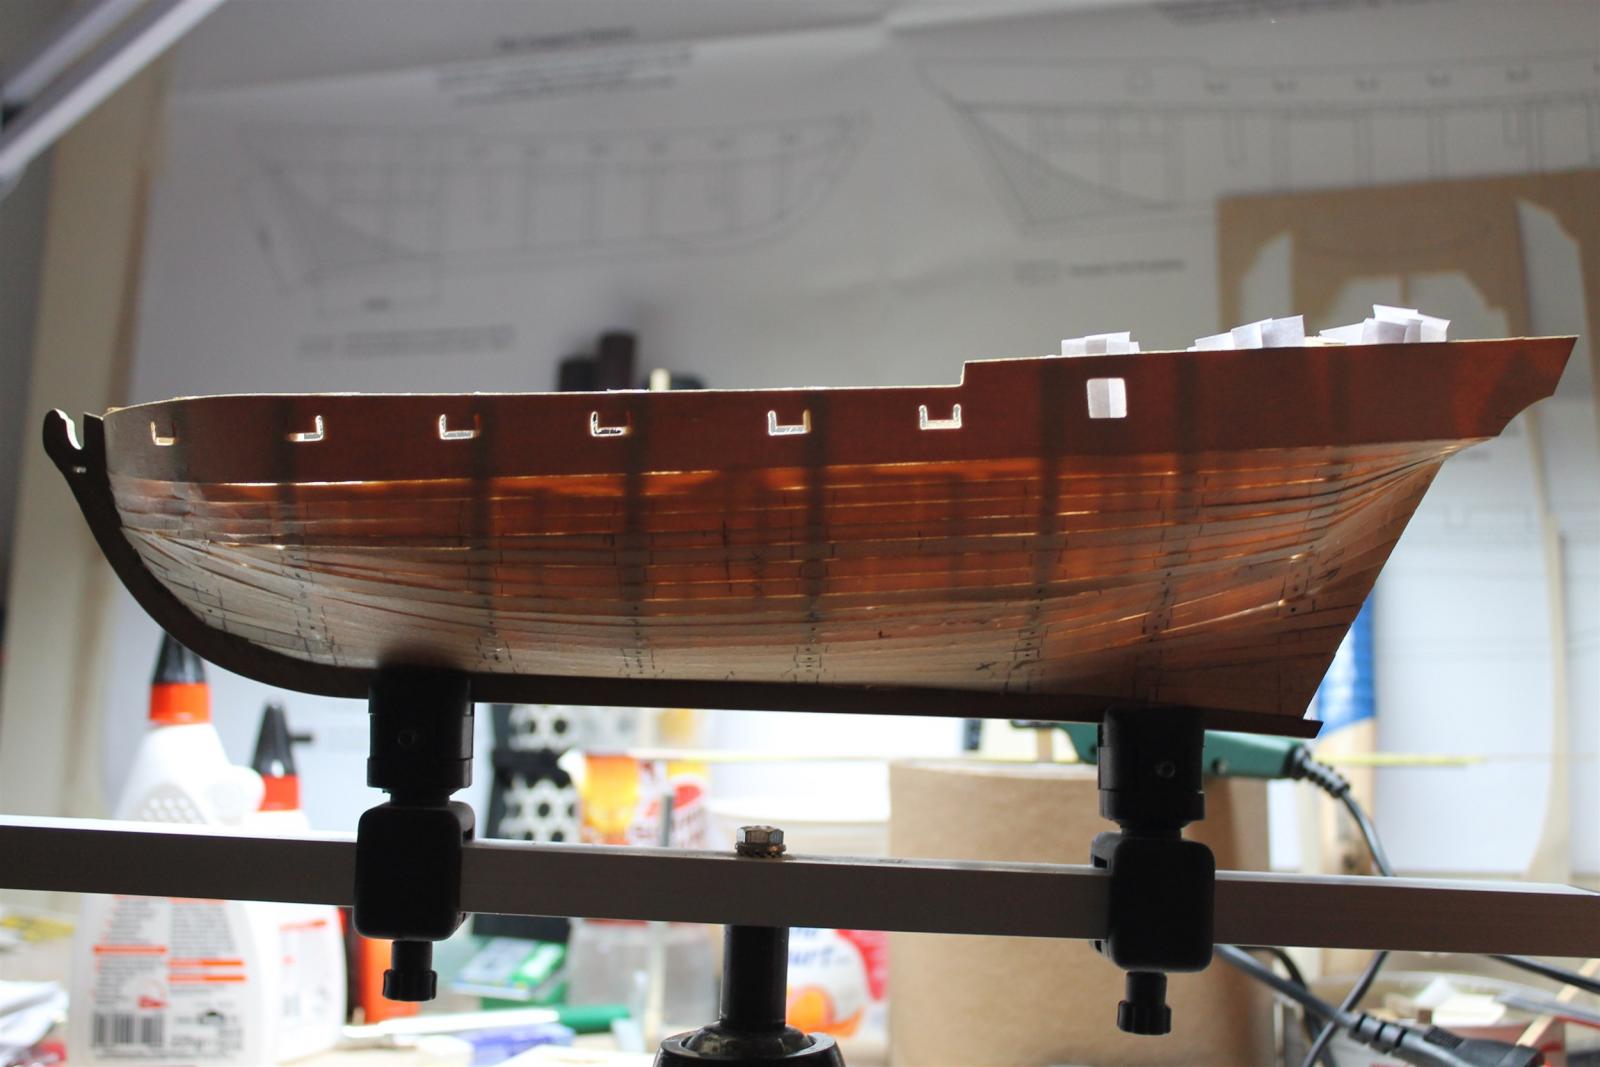
First Planking finished So after fixing some spots with putty i am satisfied with my first try of planking a hull...

-
yes probably i will need one of these... still sanding the hull. for now it seems that it will come out quite good for my first attempt planking a hull... i cant wait starting the second planking. trying to avoid my mistakes i made while first planking.
-
yes you are right. the stubs at the bow won't be cut with my japanese saws. for that they are still to big... :-(
-
hi norman, i have some small fine japanes woodworking saws. with them i will cut the stubs without effort... ;-) unfortunately i had to glue the gunport pattern to the bulkheads, otherwise the gunport pattern wouldn't hold to the hull. but thats ok, i also got some really sharp bench chisels... and when tey become dull i sharpen them again... ;-) tomorrow i wil sand the hull and hopefully can start with the second planking...
-
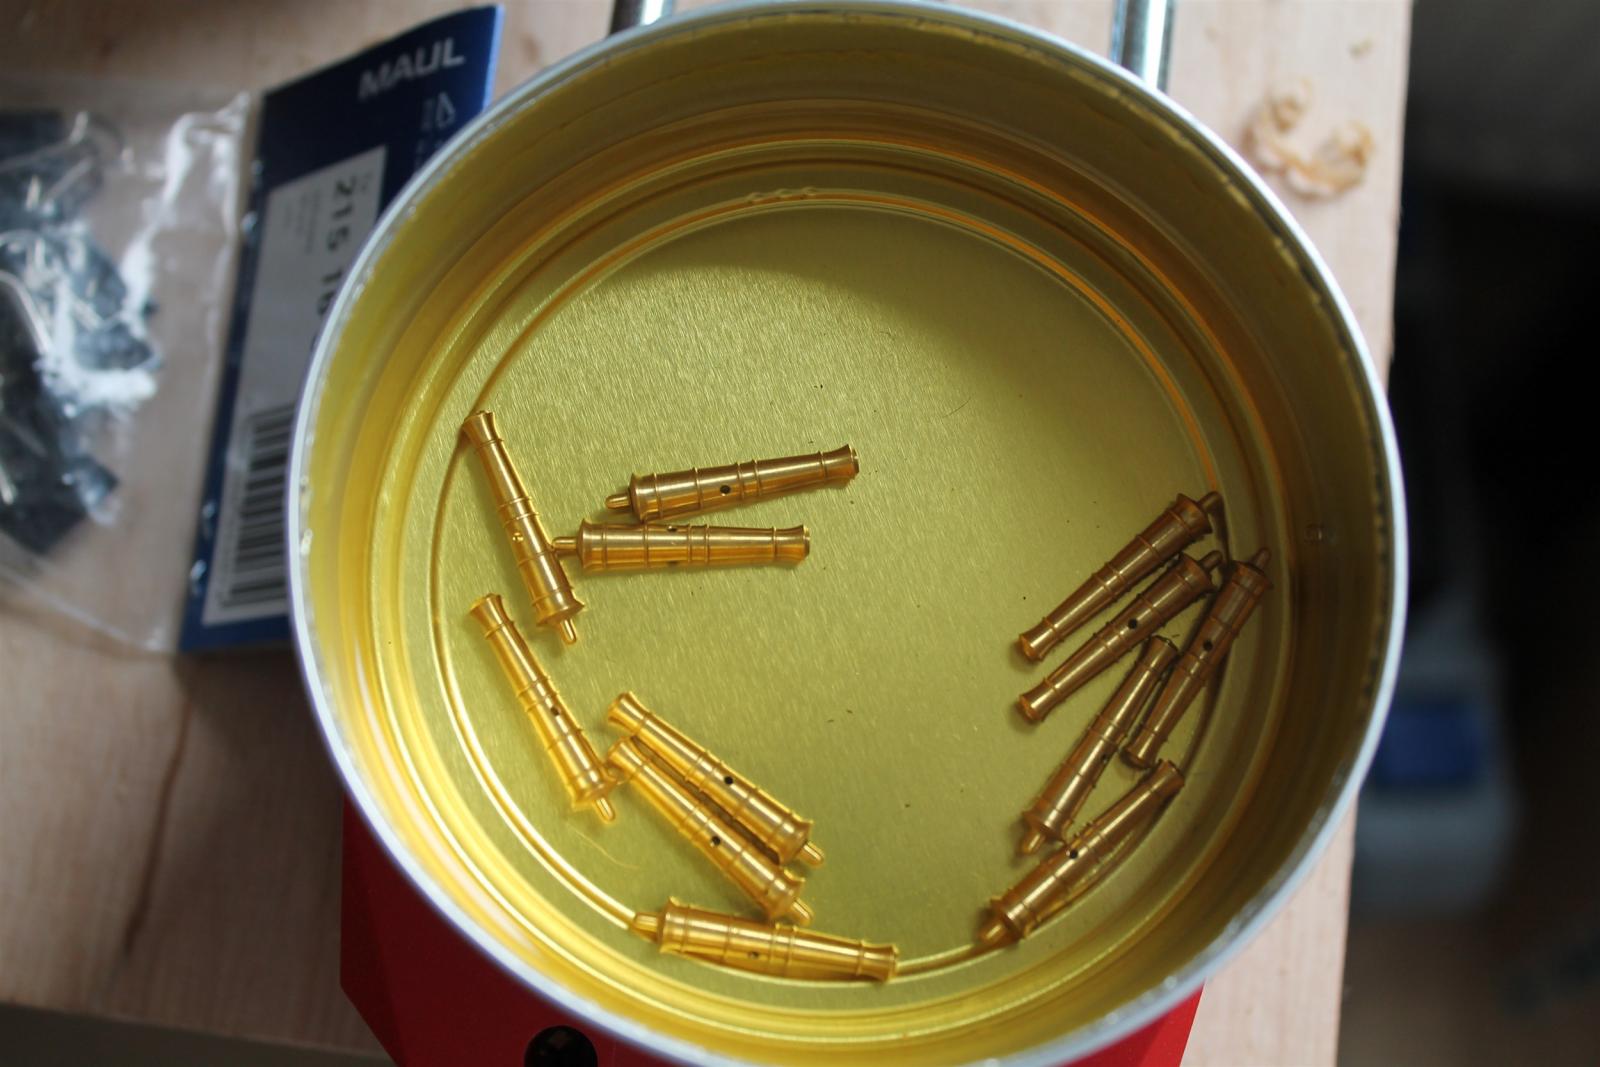
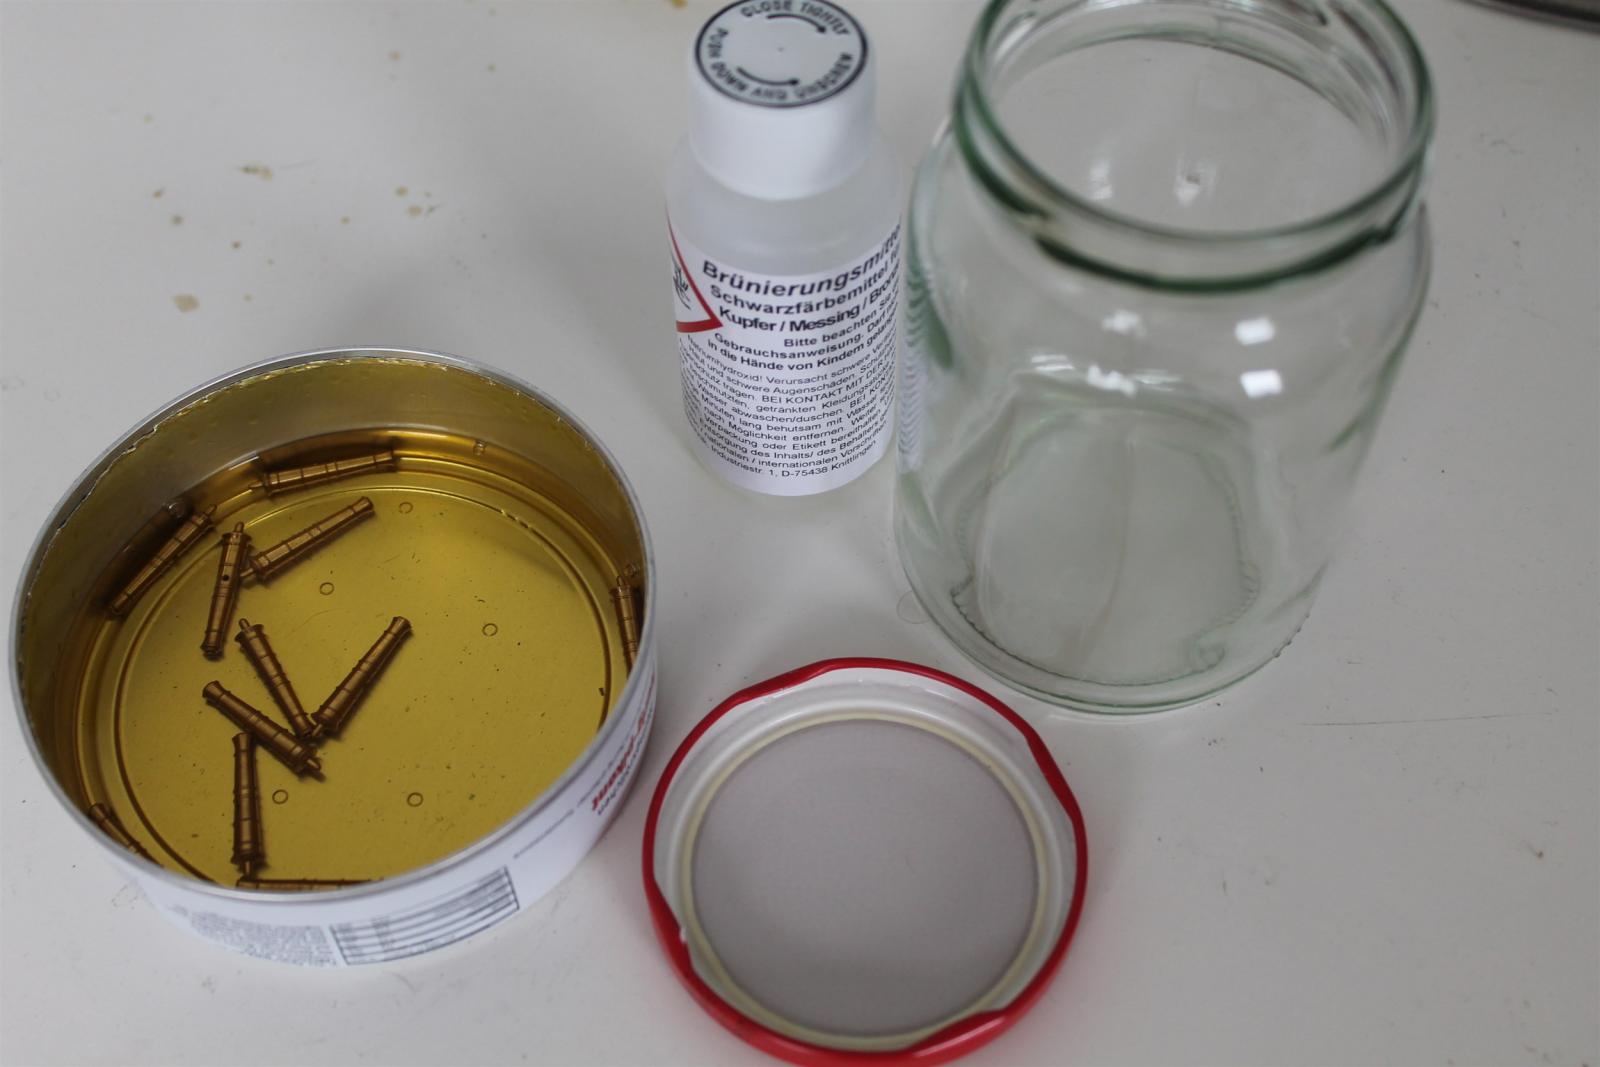
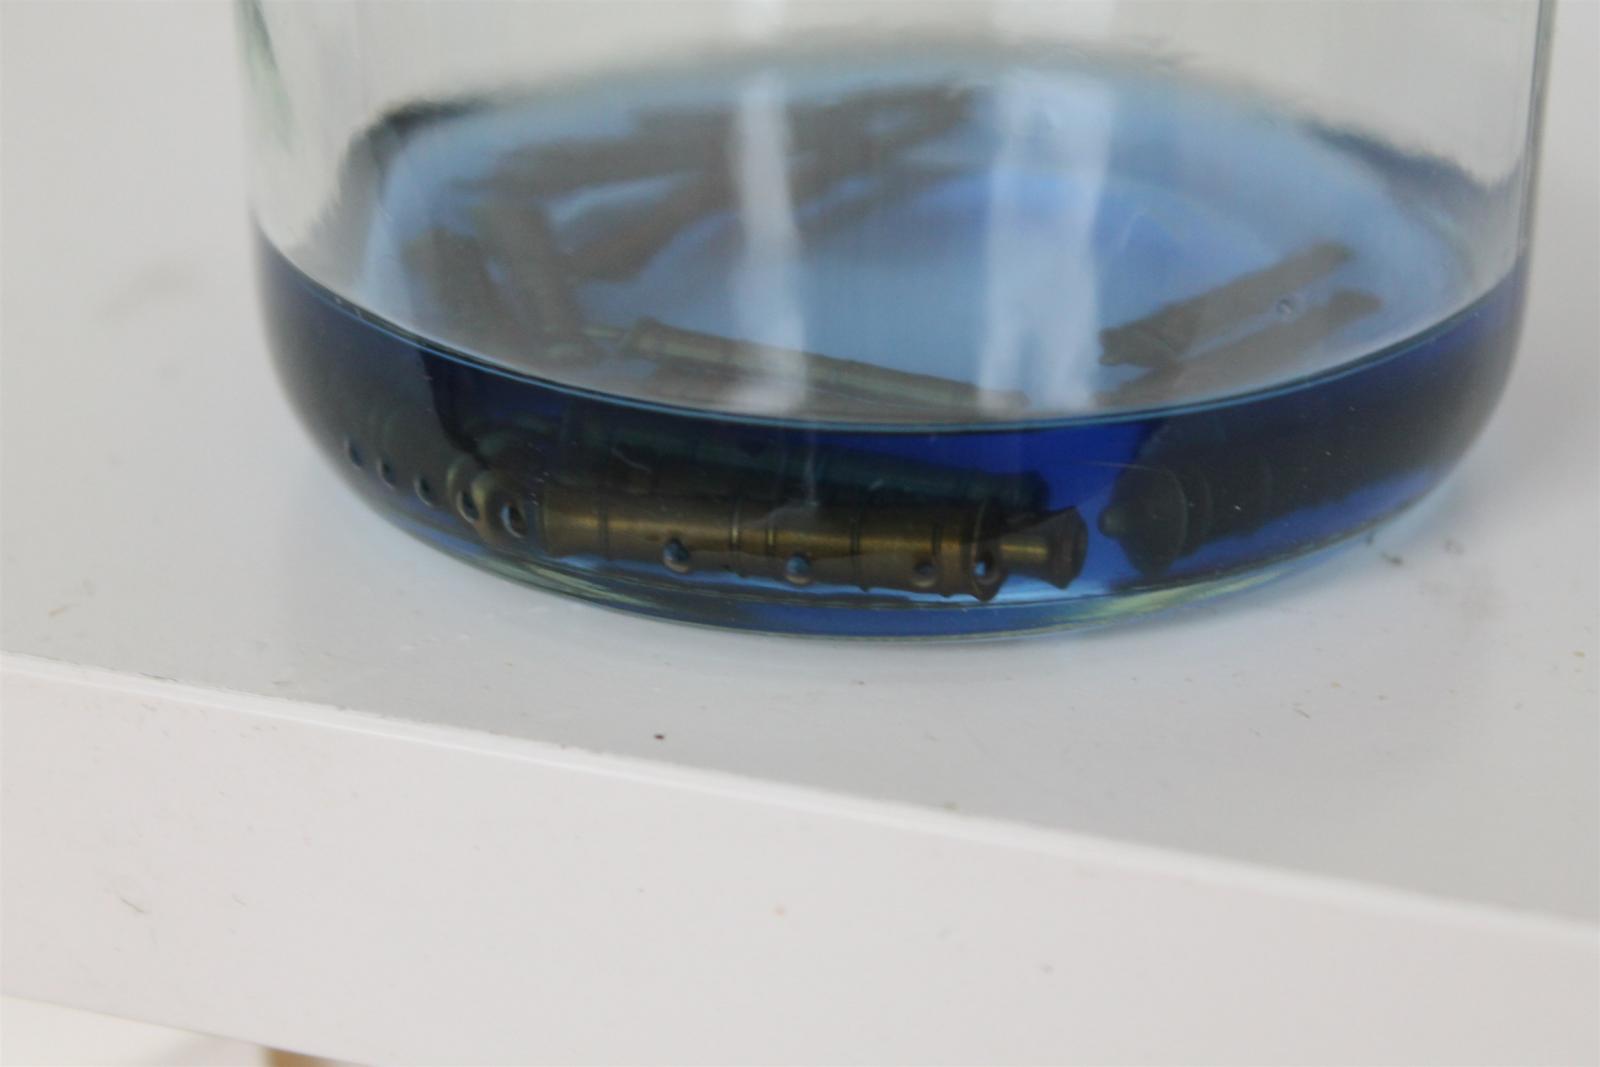
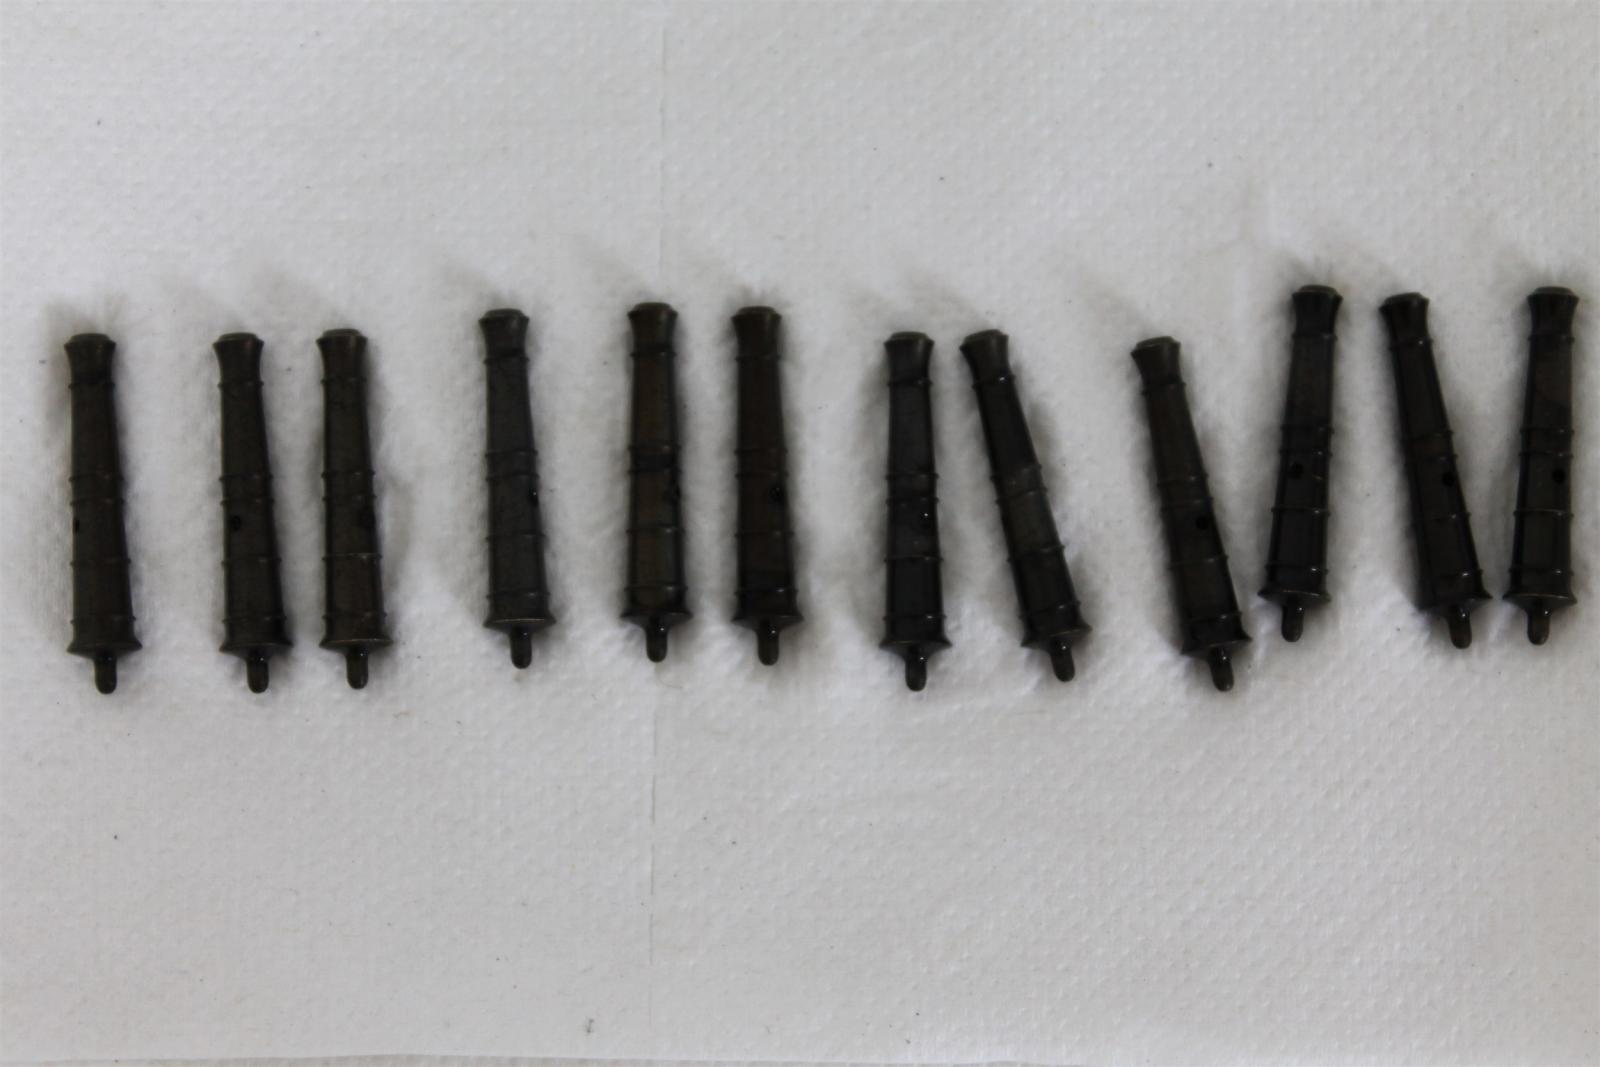
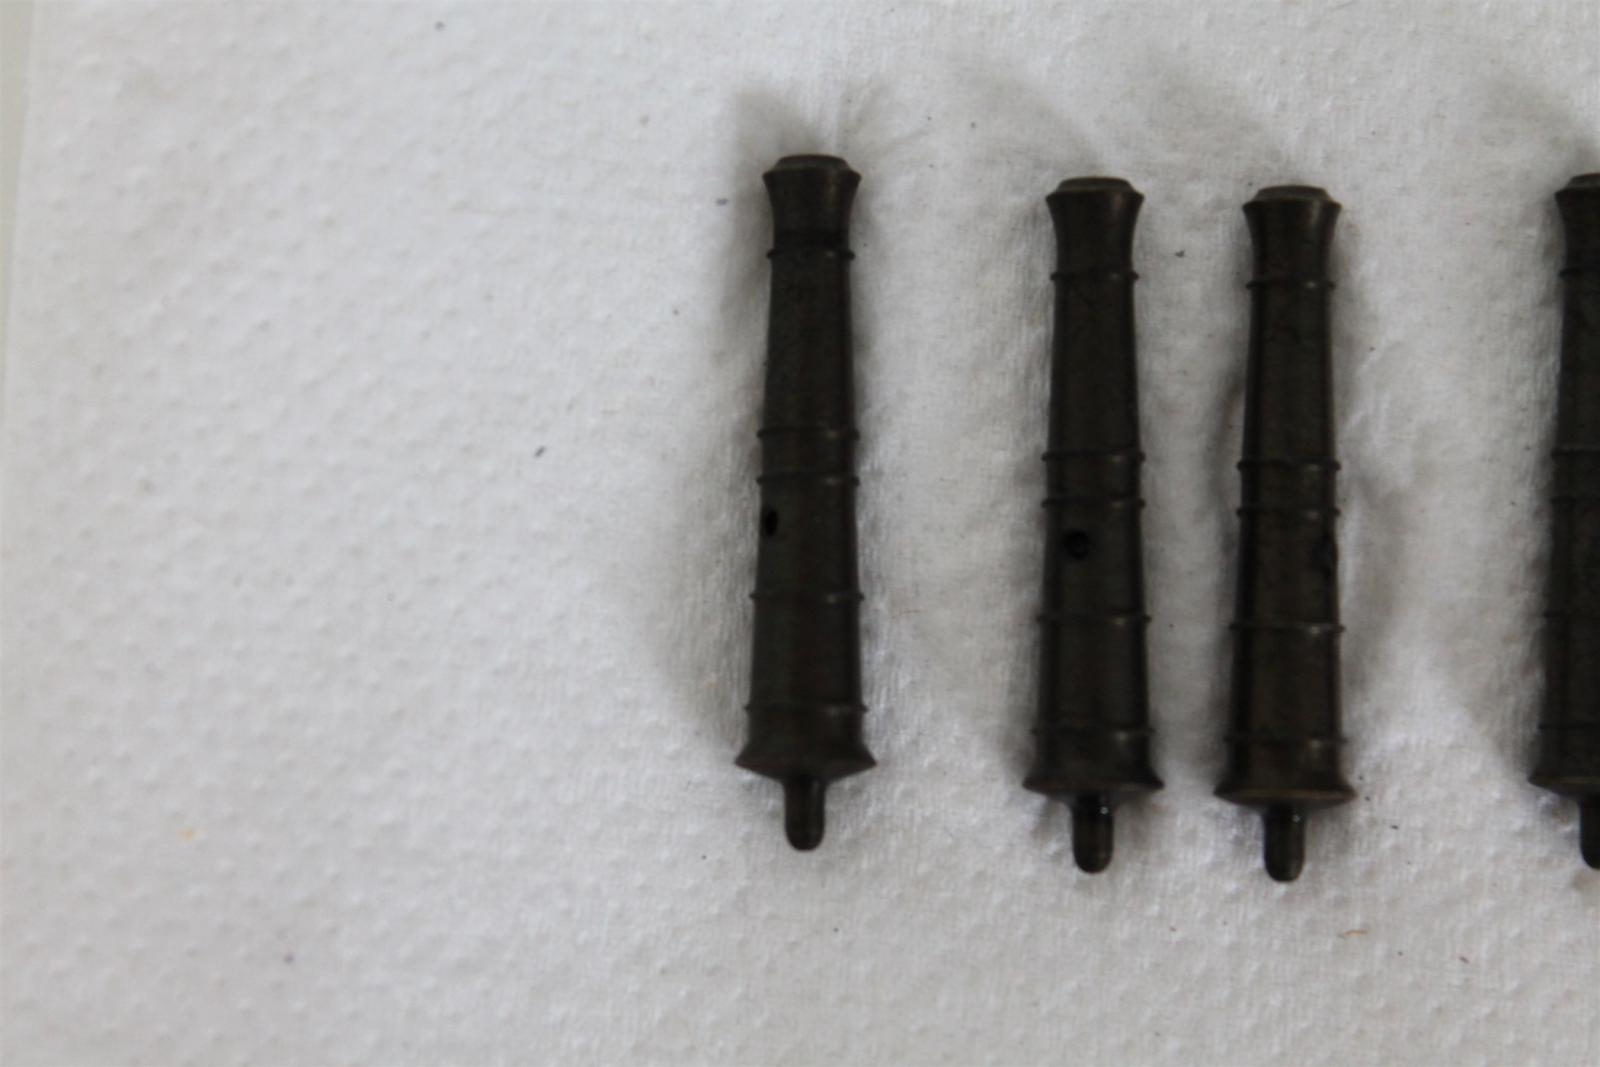
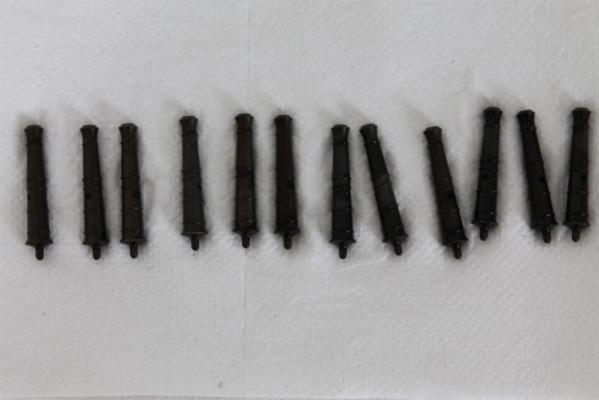
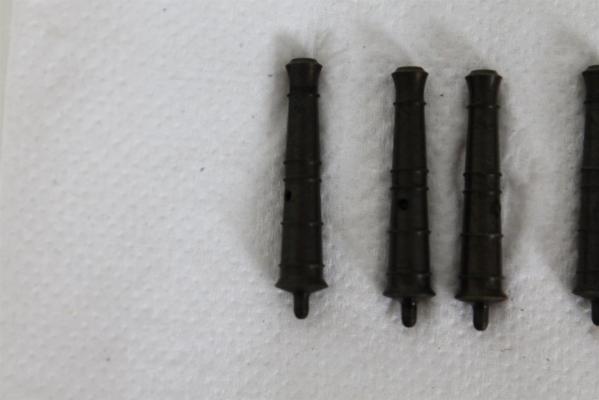
I already thought about the problem of removing the bulkhead stubs before installing the deck. Because most of the gluing area now is that part of the hull, that keeps the gunport pattern. But i think, when the second planking on the outside is completed, the glued on planks on the gunport pattern will hold it in place. Bah, for now it is too late. I will see how it outcomes, when removing the bulkhead stubs. Maybe i reinforce the joint between planks and gunport pattern also with laminating glueed paper over the joint. After i laminated the planks with the paper, the hull and planks got really really sturdy... Yap, the blackening solution did a great job. And it was really fast. I think after 15 minutes the grade of black was reached. But probably i will put some matt black paint also on them, to get some little more texture on the barrels. Now they are still really smooth.
-
Hi Mike, thanks for the compliment. But i think the hull looks better on the pictures than in real... ;-) For the blackening i used this blackening solution: http://www.krickshop.de/Bruenierungsmittel-50-ml Krickshop is a germany located shop specialized in model building, but not only in model ships. Oli
-
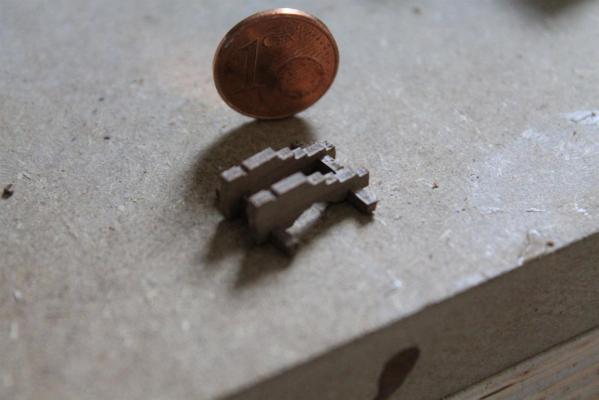
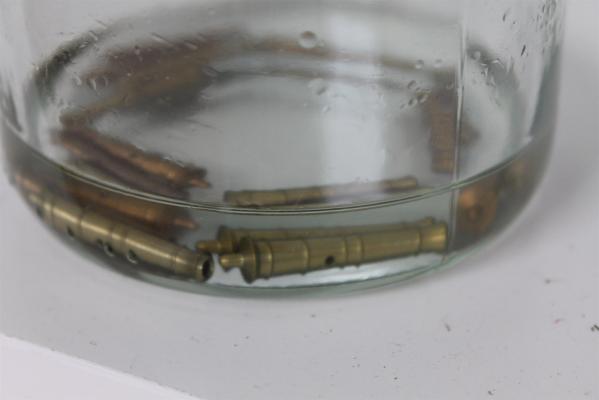
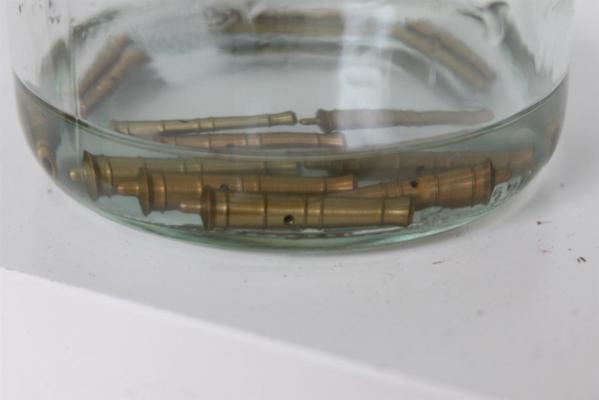
Cannons (cannon_001) To get the head clear of tapering planks meanwhile i started to build the cannons.


-
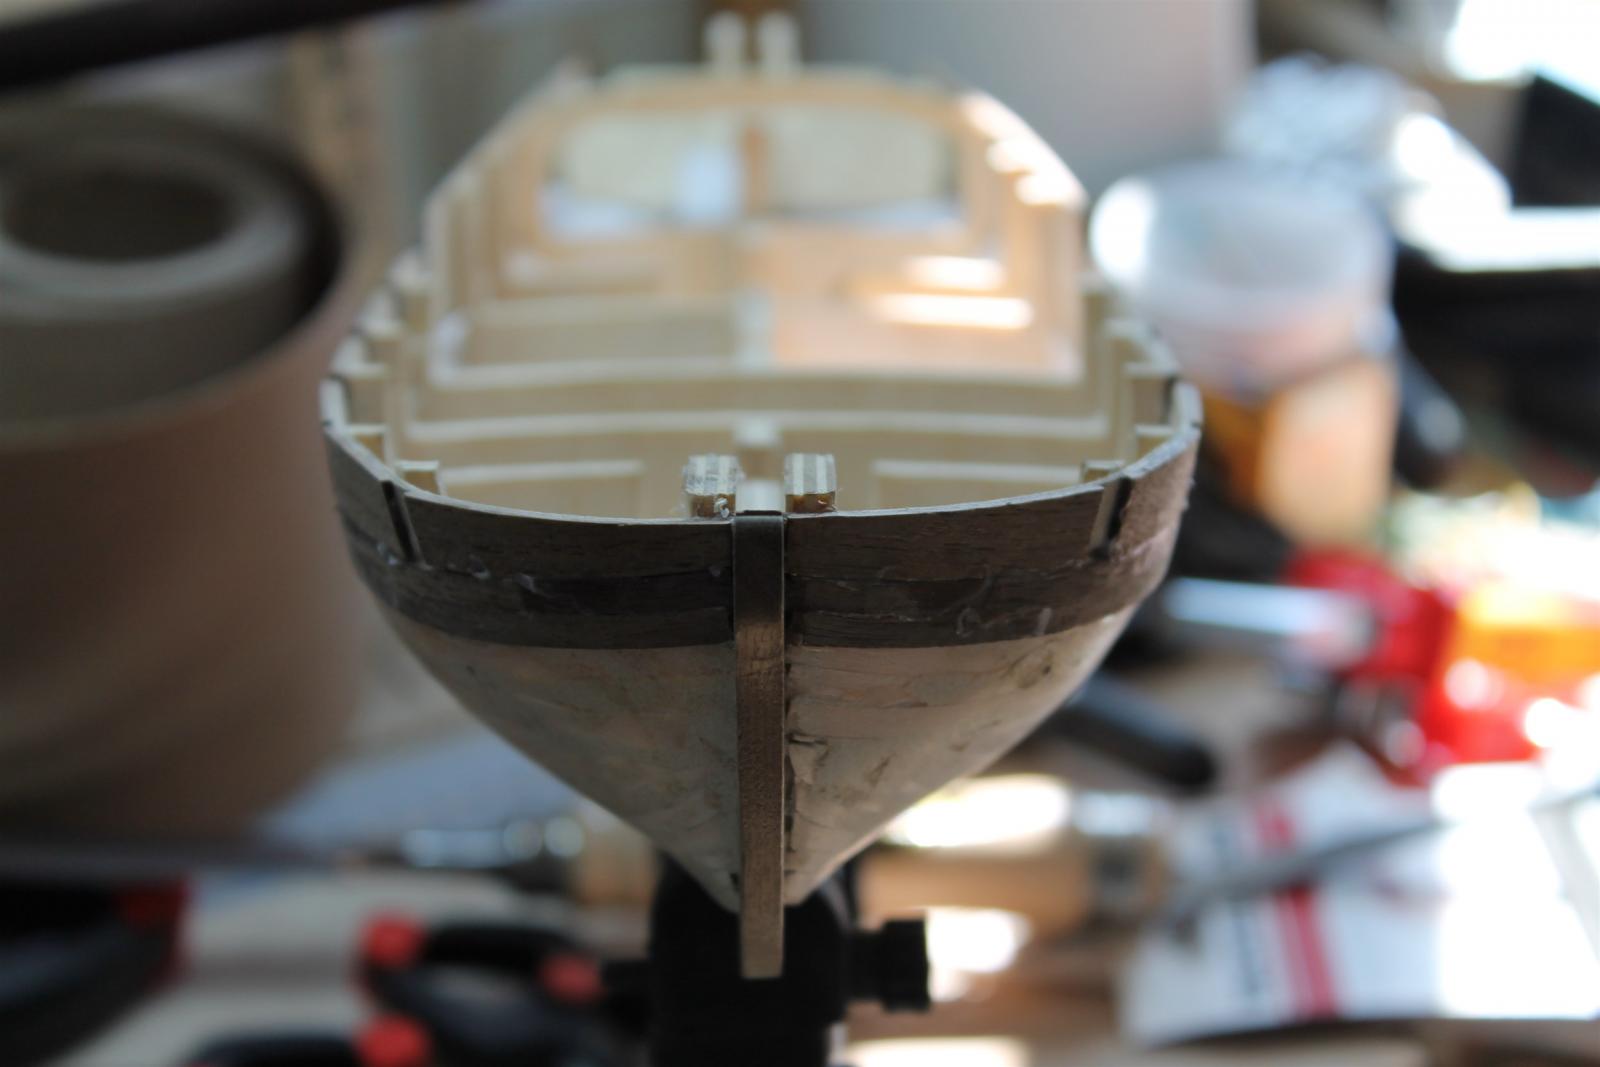
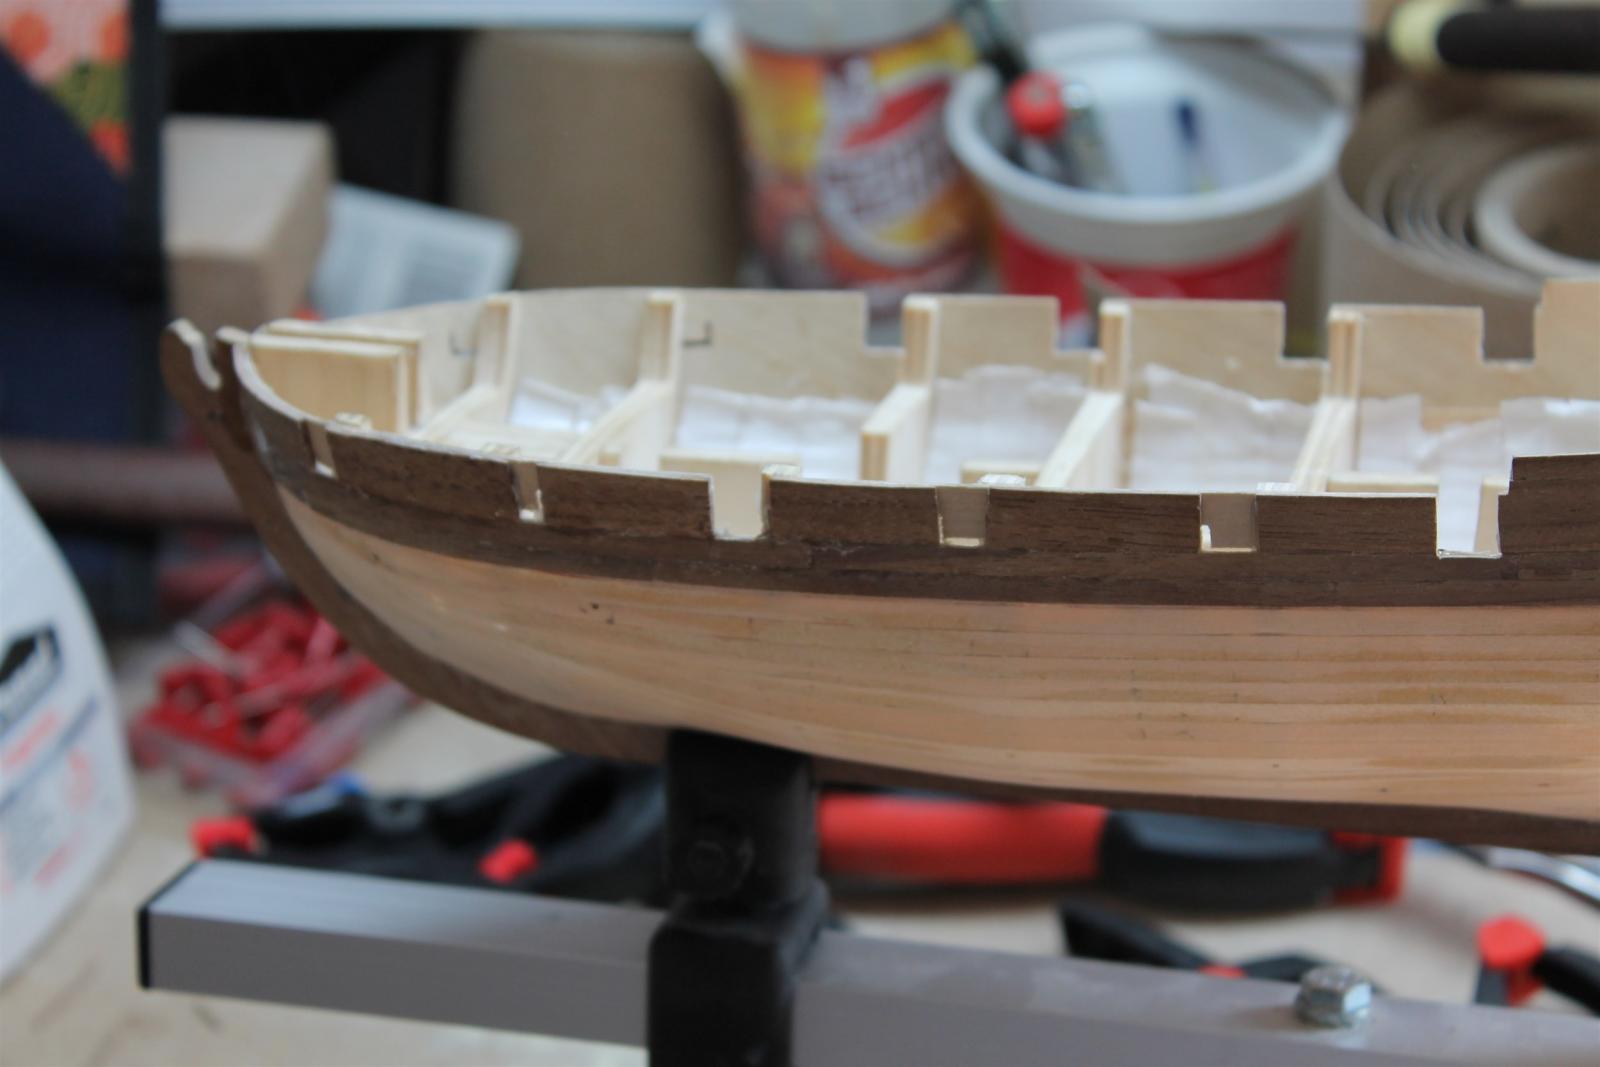
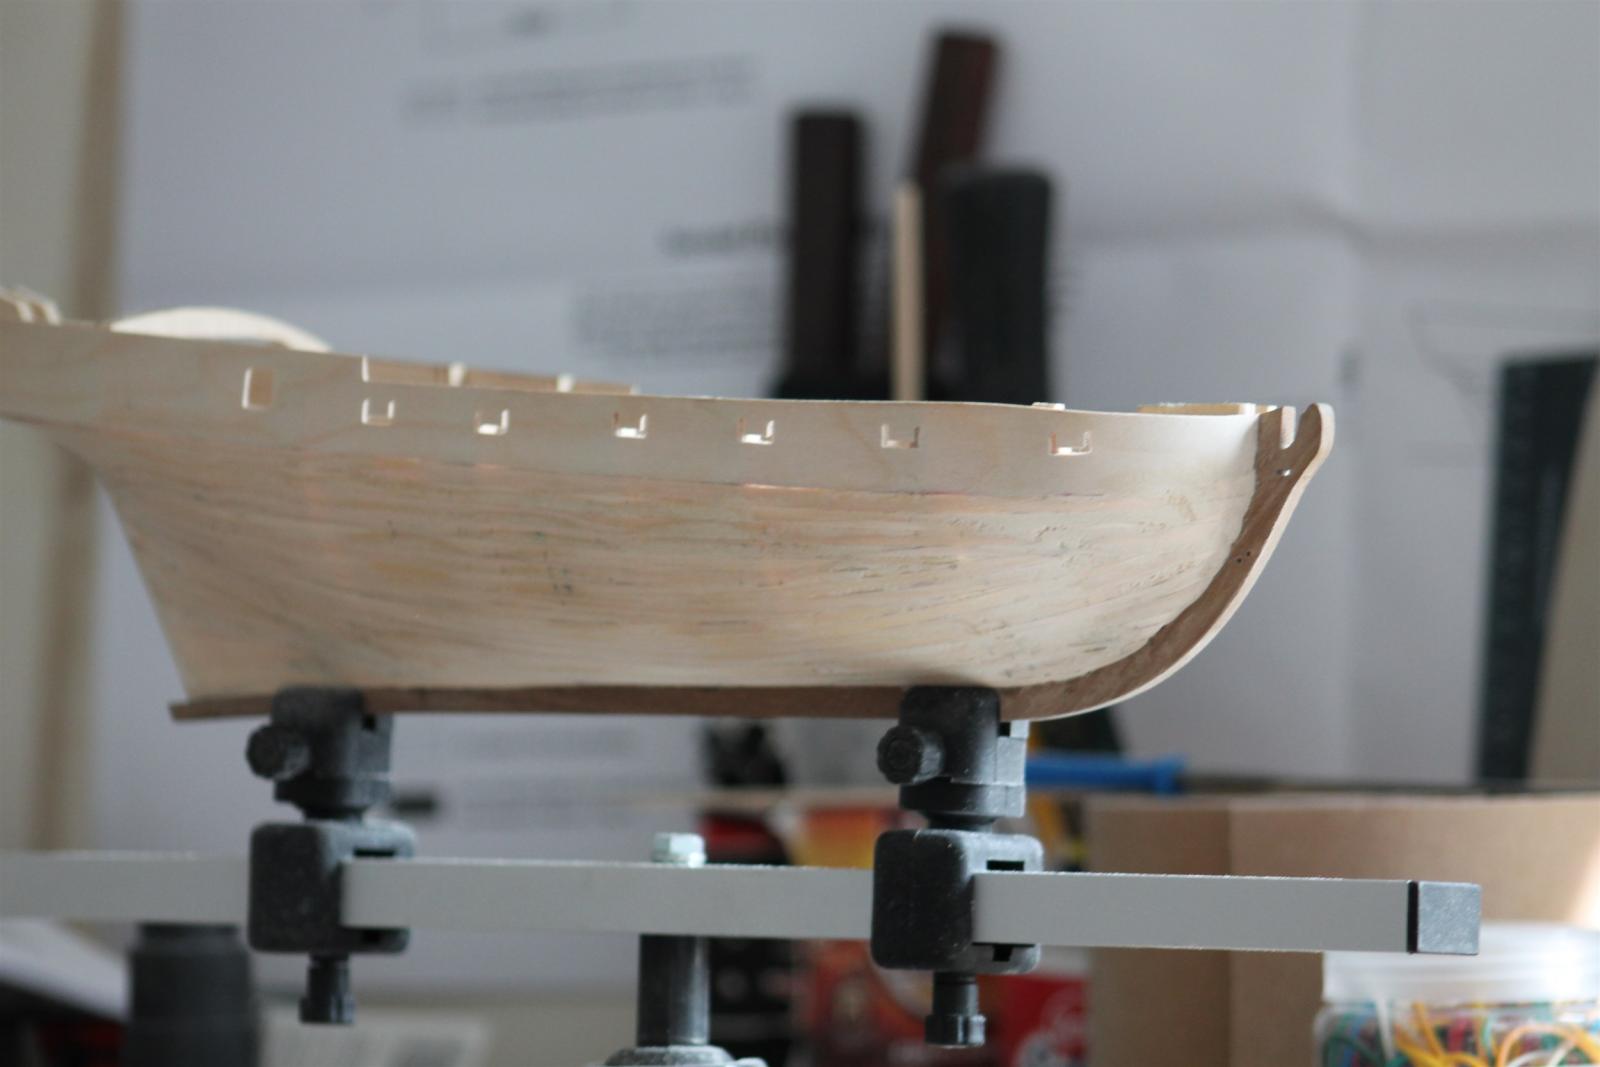
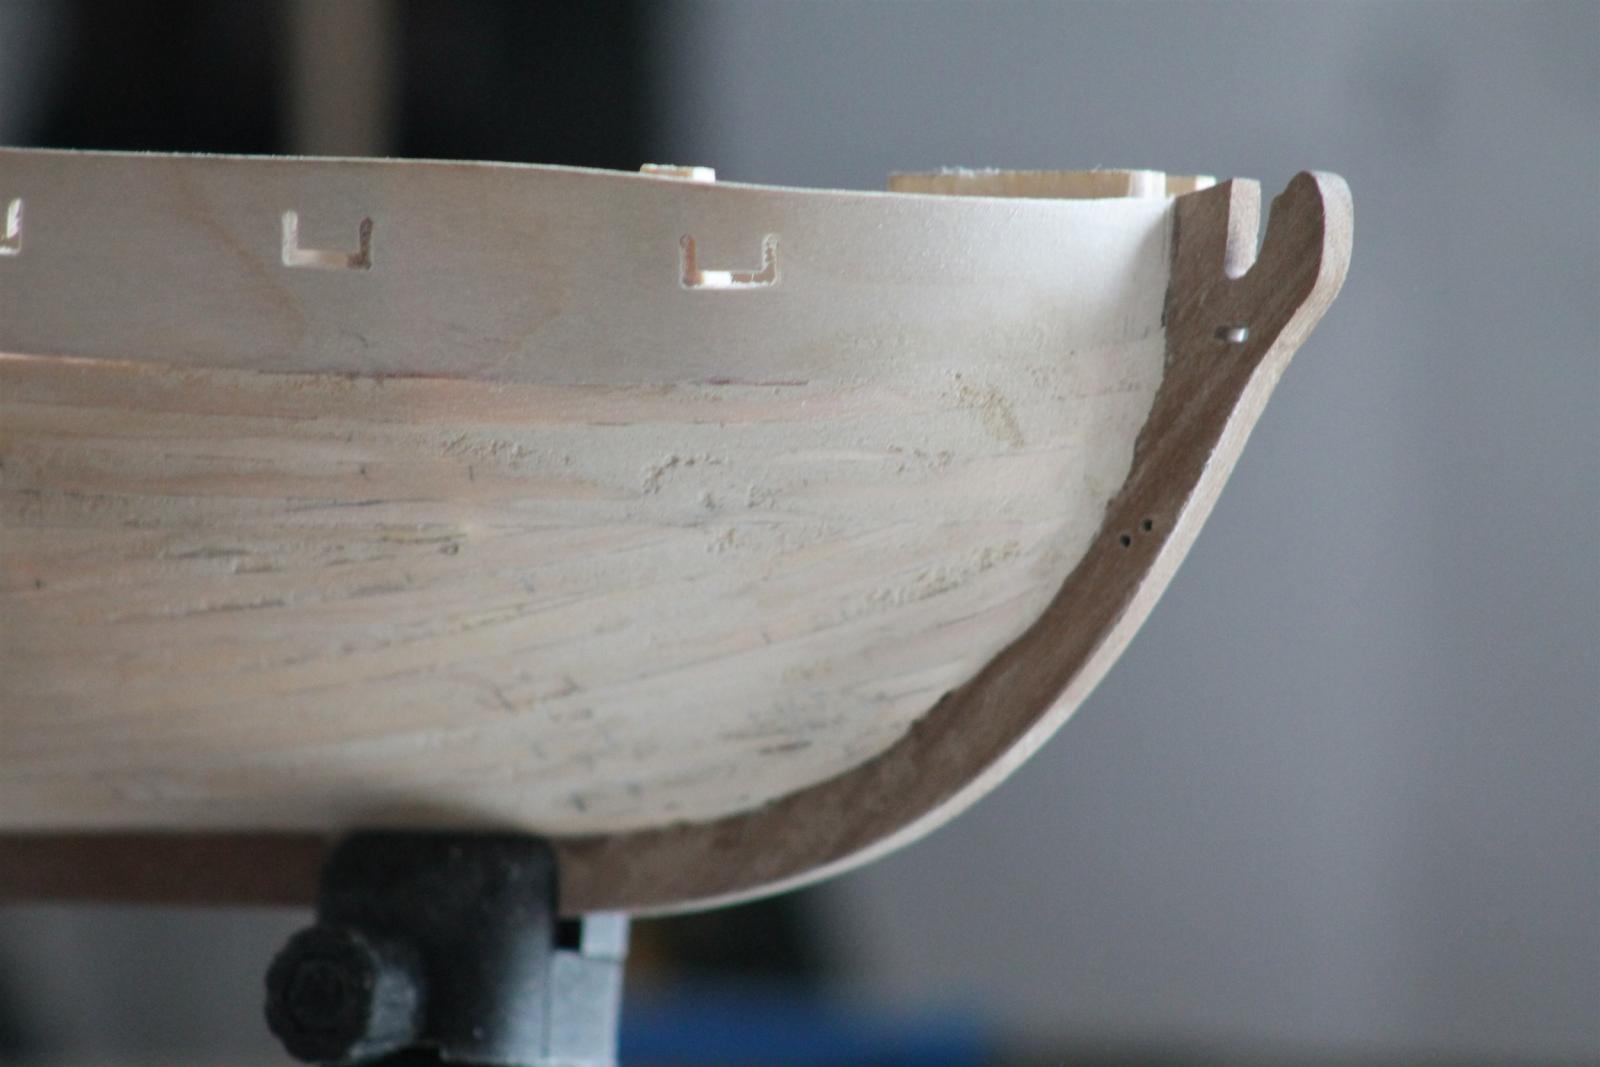
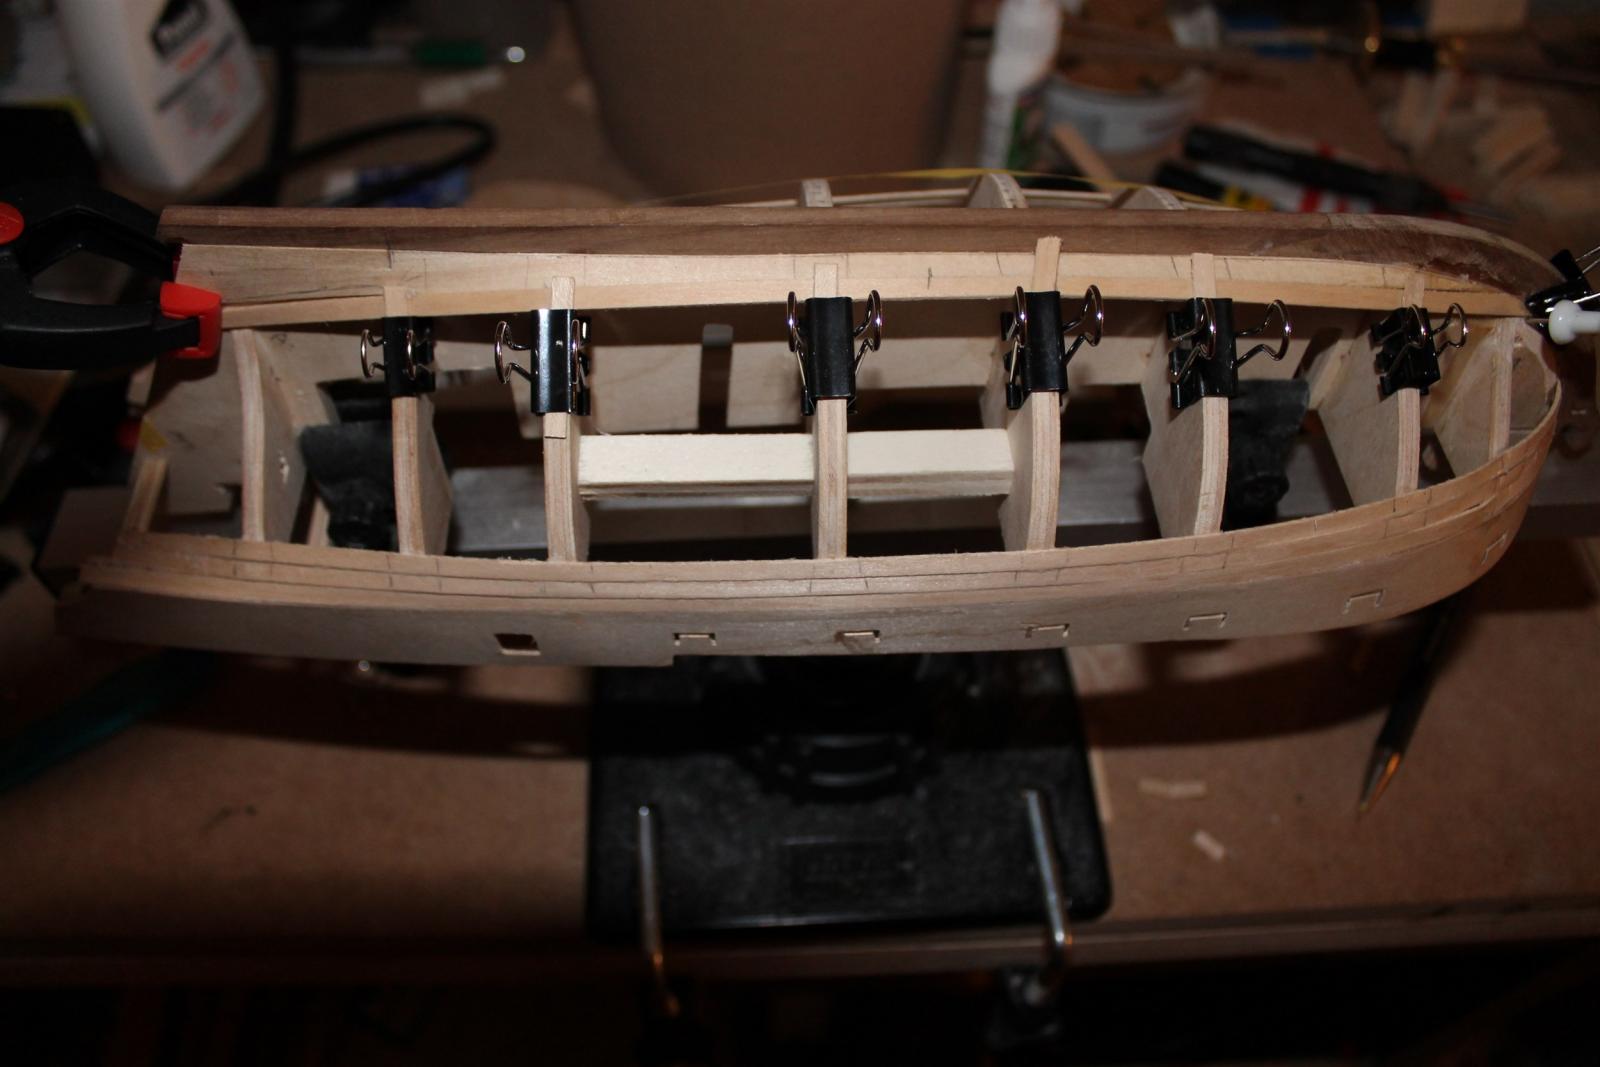
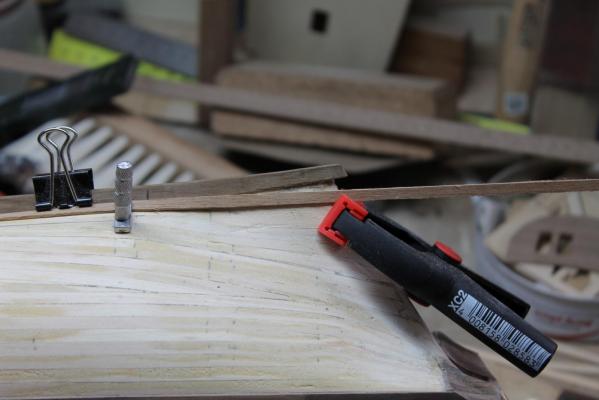
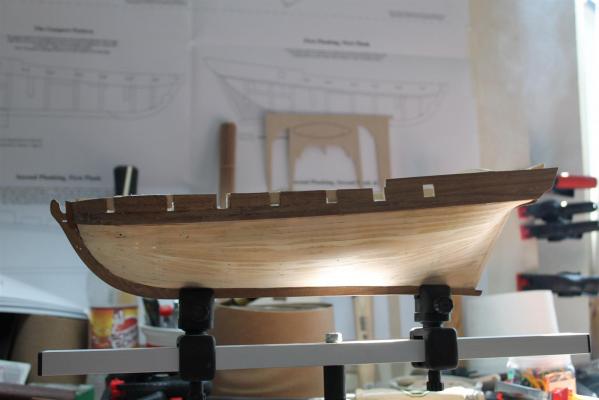
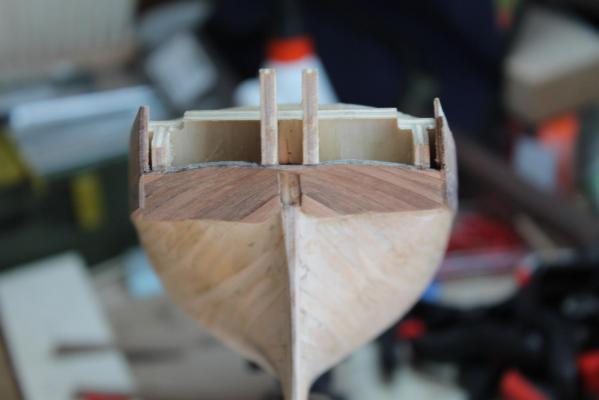
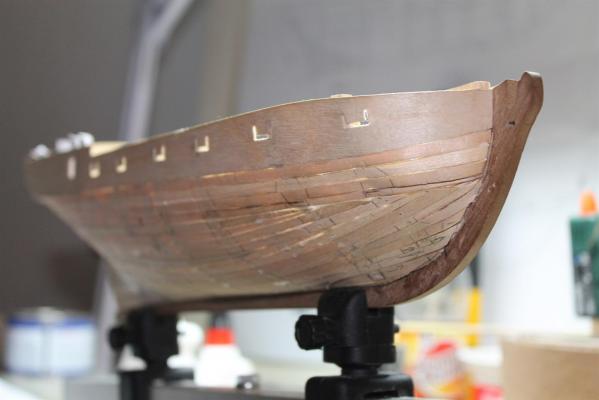
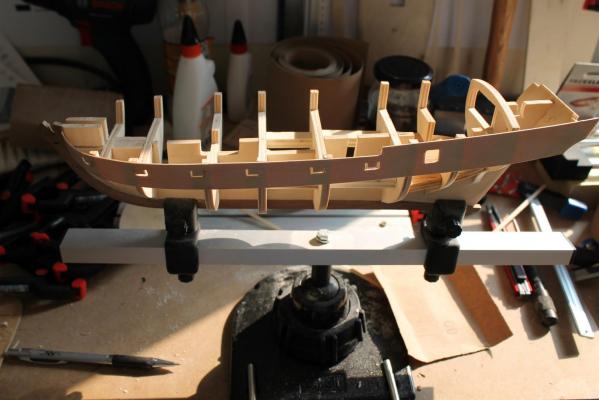
Finished first planking (hull_003) So first planking is finished. I also reinforced the first planks with glue and laminated paper strips from the inside. Now the hull is really stiff... Next steps i will put on some filling paste and sanding it.


-
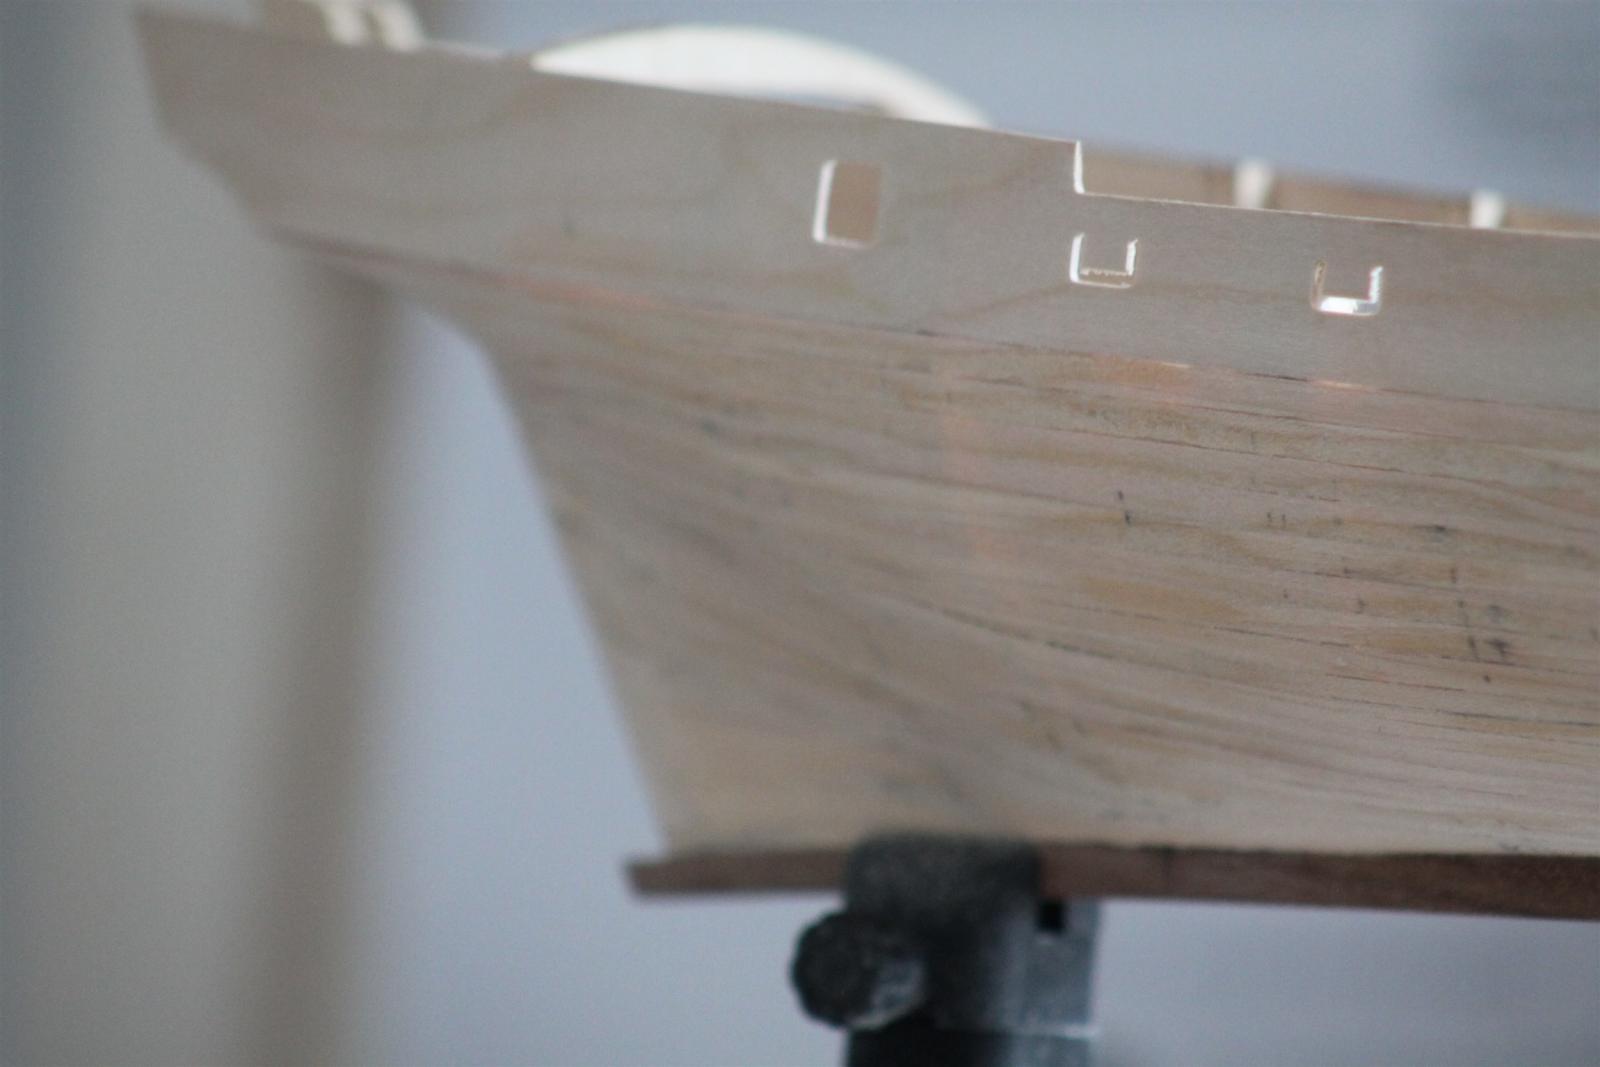
Step 6: First planking (hull_002) Finally i managed to finish the first planking. I think for the first time i came out quite good. But i am not really satisfied with the result. Nevertheless there are no spots that could not be repaired to get some plain surface for the second planking. Only from doing you get experience... ;-)


-
Planking Problems It turns out that planking after the kits instructions, brings some problems with the first planking. Maybe i did some mistakes with fairing the bulkheads... On the left side of the hull the first three planks snug nicely into place and form... but on the right side i get some clinker effect. Reading some planking tutorials let me think i should have started the first planking also with tapered planks. and not like the kit instructions. Probably i will remove the third and second plank and start all over. The first plank seems to flow right, so i will leave it where it is.
-
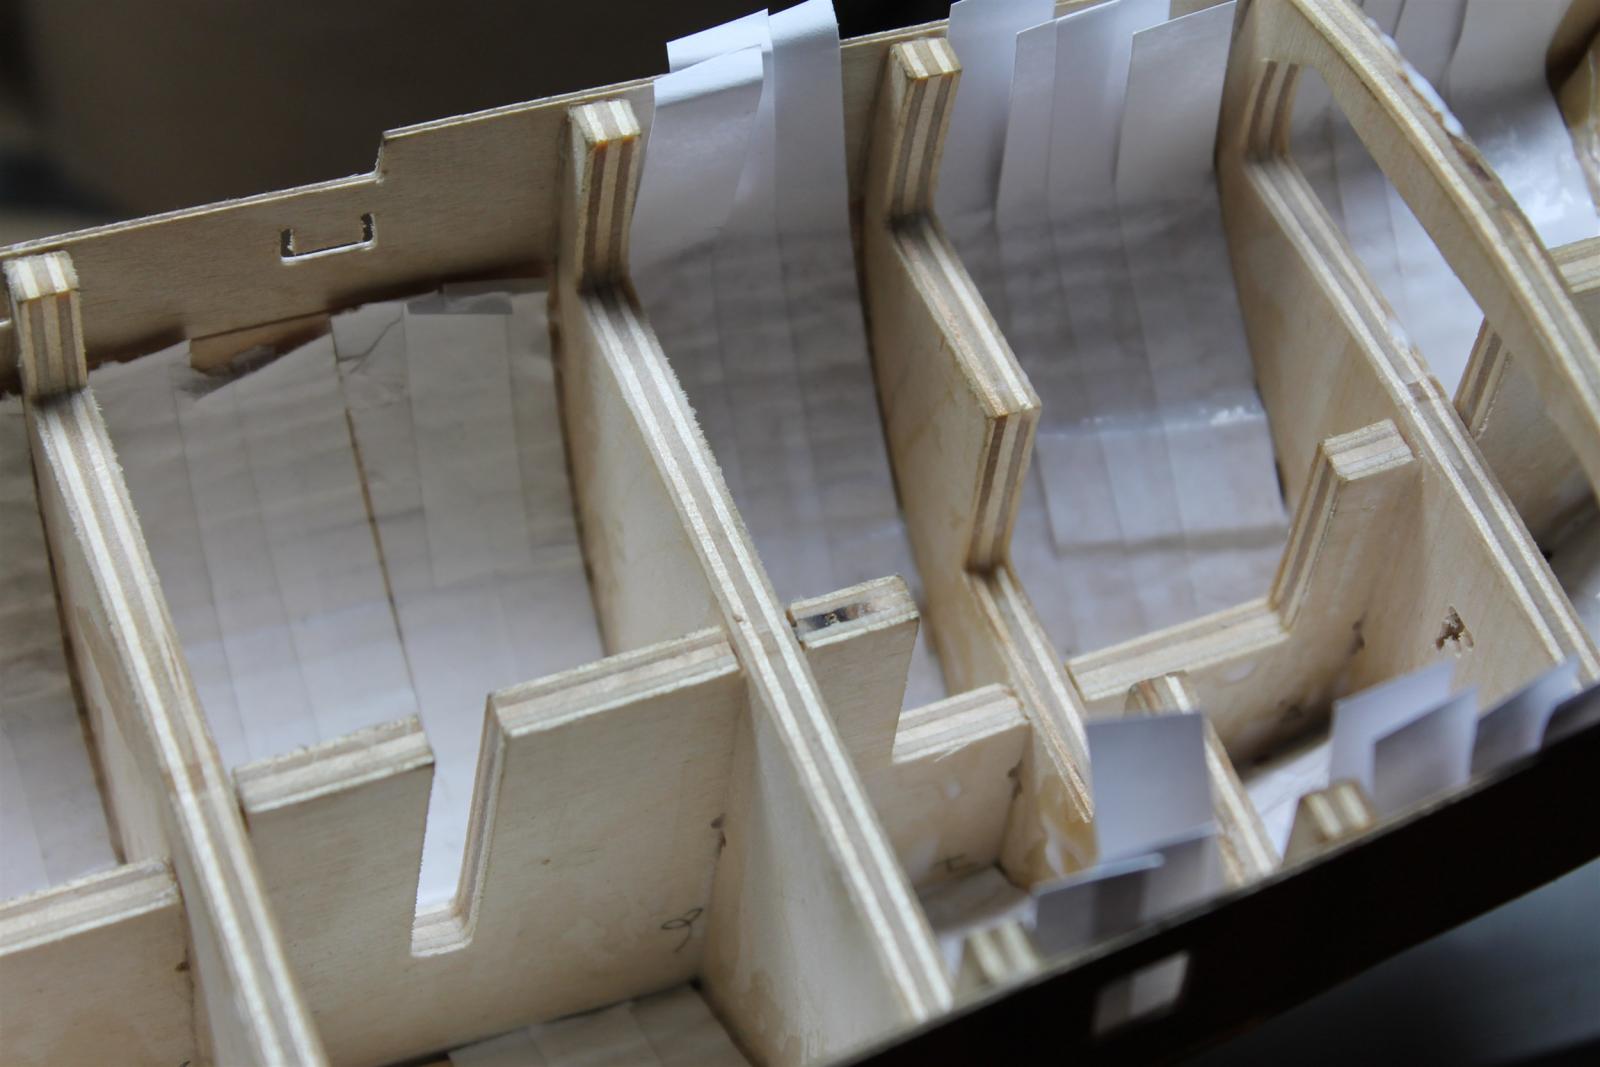
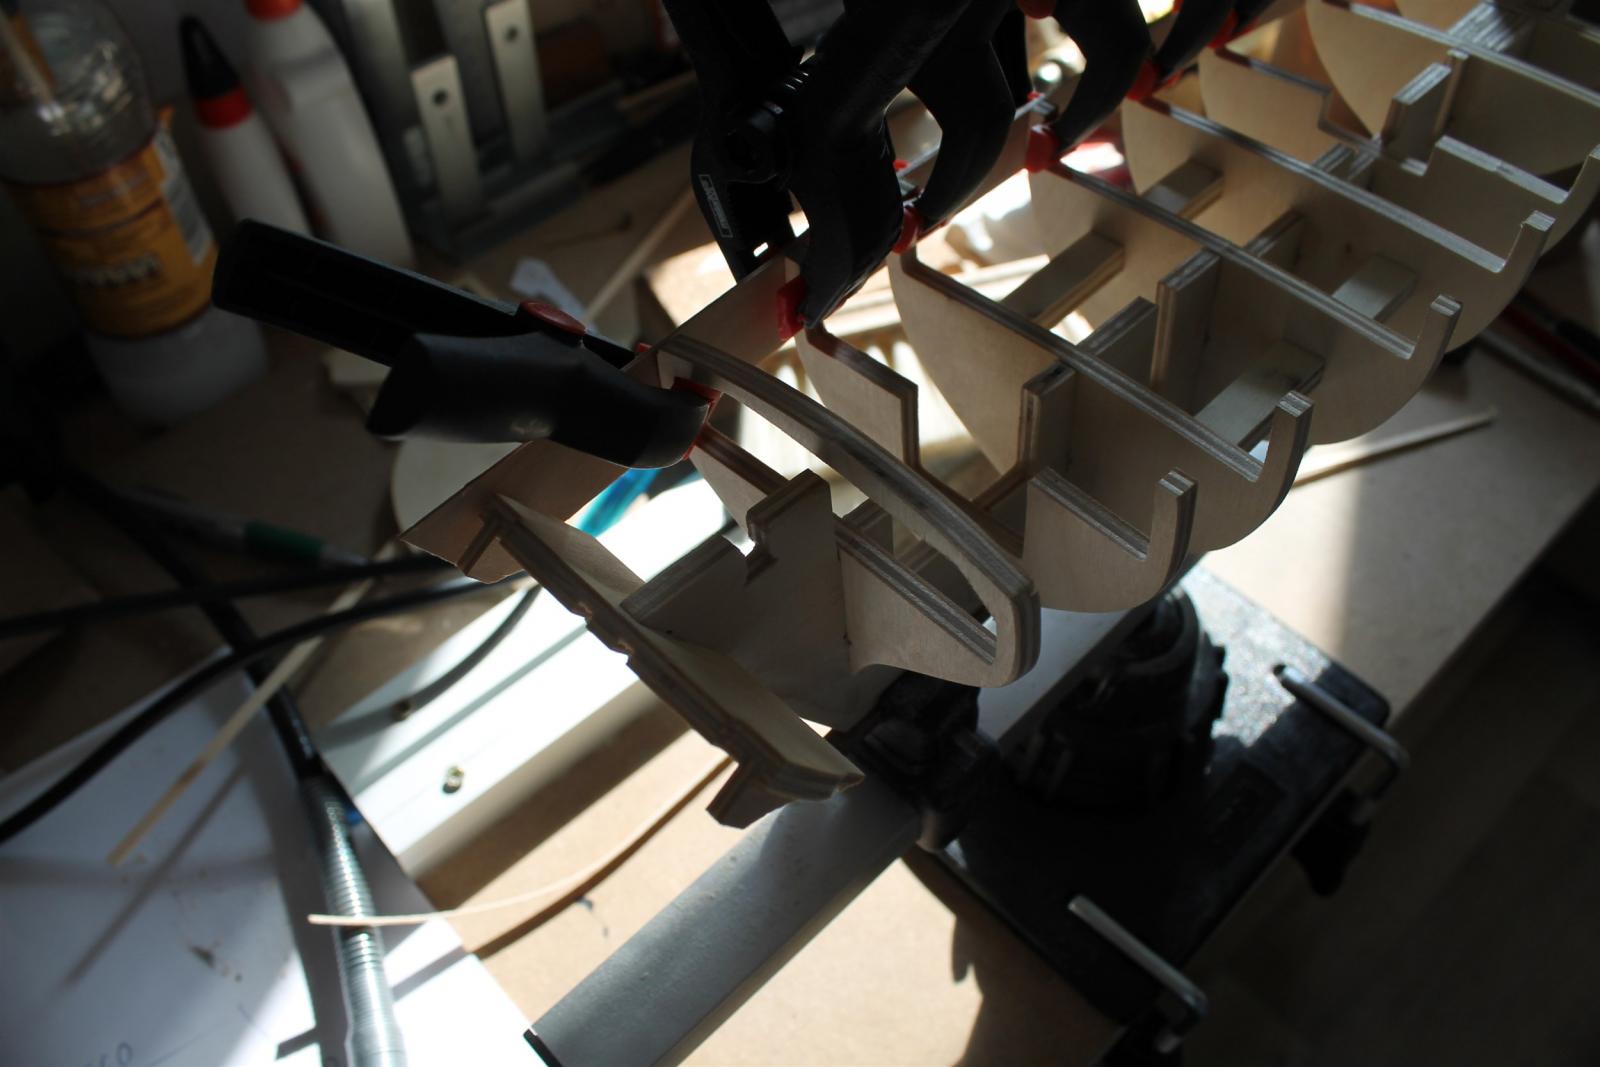
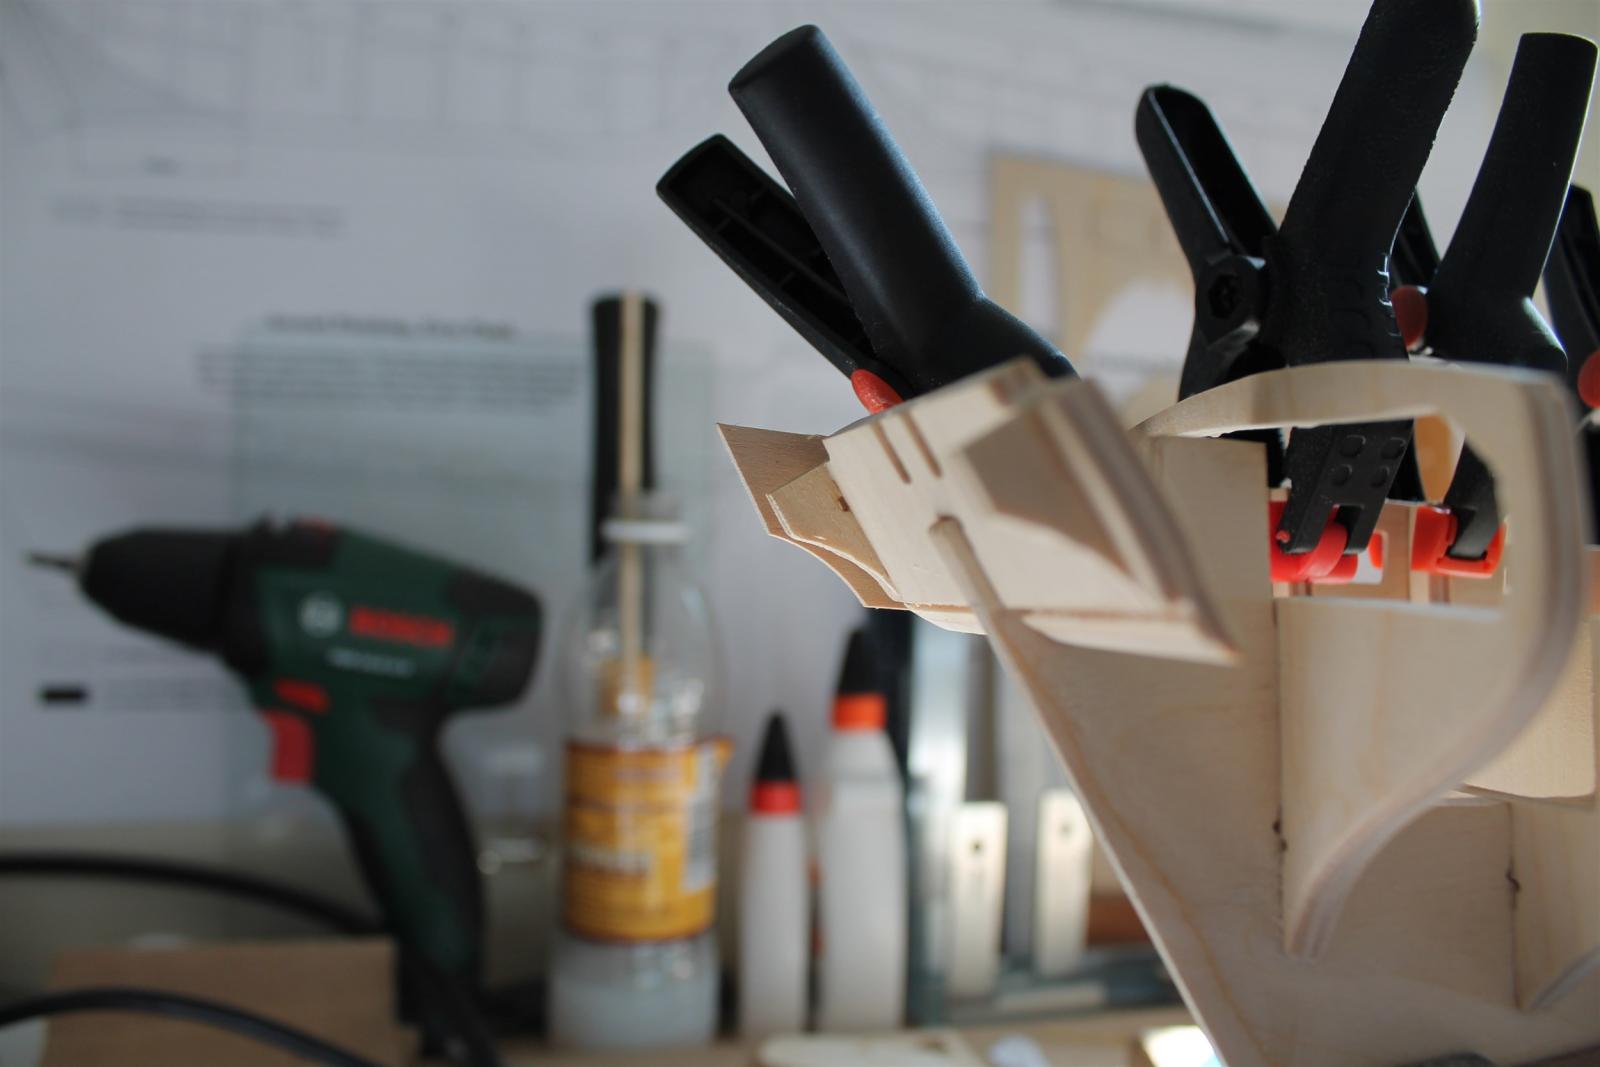
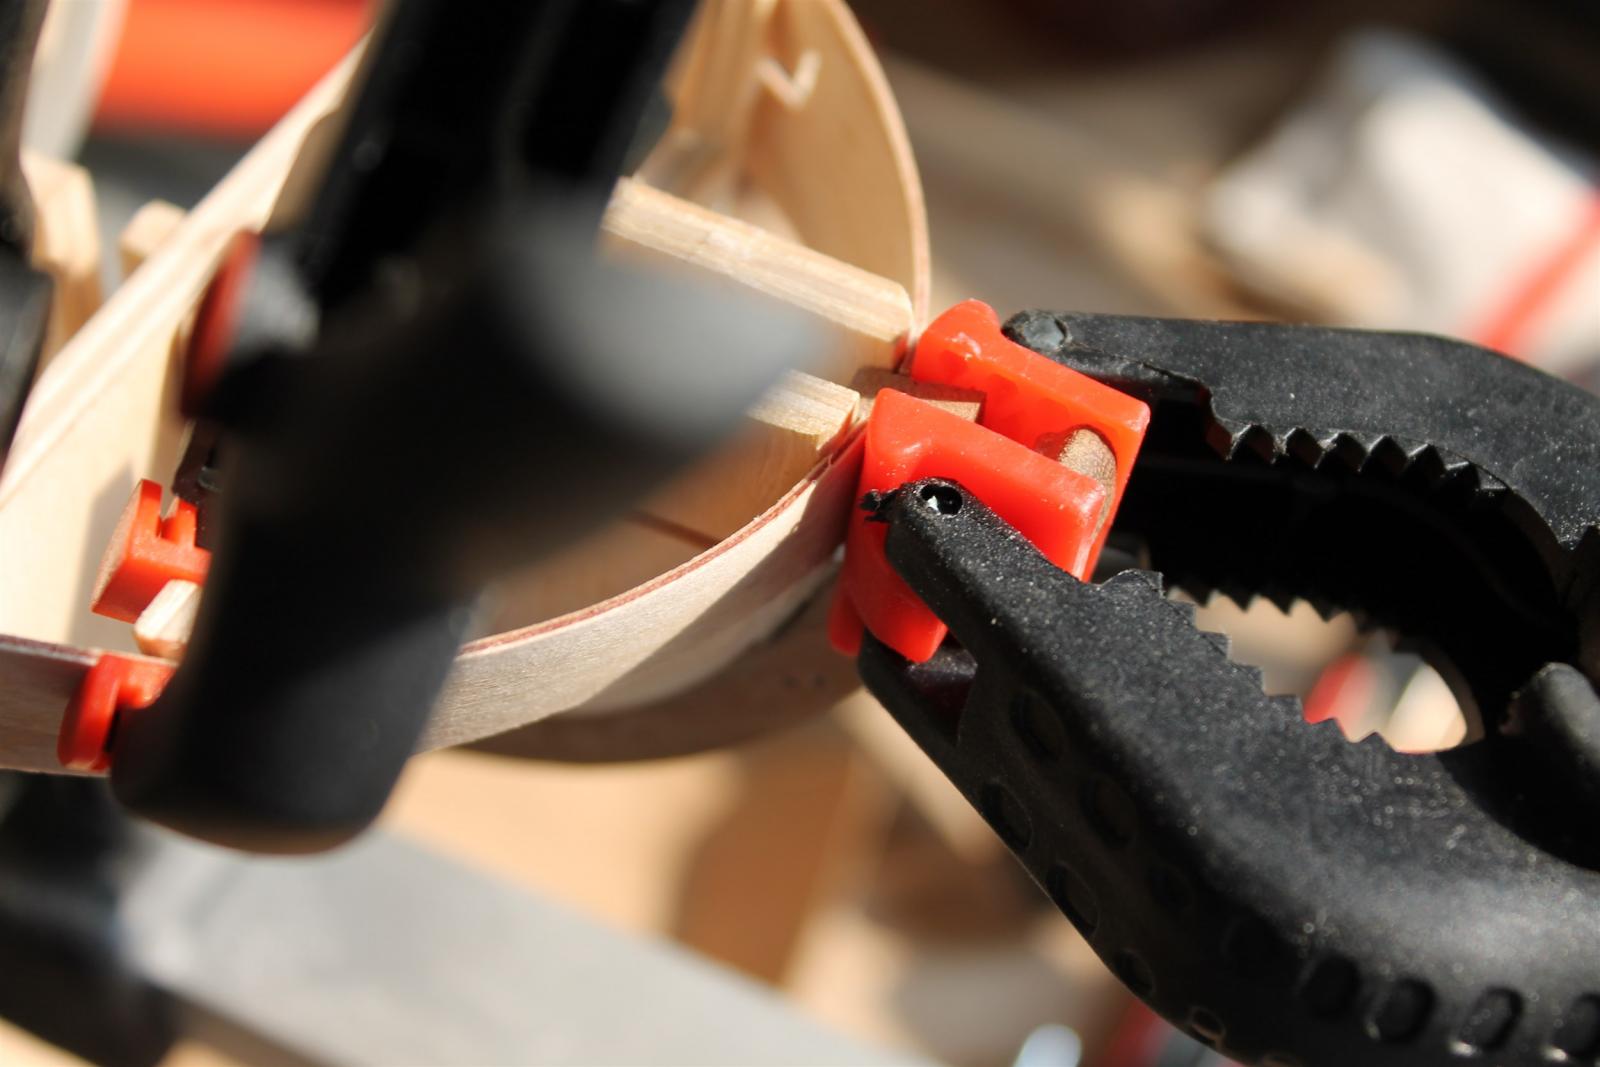
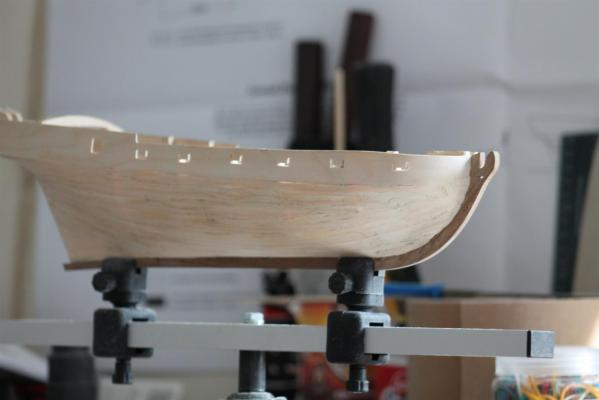
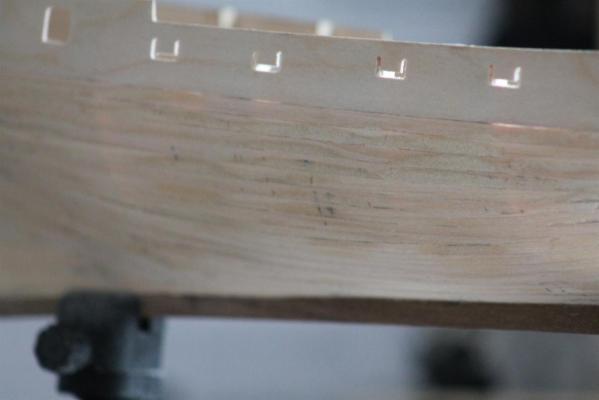
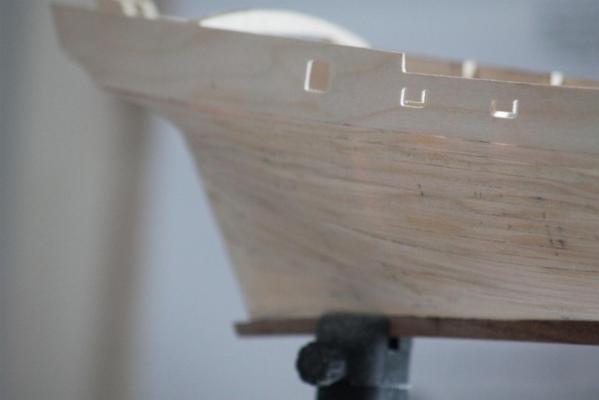
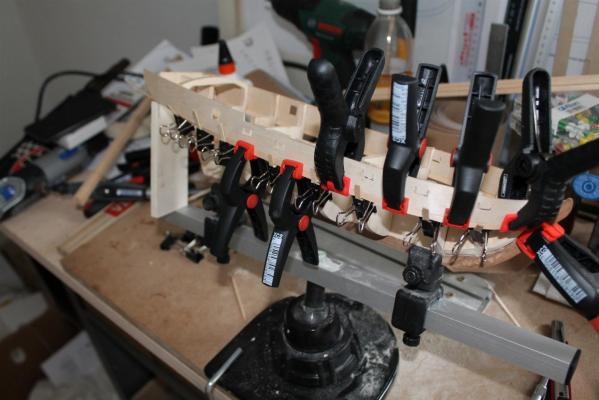
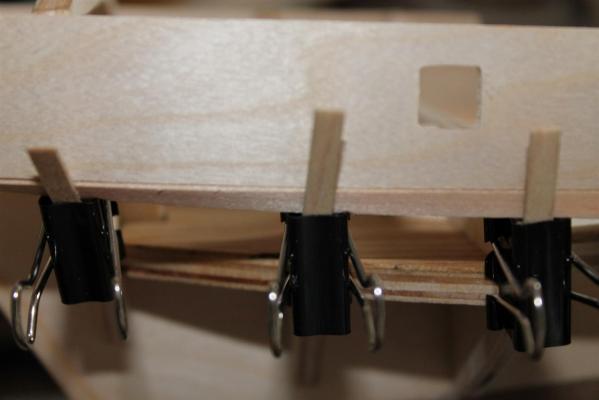
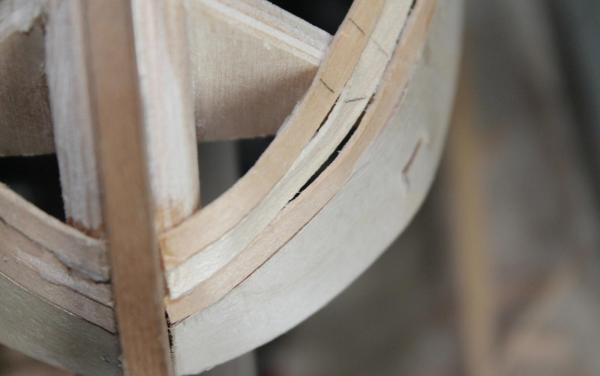
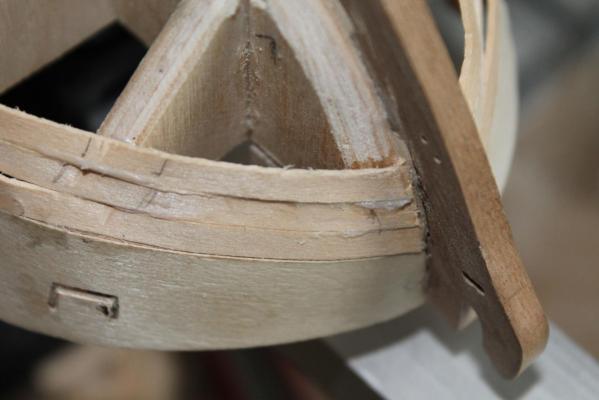
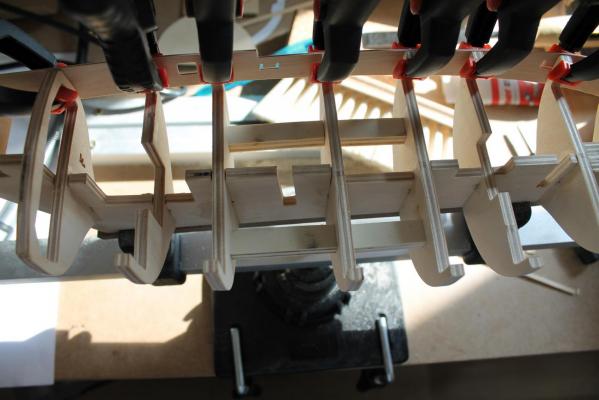
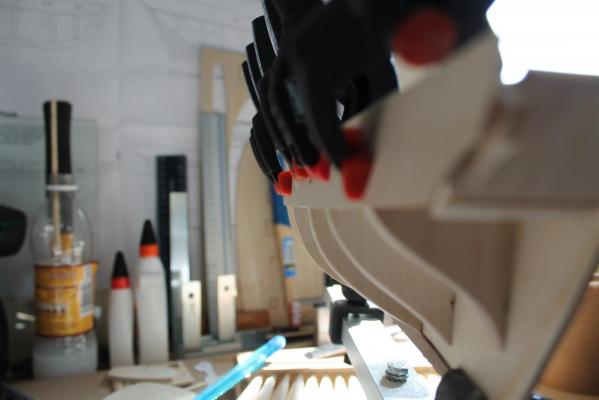
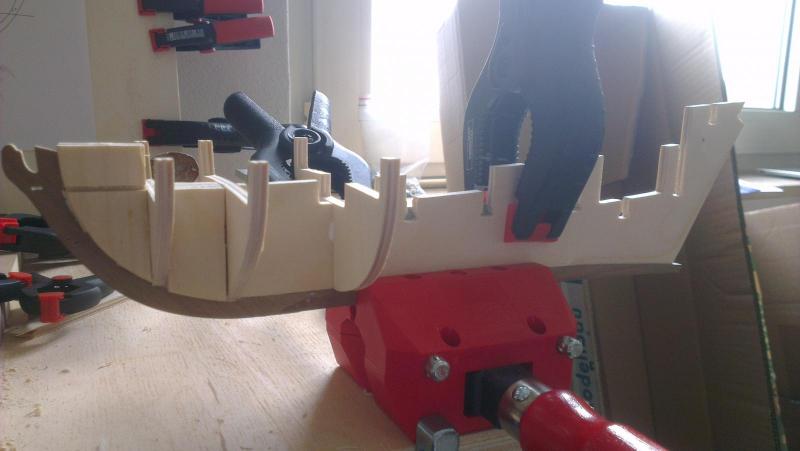
Step 5: Fairing the Bulkheads and installing the Gunport Pattern (hull_001) Business kept me some time busy, so i hadn't much time to continue the build. But in between i managed to fair the bulkheads and installed the gunport patterns. The left gunport pattern i bend before around a root beer tin can... The right one i bend around the bulkheads still while wet. The outcome was better and satisfying than thought before.


-
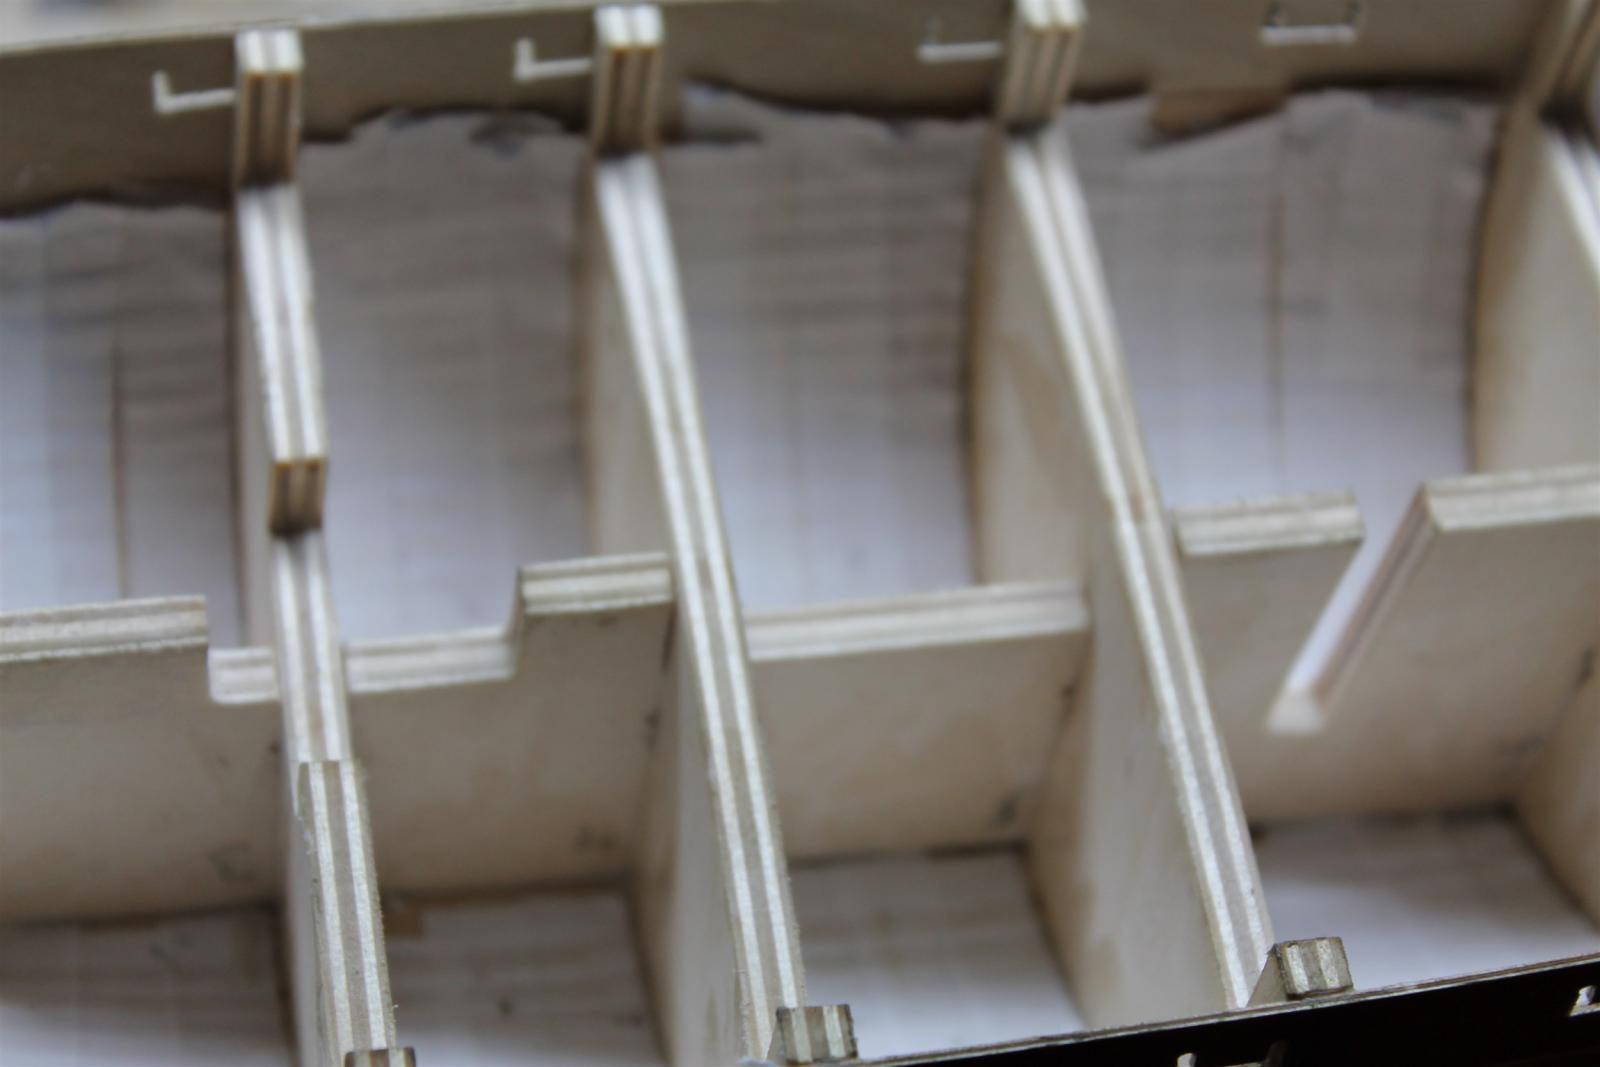
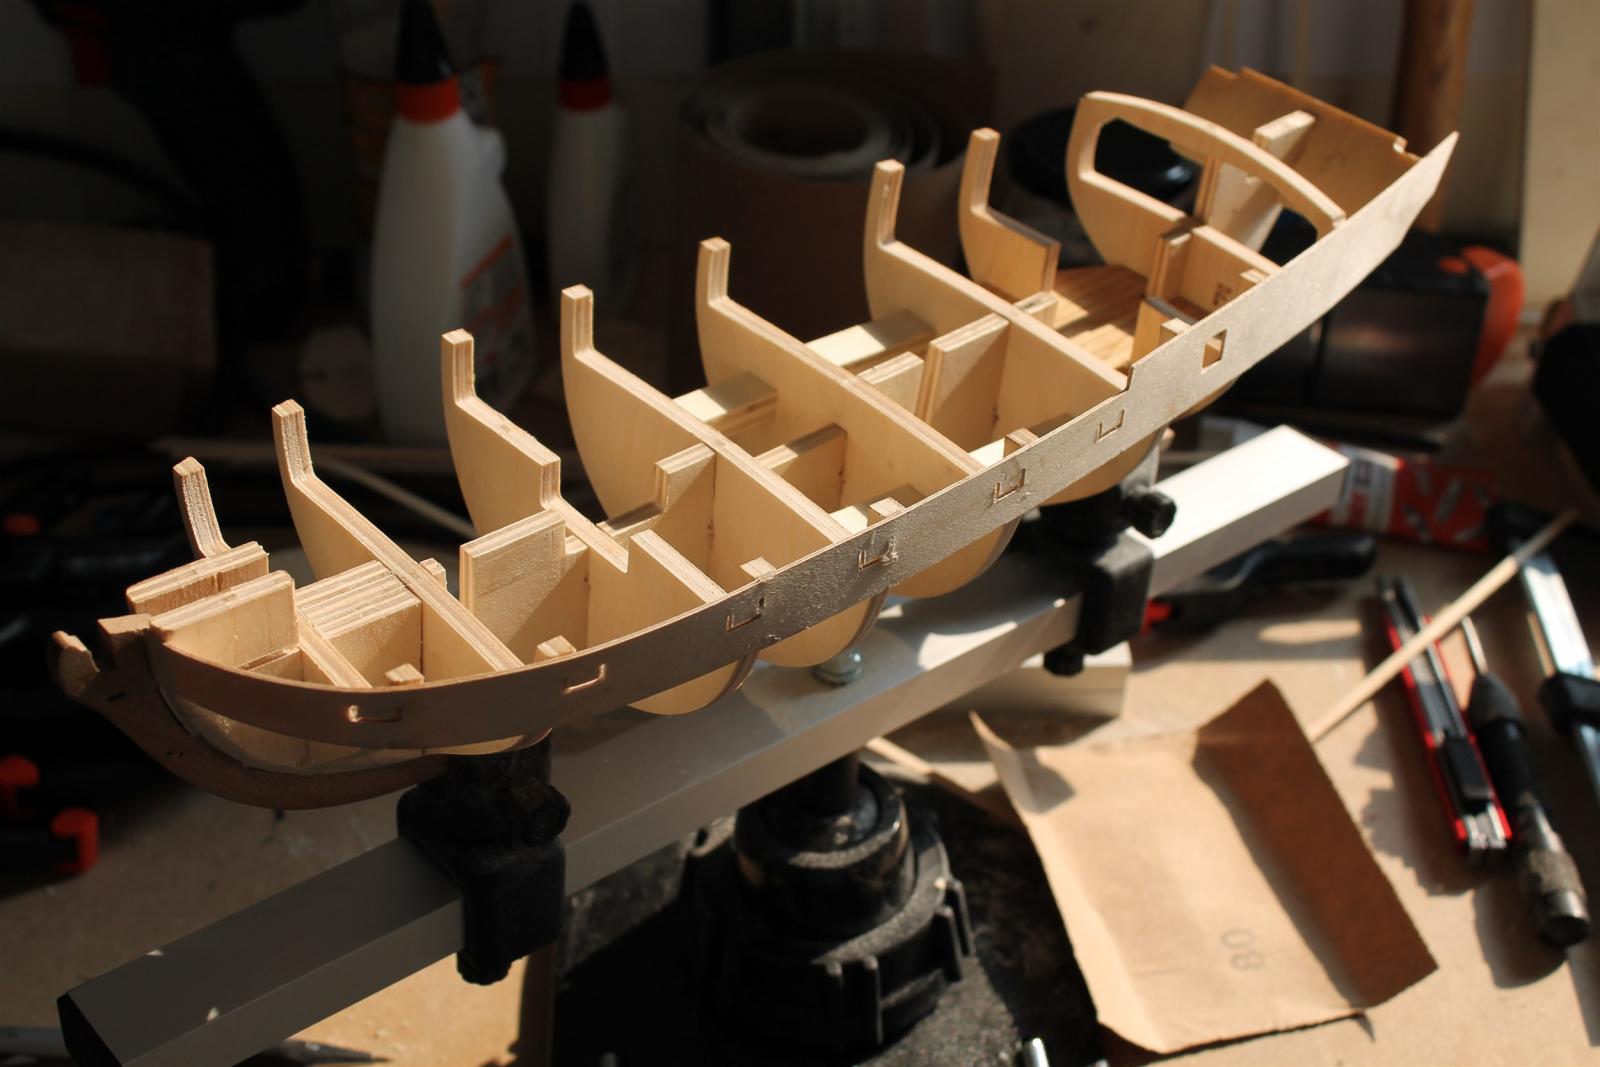
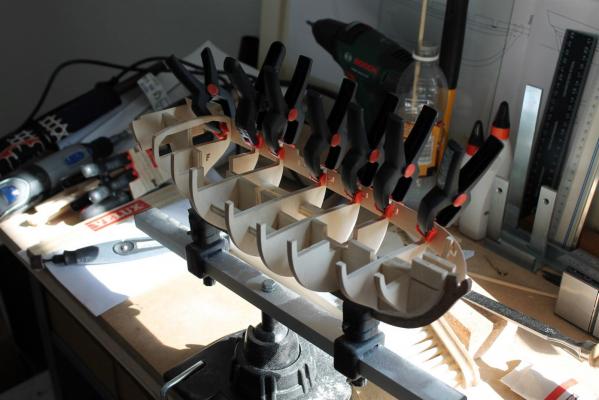
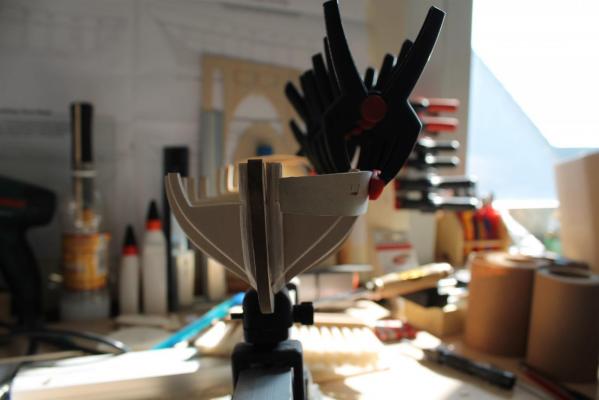
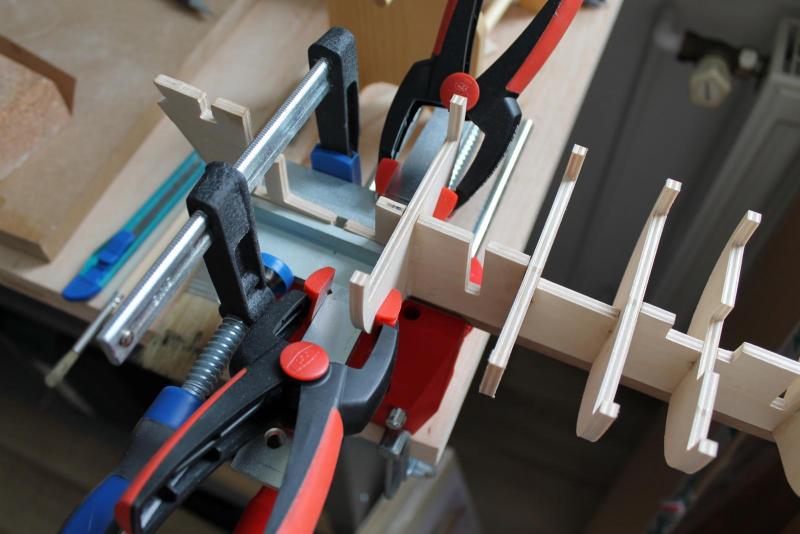
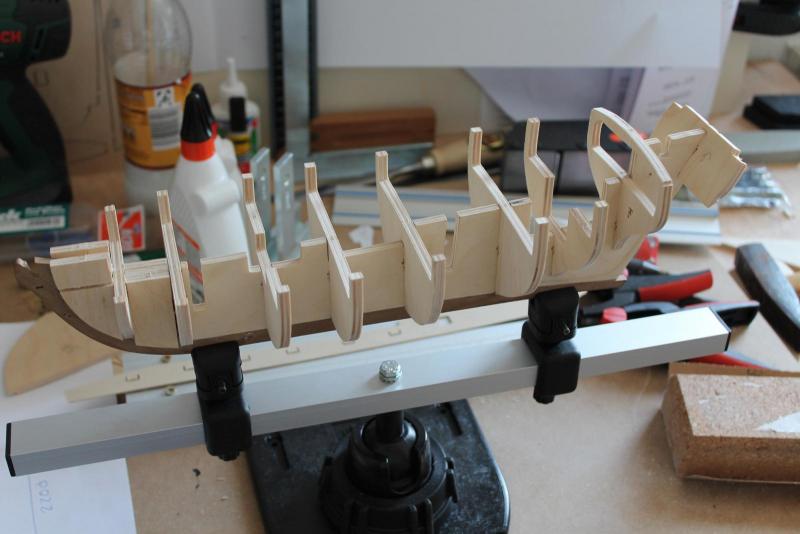
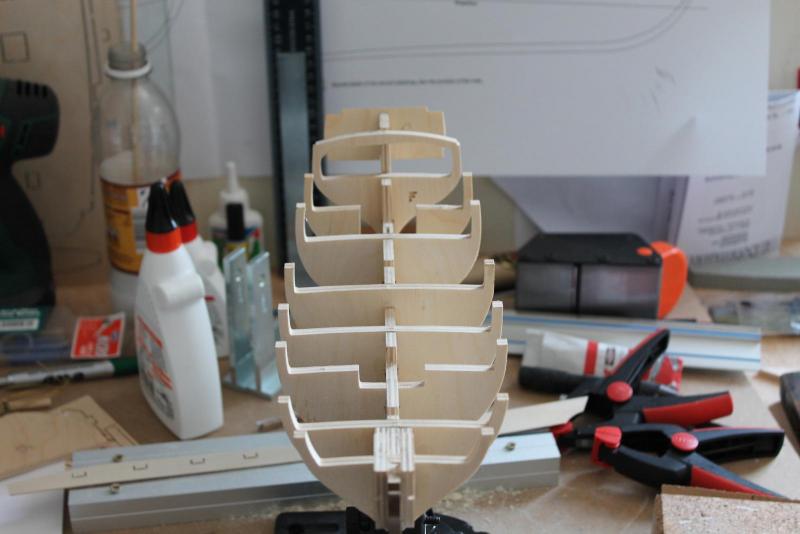
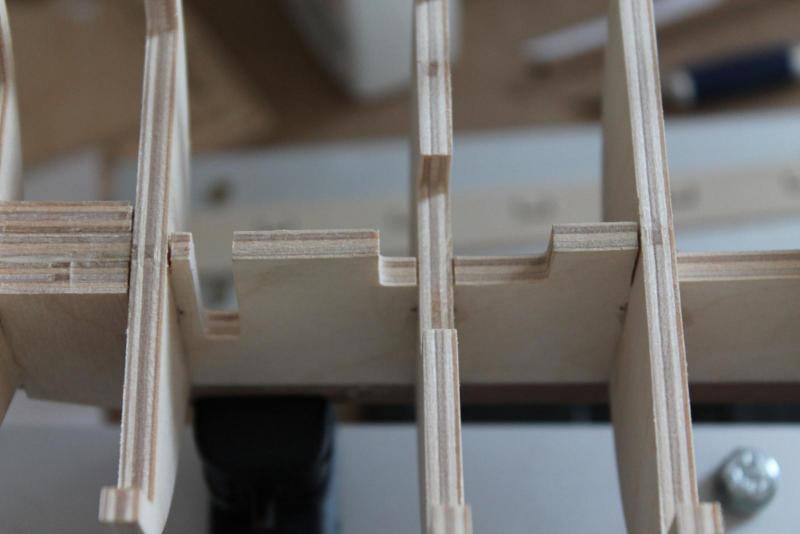
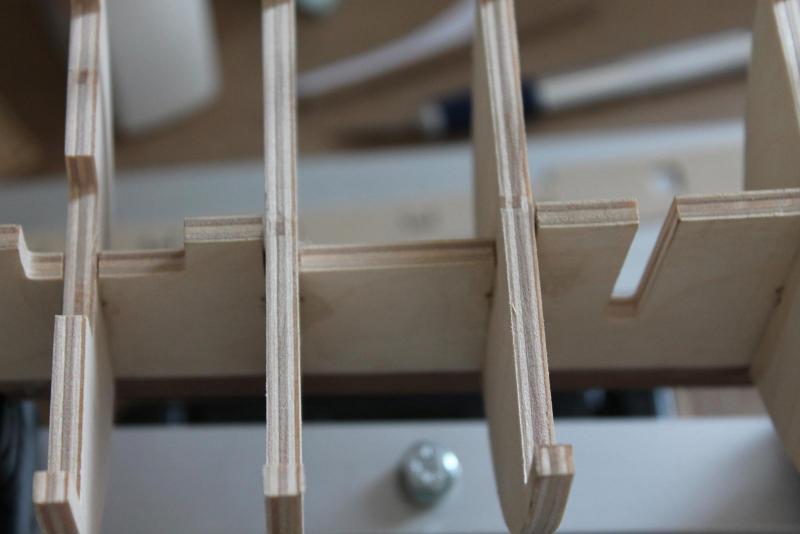
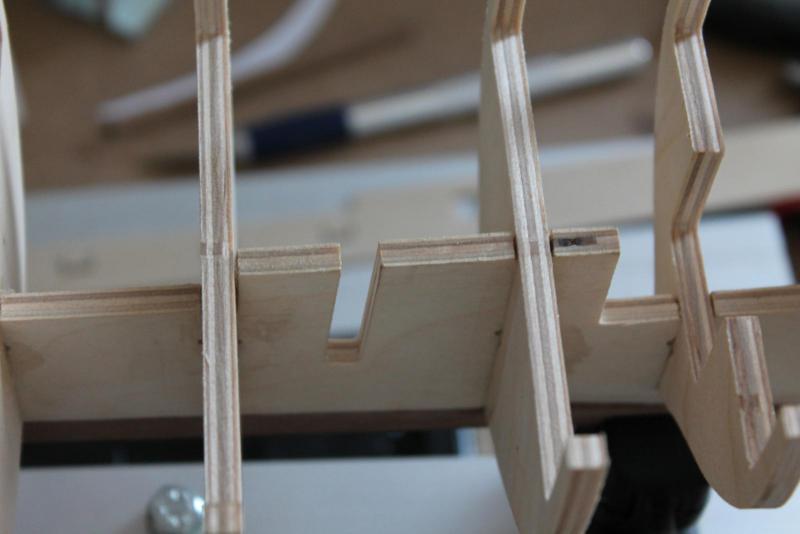
Step 4: Gluing the bulkheads (keel_002) So finally i manged to glue the bulkheads to the main keel...


-
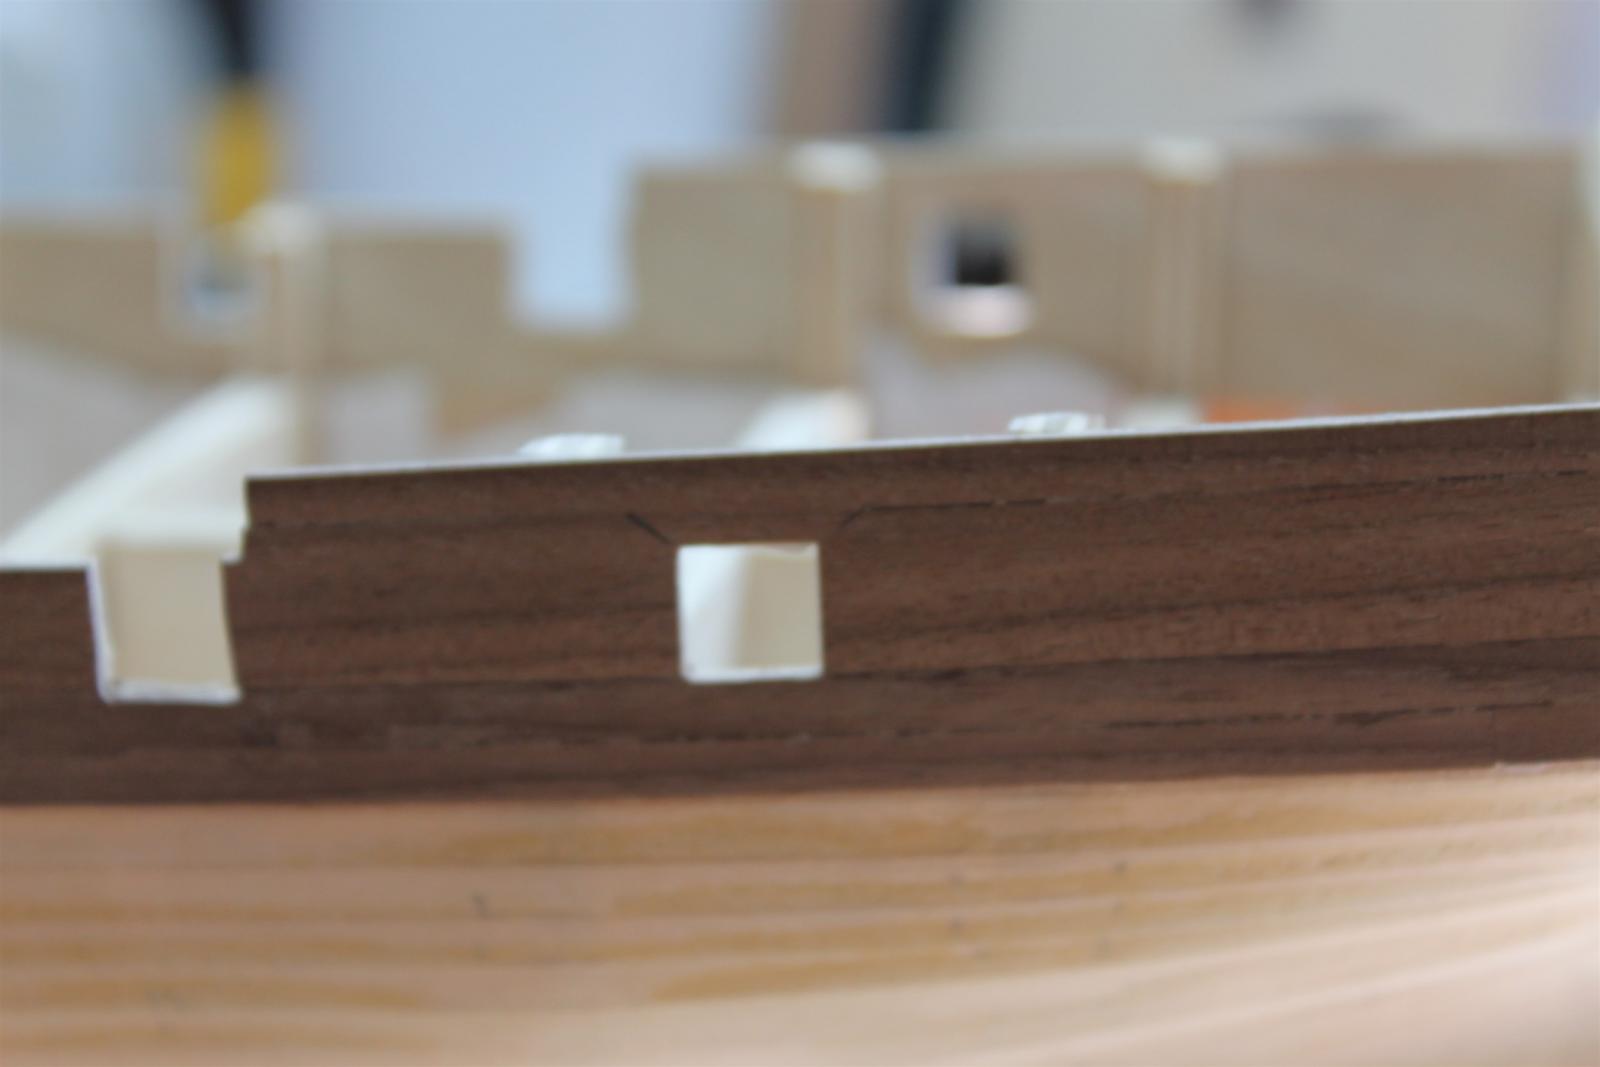
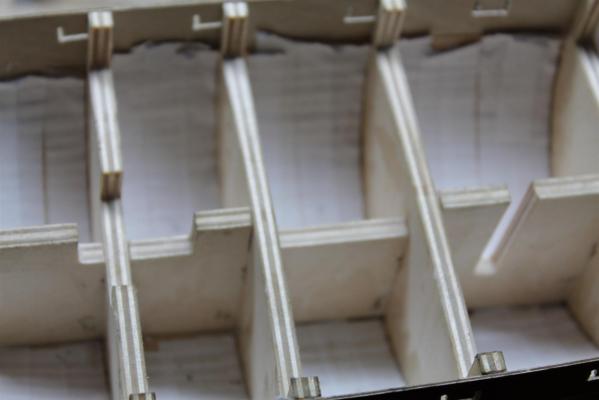
Hi Richard, the small opening are a feature... ;-) no, the bulkheads came so off the board. I think they made them a bit wider at the beginning that they better fit. The main keel has the same small openings at the beginning of the slots. Sanding the parts so they fit a bit nicer was also my idea...
-
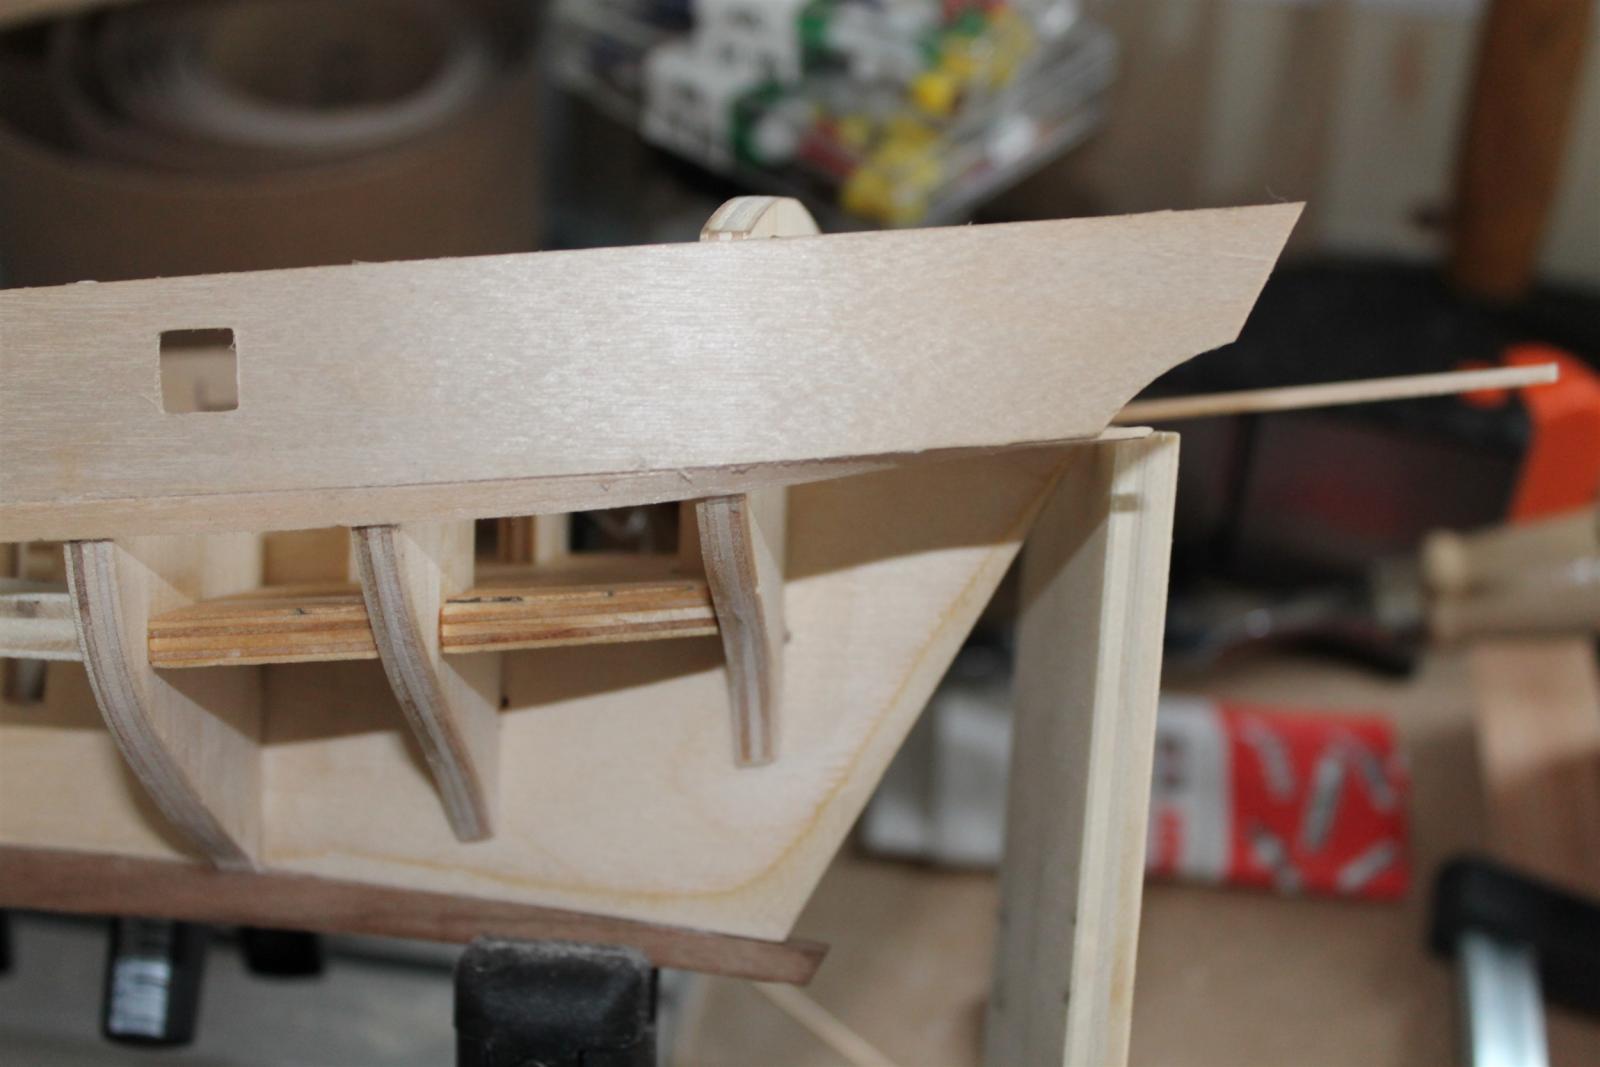
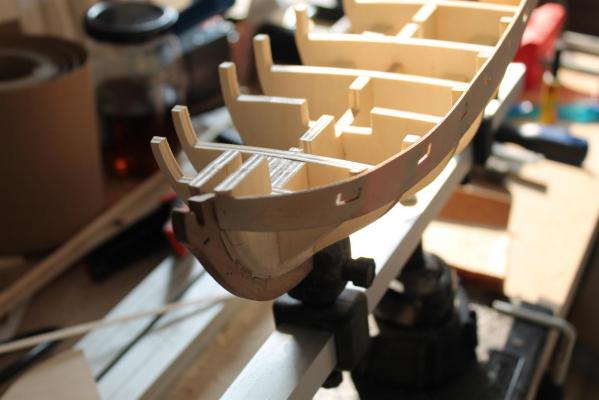
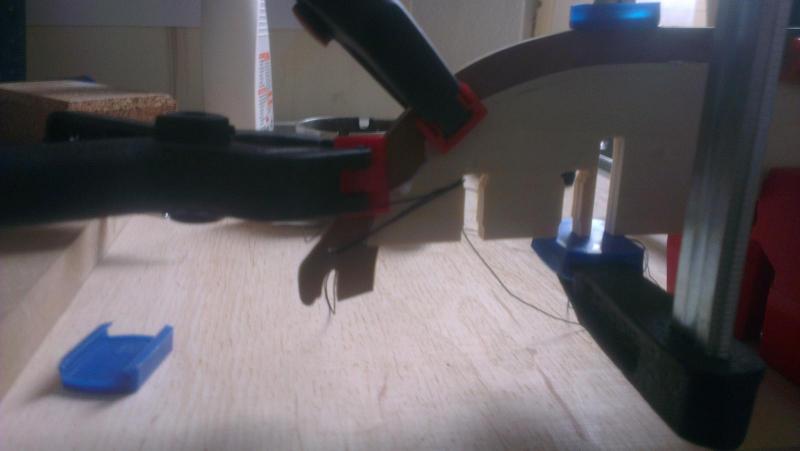
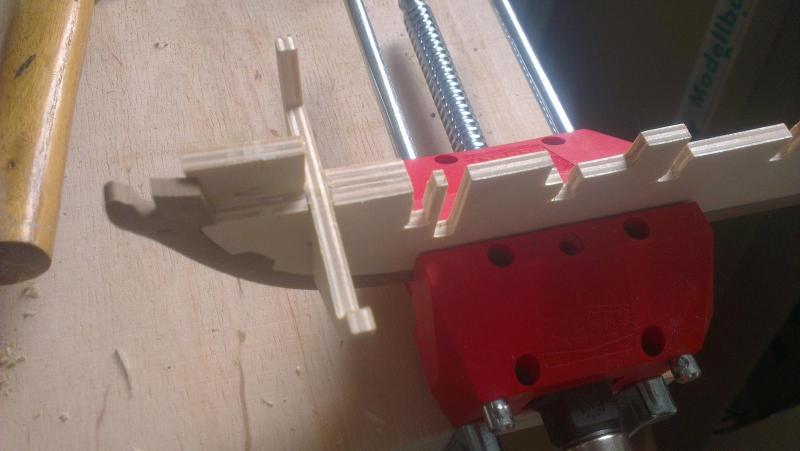
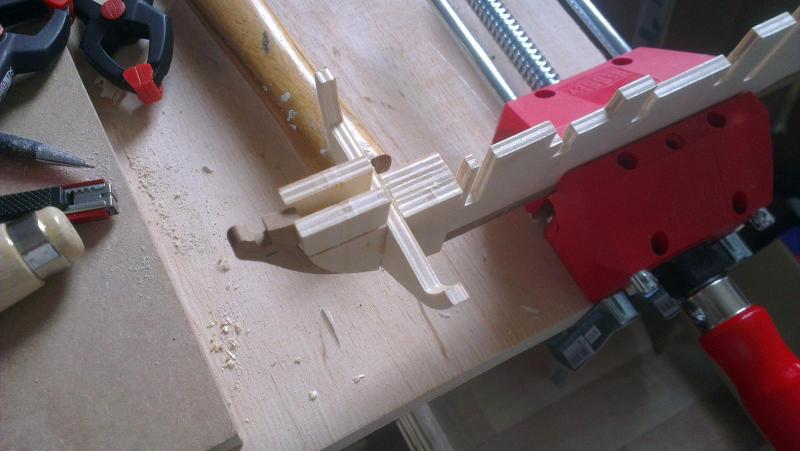
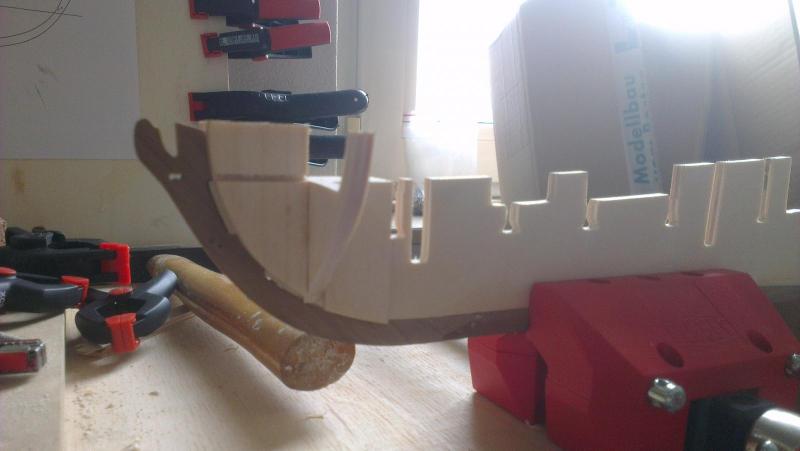
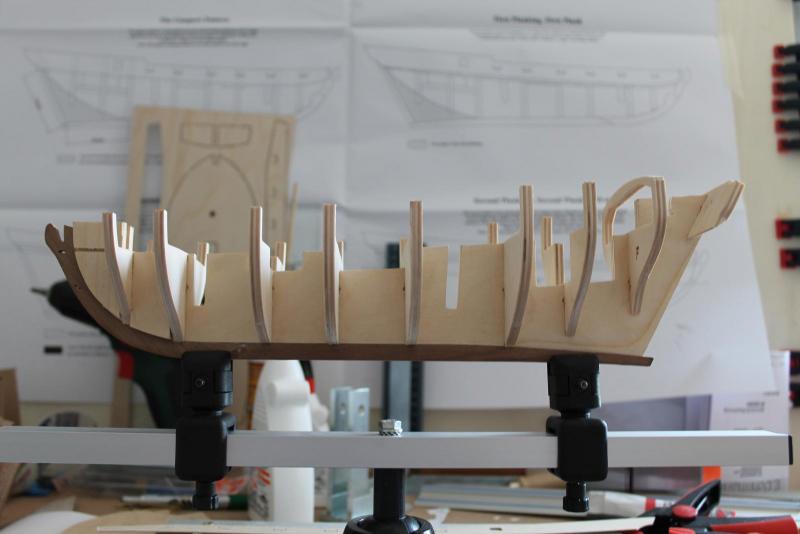
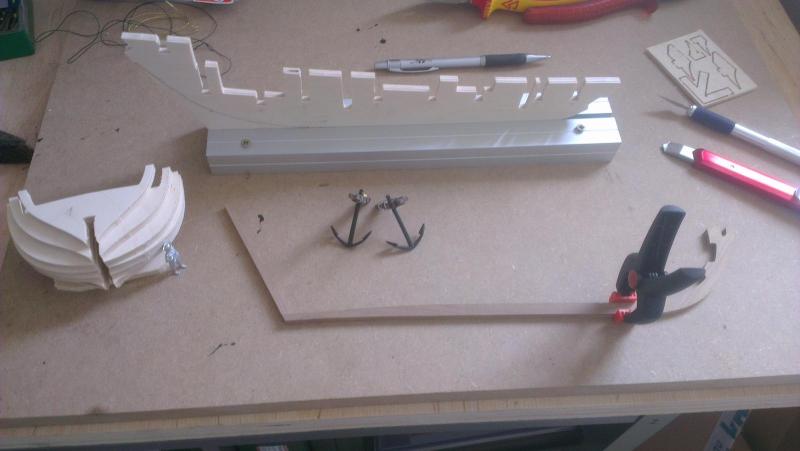
Step 3: Laying the keel (keel_001) Today i laid out the keel and cut off the bulkheads and the main keel. The plywood parts fit really tight into their grooves. I am a little bit afraid of dry fitting them, worried about getting them disassembled again without breaking it. At this stage the bearding line is marked on the main keel. Also the captain was there laying the keel.

-
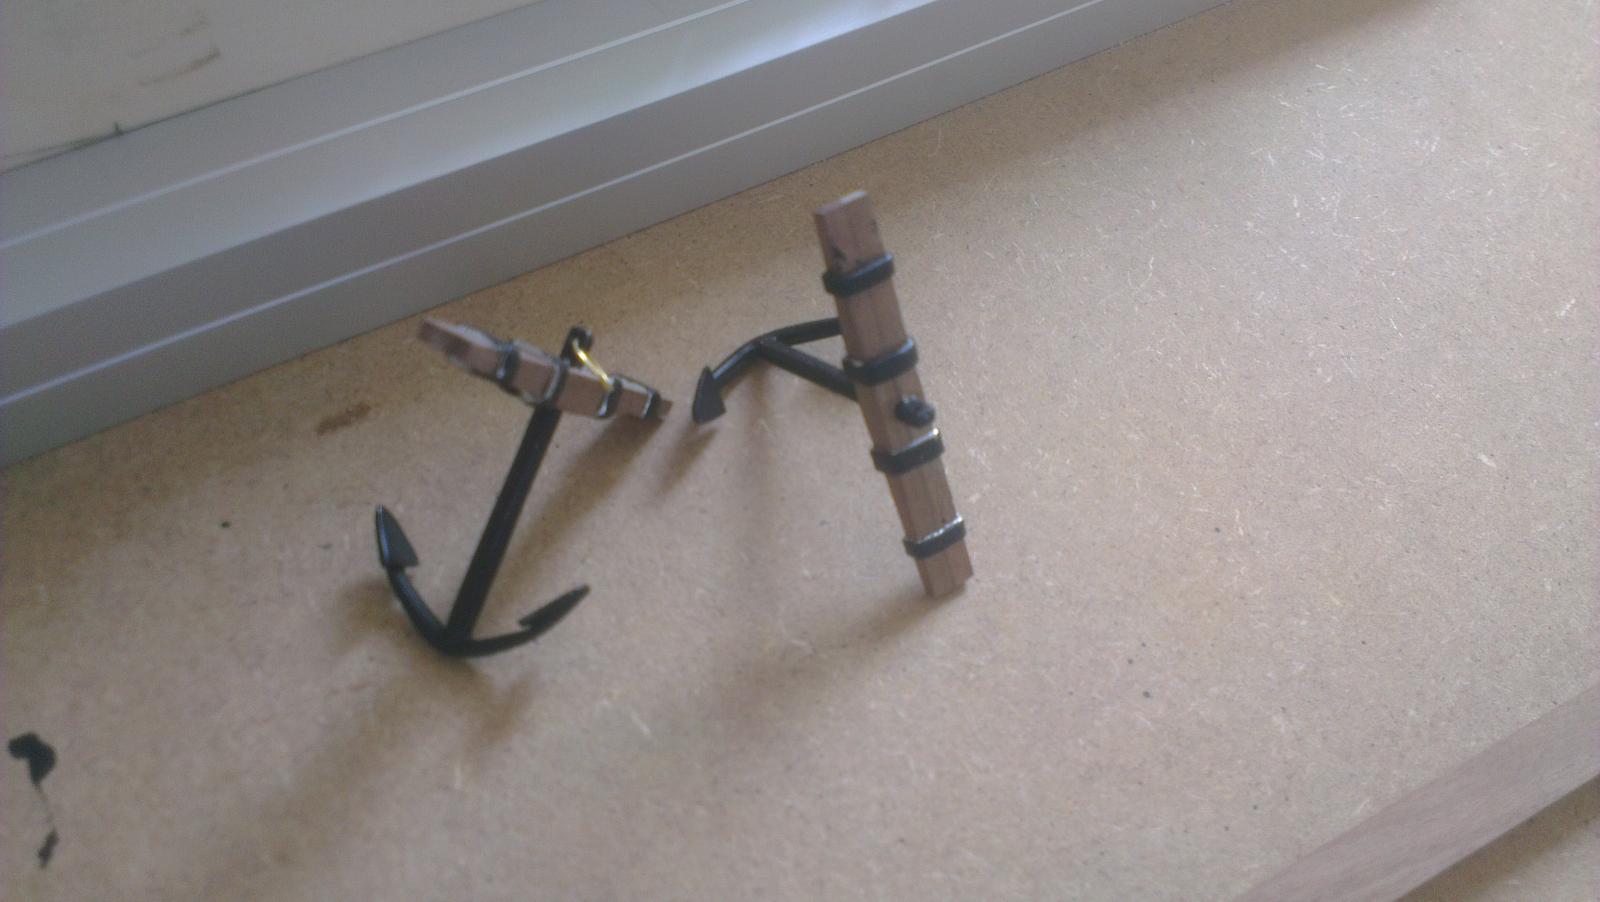
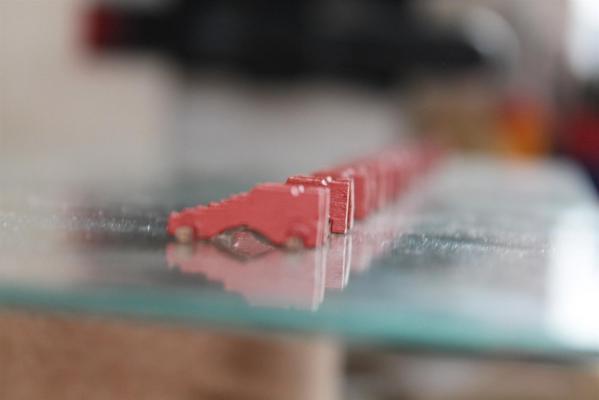
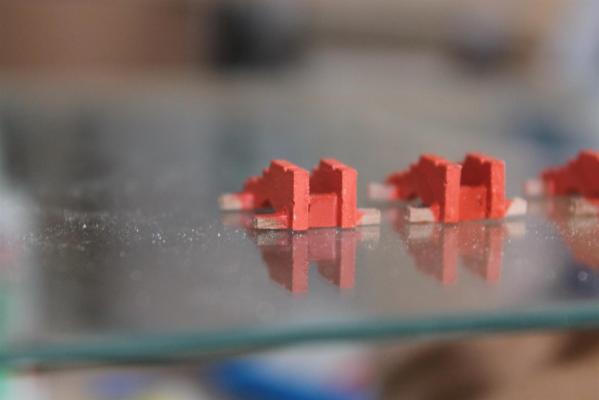
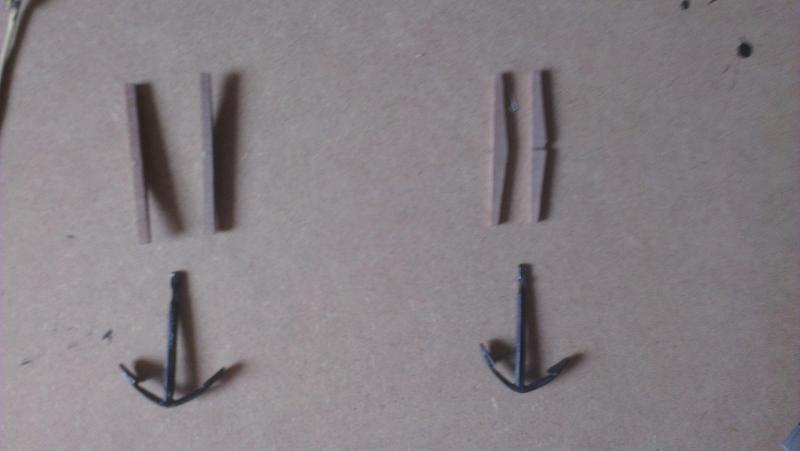
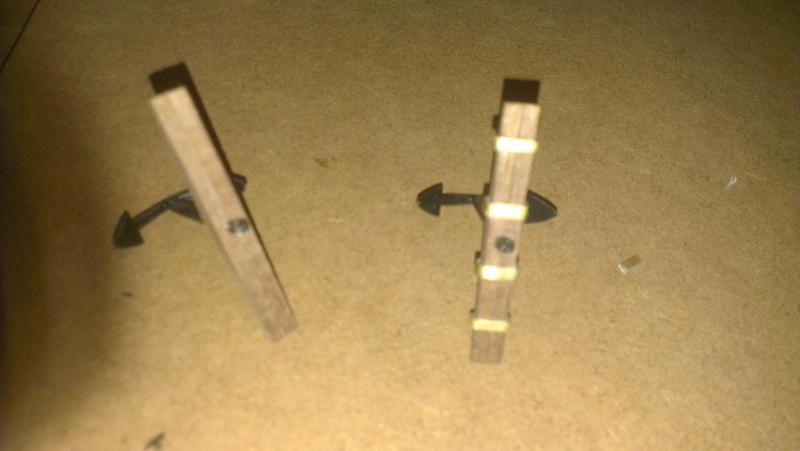
Step 2: Anchors (anchors_002) The bandings painted black. For the sides of the bandings i need a finer brush... Also bend one ring but wrapping the rope around the tiny ring was not so easy... The first attempt was a mess so i removed it again... Probably the bandings thickness is somewhat off scale, but i like it more than simple cardboard...

-
Ahhh, the back of the manual... Ok thats right, this is a black cardboard... :-)
-
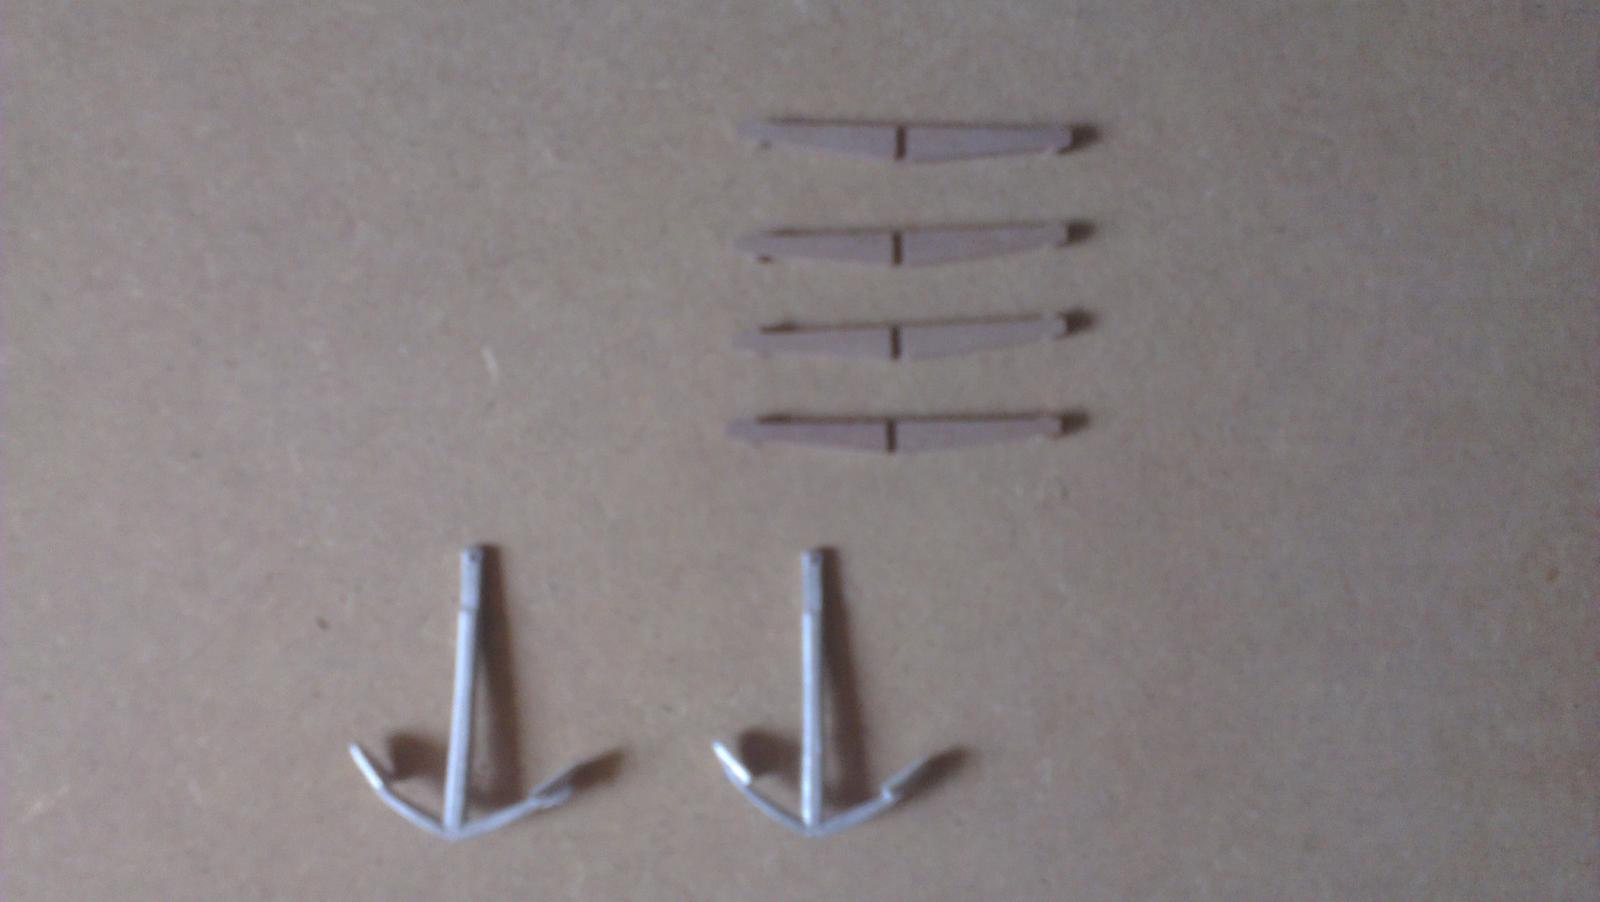
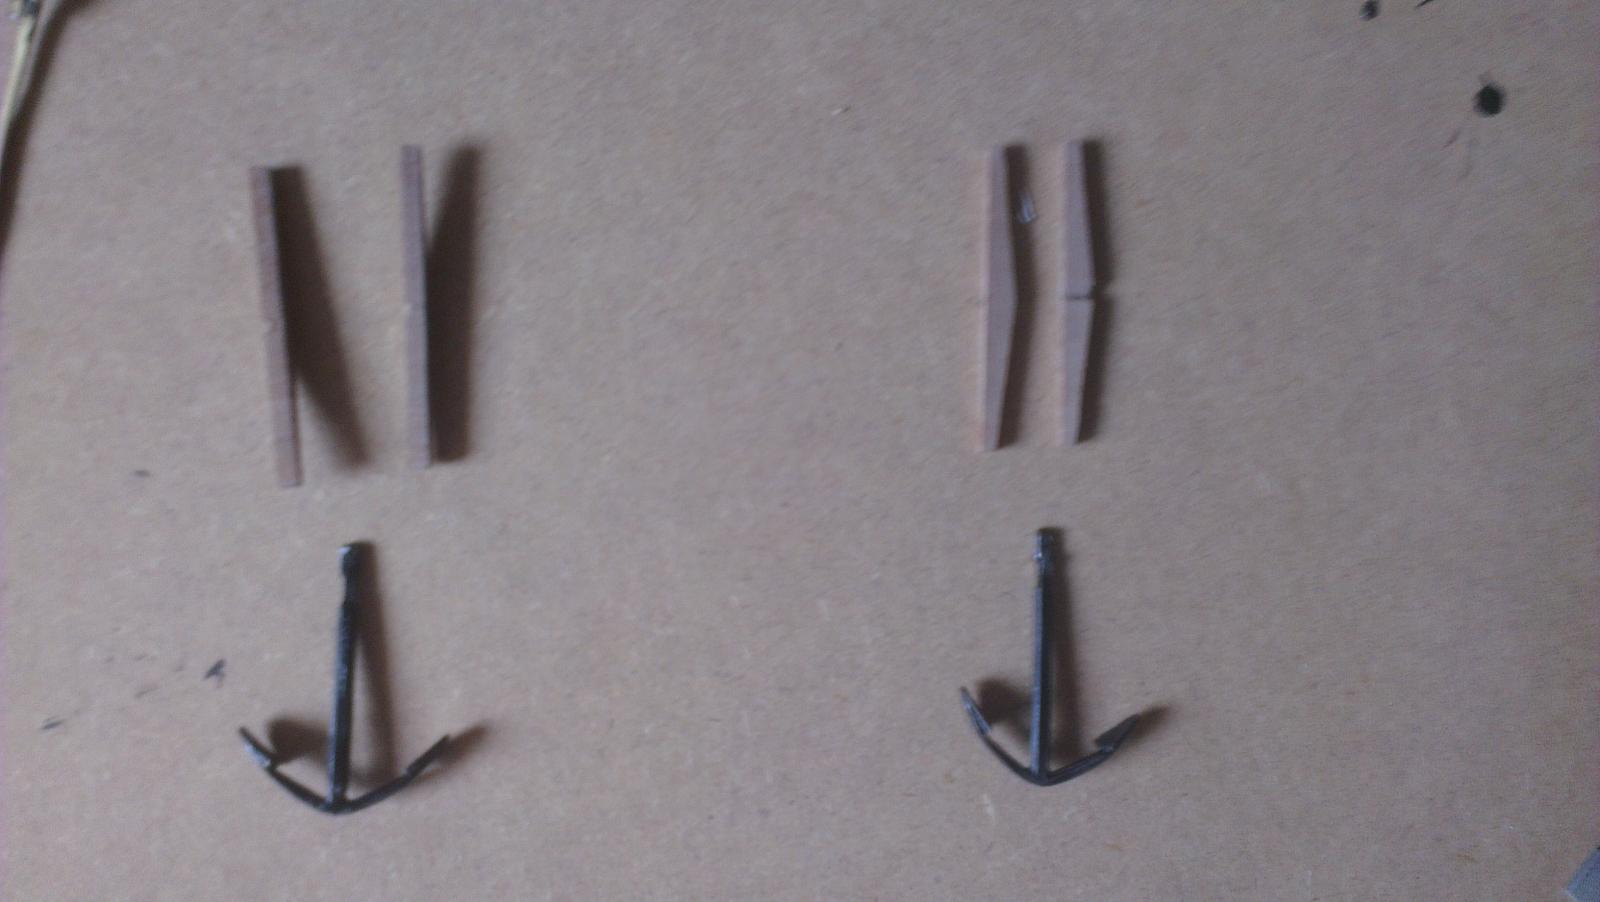
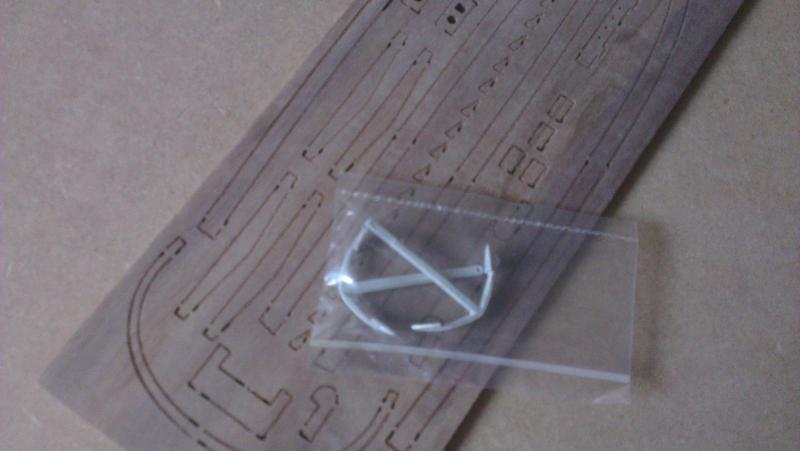
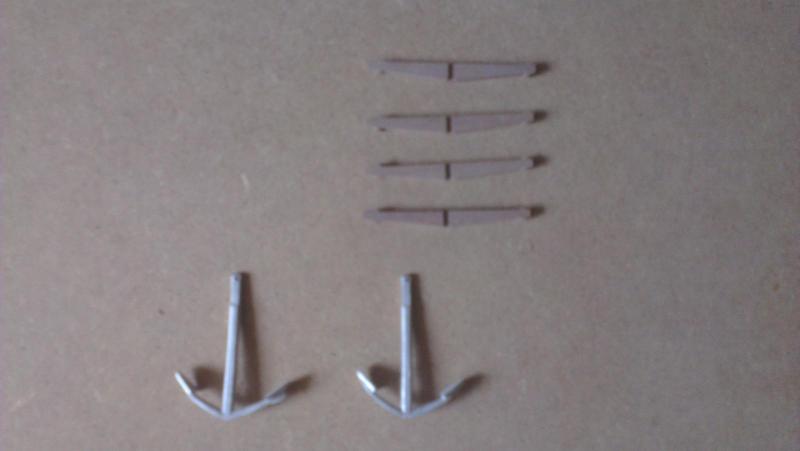
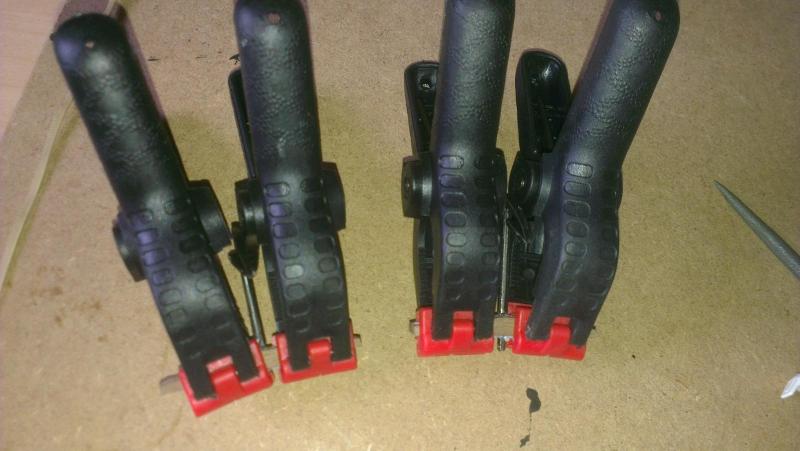
Step 2: Anchors (anchors_001) Today as i sorted all the bits and pieces into a storage box the anchors looked so tempting. So i got the walnut board with the wooden anchor stocks, the metal anchors and some tools. The grooves in the two pieces of anchor stock were a little bit to tight. So i had to fit the anchor neck that the anchor. stock pieces would easily be glued together without cracks. After fitting the metal pieces i already painted them with a first coat of finish. And after dry glued the anchor stocks onto the anchor. The original manual recommends using some black cardboard for the anchor banding. Fortunately i had some brass at home. So i cut a narrow piece of 1mm brass and bend the anchor banding from brass strips. The bandings have to be paint black also. And the anchor ring is also missing.
-
Thanks for the compliments... But this was not so difficult, if it would be, i shouldn't start building the rest... ;-) Yap, i will get me some felt for glueing to the stand. About the permanent display base i did not make any thoughts. One question Mike, was your kit also short of the black cardboard that was listed in the parts list?
-
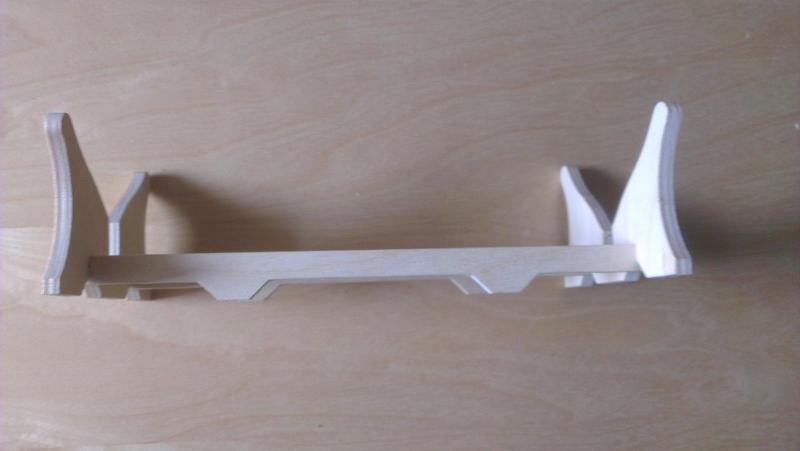
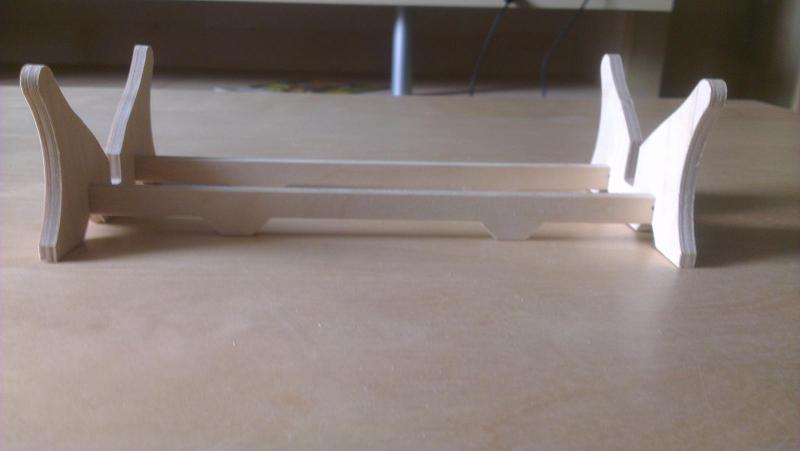
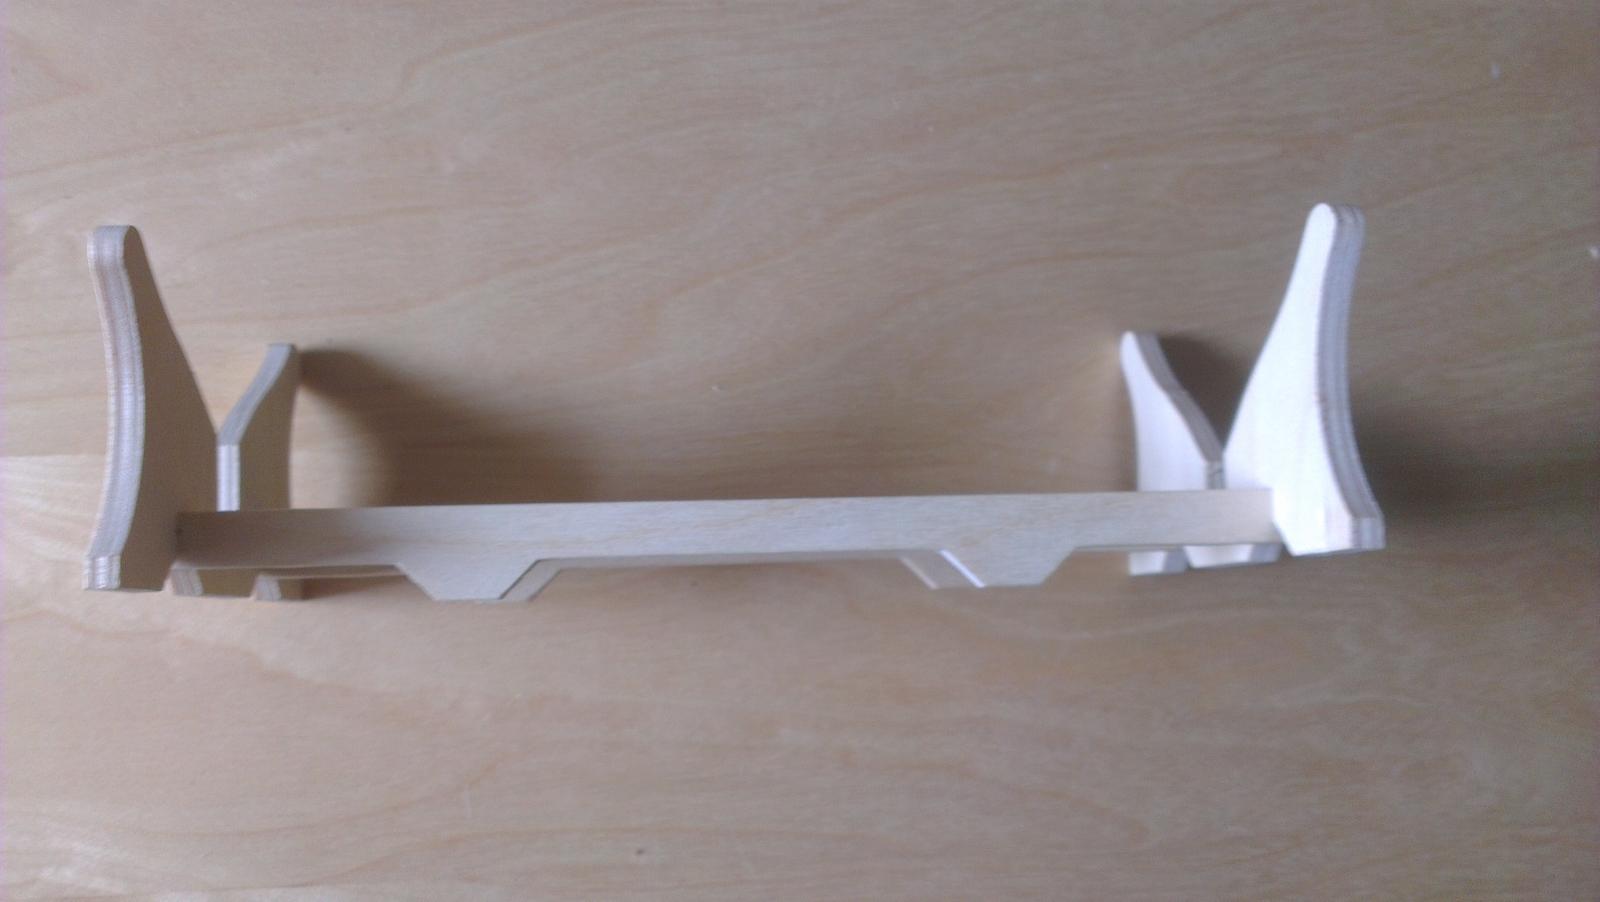
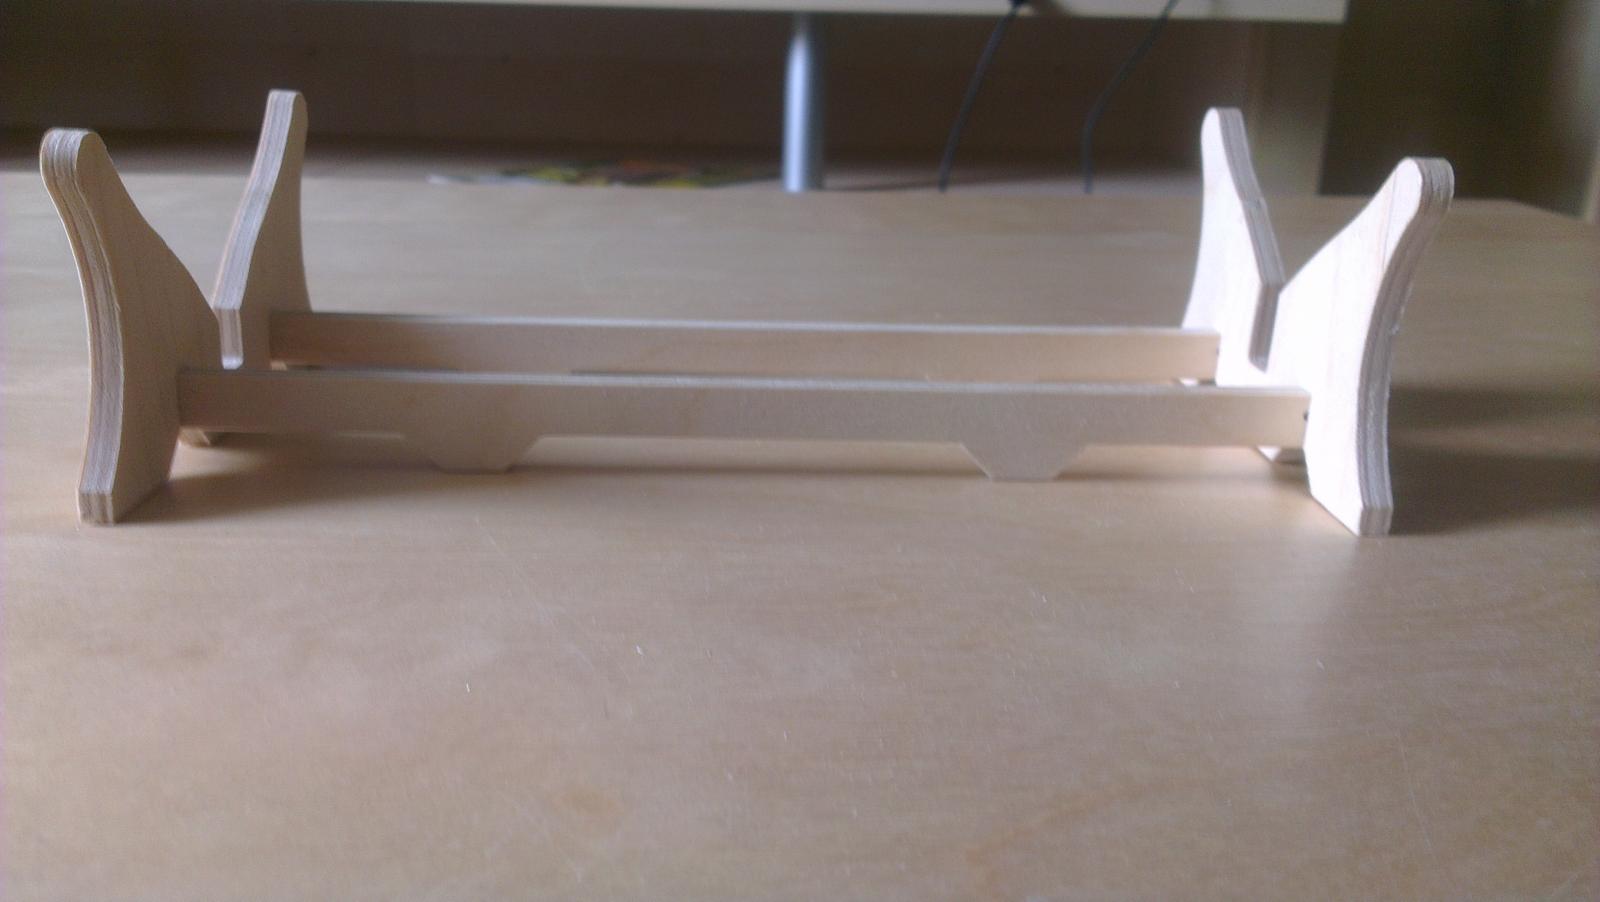
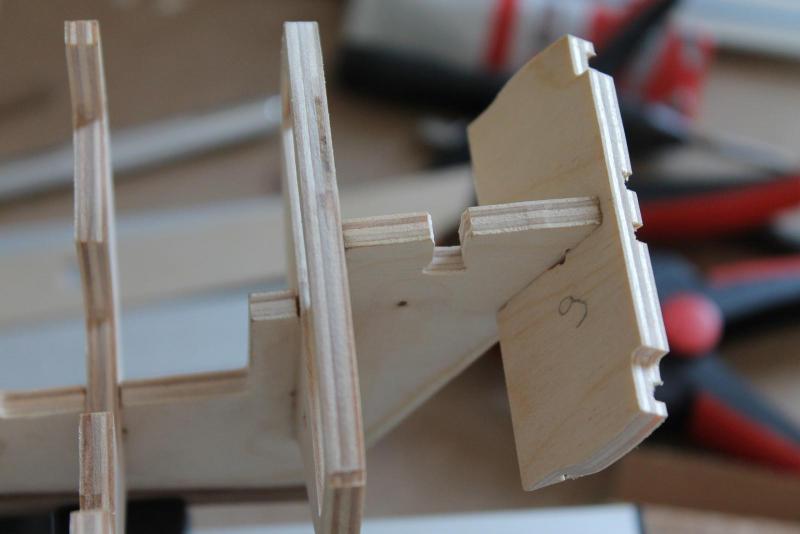
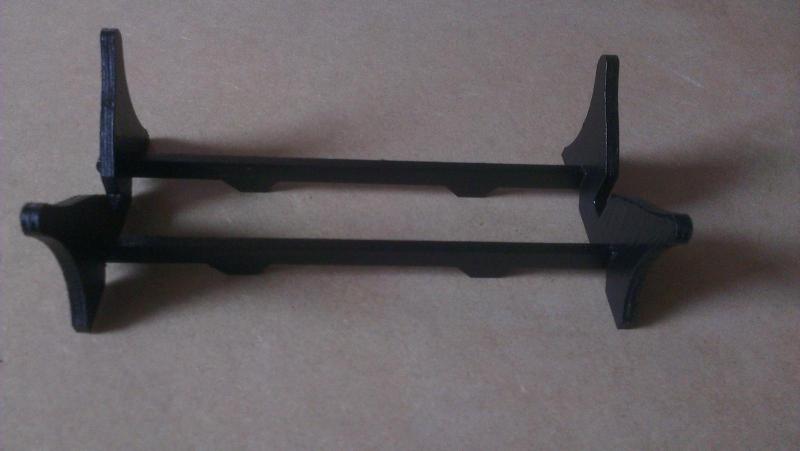
Step 1: Finished Ship Stand (shipstand_002) Finally the glued and painted ship stand...
-
Hi Richard, yes i totally agree with you. I already managed to get a used one today as a gift from a friend. Lucky day... But i need something more like a "silent killer" method. My workshop is in my kitchen and my main building times will be in the evening. I think i have to go the hand saw way... Oli
-
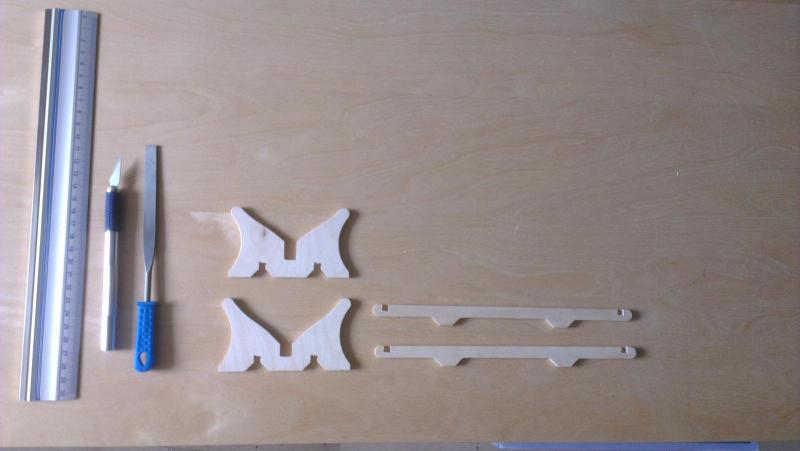
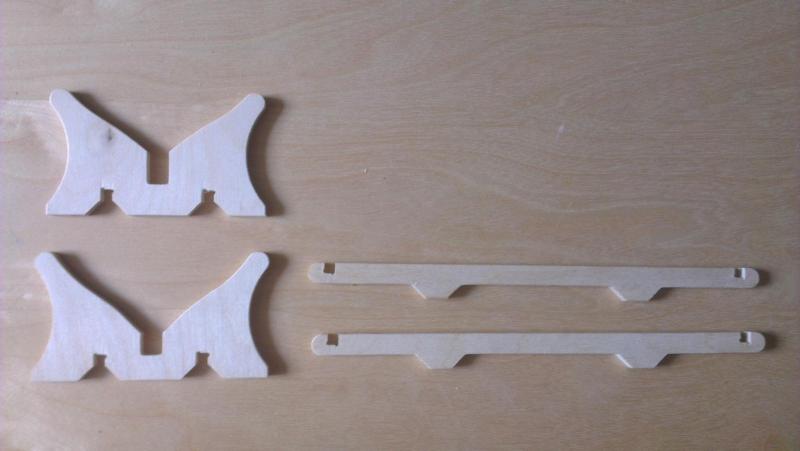
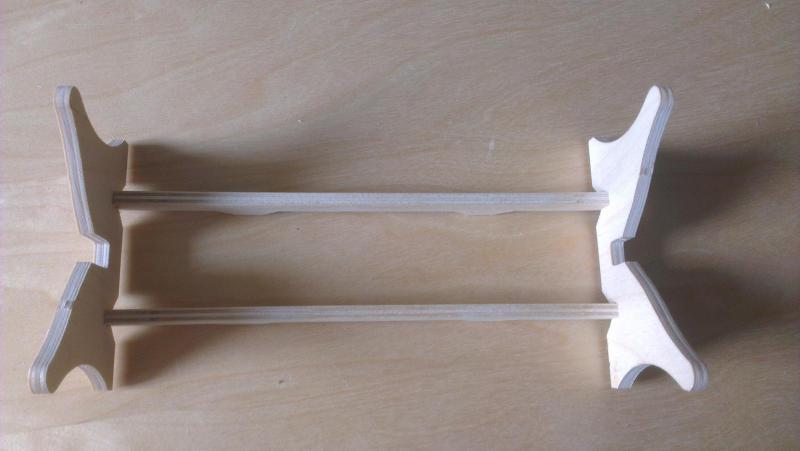
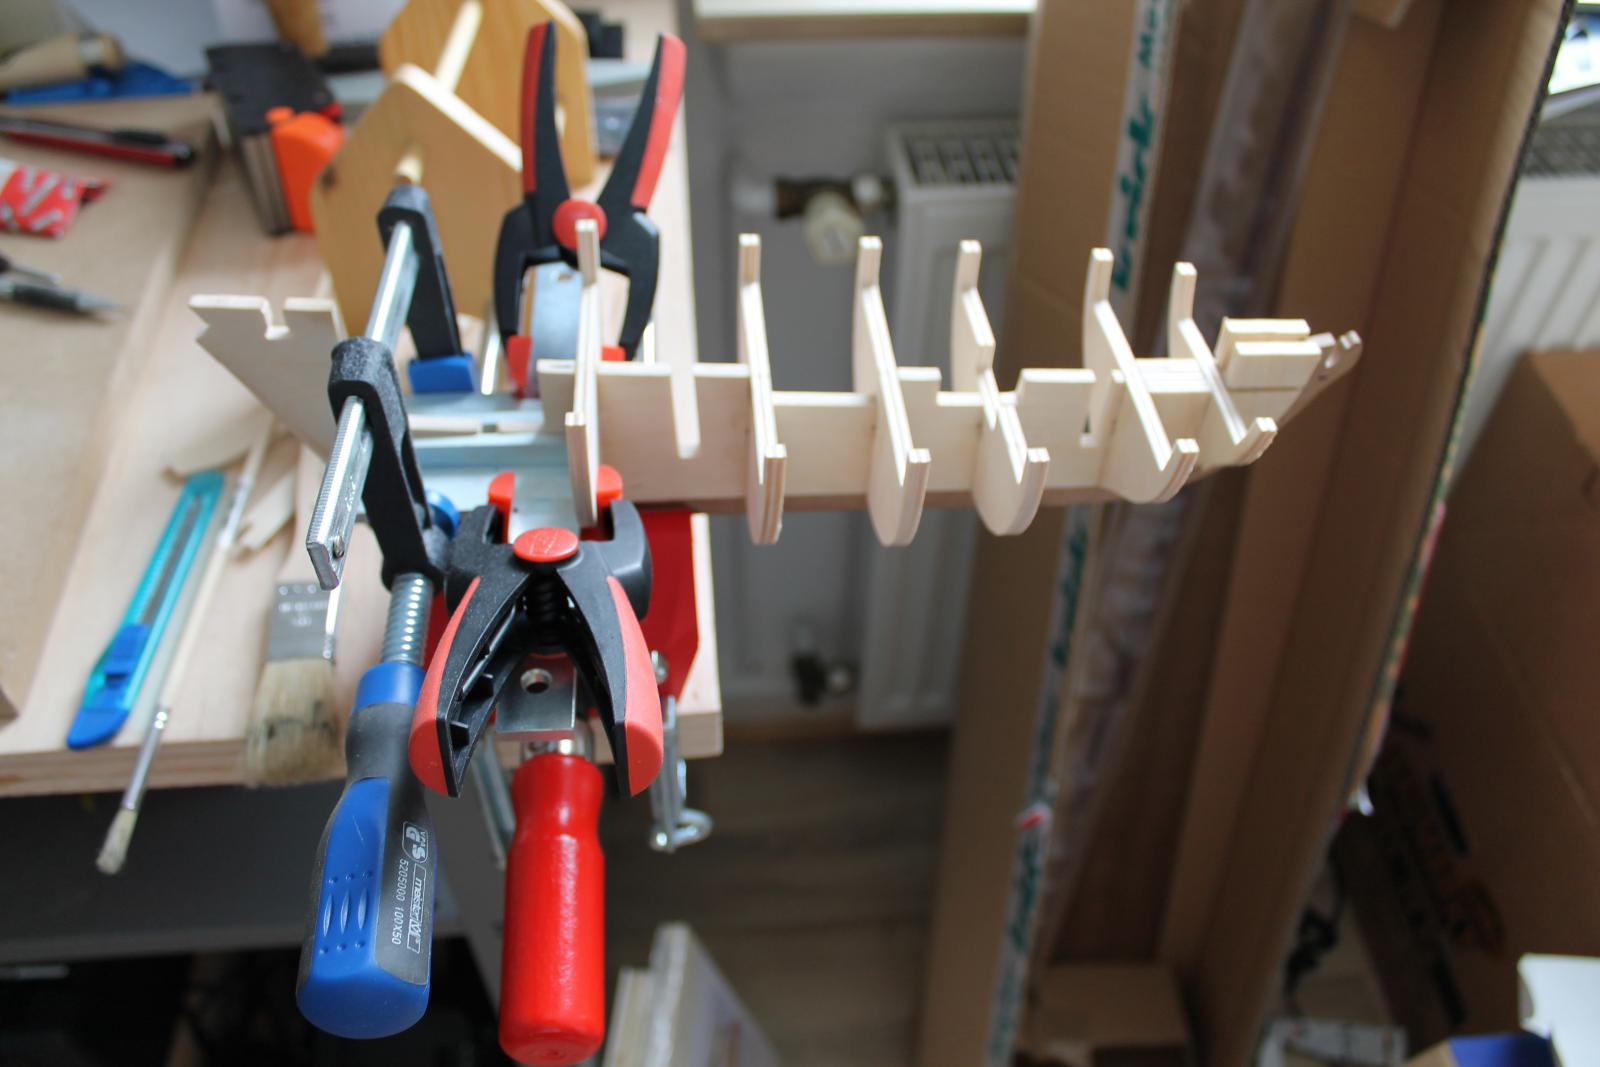
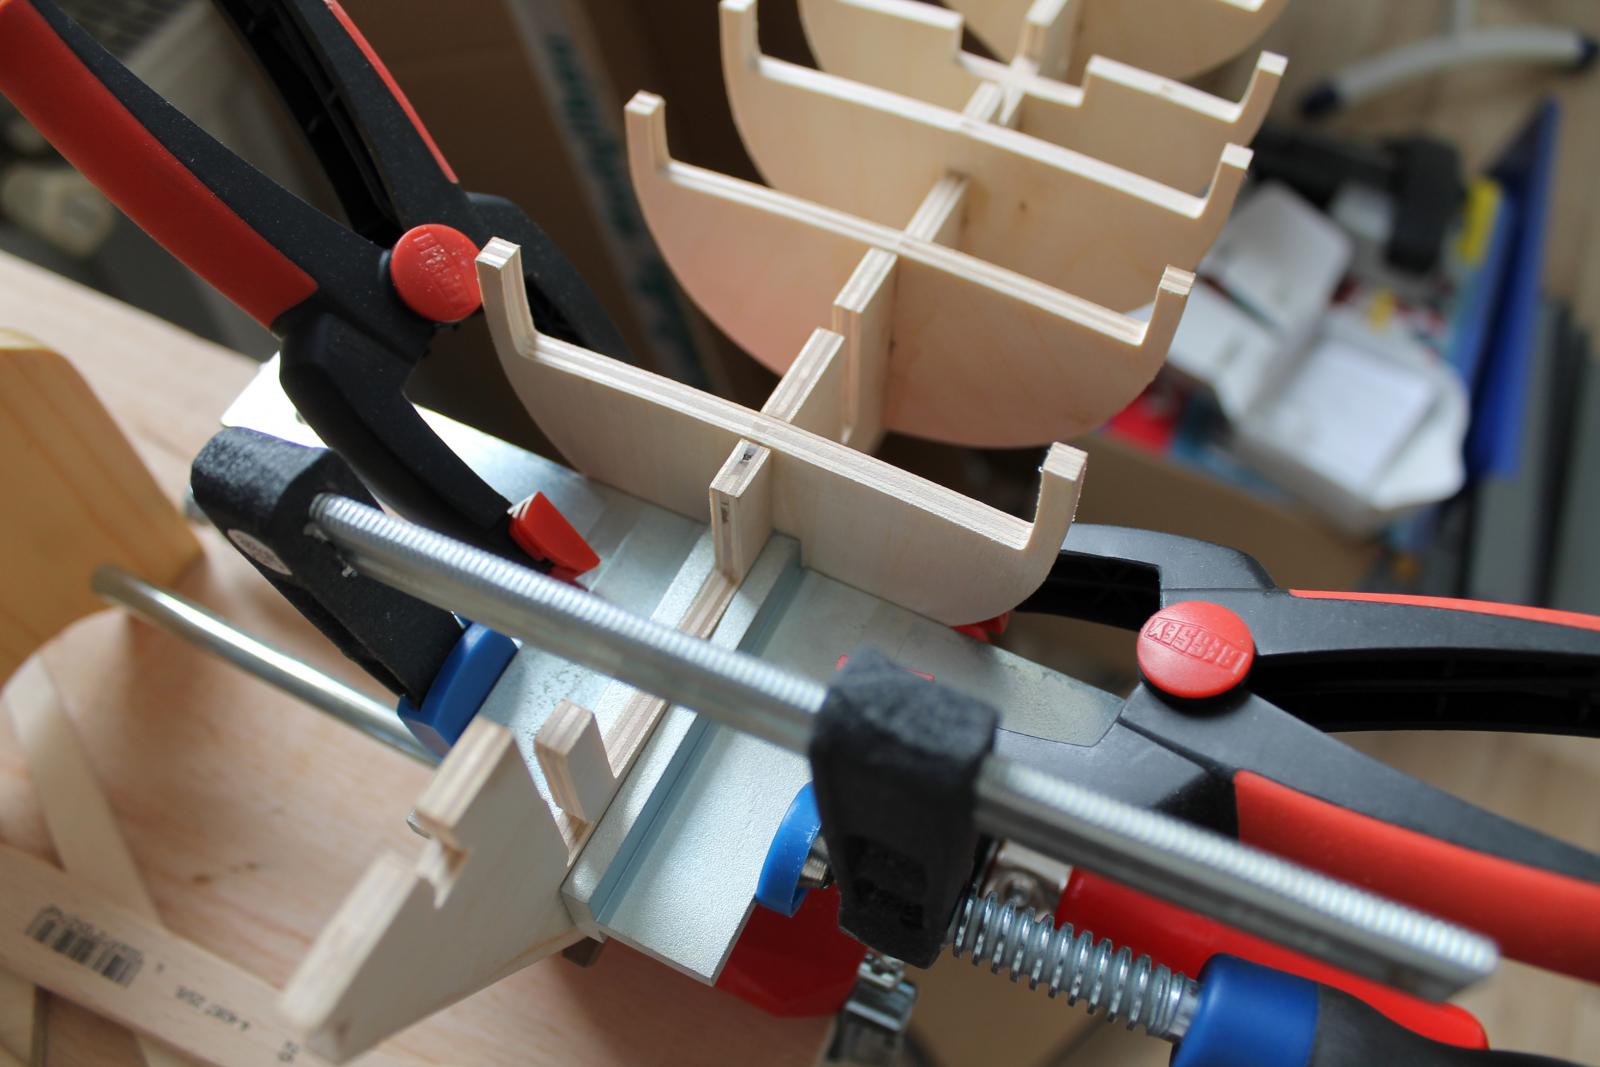
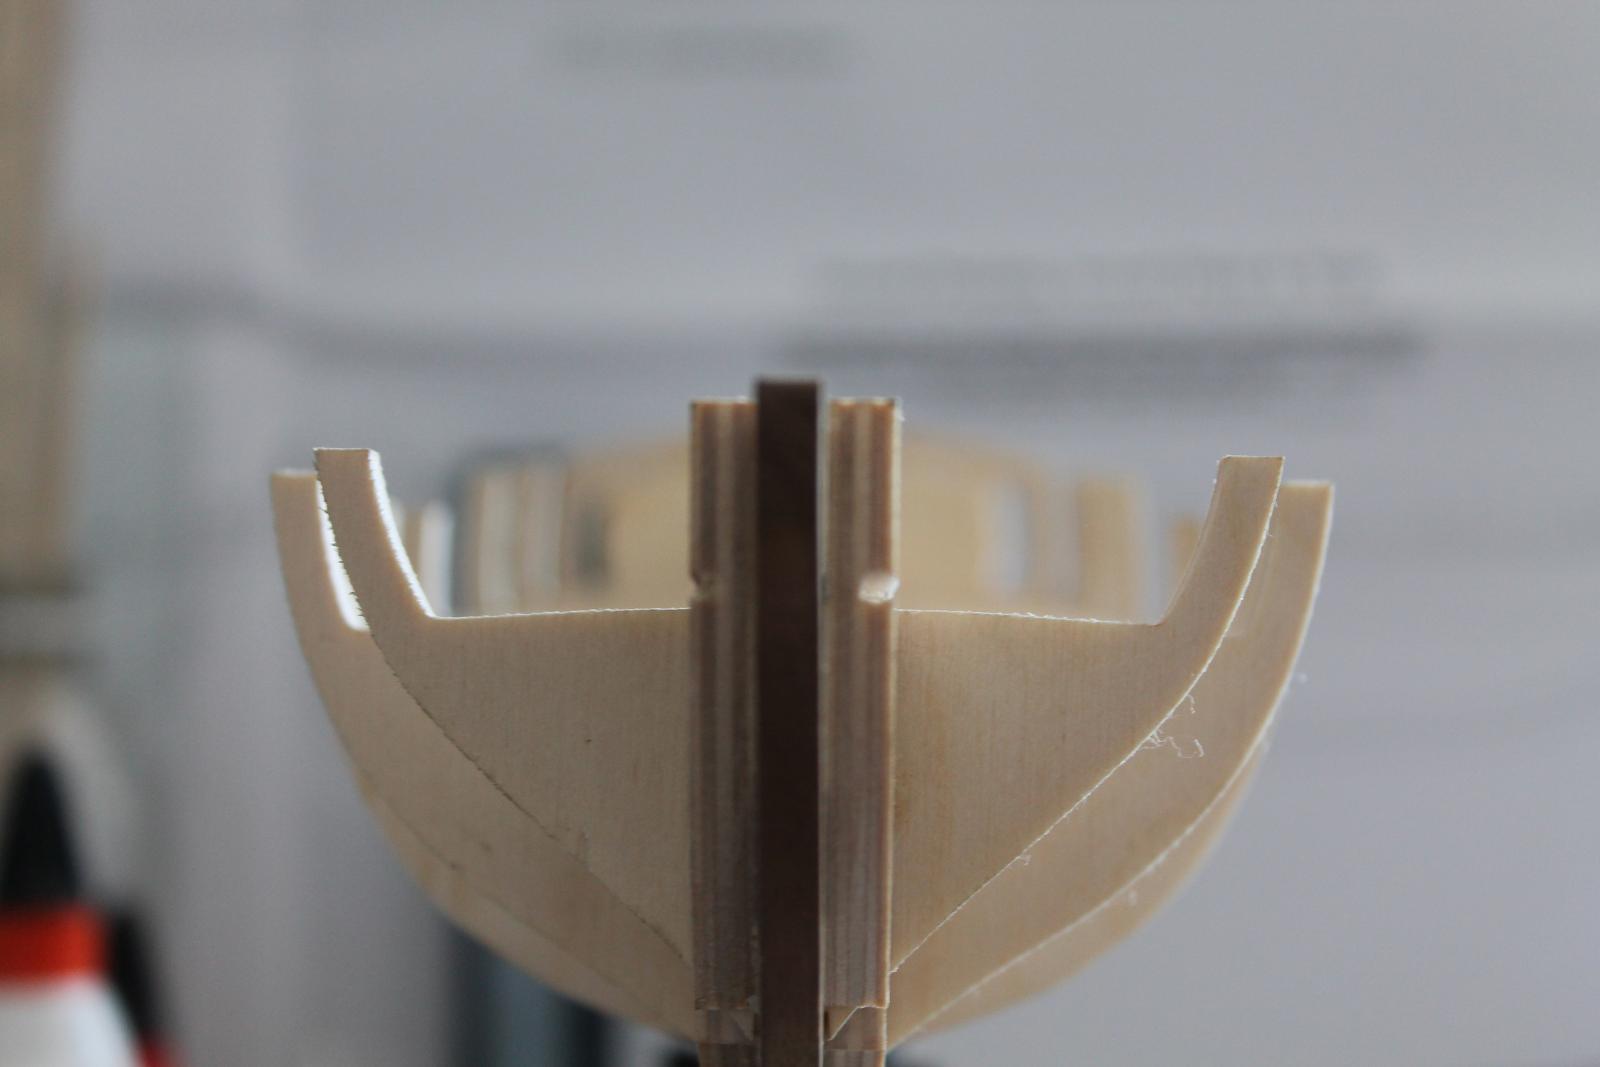
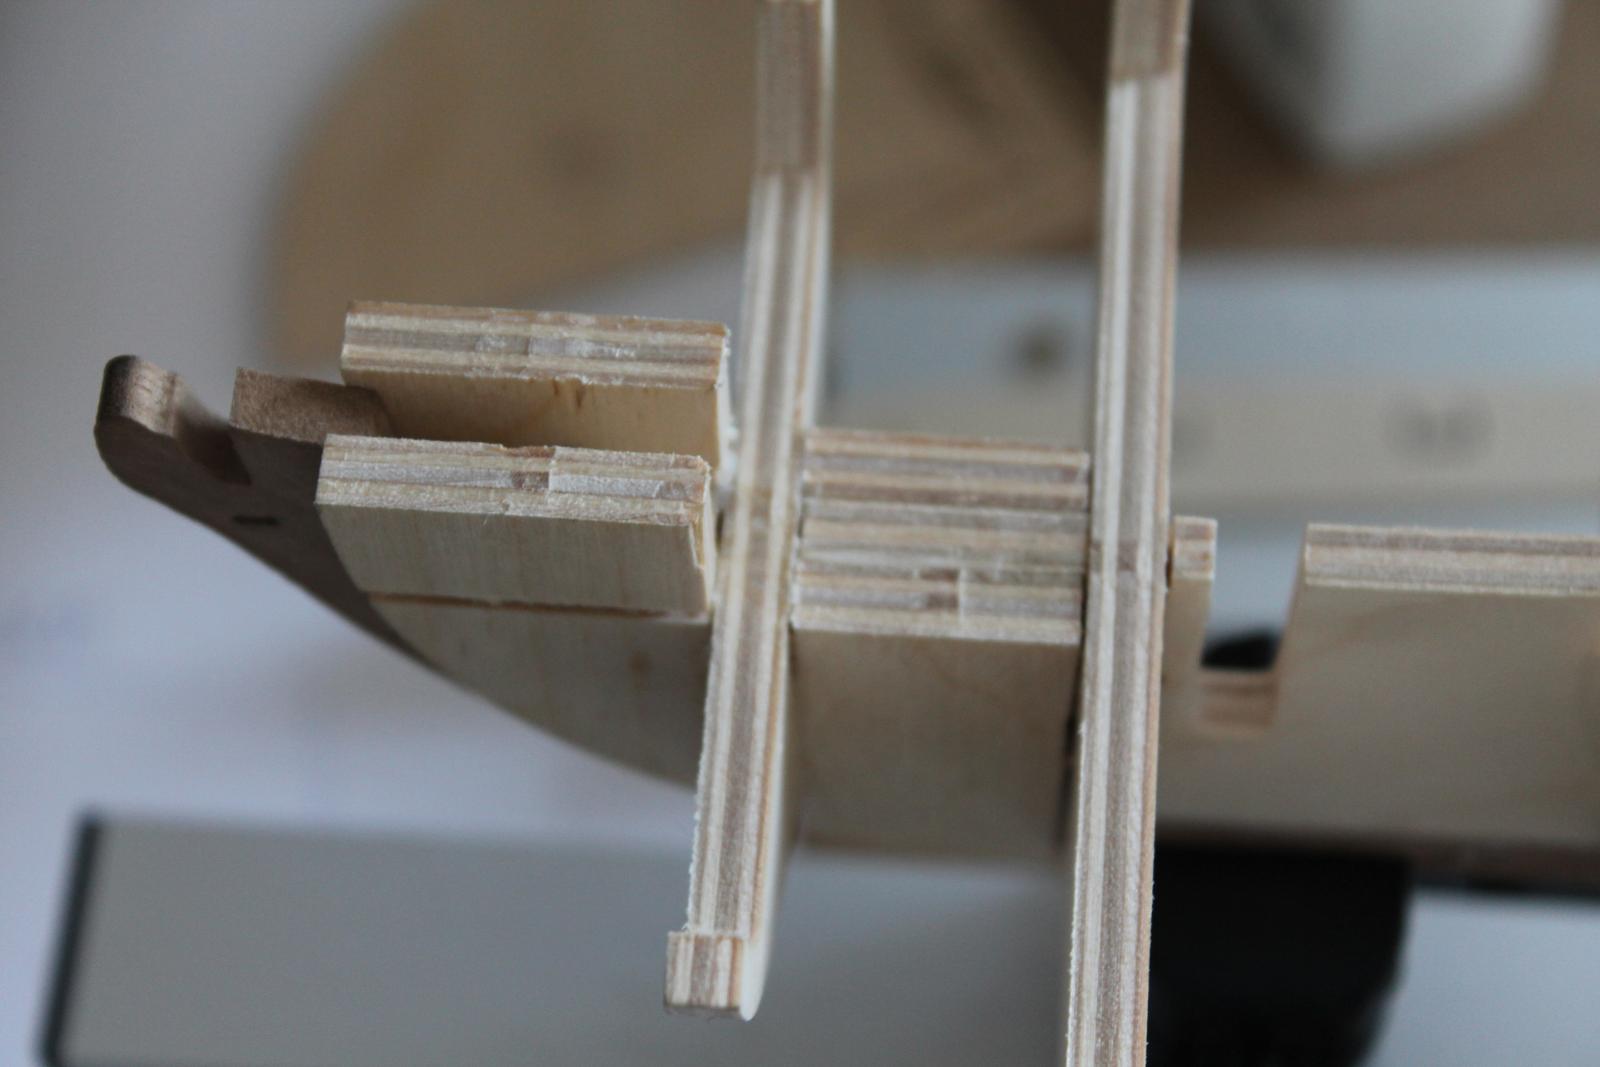
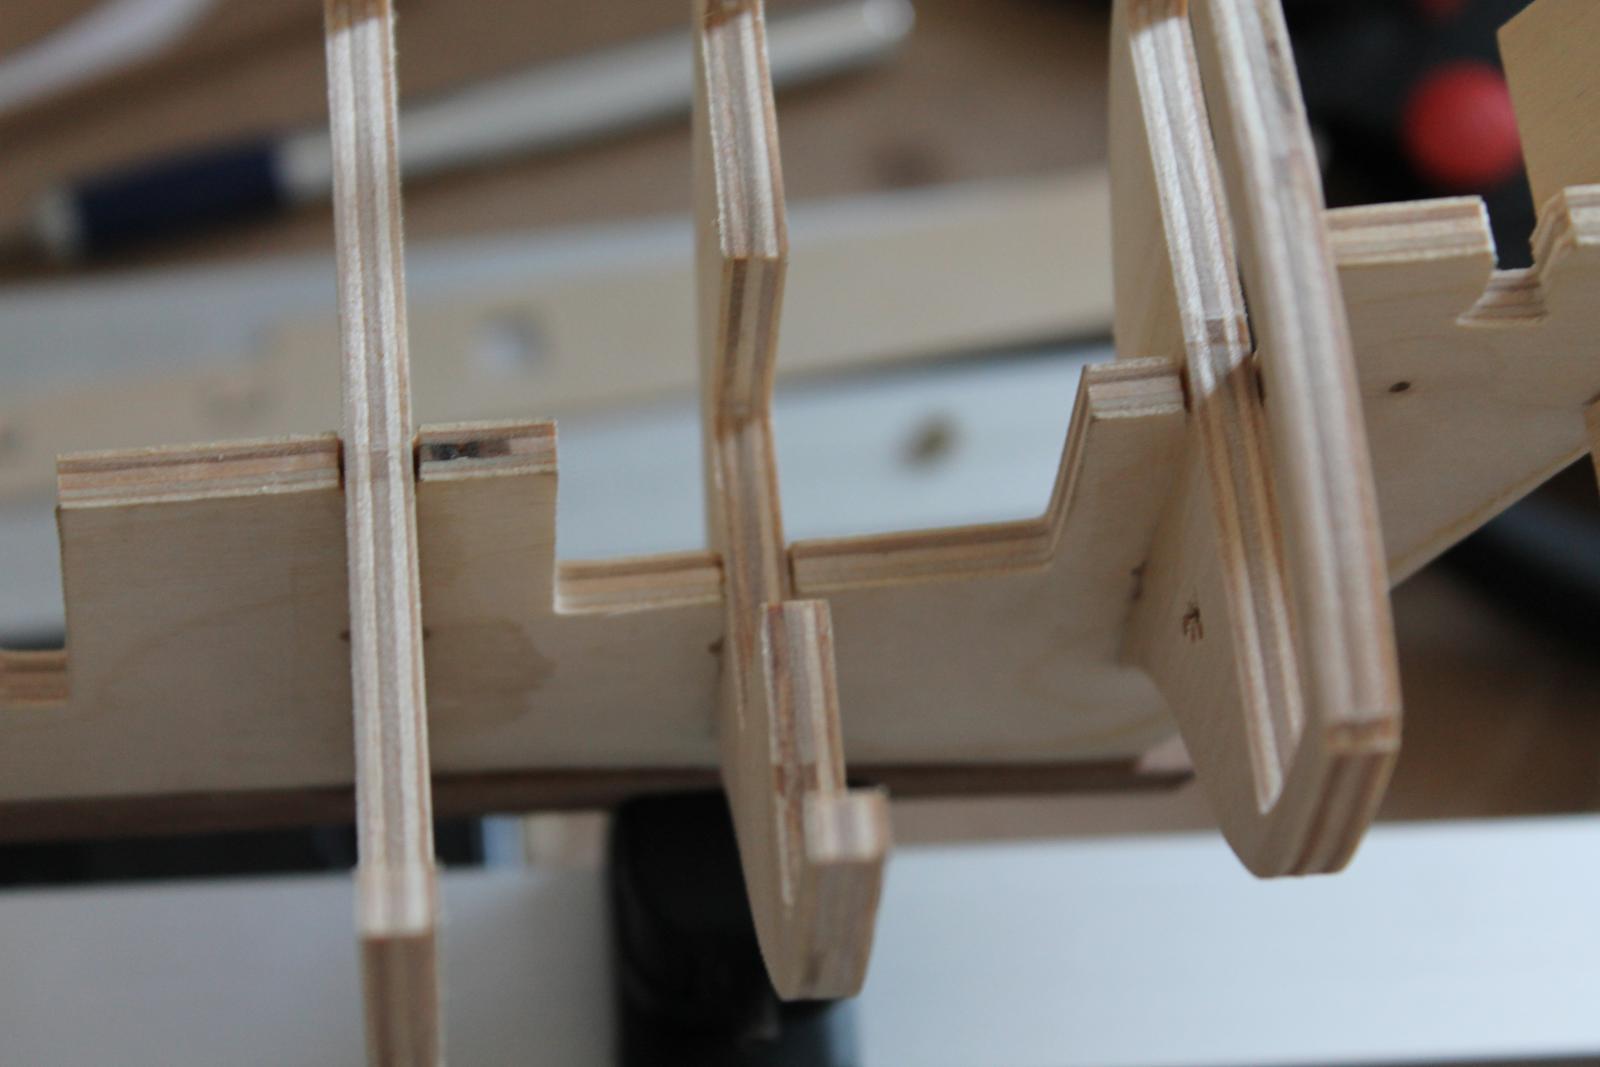
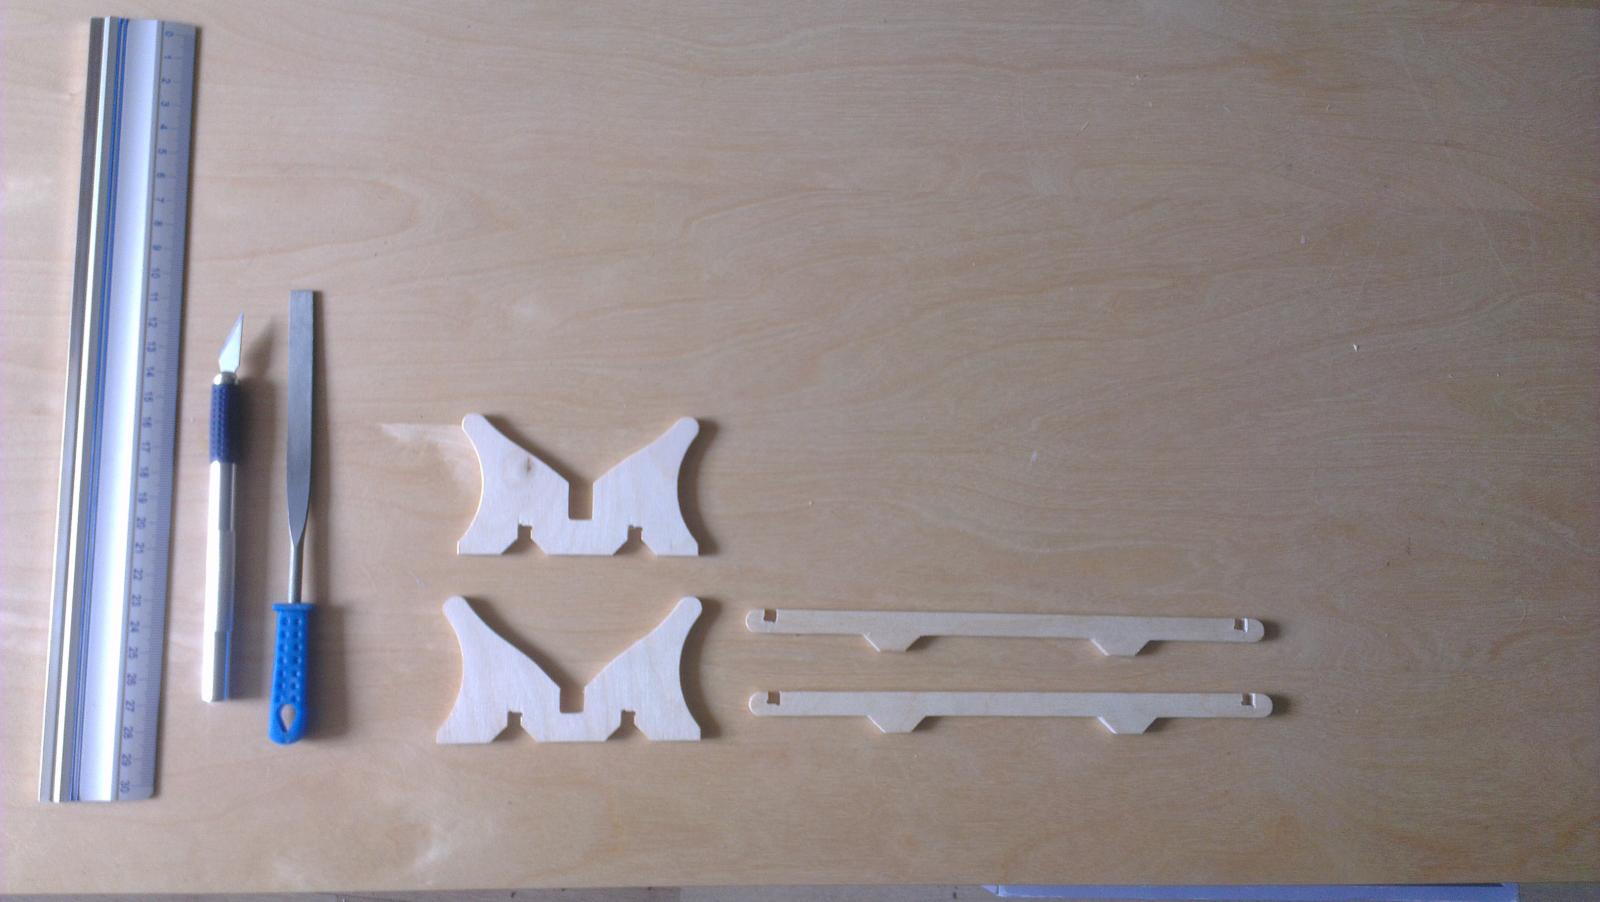
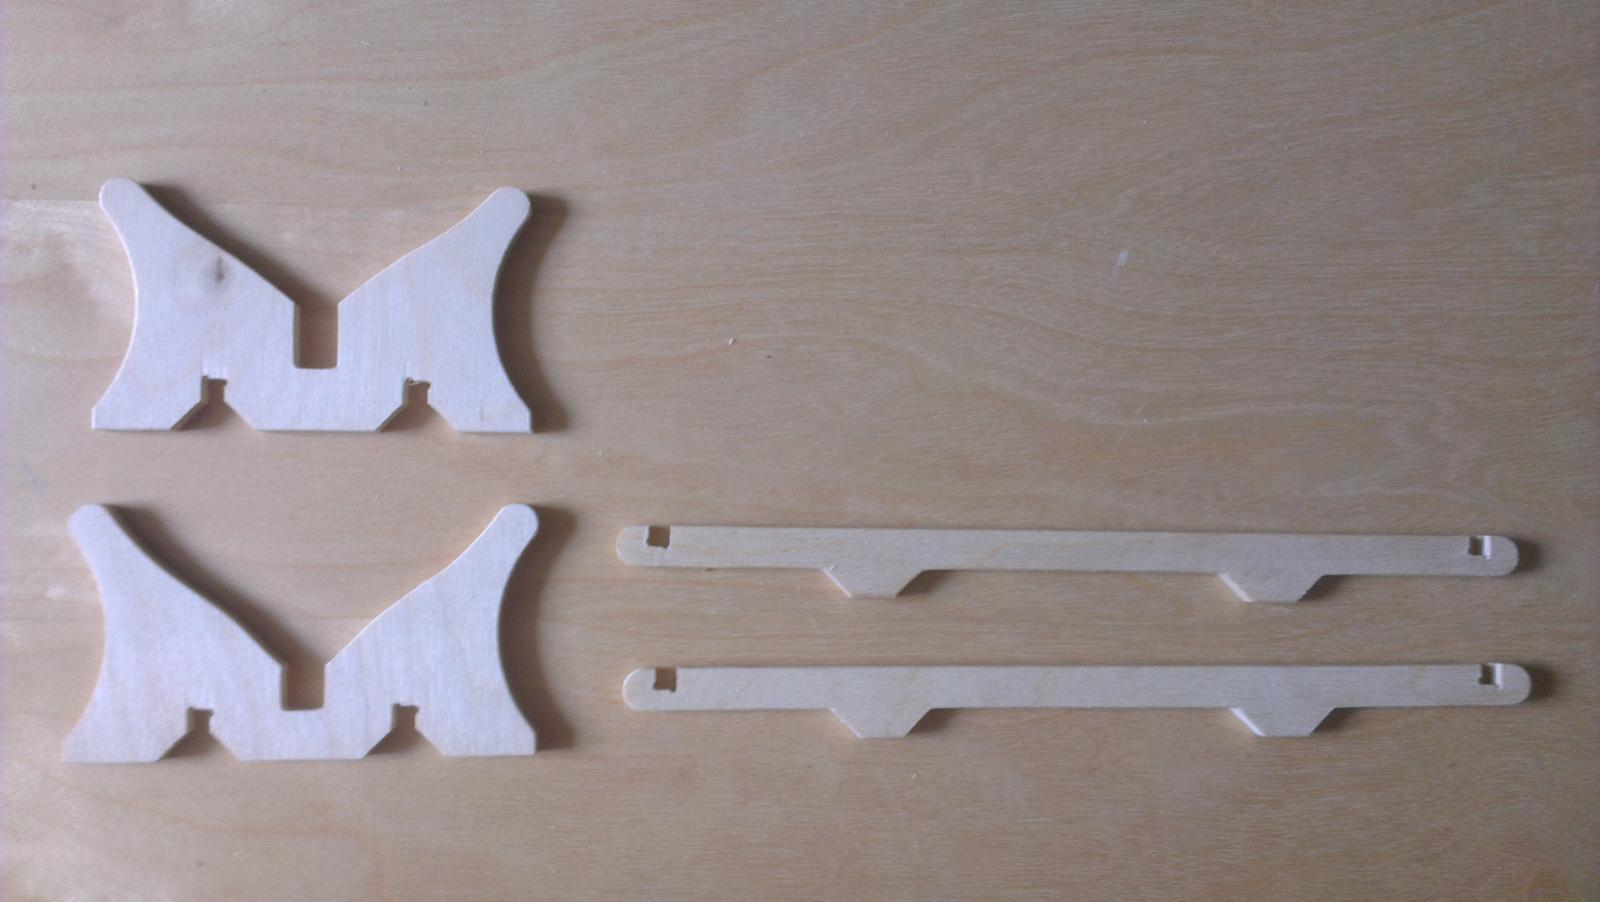
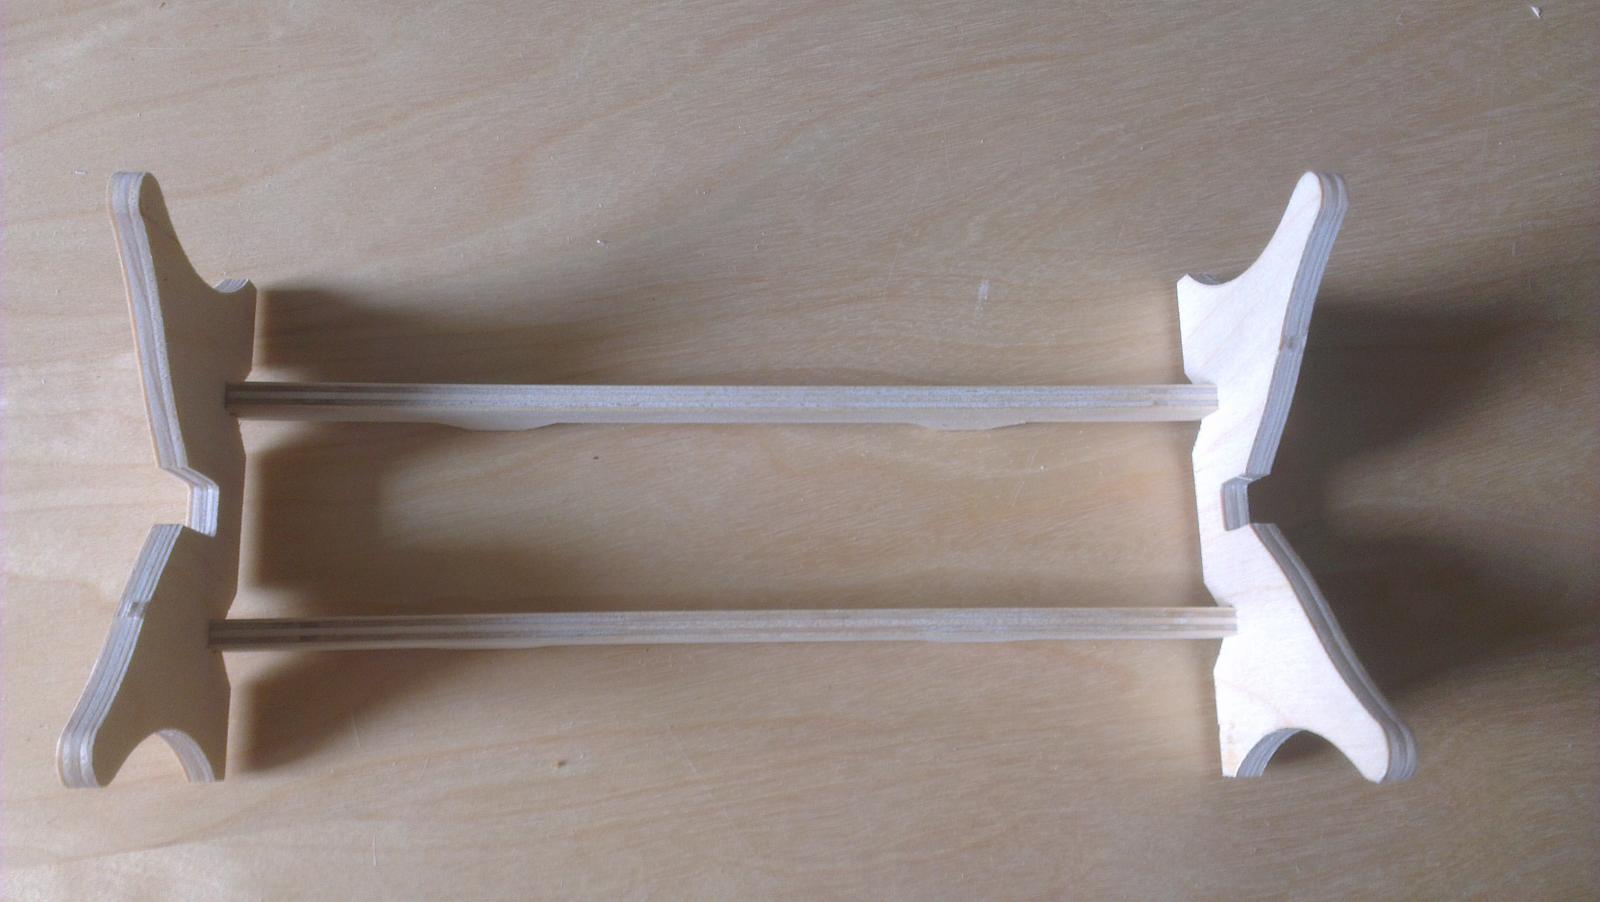
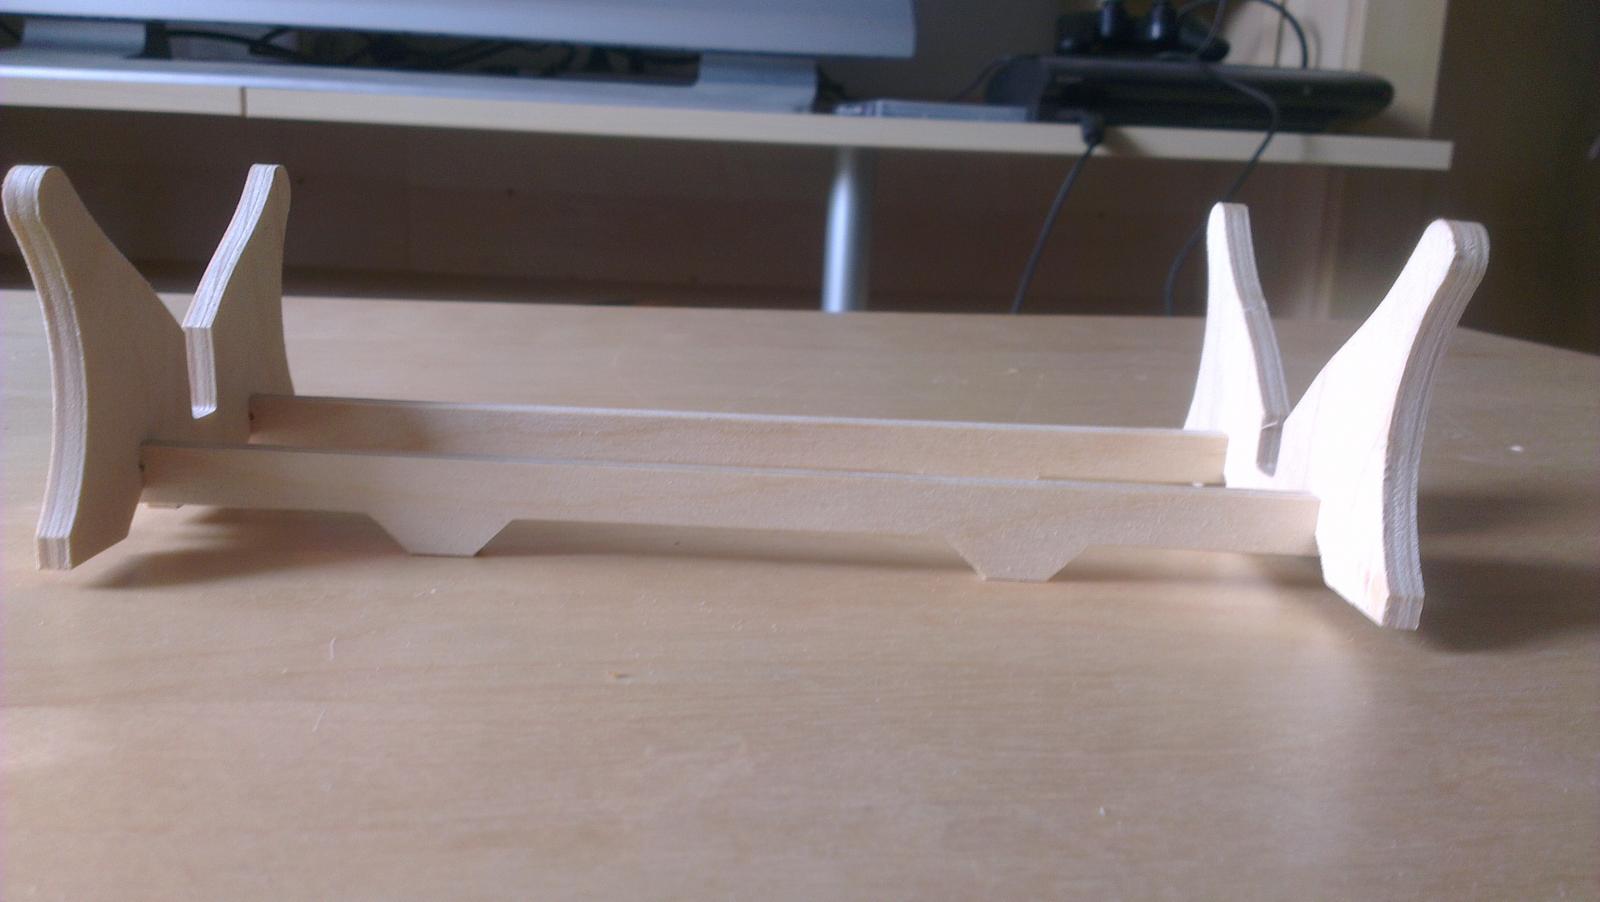
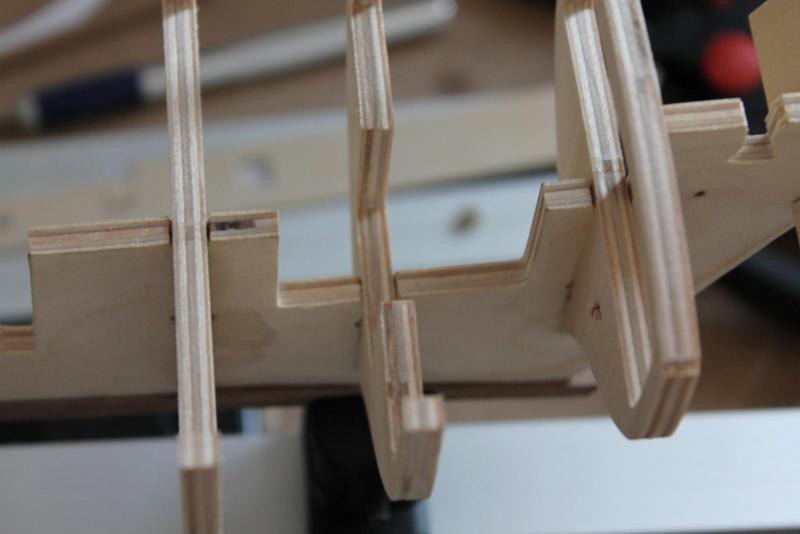
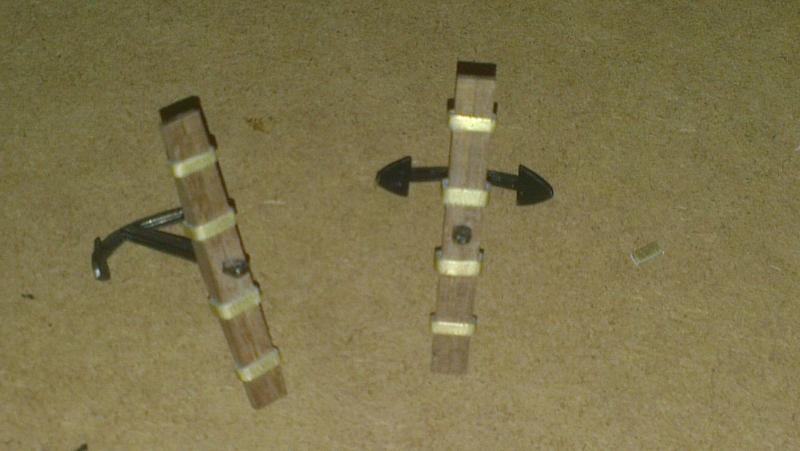
Step 1: Dry fitting the Ship Stand (shipstand_001) So today i started the build with the ship stand. Nothing exciting, but first i wanted to get the feeling how the laser cut ply wood will fit in their counterparts. As the false keel and the bulkeheads are made from the same plywood, i will get some good feeling how these parts will fit together. Removing the parts was quite easy, but the scalpel i used is not the best for the 5mm plywood i realized. I have to find some better tool to remove the other 5mm plywood and walnut parts. Maybe i will just try some saw blade without a handle. After cutting and filing back the remainings of the small gutters and some roundening of the edges i dry fitted the parts together. While dry fitted it was clearly obvious that the ship stand will not stand square to the ground, when the parts just pushed together til the ground of the nutches. So disassembling the stand again and putting it together with some more caution. Now the dry fitted stand will rest on all feet equally. A much more nicer result as the first try. Next step will be sanding the ship stand, glueing it together and apply black paint on it. The faces where the ship will temporarely rest on, i will cushion with some nice fabric. But now i already know, this will not be the final ship stand whenever finished...