DONATION DRIVE - SUPPORT MSW - DO YOUR PART TO KEEP THIS GREAT FORUM GOING!
×


spasias
-
Posts
10 -
Joined
-
Last visited
Content Type
Profiles
Forums
Gallery
Events
Everything posted by spasias
-
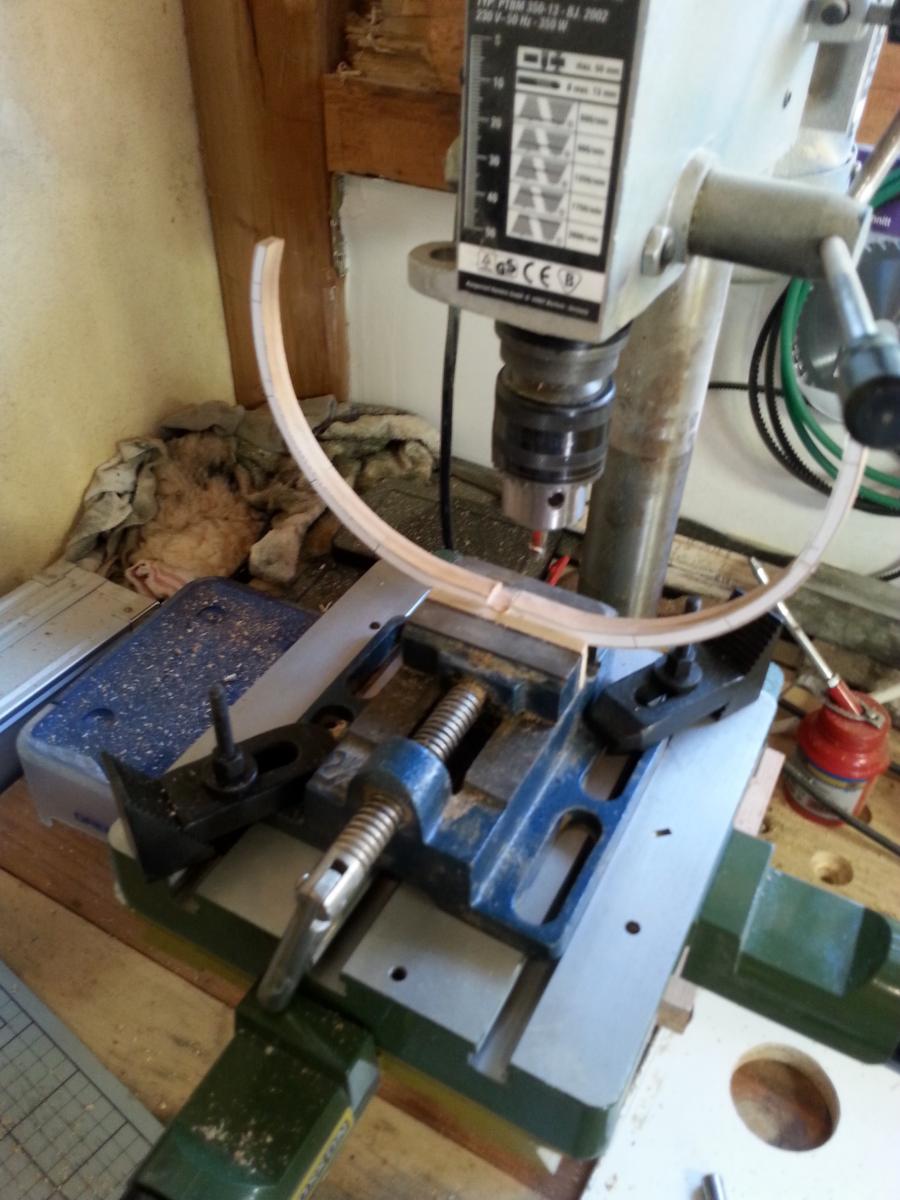
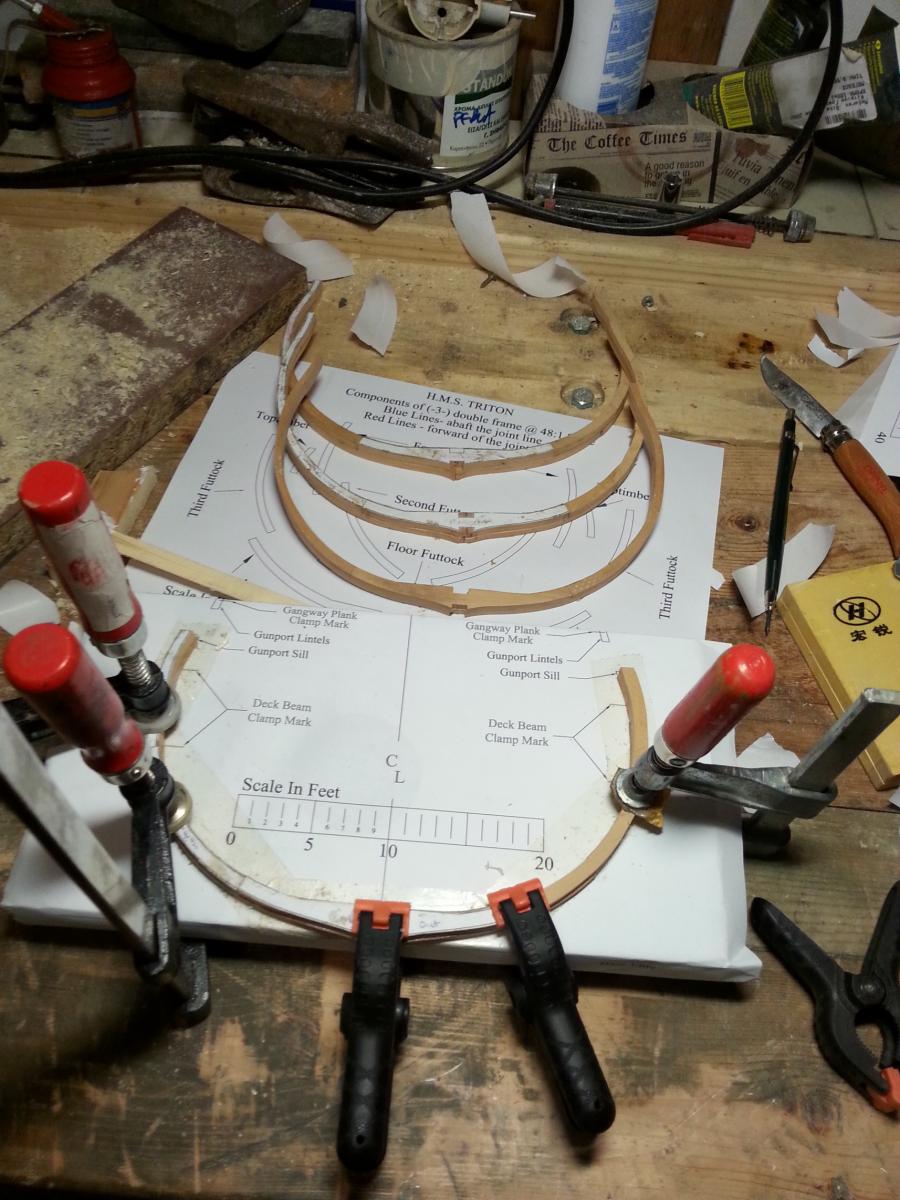
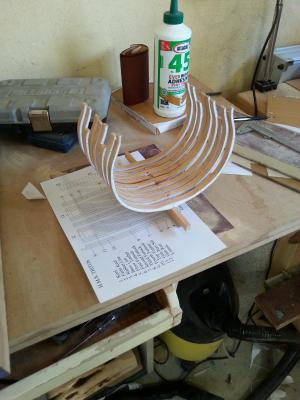
A small update Most of the sanding is done. I also install two small nuts inside the frames in order to support the cross section at the future. Next step is the inside area floor installation. Does anyone knows what diameter treenails I must use for 1/48 scale? Also there is any treenail positioning pattern or I have to copy from other progress logs?
-
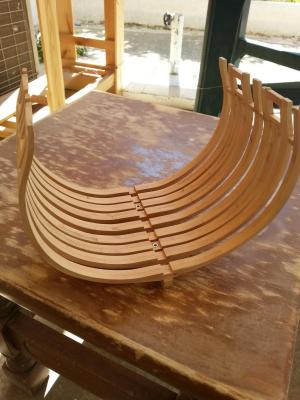
All the framework was done. Now is sanding time...
-
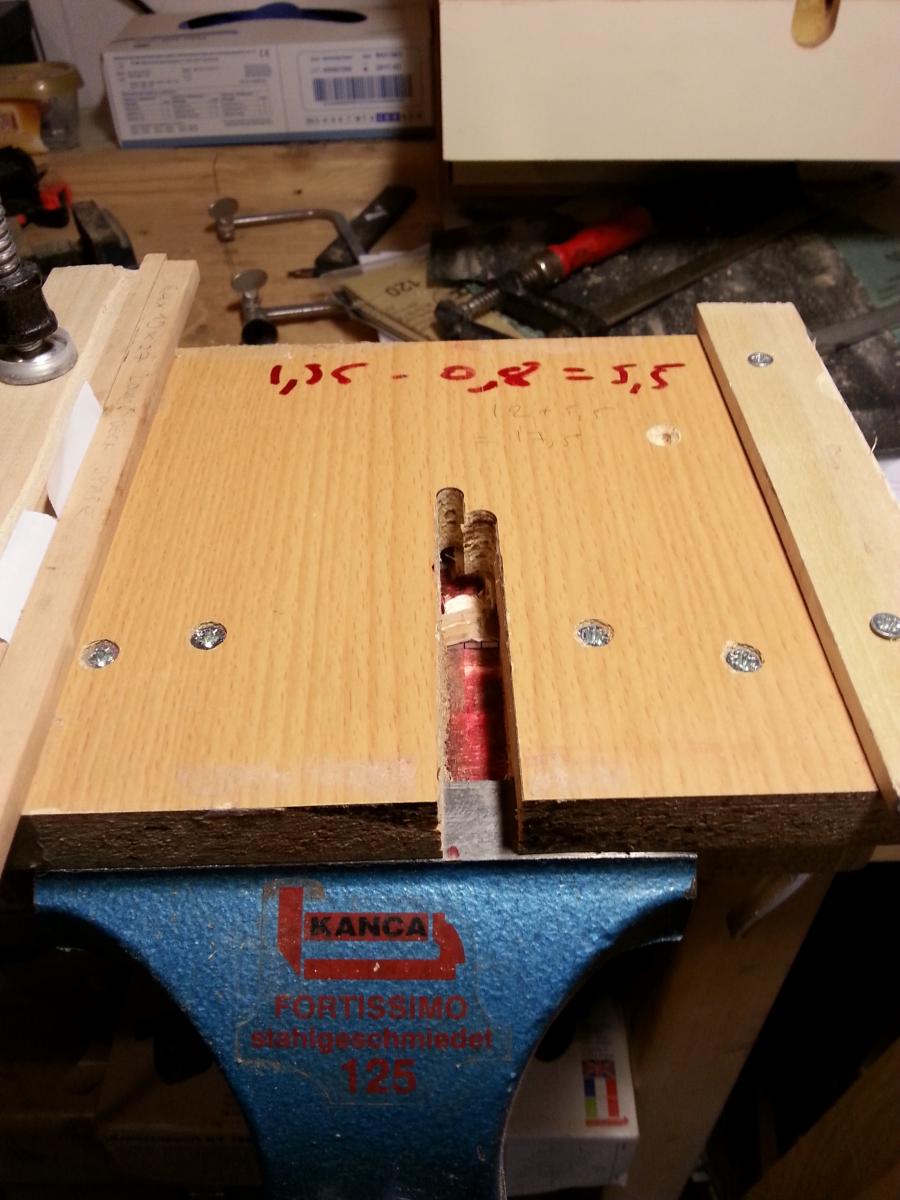
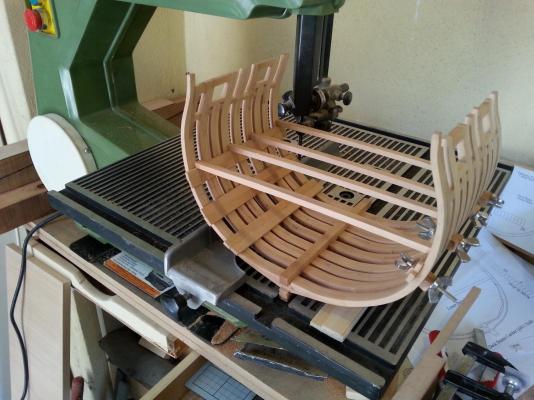
Thanks mtaylor for the info. I will try some drill press mods that I saw on the net and I will post the results. I also glued all the frames. The spacers that I used are temporary without glue. I don't know if I must glue some spacers or not for extra support. I intend to leave one side without planking (but with glued spacers the sanding will be more accurate). So I still thinking how to continue.

-
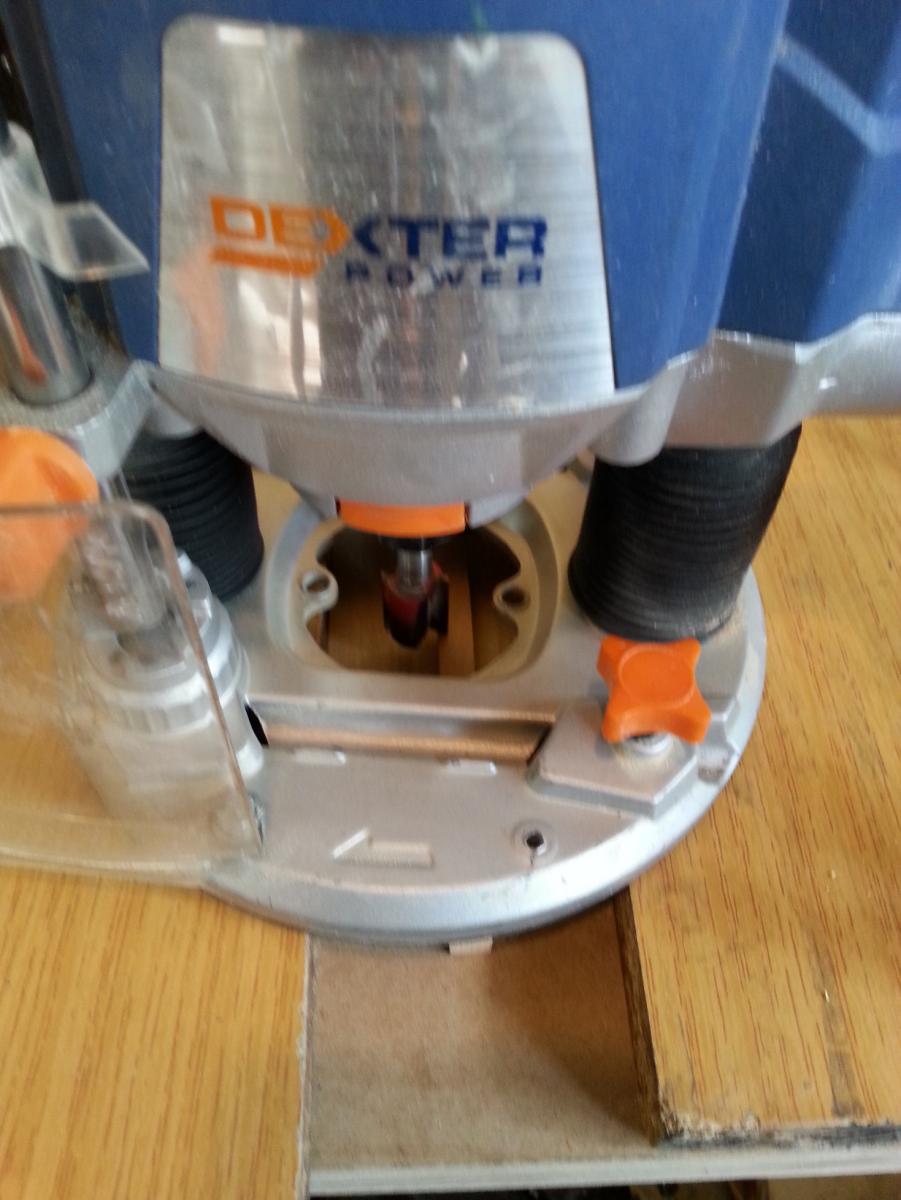
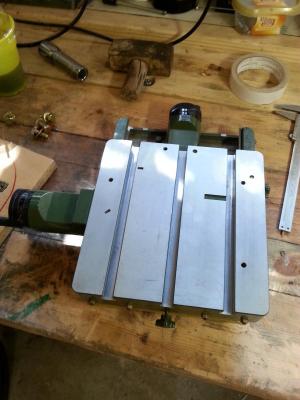
A small update because a flu kept me in bed the last days. I couldn' t afford to buy a milling machine so I settled with a x-y table attached to my bench drill press. This setup was not excellent because of my drill press was running at low rpm. At the end I manage to cut accurate the frames making three or four cutting passes. I believe the problem was the router bit that i used for cutting. This bit needs at least 12.000 rpm to operate properly. I don't know if i install mill cutting bit if i will have better results.

-
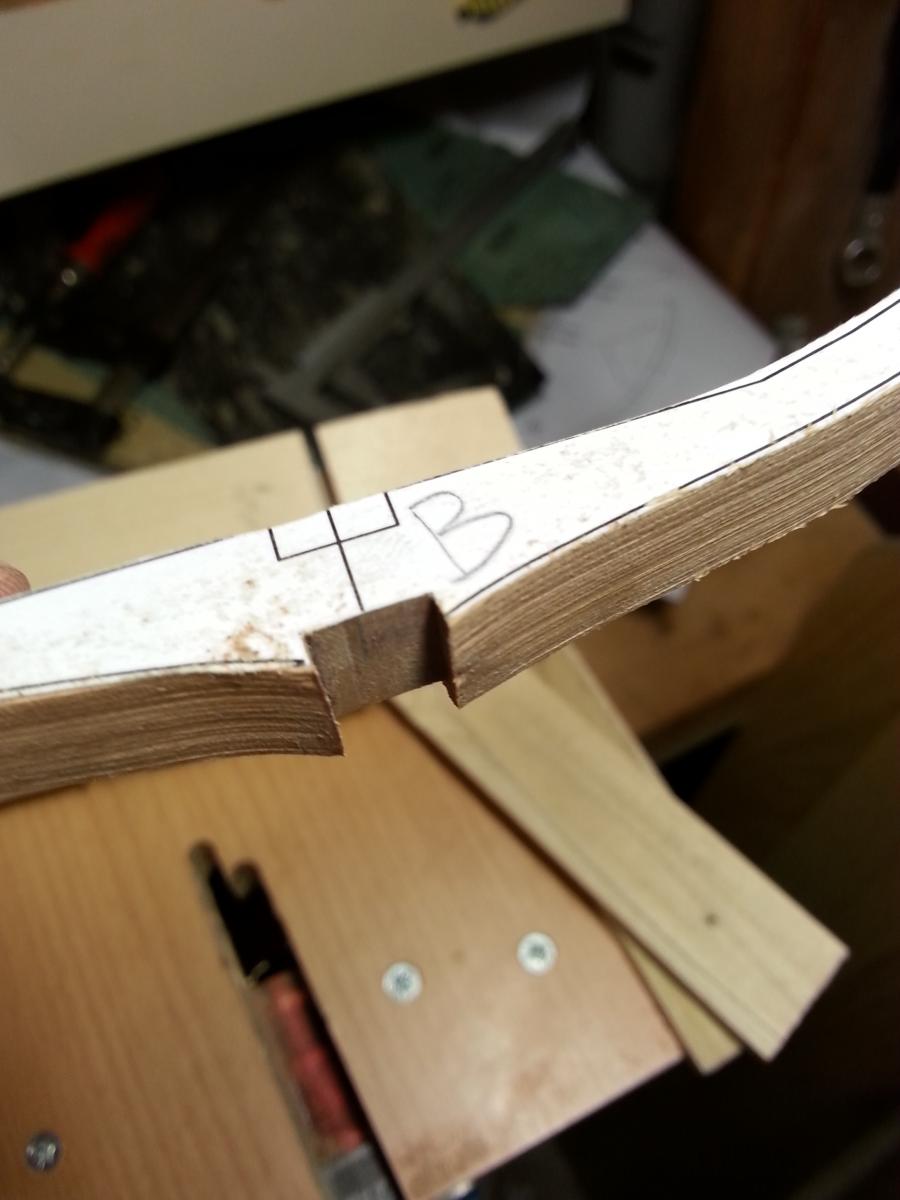
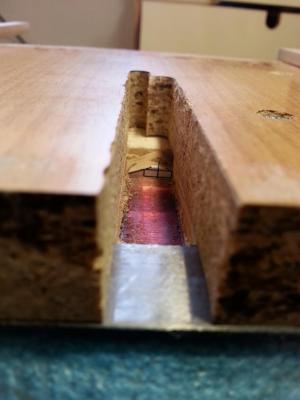
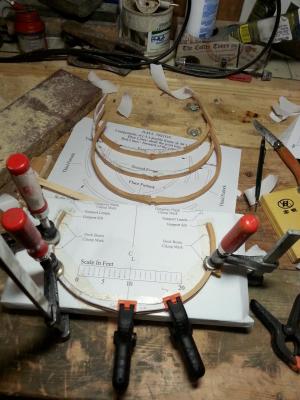
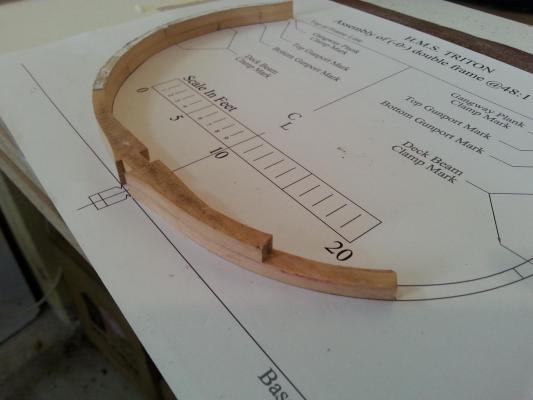
Thank you Antony for the comments. Today I had a little more progress. I manage to cut, with the router, all the botton cuts in order to fit the keel. For this purpose i made a simple jig. All the cuts were perfect so all the pieces stay at correct position even with dry fit. Currently i try to see how to cut correct the top pieces (I need a mill for this job that i don't have). At last the model takes shape.


-
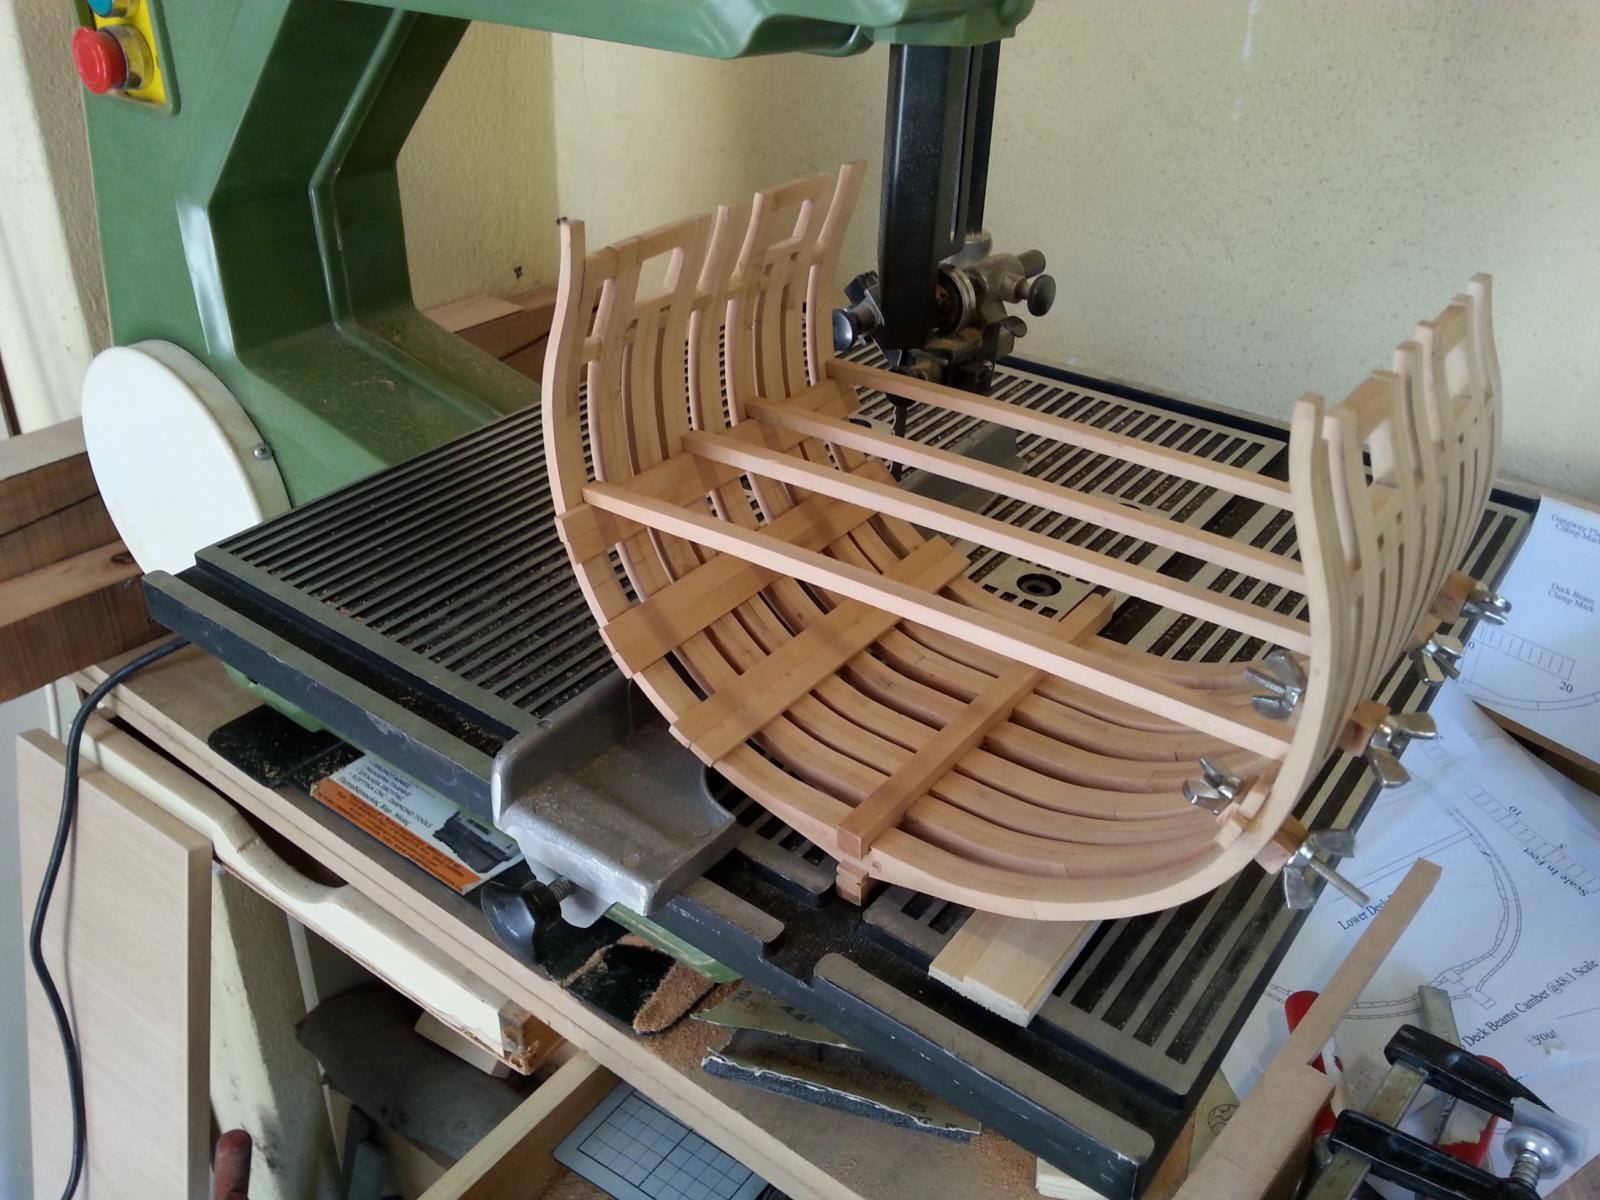
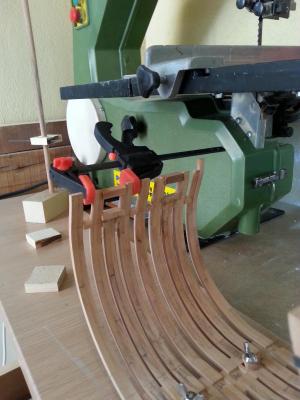
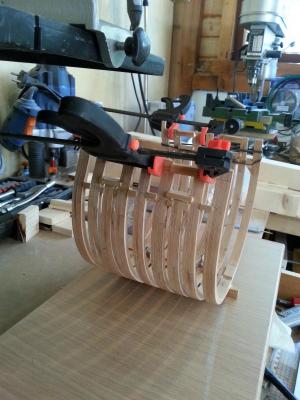
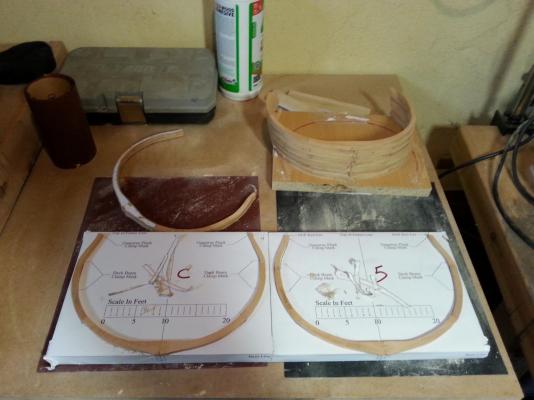
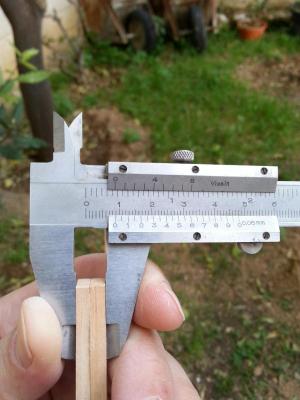
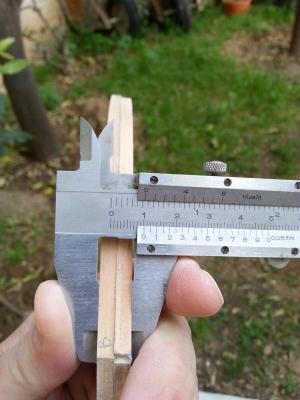
Finally I manage to make all the frames ... so now is sanding and assembly time. First of all I face all the pieces from front and back with sanding them into a sandpaper glued to a flat surface. The result was excellent achieving very even and smooth surfaces. At the end of the process I measure the pieces width and I realize that at the bottom of the frame I had 10 mm width and at the top I had 9 mm width . I was sanding by pressing the piece to the sandpaper with an flat wooden surface on the top ... unfortunately the small tops of the frame was rubbing more so i had this difference. instead I might had put more pressure to the bottom of the frame area .... I don't intend to remake all the frames, because the difference is the same to all the frames, instead I will try to get rid the difference st the assembly. Anyway LESSON LEARNED . If you don't make mistakes you won't learn.
-
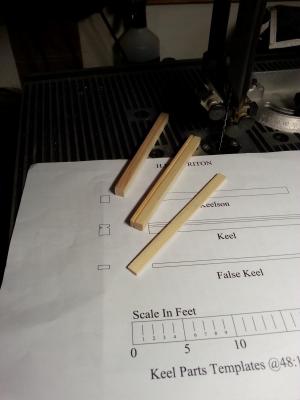
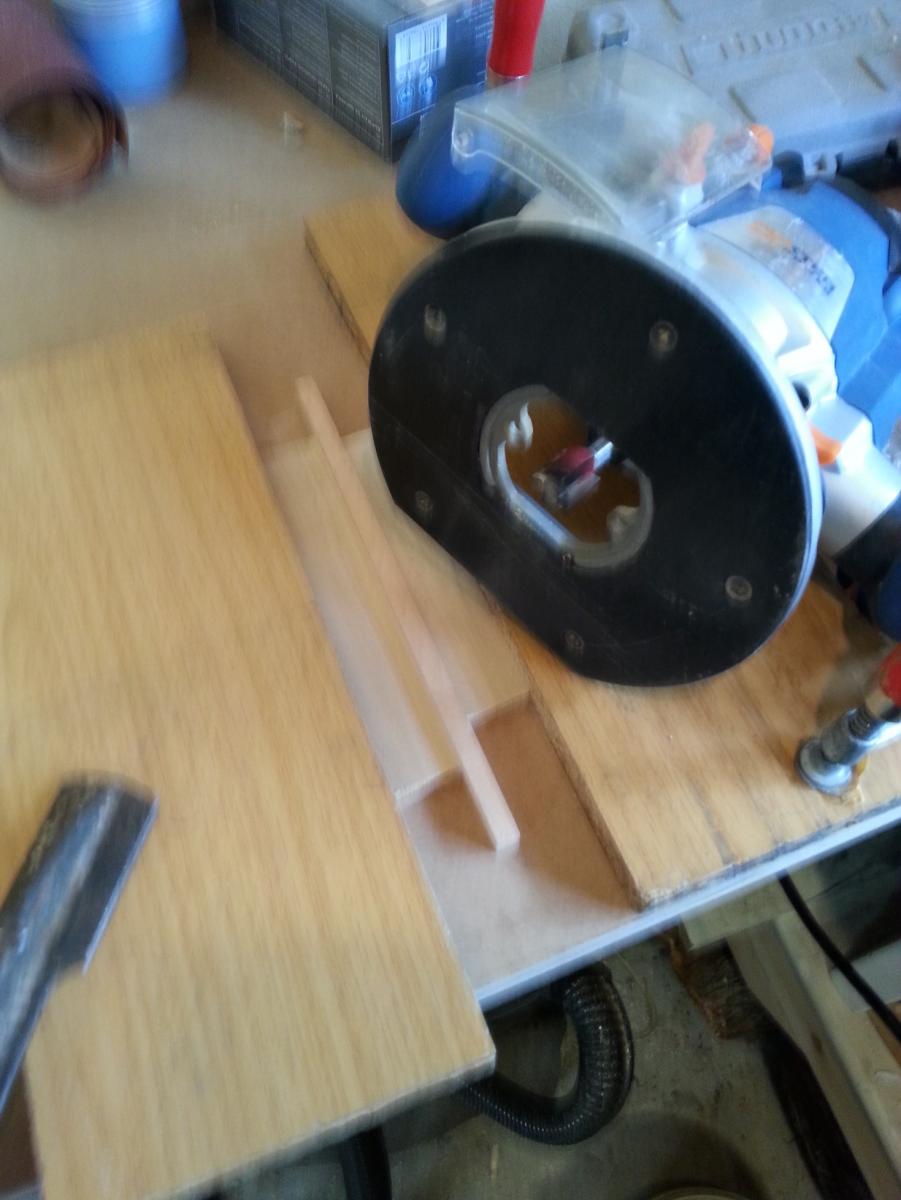
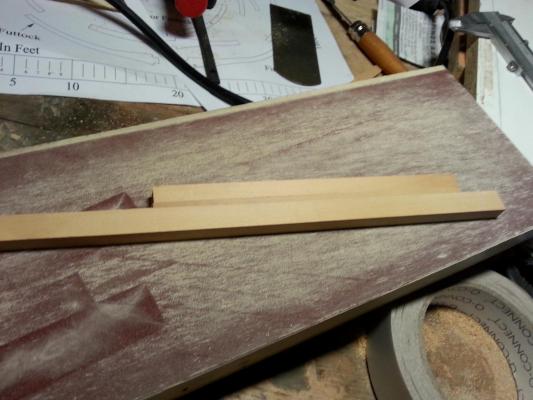
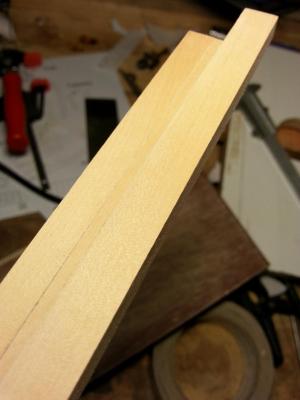
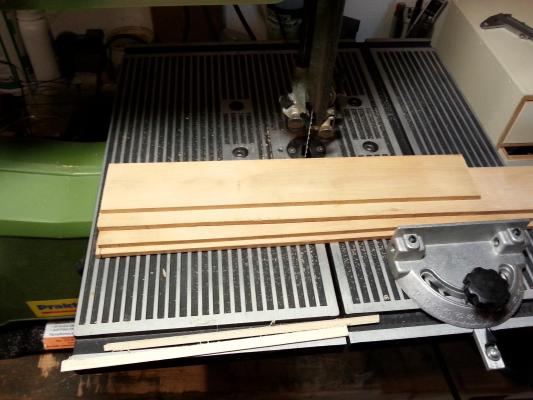
So far I manage to speed up my technique and to be more productive. Five more left ... I was not very happy with the keel construction method that I used (band-saw and sanding) because the final pieces were not as precise as I needed. In addition a mini thicknesses planner is very expensive ... so I manage to make again the keel parts by using router as thickness planer with success. I use double side tape to stick the piece down to a flat surface, also I use small wood pieces left and right to keep the piece steady in place and I trim the upper edge with the router sliding in top ... after one pass per side and minimum sanding the result was excellent.


-
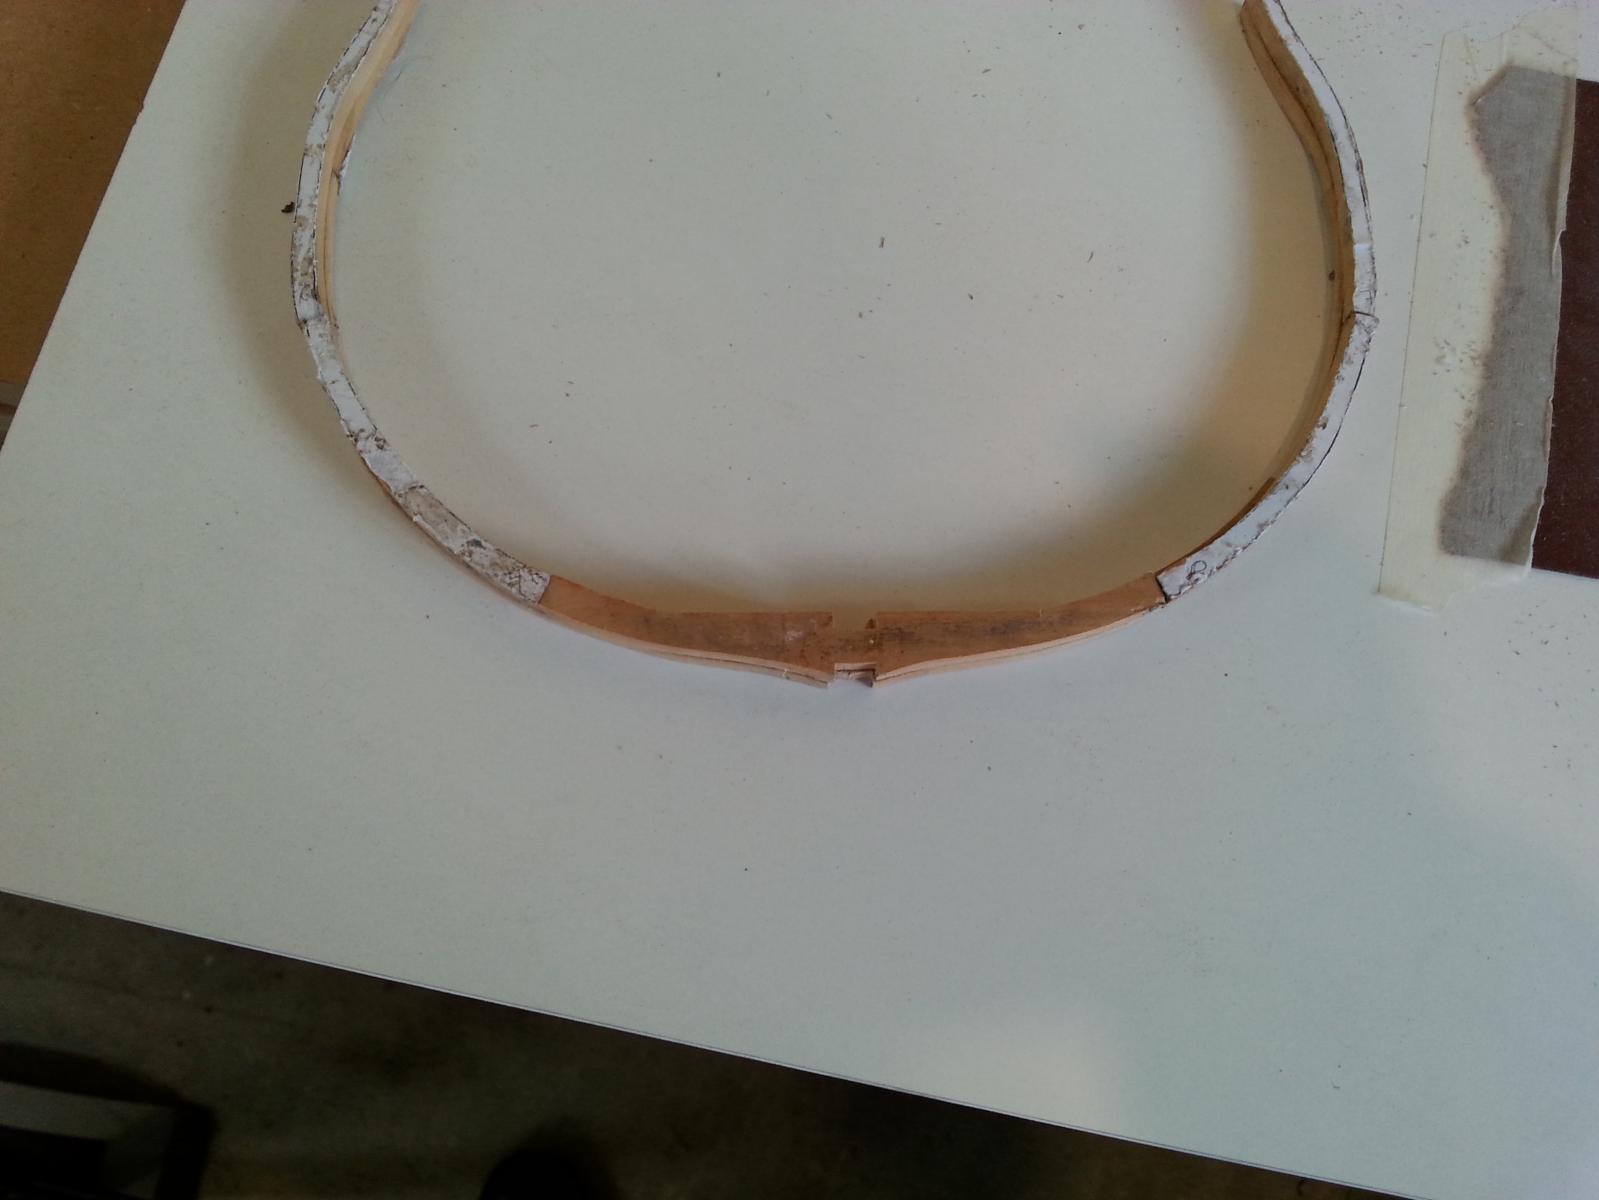
The first frame was done ... but the results was far away from my expectations. The right side was very bad, so I decided to remove some parts and remake them. I believe with some practice I will manage to make even better frames.

-
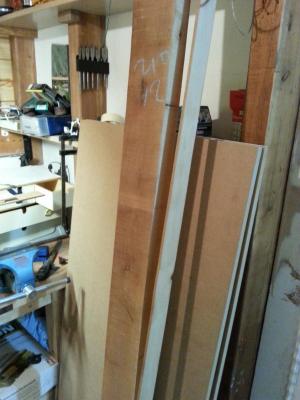
A small update. I purchase locally a big dry piece of pear wood and I already manage to made one slice of it. Unfortunately my band saw was overloaded and I broke the blade . So I am waiting to get a new blade in order to go on with the frames .
-
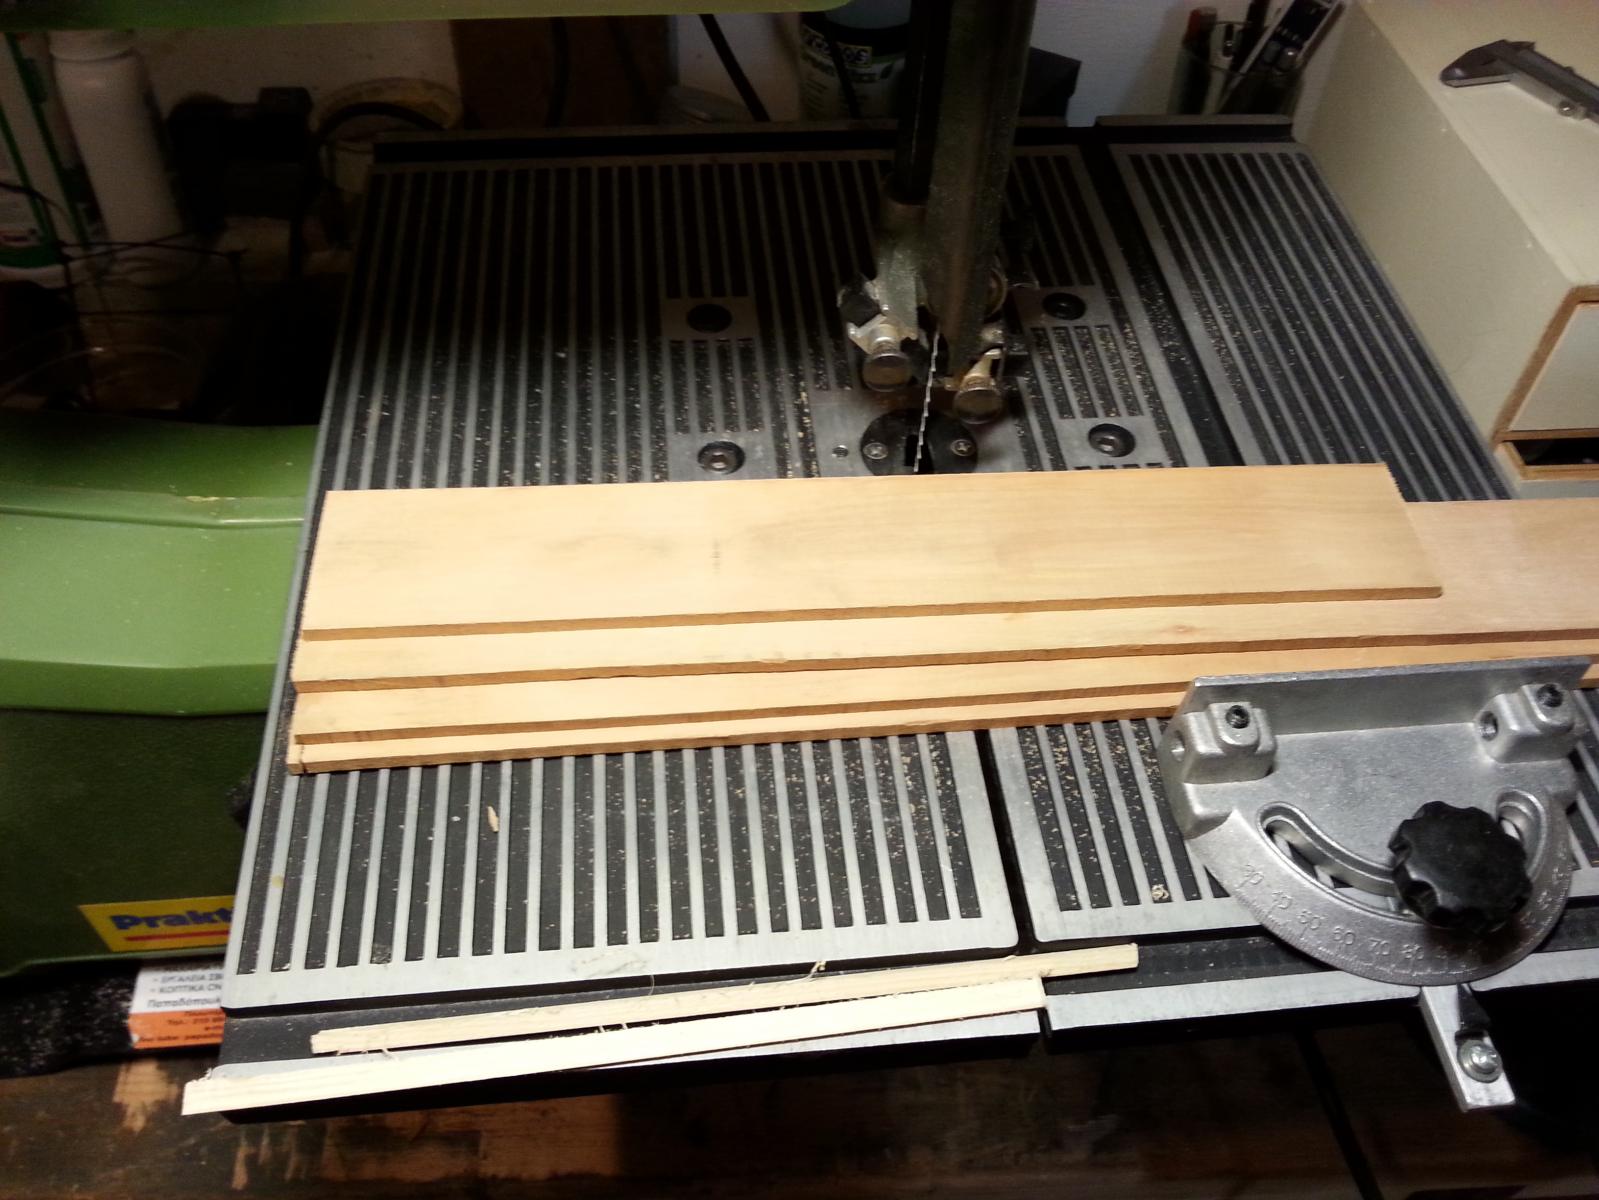
Hello all. My name is Stergios. After a period of viewing others projects I decided to start my first model. I don't have fancy workshop tools just a small bandsaw that i got second hand and rebuild it. So together with this project i will also upgrade my workshop with tools that will help me with the project. The first pieces were made from pine wood that I had available, in order to practice in woodworking technique. As soon as possible I will try to get locally some pear wood in order to go on. Requesting access to the rest of the plans.