HOLIDAY DONATION DRIVE - SUPPORT MSW - DO YOUR PART TO KEEP THIS GREAT FORUM GOING! (Only 24 donations so far out of 49,000 members - C'mon guys!)
×


Primey
-
Posts
32 -
Joined
-
Last visited
Content Type
Profiles
Forums
Gallery
Events
Everything posted by Primey
-
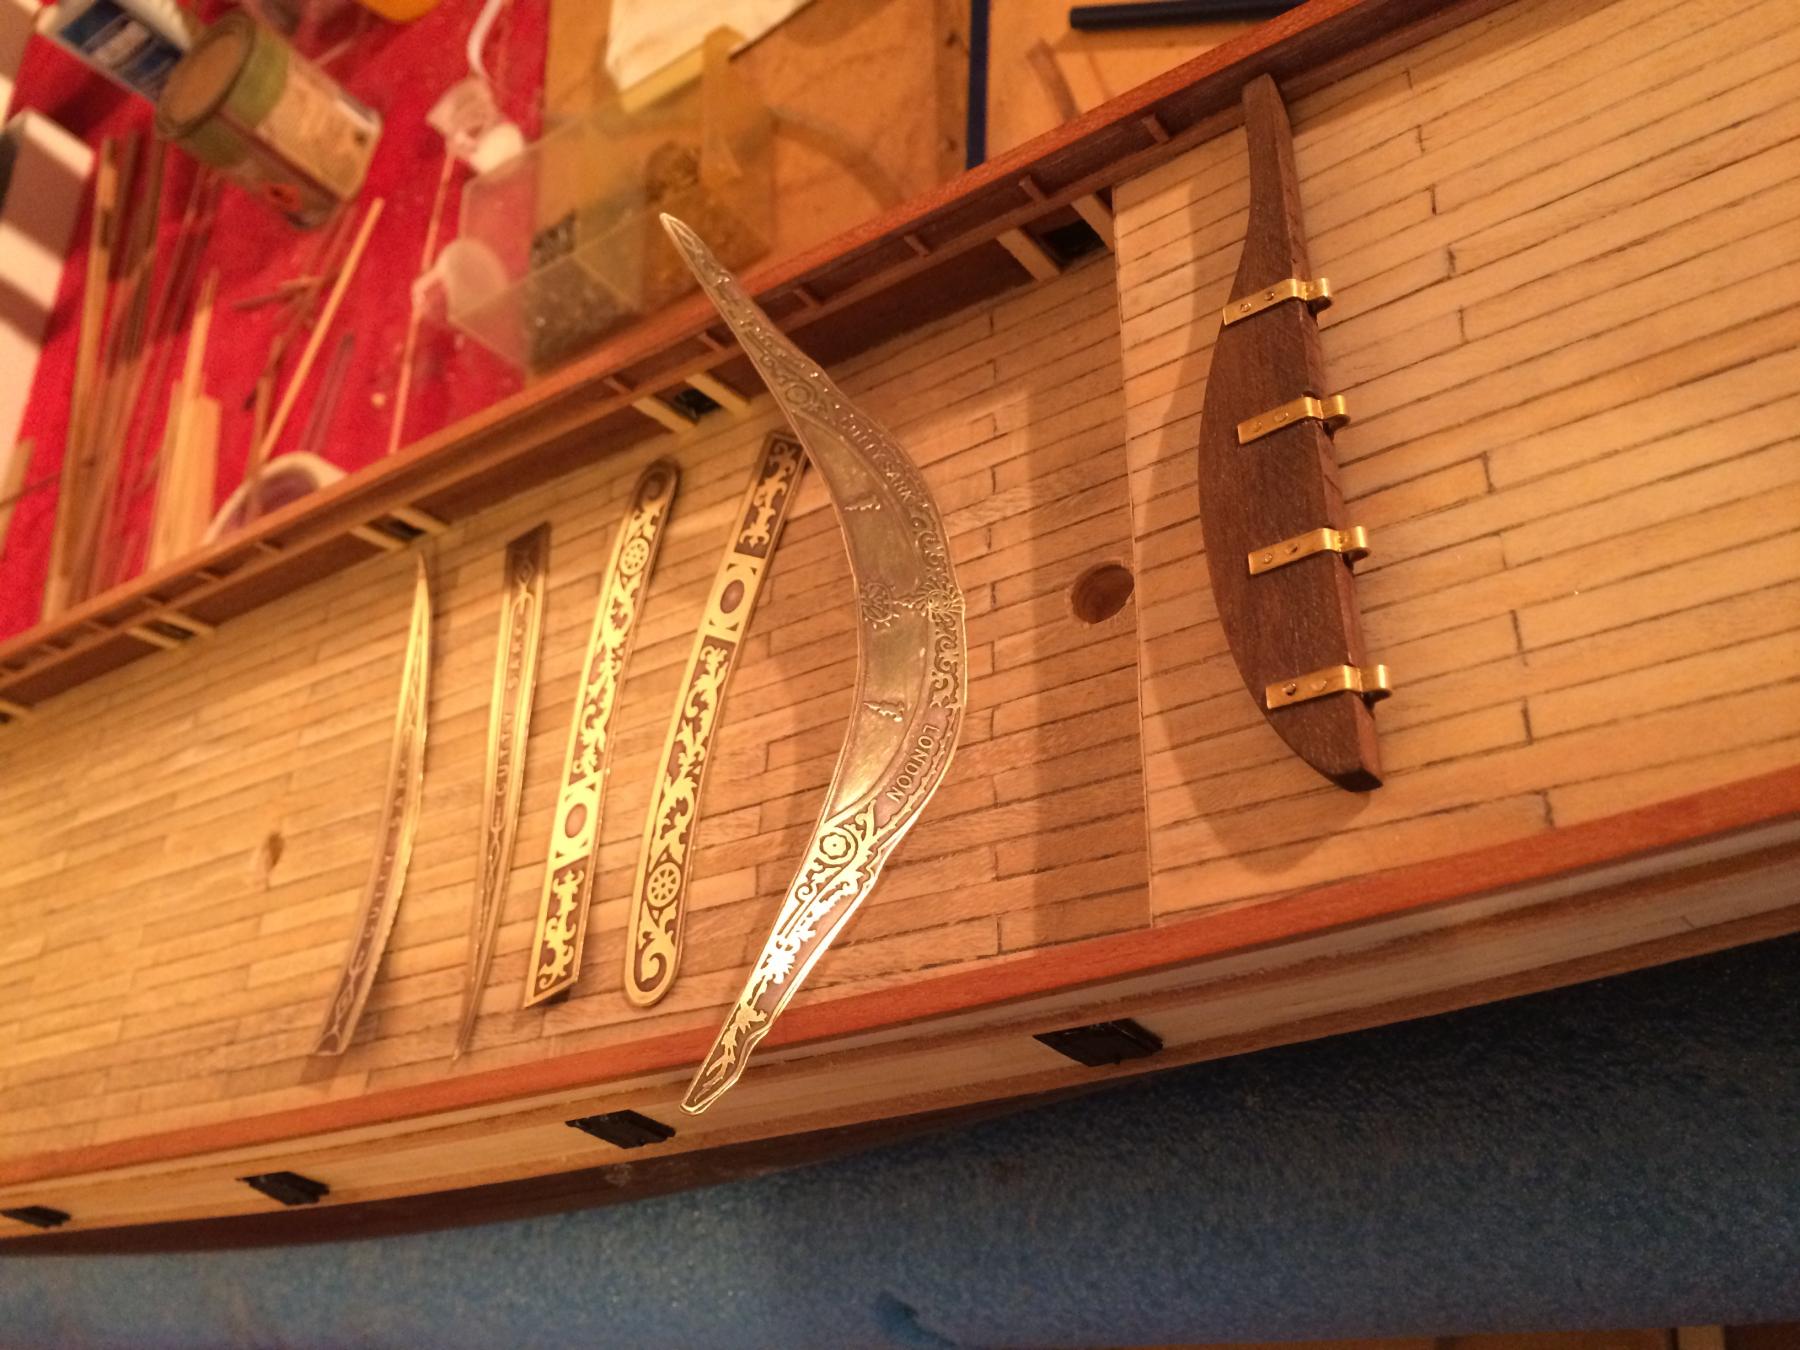
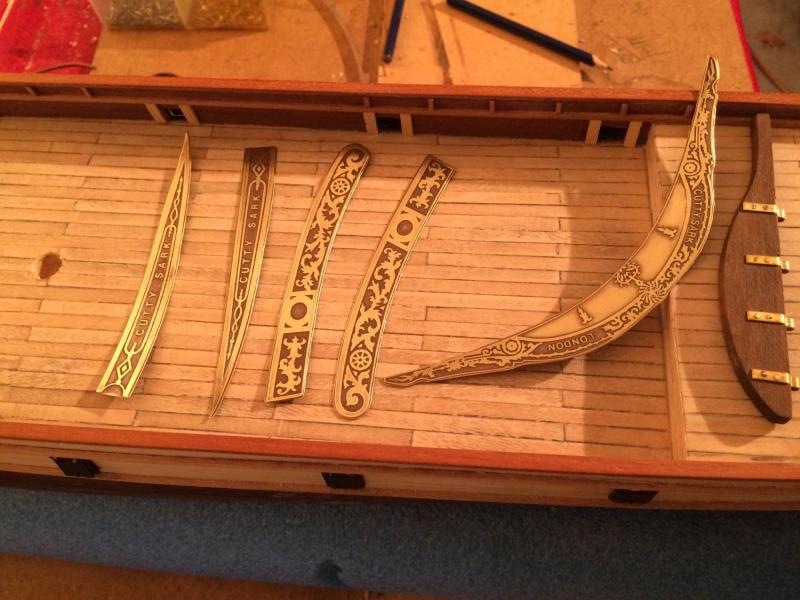
 Drilled mast holes, cut out and polished up prow and stern decorations. Started on belaying pin racks but do not have a small enough drill bit. The pin rack wood is only is 3mm wide 13cm long, need 25 holes so probably only 0.5mm or 1mm drill bit. So purchased both on ebay. And to those looking forward to the copper, not for me I'm afraid. I tried but the copper has beaten me so time to move on.
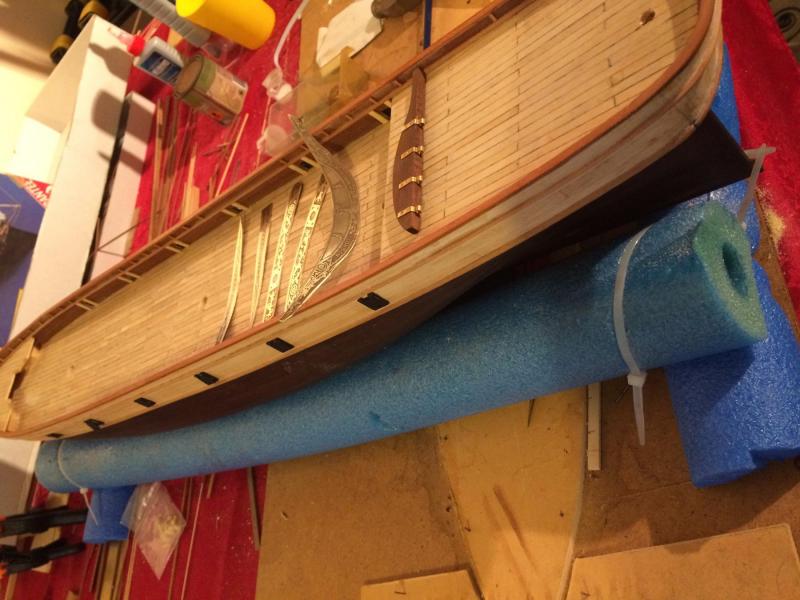

-
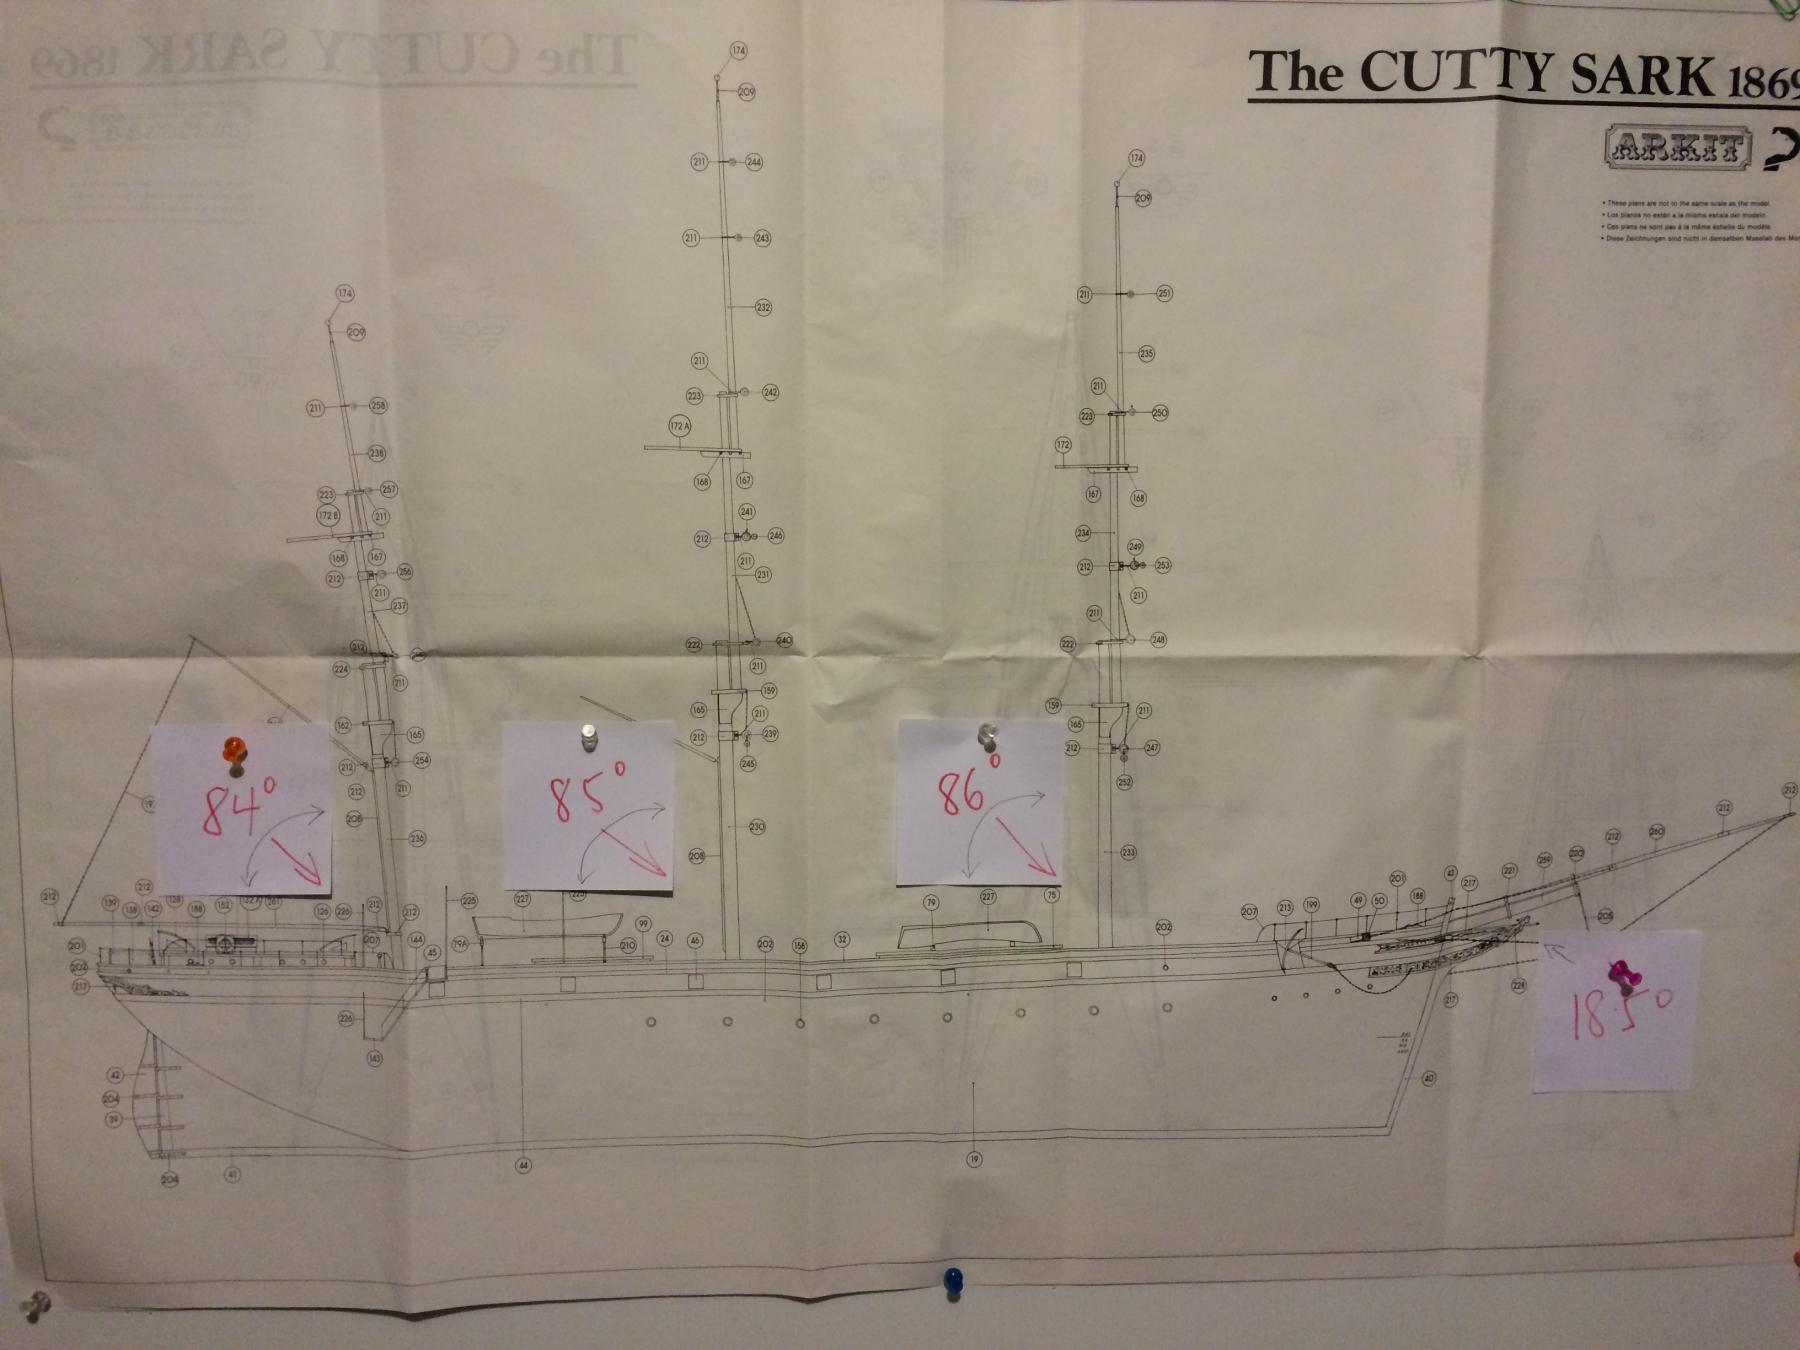
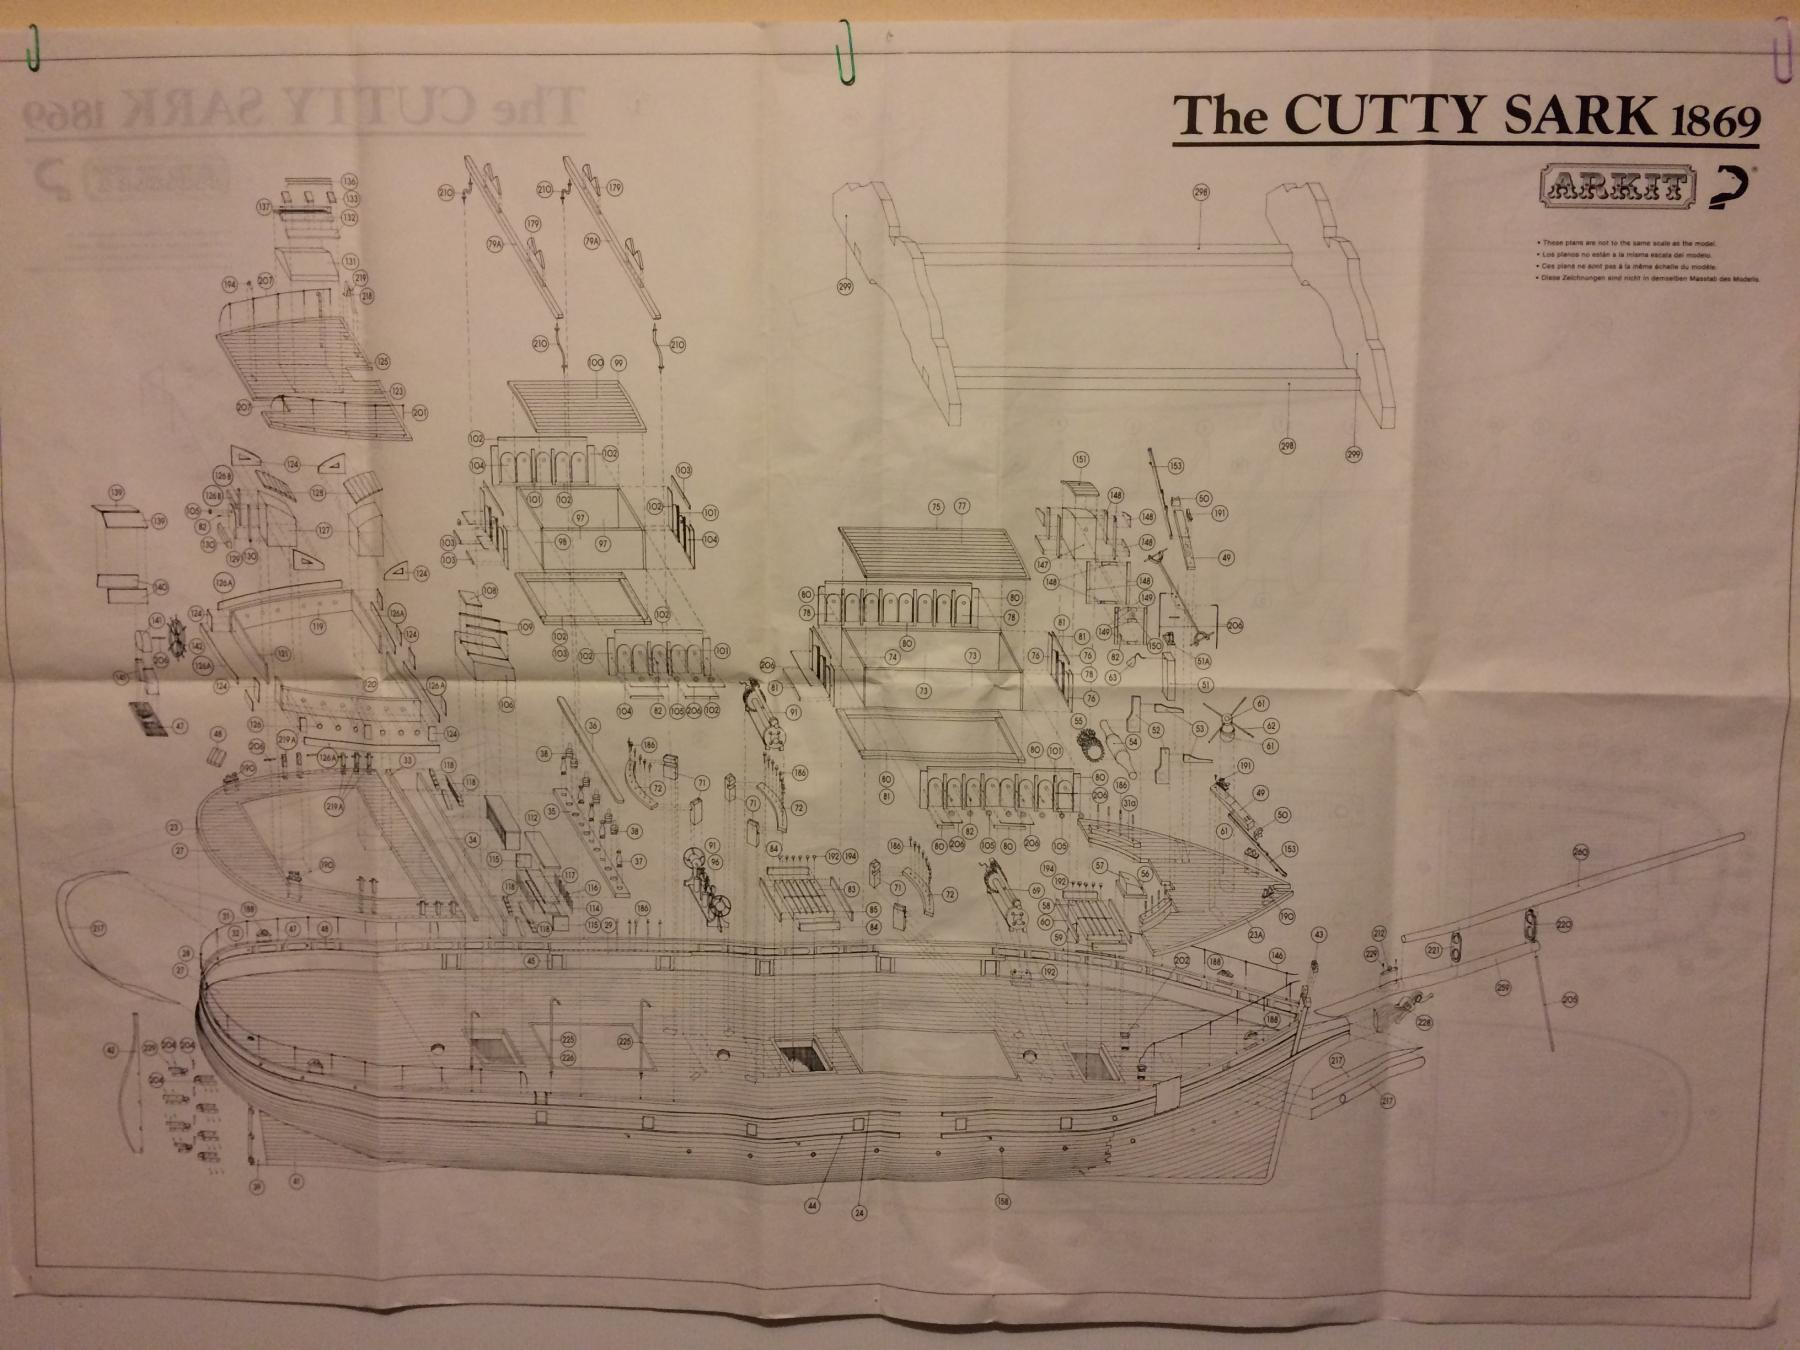
Thanks Nenad According to the protractor, Campbell's plan shows, 85°,86° and 85° to the horizontal. So basically all the same angle. Probably hard to drill the a perfect 85° anyway. Cheers Primey
-
Thanks Hof Protractor angles are 90°,88° and 82° 82° seems a tad extreme. At the end of the day will use my own judgement as you suggest. Thanks again Primey p.s. nice work on your build.
-
Thanks HOF Masts are 10mm base, 8mm and 6mm. Looking at diagram again the rear mast has quite lean. I might check with protractor tomorrow So, I think this is correct. Just making sure before I start drilling Cheers Primey

-
Hi All Just a question on the masts, I have seen pictures where the masts recline slightly, maybe at an angle 5 degrees (or less) to the deck, others appear to be exactly 90 degree to the deck. because my instructions are silent on this (and really just show perpendicular) , are there any rules here? I'm sure it has been asked and answered before and I have tried to find/search for the answer, so sorry for a repeated question. Thanks Primey
-
Small steps forward. Next drill holes for masts and bowsprit and prow and stern decorations.


-
Thanks for your comments Bob and David. I have been struggling with the coppering, not just making plates but trying to visualise the 3 hull colours. The veneer does look good, and the copper plates I've made are "not so good". I am using tape but just can't seem to produce plates that look realistic, maybe using the wrong tools. looking at the finished model on the box I would say this model is meant to be artistic rather than historical. Anyway I'm ploughing on and maybe come back to the coppering later - procrastinate a little longer. Procrastination is something best put off until tomorrow.
-
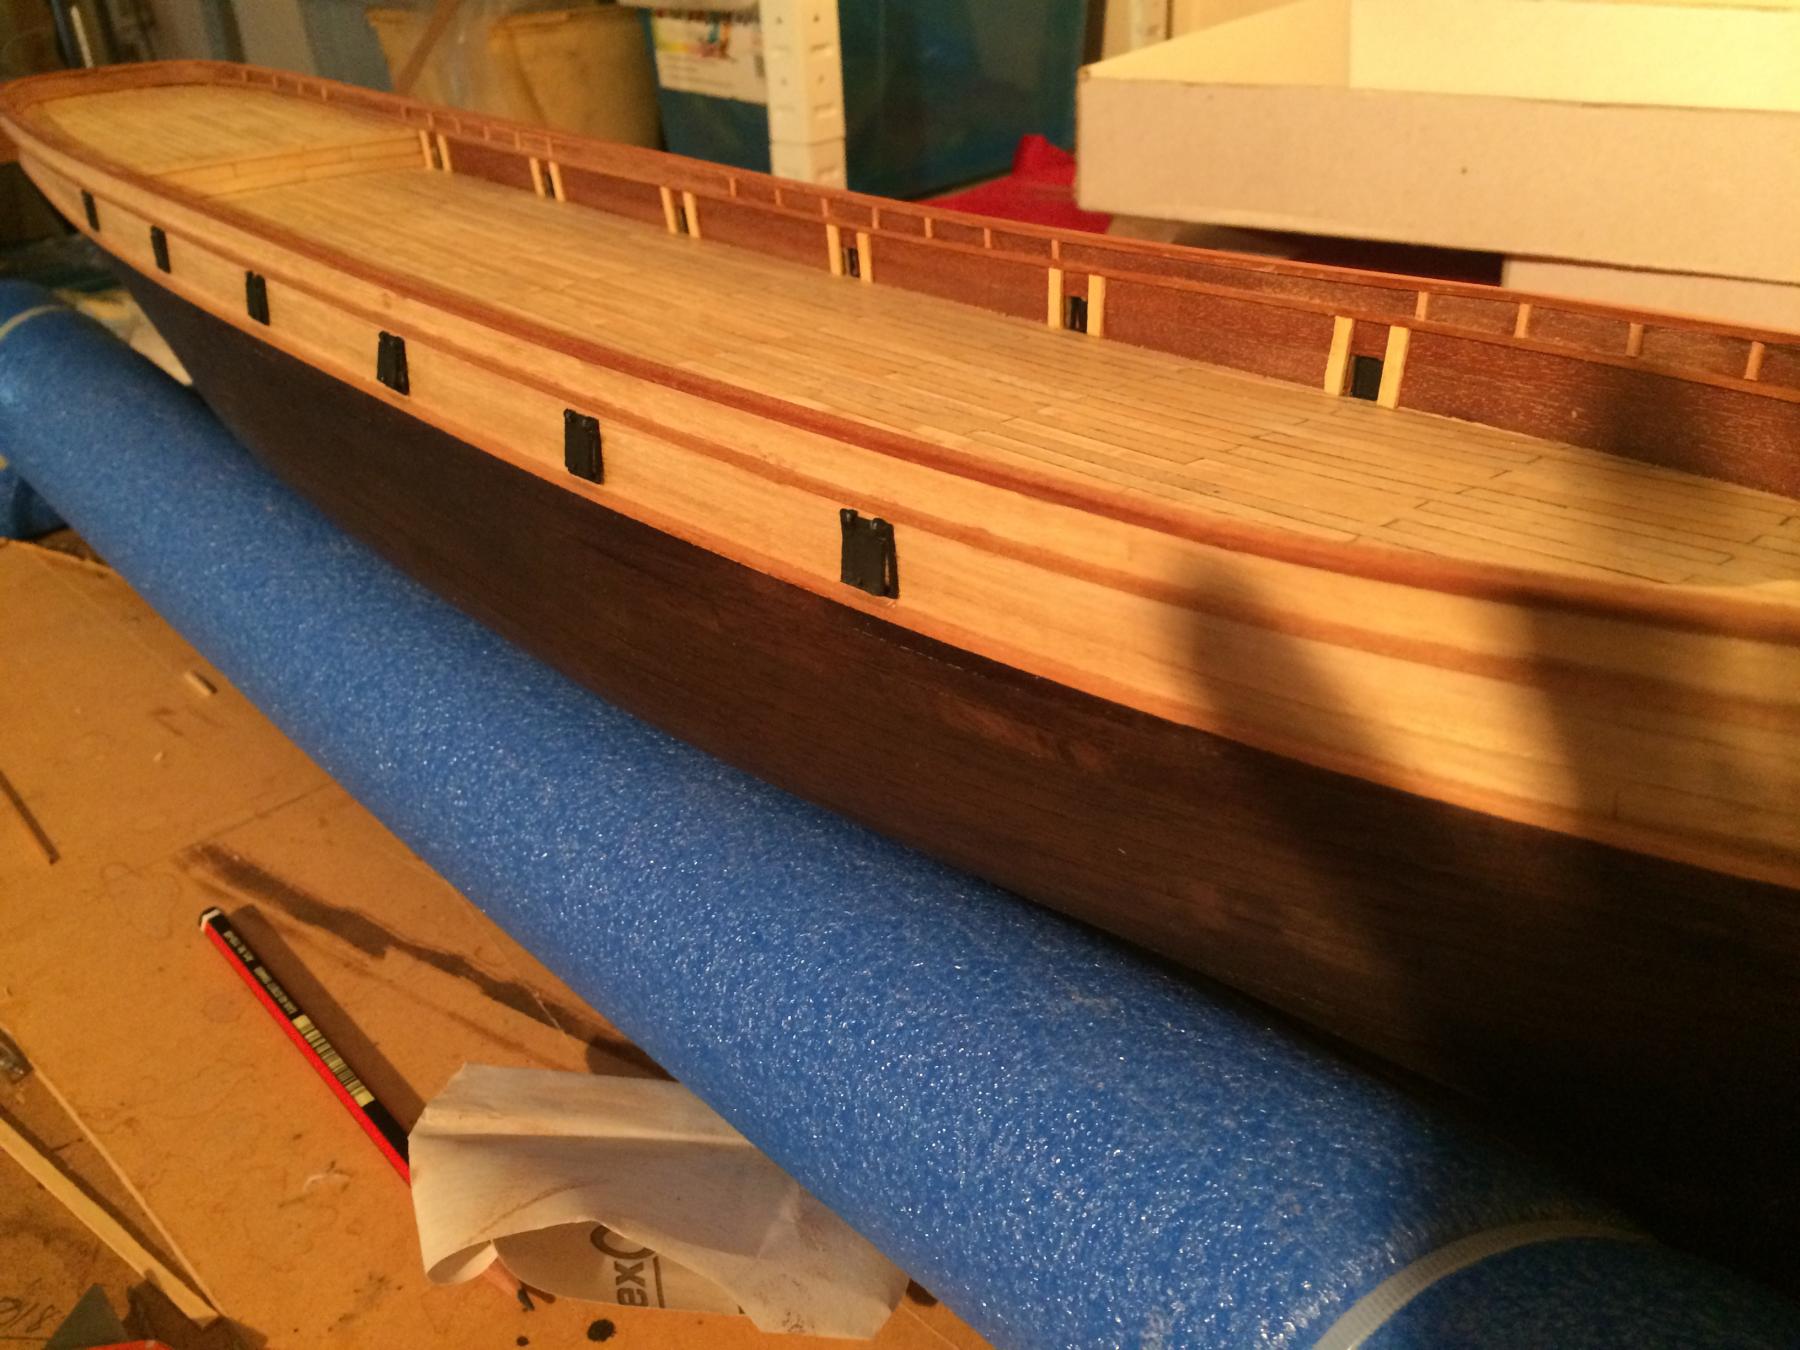
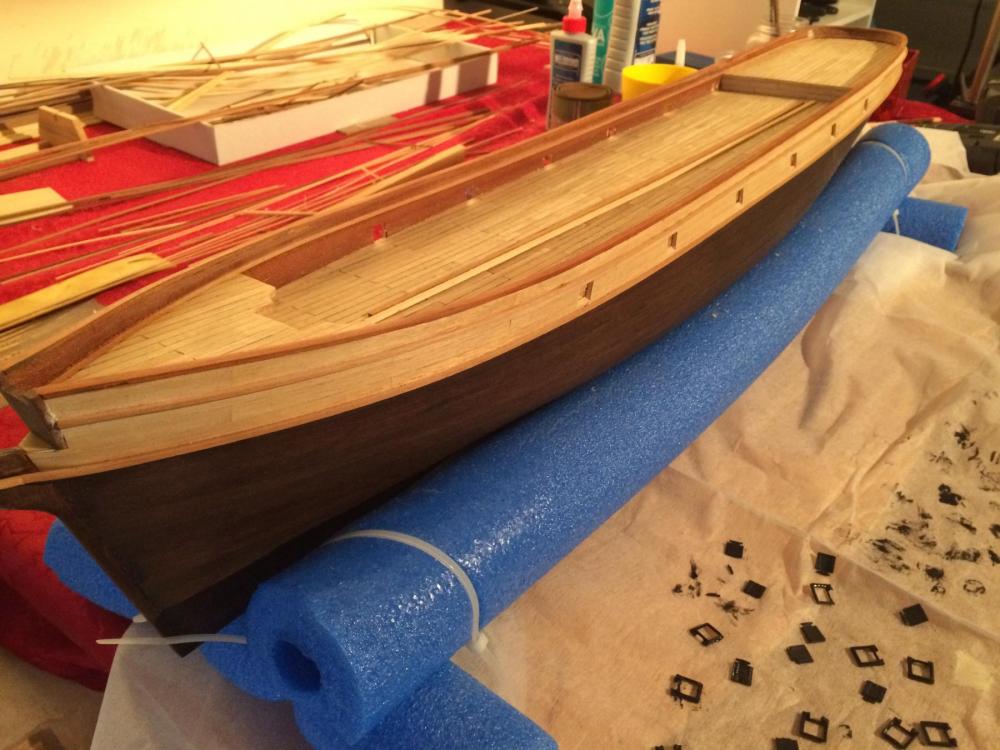
Top hand rail done. Holes for freeing ports done, not sure of the position, plans don not specify so used the picture off the box as a guide. Painting the frames black. Should look good. The copper plates I have made so far are a bit NAFF, so have lost a bit of enthusiasm at the moment. Might go back to it later.

-
Had some trouble with the wales and handrails. Now just bending wood for top handrail.

-
Been a "go slow" in the shipyard of late, having a few issues with the wales and handrails - bending the wood and making a tight join etc. Hoping more progress this week. Been busy getting a golf handicap
-
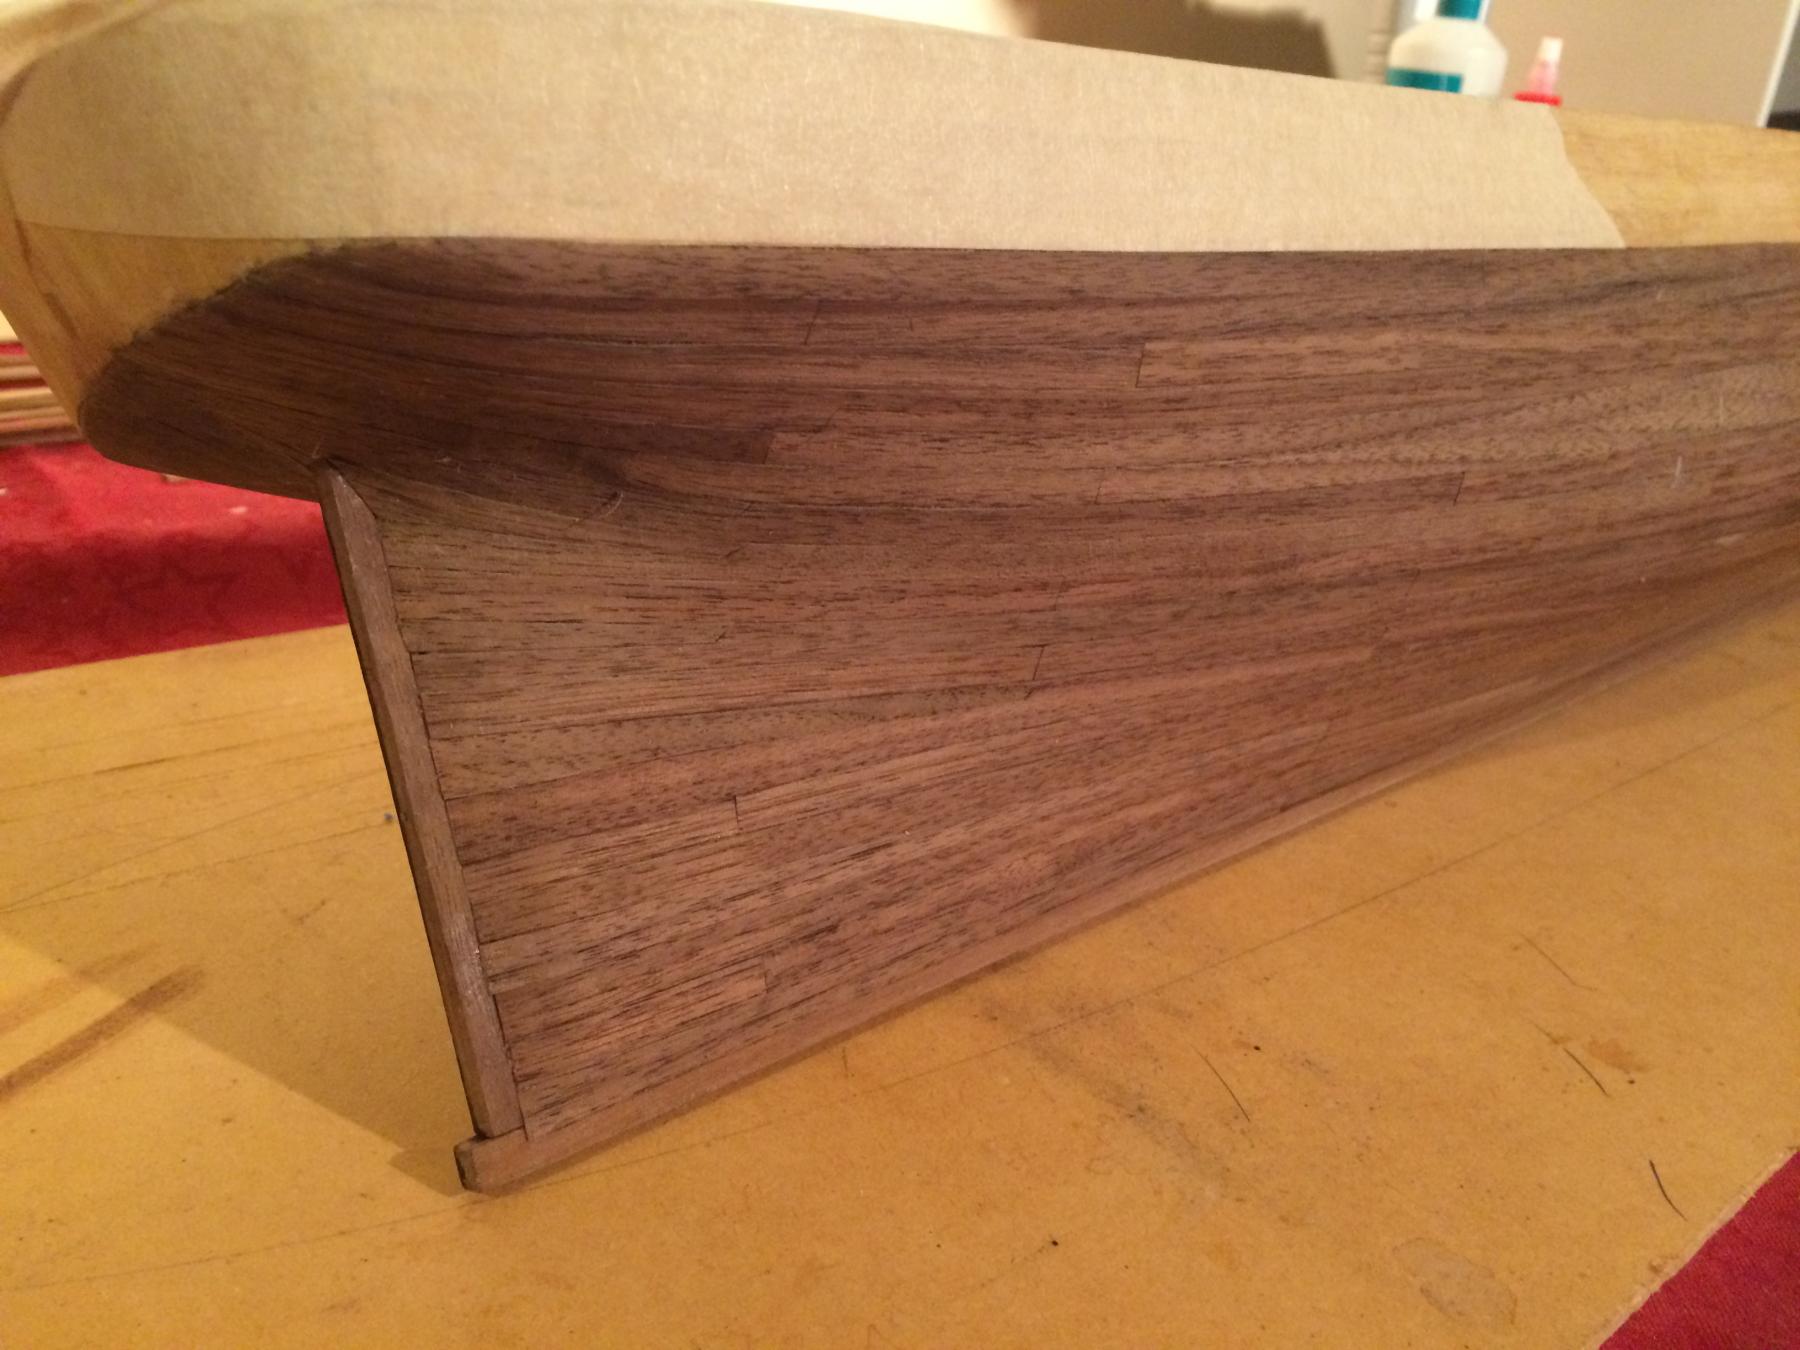
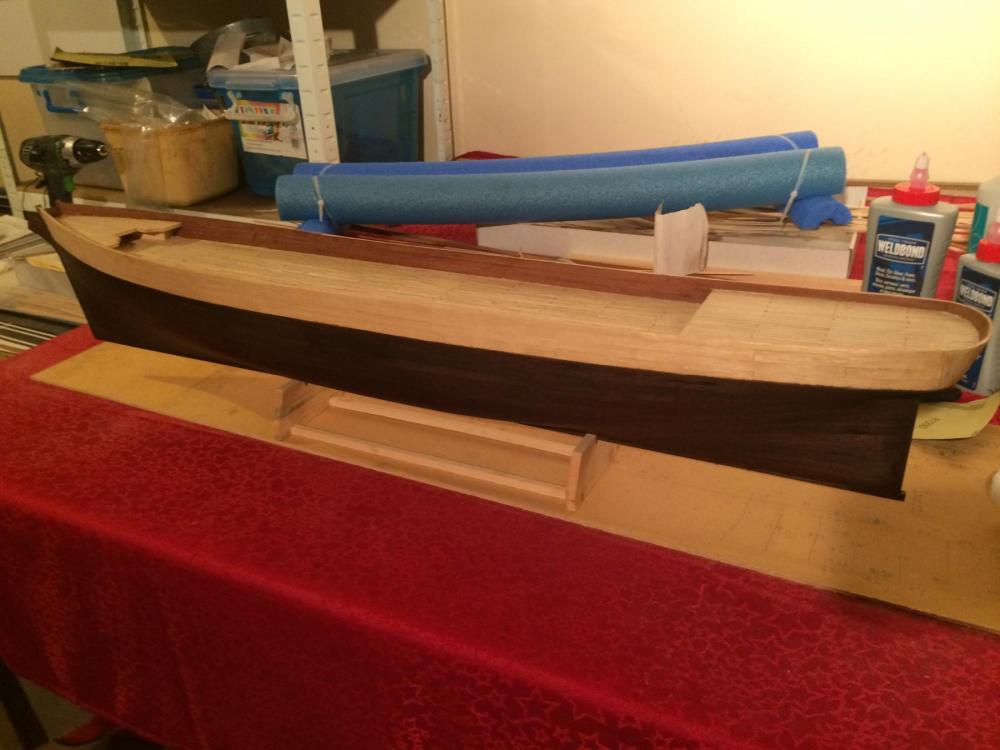
Sanded and stained both sides, a little bleeding into the bulwarks veneer - sanded out OK. Has come up better than expected. So - copper plate or not?


-
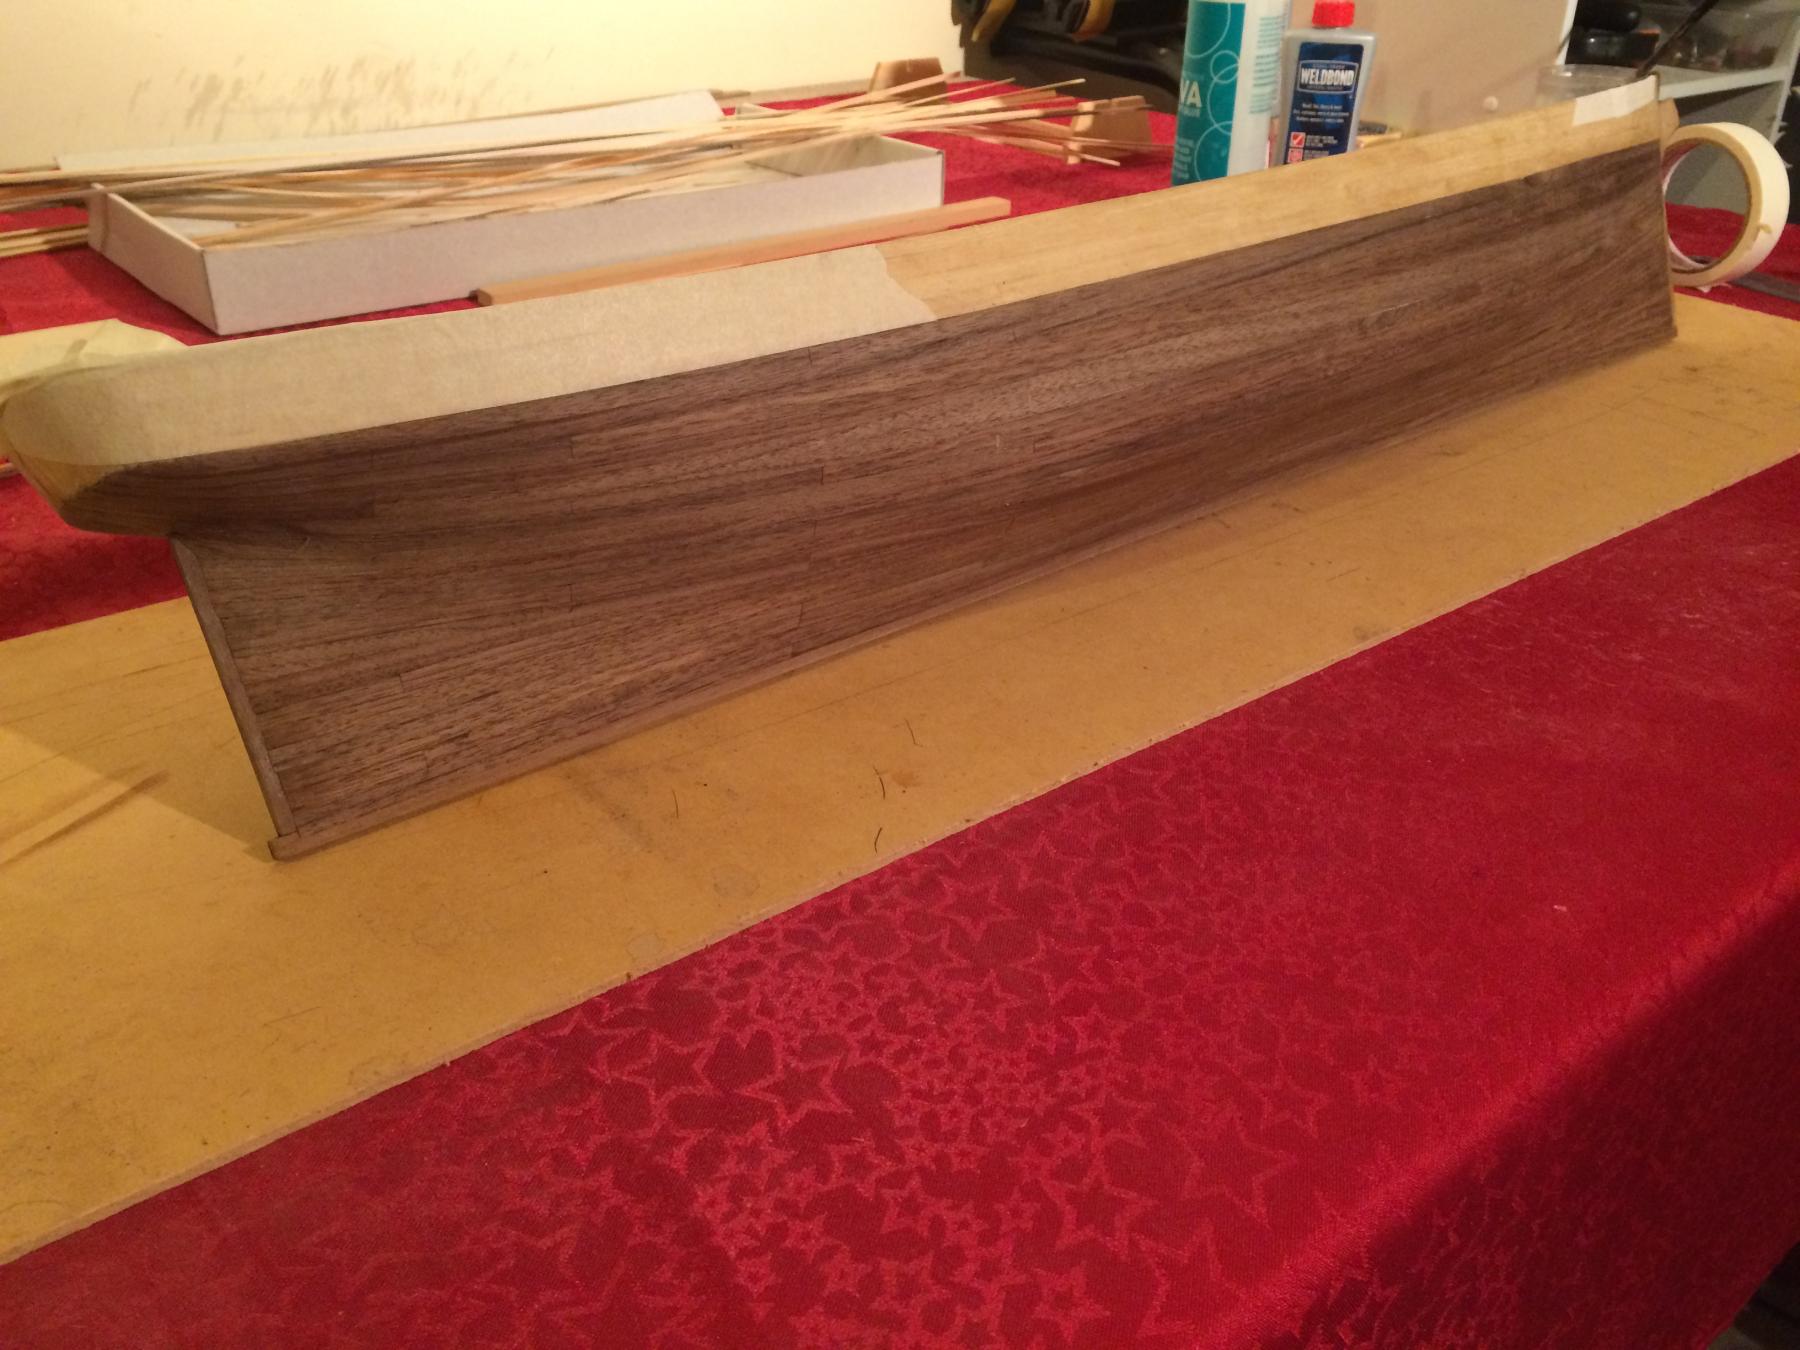
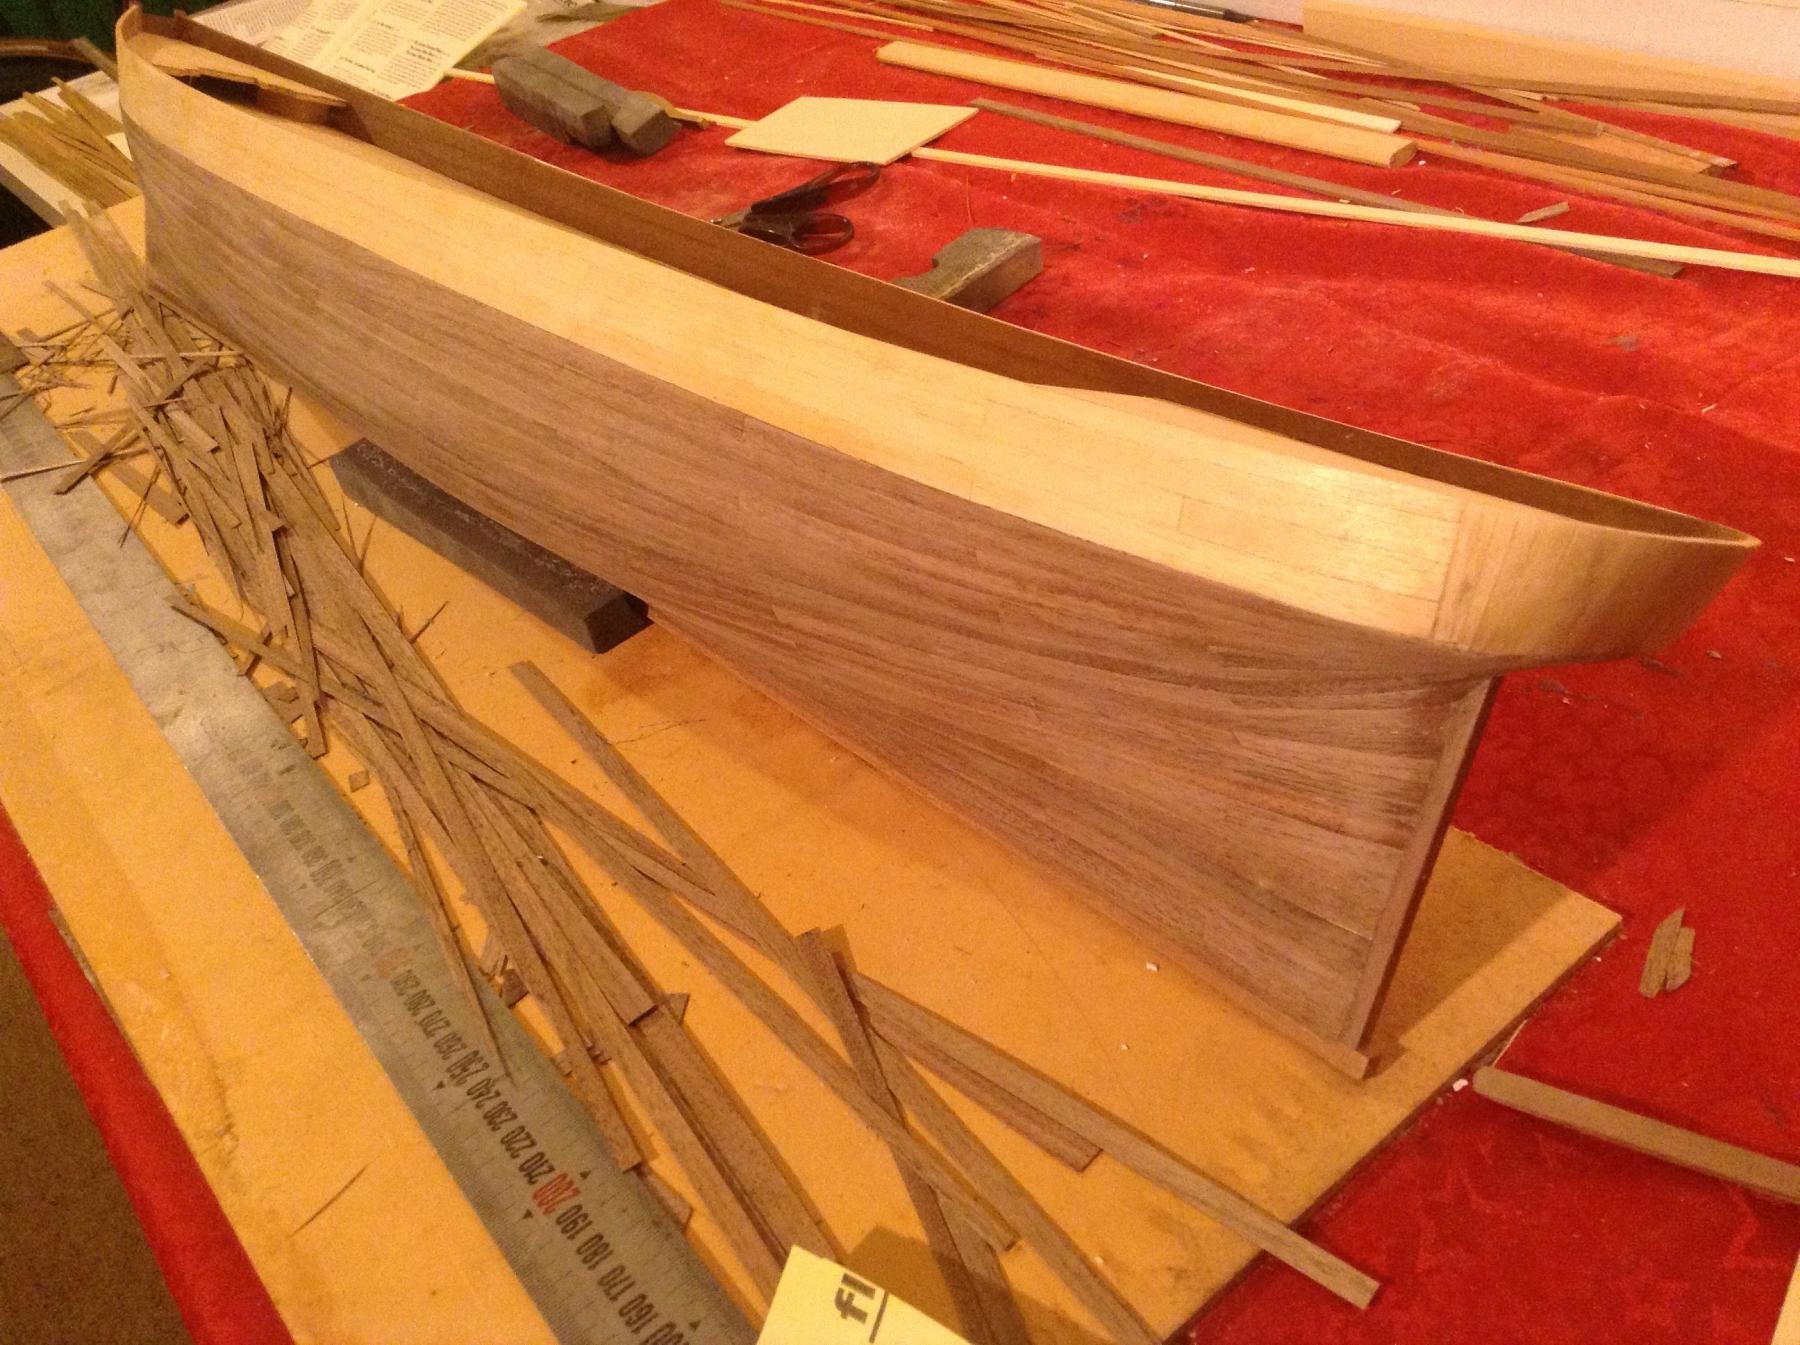
Finished veneer on side No 2, Some sanding and minor maintenance needed. Very challenging, but glad to be on to something different. Stained side No 1 with walnut wood stain.

-
Hi Popeye, Thanks for the comments, I'm happy with the way it's going so far. Not as precise as some builders but enjoying the challenge all the same. Probably had enough to plank to waterline but decided to buy some new walnut veneer to cover the hull - the kit walnut veneer wasn't in the best shape. (very frail edges) I'm going to look at copper foil tape for the plates. Slow going affixing the veneer at the moment. - you know life gets in the way
-
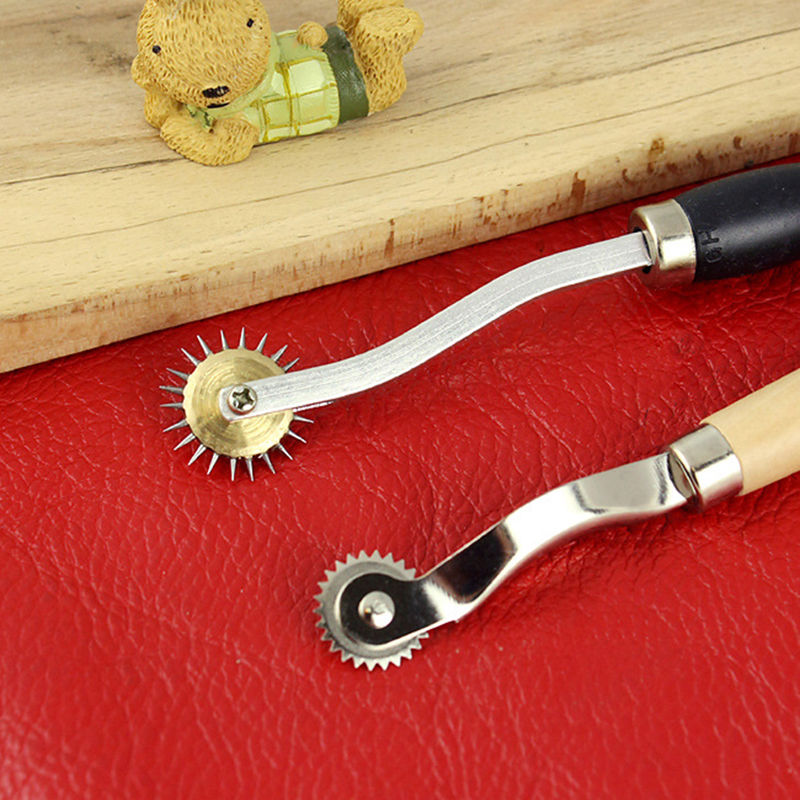
Thanks Martin, Wording suggests that the kit is old. 1980's was a good era. Hope I can do it justice. Cheers Hi Tim, I did think the dark handled tool looked a bit sharp and would need dulling down. I have purchased both tools and some copper foil tape, my thought at this stage is to make individual plates and affix by overlapping each one- but will do some testing first.
-
Thanks Nenad, as you go you learn more and more and probably plank differently next time. But having fun and looks OK so far.
-
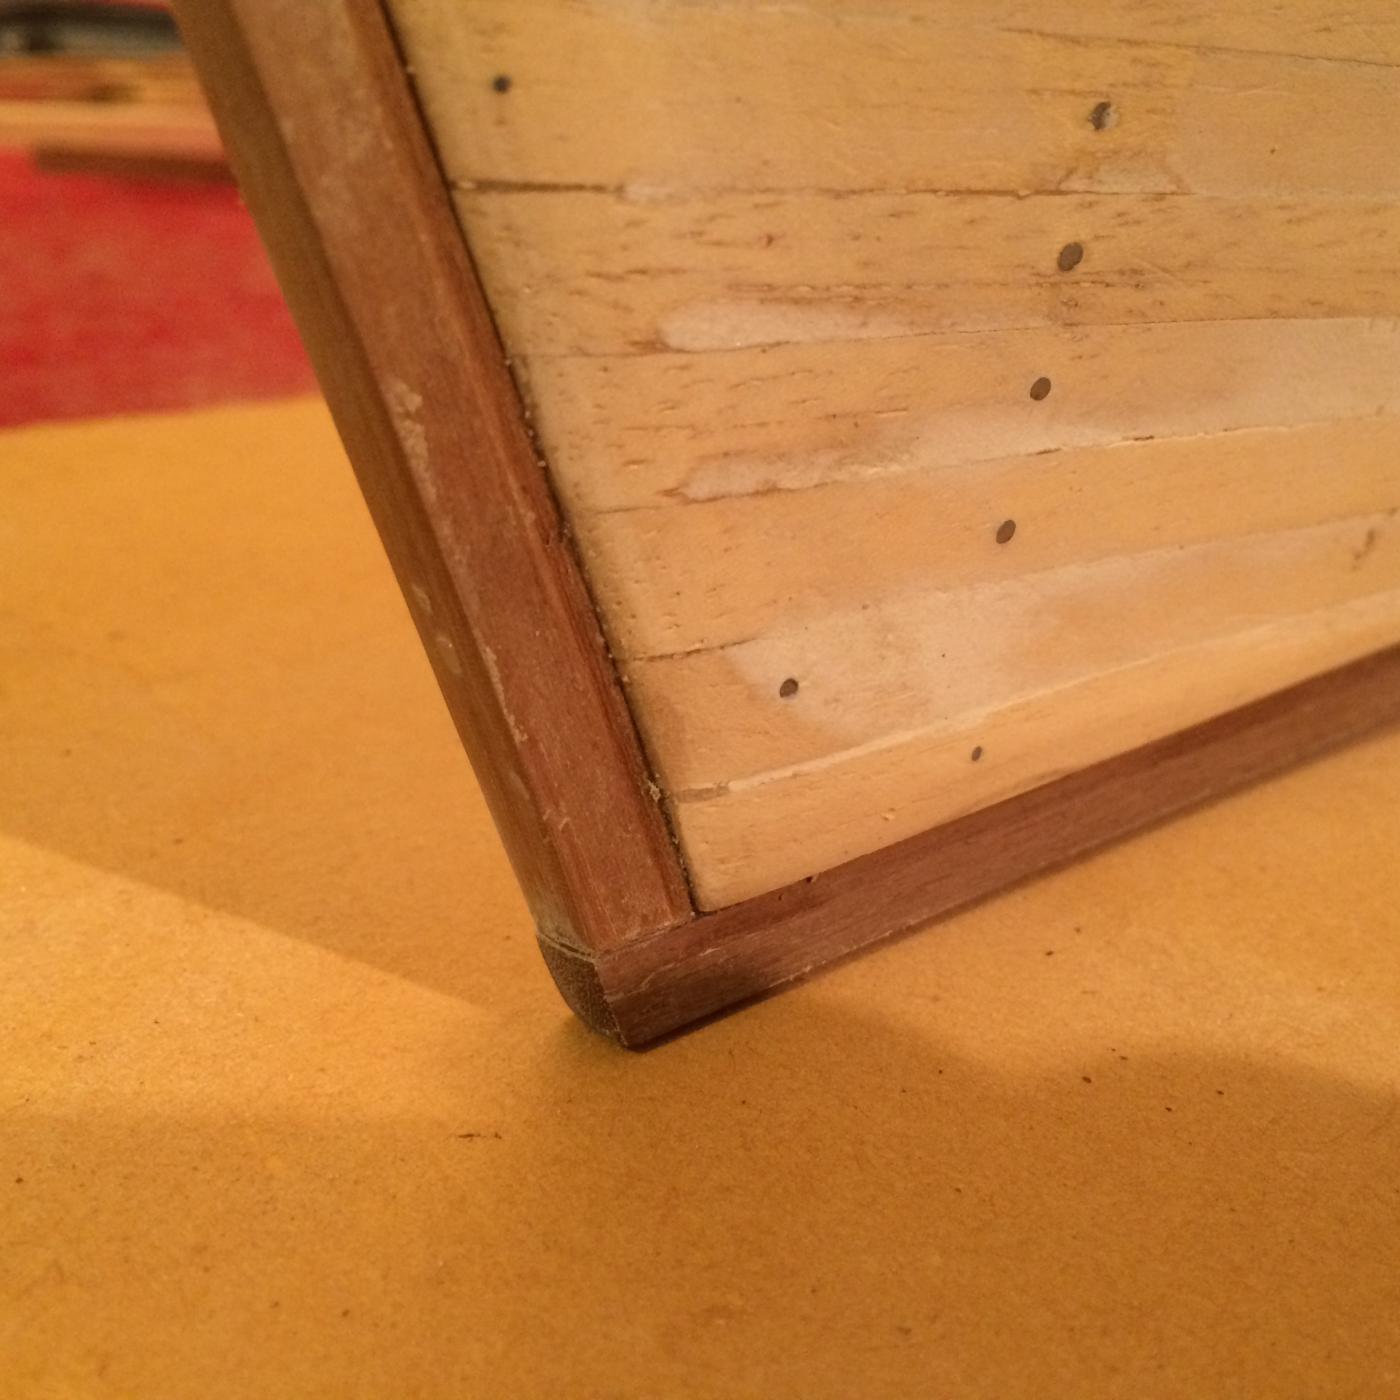
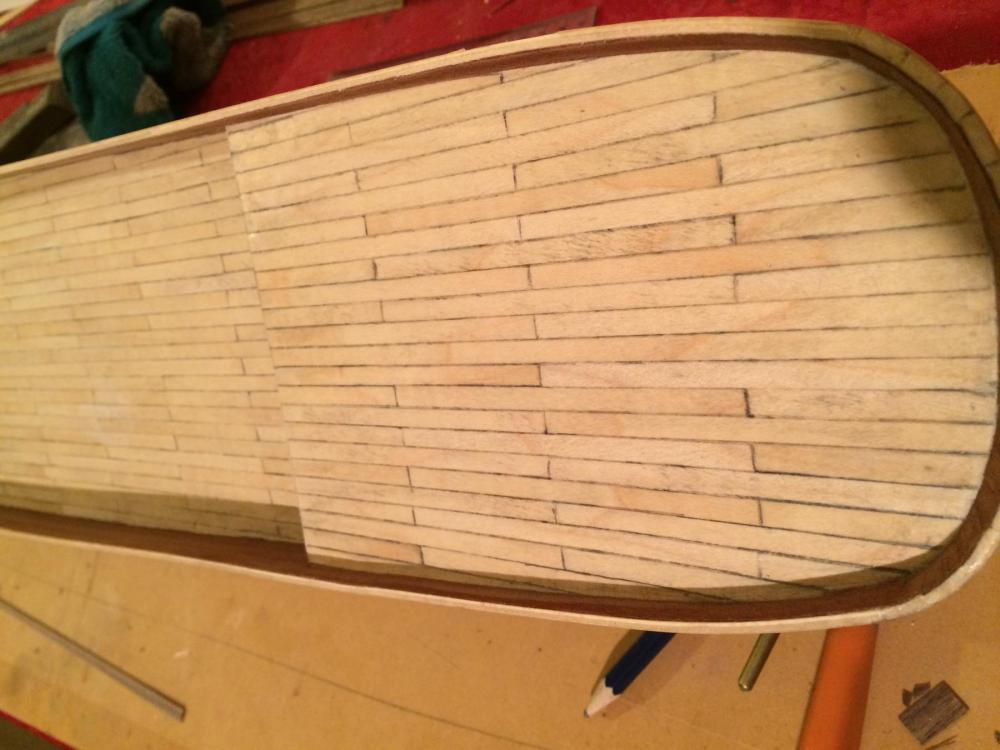
Caulking attempt, used 2B pencil. Smudged a bit but with a light sand should come up OK.
-
In regards to creating tiles using copper foil tape, as I don't have a pounce wheel, I notice these on Ebay, has anyone used them? I'm guessing they would do the job and seem good value. 2/4mm Overstitch Stitch Spacing Paper Craft Roulette Wheel eBay item number: 301736708181
-
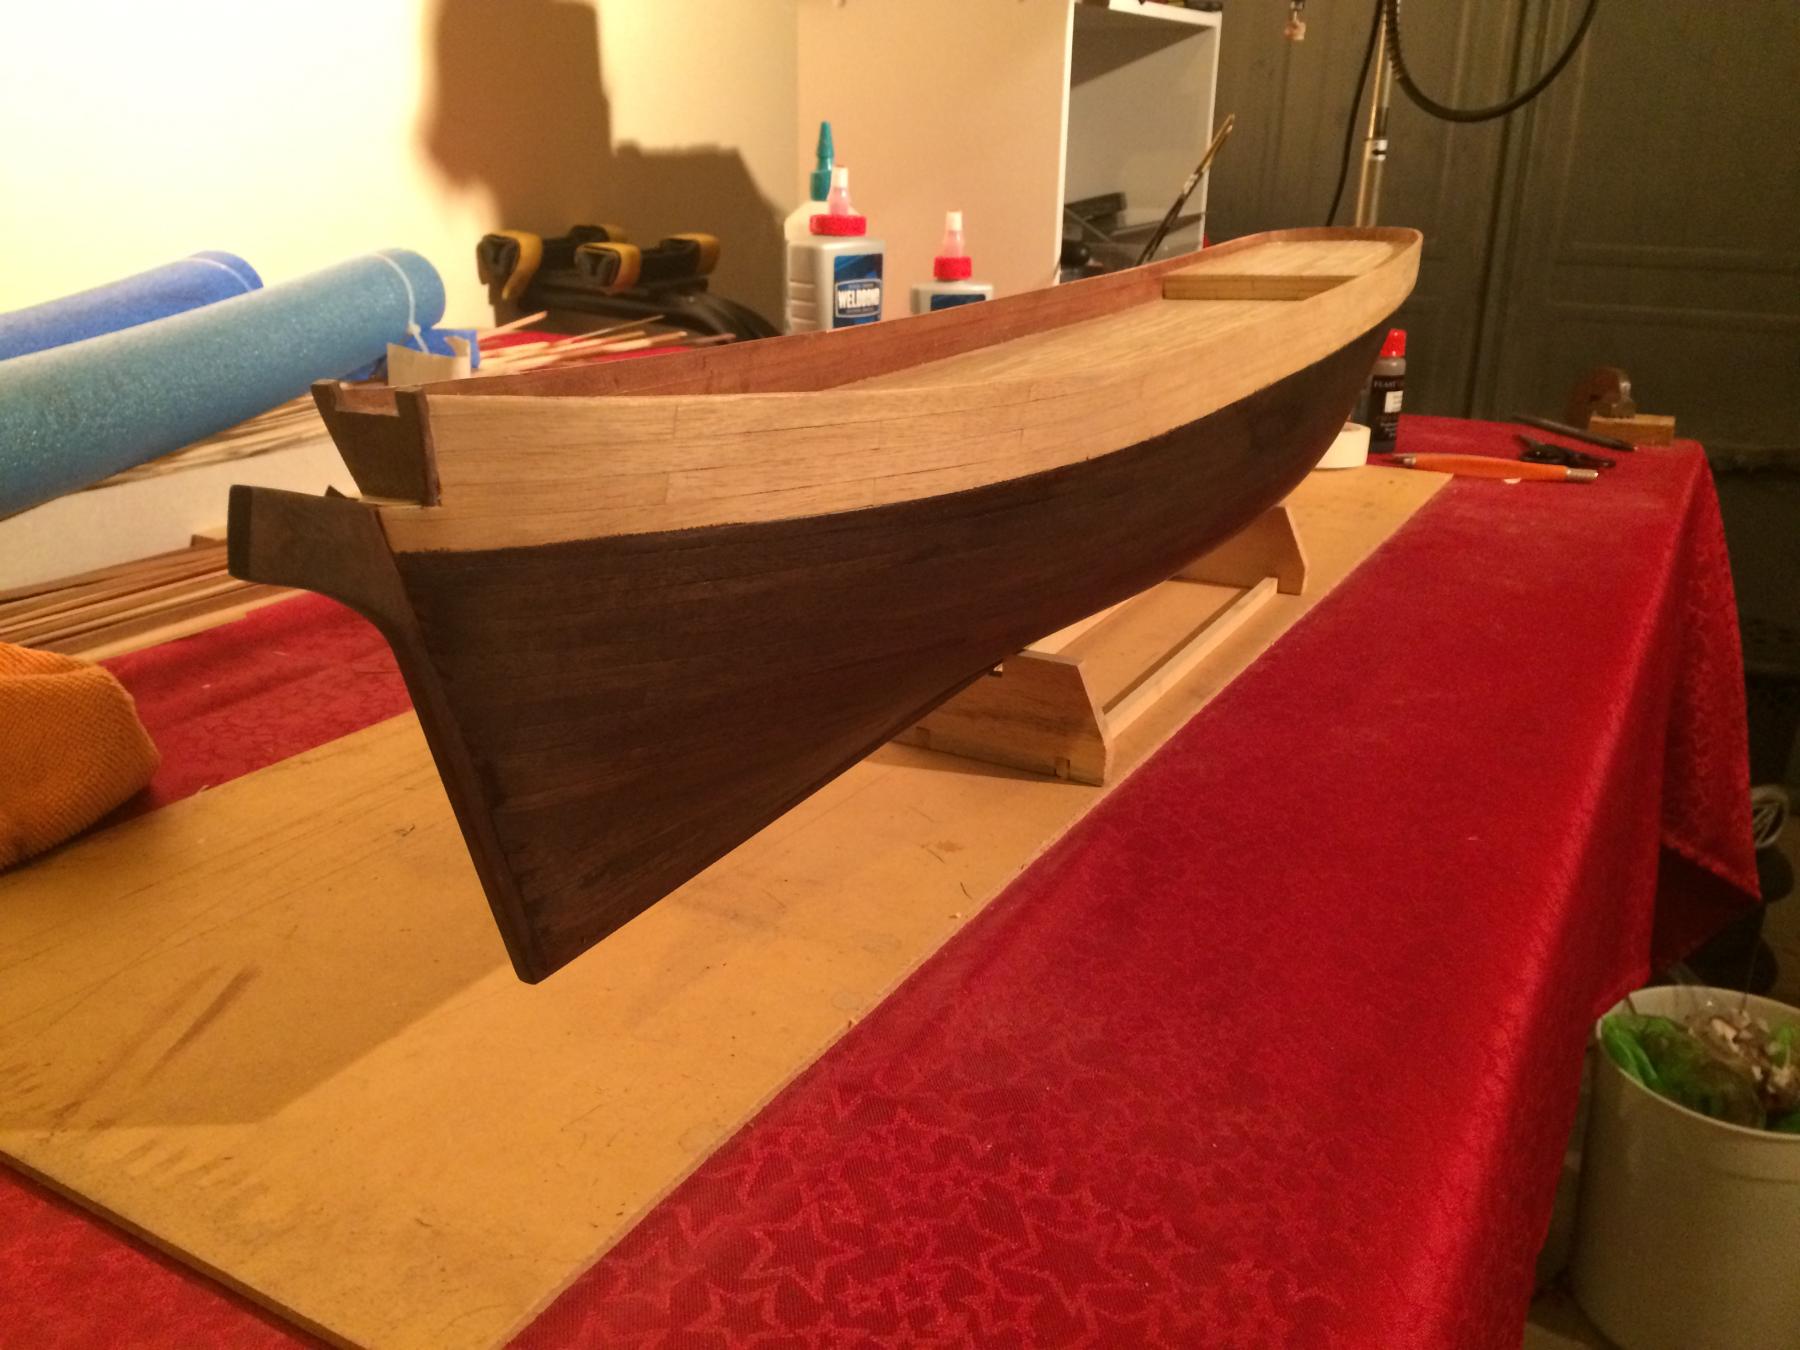
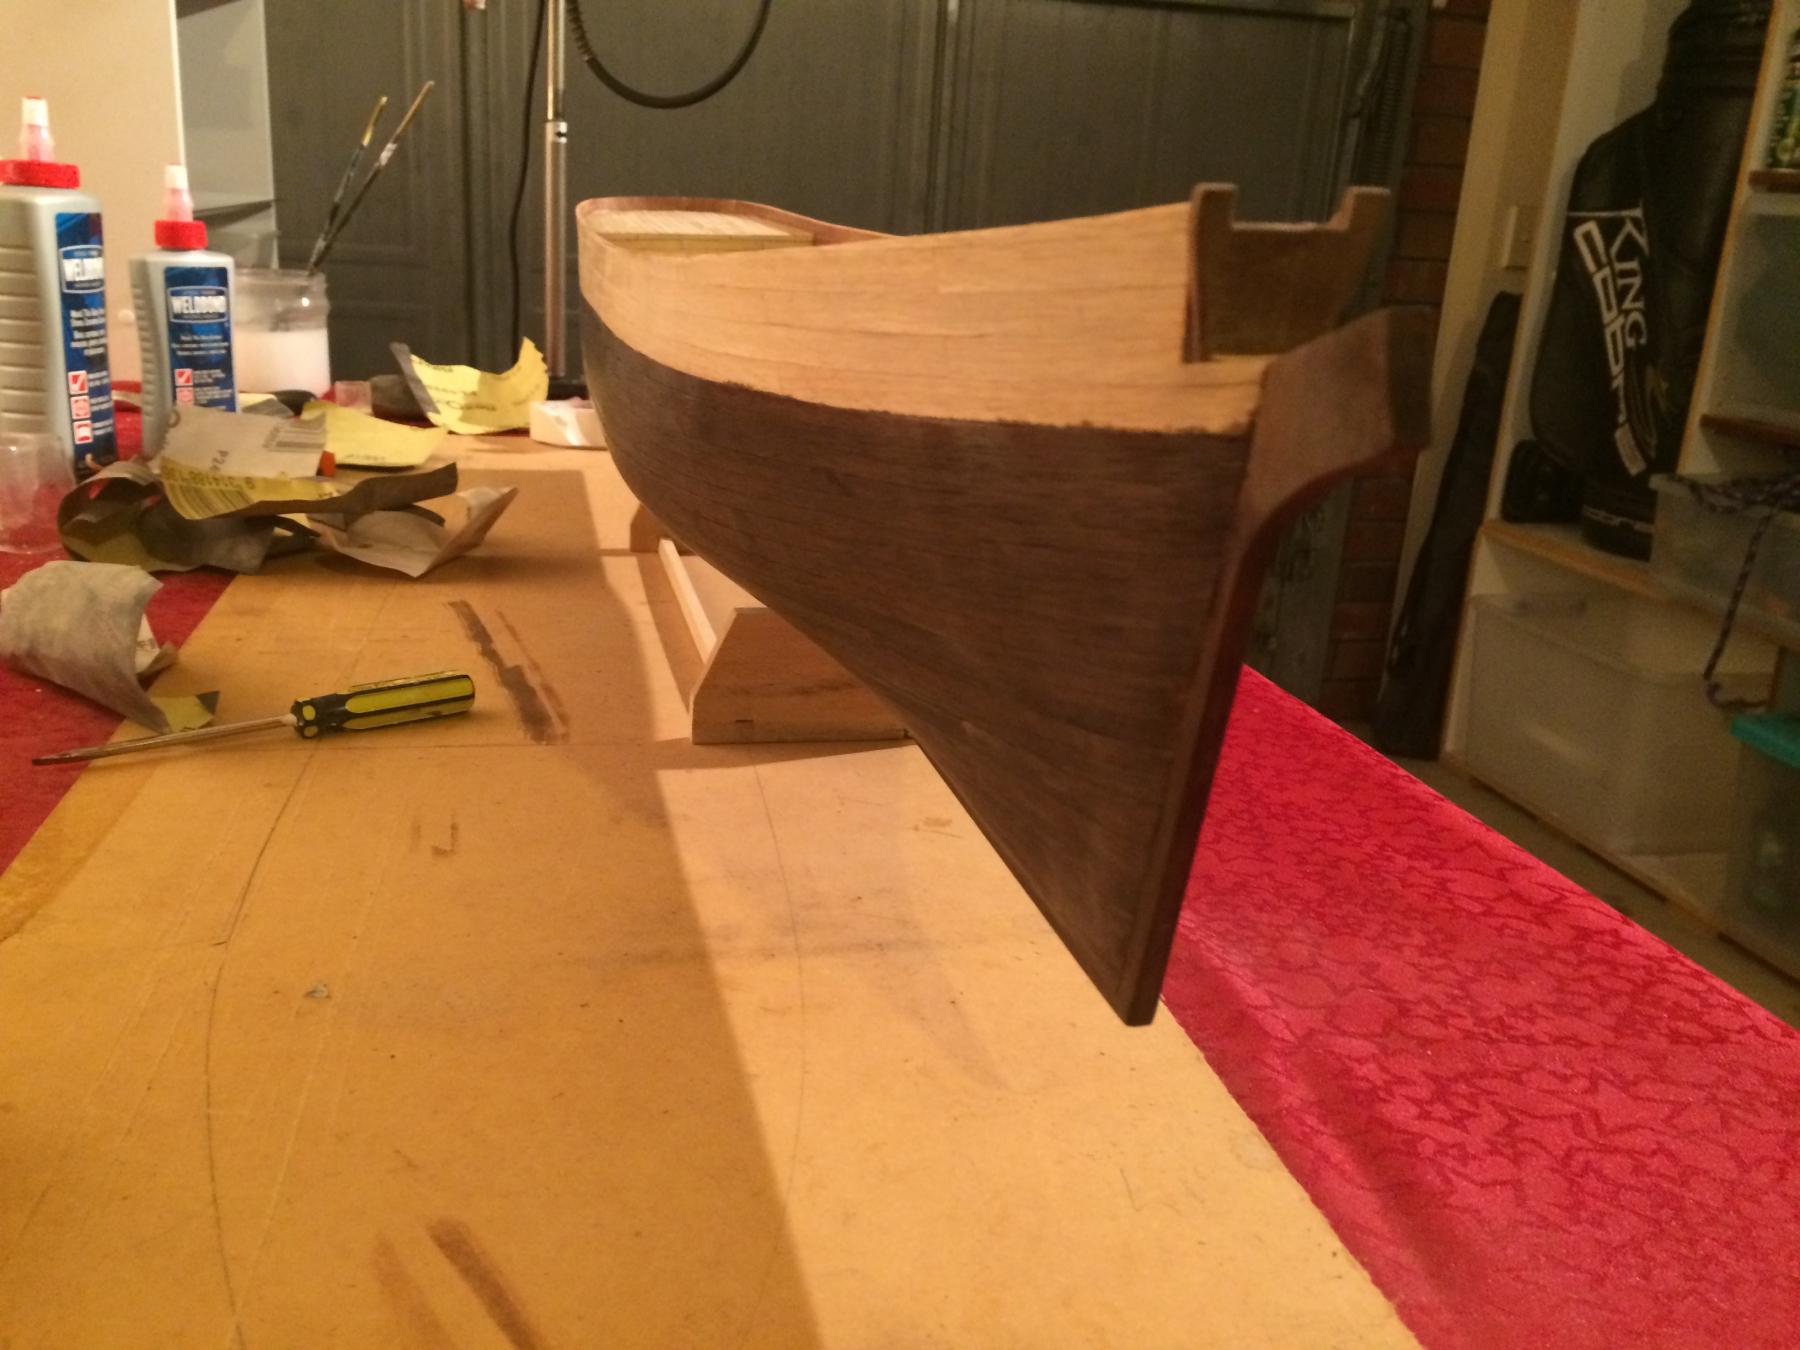
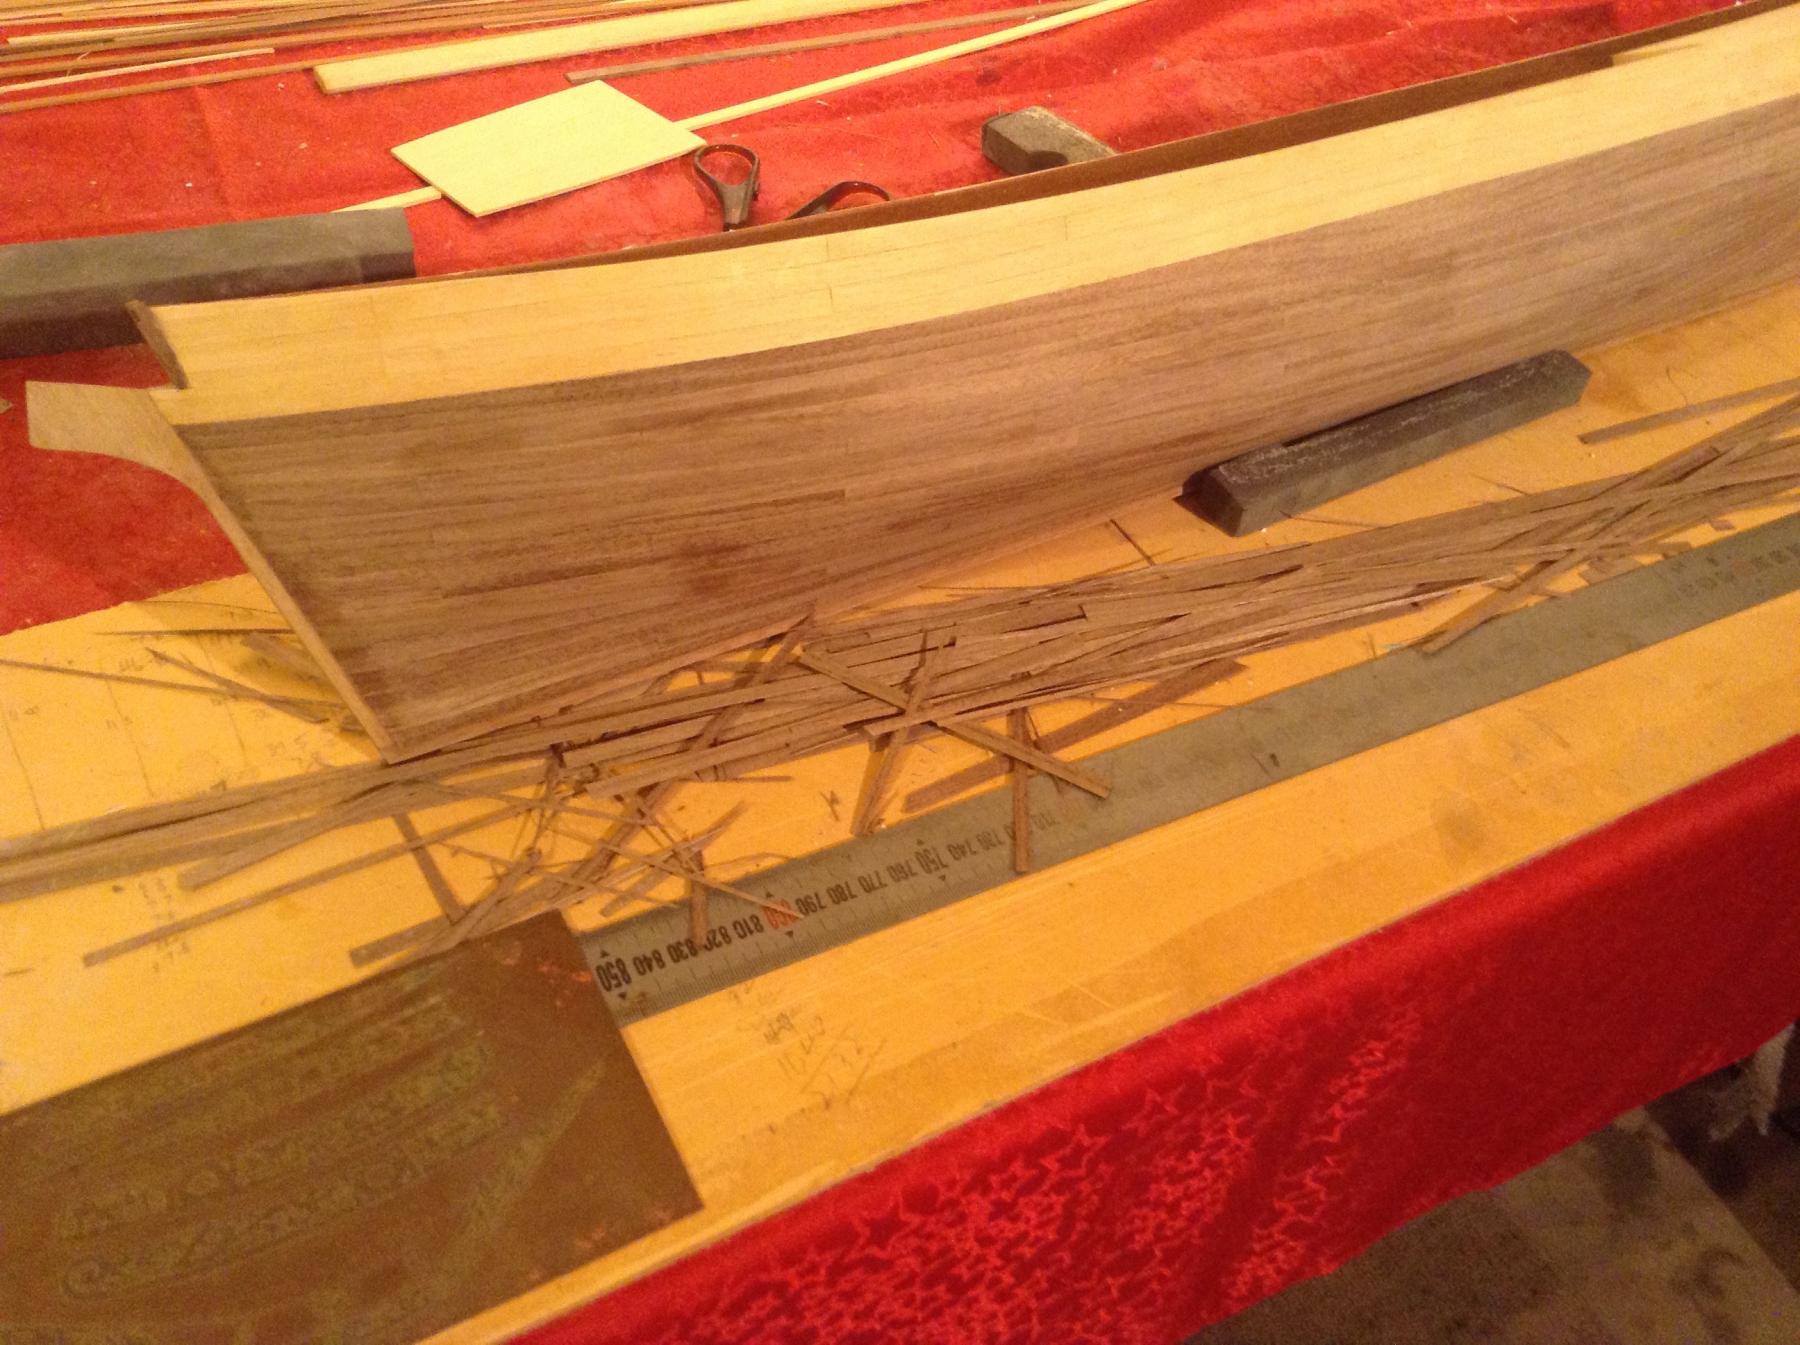
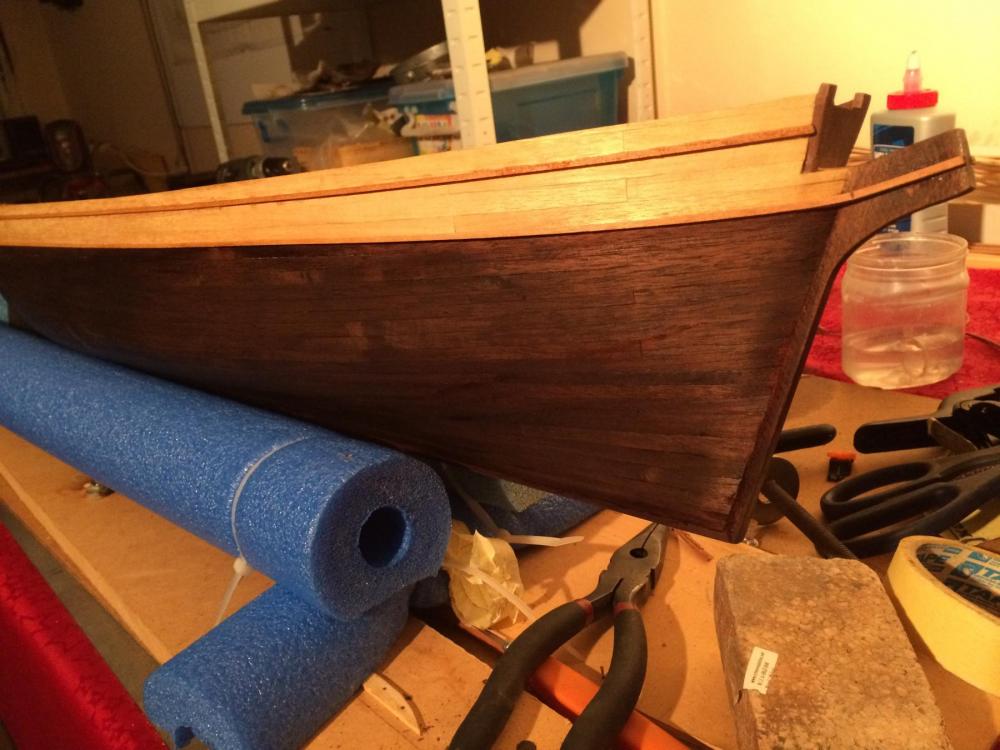
2nd planking sounds so easy when reading the instructions. Progress has been accomplished - one side done. Tried to follow the "planking for beginners" guide but ran into so many issues. Covering with copper will be helpful in masking mistakes - I mean my individuality. Next - 2nd plank the other side - gap filler both sides then sand - stain the walnut darker (thinking this will make a better contrast) - then copper plates. Sounds simple when you list your tasks but nothing surer it wont be.

-
Thanks Peter, Sounds good. I'll give it a go.
-
Not enough veneer supplied in the kit, about 4+ metres short. So one questioned answered.
-
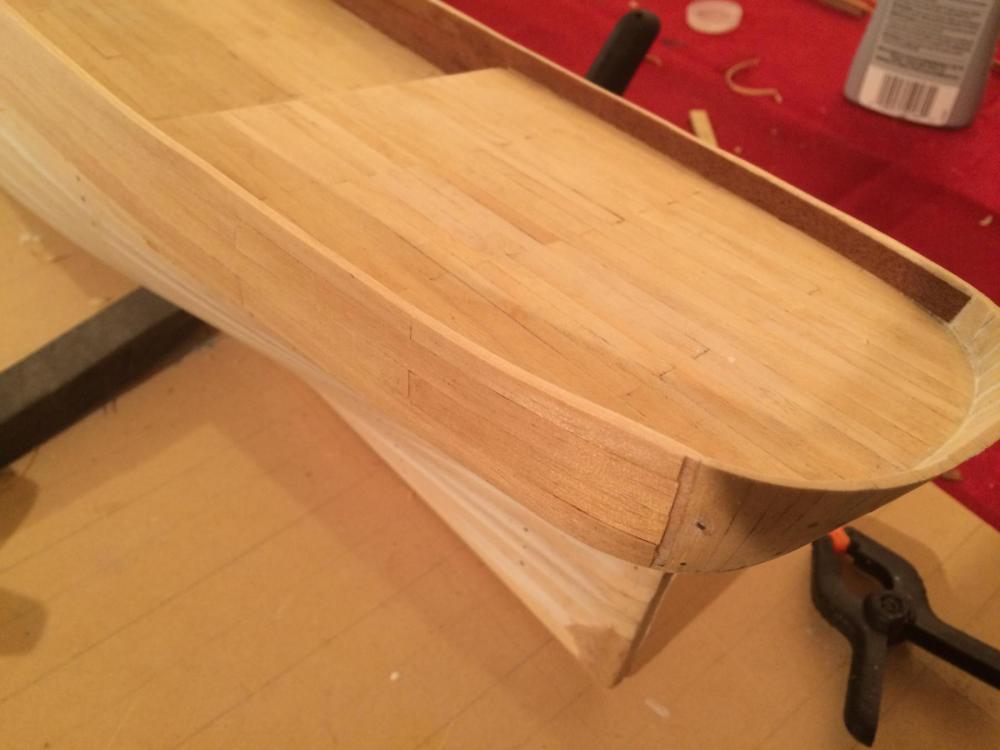
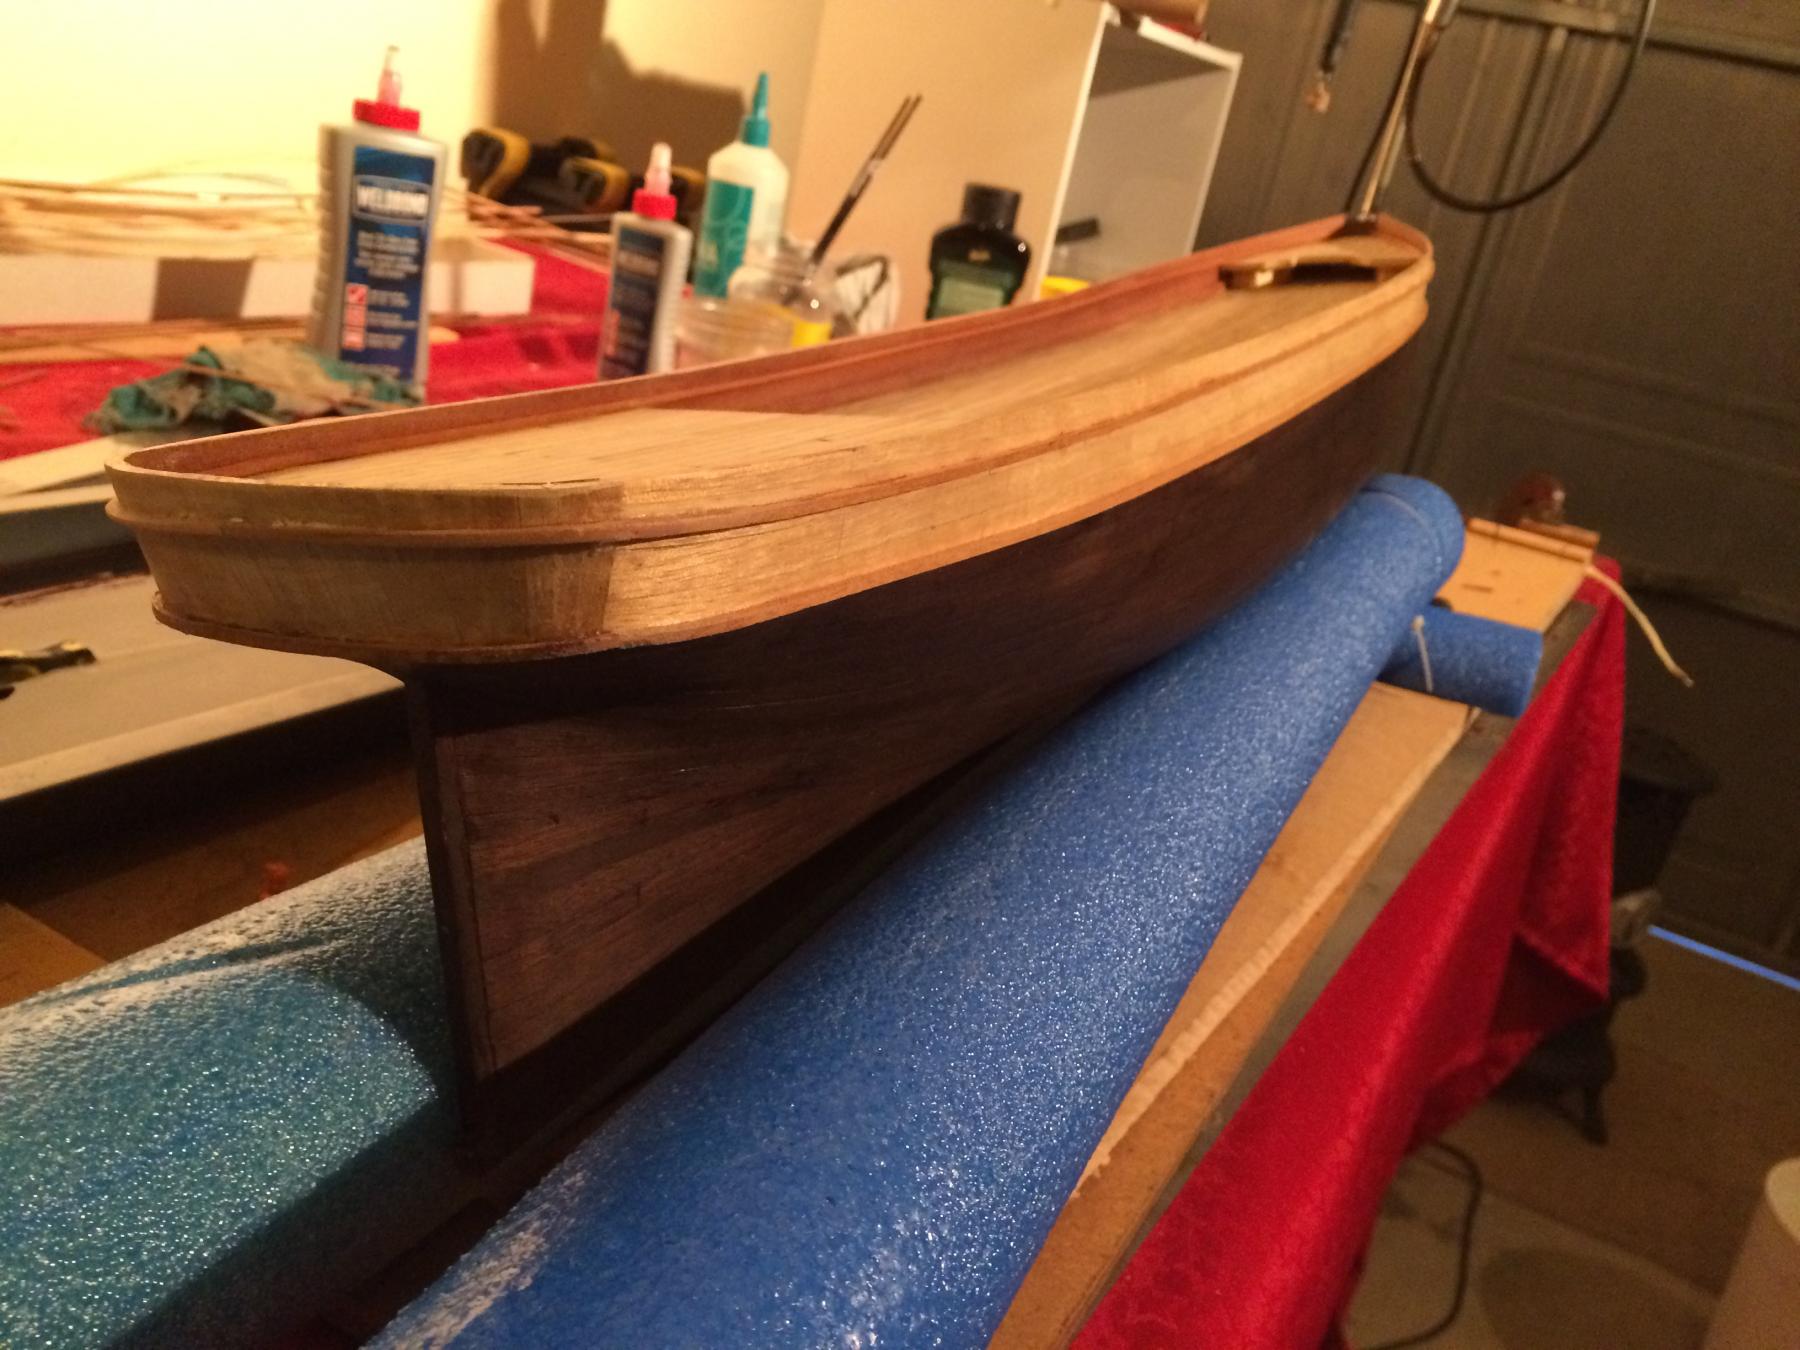
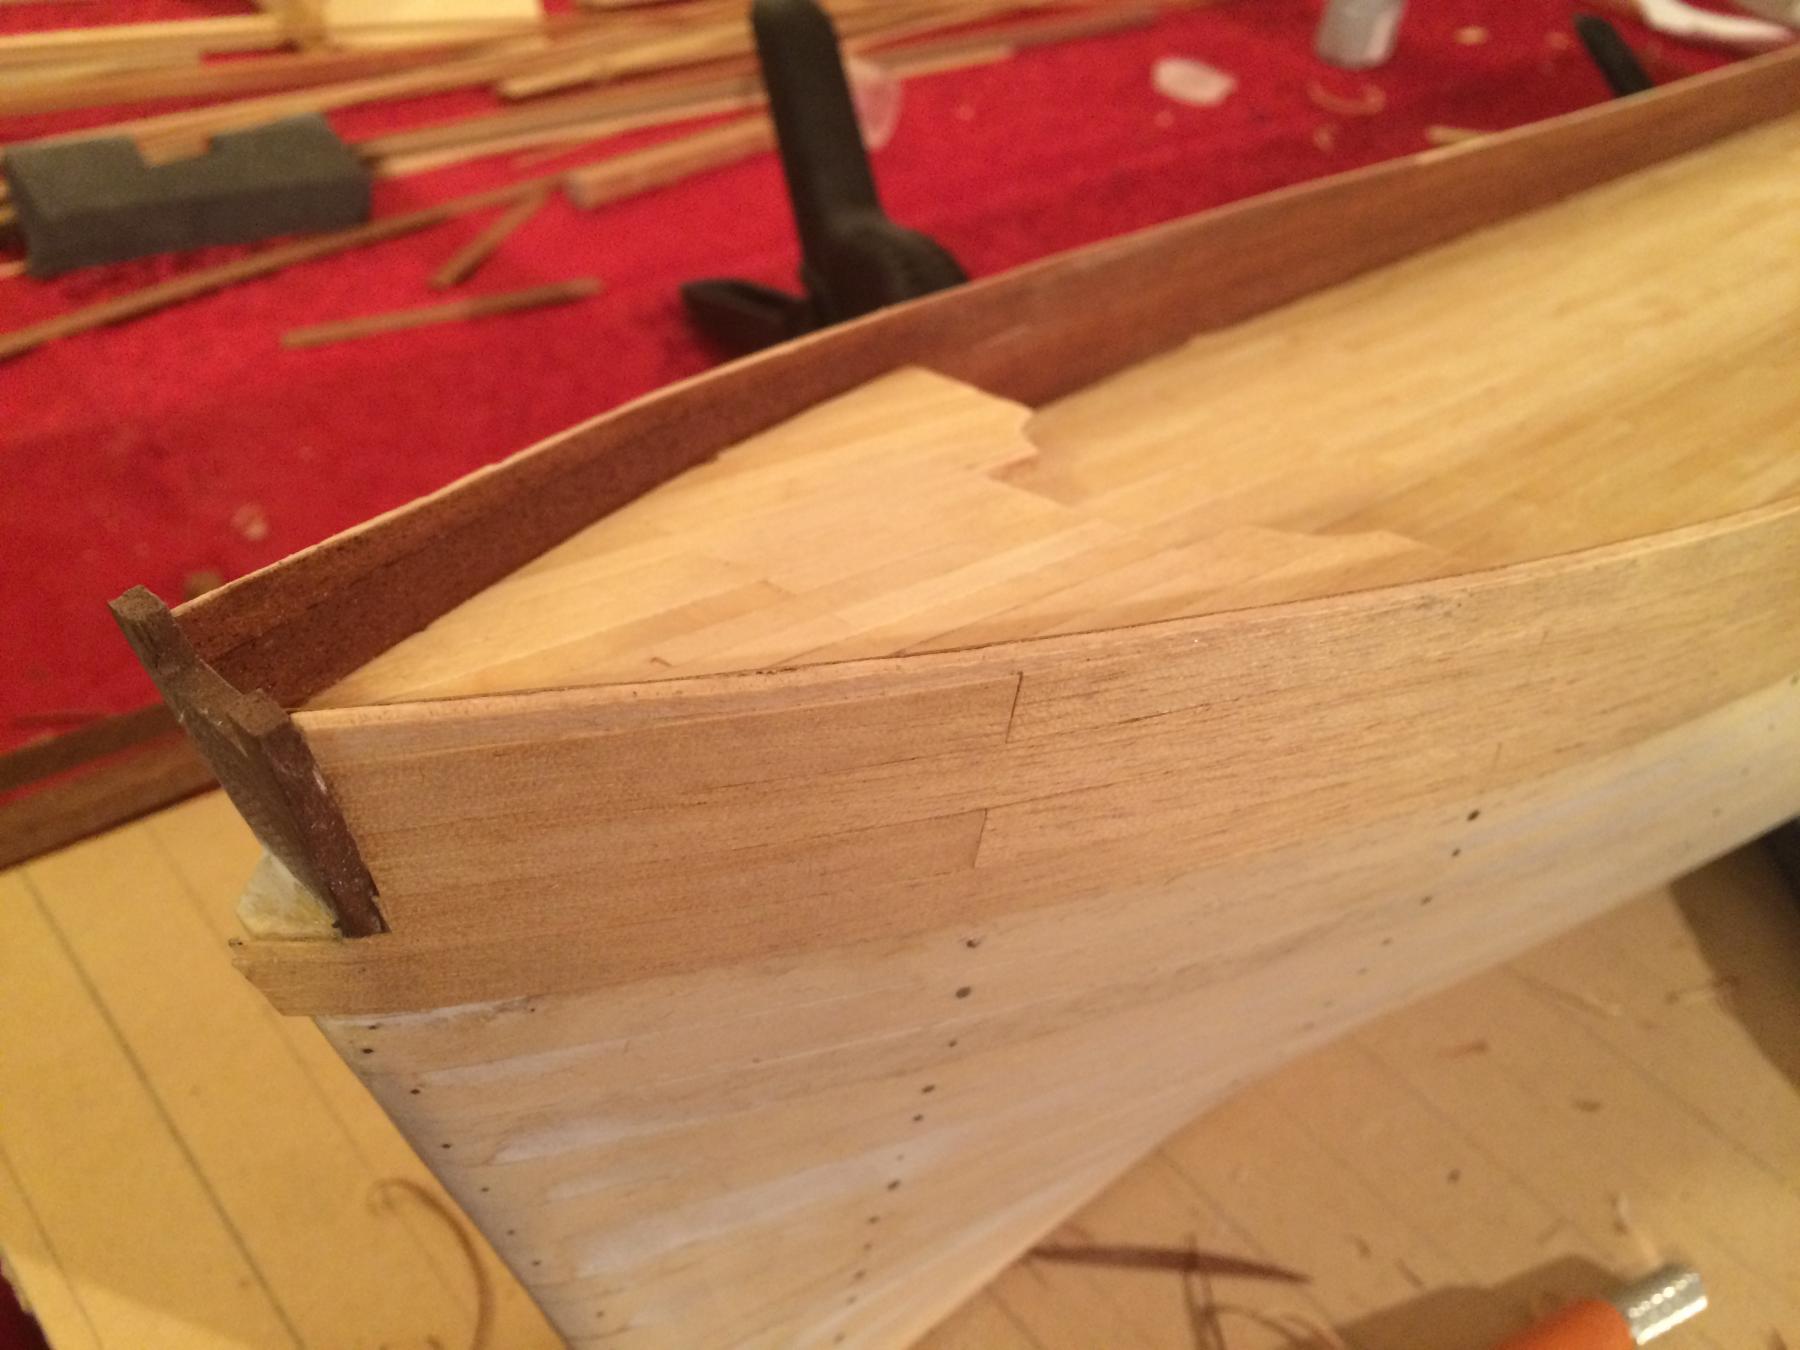
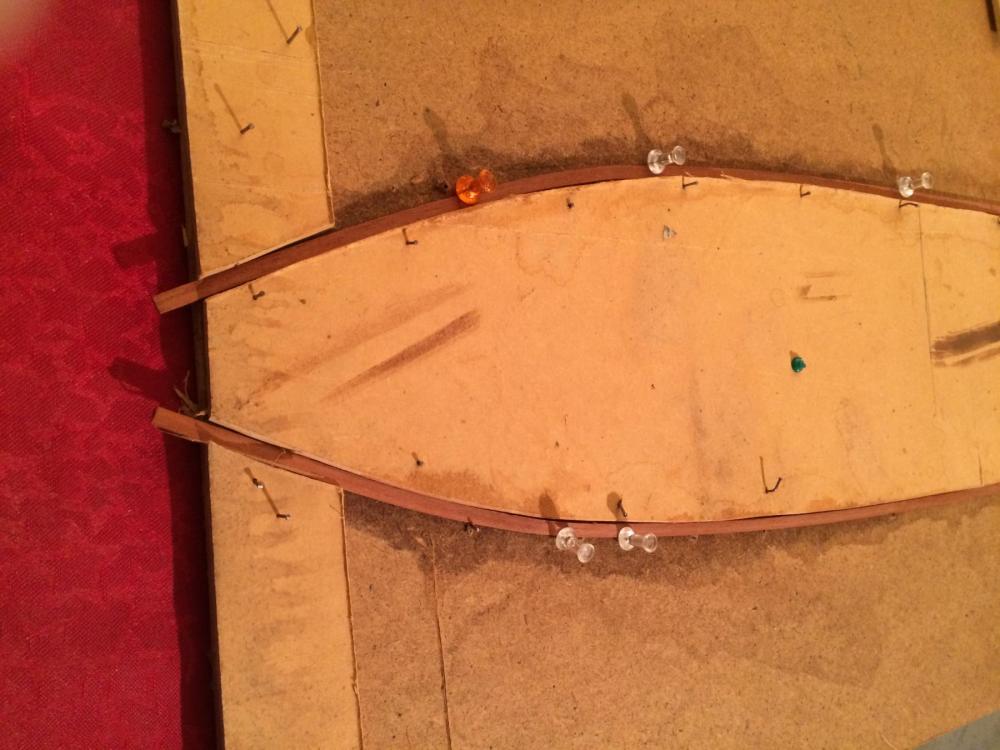
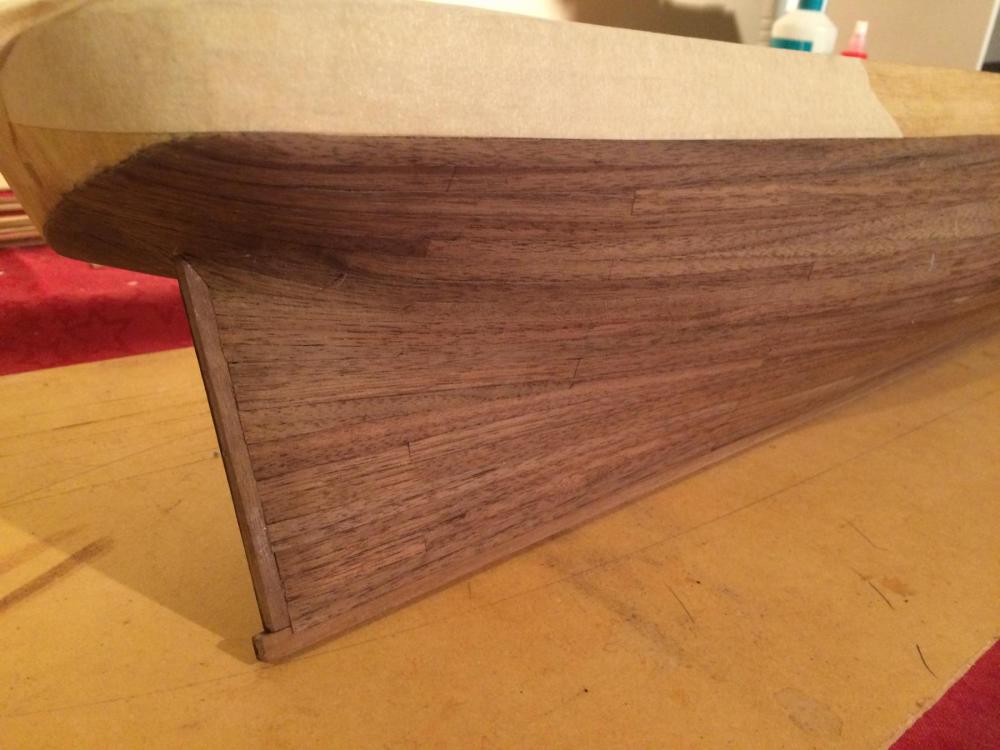
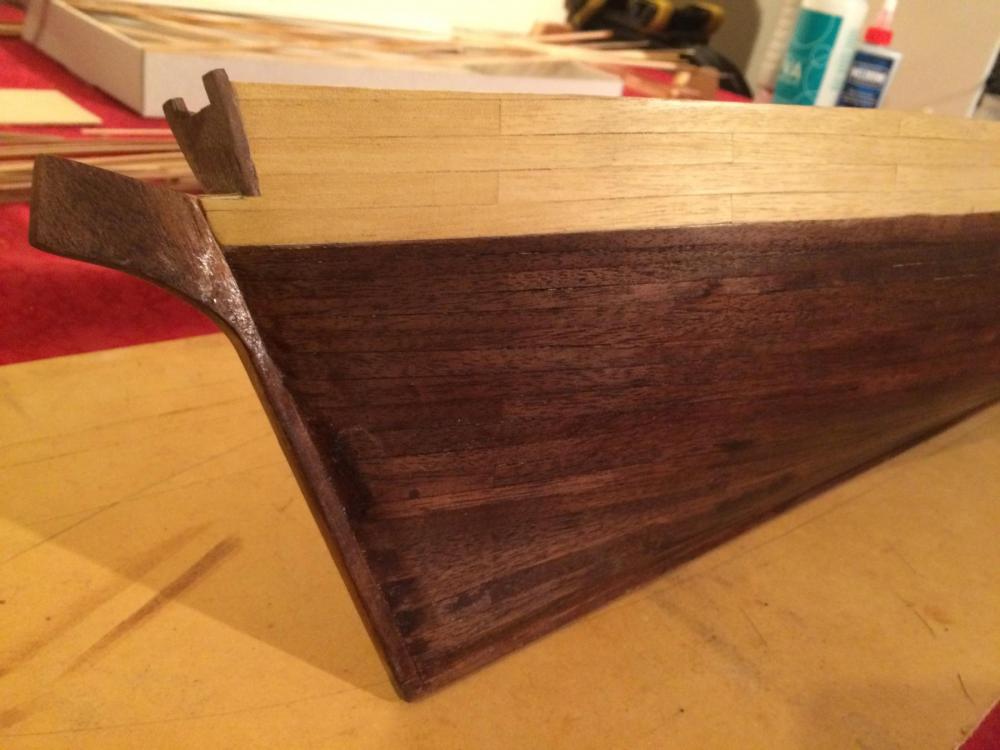
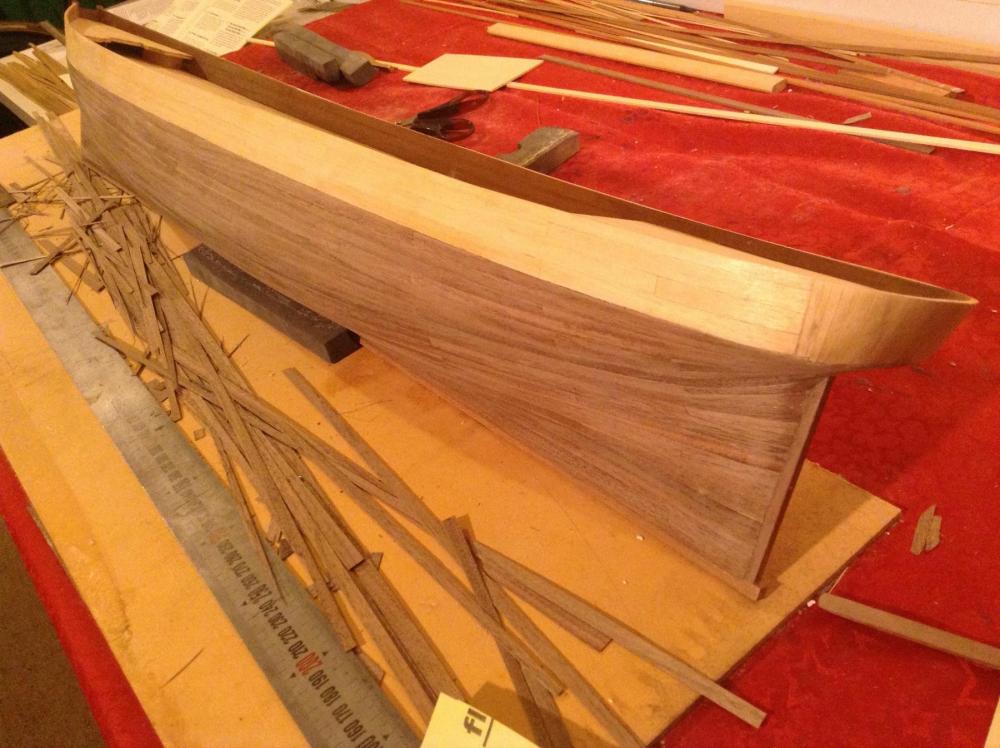
Have decided to ignore the instructions and proceeded to fix the prow, keel and rudder posts before second plank. Spent a day working out how to rebate the posts so that the veneer would make a nice join. After a lot of errors finally success (according to me anyway). Some sanding and tidy up still needed, After reading a lot about planking, after I had finished the first layer, I have realised the error of my ways. Now need to work out if I have enough veneer. Dilemma, if I run out of the original veneer and have not finished . Walnut veneer is available at the hobby shop - colour is different Buy all new walnut veneer and 2nd cover and do I use copper????? Have i got this correct, the copper tiles are glued over the top of the 2nd plank layer, waterline down. Is there a waterline rebate needed for a smooth join?


-
Hi Tim I do like the copper, I'll do some research. I was going to construct as designed (and still might) but can see how the copper would add that bit extra. Primey
-
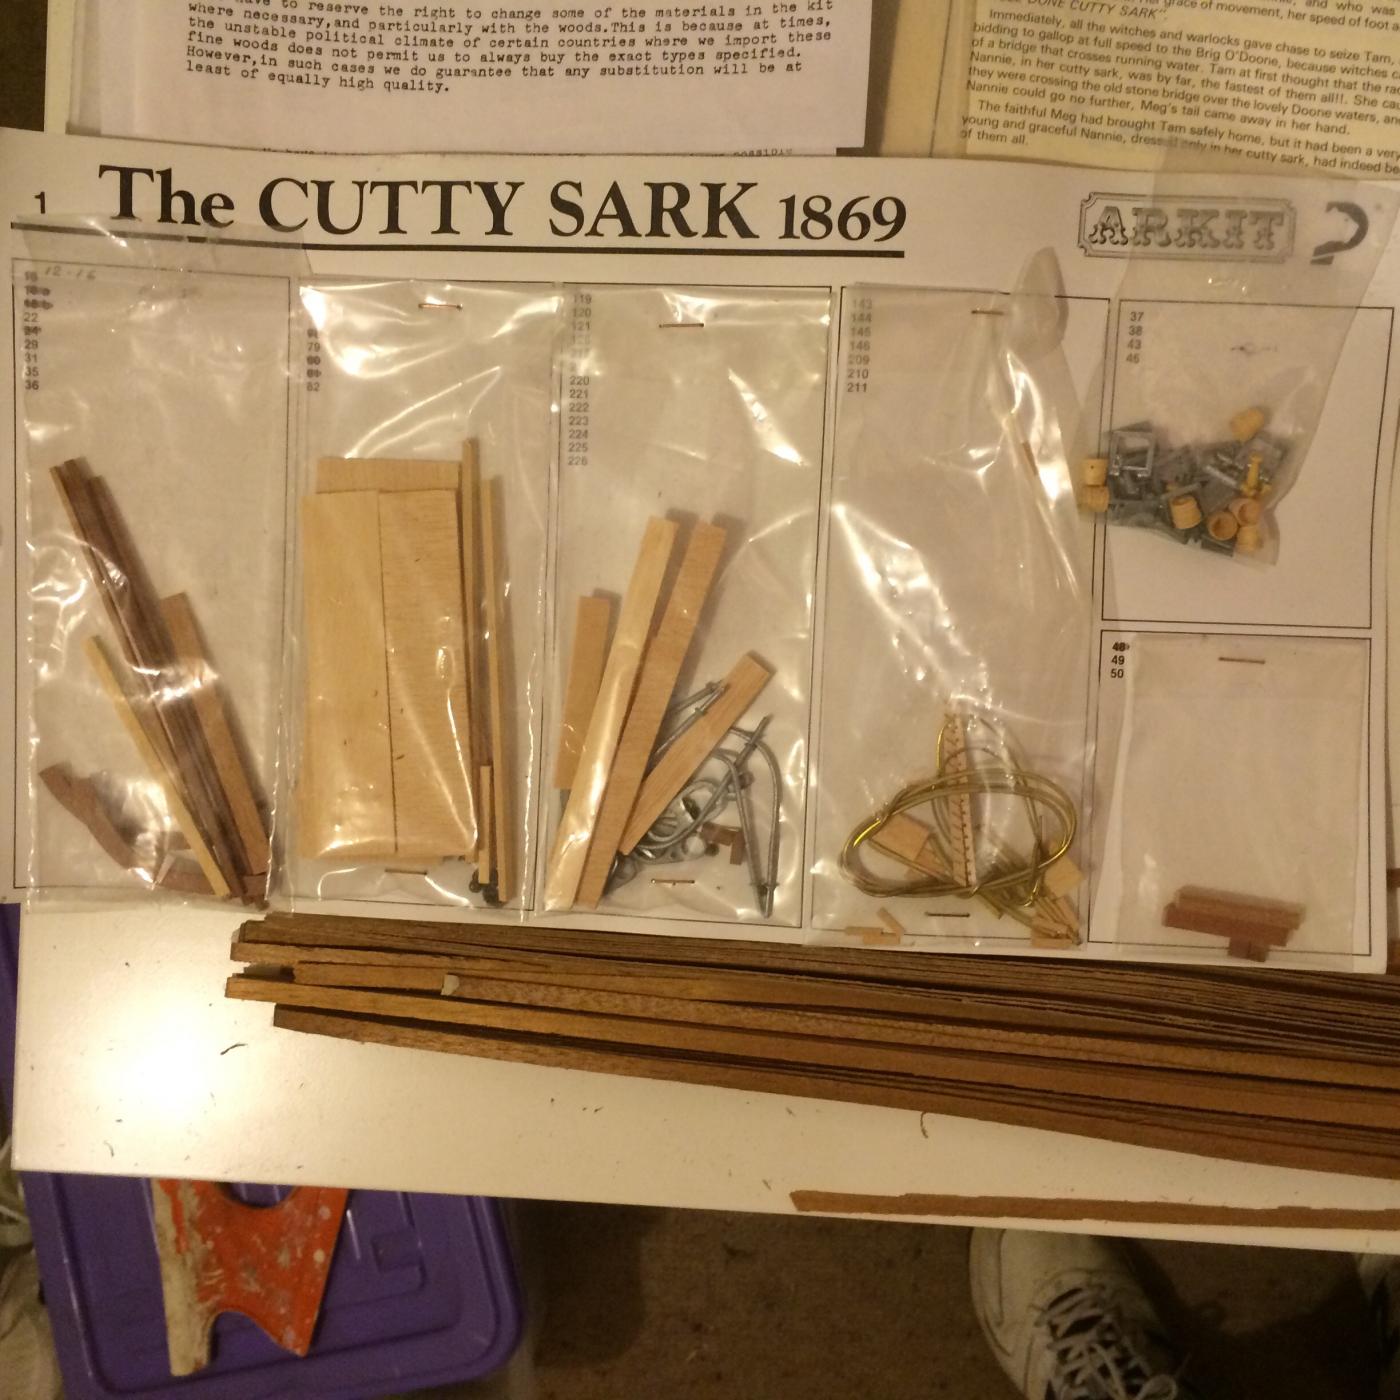
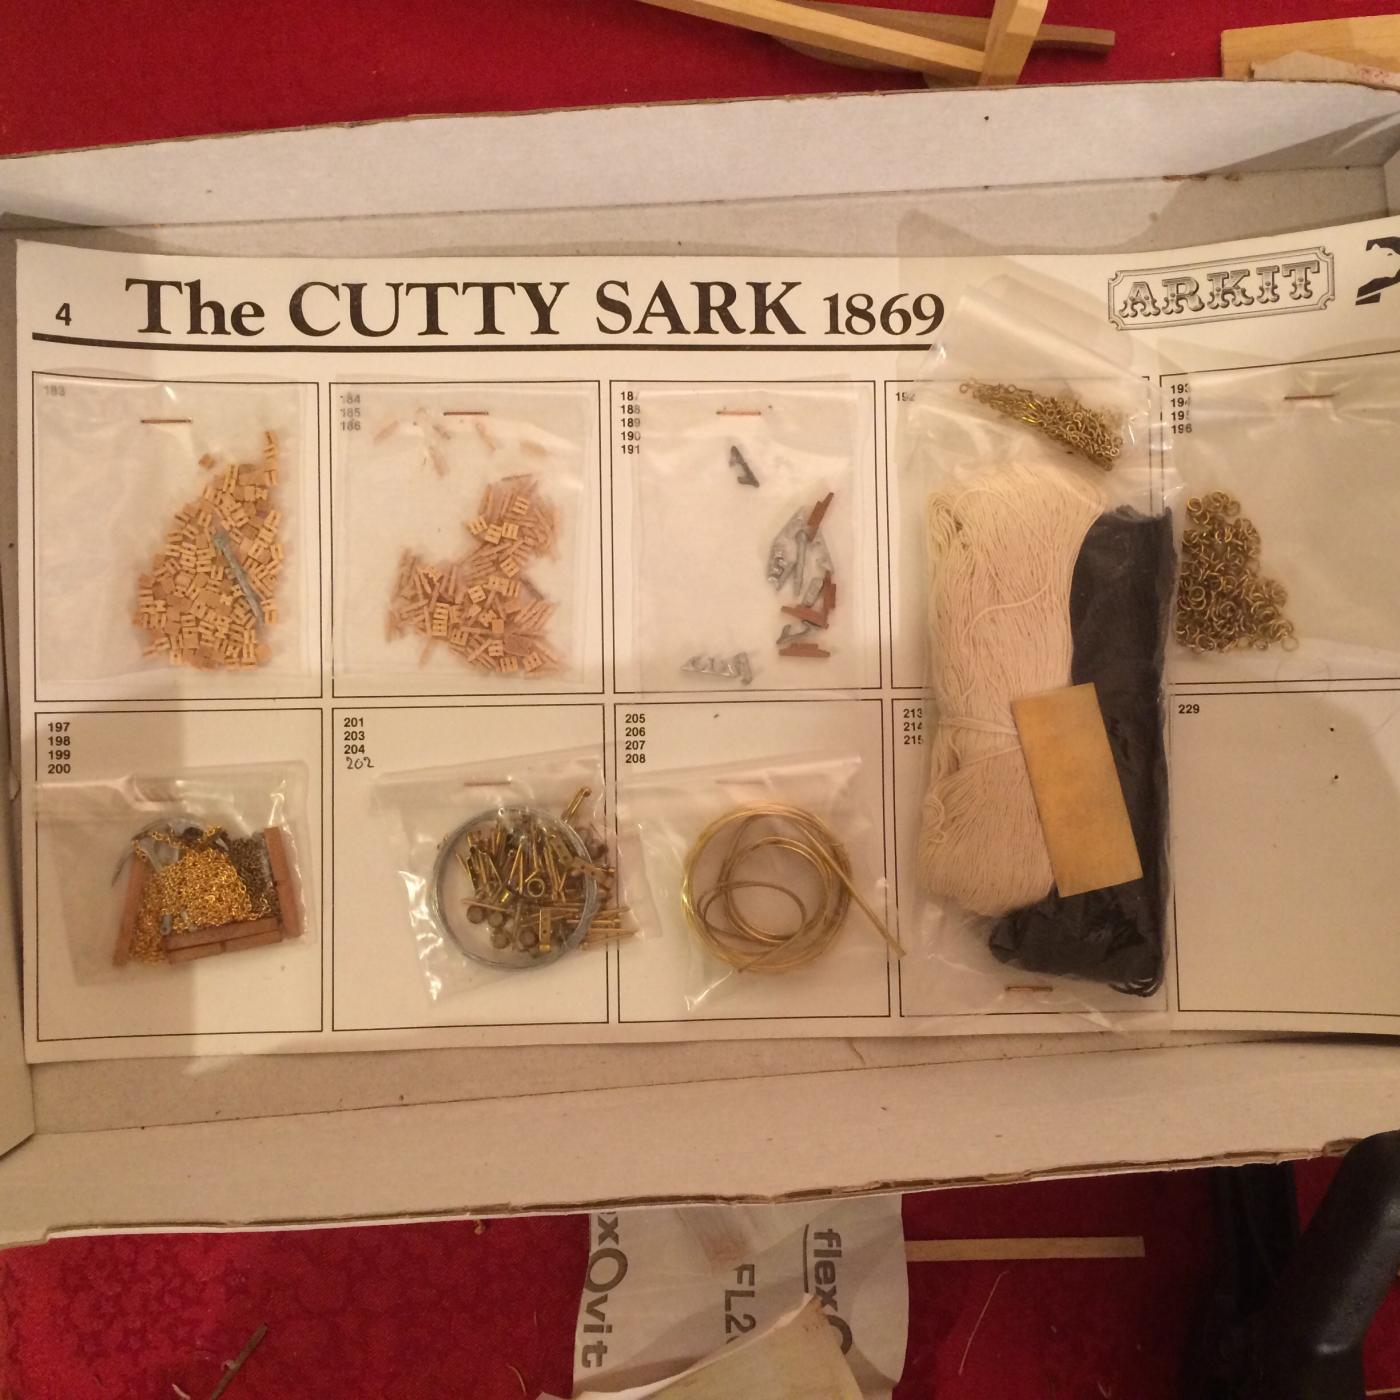
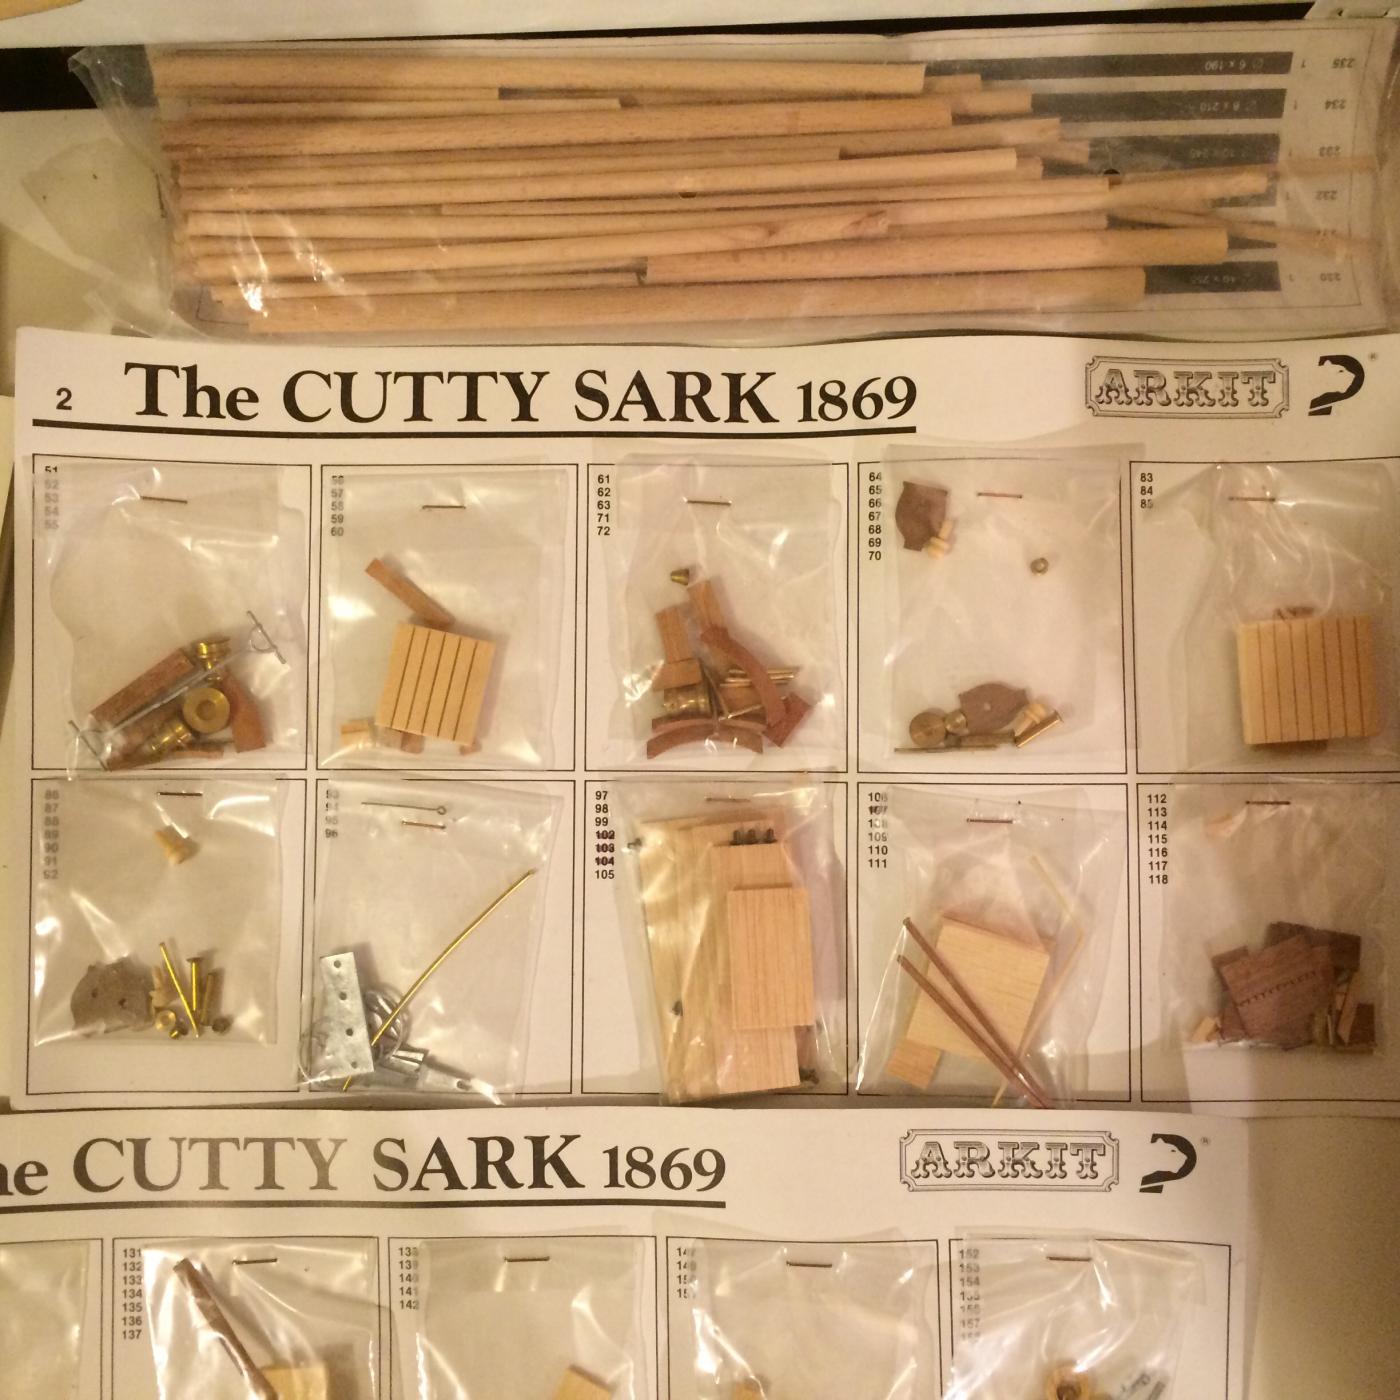
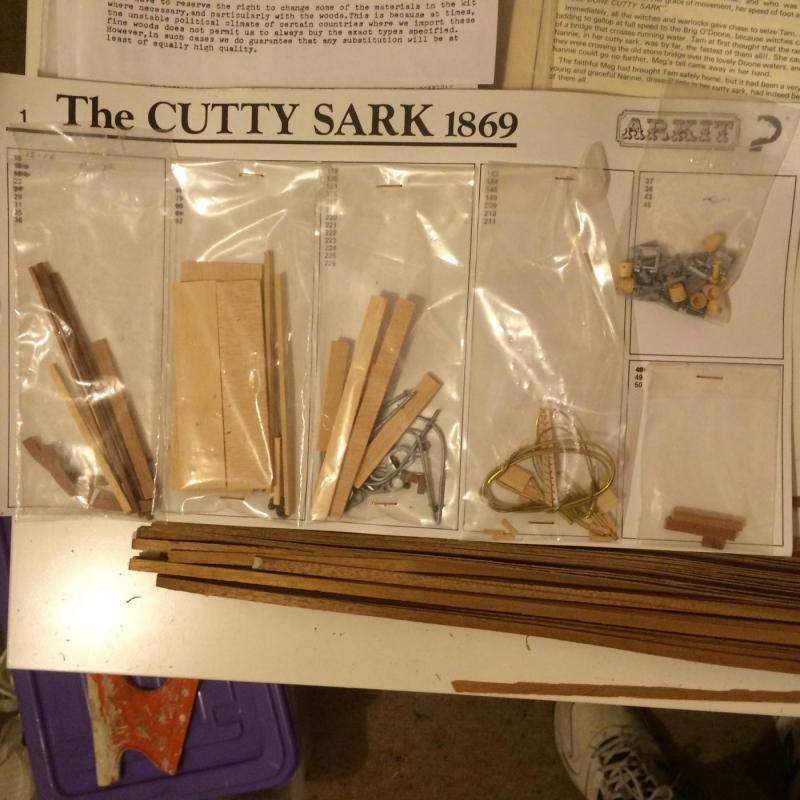
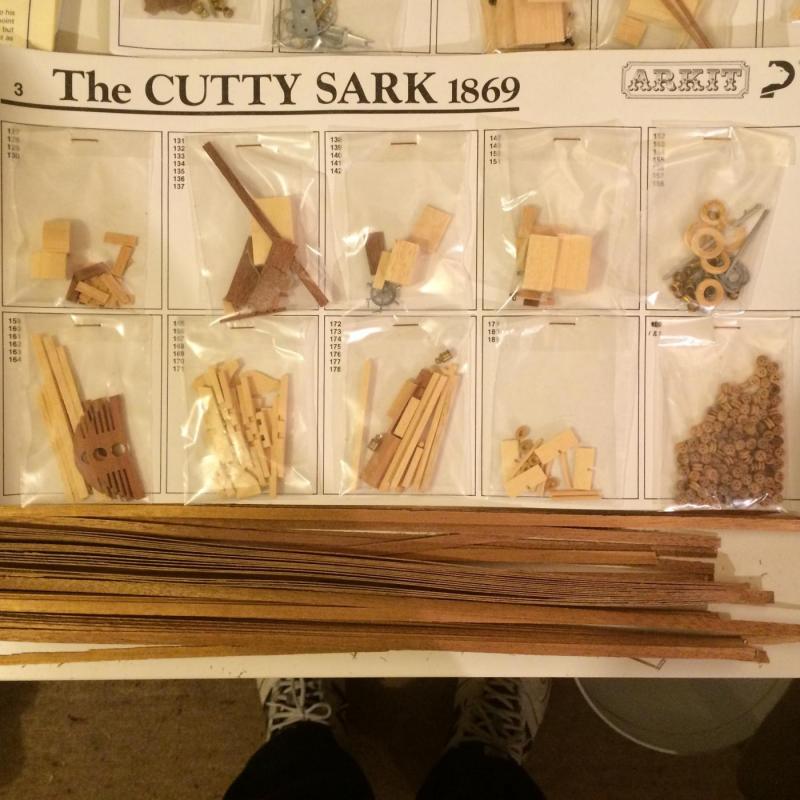
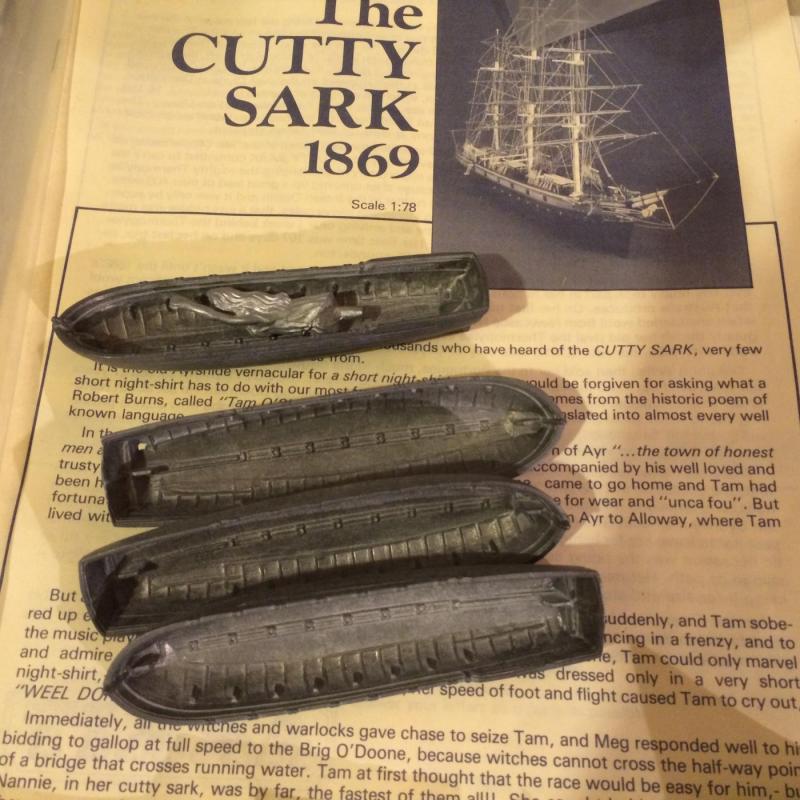
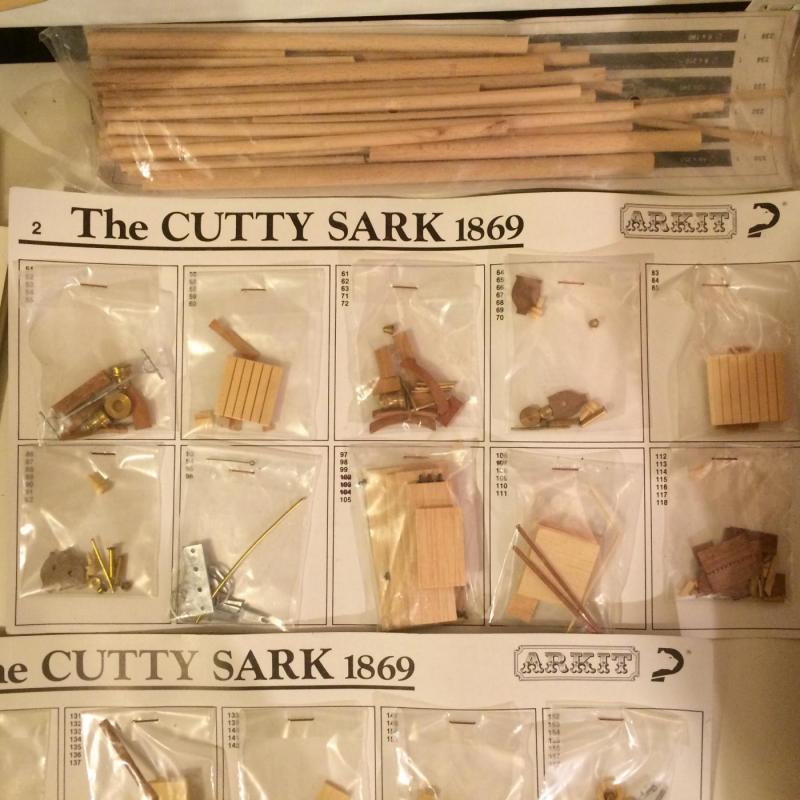
Some pictures of the kit fittings. N.B. Life boats are metal

-
Thanks Peter The hull has a 2nd cover of walnut veneer, this wood is not in the best shape and I might be lucky to have enough. So going to the local hobby shop to see if I can match up the walnut color. I'll post some photos of the fittings shortly. Being my first attempt at construction I am happy with any suggestions you may have, if you can see something I could change or do better just let me know. Primey
-
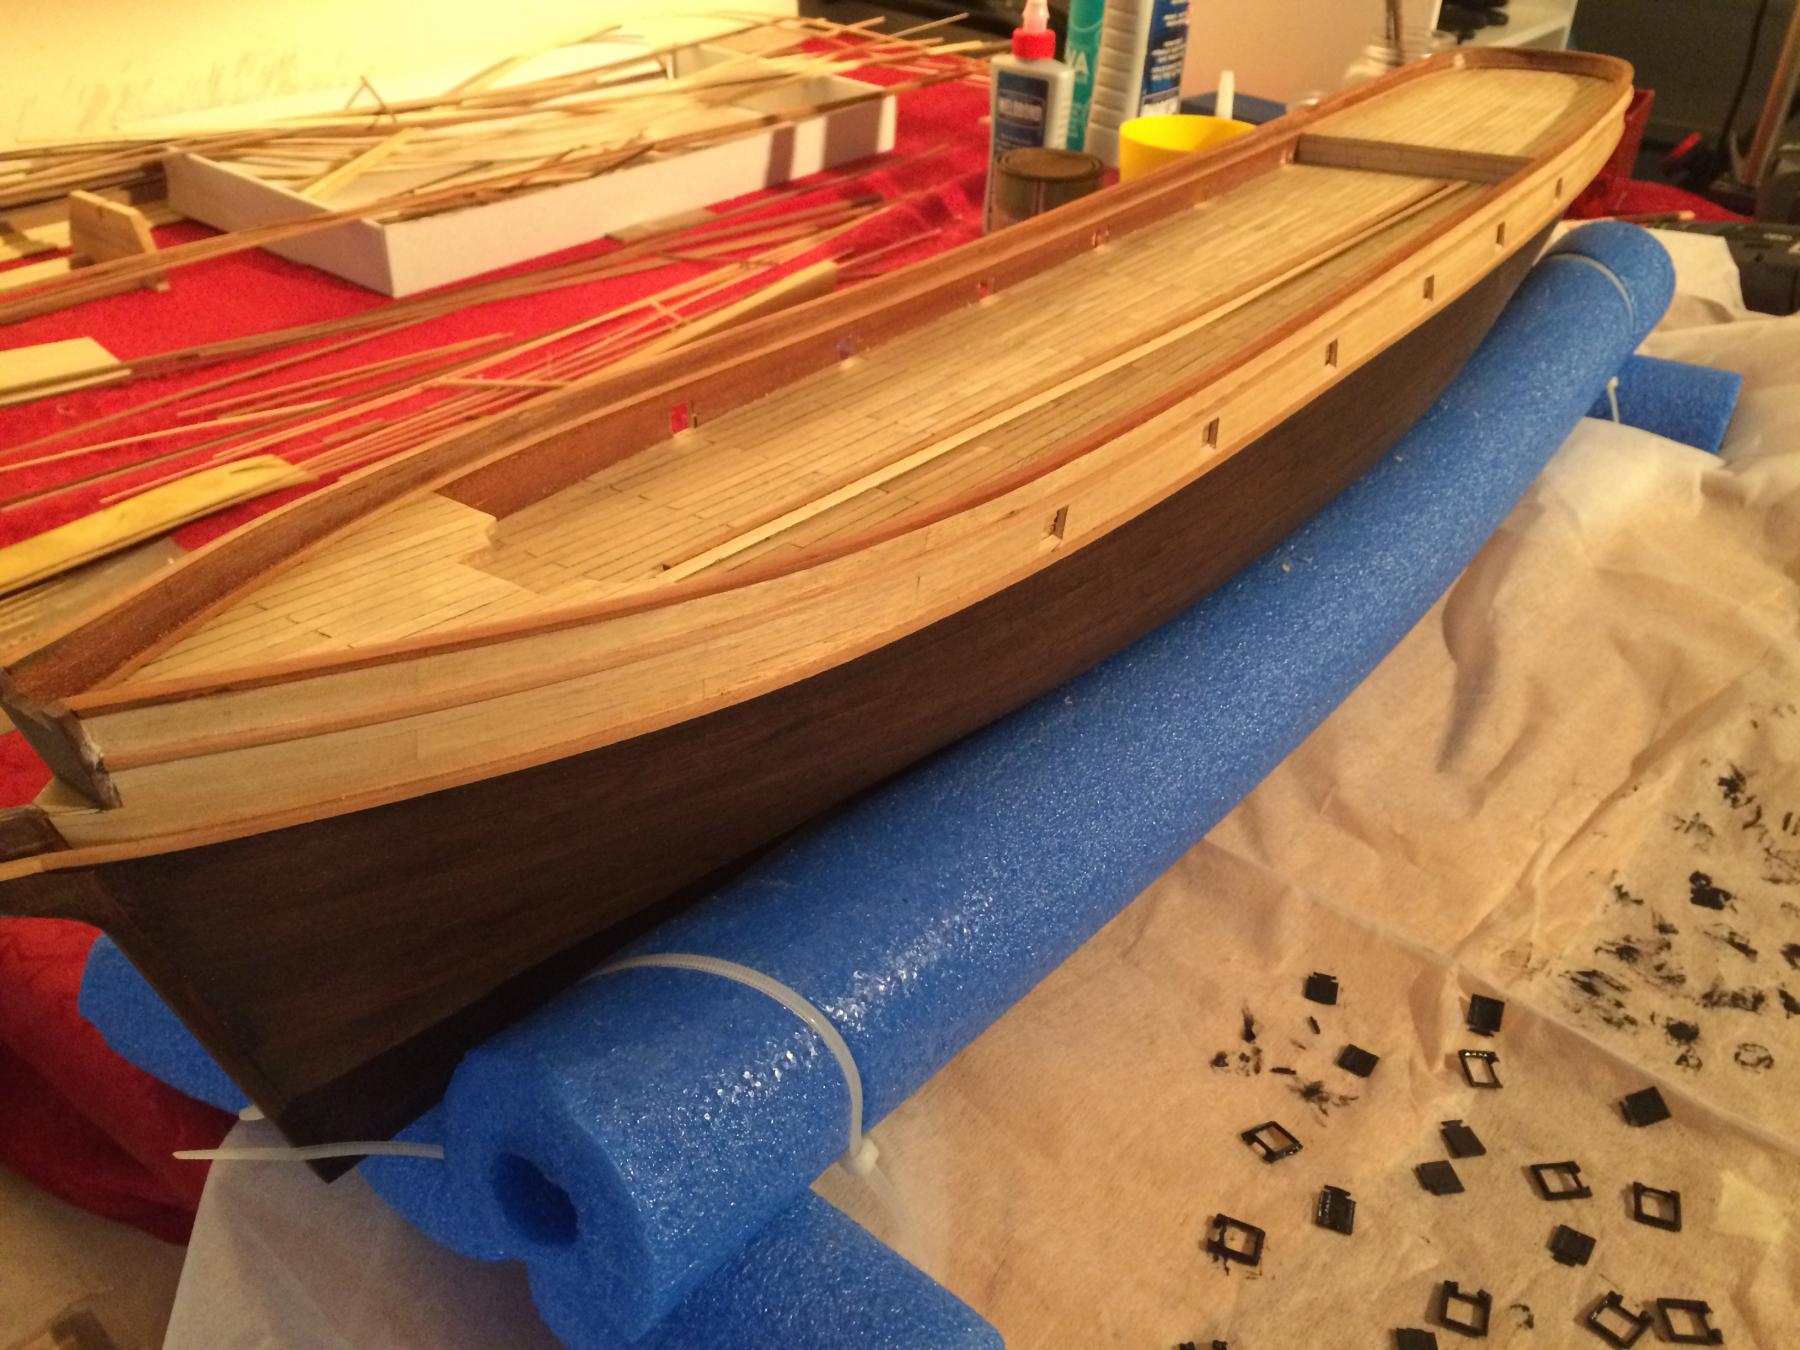
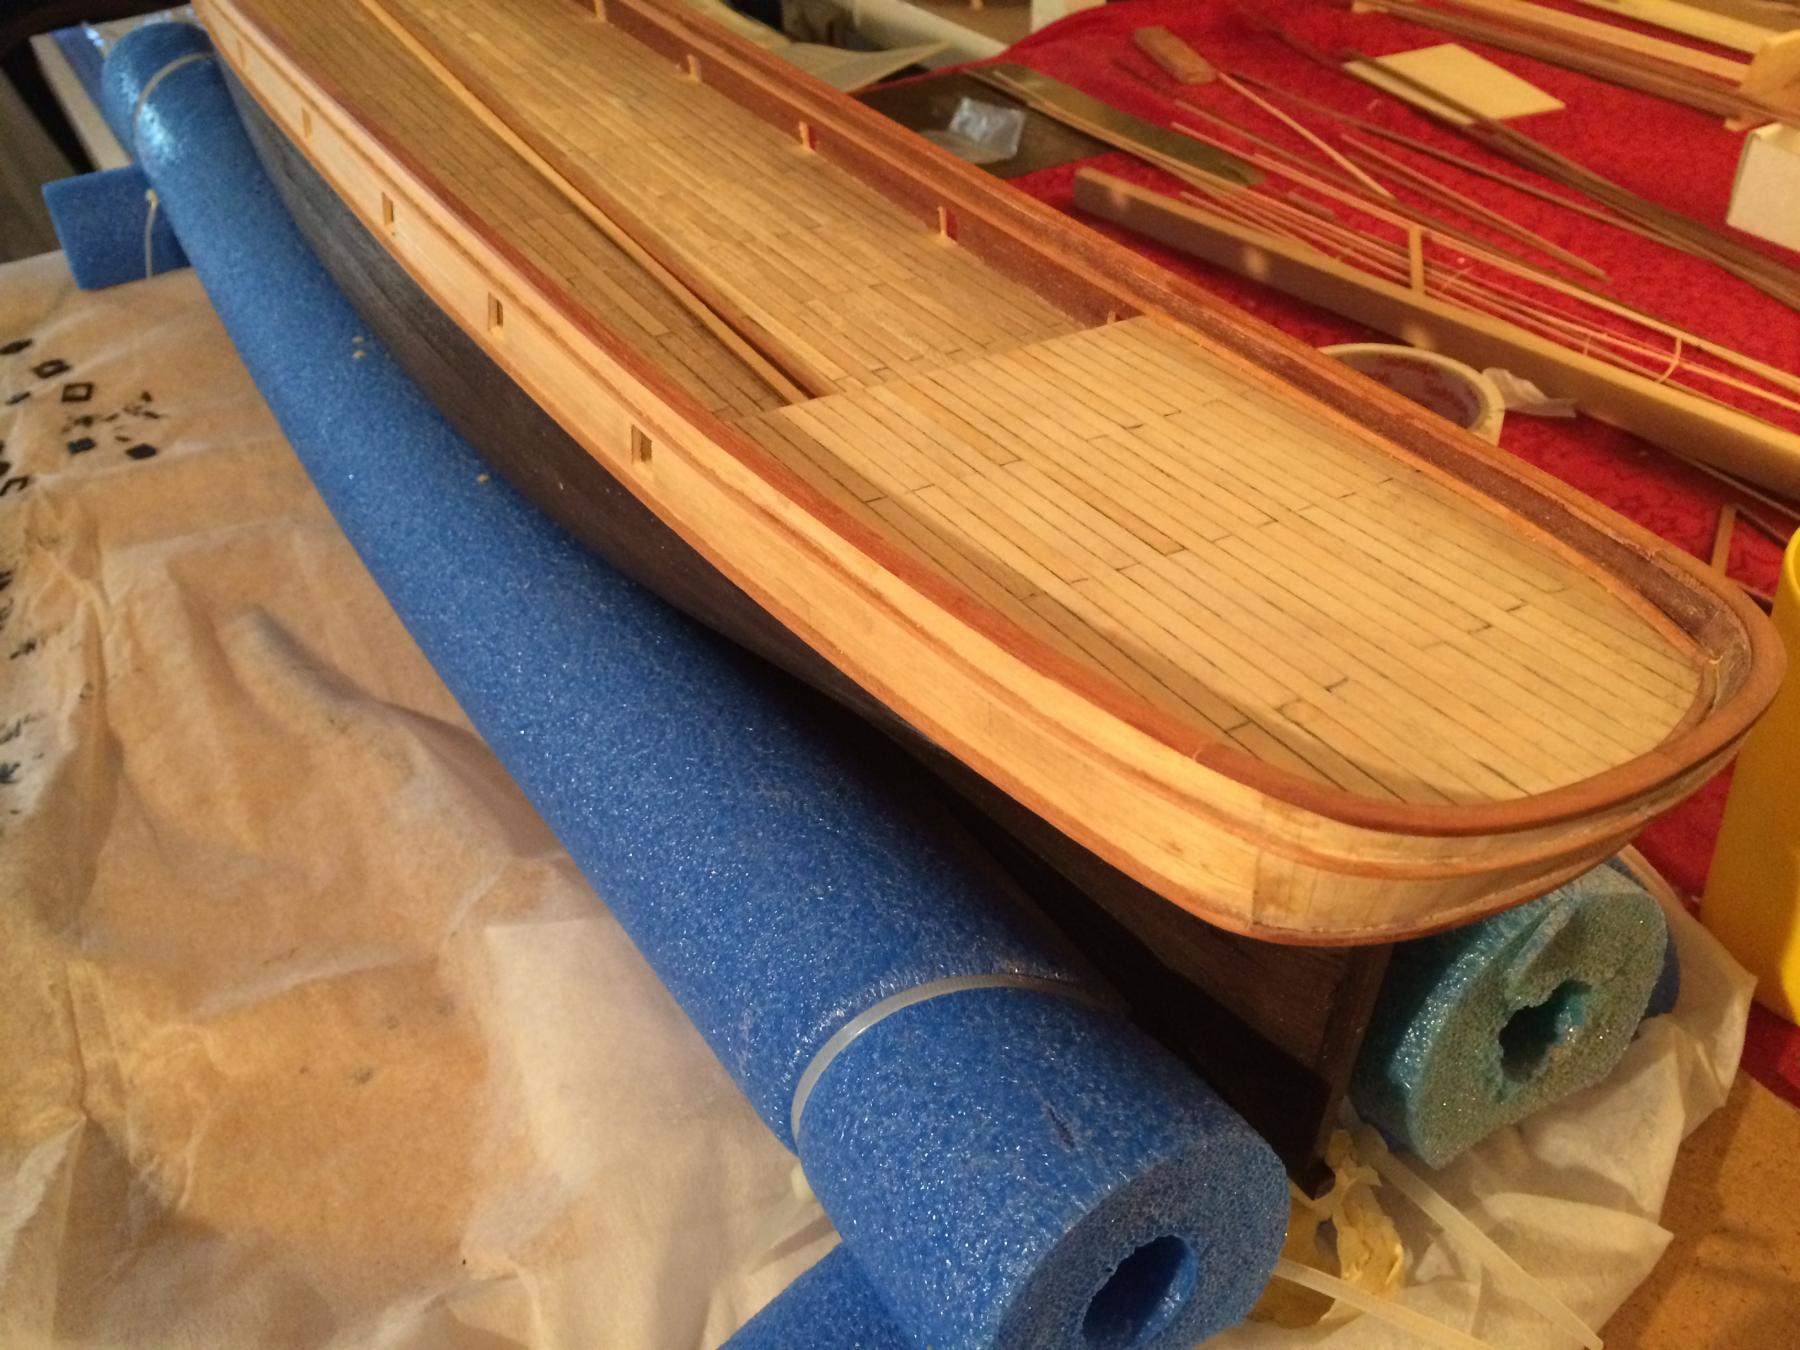
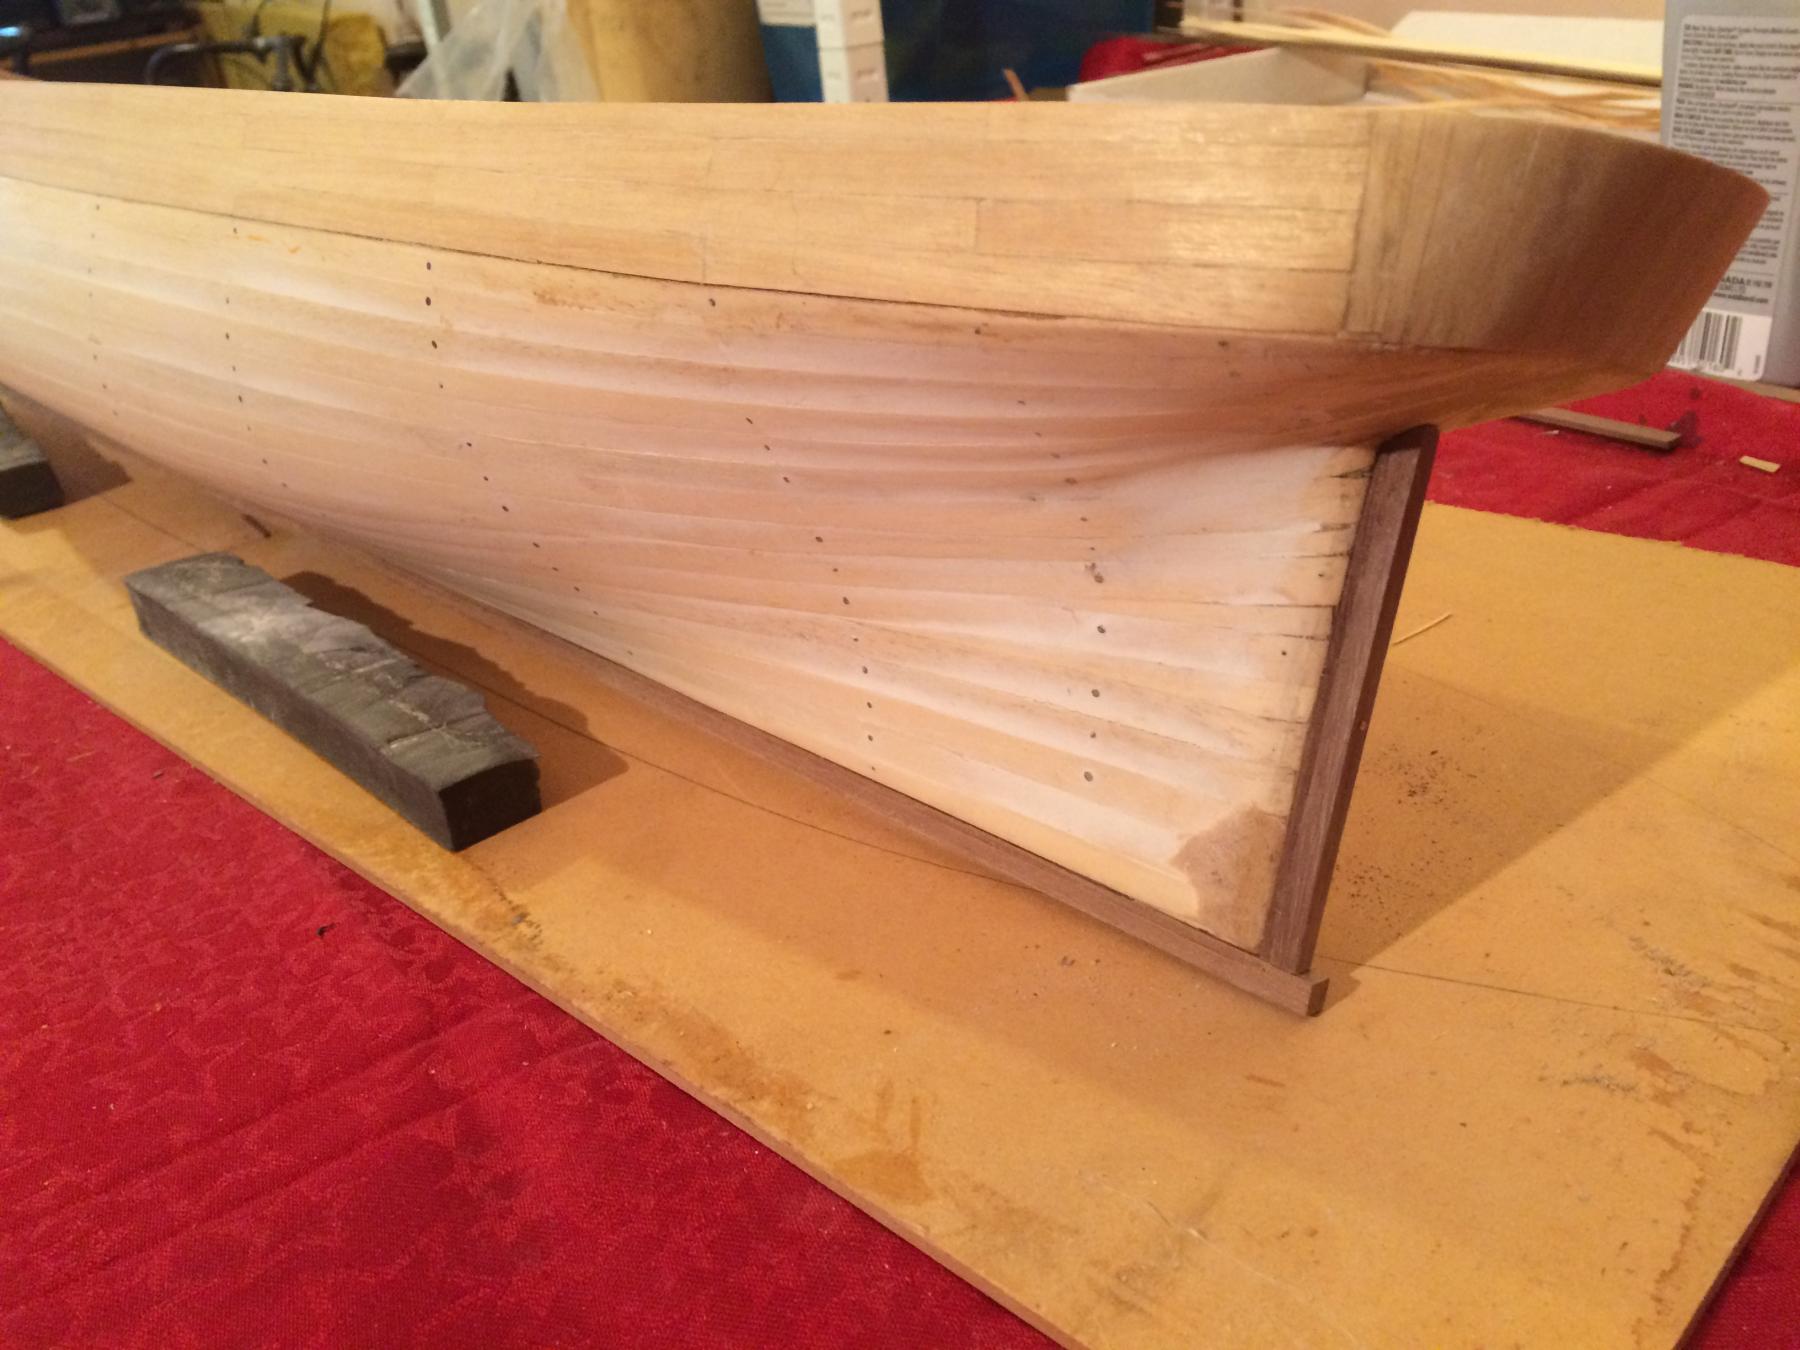
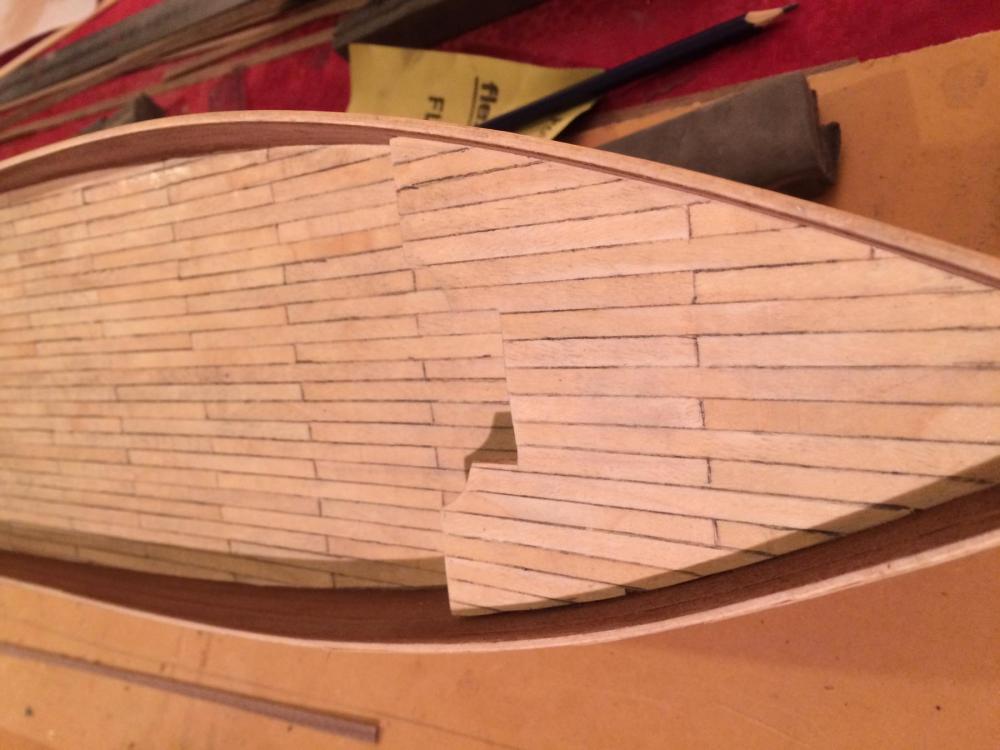
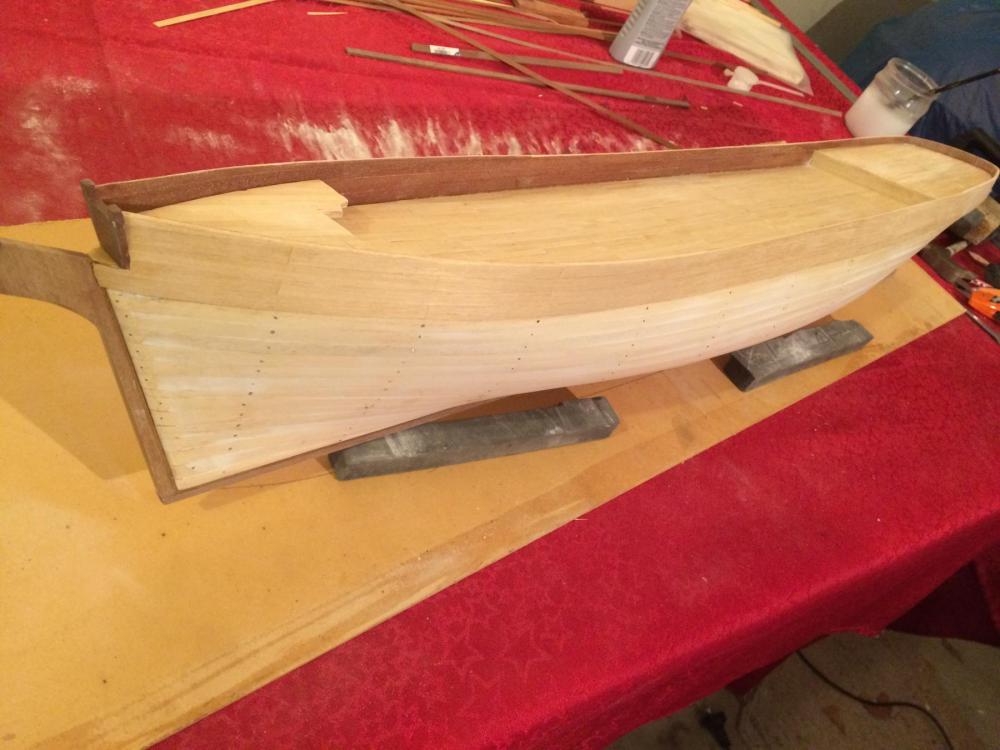
Some progress, planking the inside and outside the bulwarks. My Kit only has just enough veneer for planking, so can't afford too many errors. Getting hold of more veneer should be easy enough I hope. Decided to cut the veneer (two bulkheads long), just seemed to be easier to glue on.