tomsun
-
Posts
41 -
Joined
-
Last visited
Content Type
Profiles
Forums
Gallery
Events
Everything posted by tomsun
-
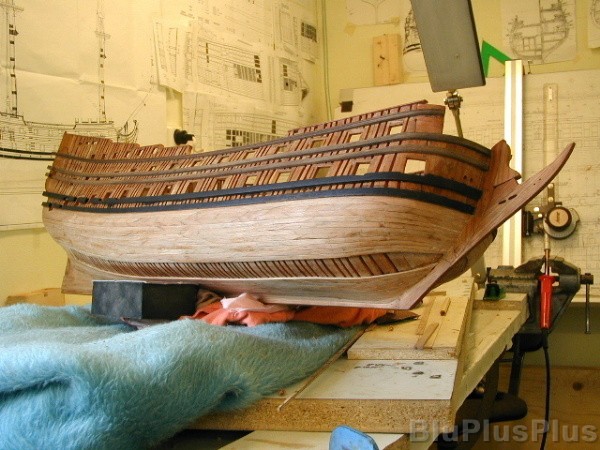
 Planking below the wales completed, the stain on the wales has began to be removed and the treenails in place.
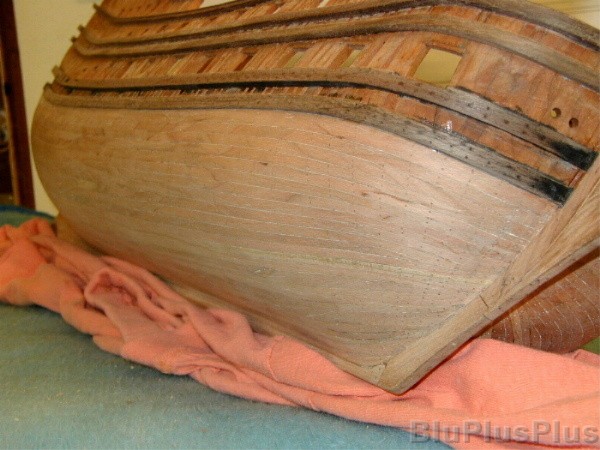
-
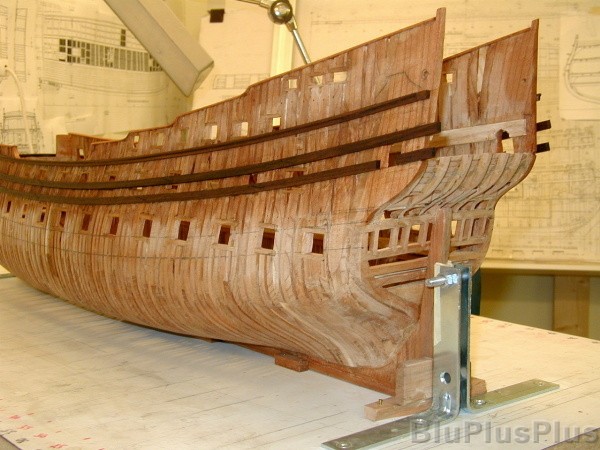
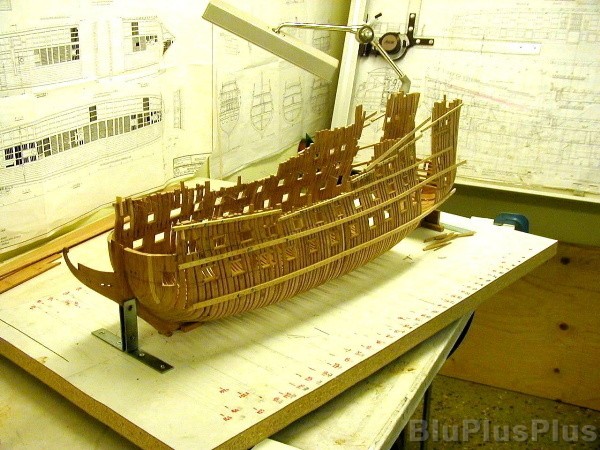
Planking under the wales on the starboard side almost finished, on the portside a lot more to do. I use the Kammerlander method when I do the plankin it works great. The two lowest wales is here stained black, I sanded the stain away in a later stage.

-
Another picture at the same stage
-
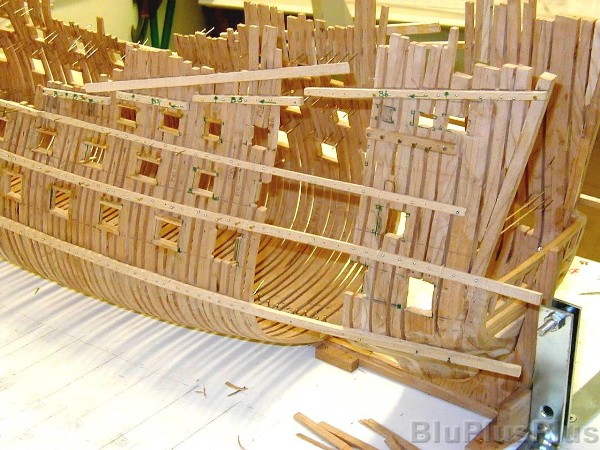
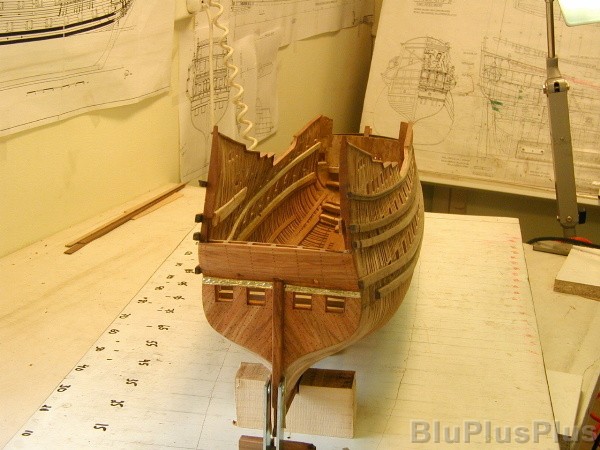
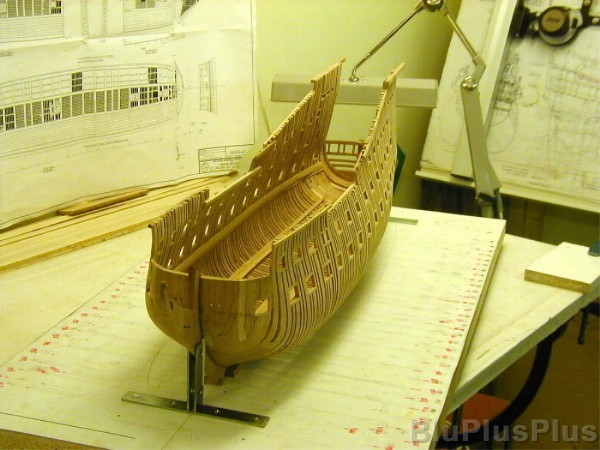
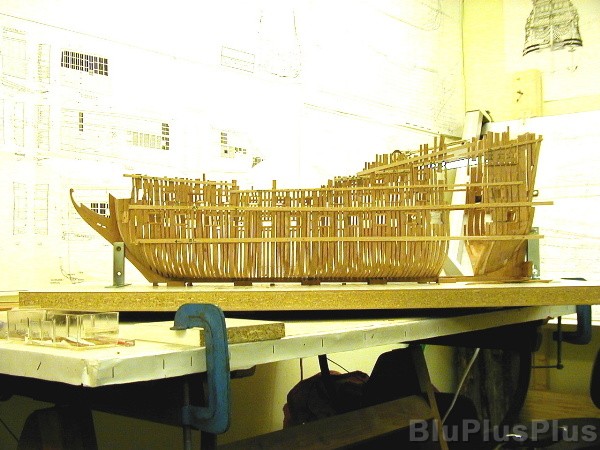
A few of the lower gun deck beam in place
-
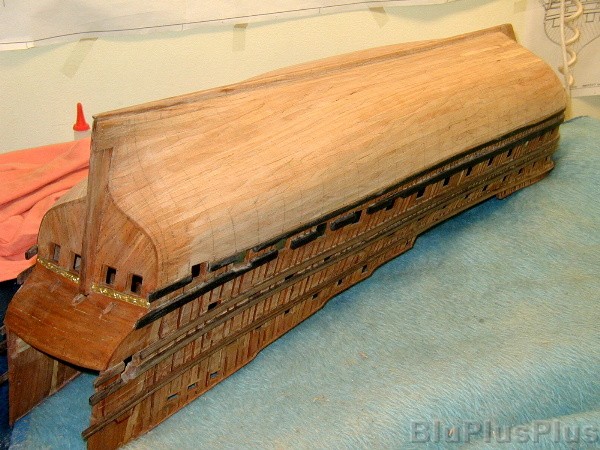
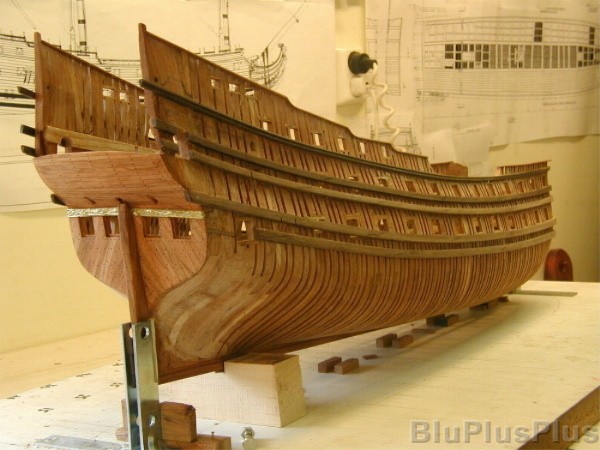
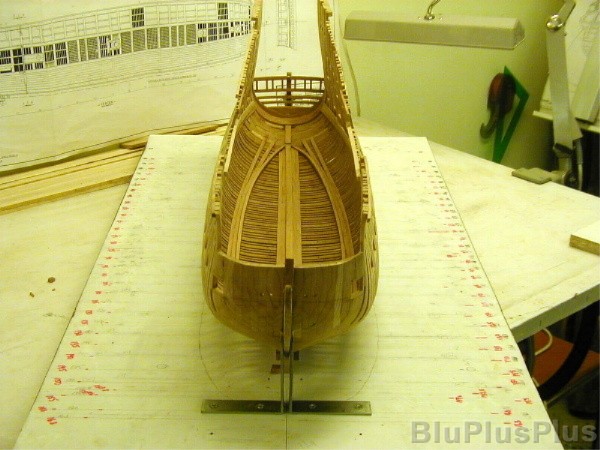
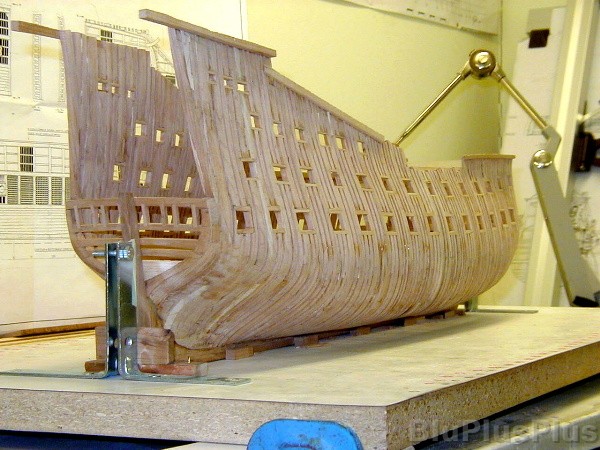
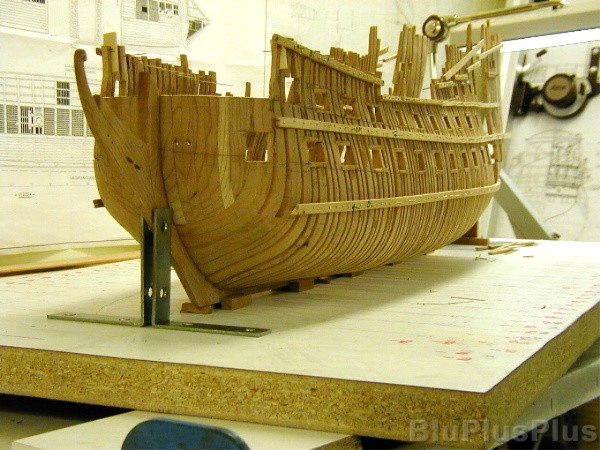
All five wales in place, planking on outside of lower counter timber is completed, planking on the square stern is in place and the clambs for the upper gun deck, and quarterdeck
-
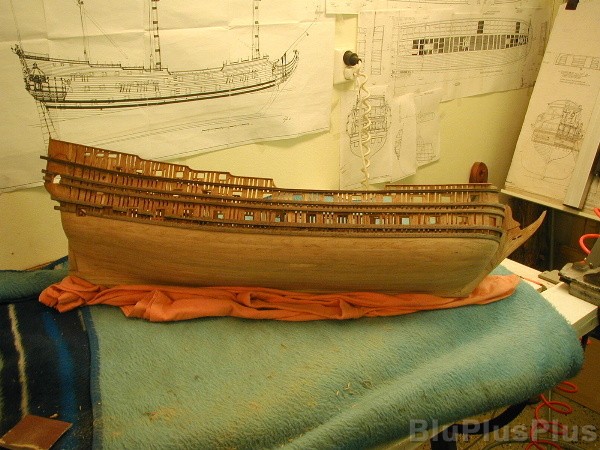
The three upper wales in place, and the lower counter timbers and the planks on the inside in place, the wales are made of Walnut, all the rails made of Mahogany are in place, the rails are removed in a later stage, I decided to make them of Walnut instead
-
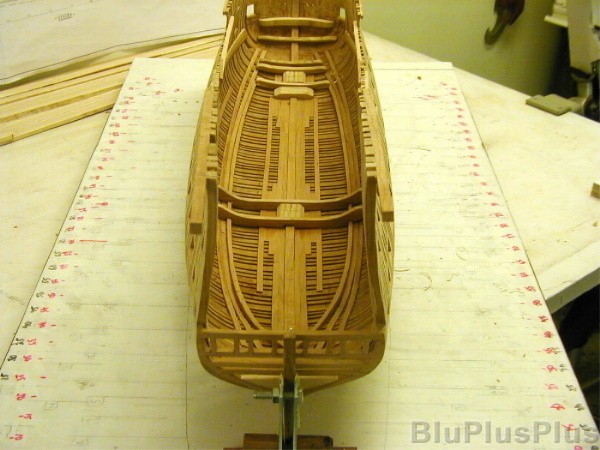
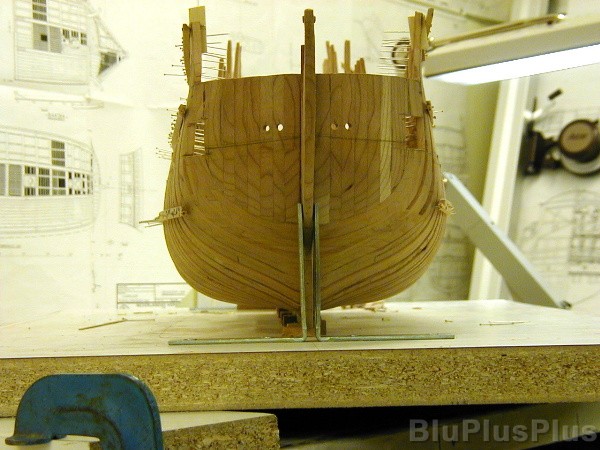
Inside planking finished and the breast hooks, deck hook, the step and step hook for formast and mainmast in place, the steps and the hooks are made of Beech wood
-
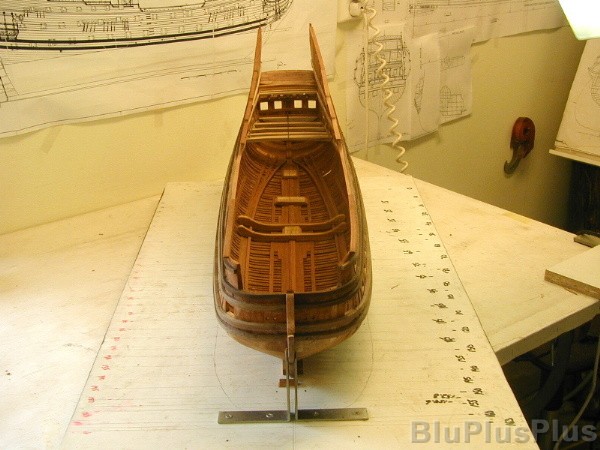
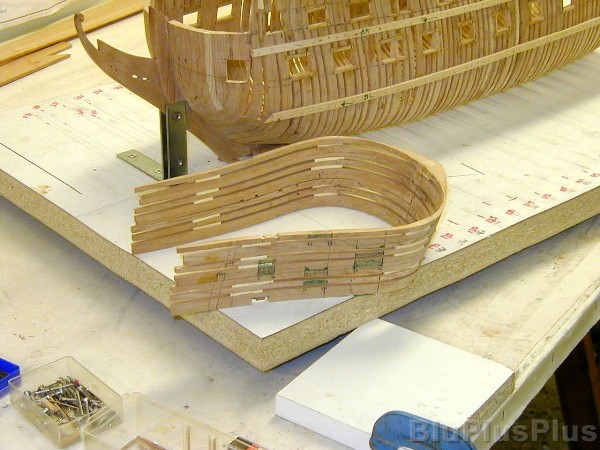
Next stage was to plank the inside of the hull, here I put some planks in and the clamps for the lower gun deck, the clamps are made in Beech wood. My intentions is to build the ship so close to the real ship as possibly with all decks except for the trossdeck
-
Again the same stage but a picture from the port side
-
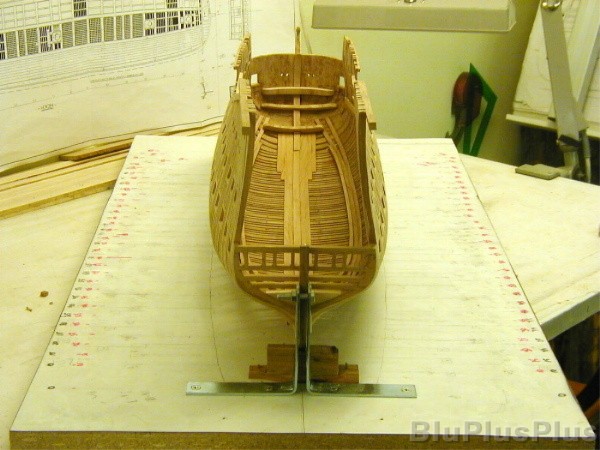
Here are all frames prepared and the hull is sanded to shape, the hull holds together mostly by the cills on the gun ports. By the way I forget to mention I build the ship in beech for the frames and Cherry for the keel and planking

-
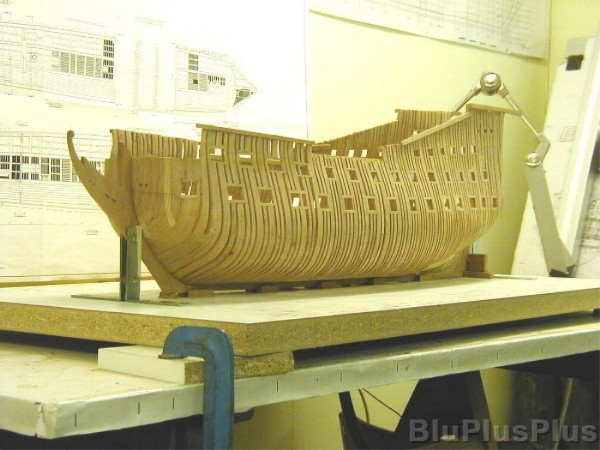
Almost all frames has been taken away and finished up and glued in place again only a few in the stern area is left to do
-
Again the same stage of building now I can take apart a block from the hull and remove the Abaci wood who is in between the frames and I prepared every frame, sawing for the gun ports etc after that I glue and pin the frame on its given place on the keel and put the needles back in place on the sides
-
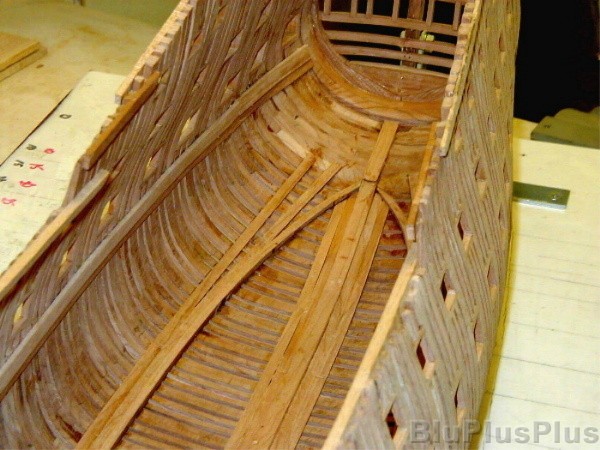
After that I take a stripes of wood and placed them on strategic places on the outside of the hull and drill a hole and pin the strips to all the frames in the hull with an ordinary sewingneedle

-
When the hull was on the keel and in the supports I drilled hole and insert a pinn in two places throw the floor of the frames in the keel in all of the frames,after that I was able to draw in every line I need i.e. upper and lower cills and the sides in all gun ports, the position of the wales and mark the places for every deck on the inside of the hull and so on
-
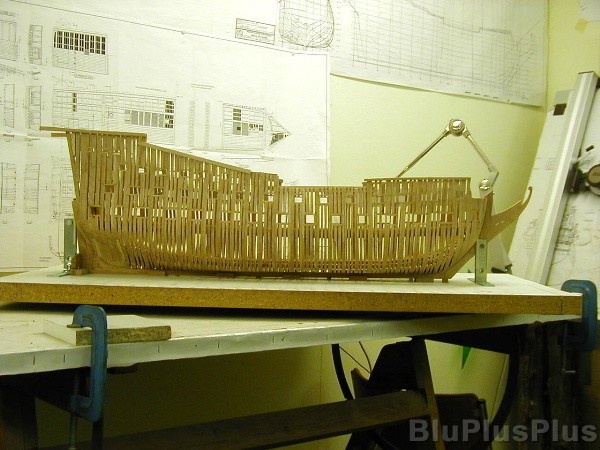
This is the first picture i've taken of my ship, I bought my digital camera in April 2001. I order my drawings from Modeller's Boatyards in July 1999 and start planning my building right on when the drawings arrivde, I read three articles in Model Shipwrigt on a way to build the hull vertically on a building board in two half's, so i take same techniques from either artikel and begin to build I build the hull in one dubbel frame and two singel frames one dubbel and two singel and so on in all ca 113 frames,I glued a piece of Abaci on 5 places between every frame to hold the hull together, when the two parts of the hull was finished I put them together on the keel who I have done in a early stage, the keel vas screwed to the building boards from underneath and one support in front and one in the back hold it in place
-
Hello everyone I have built ship models since I was 14 years and then it was kits, after my children grown up I started to scratch build The 7 Provincien I started building my model in 2000 in a workshop I had in my garage, but since 2005, work have been down because I divorced and moved abroad. but now when I come back to Sweden I start to build again