HOLIDAY DONATION DRIVE - SUPPORT MSW - DO YOUR PART TO KEEP THIS GREAT FORUM GOING! (Only 68 donations so far out of 49,000 members - Can we at least get 100? C'mon guys!)
×


rtibbs2018
-
Posts
42 -
Joined
-
Last visited
Content Type
Profiles
Forums
Gallery
Events
Everything posted by rtibbs2018
-
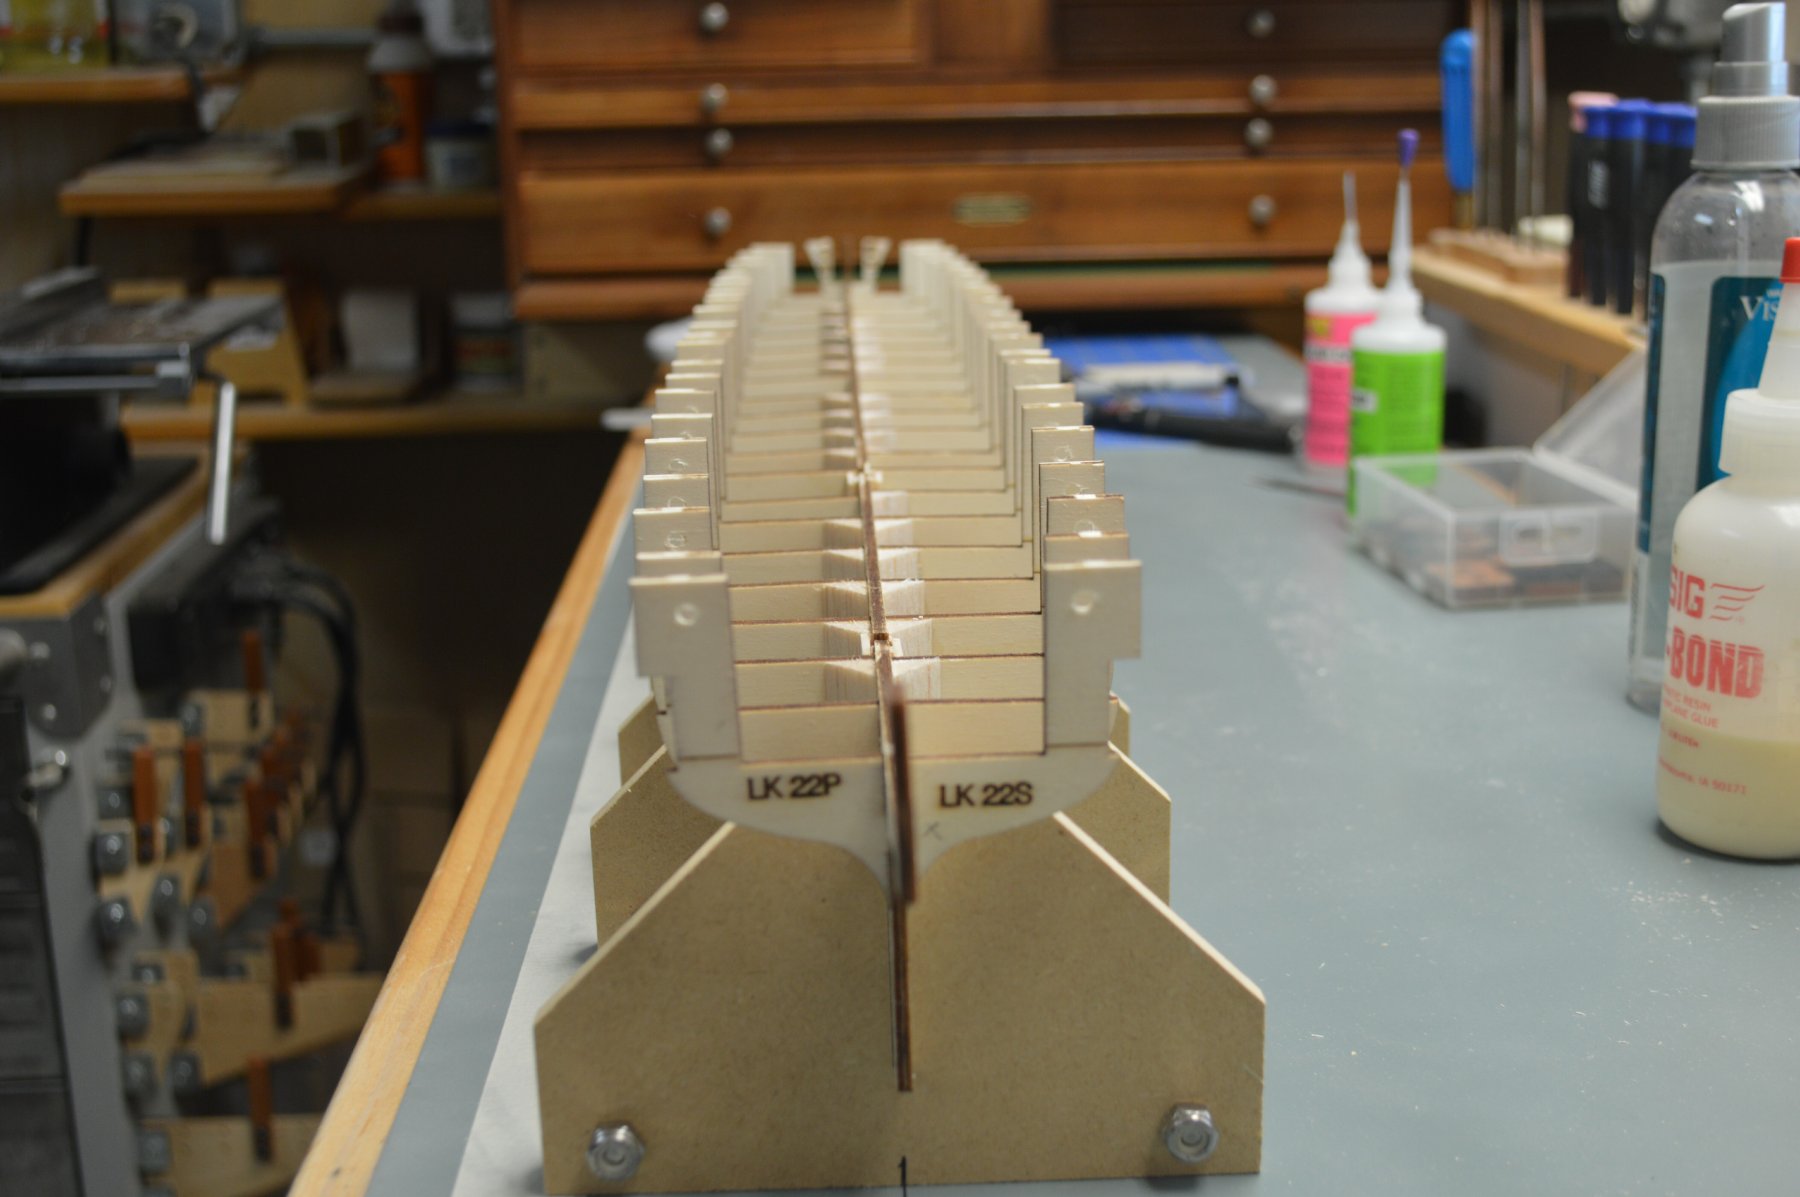
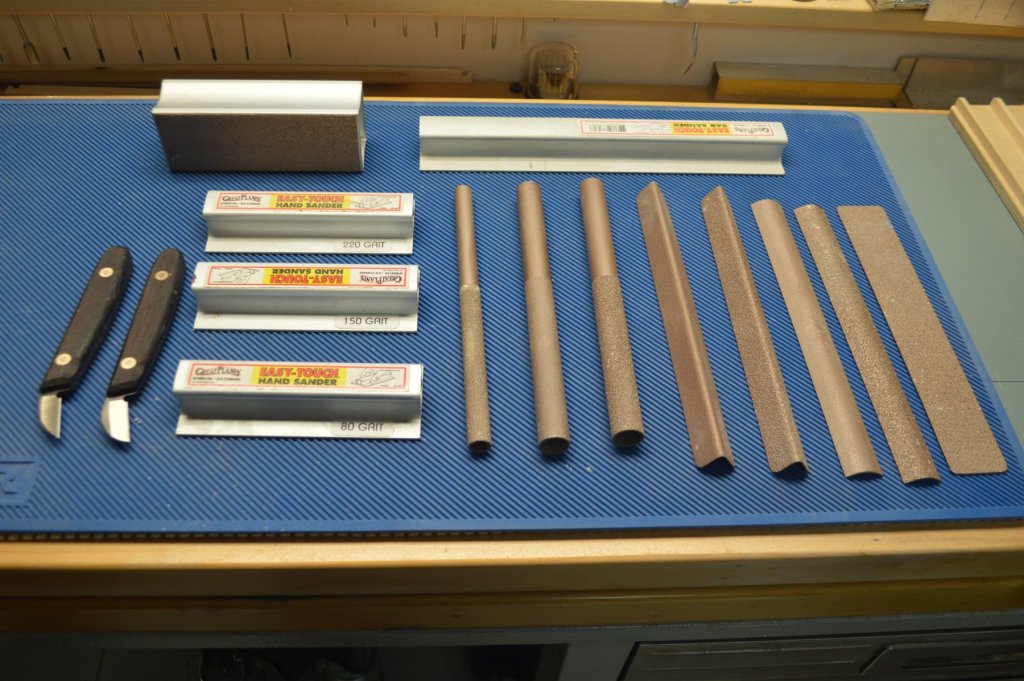
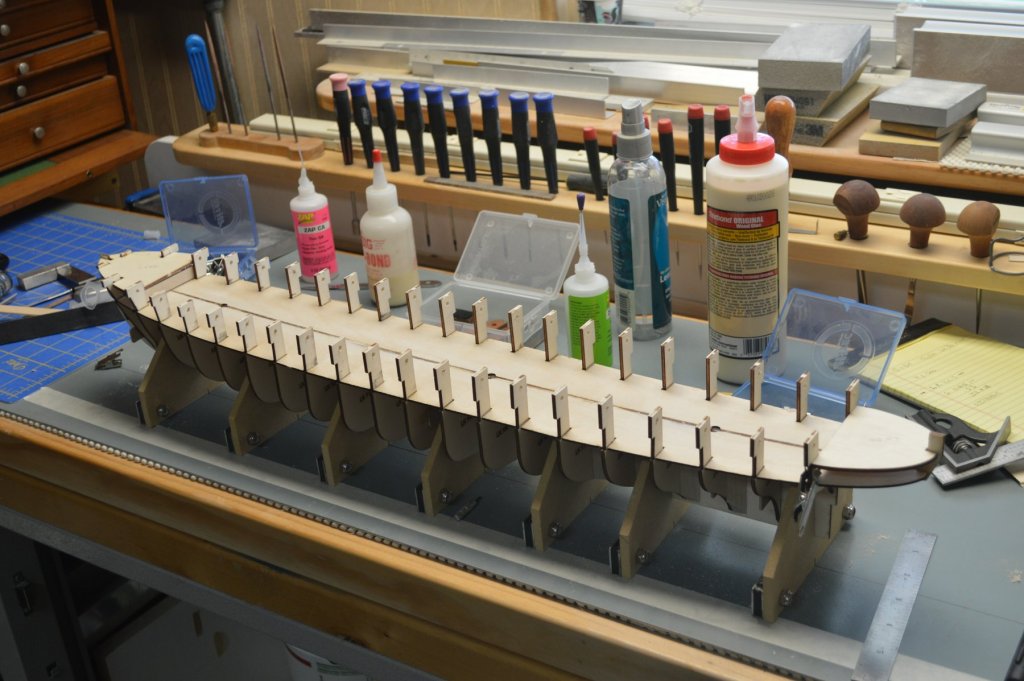
Thankfully I have a nice selection of PermaGrit shapes and sanding bars Filler blocks sanded and most of the fairing is complete Now I need to build some "soaking" tubes for my planking. I have used wallpaper wetting trays in the past for planking aircraft however I need something a little smaller for these planks. Also they tend to float in the larger tray.

- 34 replies
-
- 10
-

-
- kearsarge
- first build
- (and 1 more)
-
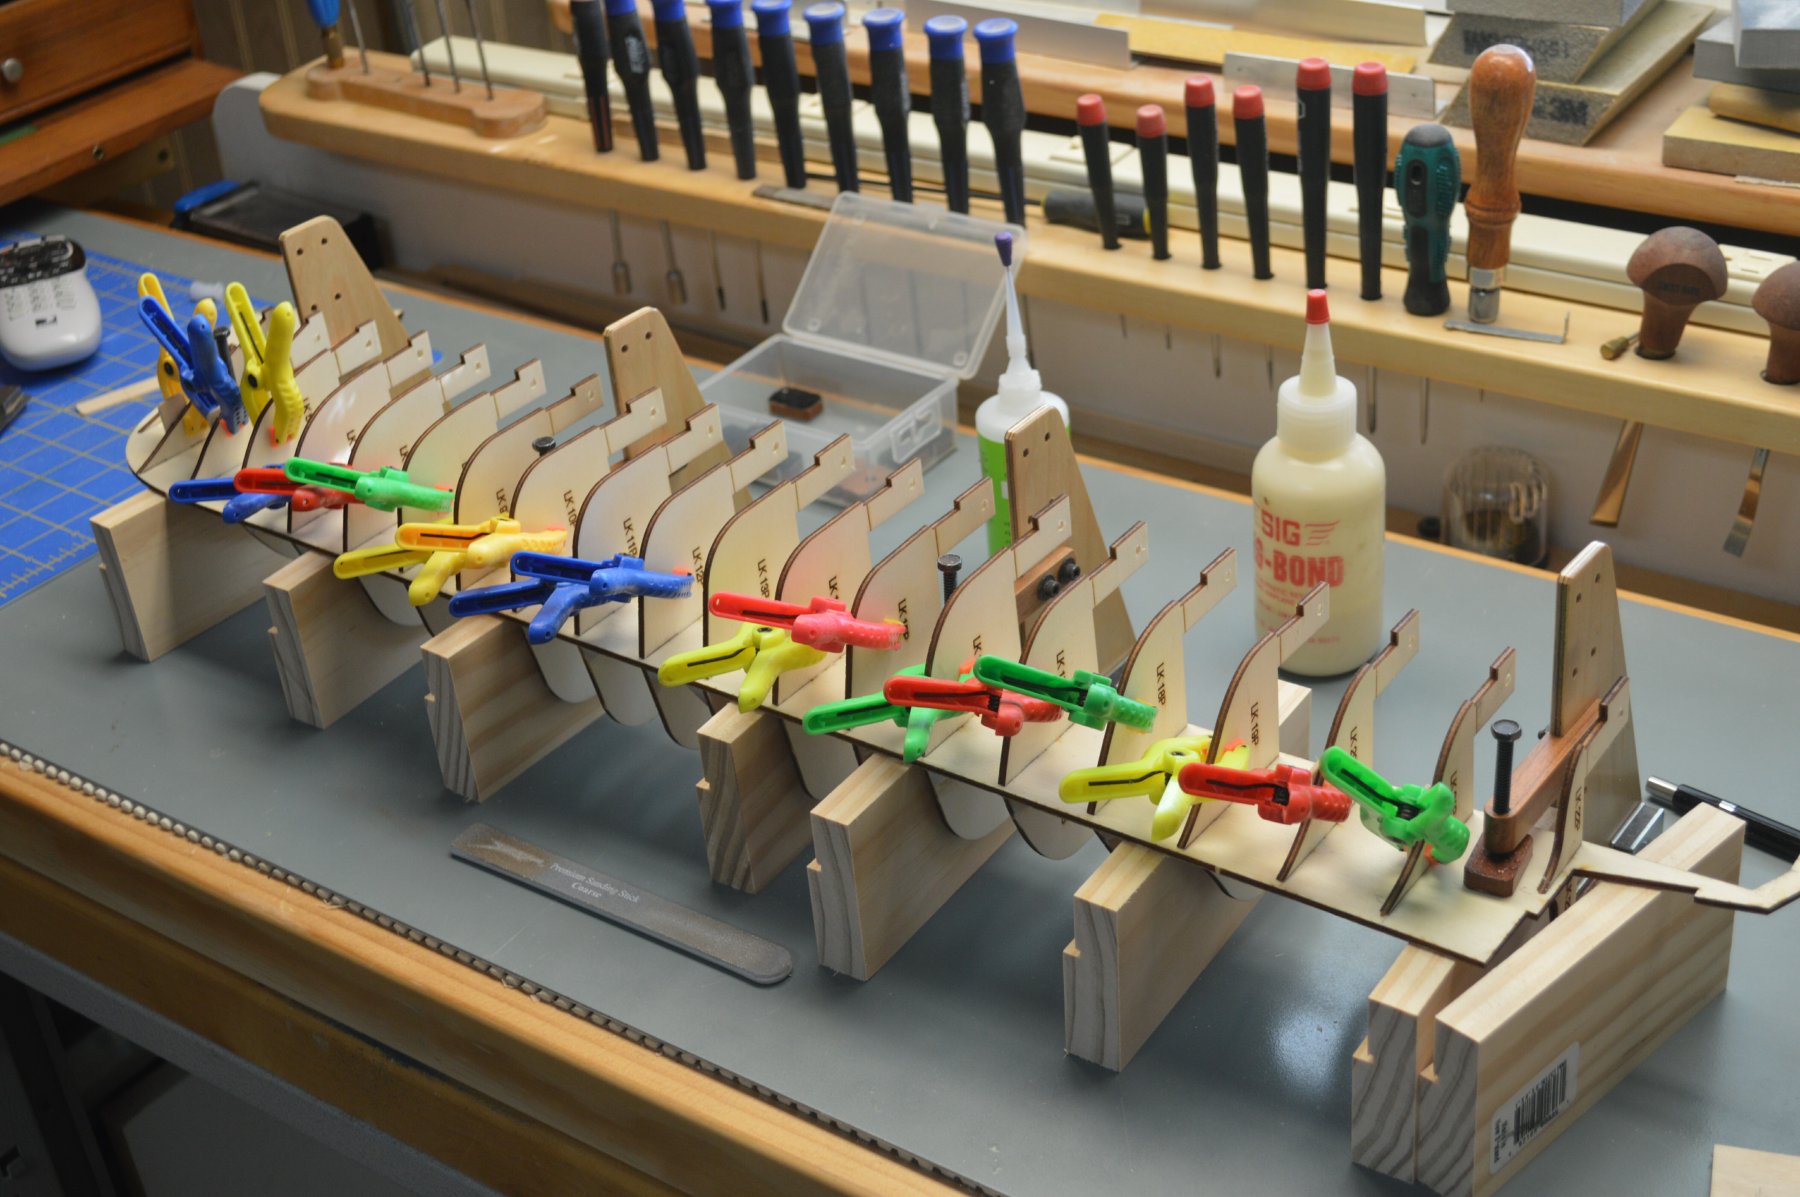
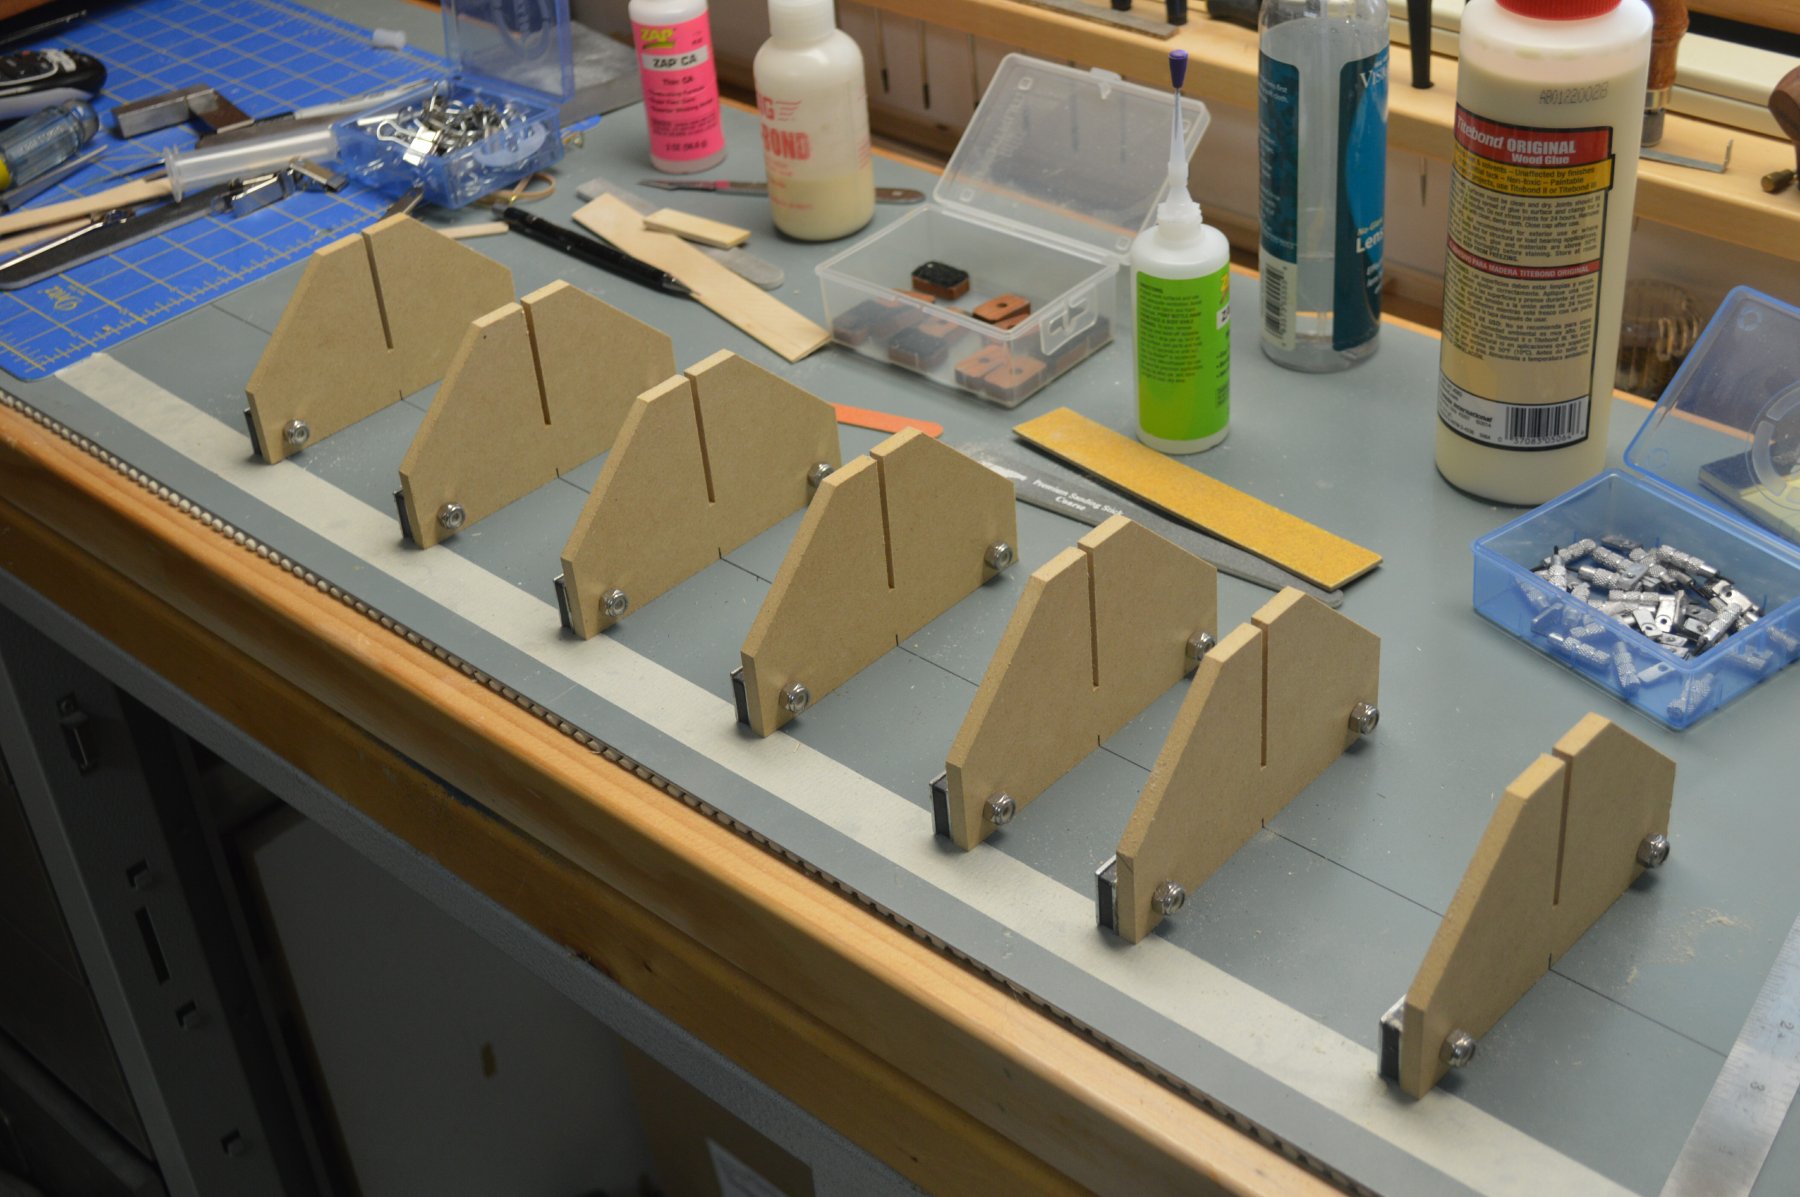
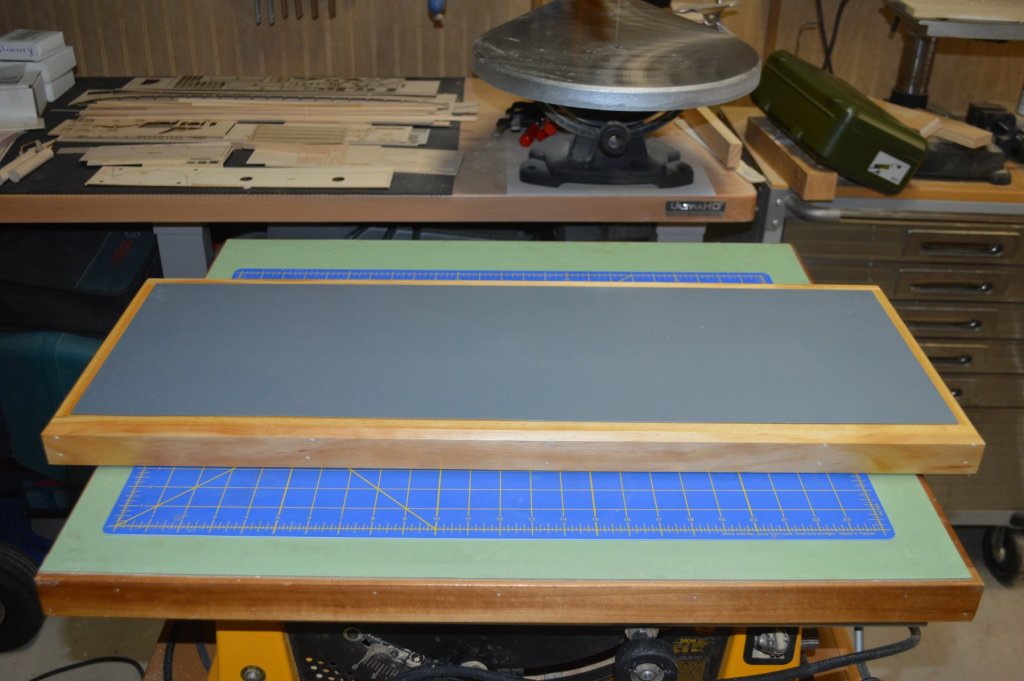
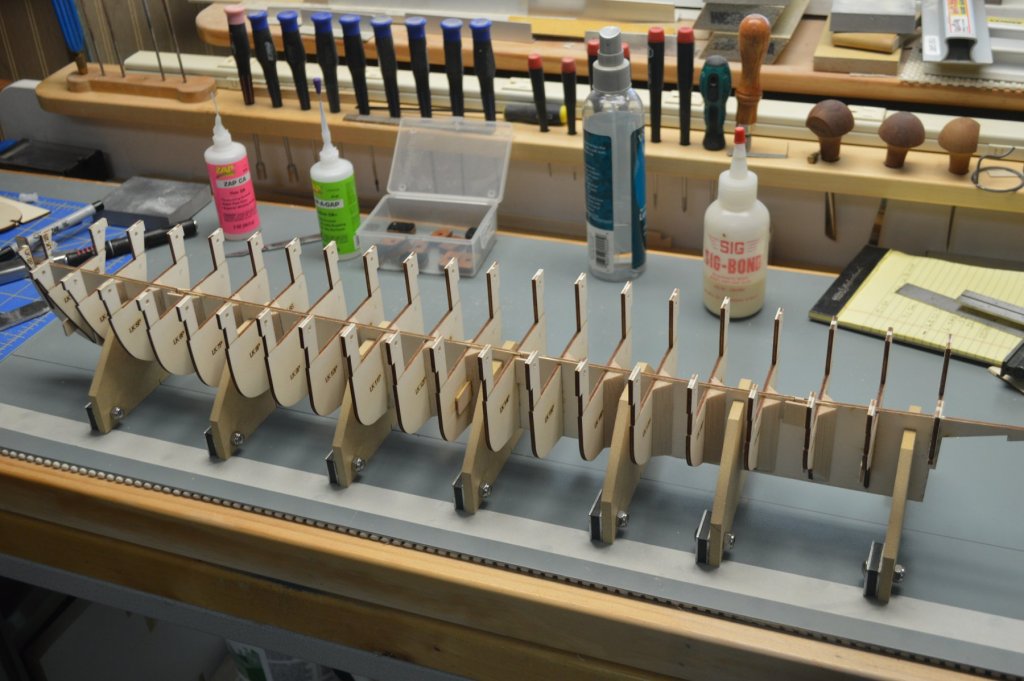
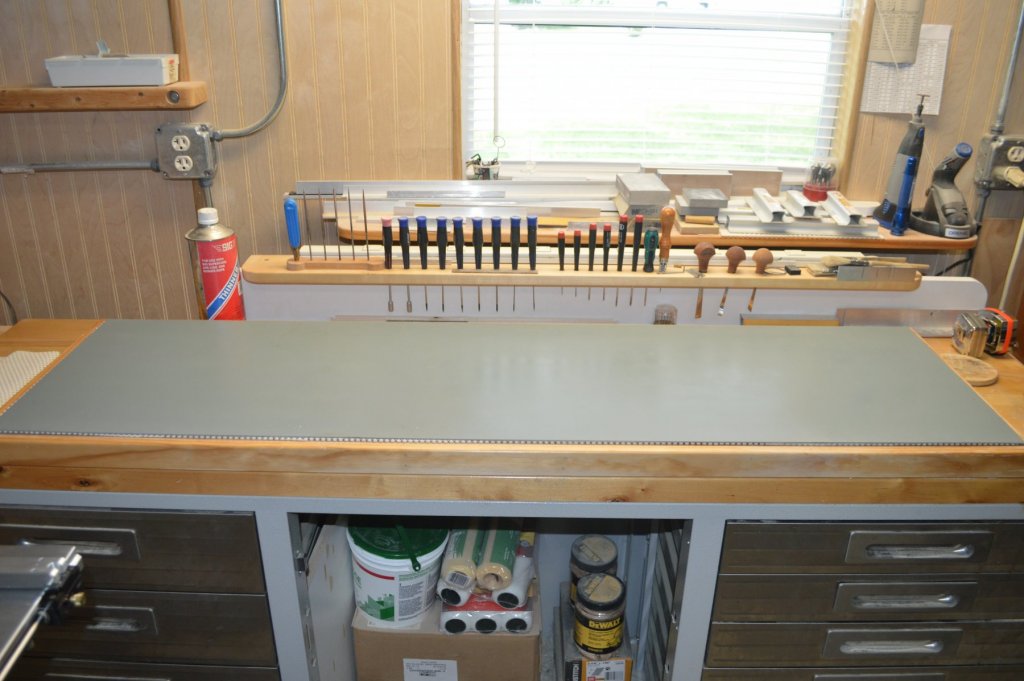
Had to take a break from building and throw together a smaller building board which will allow me to get to both sides for fairing/planking without having to bend over to reach the other side of the hull. Directions call for the bulkhead extensions to be adhered (glued) to the building board then sawed off after planking. My method is to use magnets instead of glue. Never have been accused of taking the easy way out. 🙃 Filler blocks roughed in and glued in place All mounted and ready for the "fun" to begin
- 34 replies
-
- 6
-
-
- kearsarge
- first build
- (and 1 more)
-
Thanks for the link chj. I just ordered several sets from Amazon. Can't beat that "One click"
-
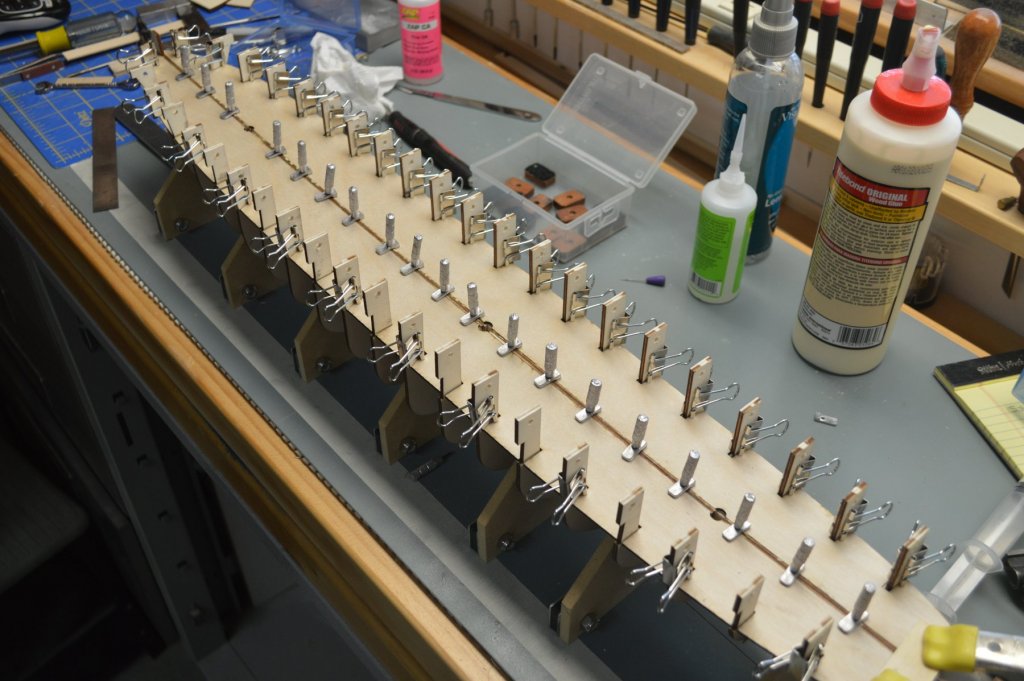
I'm looking for a source for the spring clamps I see a lot of modelers use. I have the black plastic ones however, I would like to purchase some of the longer nosed versions. Ron
-
I’m closing in on the planking stage. May not see another post for six months
- 34 replies
-
- 4
-
-
- kearsarge
- first build
- (and 1 more)
-
Building kit and plans built RC model aircraft since the late 60's
- 34 replies
-
- 5
-
-
- kearsarge
- first build
- (and 1 more)
-
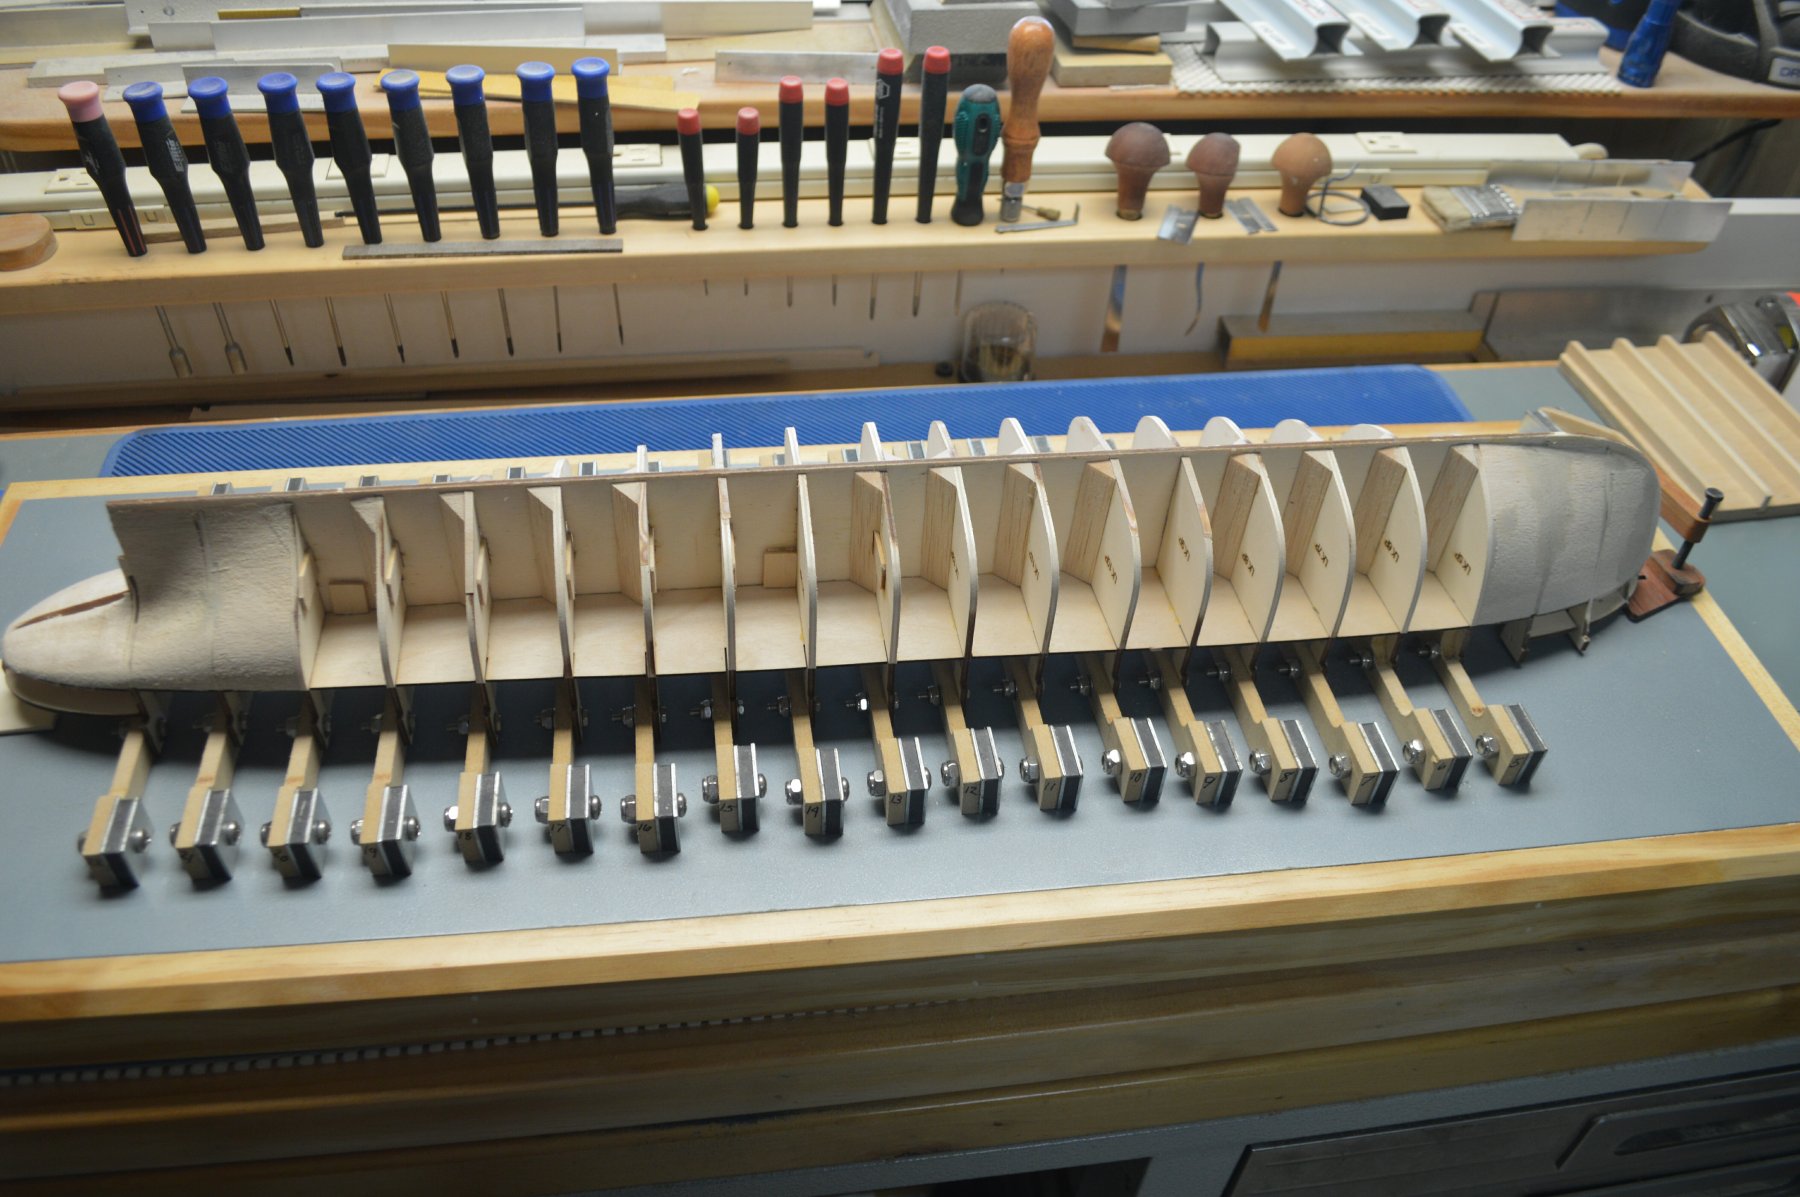
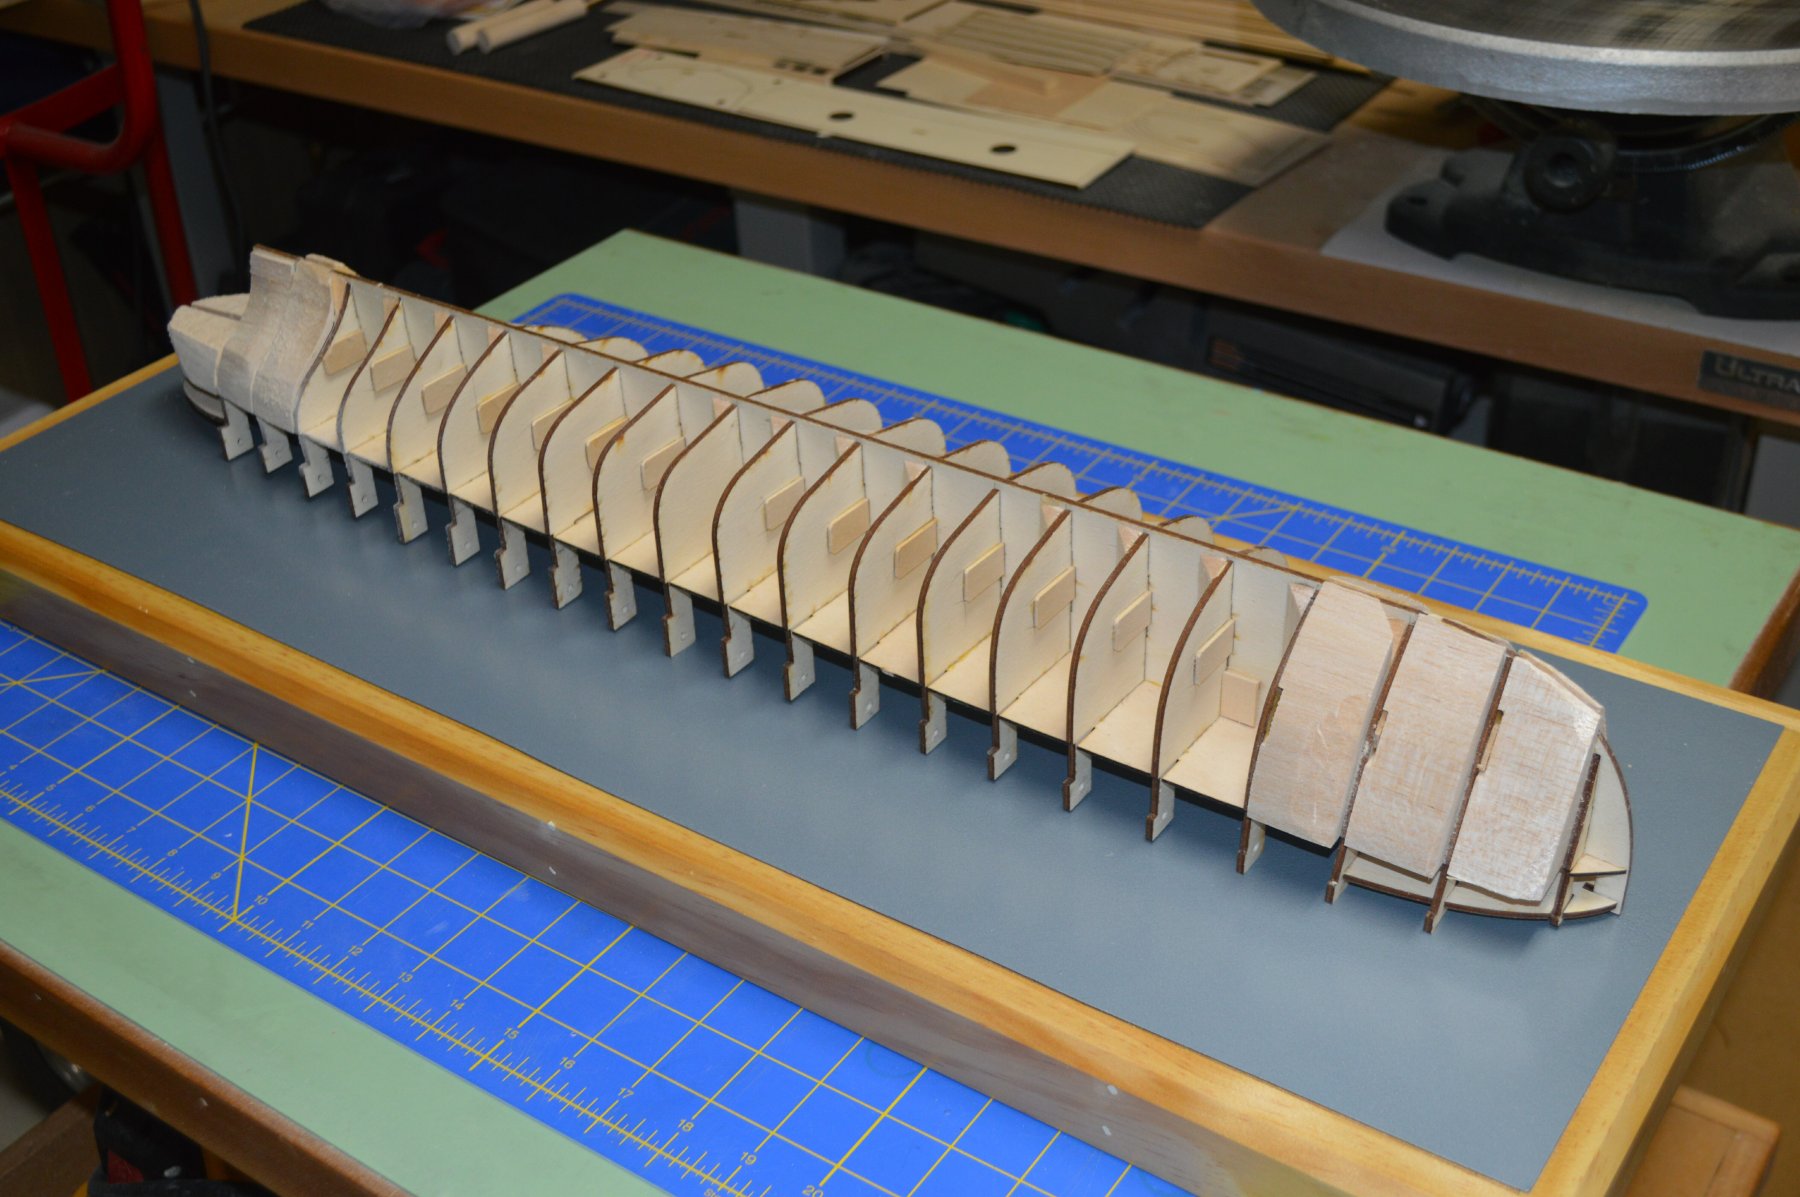
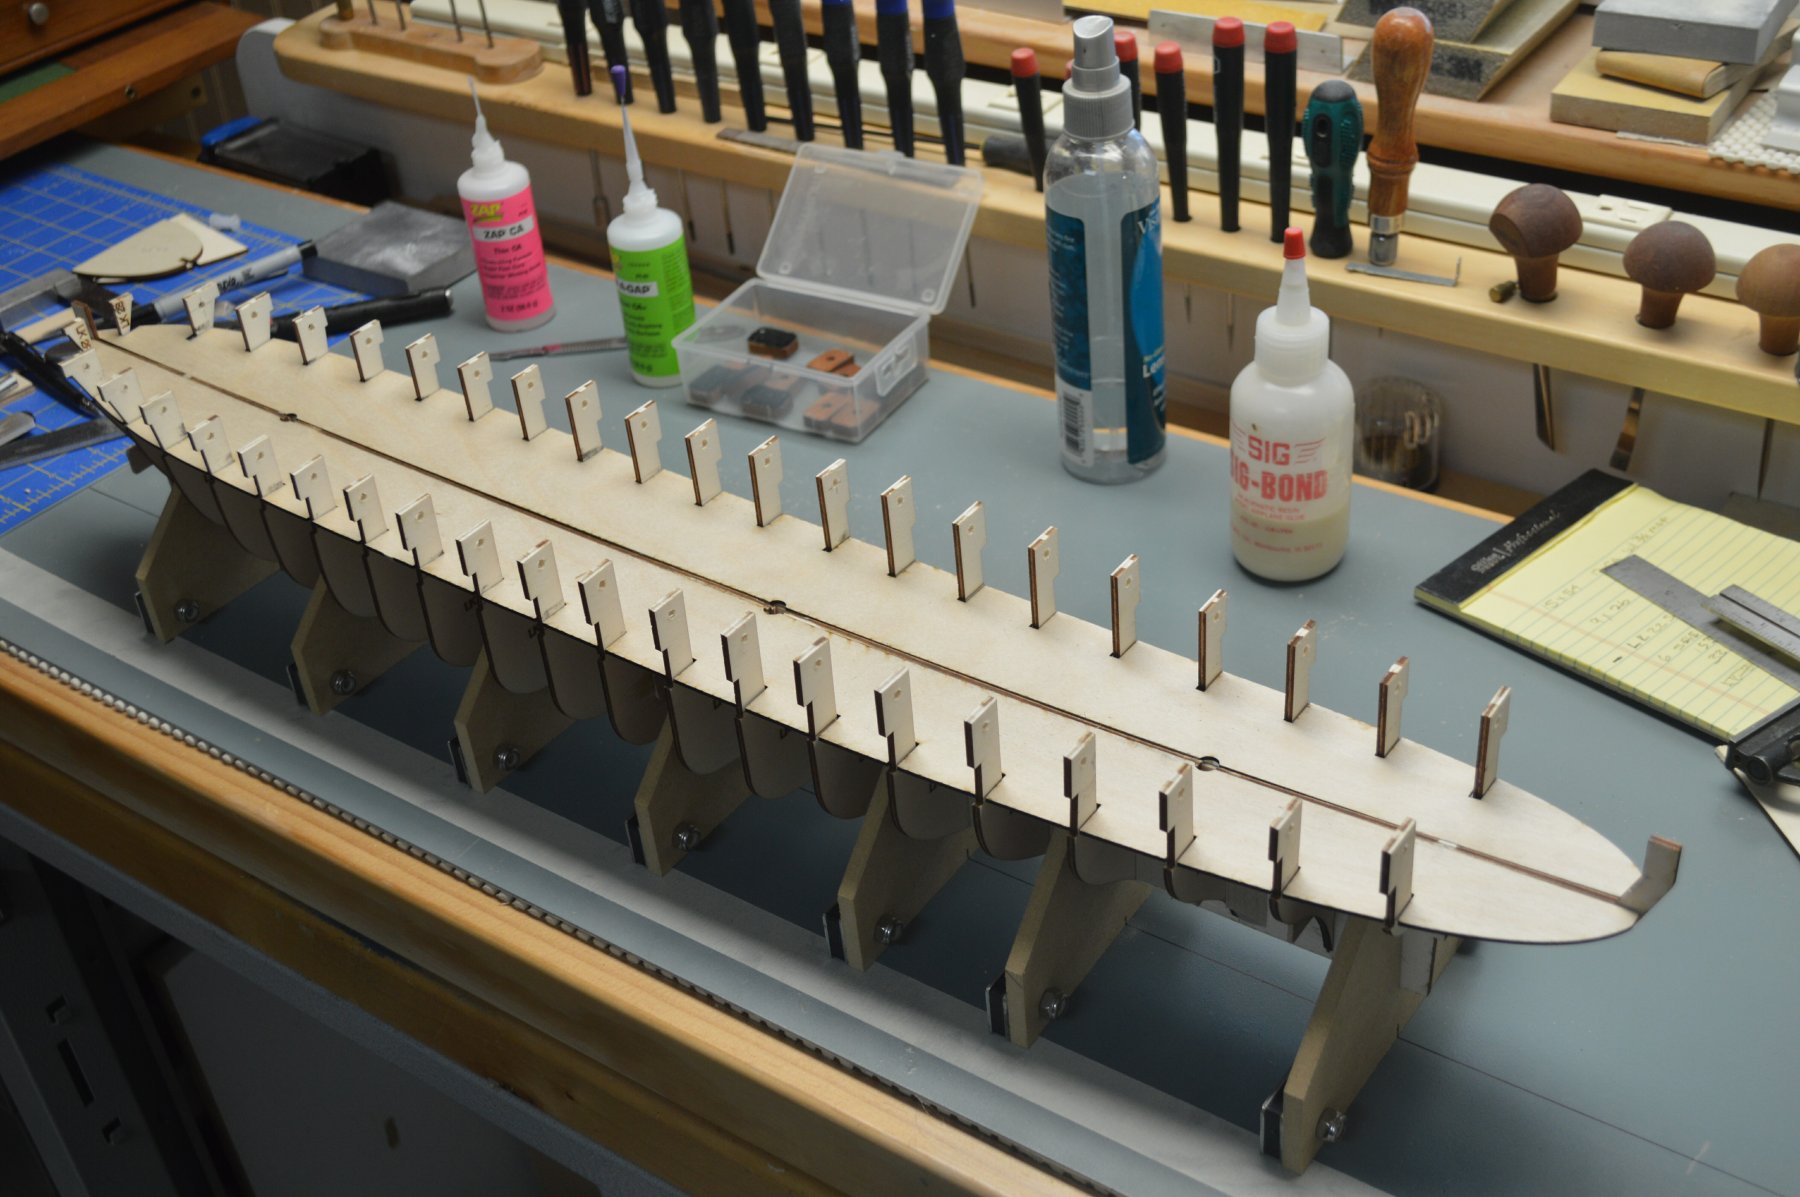
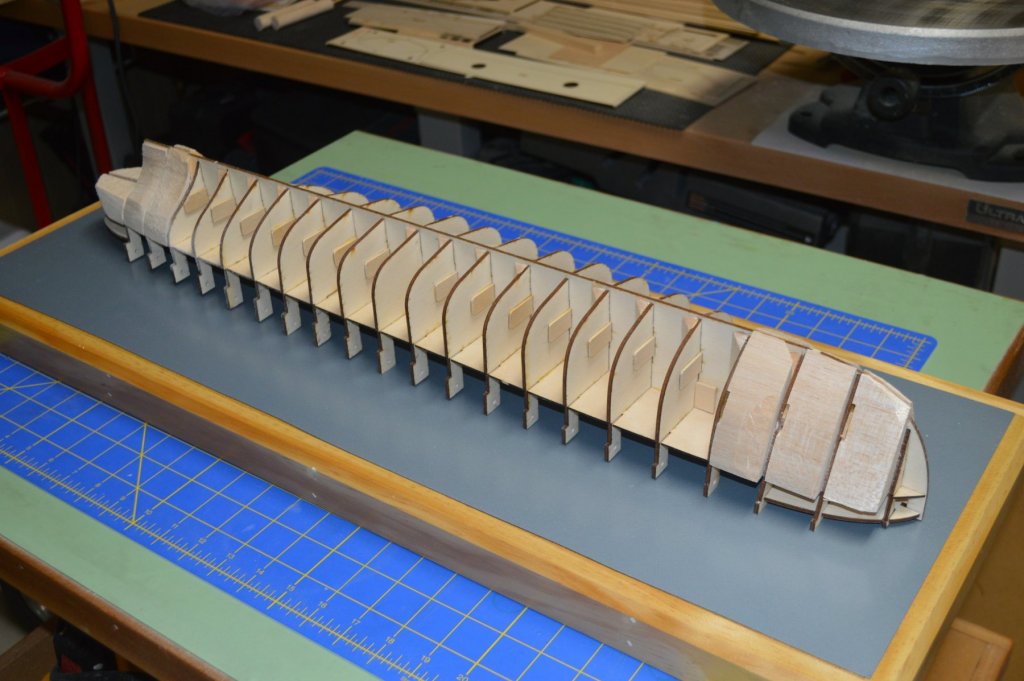
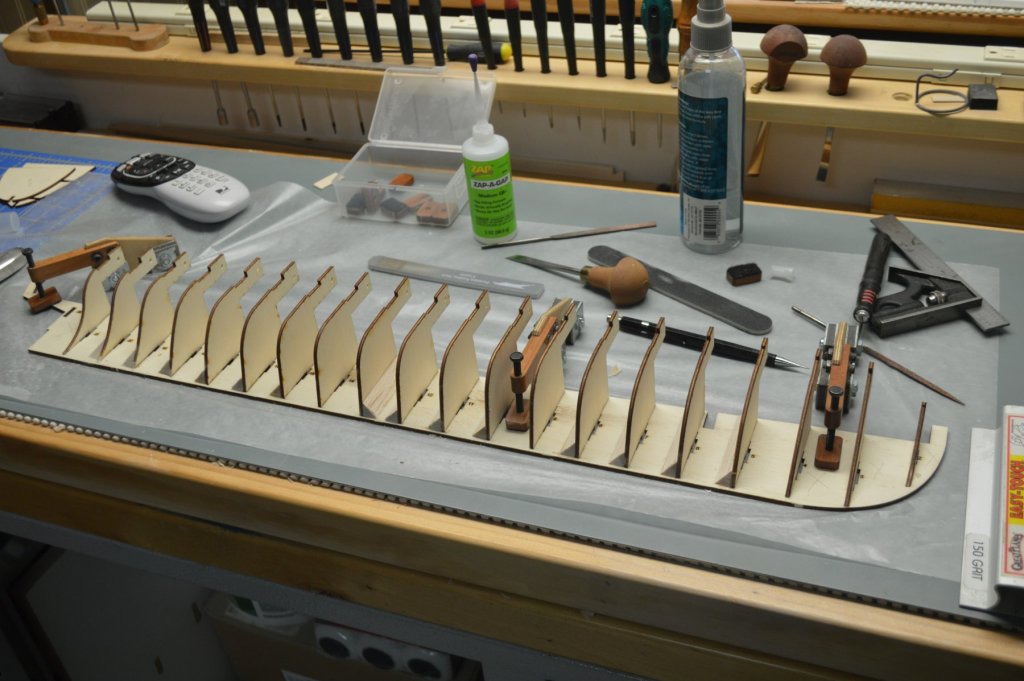
They give the option to construct the hull with a reveal which shows chain placed at strategic locations within the hull for additional protection from cannon shot. I elected to build it without the reveal. Something about seeing a hull with a hole in it's side didn't appeal to me. I'm also including some balsa triangles to add additional support to the bulkheads in case "heavy hands" gets carried away in the fairing of the bulkheads. Starboard bulkheads being glued in place. Port side bulkheads Support cradle to keep everything aligned All bulkheads in place with balsa triangles in addition to the basswood pieces supplied with the kit Ready for the false deck Dry fitting Deck gluing Dry fitting of bow and stern jigs for planking Now it's time to cut and fit bow and stern filler blocks. Sure is good to get back to building. Almost forgot how nice it is to chew CA from ones fingers.


- 34 replies
-
- 13
-
-
- kearsarge
- first build
- (and 1 more)
-
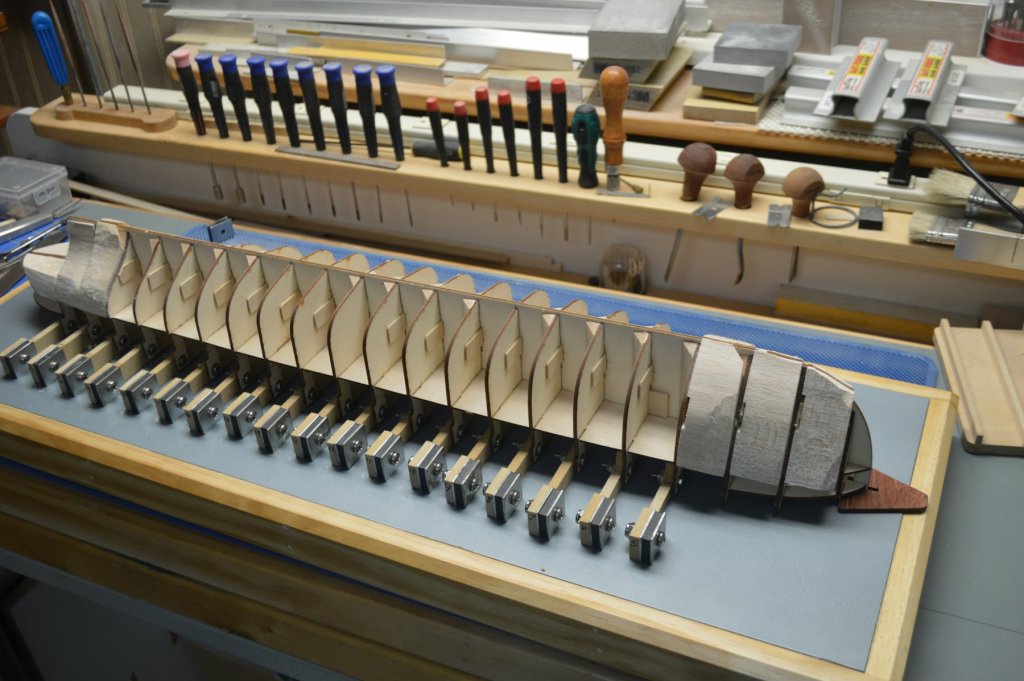
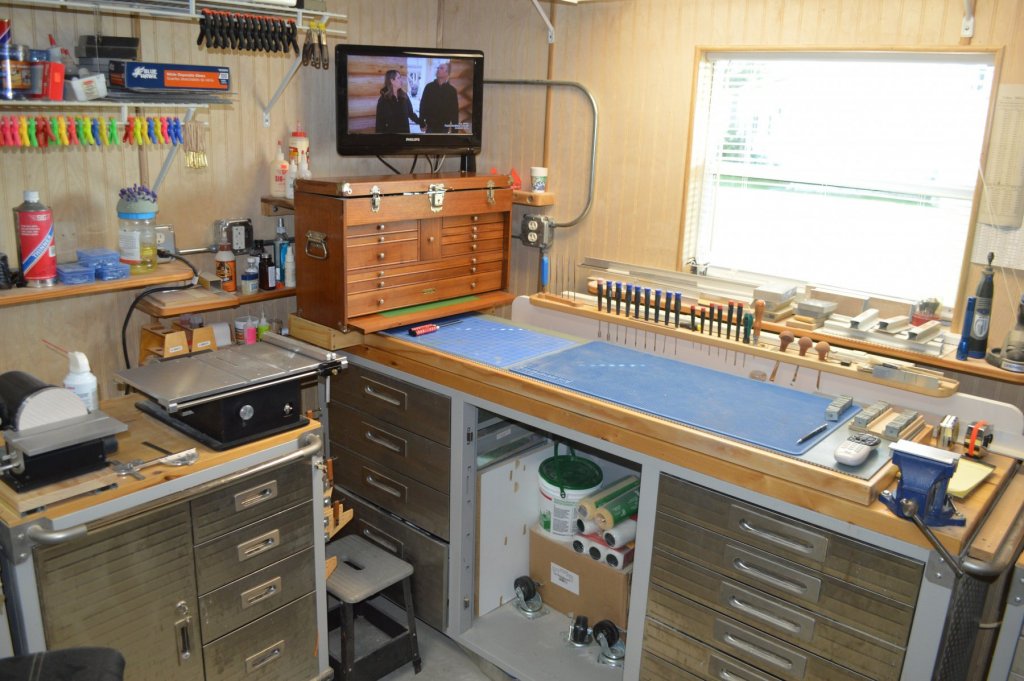
I guess I'd better get to building as the workspace is way too clean Going to use my magnetic building board for hull framing/planking
- 34 replies
-
- 11
-
-
- kearsarge
- first build
- (and 1 more)
-
Now if I can only figure out how to post pictures in the proper order and edit my typos
- 34 replies
-
- 3
-
-
- kearsarge
- first build
- (and 1 more)
-
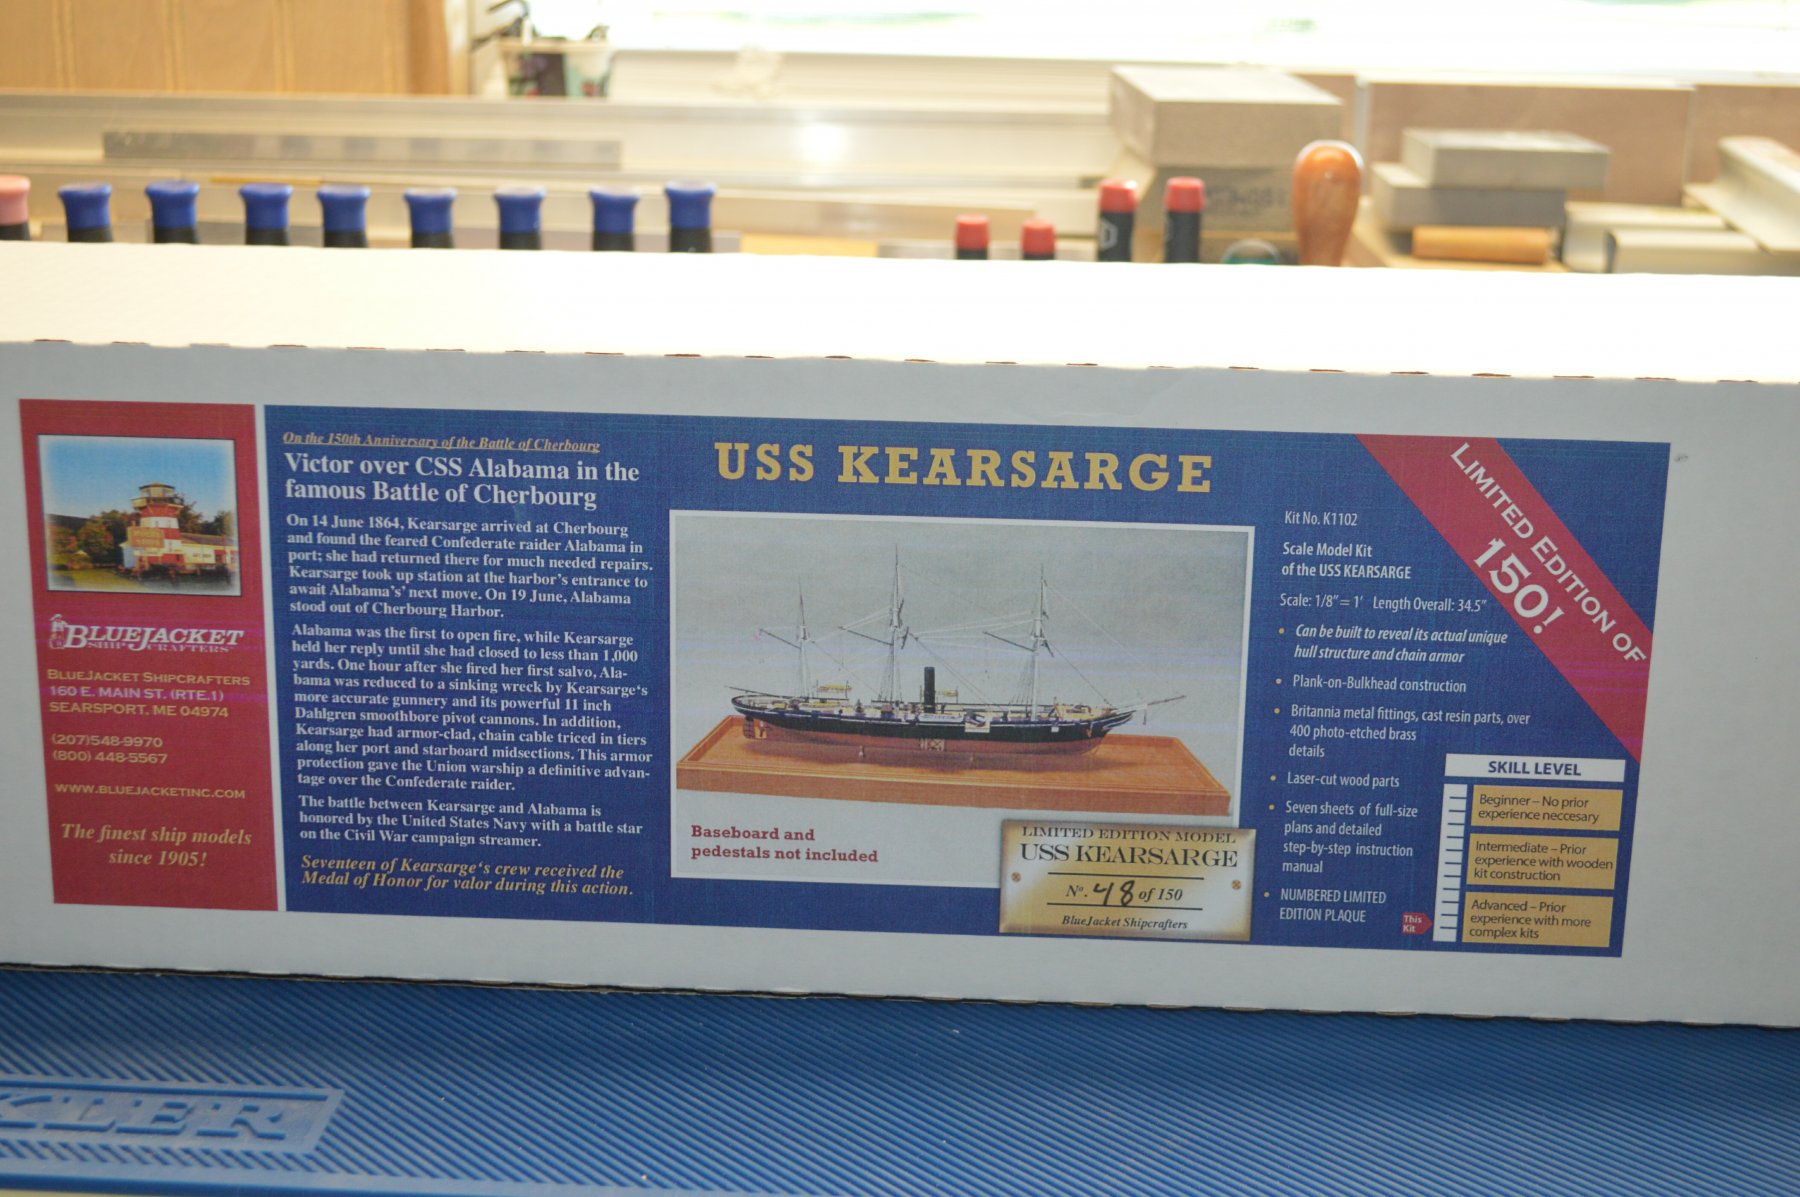
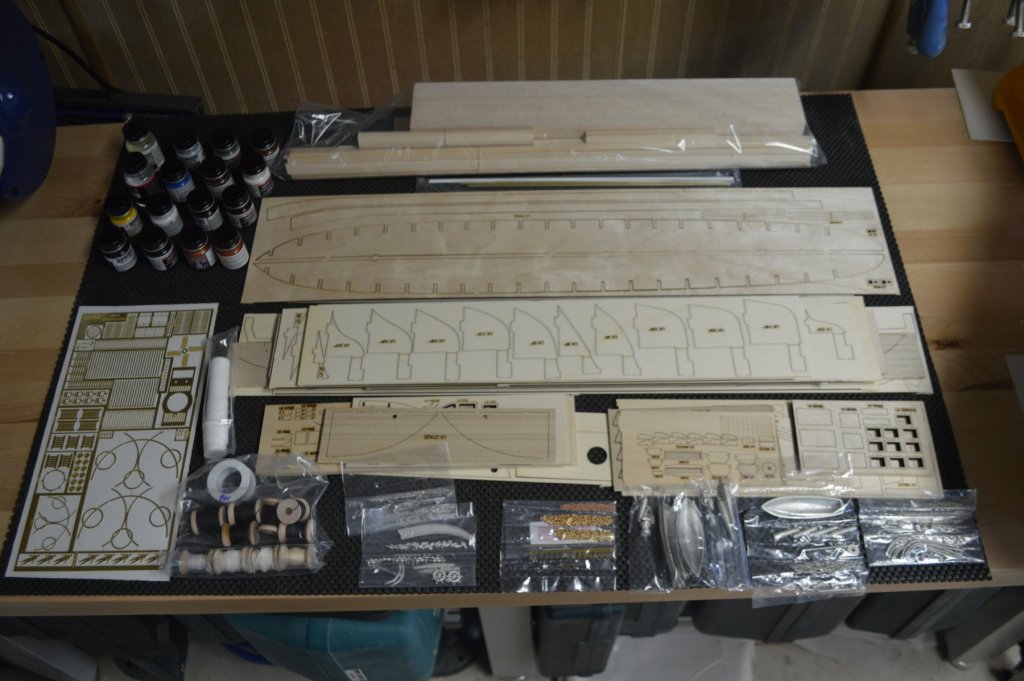
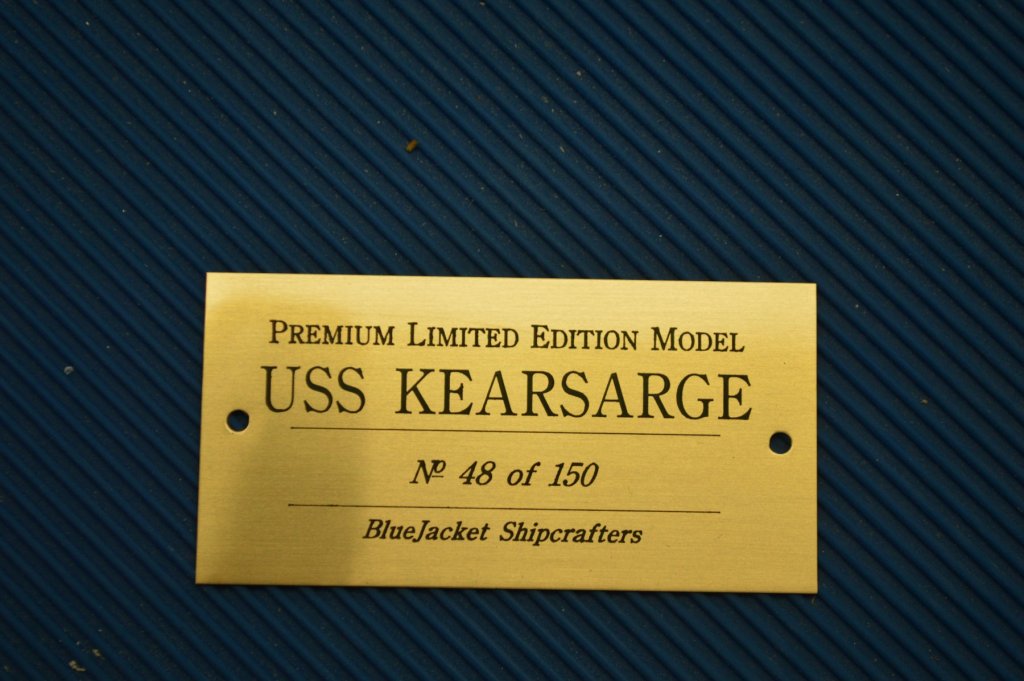
Well, I've been lurking around here too long. It's time to start my first ship build. As I stated in the introductions post I looked at several kits and decided on the USS Kearsarge. Haven't found many build logs on the Kearsarge so I might as well start with the requisite box contents picture. I ordered the paint kit to go with it and forgot the copper so I ordered it separately. This won't be a quick build. opefully, it Hopefully it will end in a completed model though and not in the lost builds file Thought the included Brass plaque was a nice touch.

- 34 replies
-
- 12
-
-
- kearsarge
- first build
- (and 1 more)
-
First let me say thanks to all for the welcome. David, "Correcto" on the small components... Jim, If you could provide a link as to where I might find to purchase back issues it would be greatly appreciated. I haven't had much success in finding them as yet. Geoff, Actually I originally thought the Lady Nelson was going to be my choice. I even went so far as to purchase a 7 set of DVD's showing the building of the Lady Nelson. Dave, Not sure about the "Bear" however, going to give it a go Ron
-
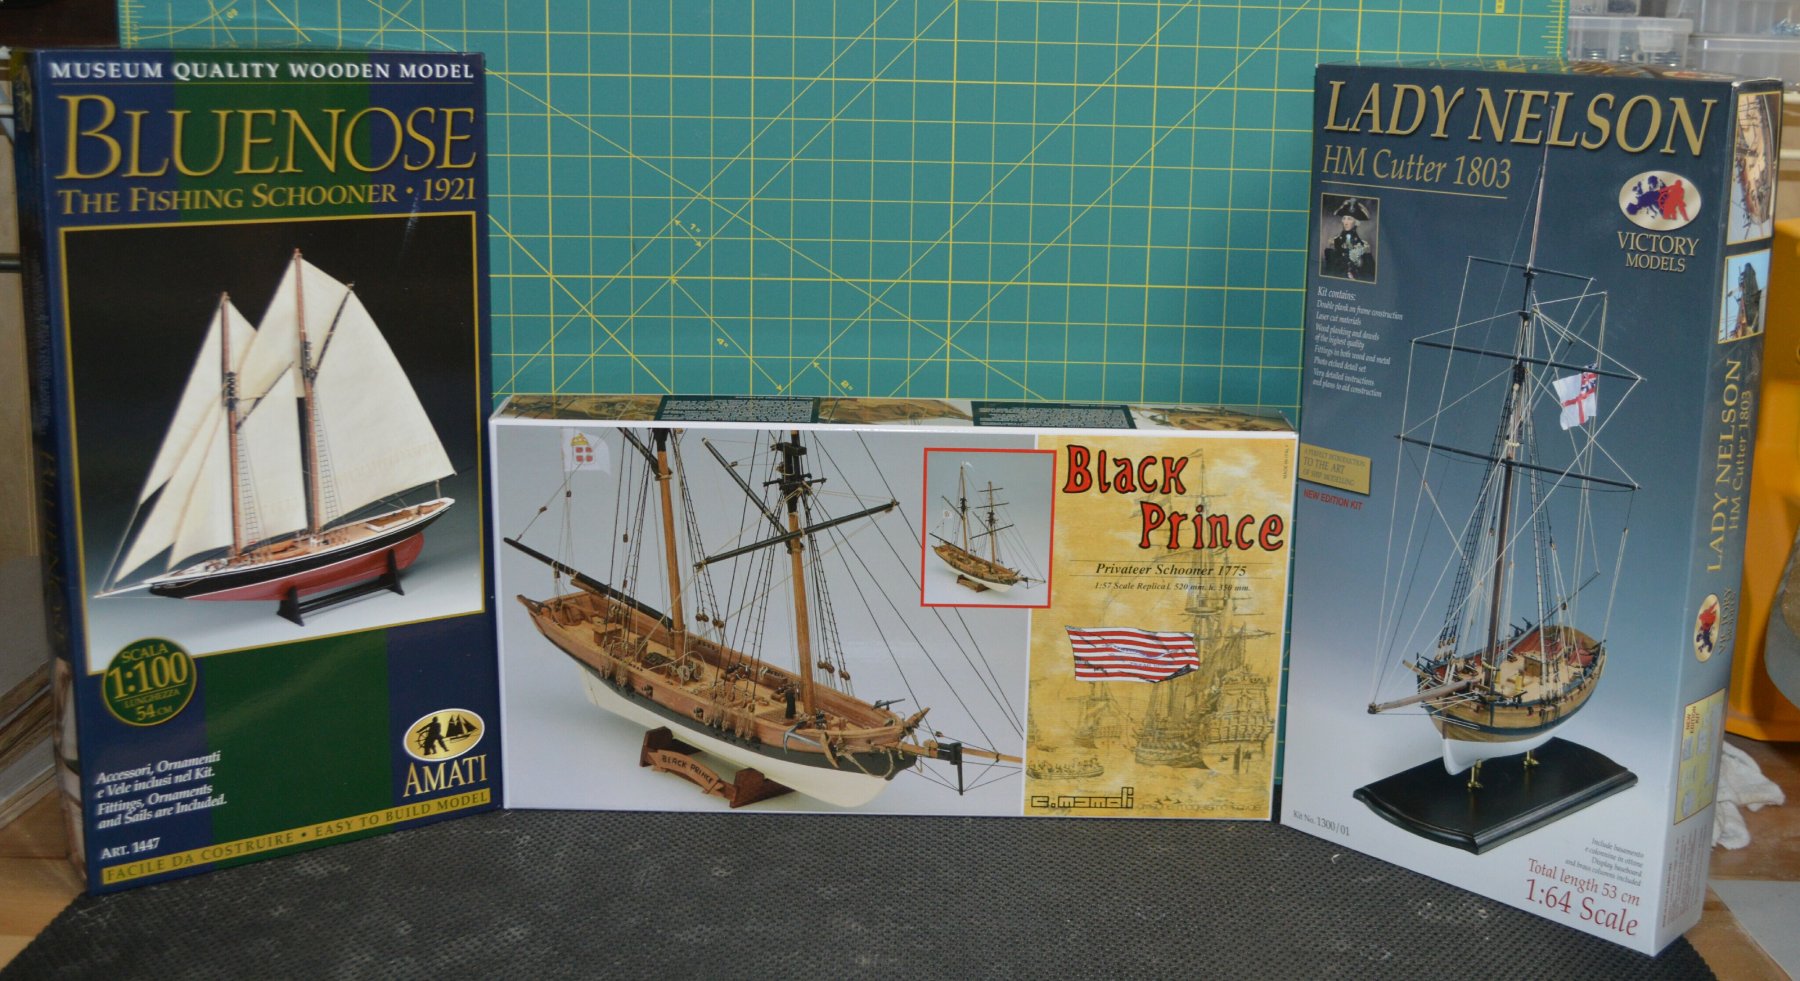
After spending the last 50+ years building and flying RC aircraft, both kits and plans built, I've decide to jump ship and move into ship building. I recently purchase four kits in an attempt to find something that would "float my boat" (pun intended). One thing I have learned is that the model must be something that interests me. None of those did it for me so I purchased a fifth kit which, although not recommended for a first timer, is the one I will be starting with. Ccoyles and others words of wisdom on this site notwithstanding, regarding first kits I've made my choice. Hopefully with my past modeling experience and the help from you guys I'll succeed. I've been lurking around on various forums gleaning as much information that I could. I intend to start a build log so feel free to jump in with your comments. Attached are pictures of three of the kits I looked at as well as the one I chose.