Roughly 10 years ago, I asked my wife if I could get a kayak to do some paddling on some of the local ponds. In an effort to dissuade me from picking up yet *another* hobby, she said "If you can build a kayak, you can have a kayak."
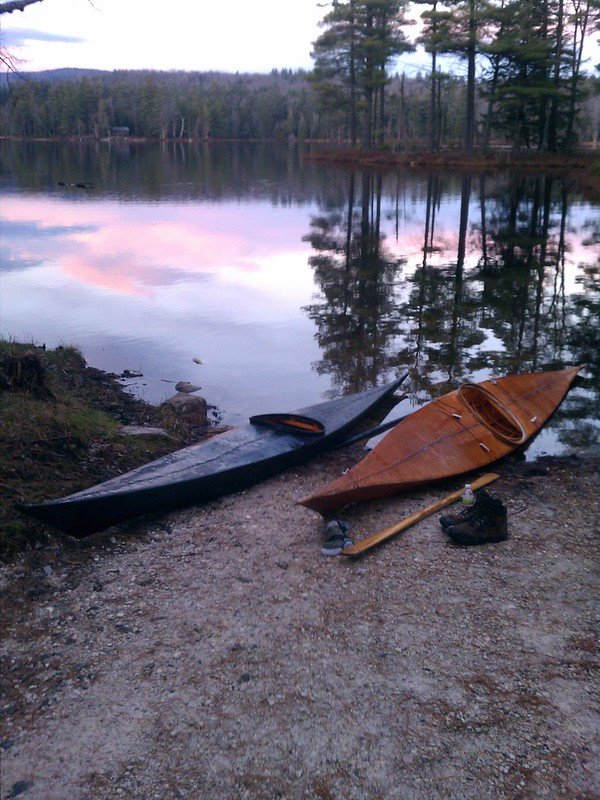
Being the stubborn type, I spent the summer building a kayak using my great-grandfather's hand saw, a dollar-store plane, and an electric drill. Somewhere I had come across instructions for building a traditional style "qajaq," (the traditional Inuit spelling). Once built, my daughter decided that she wanted one, so she and I spent the next summer building hers together. Here's a photo of them together, hers on the left, mine on the right. Both boats are composed of wooden frames, pegged and lashed together with artificial sinew, covered with ballistic nylon, then dyed and coated to make waterproof.
Having followed the progress of both builds, a friend of mine asked if I could build a model of one for him. I promised that I would, then promptly life got in the way, so, here we are 10 years later, and I'm finally starting on my friend's model. The goal is to build the model using the basic full-scale building methods, using glue instead of pegs and sinew for the connections.
Qajaqs are interesting in that each one is built to the user, using anthropomorphic measurements. For instance, the length isn't X number of feet, it's "three armspans long," while the beam is "hip width, plus two fists." As such, each craft is personalized and specific to the paddler. You can see in the photo above that my daughter's boat is small and more slender than mine, as my daughter is smaller and more slender than I am. 🙂
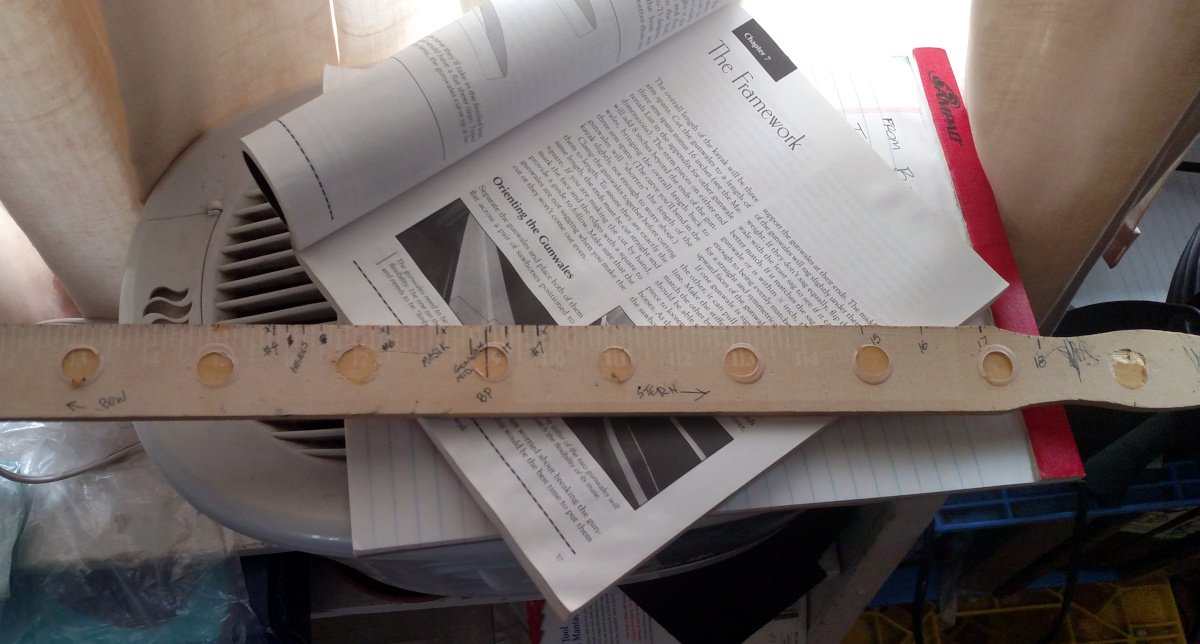
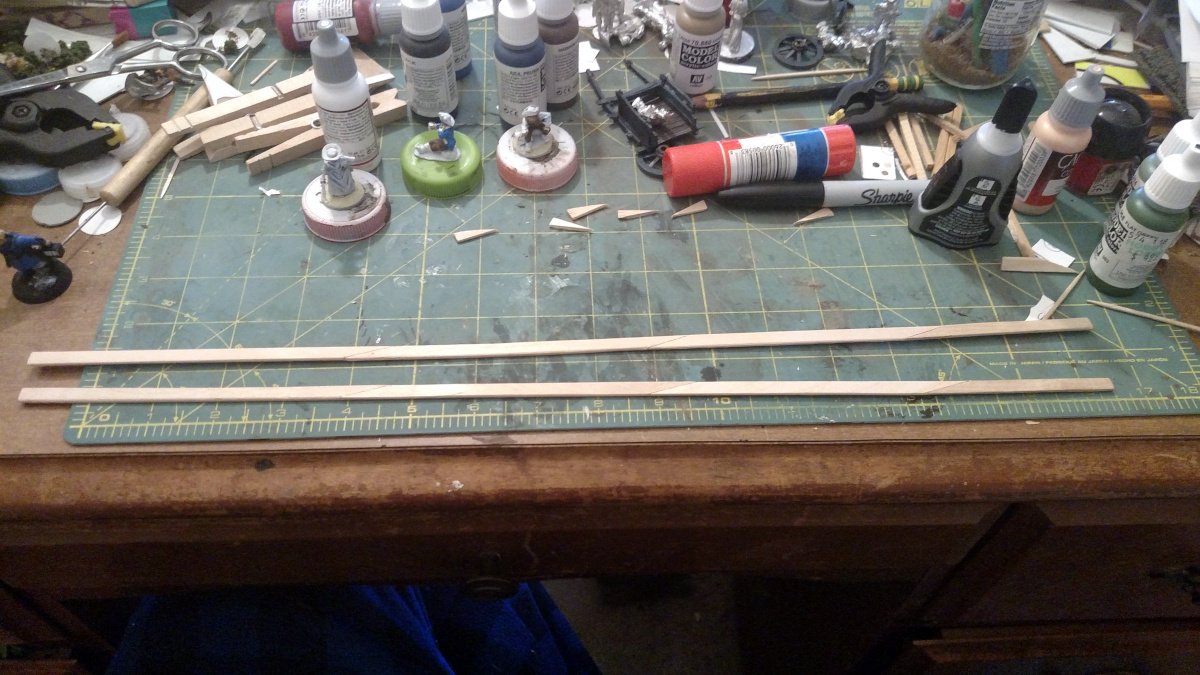
So, like the full size, the first step in building a qajaq is to create a story pole, which defines the placement of the various frame components. For the model, I took my own measurements, divided them by 12, and marked them out on an old paint stick that I had lying around. This resulted in a model that will be an estimated 18" long. My full-size qajaq is actually just under 18 feet long, so I guess my body hasn't changed much in the last 10 years. Also in the photo, I'm using Christopher Cunningham's book "Building the Greenland Kayak" as my guide. It's an excellent resource for anyone interested in building one.
The next step was to create the gunwales. I'm using craft sticks and scrap bits for the frame, so I had to scarf together pieces long enough for the main pieces. From my reading, this was actually pretty common practice in full-scale as well, as many were built using collected driftwood.
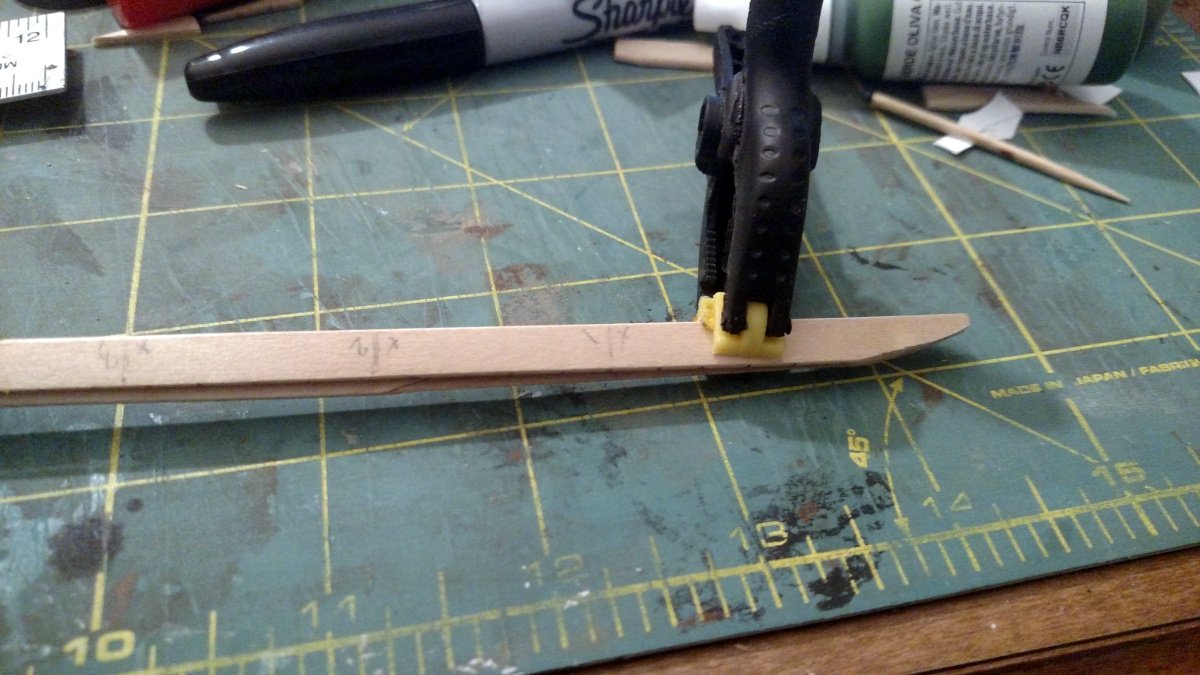
With the gunwales cut to length, the next step was to bevel each end. This was done by clamping the gunwales together so that each one would match the other.
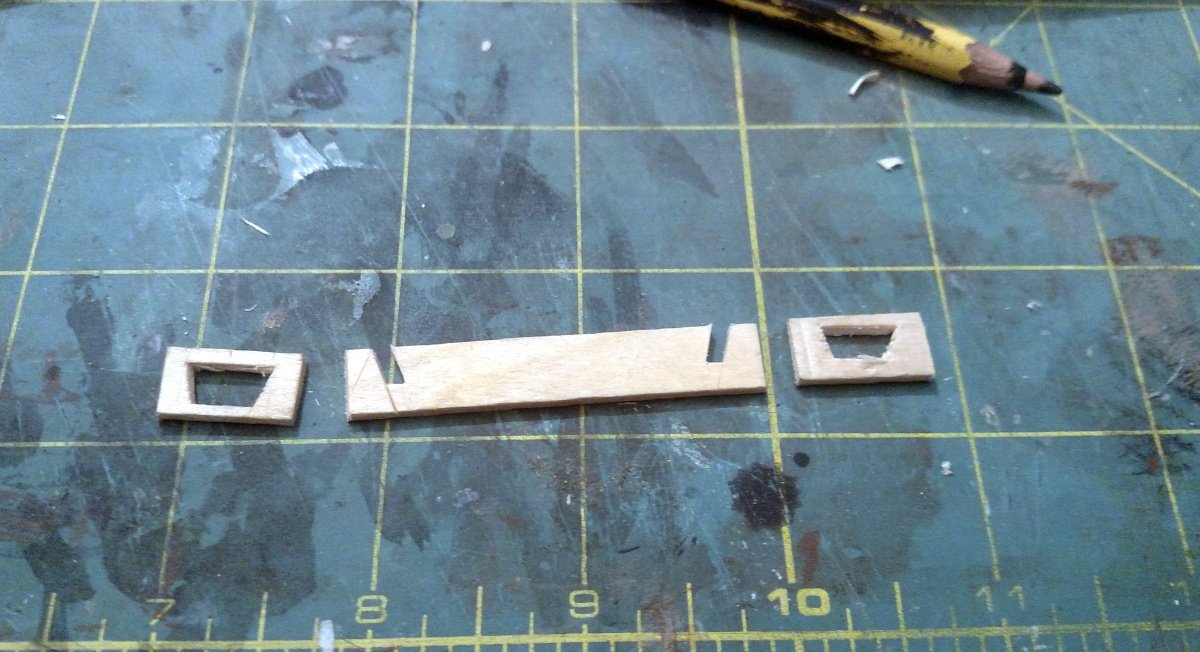
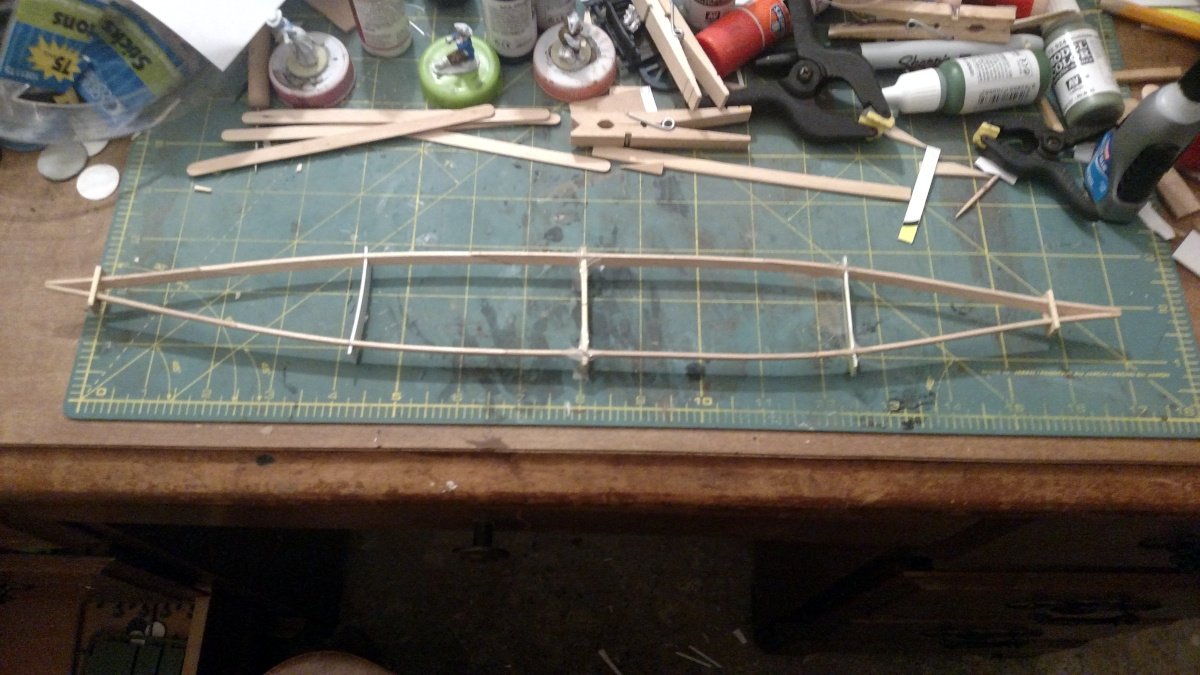
To create the shape of the craft, forms are used. The forms are beveled at roughly 73 degrees. The center form is a "hip and two fists" wide to create the beam. Qajaqs built for racing or rolling competitions may only be a hip wide, but I'm going for a hunting craft, so more stability is desired. With the center form in place, the two end forms are slipped over the gunwales and adjusted until the ends of the boards touch at the bow and stern.
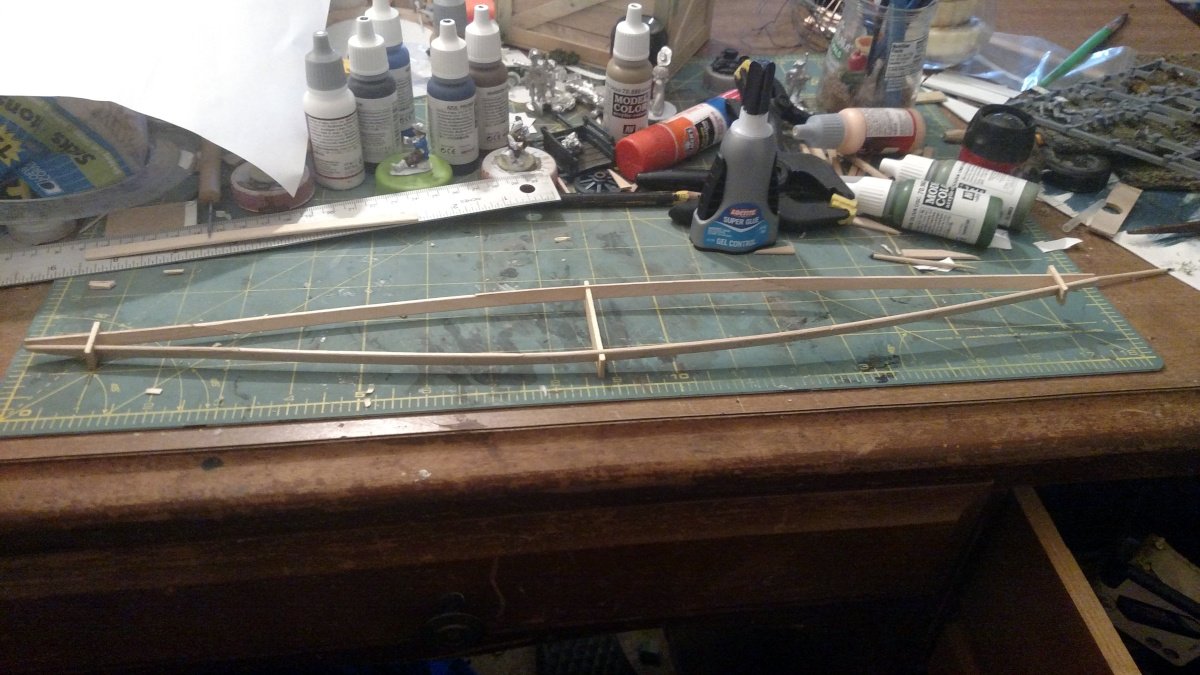
Finally forms are added fore and aft of center to establish the final shape. The placement of these is determined by the builder, who moves the forms towards the ends for a fuller shape, or closer to the center for a narrower shape.
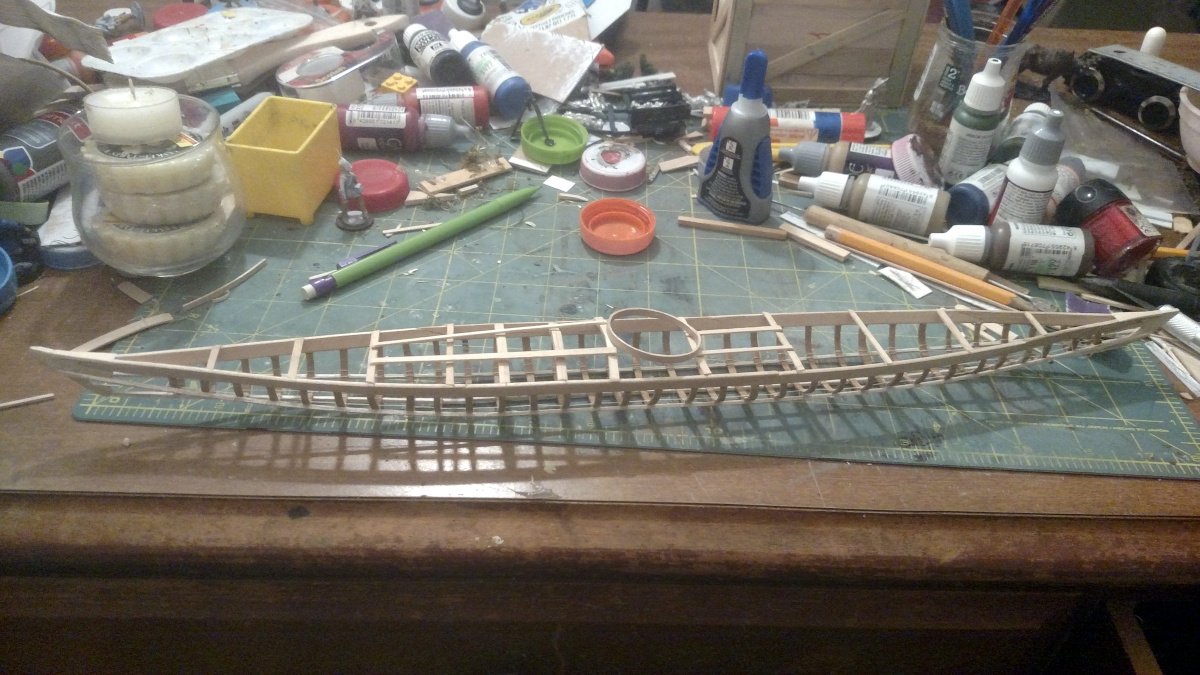
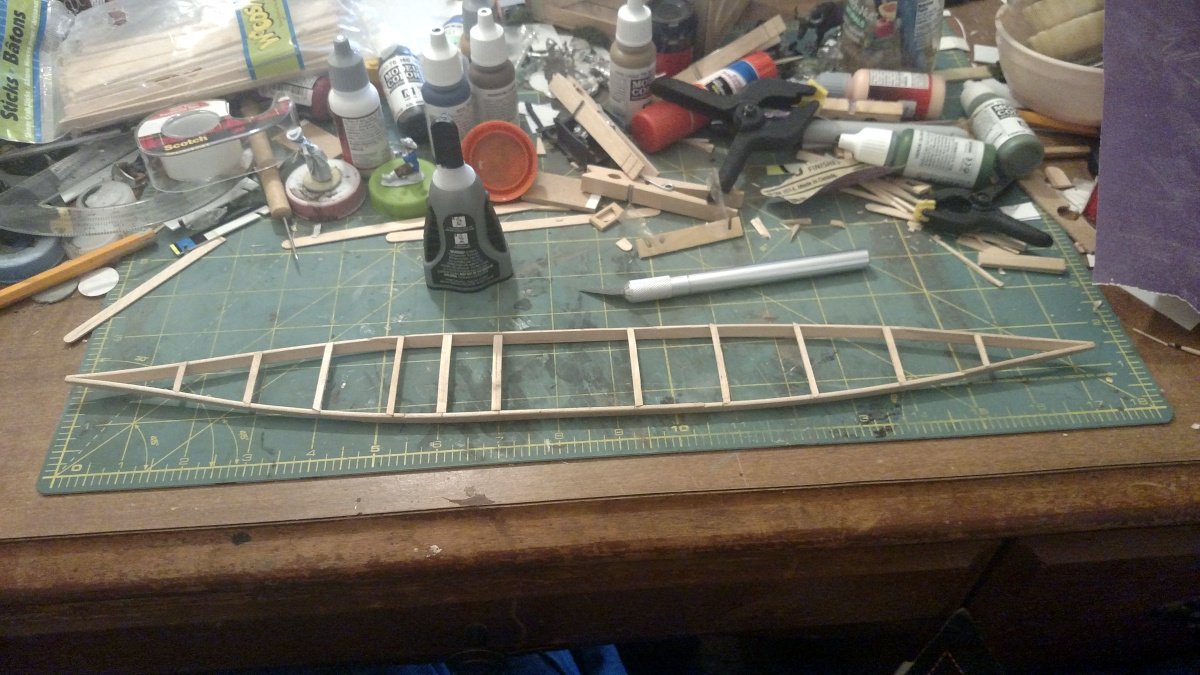
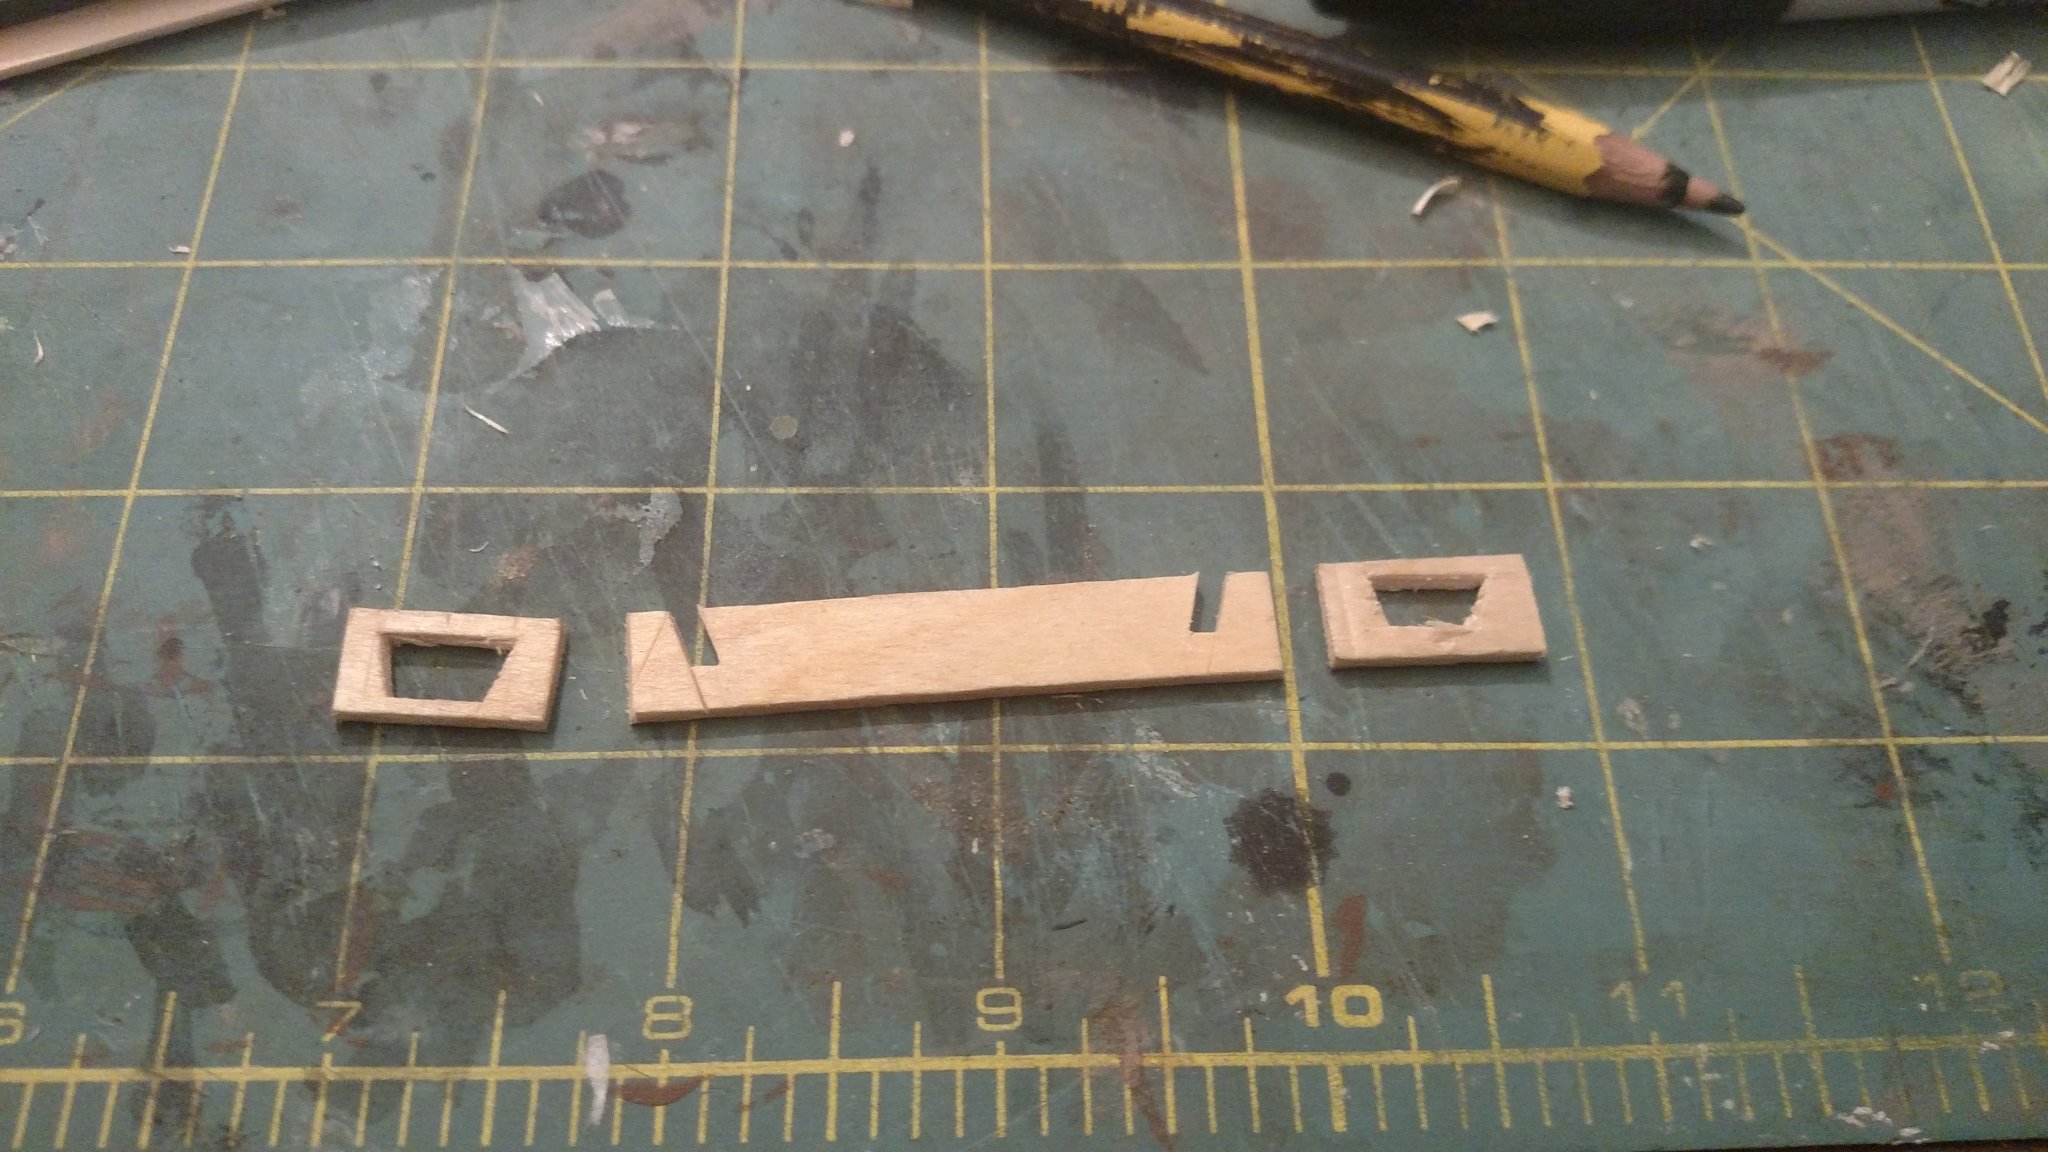
With the shape determined, the next step was to lay out and cut the deck beams. The ends of the beams are beveled to match the flair of the gunwales. In the full size, these would be mortise and tenon joints, lashed into place with sinew. In the case of the model, I went with CA glue. It's difficult to see in the photo, but the two forward beams closest to the center are arched, to allow clearance for the paddler's legs.
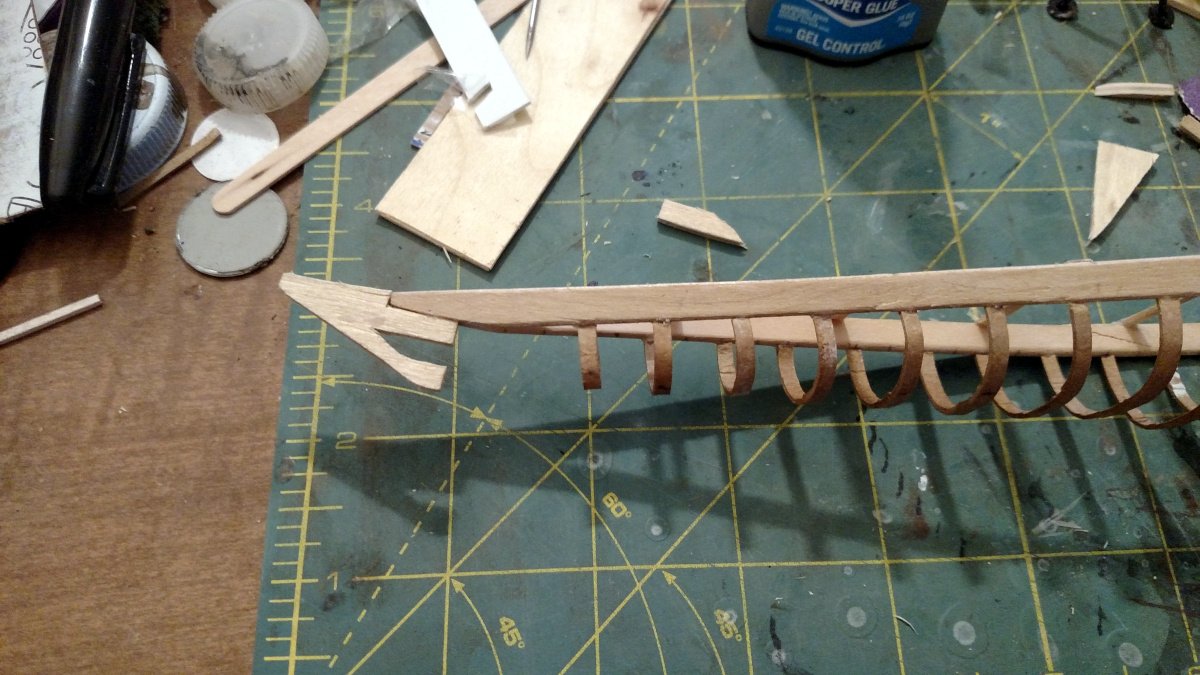
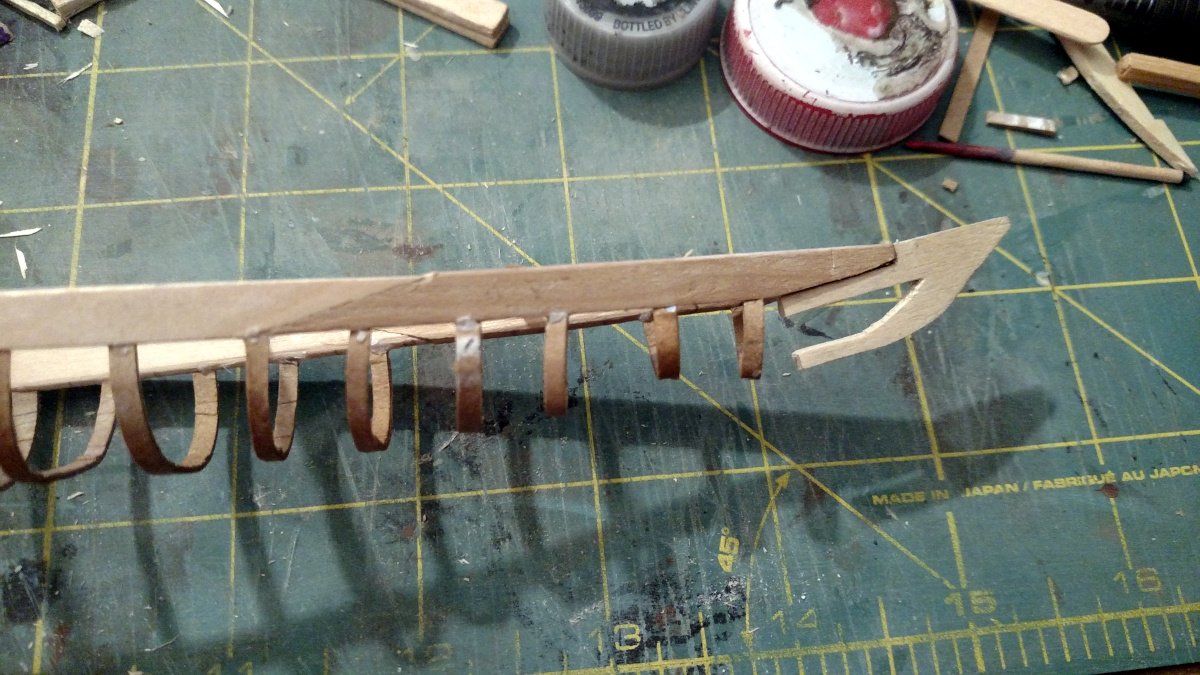
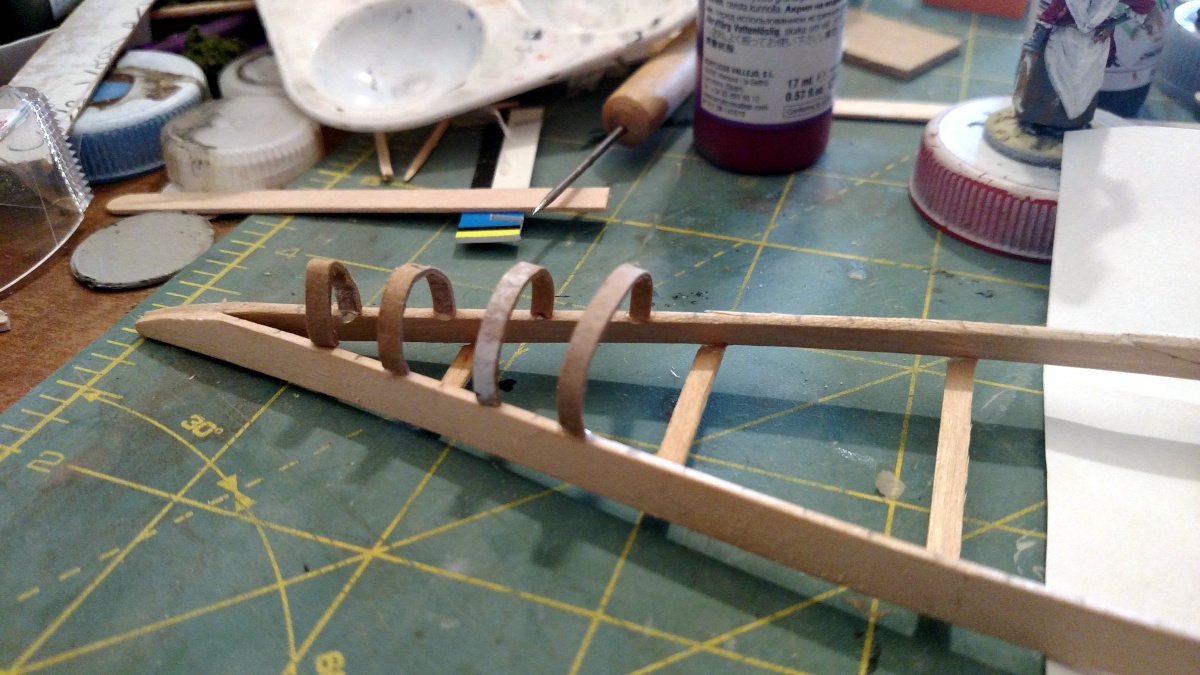
Once the deck frame was complete it was time so start on the ribs of the hull. Here's where I hit my first snag. On my full size boat, pine was used for the frame, and steam-bent oak for the ribs. I wanted to keep the model as traditional as I could, but the craft sticks that I have aren't suitable for bending. Each rib is about 1/16" wide, so the wood just crushed instead of bending. After plodding around the house thinking on it a bit, I spied a cereal box in the trash. Pulling it out, the thickness looked good (roughly 3/4" in full scale, so *really* small in 1:12). I cut thin strip off, rolled it around a pencil, and grinned as it kept its shape. So, cardstock ribs it was! I sanded off the printing from the outside of the box, cut a bunch of strips, and started making ribs. To my surprise, they don't look much different than the oak ribs on my full-size boat.
Each rib is the width of the deck, plus "the width across the fingers of both hands held together." Wider boats measure across the base of the fingers, narrower ones measure across the tips. I split the difference and went with my middle joints.
Like the deck beams, the ribs would usually be mortised, then pegged into place. For the model they are glued to the gunwales on each side. One the ribs were in place, I coated them with a layer of watered-down PVA glue to help stiffen them up a bit.
So, that's where things stood as of last night before I went to bed. If the rib stiffening worked out, the next step will be the stem and stearn boards, keelson, chines, and masik (curved deck board in front of the paddler).
-Elroy


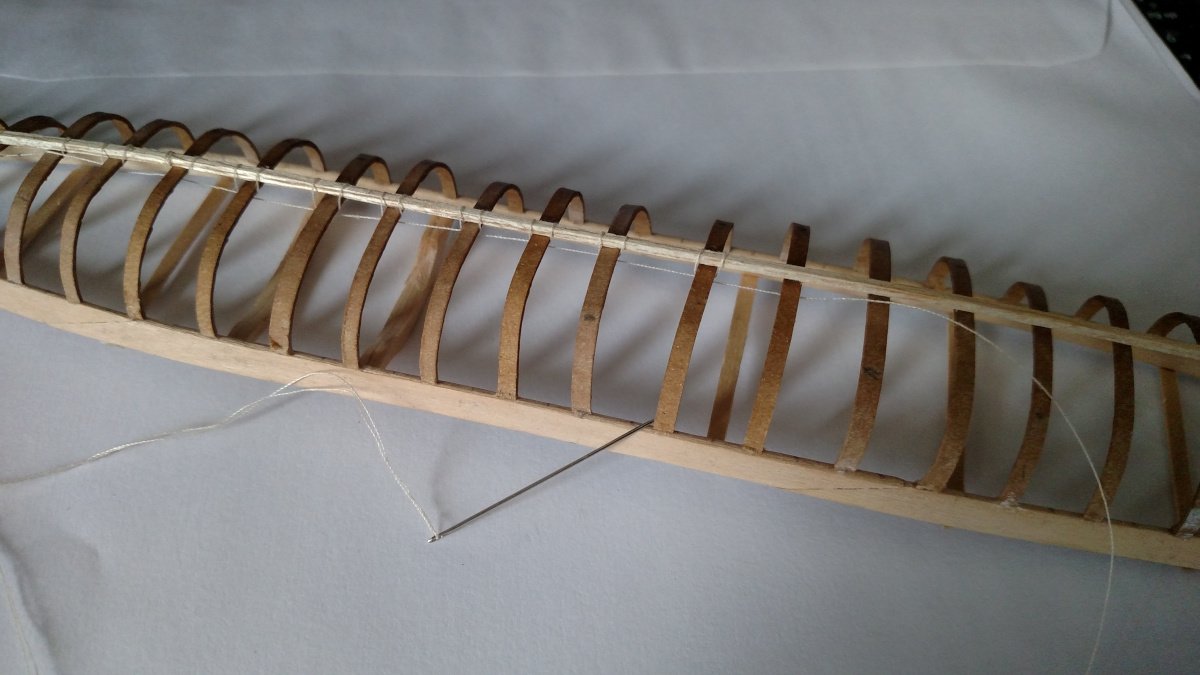
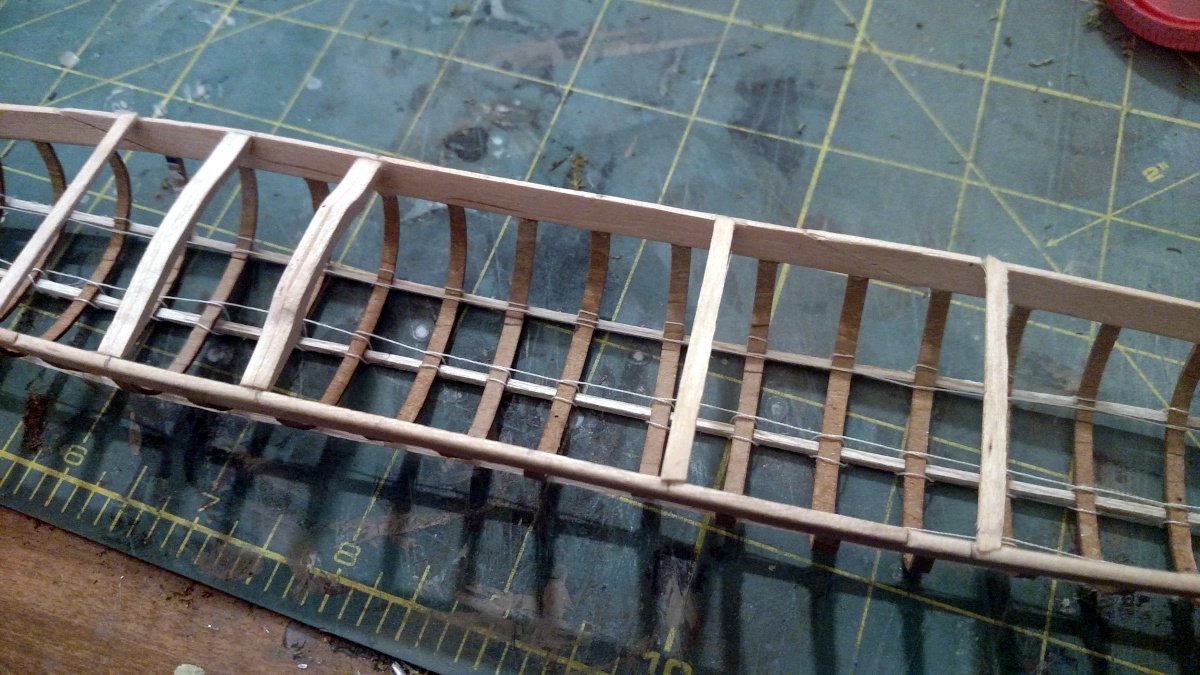
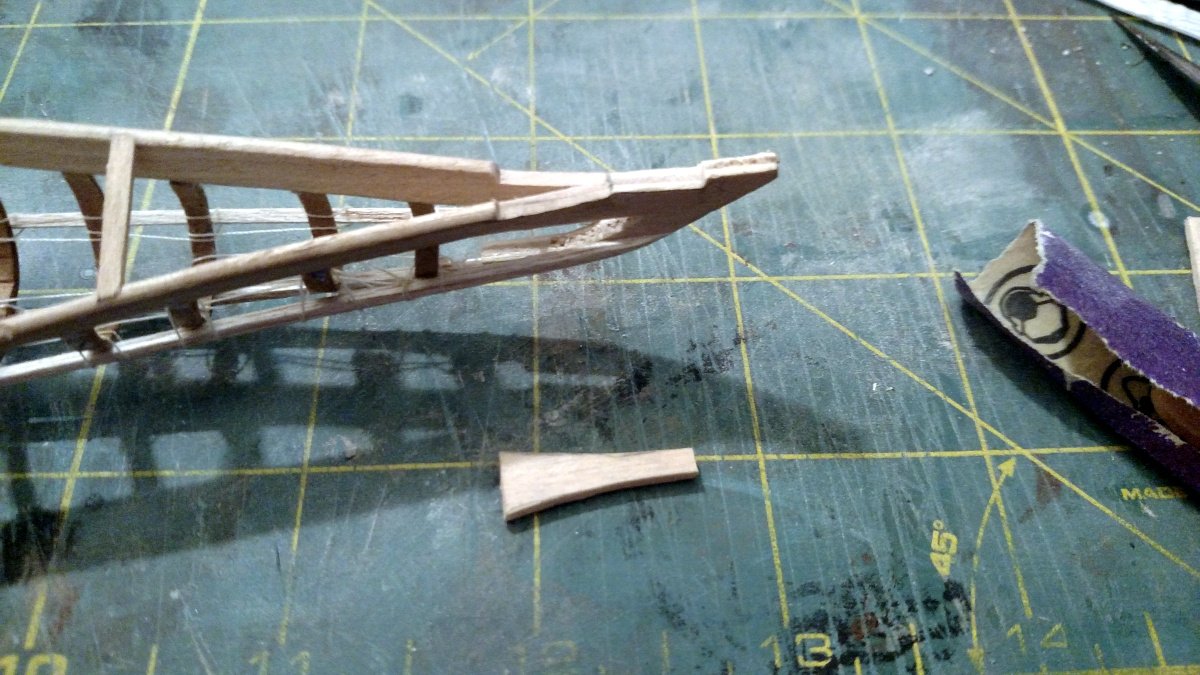
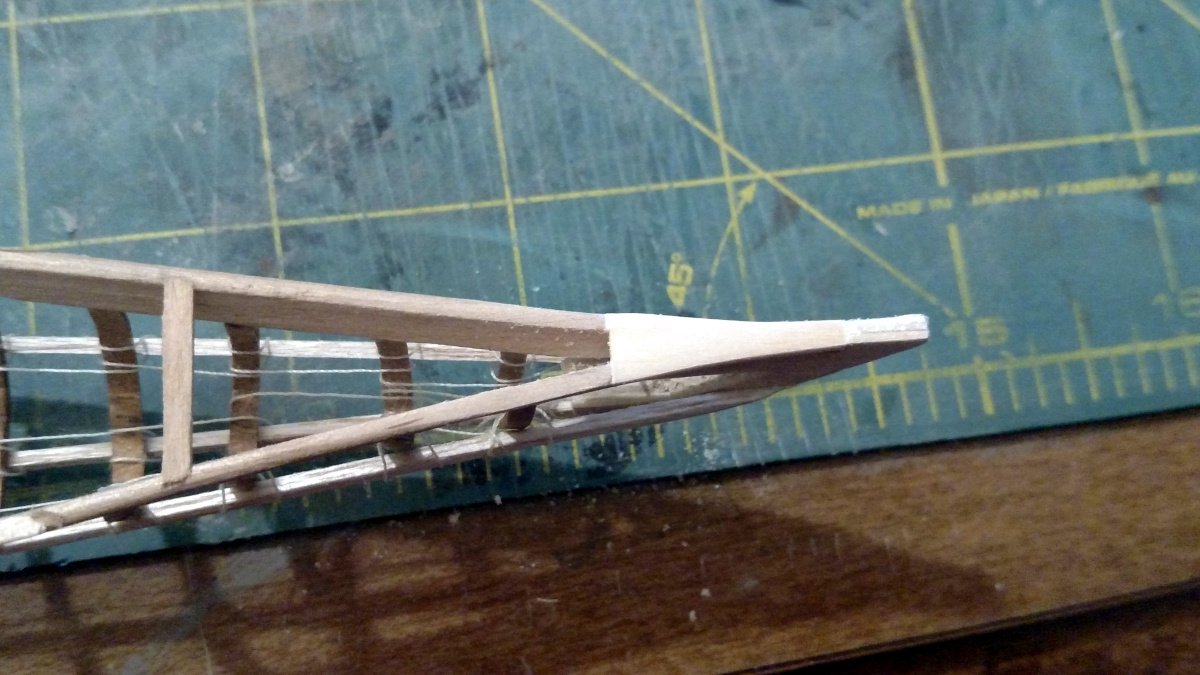
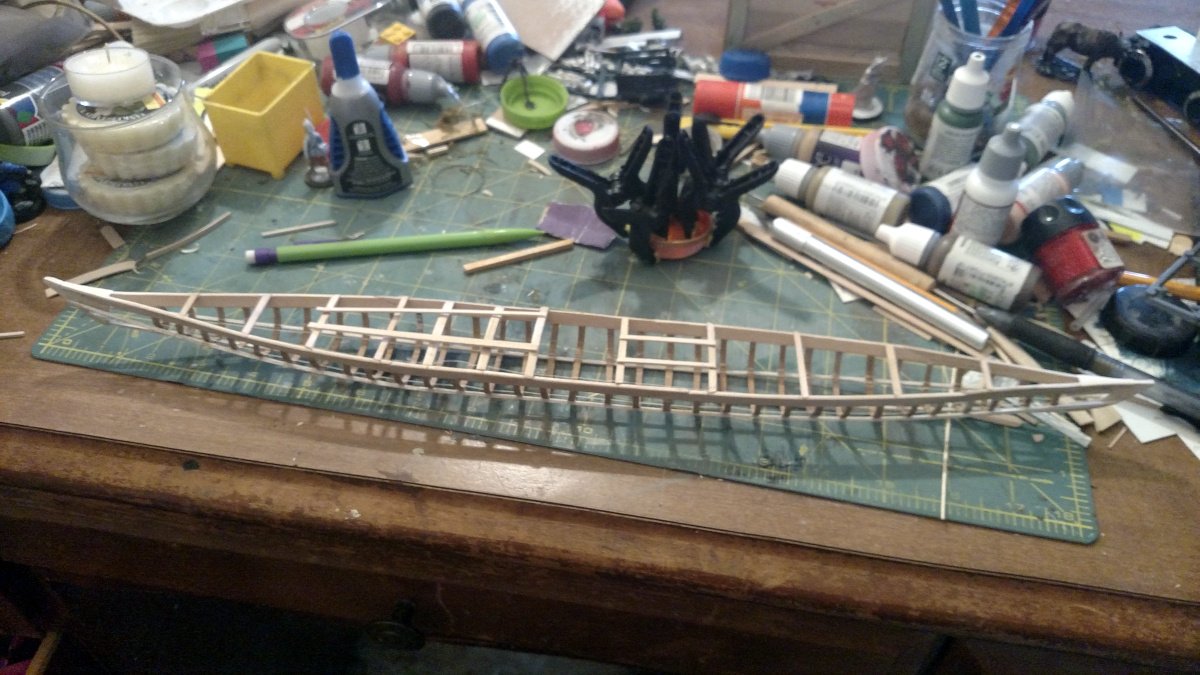
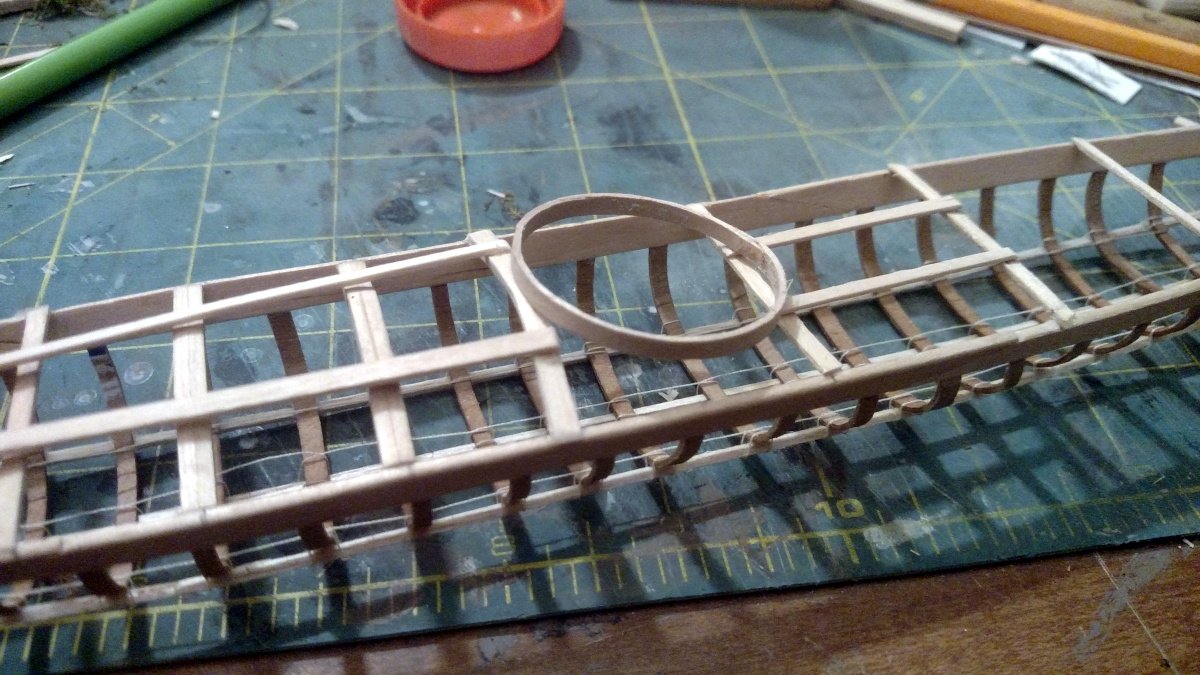
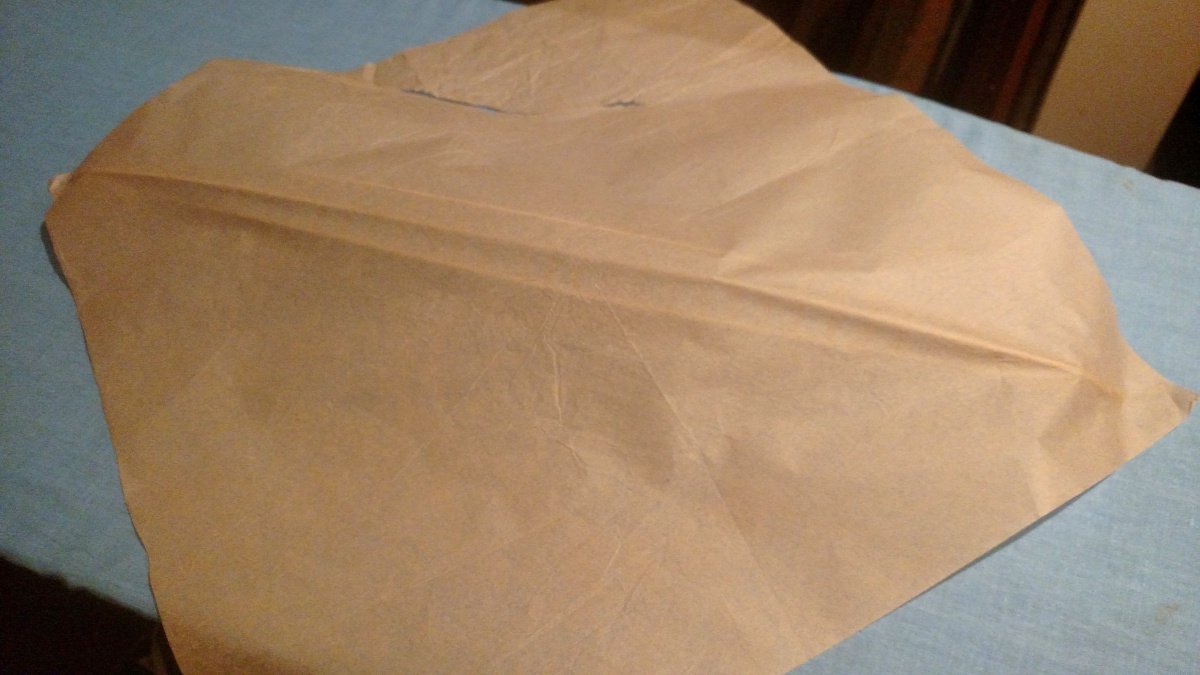
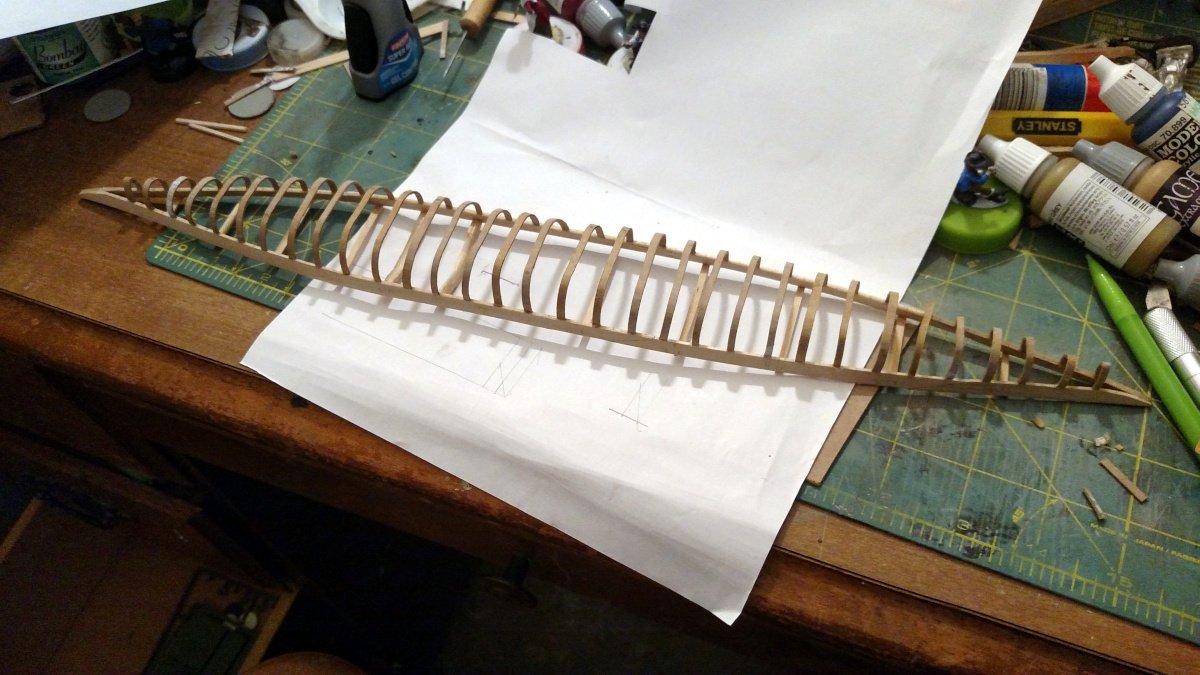
 I'd definitely be interested in the bibliography. It really is amazing the differences in designs from region to region, and the amount of Inuit culture wrapped up in each of them. Over the past few days, I've been able to complete the qajaq's frame. First step was to cut and add stem and stern boards. With the ends in place, I added the keelson and chines. Since these can be seen through the cockpit, I opted to tack them in place with glue at the ends, then used a needle and thread to lash them into place as they would be in the full scale construction. Tan thread made a passable substitution for sinew. Next up was to add stem and stern plates. Cuts were made to create recesses in the gunwales and stem and stern boards. Plates were cut, fit, then sanded to fit. These pieces help to tie the construction together, and to smooth the transition from the decks to the ends. In the full scale these are pegged and lashed into place. Here they are simply glued. The deck was finished by adding a curved masik, which is the deck beam closest to the paddler, then stringers fore and aft to support the paddler as they get into the qajaq, as well as equipment that is strapped to the deck. At this point, some people opt to add floor boards to the seat area, but traditionally this wasn't done. In my full scale craft, I sit right on the skin of the boat, with absolutely no trouble, other than occasionally dragging my butt over a rock in shallow water. The final step to complete the frame was to build the coaming that surrounds the cockpit. This piece I was able to wet in warm water, then bend around the top of an orange juice container, which happened to be the perfect size. Once dry, I trimmed the ends, glued it up, then wrapped it with string to simulate the sinew lashing that would be used to hold the coaming together. So, the next step is to skin the boat. Traditionally this was done with seal skins. Most people these days use some sort of nylon fabric. For the model, I considered using tissue paper left over from an model airplane project, but after trying it I'm not happy with the result. I also tried some fabric, but it was a bit too thick. I'm going to head to the fabric store tomorrow and see if I can find some lightweight handkerchief fabric to try. -Elroy