HOLIDAY DONATION DRIVE - SUPPORT MSW - DO YOUR PART TO KEEP THIS GREAT FORUM GOING! (Only 72 donations so far out of 49,000 members - Can we at least get 100? C'mon guys!)
×


Glomar
-
Posts
52 -
Joined
-
Last visited
Content Type
Profiles
Forums
Gallery
Events
Everything posted by Glomar
-
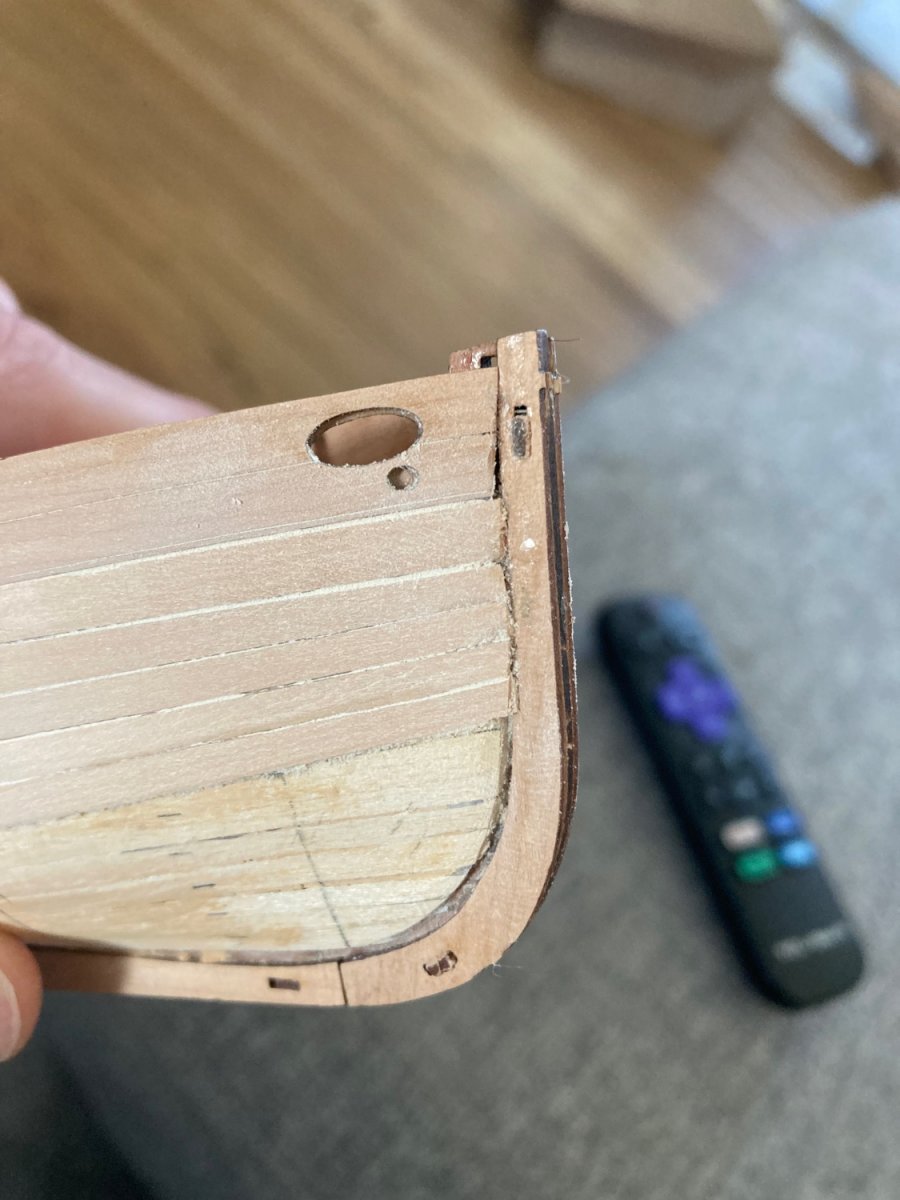
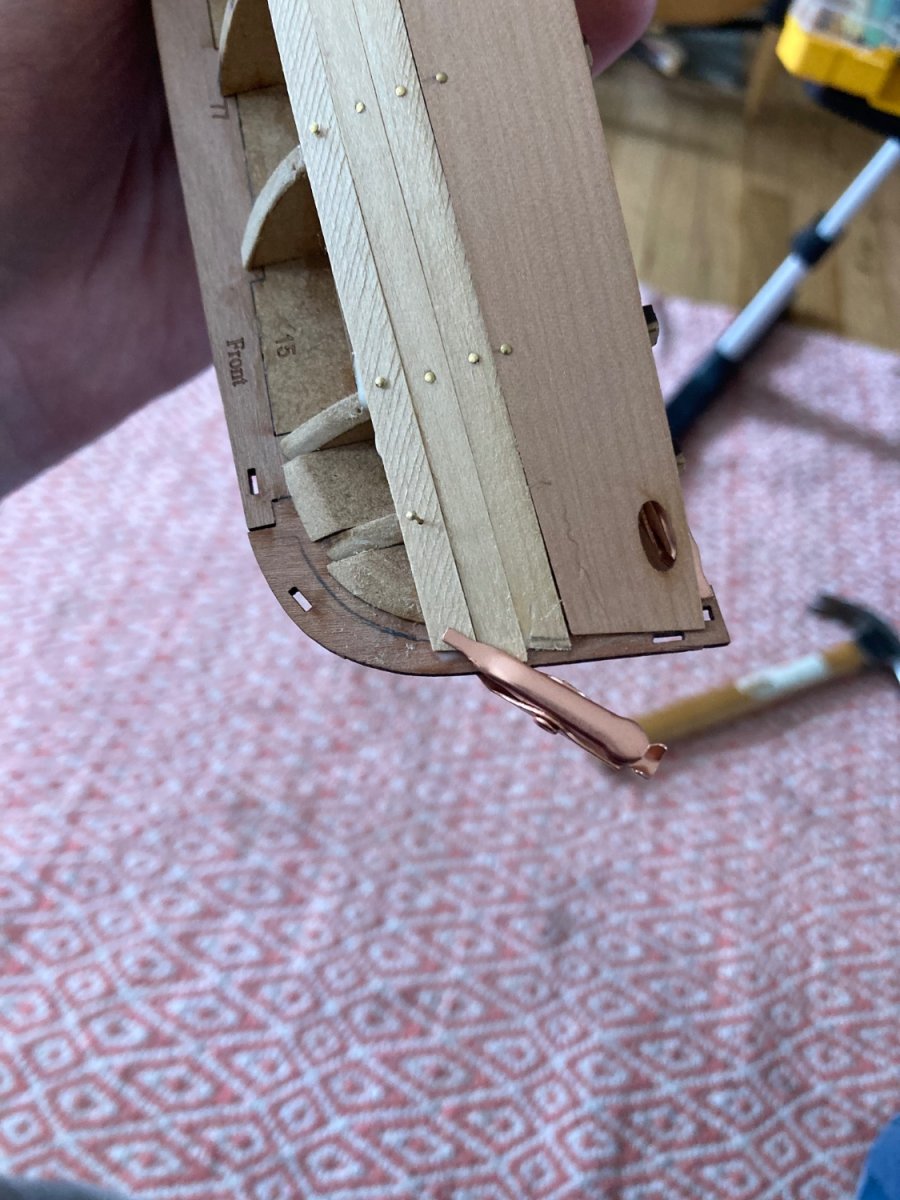
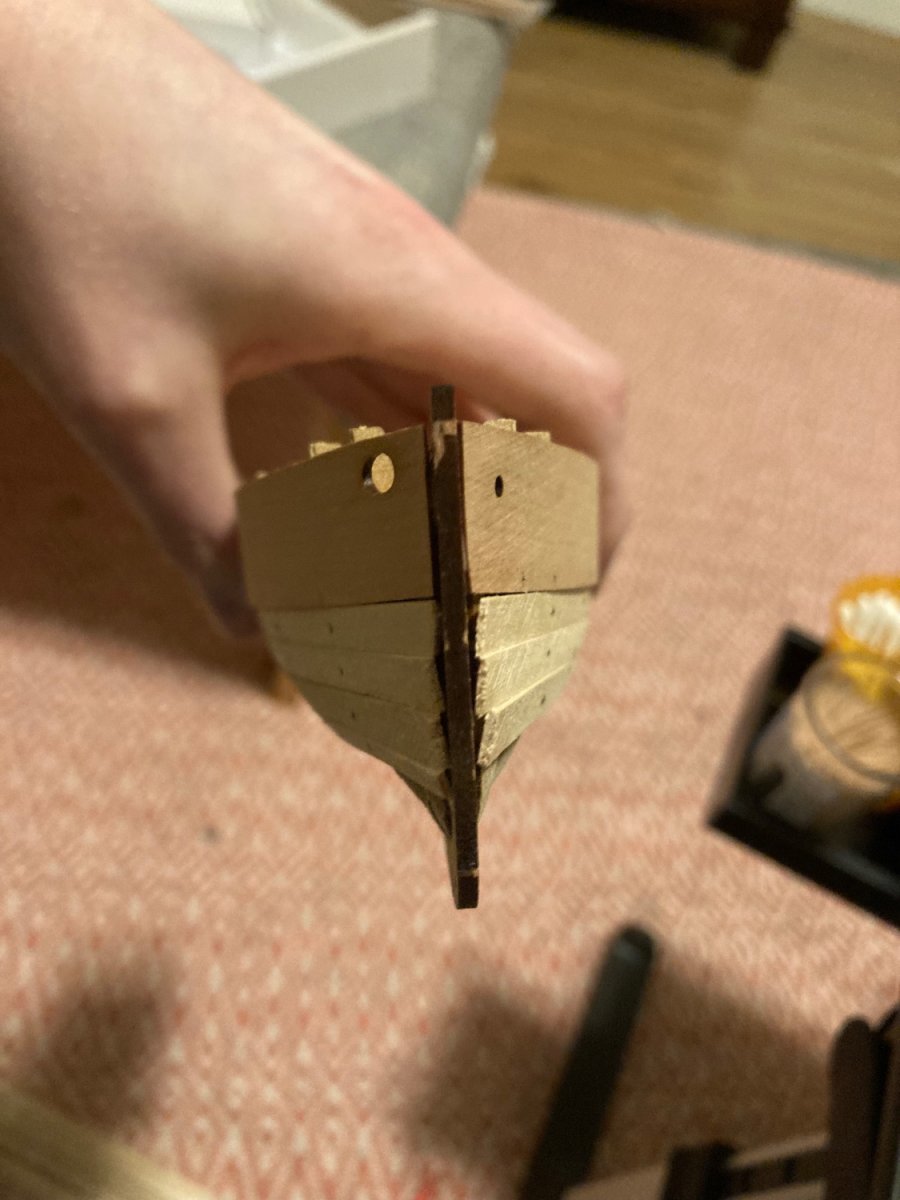
I appreciate all the love everyone! I definitely nicked the stem right off! really solid advice on the masking tape so wrapping it up as we speak! I am not really able to get the planks to stay in the bow rabbet so, they are actually overlapping it. I am not sure if I beveled the first level of planks to much or it is not cut deep enough- is that a concern at all? @AJohnson @Craigie65 I would love to get you advice on how to best paint this! I am REALLY bad at hand painting and have been flirting with the idea of getting a cheap airbrush but have literally no experience with that at all either. I really love the clean lines of the ship so would love to try and get a really solid paint job on her.

-
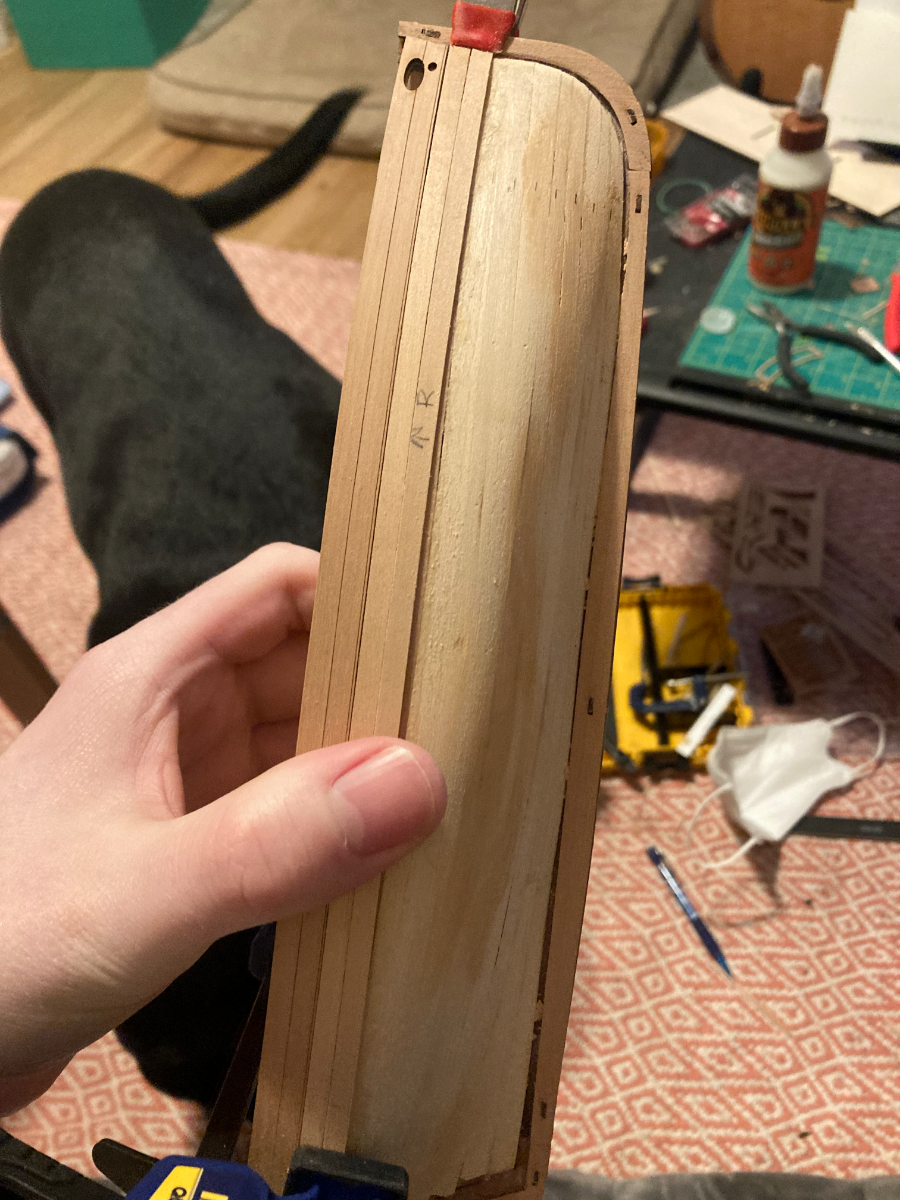
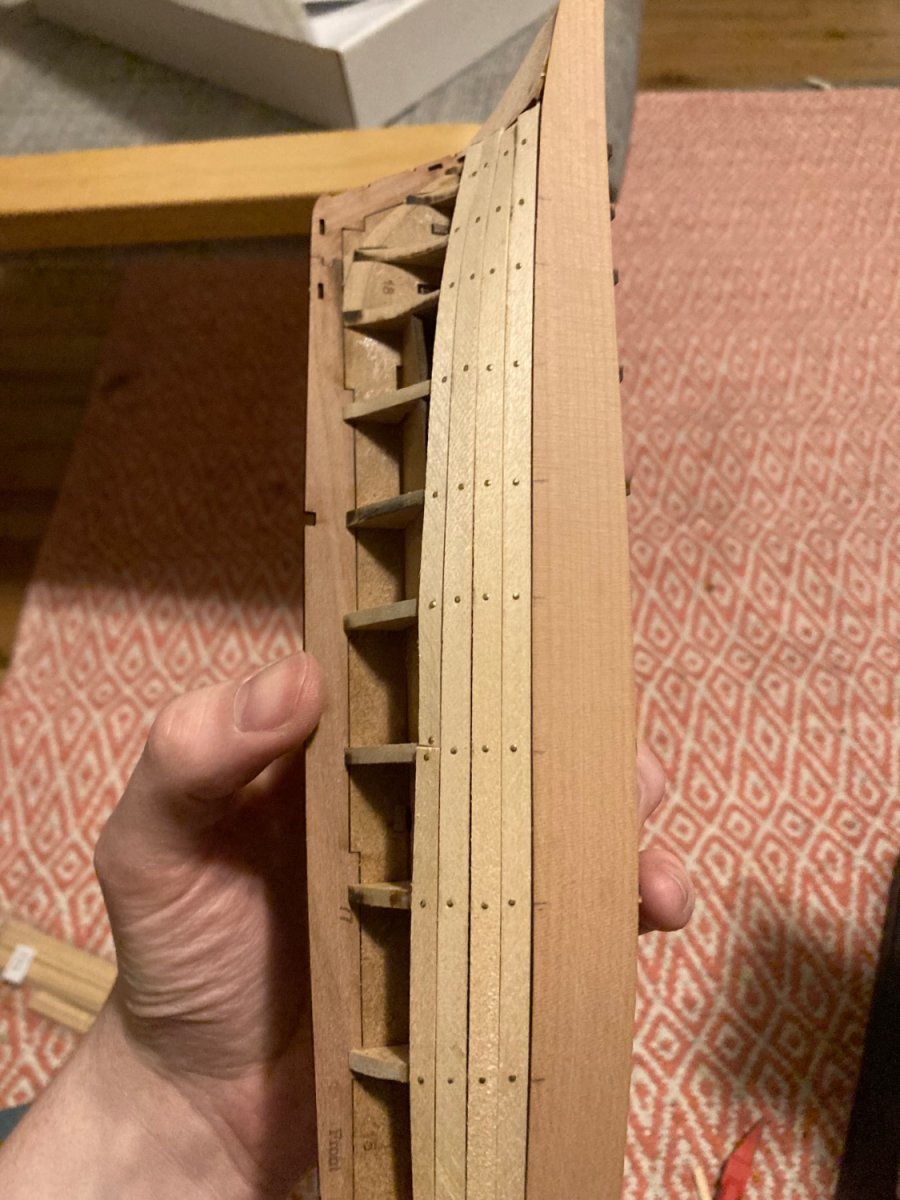
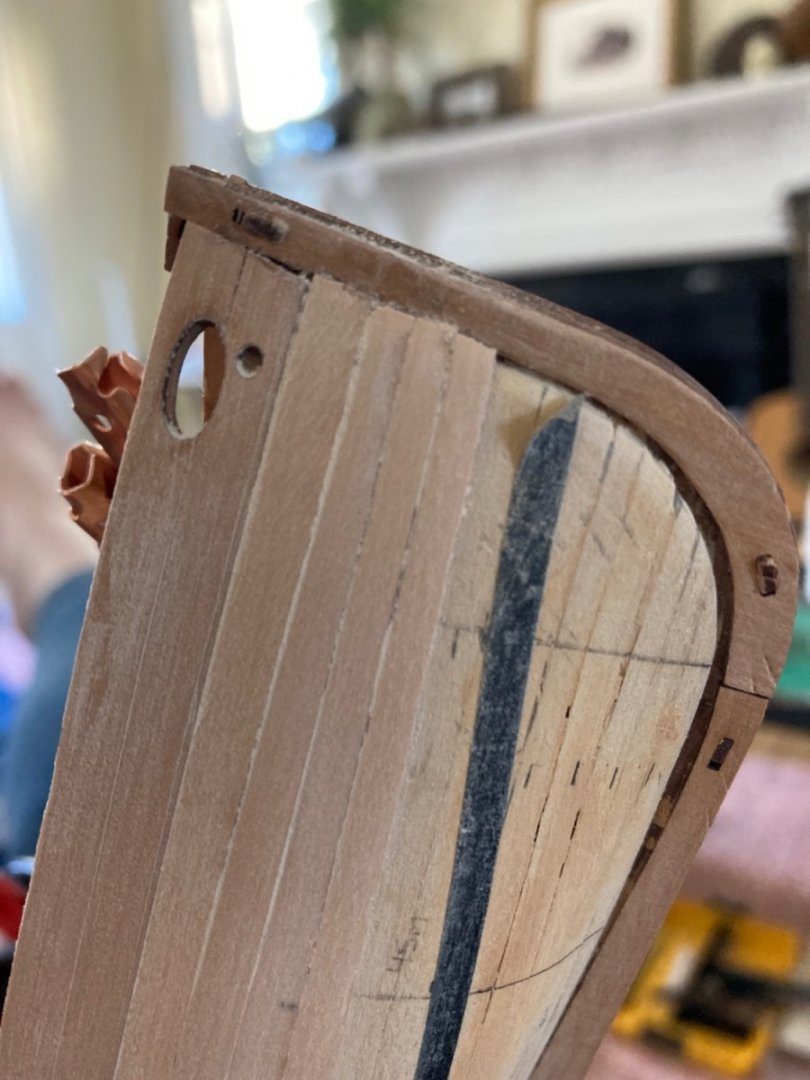
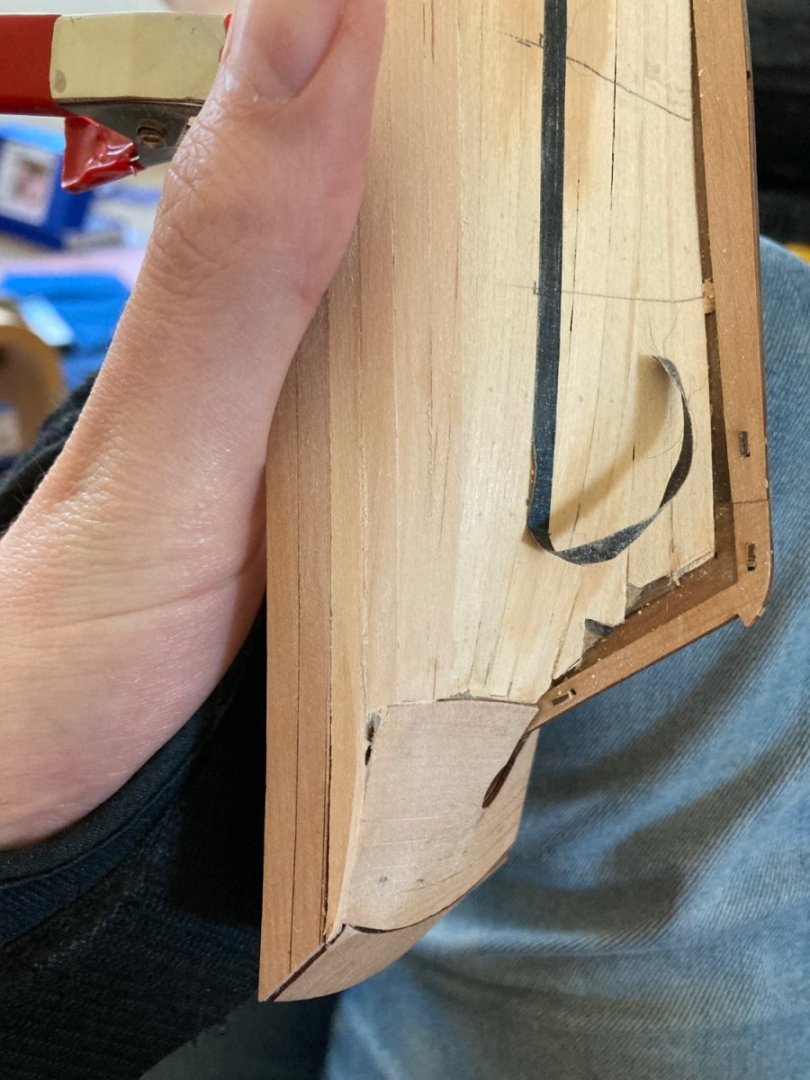
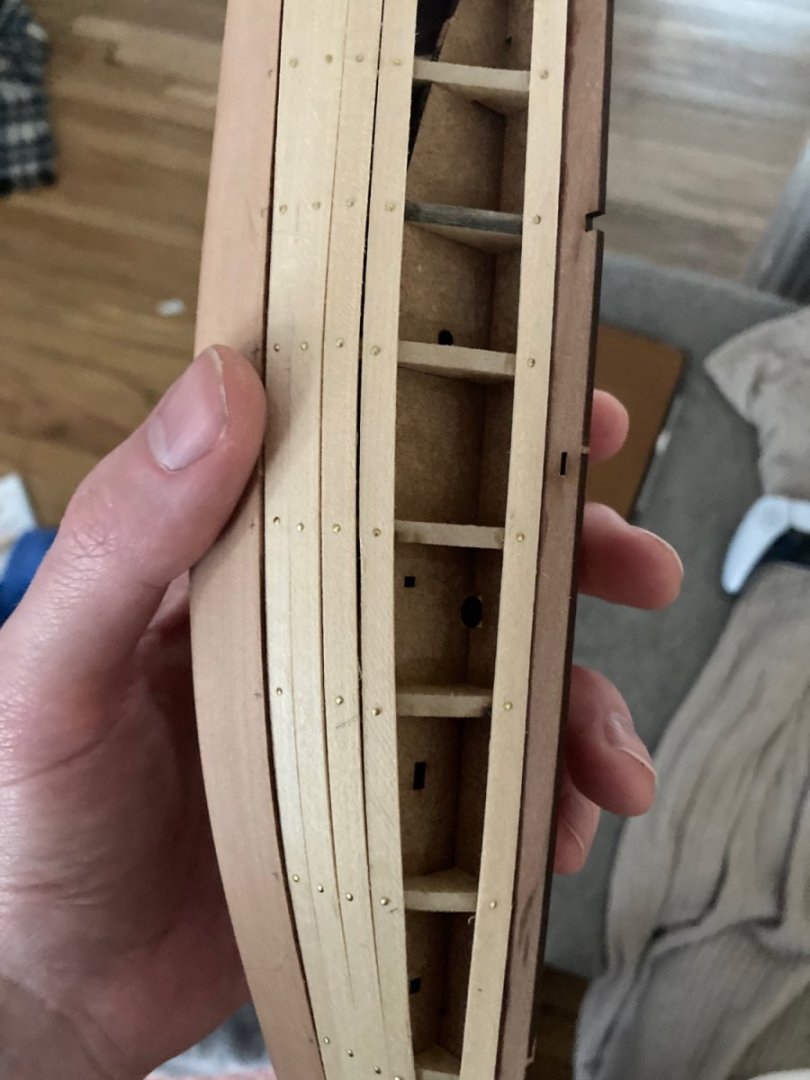
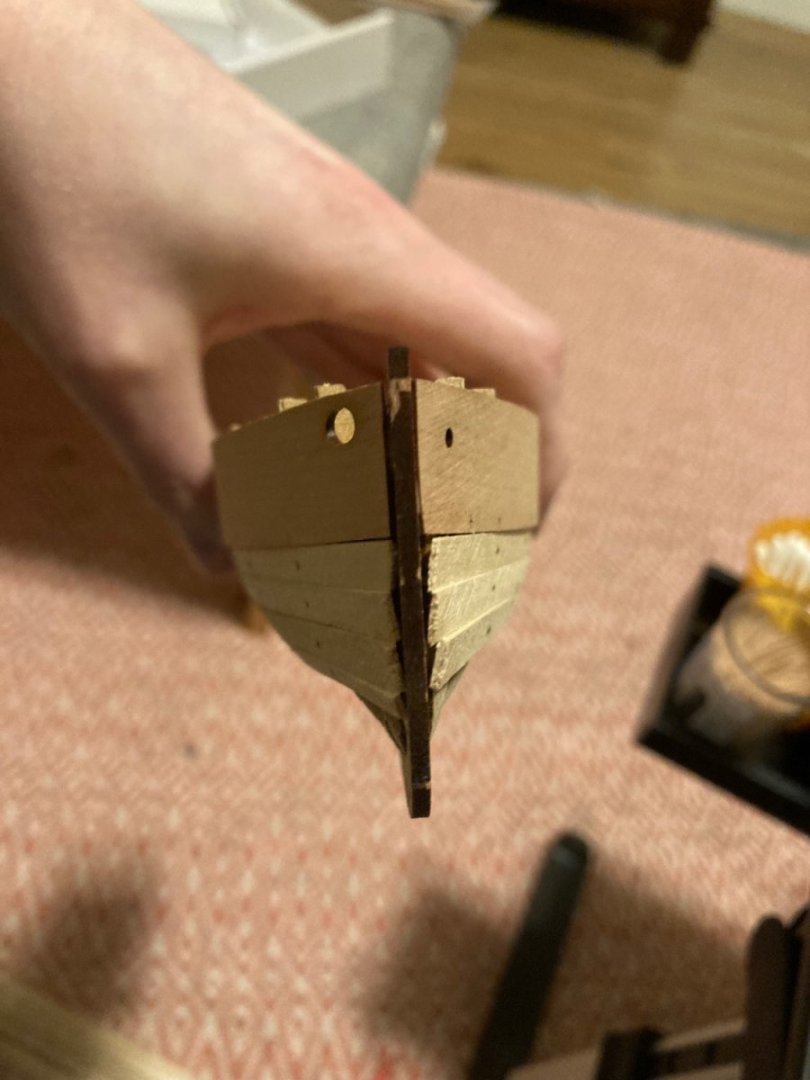
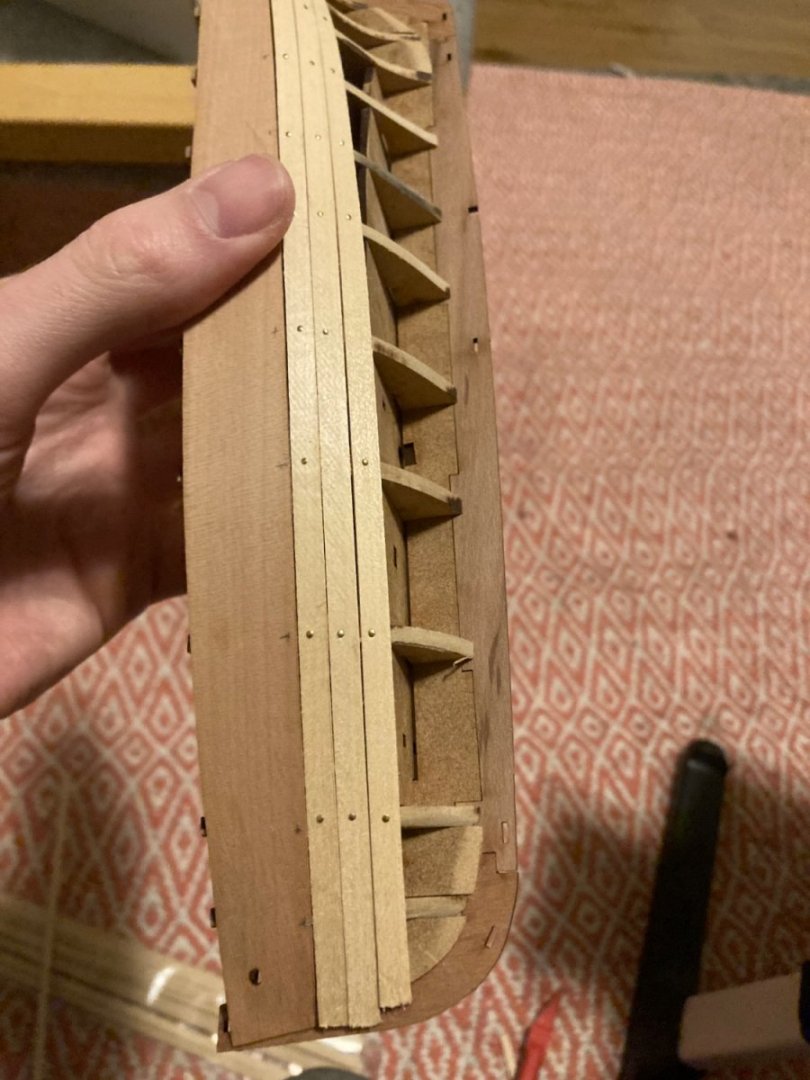
Looking for a sanity check on my 2nd round of planking so far. Not loving how the bow is coming out but I don't know if that can sand out. I only am trying trimming the front of the plank 1mm (or 1/4) I appreciate thoughts or suggestions!
-
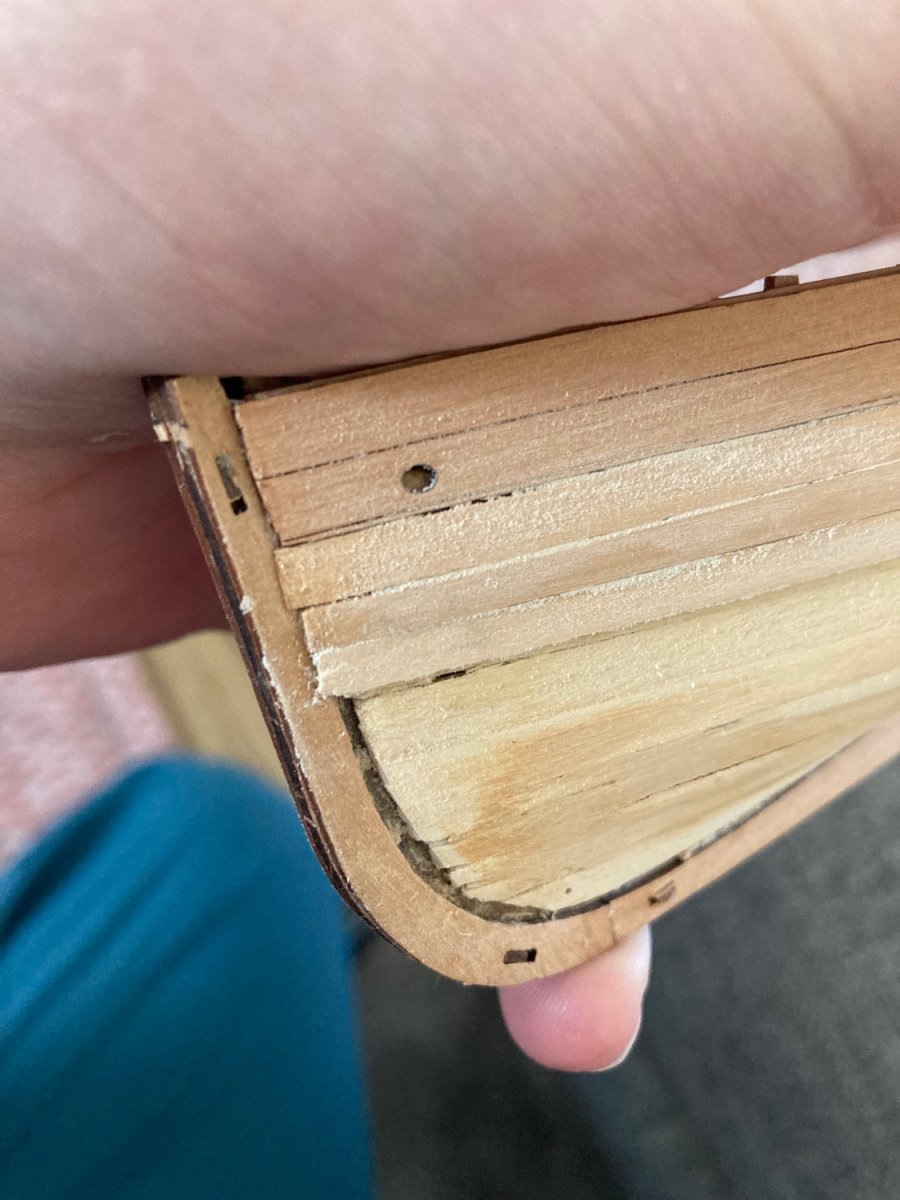
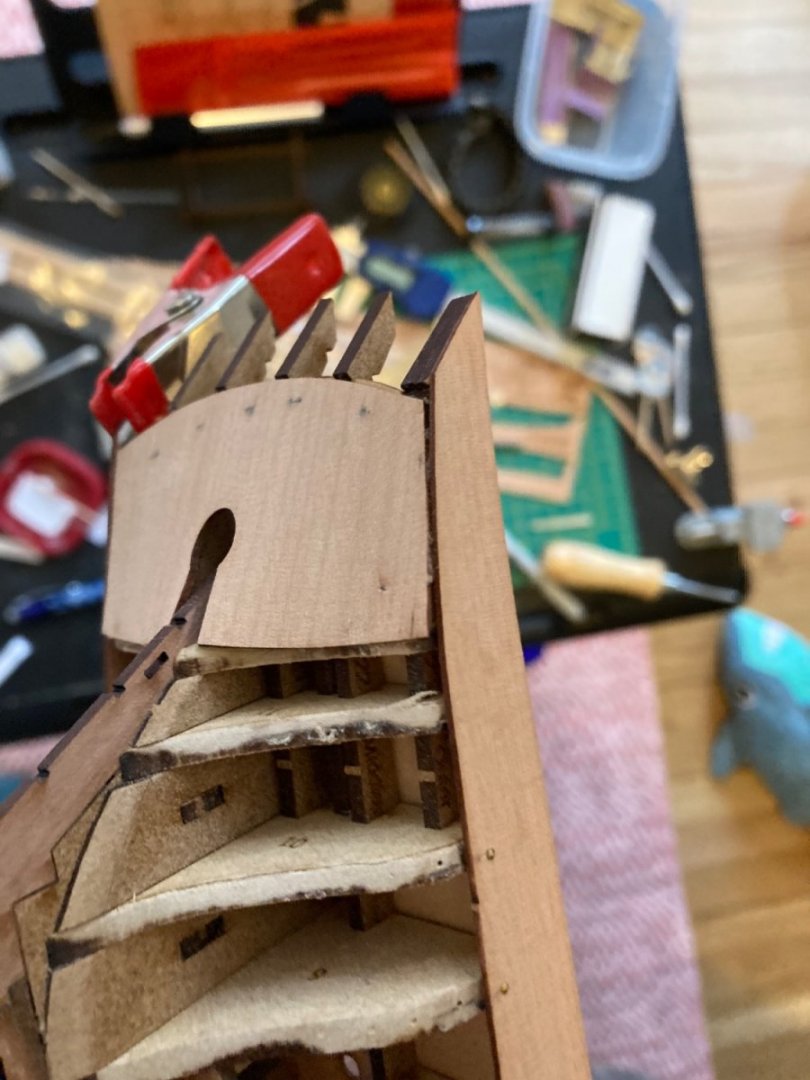
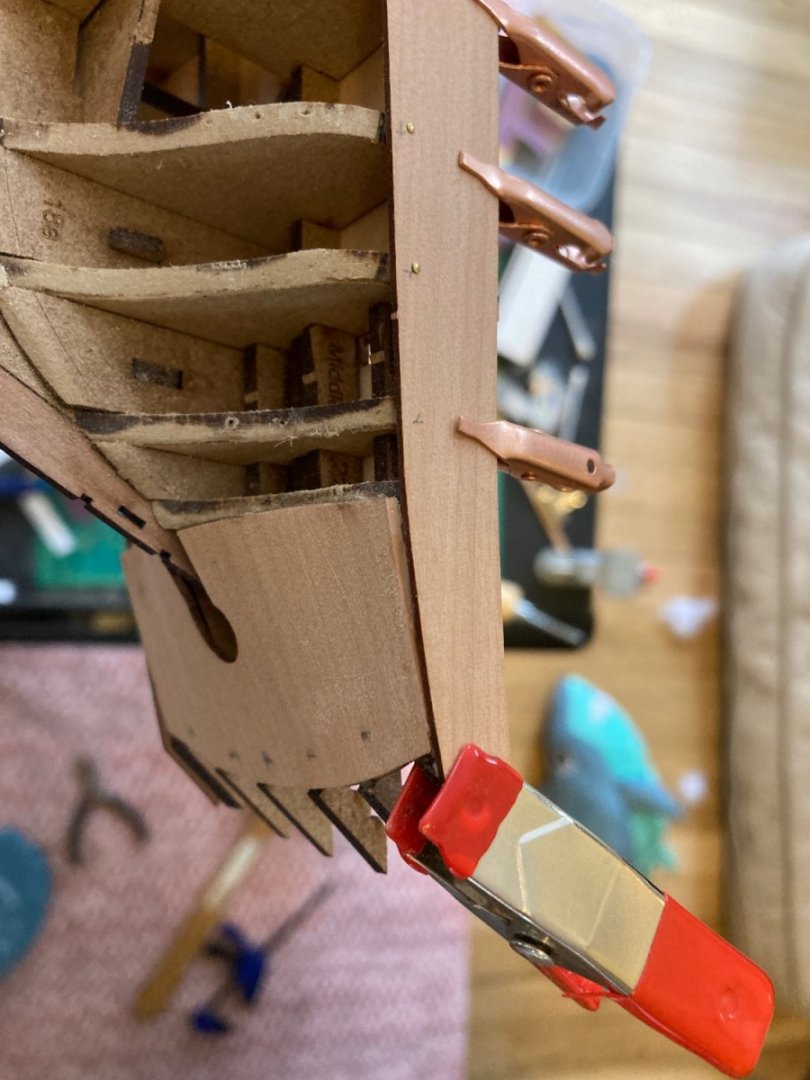
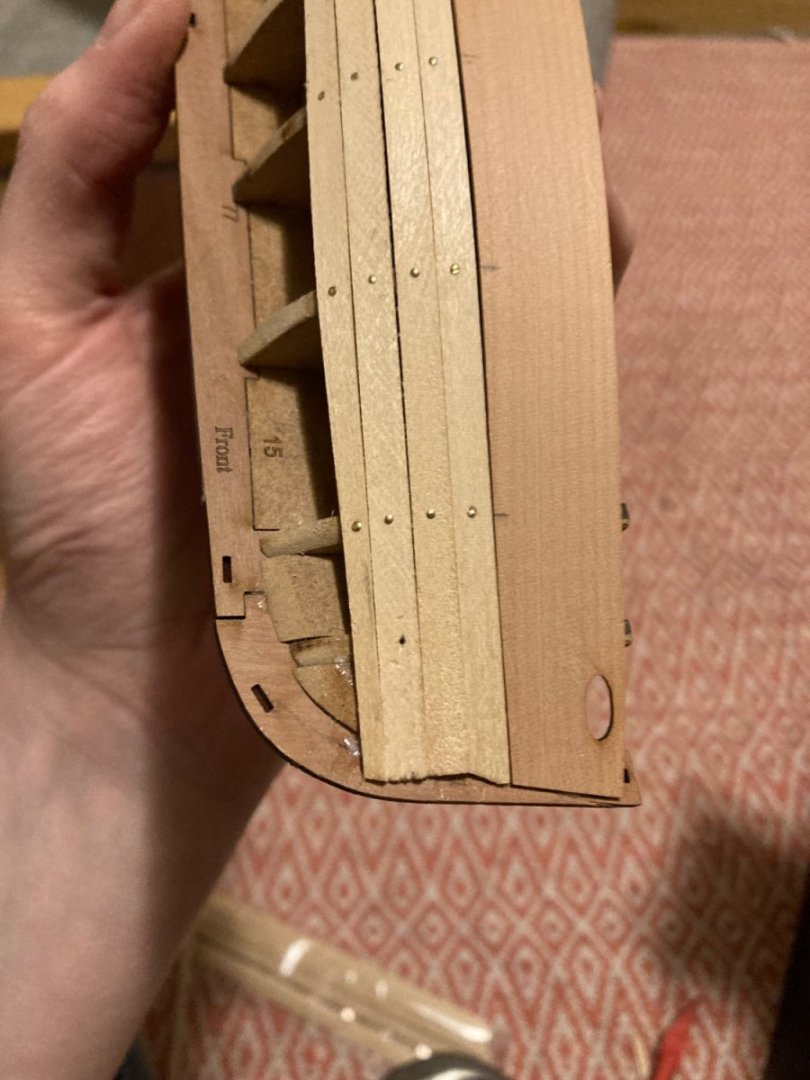
So already running into issues on the 2nd planking! I am having trouble with the stern again with the S curve. Are lips/gaps like this to be expected or am I doing something wrong? I put a pretty deep bevel towards the back to try and compensate for the curve. Any advice would be greatly appreciated!
-
Thanks @Peanut6! Honestly I found success in just using the edge of a dull xacto blade to pry the nails out
-
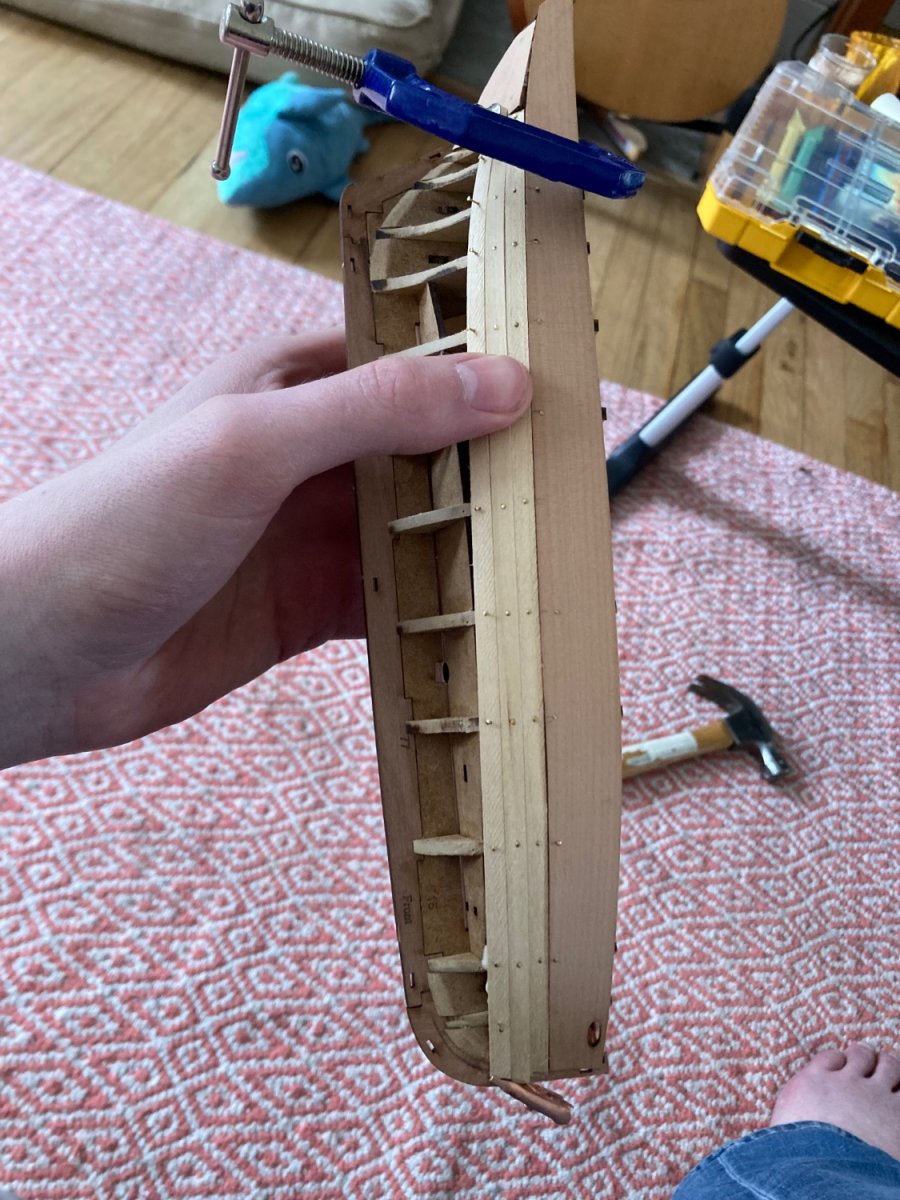
Busy week so sorry for not posting sooner but I was able to make some pretty good progress! I was able to finish the planking! I was a bit too aggressive with the tapering toward the stern and bow but for my first go around I am pretty happy with it and I am much better prepared for the next round. I am working on the second layer of planking right now. Since it is going to be seen, I am trying to be strategic in how I lay out the planks.

-
@Craigie65 I am going to have to trim the bulwark a smidge but i does not look like it would be too bad. Any recommendations for how to lever out the nails?
-
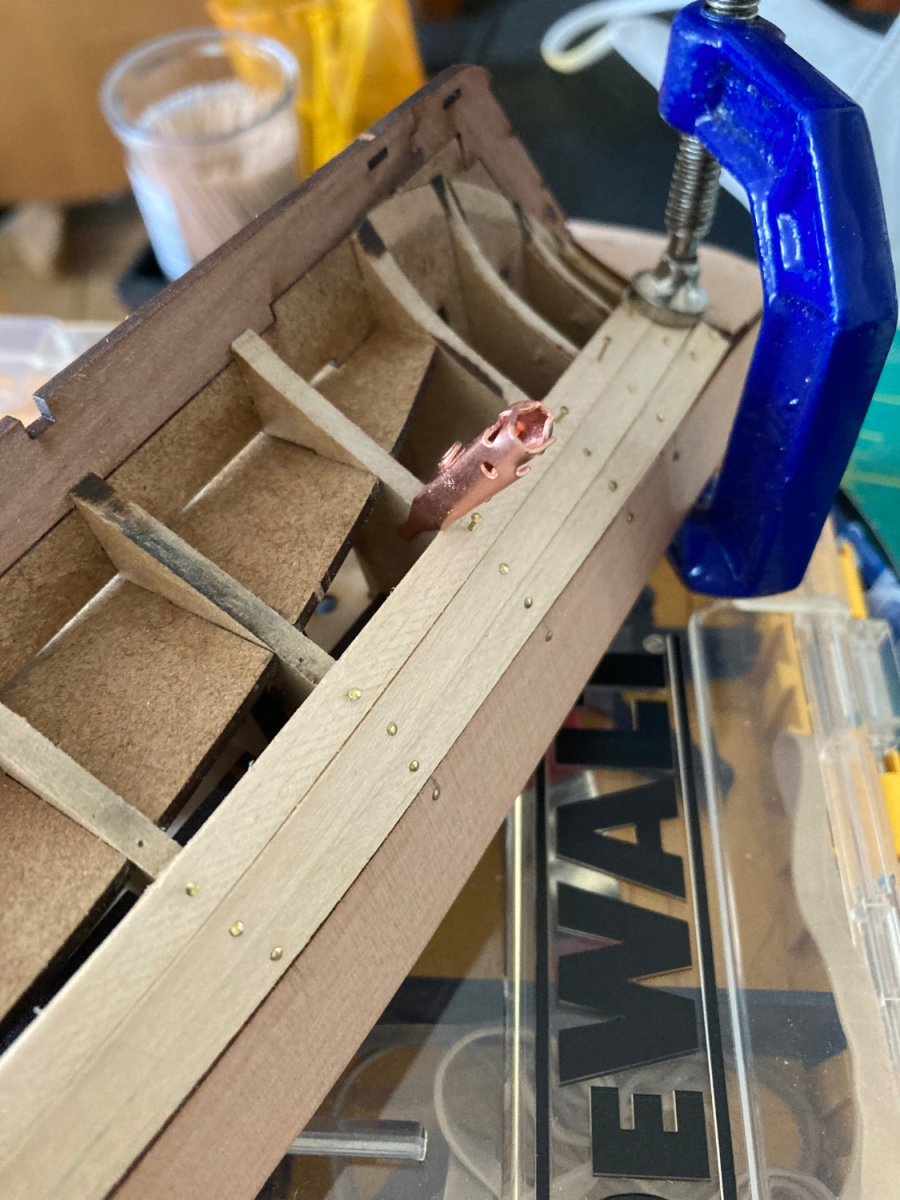
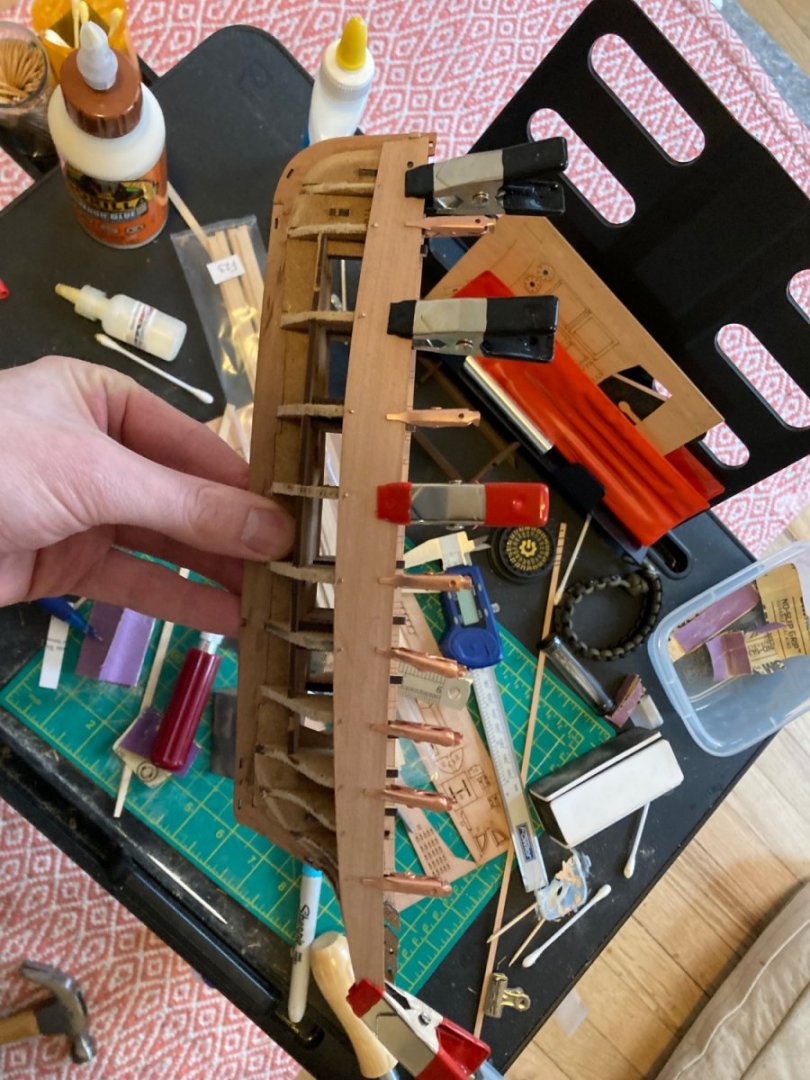
Thank you all for your help! With your experience and encouragement, I have gotten back to where I was previously but in MUCH better shape. Some key things that I have learned: 1) Beveling the top inside of the plank is key!!! I was a bit subtle at first but I found really making sure it have an edge at a 45 angle really help planks lined up 2) Attaching the bulwarks (for me anyways) was not as easy as just eyeing it. I made like tick strip to make sure that they lined up as close as possible 3) Having good tiny clamps is clutch. I know people have clamps specifically for planking but just having one under the frame ahead of the one you are working on helps keep things in line (pic below) 4) For the stern planks, I found it was helpful to start at the stern using wood glue and just keep pressure on it for a few mins before nailing. That said this is my first planking job and I have only accomplished the easy part thus far so I could be absolutely missing something. Things I am about to learn 1) The folly of driving the nails all the way in. Not sure how to fix it but I am sure it is going to be loads of fun and not at all soul crushing. I hear you though maybe a bit to late @starlight Next steps are going to be trying to tackle the lower planks. I have a theoritical understanding of what to do, but thankfully @Craigie65 , who has been helping me navigate this, has generously offered his expertise. It is not perfect, but it is ALOT better than what it was and I feel pretty good about it. Truly thankful for everyones guidance, patience and support. My work has me encounter truly horrible situations almost daily, so on top of everything, the positivity and sense of community here has really been an amazing surprise.


-
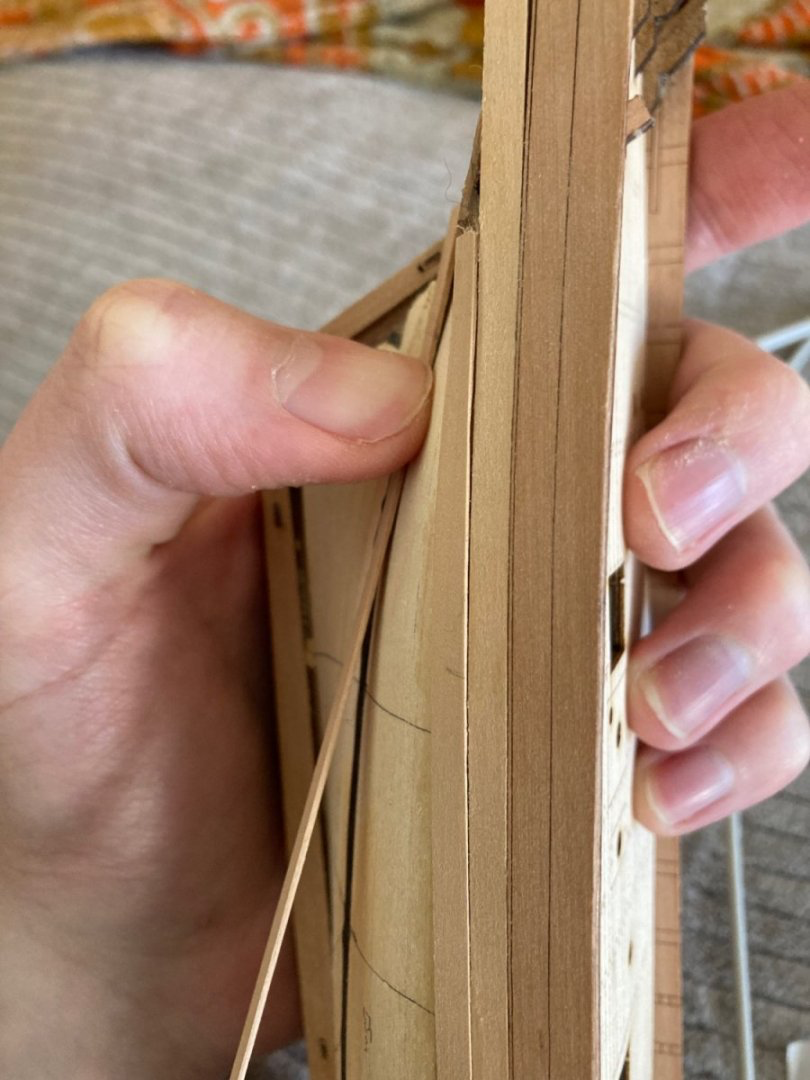
@Craigie65 Thanks for clarifying! I agree about not tempting fate! I added the first planks again and they fit alot better- especially after beveling the top edge (thanks @Craigie65@starlight!) but they are not exactly flush with the bulwarks. Is this a fairing issue and/or something that can be fixed by sanding? Still having difficulty getting the planks flush in the stern.


-
So I decided to go round 2 with planking and start over. The blanks were glued on using white glue so they were removed fairly easily with 90% alcohol and some Q tips. I was maybe a little to overconfident with the Bulwarks and really went all out with the wood glue so those were a little more tricky. Still was able to get them off with rubbing alcohol, q tips and an xacto knife without too much trauma. Afterwards I created little tick strips to better mark out were to place the Bulwarks and put a little shim in the hole in the front to act as a stop. I also pinned it this time but used white glue just incase 3rd time is the charm. Next steps is going to be plotting my attempt at planking/procrastinating out of fear!


-
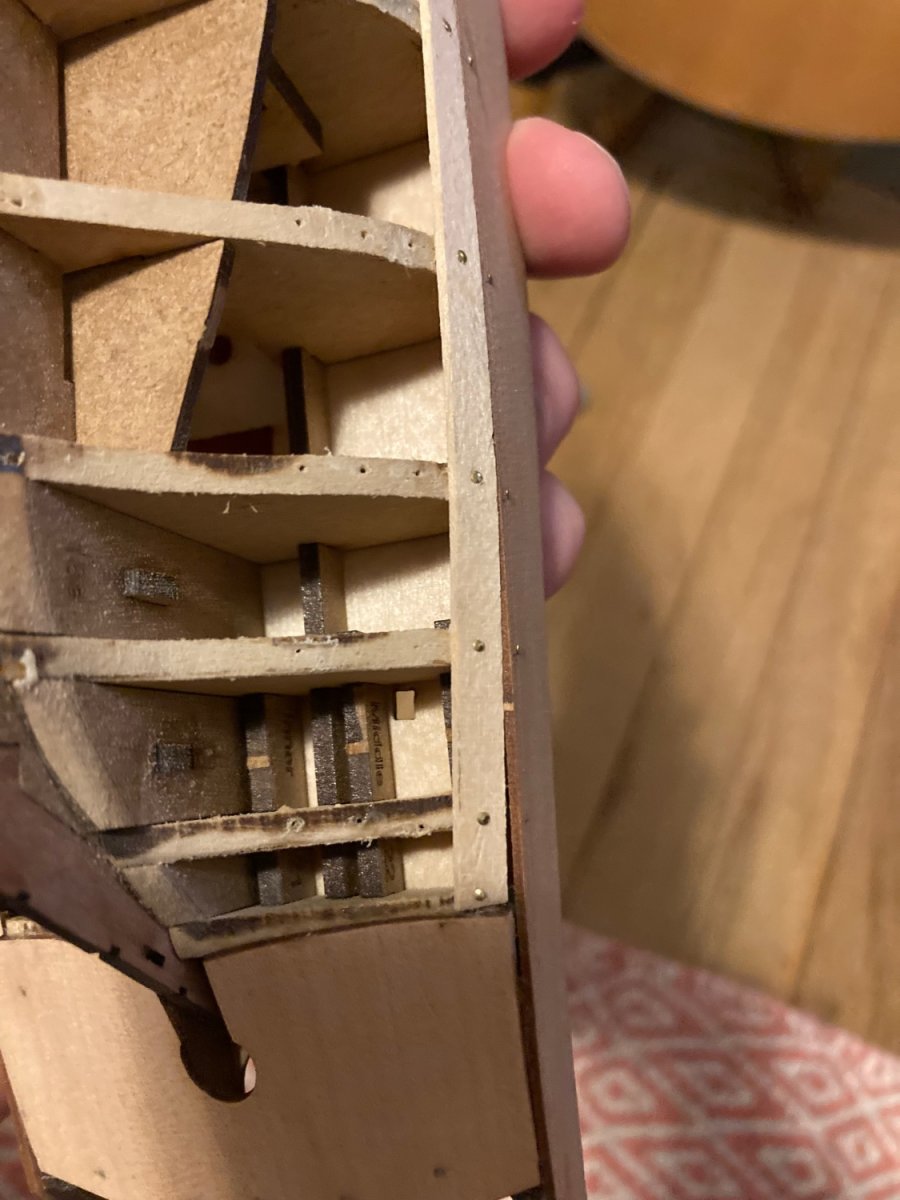
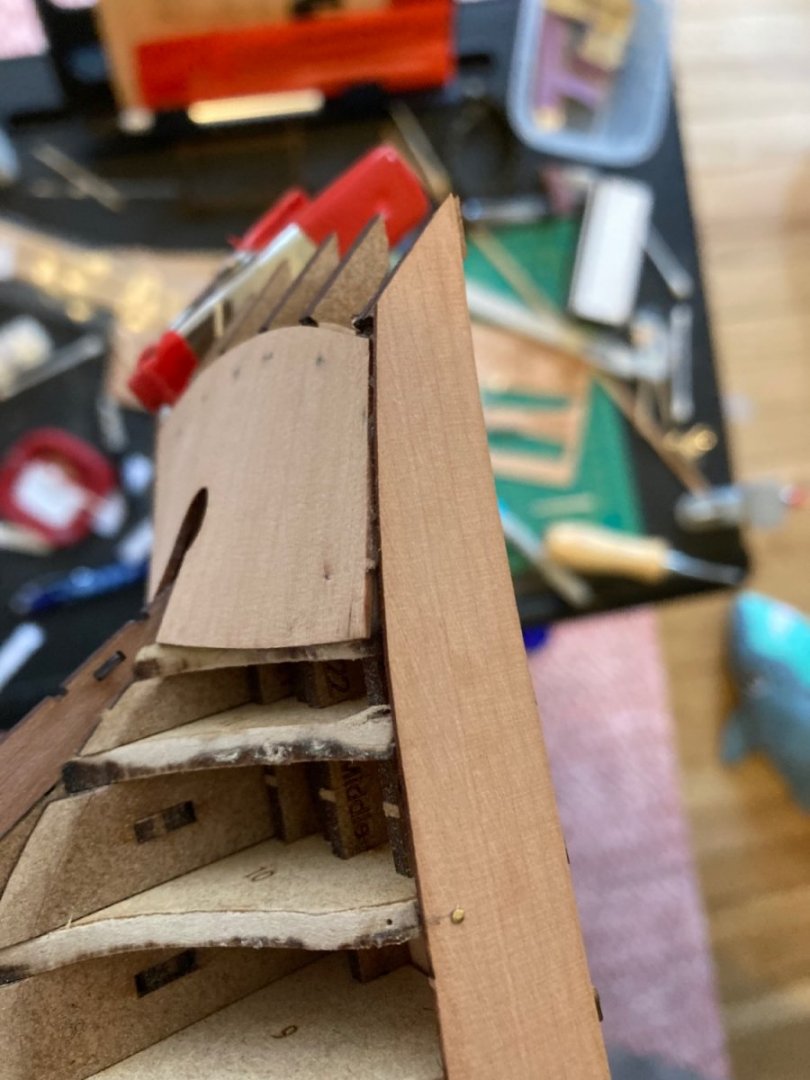
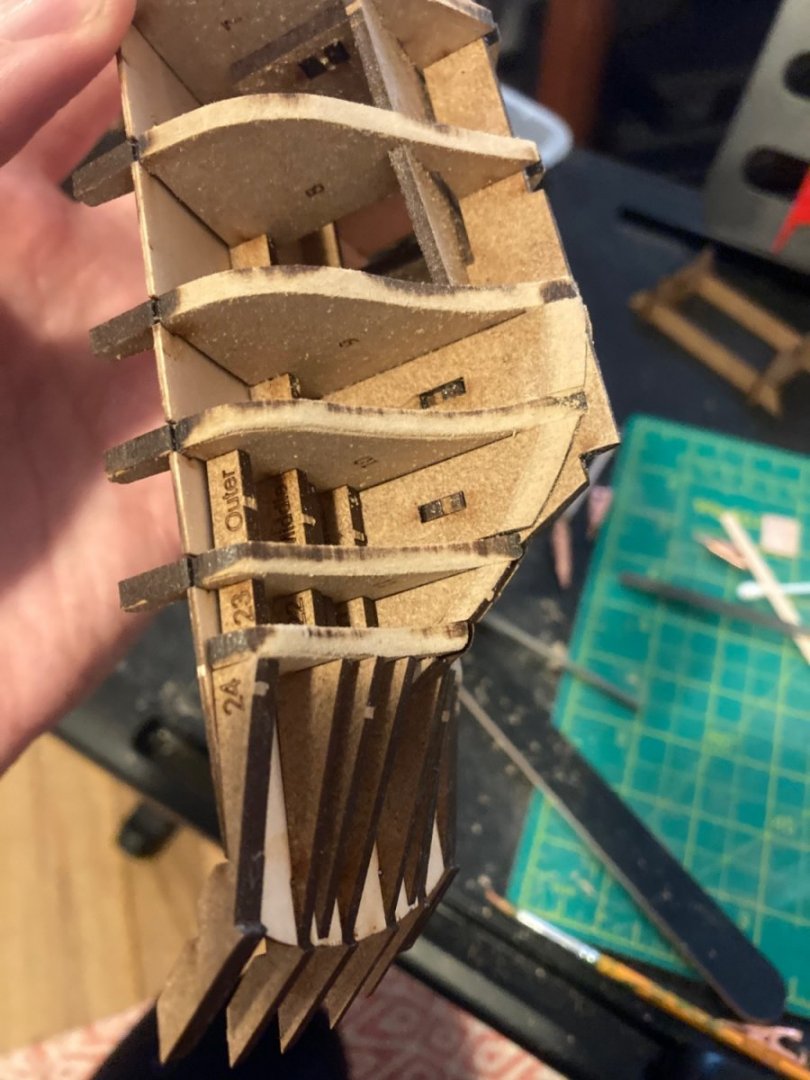
@Craigie65So I am just realizing that I did not fair the after parts (21,22,23,24) before putting on the counter. Should I go back and redo it? I am not sure what you mean when you say "the counter will only sit on the edges. I also got one Bulwark on before realizing that I should have sanded the counter beforehand which I was at least able to catch on the other side Side without sand stern parts Side with sanded stern part
-
@starlightThanks for detailed breakdown, I did not use tick marks and this is excellent advice! For the bevel on the planks, do I just sand the edge to a 45 degree angle? Do you have any techniques that you like to use to bend planks into shape? I have been getting super great advice, so it is definitely an issue of user error!
-
Thanks all for the advice and encouragement! I am having the hardest time conceptualizing how to bend and taper the planks. I watched Chucks amazing video on planking and went over Allan Tylers guide among others but is there an even more basic set of instructions (or is that even possible?)
-
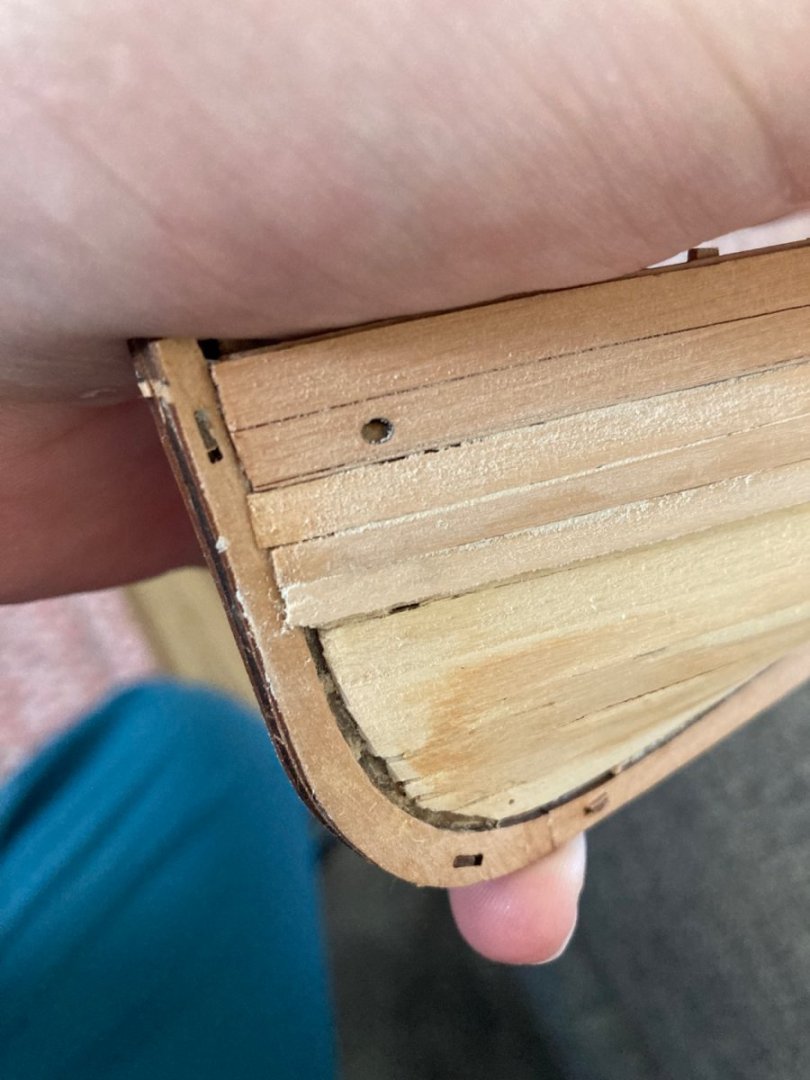
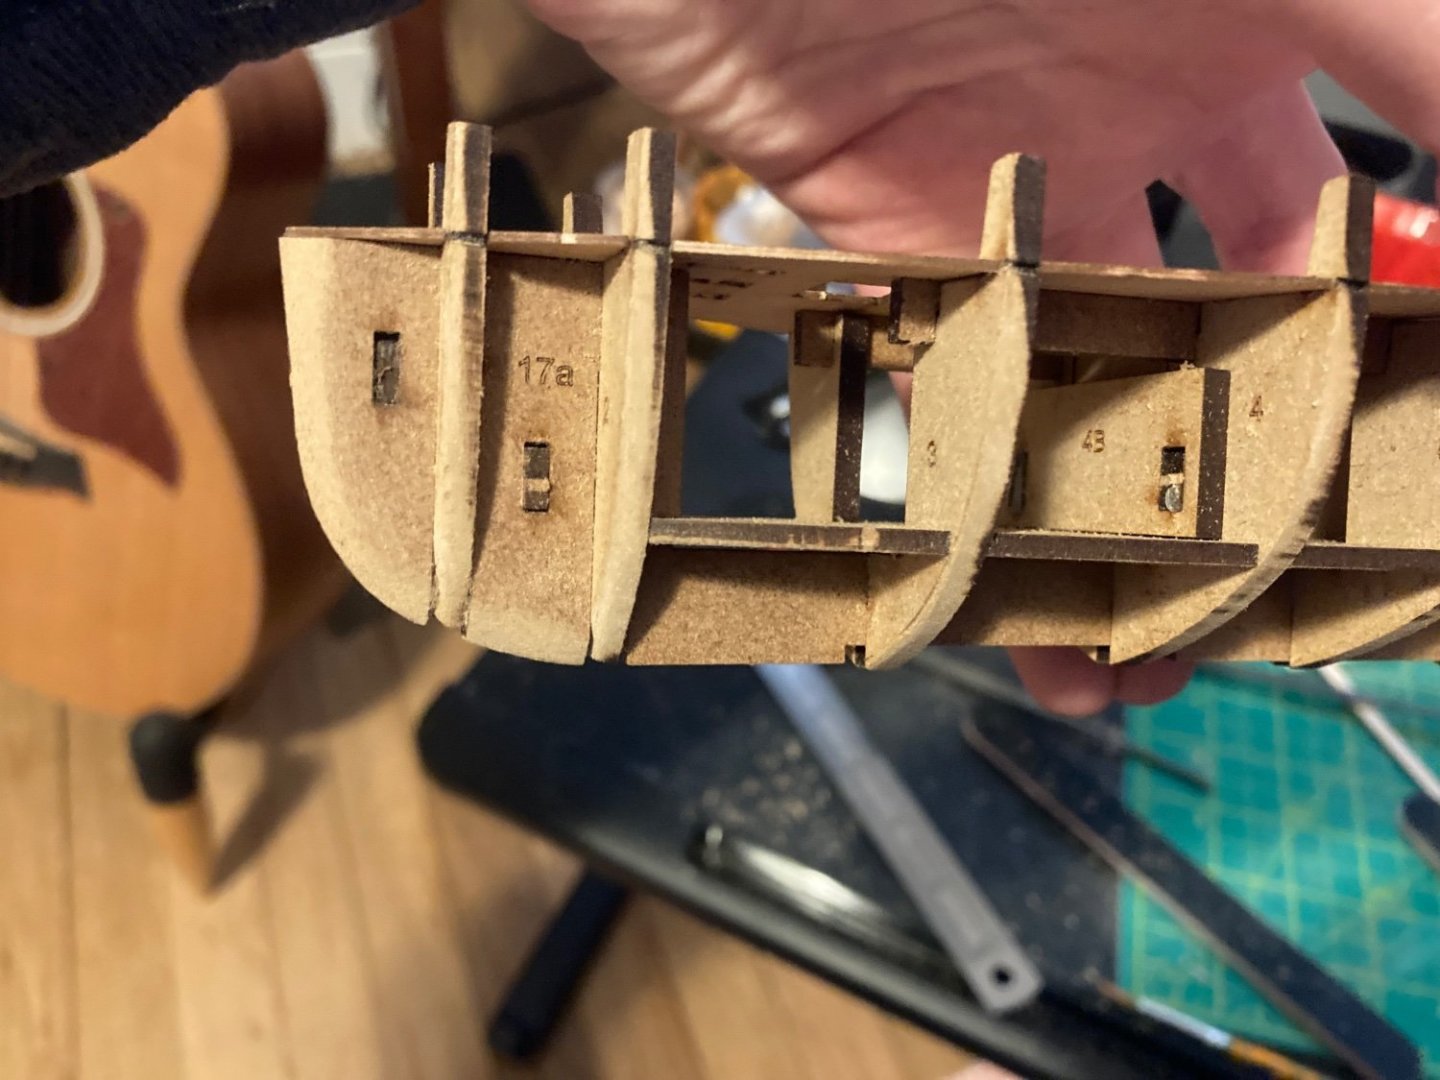
I am building Vanguards fantastic model Nisha but I am running into problems with the Bulwarks and planking. This is my 3rd model after the Norwergian Sailing Pram and Grand Banks Dory and I am wondering if I bit of more than I can chew with this one. The Bulwarks are a bit too forward, should I trim them or take them off and reglue? I used a decent amount of wood glue so I am not sure what the best way to remove it would be. Are any of the planks salvageable or should I remove them and try again? I am not full understanding how to taper which I thing explains the gap between blanks 3 and 4. There is a noticeable height difference between 3 and 4 as well and I am wondering if I did not do a good enough job fairing the bulwark. This is my first time planking, so I am sure that I am missing some fundamentals and any advice or suggestions would be greatly appreciated

-
@Craigie65 Thanks Craig, I glued the bulwarks on pretty solid with woodglue, do you think it would be better to trim them at the front in order to fit part 58 or just remove it. Any advice on how to disassemble? There also seems to be a height difference between the 3 and 4th plank and I am wonder if I just did a poor job with the fairing as well. I can't seem to grasp some of the fundamentals with this project and am feeling super lost at this point on what to do. I am wondering if I bit off more than I can chew with this project

-
Thanks! Do you think I should take them off and start over?
-
I finished fairing and started planking. Not sure what I am doing wrong as there still seems to be pretty big spaces between planks. I am not sure how to best taper the planks as well. Is this salvageable or should I try and redo it?
-
@Oldsalt1950 Thanks for further breaking this down for me! I am still learning the lingo, so could explain a little more about what a scribe line is?
-
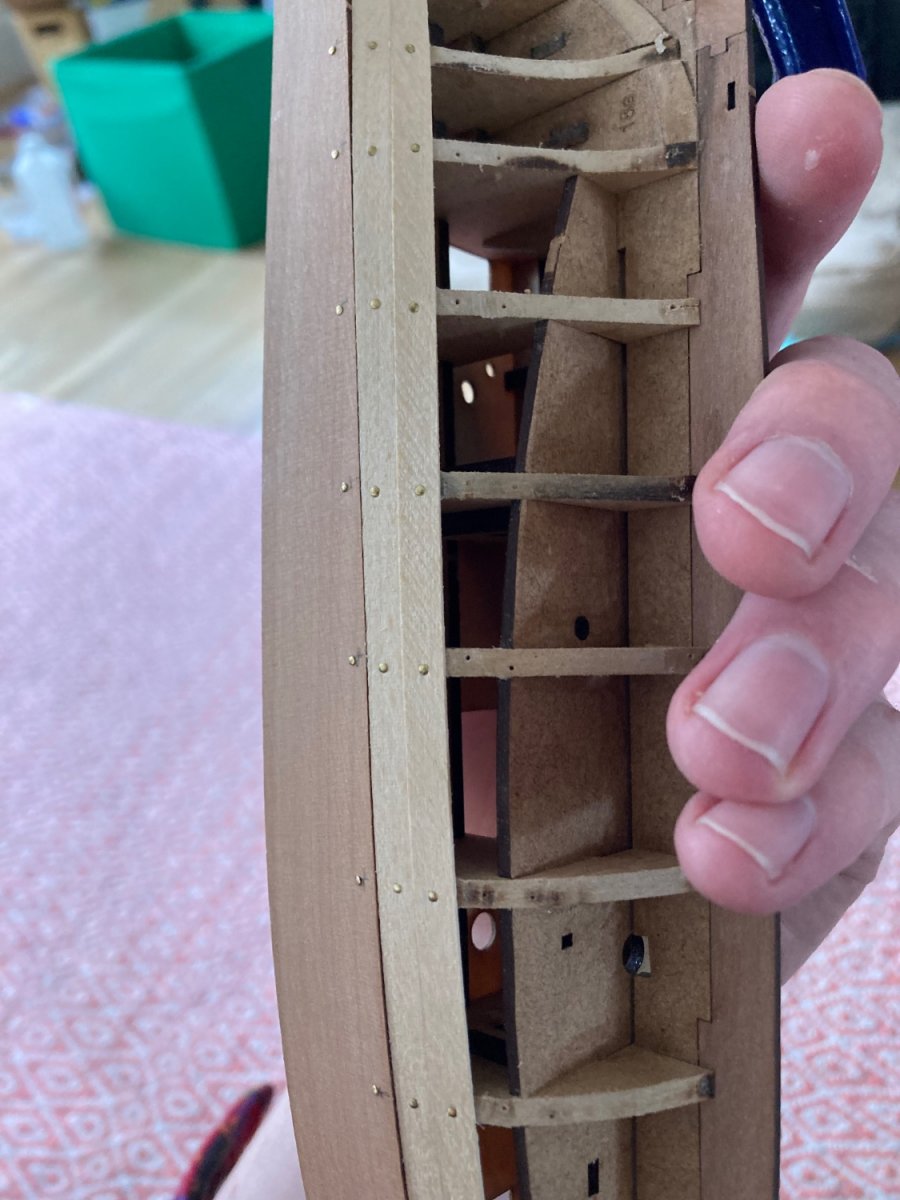
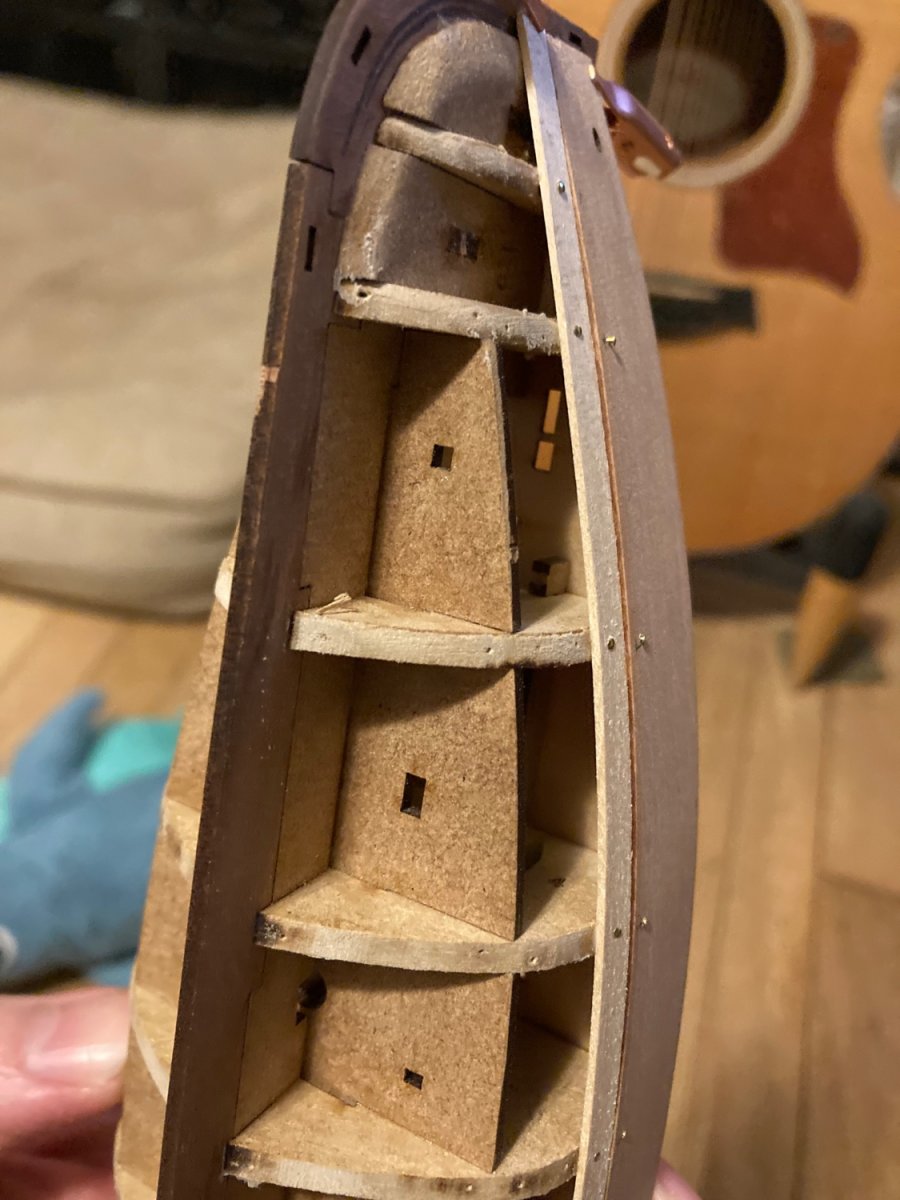
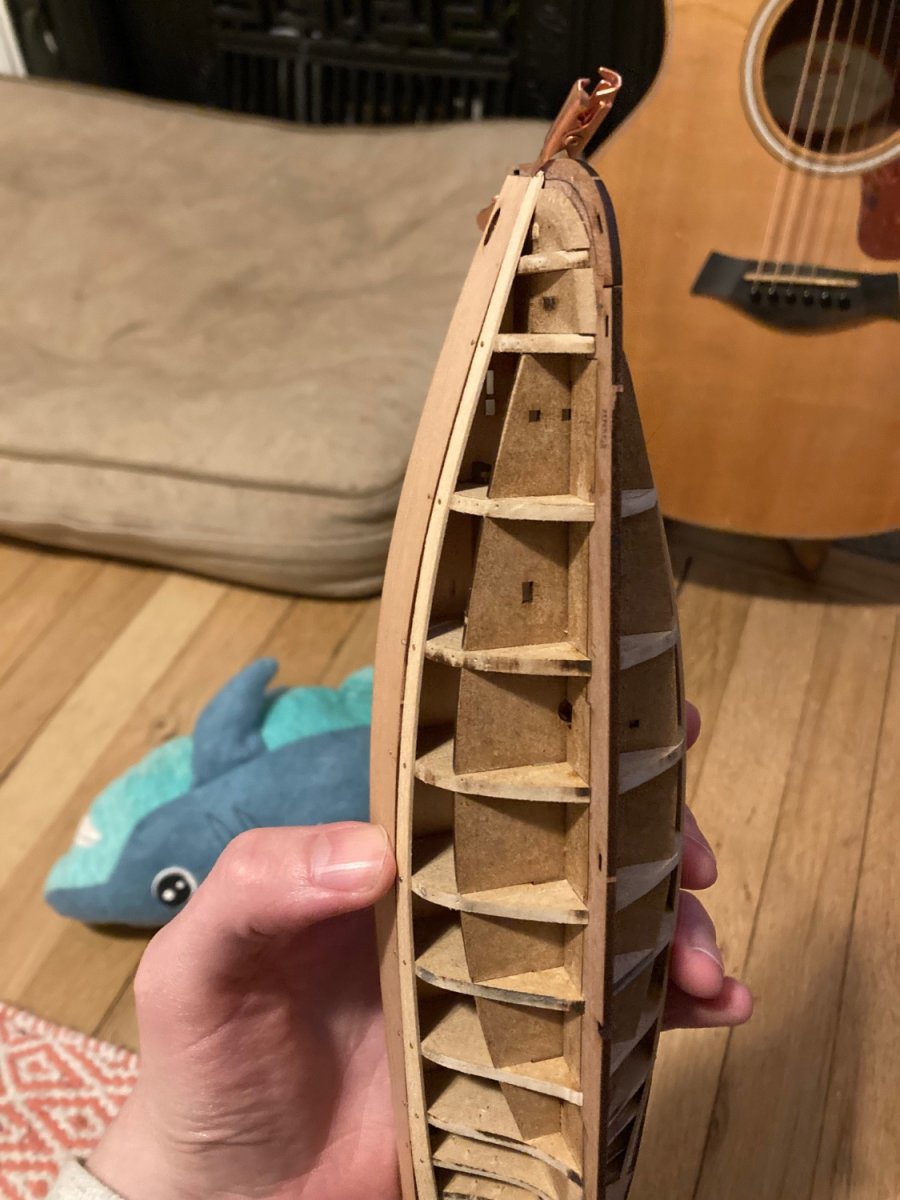
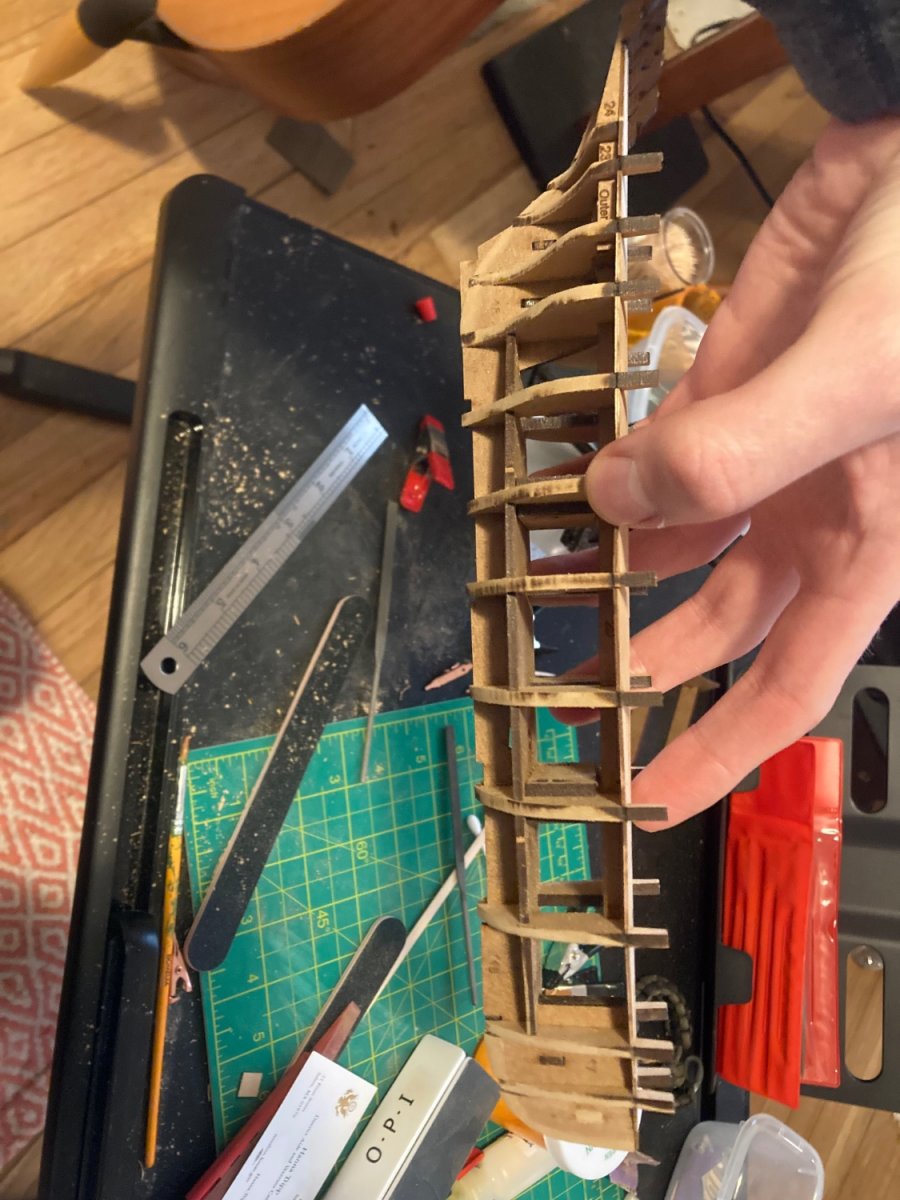
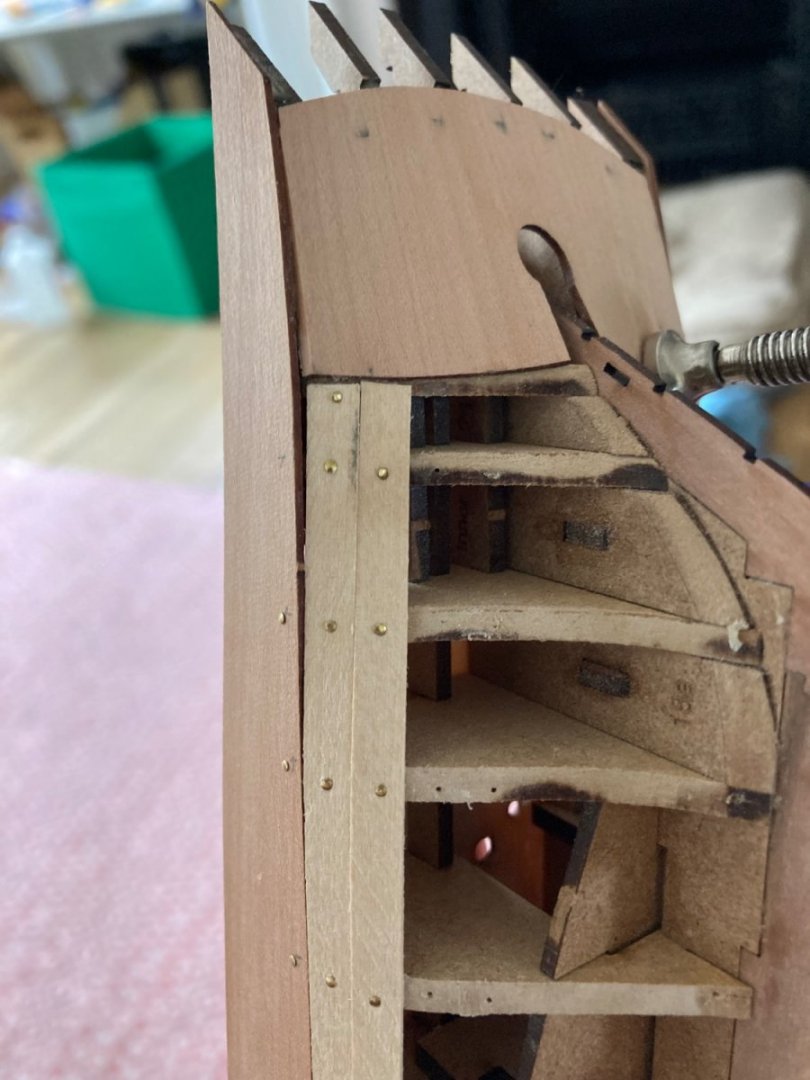
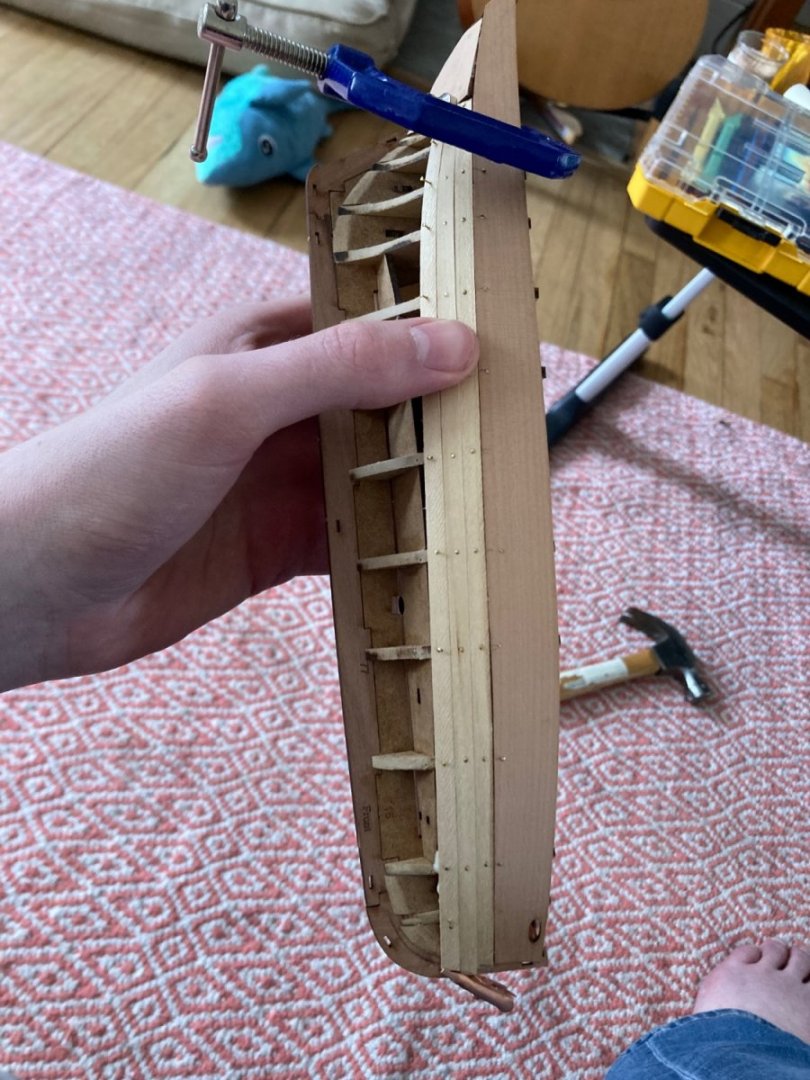
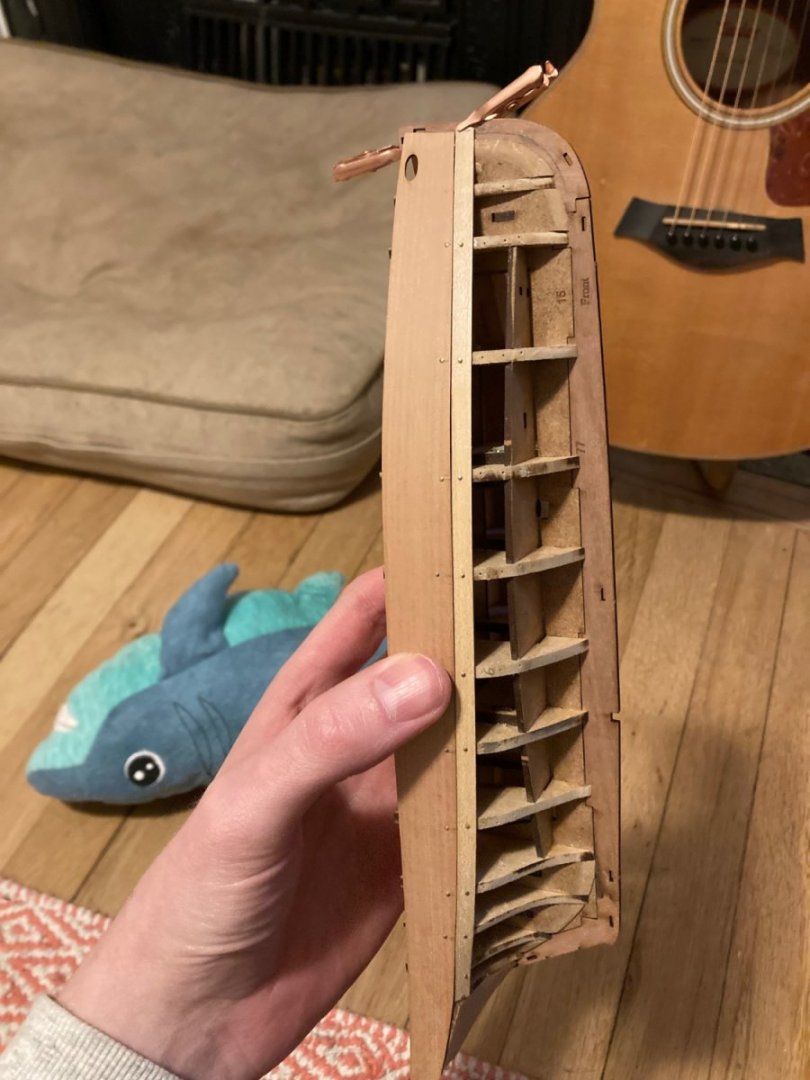
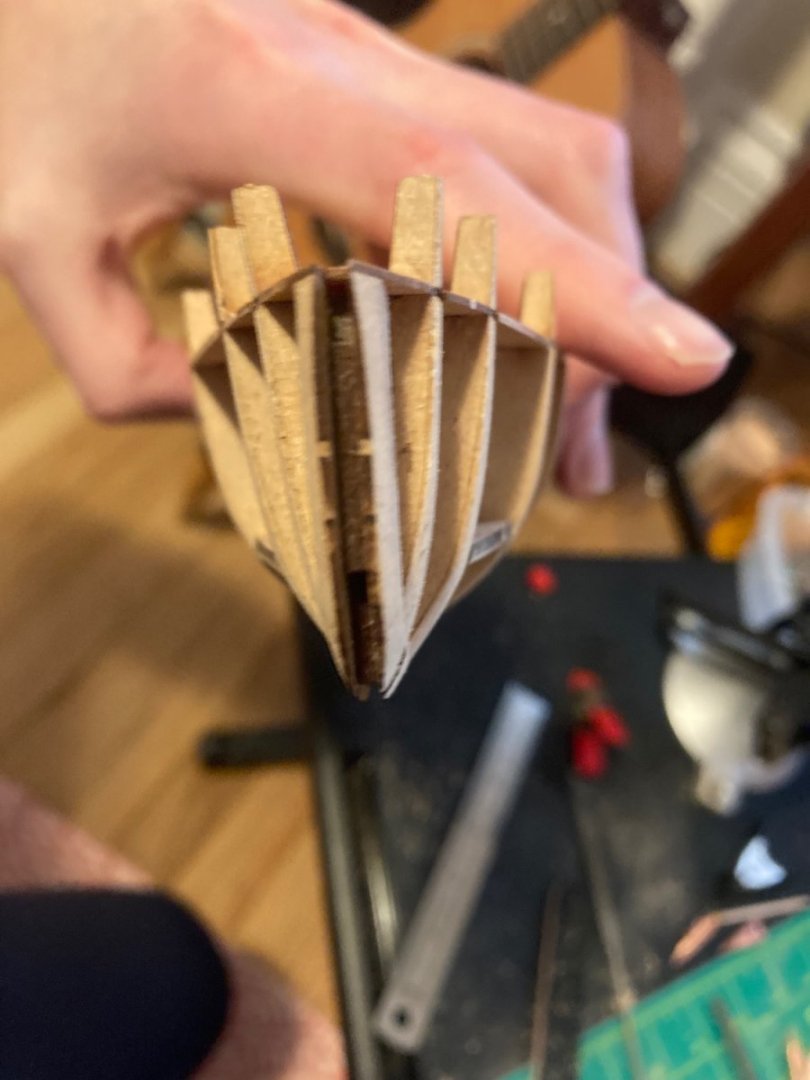
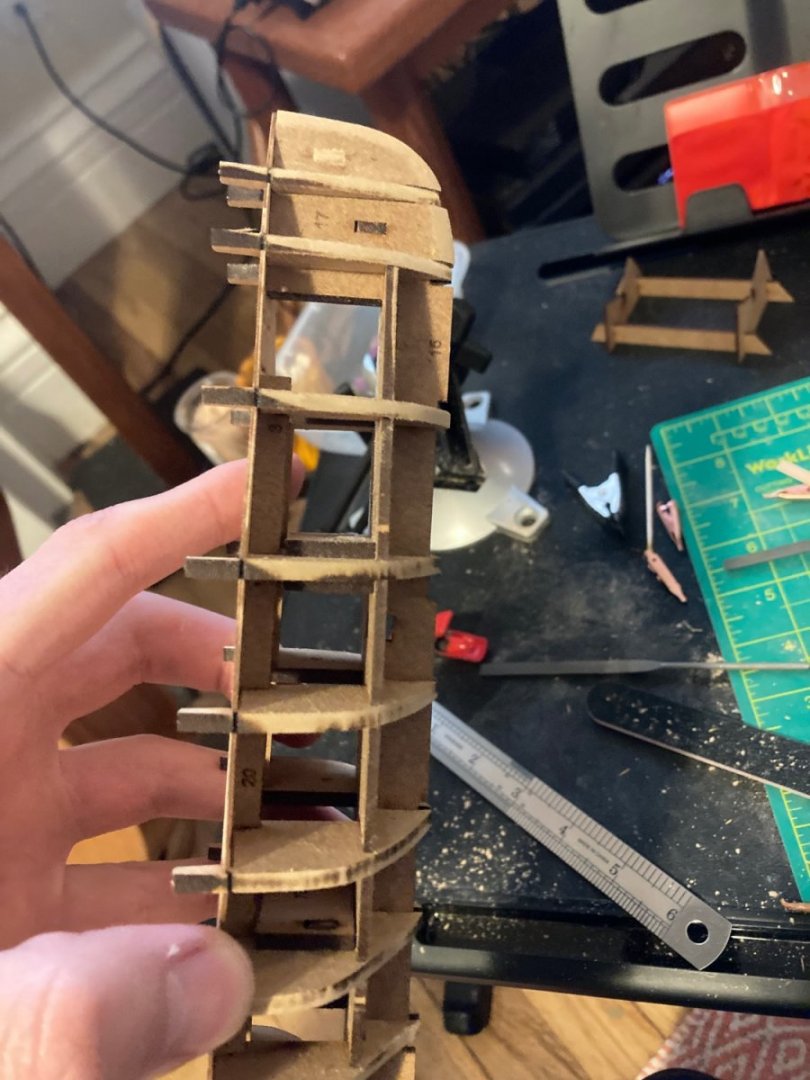
I finally mustered up the courage to start fairing! Going off well established wisdom of you all I have been sanding 3 bulkheads at a time. I feel like I am just echoing the what Andyrew, Ajohnson and Grey have said in their build logs but flexible sanding sticks seem to be a must (or at least is the easiest way I have found) I seem to making progress but I am still having a hard time telling whether or not I am done and I am also not entirely sure how I should be checking contact with the bulkheads- do I use a plank to check contact of all bulkheads at once or in sections. Not entire sure how to check contact either on the aft bulkheads where it starts to curve up (picture 1)

-
@glbarlow @SpyGlass @Peanut6 @oldsalt Making progress but I had a few more questions 1)Do you use a full plank when checking contact with the bulkheads? 2) Should I try and see if the plank makes contact with all the bulk heads at once or can I check contact in sections? (ie: checking contacts bulkheads 1-4 for section 1, 4-8 for sections 2 etc.) 3) Any advice for checking contact when the planks start to curve/twist at at the aft? (picture 1) Appreciate the help!


-
Just have to say that I am absolutely floored by the response (and encouragement!) and that this is truly a wonderful community! I am going to take the leap tonight and I will keep you all posted!
-
Hi Allan, I am trying to fair the frames/bulkheads Thanks! Hanna
-
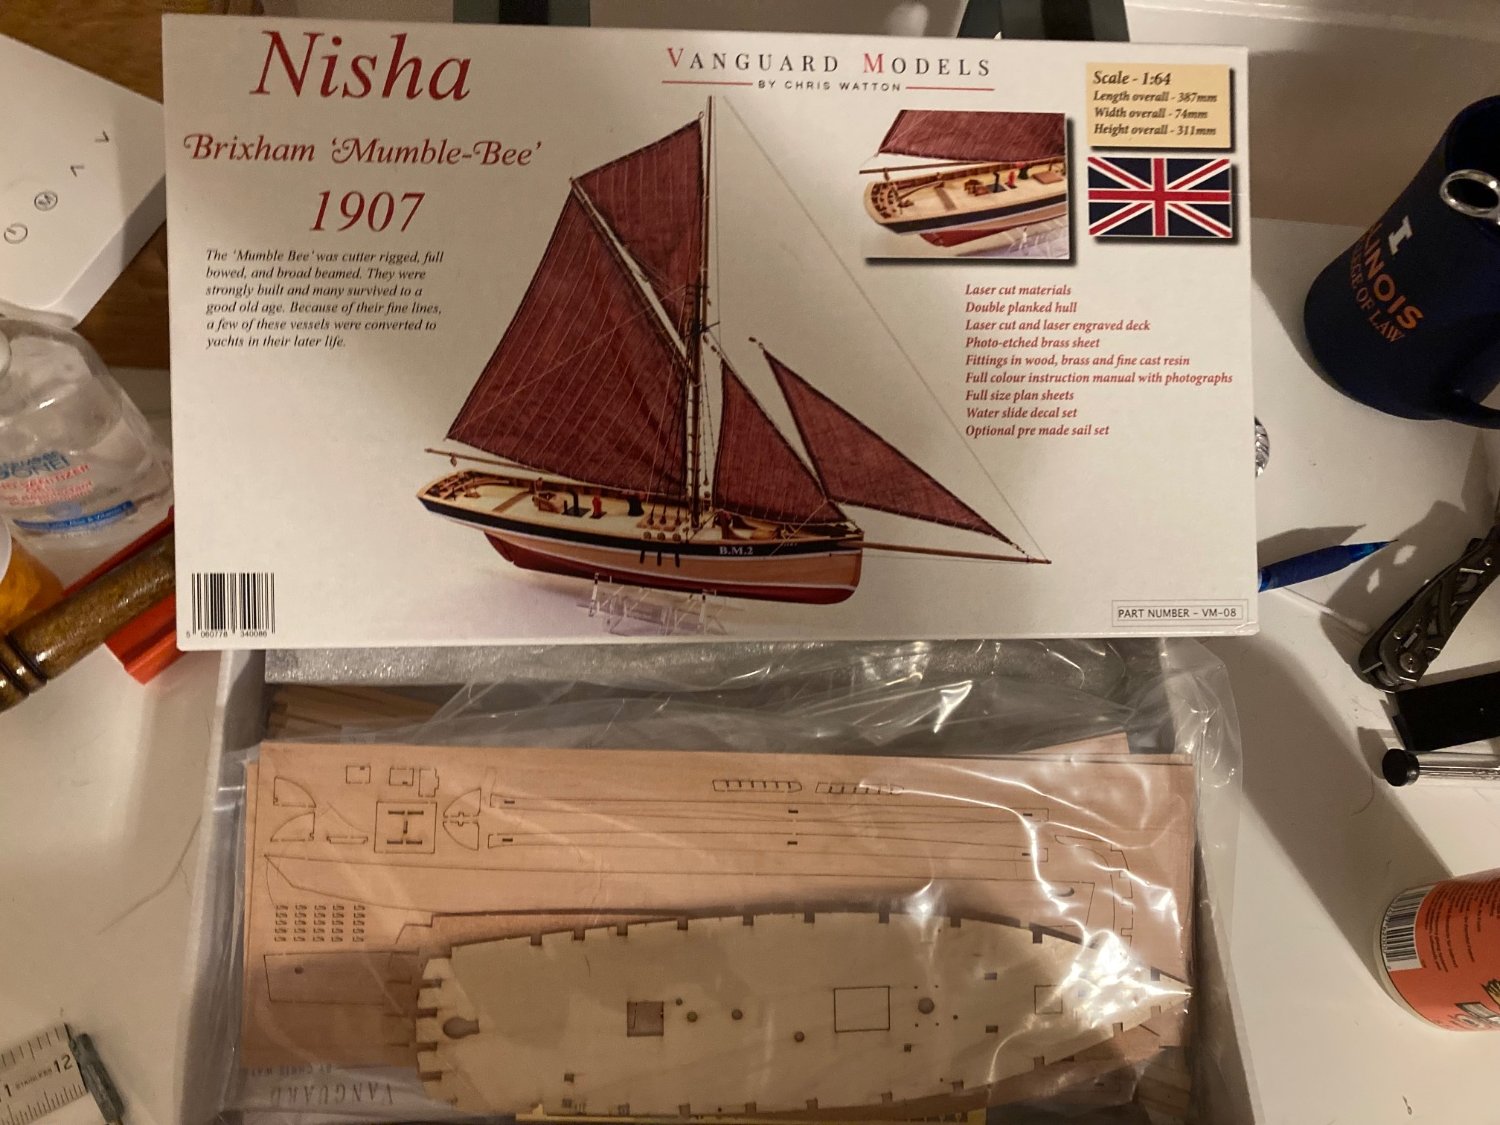
Hi All, I have been looking through the forms on various techniques but for whatever reason I am REALLY worried about messing this step up. I wanted to see if anyone not only had "idiot proof" advice but also could tell me pit falls to avoid. One of my main fears is overdoing it and thus losing the overall structure of the ship so is there are rule of thumb for how much sanding is needed before checking with the plank. Is there a method to quickly checking the bevel is correct for multiple planks without lining them all up. I actually bought flexible emory board esq sanding sticks which people recommended so hopefully that makes the process less complicated. Ultimately, I feel like this is way less complicated (or maybe the FEAR is real!) than I am imagining it so I really appreciate any help for getting out of my head. For context, I am currently working on the fantastic boat Nisha by Vanguard which I am in the nascent stages of a build log https://modelshipworld.com/topic/31683-nisha-by-glomar-vanguard-models-164-brixham-mumble-bee/#comment-898192
-
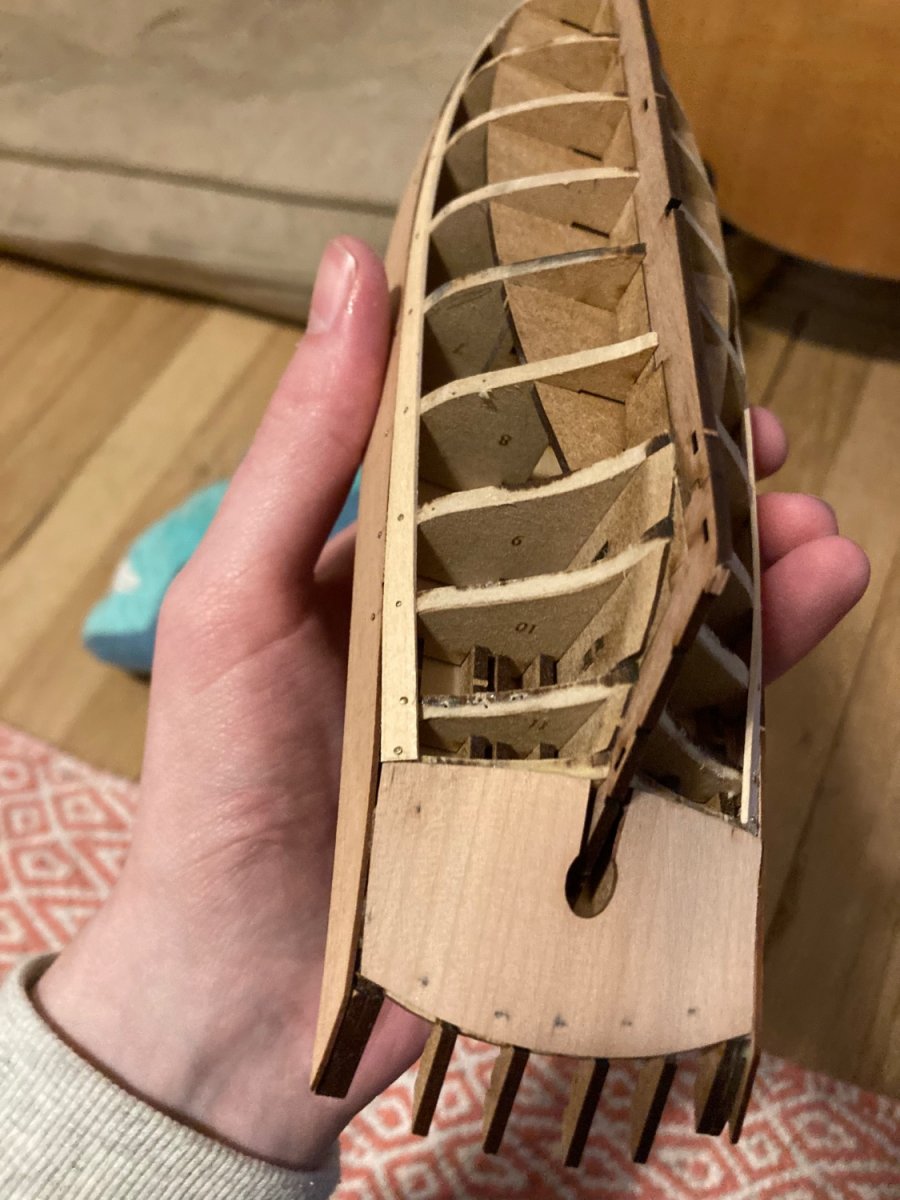
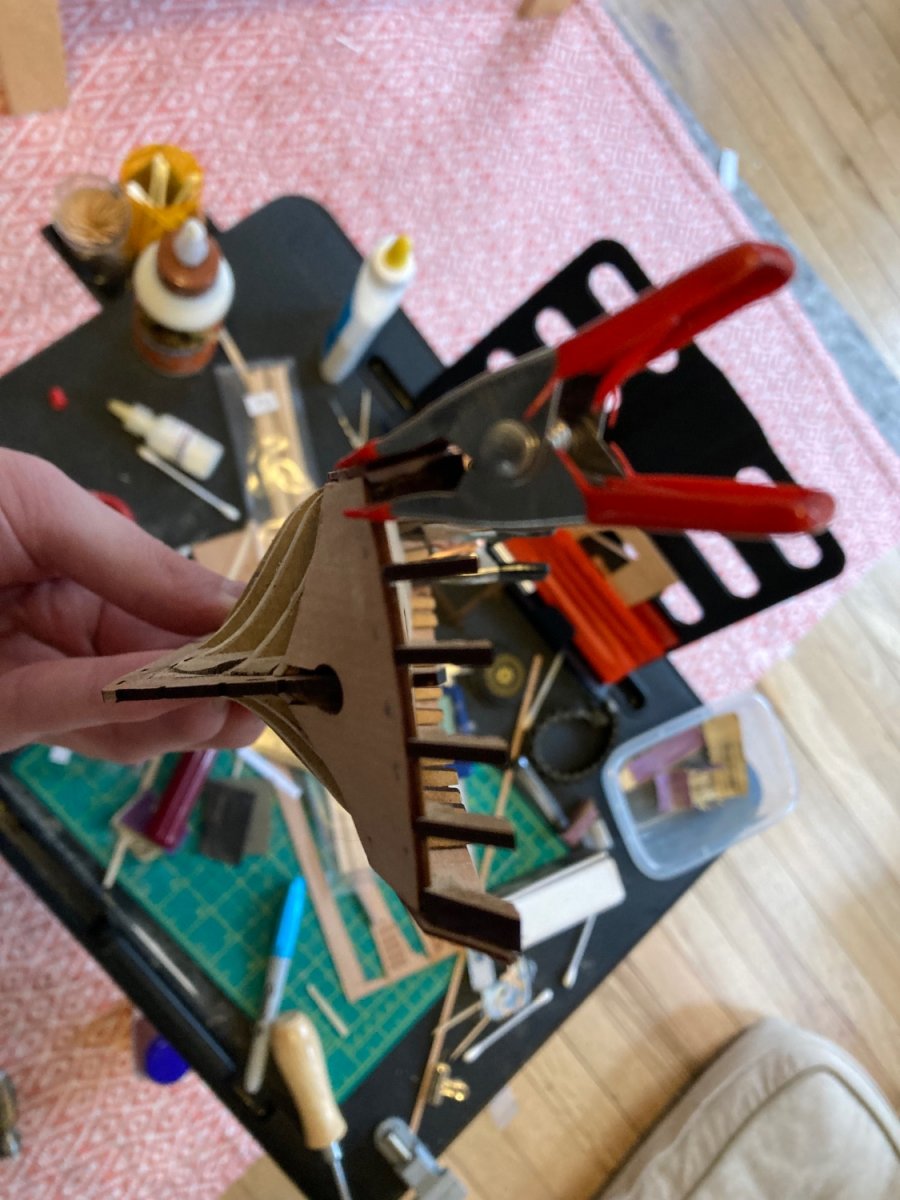
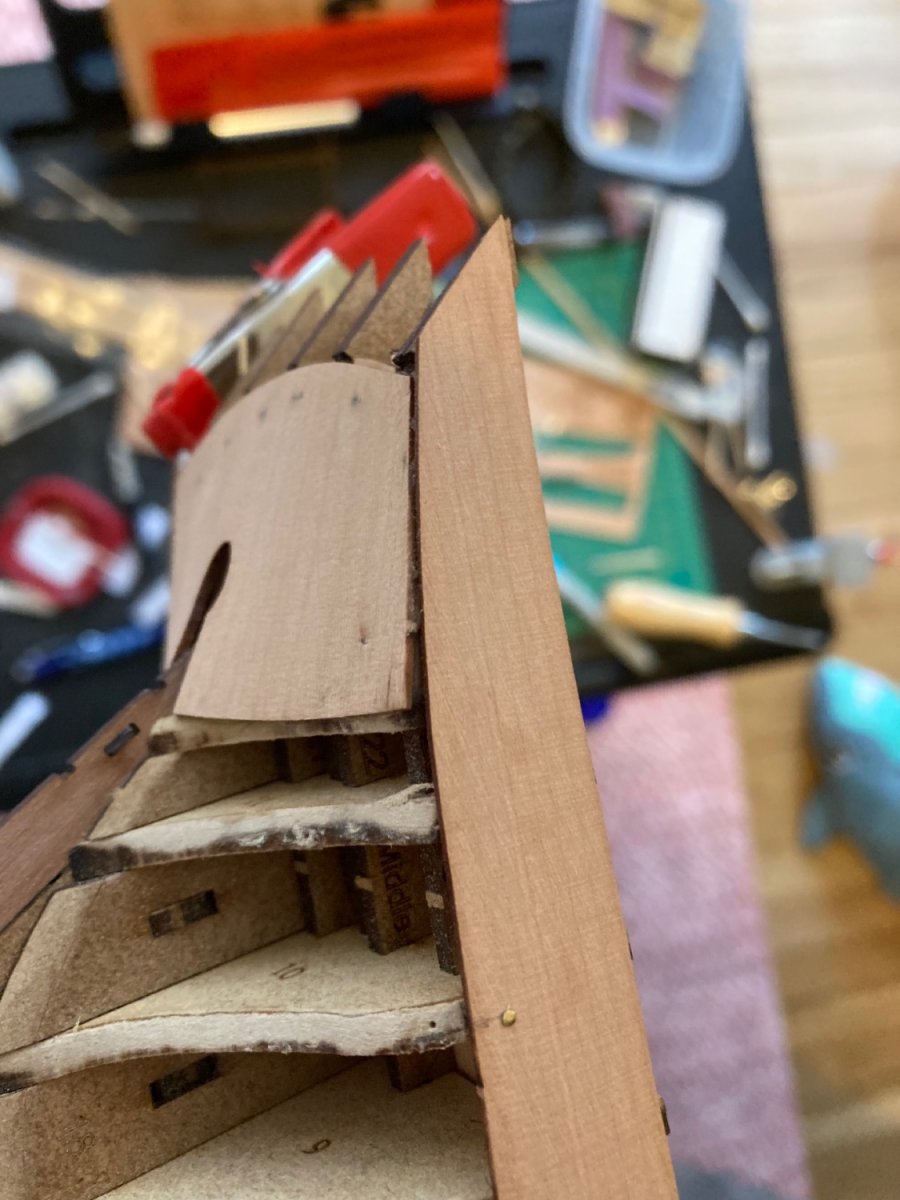
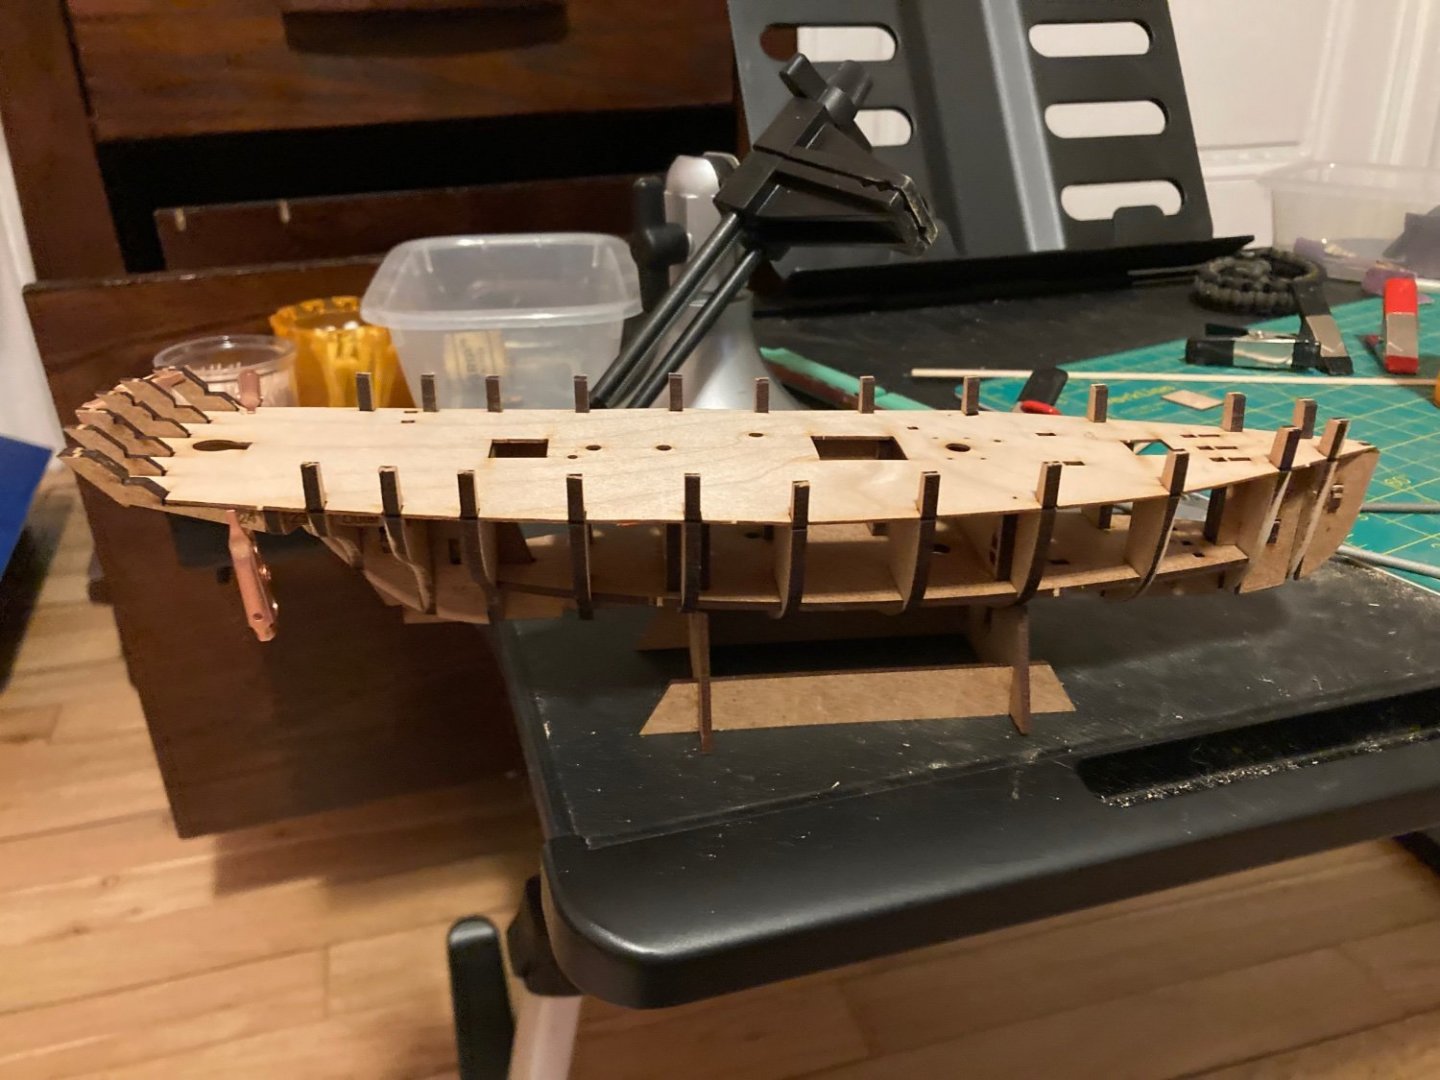
Everything seems to be coming along nicely! Like others before me, it took me a bit to find the courage to flex the deck in place but it really just fits right in. Part of the deck did splinter a bit but it was nothing tragic or consequently. It really is incredible how perfectly everything has fit so far and it really has been plug and play. Even now the boat feels SOLID when picking it up. Next step is fairing. This is the first model in which I had to to do planking like this so a bit nervous. Any pointers or tips would be super appreciated!
-
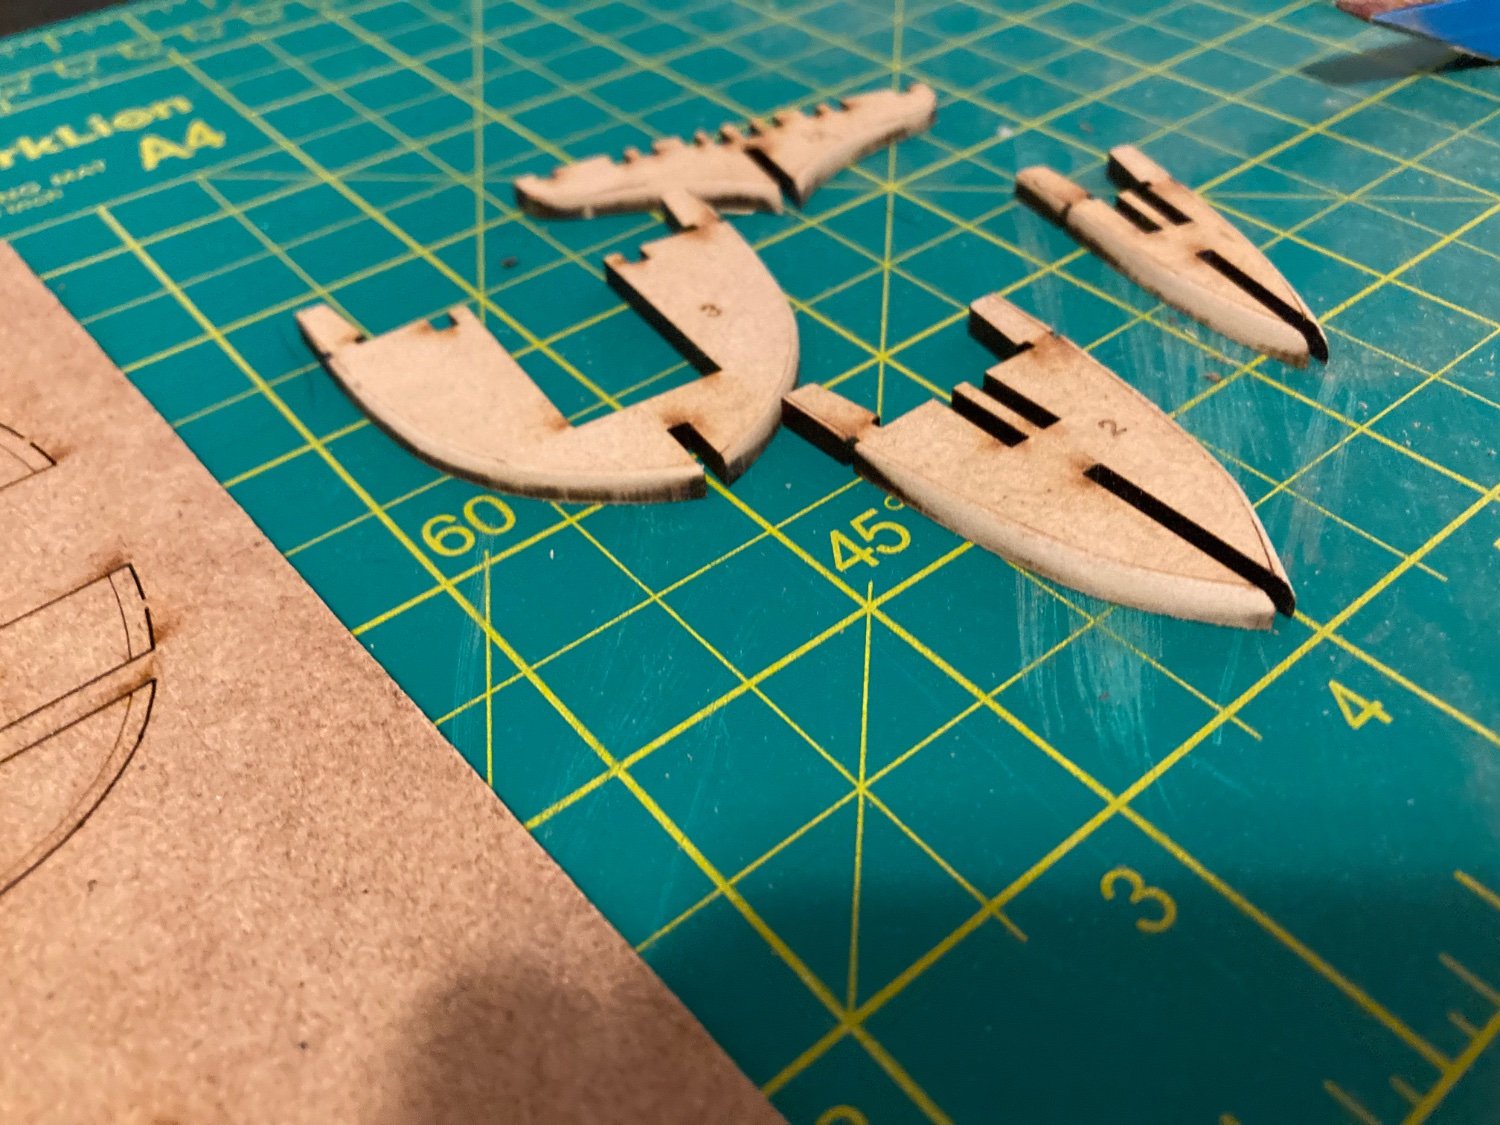
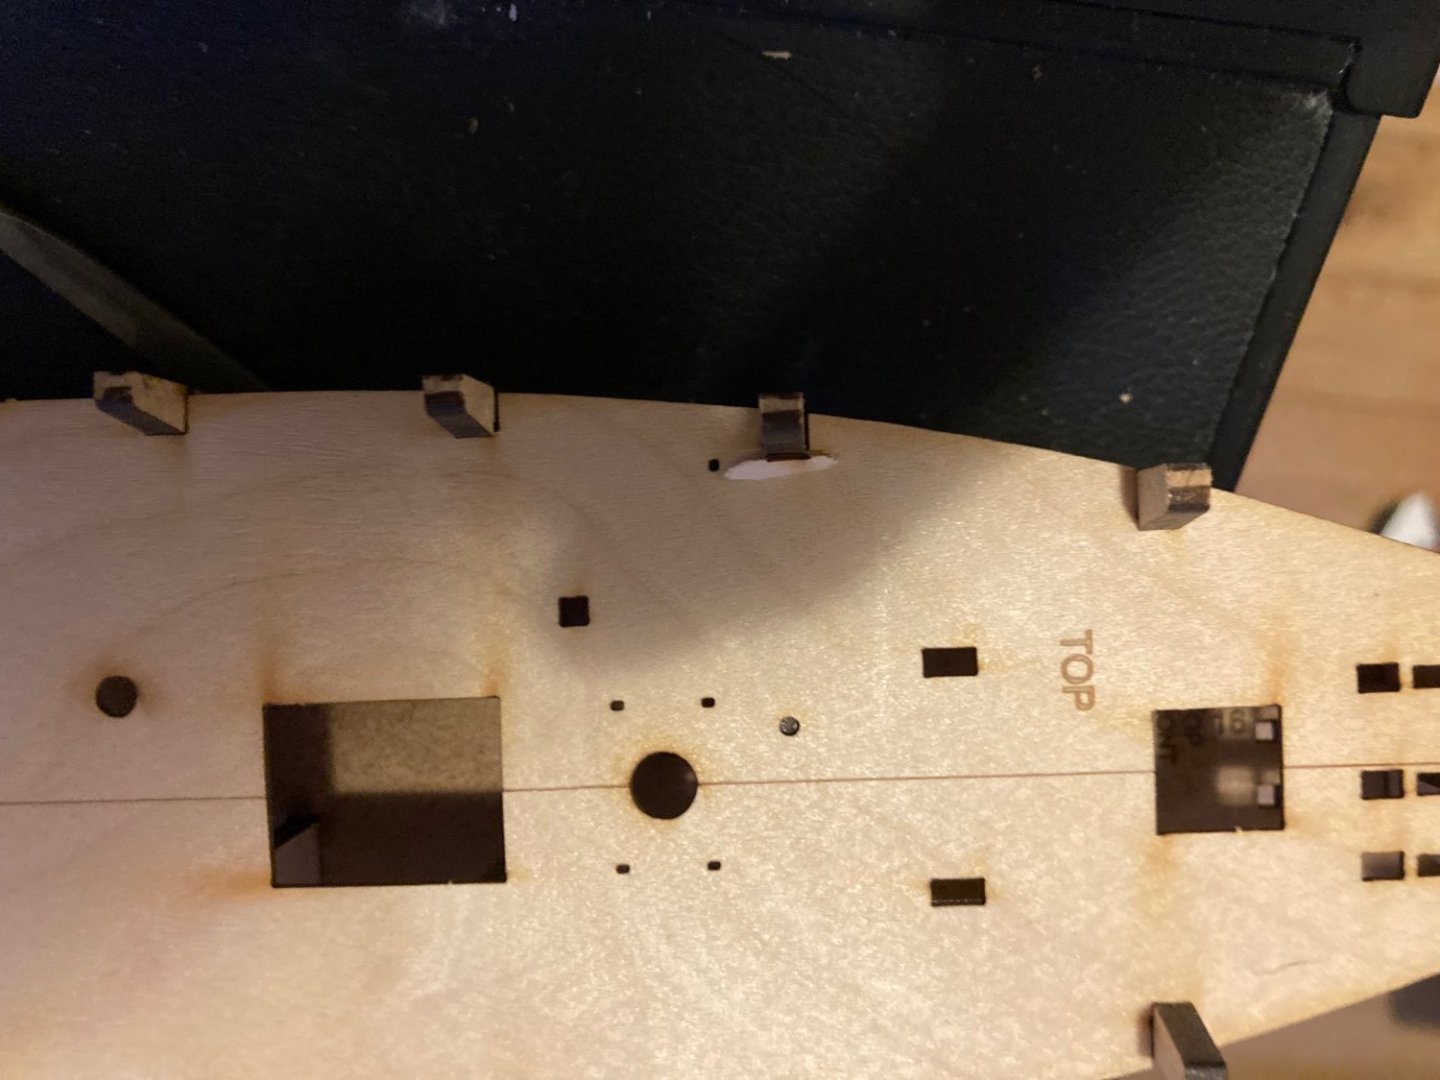
First update just involves the joys of sanding! There edge for the bevel is laser etched but I not sure when to stop. I dried fit some of the pieces and they slotted in beautifully though

-
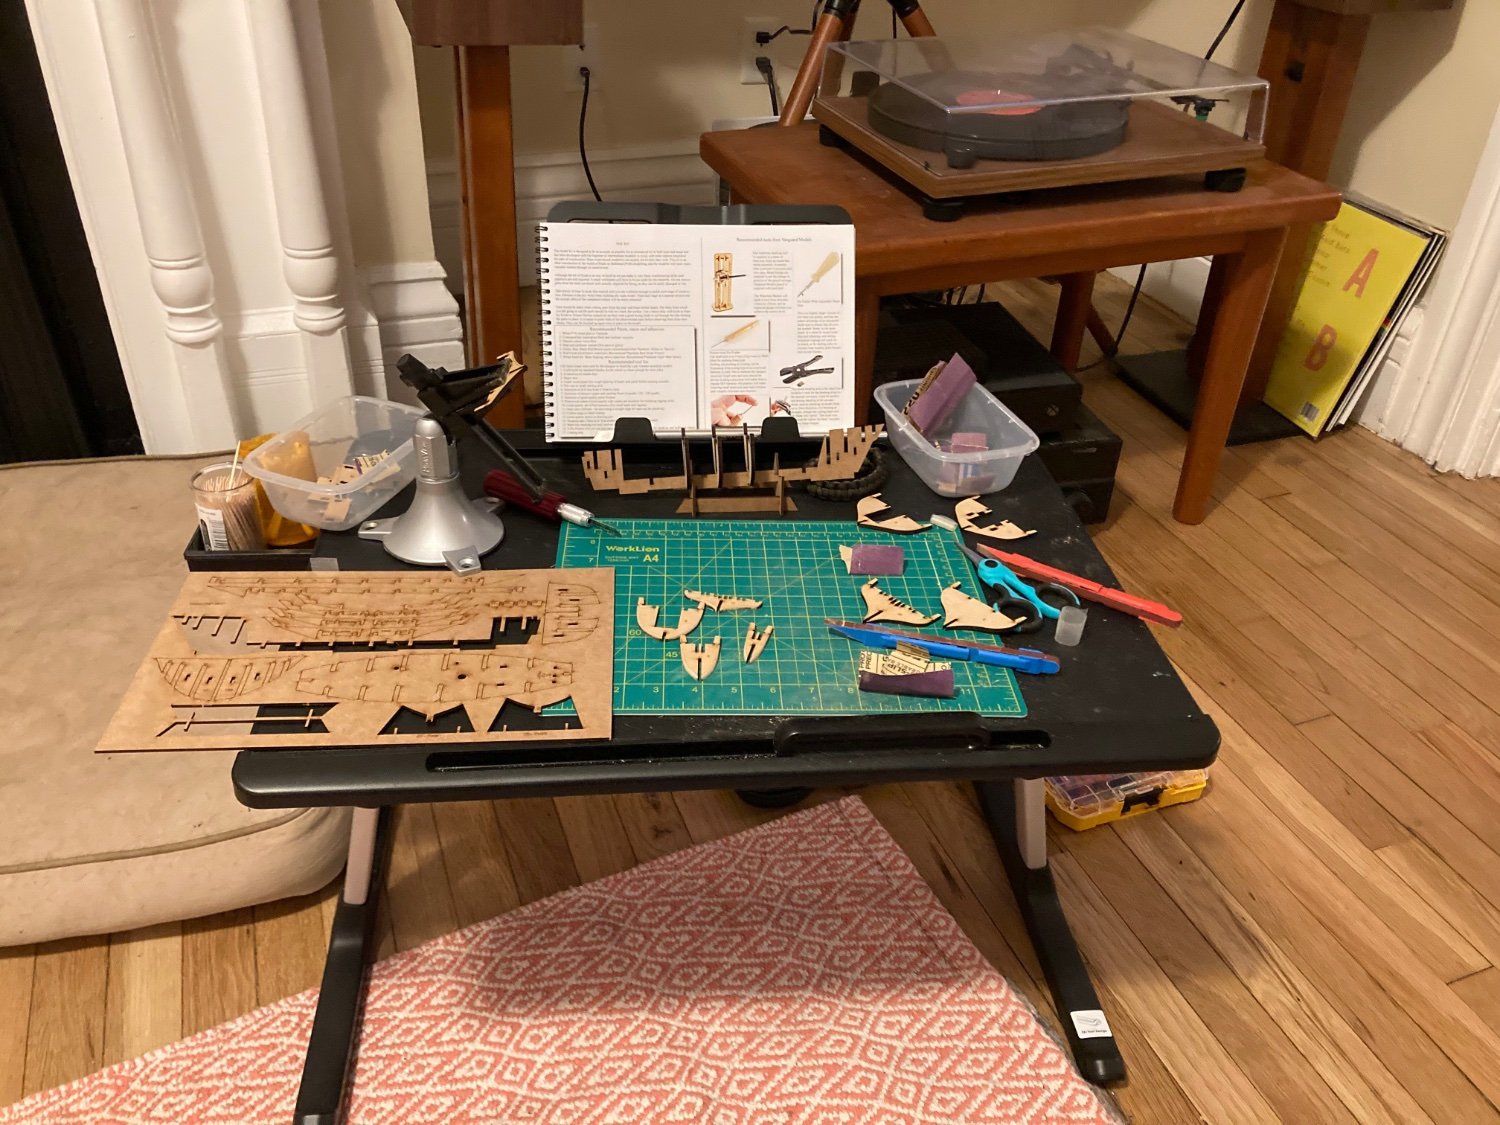
Hi All! I am a beginner builder having just completed Model Shipways Grand Banks Dory and Norwegian Sailing pram. I picked this model because it seemed like a good transition into rigging and I heard nothing but great things in regards to quality and accessibility. Definitely not saying anything novel when noting the quality seems to incredible as well as the instructions I live in smallish apartment so I got this portable table on which I do alot of the smaller projects (with the added benefit of using the TV!) Not sure if this is the right format but looking forward to working on this!