HOLIDAY DONATION DRIVE - SUPPORT MSW - DO YOUR PART TO KEEP THIS GREAT FORUM GOING! (89 donations so far out of 49,000 members - C'mon guys!)
×


Steve1970
-
Posts
16 -
Joined
-
Last visited
Content Type
Profiles
Forums
Gallery
Events
Everything posted by Steve1970
-
 Three thoughts on shellac. 1) Shellac is an excellent sealer and the raised grain and 'fuzz' can be sanded off in 10-15 minutes. You can reapply many coats and sand in a single sitting and get a really nice smooth surface. This is extremely nice if you are working with end grain that you want smooth. 2) Shellac is repairable since it will dissolve with denatured alcohol. 3) You can always use WOP over the shellac if you prefer the look or sheen of it.
- 43 replies
-
- 2
-

-
- Lady Isabella
- zulu
- (and 1 more)
-
Dust collector jig for sanding drum....
Steve1970 replied to Sterling59's topic in Modeling tools and Workshop Equipment
Dale, that's a good idea and I was curious what is out there, so I did some searching... https://www.etsy.com/listing/1351686357/rotary-tool-dremel-to-1-78-shop-vac -
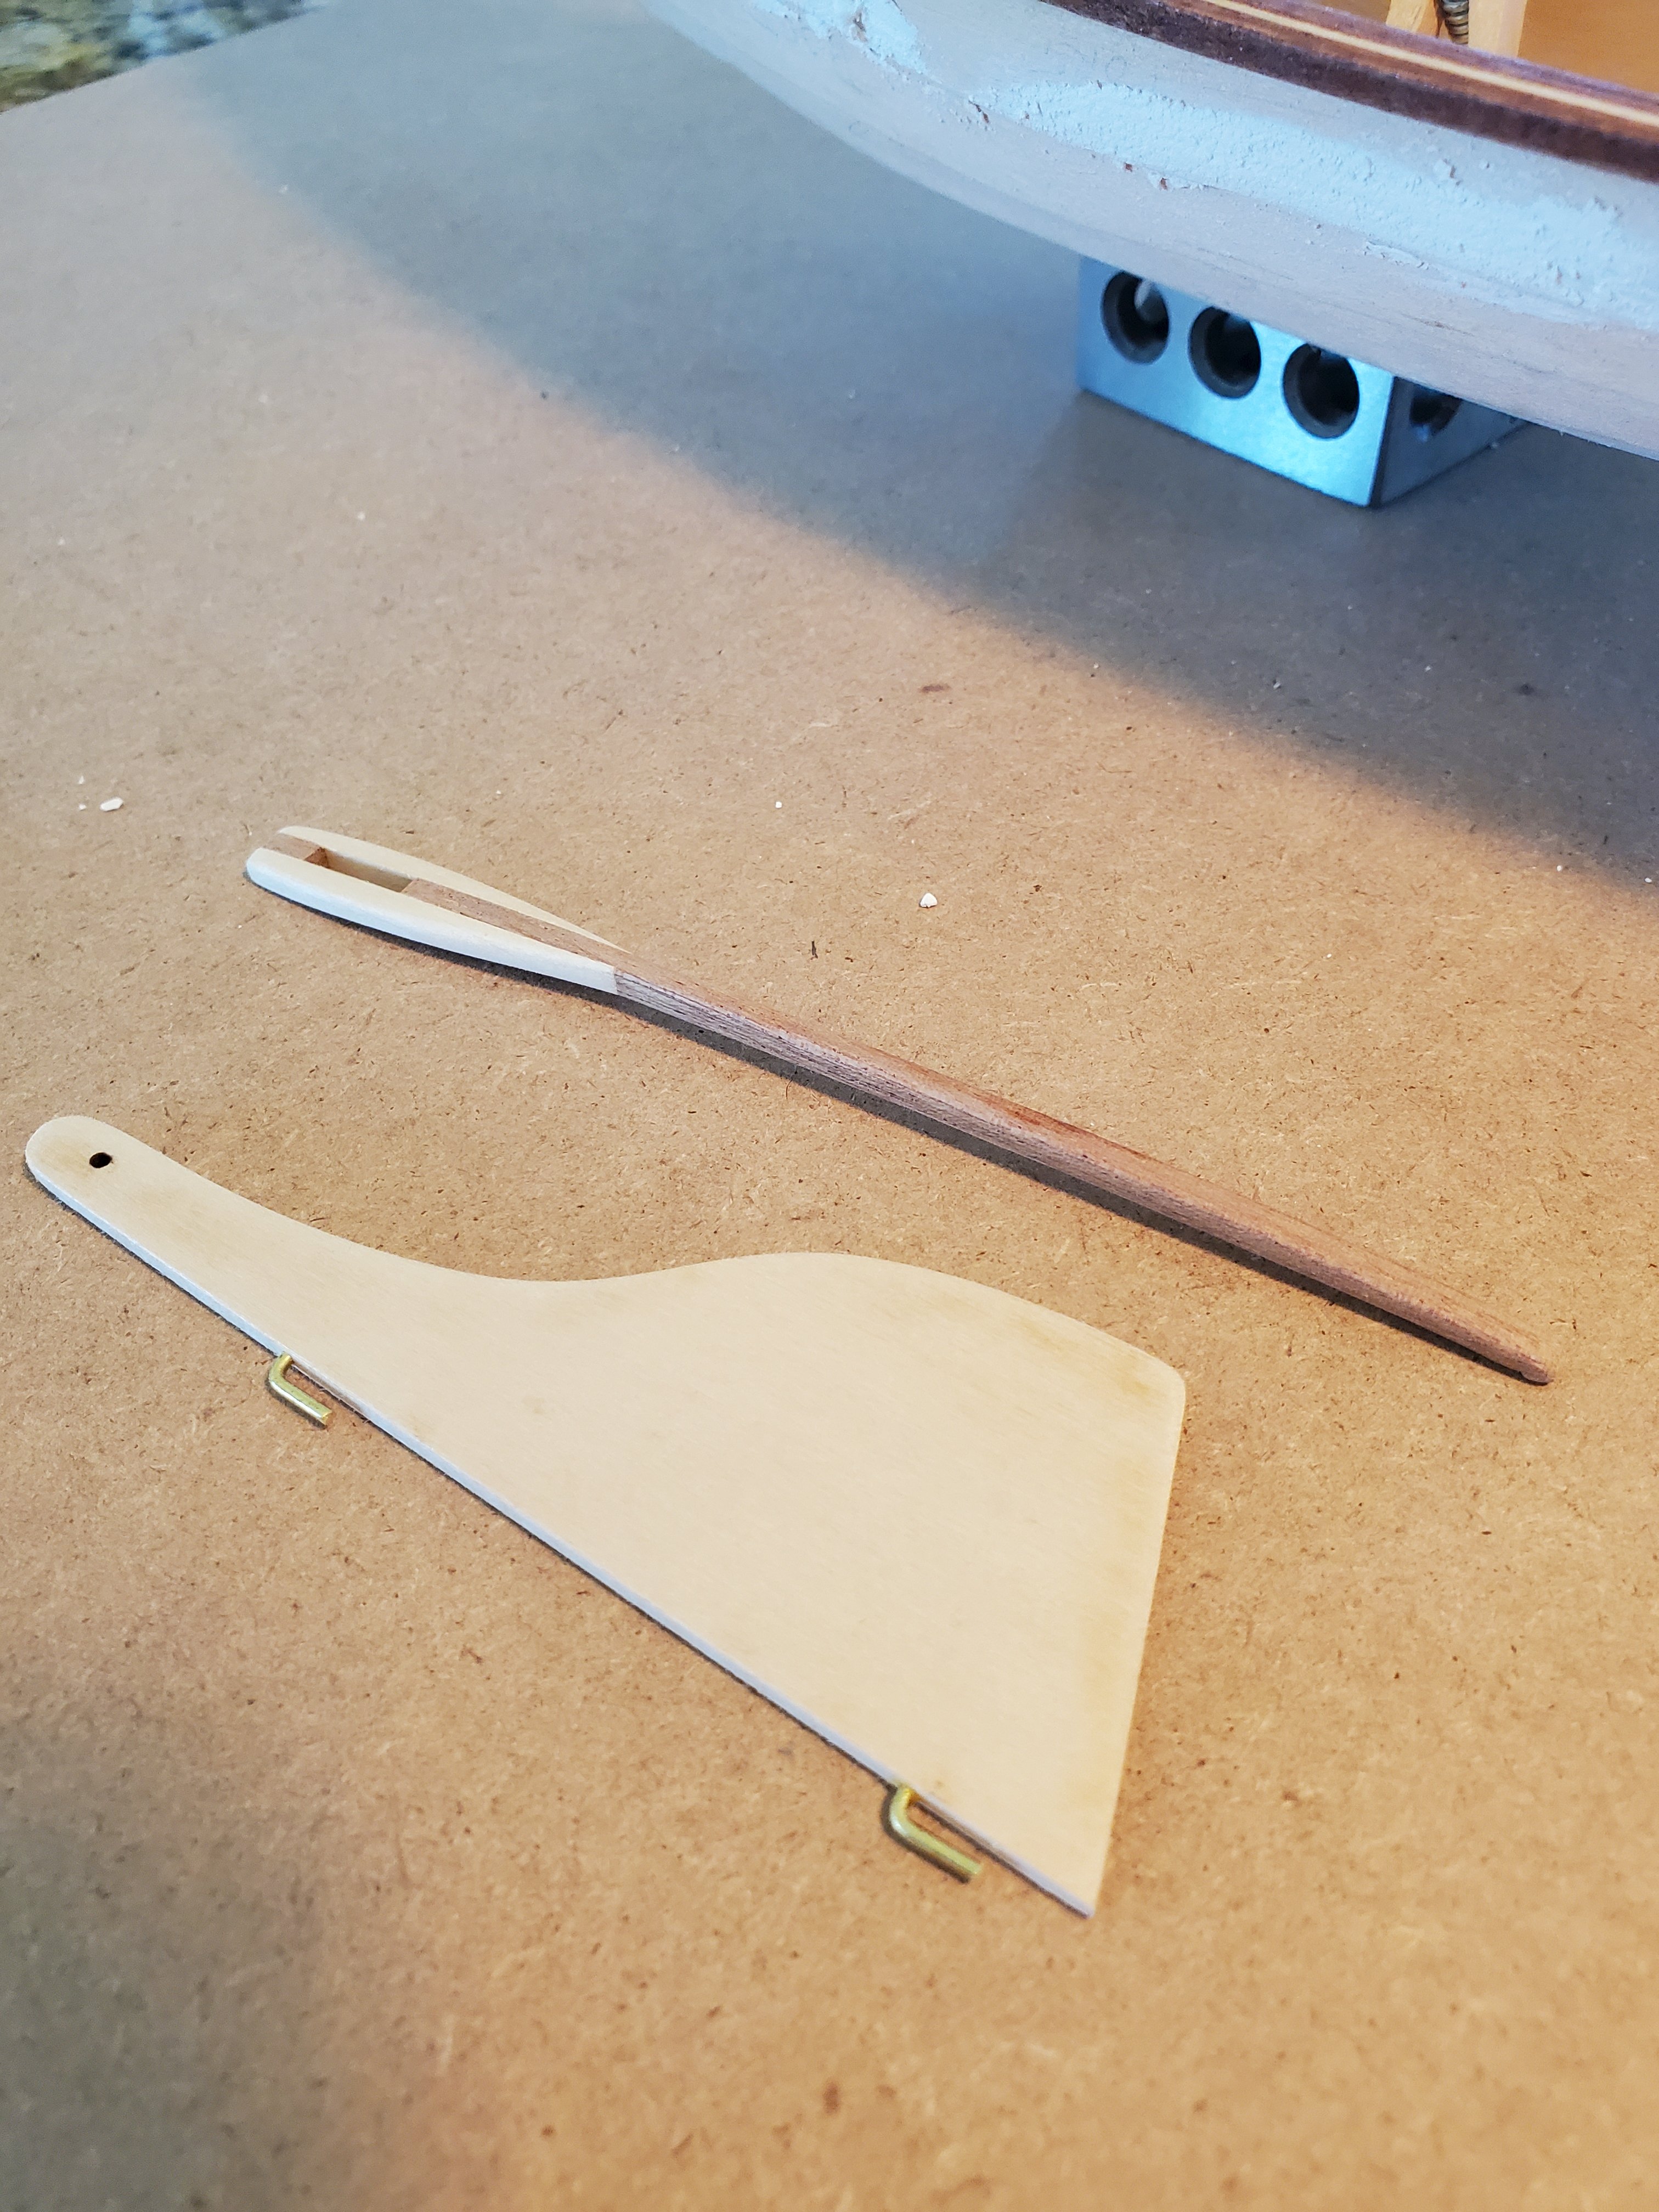
The rudder and tiller done. I had fun making the tiller. The choice of the mahogany tiller looks cool. I don't know how authentic that would be though. You can see in the background I used some spackle to try to get rid of an irritating wavy spot where the plank dried wrong. I blame too much or misplaced clamping of the wet plank. I ended sanding almost all of it away anyway and will have to live with the wave.

- 12 replies
-
- 2
-
-
- Swampscott Dory
- BlueJacket Shipcrafters
- (and 1 more)
-
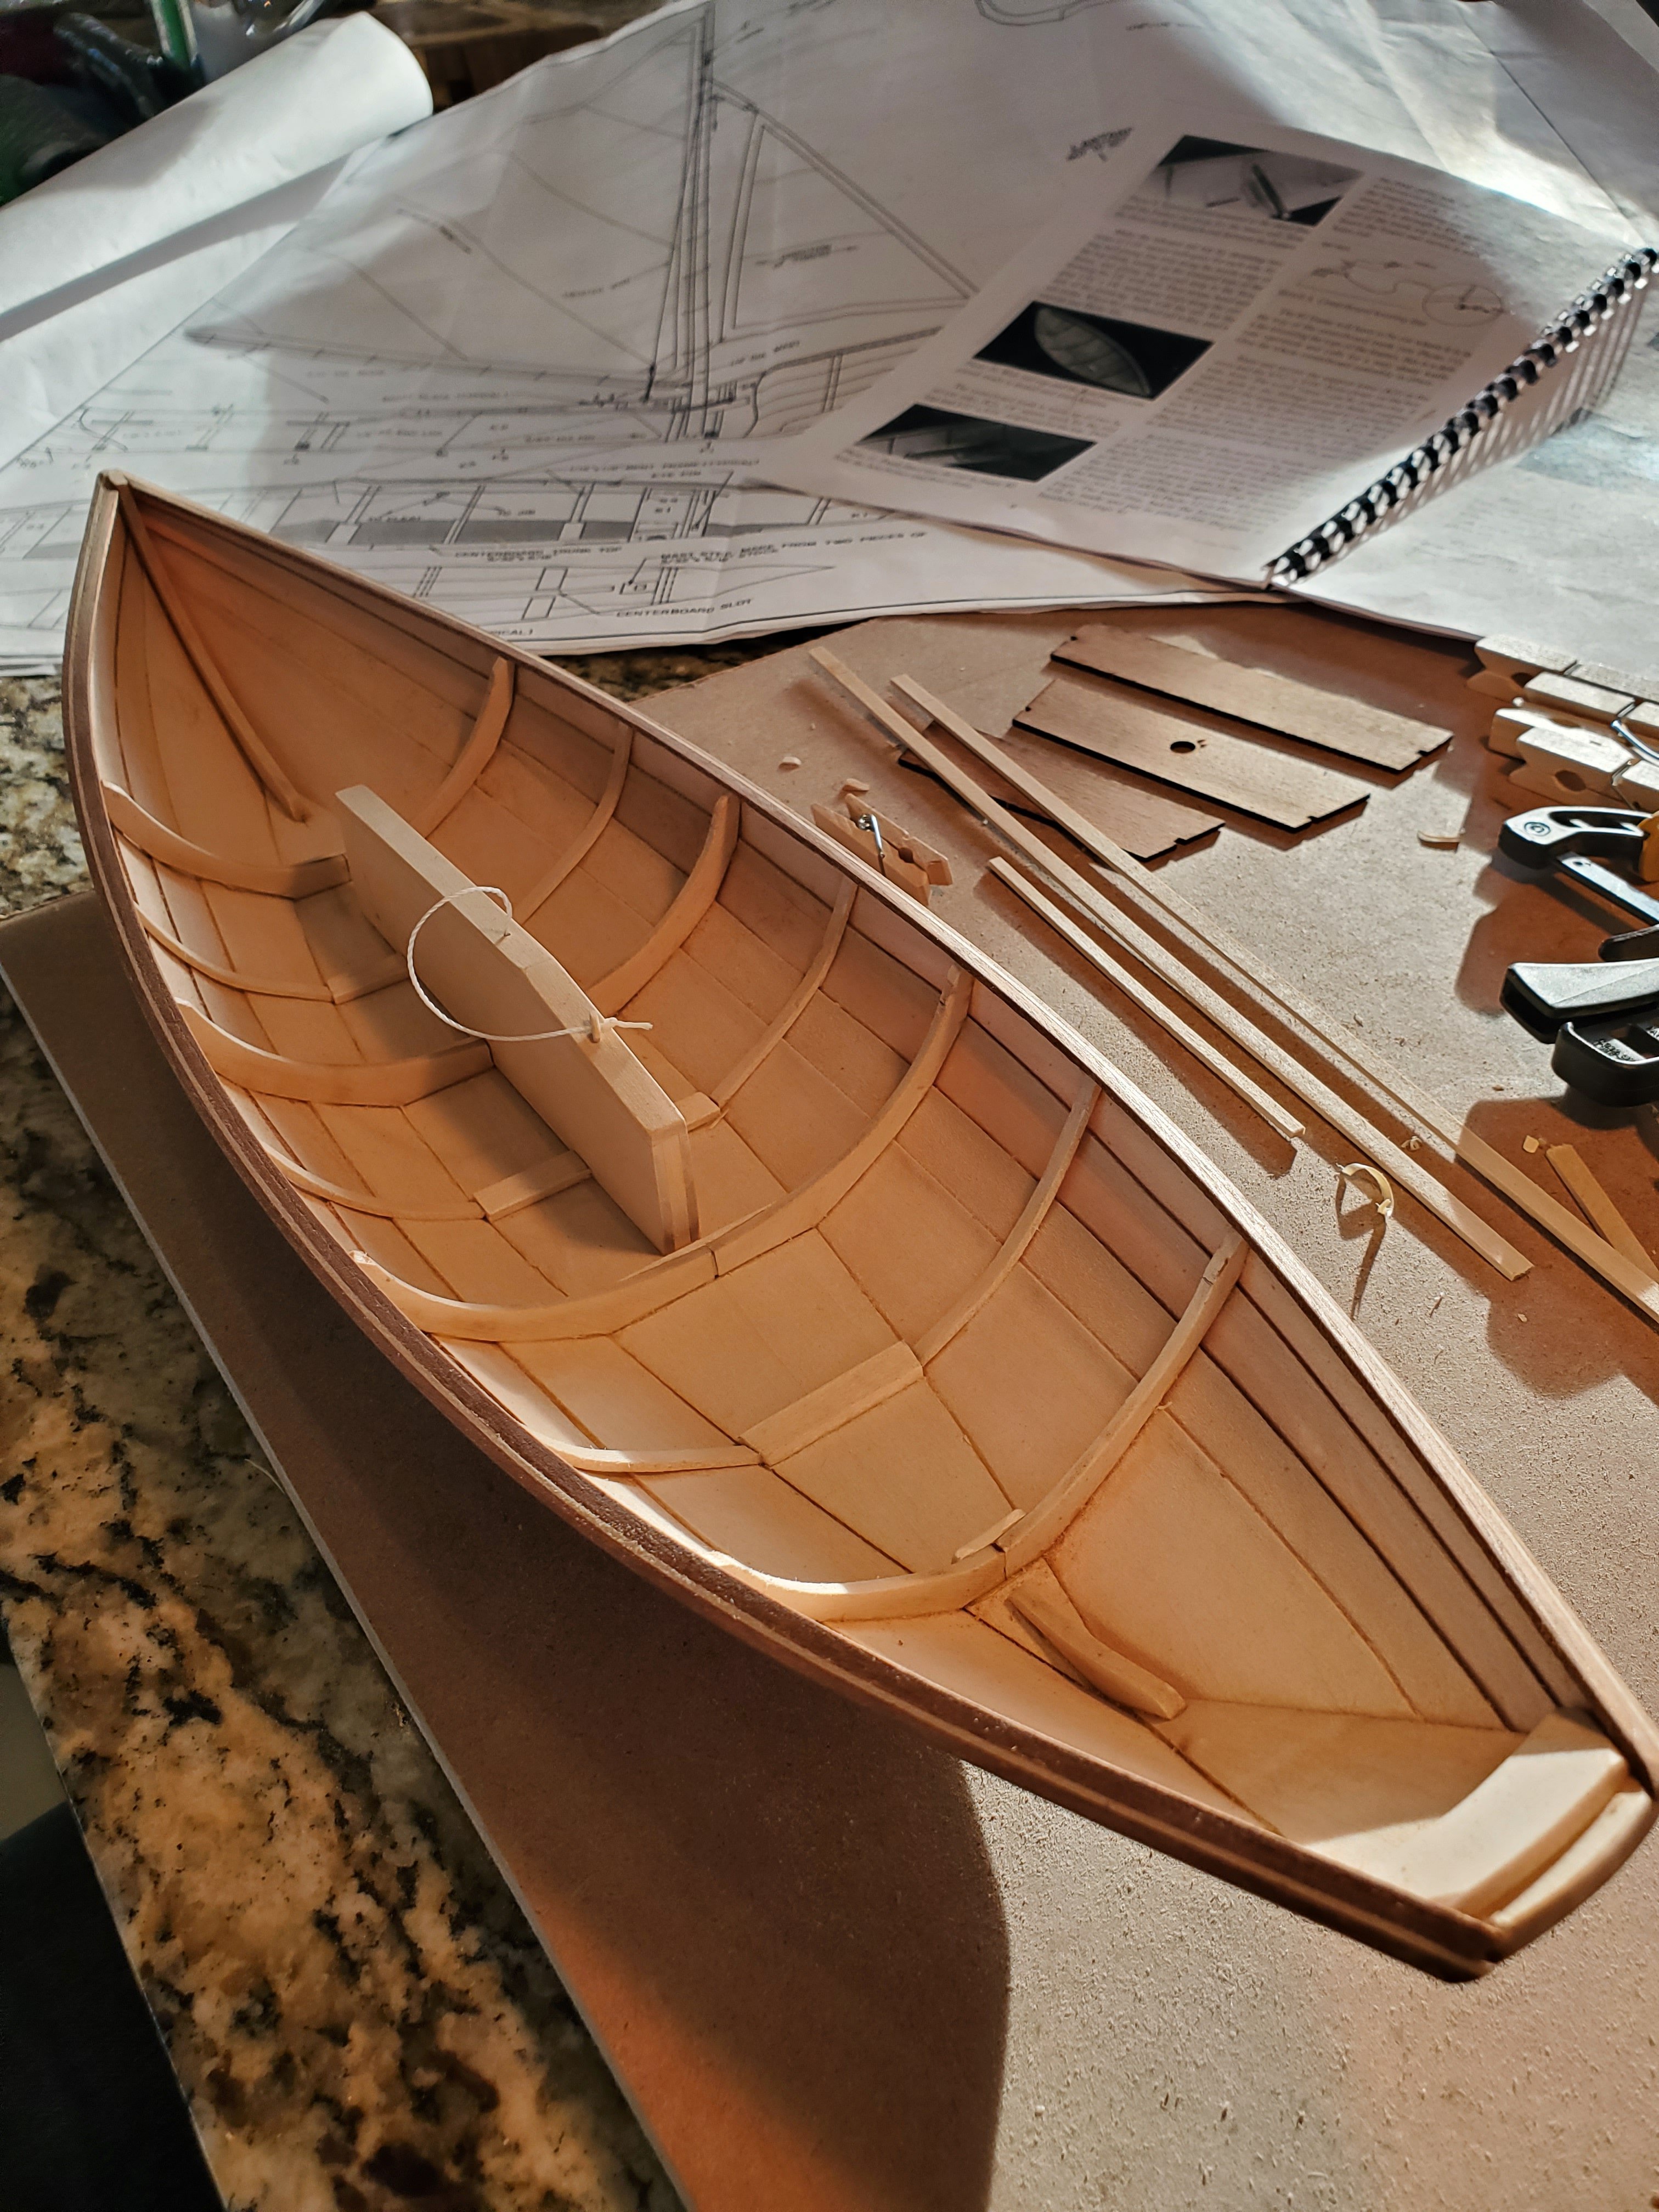
Seats were next. I made sure to trim the angles of the knees so they made contact with the hull planking. I had to cut back the top of the centerboard trunk because I did not dry fit everything and realize how they intersected.

- 12 replies
-
- 1
-
-
- Swampscott Dory
- BlueJacket Shipcrafters
- (and 1 more)
-
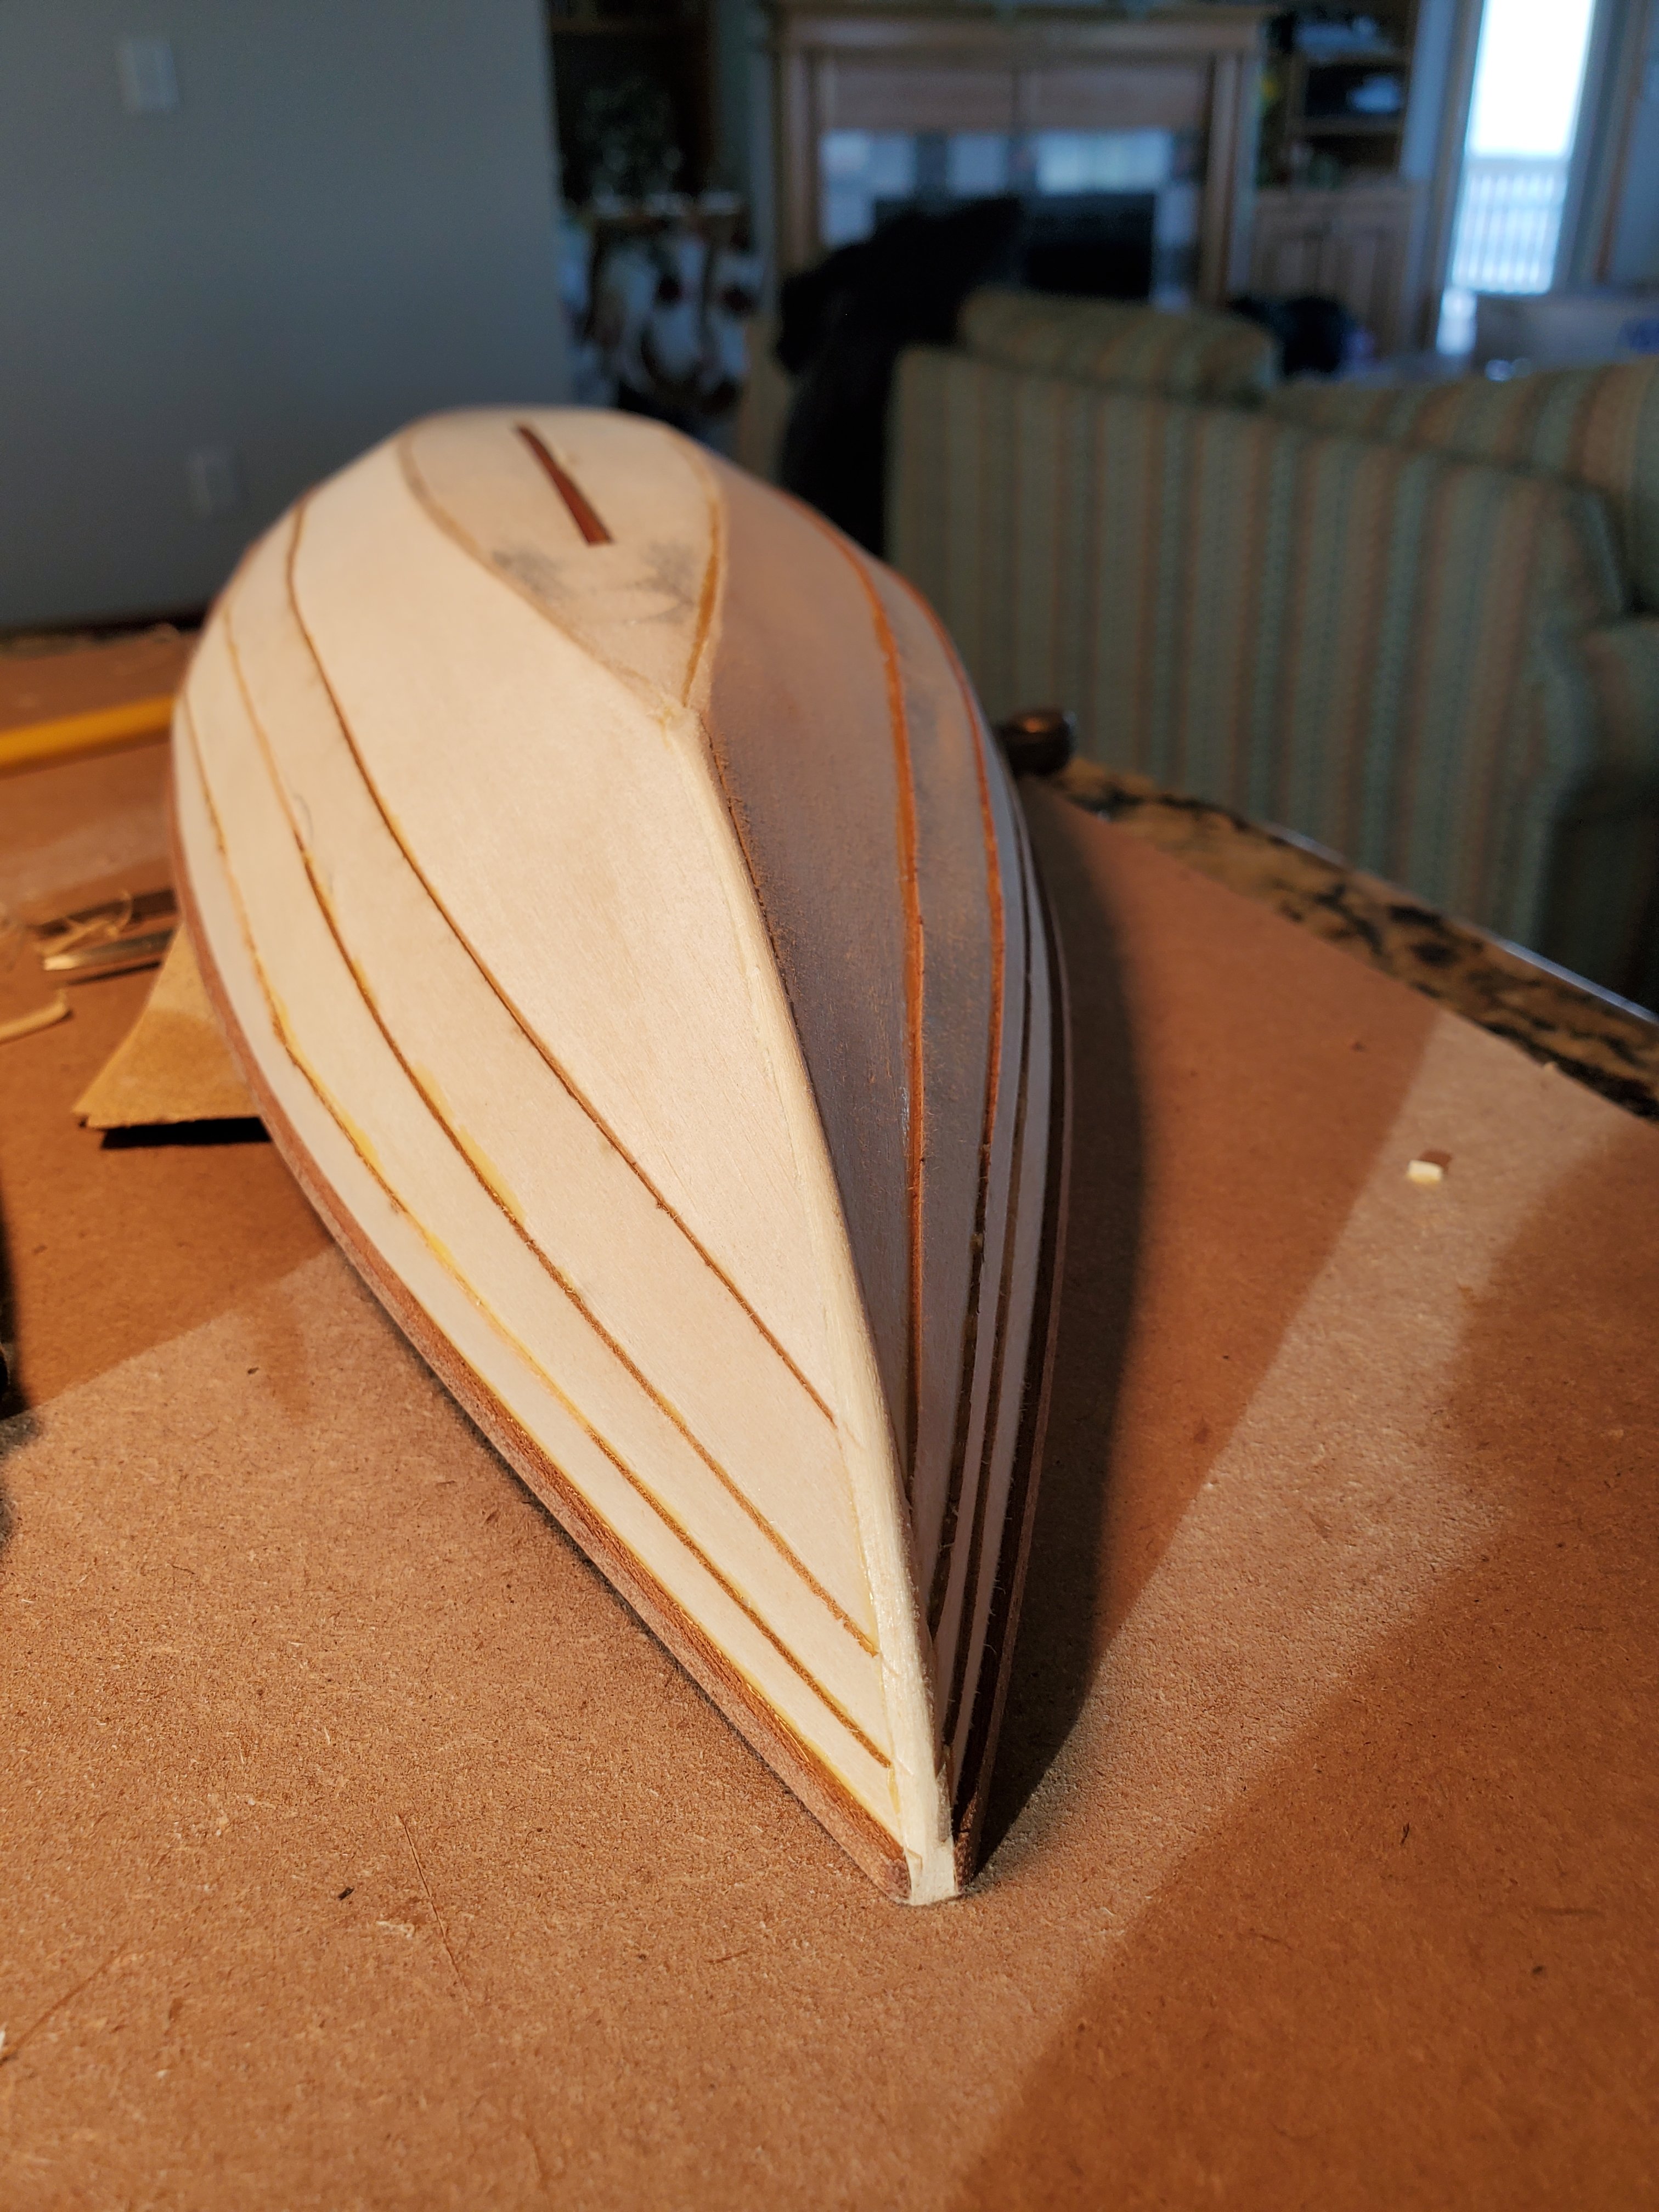
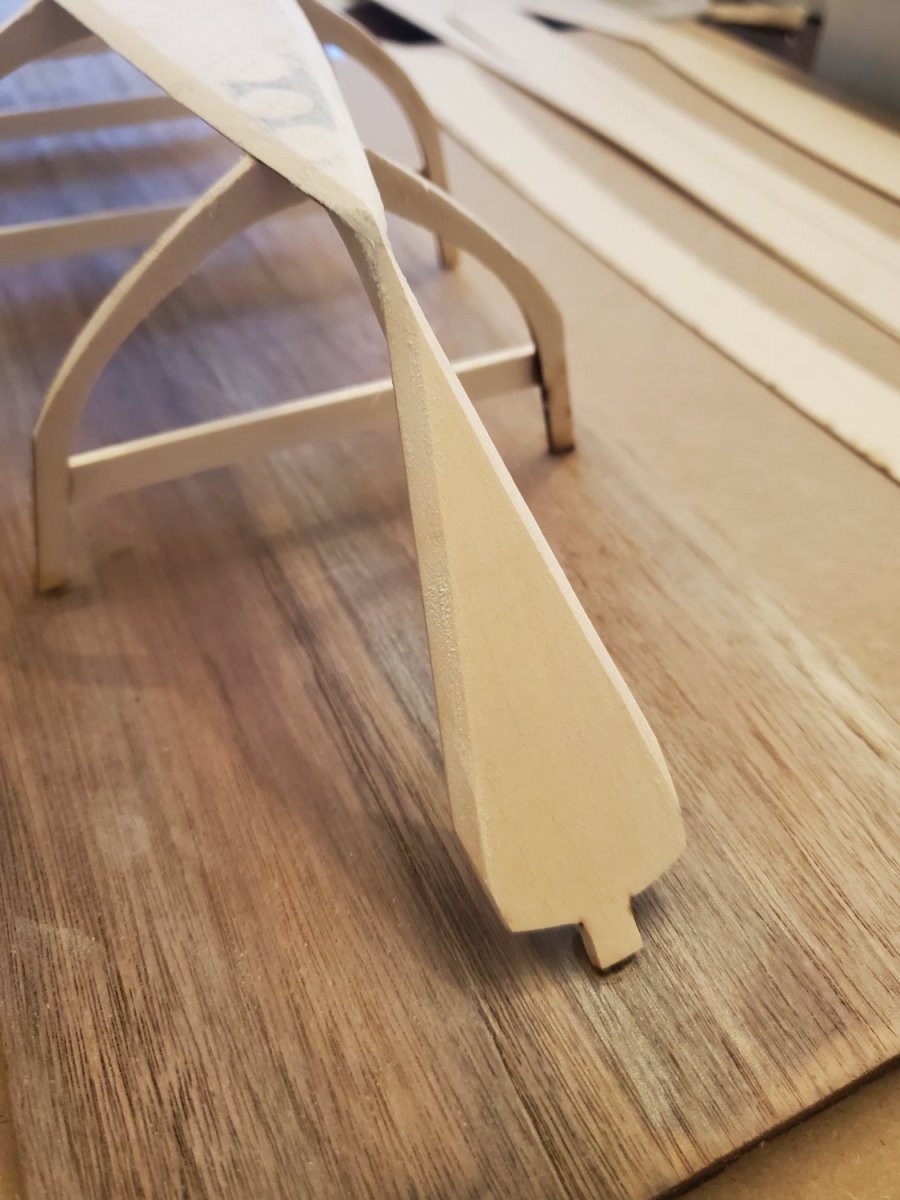
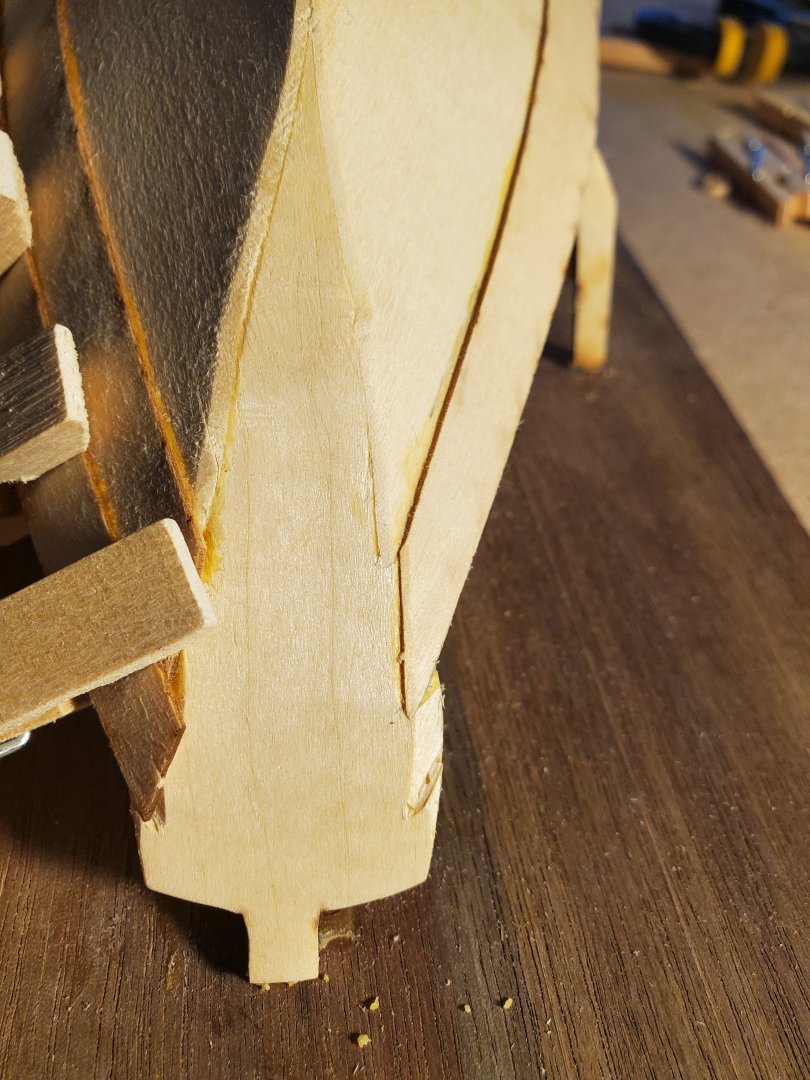
The stem cap when on nicely after filing down the intersection of the planks on the outside of the stem

- 12 replies
-
- 1
-
-
- Swampscott Dory
- BlueJacket Shipcrafters
- (and 1 more)
-
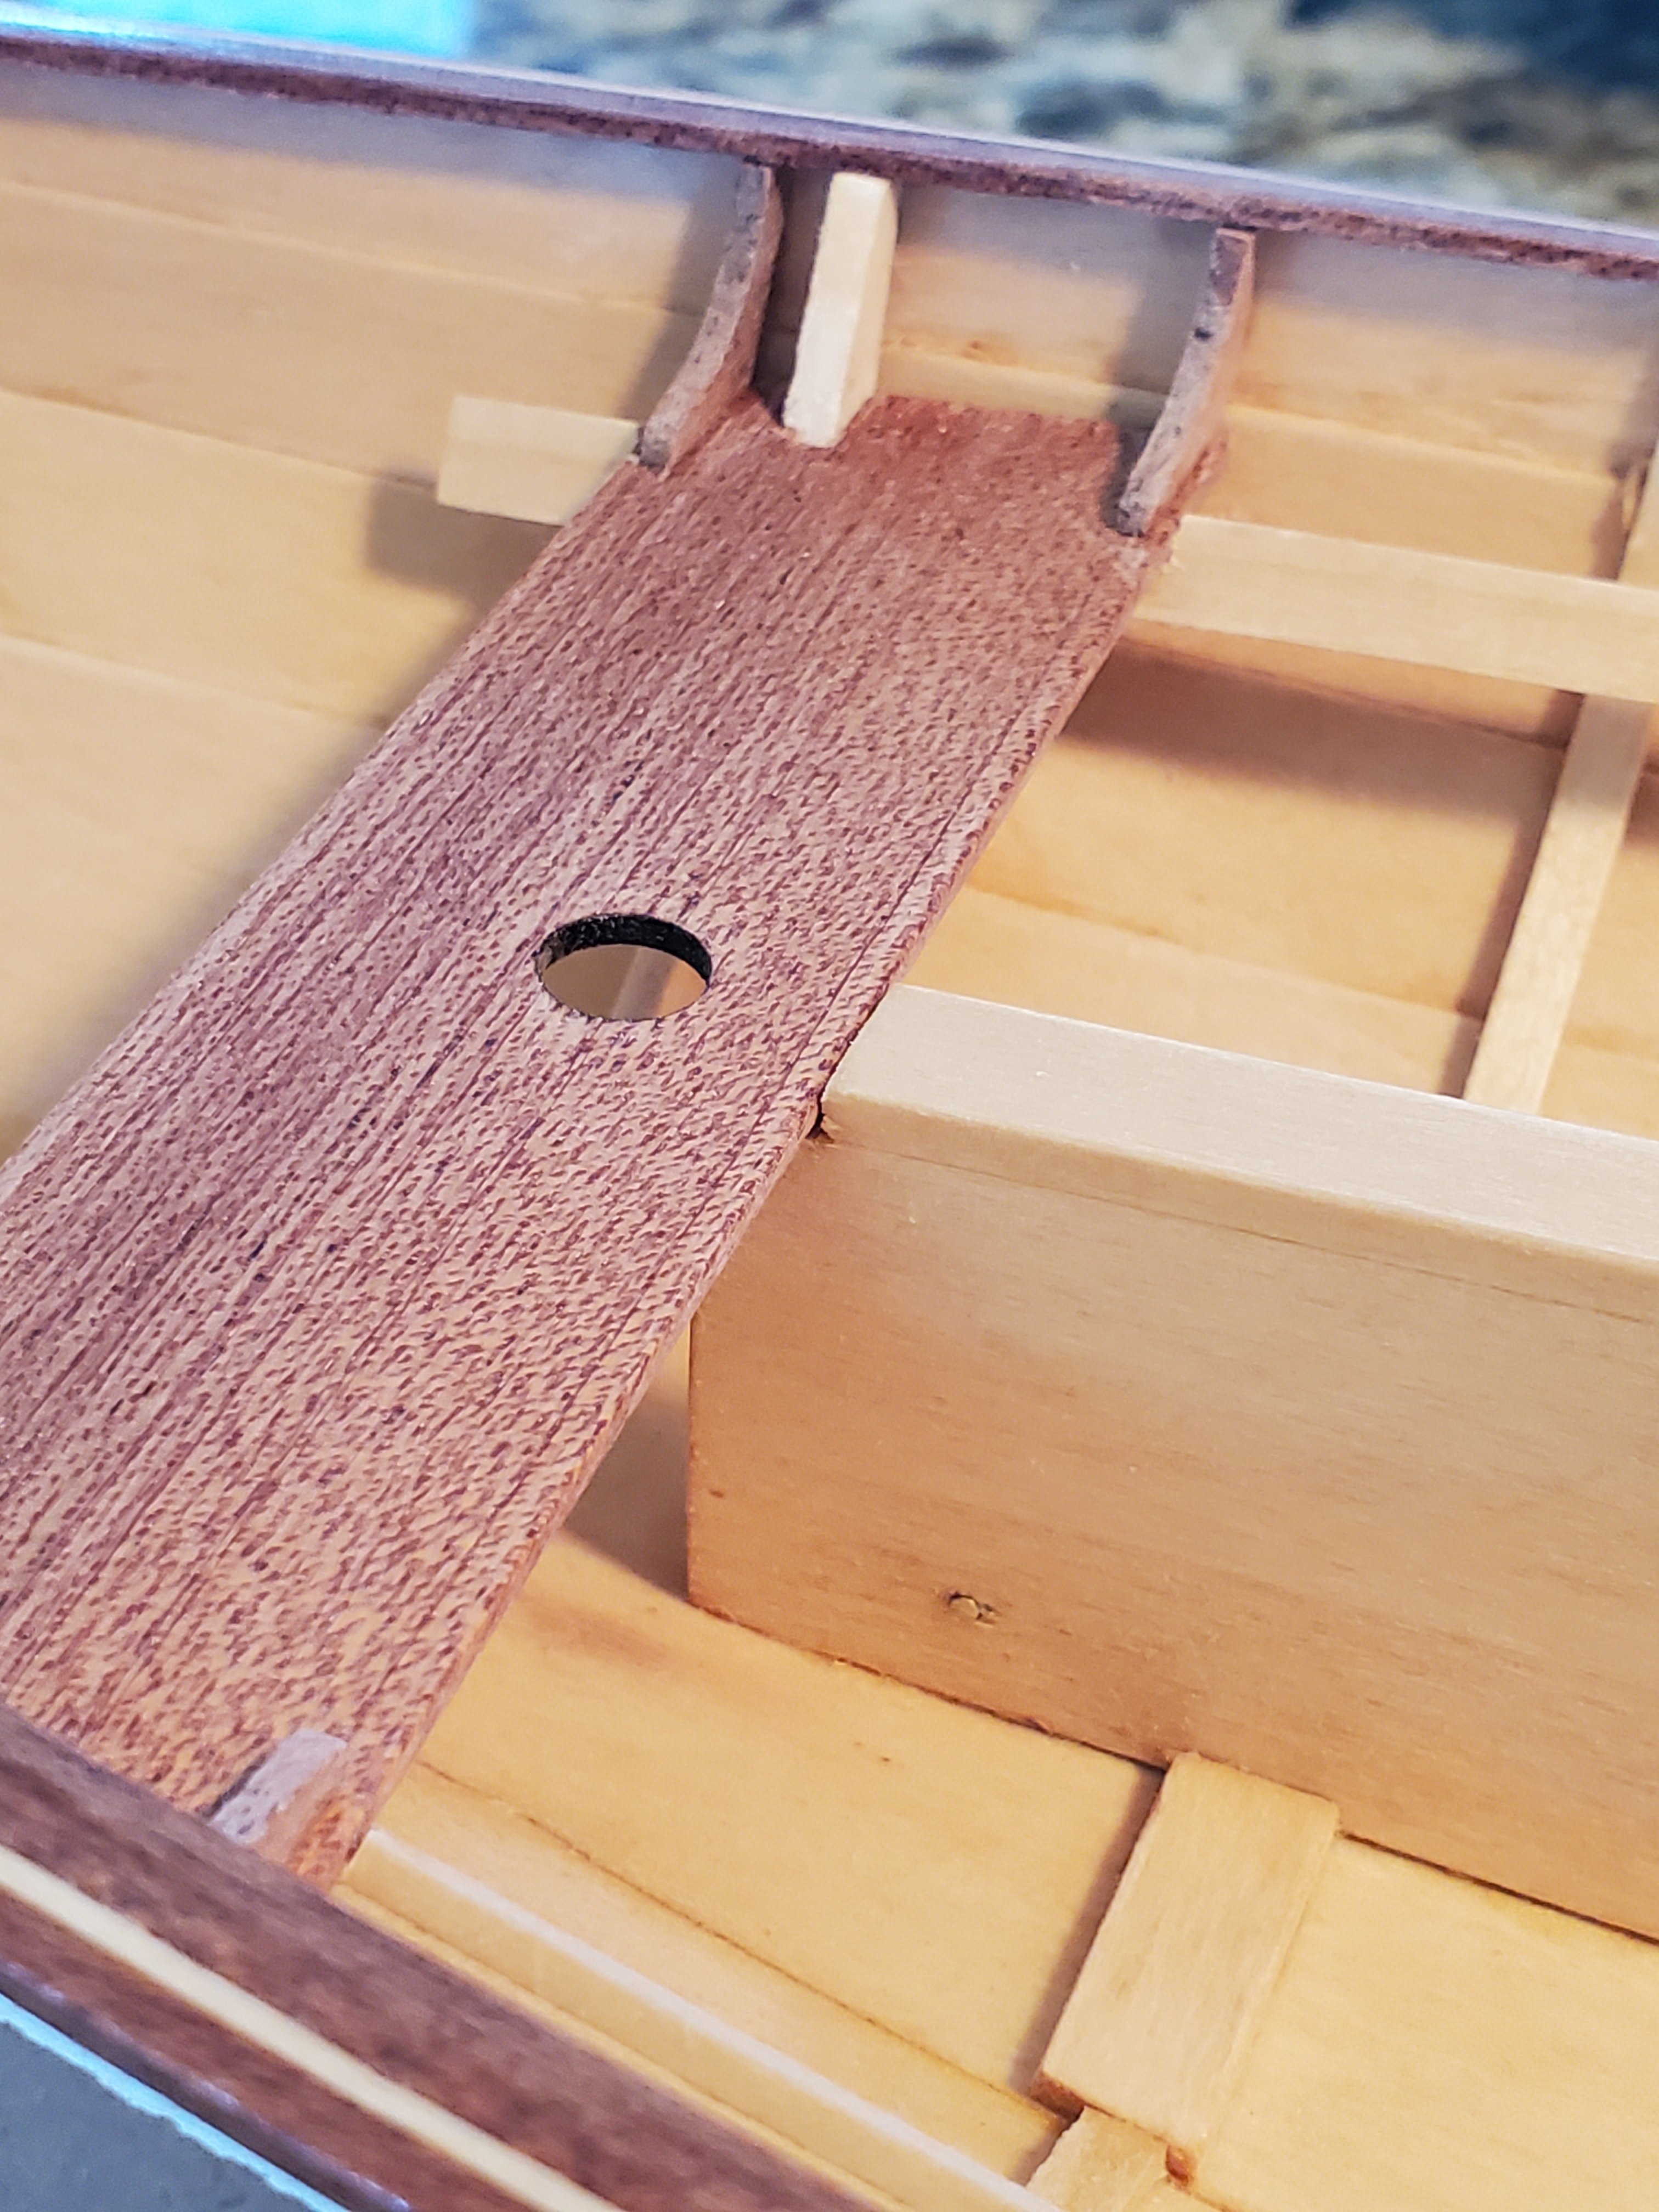
Centerboard trunk installed. If I had it to over, I would have used mahogany for the cap of the trunk.

- 12 replies
-
- 1
-
-
- Swampscott Dory
- BlueJacket Shipcrafters
- (and 1 more)
-
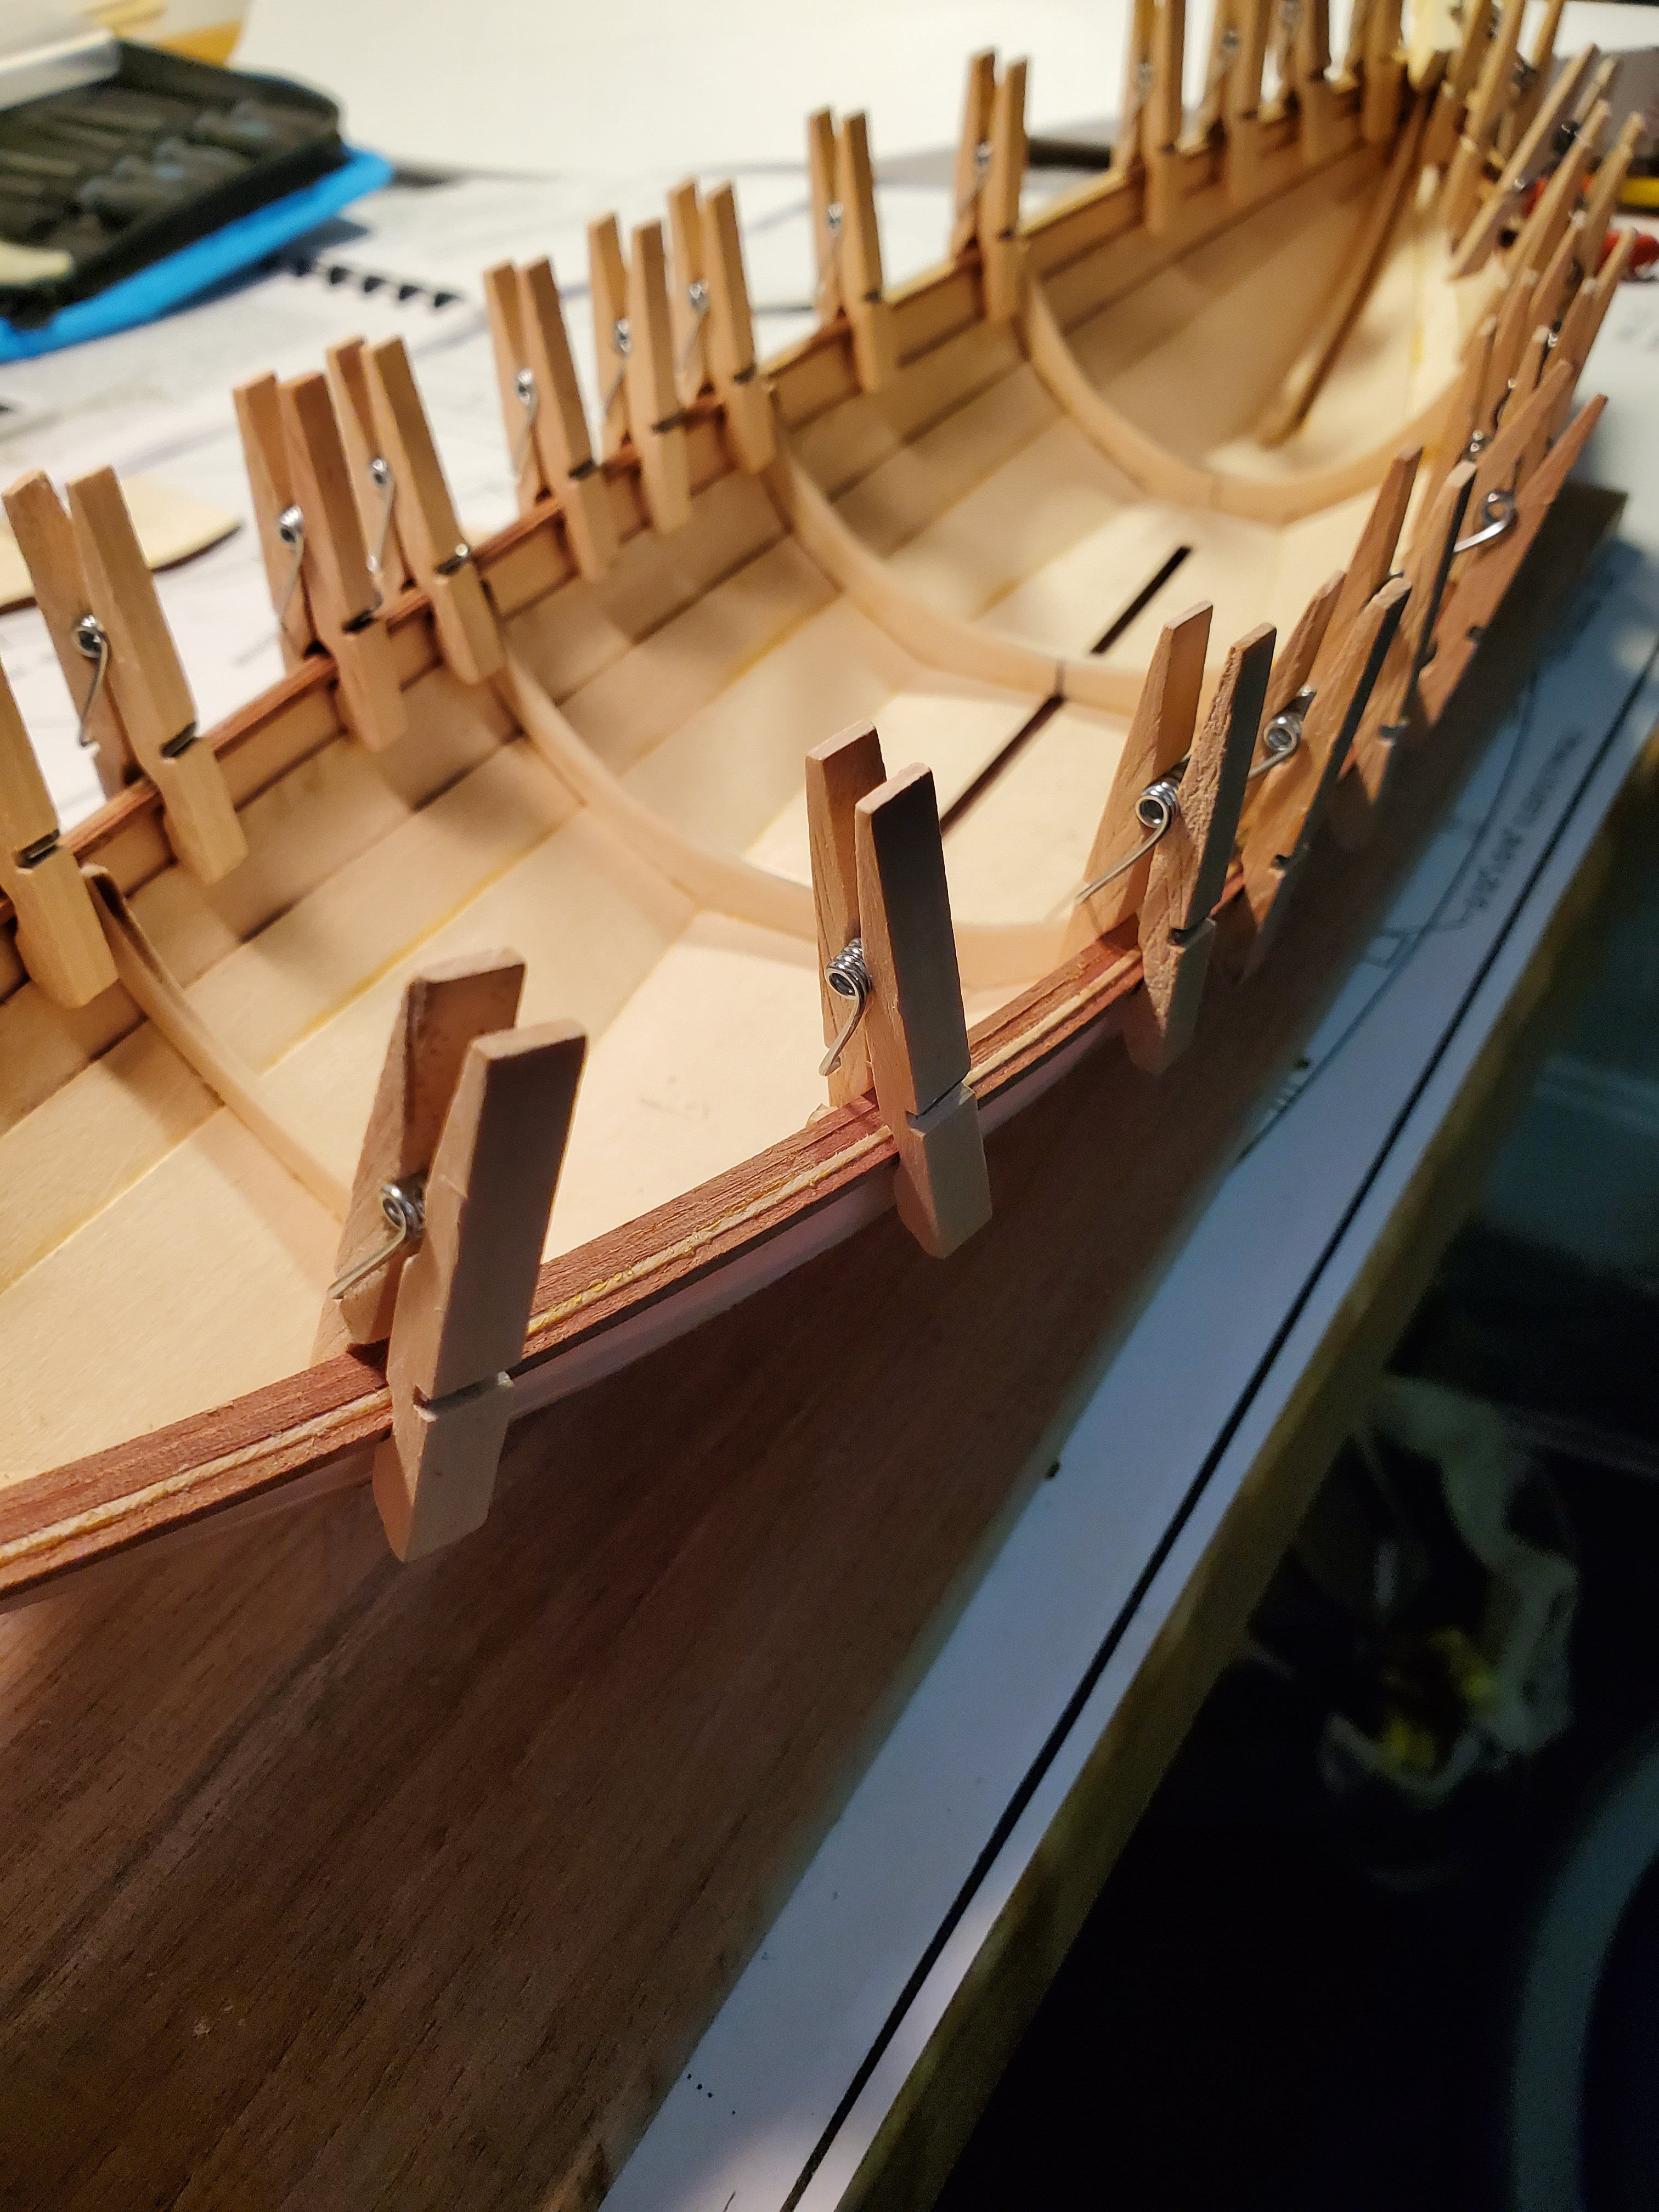
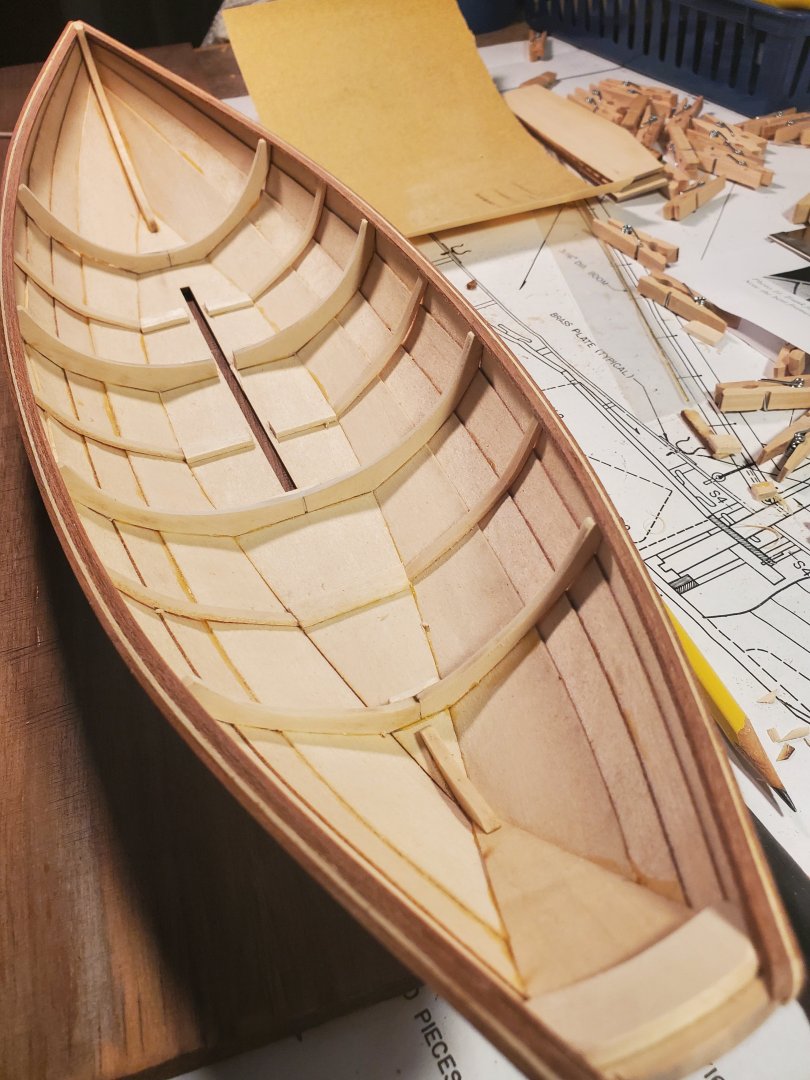
I was very happy with how the rails came out. I tapered all the frames so they ended flush with the rail. Following this picture, I spent an inordinate amount of time picking glue out the seems of the planks. I will be varnishing the inside, so I will not be covering up anything.

- 12 replies
-
- 1
-
-
- Swampscott Dory
- BlueJacket Shipcrafters
- (and 1 more)
-
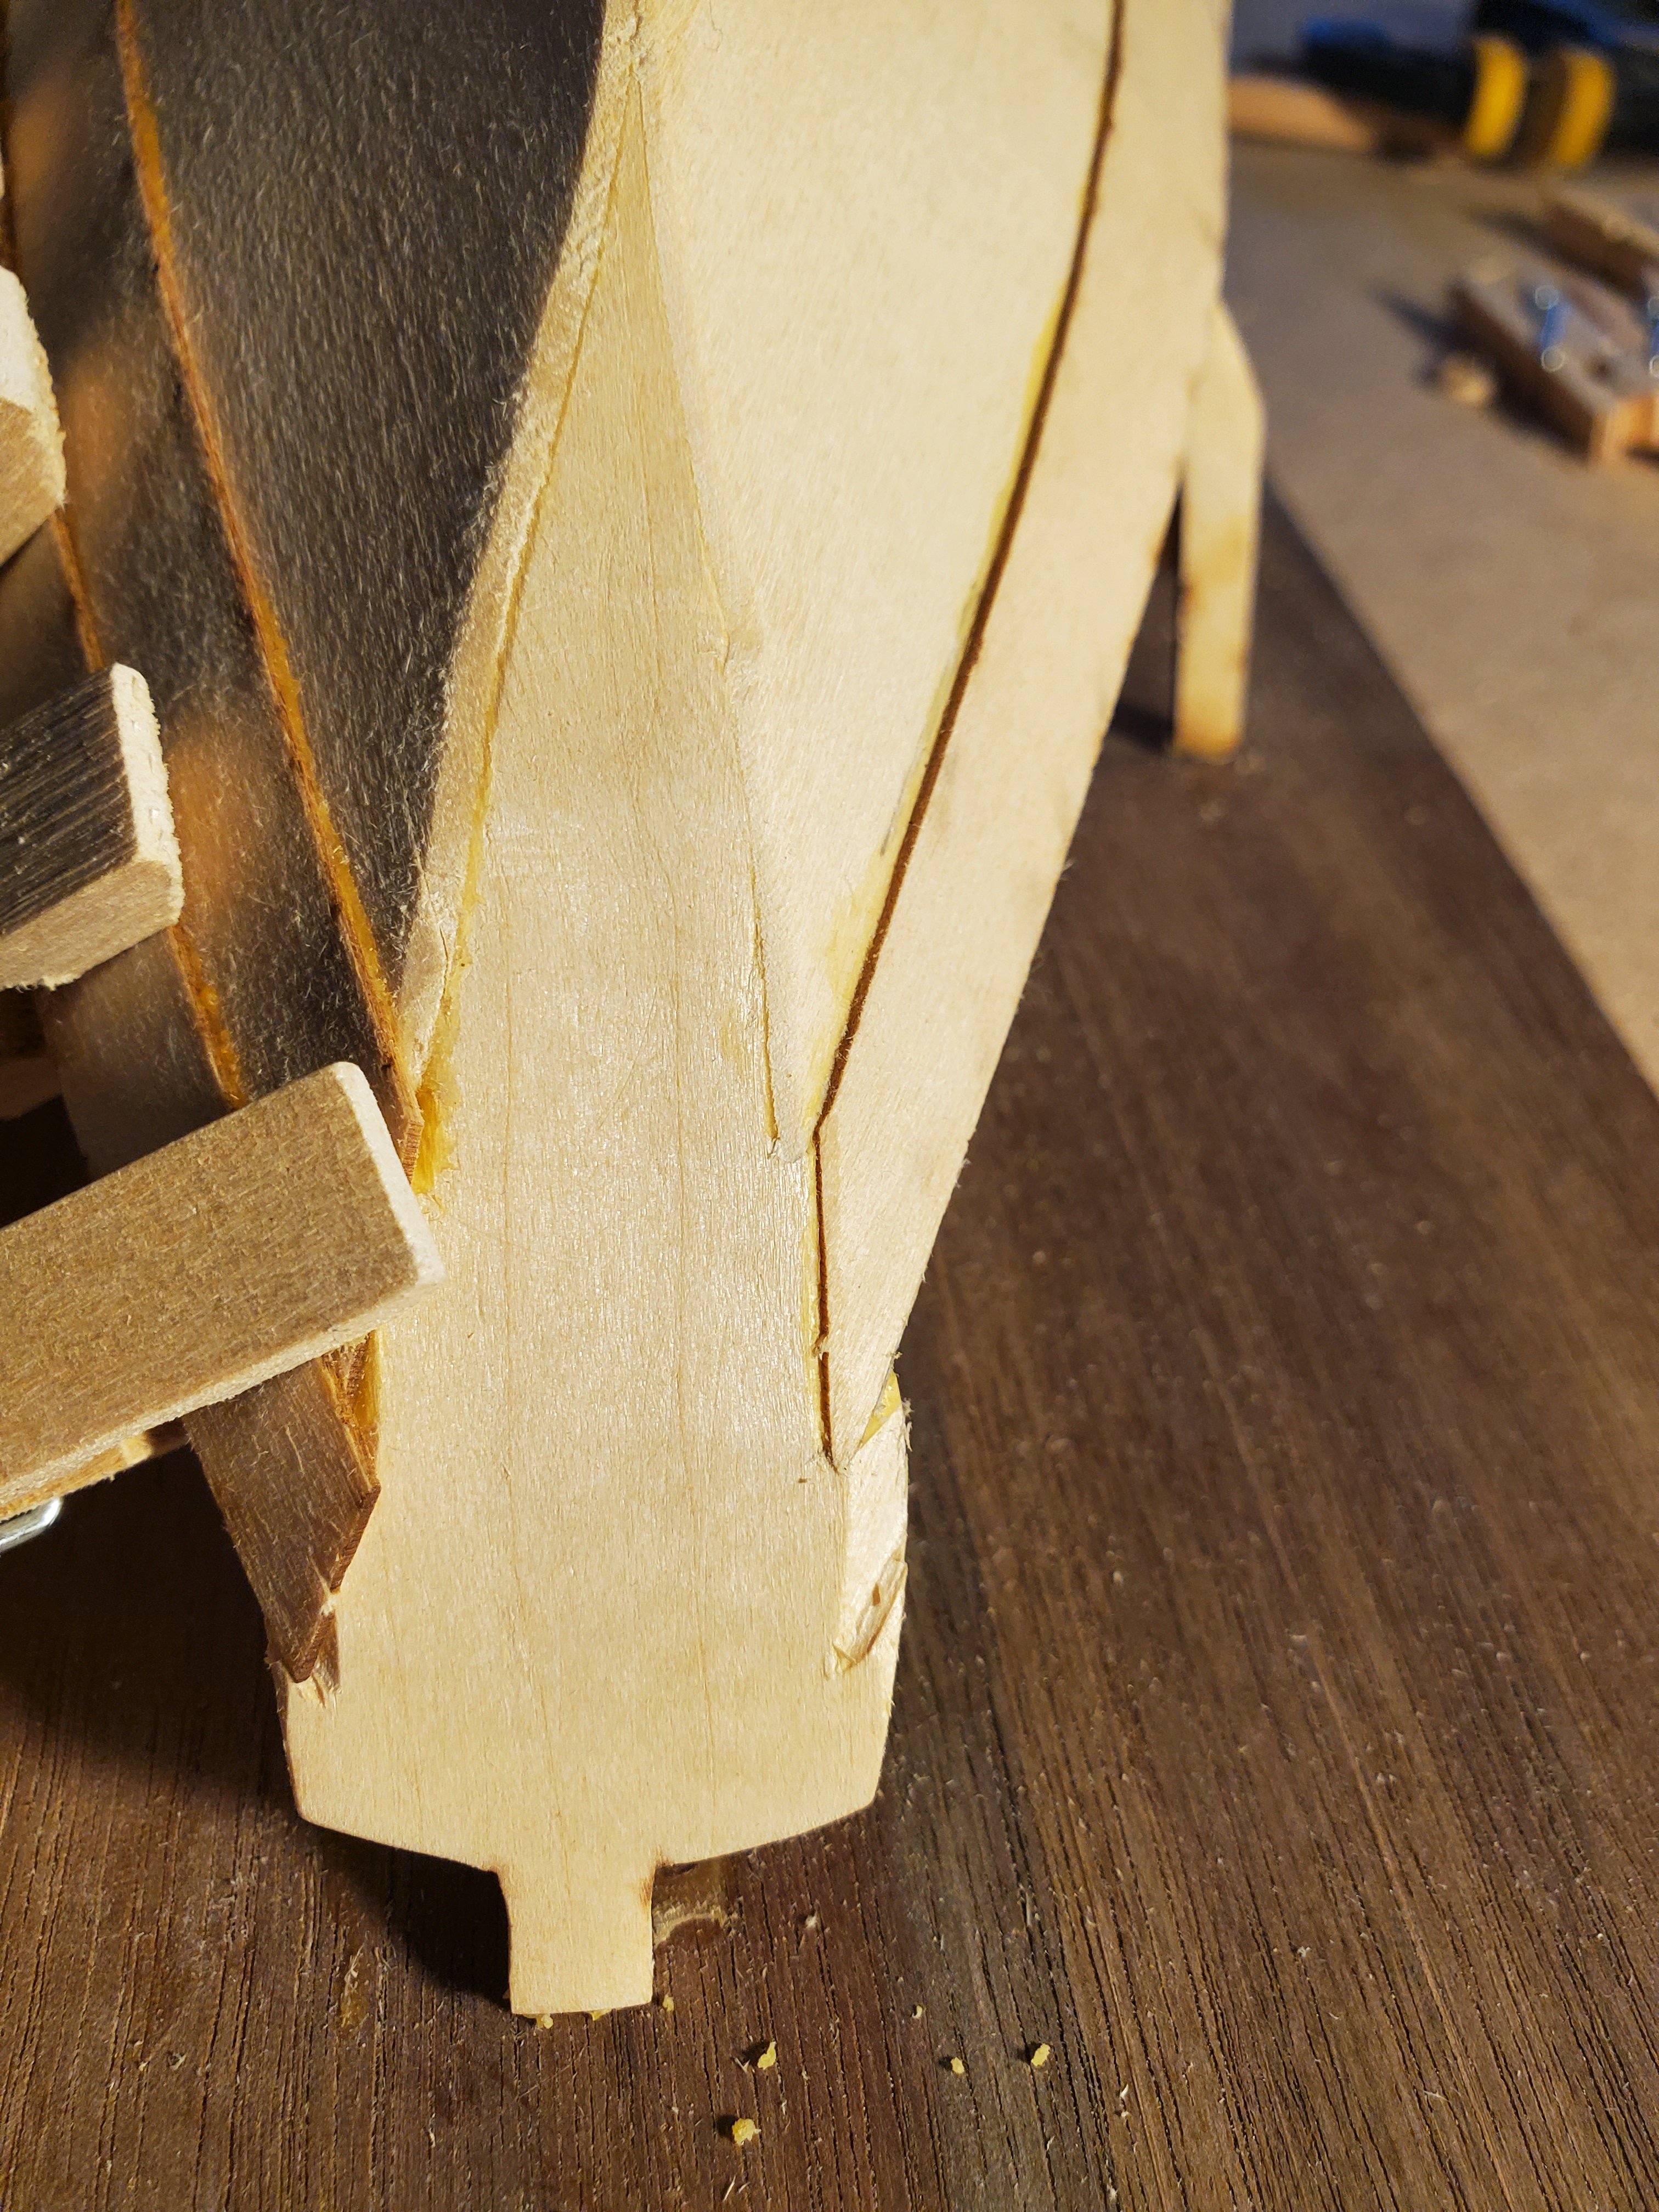
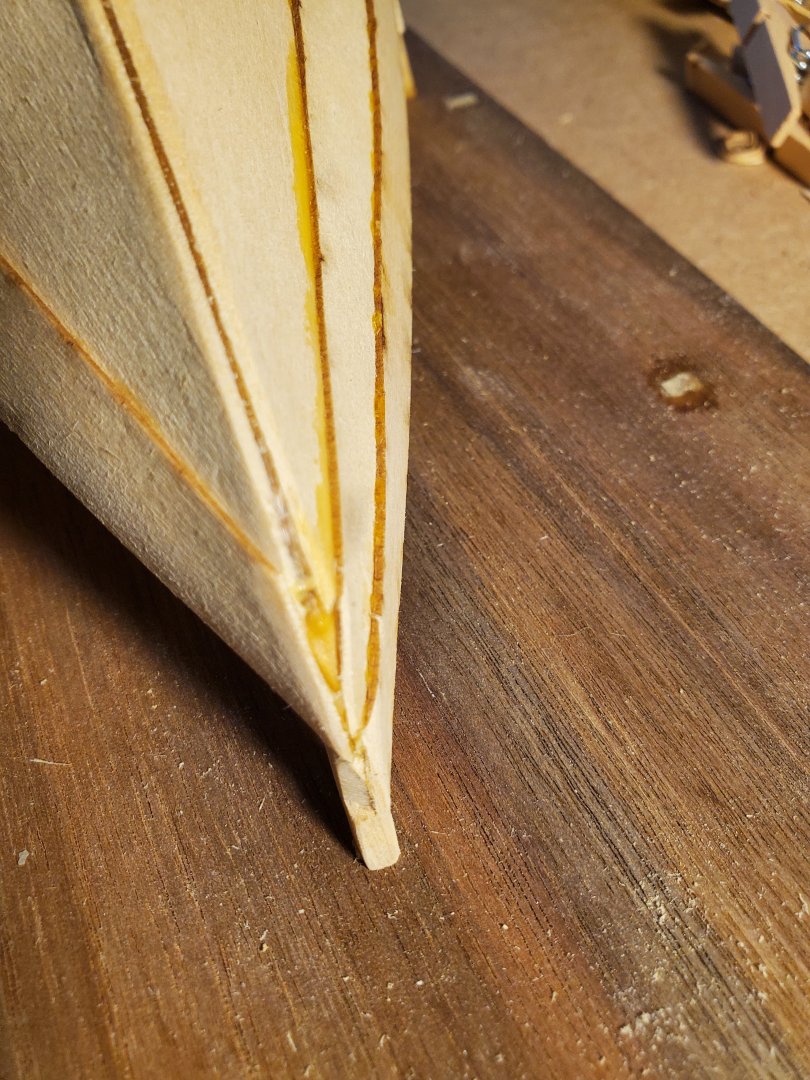
A closeup of the bow and all the glue I am going to have to pick out before painting. If I had it to do over again, it would (a) trim the plank with a small hand plane so I got a nice clean, crisp and square line and (b) use less glue. Is there a trick to not having a glue line here if you are using wood glue?
- 12 replies
-
- 1
-
-
- Swampscott Dory
- BlueJacket Shipcrafters
- (and 1 more)
-
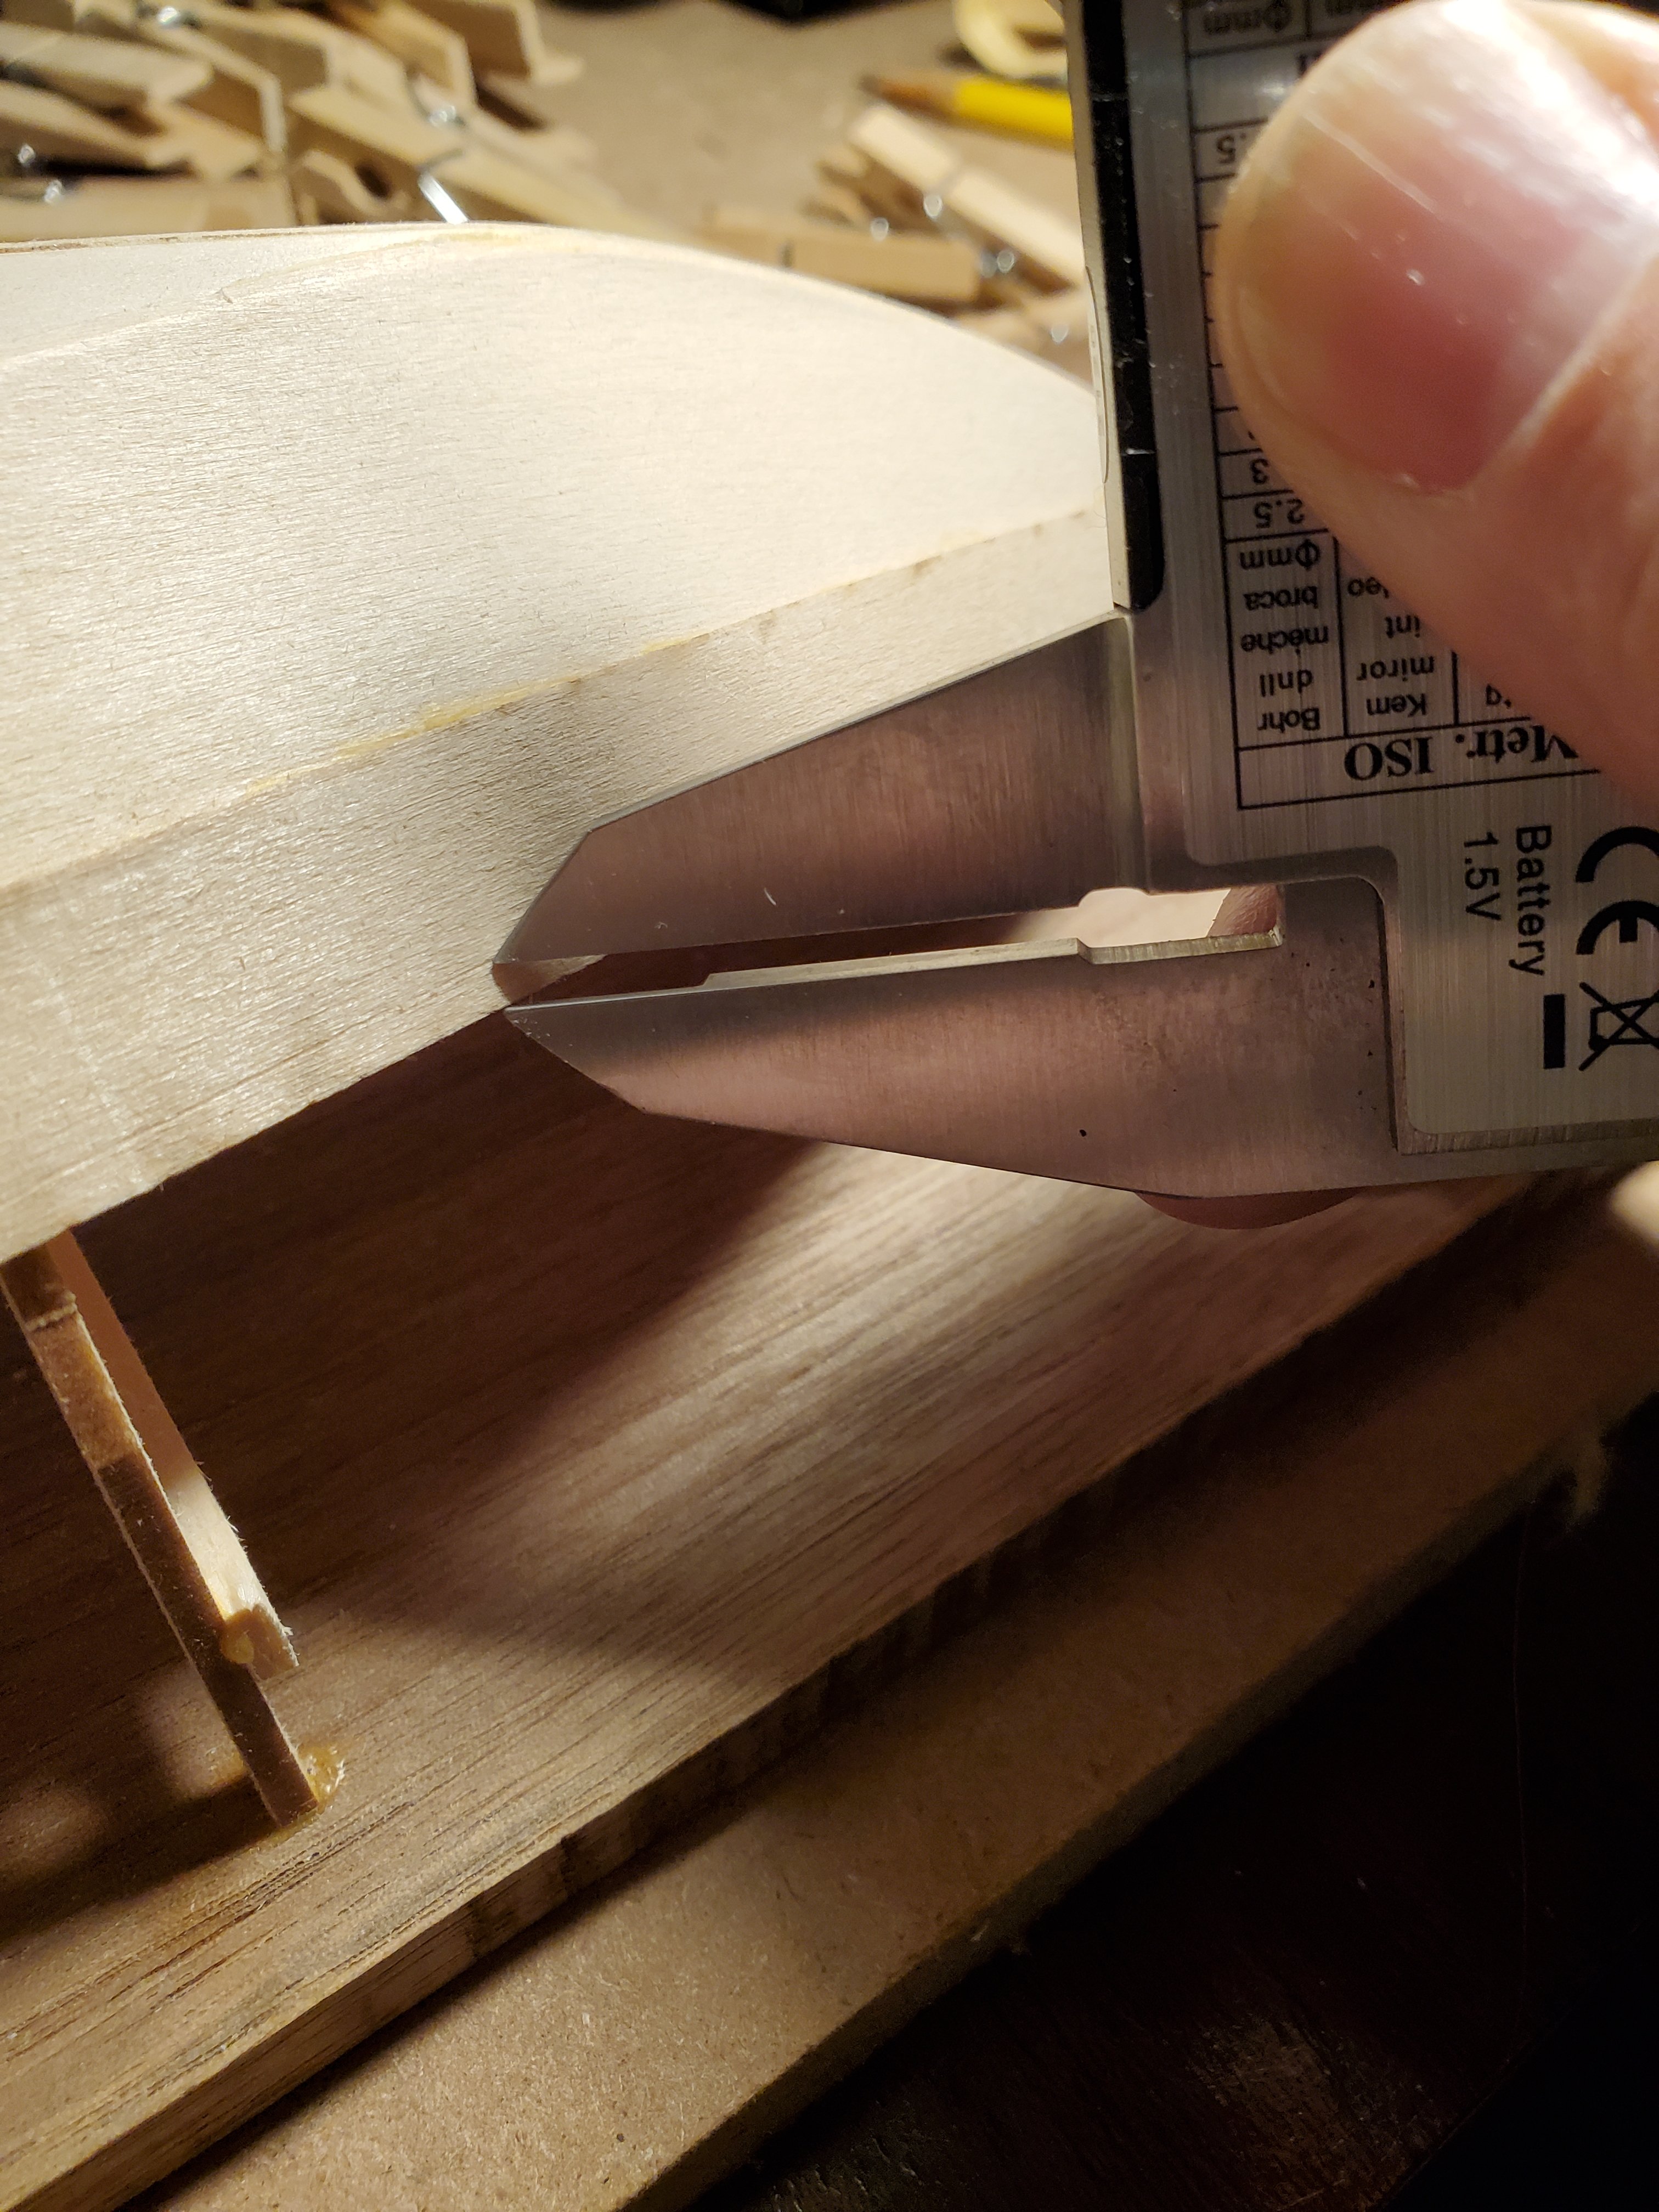
I create recesses for each plank so that they would sit nice against the transom.
- 12 replies
-
- 1
-
-
- Swampscott Dory
- BlueJacket Shipcrafters
- (and 1 more)
-
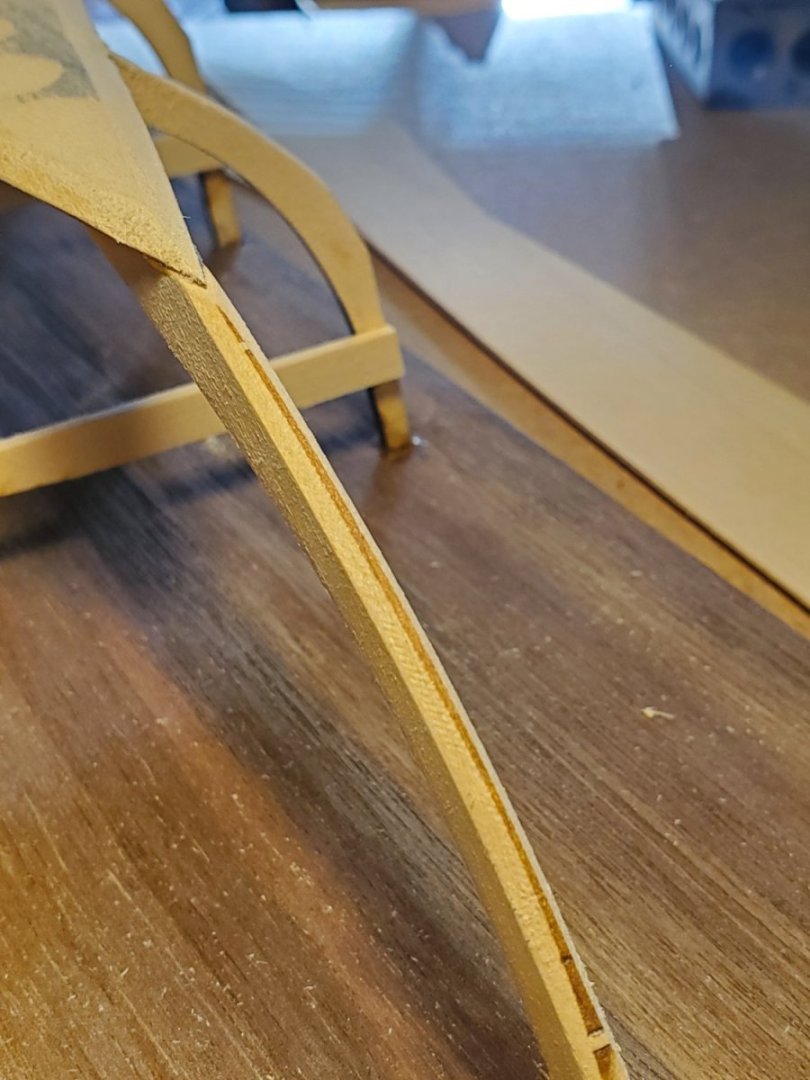
I figured out a trick to scribe a precise line for the overlap I wanted. I have since seen this exact technique used by others so I feel less proud than I did.

- 12 replies
-
- 1
-
-
- Swampscott Dory
- BlueJacket Shipcrafters
- (and 1 more)
-
Well...it has been awhile since I posted. I did do some work on the boat in the intervening time, but life got busy with a house move into a fixer-upper, two more grandkids, and a wedding of one of my children. So, to catch up, the following are some photos and some thought on them that got me to where I am today.
- 12 replies
-
- 1
-
-
- Swampscott Dory
- BlueJacket Shipcrafters
- (and 1 more)
-
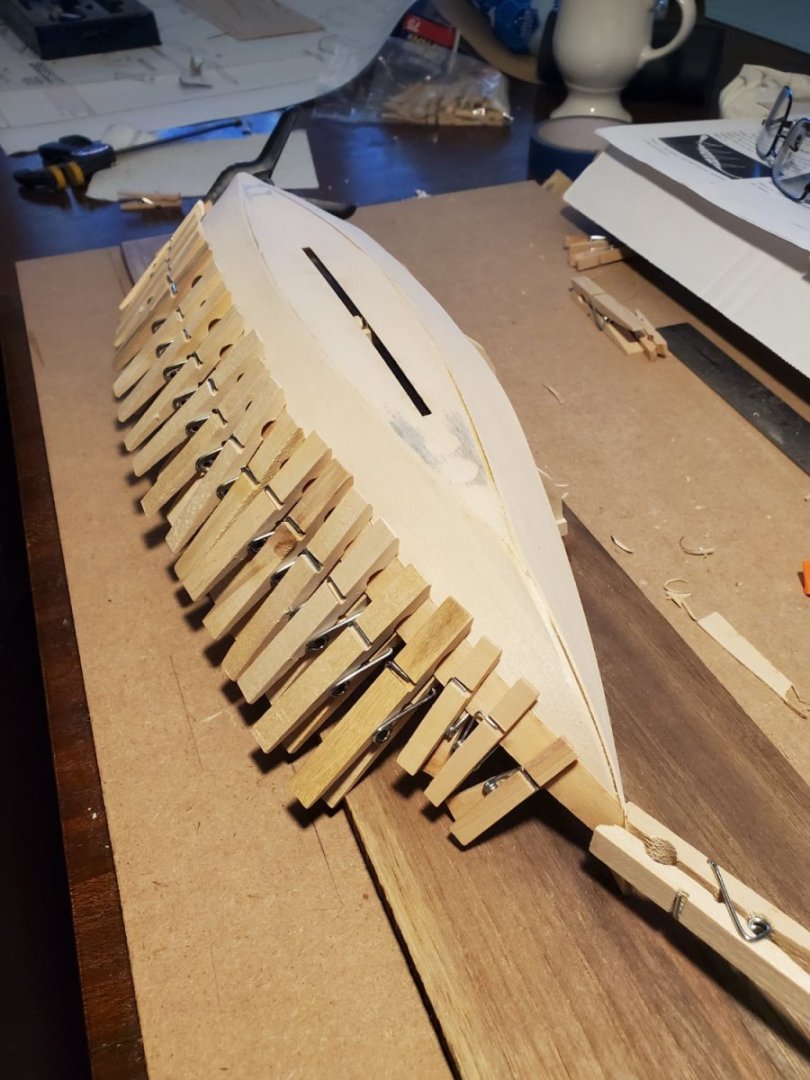
Okay, i glued down the frames to a board and beveled the bottom, stem and transom for better seams and glue surface when installing the the planking.

- 12 replies
-
- 4
-
-
- Swampscott Dory
- BlueJacket Shipcrafters
- (and 1 more)
-
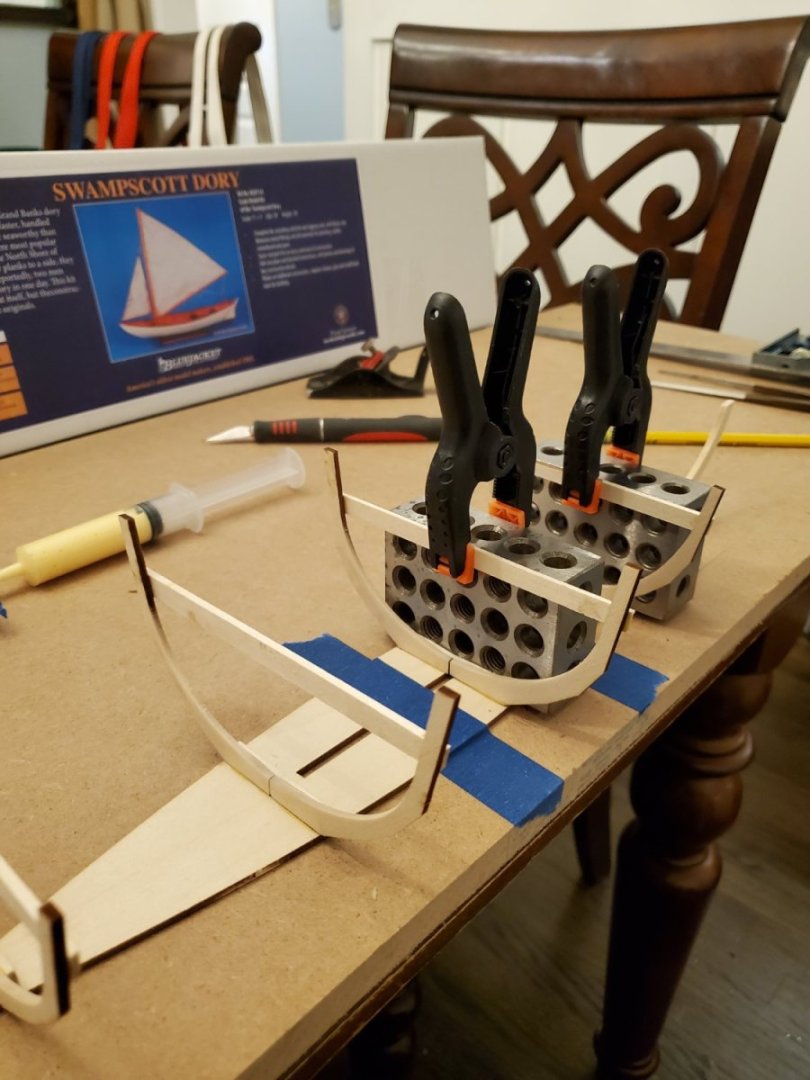
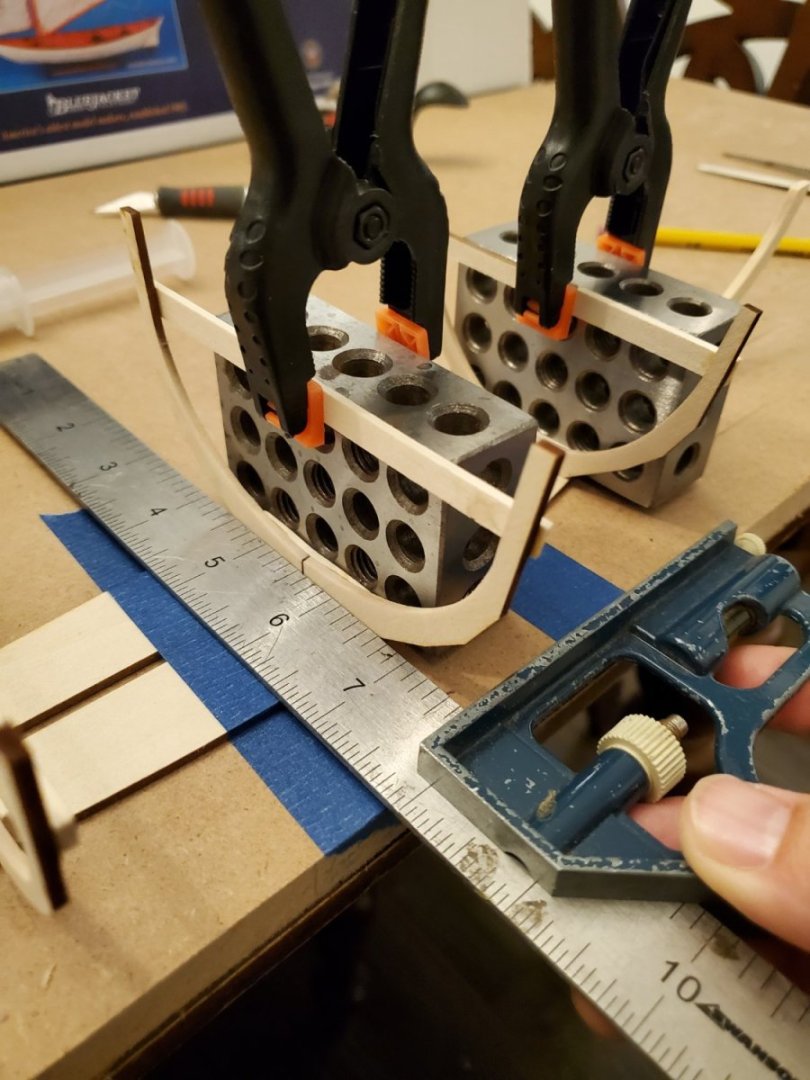
Well, I started my first model. It took a little time to acclimate. The first thing I noticed was that the instructions were very basic. You have to read the detailed plans to answer your questions about how something goes together. This makes sense now that I have spent some time examining the plans and realized it is the separate skill of reading the plans that needs to be developed first to be a successful model builder. For gluing up the frames, I uses some setup blocks I had from my workshop. They are exactly 1x2x3", are perfectly square, and they have good weight to them. I thought they worked out very well. I had drawn a line on my work surface and taped the boat bottom square to the edge of the board. That way, I could use a square to make sure they placed exactly square to the centerline and each other.
- 12 replies
-
- 5
-
-
- Swampscott Dory
- BlueJacket Shipcrafters
- (and 1 more)
-
Melissa--thanks! I had looked through your entire build log earlier this week. Lots of info in there--should help me a lot.
-
Thank you all for you warm welcomes. Look forward to getting to know you all.
-
Hello all. My name is Steve. I have been doing home improvements, woodworking, and restoration/maintenance on full-size sailboats as as hobbies for years. I thought I would enjoy trying my hand at building a model sailboat as that seems to be something I would really enjoy--especially in the winter months where there is less to occupy my time around our recently emptied nest. I am married, have 5 children (all grown), and 2 grandchildren who are approaching 3 years old. We own a 1970 Tartan 34C sailboat that I spend way more time working on than sailing. Just finished refitting it with an inboard electric motor (replacing the Atomic 4) if anyone is interested in that. We sail in Barnegat Bay with an occasional trip up to the New York area. This morning I received my BlueJacket Swampscott Dory as my first foray into the hobby. In addition to being a really nice looking model, it seems easier but difficult enough to see if this is something I would continued with. I plan to start a Build Log in the next few days. Looking forward to being part of this community. Thanks for letting me in!
- 19 replies
-
- 10
-