HOLIDAY DONATION DRIVE - SUPPORT MSW - DO YOUR PART TO KEEP THIS GREAT FORUM GOING! (Only 20 donations so far - C'mon guys!)
×

T. Alex
-
Posts
37 -
Joined
-
Last visited
Content Type
Profiles
Forums
Gallery
Events
Everything posted by T. Alex
-
 I apologize for the double upload of some of the pics. I'm not sure what I'm doing to cause it?
 -
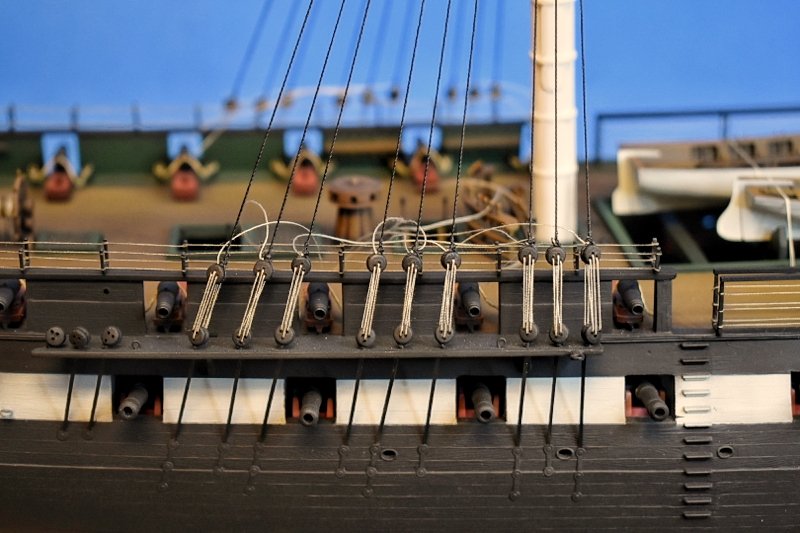
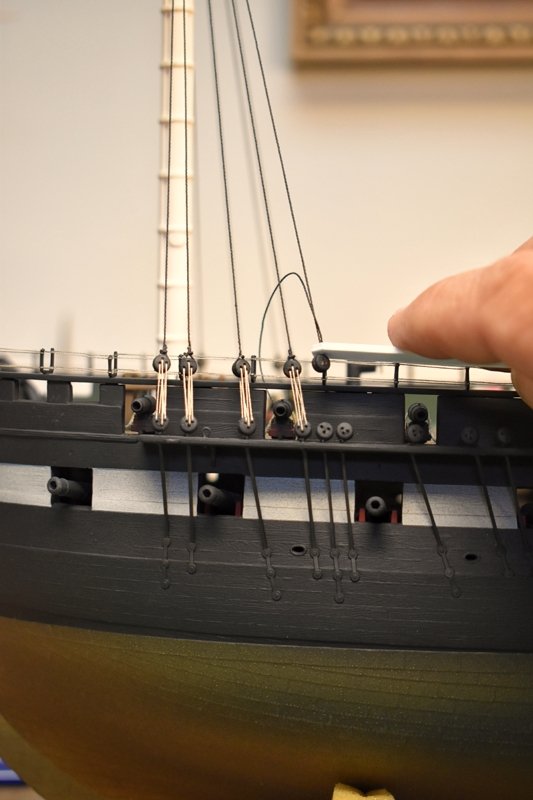
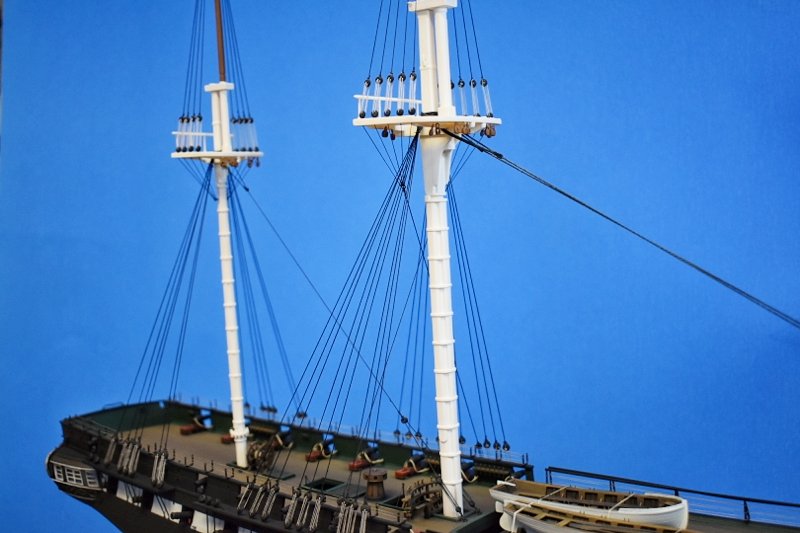
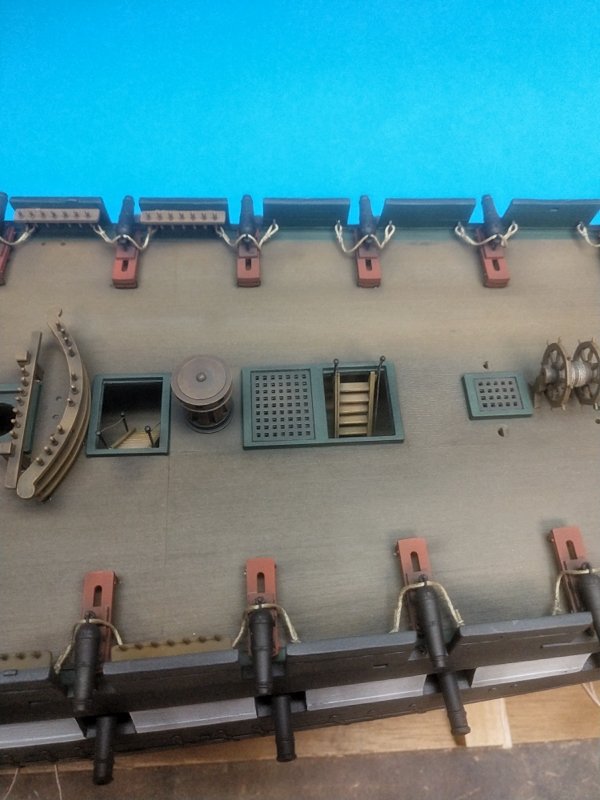
Time for the standing rigging. I decided to not use a lot of the kit's parts for the rigging of the model. Mainly the moulded shrouds, deadeyes. I did use the kit's channels by modifying them. The chainplates were horrible however so those were discarded. I copped out and went with the later chain plate design for the sake of sanity. The deadeyes I used are 3.5 mm (probably to big) but I don't think they look to way out of scale.

- 41 replies
-
- 3
-

-
- Constitution
- Revell
- (and 1 more)
-
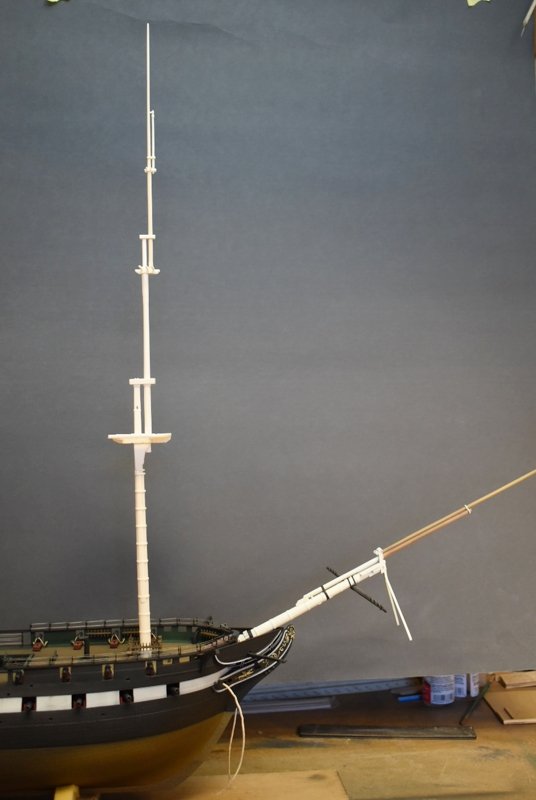
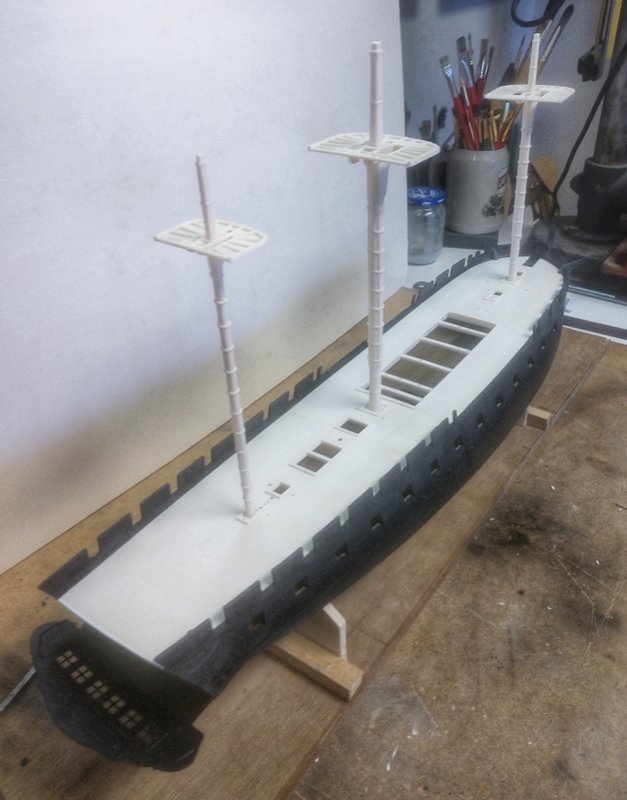
After insuring that all of the masts fit together well I finally glue in the lowers.
- 41 replies
-
- 3
-
-
- Constitution
- Revell
- (and 1 more)
-
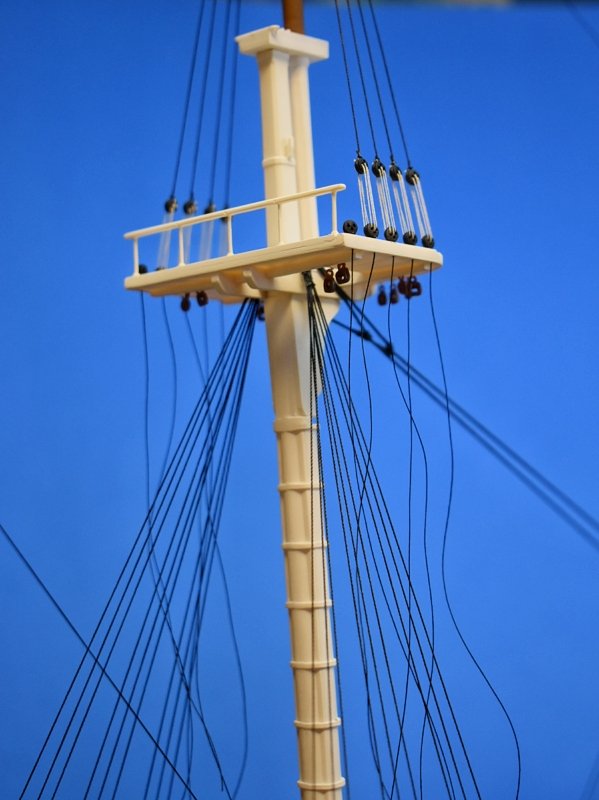
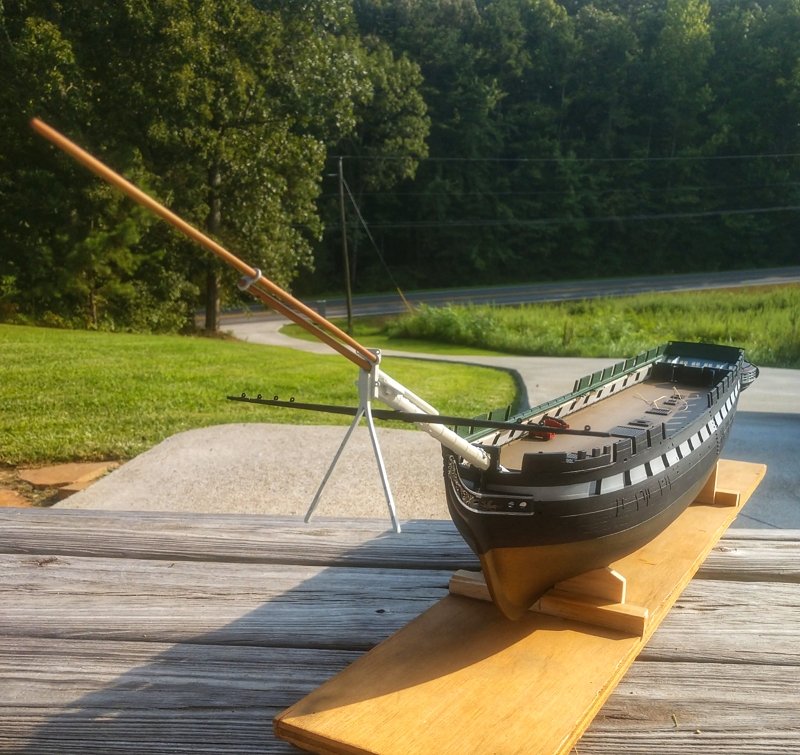
The mast's. I decided to make the jib boom, and upper masts out of basswood as the kit's plastic ones are pretty flimsy.

- 41 replies
-
- 3
-
-
- Constitution
- Revell
- (and 1 more)
-
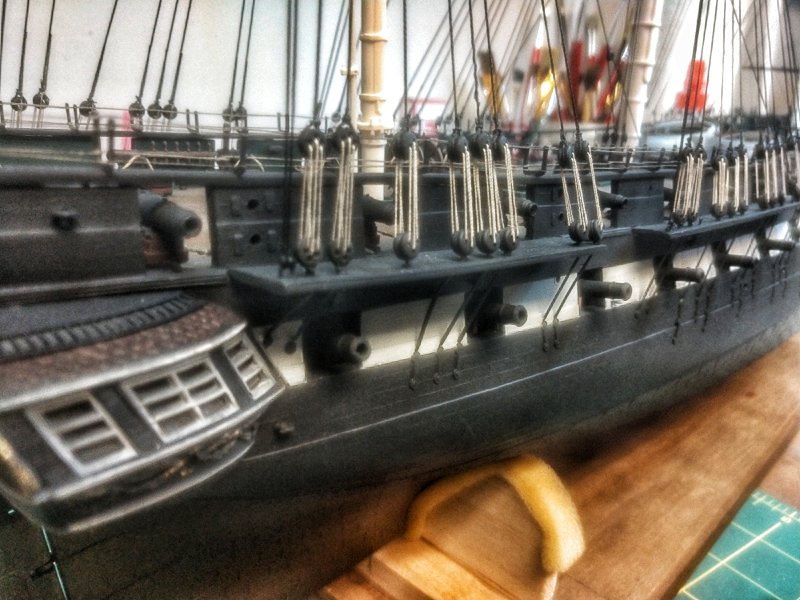
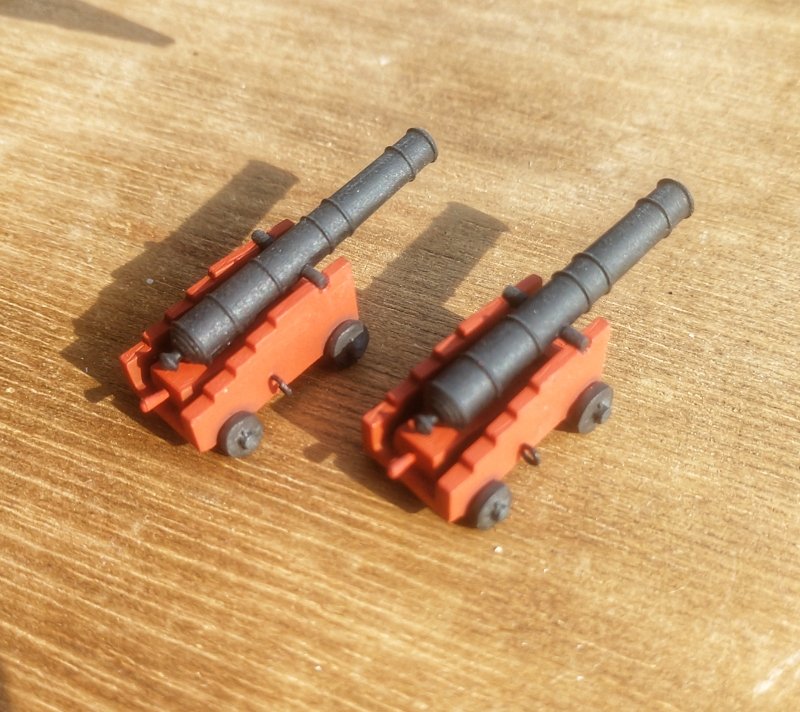
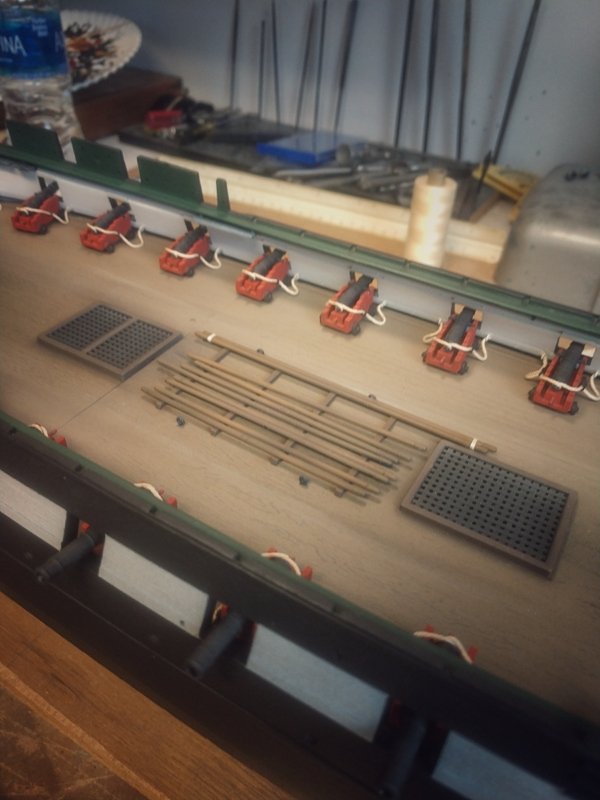
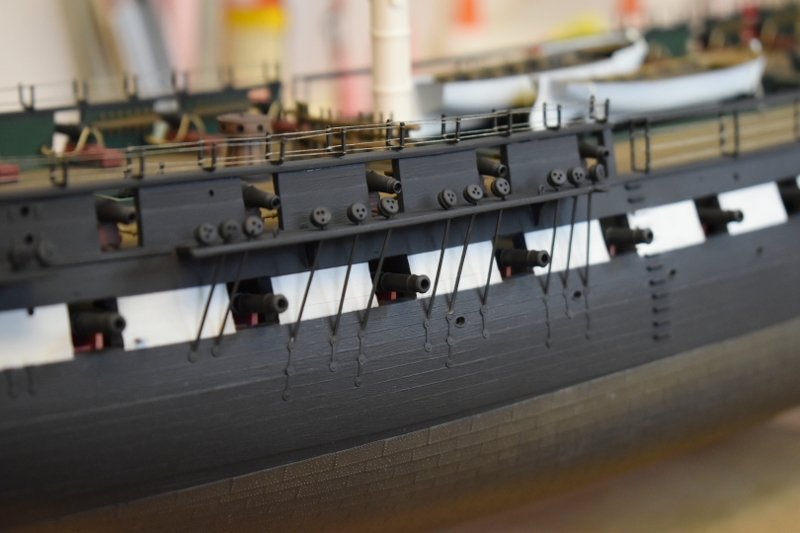
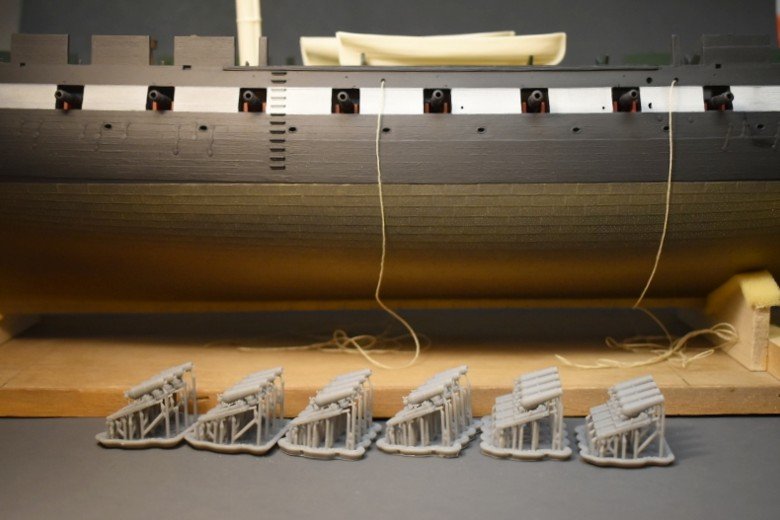
The kit's top deck guns were replaced with the excellent 3d printed carronades from Model Monkey. I regret not fully rigging them now.
- 41 replies
-
- 3
-
-
- Constitution
- Revell
- (and 1 more)
-
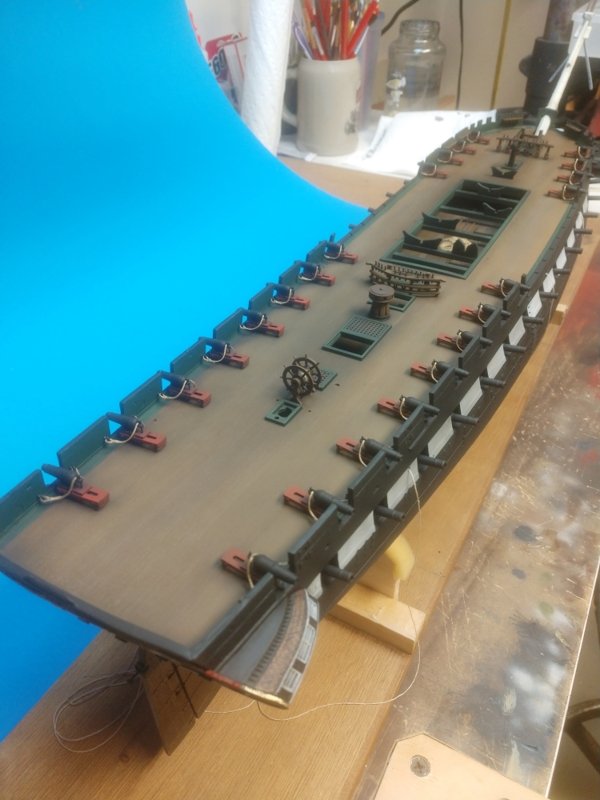
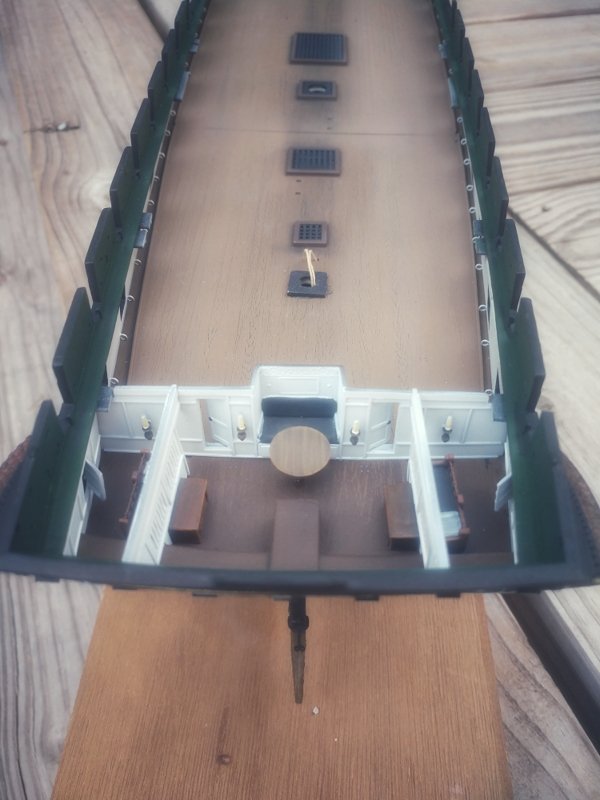
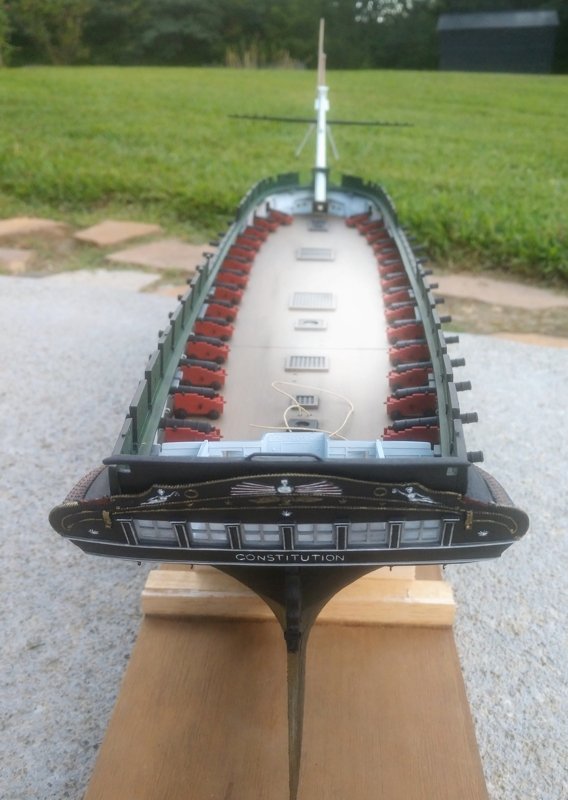
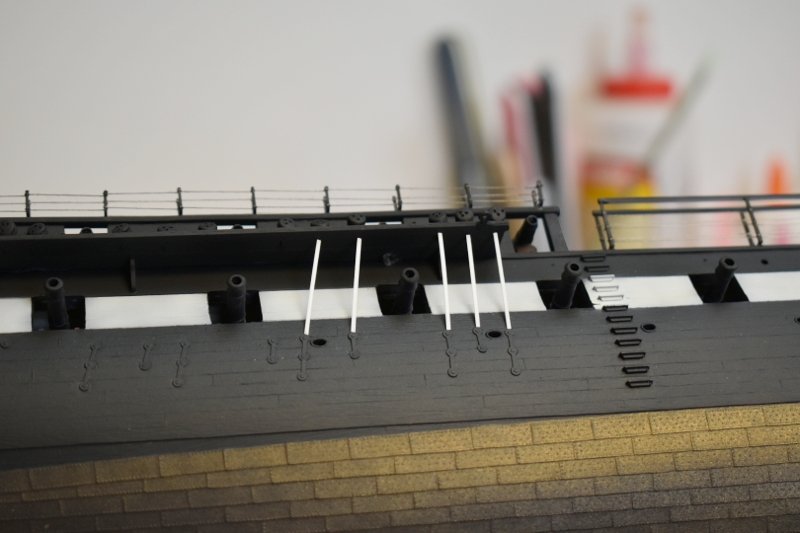
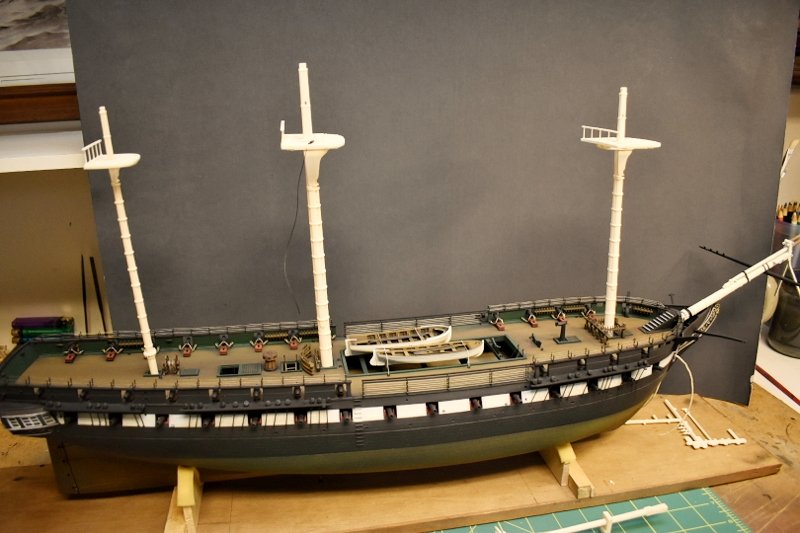
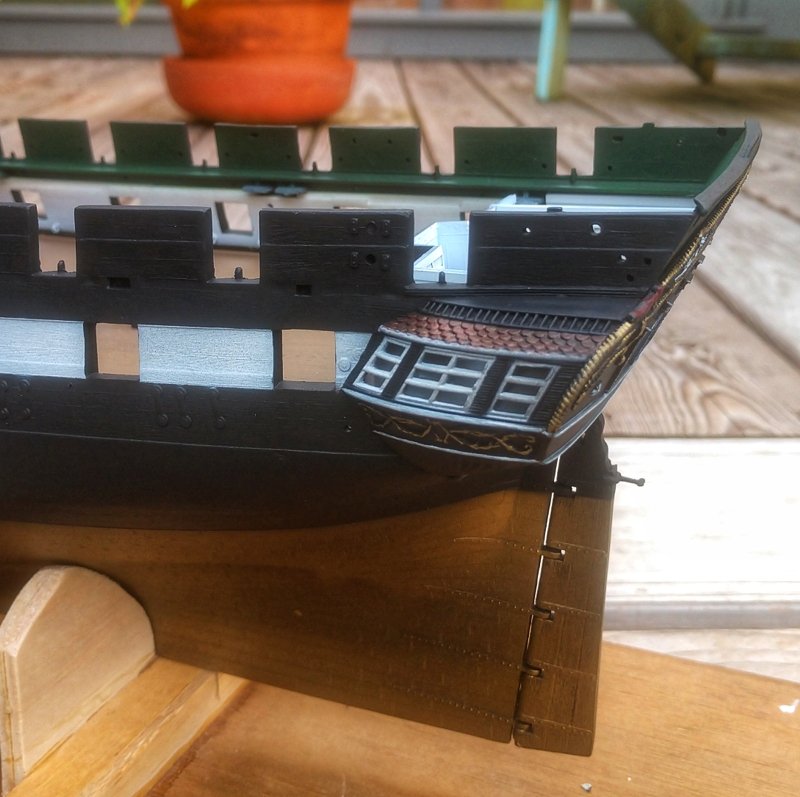
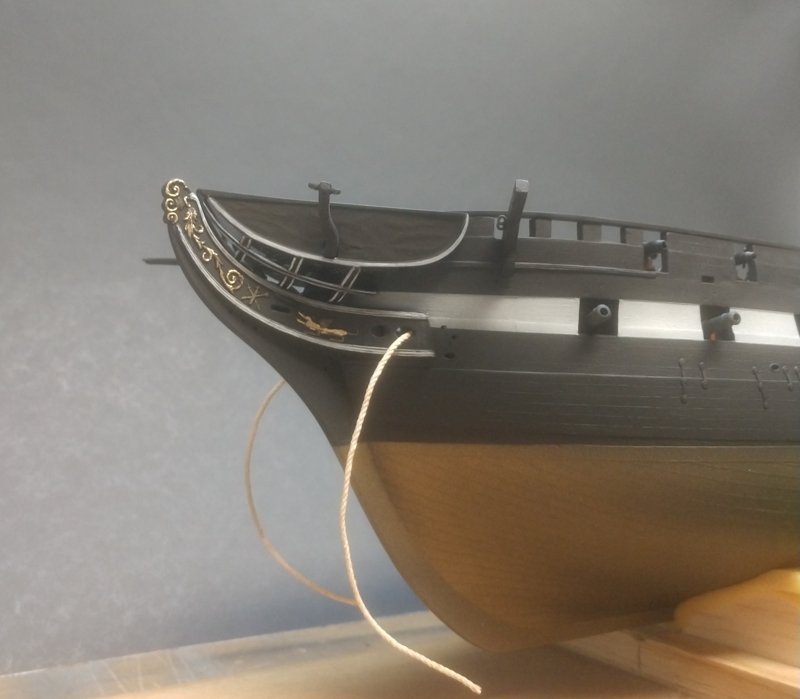
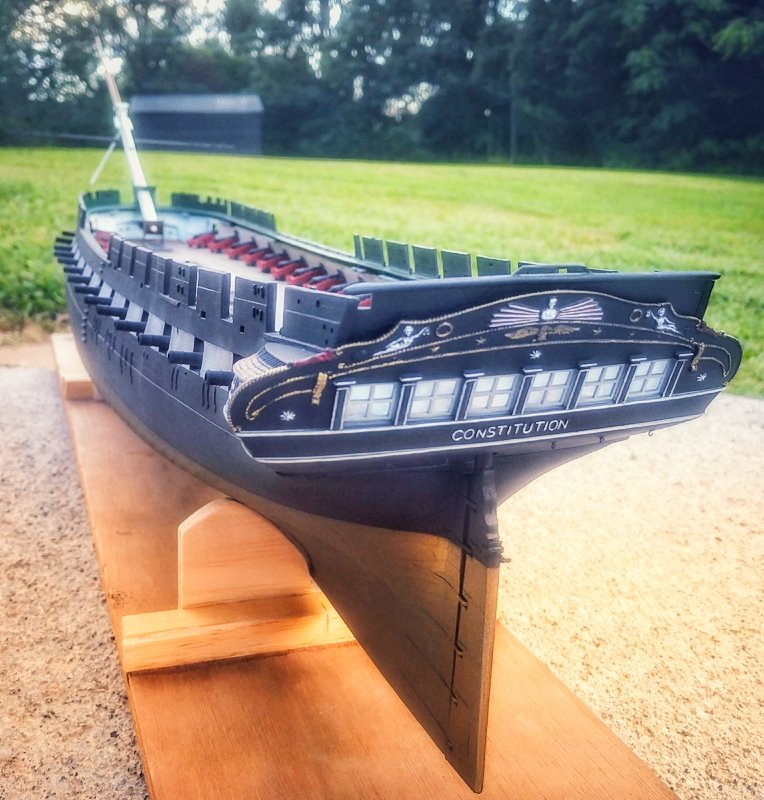
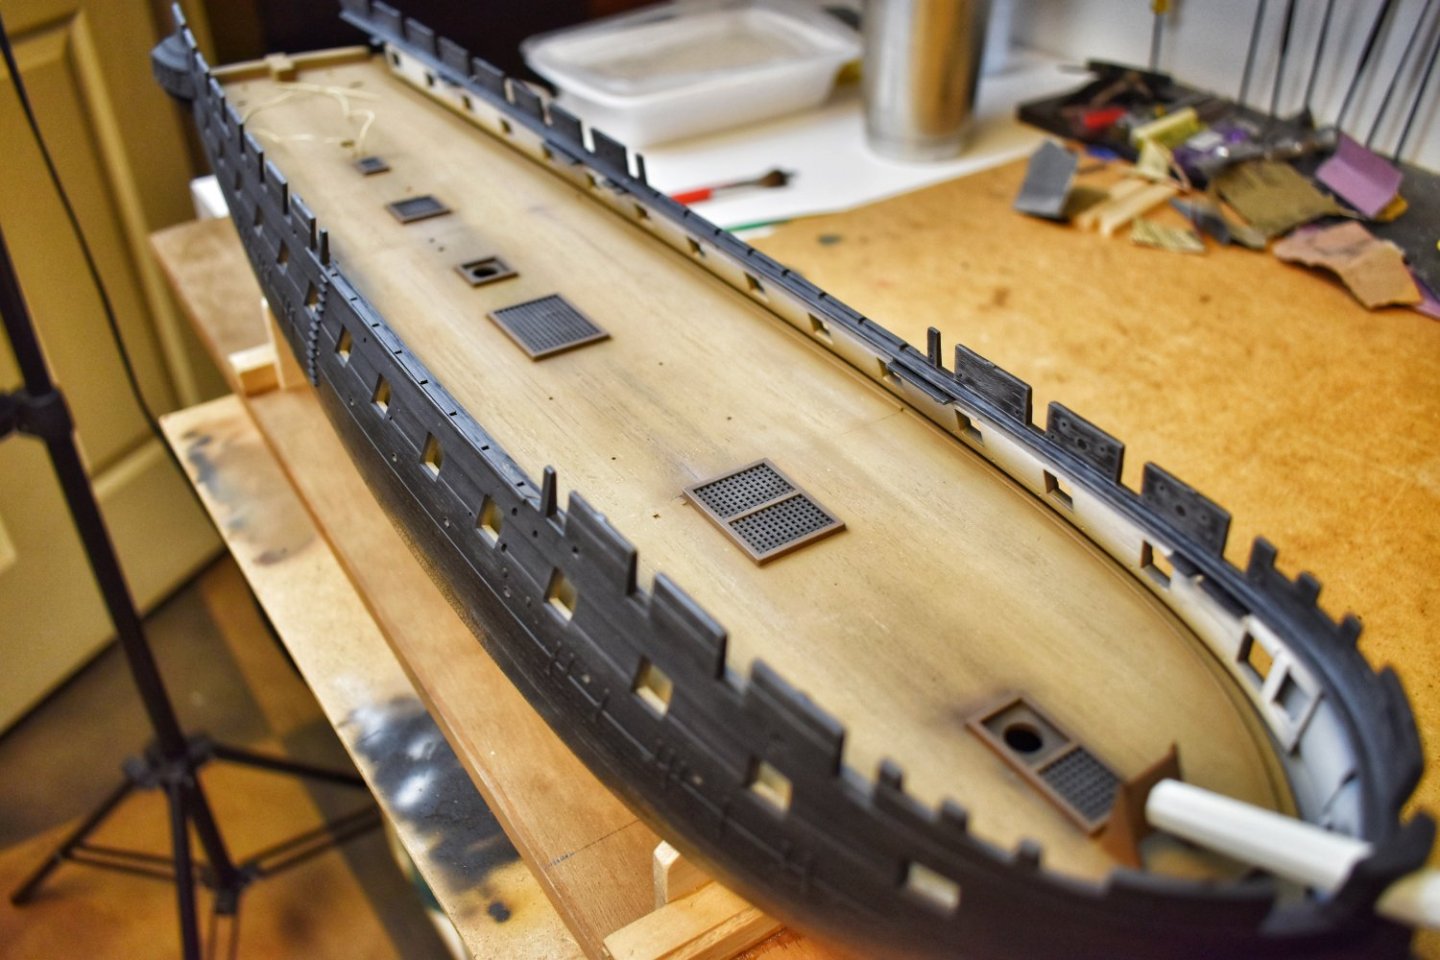
Painting the hull. All of the painting was done by airbrushing using Vallejo colors. With the exception of the Gallery and billet.
- 41 replies
-
- 3
-
-
- Constitution
- Revell
- (and 1 more)
-
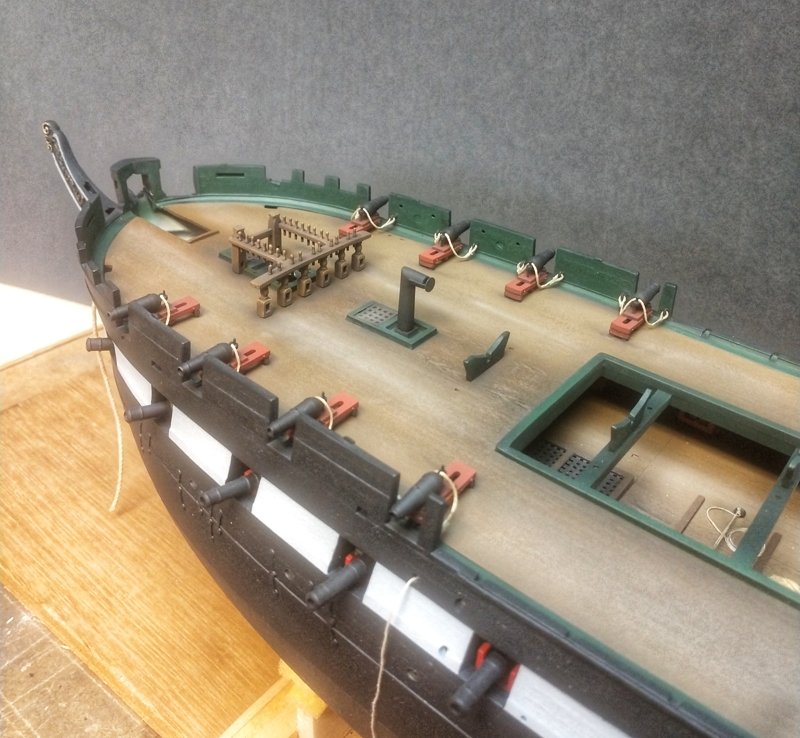
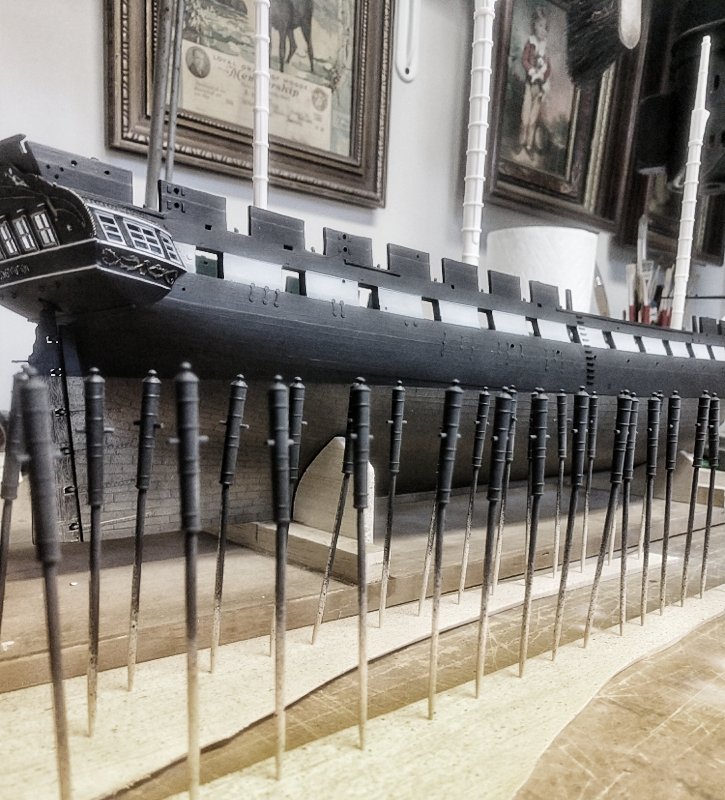
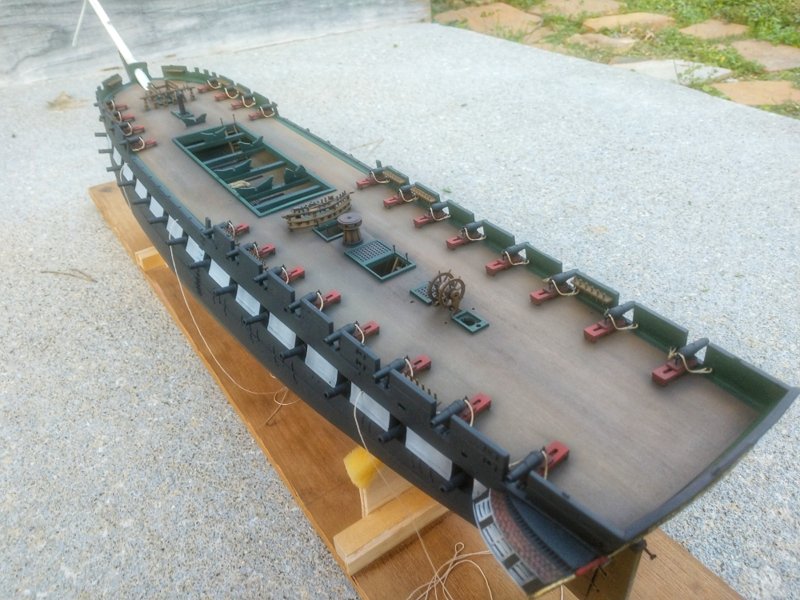
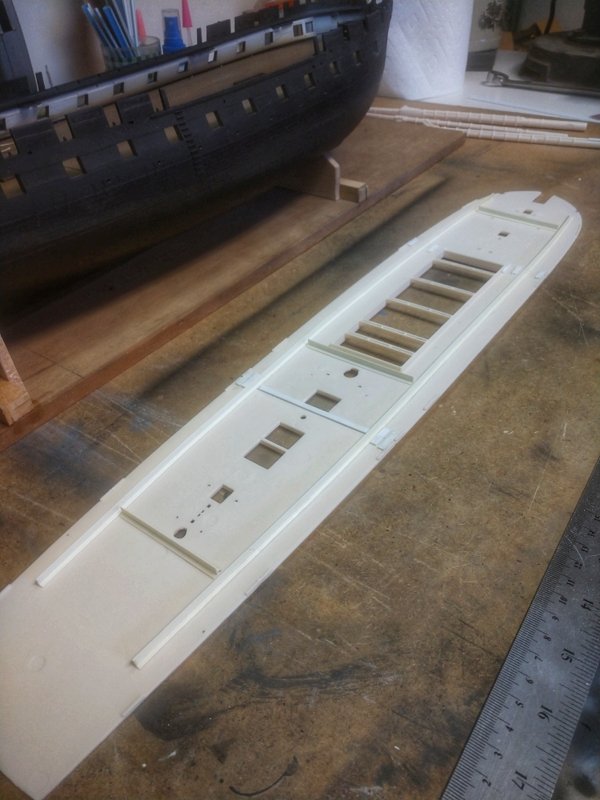
I treated the top deck installation differently than the gun deck. The notorious three piece design wasn't going to work for me so I decided to glue them up and drop it in as one unit after painting. A lot of sanding,filing and dry fitting was done to insure everything would go as smooth as possible. At this point I also dry fitted the mast's to make sure they would be straight and at the right rakes when added. I'm glad I did because they weren't even close.
- 41 replies
-
- 3
-
-
- Constitution
- Revell
- (and 1 more)
-
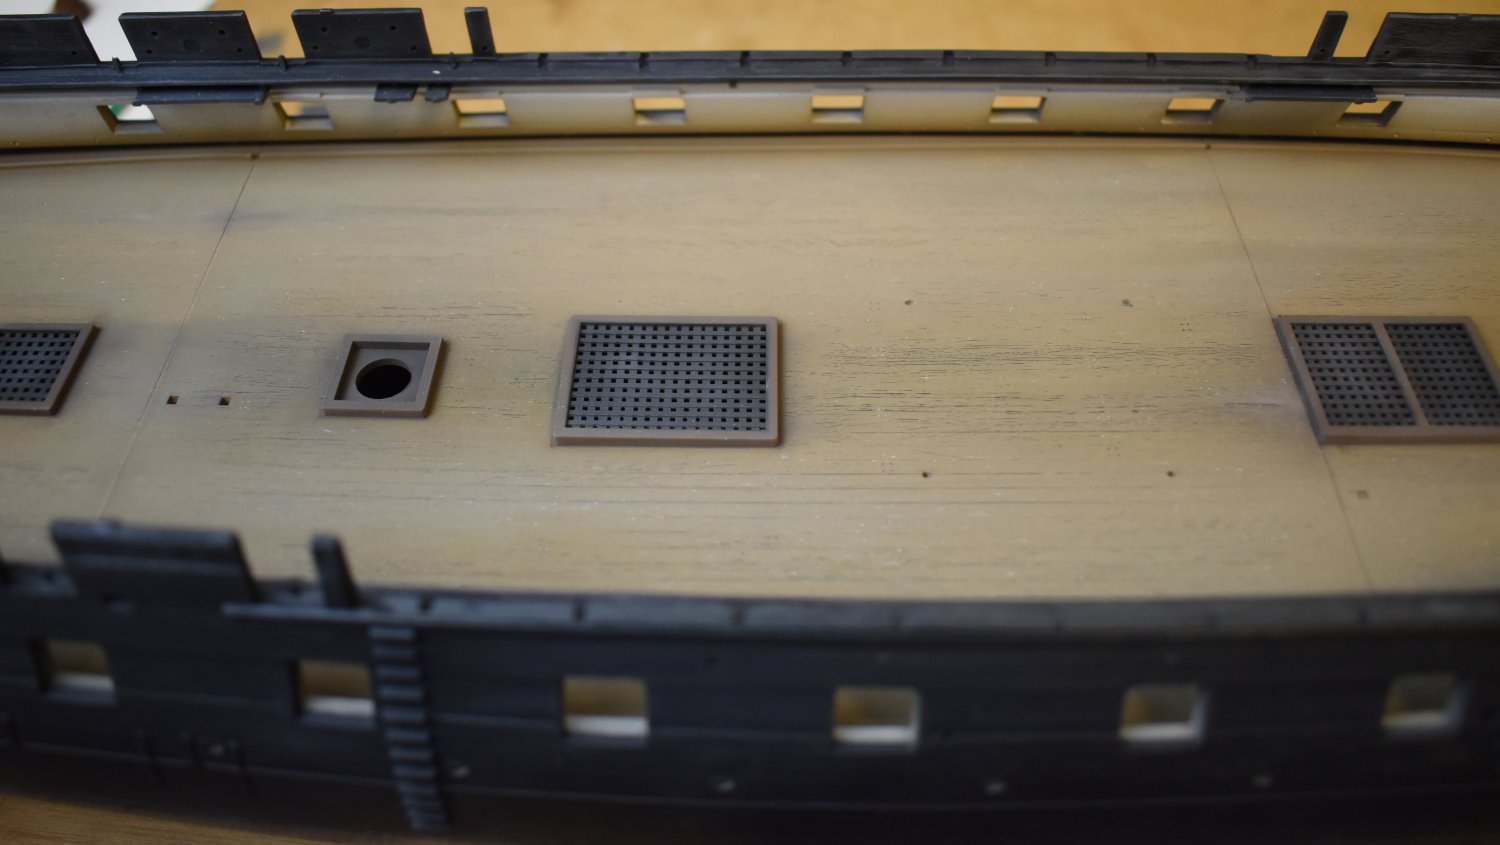
Hello. This is my third experience with the iconic Revell kit, counting myself as a youngster watching my Dad build his back in '69 - '70. I've spent about two years off and on working on it to this point. When finished it will be a waterline display, with sails furled at anchor. First photos of this build log start at the point where I had the gun deck airbrushed and installed.


- 41 replies
-
- 3
-
-
- Constitution
- Revell
- (and 1 more)