Wxchsr
-
Posts
32 -
Joined
-
Last visited
Content Type
Profiles
Forums
Gallery
Events
Everything posted by Wxchsr
-
Thank you Chuck!
-
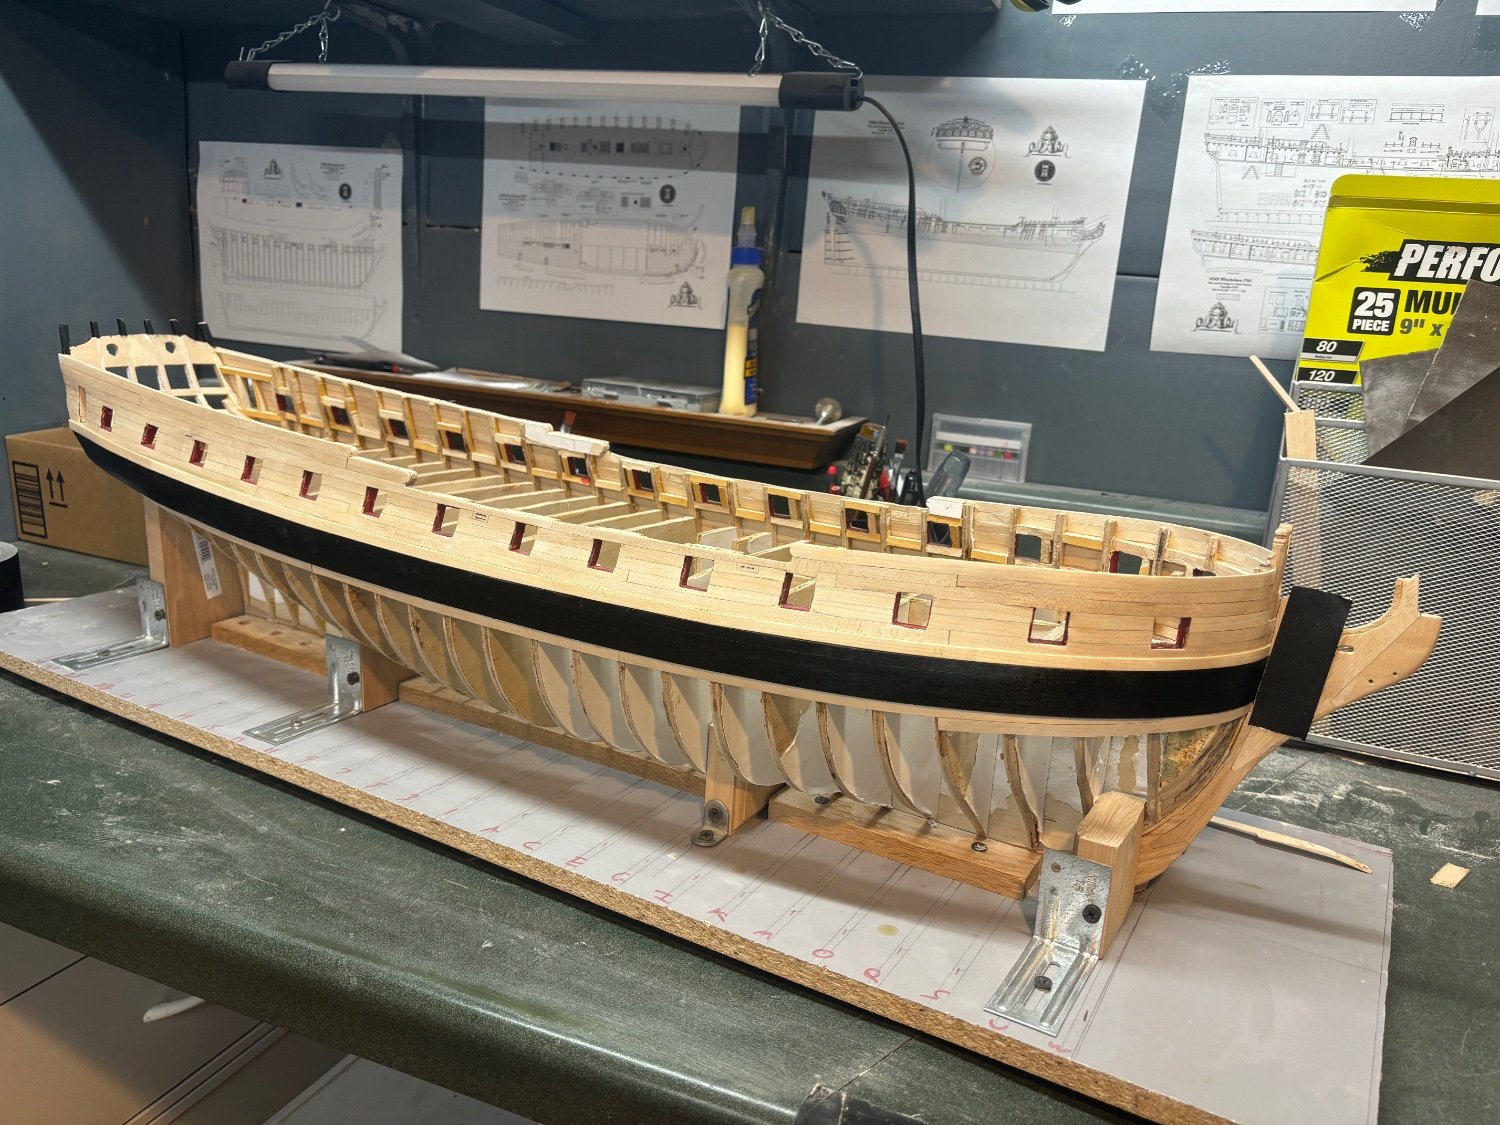
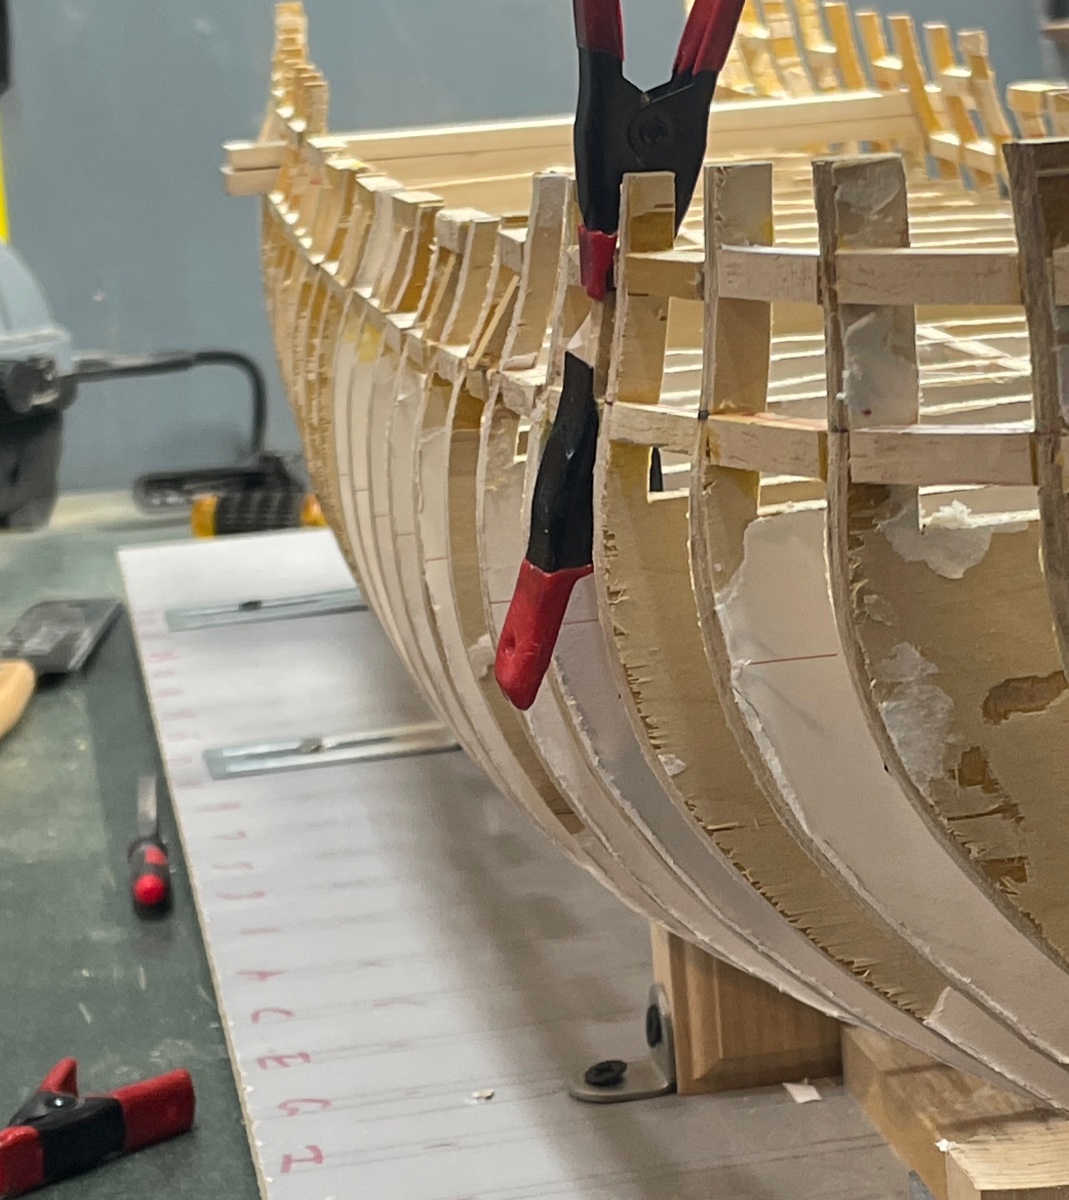
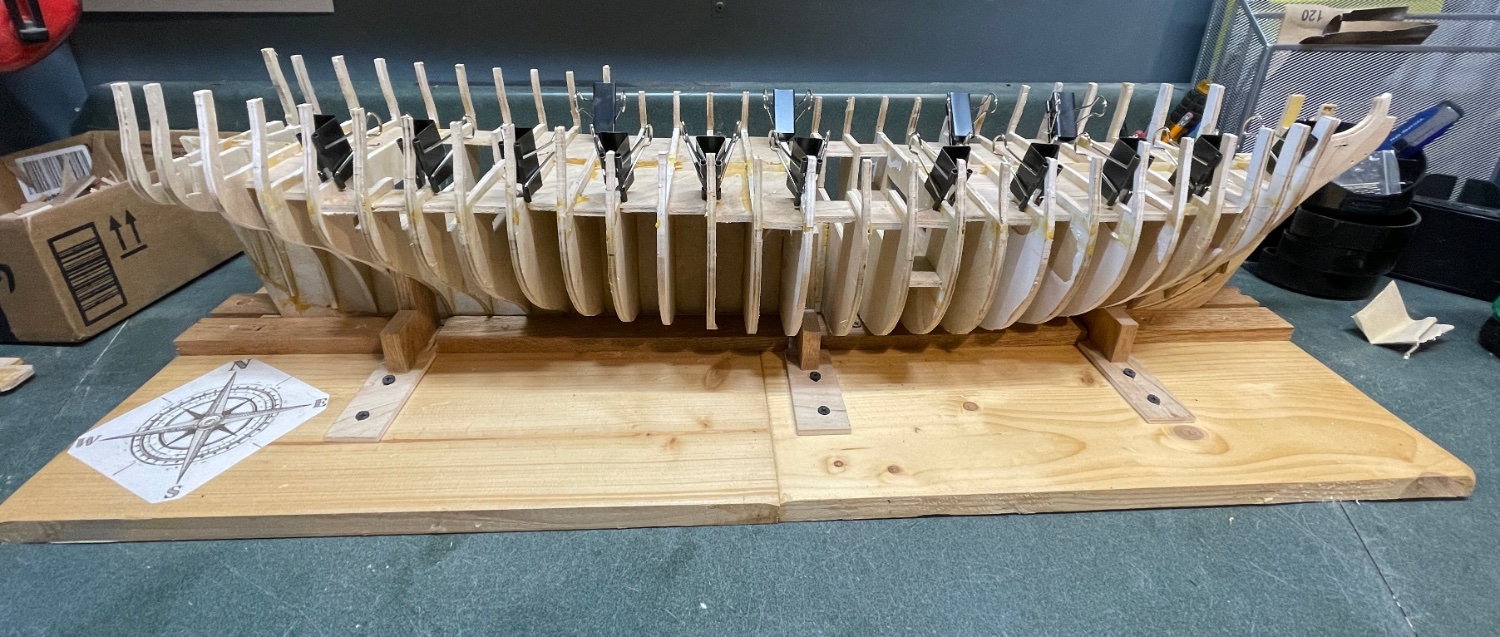
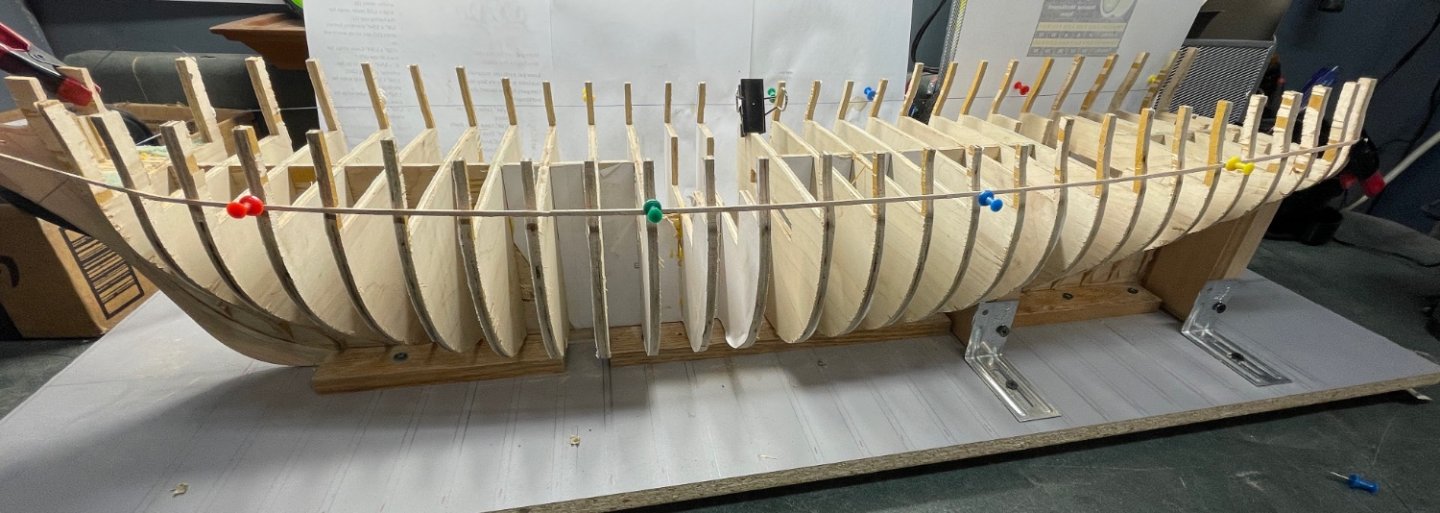
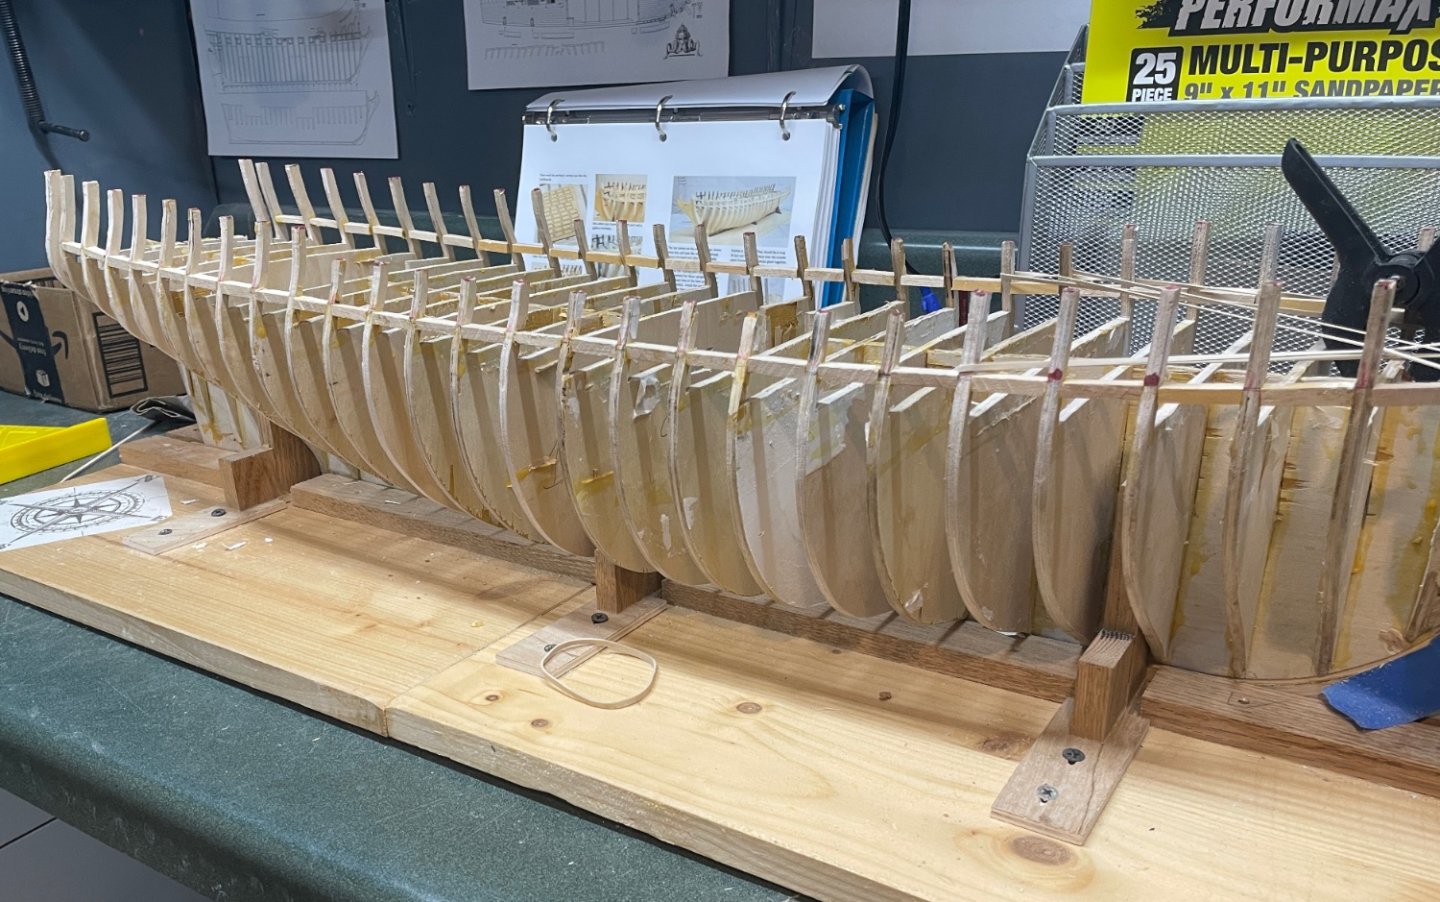
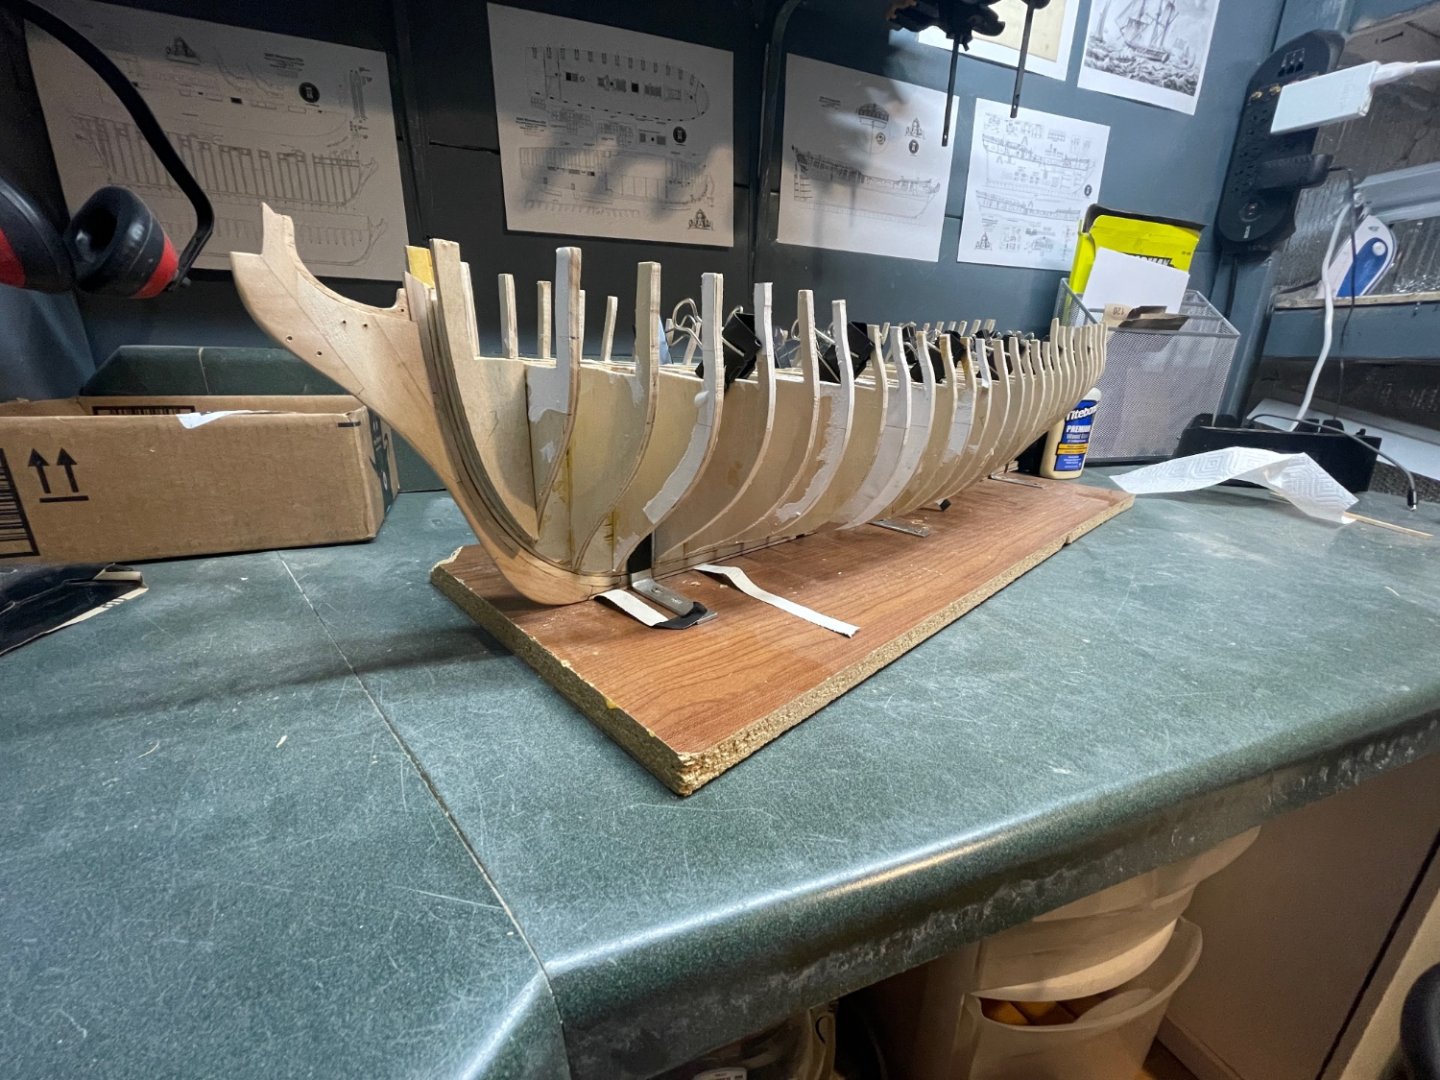
Still moving along. Had to take the summer off but now that it's turning colder, I'm back in my "office" and back to working on the model. Starboard is done for the time being. Port is planked above the wales. I need to sand that area, plank a row below it, then add and paint the second layer and black strake as I did on the port. I also need to do a little cleanup around the gunport openings where I see the cuts varied a little. Overall very happy with the progress!

-
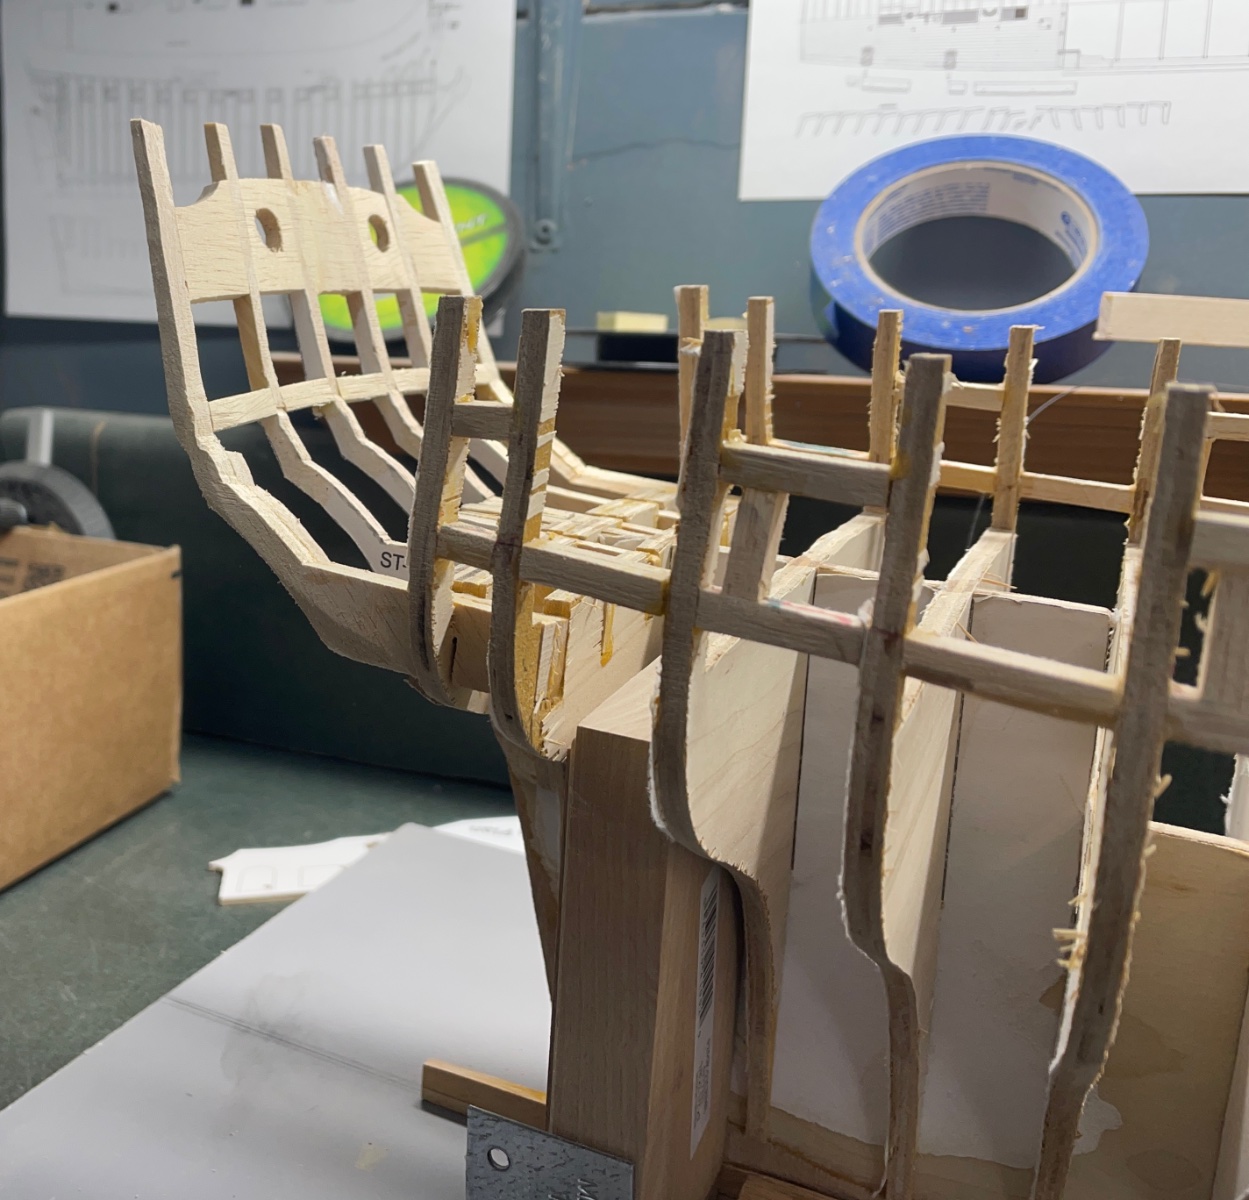
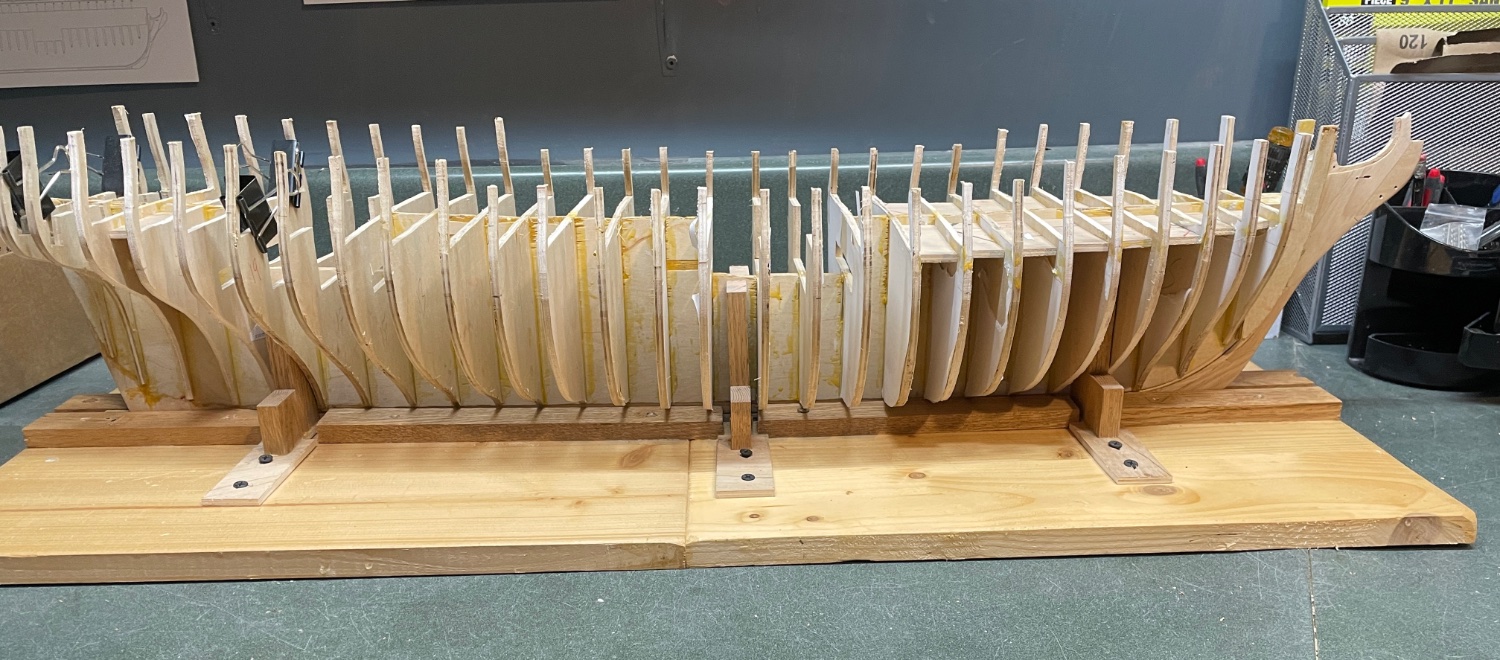
I’m still here just taking my good nature time getting the fairing right. Port framing is done (less the stern) and I have a good portion of the stern done. A little more fairing to do and I’ll start with framing the stern.


-
Thanks! Going super slow. Still framing and fairing. Rechecking and fairing more started on the stern frames but really taking time to check things from every possible angle and lighting!
-
Thank you Chuck!
-
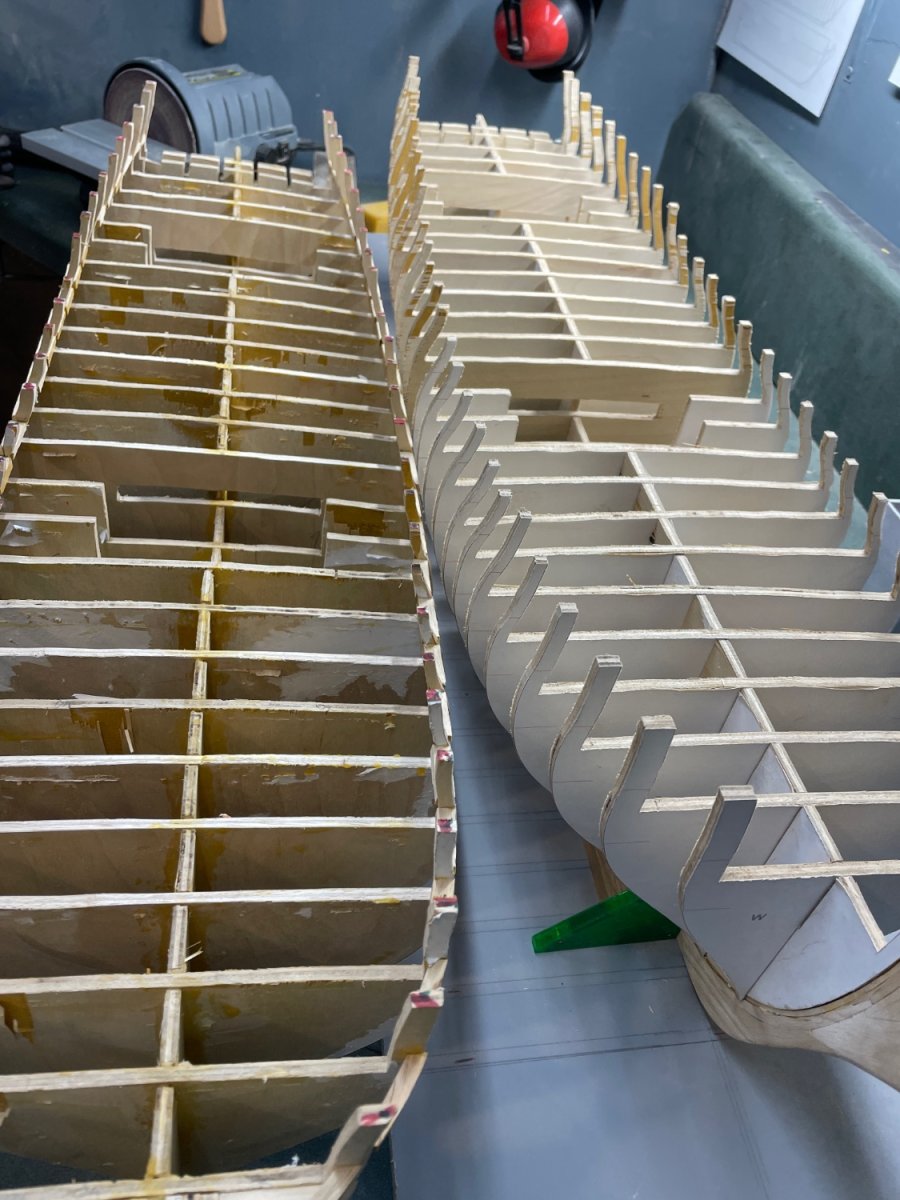
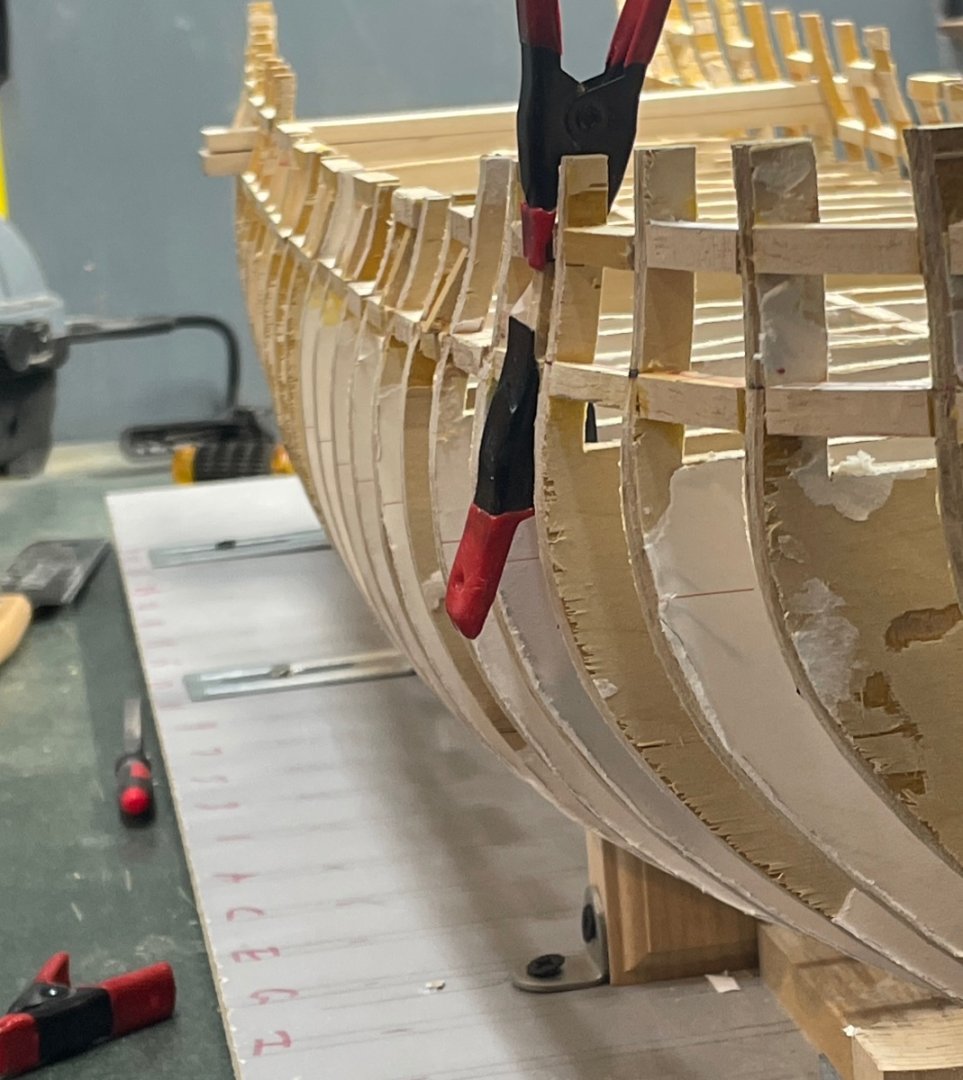
Port framing continues.

-
Hi frank! sorry I saw this a day late. I removed the batten yesterday after marking the top. I would say it lines up with most. About one out of every 3-4 would be up to a mm high or low, in which case the new mark is what makes it smooth. Then I did the other side and did my best to make sure it matched. This photo is ugly because I haven’t faired the framing yet (makes some look crooked), but the top, of the bottom row, is where the top of the batten was.
-
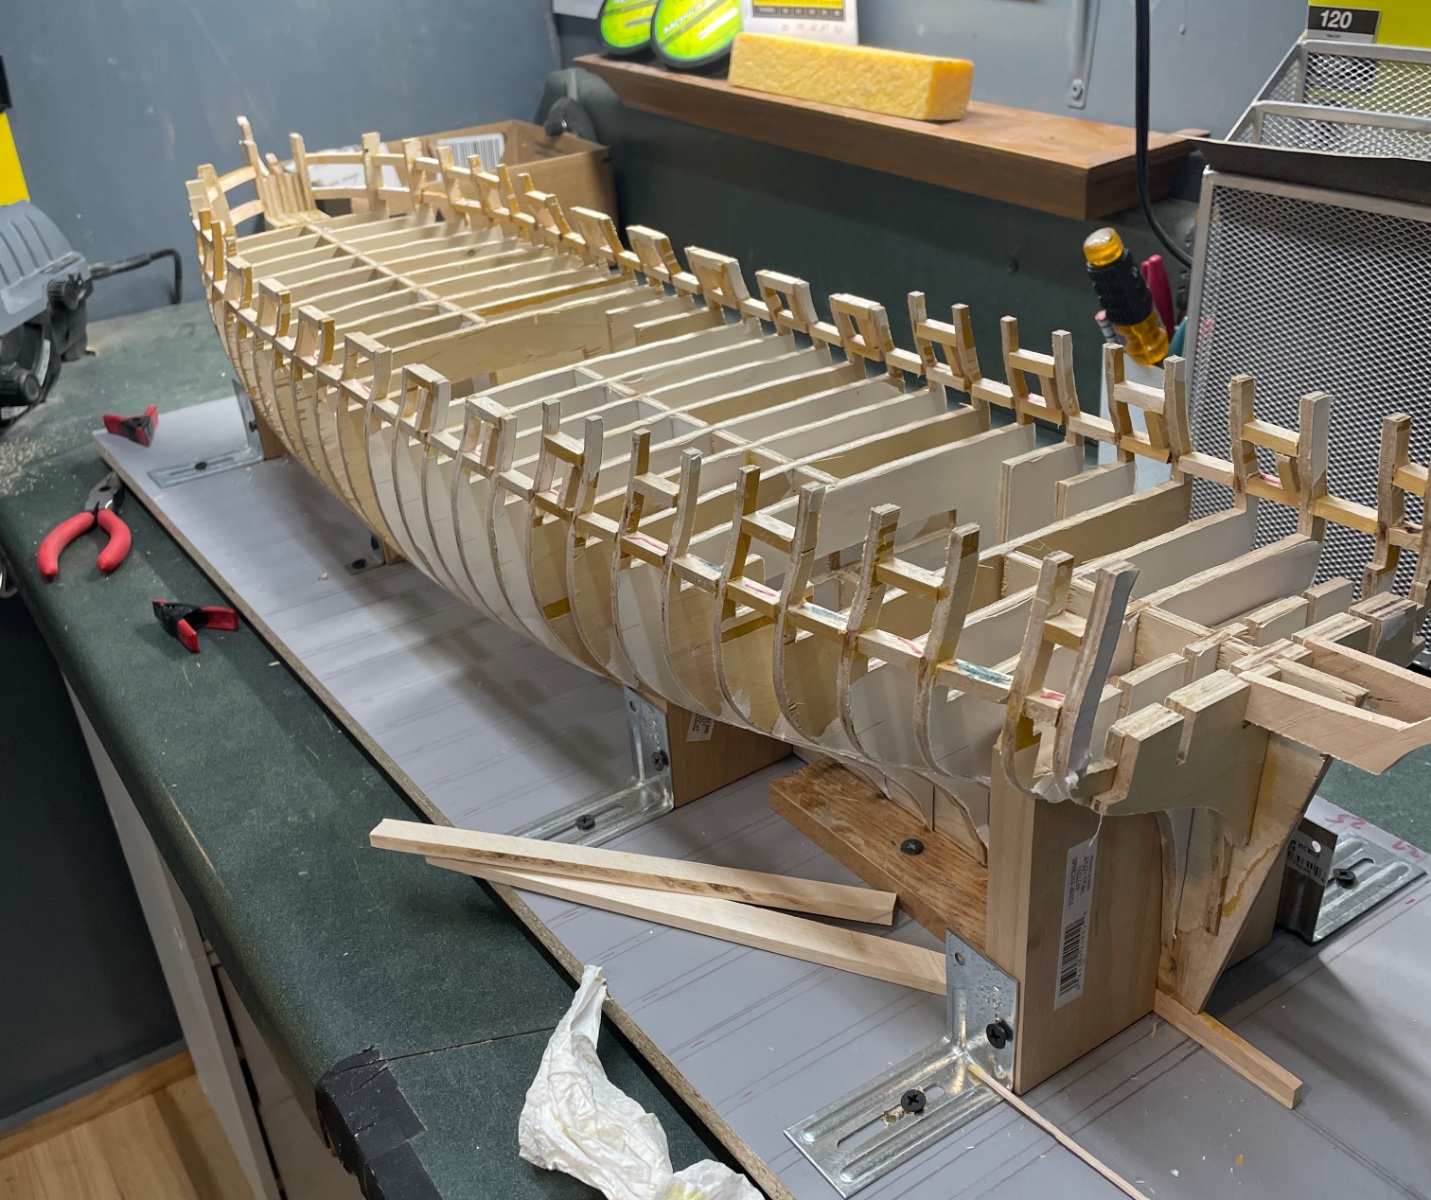
Going great. Back to the point of starting the port framing. It was at that point last time I noticed the issues, I’m not seeing those this time, so the added precision has made all the difference.
-
Totally agree!!
-
Very happy with the restart decision. Much better tools for the level of precision needed, some of which I built just for this project (such as a table saw from a hand held 4” circular saw).

-
Updated build board, all squared and measured out (aligned with new former) so this round I have fixed points of reference.
-
I’ve been really happy with the progress this far and have already learned a ton. I’ve decided to do a partial restart now that I have the equipment to make things better from the start. My former has a slight curve in it along the horizontal axis. much harder to deal with than the vertical axis which the framing would likely take care of. Even with that it has a slight twist, subtle, but now I know I can do better. The knee and keel are good and I should be able to reuse that, so this will only be a week or so delay, I just want it cleaner from the start. Certainly would have come out ahead $ wise just getting the laser cut parts! There always the part of me that wants to do as much as I technically can though, so I’m good with that
-
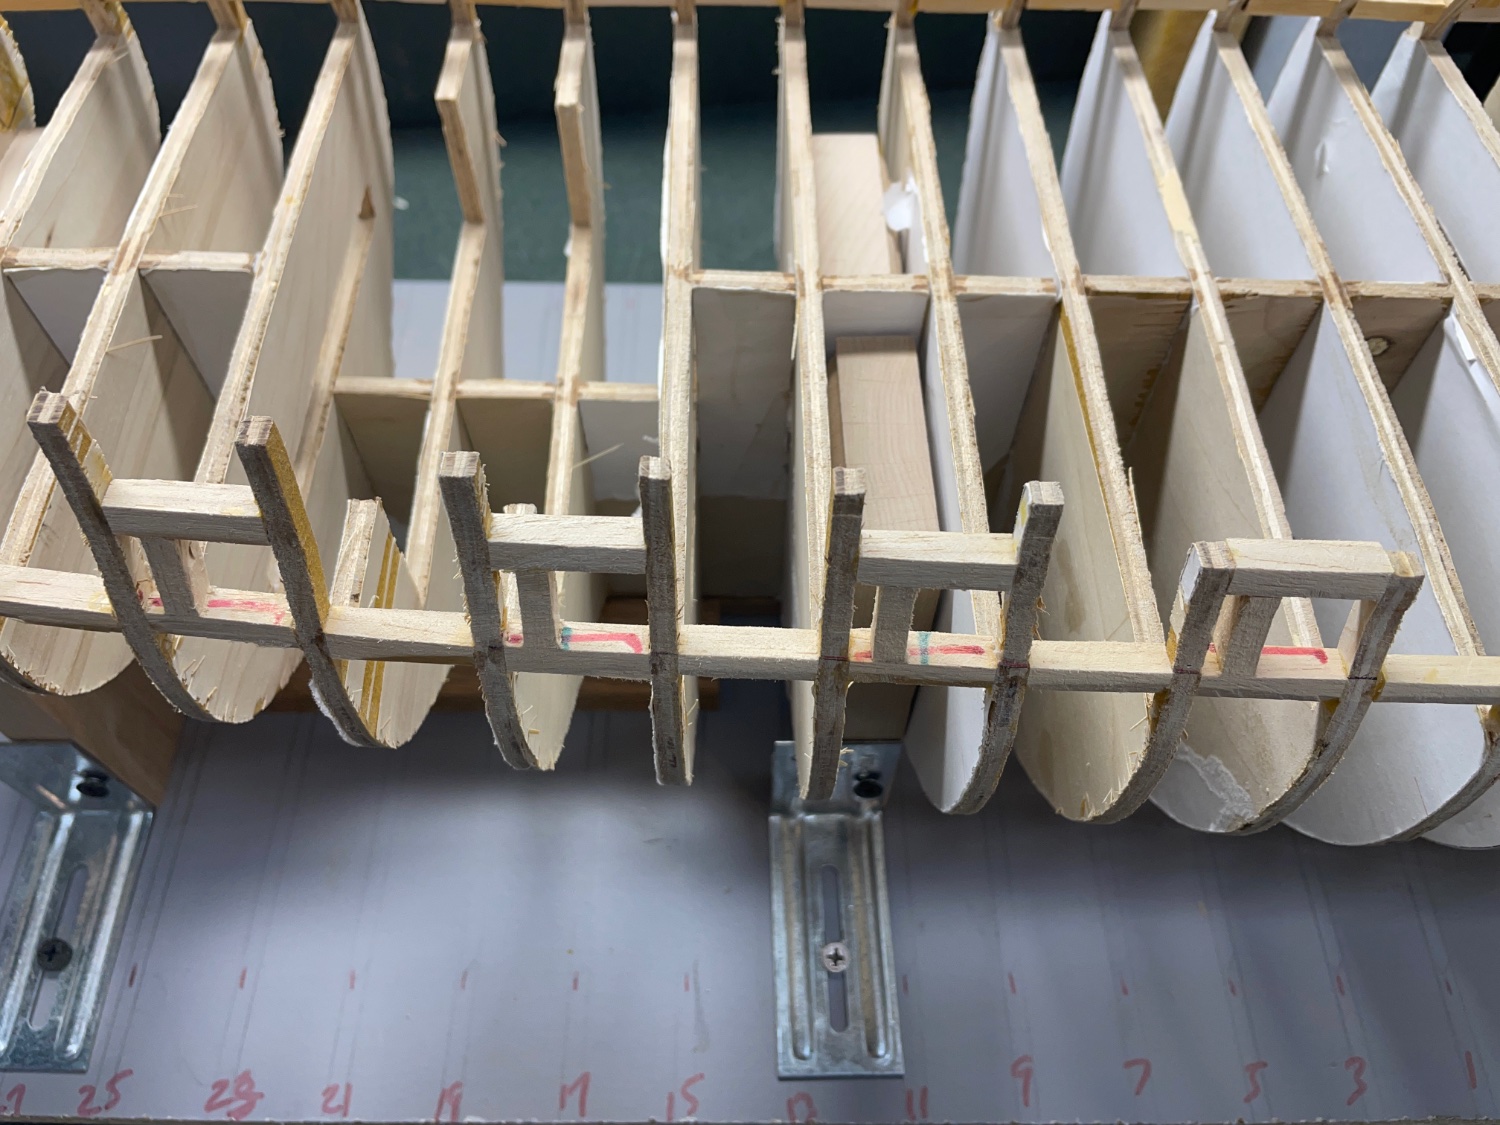
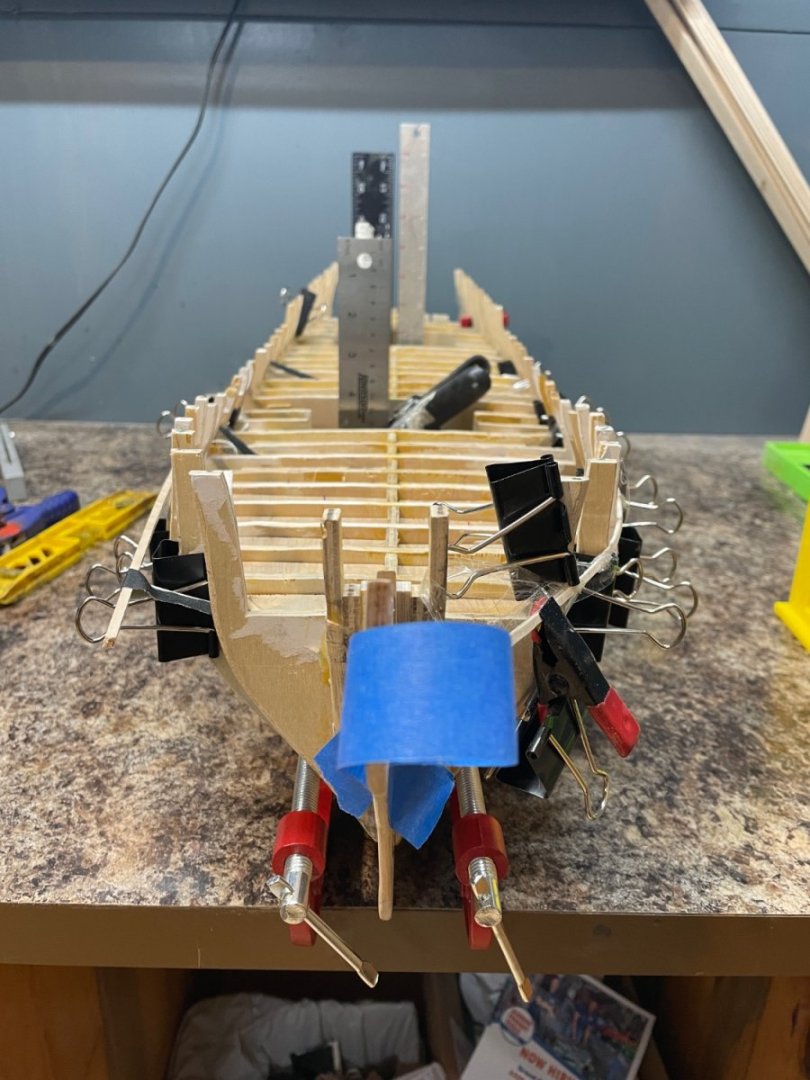
Bottom row of port framing is almost done. Had to remove the plywood supports as a couple we apparently slightly to big/small and was knocking it ever so slightly out of square. I spent a lot more time with these ensuring they were evenly spaced and squared. After putting in the last couple I’ll do the final touches on fairing.
-
Thank you Chuck! I'll scan ahead and find that!
-
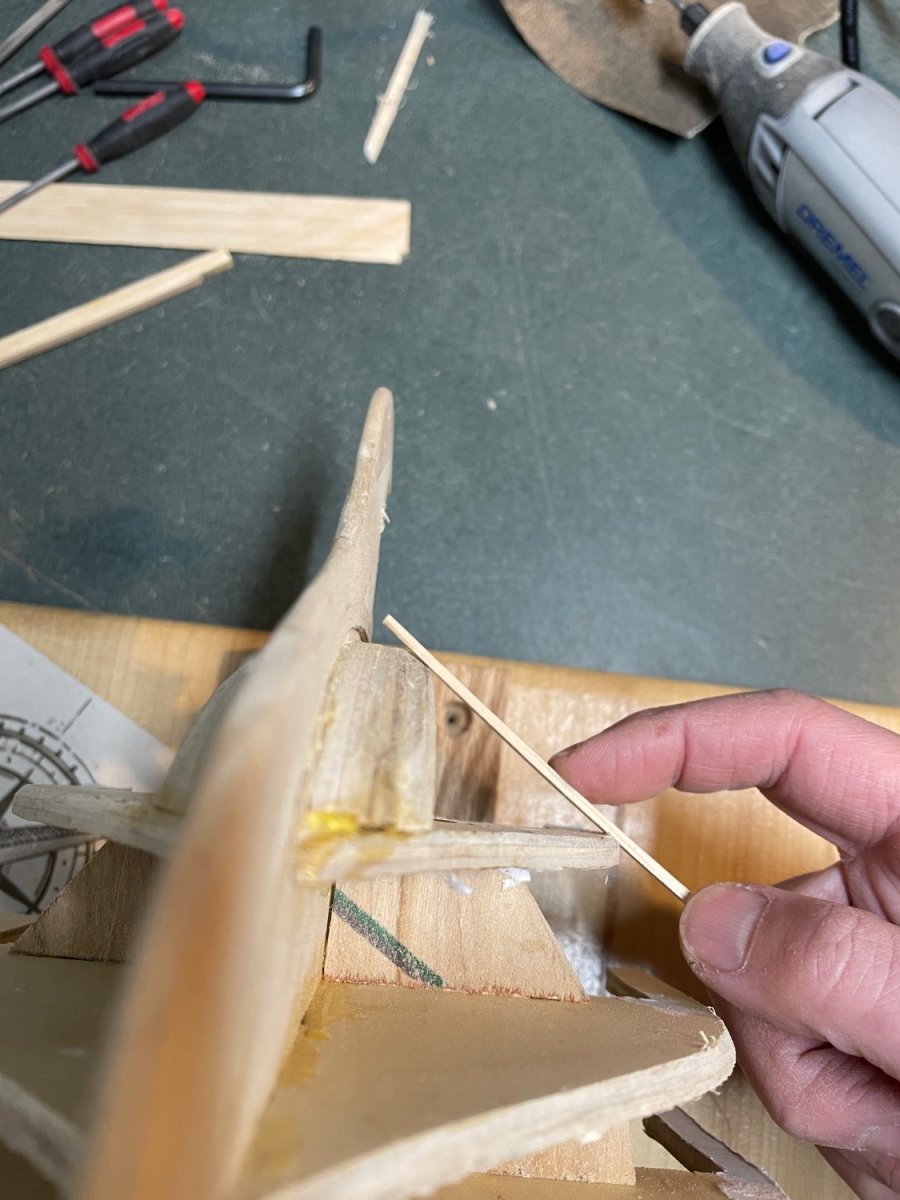
I plan on using the monofilament method for the "nails" on the ship. Can anyone advise on the size they used for this specific ship? I see some forum posts here and there (I think Glenn, you used "20 weight for the capstan partners and 15 for the fore and main partners," do you recall what you used/are using on the deck planks and hull planks? I was thinking of using 12# for the deck and 20# for the hull. I'm probably splitting less than hairs here (literally), but am just curious what others used. TIA!
-
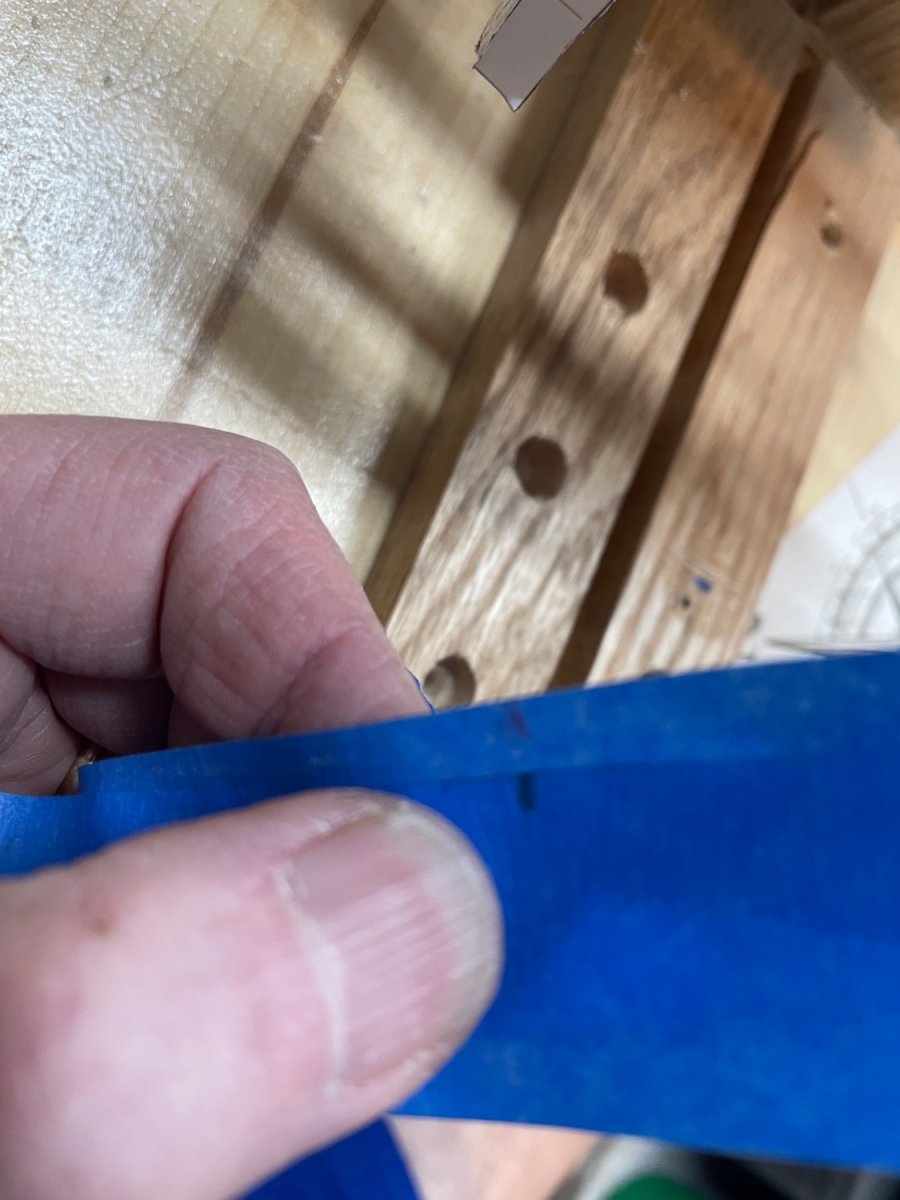
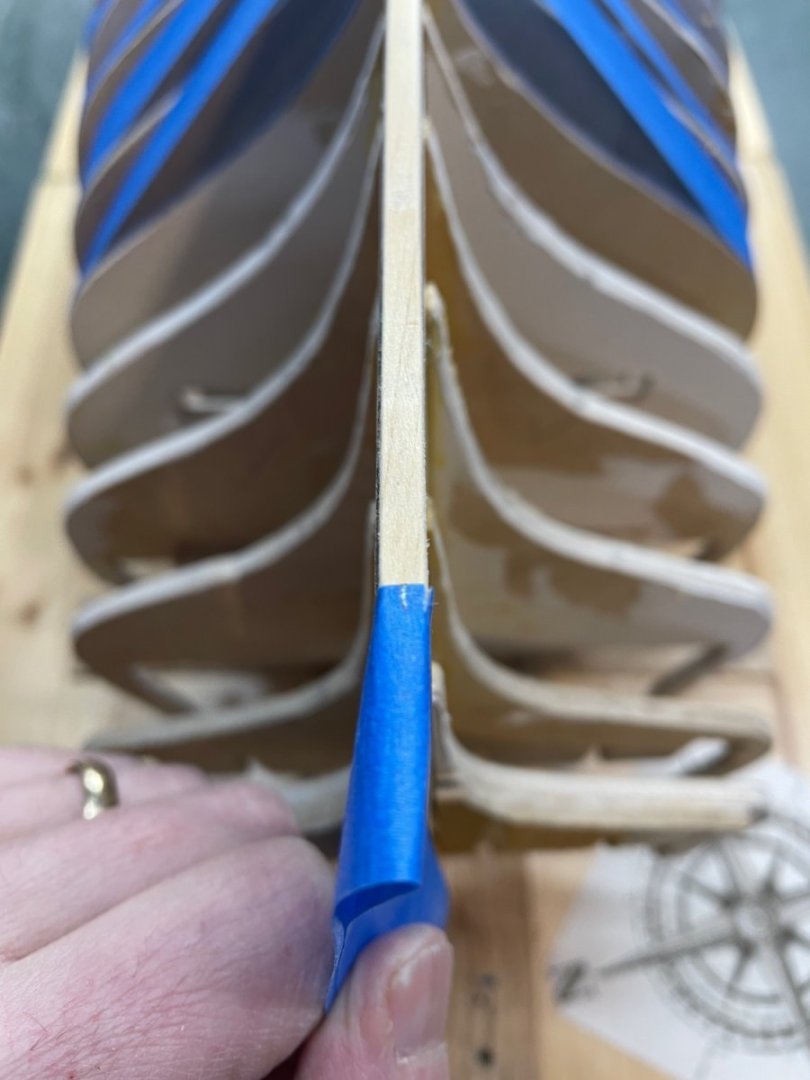
One more gut check after the previous alignment to make myself sleep better. This was low tech but did prove it out. I ran some painters tape over the keel and along the bulkhead, pulled tight so it didn’t touch the whole thing and past the parks for the batten. I then marked on the tape where my marks from the previous step were. After I did this to all of them, I took the tape off one section at a time and folded it in half using the keep mark as the center. The marks from each side all lined up within 1mm, most were exact or +/- 1/2mm. I wouldn’t trust that as the only way to measure as the bulkhead could also be off and give a false match, but in this case I was content. After this I noticed I still have a little fairing to do on the bow that I’ll deal with tomorrow before moving on to the port framing.

-
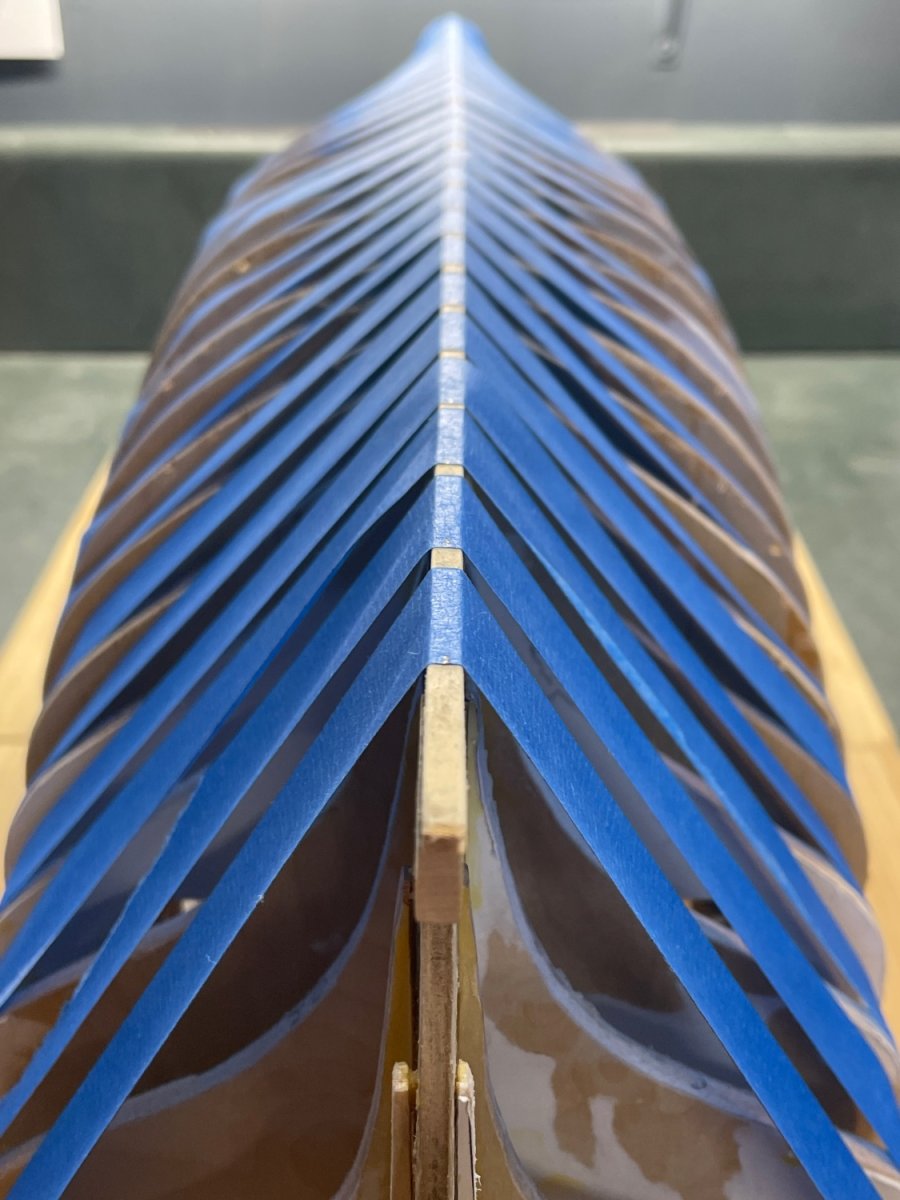
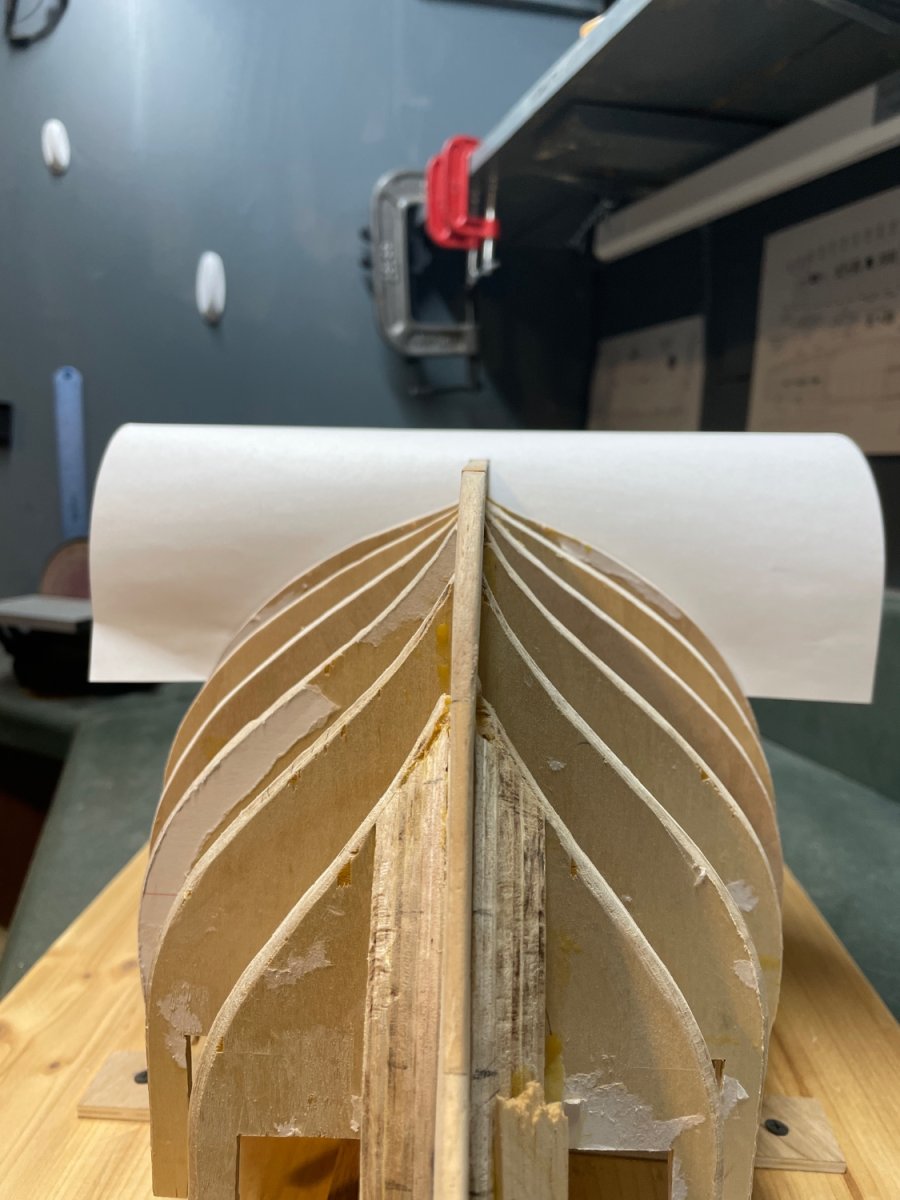
Finished most of the fairing. A little fine tuning to do yet at the bow, but wanted to get the battens on so I can mark the sides before framing. Feeling very OCD trying to get this right. Leveled the desk first, then used a few squares were accessible to square the ship to the table. I don’t trust the build board to hold it exactly upright because I can’t verify it with a square. I have the batten where I want it on the right (as you see it here) and will use a speed square to transfer the level of the top of the batten on the right to the left. Left is roughly lined up already using the reference marks, but I want to be certain. Ps the knee looks warped here but it’s an optical illusion:)
-
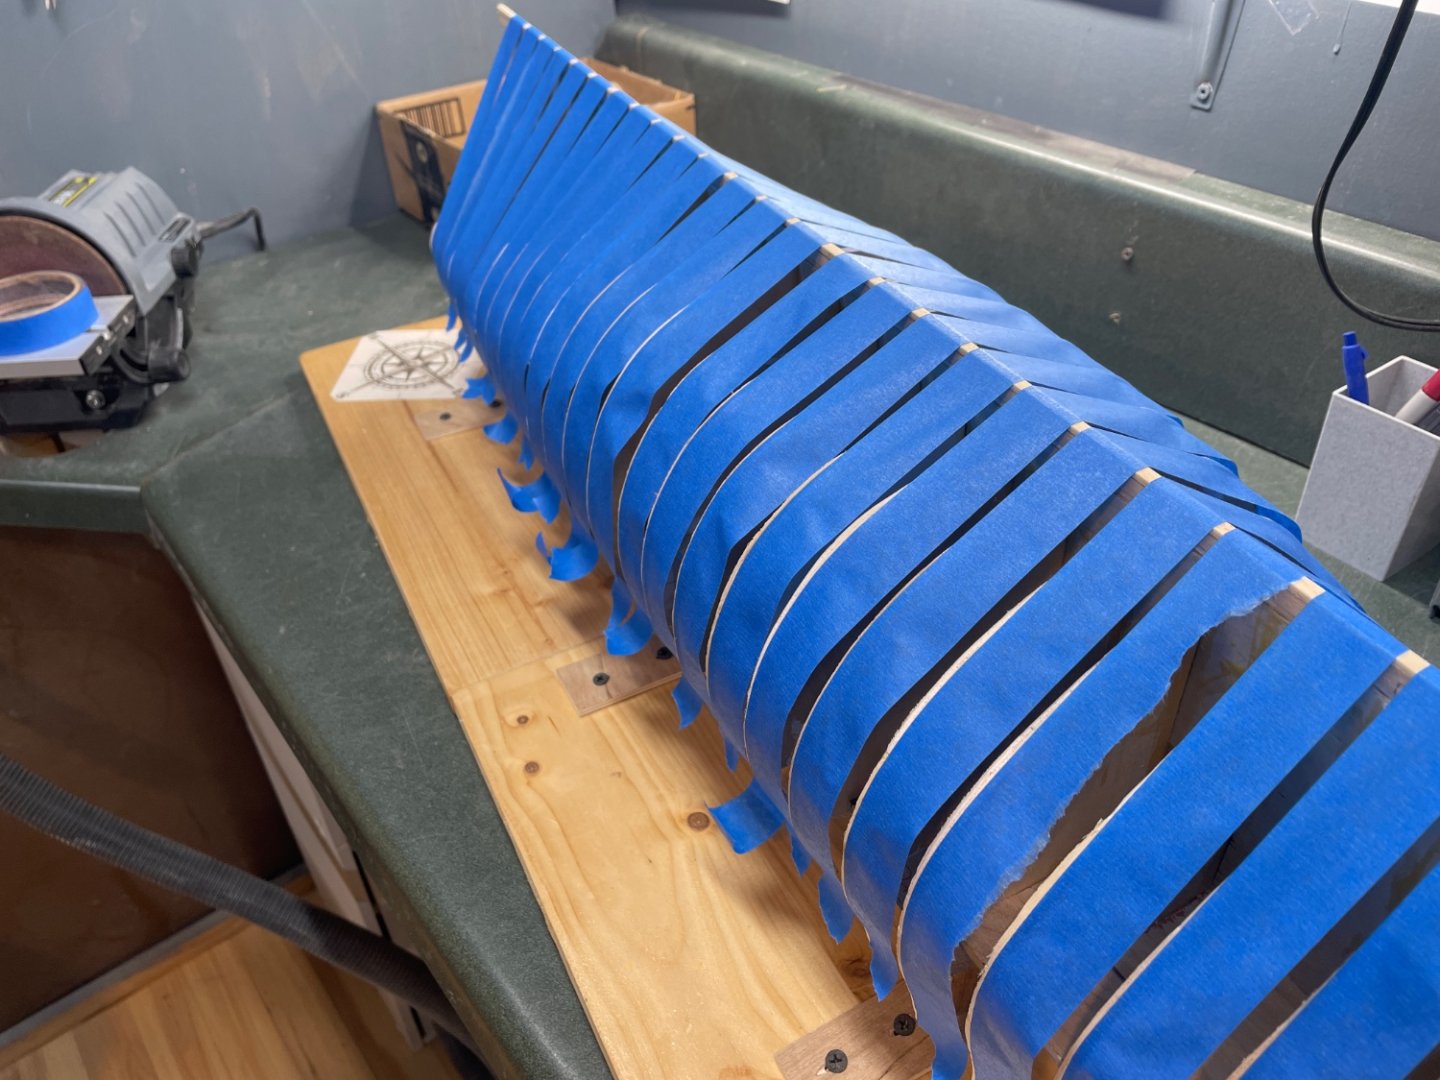
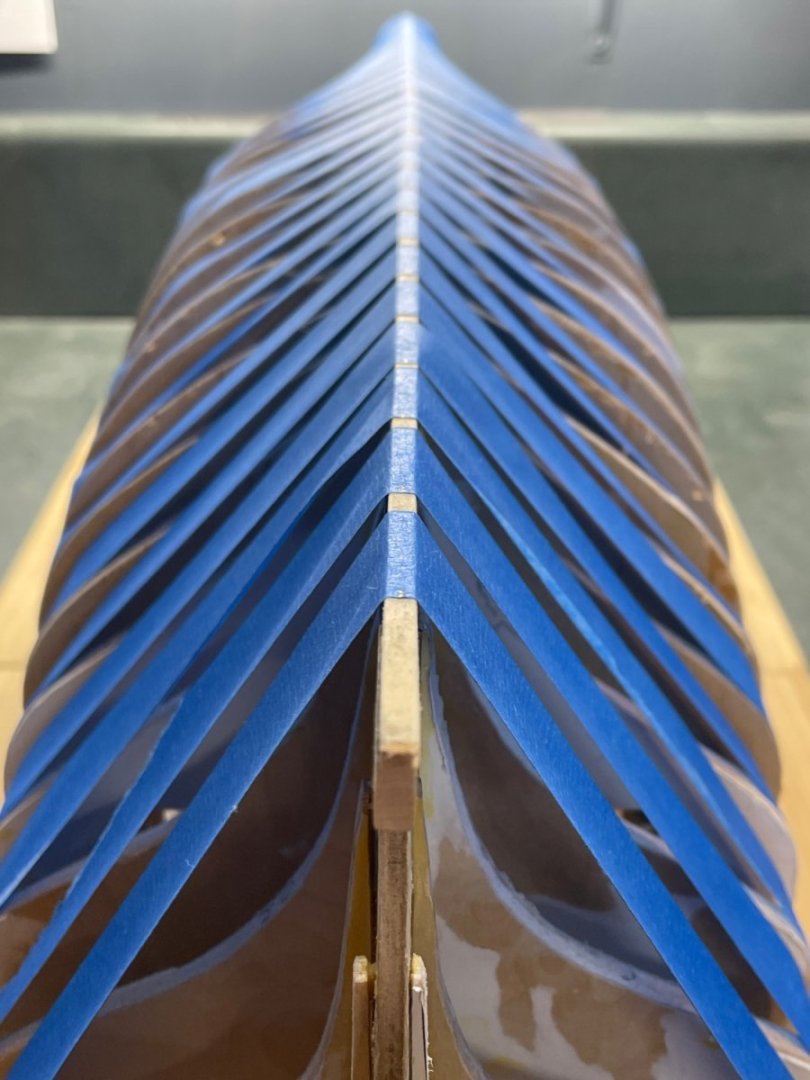
Simple trick that’ll maybe help someone. It’s tough to focus on one bulkhead at a time when fairing and trying to make sure both sides are even. I cut a slot in a piece of paper and slid it over the keel between each bulkhead one at a time, starting at the bow and working to the stern. Made it really easy to spot and adjust any differences side to side.

-
Good call, I'll make one of those for that purpose. I was pondering the balsa wood there as well just for that reason. Thanks again!
-
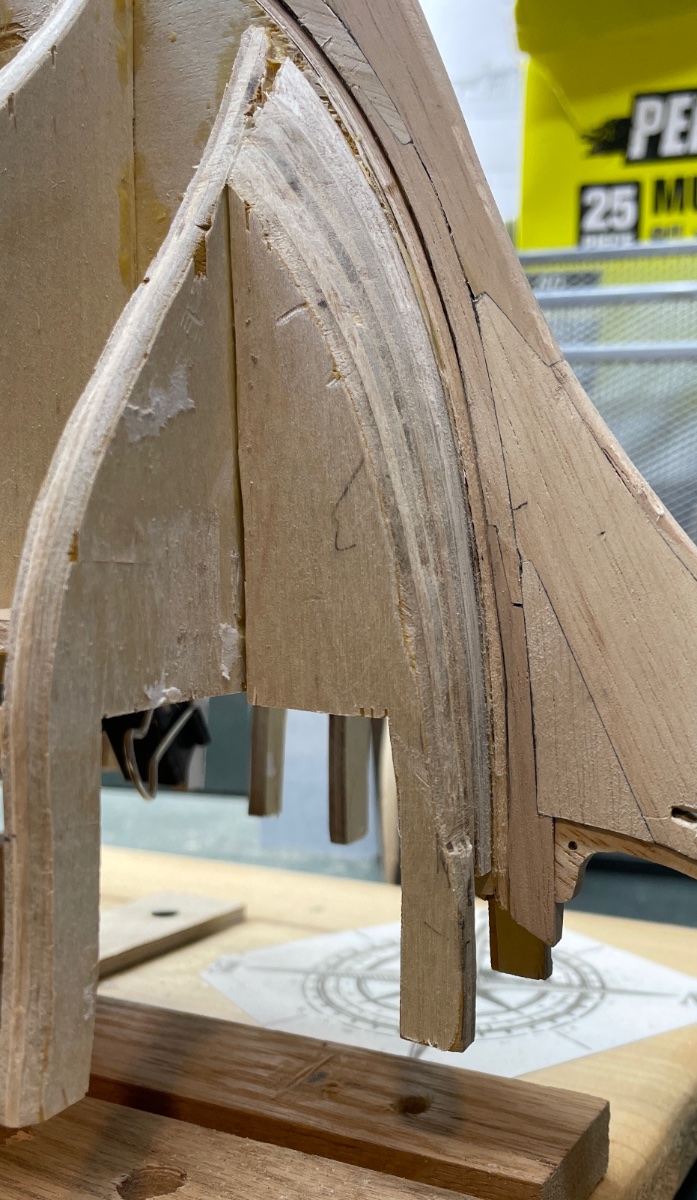
Thanks again for the guidance yesterday! I took more time today and just “went for it.” I was being too hesitant to not remove too much. I took a substitute plank and bent it to roughly match what the real ones will be and layed it across the bulkheads. I think I have this pretty close now, but will do the other side before any finishing touches.


-
Thank you Glenn! I'll dig into more of the build logs for some images. I'll get more aggressive and maybe post an "almost final" shape in the next day or so. Take care!
-
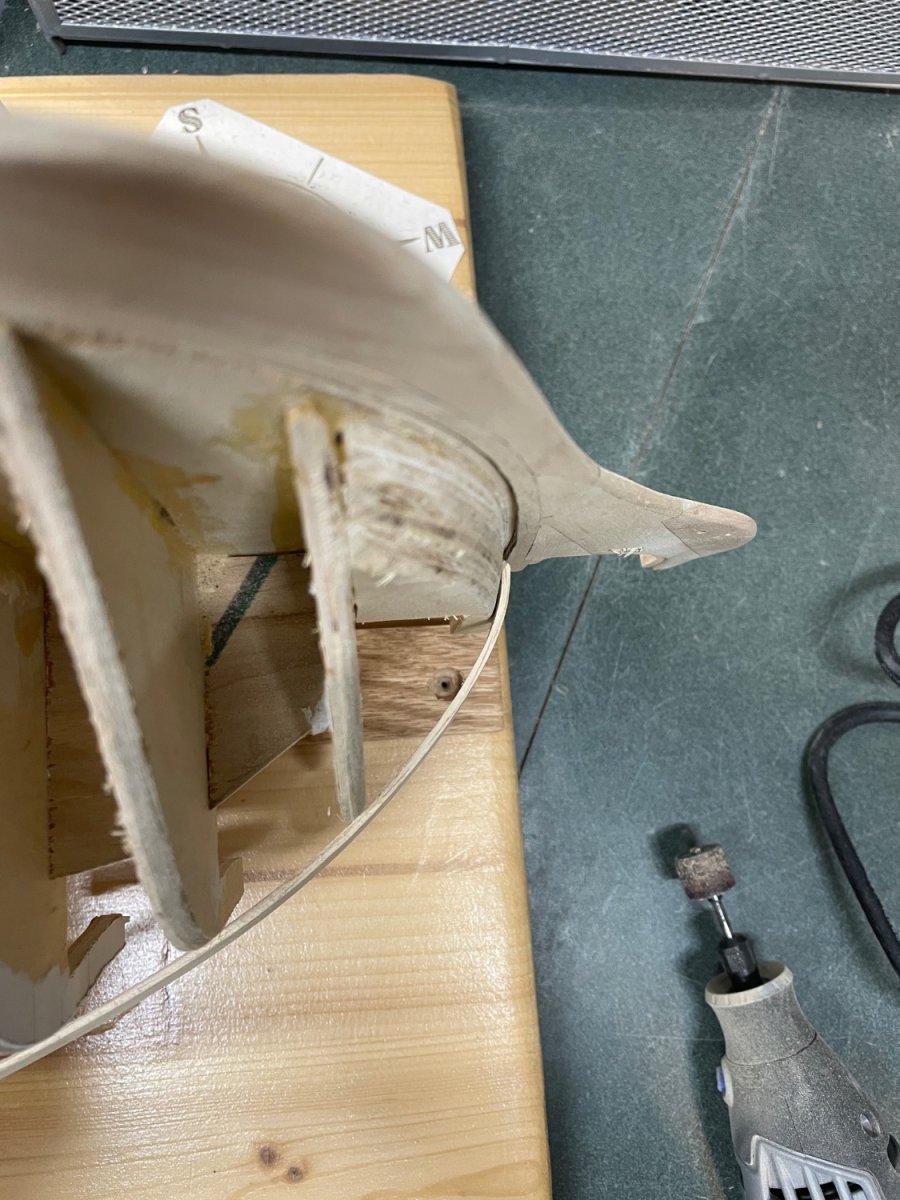
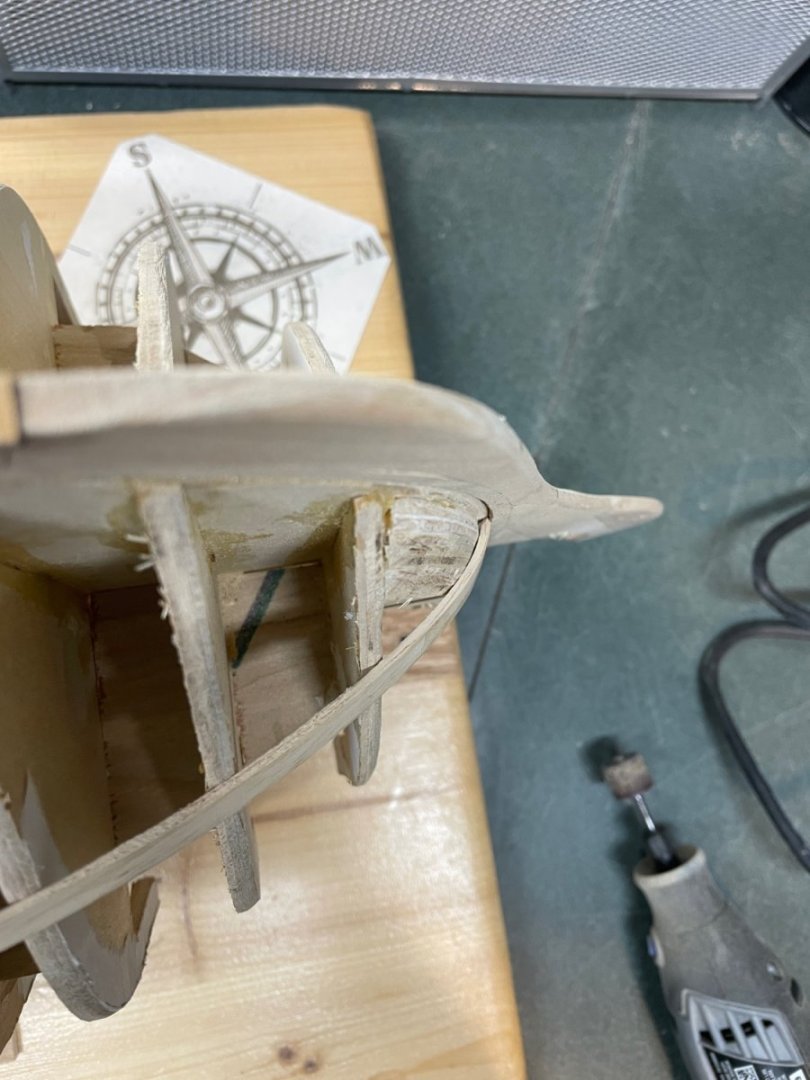
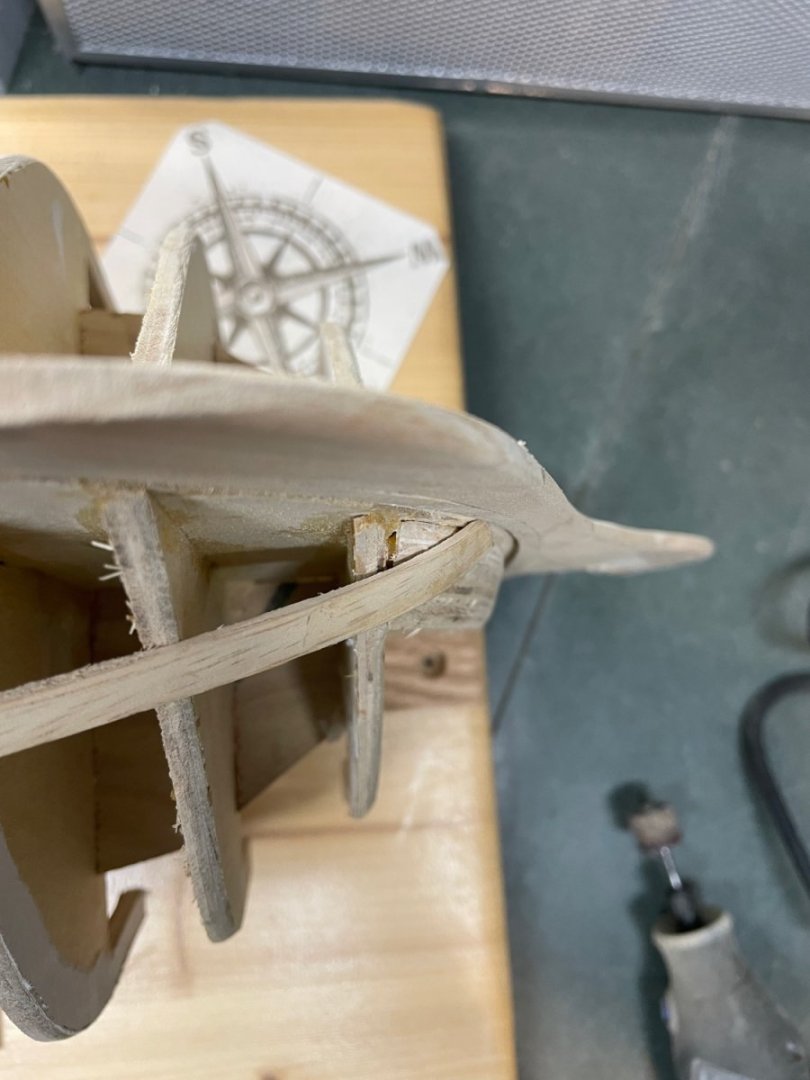
Just looking for a little input on fairing the bow portion. I thought I’d ask before I go too far. I looked at a bunch of other logs and it seems that the planing comes in close to perpendicular than a 45 from the last bulkhead but I can’t really tell from the edge on photos. I’ll took a couple images looking straight down. I know it’s different along the whole edge but that’s the point where I’m wondering about. I darkened the edges in the one photo so it’d be easier to see where I stopped for now. I drew a little bit of a like as a starting point of reference to ask everyone their thoughts on the correct approach to the bow the line isn’t perfect as it’s not a flat surface coming from that bulkhead, does it take a bit of an aggressive turn in for a flatter bow, or, more of a straight in approach with a shorter bend to get to the rabbet? Sorry if I missed an on obvious answer somewhere. Thanks in advance!

-
Created a more “permanent” build board that has better keel support and side braces. Added some ply between the bulkheads to square them up better. Thought it was worth a couple days of prep before I start fairing then framing.


-
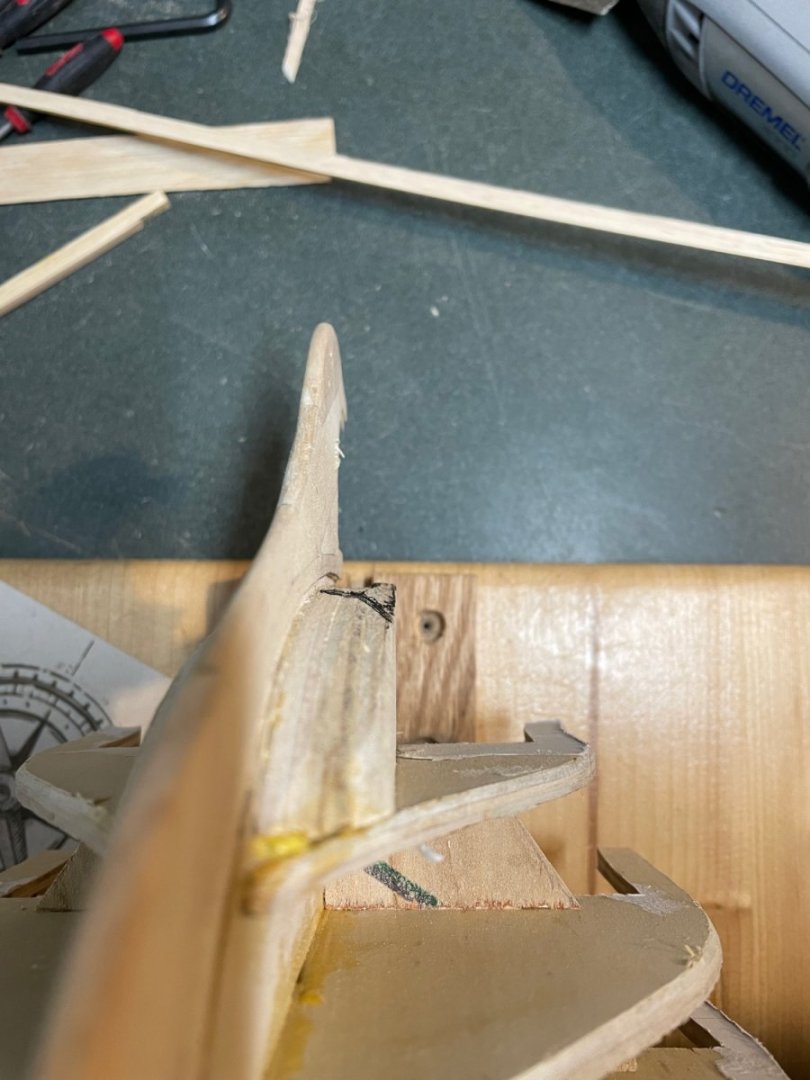
After I had the knee, keel and false keel installed, I wasn’t happy with the knee. I had to alter the bottom too much so it was far smaller than it should have been (over sanded), thus the joint between that and the first keel piece looked ok, but not spec. I also sanded the false keep too thin. It was a good practice run I removed all three of those components, and luckily the rabbet stayed in place. I spent yesterday and today redoing them and am much happier with the result! I have to slot the knee yet (just have the two holes drilled as end points, but that was no problem last time. Will add tree nails at some point, but I’m not settled on which material I want to use for that yet. Regardless it’s going great! Will be fairing the next several days, so hopefully still going great after that Thinking I might put in even some temporary bracing to ensure the bulkheads are still true to the former before I start sanding.
-
AH...Noted. I'm going to go highlight those in the manual before advancing. Not that I don't want to be precise on everything, but some things, as you noted, may be imperative. Thank you for that info!