On another forum someone asked me to write up a detailed build plan for this - so I added it here as well in case someone tries to make this happen.
Alright here are detailed steps/materials:
Cardboard:
Get a thick cardboard and cut it to the outside shape you want the water surface to cover.
Next research the waterline for the model ship you try to do.
Then on the cardboard make a mark every inch of the circumference.
Next measure the horizontal distance in mm or whtever from the outside of the watersurface to the hull of the model ship - where the waterline is. Best is to use a box or something that is at the height of the waterline, then horizontally measure every inch with a ruler the distance from the outside to the hull.
Then take that distance and replicate it o the cardboard. Your goal is that you have on the cardboard a line of the hull.
Then next cut out the the hull from the cardboard - then lift up the model ship and slide in the cardboard from the bottom, that way you can verify the cardboard (which will be the watersurface) fits. It doesnt need to be super precise since you can use the water ripple material (see below) to fill in any smaller gaps).
Your goal is basically to have a cardboard that is exactly how you like the watersurface to be.
Once done you send or take the cardboard to Tapplastics (see below) and tell them to replicate that cardboard in Acrylic Lucerne 1/8th of inch.
Or you can cut out the acrylic yourself.. in that case call tapplastics they can tell you what to use or they can sell you the parts too. What you find on the internet about cutting acrylic is mostly wrong btw.
Doing the cardboard measurement seems to be the hardest part.
Top Water Surface Acrylic
I used acrylic glass (top water surface get it from Tap Plastics, the type acrilic is called: - Acrylic Lucerne 1/8th of inch thick),
from www.tapplastics.com
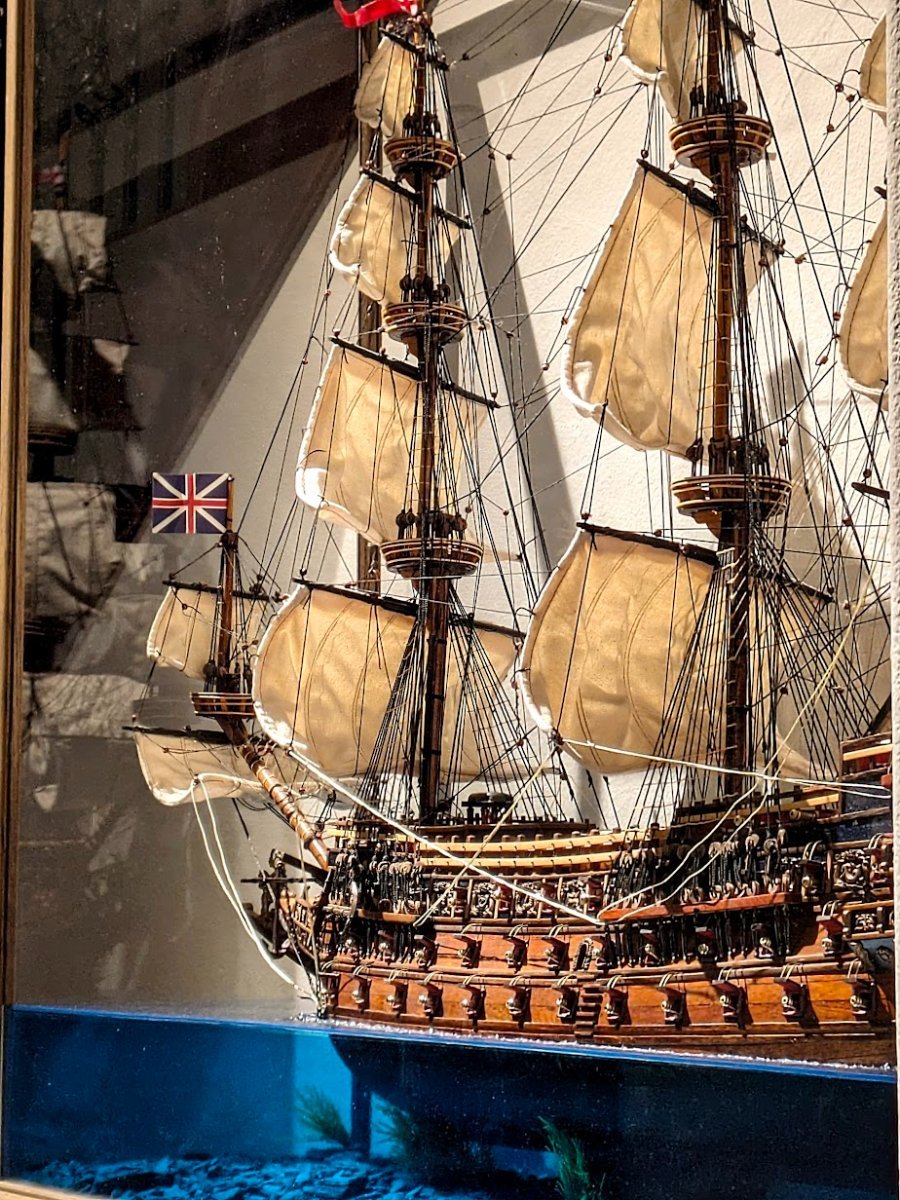
One thing to note here is 1/8th is somewhat thin, so when you get it it is quie bendable so make sure ont to break it. You could go 1/4th but that would mean that the cut surface on the side is larger... so you trade that for stability. I think 1/8th is probably better just handle it carefully once you get the cut piece back. Also one other thing ideally make the radiuses not too sharp. Tapplastics cant do too sharp angles or turns or super fine cuts.. however it doesnt make much of a difference since the areas where you would need those tend to be in the front and the back and that's the areas where you also have more rippled water wake - so you can just add more ripple effects there which camouflages it pretty well.
Side Acryilic:
Use 1/4th inch thick clear acrylic also from Tap Plastic.
from www.tapplastics.com
Transparent blue foil
Get it here:
https://www.amazon.com/dp/B01KGKIG7M?ref=ppx_yo2ov_dt_b_product_details&th=1
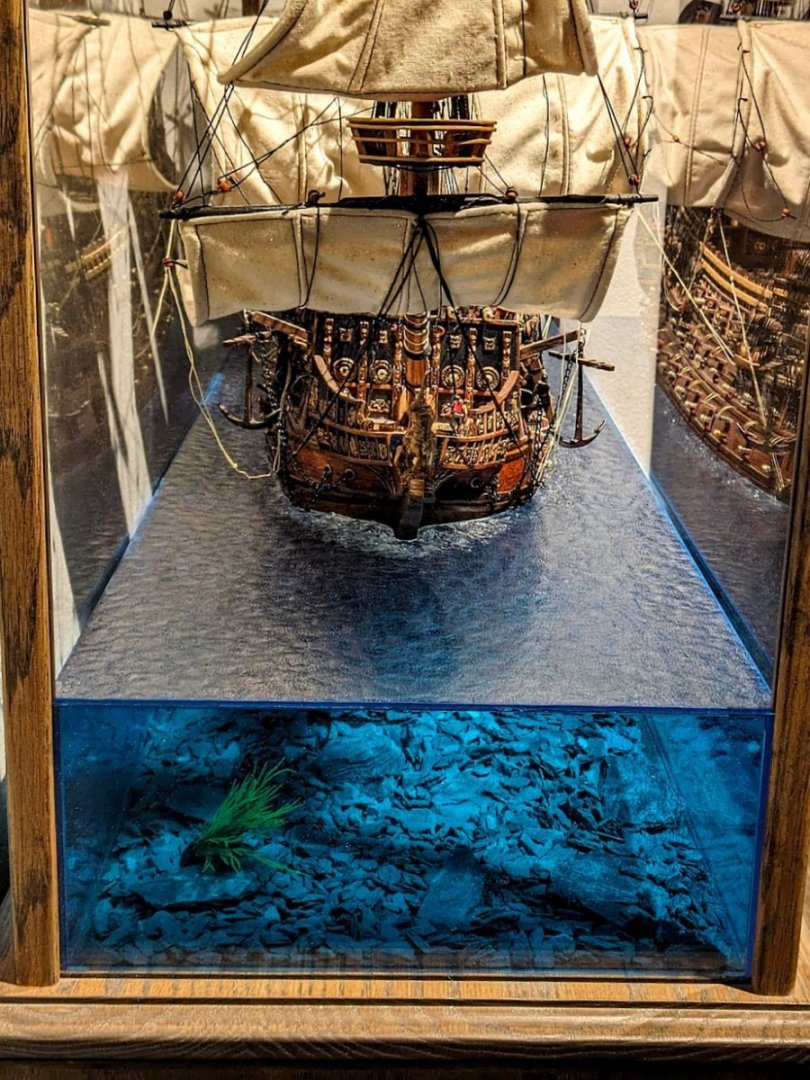
apply this to back of the watersurface facing the water floor/ground, as well as the side acrylic pieces (facing inside to the waterfloor as well.
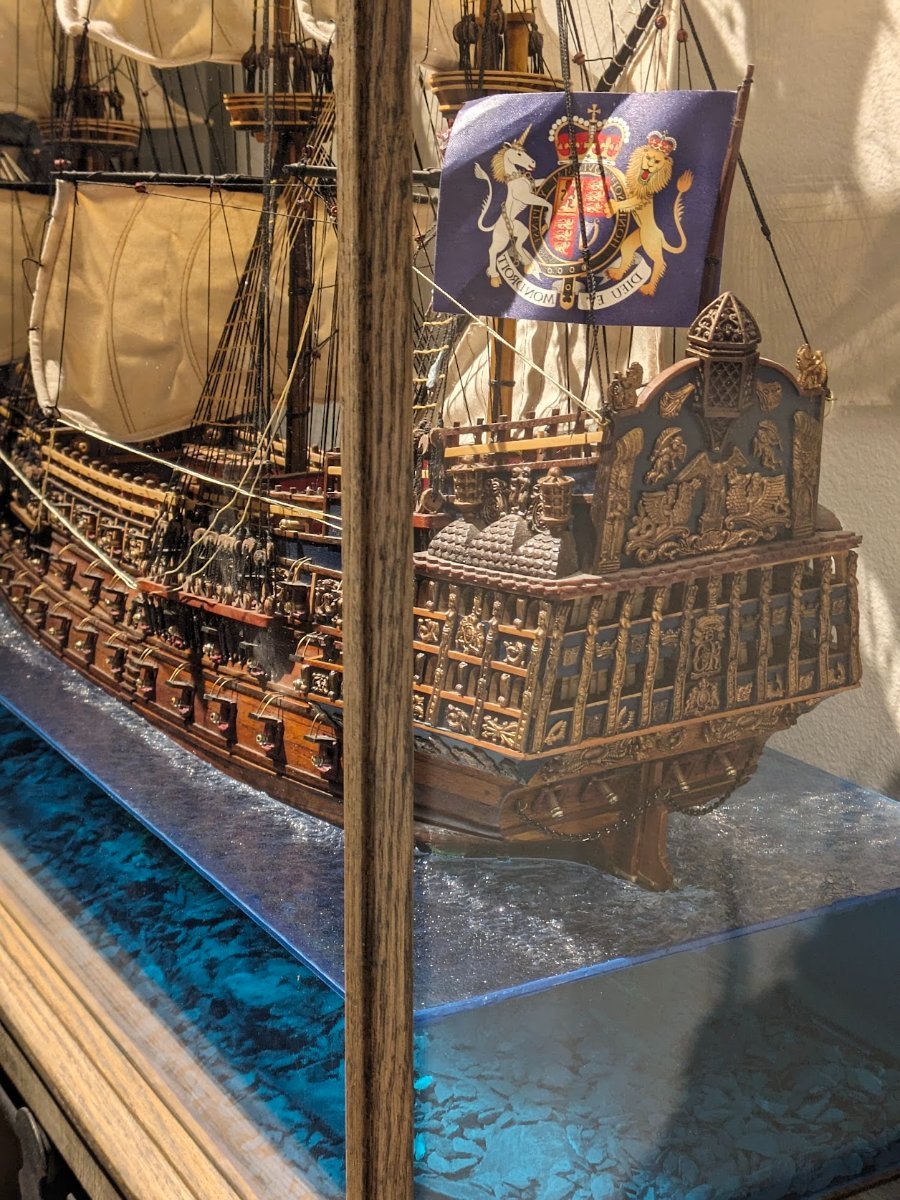
Blue Acrylic Marker
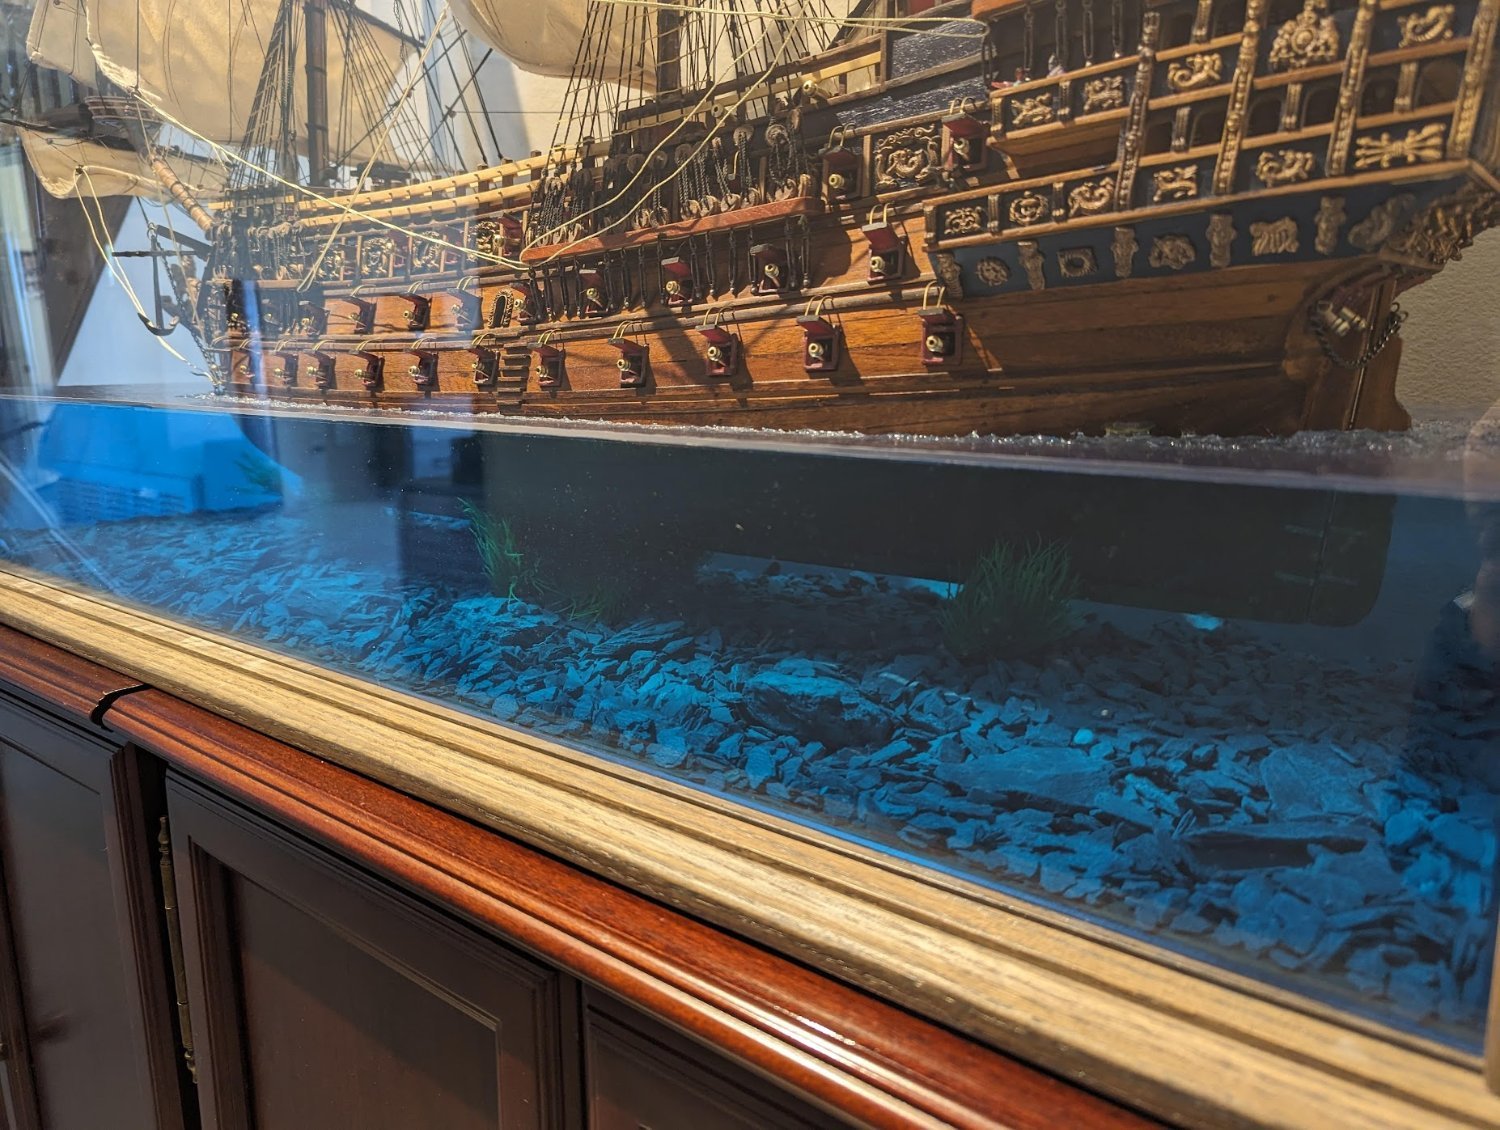
https://www.amazon.com/gp/product/B0929KVGDF/ref=ppx_yo_dt_b_search_asin_title?ie=UTF8&psc=1The cuts of the acylic pieces will look white, despite having the blue foil on the large surfaces. Use this acrylic marker to paint all the white cut surfaces (my initial pics above did not have done this step yet, but I have since added this and it looks even better I have attached a pic below).
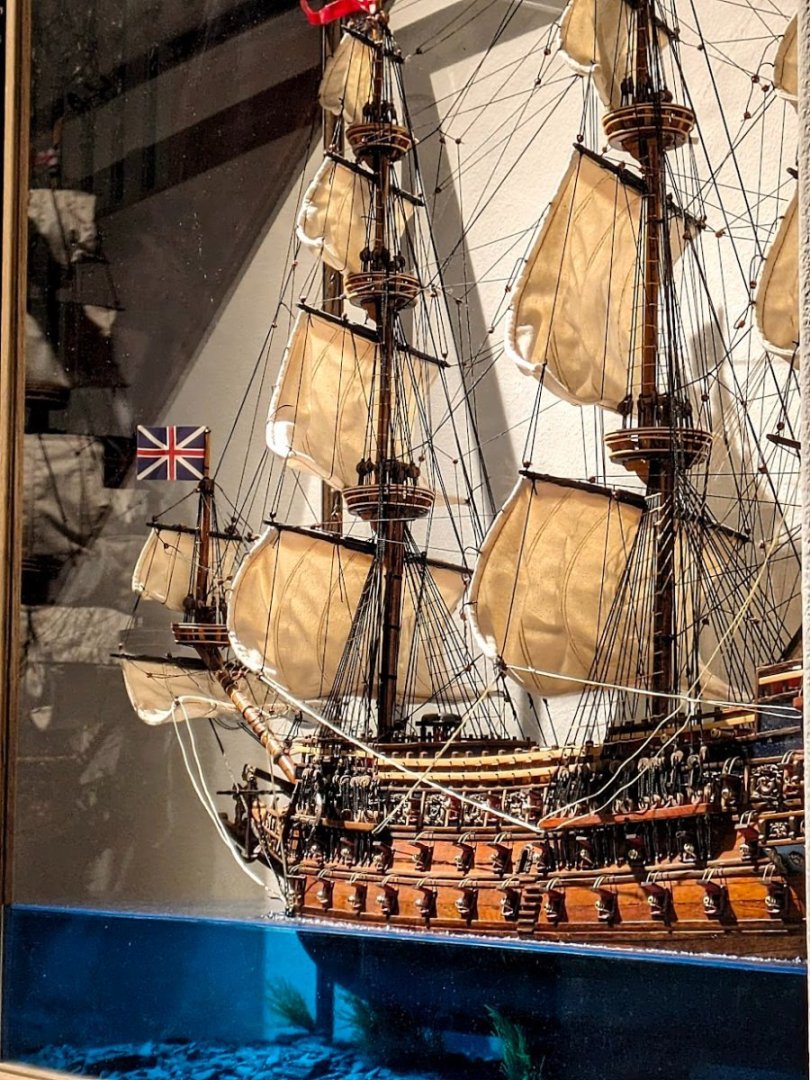
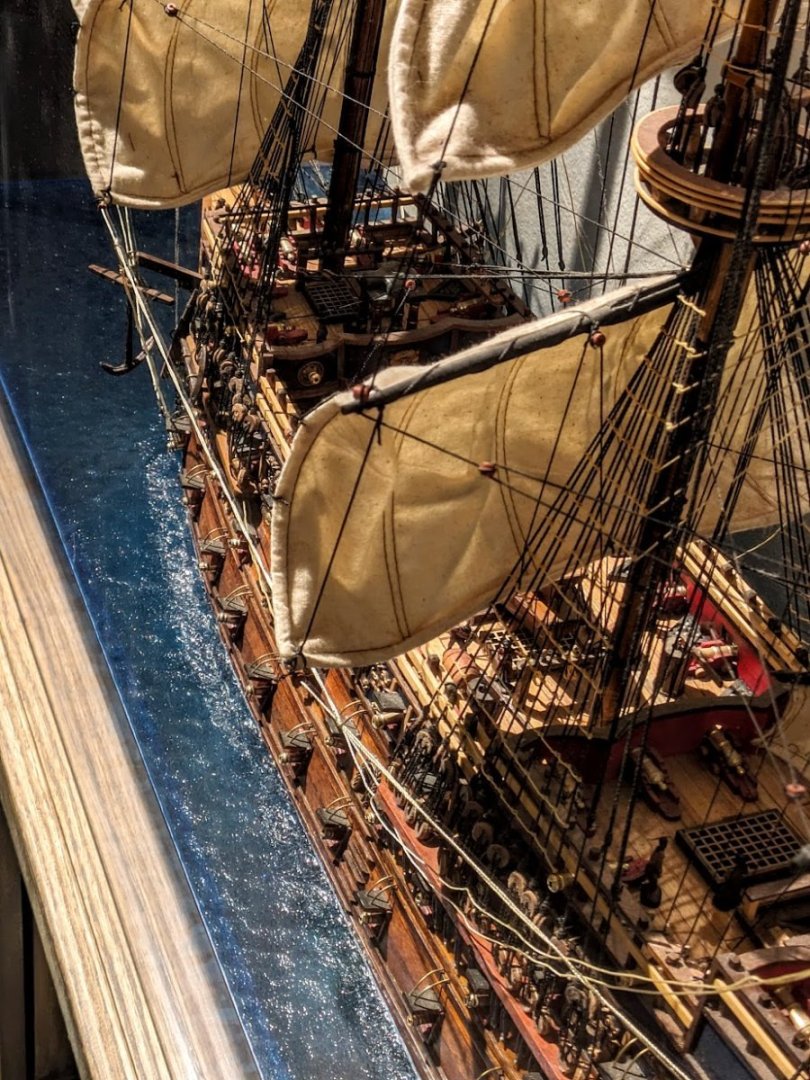
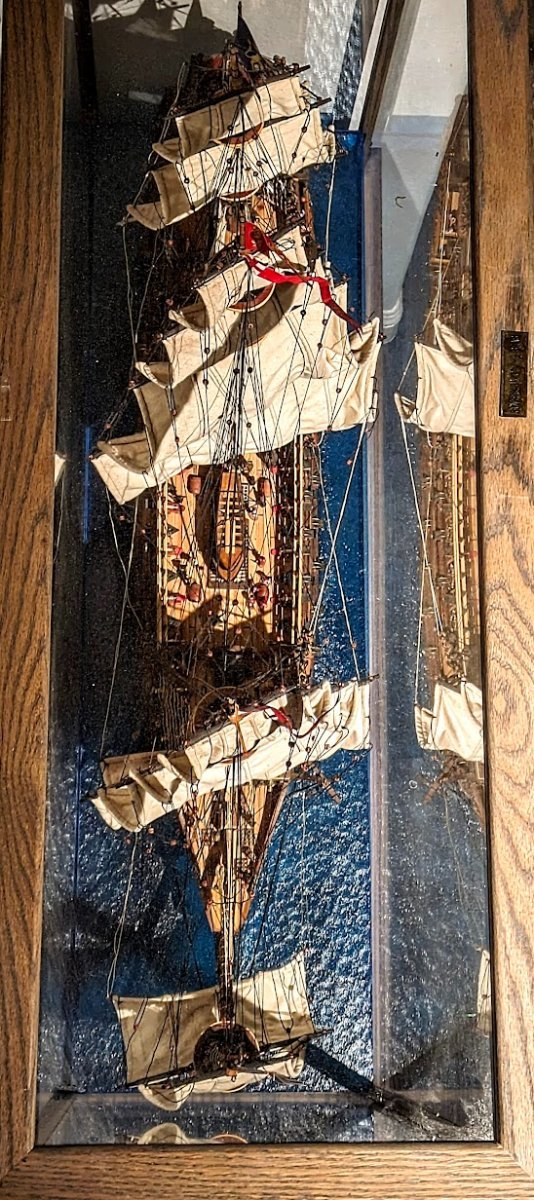
Wake on top of the water surface
Get the water ripples product from this set here
https://www.amazon.com/dp/B09LRK1Y86?psc=1&ref=ppx_yo2ov_dt_b_product_details
then use a paint brush to apply it to the water surface. Looks hard but is super easy, the product is super easy to use.
Rocks for ocean floor:
1-3 inch rocks for larger ocean structures https://www.amazon.com/gp/product/B071YN2QH8/ref=ppx_yo_dt_b_search_asin_title?ie=UTF8&th=1
1/4-1/2 inch rocks: https://www.amazon.com/gp/product/B076ZZXKCQ/ref=ppx_yo_dt_b_search_asin_title?ie=UTF8&th=1
Fake Aquarium Plants to cover stand
https://www.amazon.com/gp/product/B0C77QZVVK/ref=ppx_yo_dt_b_search_asin_title?ie=UTF8&th=1
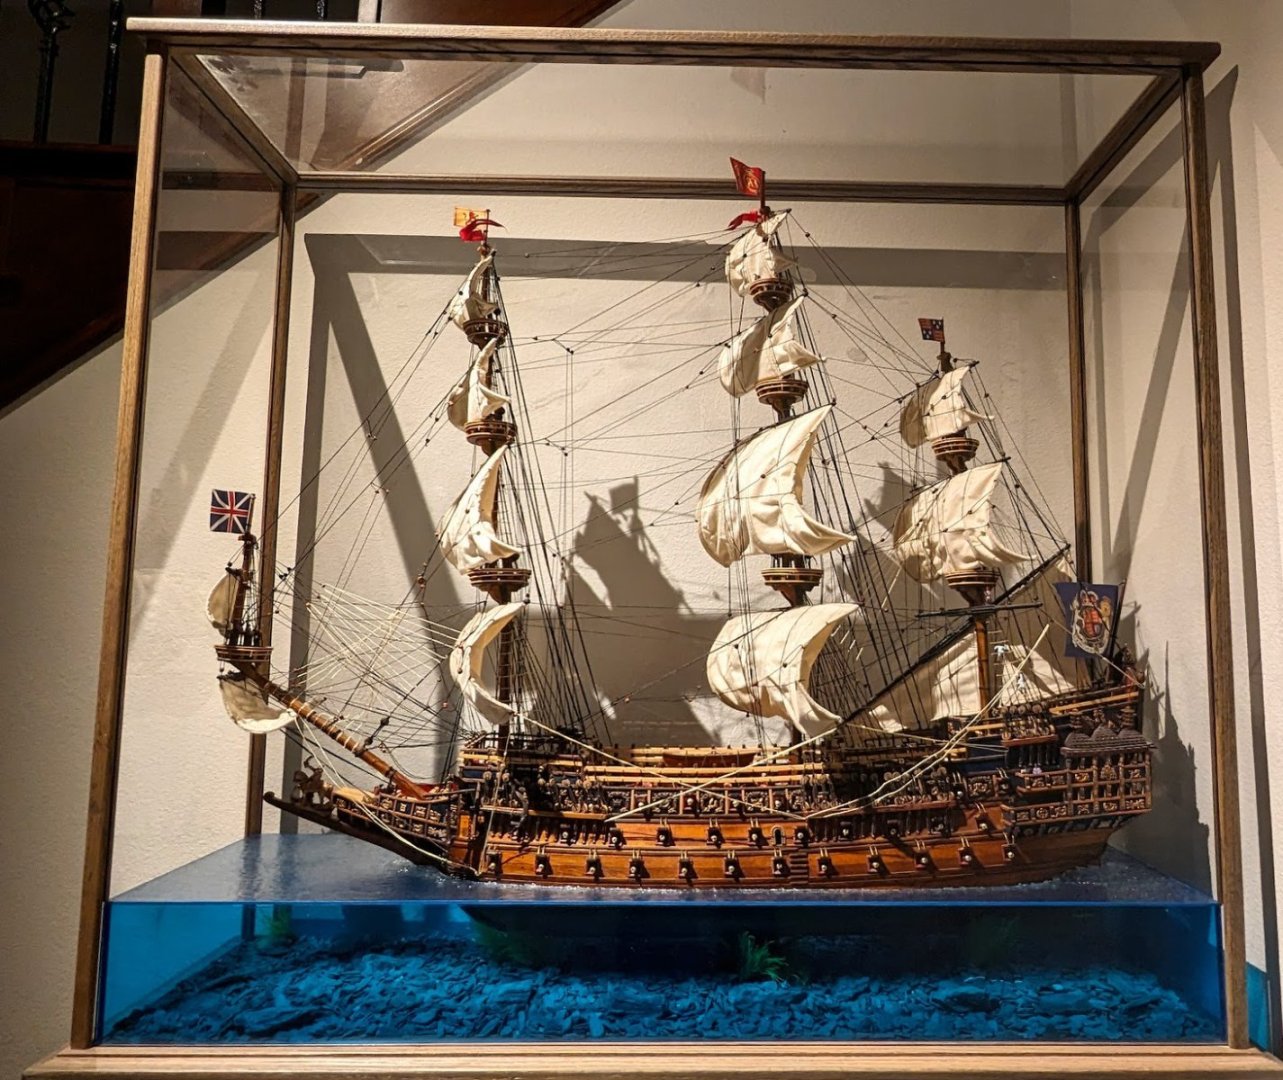
Outside display
www.grandpascabinets.com
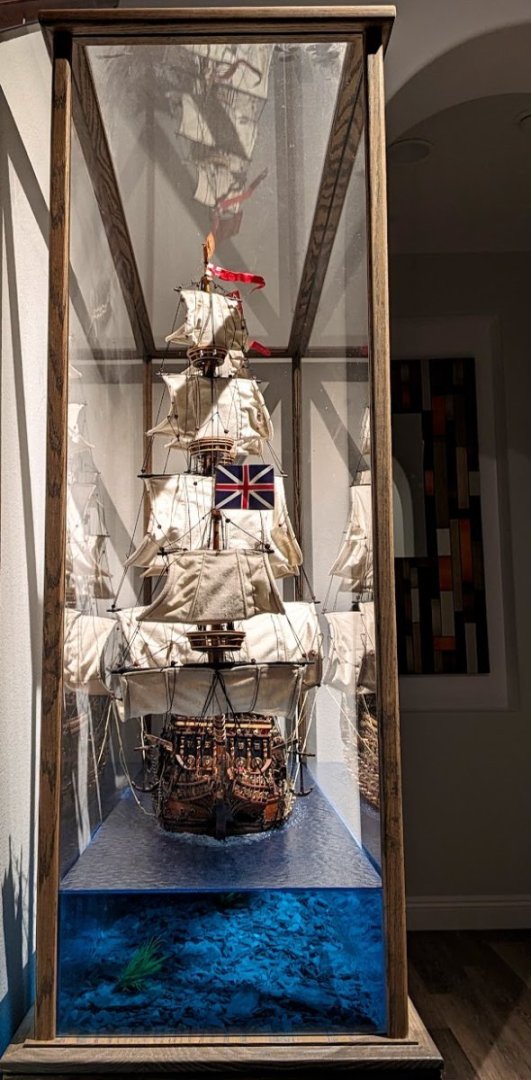
Ron is awesome he will build a custom box to your specifications. The one thing to note there is when you measure the water surface or the size of the water box, keep in mind that the wooden frame that holds up the outside glass has a certain thickness to it, so make sure to dimension the water surface to account for that. In my model I forgot about that so you can see that the watersurface protrudes into the frame pieces so I had to cut them a little. So if you do a case keep that in mind so you get the right dimensions.
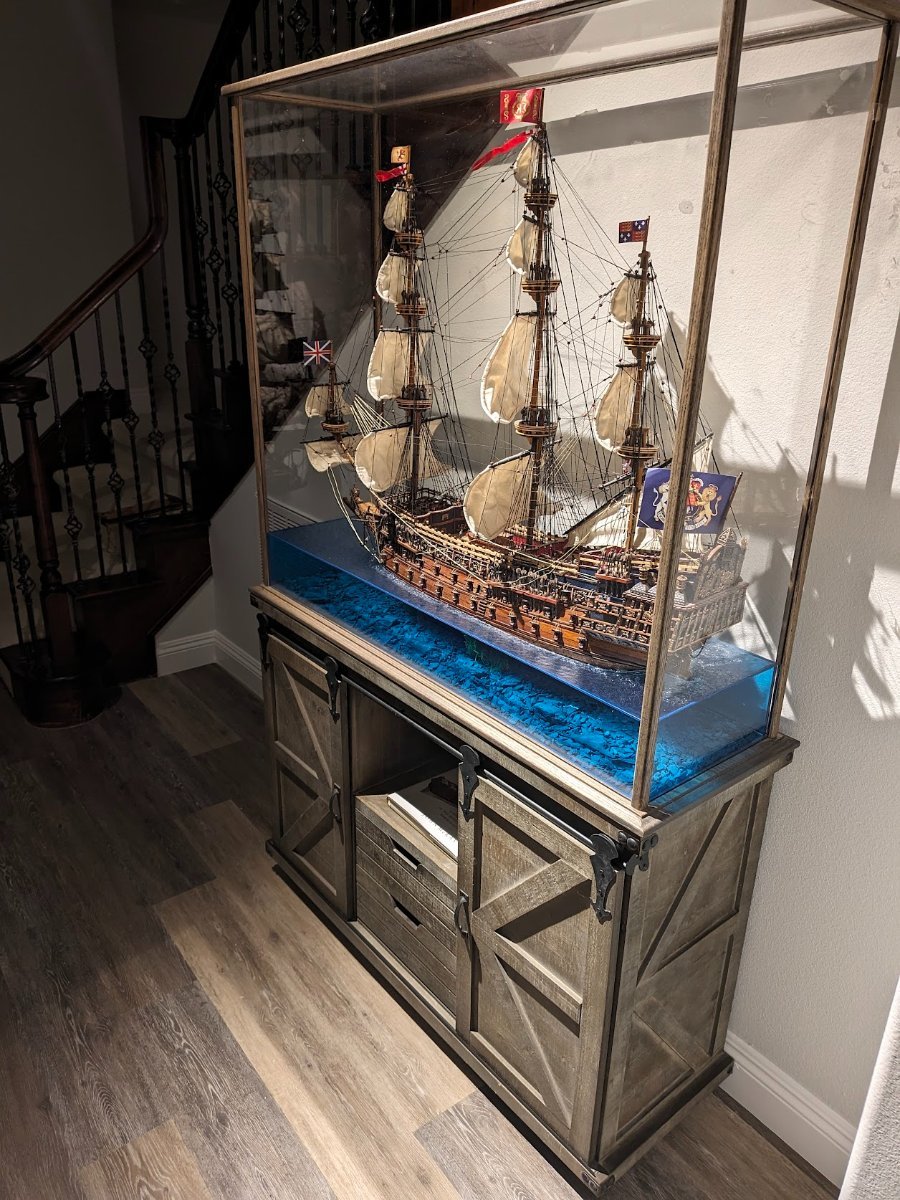
=============
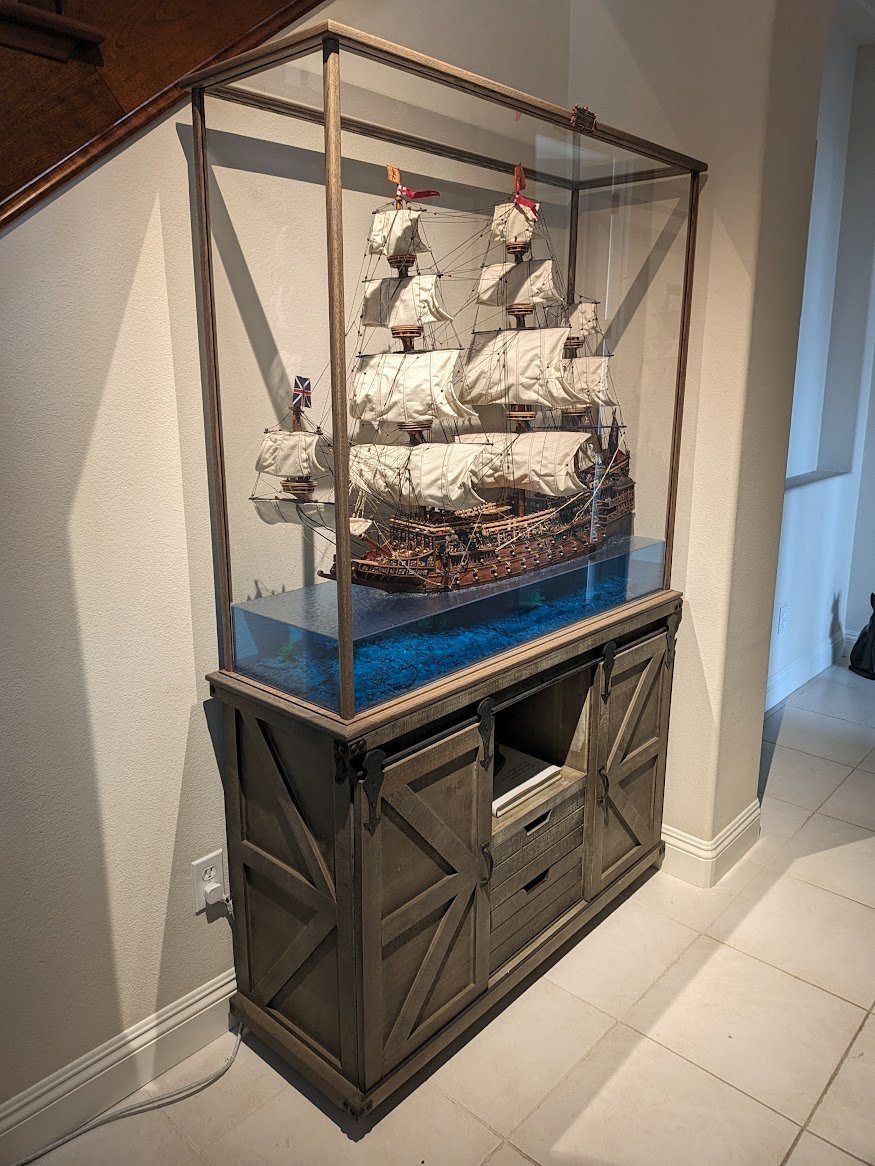
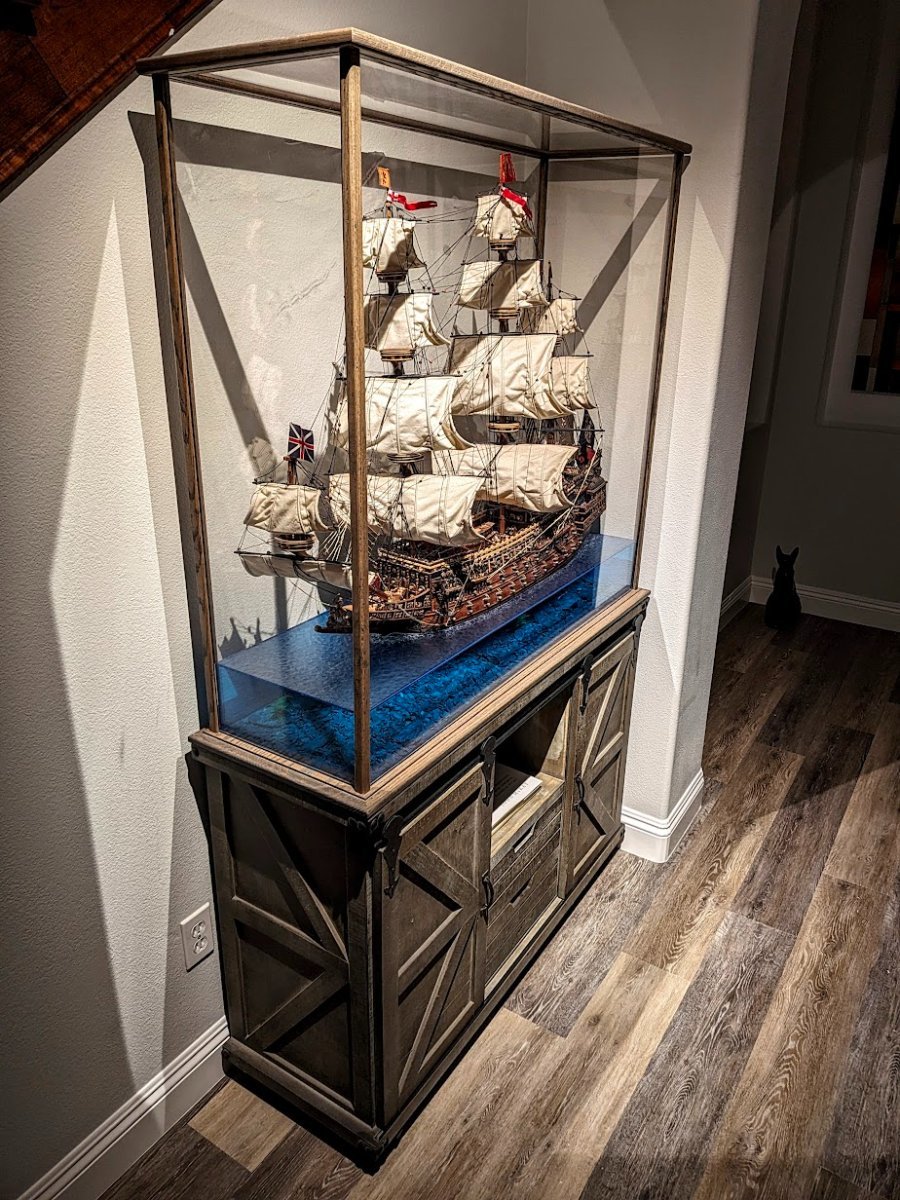
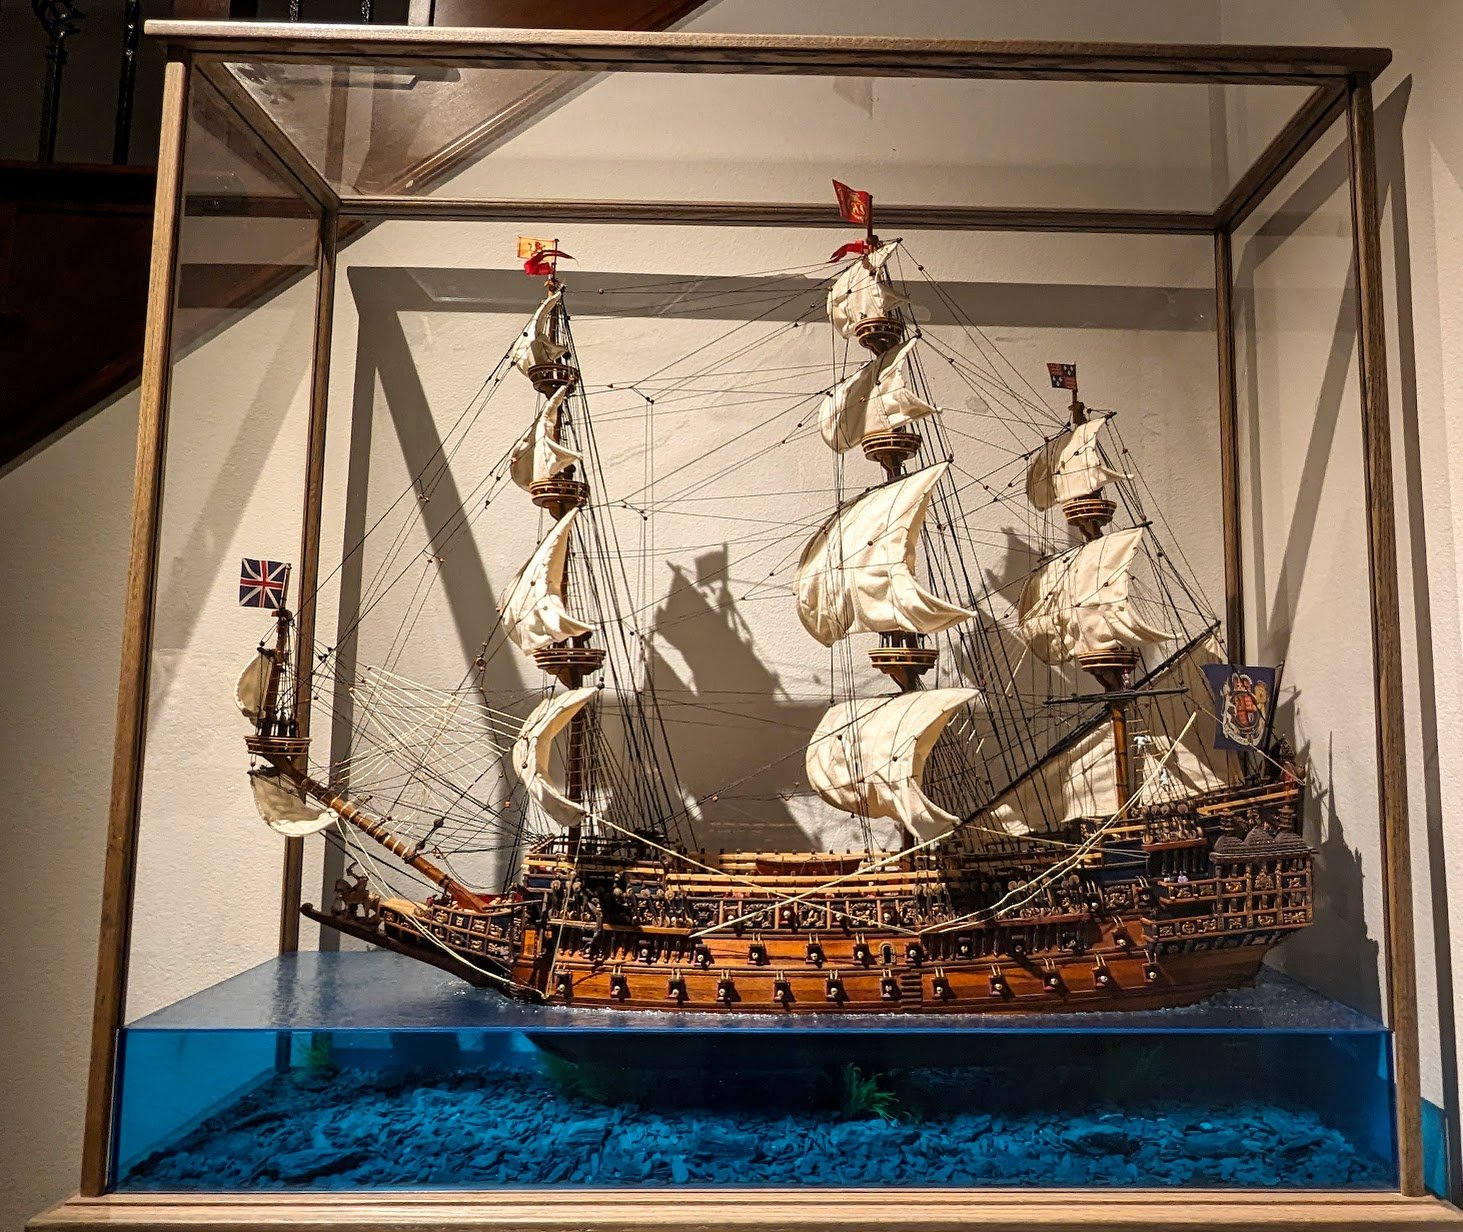
Also i found the perfect matching furniture underneath that was just luck that it perfectly matched the case dimensions - I didnt think of that but it just worked like perfection. So if you want to go all out when you order the display case from Ron first look or find a sideboard furniture piece that would go under your display case then when you order the display case on top - match it to the dimensions of the sideboard underneath. I have attached what that looks like now. You can also see on this picture the cuts of the acrylic not being bright white anymore due to the blue acryilic paint applied to the outside cuts of the water surface.
FINALLY please post here your result if anyone does the same. And any questions just let me know. Don't think I forgot anything. To do all this I dont think its very hard to do.


 TJM reacted to a post in a topic:
Adding water to model ships - using acrylic - reversable
TJM reacted to a post in a topic:
Adding water to model ships - using acrylic - reversable