Iro
-
Posts
20 -
Joined
-
Last visited
-
 Jolly Jo reacted to a post in a topic:
Charles W Morgan by Iro - Model Shipways - 1:64
Jolly Jo reacted to a post in a topic:
Charles W Morgan by Iro - Model Shipways - 1:64
-
Kenchington reacted to a post in a topic:
Charles W Morgan by Iro - Model Shipways - 1:64
-
JacquesCousteau reacted to a post in a topic:
Charles W Morgan by Iro - Model Shipways - 1:64
-
JacquesCousteau reacted to a post in a topic:
Charles W Morgan by Iro - Model Shipways - 1:64
-
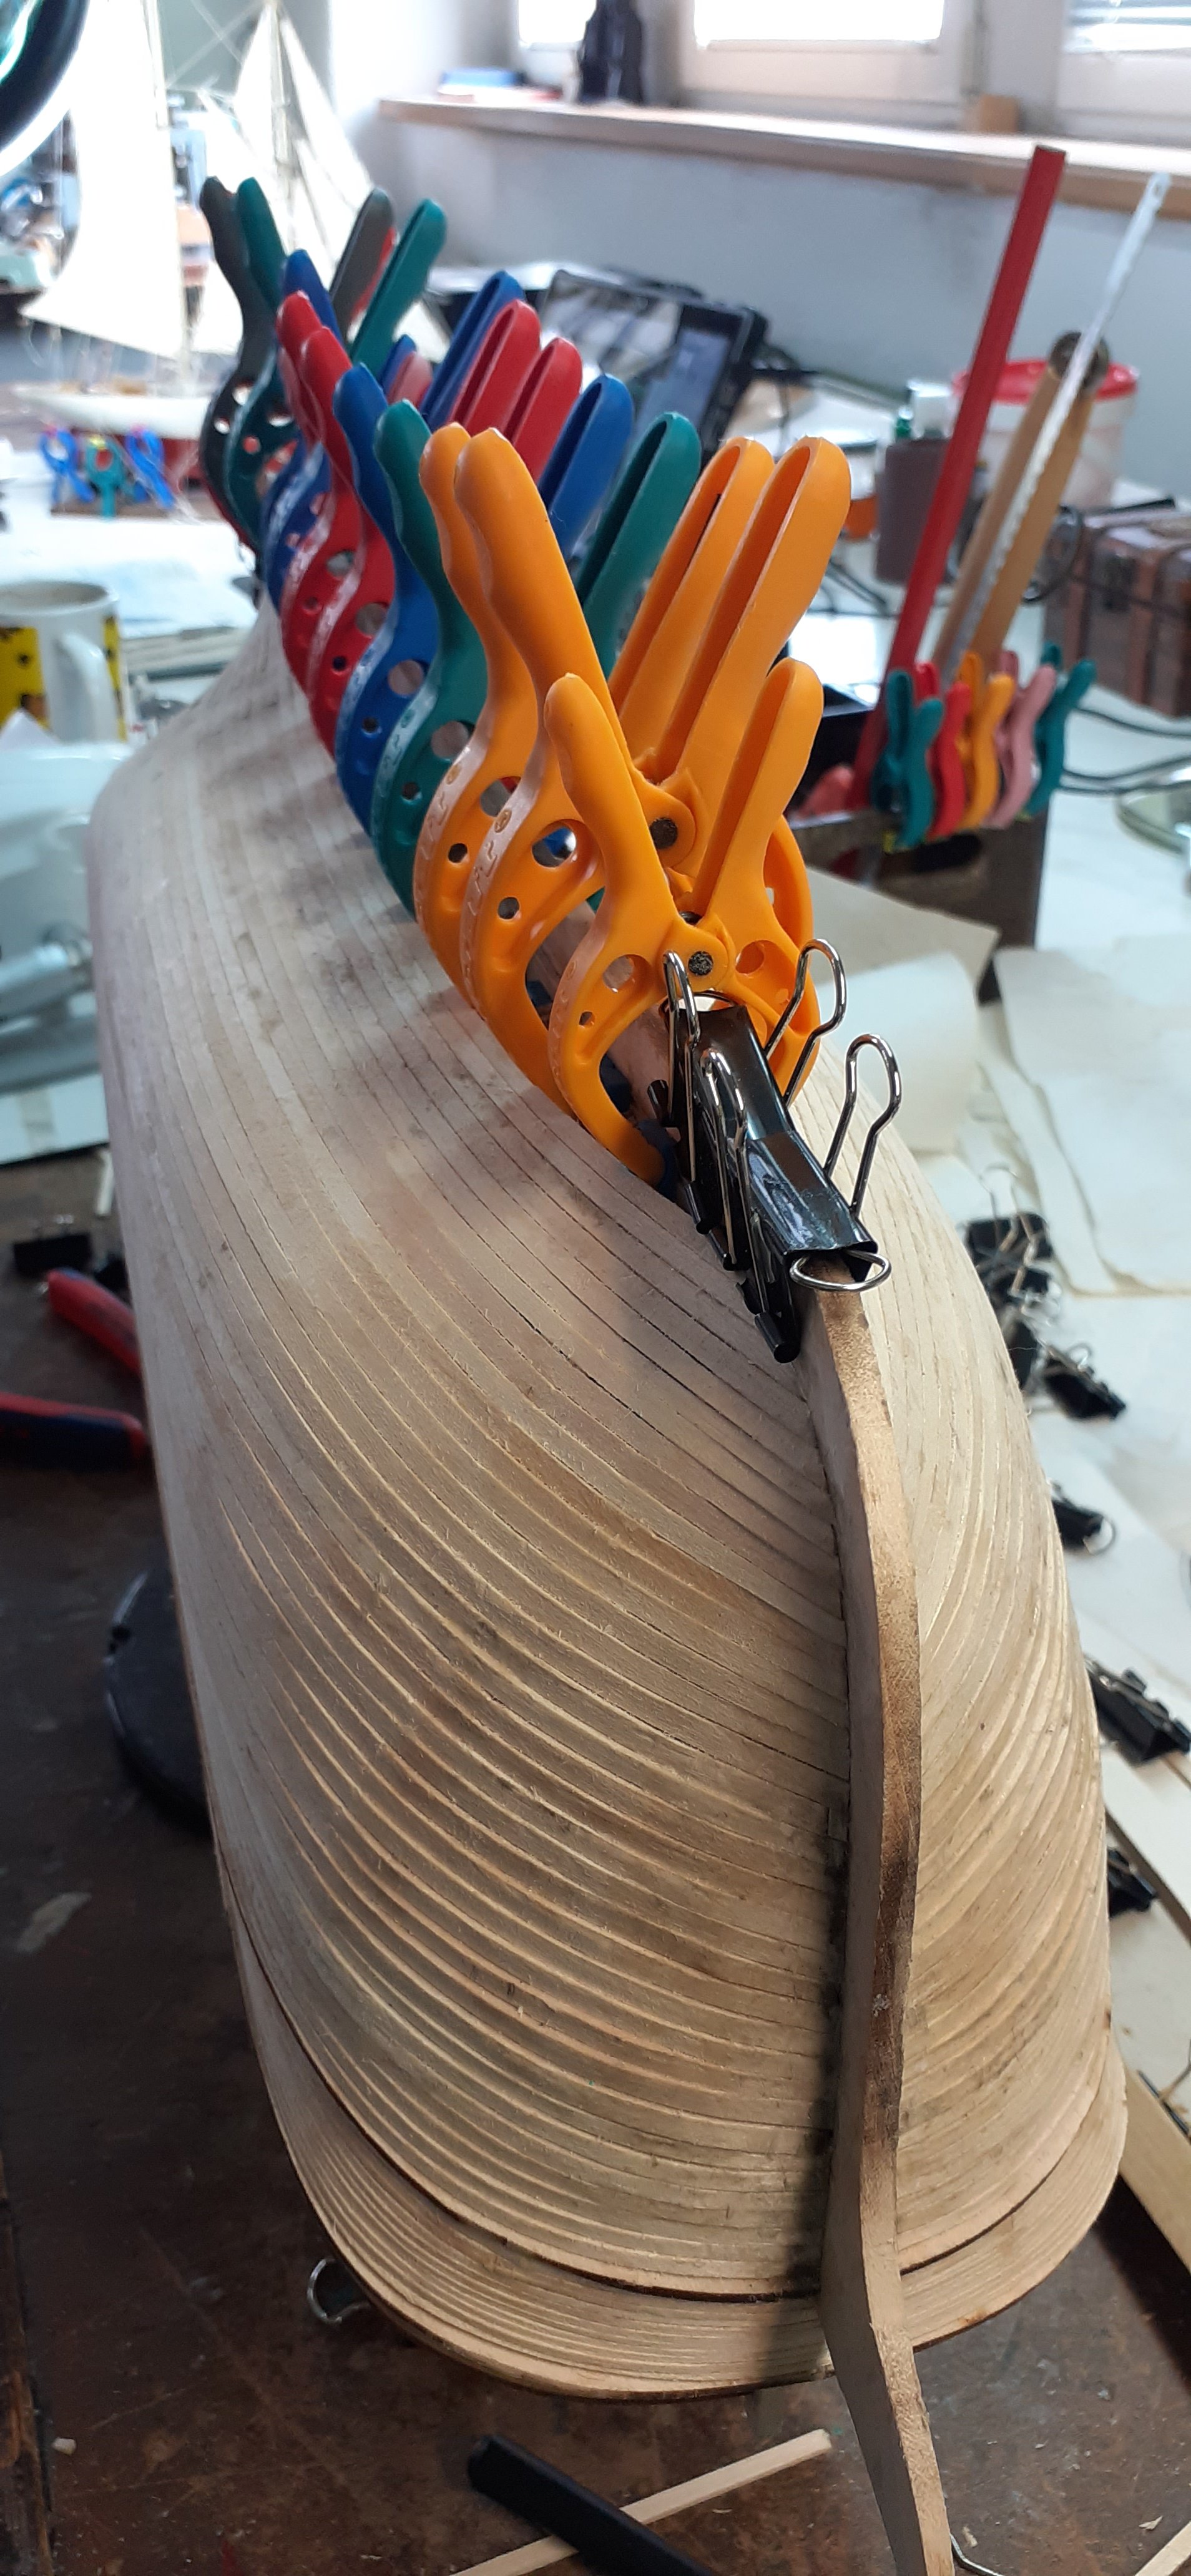
And that's it for today, more progress photos coming soon. I'm getting ready to cover the hull with copper plates, I think it will take some time. But in the meantime I'll try to upload some photos of painting the deck and all the elements. Best regards. Ahoj 🙂
-
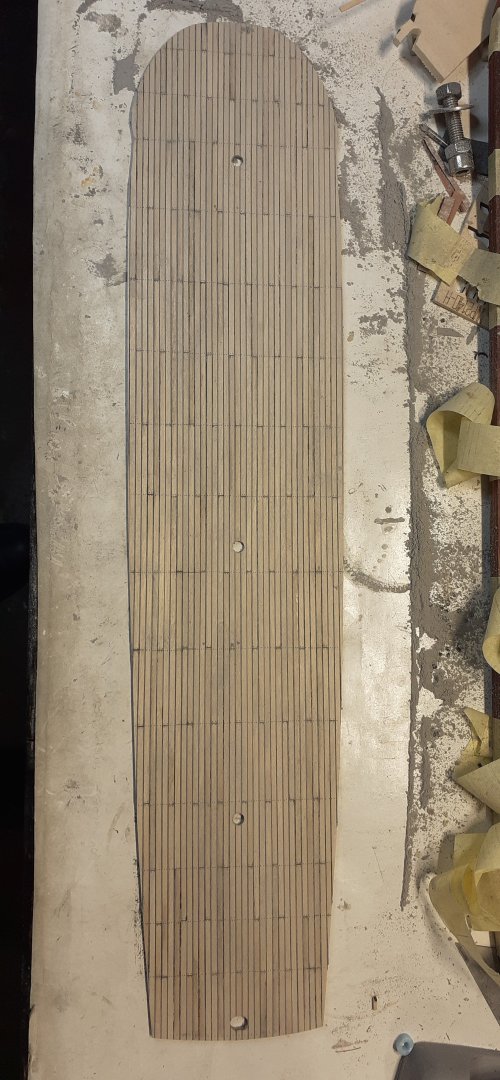
Some parts from the set are unacceptable to me. I am forced to make them myself. I still have a dilemma about choosing the color of the deck, whether it should be more bluish gray or maybe bluish brown. In different photos in Real Charles W. Morgan looks slightly different colors. I think bluish brown will be a better solution for painting the deck. I would be happy to hear some advice from other experienced modelers or those lucky ones who have visited the ship in person.


-
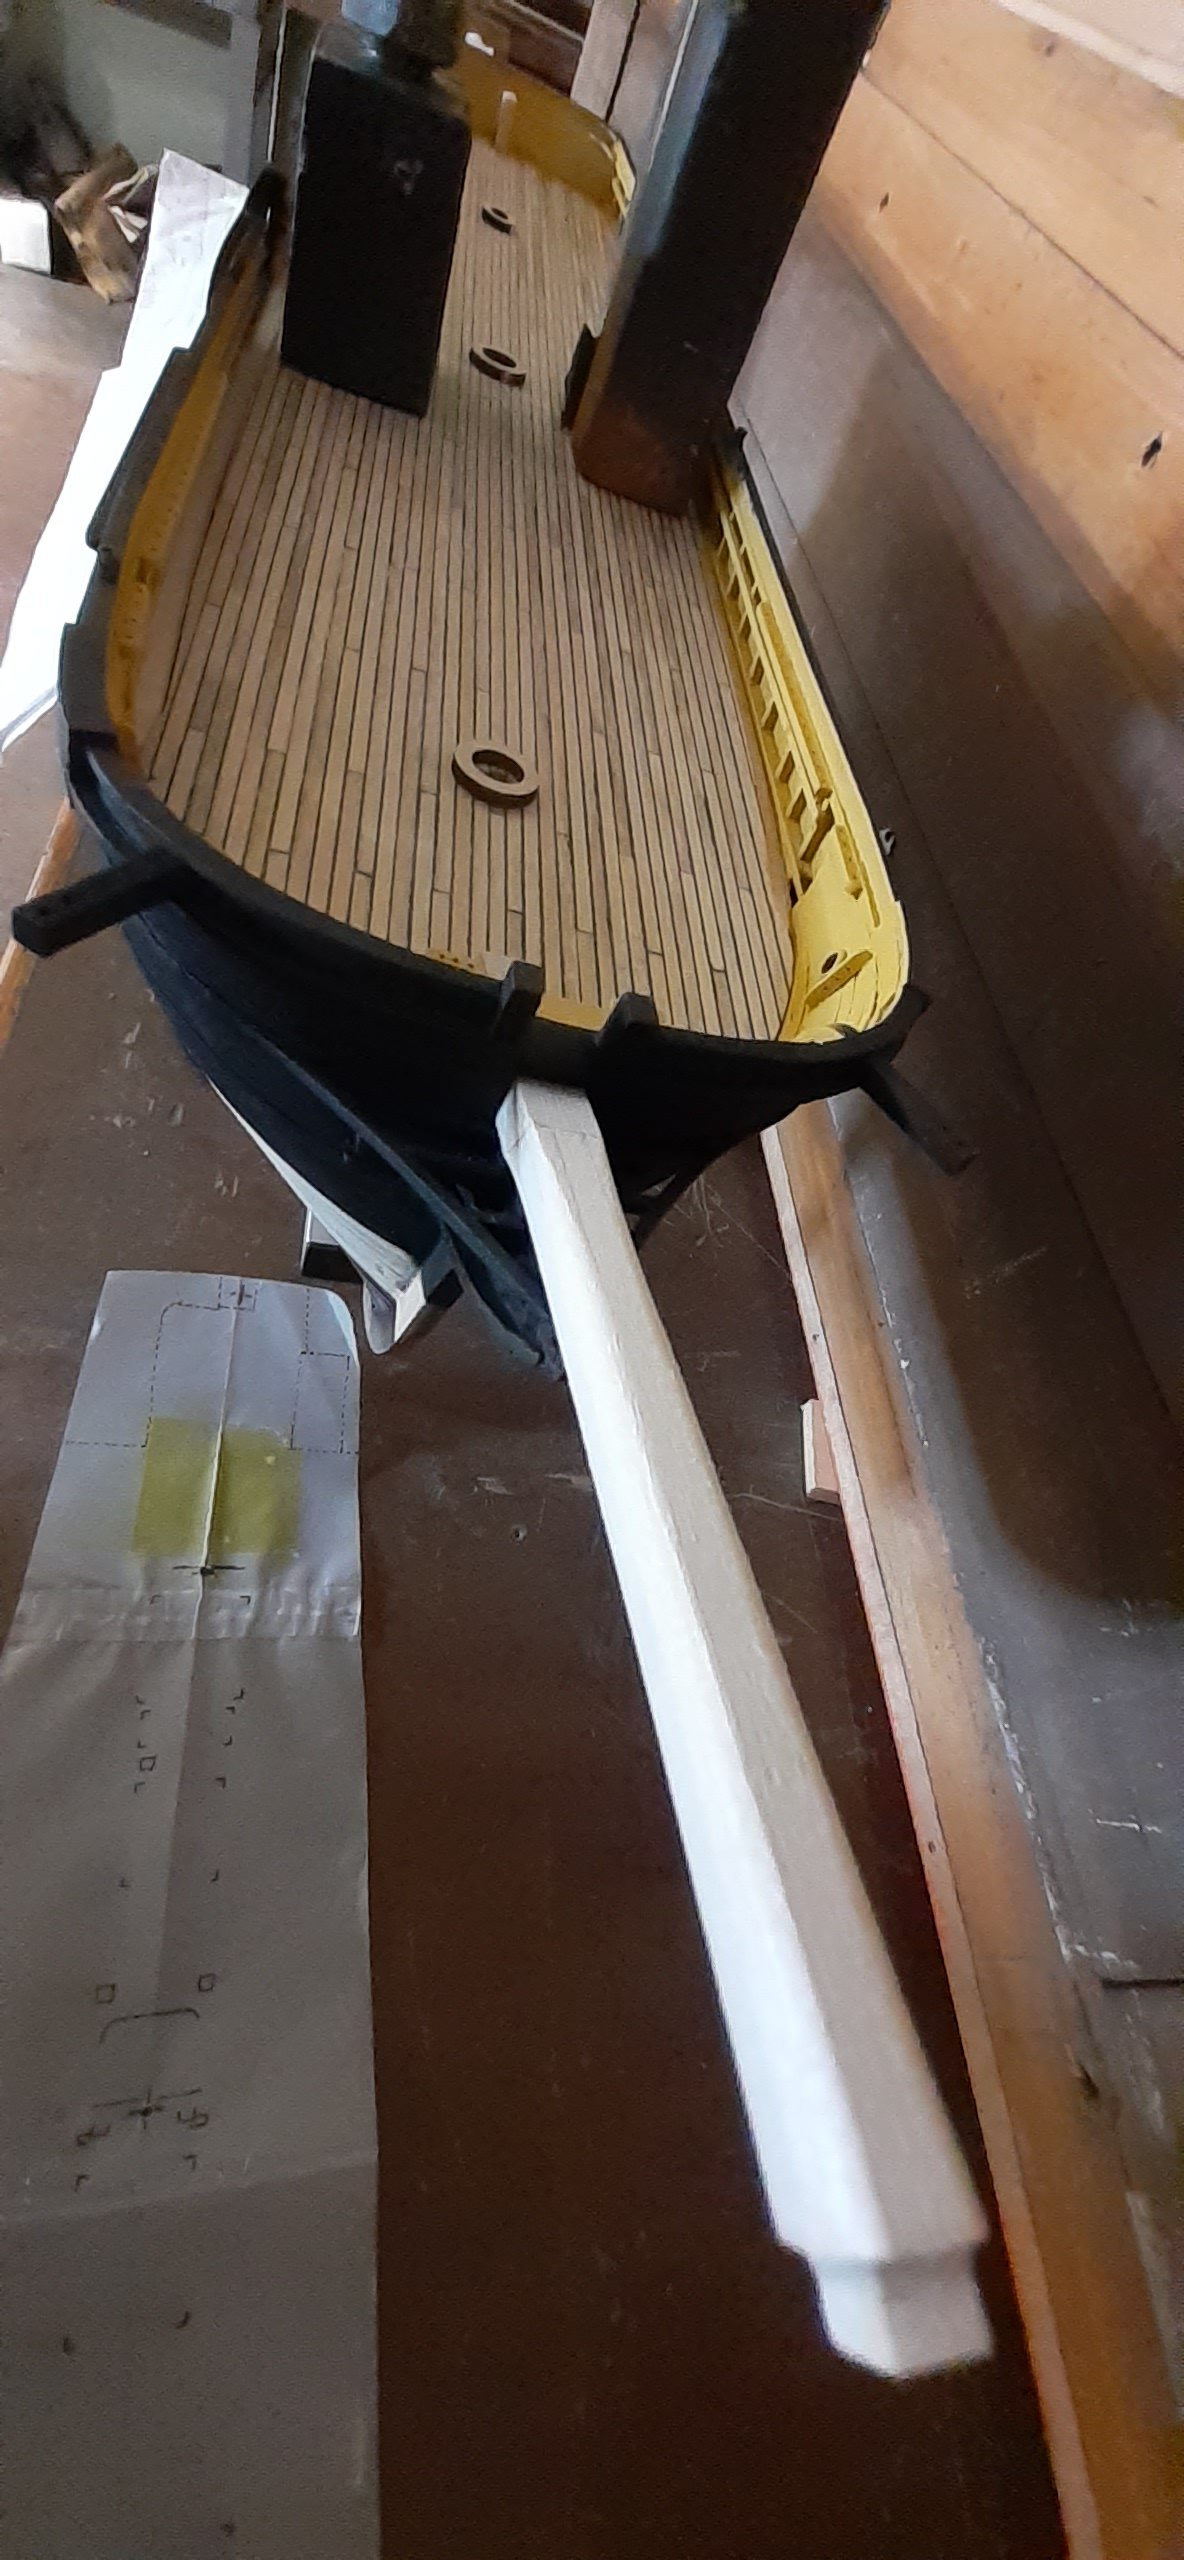
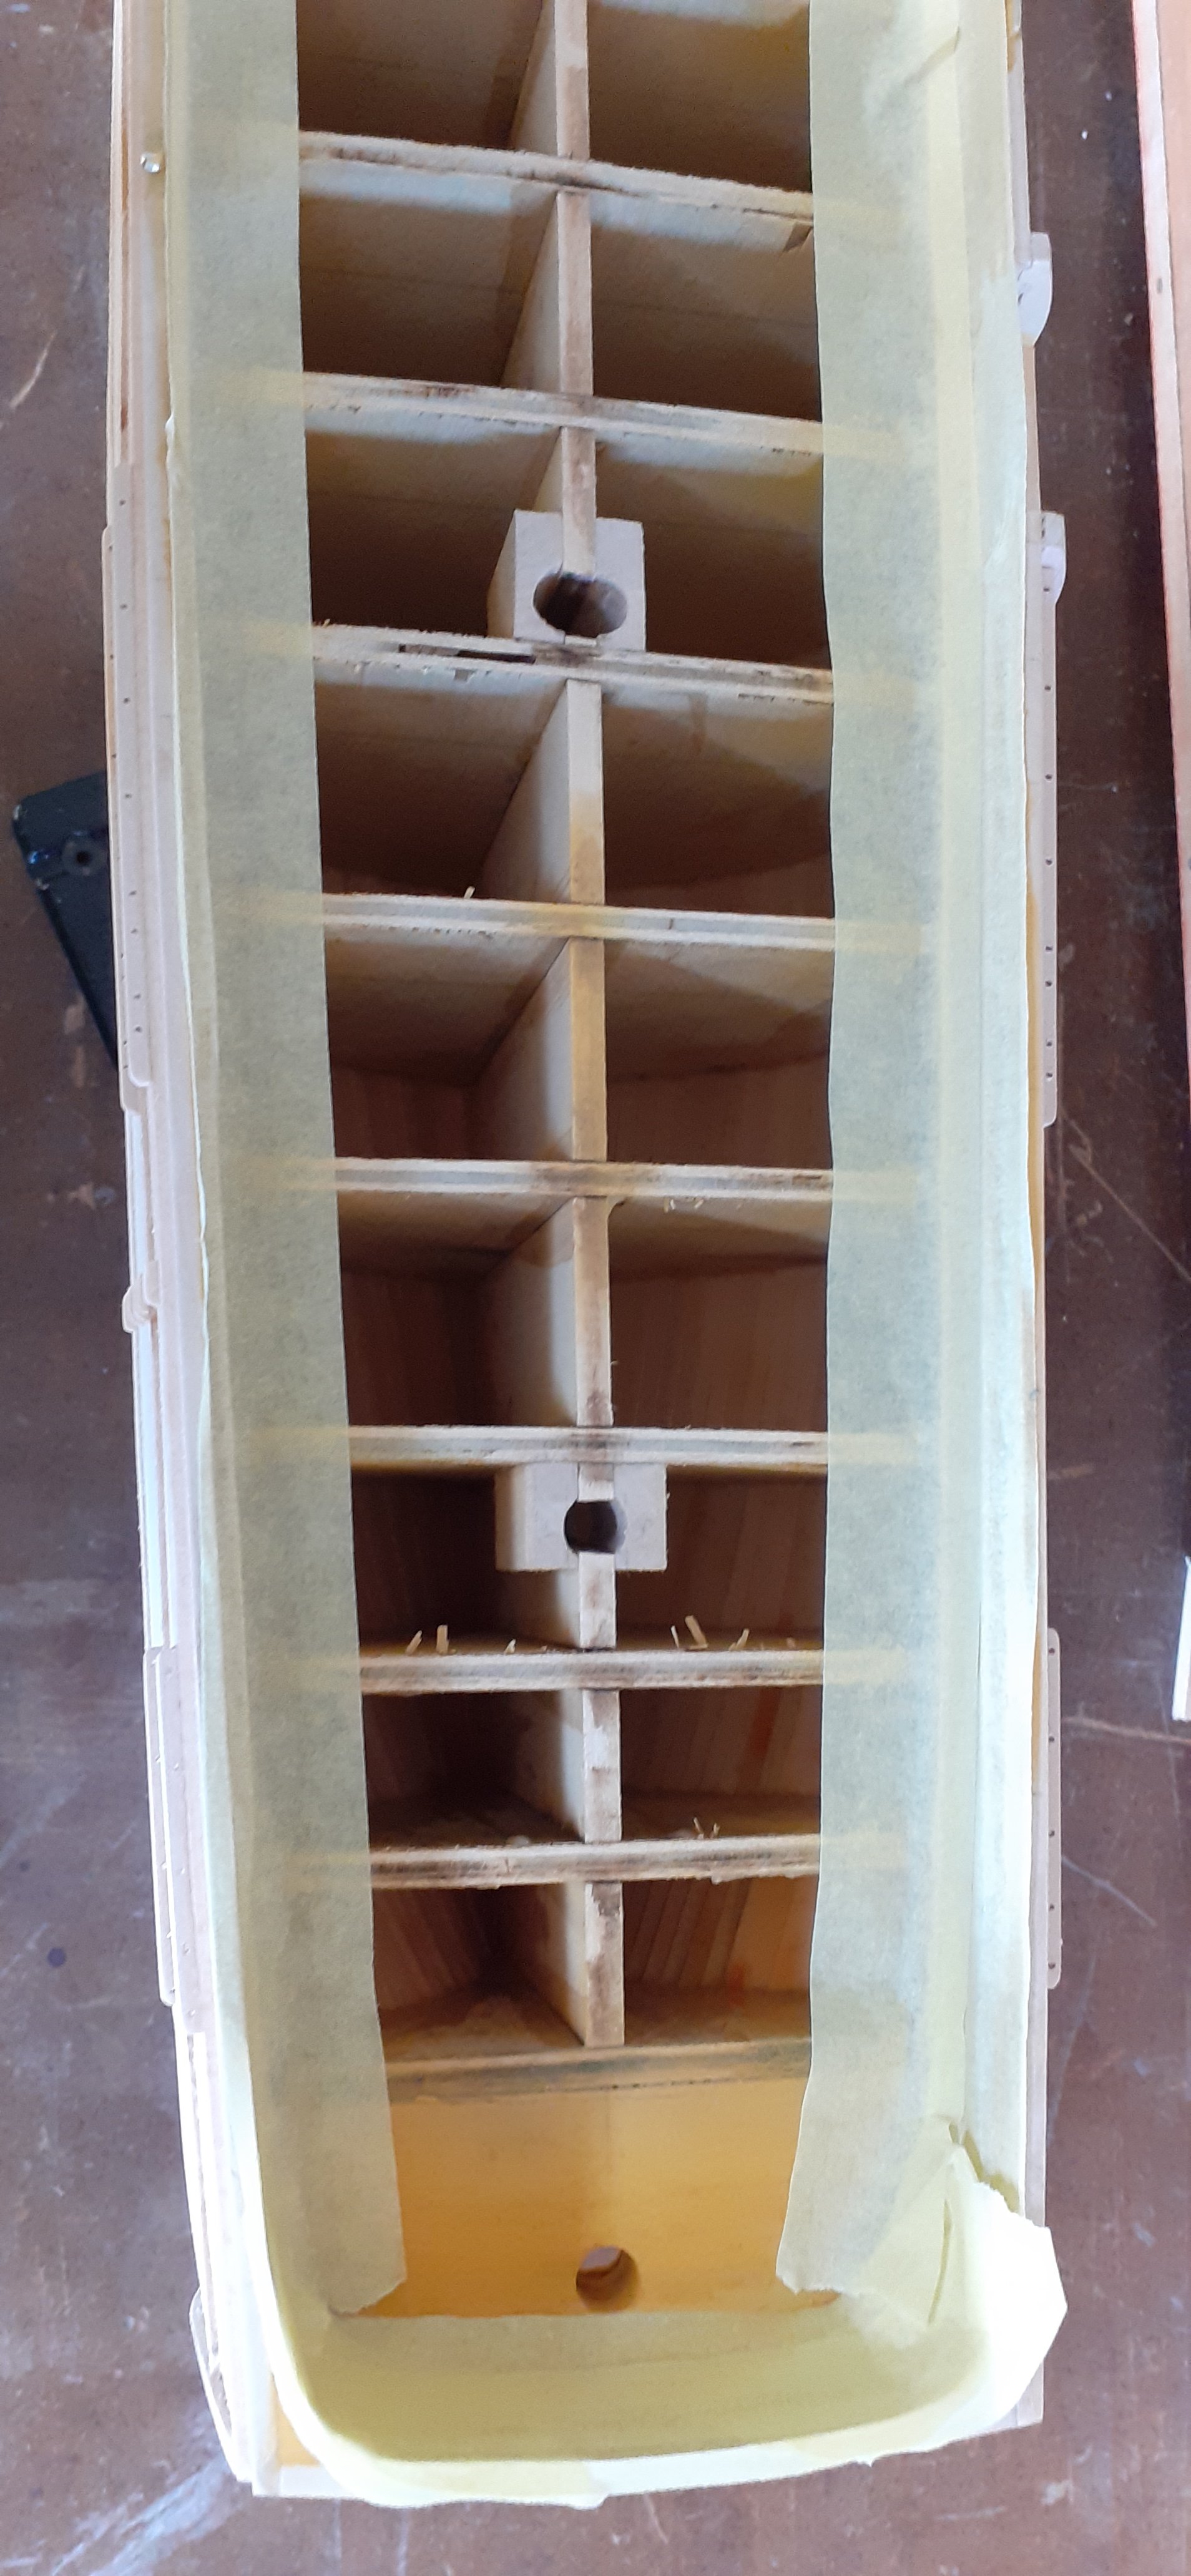
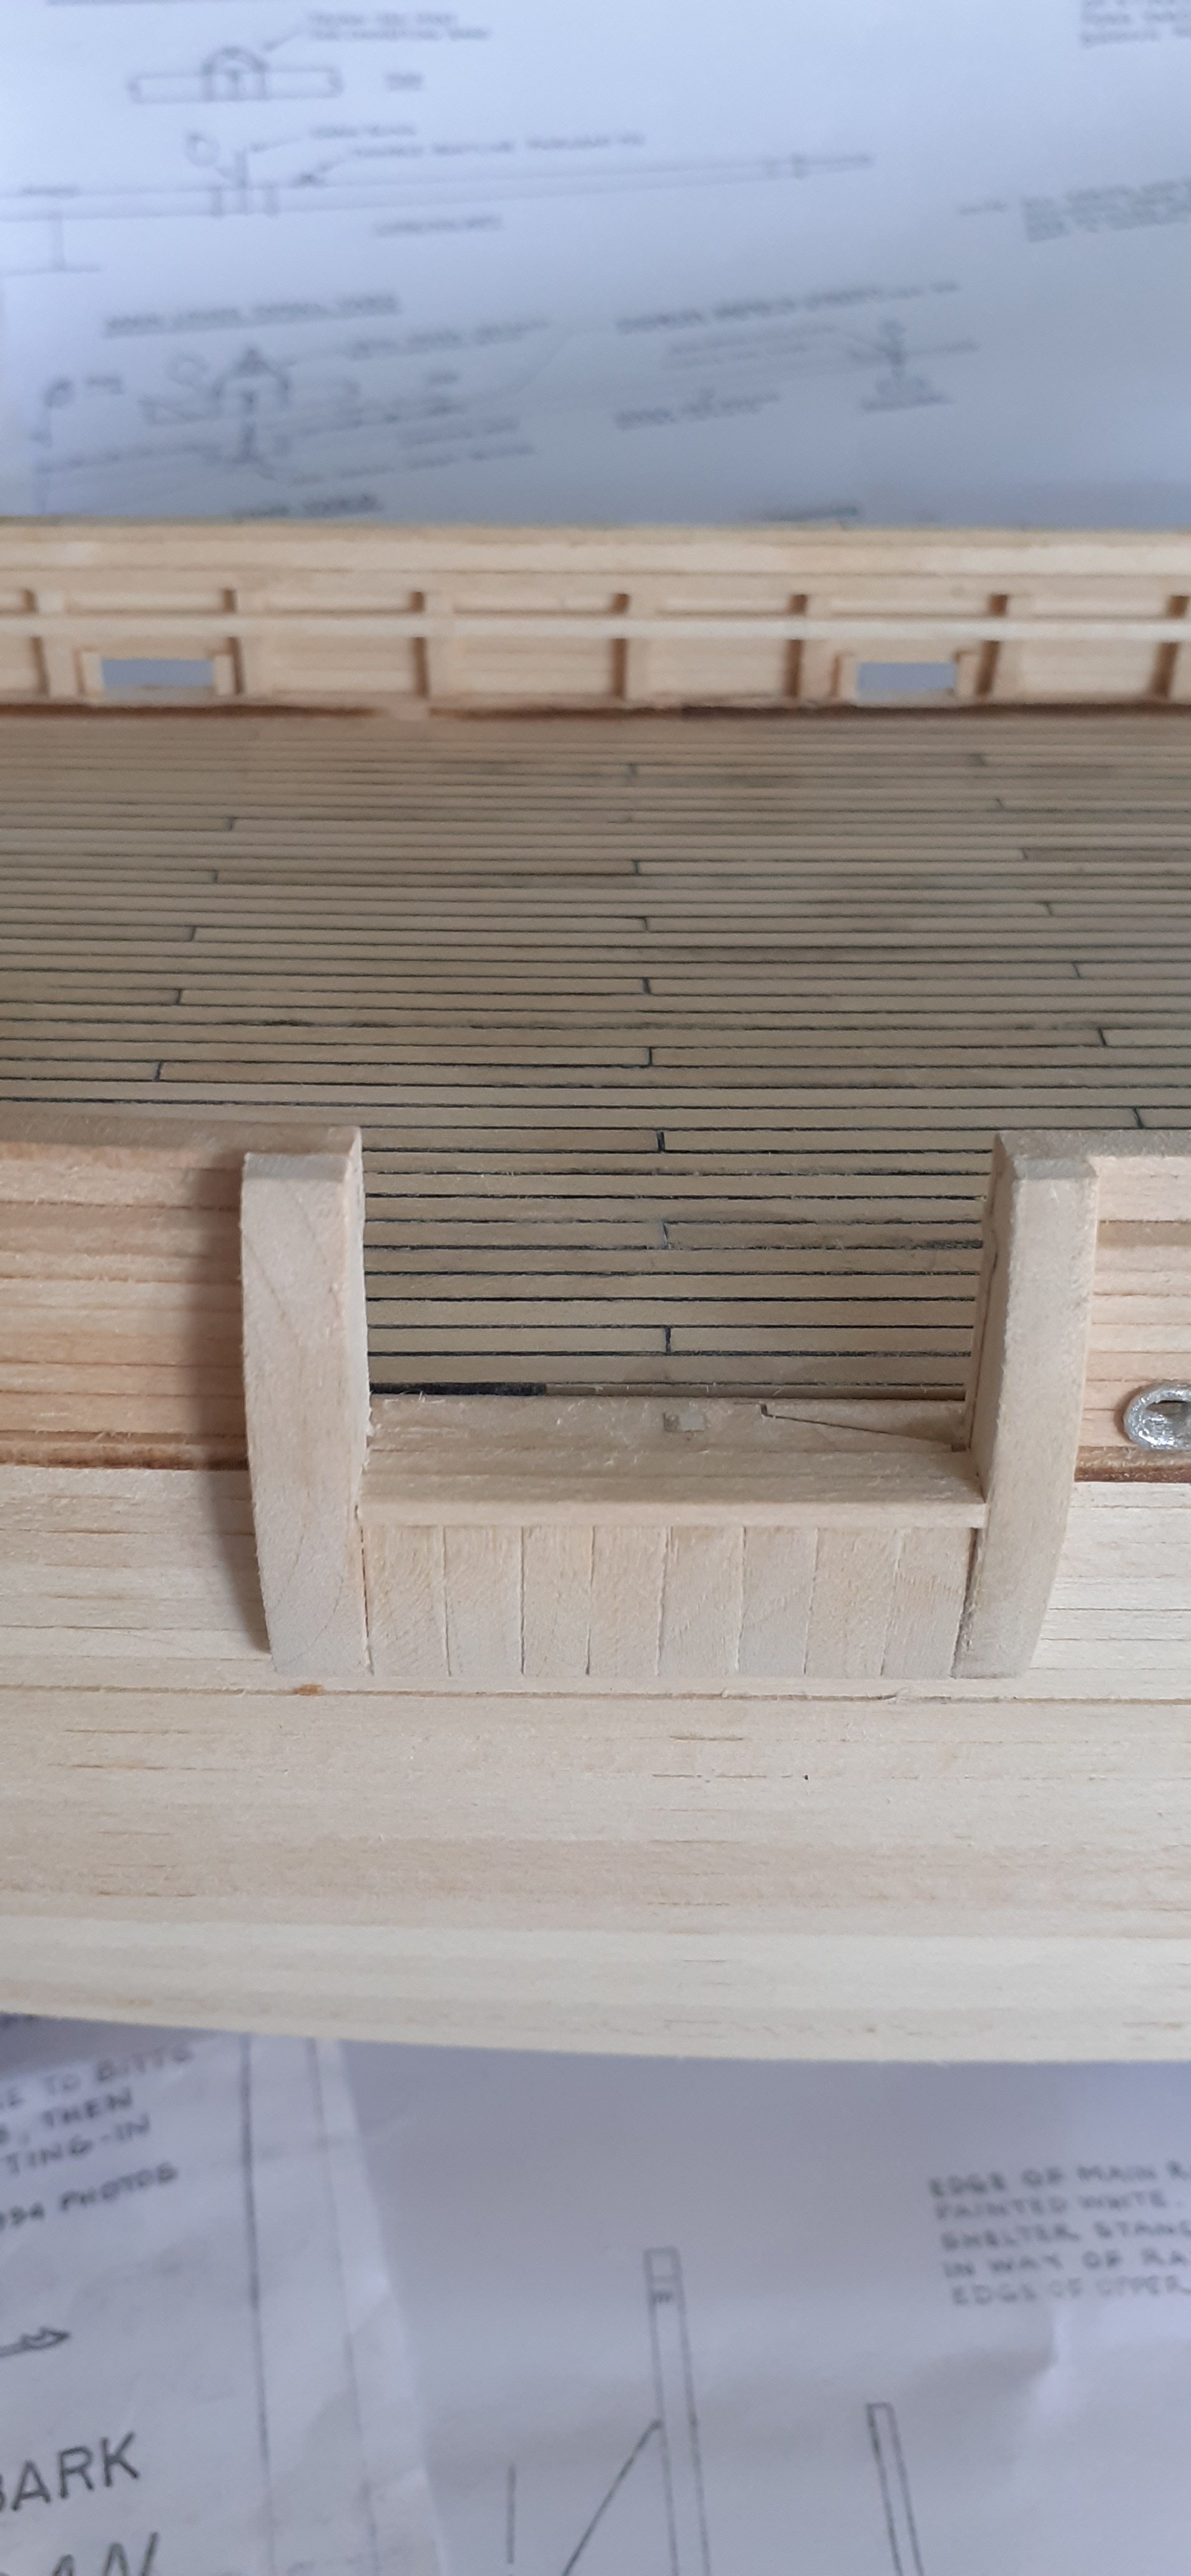
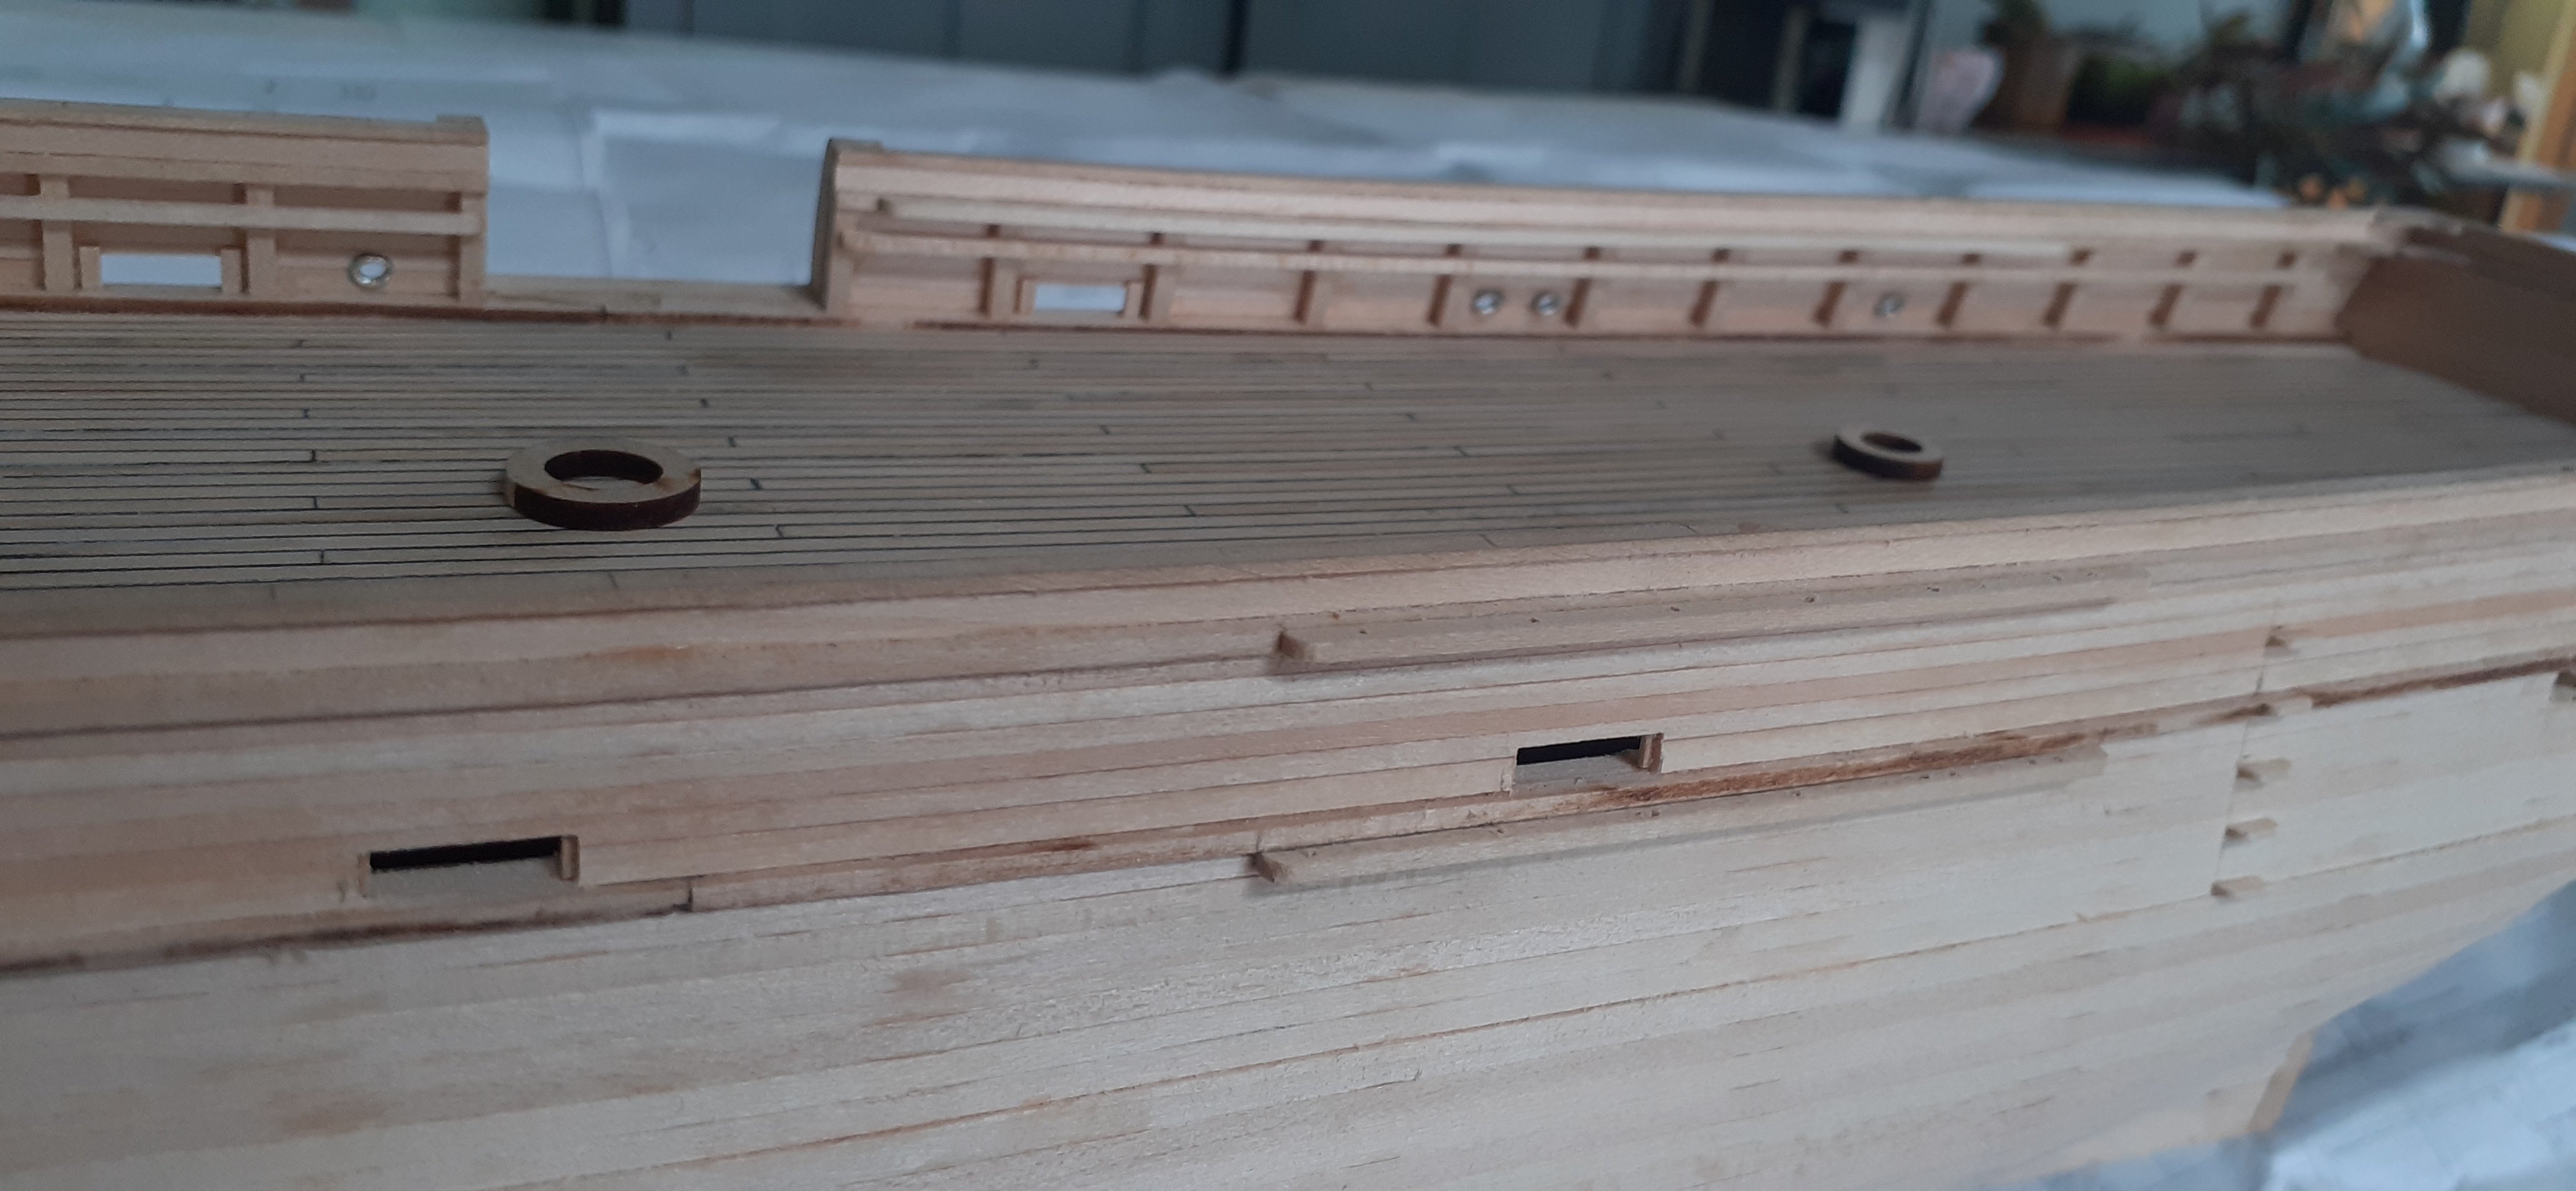
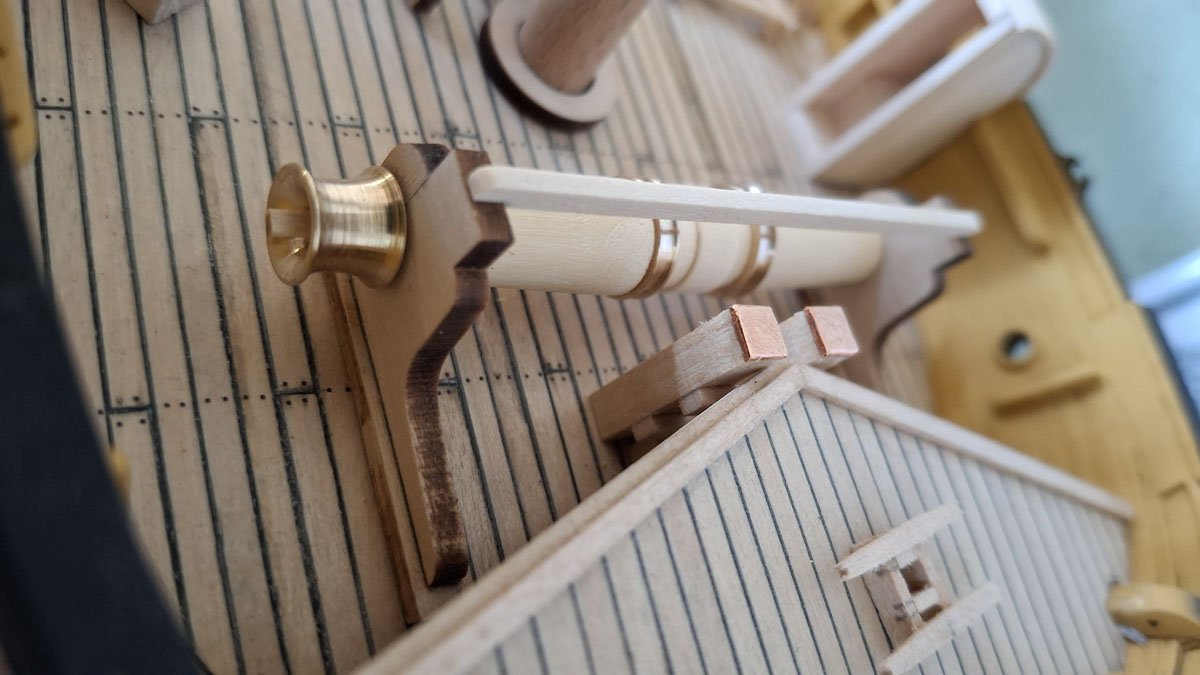
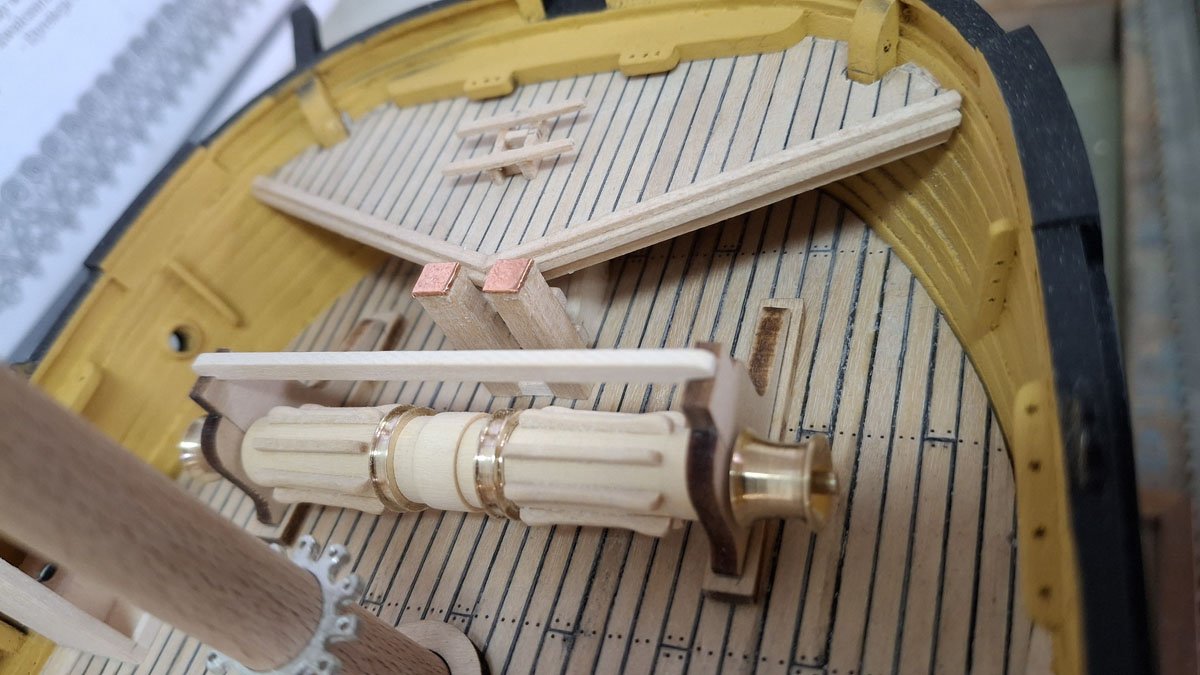
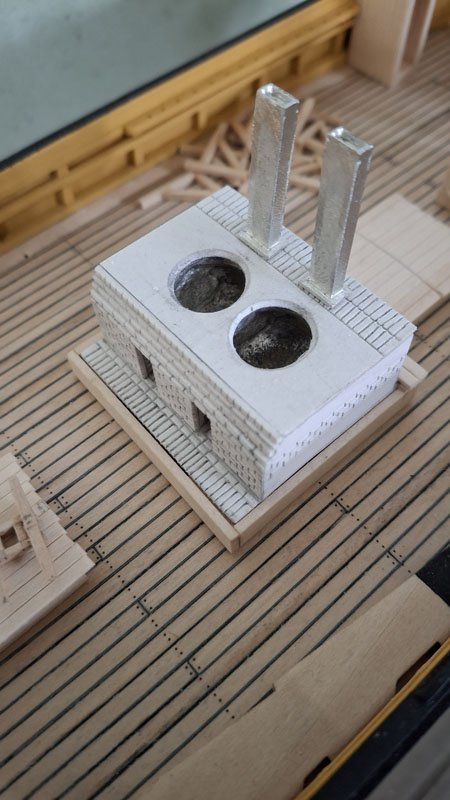
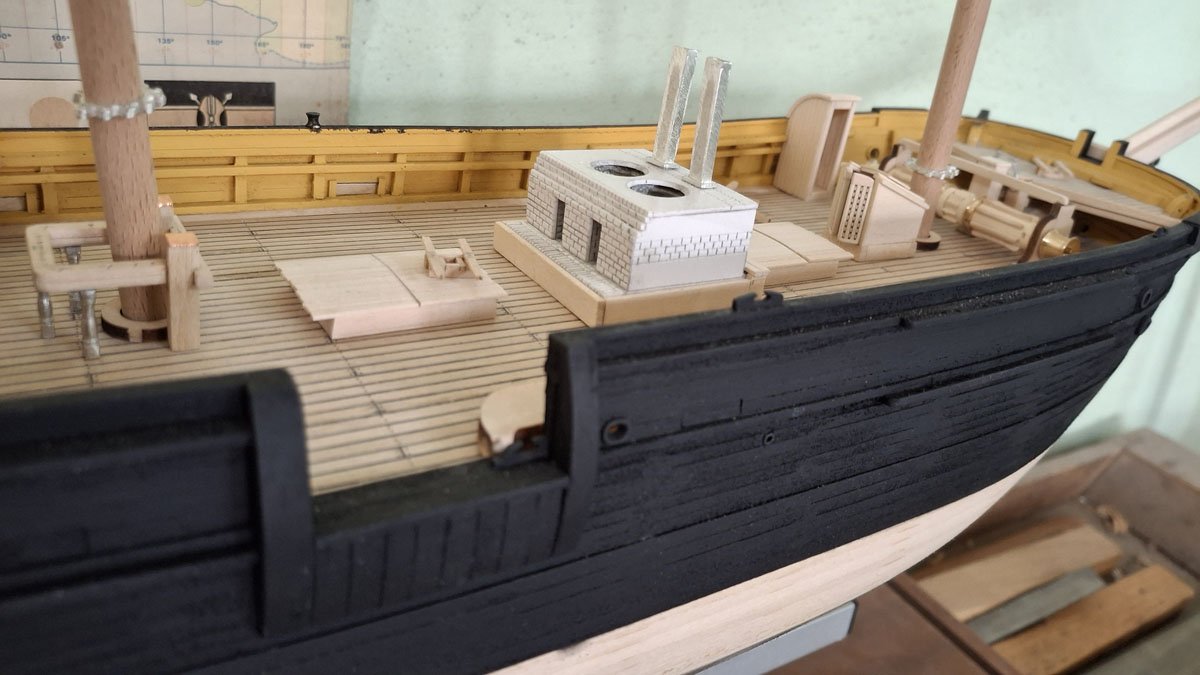
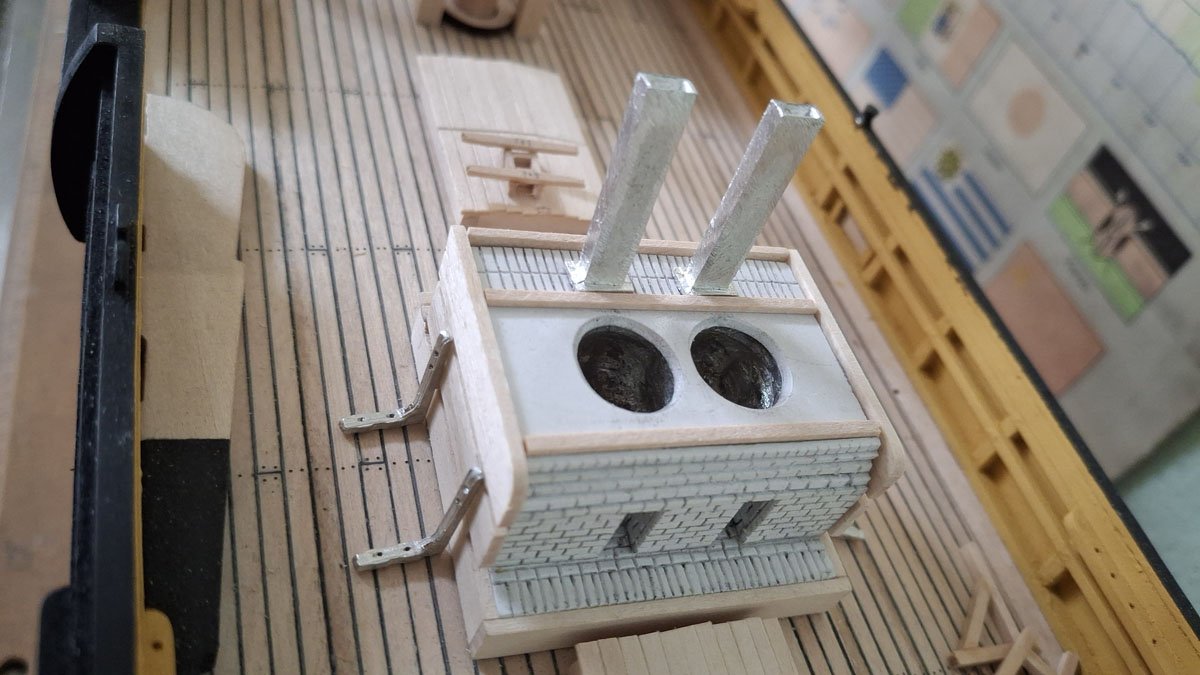
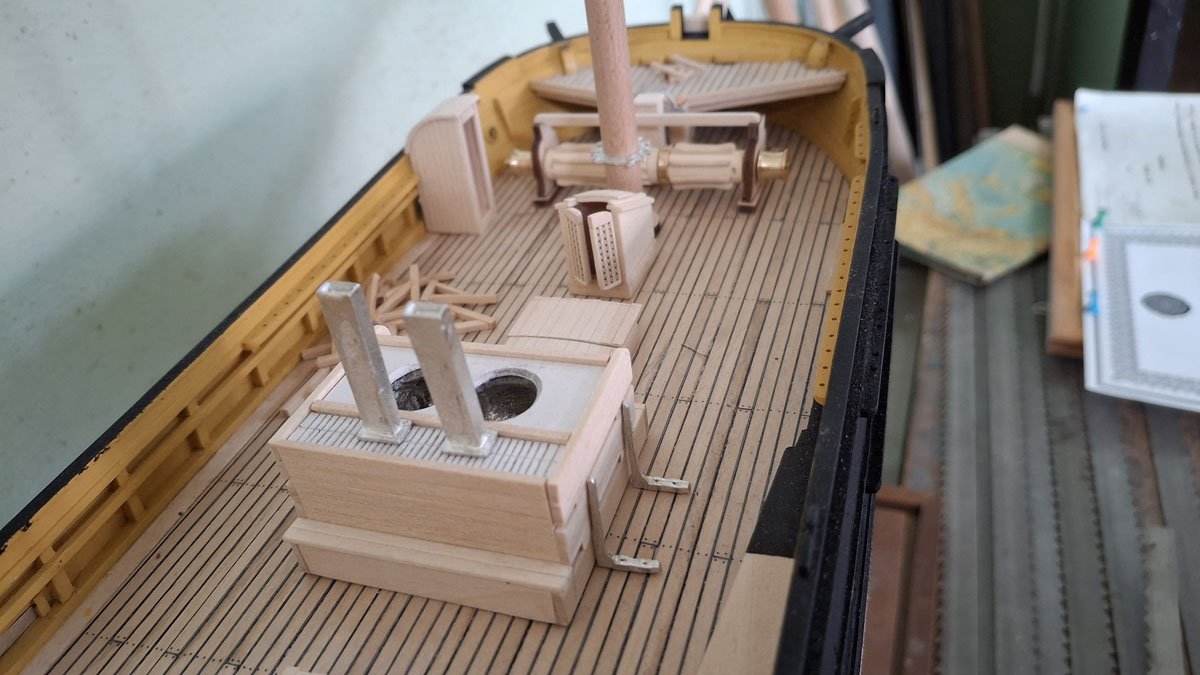
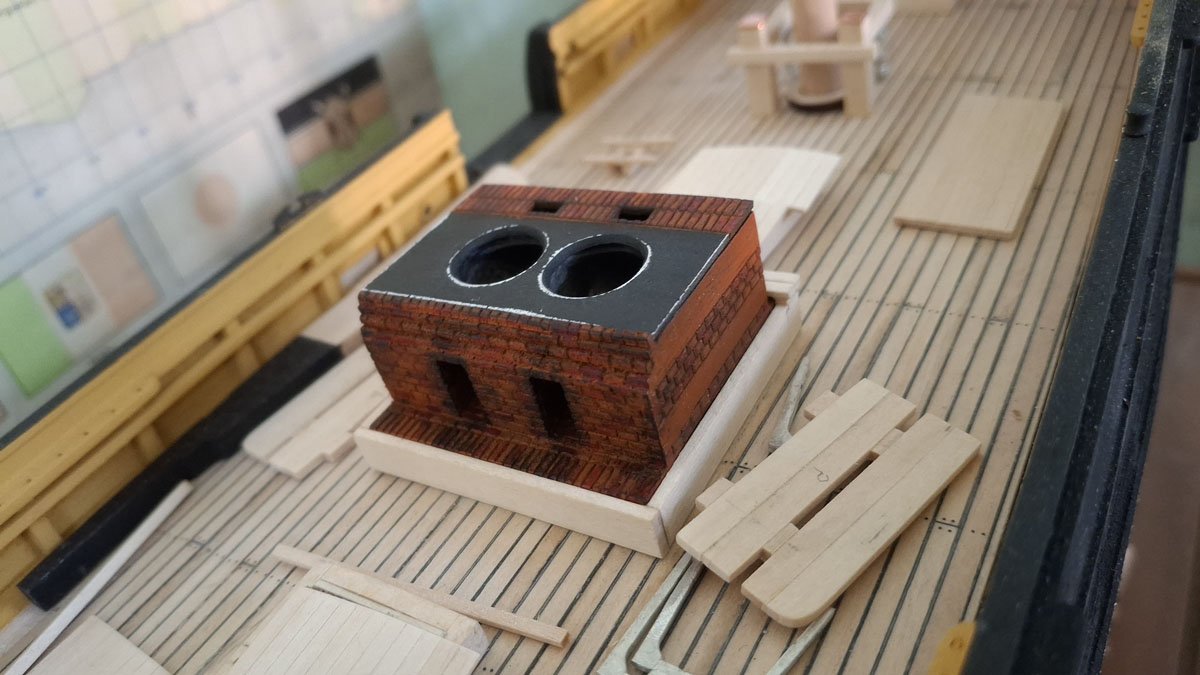
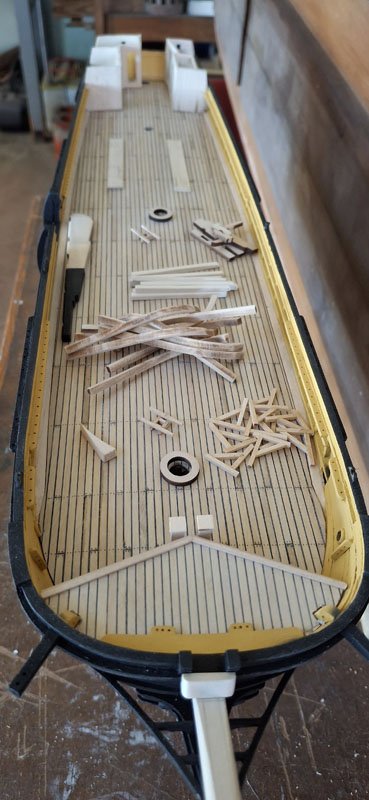
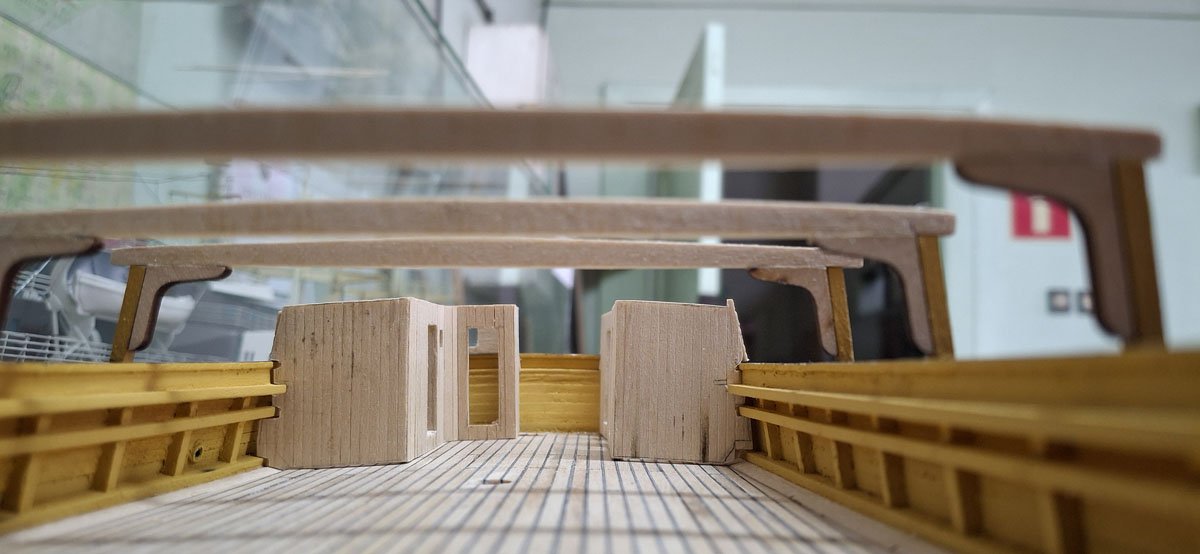
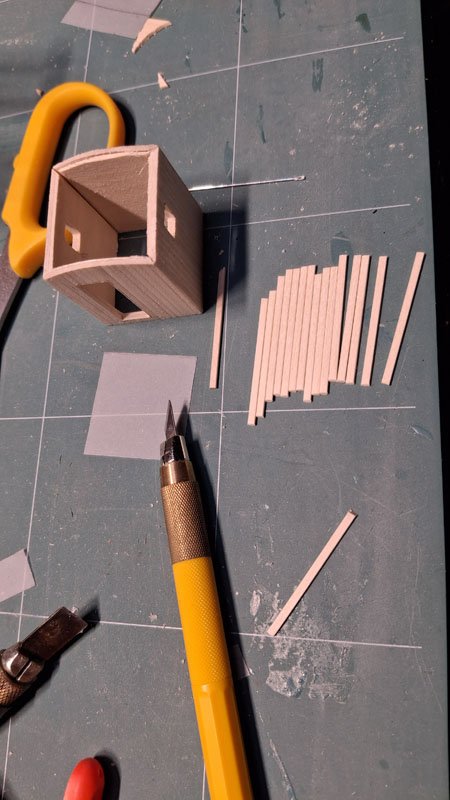
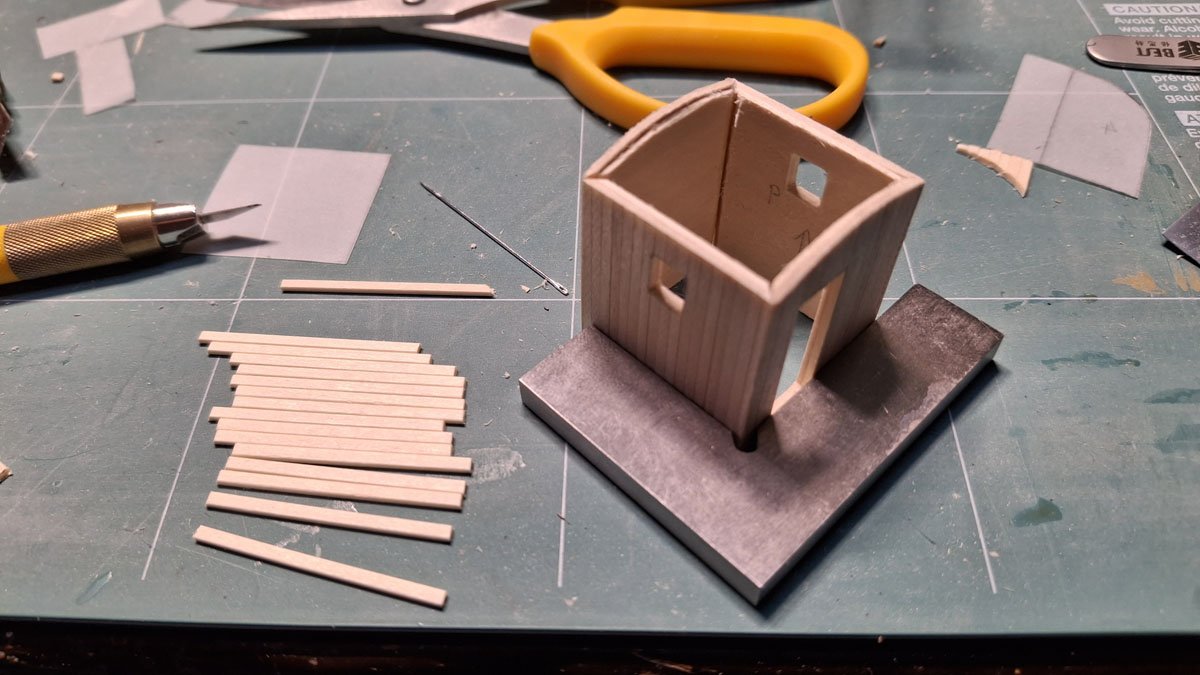
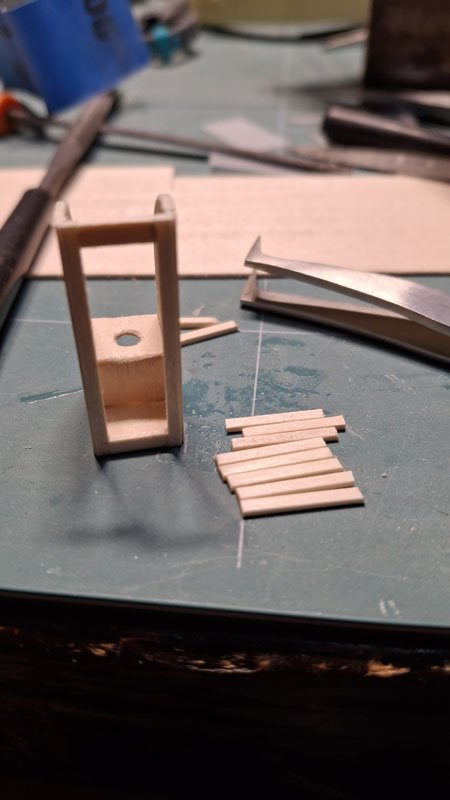
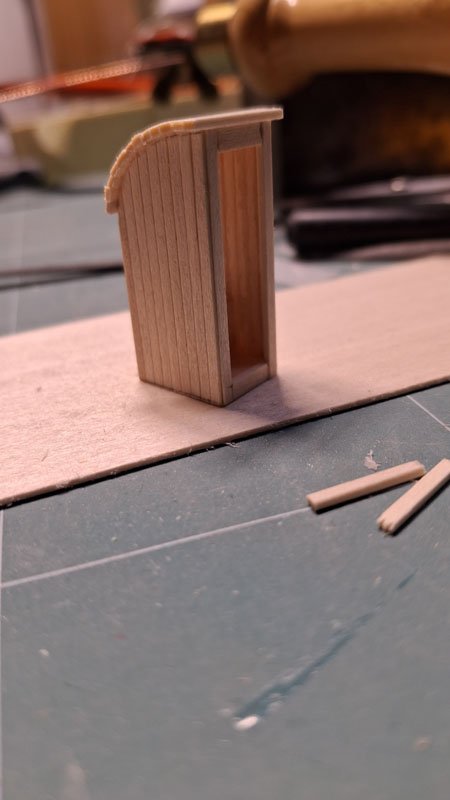
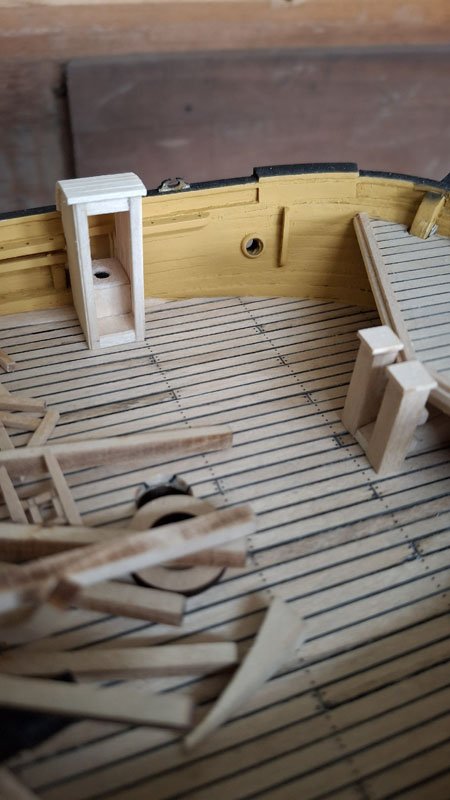
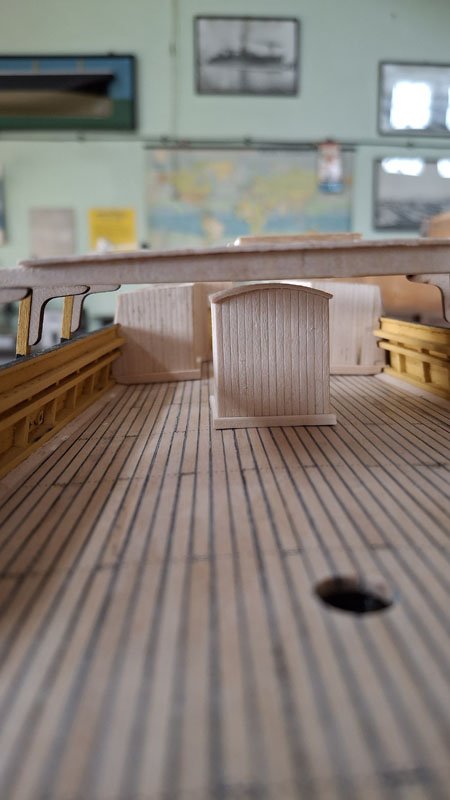
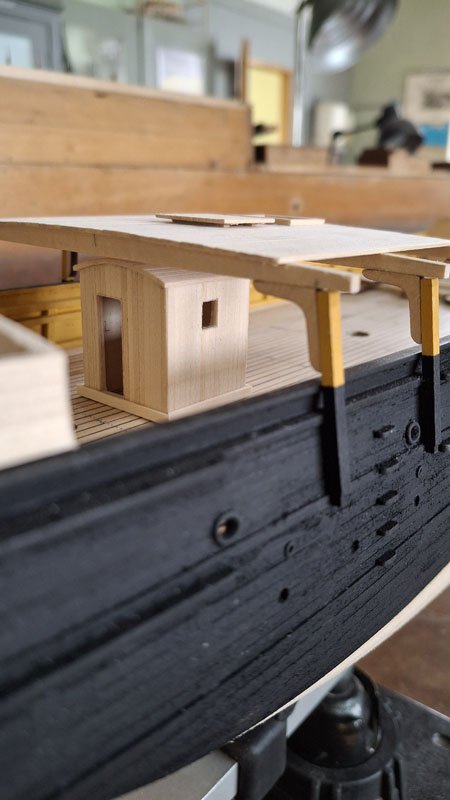
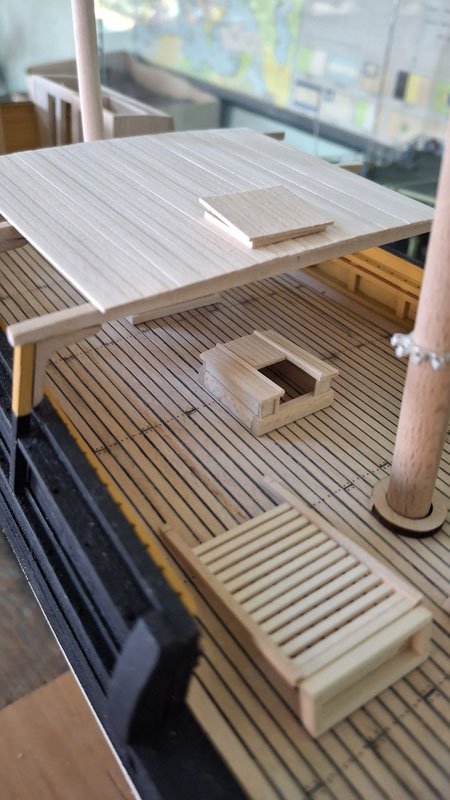
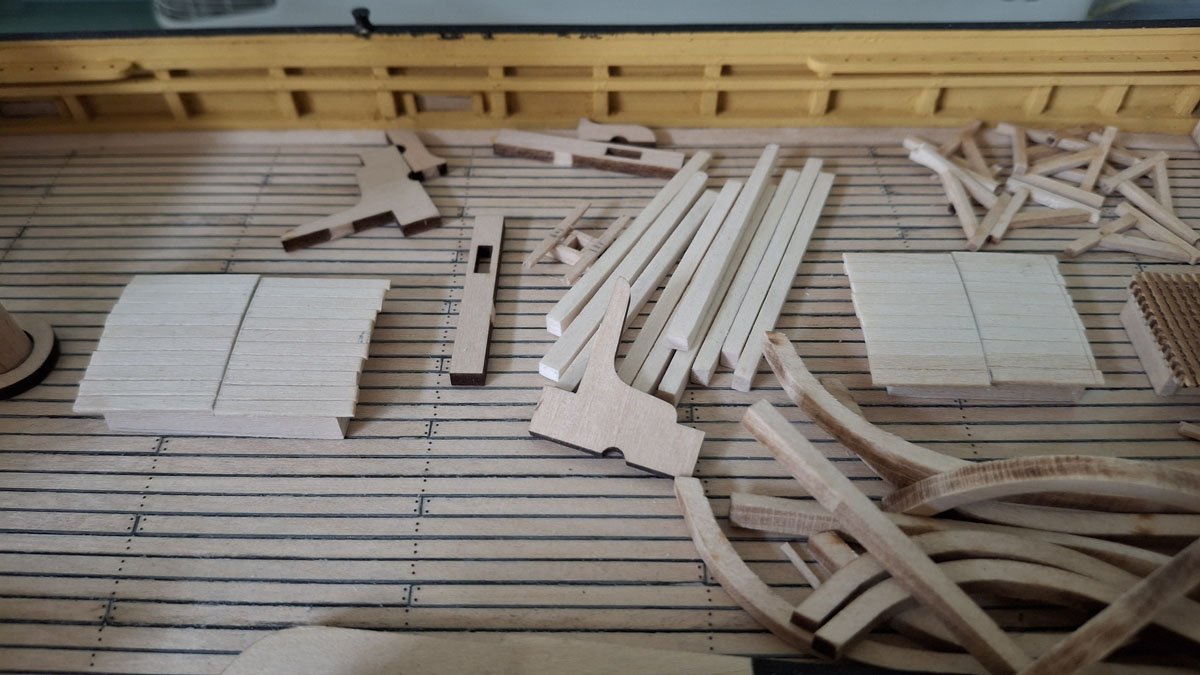
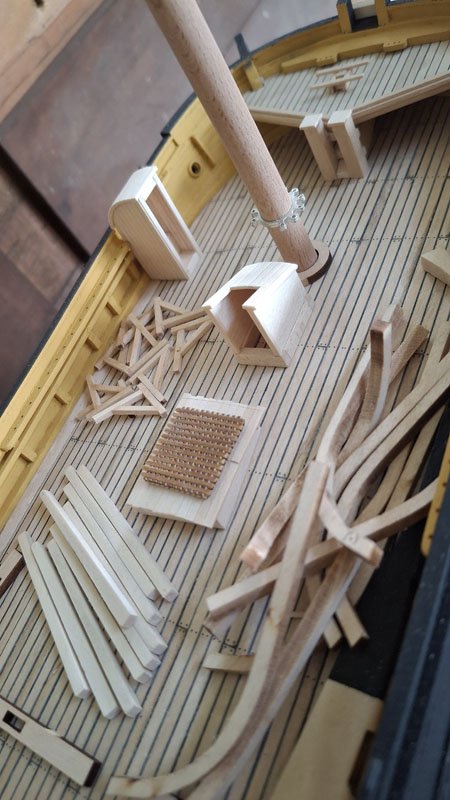
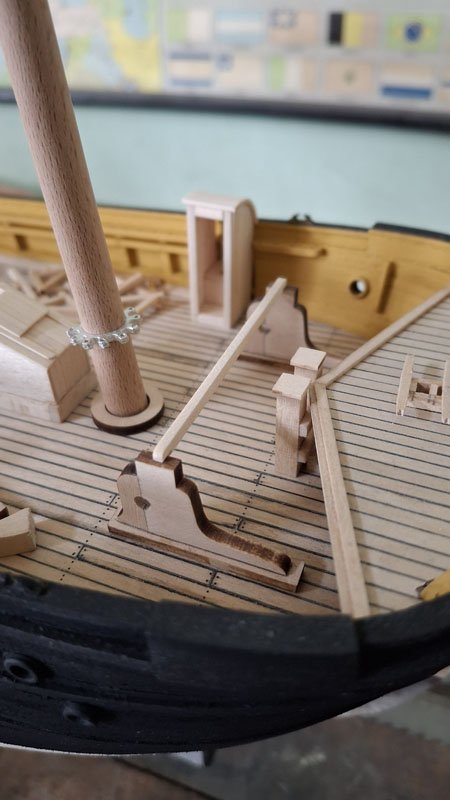
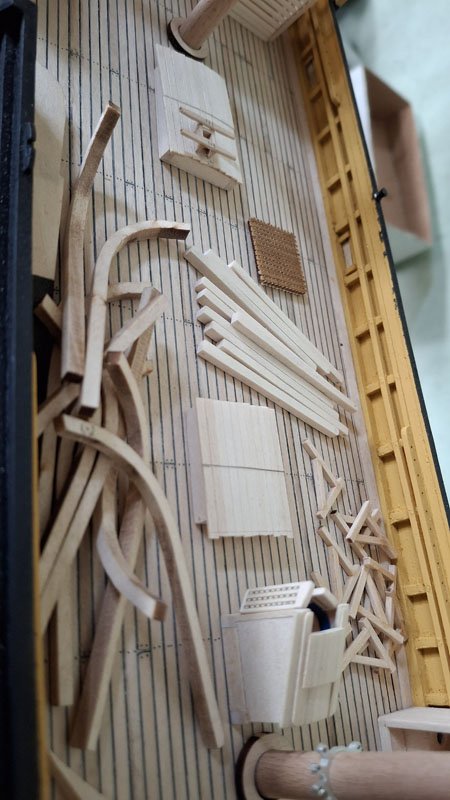
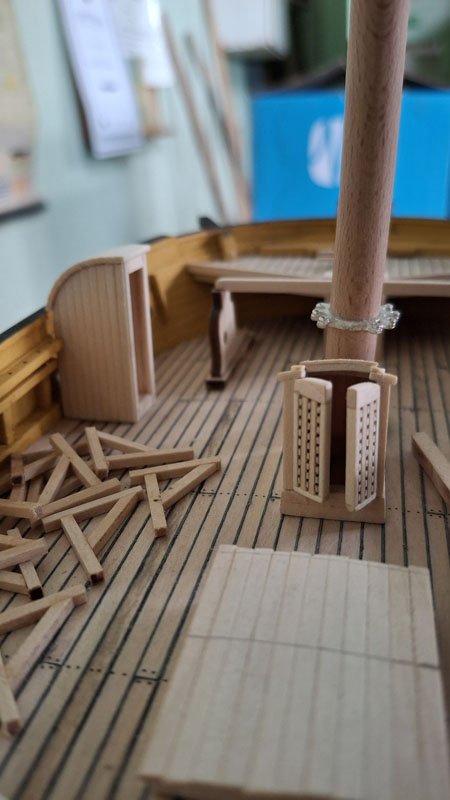
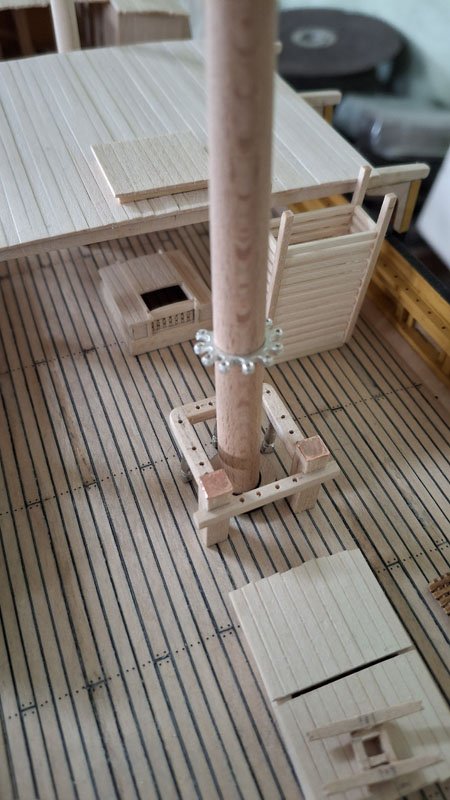
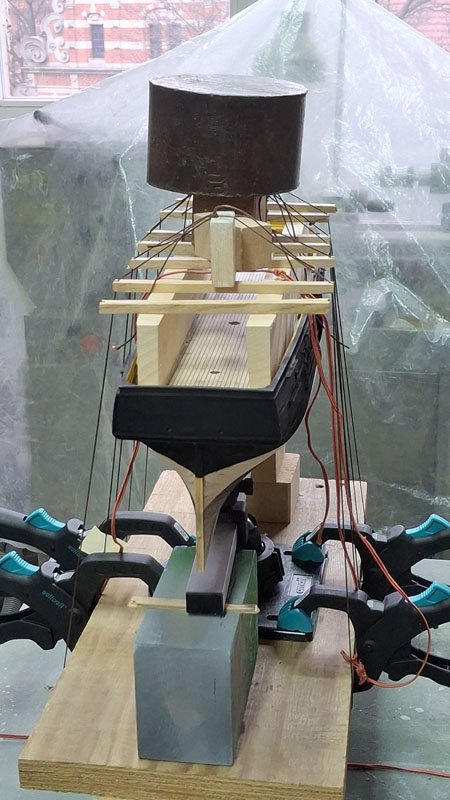
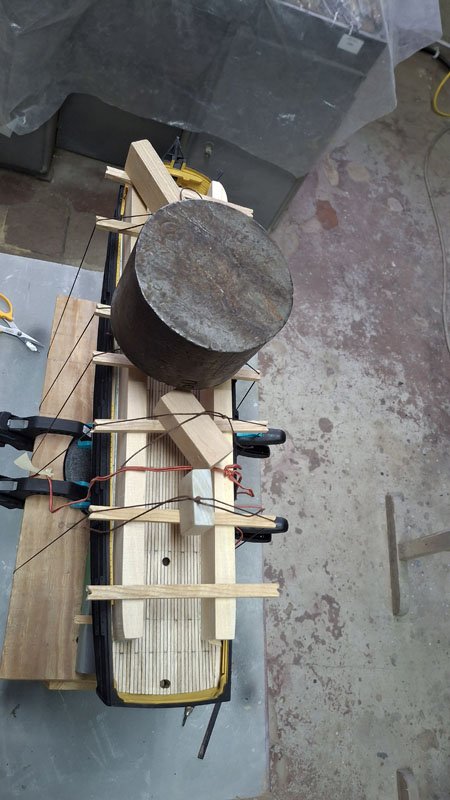
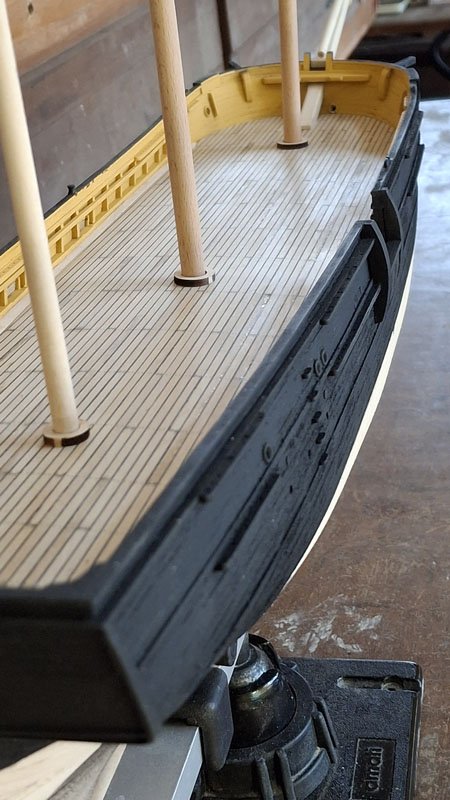
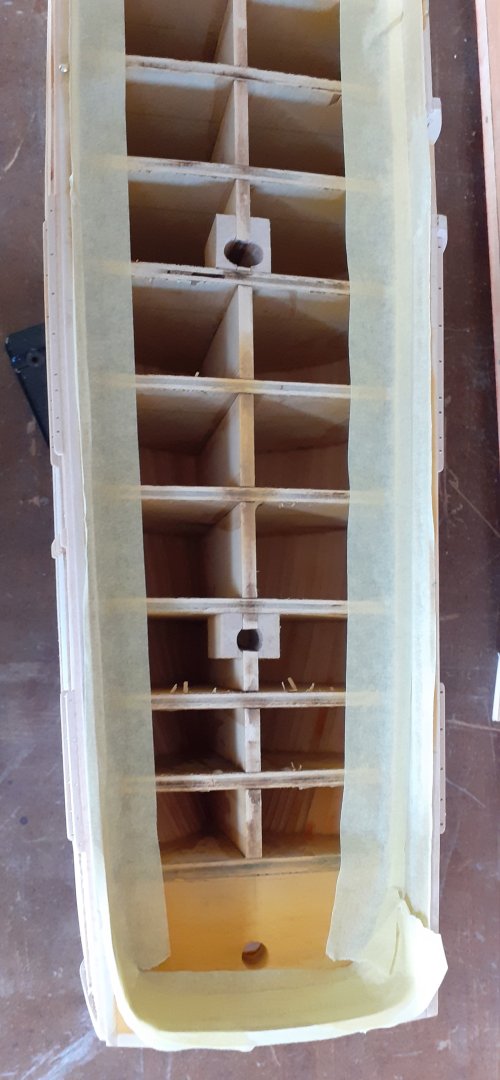
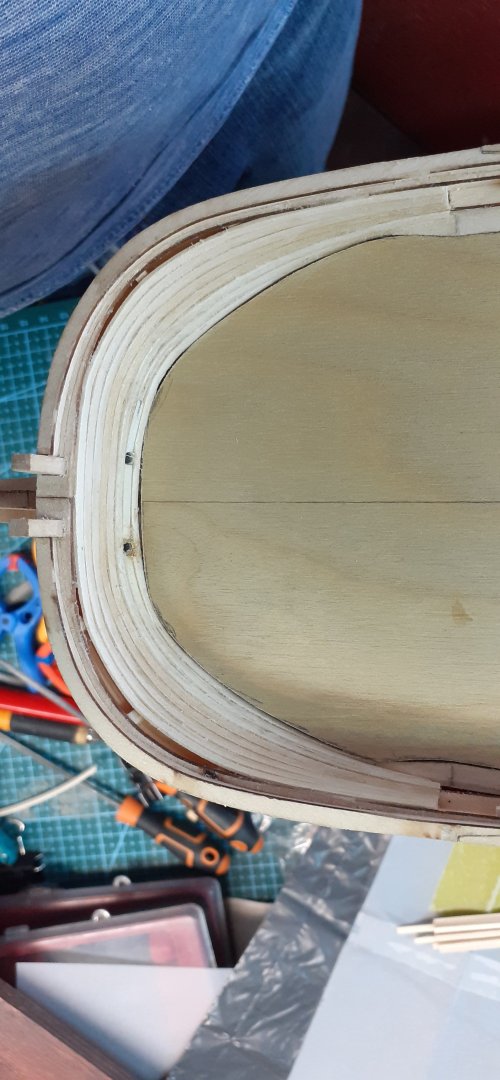
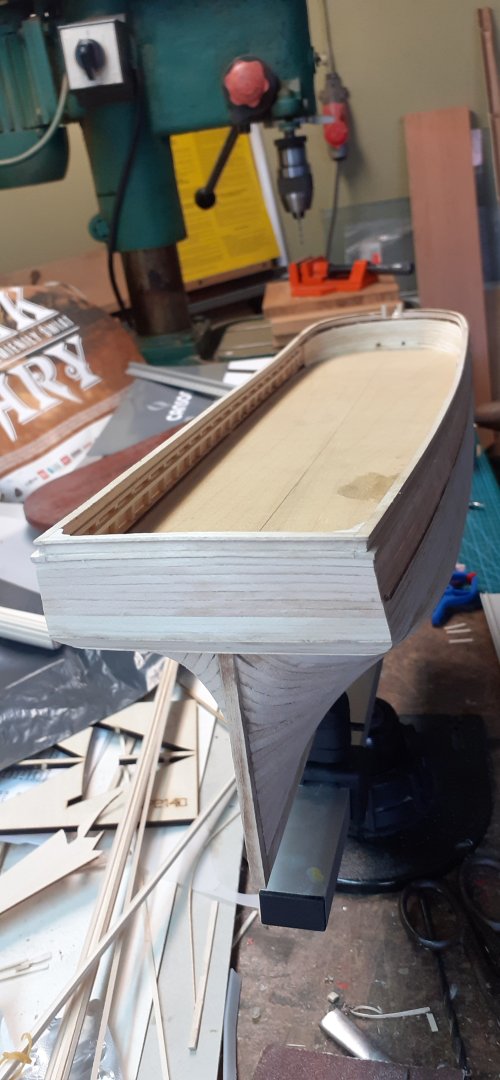
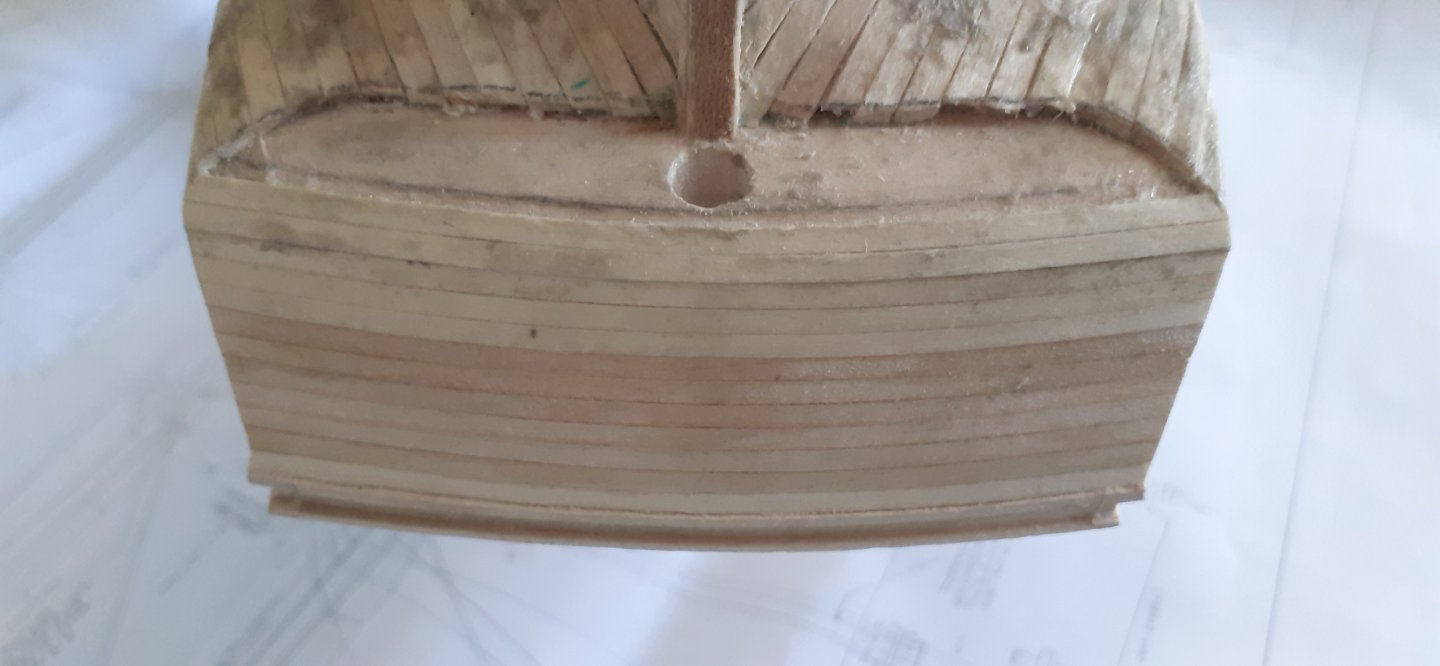
The deck is in place, glued with epoxy resin. I had plenty of time to place the finished deck in the right place. This did not protect me from epoxy leakage in the hole where the rudder is. But every cloud has a silver lining. I started producing all the parts on the deck one by one. For now, in raw form, so that when the time comes, I can paint and polish them.


-
JacquesCousteau reacted to a post in a topic:
Charles W Morgan by Iro - Model Shipways - 1:64
-
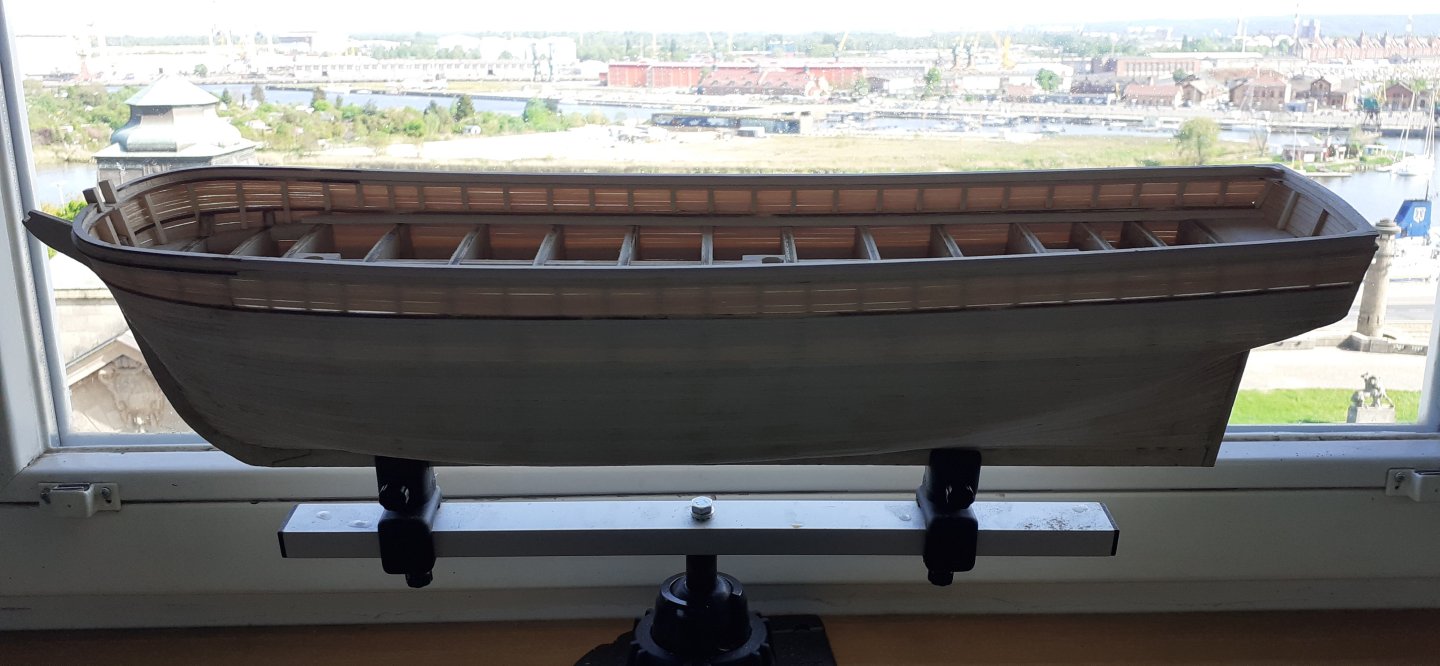
Hello everyone again. I haven't been here for a long time and even more time has passed, progress has been made so I decided to add a few new photos. Greetings Iro.


-
Capt. Kelso reacted to a post in a topic:
Charles W Morgan by Iro - Model Shipways - 1:64
-
Paul Le Wol reacted to a post in a topic:
Charles W Morgan by Iro - Model Shipways - 1:64
-
Paul Le Wol reacted to a post in a topic:
Charles W Morgan by Iro - Model Shipways - 1:64
-
Paul Le Wol reacted to a post in a topic:
Charles W Morgan by Iro - Model Shipways - 1:64
-
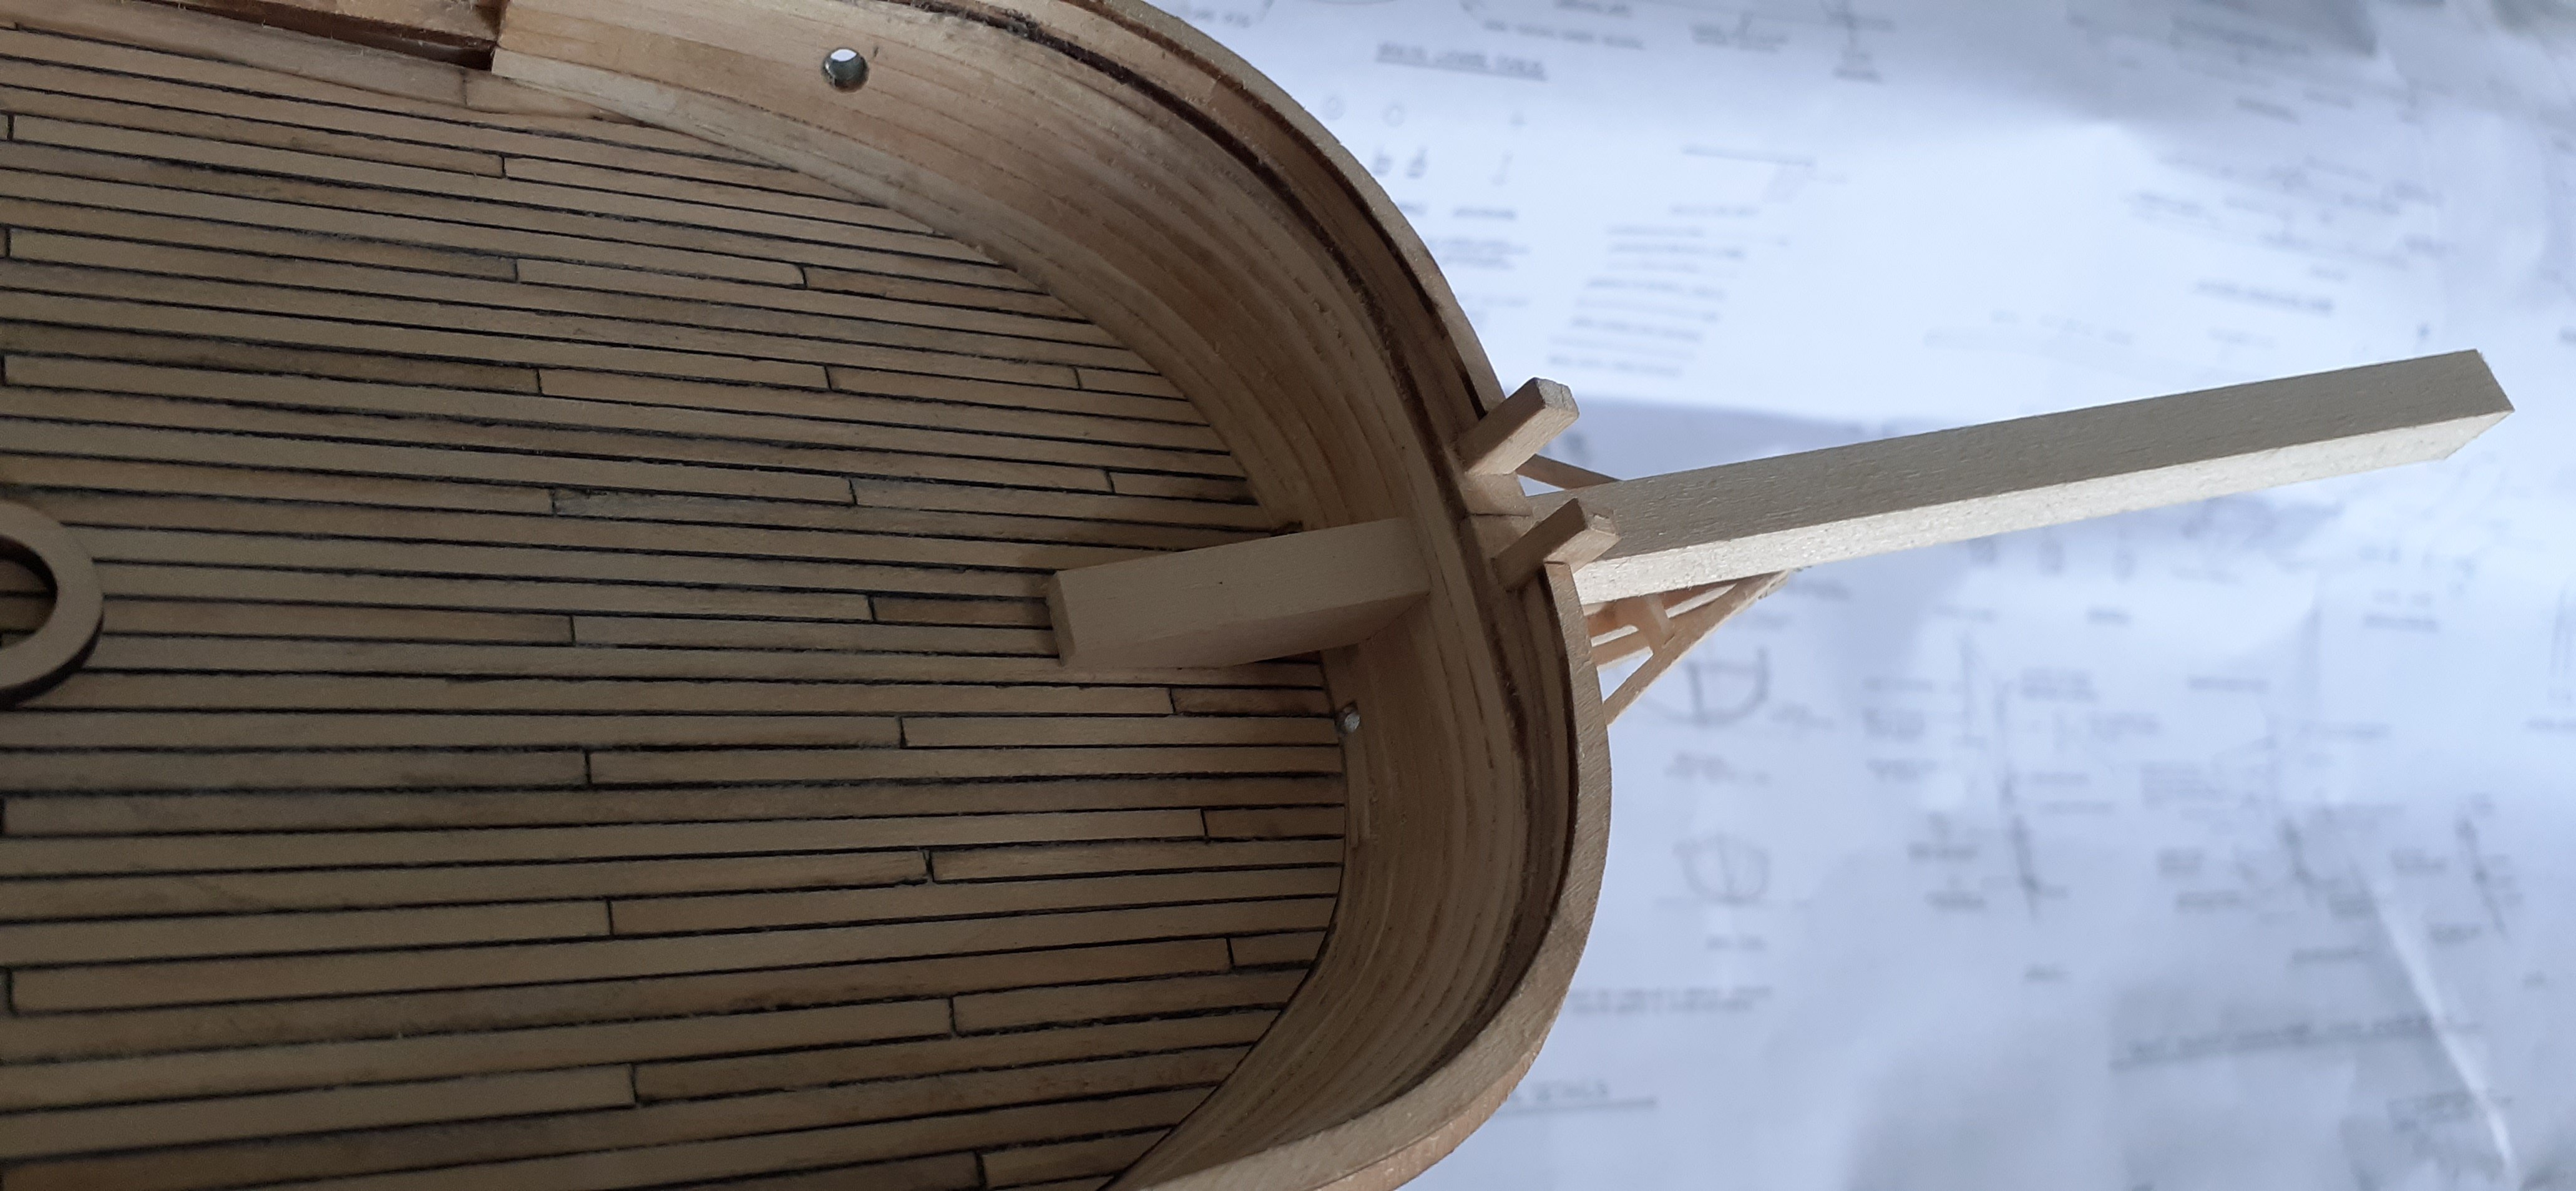
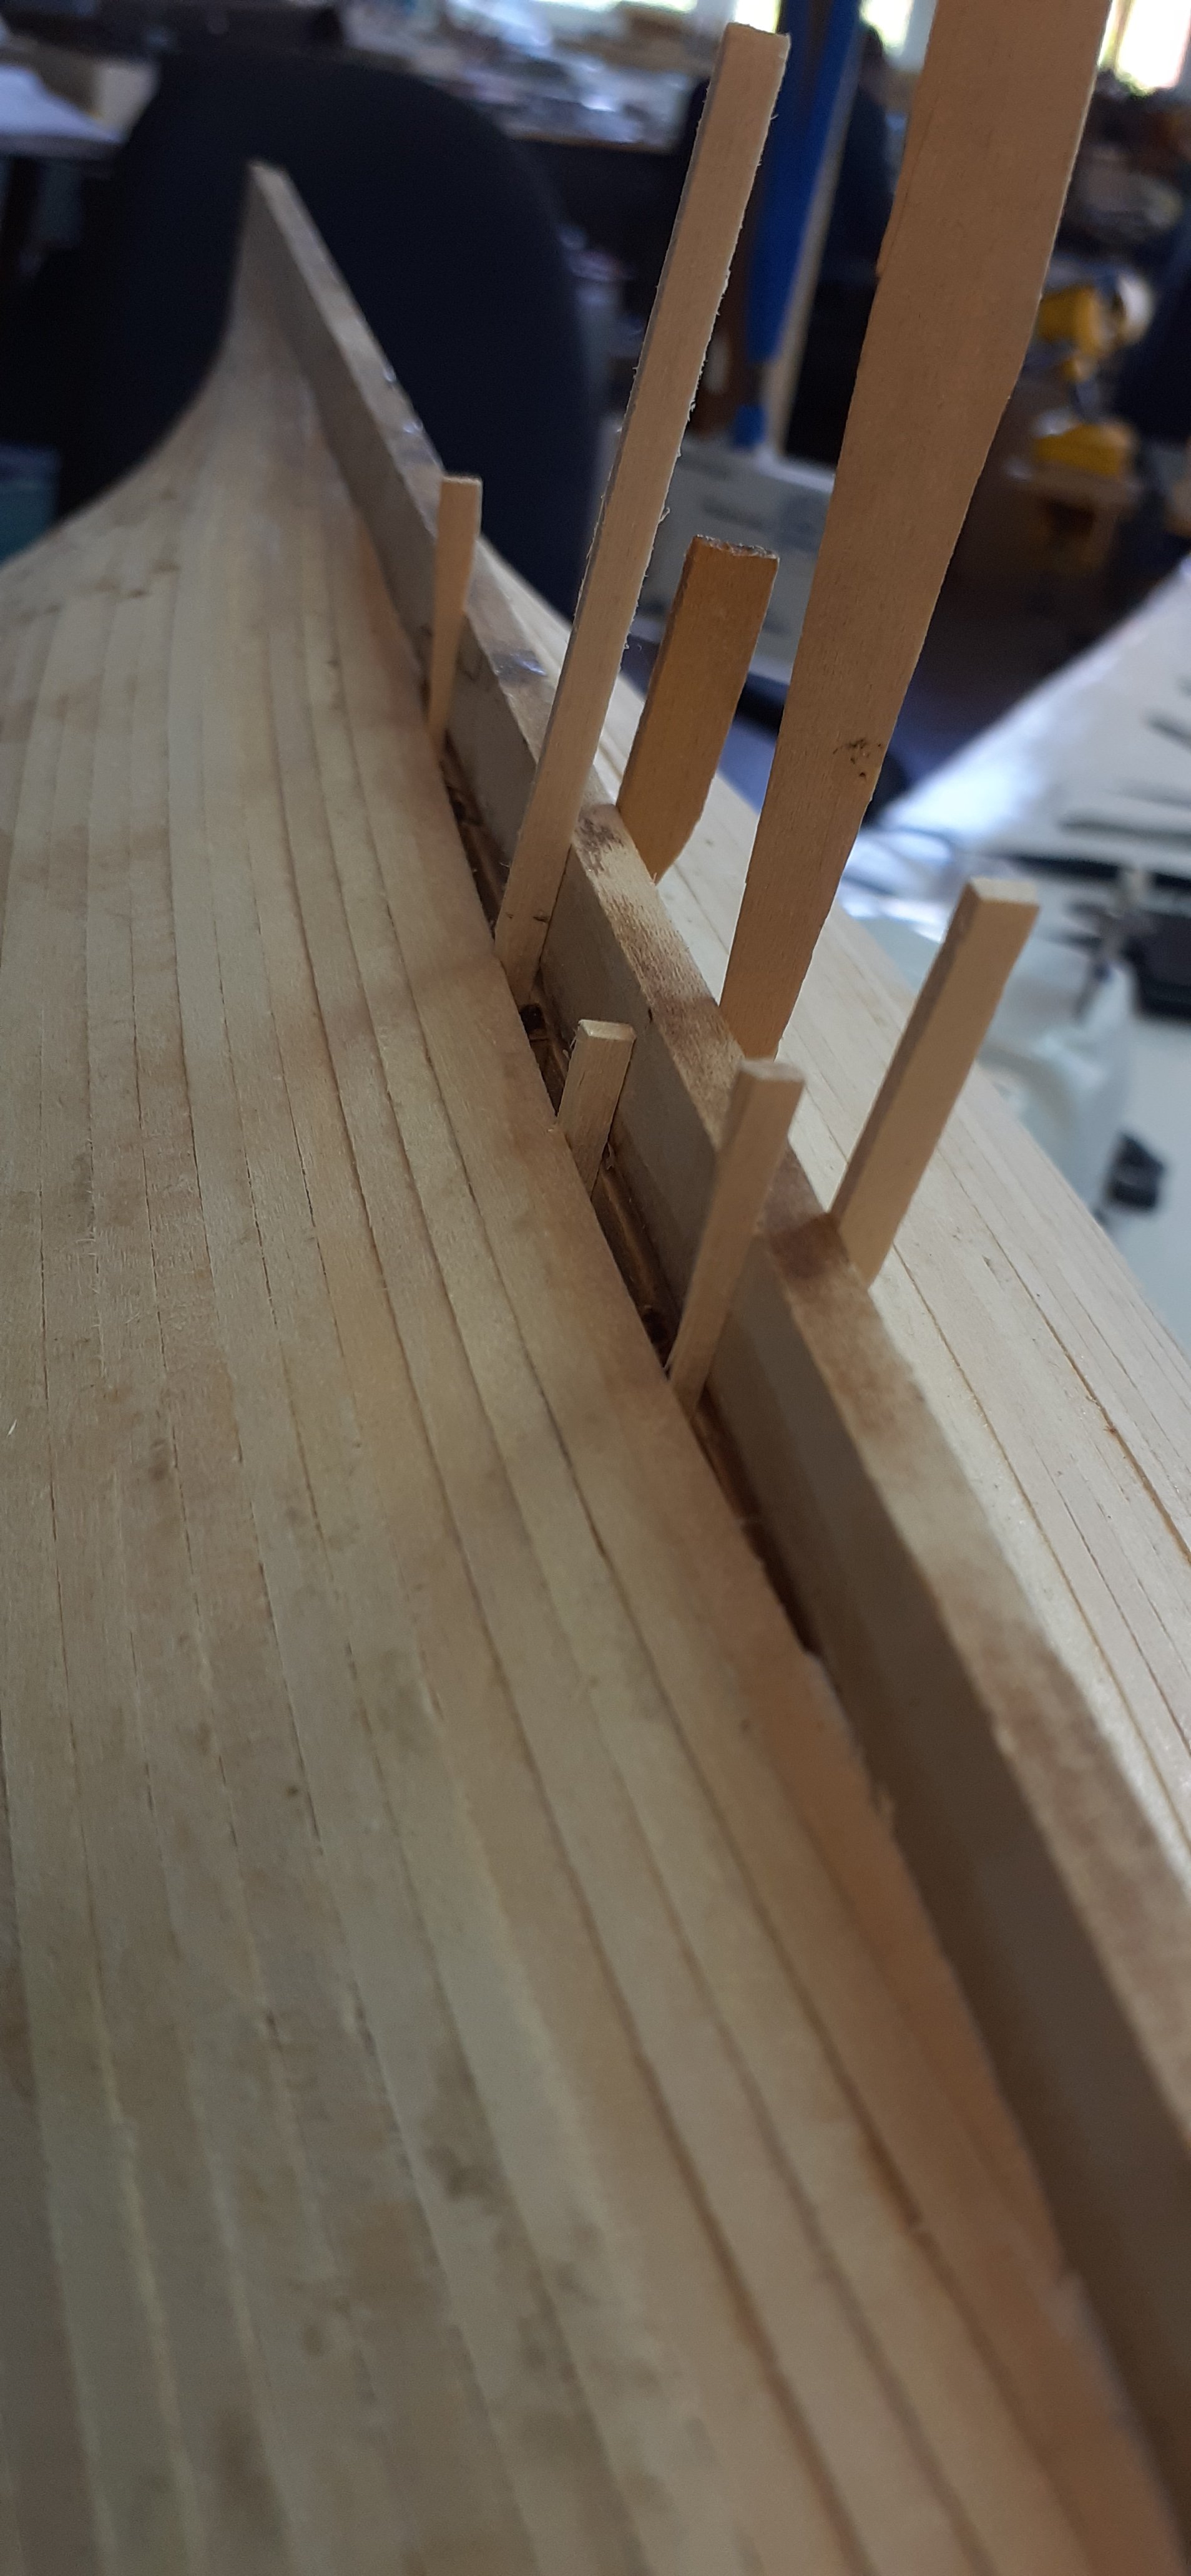
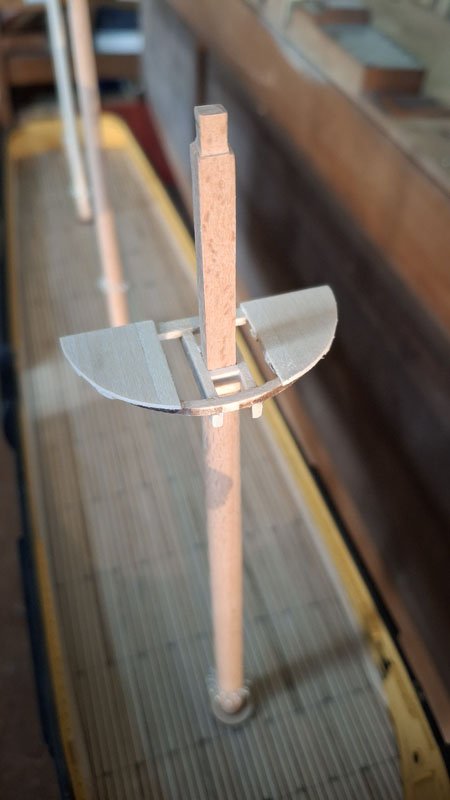
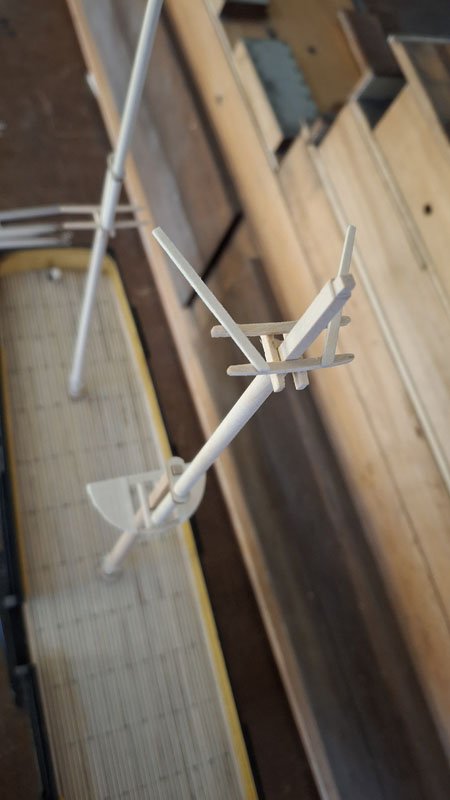
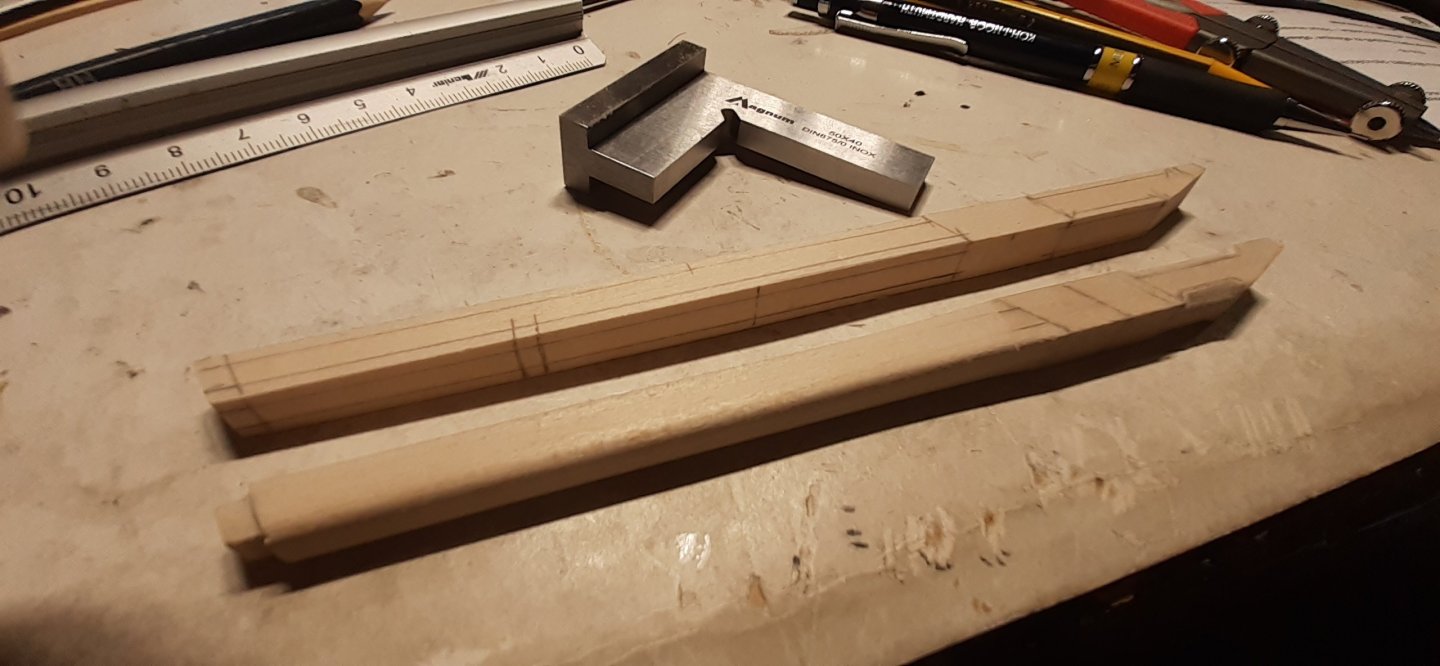
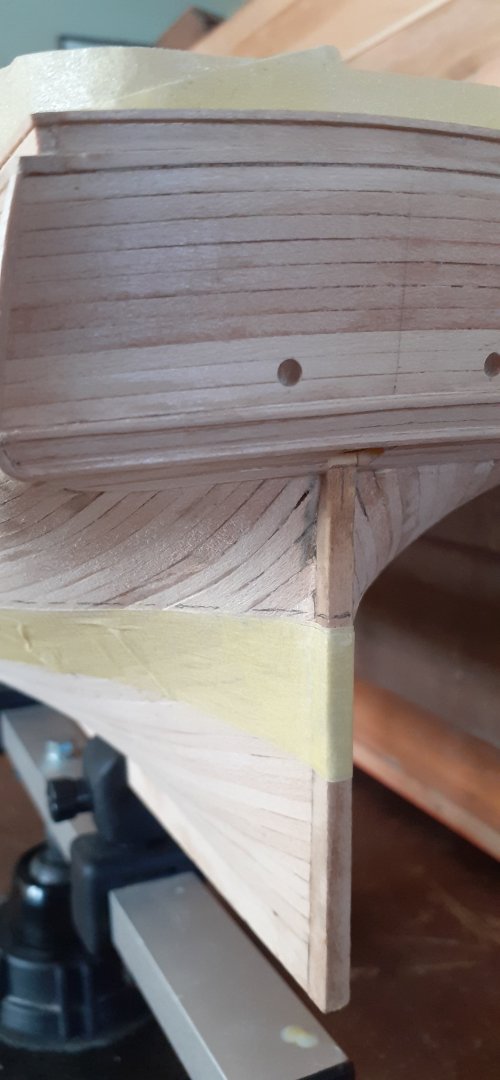
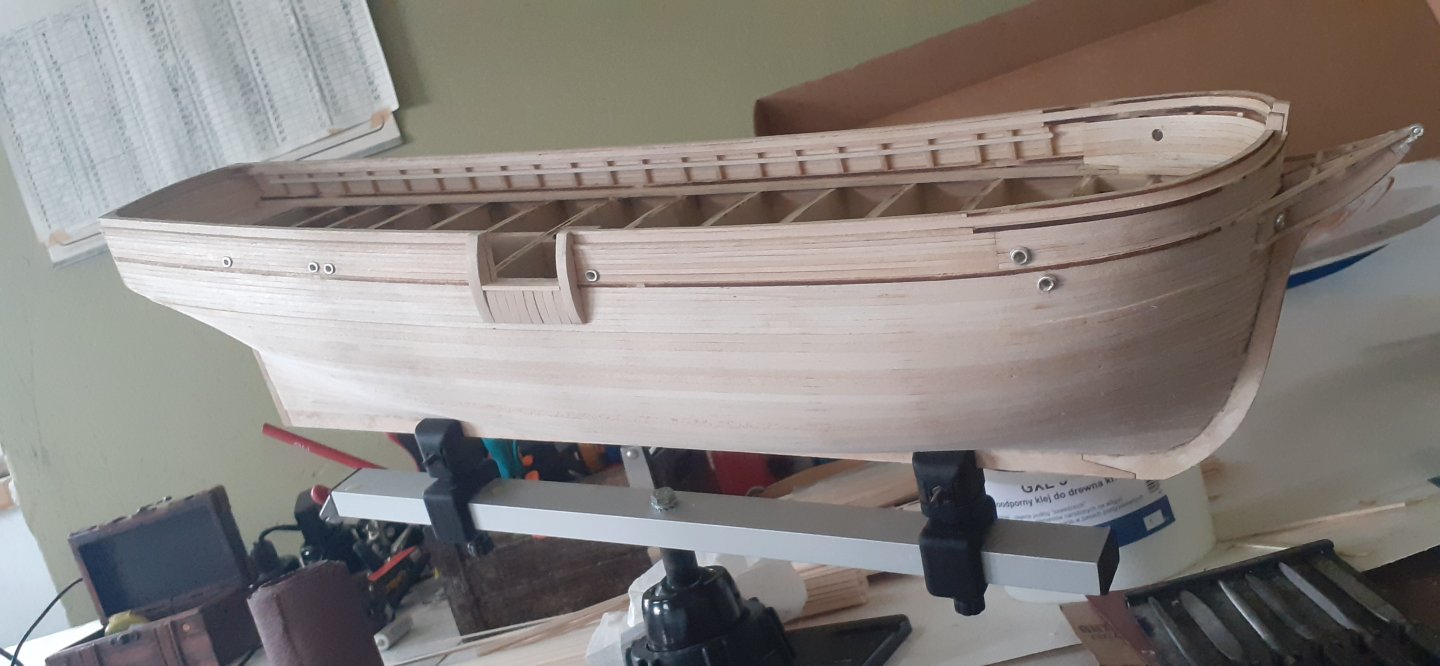
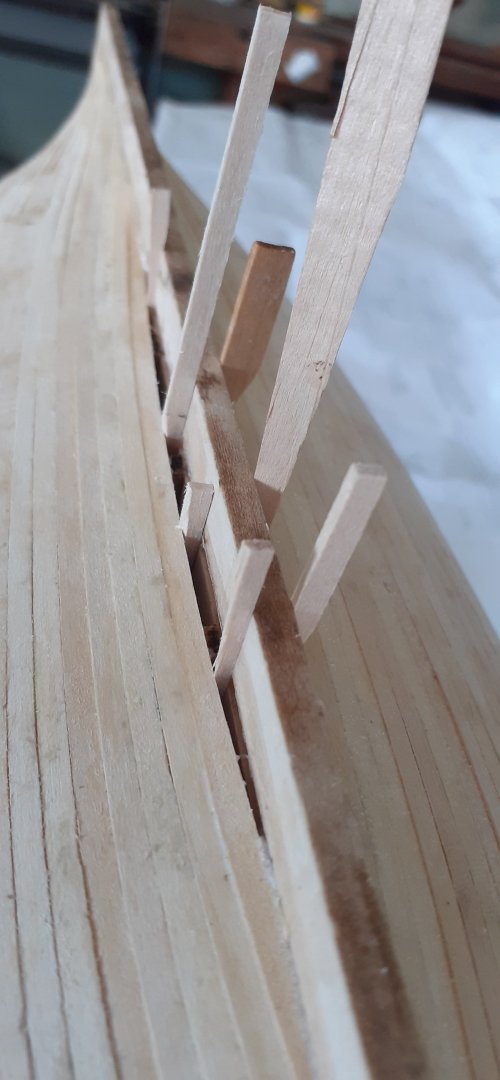
More parts and corrections. The incorrectly sized bowsprit went in for correction.
-
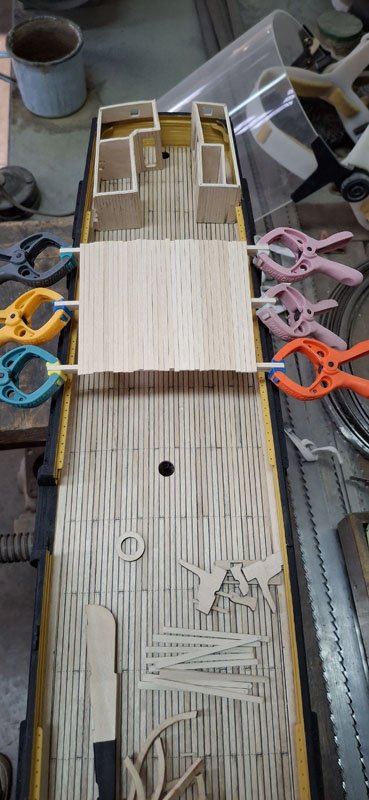
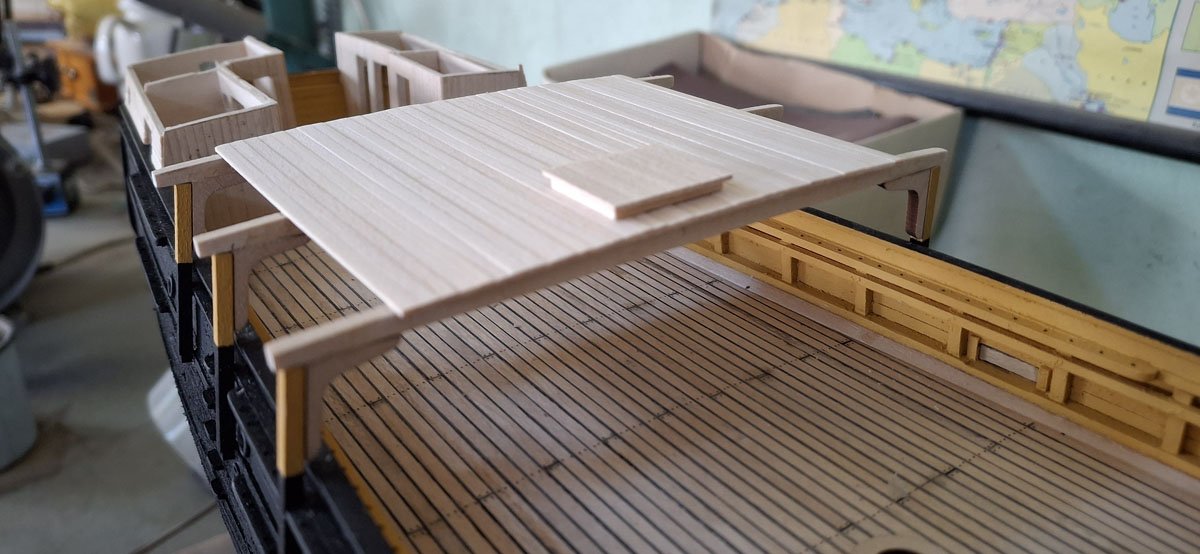
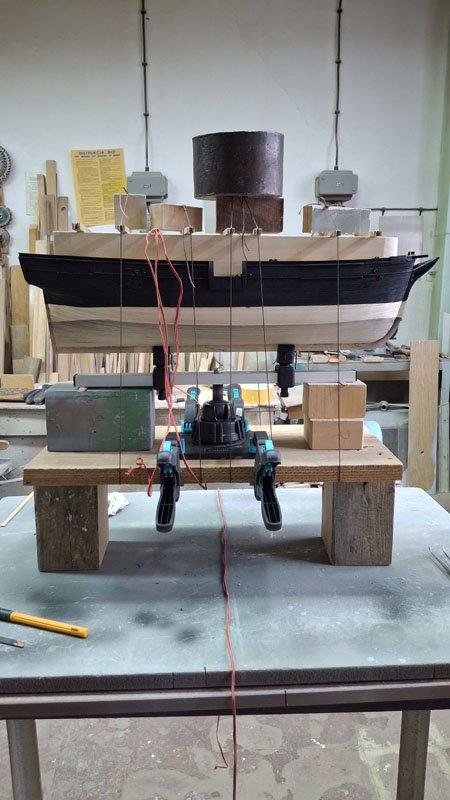
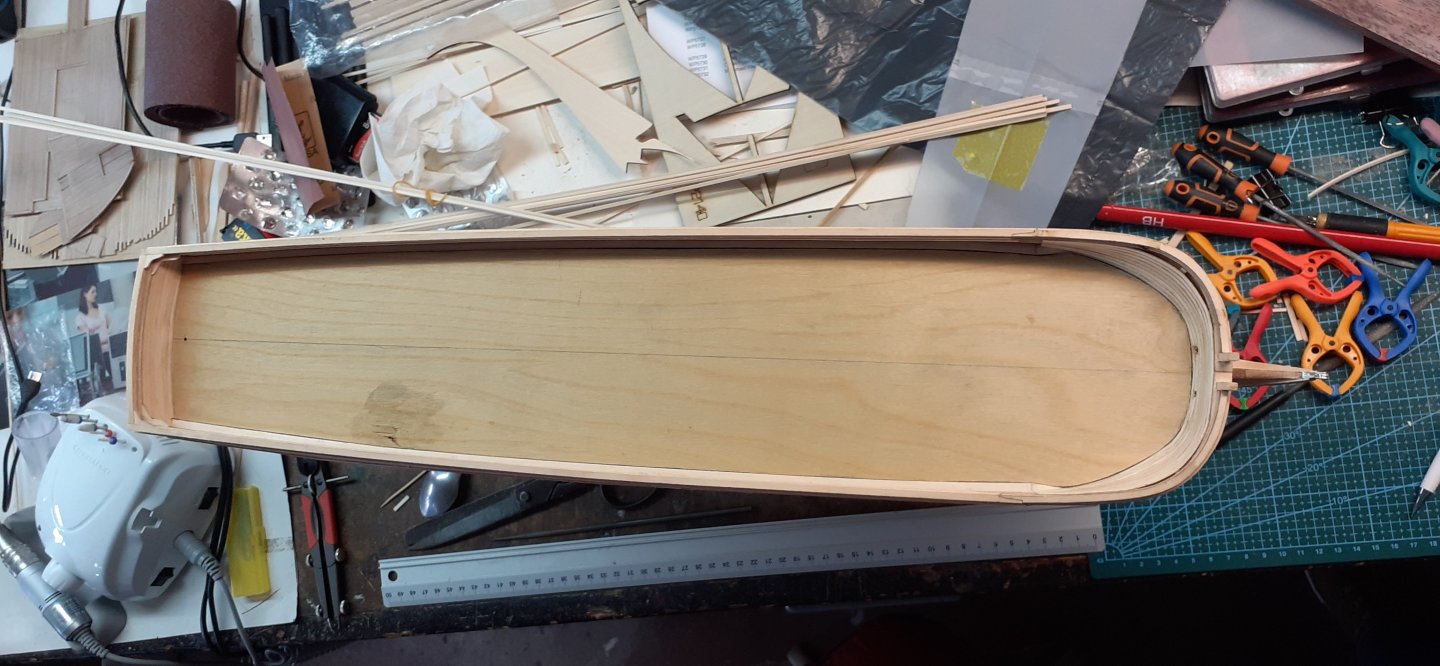
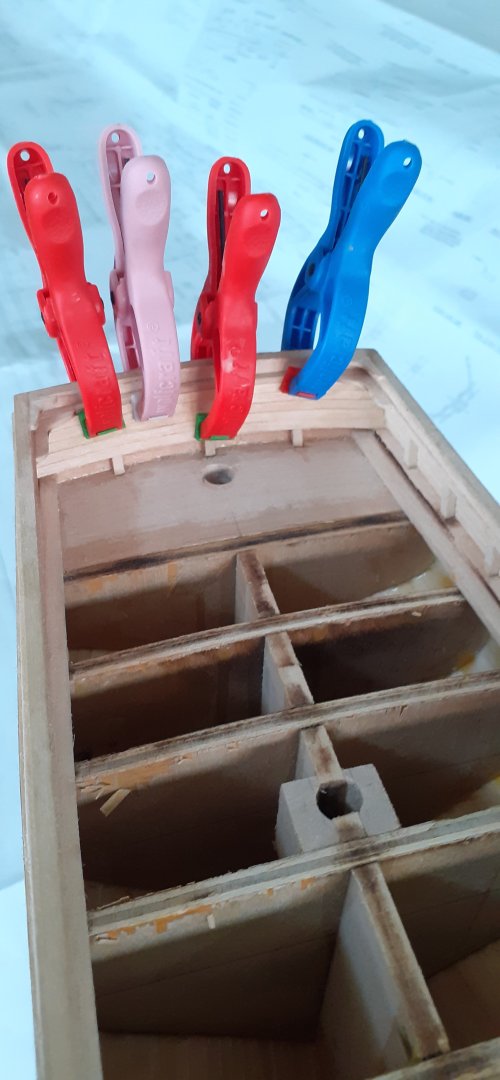
Hi Paul. Thank you very much for your kind words. Thank you also for your understanding and patience, I made a bit of a mess in the post. Oh my. Now I think I have the situation under control. First attempts at gluing the deck, the effect is satisfactory I think. I used epoxy resin to glue it, thanks to which I had a lot of time to adjust it calmly, about two hours for the resin to harden. Attention! You have to watch out for resin leaks, think carefully about planning the gluing and prepare everything in advance.


-
eatcrow2 reacted to a post in a topic:
Charles W Morgan by Iro - Model Shipways - 1:64
-
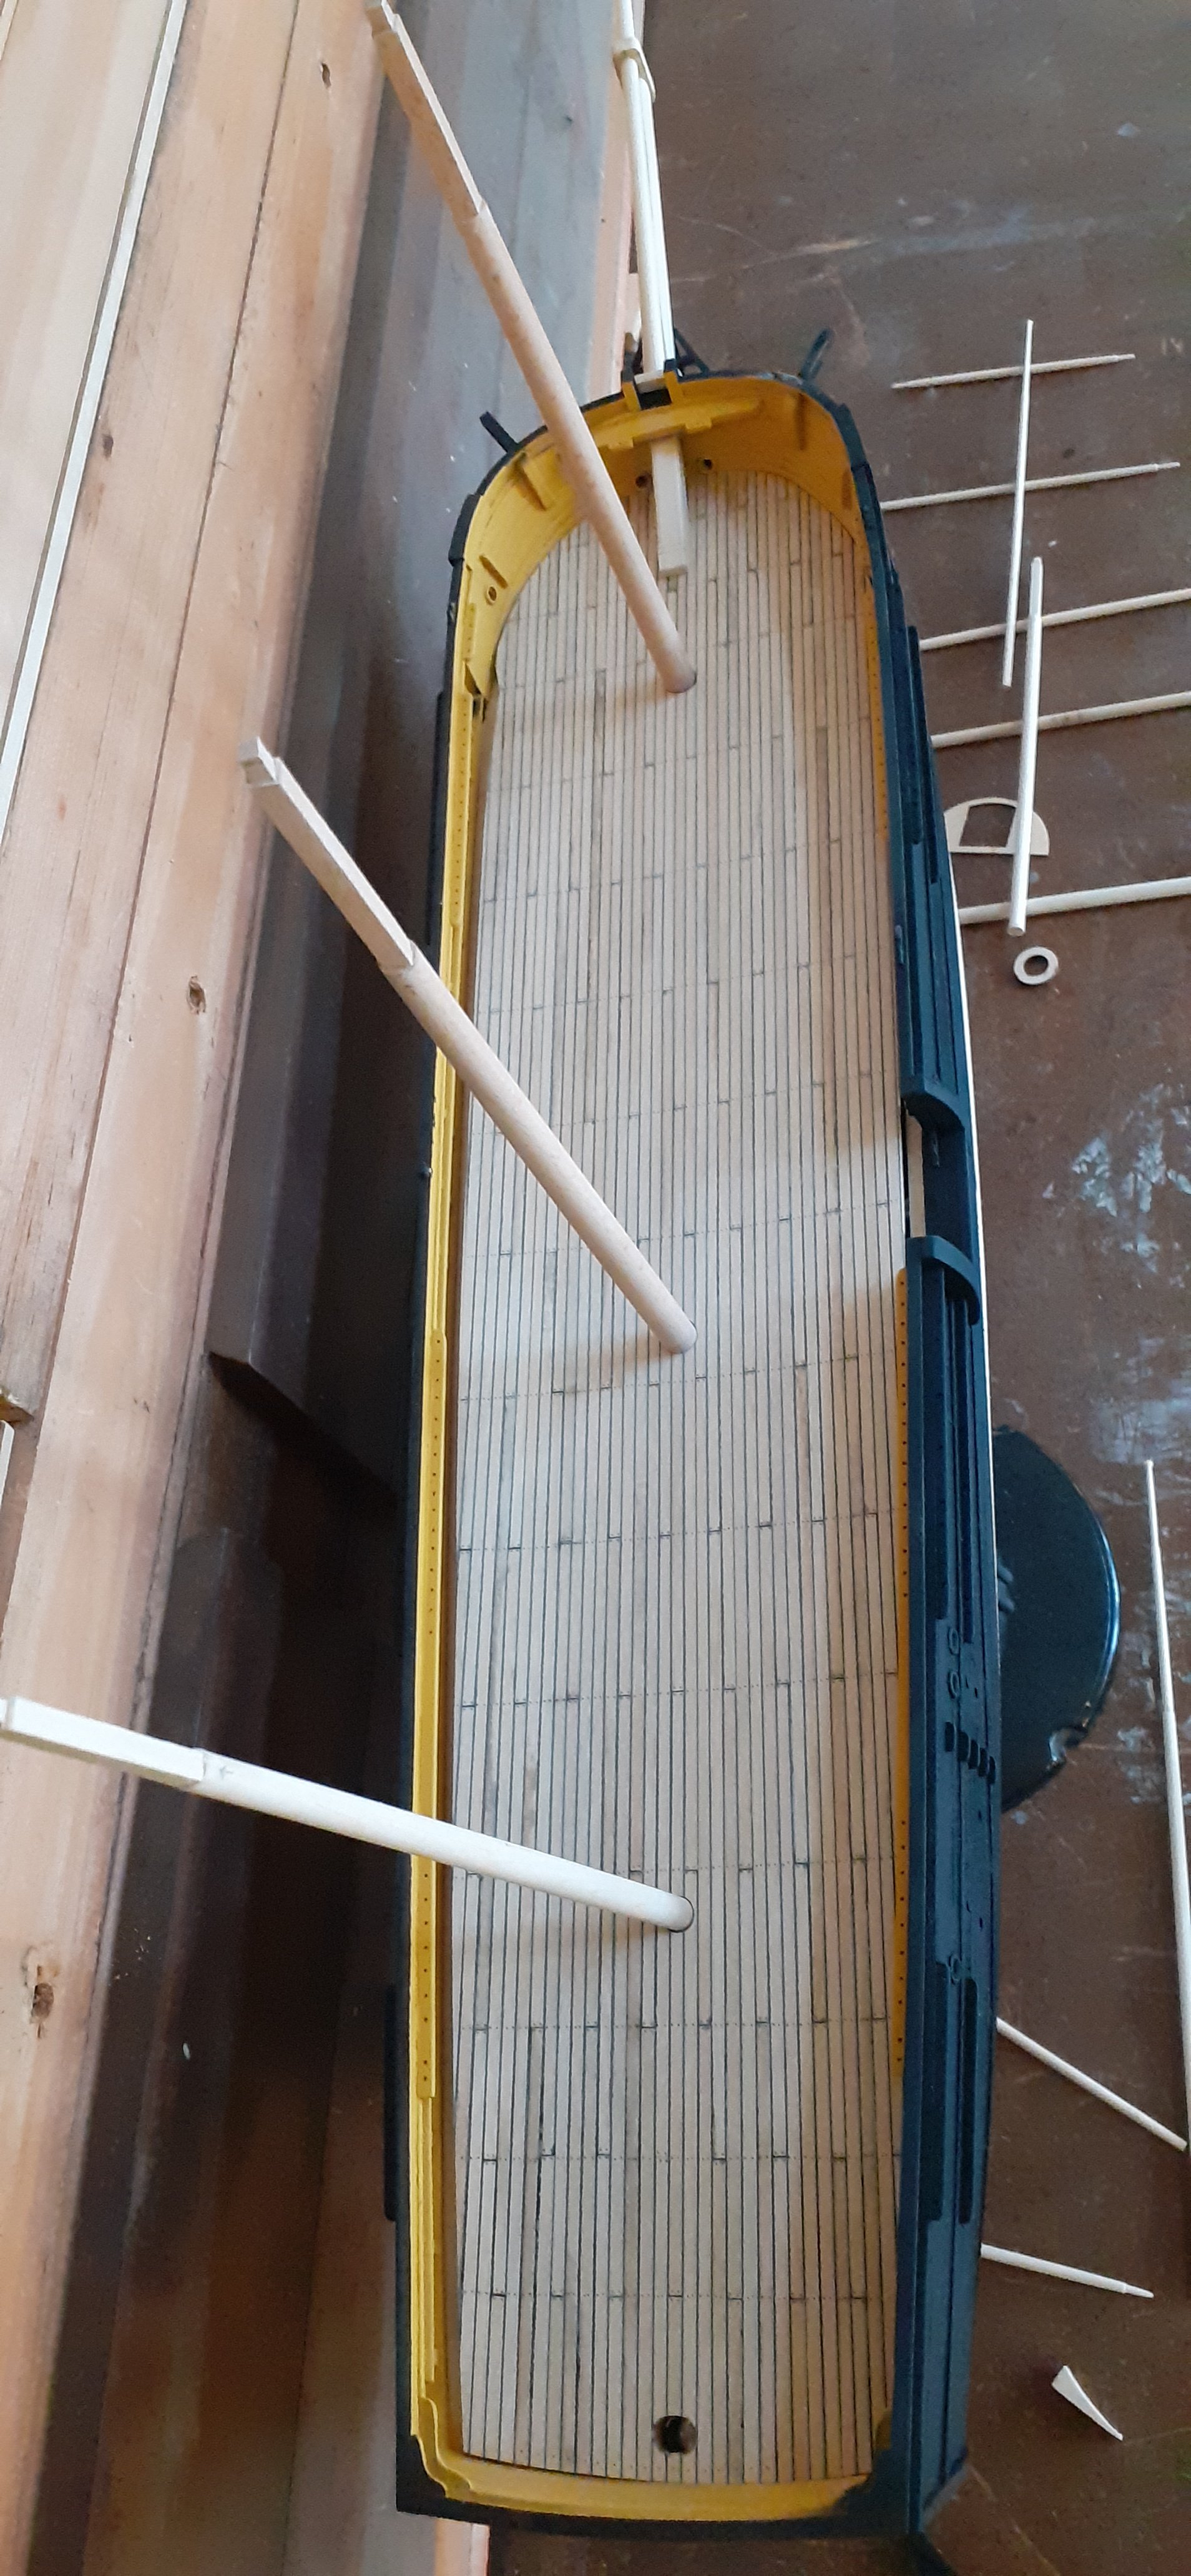
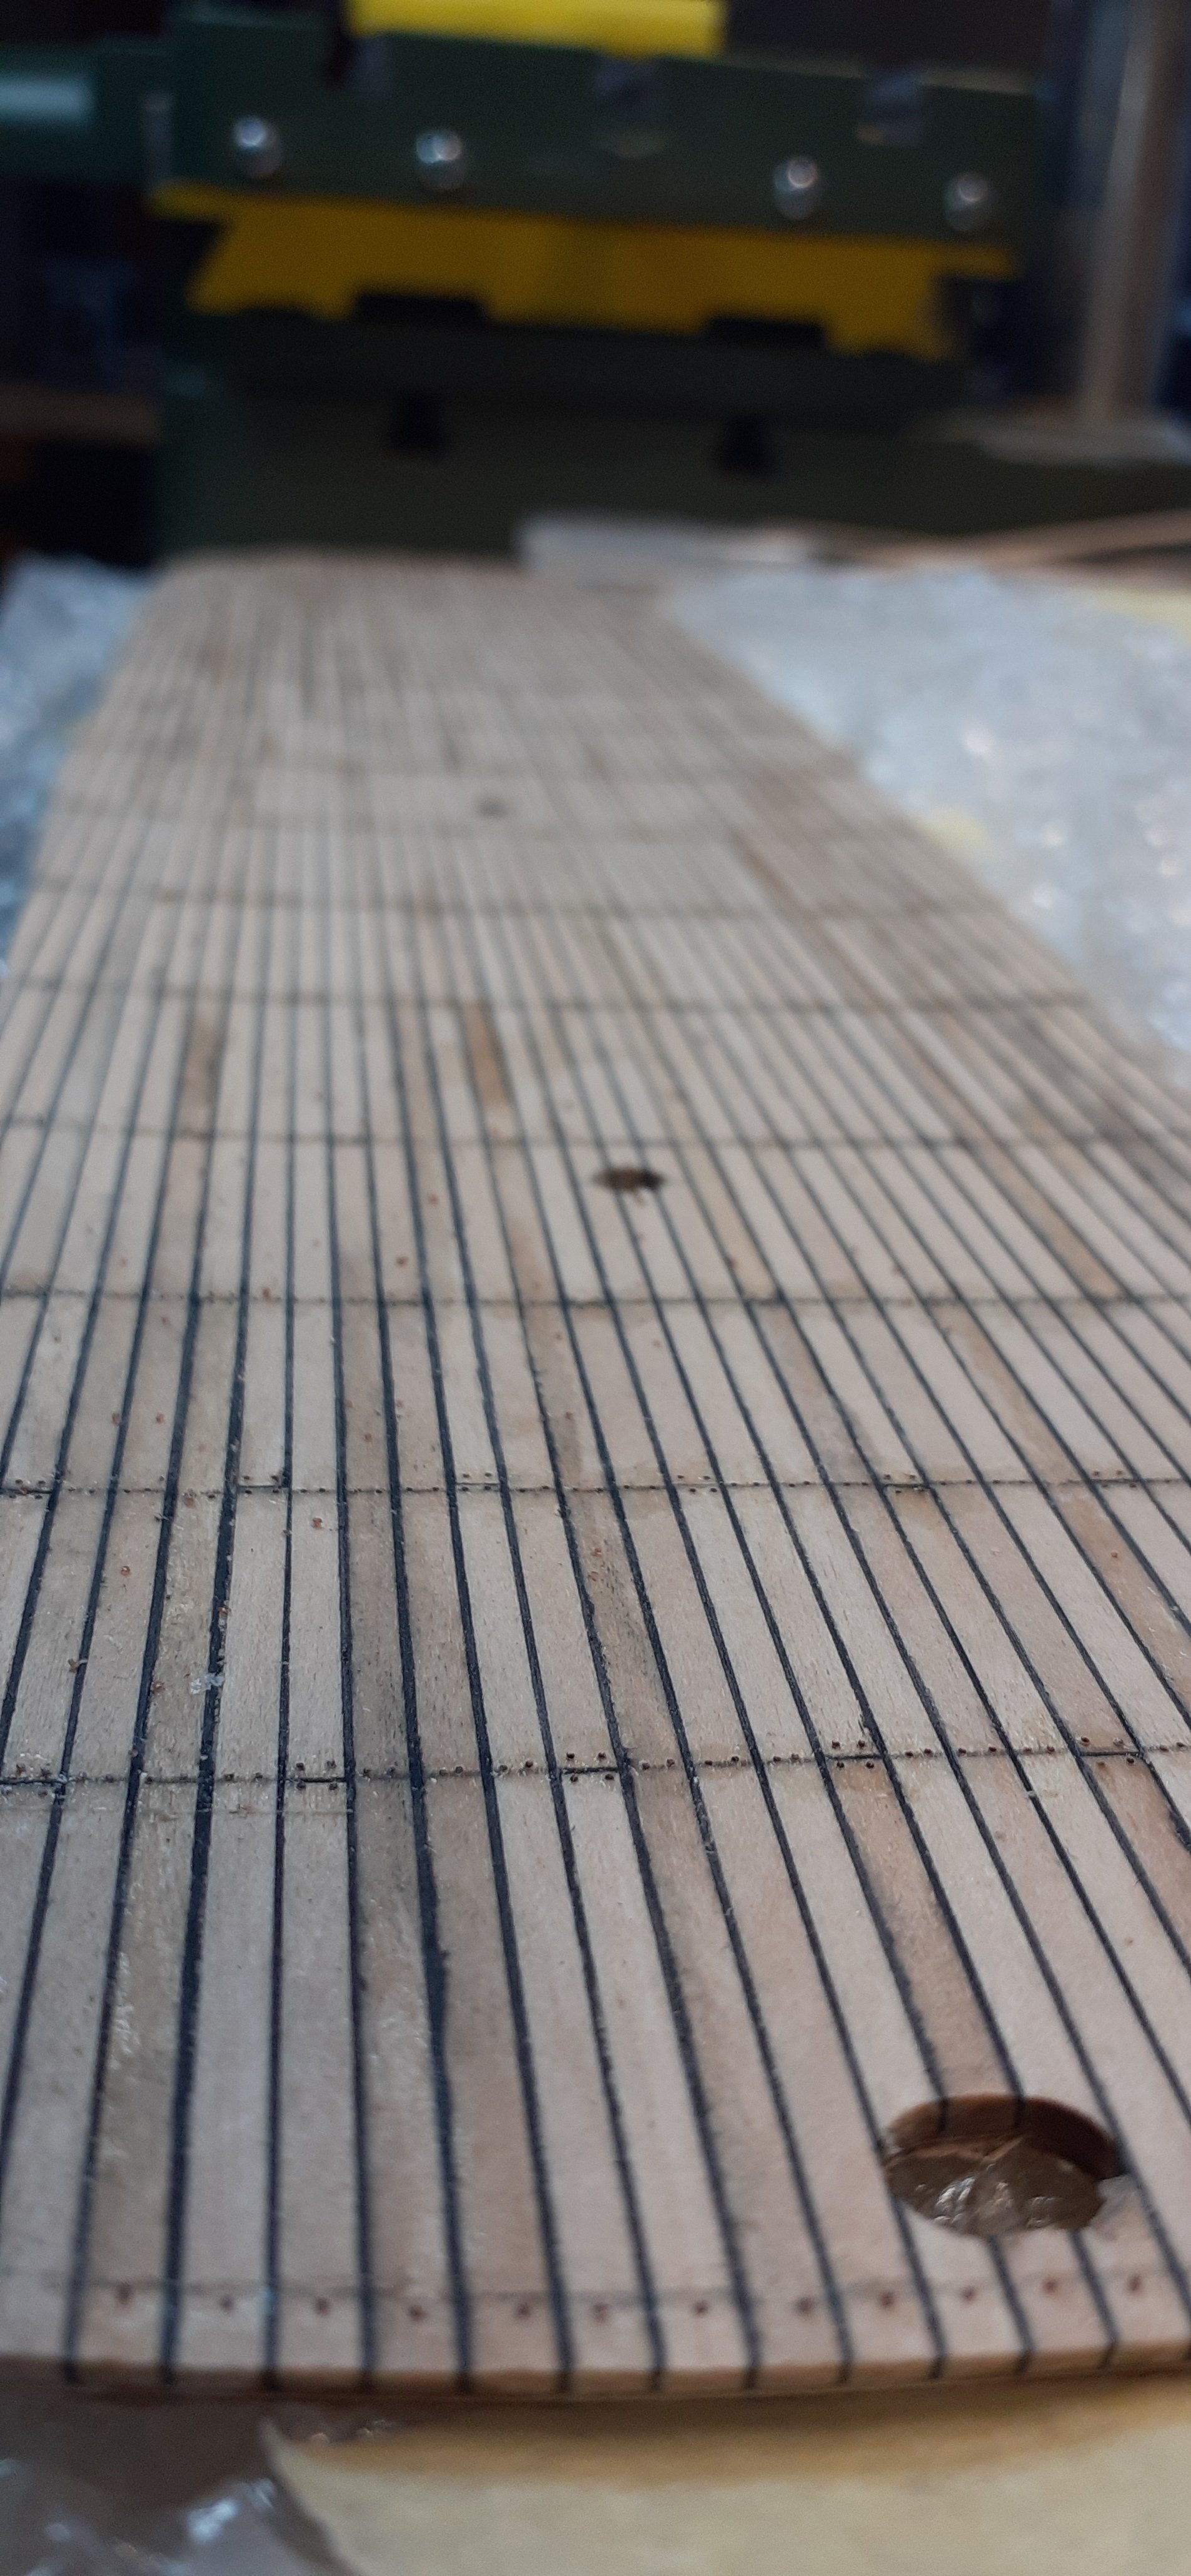
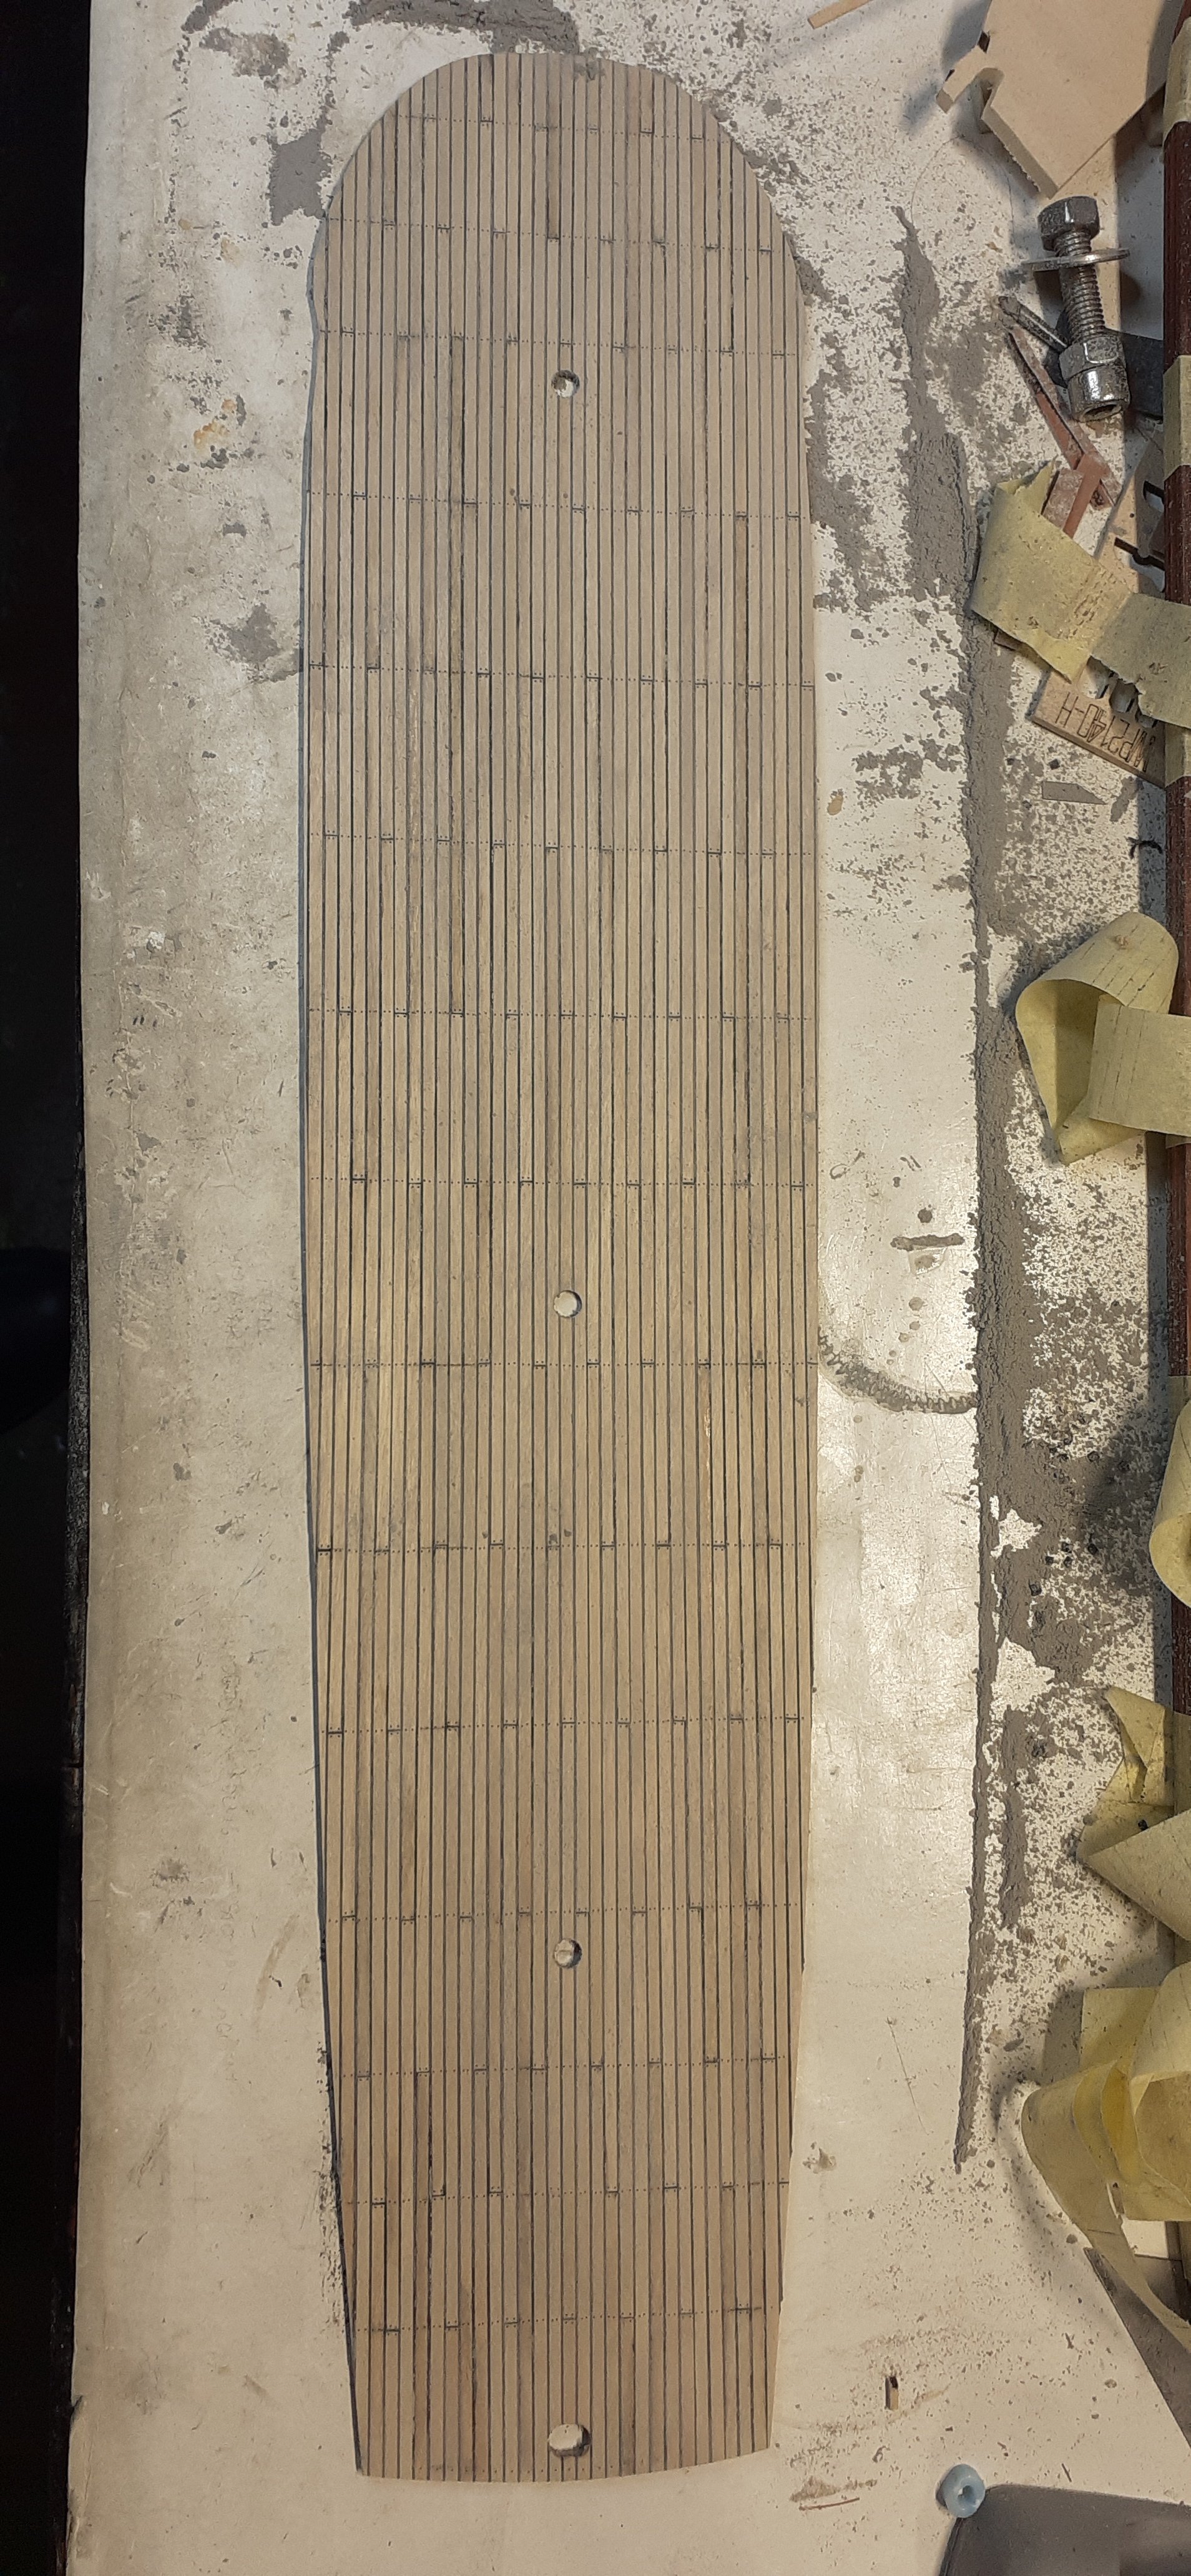
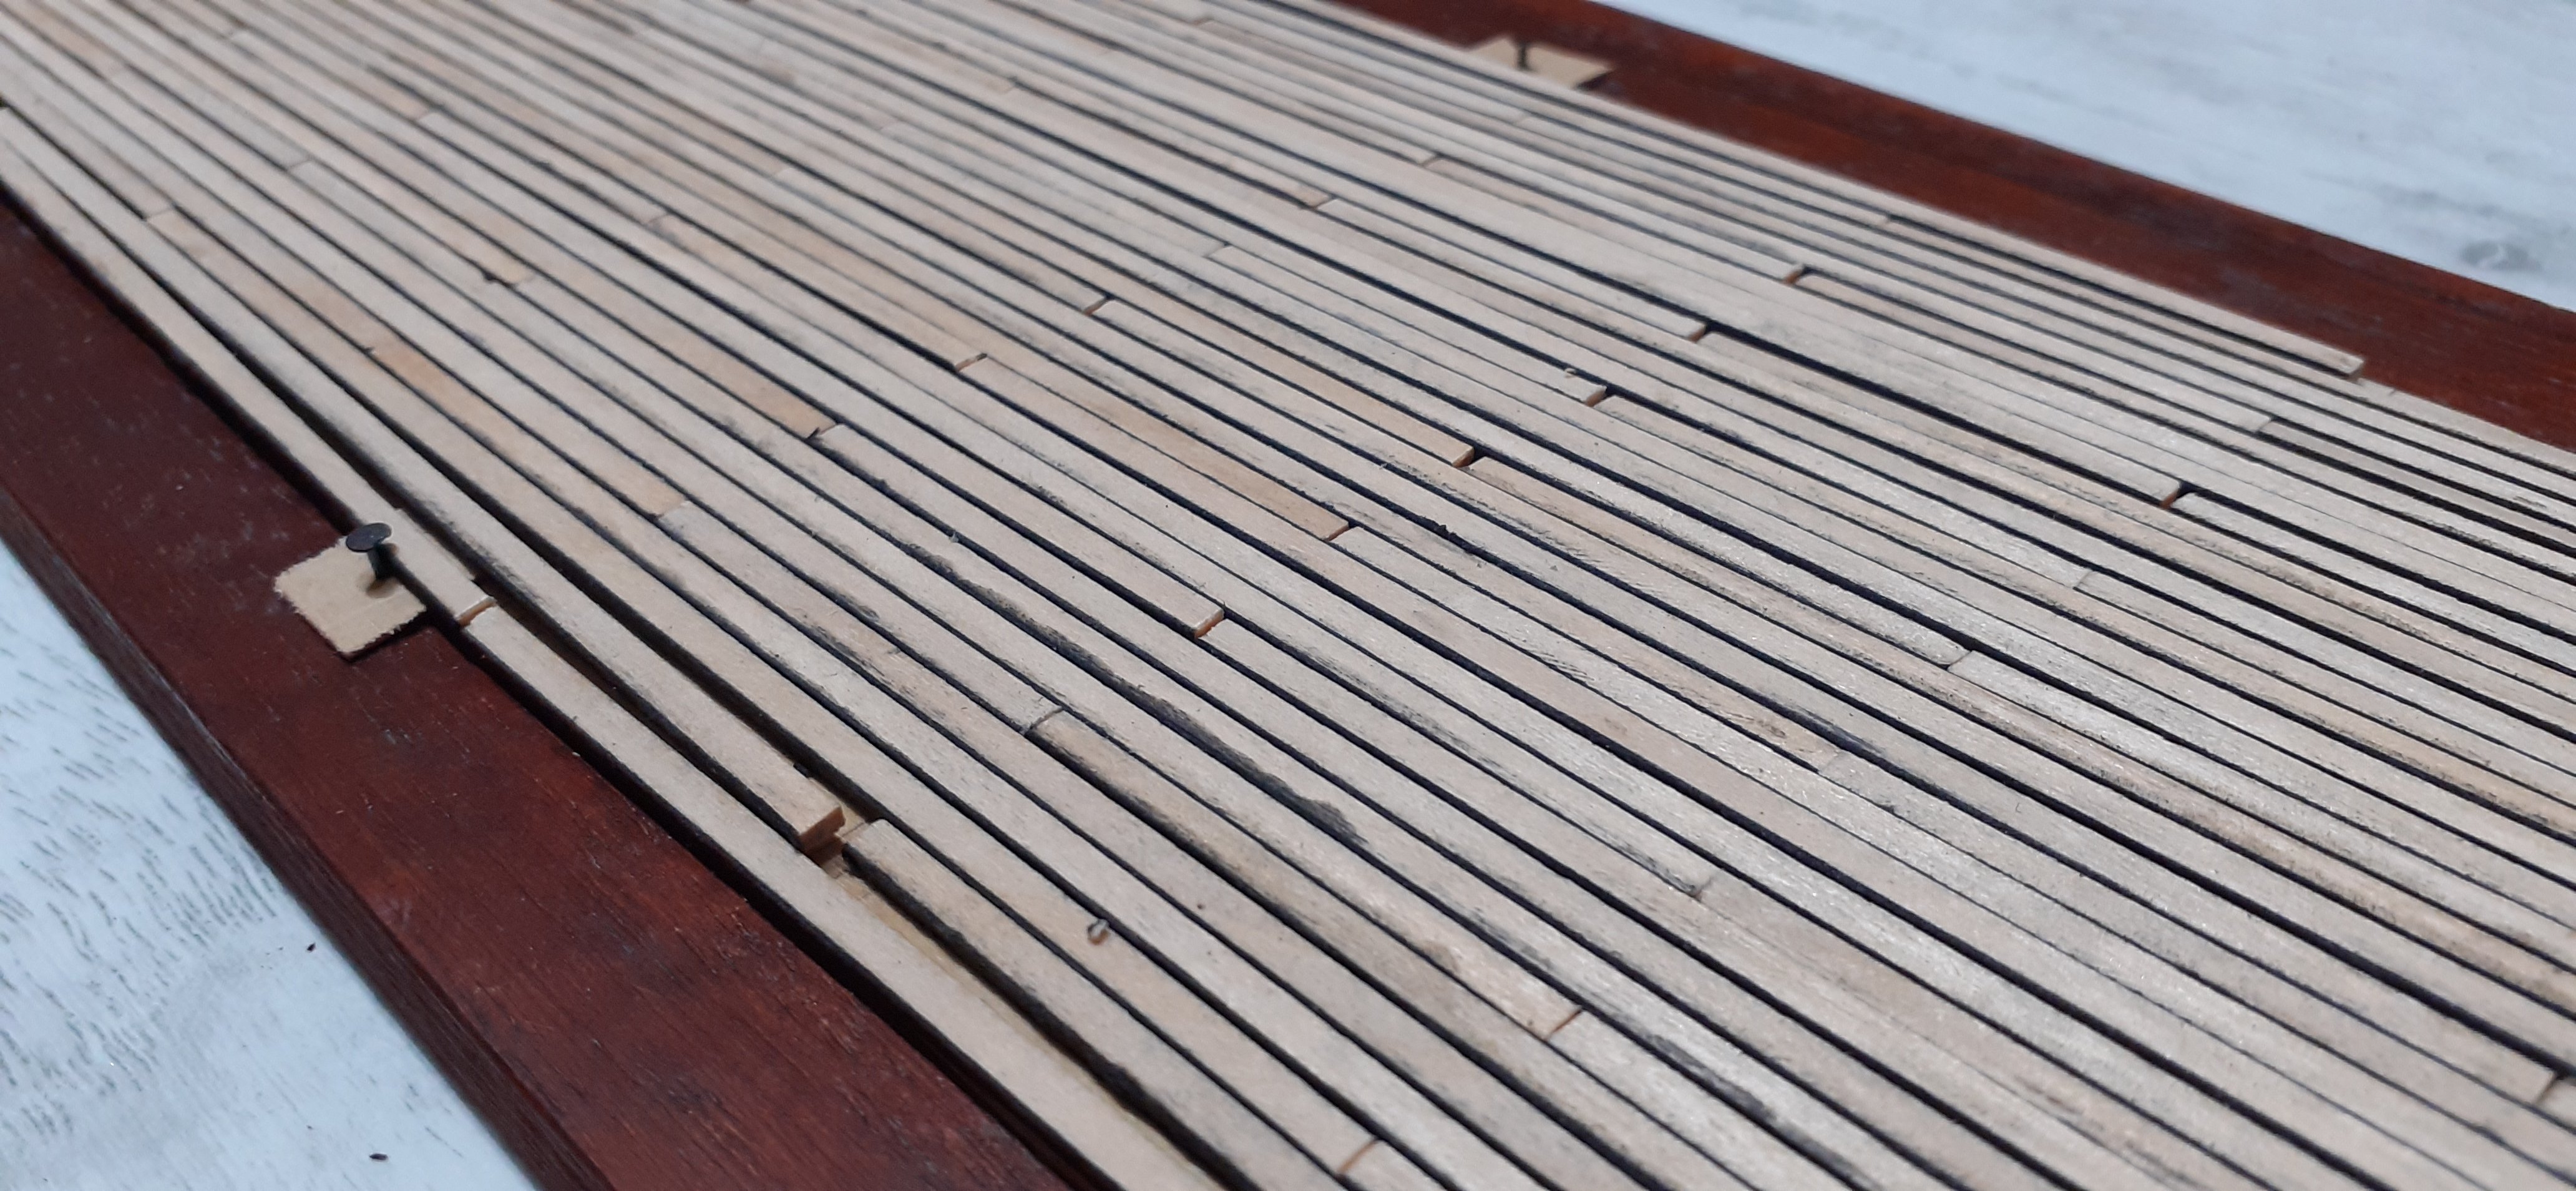
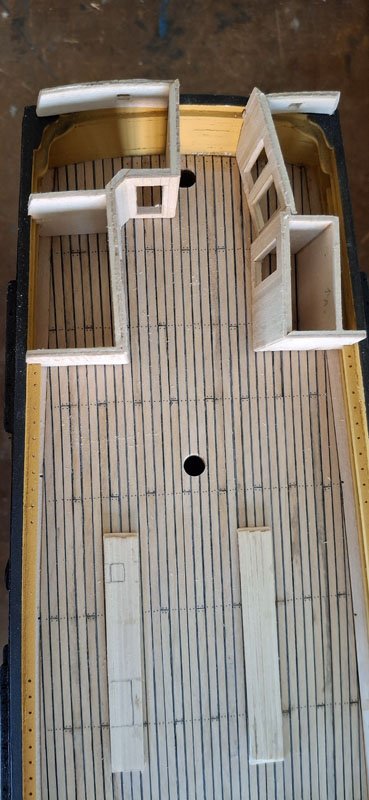
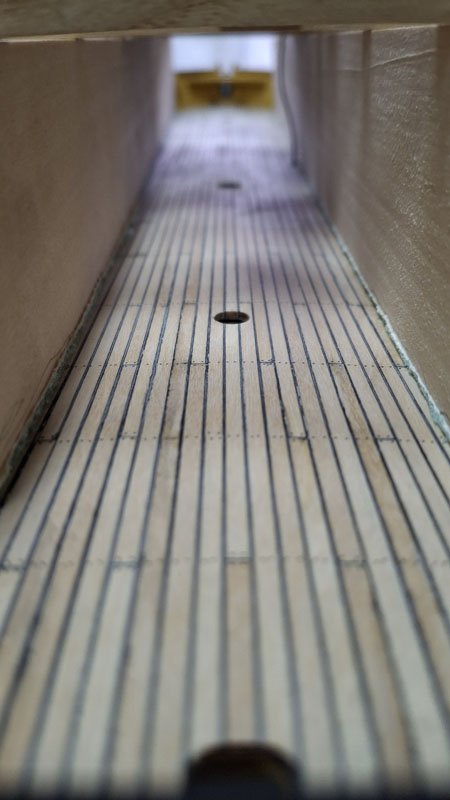
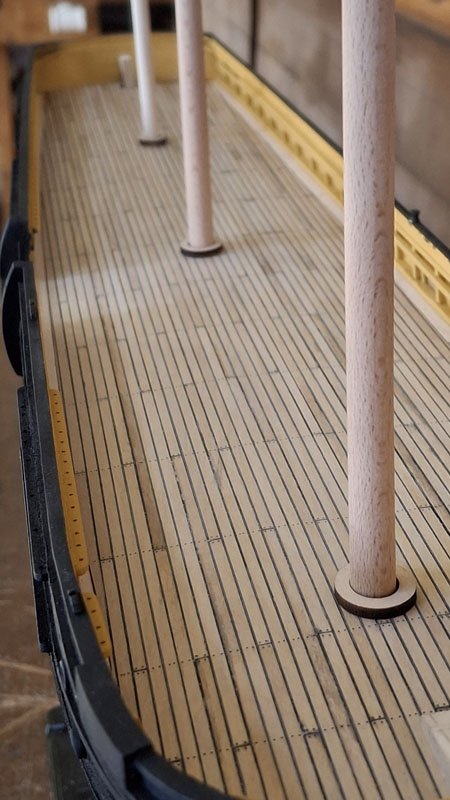
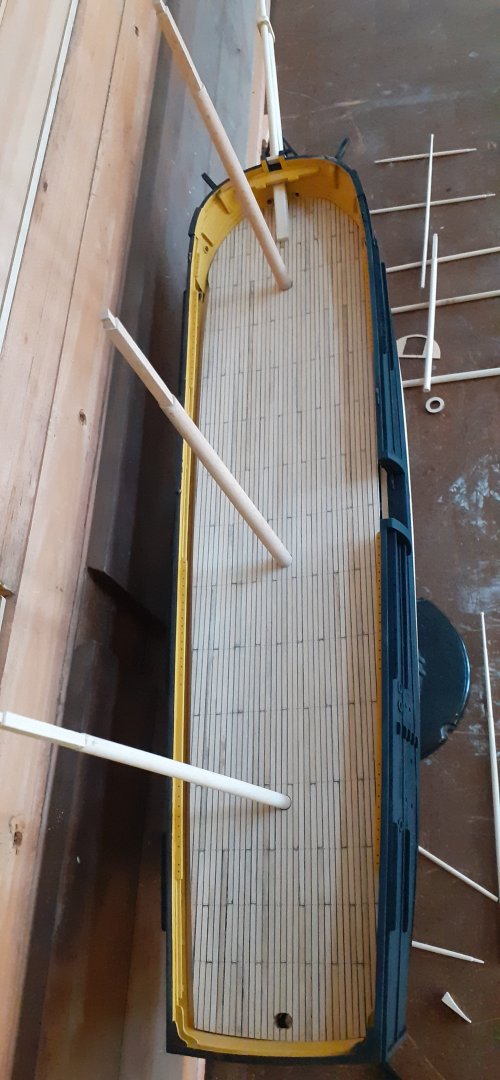
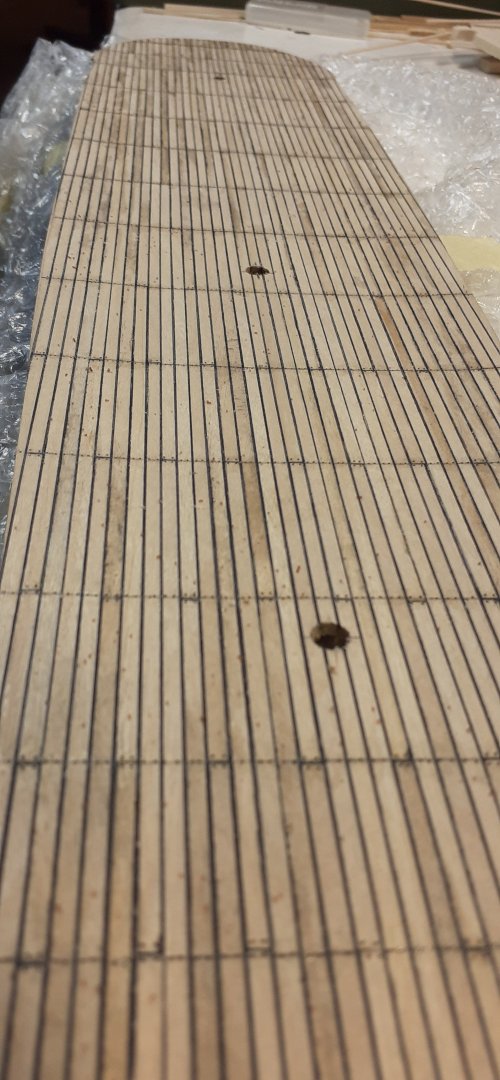
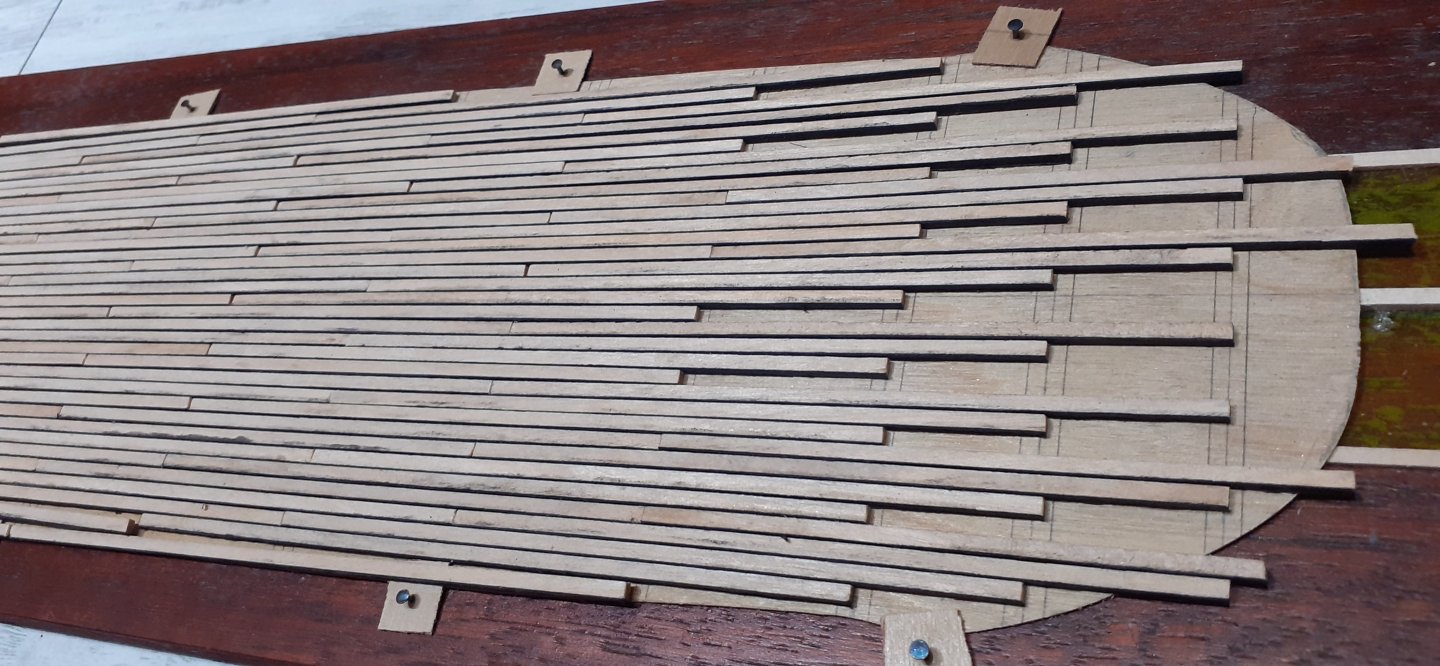
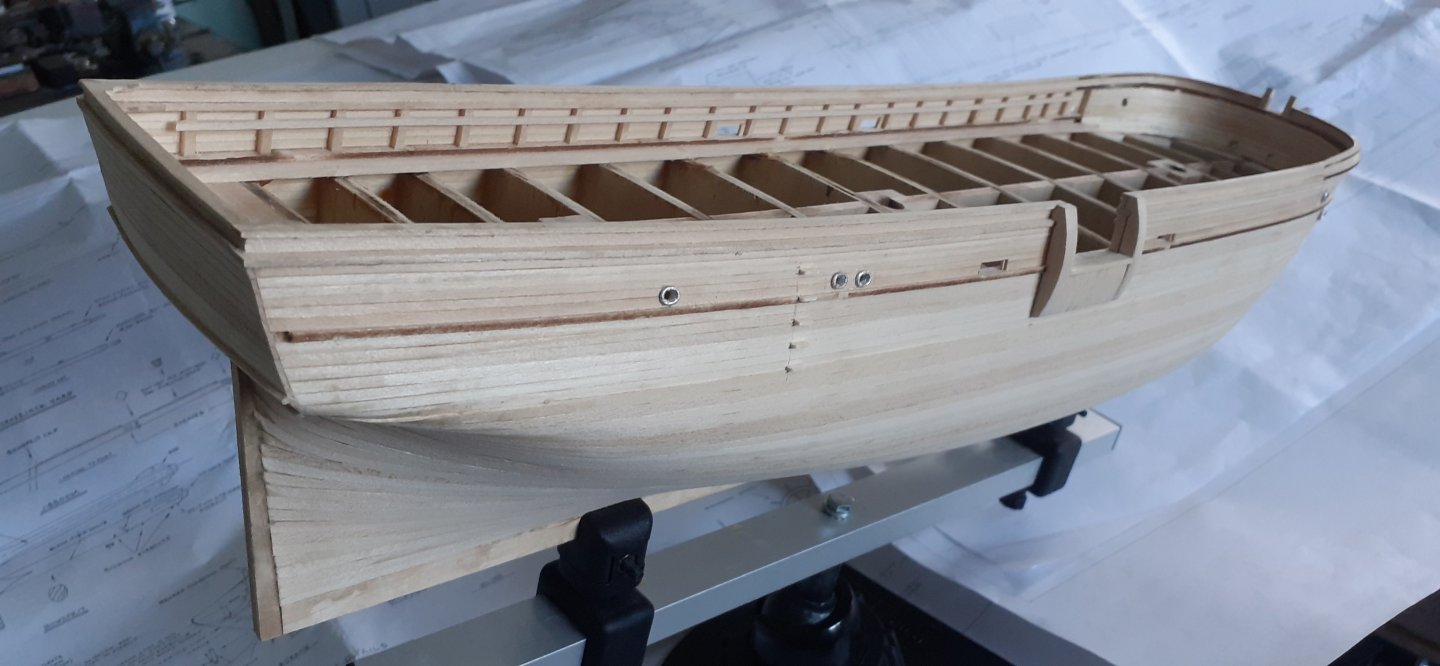
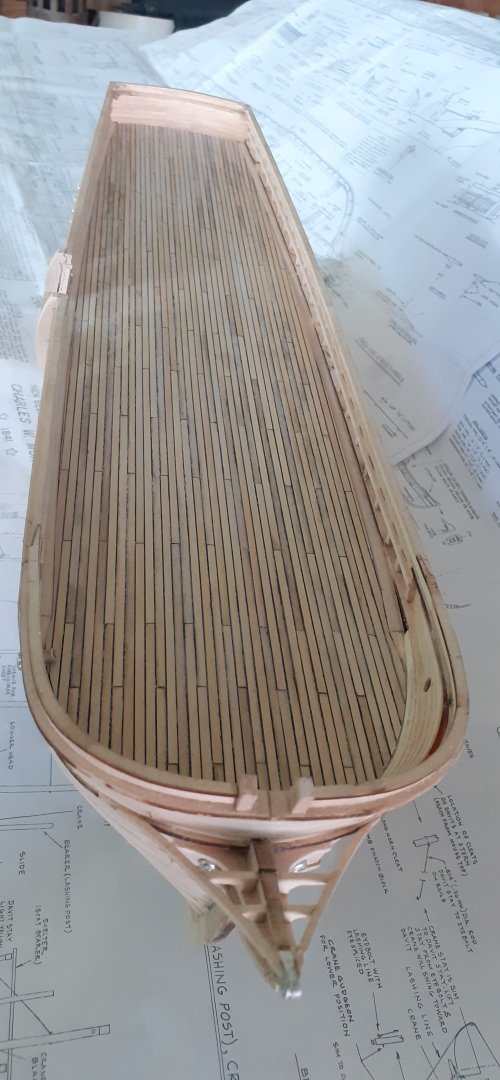
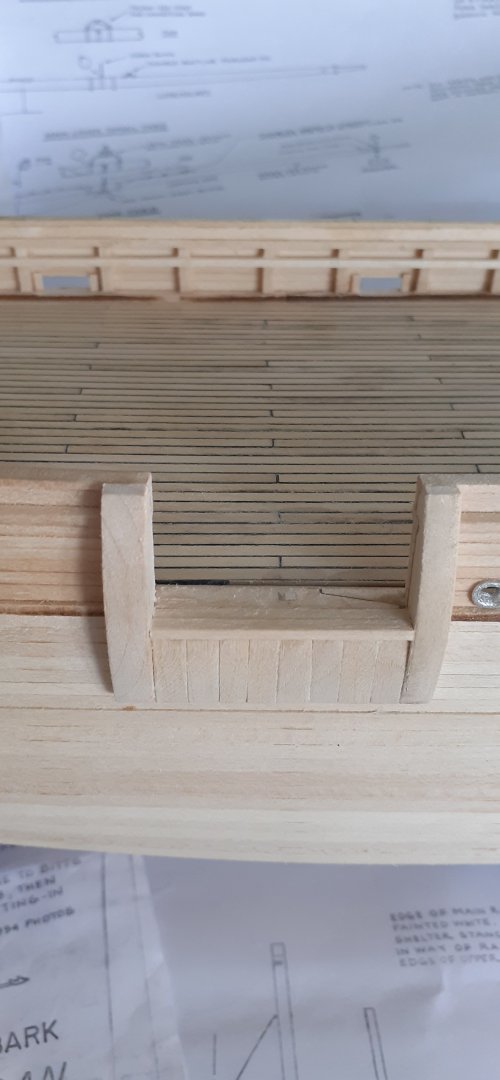
The deck and playing with pegs that I made from 0.3mm fishing line. It is not a faithful copy of the deck because over the years of intensive use of the ship, the arrangement of the boards is a complete chaos and without being there I am not able to faithfully recreate what is there.


-
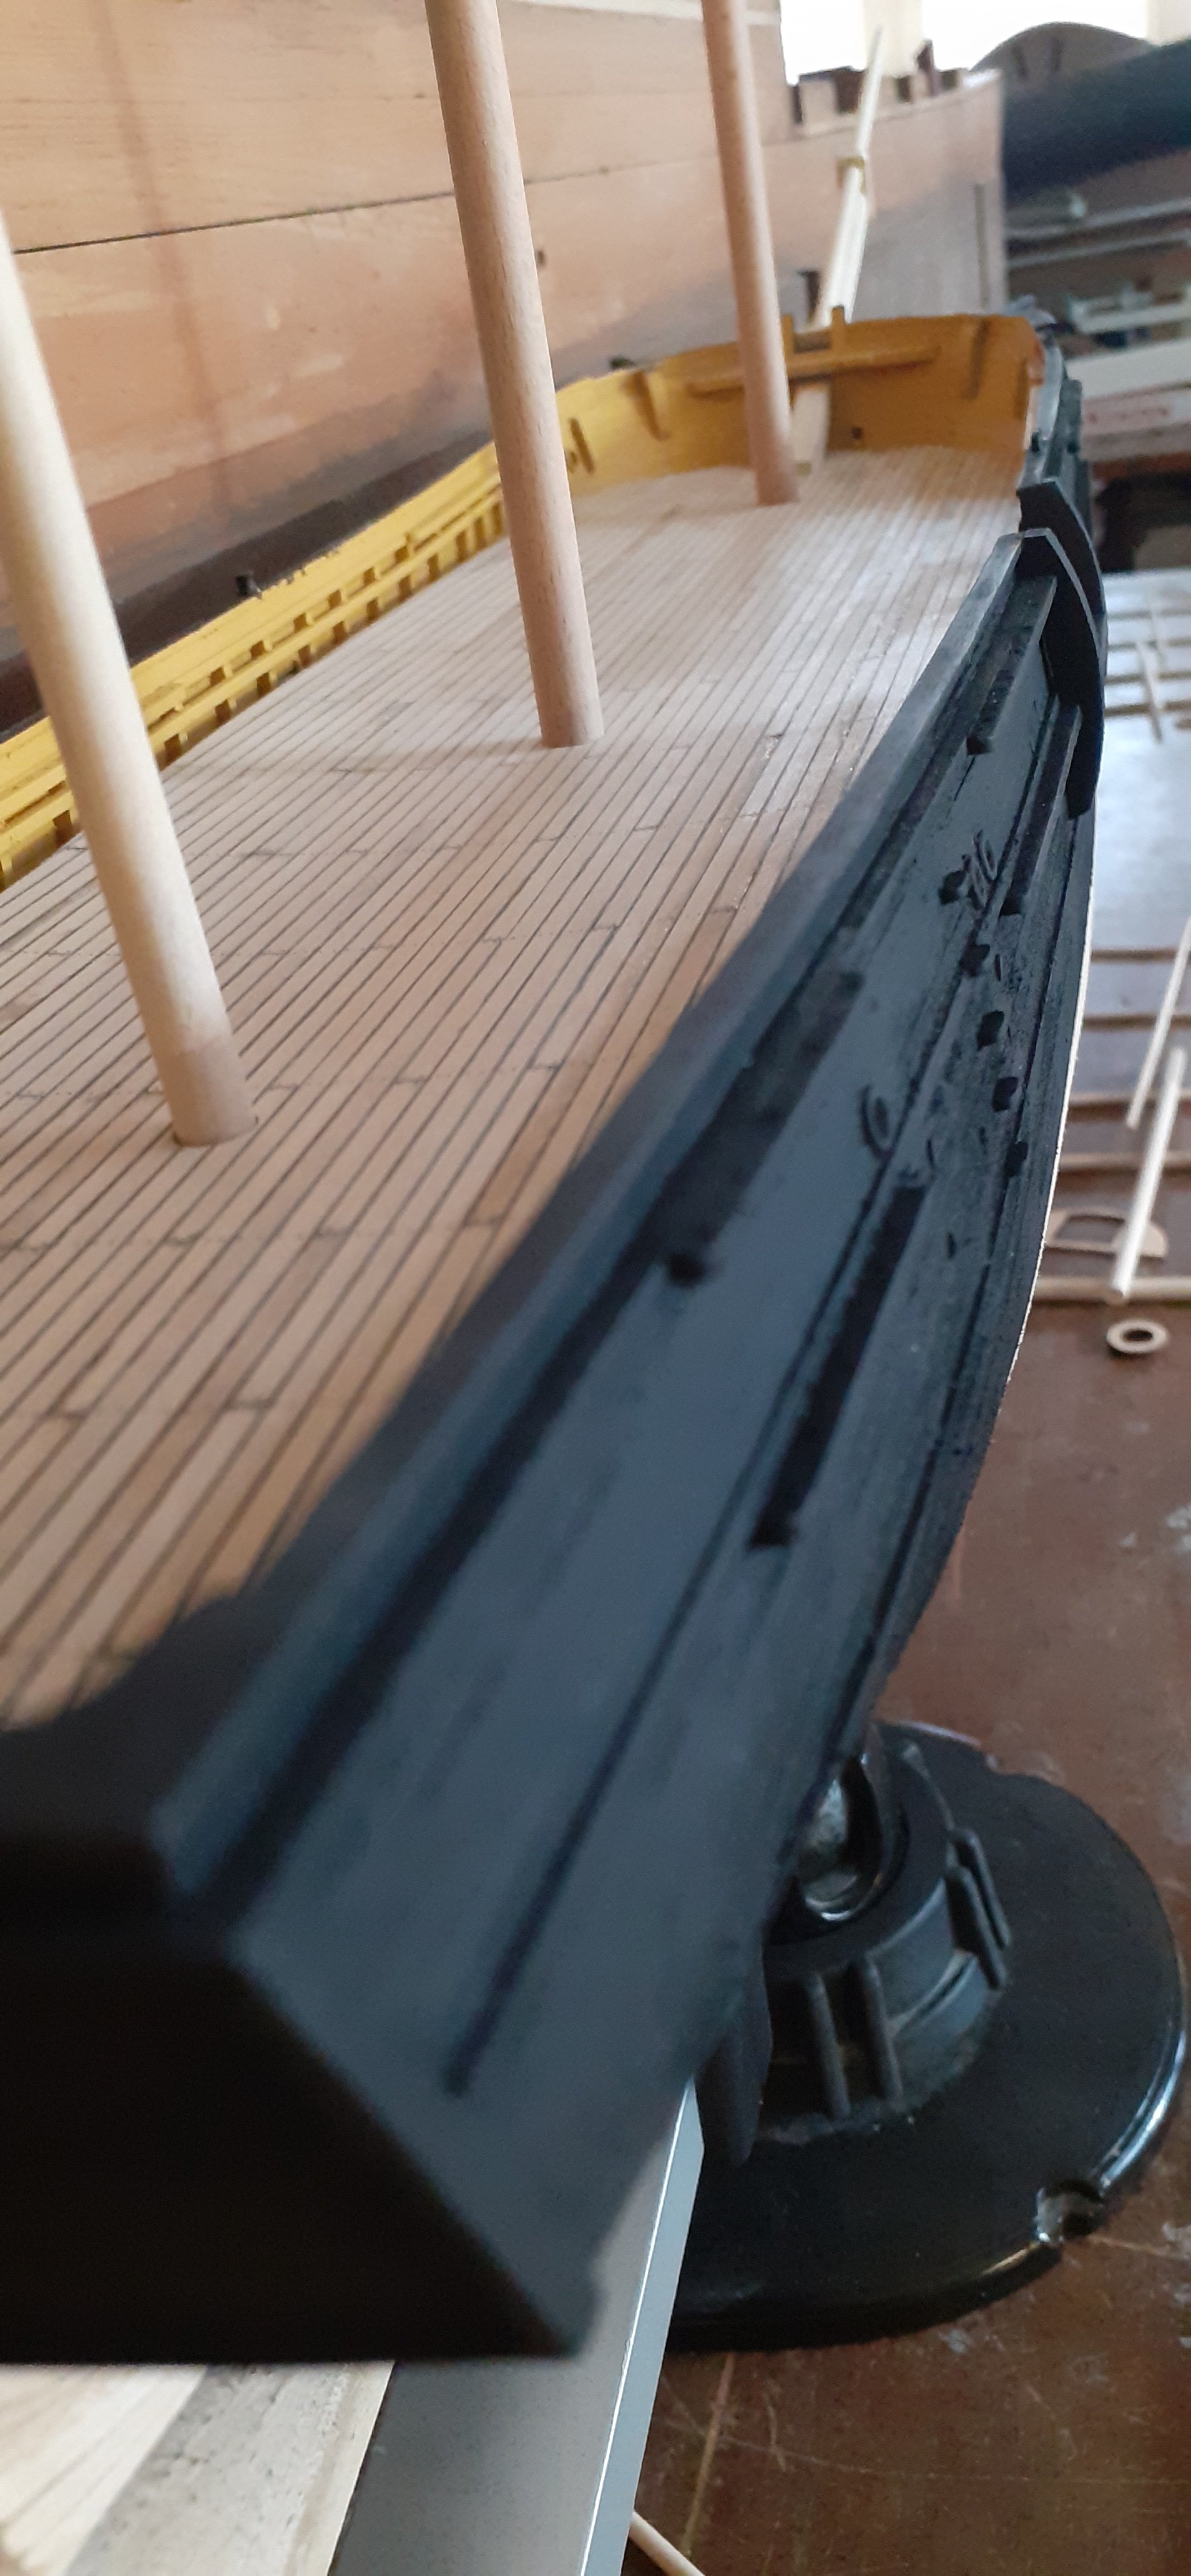
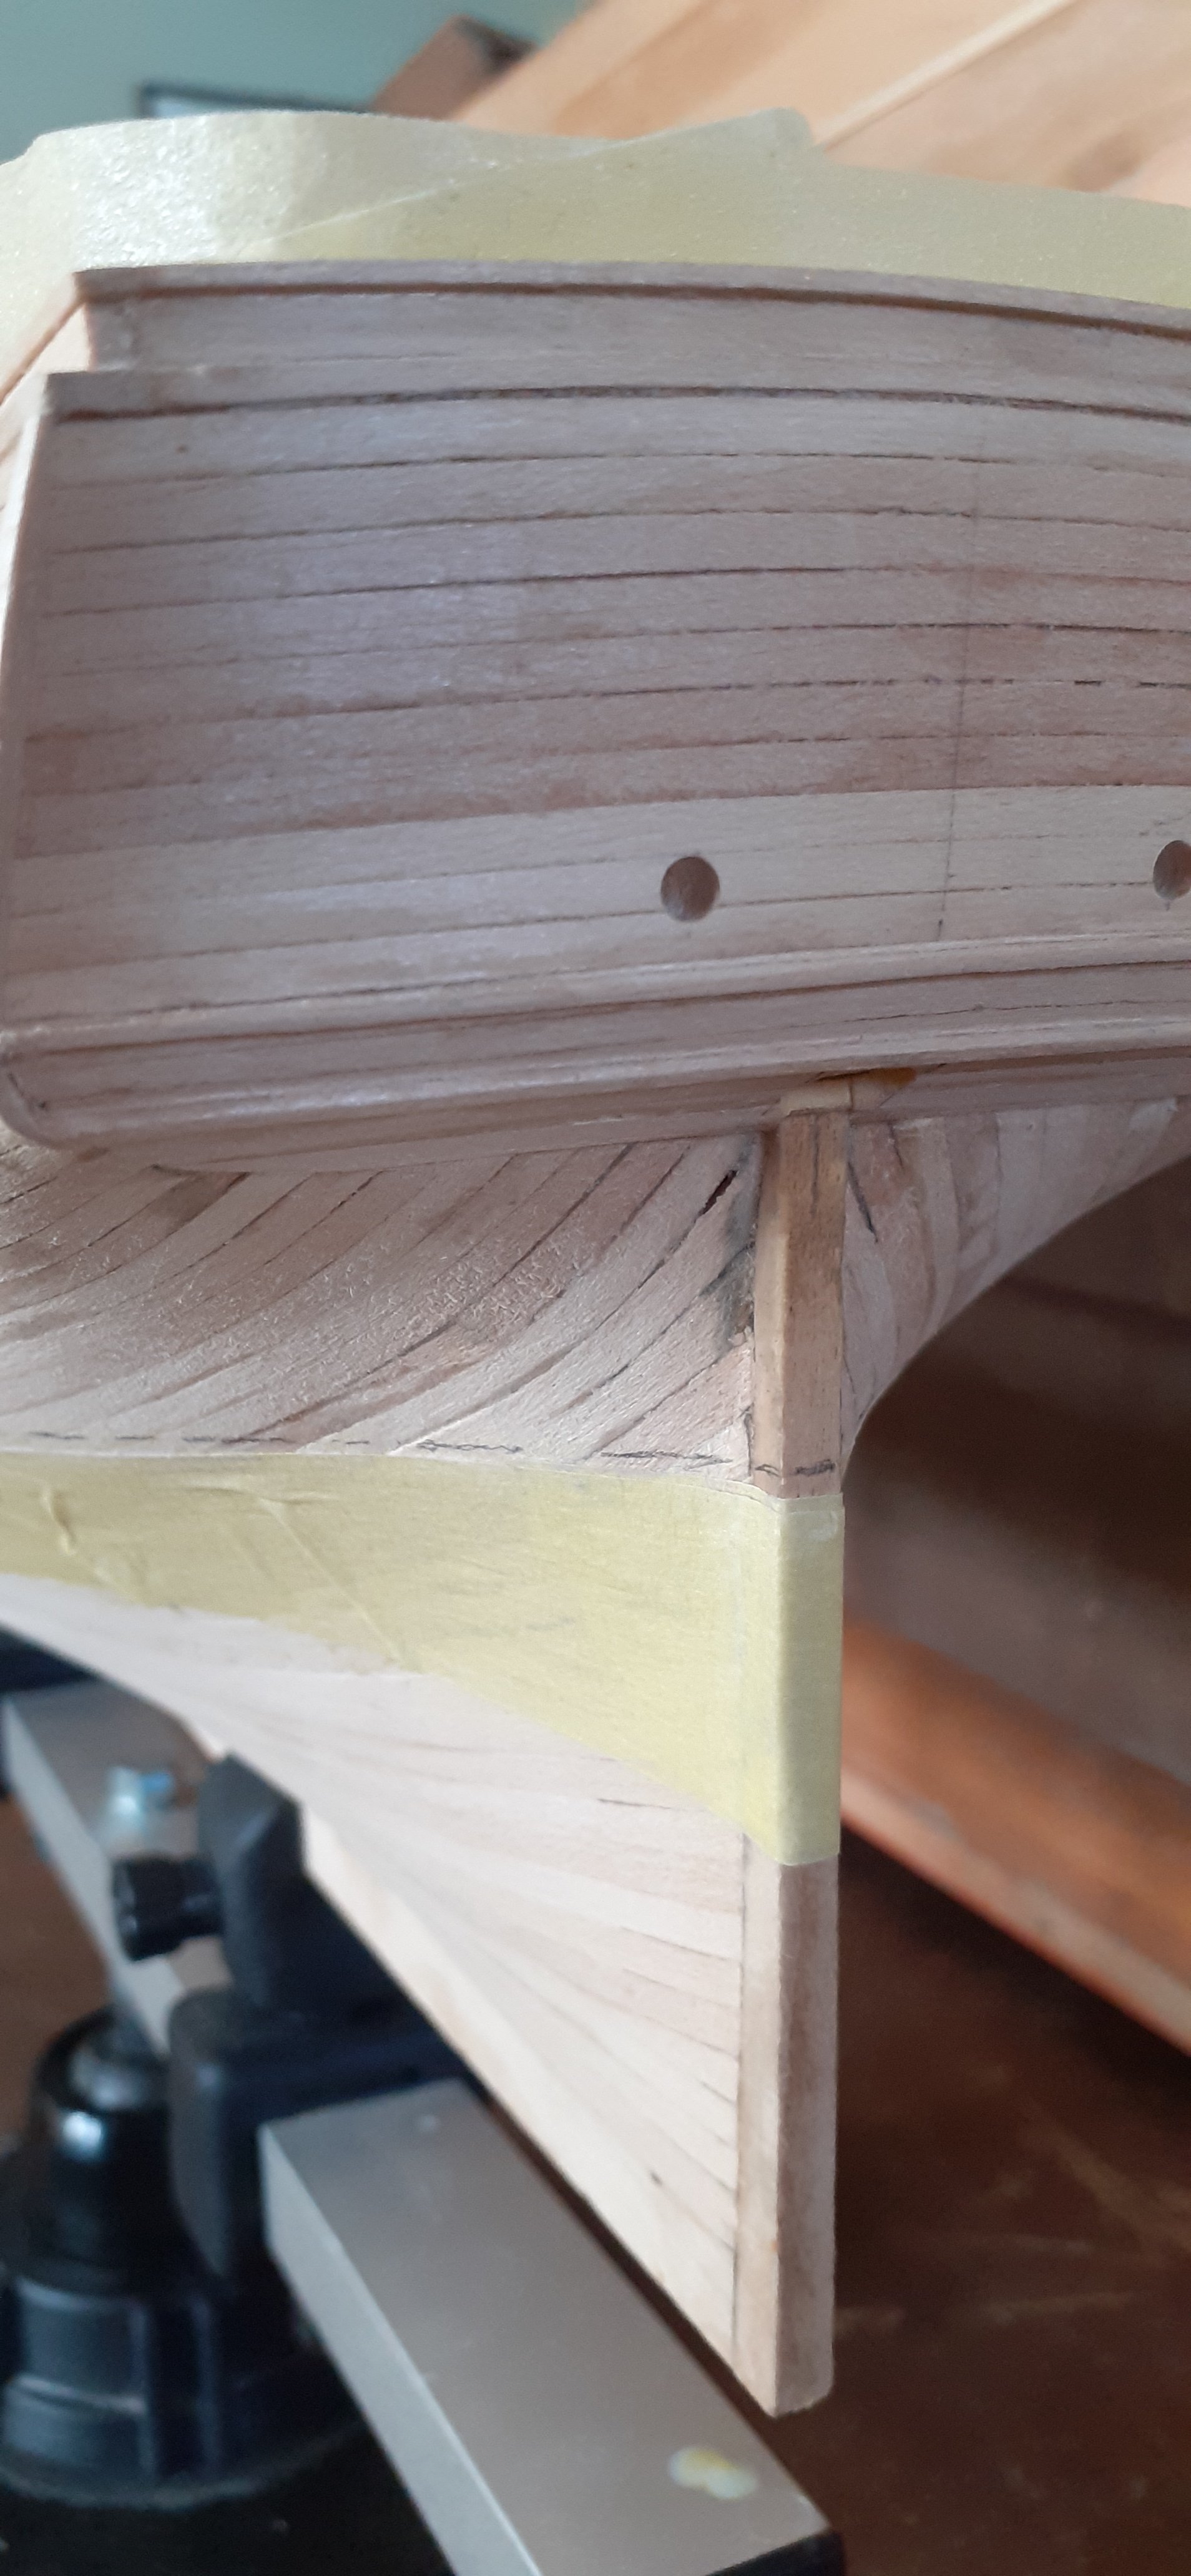
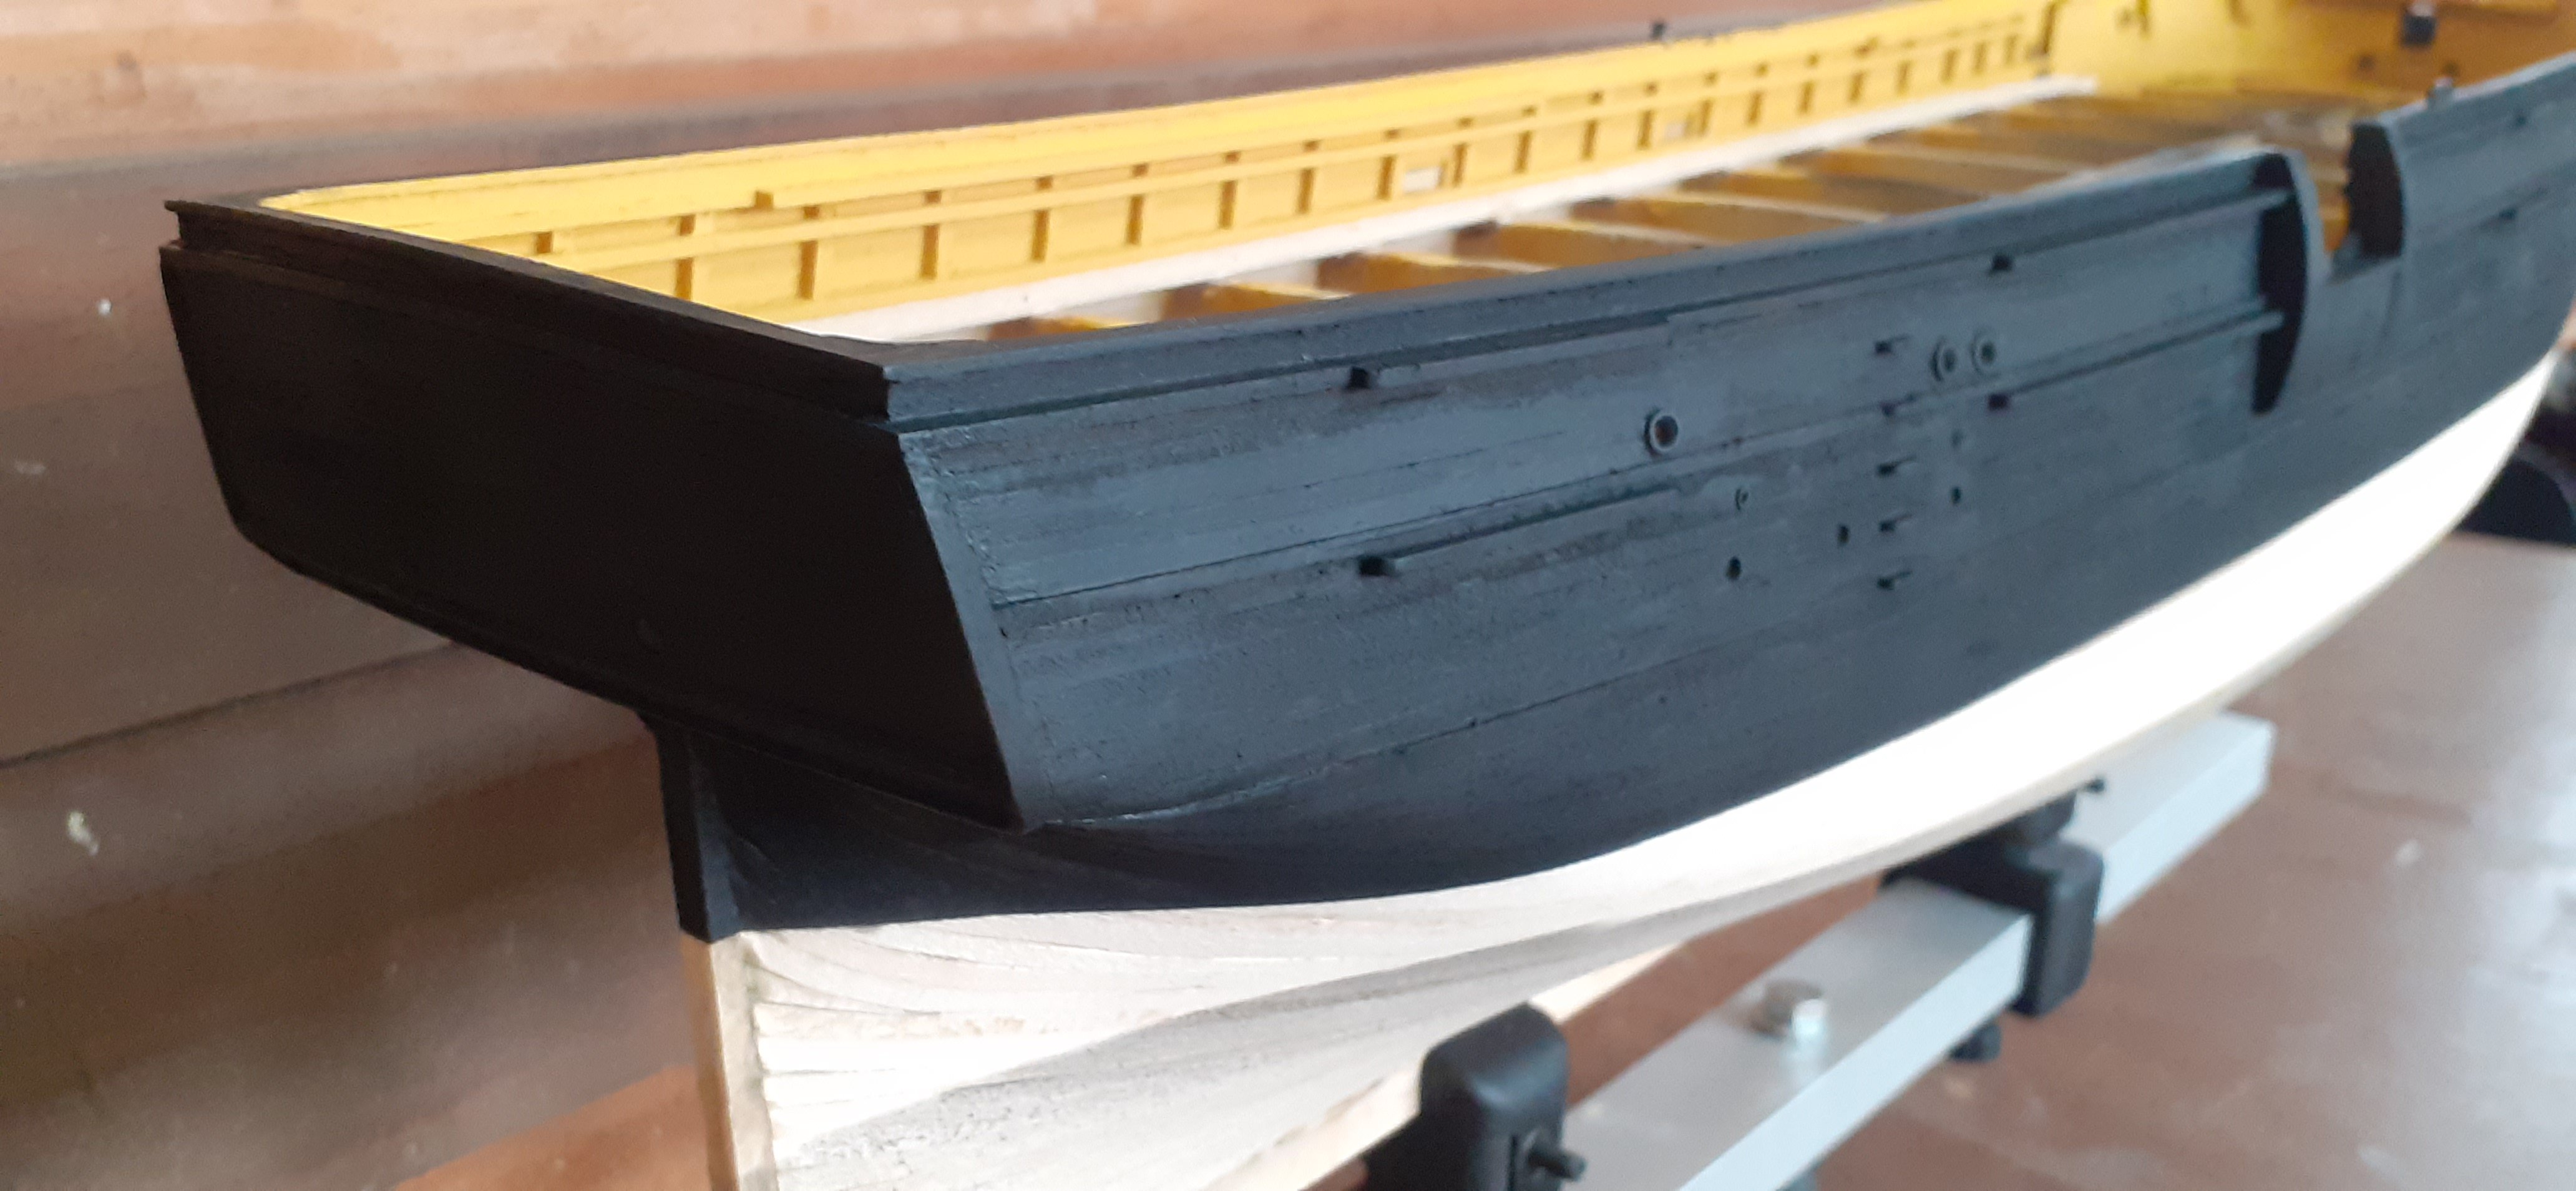
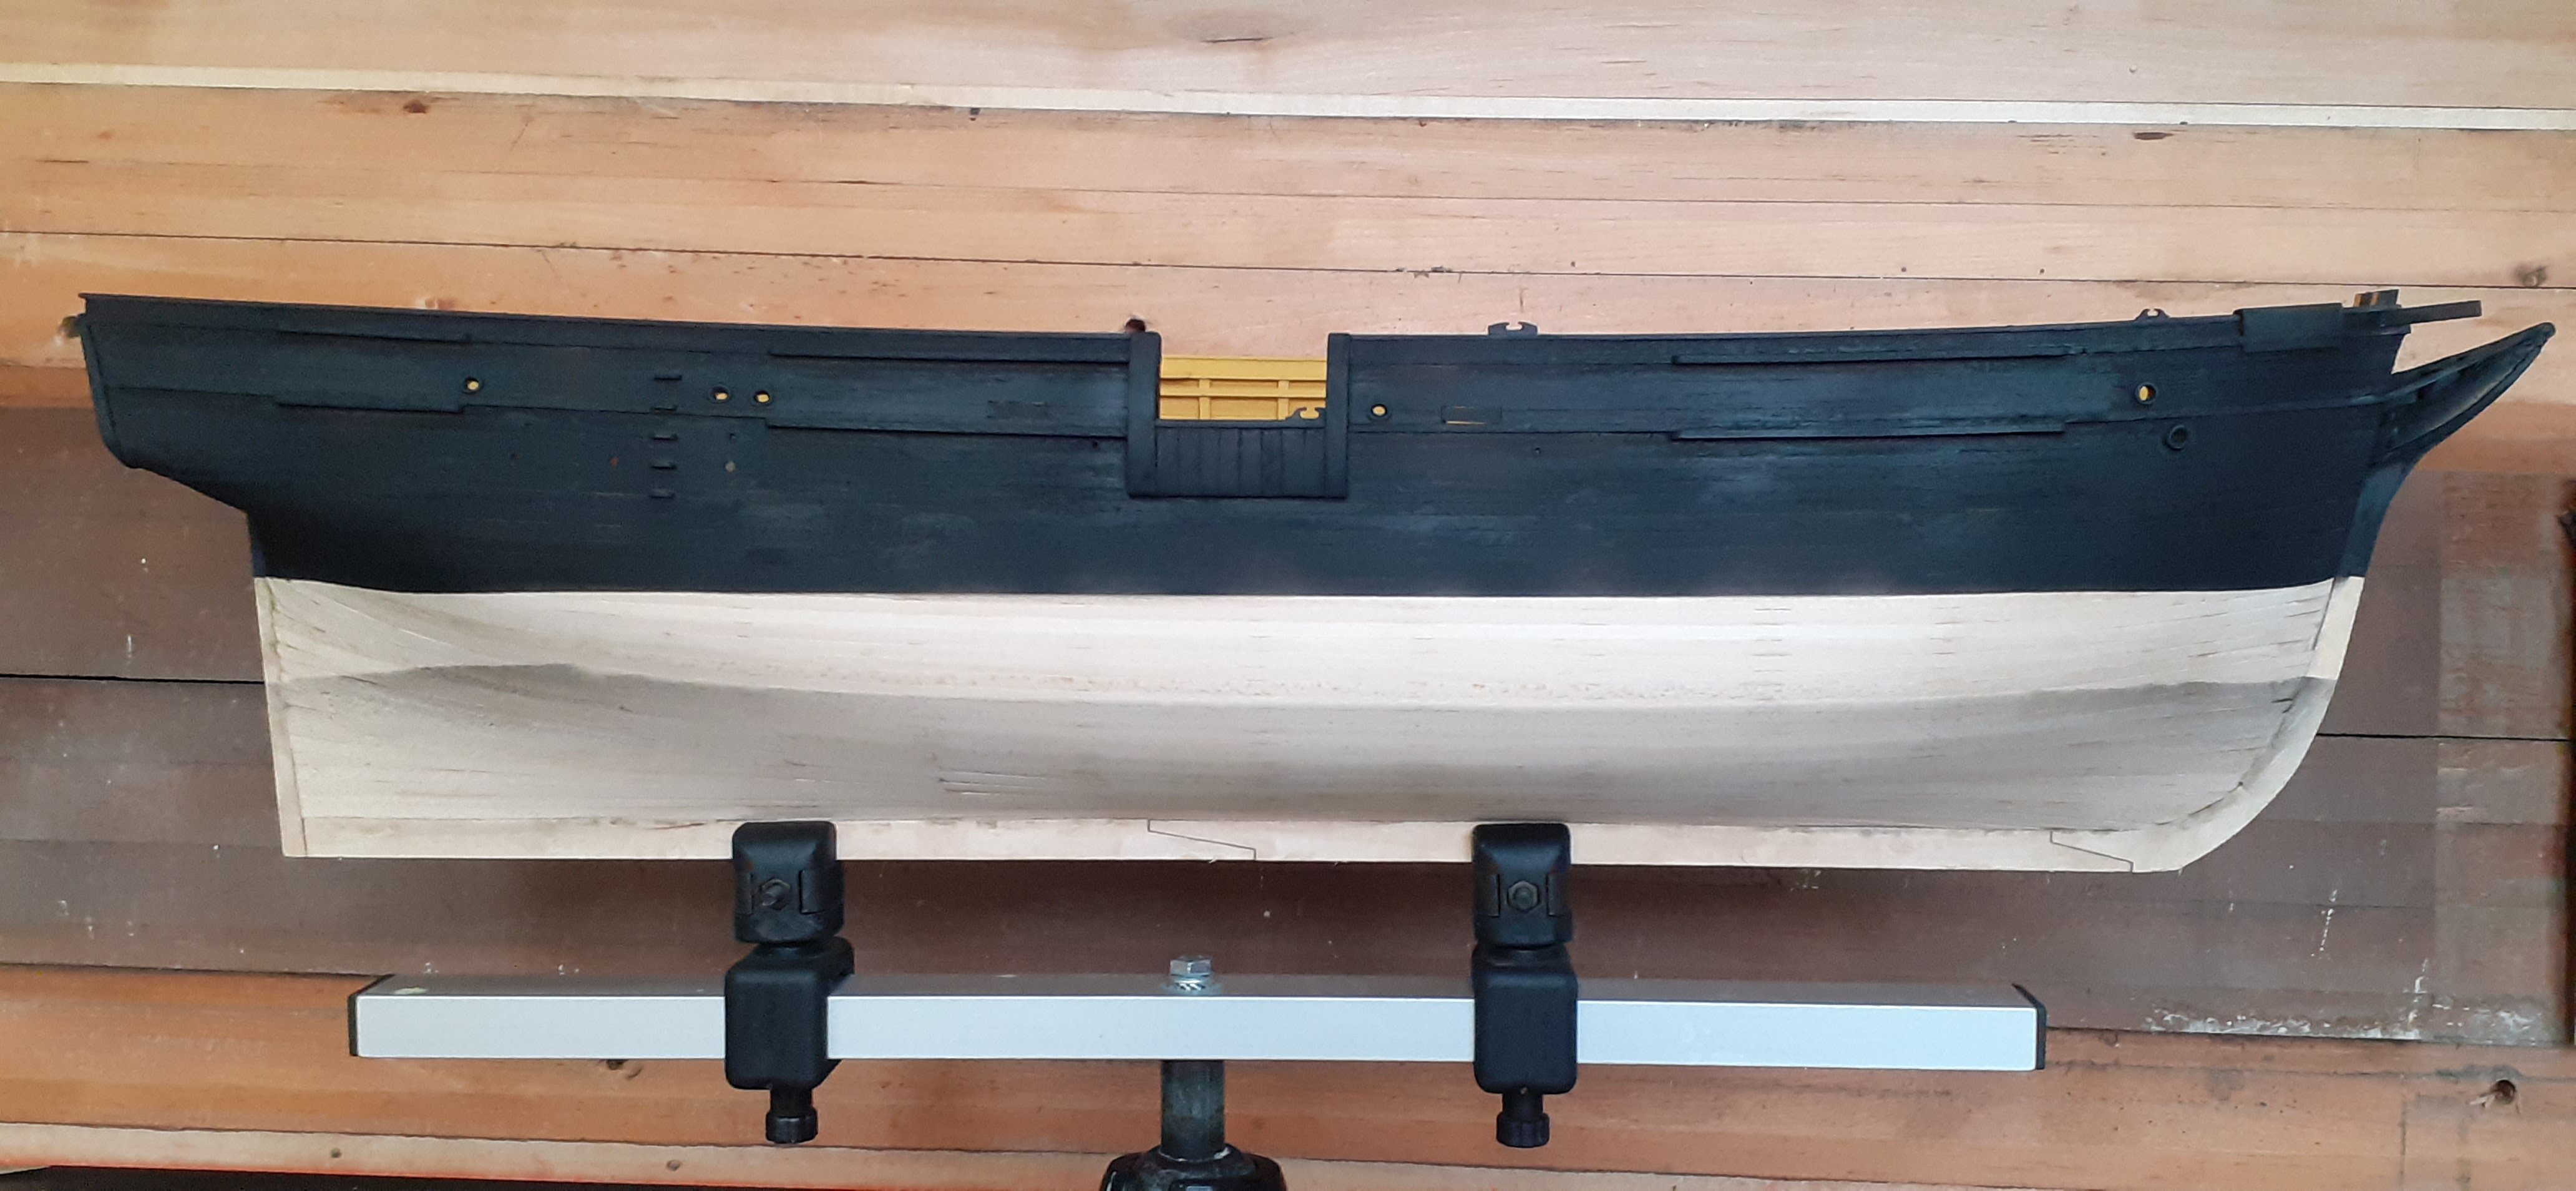
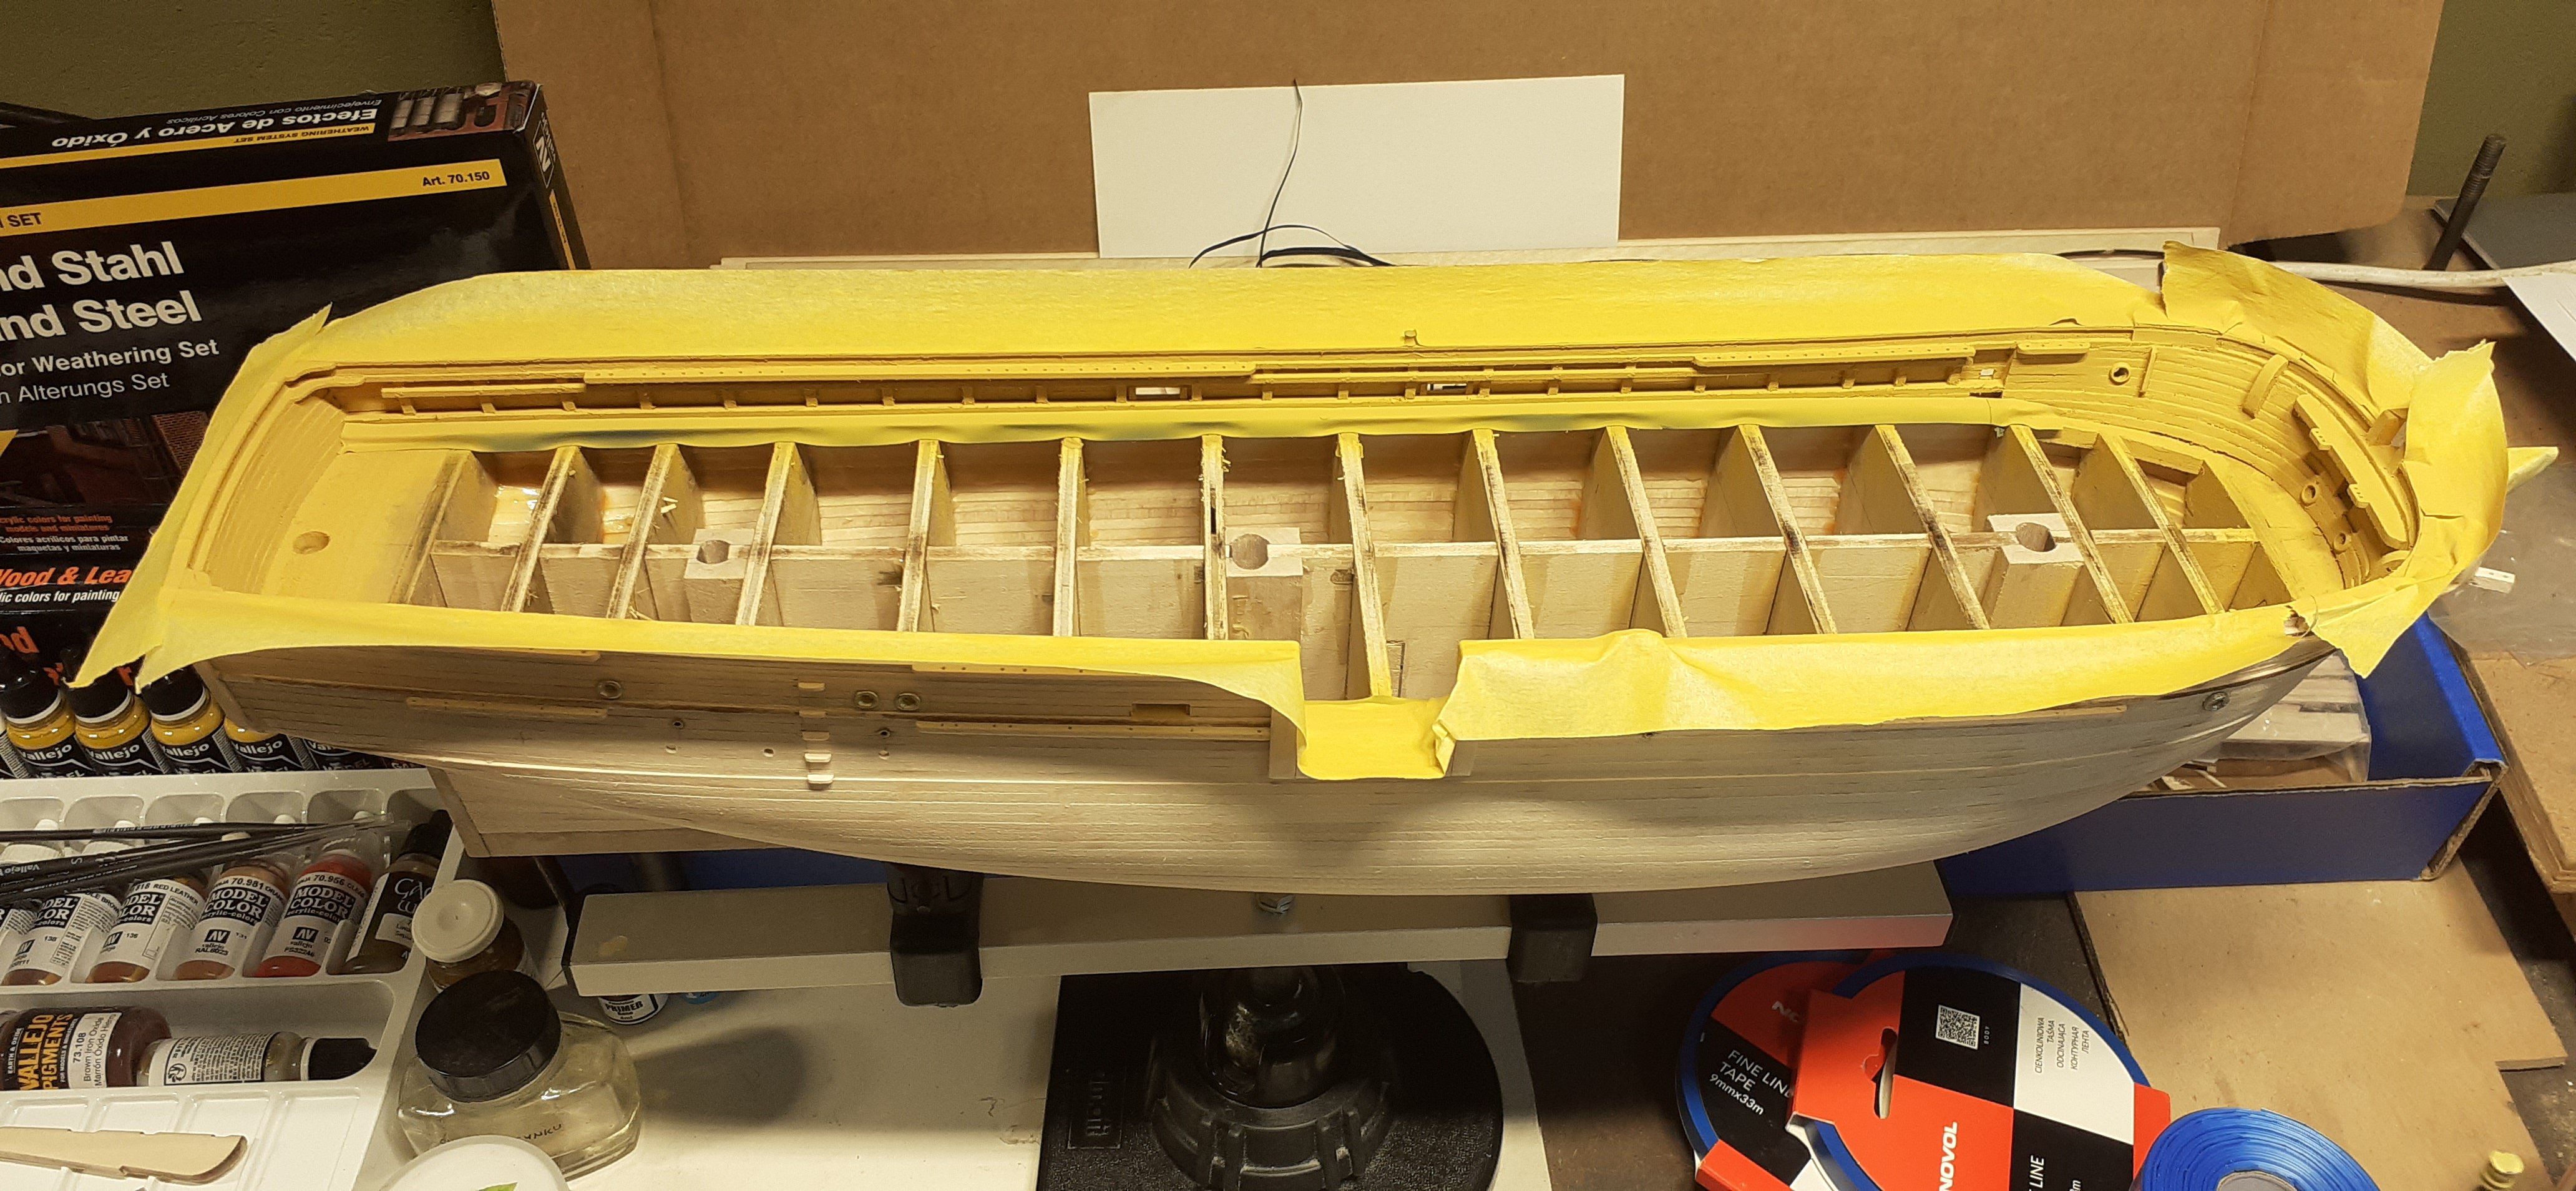
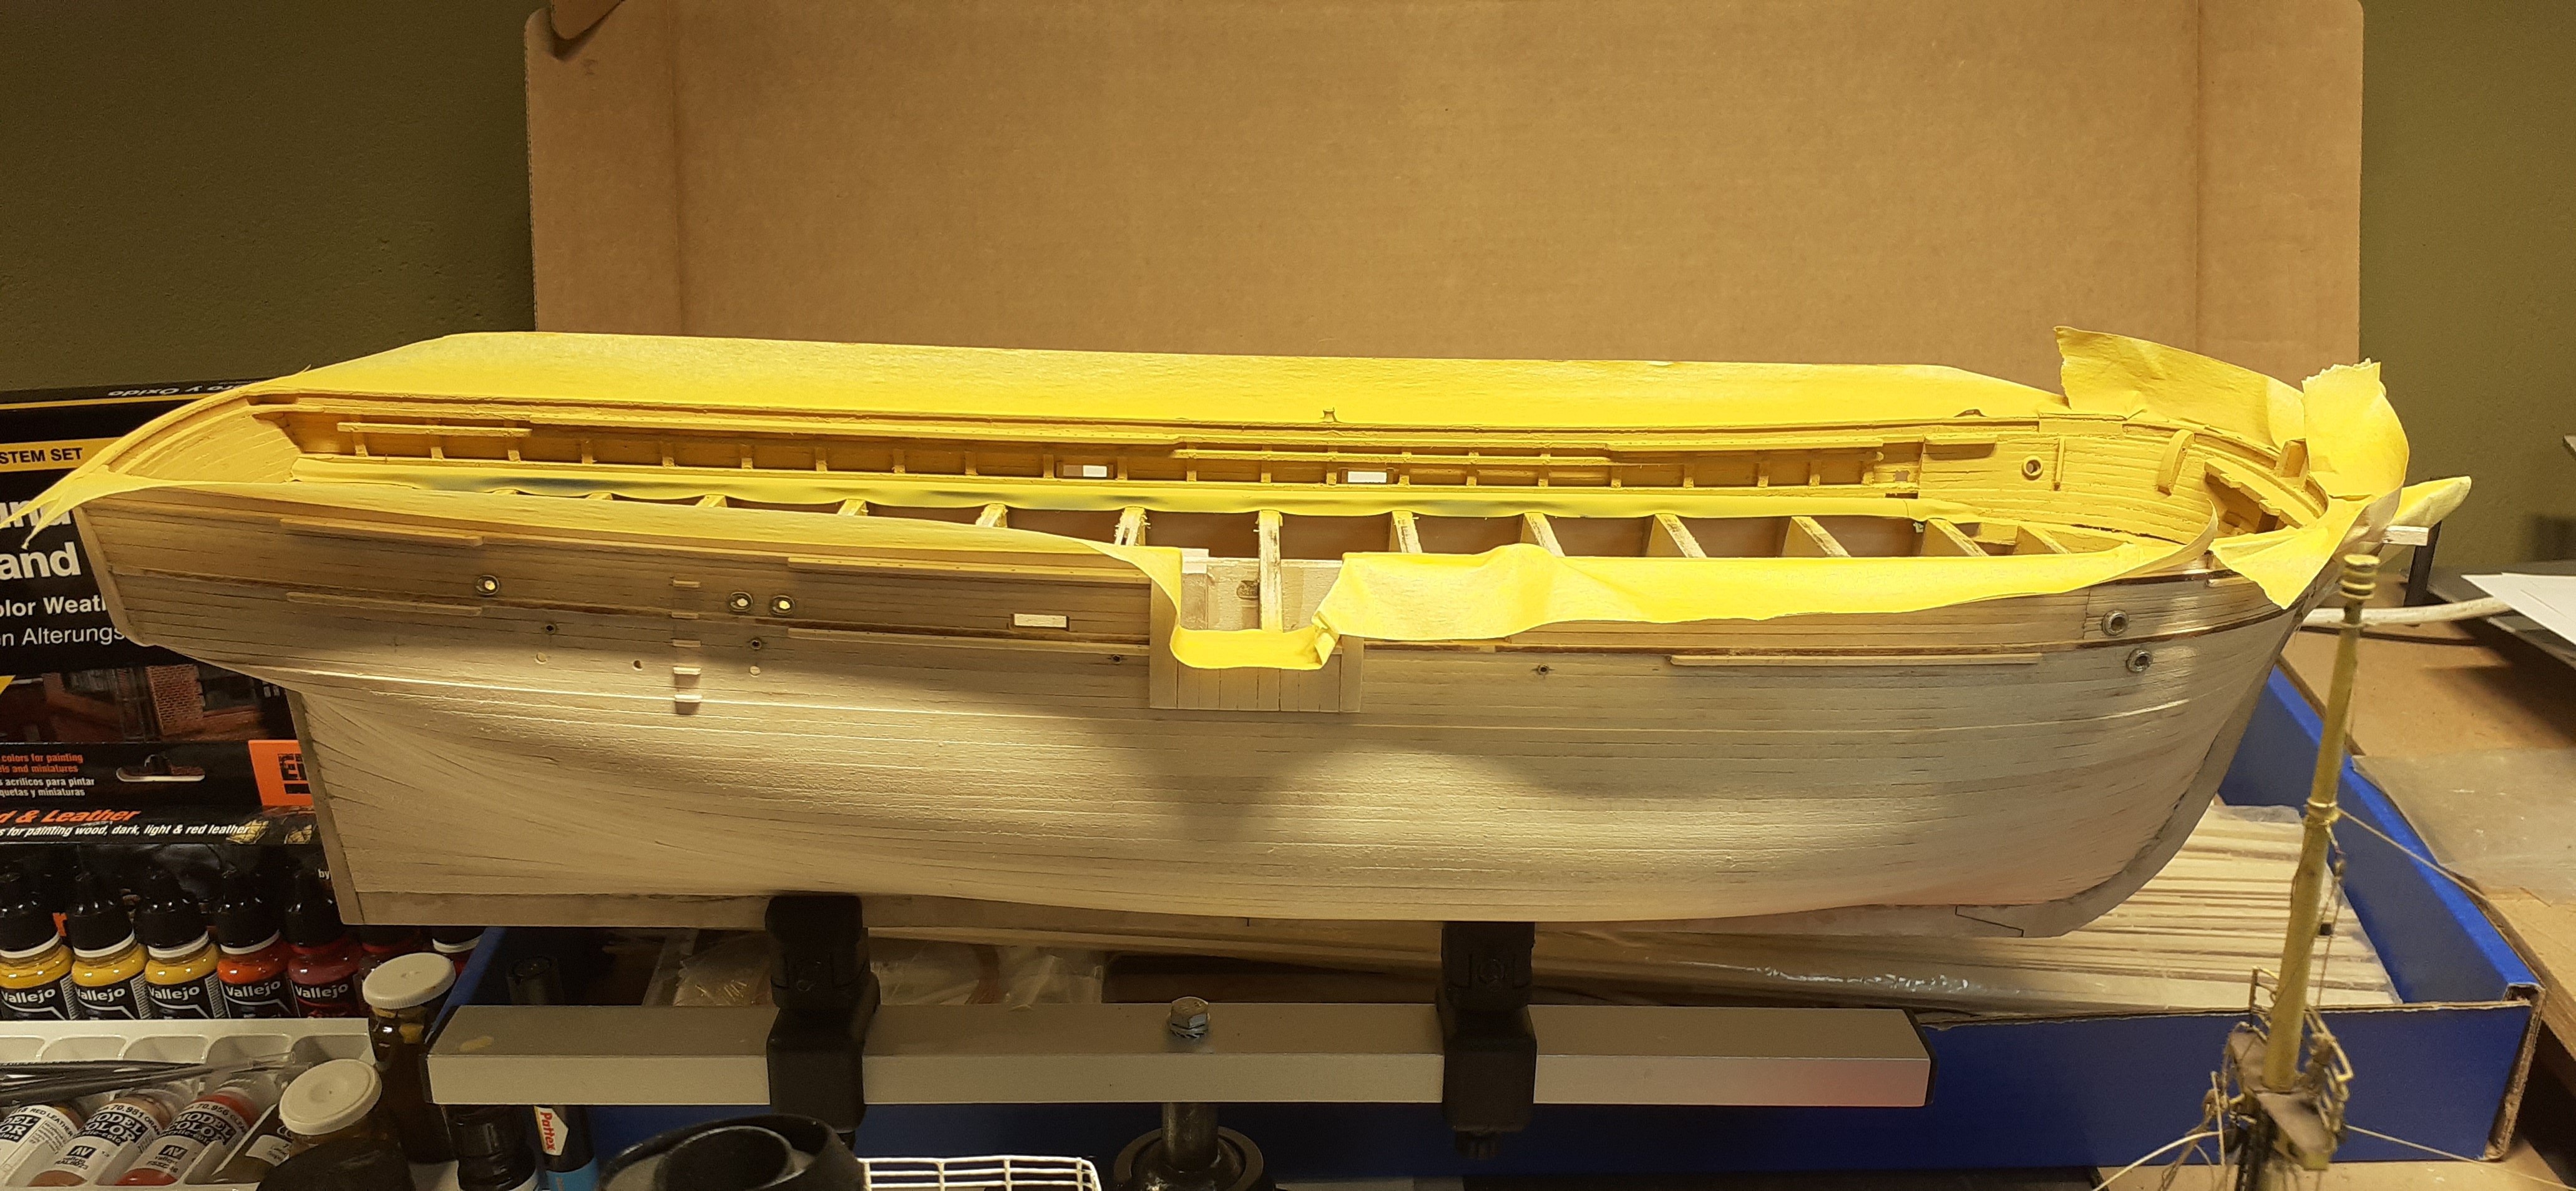
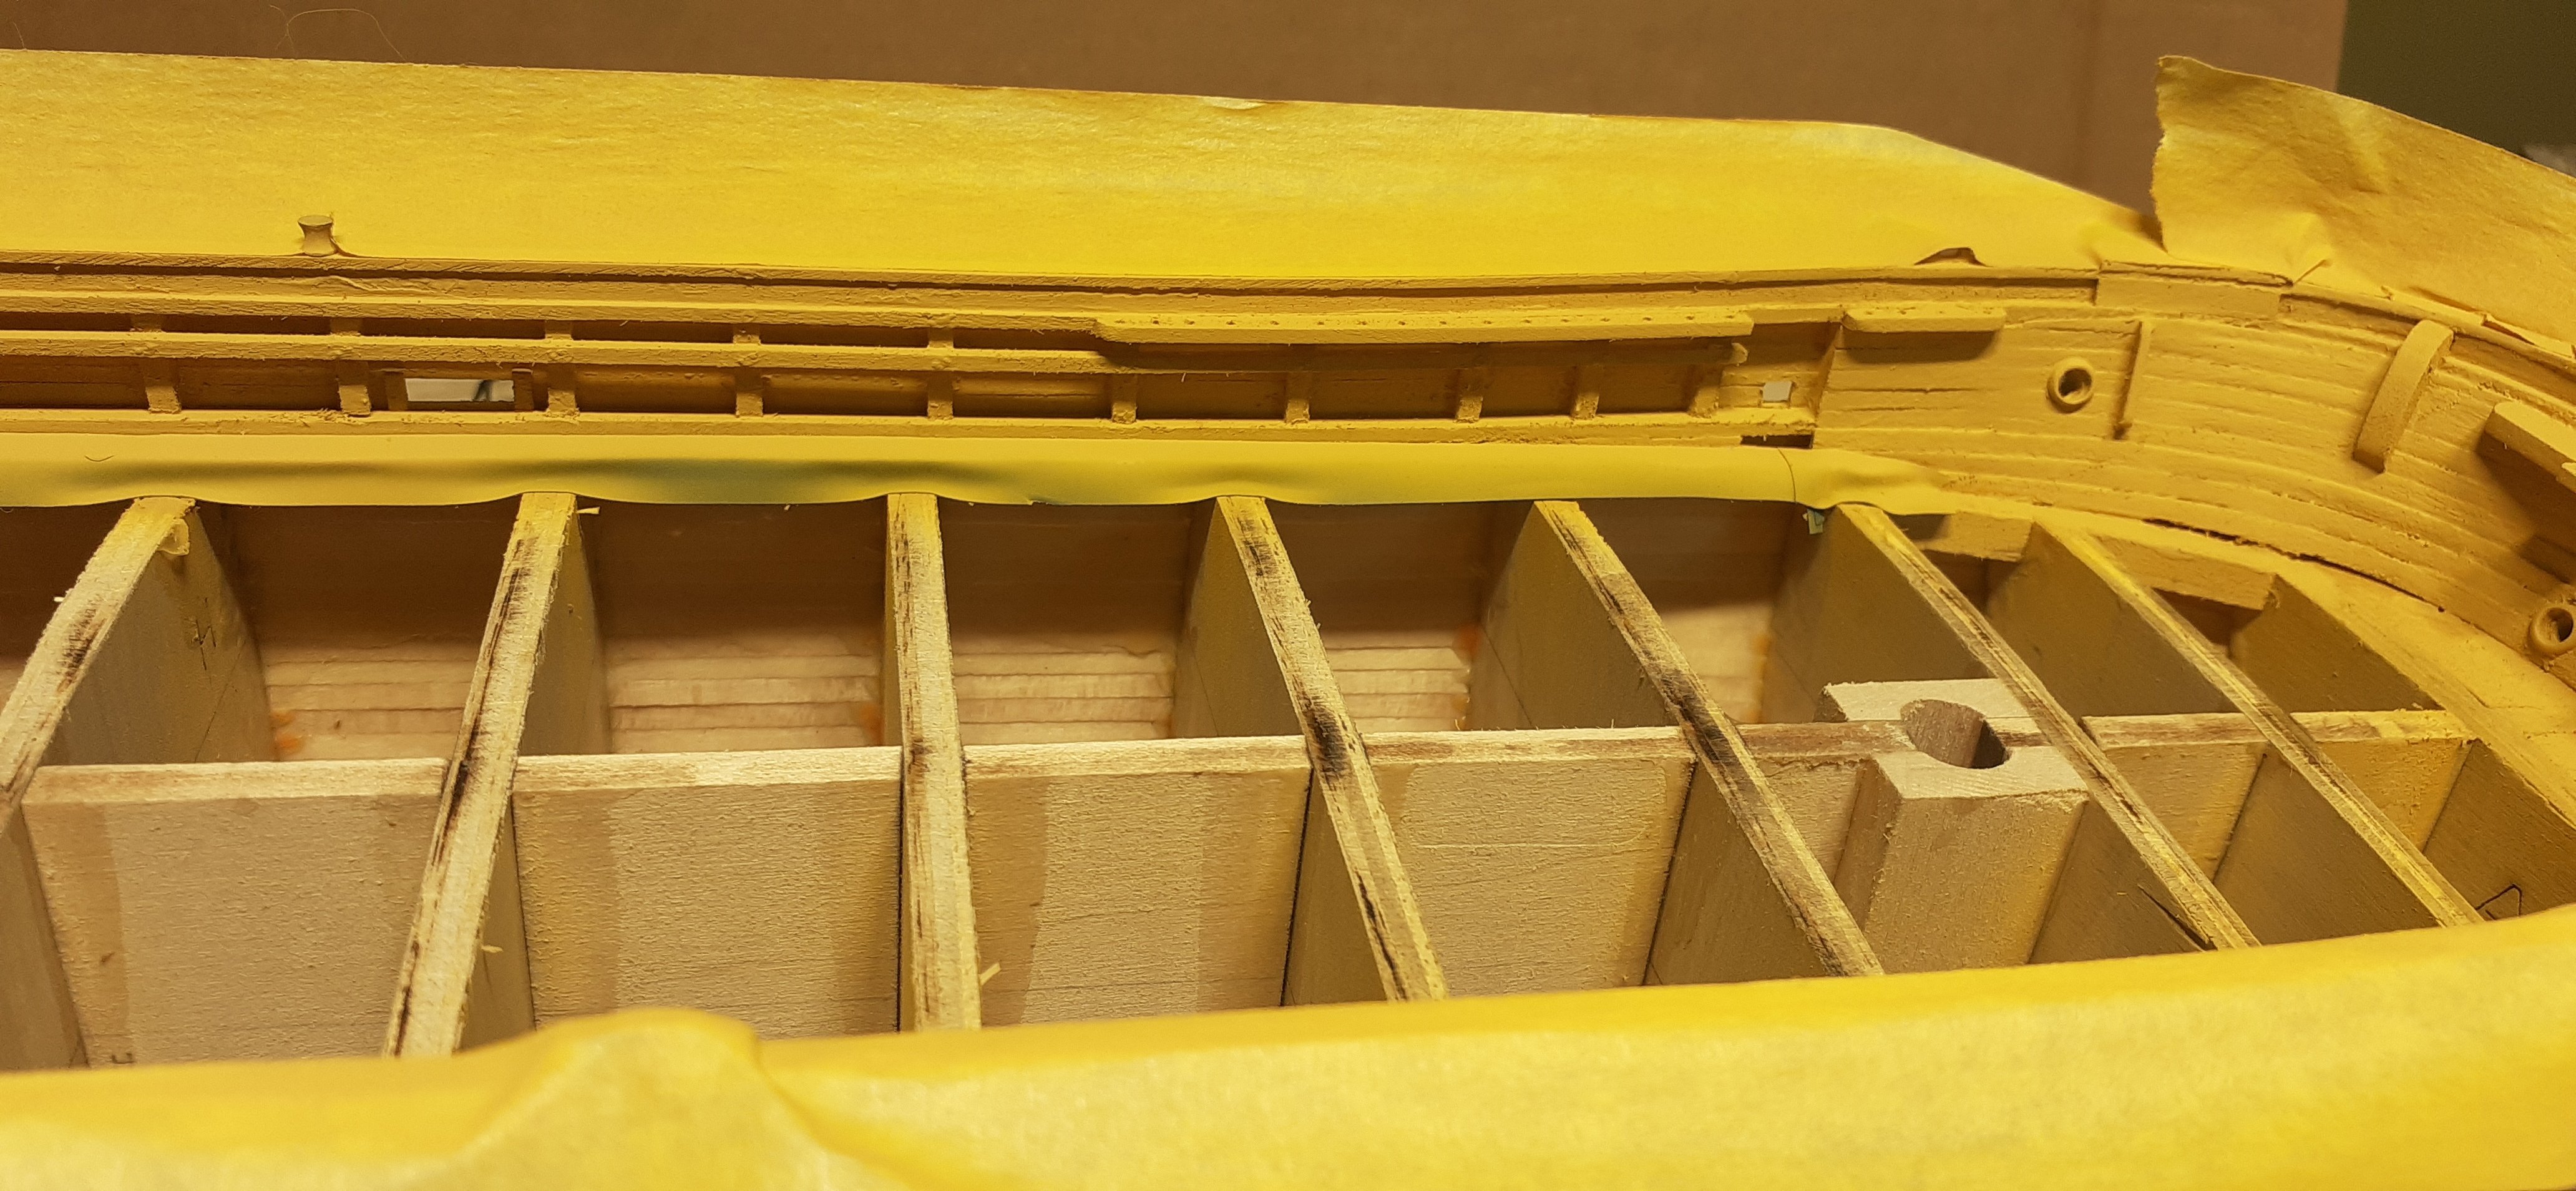
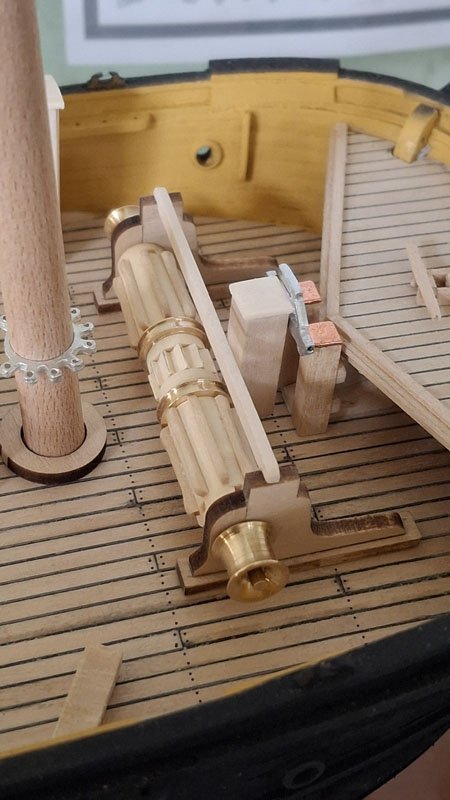
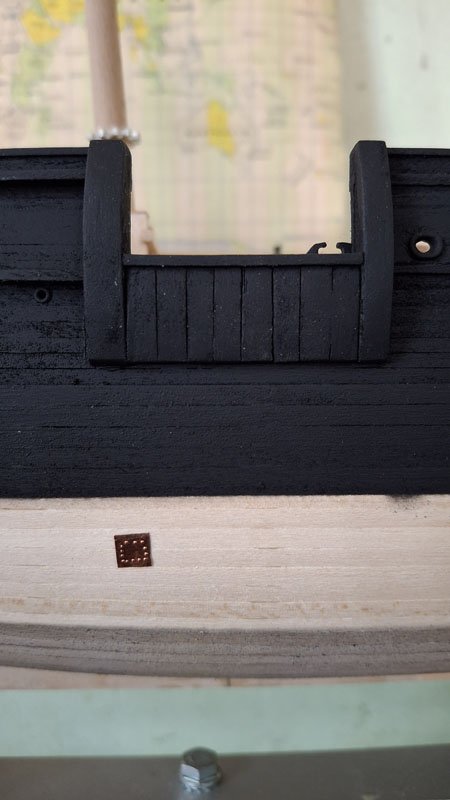
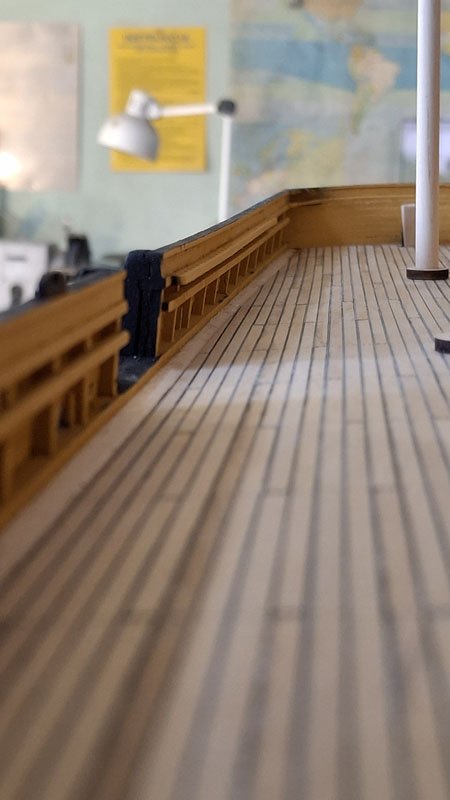
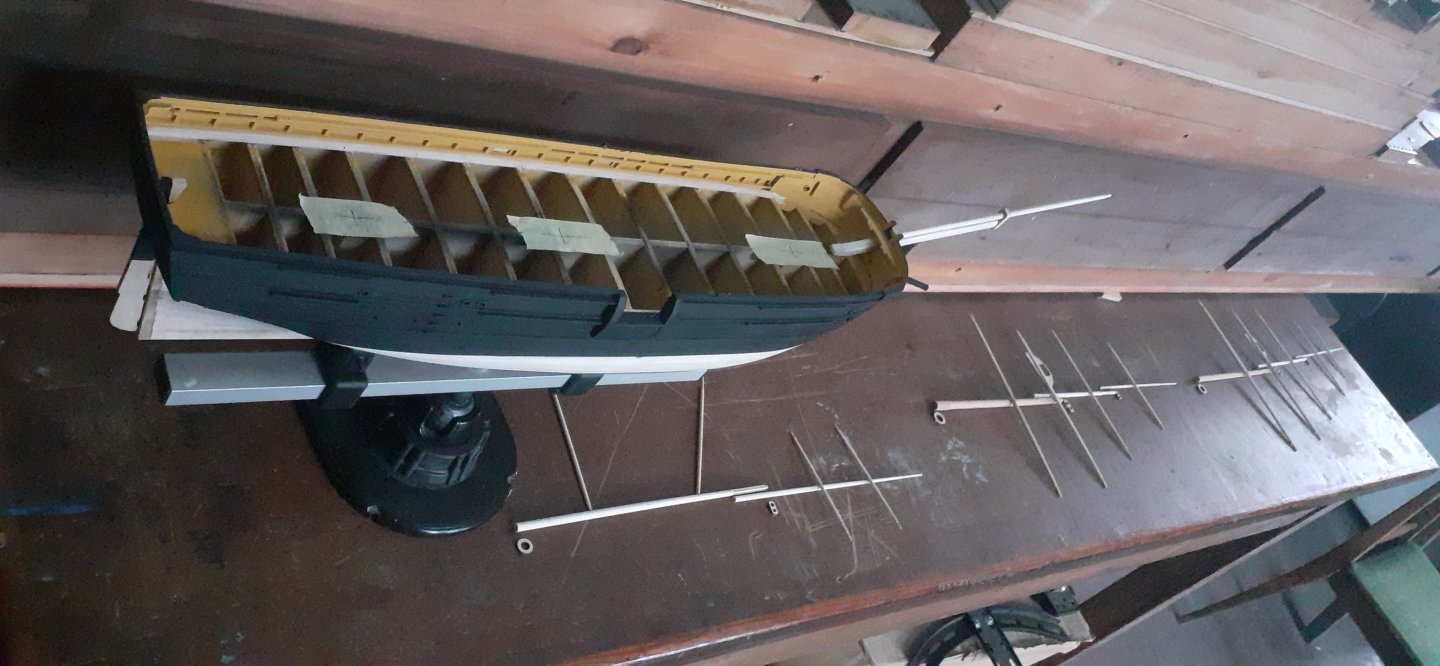
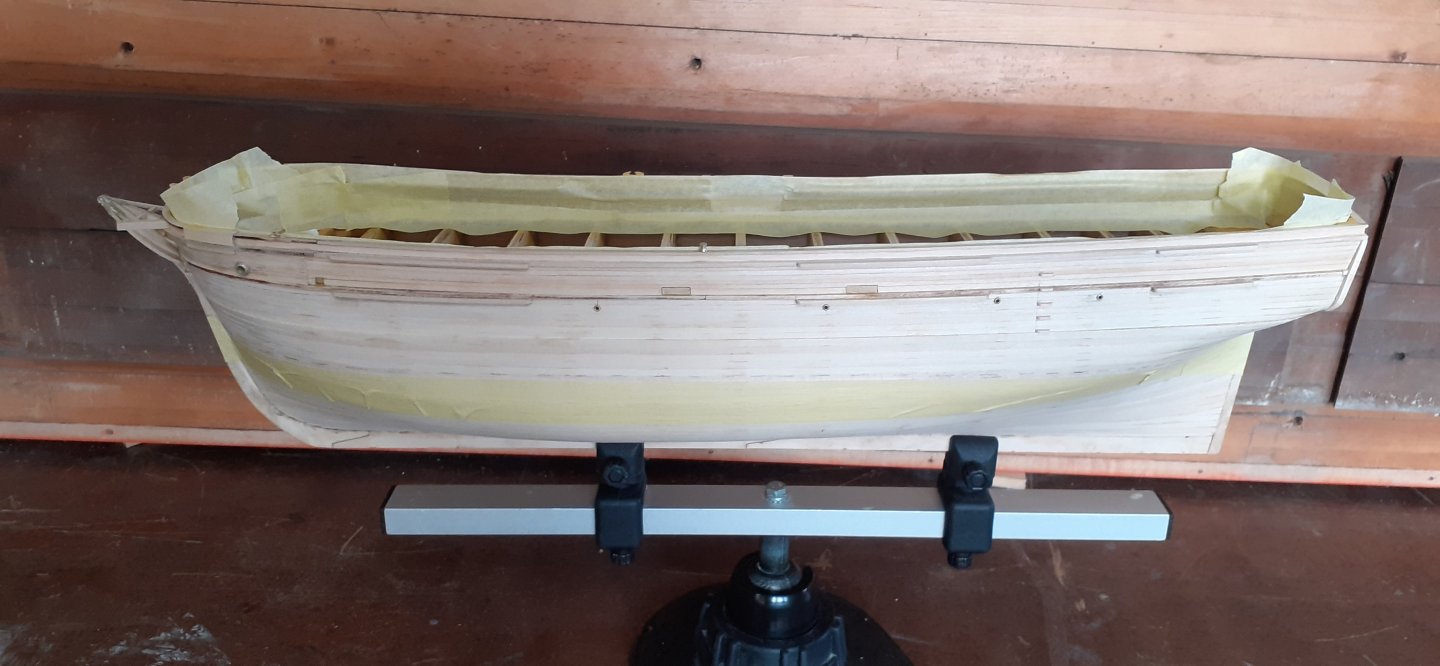
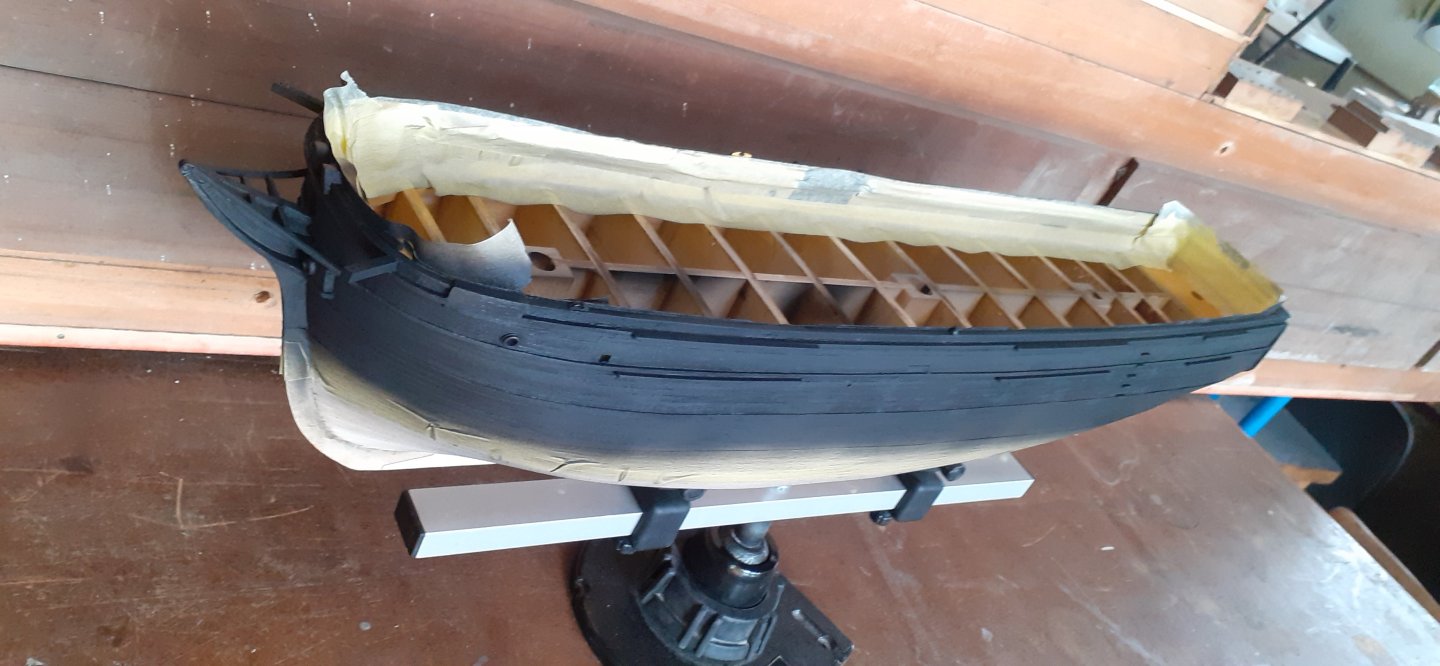
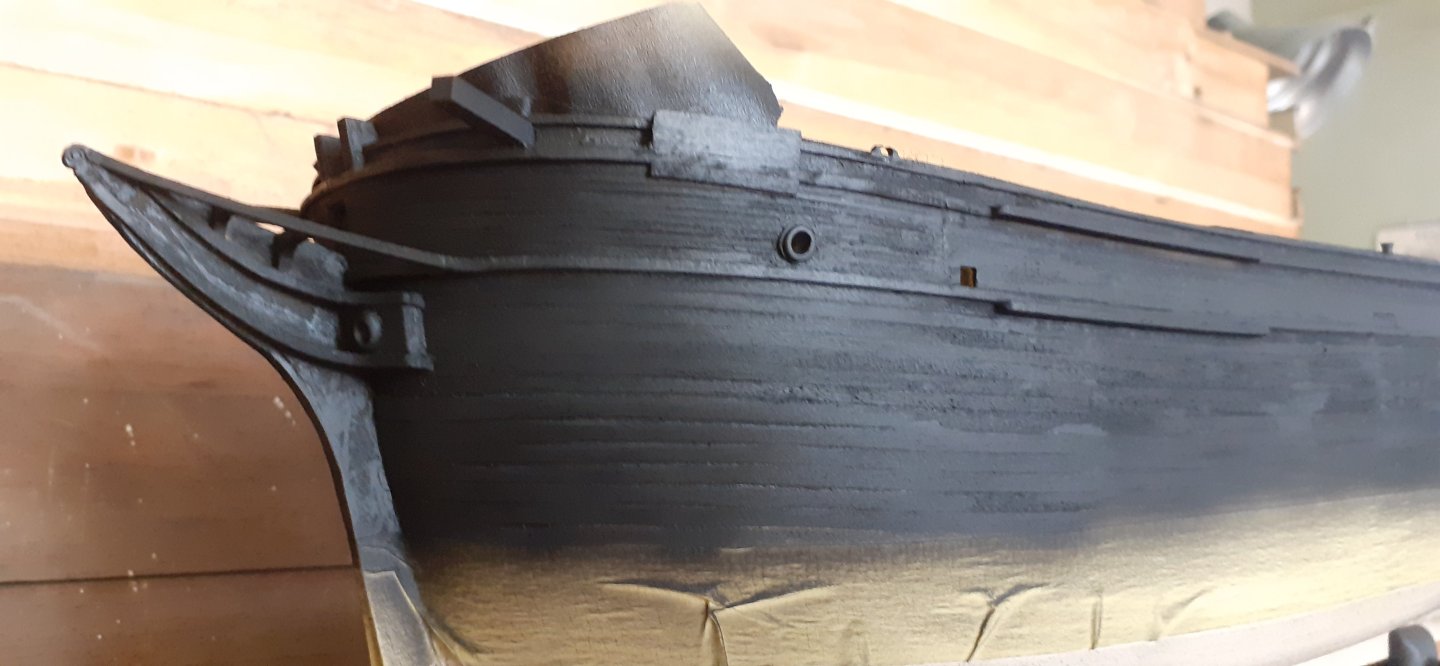
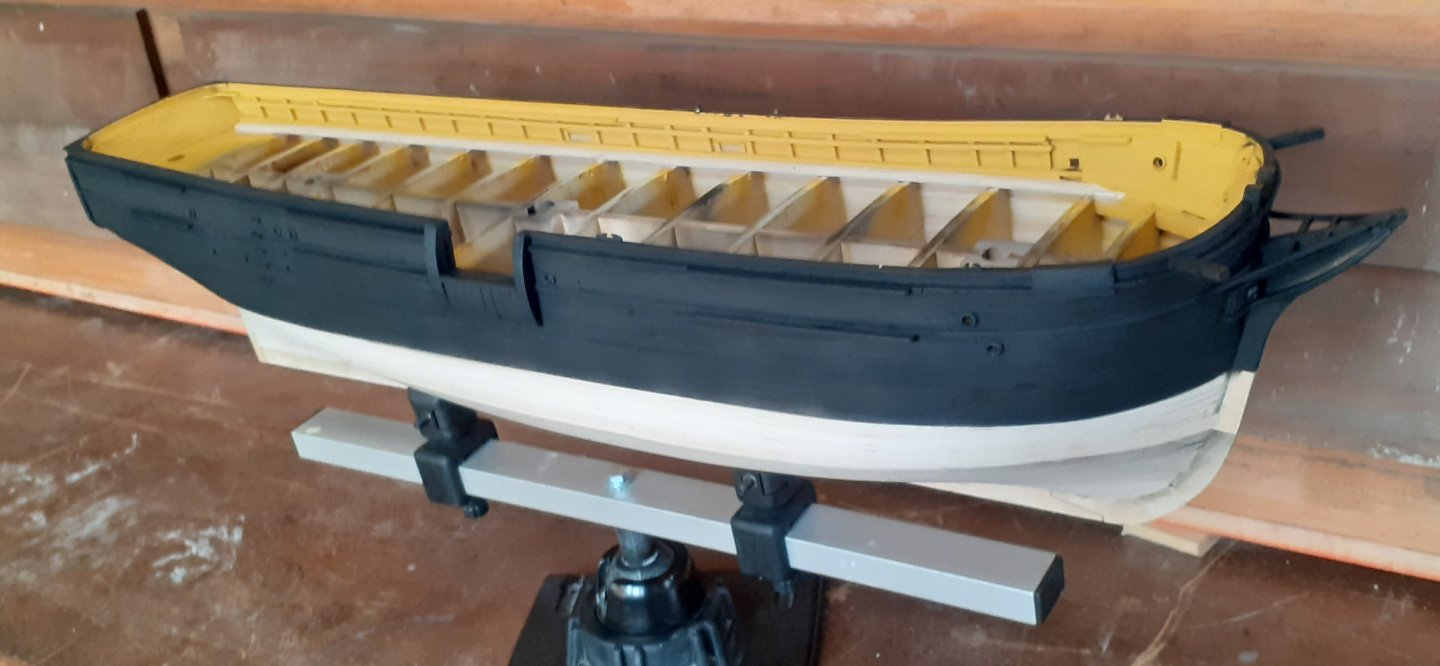
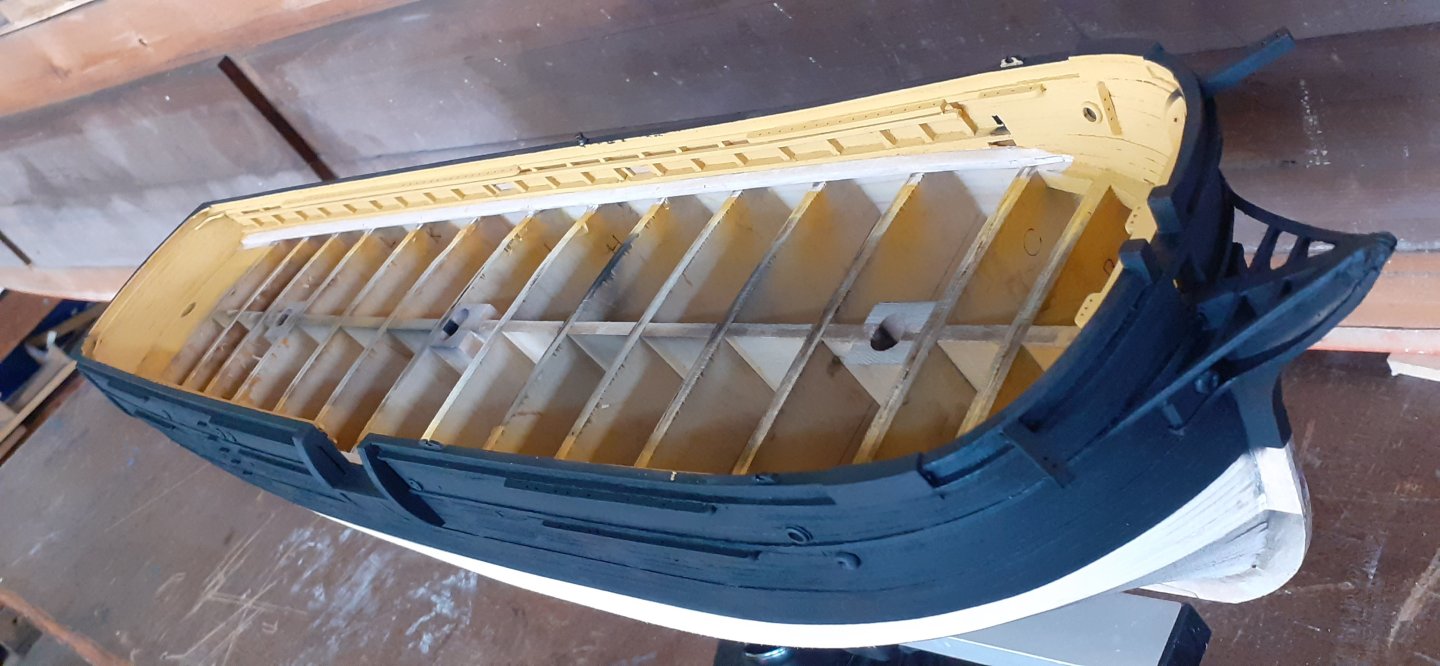
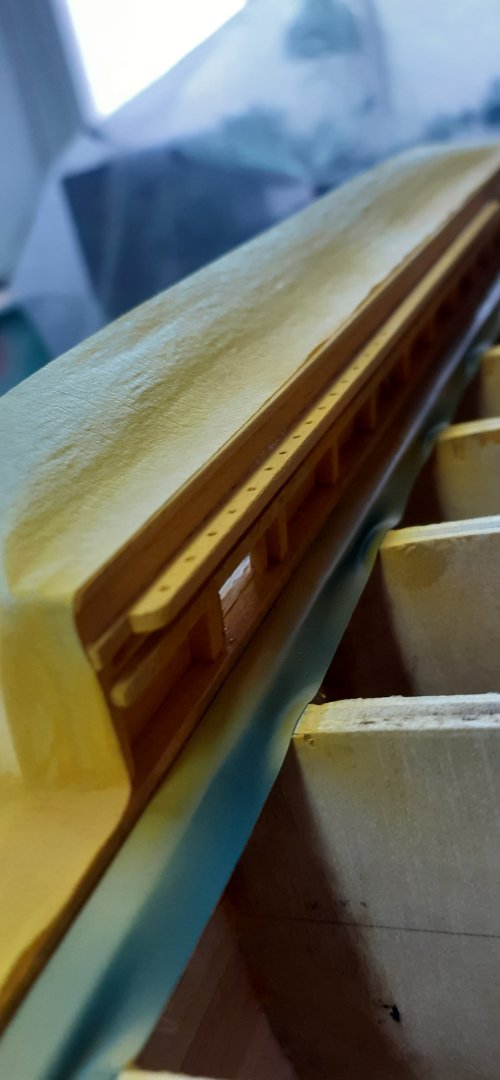
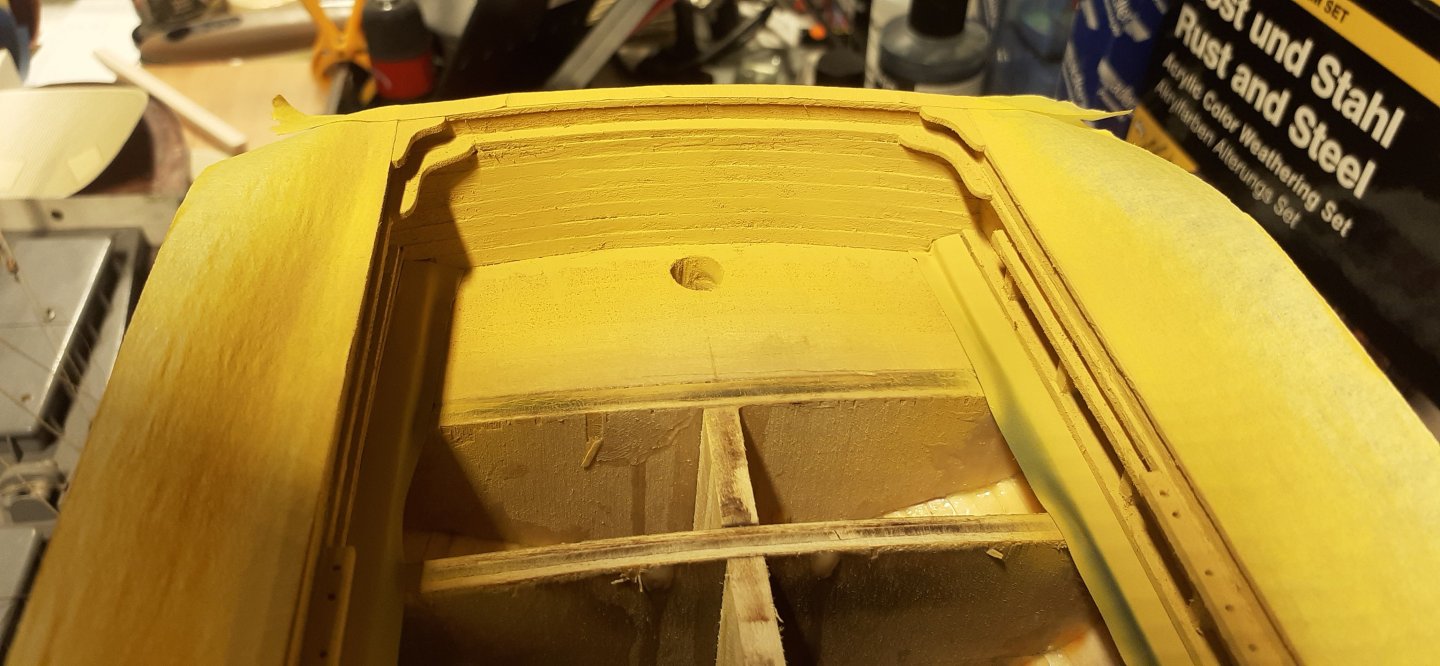
Another painting and masking. This time I used Vallejo 70913 and 71057 paints, yellow ochre and workshop black according to the RAL sampler.


-
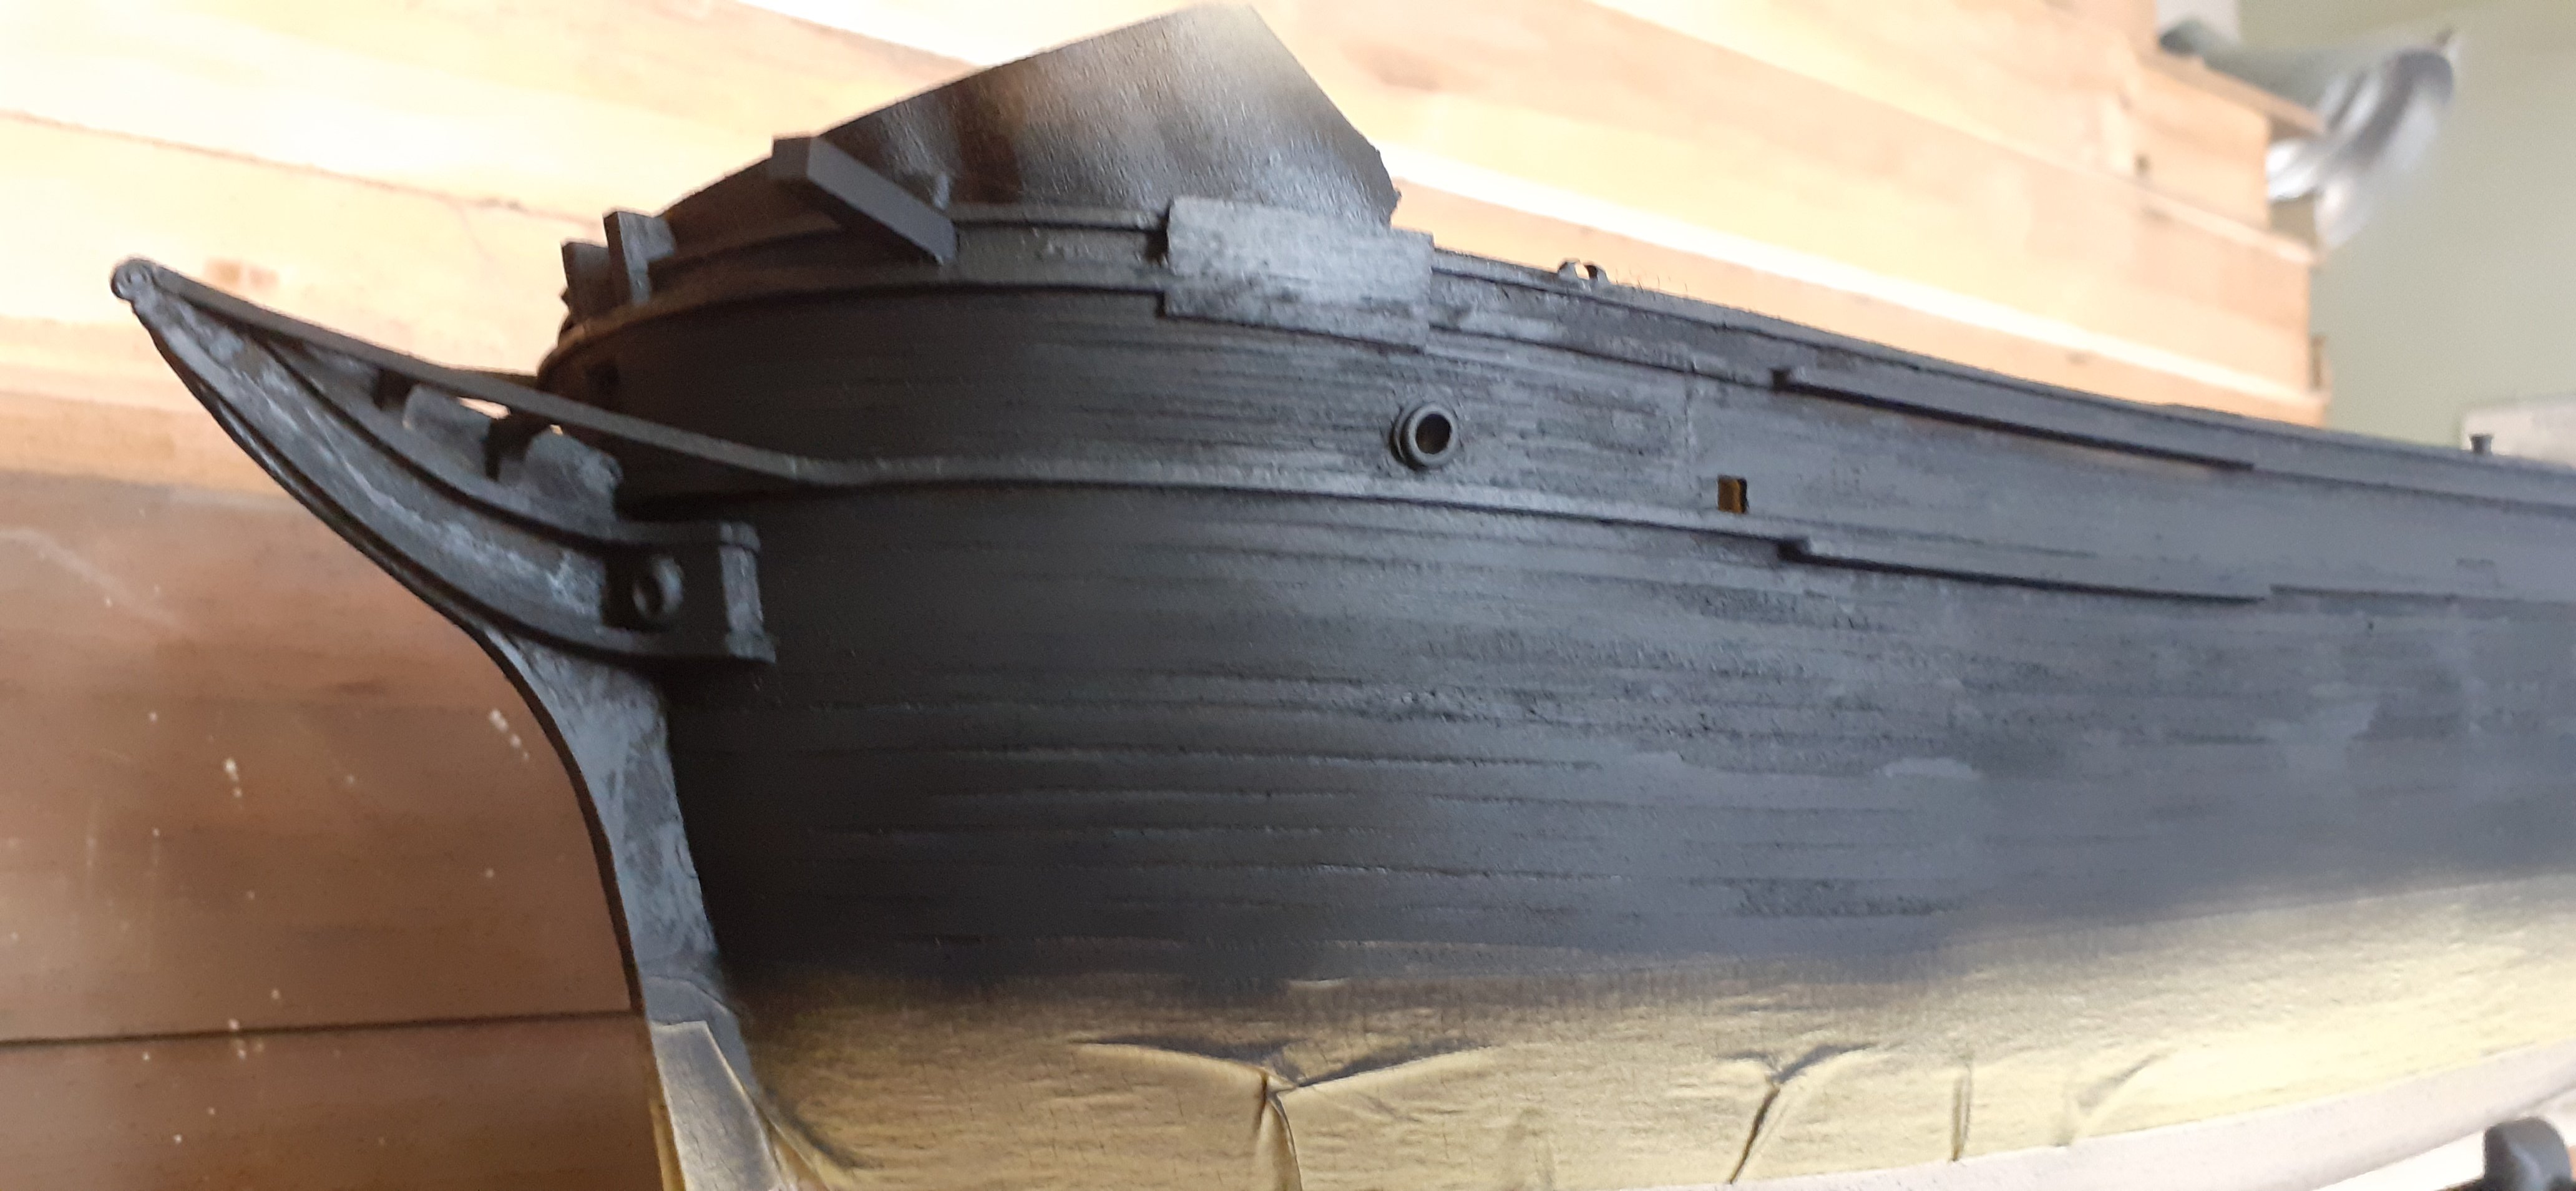
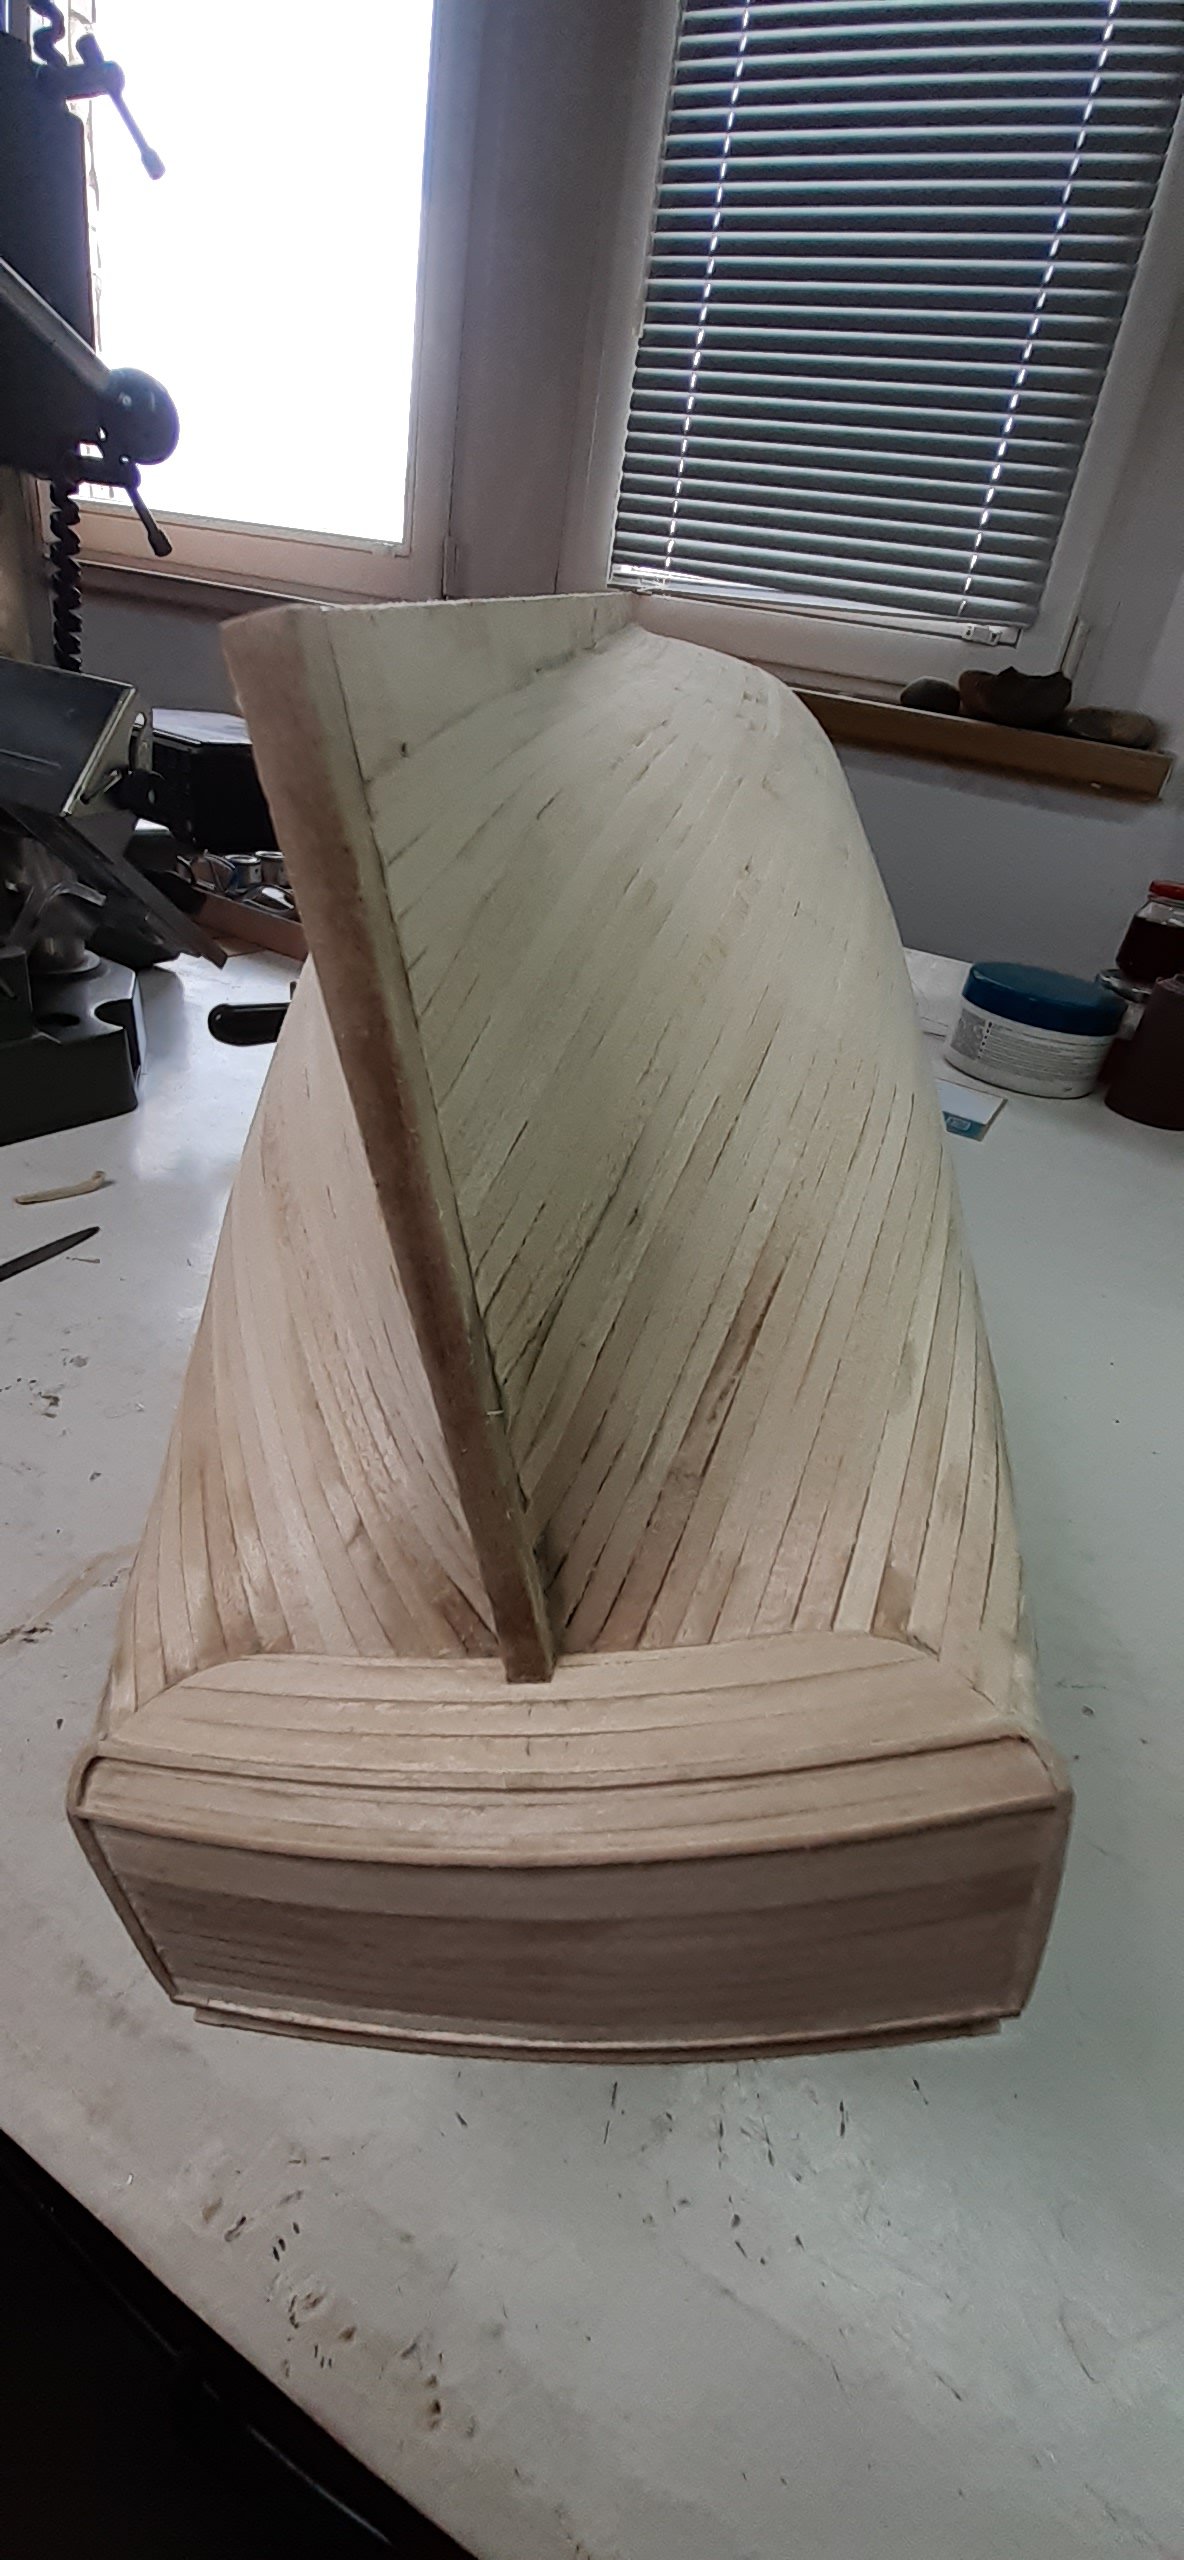
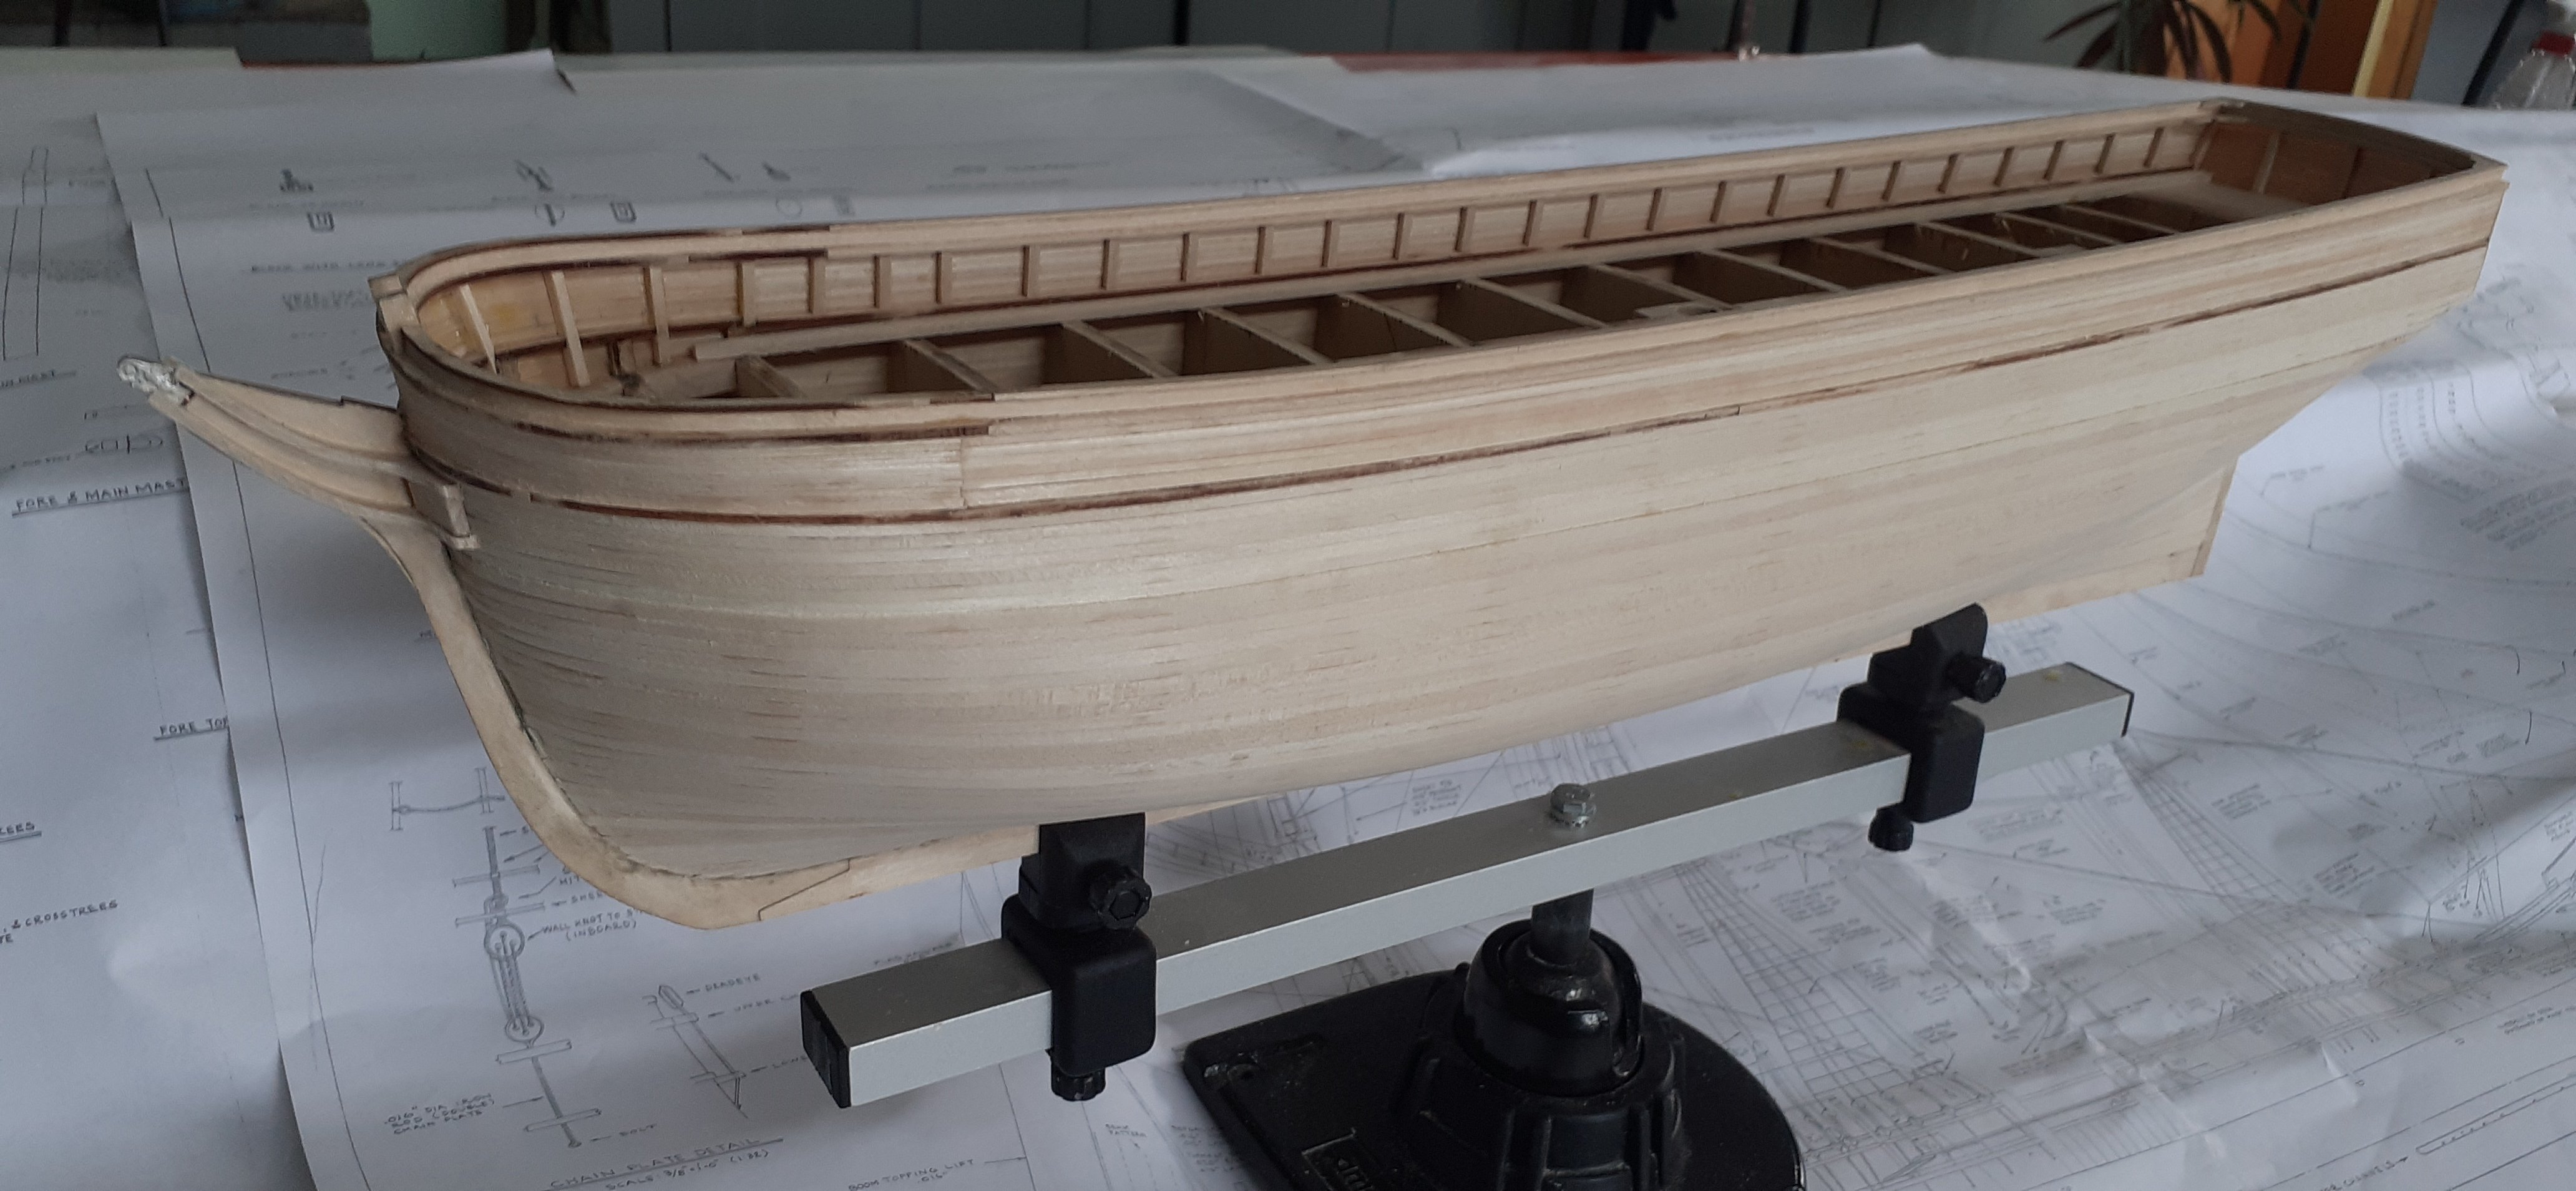
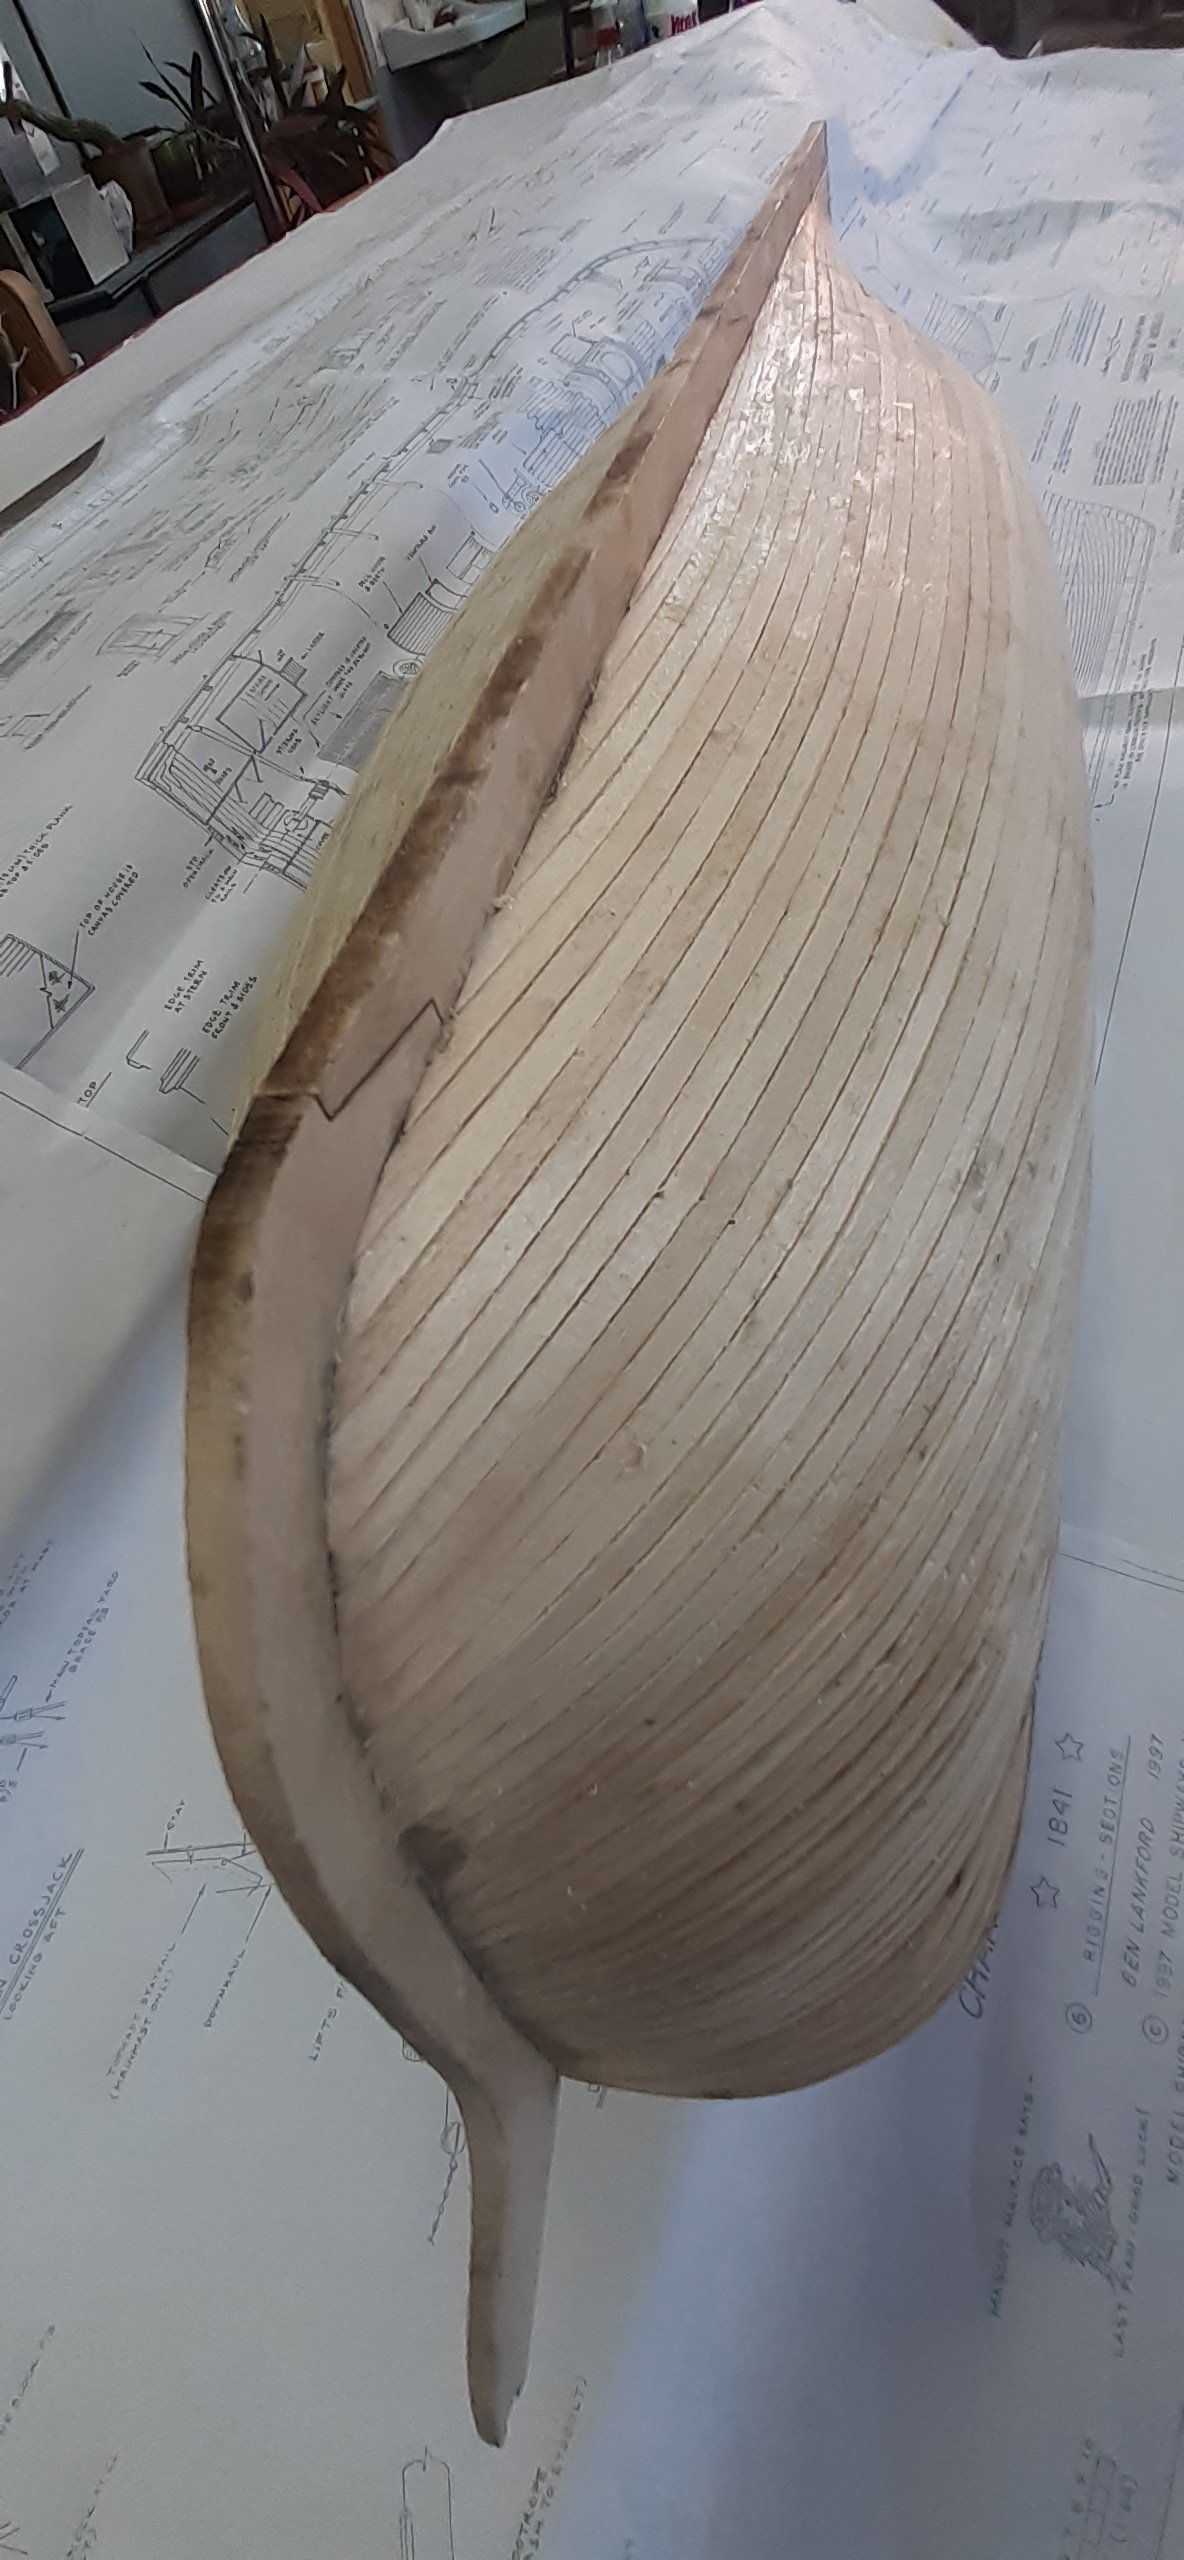
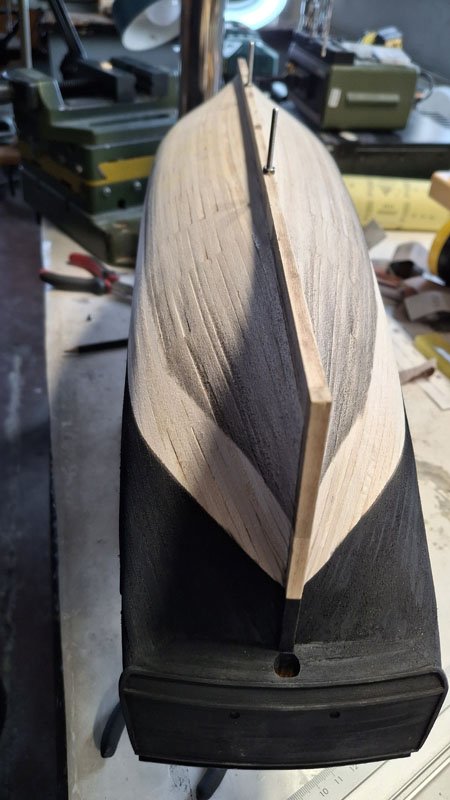
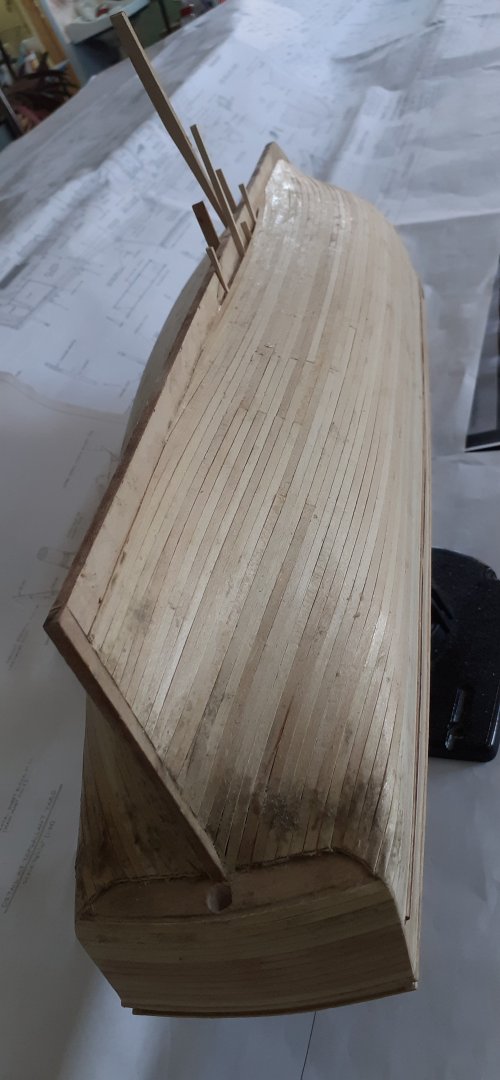
First painting after previous cleaning and checking for glue residue. I wanted to make the hull skin elements visible as much as possible and the detail of the plank structure as visible as possible. To achieve this, remember to dilute the paint and use a drying retarder. Good and careful preparation of the masking for work with an airbrush is half the battle.


-
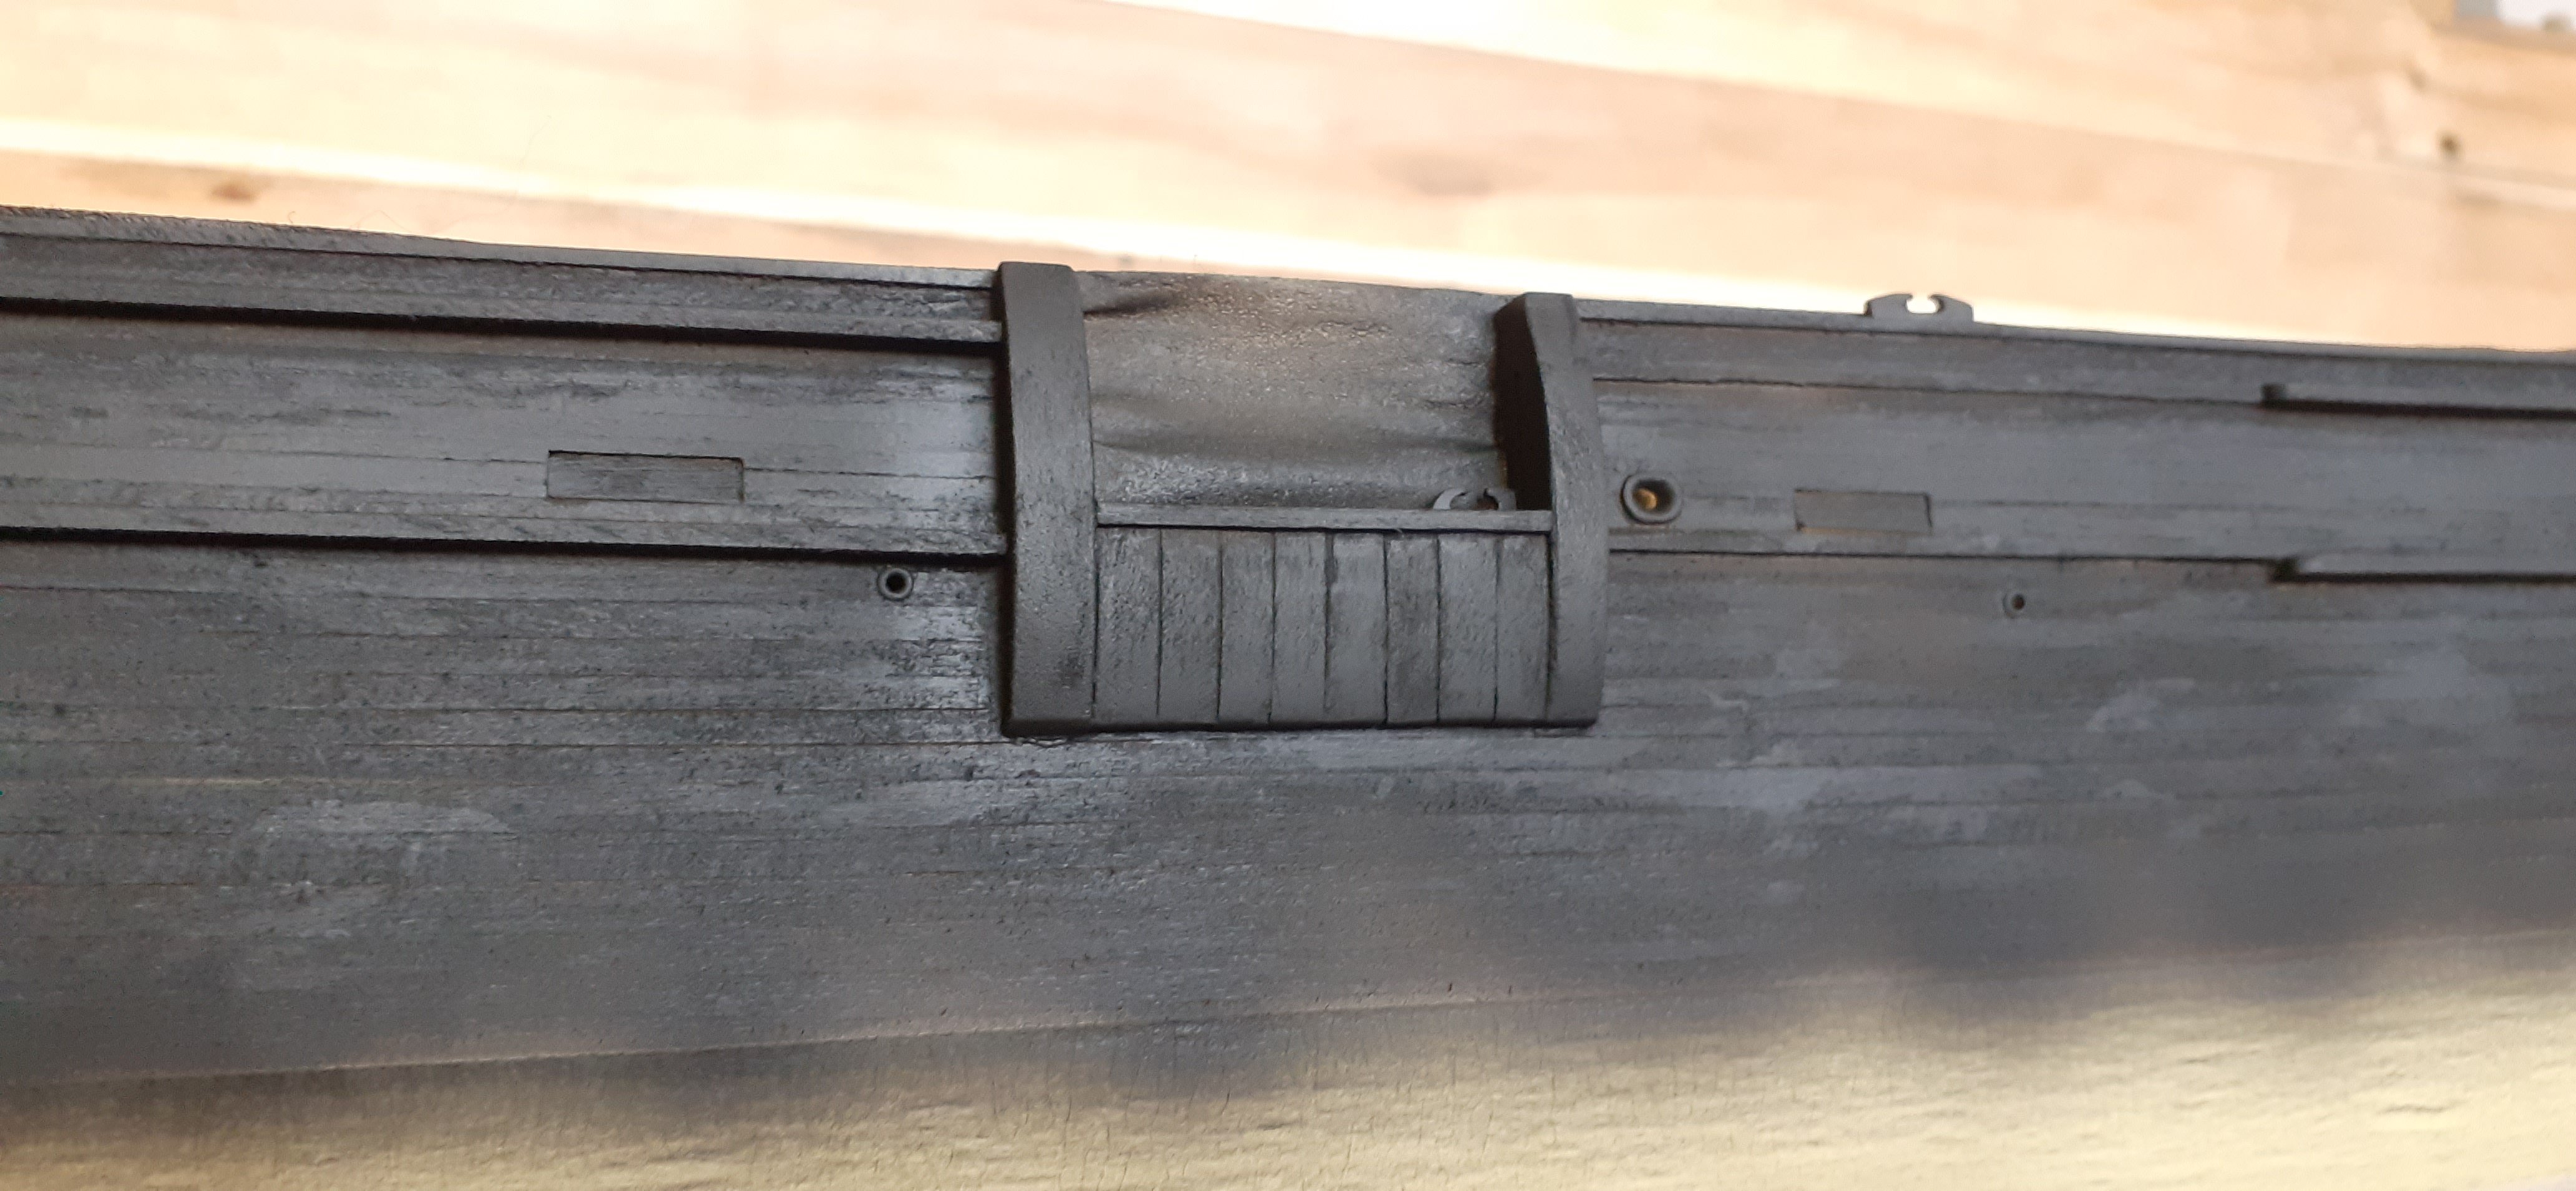
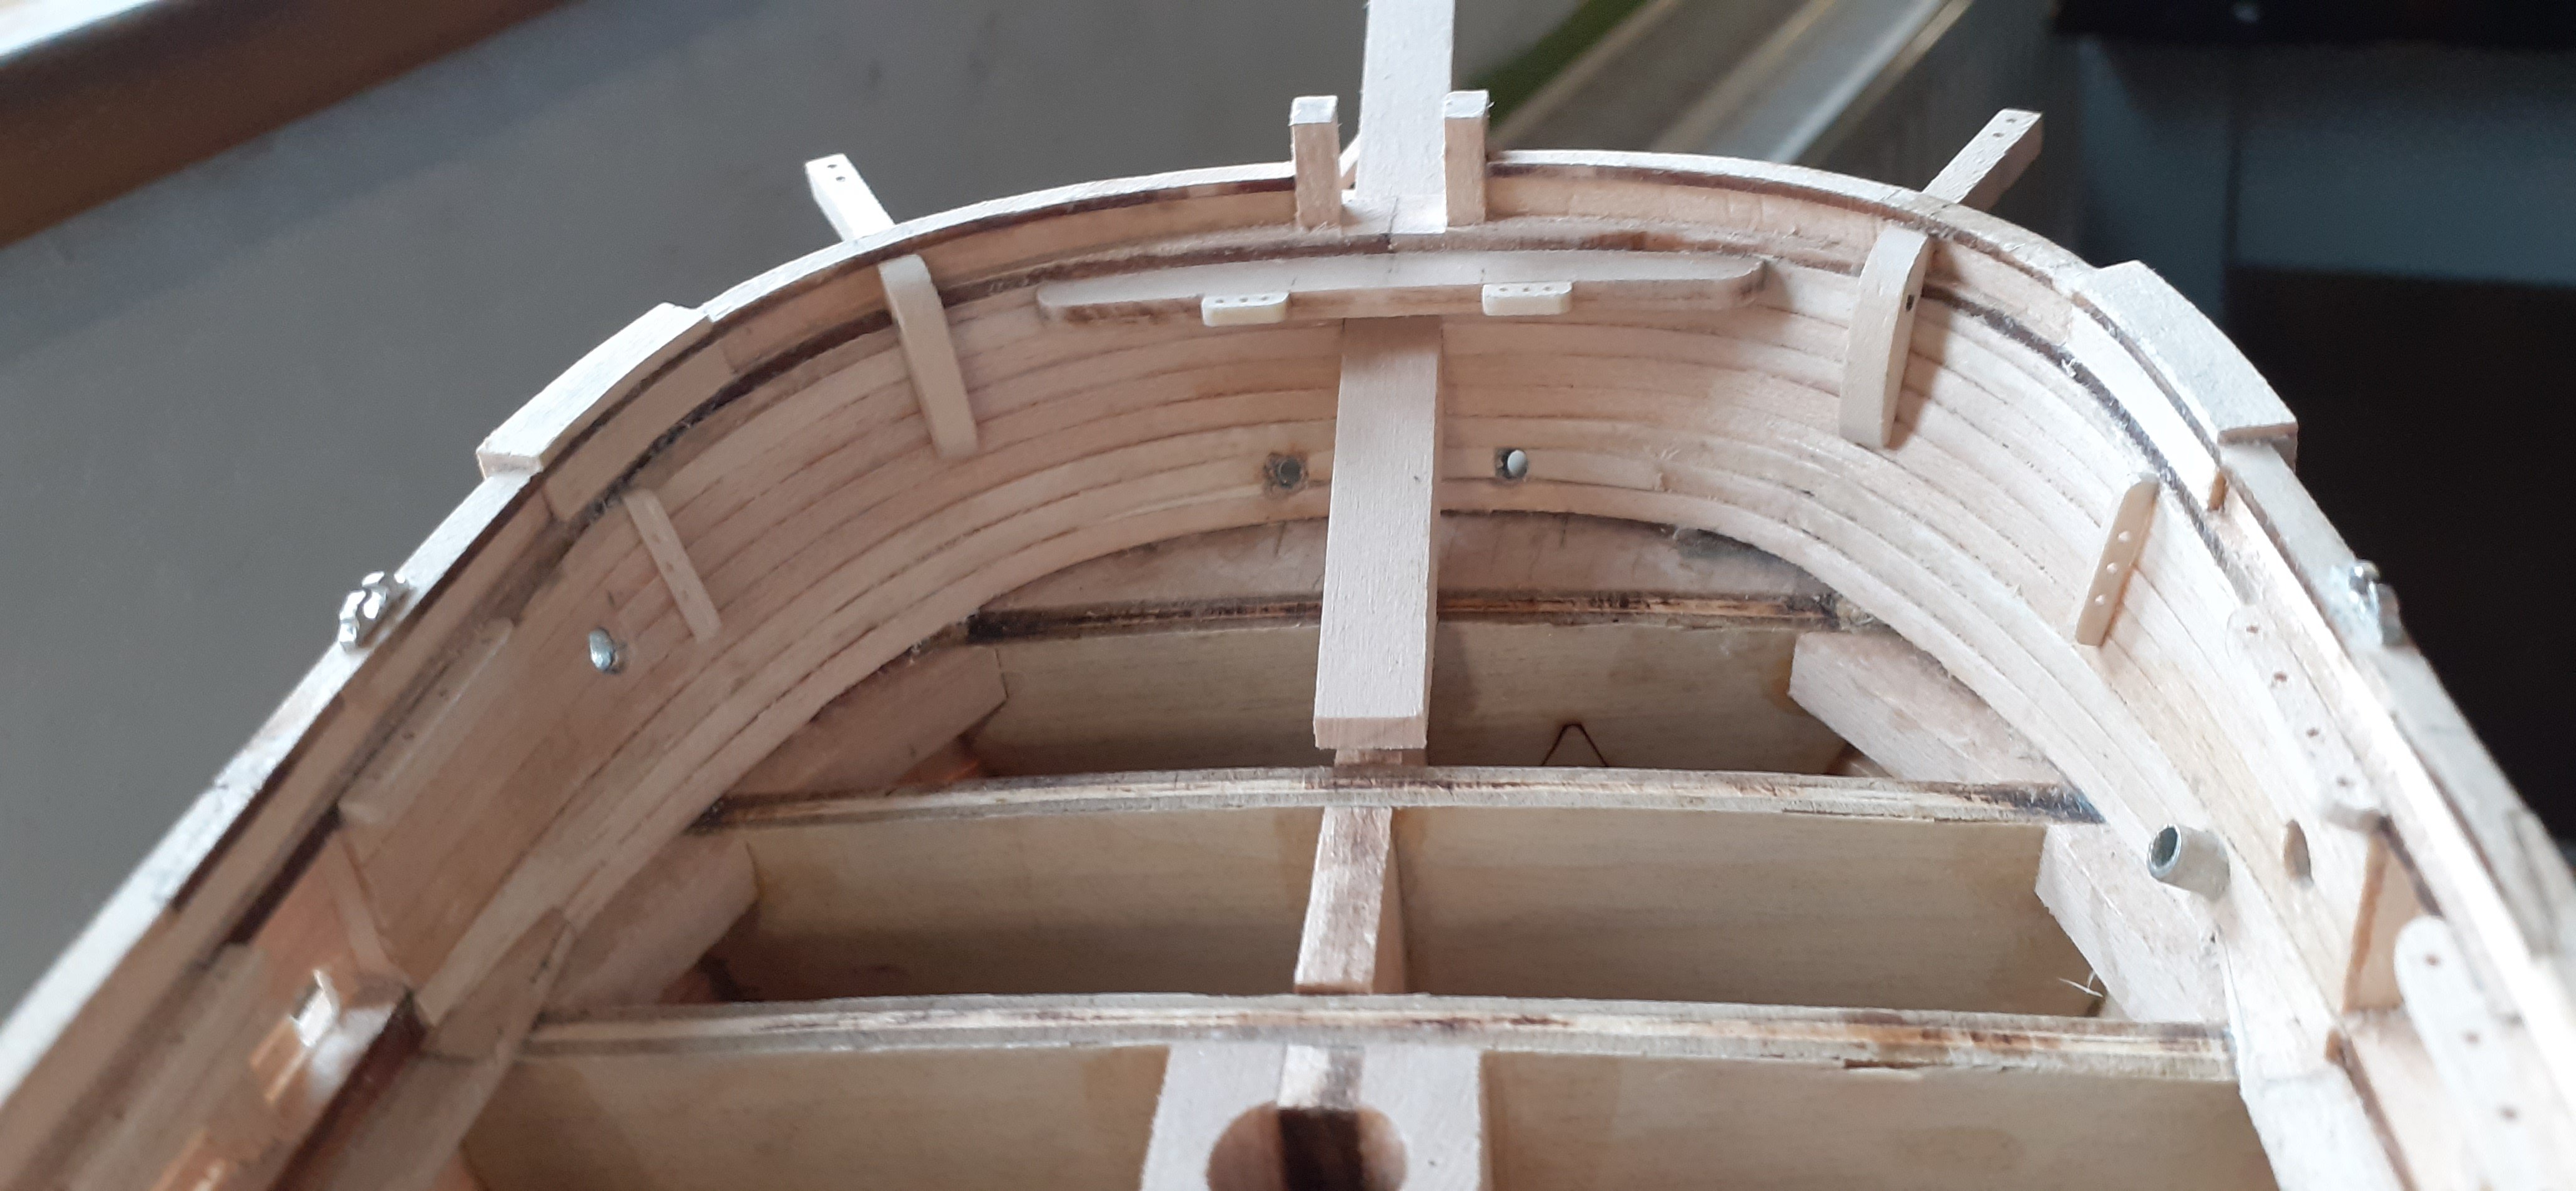
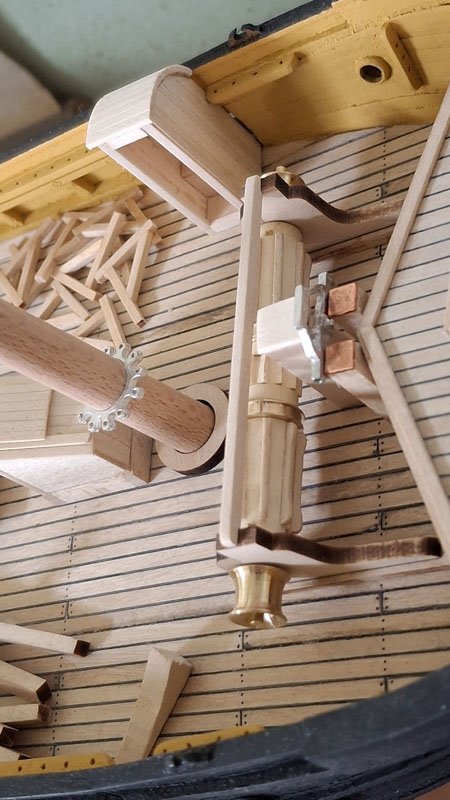
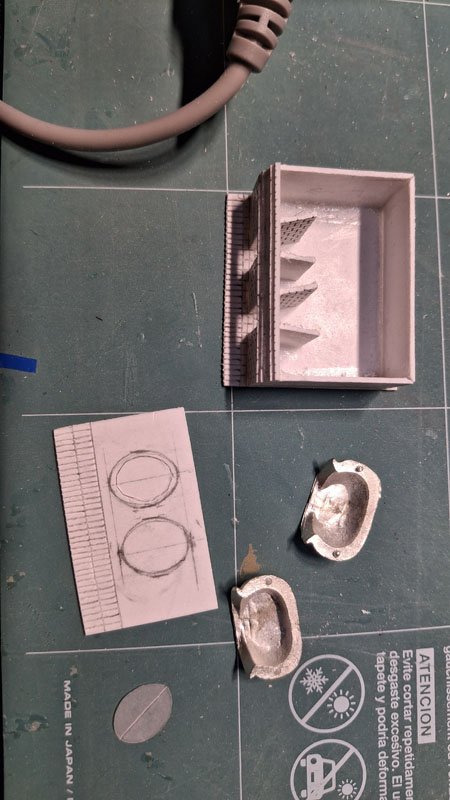
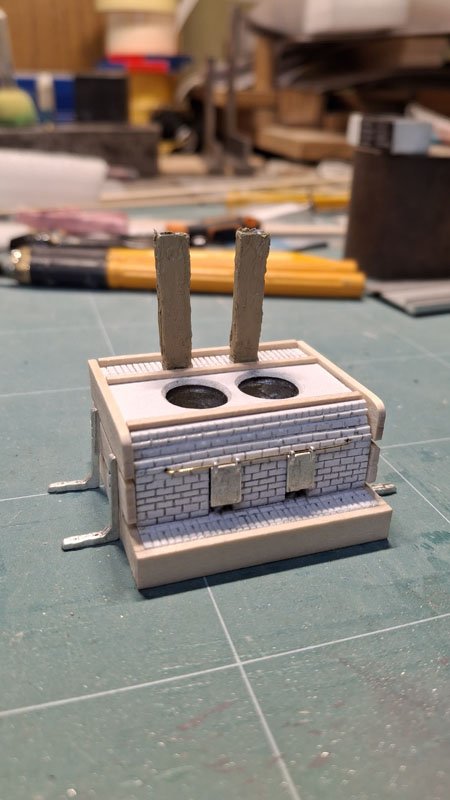
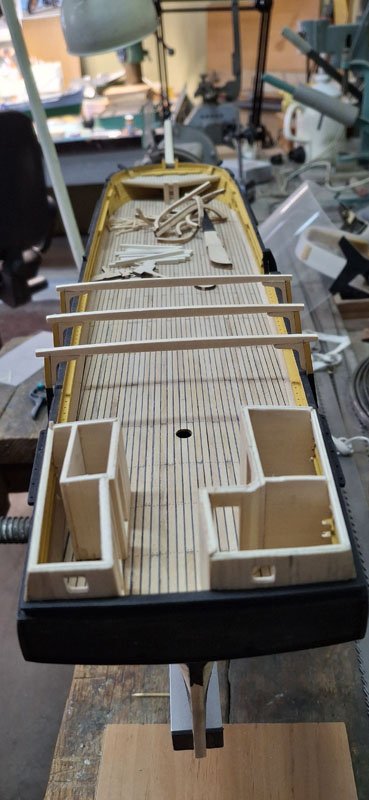
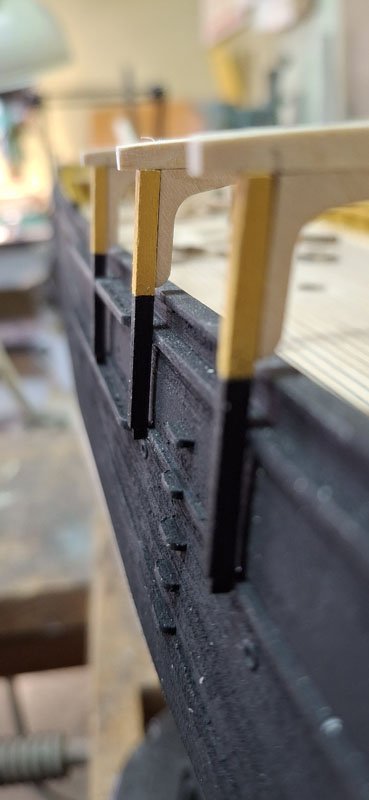
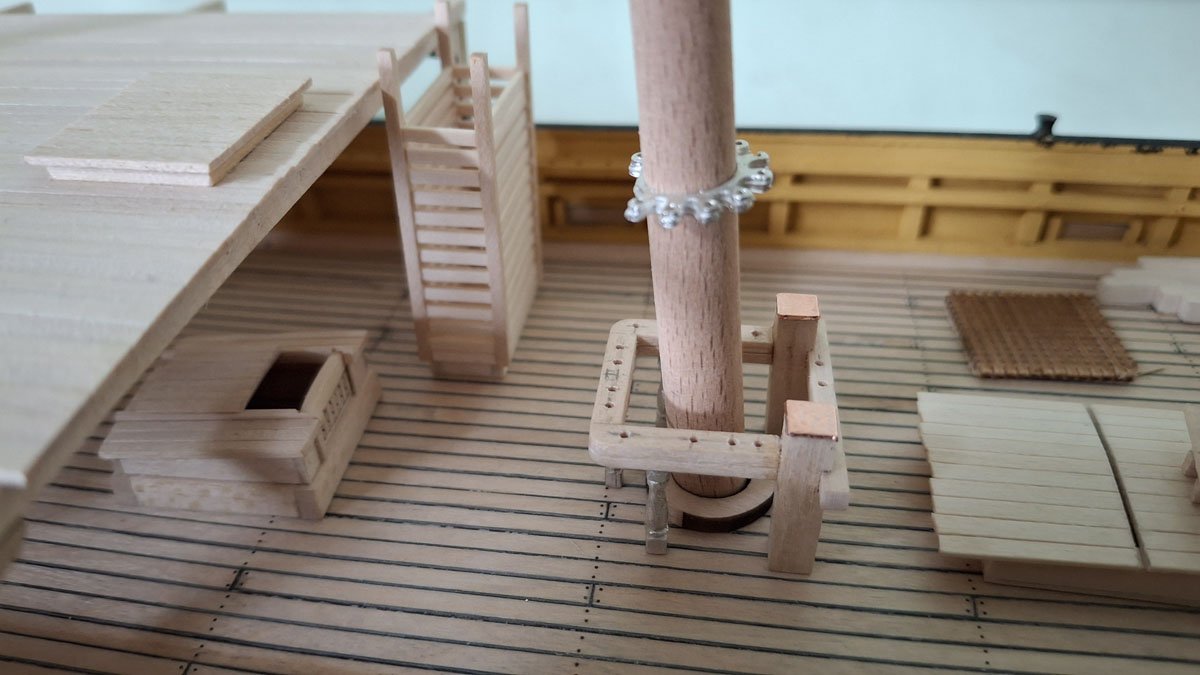
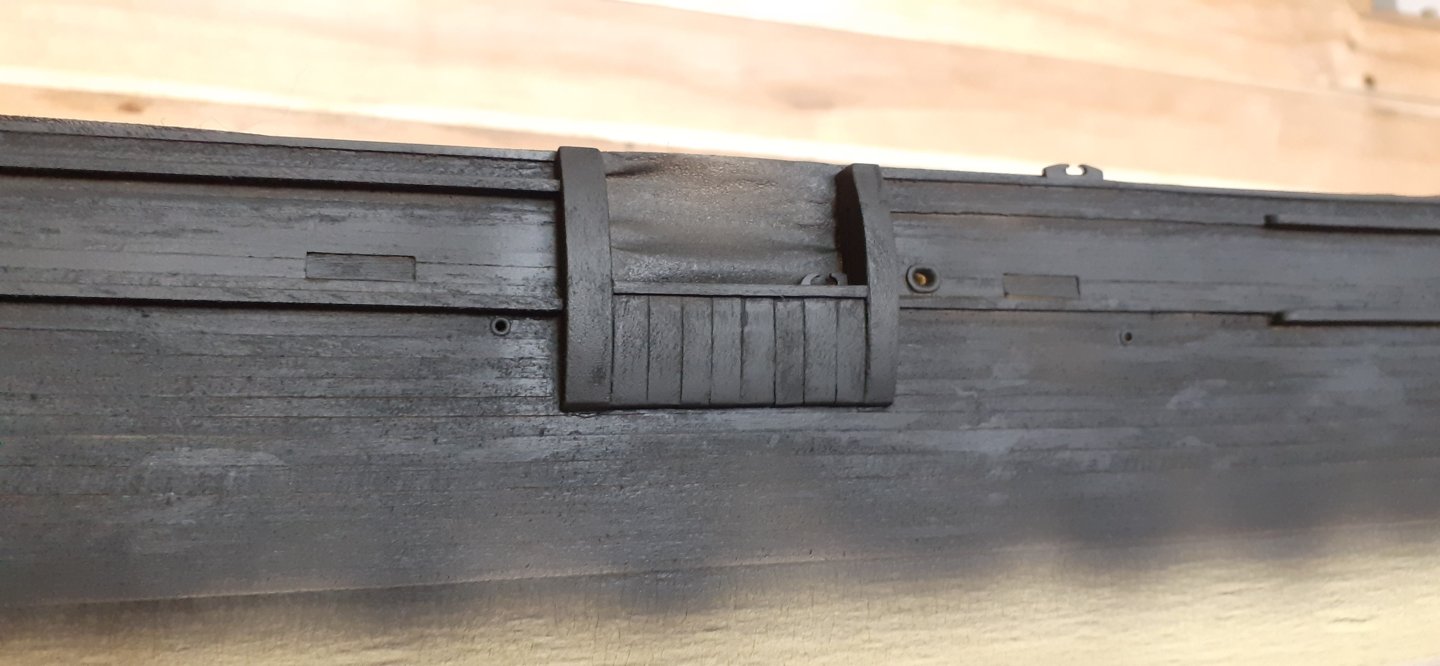
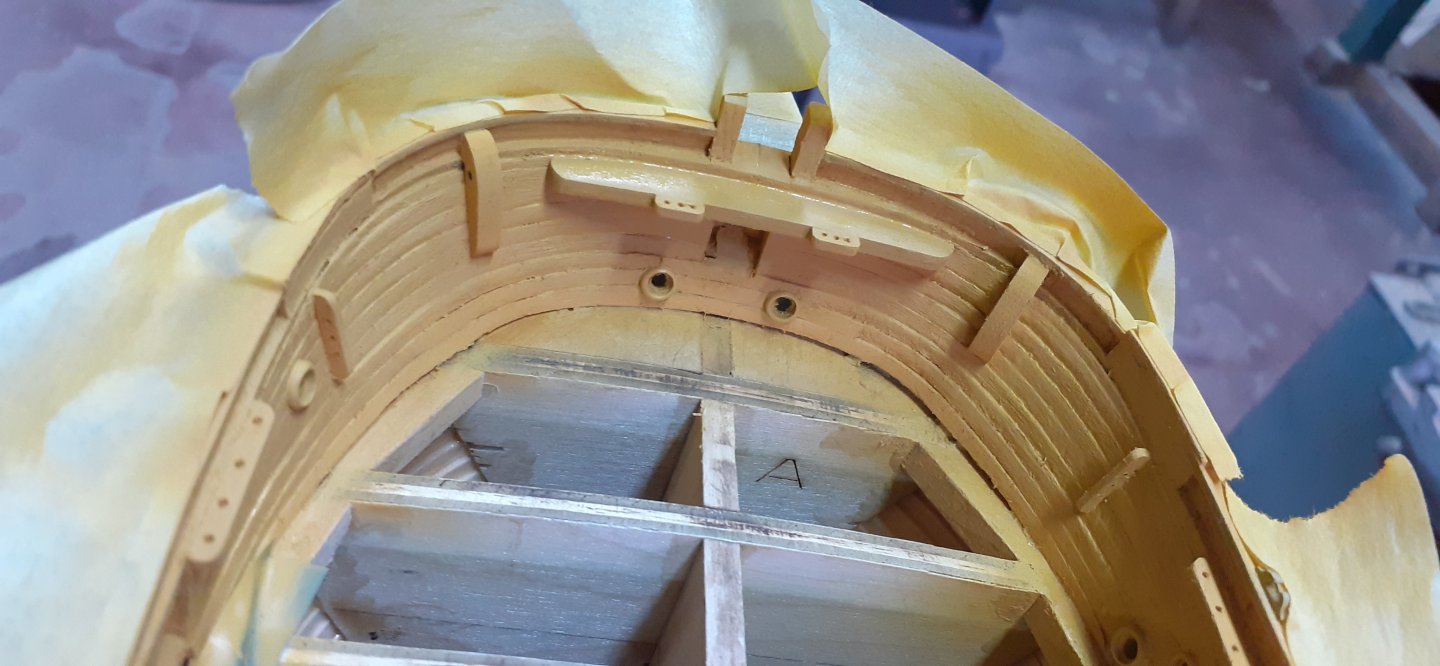
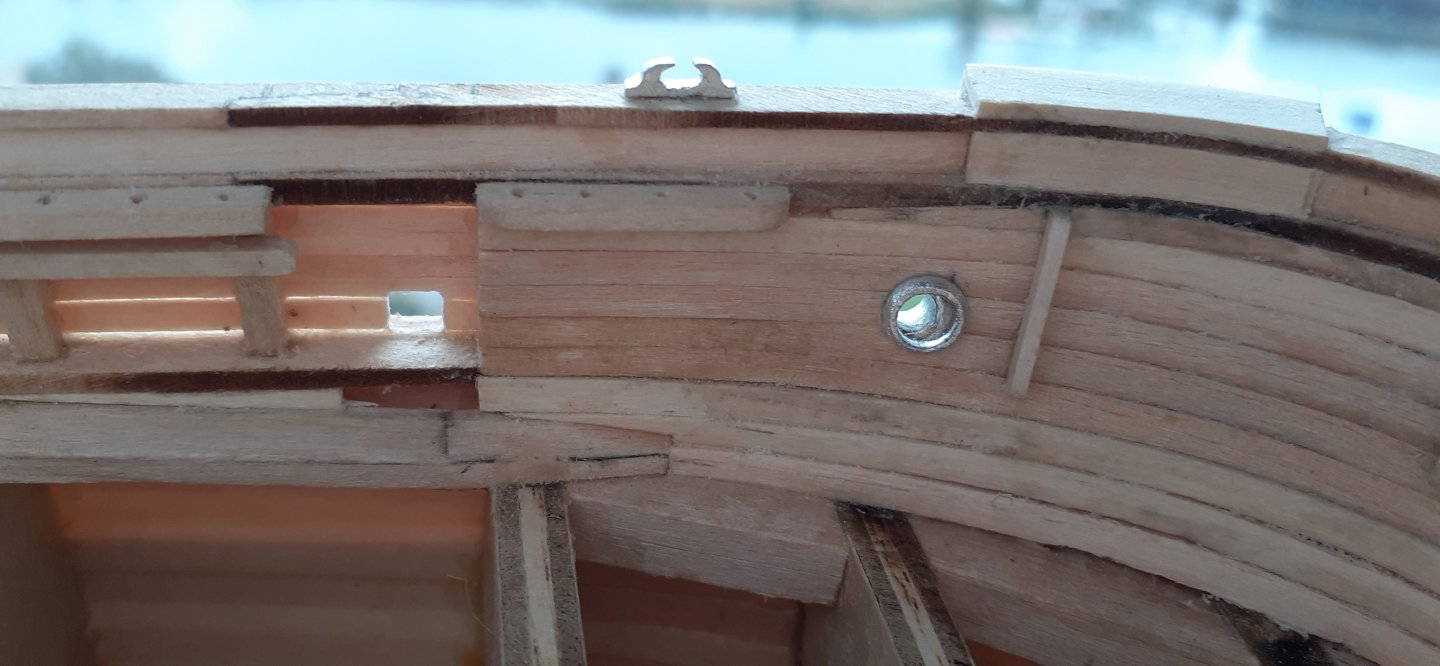
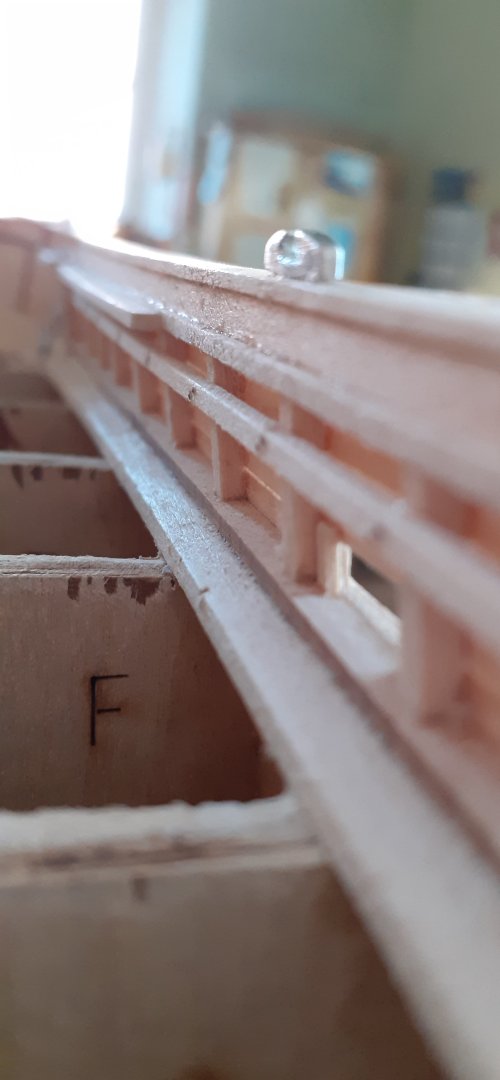
And more elements are arriving on the ship, the shipyard is working at full speed, although in reality it is painstaking tinkering and corrections to elements I was not satisfied with. I decided to make fasteners, I made the device by making a 0.4mm hole in a flat bar and a 0.3mm drill. I knocked them out of an aluminum can, making small circles.


-
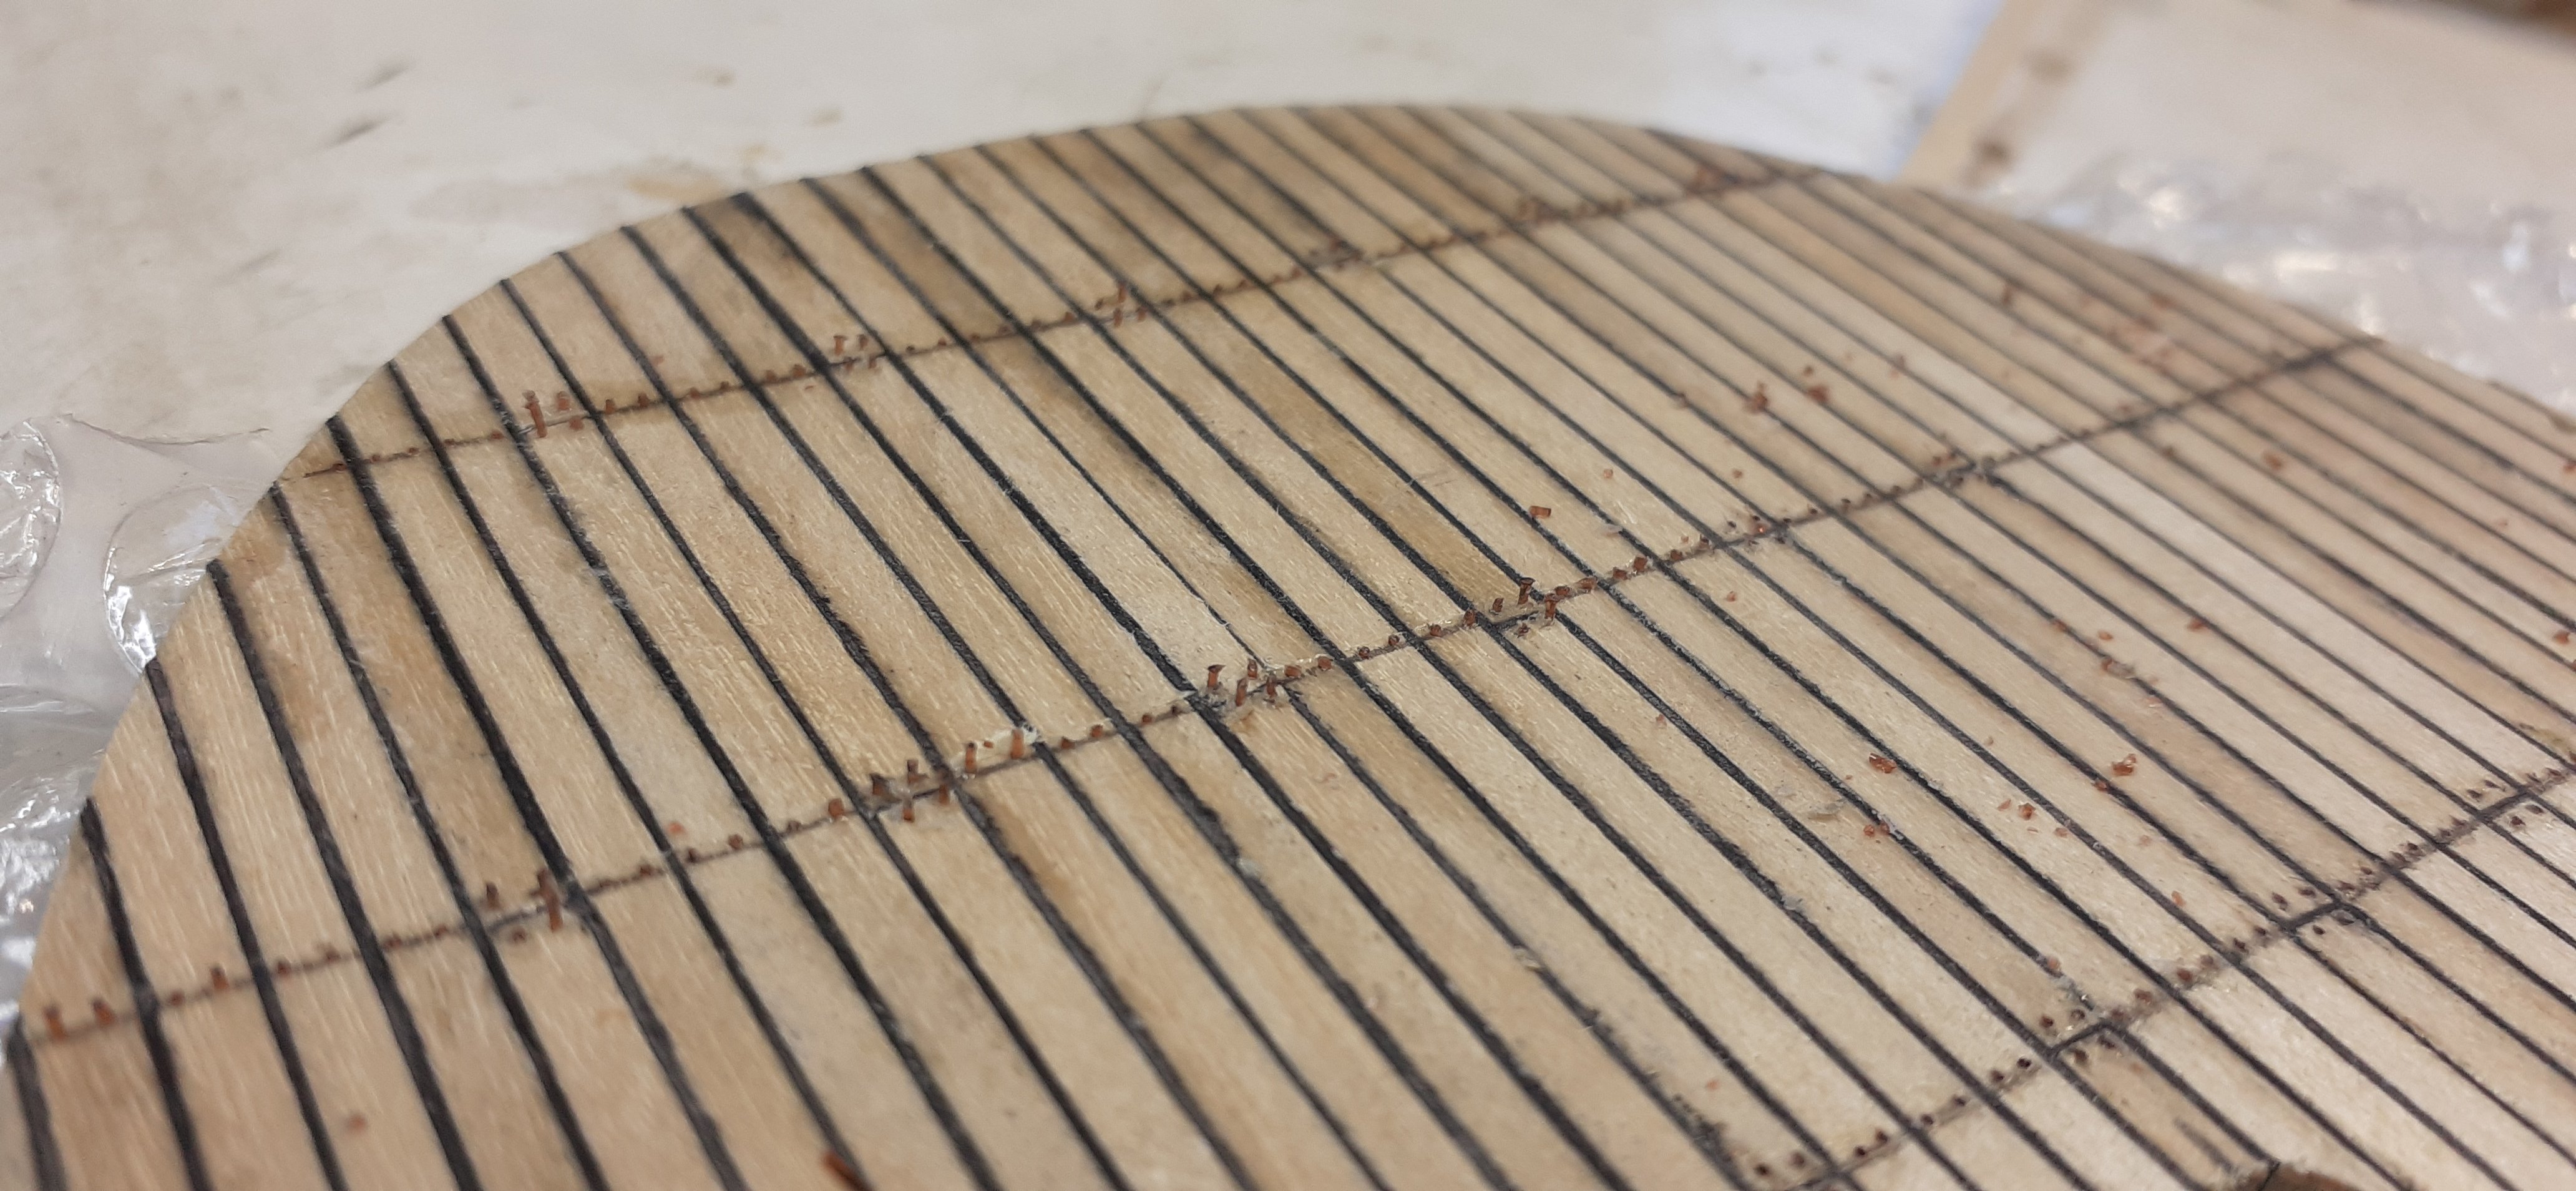
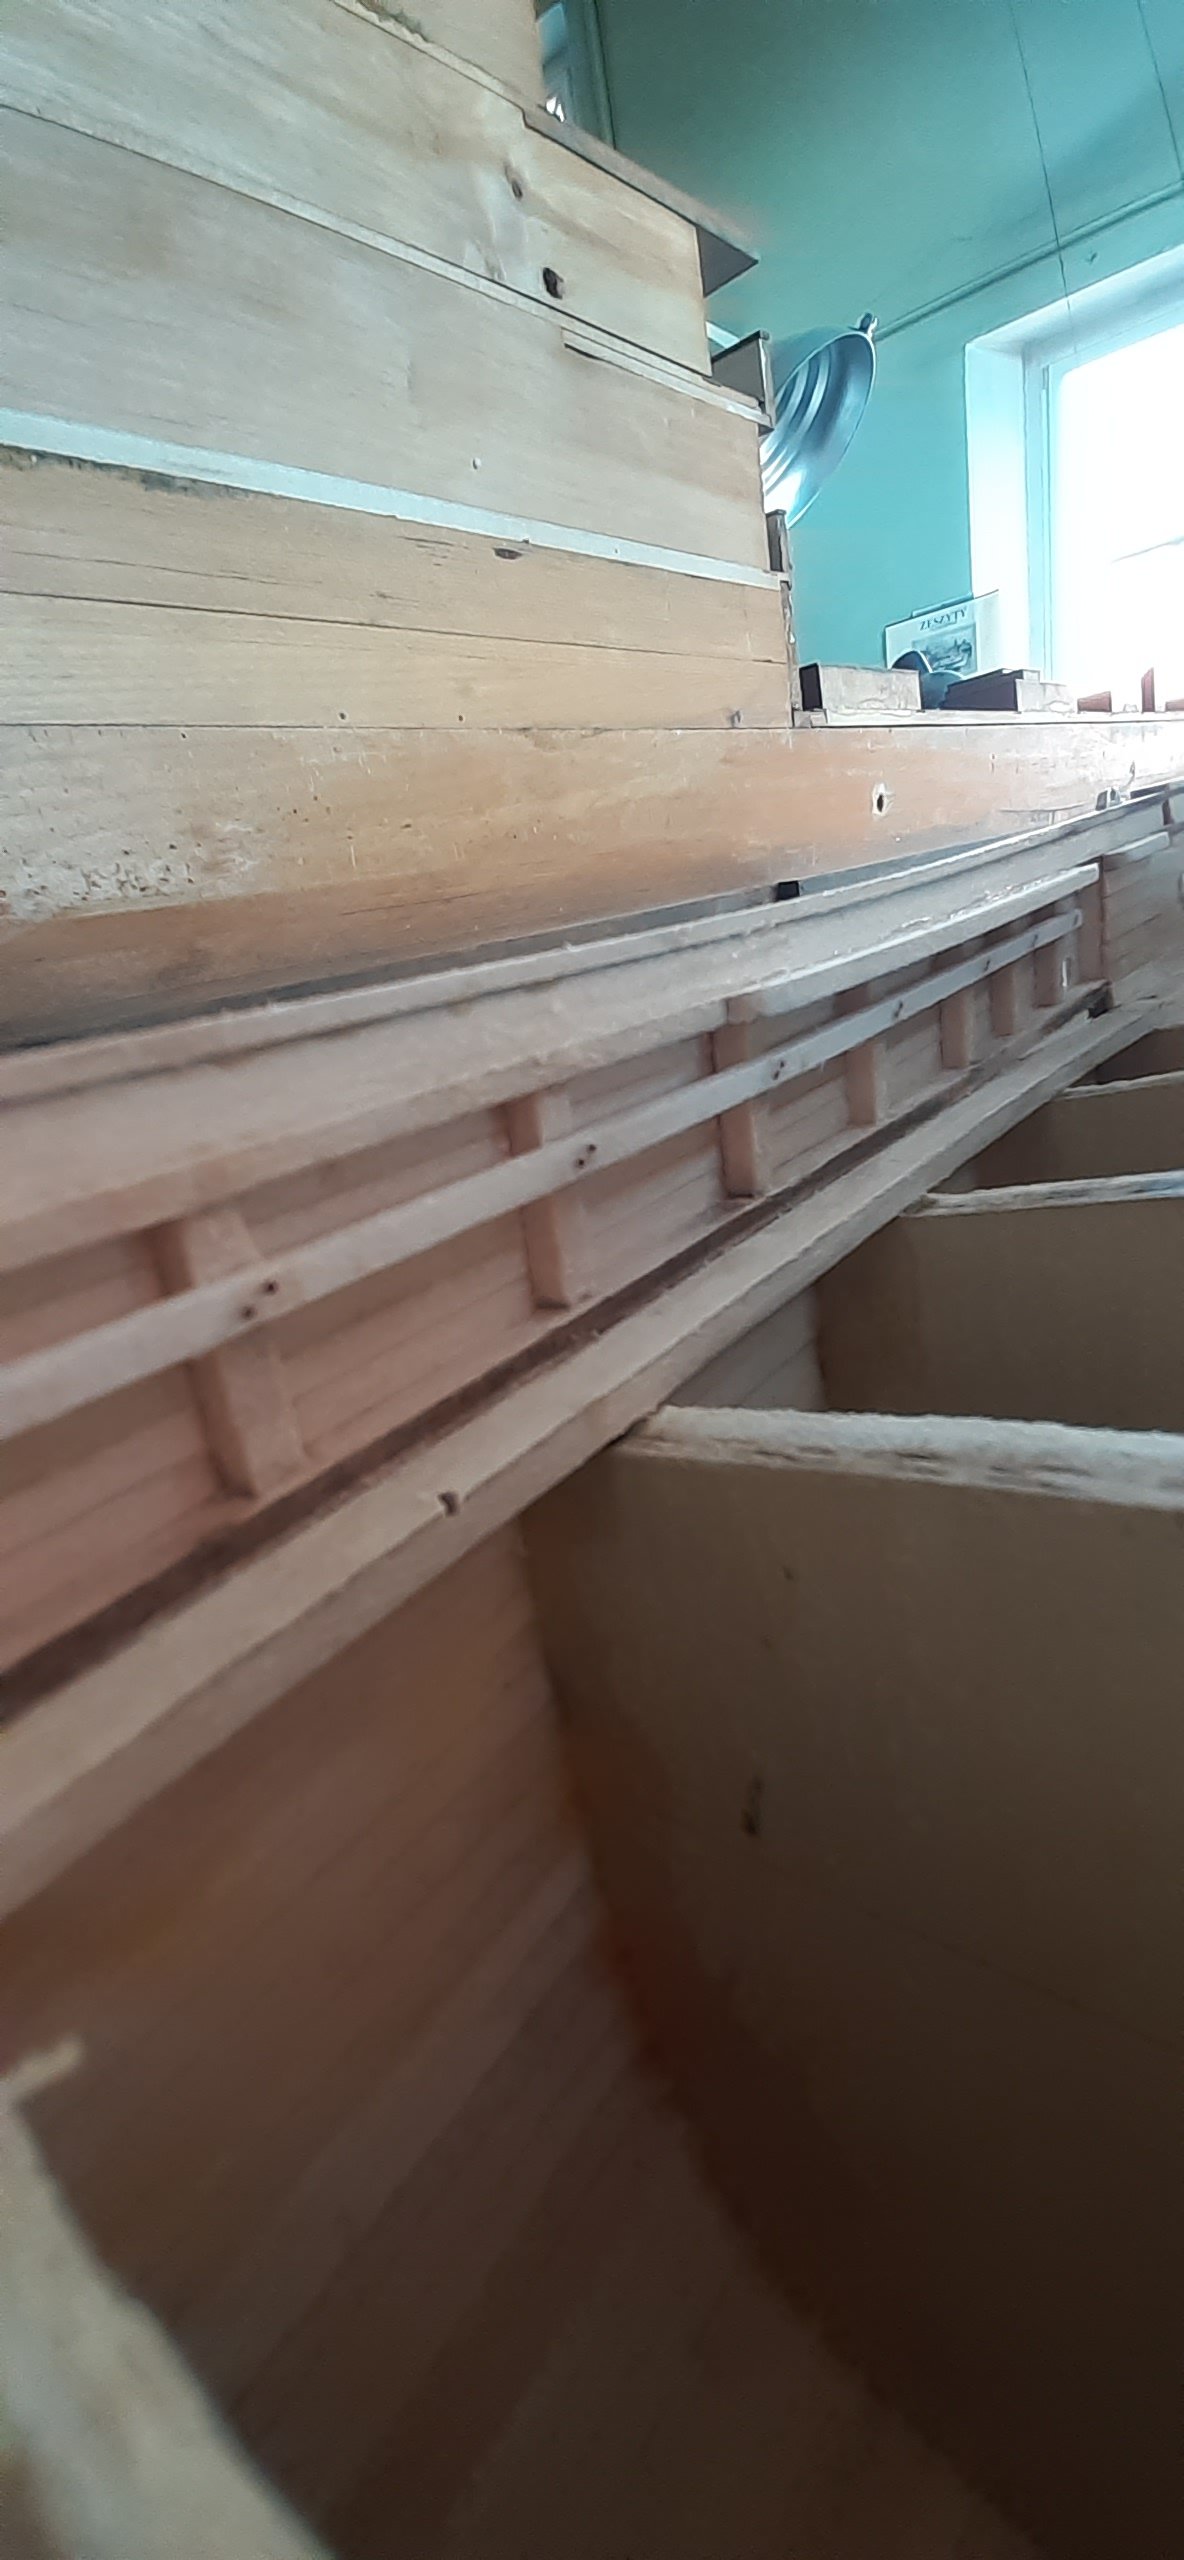
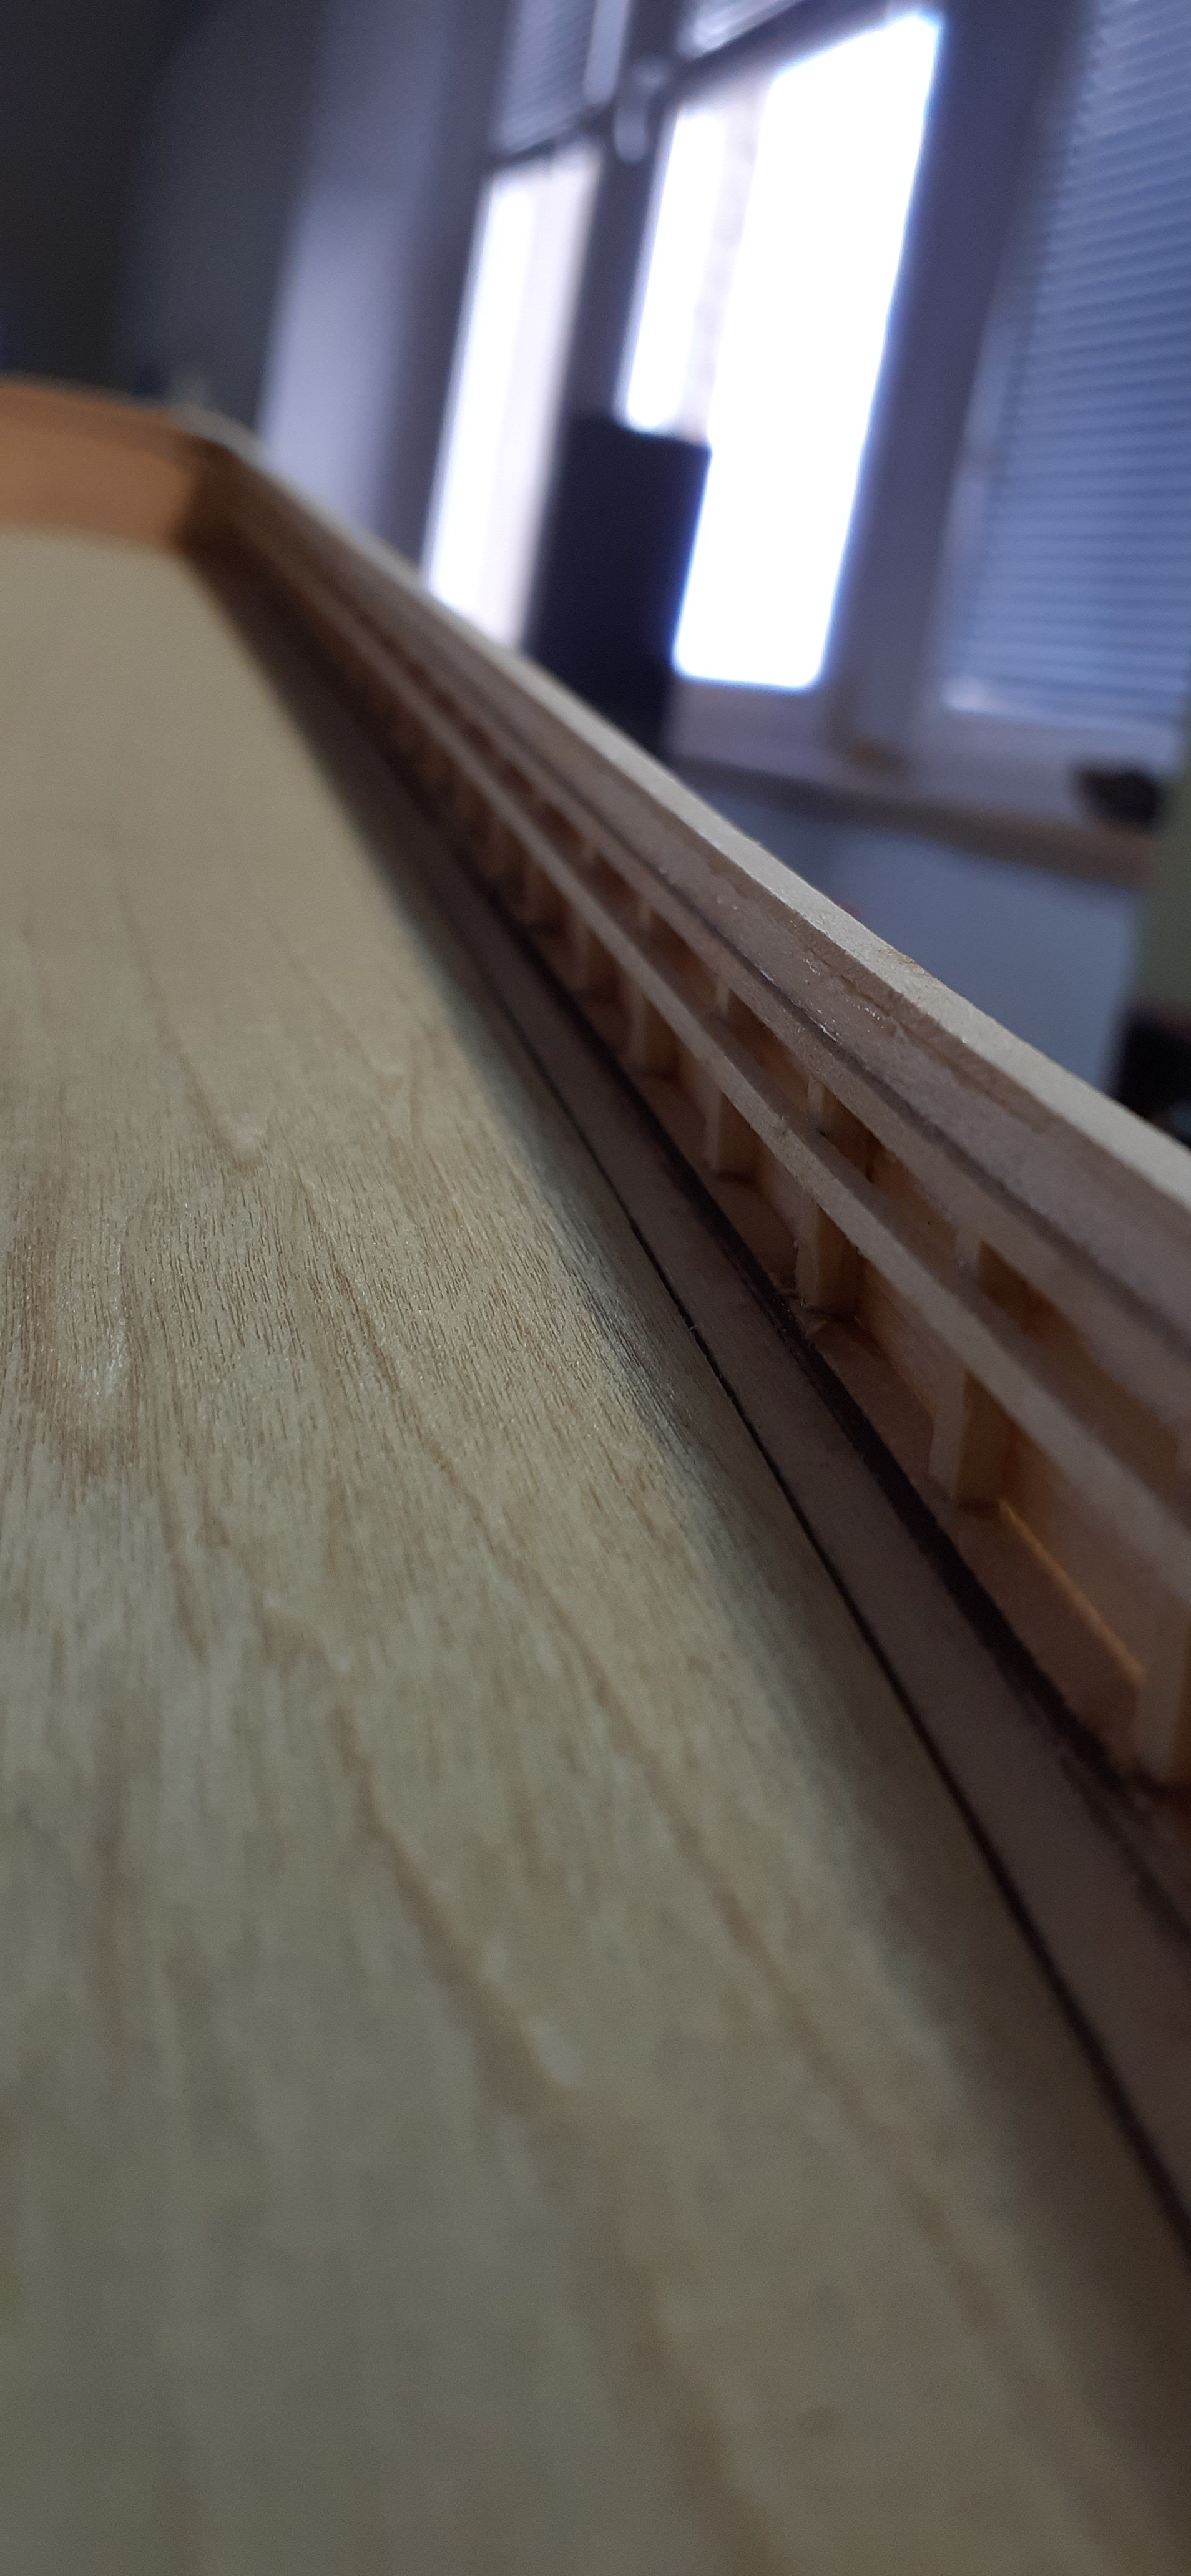
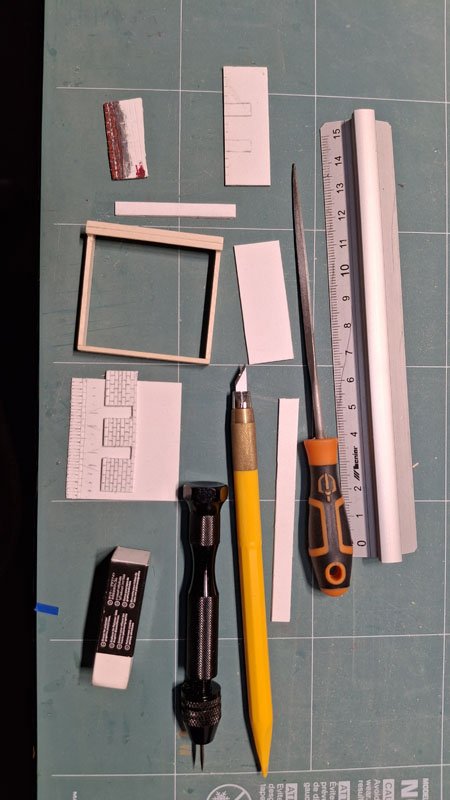
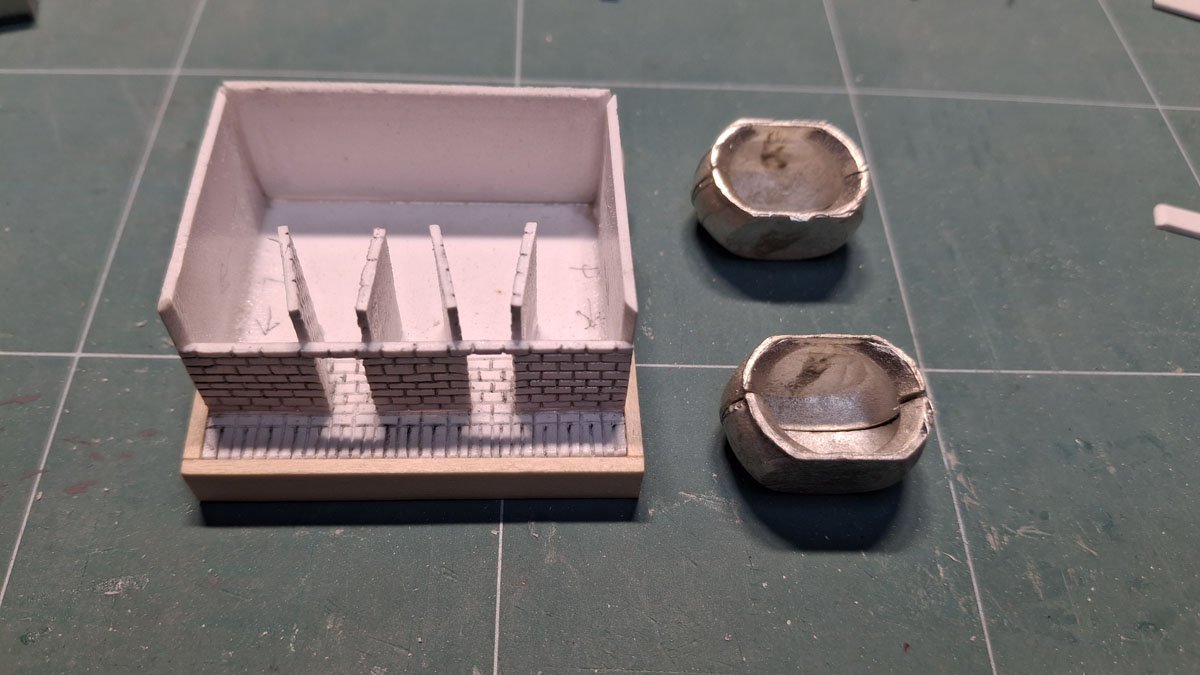
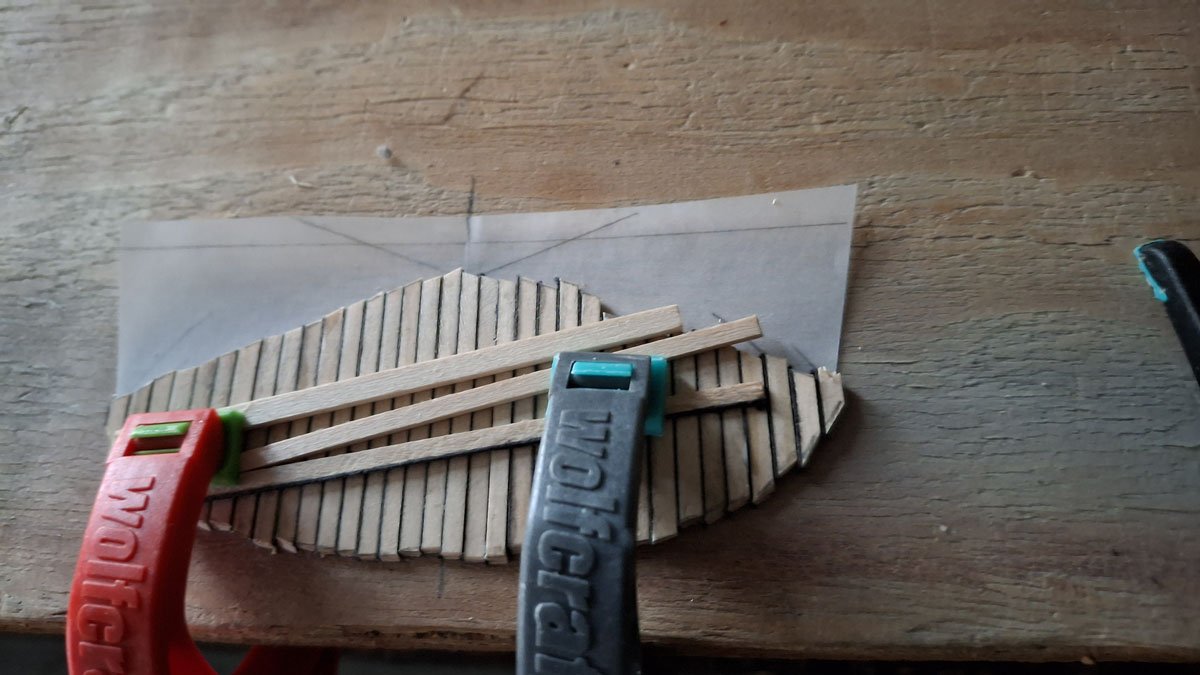
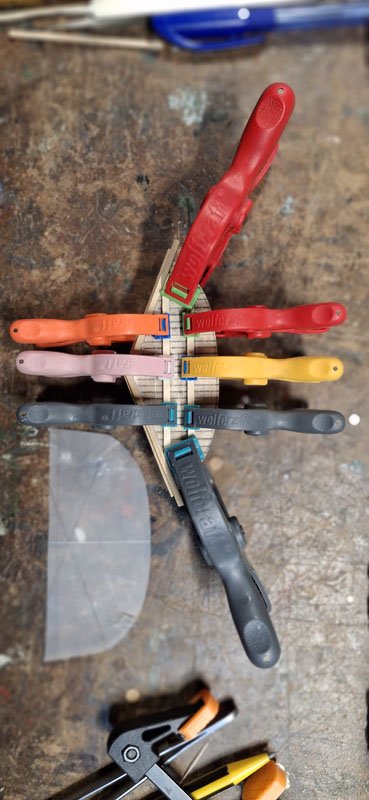
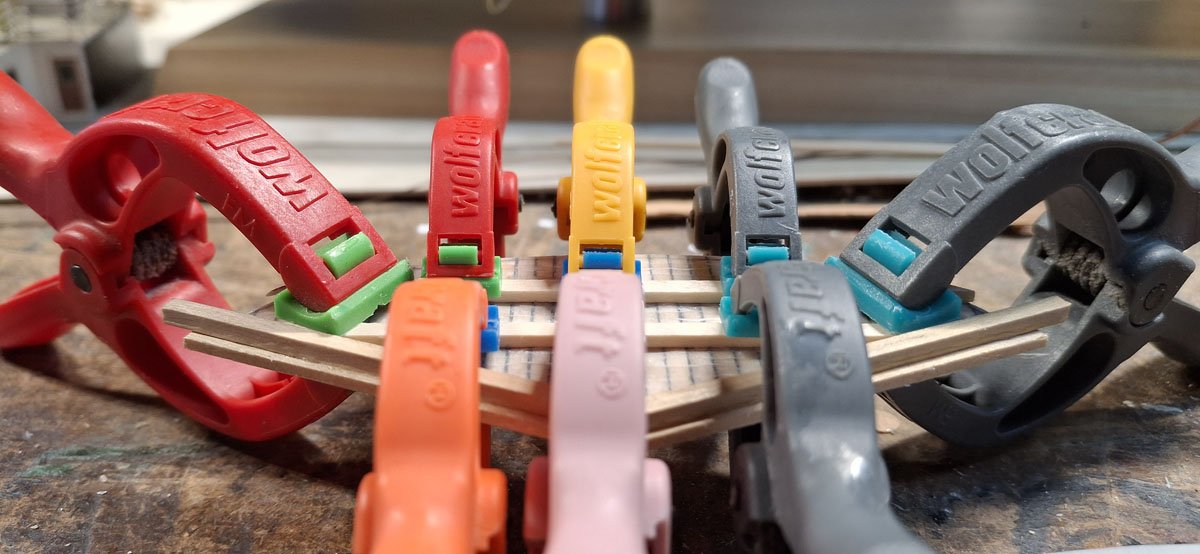
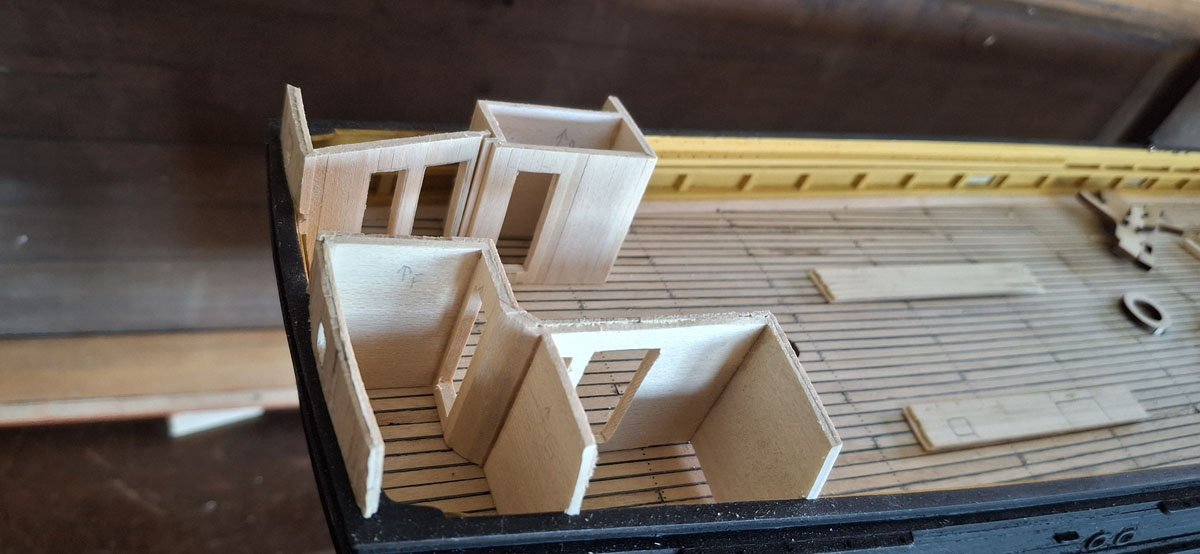
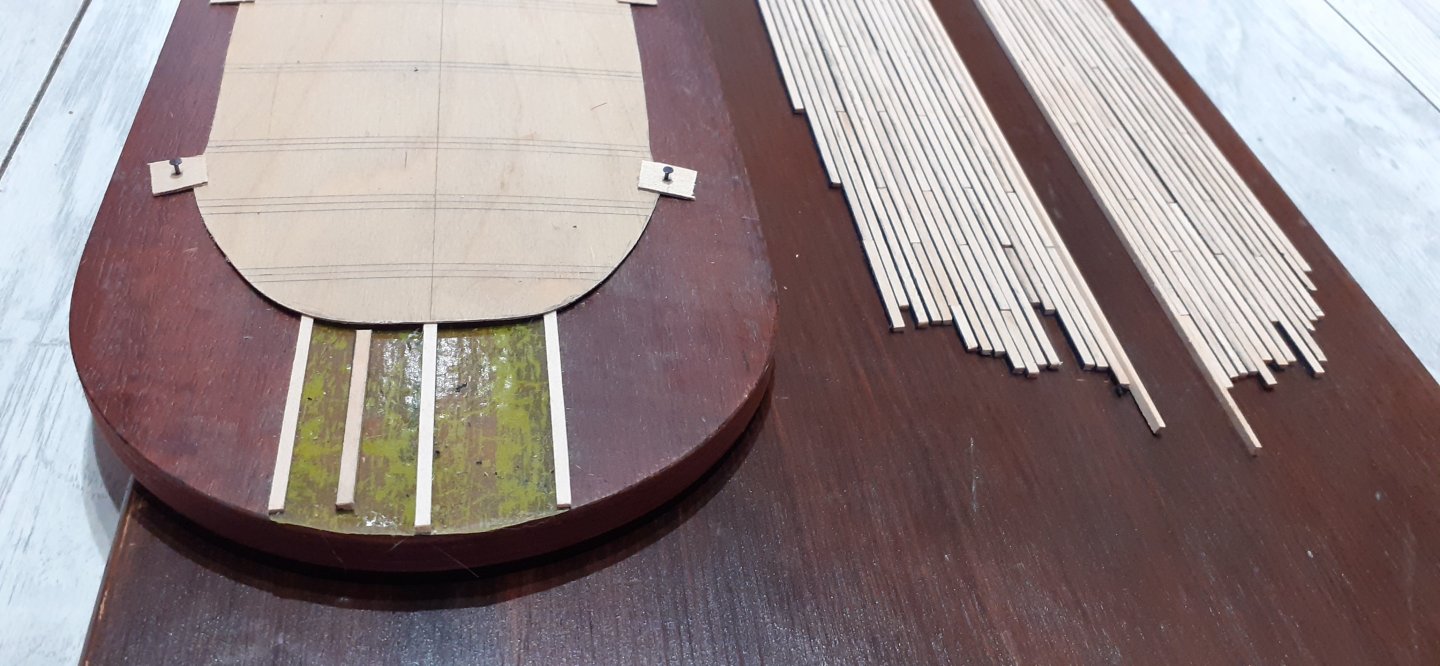
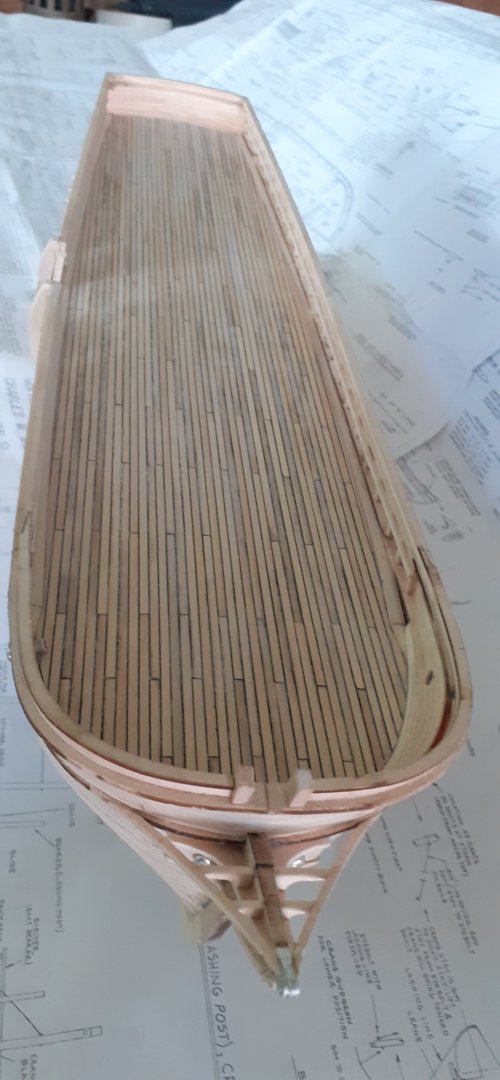
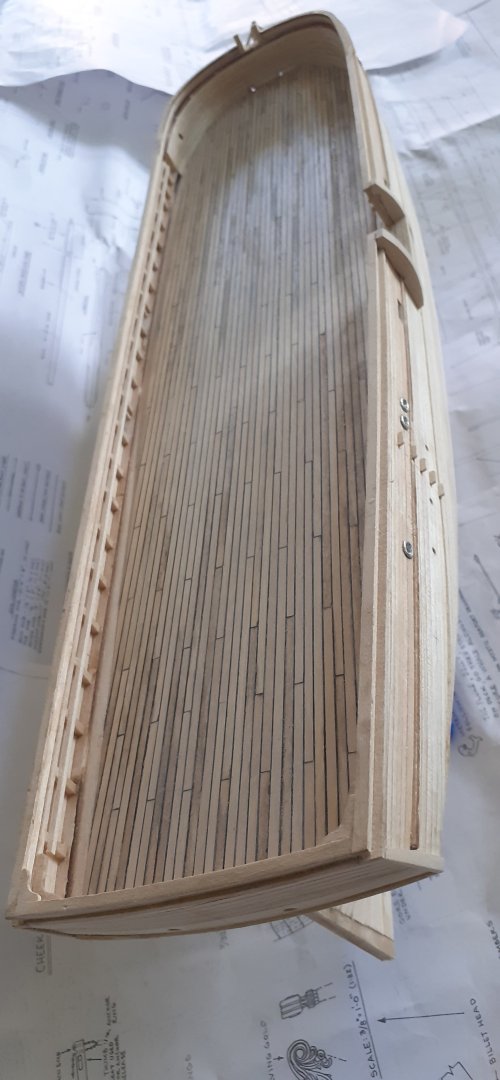
Next stage of the deck. I chose a different path to achieve the goal. Below are some photos of my work with matter.


-
Thank you for your kind words. My work with this model began with this very portal. Searching for information about this ship led me to this place. Charles W Morgan is the history of America, so I found the most information about this ship here and in the process I discovered many fantastic modelers who struggle with the subject of its construction. I am from Poland, I hope that my sentences are quite legible, my English is not the best and I am forced to use a translator.


-
Next stage of the deck. I chose a different path to achieve the goal. Below are some photos of my work with matter.


-
Thank you for your kind words. My work with this model began with this very portal. Searching for information about this ship led me to this place. Charles W Morgan is the history of America, so I found the most information about this ship here and in the process I discovered many fantastic modelers who struggle with the subject of its construction. I am from Poland, I hope that my sentences are quite legible, my English is not the best and I am forced to use a translator.


- Show previous comments 1 more
-
-
Everything transferred, I also added a few more photos.
-