Boeing774
-
Posts
48 -
Joined
-
Last visited
Content Type
Profiles
Forums
Gallery
Events
Everything posted by Boeing774
-
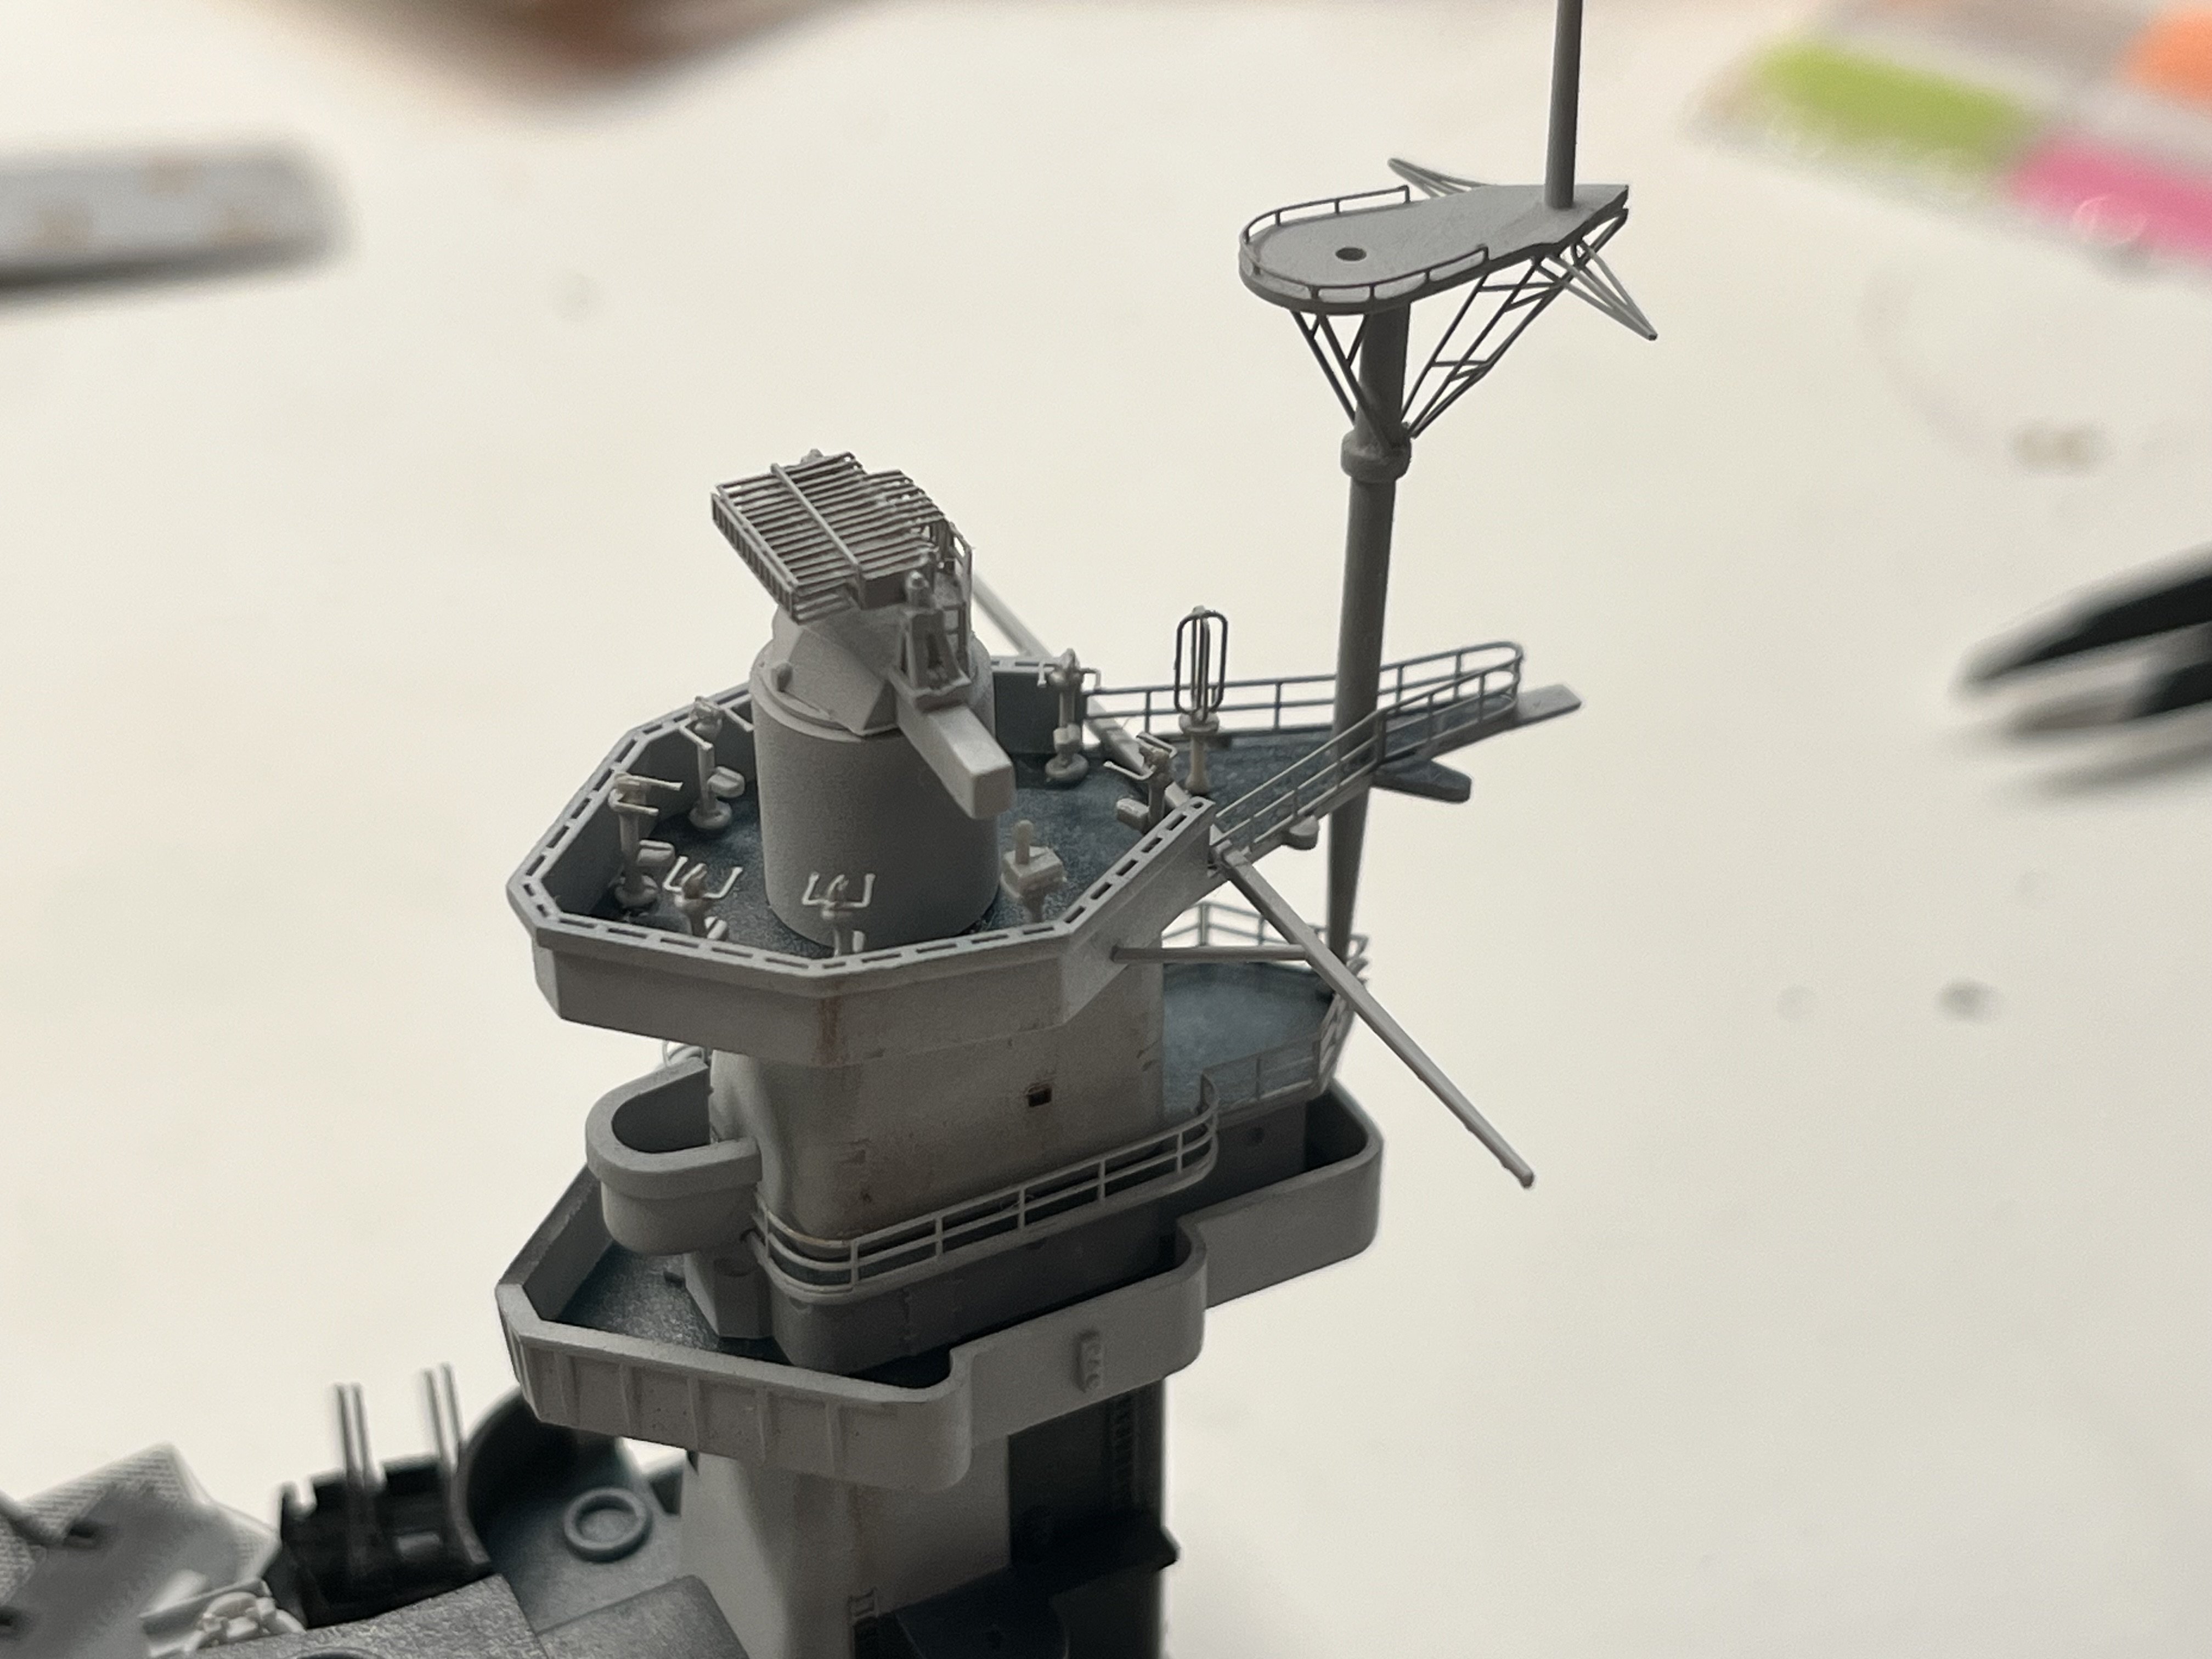
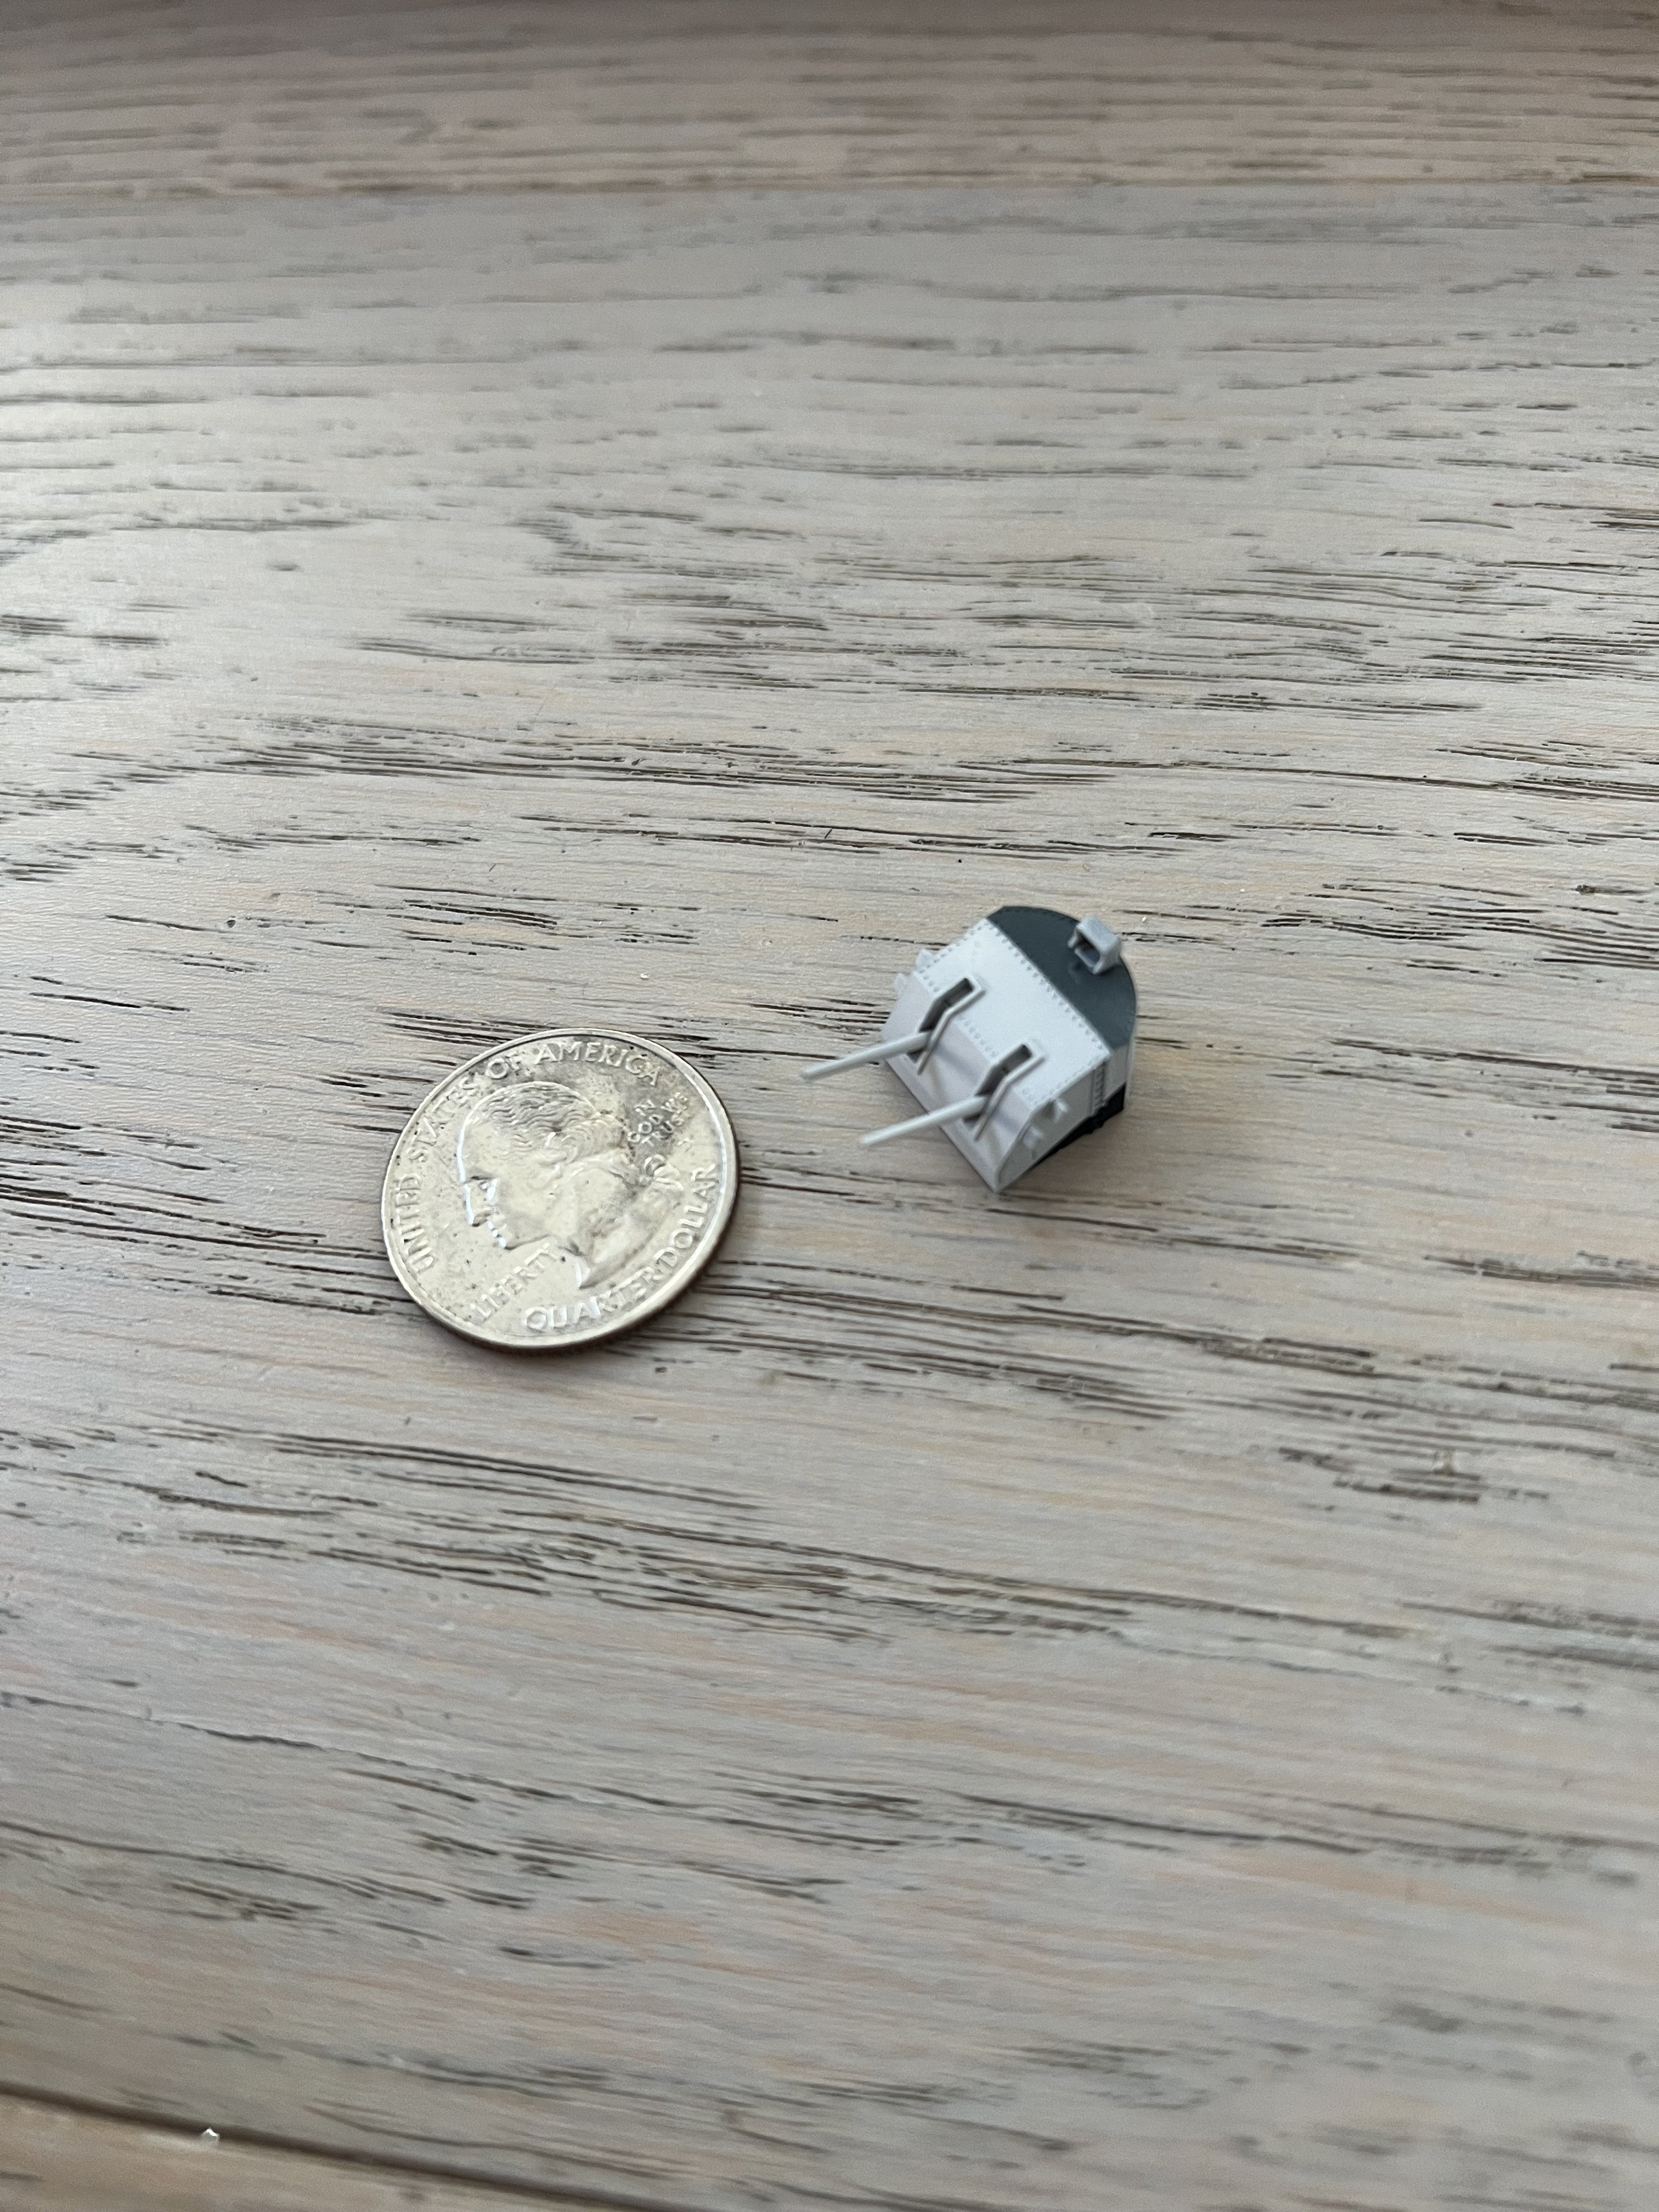
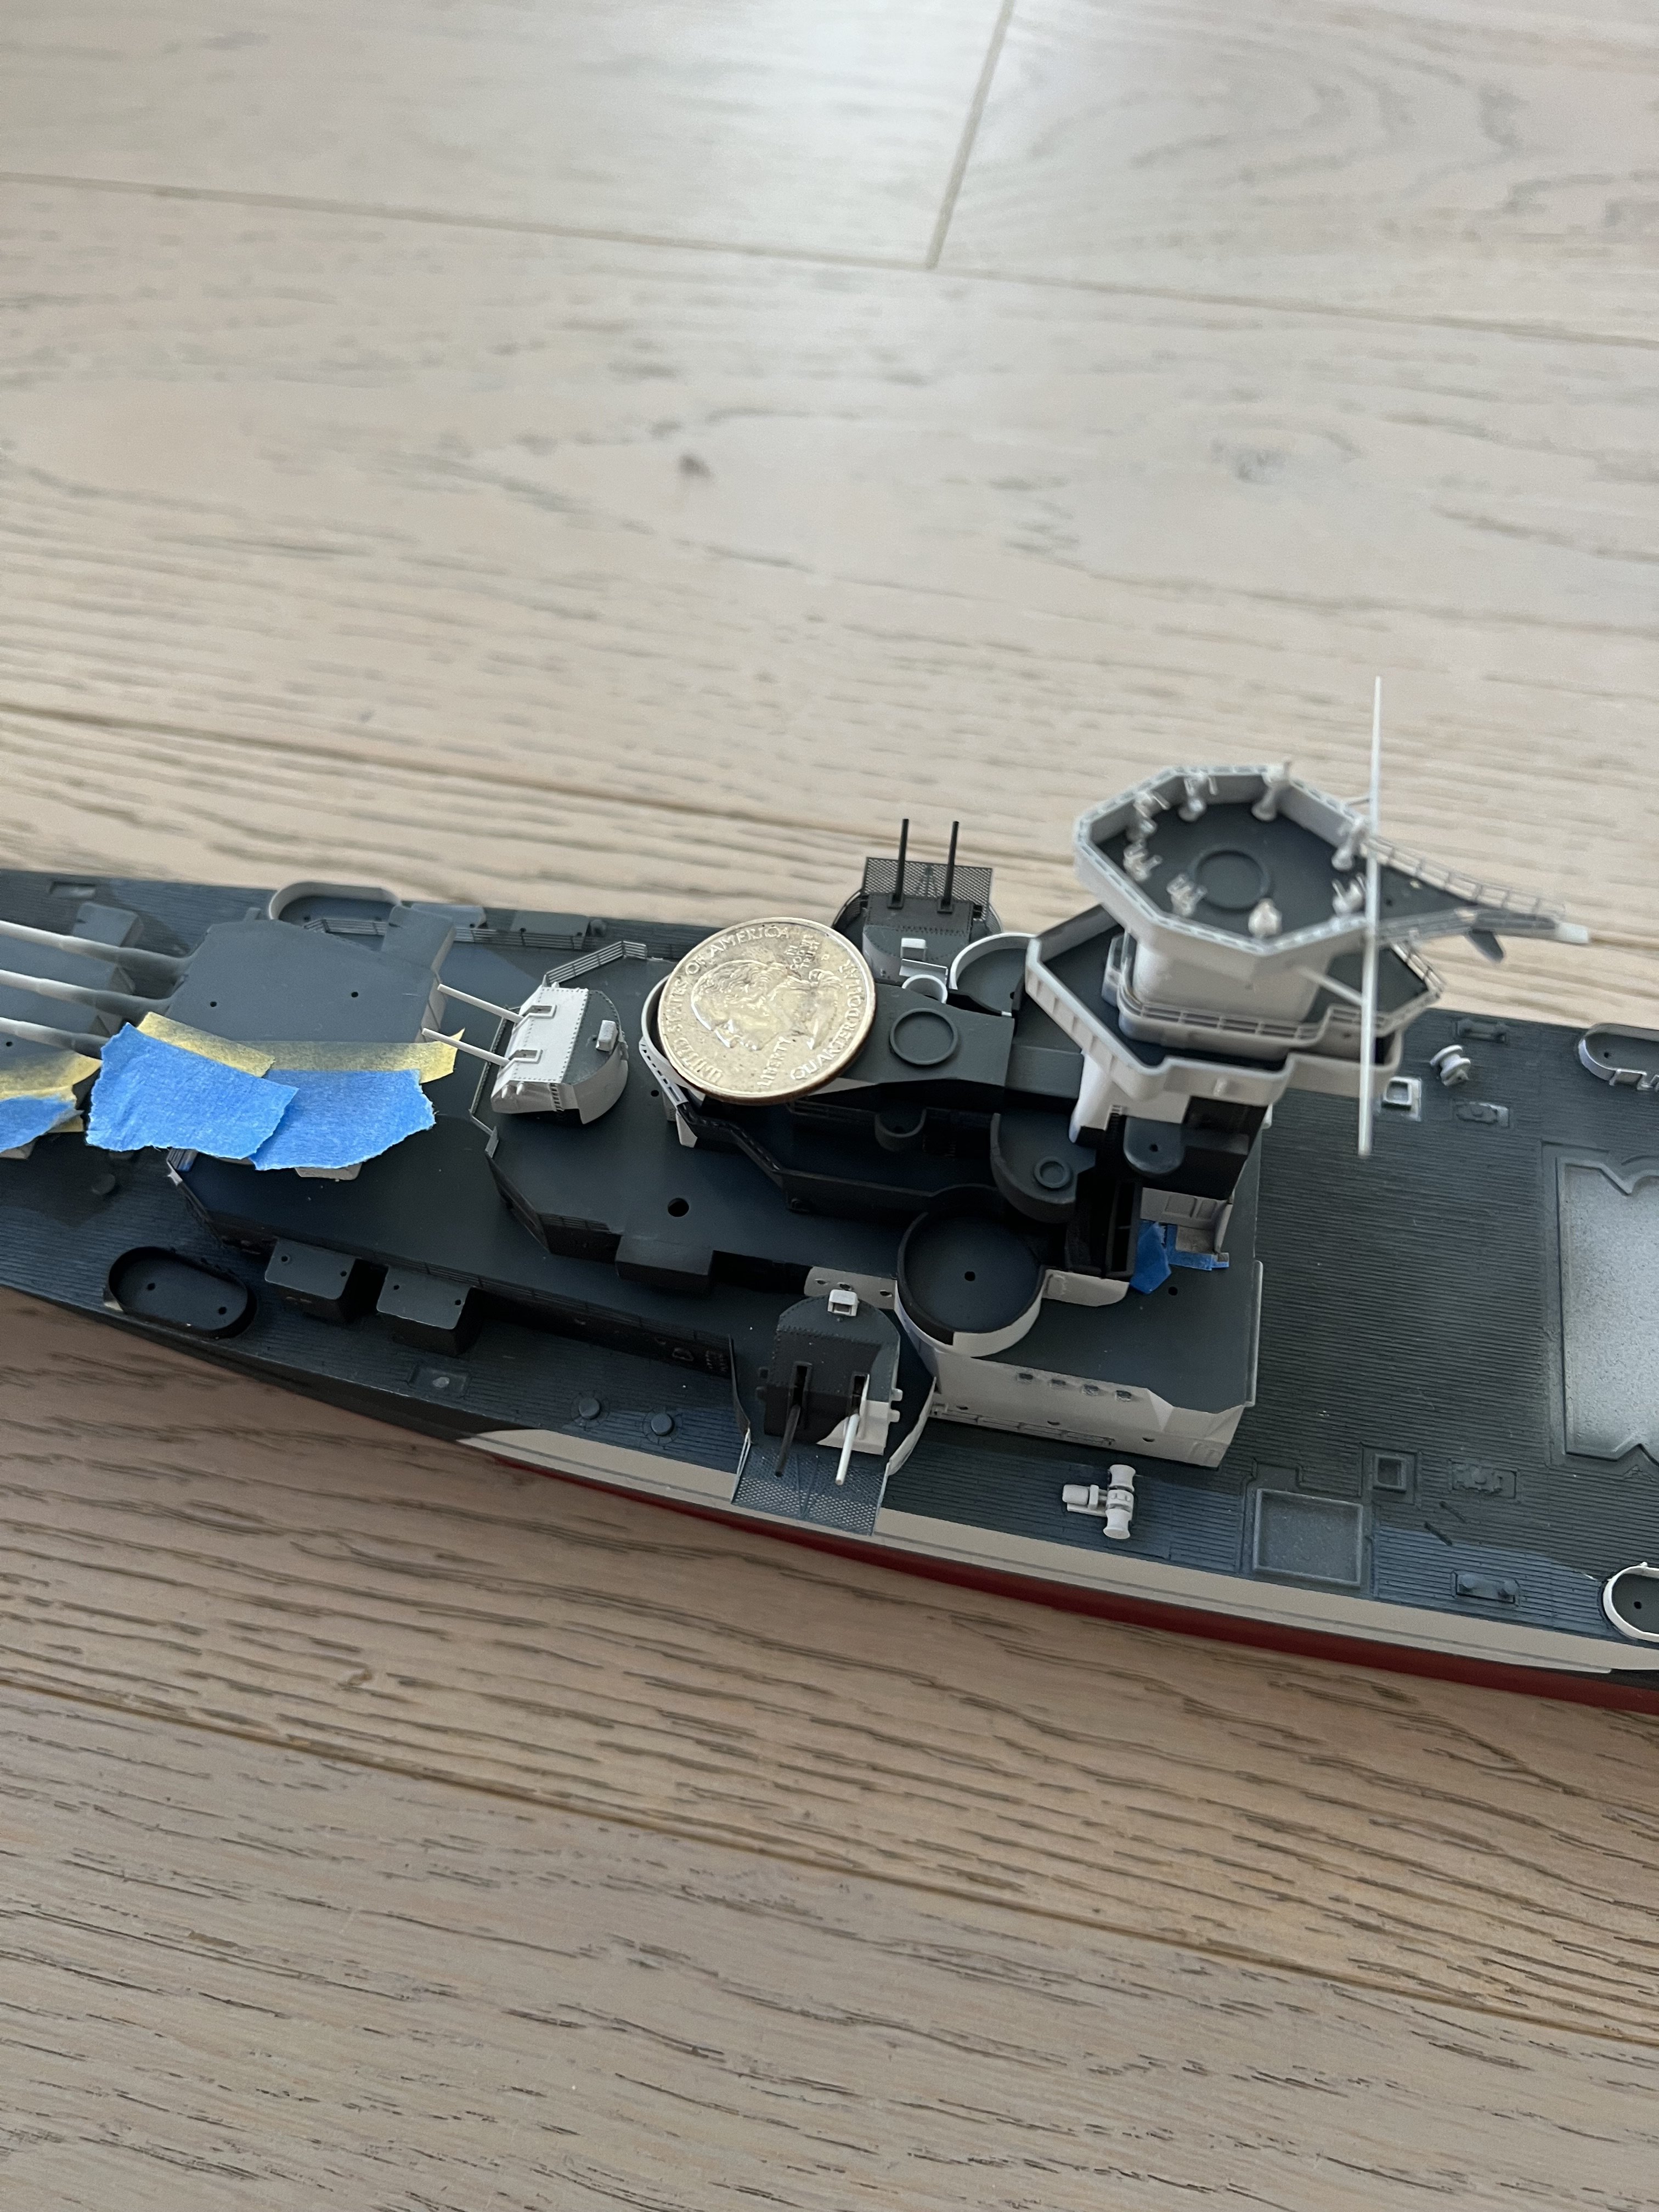
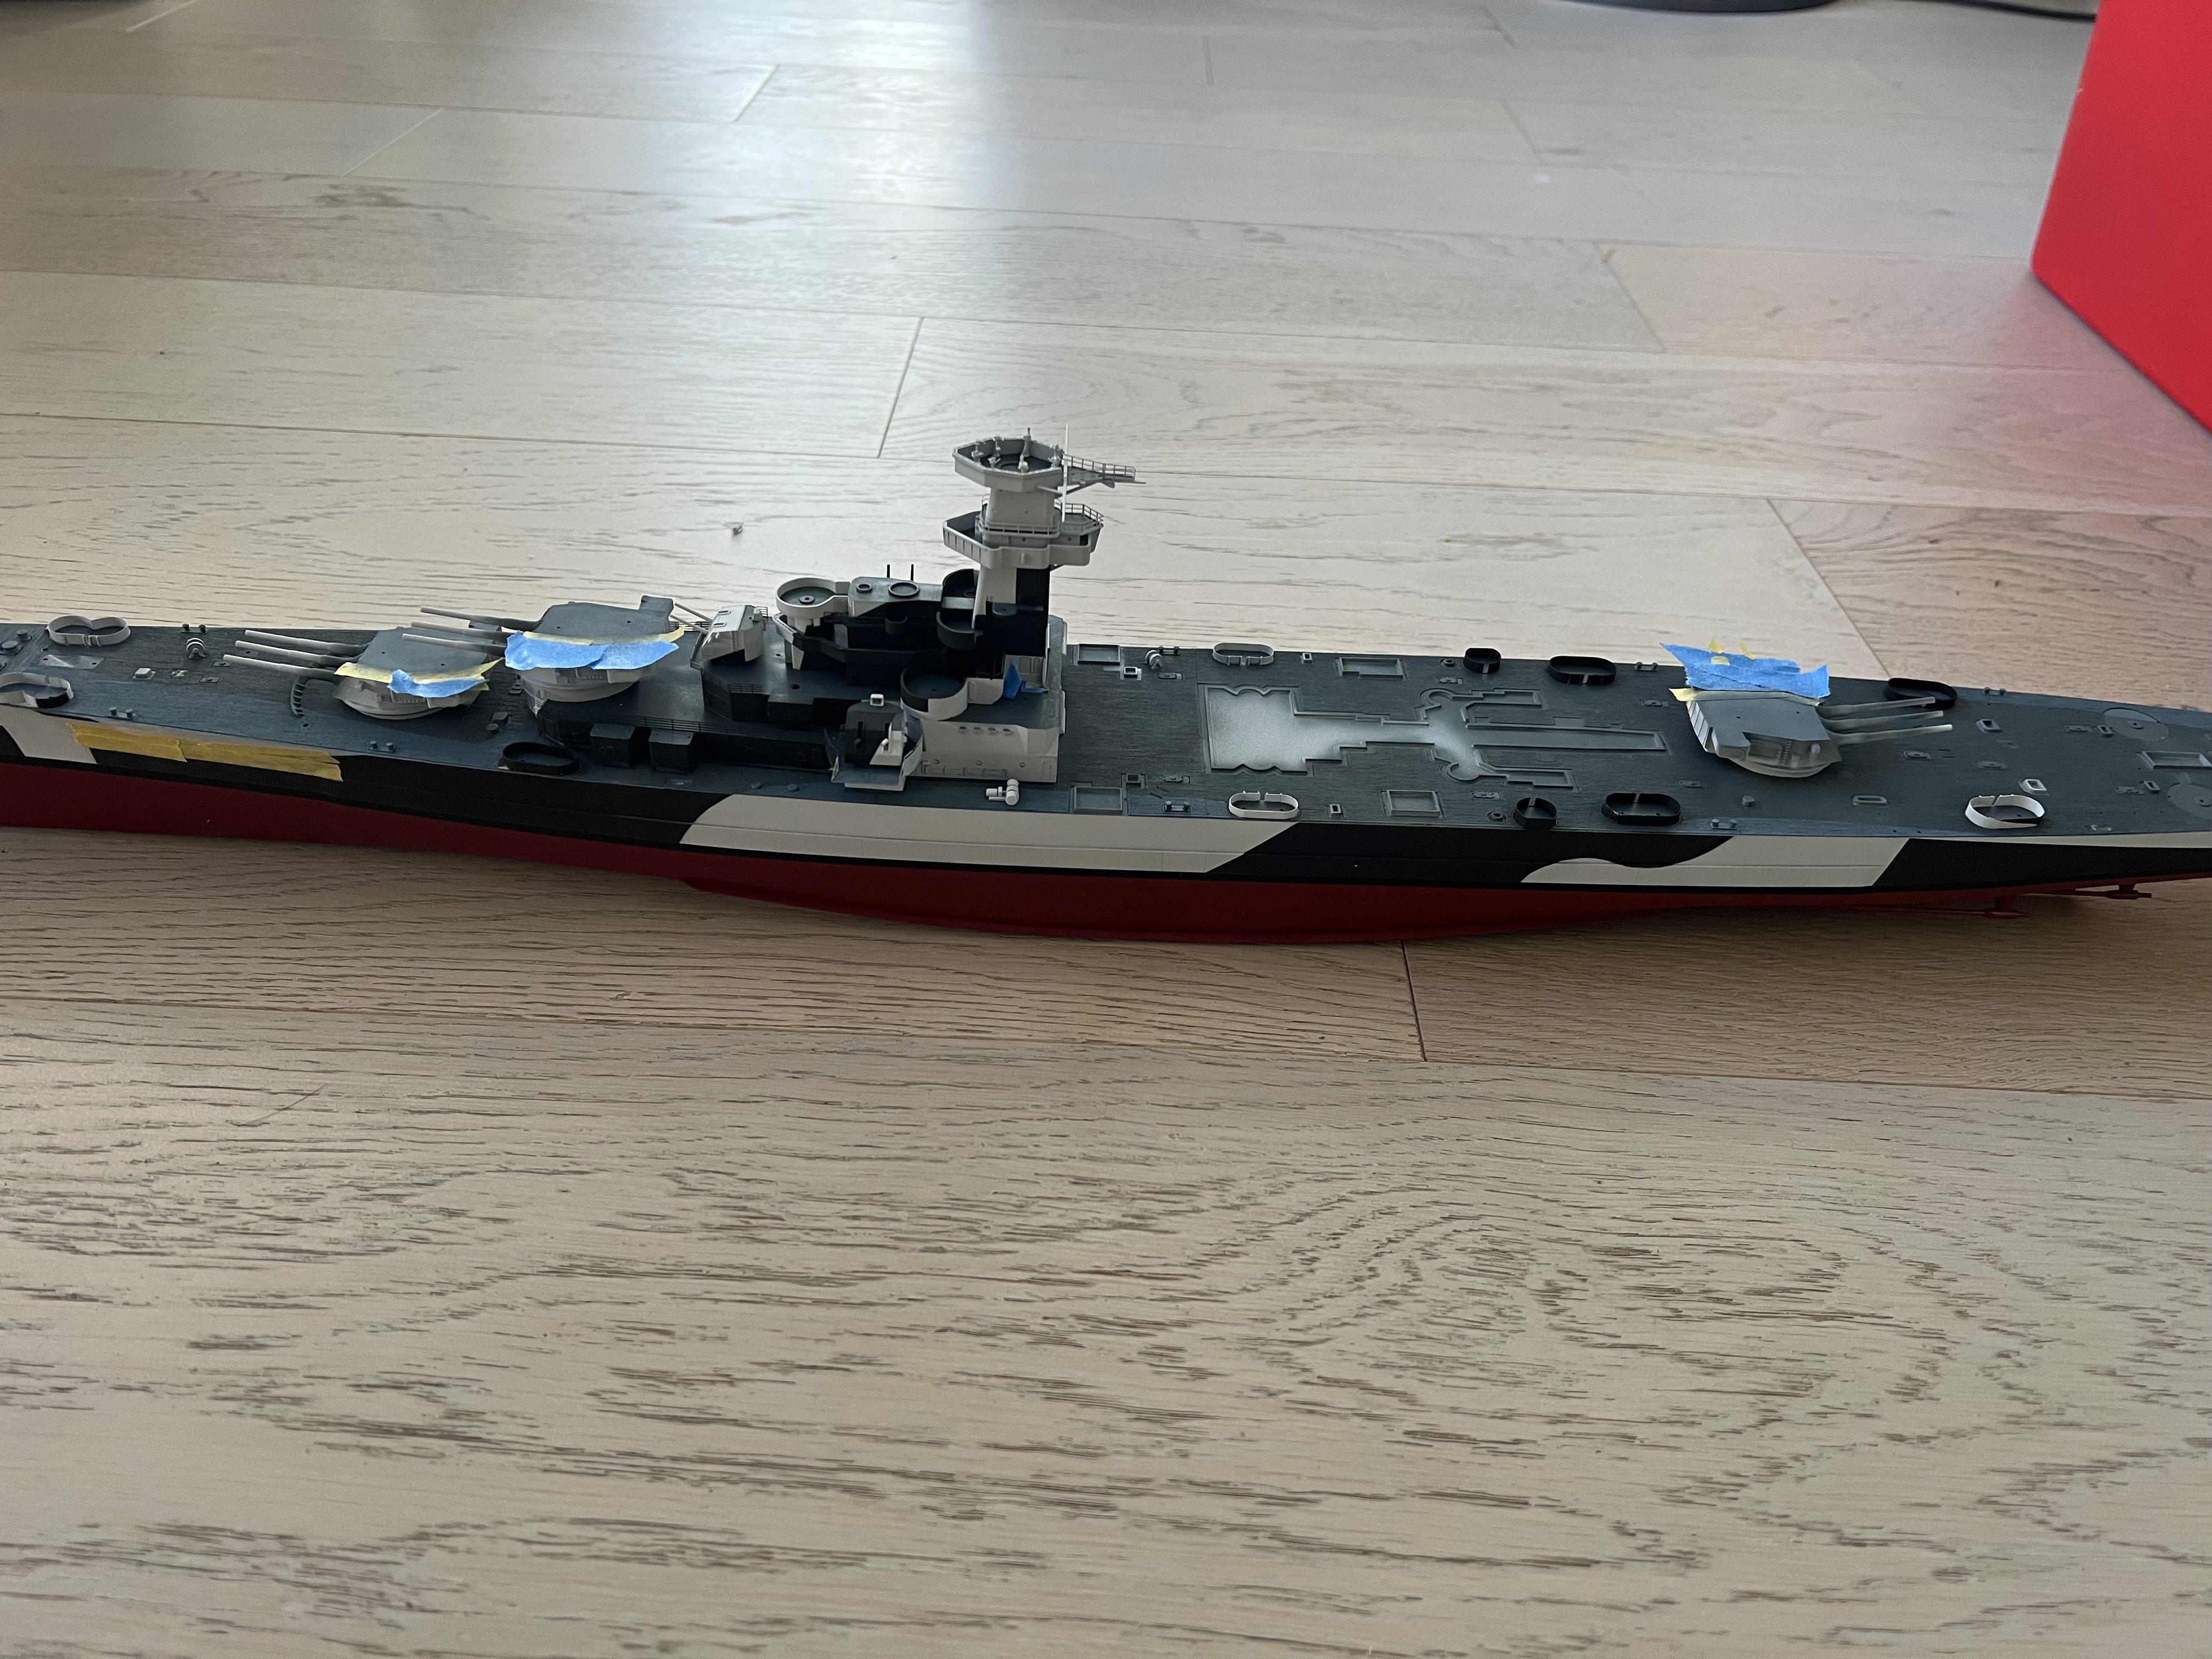
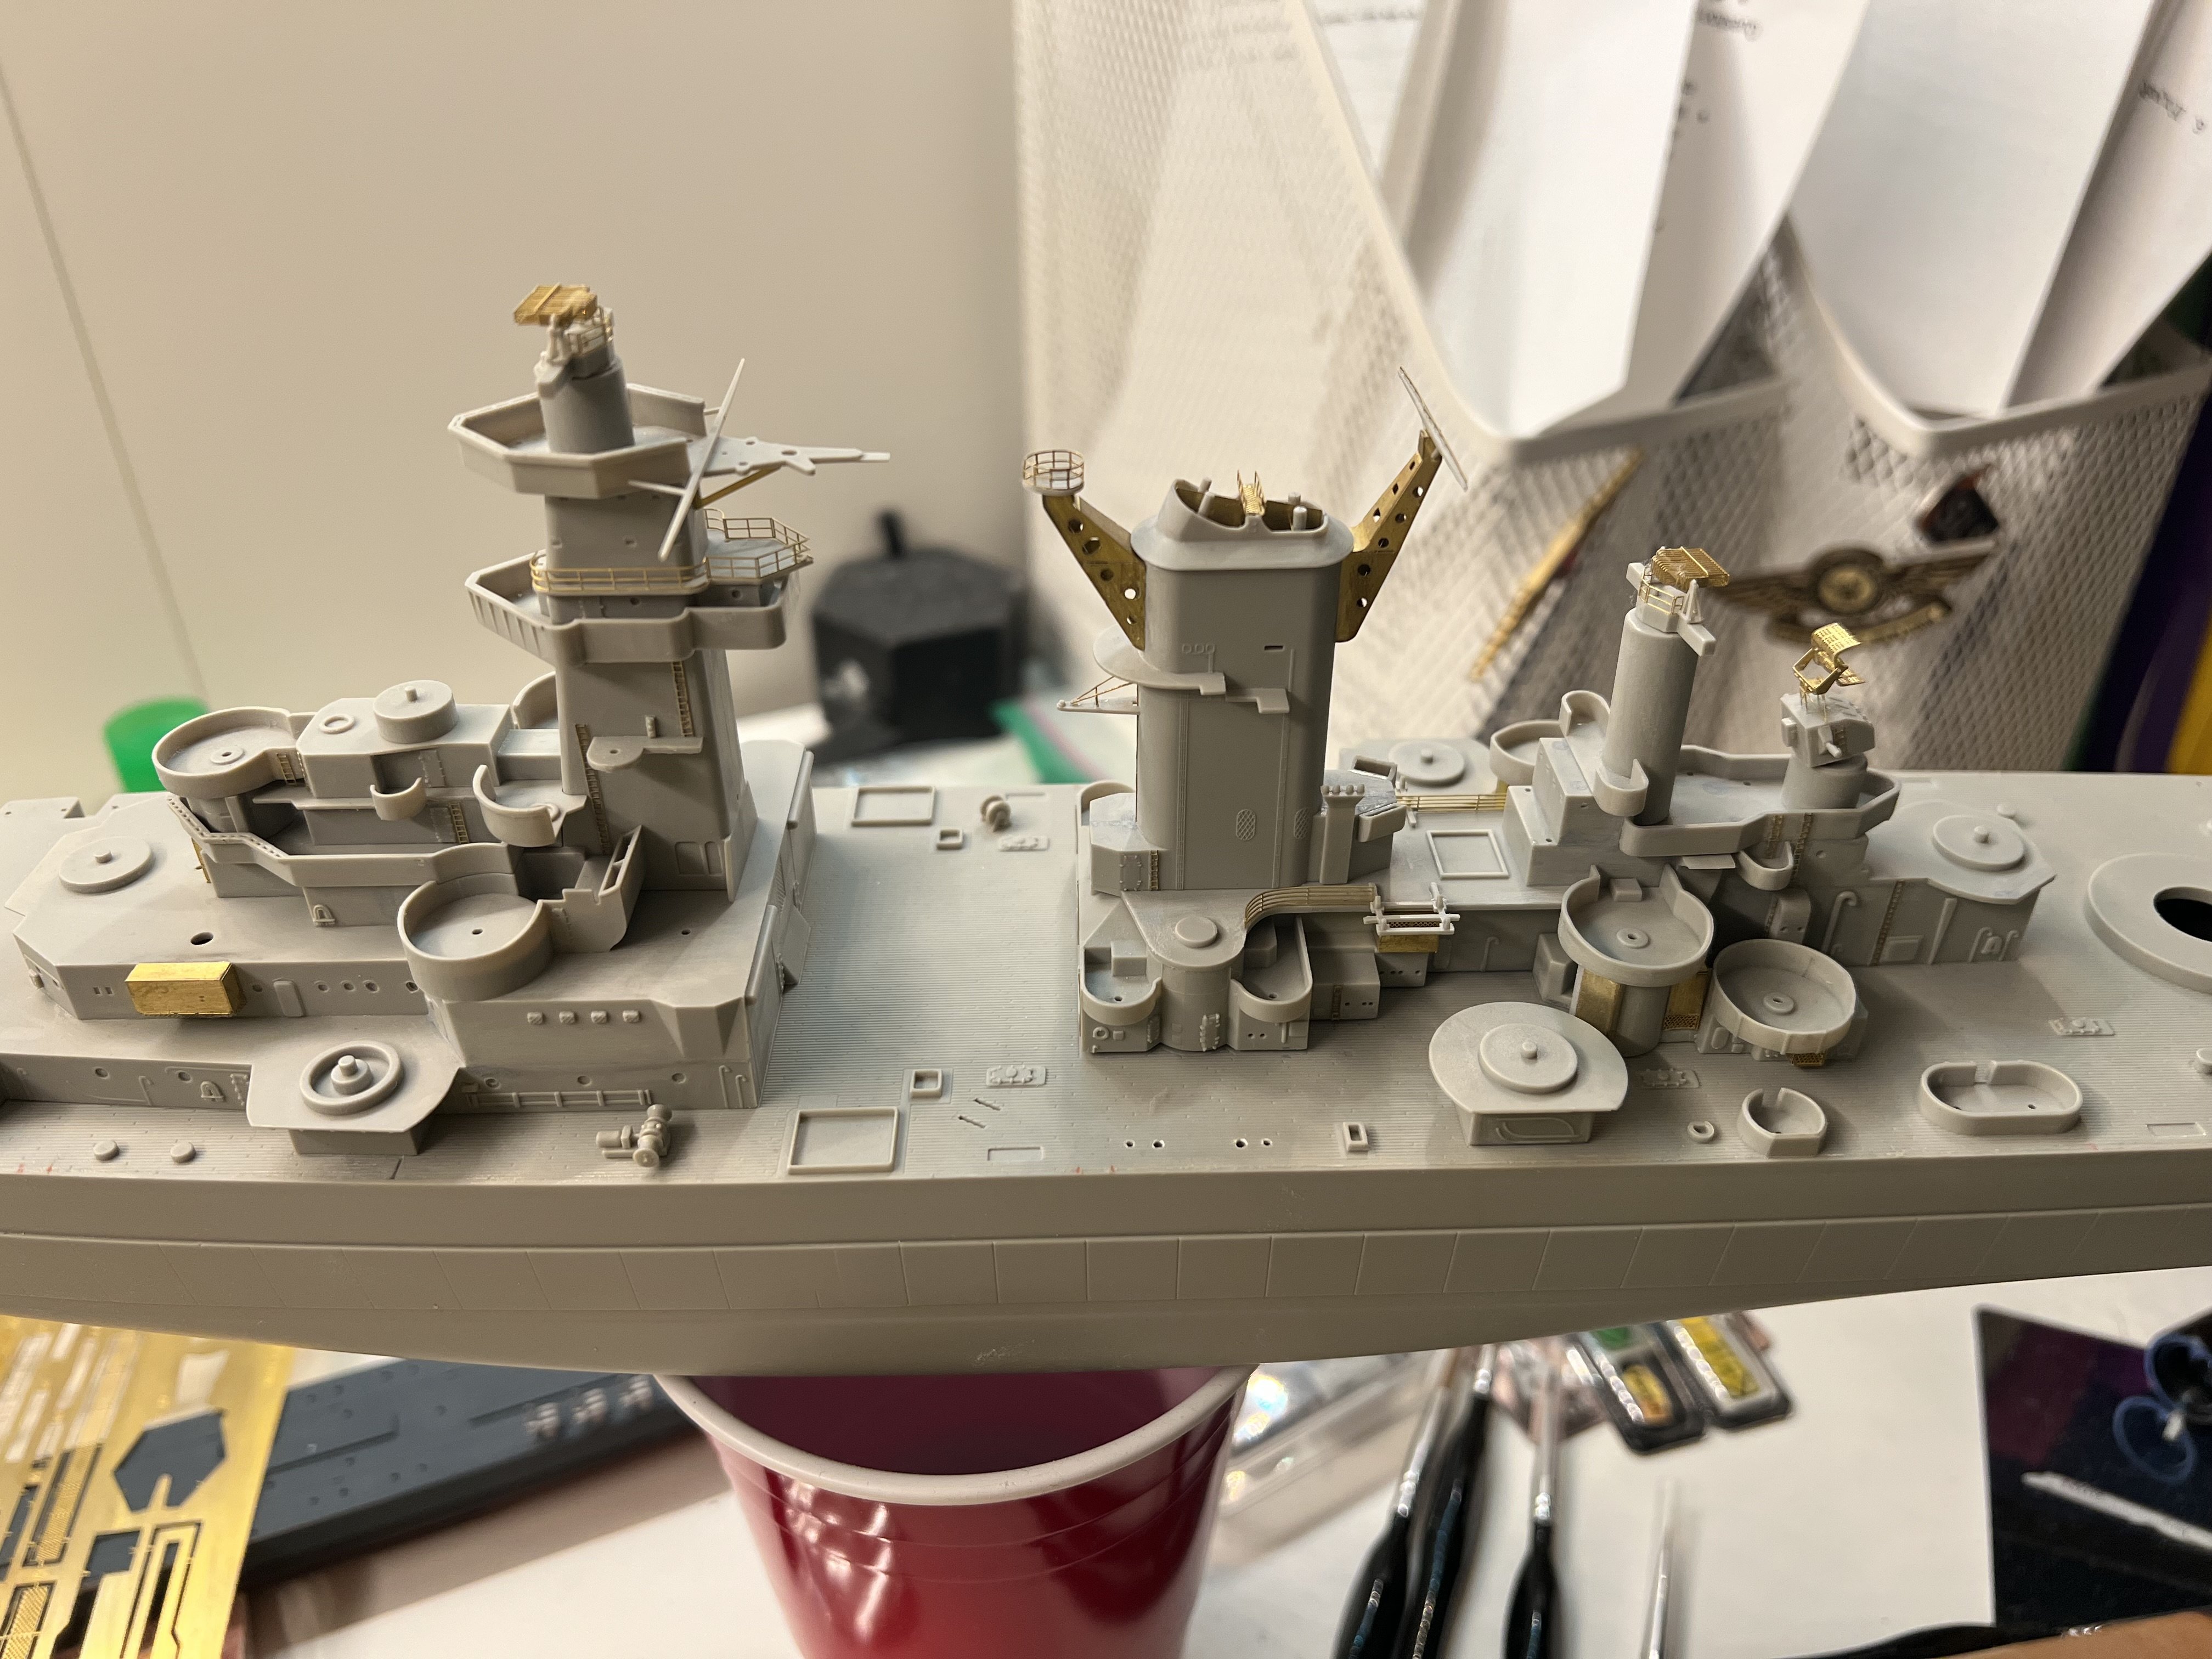
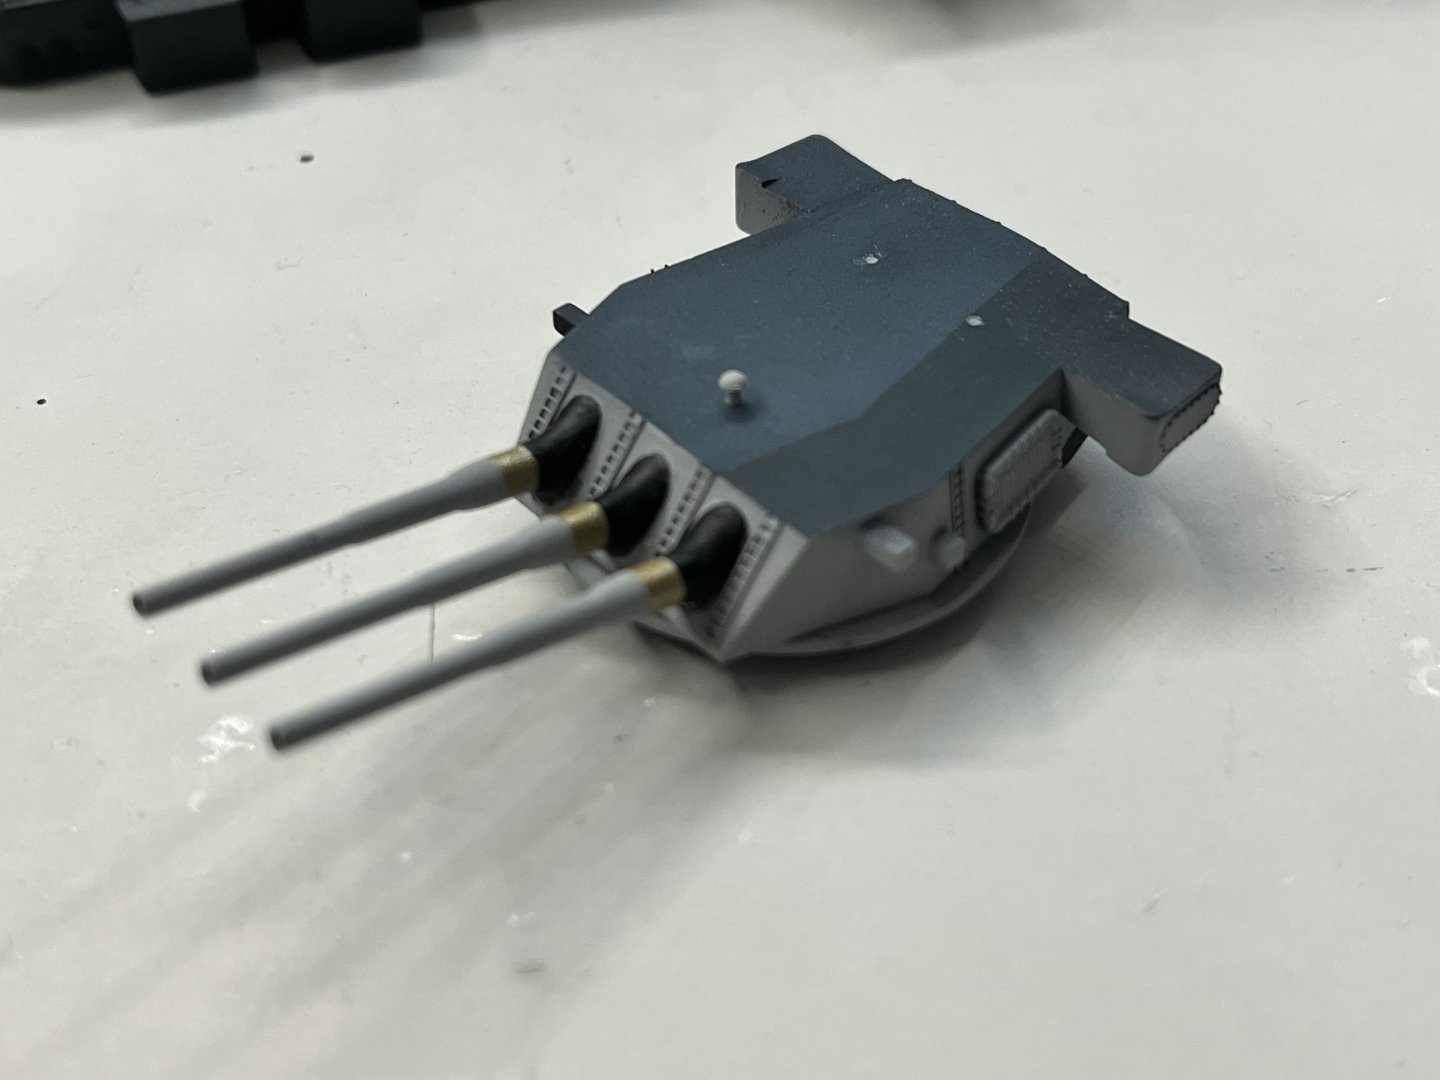
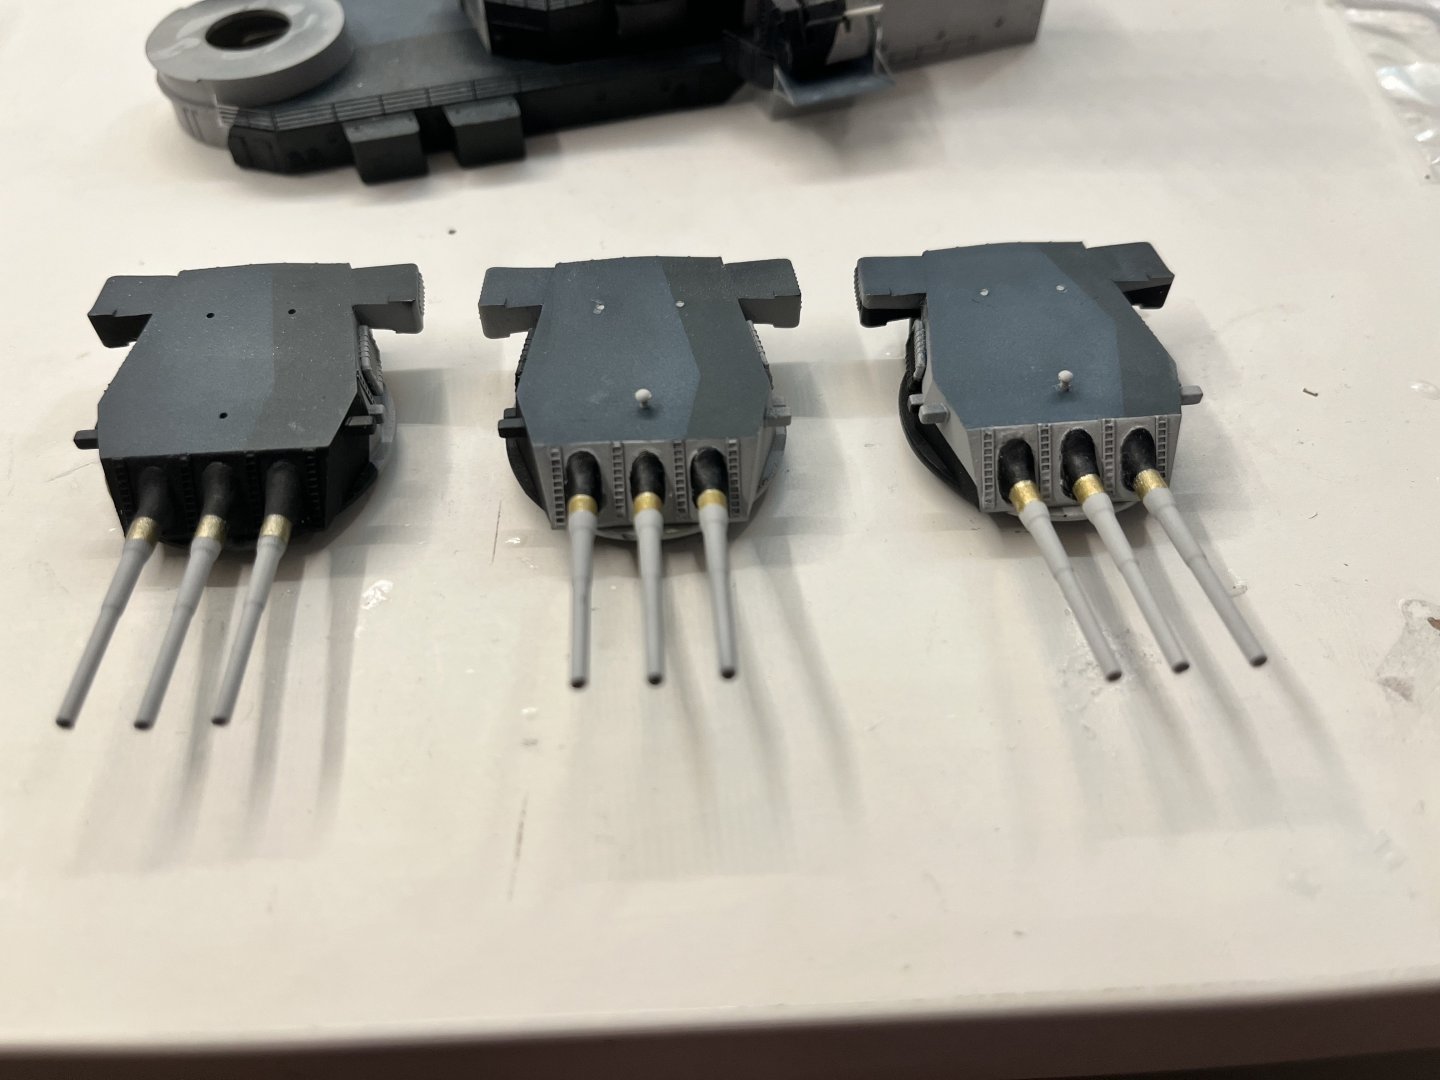
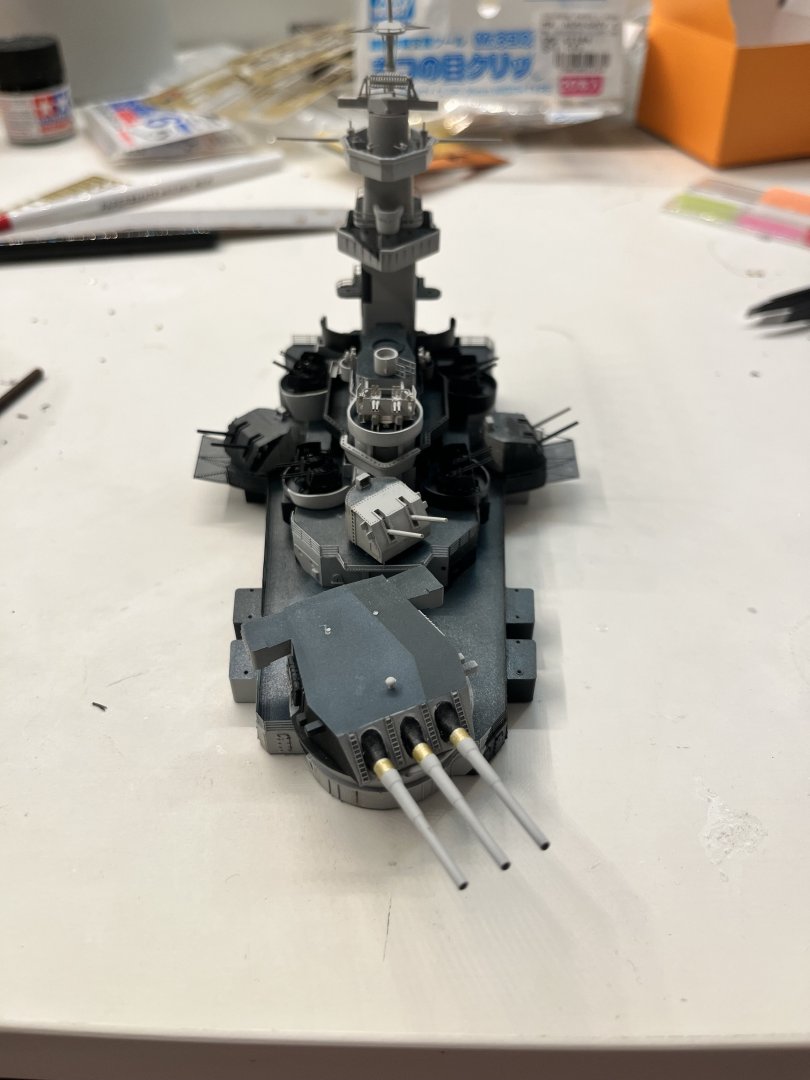
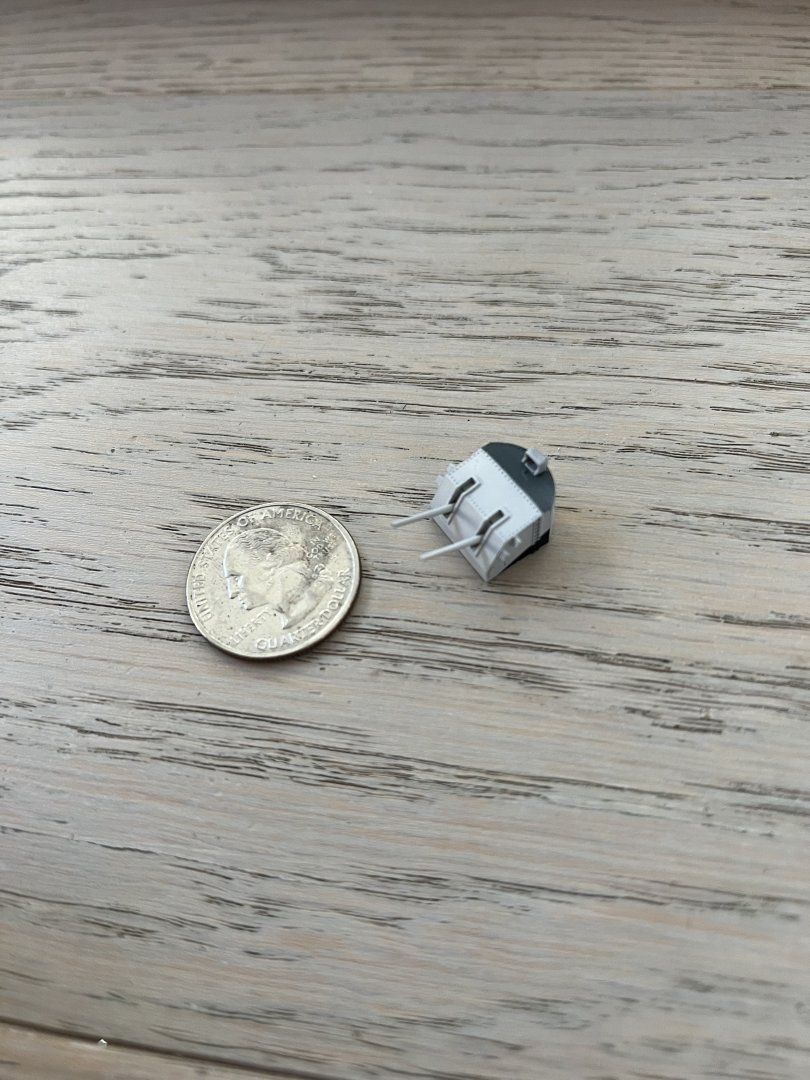
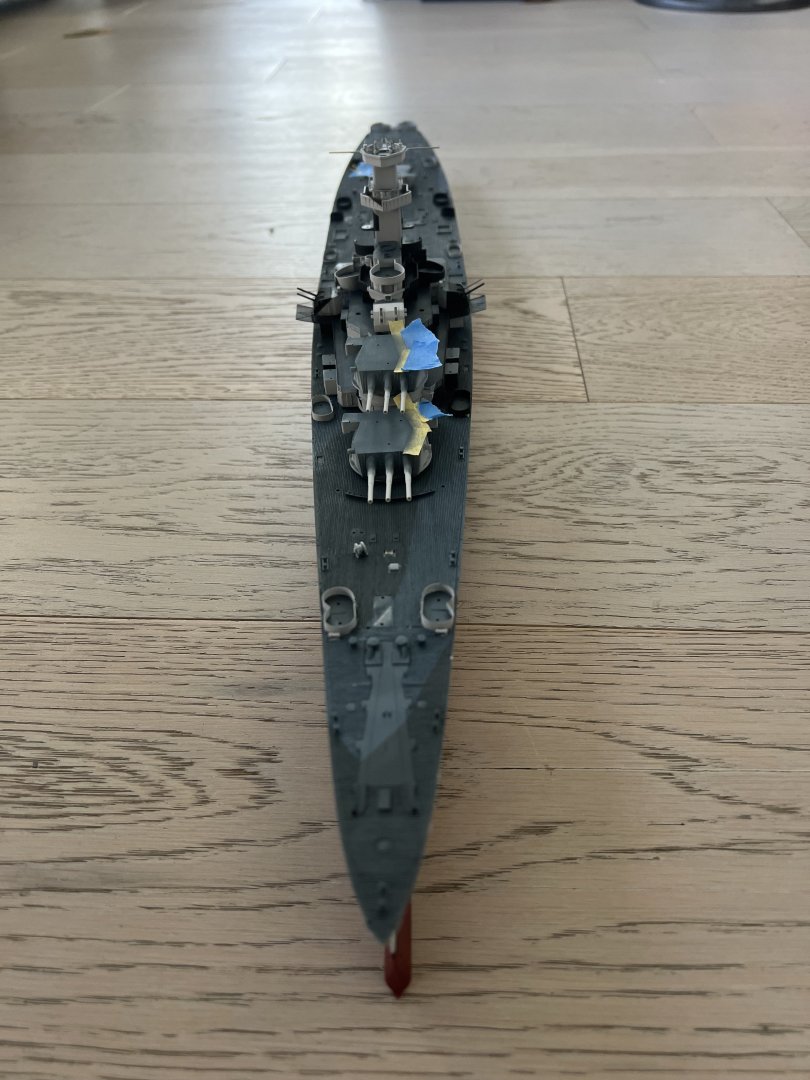
I finally finished the main 12 in guns, so I’ll weather it over the weekend. Also couldn't stop myself from putting everything together again:

-
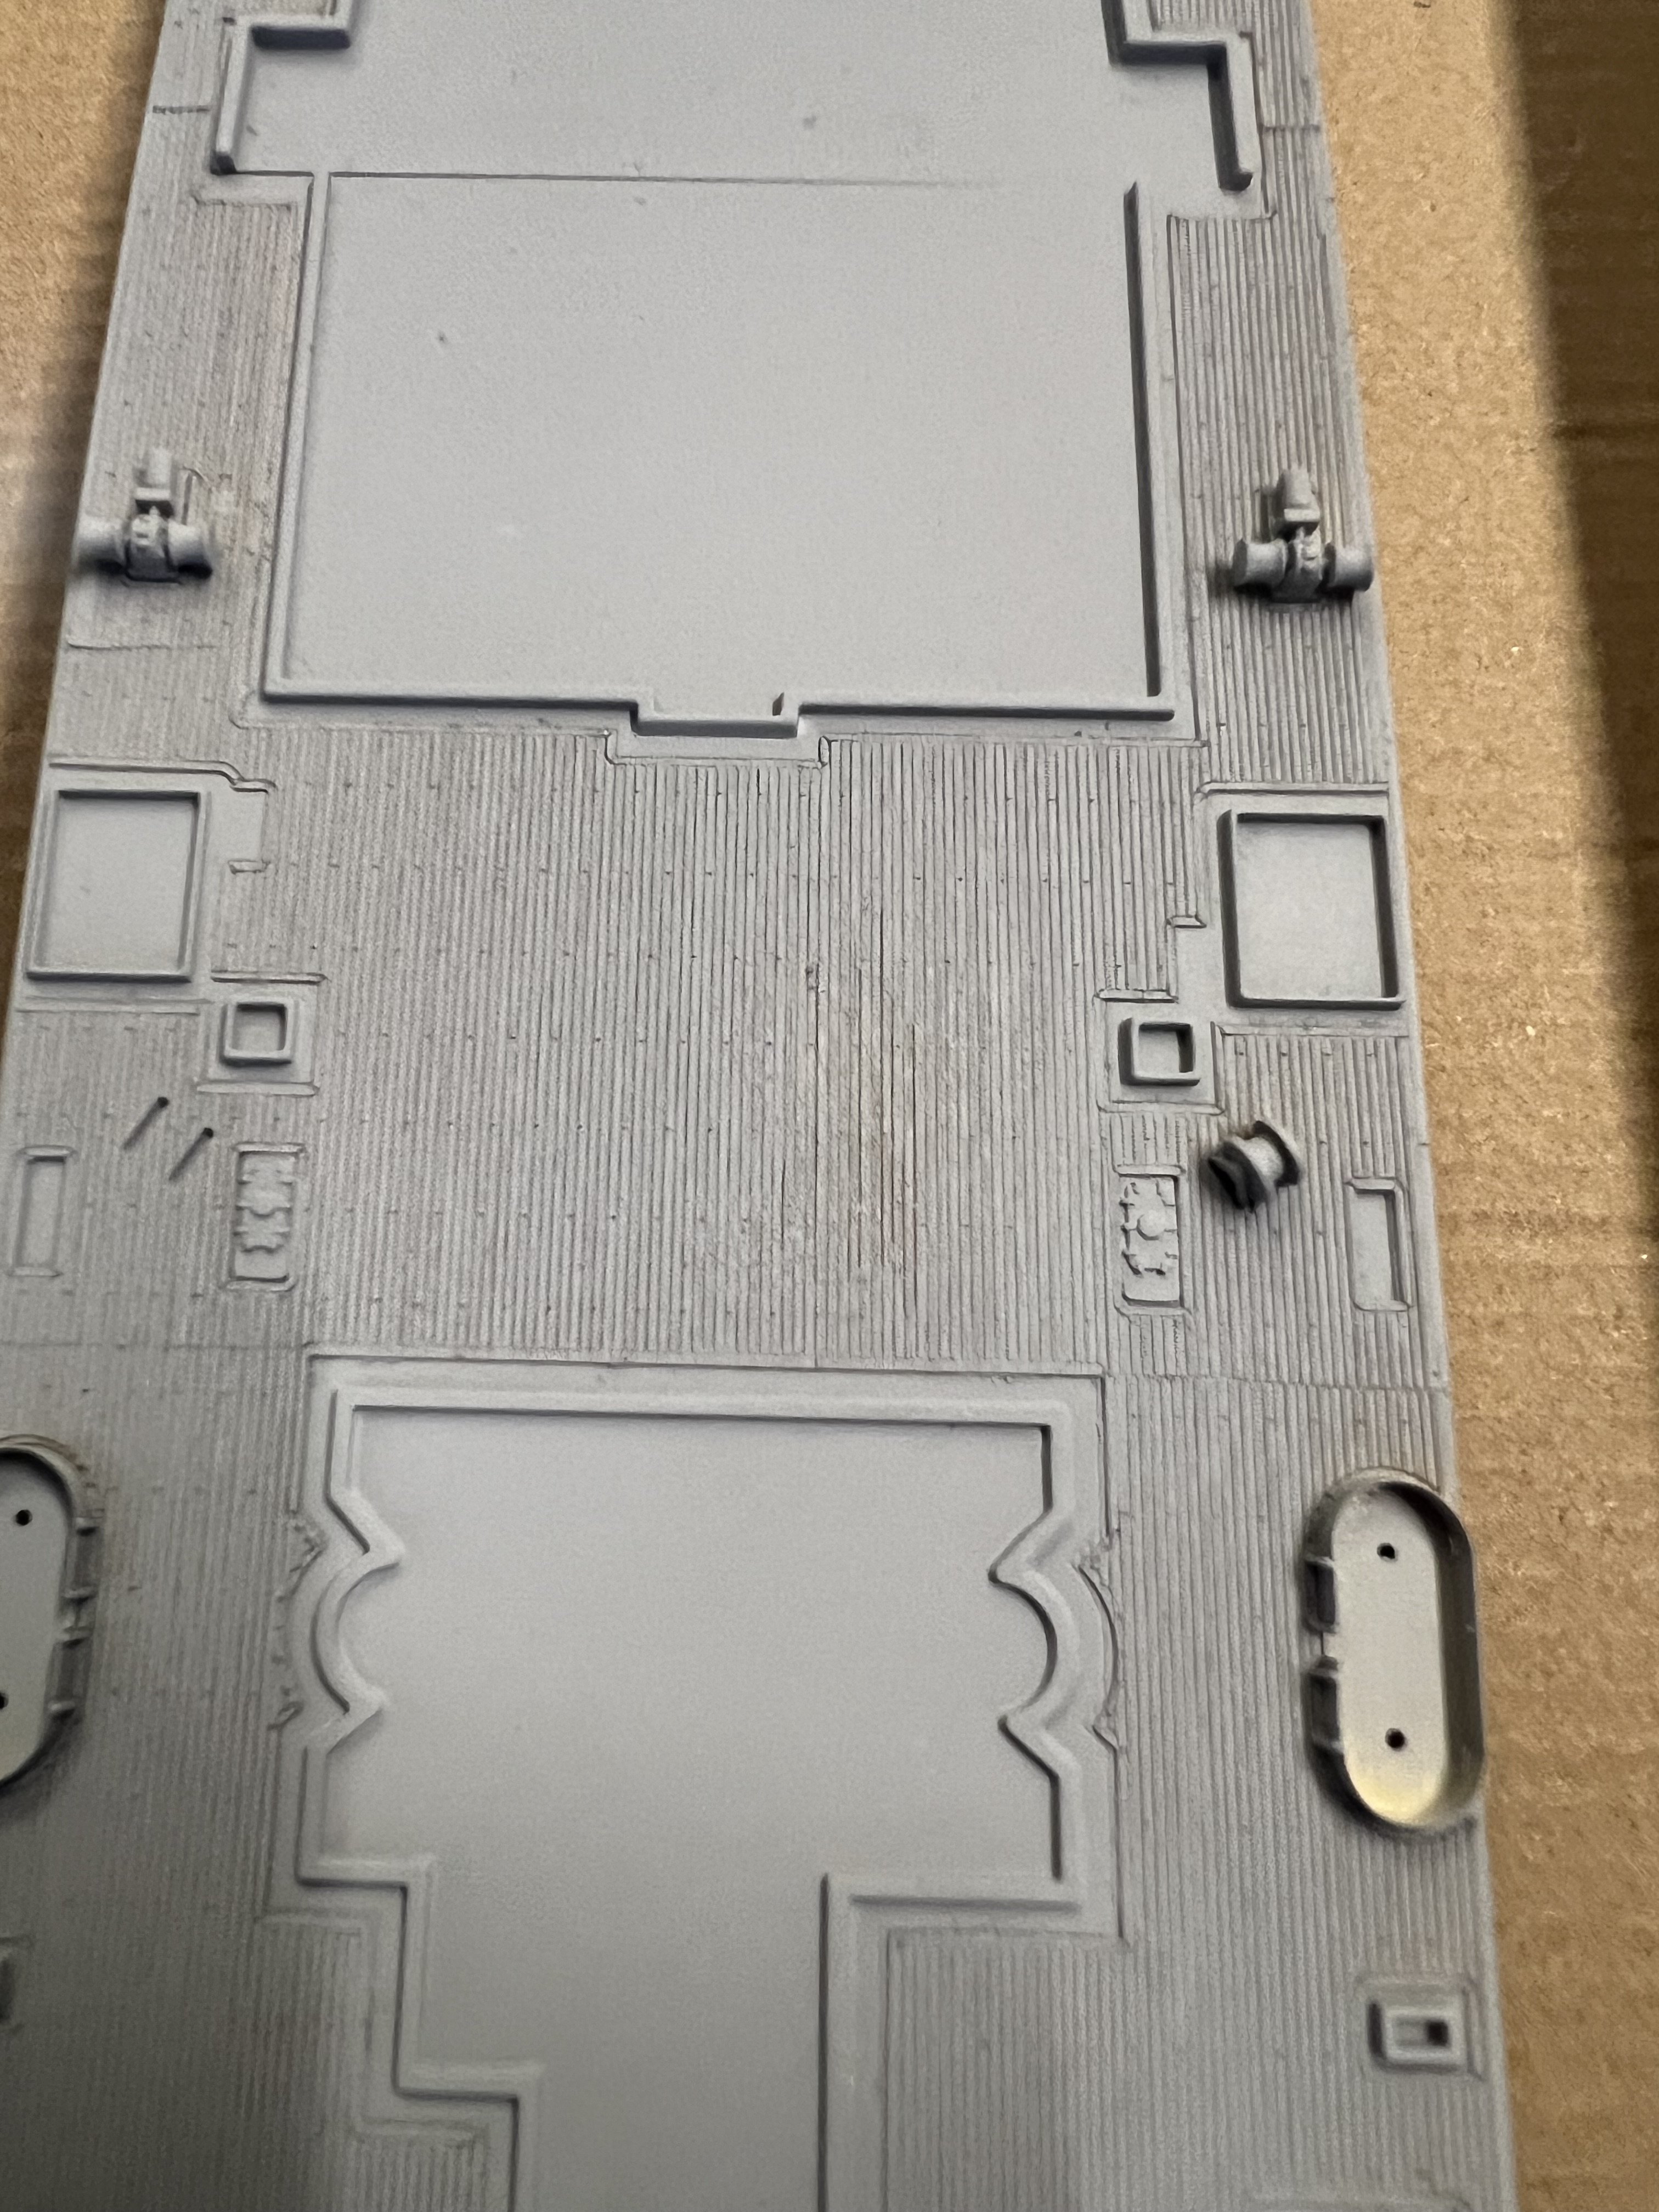
Thanks! I’m finally getting towards the final home stretch after finishing all the guns. Put everything together for the first time on the ship and looks really busy and wonderful. Only issue is that it seems like the closer you are to finishing l, the more things you lose lost two deck vent already, which I’ll have to 3D print or something.
-
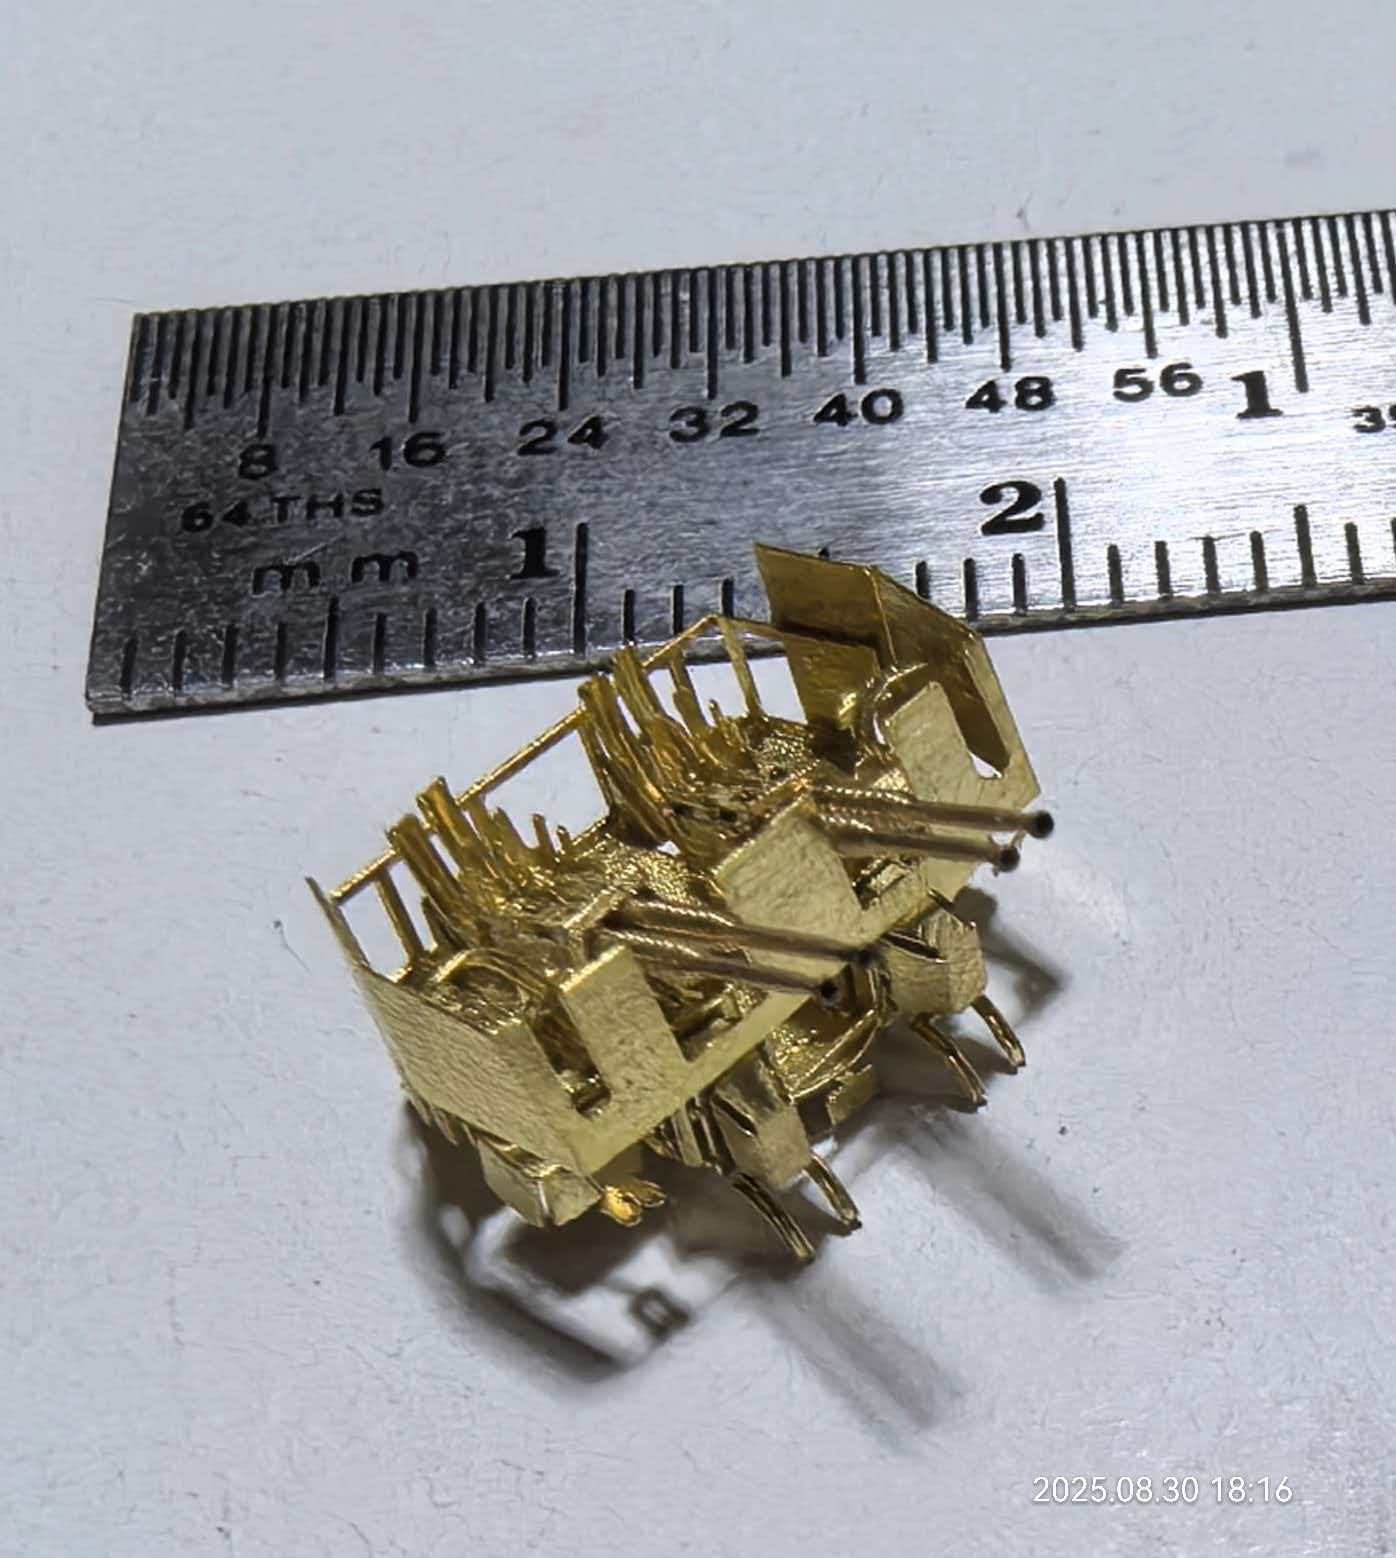
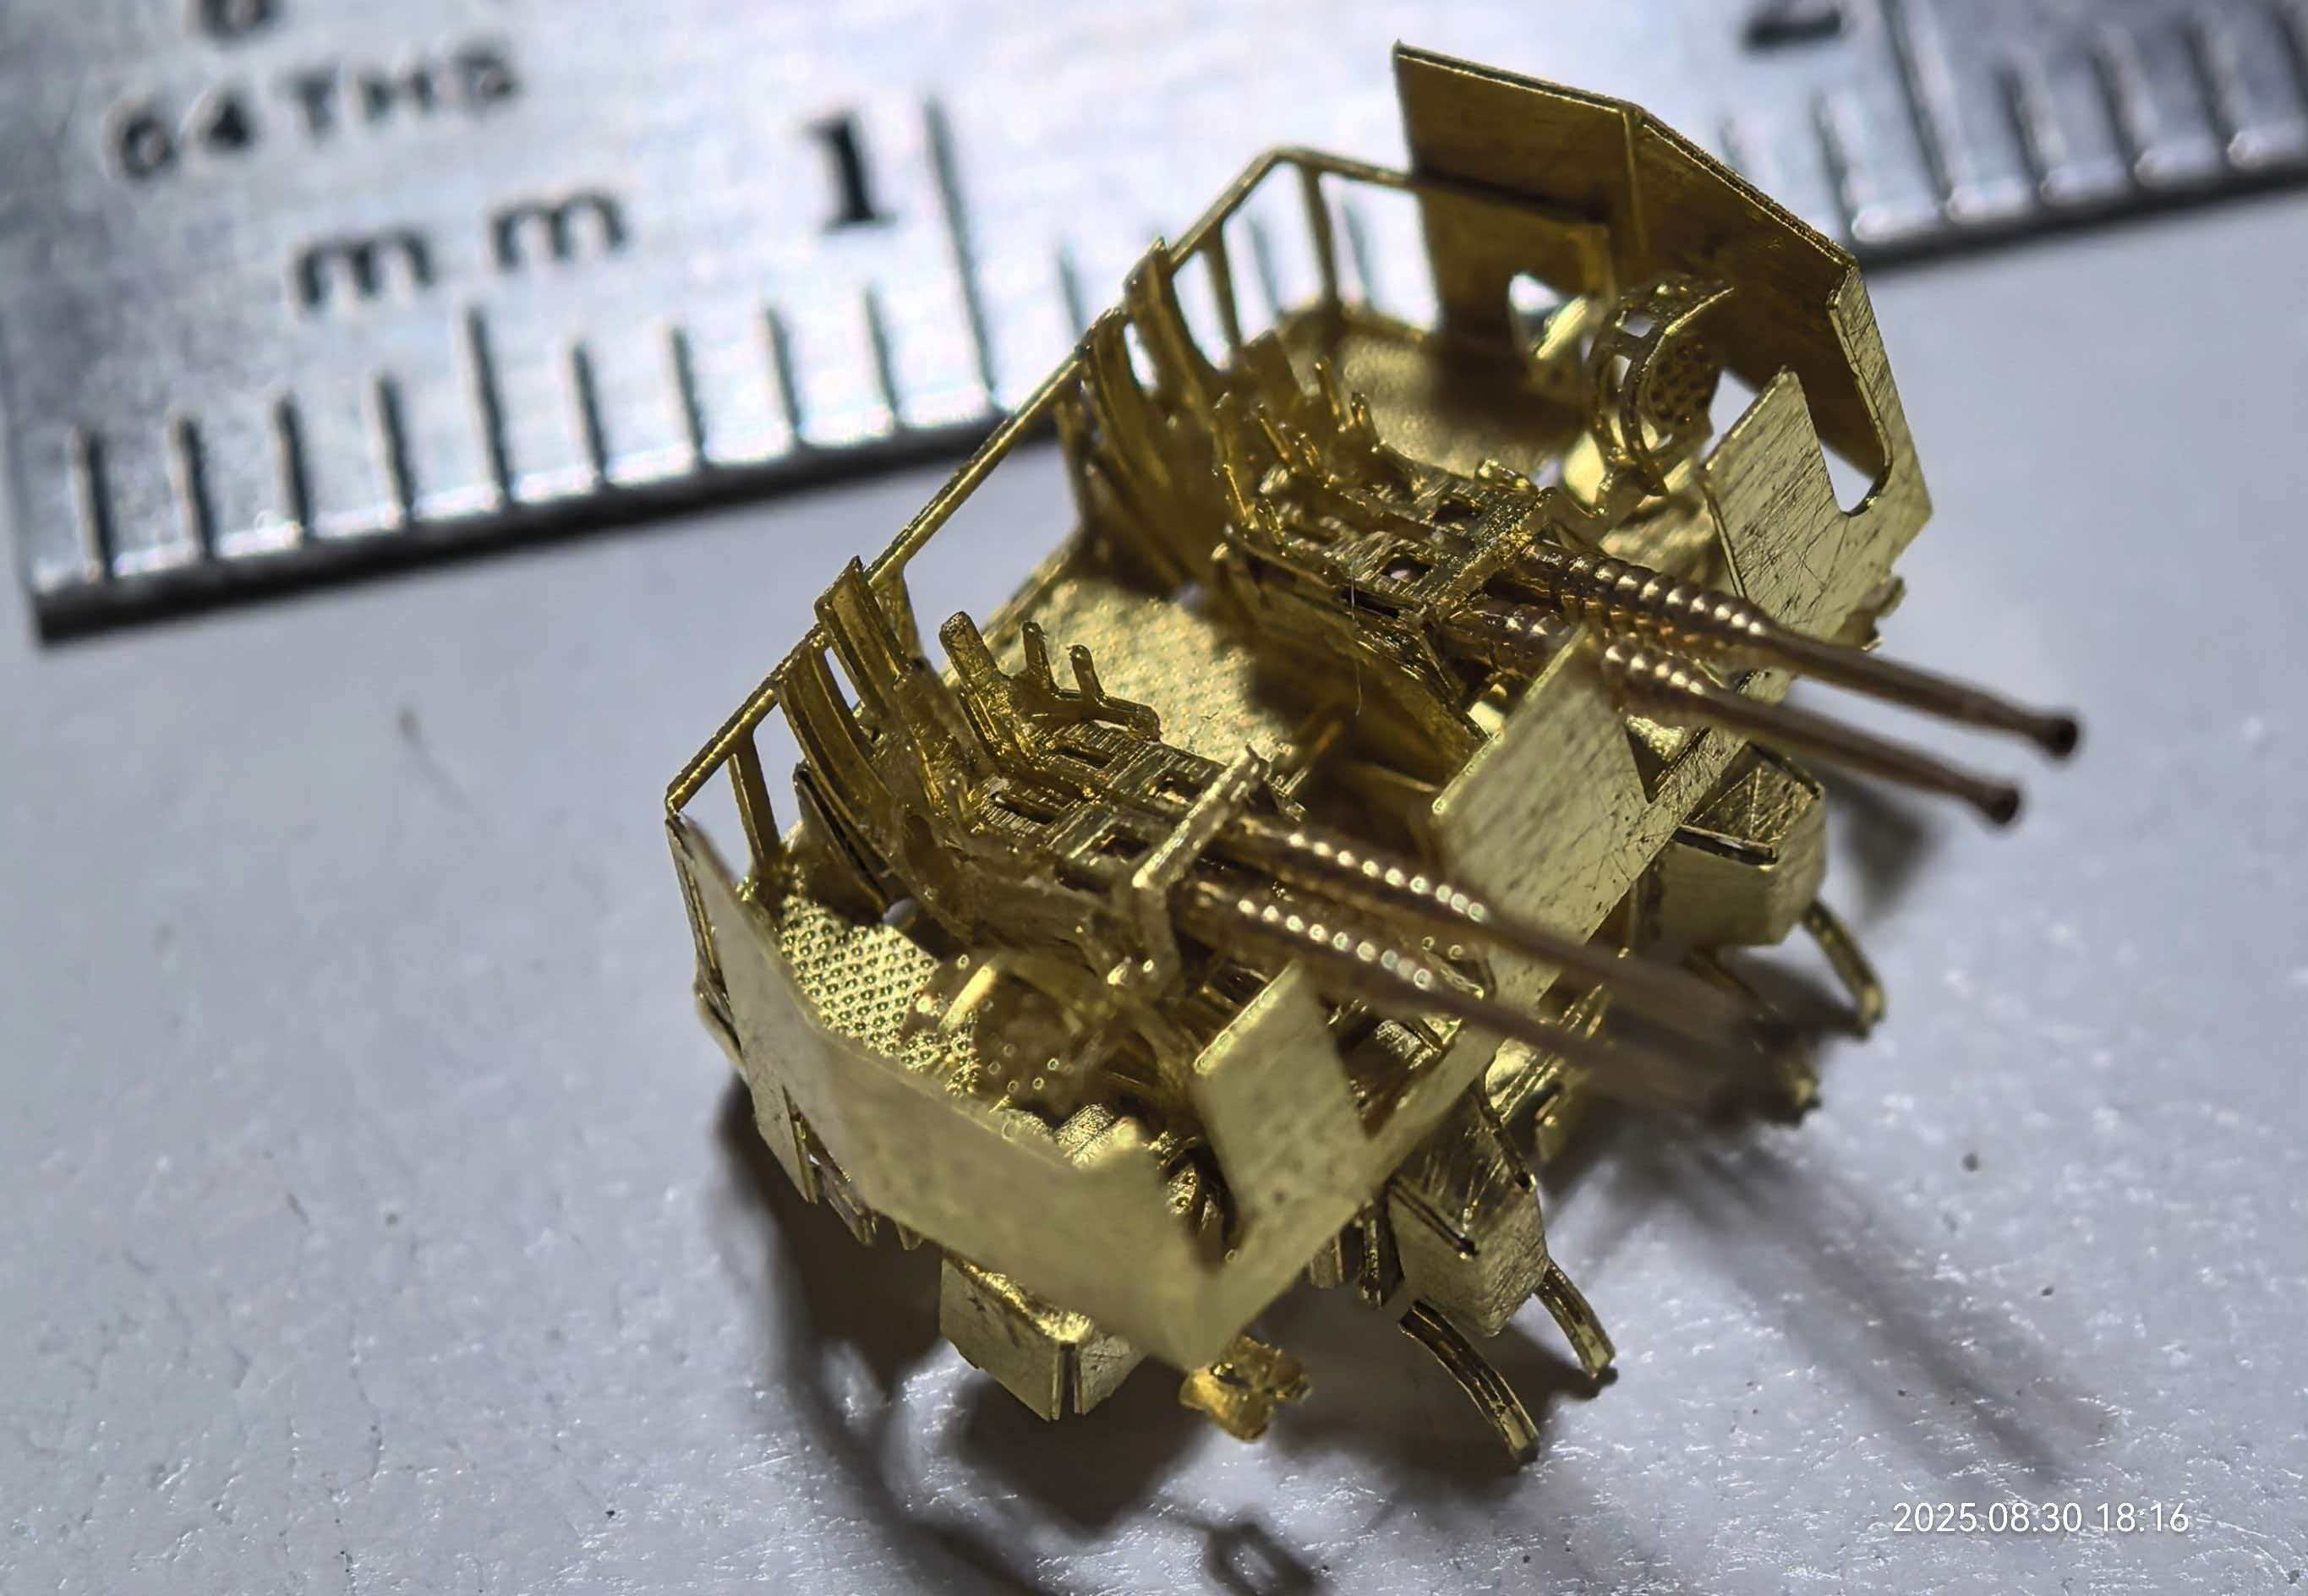
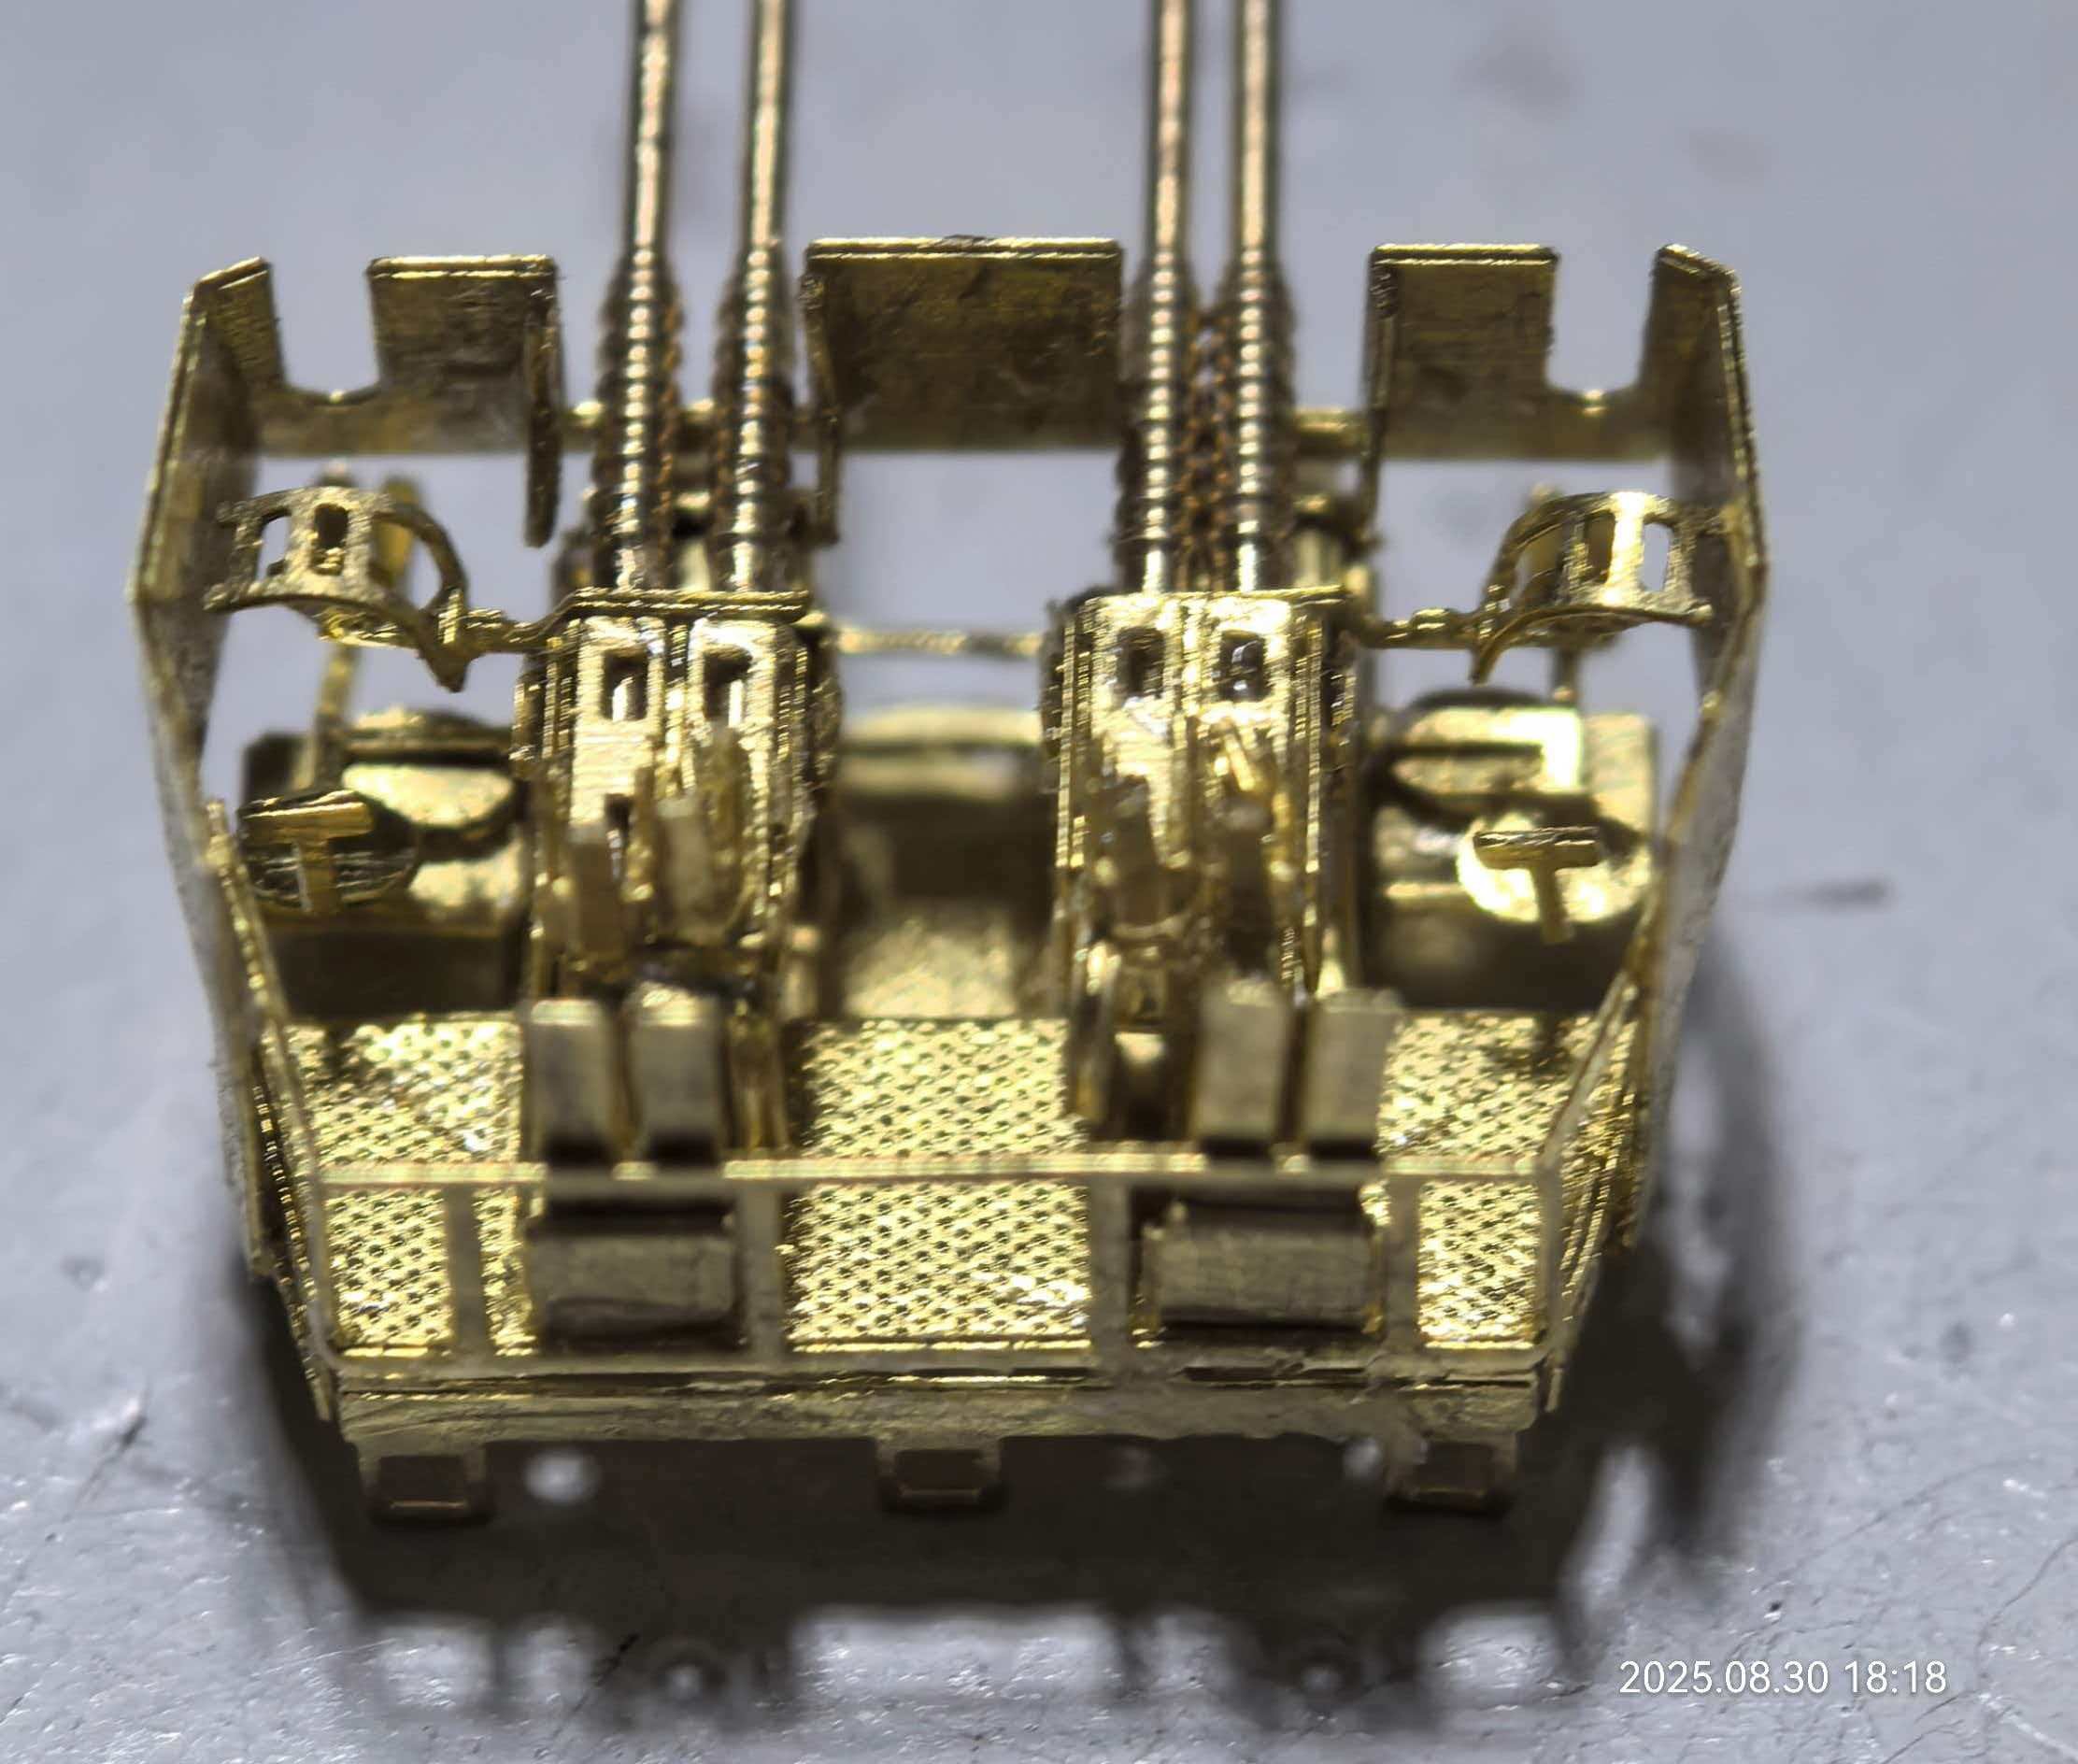
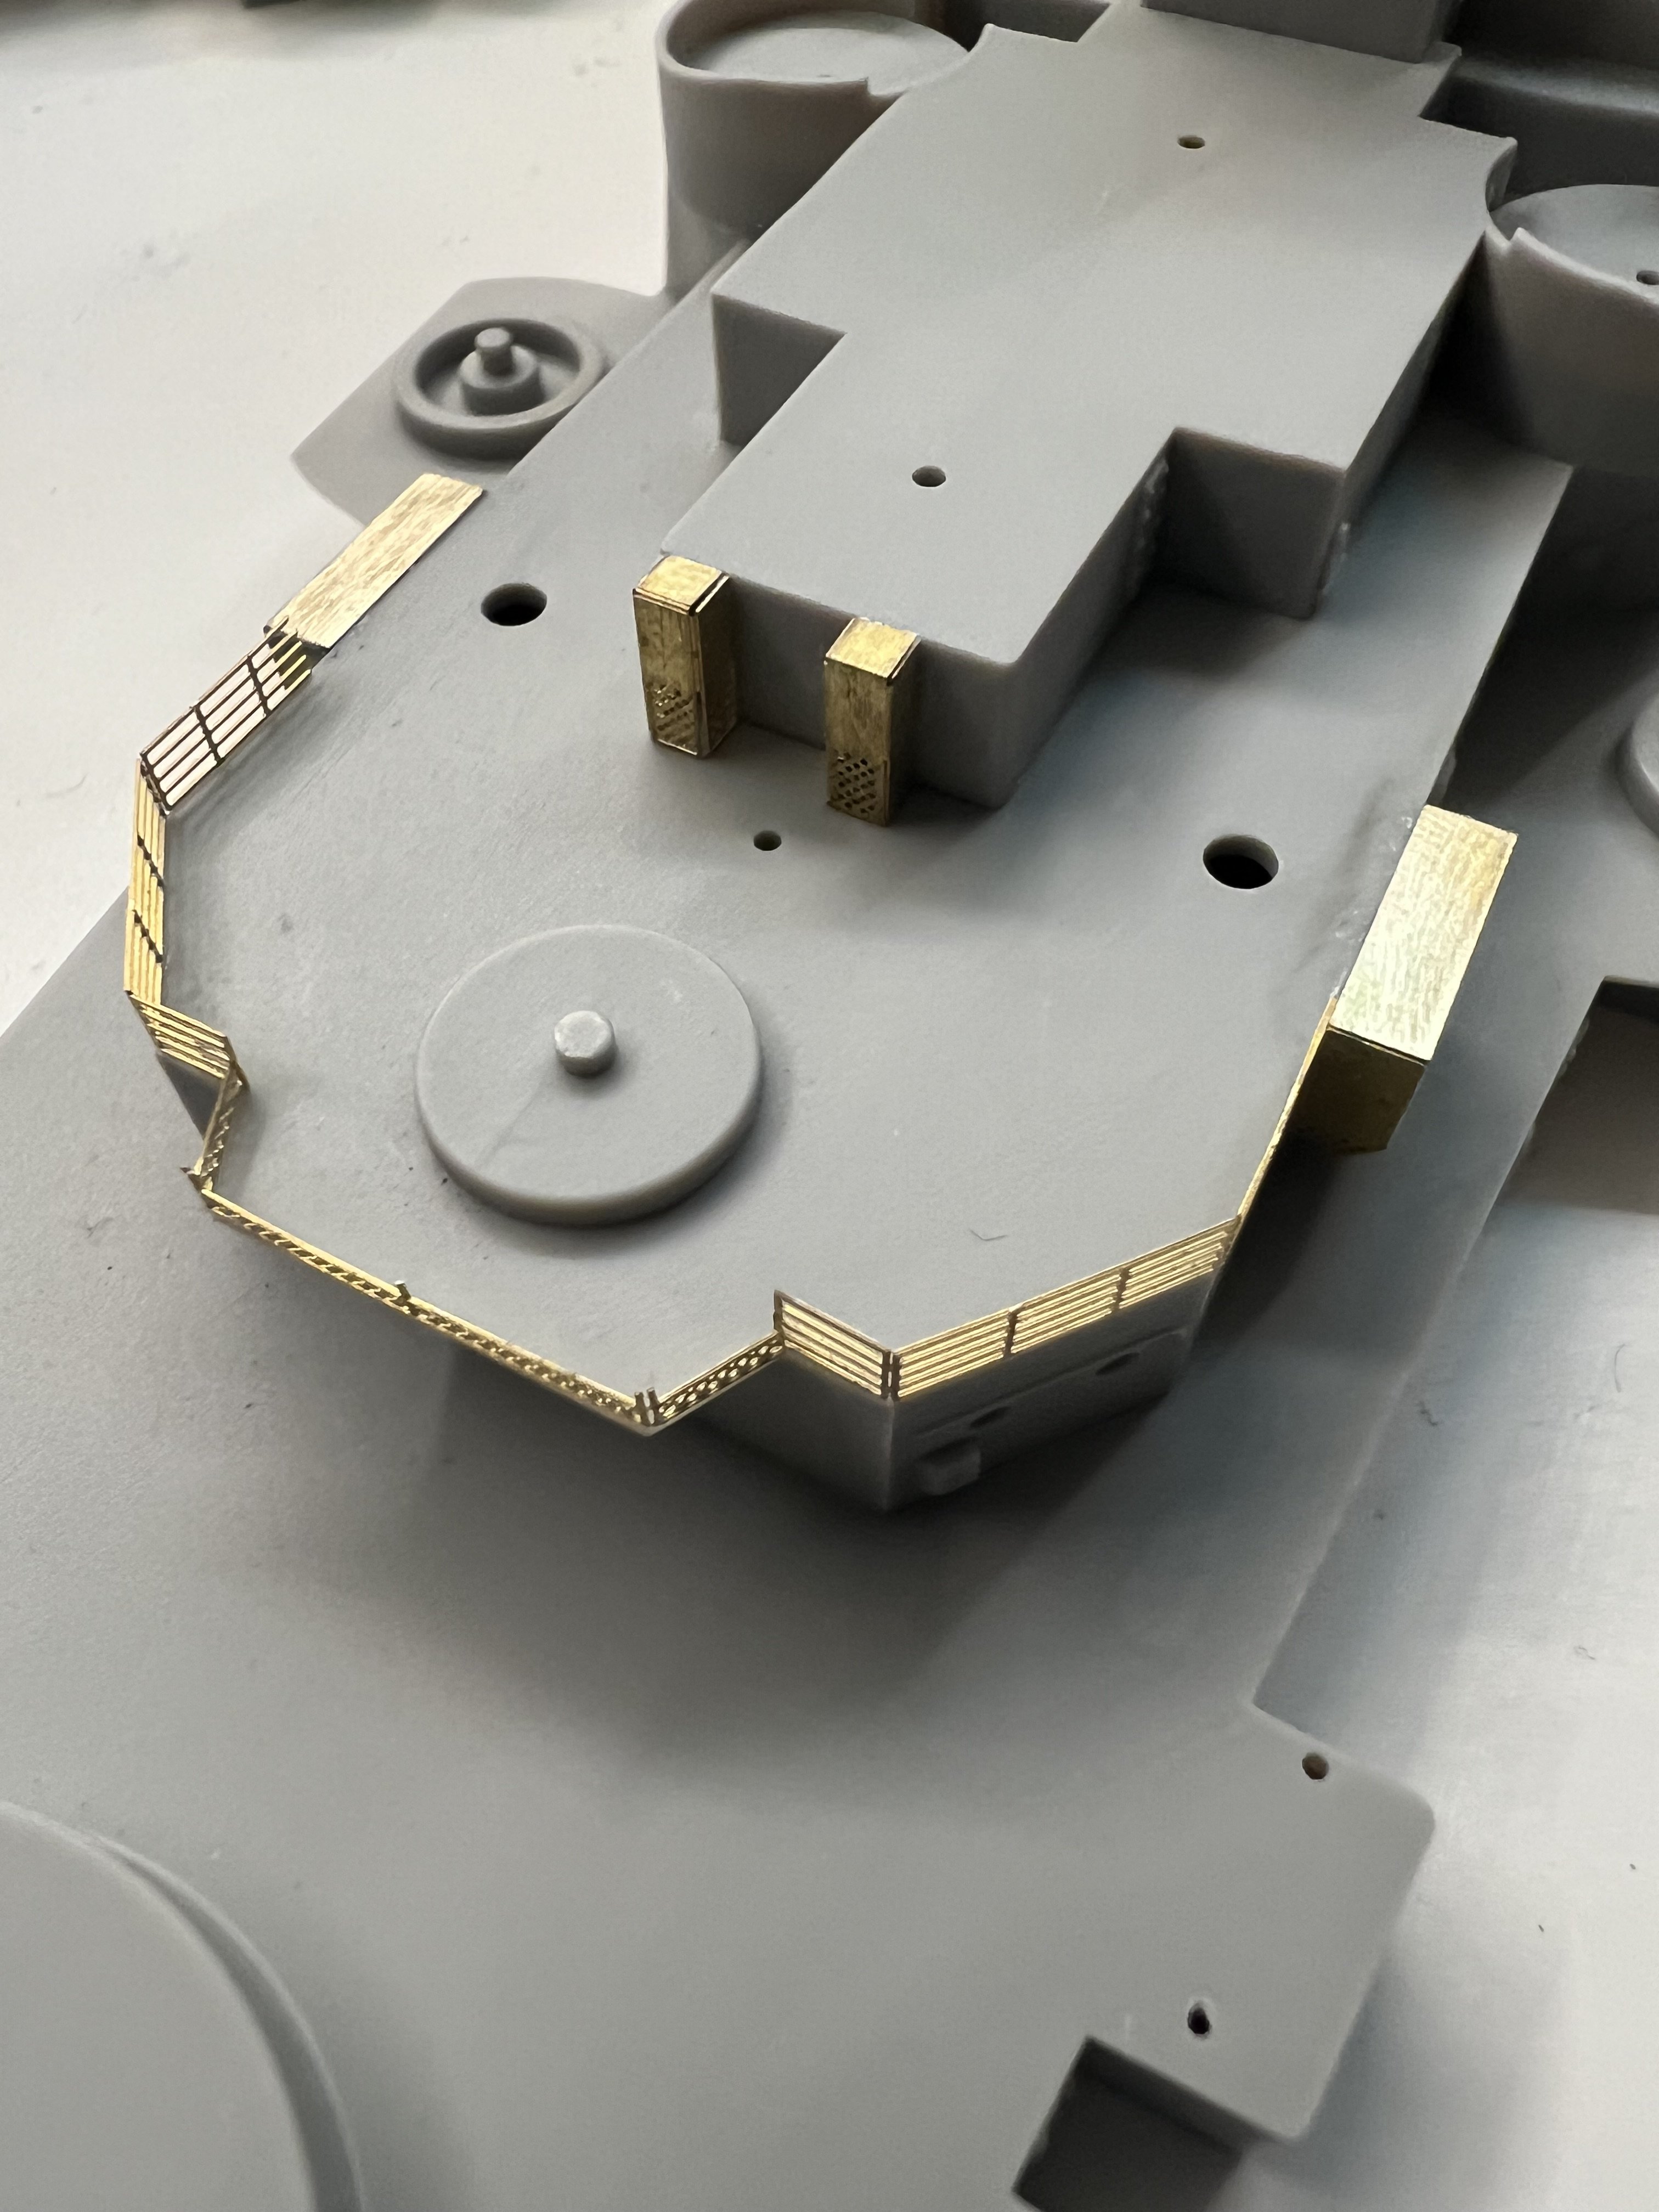
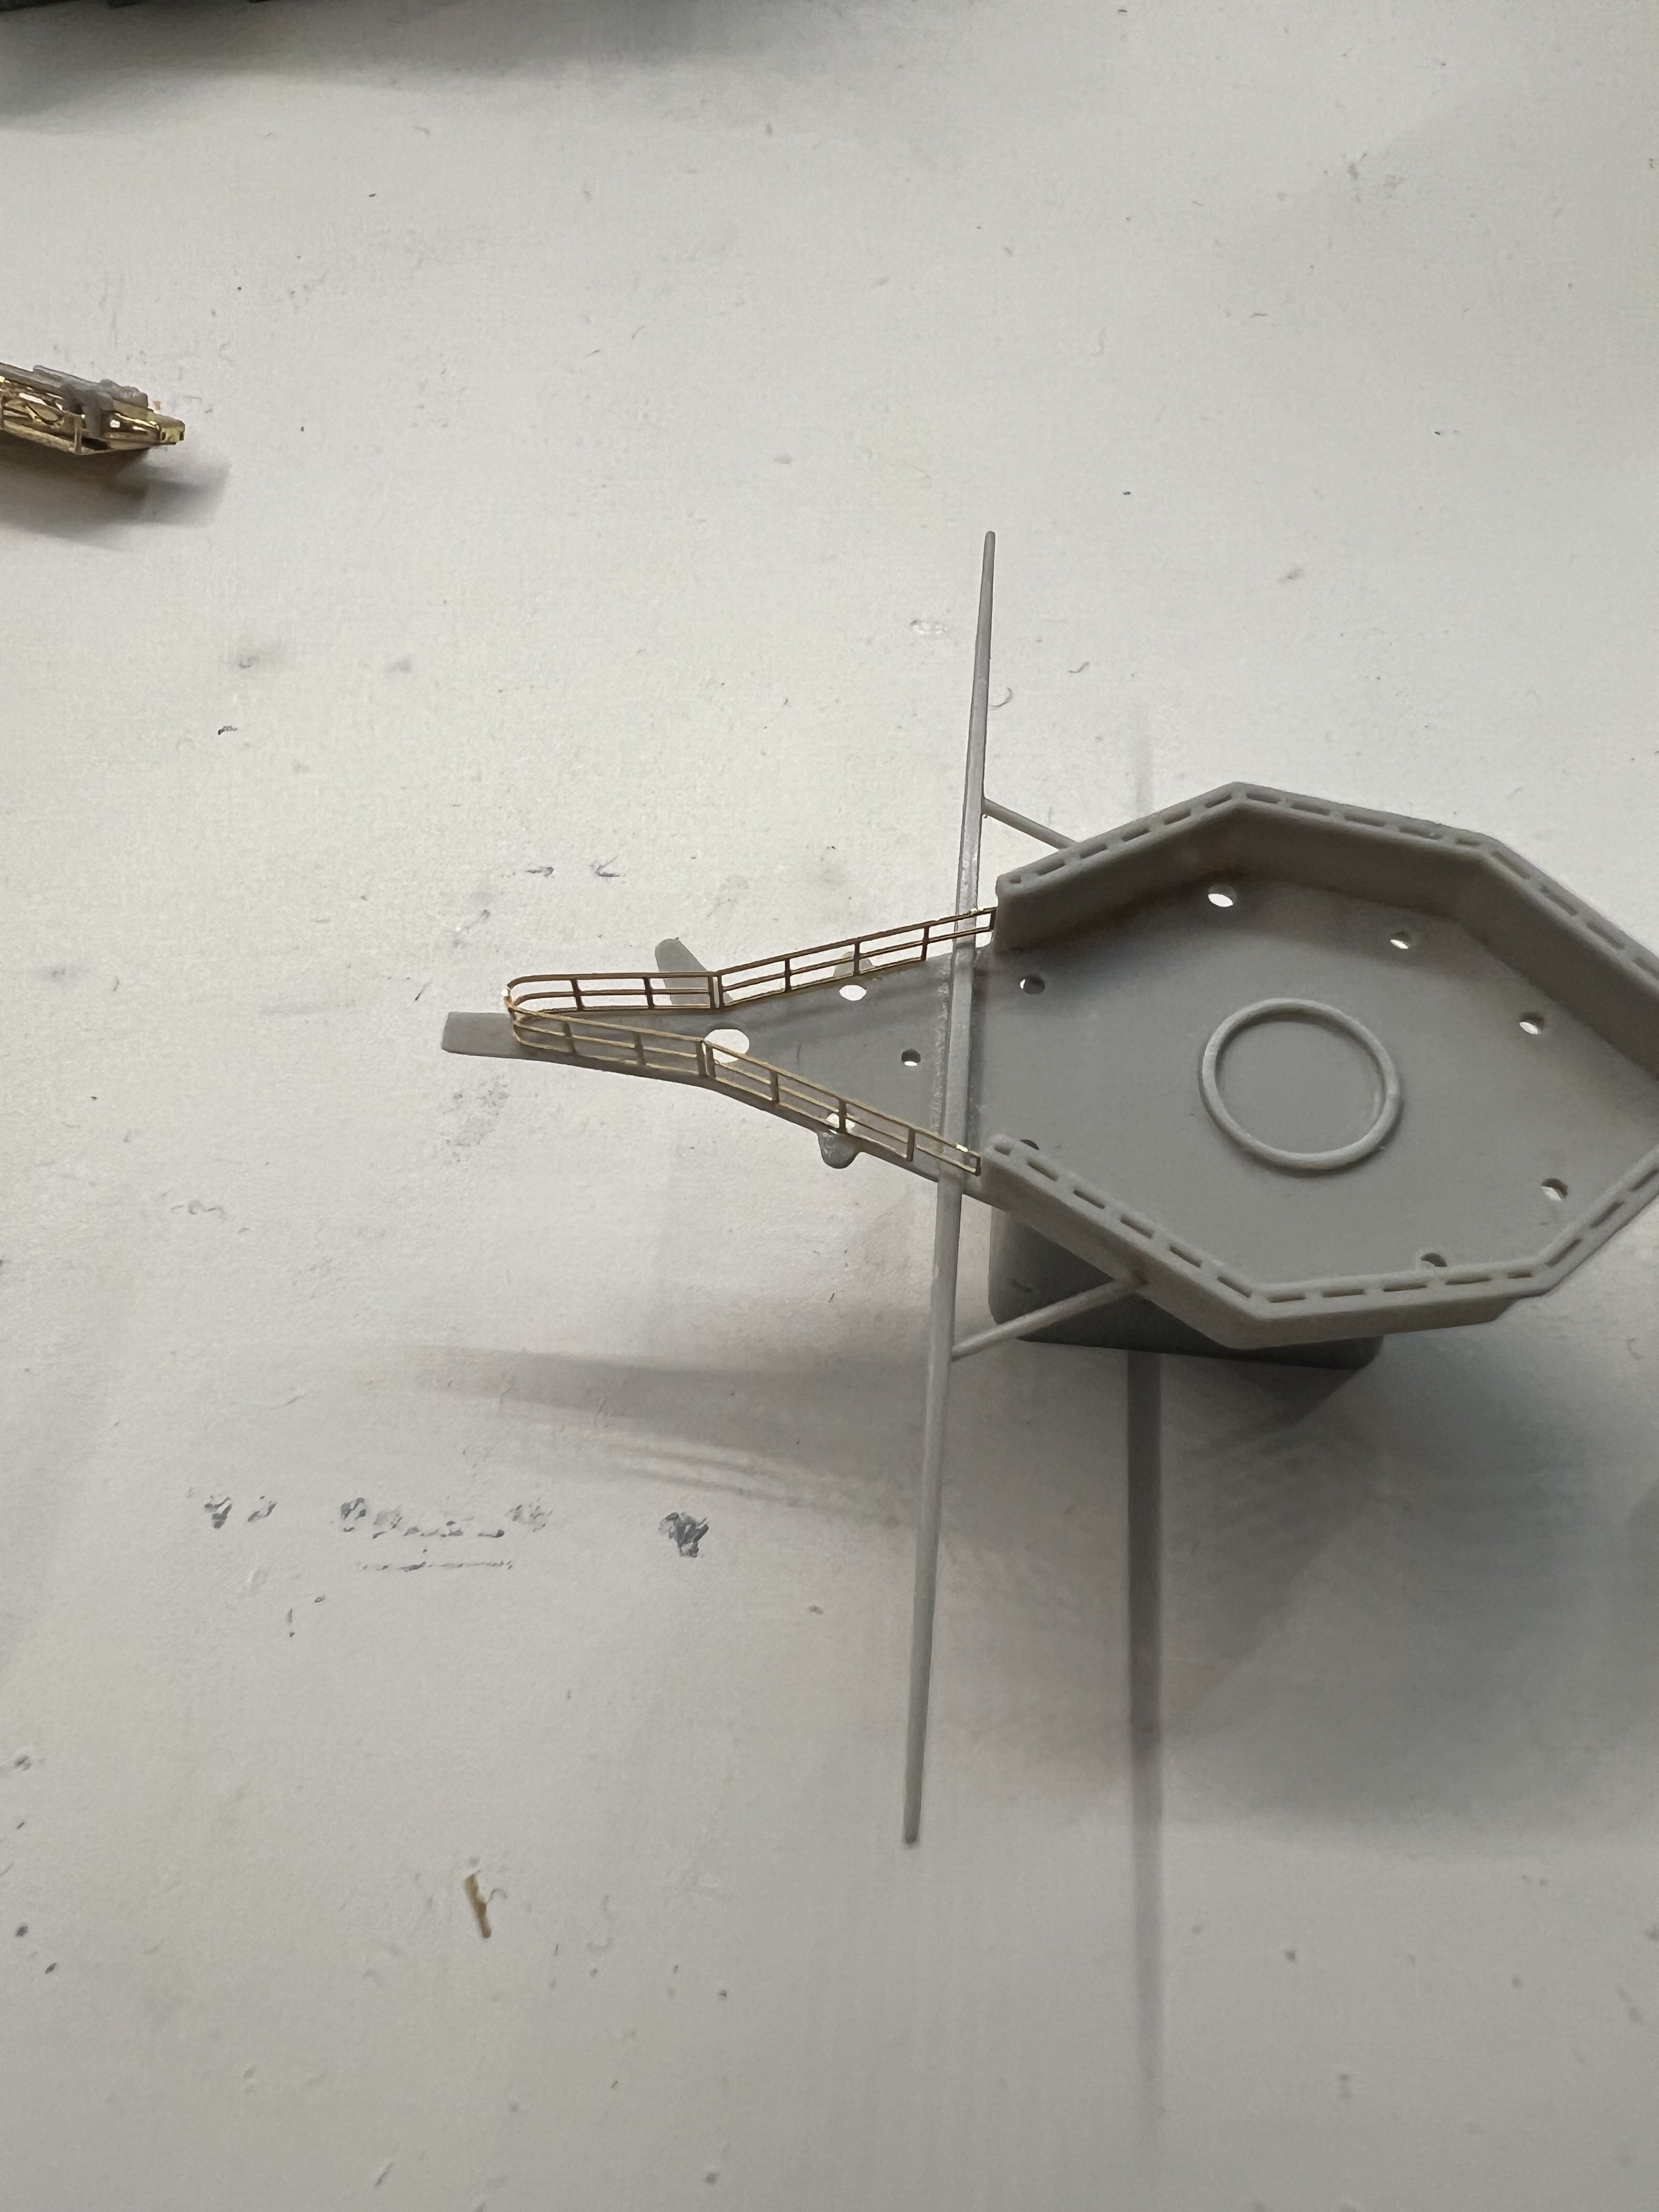
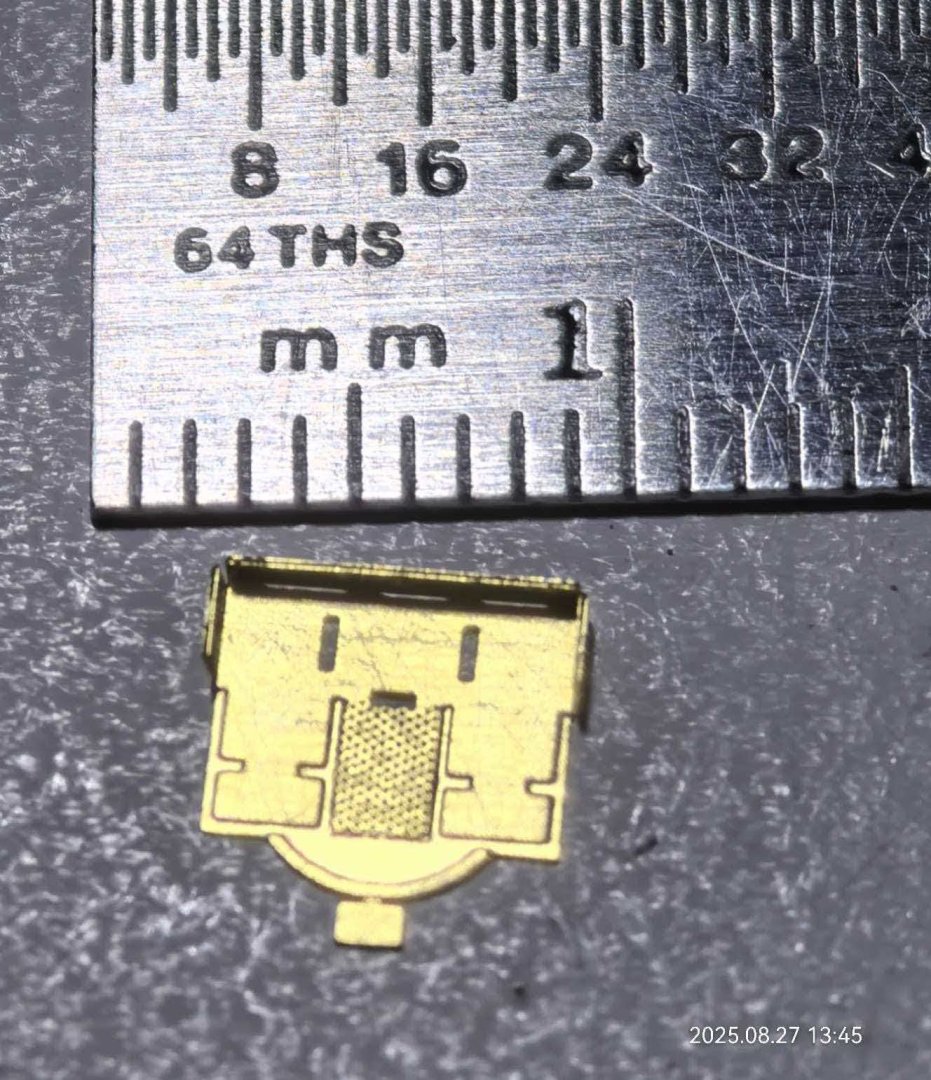
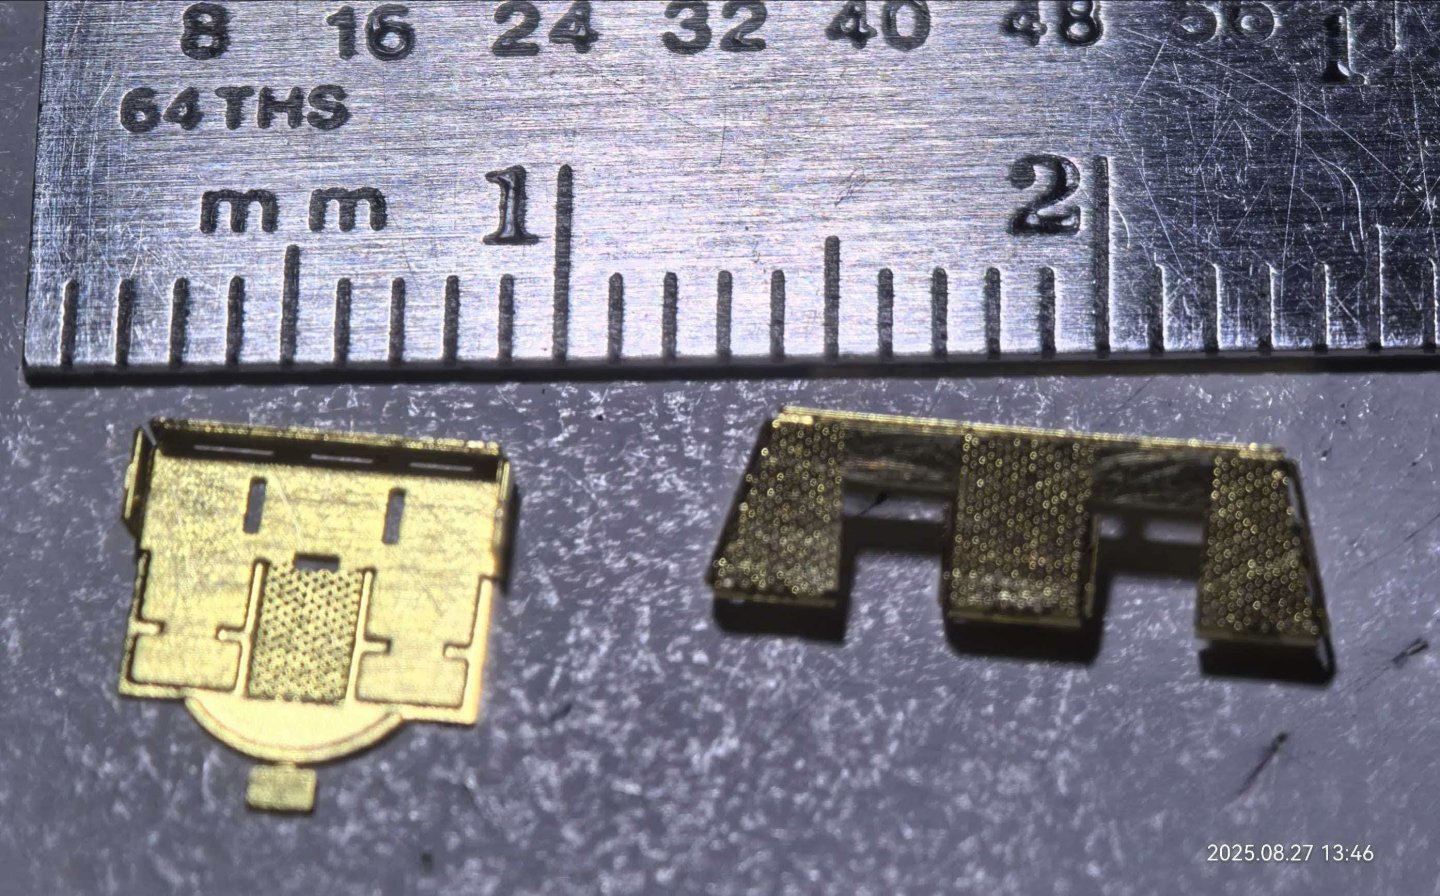
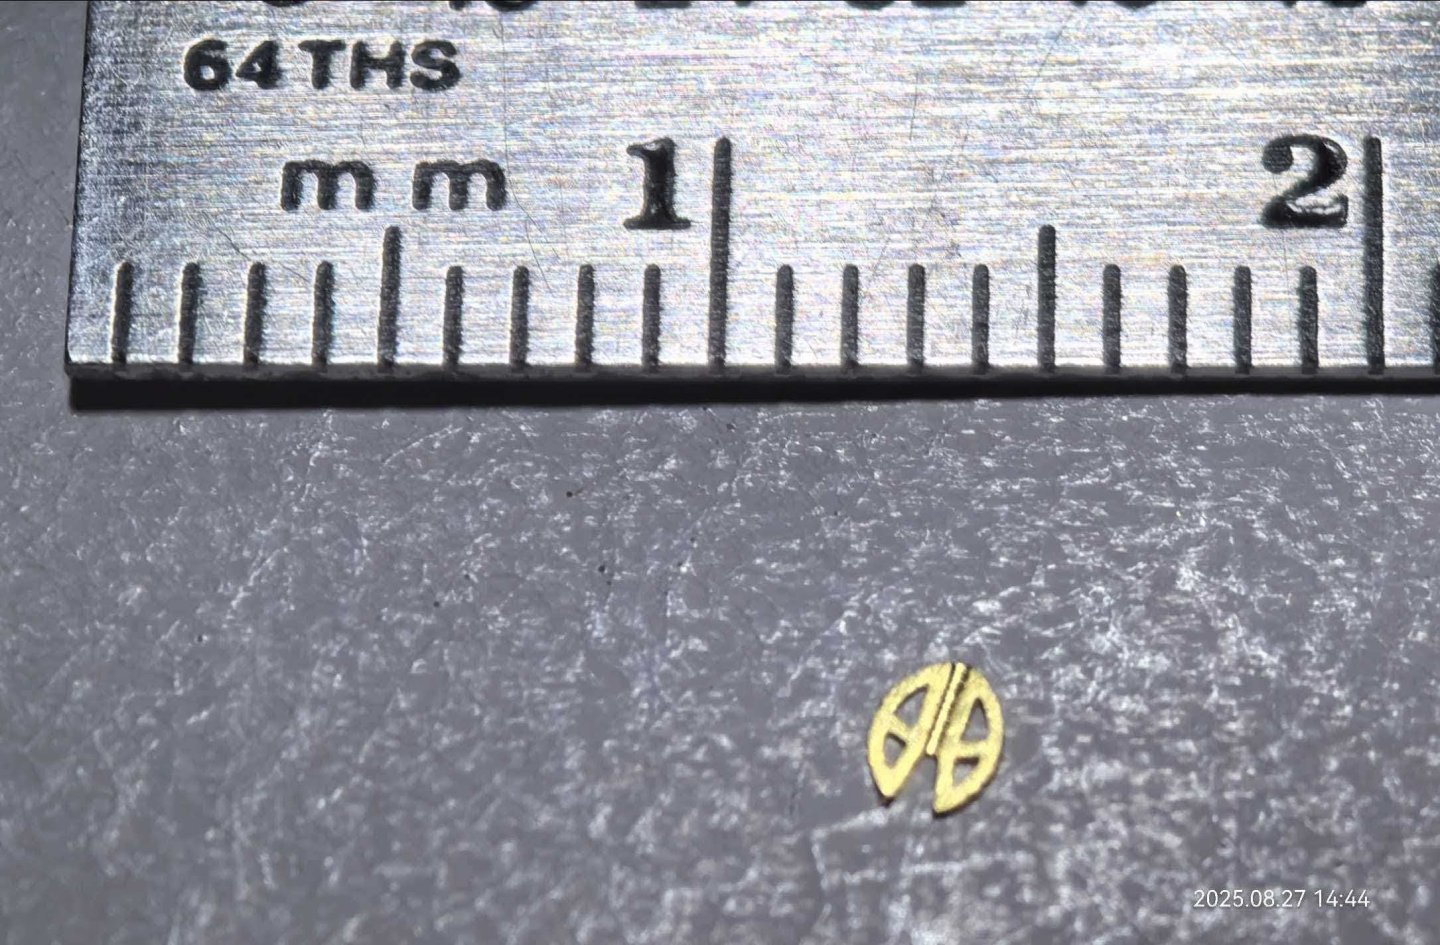
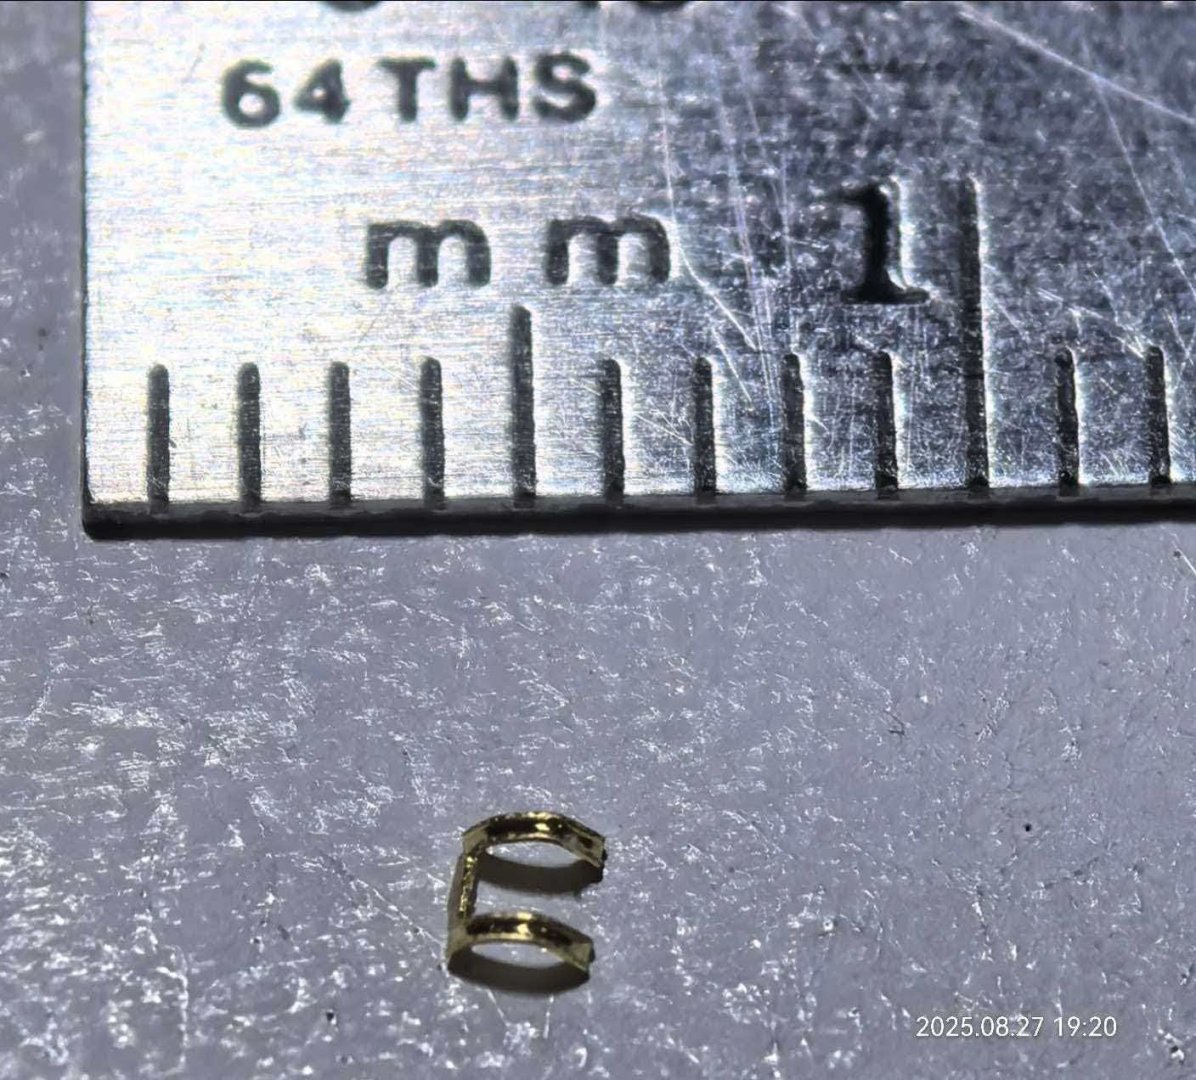
Happy New Year! I made a lot of progress since last time, but forgot to take some photos before I left on my trip, so I figured I might share some photos of some PE work I did over the summer: Stay warm and enjoy the holidays!


-
A minor (ish) hiccup today: Spent most of the day outside but came home and tried to do a bit of panel lining but the stuff didn’t come off: Thankfully I only tried it on the aft superstructure, so I can get it repainted in no time tomorrow and so I already started remasking Take care and good night

-
Here’s some streaking I did today, unfortunately no chipping, I might hold off on that and do panel liner or the superstructure tomorrow: Good night and take care


-
Happy Thanksgiving! Heres some work I did: Salt weathering on the hull As well as some weathering I did before on the forward superstructure: The salt on the black parts of the camo is really annoying, it stands out way too much and is hard to remove even with a proper coat of varnish. Hopefully the panel liner will tone it down. Tomorrow I’ll put on another coat and add some rust streaking and chipping. Also what are some techniques for weathering the underwater hull, it’s looking a little bland and even with chipping it’ll probably look empty. Good night


-
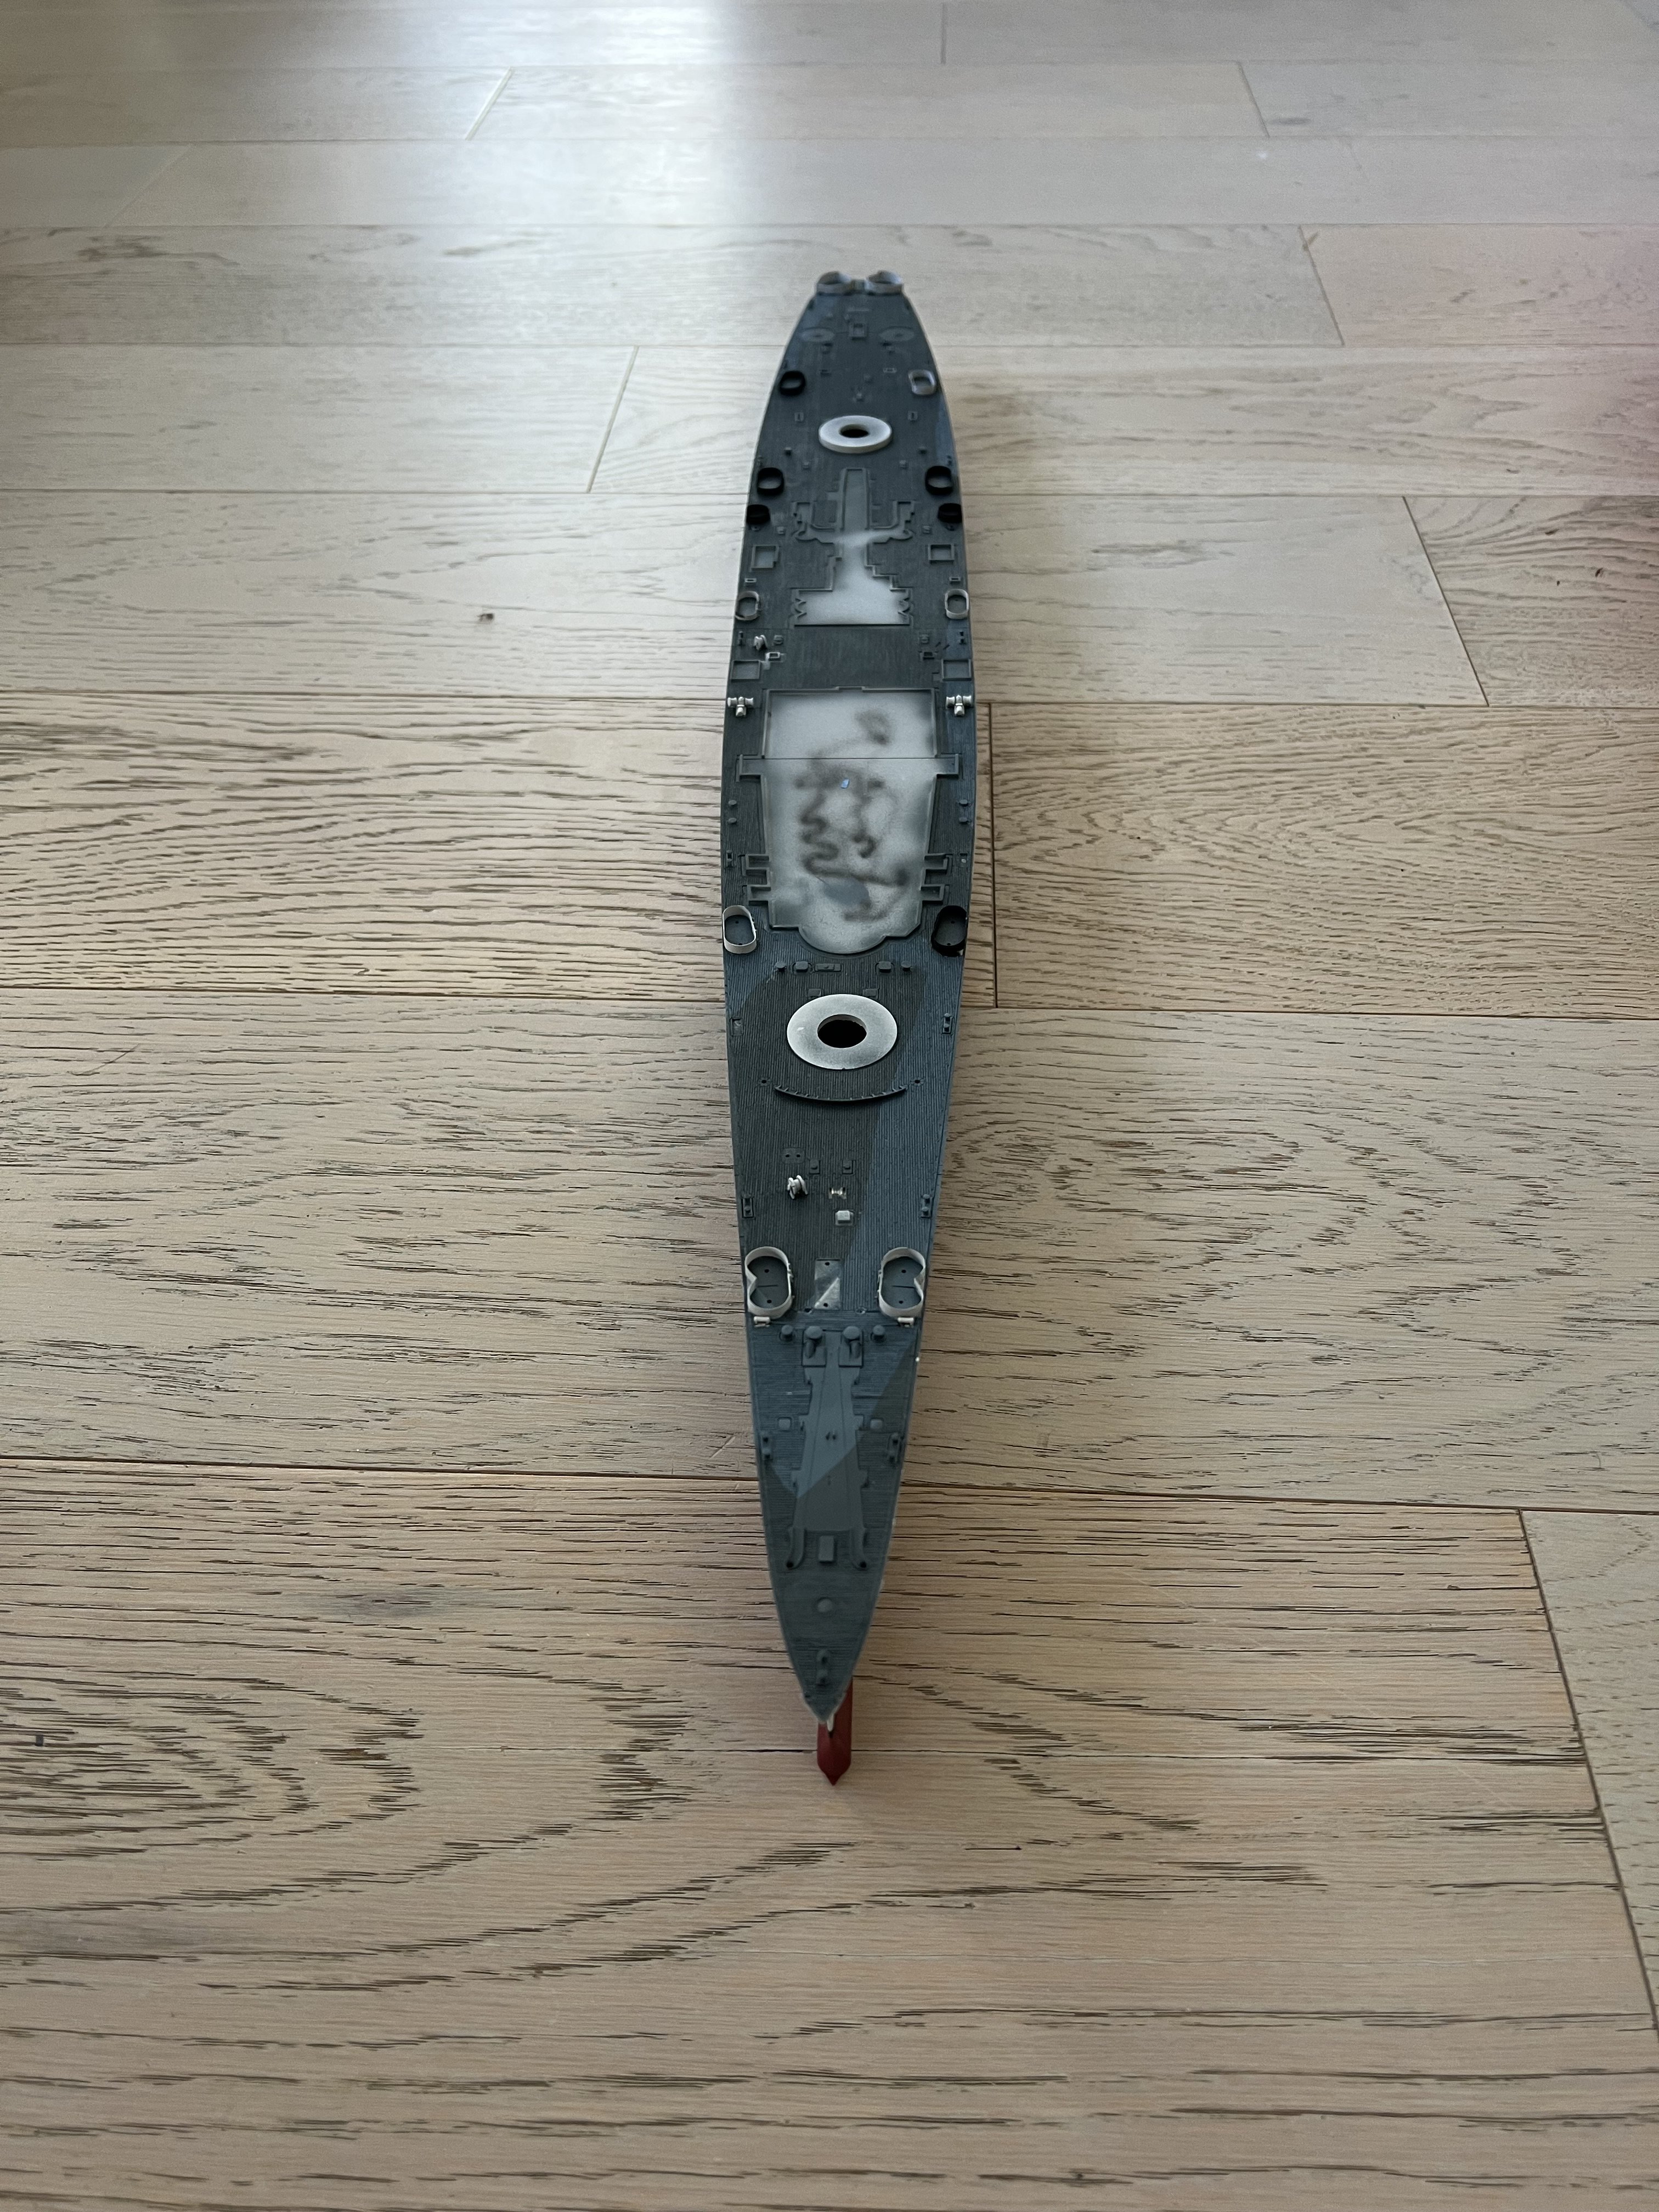
Finally back with some free time with Thanksgiving break. I've worked on and off for the past couple of months, but nothing much. Recently I tried to begin weathering with applying a layer of gloss varnish, but the varnish sprayed in specks and so the final layer was not smooth at all but I think any pigment that gets on won't come off easily. Are there some airbrush settings (too low pressure?) or thinning that I need to look out for? I'll post some updates and pictures of what I mean tomorrow morning. Happy Thanksgiving 🦃
-
I also plan to knock out the two Seahawks either this or next weekend. I managed to buy some 3D printed ones and I am very happy with them. What colors (preferably Tamiya's) should I use for them?
-
They also sell a "slo" (yellow?) version, which I haven't bought, but I may buy to use for gluing down wooden decks in the future or glue the superstructure onto the hull. https://www.amazon.com/Pacer-Technology-Zap-Slo-Zap-Adhesives/dp/B0006O8EQM
-
One more thing, I'm the process of making tarps that will cover the ship's launches (launches? whalers?) since they are much too boring and I have no PE for them. I currently have painted the tarps a tan/khaki sort of color, but when I put them on the model, they stand out way too much. Should they be the color of the deck below them?
-
I use Zap-a-gap glues, the green and purple versions. I think the way I try to reduce the amount of excess is by sanding it down afterwards. For instance, with some PE ladders on my ship, I'll first set them in place with tape, use the thin, purple version (which will naturally run along the entire length of the ladder), and then sand down whatever excess there is. I think this works for most things, but I've seen some models where the ladders stick out and have tiny contact points, so the glue won't stick as well. Here I think sanding would be trickier since you'd have to sand under the ladders. I haven't encountered these, but maybe an accelerator would work. As for control, something I find works very well for me is "stabilizing" my hand with other things. I'll put be ring and pinky fingers on the table or rest it on my other hand hold the model. It may or may not work well for you, but have a go with it I suppose .
-
About the tape residue on the model, can I use a towel soaked in the warm water to wipe off the tape stuff?
-
Finally back, grabbed a couple models from the Tamiya store in Tokyo. I'm assuming using a towel soaked in the warm water works so that I don't have to soak the model in it? Thanks I've also been following along with your Missouri build, since I have the Veryfire Iowa kit stashed away.
-
When I was unwrapping the model, there was still the "sticky residue" on the ship, which I want to get rid of. Any ideas?
-
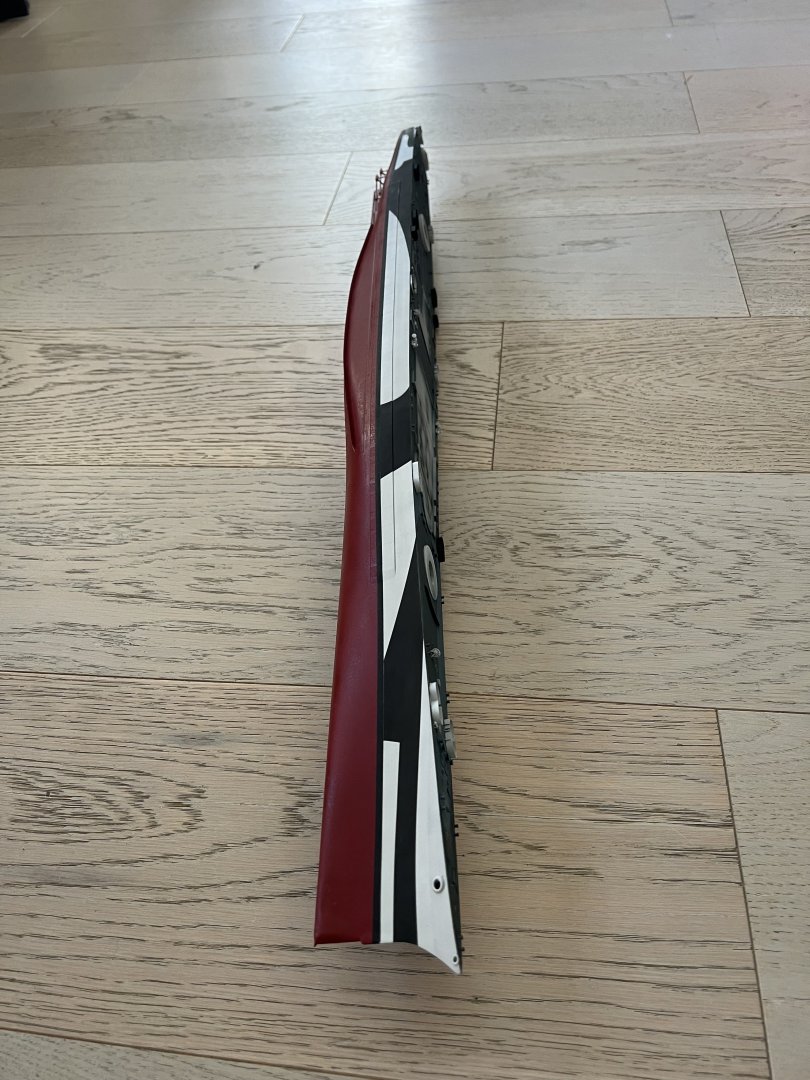
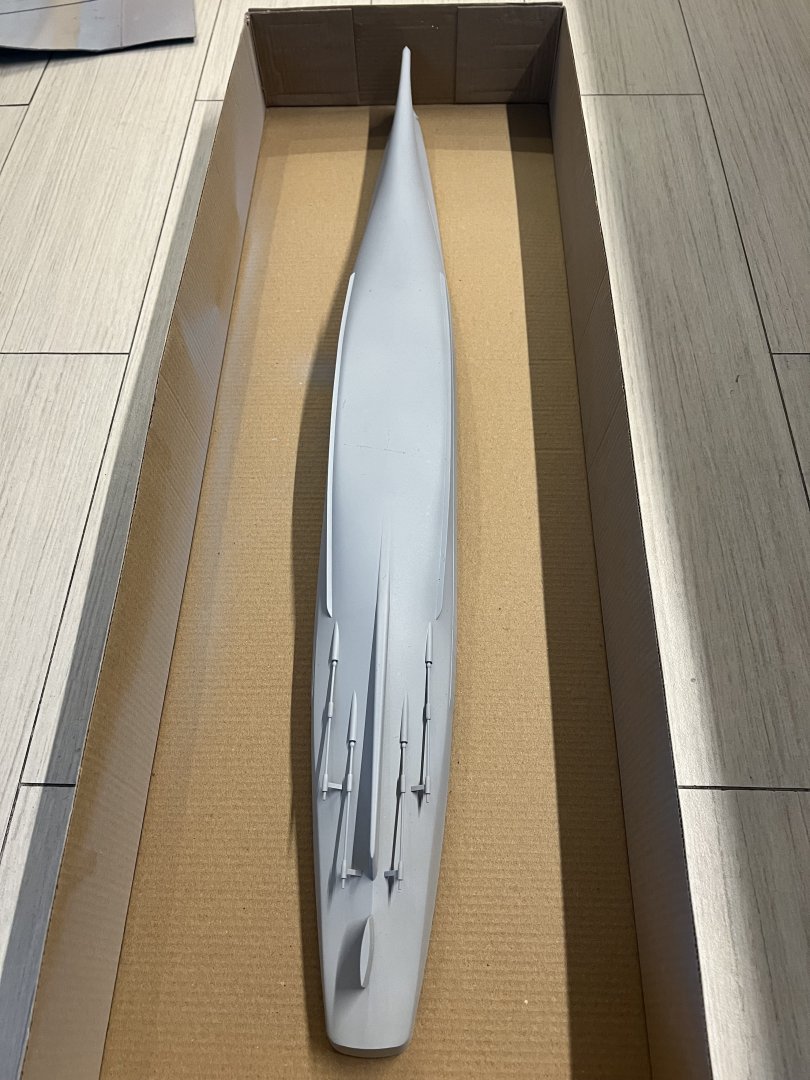
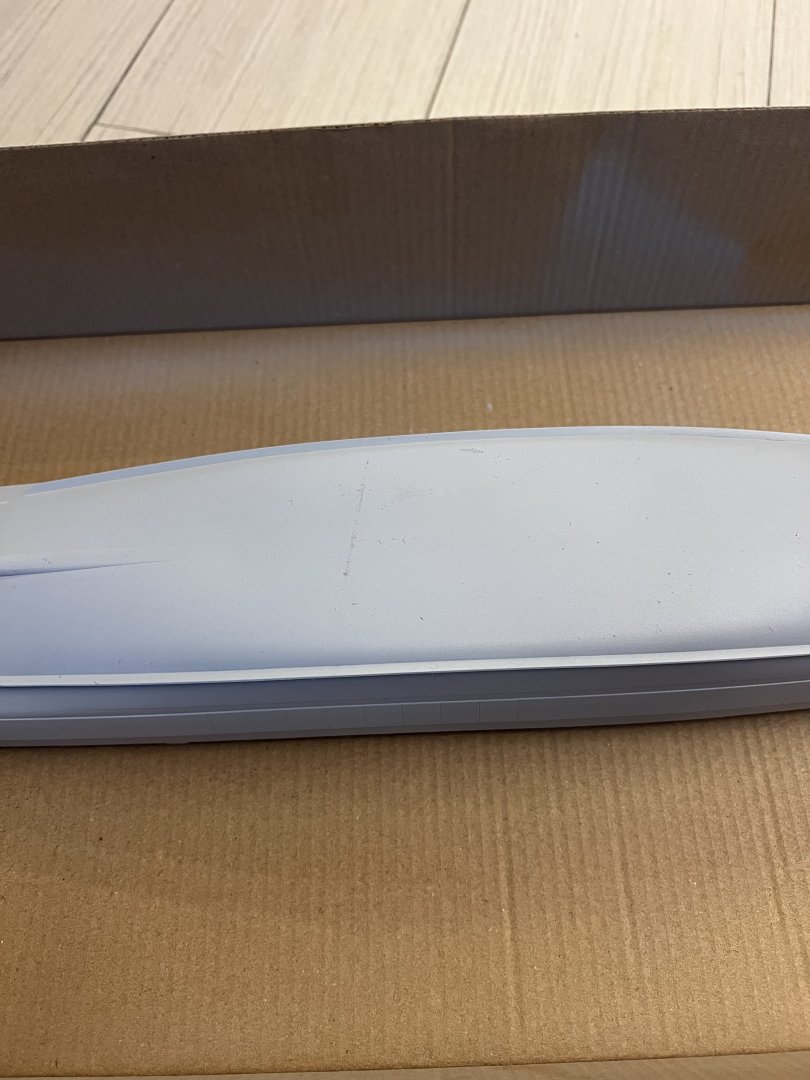
It’s been a while but I’ve been working throughout. I thought I’d paint the hull and then show you guys but I got carried away and decided to paint most of the ship: Unfortunately I’ll be away for a month but am stopping by Tokyo, which means…models! Cheers!


-
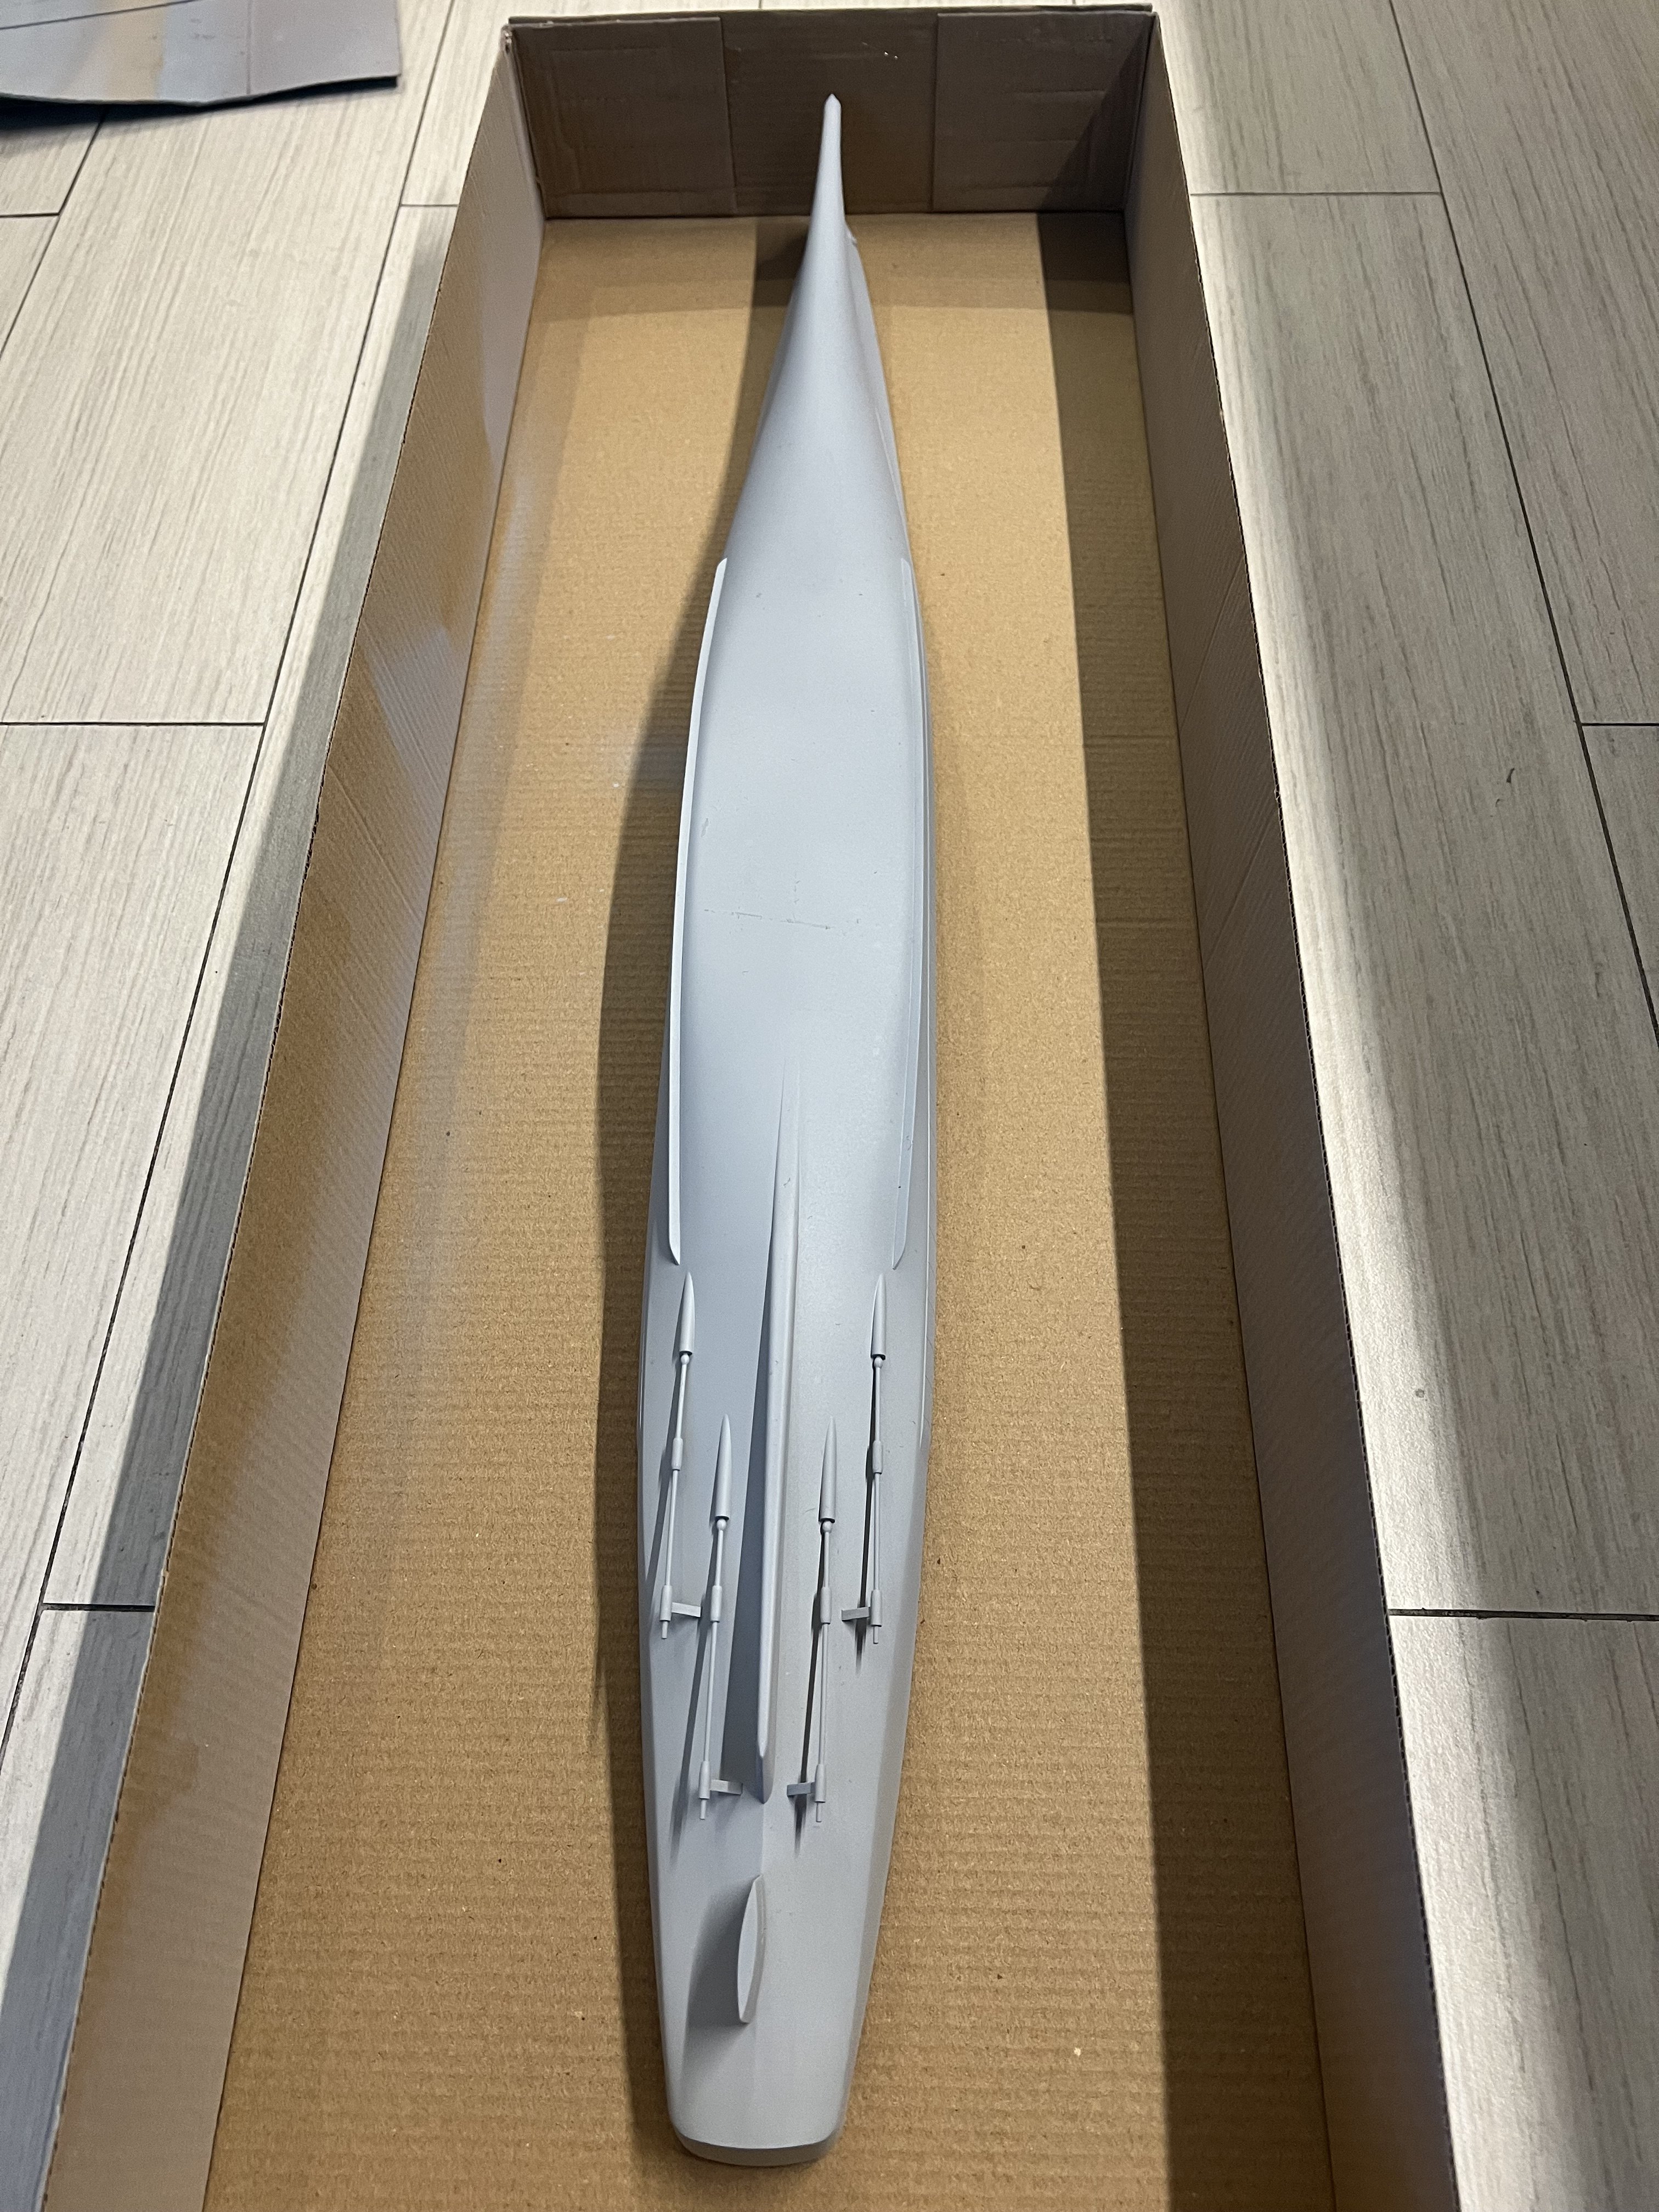
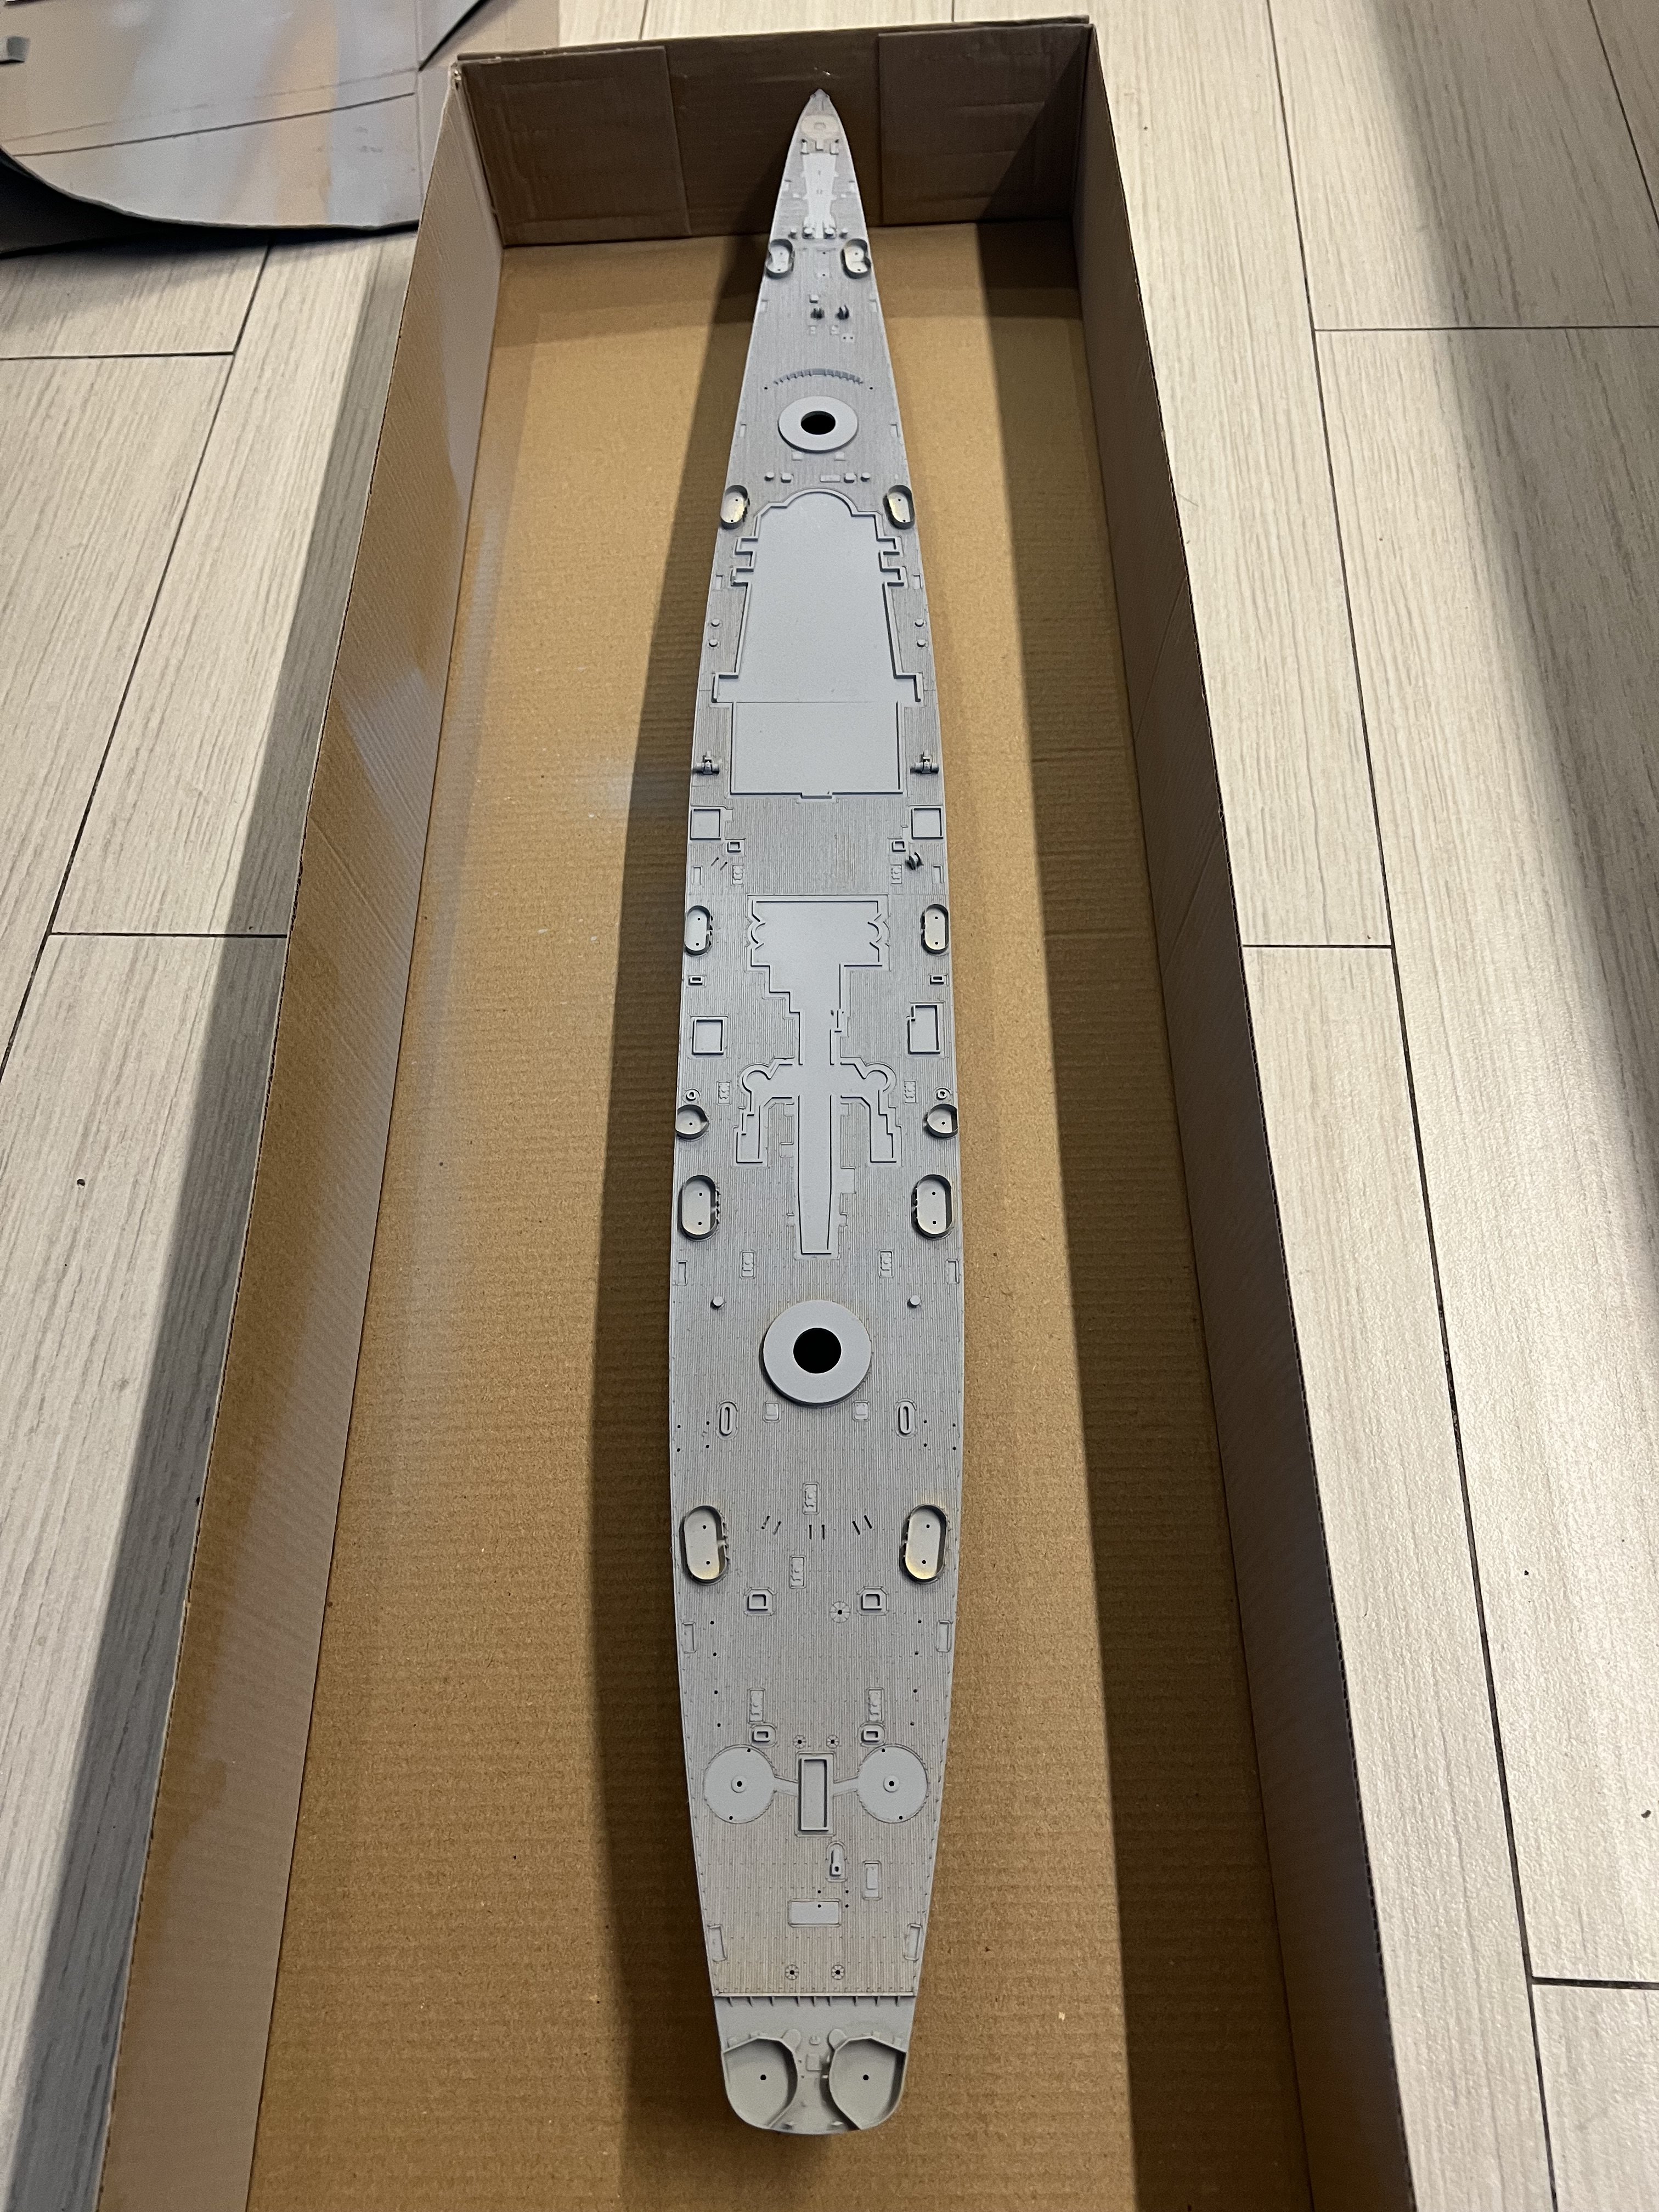
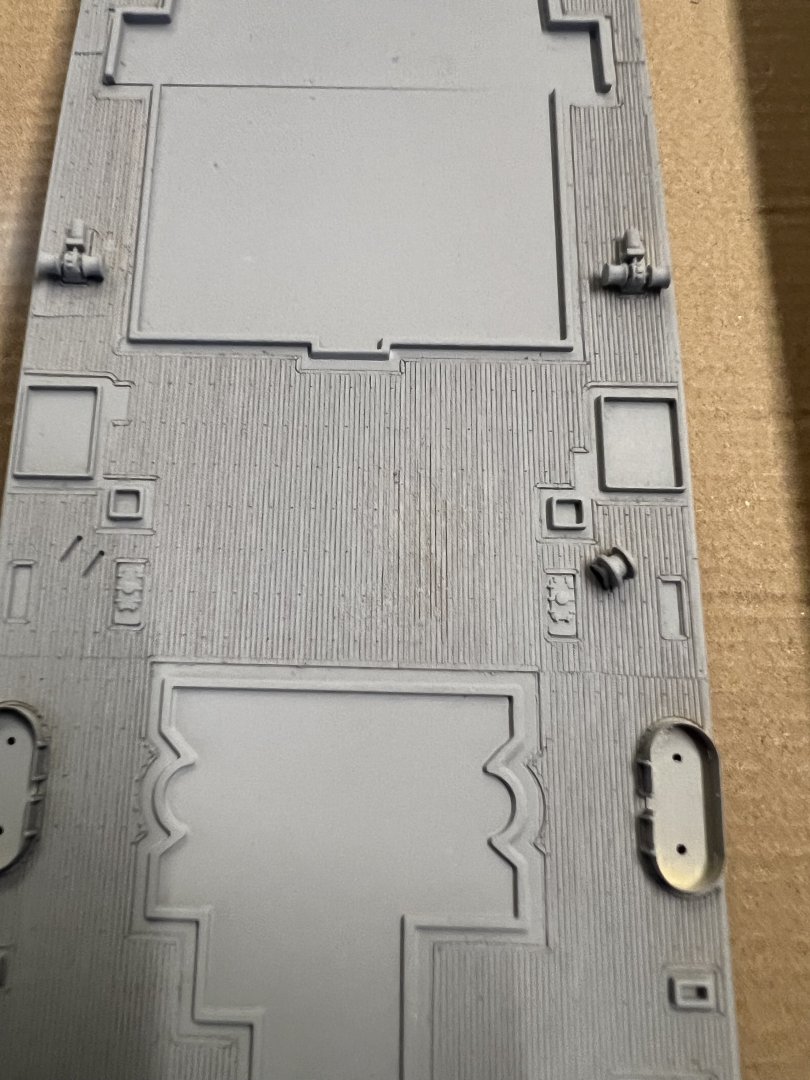
Some more progress, the wood deck has finally been fitted and the hull primed. I used Mr Aqueous Surfacer, but in a spray can, which I used since it was much easier to cover larger areas, but also because I didn’t have the glass jar ones. I also skipped completely priming the gun tubs because I didn’t want to lose out the wooden deck detail. I might skip priming the superstructure because spray canning it might make me lose detail. I heard that not using a primer makes the paint flake off the PE, does varnish help seal the paint? Some blemishes from dust and paint sticking, to be dealt with: Work hours: 144 hrs

-
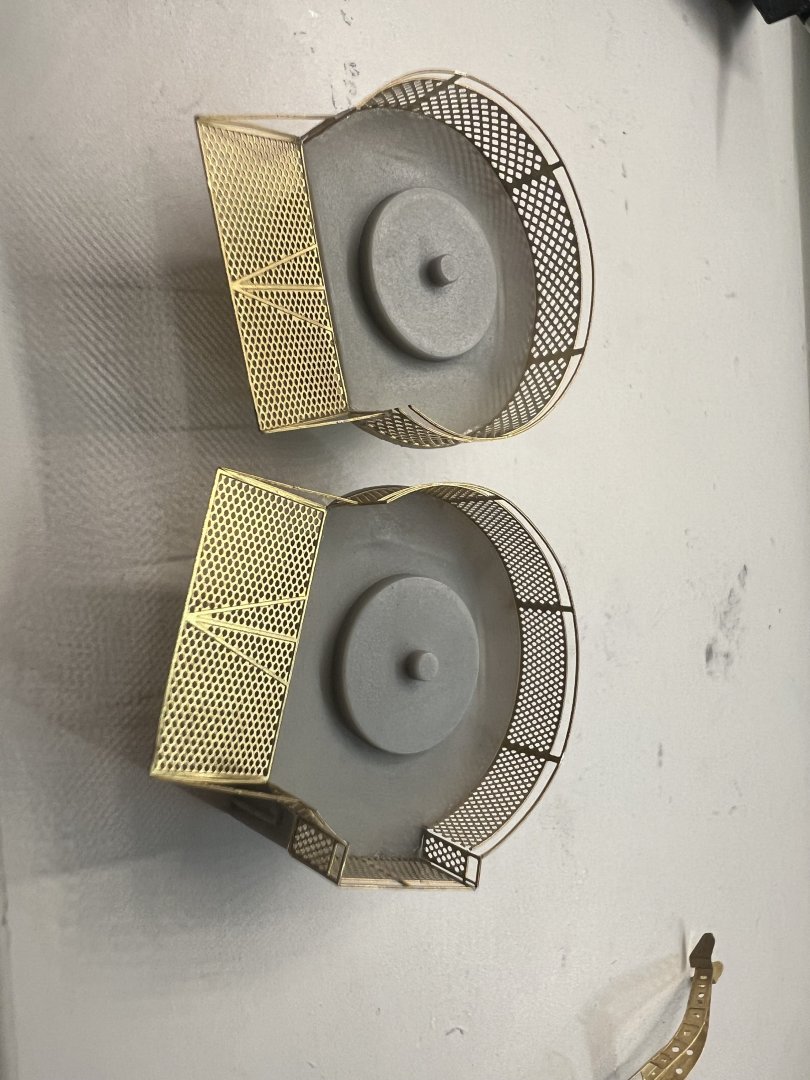
During the break from Jan to Jun I managed to get my hands on after market sets for not only a wooden deck but also PE gun tubs. Here’s the first half of the deck and tubs installed: At the same time I’ve been experimenting with weathering on my Sullivans, which I’ve been building along side Alaska. I like the results and although the salt streaks are hidden by the light, rest assured, they exist: Your thoughts? Lastly, a photo from a couple days ago of most of the main subassemblies stacked together:


-
Thanks, I really do think taking my time with PE is helpful. It takes like an hour for each bit, but they turn out pretty nice and anyways I can listen to Drachinifel for bit as well
-
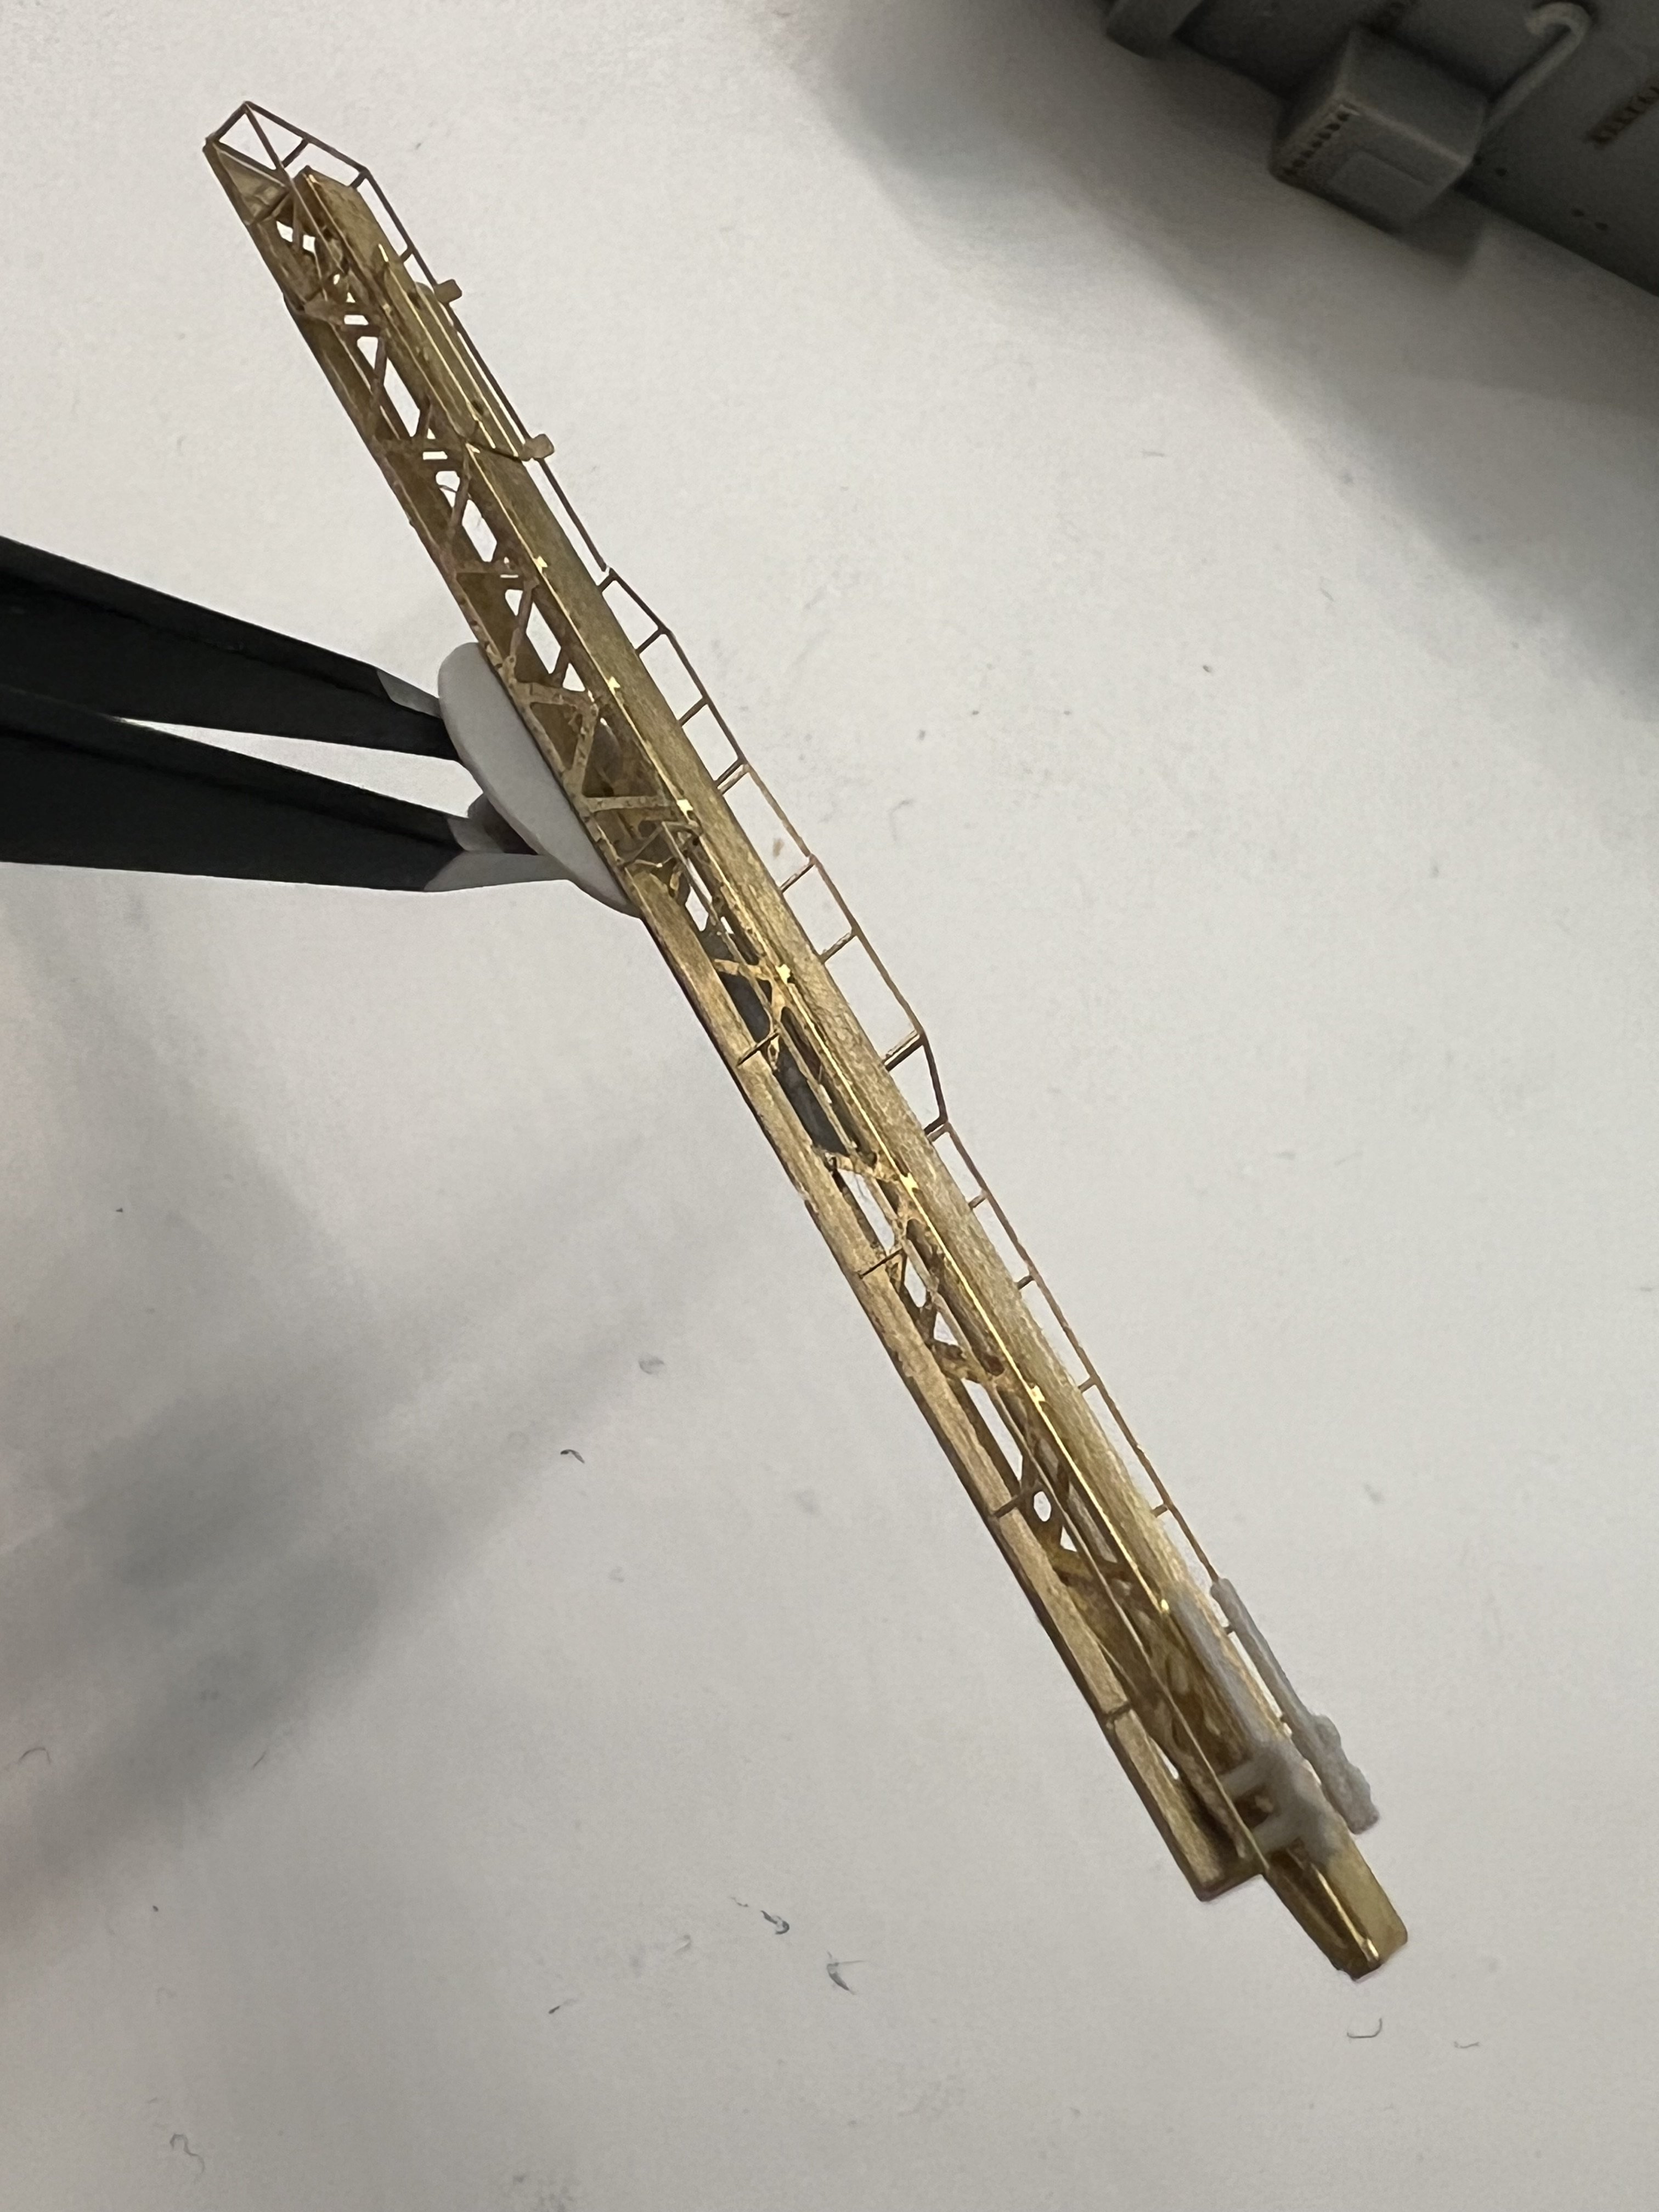
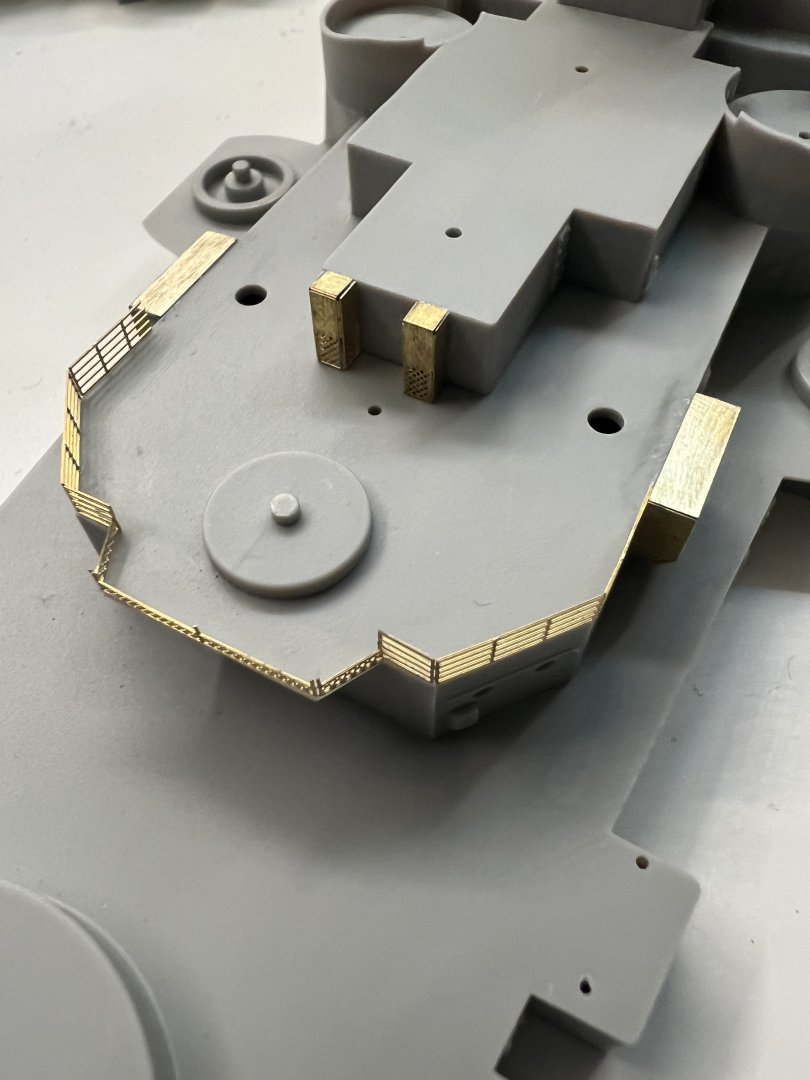
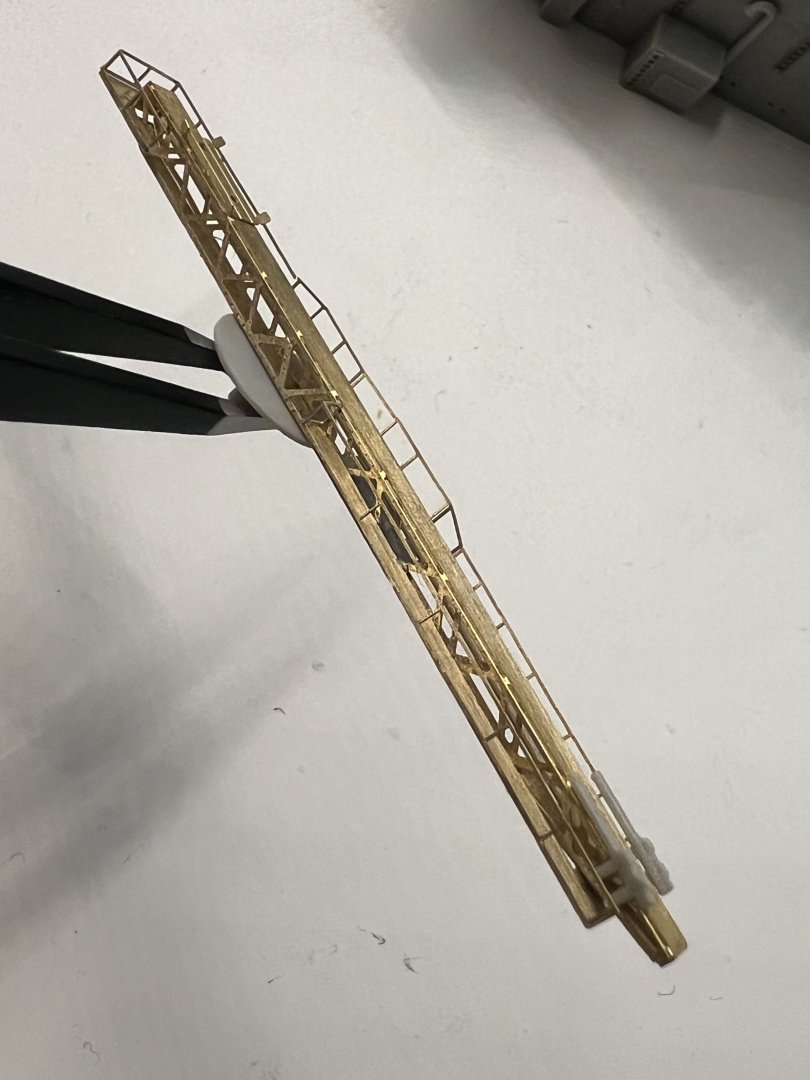
Some more work on the railings, this time the 5 in mounts: Work also begins on one of the cranes: Work hours: 77 hrs


-
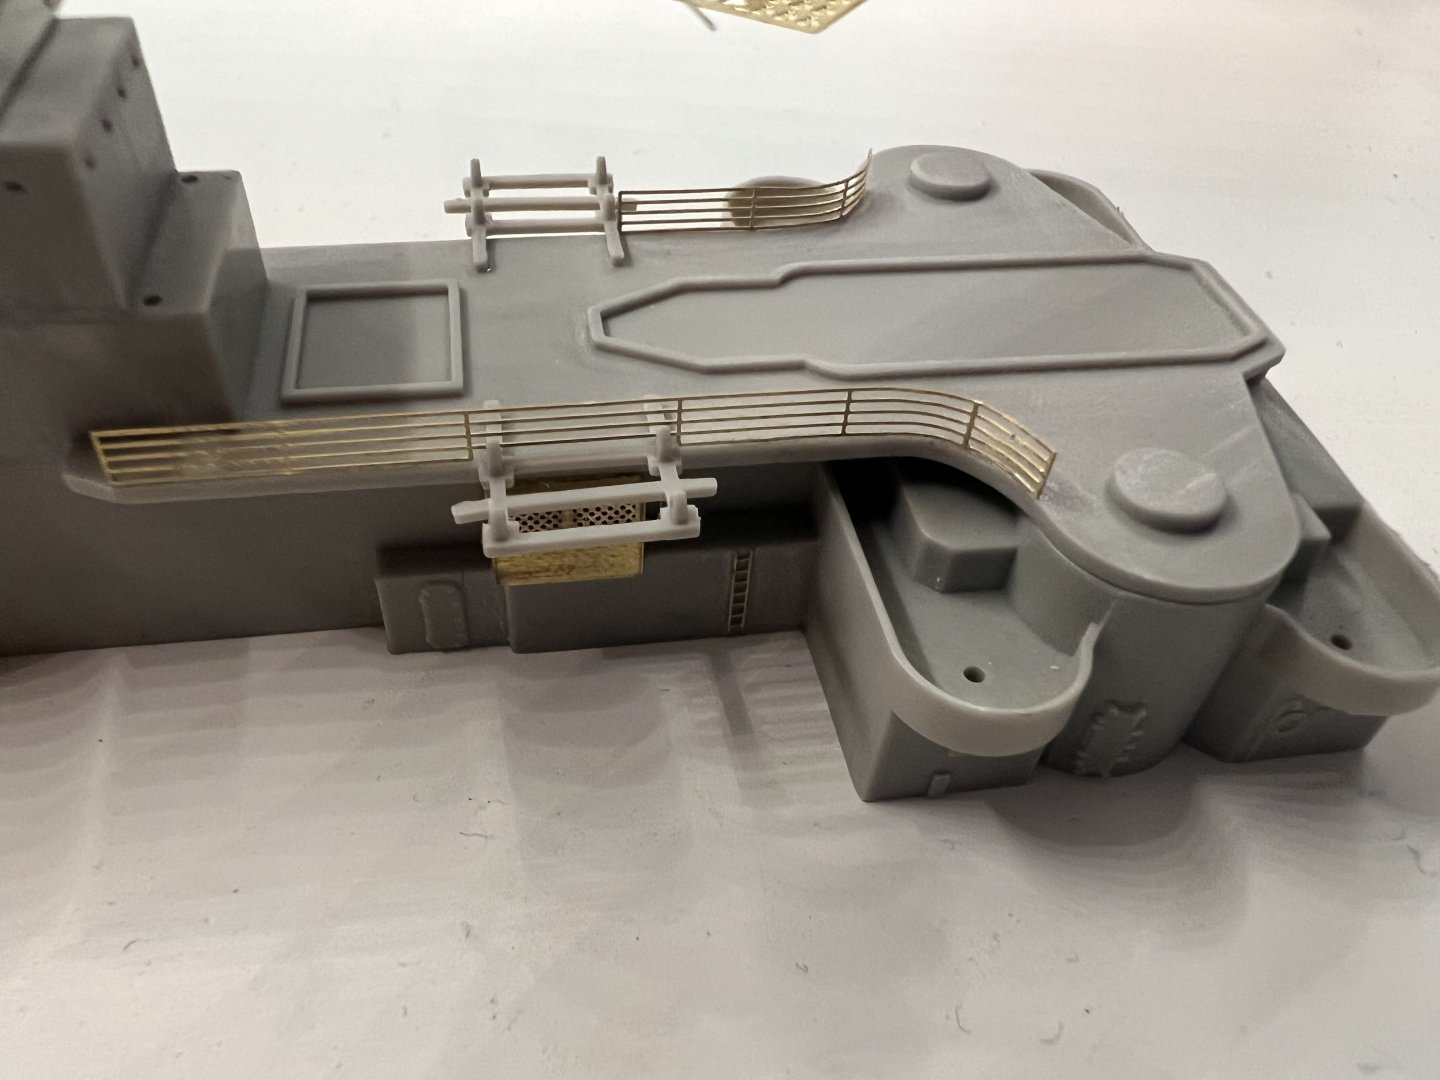
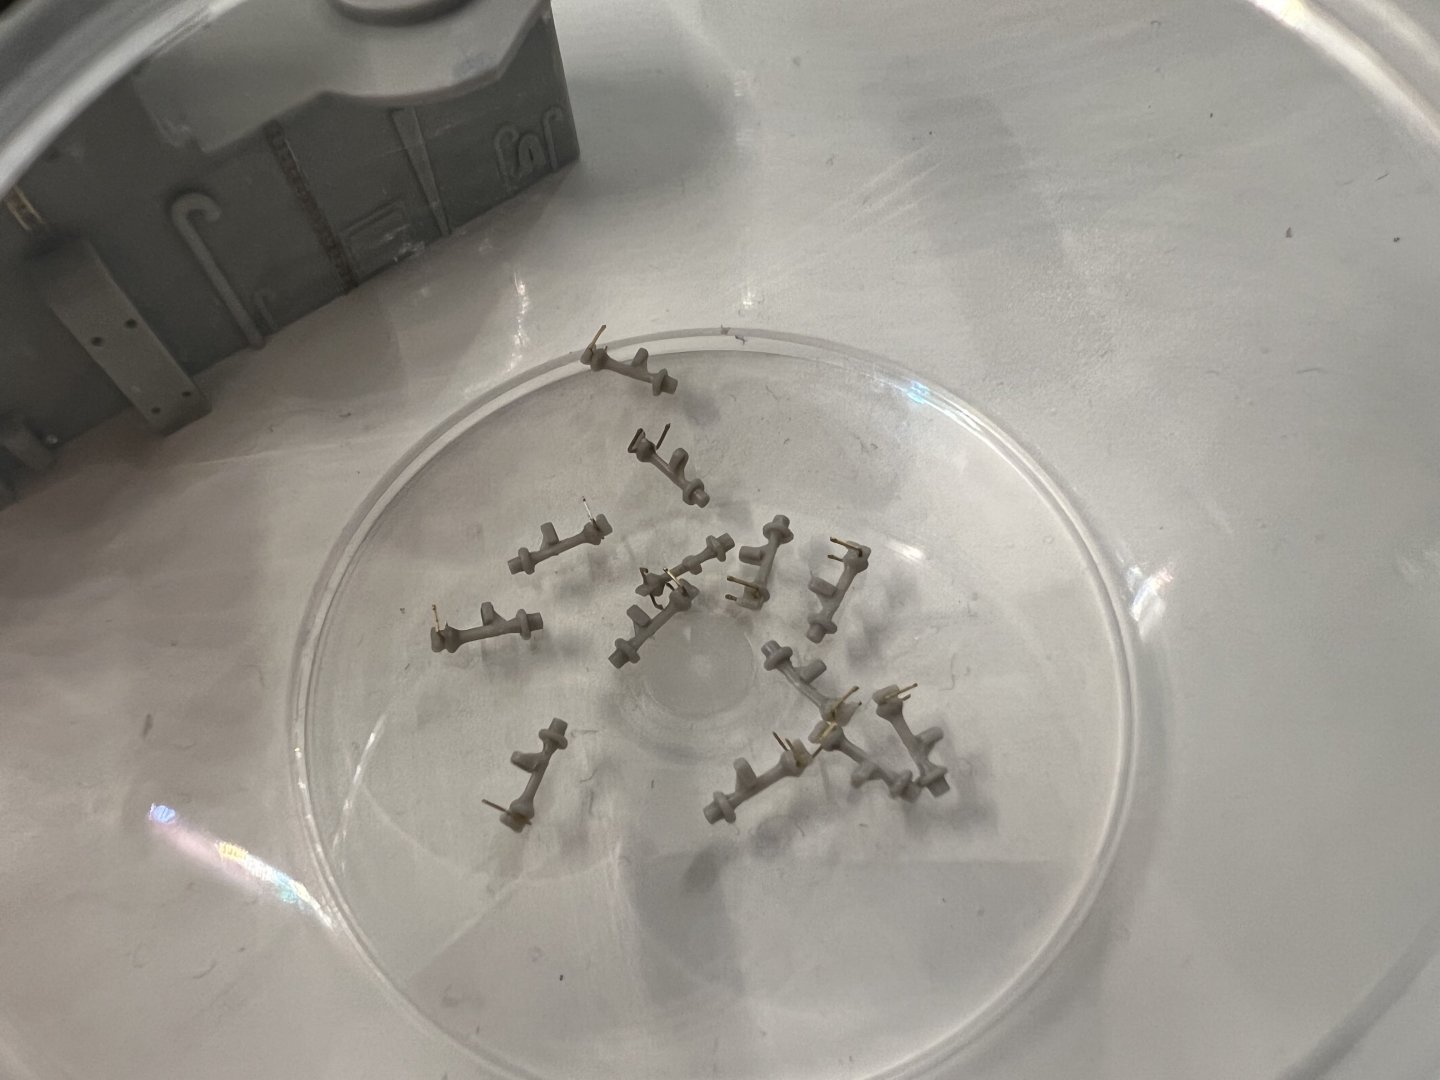
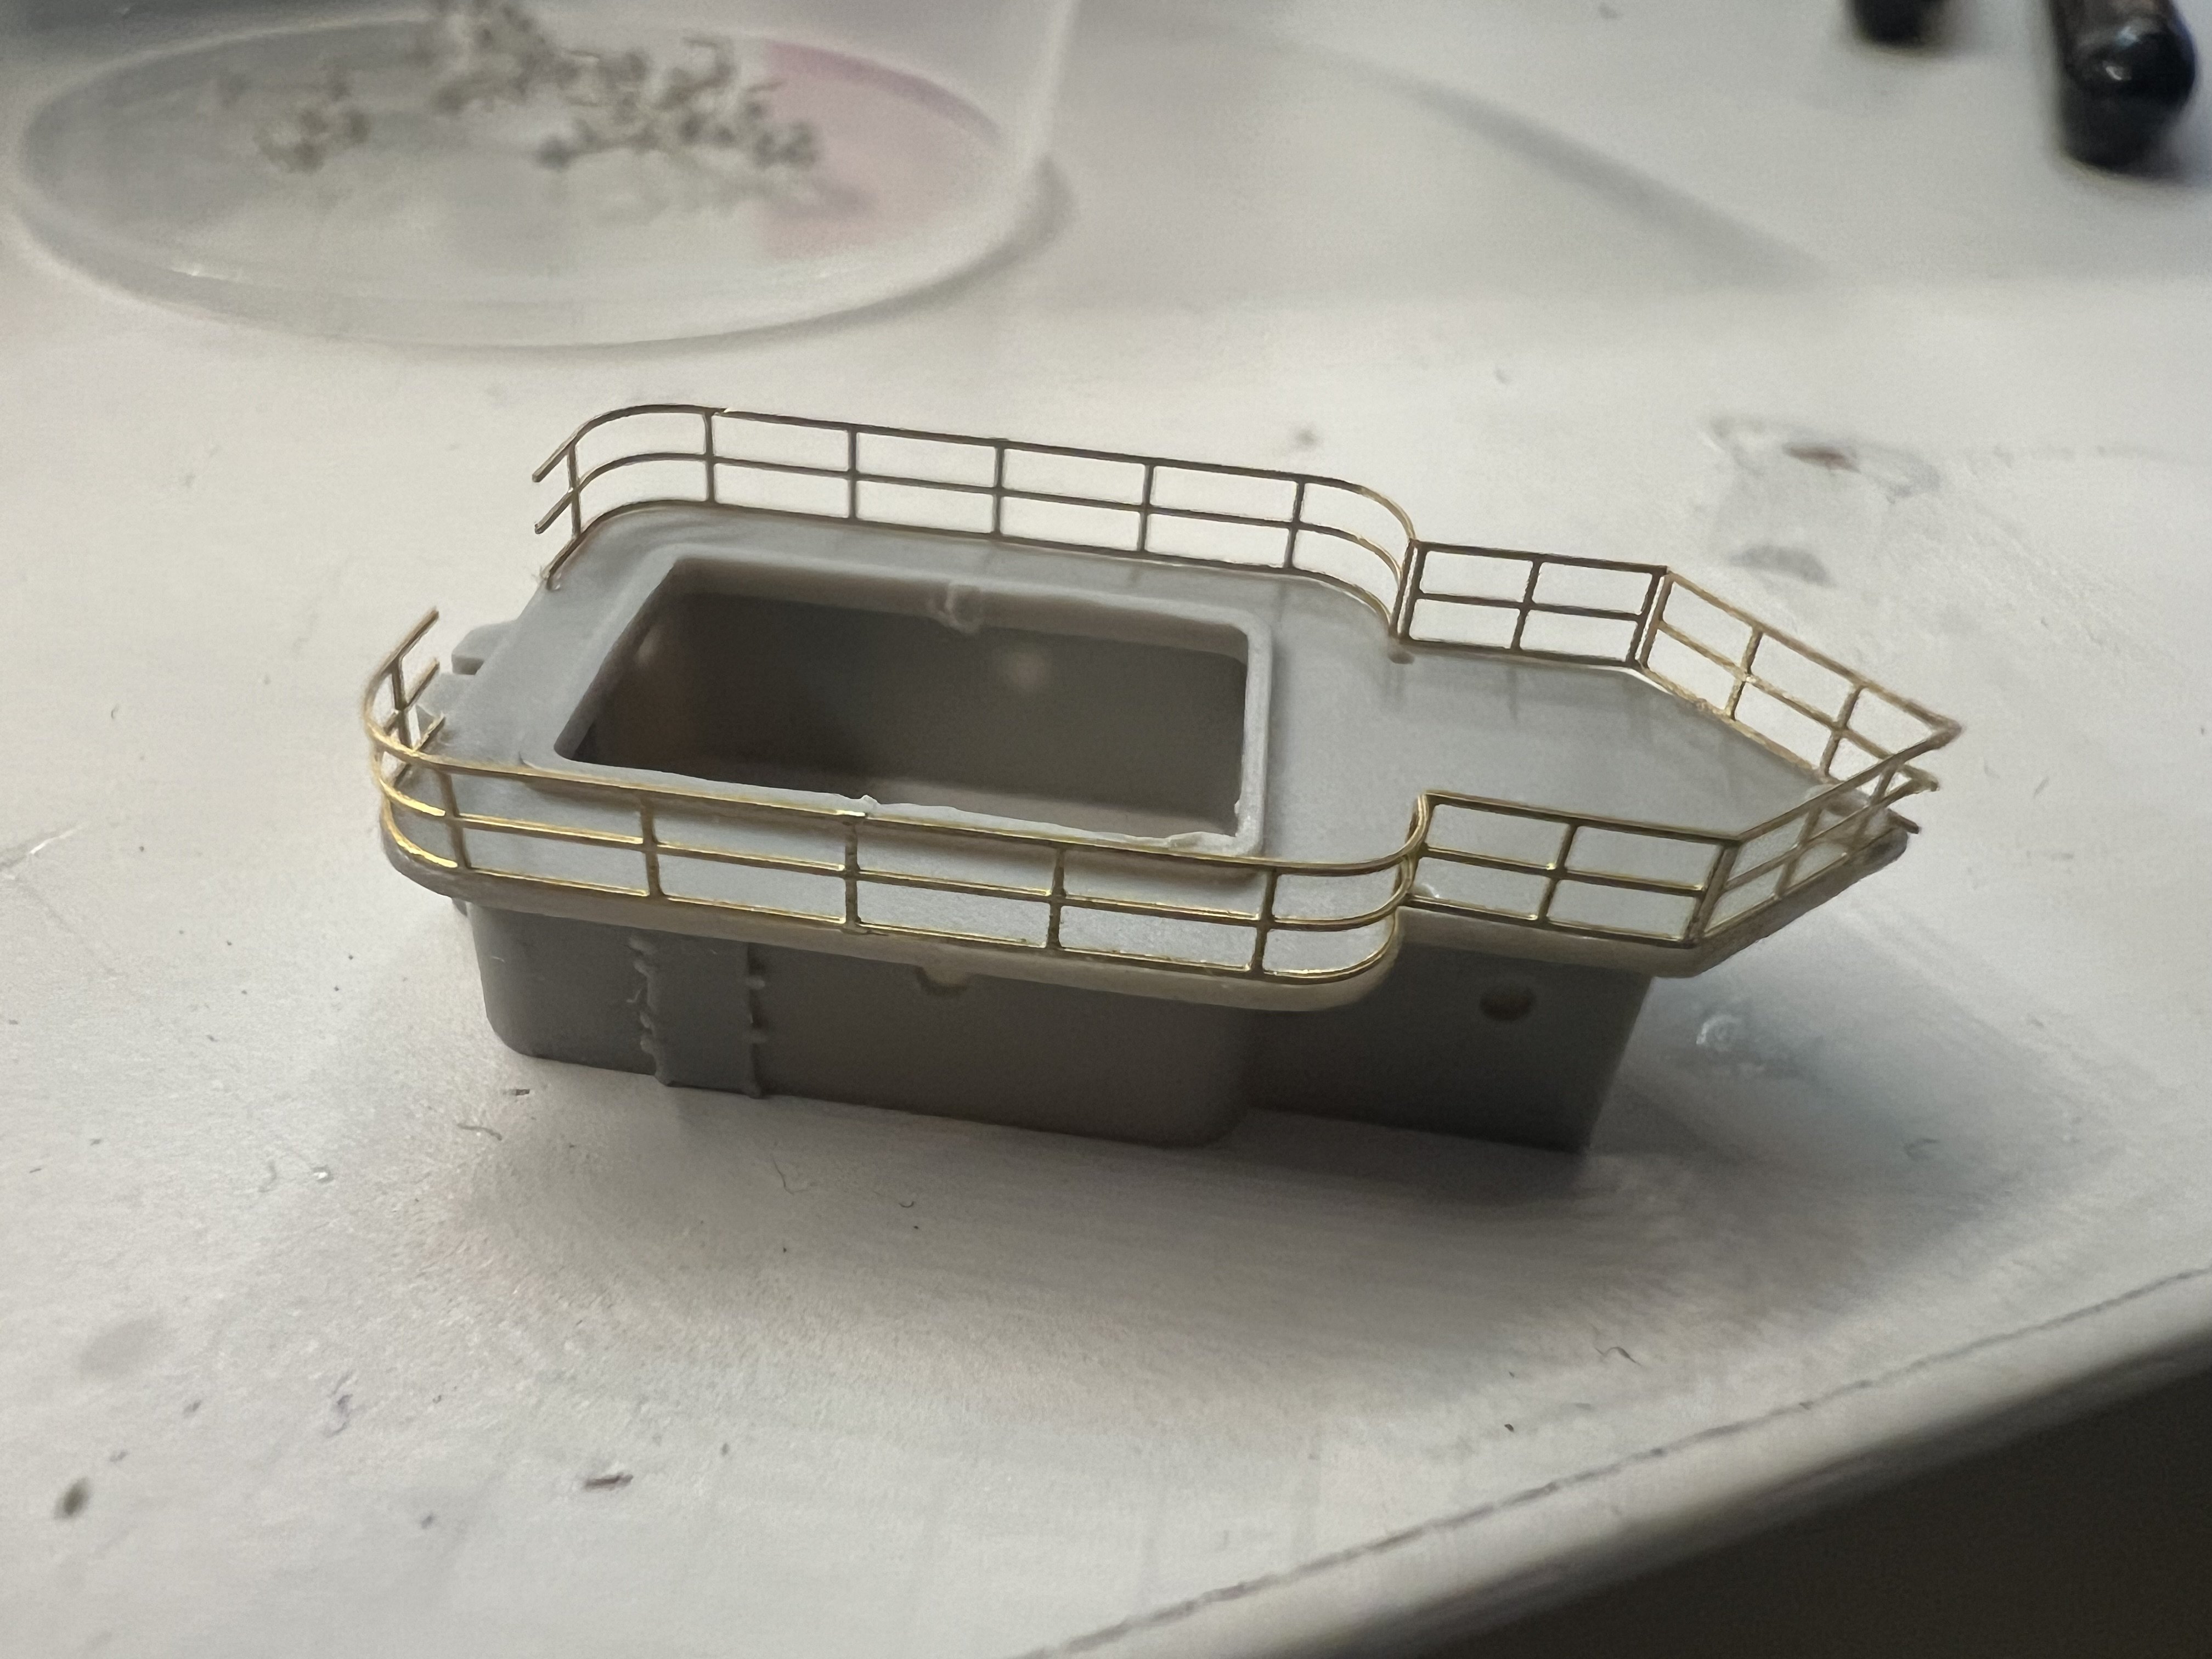
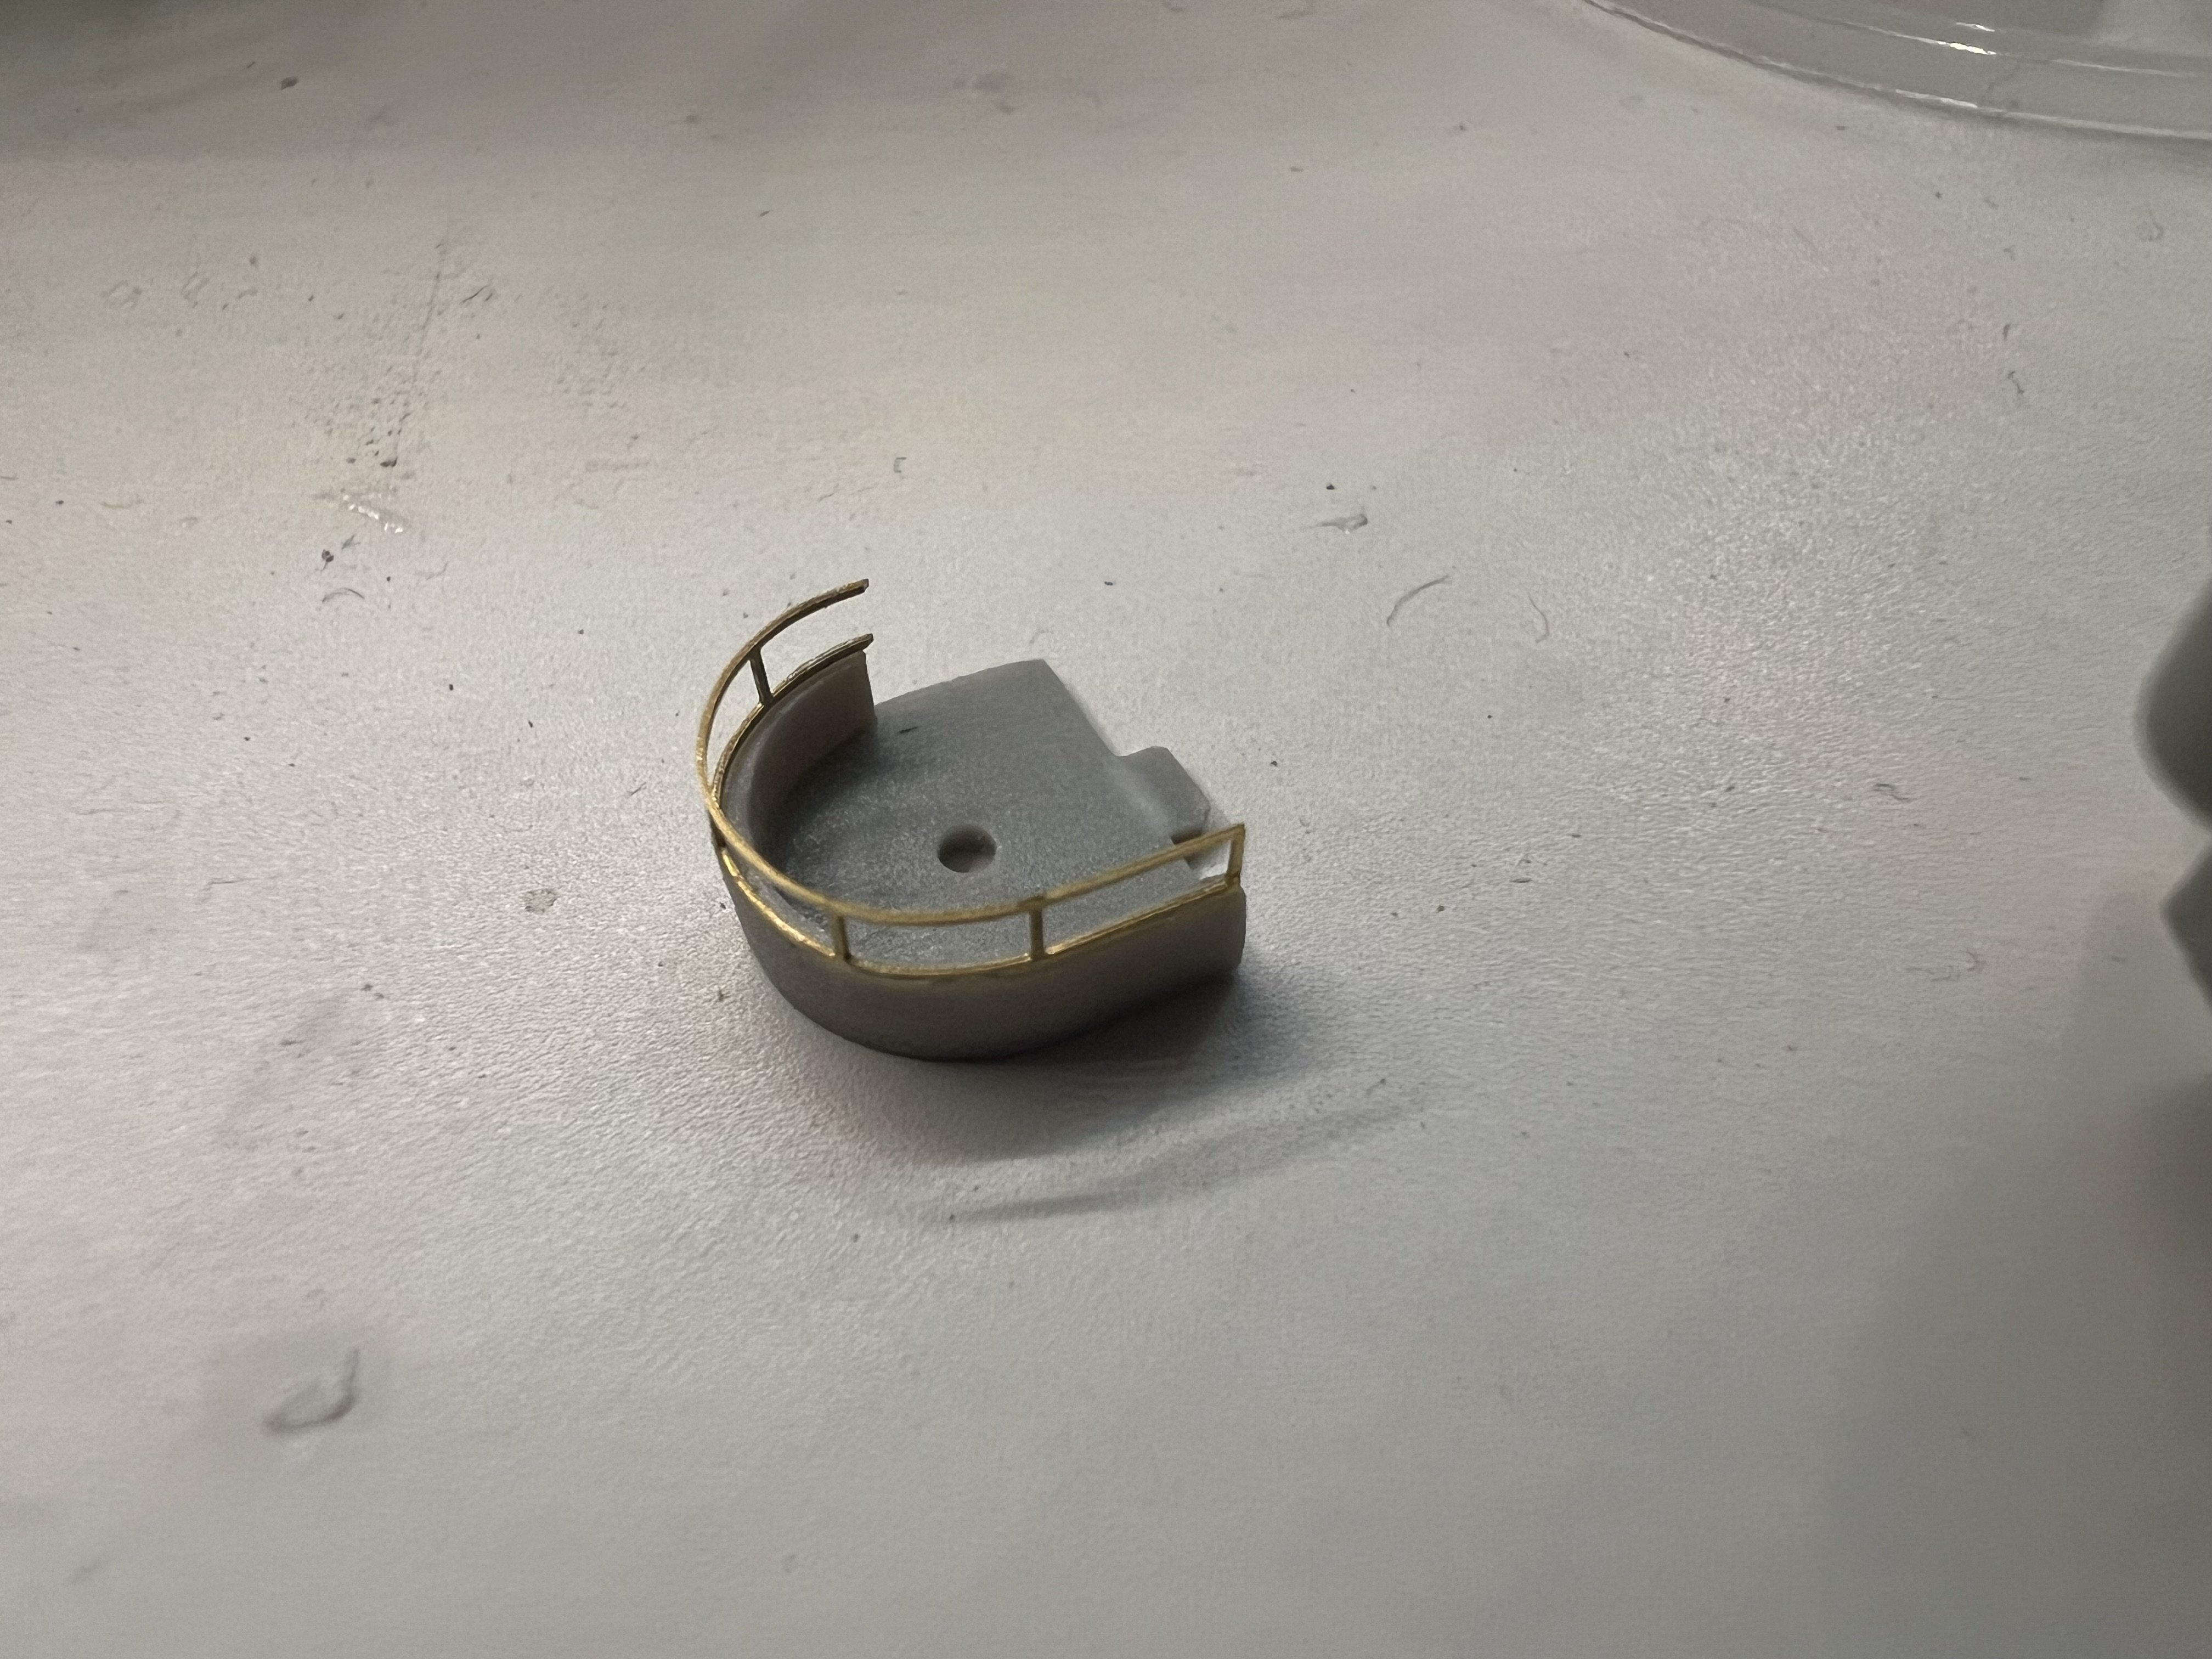
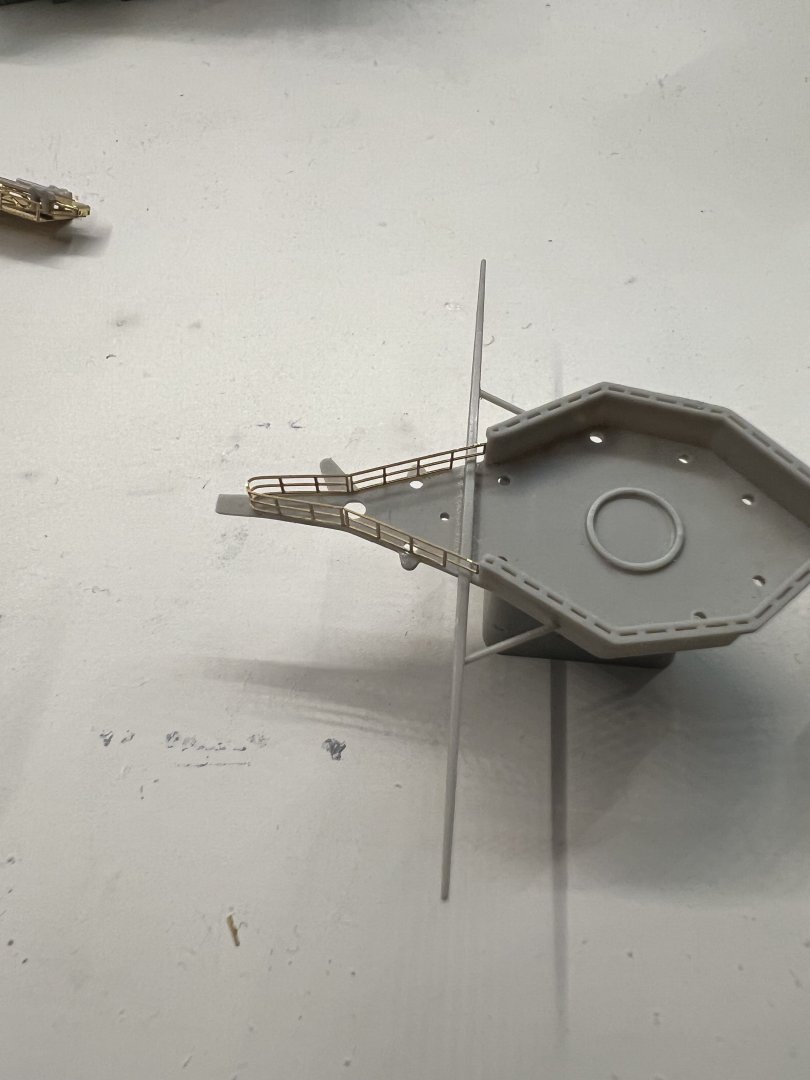
More photoetch today. The kits photoetch isn’t great, there are so many pieces that are too long and so I ended up cutting the railings into different segments. Annoying, but it worked: As for the catapult, how does the cradle fold? There are four little foldable tabs: Work hours: 73 hrs

- 73 replies
-
- 10
-

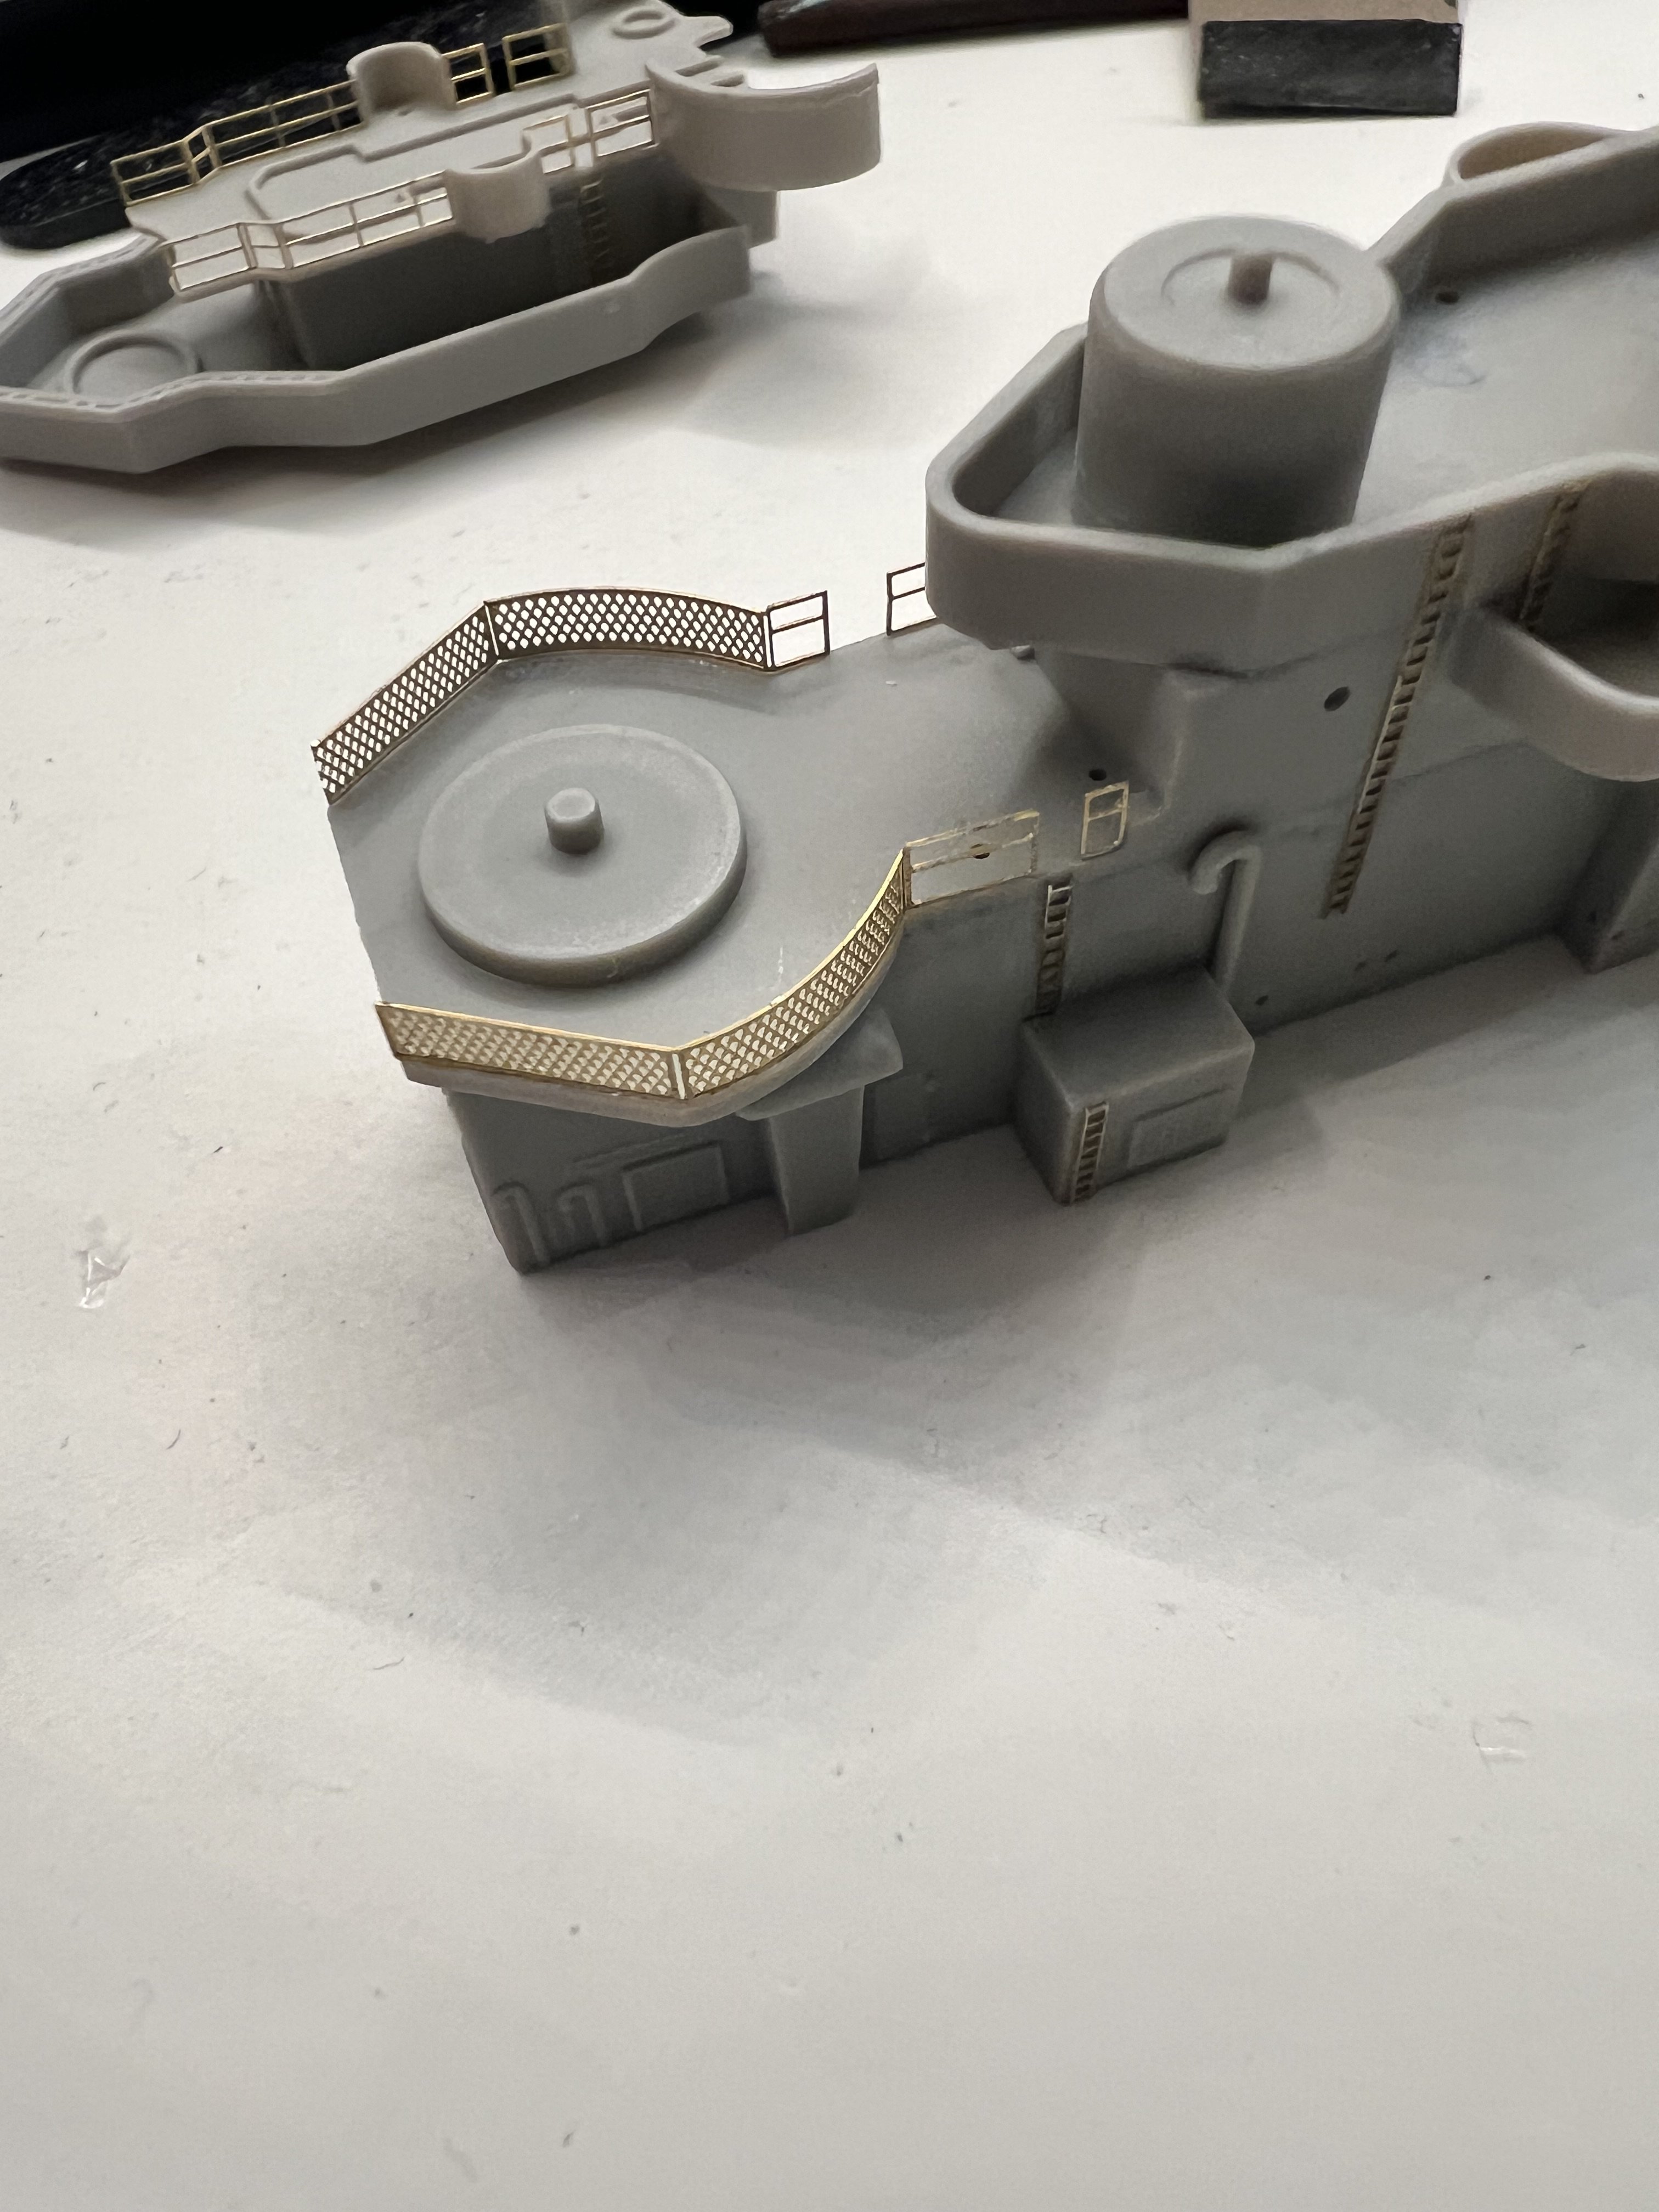
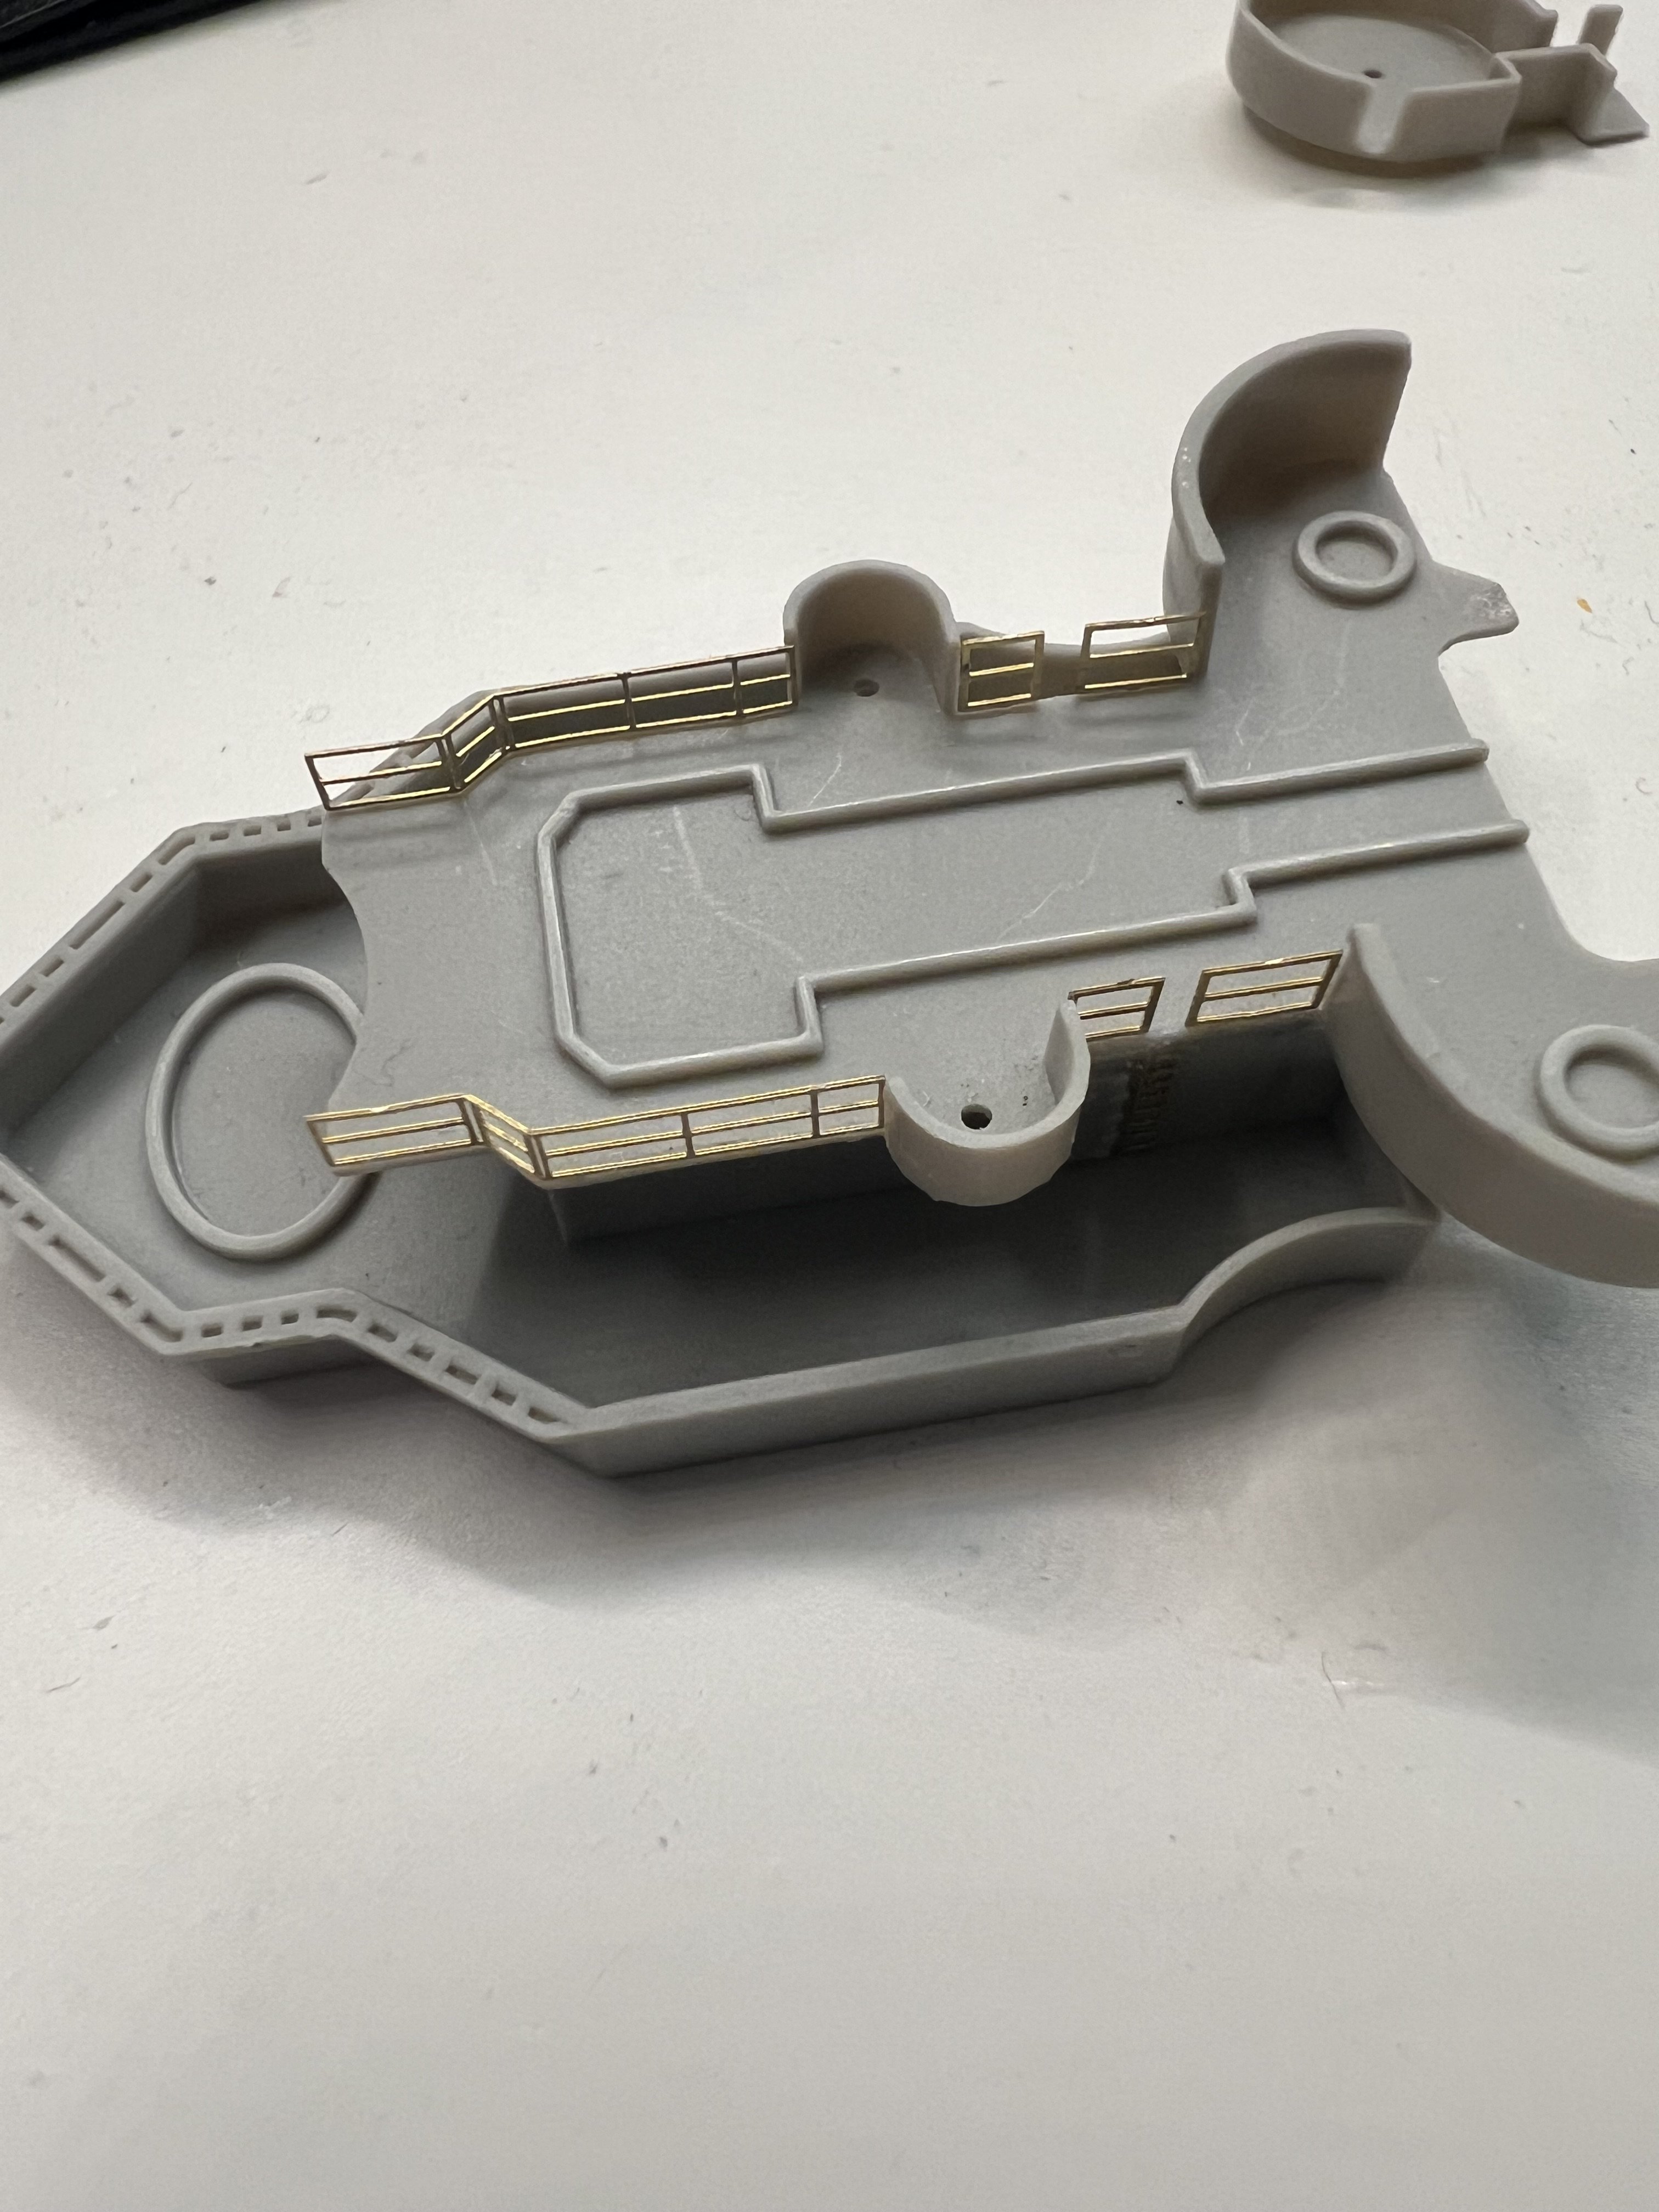
-
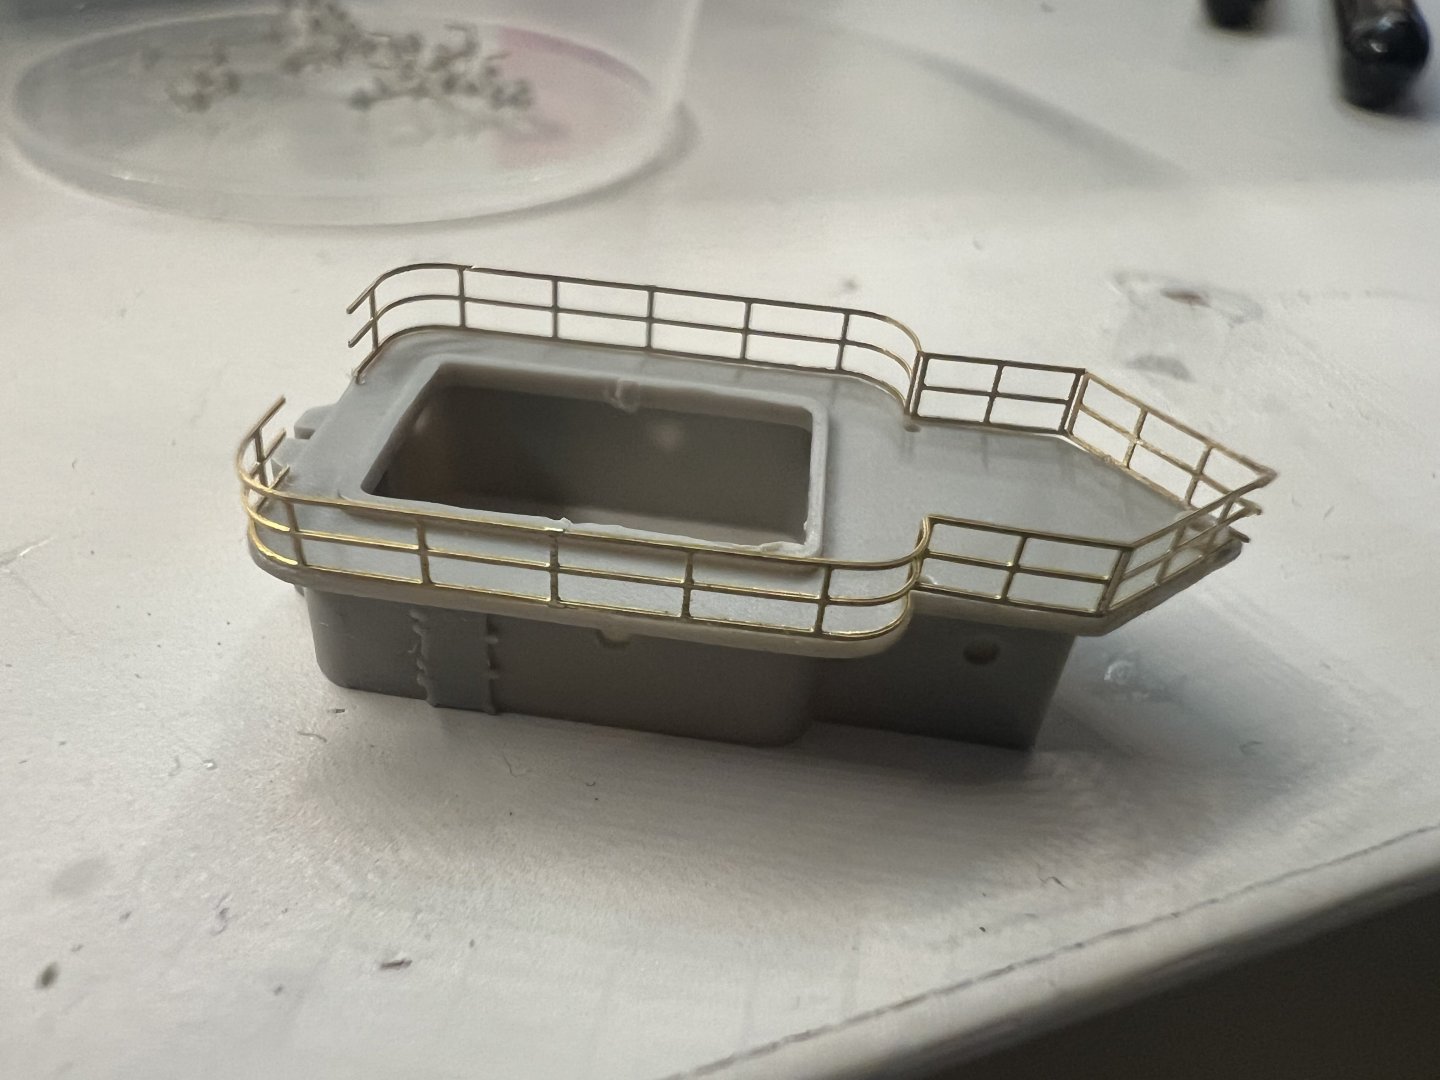
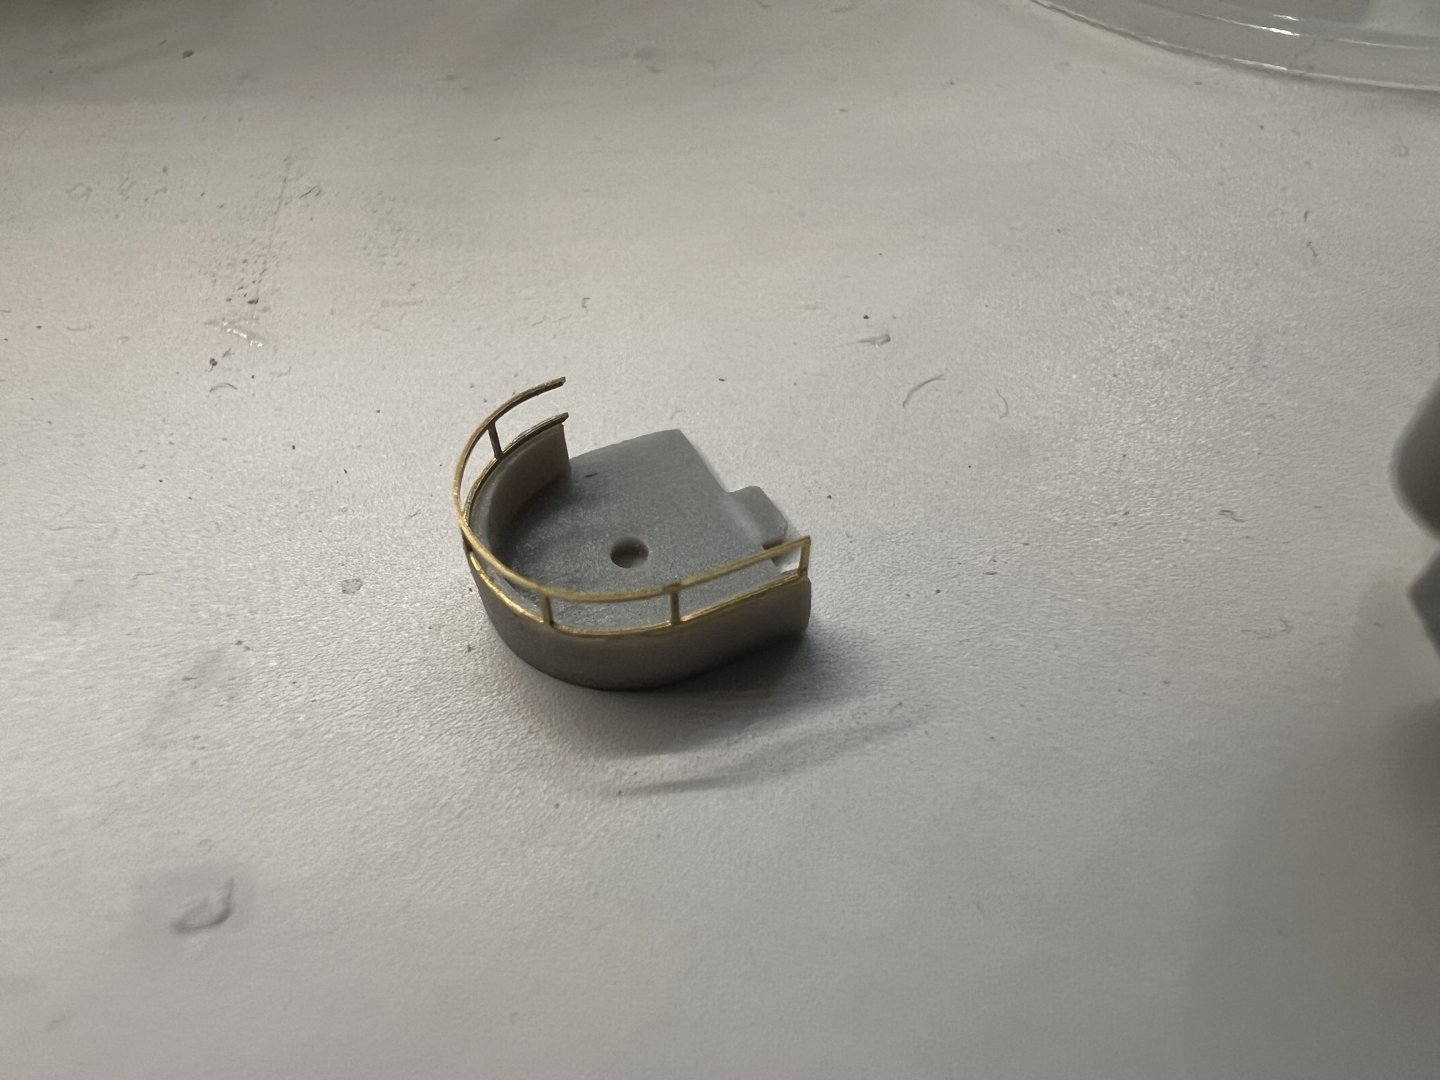
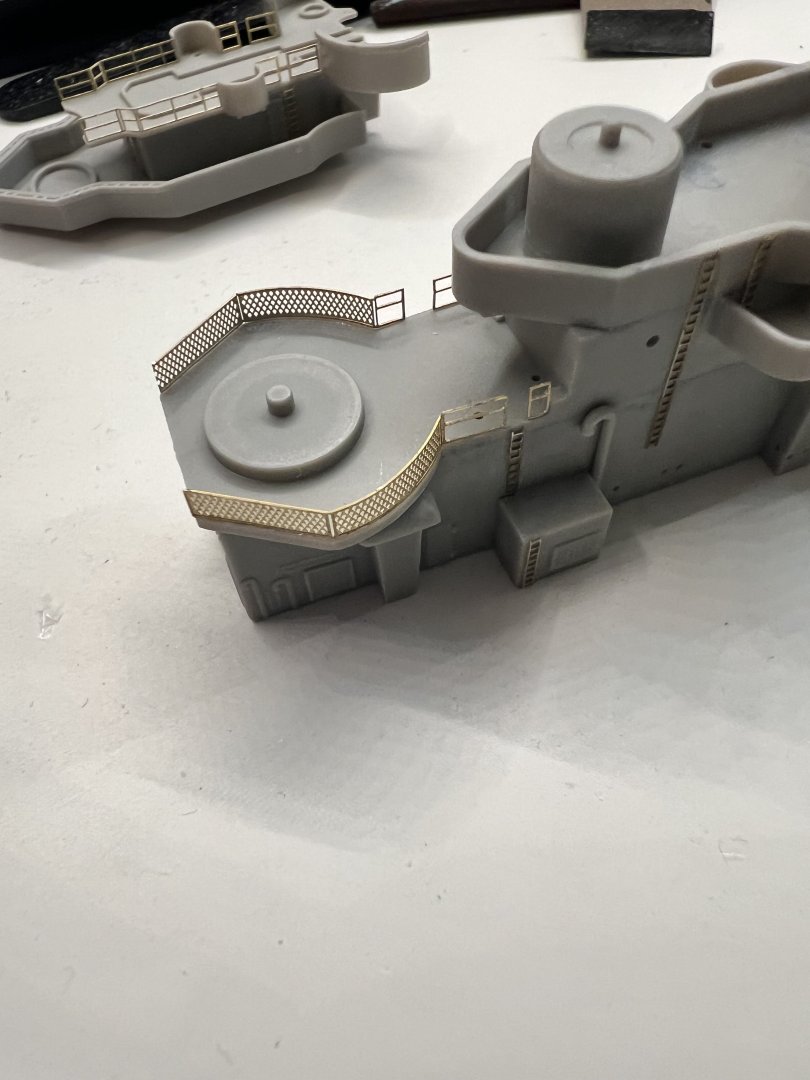
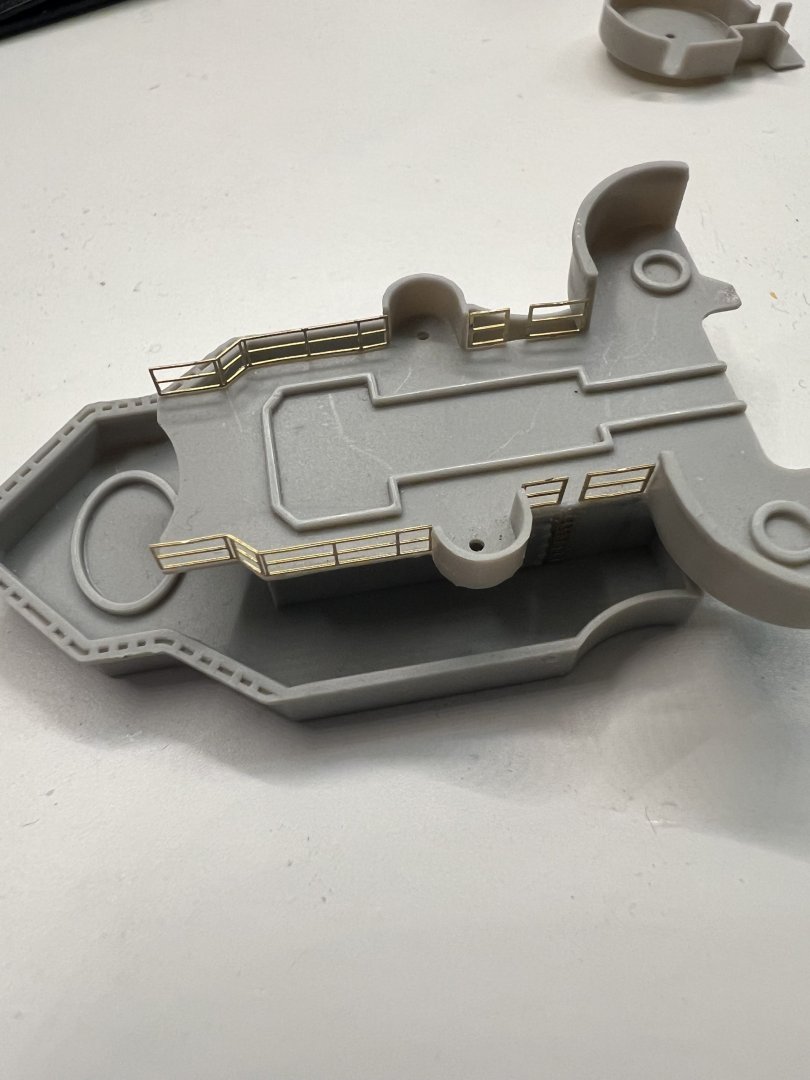
It’s been…a while. Schools finally over so work resumes. Very happy with the PE railings: Some fiddly bits as well: Overall: Work times: 65 hrs