Boeing774
-
Posts
48 -
Joined
-
Last visited
Content Type
Profiles
Forums
Gallery
Events
Everything posted by Boeing774
-
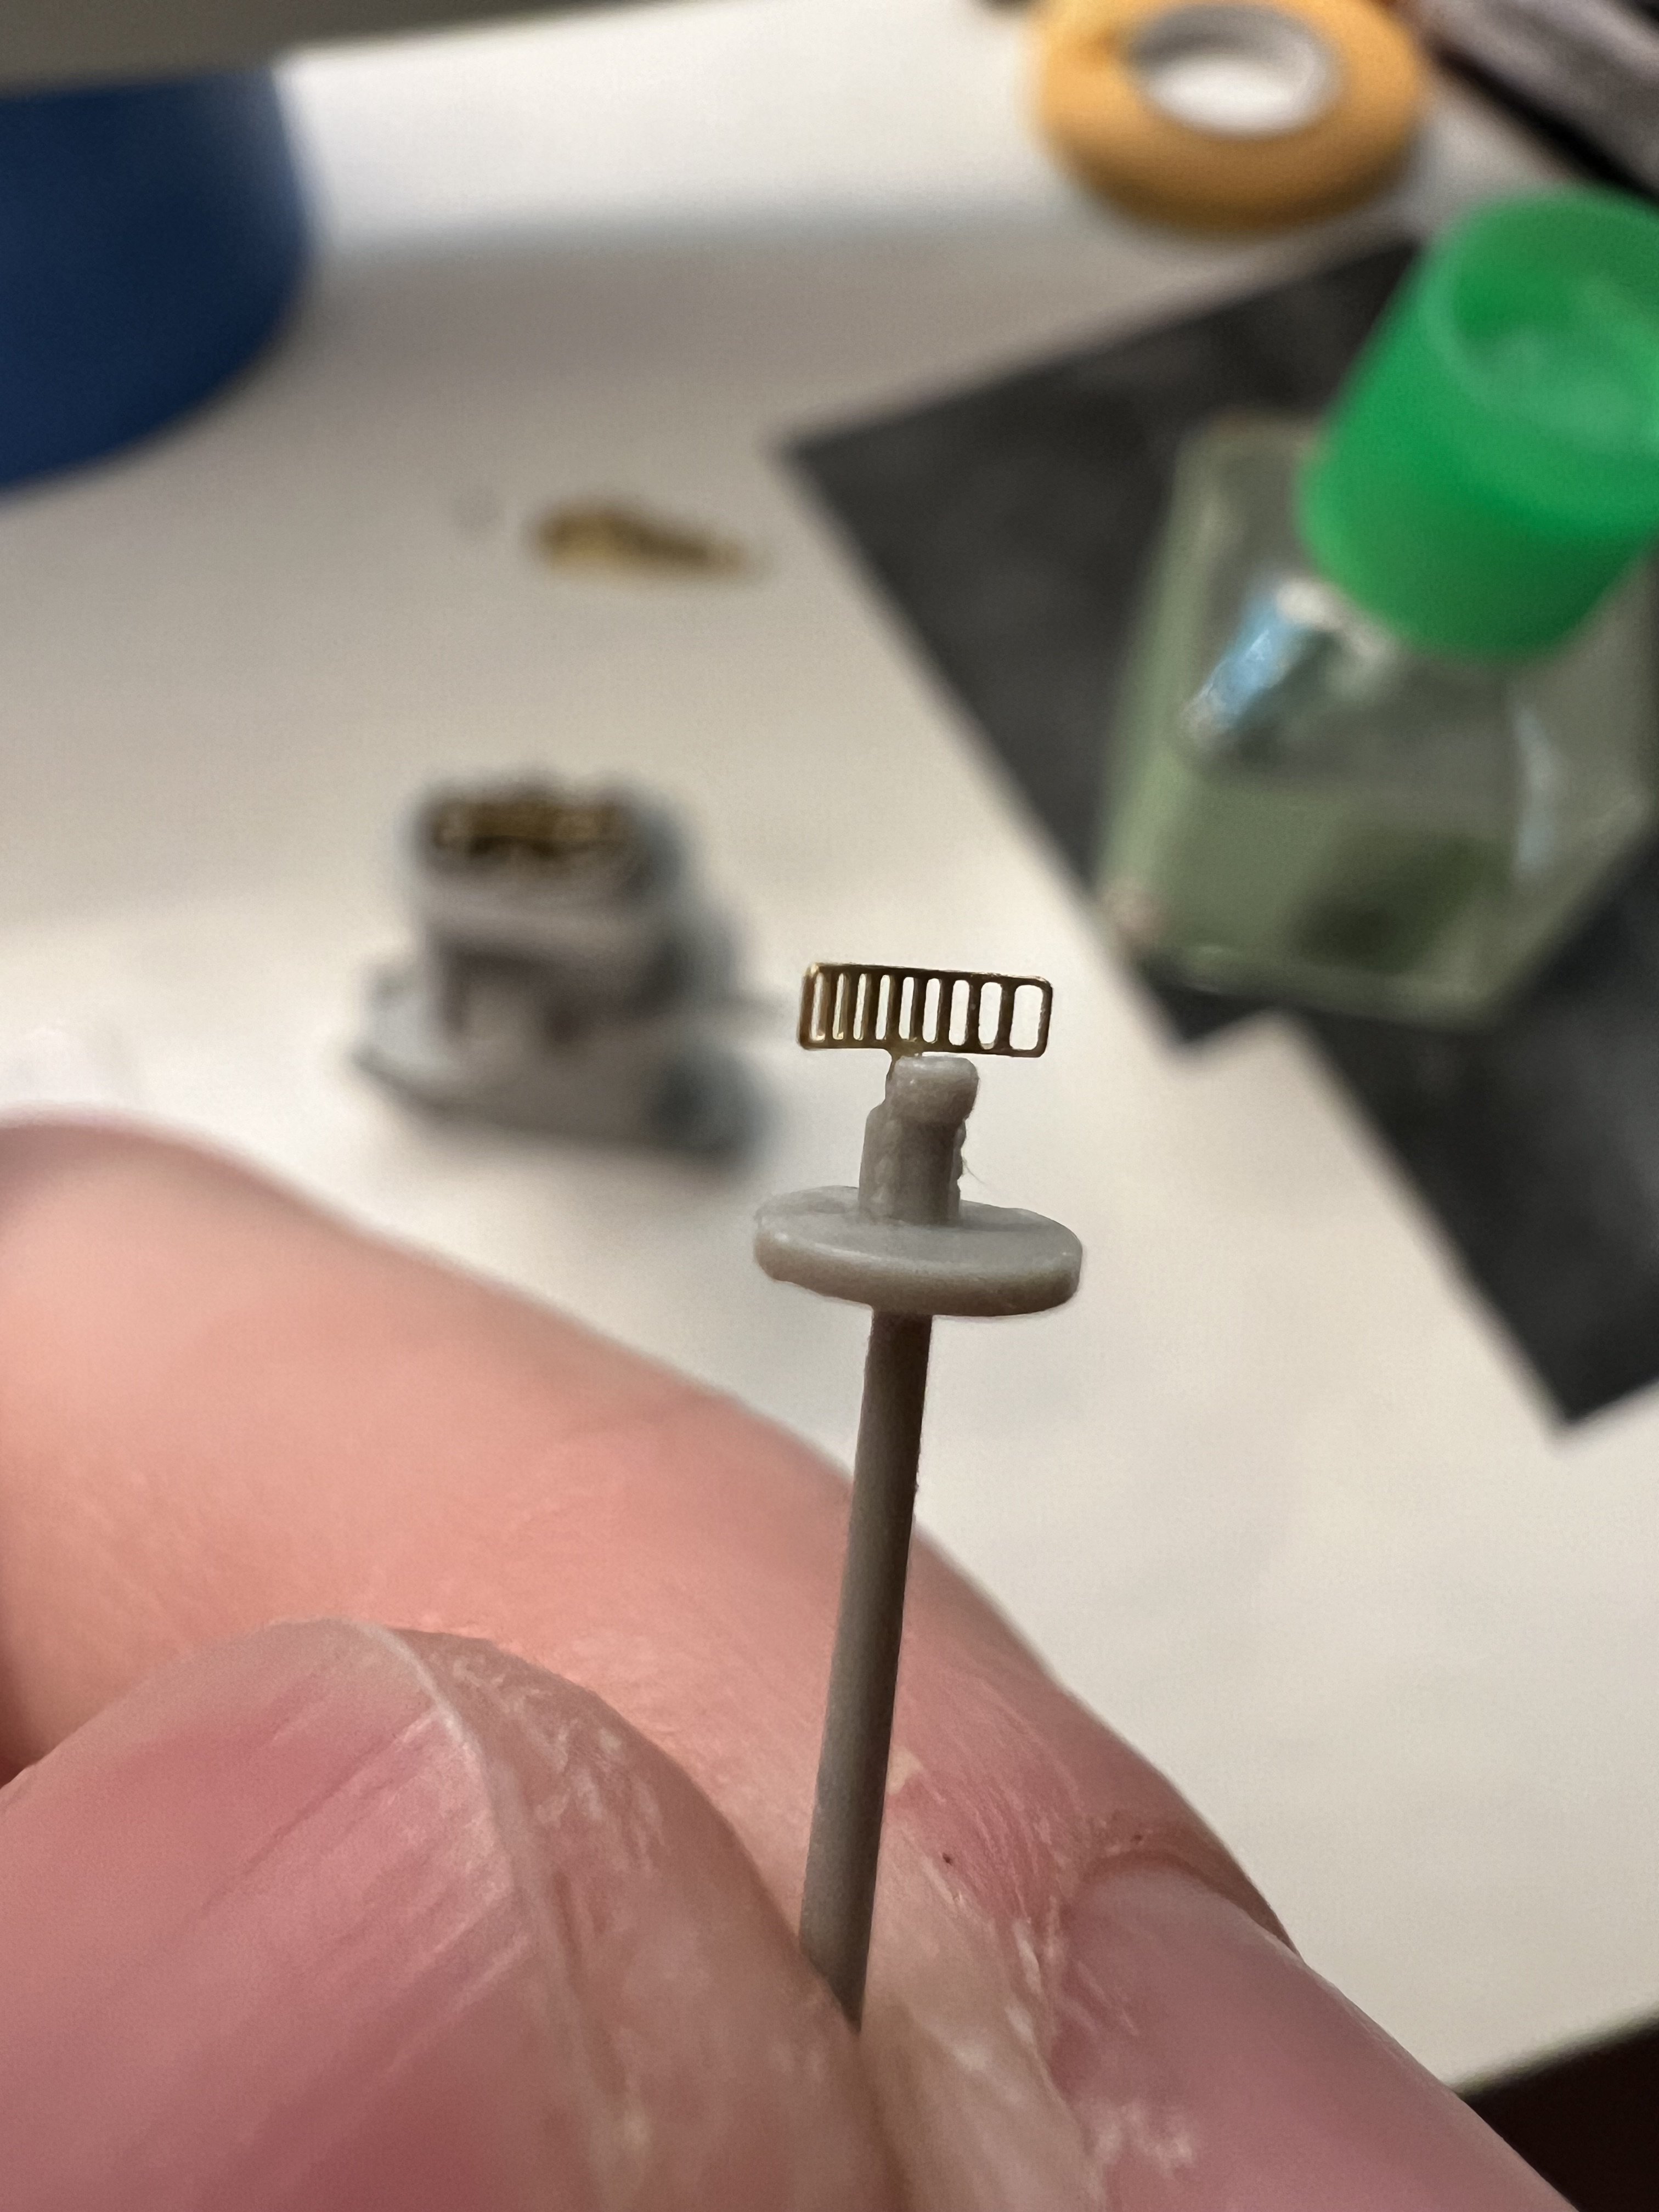
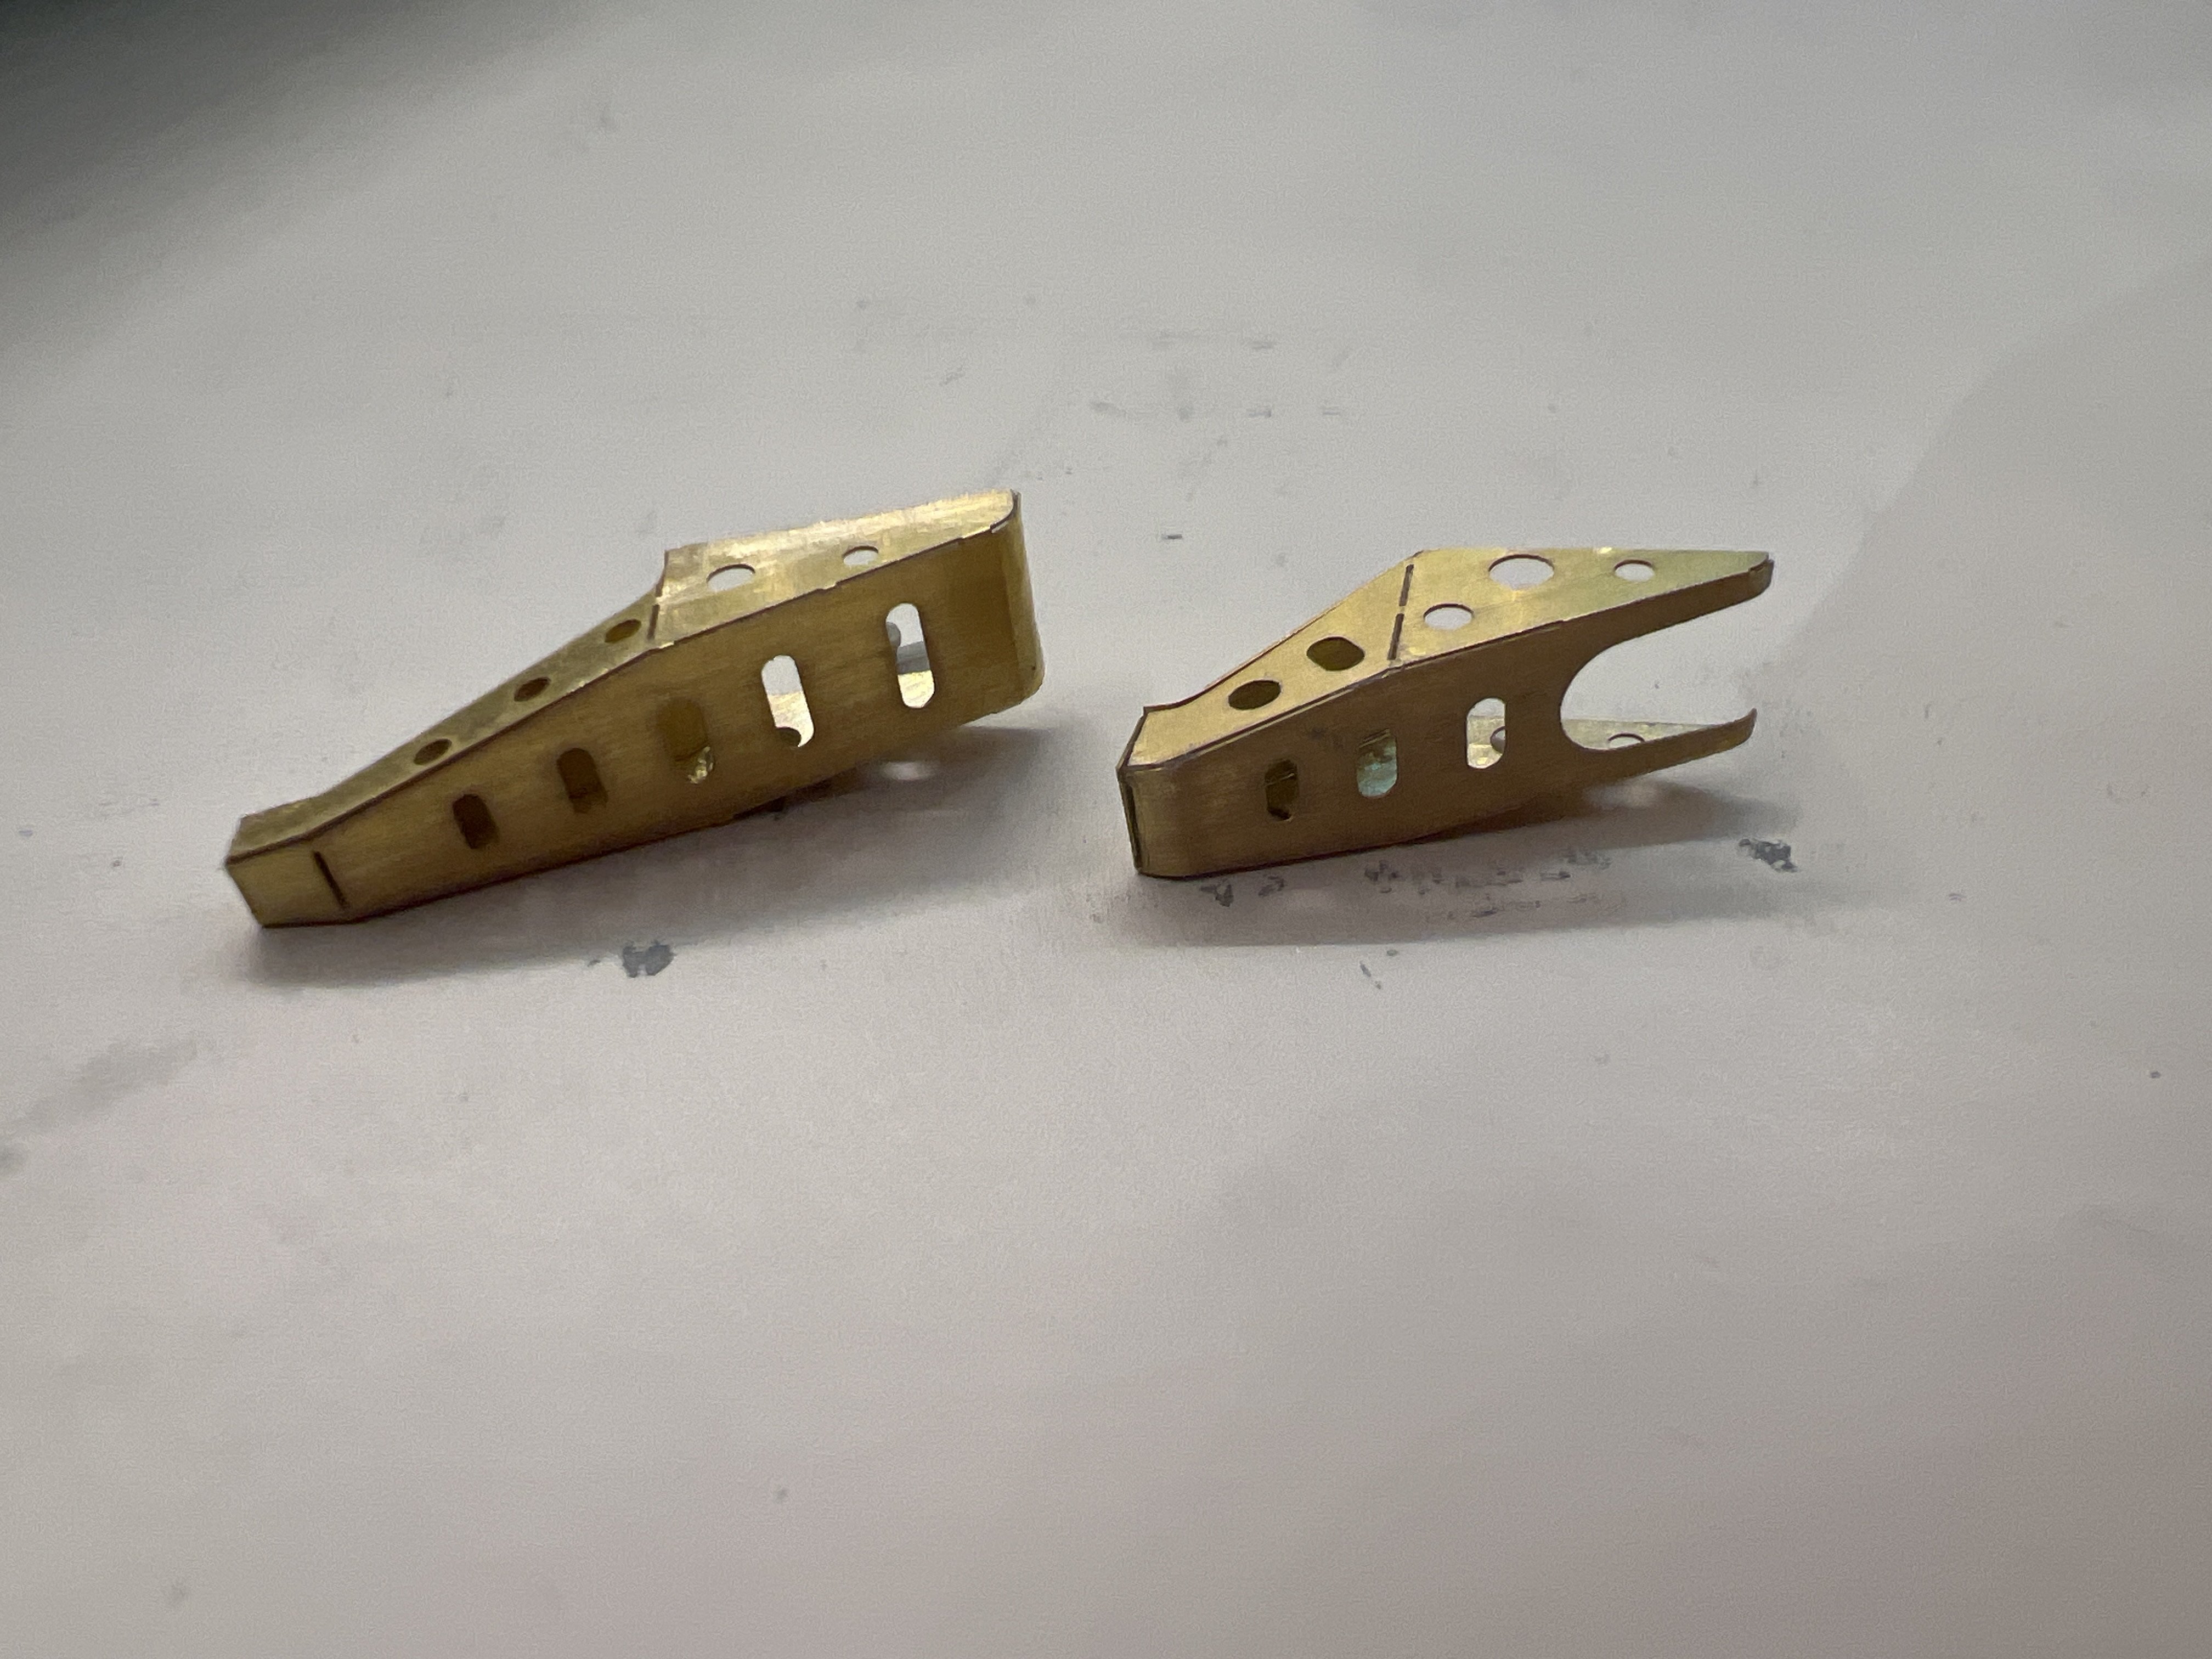
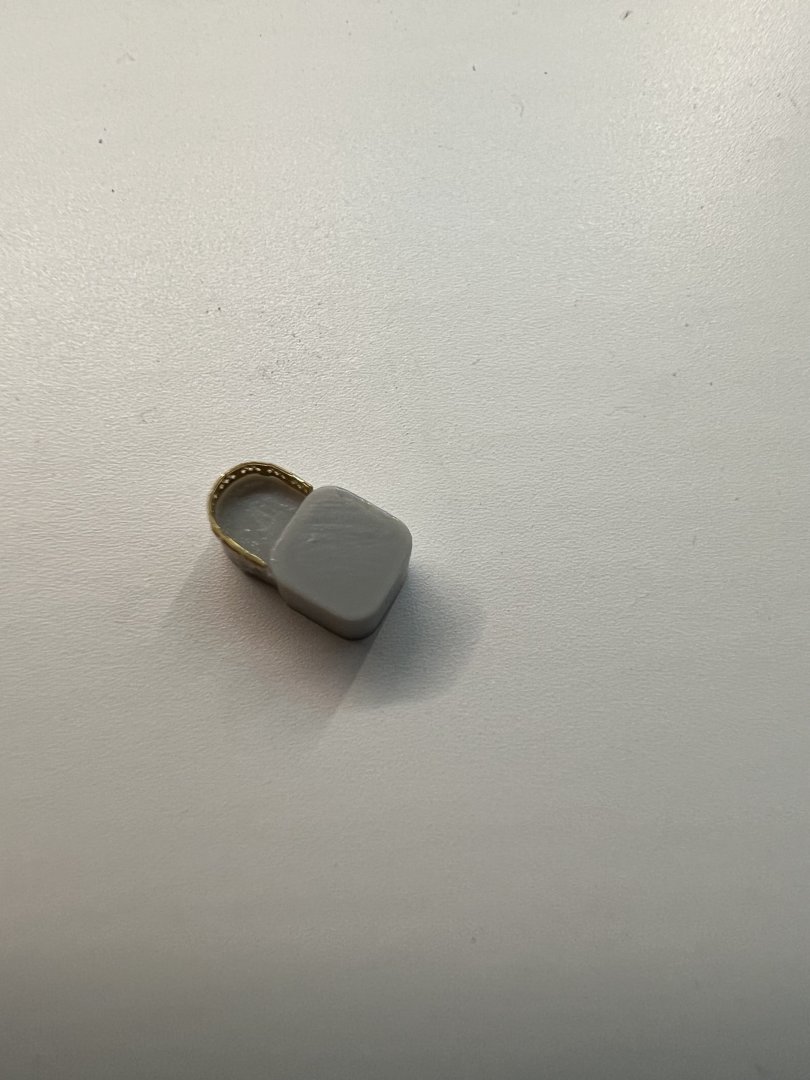
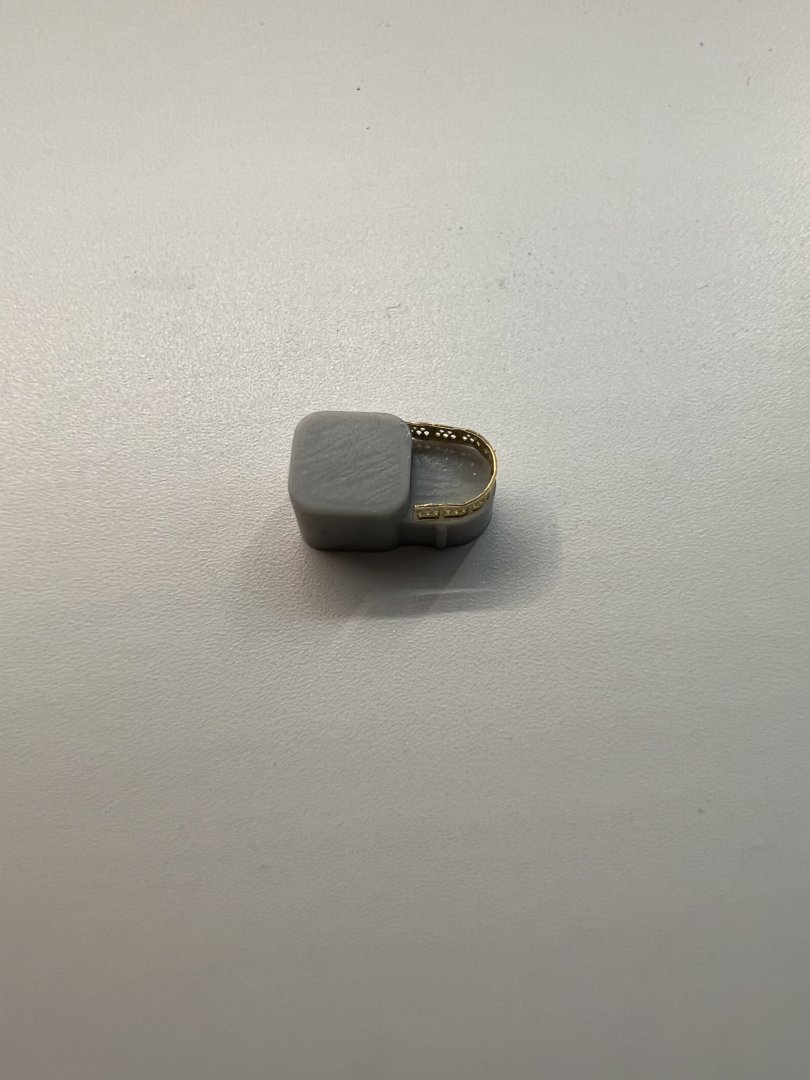
Huh, I just realized that. I'm pretty sure the maker intended for it to be another gunsight for some reason because it has a gun sight etched in it I'm pretty sure. I might let it go though...
-
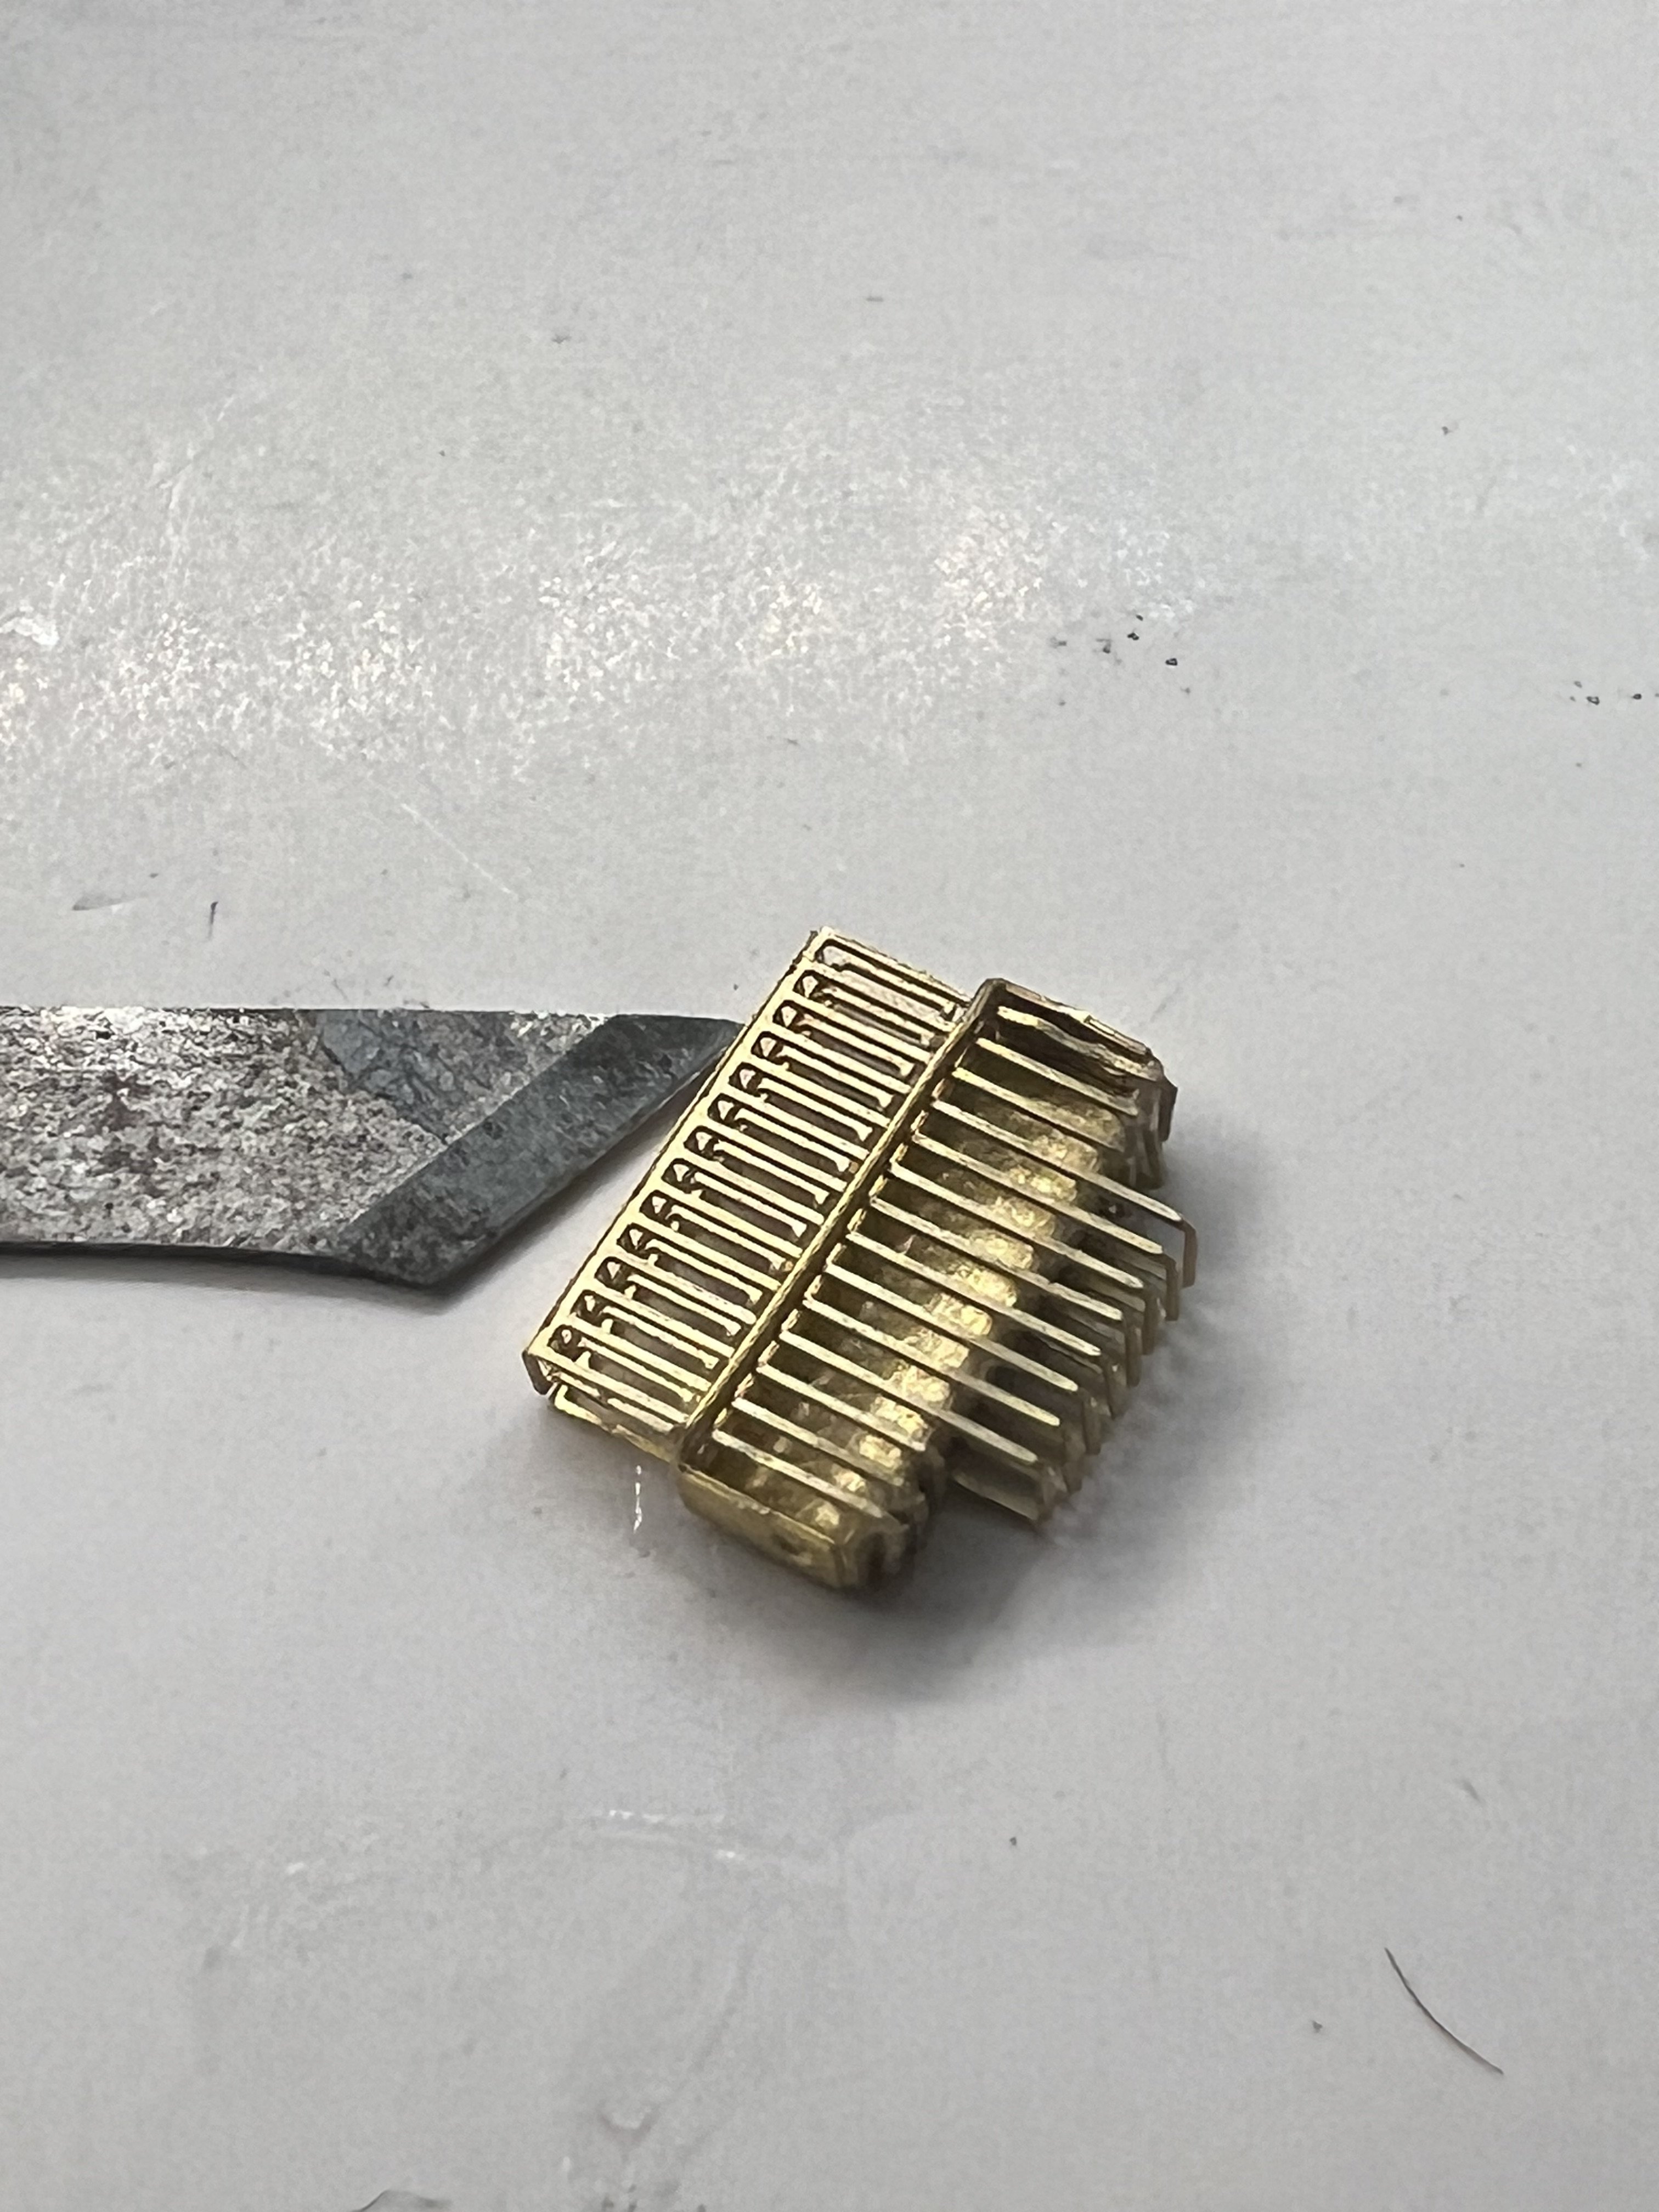
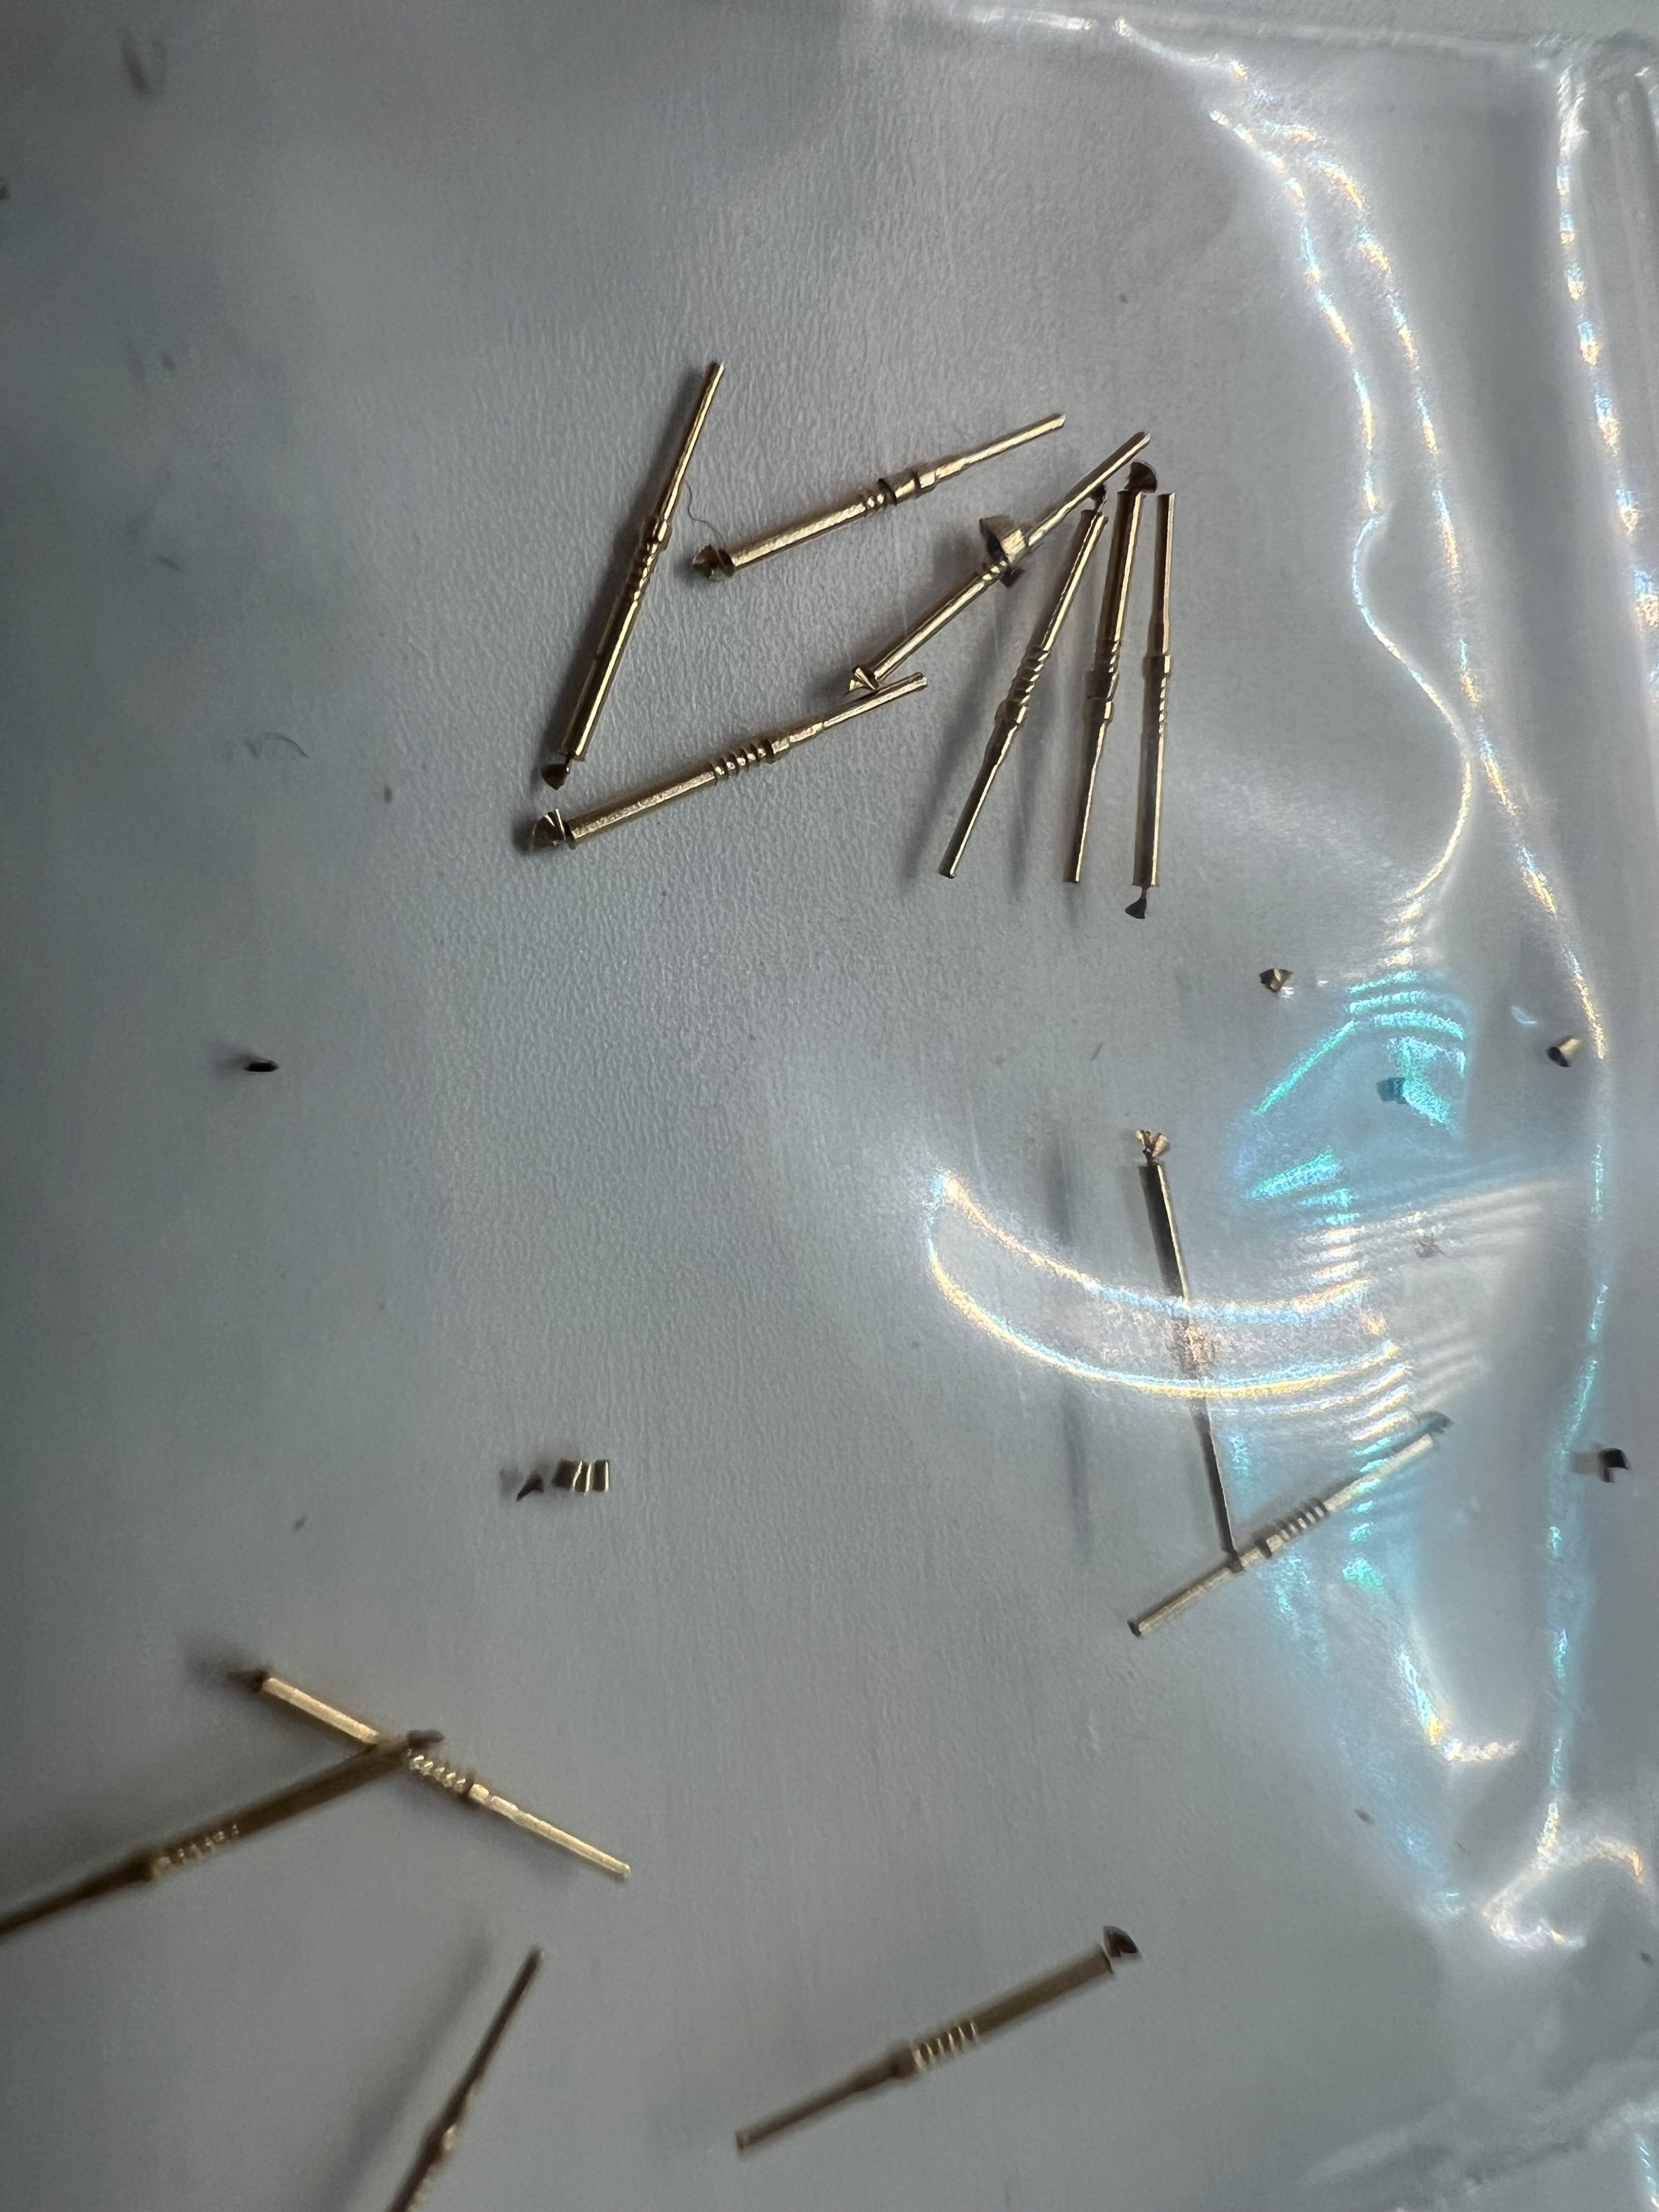
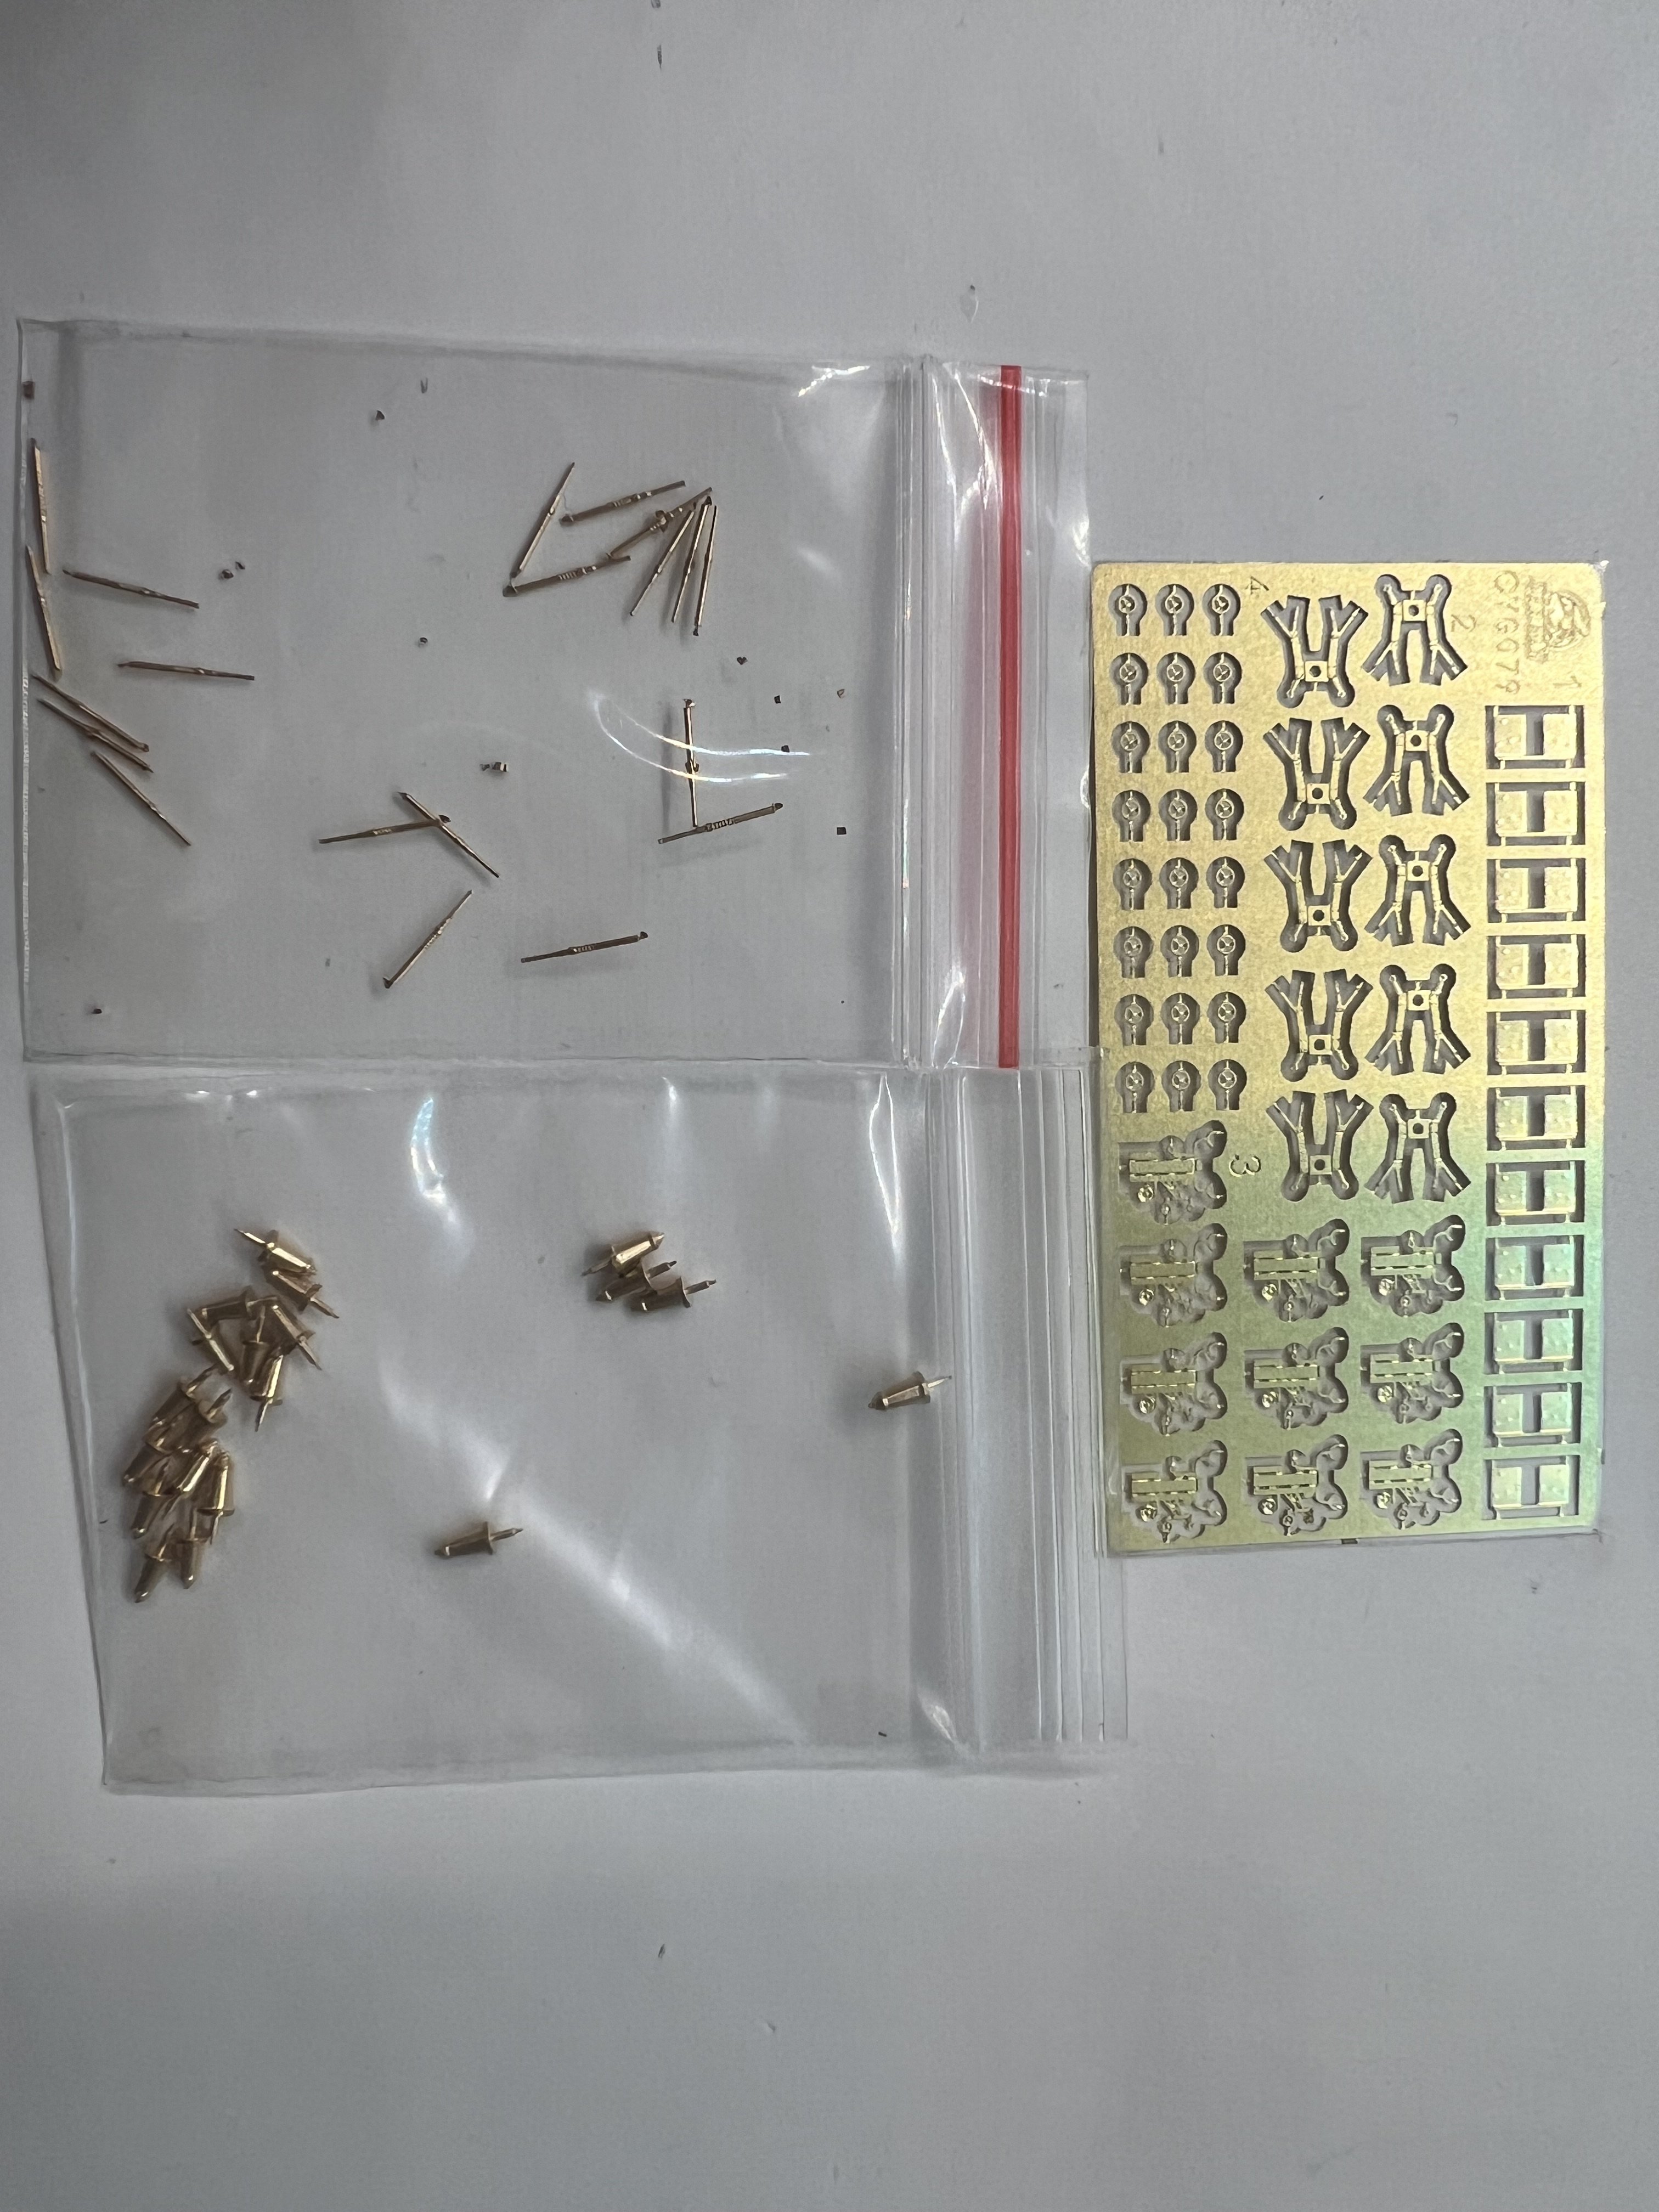
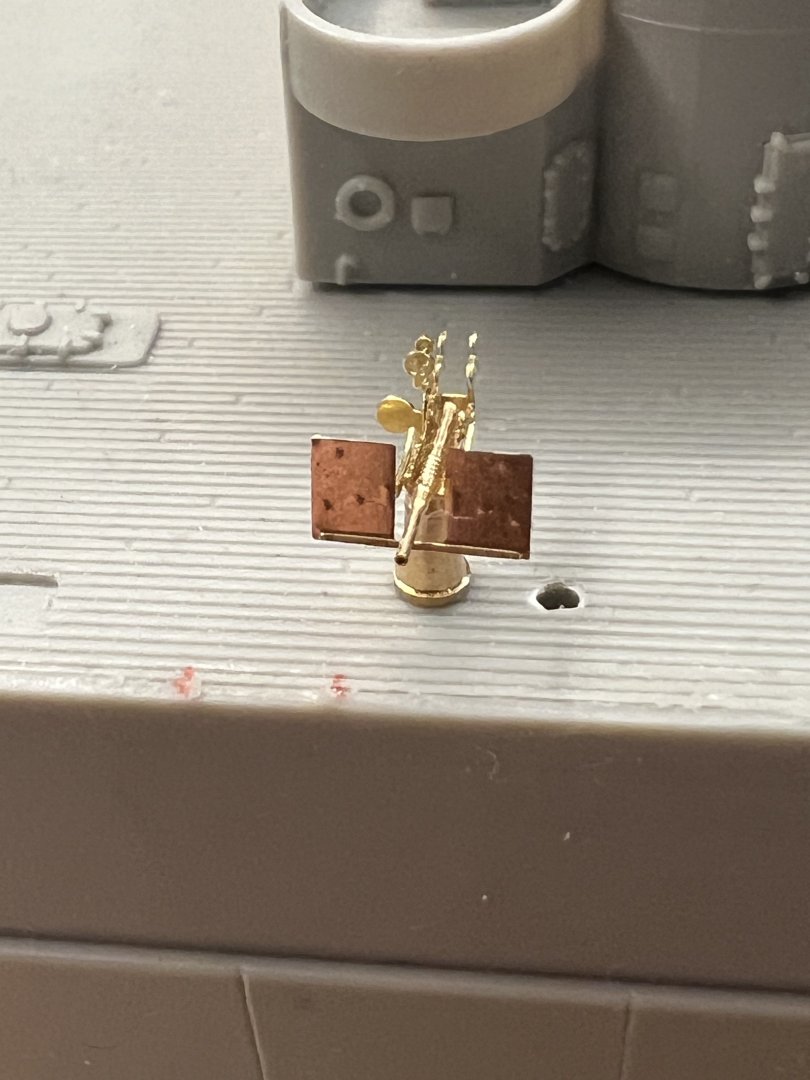
Only 5 hrs of work today, but well spent time: I’m thoroughly happy with how it turned out compared to the other one: Also spent some of the week making some oerlikons. Here one: Total work: 58 hrs


-
A tad bit of work but extremely tedious and fiddly: Another 6 hours on these brings the total to 53. School starts again tomorrow and I’ll content myself to a couple of oerlikons a day I suppose.
-
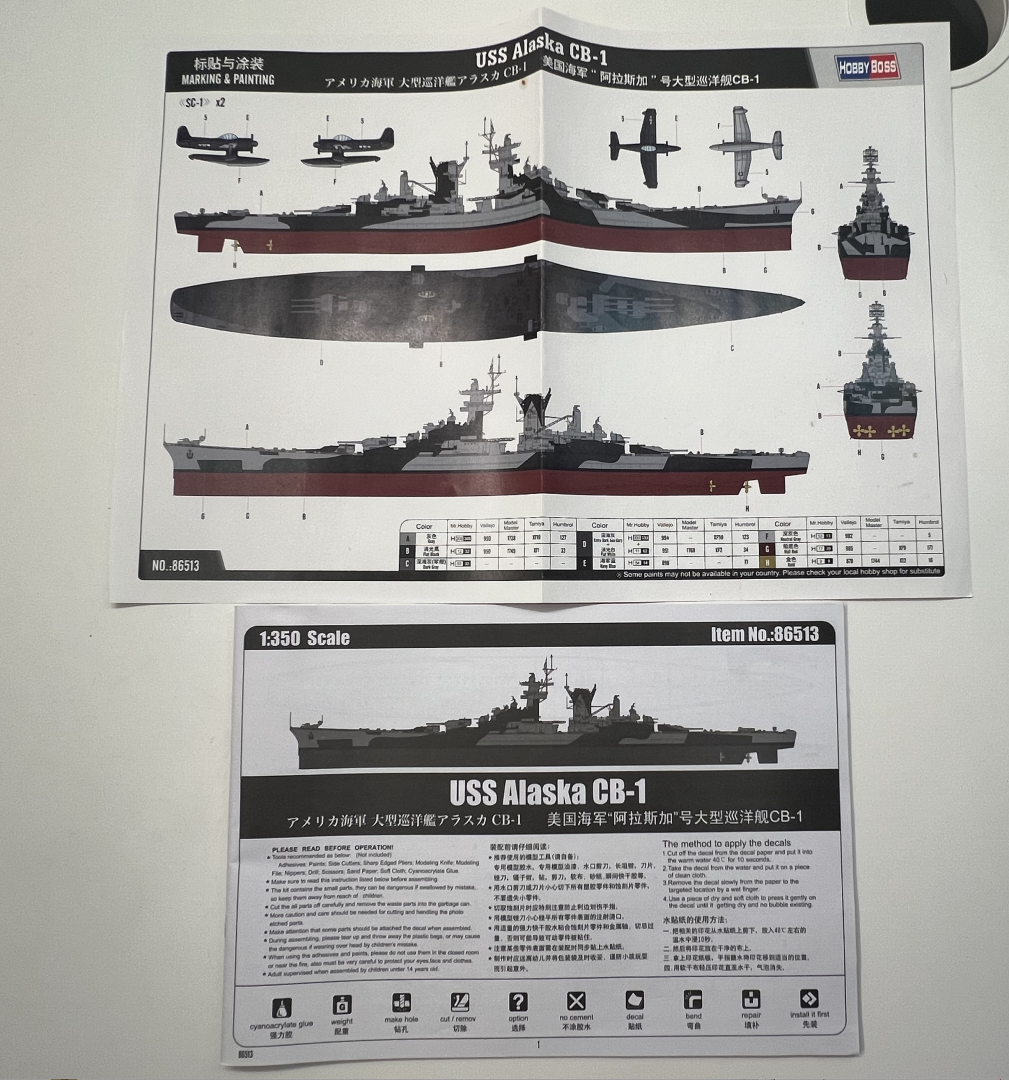
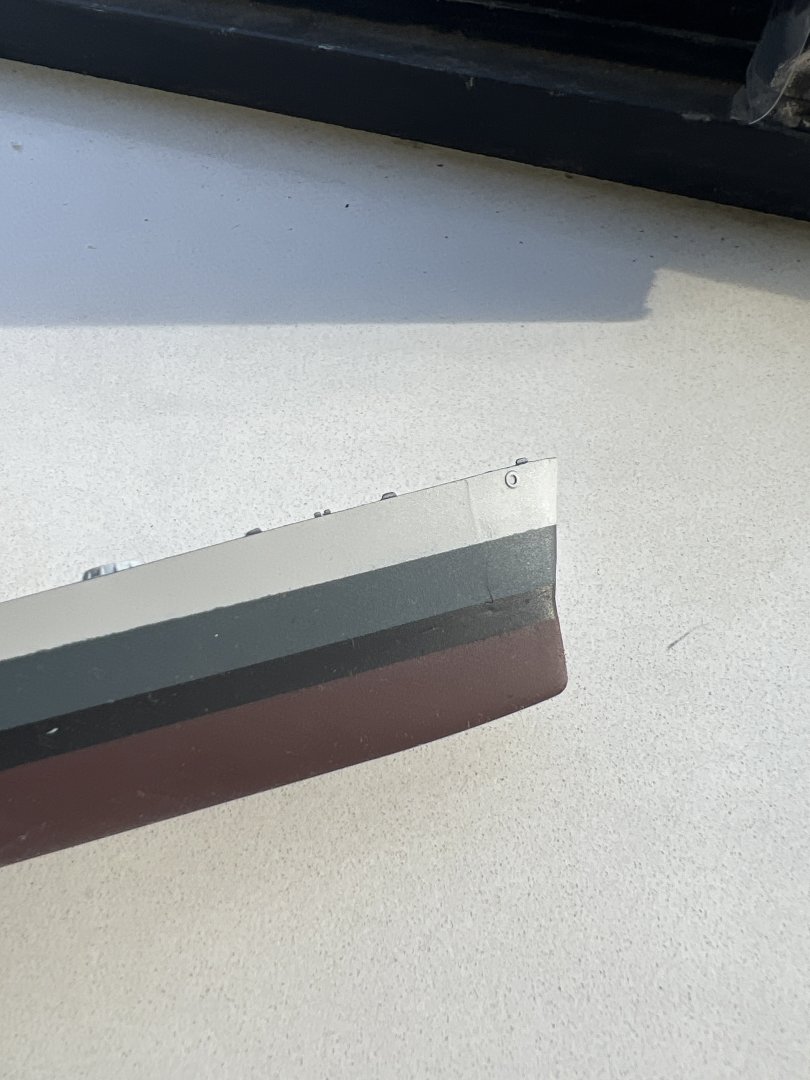
Also what color recommendations do you guys have for Alaska's deck blue (20-B) and ocean gray (5O). I've been using tamiya's XF-50 and I think it's been working well for me, although I'm not sure if it's accurate. For 5O I bought Vallejo's dark sea gray for some reason, even though every forum I've looked that hasn't mentioned it 🤷♂️. Also as a side note what recommendations do you guys have for 5N as well. Thanks! Edit: I just looked back at my unfinished Sullivans and think XF-50 is better for 5N: In that case I have no paint for deck blue now.
-
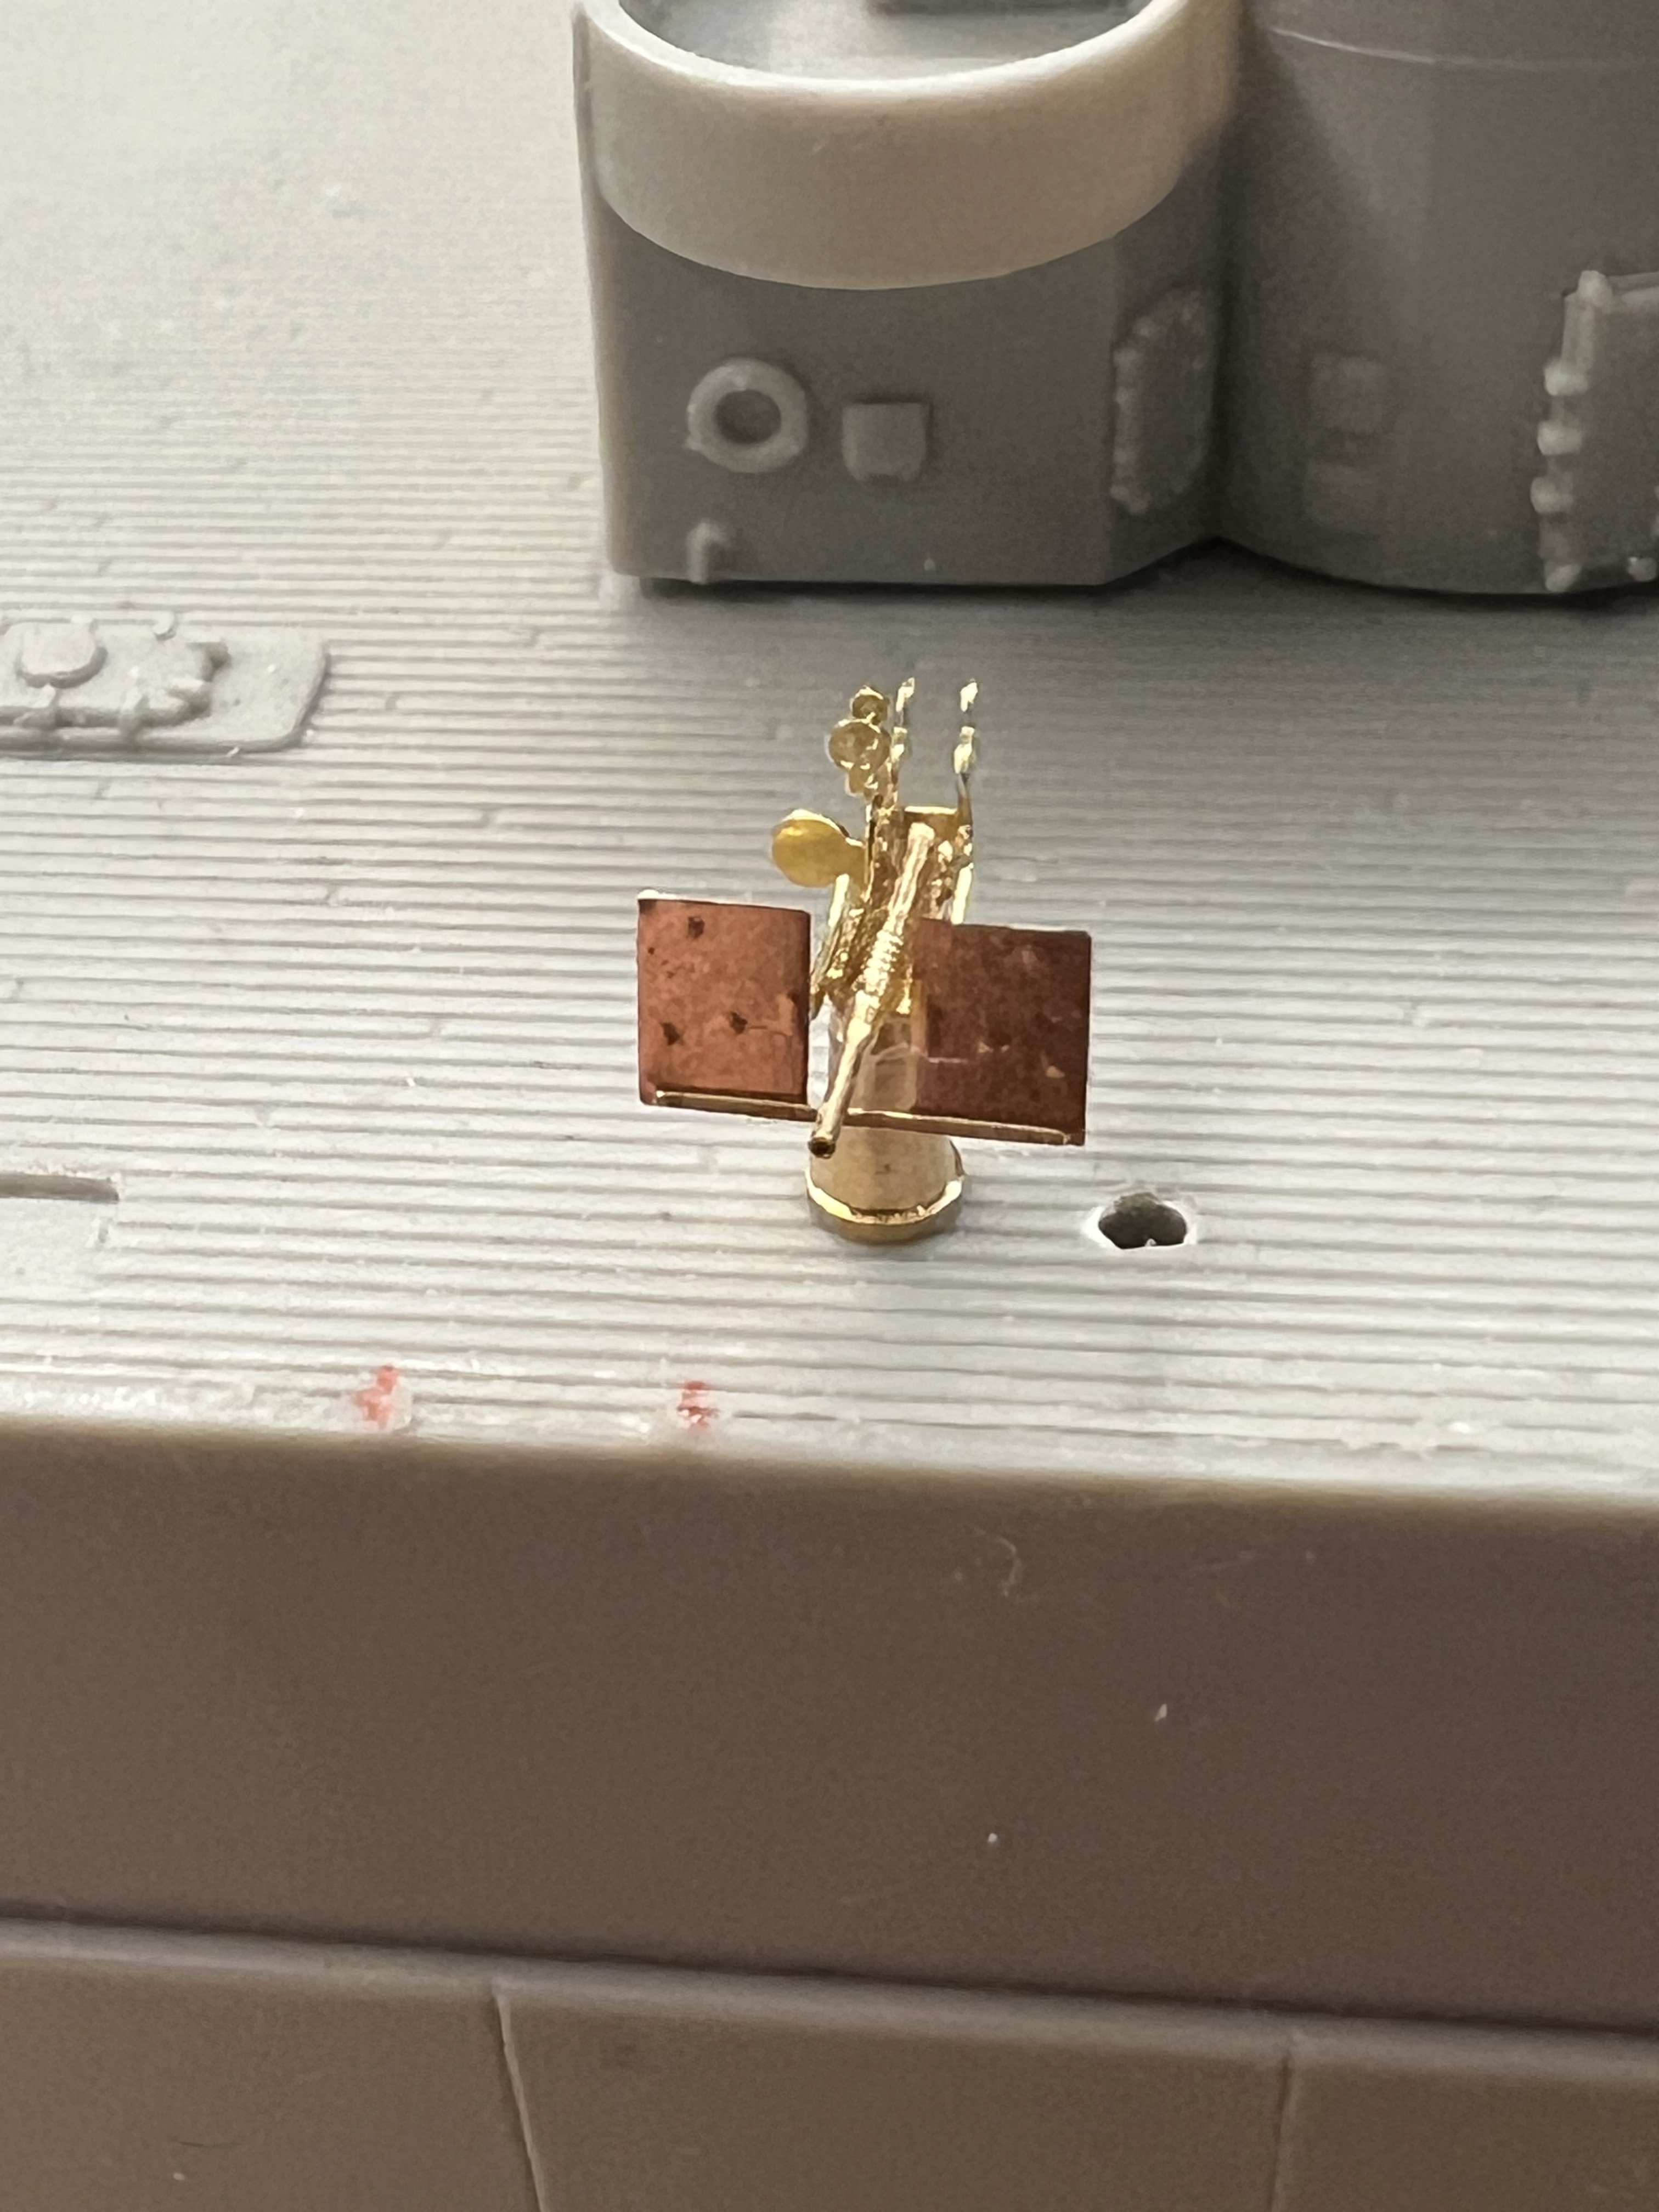
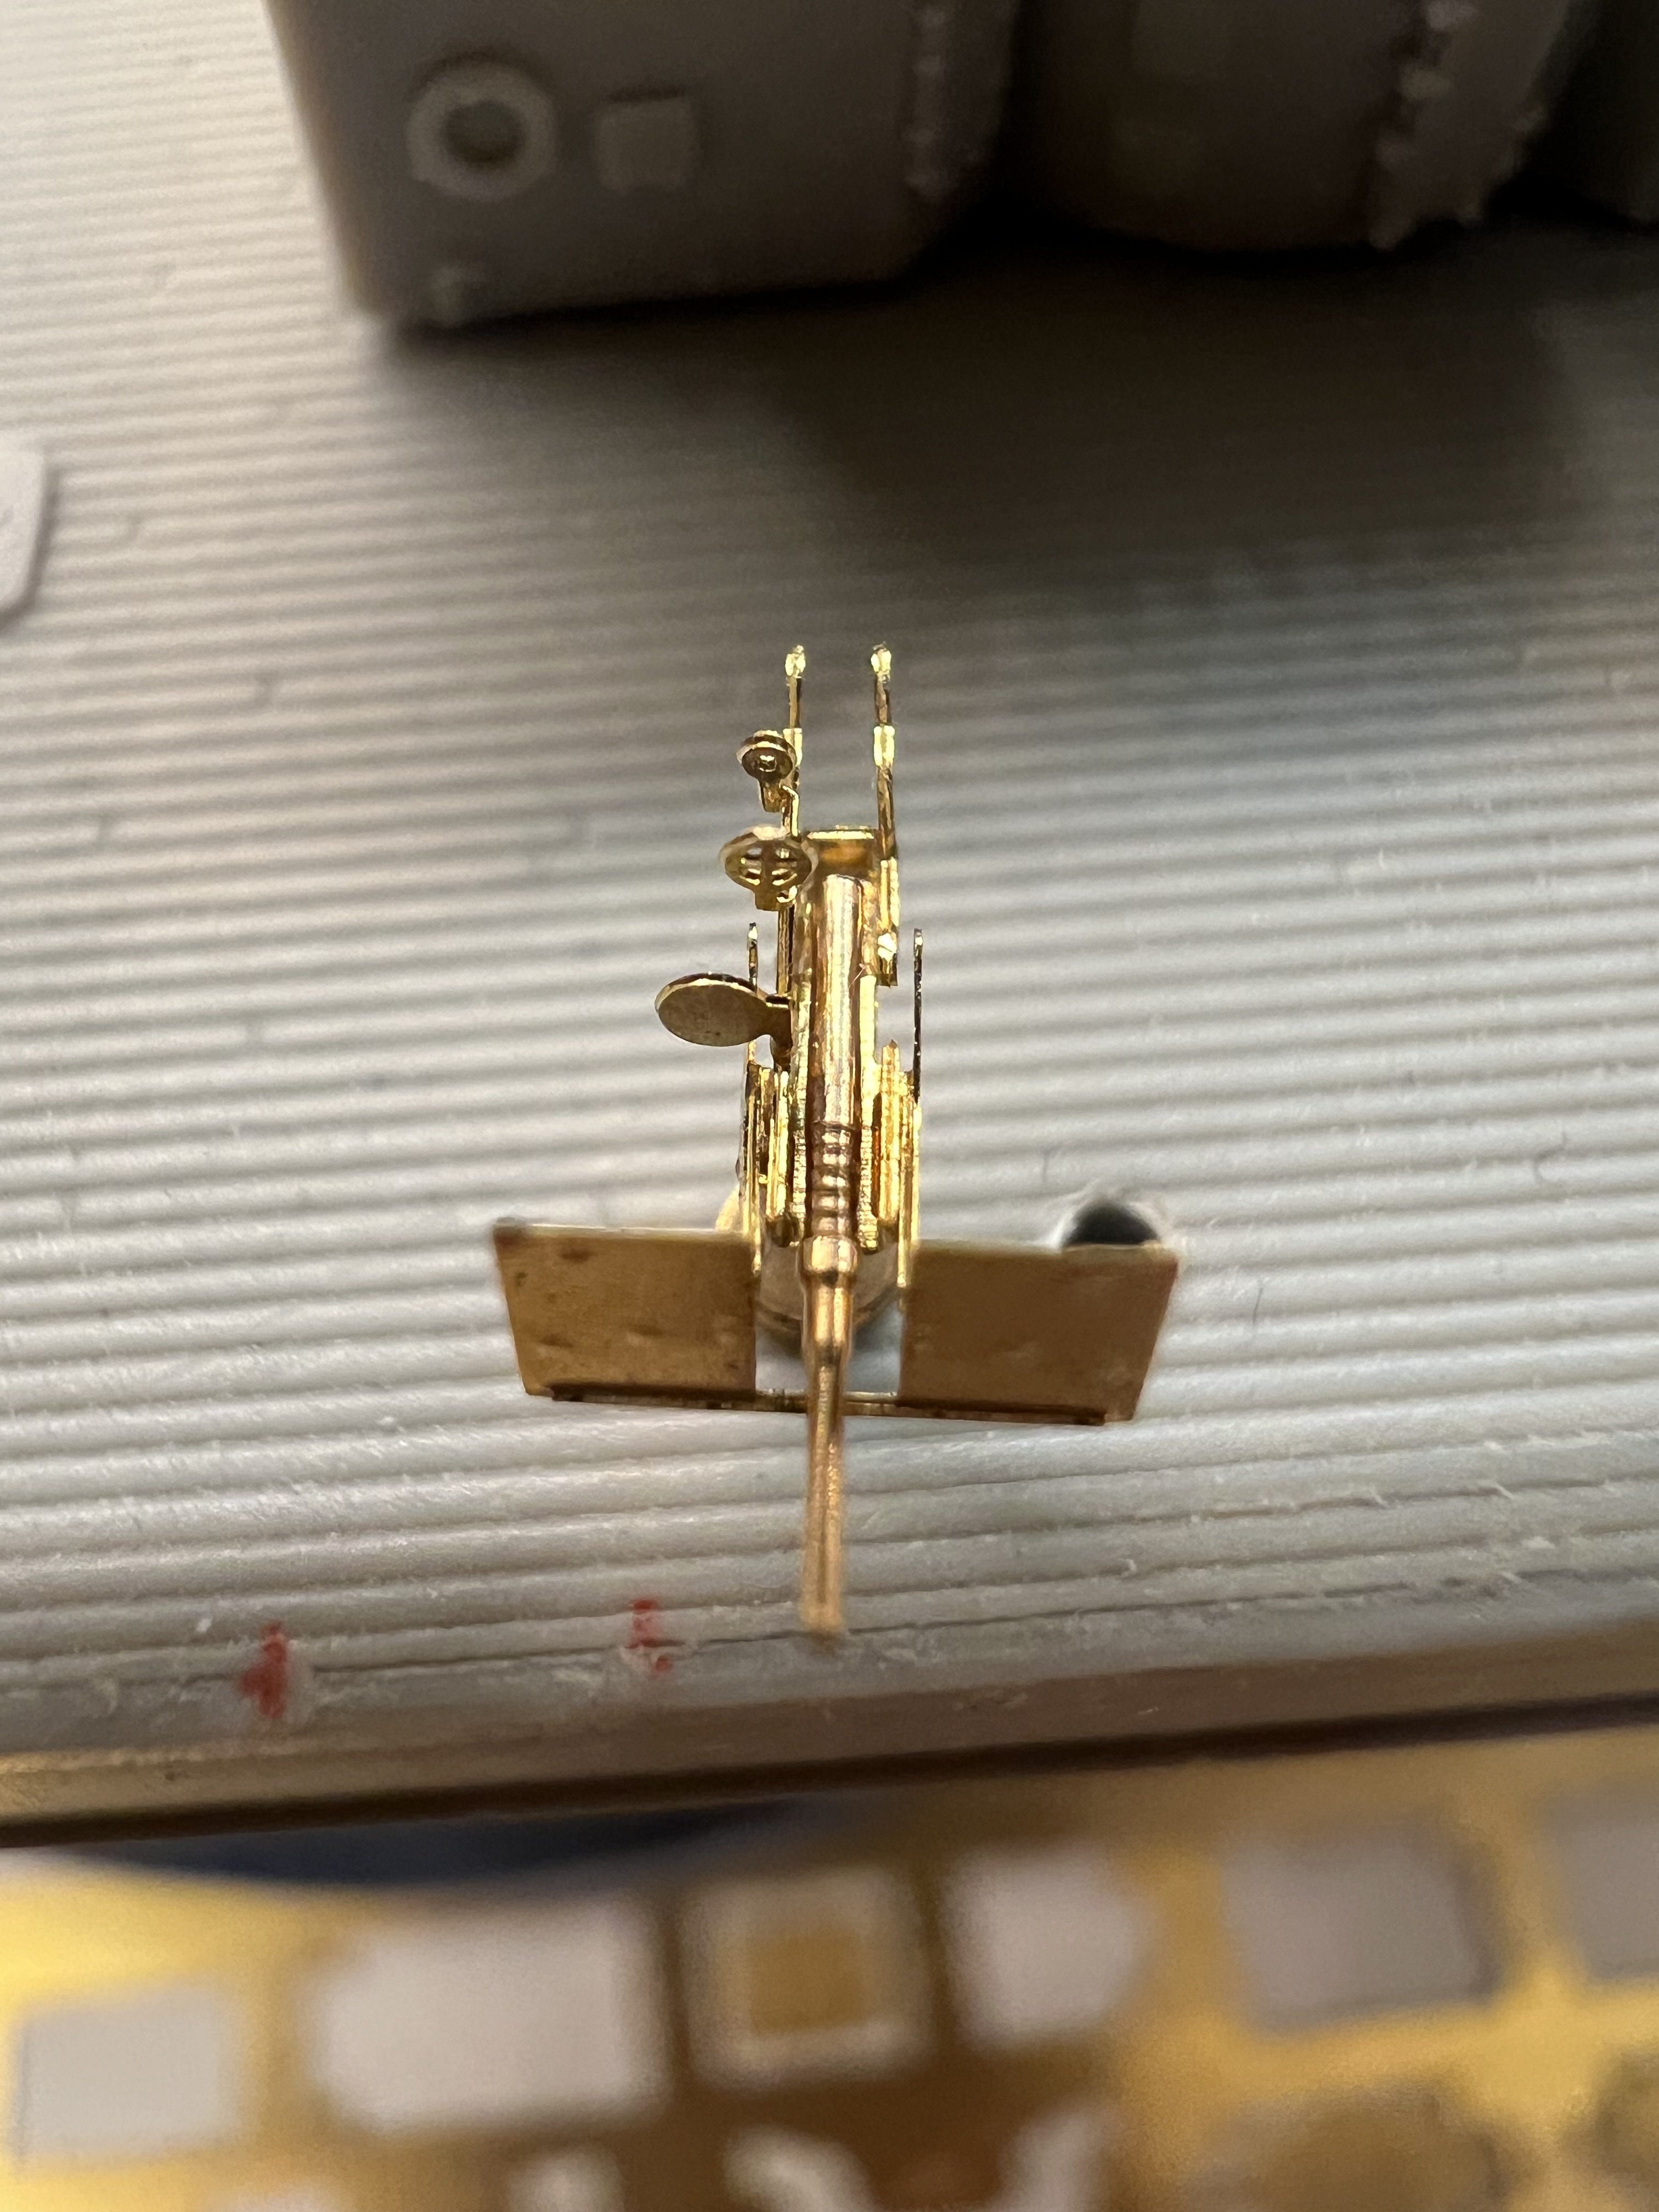
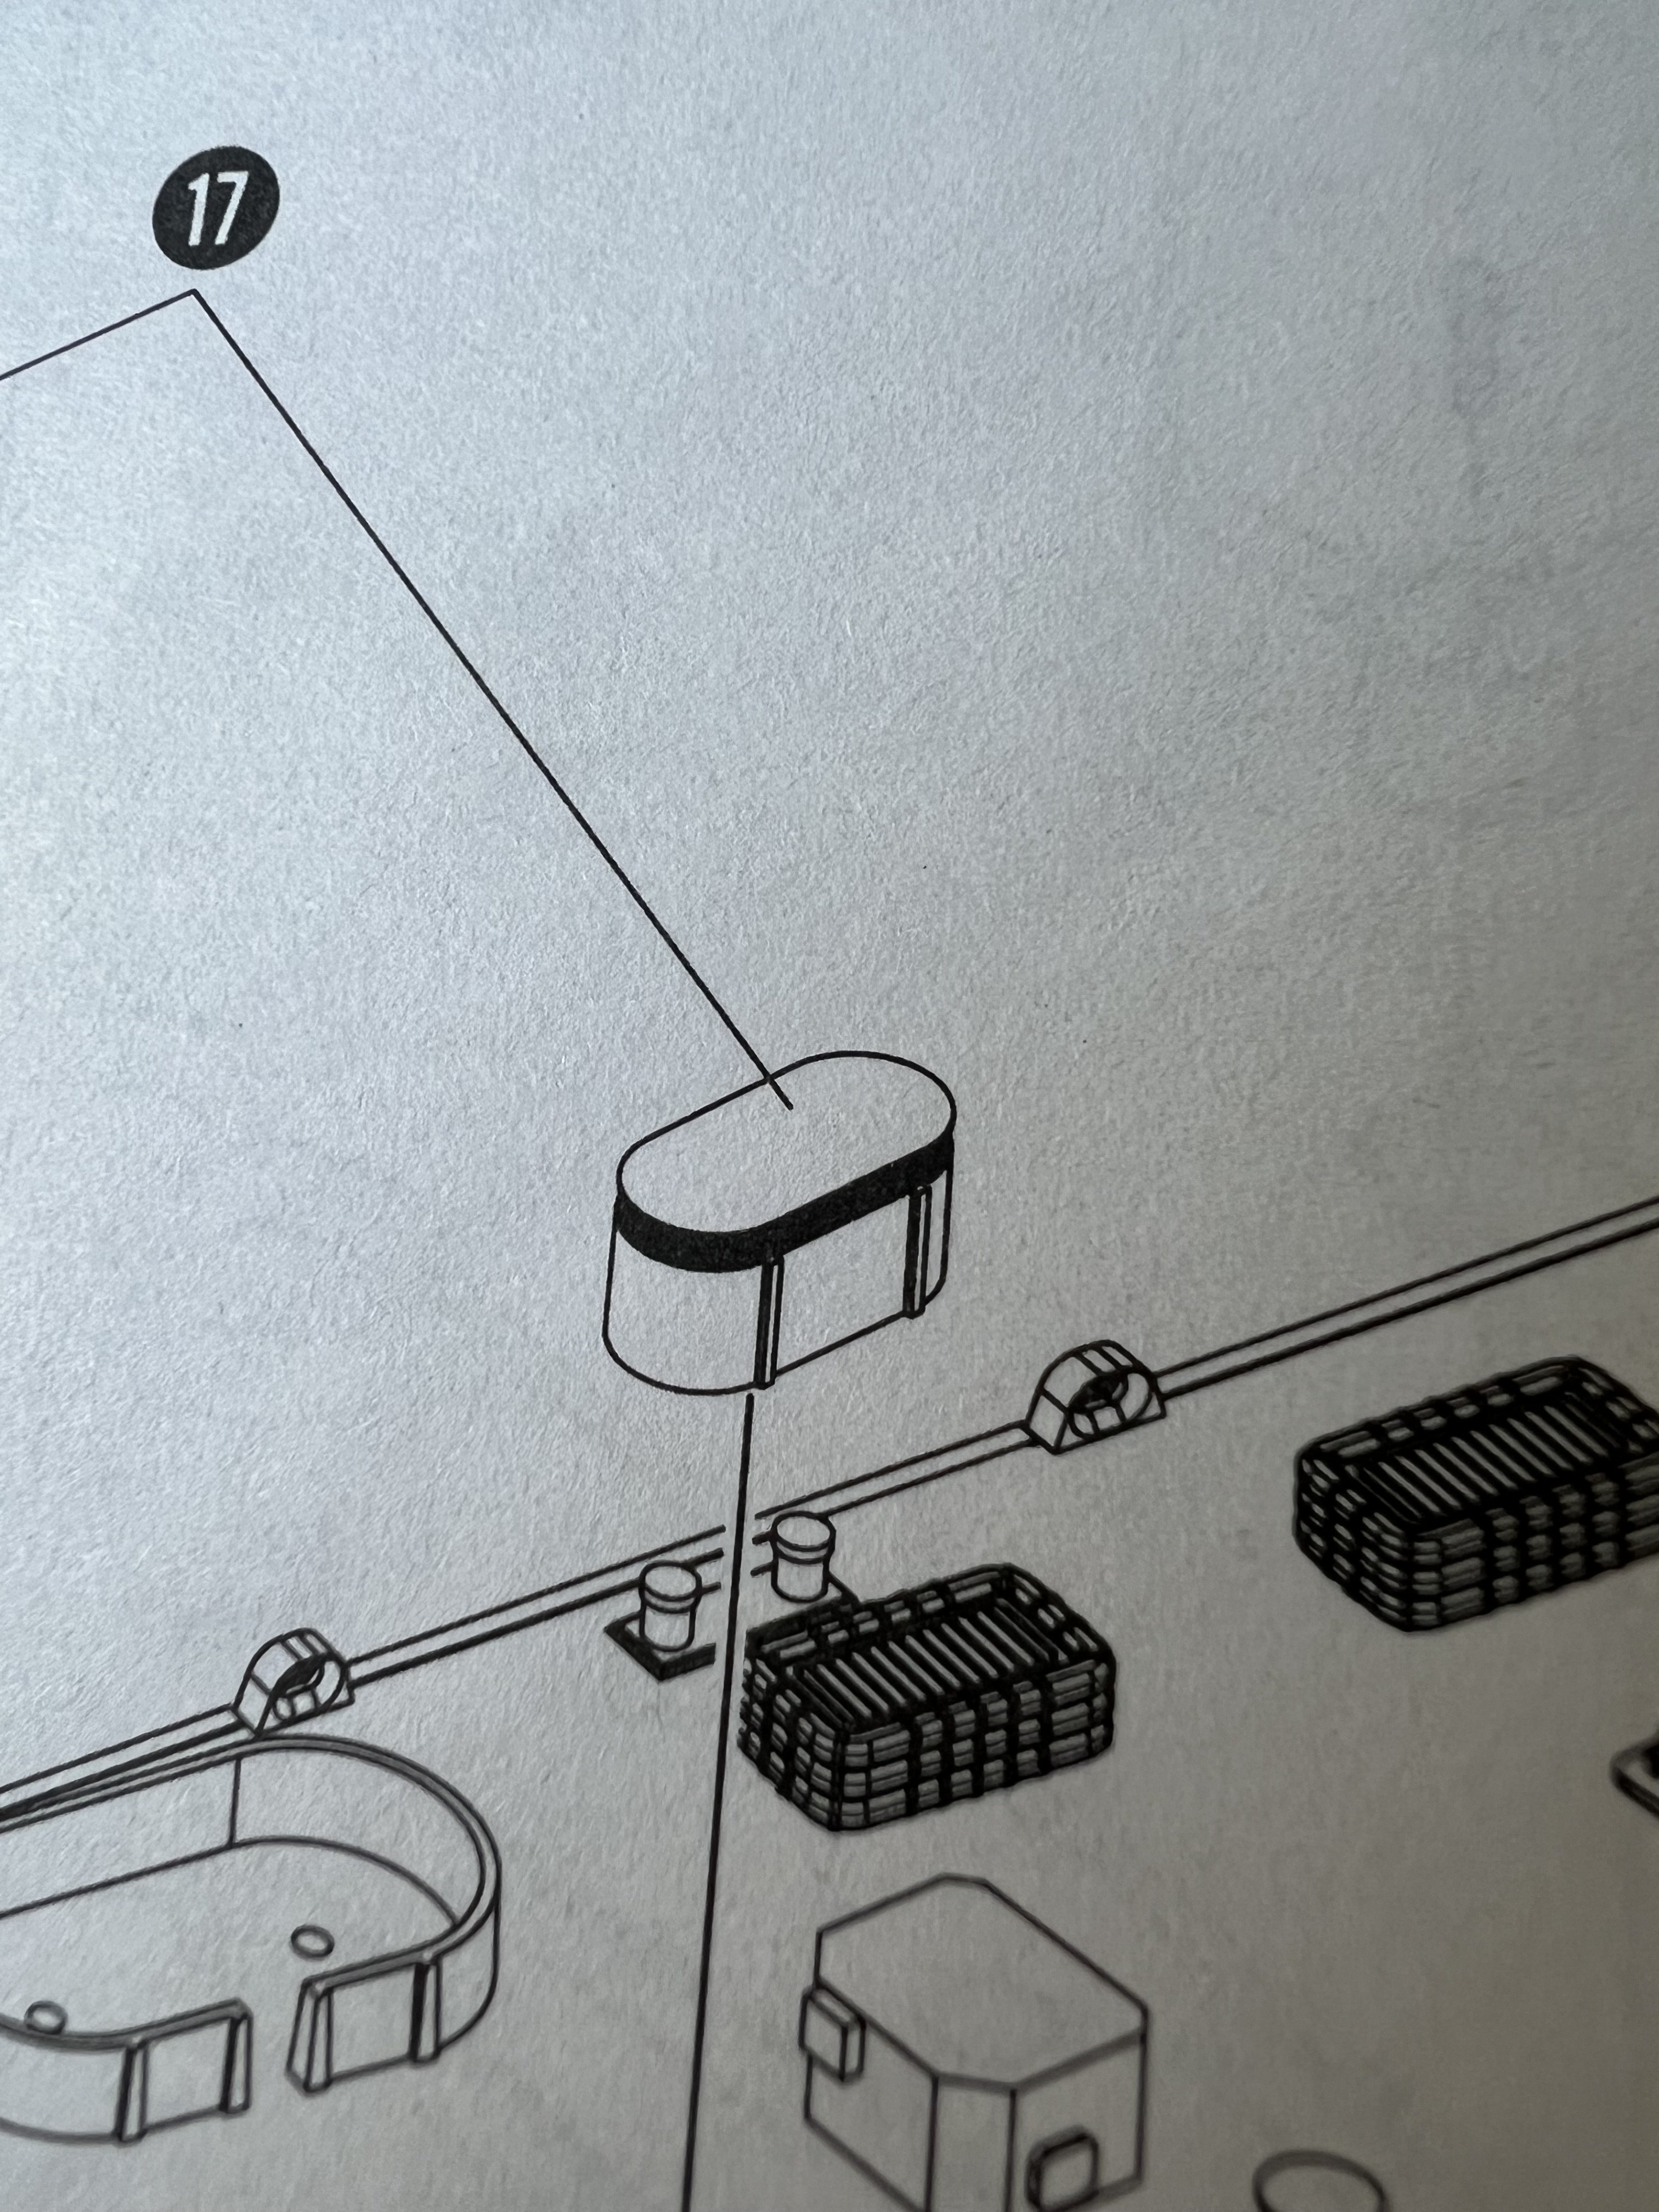
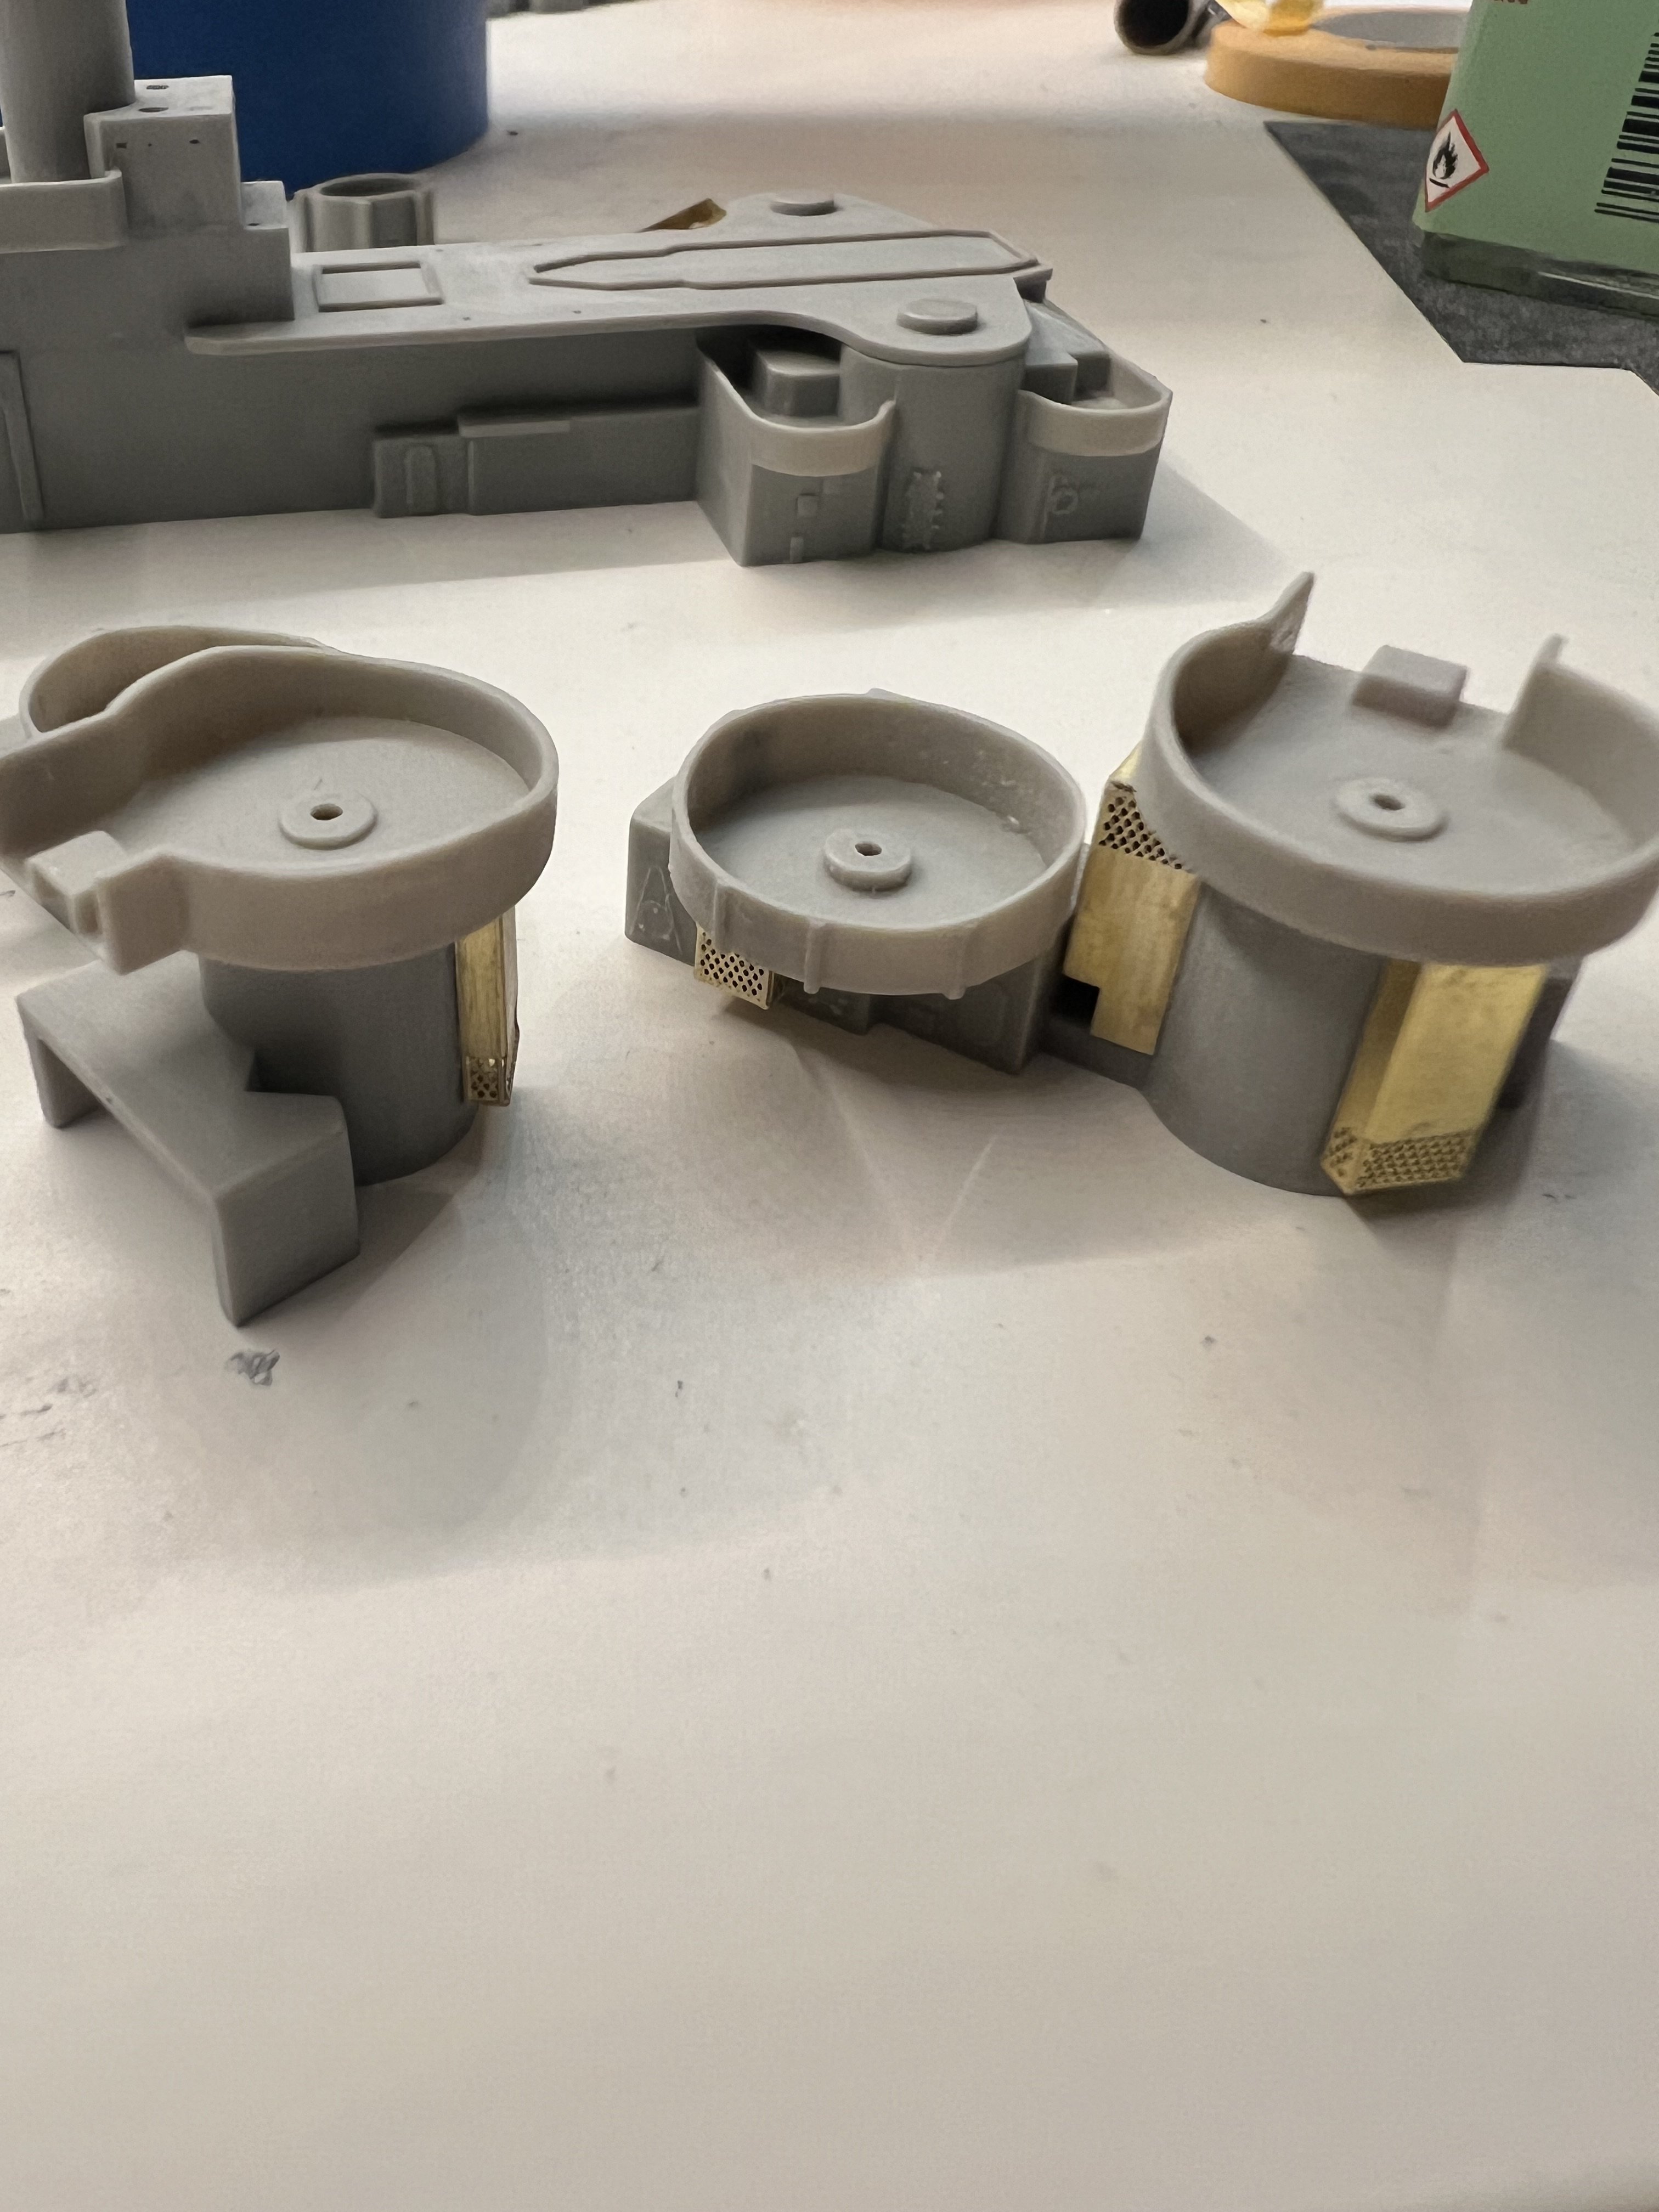
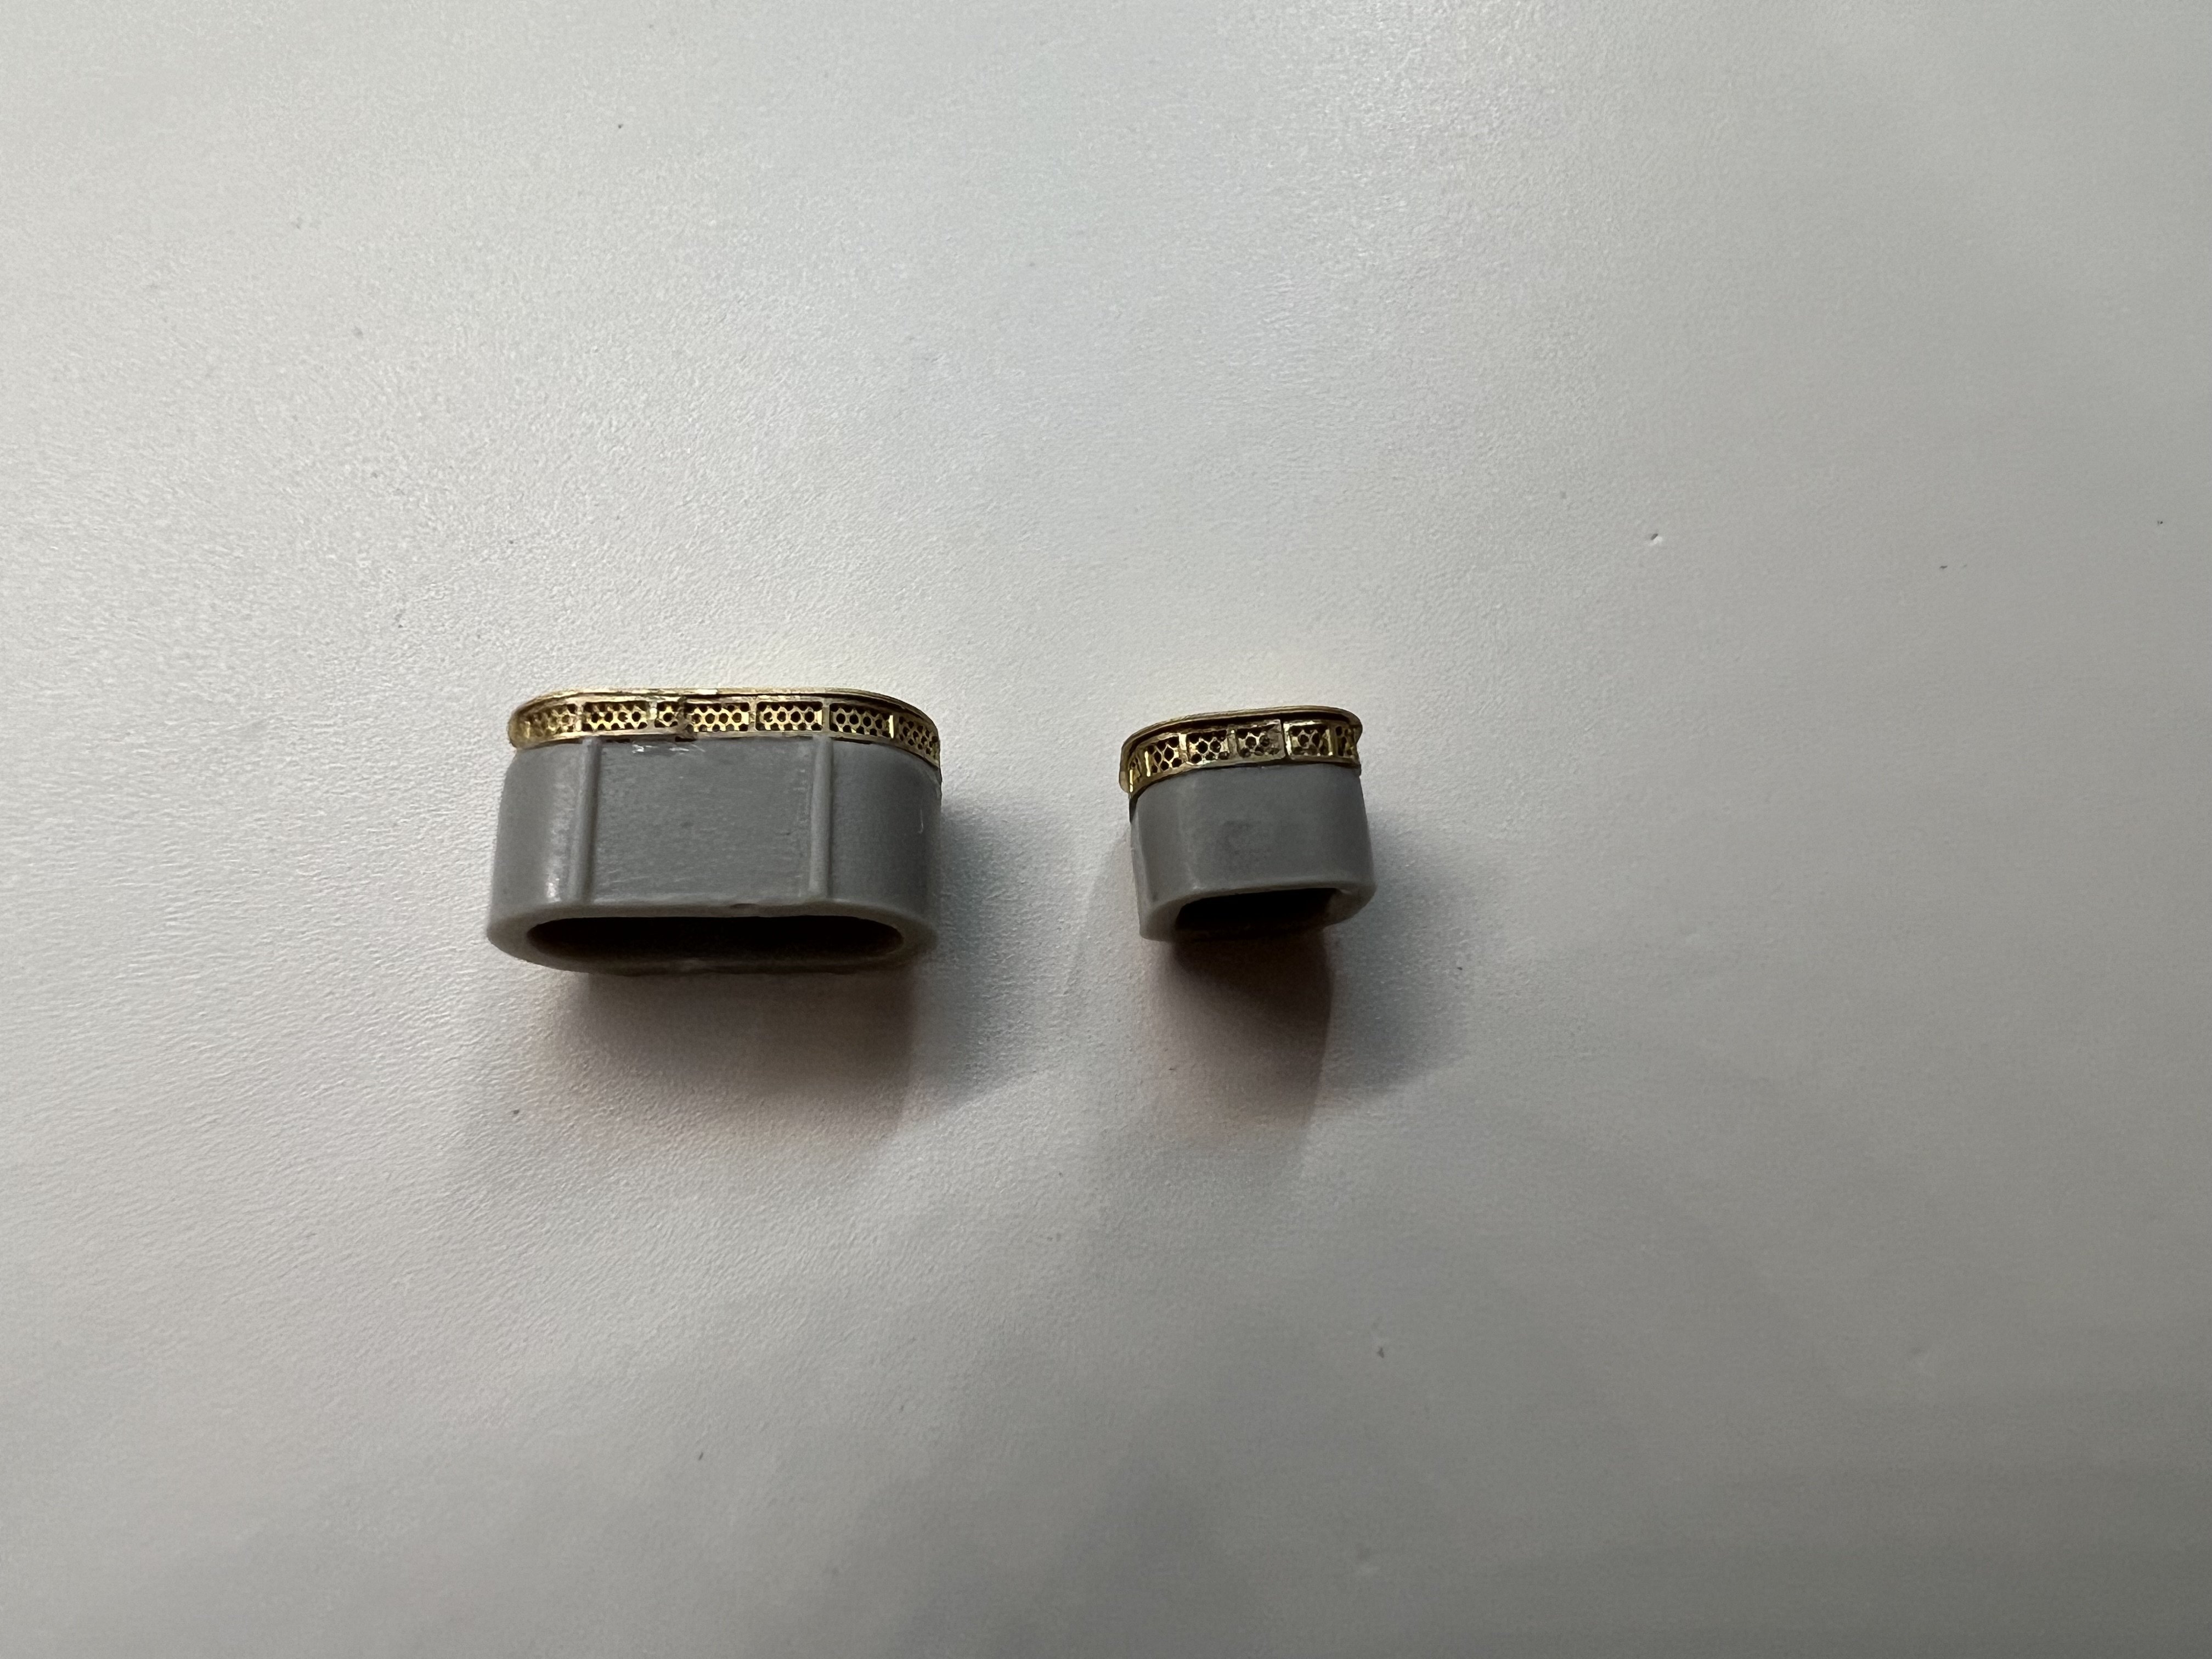
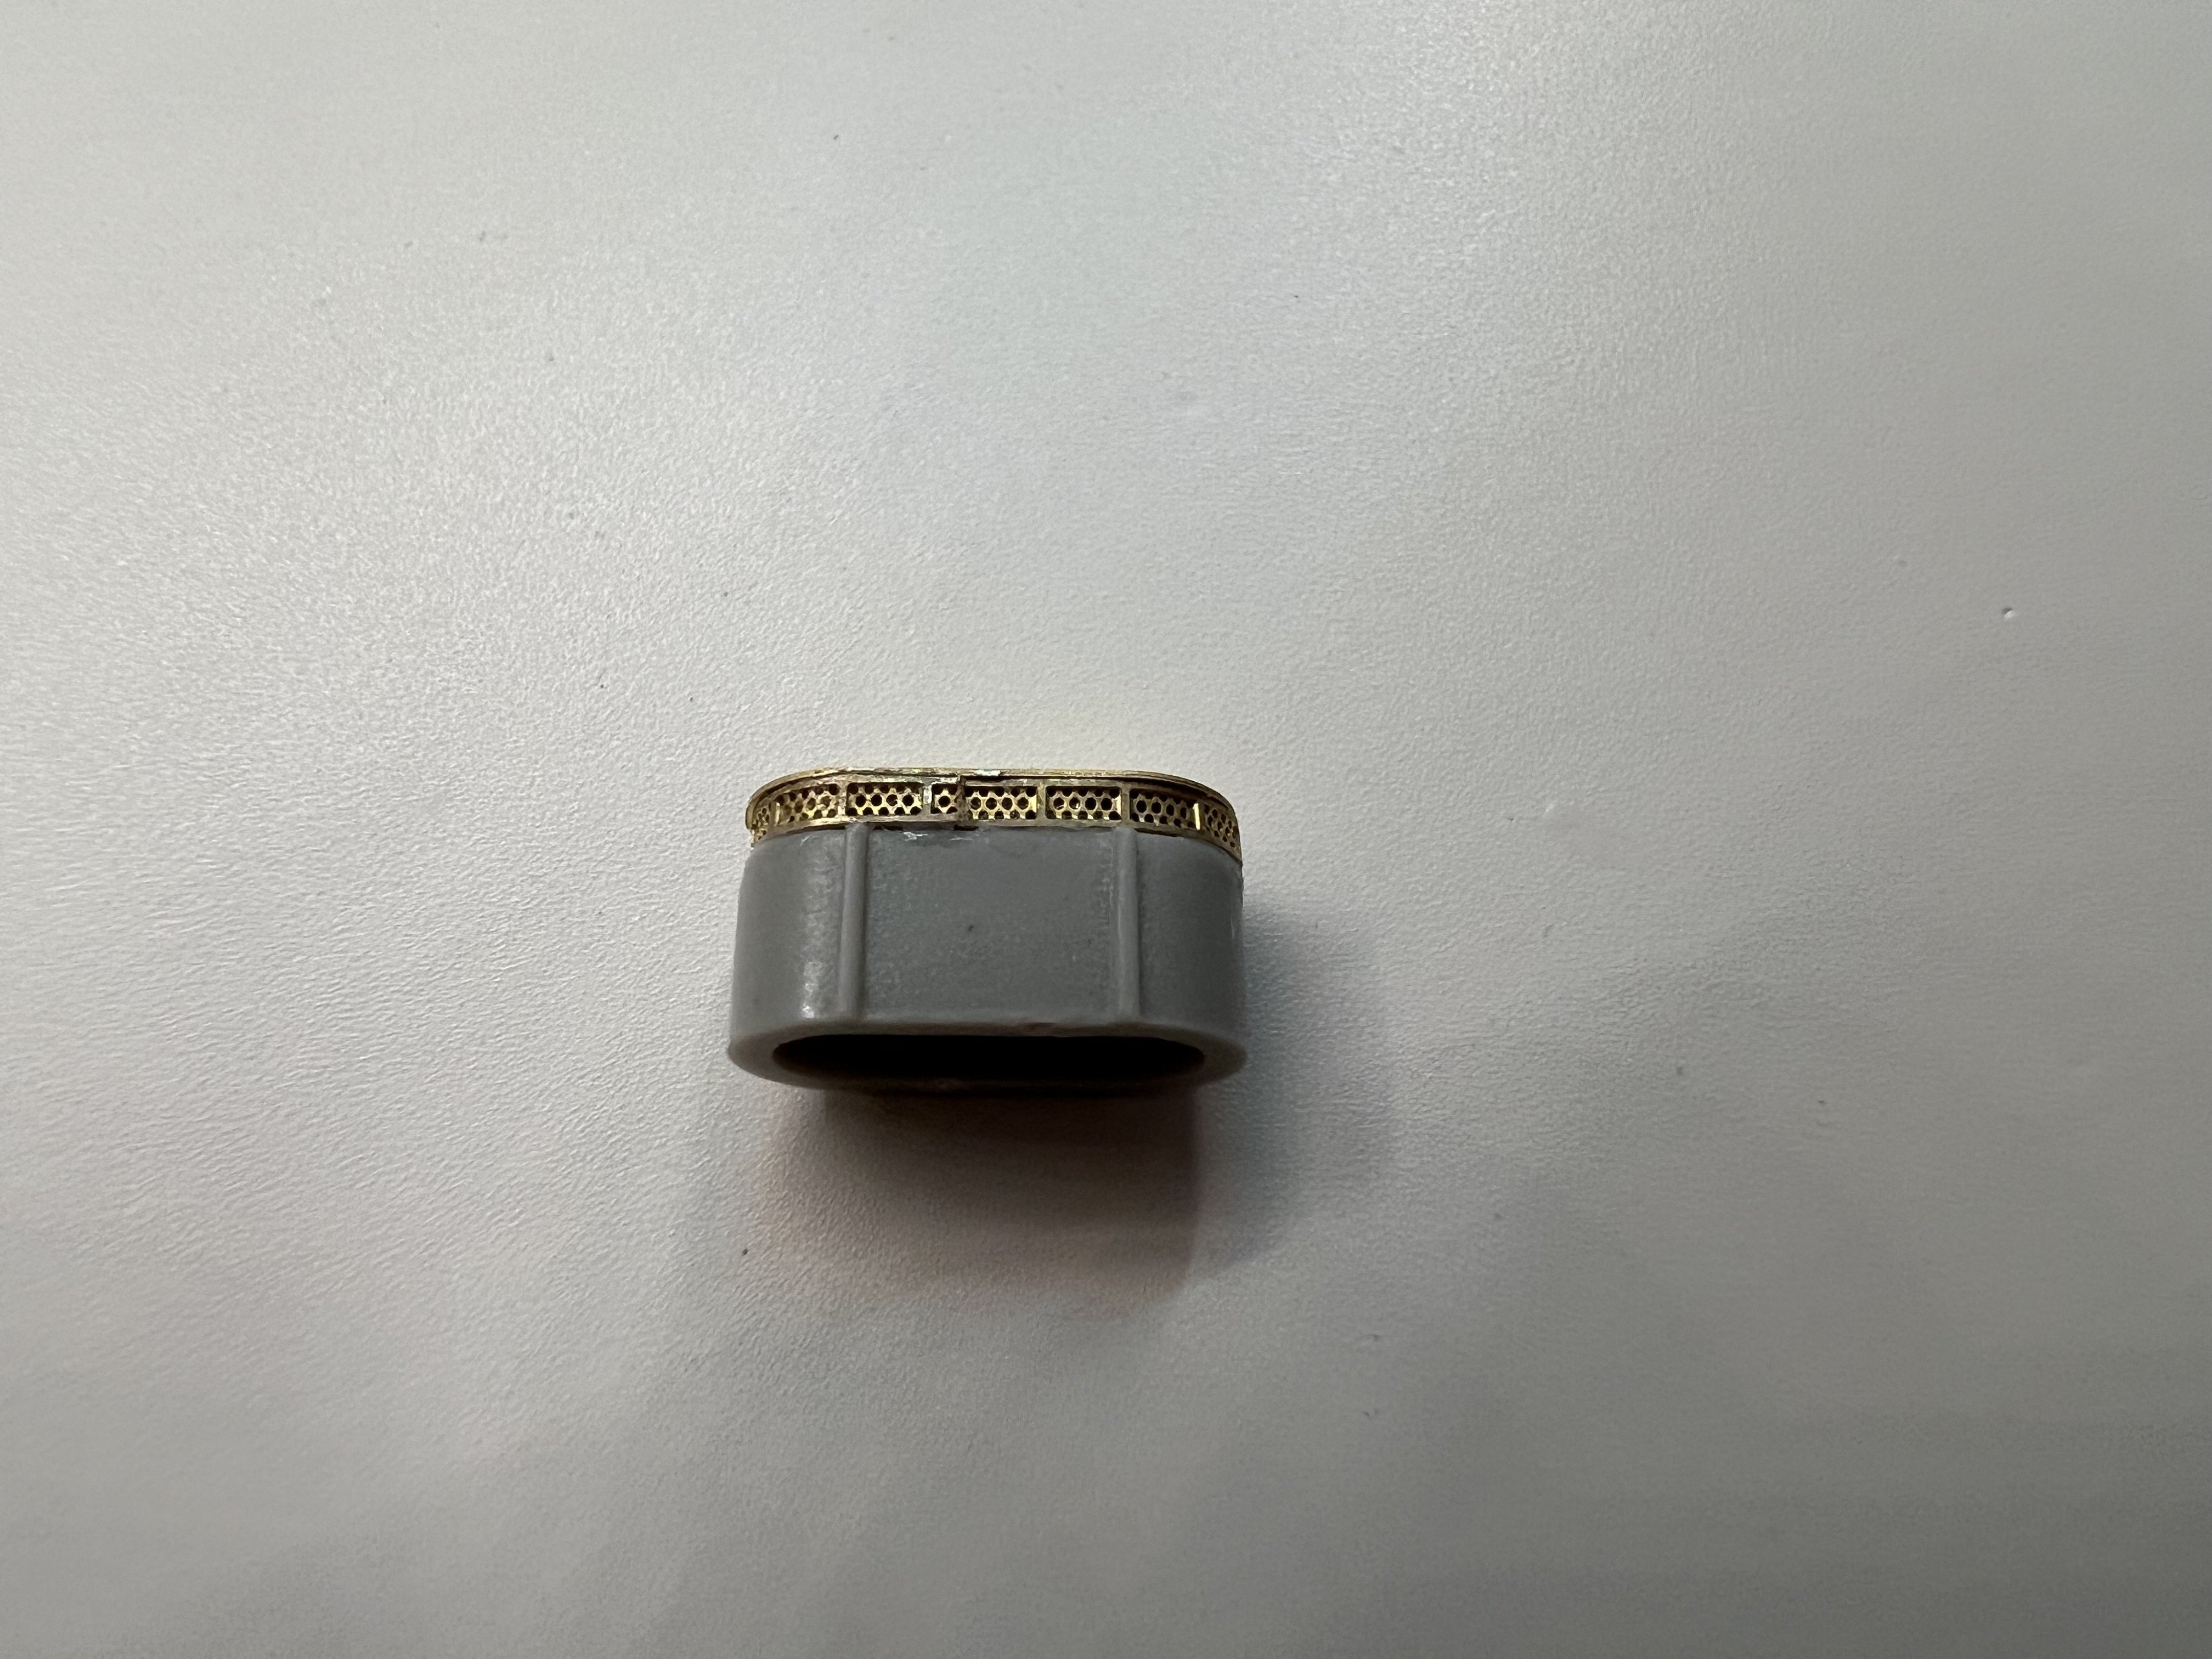
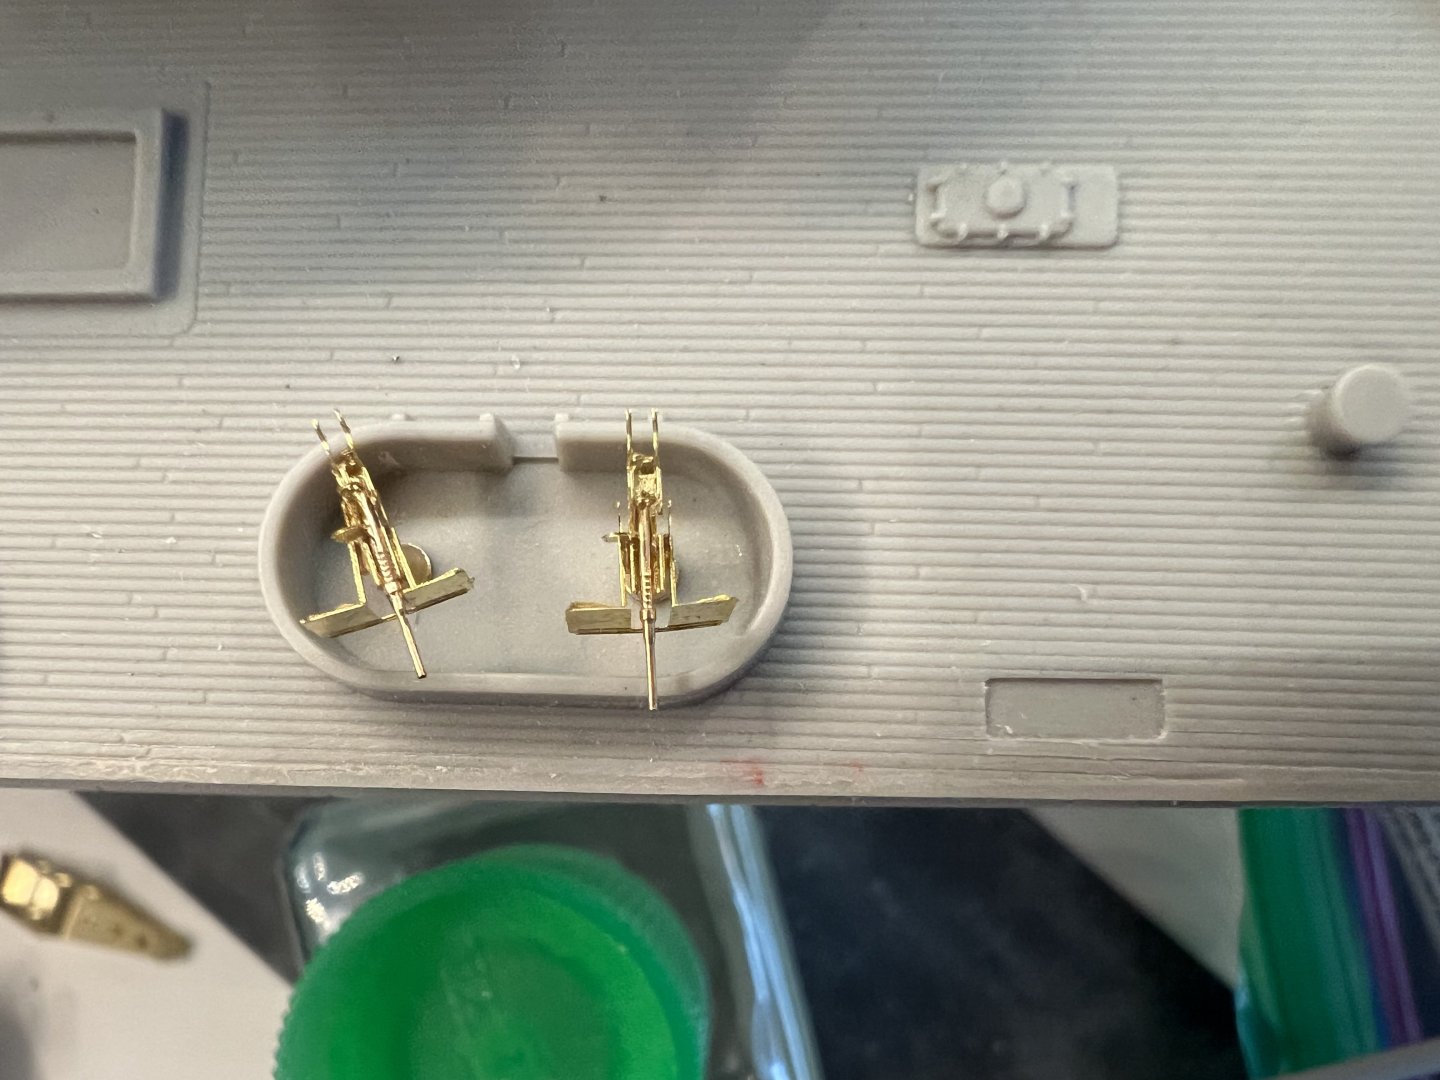
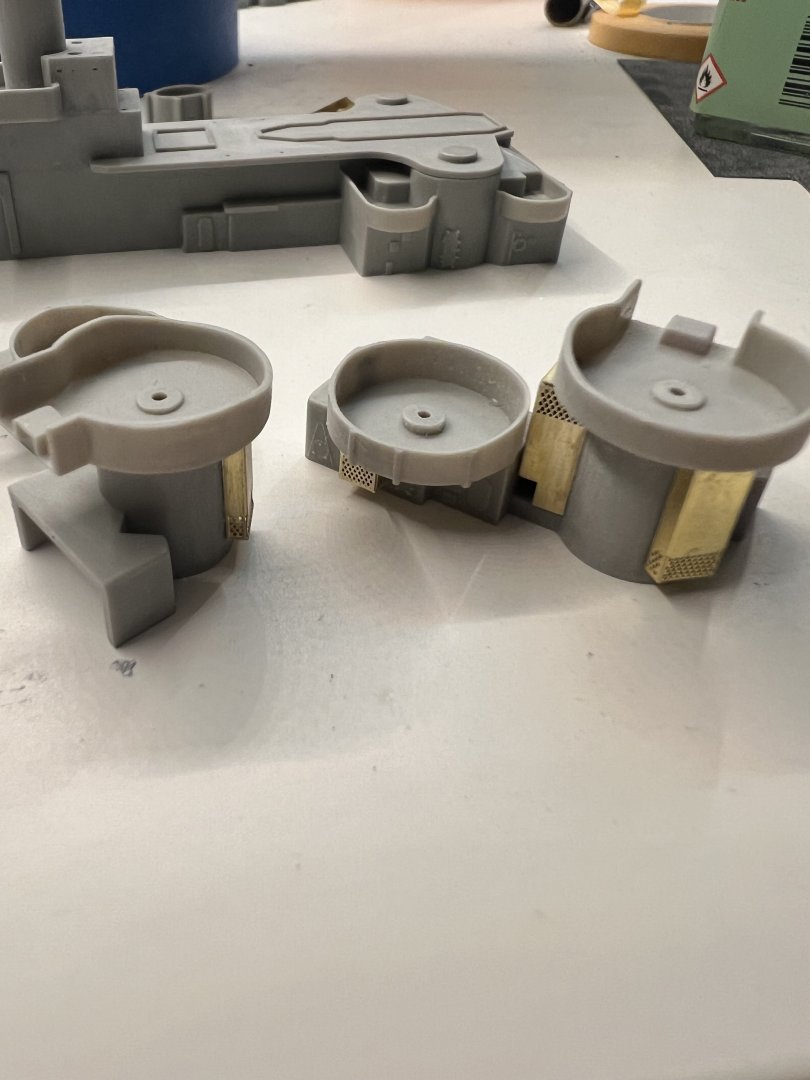
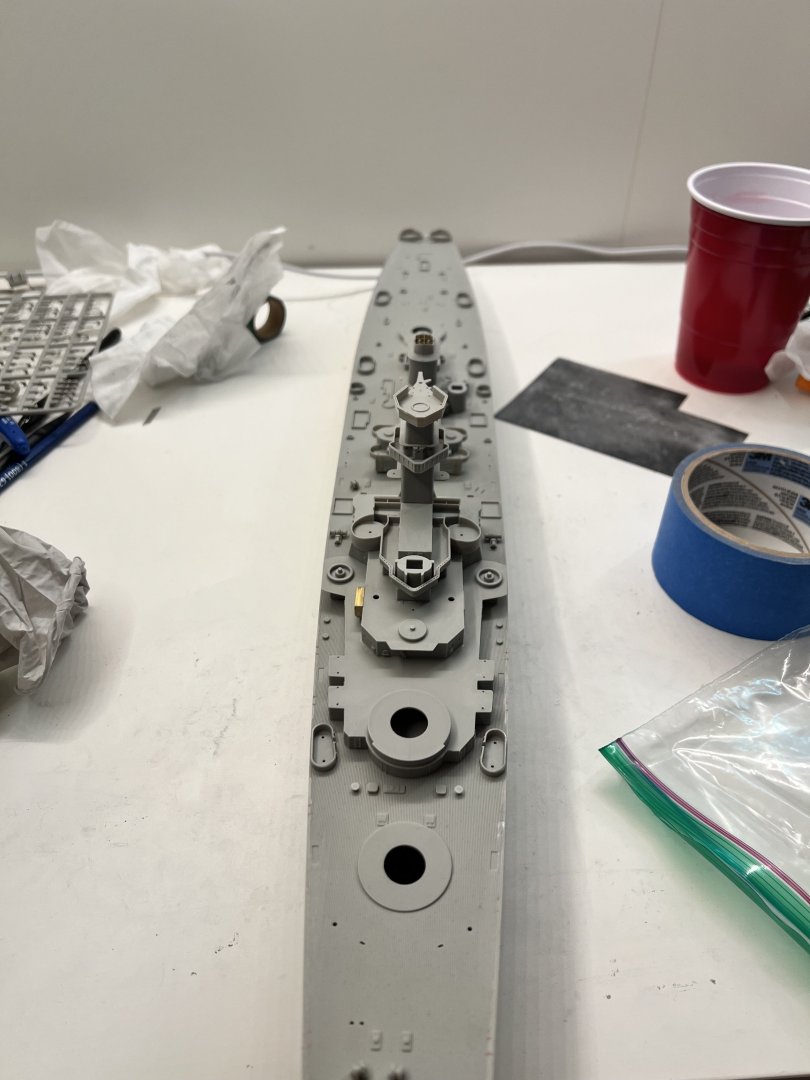
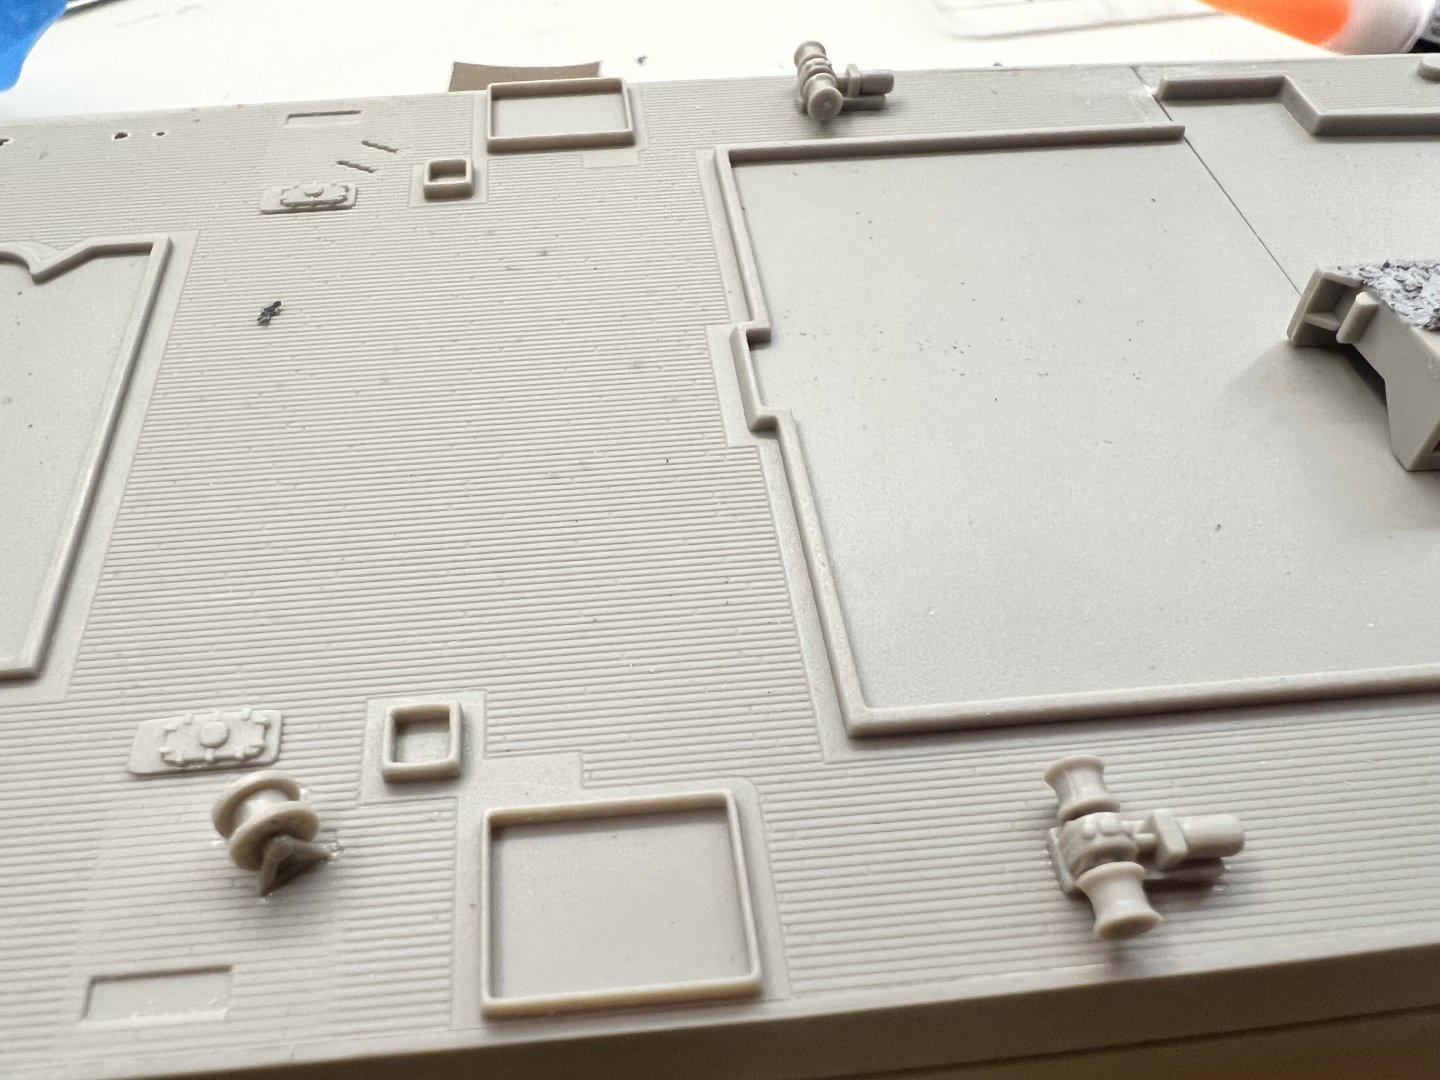
I just had a quick question. My after market 20mm oerlikons look horribly out of scale compared to the kits 20mm guns but in their gun tubs I think they look fine. I honestly trust the after market guns more but wanted to see what you guys think. I haven’t cut out a kit gun yet but I’ll do that later to show they look in the gun tubs. Also regarding the USN camo policy, where smaller deck installations painting the color of the deck they were on or did their vertical surfaces get their normal color. I’m pretty sure vents like these: had their normal vertical colors and things like reels and bitts where just the color of the deck all over but want to make sure. Thanks


-
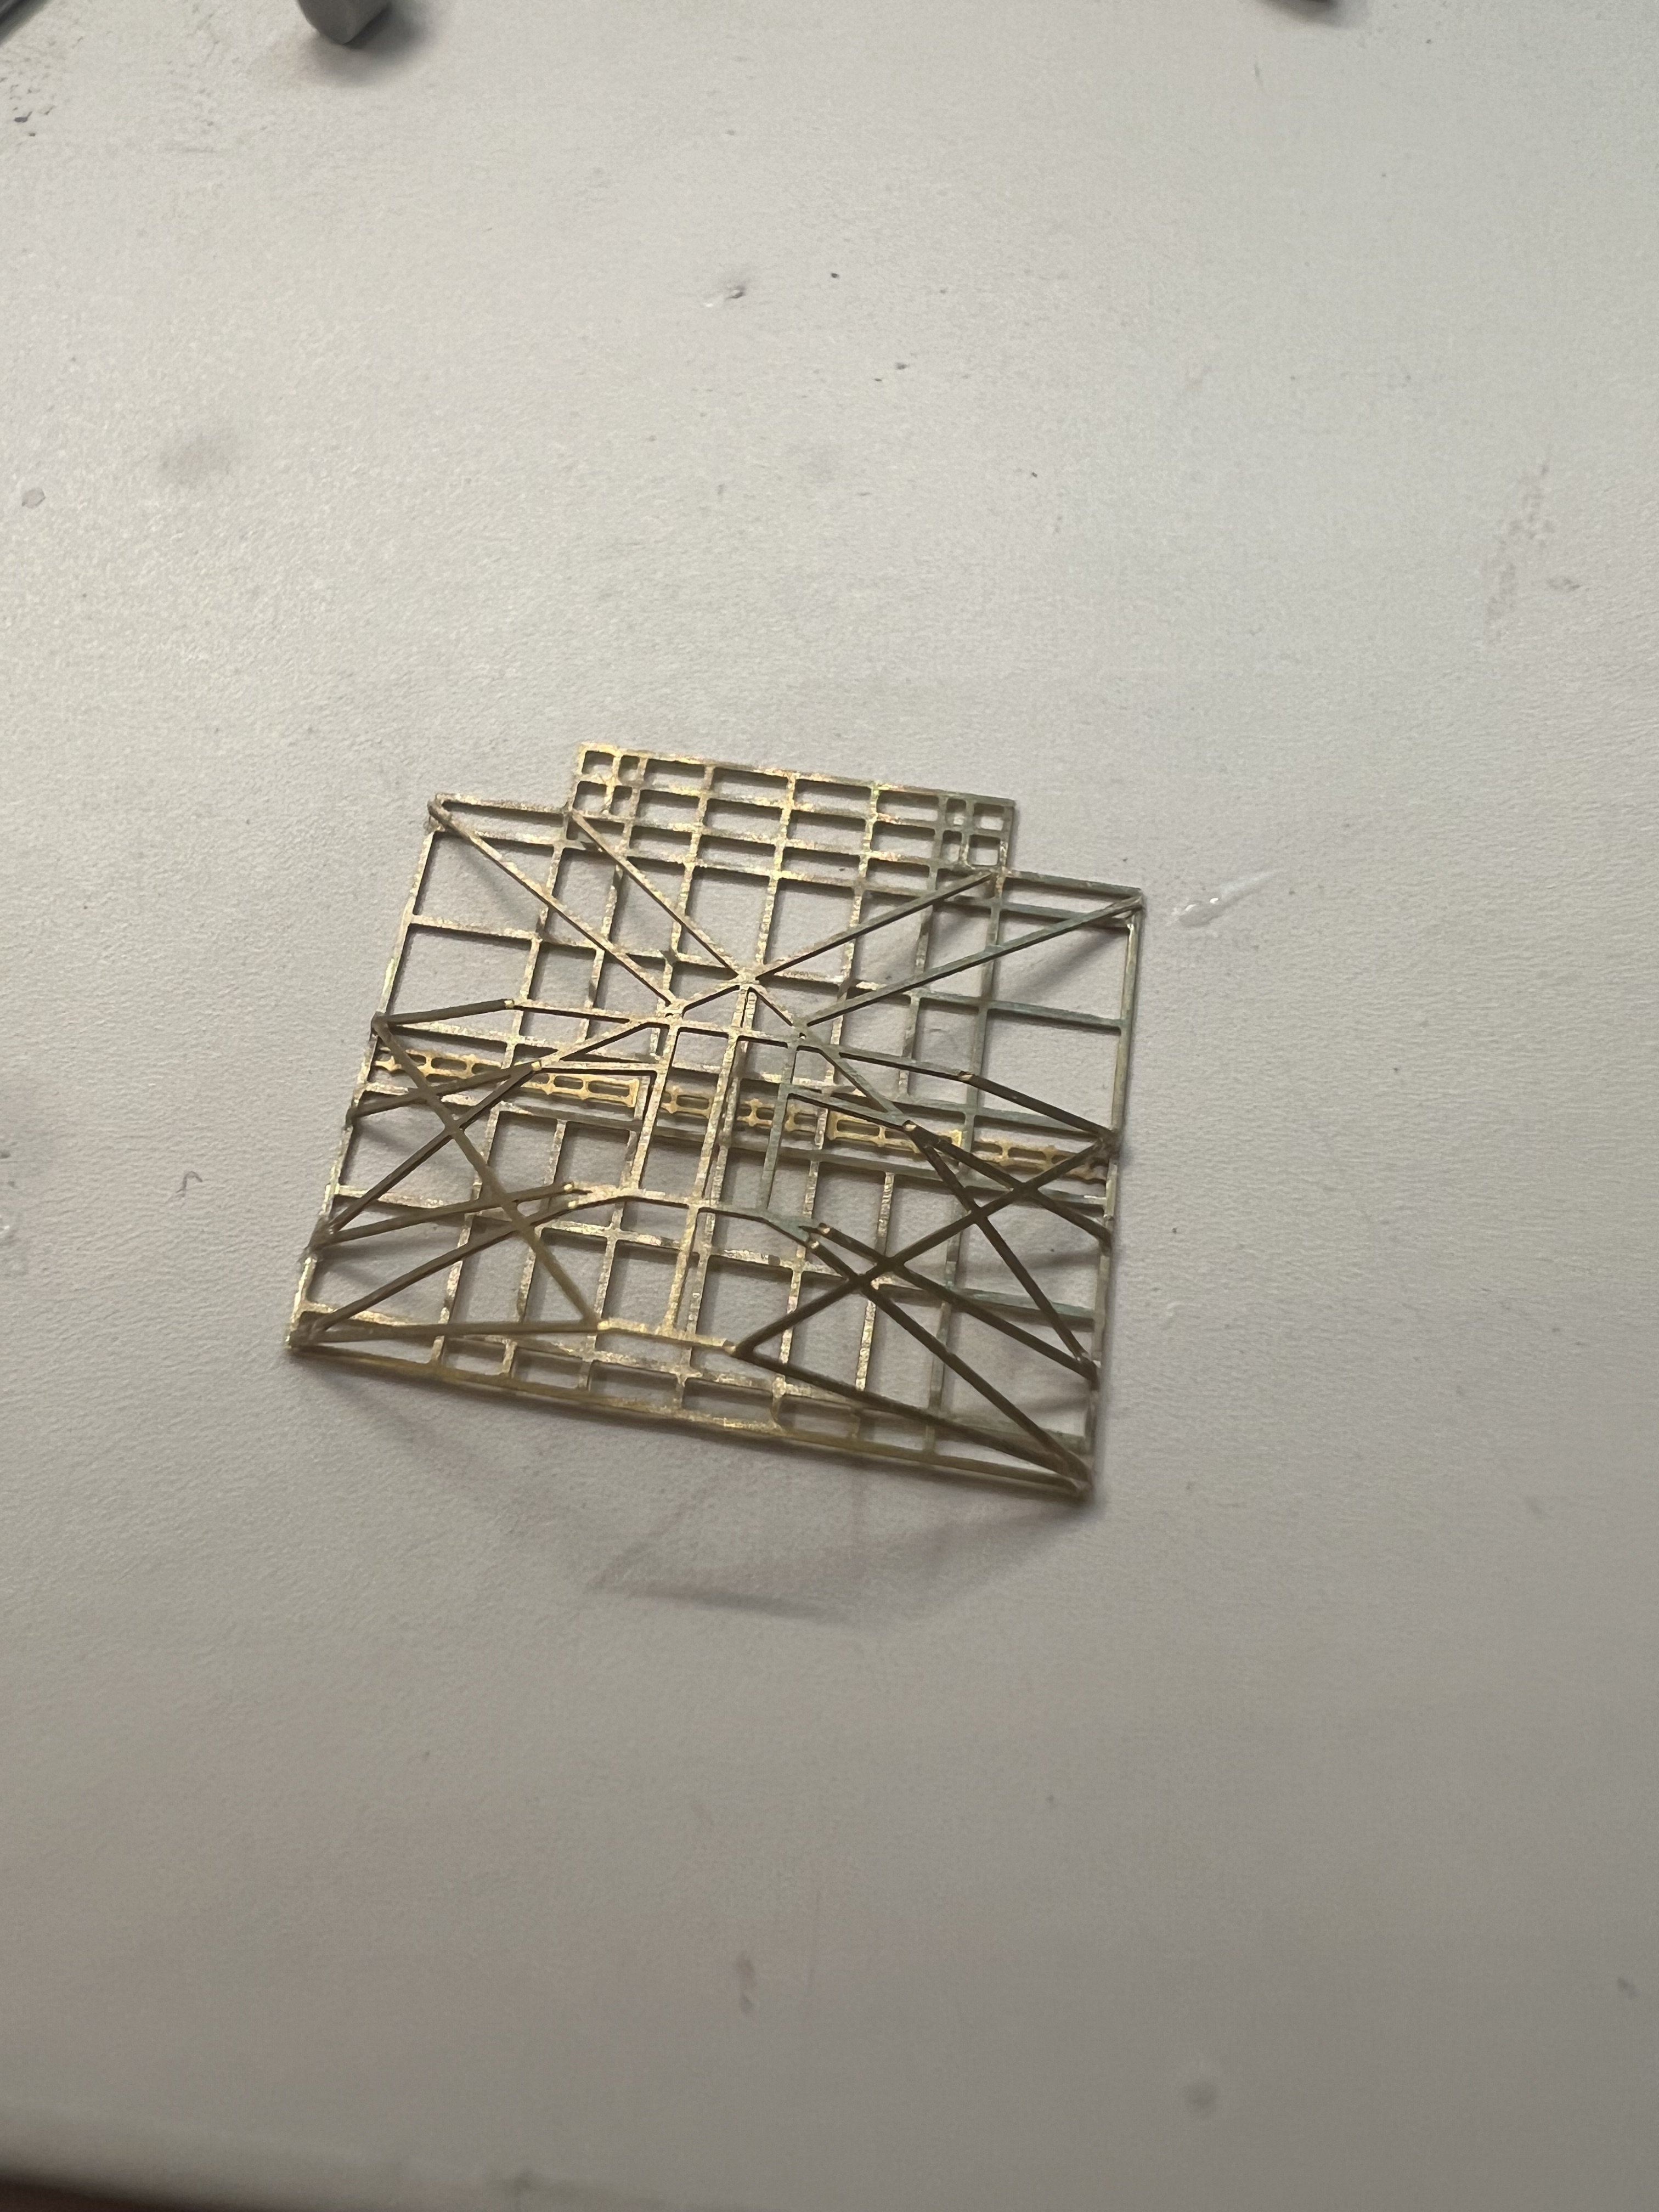
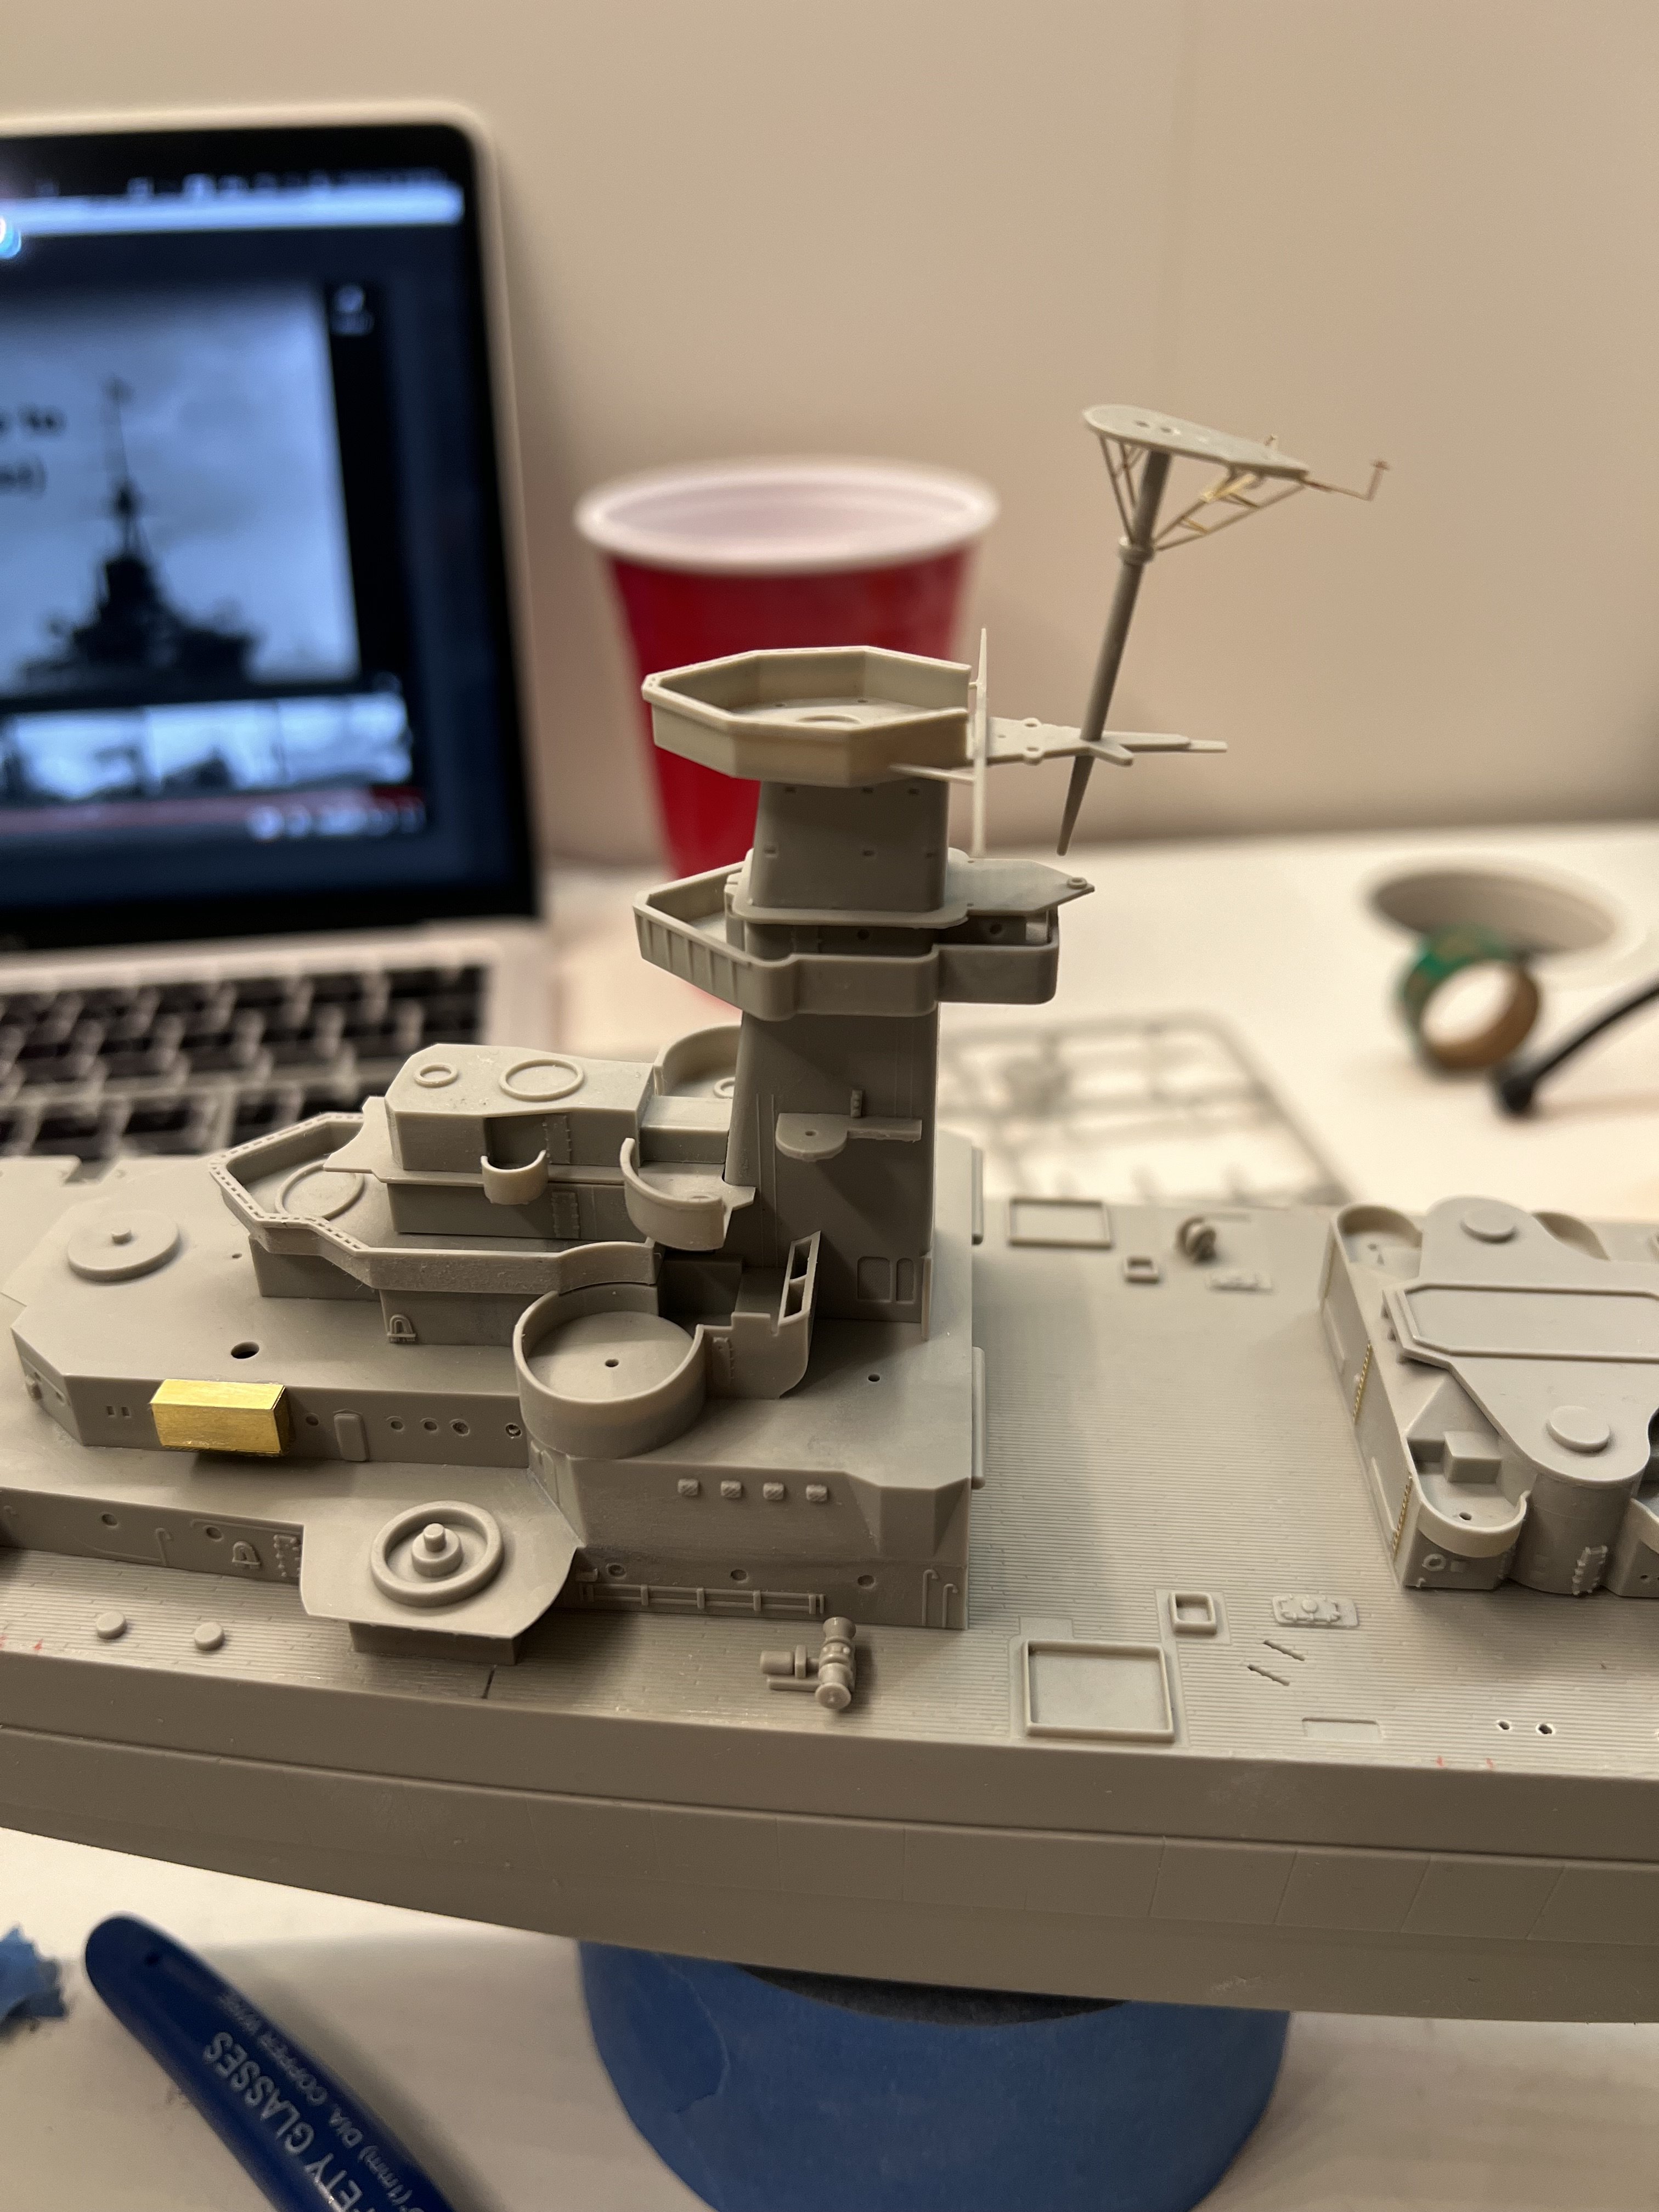
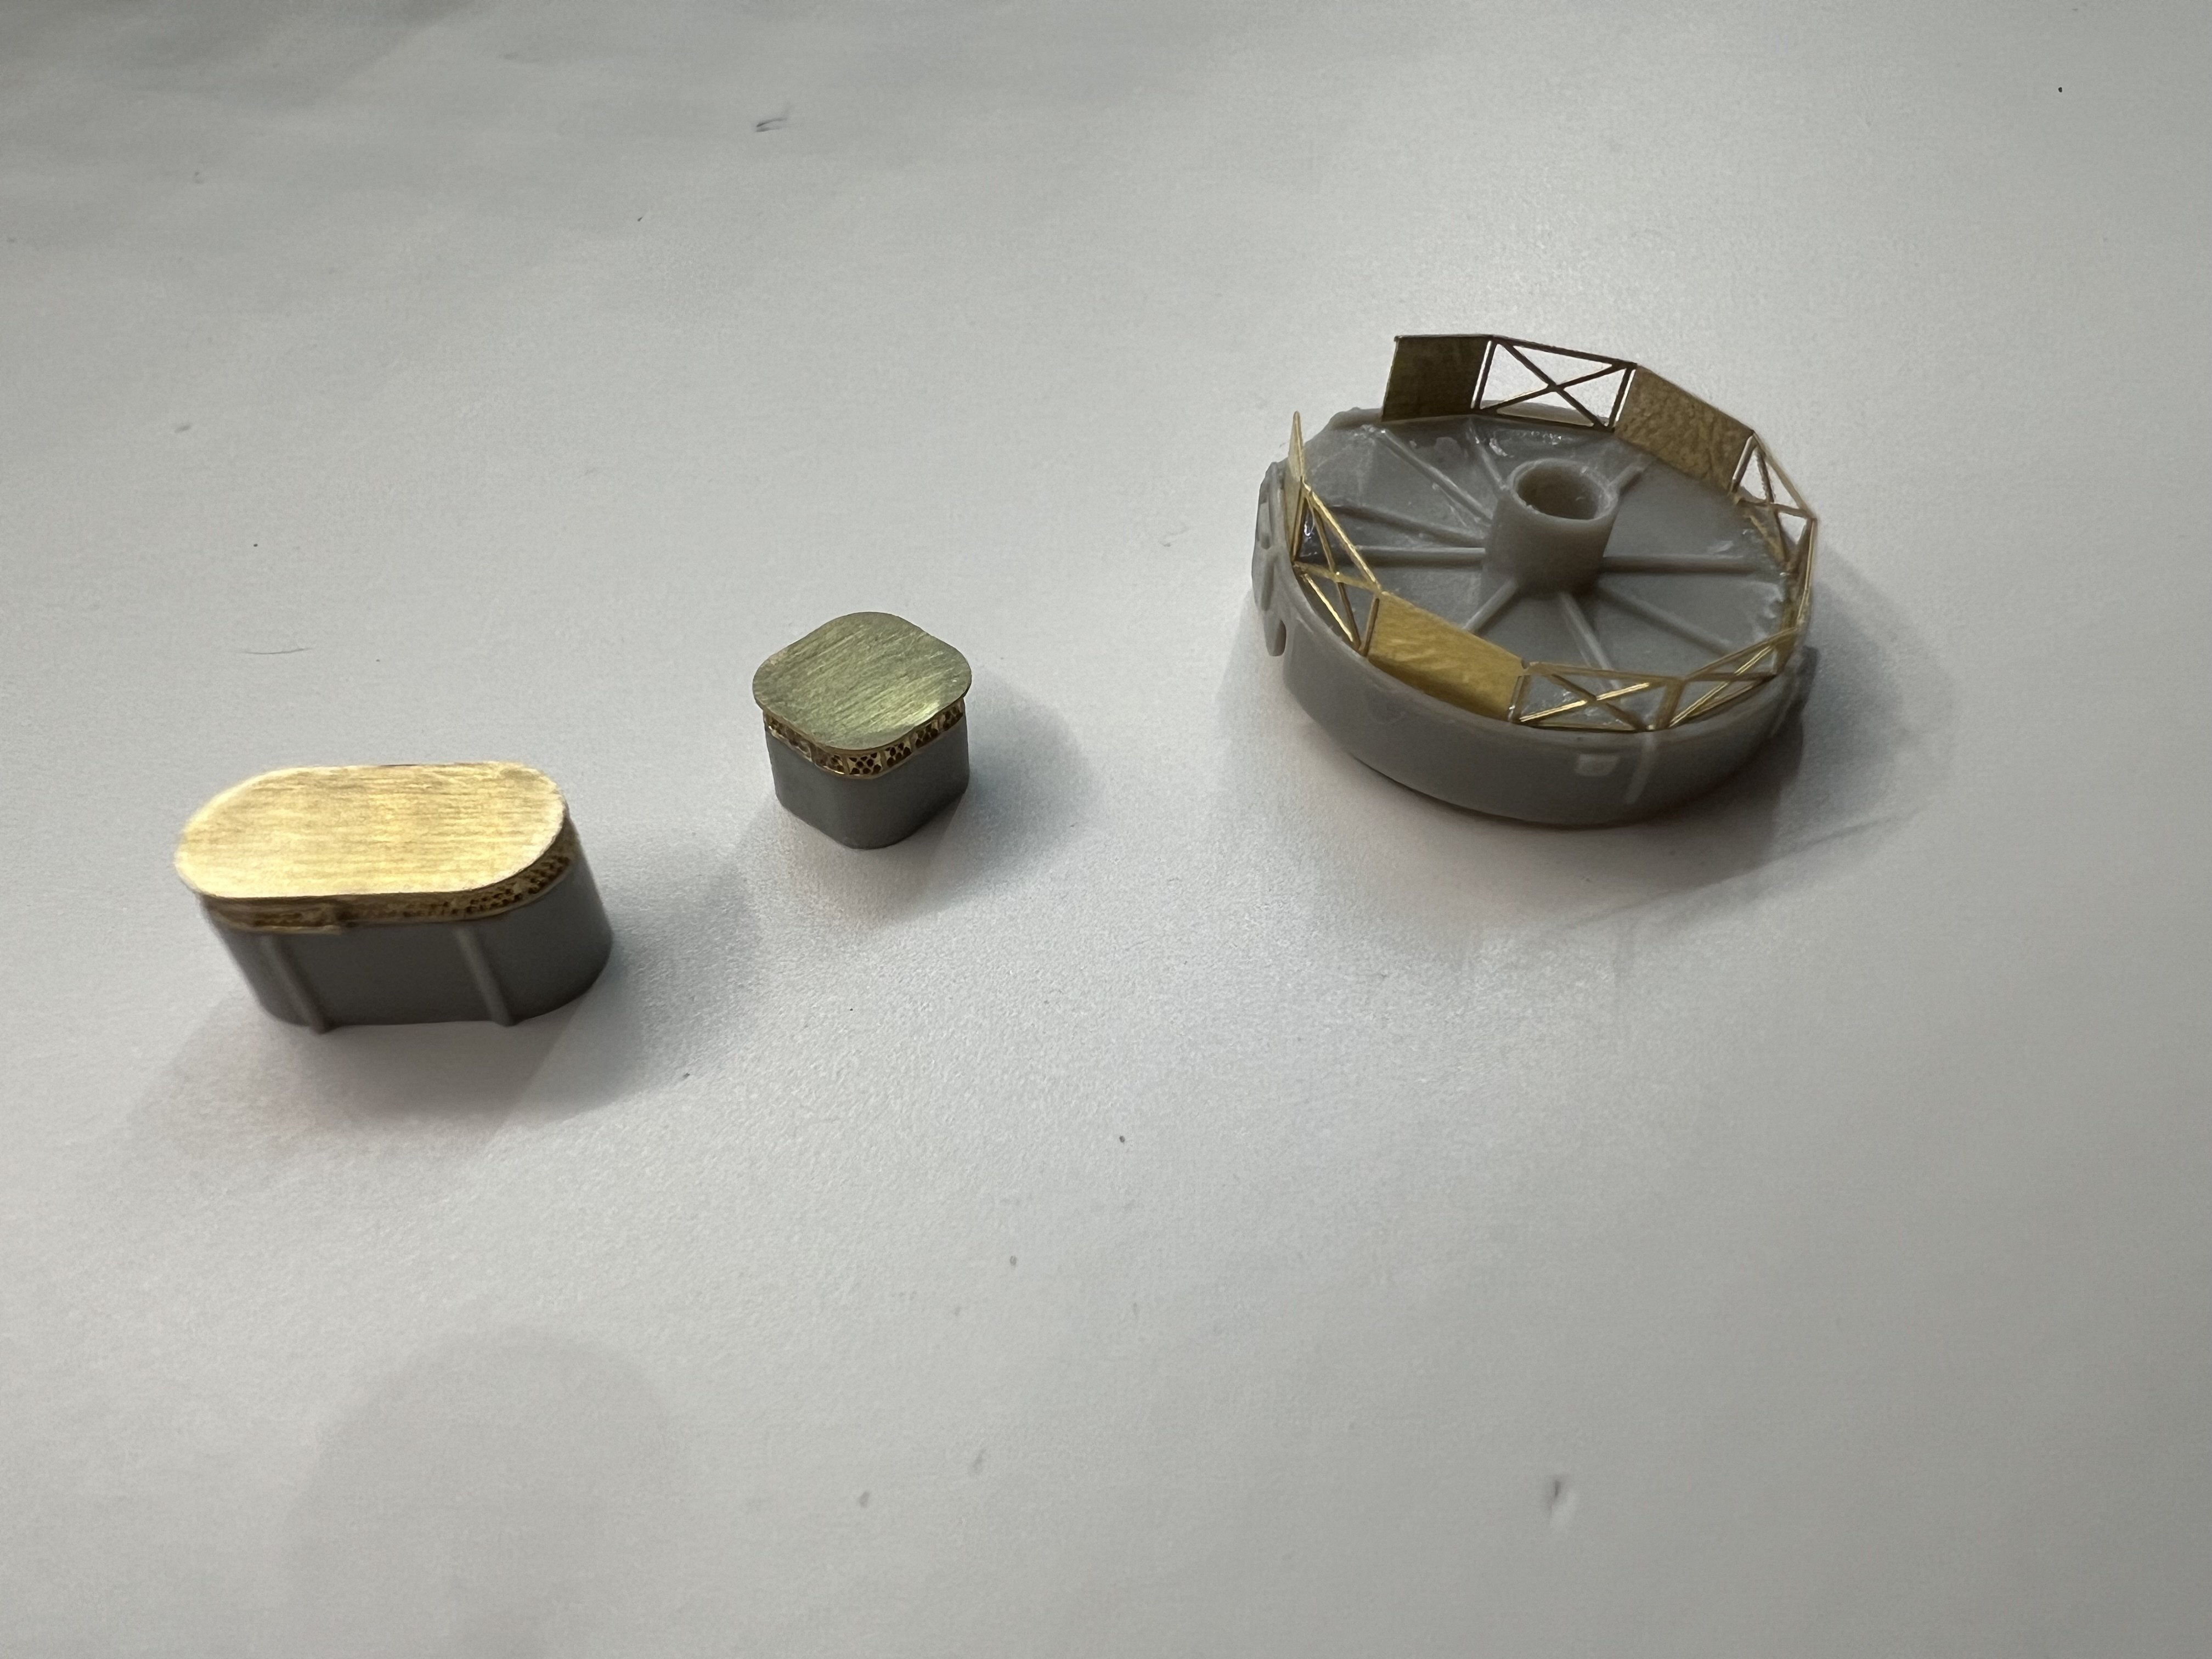
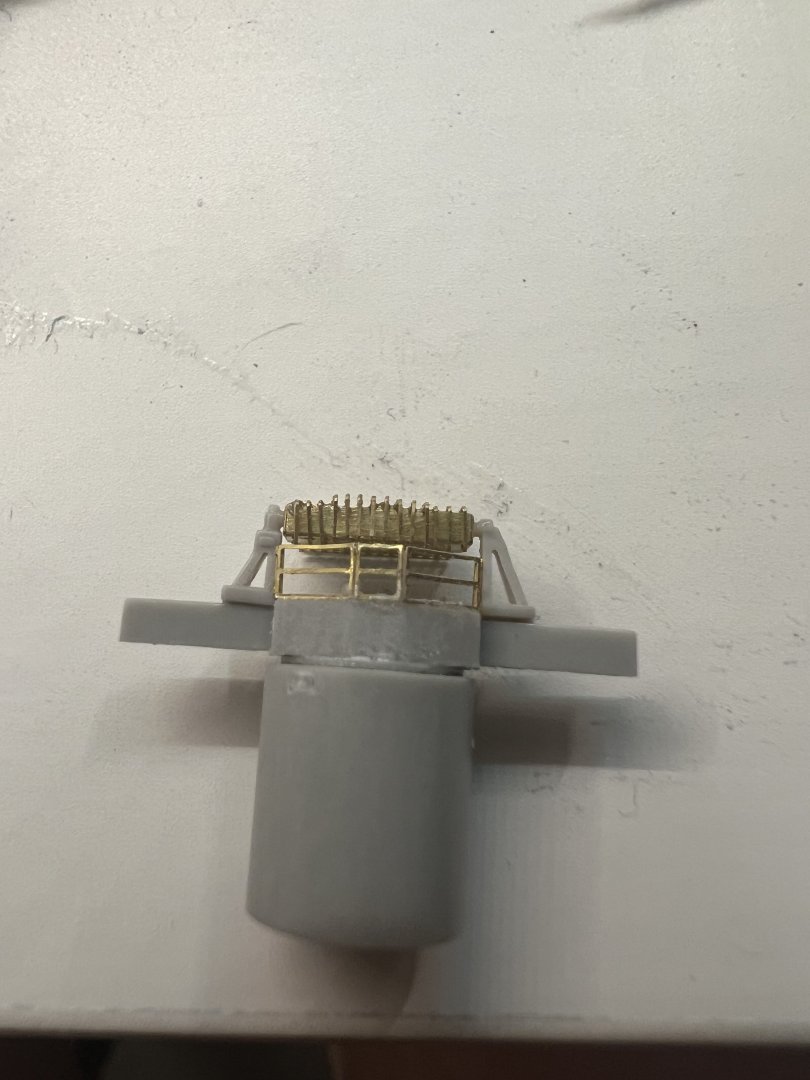
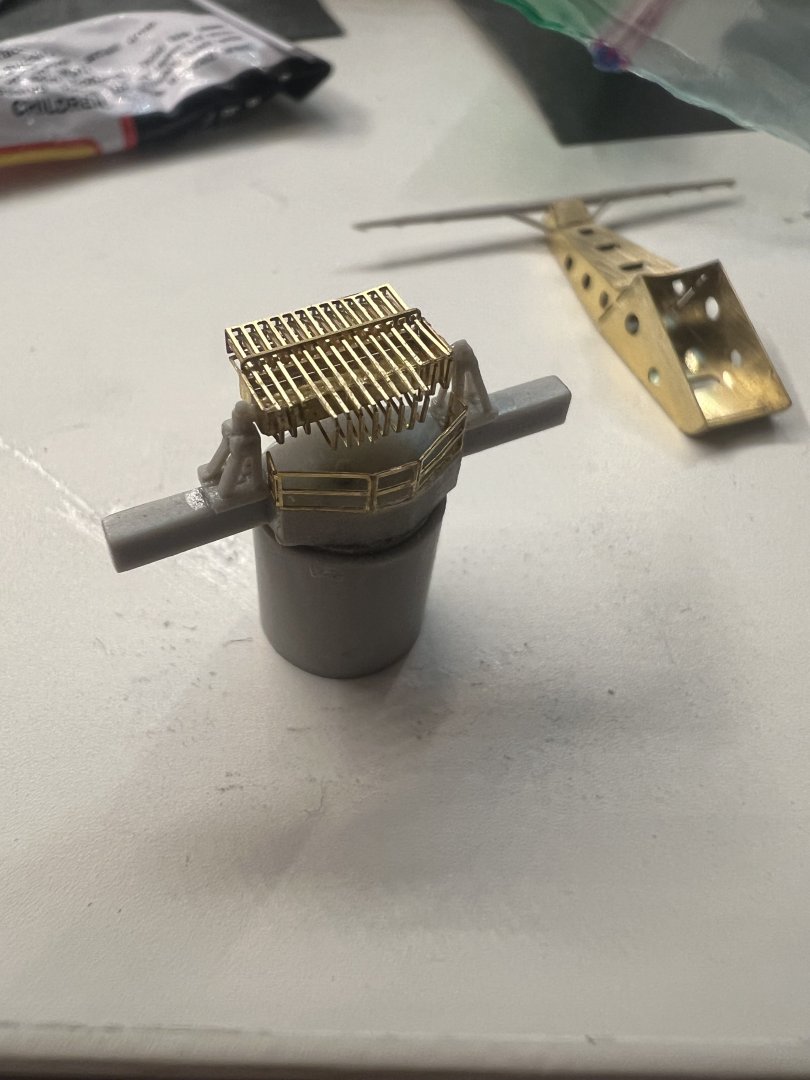
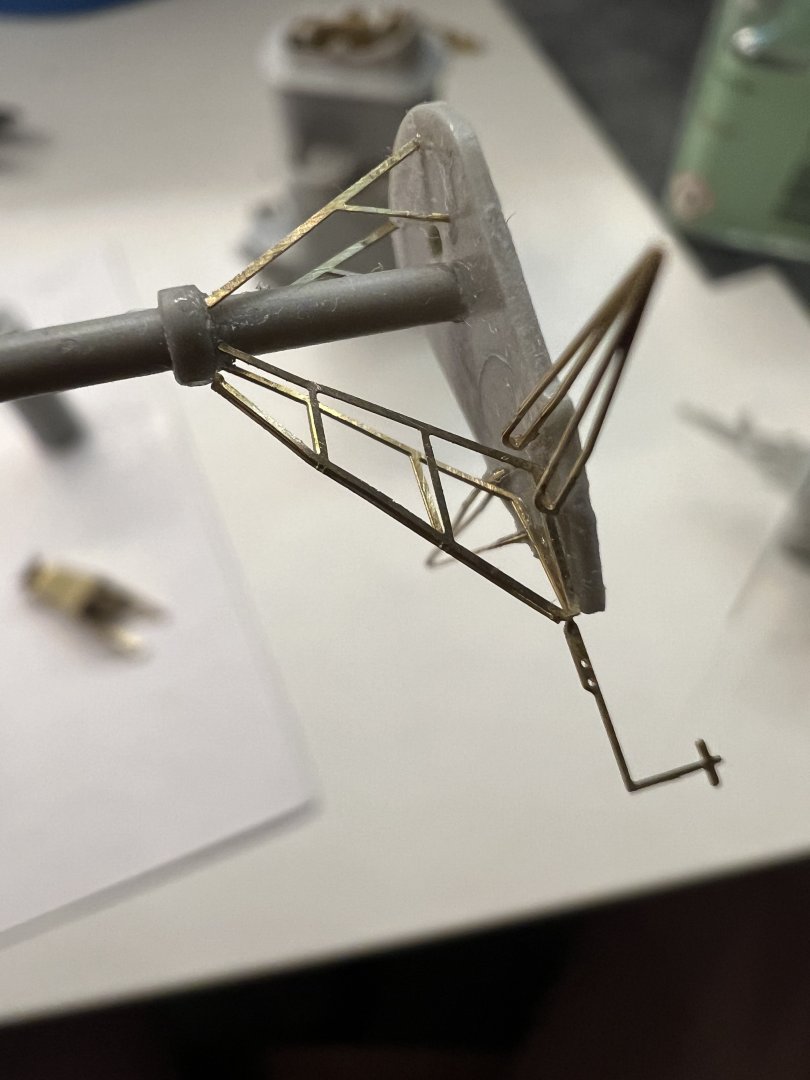
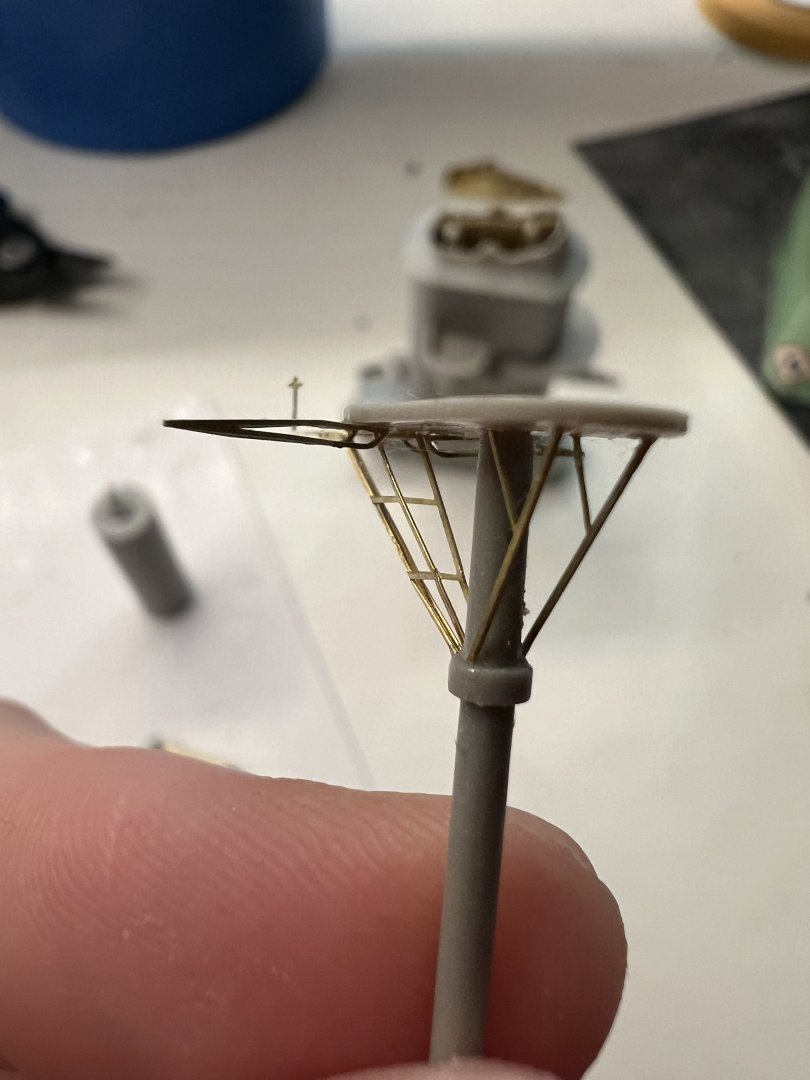
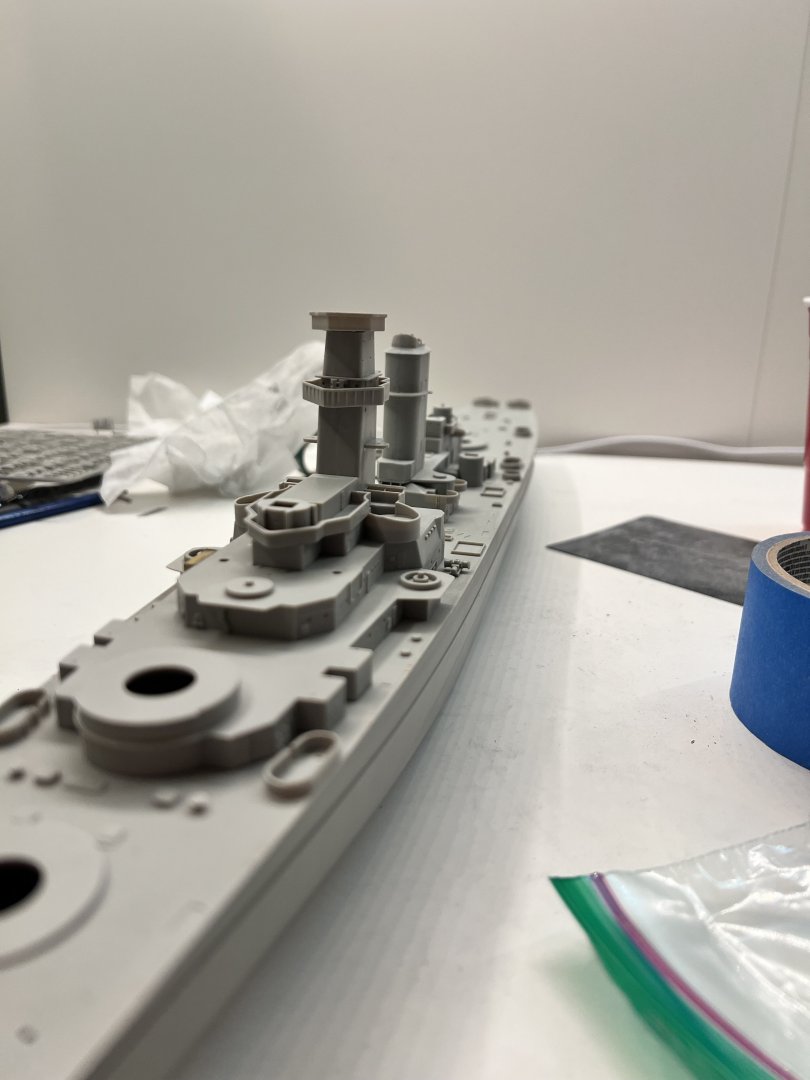
Today was a bit more photoetch work mainly: the forward structure’s top most platform (that had the SK (I think?) radar) and a couple other SG? radars. Super glue was a pretty annoying part; the glue just didn’t stick the parts. the superstructure will look like this (albeit without its SK radar set): To Greg: I think that’ll be a pretty good idea and have already looked at a set that has not only the deck and masking but also PE replacements for the gun tubs around the deck. Along with that it’ll be pretty good practice for my next set (the Iowa) which I already bought a pretty detailed upgrade set. Thanks! To Steve: I think I actually happen to have some loctite glue at home, I didn’t use them before for some reason. I’ll probably take a look at them again but already bought zap a gap medium and thin glues and will probably be sticking to those. Apart from all of that I figured I’d start posting my work hours: 47 hours as of now! Good nite!


-
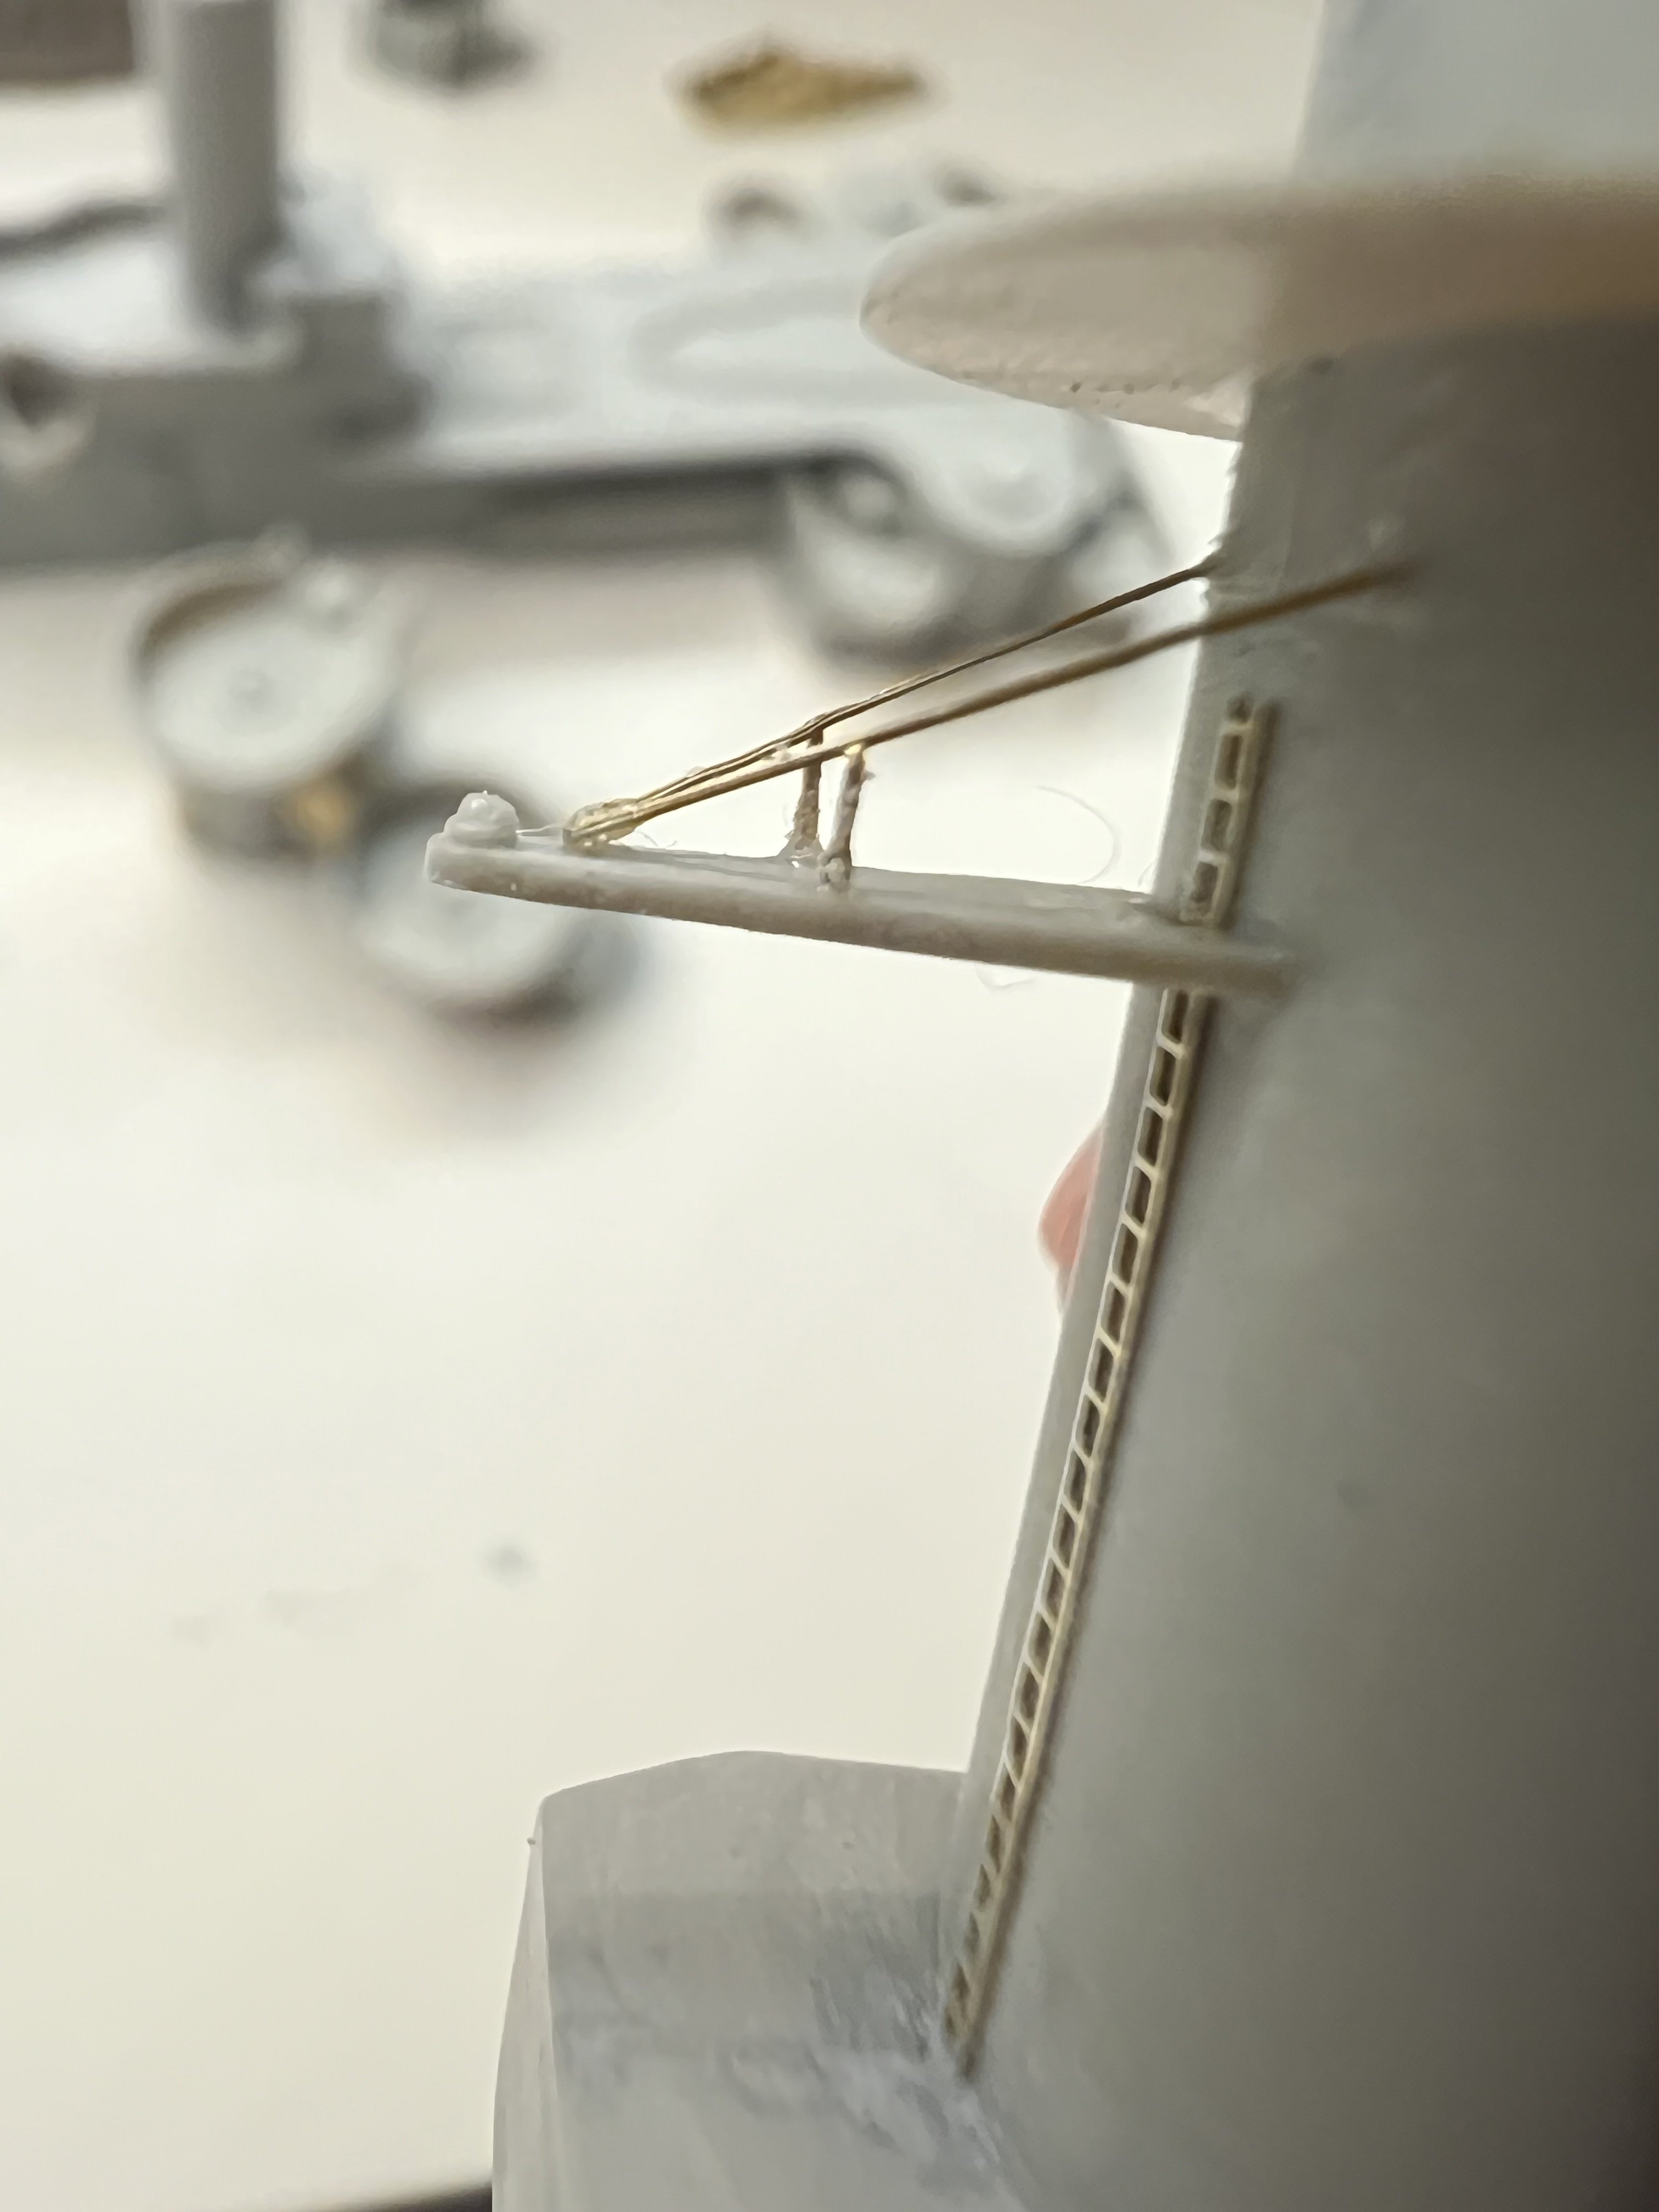
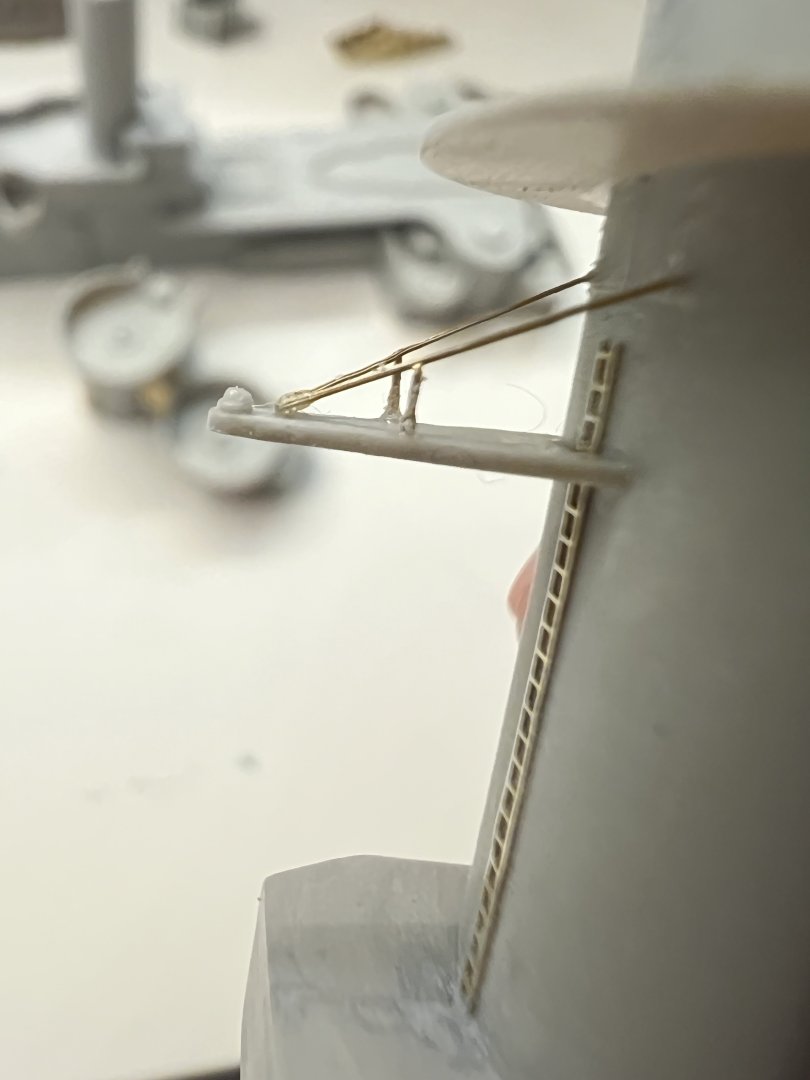
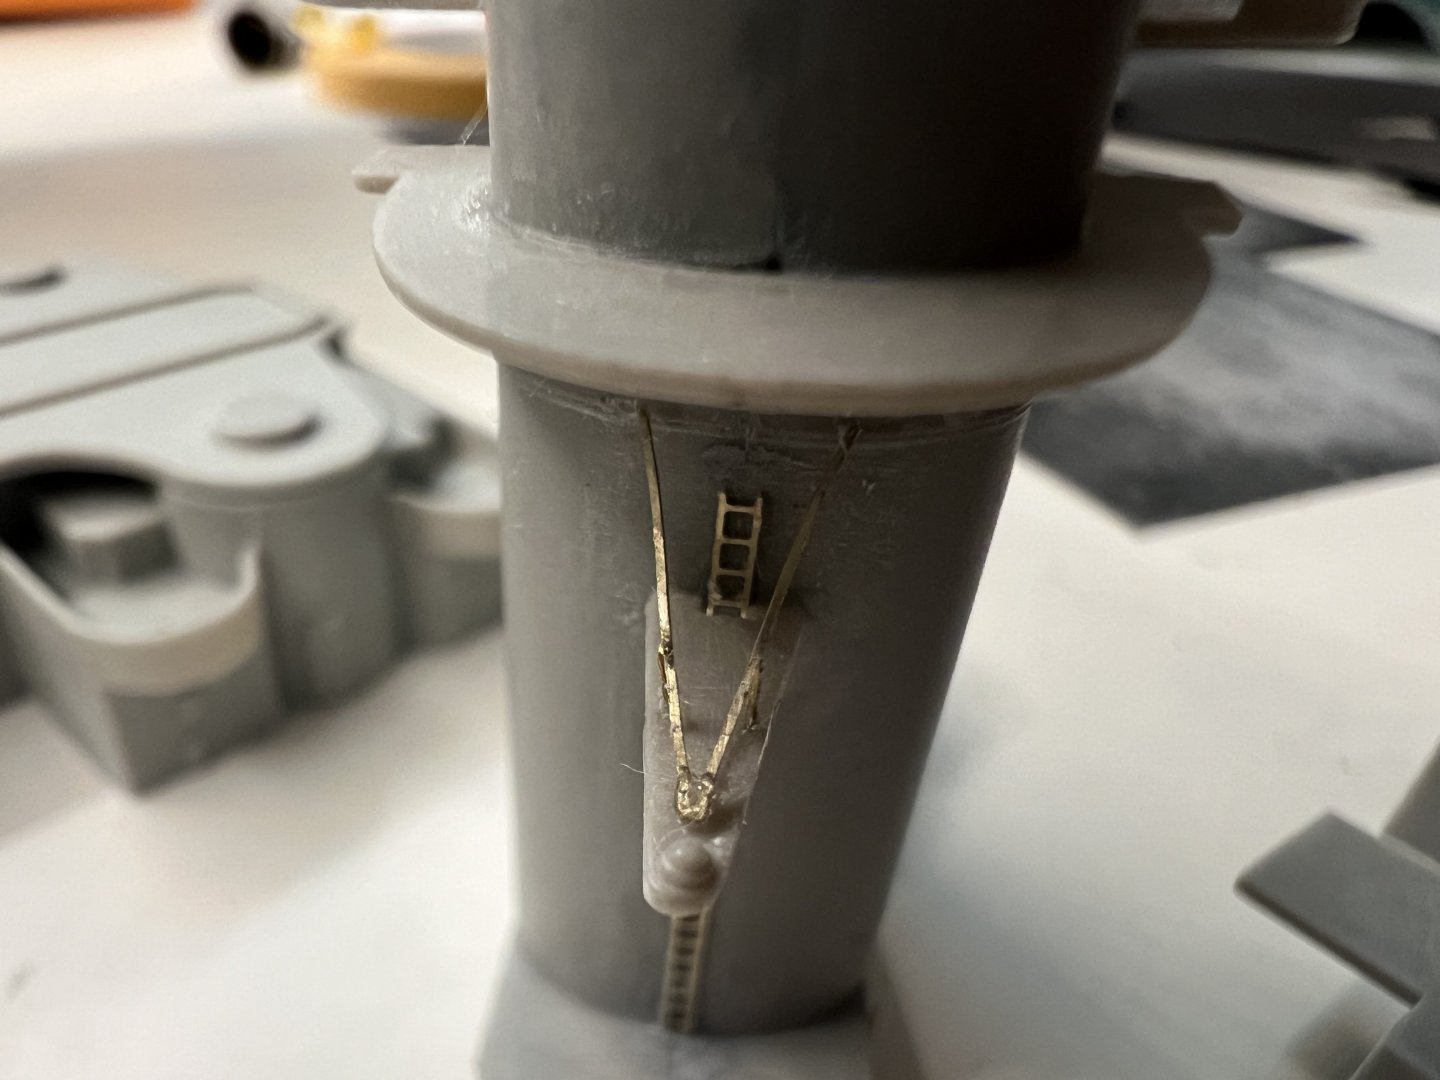
The two wings are finally finished albeit I misread the instructions and so on me of the vents are permanently off the model: Anyways work on the funnel continued, with the photo etch “brace” for the platform being extremely fiddly. Thankfully it’s straight but I need to get rid of the excess glue: I’ll hopefully cram a lot more work in over the weekend as school is back next week. Cheers!

-
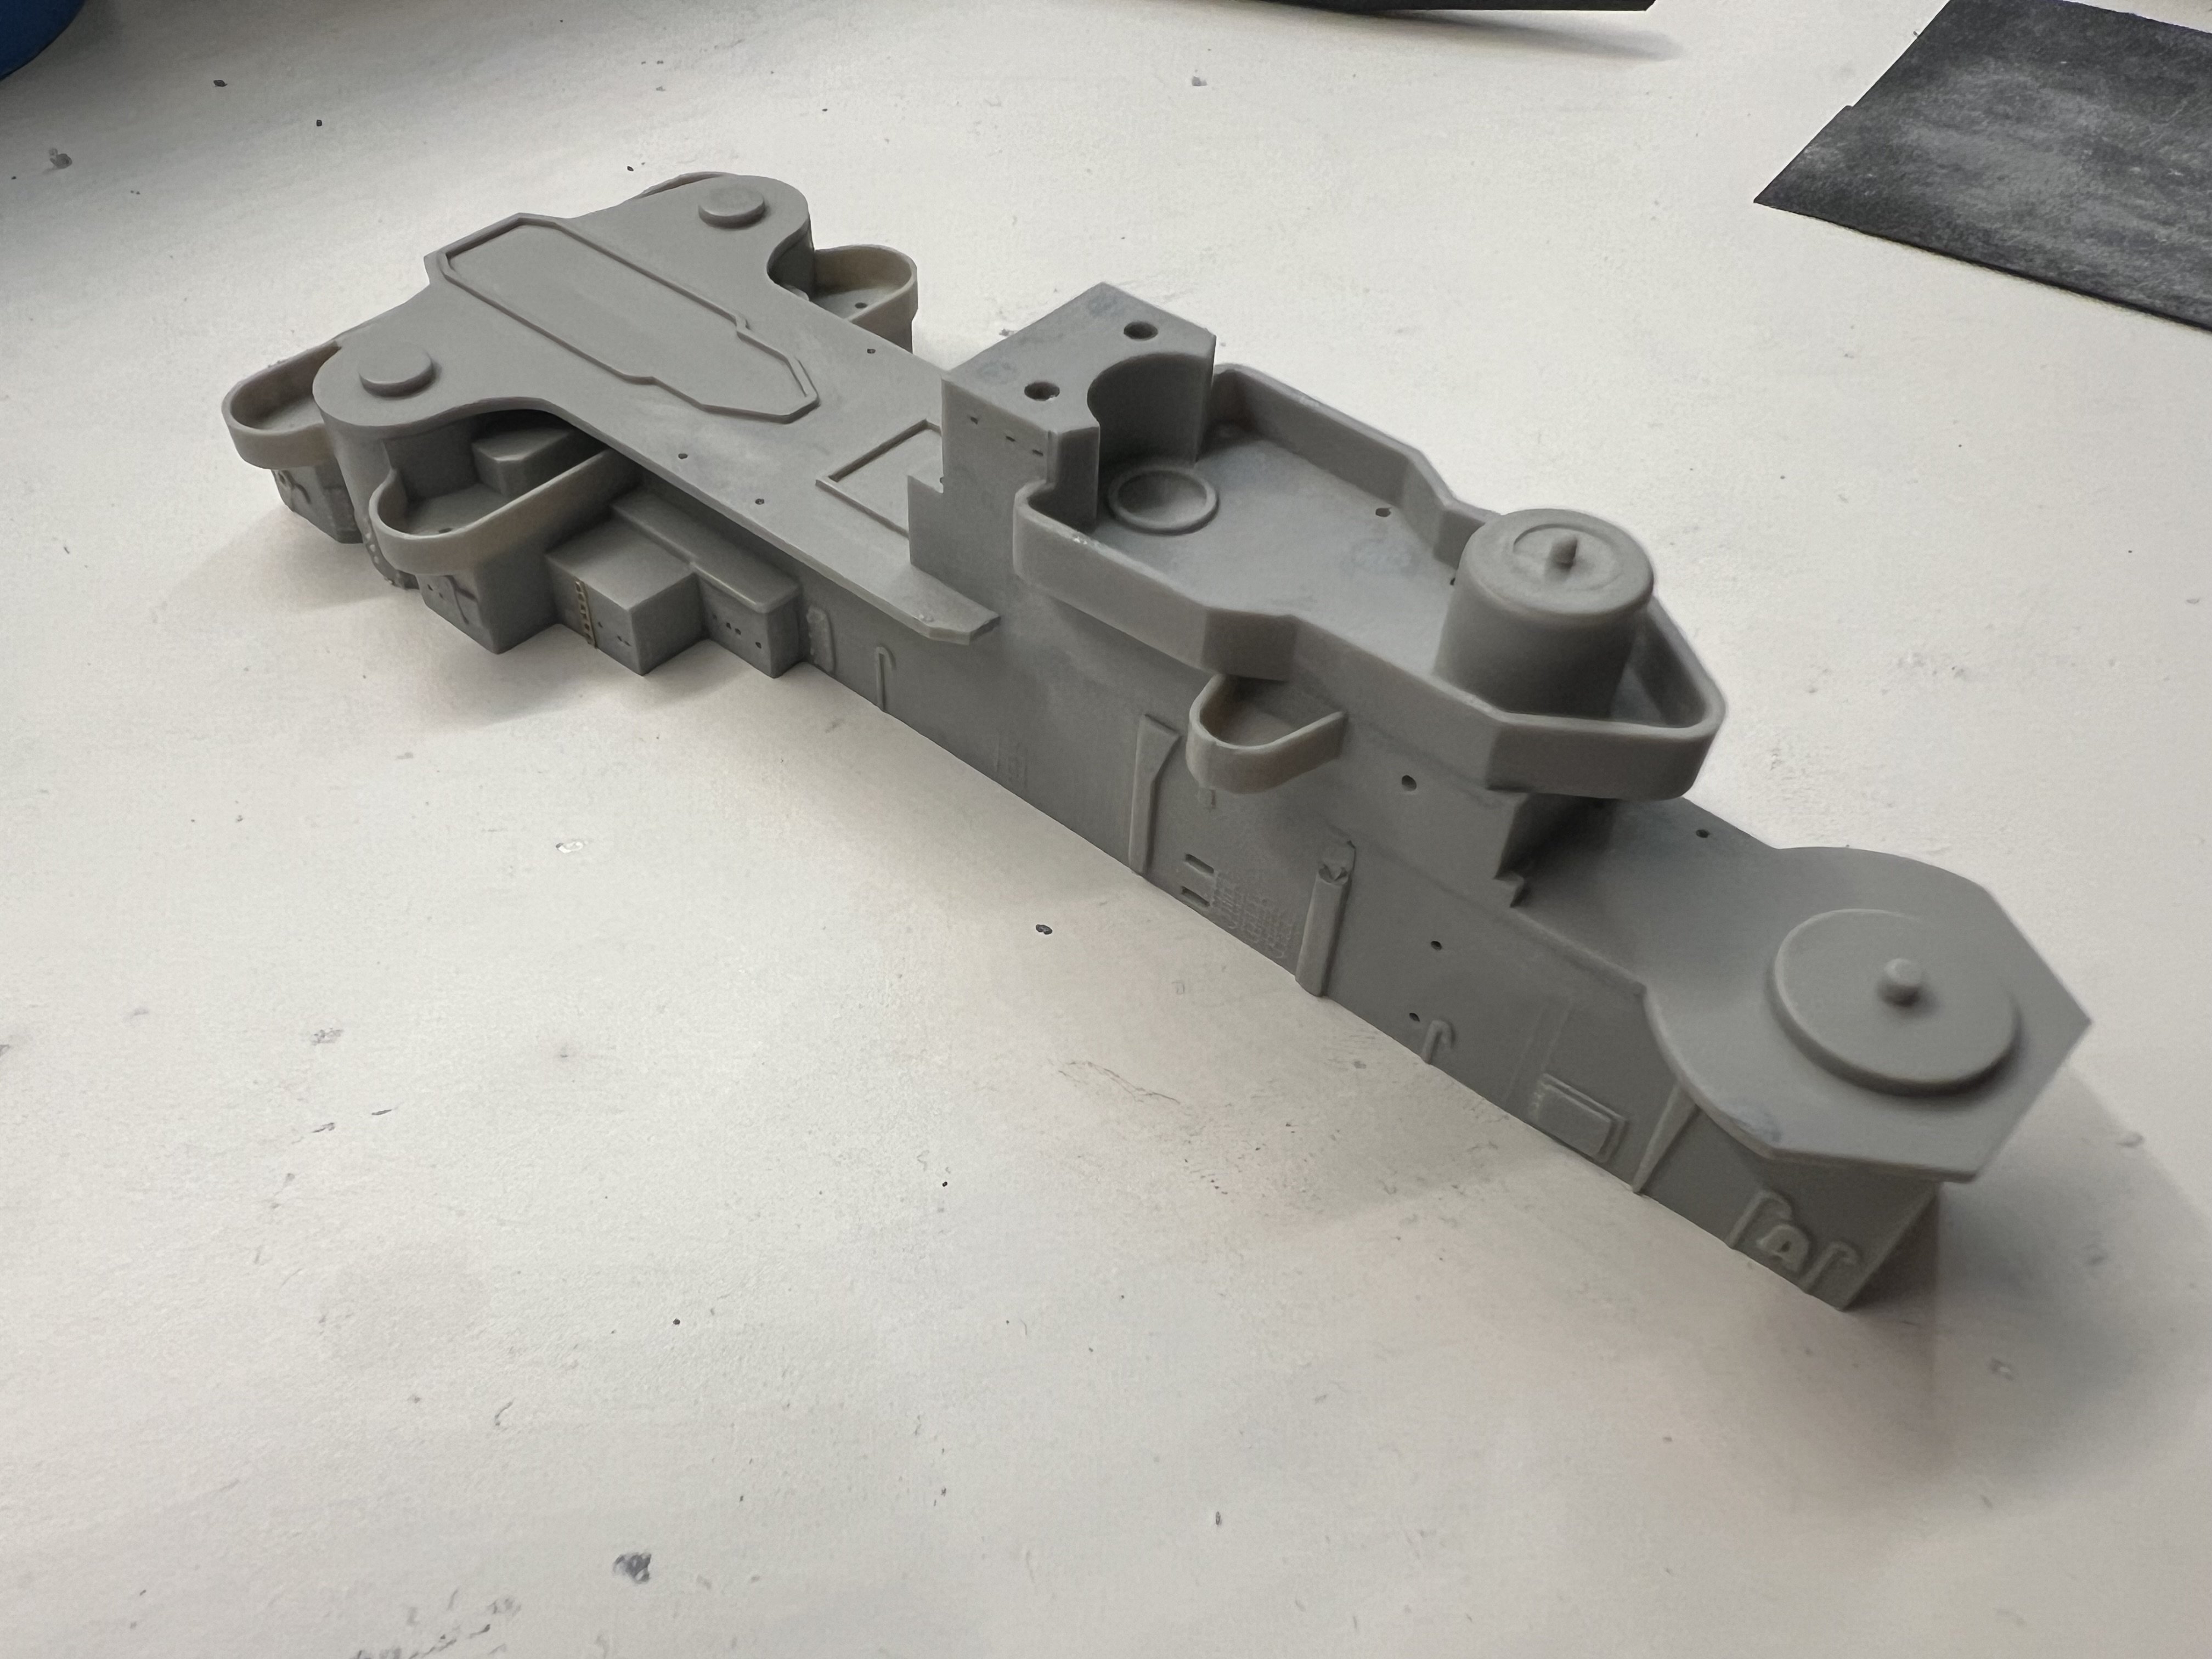
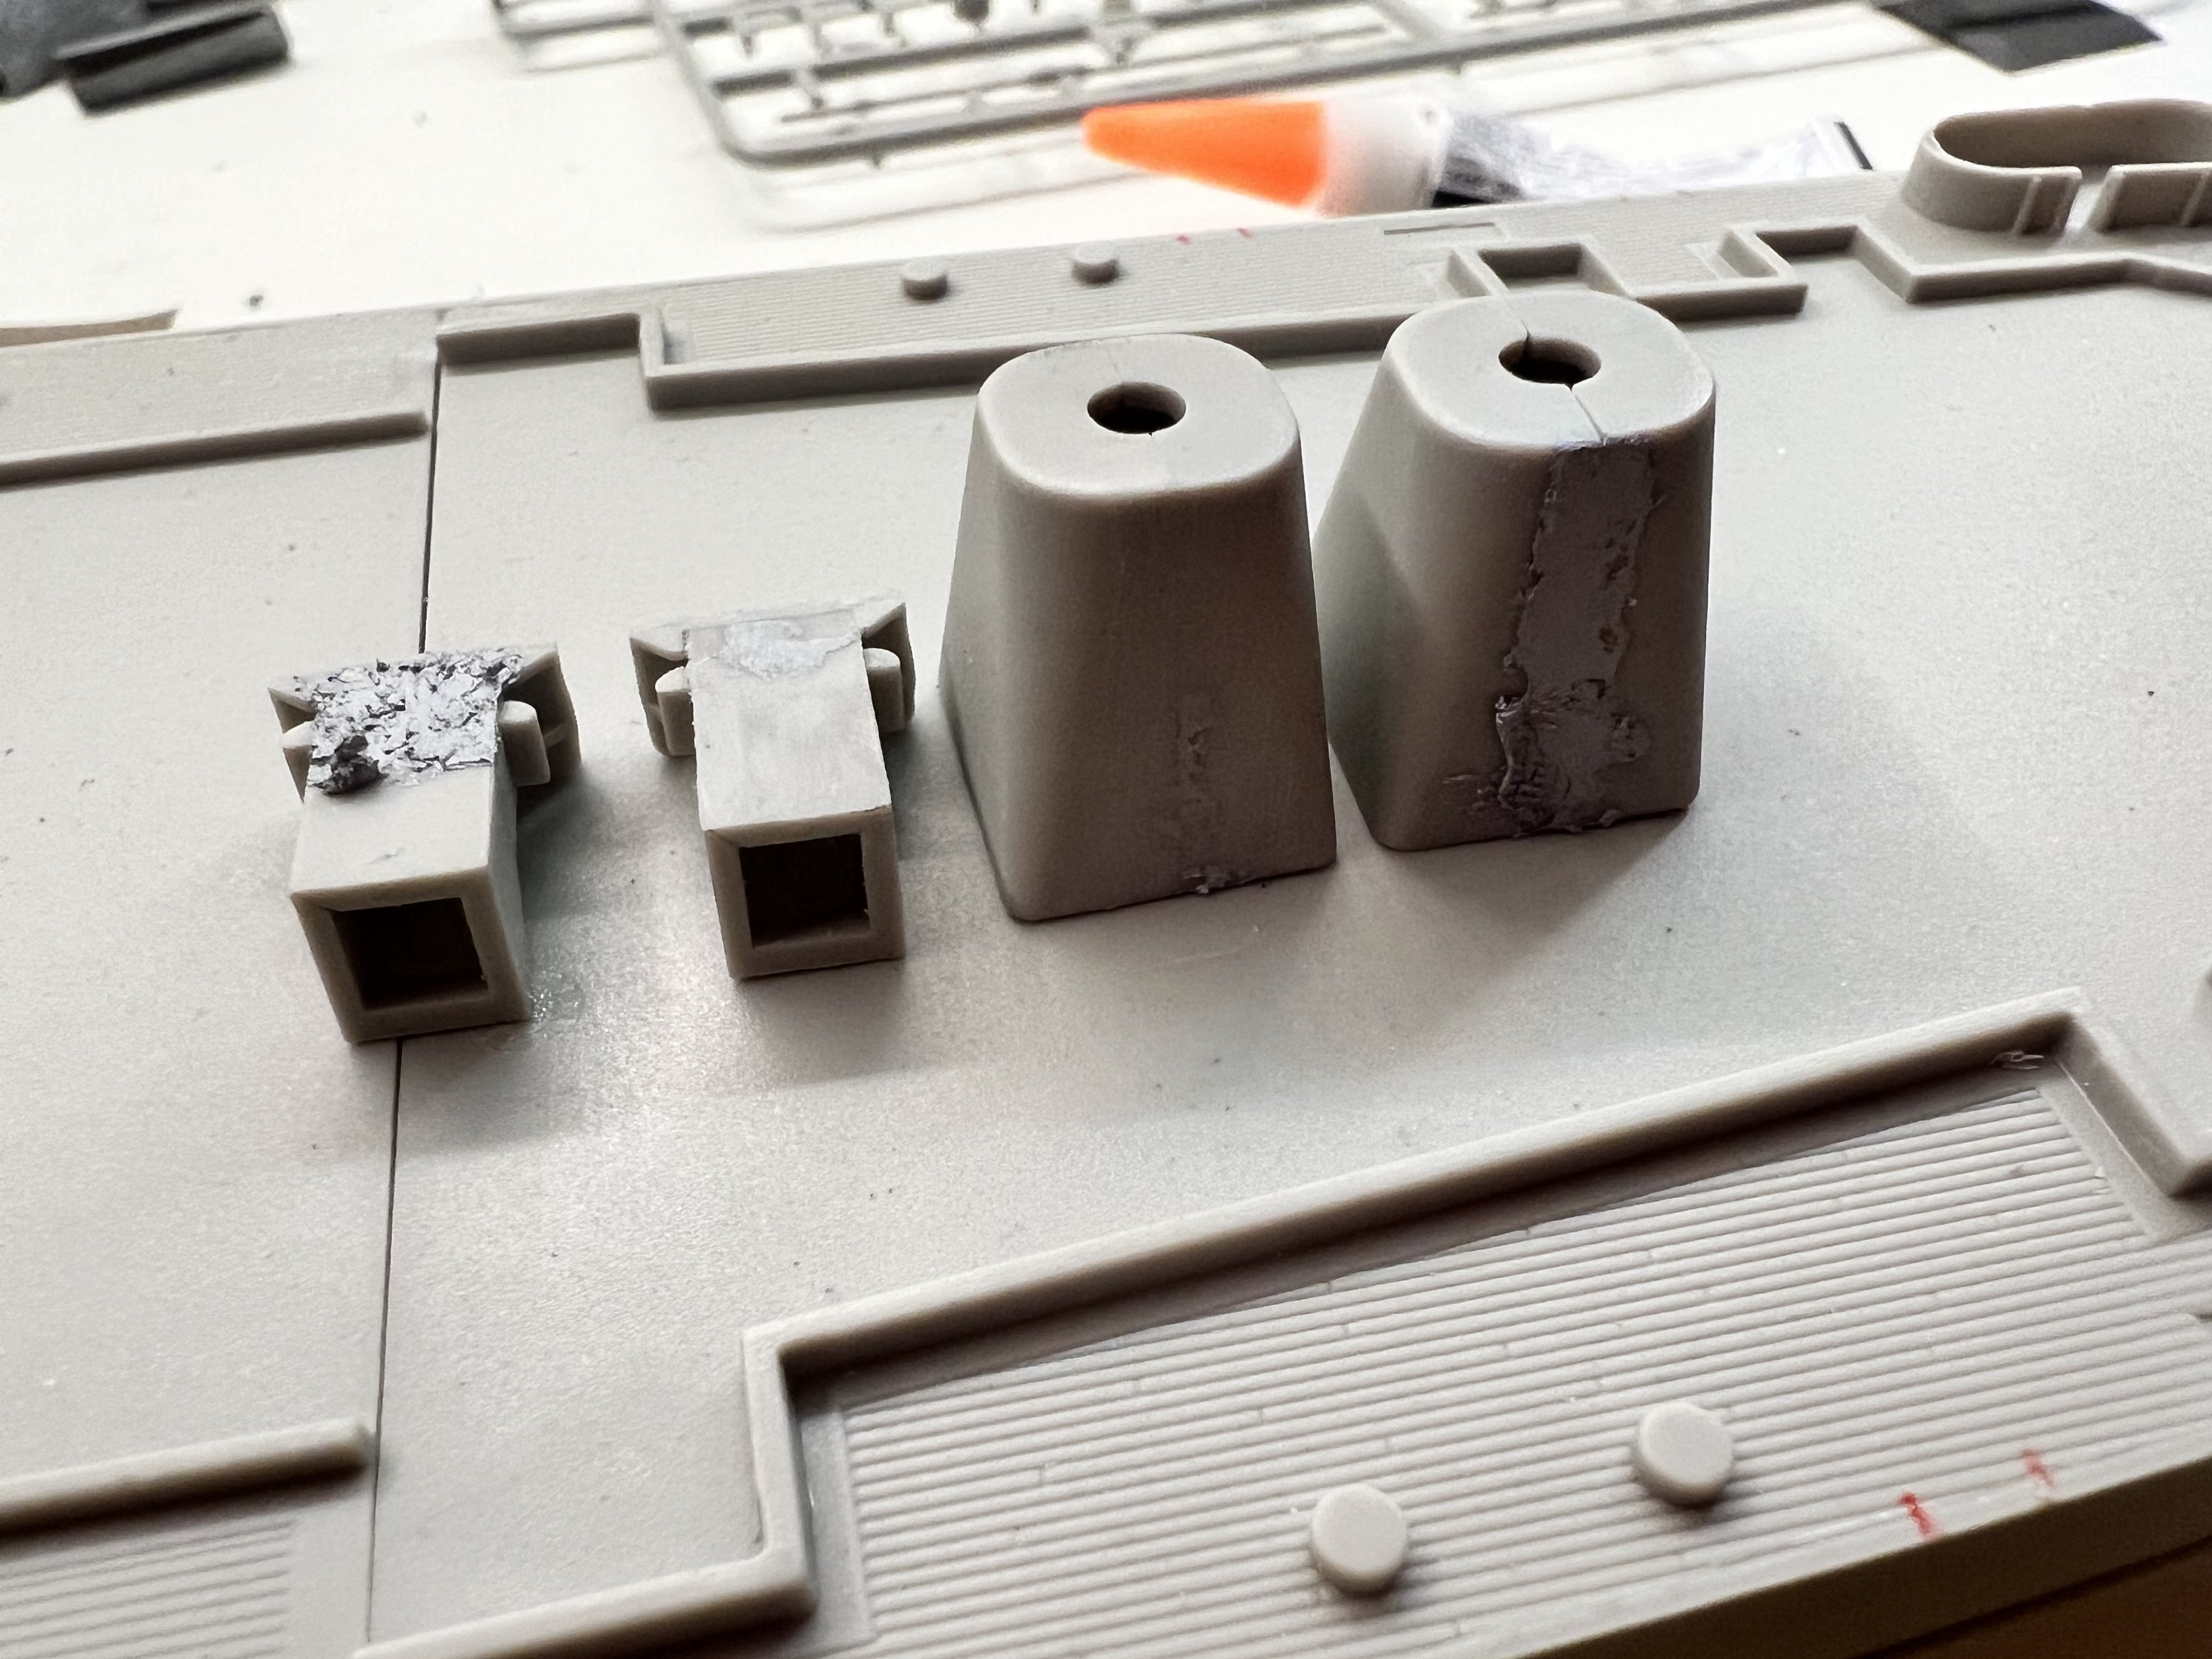
A little bit of work today. Finally finished sanding down the massive gaps in the aft superstructure and am wrapping up work on the two little “wings” of the aft superstructure: I think I might start listing down sub assemblies to make to keep me organized with my work. Anyways happy thanksgivings to those celebrating
-
Finally back at it, spent the week so far making sure there was no massive gap between the superstructure and the deck as well as some minor photoetch (the “wings” on the bow and stern end of the funnel and some ladder work). Seems I’ll need a bit more practice with etching.

-
Unfortunately I’m going away for two weeks and will be returning with supplies for my other work in progress build and will be occupied with that when I come back. See you all later!
-
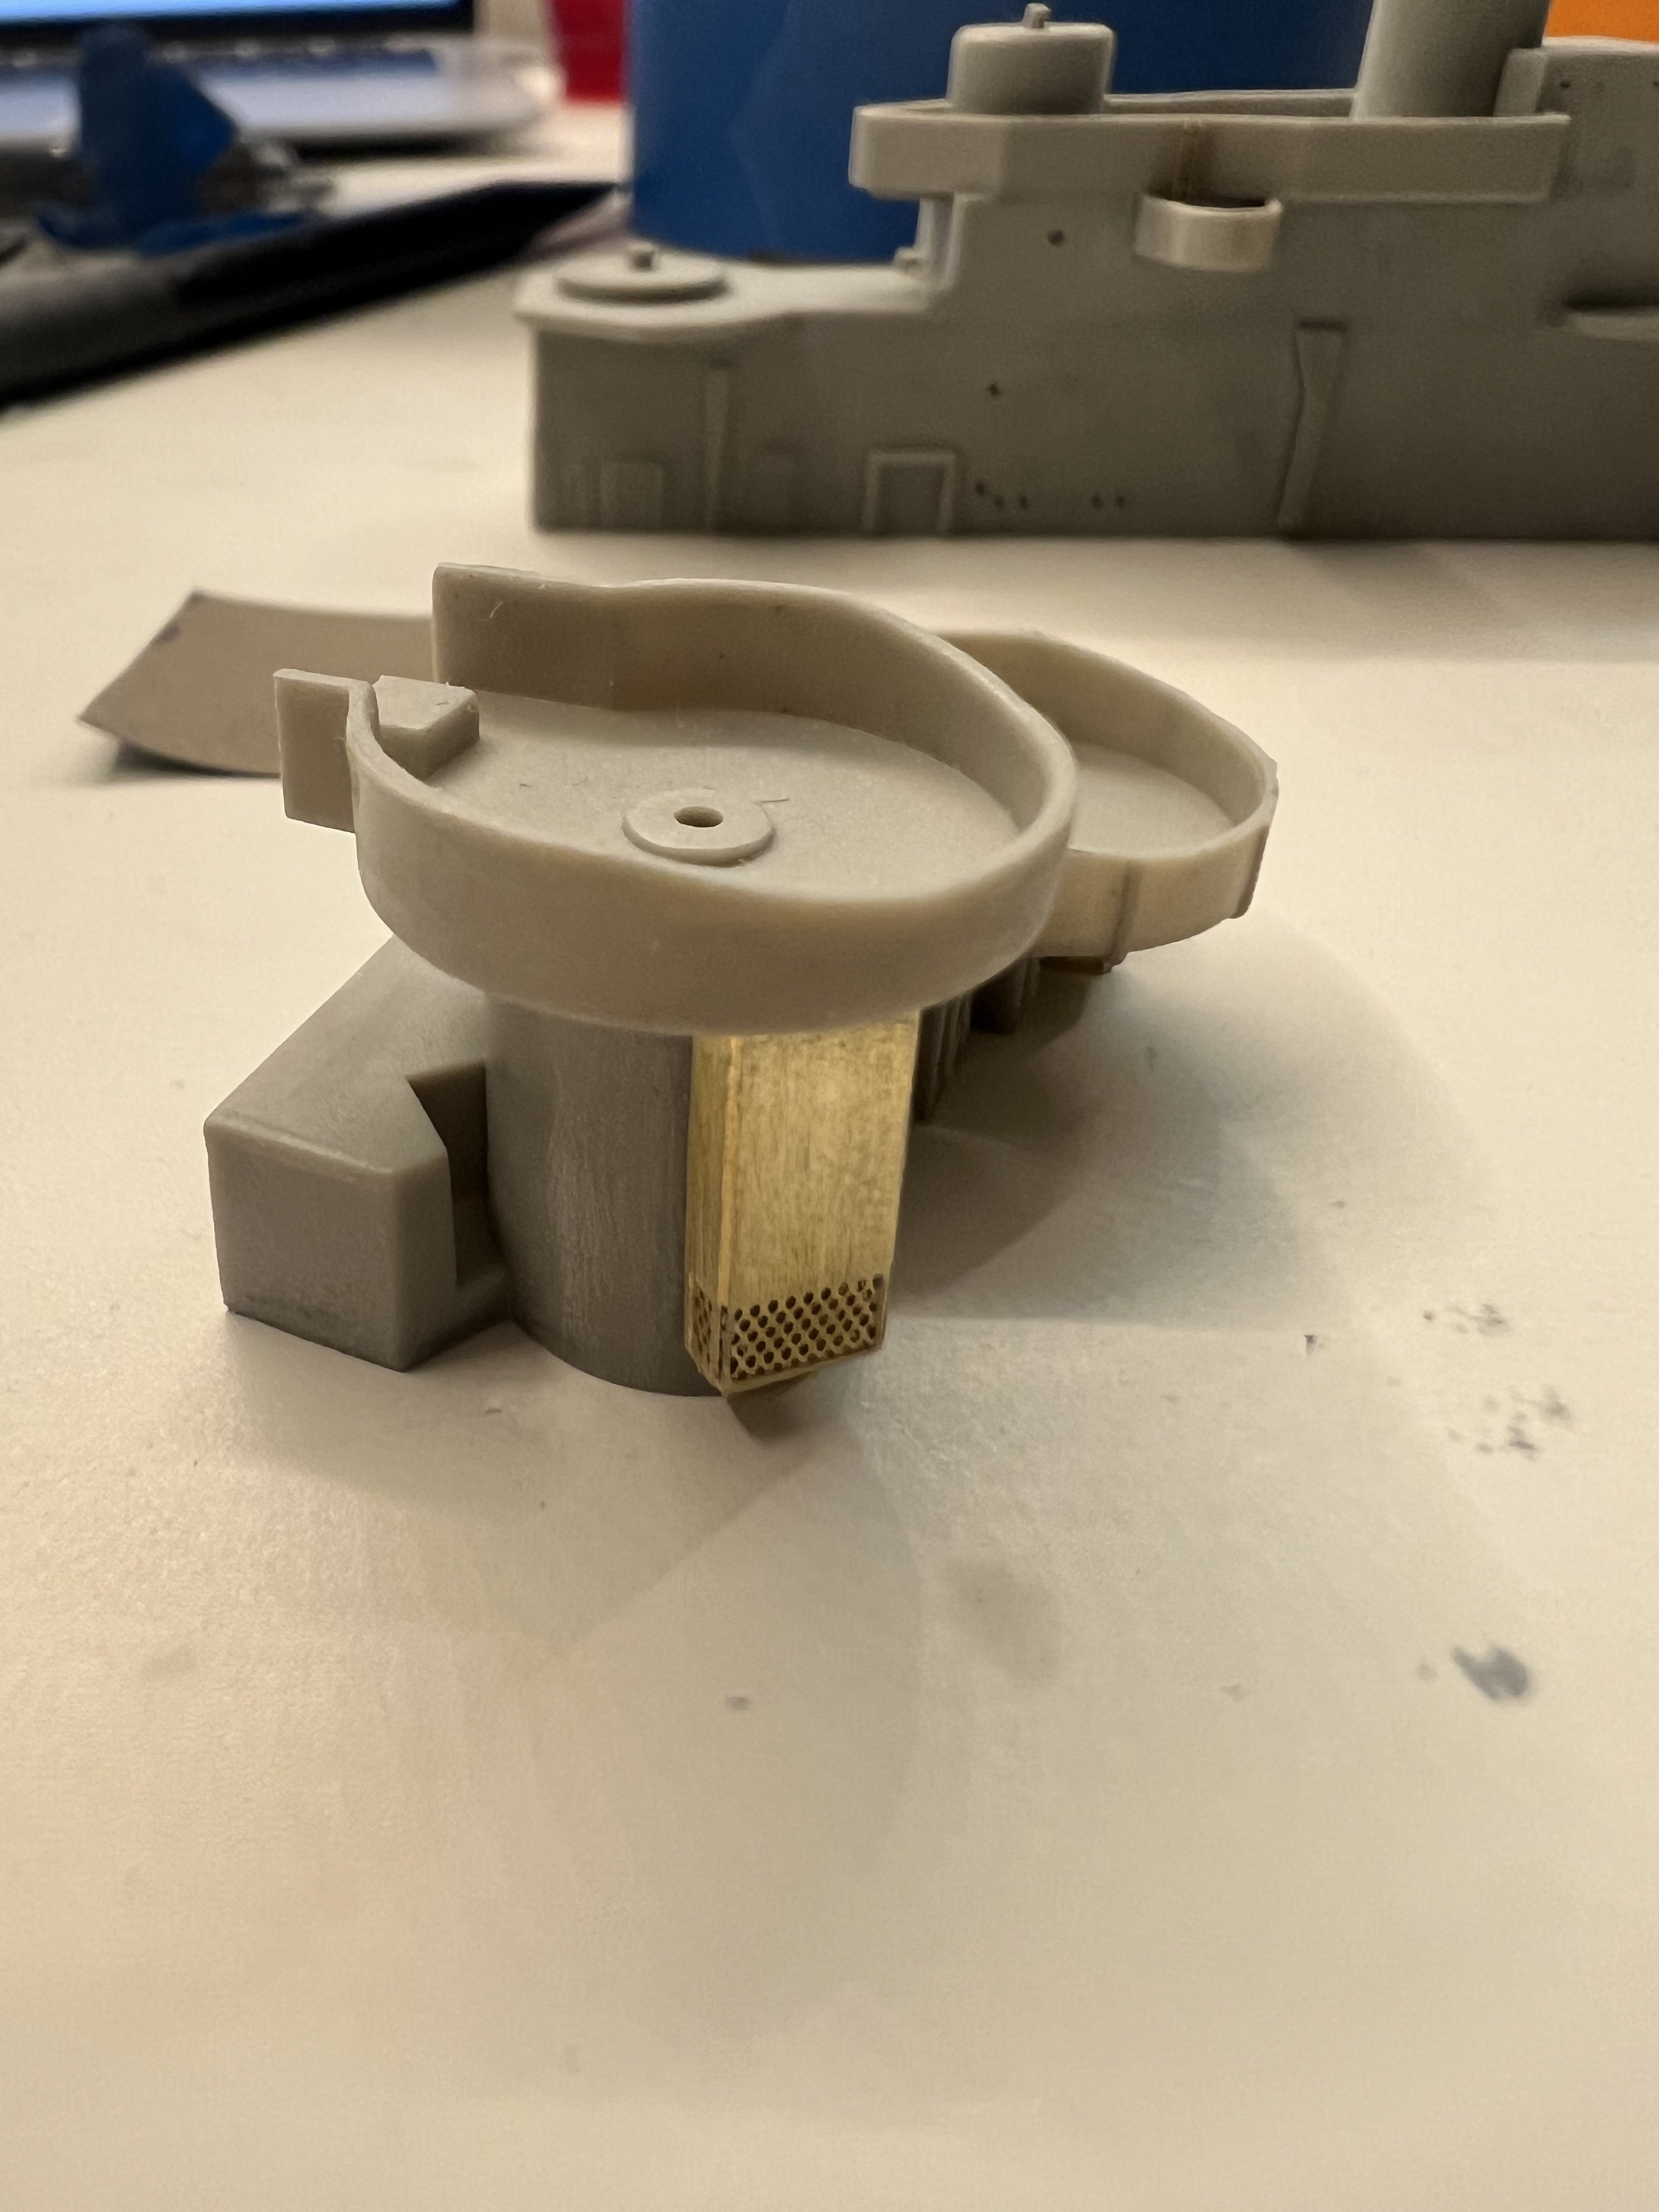
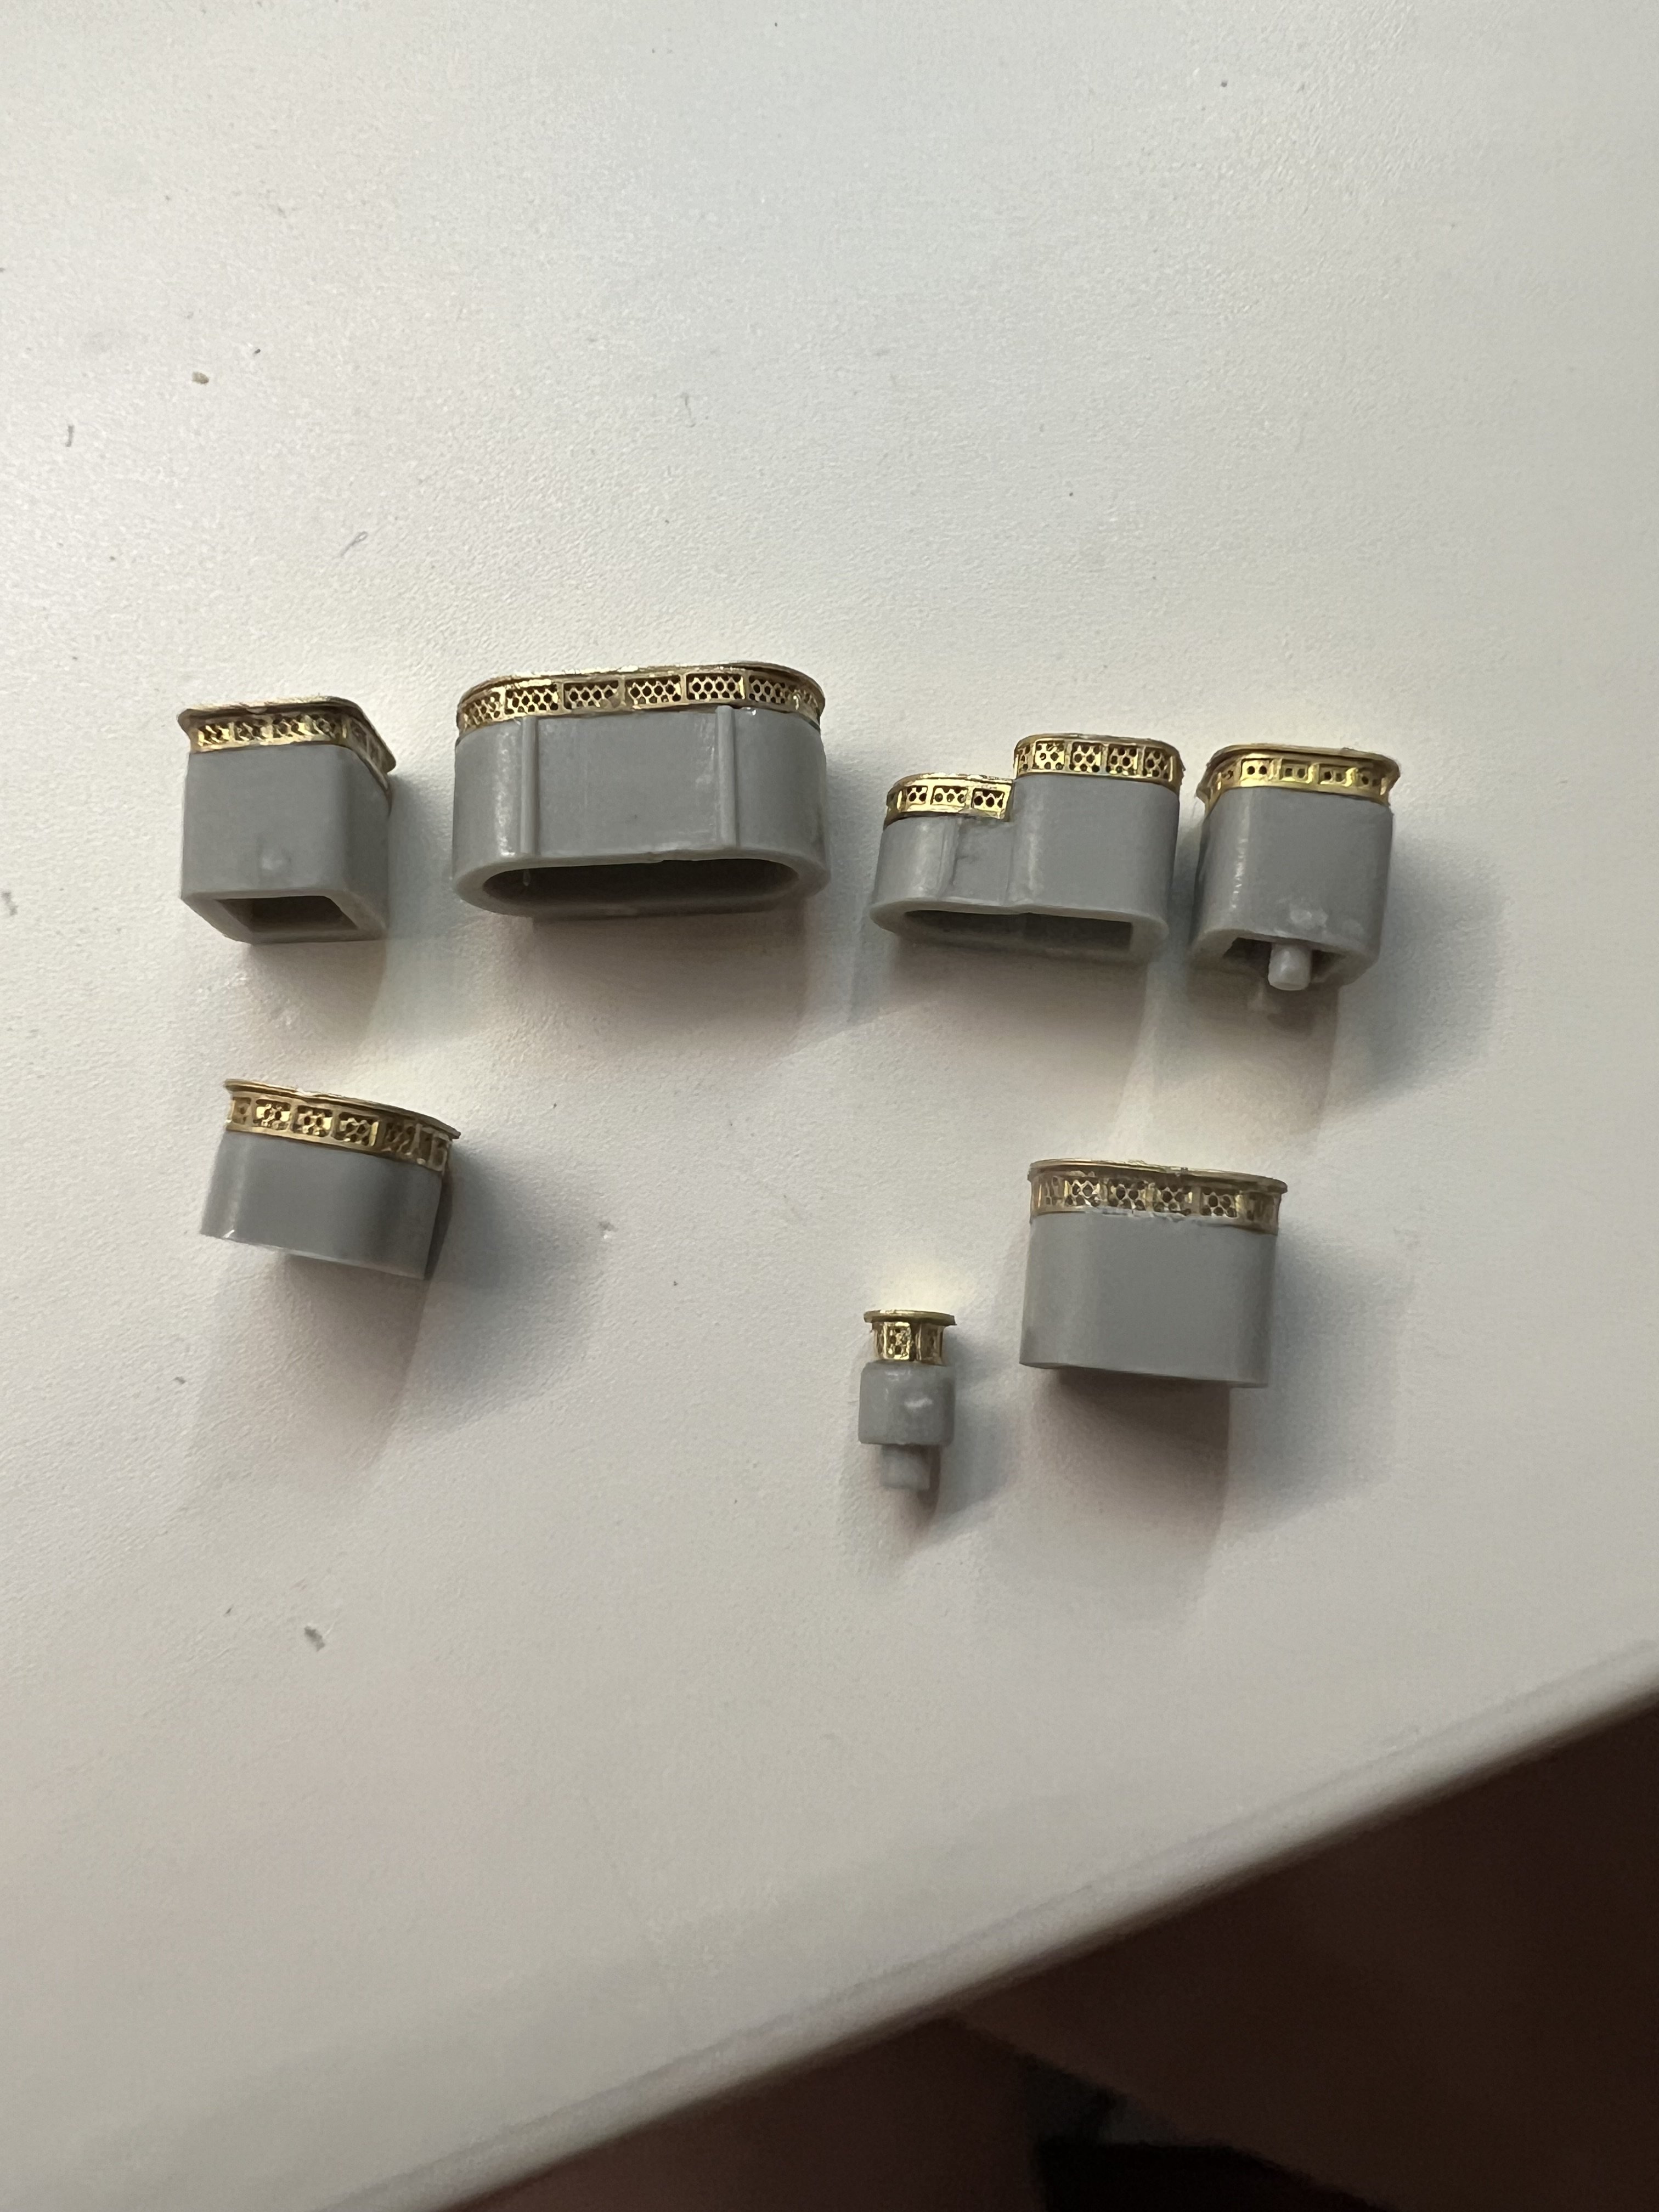
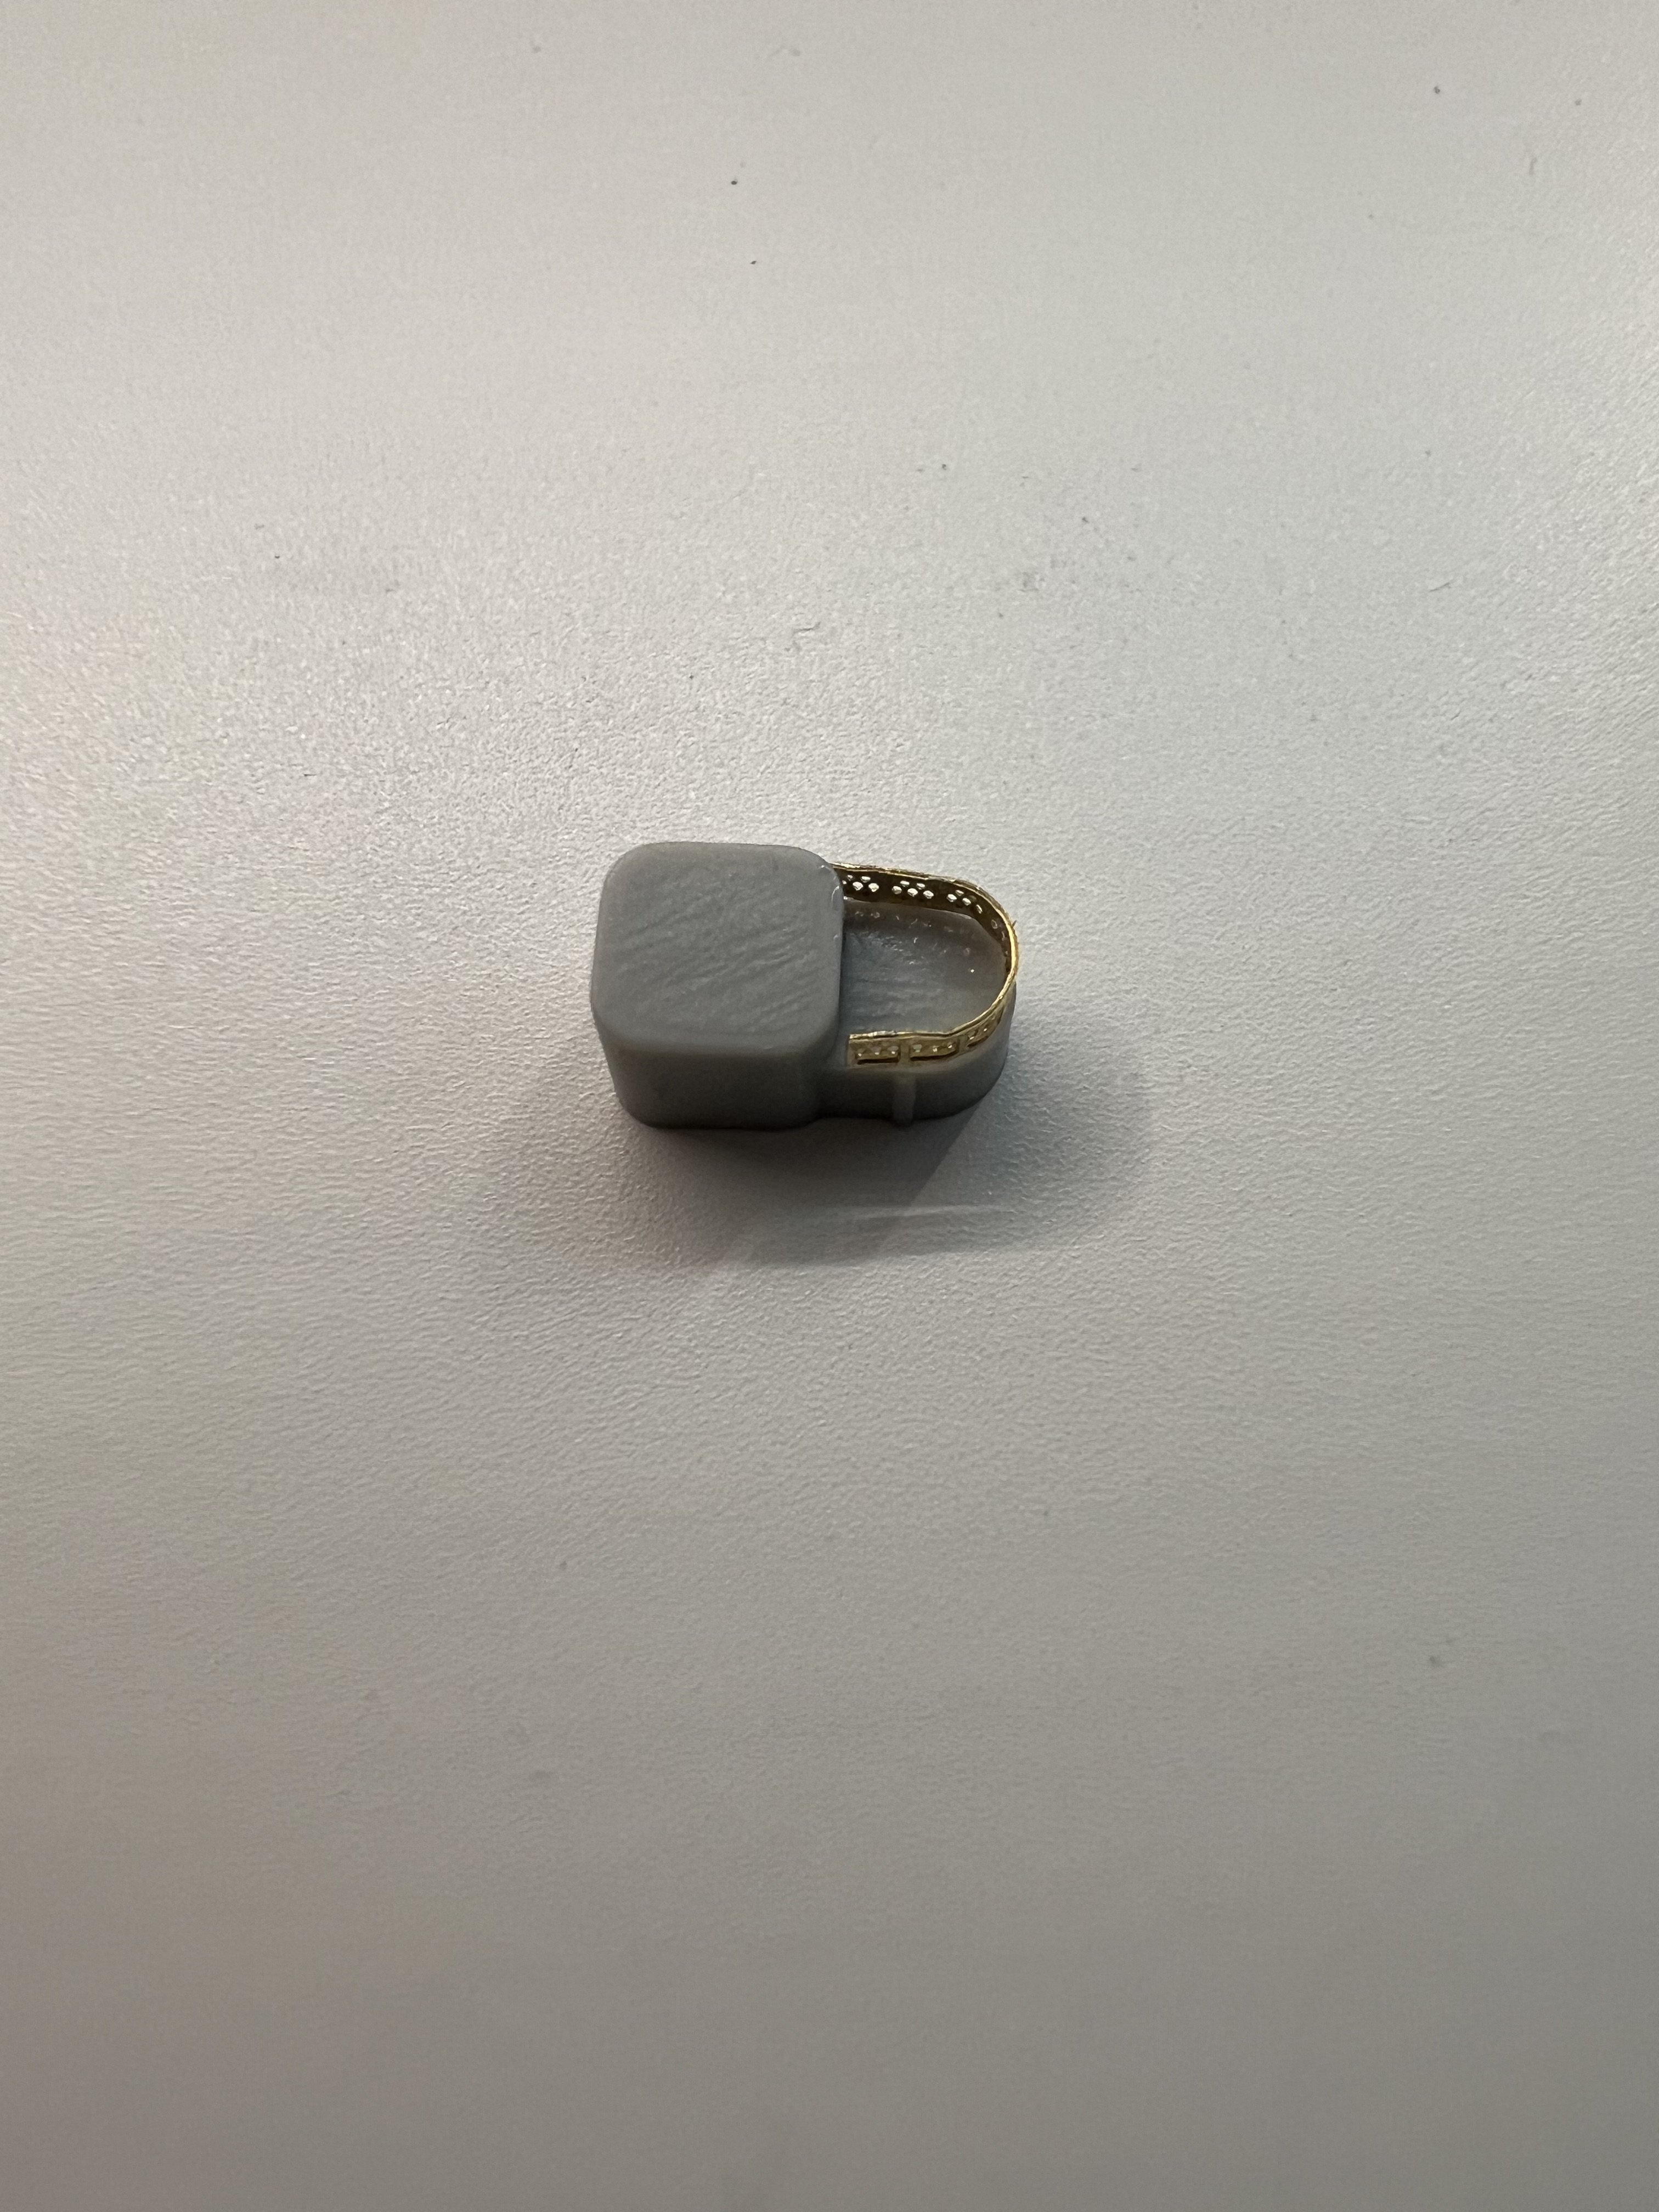
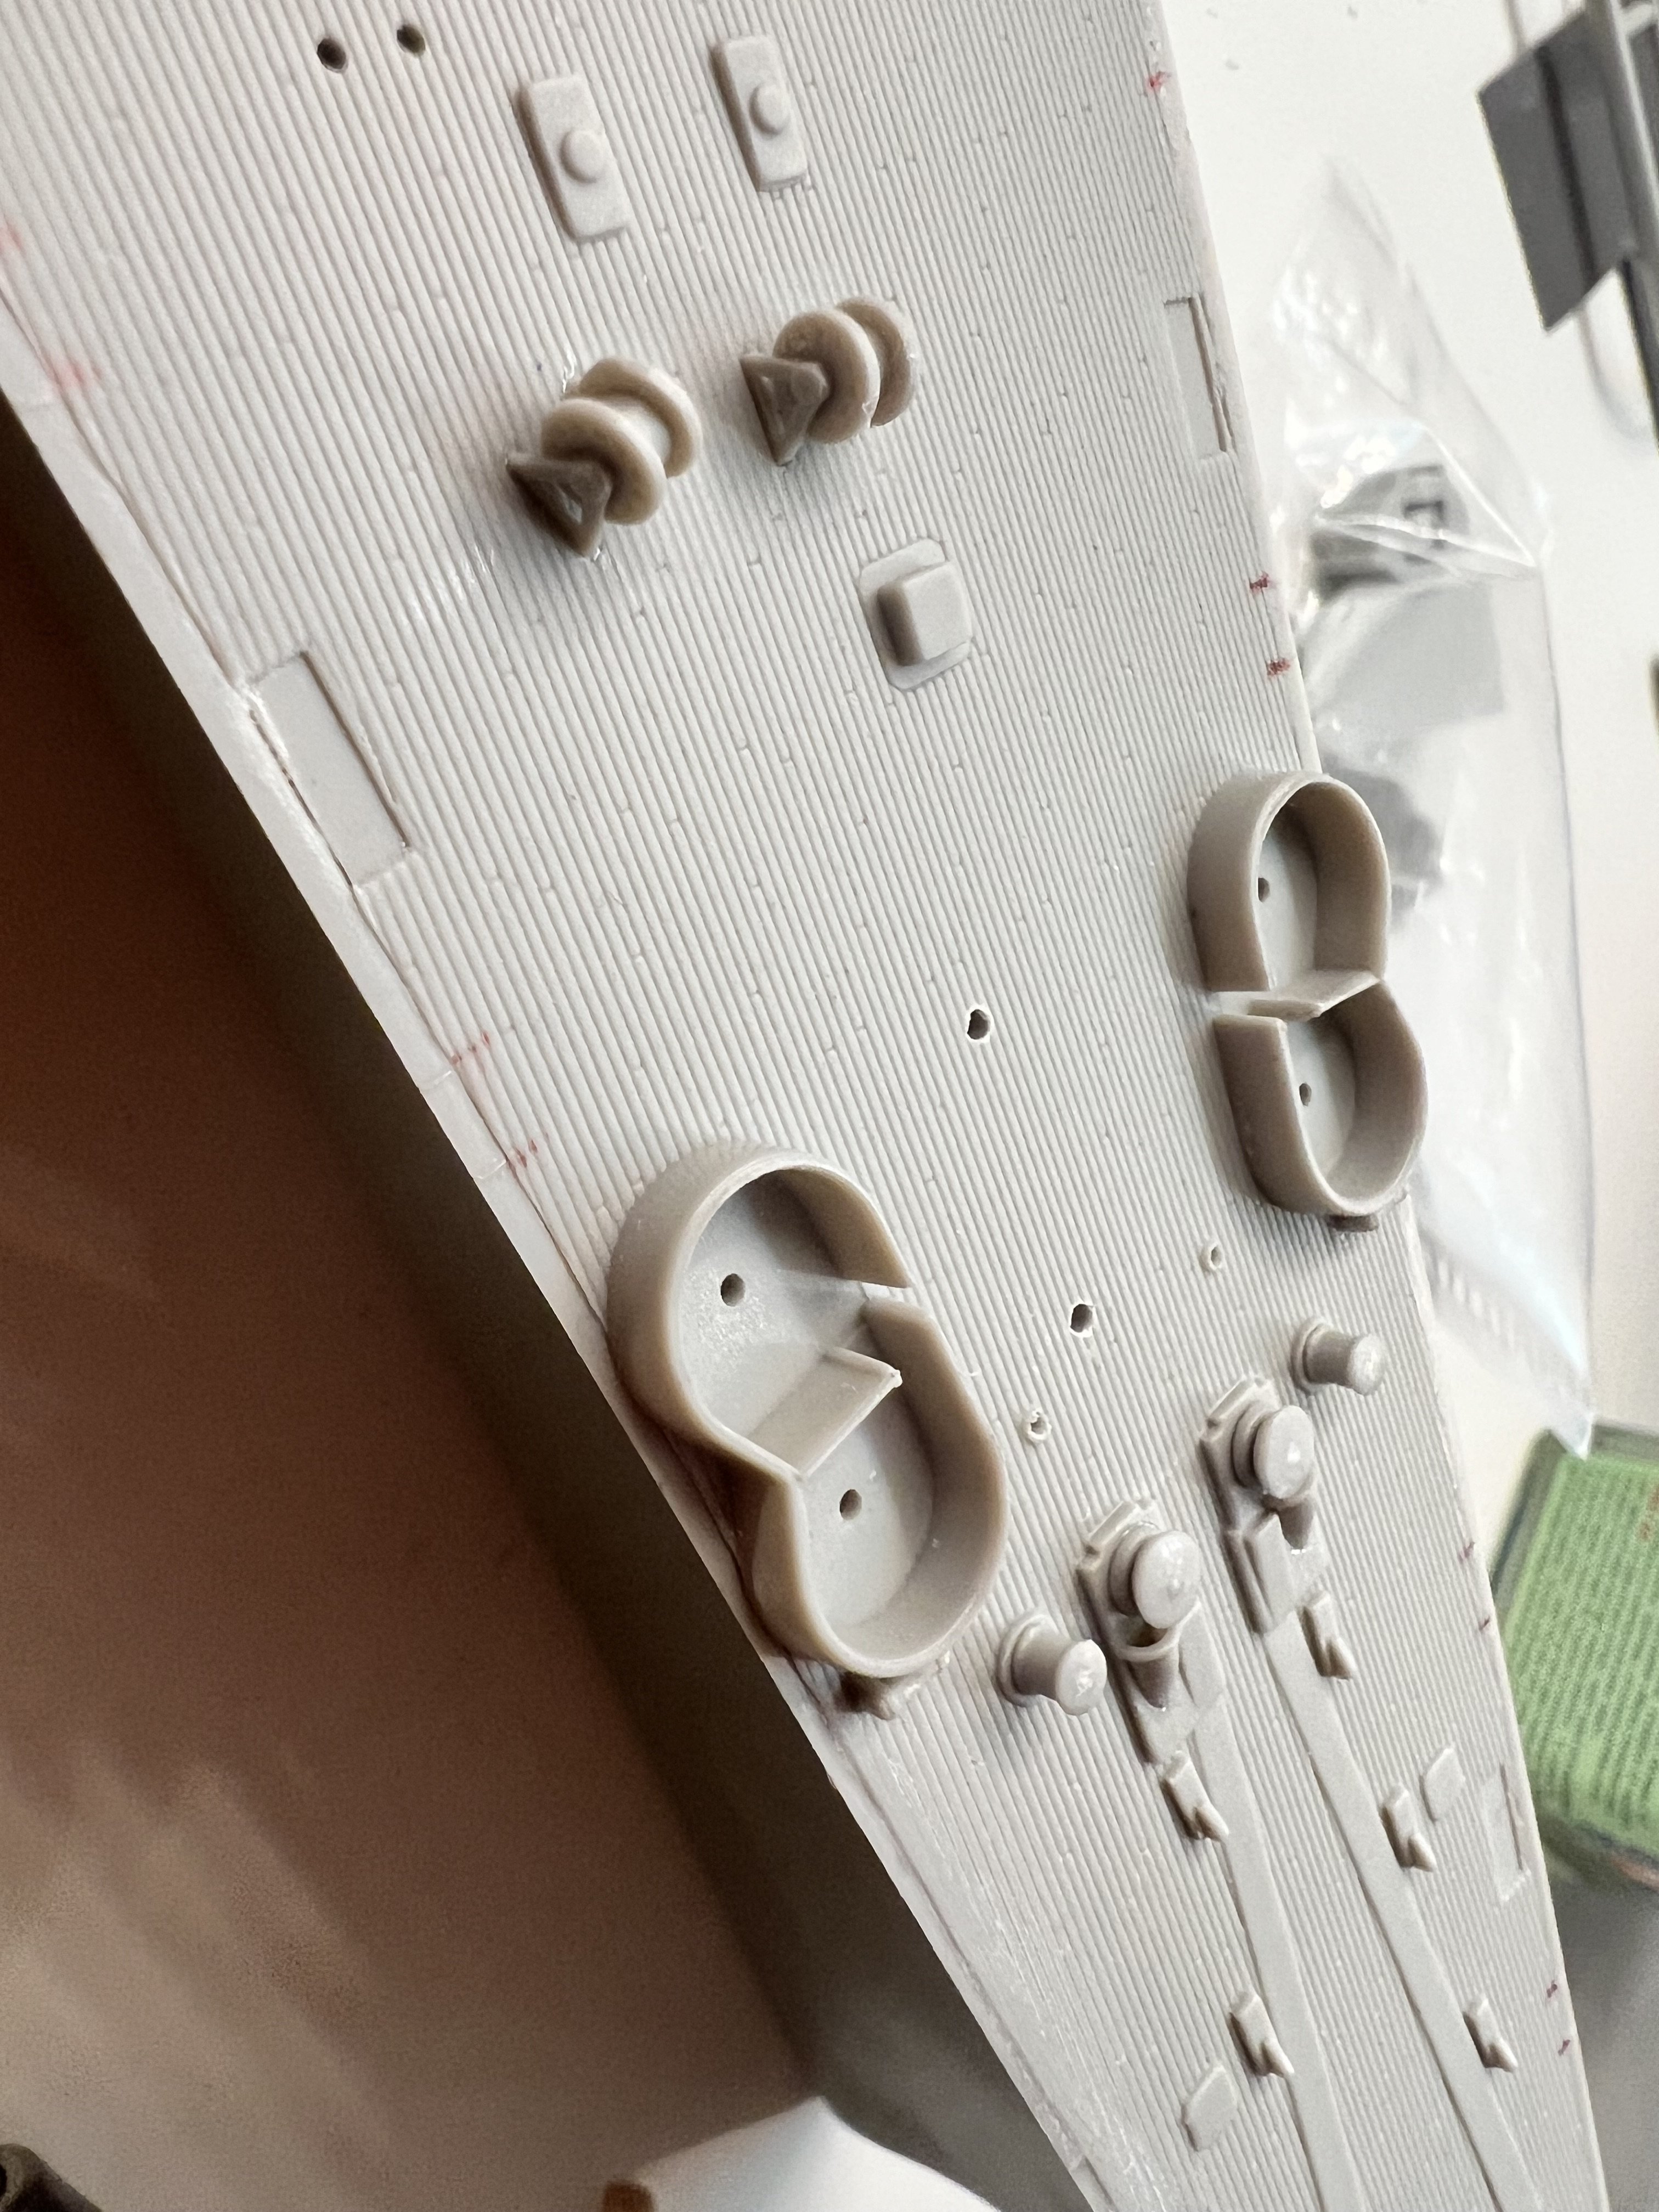
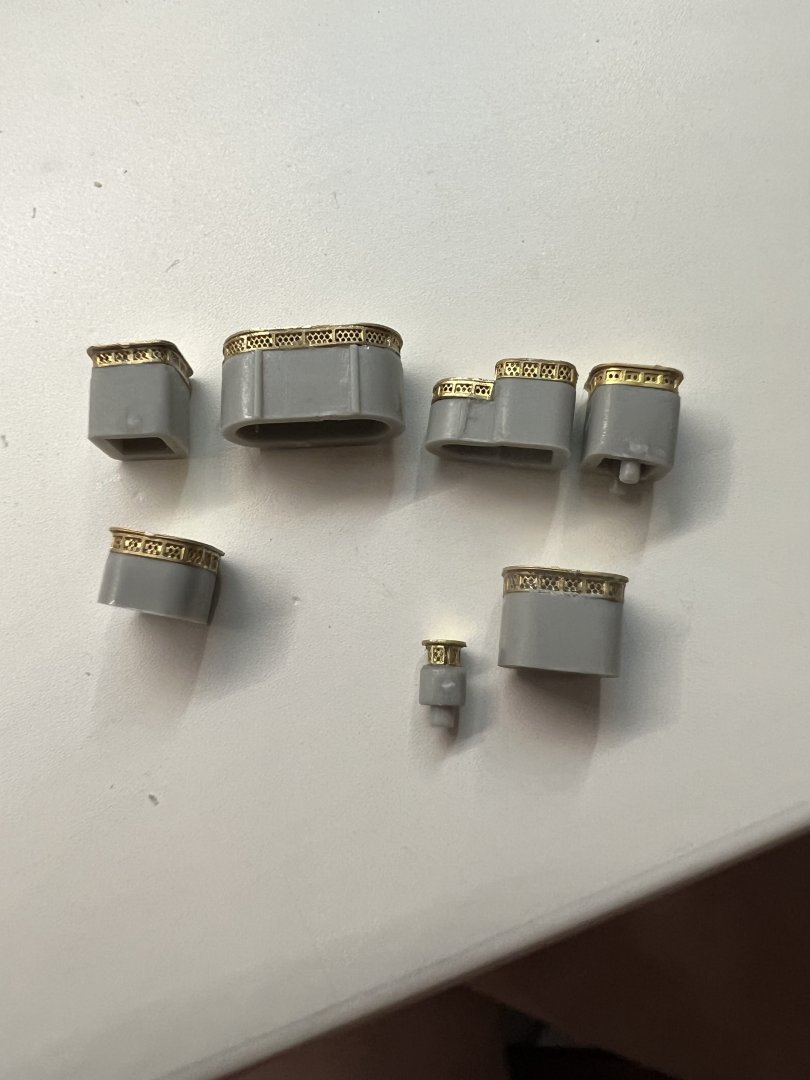
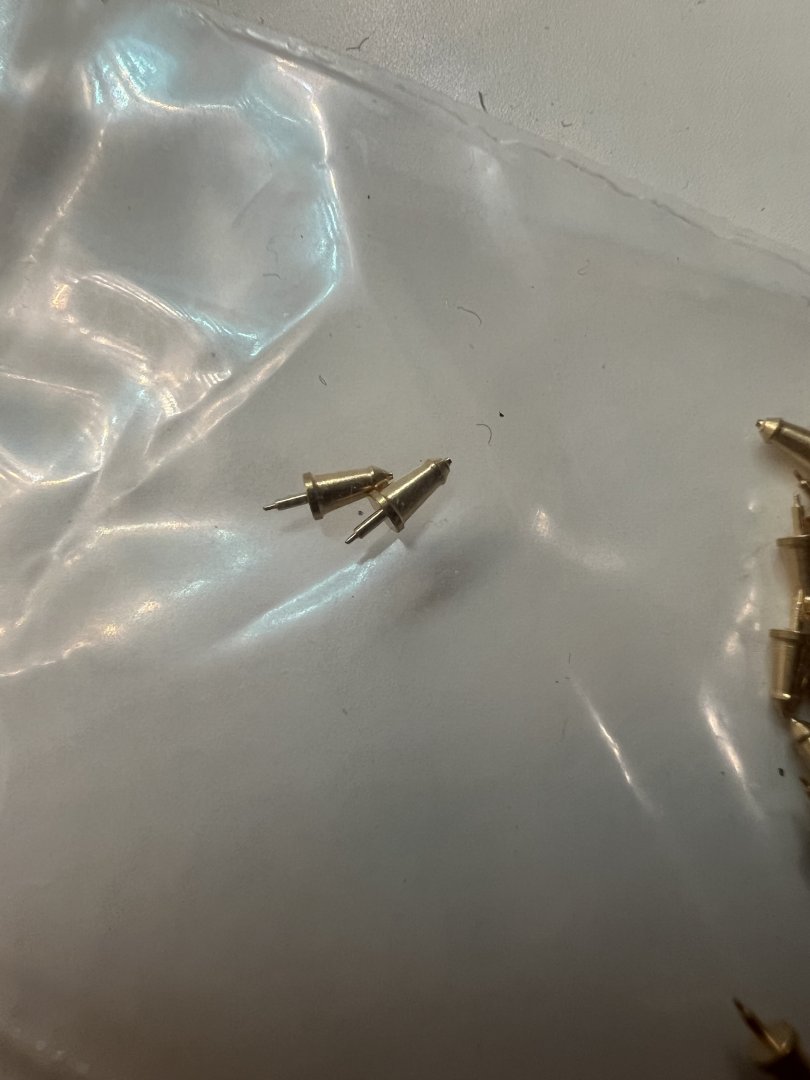
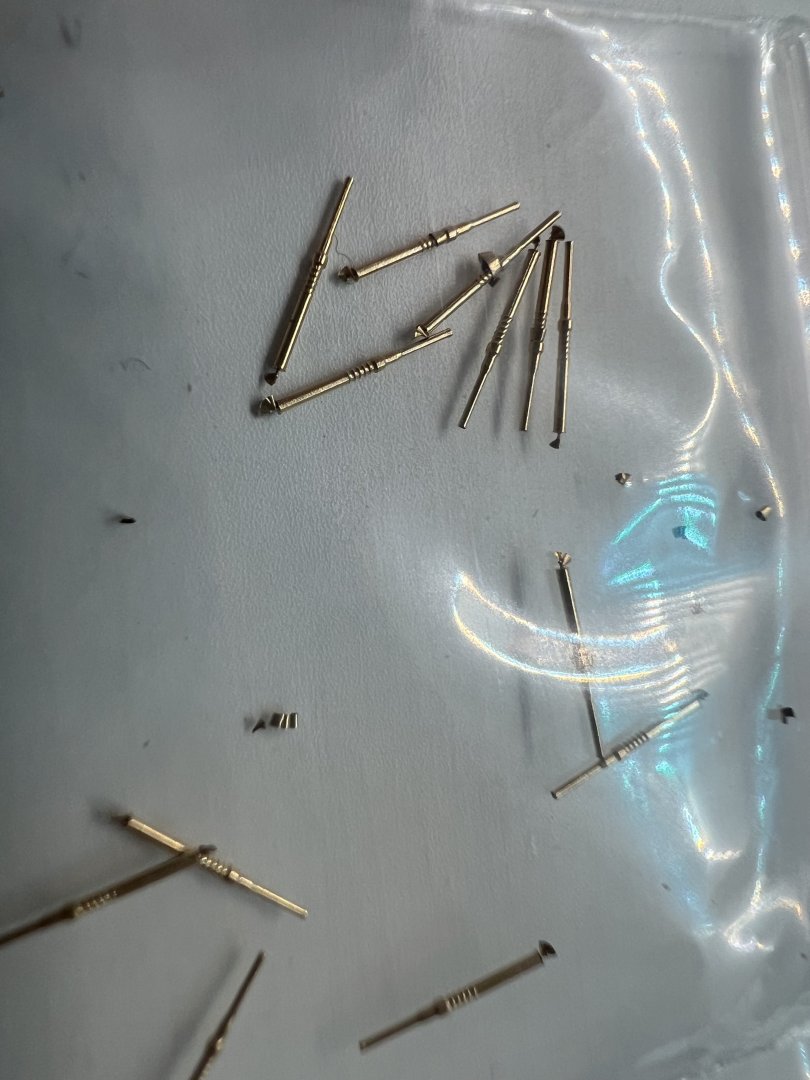
Anyways for today’s work I finished a set of photo etch vents. I think they turned out pretty good: As mentioned in my previous post, the super glue I’m using is on the weaker side and although I was being very generous with the amount glue since it wouldn’t be shown, I had to use multiple applications of glue: Also I plan to work on some 20 mm Oerlikons tomorrow but my question is whether it’d be to cut off the positioning pins on the base of the guns. My original plan was to have the bases flat on a strip of double sided tape so it’d be easy to attach parts and paint, but seeing that they had pins on the bottom makes this impossible: Any thoughts? Thanks and good night


-
I just realized that I am running low on super glue. The one that I’ve been just so far gives good results, although I find it slightly weak and have to use several applications of it to bond the photo etch together. I, of course, could stick with the brand I’m using right now, but if I find the need for a better brand, does anyone know of good CA glue? I’m looking for thinnish, slower drying glue that let’s me position the parts in time. I’ve taken a look at Zap-A-Gap glues but I don’t know whether I should use their thin, medium, or thick glue. Thin seems good although it says it has a fast drying time. Medium seems fine, but I just want to hear other’s thoughts. Thanks!
-
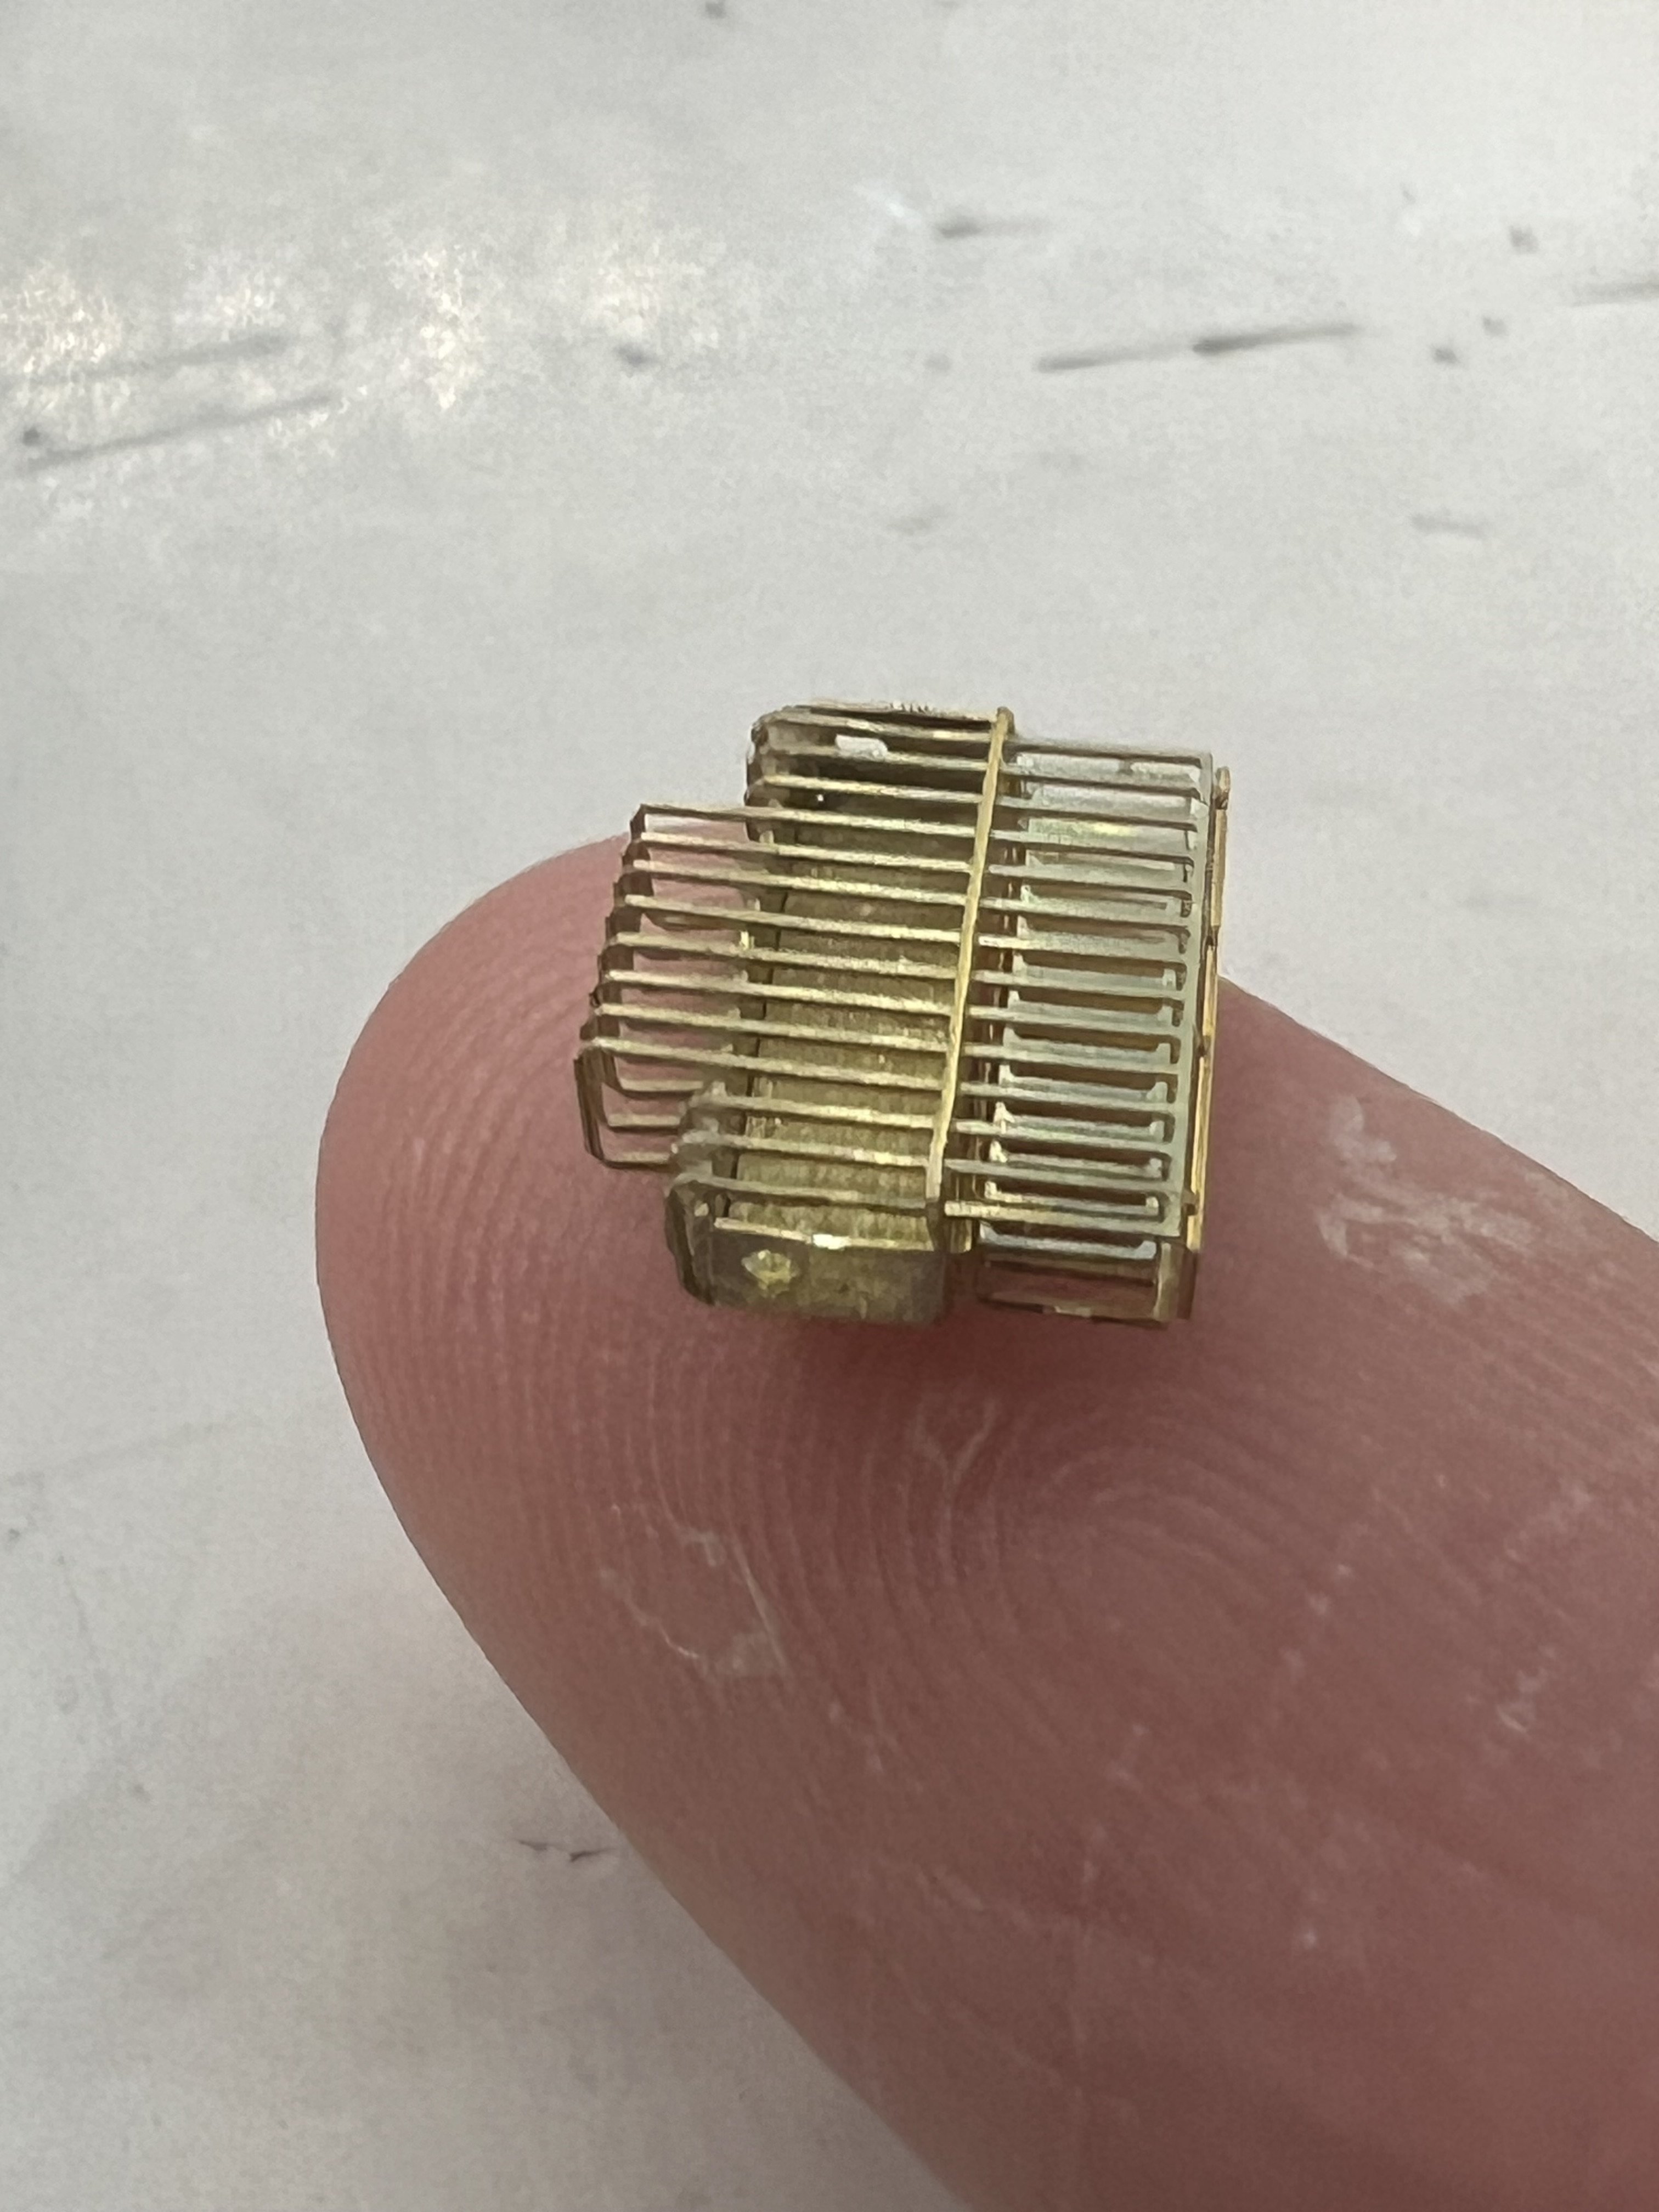
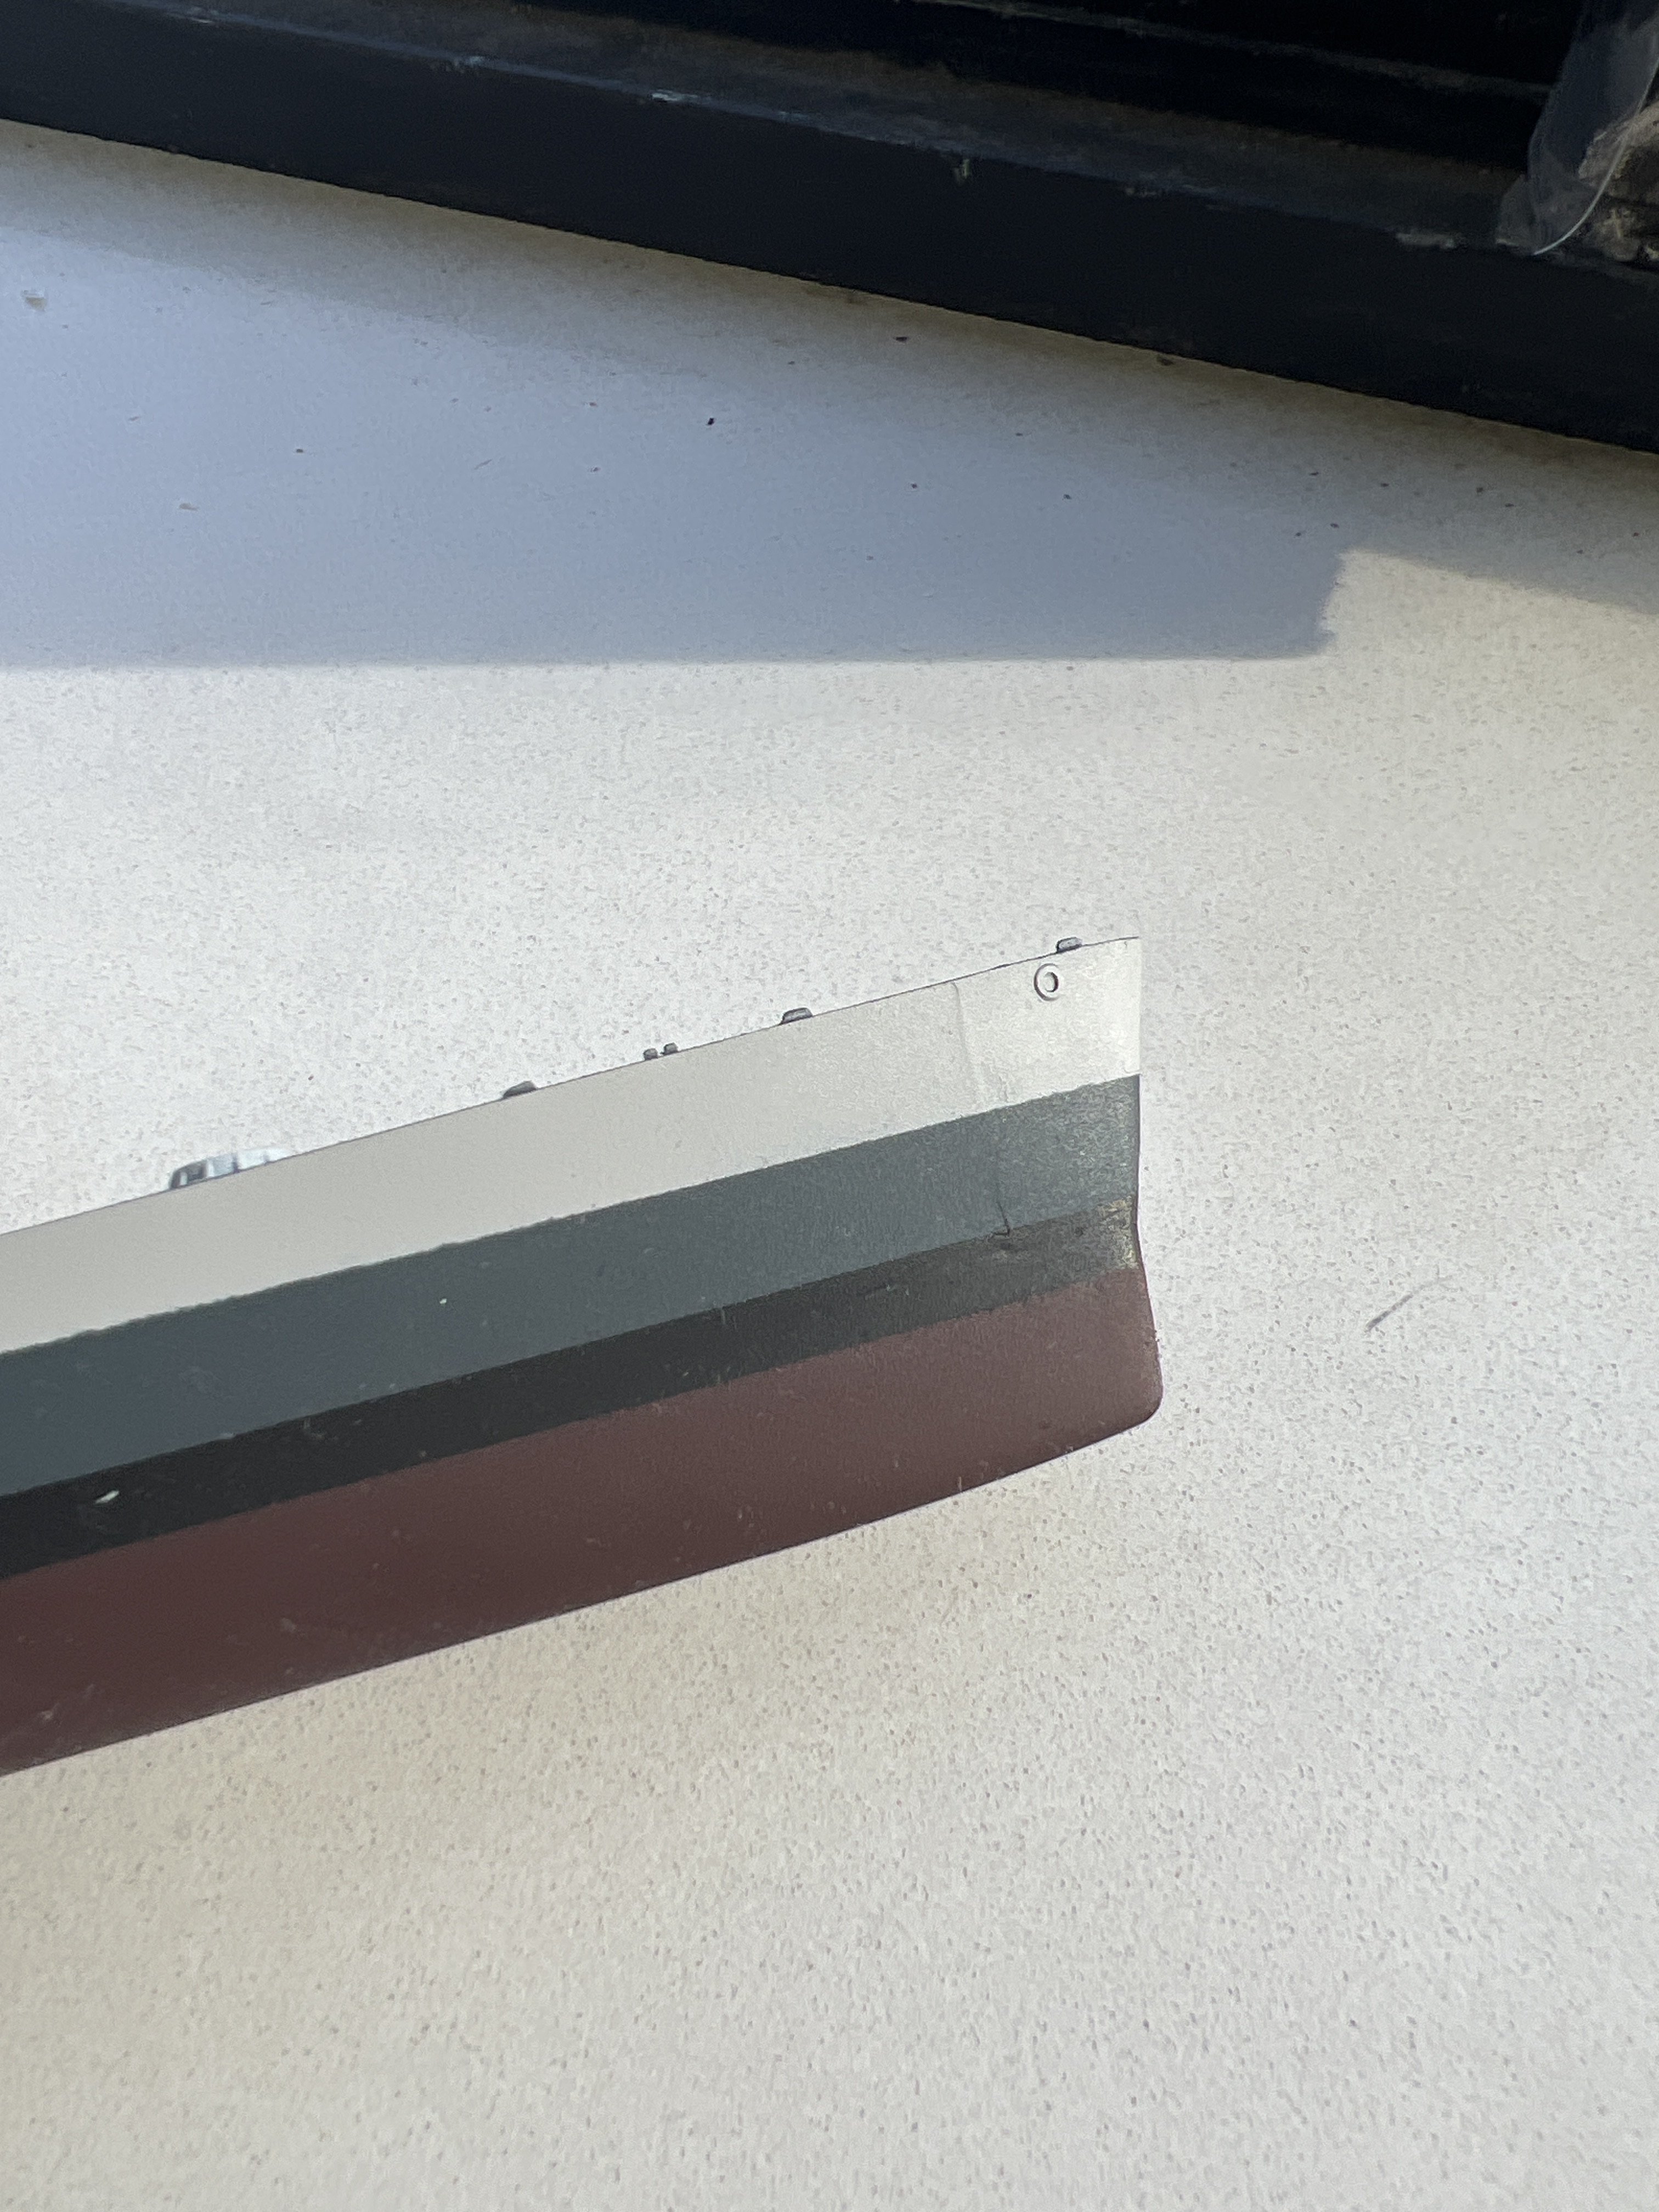
Ah I ran across that website a while ago but just could find it again. Thanks Ken! I begin with some photo etch work yesterday, although only three pieces. the first one turned out worse because the vent screens were too long so I had to bend the extra out and cut it but it still left some extra. The second one though looks nice, hopefully they all end up looking that way.


-
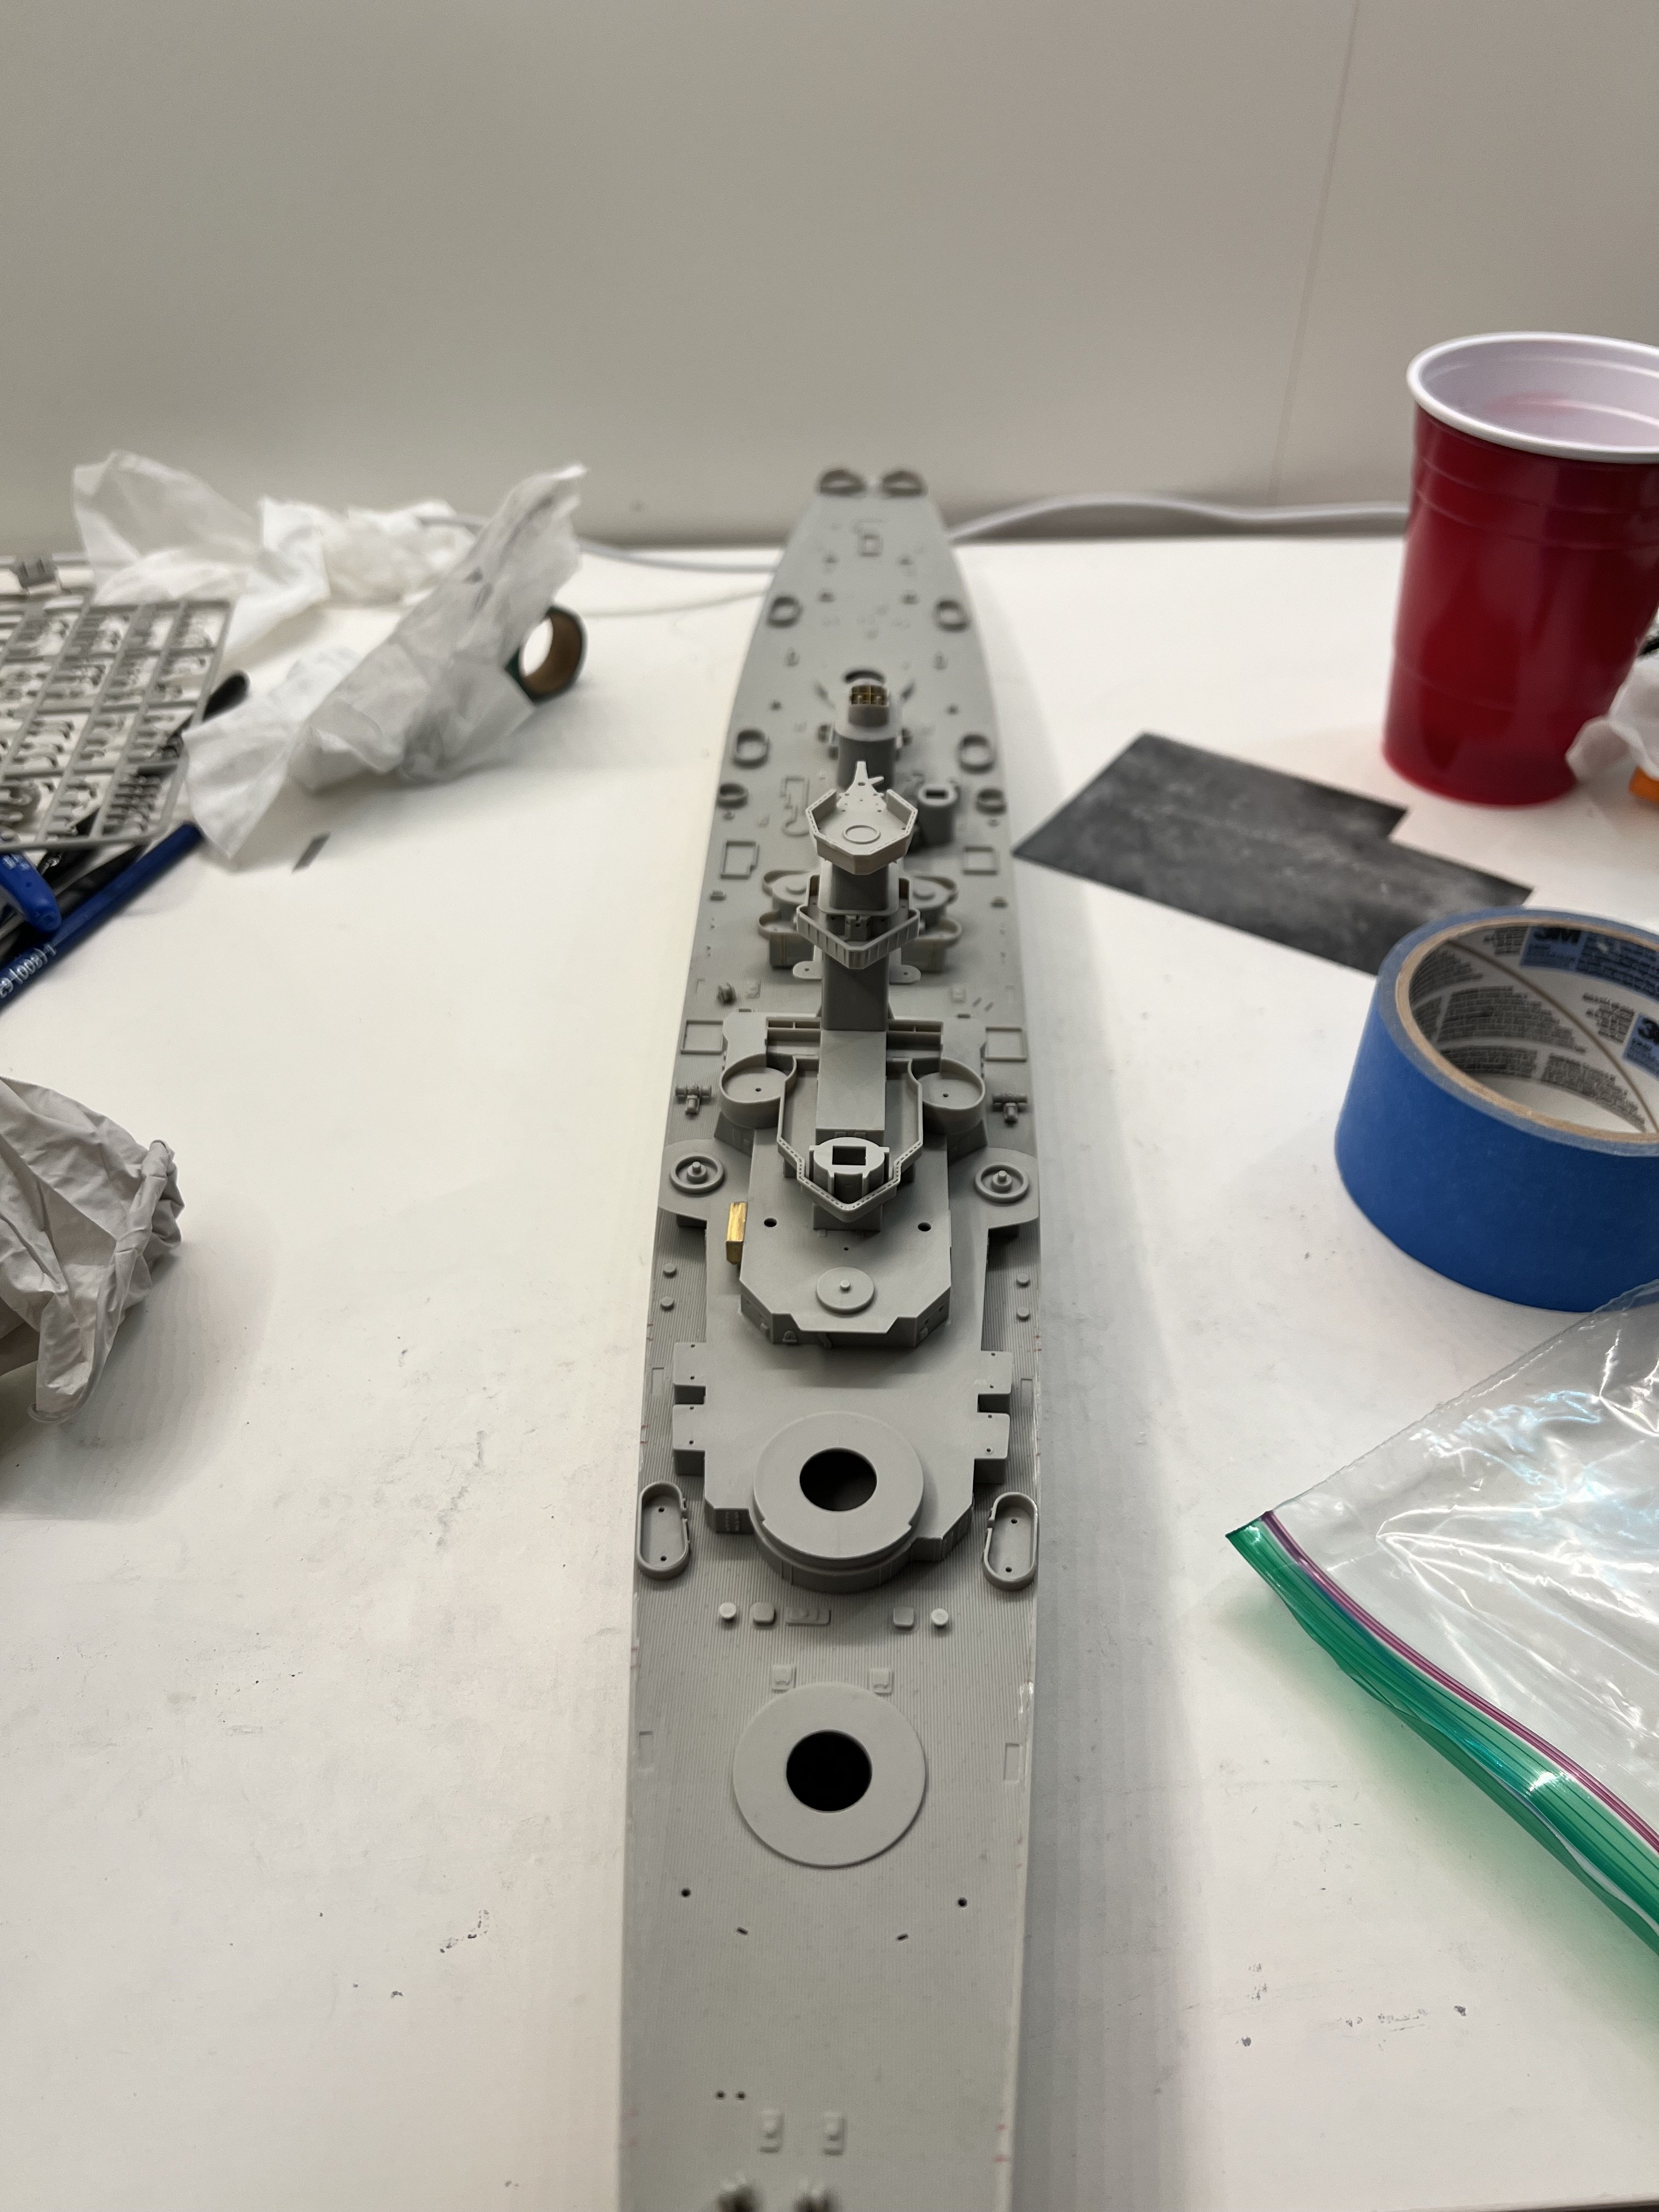
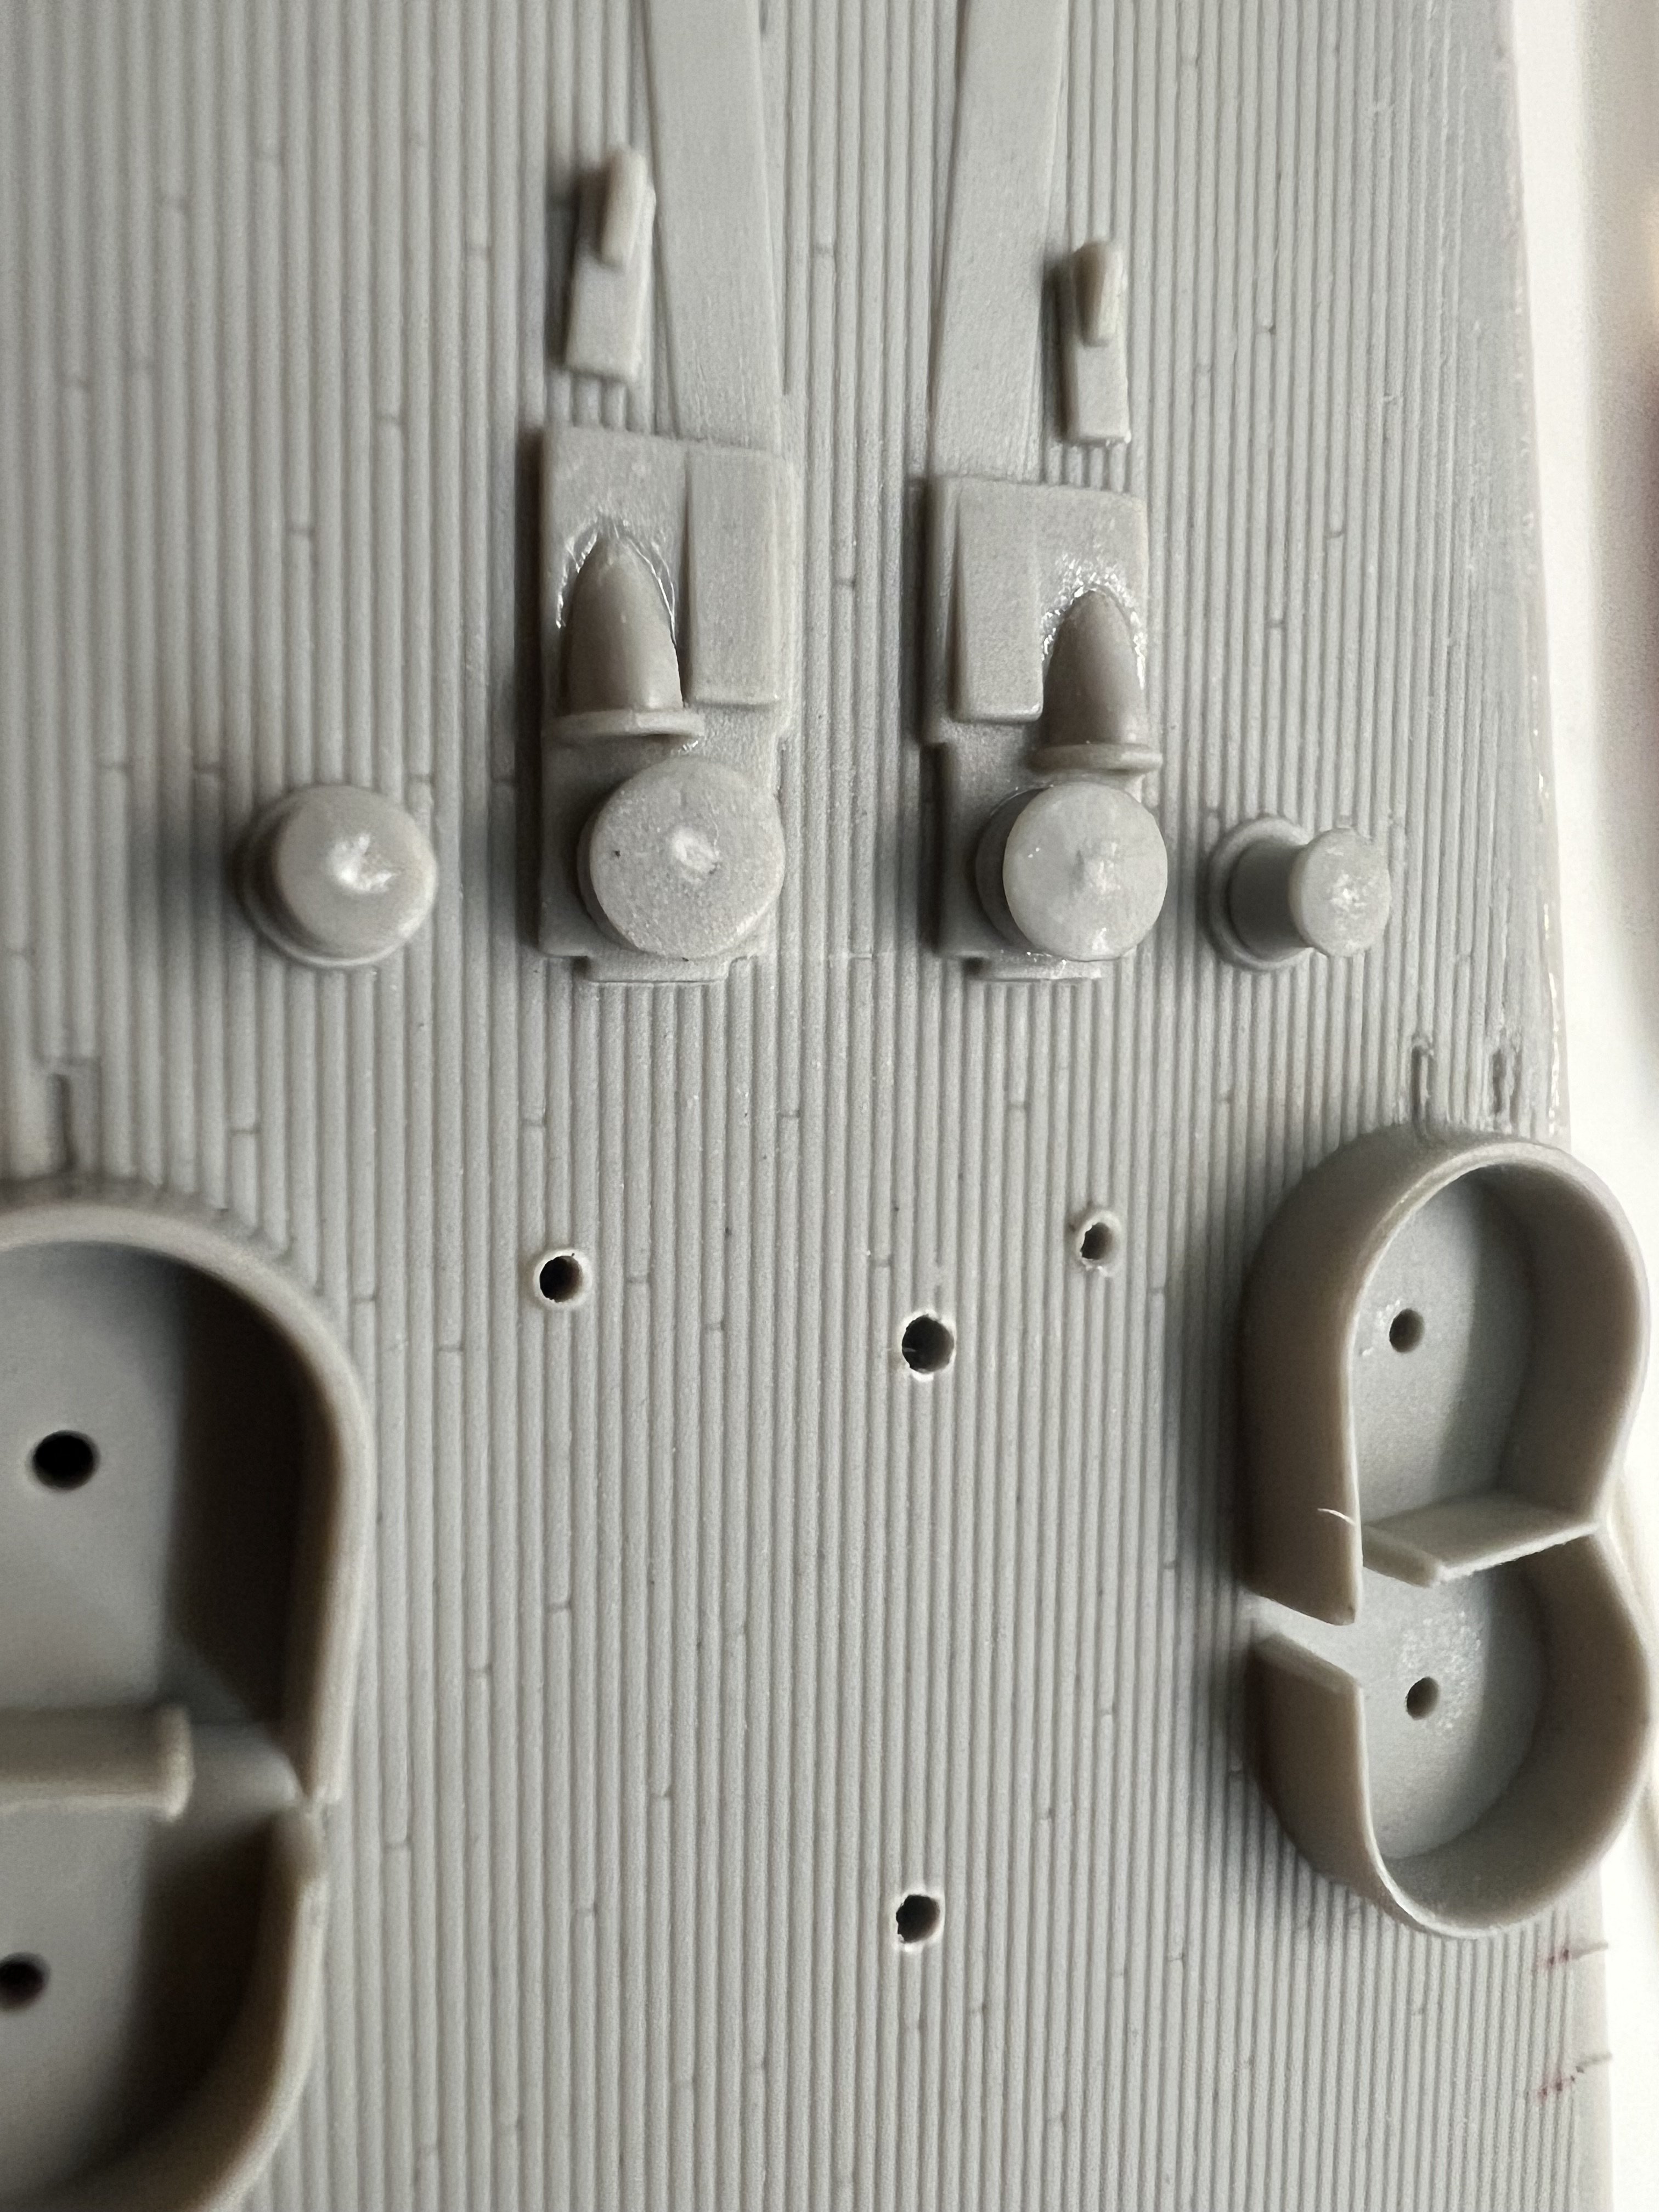
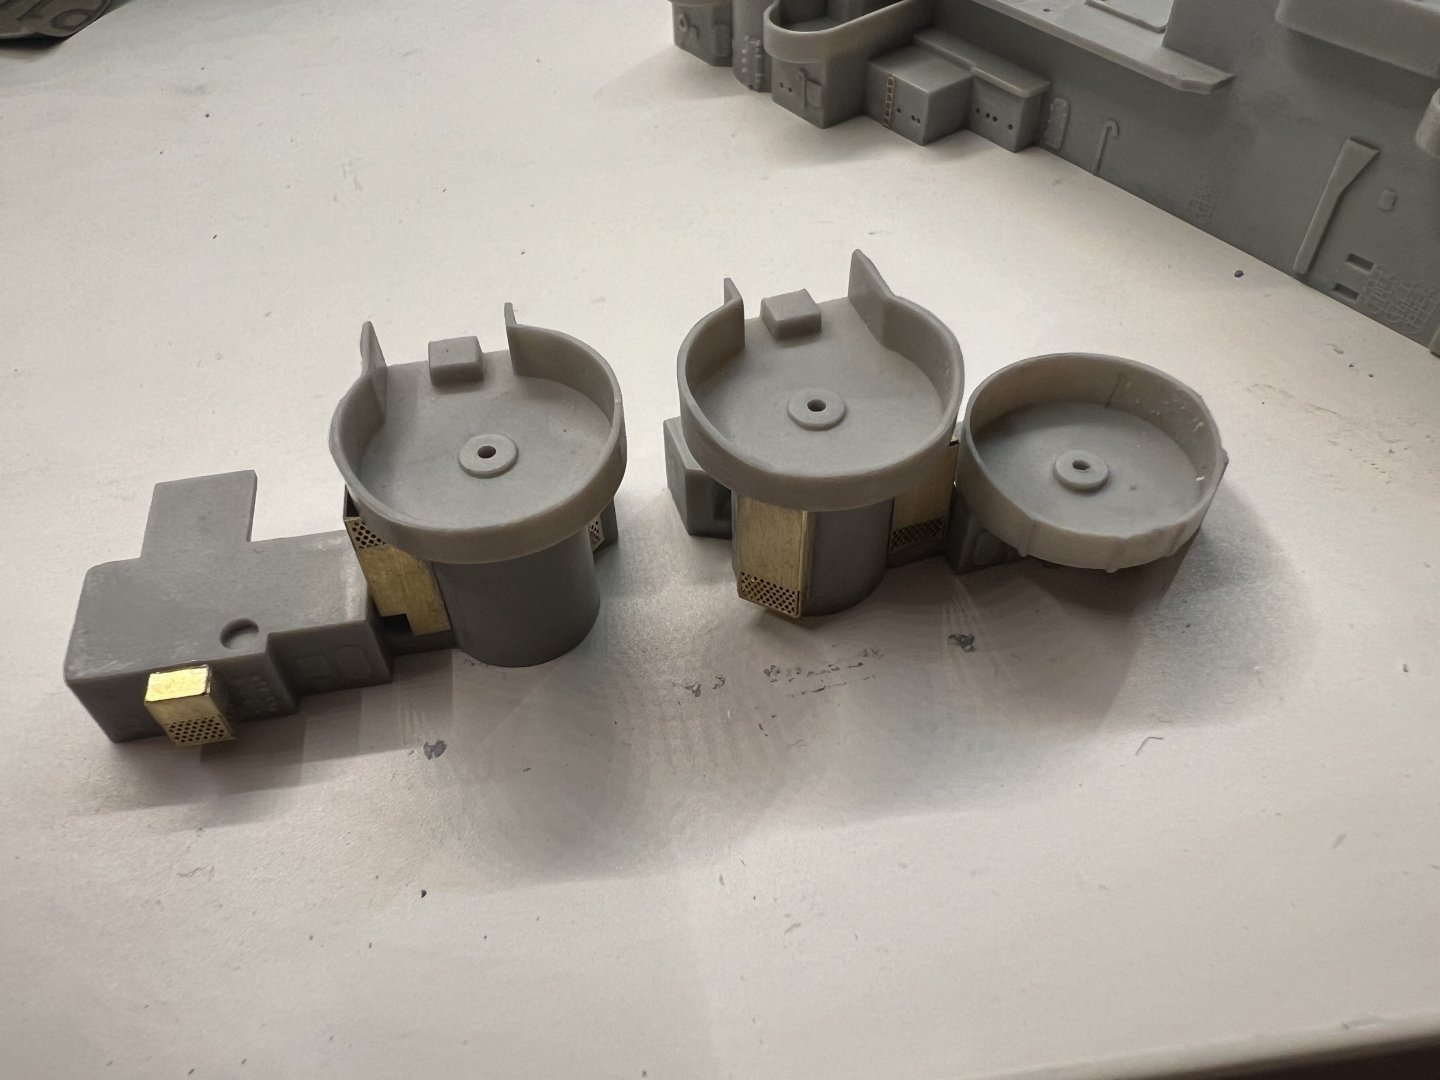
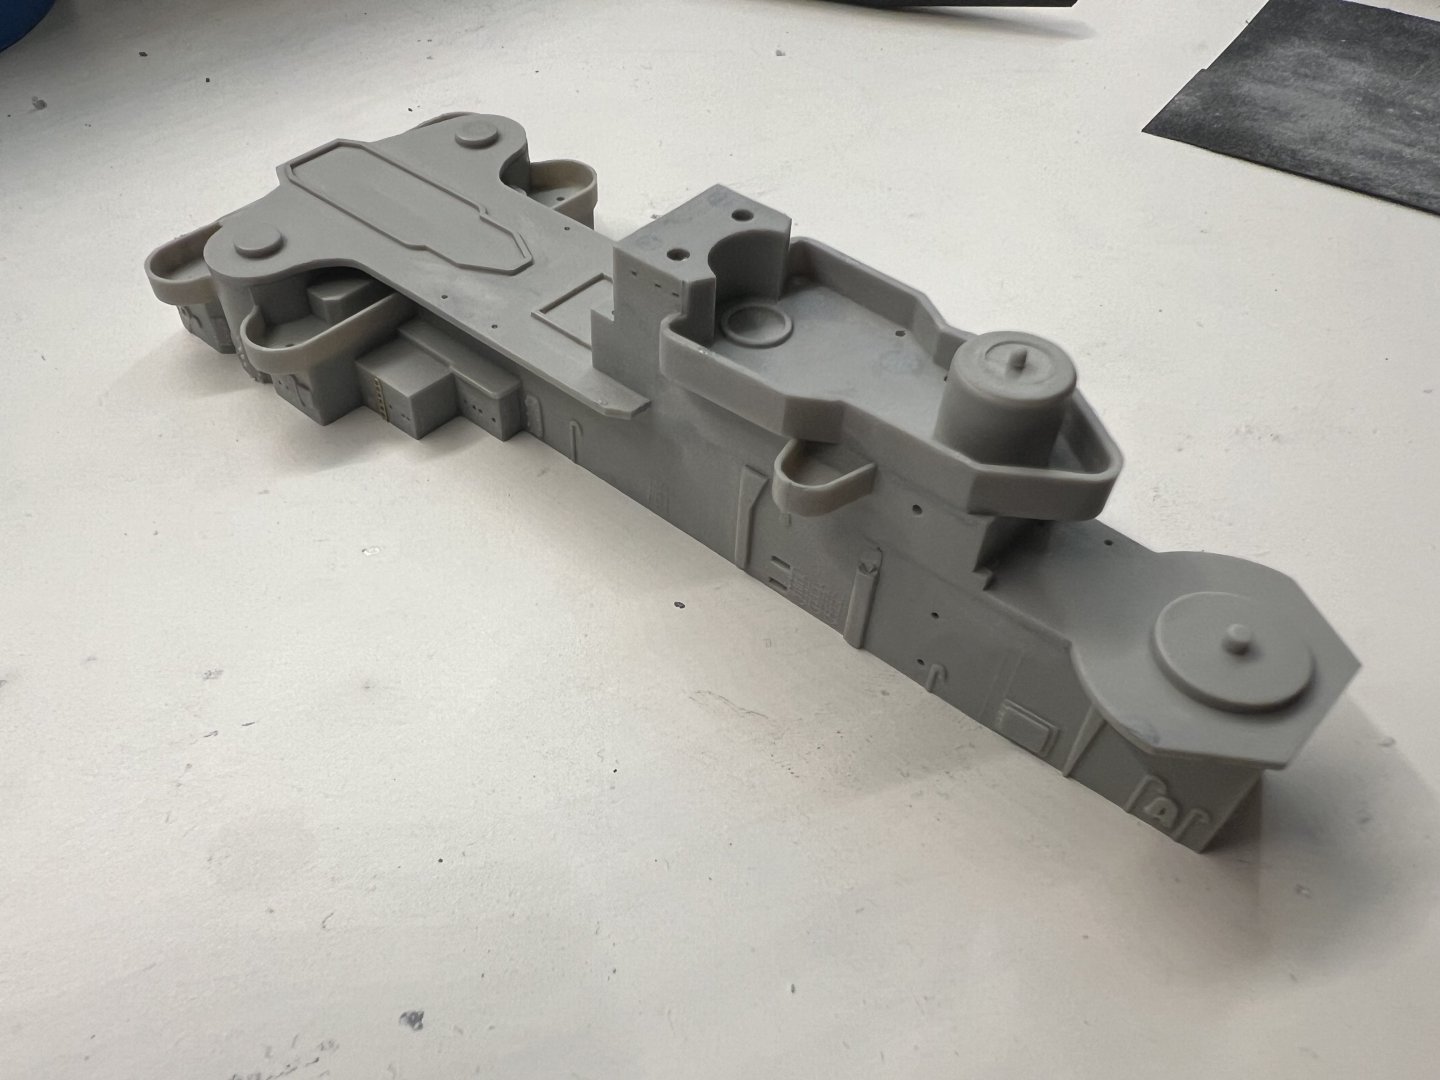
Work on the model today was still pretty light. Hopefully going to have a taste of photo etch (not railings) for once tomorrow. Not much added to the model either but components stored for later. Here are some pics of parts on the ship and some work-in-progress ones.


-
There’s a pretty good chance there are some but I want to take it easy with this model, basic photo etch, etc. My next model though will be complicated: USS Iowa with a deluxe detail up kit. Also I realized doing deck detail right now might not be a great idea for painting since I’m not sure what color they should but. Should things like capstans, rope reels, and vents be the color of the vertical or horizontal surfaces?
-
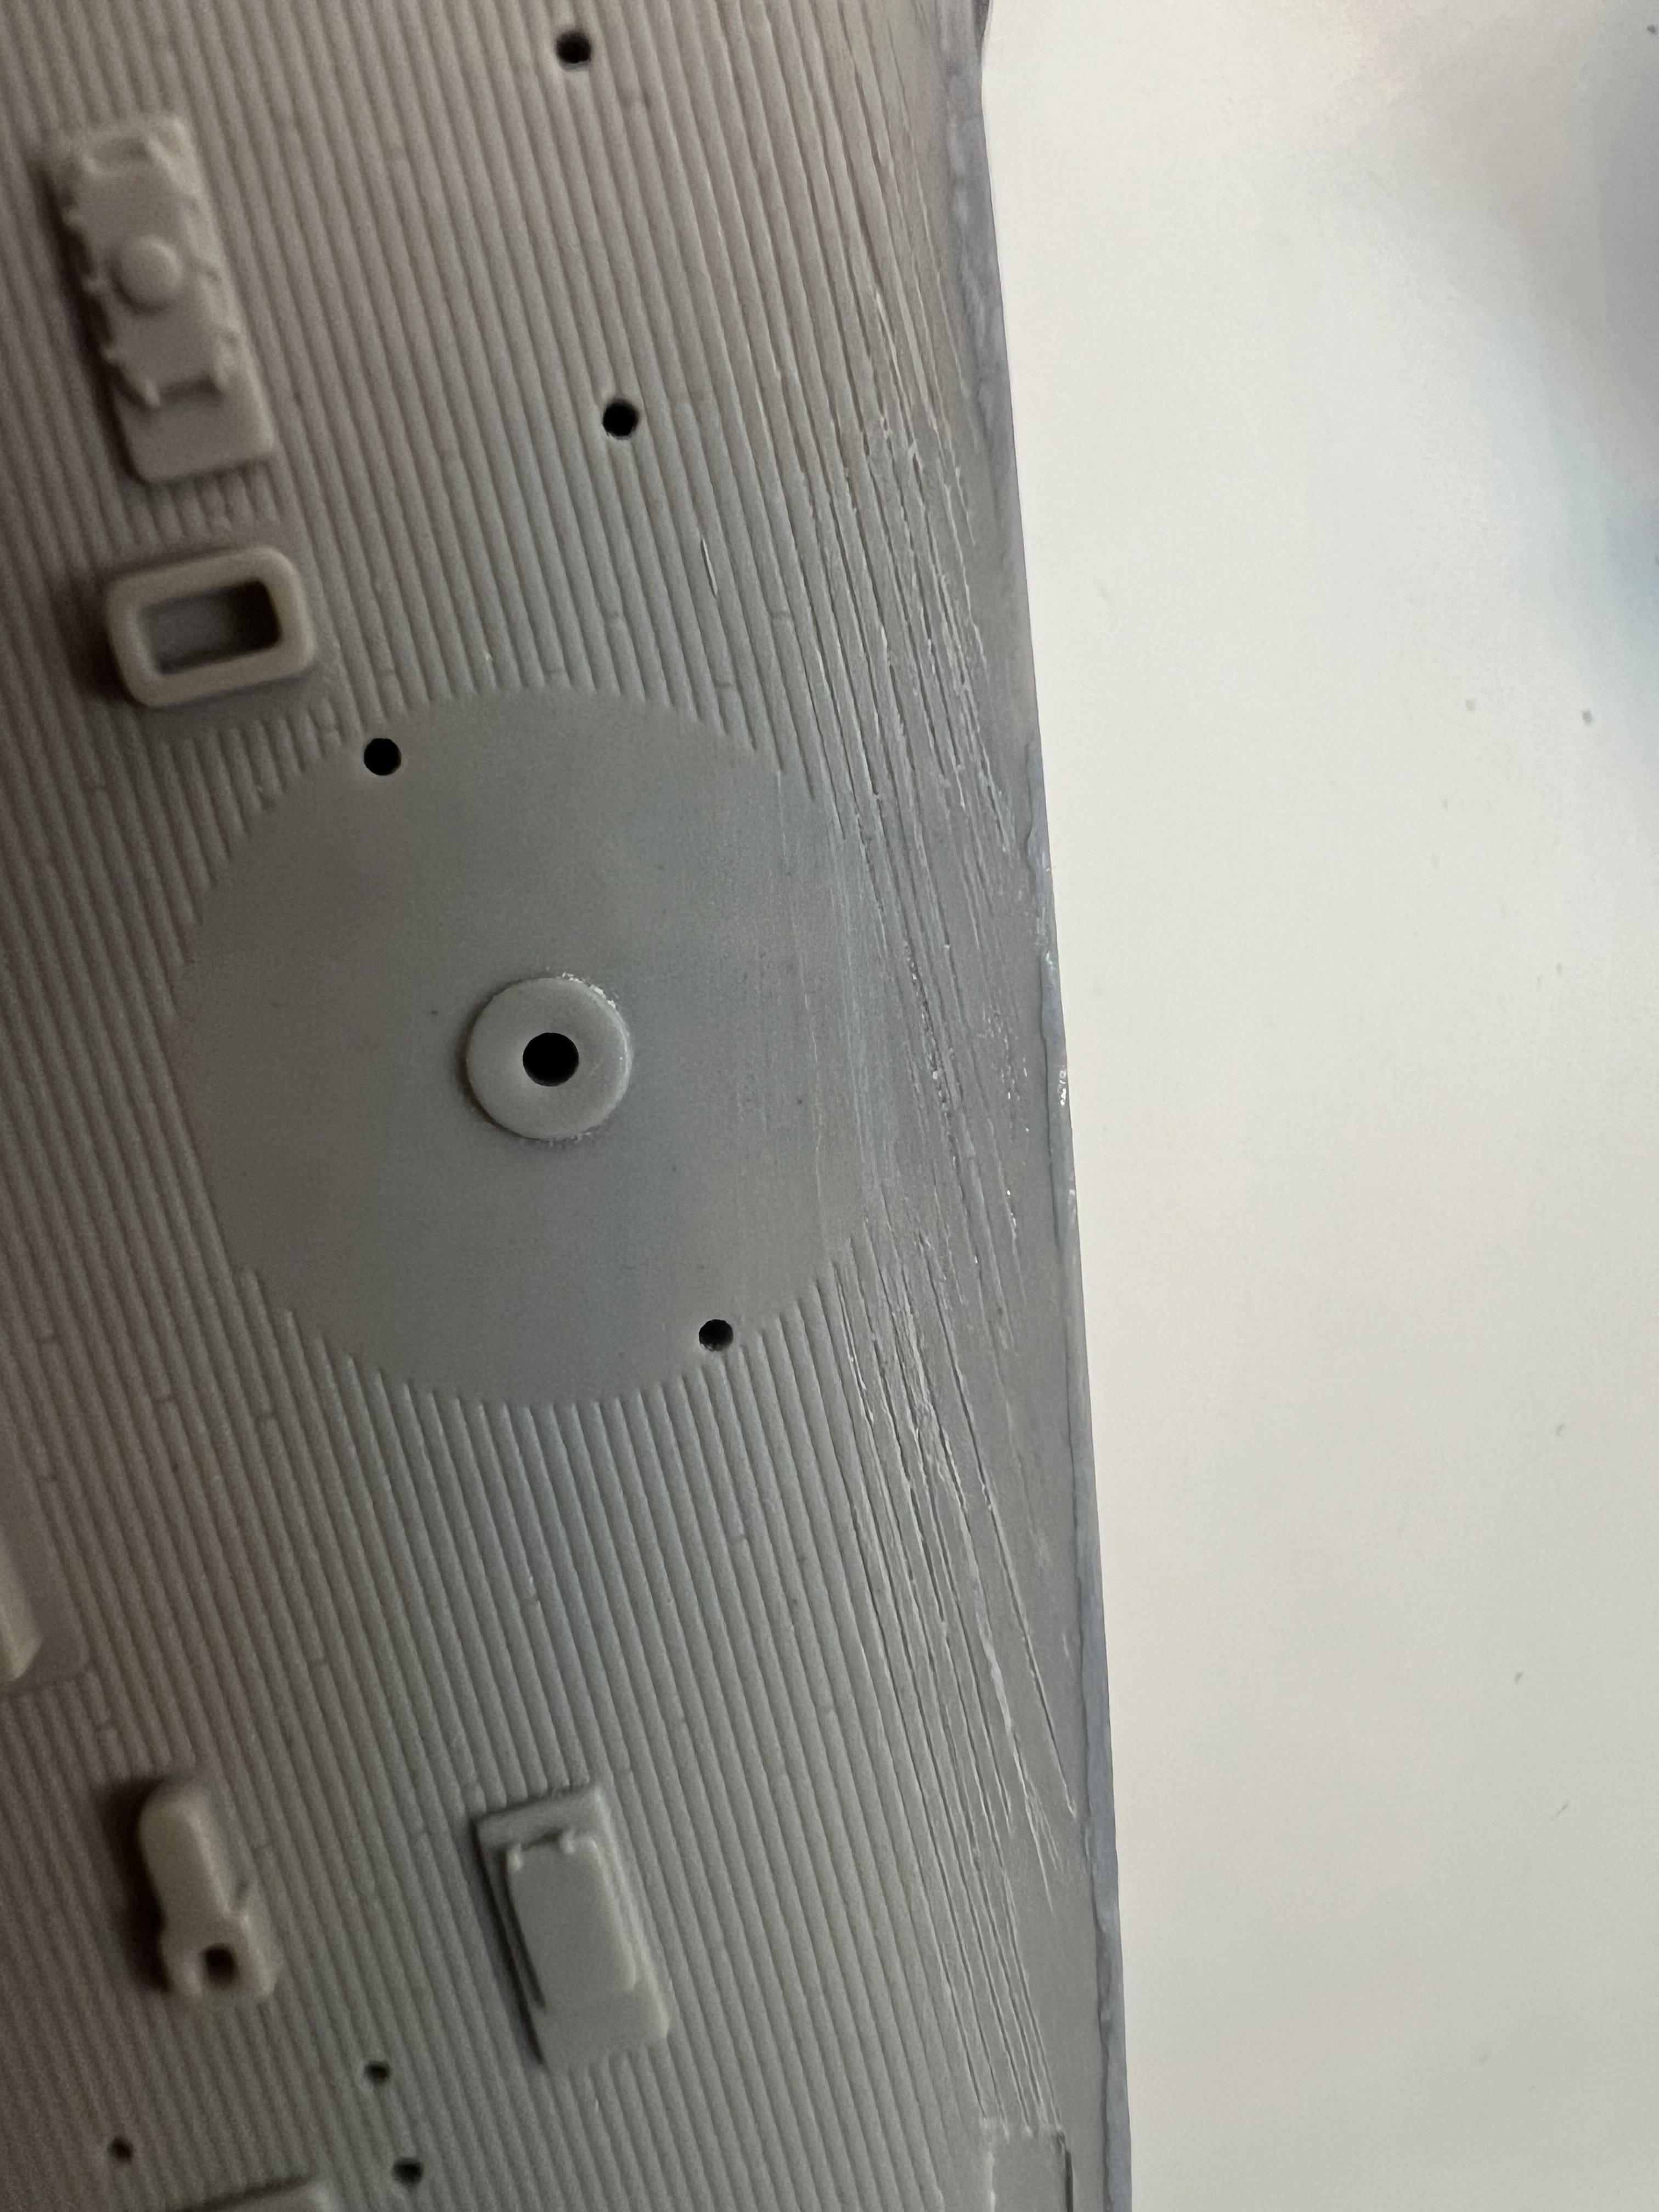
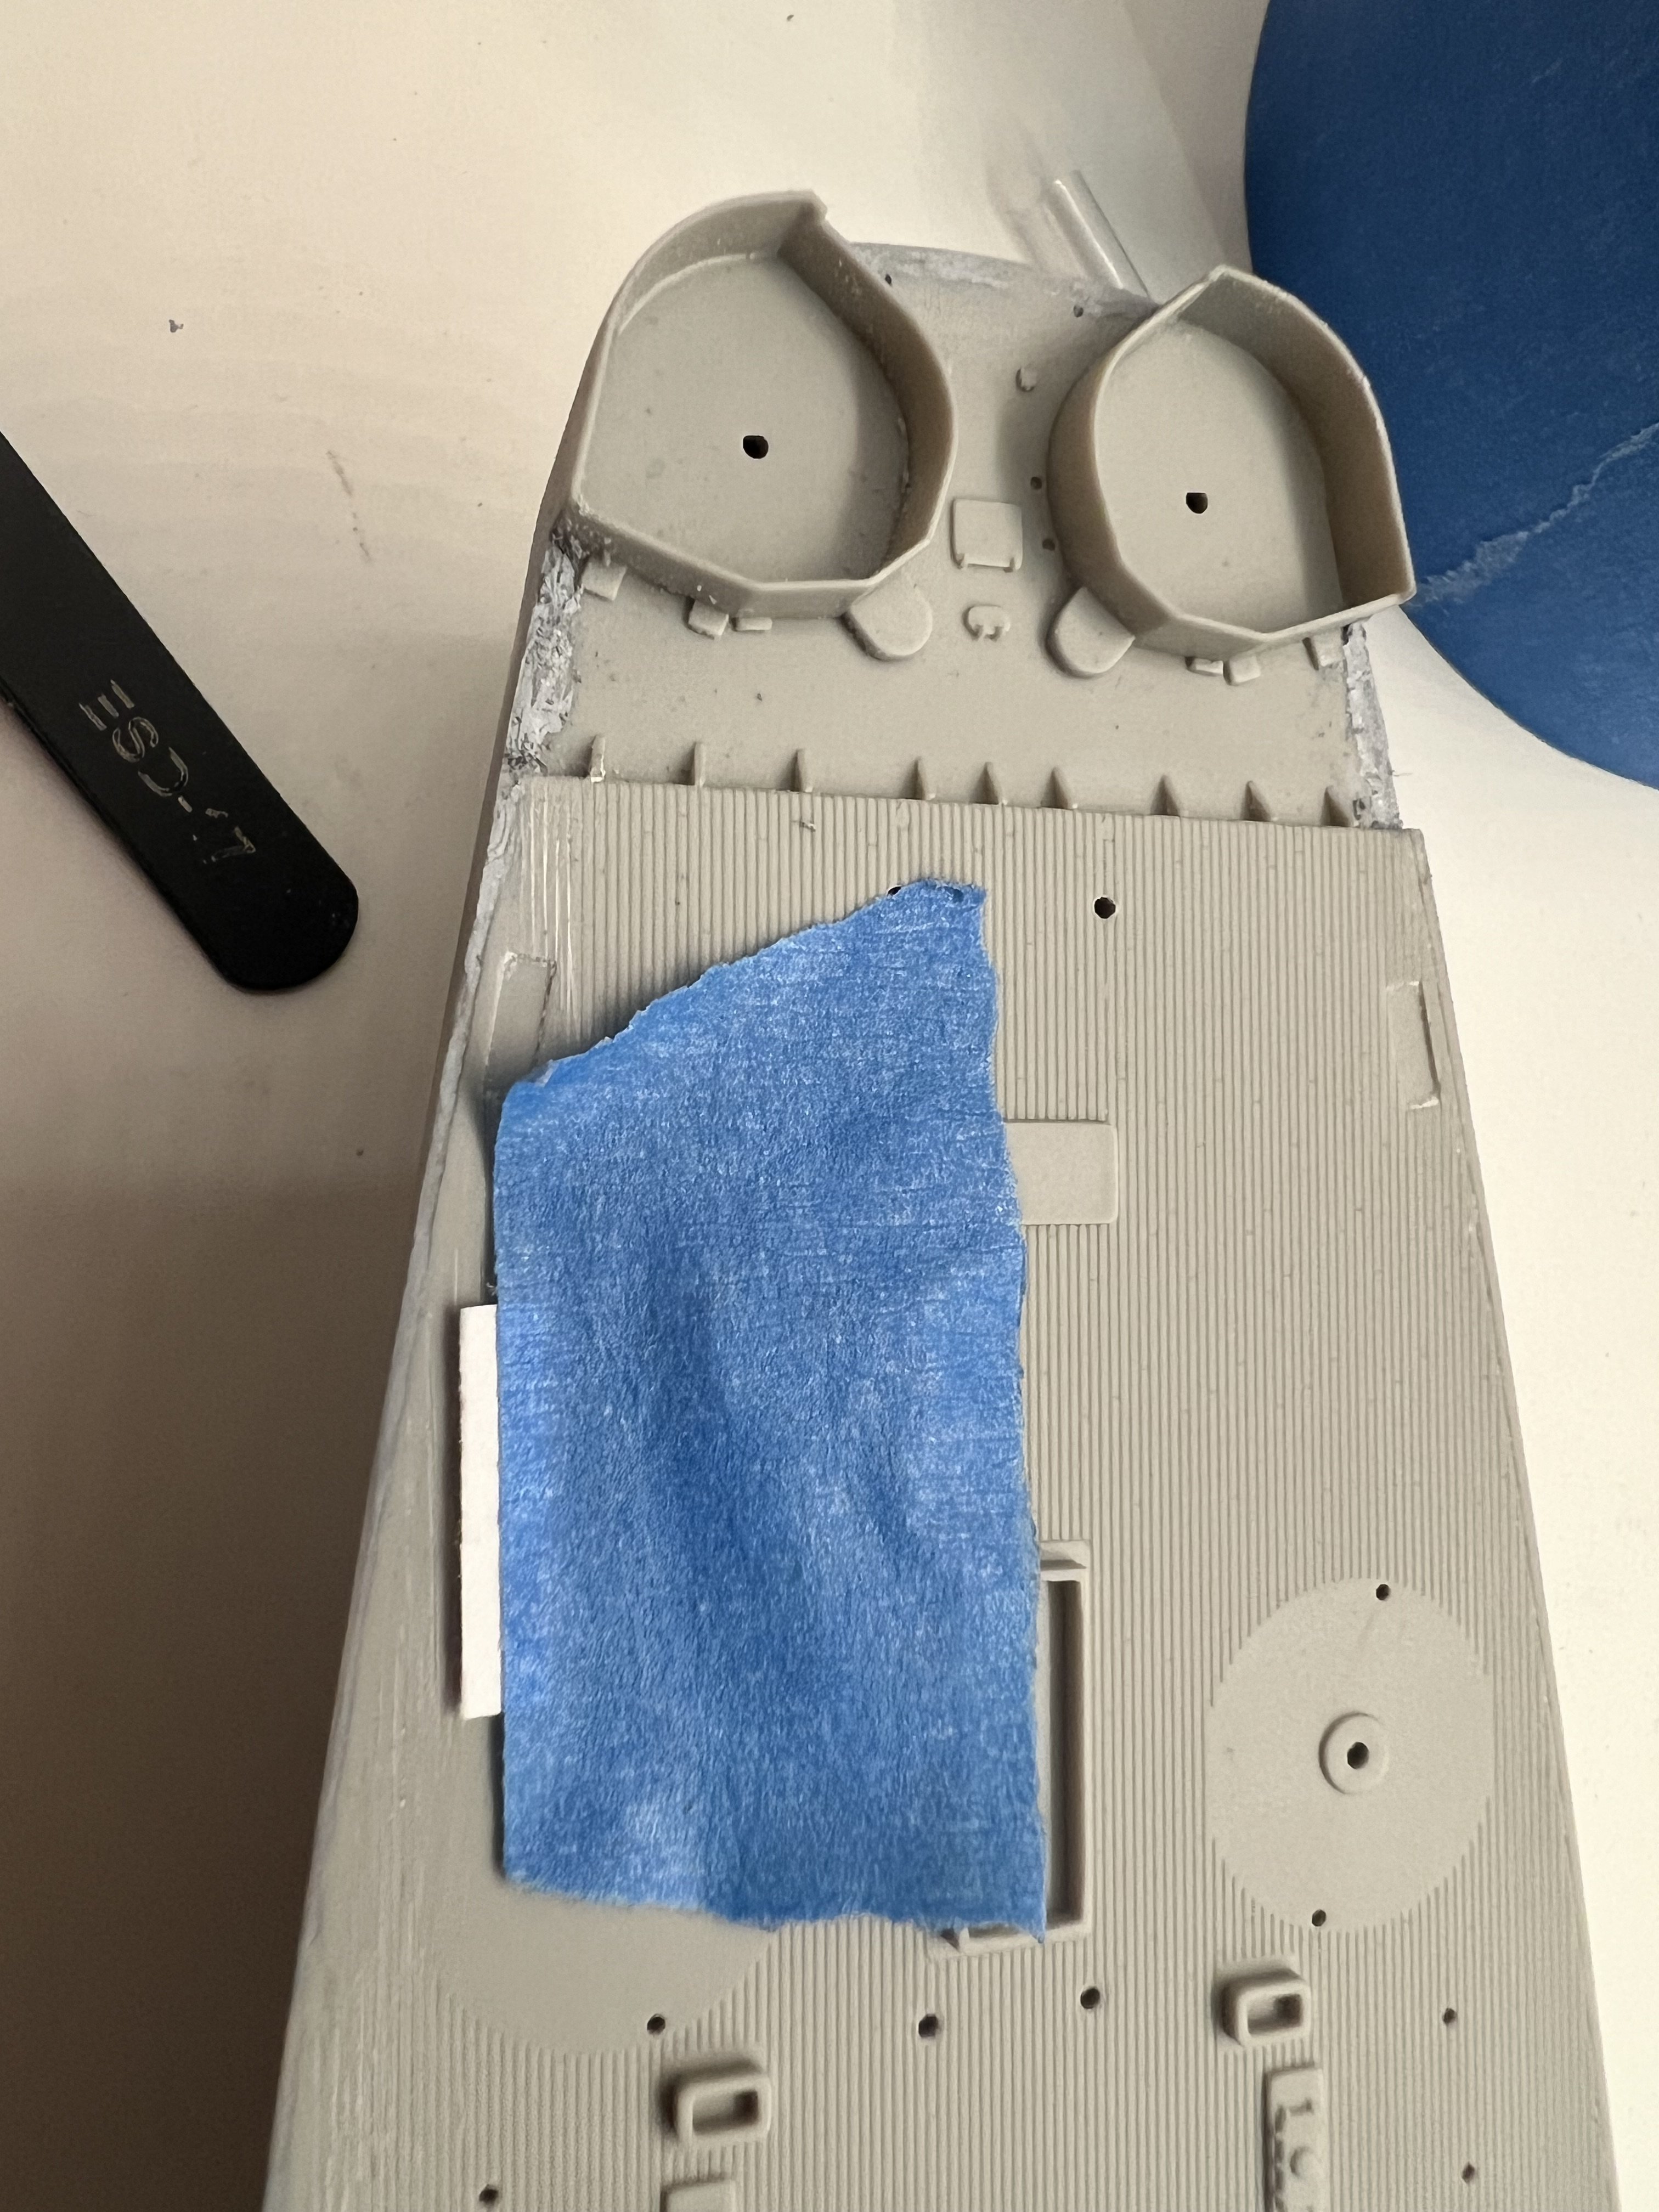
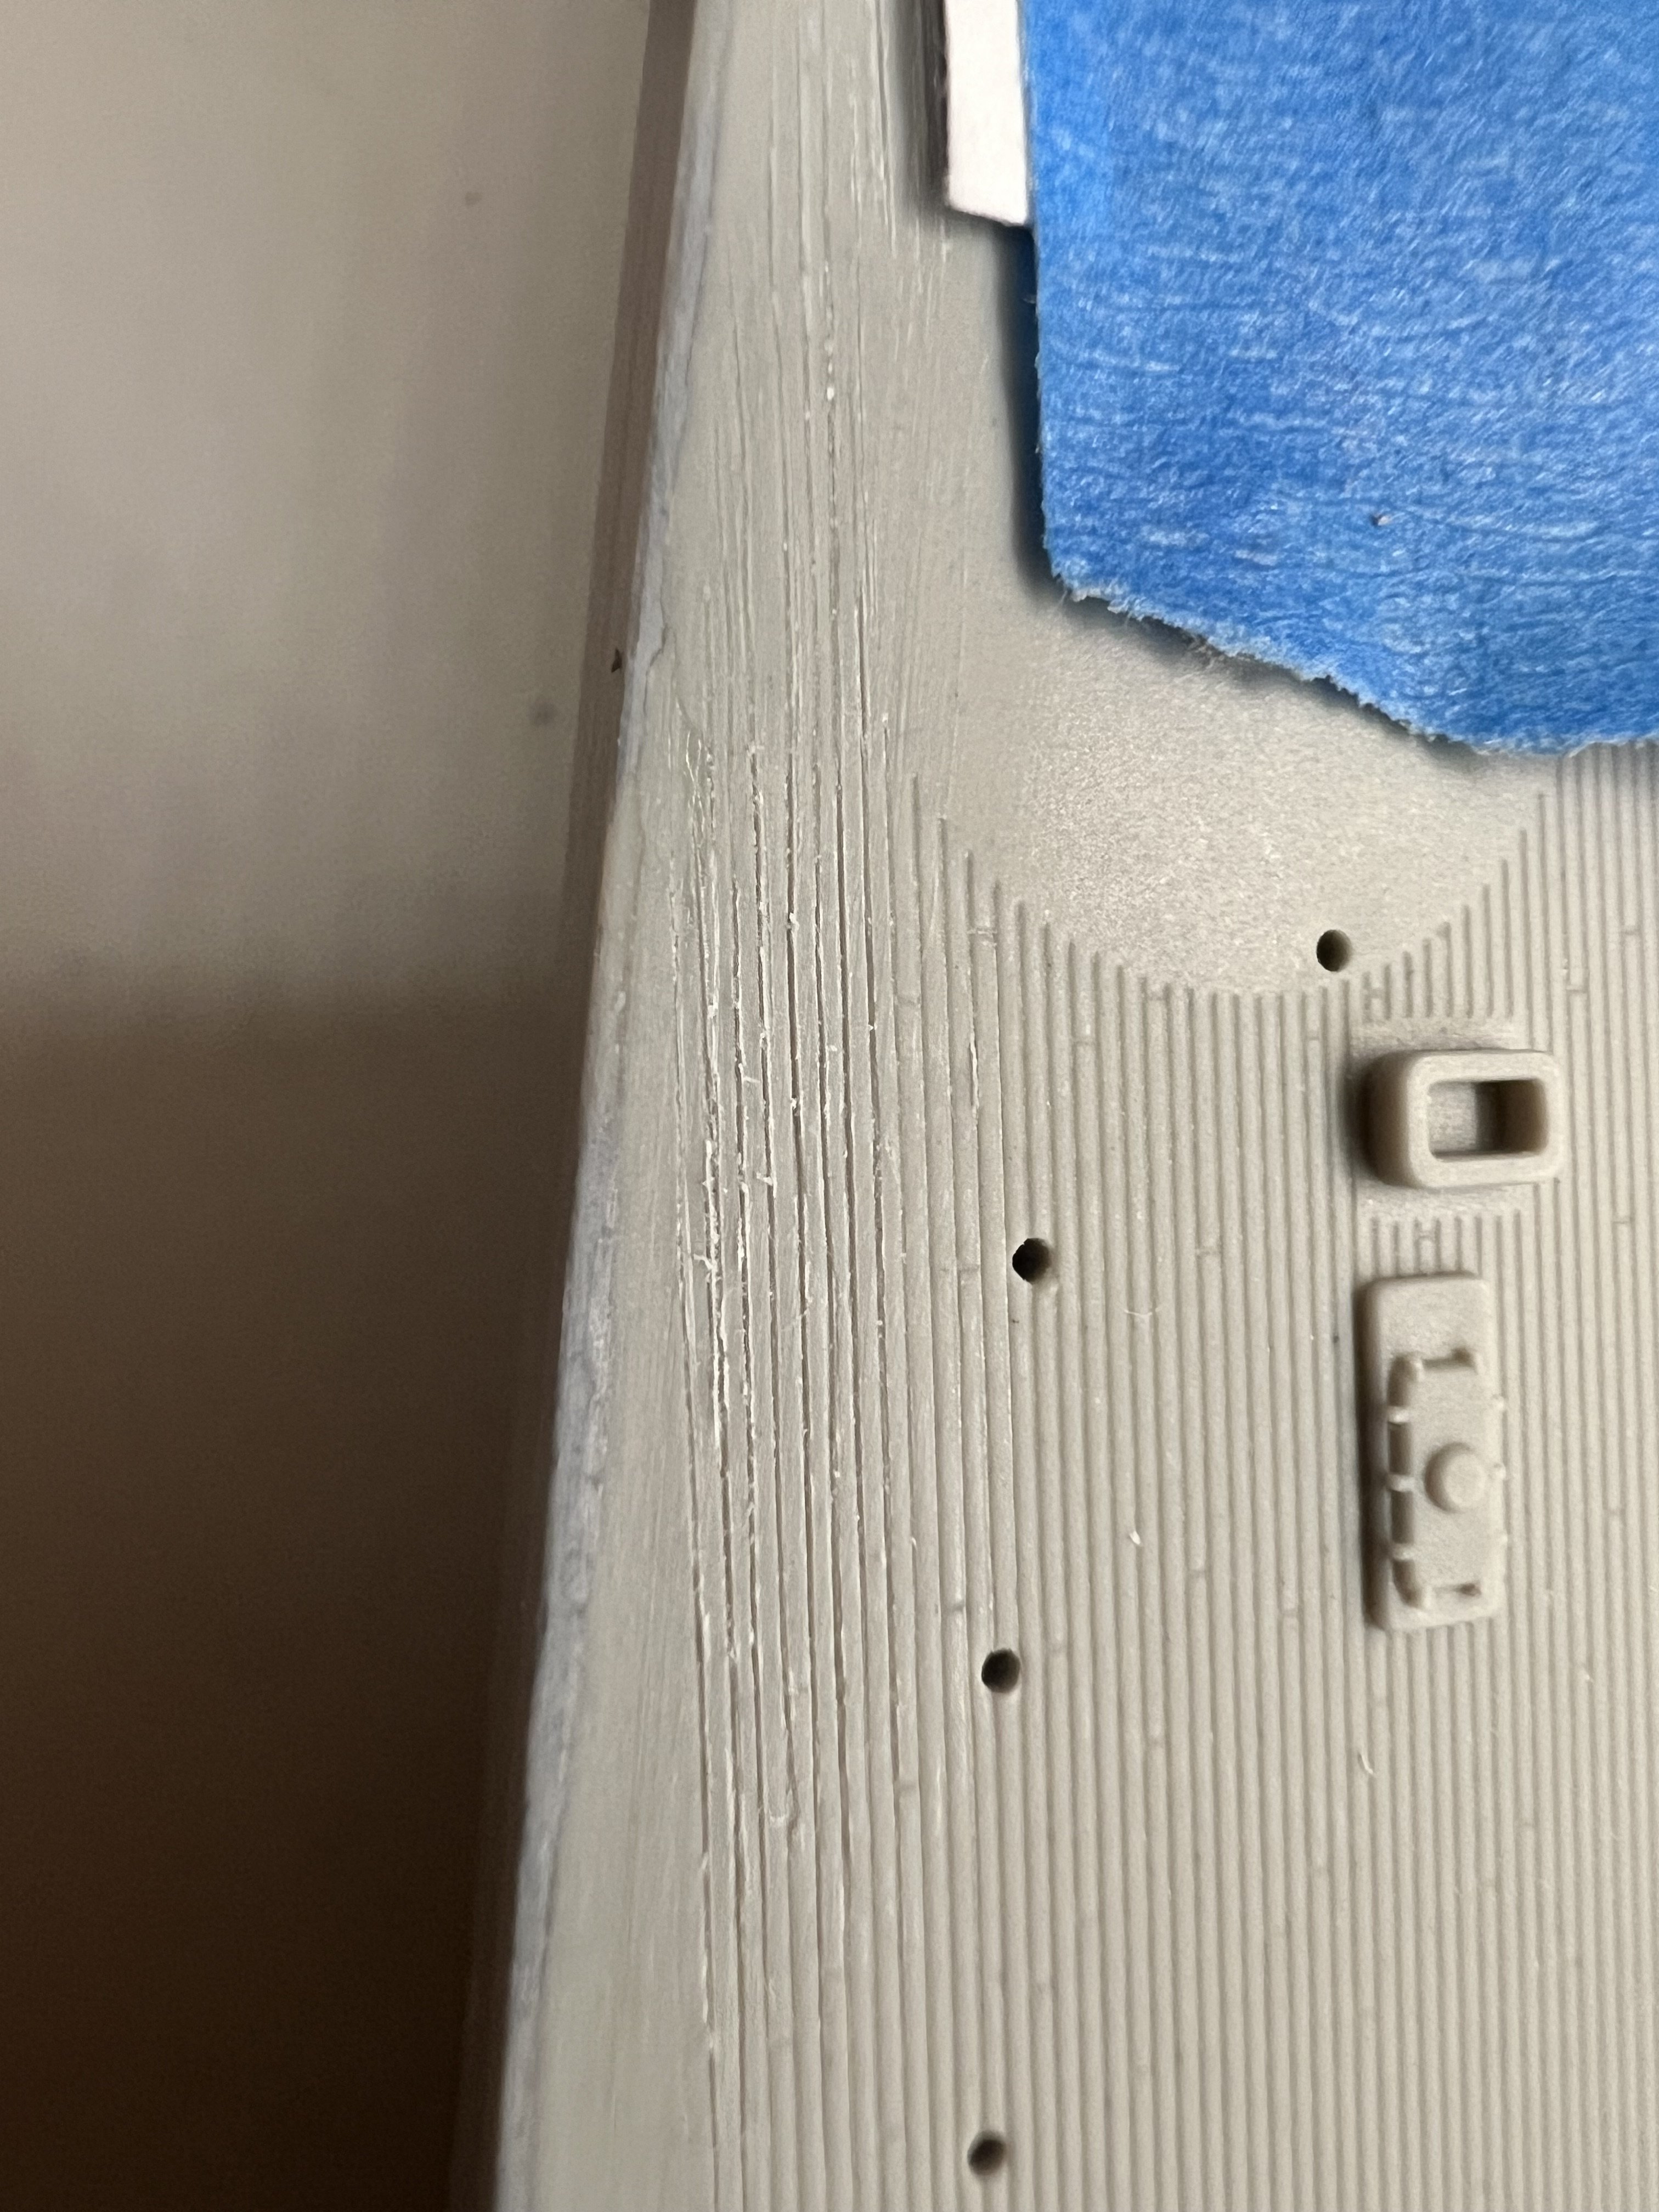
Unfortunately not much work today, just a few minor forward deck details and rescribing deck lines. They’re still looking so-so and I might just cover them with life rafts or life vest baskets later on.


-
Hmm makes sense to me, but I'm just concerned about consistency and kinda like it in my opinion. I'll probably rescribe most of the detail, prime it and see how they look. There's also a pretty good chance deck equipment (life rafts, etc) will be over that spot so that might save me some work. As for the props, seems like a great ideas. Thanks again!
-
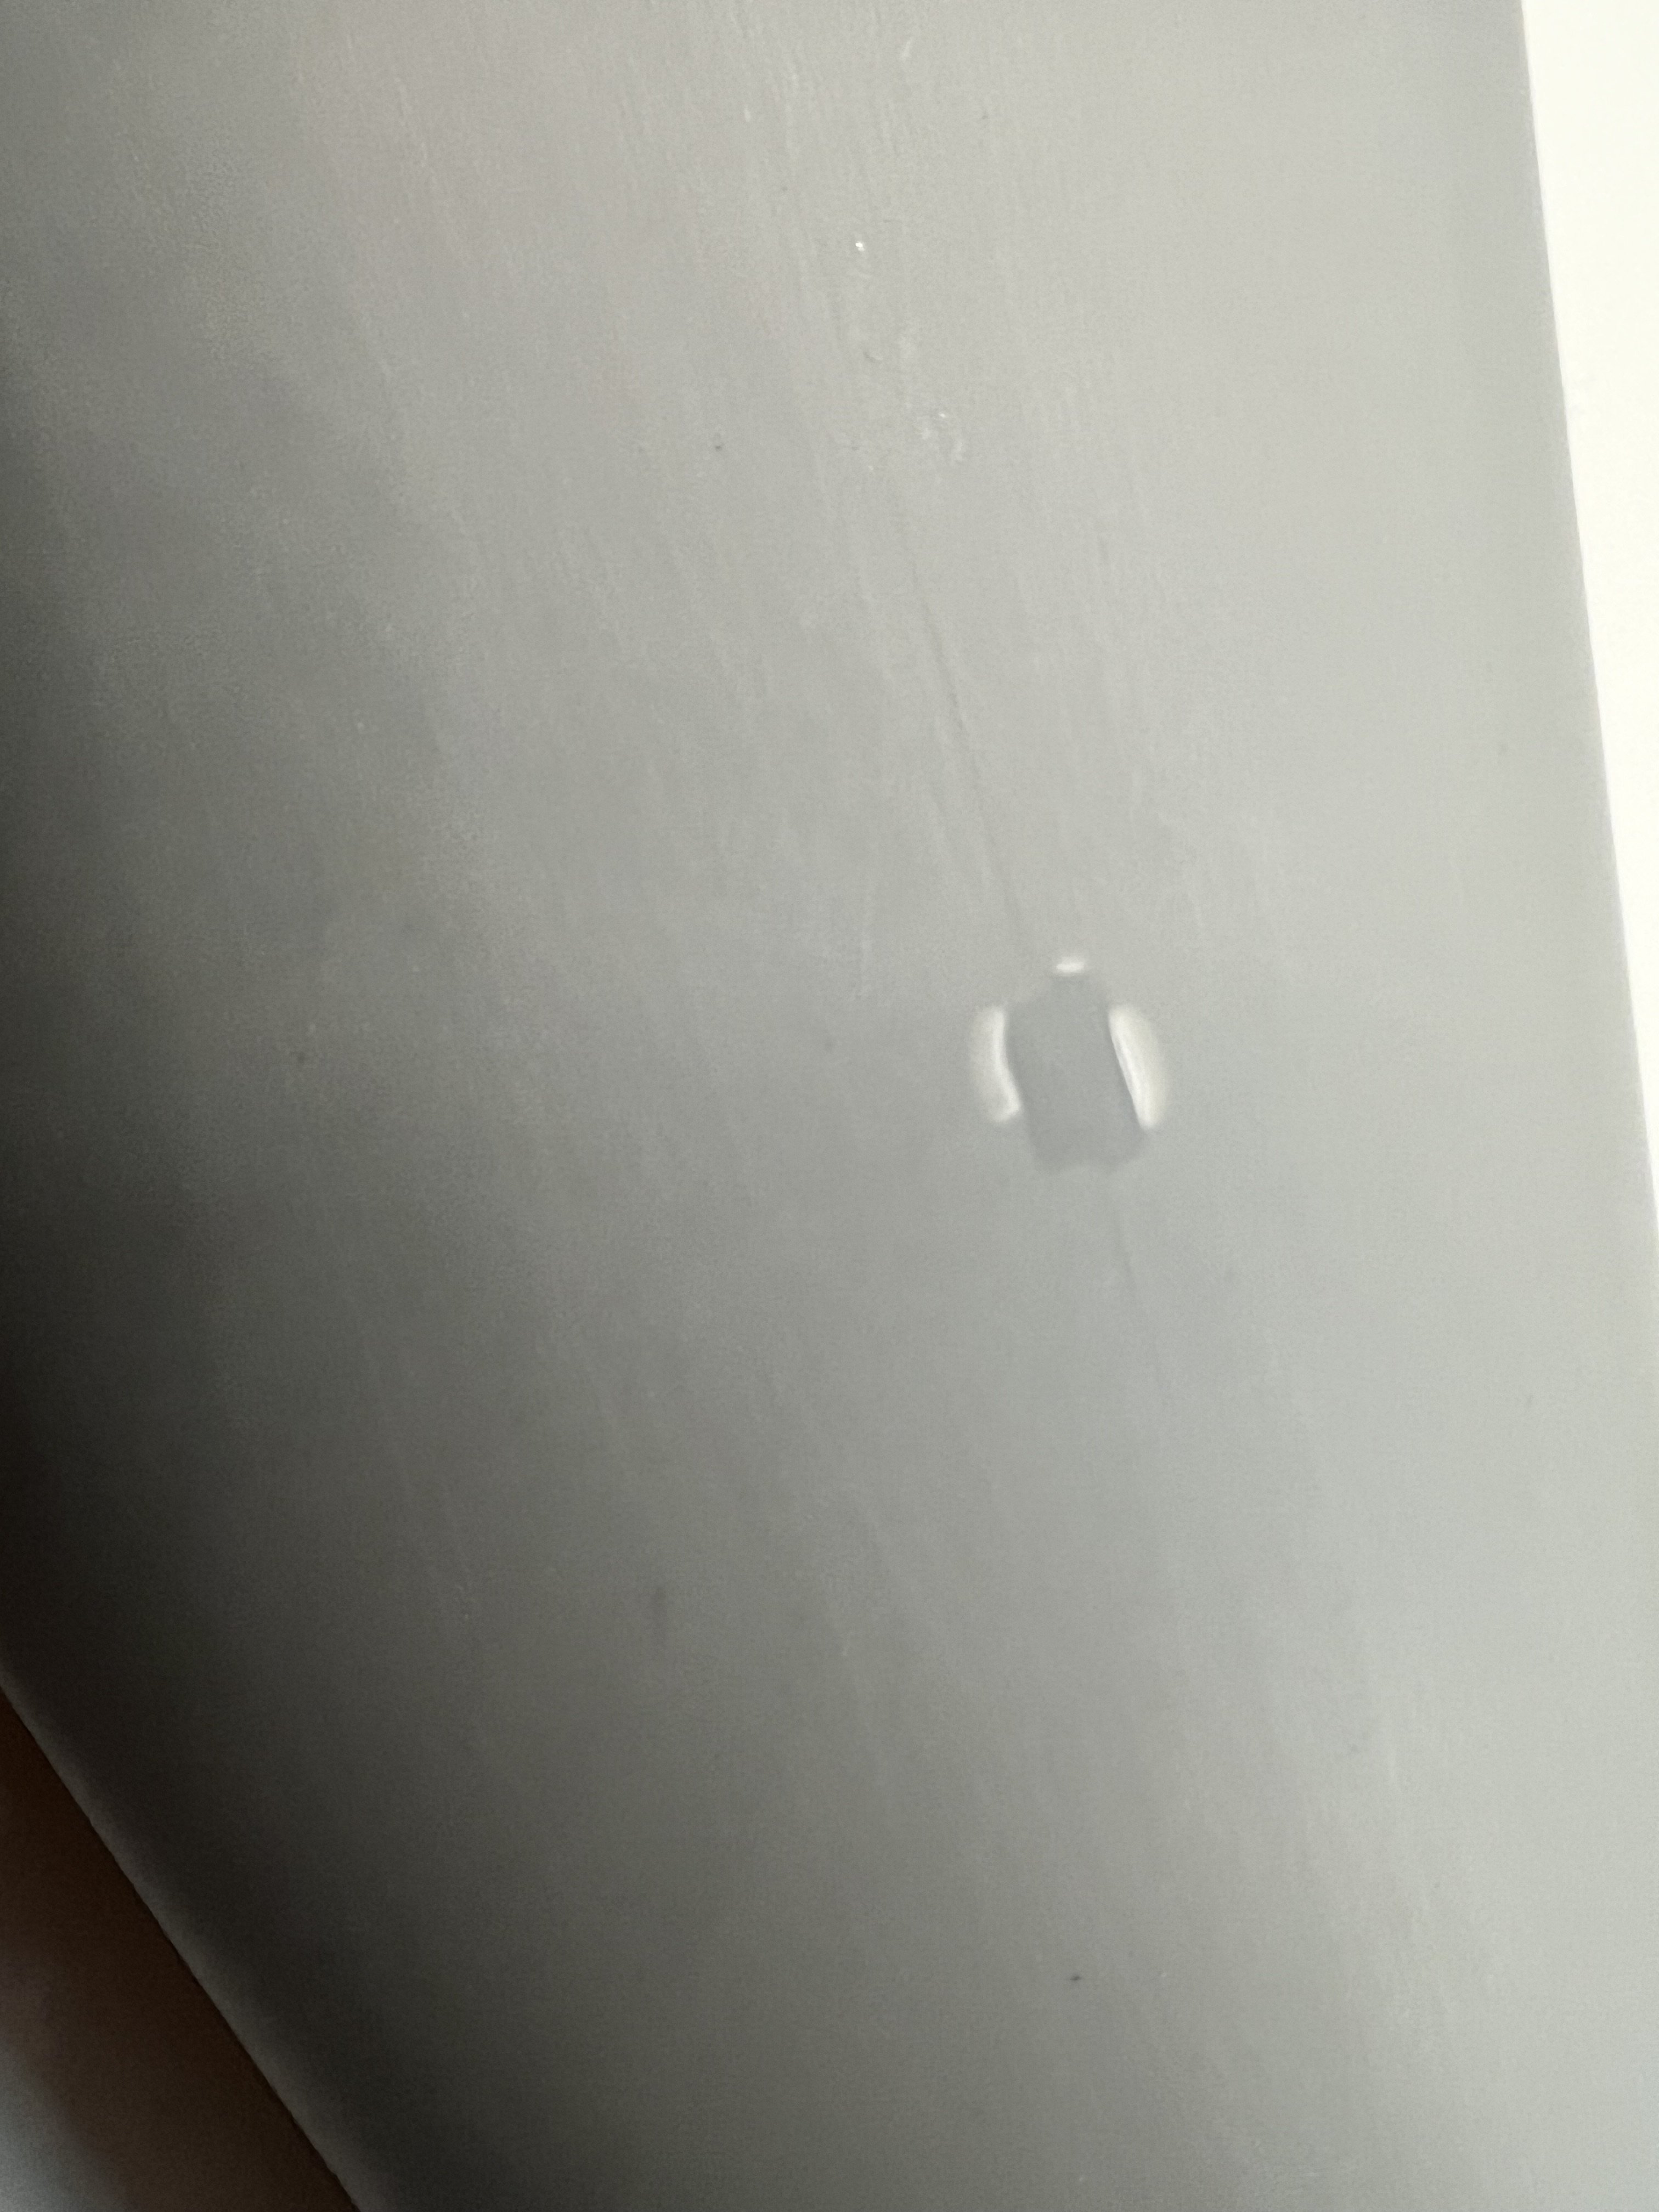
Wow! thank you so much ddp! I’ll definitely going to end up having my nose buried in this for hours! For today’s progress I glued the deck pieces to the hull, puttied and sanded gaps between the hull and deck. The kit fits extremely well; all the imperfections that I had to fill in were mostly my fault but the stern area did have some issues that I will finished tomorrow: My main concern here is the wood planks molded into the deck; sanded the putty remove quite a bit of detail. I’ve tried rescribing with an Exacto and a ”straight edge” but looks pretty ugly as of now:Any thoughts? anyways I’ve finished sanded down mold lines and imperfections with the underwater portion of the hull; parts near the deck will be done tomorrow.I’ll also probably be attaching the propulsion systems tomorrow and begin with small deck details. I’ll be back tomorrow! Good night !


-
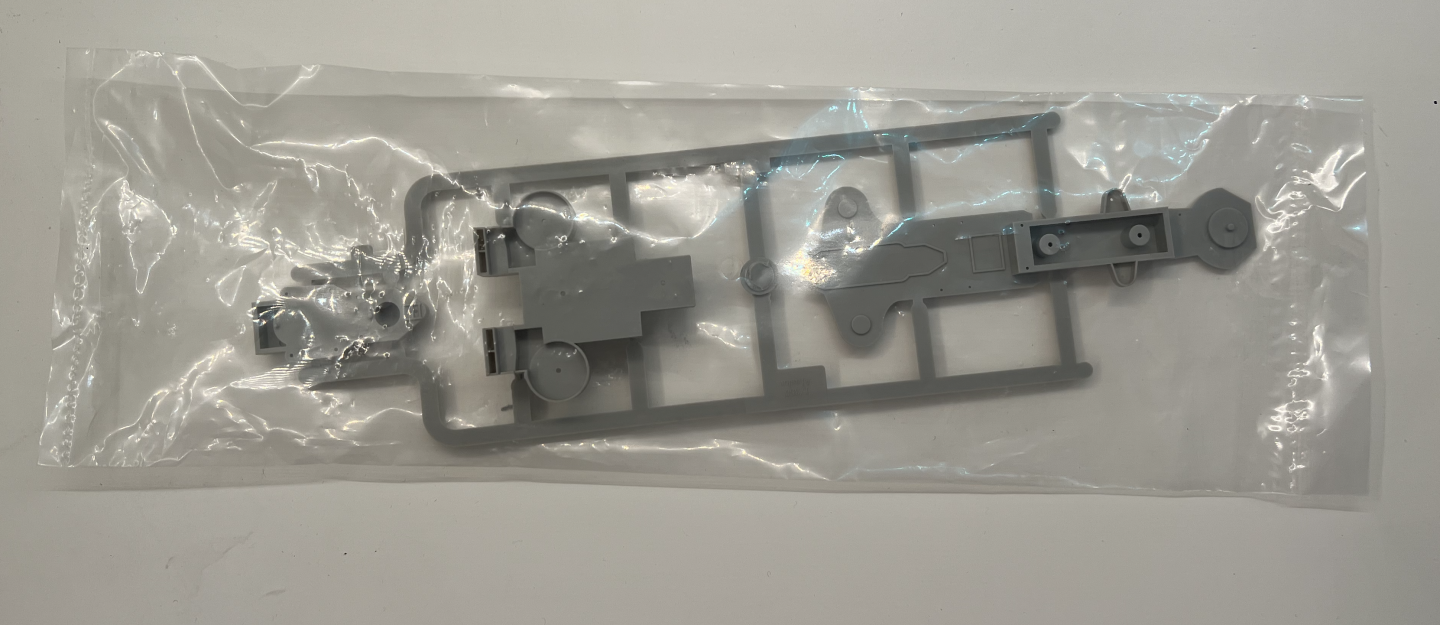
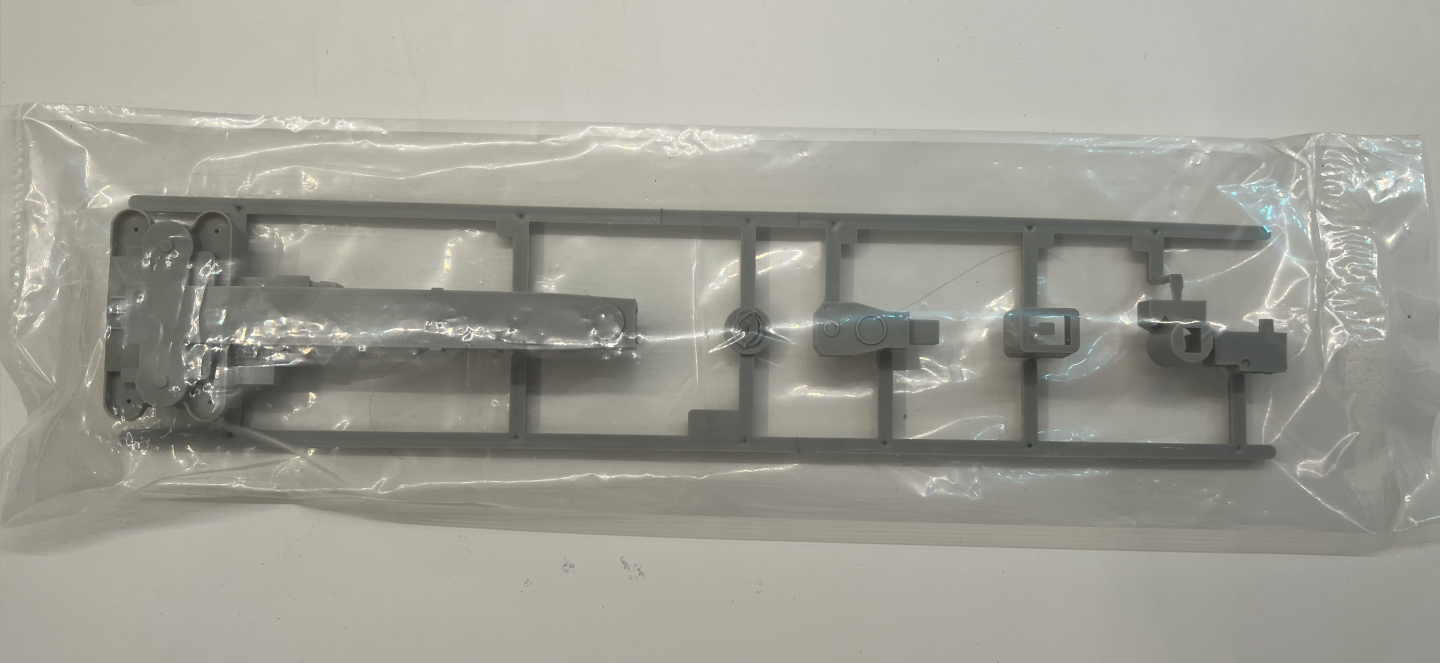
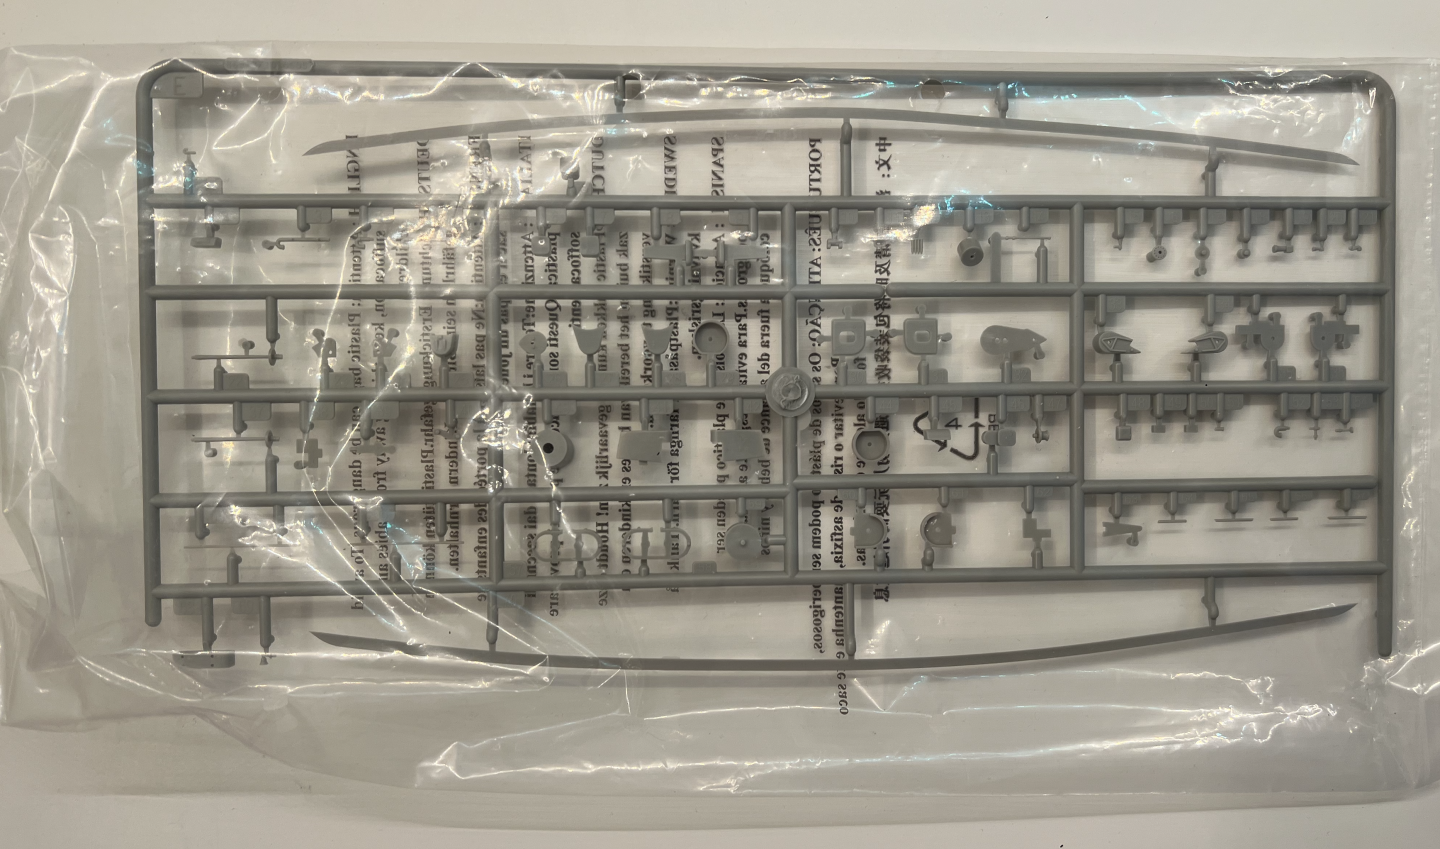
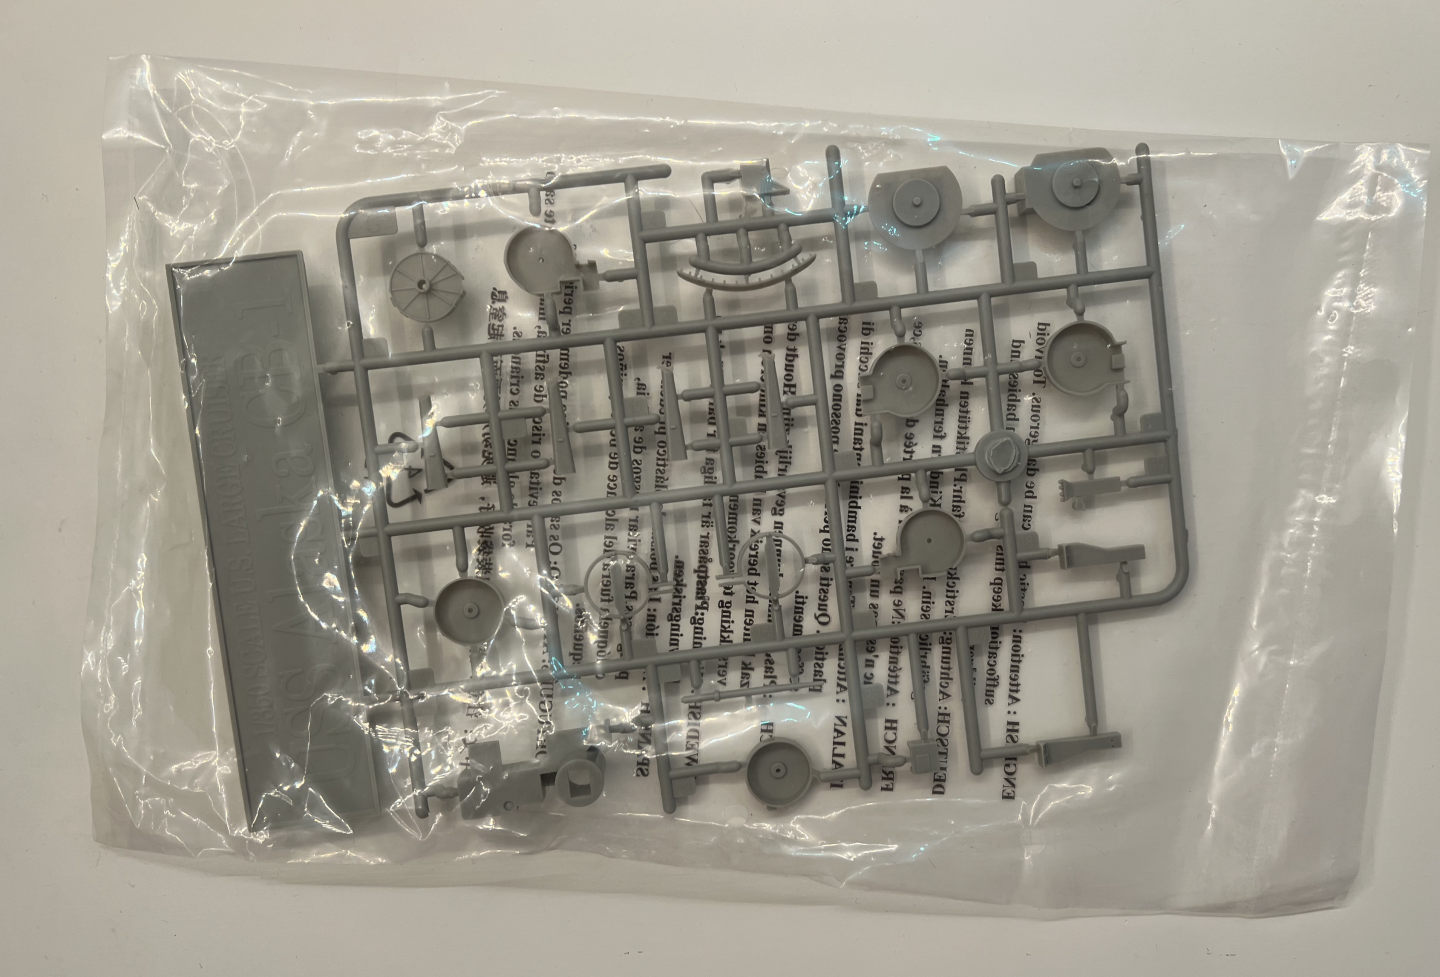
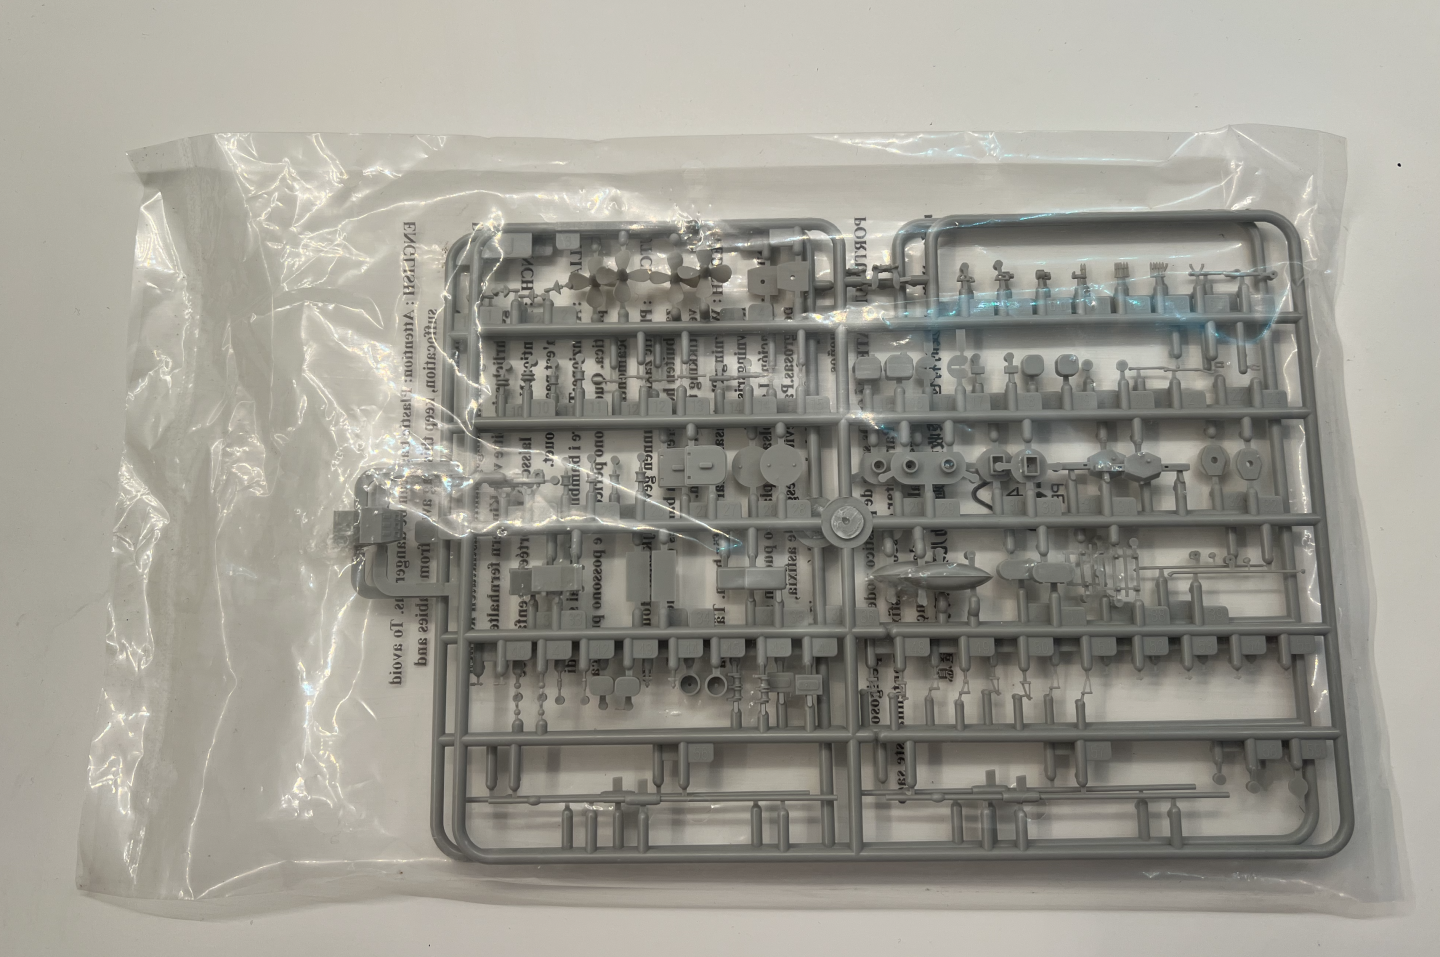
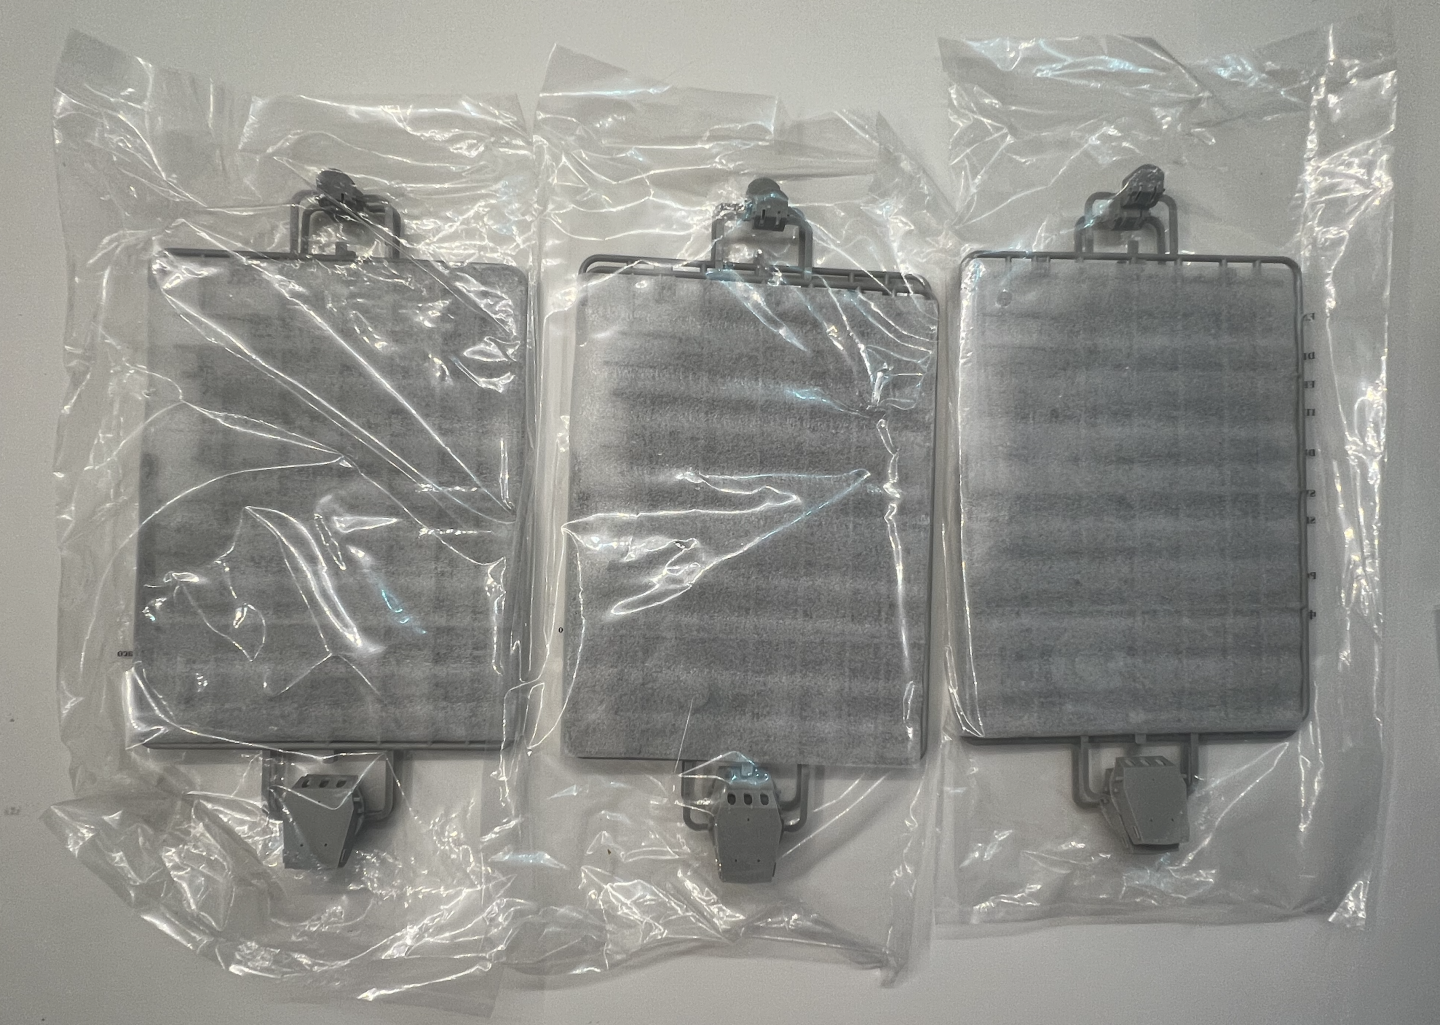
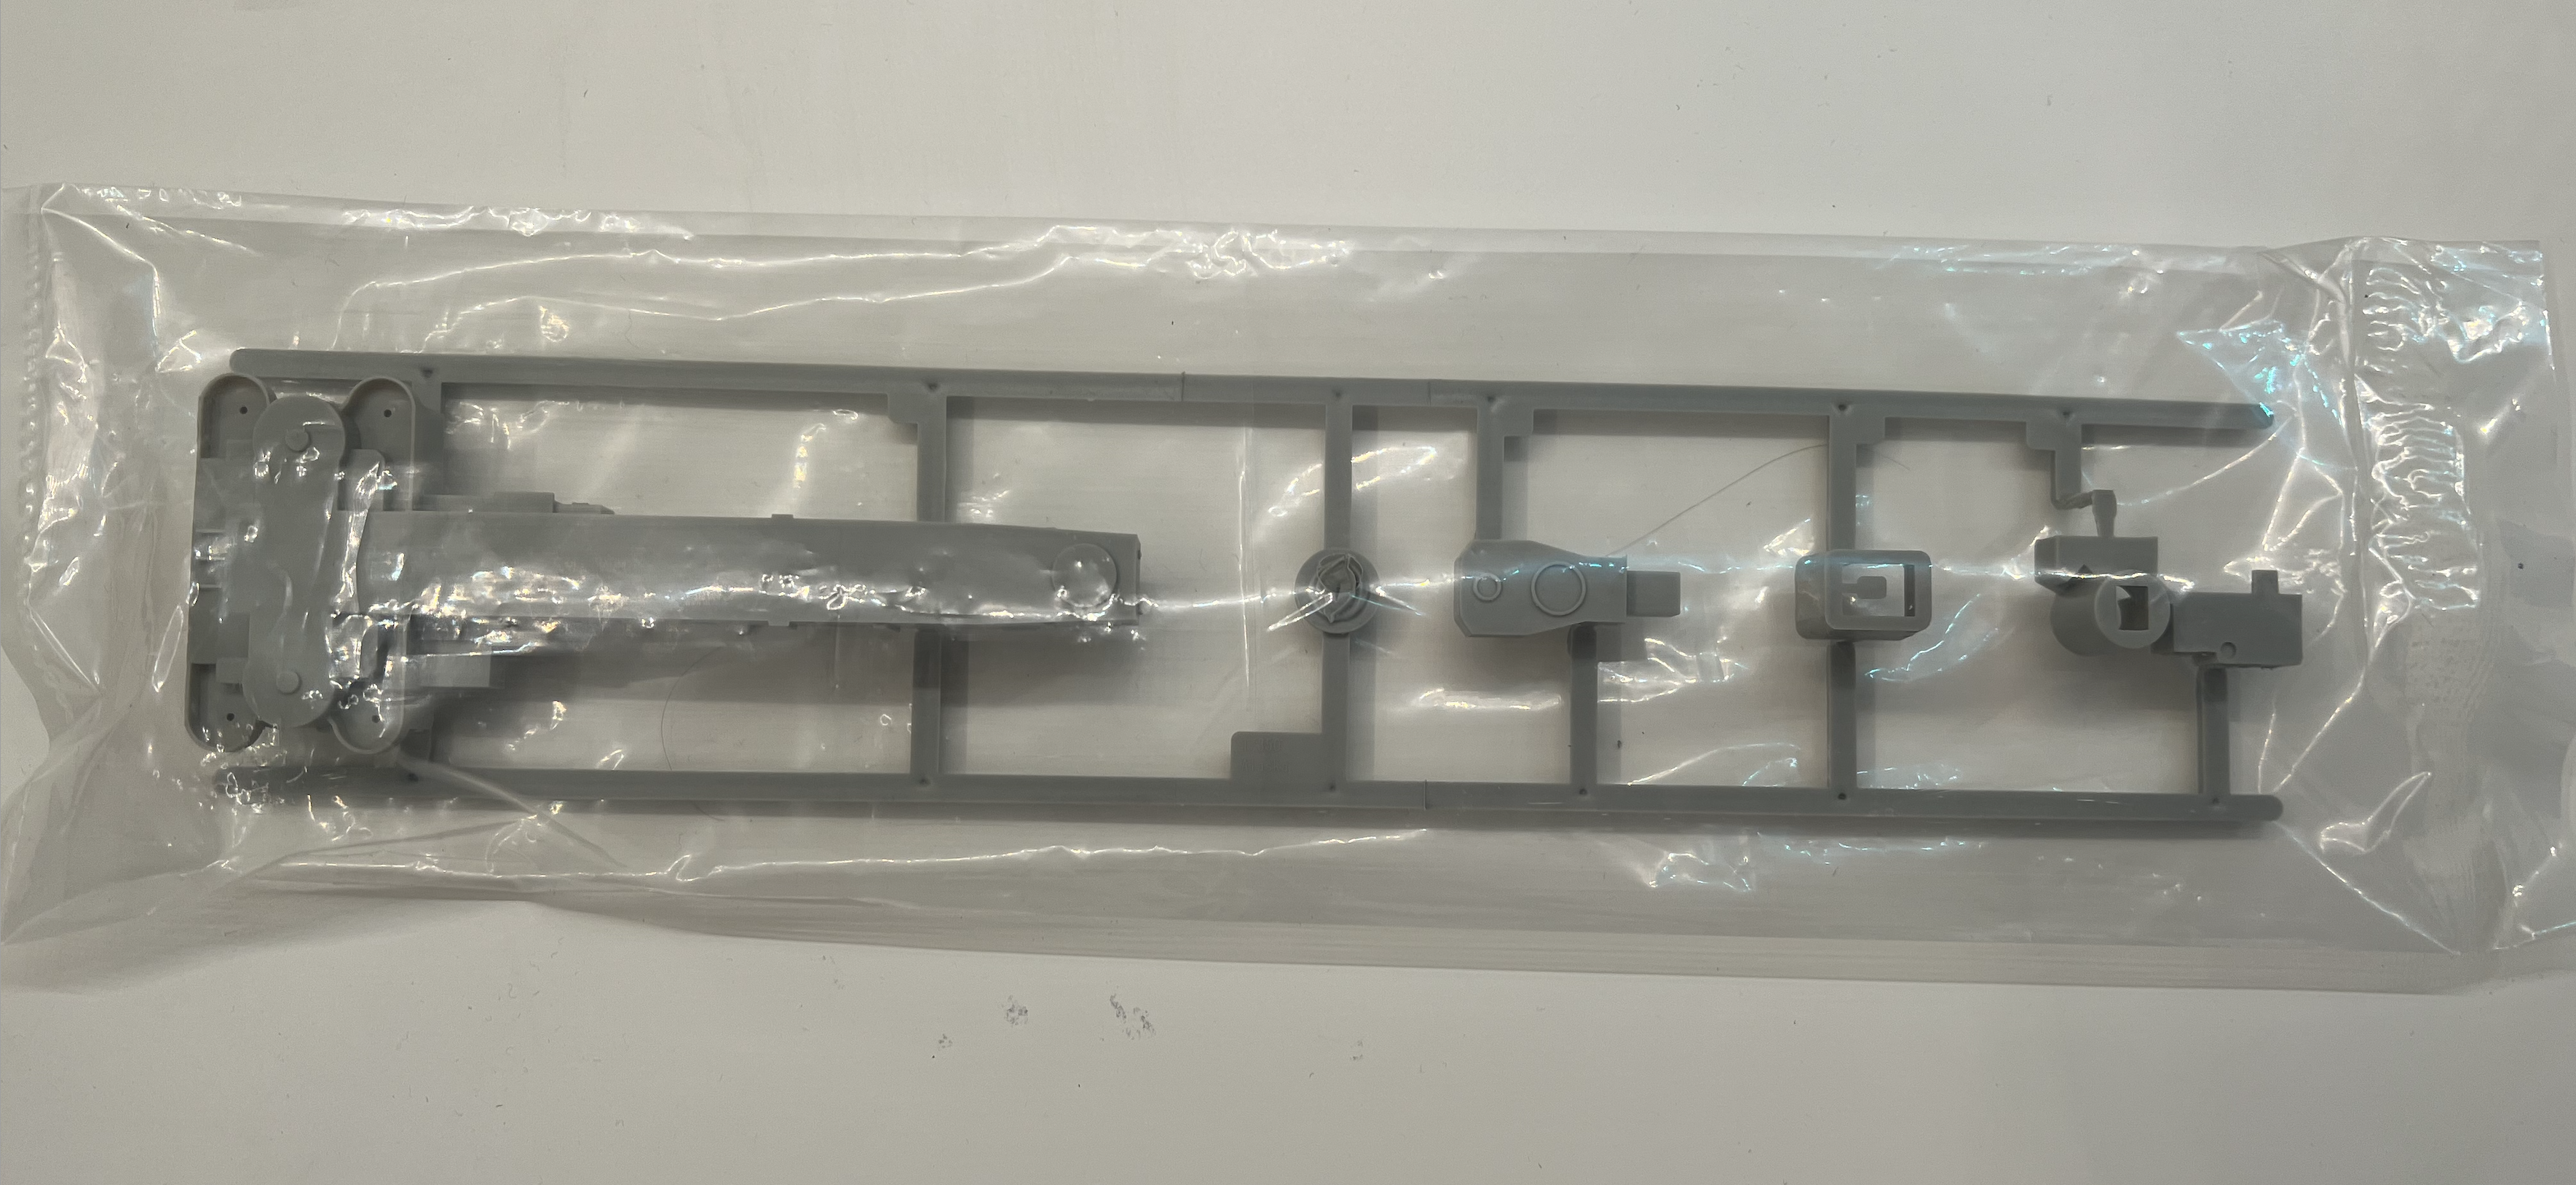
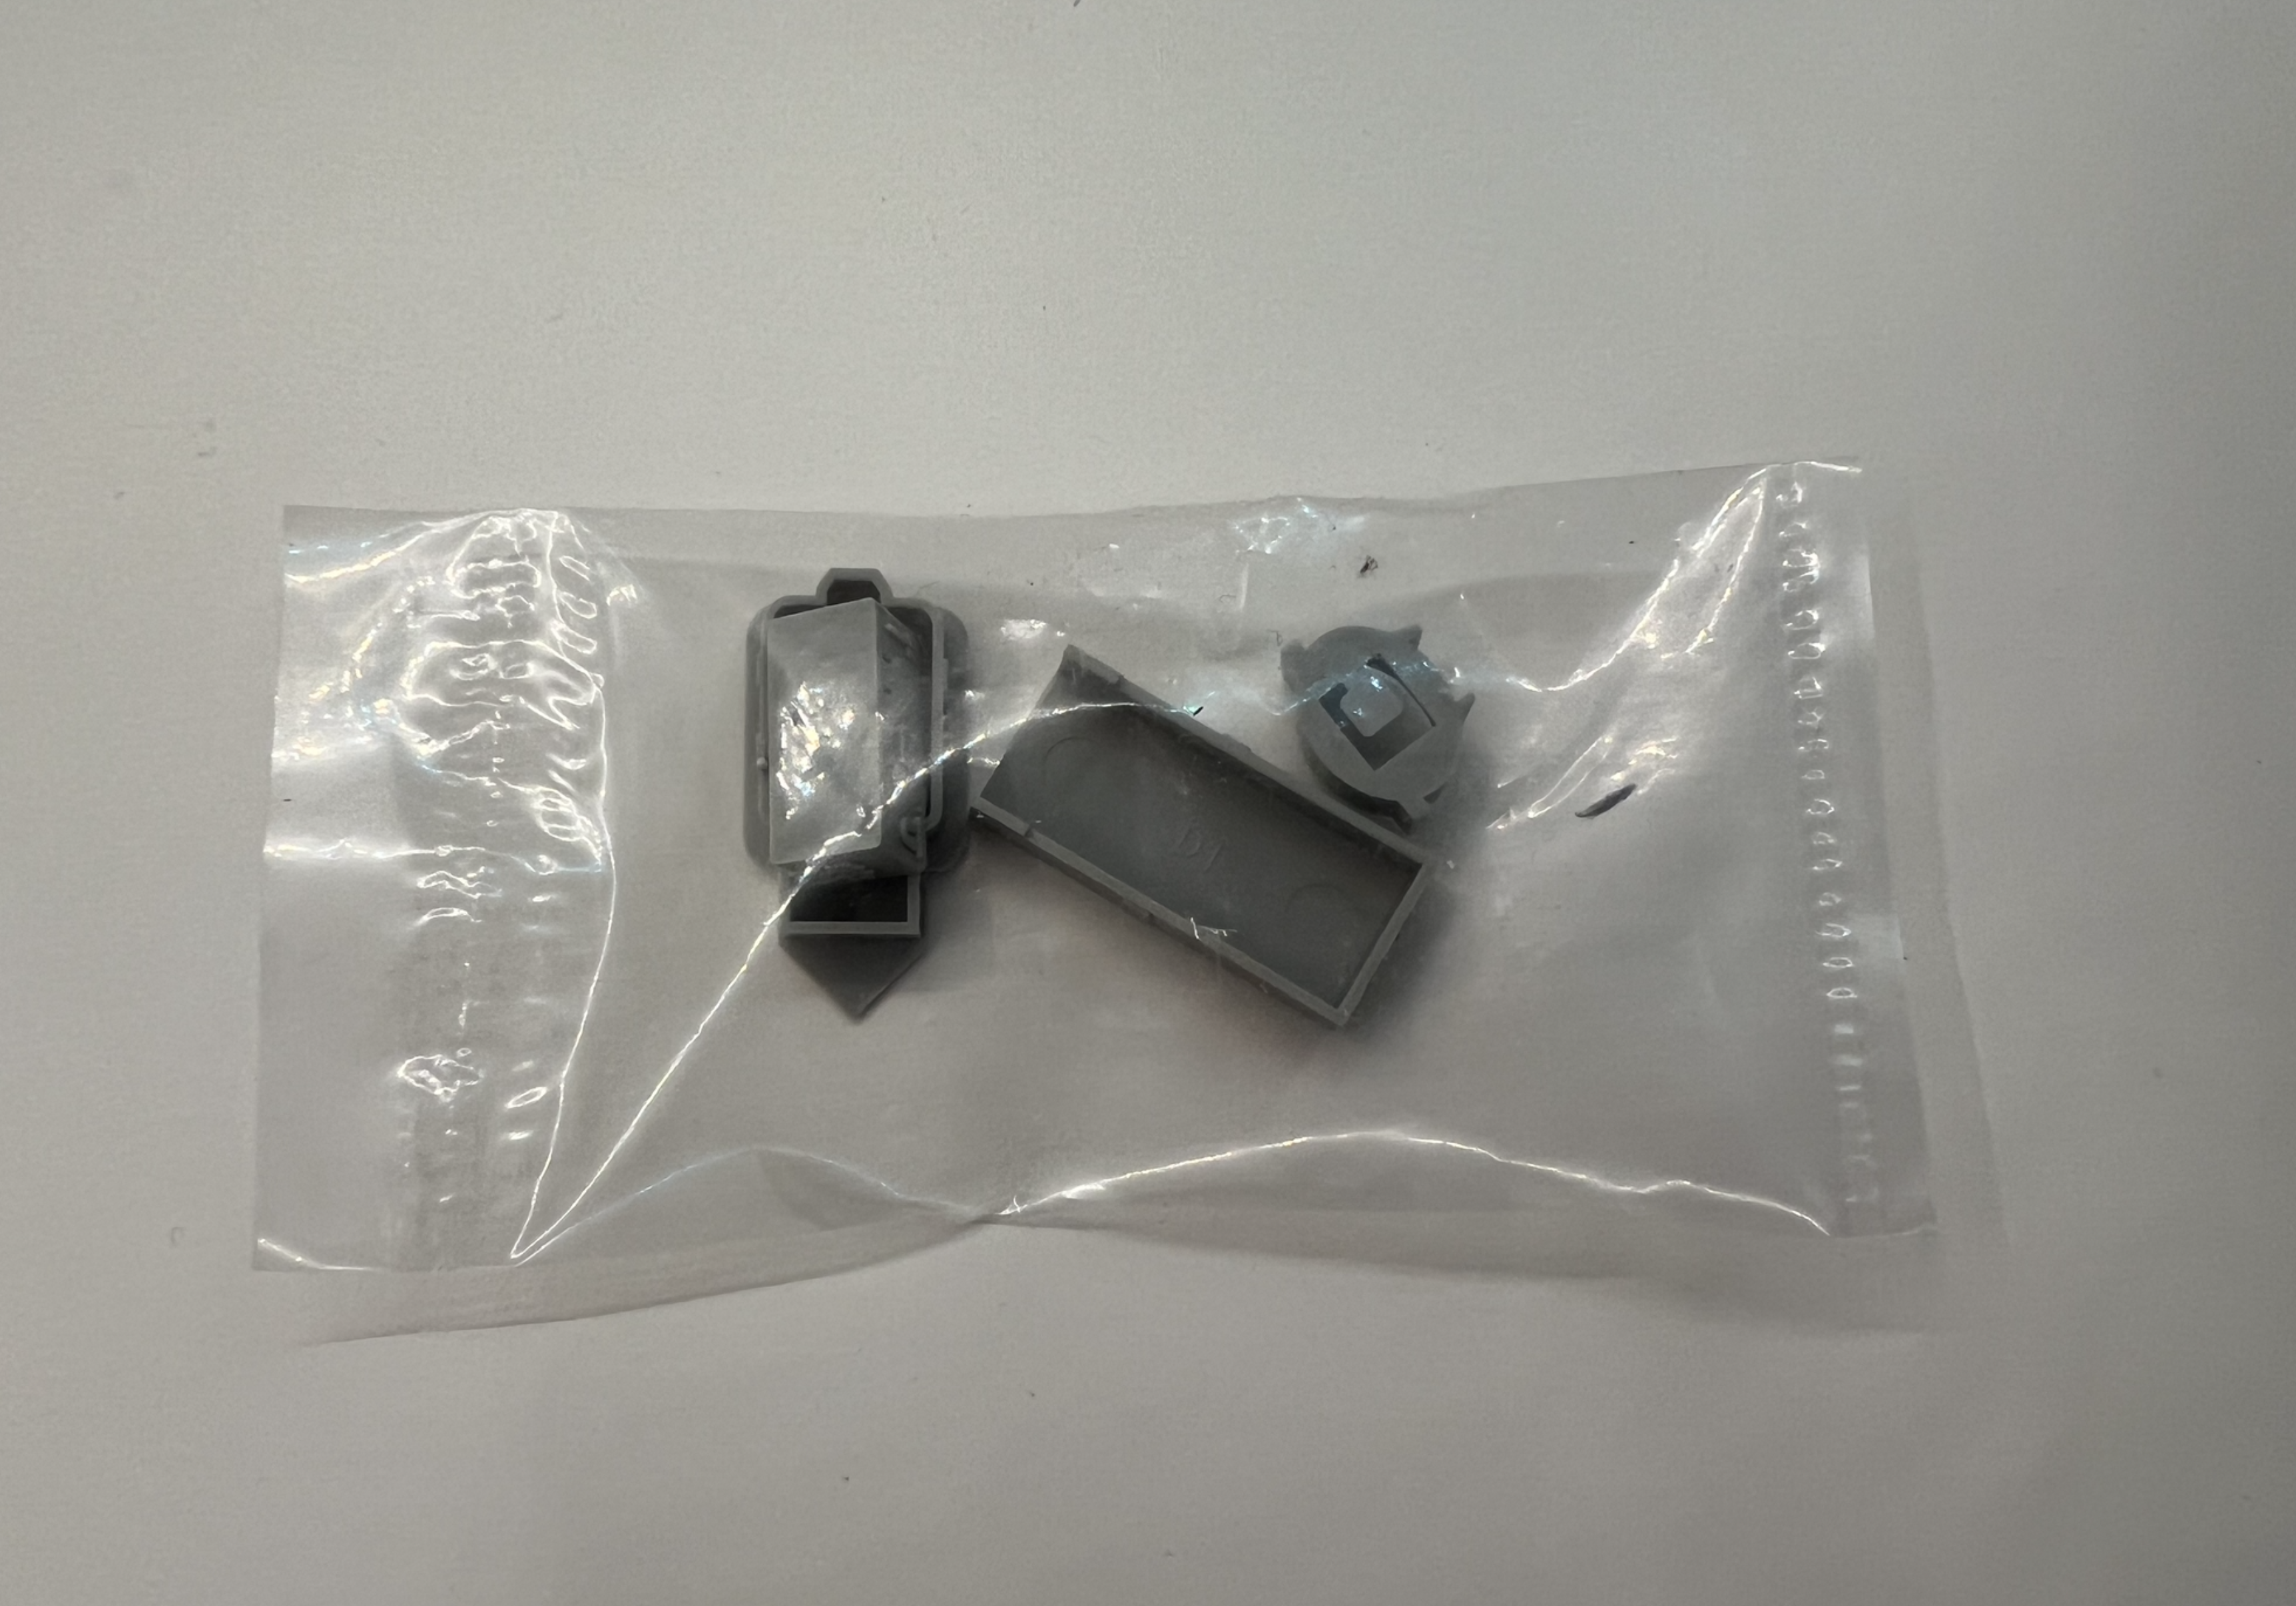
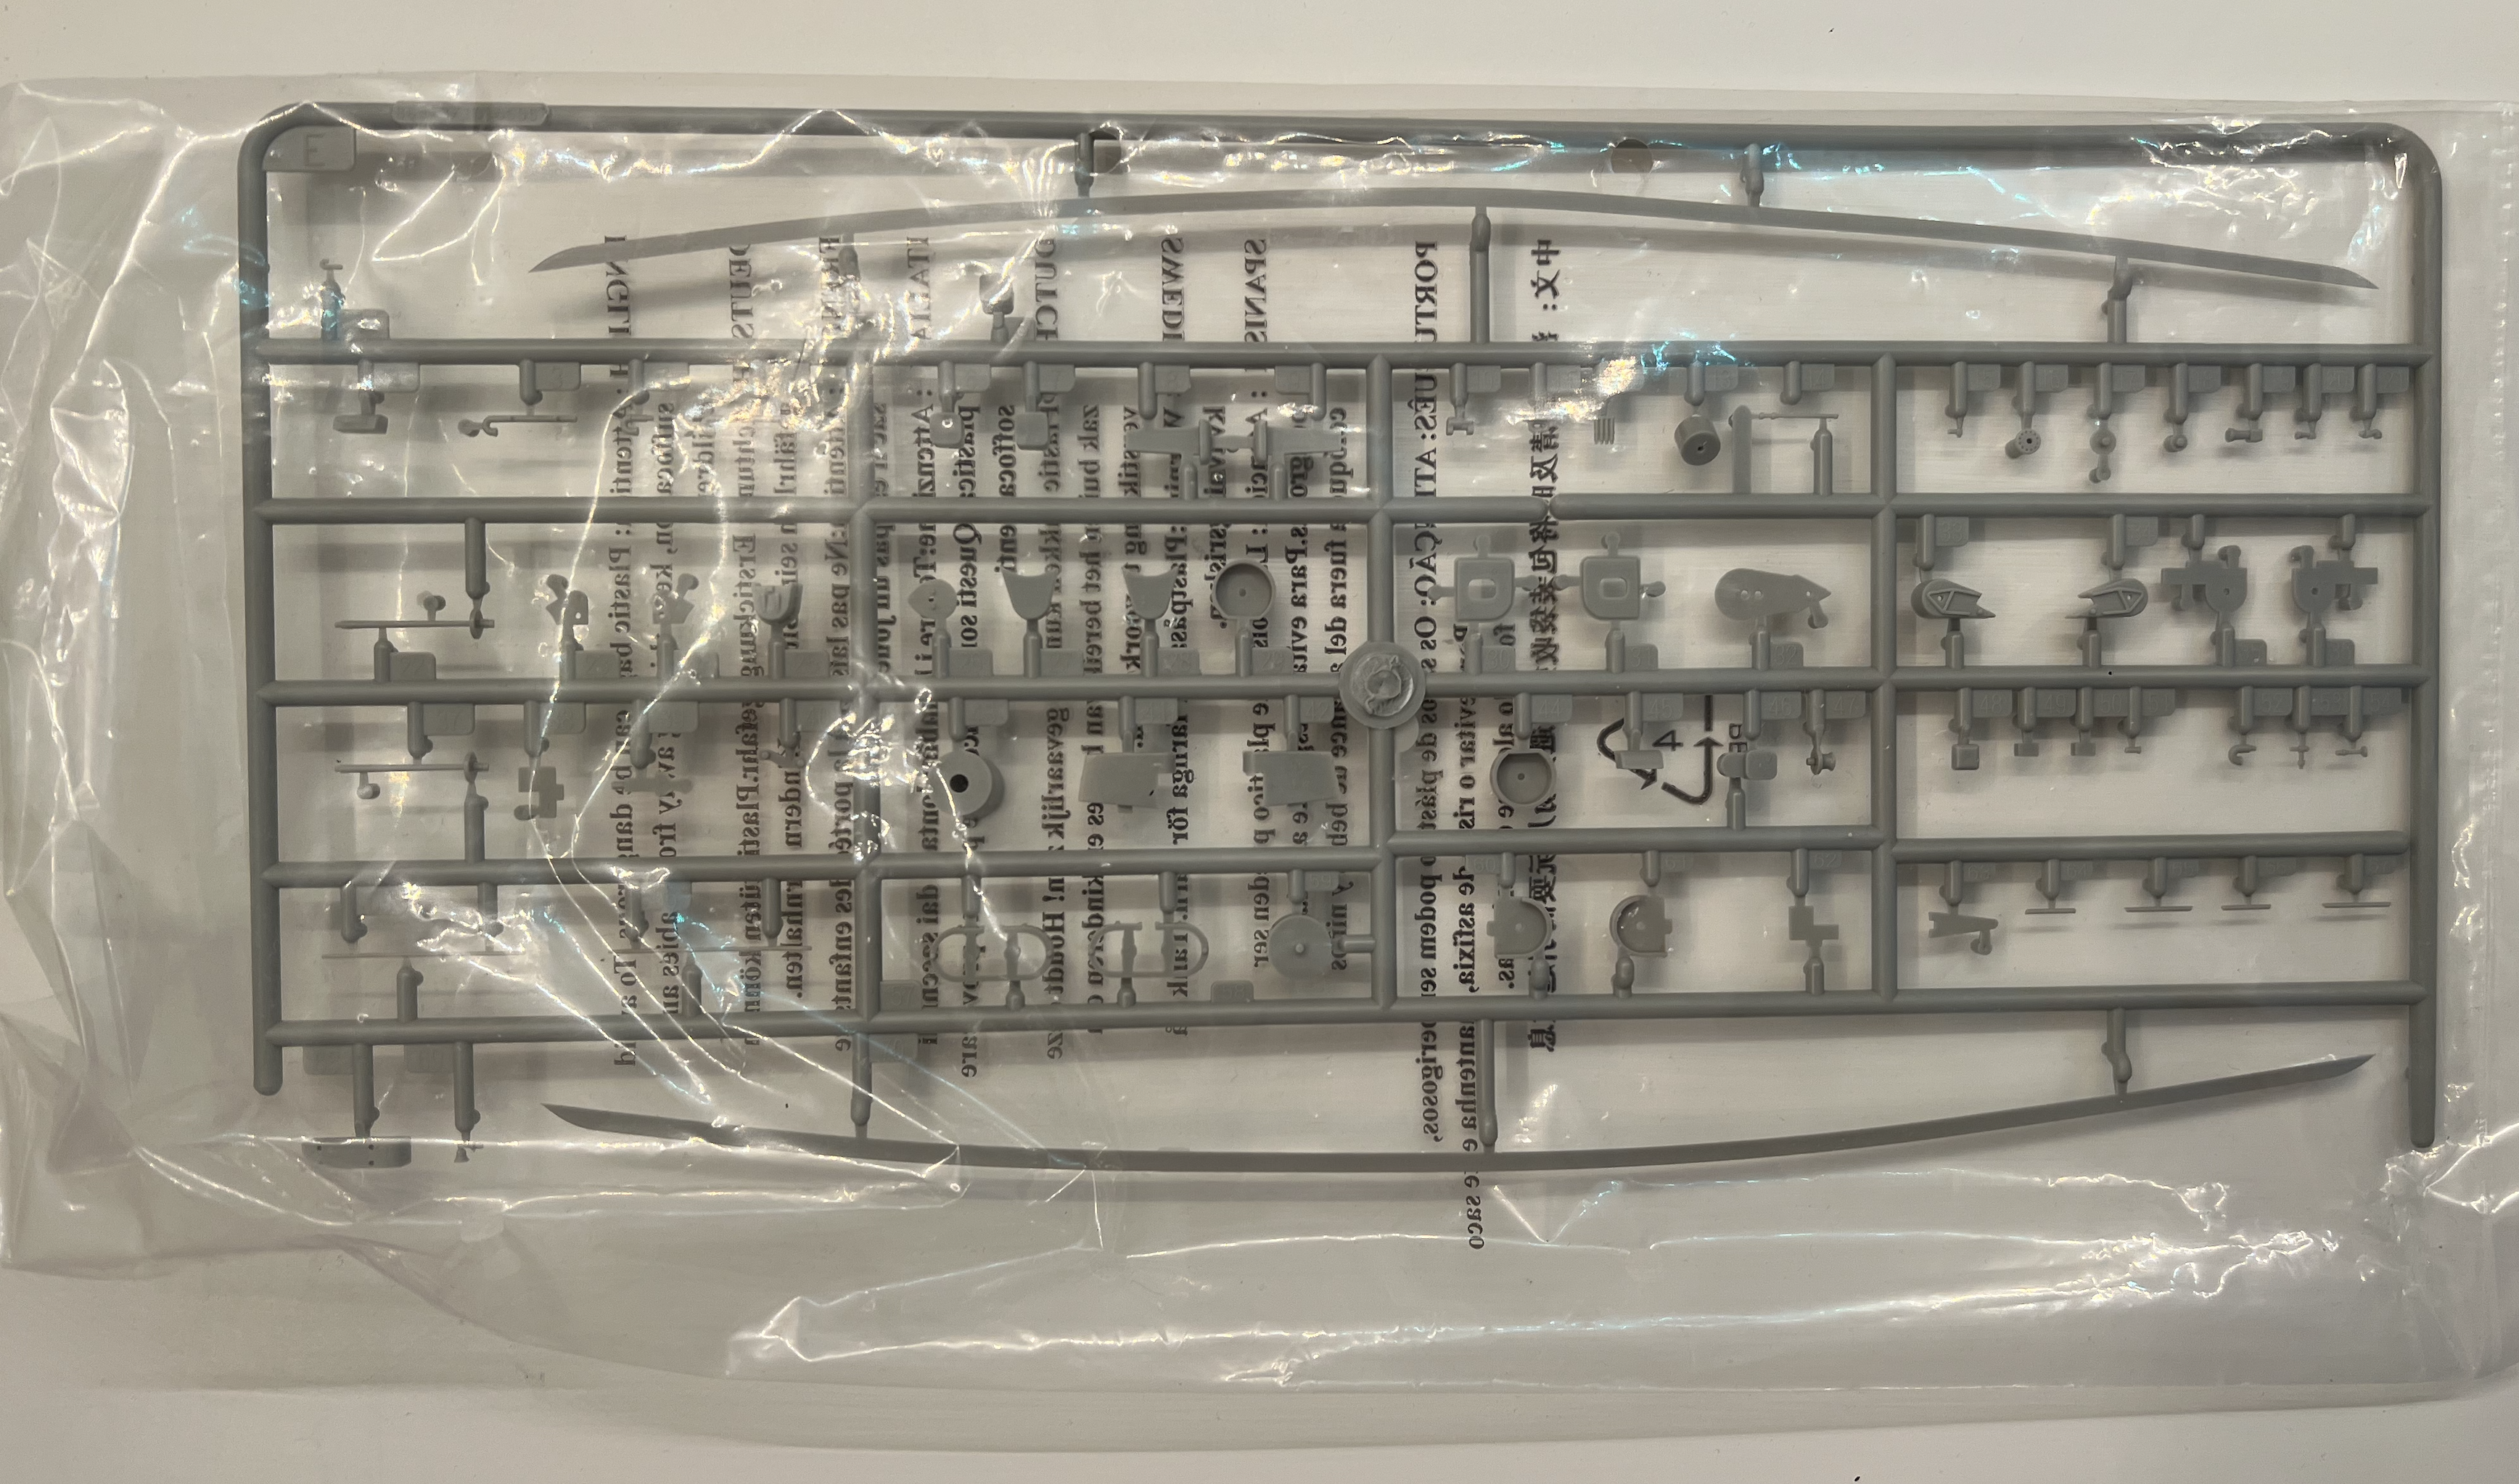
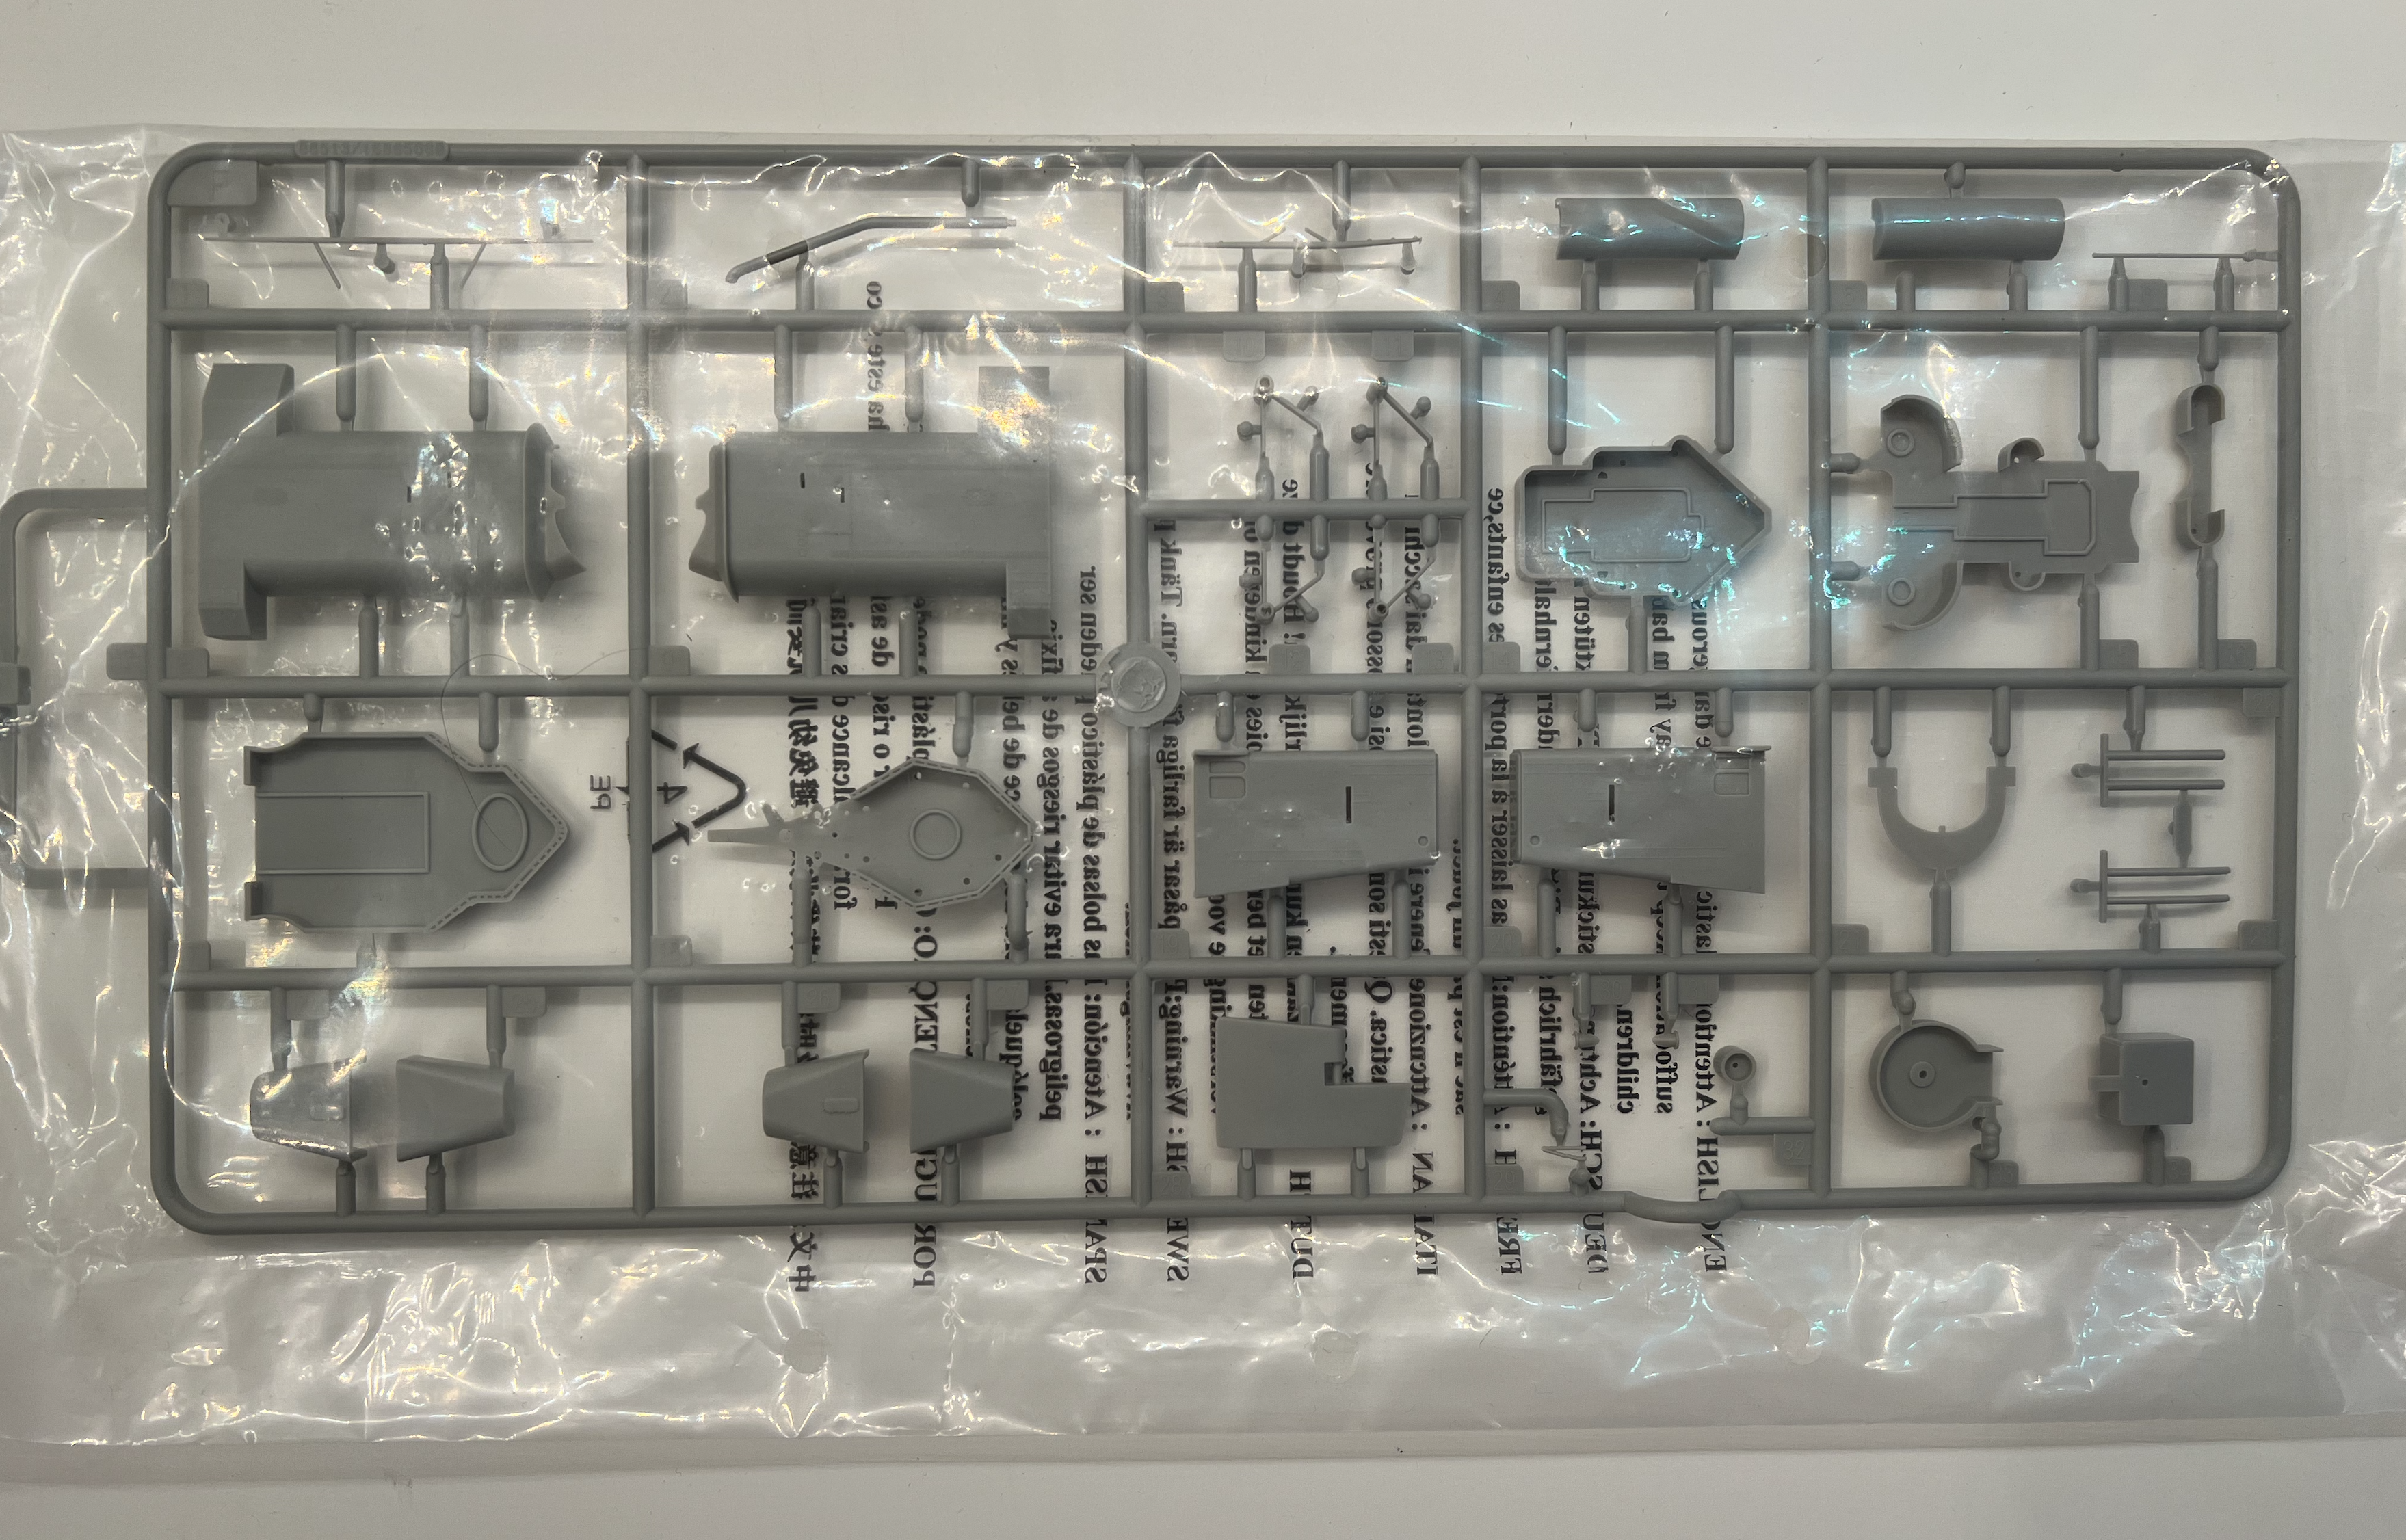
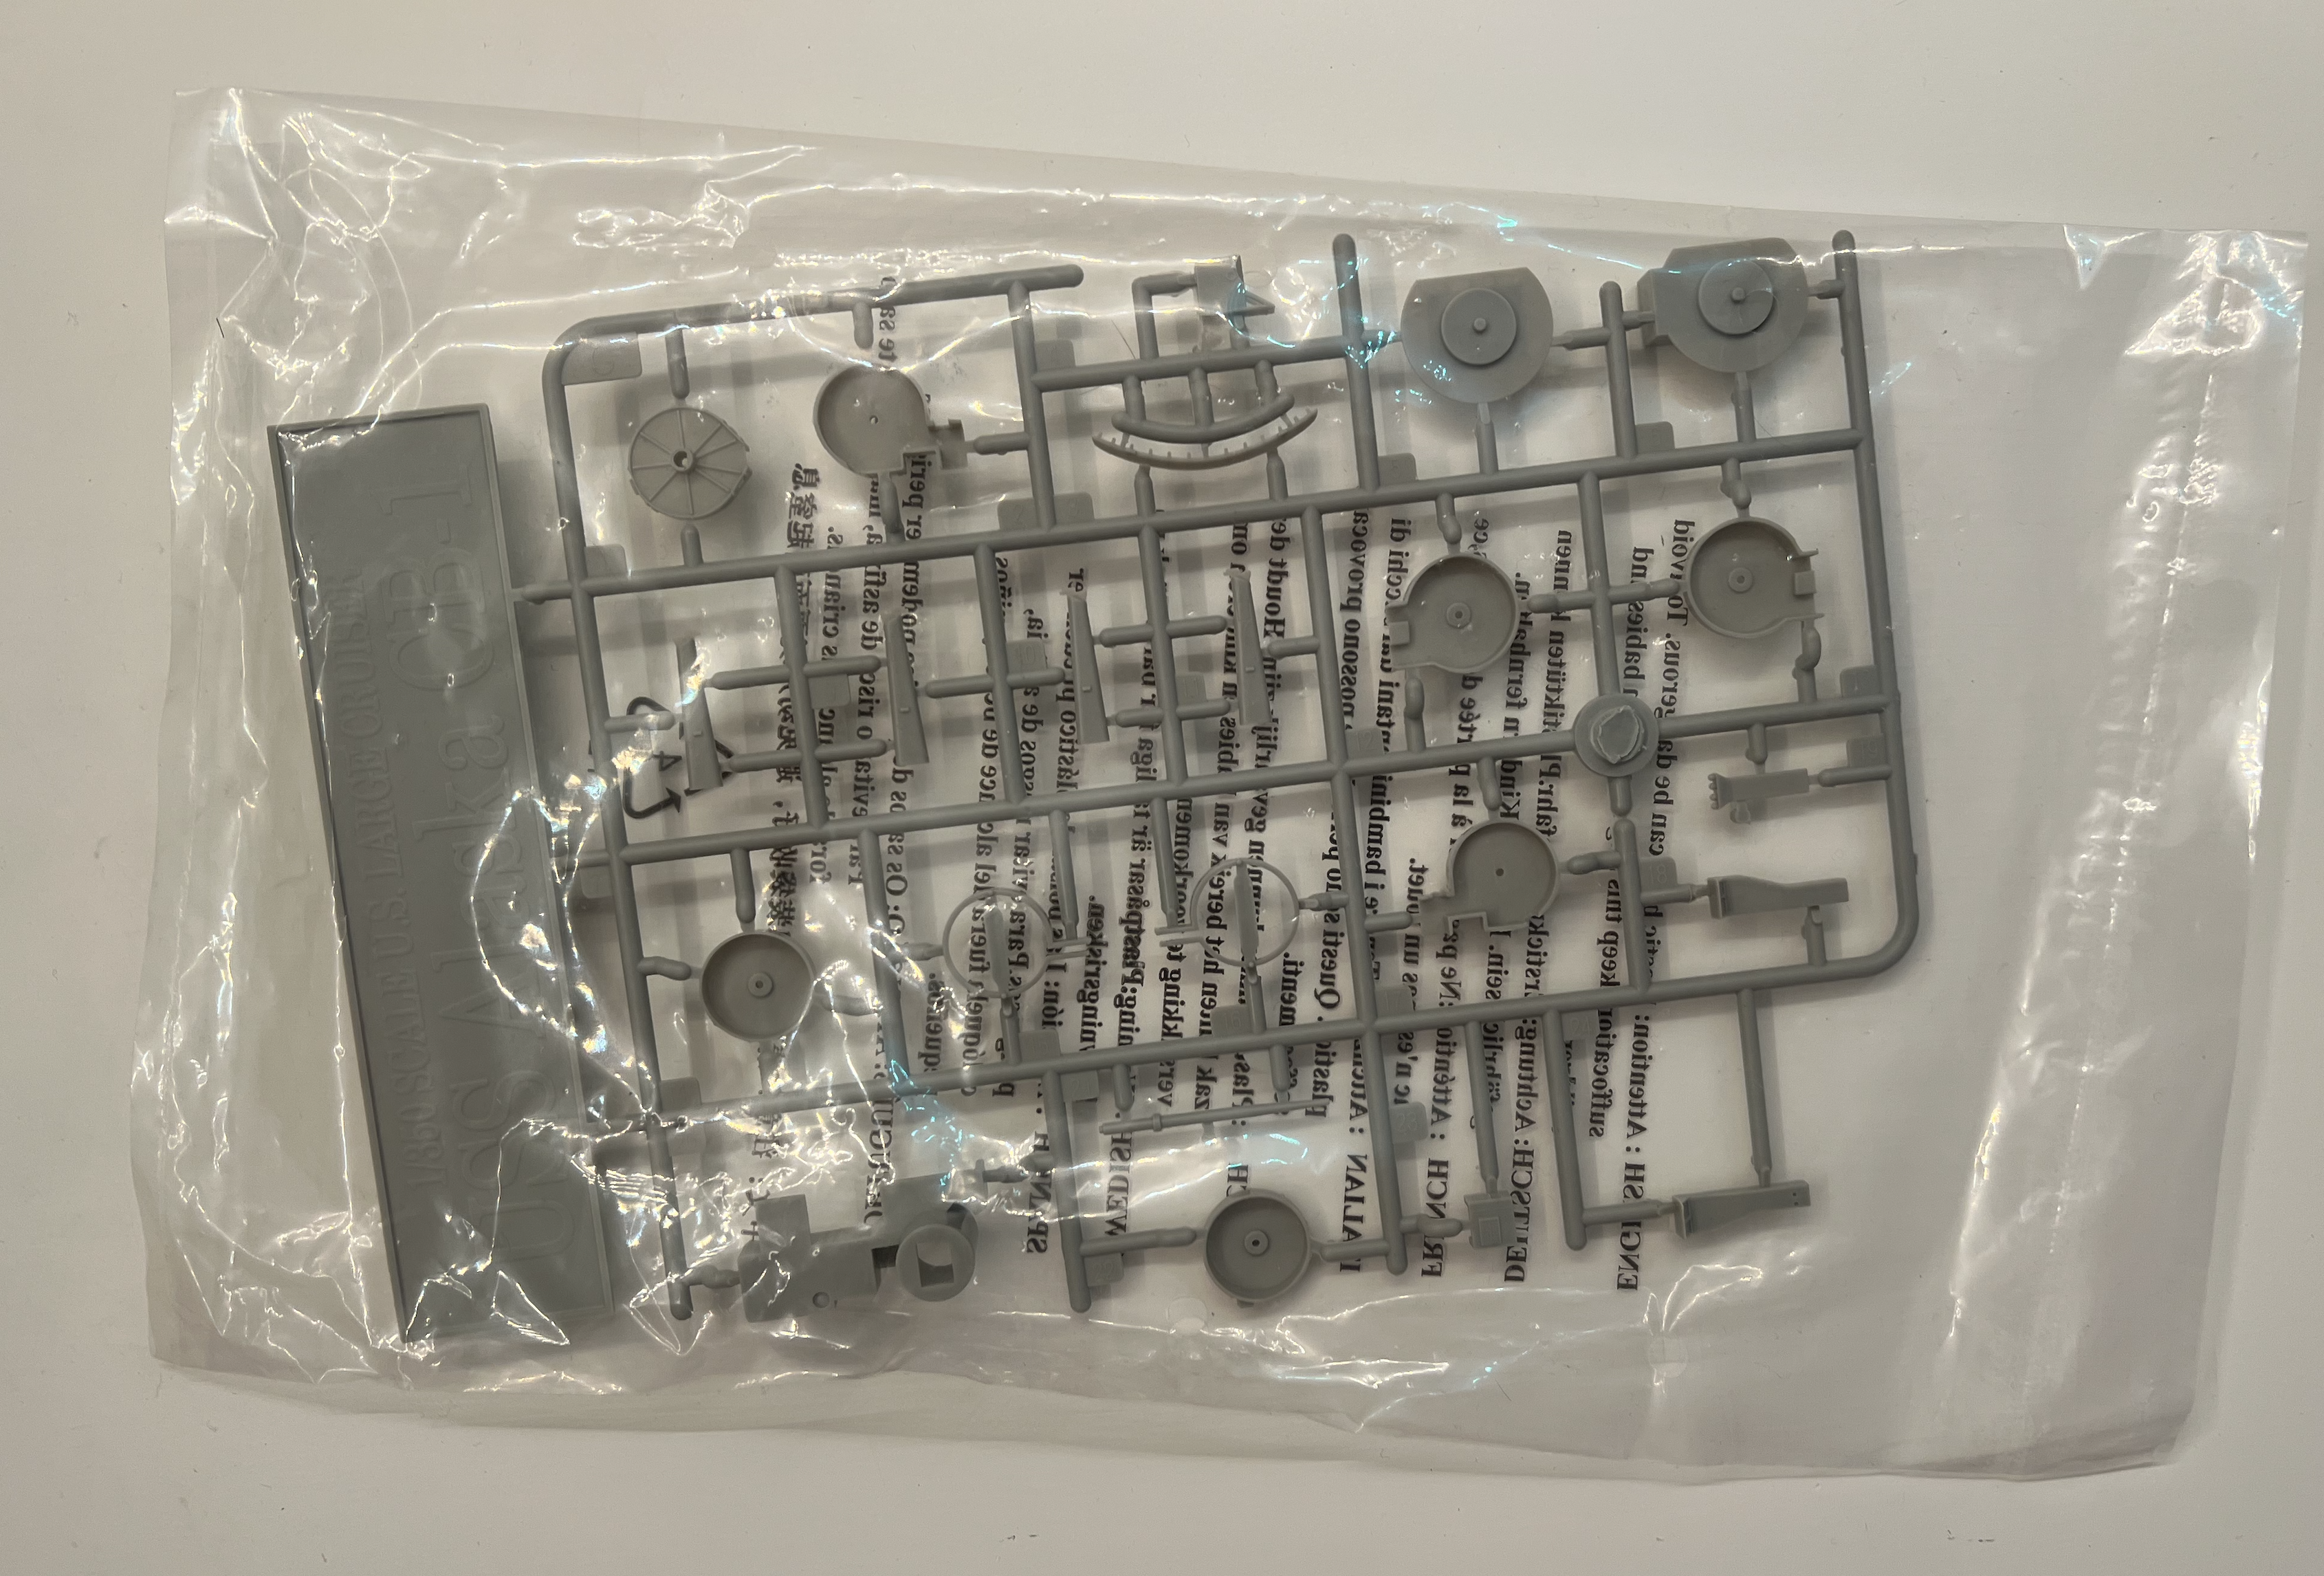
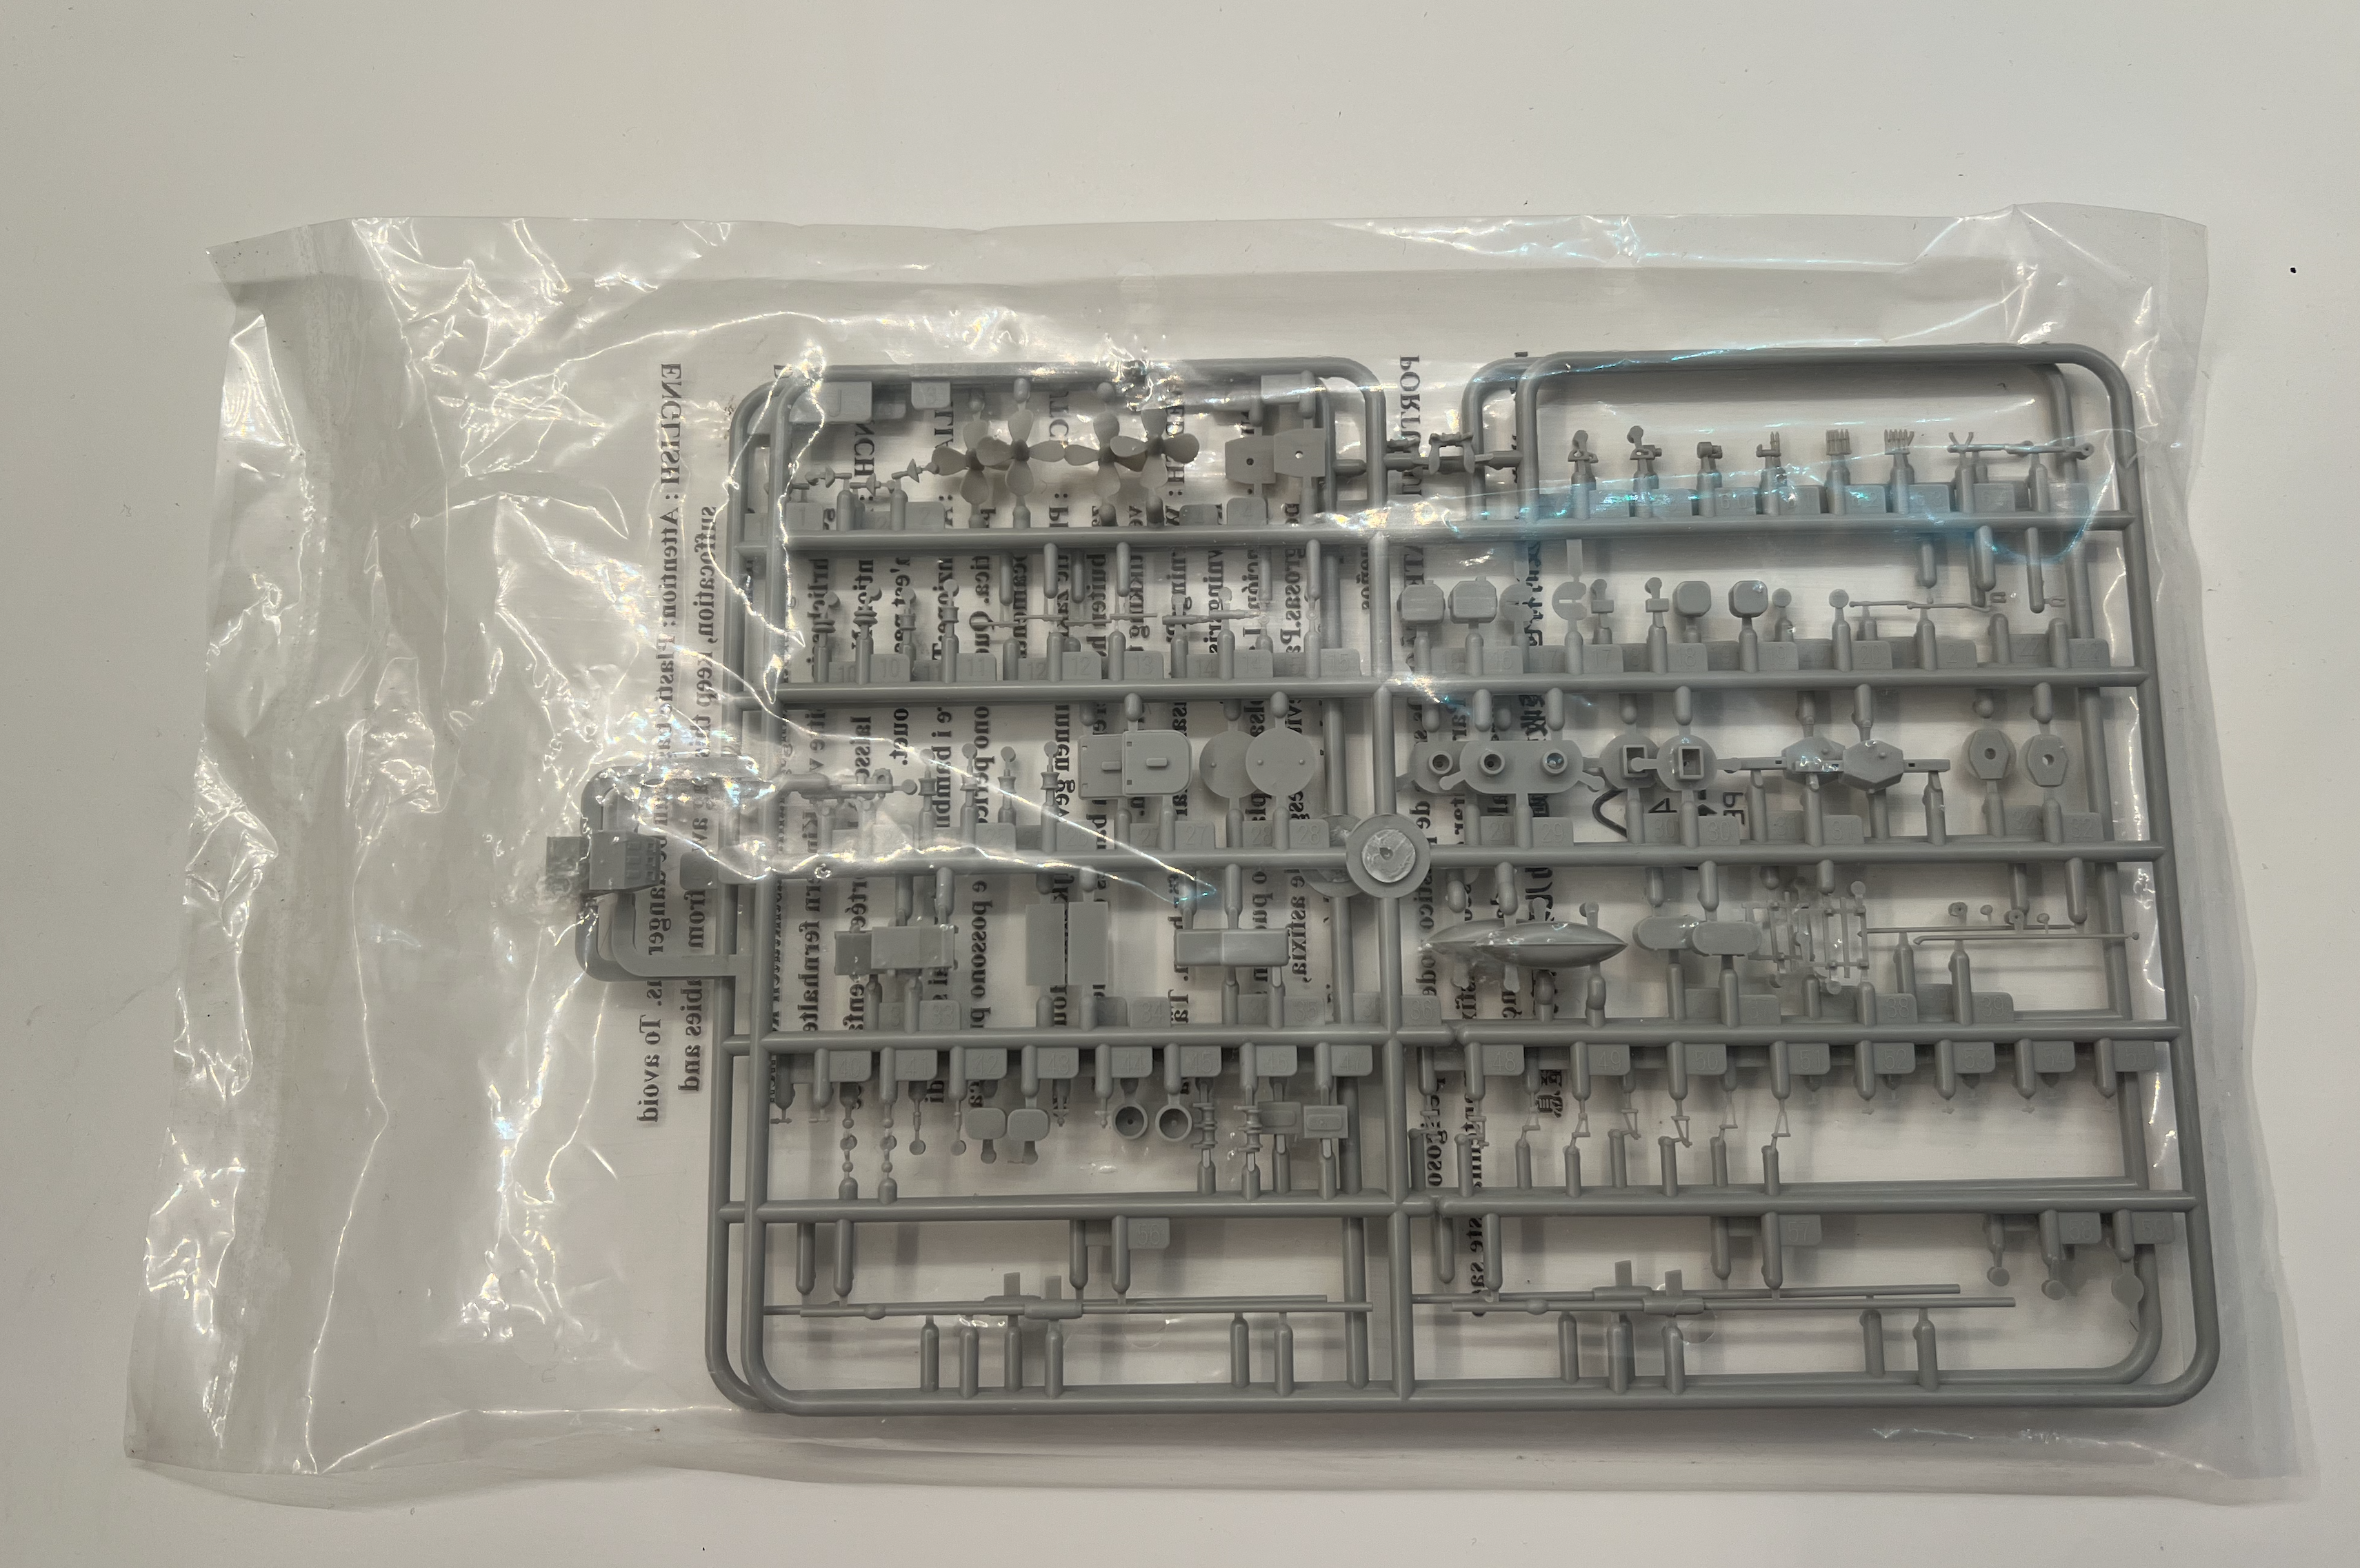
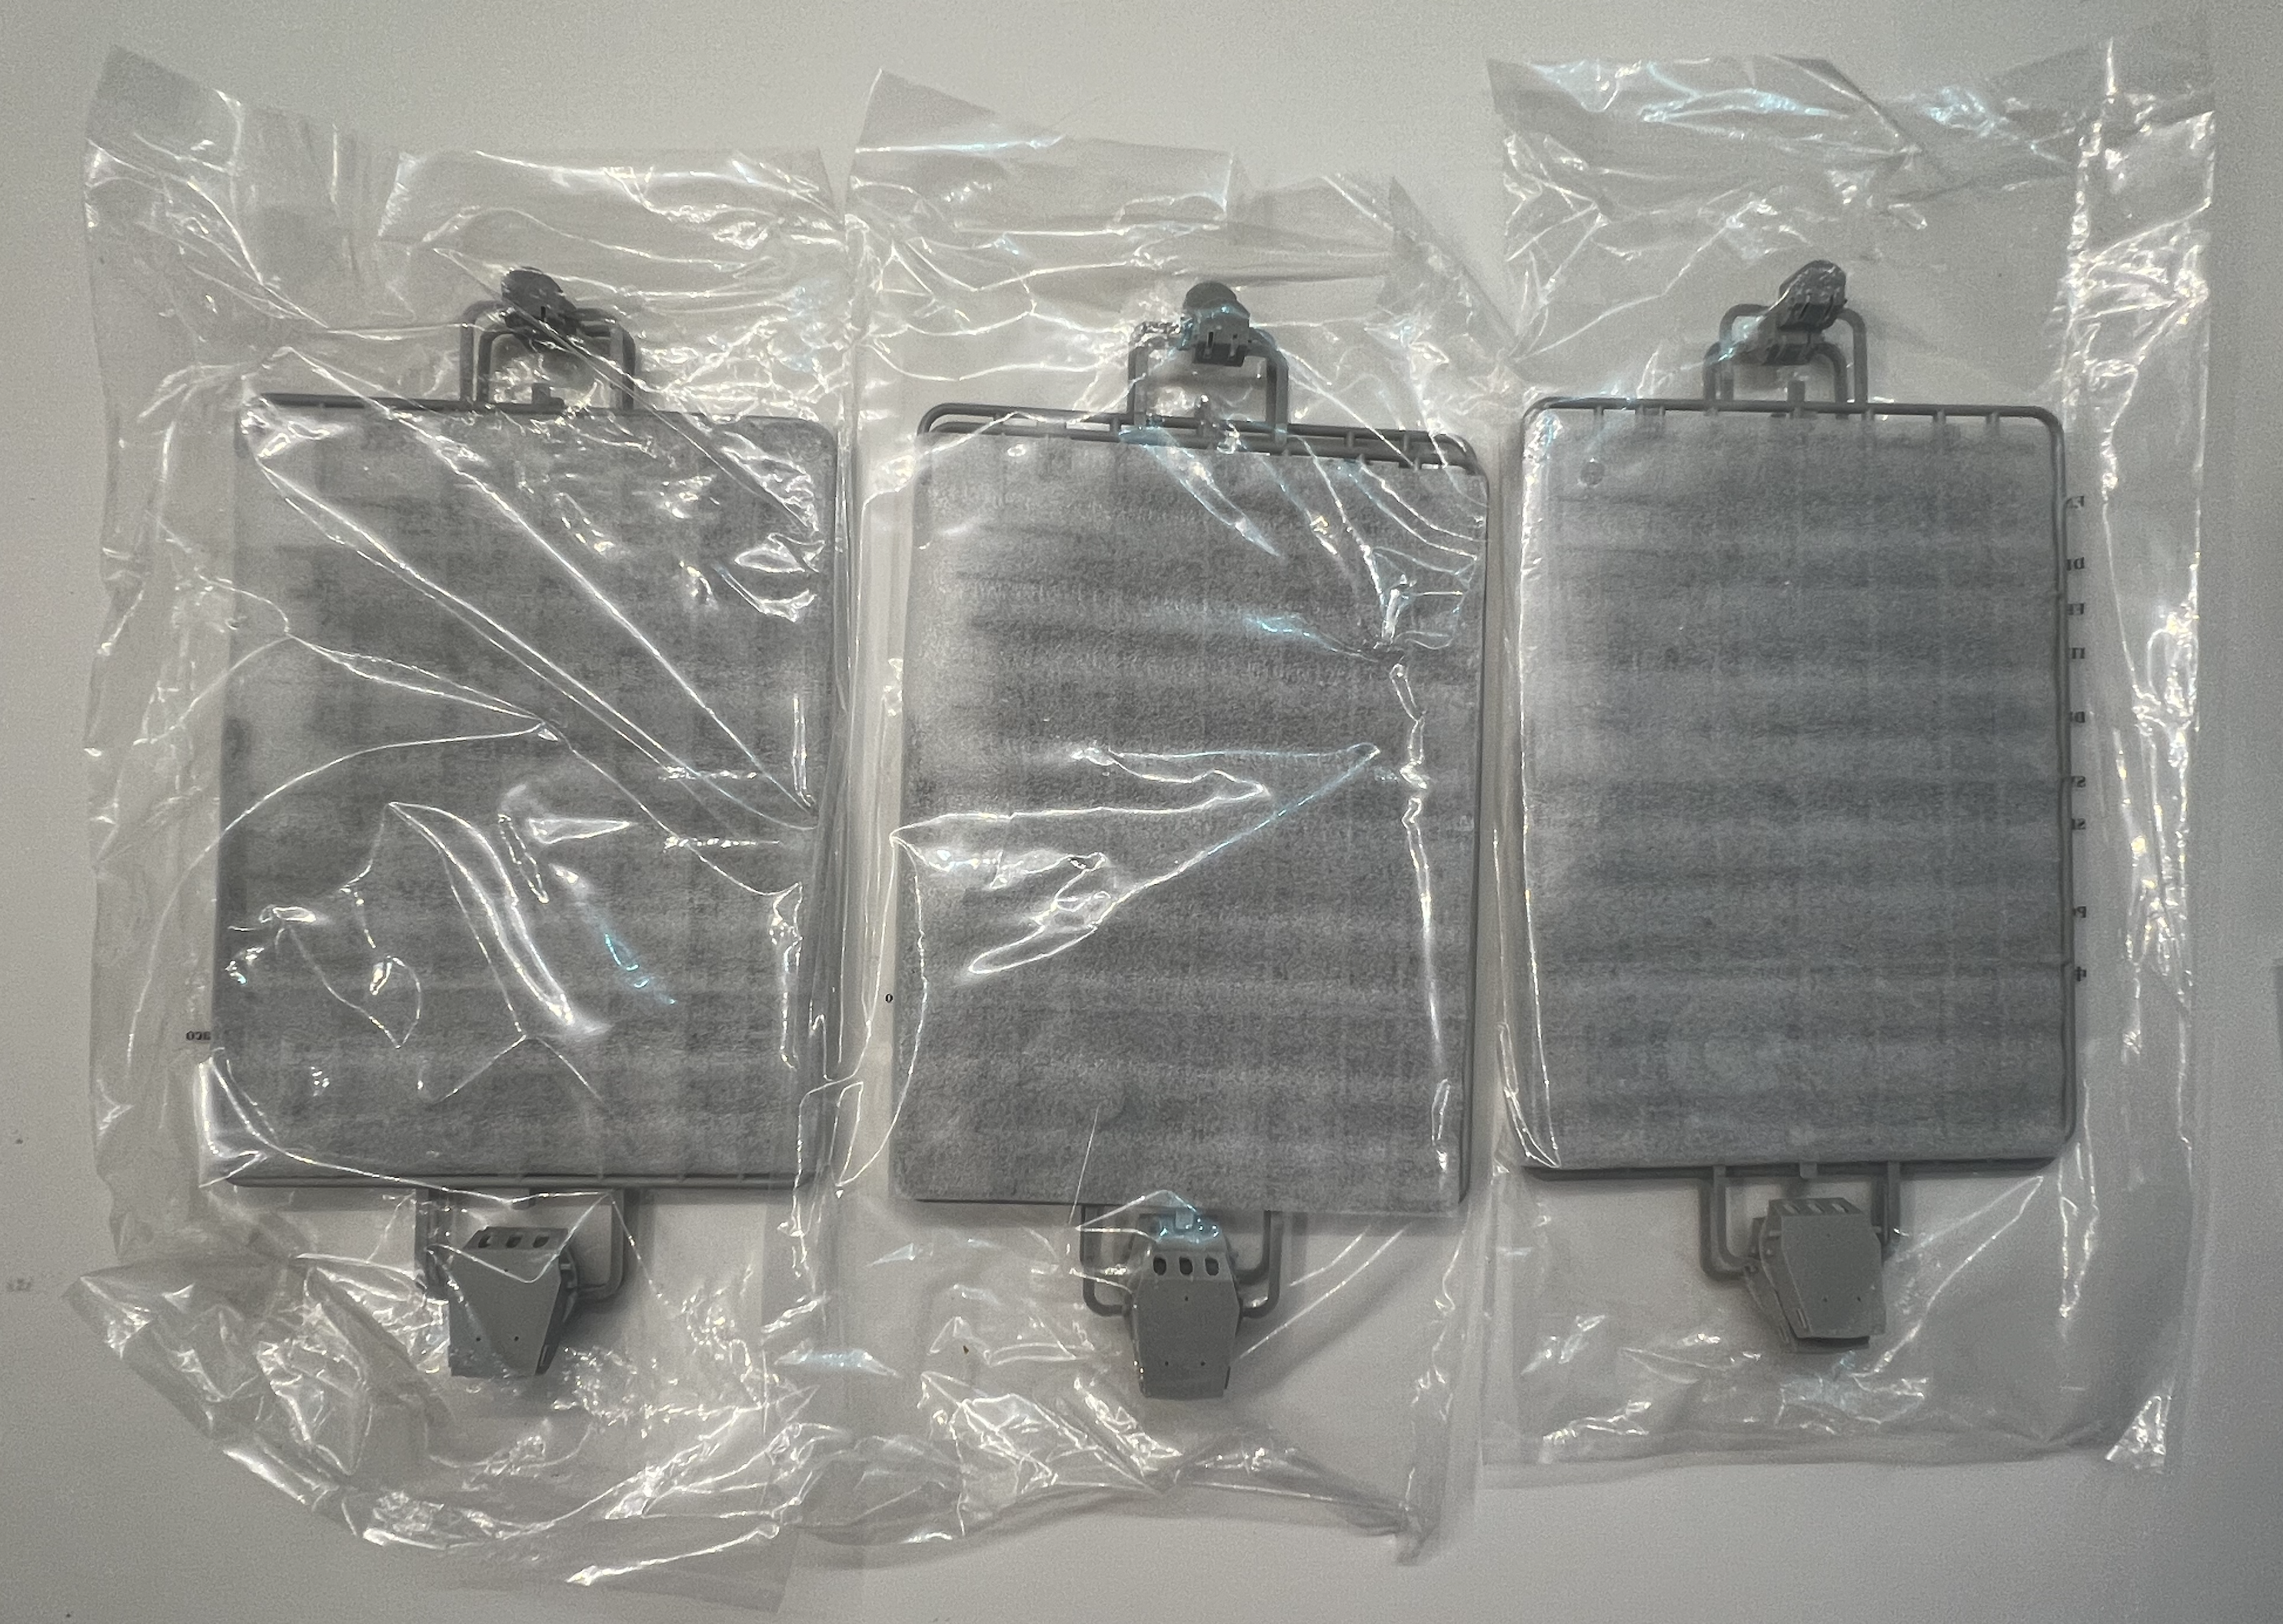
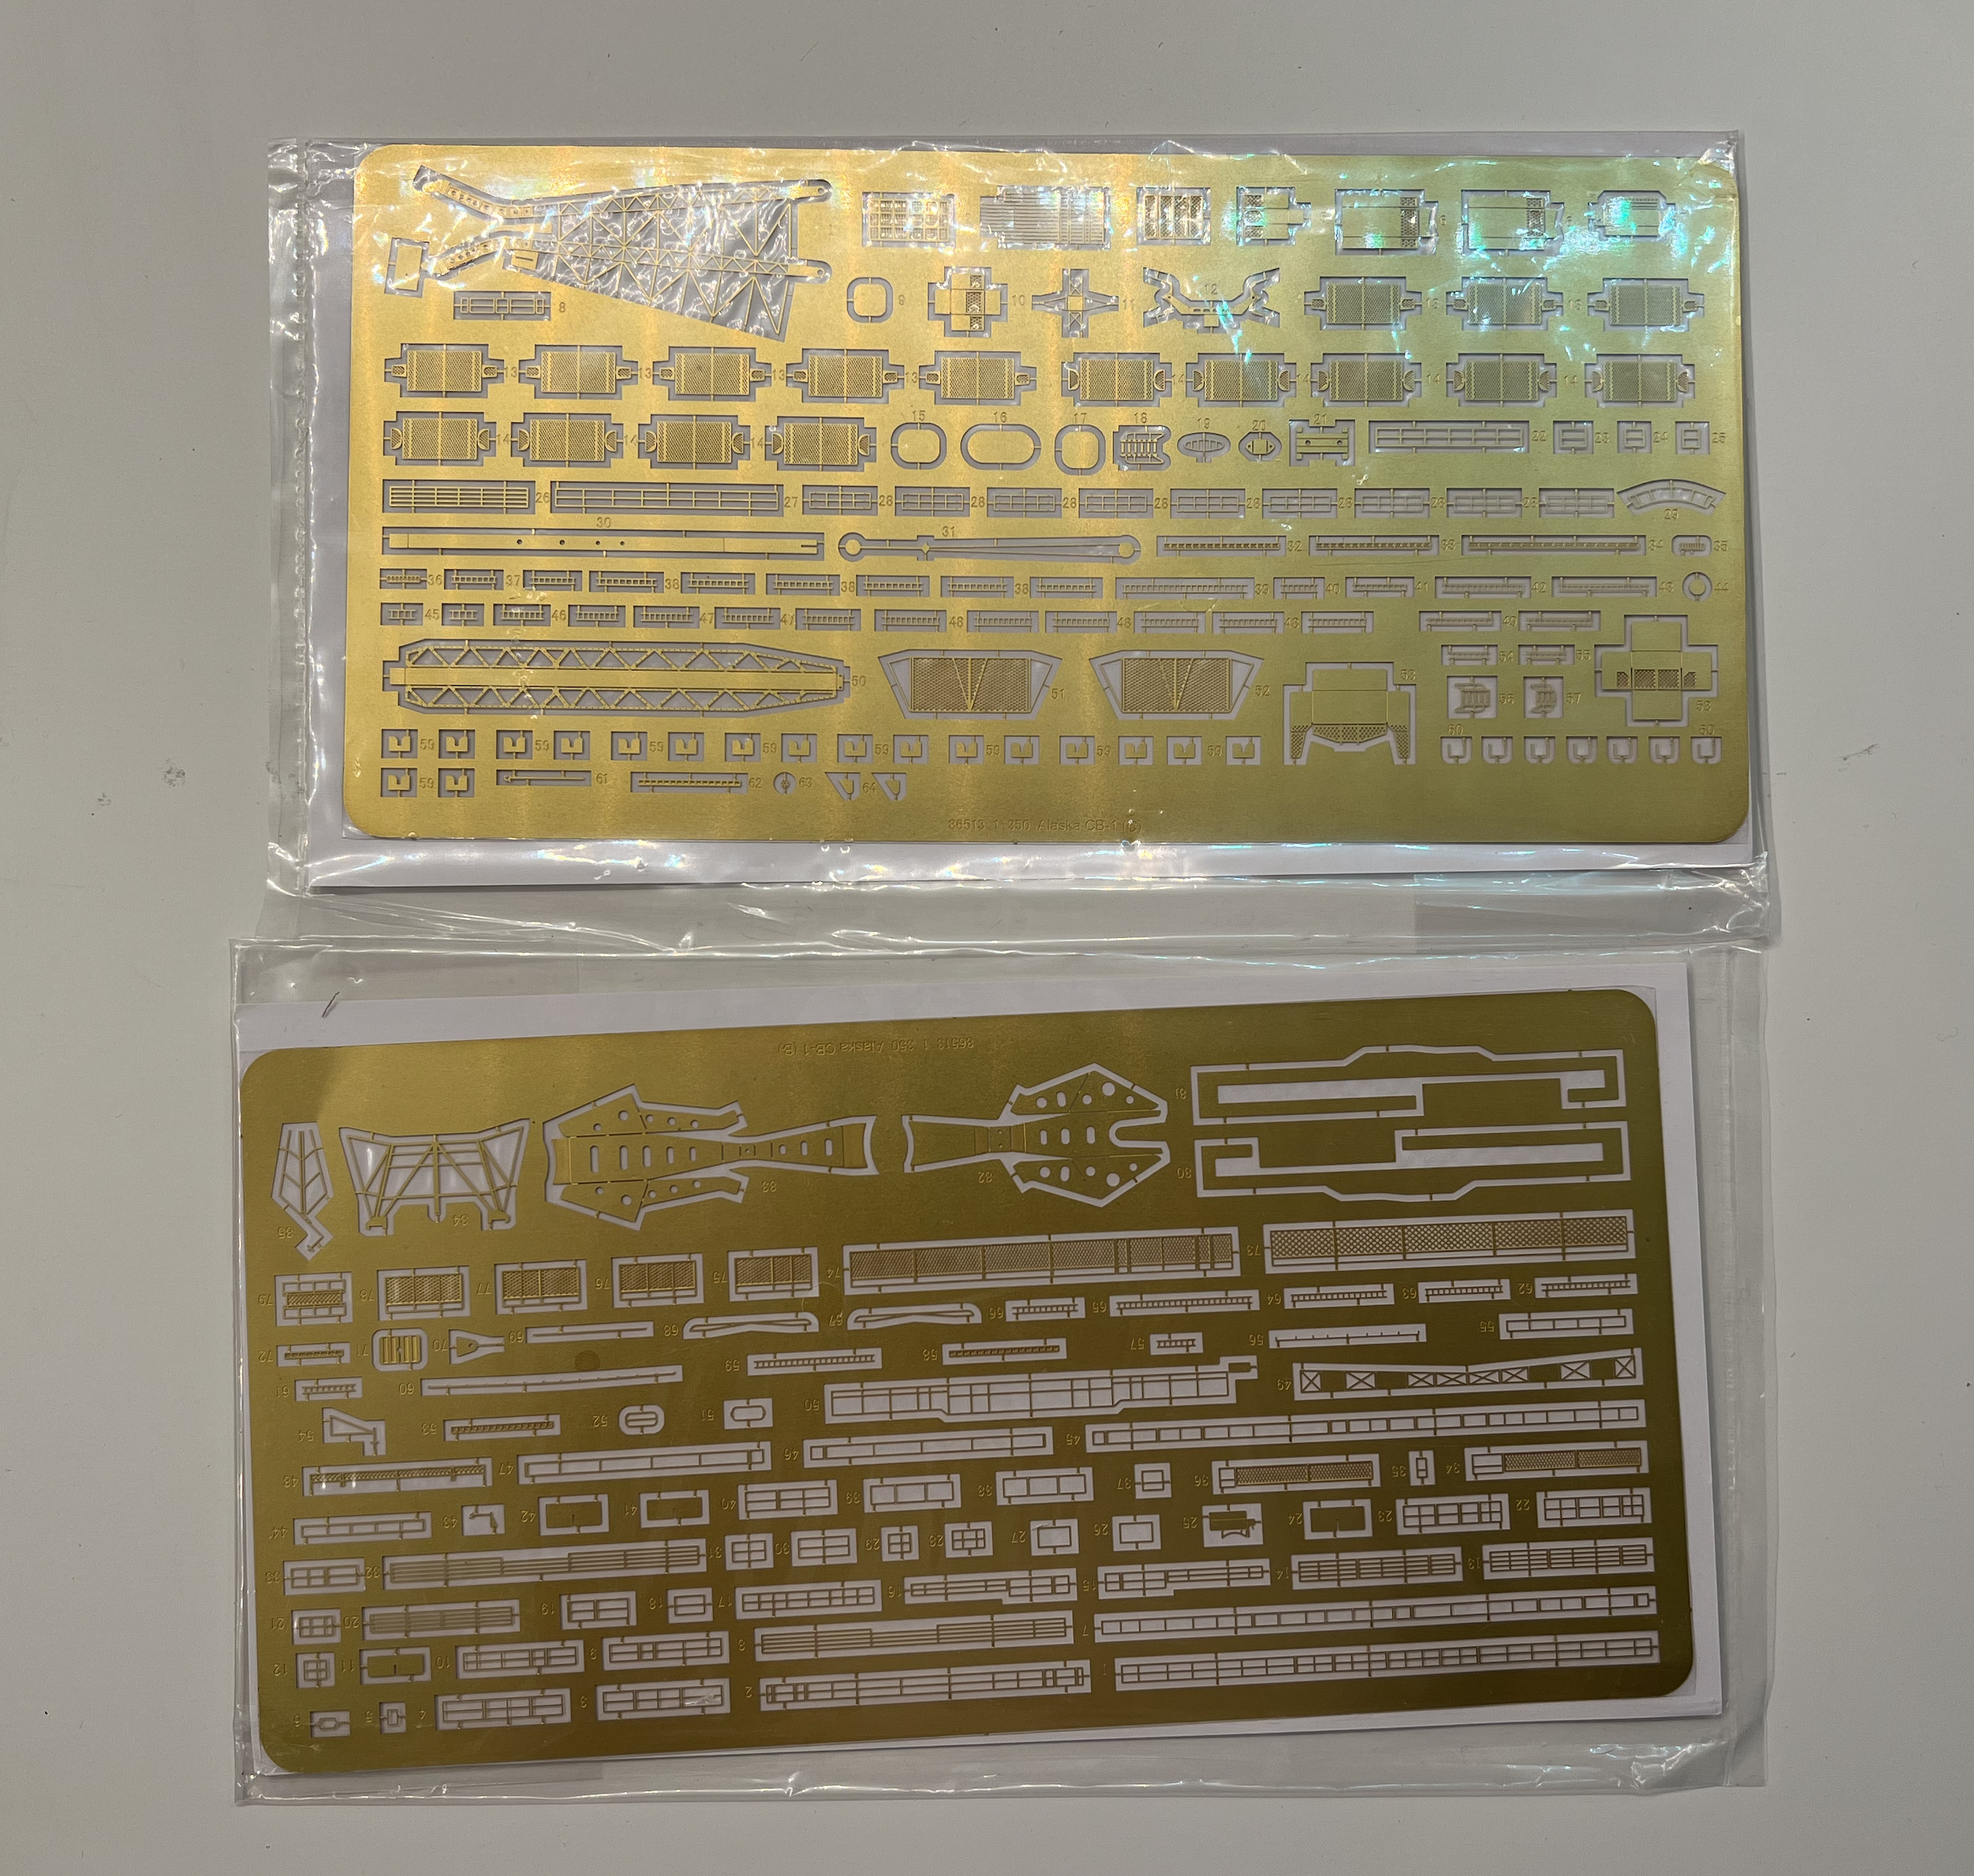
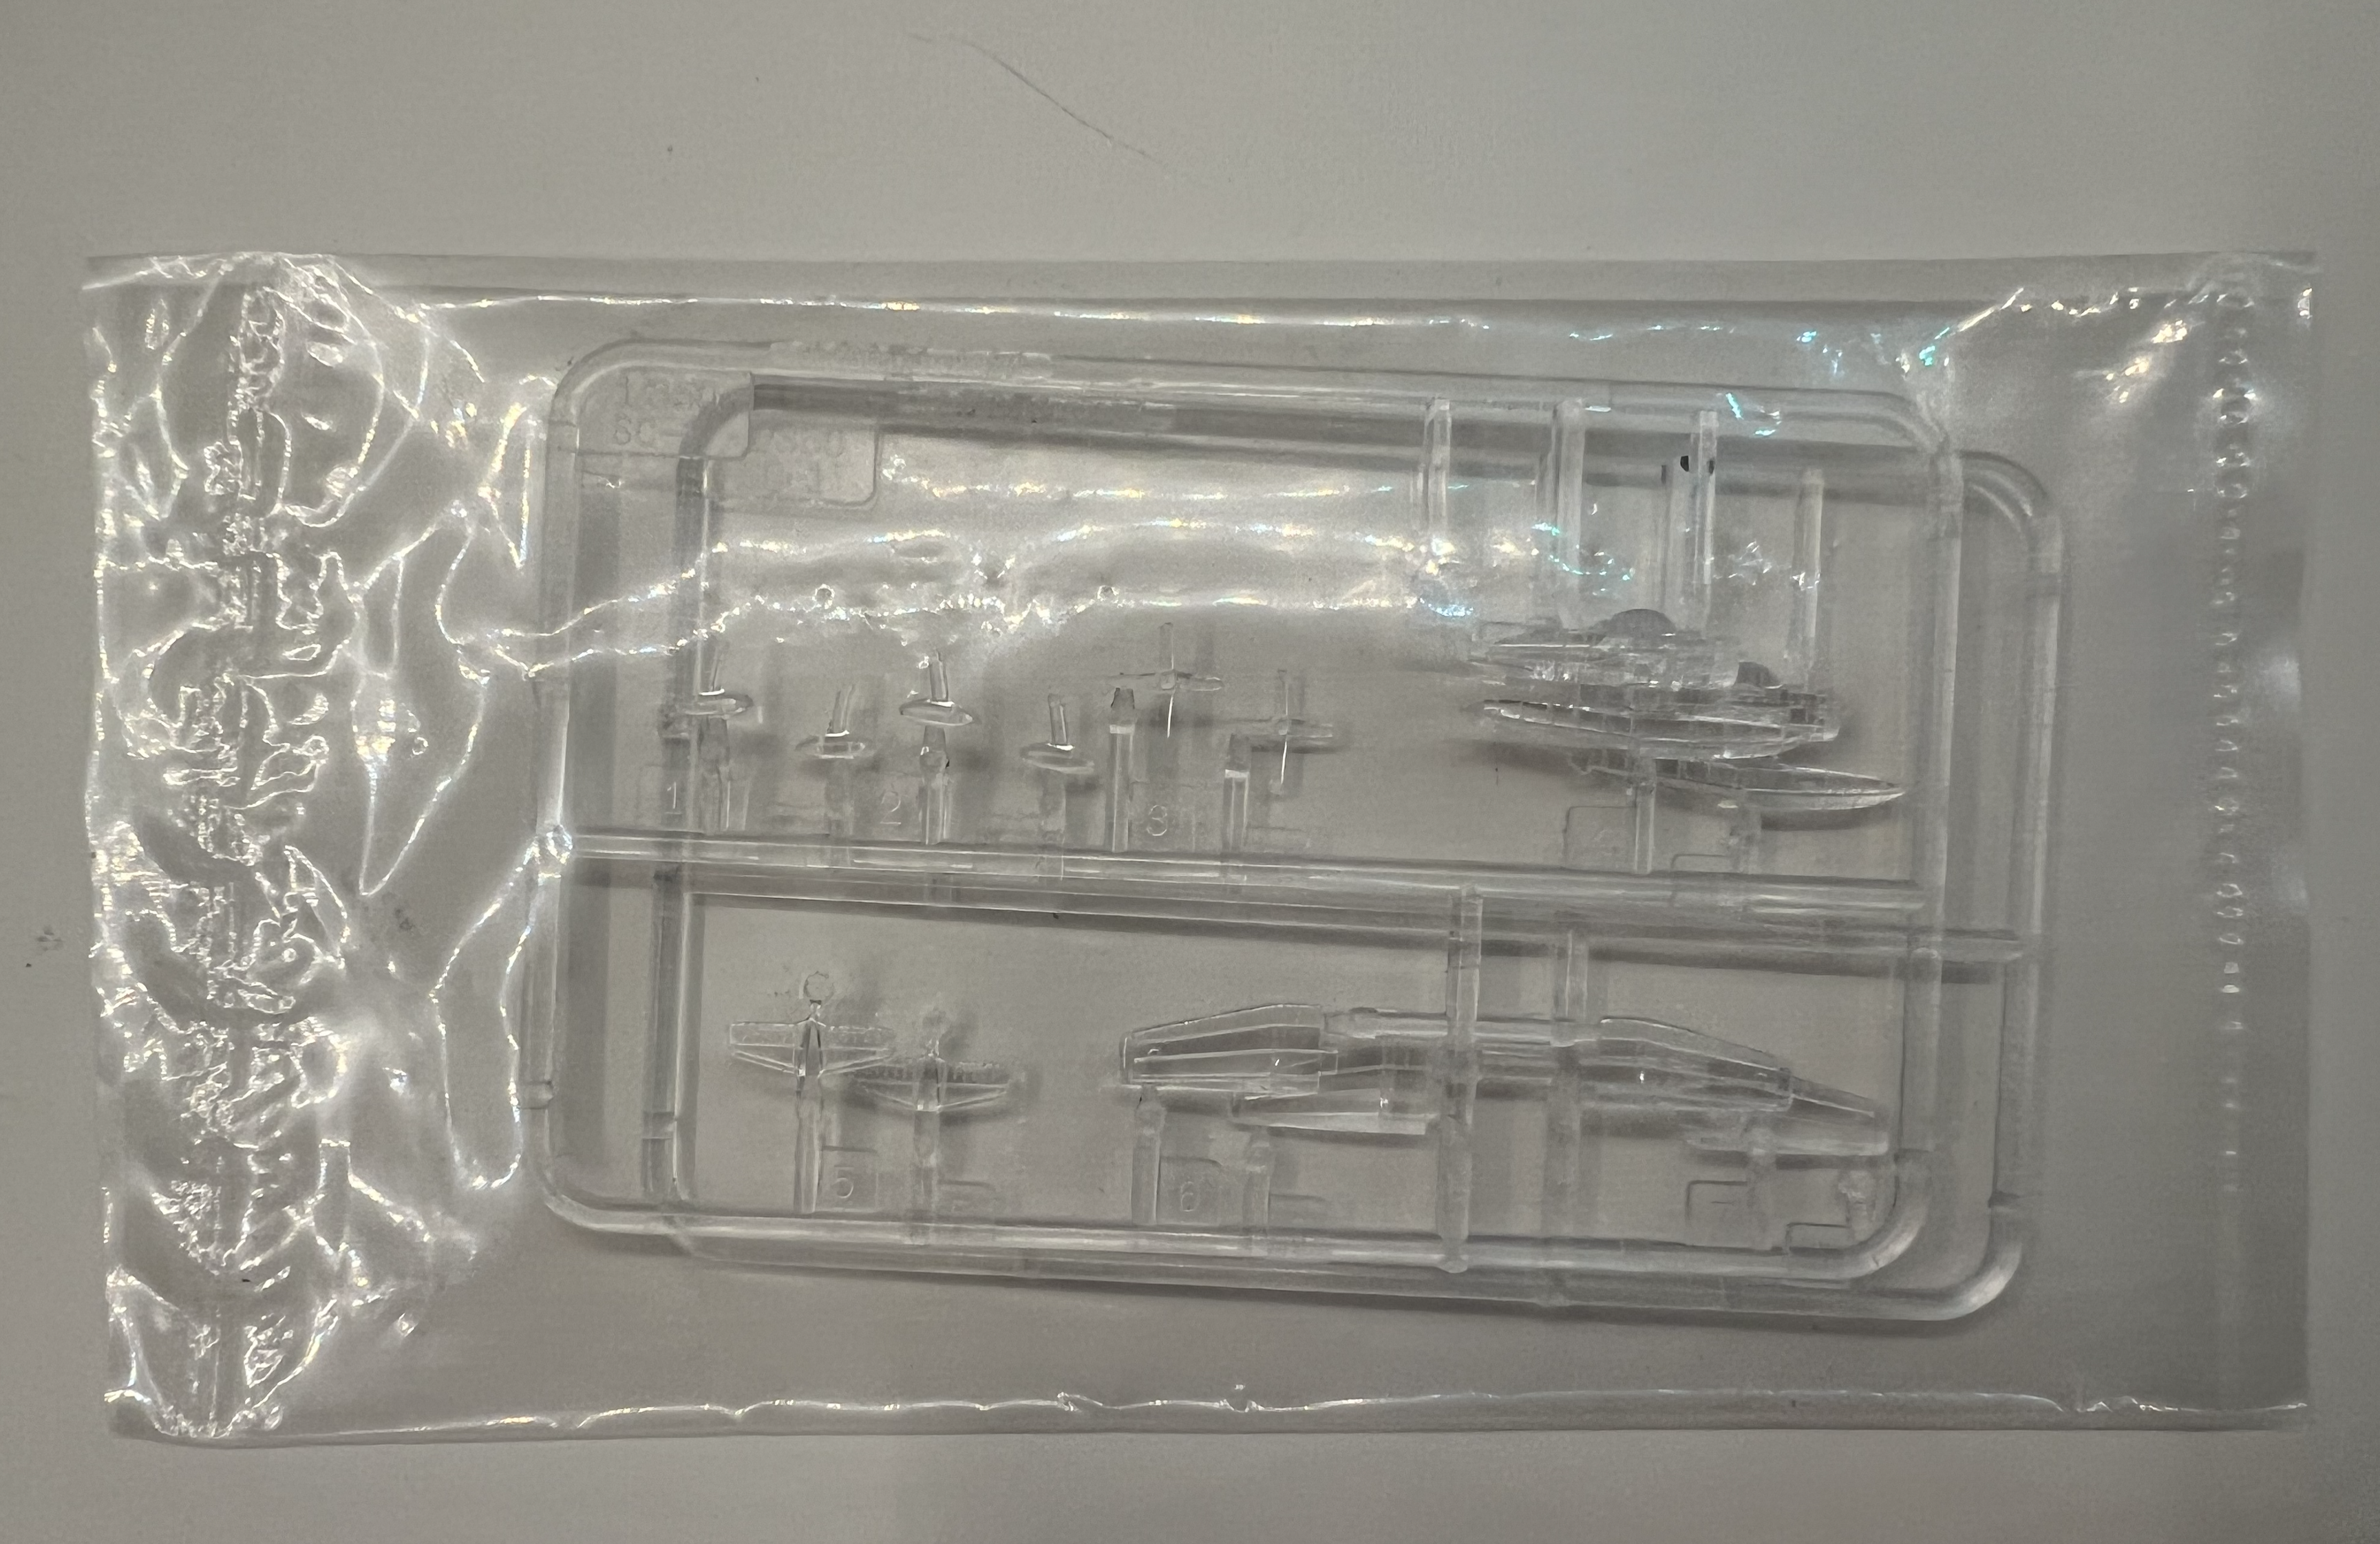
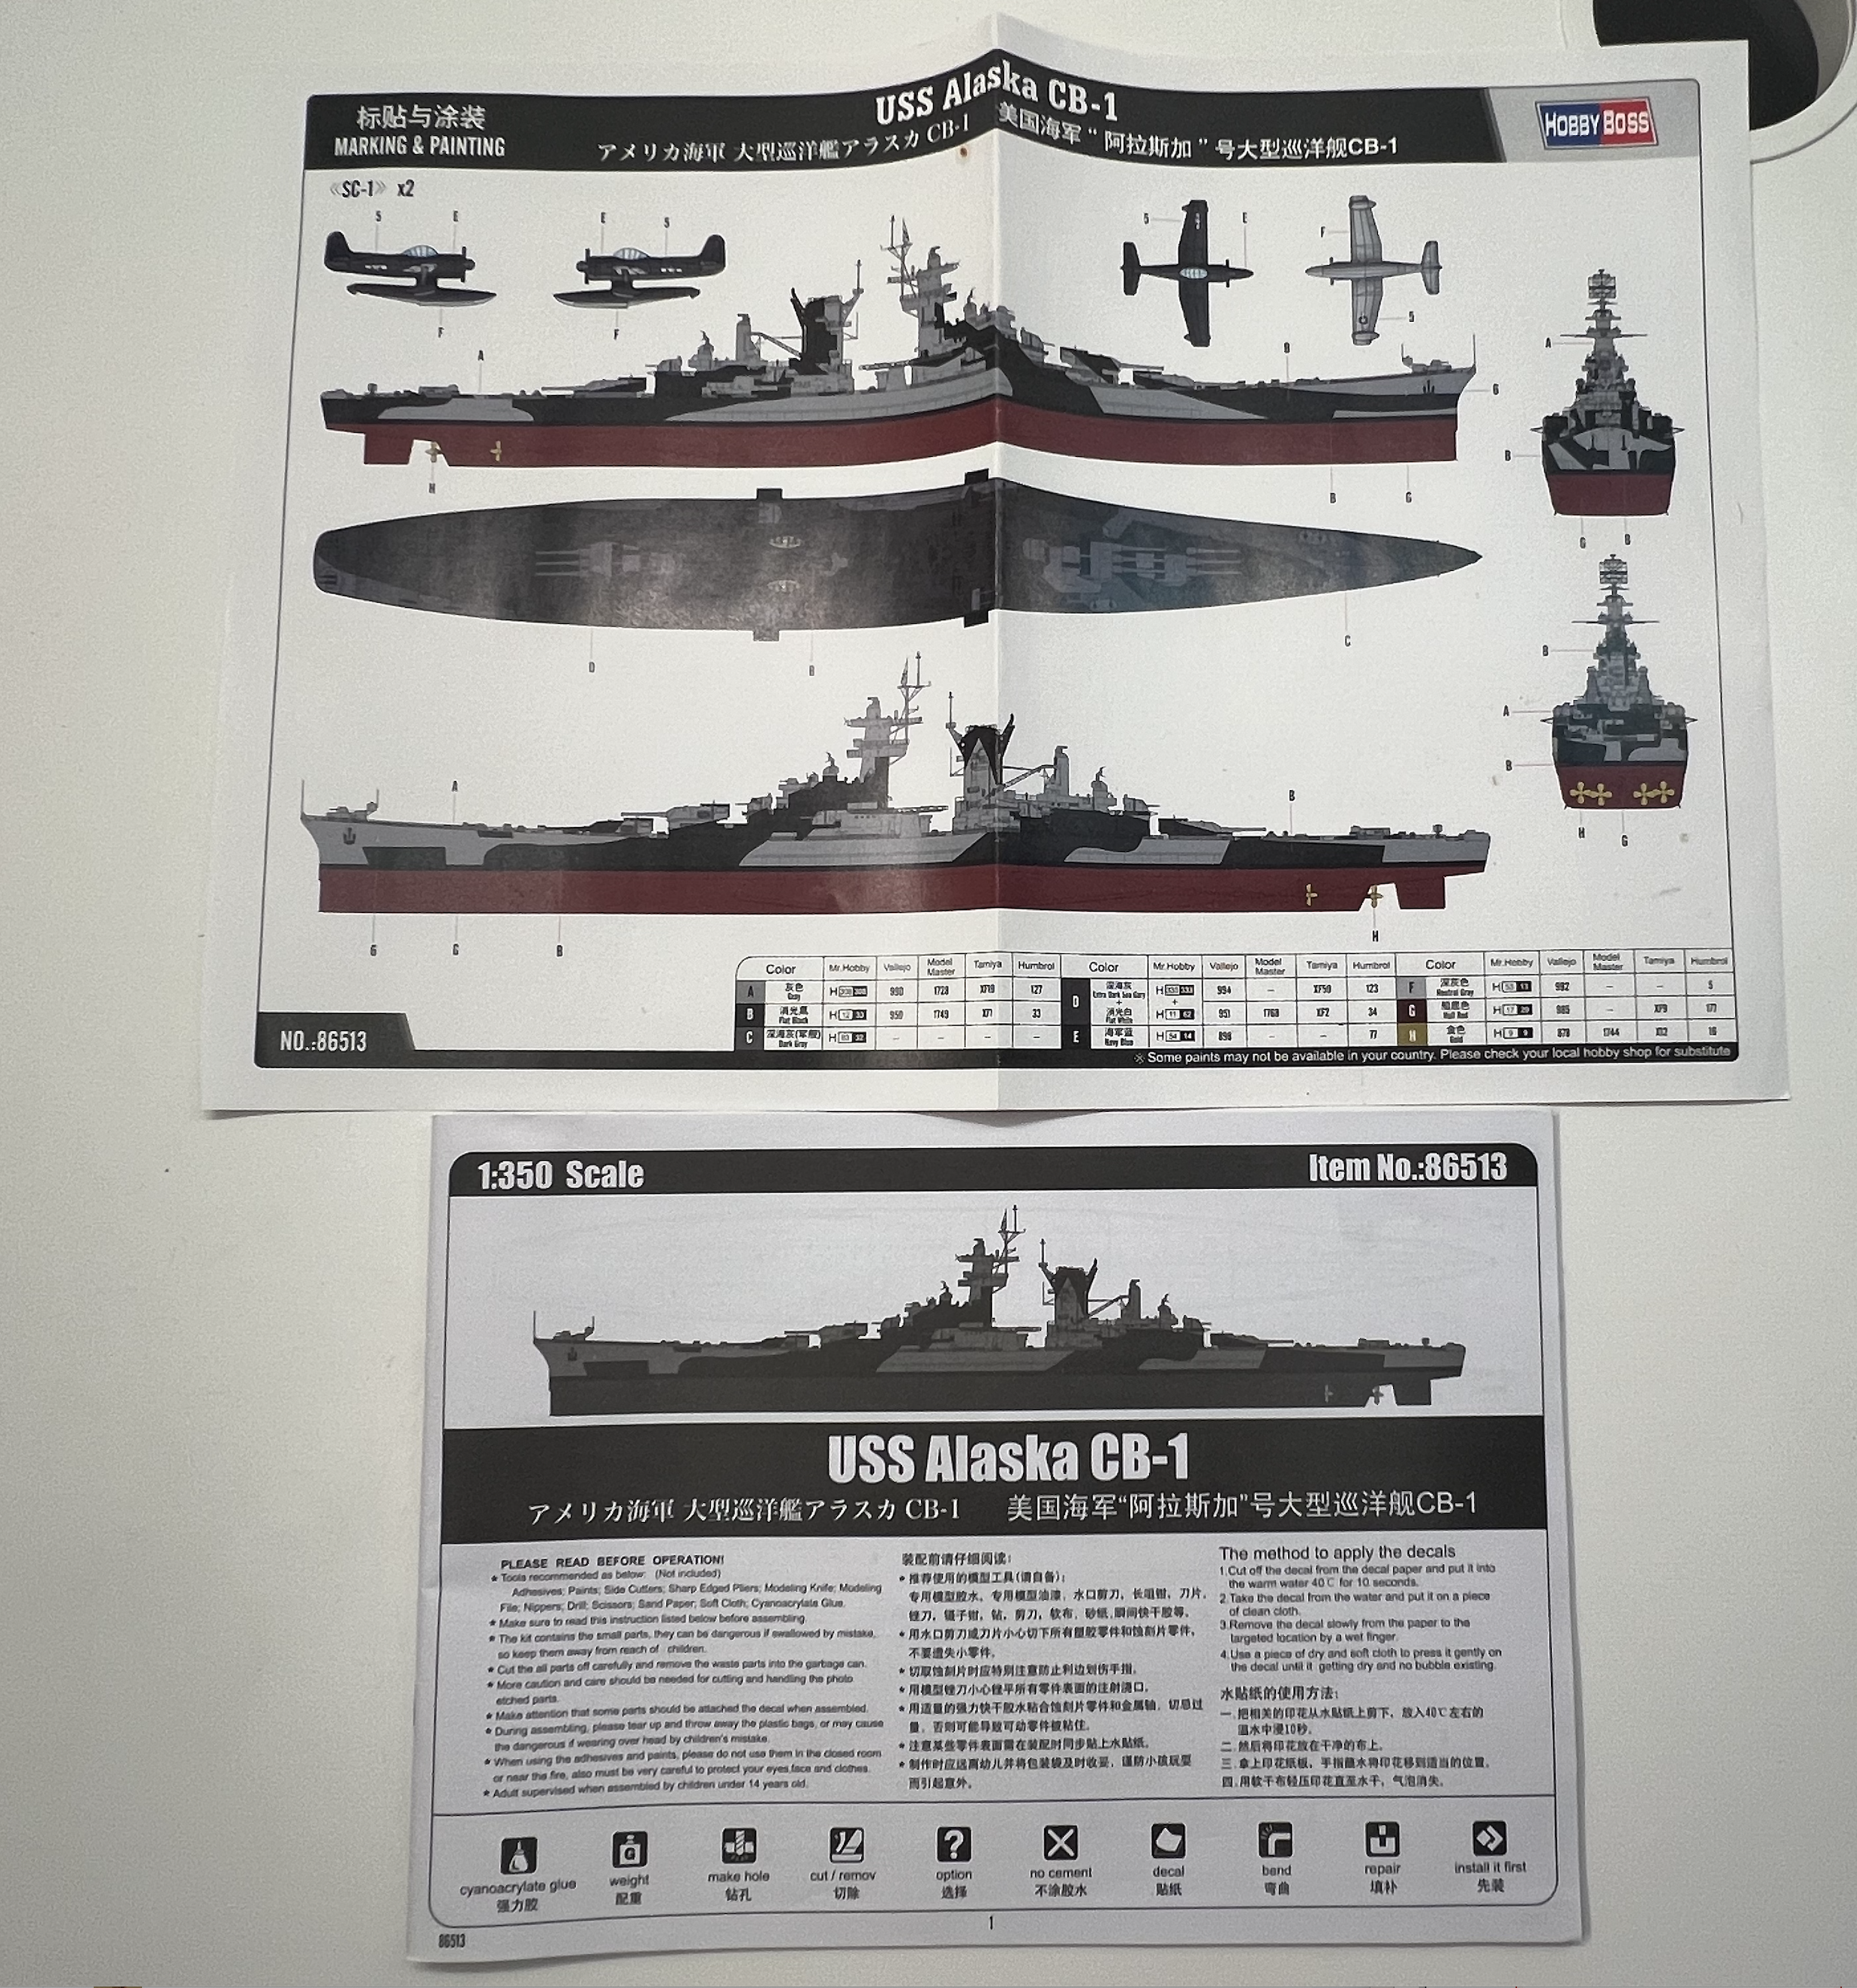
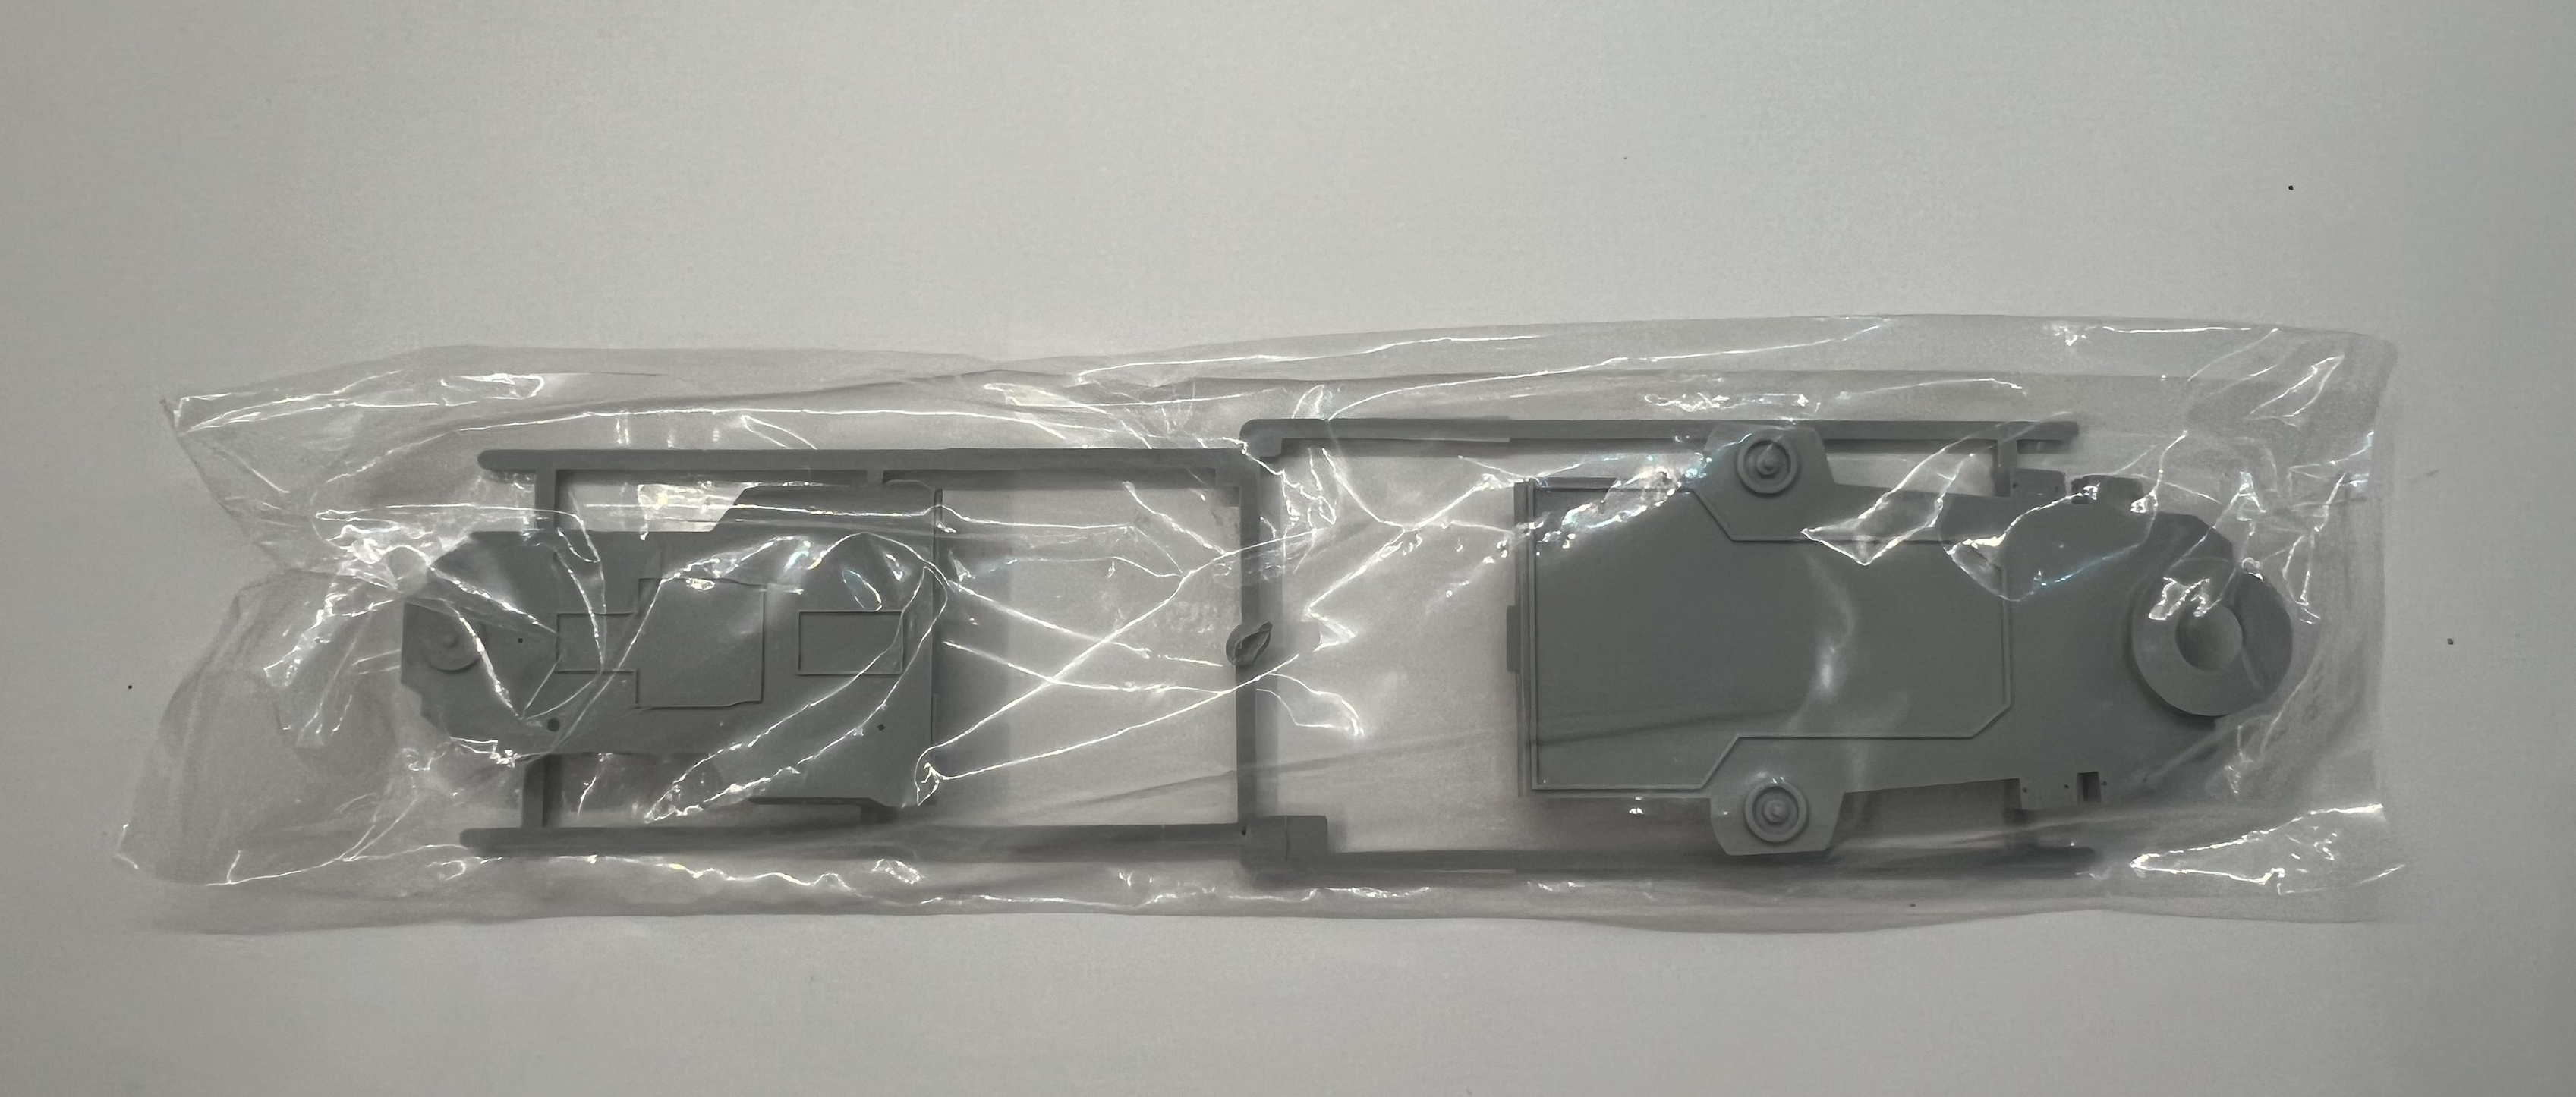
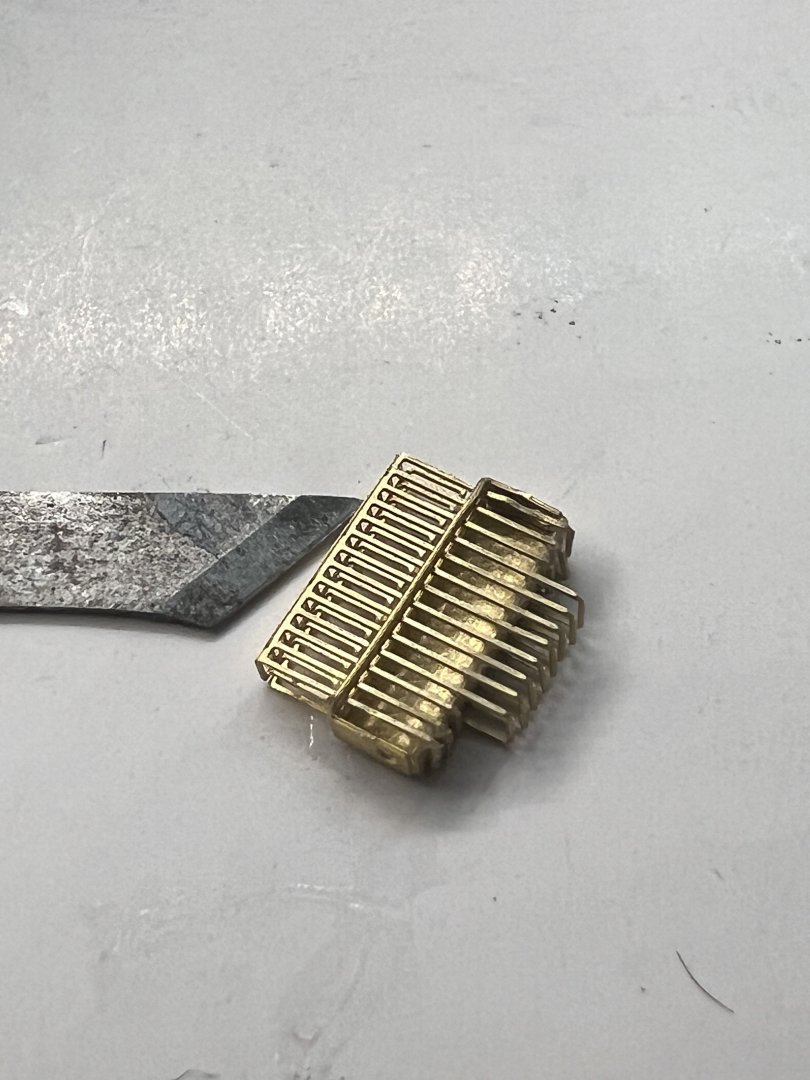
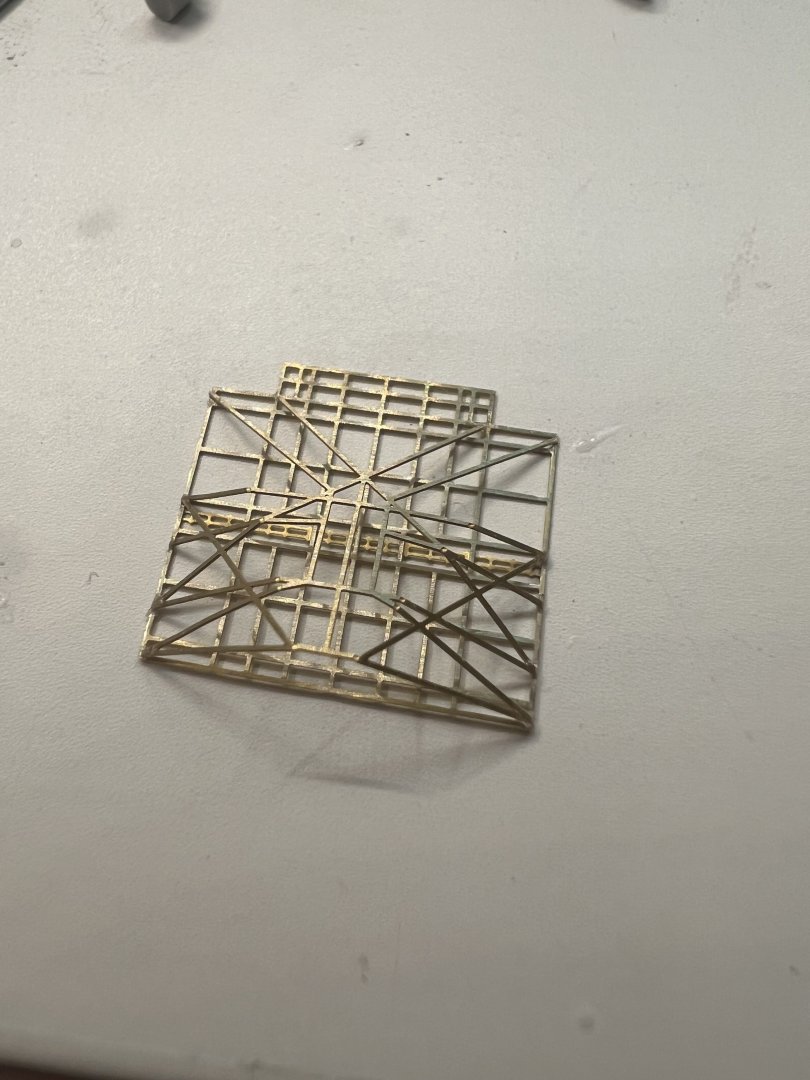
Hello all! This will be my first build log. It's not my first scale model ship; it's my second, but I've done a couple of plane kits before. As a newbie, my first model I only did photo etch railings and ladders, which turned out ok, but I still chose to go easy with the photo etch for the next model so here I am with with Alaska. Unfortunately, summer vacation is winding down for me and school will hinder progress but I'll try to make as much progress as possible before then. I'll start off with basic photos of the kit spruces (more detailed ones will be done as I progress with the build): Spruce A Spruce B Spruce C Spruce D Spruce E Spruce F Spruce G Spruce J Spruce K Photoetch Frets I'll try and upload some build progress on the hull and deck but if not done this evening, it'll be up tomorrow. Enjoy!