Strand
-
Posts
46 -
Joined
-
Last visited
Content Type
Profiles
Forums
Gallery
Events
Everything posted by Strand
-
 Is there already a website?
 -
Thank you
-
Hi JJ thank you for your quick response. I would be delighted if you could add me to your pre-order list. Do you have a price yet? WR Albin
-
I'm happy for you. I'm self-employed myself, so I can empathise with how it feels to take the next big step. And it's a big step from the garage to a proper workshop. Good luck in your new workplace!
-
Of that I am firmly convinced with this remarkable project. Many more will follow. I don't want to be the only one, I just want to be the first...
-
Can I pre-order already? Or can you at least put me on the list so that I'm among the first five?
-
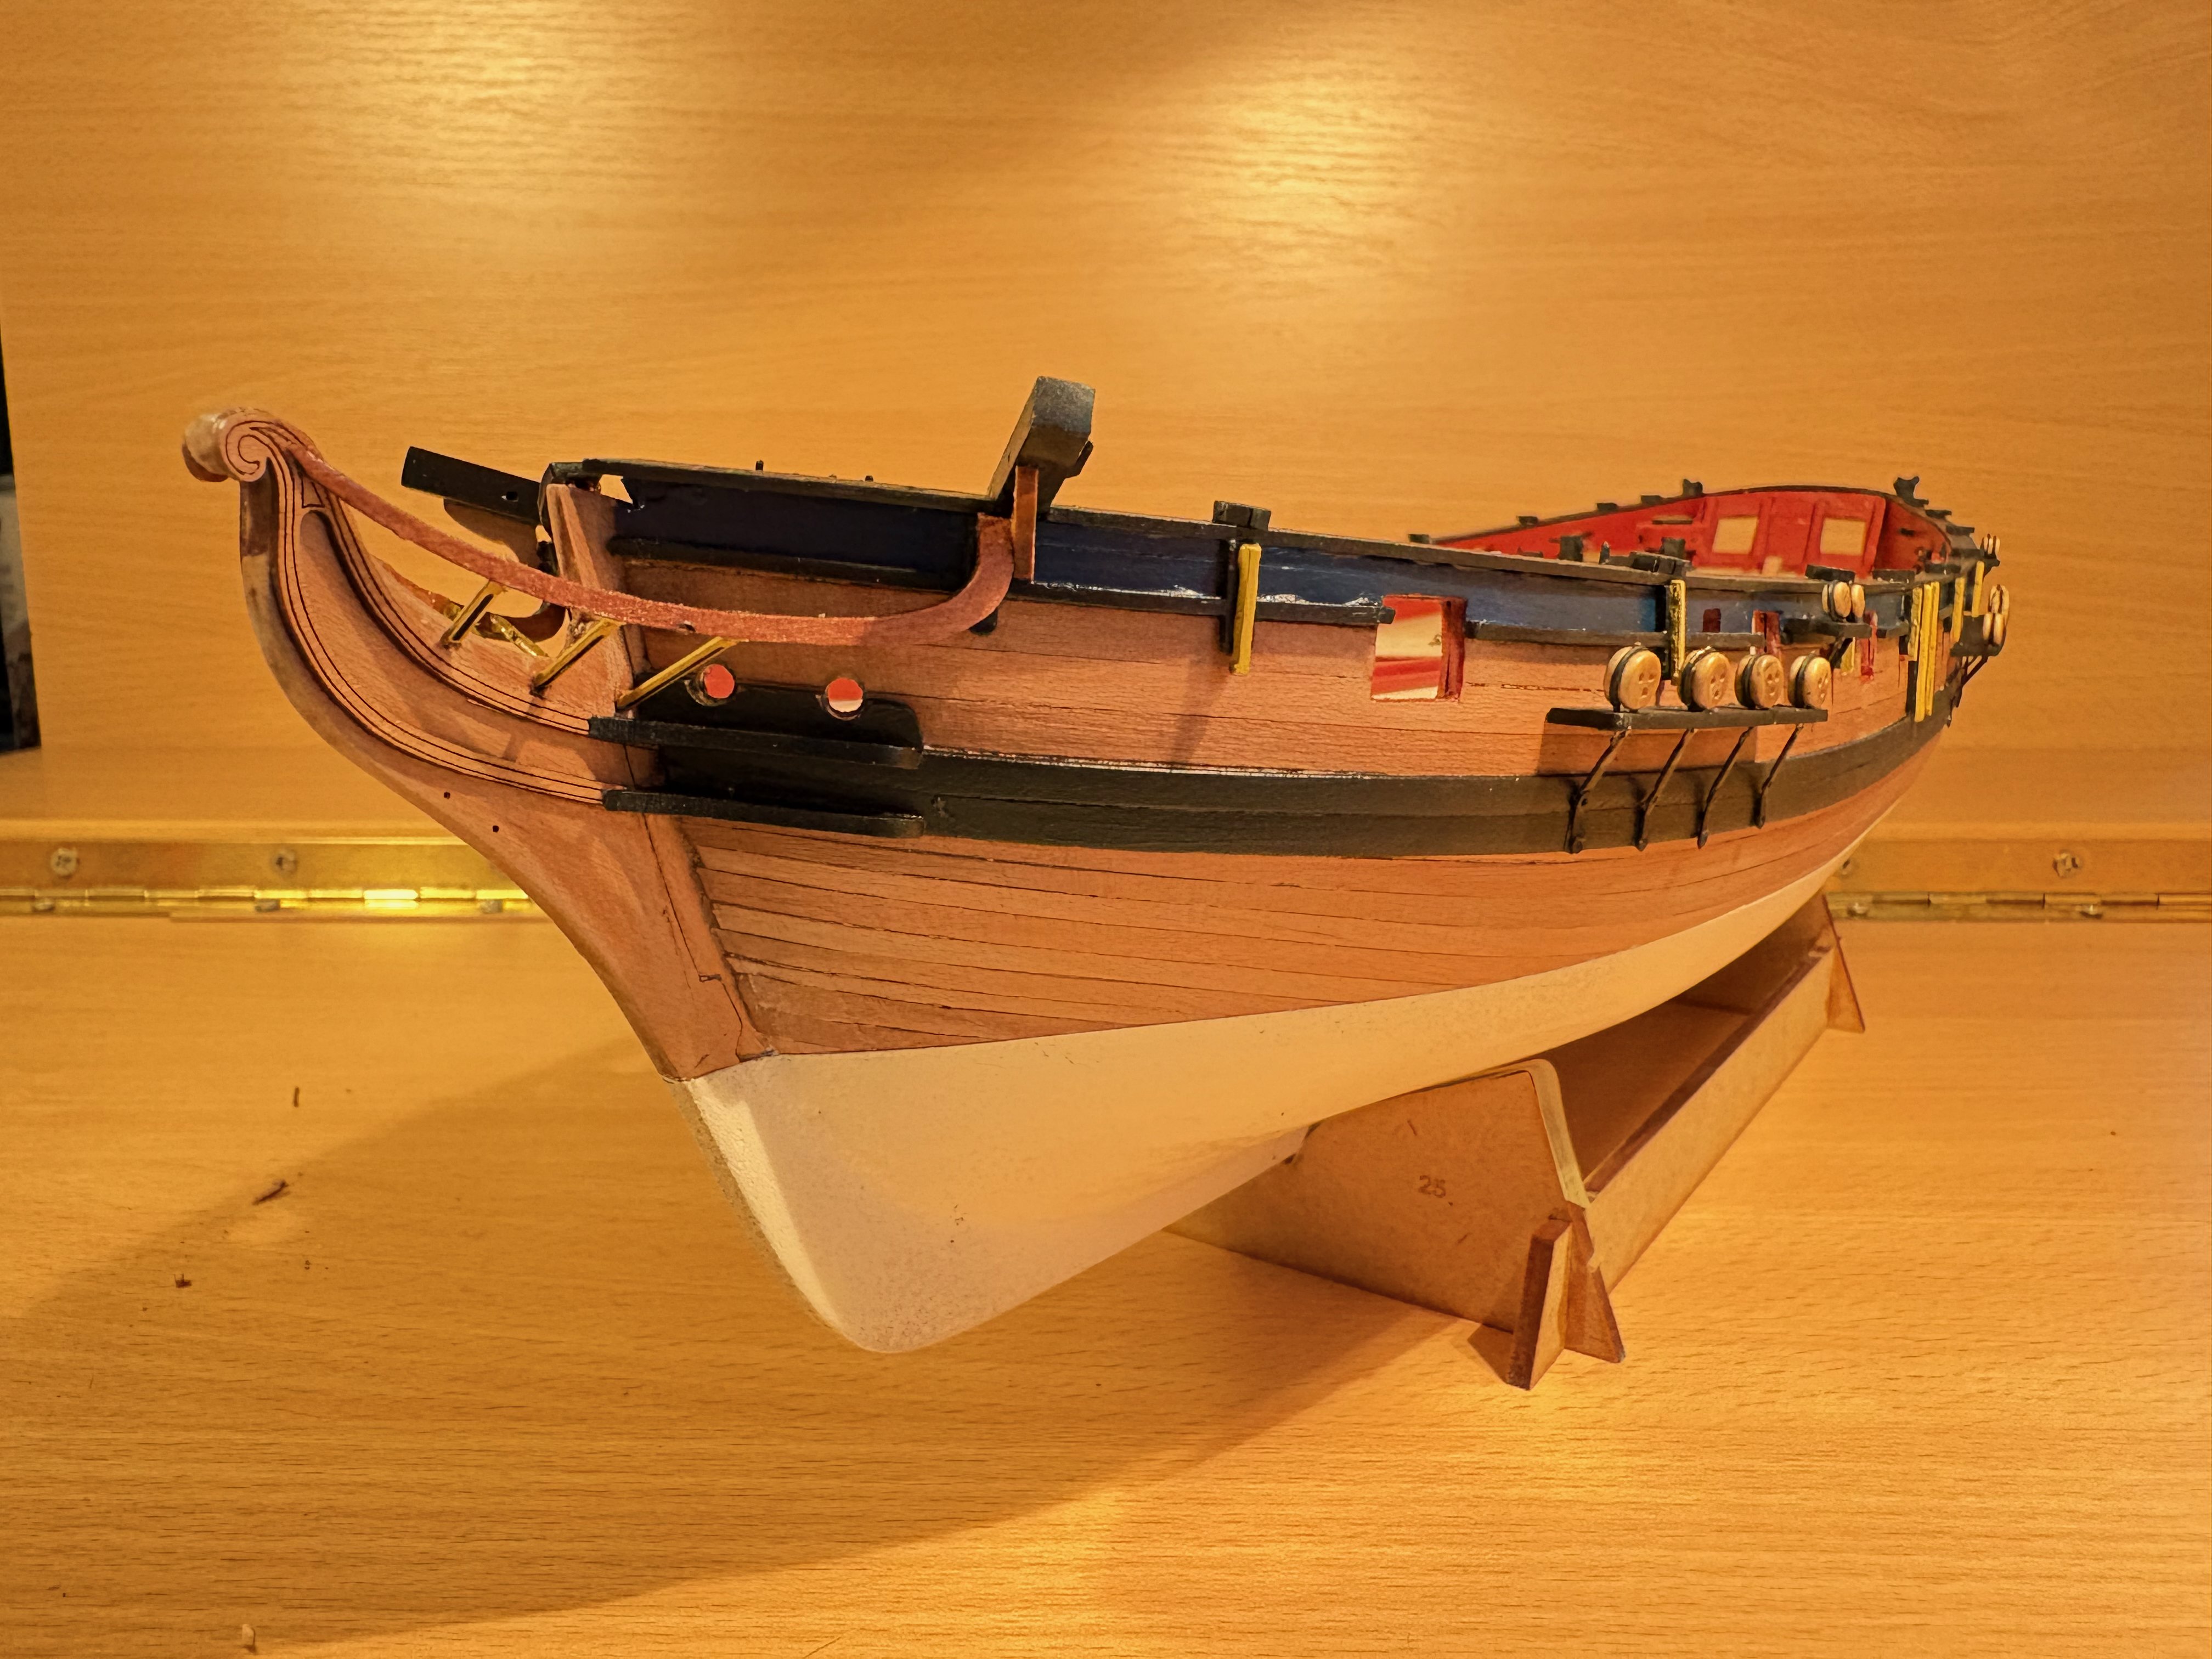
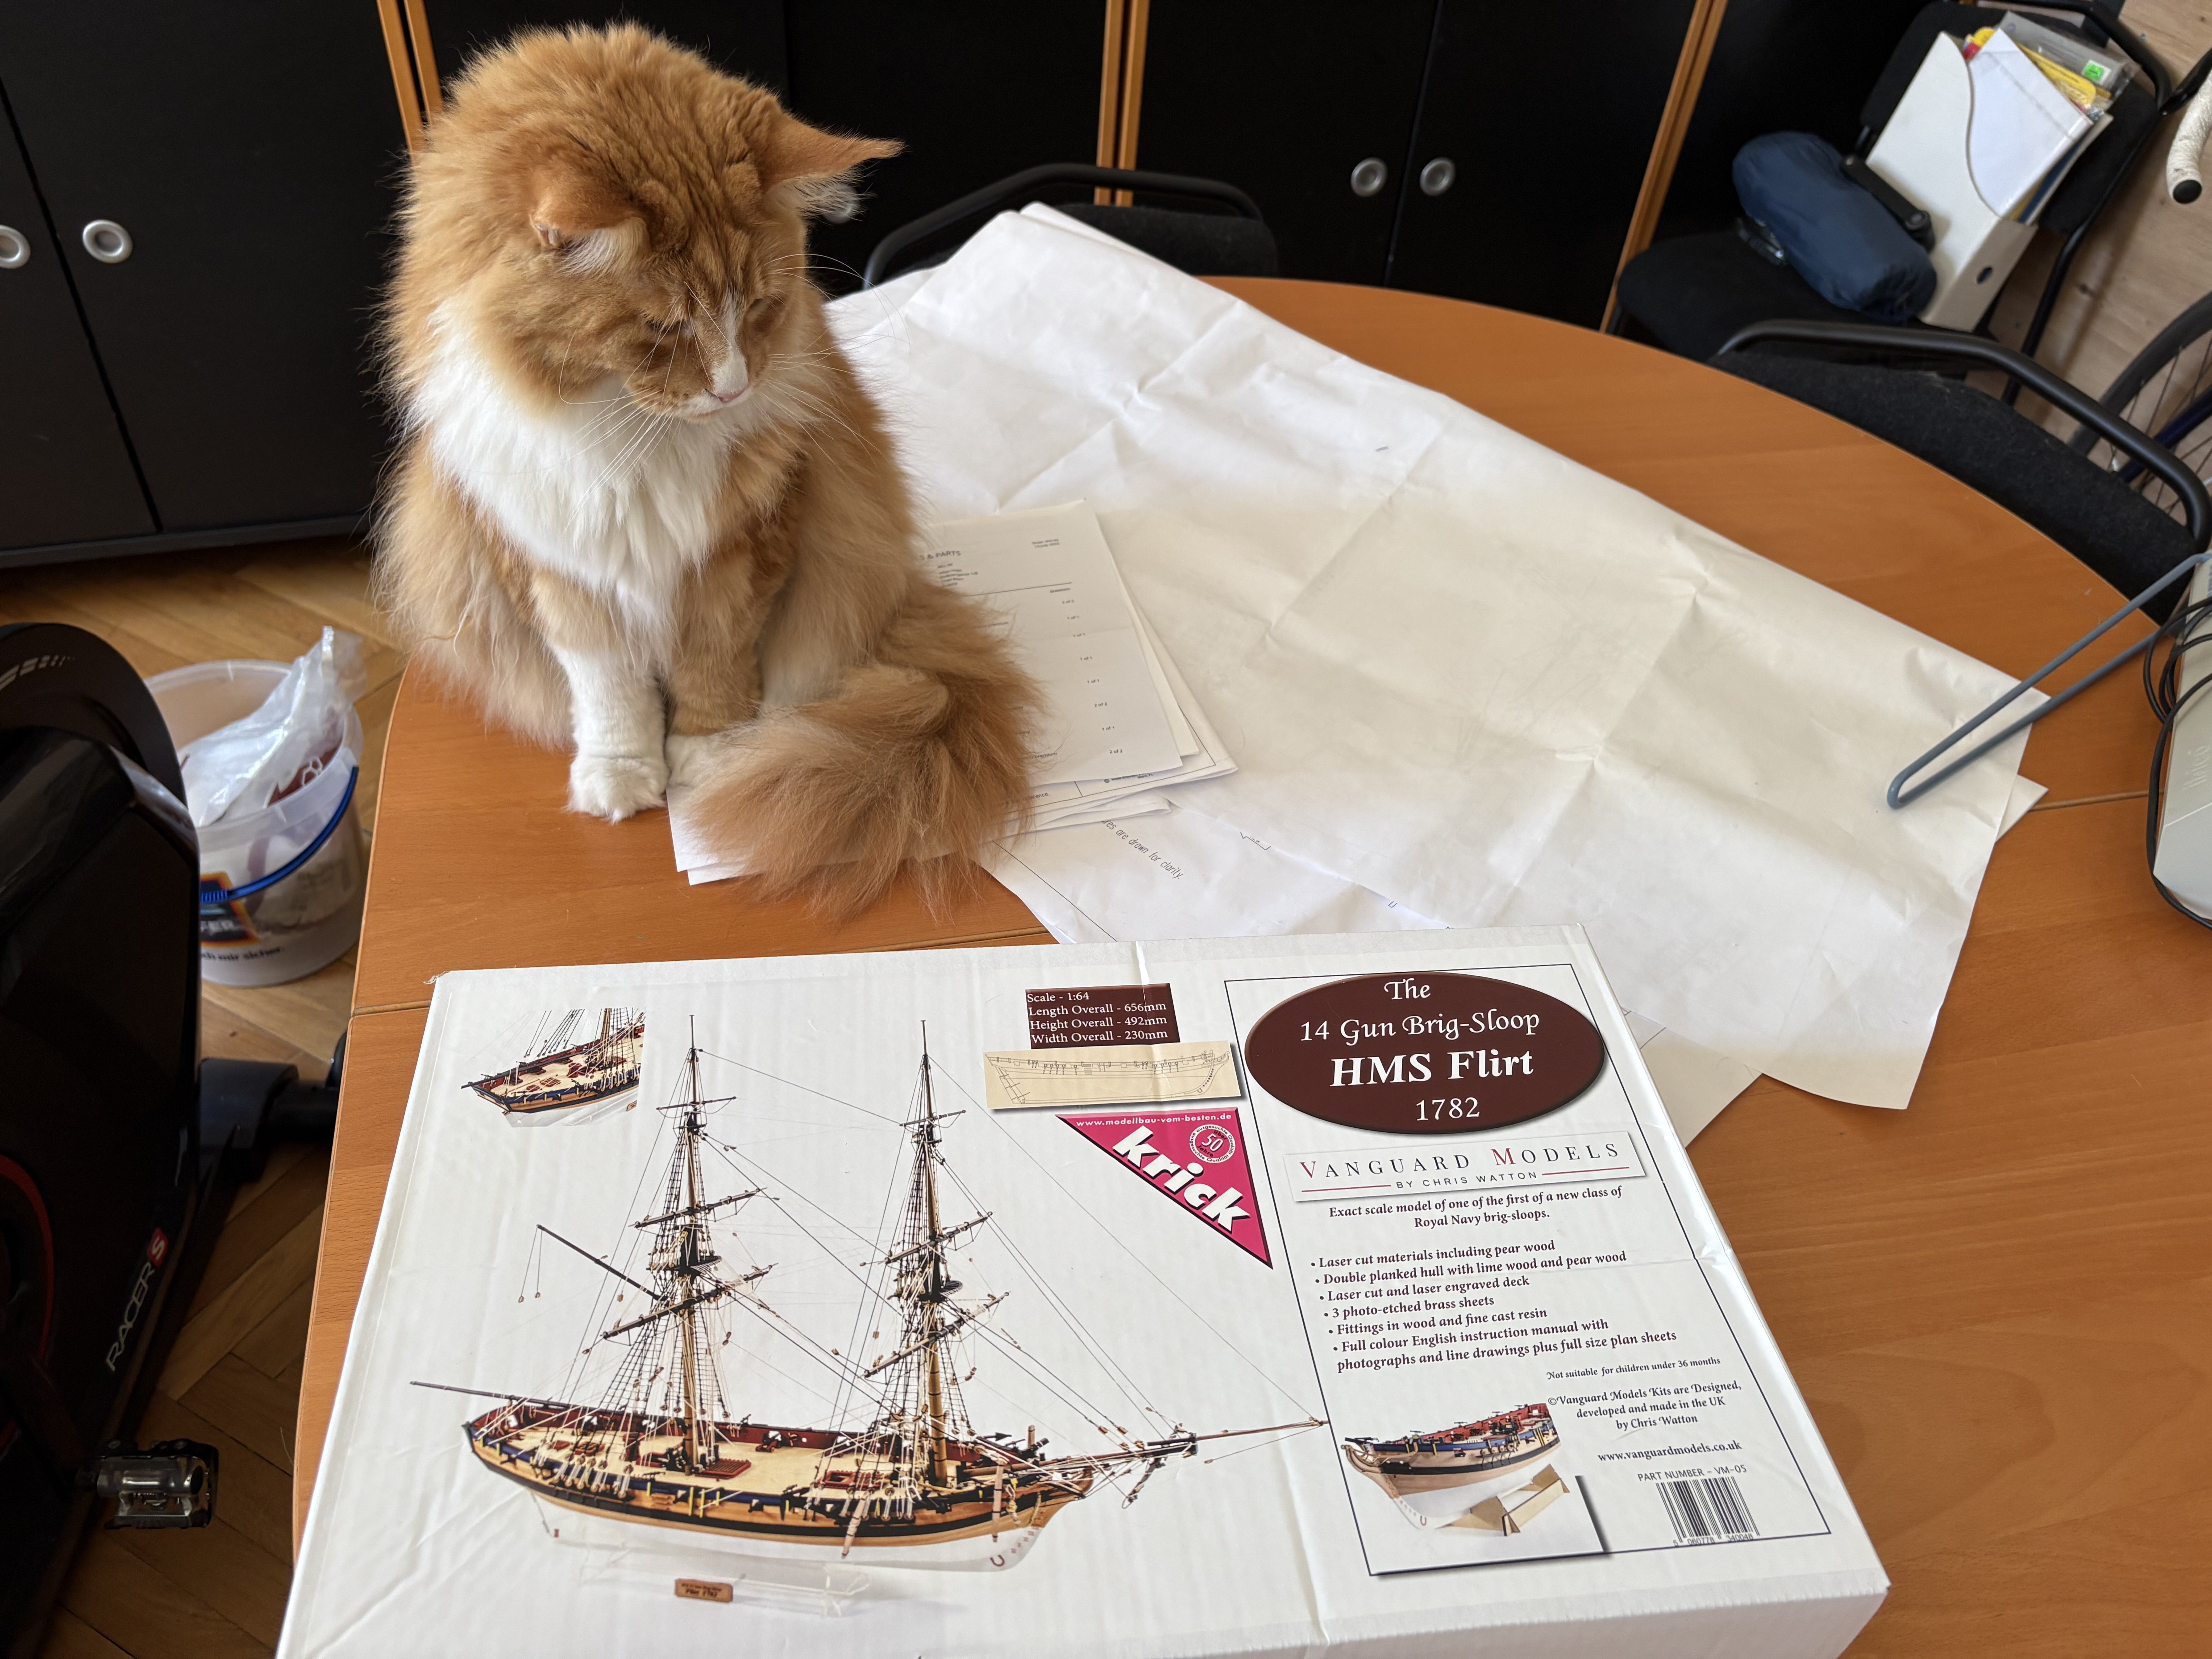
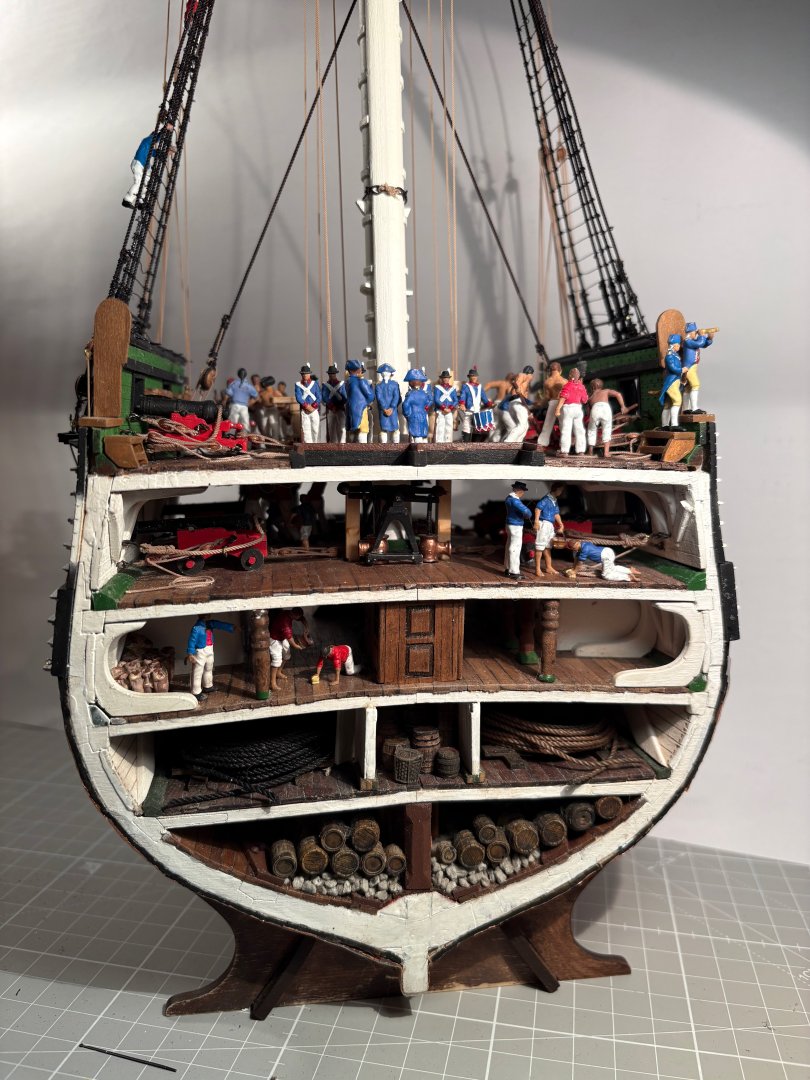
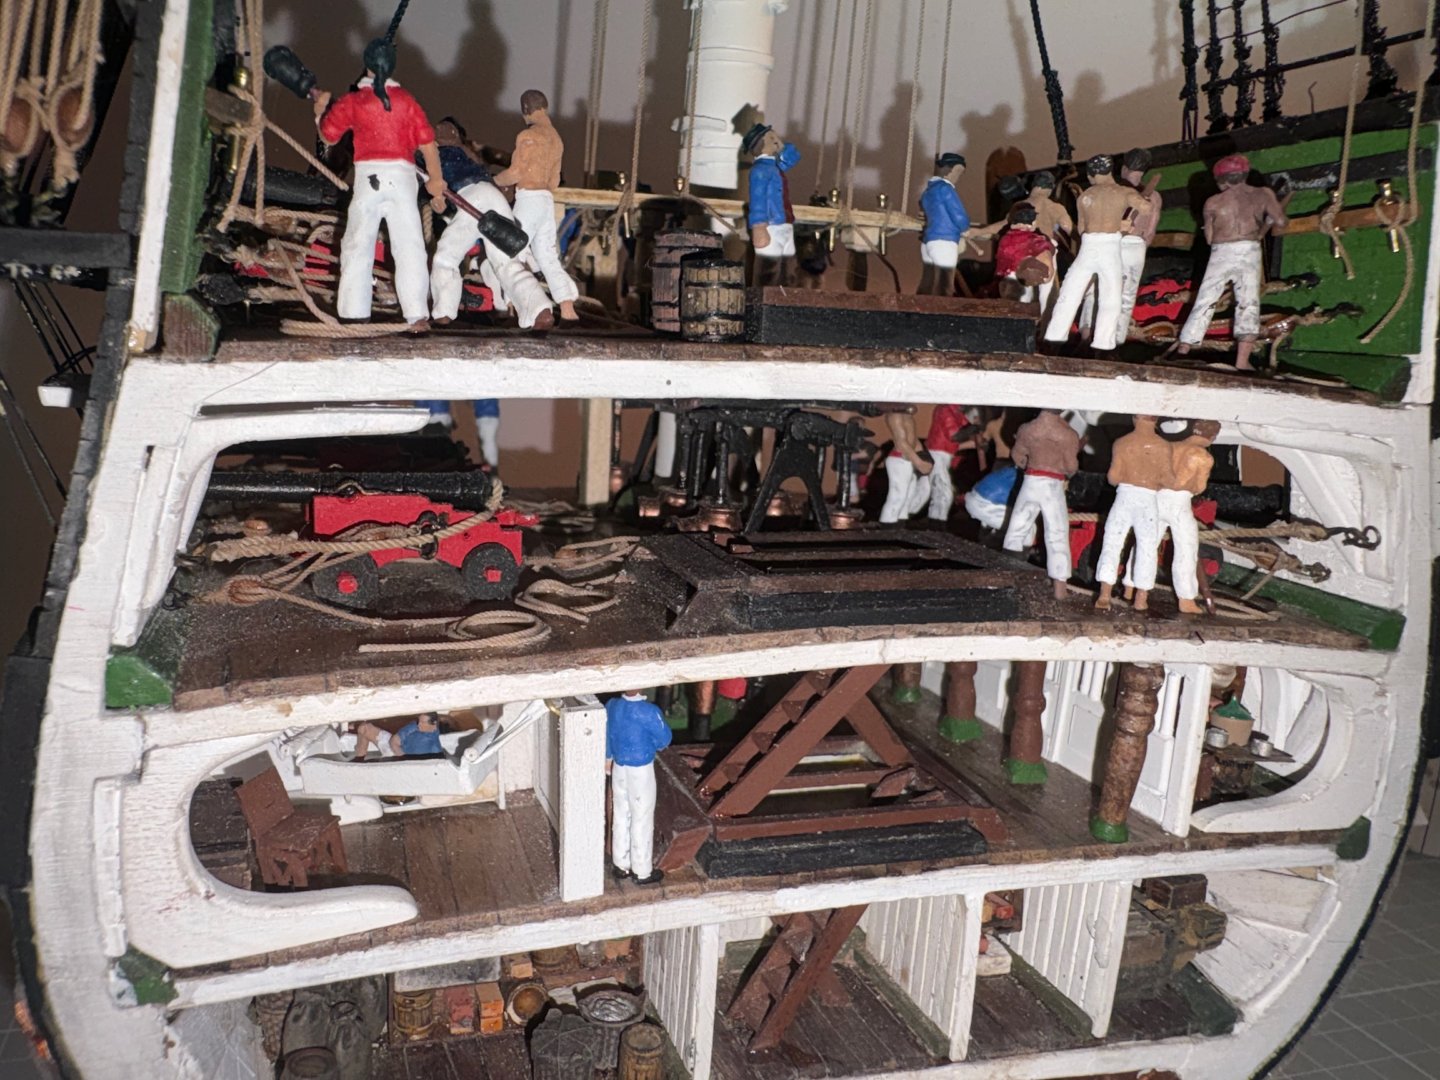
And finally, a few impressions of life on the USS Constitution It was a wonderful first project that left me wanting more. So I immediately started my second project, the HMS Flirt from Vanguard Models. This will be my first real ship. I can already show you a photo of it... And hopefully many other projects will follow. One of them must be an "Admiralty style" ship and a POF in 1:48 scale. But before that, I would like to build the Surprise from Vanguard Models. Plans, plans, plans... Thank you for your kind and encouraging words. It has been a pleasure to be part of a larger community and to receive encouragement from experienced and veteran shipwrights. Goodbye and see you next time. Albin

- 33 replies
-
- 1
-

-
- Constitution
- Model Shipways
- (and 2 more)
-
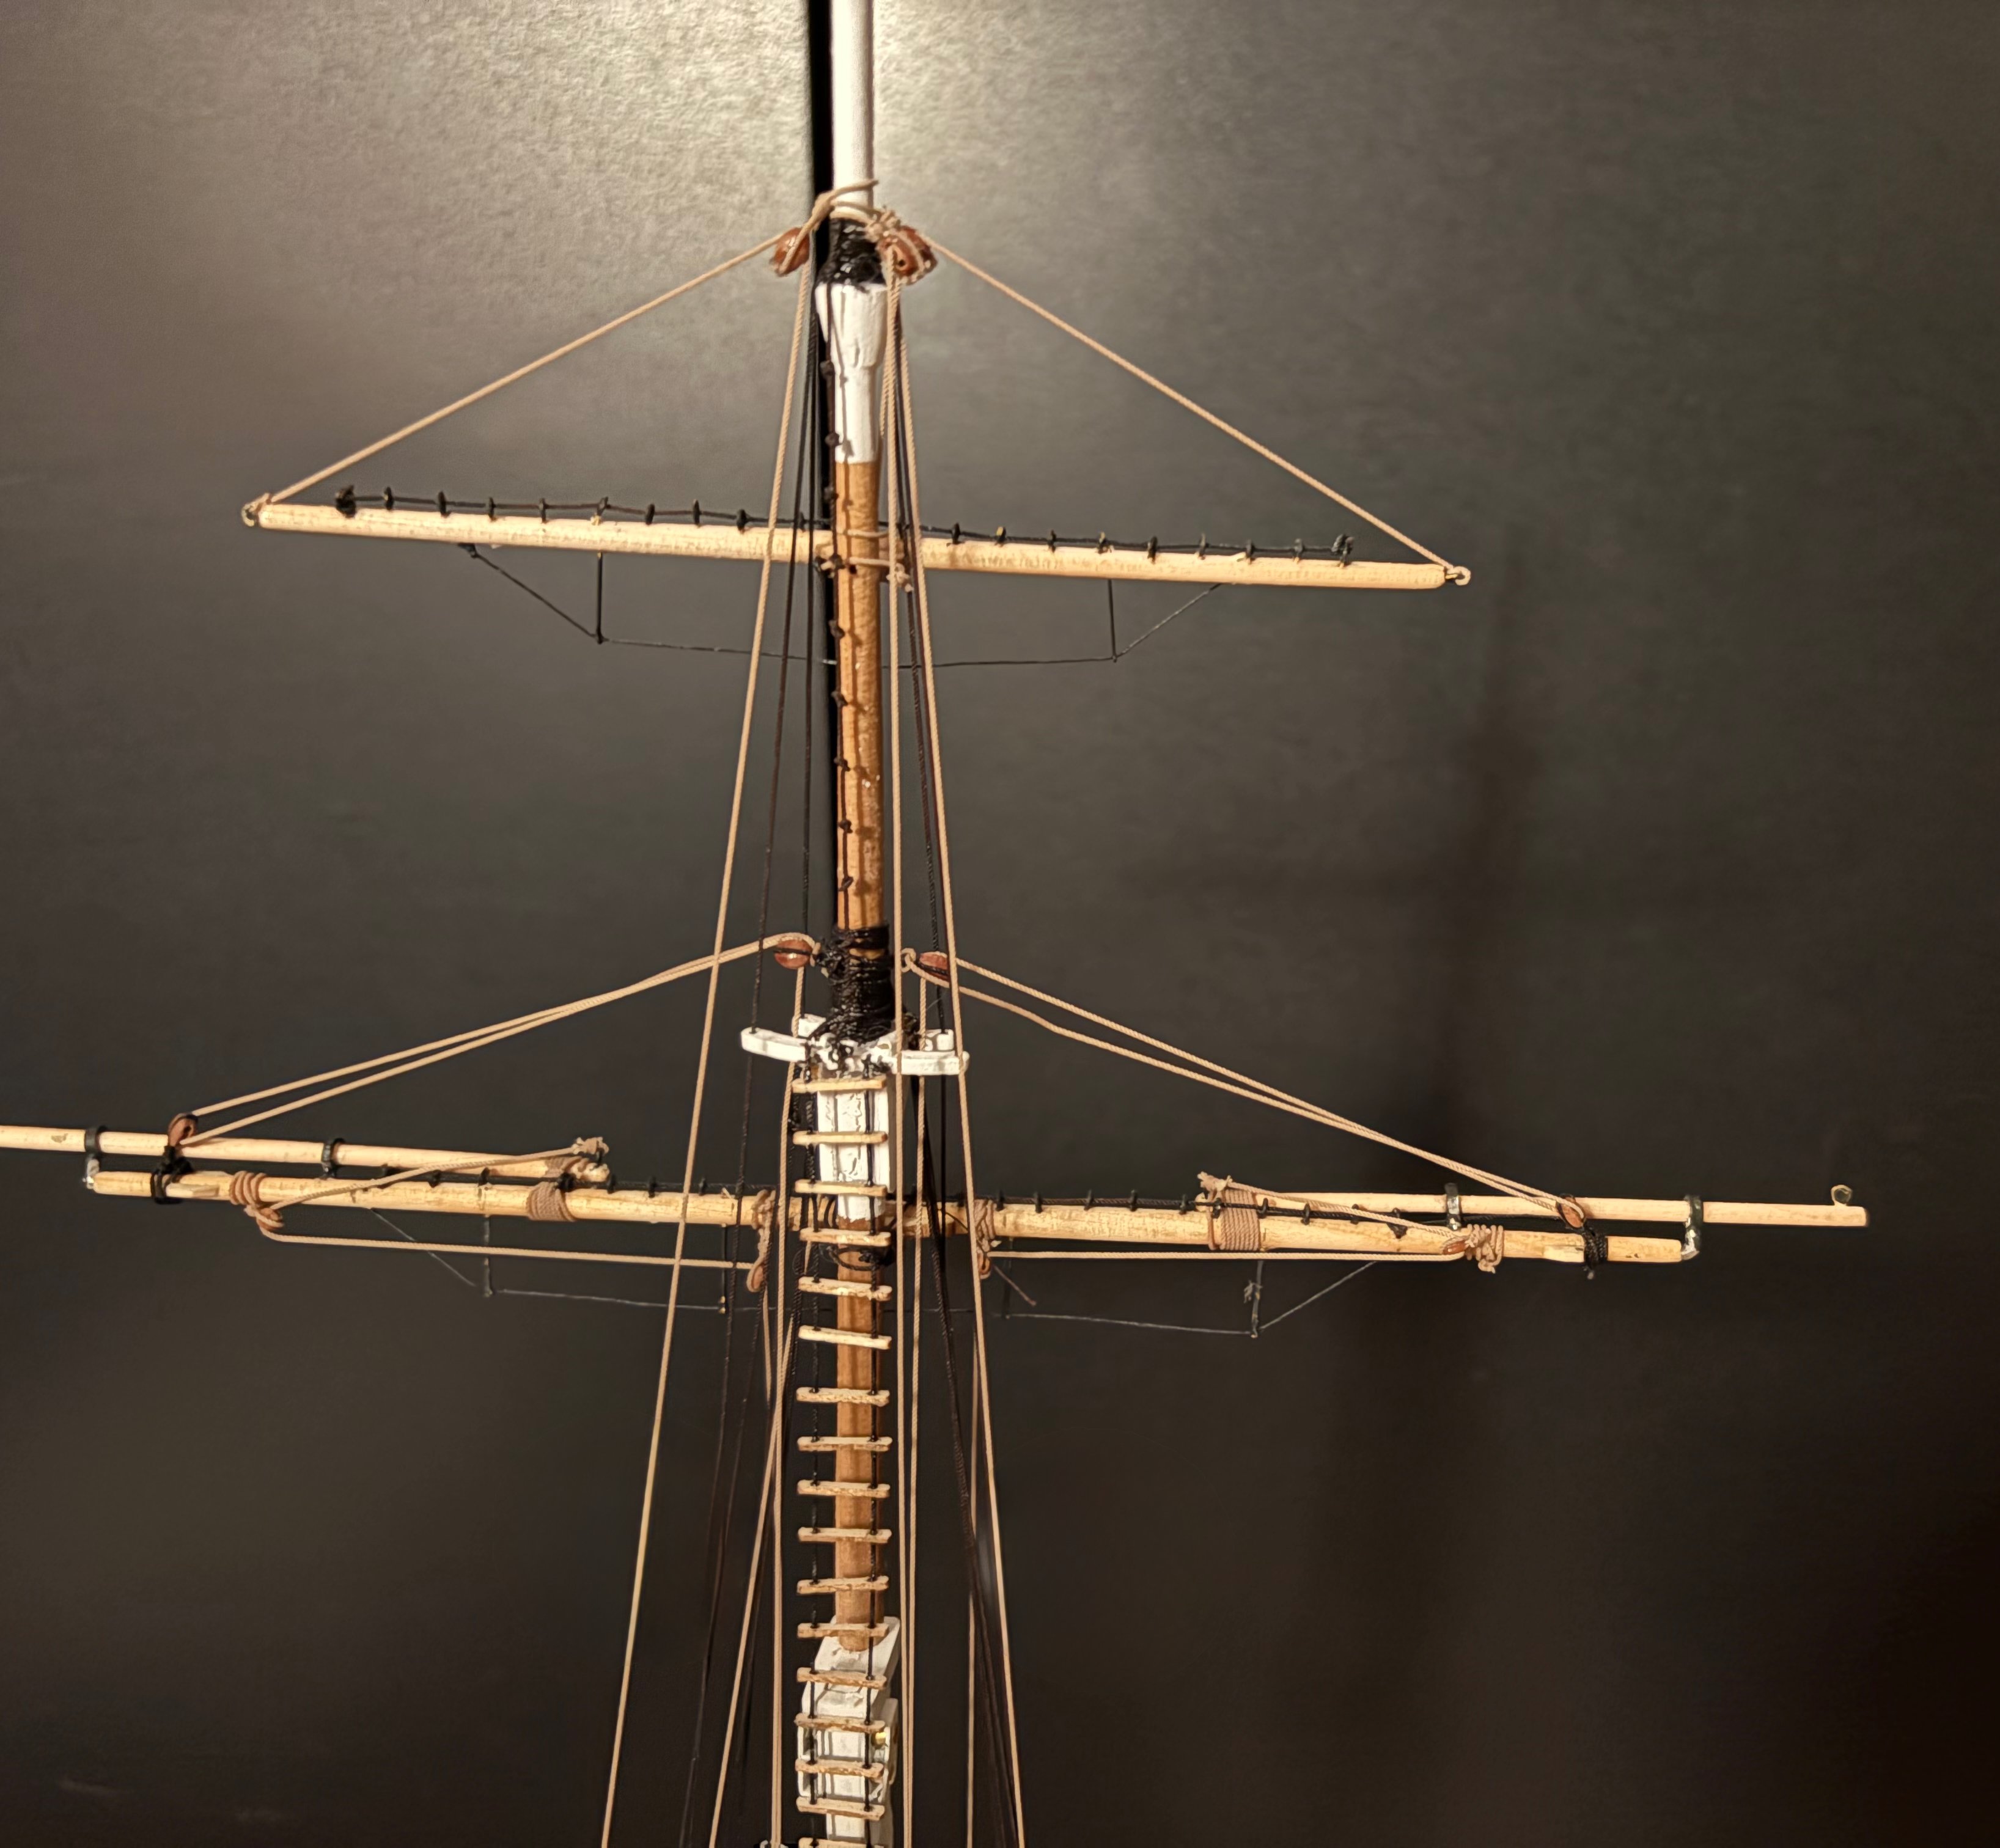
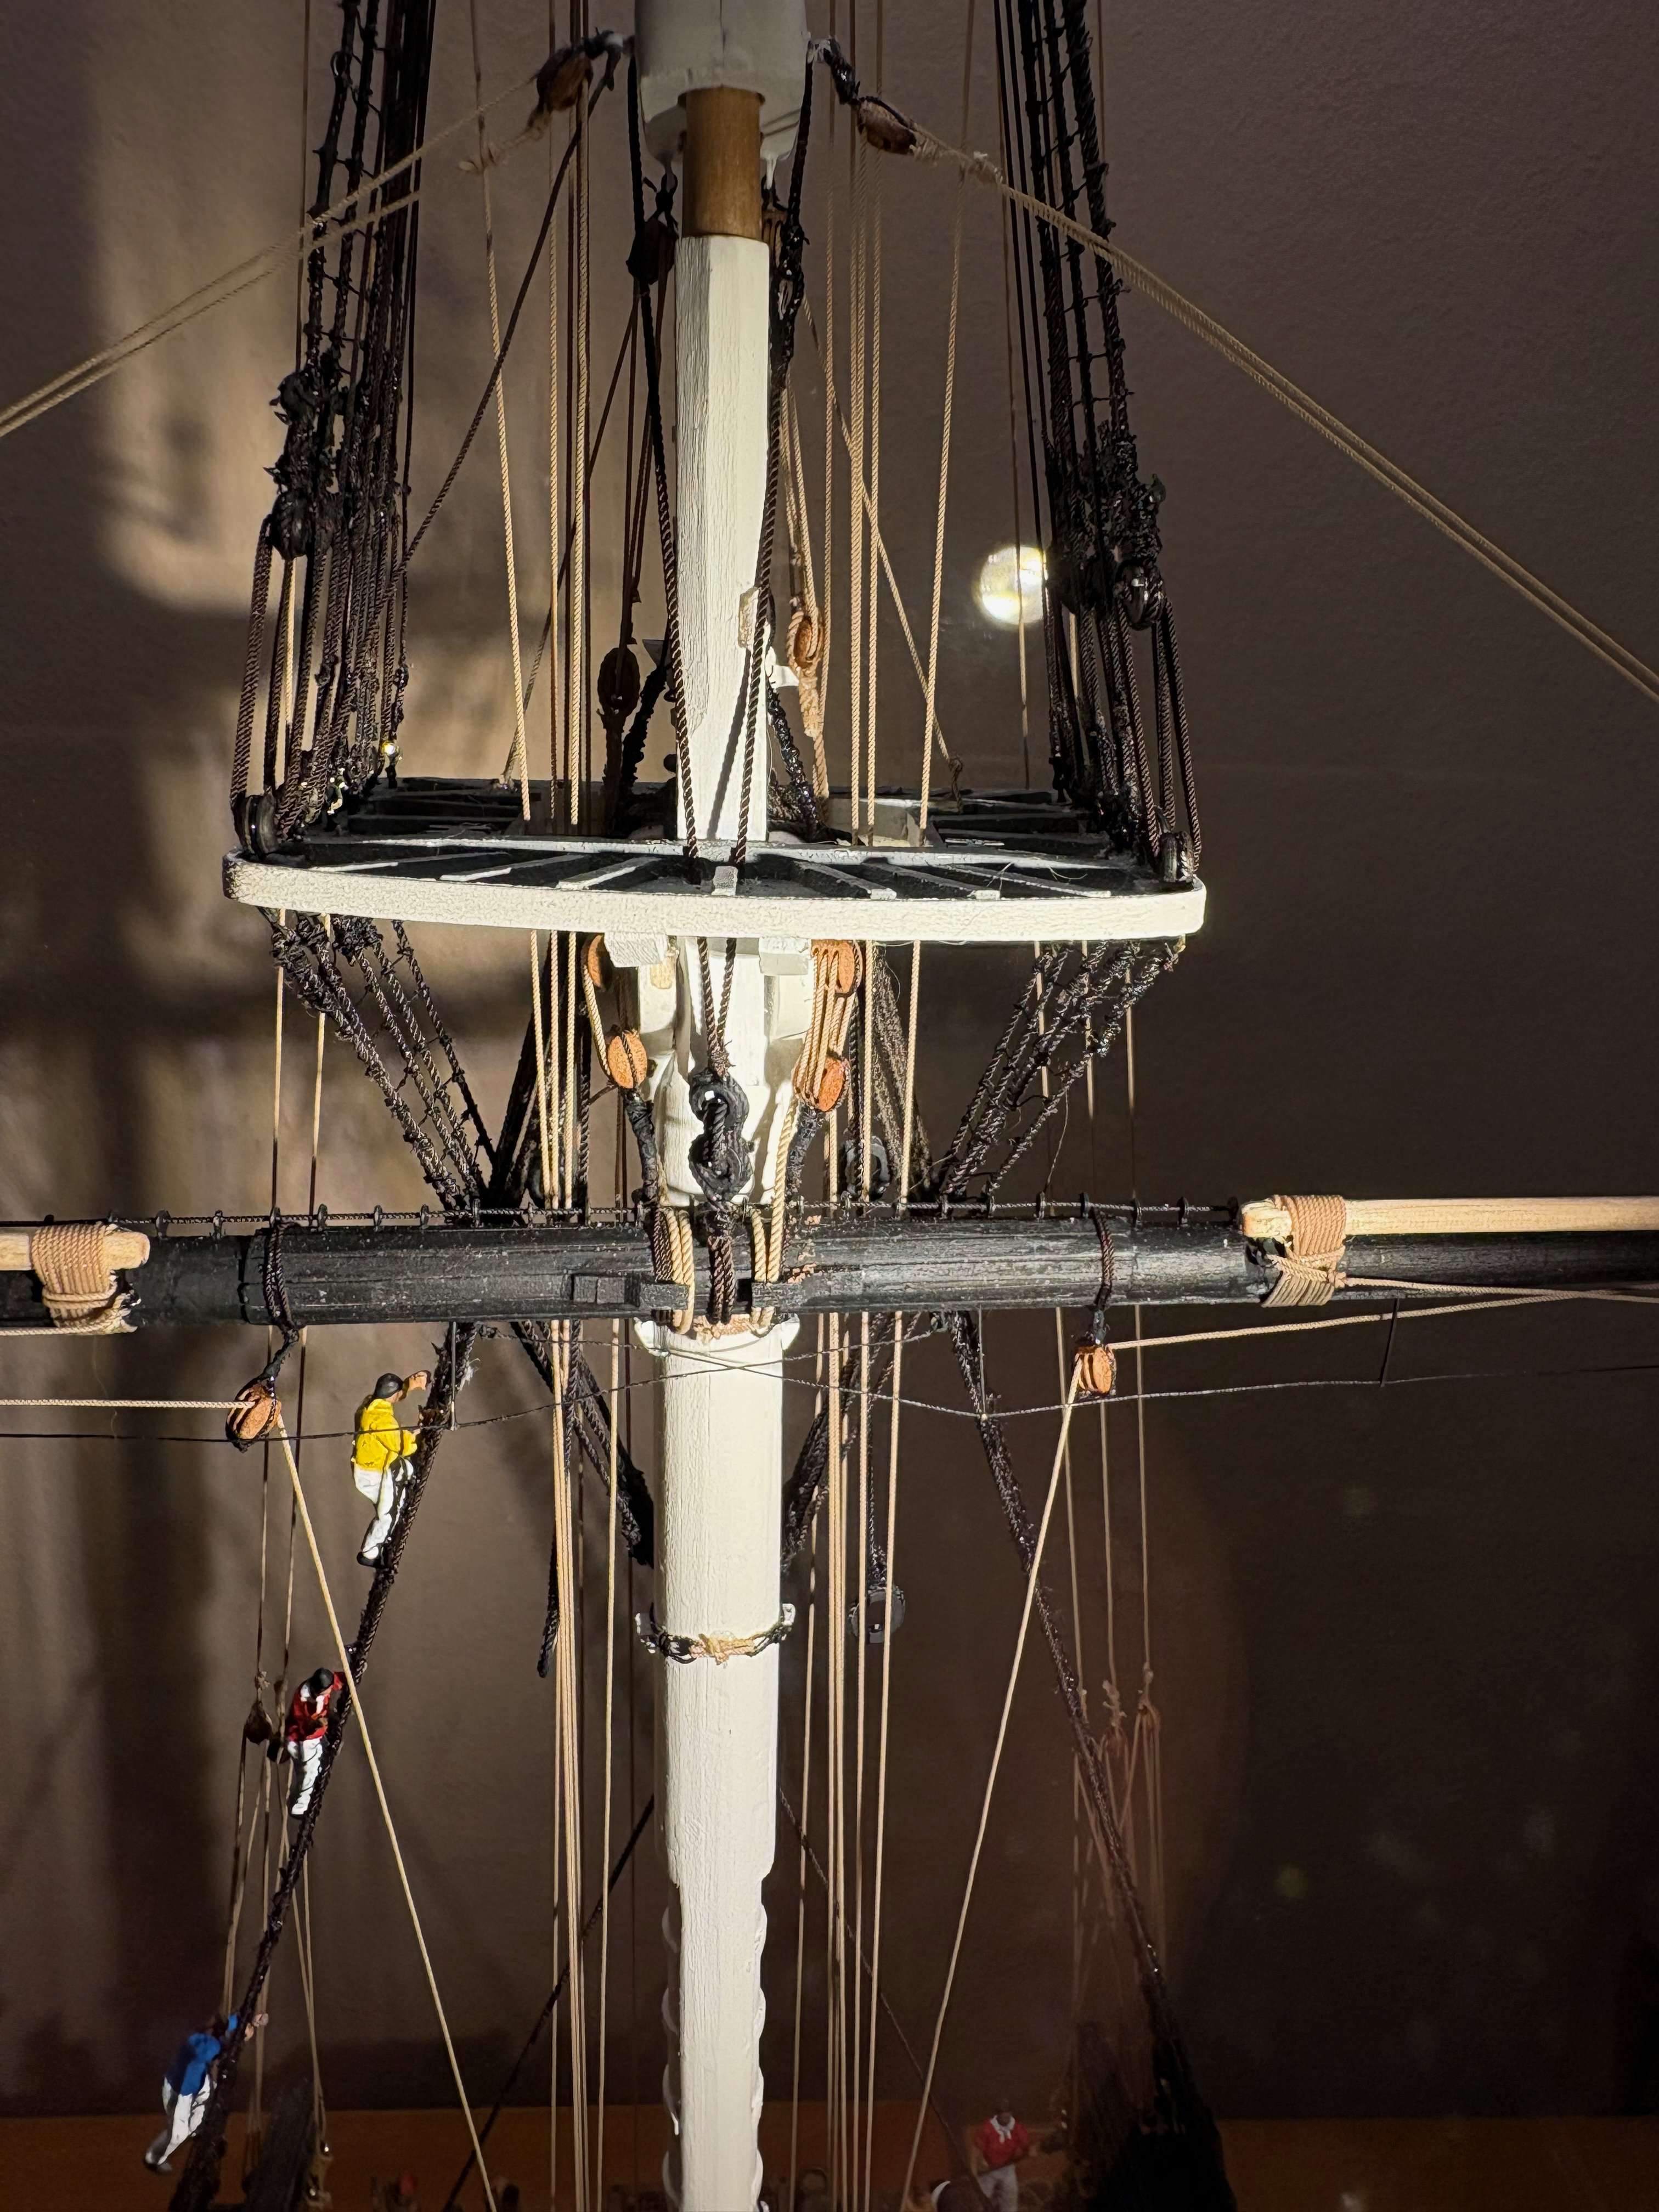
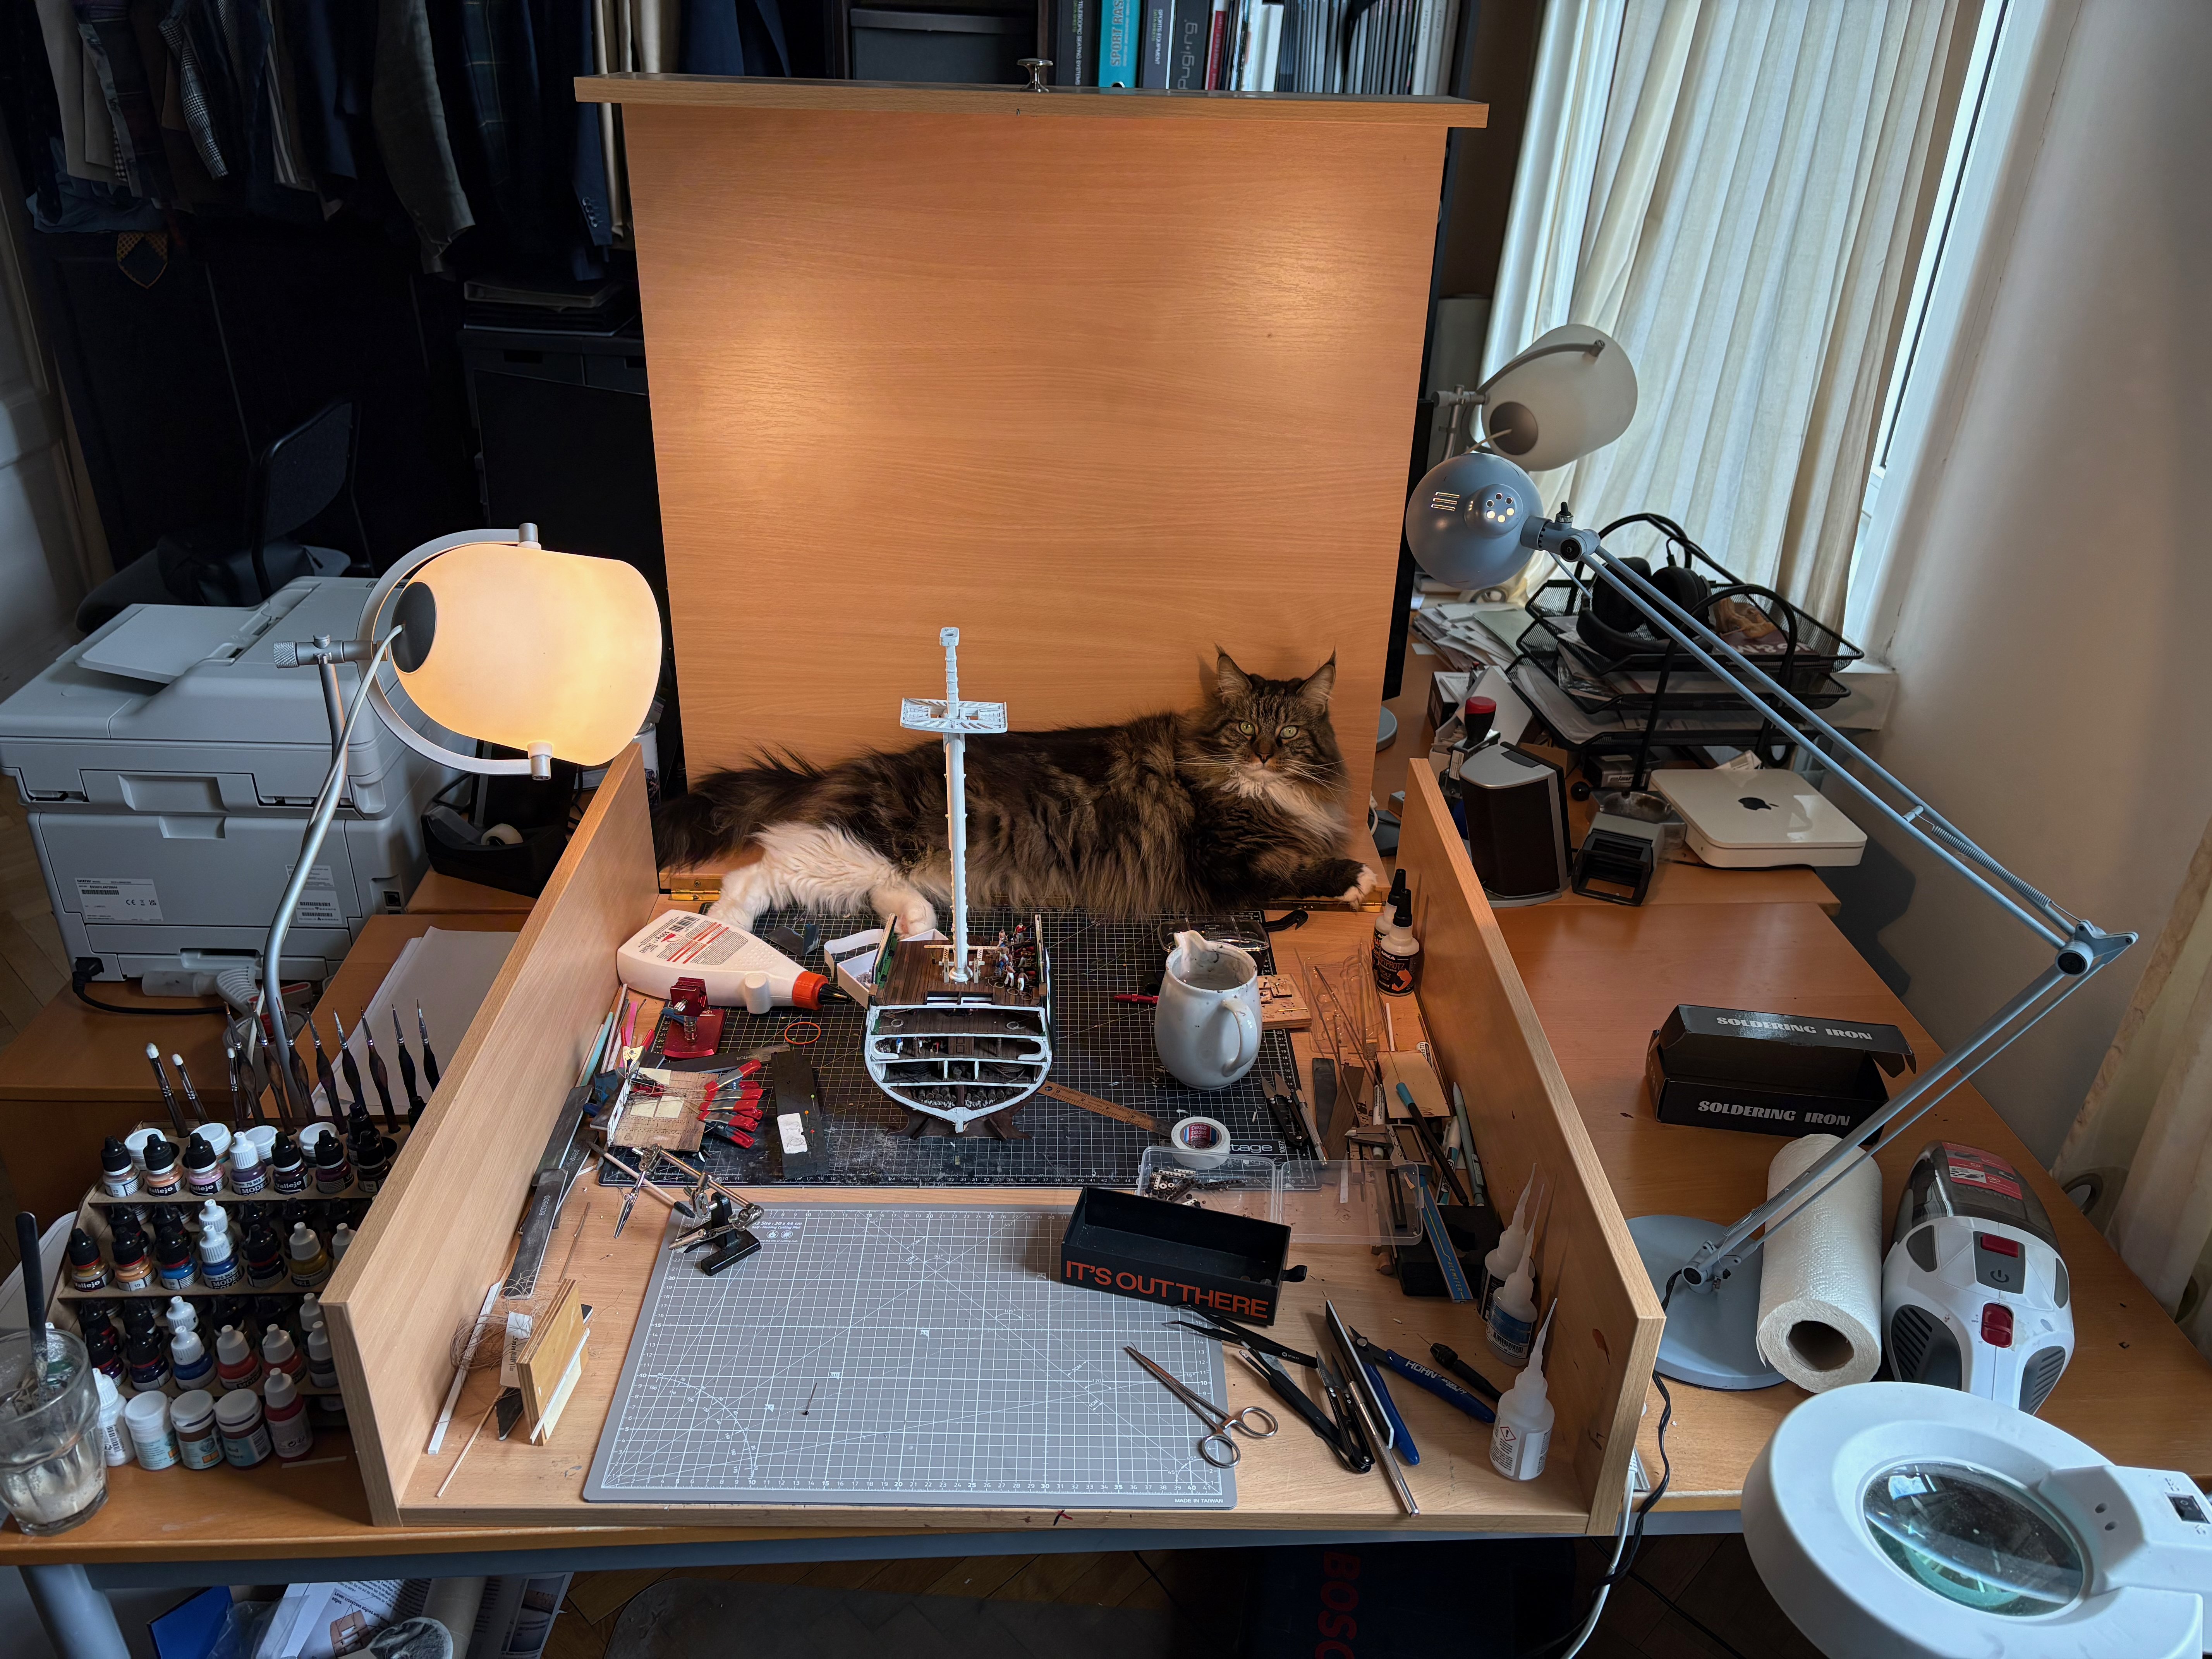
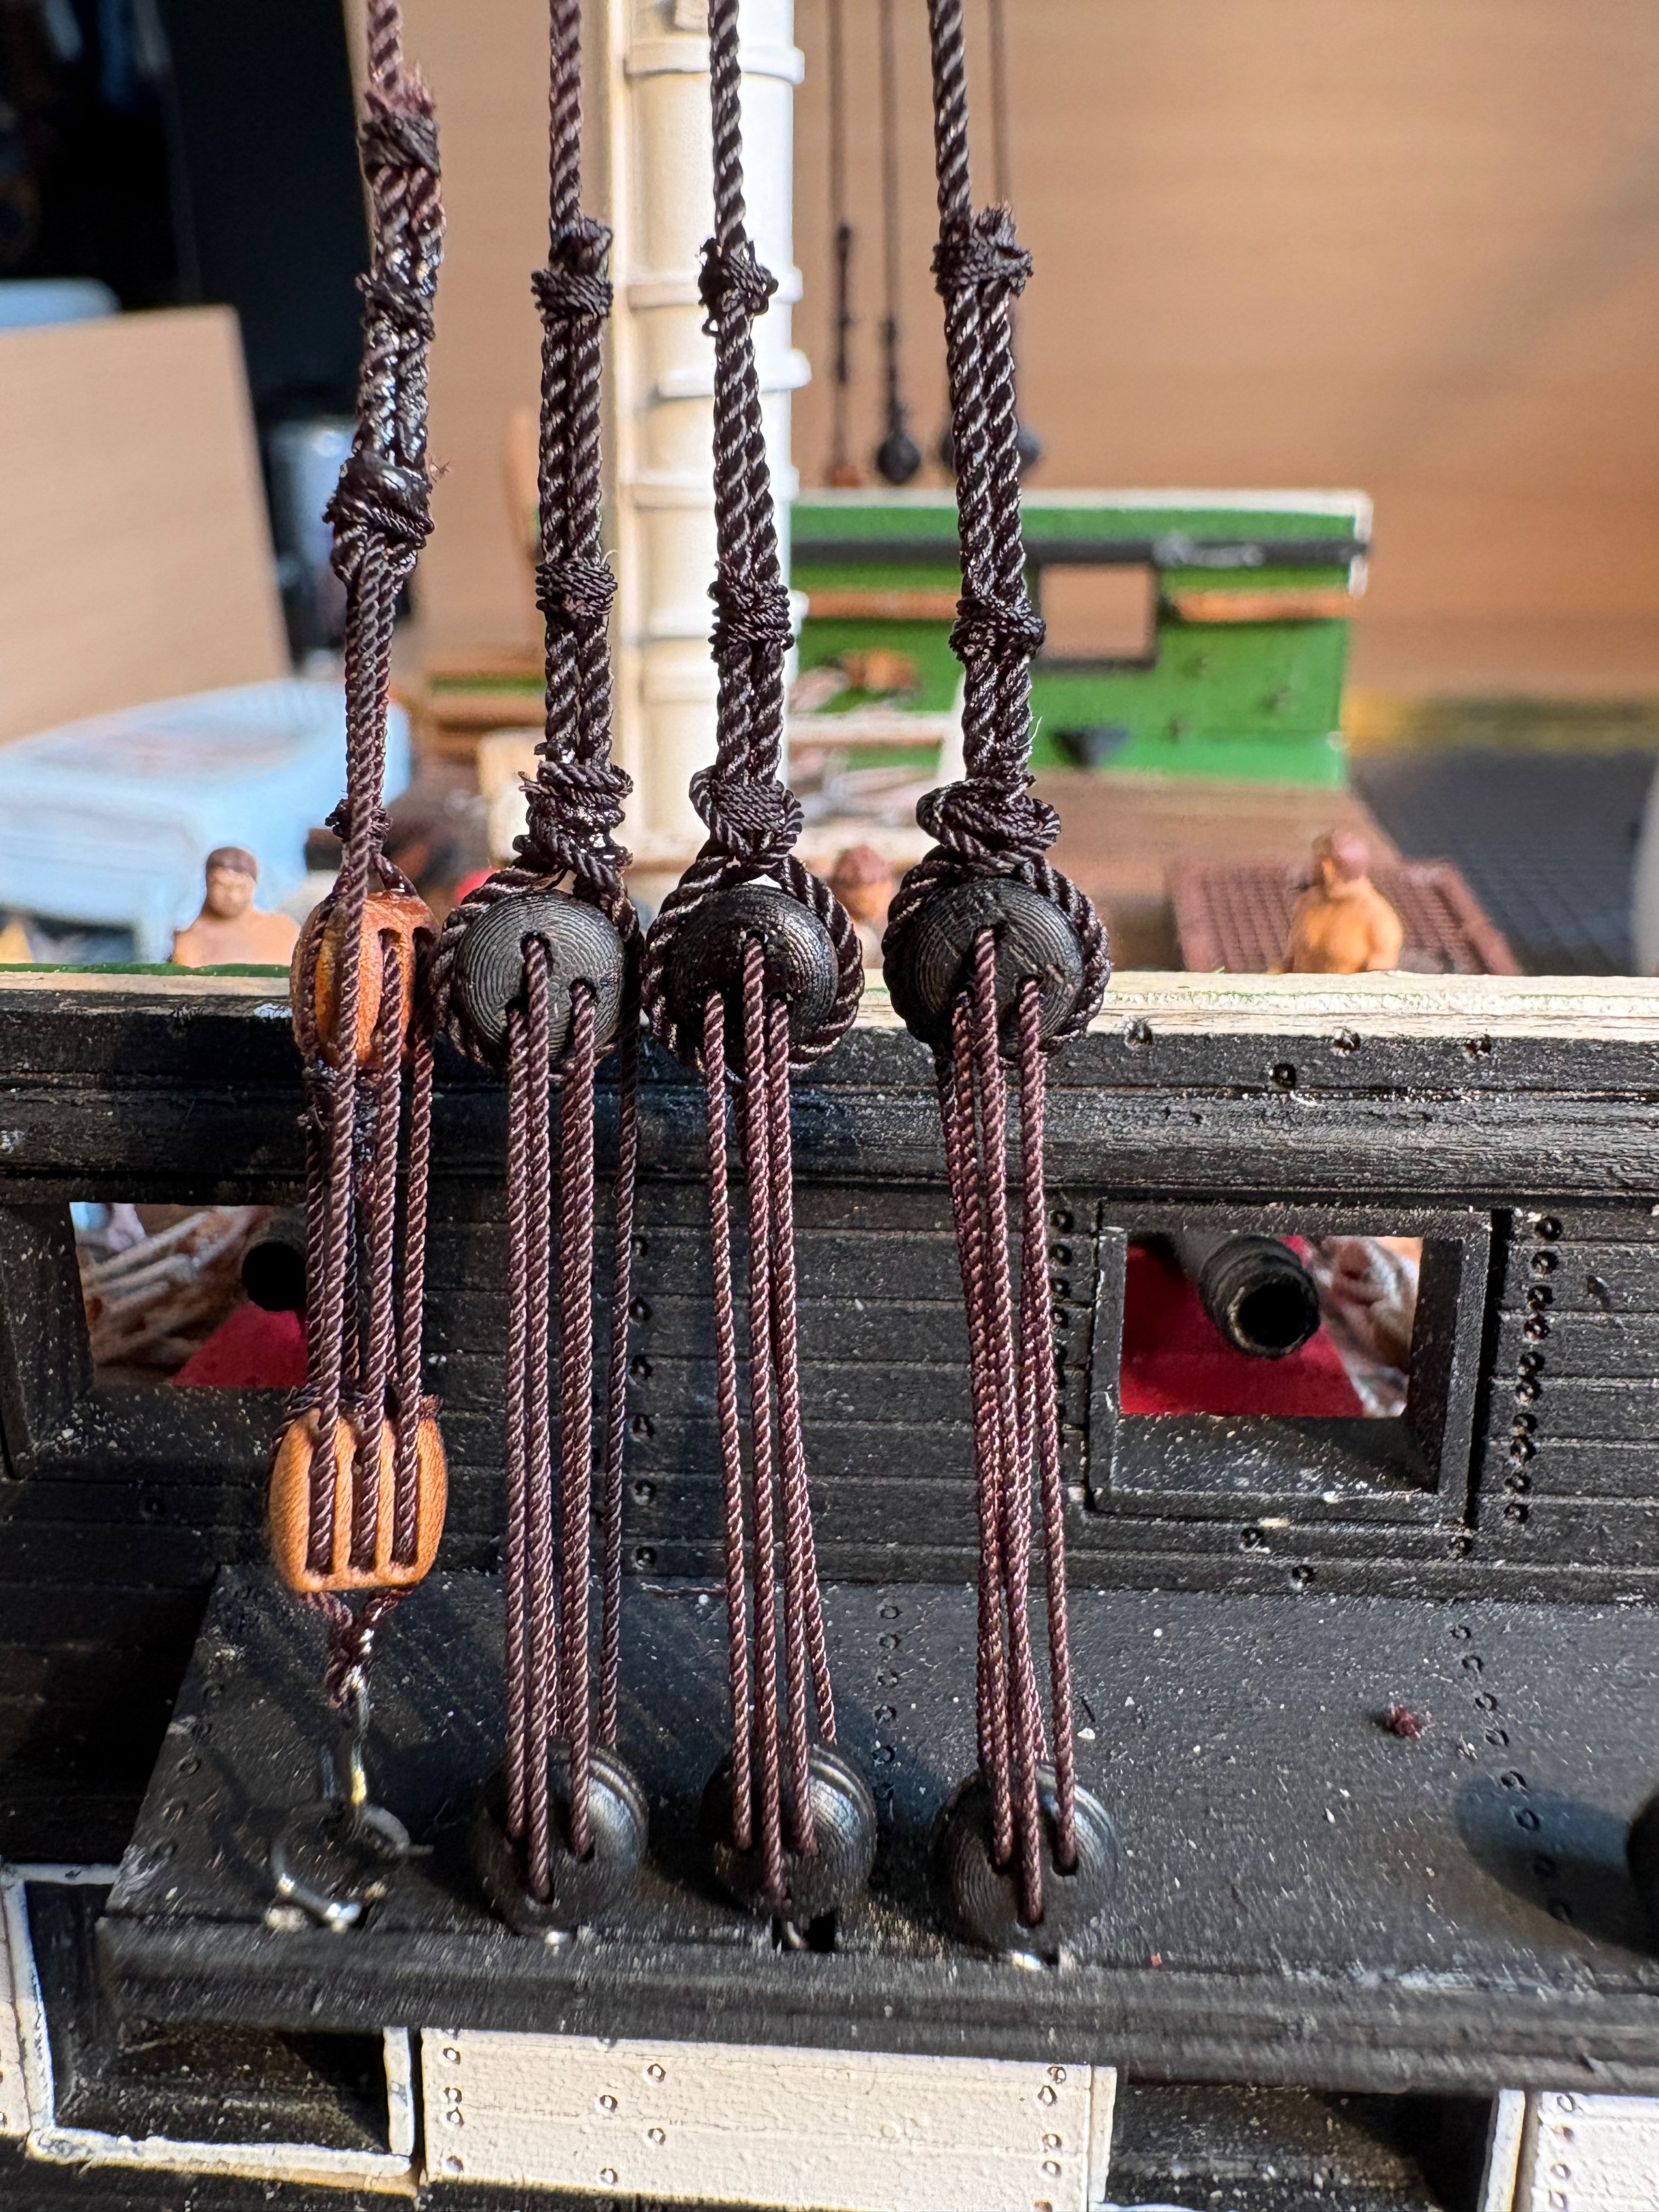
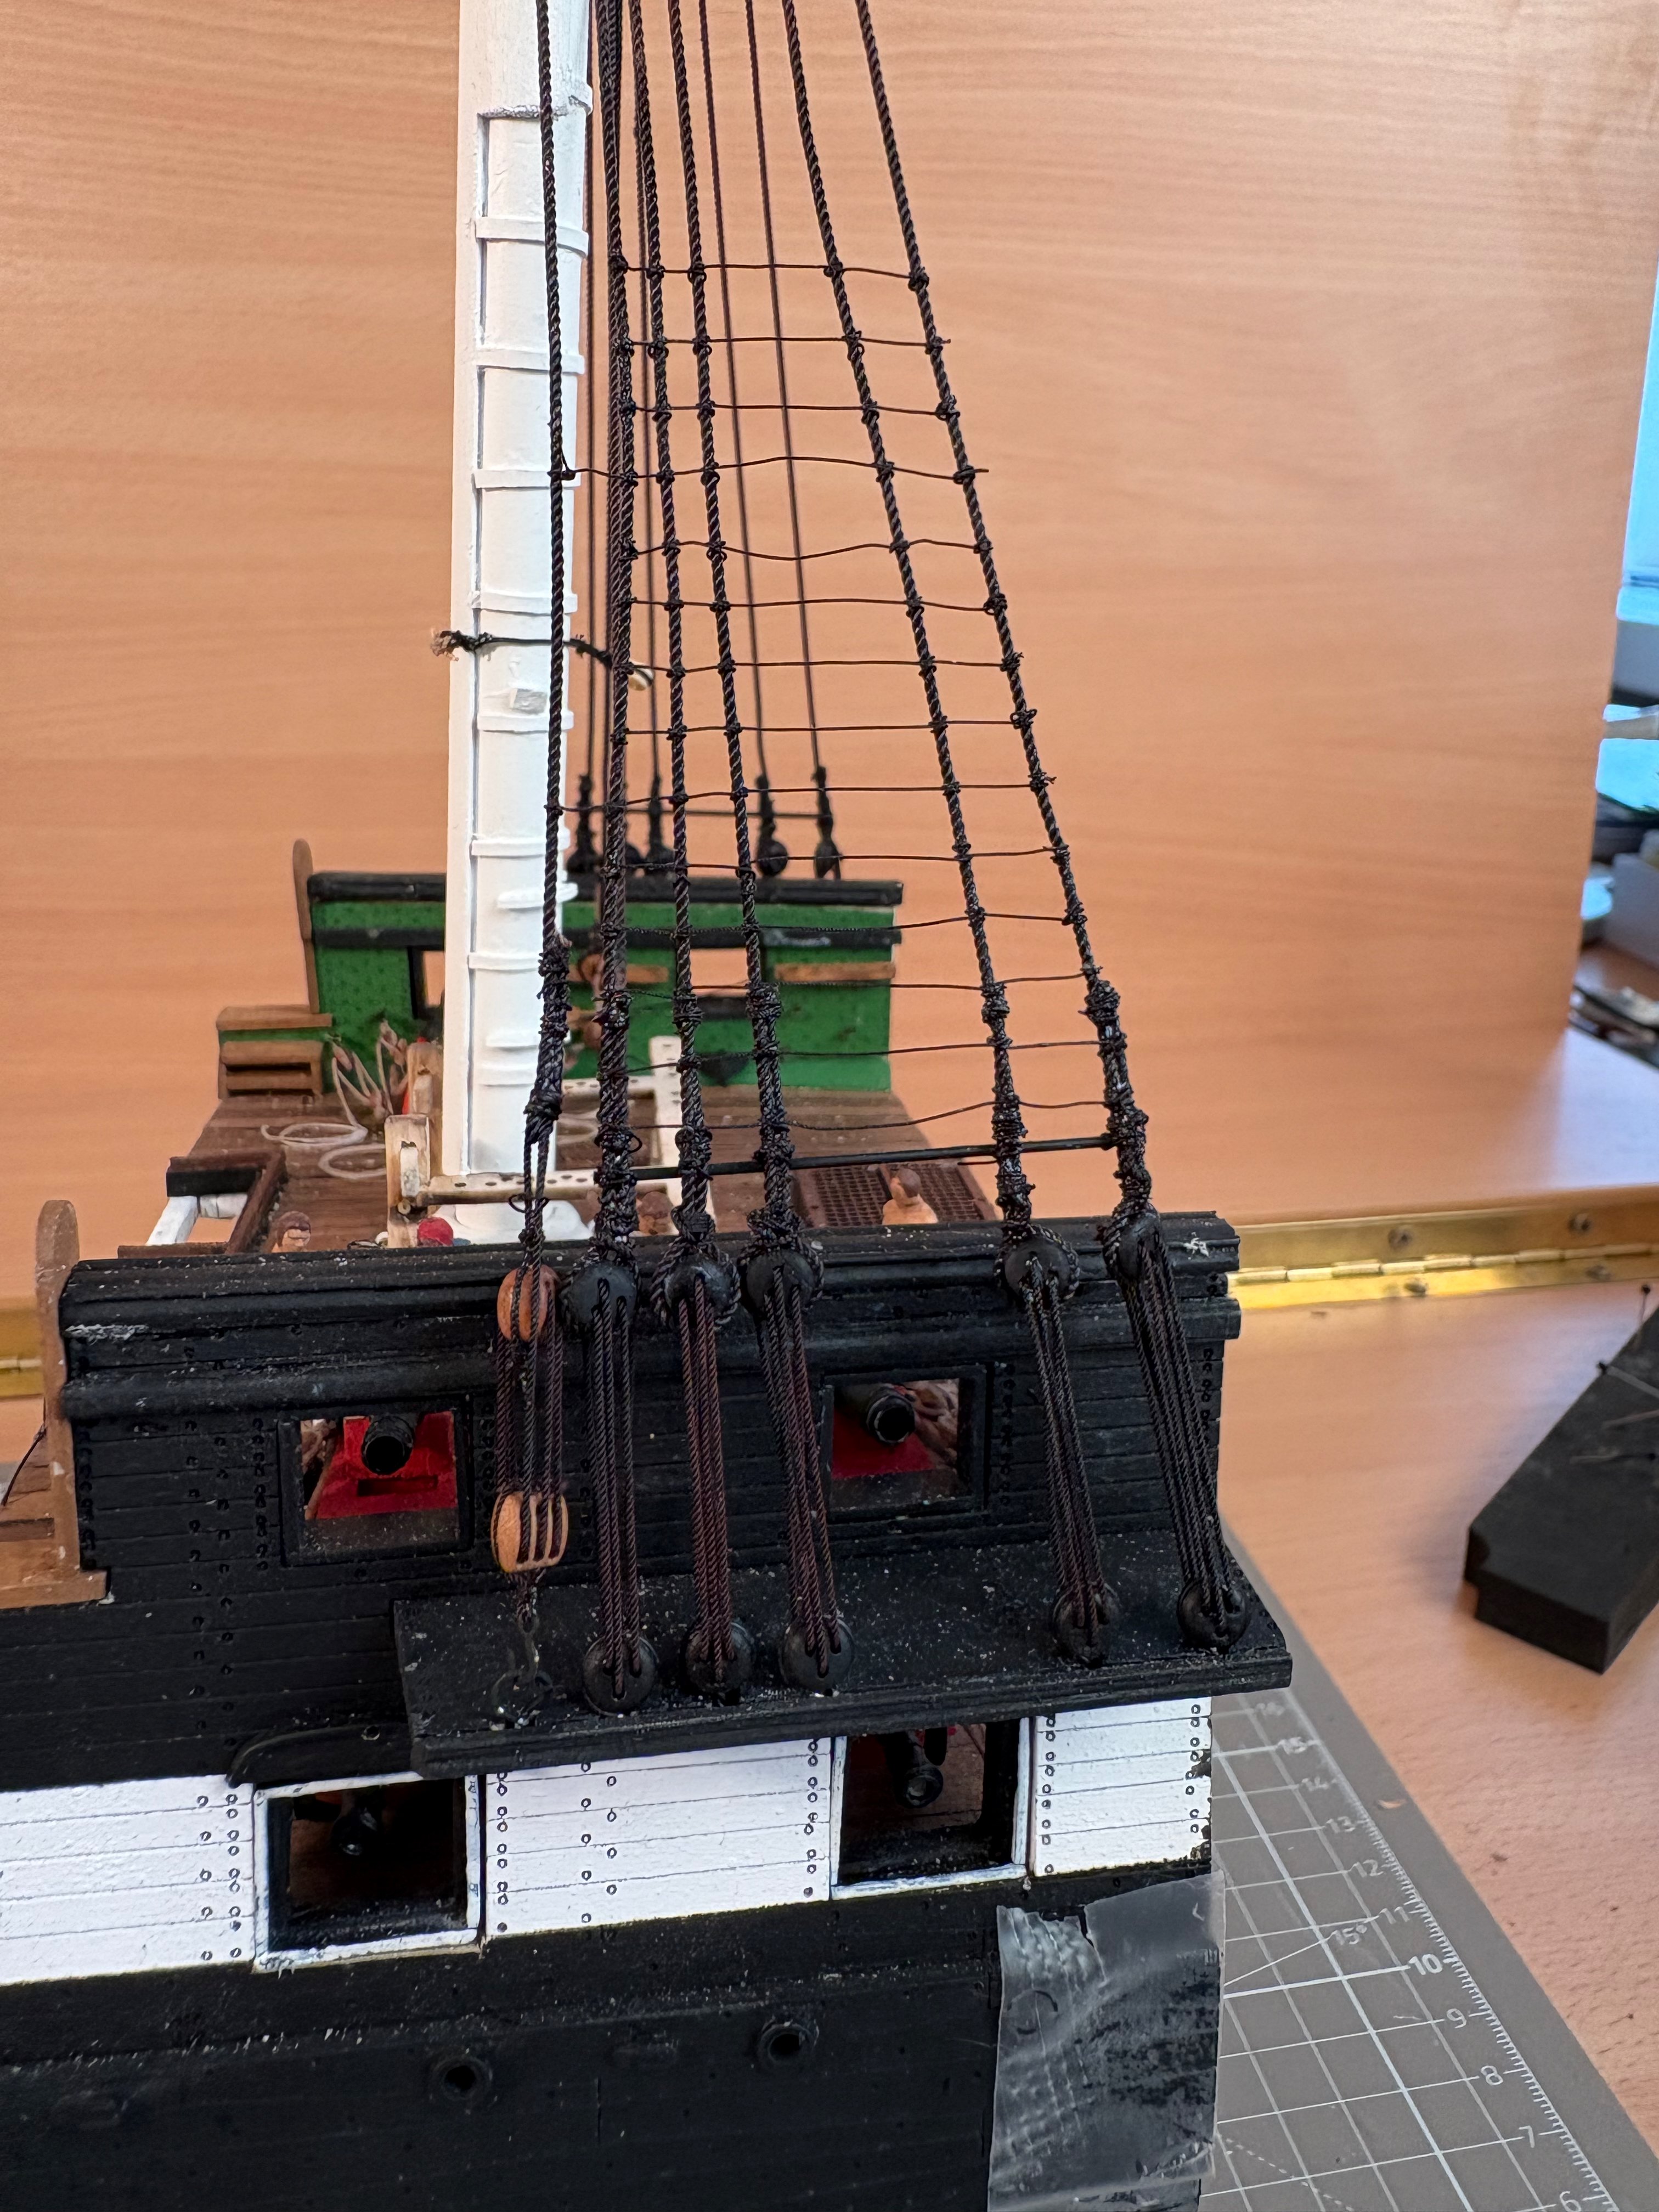
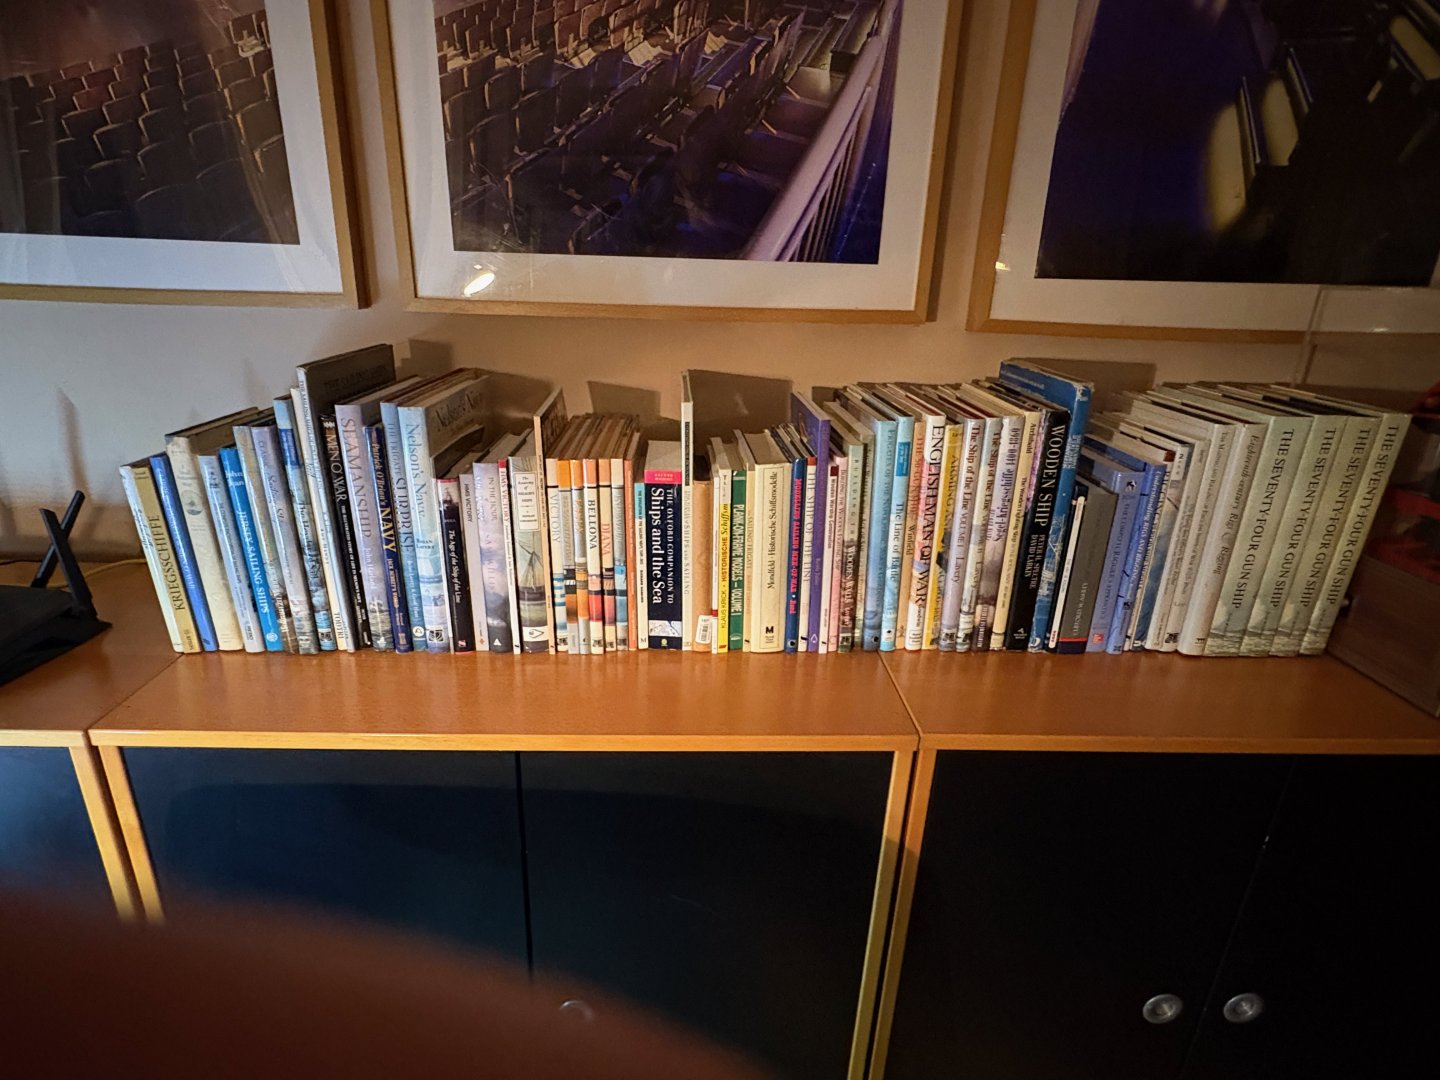
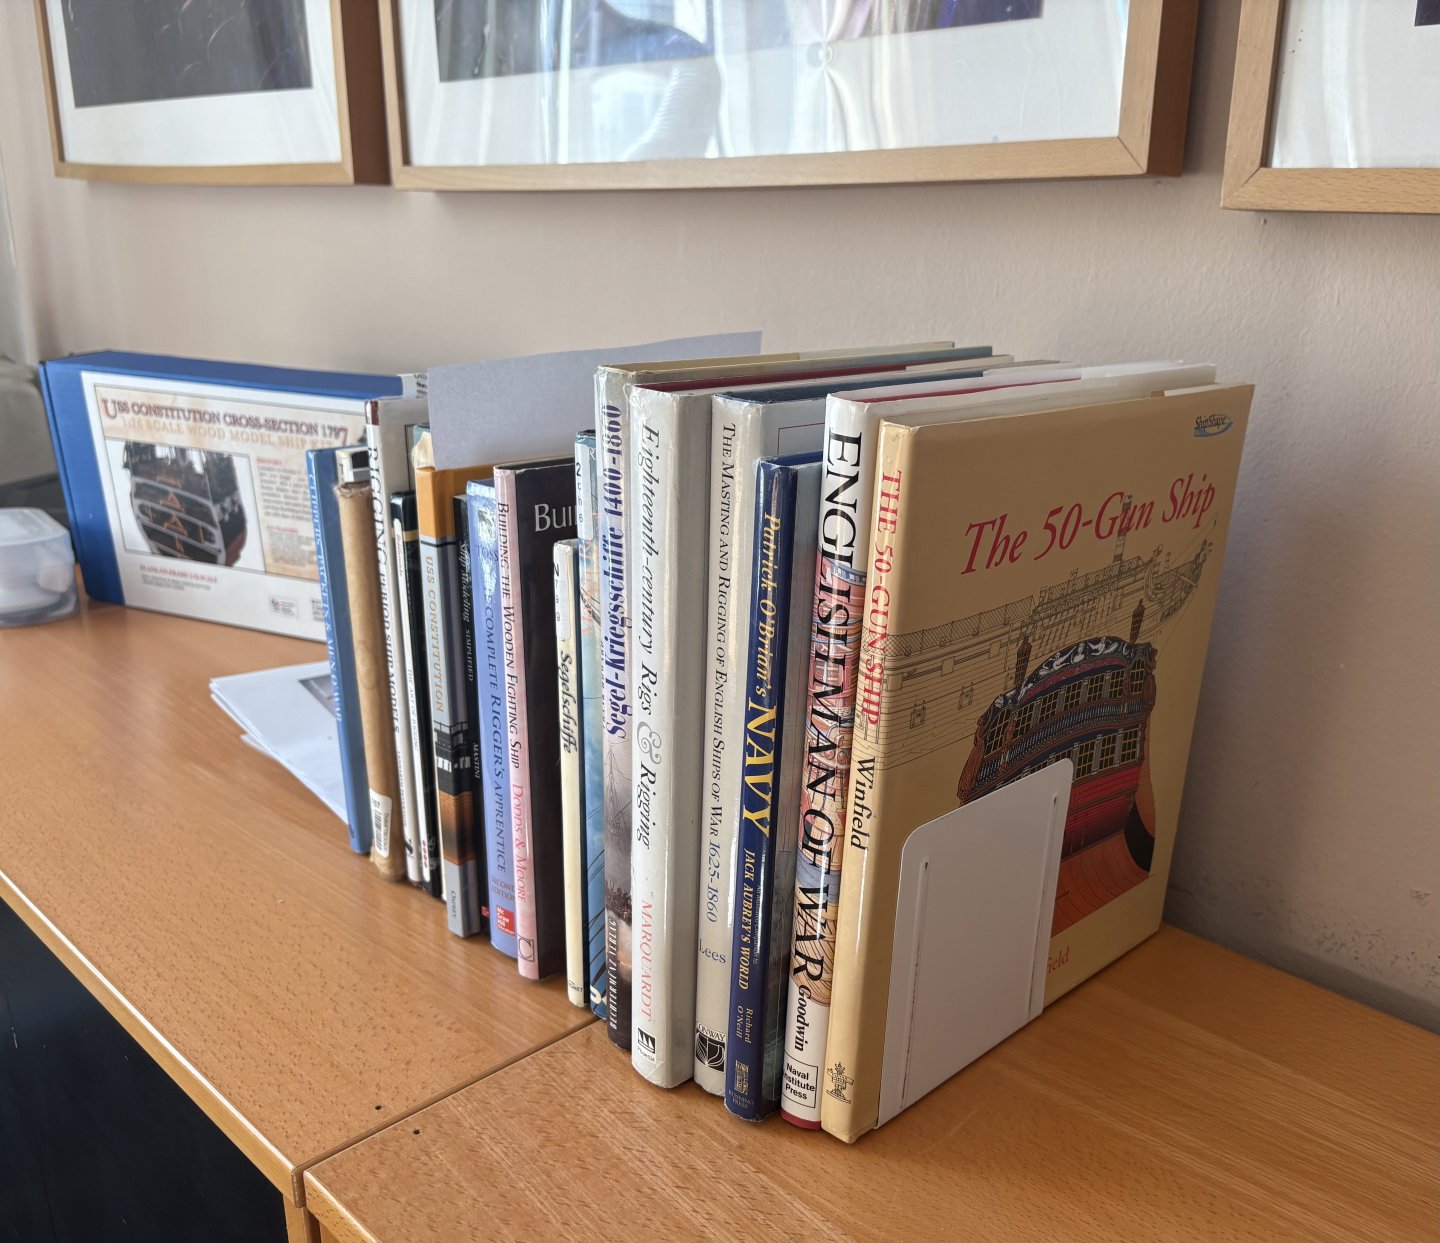
So, after a long time, I'm continuing my career as a shipwright. I started with the shrouds; everything to do with ropes and blocks is completely new to me. I've bought a "few" books on the subject... And then we were ready to go. The assistant has already arrived and is waiting patiently for his assignment. By the way, this is my workplace, a box with a lid that can be closed. The first shrouds were installed, the first knots tied, the first ratline knotted – all completely new territory for me. But it's fun.


-
Thank you, your words make me happy and I will continue to strive to improve my skills. I am not yet a real shipbuilder, but I have already started building my first complete ship, the HMS Flirt, which is just the right thing to start with.
- 33 replies
-
- 1
-
-
- Constitution
- Model Shipways
- (and 2 more)
-
Thank you for your kind and encouraging words. You've inspired me to post some photos of the almost finished project.
-
Hi, this is one of the most amazing models I have ever seen. It is so full of perfect craftsmanship that one can only take one's hat off in admiration. You have really awakened a desire in me with this model, especially because I like Admiralty models incredibly well. I like your hybrid approach. I have two questions about the HMS Portland model: When are you planning to release the first edition of this model? What is your target price range? I look forward to every new post from you. It's always amazing to see the solutions you come up with and the great quality of your work.
-
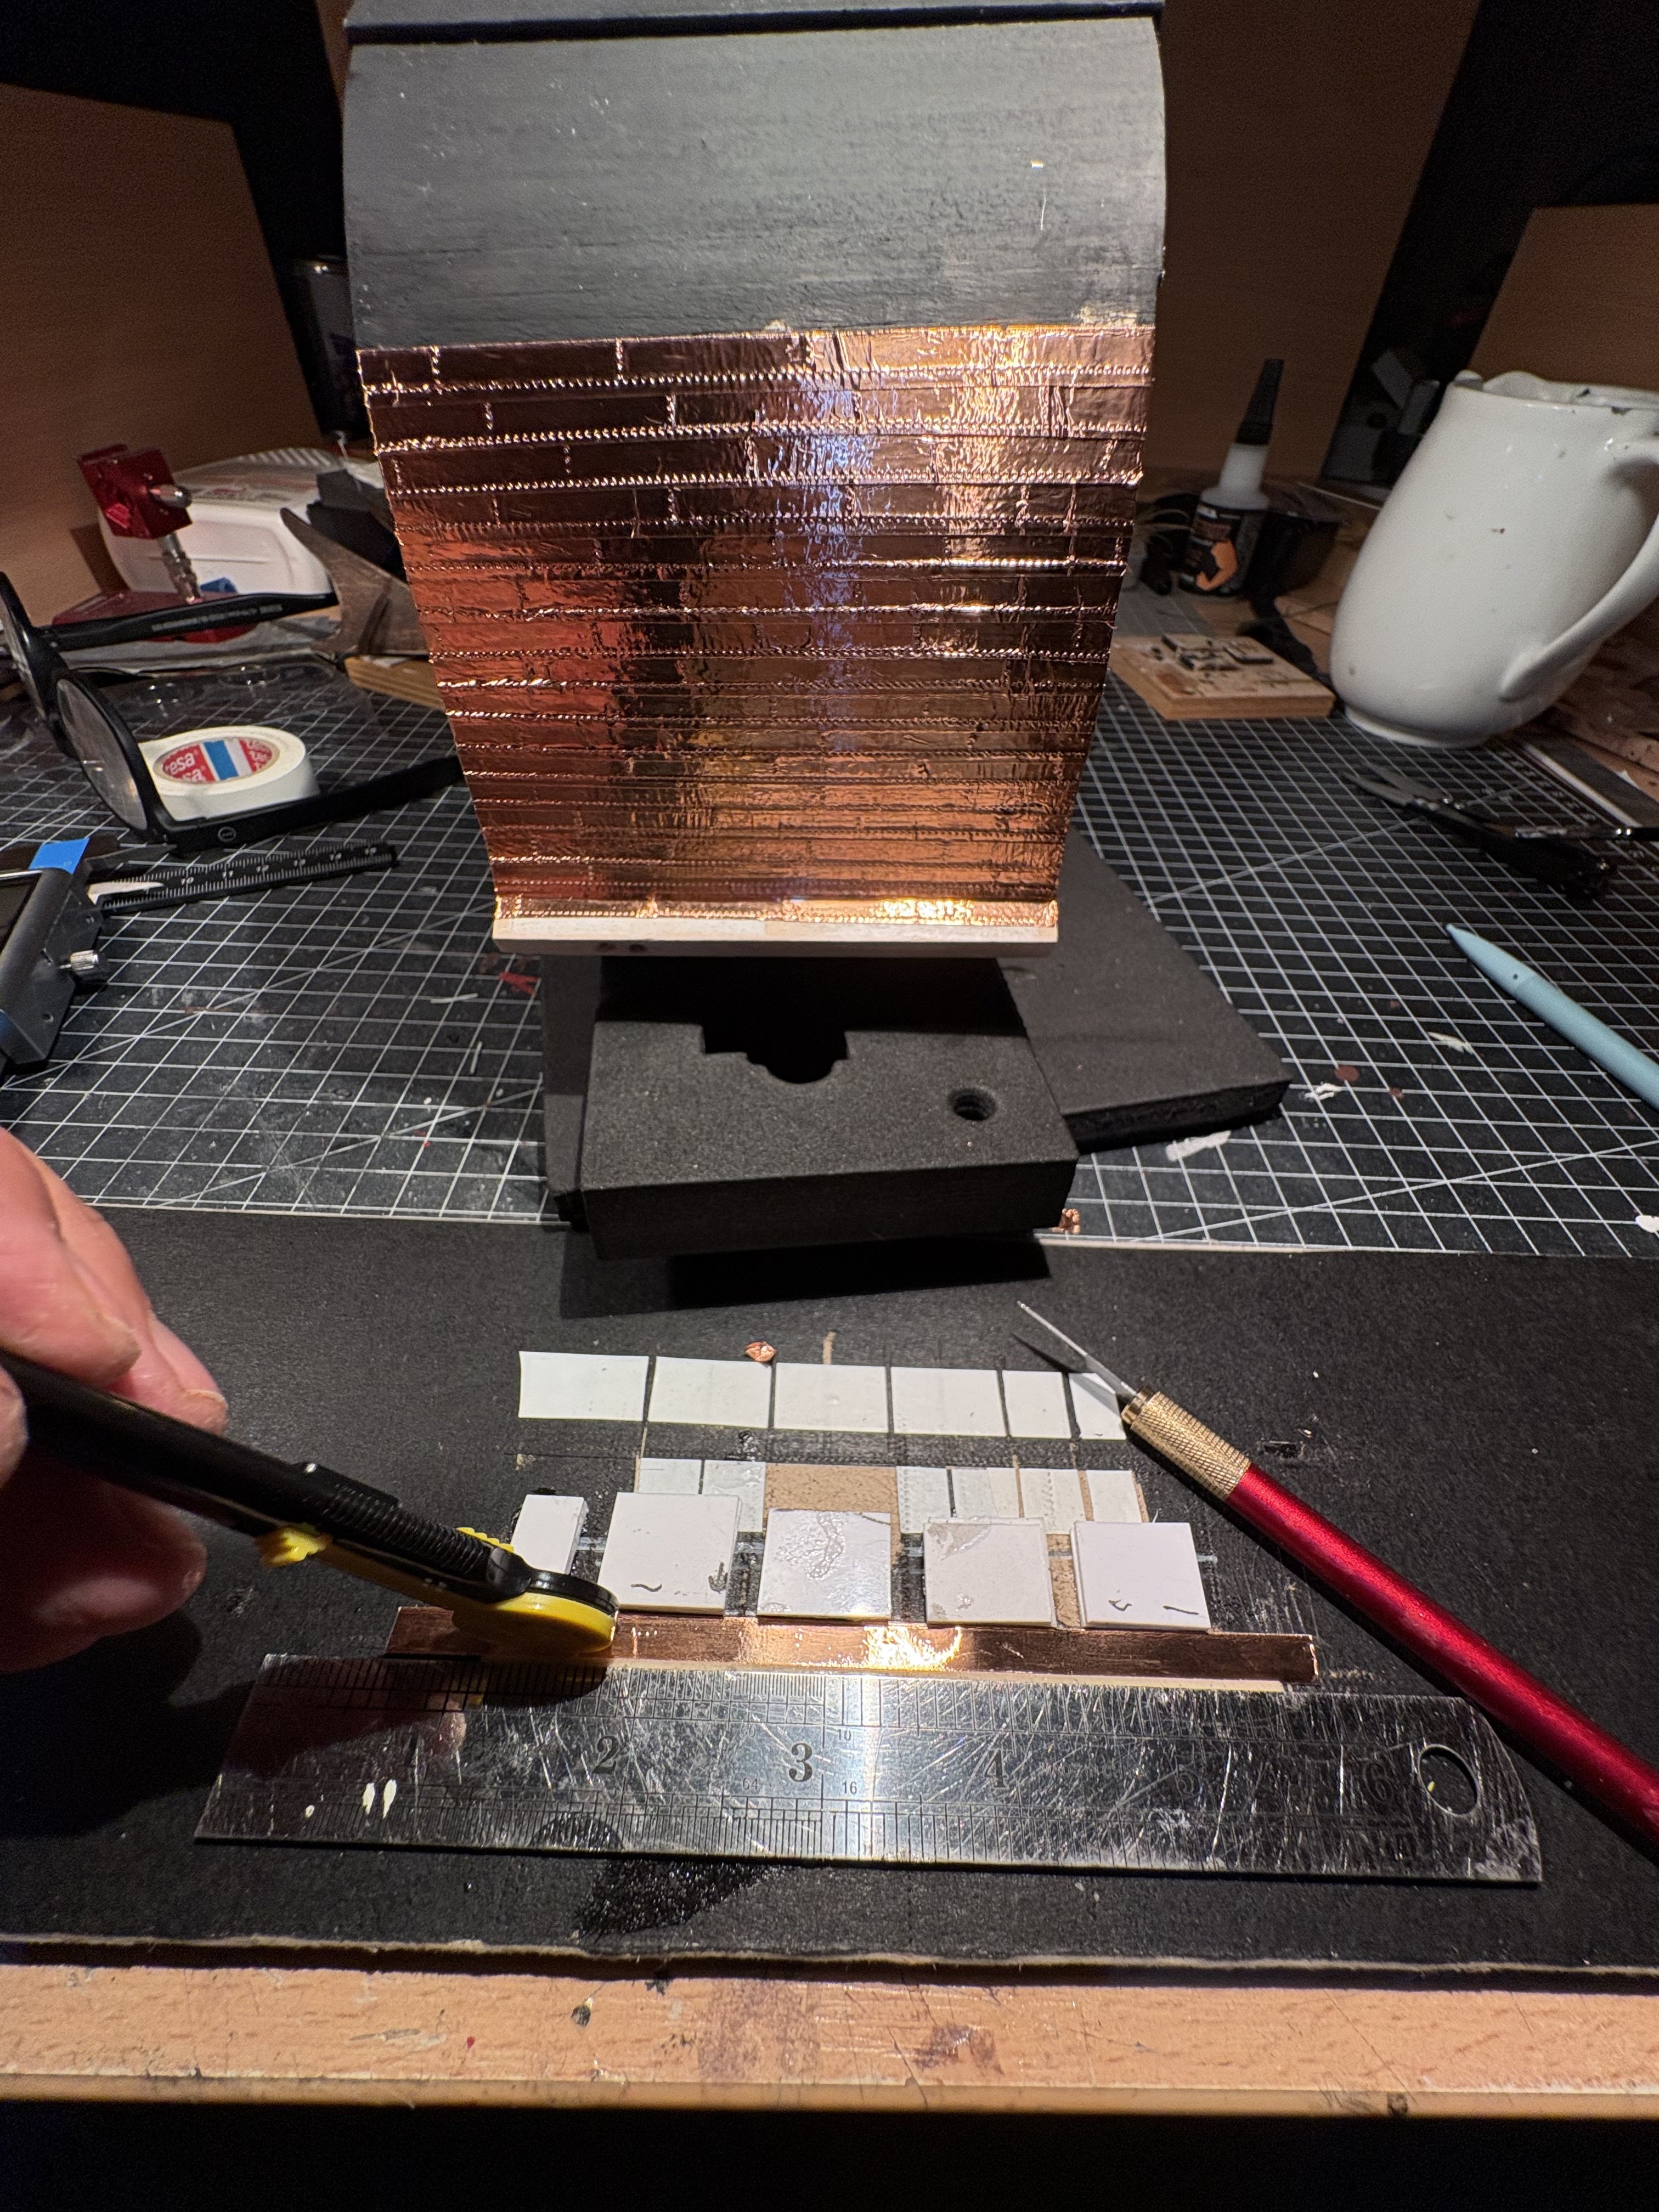
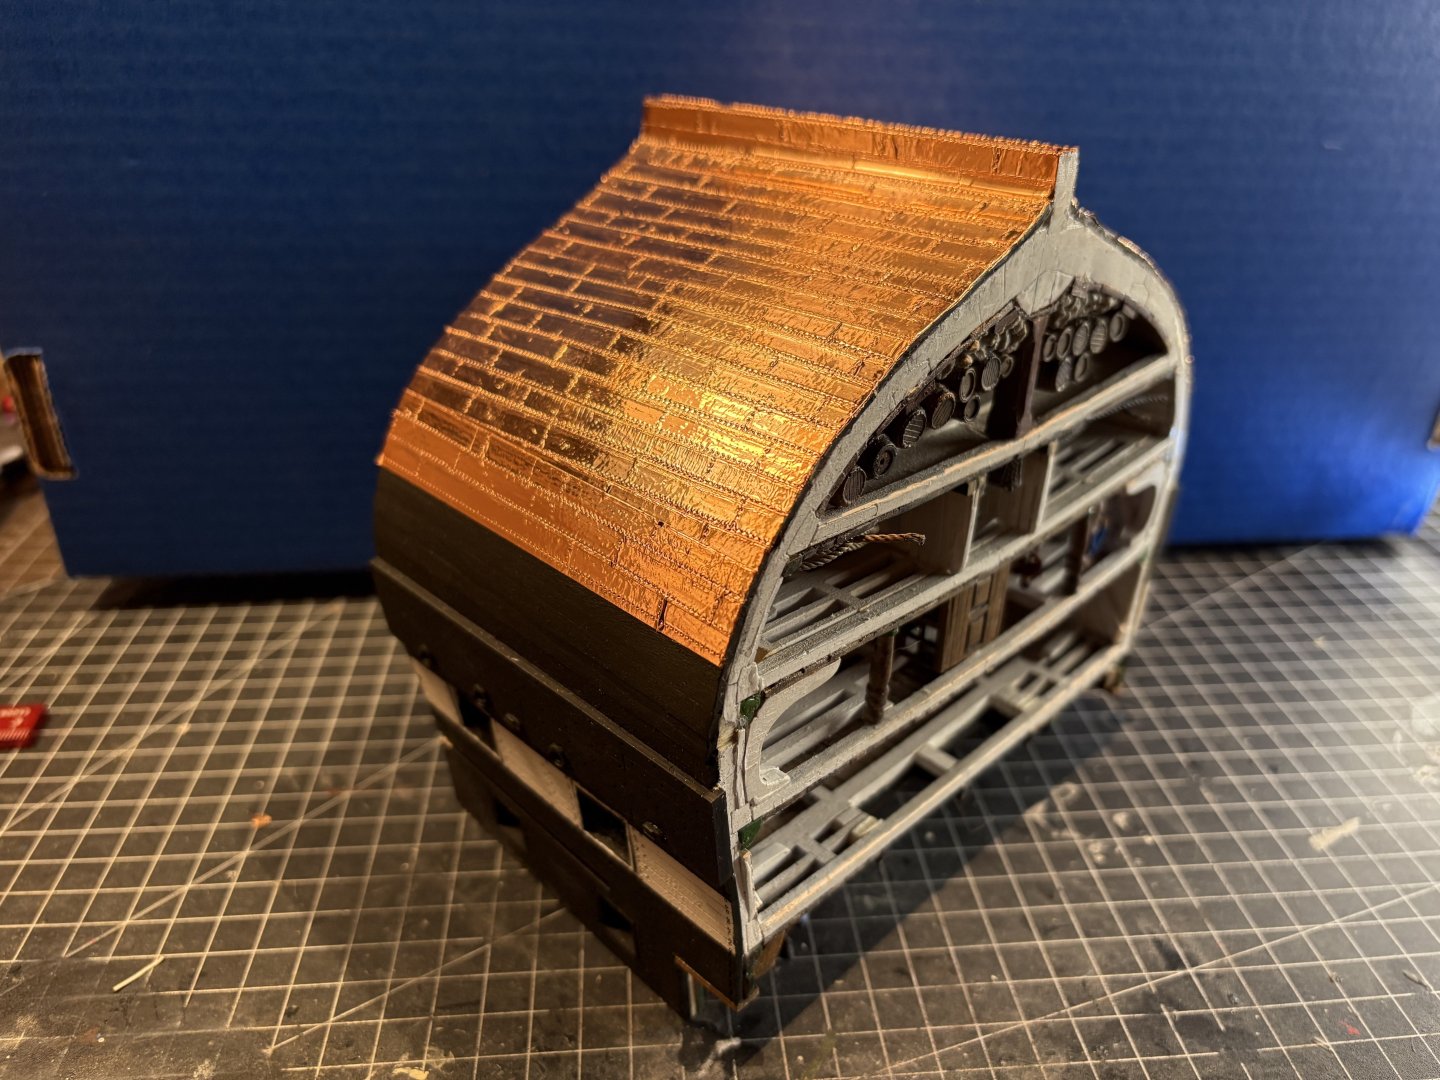
The copper wasn't so bad after all. But that only applies to my expectations. Perhaps the result isn't as good as I think it is. In any case, I'm satisfied. I built a device where I could cut the foil and attach the rivets. And once again, I took the liberty of a model builder and only used the rivet rows very sporadically. In my opinion, and I'm really no expert here, the many rivets look too dominat on a scale of 1:76. In any case, I decided to take the next step and bought the HMS Flirt from Vanguard Models. I'm really looking forward to it; it's almost like Christmas for me. Hopefully, the steps I'm taking aren't too big, but I'll find out. That's called learning the hard way... Or as a political heavyweight once said: ‘Not because it's easy, but because it's hard.’ But I don't want to go to the moon; I want to be able to build the HMS Surprise when it goes on sale soon. That's my goal. But first, I'll finish the USS Constitution, as the next big challenge is coming up soon: the masting and rigging. Another completely new thing for me. With the guns and carronades, I was able to work with blocks and ropes for the first time and am constantly improving. I quite like the lad, but again, that's not an expert opinion, just my humble opinion.


- 33 replies
-
- 3
-
-
- Constitution
- Model Shipways
- (and 2 more)
-
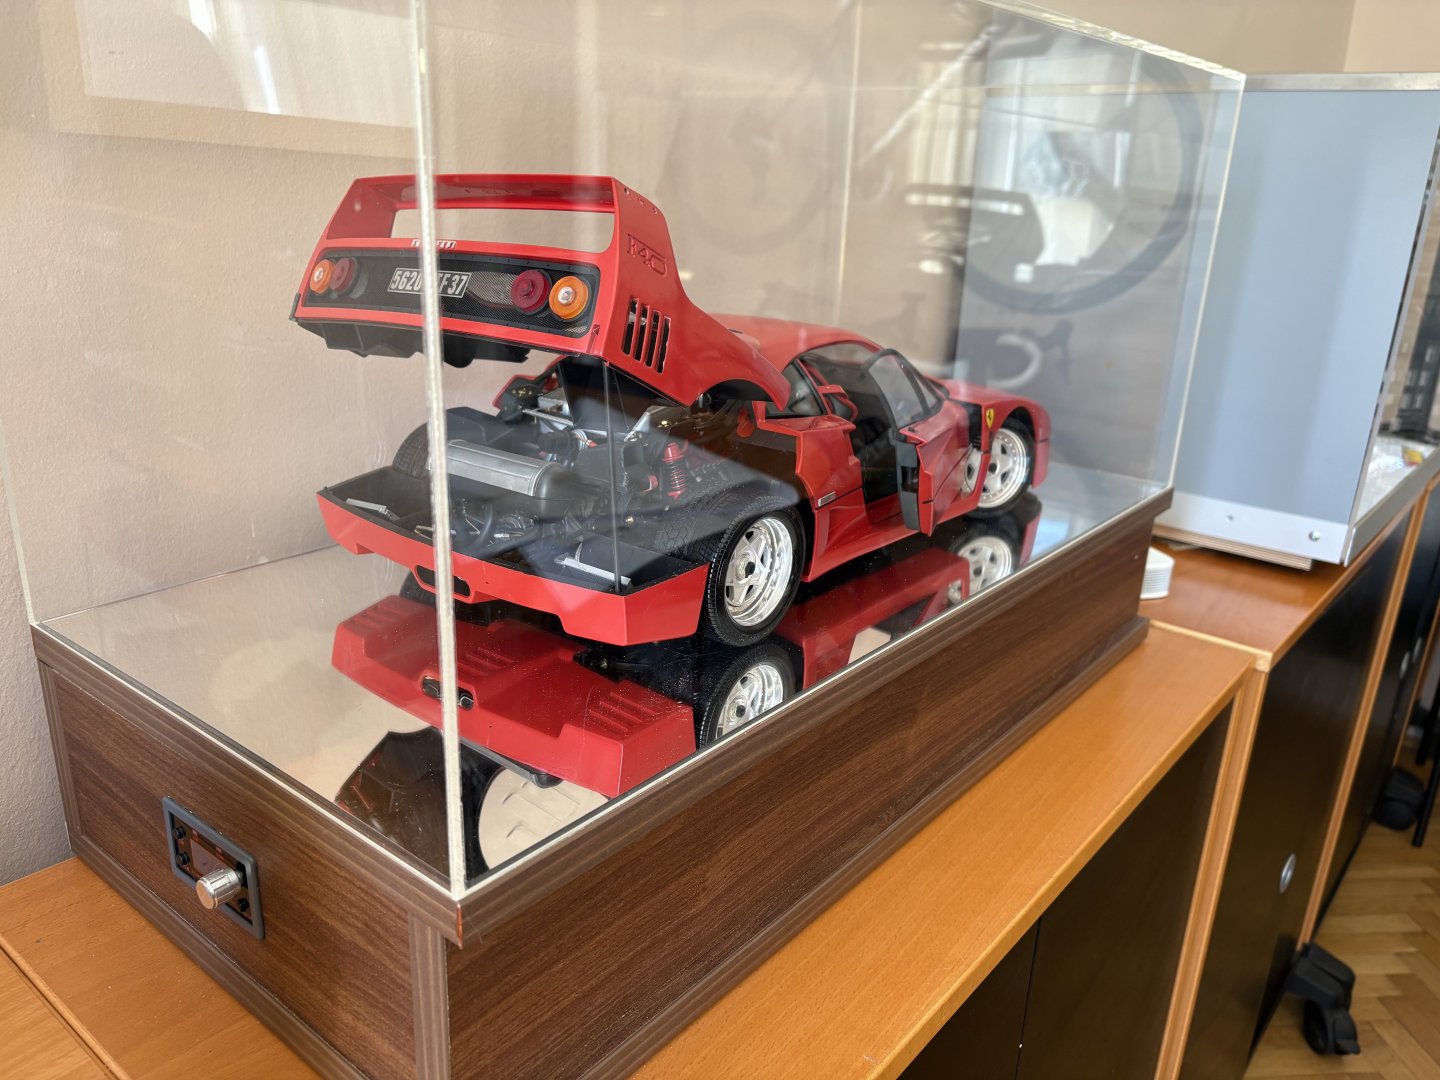
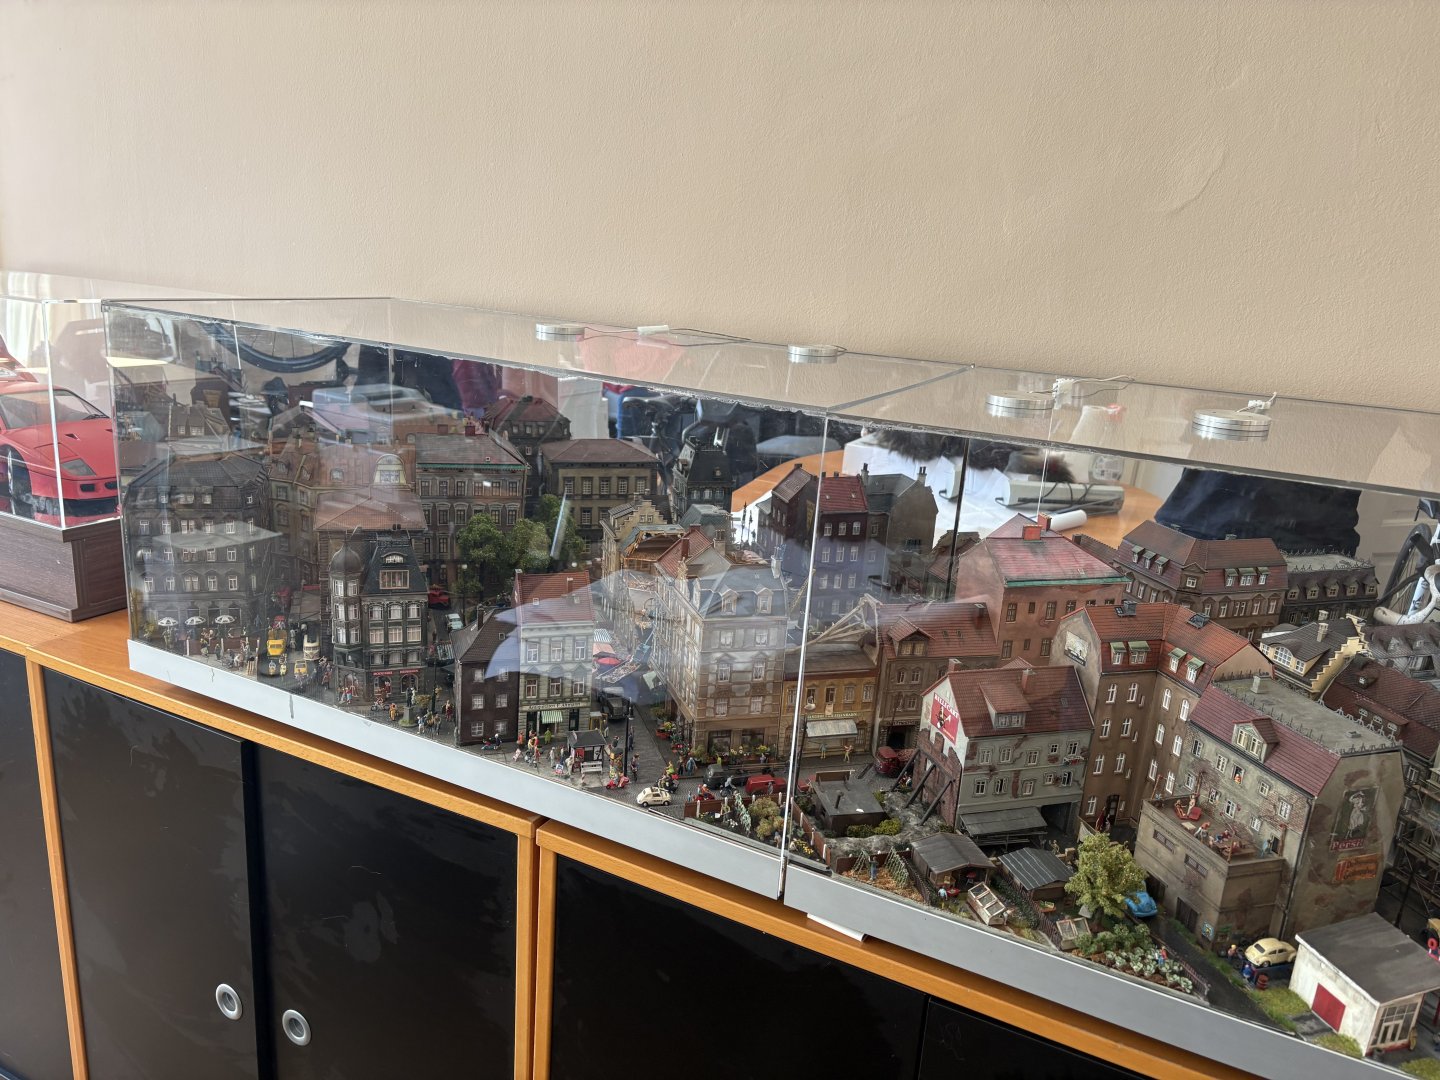
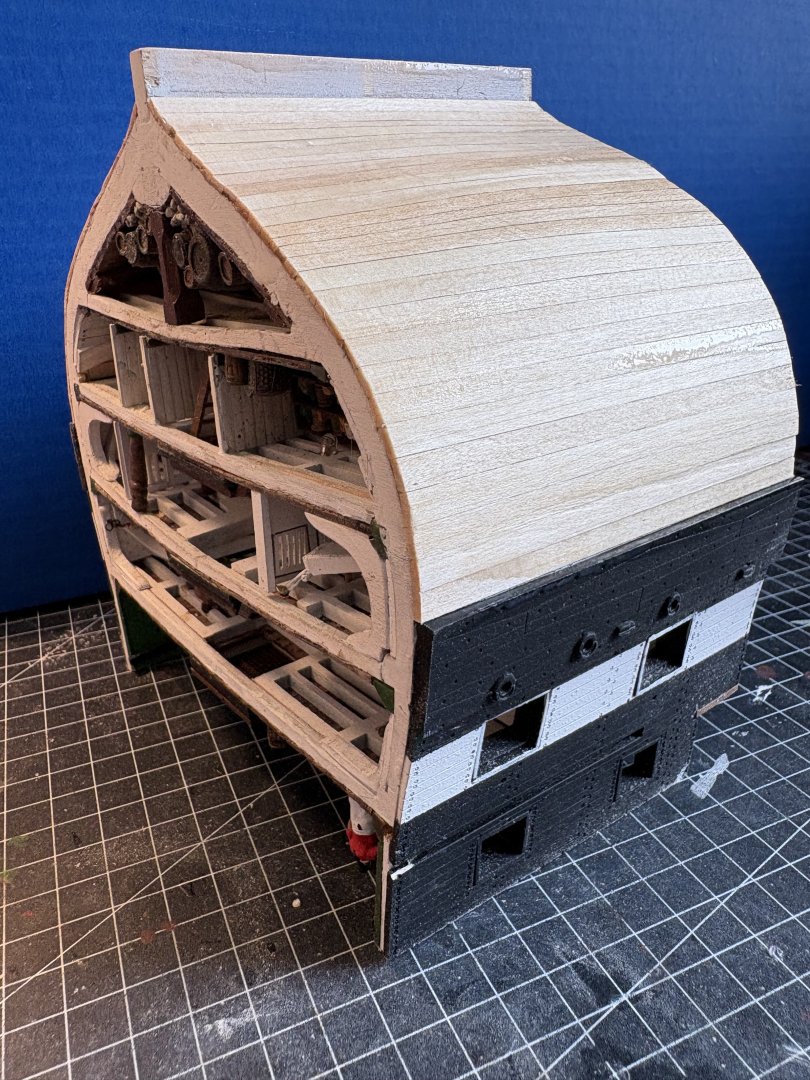
And all this just to put off my first big challenge, planking the hull. As I admitted at the beginning, I am a complete novice when it comes to wooden shipbuilding. I have been a model expert for decades, but not a shipbuilder. Here some of my works of the last years. And all this just to put off my first big challenge, planking the hull. As I admitted at the beginning, I am a complete novice when it comes to wooden shipbuilding. I have been a model expert for decades, but not a shipbuilder. Here are a few examples: After deciding to get into shipbuilding, I started with the cross section of the USS Constitution to get a feel for wood, gain some initial experience and attach the first, albeit super humble, planks to the hull. And as far as I can tell, it worked out quite well. My fear was unfounded. However, I have the most respect for copper plating, as I have no experience with it whatsoever and this copper foil seems very fragile. I hope it doesn't turn into a complete mess.

- 33 replies
-
- 2
-
-

-
- Constitution
- Model Shipways
- (and 2 more)
-
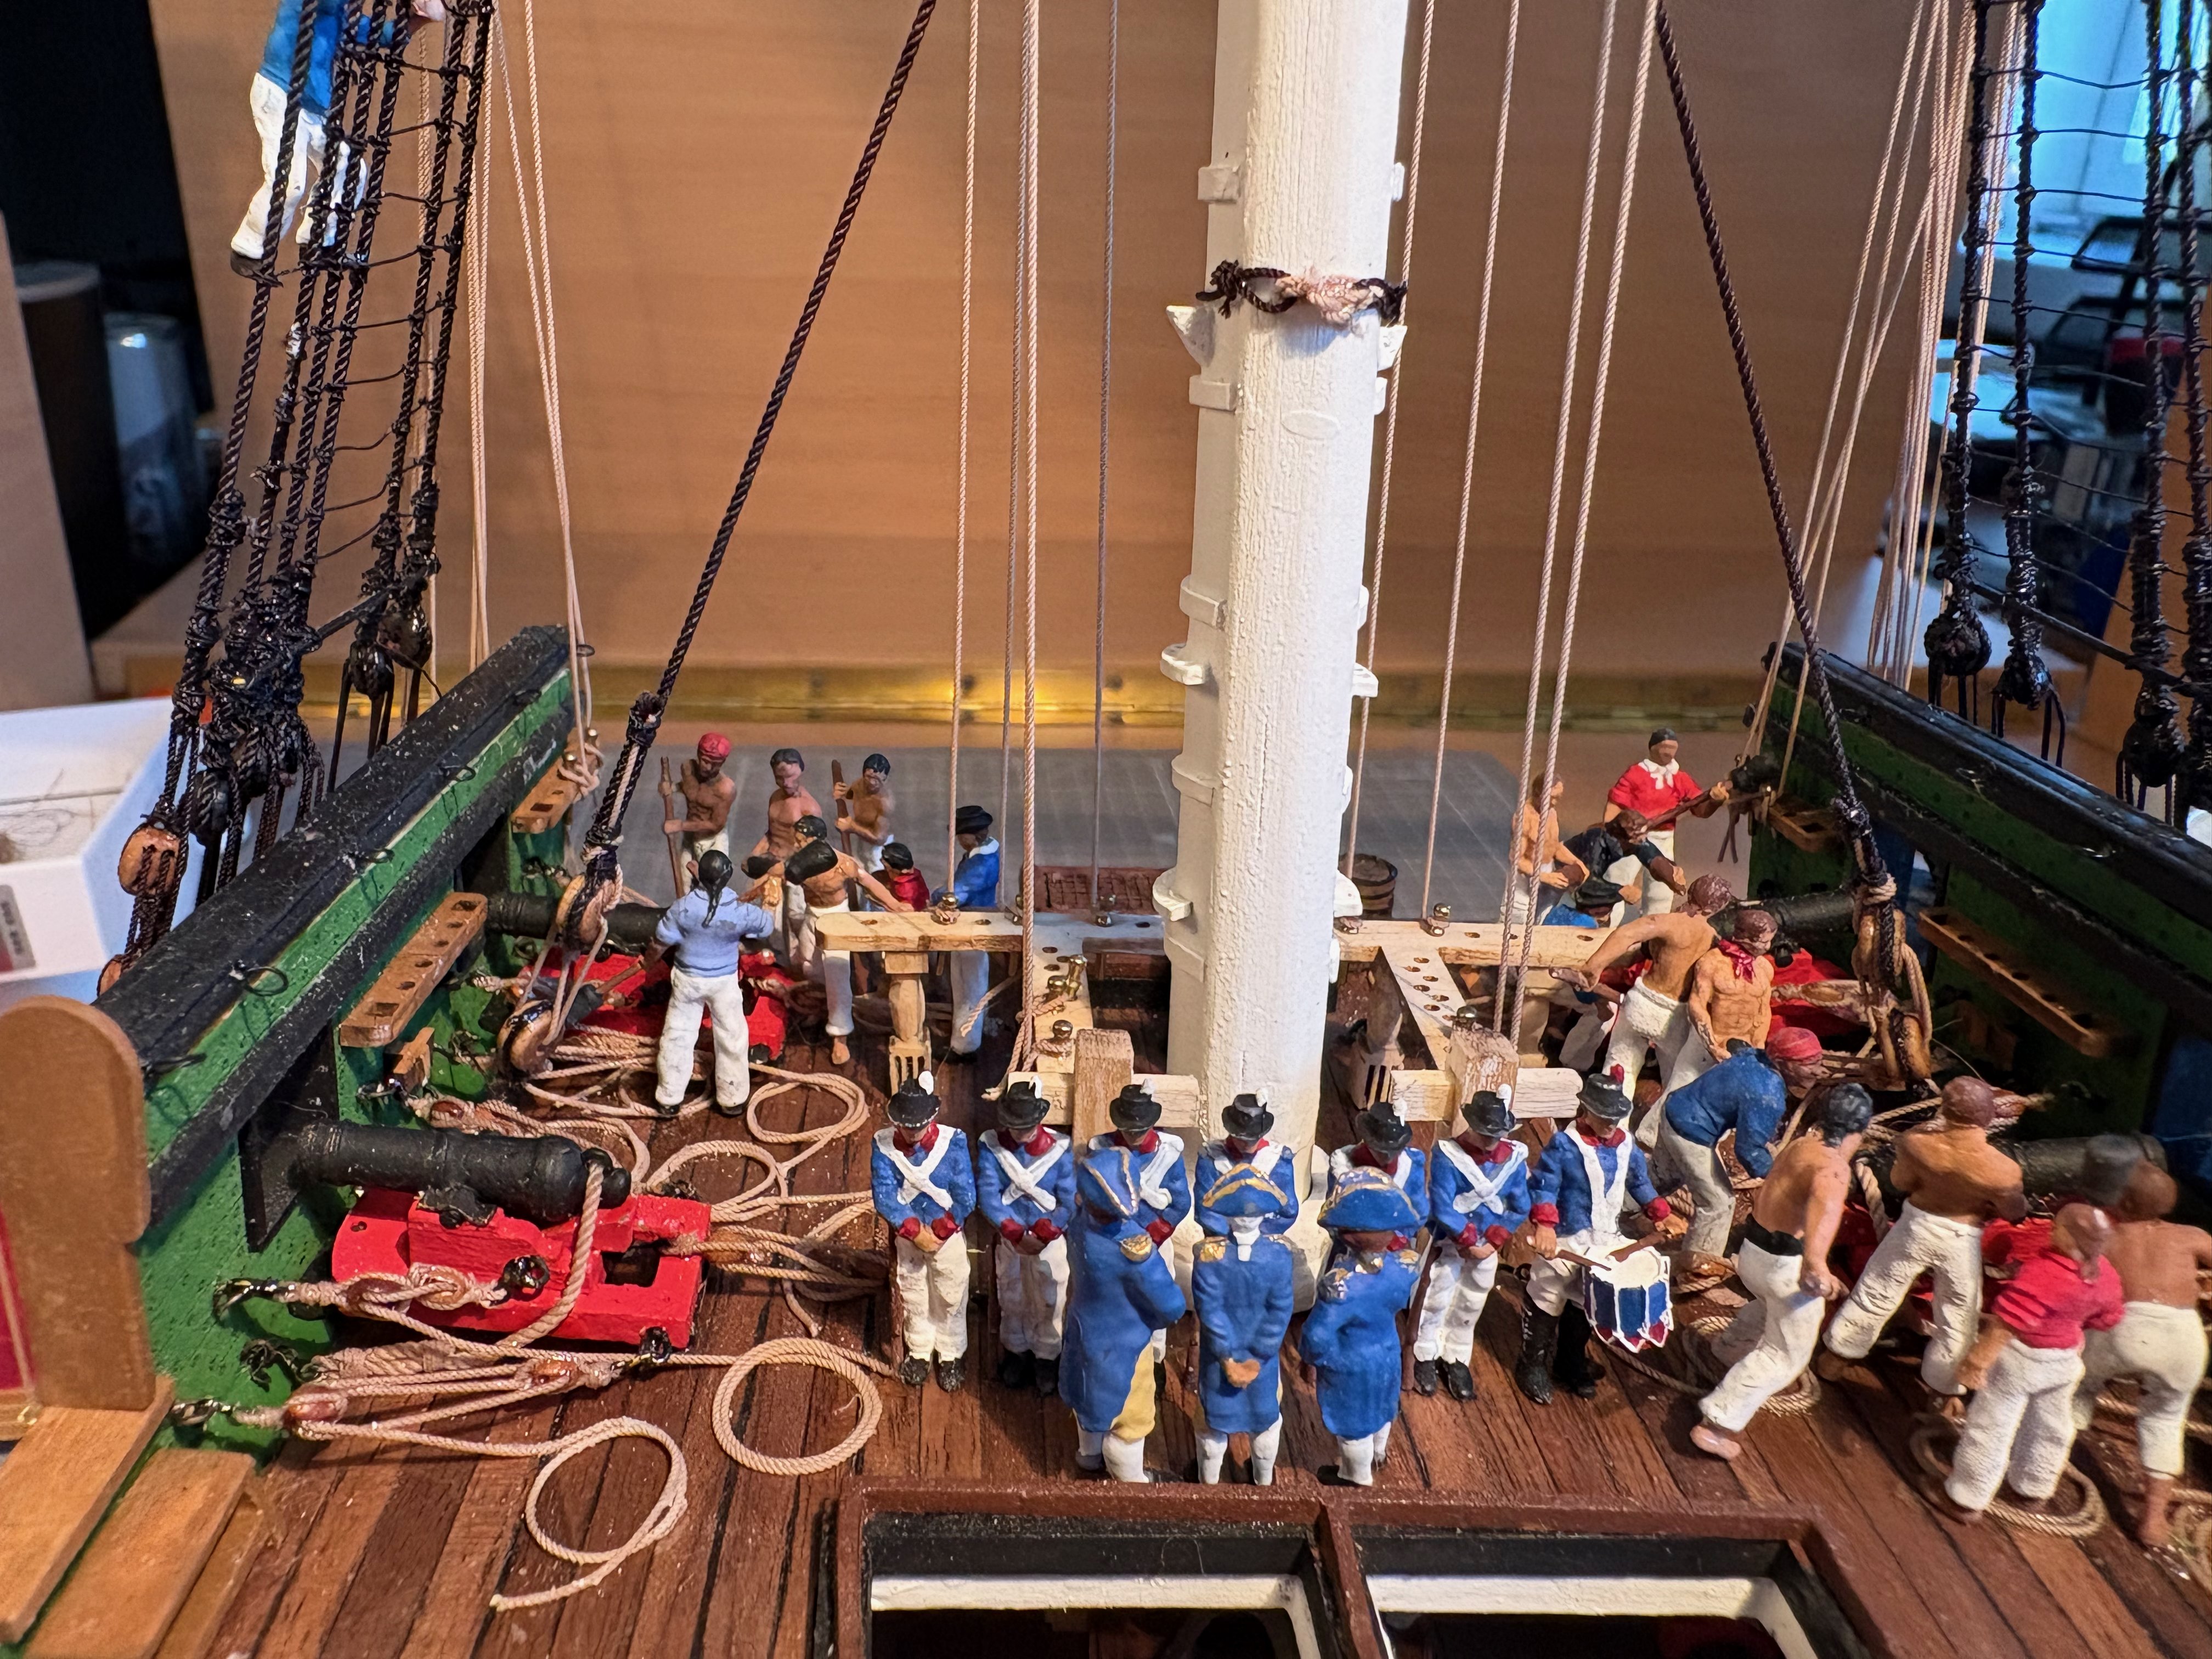
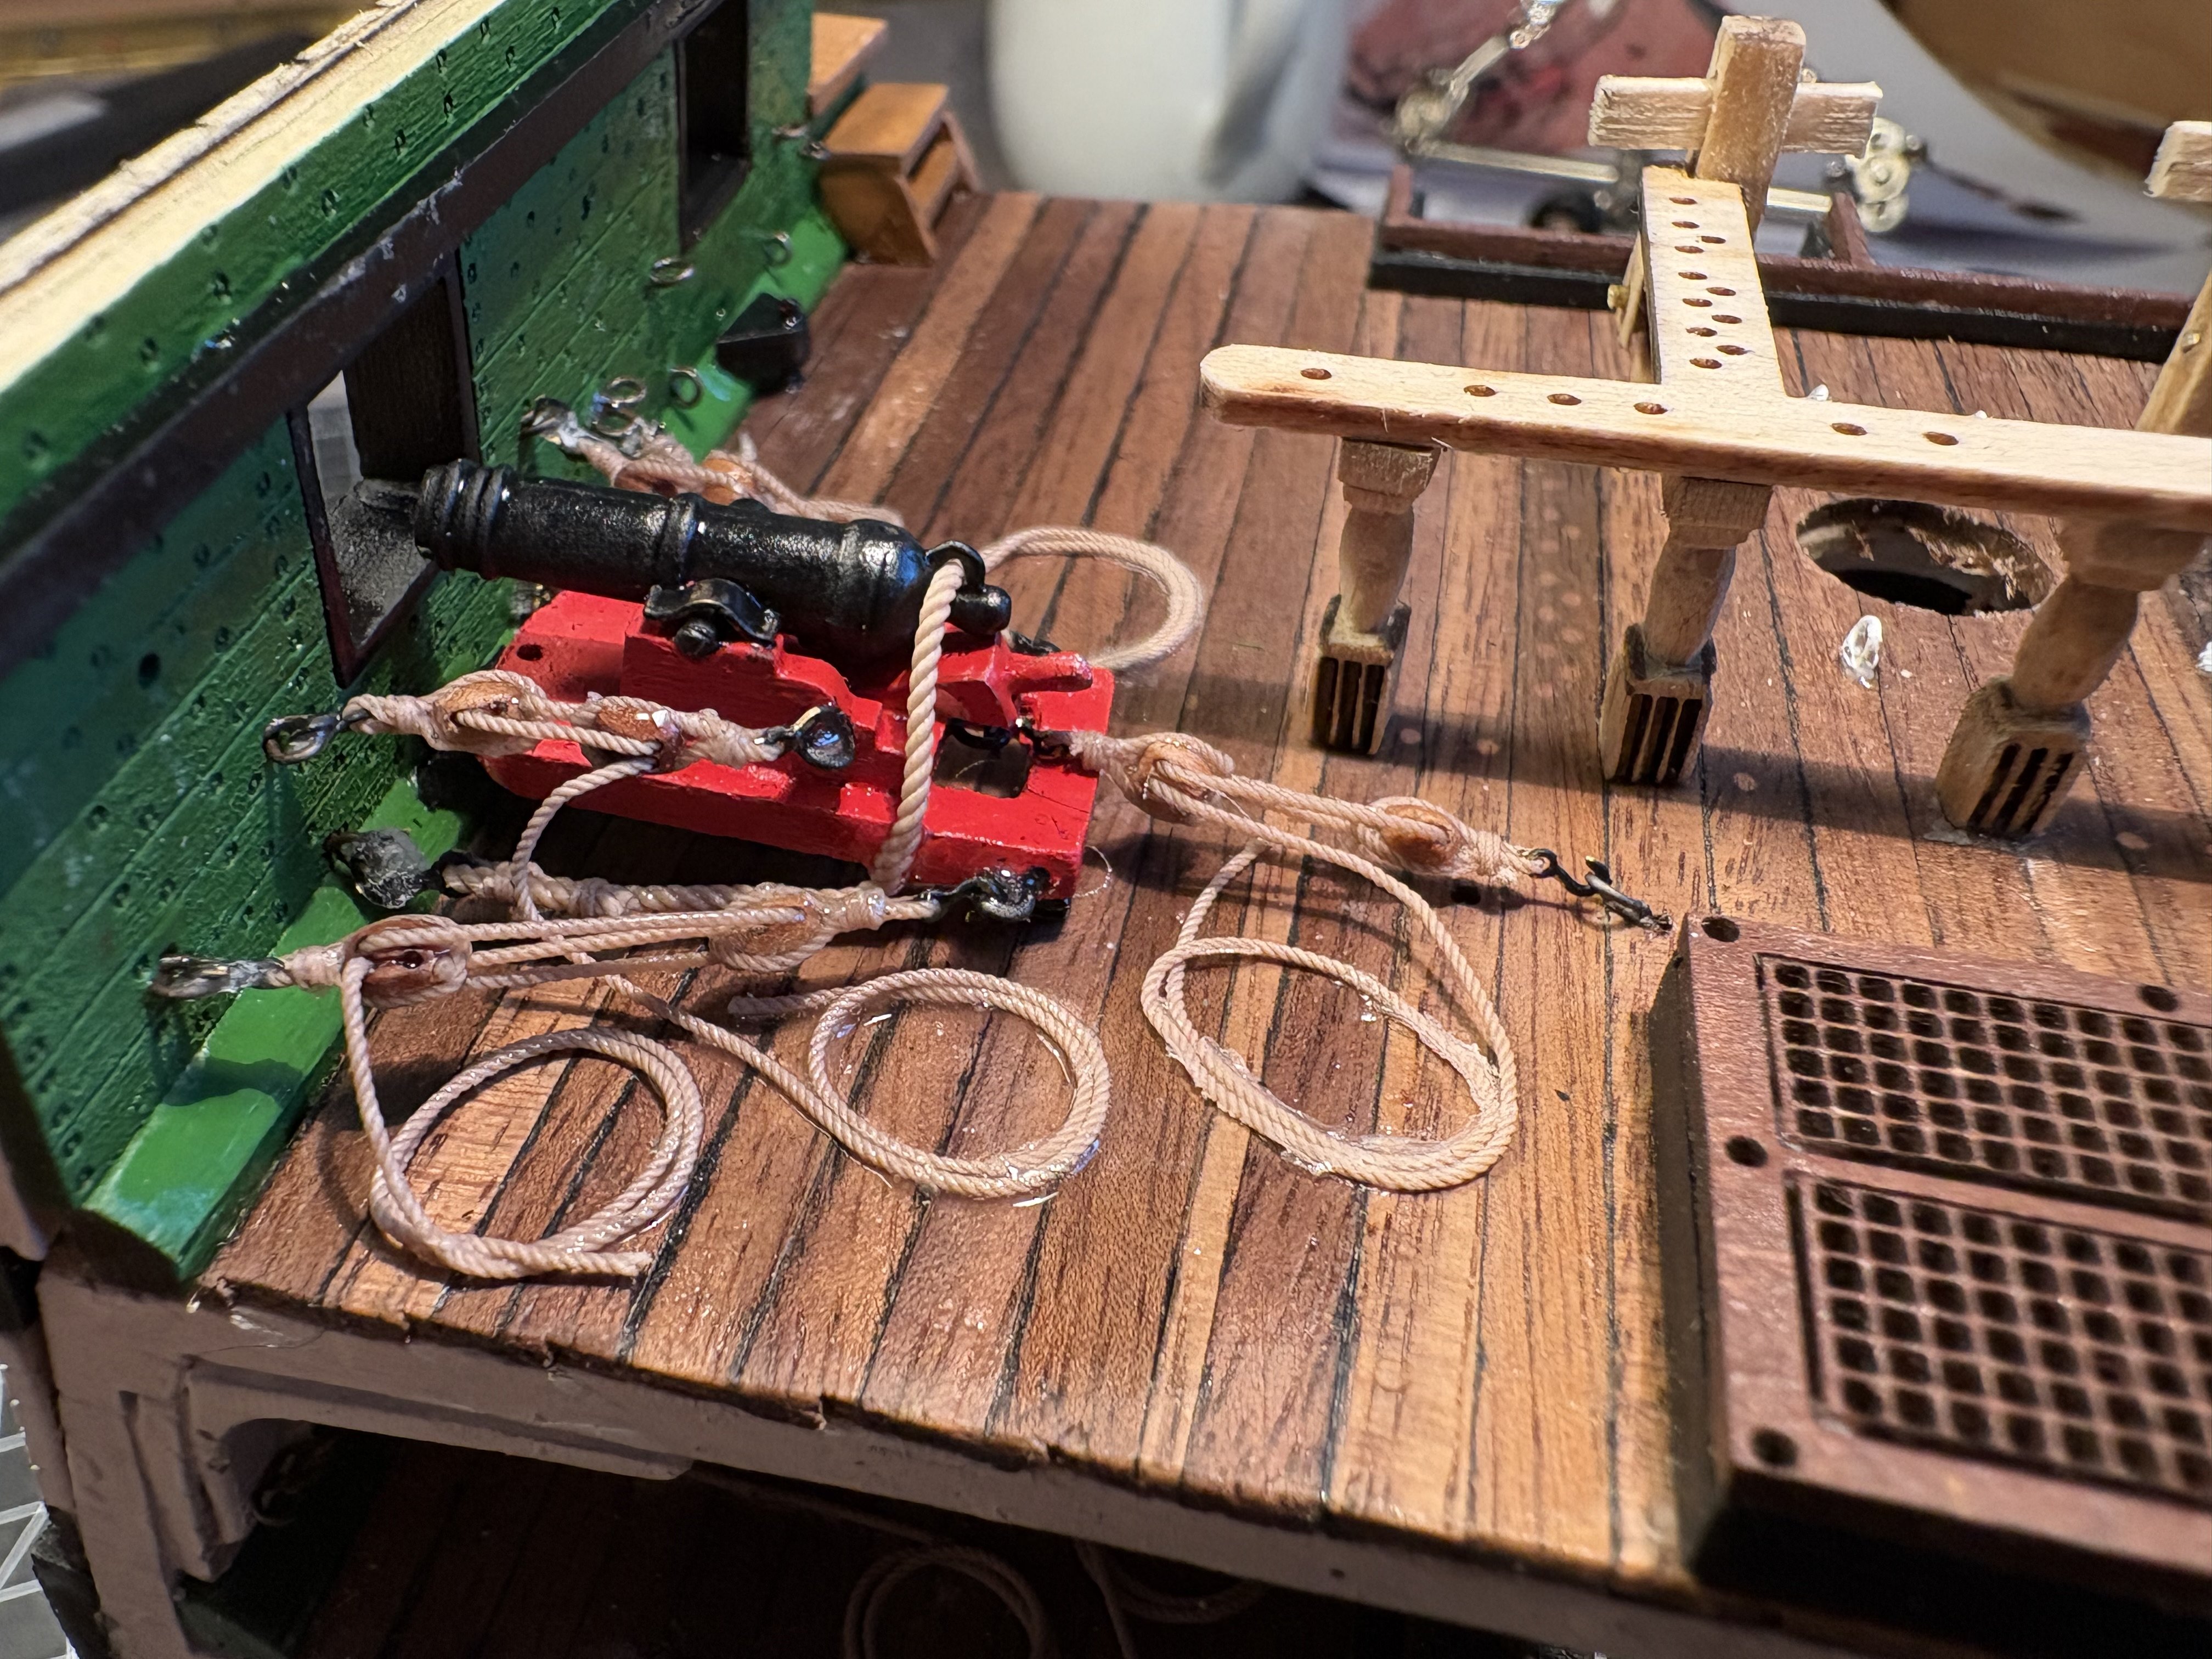
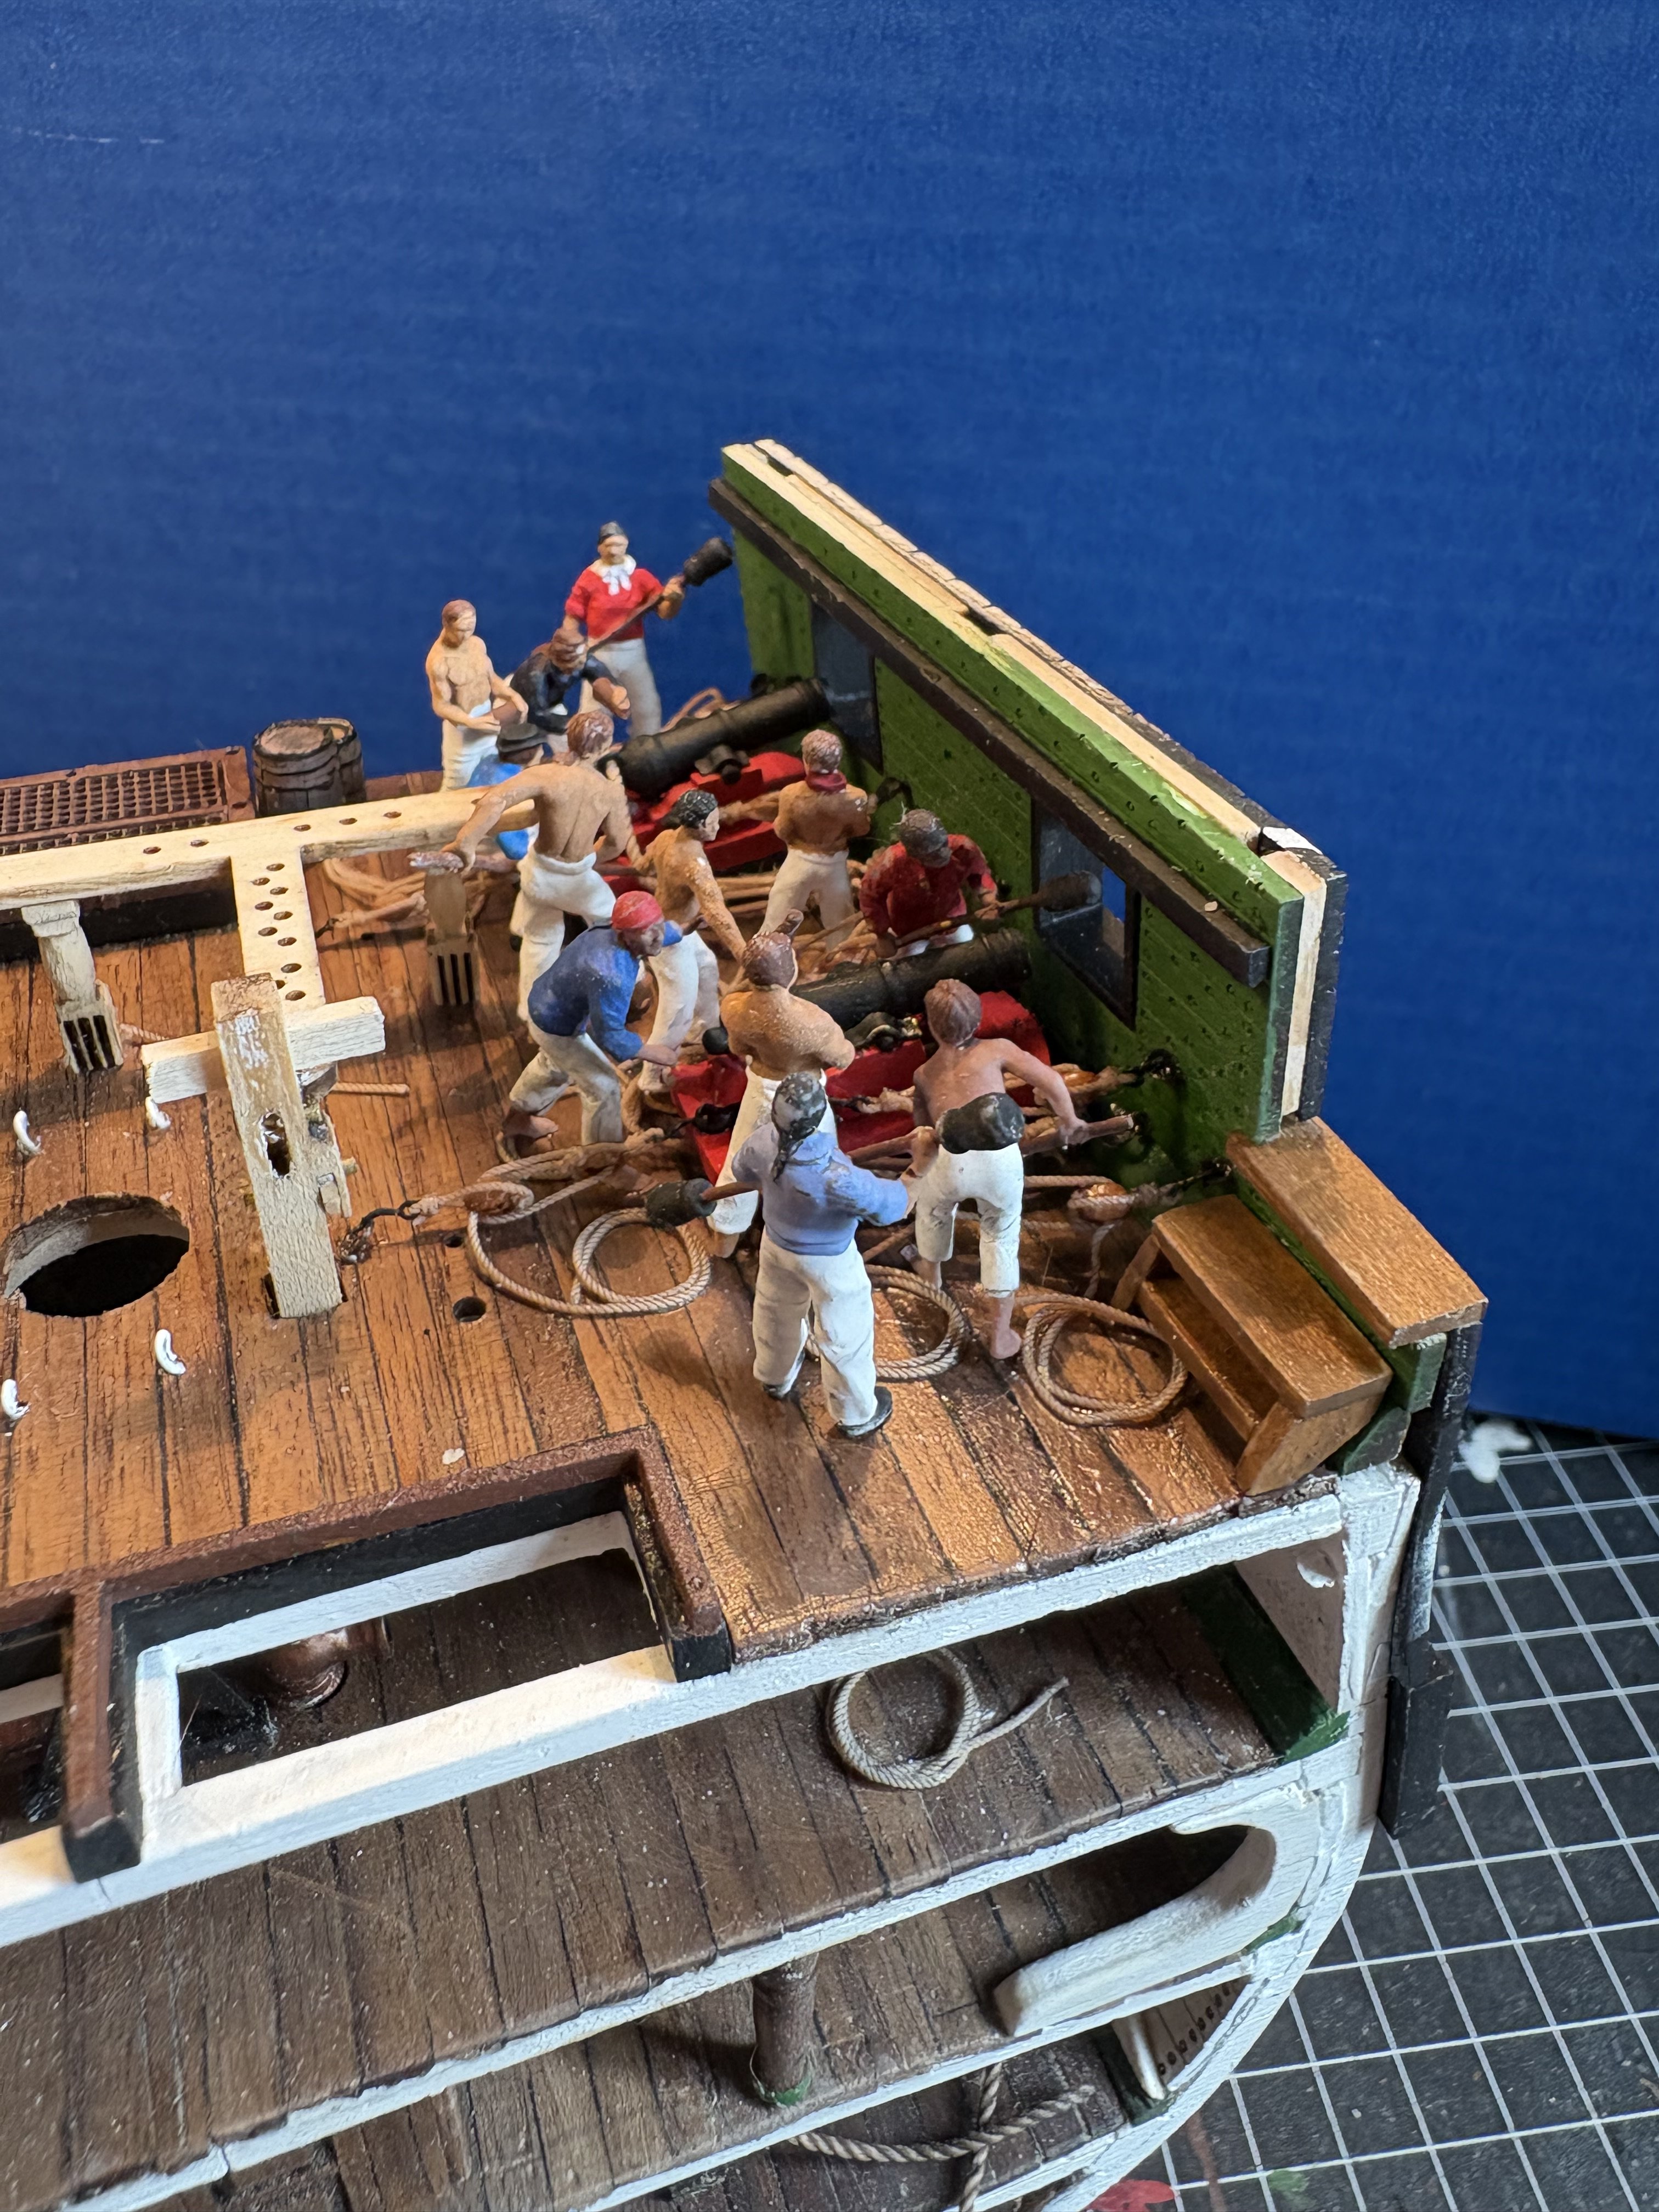
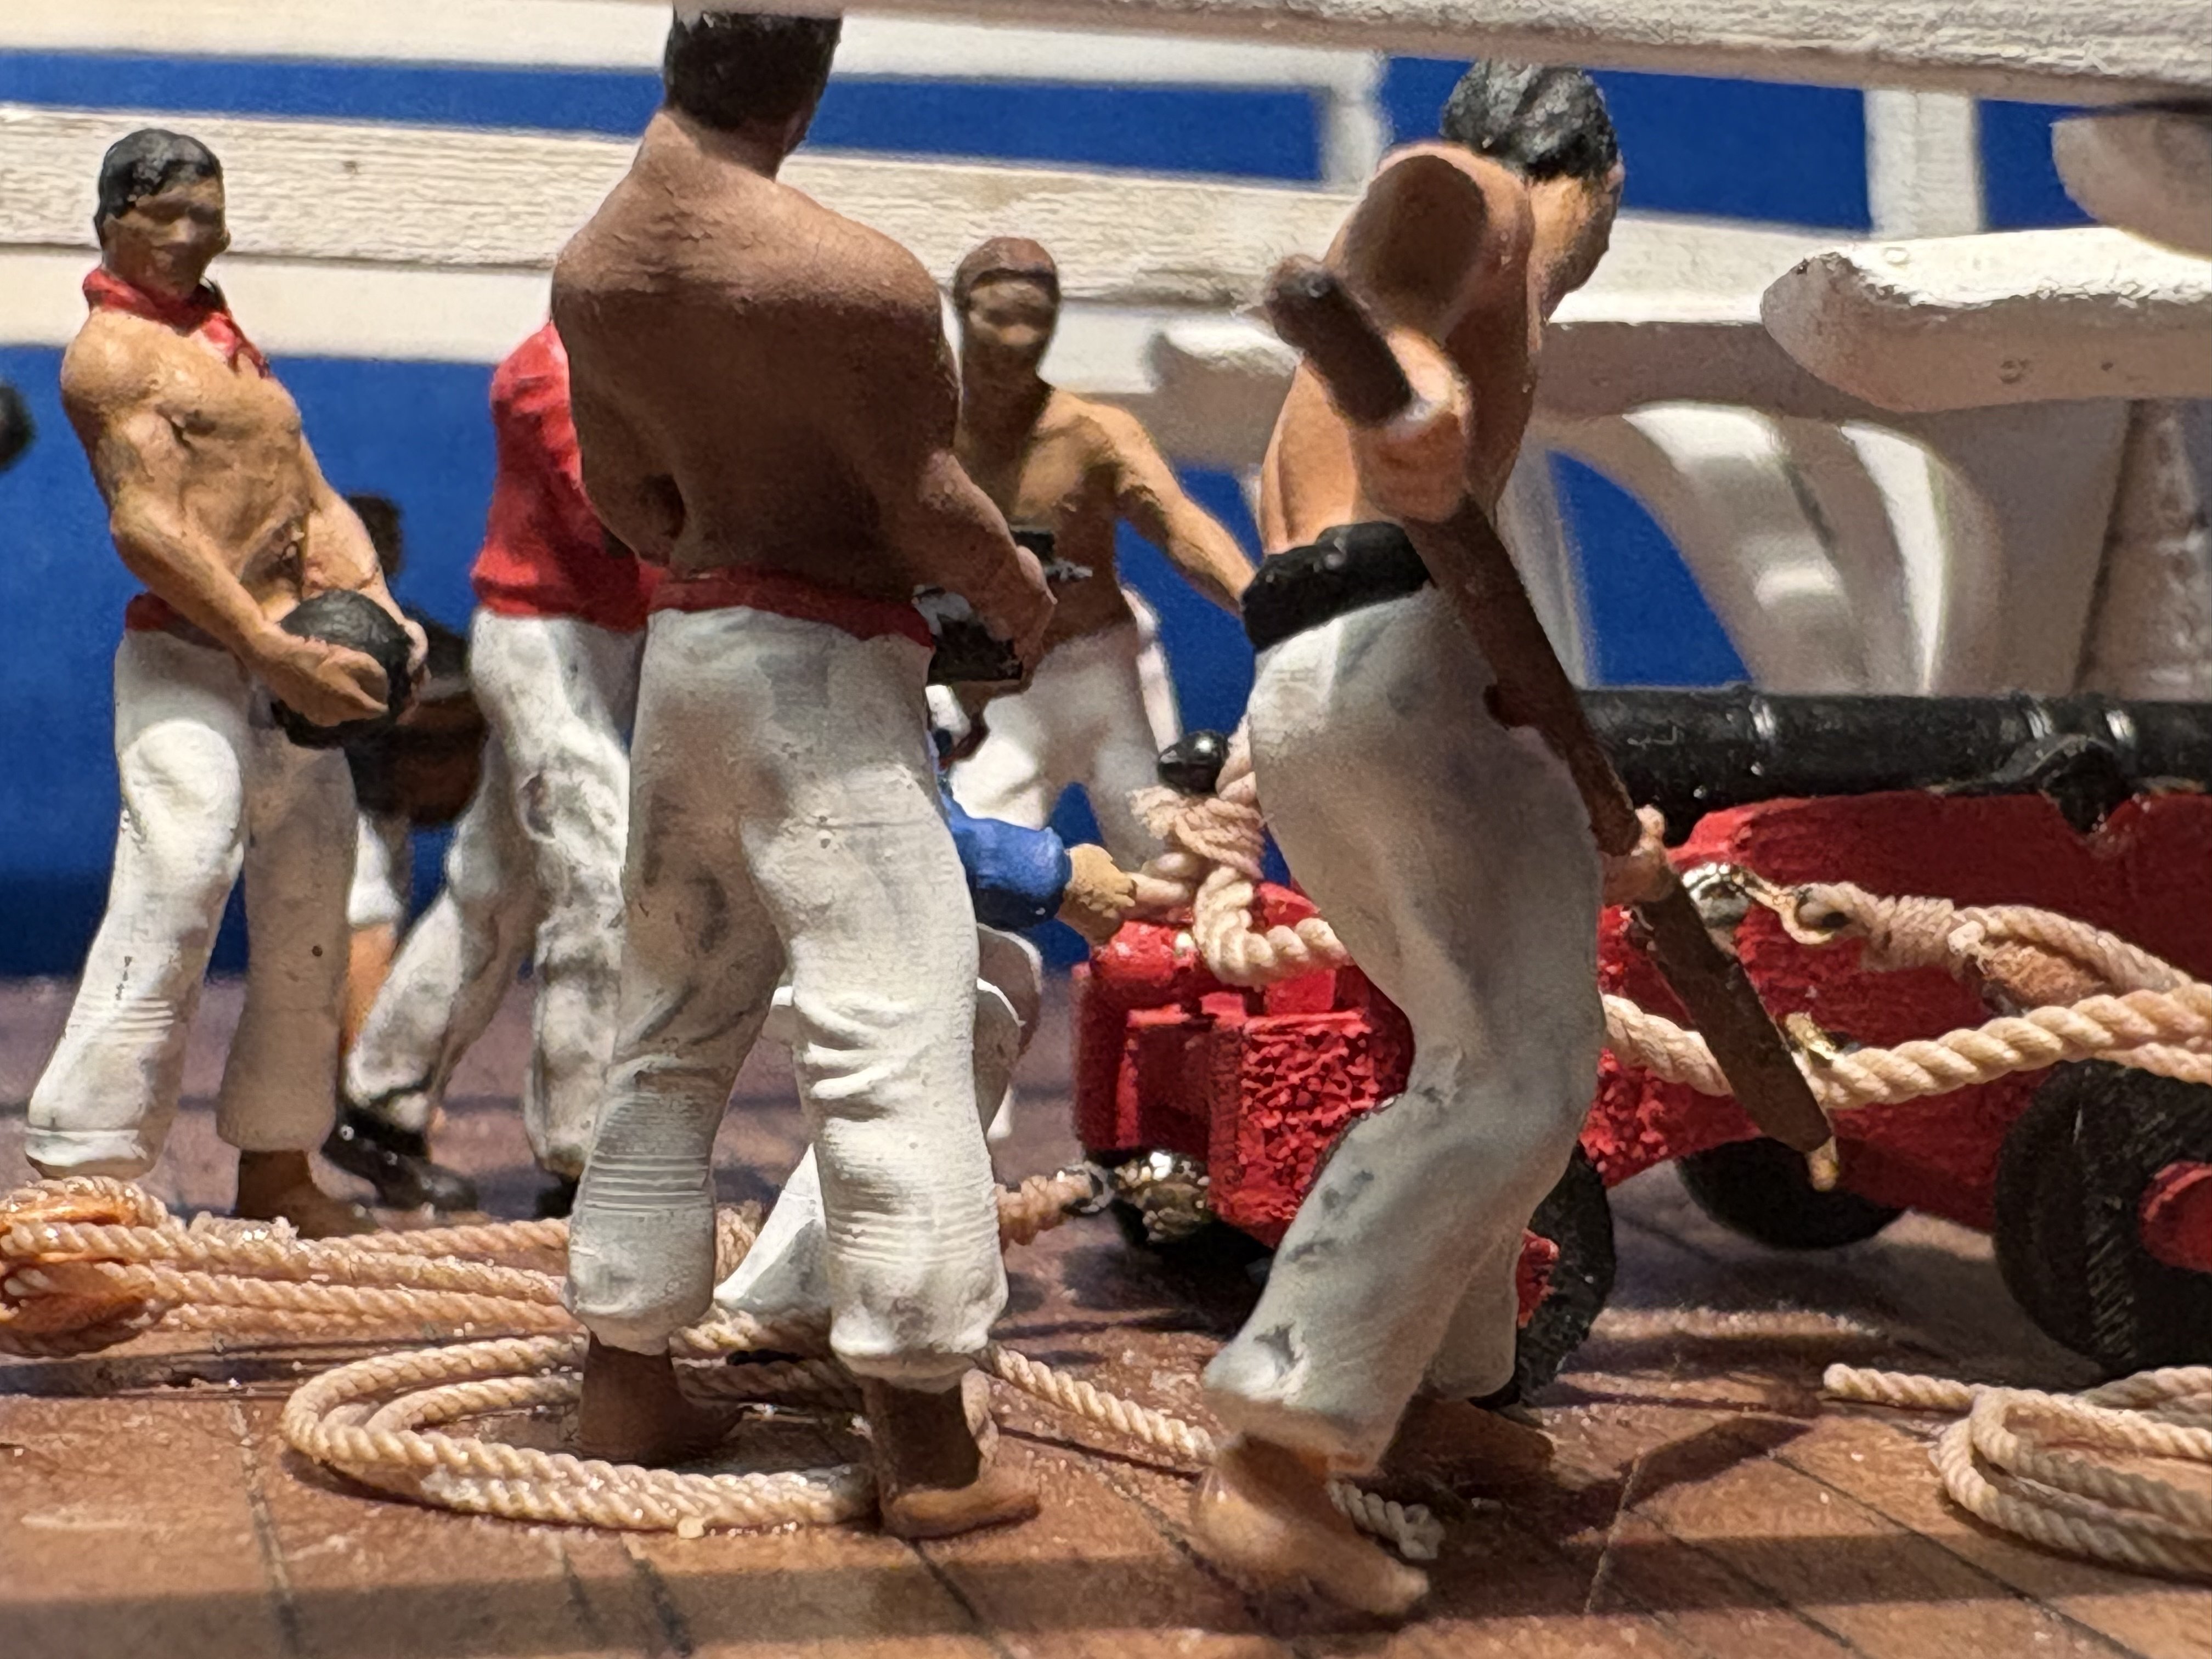
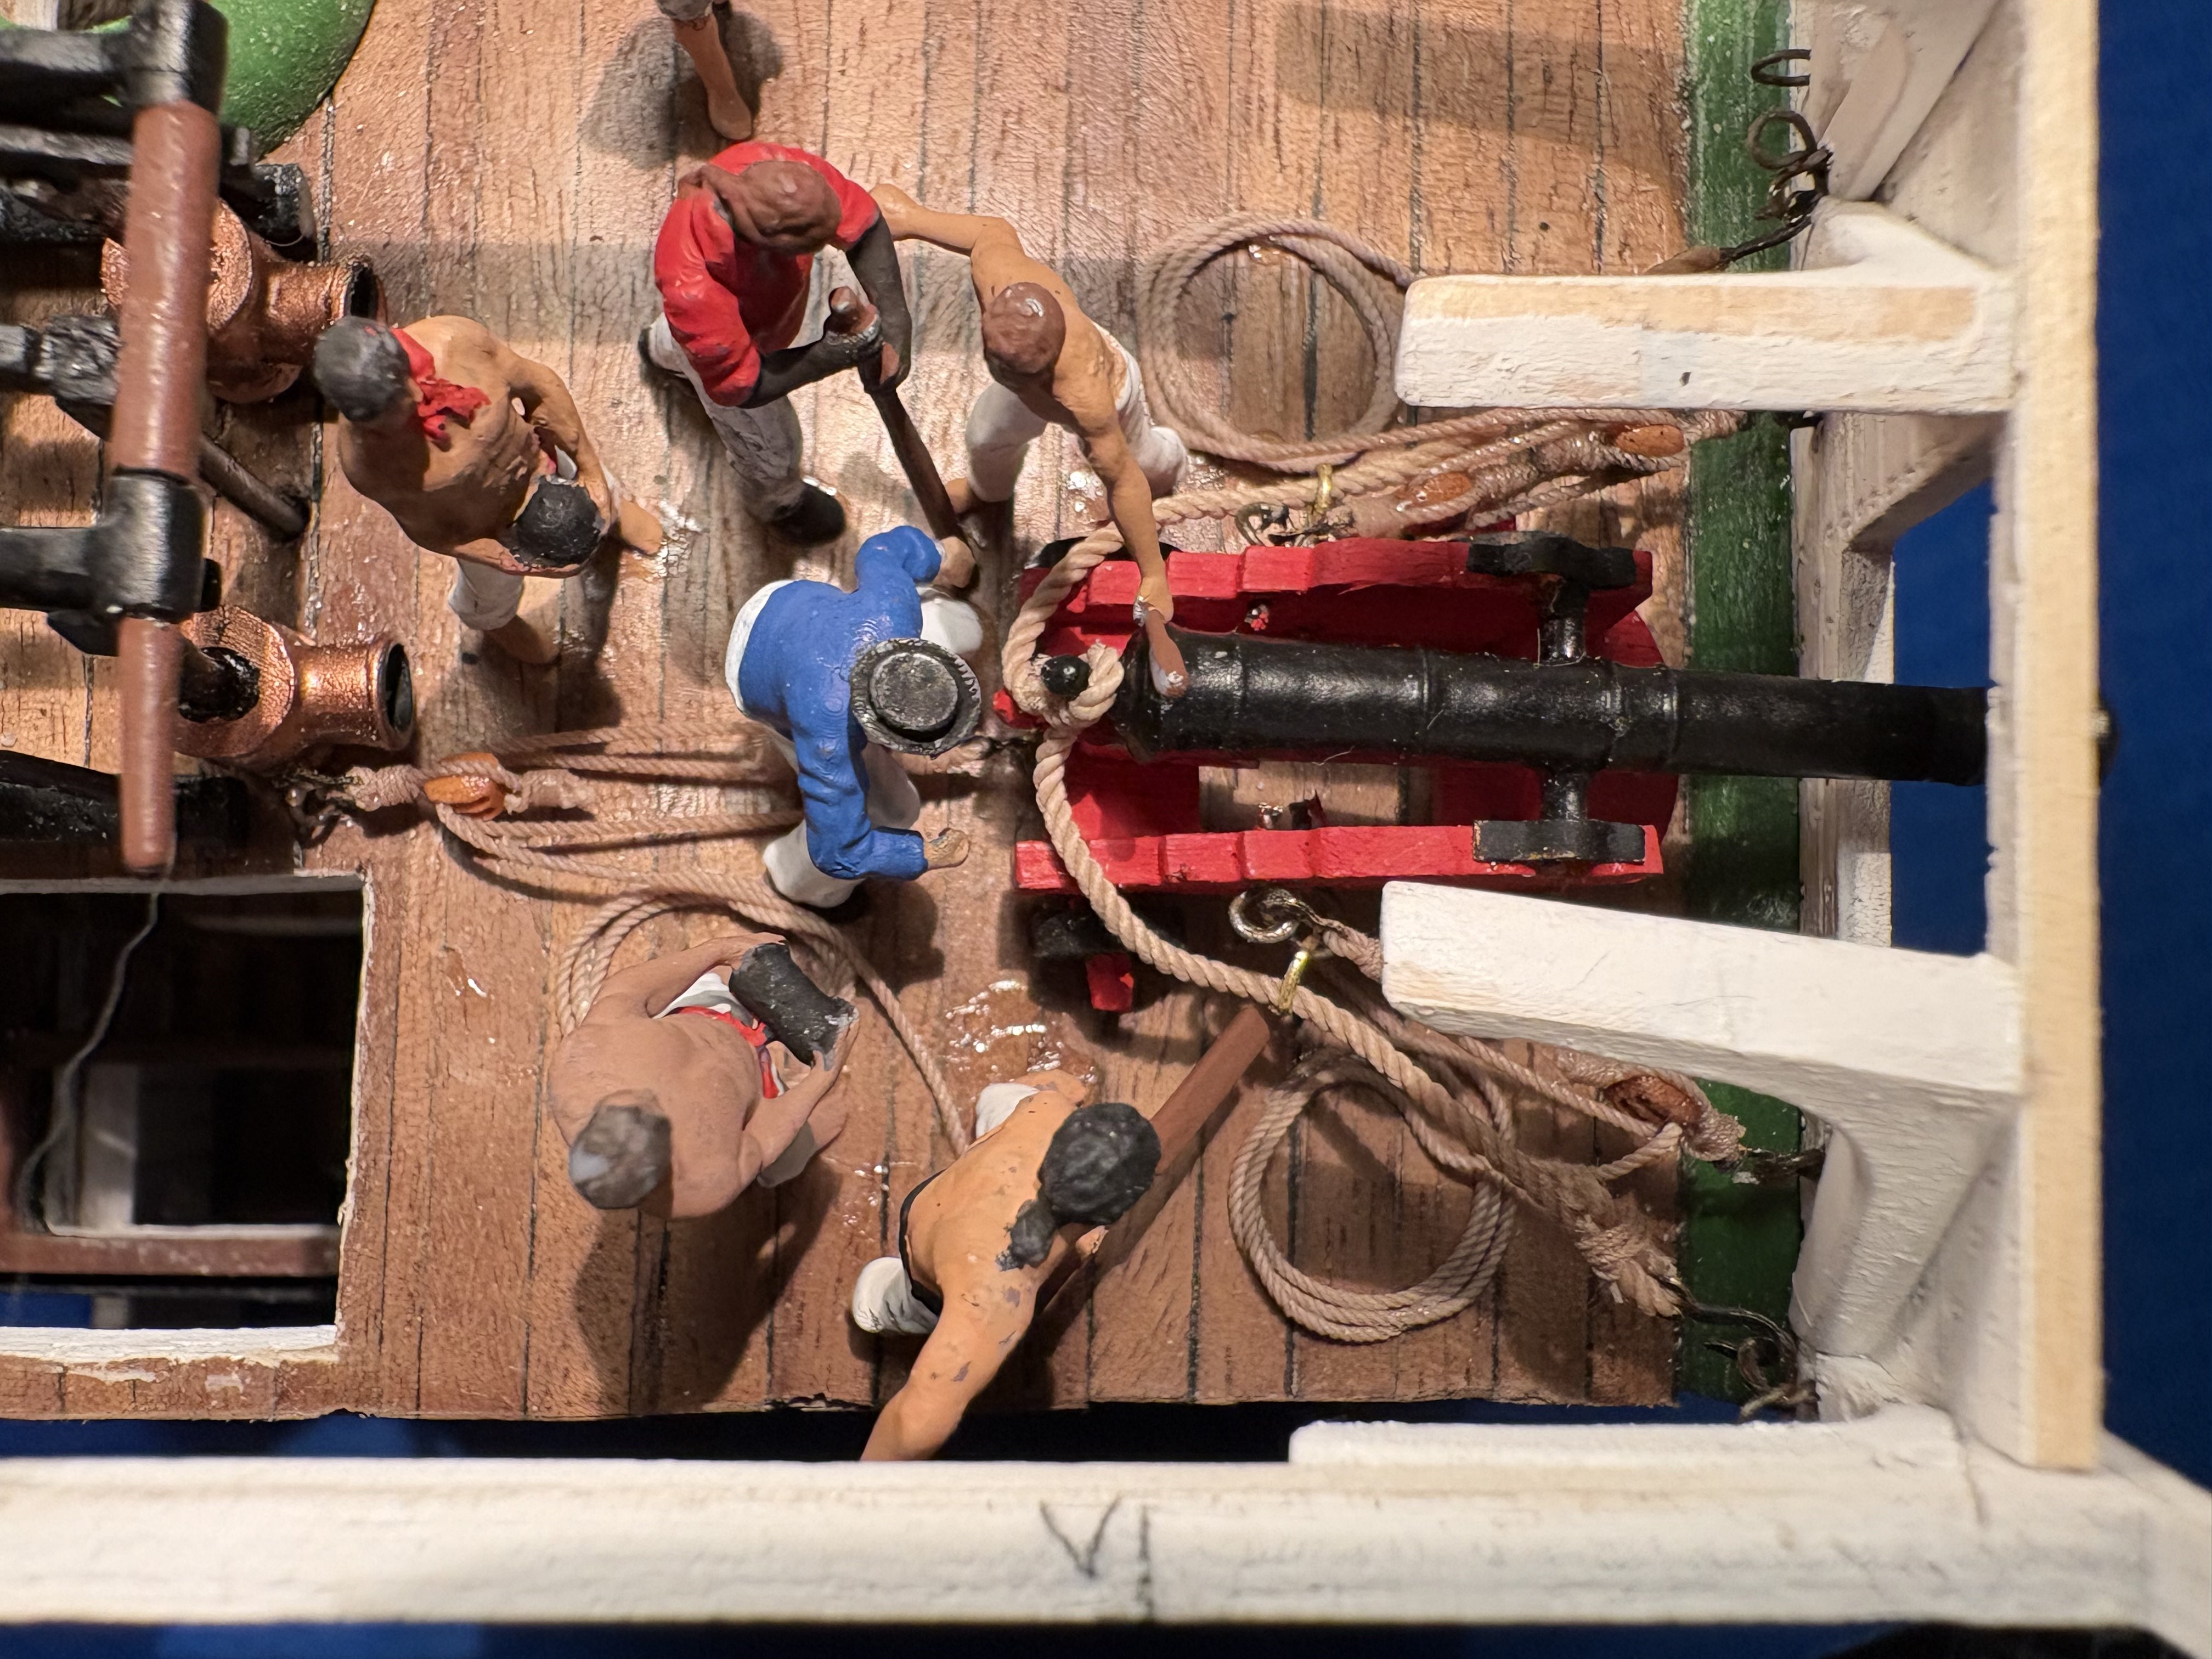
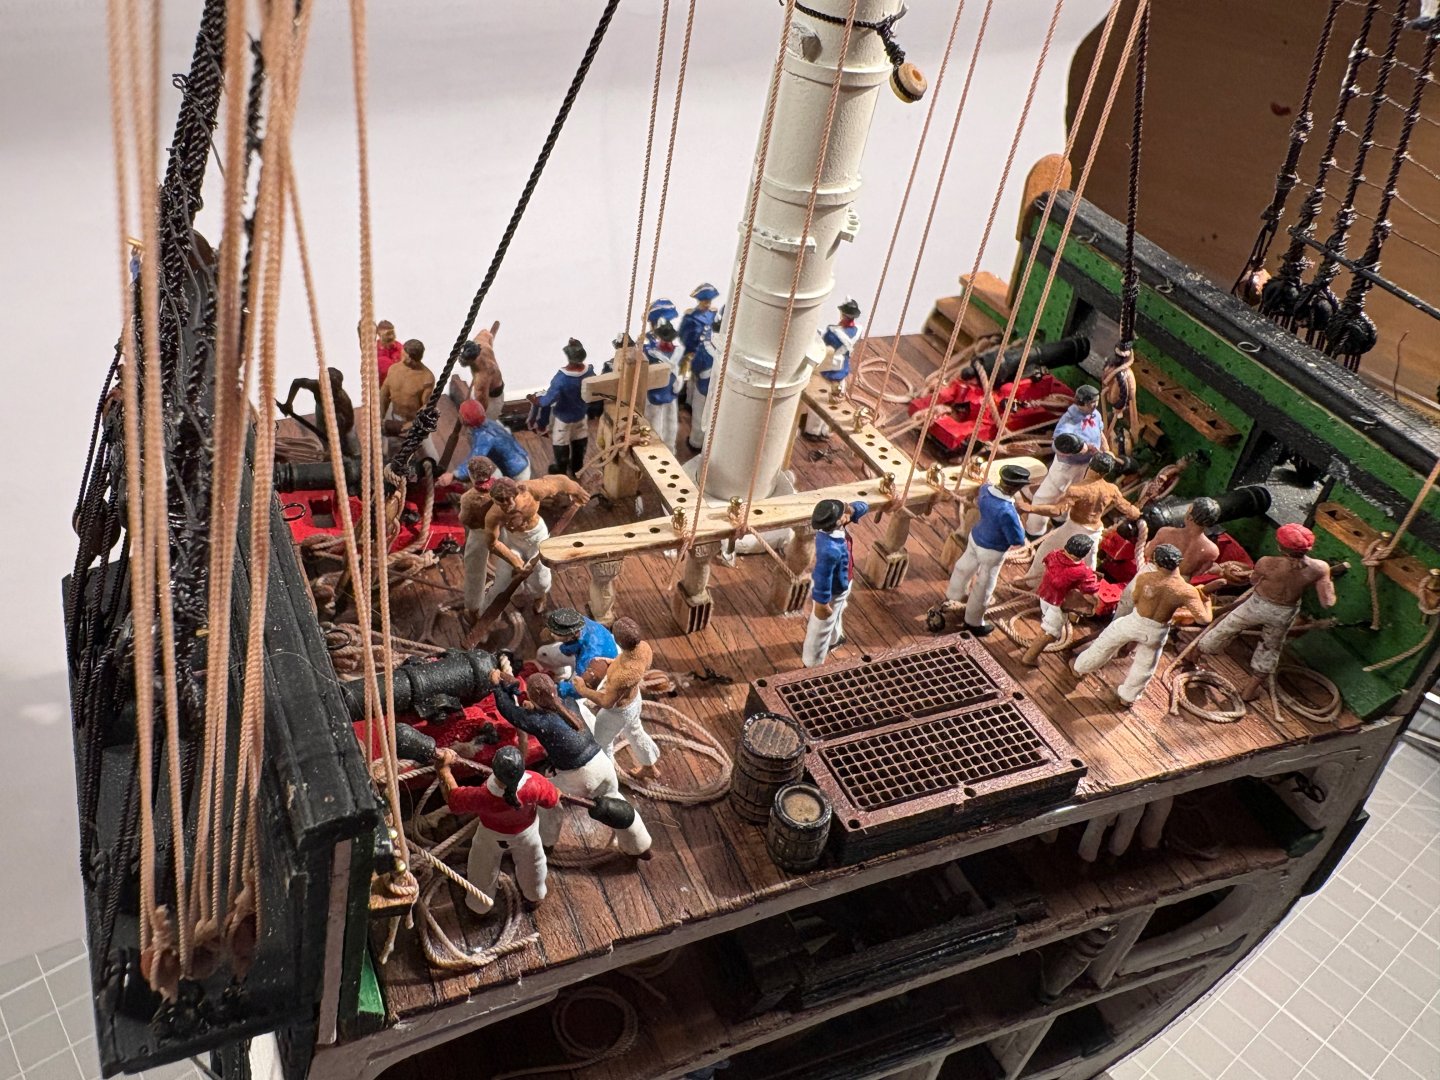
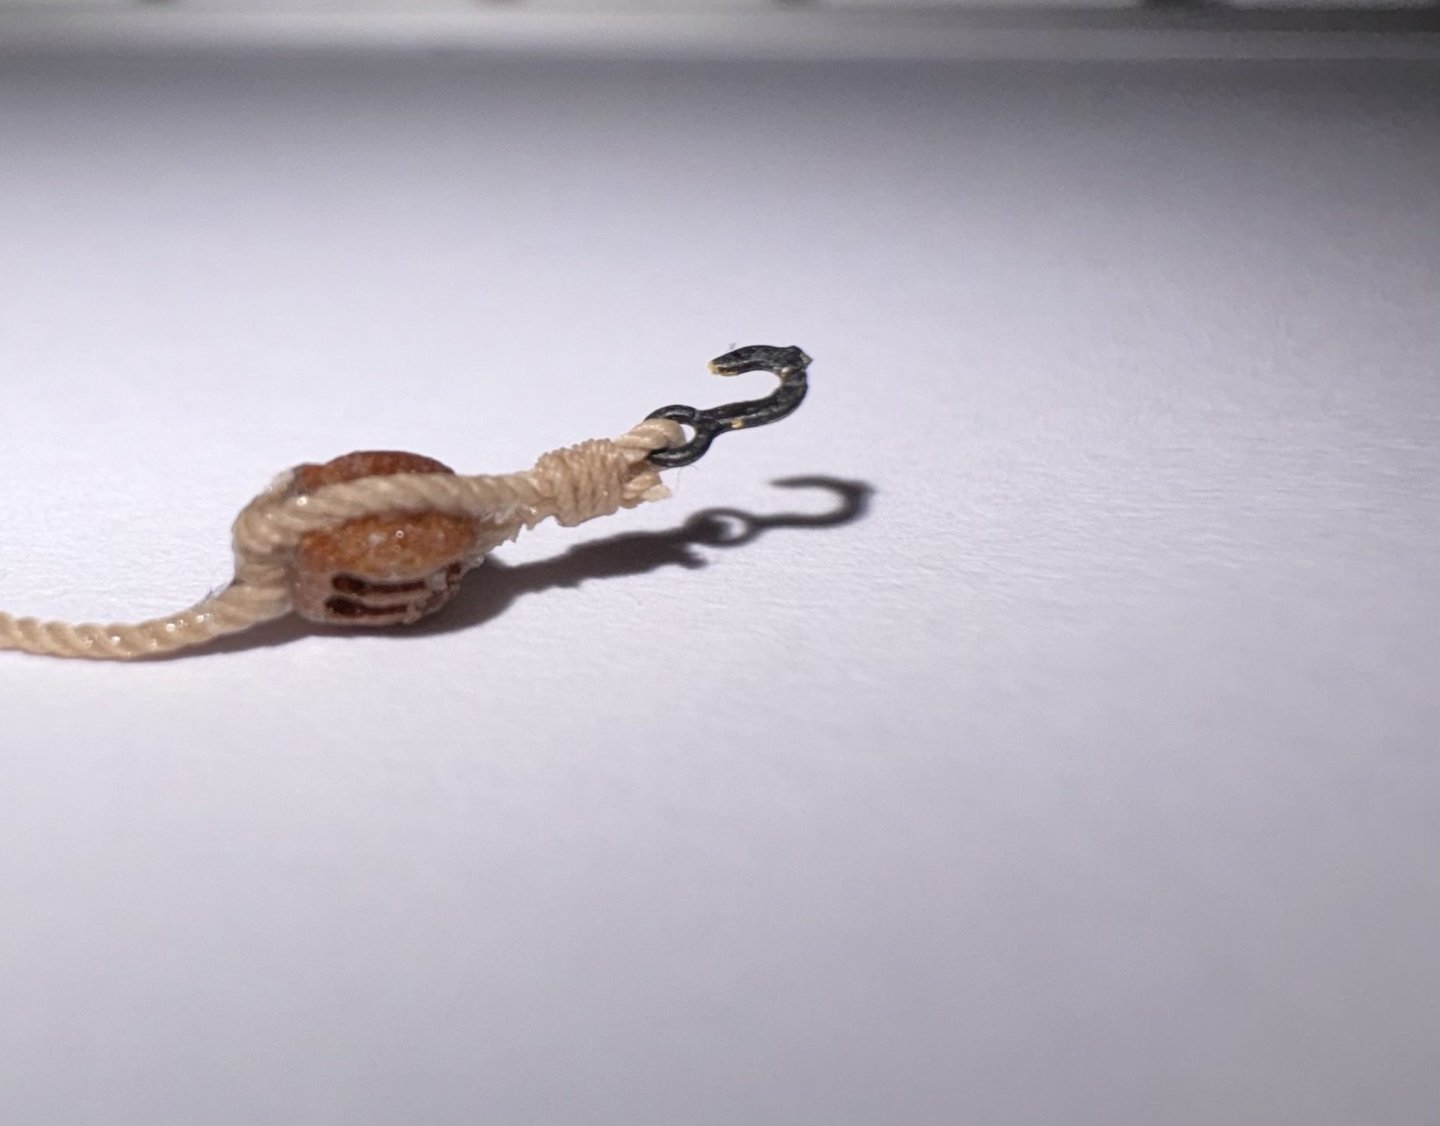
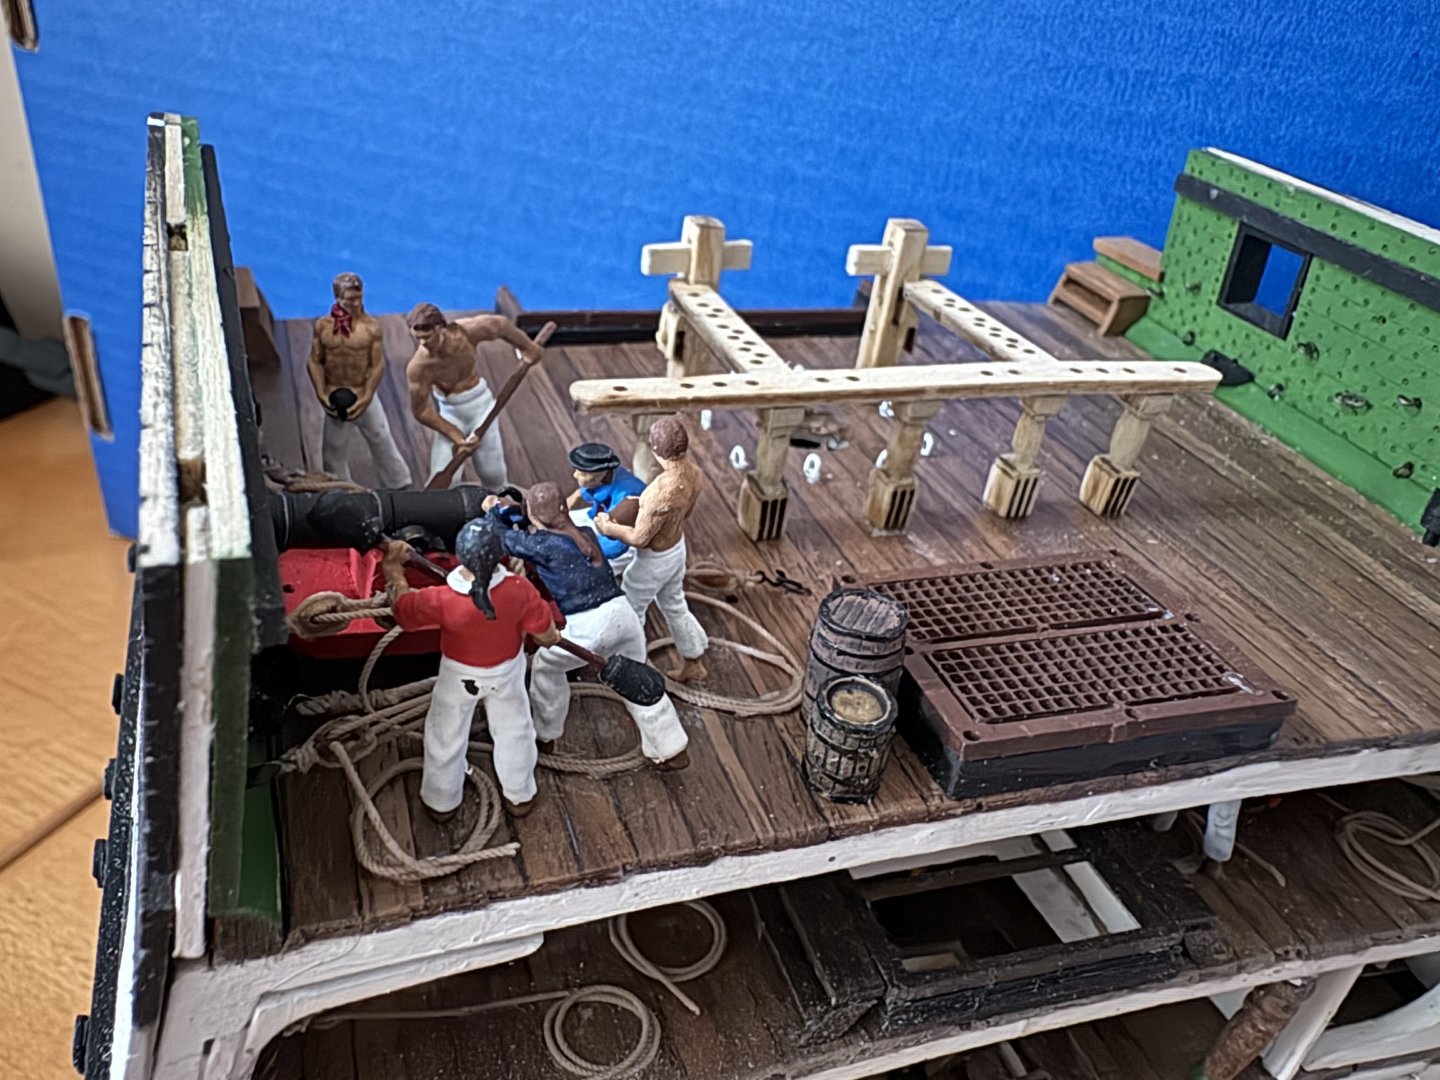
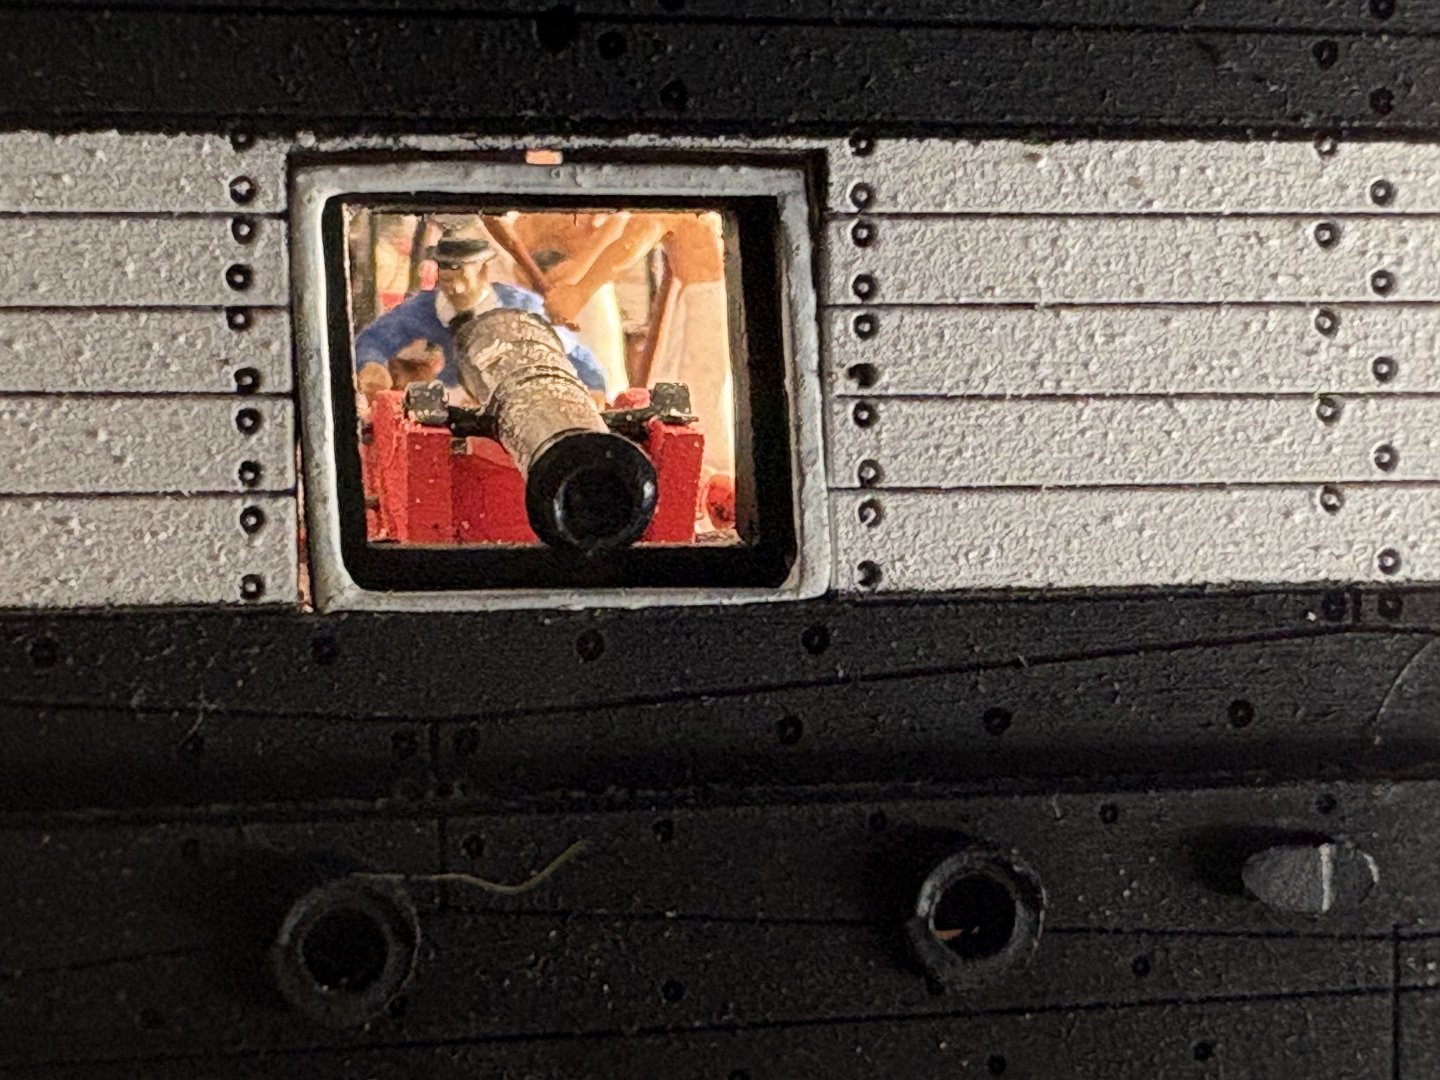
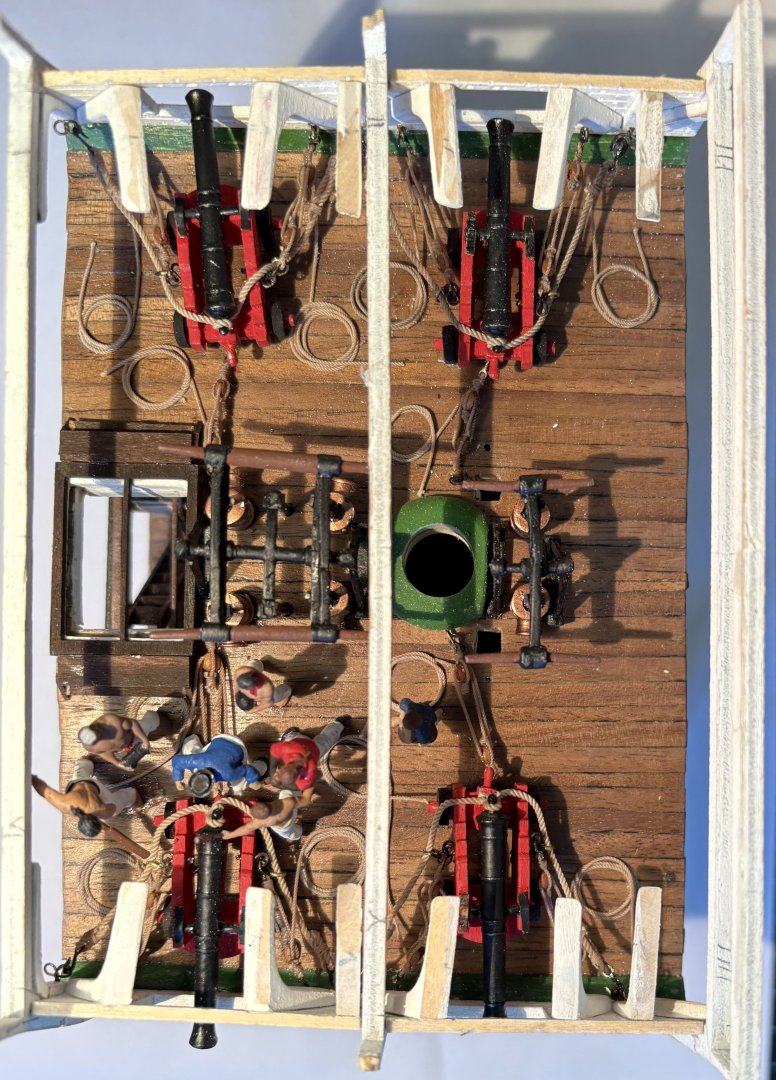
The Spar deck is finished and I have started to equip it with the necessary equipment. Actually, I should have planked the hull first, but as everyone knows by now, I love my little 1:76 crew members and I couldn't resist installing two carronades and manning them. First of all, carronadas alone... Then with the corresponding staff: followed by the second carronade and its gunners...


- 33 replies
-
- 1
-
-
- Constitution
- Model Shipways
- (and 2 more)
-
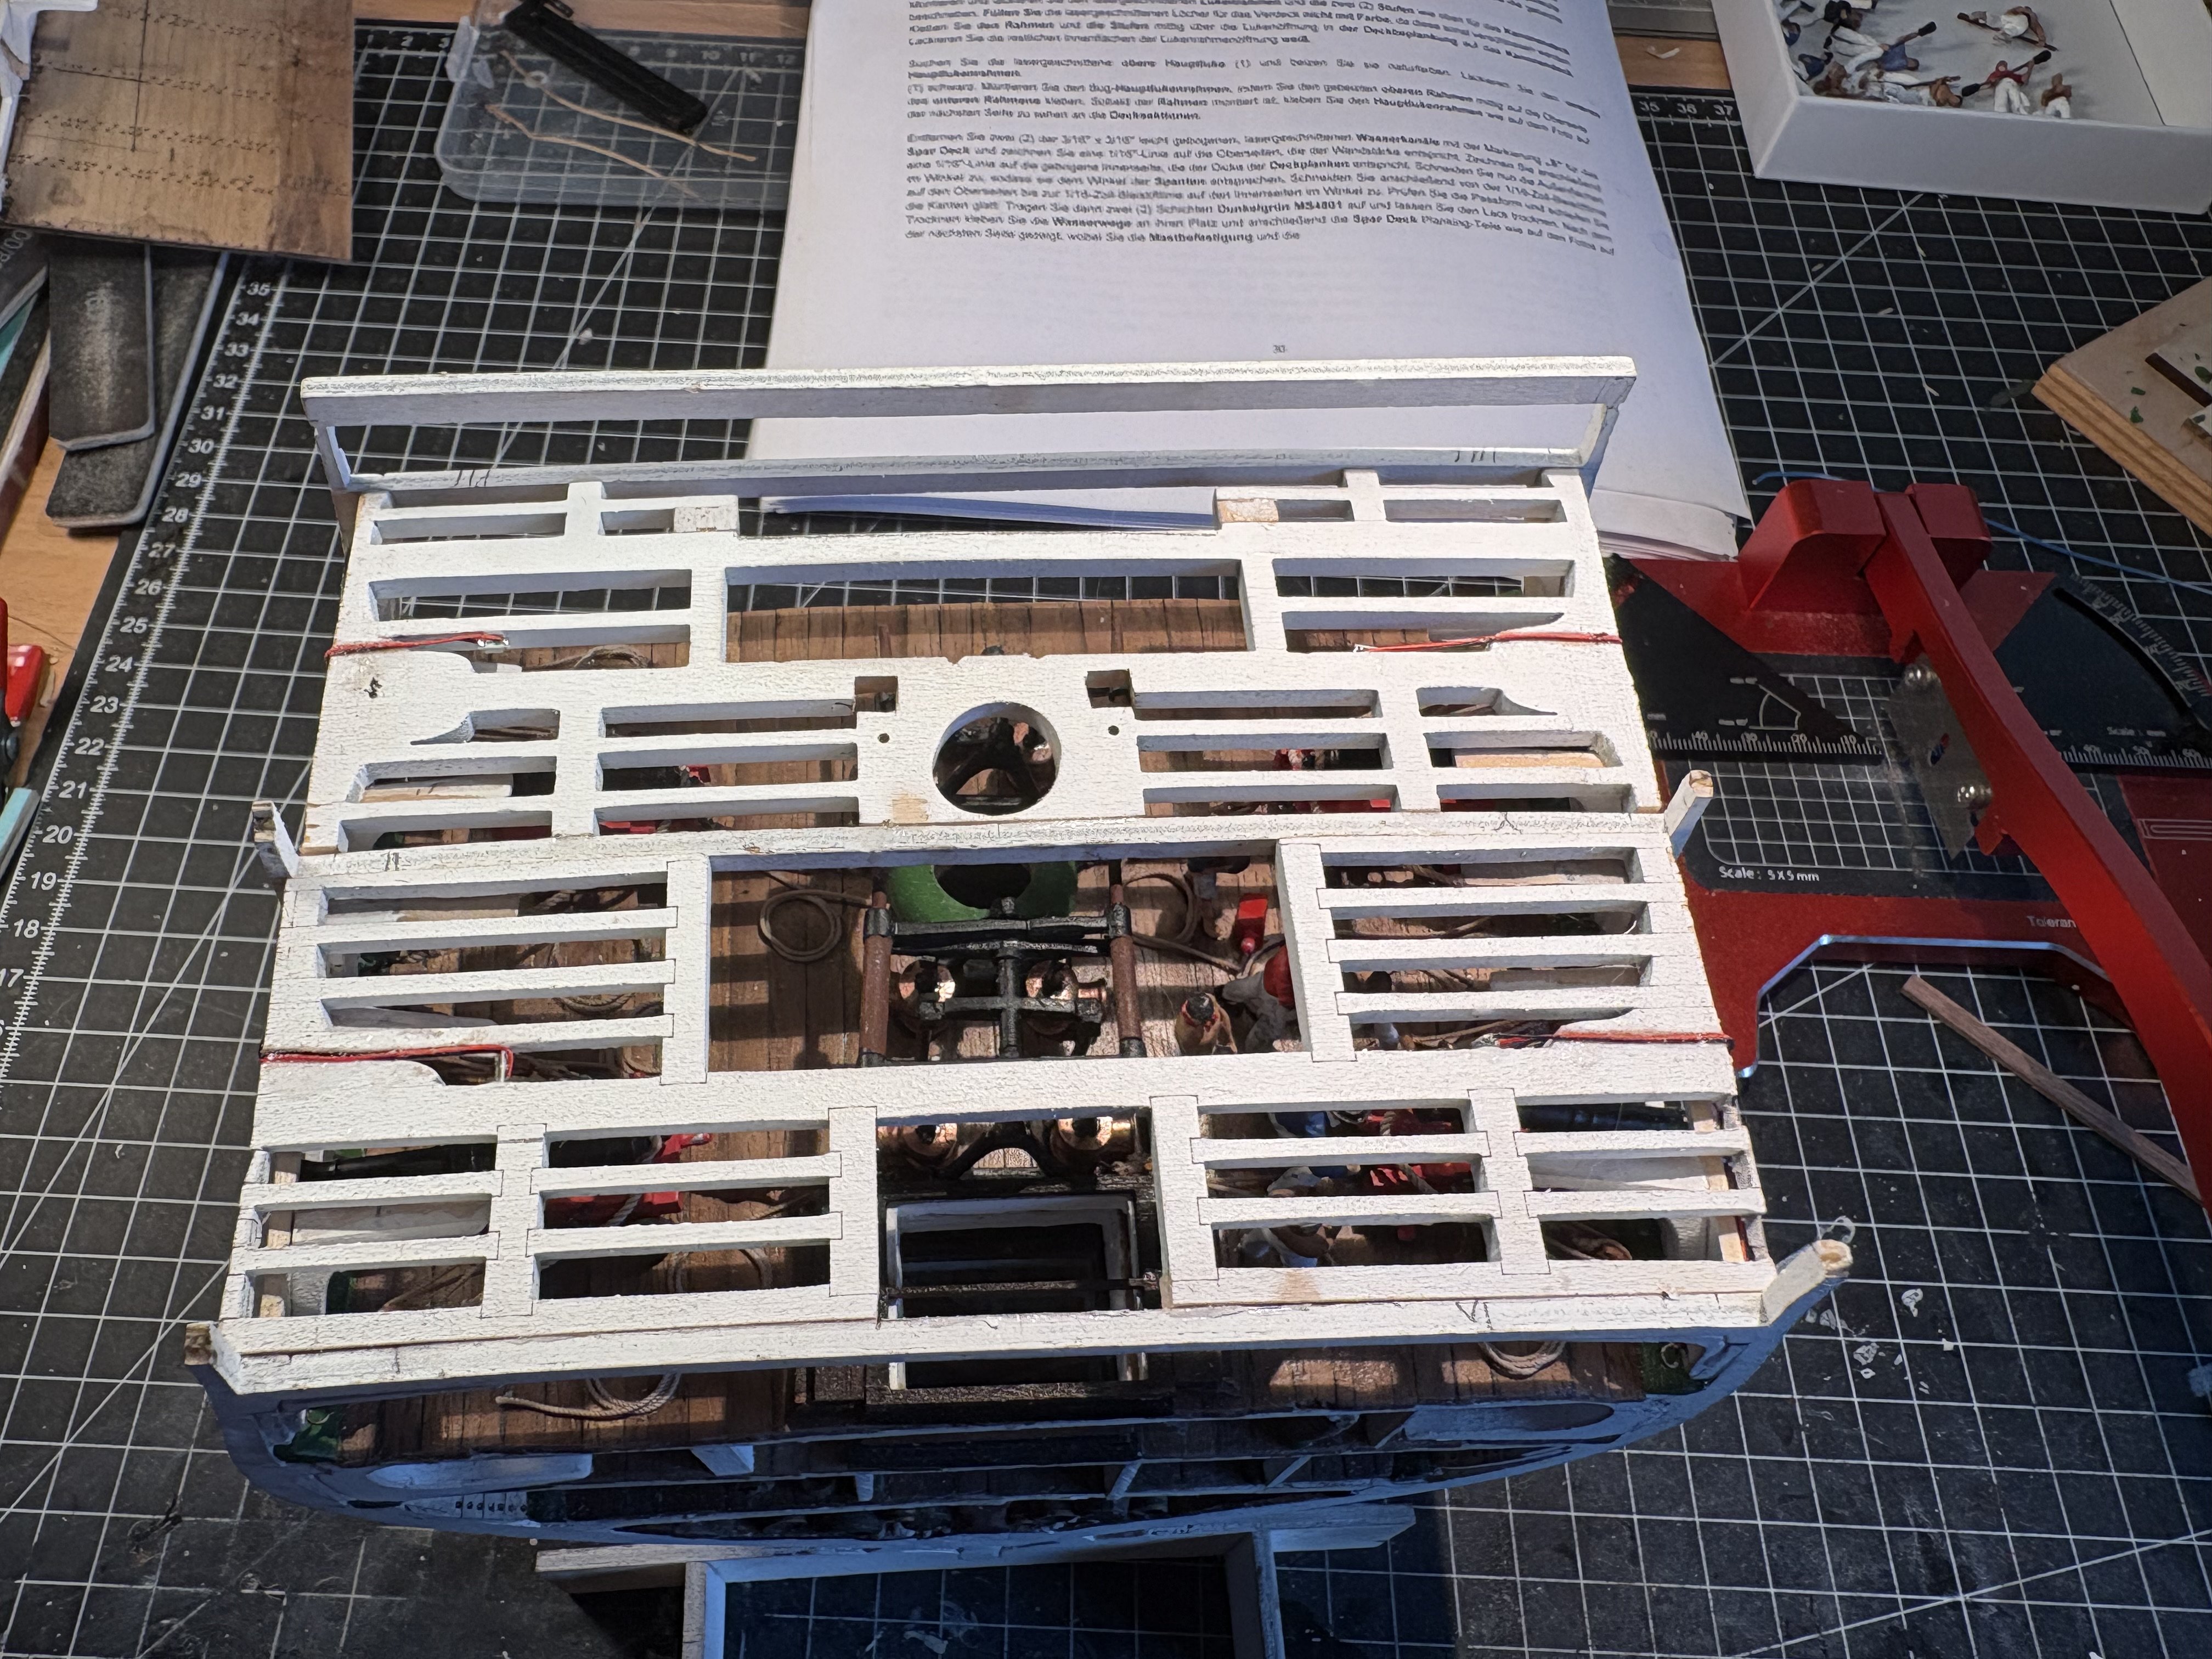
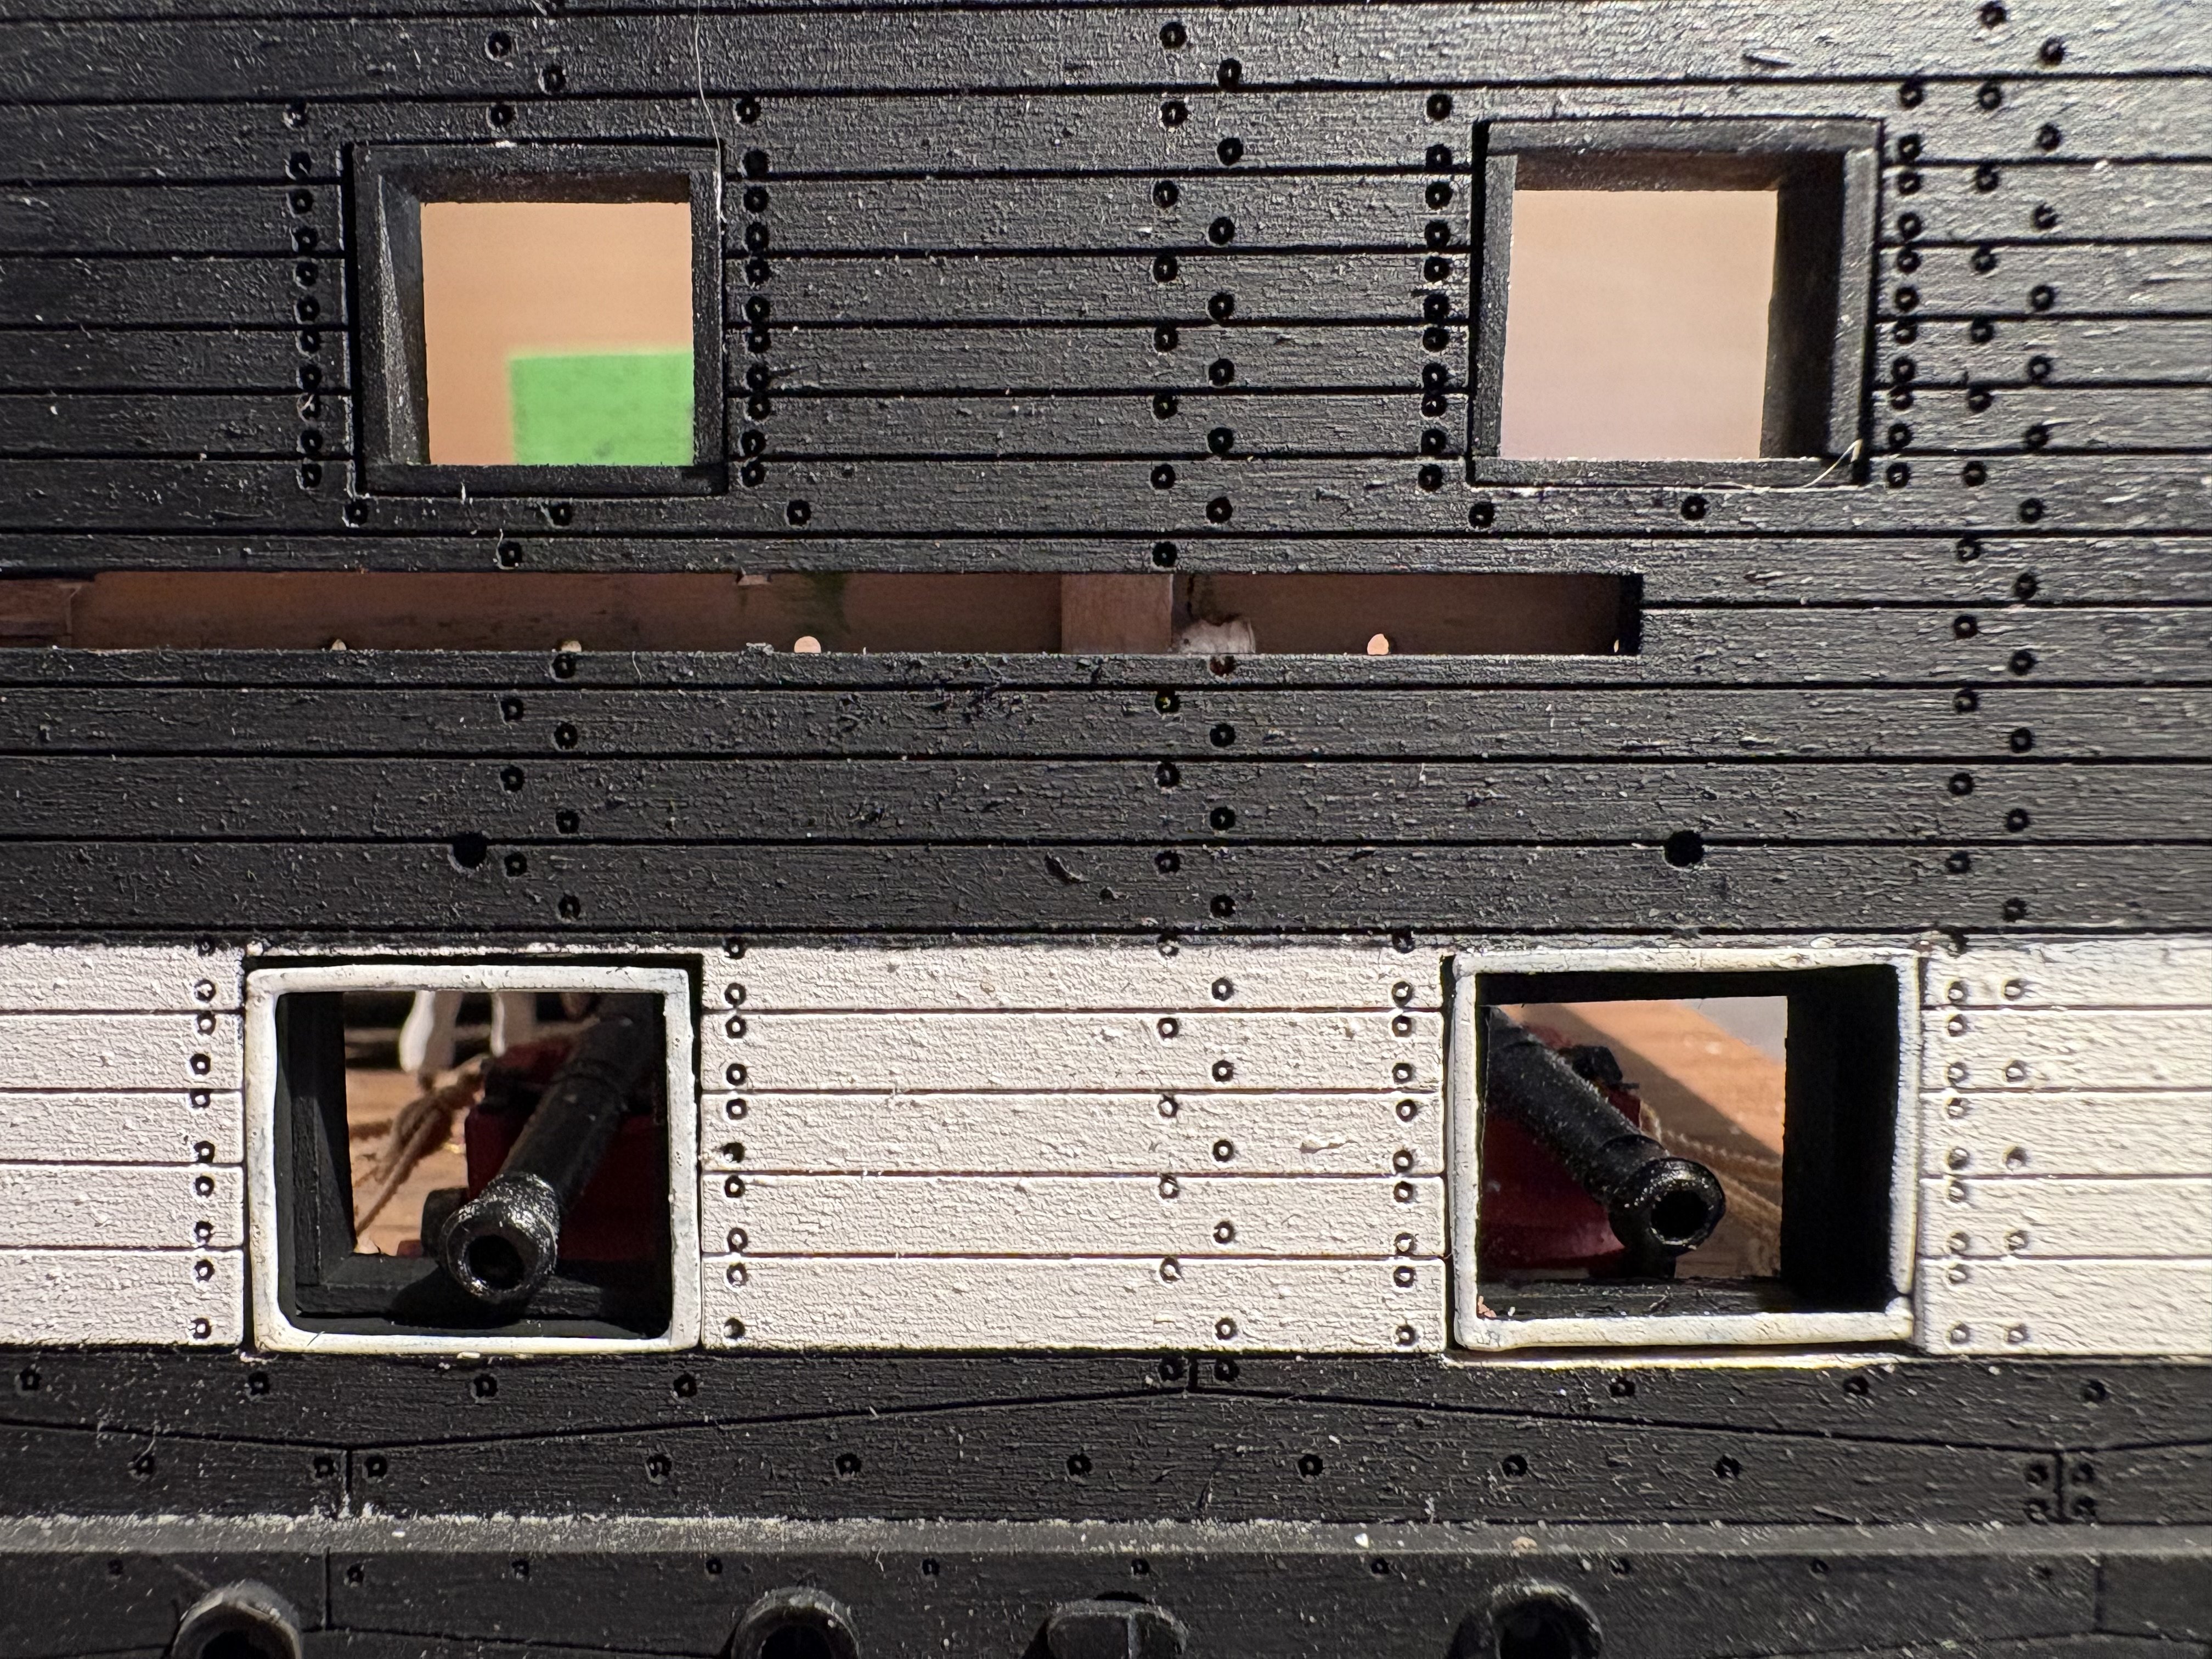
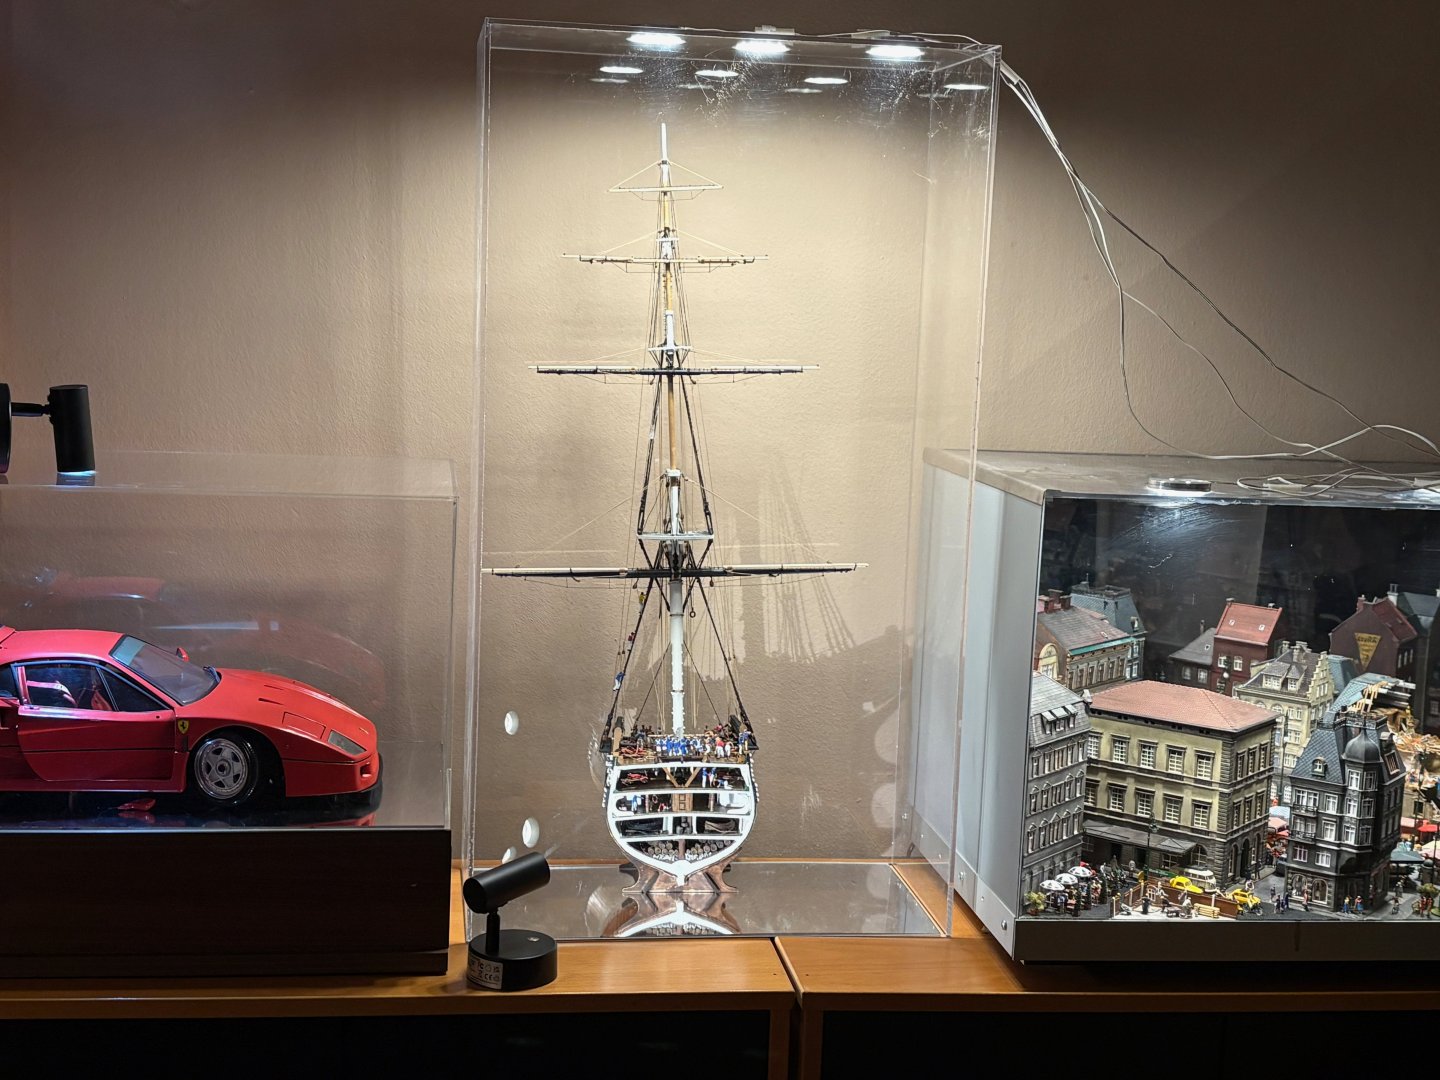
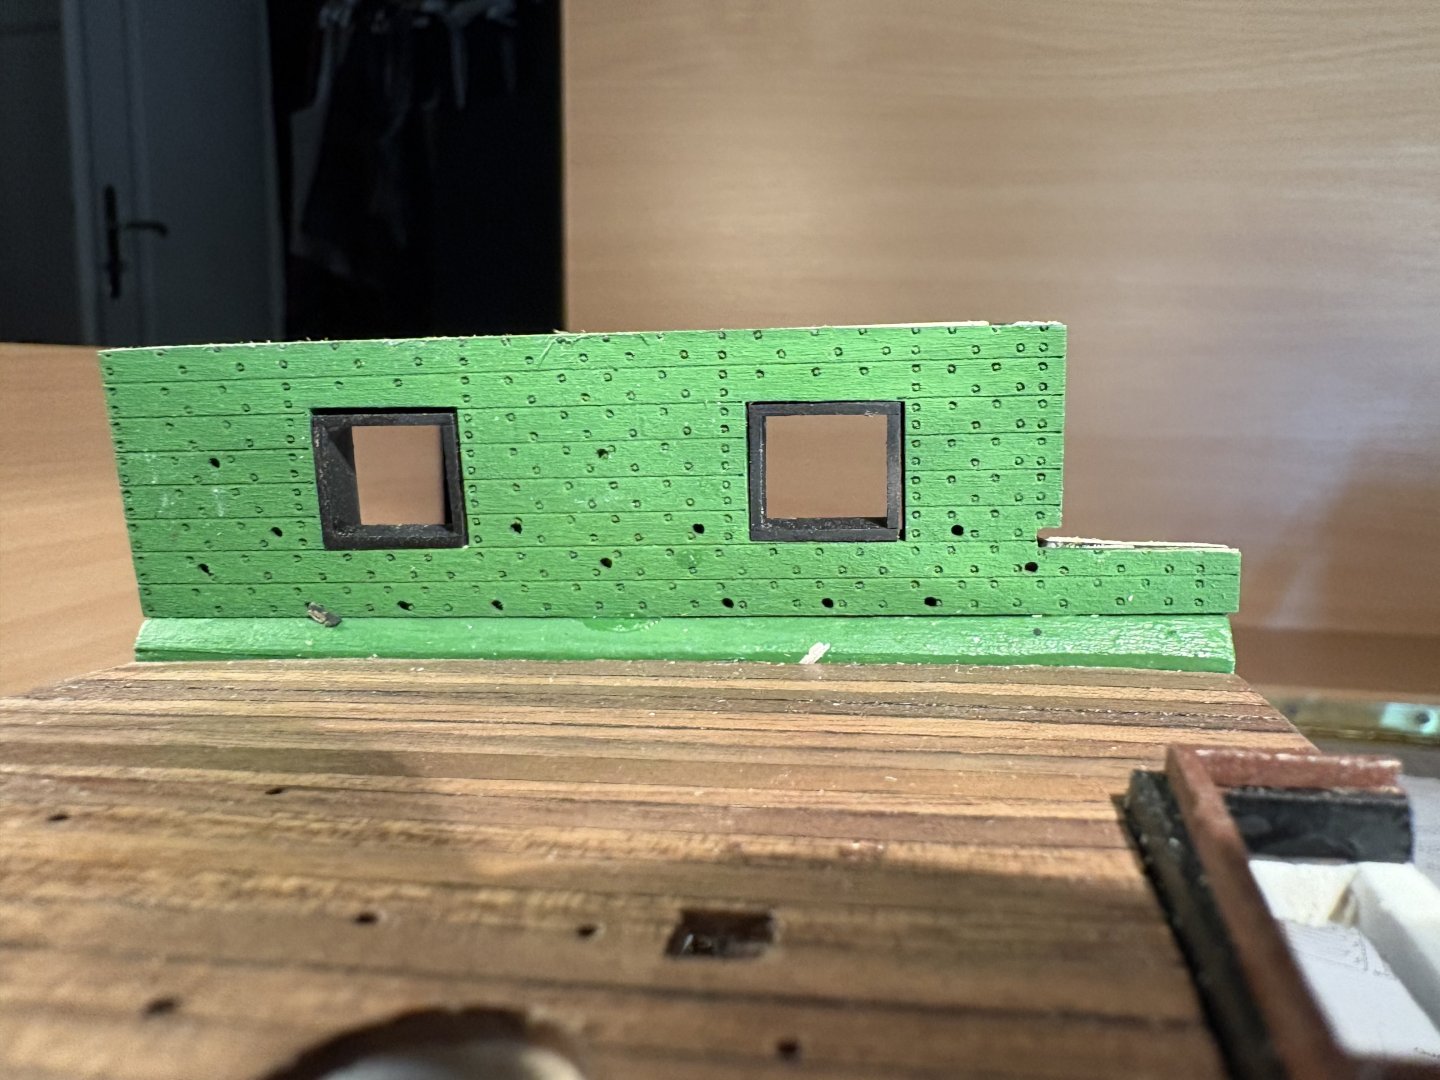
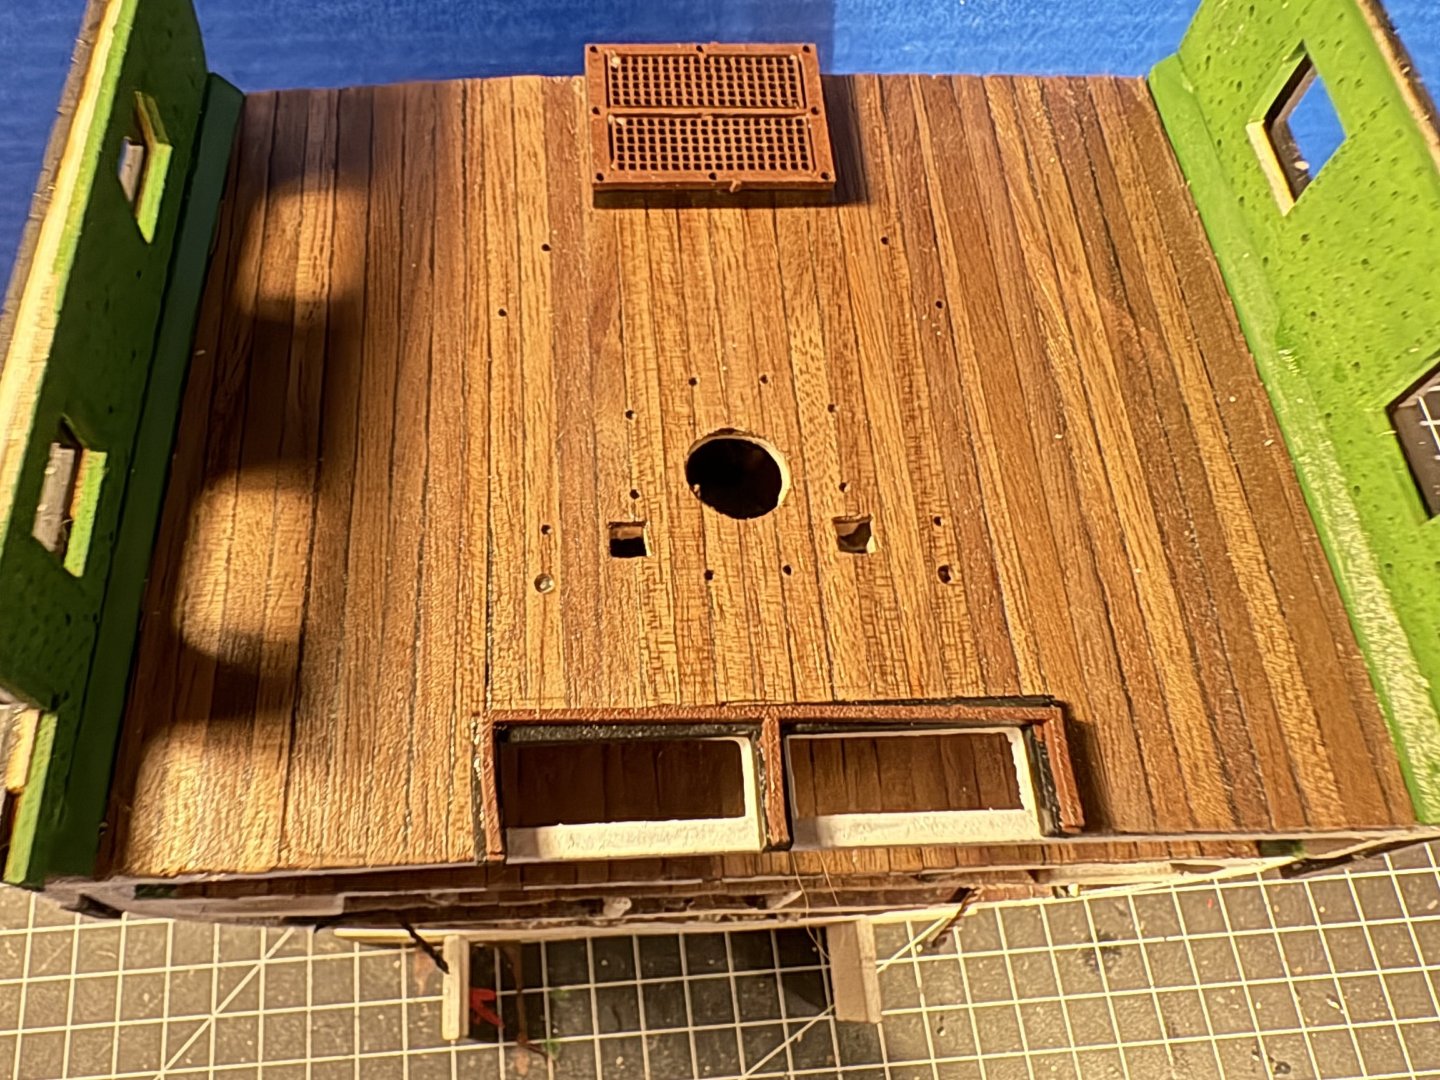
Put the lid on and all my carefully positioned employees have disappeared. It's a shame, really, but at least they still get a little daylight from the side. I first completed the installation of the hull of the spar deck and did not follow the instructions exactly. I find it easier to build this way. So first the sidewalls, the gun port bracings and gunport frames, the waterway and then the deck planking.

-
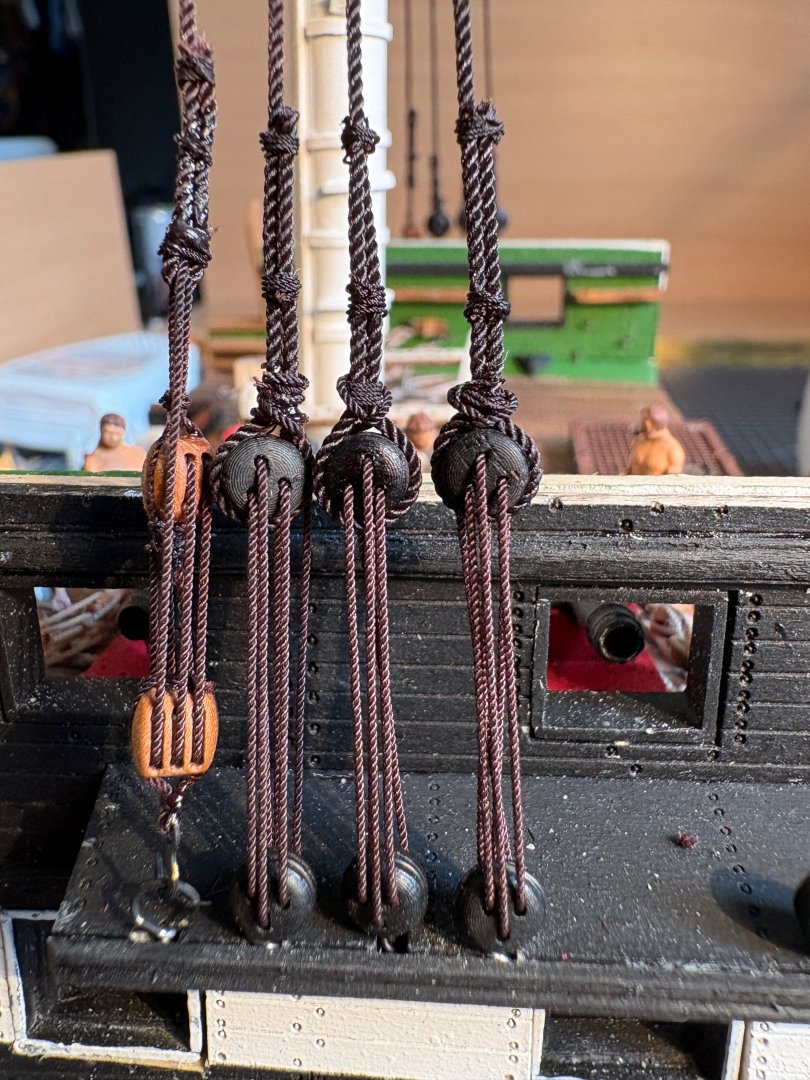
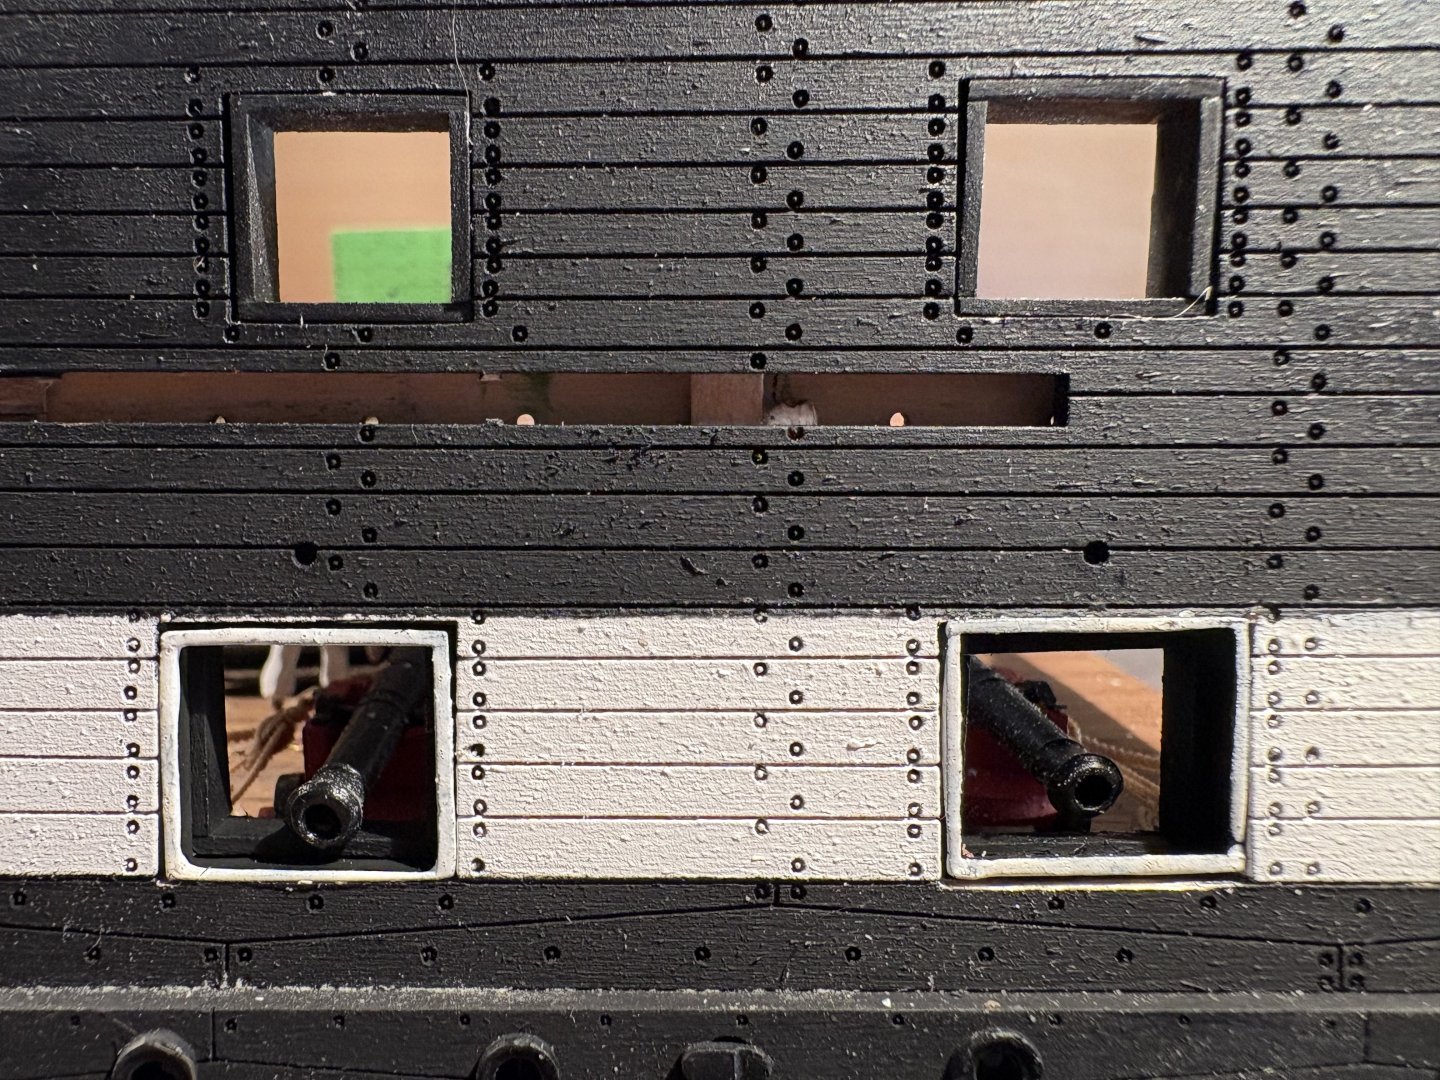
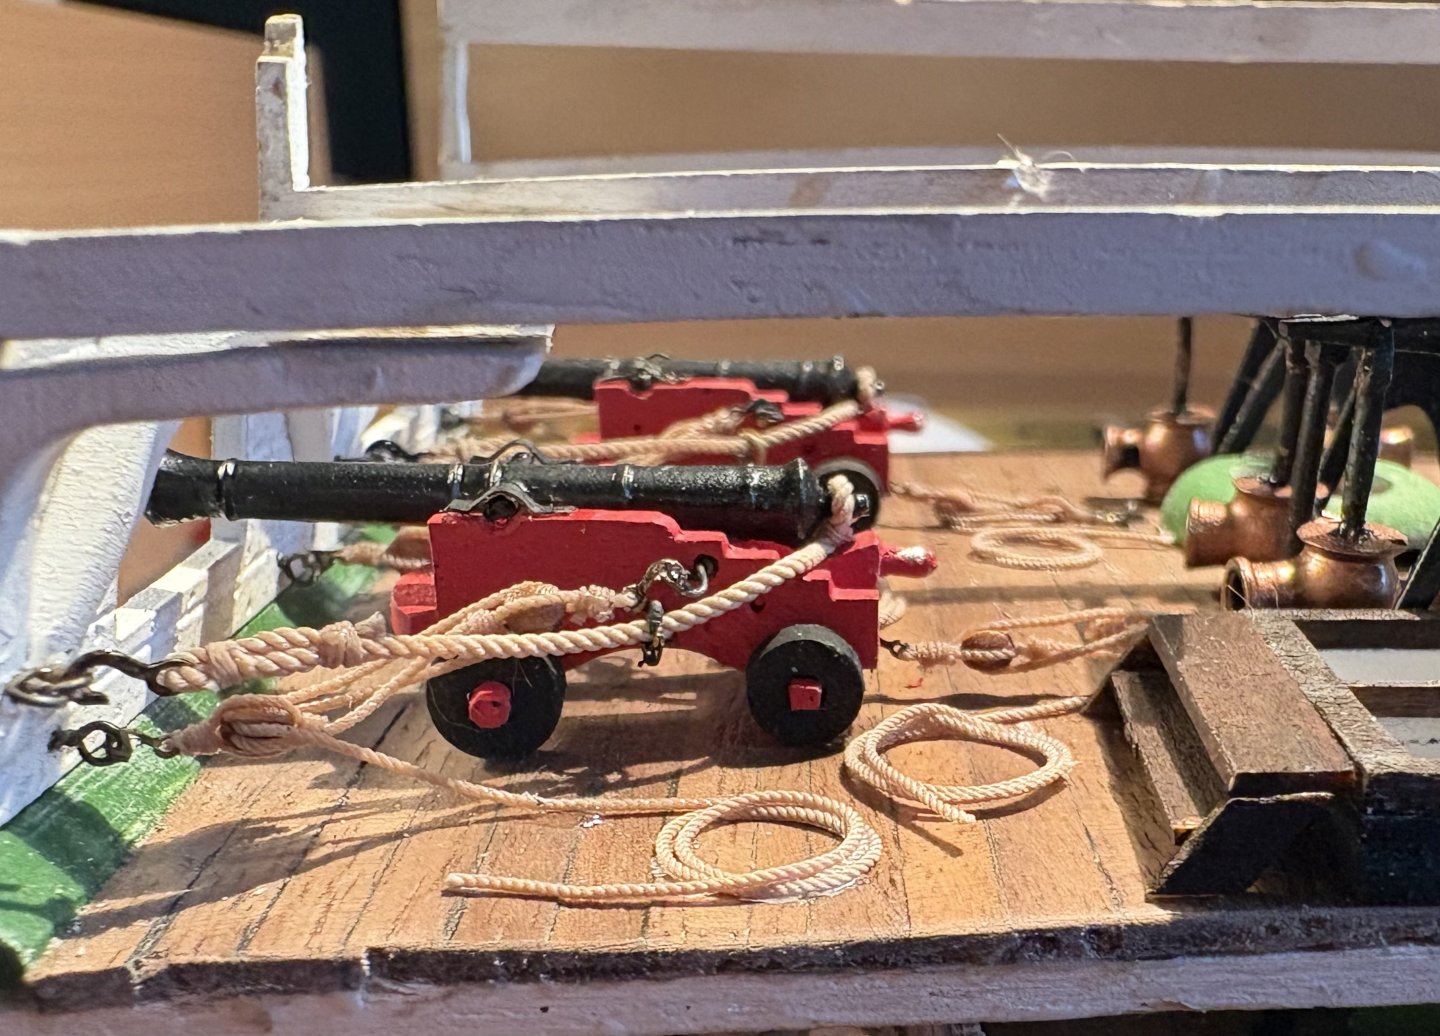
I am now in the process of finishing the gun deck. All guns are in place, all lines attached to the guns. I am still a little unhappy with the strength of the ropes. The breechline is okay, but the gun tackle is a little too thick for my liking. It is 0.5 mm, but I think 0.35 mm would be better. I lack the historical knowledge to determine the correct size. I am currently in the process of building up a small library on the age of large sailing ships, and I am sure that the correct information is in there, but I first have to work my way through the books to find the information I need. I would be very grateful for any information about specialist literature that one should have.
- 33 replies
-
- 1
-
-
- Constitution
- Model Shipways
- (and 2 more)
-
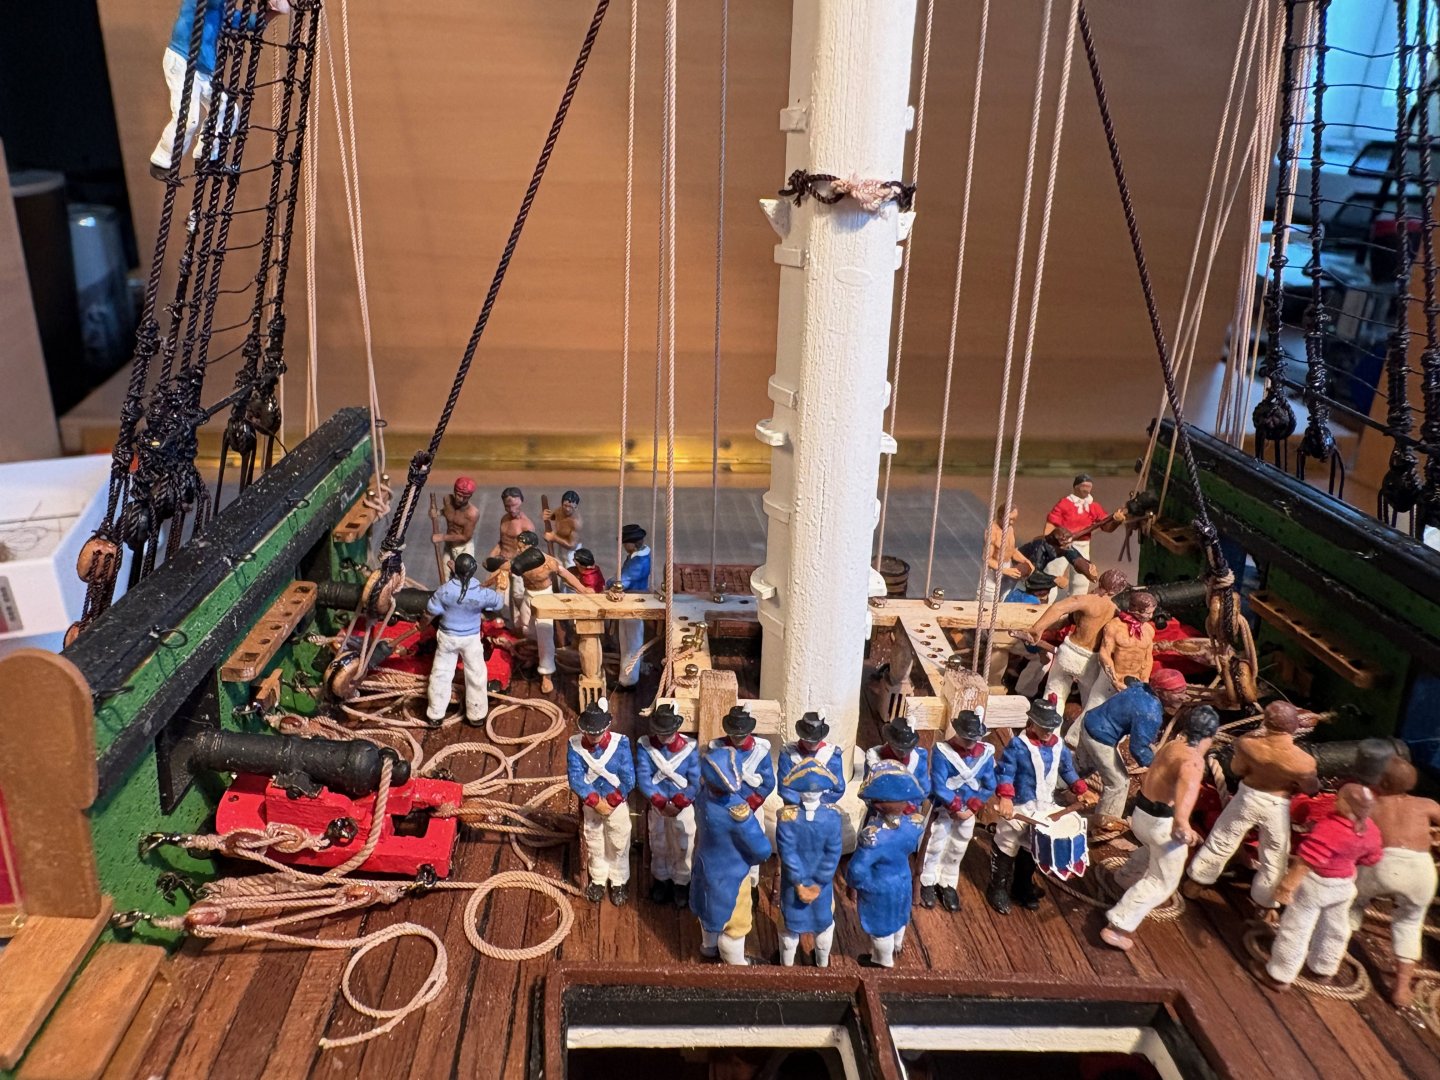
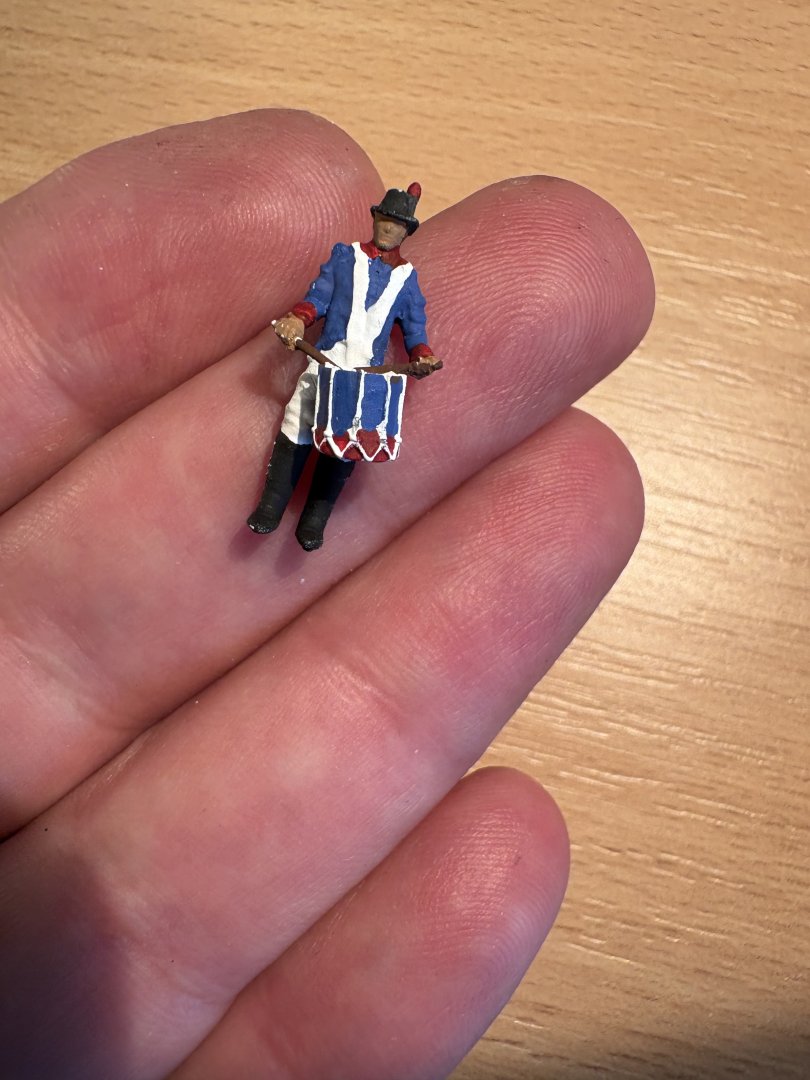
The journey continues... (sometimes you have to work at your real job). Before I move on to the next steps, here are a few more impressions of my personnel. I really like the figures, they are so perfect, and that in 1/76 scale. You can even see the muscles of the gun crew. And another figure I like: the Navy Marines drummer. He will become part of the deck line-up on my USS Constitution.


- 33 replies
-
- 1
-
-
- Constitution
- Model Shipways
- (and 2 more)
-
Vanguard models without simplified rigging
Strand replied to Strand's topic in Masting, rigging and sails
Thanks for the list, the HMS Flirt is closest to what I want. I wrote that I want to build a smaller boat, but not because of the size, but because of the length of time it takes to build. I'm waiting for the HMS Surprise. At the moment, Vanguard Models kits are the only option for me because of their outstanding quality. In any case, I've already taken the plunge and ordered the Flirt. It's just a shame that the Shipwright version is no longer available. The only thing I'm not entirely happy with is the ropes and blocks, so I want to upgrade to ‘Dry Dock’ blocks and ropes from ‘Scale of Rope’. I now have to research the number and size on the internet. The same goes for the ropes. And I want to attach the planks myself, I love this work and I don't really like the laser-engraved decks. I assume that this will lead to problems with the construction height. Does anyone have any experience with this? Or I could ask #ChrisWatton, he would probably tell me... -
Vanguard models without simplified rigging
Strand replied to Strand's topic in Masting, rigging and sails
Thank you Chris for your quick and really helpful reply. I knew you read the forum and hoped to get a competent answer directly from the person who should knows best. -
My question: Do all Vanguard models (except the Indefatigable, of course) have simplified rigging, or are there other Vanguard boats that do not have simplified rigging? My problem is that I want to build a smaller boat (approx. 2 masts), but I don't want to compromise on the rigging. The Indefatigable is too big for me, as I would have problems with it during construction and later with the finished model. I understand why this simplification was made and I think it's perfectly fine, but I don't want it for the Vanguard boat I want to build next.