Search the Community
Showing results for tags 'card model techniques'.
Found 1 result
-
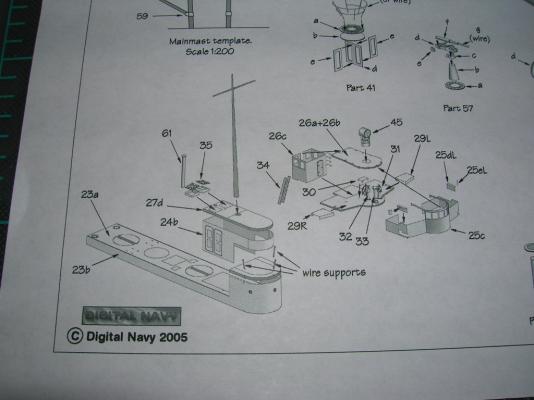
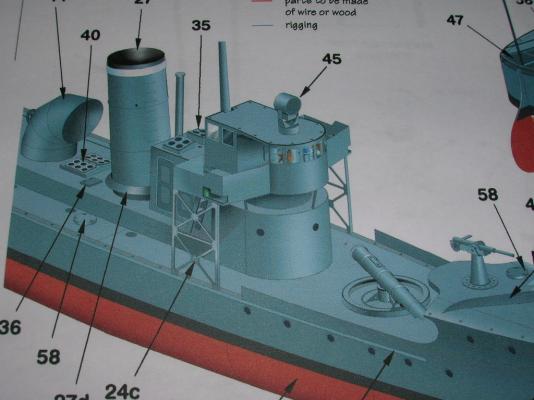
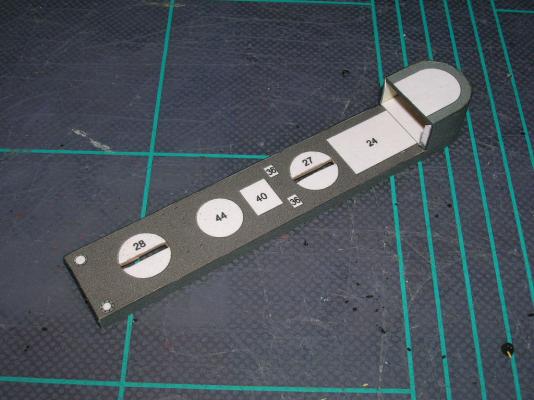
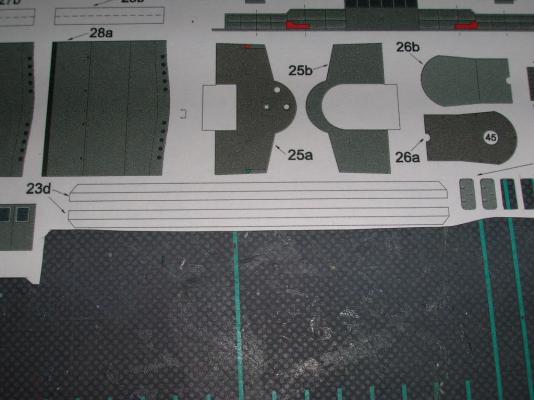
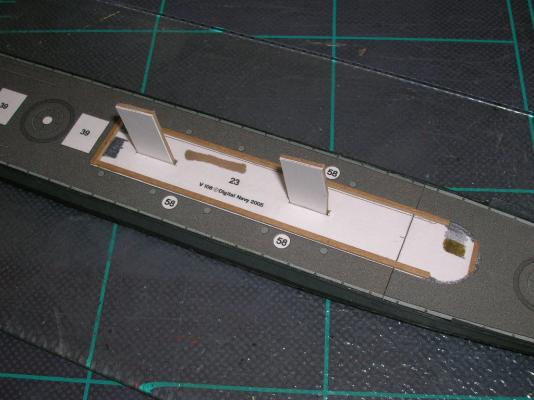
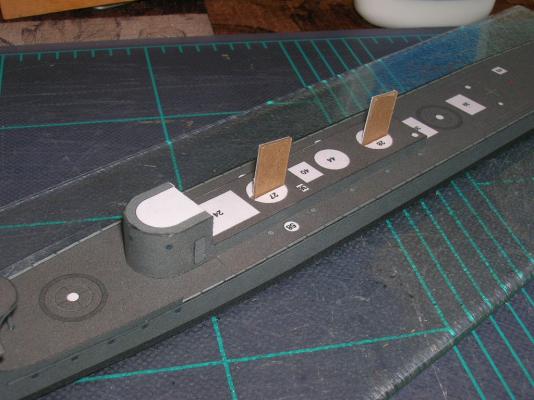
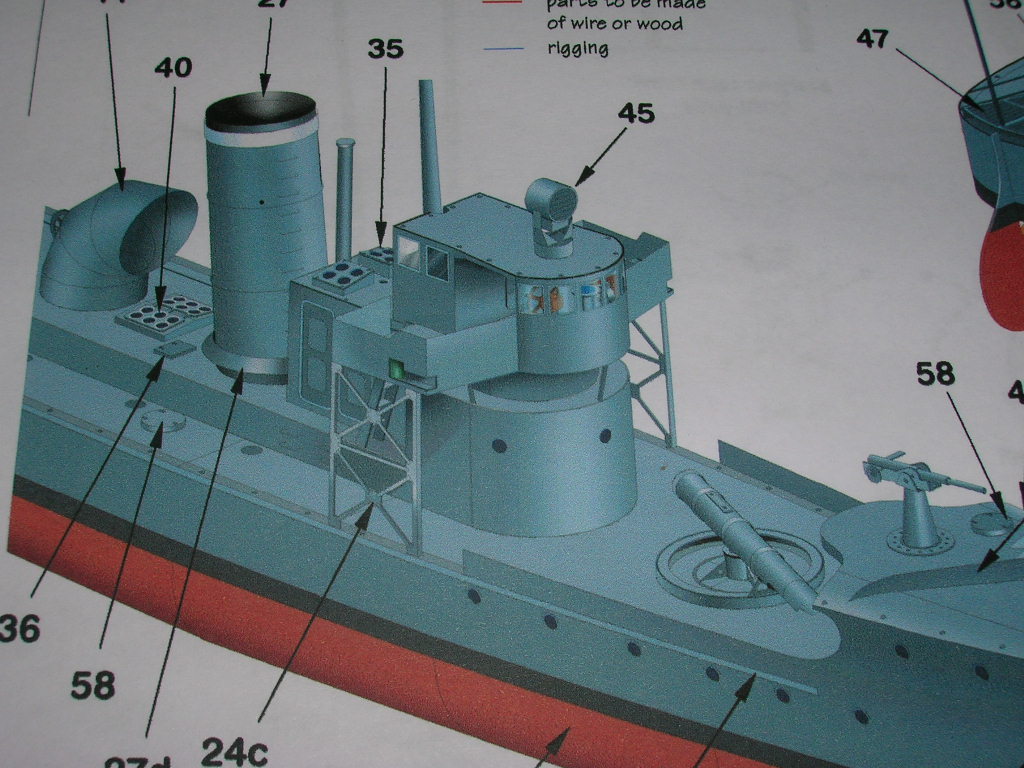
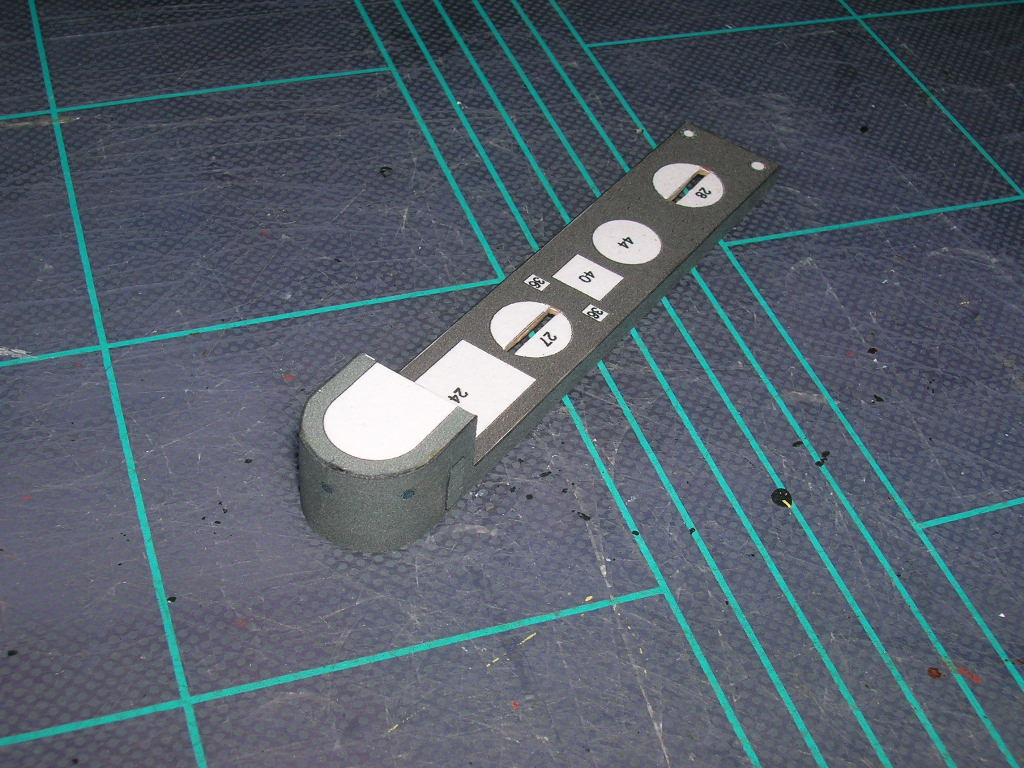
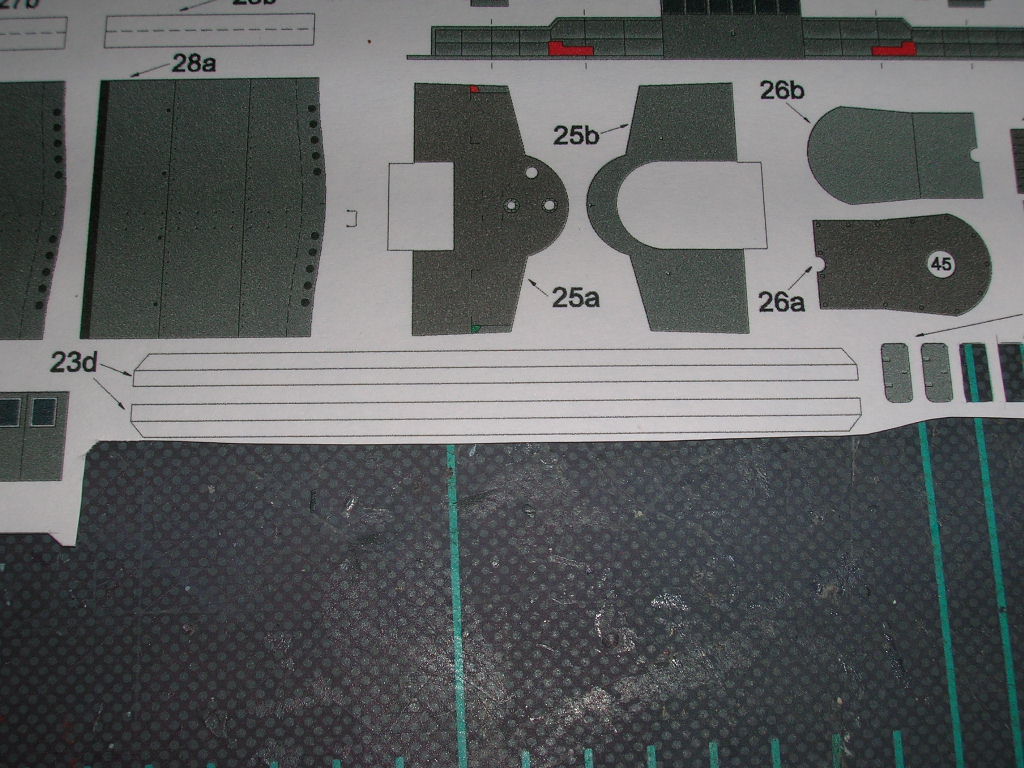
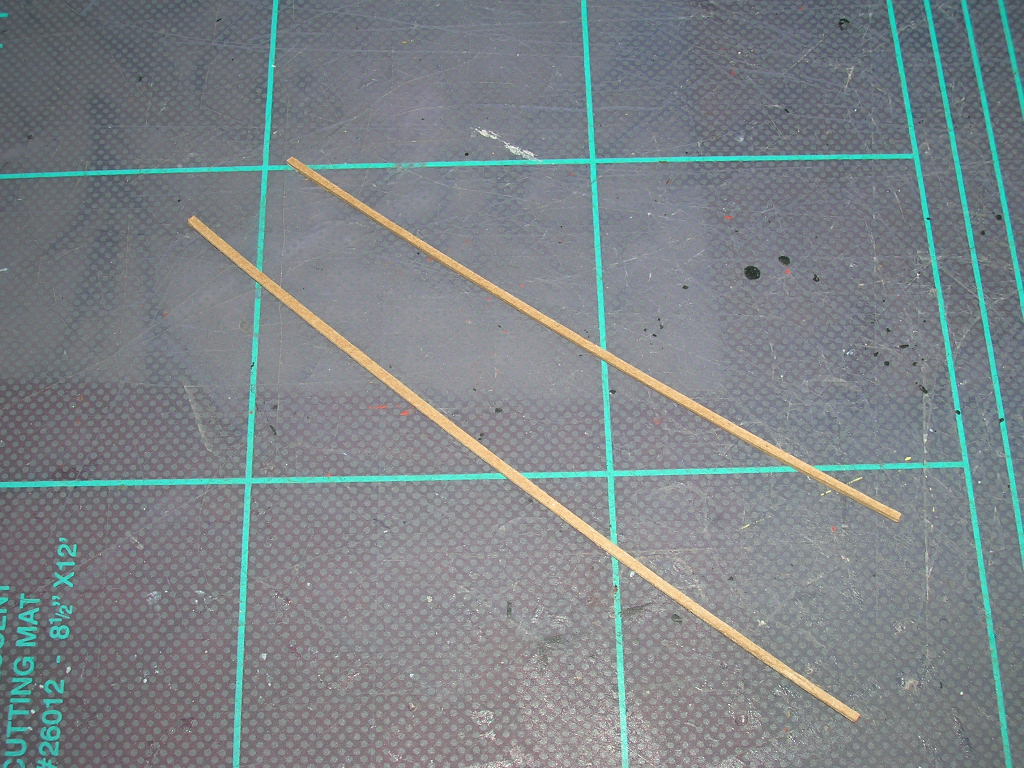
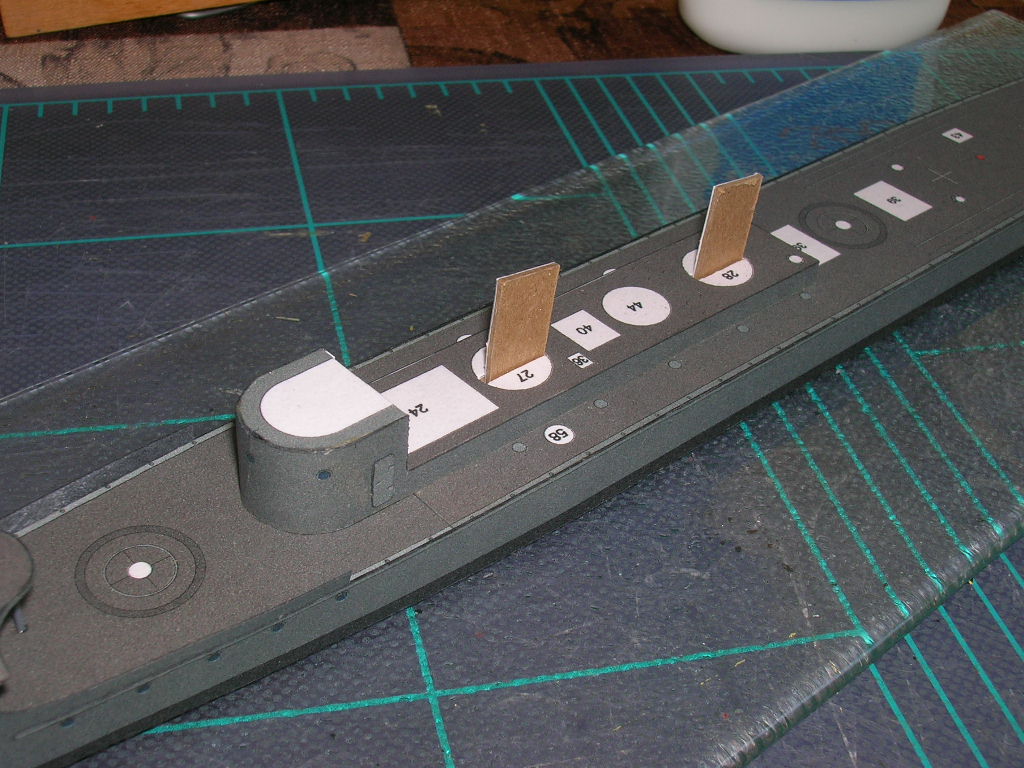
 Before starting the superstructure, take a few moments to study the diagram for that assembly. The cover sheet artwork also has a nice view of that part of the ship. Assembly of the superstructure starts with wrapping the walls (23b) around the deck piece (23a). Score the fold tabs on 23b, along with the two fold lines where the wall wraps around the aft corners of 23a; after cutting it out, add the hatch door on the port side (part 55), Now here's another tip - if you apply contact cement to only one surface to be joined, it doesn't grab as tightly as when both surfaces are coated, but it does allow a small amount of working time. I glued 23a and 23b together with contact cement in the following order, applying the contact cement incrementally only to 23b: starboard rear corner, starboard wall, front of the bridge, port wall, port rear corner. When I got to the rear port corner, I discovered that the wall, 23b, was about 0.5 mm too long; if this happens to you, just trim the overage away from the end of the wall, crimp a new corner where the wall and corner meet, and then finish attaching the wall. After the wall is completely attached, the superstructure roof (23c) can be added using PVA. The finished assembly looks like this: If you study the last image carefully, you can spot a minor error. While I was dry-fitting 23b around 23a, the assembly slipped from my fingers. It is a very rare person who can suppress the reflex to grasp at a dropped object, and I'm not that person! As a result, there occurred a crease in the forward bridge wall (it runs down through the front porthole). When card is creased like that, the crease is pretty much there forever. Next, the superstructure assembly needs to be mounted to the main deck. The kit supplies a couple of joiner strips for this task (parts 23d). I happen to dislike such joiner strips for this job. When paper is folded, the fibers in the paper have 'memory' - they want to return to their previous shape. As a result, folded paper acts like a weak spring. In this case, the folded joiner strips will have a tendency to push the superstructure assembly upward. To avoid this, and to do a better job of positioning the superstructure walls, I prefer to add locator strips to the model. These can be made from leftover chipboard or strip wood, if you have any lying around (what ship modeler doesn't?). Here, I've sliced some ~1 mm wide strips from the edge of a chipboard sheet. These are then cut to the appropriate length and glued down to the main deck just inside the superstructure outline. The idea here is that the strips will position the walls exactly where they need to be, right on top of the outline. Notice I've cut and shaped a piece for the curved forward bridge wall as well. By the way, those colored patches on the deck are where I tested some markers for color matches to the kit. I used ordinary white glue to mount the superstructure, because the fit with the locator strips is tight, and I wanted as much time as possible to get all the walls down over the locator strips. The mounted superstructure should look like this, with nary a bit of white peeking from beneath the walls: Back to Part V: Building V108 - The Hull