


@macbride
-
Posts
58 -
Joined
-
Last visited
Content Type
Profiles
Forums
Gallery
Events
Posts posted by @macbride
-
-
Steve,
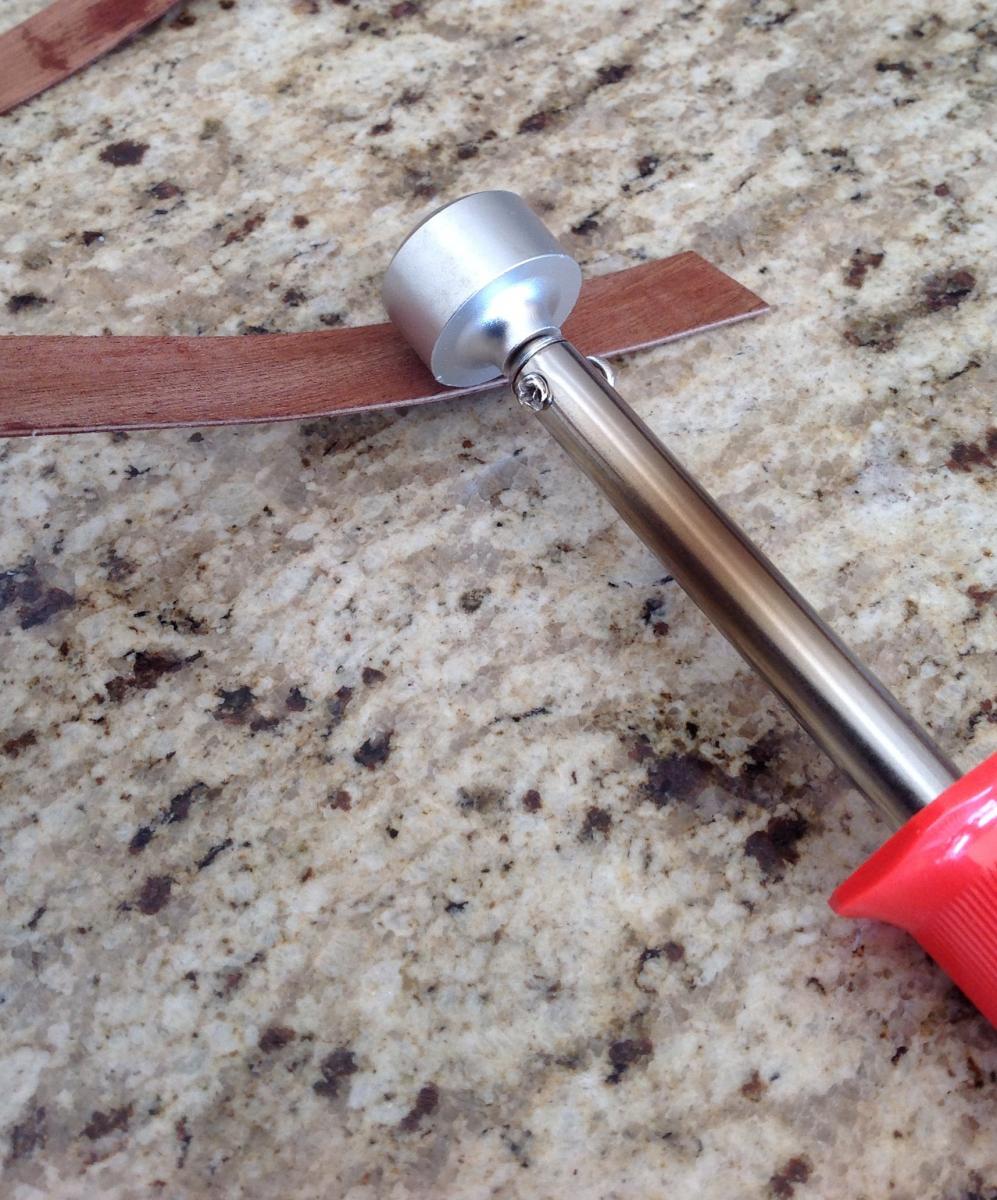
Yes- water then heat via an electric plate bender... Just did the first inner plank so far.
Cheers!!
Andy
-
Steve,
I'm envious of your meticulous skills! Nicely done!!!
Here's my next move:

Does that look reasonable??
Andy
-
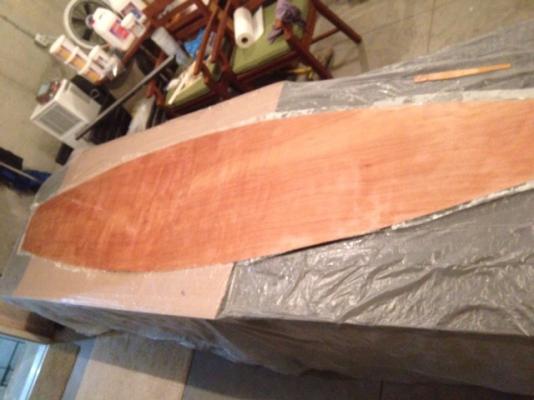
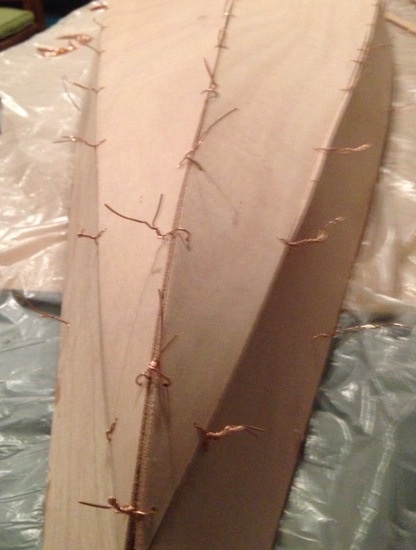
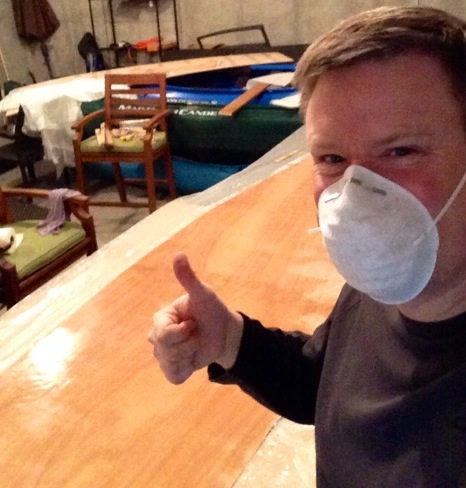
For those following my other ship building adventure, lots of progress with the Kaholo paddle board, too:
The bottom and sides are now joined, initially with copper wire (stitch):
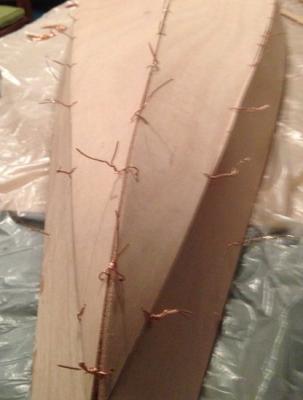
Then with epoxy mixed with wood flour (glue):
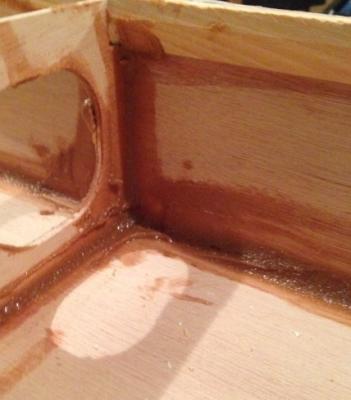
It's a great feeling to see things come together!!!!
Even though my copilot thinks it's boring....
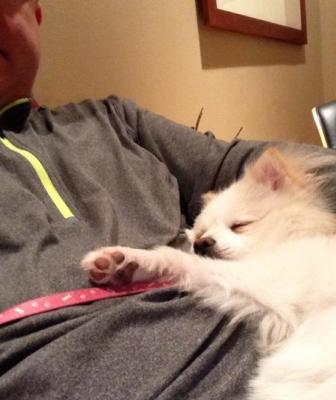
Andy
-
-
Steve,
Thanks for the input! I've made a little progress:

Skuppers are next, then I will bravely face the hull planks again...
Andy
- Senior ole salt, SGraham and Aussie048
-
 3
3
-
-
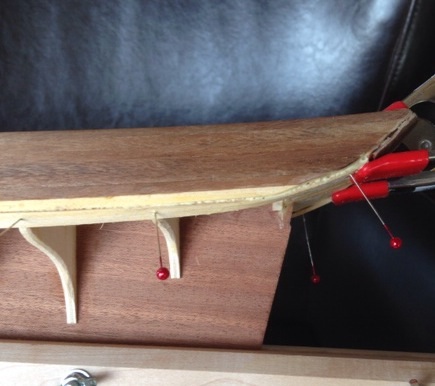
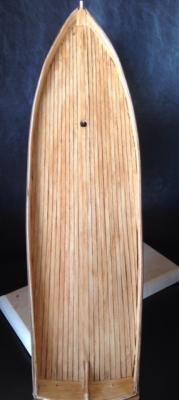
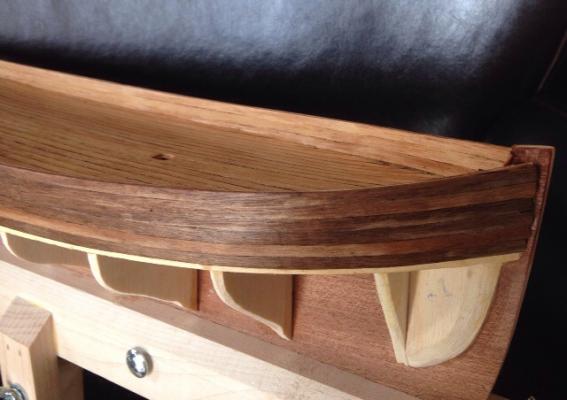
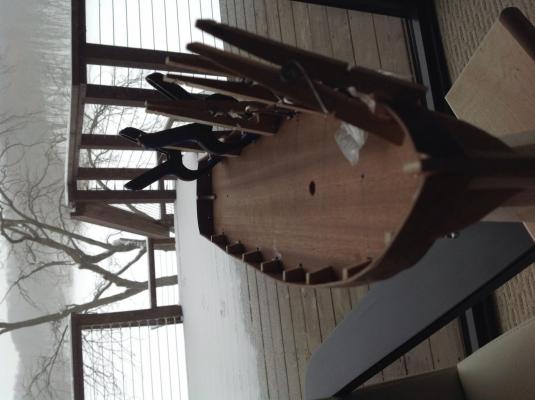
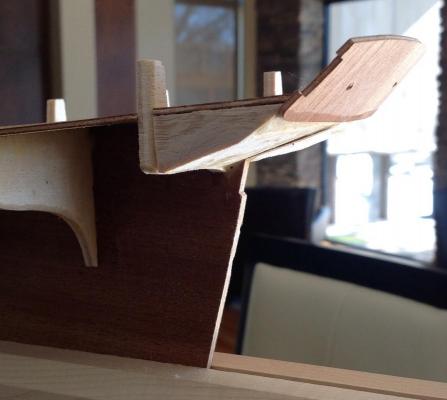
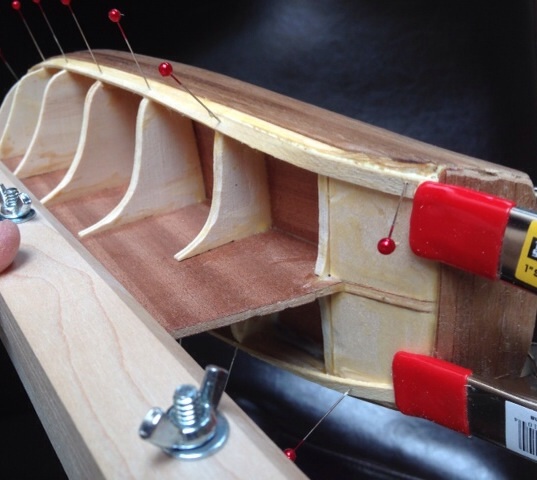
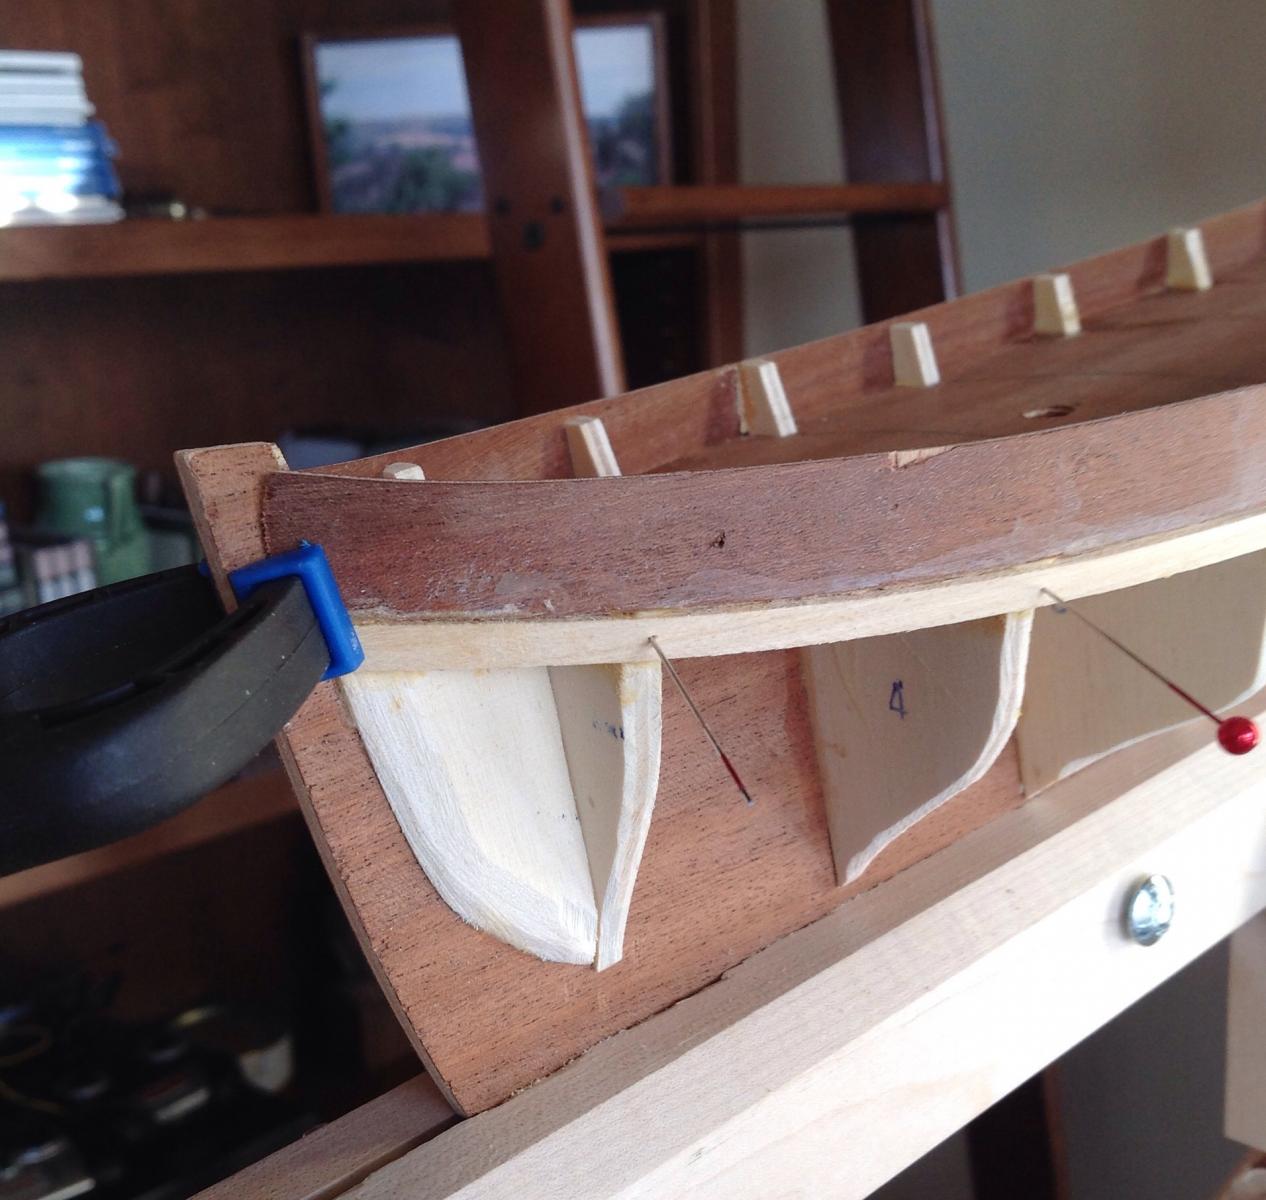
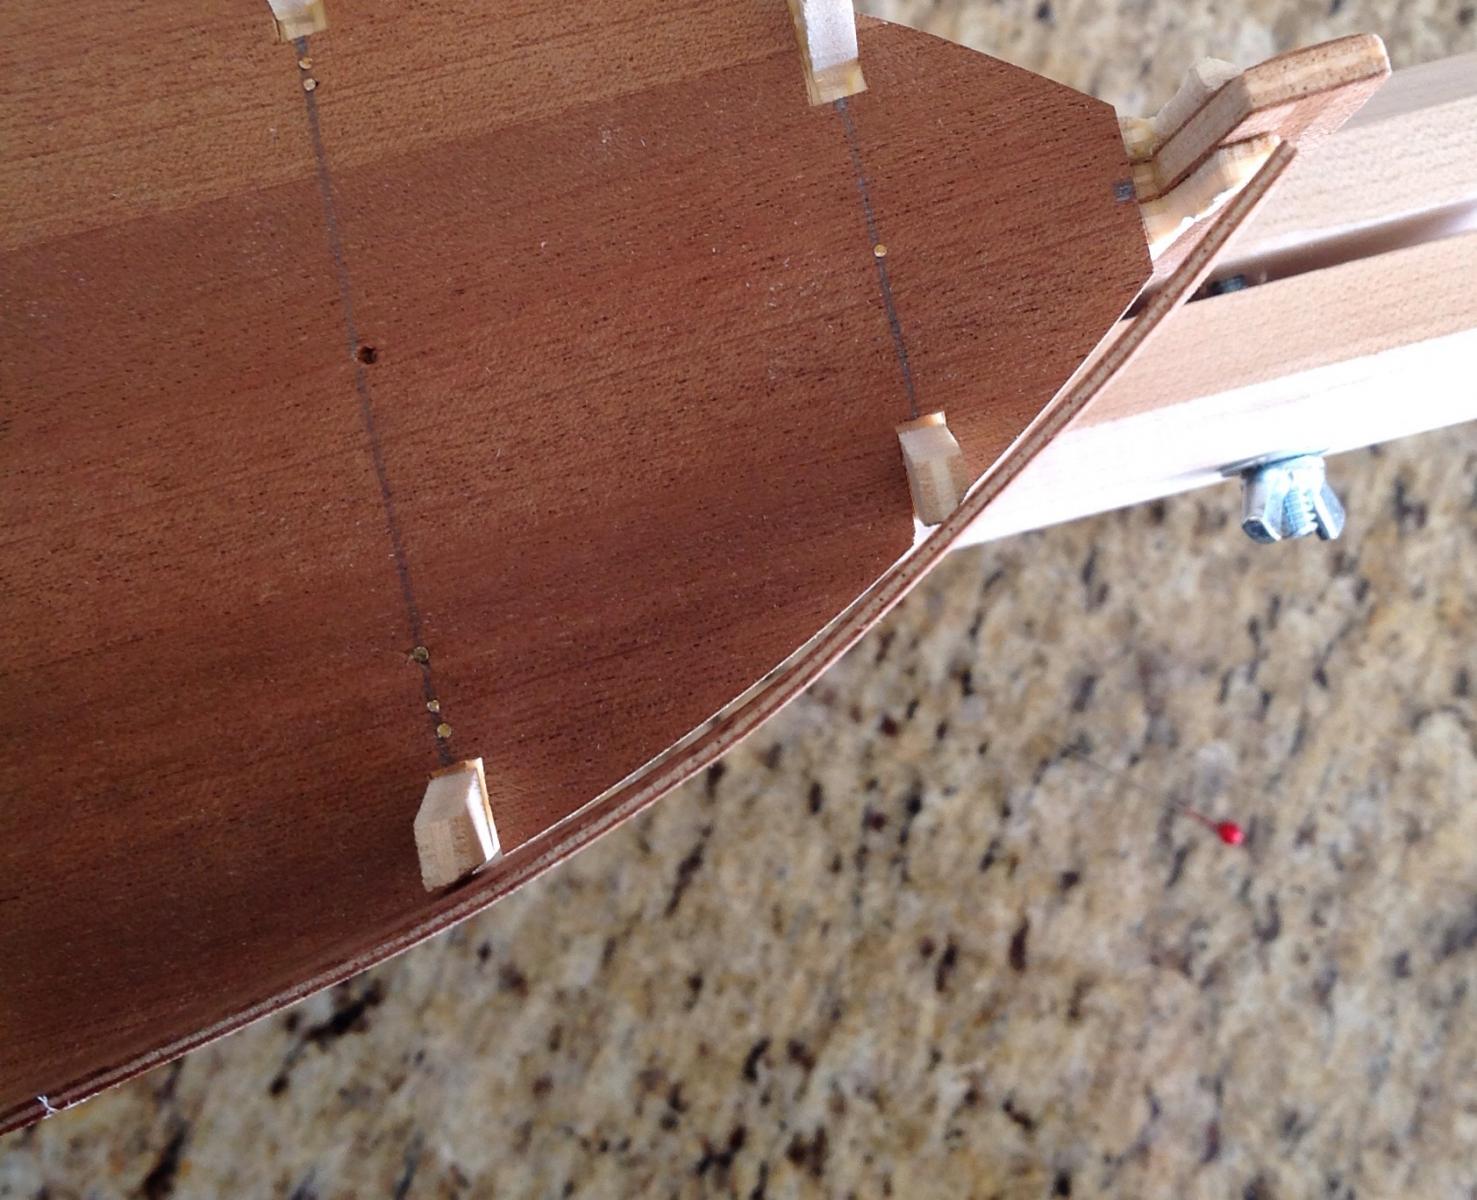
Placed the first hull plank below the bulwark. not perfect but not terrible.

My fear is in the subsequent plank placement. It's easy to visualize how the planks line up at the bow, but the stern is way different, and there is virtually no guidance in the instructions.
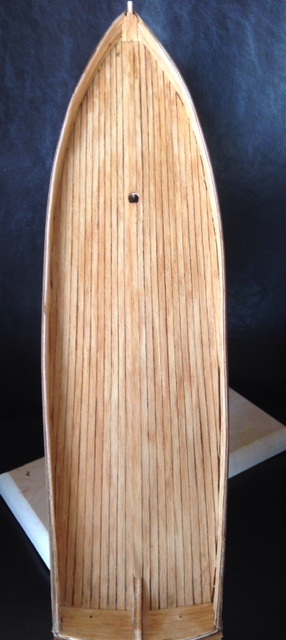
Here is the stern/transom prior to bulwark placement:
It's hard to picture how the planks will transition from just under the bulwark further down. Any advice?
Also: the instructions do not mention making a rabbet, but should I do that?
A picture of the finished boat (a view of the stern end) would be sooo helpful, but I haven't had any luck finding such an image.
Thanks for any insight!
Andy
-
Second bulwark now adapted & drying!
(note snow falling outside!!!)
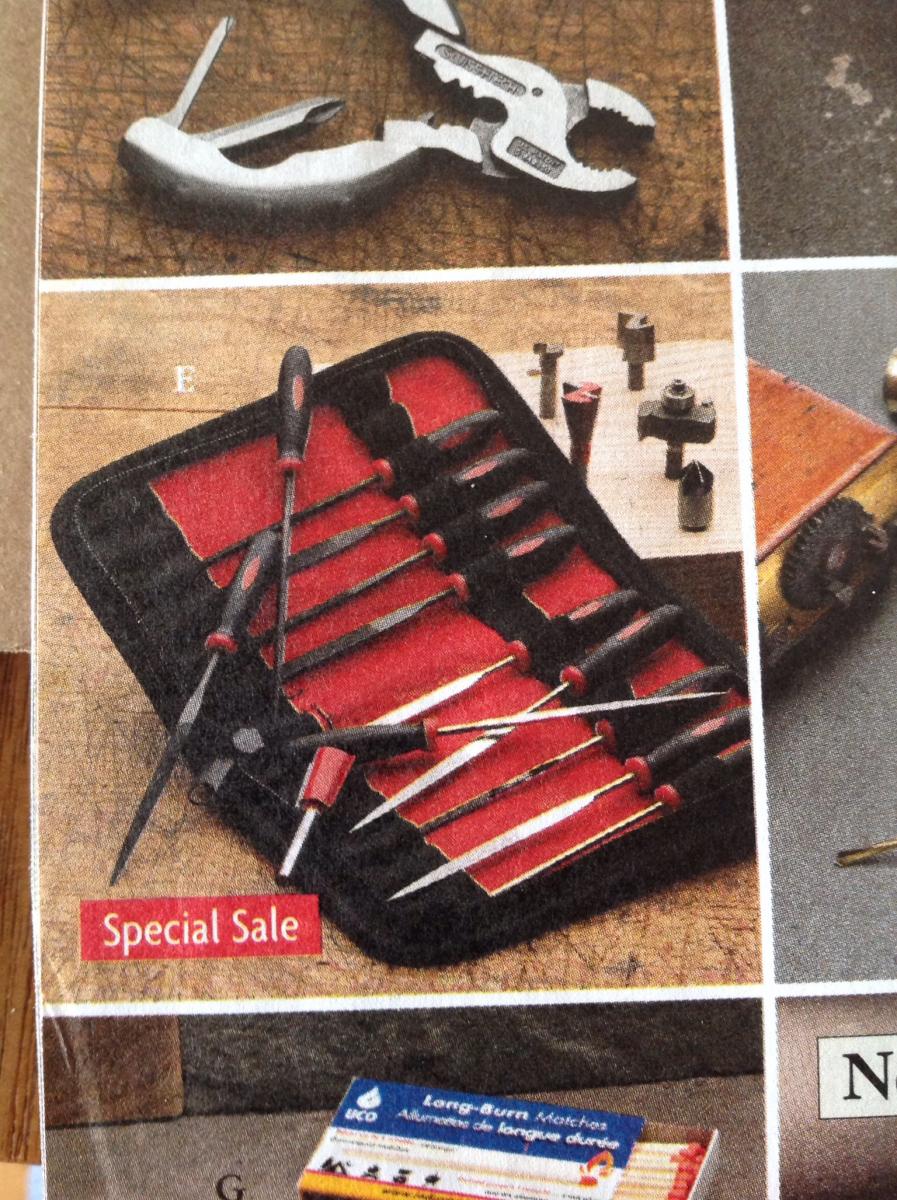
Found a cool set of 12 mini files at garretwade.com
 . $30 including standard shipping. I will comment on quality when I get them.
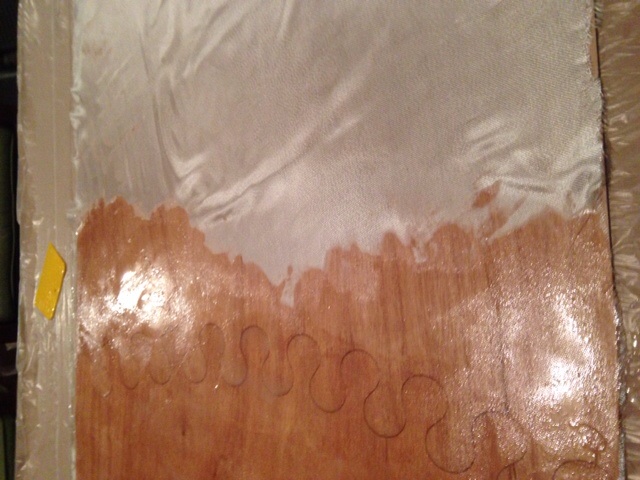
Meanwhile, also progressing with standup paddle board!!!
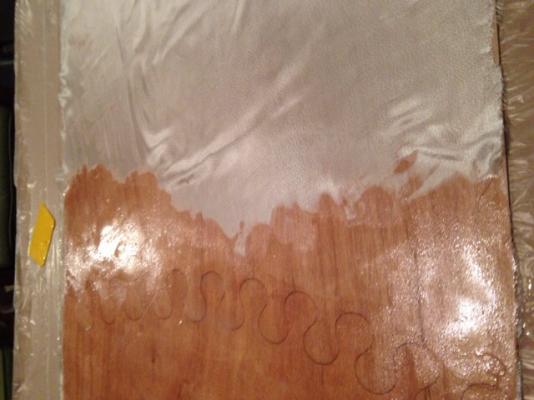
Fiberglass fabric applied to okoume plywood deck with epoxy...
This is actually far easier than the model boat!! Mainly, the quality of the instructions is far, far better.
Andy

-
Steve,
Looking great!! Love the scuppers!!! Hope I can pull them off too!
Andy
-
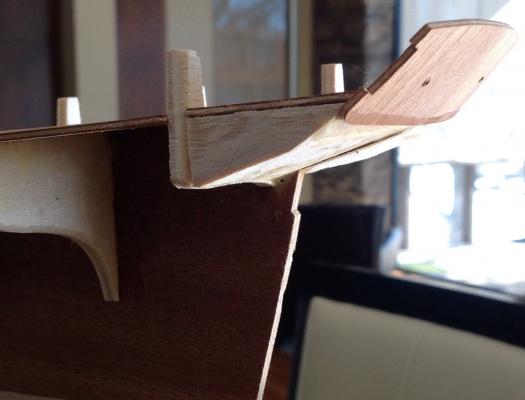
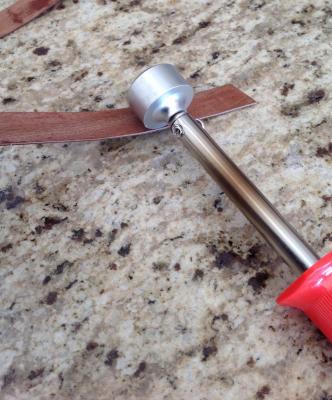
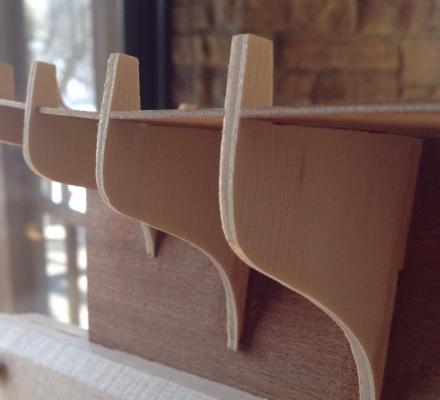
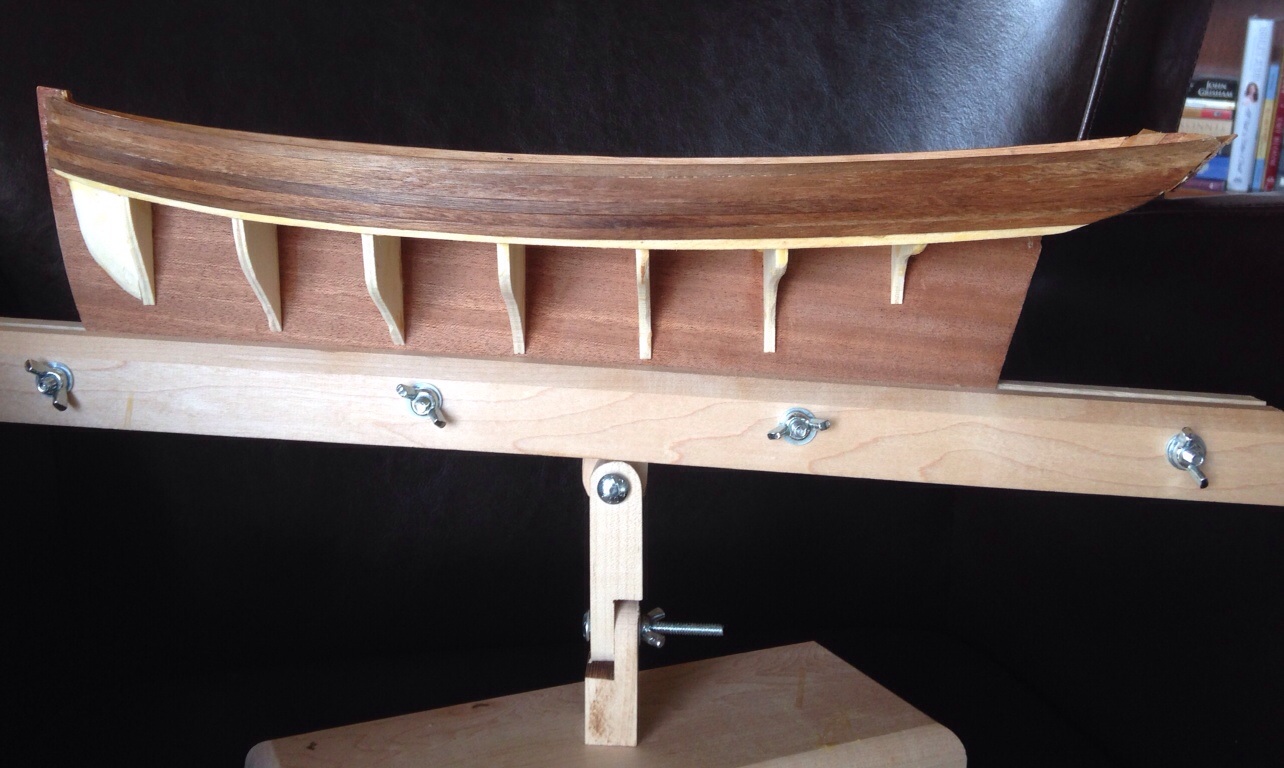
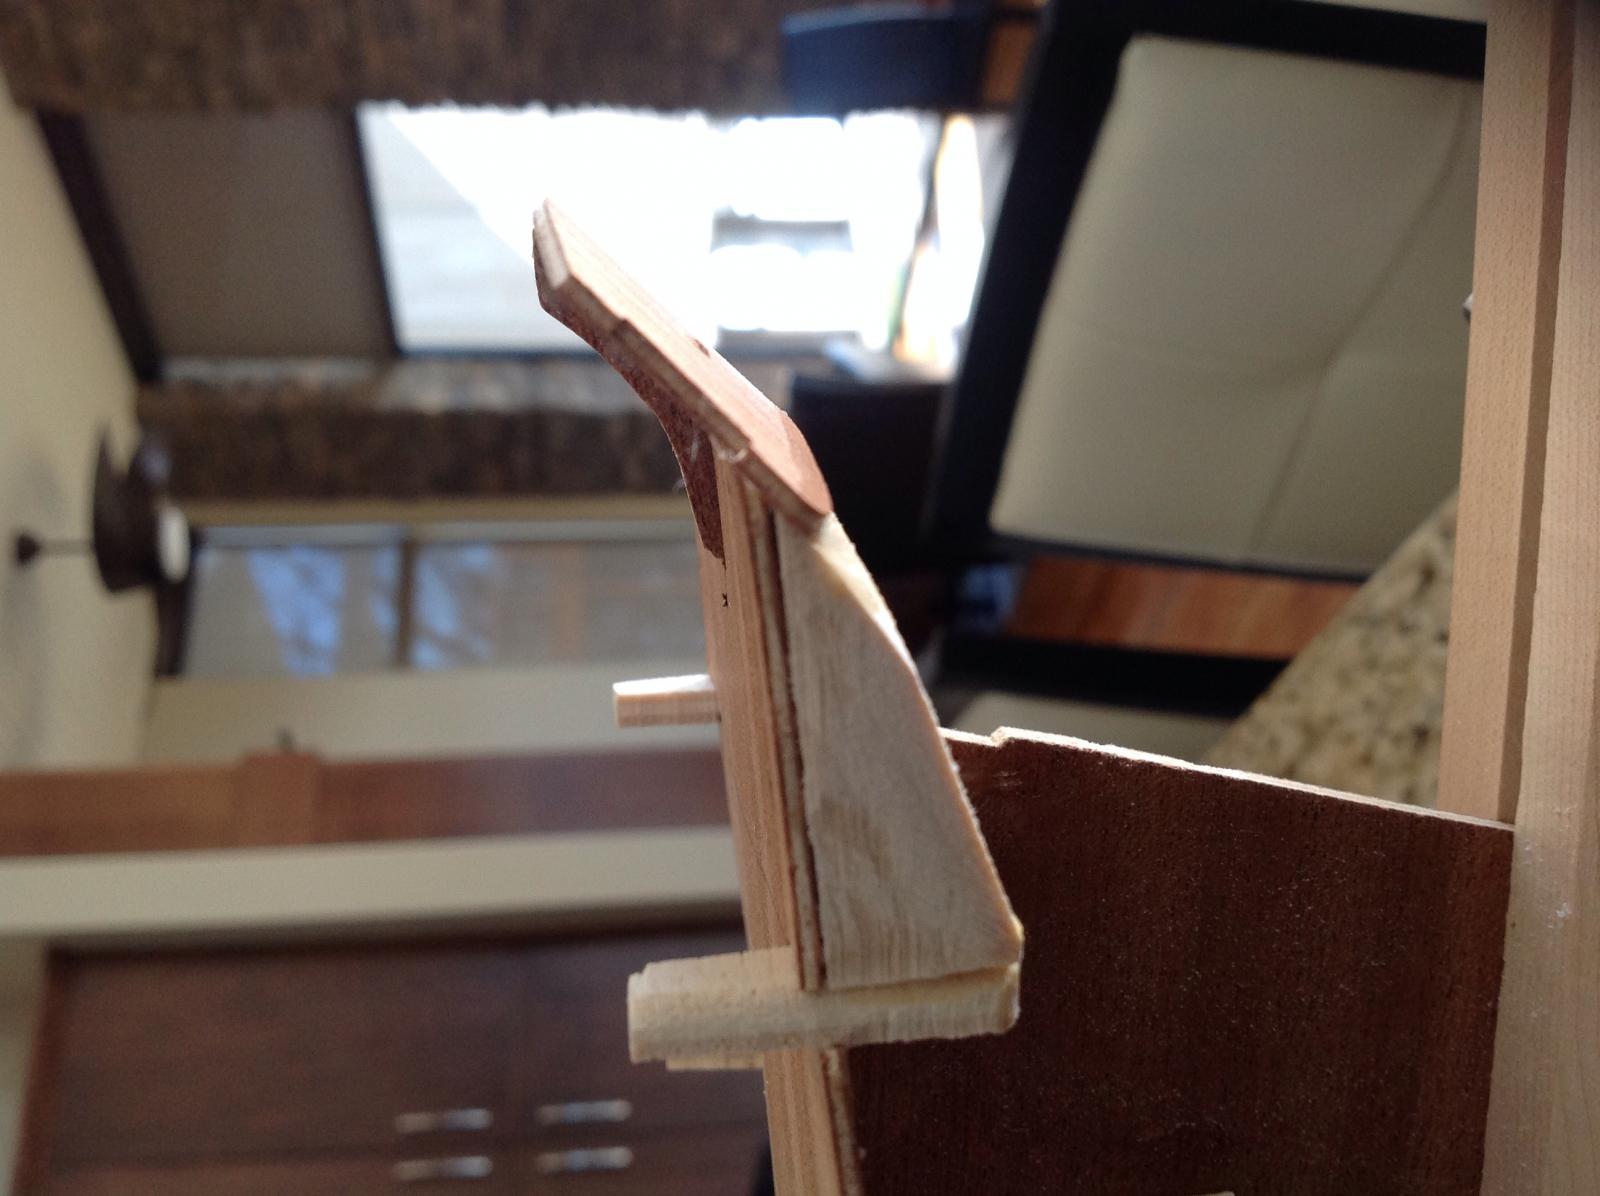
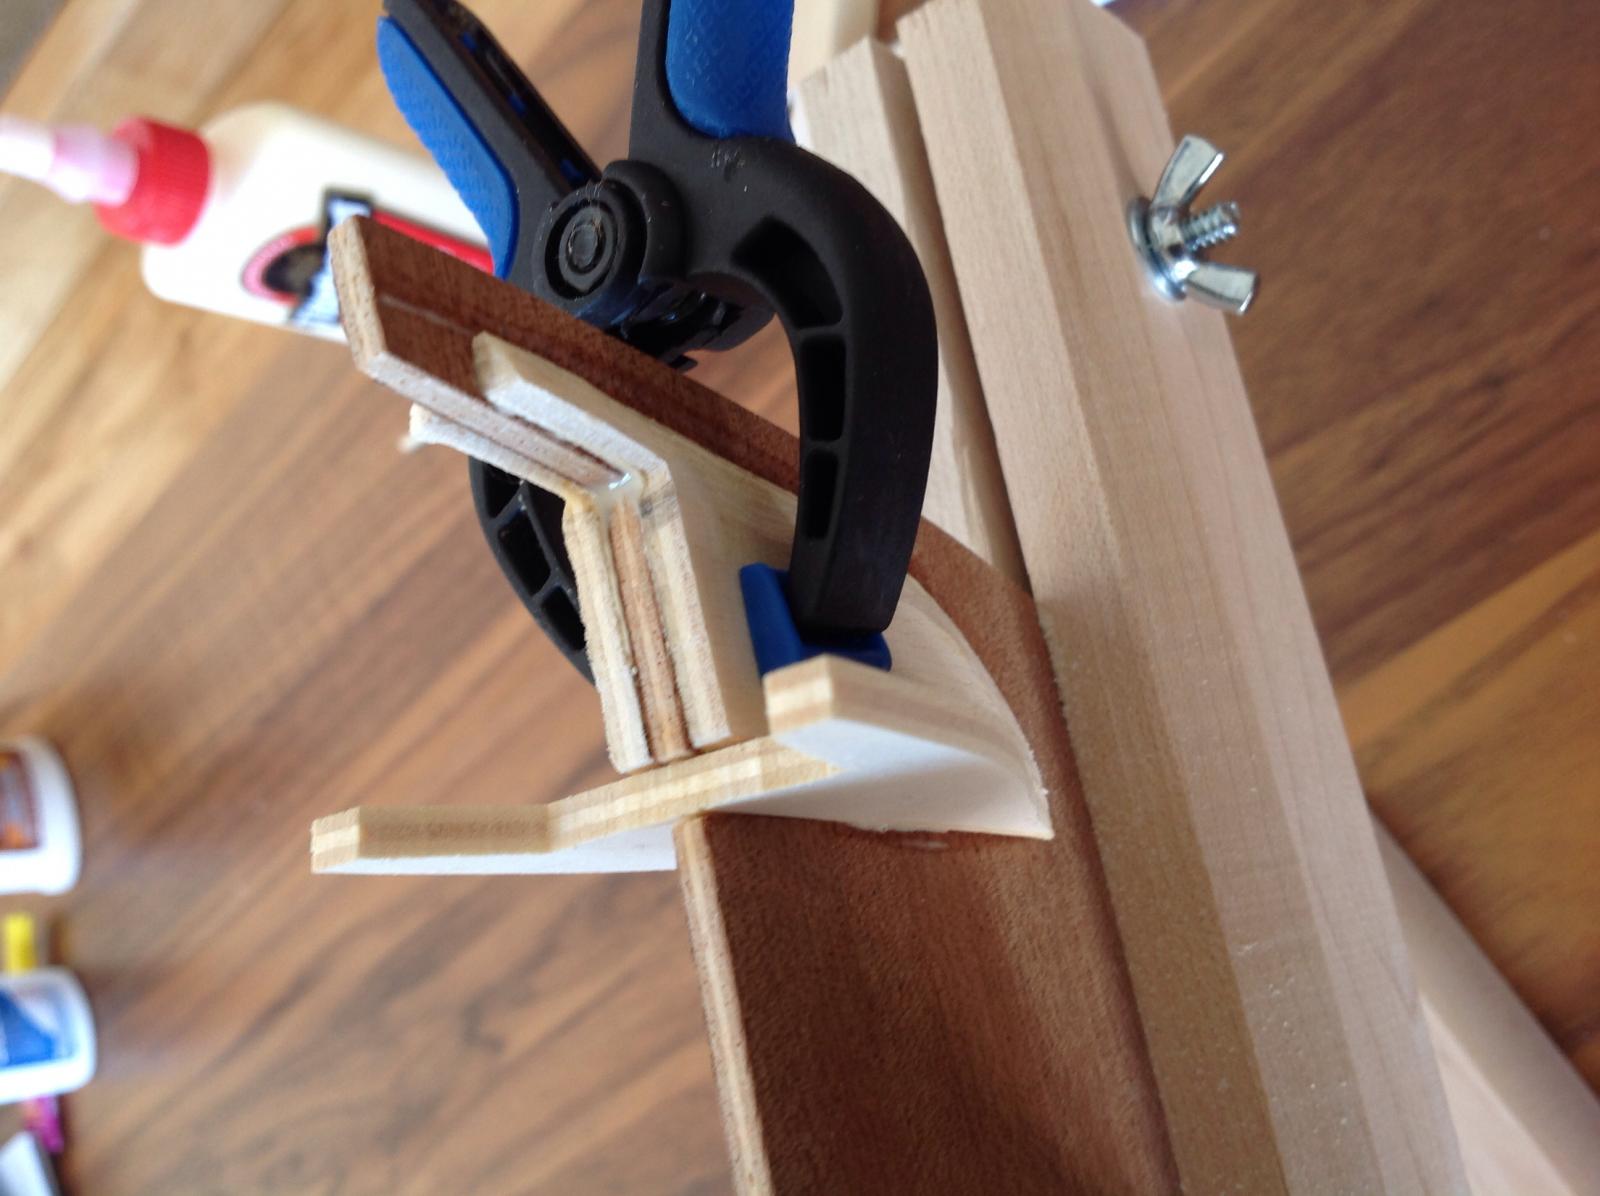
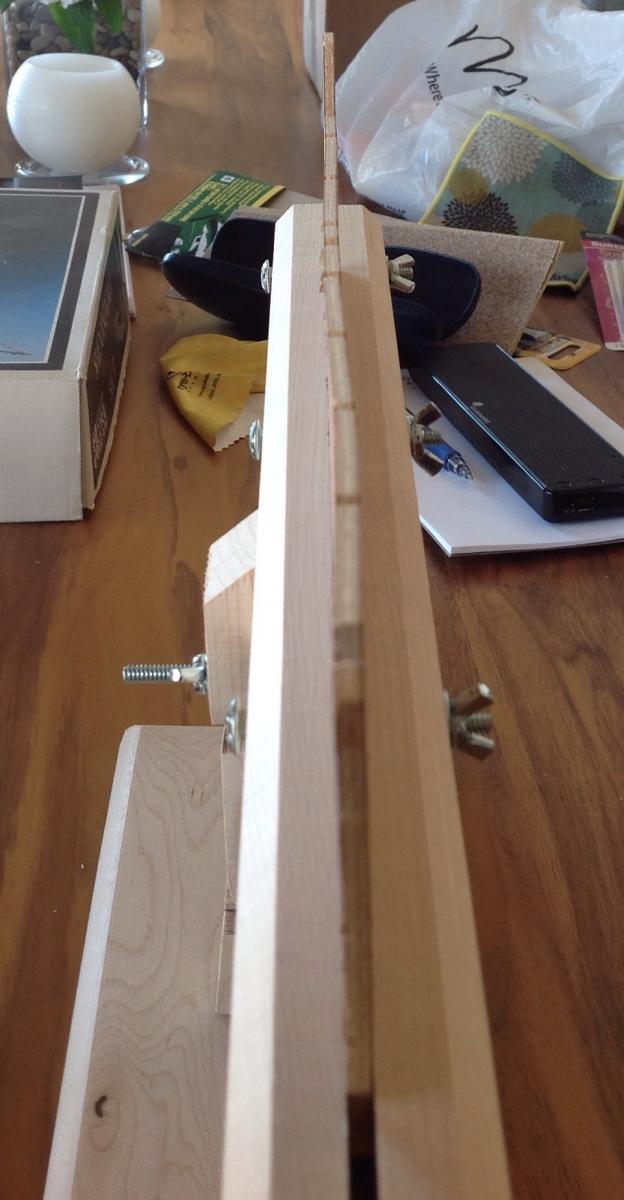
Baby steps: transom now attached after much more reshaping of #13 deck supports than I'd have guessed.
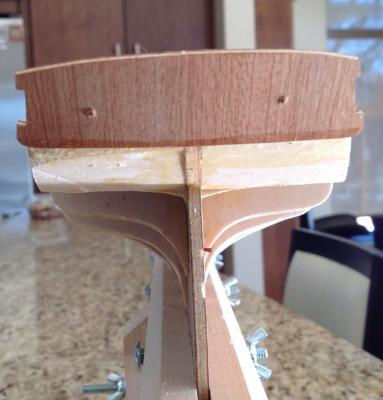
Also experimenting with plank bender with some success:

So nice to see progress!!! Very satisfying.
Andy
-
Doing my first ever hull planking. (Shenandoah by Corel). For planks that need bending:
A) how long should I soak them in water? Is it possible to over do it, or can I leave some pieces soaking for several days?
 any tips or advice on using an electric plate bender (got it from Model Expo Online)?
C) after bending I assume the board must dry thoroughly or else glue will not stick?
Many thanks,
Andy
-
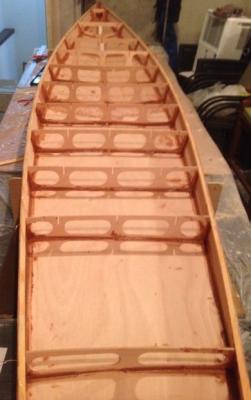
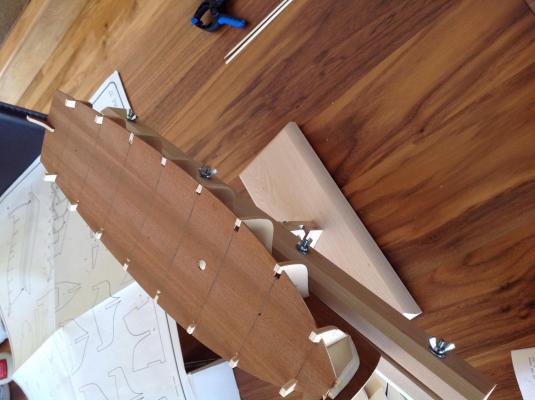
Progress!!
After holding the deck in place with pins
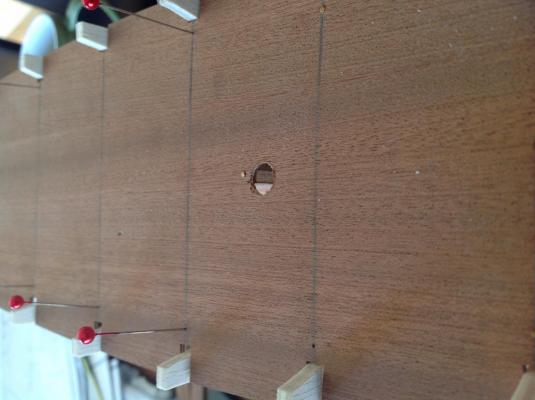
I removed them & used a surgical "tissue pick-up" to insert the tiny nails. No hammering was necessary thanks to the hole the pins had made.
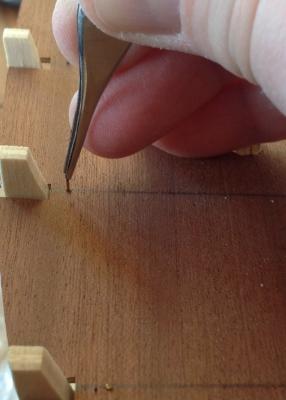
This successfully brought the deck into contact with the frames!
After the deck was secured with nails I glued all of the seams. A very satisfying bit o progress!
Now I'm reading up on planking & feeling very intimidated...
Andy
-
Steve & David,
Thanks once again! Without MSW & your input, this would be a total turkey...
Andy
-
Thanks once again, Steve!! My lack of boat knowledge is no doubt showing big time, but I'm learning a lot as I go!
Did you use the tiny nails in the kit? If so, what instrument(s) do you use to place said tiny nails?
Meanwhile, I finally got the standup paddle board kit I ordered last month!!! I hope to have it ready for my teenage
kids to use this summer, so I will be dividing my time between the Shenandoah & the "Kaholo"!!!
http://www.clcboats.com/shop/boats/surf_boats/kaholo-stand-up-paddleboard.html
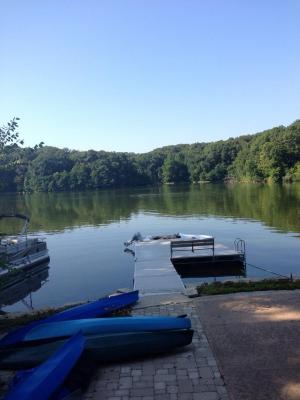
It wont be long before winter turns into a beautiful Iowa summer!!!

-
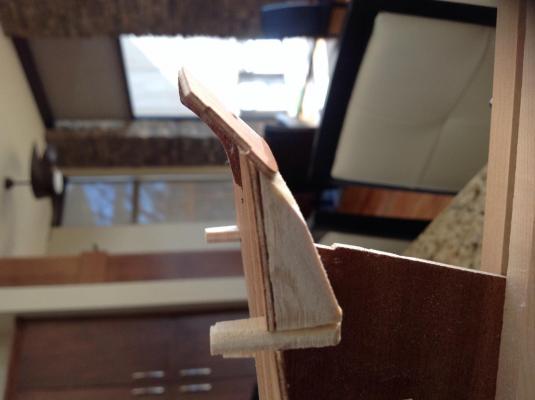
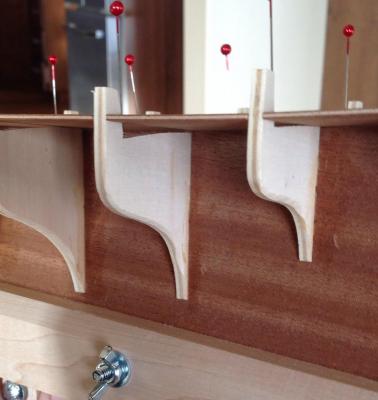
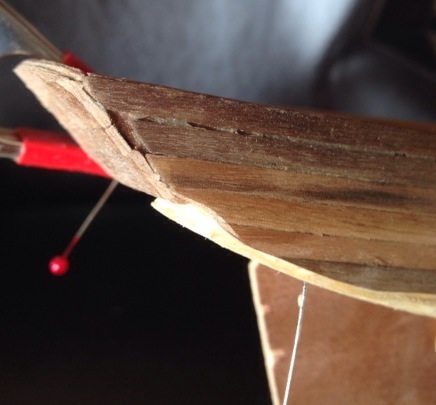
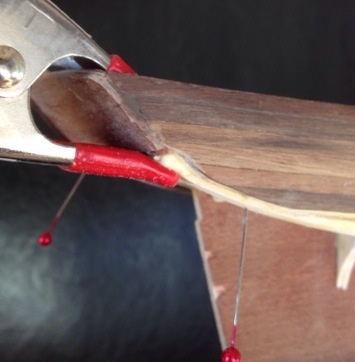
Help! I've got the deck tentatively attached, but I'm doubting what to do.
Several of the frames curve lower as they go from the center to the lateral
edge. If I secure the deck to those frames it will definitely not be level.
Note the gap between what looks to me to be a level deck and a curved
frame...
Do I put a bit of filler wood in these gaps, or do I follow the frames?
Thanks!!!
Andy
-
Steve,
Yes - that makes sense & helps a ton! I got the keel straightened out with some
pressure & a good old clothes iron. Still not perfect but improved.
Thank you again for the help!!
TGIF!
Andy
-
Not sure why the pics I add get rotated sometimes...
:-(
-
Moving ahead cautiously....

-
Steve,
Both A and the 2 bits below it, which in my pic are on top center & right.
Andy
-
David & Steve,
Thanks so much! That makes sense!!!
Andy
-
Steve I posted a couple questions for u on my log. Please take a look when u have a minute.
Thanks!
Andy
-
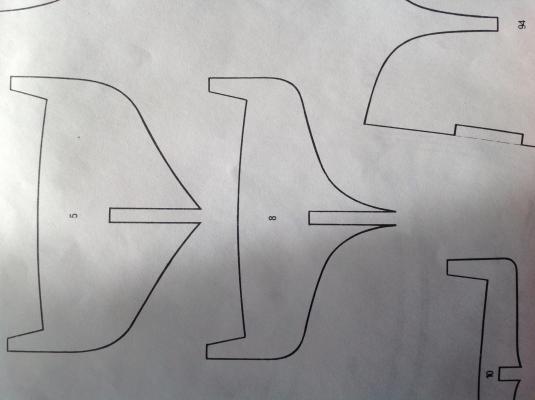
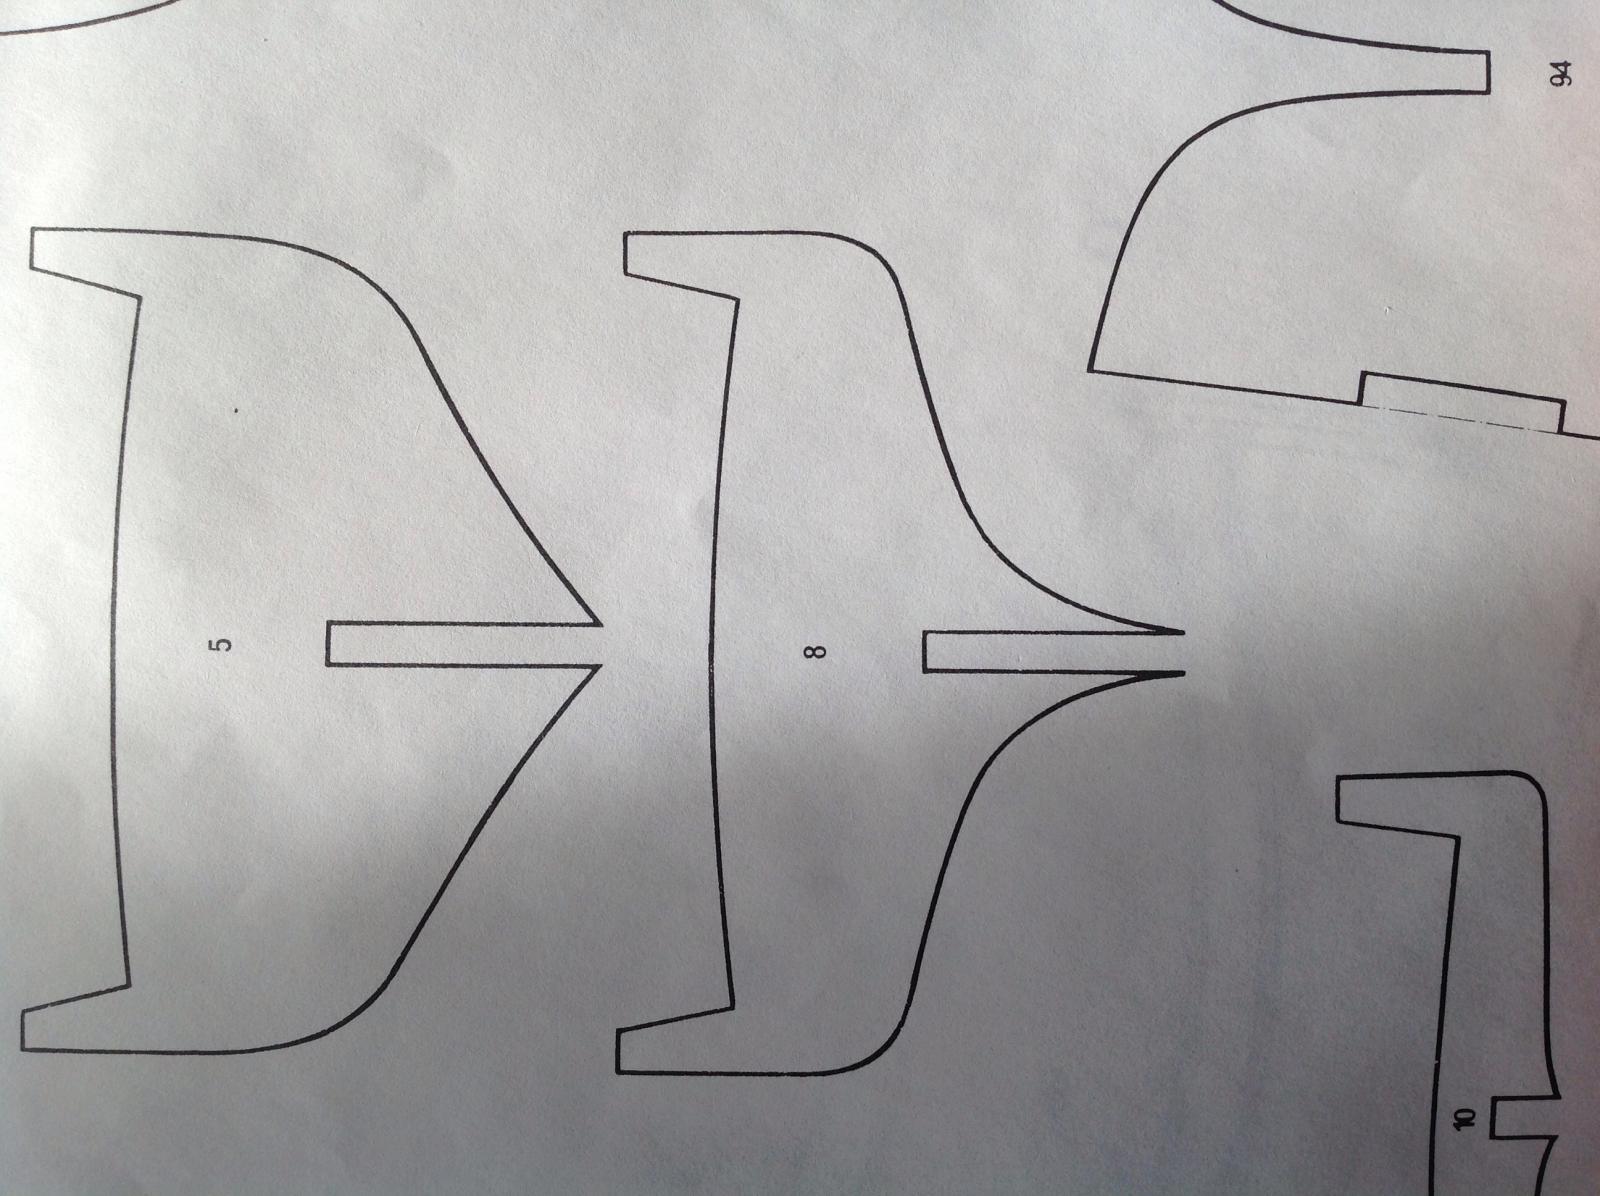
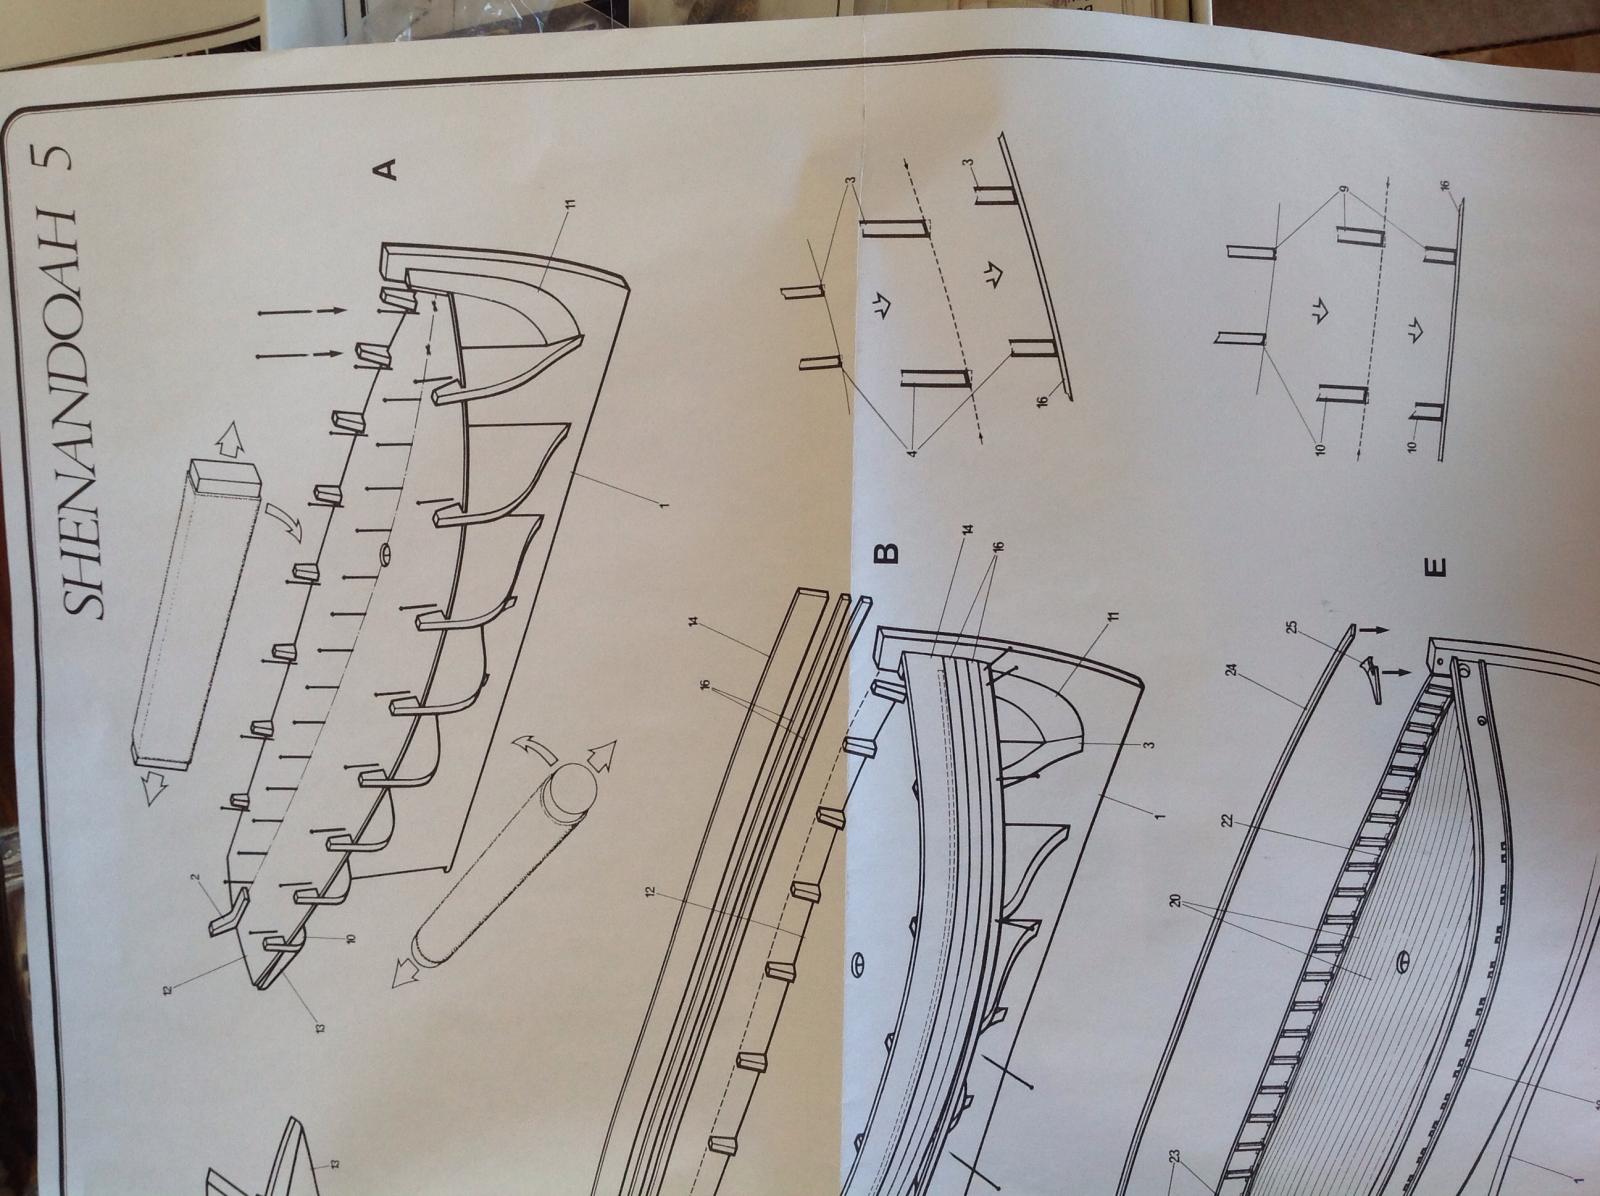
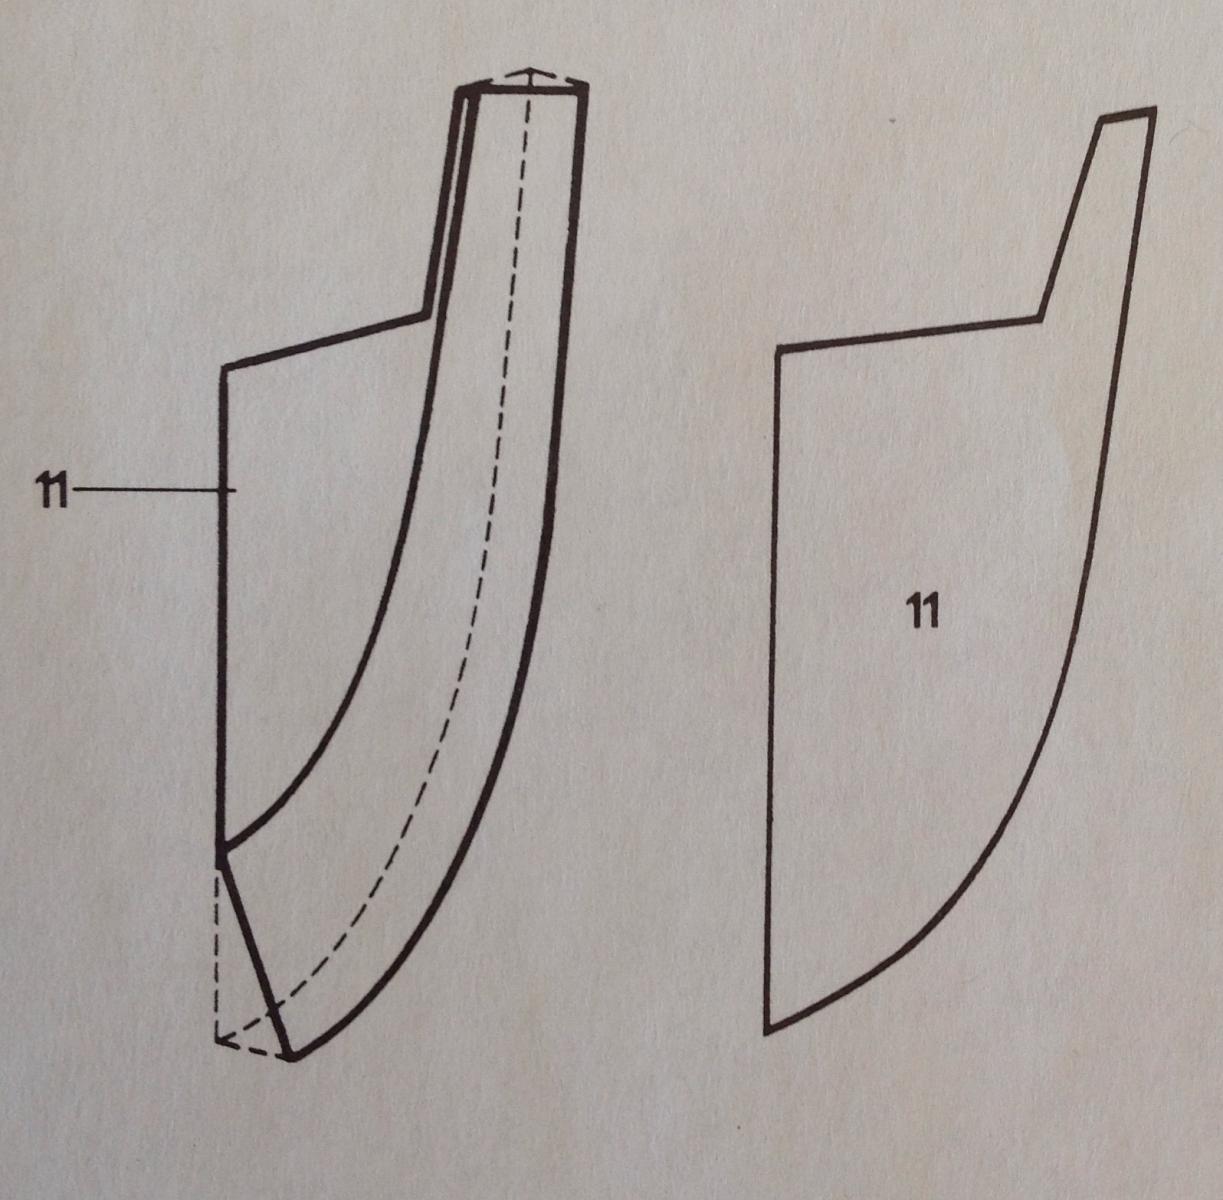
Steve, can you enlighten me on this: (from Framework section)
"Then "taper" frames No. 3-6 toward bow & No. 7-10 toward stern, and shape elements No. 13 with care as illustrated
using the contours of frame No. 10 and the deck No. 12 as reference."
I am having a hard time understanding what to taper & where...
Also: can u comment on the hieroglyphs on plate 5???
Thank you in advance!
Andy

-
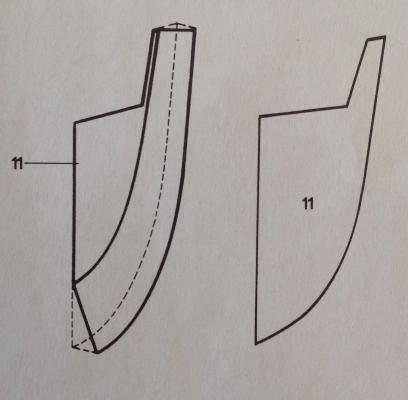
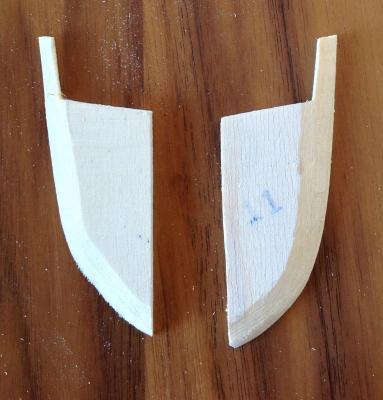
Doing some prep work: shaped the bow fillers w my Dremel. The instructions had me puzzled but thankfully Steve's build log shows how it's done- thanks Steve!
Broke one of the extensions (the left one), but a little glue put things right! Lesson learned!!
-


Shenandoah by @macbride - Corel - first build
in - Kit build logs for subjects built from 1851 - 1900
Posted
First model boat.... First stitch & glue paddle board!
I needed a hobby, what can I say?
Andy