-
Posts
42 -
Joined
-
Last visited
Content Type
Profiles
Forums
Gallery
Events
Everything posted by jfesterman
-
-
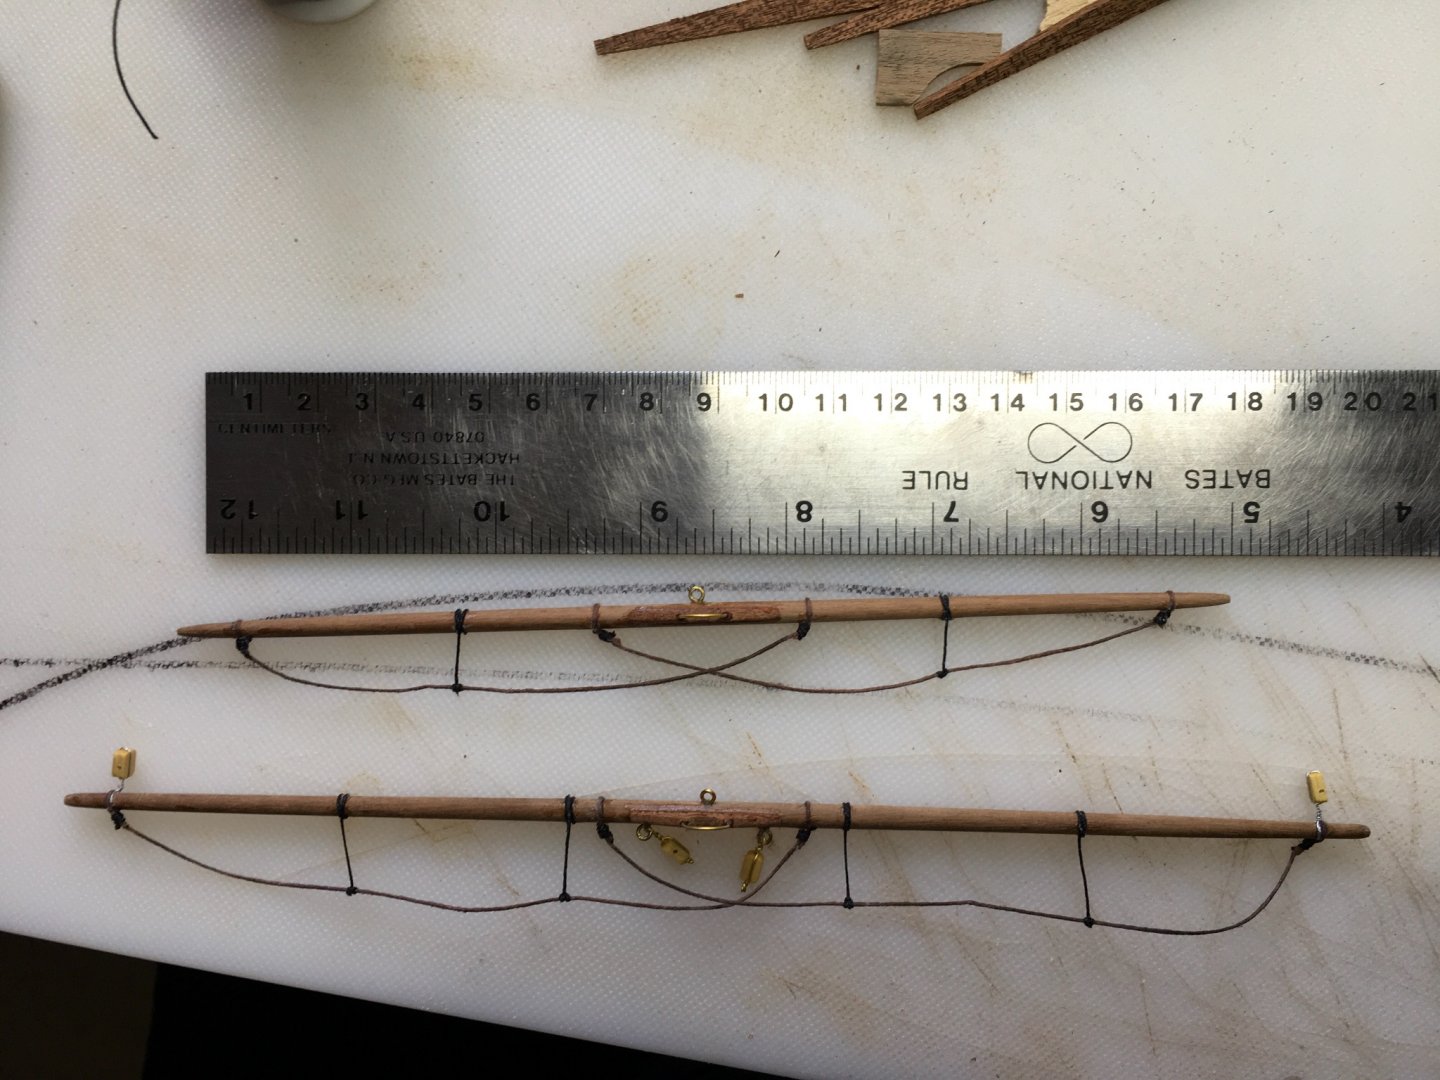
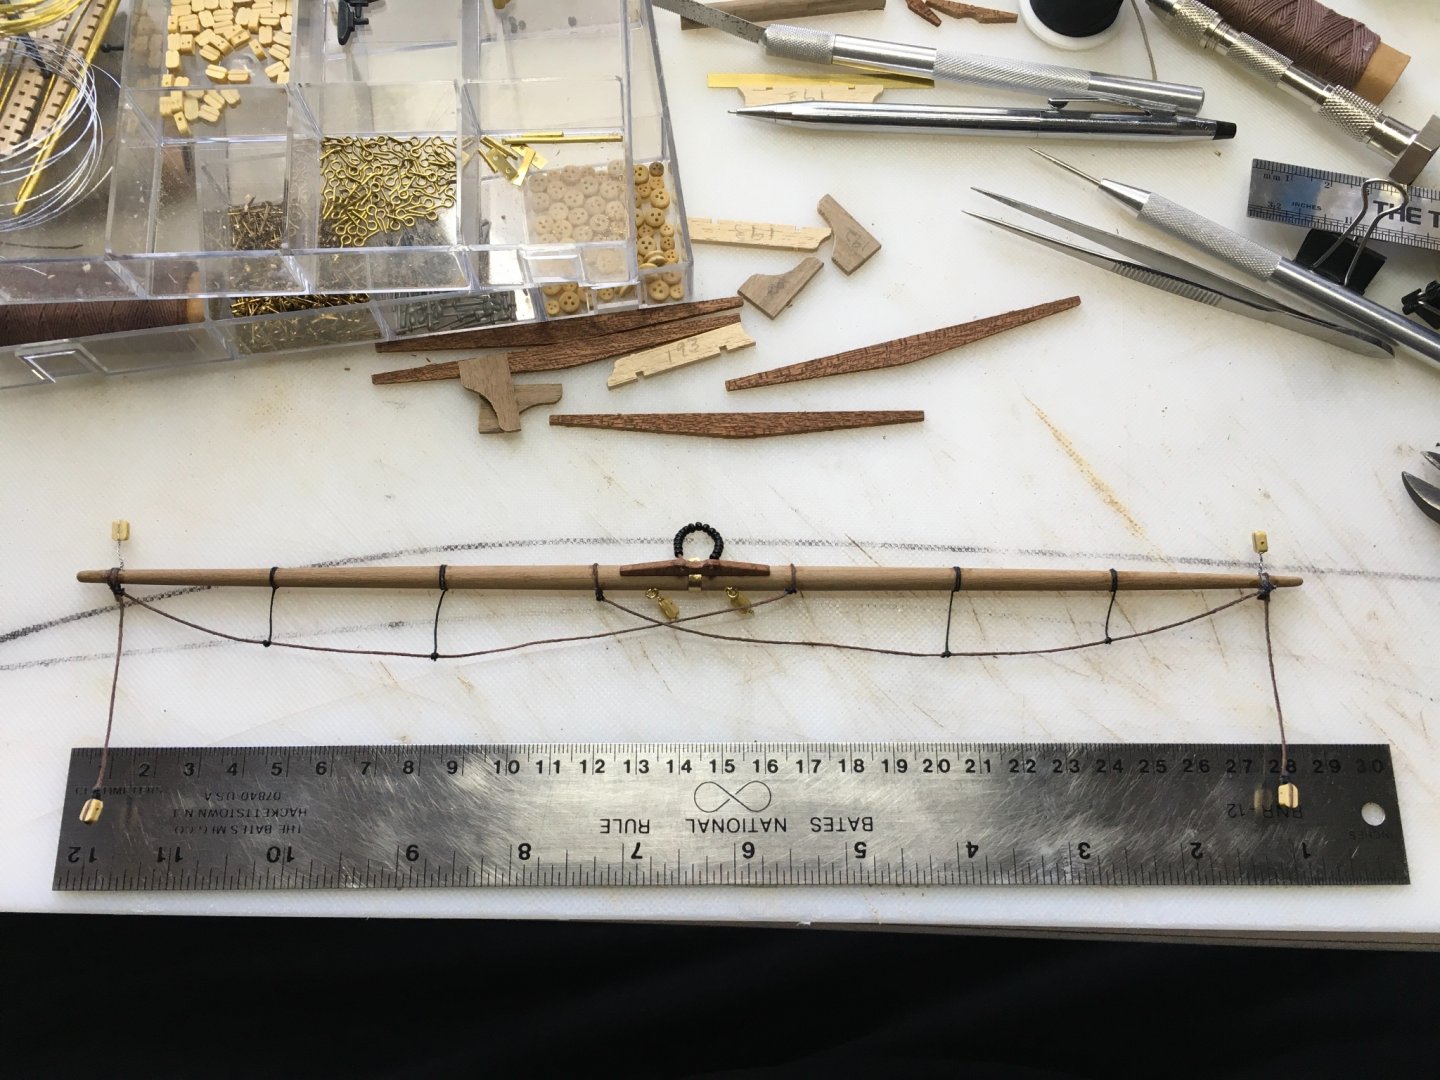
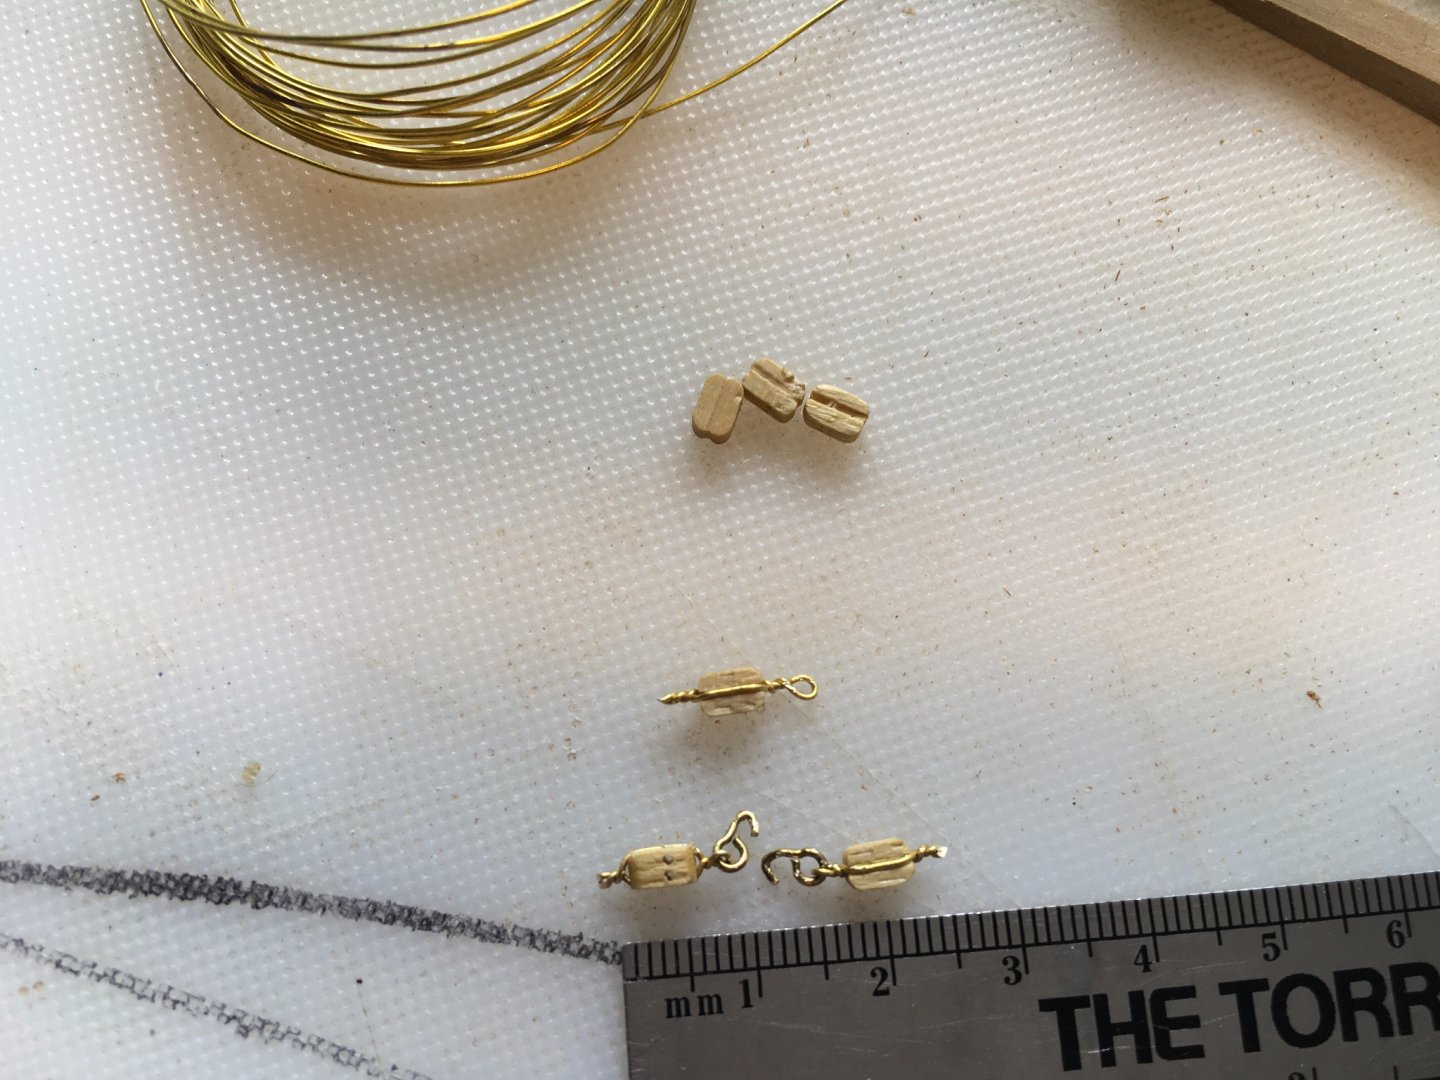
J Brent’s videos on YouTube made rigging the spars much easier today. Not sure if that fella’s still with us, but man, he pulled me out of a dark place. Much of the frustration of yesterday had to do with threading those little parrels. Pick one up, drop it, pick it up, five times. Pick up another and pew! Gone forever. Still, I think I only lost 2.
-
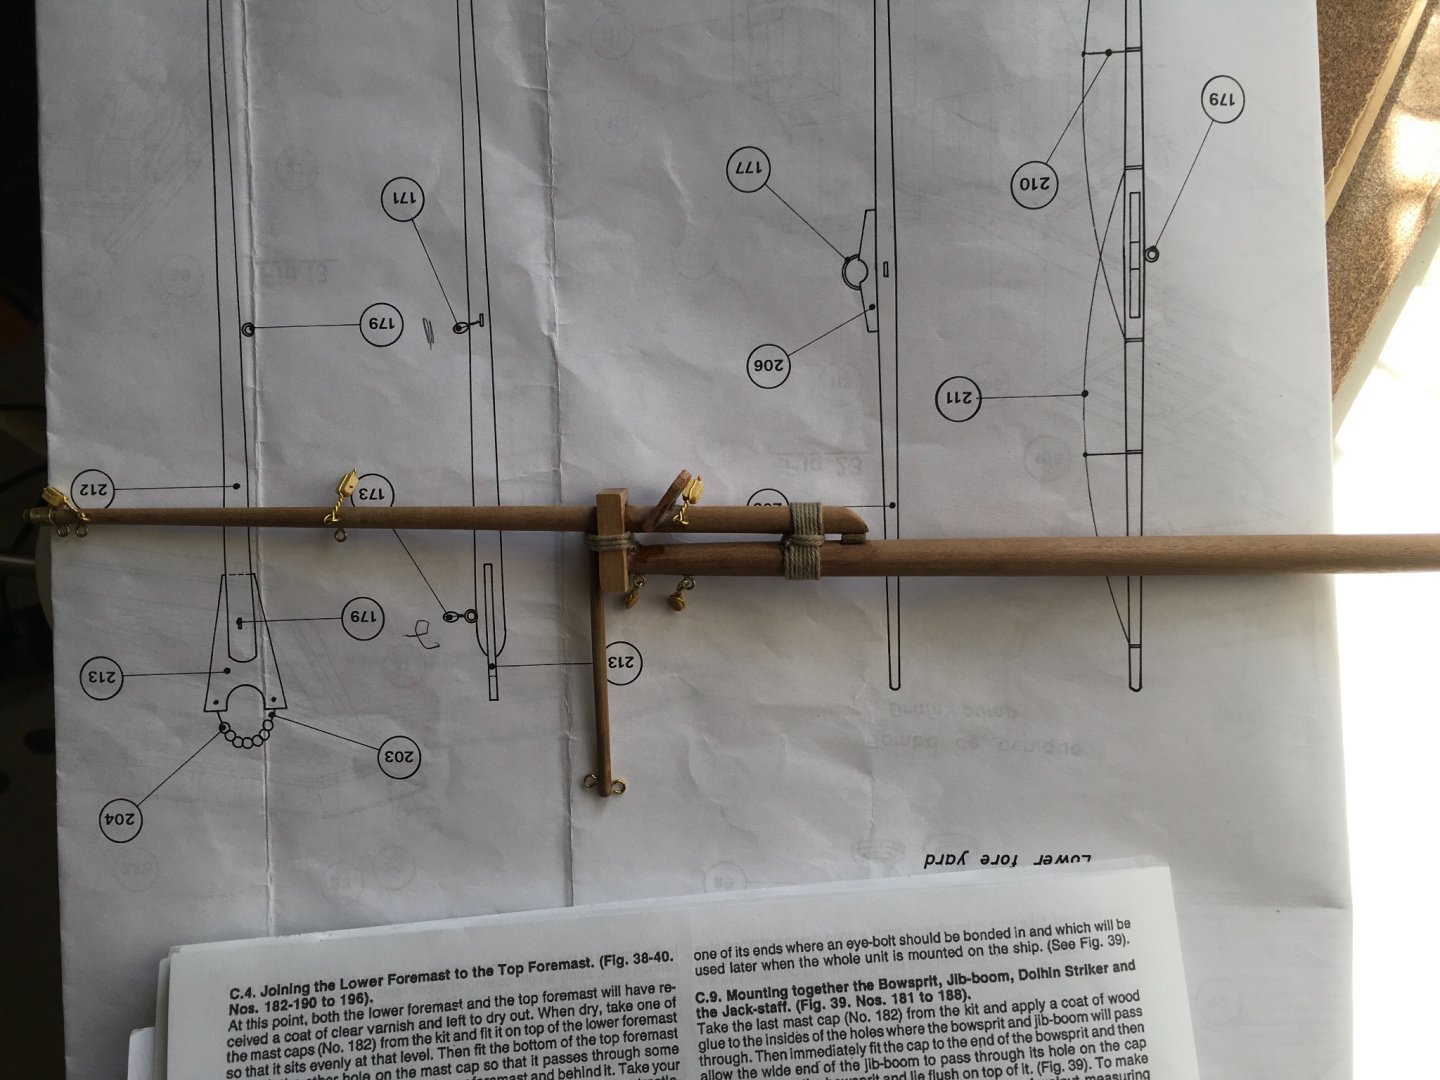
Well, the 6 mm stock was no match for the jig. I snapped the main boom twice! Good news is, with a furled sail on it, you’ll never see the repairs. Shorter lengths of the 6 mm stock faired better, like the jib boom, gaffs and mast tops. I ended up shaping the 4 mm stock mostly by hand. The lower fore yard will just have to be about a cm short… don’t tell anyone. I’m glad I made the sanding blocks anyway, they came in handy even for hand shaping.
-
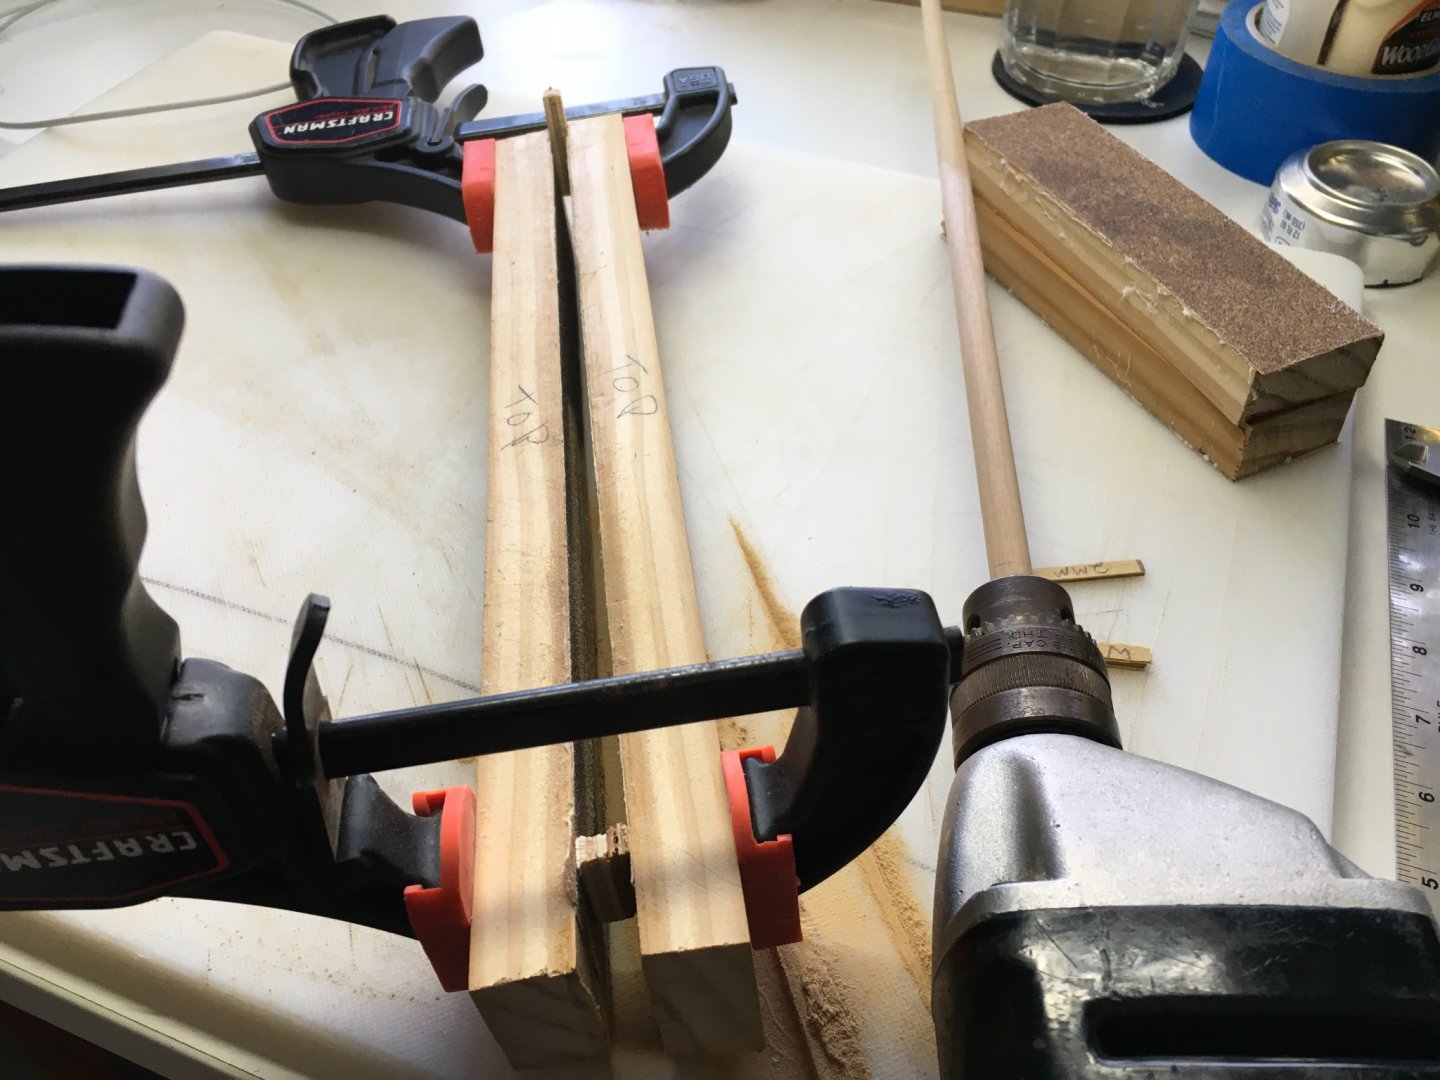
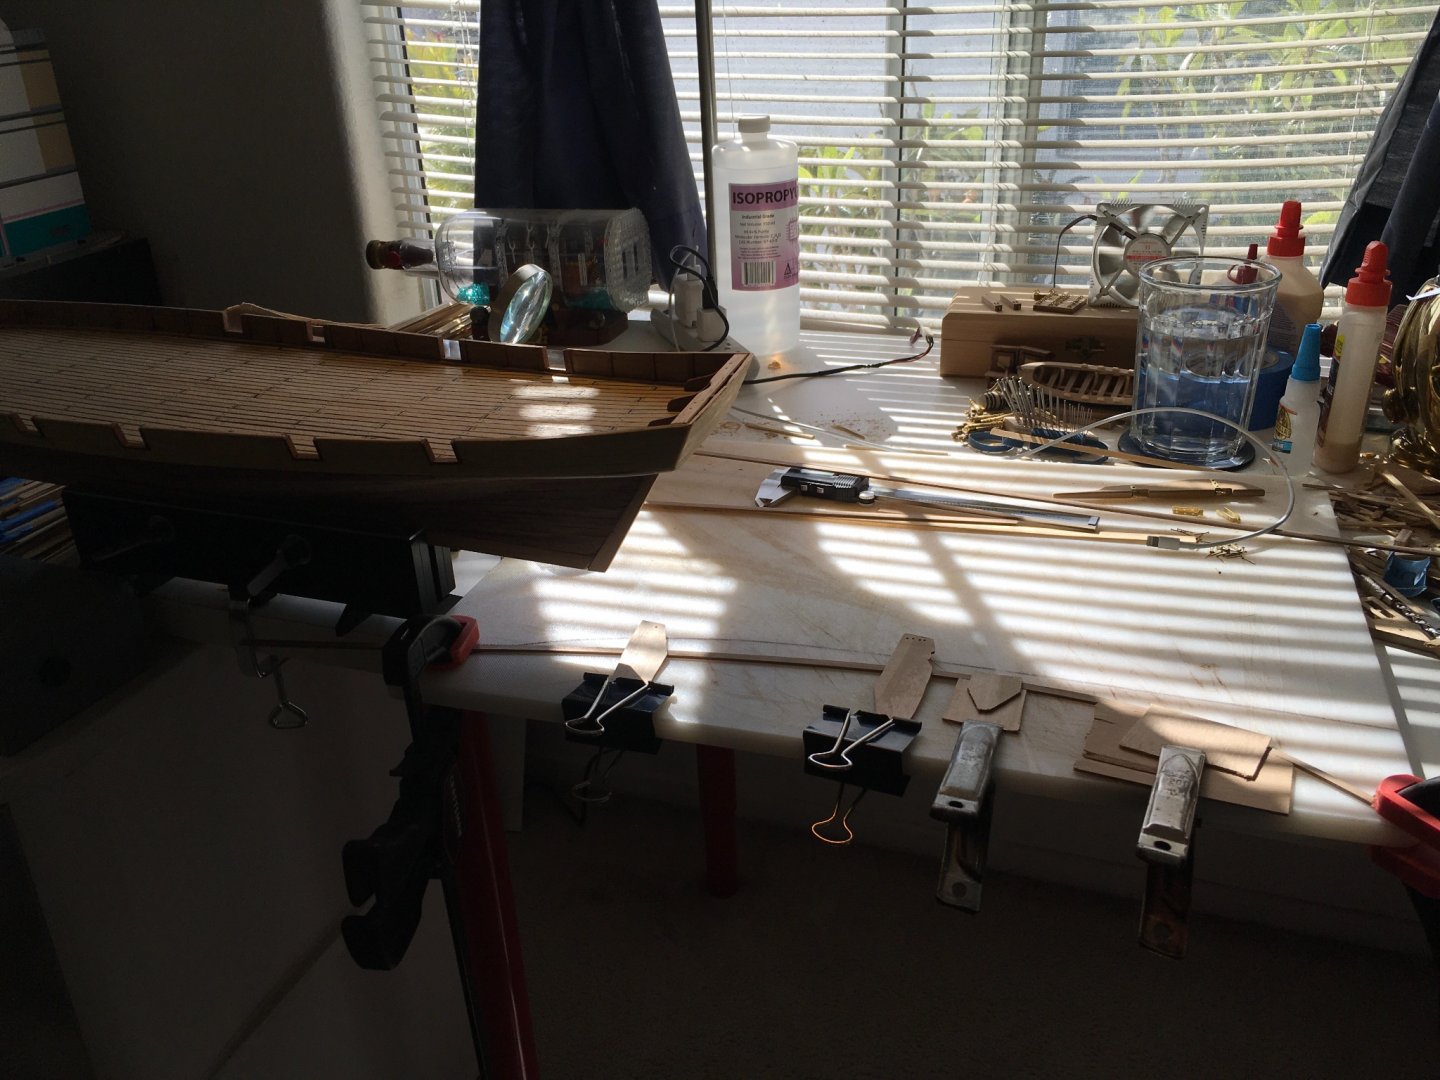
Prototype 1 of dowel tapering jig. Two one-by boards with 80 grit adhered w/ spray adhesive. Main and fore masts are 10 mm and need to taper to 6 mm over a 30mm (or so) span.. Block at the top is 6 mm, block at the bottom is 10 mm. Chuck in the drill and SLOWLY run it through until it comes out the other end. I made a shorter version for the spars. The original vision in my head was something more permanent, affixed to a plank, with carriage bolts and wing nuts, etc. Would have been way more complicated and required a trip to the hardware store. So far, working fine. Unfortunately, it’s really noisy and my son’s trying to sleep in the next room. Maybe I’ll wait a little while to finish these up. Nah… Side note, I had this idea before I found a similar example in another MSW forum, which used paint stirring sticks, which in my opinion, might work ok for spars, but definitely not strong enough for these bokapi (?) masts. His original idea was linked in his post to a Polish model ship building forum. Here it is:
-
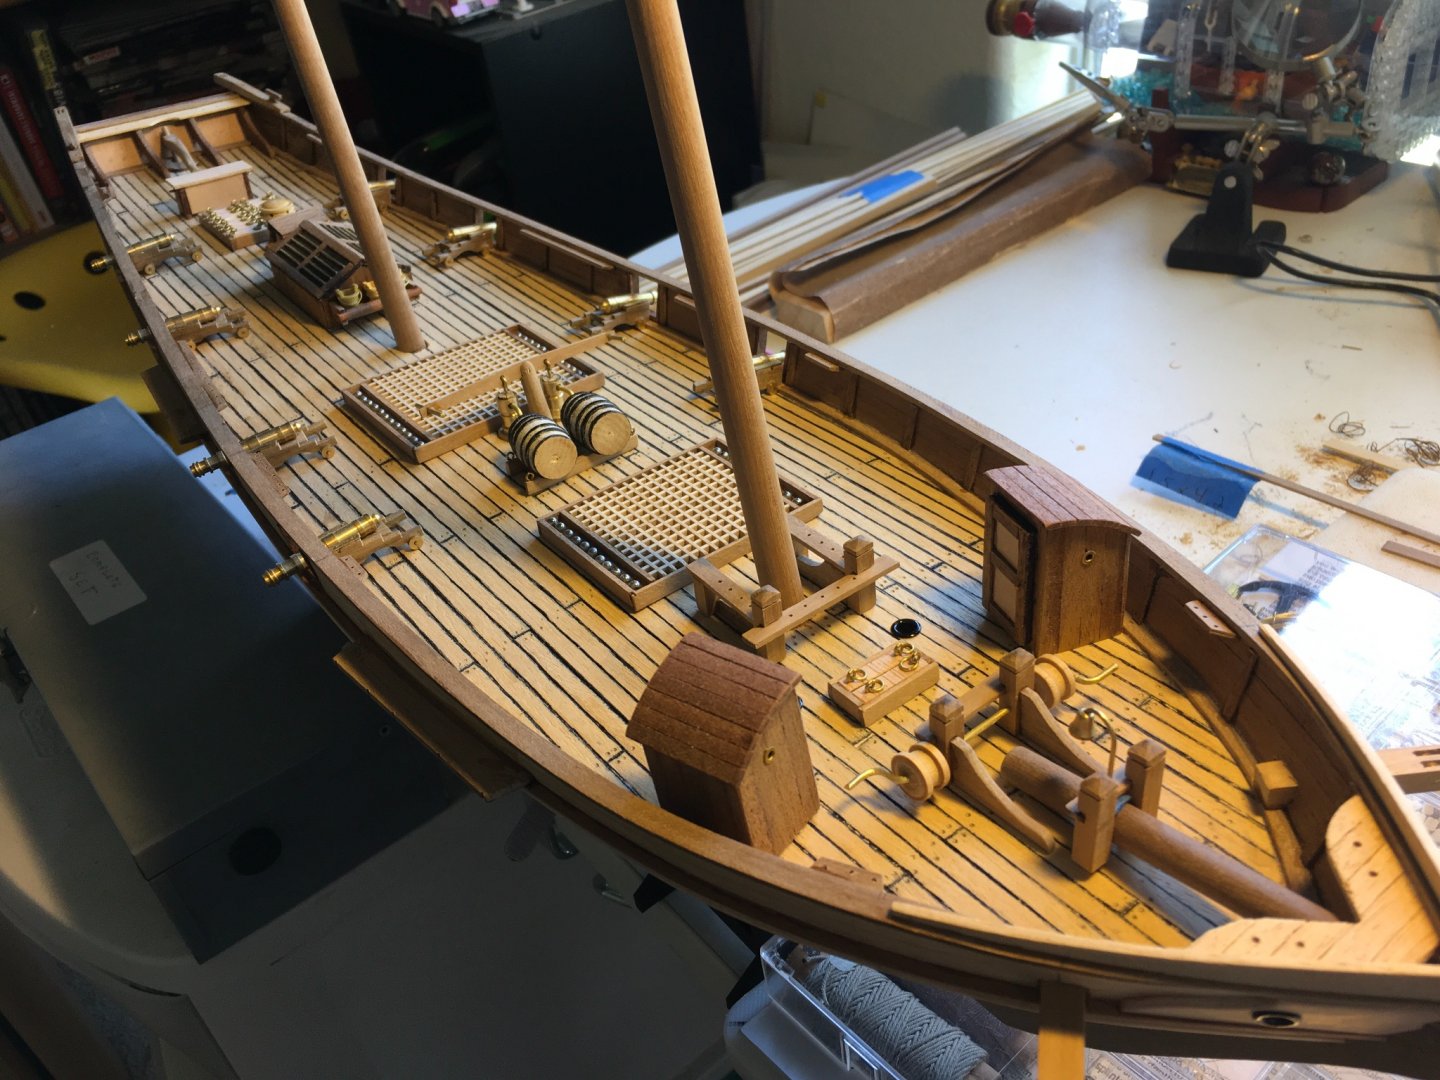
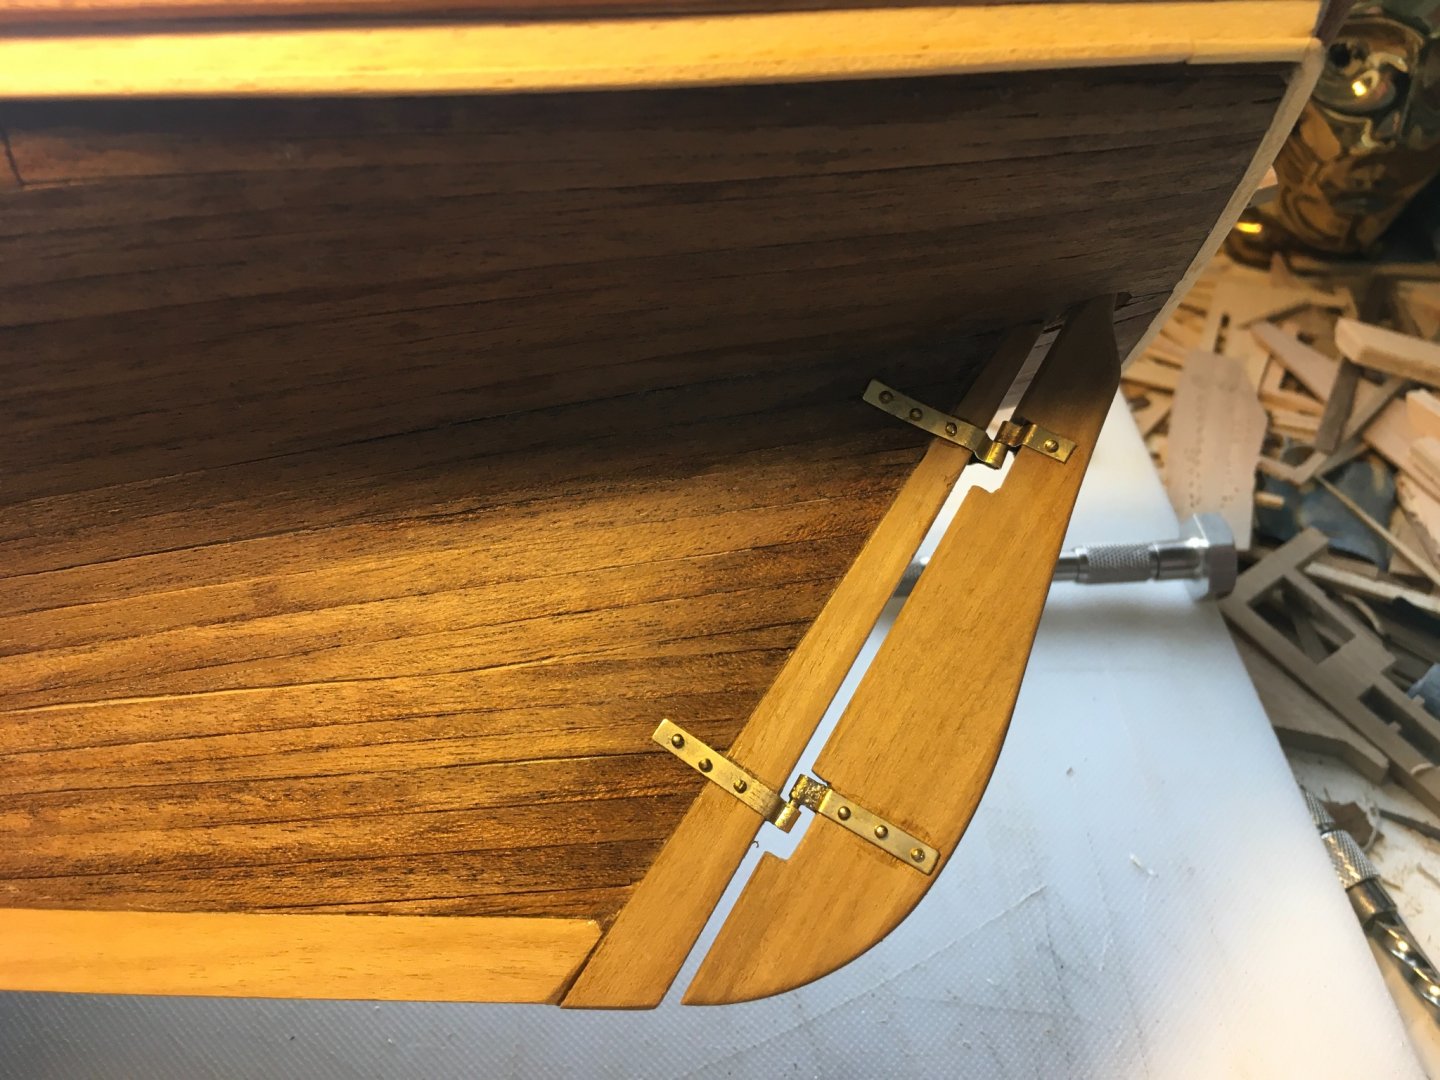
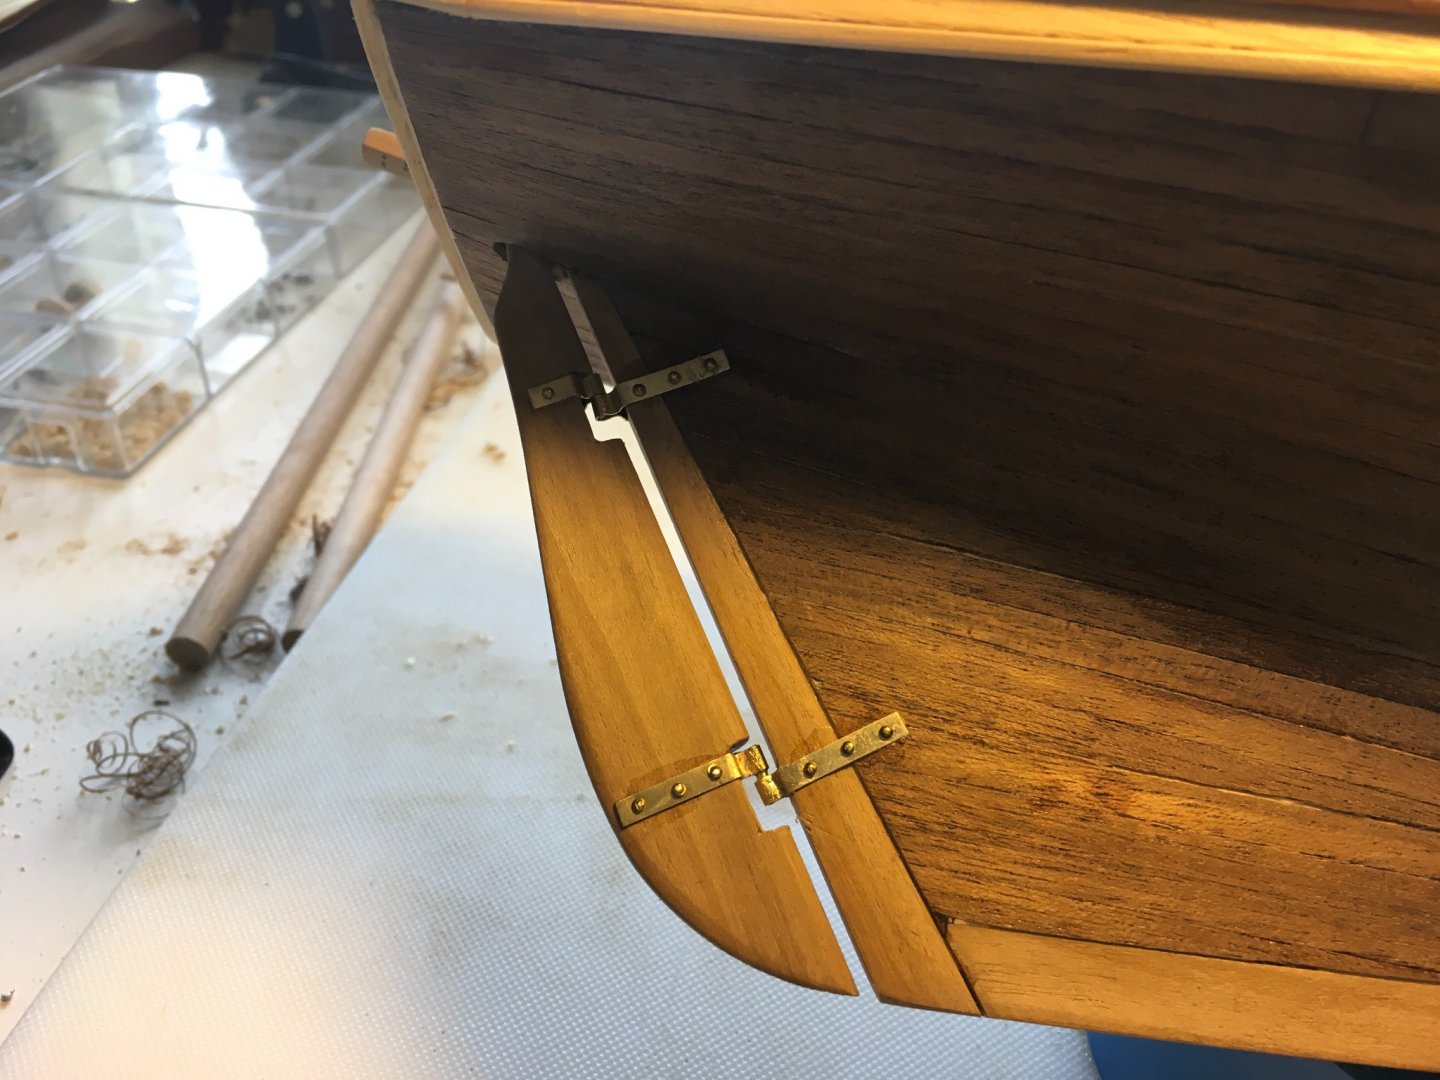
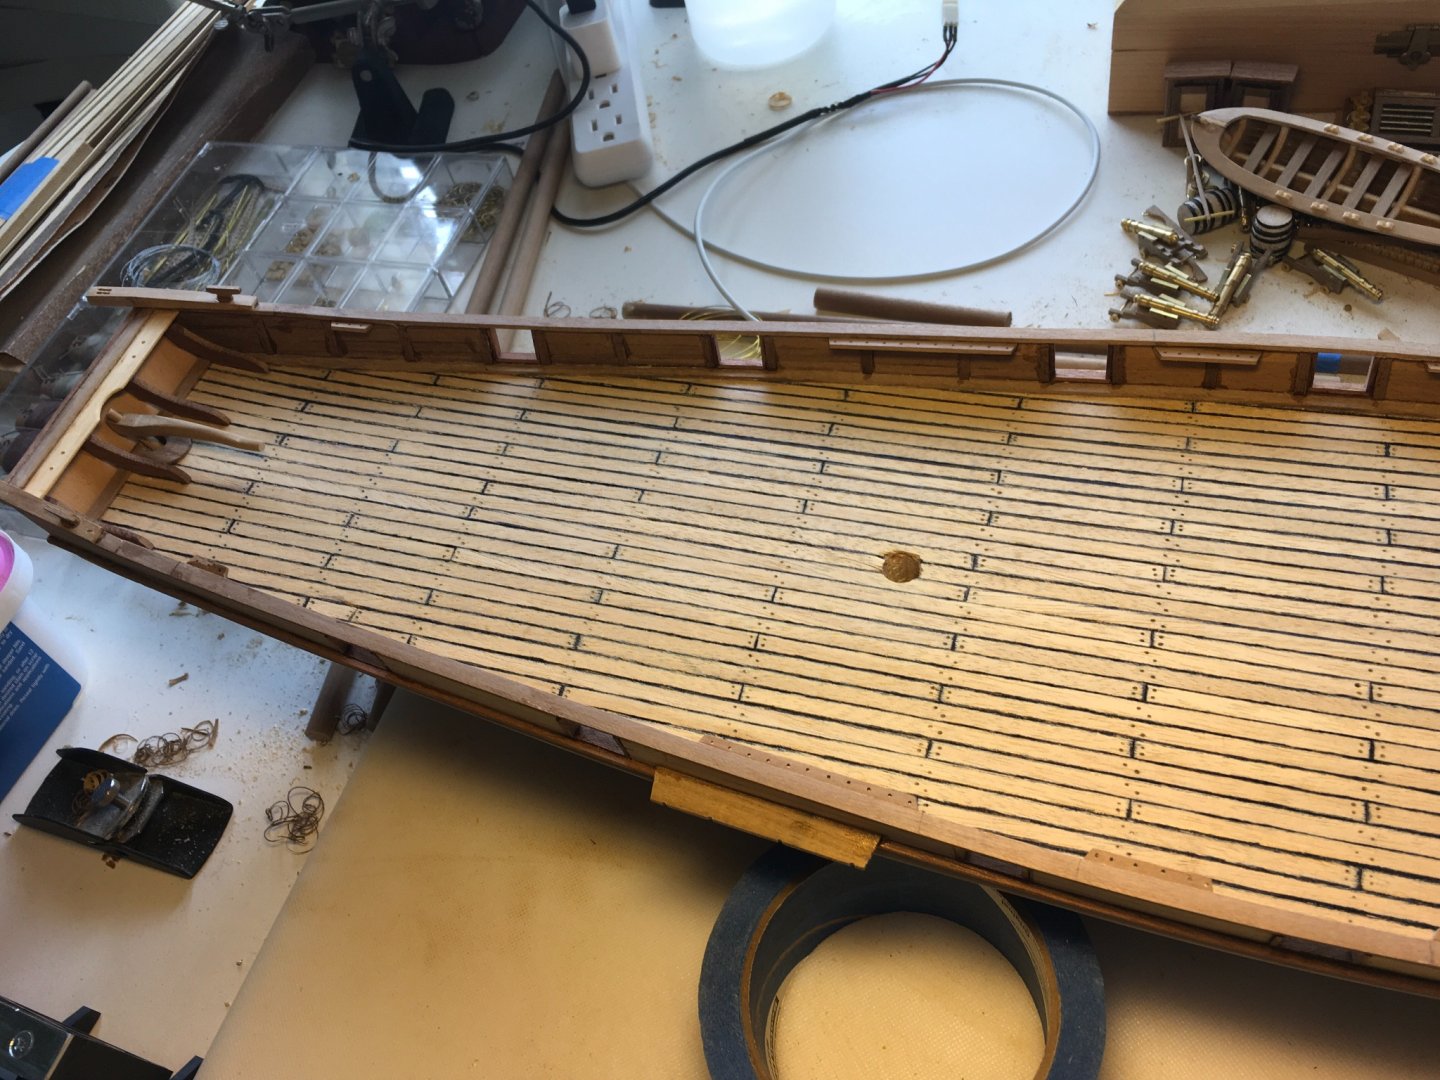
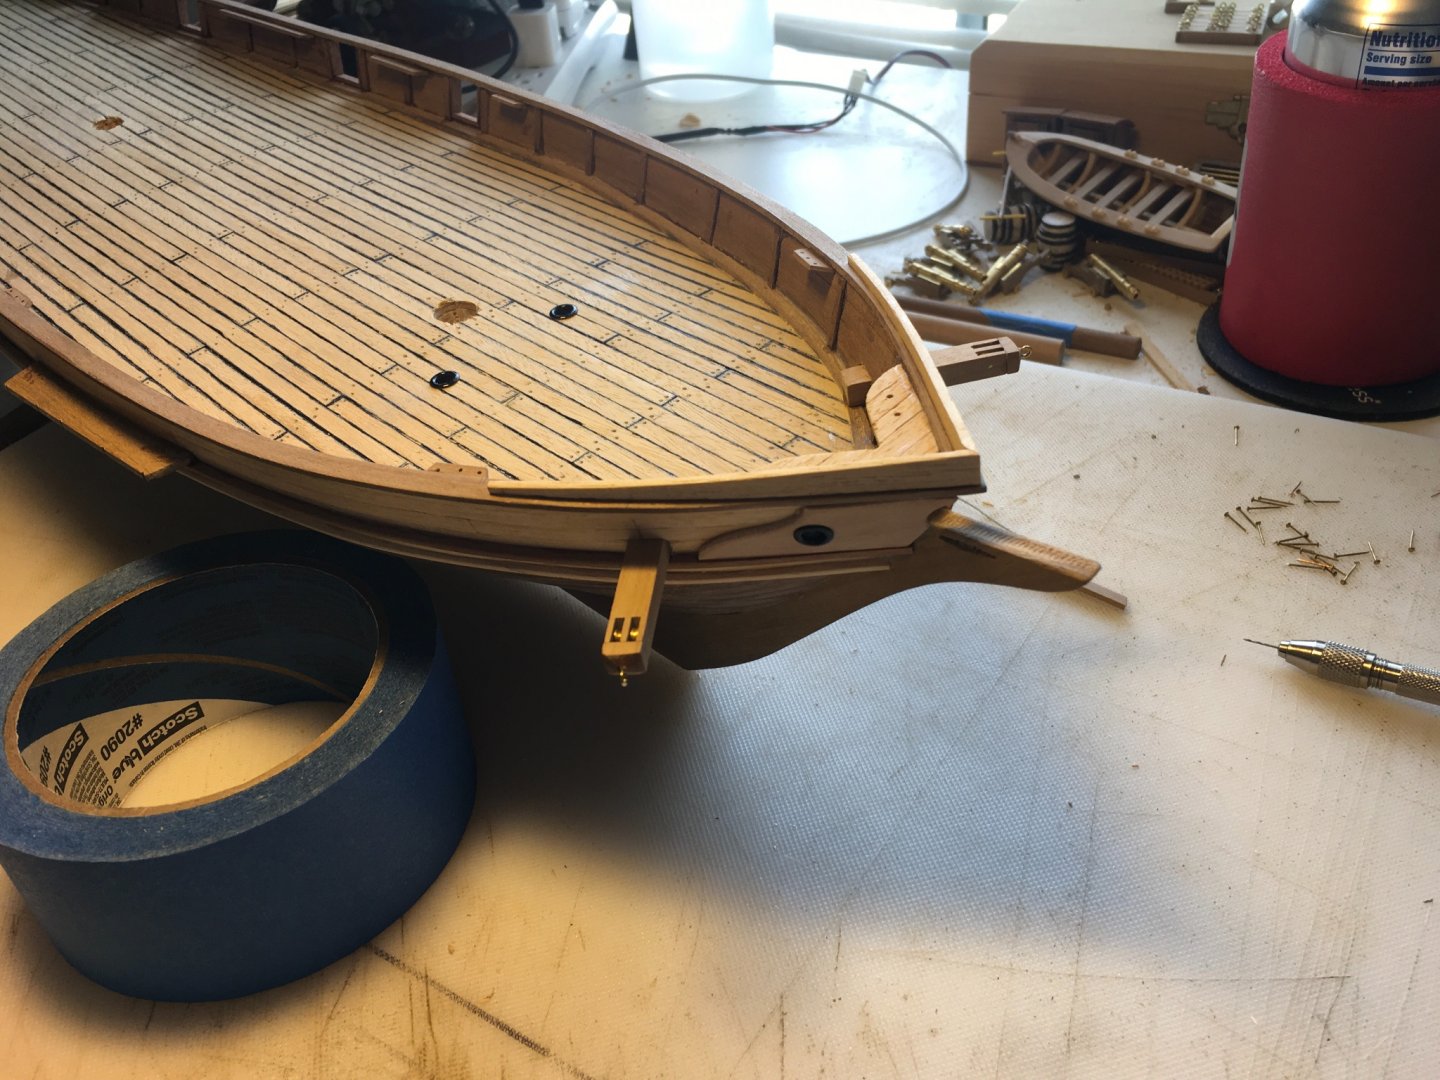
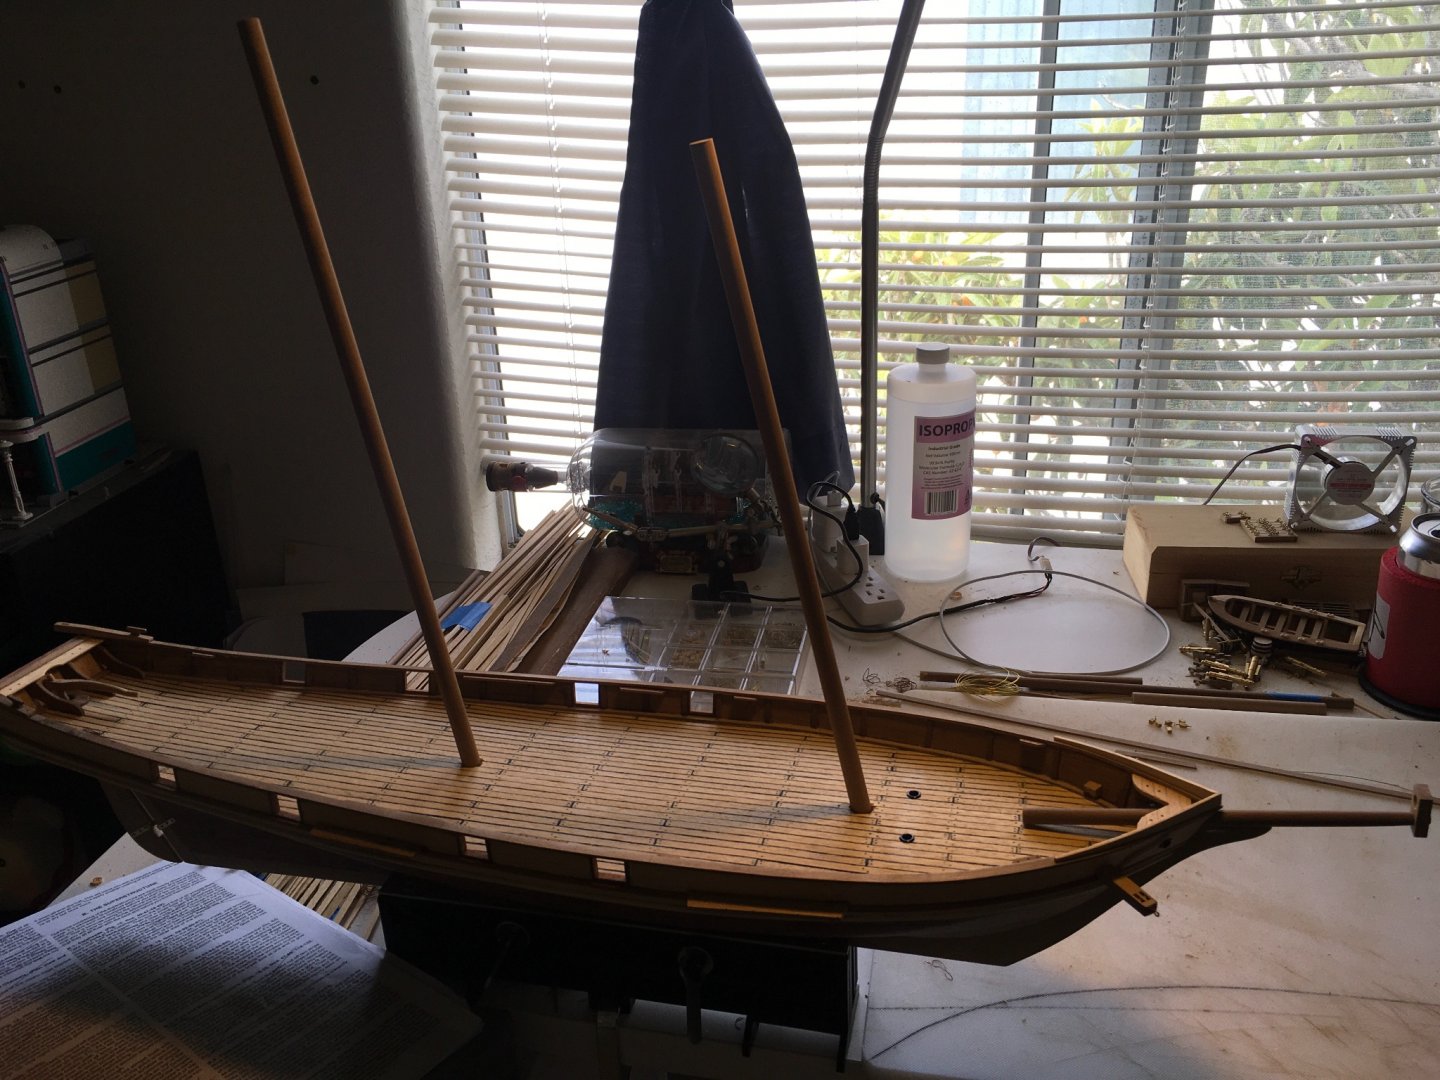
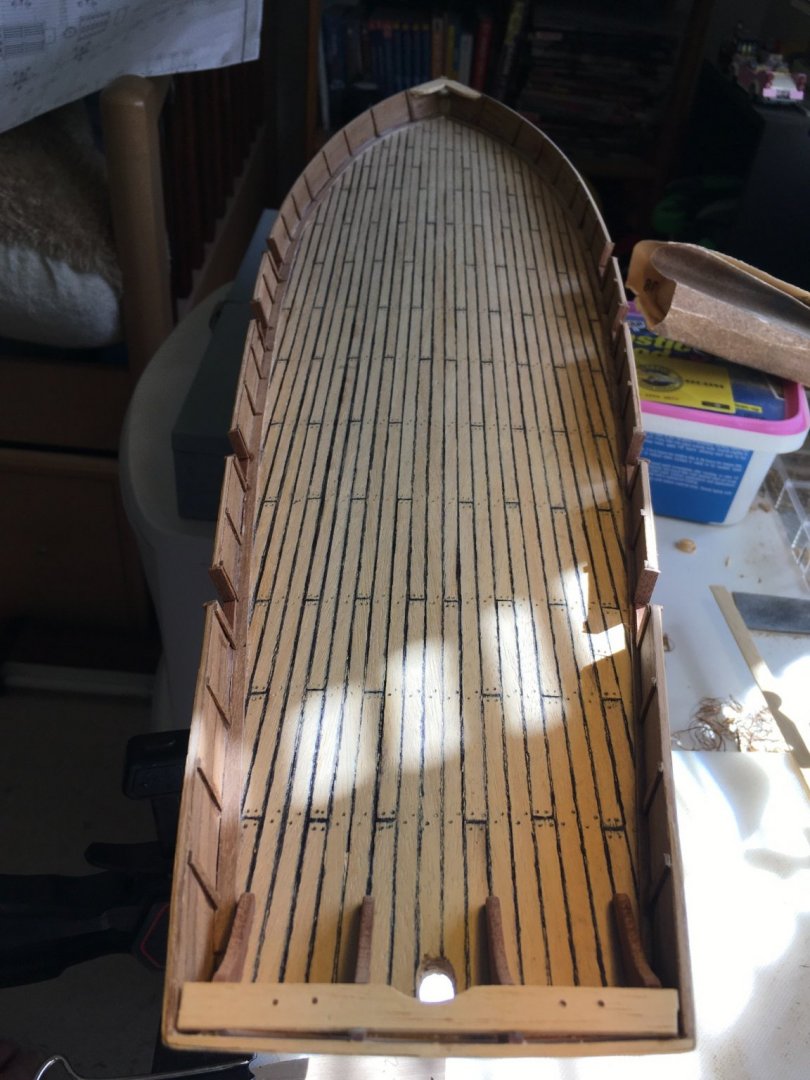
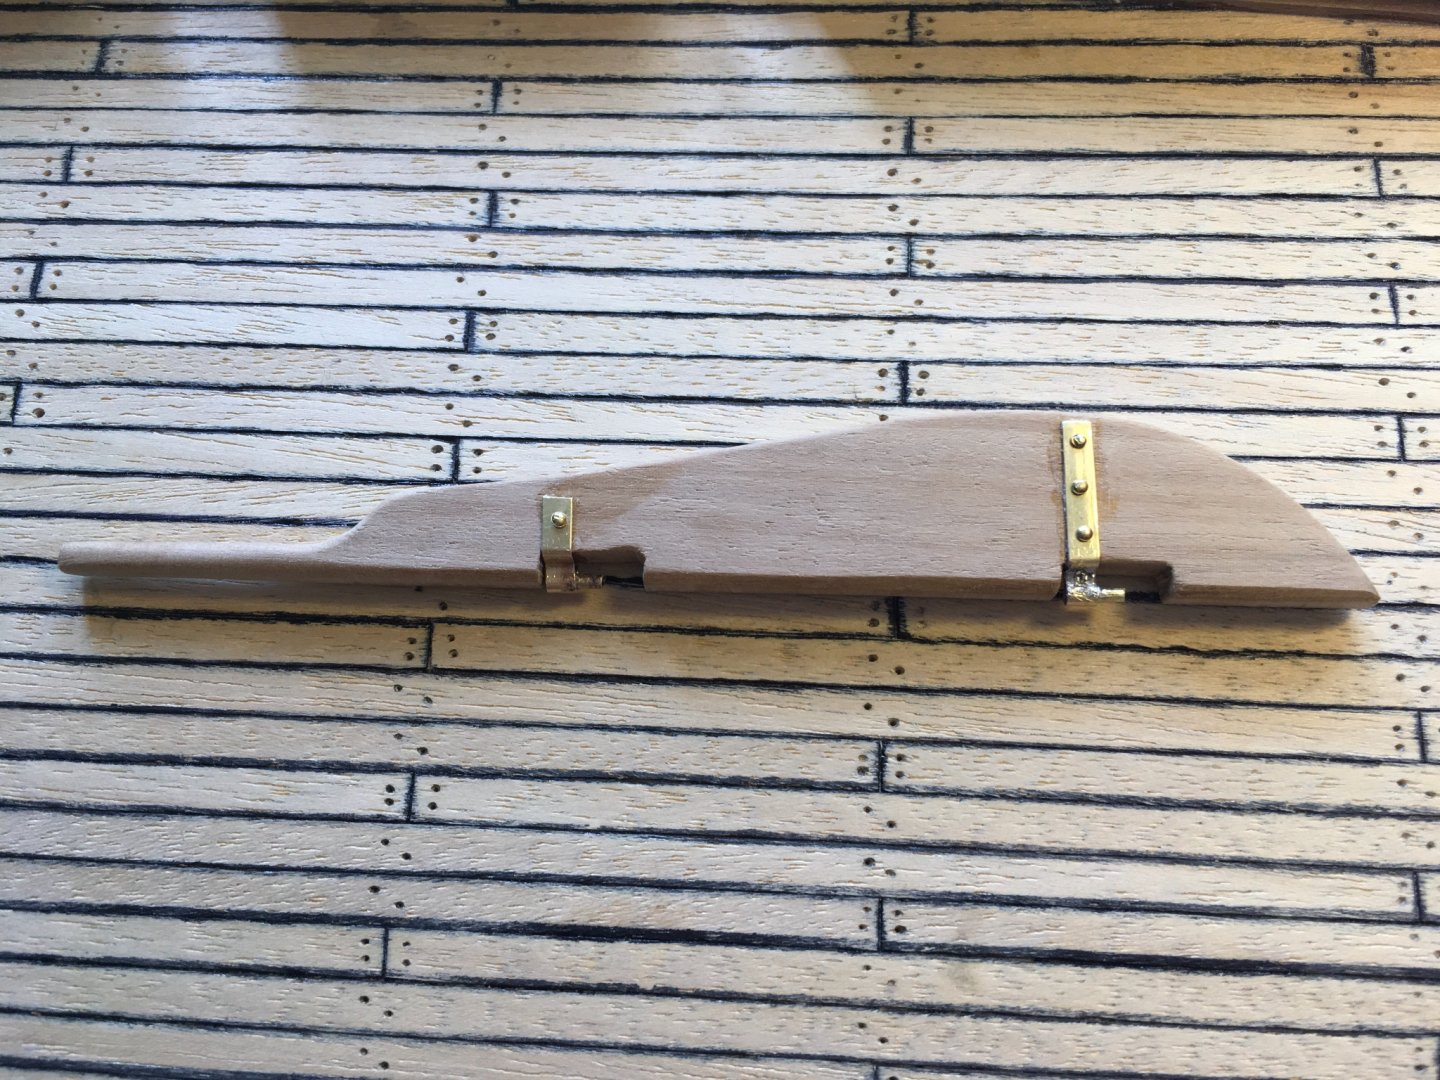
Making more progress. Mounted stem, keel, and rudder post. Drilled holes for bowsprit and rudder. Cut cannon ports and framed them. Installed bulwark stanchions, breast plate, and stern belaying pin rail. Bending up the hand rails. I also constructed the rudder and hinges, all ready to go. I made sure the rudder would be removable for now.
-
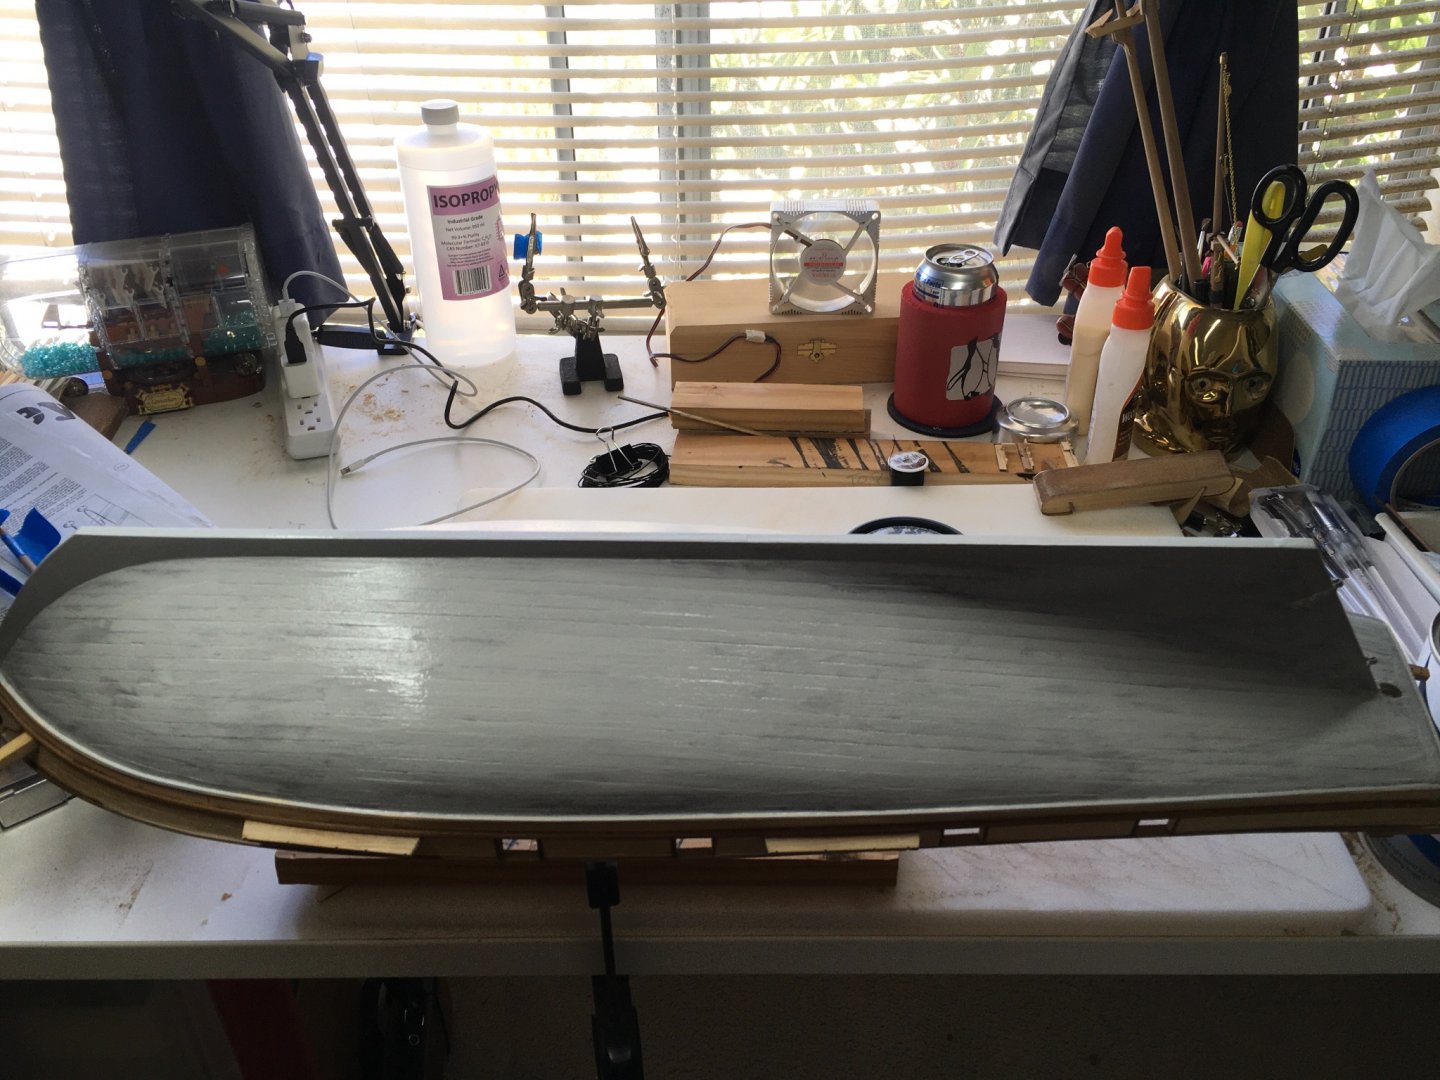
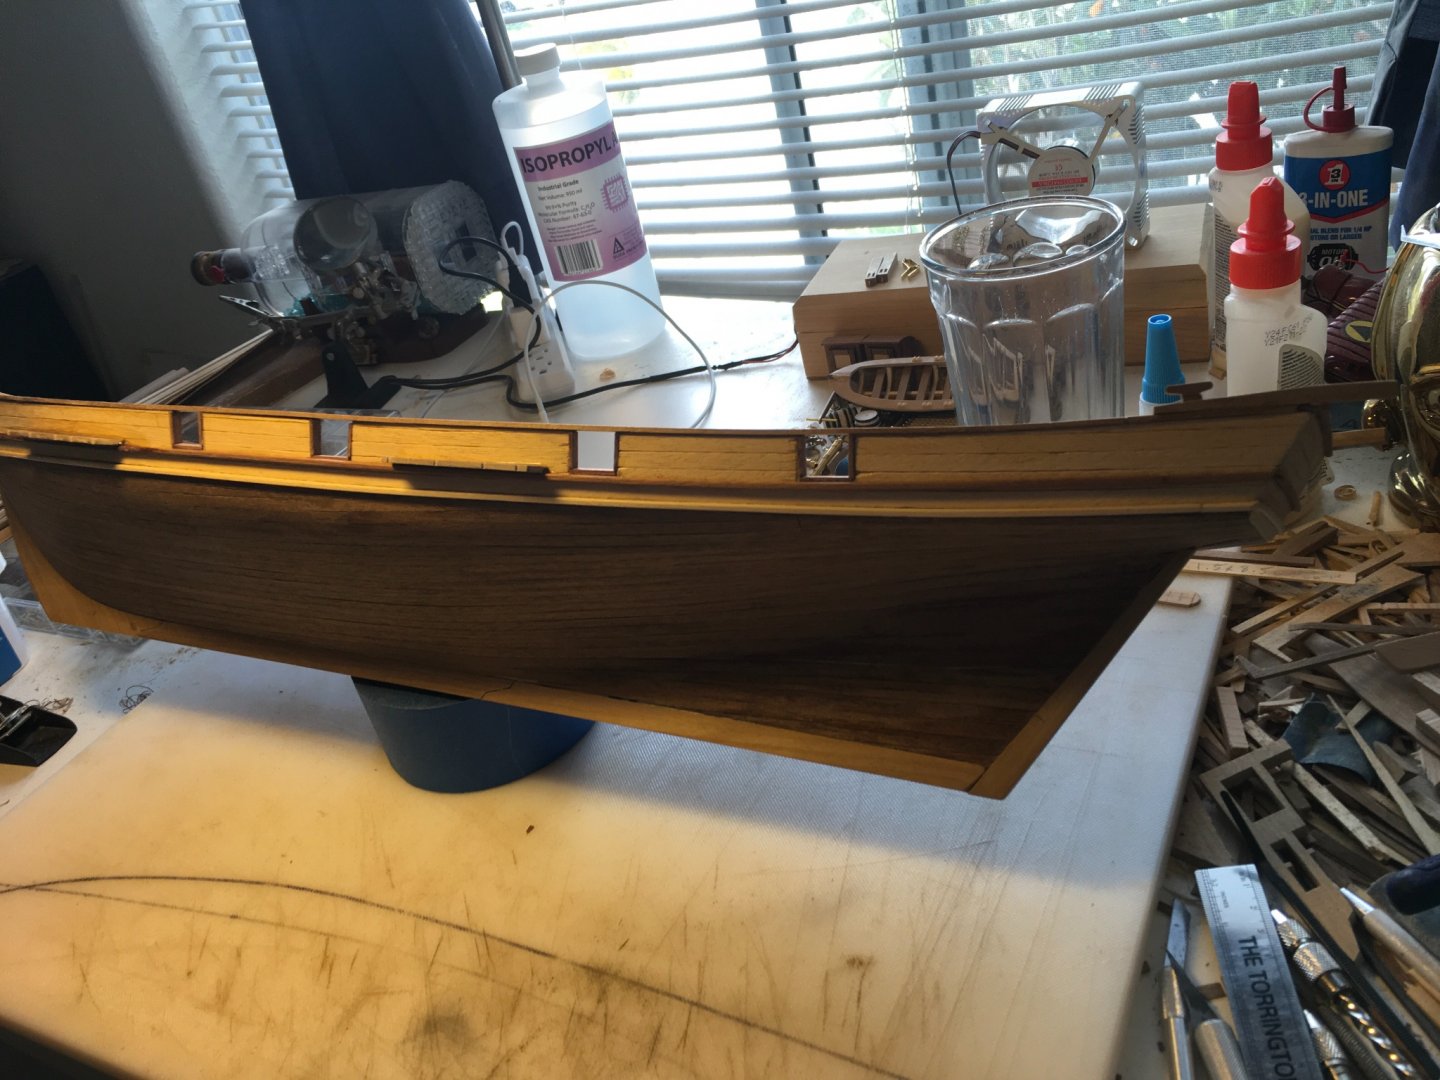
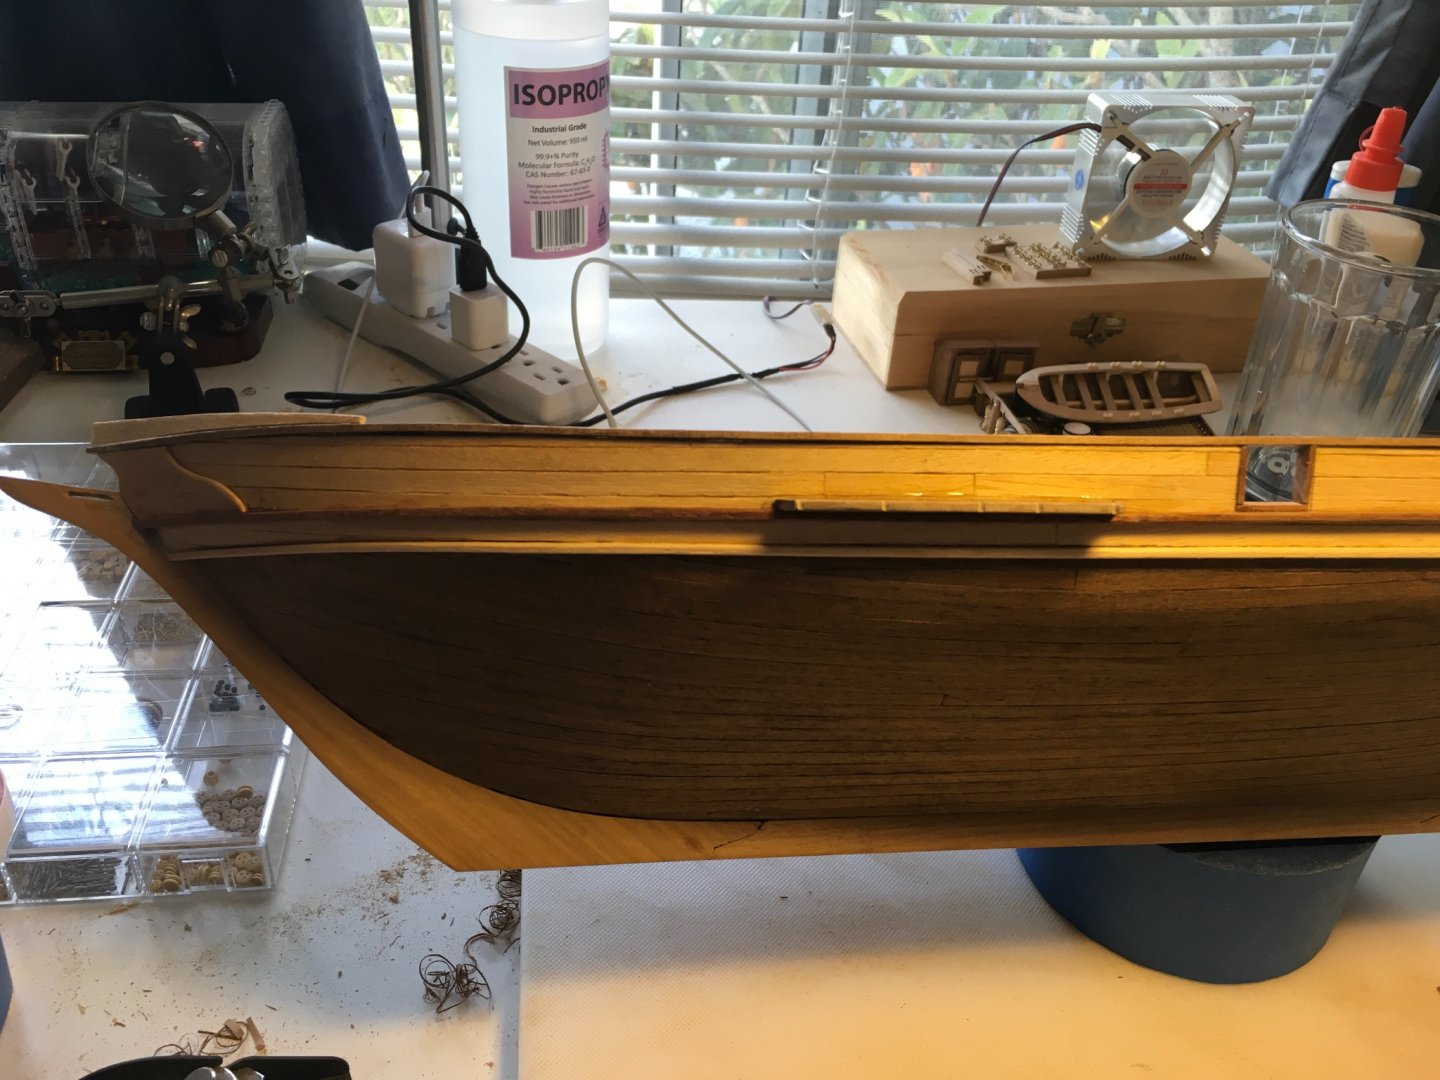
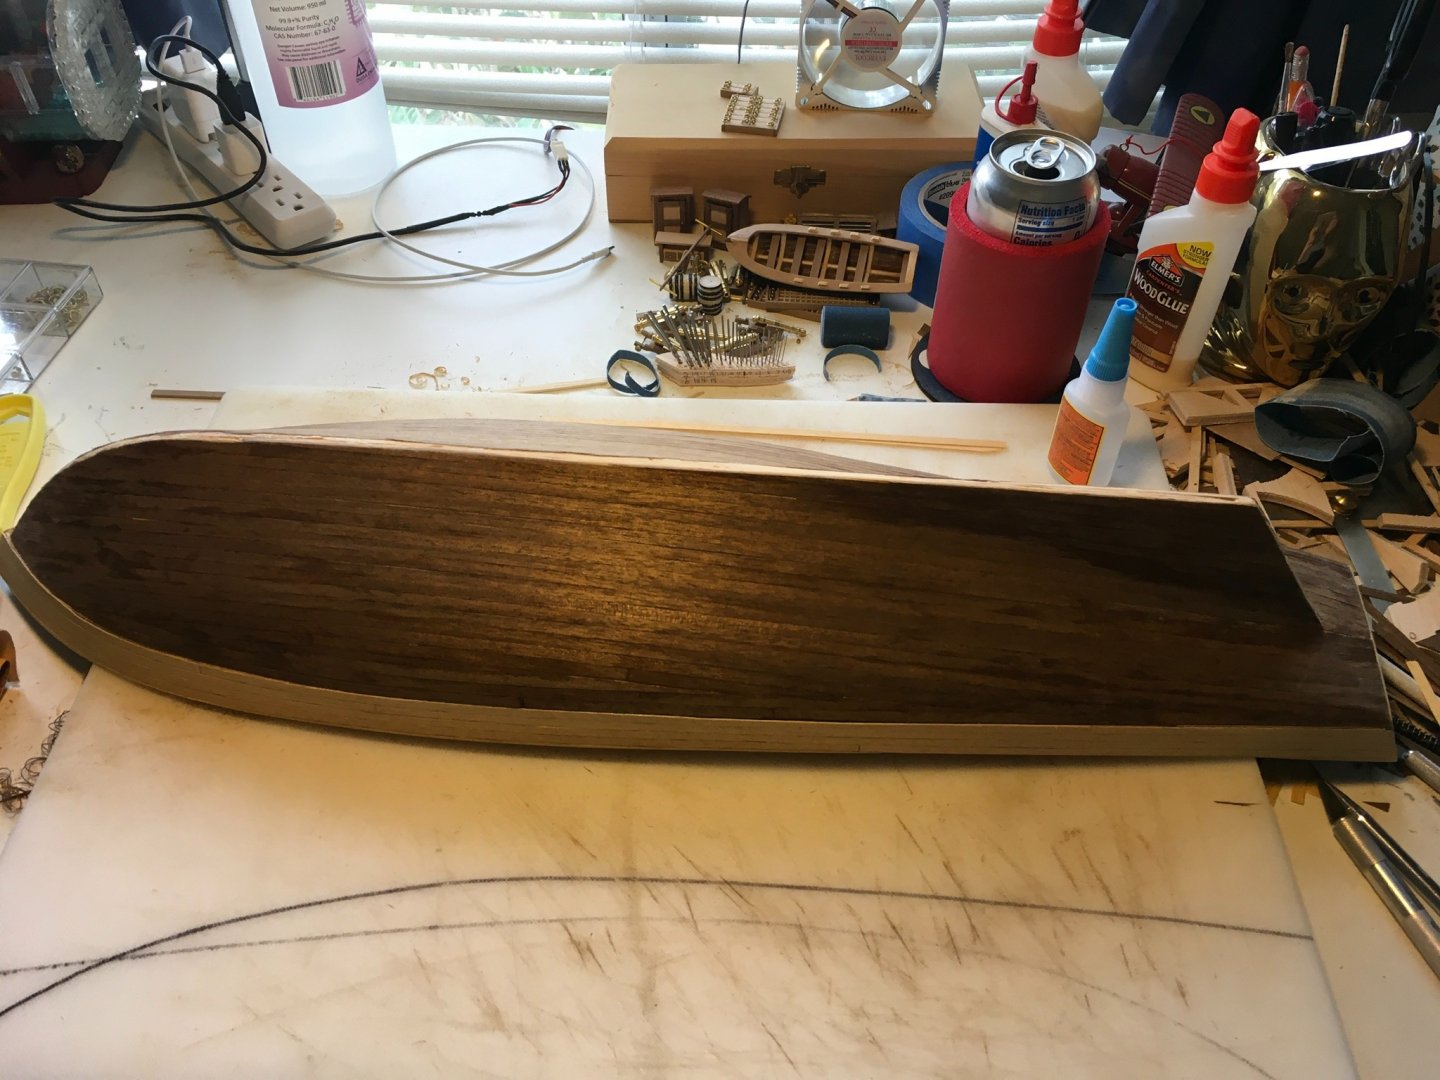
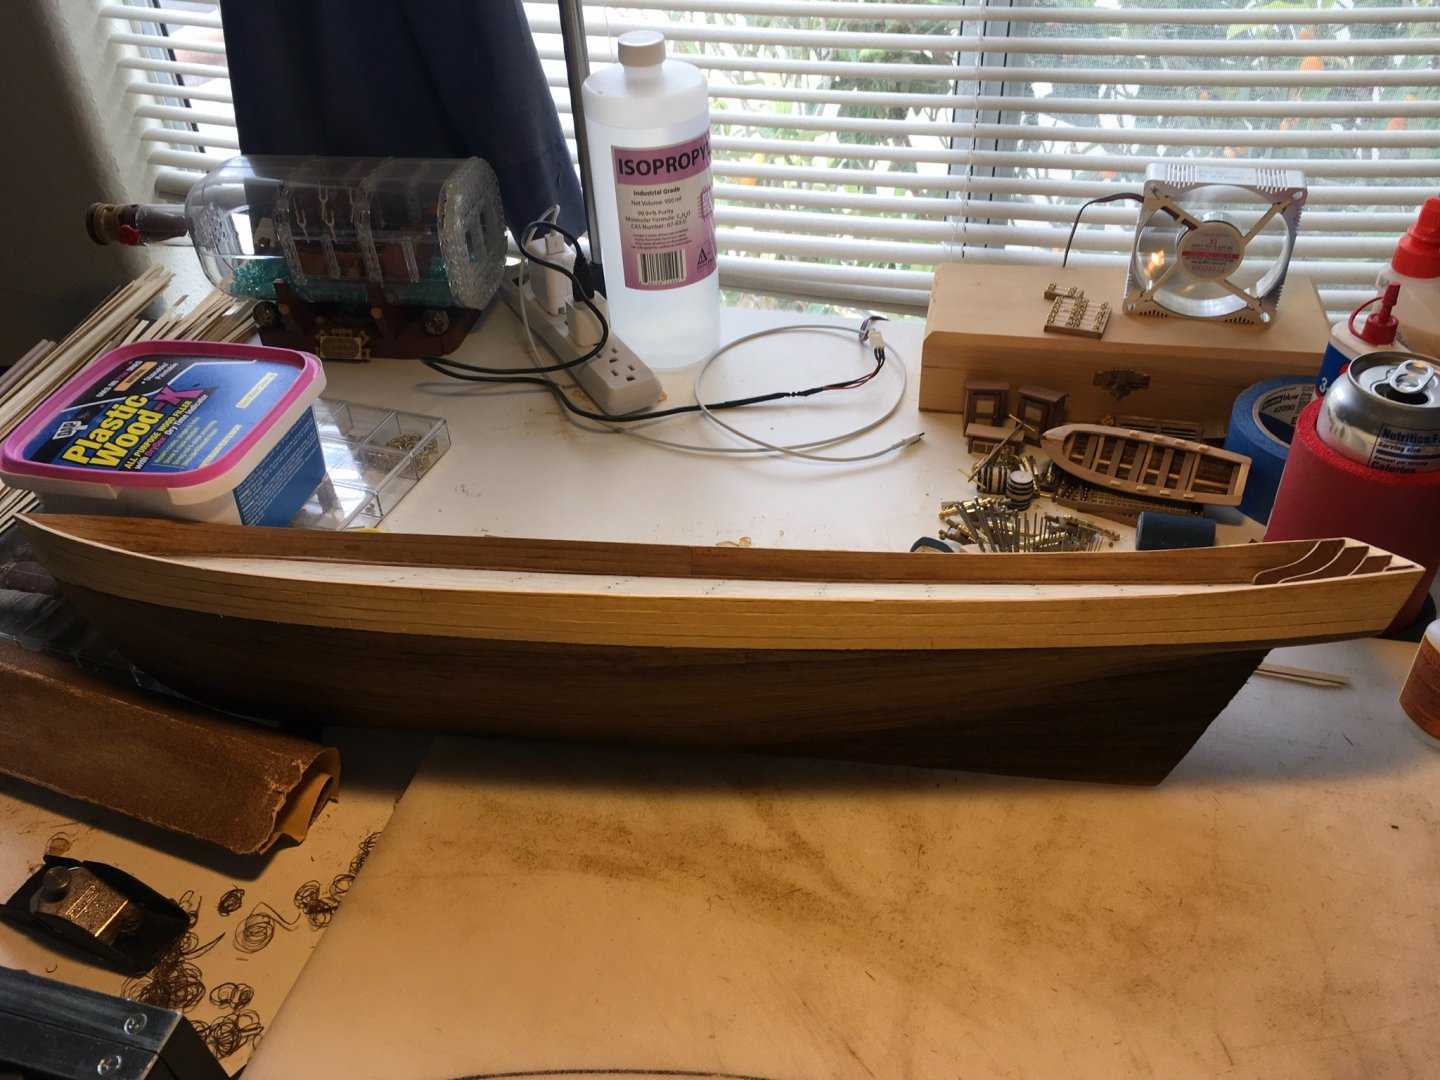
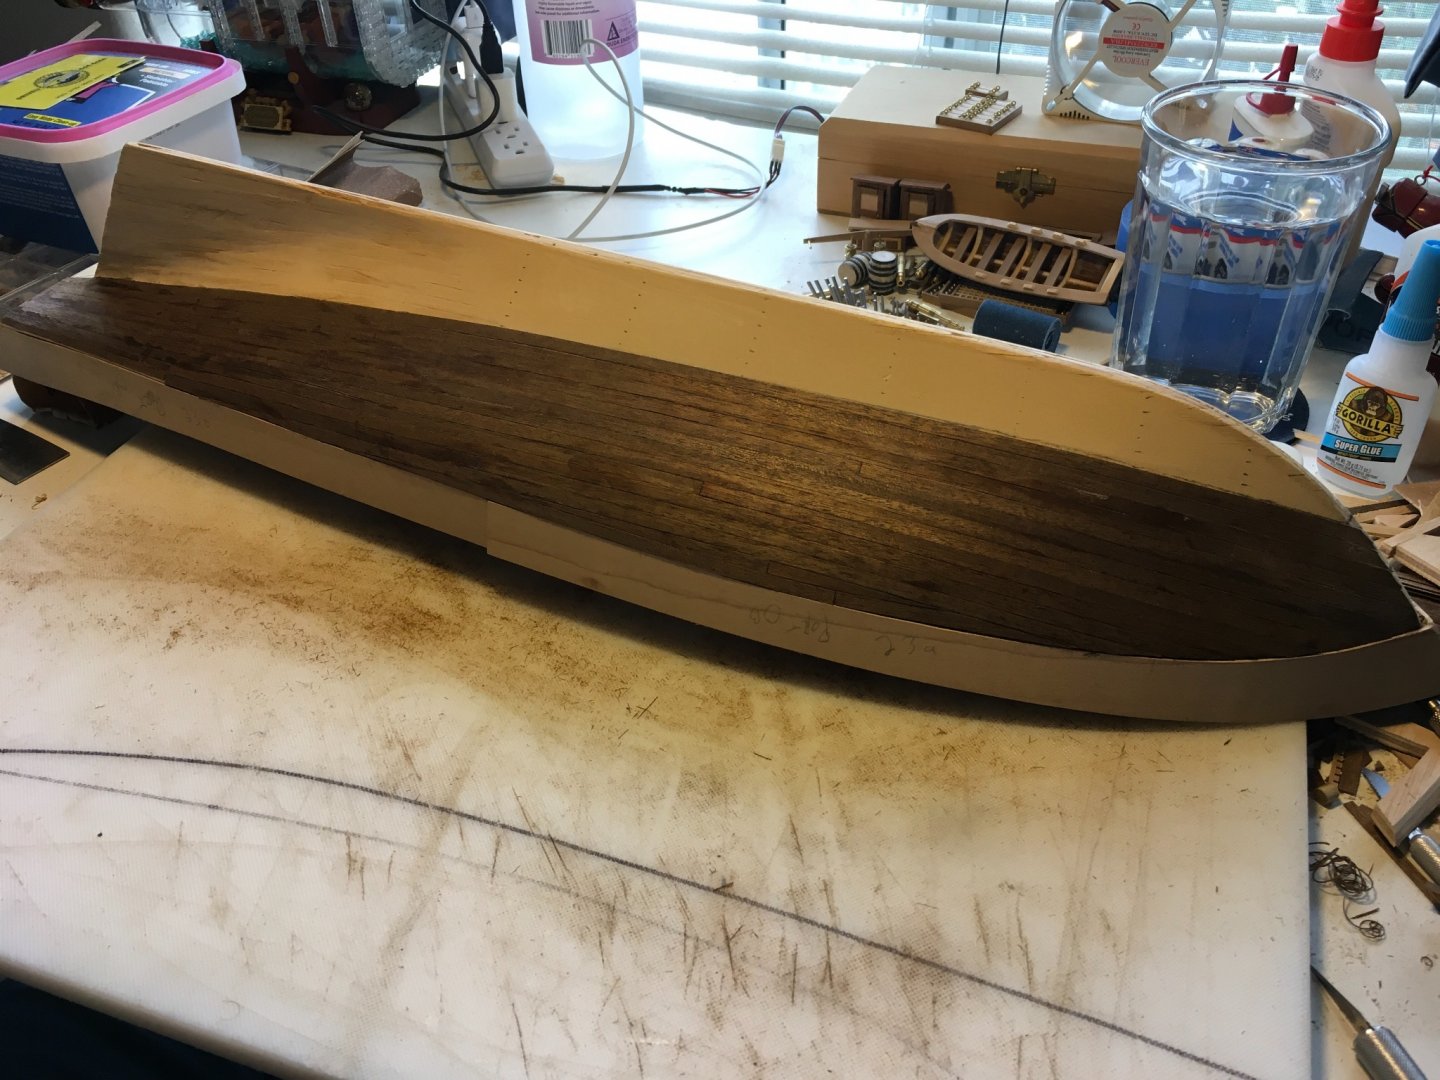
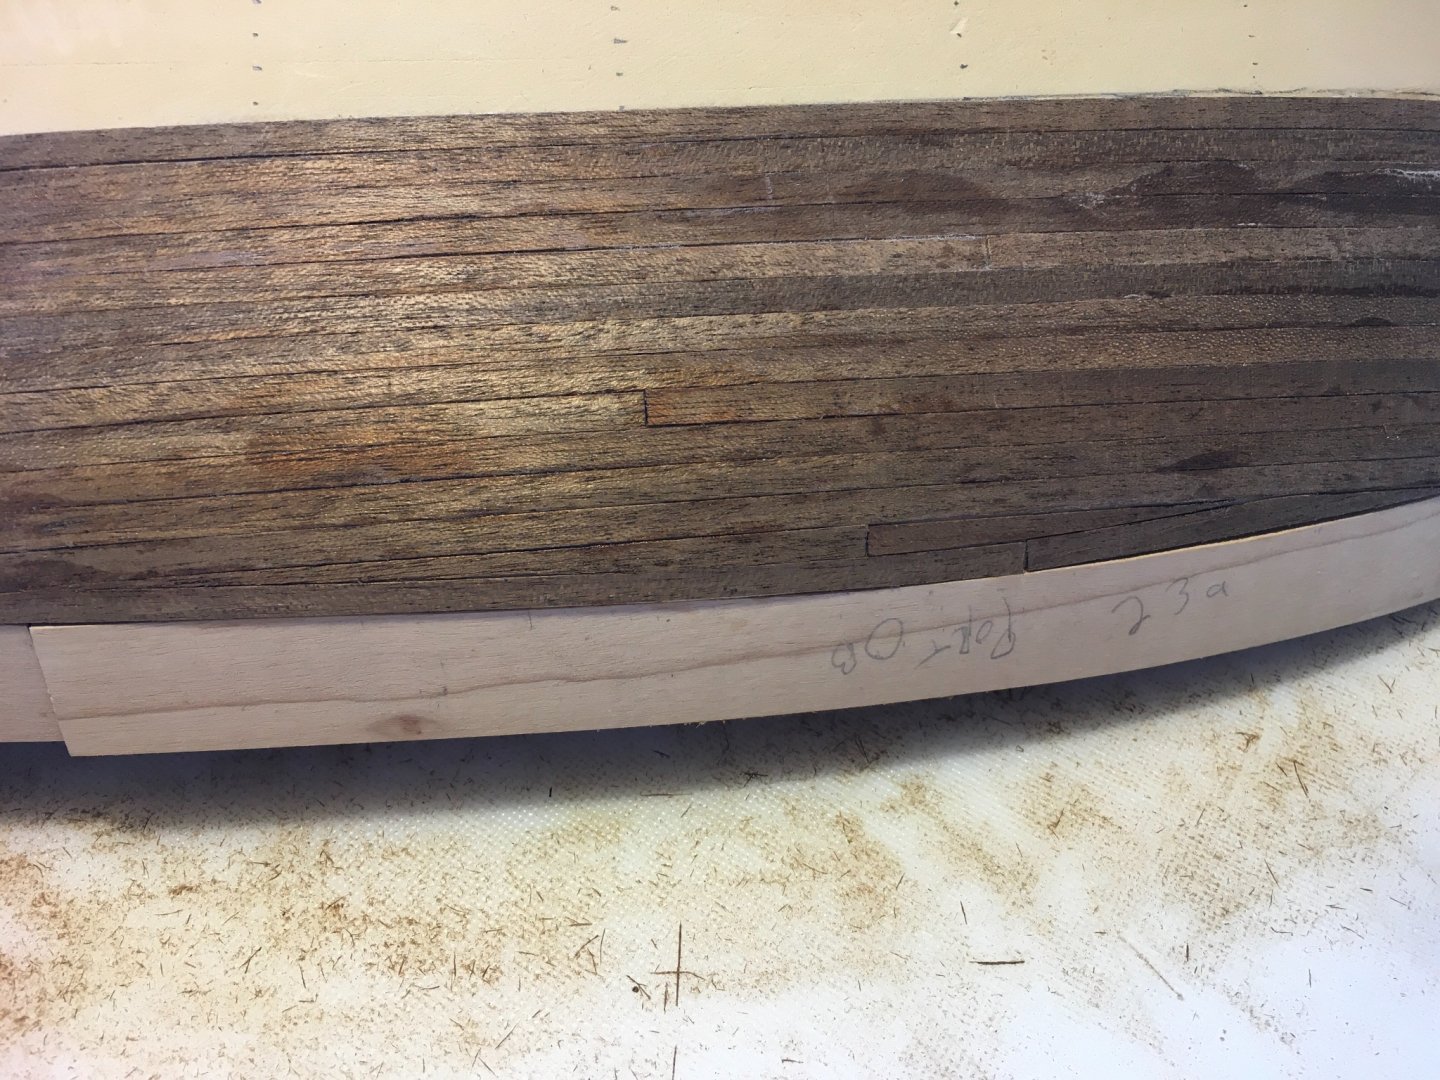
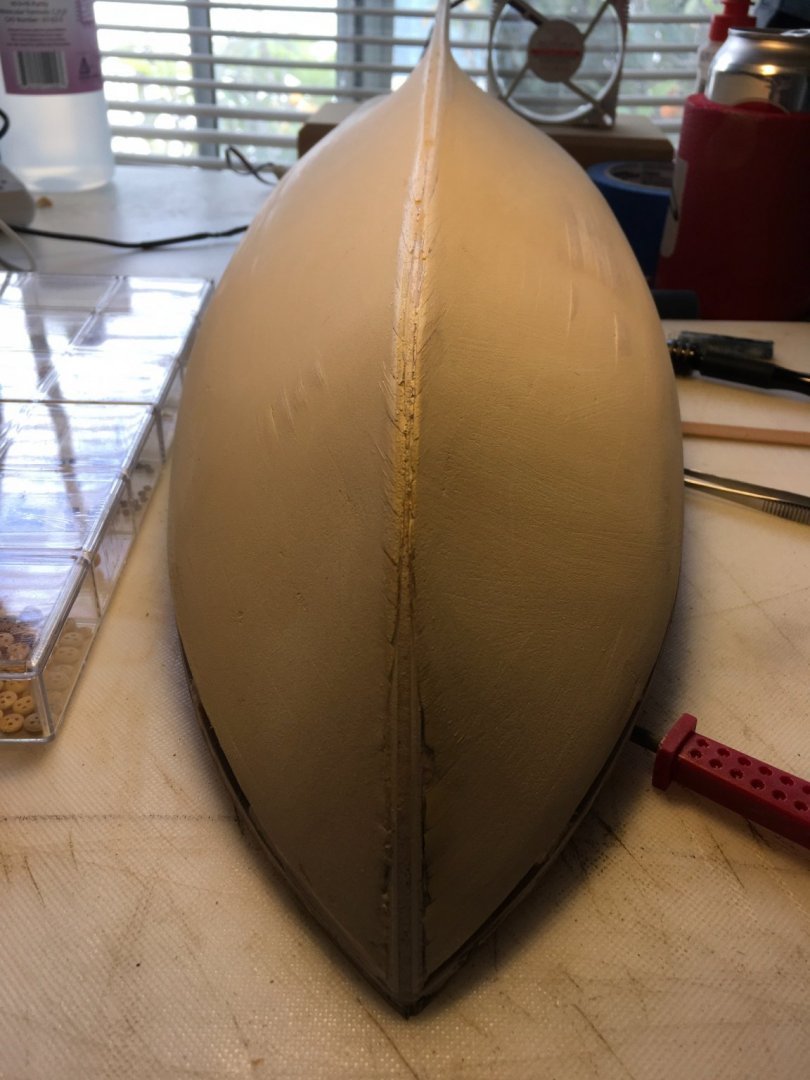
Ok, so here’s the thing… I know this is technically wrong, but I will be painting this hull. That said, working with these .5mm walnut strips is challenging. Unless they are cut very thin, like half a plank or less, they absolutely will not edge set without splintering or twisting up. They’re also very hard to thickness plane in long lengths. I opted to go with an easier, more natural lay, using more of a “magic line” approach, rather than an extra amount of spiling and stealers. I ended up with one small section just under the shear where there’s an odd shaped filler plank, which still manages to get to full thickness in the middle, but tapers way more than is acceptable.
About us
Modelshipworld - Advancing Ship Modeling through Research
SSL Secured
Your security is important for us so this Website is SSL-Secured
NRG Mailing Address
Nautical Research Guild
237 South Lincoln Street
Westmont IL, 60559-1917
Model Ship World ® and the MSW logo are Registered Trademarks, and belong to the Nautical Research Guild (United States Patent and Trademark Office: No. 6,929,264 & No. 6,929,274, registered Dec. 20, 2022)
Helpful Links
About the NRG
If you enjoy building ship models that are historically accurate as well as beautiful, then The Nautical Research Guild (NRG) is just right for you.
The Guild is a non-profit educational organization whose mission is to “Advance Ship Modeling Through Research”. We provide support to our members in their efforts to raise the quality of their model ships.
The Nautical Research Guild has published our world-renowned quarterly magazine, The Nautical Research Journal, since 1955. The pages of the Journal are full of articles by accomplished ship modelers who show you how they create those exquisite details on their models, and by maritime historians who show you the correct details to build. The Journal is available in both print and digital editions. Go to the NRG web site (www.thenrg.org) to download a complimentary digital copy of the Journal. The NRG also publishes plan sets, books and compilations of back issues of the Journal and the former Ships in Scale and Model Ship Builder magazines.

