Jerry's Admiral
-
Posts
123 -
Joined
-
Last visited
Content Type
Profiles
Forums
Gallery
Events
Everything posted by Jerry's Admiral
-
 Hi Lawrence, Thank you so much for stopping by our log and especially for the nice things you have said about the Bounty. Jerry went to your African Queen log two dqys ago and called me into the room to look at your progress. I stil can't stop talking about how beautiful your workmanship is and about the gorgeous details you have included in your build. The boiler and engine areas are unbelievable. How do you manage to get such detail done in such small parts? I think you are a magnificent builder but I always believed that after having seen your other work from Victory and Annie. Thanks again for stopping by. I'm writing this from school and I have to get back to the kids now. Take care, Charlene
 -
Hey Popeye, What's so funny? We (and I mean we) got about half the rat lines finished during the past few days. Pictures will follow in a day or two. Jerry said that the Italian directions are driving him crazy. He's busy studying them trying to figure out the rigging. I'm happy that he has experience and knows the general configuration of the running rigging. I guess he plans to use McKay's book for heavy reference. Kevin, thanks for the look-in. It's always nice to hear from you. Charlene
-
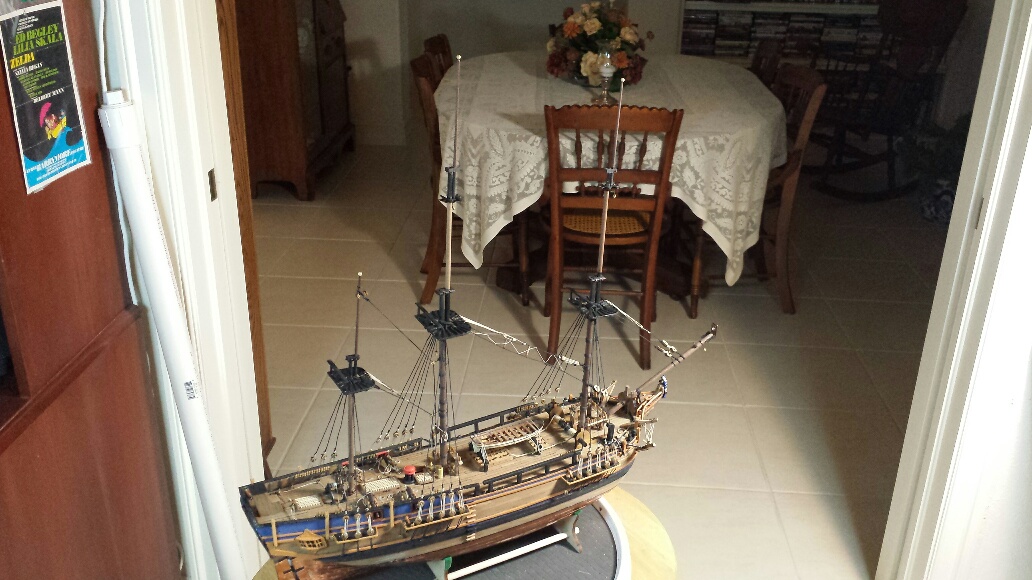
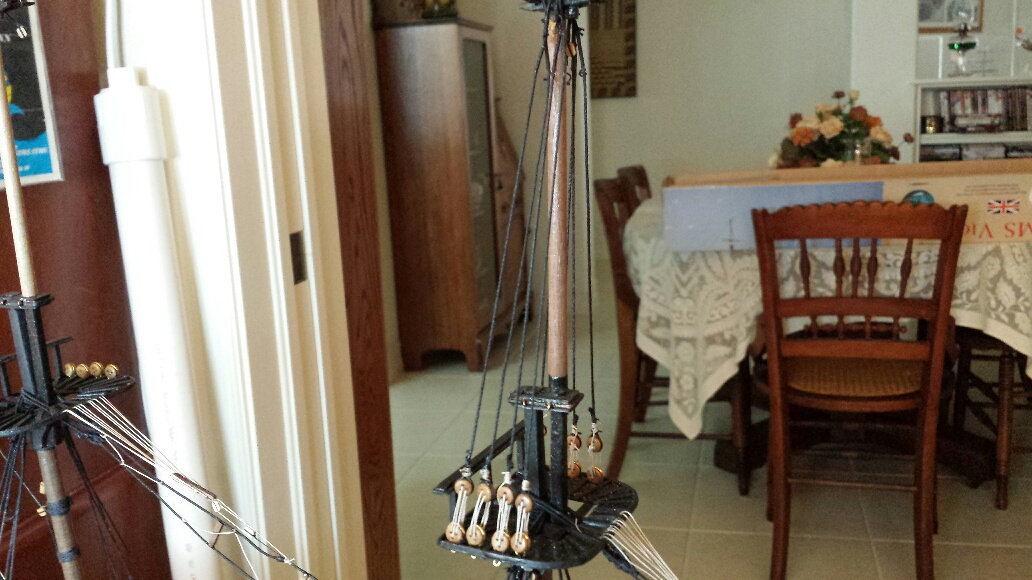
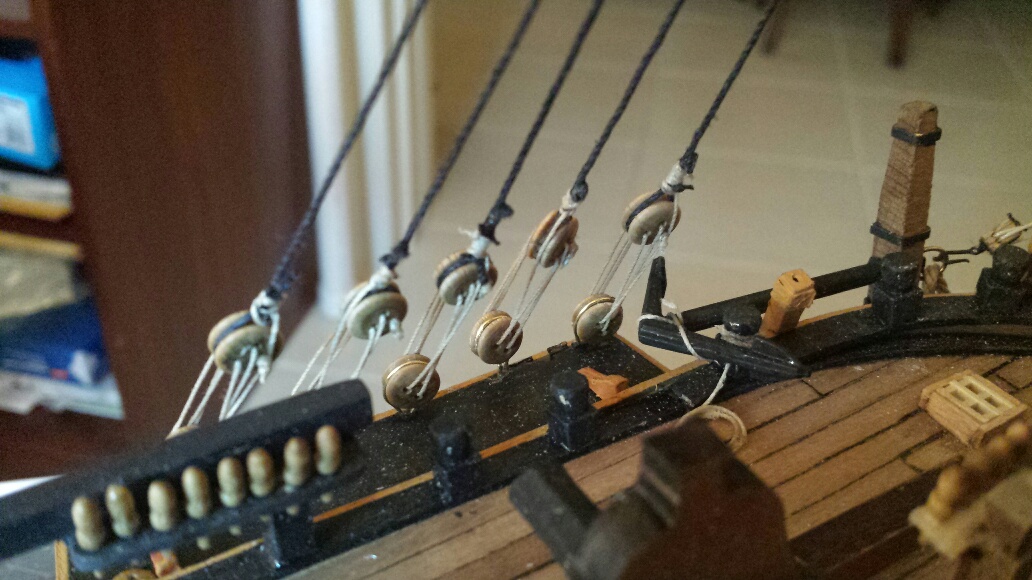
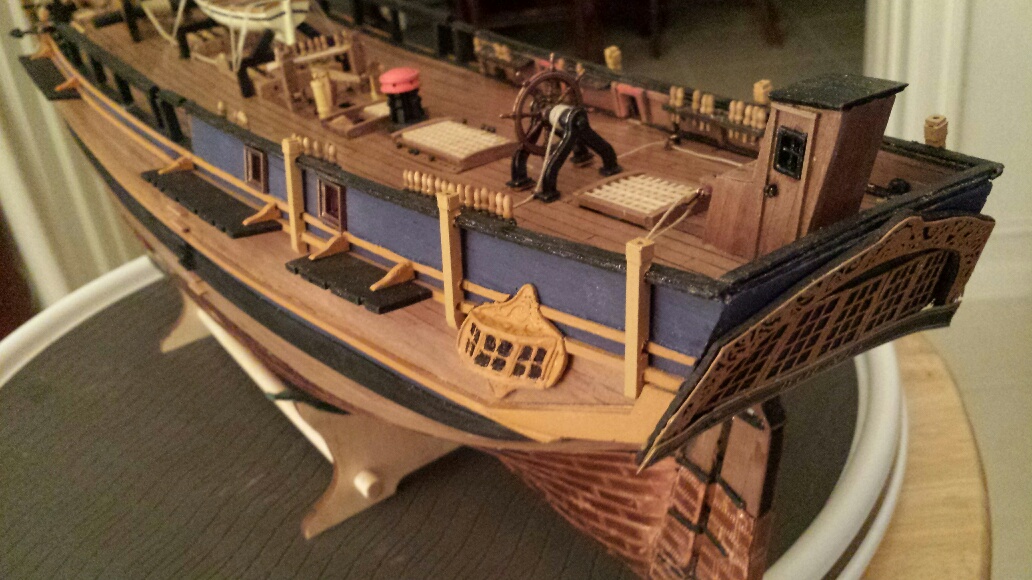
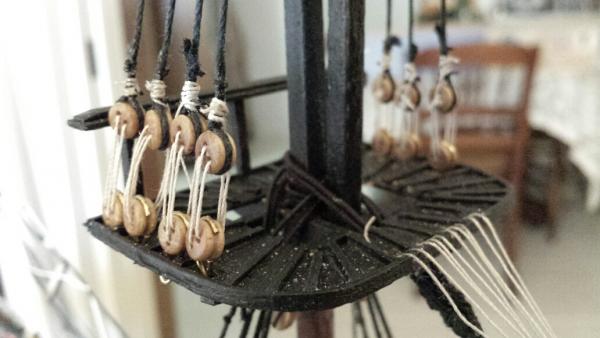
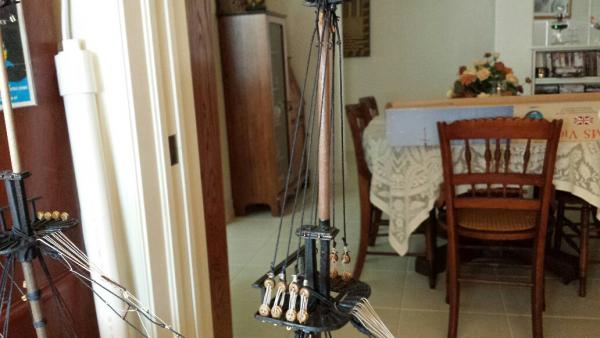
Hi Everyone.. We've made a little more progress over the past several days. At this point in the build we're rying to complete the upper shrouds and tying them to their respective tackle. We decided to break up the monotony by serving the shroud lines and tying them to their deadeyes one mast at a time . So far we have completed the upper shrouds of the foremast and have some pictures to show of this. We also have some pictures of prior progress and their captions will explain what they are. Hope everyone has a great day. Jerry and Charlene


-
Hi Popeye.. Nice to see you and thanks... Charlene
-
Hi Dr. Per.. Thanks for looking in; my husband is always waiting for me by the door, but happily, not with Bounty. Have a great day. Charlene
-
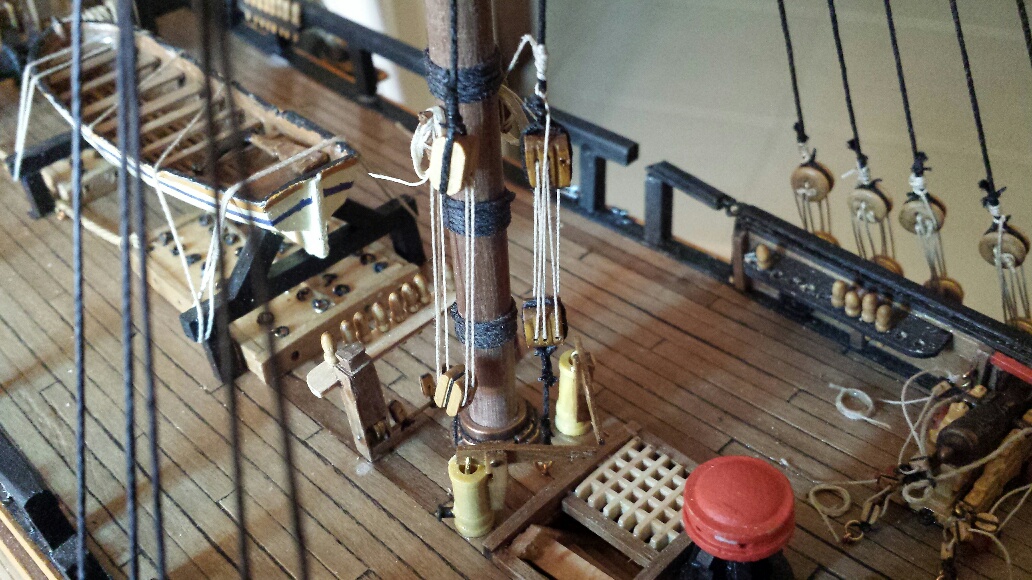
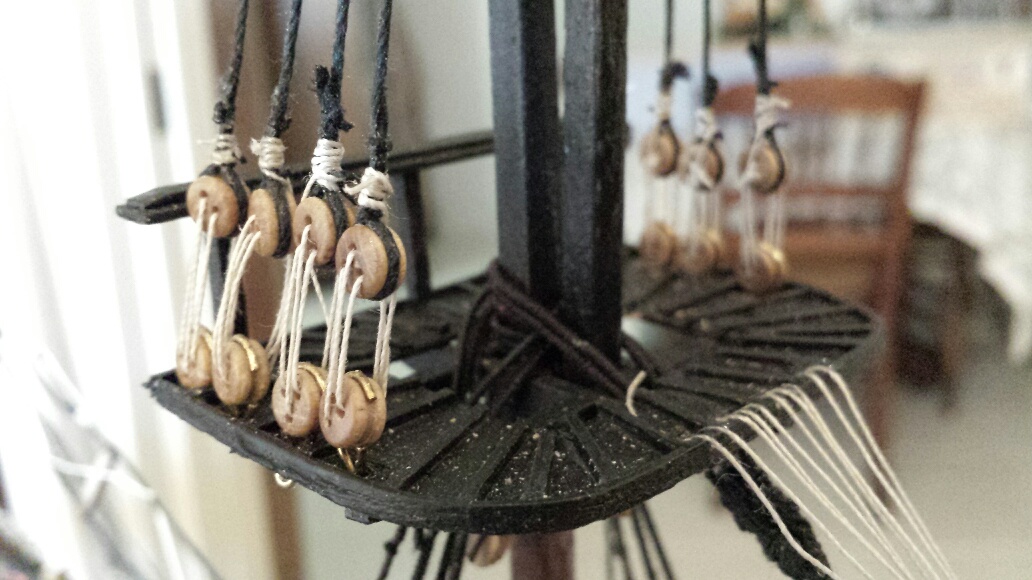
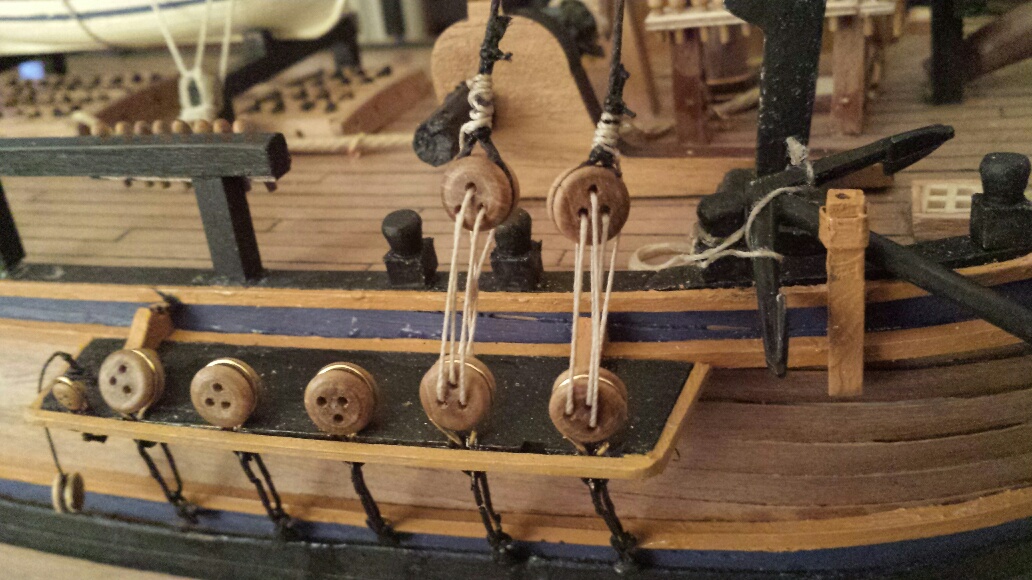
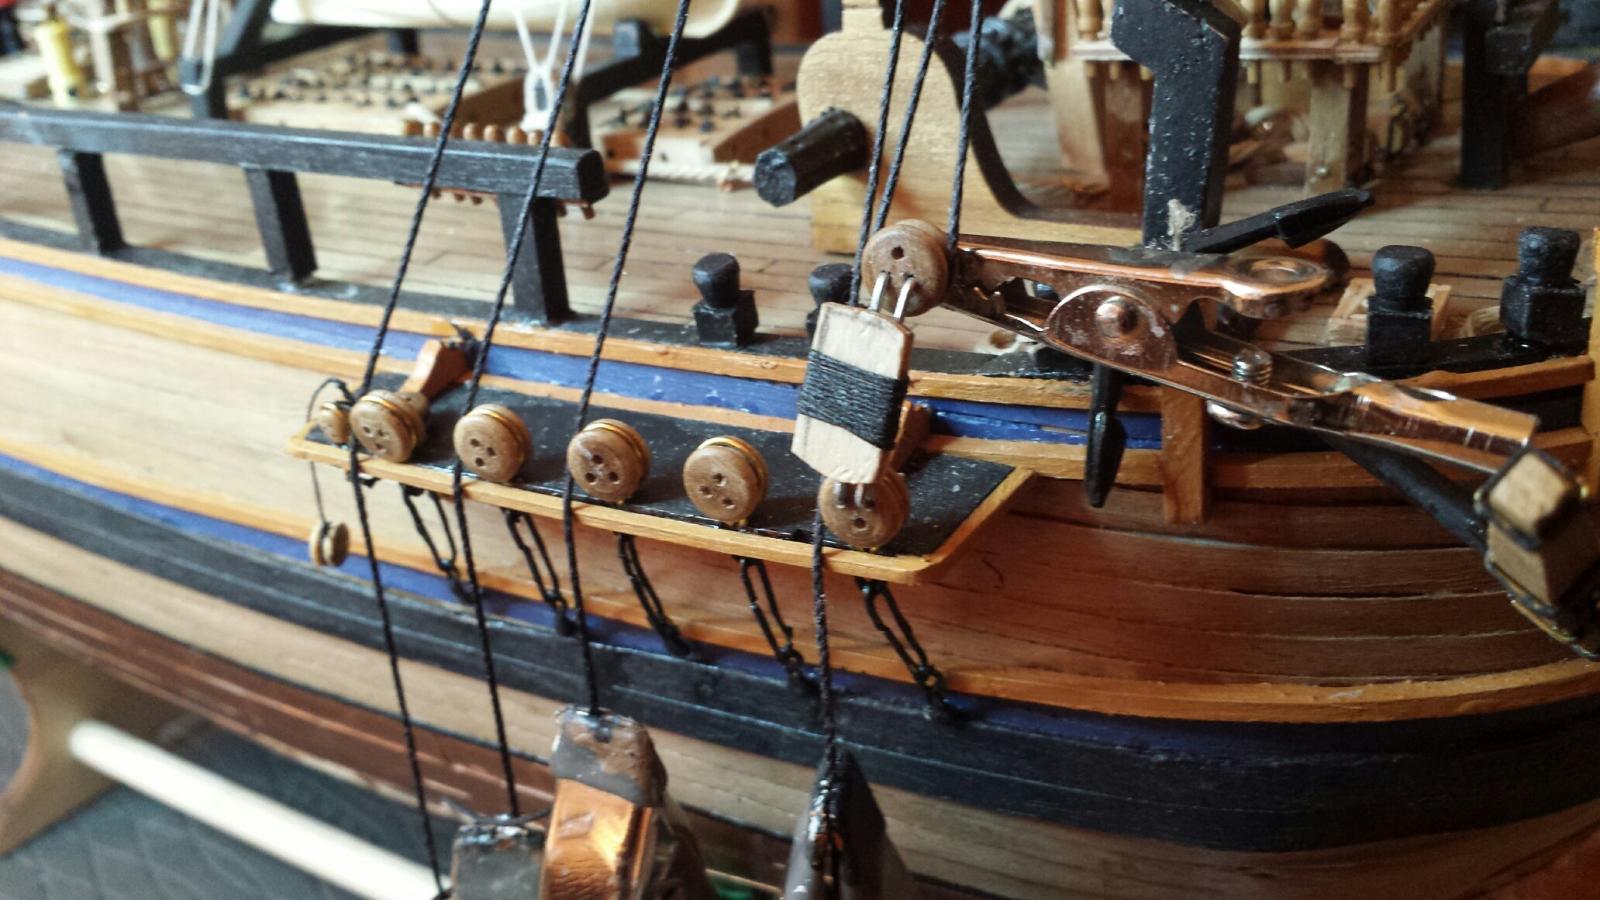
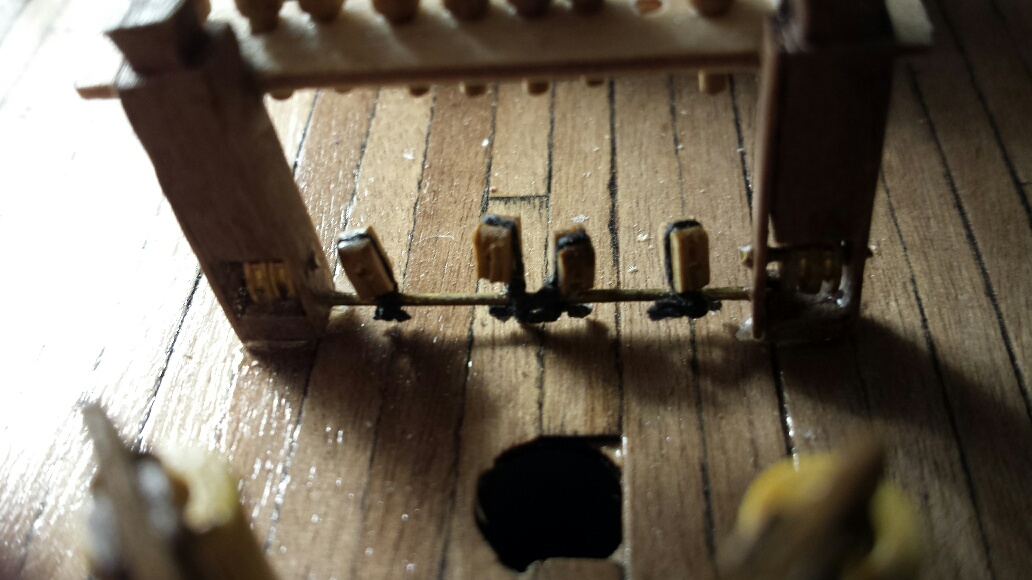
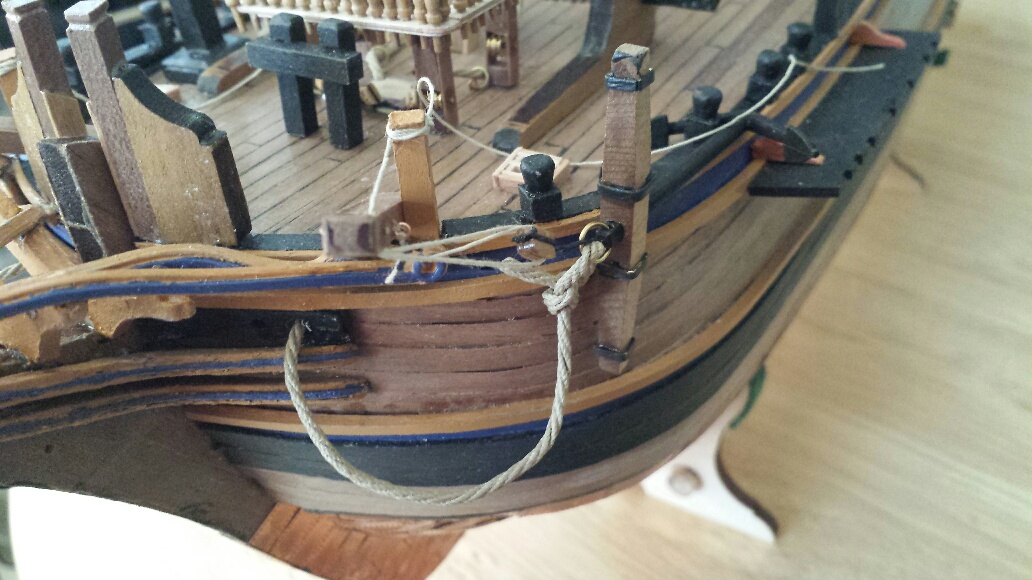
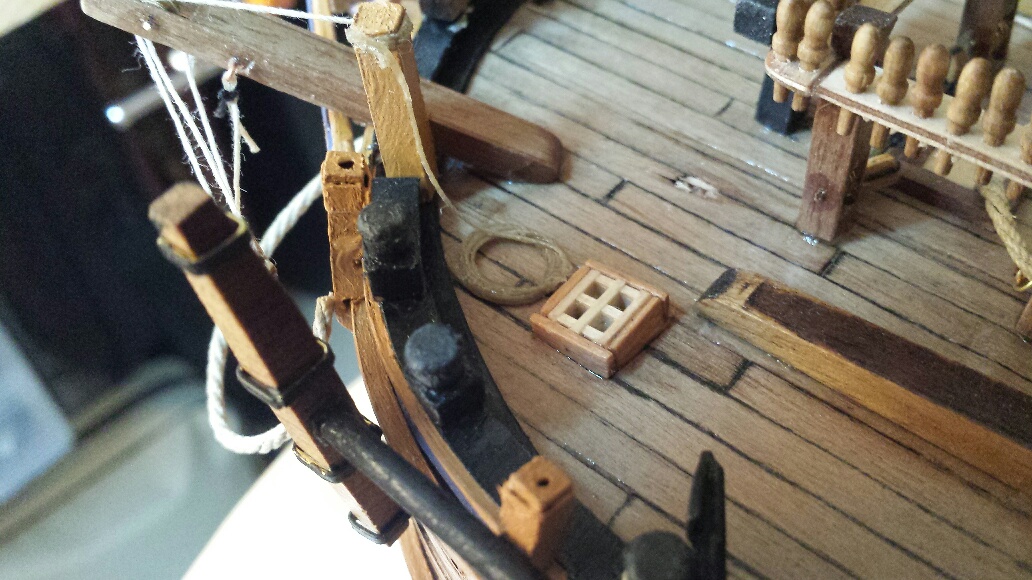
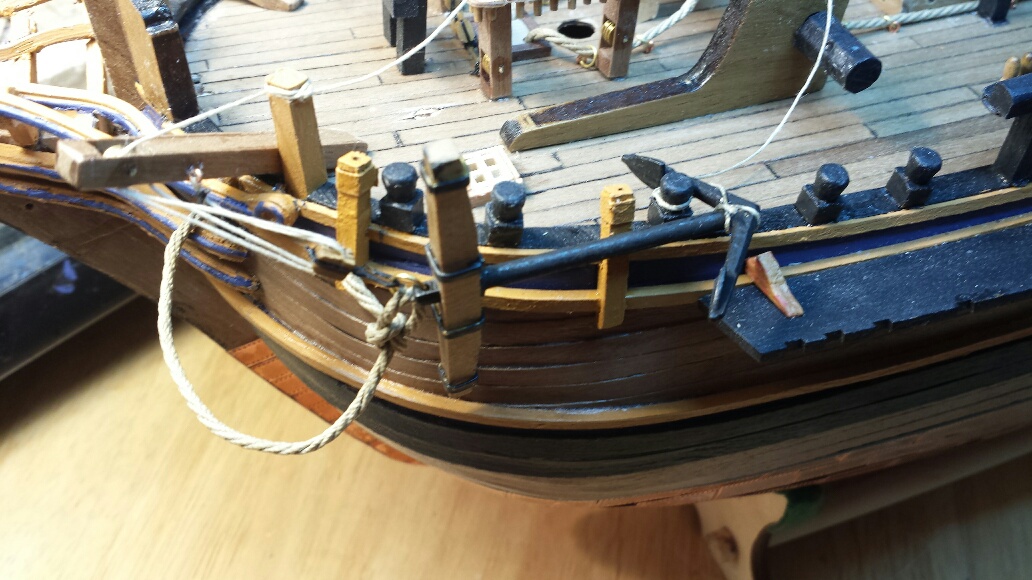
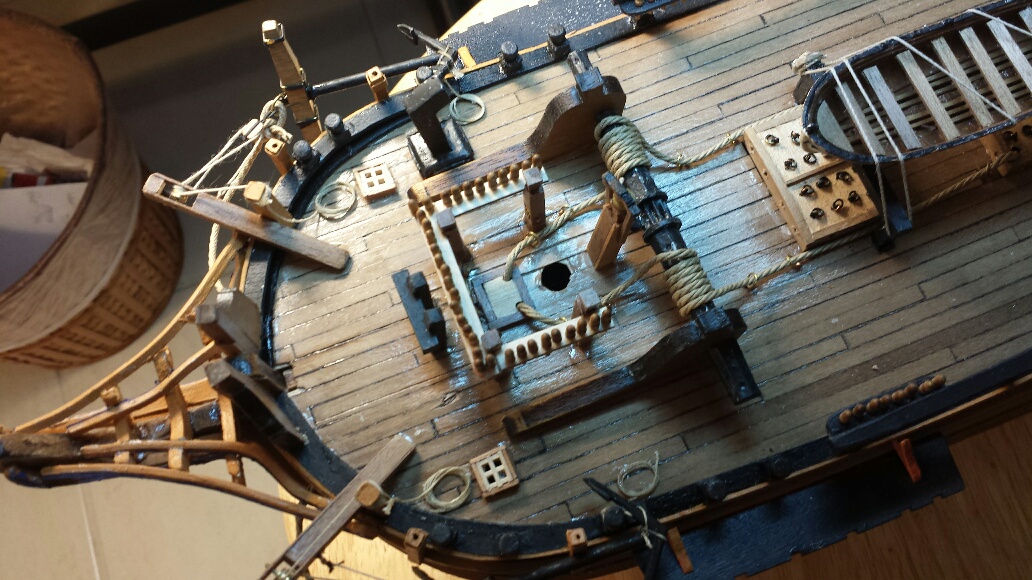
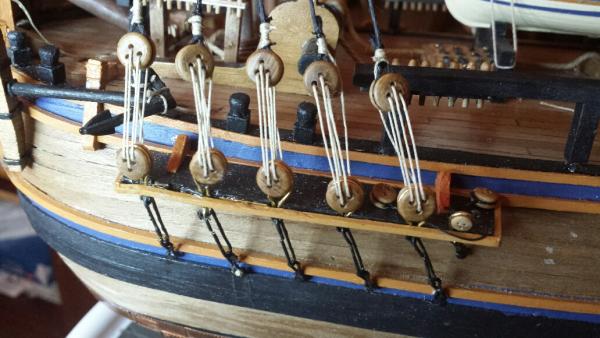
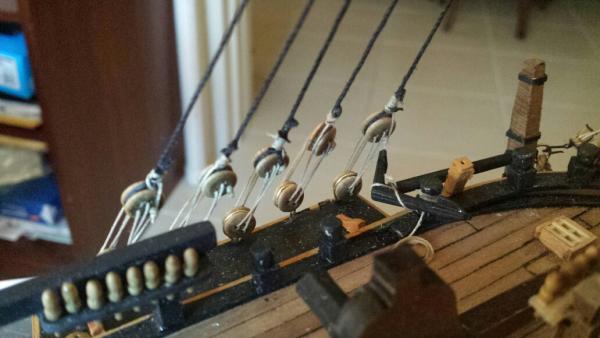
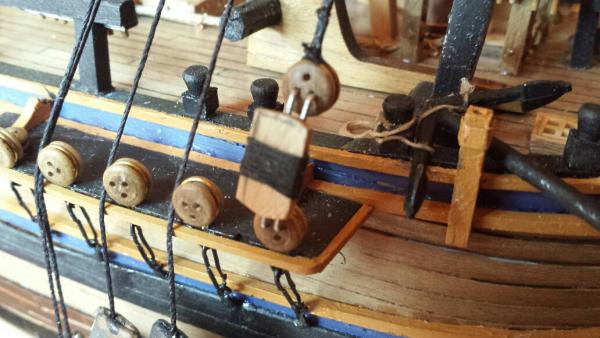
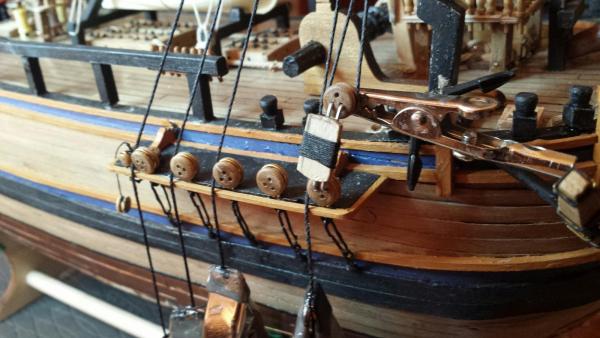
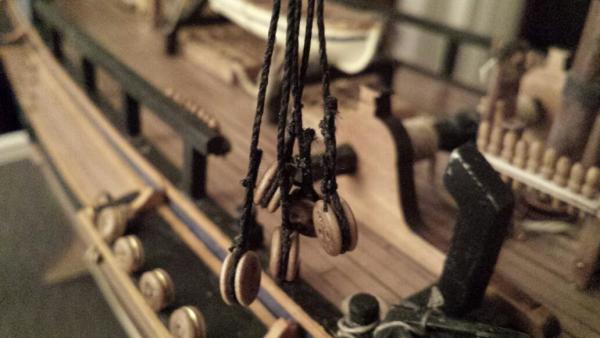
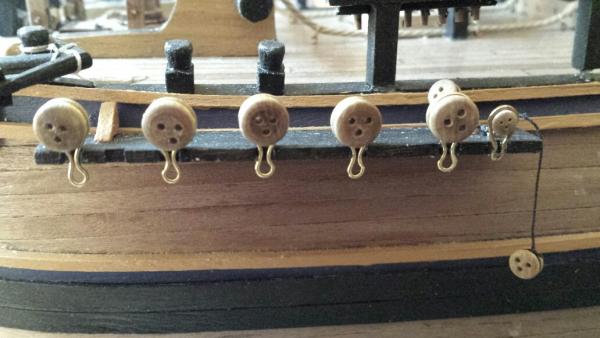
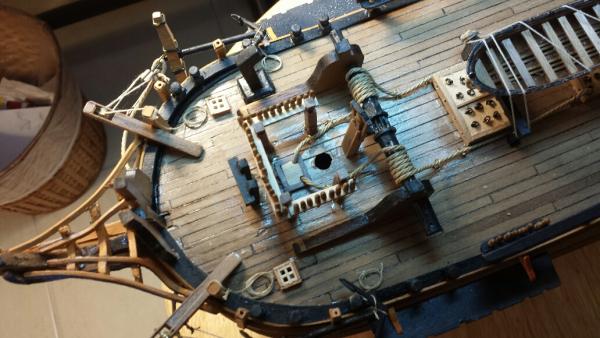
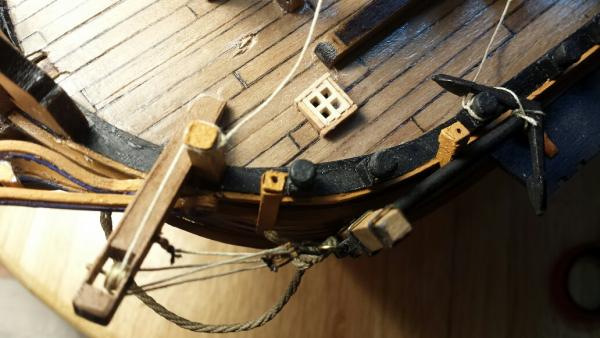
Happy Sunday everybody.. A little more work has been done. Jerry pointed out to me that we overlooked some small deck pieces which he feels should be placed before going any further with the standing rigging. He's talking about several eyelet-rings and cleats. So that will be the next project. In the meantime here are some pictures of how I have tackled the tackle. LOL.. Charlene

-
Good evening everybody, When I got home from school today Jerry surprised me with what he calls my "next lesson." We are now in the standing rigging phase of construction and it took Jerry more than an hour to explain the difference between "standing" and "running" rigging. My first guess was that it would be necessary for one to stand (in order to reach the top of the masts) to do the standing rigging and that's why it's called "standing" rigging. Jerry immediately asked me if I thought I would have to run around the work area to do the running rigging. This did seem foolish to me so I knew there's a better reason. So, I finally got it...the standing rigging, except for some occassional up and down movement, is stationary for the most part and the ruinning rigging is manipuilated often to control the sails and operate the ship. Big deal...Jerry did get a start on the deadeyes and shroud connections which I will copy to complete this phase during the weekend. Have a very nice weekend everyone. Charlene


-
Greetings Nils, Thank you for taking time to visit our site. It was very nice of you to compliment our work and we sincerely appreciate your kindness. Please come see us again as we continue our path to completion (we hope) of this famous ship's model. We wish you a very happy evening. Charlene
-
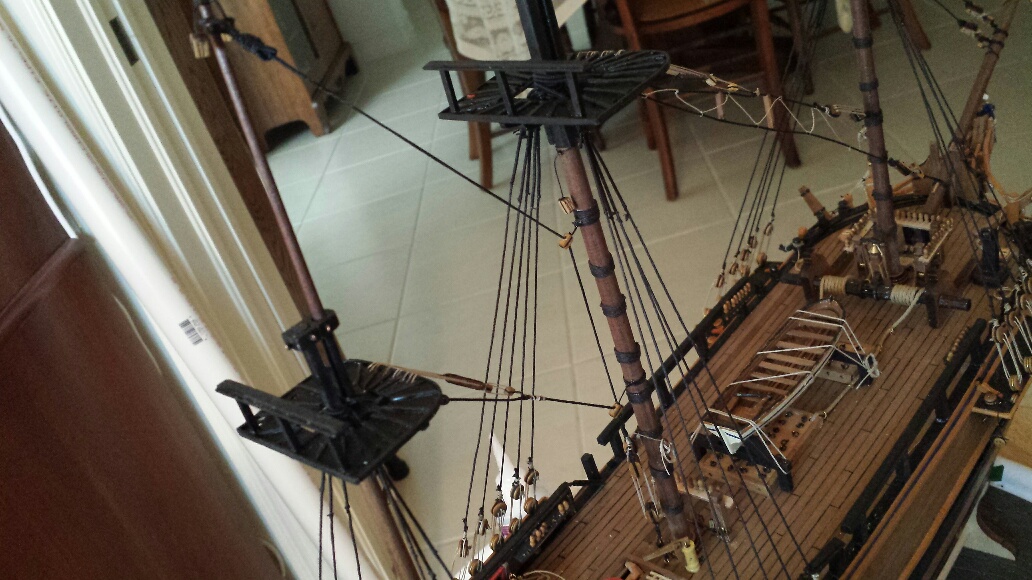
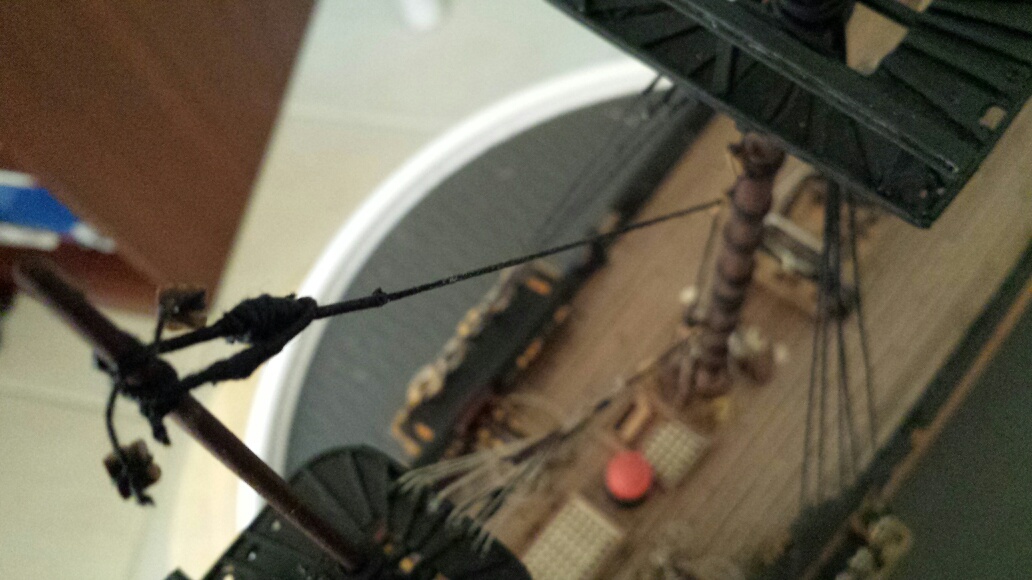
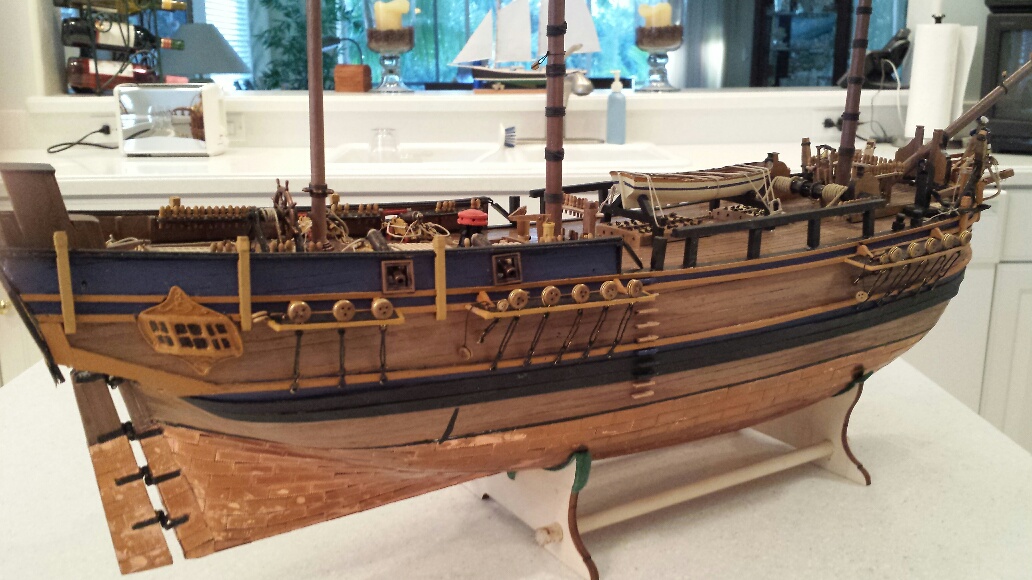
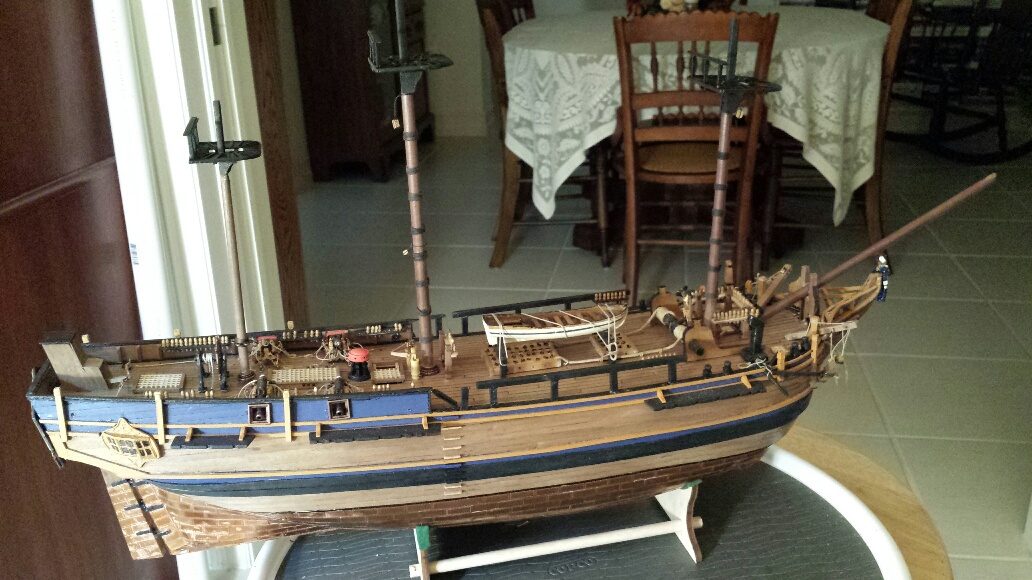
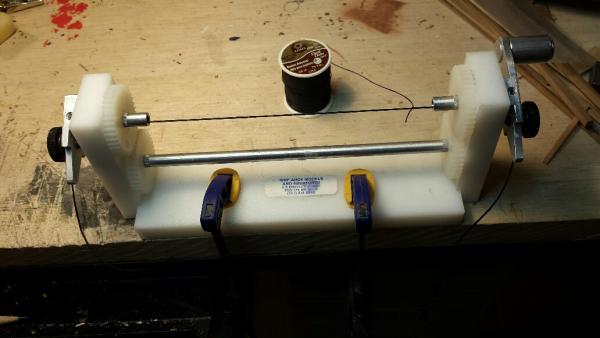
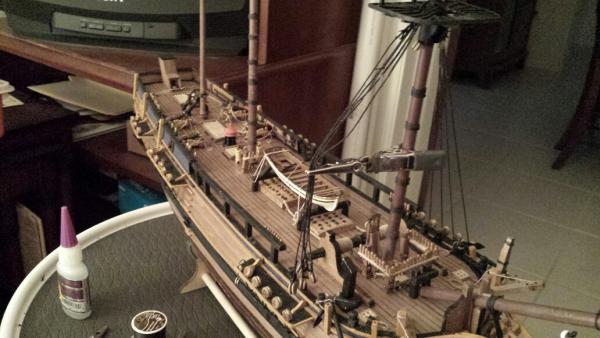
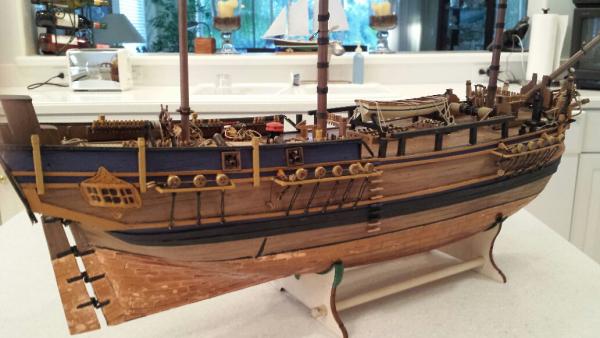
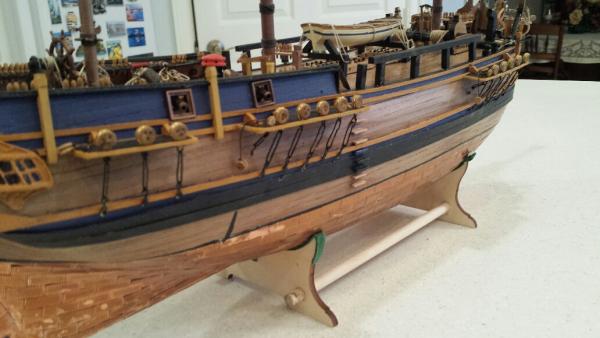
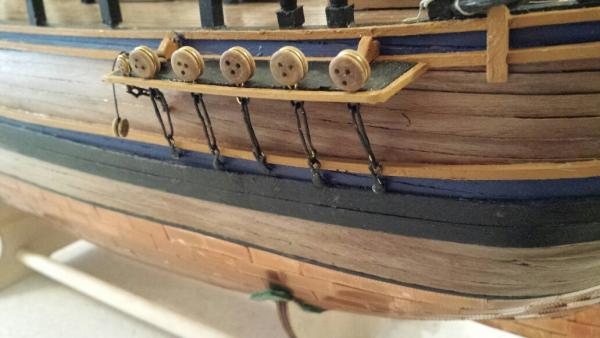
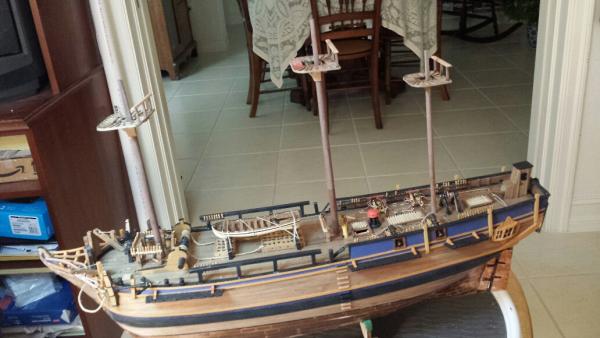
Hello Everyone.. I don't have to be at work until later today so I thought i'd take a little time to post some pictures showing where we are at with our build of the HMS Bounty. I'm really excited as we are now ready to begin the standing rigging. But first, Jerry promised to give me a lesson on how to serve the rigging thread. So when I get back from school tonight I hope to learn how to do that. We plan to rig as much as we can on the lower masts and then step the next mast sections so we can continue the rigging process. I know that I have complained about the plans and directions in the past and after looking at them in preparation for the rigging, i'm really nervous. Jerry and my knowledge of the Italian language is pretty bad but we'll do the best we can. Here are some pictures of Bounty as she sits now. Charlene
-
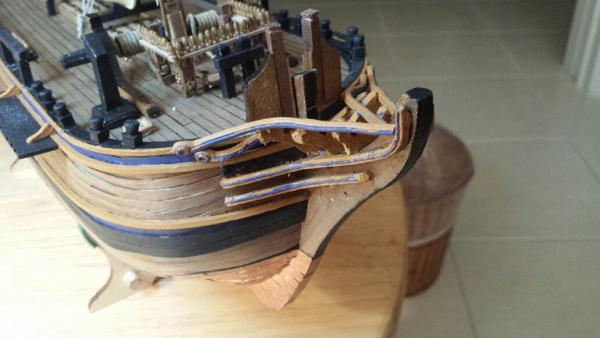
Hi Greg H, and many thanks for stopping by our site. We appreciate your visit and sincerely welcome your comments. We are continuing to work on the Bounty in spite of some part shortages and as you can see from the pictures below, we are making good progress. Please come back and let me know what you think. Have a great day, Charlene
-
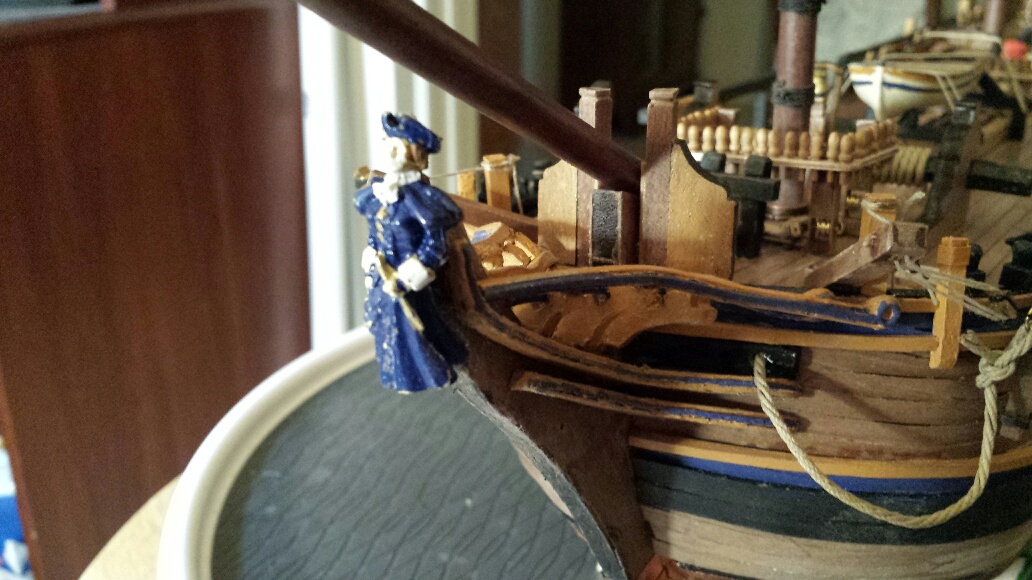
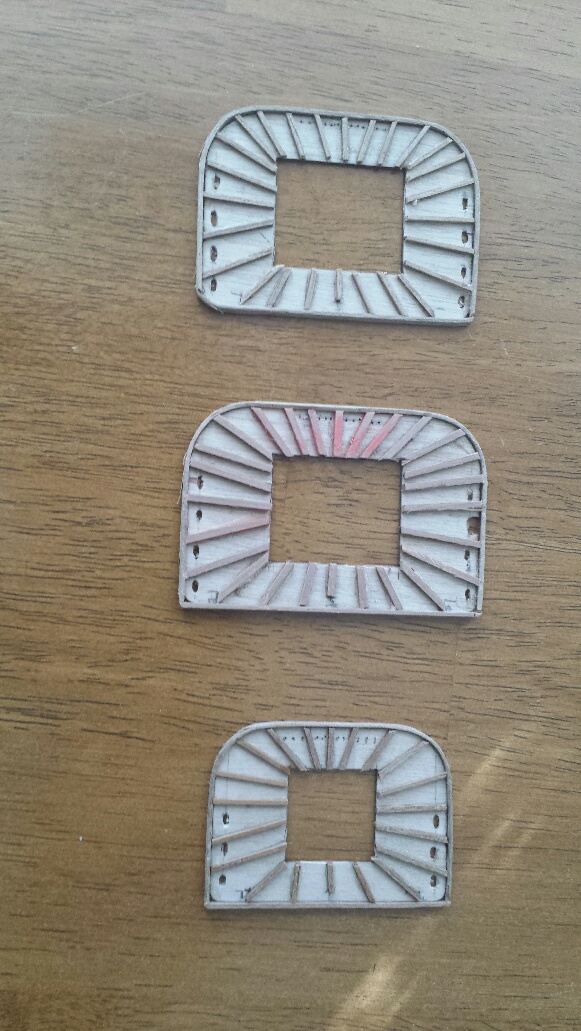
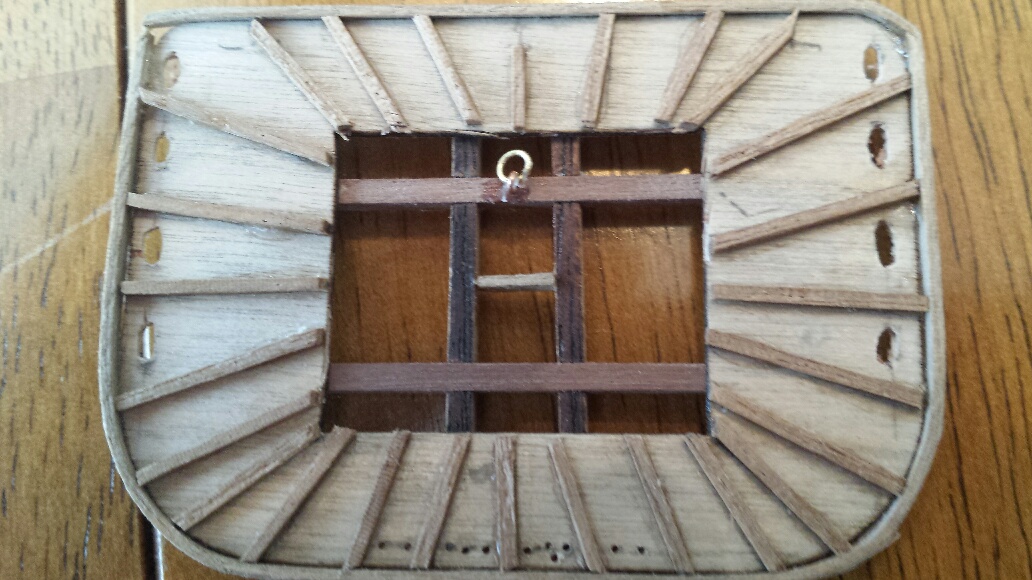
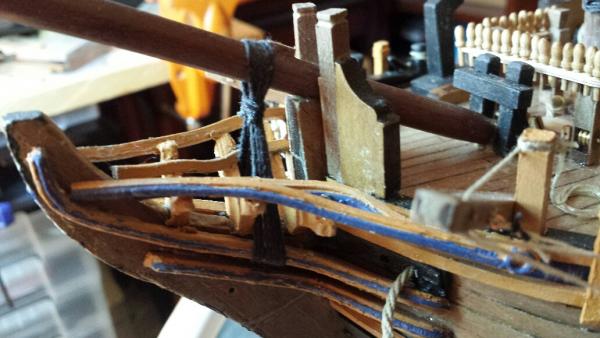
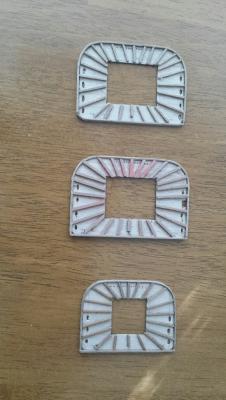
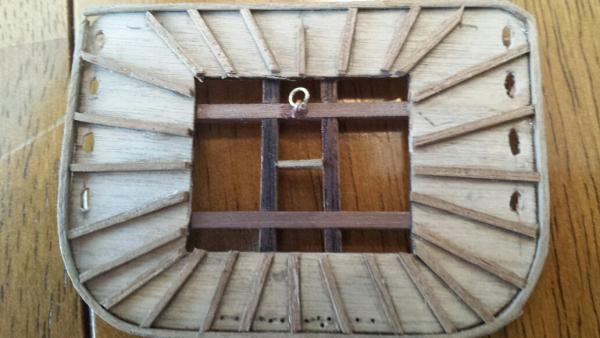
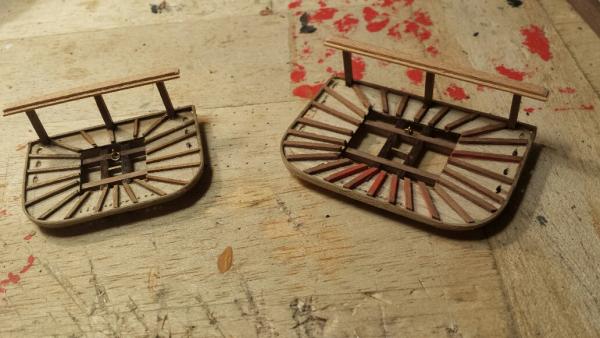
Good morning Popeye. Jerry designed some wooden frames for inside the bulwarks and they look pretty good. Thanks for your continued interest in my site. I had some correspondence from Ages of Sail, the distributor for Amati kits, and they will try and get the missing parts we need. It looks like they're going to have to go to Amati in Italy since they don't have what we need in stock. So it's going to be some time if and when we get what we need but as they say in this hobby, "Patience is a virtue." We're just missing one small canon and I believe that is something the distributor does have. So I hope you have a terrific day and stay warm. Charlene
-
Hi Chris.. Bad news!! Jerry is cracking the whip and won't let me take the time to go back over the directions and material list to determine the parts that are missing from this kit. He's real bad! However, I do remember for sure that the metal inside gun port frames were missing, as was one of the culverins (small cannon), and all 24 of the bumpkin guides, That is what's missing, so far. The wooden bowsprit cheeks were not supplied, nor were the small dowels for mounting the blocks below the mid deck belaying pin racks and we were shorted on the 1x2mm strip wood. This is from memory; some more parts were missing but without a thorough check I can't say what they were for sure. As mentioned Jerry made the wooden parts from scrap wood and we're hoping that the distributor will sell us the mikssing metal parts. That's the best I can do right now. Charlene
-
Hi Chris. I'll have to back over the directions to answer your question but I have off from school tomorrow and will try and get the info for you then. Luckily, Jerry made some of the missing wooden parts for me. Take good care, Charlene
-
Hi Popeye.. Good to hear from you again and thanks for your like of the progress. Have a great day.. Charlene
-
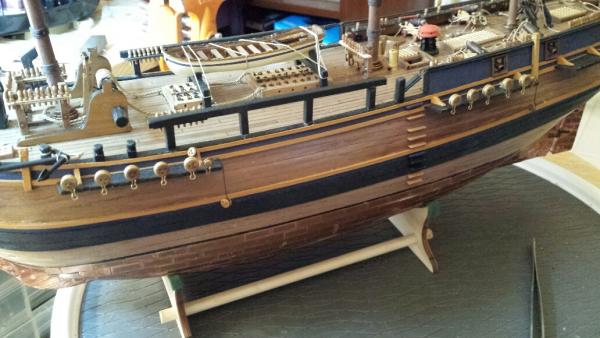
Hi Popeye, Thanks for keeping up with us. I'm still making a little progress but have run into a kit shortage problem which I hope to fix. Some metal parts are missing from the kit for which I have requested from the distributor. Hopefully I'll get them replaced and if not, I'm sure hubby will figure a way to compensate. In the meantime I'm going to press ahead as I'm really enjoying the build. Here are some pictures of where we're at. Hope you have a great day, Charlene

-
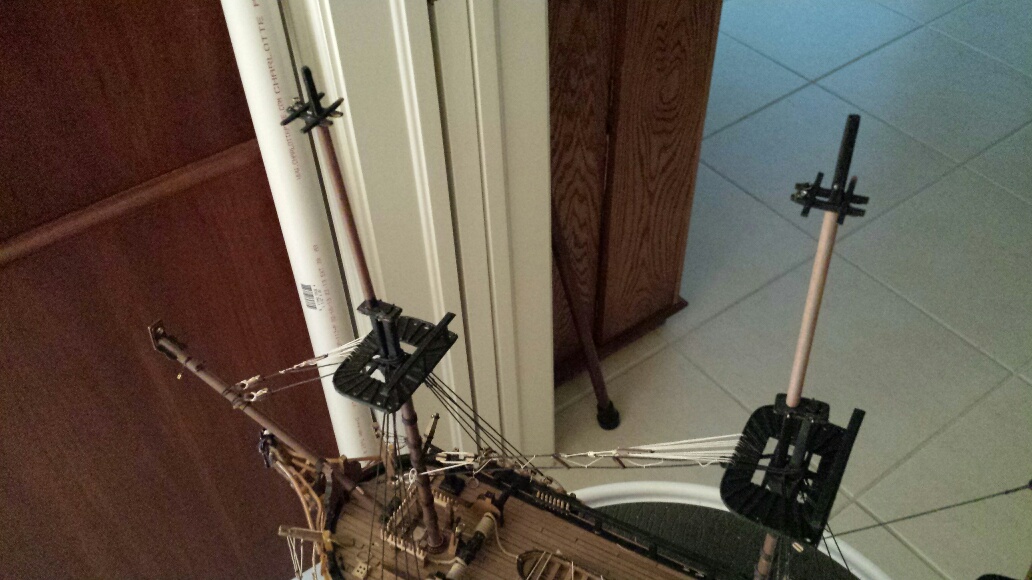
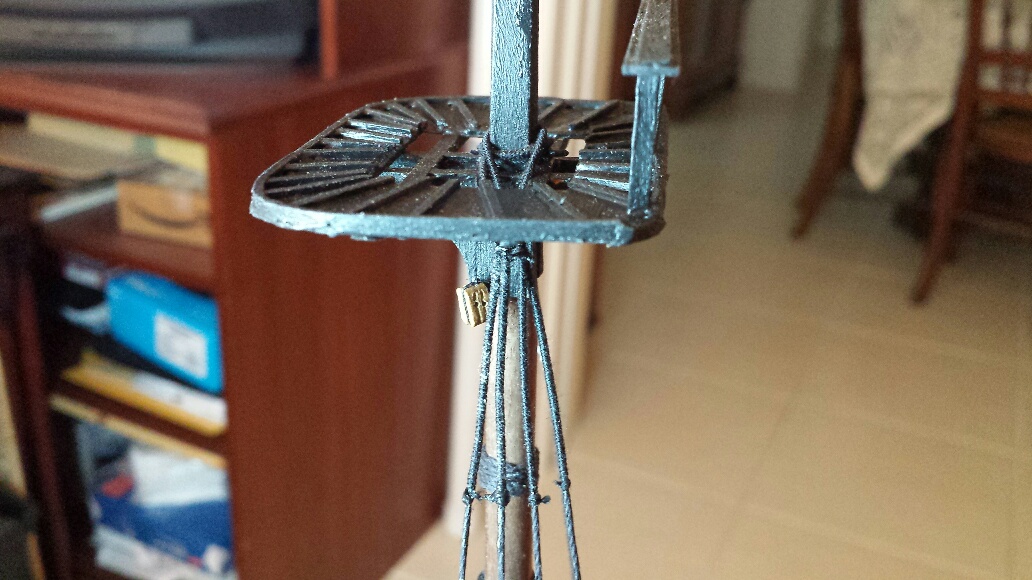
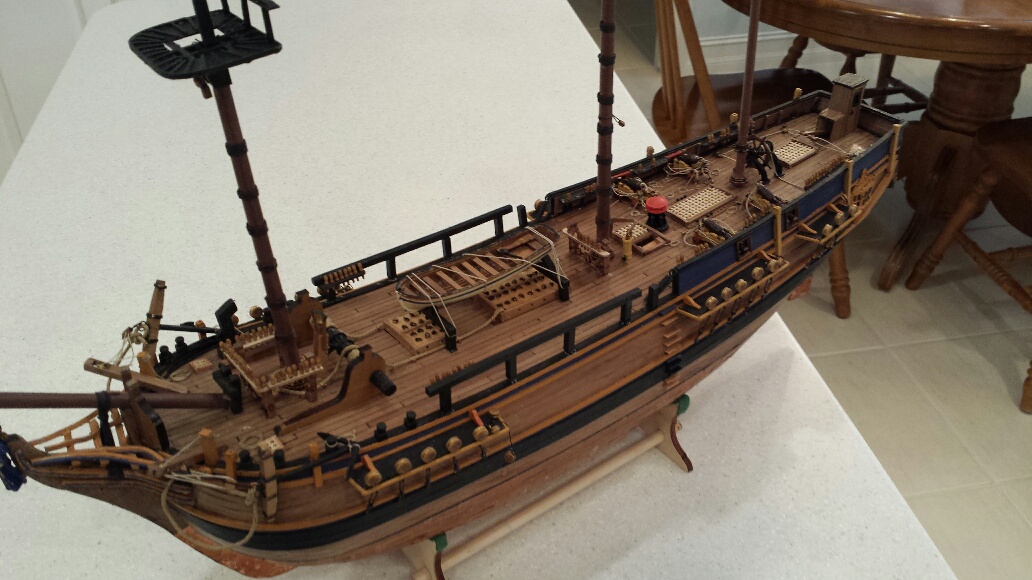
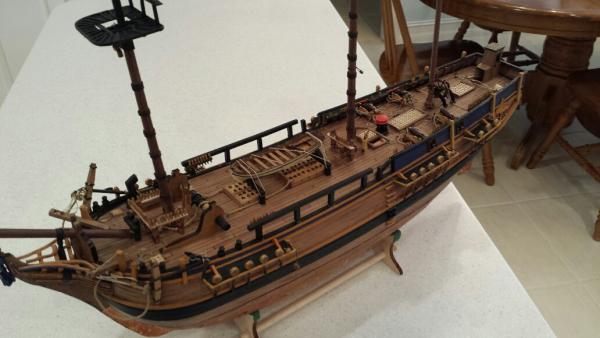
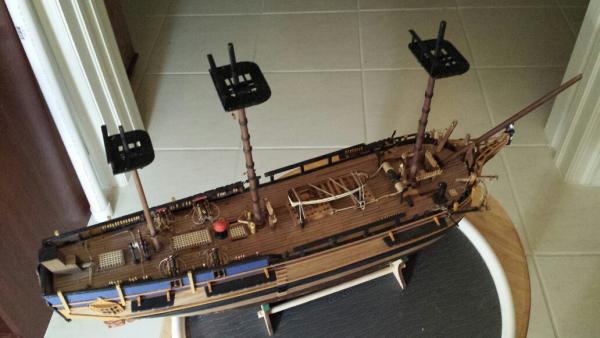
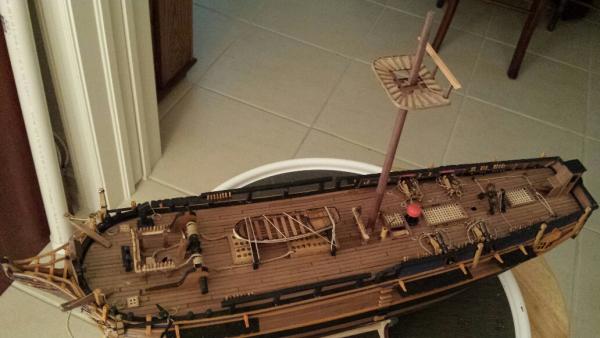
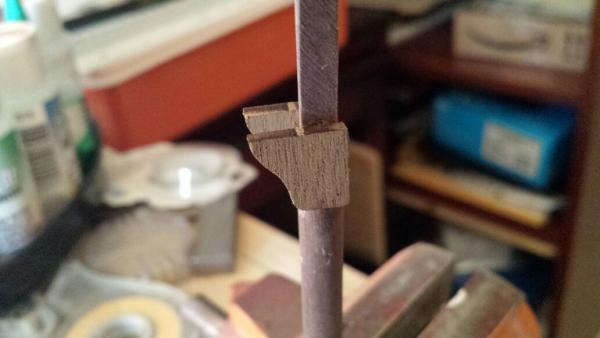
Hi Everybody, It looks like jerry and I have made a little more progress during the past week. I'm really excited because now I can see what my model is really going to look like. Jerry said not to get too excited since the rigging will probably dampen my enthusiasm but knowing that he's around makes me not worry. I finally got to use the drill press, even though for a short time as Jerry thought I was going too fast. The mast dowels are very soft walnut (that sounds like an oxymoron) and they trim very quickly. It didn't take long to sand down the couple of milimeters necessary on the three lowwer masts. The hard part for me was trying to figure out how to turn a round dowel into a square stick. Jerry files the first mast and I did the next two. I really think I did a better job than he did. LOL. So we mounted the cheeks and tried on the platforms and all seemed to go together okay. Next comes the mast rings (wound thread), some blocks and setting the lower masts permanently into the hull so we can begin the standing rigging. Here are some photos of our progress. Charlene


-
Kevin,, Nice to see you. Jerry told me that he found your log invaluable when bulding the Victory. He joins me in wishing you a very Happy new year and we both hope to see you more often. Charlene,
-
Hi Frank. I appreciate your looking in to my log. After the tie i have spent learning ship modelling, I'm beginning to think that building these "things" can be as stressful as teaching. Thank goodness the hubby is around. Come back again. Charlene
-
Hi Michael and Happy New Year to ypu, too. And many thanks for being so nice. Charlene
-
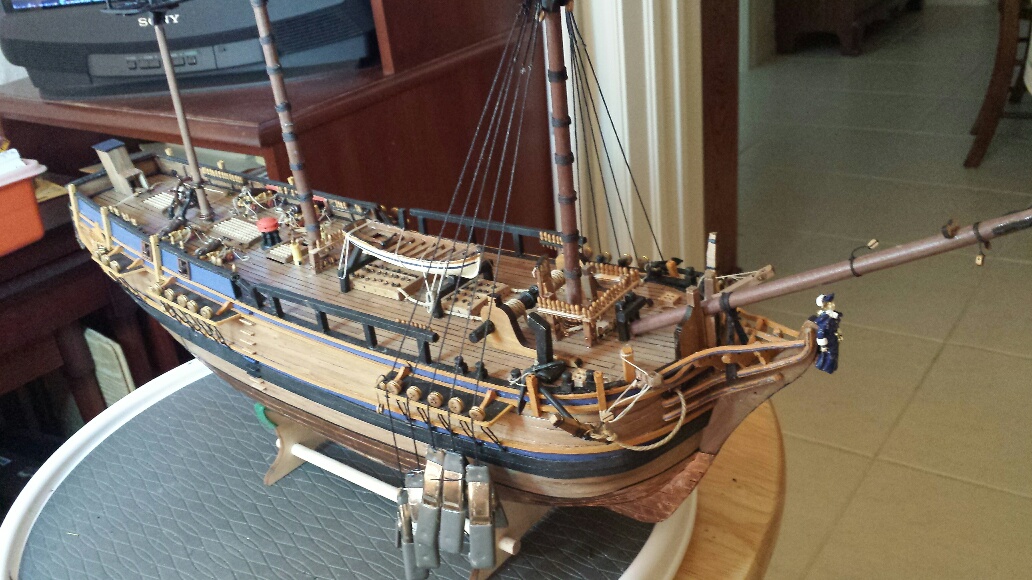
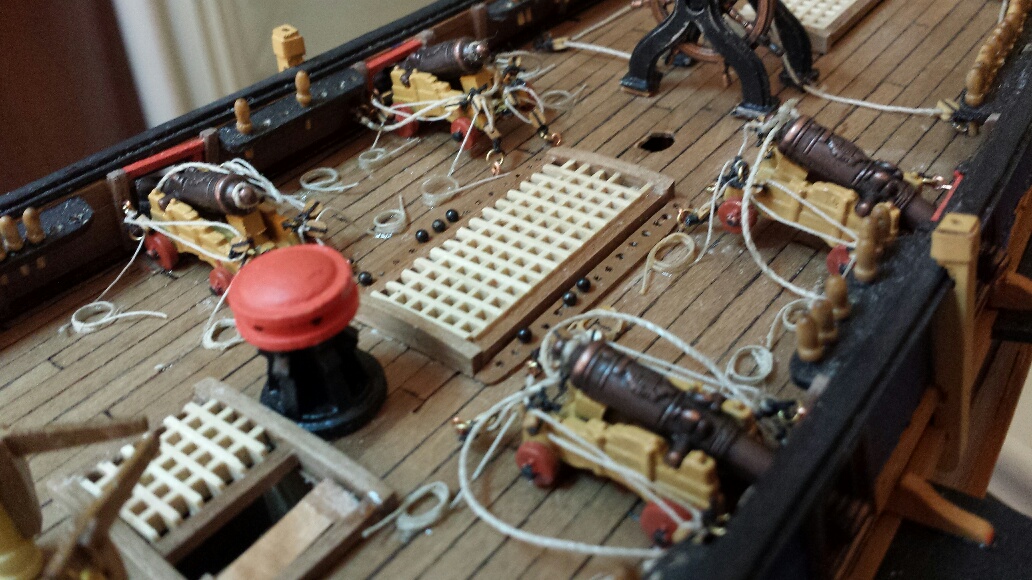
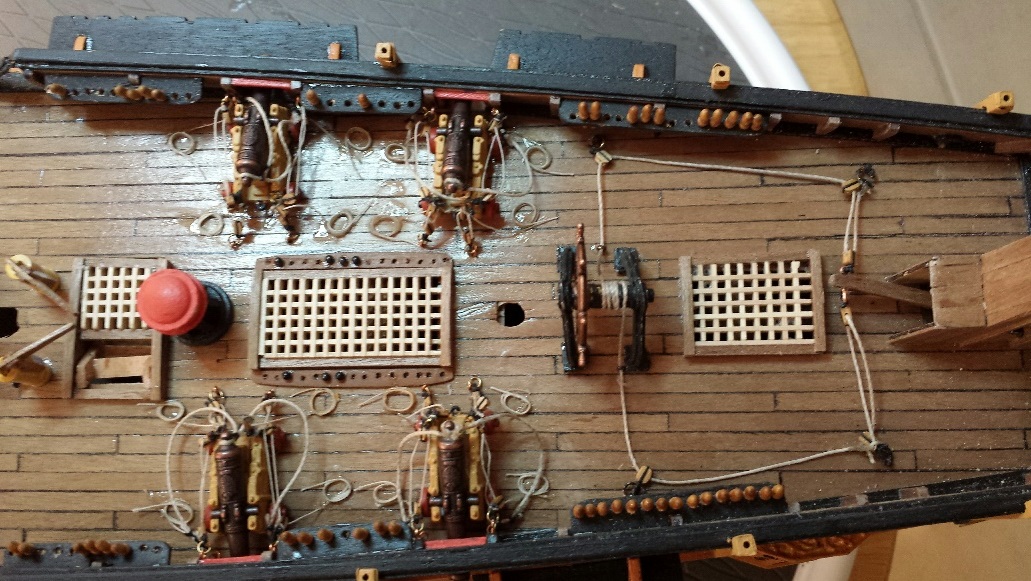
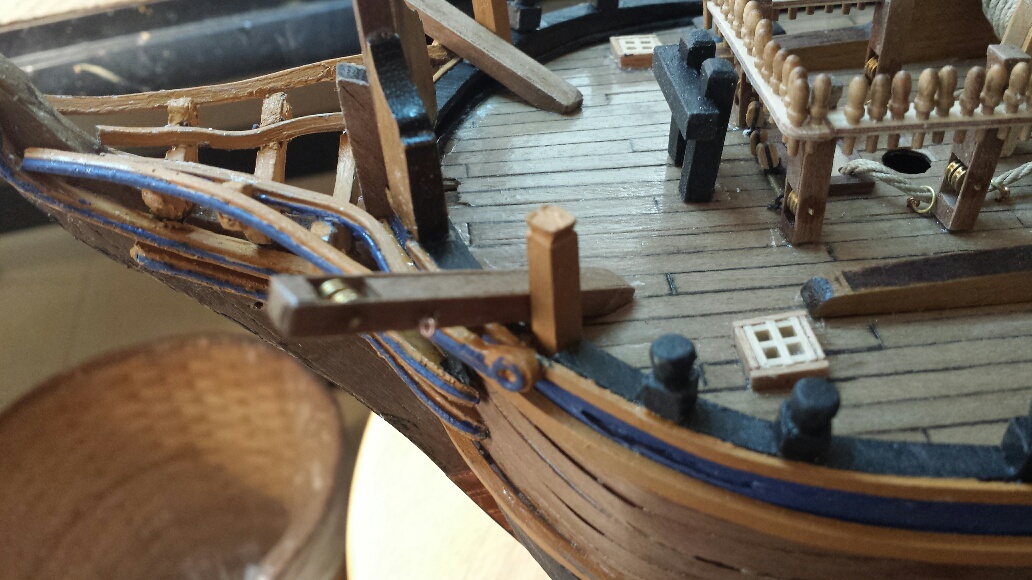
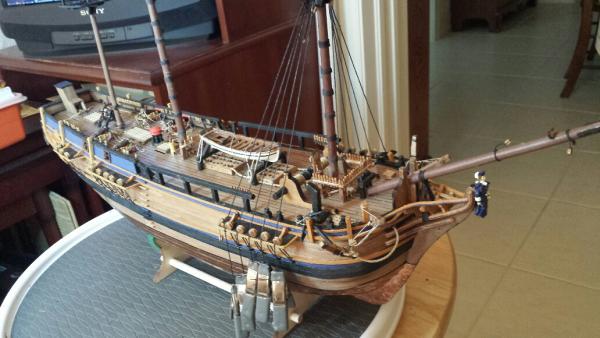
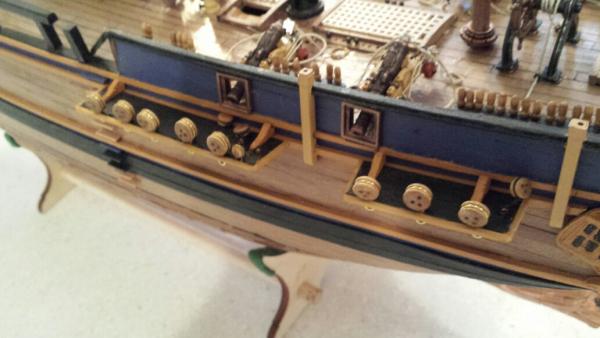
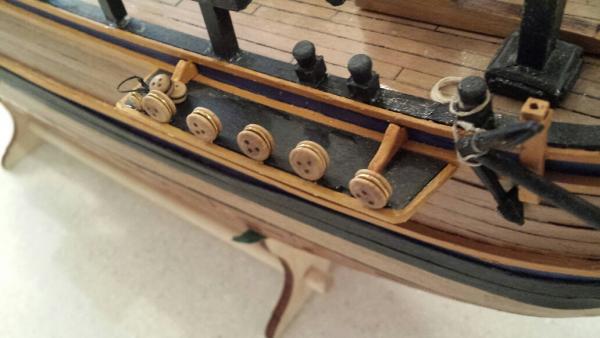
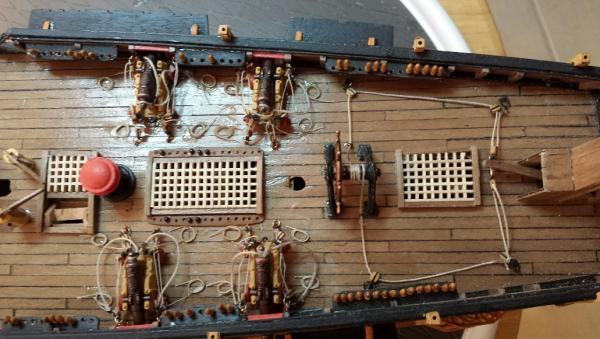
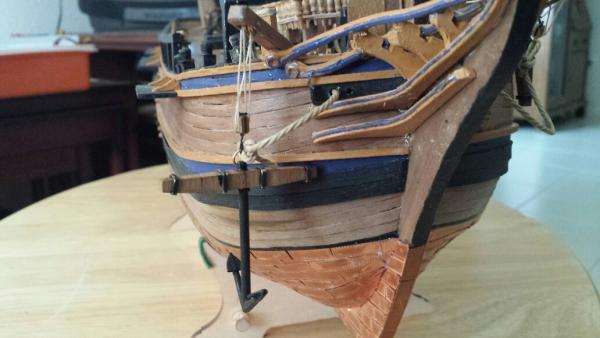
Hello Popeye. So nice to see you again. Many thanks for stopping by and for your good word. I wish you a very Happy New Year and hope the season has been good to you. So Jerry and I will close out the year with the Bounty ready for masting and yards.... and then the rigging... Here are a couple of pictures of our model with all (4) cannons mounted and rigged. I have learned a lot and struggled to the last step as I rigged the final cannon. Fortunately my hubby was close by and coached the process so that I was able to finish. I can't believe how much work there is to building one of these ships. Jerry tells me the best is yet to come. Happy New Year Everyone!! Charlene

-
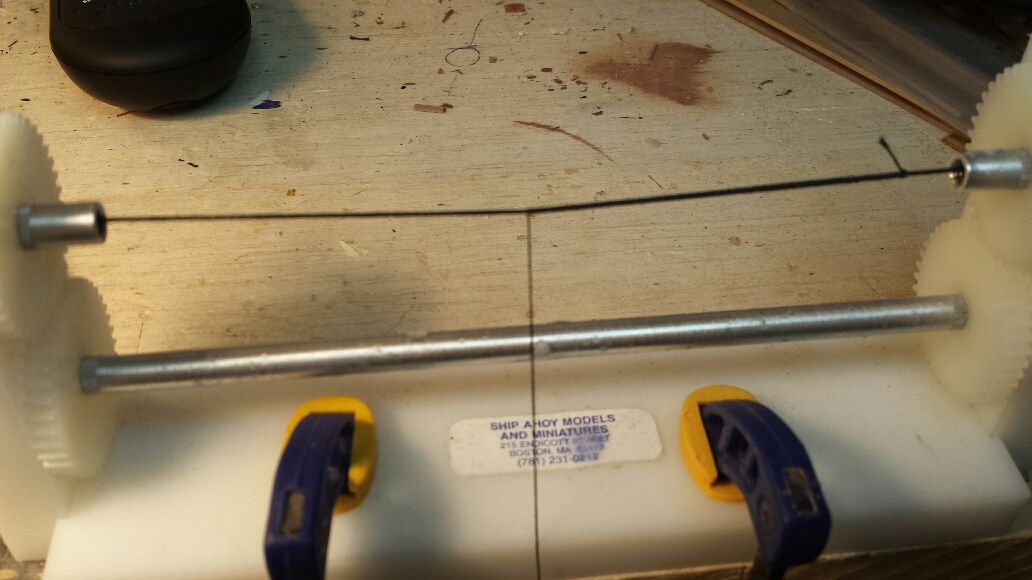
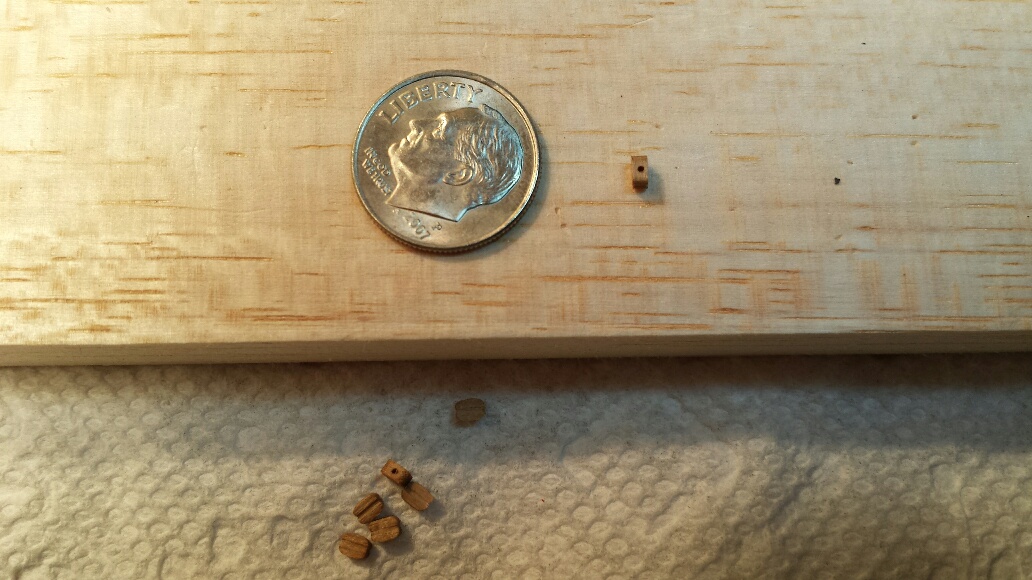
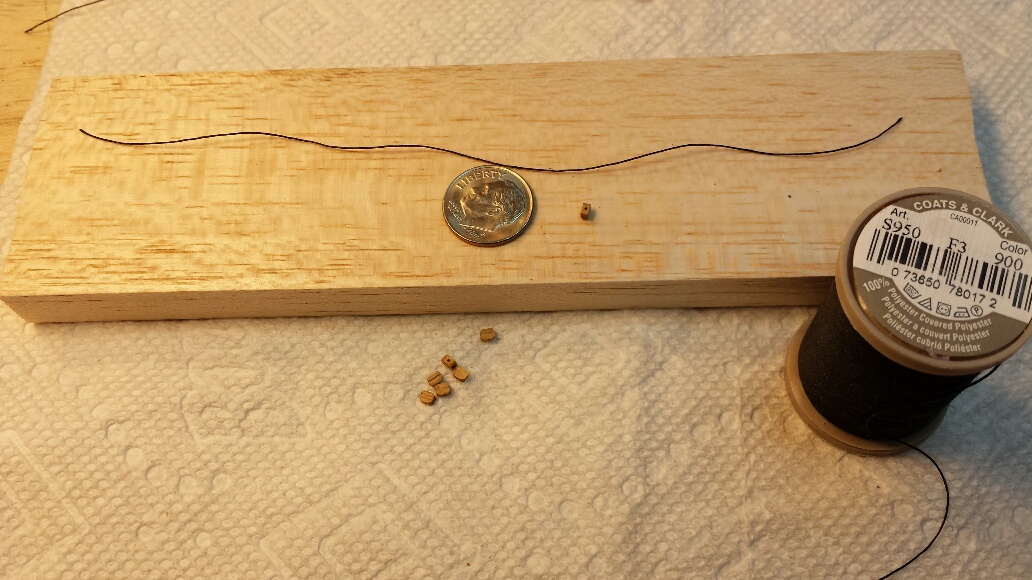
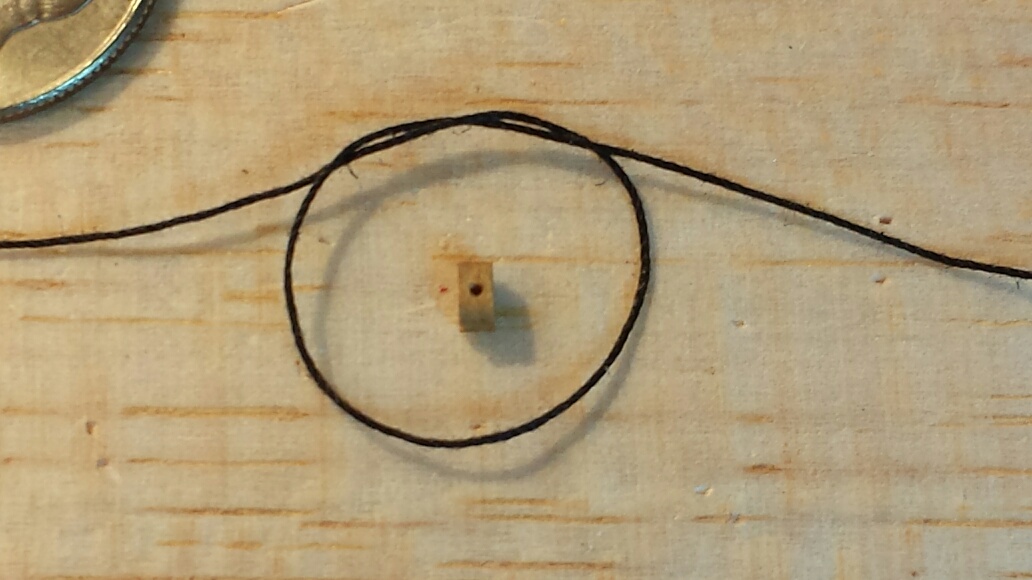
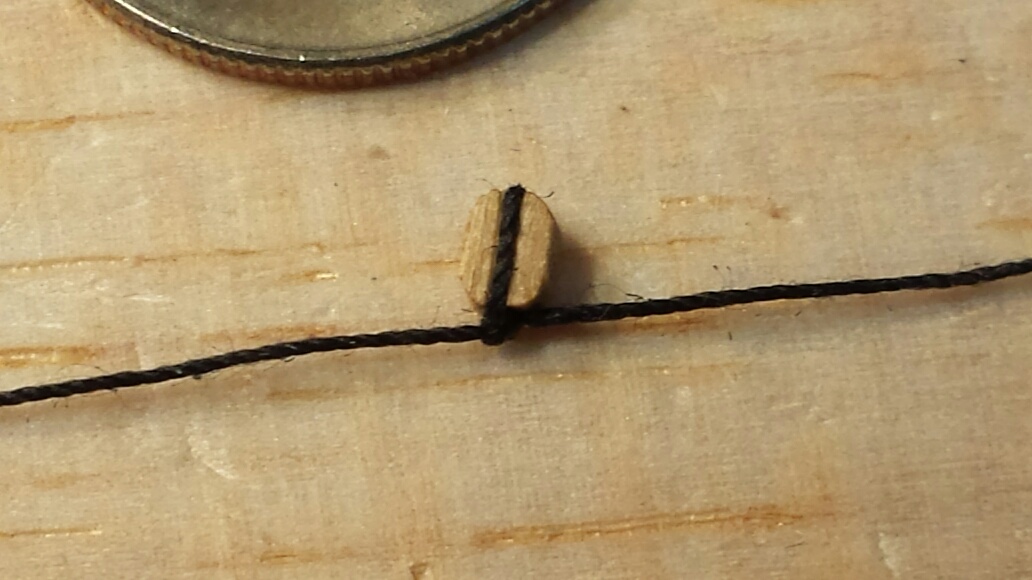
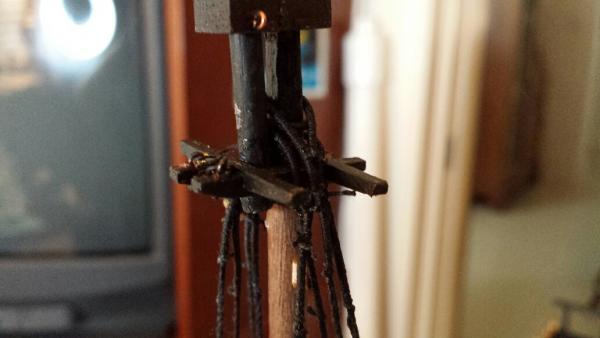
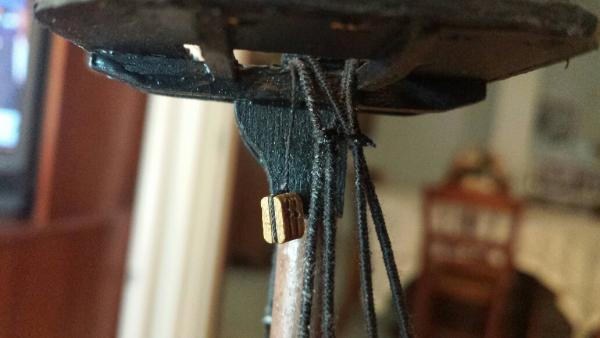
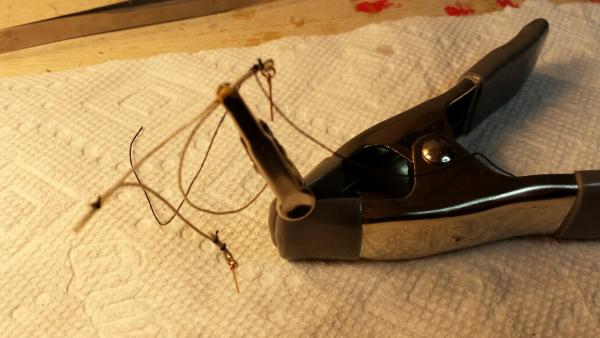
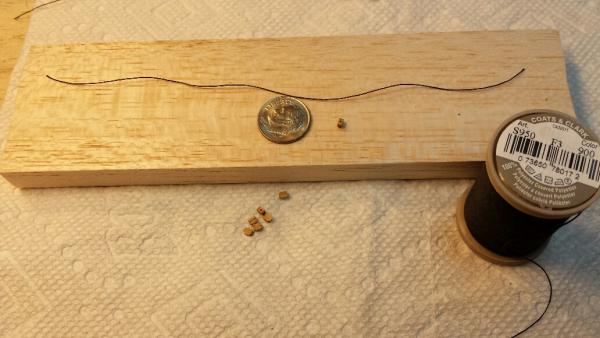
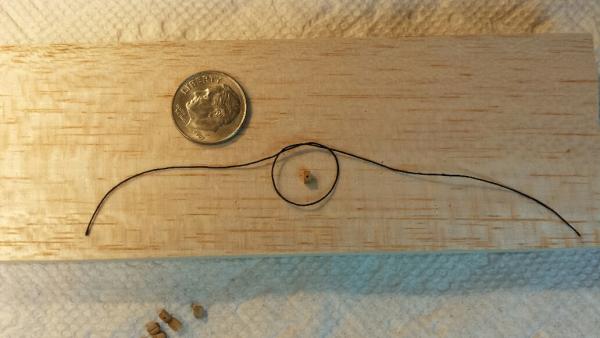
Regan.. I appreciate the video. It is very enlightening. As for the thread, I use black Coats & Clark Dual Duty Button and Craft thread. It can be found in most fabric stores or in a Hobby Lobby store if you have one nearby. It's quite inexpensive and goes along way. It's perfect for tying blocks and for all aspects of rigging. And yes, a square knot and reef knot are the same. Here is a sequence that I learned from Jerry to tie a 2mm. block using the thread mentioned above. And a drop of CA on the knot will do it... I hope you have a nice day. Charlene


-
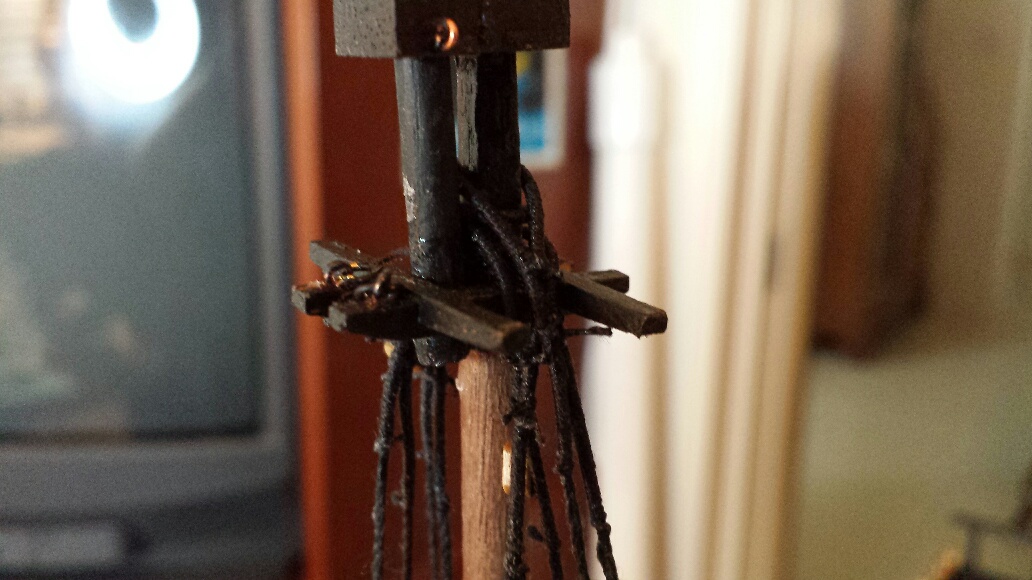
Good morning, Neptune.. Thanks for the further explanation. I get it now. I'm much obliged that you took the time to open my eyes. In a situation like this, in the past, I simply twisted the block 90 degrees and put a drop of CA on the thread which held the block in its new direction. Many thanks Jerry (for Charlene)
-
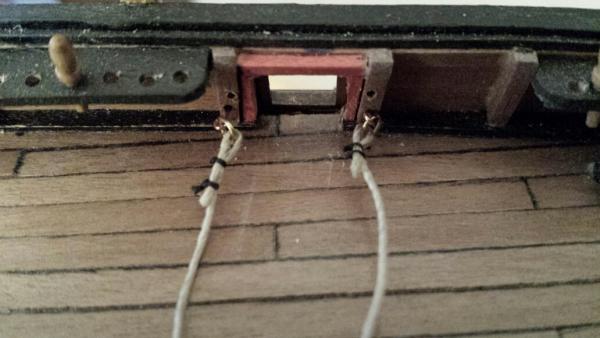
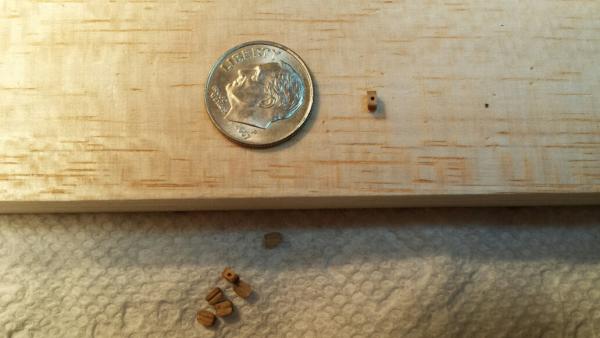
Hello Regan.. Thanks for checking in on our log. This is Jerry writing as Charlene asked me to answer your post and to add some more photos to her (our) log. In answer to your question, I don't know what you mean about a 90 degree twist. Yes, I used a thread to tie the block to the dowel but the block sits at 180 degrees to the dowel or straight up. What I do is tie the thread around the block using a true square knot and then I tie the loose ends around the dowel. also with a square knot. I hope the attached picture will bo of some help for you. Jerry

-
Good morning, Brian.. I'm under strict orders to do the majority of the rigging. But, I may have to wait until summer to do that so who knows? Good to hear from you; hope all is well... Hi Everyone, So, it looks like I'll be able to spend some time working on the Bounty during the next couple of weeks as I'm now on Christmas break from school. Jerry did some work on the kit and his progress will follow with some pictures. He asked me to mention that the Amati kit has been far from complete in both instructions and in parts. There have been shortages, especially with the metal pieces and the instructions are far from good. Since the kit is Italian, the plans and directions are also in Italian. We asked the supplier for some type of itranslation and what we received is minimal at best and without previous experience I don't believe anyone could handle this model. Forget me , as I'm a rank beginner, but even Jerry is having a tough time understanding the "manual." Before we started building this kit we knew, from reading other posts, that the gun ports were too close to the deck and that the cannons would not stand with their barrels horizontal to the water line. Jerry racked his brain for a solution and finally i agreed with him that we'll place the cannons into the gunports even though a couple of them will be pointed below horizontal. We even thought about grinding the metal carriages down to lower them to the deck but decided that doing that would look real bad. When the cannons and their tackle are complete I'll be getting my lesson on the drill press as I learn to make the masts and yards. We are getting very close to that aspect of the build. Jery and I wiould like to wish all of our friends a very happy holiday season and a very prosperous and healthy new year.


-
He Michael.. Thank you for reminding me where the Bounty kit came from. Jerry was picking his brain trying to remember. He said that he promised to keep the prevous owner of the kit informed as to the building progress and so now we know. And now you know how the build is coming along. Please keep tuned for more progress. Have great day. Charlene