HOLIDAY DONATION DRIVE - SUPPORT MSW - DO YOUR PART TO KEEP THIS GREAT FORUM GOING! (Only 24 donations so far out of 49,000 members - C'mon guys!)
×

ZevEisenberg
-
Posts
54 -
Joined
-
Last visited
Content Type
Profiles
Forums
Gallery
Events
Everything posted by ZevEisenberg
-
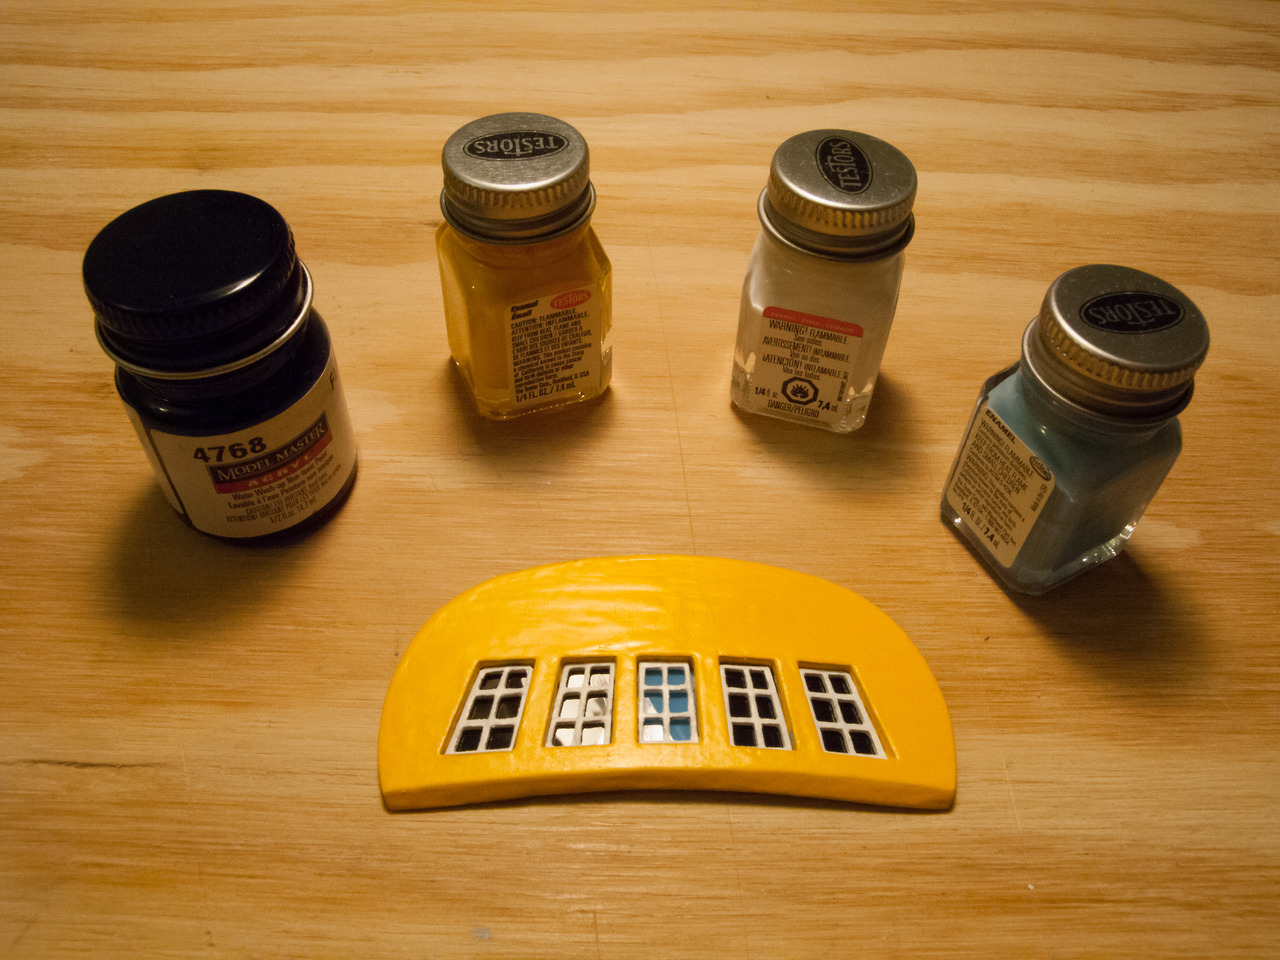
 The transom, painted and with window frames and panes fitted. The window panes are a piece of clear plastic, painted black and blue, and glued to the back of the transom behind the wooden panes. The center window is, according to the plans, a false window. The plans say to “center fake window on real ship.” The instructions say to paint at this point, but other builds I’ve seen are saving it for later (or aren’t painting?). Is this because you are planking the transom? In general, do people prefer to pain parts before or after they are installed, or does it depend on the part? My dad follows the tumblr version of this log, and when I next spoke with him after he saw this one, he complimented my clever use of paint to simulate a reflection in the windows. It was surprisingly difficult to convey, over the phone, the fact that those aren’t fake reflections. That’s a piece of clear plastic, painted black and blue on the back, glued in behind the window frames.
-
Bending the transom wet and letting it dry to give it the correct curve.
-
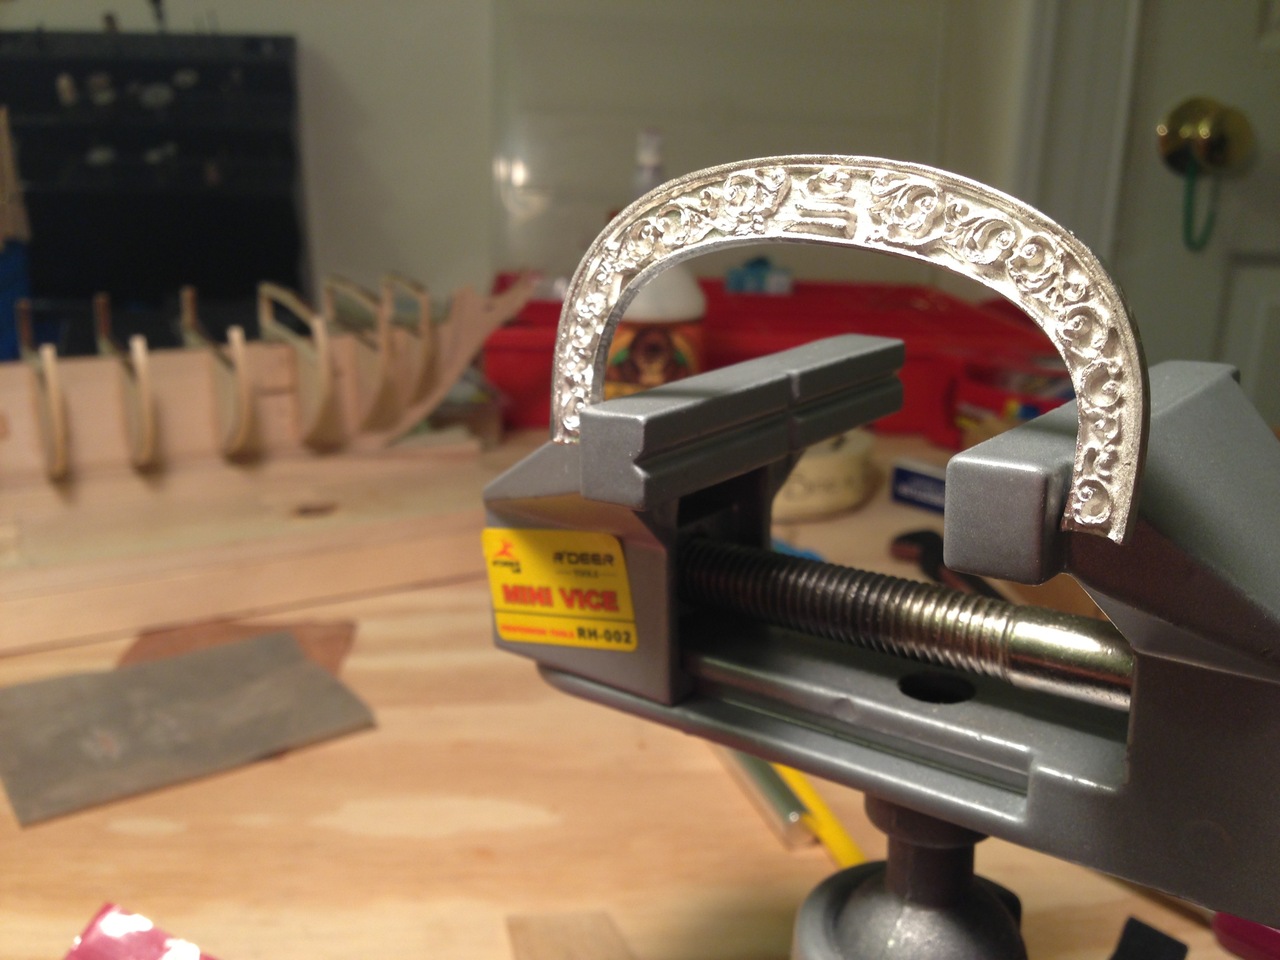
The wood transom and Britannia metal stern carving. The stern carving was not bowed wide enough for the transom, so I had to stretch it through misuse of a bench vise. After this post, I came across a post by @JPett (can’t seem to find it now) where he opted to shrink the transom itself. Since this is my first build of this scope and scale, I’m going to try to stick closer to the plans.


-
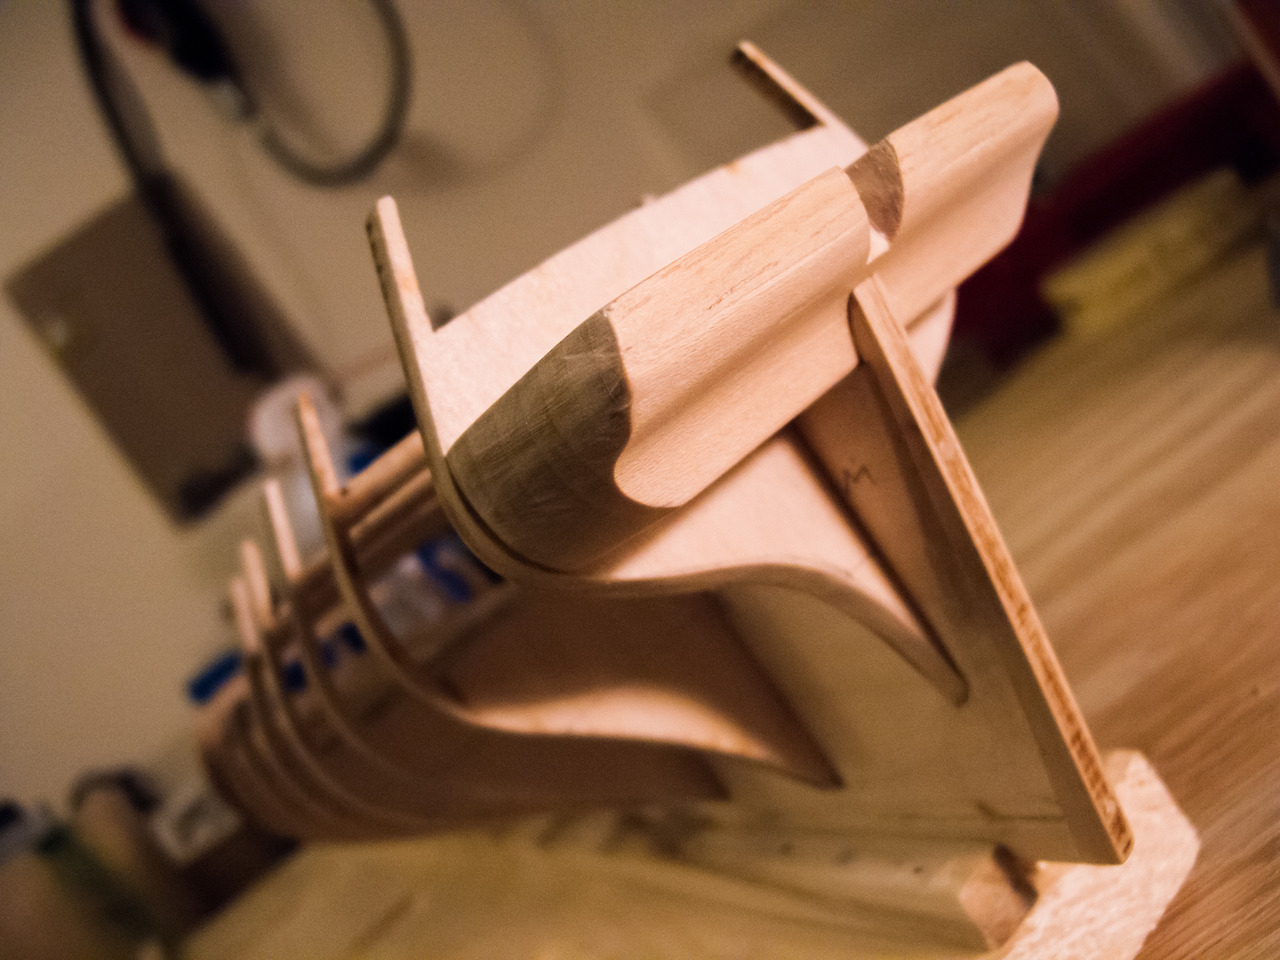
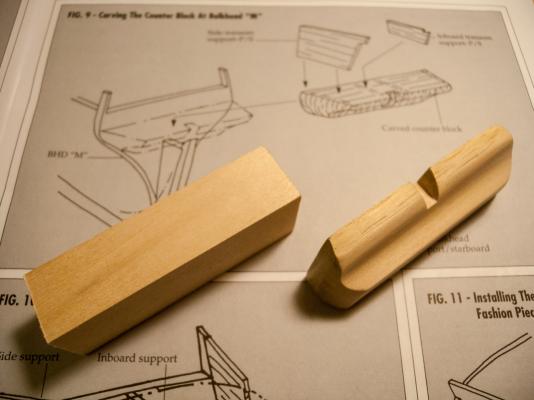
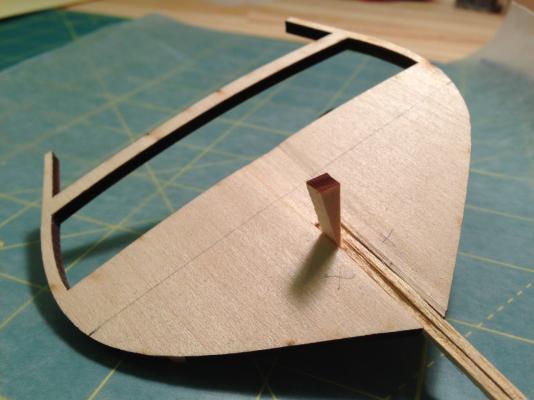
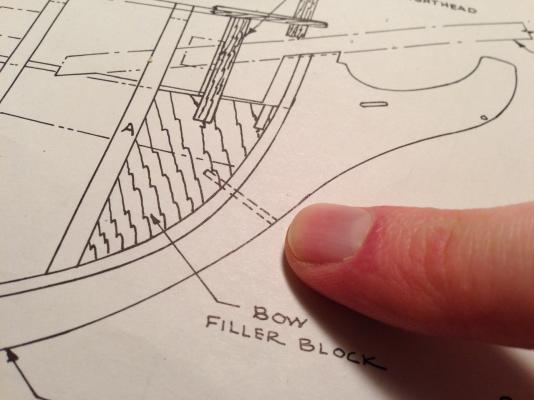
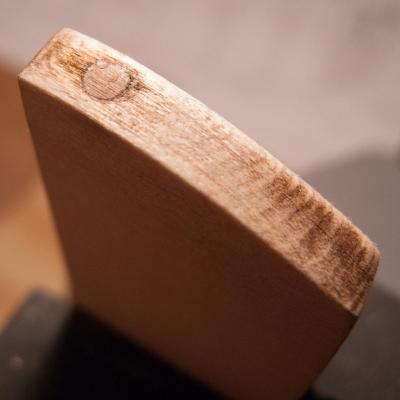
Tonight I turned a small block of basswood into the stern counter block without the use of power tools (and, some would argue, without the use of proper tools). The next time I make one of these, I will wait until I have fitted it to the keel before shaping the left and right sides, so as to ensure better alignment with the edges of the sternmost bulkhead.

-
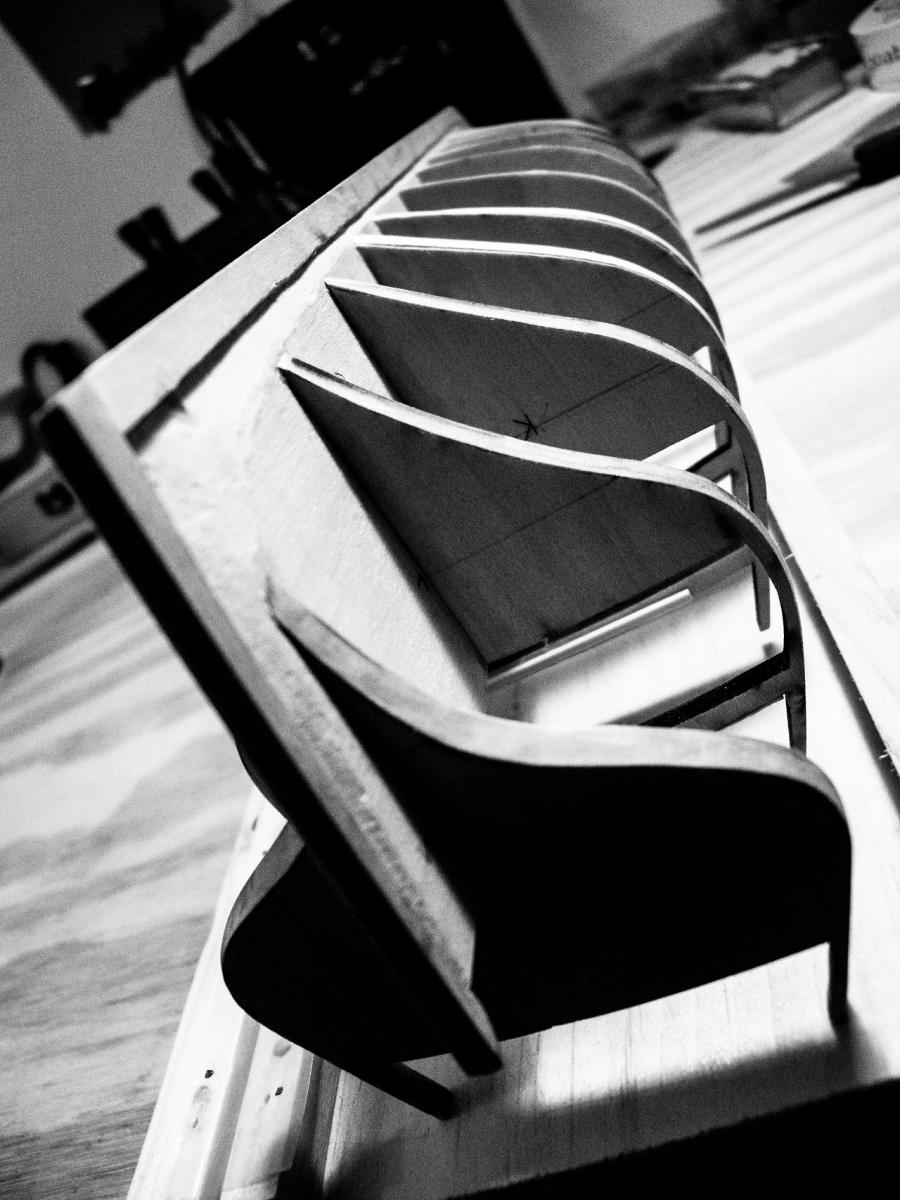
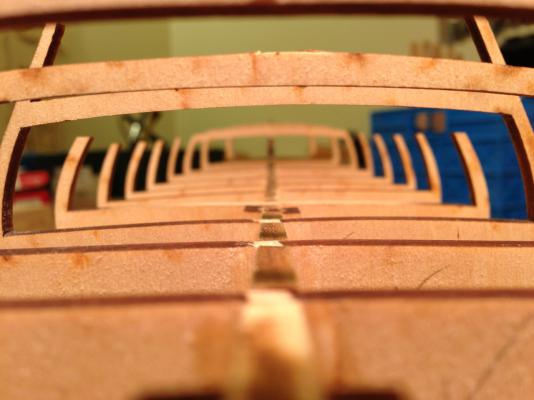
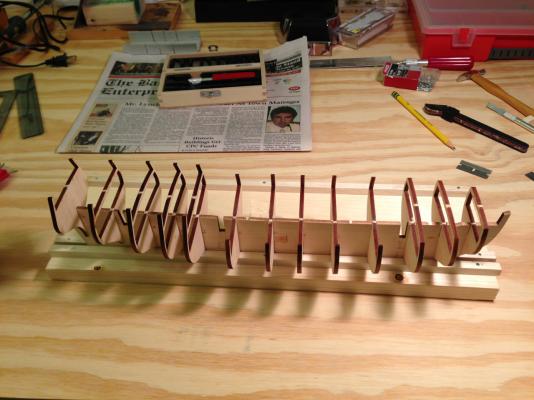
Finished fairing the bulkheads. All but three required bending, gluing, and sanding strips to both sides. This was the most difficult part of the build to date. It seemed like every time I finished fairing a bulkhead, its neighbors got worse. Some ended up having two or three layers of fairing strips added. hopefully, I’ll how get smooth planks to within a tolerance of less than a plank’s thickness, which still seems high. How typical is this level of fairing? Is this an issue of model quality, experience, technique, or some combination?

-
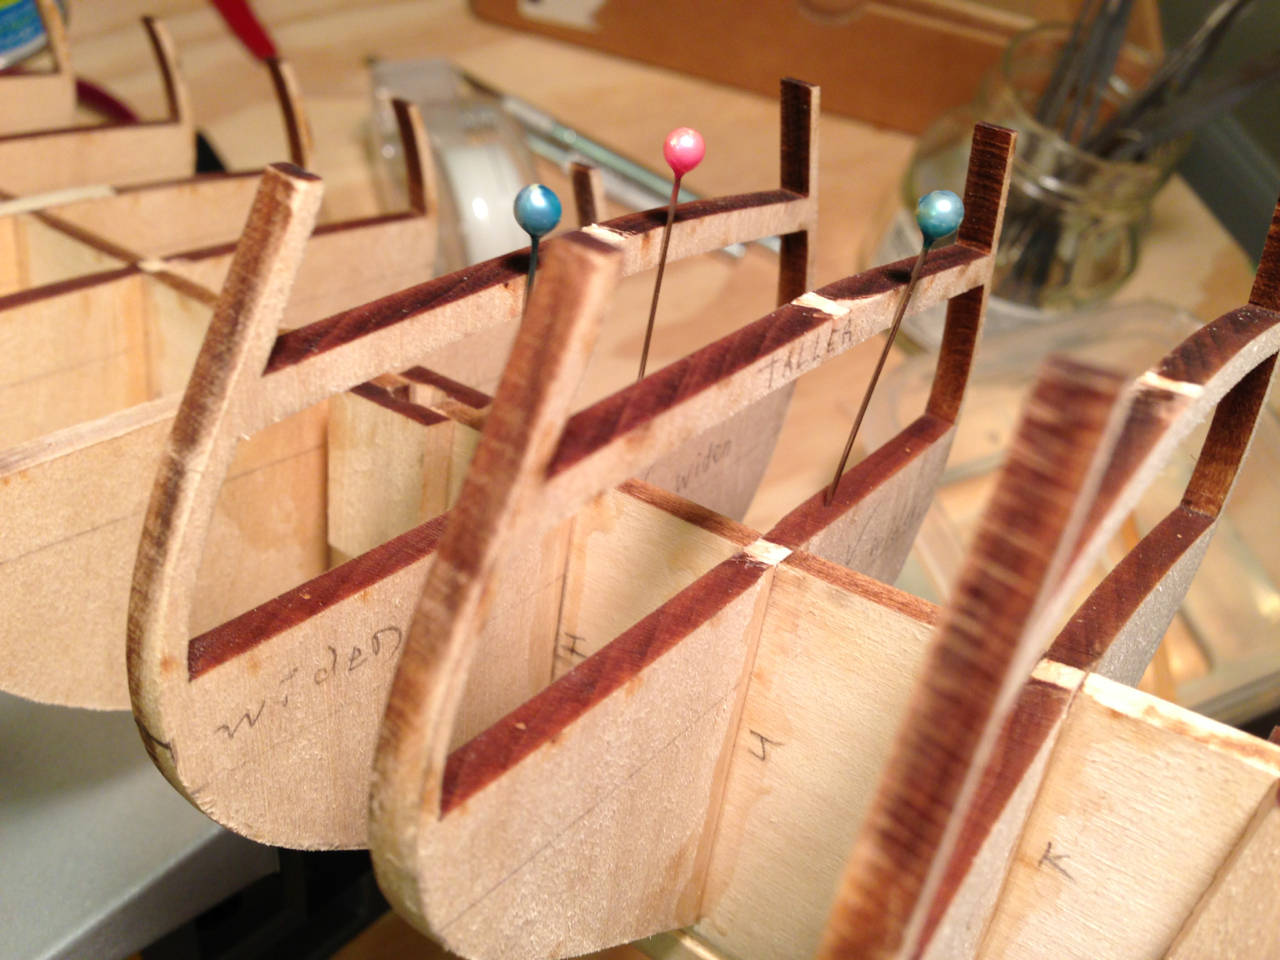
Some of the bulkheads are slightly misaligned. I’ve used pins to mark the ones I need to widen, so that the hull will curve smoothly.

-
Bulkheads glued. Had a bit of a scare when I realized I had mounted one backwards, but the glue was applied in such a way that I was able to cut it free and reverse it. In origami terms, “the model will not lie flat.”
-
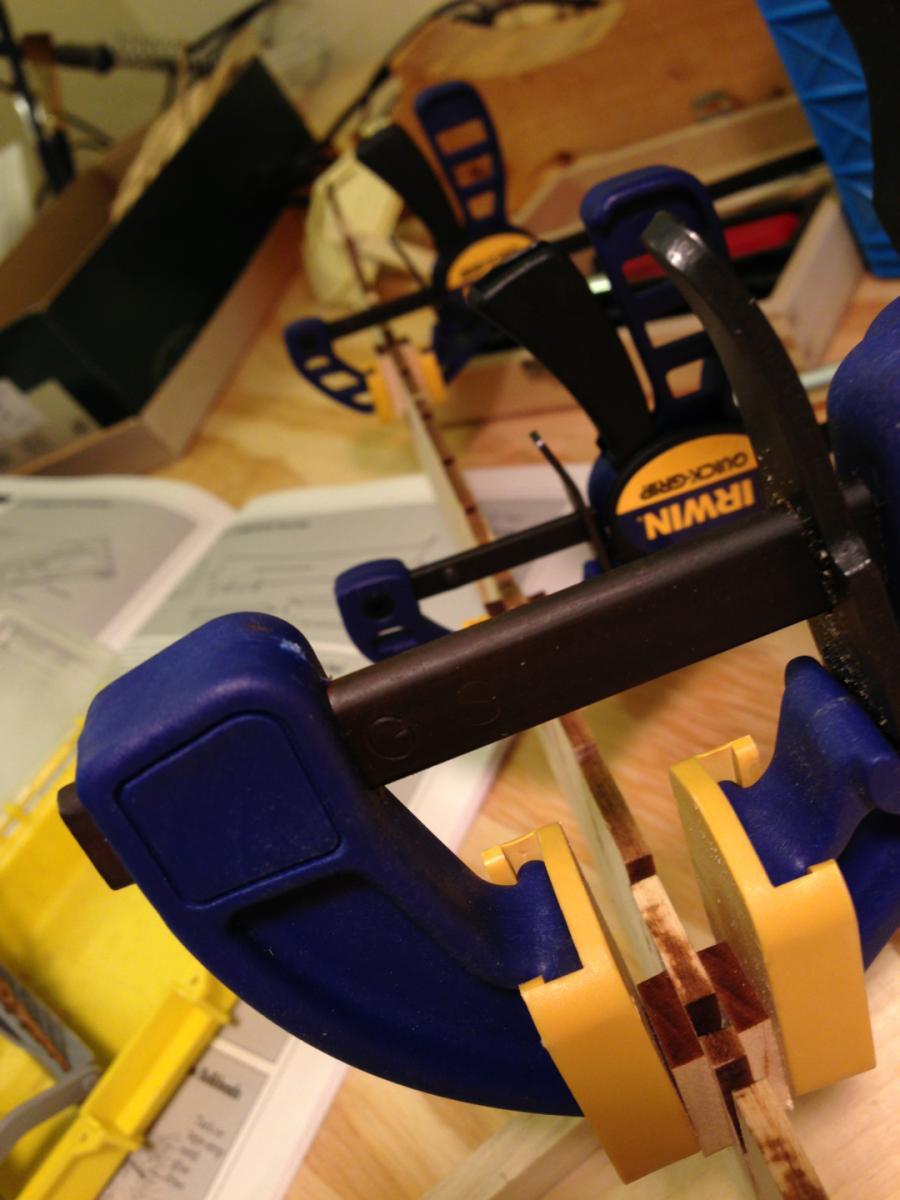
Using strips to align bulkheads just prior to gluing.

-
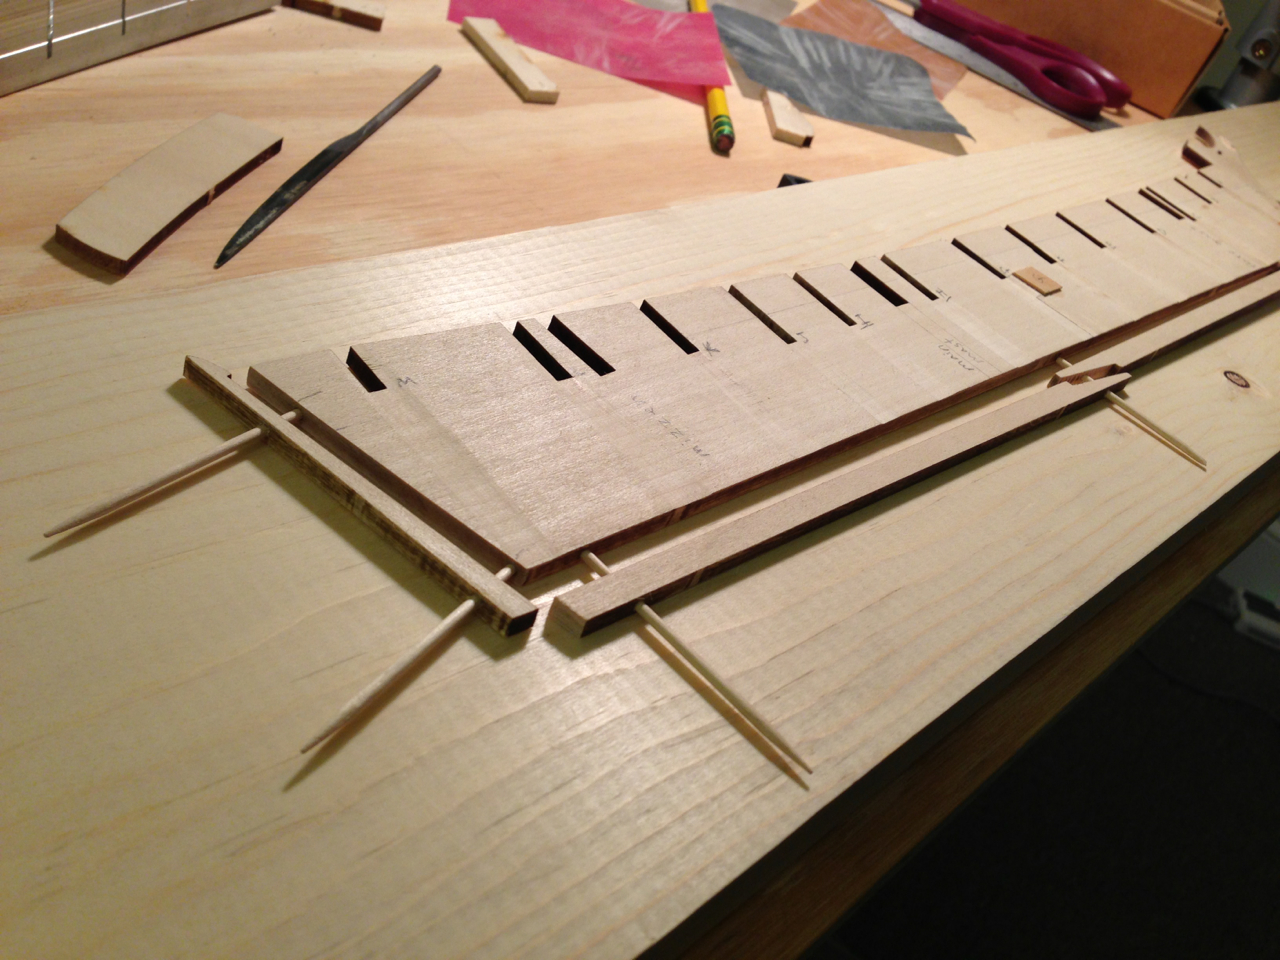
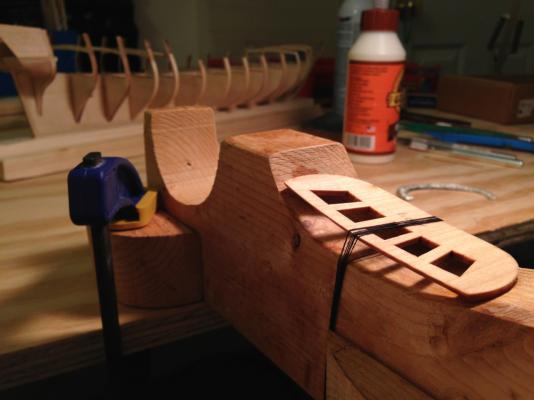
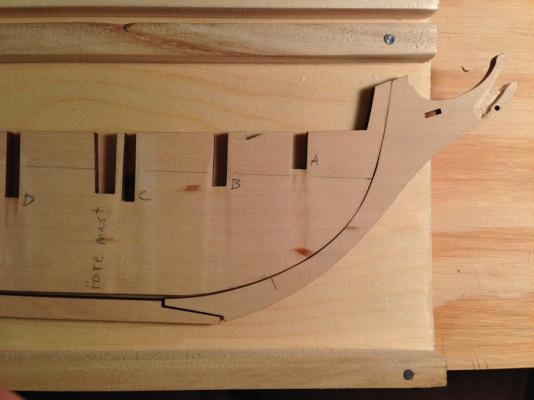
Attaching blocks on both sides of each mast slot, which will make the masts sturdier when I step them. Using 13/64″ and 7/32″ drill bits by hand to shape the insides of the slots once the glue has dried.

-
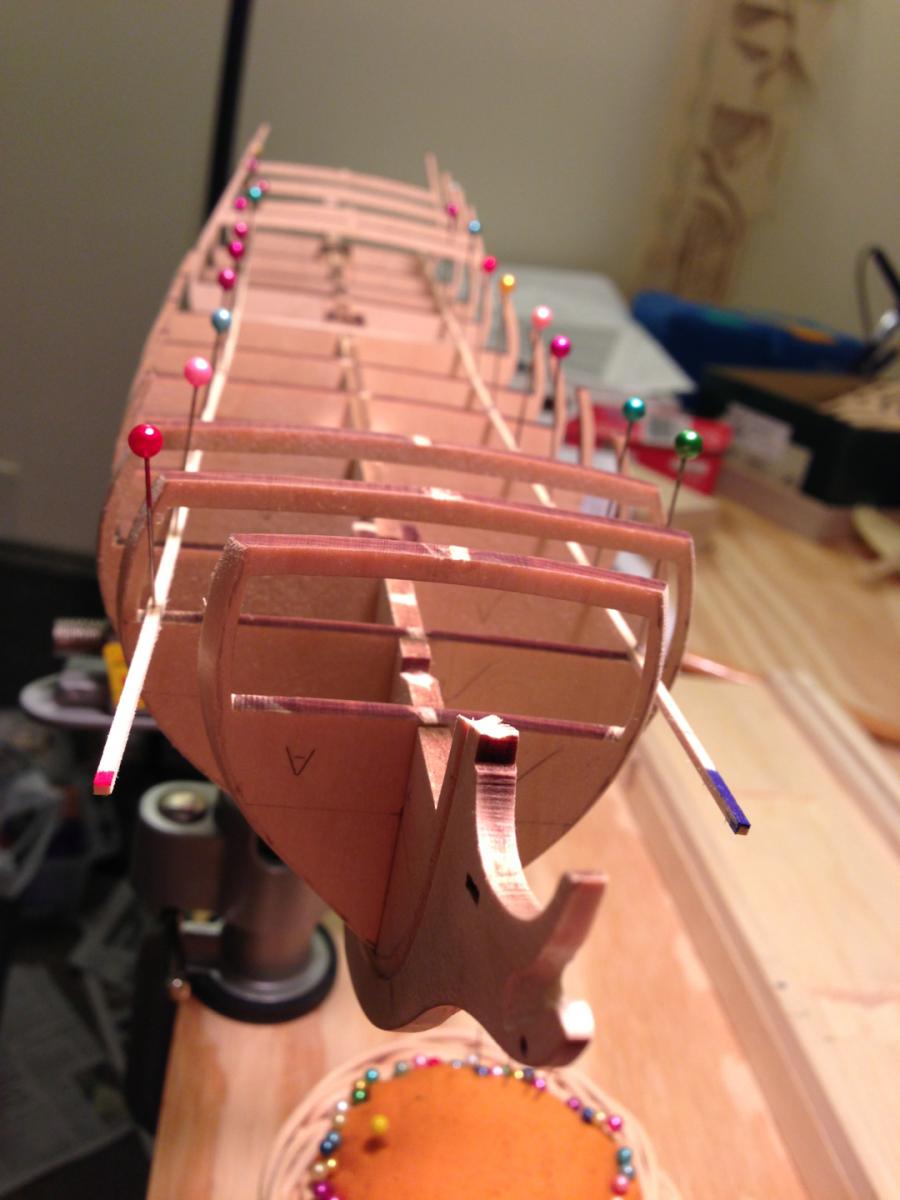
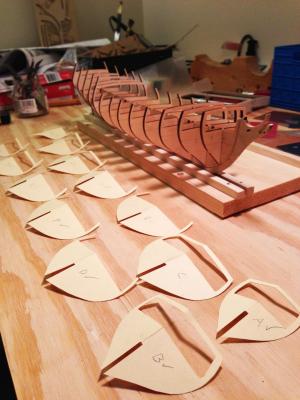
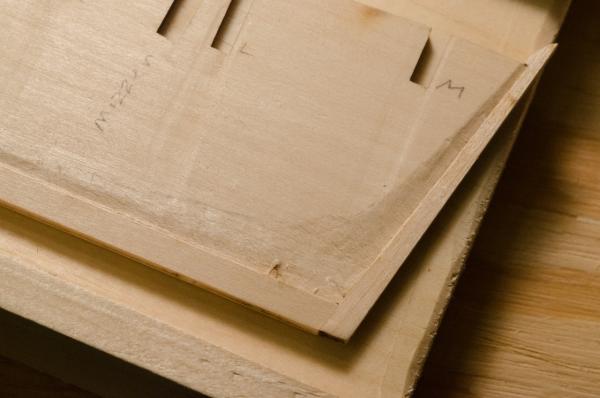
Bulkheads symmetrified. In the foreground are the paper tracings that I made of each bulkhead, folded in half, and used to check symmetry. The center slot was too far to one side in three or four bulkheads, and I had to slice a strip off of one wall and glue it to the other. This paper tracing technique comes from Frank Mastini’s excellent Ship Modeling Simplified.
-
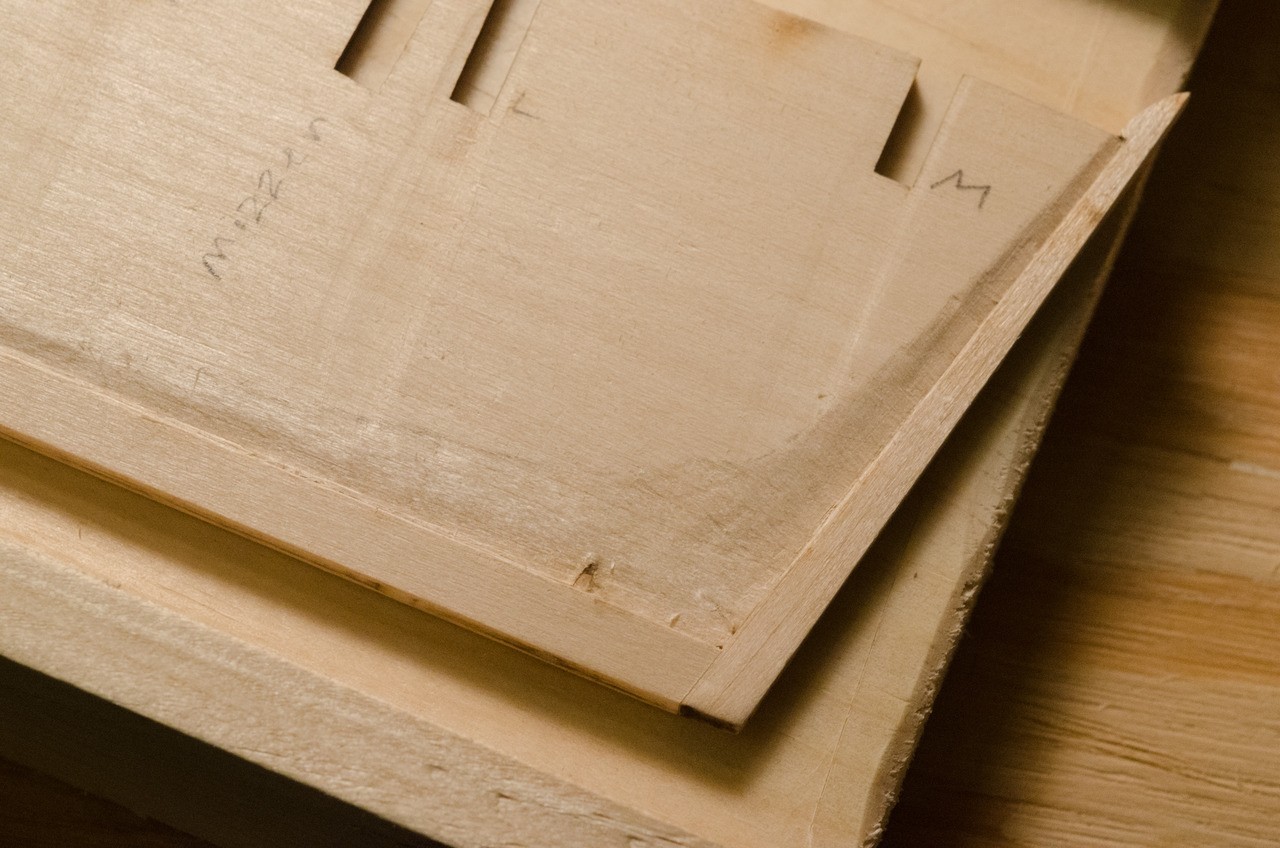
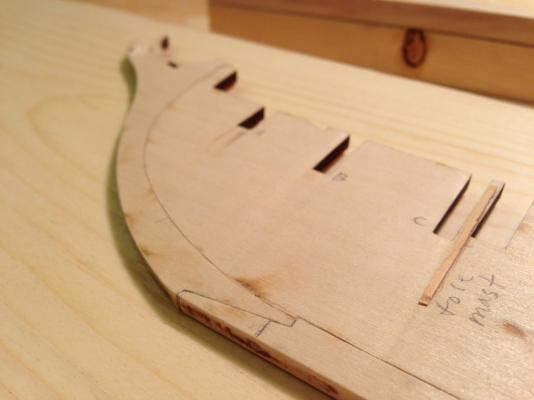
One of the bulkheads (so far) has the slot cut off-center. Cut out a slice from one side and glued it to the other to even it out. Worried that I may have overcompensated, and I’ll have to cut out half of that and switch or back. Note to self: measure more next time.
-
Keel rabbet completed with only minor injuries. It didn’t come out as smoothly as I would have liked, but I don’t know how that will affect the final build. Something to work on for next time.
-
30 October 2012: First model-related injury (small finger slice with X-Acto chisel blade). Lesson learned: probably shouldn’t be cutting the keel rabbet while on drowsy cold medicine. Photograph withheld.
-
Keel fitted.
-
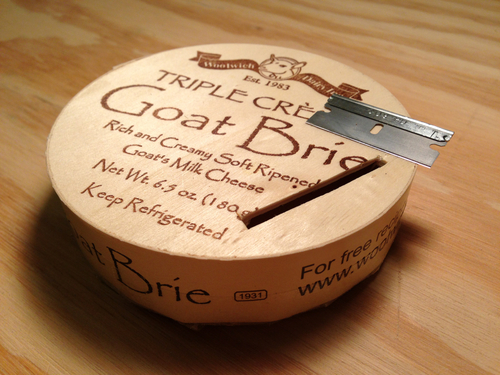
For safe disposal of single-edge razors. Something something extra sharp cheese joke.
-
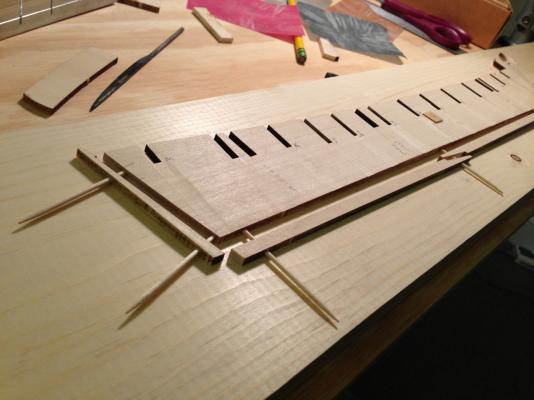
Holes drilled, sanded toothpicks fitted. Too tired to glue, so waiting until tomorrow.
-
Clamped Dremel flex-cord to a block of wood and elevated another block for the keel assembly. Sanded board under keel assembly until it was shiny in order to move it smoothly towards drill bit.
-
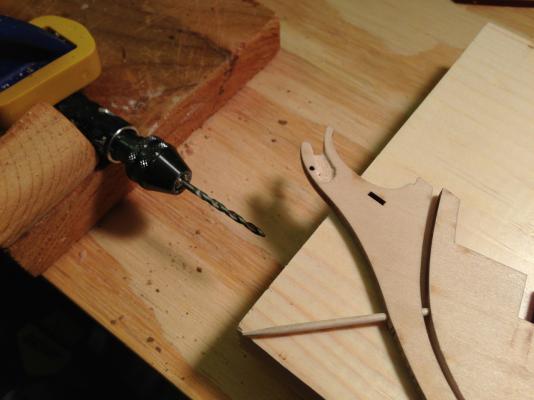
The plans suggest using dowels to help align the keel. The keel pieces are 5/32nd of an inch thick. I tried using a 1/16th inch drill bit, but I can’t seem to find any dowels that thin. I tried a ~3/32nds drill bit, which seems to work perfectly with some round toothpicks I picked up for $1. Pictured is an experiment on a bit of scrap wood. I drilled the hole, inserted the slightly-sanded-down toothpick, and cut and sanded the end. Looks like it will work perfectly, provided I can construct a jig to align the Dremel to ensure I get a perfect hole through both pieces.
-
A setback. Pretty poor tolerances in the laser cutting of the keel pieces. Much sanding will commence.
-
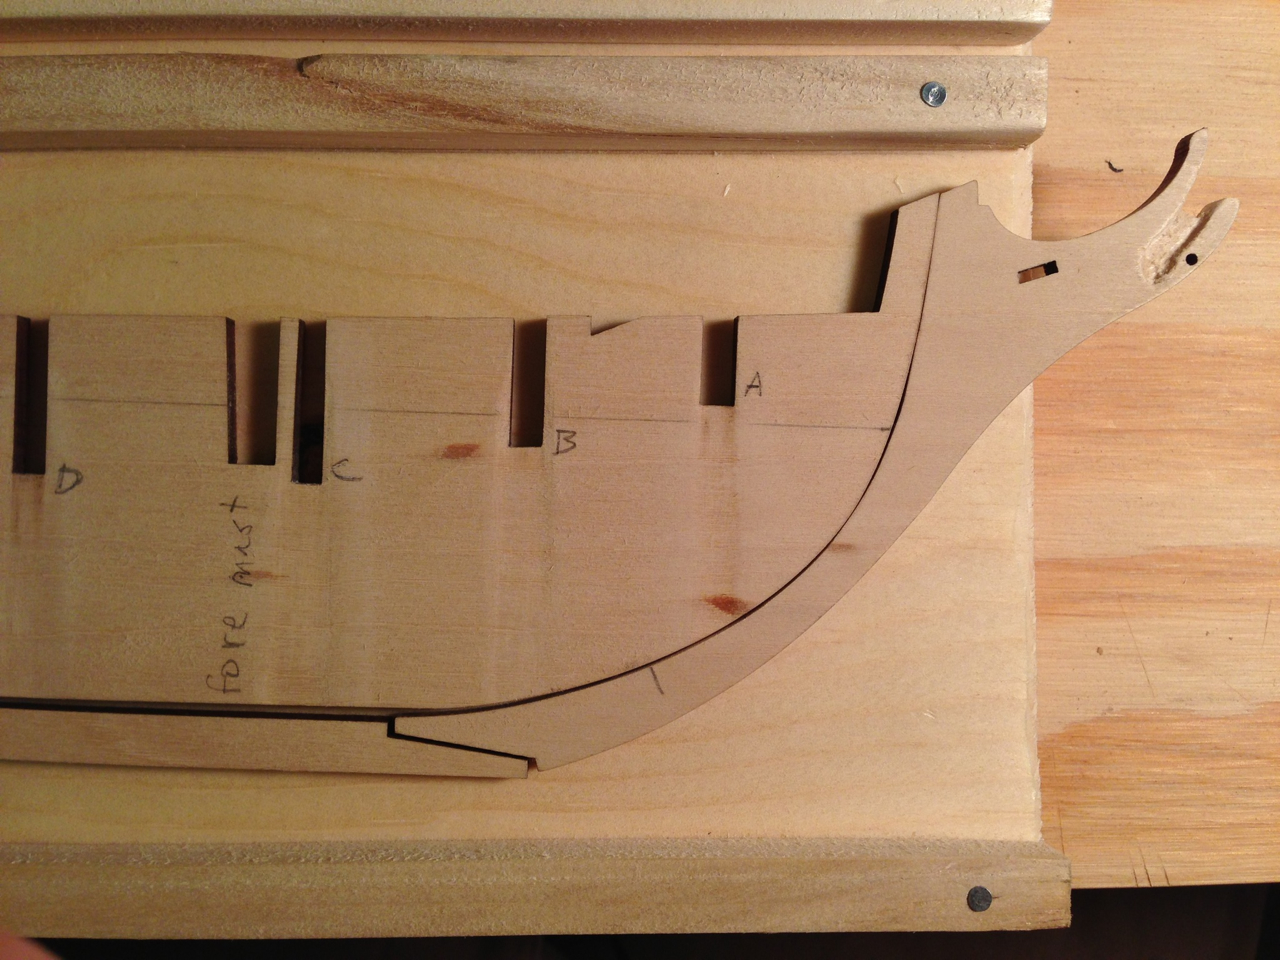
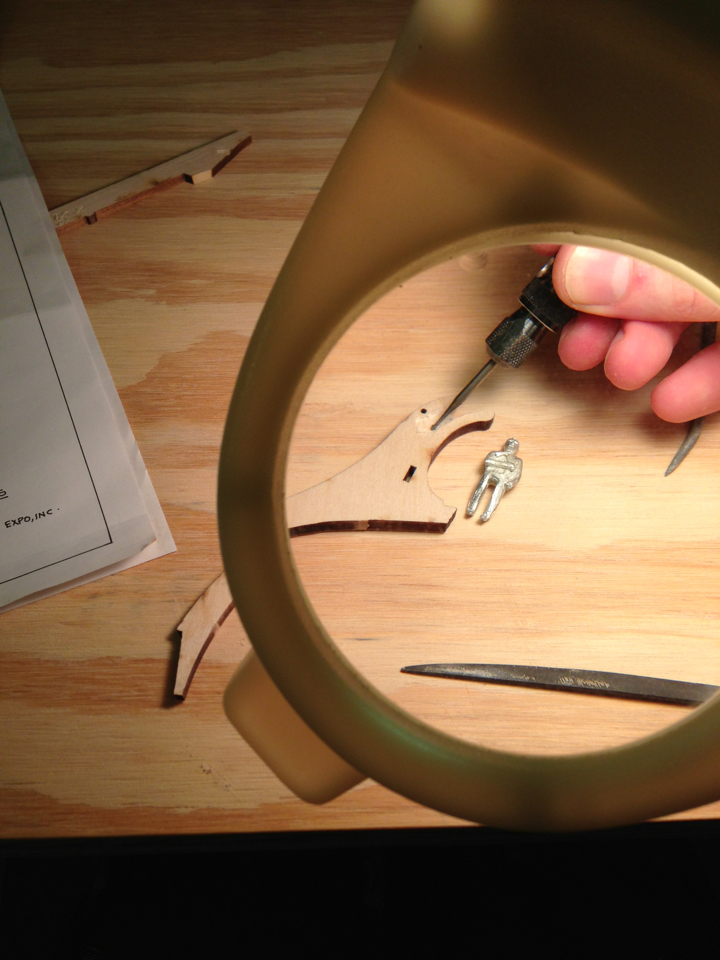
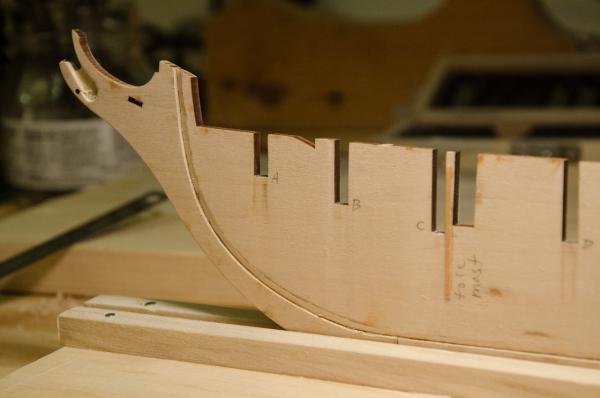
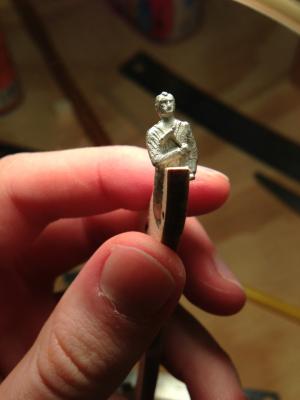
Figurehead fitted to stem. It won’t get glued until much later, so until then it’s back in the box with him.
-
Dremeling out a notch in the stem for the britannia figurehead before assembling the keel. That’s STEM, not STERN. When I proofread this post, I thought it was a typo, but it is is just due to keming:


-
Fitting the bulkheads. As sport29652 noticed (I think it may have been his post that led me here in the first place), the tolerances in the laser cut parts are pretty bad - things really don’t line up with the plans very well. However, a few months in, and it seems to be working out OK.
-
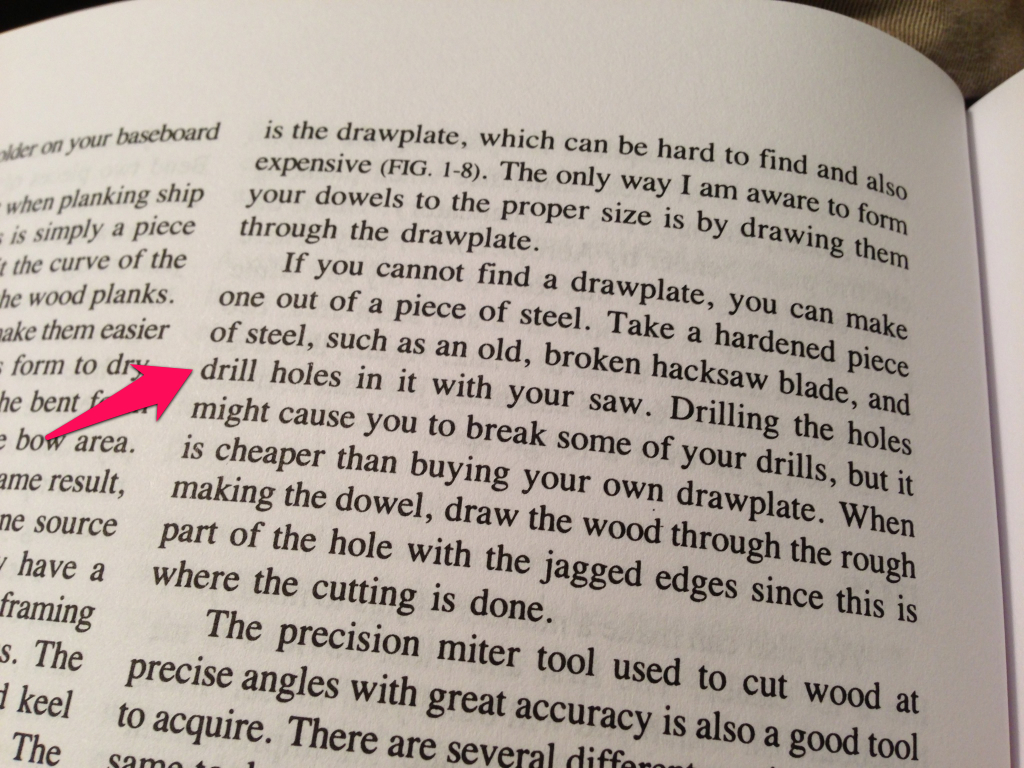
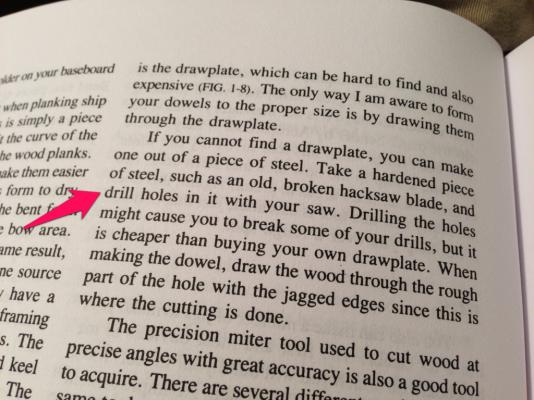
I also picked up a copy of Planking Techniques for Model Ship Builders, since the planks on my last model came out pretty uneven and required a lot of cleanup with wood putty. I won’t really get into the book until I actually get to planking, but I skimmed it, and this passage jumped out as not inspiring confidence.
-
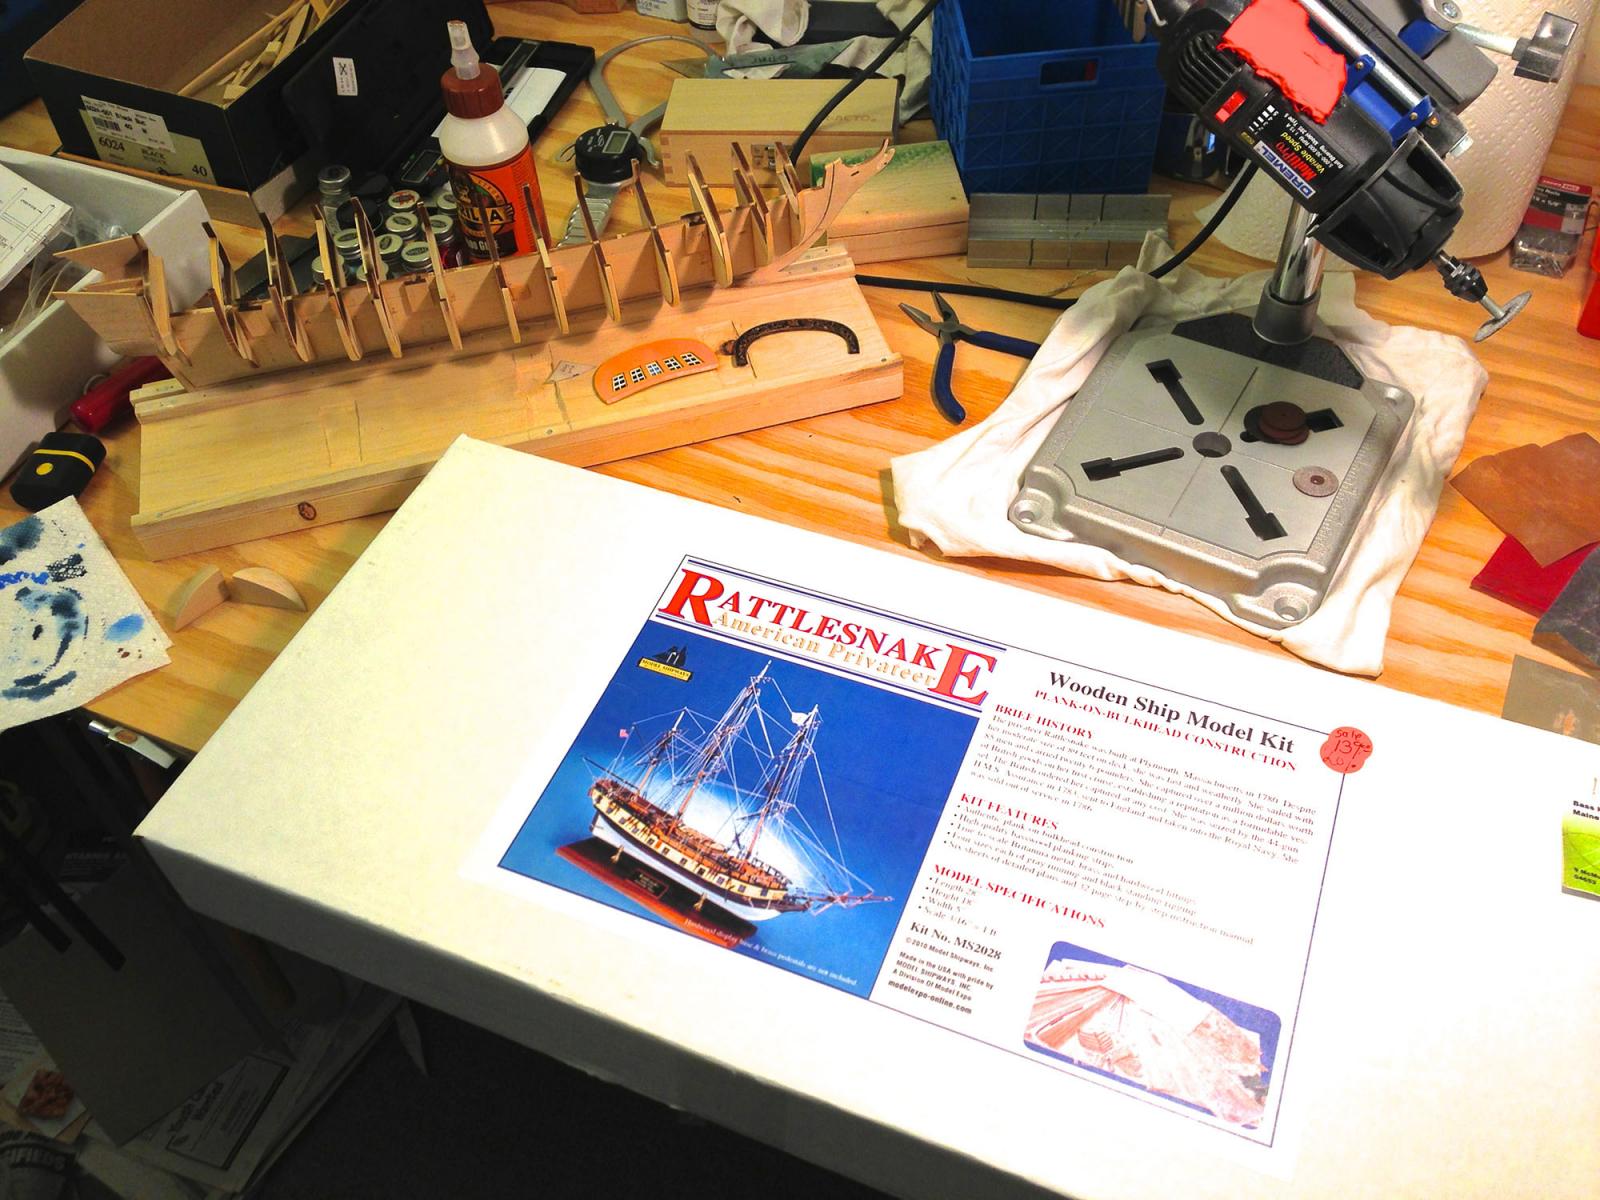
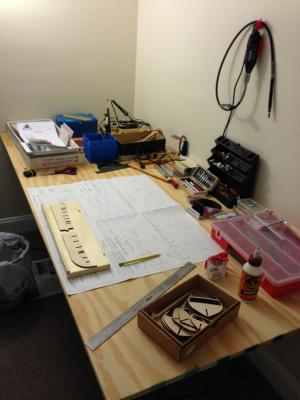
My workspace circa October 21, 2012. In addition to the included Model Shipways instructions, am referring to Ship Modeling Simplified by Frank Mastini. It has great tips on making a build board and assembling the keel so that it comes out flat. The dremel in the picture has since been promoted to a stand that turns it into a drill press or grinder. It’s also a bit messier now, but not so much that I can’t find anything (he rationalized).
-
I am new to the Model Shipways community, and I suspect I am one of your younger members (born 1988 - anyone younger?). I grew up on an island in Maine and was always around boats, and my whole life I have been doing something boat-related in one way or another. The neighborhood kids had tree houses; I had a rowboat in the yard that my dad had turned into a kid-sized lobster boat. When I was growing up I made many simple boats from kits (the kind with a solid hull and like ten simple blocks that you glued on for detail). I had a Titanic phase some time before middle school: plastic models, paper models, and high-pitched lectures about waterproof compartments and buckling steel to anyone who would listen. In the last few years, I made two small plank-on-frame boats from kits, the first with my dad and the second on my own, after a crash course in plank bending from a neighbor who I wouldn’t be surprised to find on this forum. Last year my parents called me from a weekend getaway in a small town and said they had found the Rattlesnake kit, on sale, in a hobby store, and wanted to know if I would like it for my birthday. I thought it would be fun to get back into model ship building. At the time, my main hobby was an iPad app I was writing in my spare time, but that’s also partly my job, and it was a bit of a programming overload, and I wanted to do something in the real world for a change. I built my last models when I lived with my parents, so I had fun setting up a work bench in my apartment and getting new tools. I started with more or less nothing, and have bought tools only when I actually needed them. I didn’t know about the Model Ship World forums when I started my build. I wanted to document my progress, so I set up a tumblr account for this and other projects that I work on. I only found my way here when I started googling around with questions about this particular model, and discovered at least two other build logs for the same exact model. What an amazing resource! The first bunch of posts will be reposts of the same photos from tumblr, though I may embellish the text with technical details better suited for my fellow pintsize shipwrights. It seems customary to start with the box, so I will as well, along with a sneak peek of my current progress: I look forward to interacting with and learning from all of you as my build progresses. I welcome your feedback and questions, and I will have many questions of my own.