EBEgan
-
Posts
16 -
Joined
-
Last visited
Content Type
Profiles
Forums
Gallery
Events
Everything posted by EBEgan
-
 Well, an election season, a job transfer and a new house later I'm back, but I've also moved to a Syren build because I really did not enjoy the solid hull...new updates coming soon.
 -
I've had to put this project on the back burner for a little while due to an insane work schedule. Hopefully be back at it soon!
- 32 replies
-
- 3
-

-
- phantom
- model shipways
- (and 1 more)
-
Thank you for the tips gentlemen. I think I've solved the problem with an excess of wood filler, some re-painting is in order but hopefully this will work.
- 32 replies
-
- 9
-
-
- phantom
- model shipways
- (and 1 more)
-
Well, I've hit a snag. I accidentally cut one of the scuppers too large and broke part of the bulwark. Tried to glue it but it looks pretty bad. My solution right now might be to cut out the bulwark from the top of the scuppers and then fashion a handrail and gangway at that position later in the build. I wasn't planning on kit bashing but at this point I'm not sure if I have a choice. As always, have to remember, practice and patience.
- 32 replies
-
- 3
-
-

-
- phantom
- model shipways
- (and 1 more)
-
Jeez you guys are sticklers, my point is that modern uniforms that are referred to as "Navy Blue" are not the Navy Blue uniforms of old that could be identified as blue by the naked eye. If you want to be completely accurate the modern officer uniforms (including the old winter blues) are classified by uniform manufacturers as shade 3341. Which I believe is the very last shade of blue before you hit absolute black in the world of fabric shades. I also called Abbott to confirm. http://www.abbottuniforms.com/Abbott-Uniforms-welcome.cfm
-
Having some trouble with getting the waterline marked correctly. The Plans have the waterline a half inch below the rail at station 5. This seems awfully high to me. I'm also having trouble actually marking the waterline since it appears it is on an angle with the hull. Any tricks or tips?
- 32 replies
-
- 1
-
-
- phantom
- model shipways
- (and 1 more)
-
There really weren't set uniform standards in the US Navy until 1841. This may help you a bit... http://www.history.navy.mil/browse-by-topic/heritage/uniforms-and-personal-equipment/history-of-us-navy-uniforms-1776-1981.html Just remember, anytime "navy blue" is mentioned in regs or books, it is really just black.
-
I'm beginning to understand how addictive this hobby can get. As fast as I want to go with the model I have to keep reminding myself...patience. Sanding the bulwarks down to size today was a challenge. I'm really beginning to think I should get some kind of dremmel because I'm just not happy with my hand carving skills. I spent most of the night attempting to get the bulwarks even. I'm happy with where they are right now but only because this is my first build and I'm using this more as practice and not a display model. I also left them a little thicker than the instructions recommended because I'm afraid to death of breaking them when I begin to drill the scuppers. Stem fully attached. I've compressed the bulwarks in certain areas, not happy with it but I can't expect perfection with my first build, have to use this as a learning experience otherwise I'd drive myself and the Admiral insane. I cut the launching way rails while the stem was clamped and setting. Midship step was cut to the correct depth, and bulwarks were sanded down. If I have any time tomorrow I will continue to even out the bulwarks and work on the rudder.

- 32 replies
-
- 8
-
-
- phantom
- model shipways
- (and 1 more)
-
Wow, your Newsboy is a beauty Pete. I think I will take your advice and hold off on the coppering until later.
- 32 replies
-
- 2
-
-
- phantom
- model shipways
- (and 1 more)
-
Rgr, thanks Tom that's what I was thinking. I appreciate the help and quick response. -Edward
- 32 replies
-
- 3
-
-
- phantom
- model shipways
- (and 1 more)
-
Quick question for those who have worked on this model... I'm waiting for the glue on the stem to set before sanding the entire hull and the practicum has coppering as the next step. Should I paint the hull first before putting on the copper plates? Even in the practicum the hull is painted in the coppering photo. Thanks for any help.
- 32 replies
-
- 4
-
-
- phantom
- model shipways
- (and 1 more)
-
Let's be honest, the most important tool is that beer in the corner...
- 32 replies
-
- 3
-
-
- phantom
- model shipways
- (and 1 more)
-
Jack, thanks for the supply recommendations, as you can see I took your advice. I have to order everything on Amazon as I don't have a personal car and there are no Michael's in Manhattan (building this thing in a 680 sq.ft. apartment). -Edward
- 32 replies
-
- 4
-
-
- phantom
- model shipways
- (and 1 more)
-
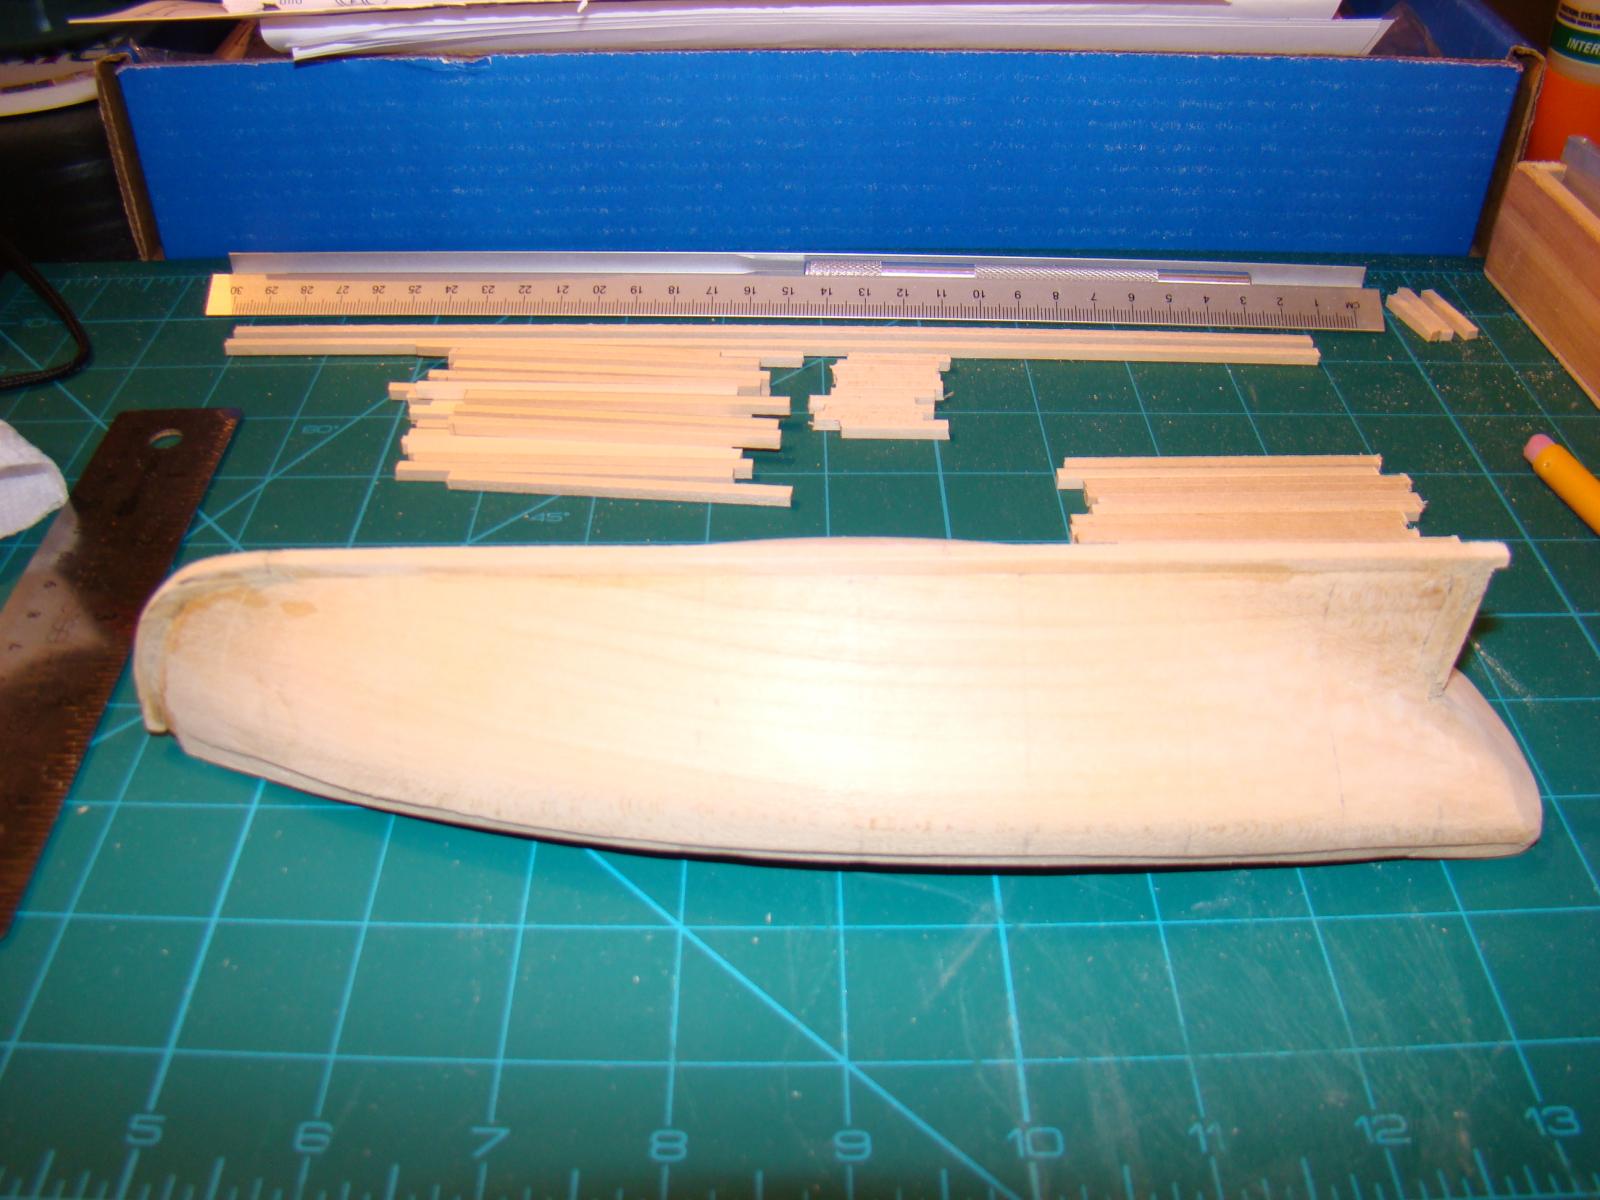
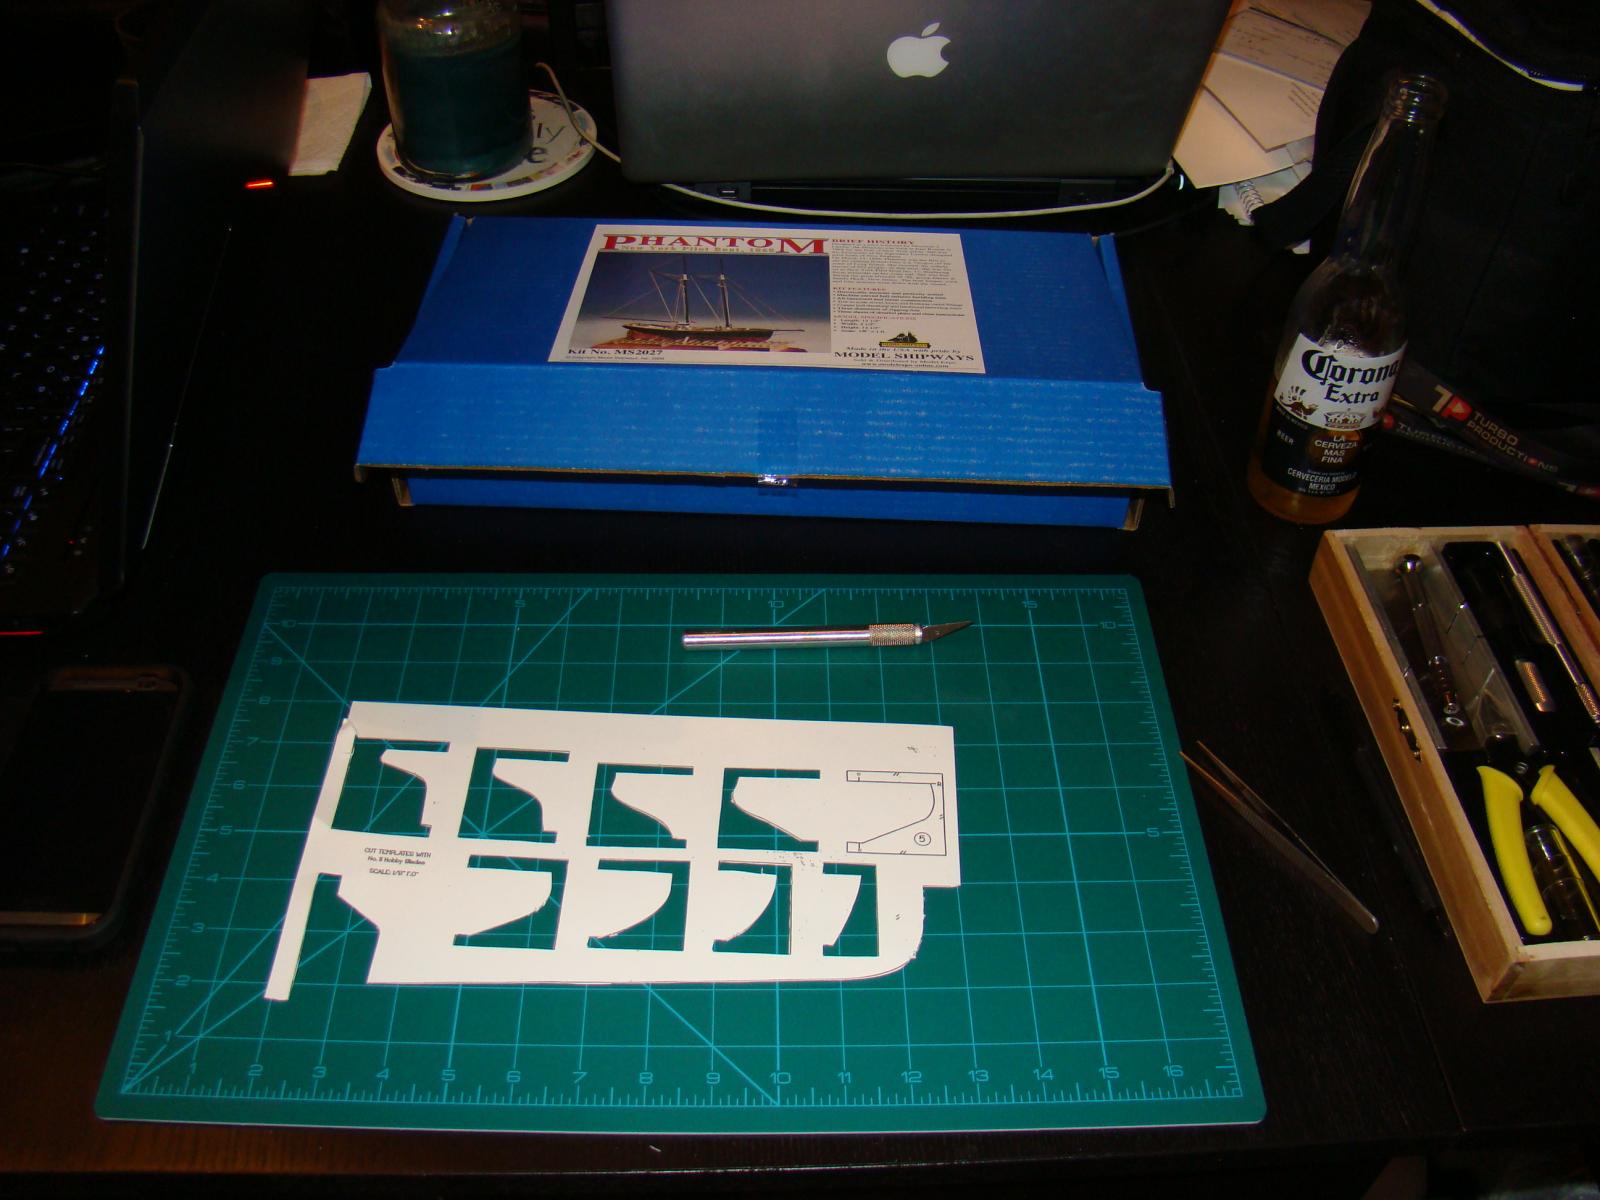
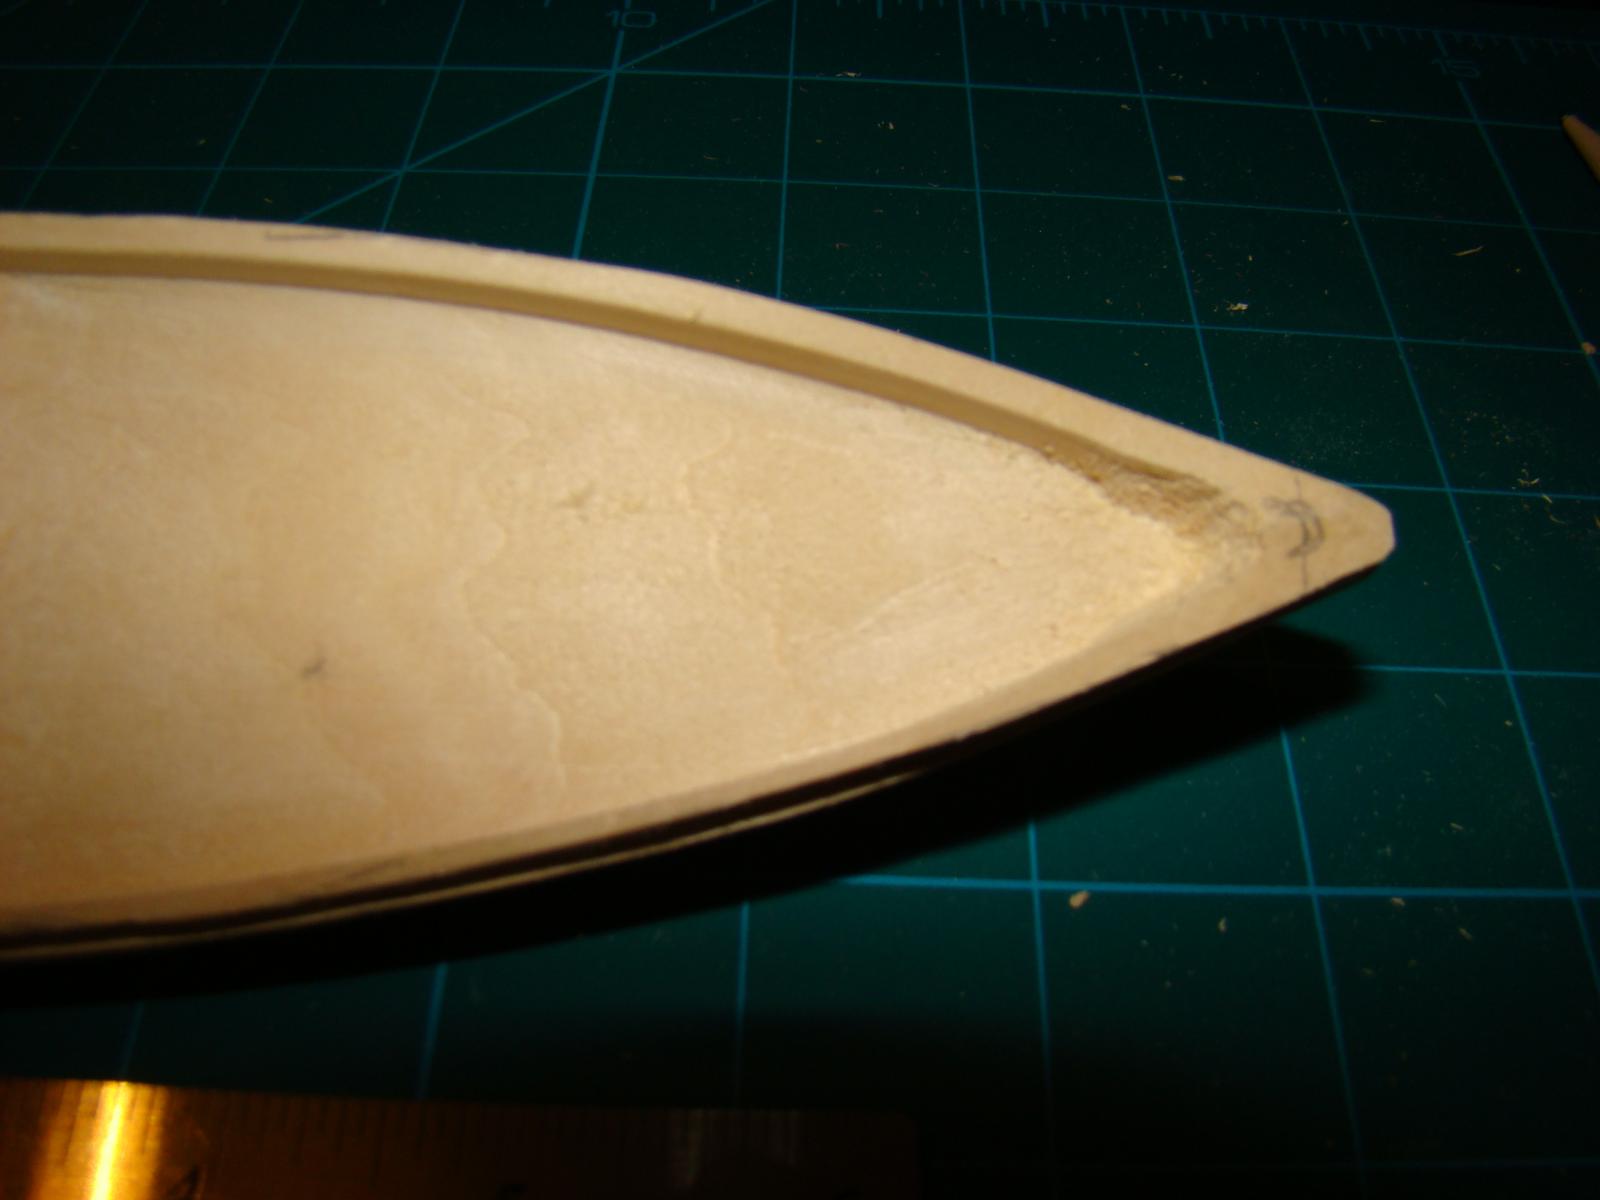
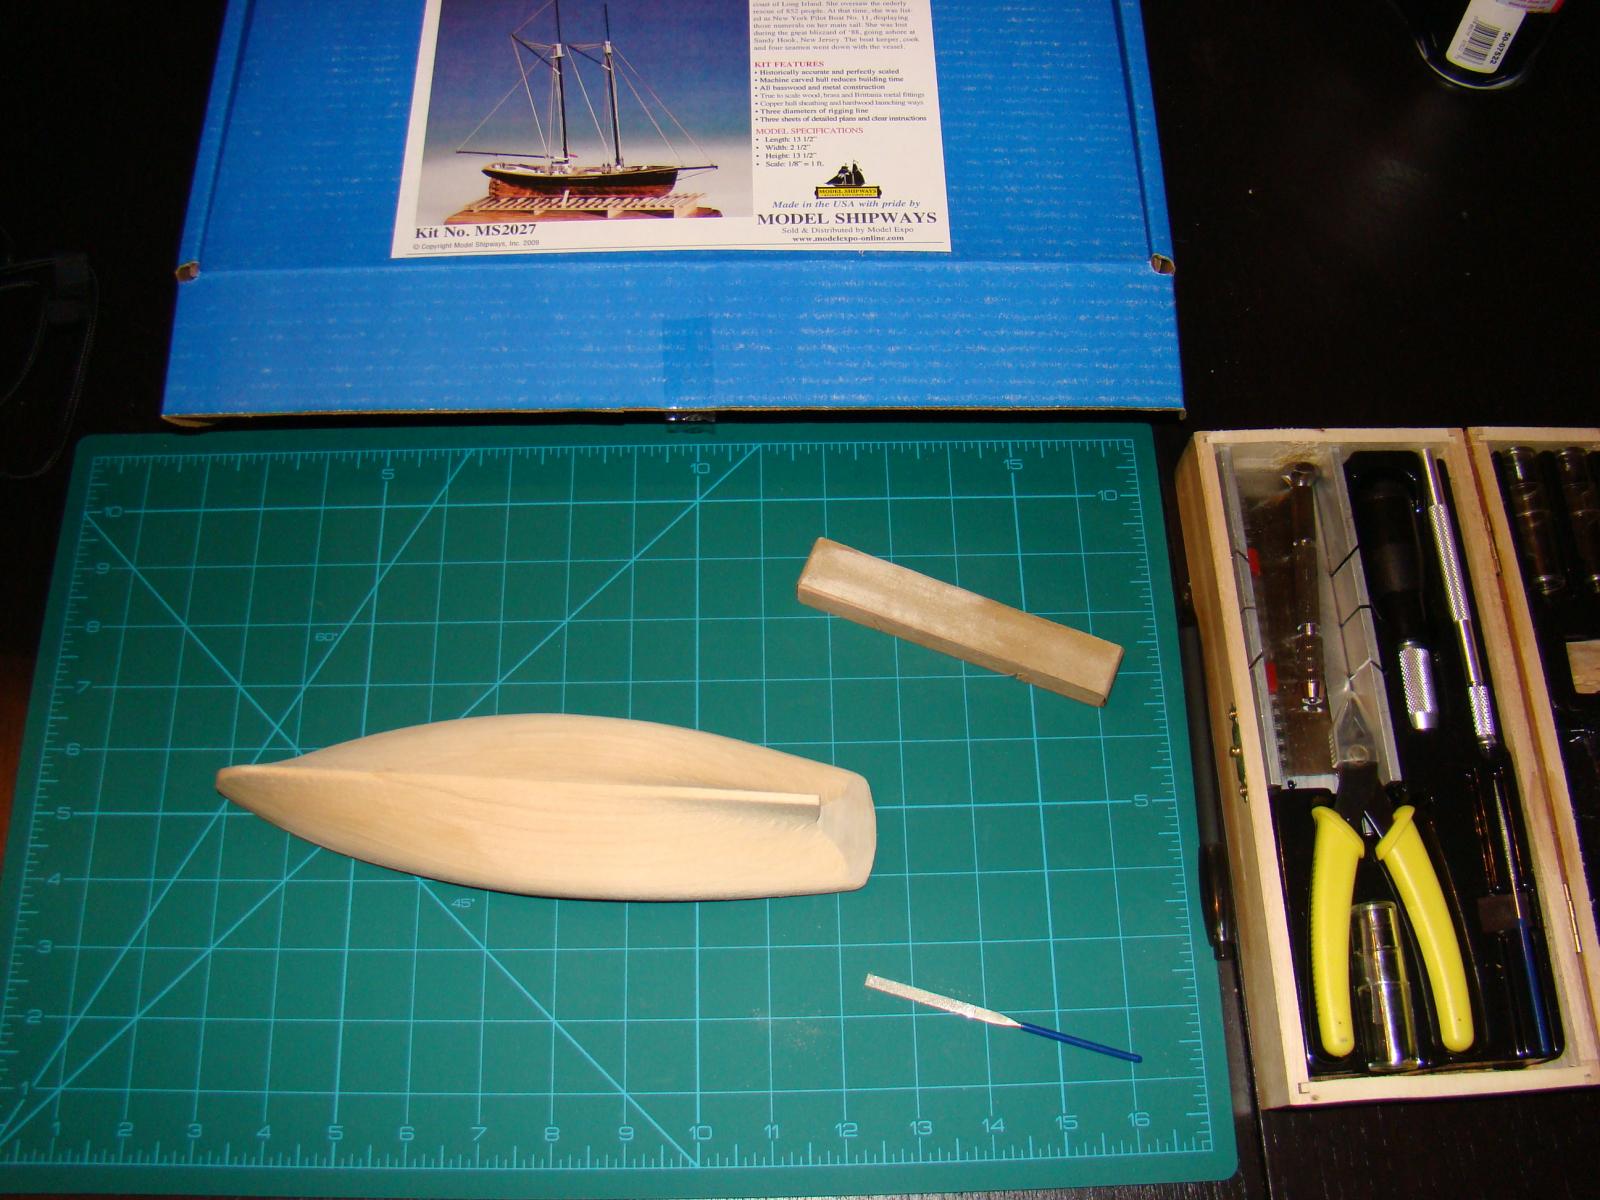
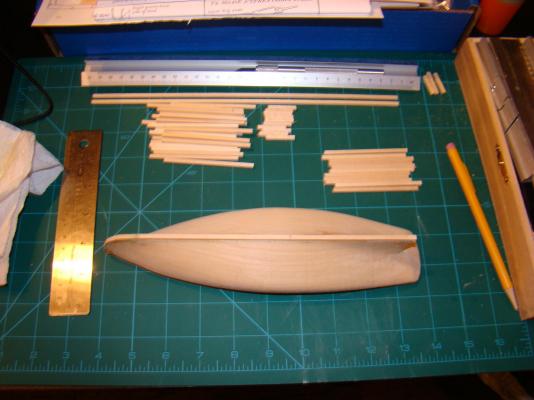
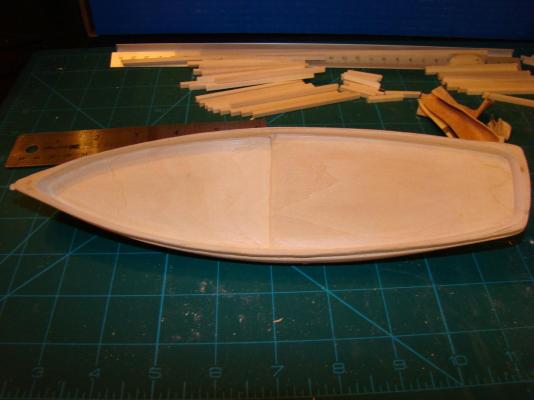
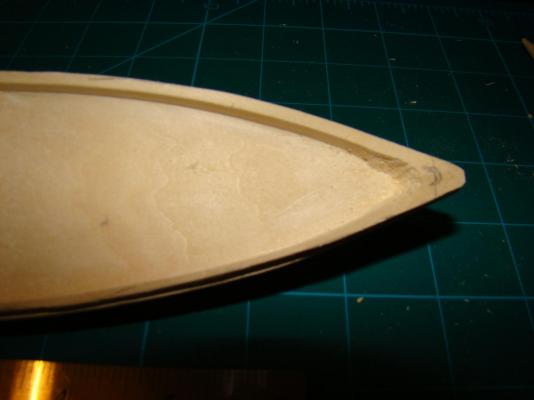
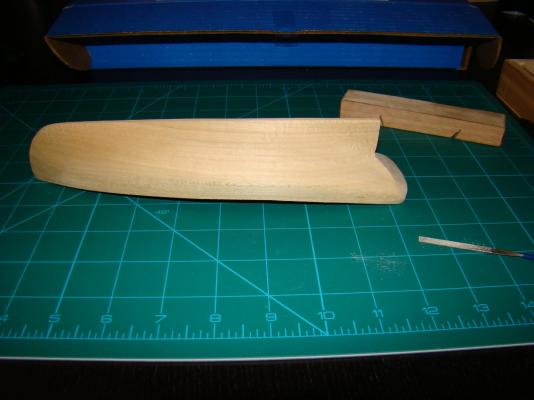
Wow, the last few days have been interesting... No one warned me about the black hole that occurs when building model ships. I've been carving and sanding happily only to look up and realize that 3-4 hours have passed. I'm currently 11 hours into the build. Most of the time has been figuring out what tools were needed and then how to use them. Considering that I haven't carved anything since middle school, and even then I wasn't using an exacto knife, things got off to a slow start. As much as I have enjoyed carving the hull and the sense of accomplishment I felt after successfully (sort of) carving in the bulwark step, I'm looking forward to a POB build, and I probably won't attempt a solid hull again. In any case, some pictures... Cutting the hull templates. Marking the hulll. My hull seems to have been milled differently then others'. The deck didn't have a "step" cut into it, it was just a gradual incline. Had to mark and carve it out. Carving out the bow, going to try to even out the bulwarks without breaking them. Gluing strips together in order to fashion the bow stem.


- 32 replies
-
- 5
-
-
- phantom
- model shipways
- (and 1 more)
-
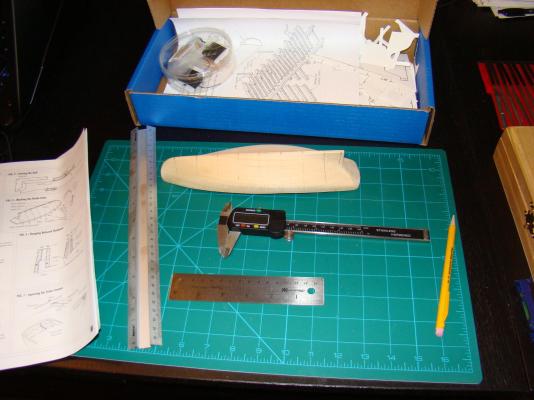
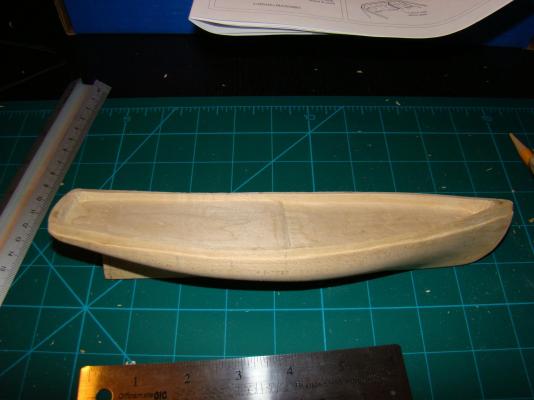
Starting up today. The last couple of days have been spent reading Chuck's practicum and waiting for tools to arrive. I started with the limited tools I already had. I cut out the hull templates and cut down the stern to size, the templates still don't fit very well so I imagine I have a lot of sanding and shaping to do. I'm considering just using measurements off the plans instead of the templates. I also began to level the bottom of the hull, tomorrow I will begin in earnest once the rest of my supplies arrive. -Edward

- 32 replies
-
- 5
-
-
- phantom
- model shipways
- (and 1 more)