cgiacoppo
NRG Member-
Posts
26 -
Joined
-
Last visited
Content Type
Profiles
Forums
Gallery
Events
Everything posted by cgiacoppo
-
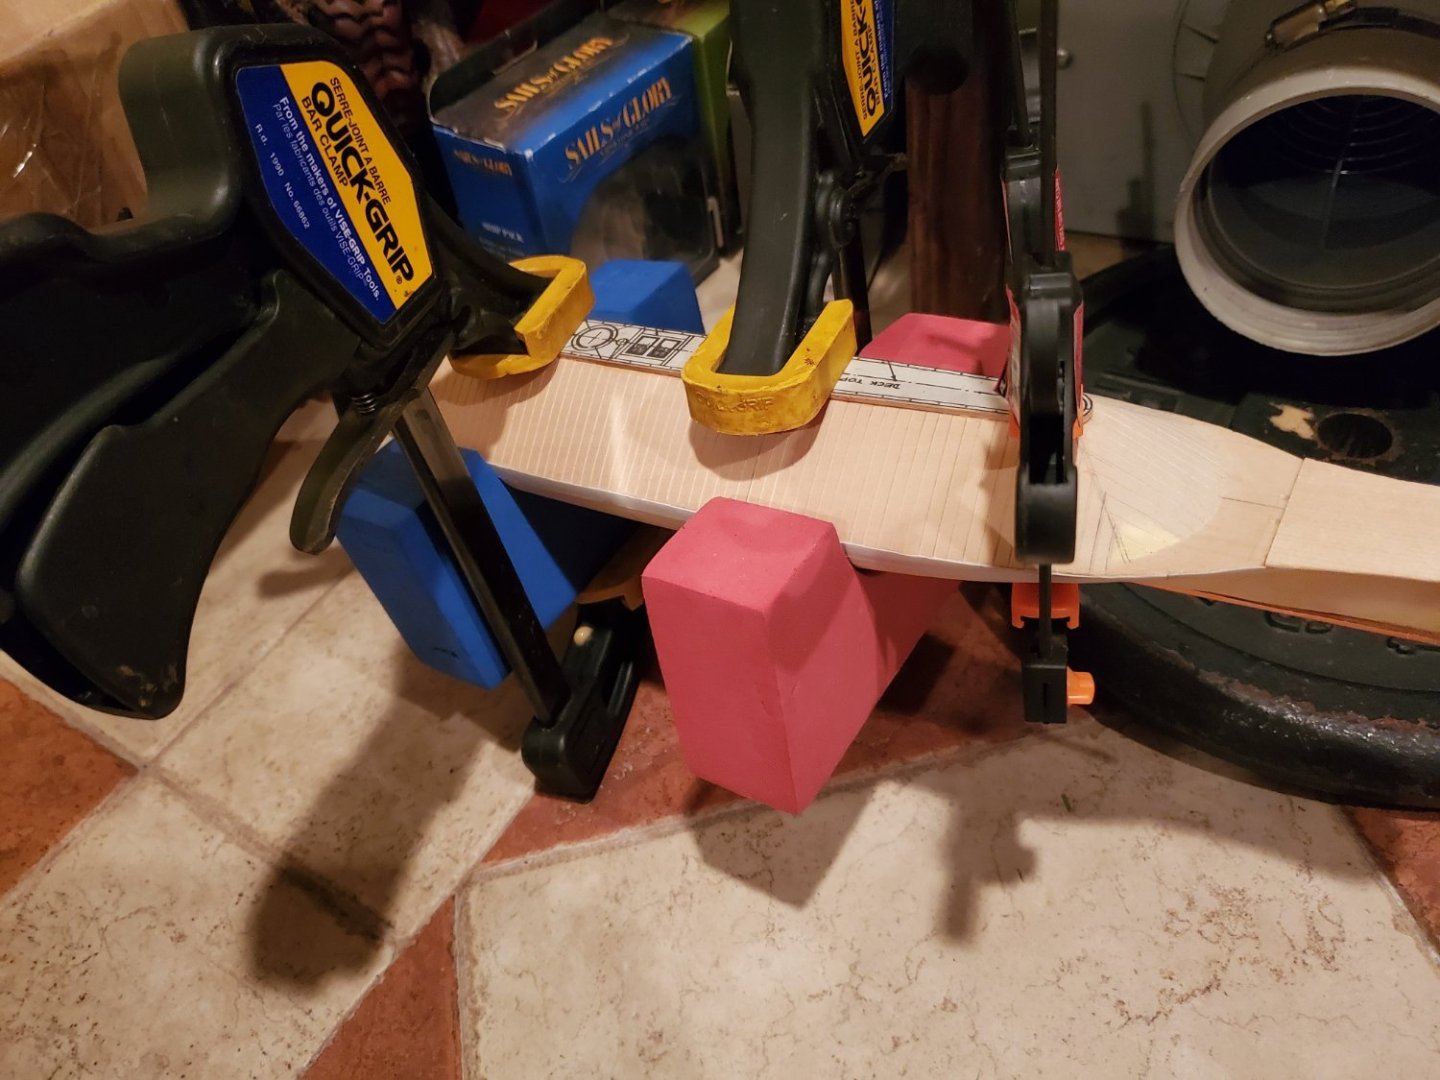
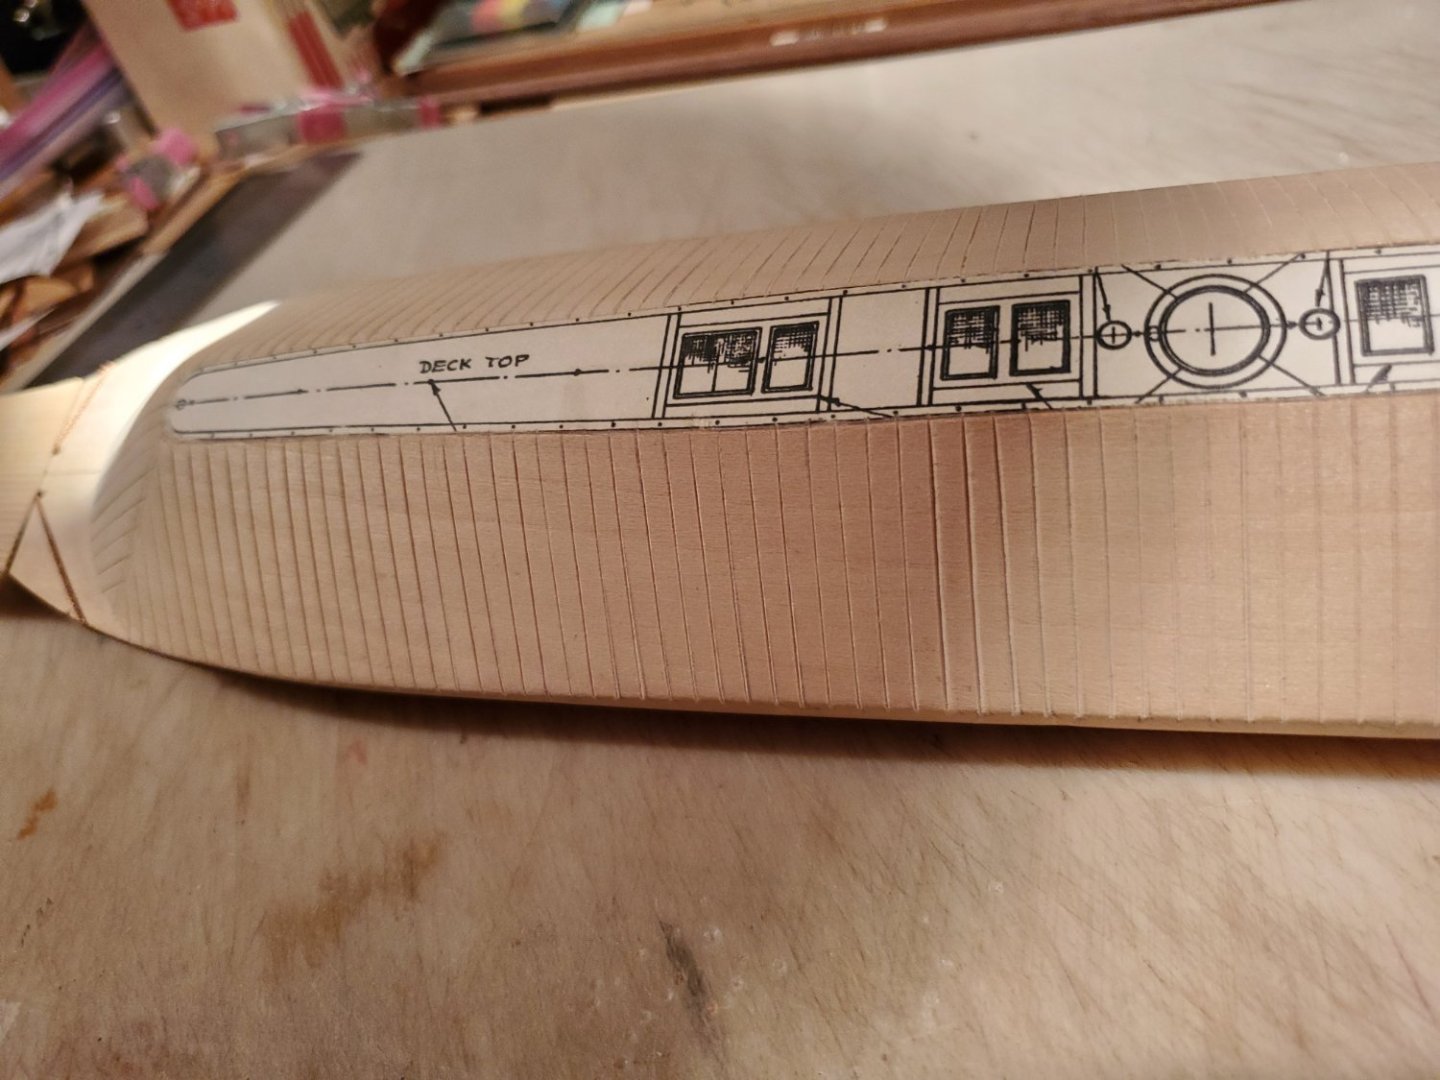
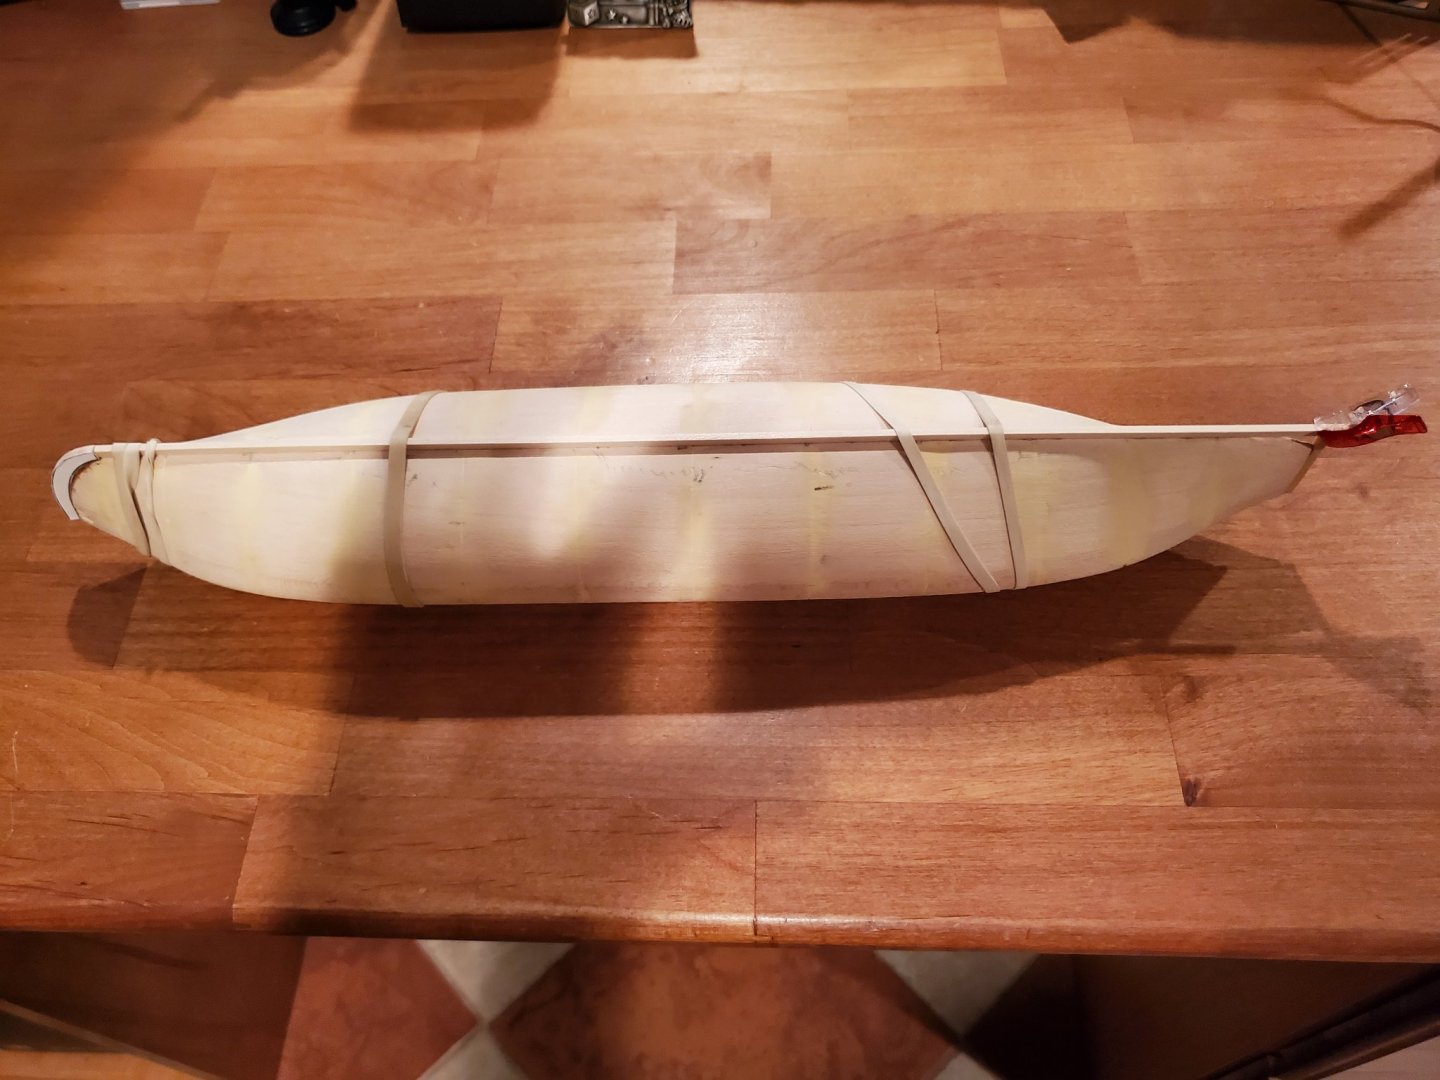
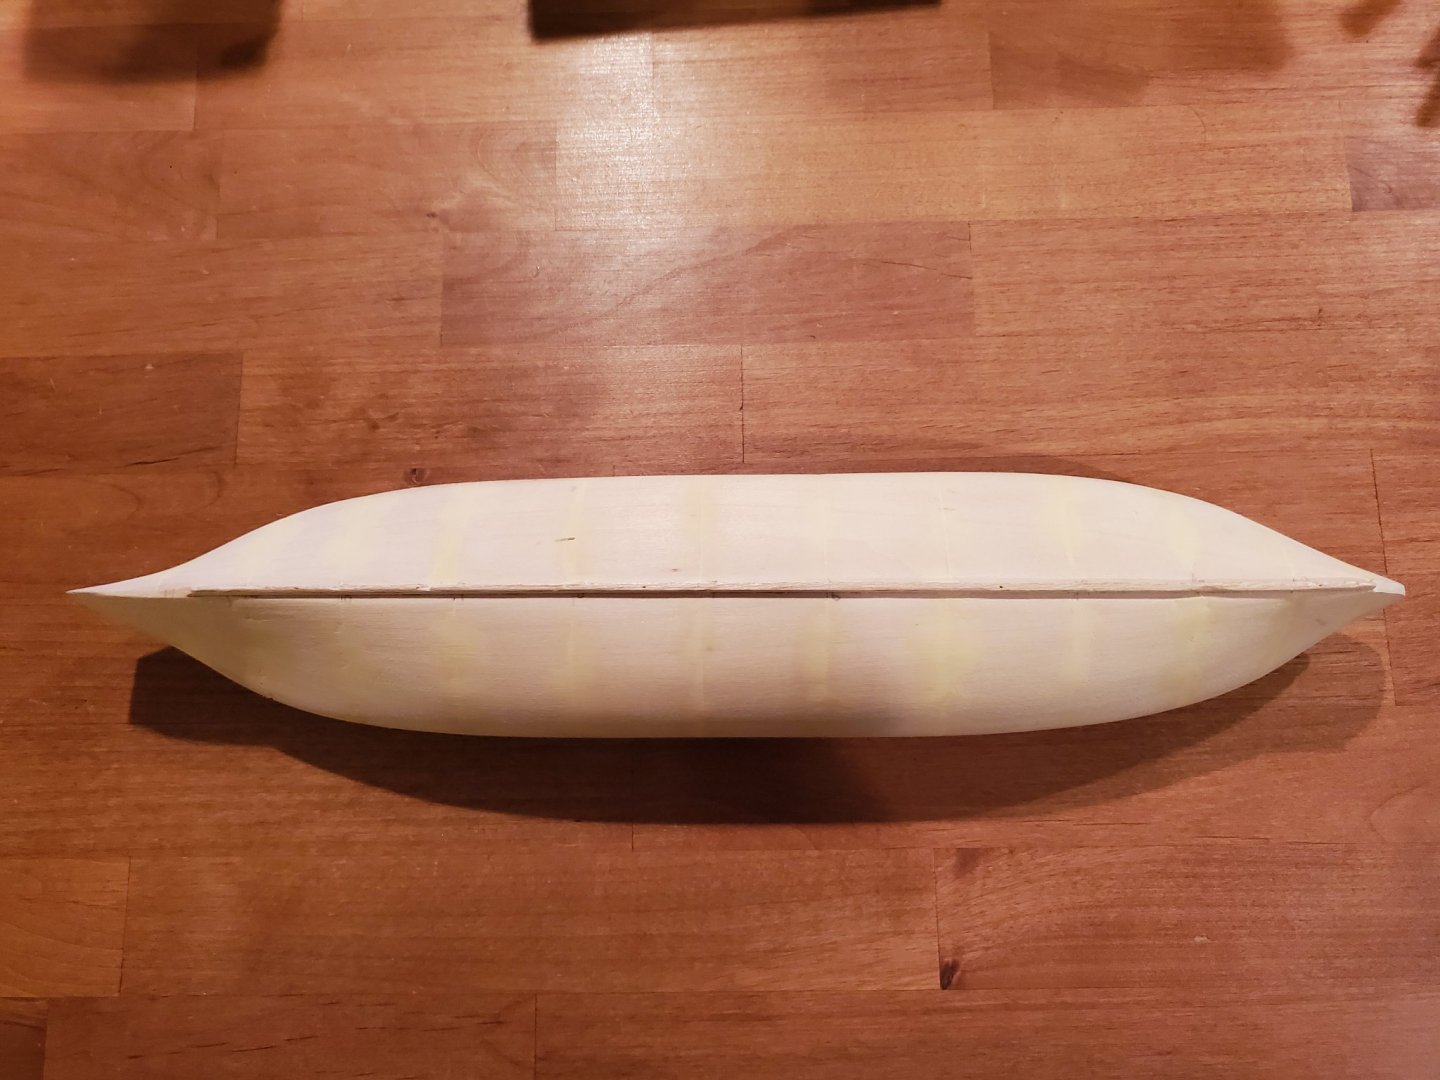
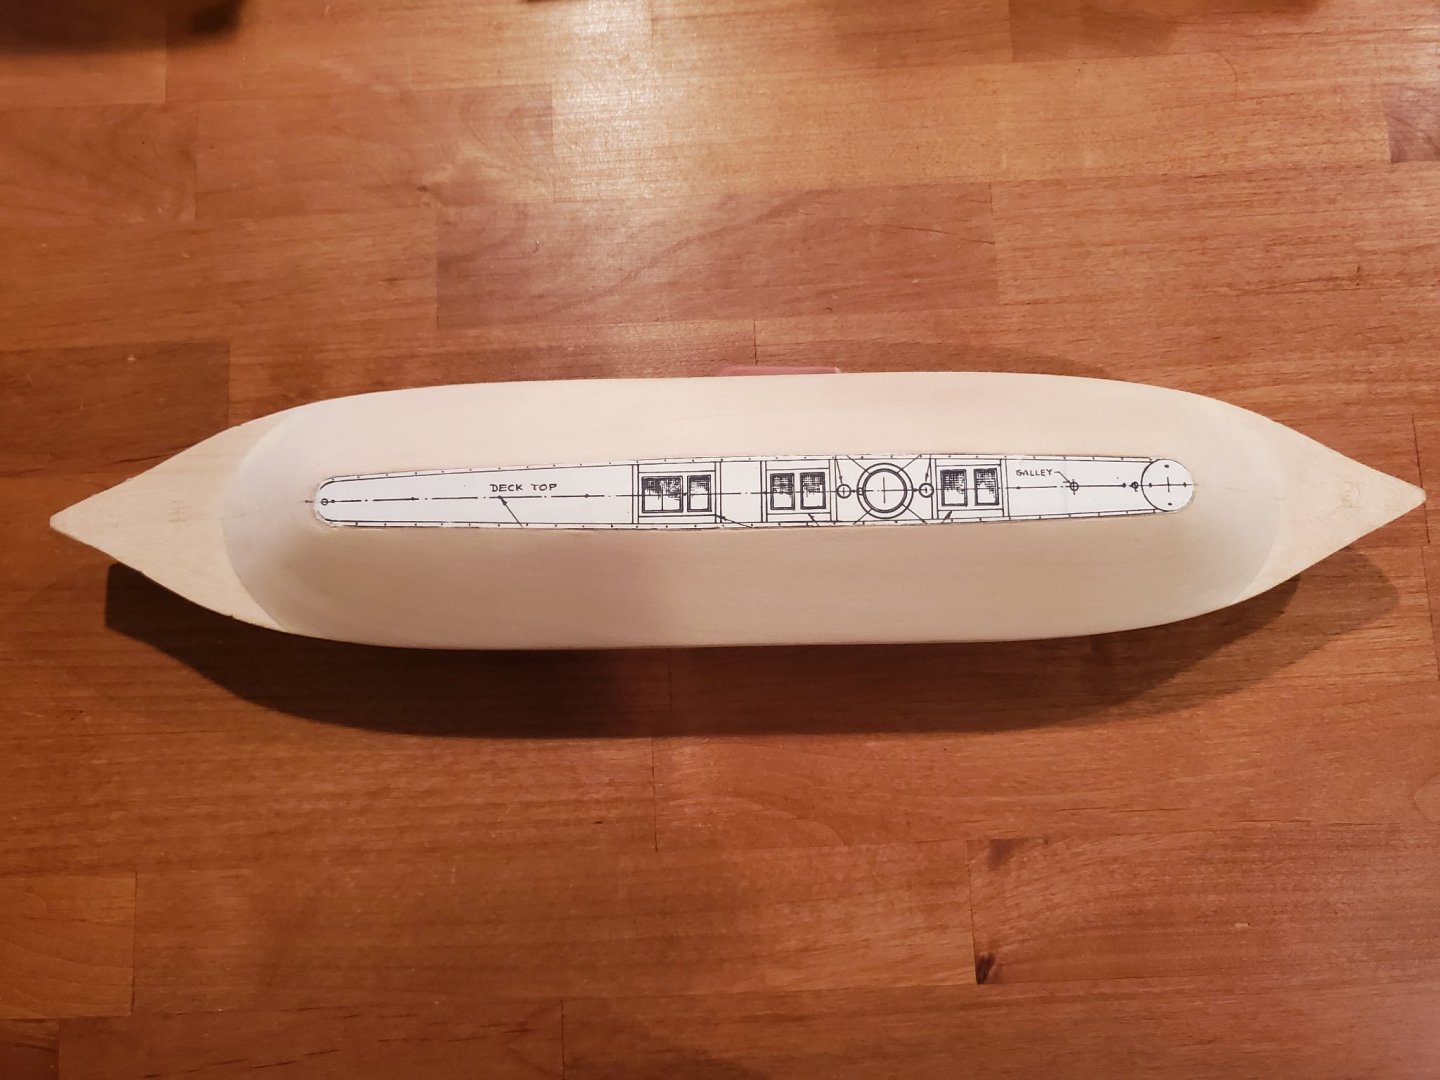
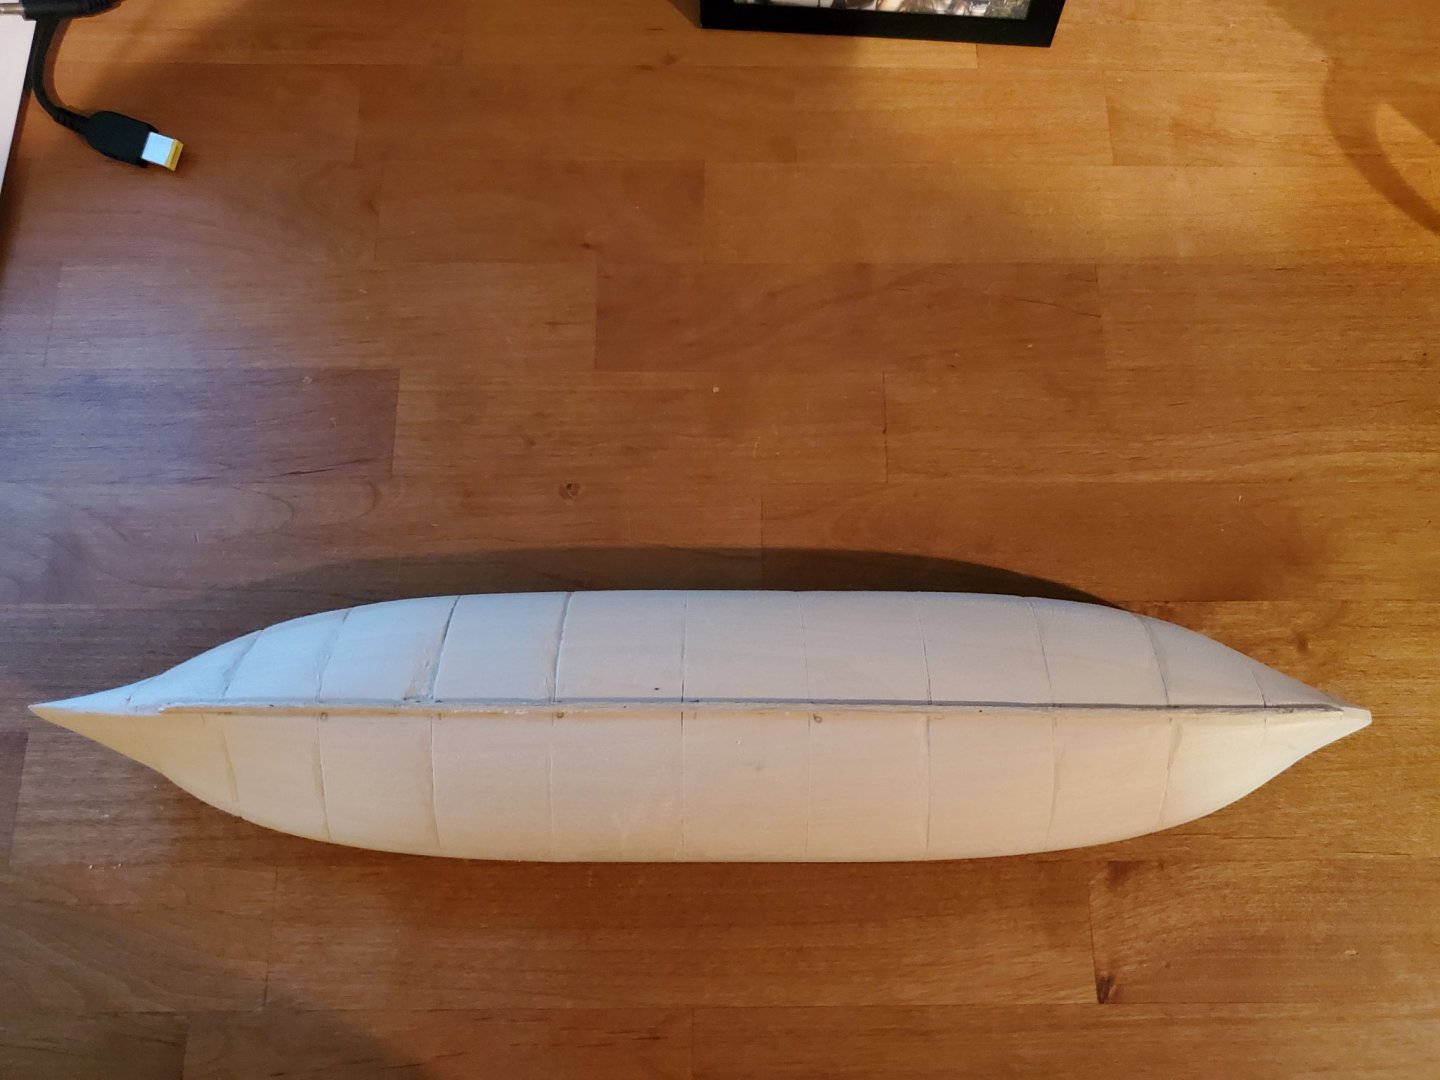
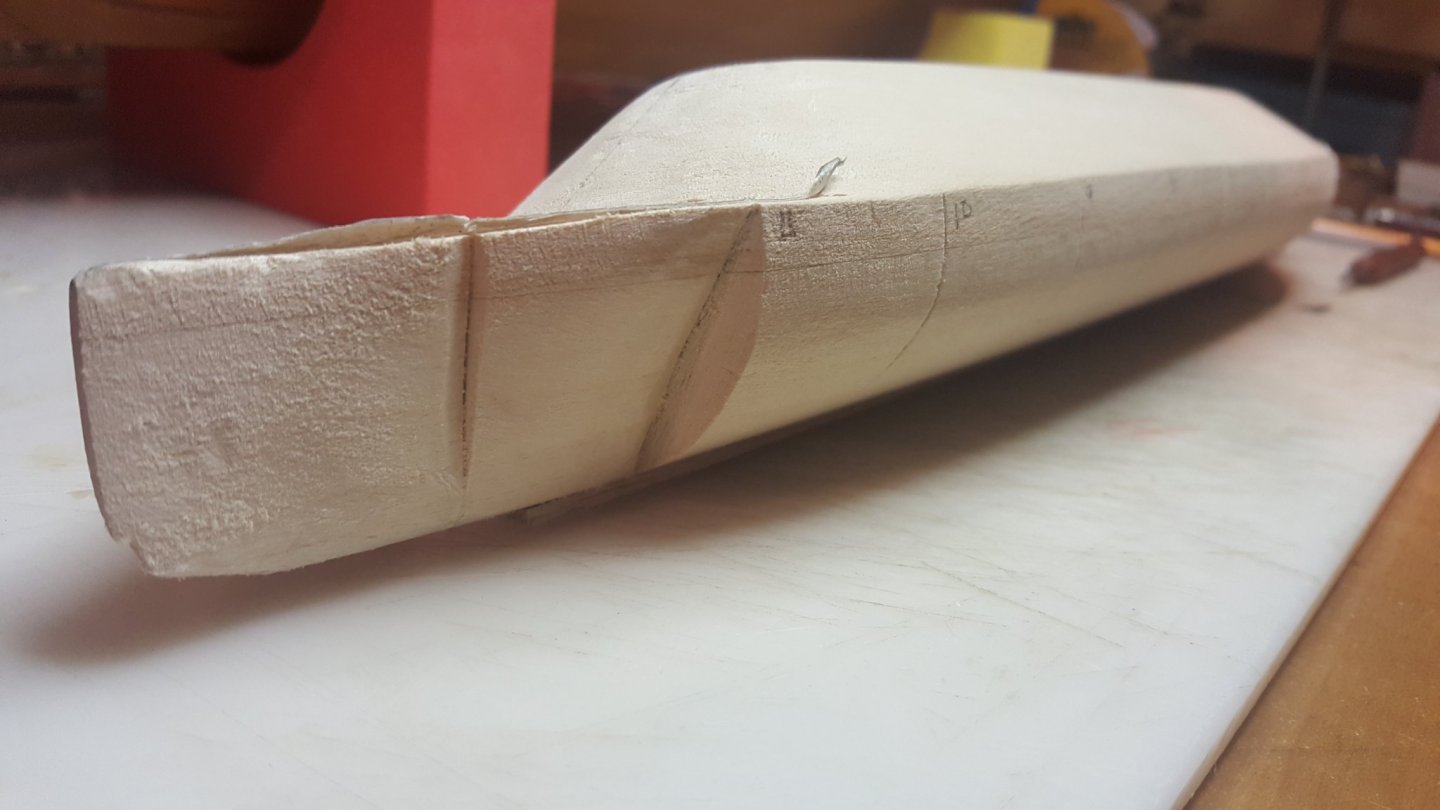
We cut out a thin piece of wood to serve as the top of the ship, in the hope of getting a sharp edge between the top and the sides. It has been glued and clamped in place. Once the glue dries, we'll remove the clamps and see if any patch work is needed to create a clean, sharp transition from the sides to the top.
- 30 replies
-
- first build
- BlueJacket Shipcrafters
-
(and 1 more)
Tagged with:
-
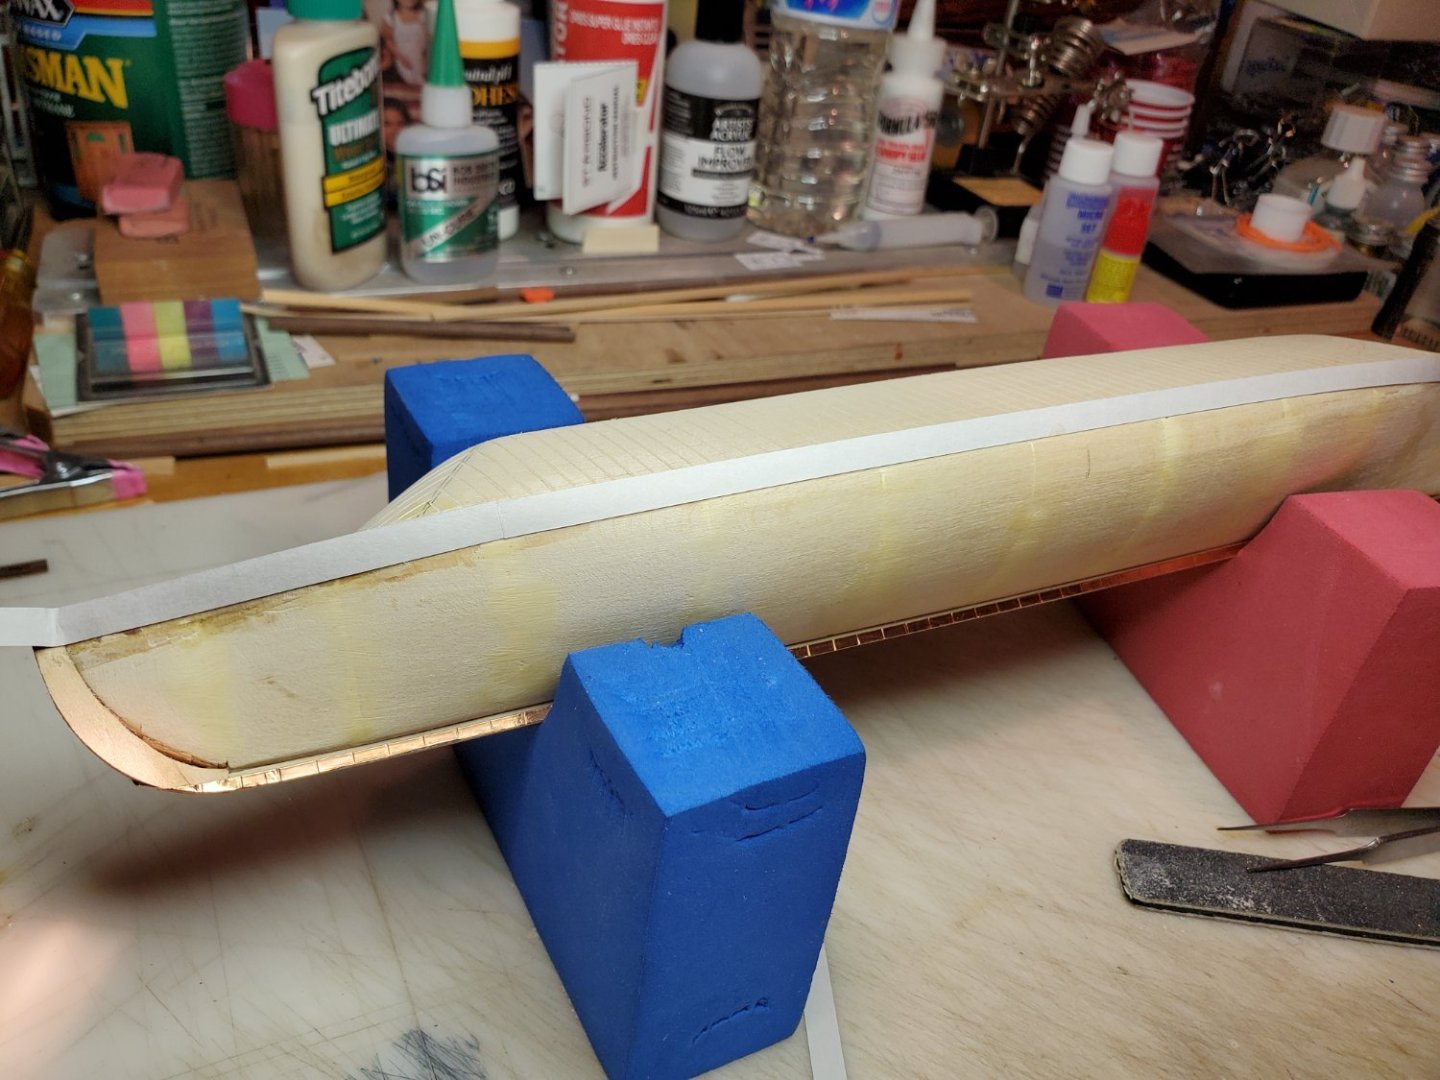
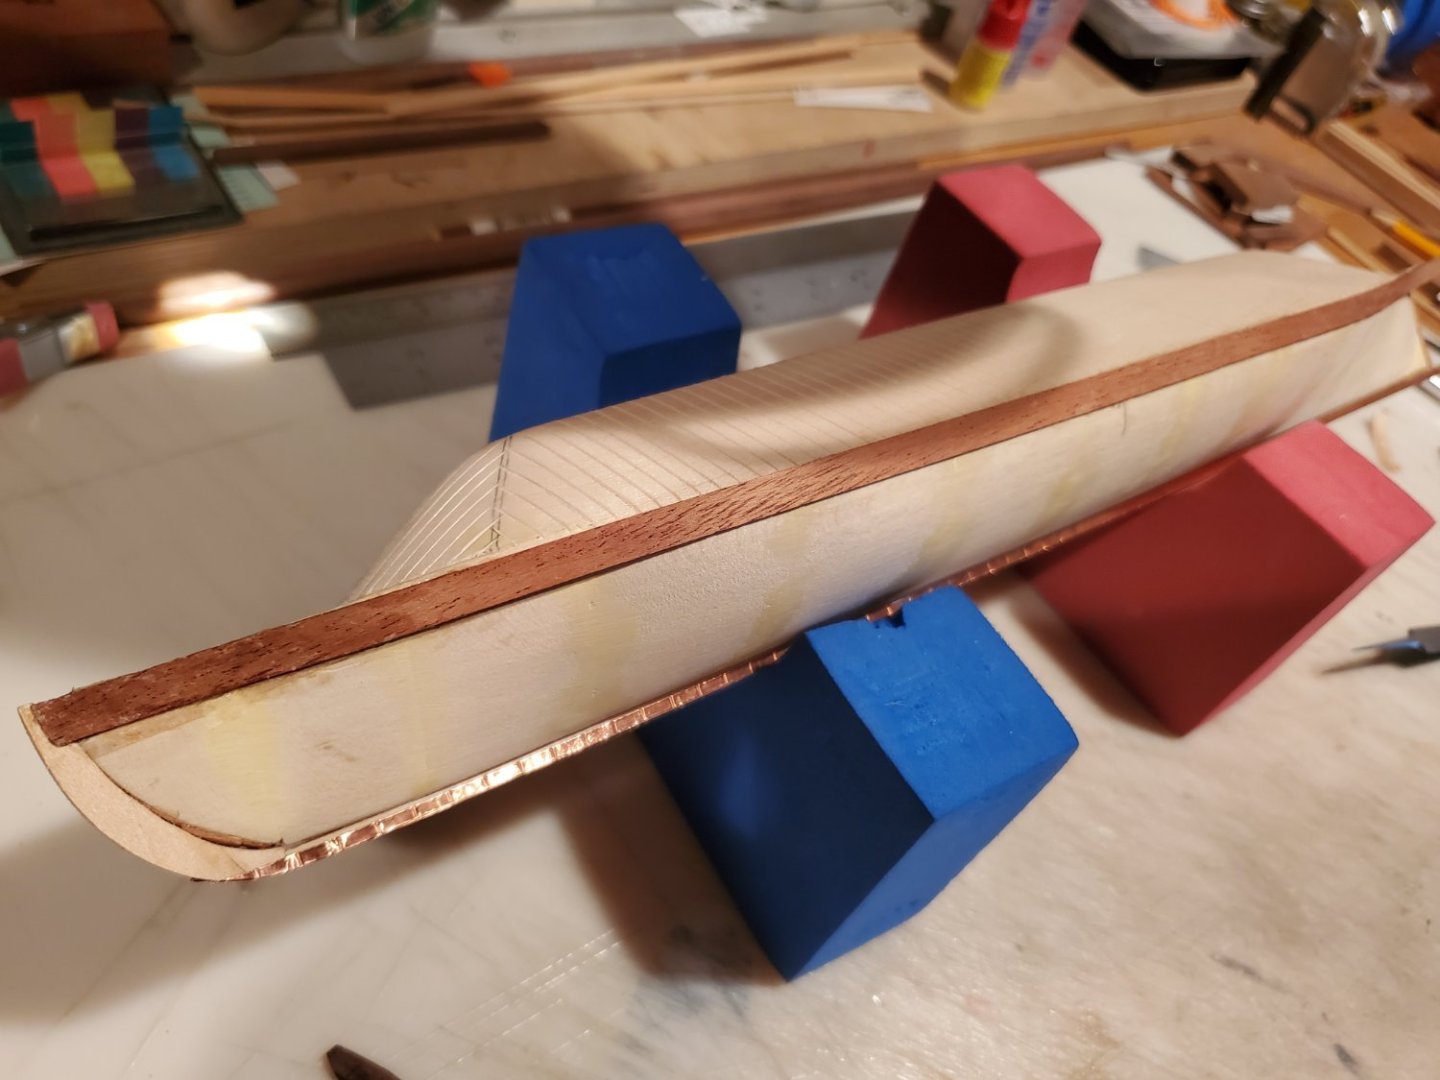
Notice the copper plating along the keel in the previous 2 images. This is difficult at this scale, requiring a 1/16" strip of copper foil. The smallest we could find was 3/16" so I am slicing them in half (not easy!). At this scale, we decided to leave out the nail pattern. This was a test strip and we were pleased with the result. We will continue this once further progress on the model is made.
- 30 replies
-
- first build
- BlueJacket Shipcrafters
-
(and 1 more)
Tagged with:
-
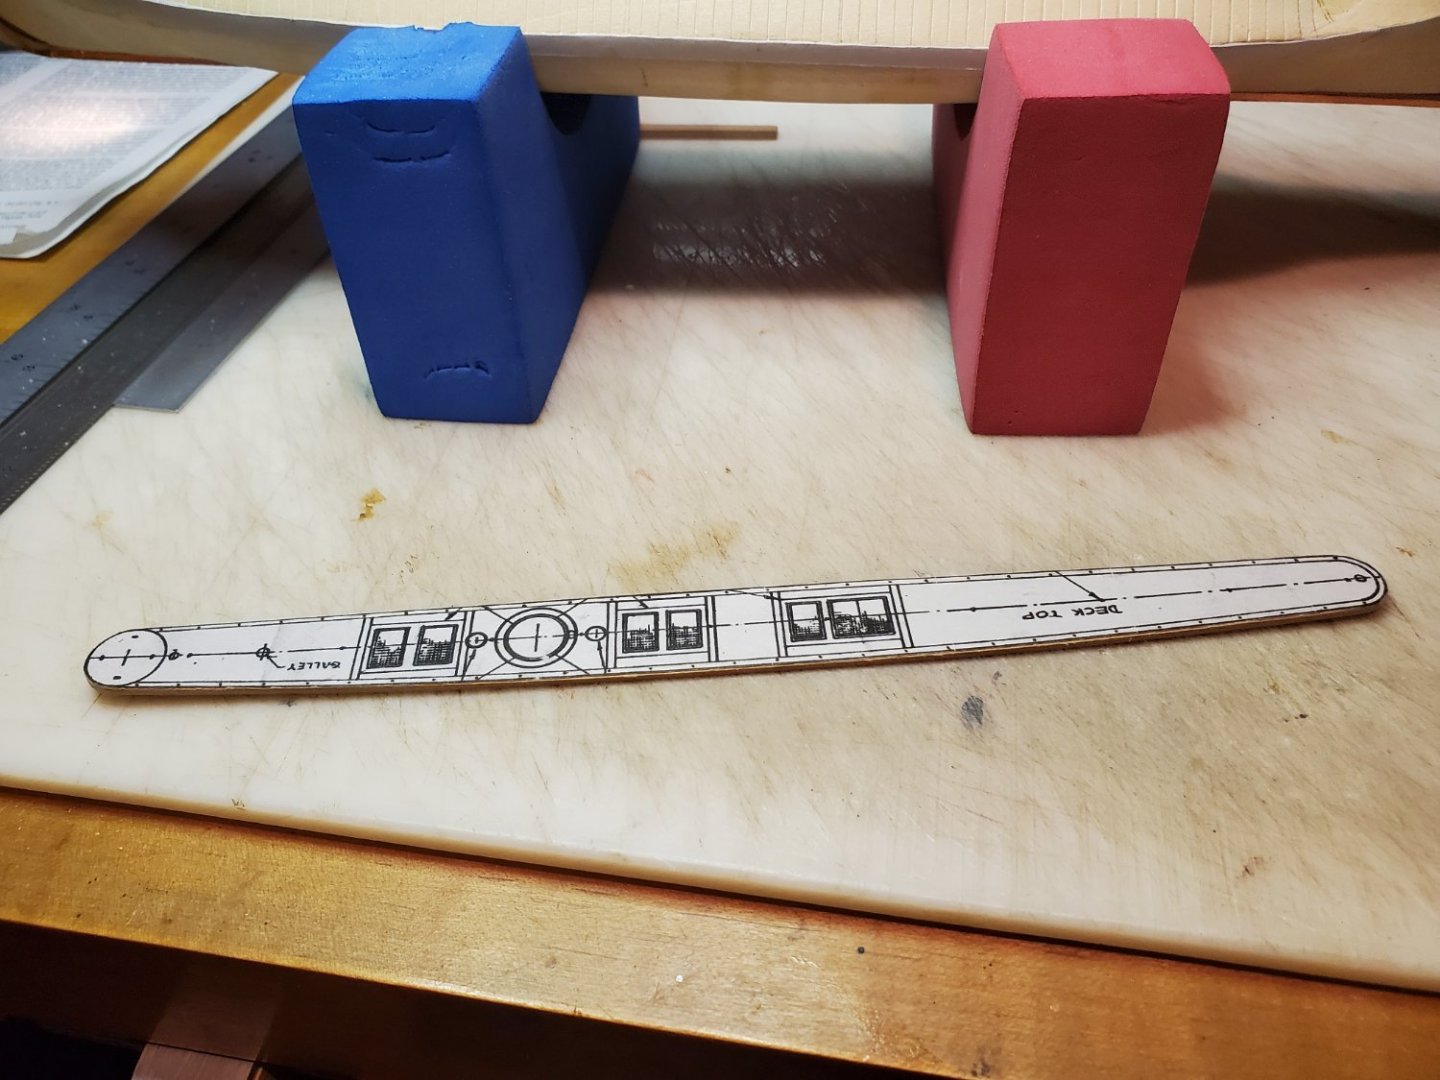
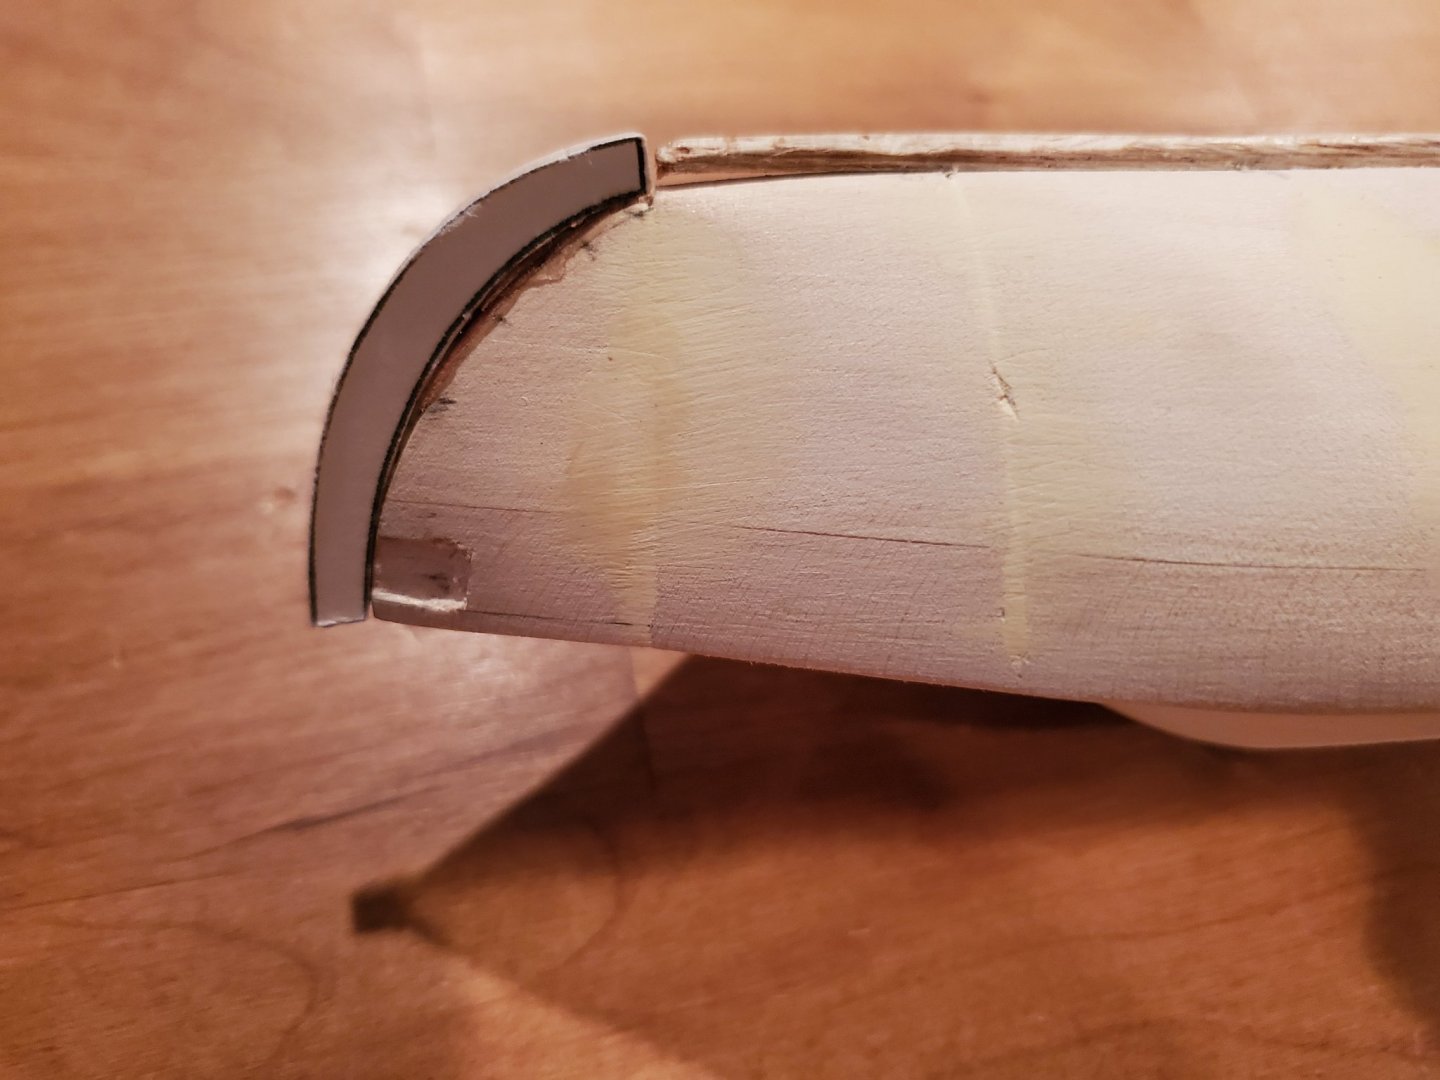
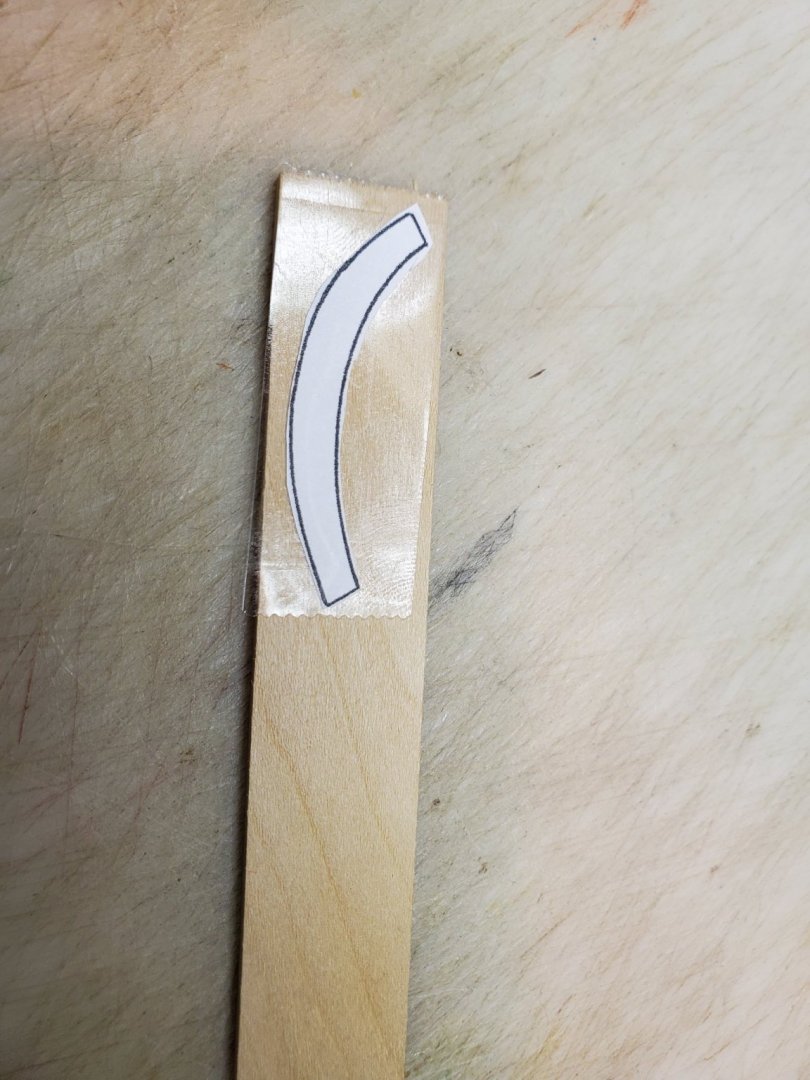
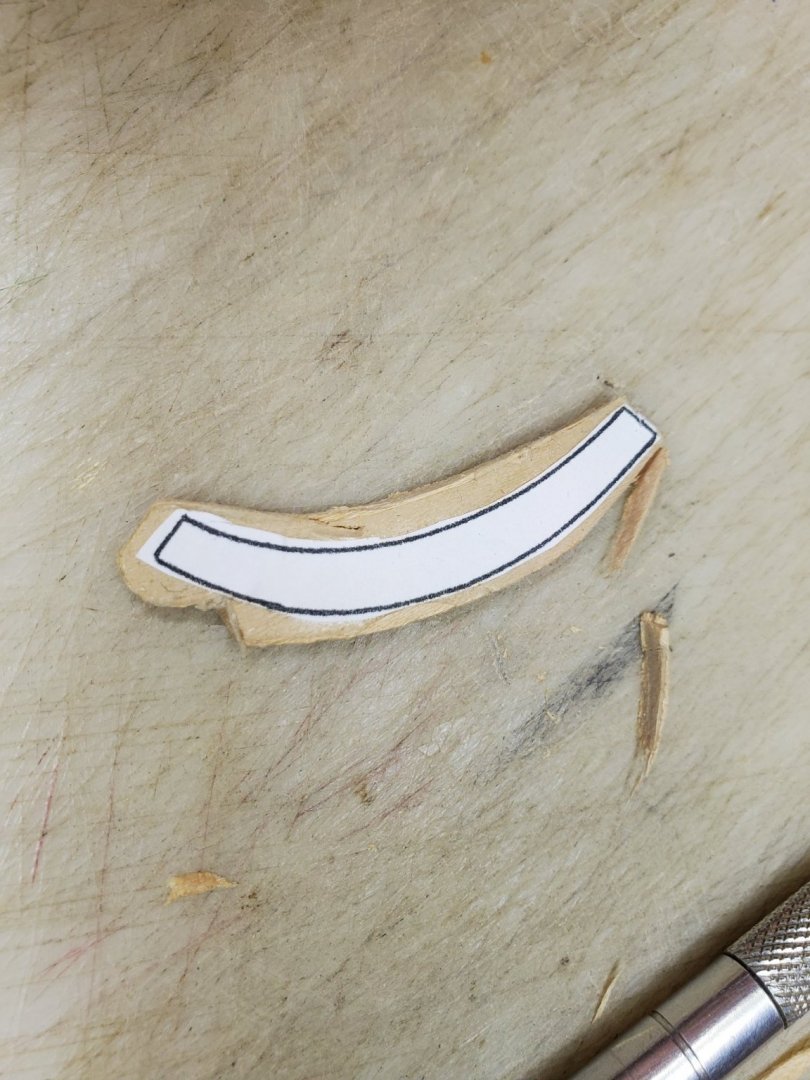
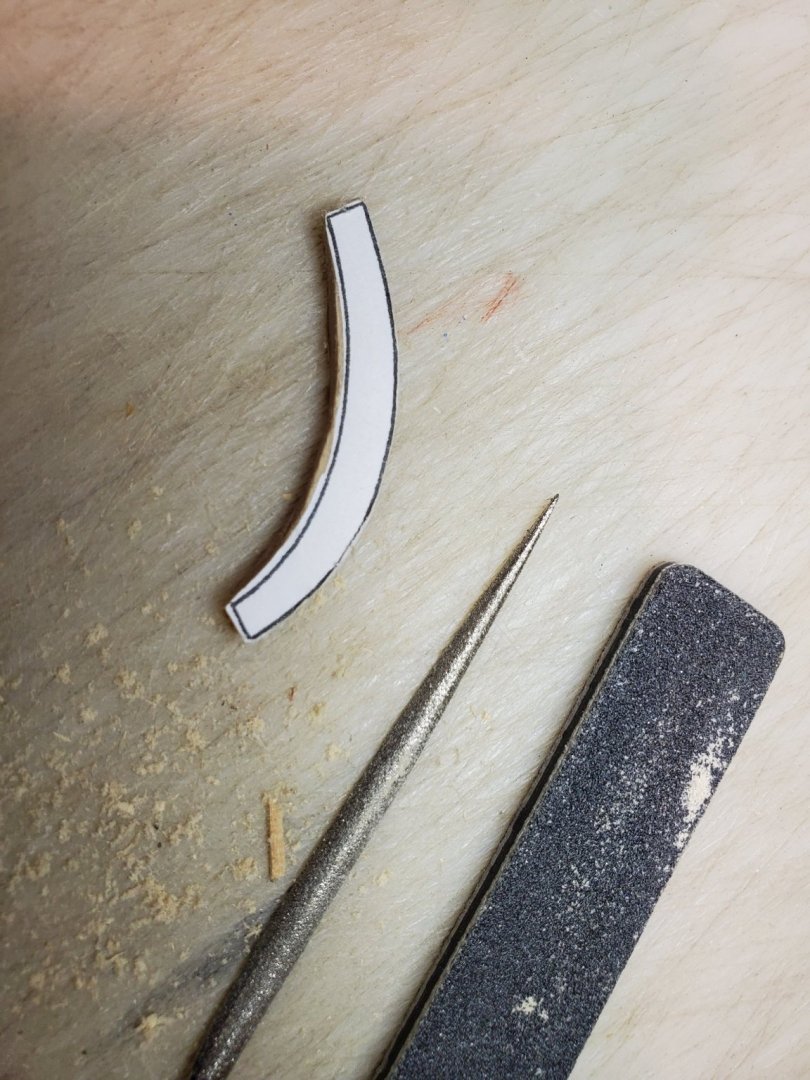
The wooden strip turned out to be too inflexible and difficult to work with so we replaced it with a cardstock strip as suggested by the kit instructions.
- 30 replies
-
- first build
- BlueJacket Shipcrafters
-
(and 1 more)
Tagged with:
-
- 30 replies
-
- first build
- BlueJacket Shipcrafters
-
(and 1 more)
Tagged with:
-
- 30 replies
-
- first build
- BlueJacket Shipcrafters
-
(and 1 more)
Tagged with:
-
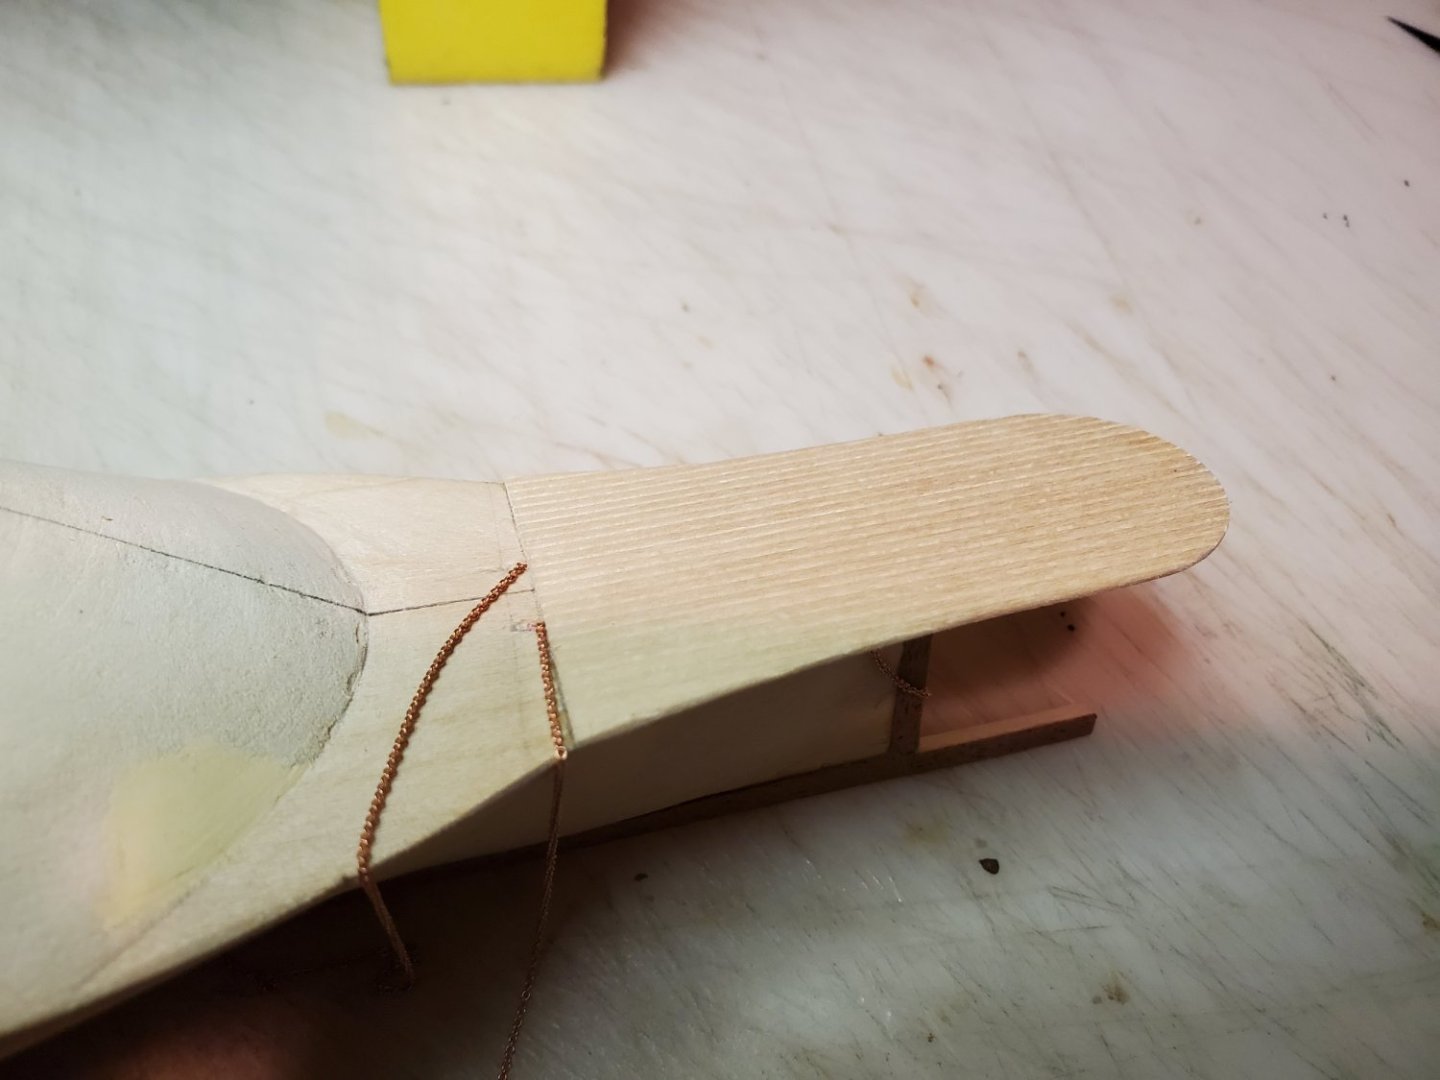
Fantail installed. The chain used to move the rudder is temporarily in place to make sure we could install it with the deck in place.
- 30 replies
-
- first build
- BlueJacket Shipcrafters
-
(and 1 more)
Tagged with:
-
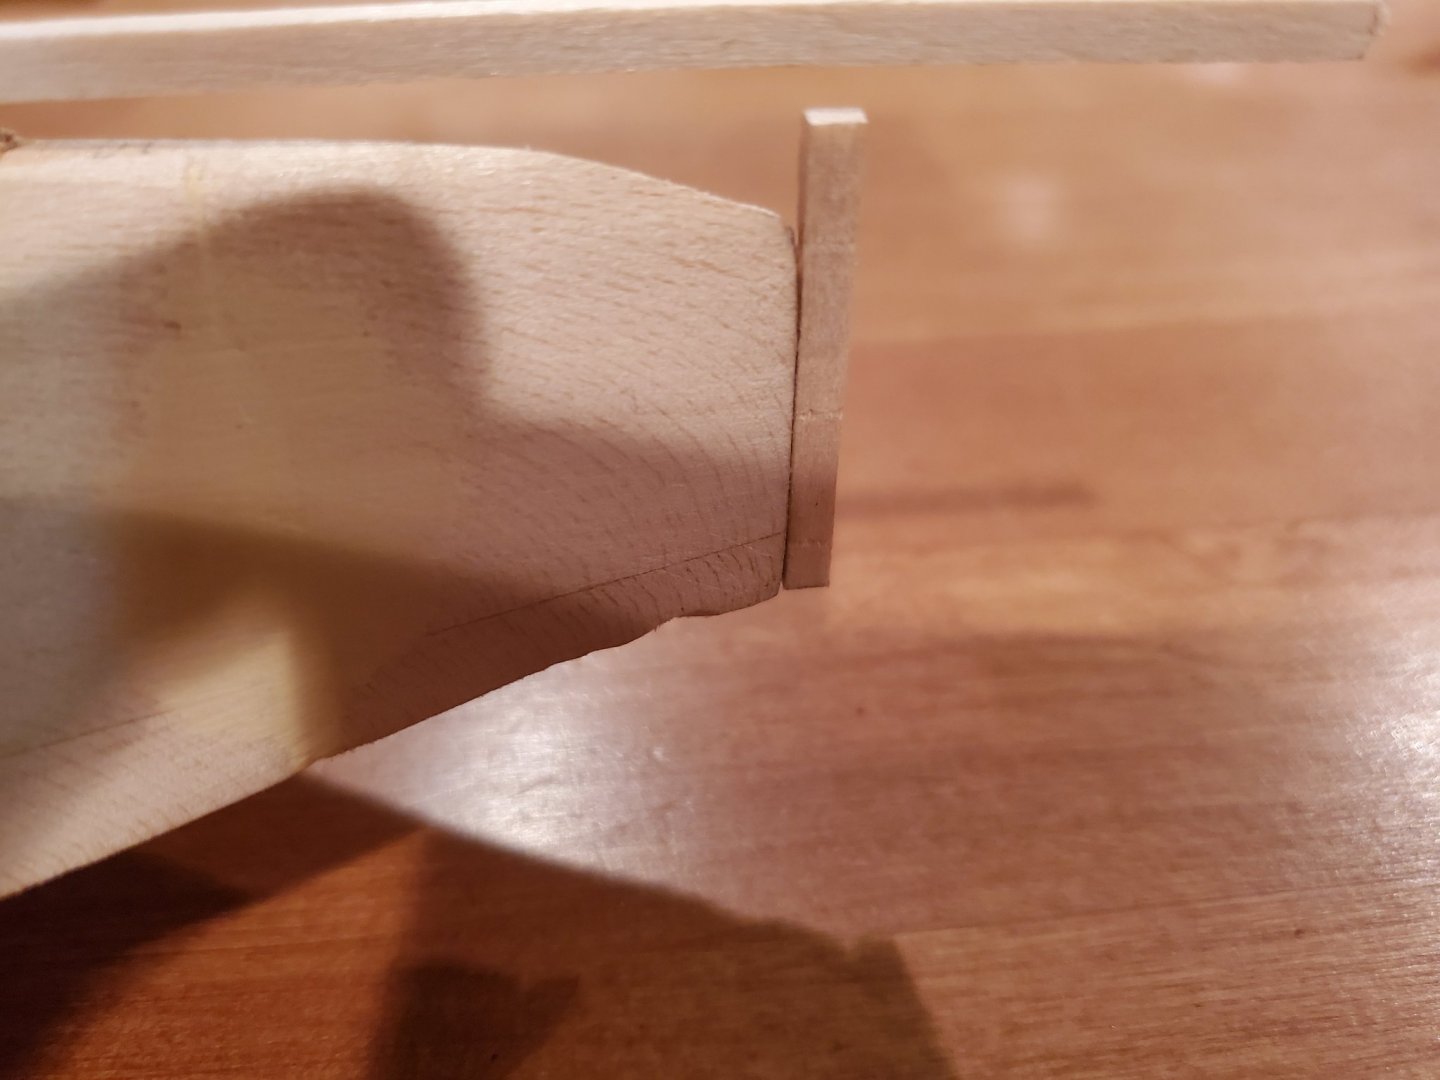
While Michael worked on the rudder, I used some leftover strips from another kit to straighten the keel and stern post.
- 30 replies
-
- first build
- BlueJacket Shipcrafters
-
(and 1 more)
Tagged with:
-
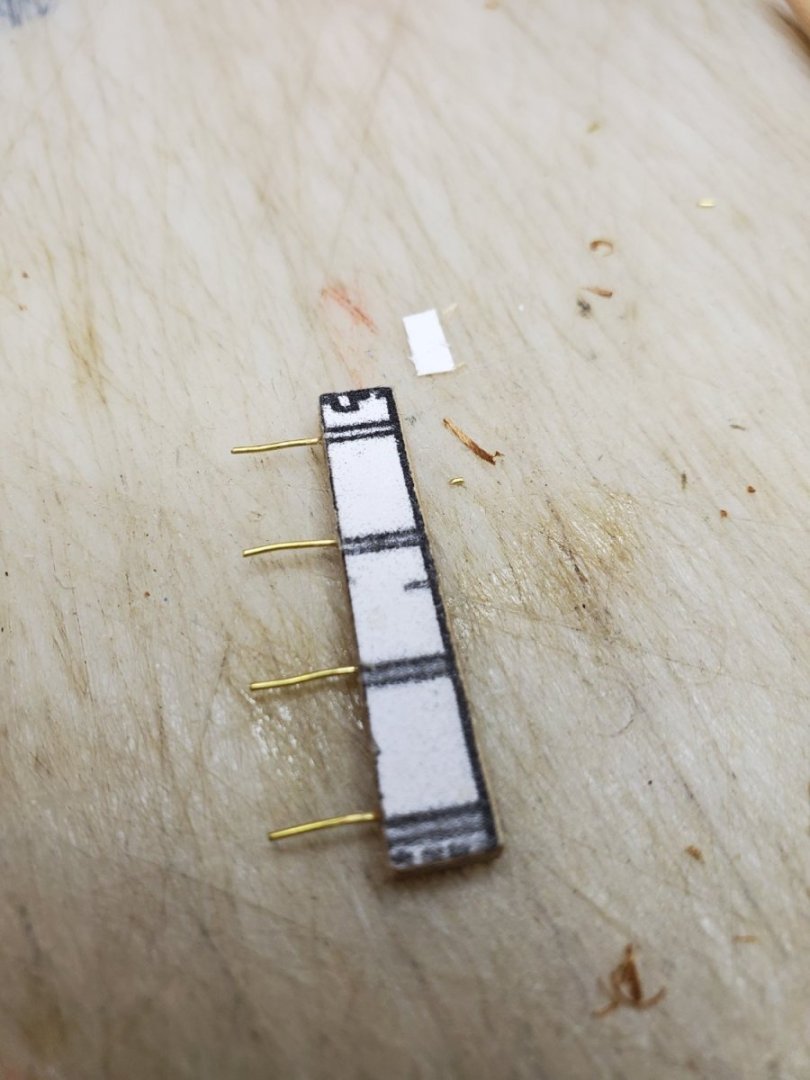
Pintles & gudgeons are not part of the kit. At 1/16 scale, we'll keep it simple. Hat tip to jre8655 and his post from 2013 - we will use a similar technique. Michael drilled holes with a #74 drill and glued in 4 pieces of brass wire. These will be used to connect the rudder to the post and should be concealed when complete.
- 30 replies
-
- first build
- BlueJacket Shipcrafters
-
(and 1 more)
Tagged with:
-
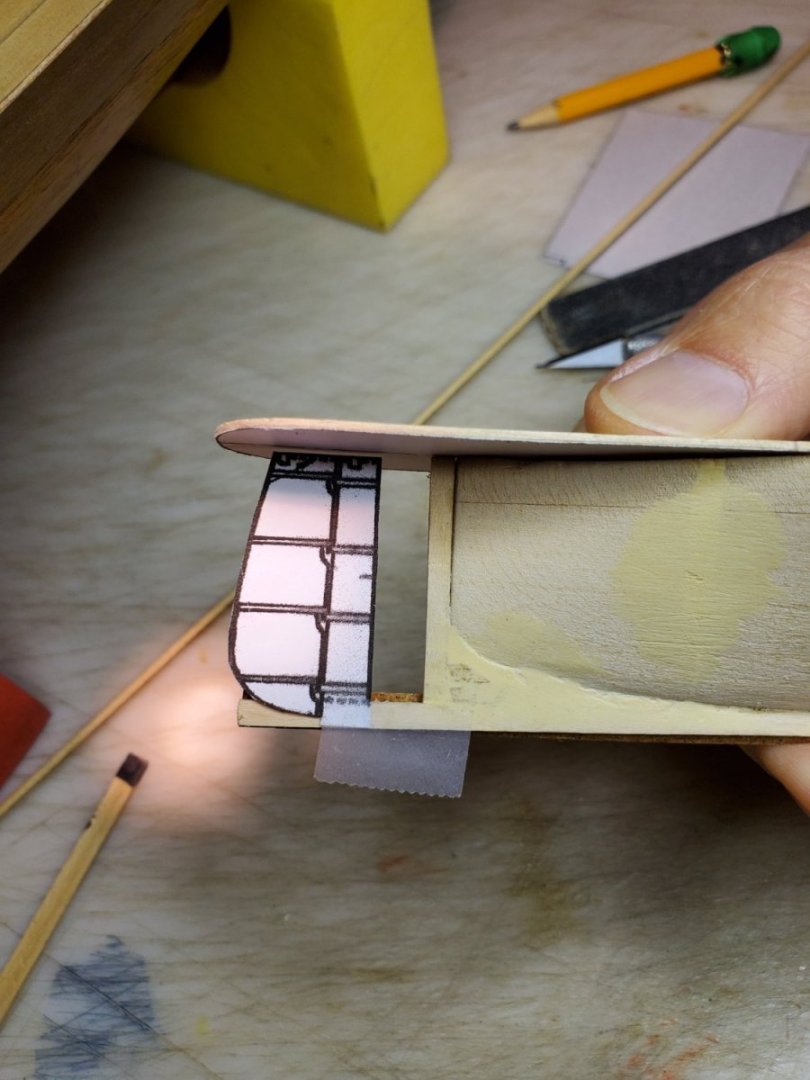
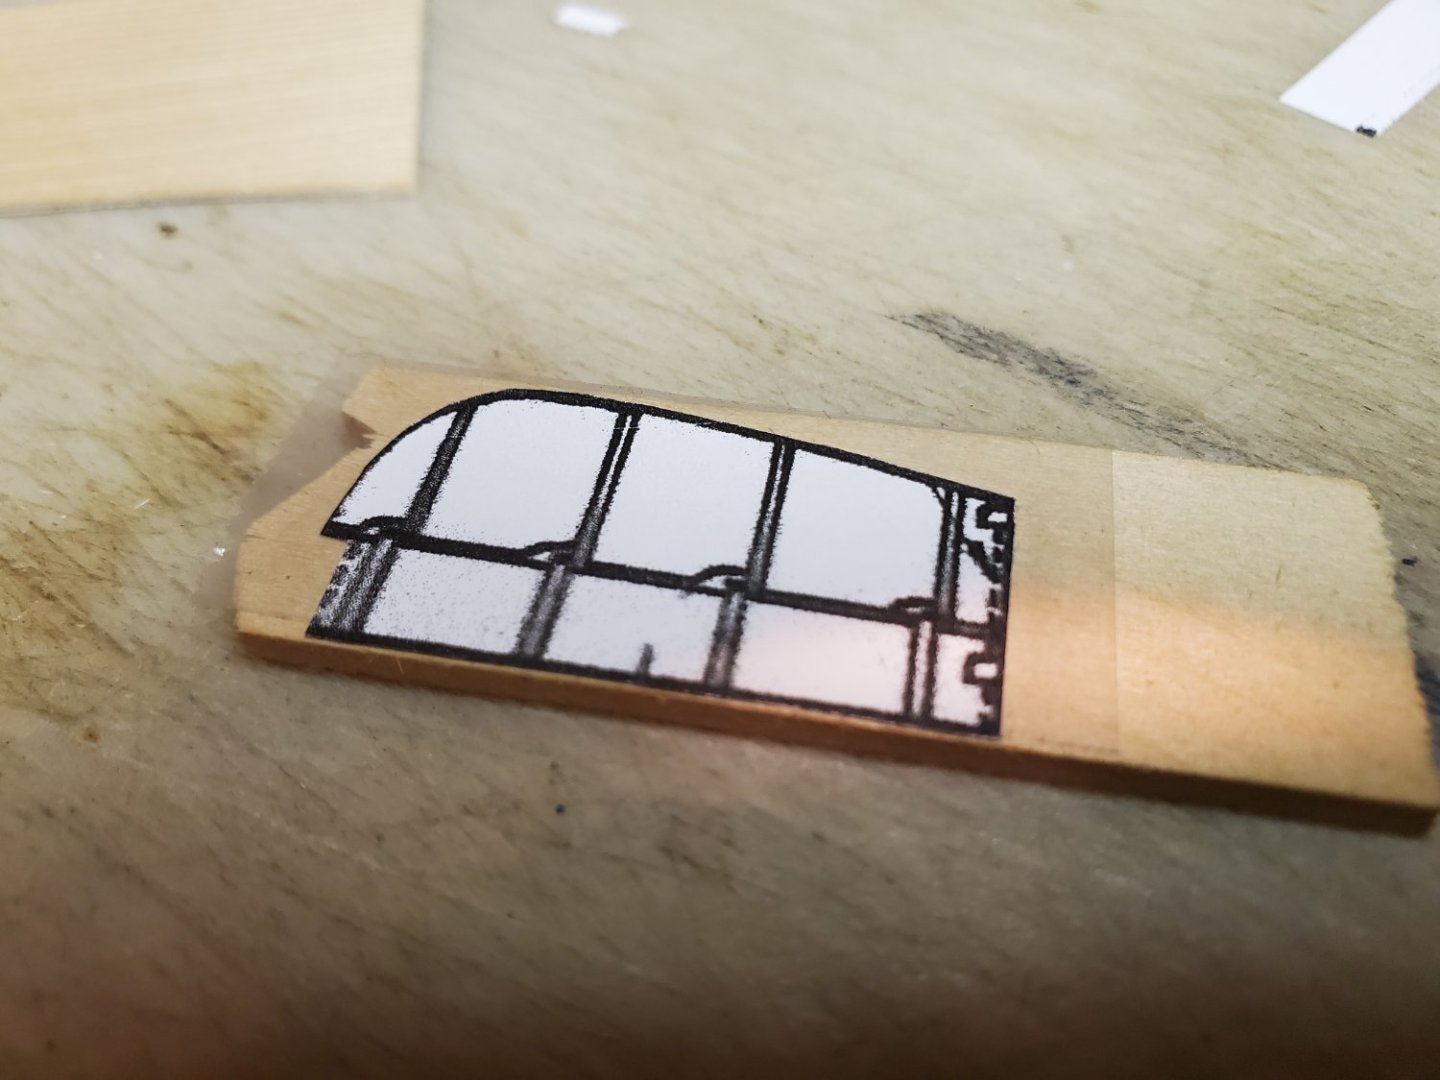
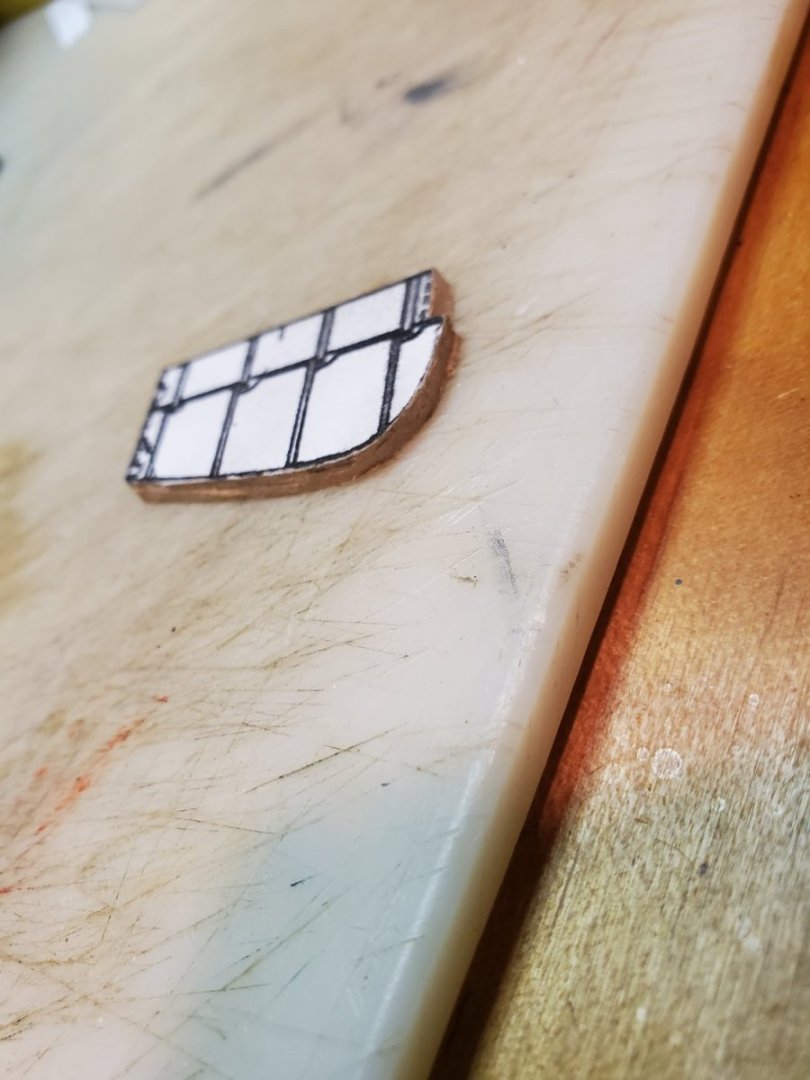
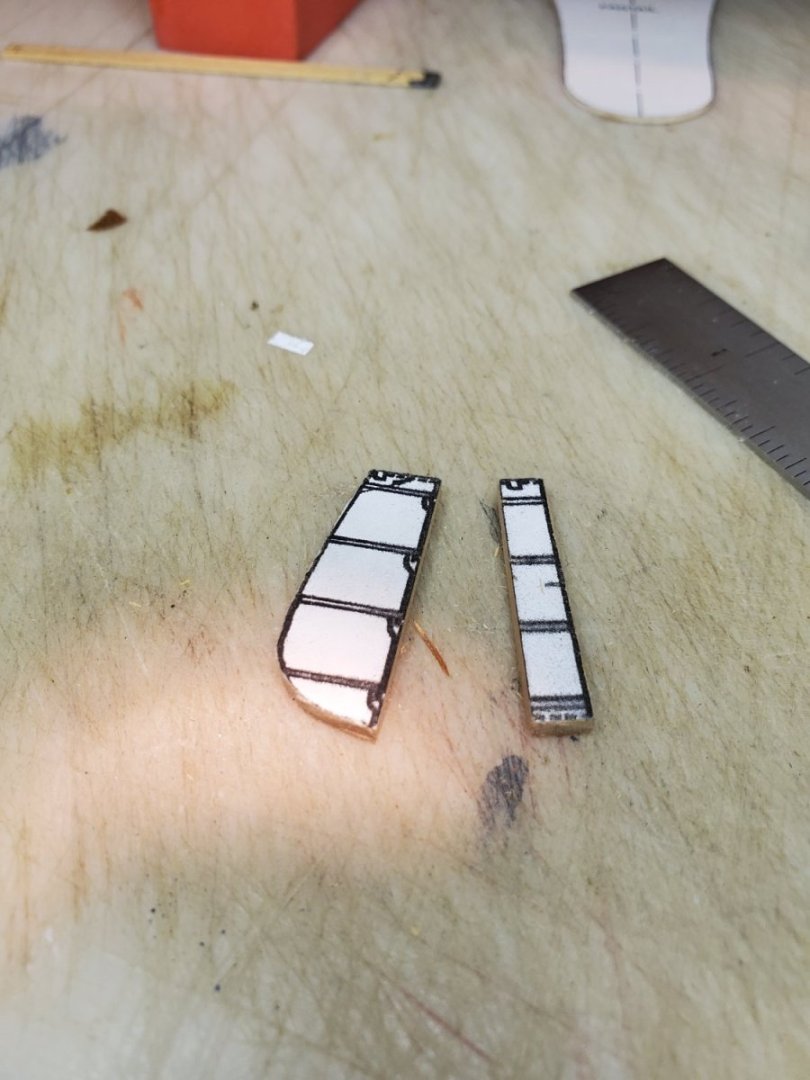
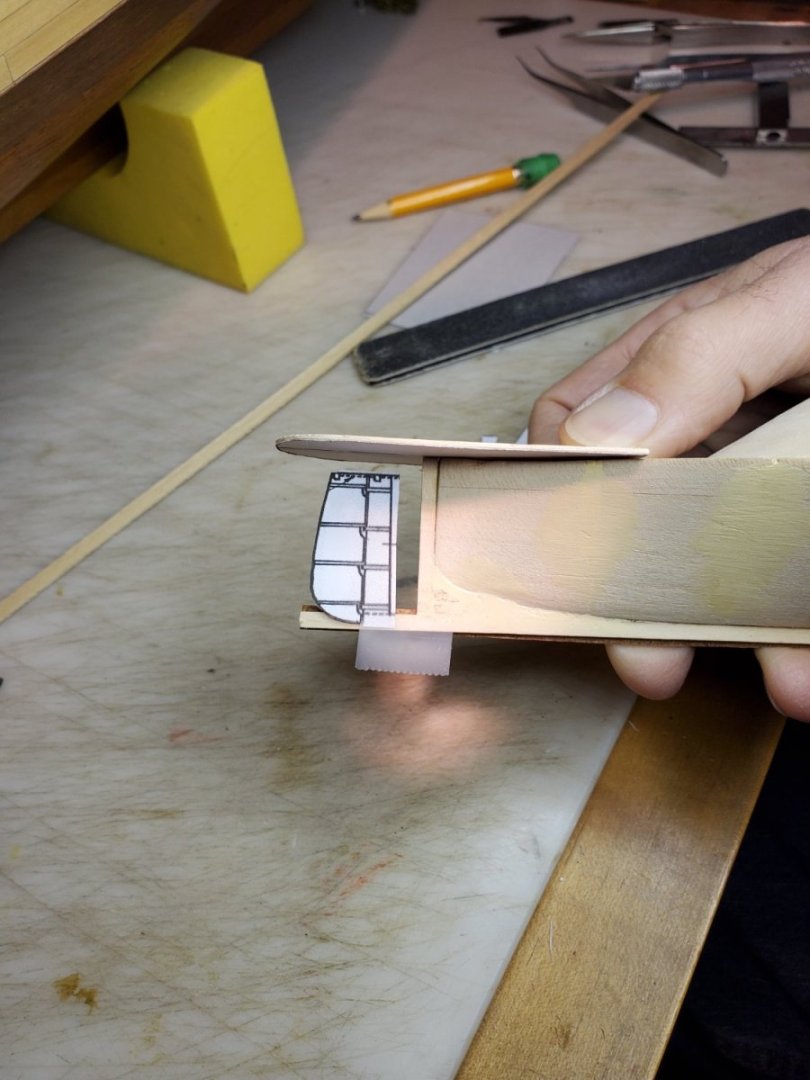
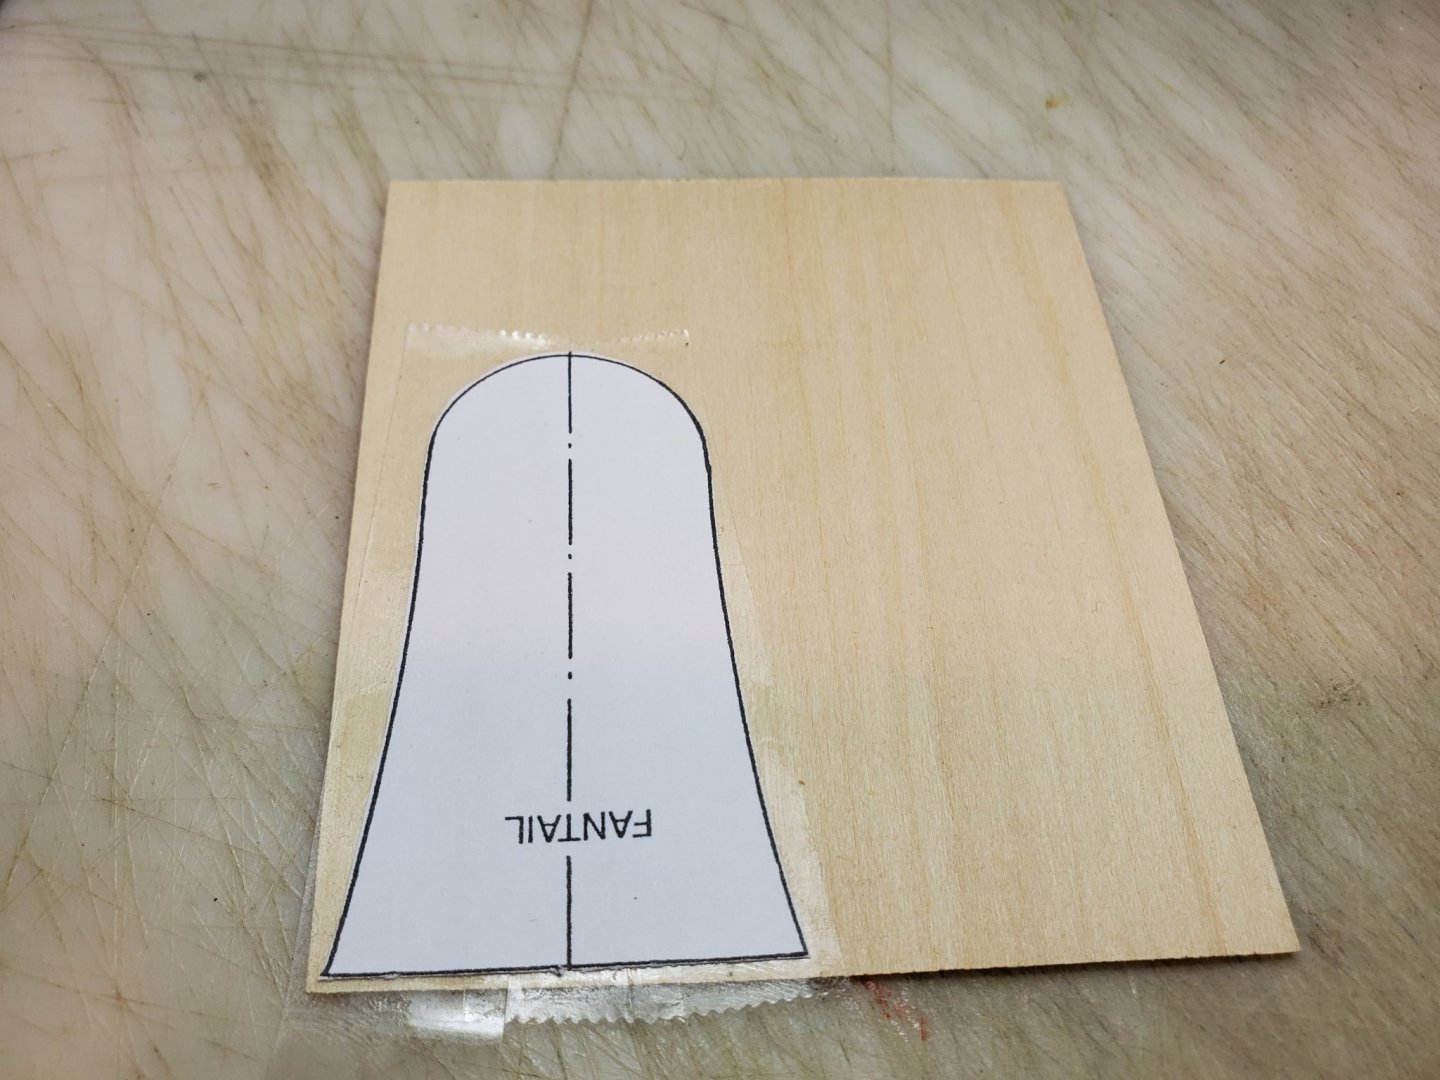
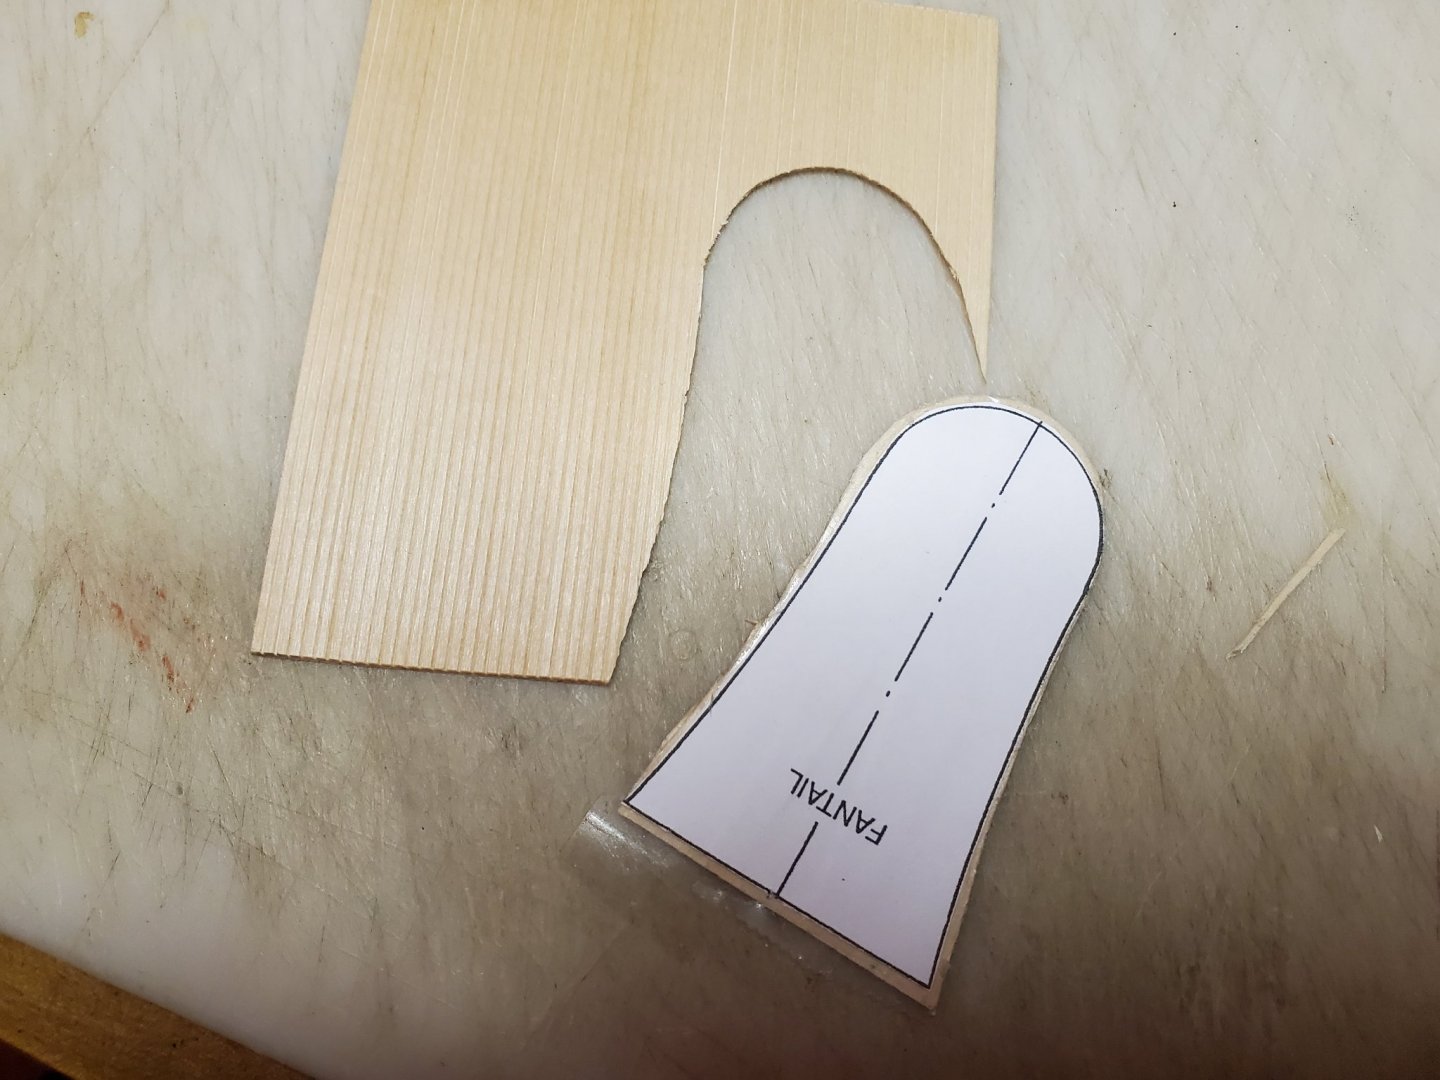
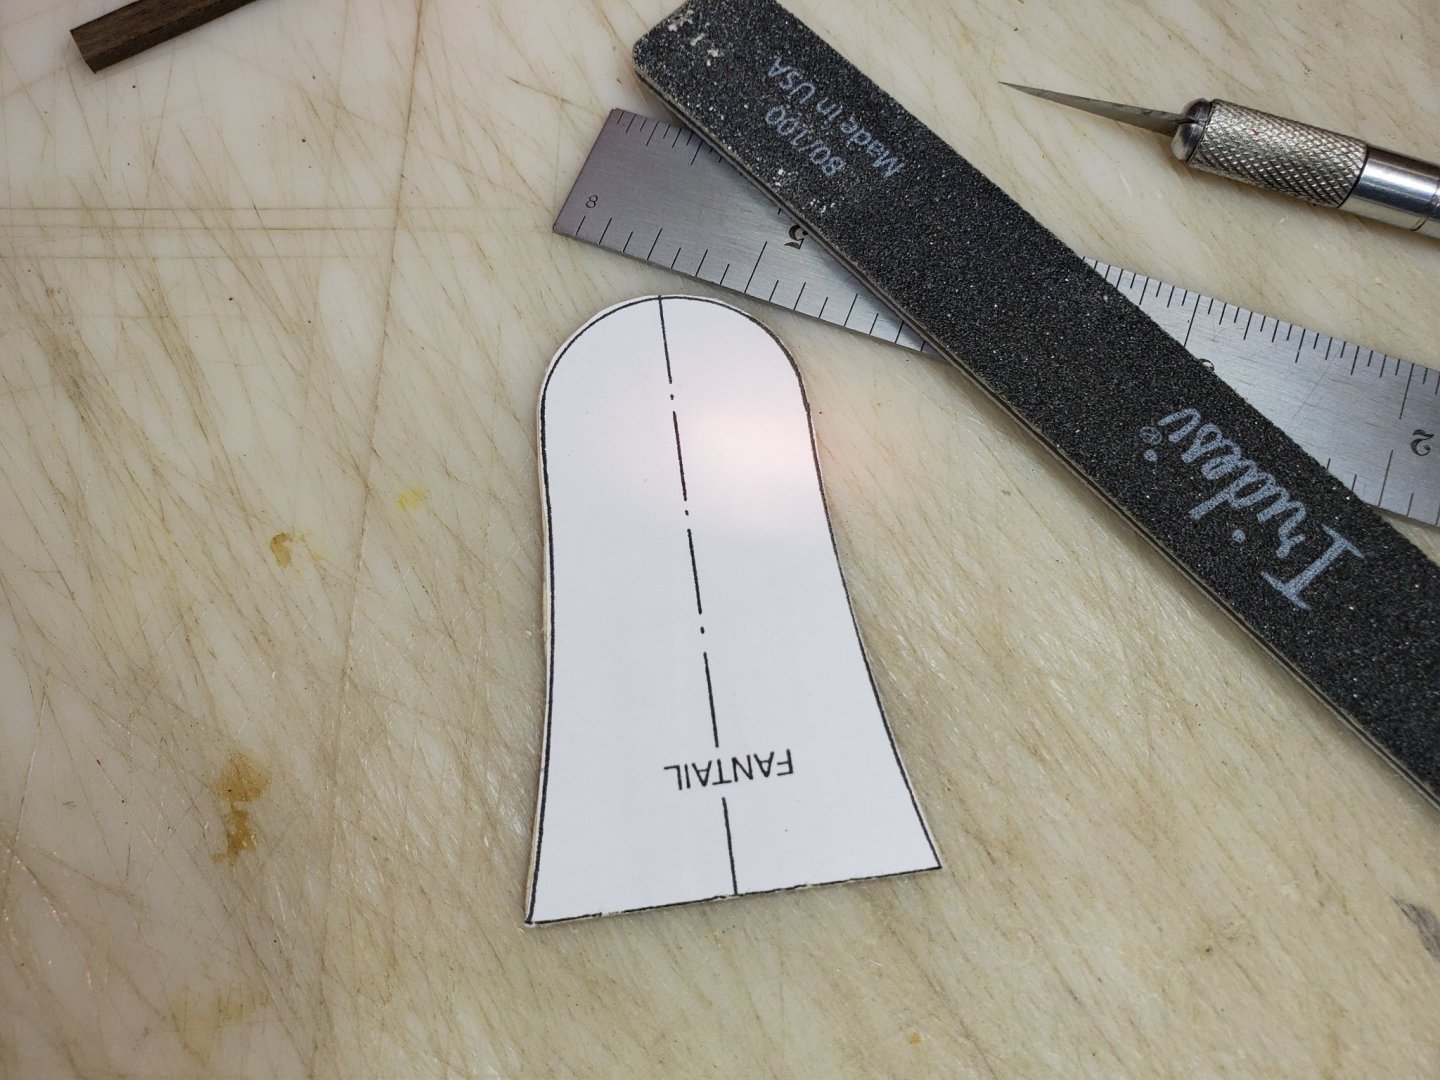
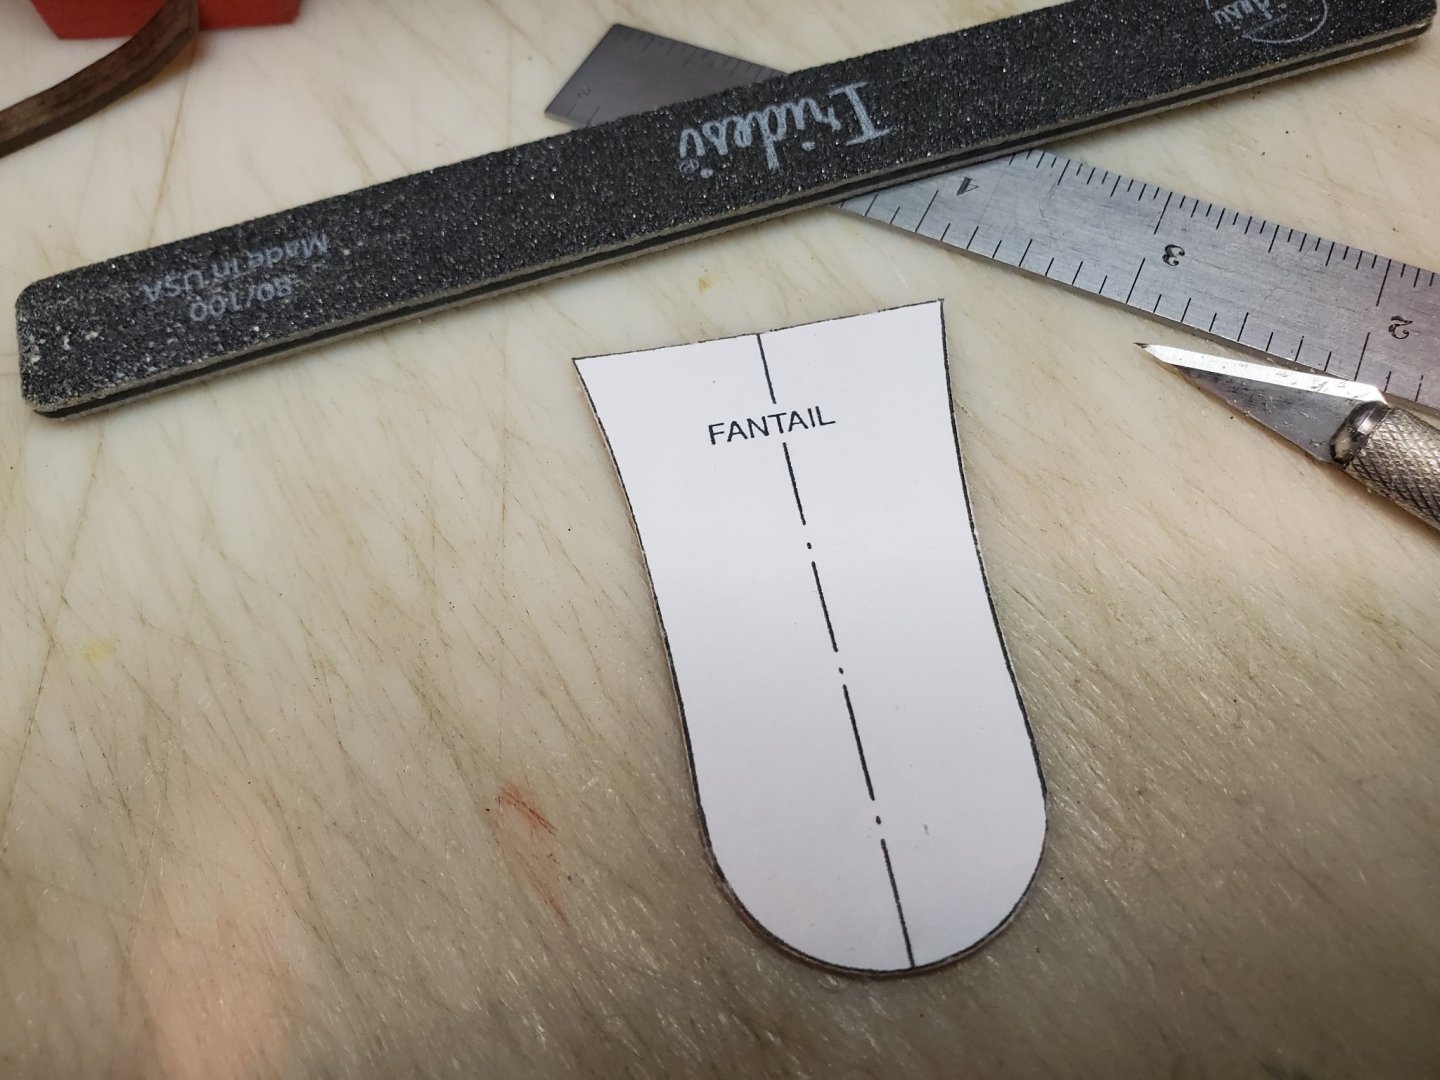
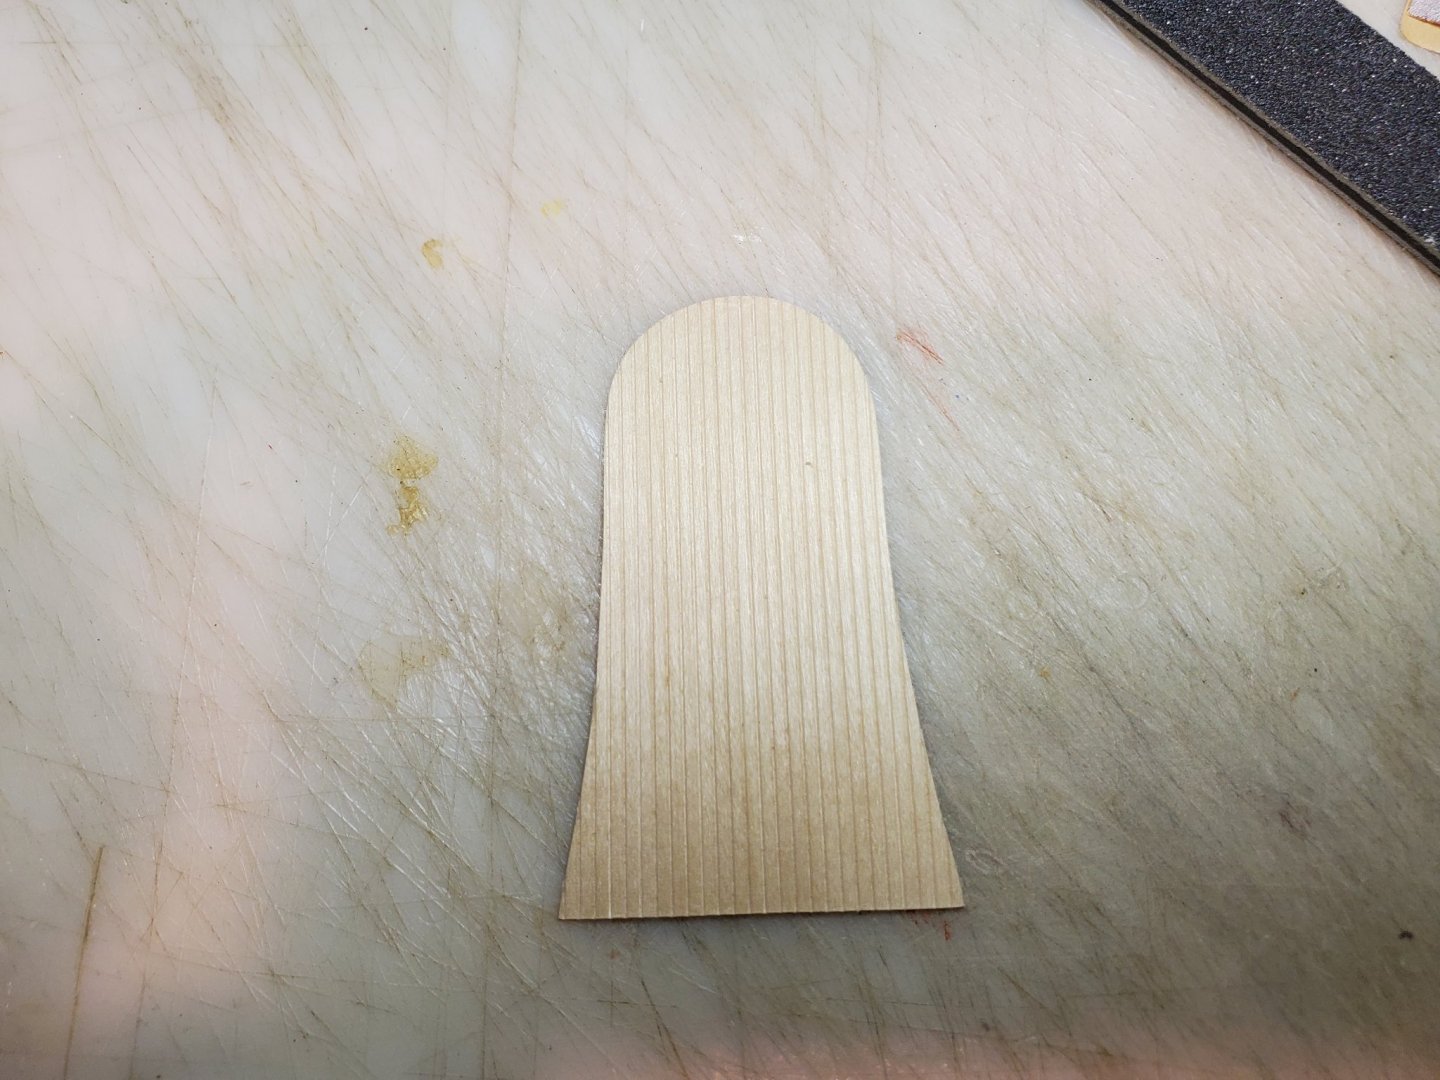
The new template fit perfectly and was attached to wood stock with two-sided tape and cut out, filed clean and then the post was separated from the rudder.
- 30 replies
-
- first build
- BlueJacket Shipcrafters
-
(and 1 more)
Tagged with:
-
- 30 replies
-
- first build
- BlueJacket Shipcrafters
-
(and 1 more)
Tagged with:
-
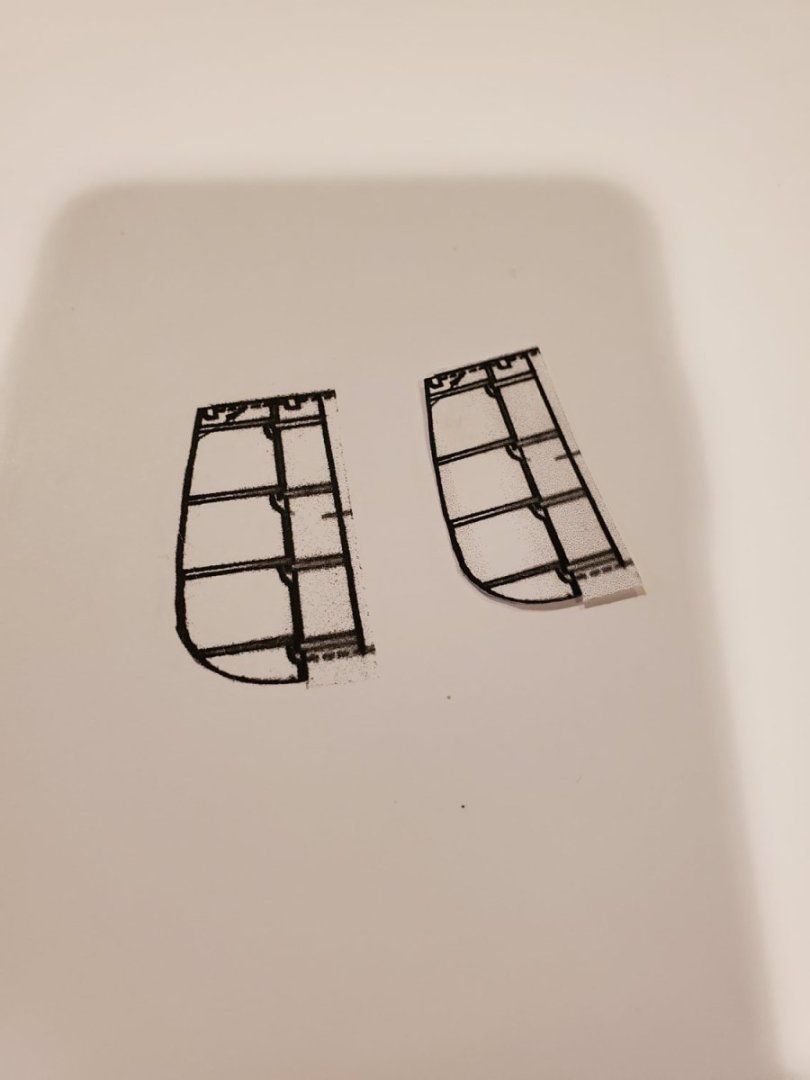
The rudder as depicted on the plans is too small for the area between the fantail and the keel, so we did a bit of math and determined a 12% increase in size would correct the problem.
- 30 replies
-
- first build
- BlueJacket Shipcrafters
-
(and 1 more)
Tagged with:
-
After another long break Michael is returning to this model. During the break, he built the frame of the Chuck Passaro English Pinnace that he was given as a gift, and completed a model of USS Laffey DD-459, which took 1st place in the Junior division at the 40th annual NE Joint Clubs Ship Model Conference on April 29th in New London, CT. New pictures to this build log coming soon.
- 30 replies
-
- first build
- BlueJacket Shipcrafters
-
(and 1 more)
Tagged with:
-
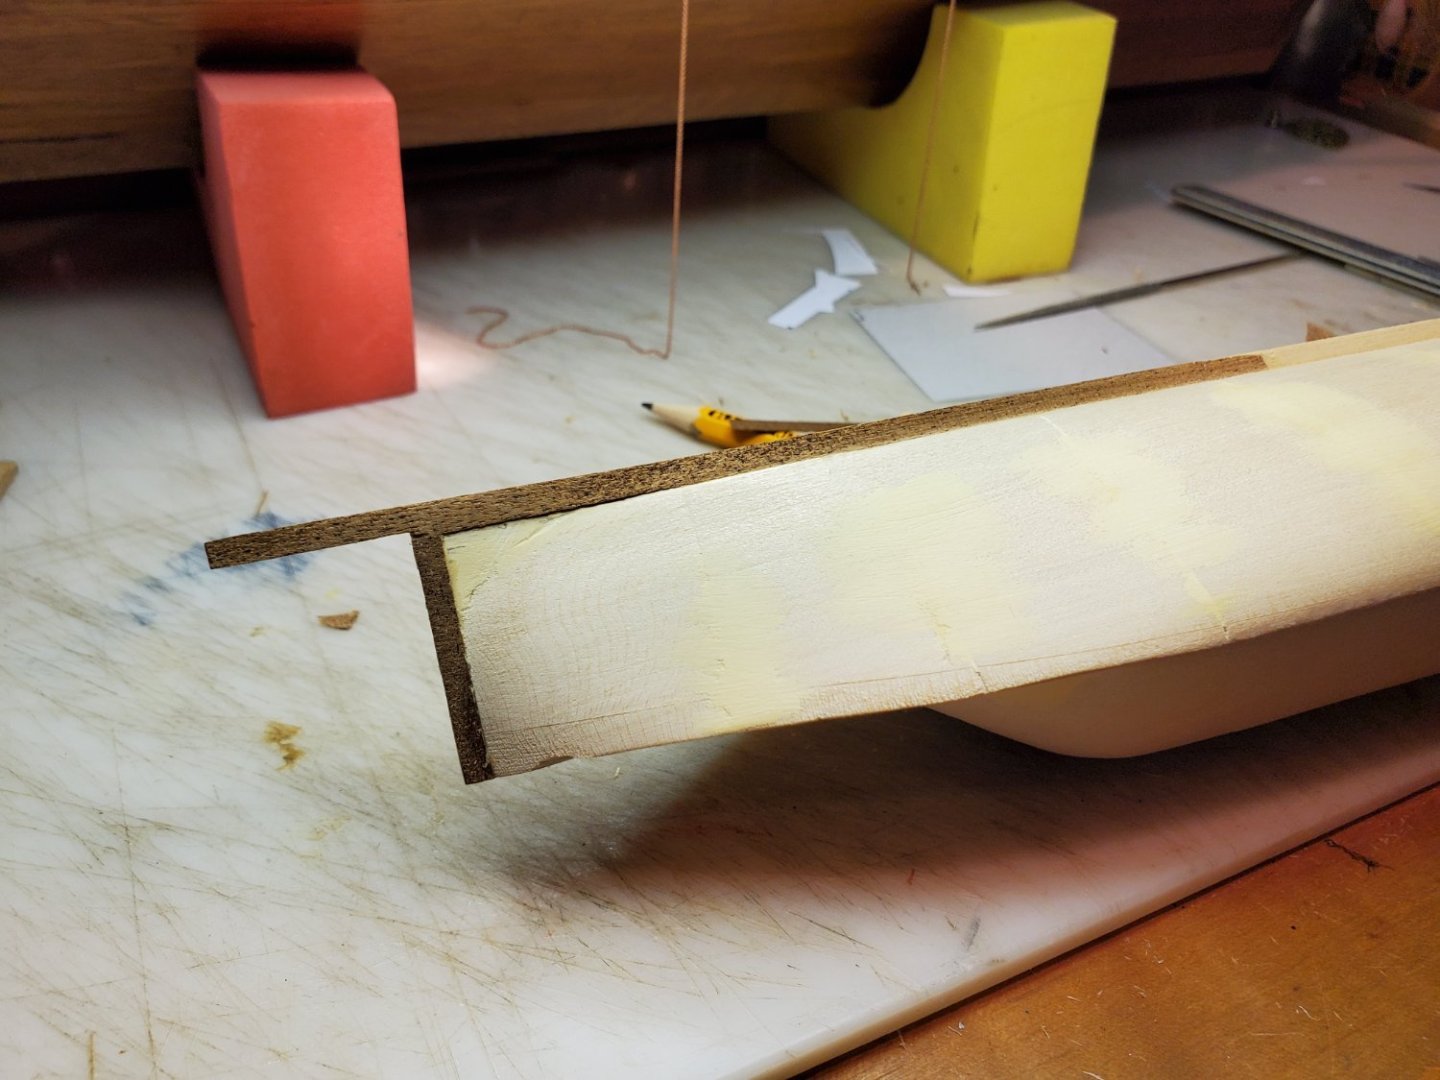
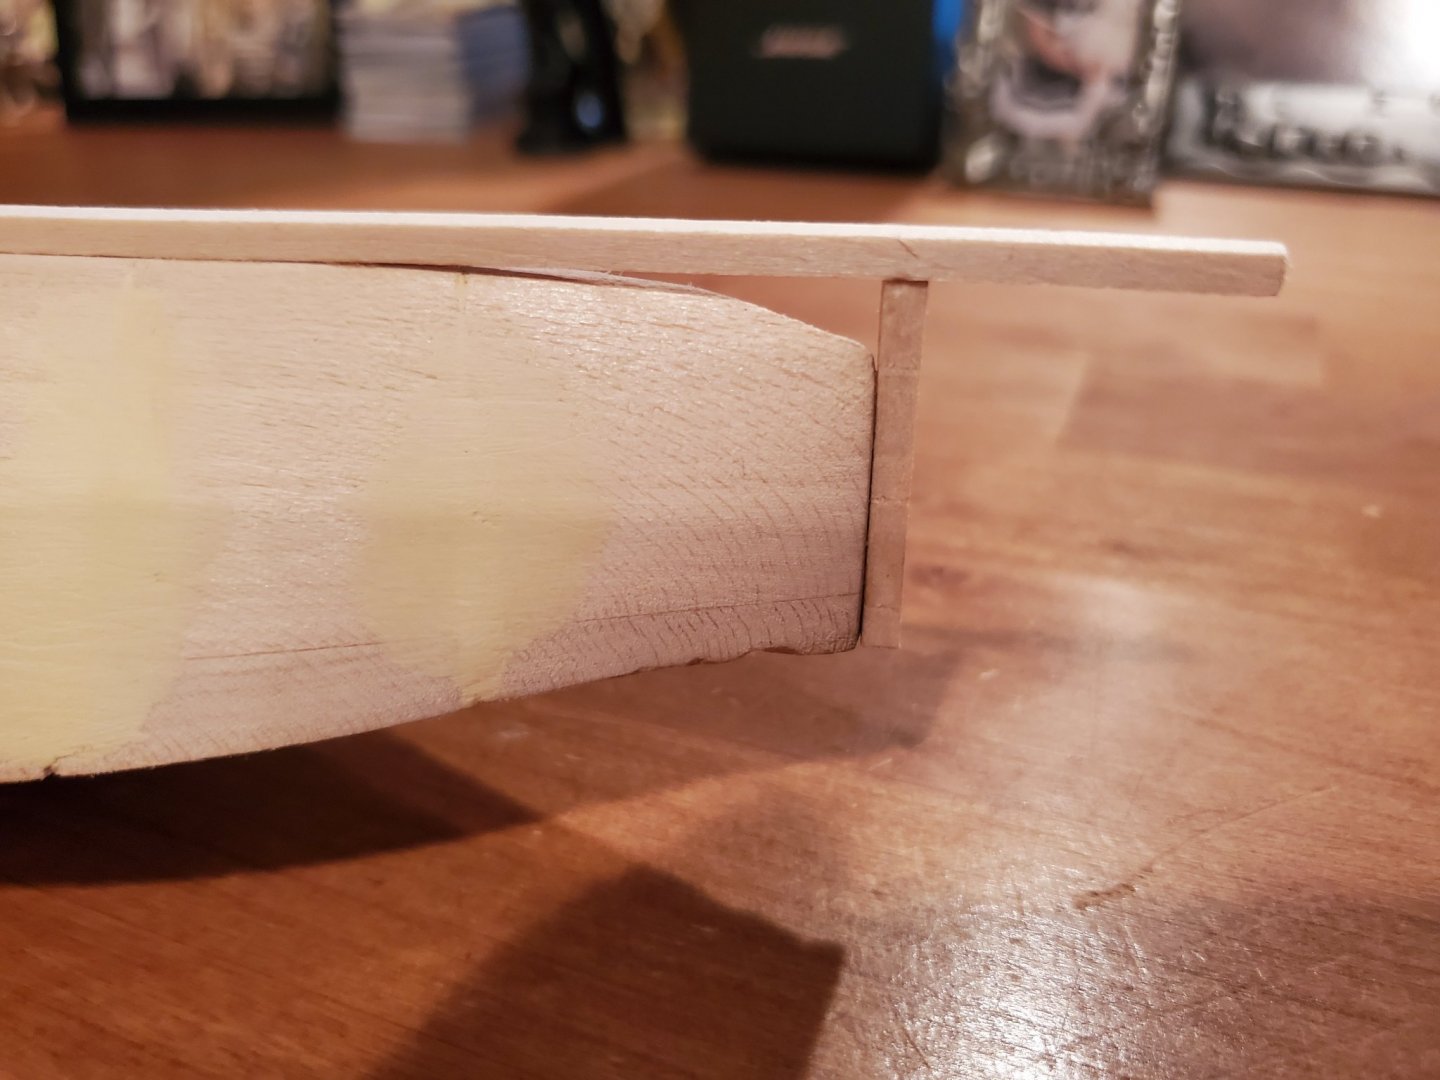
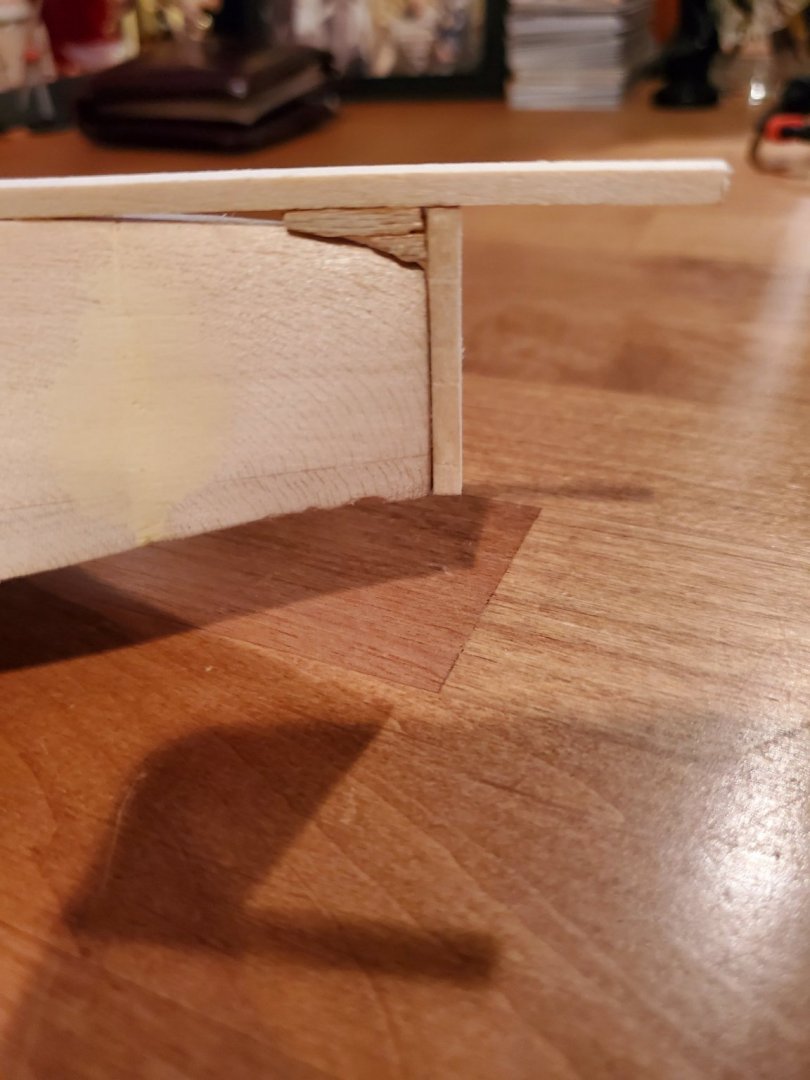
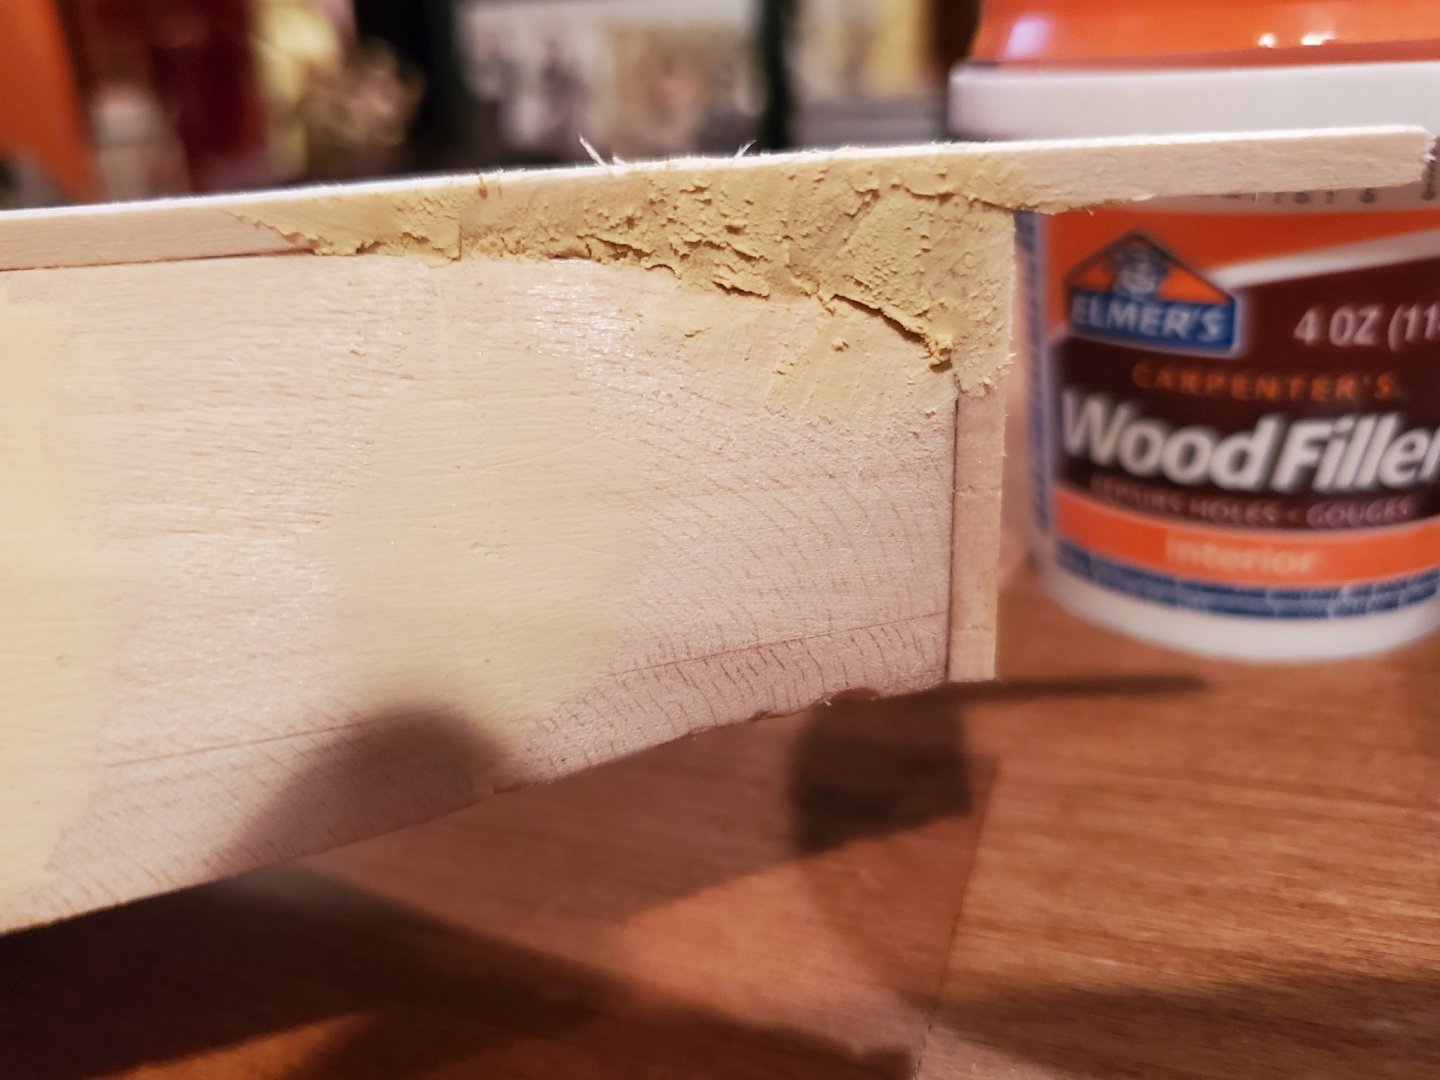
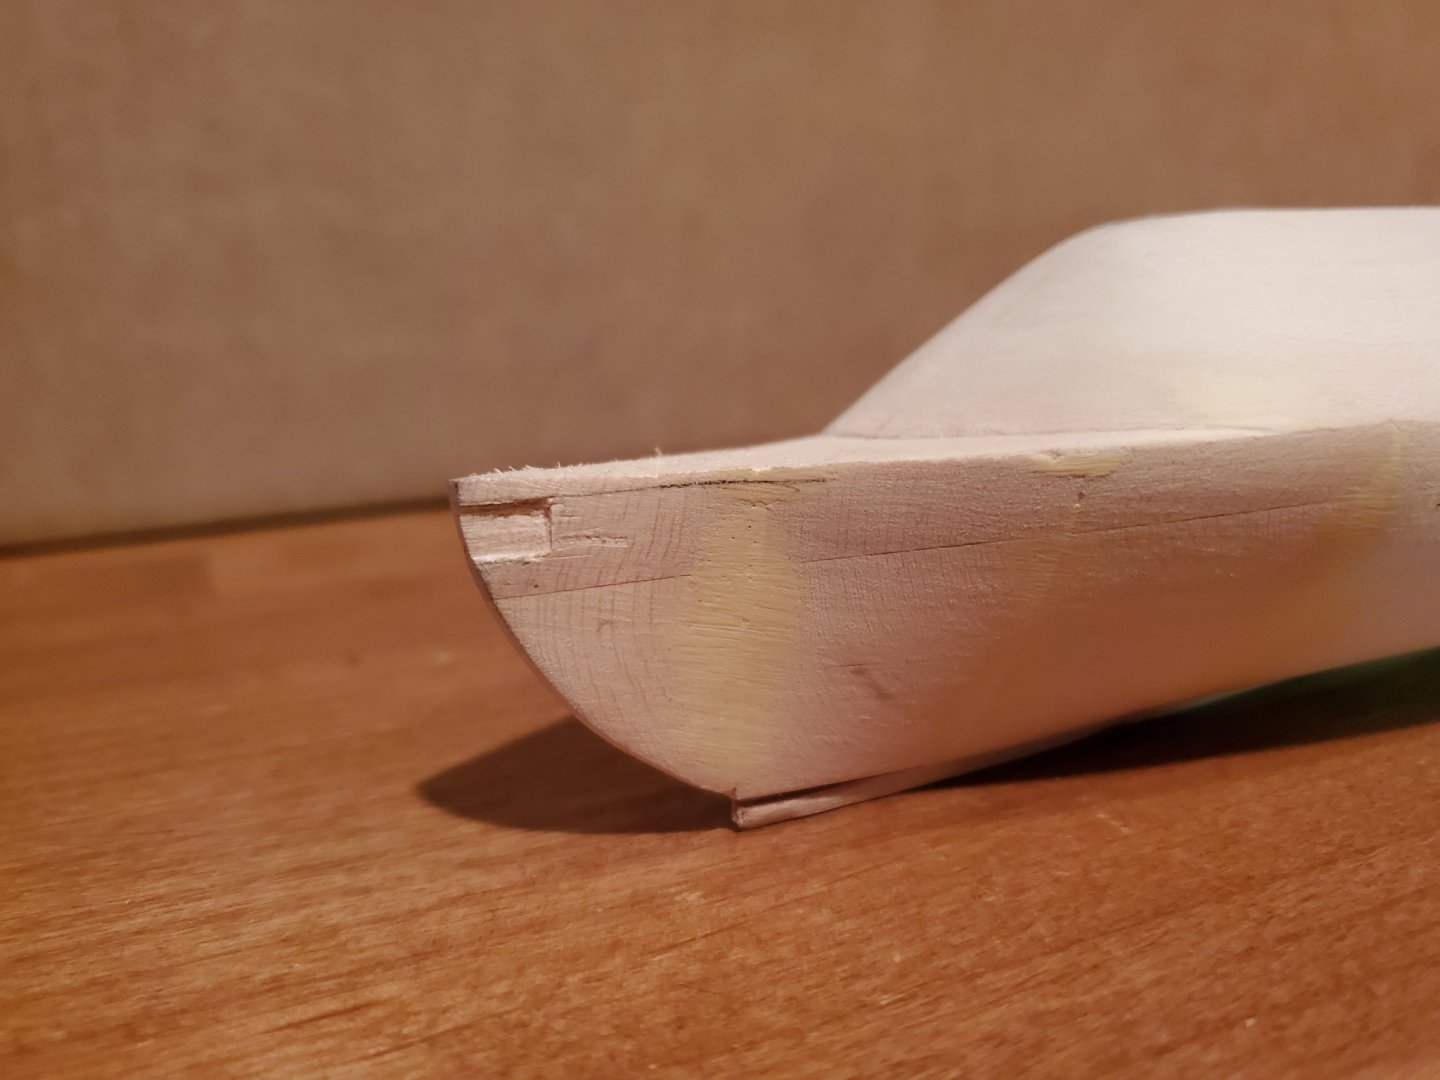
A gap between the keel and the hull at the stern will be filled with scrap wood strips and then finished with wood filler.
- 30 replies
-
- first build
- BlueJacket Shipcrafters
-
(and 1 more)
Tagged with:
-
- 30 replies
-
- first build
- BlueJacket Shipcrafters
-
(and 1 more)
Tagged with:
-
- 30 replies
-
- first build
- BlueJacket Shipcrafters
-
(and 1 more)
Tagged with:
-
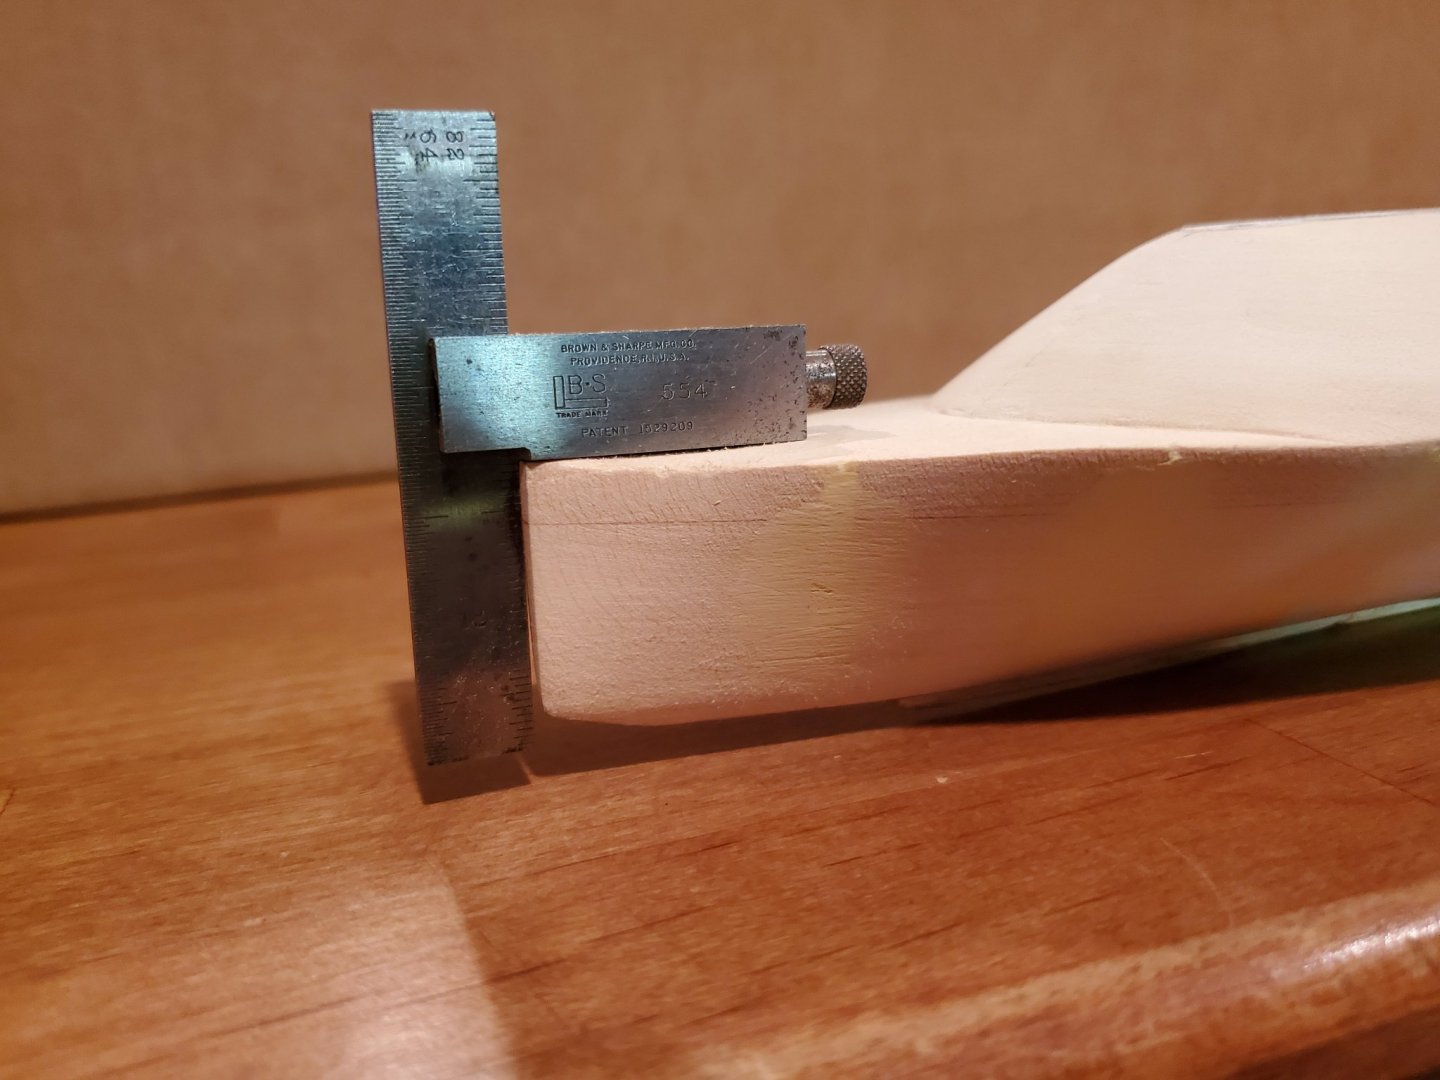
Installing the stem. Some building up of the hull with thin wood strips was required to get an appropriate fit. This will all be covered up when the copper plating is installed.
- 30 replies
-
- first build
- BlueJacket Shipcrafters
-
(and 1 more)
Tagged with:
-
- 30 replies
-
- first build
- BlueJacket Shipcrafters
-
(and 1 more)
Tagged with:
-
- 30 replies
-
- first build
- BlueJacket Shipcrafters
-
(and 1 more)
Tagged with:
-
- 30 replies
-
- first build
- BlueJacket Shipcrafters
-
(and 1 more)
Tagged with:
-
- 30 replies
-
- first build
- BlueJacket Shipcrafters
-
(and 1 more)
Tagged with:
-
- 30 replies
-
- first build
- BlueJacket Shipcrafters
-
(and 1 more)
Tagged with:
-
- 30 replies
-
- first build
- BlueJacket Shipcrafters
-
(and 1 more)
Tagged with:
-
- 30 replies
-
- first build
- BlueJacket Shipcrafters
-
(and 1 more)
Tagged with:
-
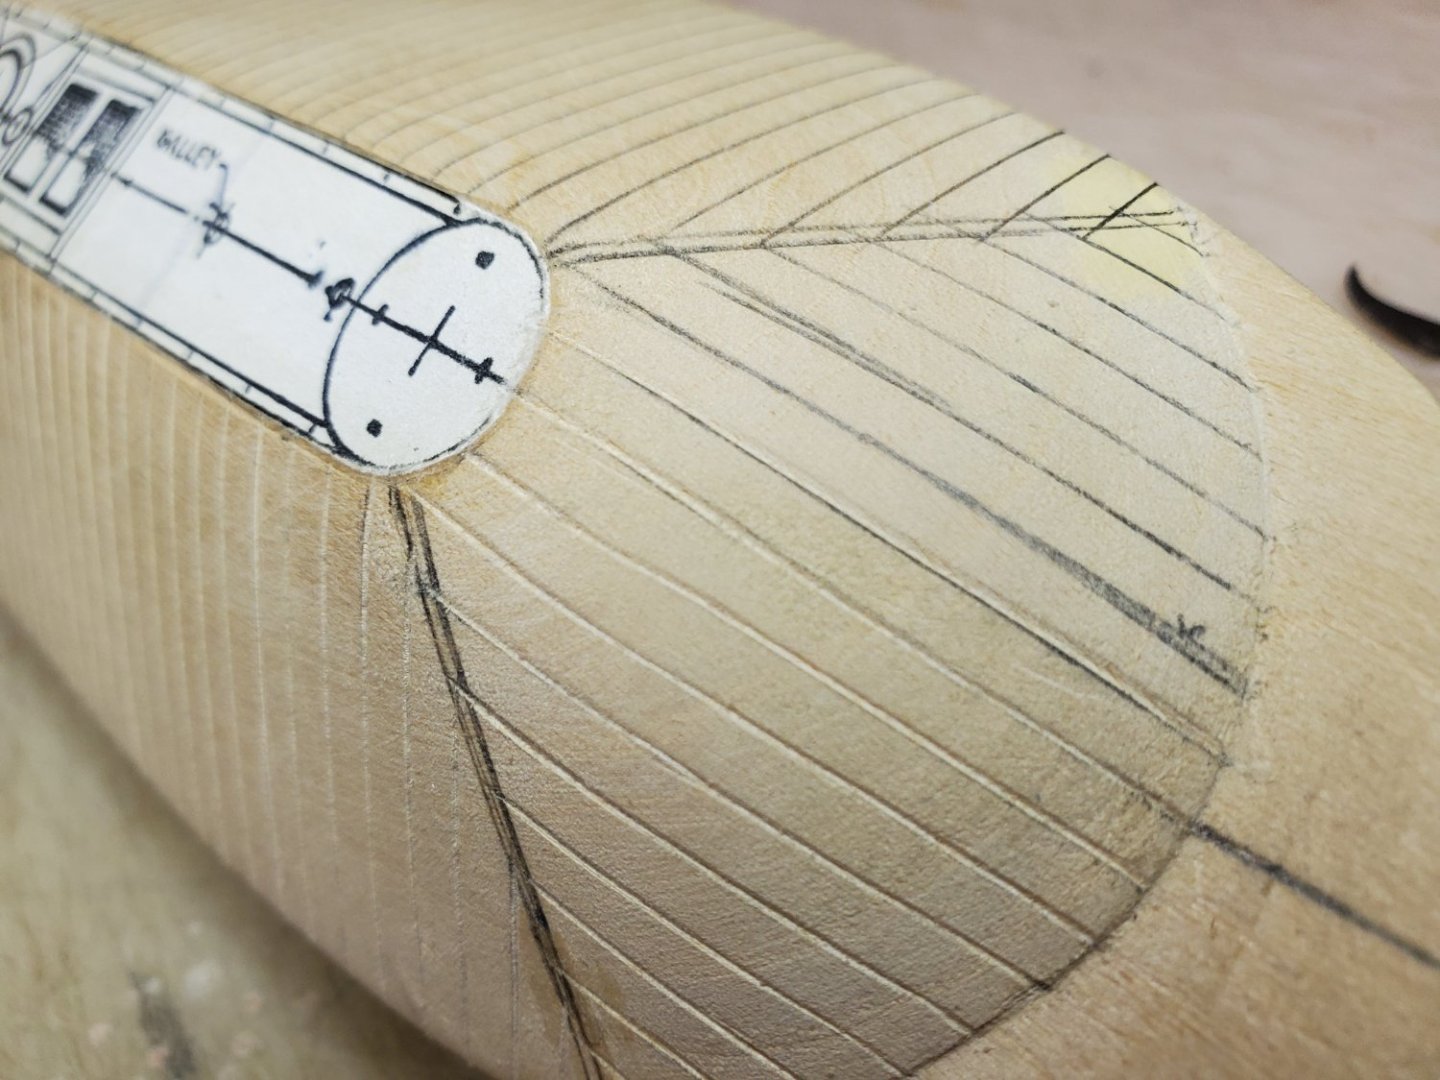
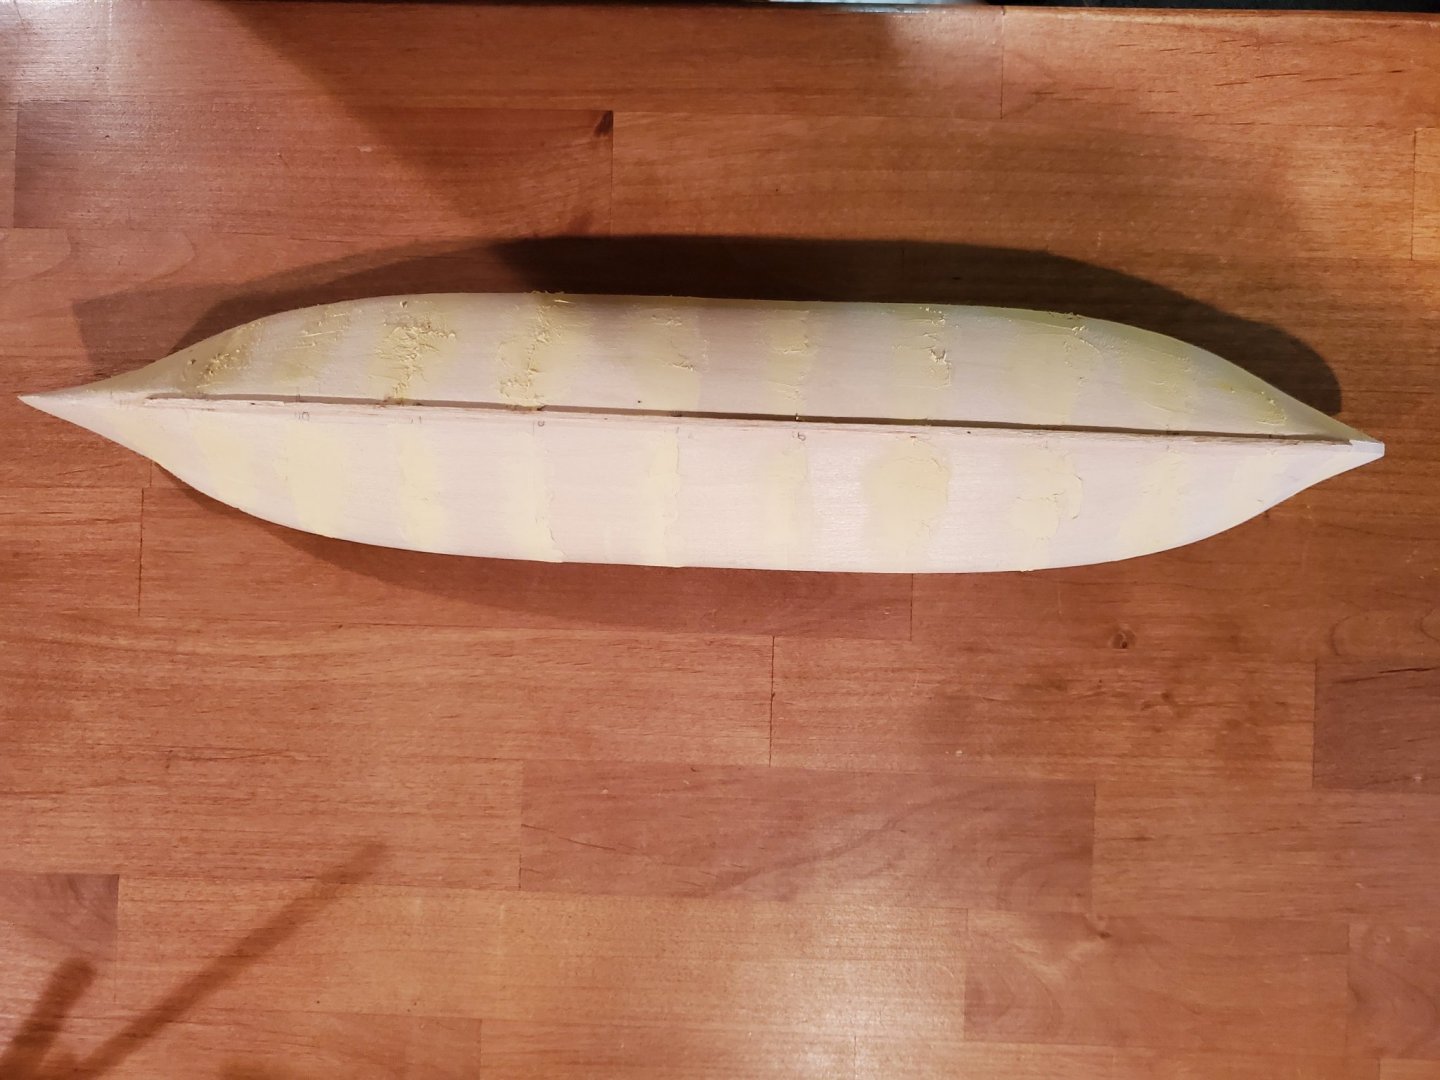
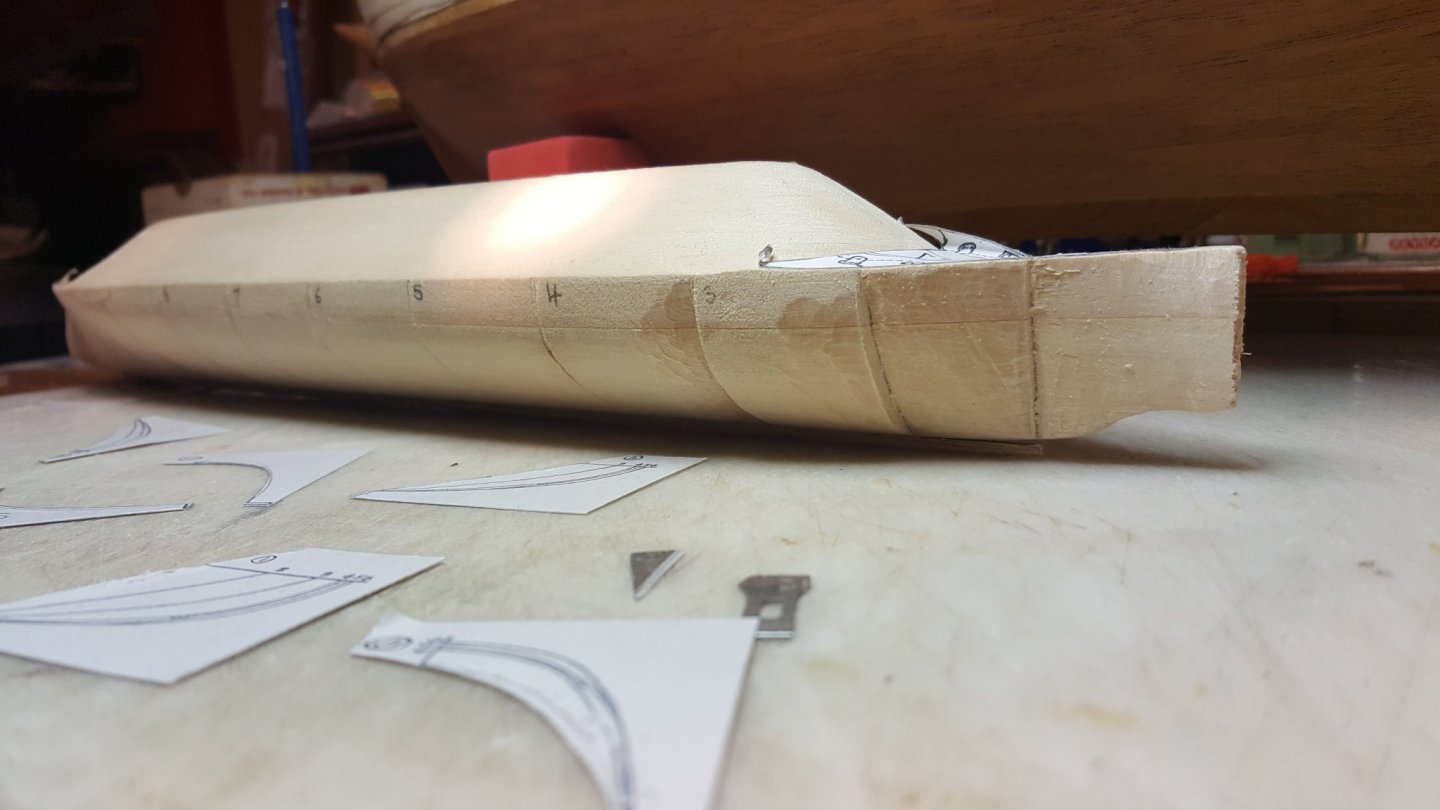
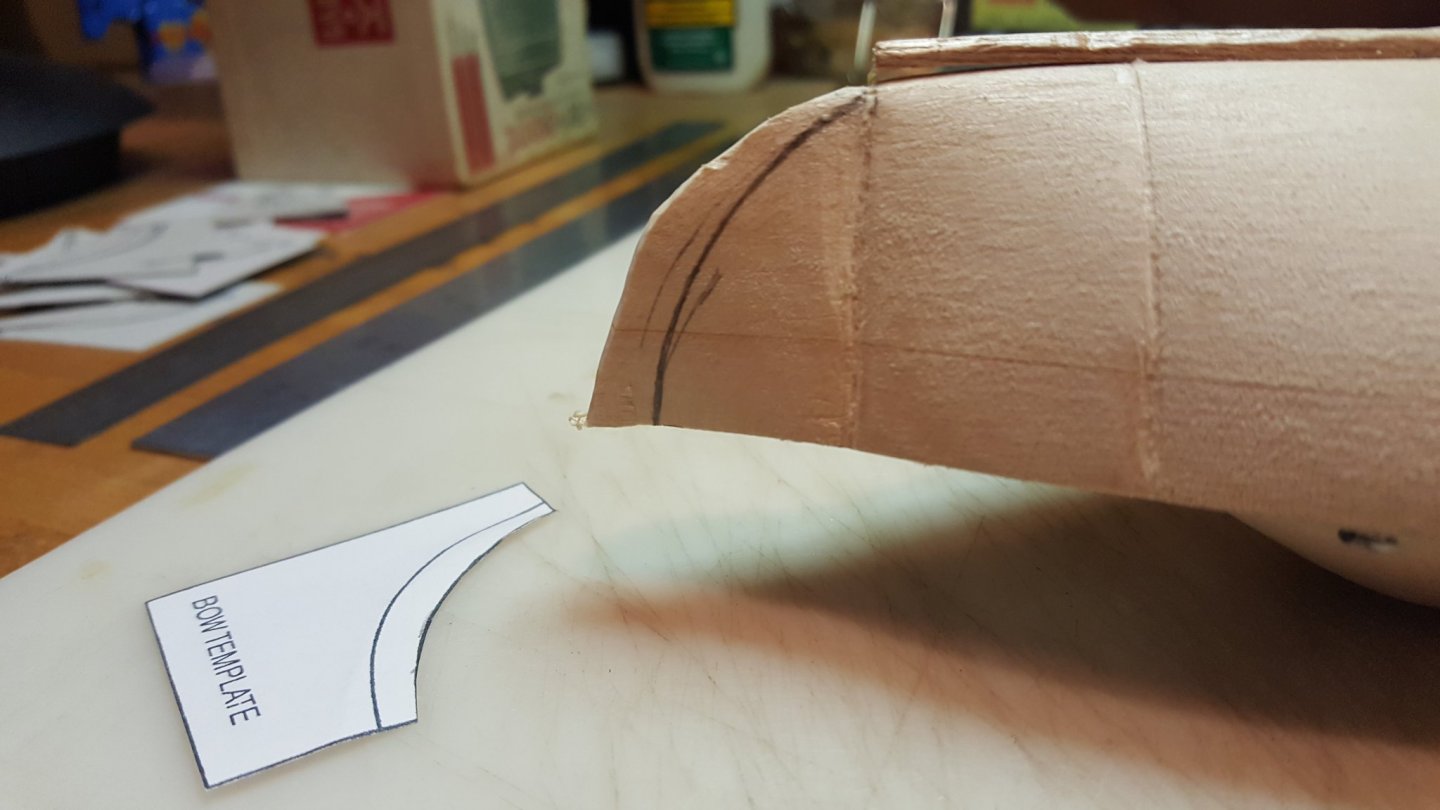
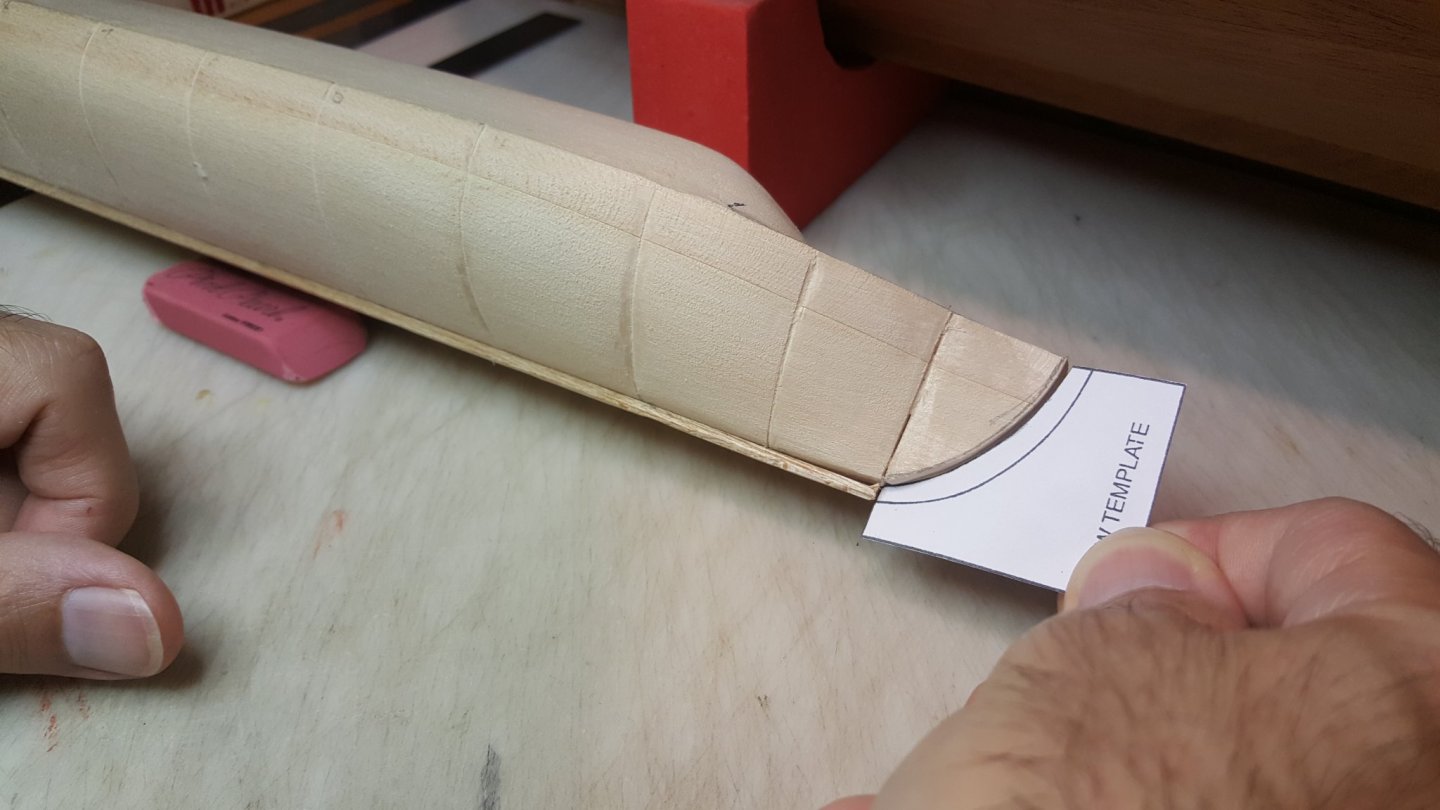
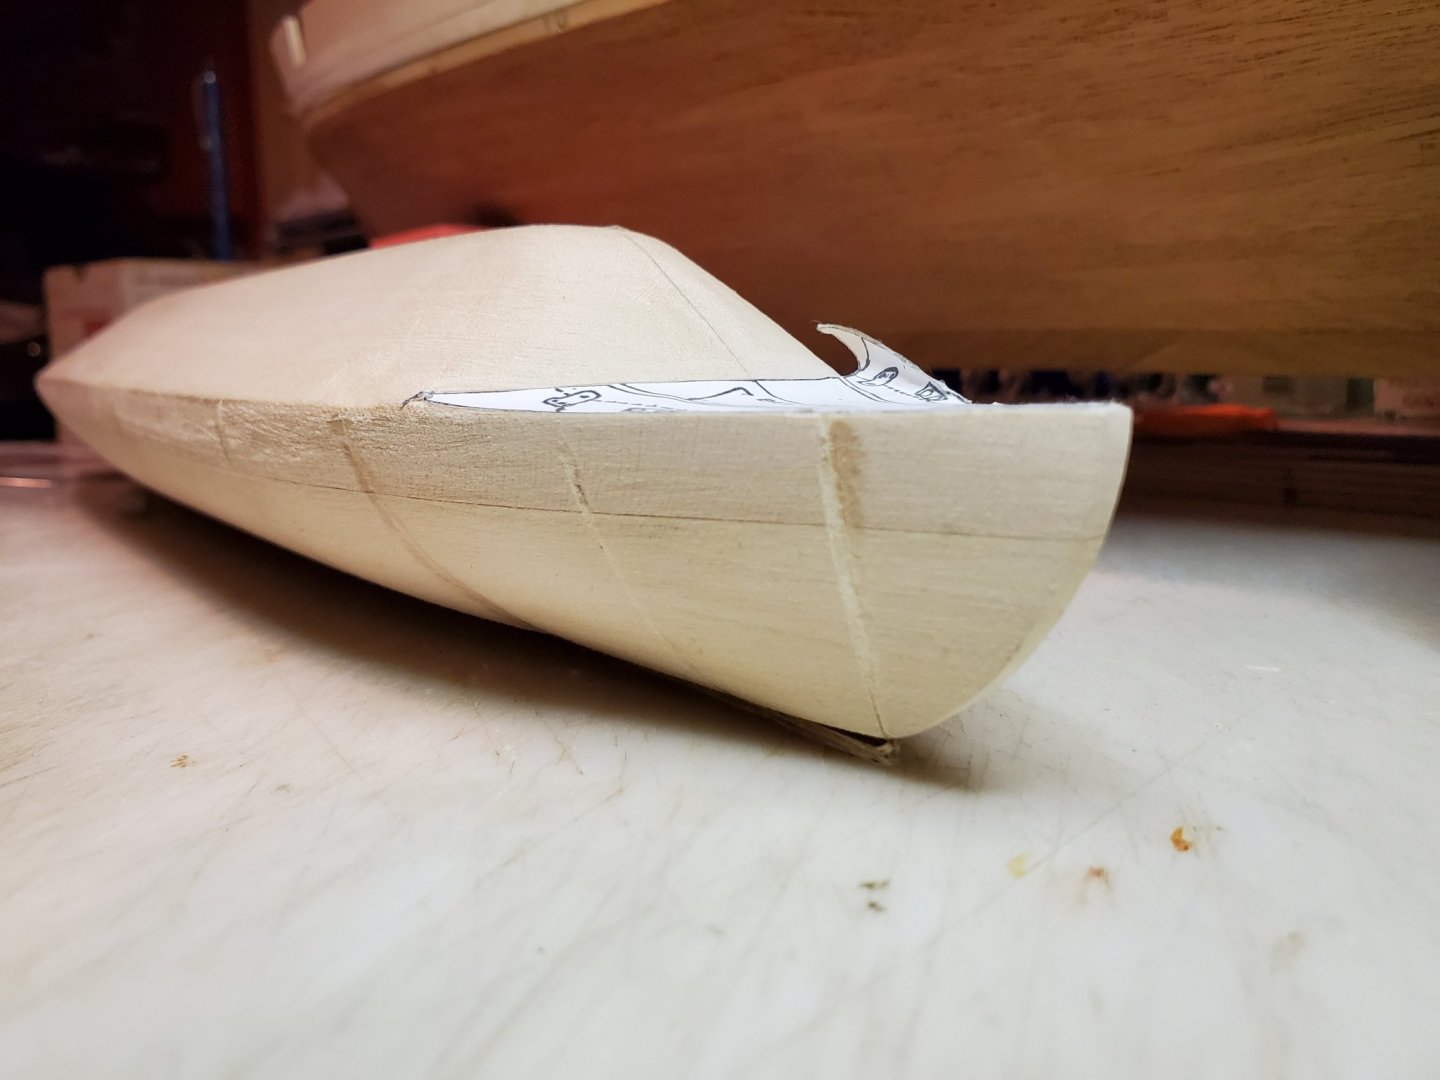
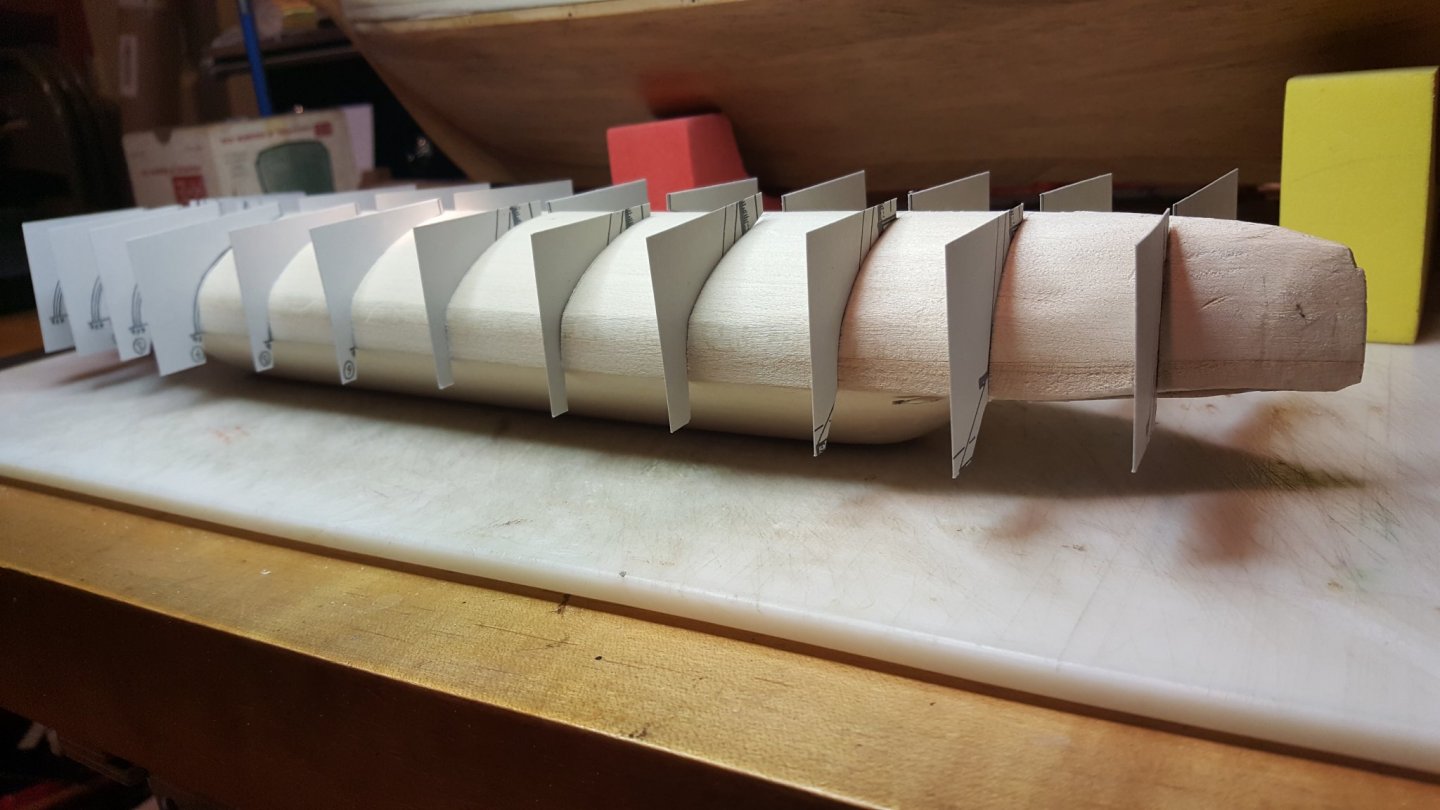
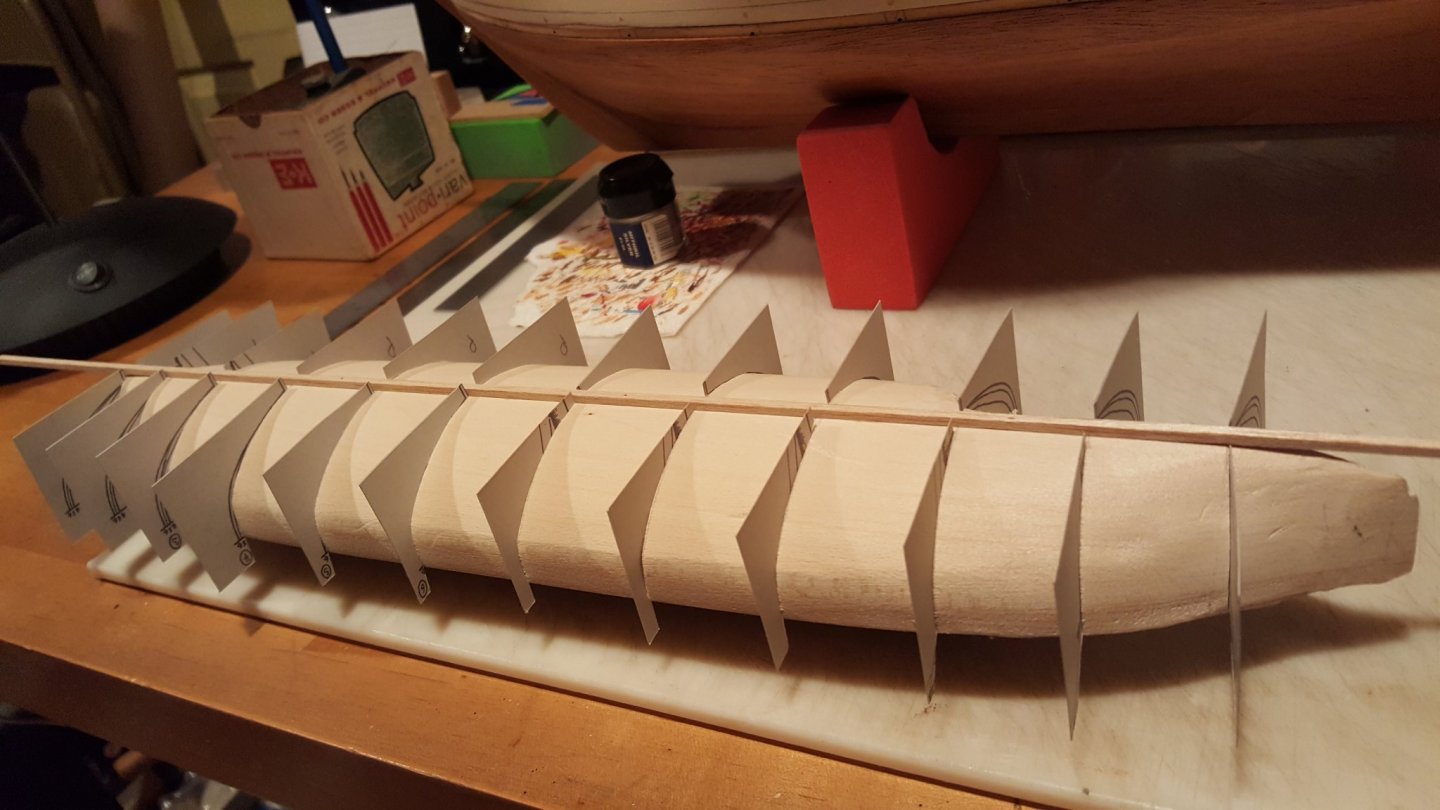
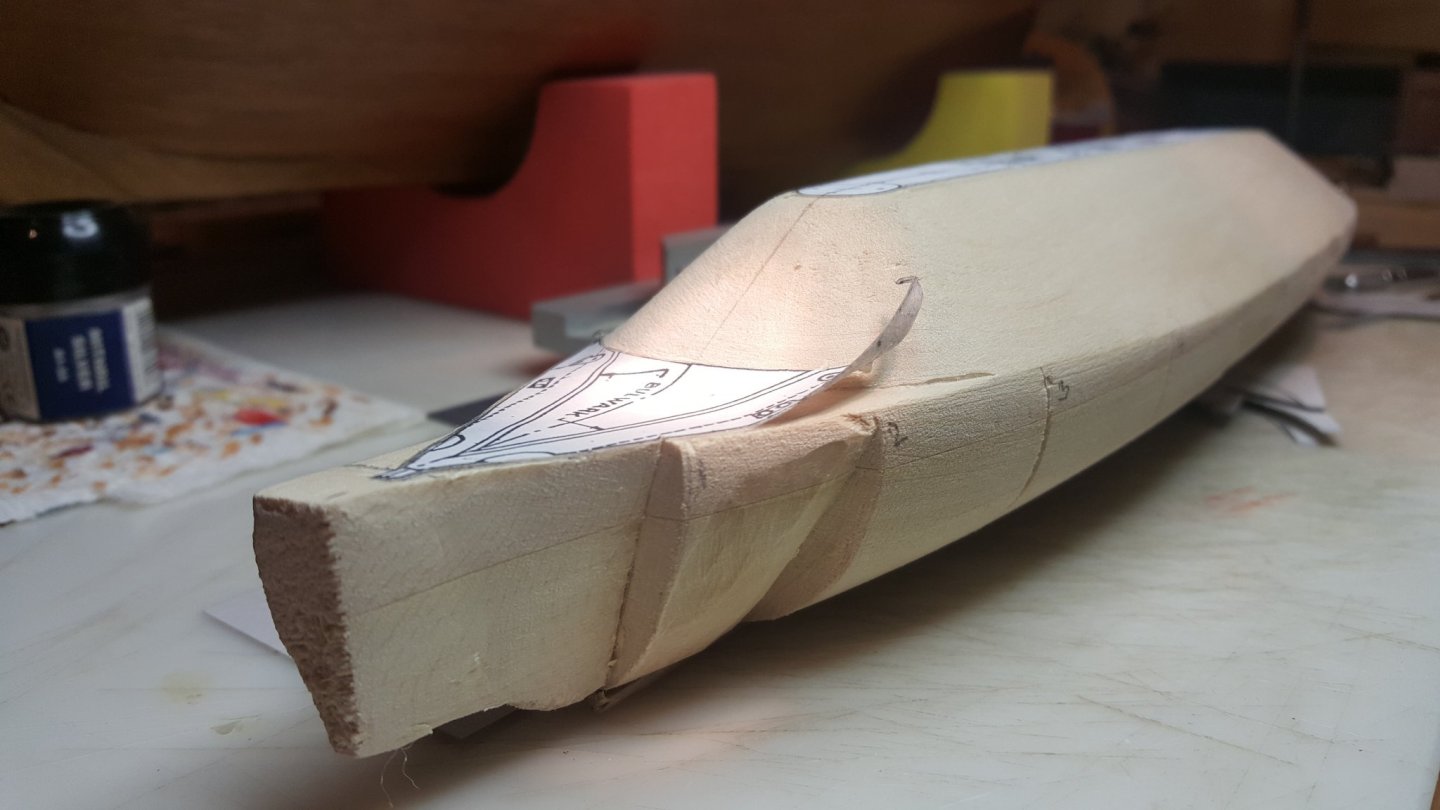
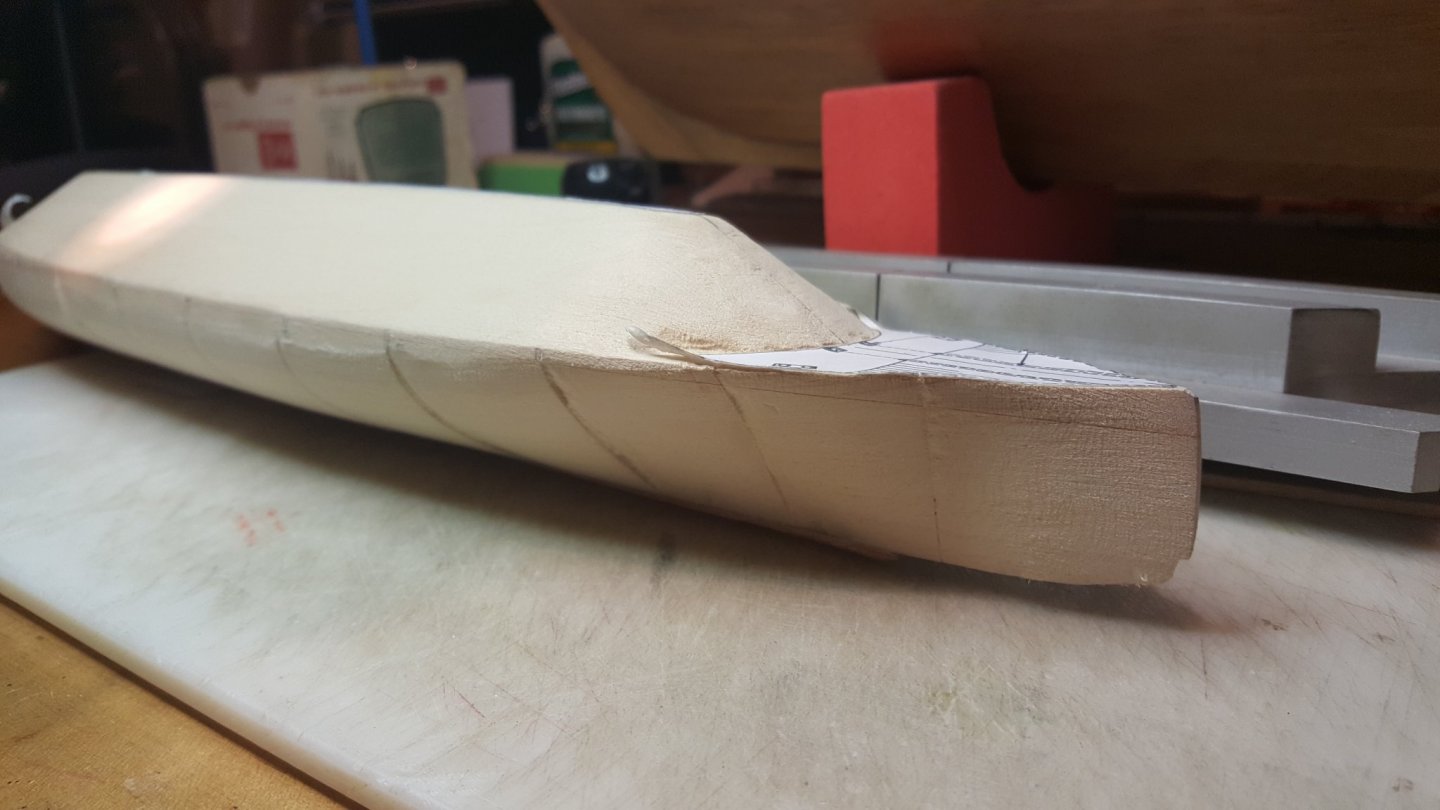
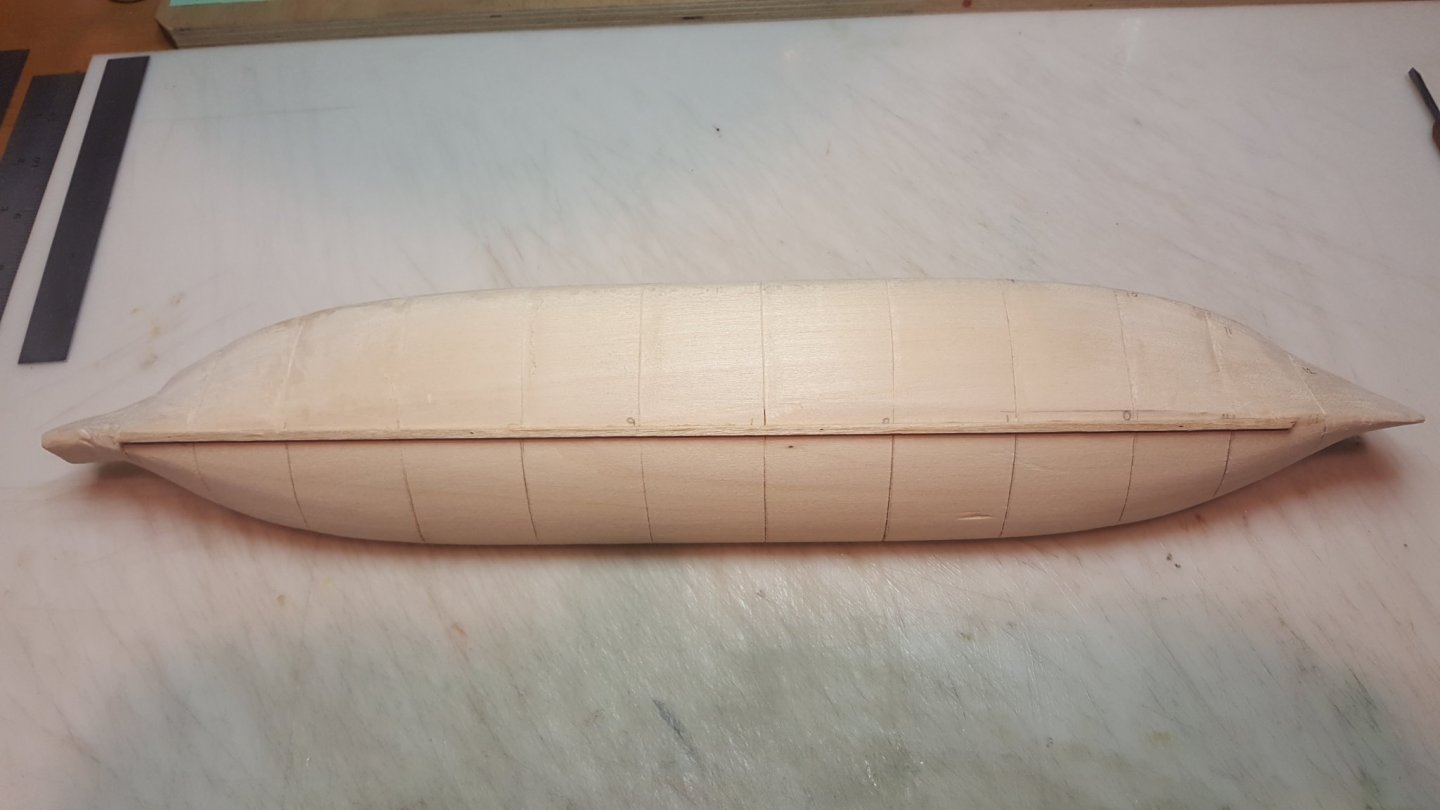
Notches were cut into the hull allowing insertion of the section line templates. Wood strip applied temporarily in the position of the keel to act as a guide. Shaping the bow one section at a time. We carved down to the edge of the template and then smoothed out to the previous section line. Shaping the stern. Port side shaping complete and rough sanded. Wood filler will be used to fill in the remaining trace of the notches prior to fine sanding. On to the starboard side. Shaping the stern.
- 30 replies
-
- first build
- BlueJacket Shipcrafters
-
(and 1 more)
Tagged with:
-
Thanks Ryland. We are actually finishing up a waterline model of the Yorktown and will then be returning to Virginia. I have some updated photos to post and will do so soon. Thanks for your interest. Chris and Michael
- 30 replies
-
- first build
- BlueJacket Shipcrafters
-
(and 1 more)
Tagged with:
About us
Modelshipworld - Advancing Ship Modeling through Research
SSL Secured
Your security is important for us so this Website is SSL-Secured
NRG Mailing Address
Nautical Research Guild
237 South Lincoln Street
Westmont IL, 60559-1917
Model Ship World ® and the MSW logo are Registered Trademarks, and belong to the Nautical Research Guild (United States Patent and Trademark Office: No. 6,929,264 & No. 6,929,274, registered Dec. 20, 2022)
Helpful Links
About the NRG
If you enjoy building ship models that are historically accurate as well as beautiful, then The Nautical Research Guild (NRG) is just right for you.
The Guild is a non-profit educational organization whose mission is to “Advance Ship Modeling Through Research”. We provide support to our members in their efforts to raise the quality of their model ships.
The Nautical Research Guild has published our world-renowned quarterly magazine, The Nautical Research Journal, since 1955. The pages of the Journal are full of articles by accomplished ship modelers who show you how they create those exquisite details on their models, and by maritime historians who show you the correct details to build. The Journal is available in both print and digital editions. Go to the NRG web site (www.thenrg.org) to download a complimentary digital copy of the Journal. The NRG also publishes plan sets, books and compilations of back issues of the Journal and the former Ships in Scale and Model Ship Builder magazines.

