HOLIDAY DONATION DRIVE - SUPPORT MSW - DO YOUR PART TO KEEP THIS GREAT FORUM GOING! (Only 20 donations so far - C'mon guys!)
×


BrianD2112
-
Posts
41 -
Joined
-
Last visited
Content Type
Profiles
Forums
Gallery
Events
Everything posted by BrianD2112
-
I will check it out E.J. I use very hot water and then heat from my plank bender while my strakes are on the jig to help the bend take. I will find out if the tape on the nails does the job tomorrow after setting over night. BTW E.J. I checked the rest of you build log. That is a VERY impressive ship. If I even get close to that quality, I will be a happy man.
-
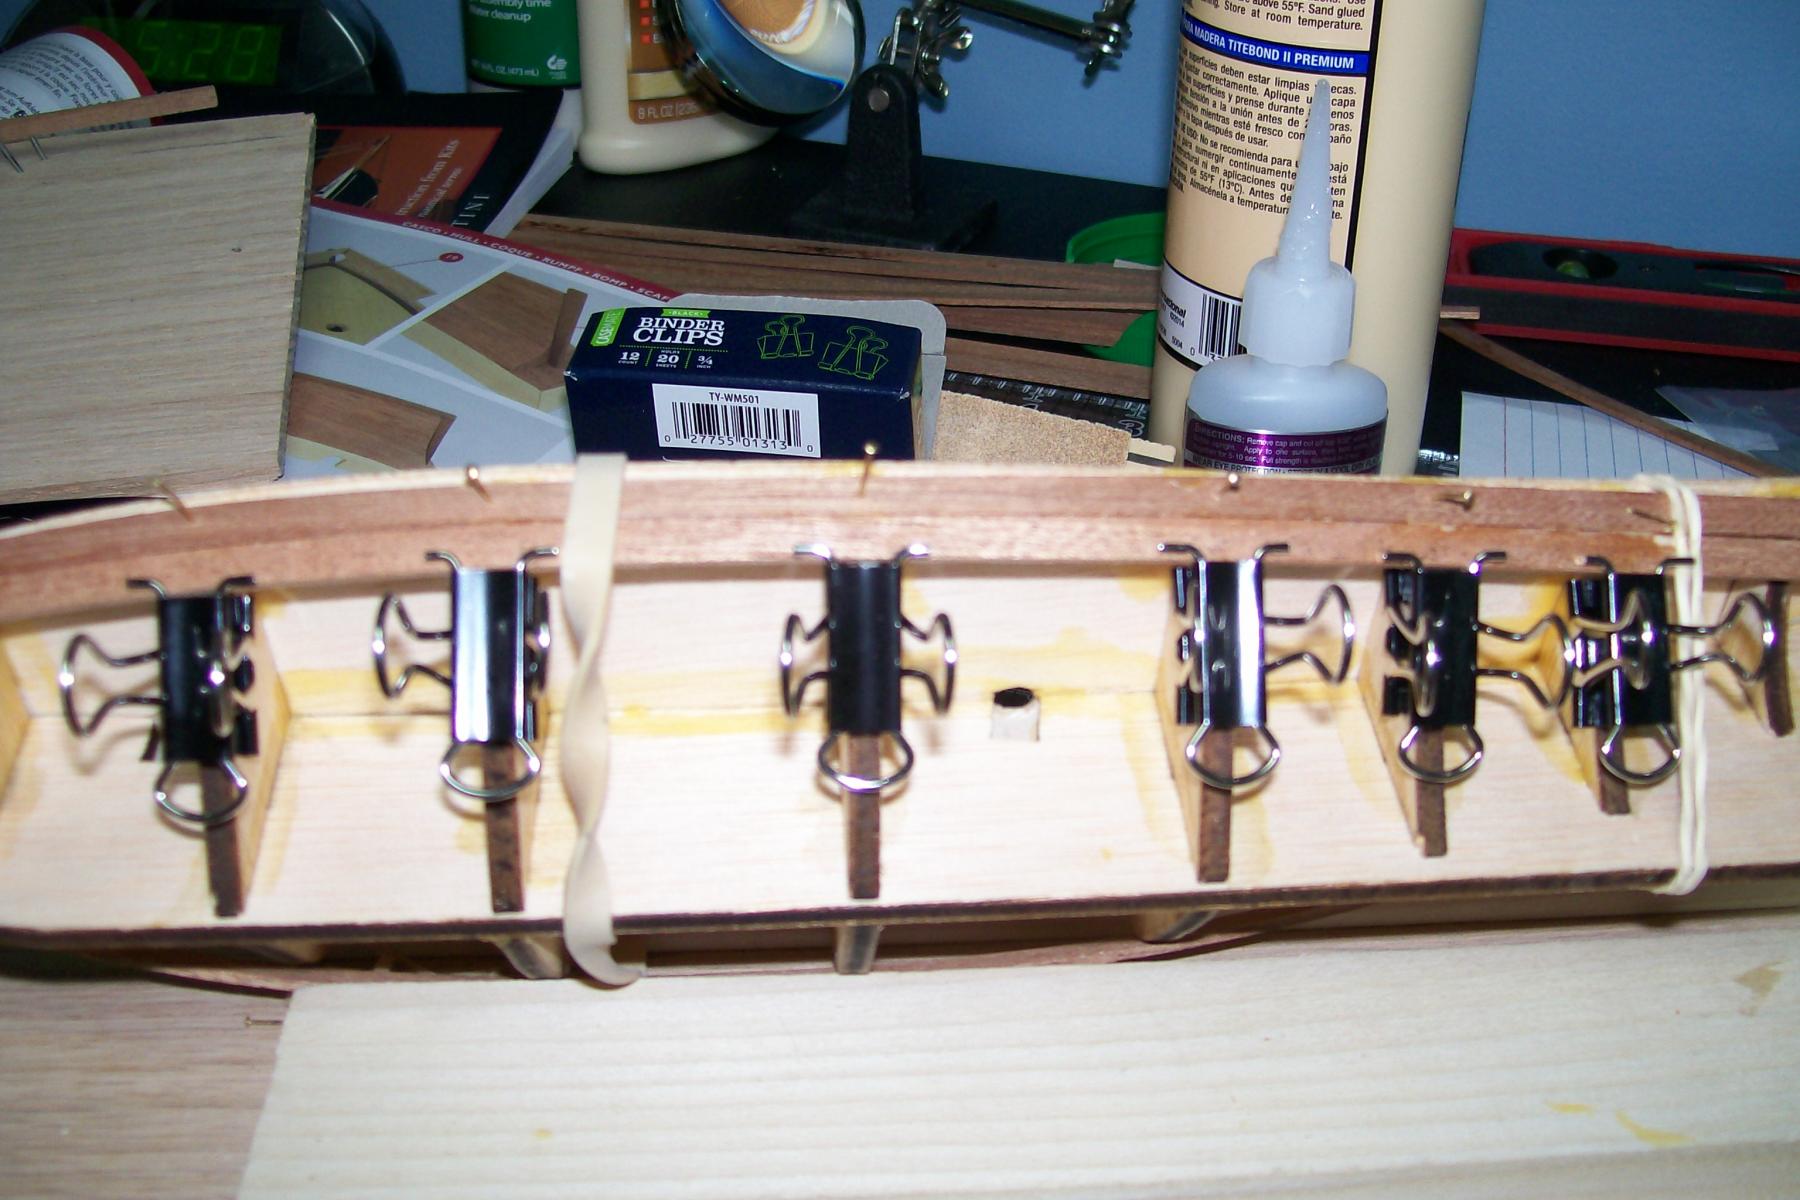
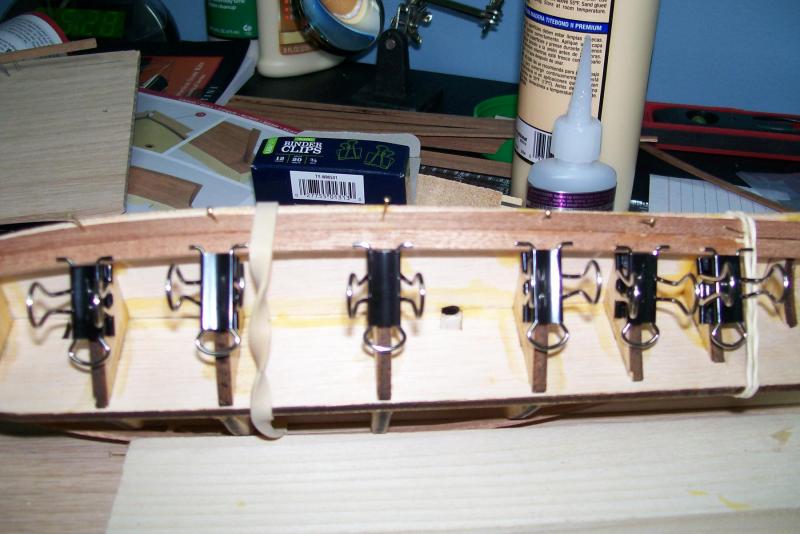
Time for small update and question. I am moving along nicely almost 1/2 way to planking the hull. The paper clip clamps and predrilling holes for nails at bow and stern making it so much better. It's not perfect by long shot but for my first attempt, I am very pleased. Which is mostly due to great advice I have received.I liked my plank jig so much that I changed to bigger nails the flaw is that I got bands on my strakes liked mentioned on the article about paper clip camps. Any ideas on how to cover them up. There are only 4 strakes so far with bands. I wrapped scotch tape around each nail so I do not think it will be a further issue. I will post Picts later when I get close to finishing planking the hull.
-
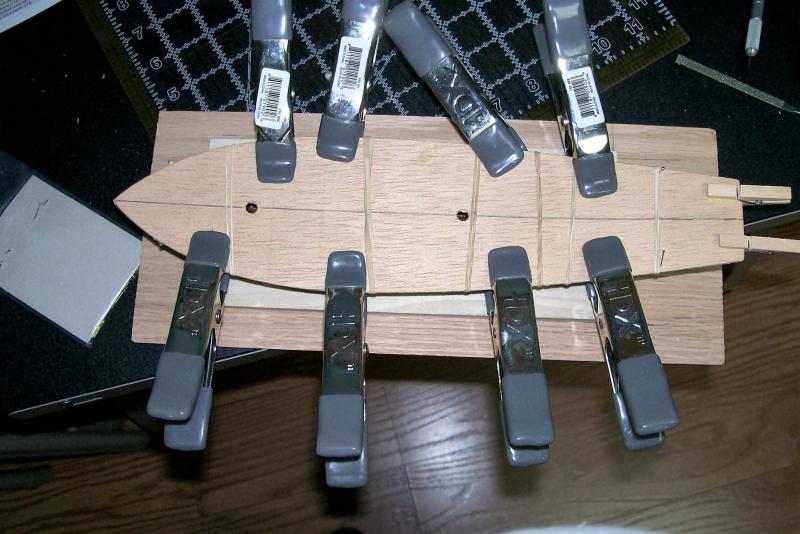
E.J. this Pict is for you. The first row is nailed as per instructions and second row is plank clamps as E.J. suggested. They work great not sure about when I get to bottom of keel but working better than i could have hoped for.
-
I found out how to make these paper clip clamps. I googled it and found it was here under easy planking clamps. Go figure what expansive site this is
-
It is single planked hull and I used the last to nail in my first plank as shown in instructions. I have only done one and is slow going. The instructions say to put I small drop of water in nail hole to cause wood to swell and hides the the nail hole . I see the paper clips but not sure how they are modified.
-
Is there a good way to nail strakes to frame if do not have a nailer
-
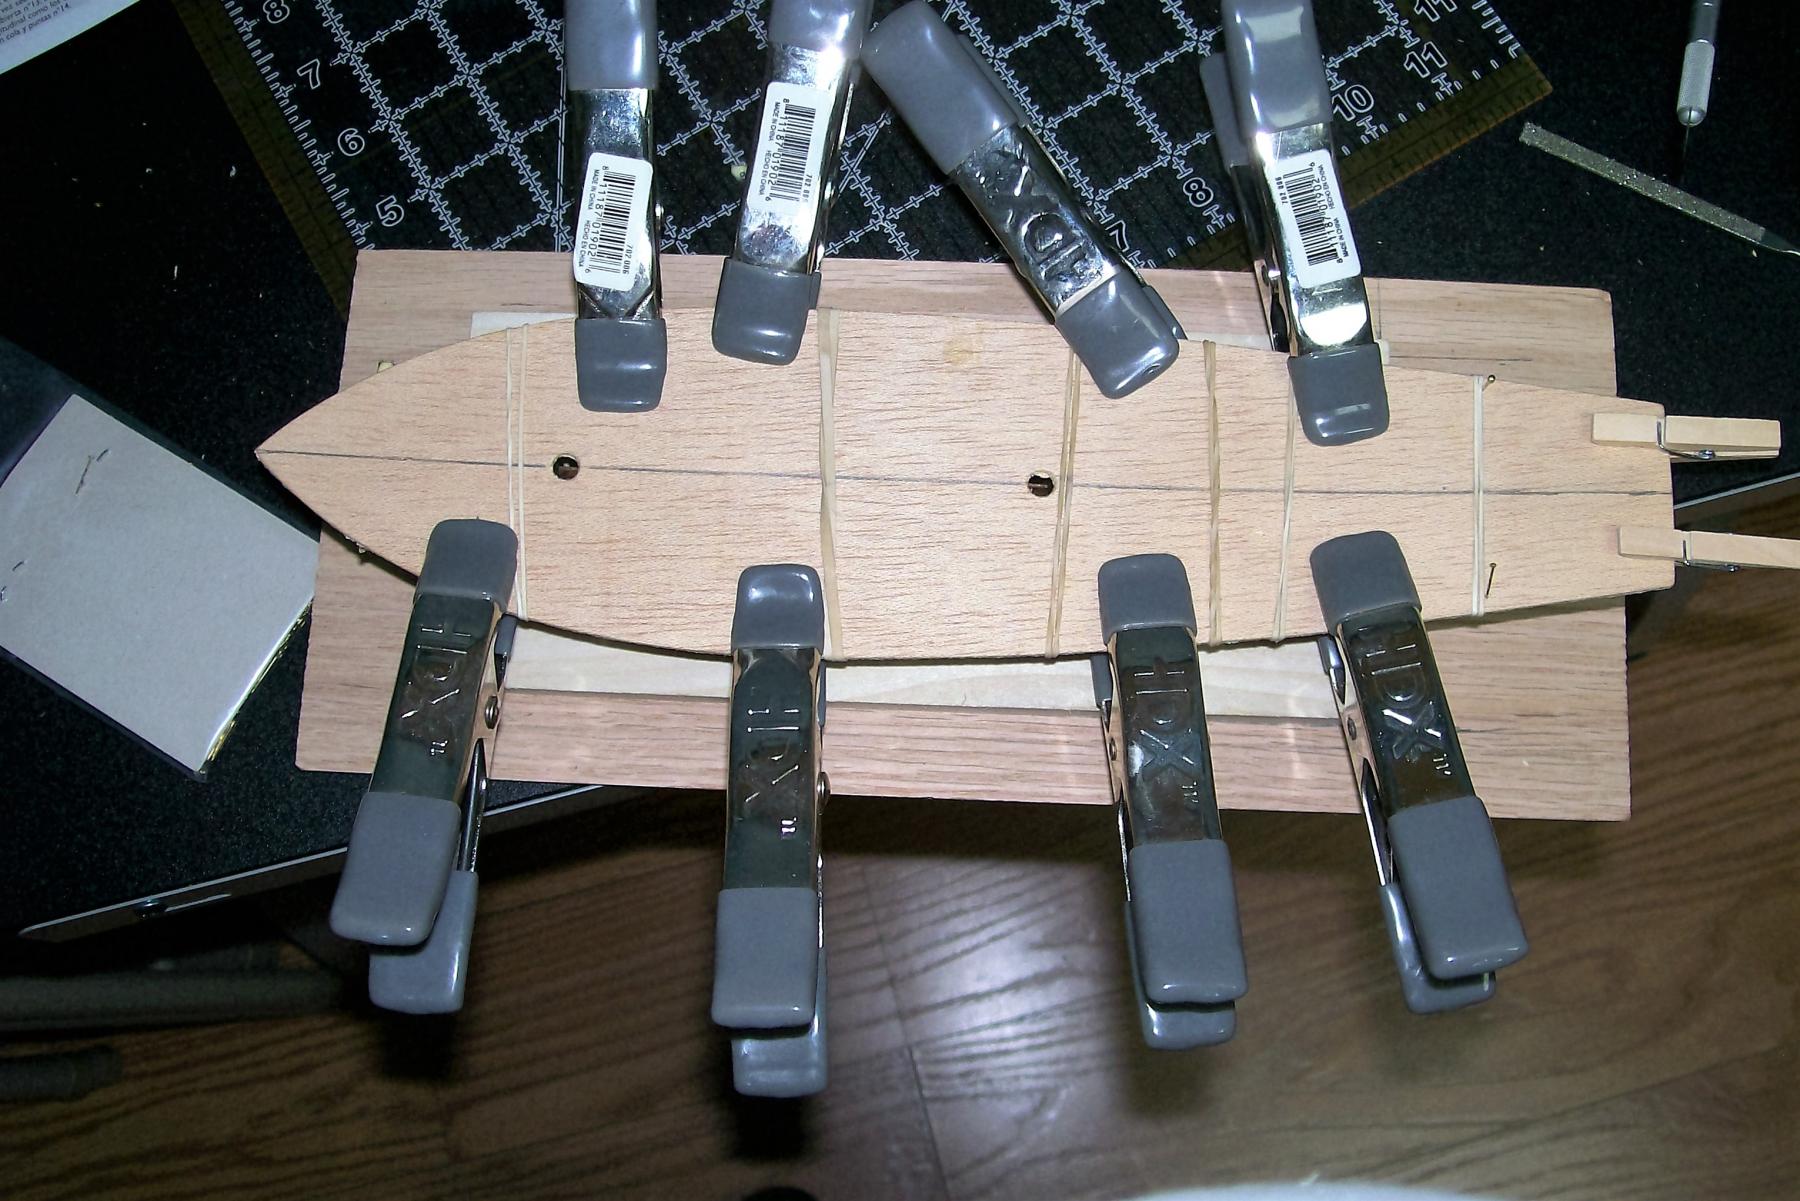
Ok thanks EJ. I put all the planks on one side without cutting or tapering with rubber bands just to get a feel of how they will fit. That helped a lot in getting a plan together. I will most likely bend and taper 4 strakes, two on each side, tonight or more likely after work tomorrow. I will post Picts when I do.
-
I have a question besides if strakes should be one length as on the instructions or cut into several pieces. I have one strake on each side rubber banded to frames for testing and to help finish frames and that gave me an idea.Would it be a good idea to bend and taper all strakes and rubber band all of them to frames to get a good idea on how to precisely lay them before gluing and nailing to frames. figuring i could number them as i remove them and modify them before attaching to the frames.I know lots a questions but seems like a lot of thought is needed before attaching anything especially if you are a noob like me.
-
Looks like EJ has taken on the role of mentor and can not thank him enough. I did some more reading and digging on this site and found out a lot to affirm what EJ has stated above. I did read about fillers. The bow has what seem to be adequate fillers but the stern seem to be lacking. I have cut out a stern filler and need to shave and sand b4 installing. The kit does have stem, keel & stern pieces. After reading and going back to instructions, it looks like I need to leave a gap of 1/2 plank below false deck for attaching bulwarks. I found a video that had good part on tapering planks. I feel pretty good about bow taper which looks should start at the 2nd frame from bow forward. However the stern does not seem to be as tight as bow, so needs more thought. I found putting rubber bands around hull with test strips helps with contact with frames and will use this to finish out the frames after I make another strake for the other side. I am unsure if I should lay the whole strake or cut into smaller parts. If I cut what best way to insure proper contact and stability. I will check out you build logs today EJ and thanks for your guidance.
-
I have four questions about laying the first plank. Is the 1st plank the one just below the false deck ? 2nd if so is it flush or just below the false deck and if not is it flush or just below false deck when i get to that point and where is the first plank laid ? 3rd do i leave a small bit of plank past the bow to sand flush. 4th instructions show leaving a bit of plank past the stern and cutting or trimming excess plank off true ??
-
sorry JIG not GIG
-
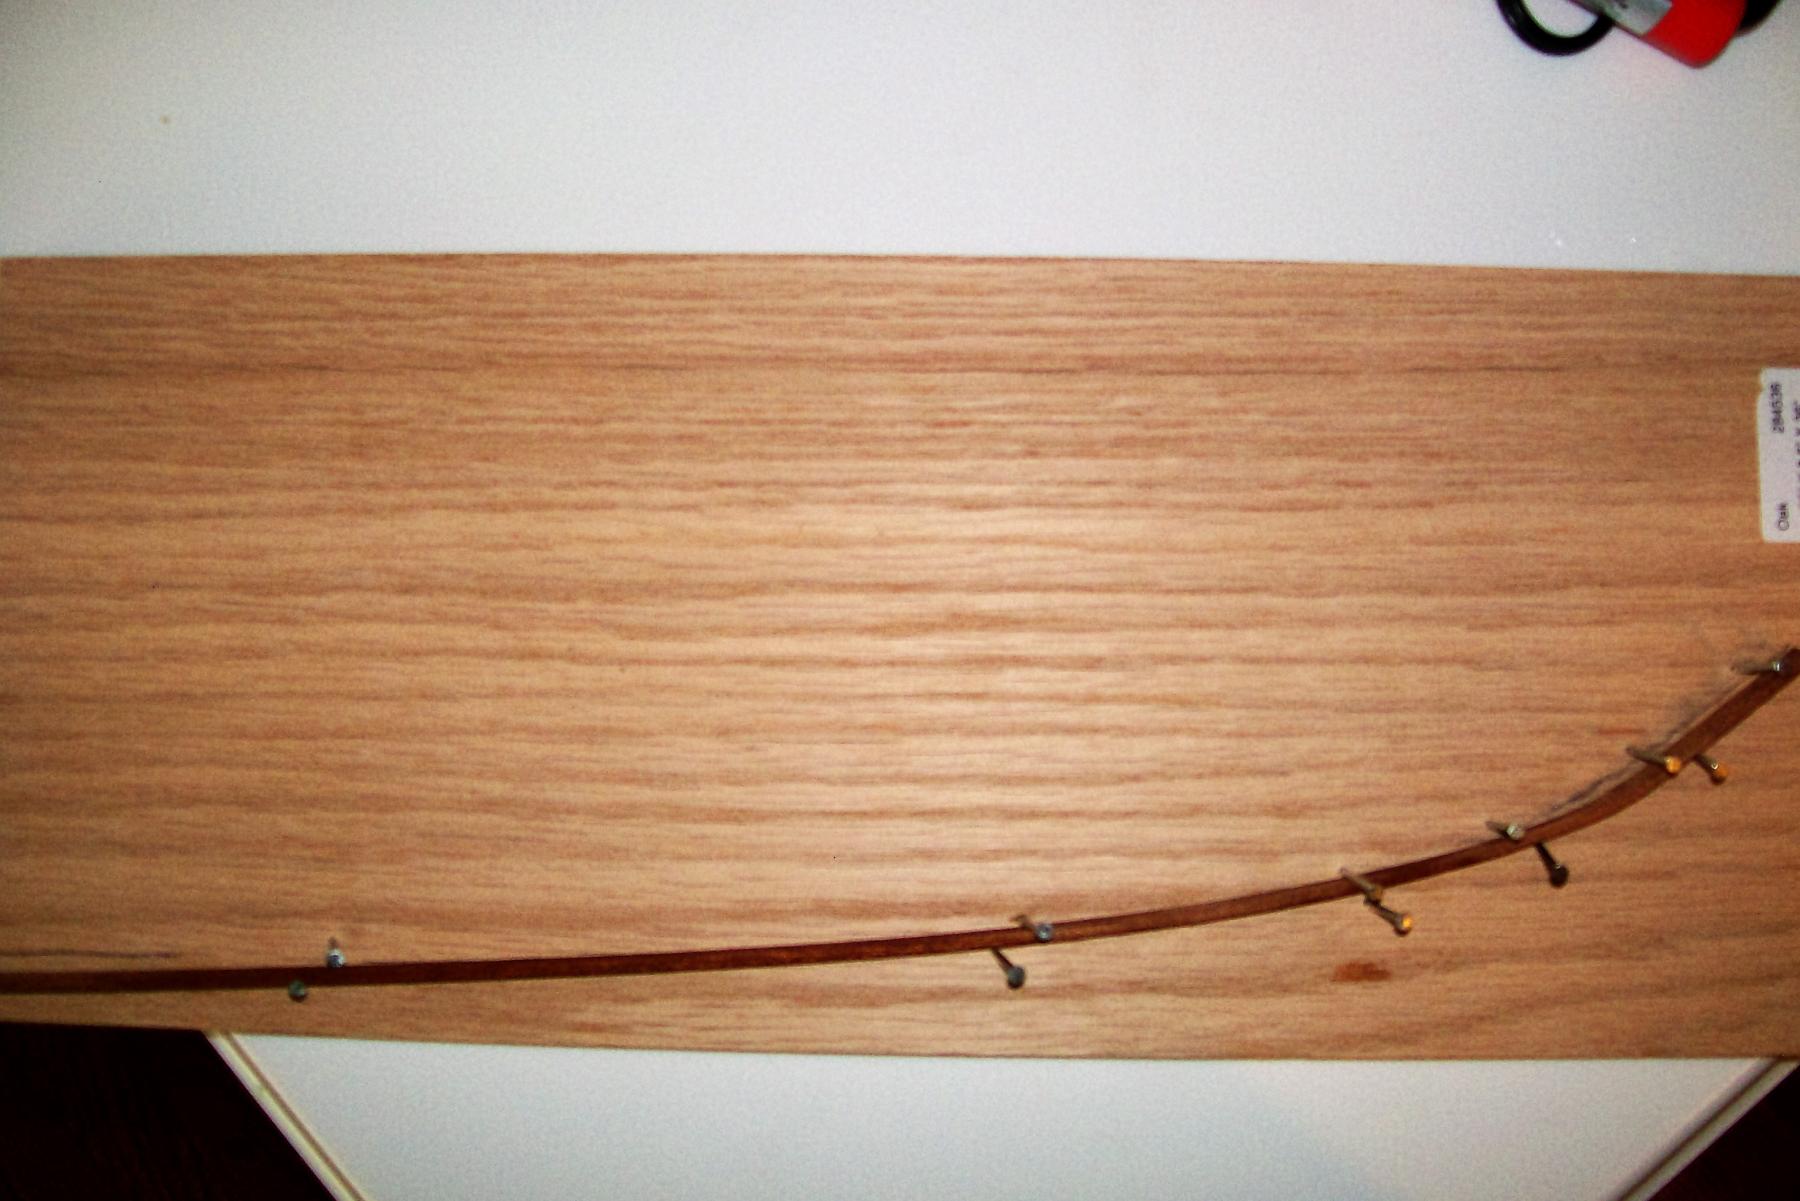
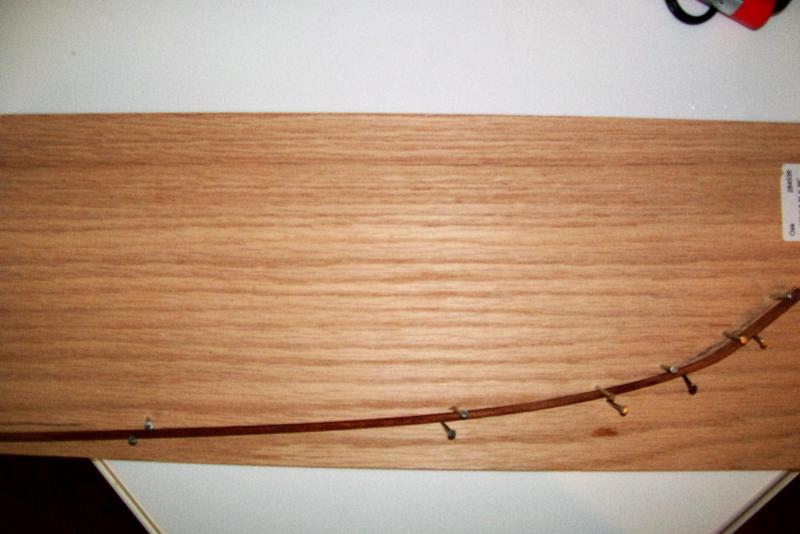
Here is a plank bending gig I made. I am trying out a combo of gig and plank bending tool to bend planks. This a test run and I hope to use it help me plan and figure out how to plank this keel. I am hoping it will also help me fair the the frames,
-
Thanks EJ ! As usual, a wealth of helpful information. I seeing why patience is needed especially for the beginner. My urge is grab some coffee and start planking, but I know that is exactly what I do not need to do. SO I will reread EJ's post a few more times. I have also found several articles and tutorials here to read and watch. I also have to 2 books on model ship building to help also. I will keep the post going as prepare to plank later today.
-
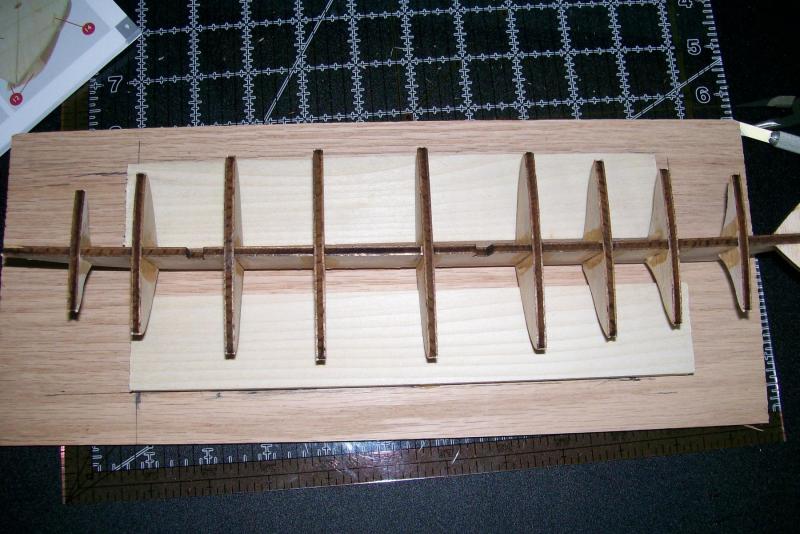
Tomorrow will start planking the frame I could use any suggestions and help before talking it. In the mean time, I will sand the edges of frame to get as smooth edge as possible BRIAN
-
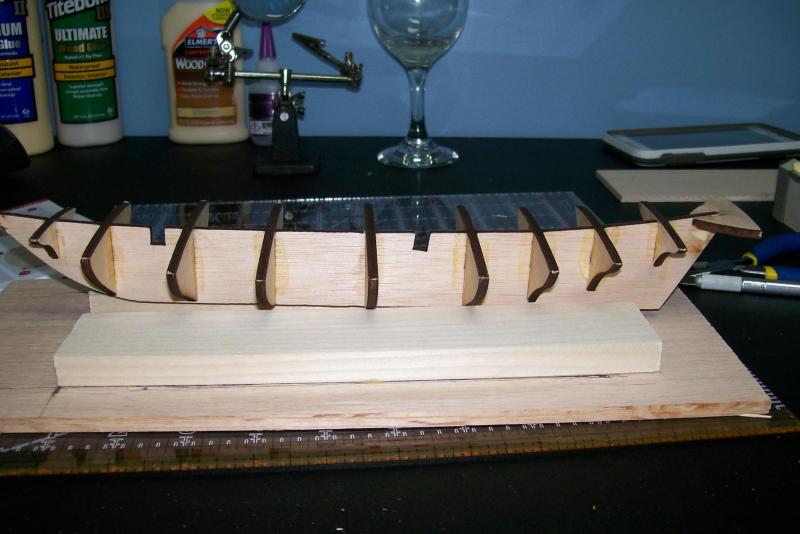
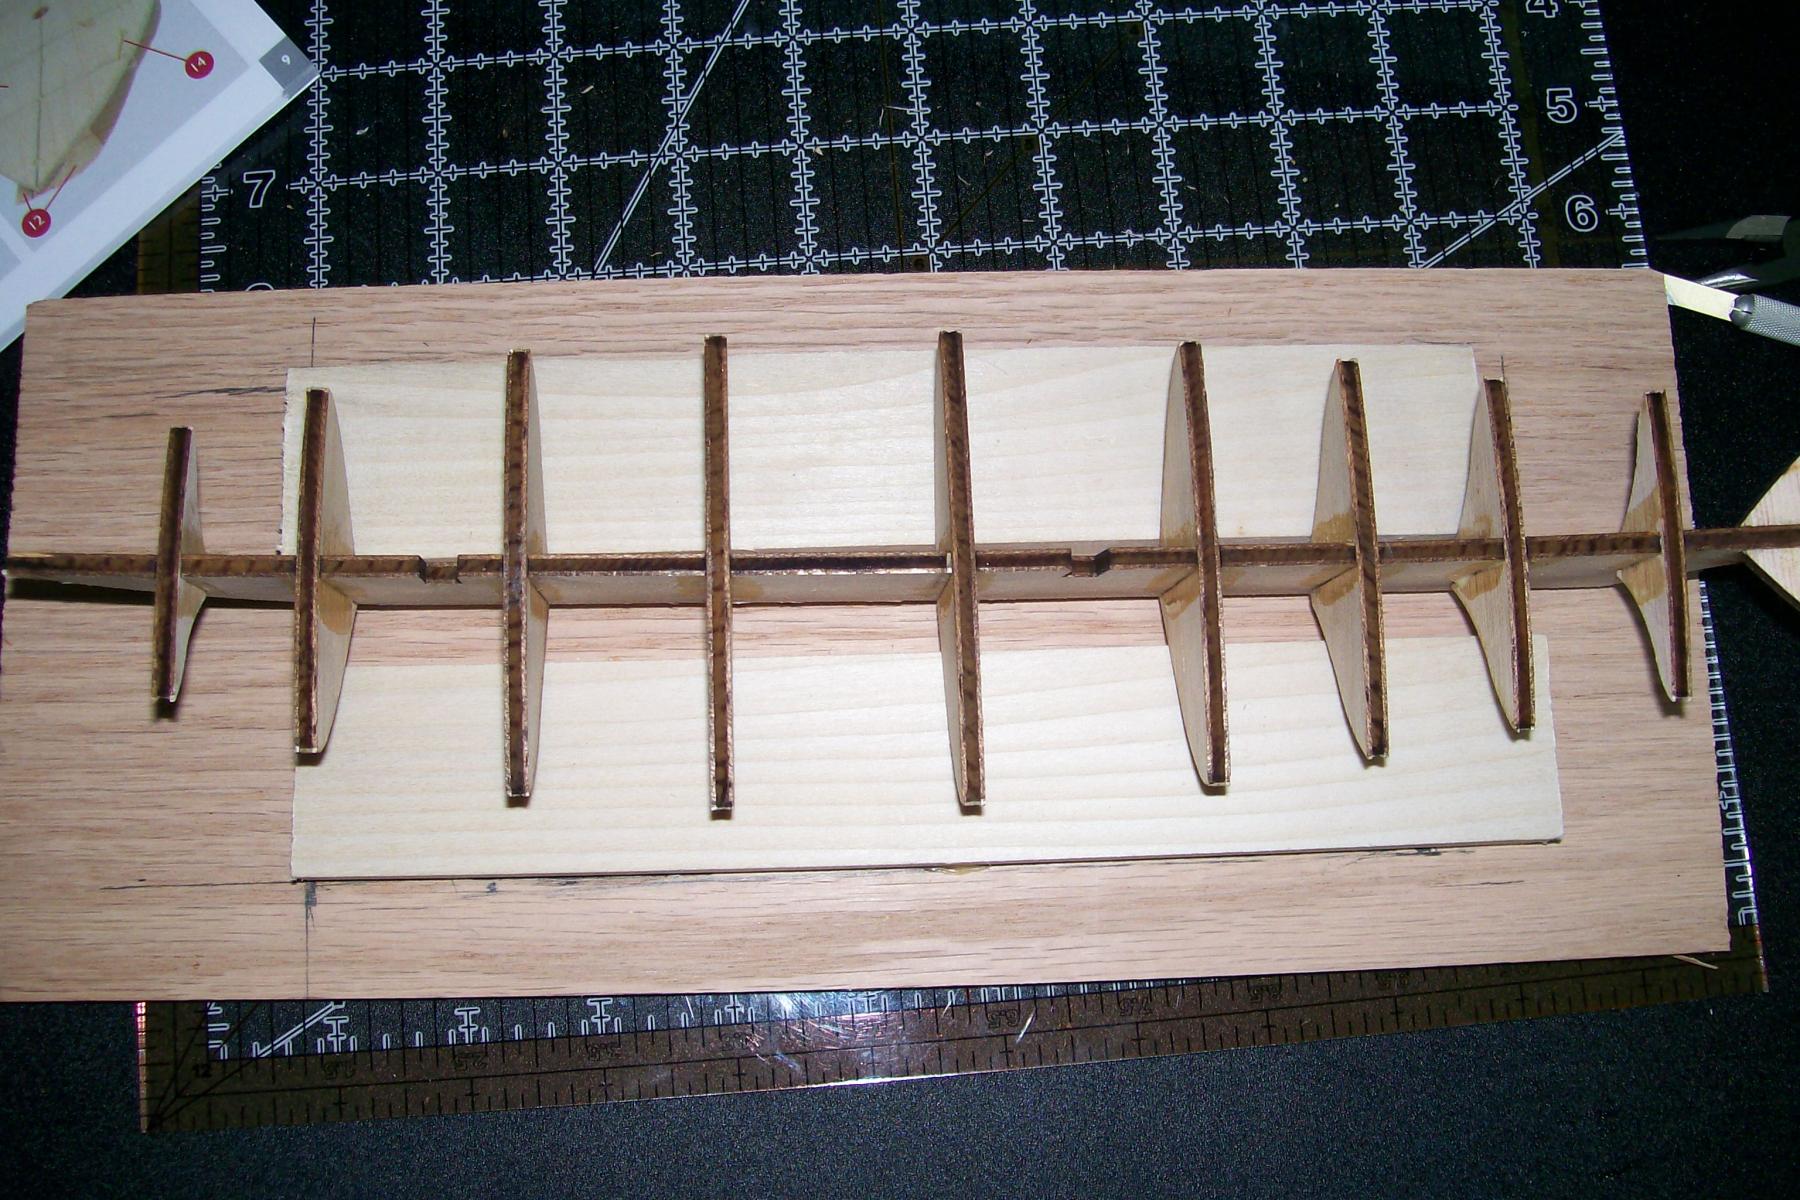
Thanks i did double check frame and false keel all seemed to be flush and square I think. I was struggling on false deck to false keel and frames especially getting the ends to met and glue tight. I came up with this let me know what you guys think please. BRIAN
-
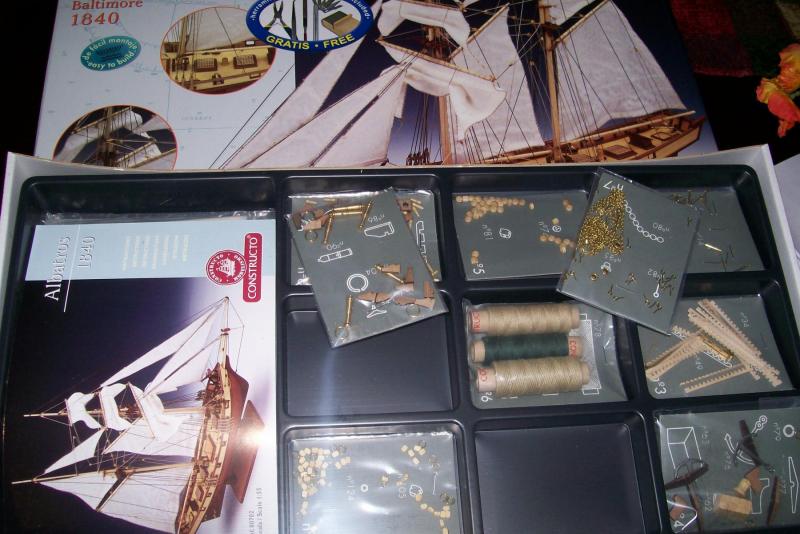
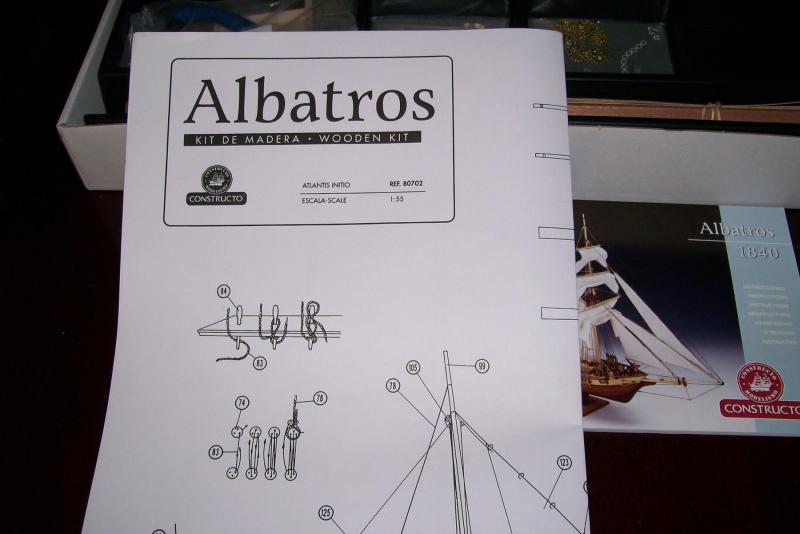
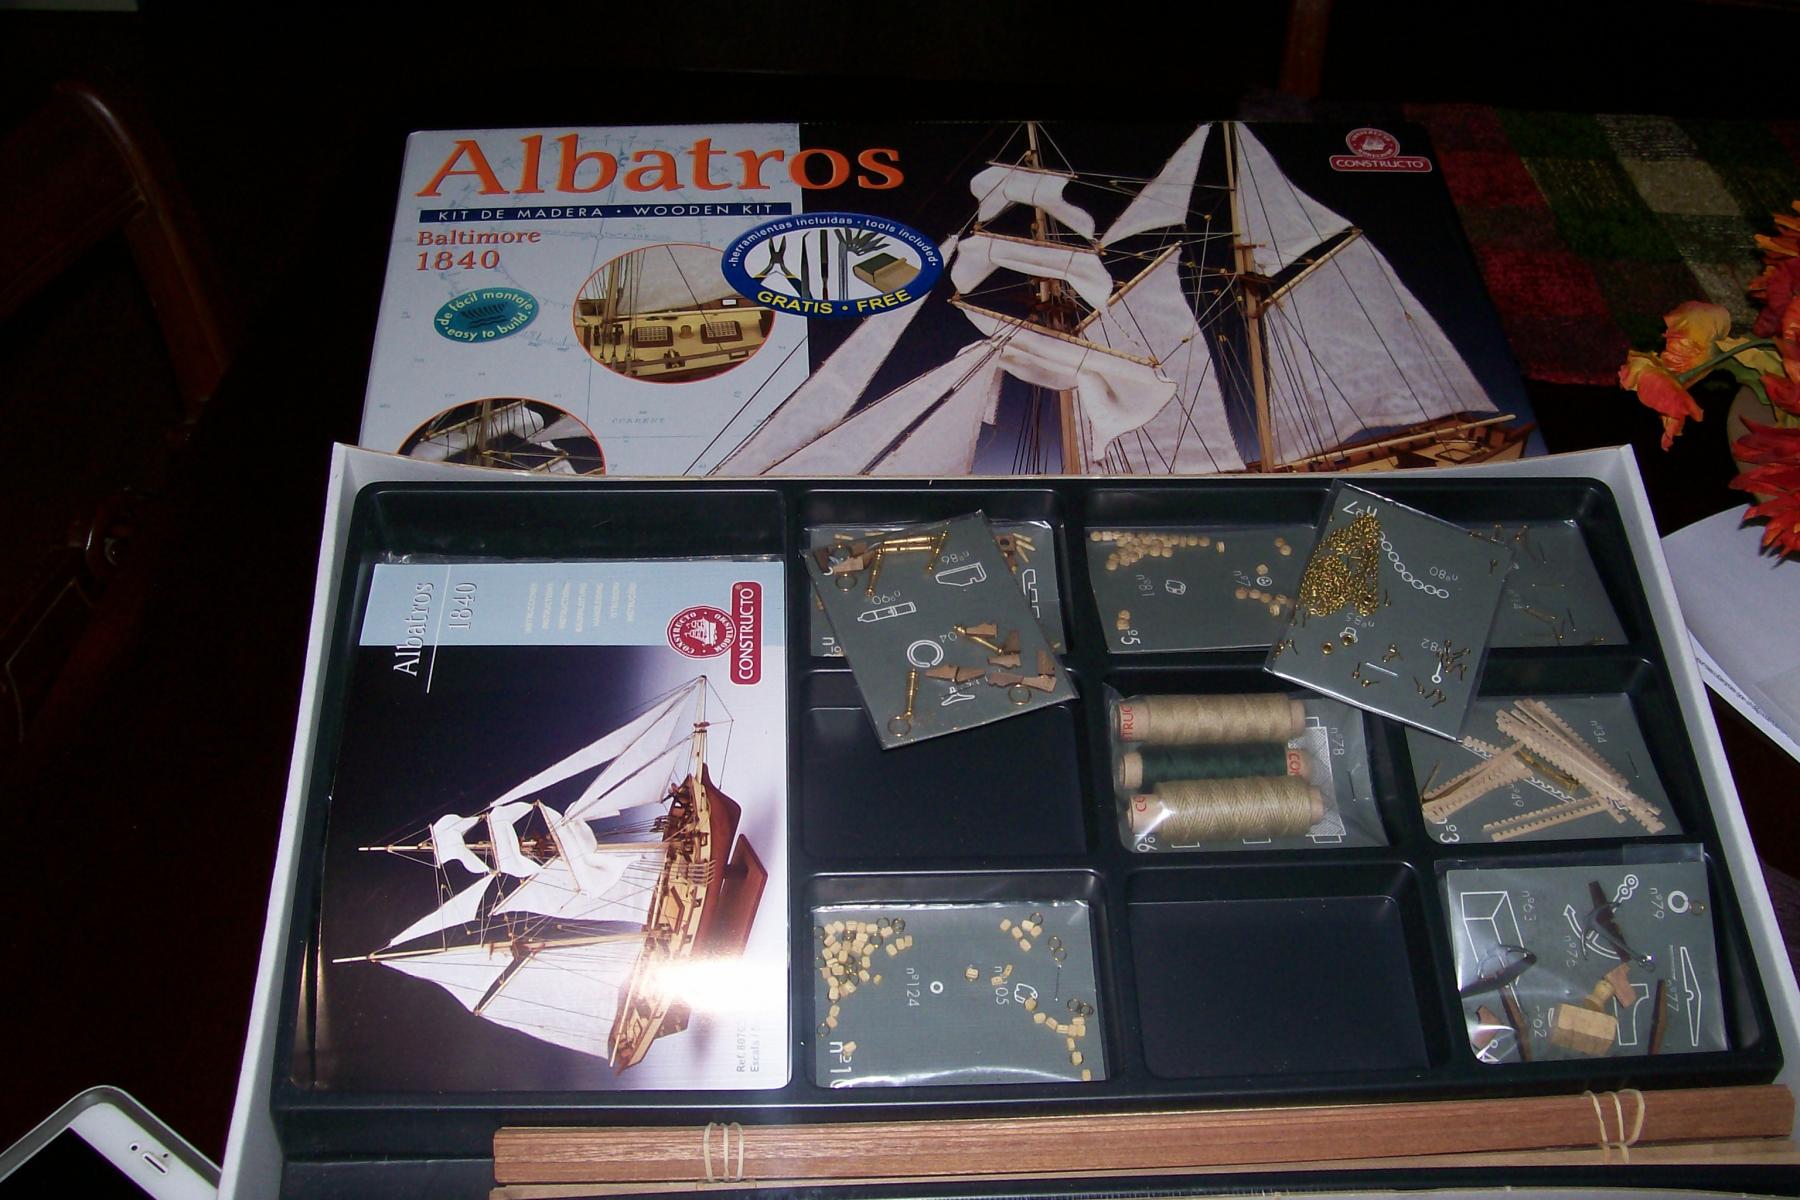
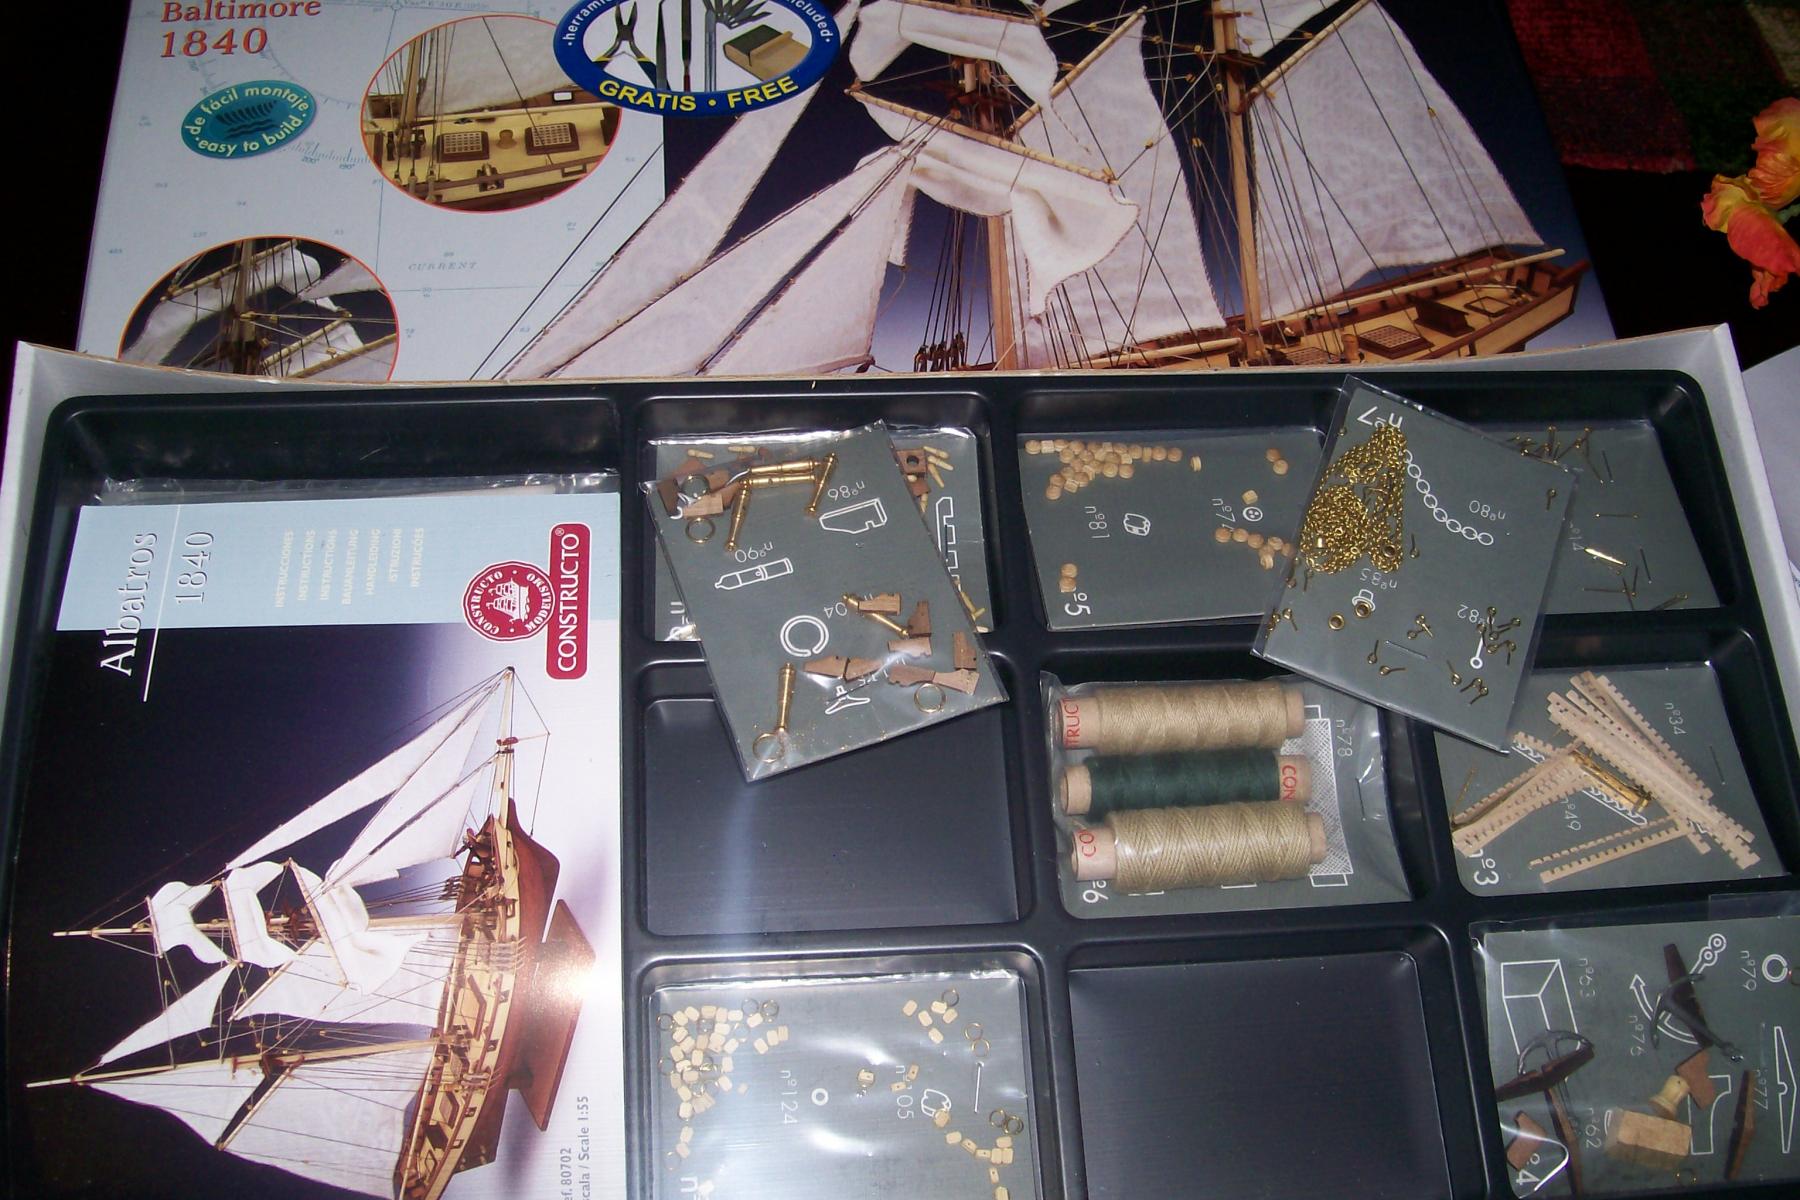
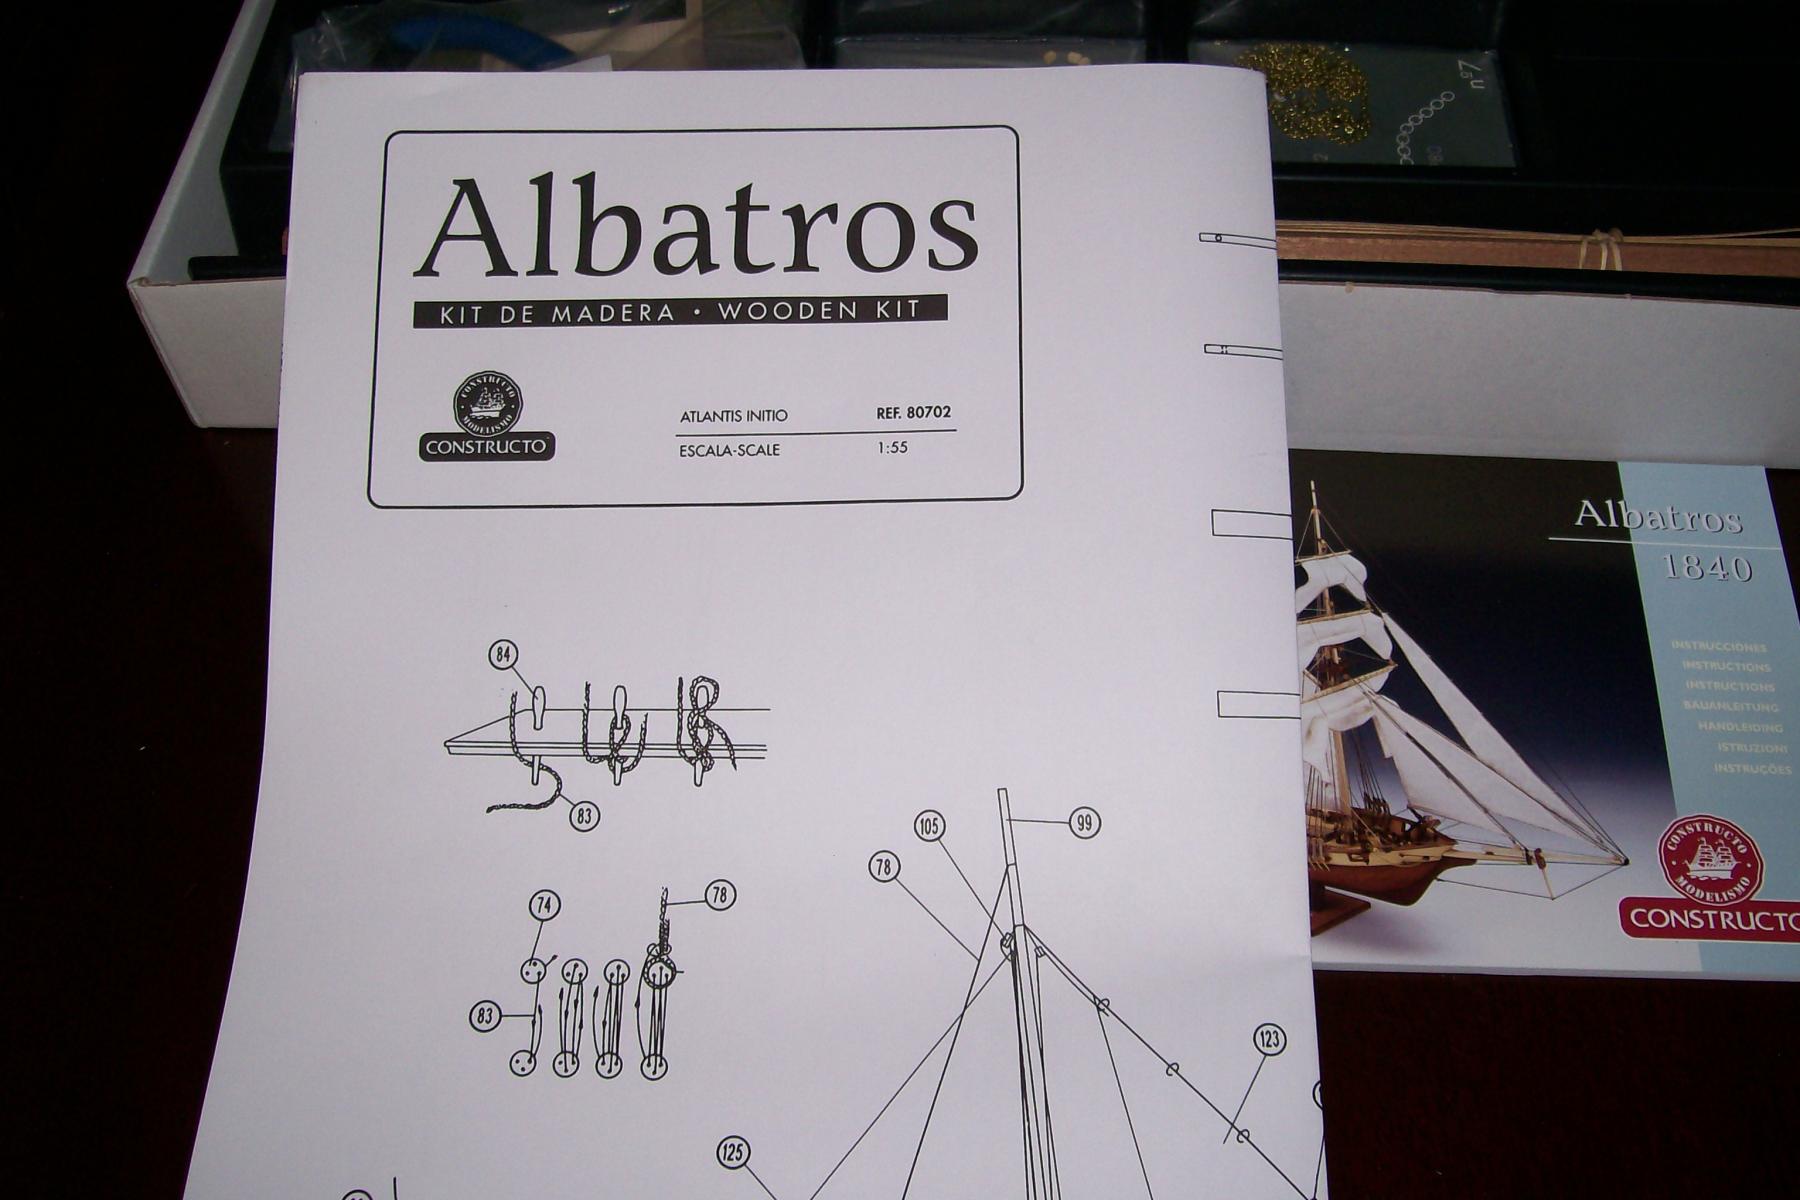
Ok I am posting my First Build Log on my 2nd 1st build. its the Constructo Albatros. So for the instructions are so much better than my first kit.I will (hopefully) post pictures of the kit and Frames on false Keel. I am looking for input and much encouragement on this first build. BRIAN DELLIS