


Jdieck
-
Posts
59 -
Joined
-
Last visited
Content Type
Profiles
Forums
Gallery
Events
Posts posted by Jdieck
-
-
Hi Jdieck: thanks for taking the time to show your work. You have done a really beautiful job on the boats and the fittings. I will certainly
appropriate (ie. steal
 ) some of your ideas.
Bob
Just go for it. You have no idea how many ideas I have got from you and Arthur so take it as a partial payback. You guys are doing a prety fine job.
-
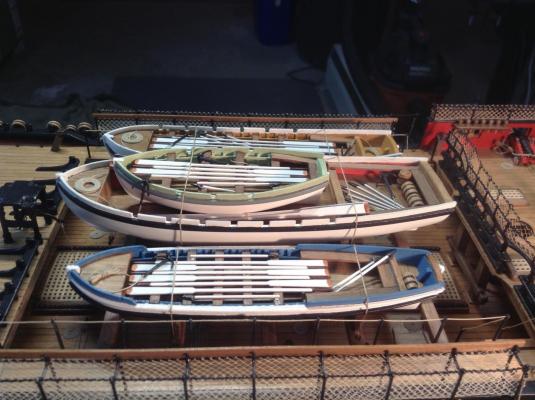
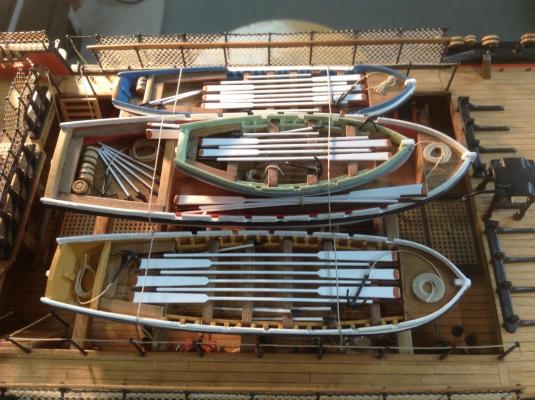
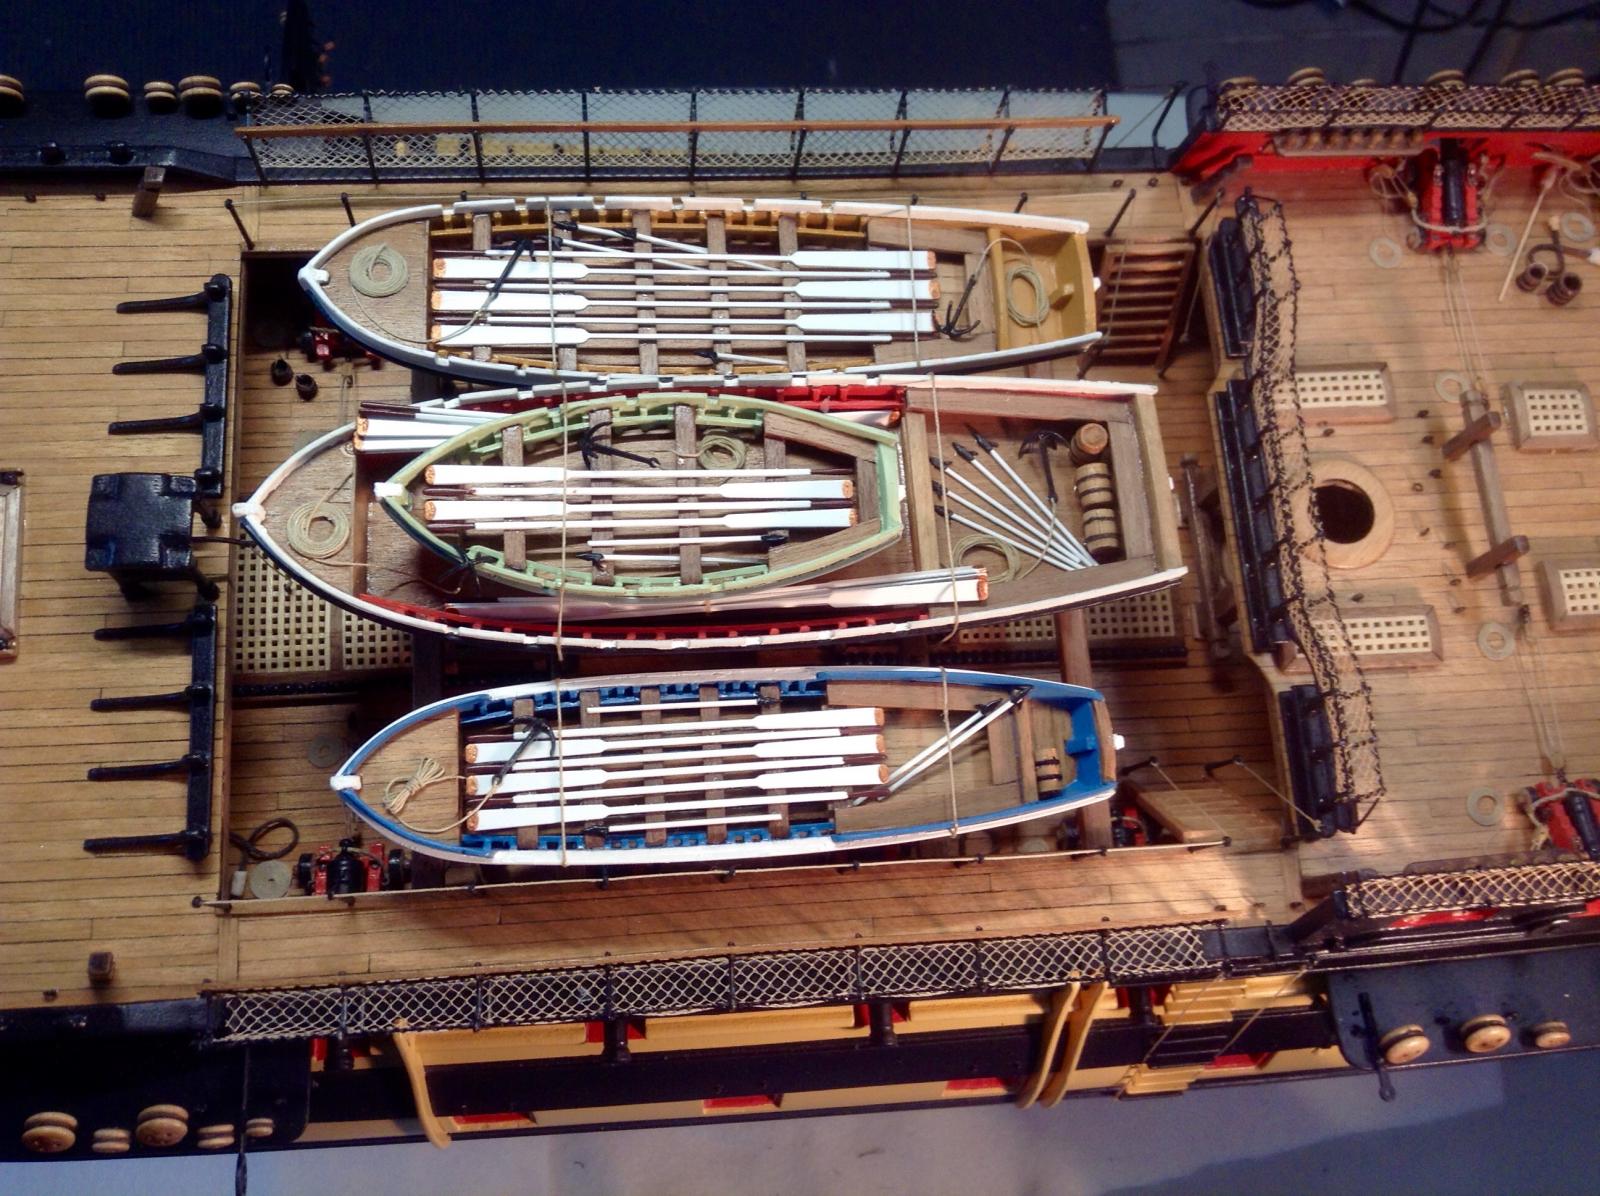
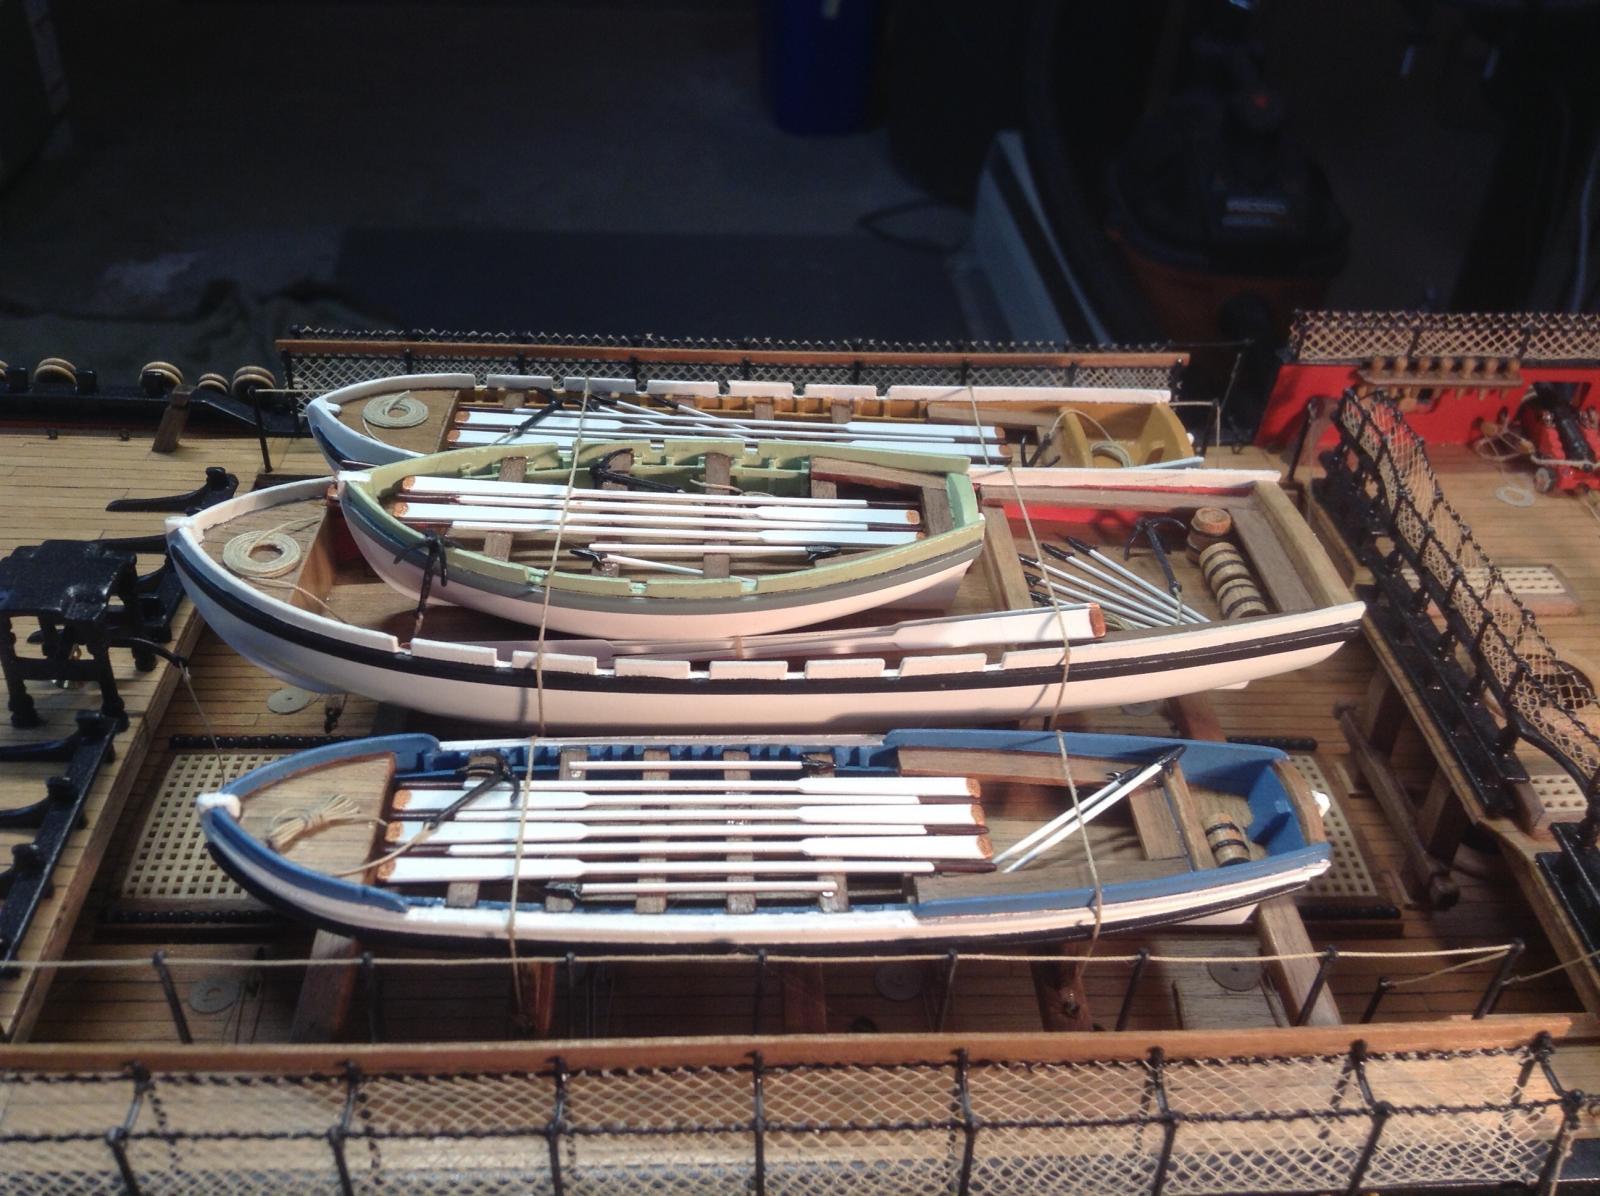
Hi BobHaving painted a couple of dozen oars for the ship's boats, the question then arose, how to fit them all into the boats? It seems to me you can't without the boats disappearing under a pile of oars. I have placed 4 oars in two of the boats and this seems to work reasonably well. If anyone can suggest how to fit in the remaining oars I would certainly be grateful. If not I have a heap of painted oars if anyone wants them.

Some pics on how I setup the props on the boats.
Enjoy!

- Bettina, captgino, mort stoll and 2 others
-
 5
5
-
-
Jose: I've slept since then!
At least I can now justify how I've made mine off.
Good to know you are now getting your beauty sleep while Bob is vacationing.
Now you guys make me want a vacation.
Regards
Jose
-
Bob
Take a look at the picture Arthur posted in page 18 of your thread (this one); regarding Lee's descripton of turning in of the shrouds using cable laid (left twist) or shroud laid (right twist) rope.
According to Lee, Using right twisted rope the shrouds are turned in counterclockwise and using left twist rope they are turned in clockwise.
In other words if right twisted rope is used to turn in the shrouds of both port and starboard, then in one side, the free end of the rope will show toward the stem and in the oposite side will show the free end of the rope toward the stern.
This will confirm what jason has posted above.
Enjoy your trip!
Jose
-
Hi Jdieck
Thank you for the link and for taking the time to reply.
However I don't quite follow your point regarding the walnut. It is 3mm thick sheet on which are various laser cut parts, and is not really suitable for planking.
My apologies, I got confused with the 3mm walnut strips provided.
Great work on rigging the cannons!
-
Hi Bob.
Great work!
I think some of the 3 mm walnut is or should have been used for planking the transom below the gallery.
Also Hubert on his site Wooden Modeling for Dummies, describes how to make a simple rope coiner using some magnets and a couple of pieces of plastic from a jar cap.
http://www.shipmodeling.ca/aaplandusite.html
Enjoy!

HMS Vanguard by RMC - FINISHED - Amati/Victory Models - scale 1:72
in - Kit build logs for subjects built from 1751 - 1800
Posted · Edited by Jdieck
I like how neat all your work is.
Maybe you want to install the fore main and preventer stays and the crows feet before the top mast. I think it may be easier to do them without the top on the way.