HOLIDAY DONATION DRIVE - SUPPORT MSW - DO YOUR PART TO KEEP THIS GREAT FORUM GOING! (Only 66 donations so far out of 49,000 members - Can we at least get100? C'mon guys!)
×


J Haines
-
Posts
71 -
Joined
-
Last visited
Content Type
Profiles
Forums
Gallery
Events
Everything posted by J Haines
-
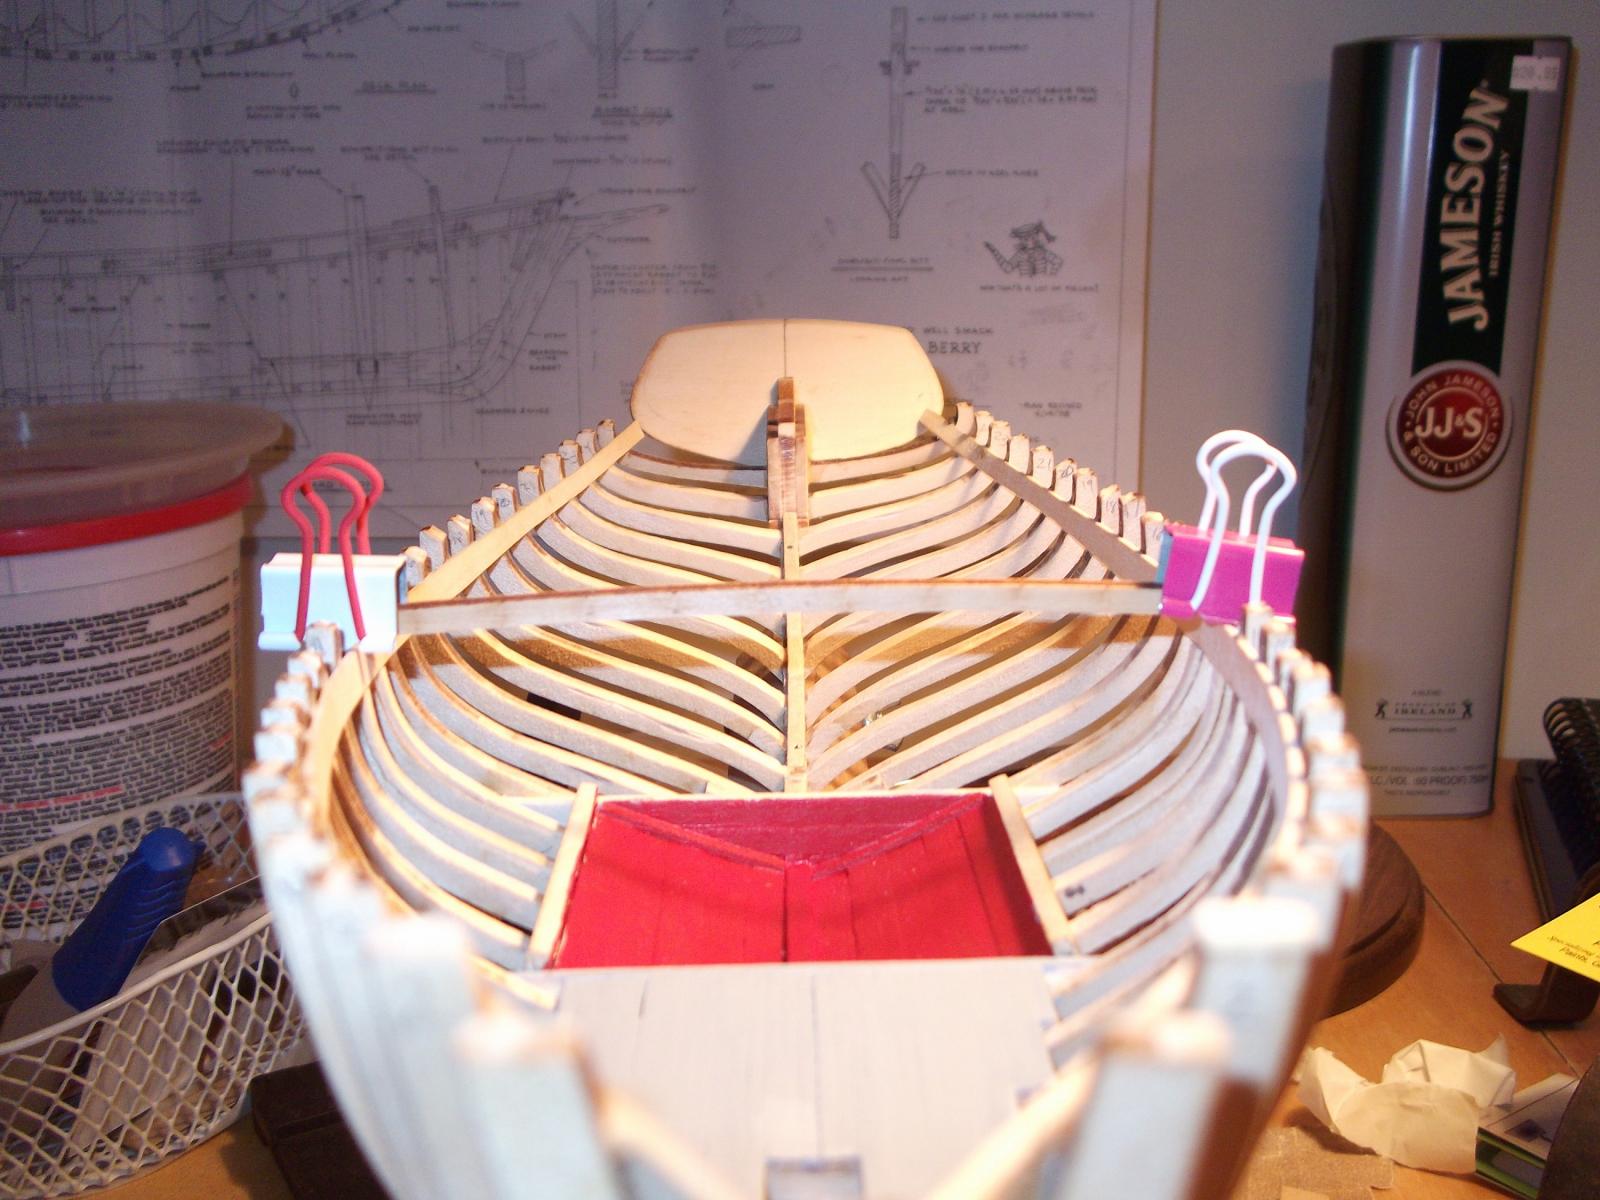
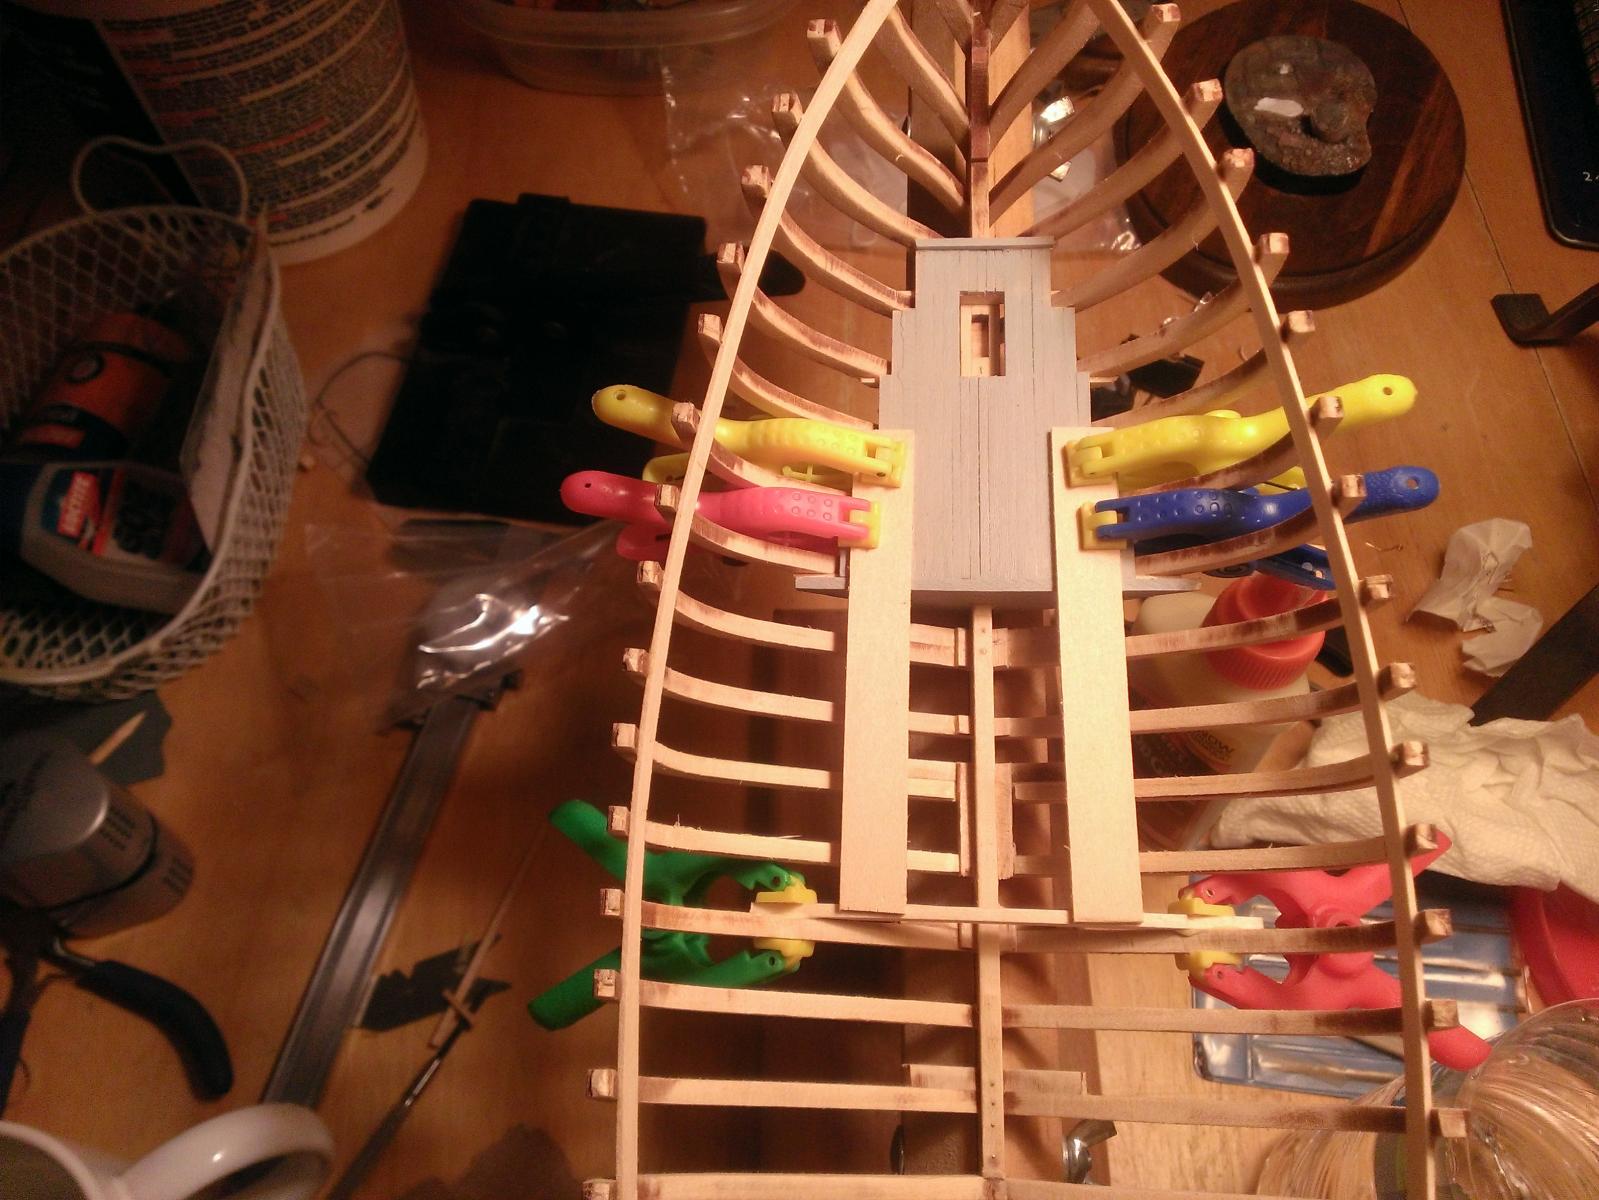
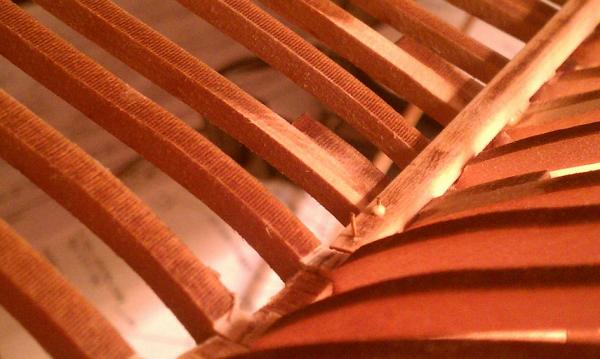
 Eamonn, to answer your question, the frames were really delicate until I installed the clamps that run from bow to transom. Then it was easier for me to taper the out side of the frames. on the inside, I glued fine grit sand paper to a dremel polishing felt pad and "power sanded" the inside taper. This is my first true plank on frame kit, and that any mistake can easily be corrected... and the Jameson You saw in the back ground REALLY helps with dealing with mistakes. To All those who are watching this build ... thanks! Model Ship World is a wealth of information and inspiration. I have learned so much watching other build logs, many questions answered with out even asking.
 -
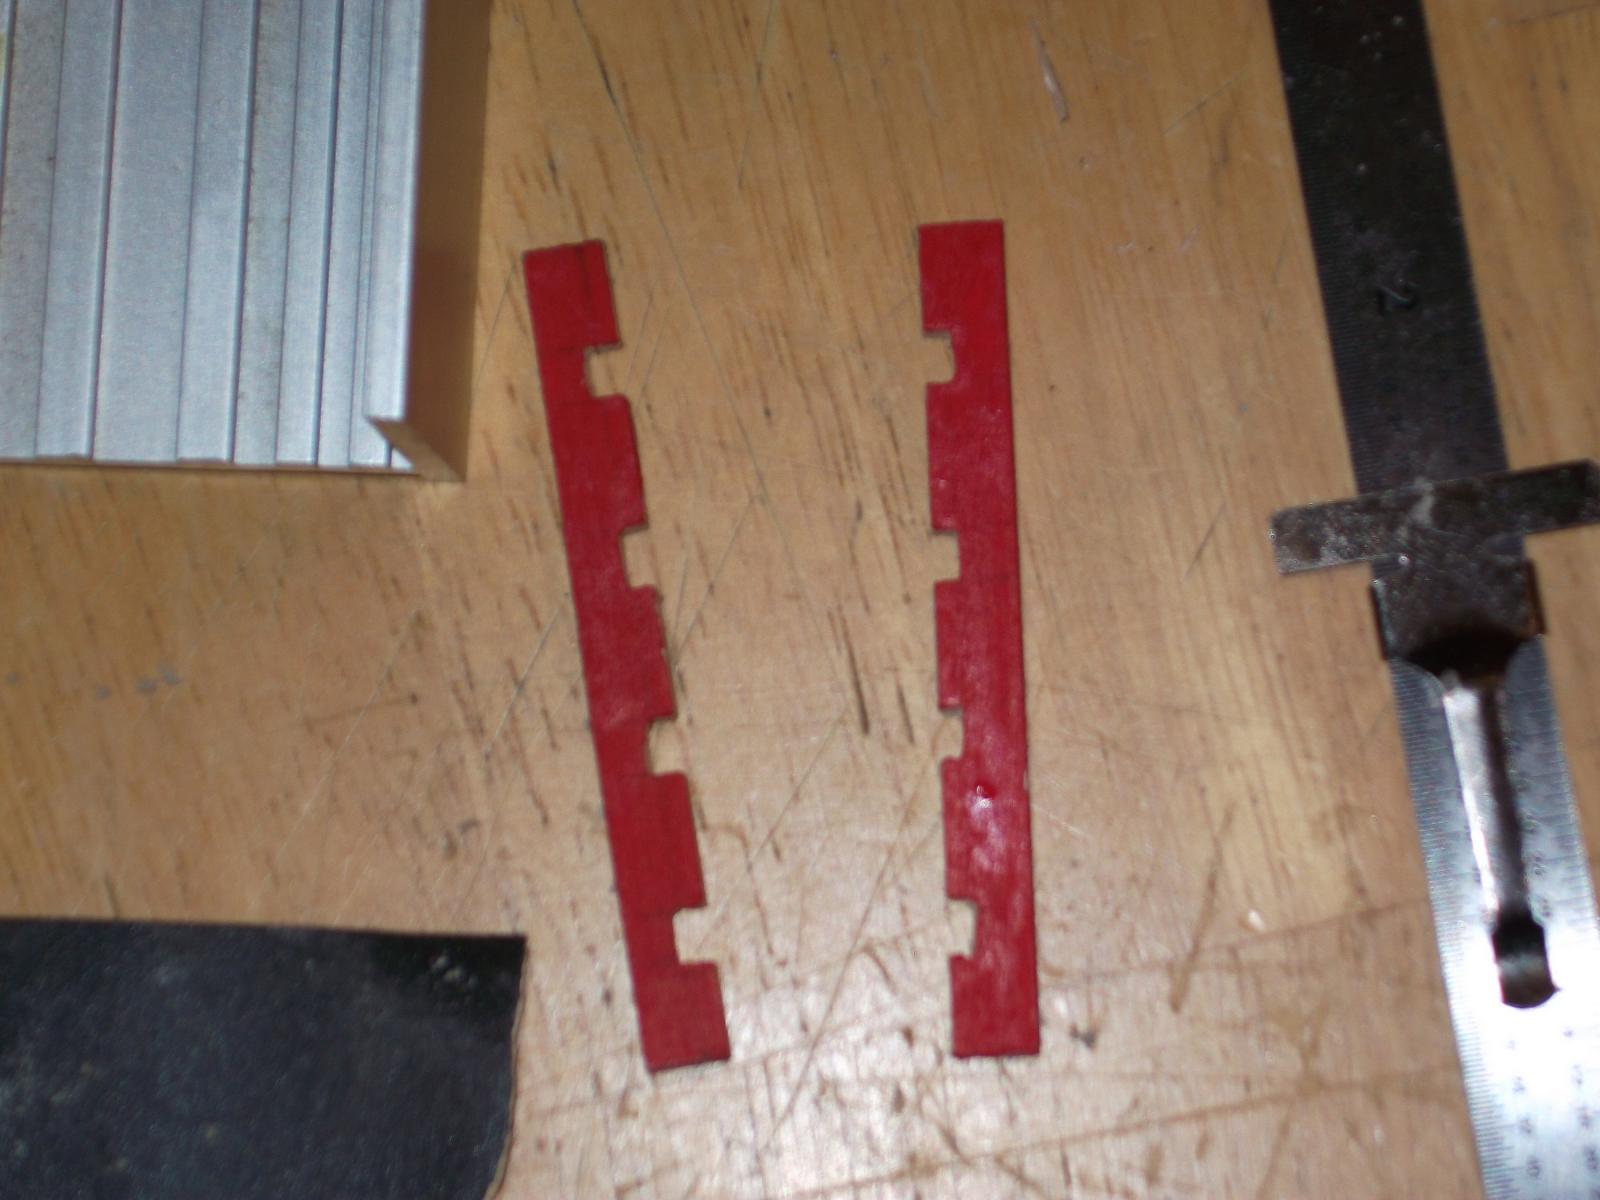
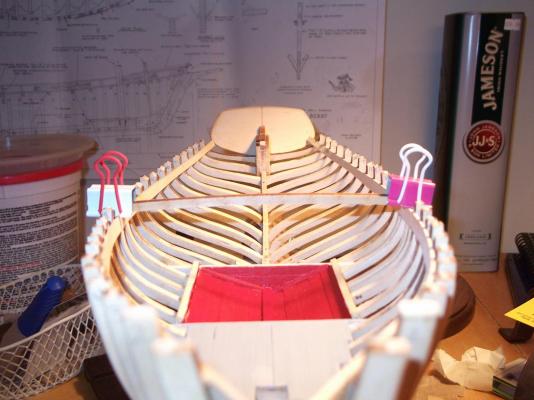
Happy New Year All..... I started building up the livewell, with the bed logs installed, I put on the upper deck beams, and built up to them. Beam @ frame 10 was notched to allow the proper length for the hatches. Trickiest part was finding the proper angles for the front corner posts. According to the plans the outside of the live well is oiled/stained, I am using Testers bulwark red, with a drop of brown to get that red lead look.


-
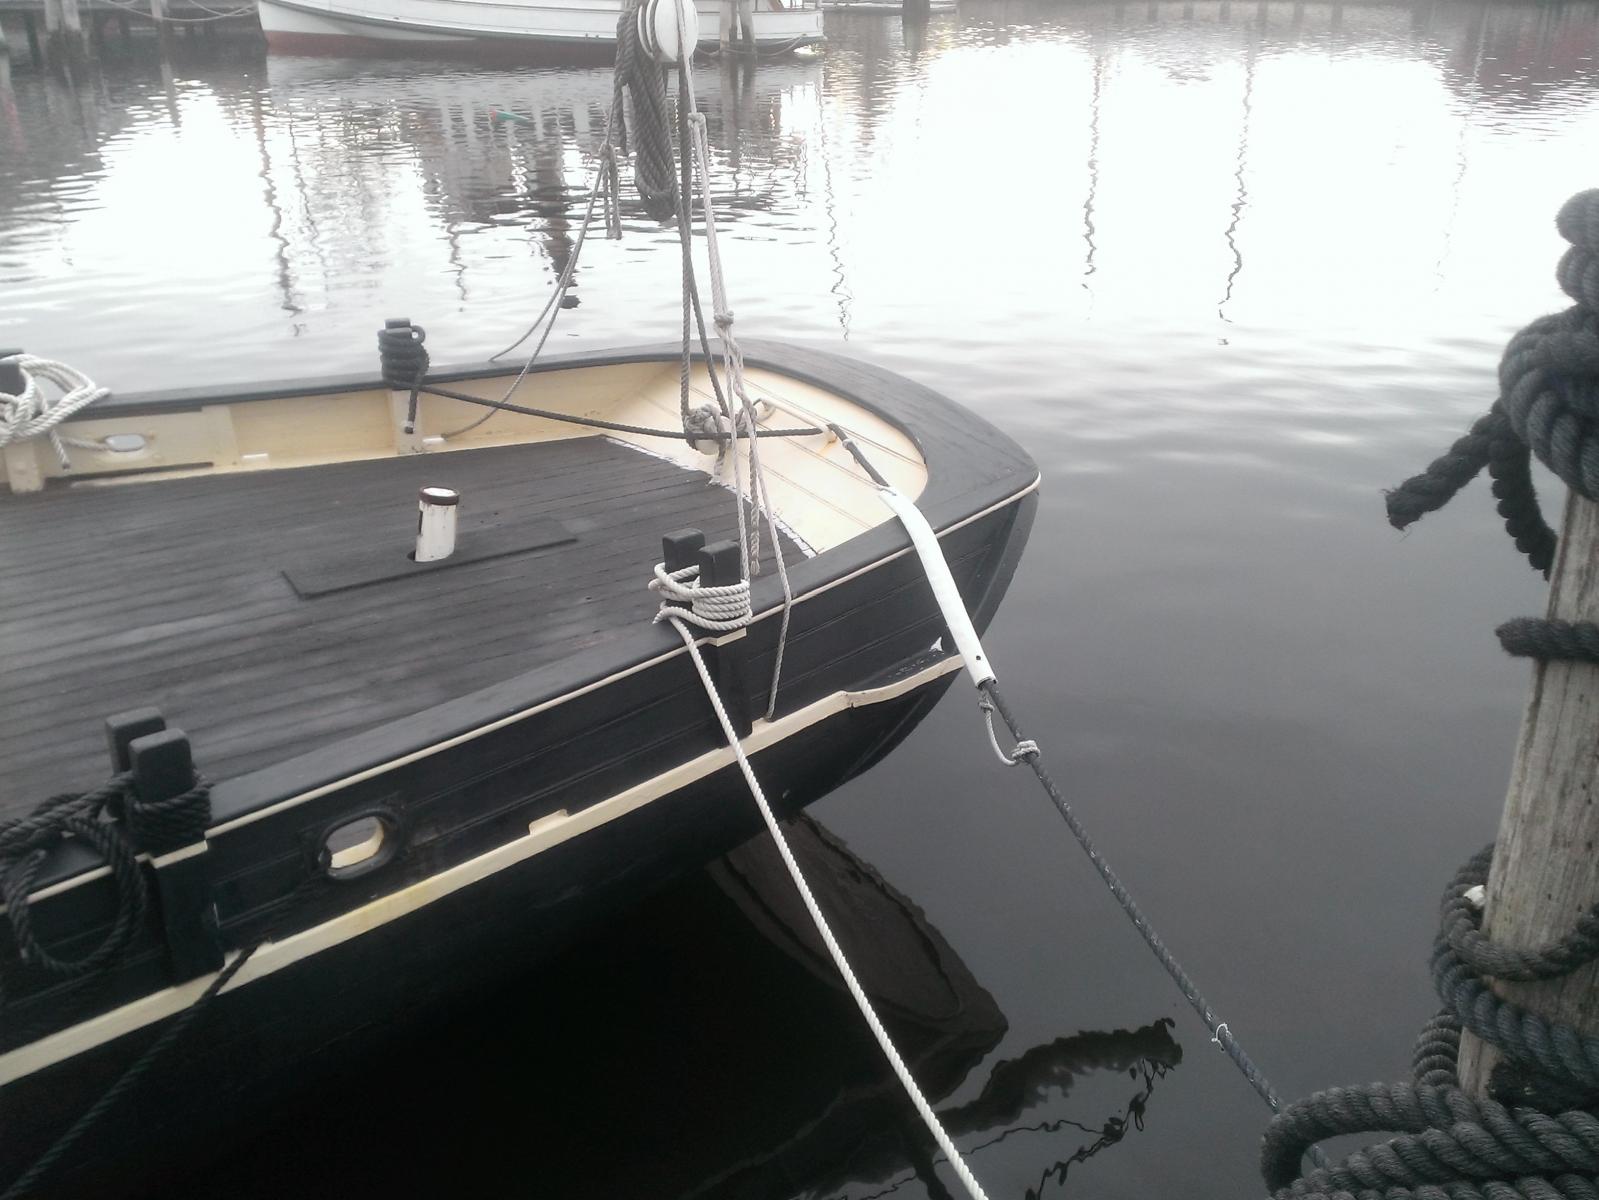
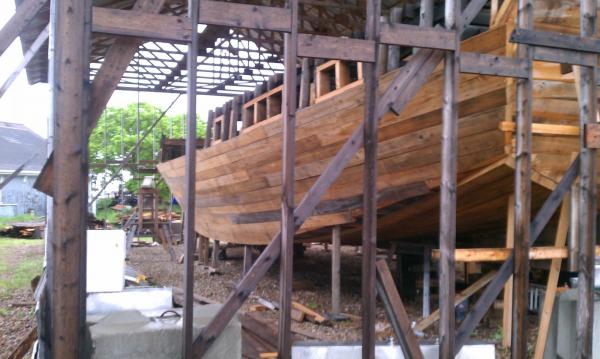
Probably for preservation, the way they have it docked there is no gangway to climb aboard. A lot of the vessels there need some TLC, especially the L.A . Dunton. ( my favorite vessel there).
-
it flanges out at the lower rail..I wonder why they painted the deck black.
-
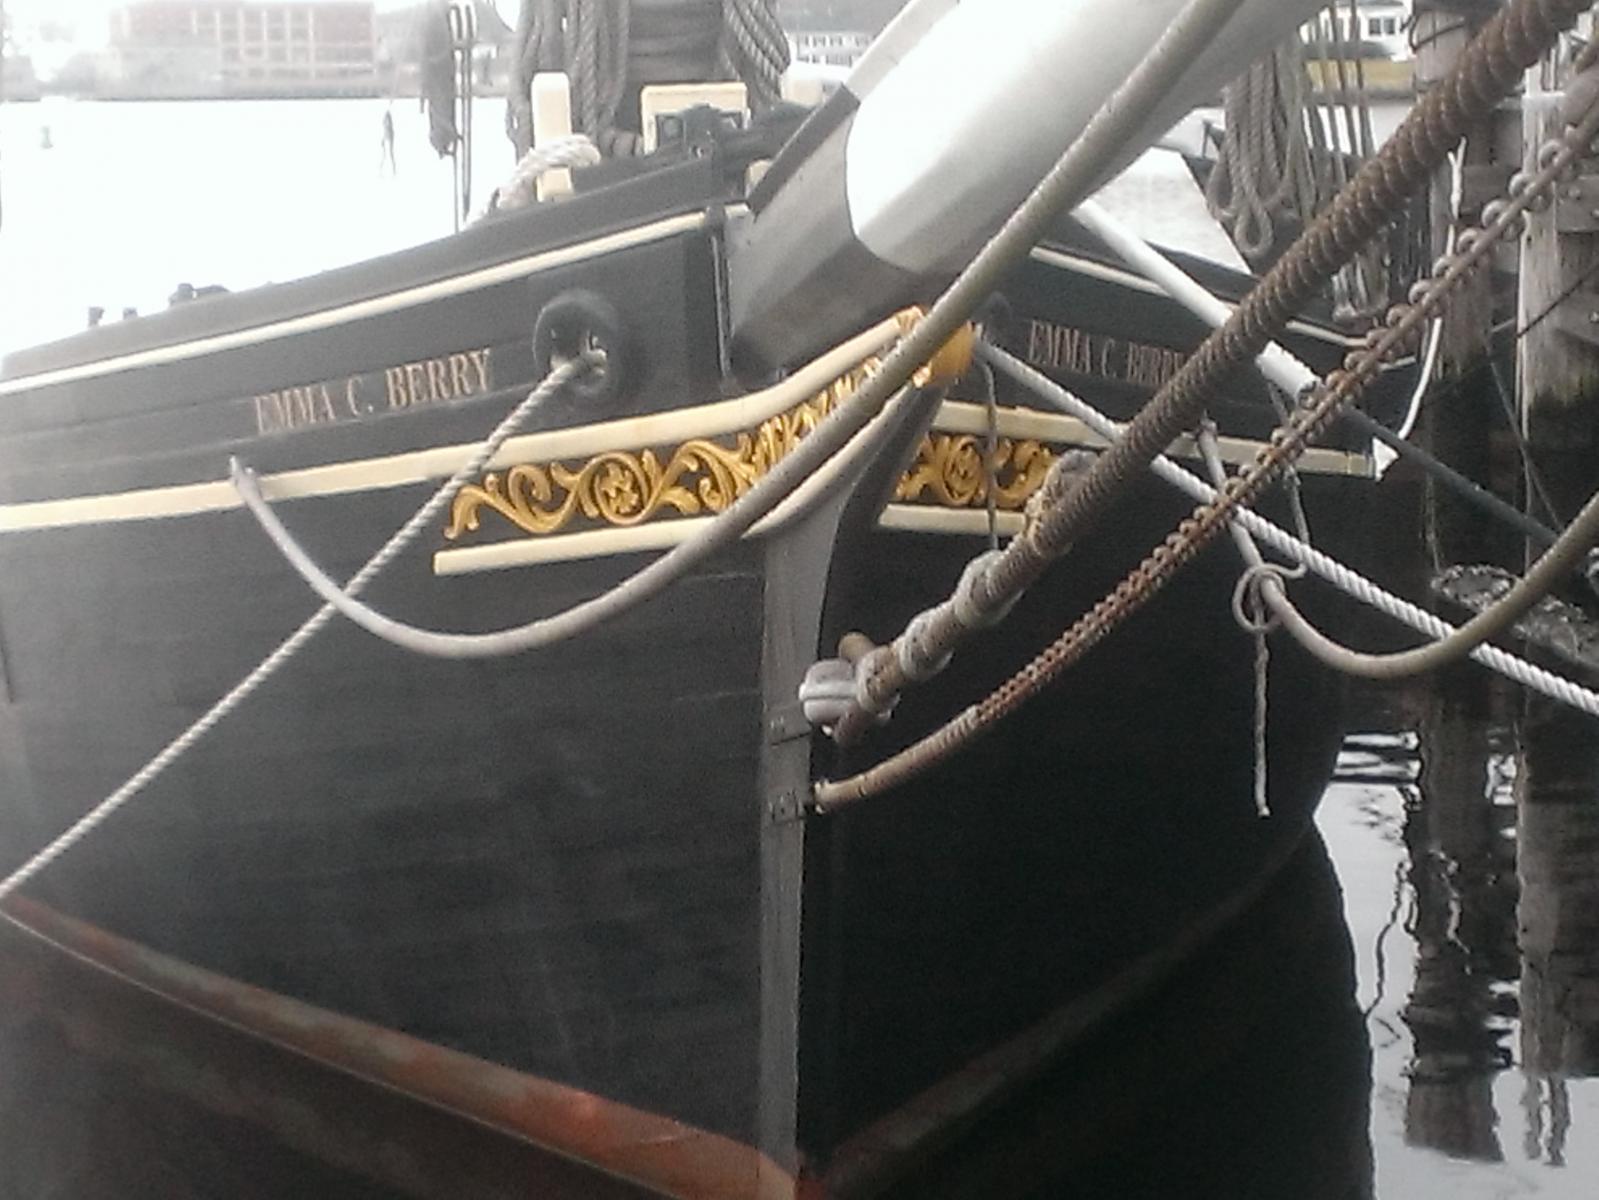
look at the detail at the lower railing...

-
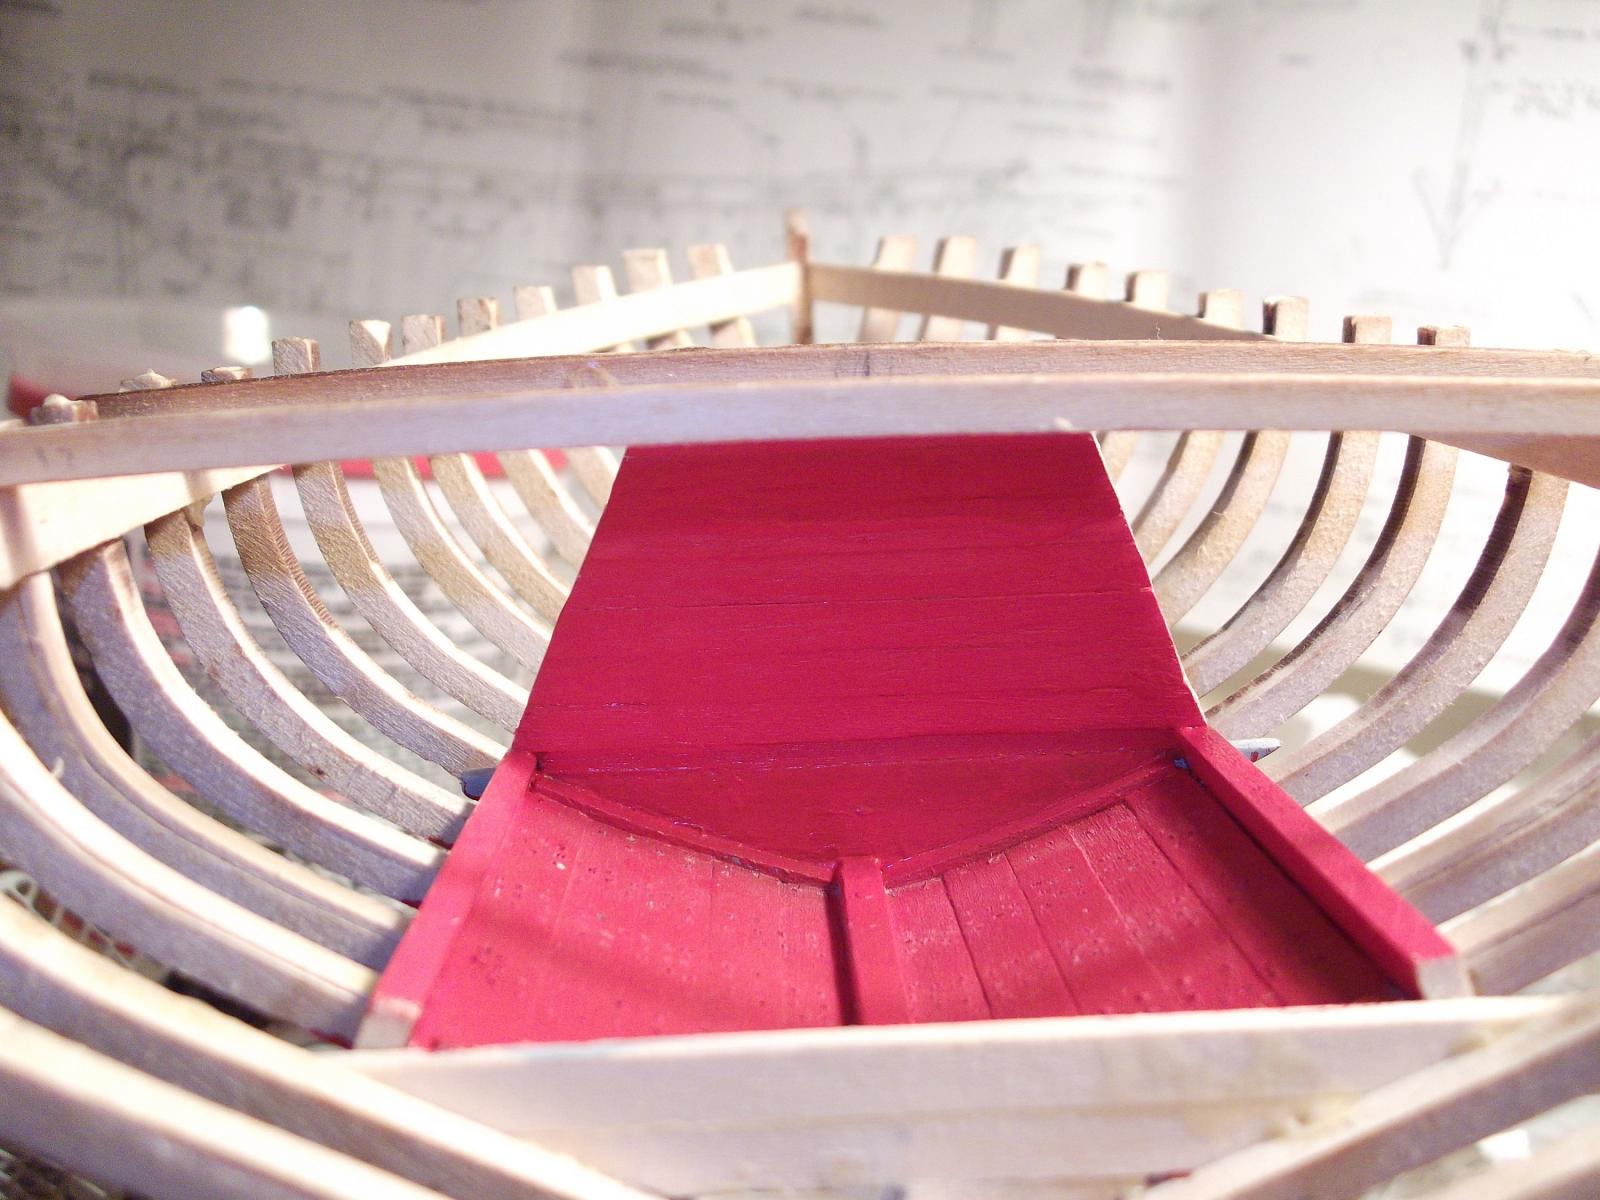
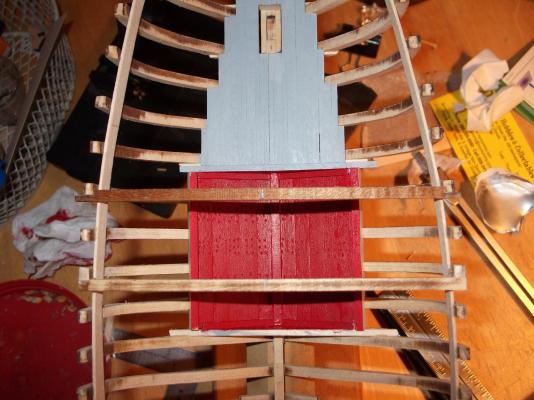
Hi all... I gave the front sole a coat of Pollys ghost gray. I made a small miscalculation with the front bedlogs. they are 1/8" thick, and I used 1/16". This worked out ok, because the 1/16 allowed the new 1/8 to fit flush against the sole, nice clean fit, with extra support. I clamped wide stock to the sole to get the proper height for the bedlogs at frame #14. A little model gossip... i stopped by my local hobby shop for supplies, They told me Pollys paint is being discontinued. Im a little bummed about this, there paint is great... flat is true flat and there military colors match perfect. I always prefered pollys to Tamiya or Testors. Oh well.
-
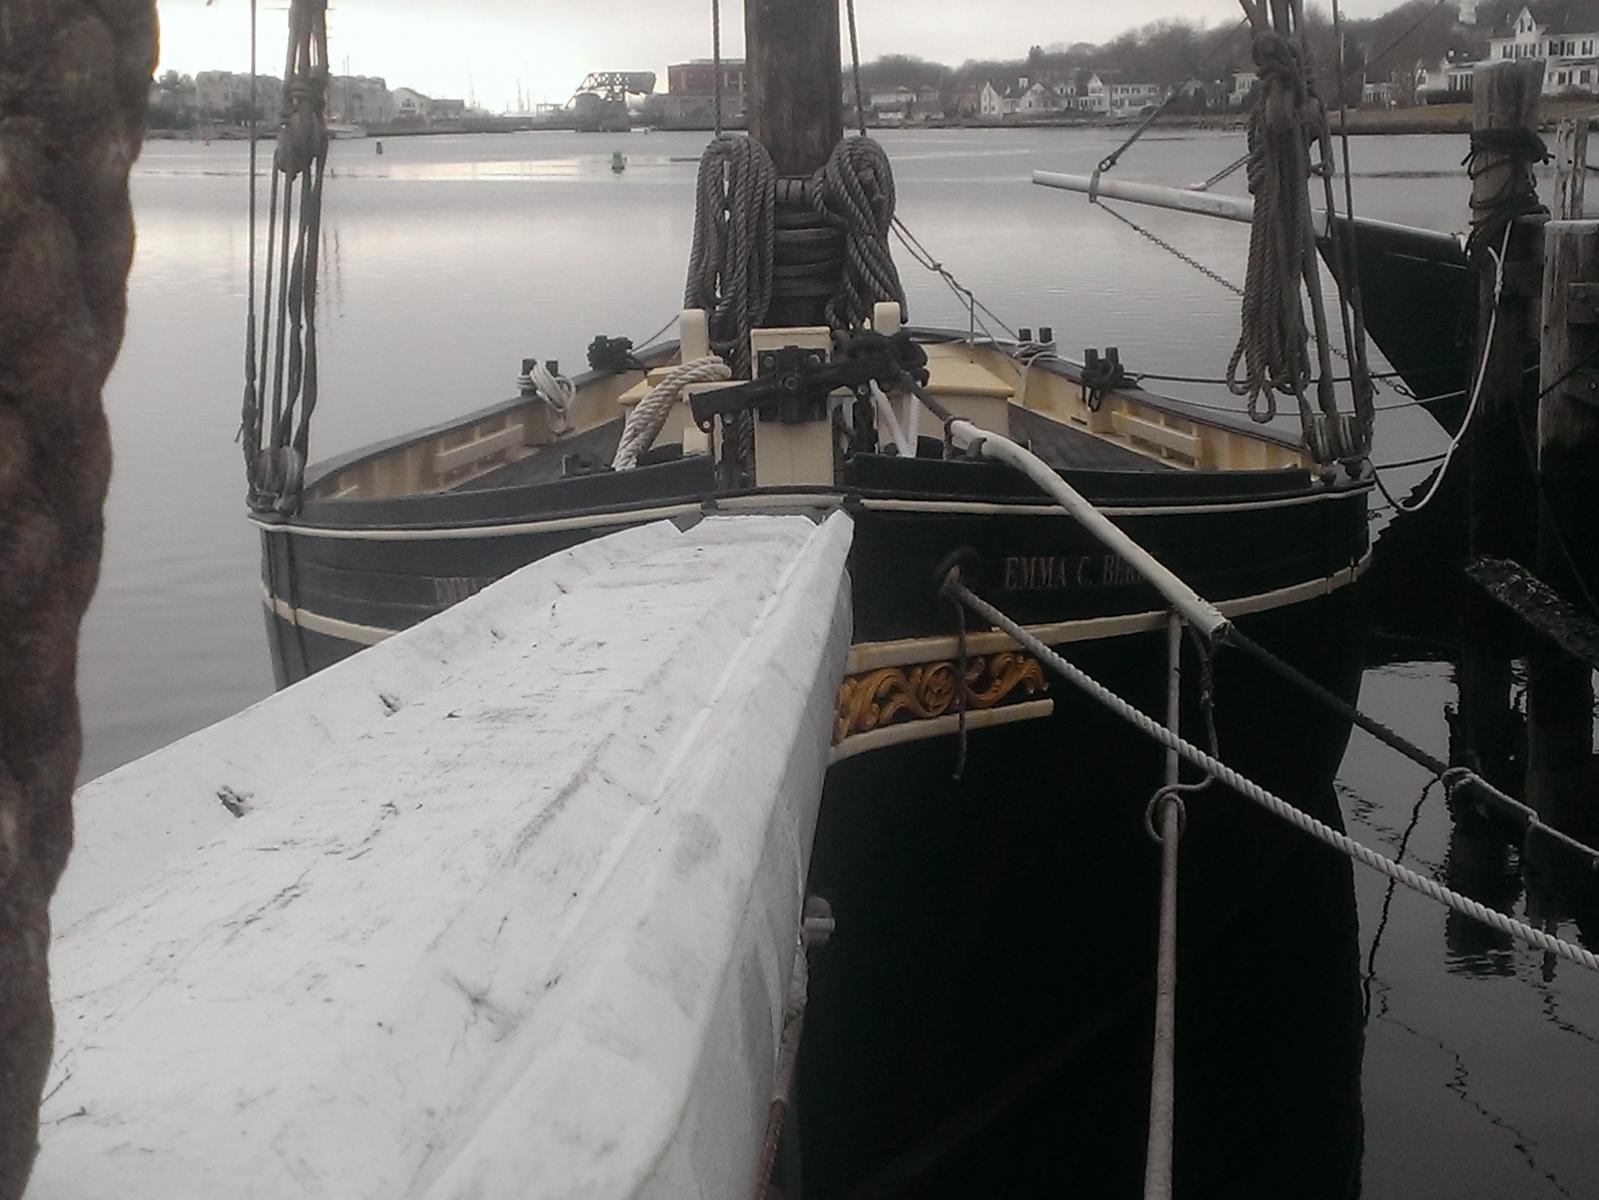
Here she is , went to the Seaport yesterday and took about 200 photos. There wasn't a lot of people there, actually it was empty, so i did my best to get pics of all the nooks and crannies on all the big vessels. I really wanted to get pics of the fish hold on the Emma C. but i couldn't at that time.


-
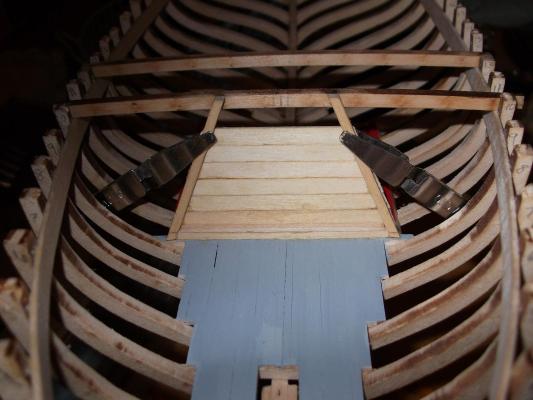
Howdy all... I completed the front sole and started the live well assembly. So far the front bedlogs were installed. I think my plan of attack will be to build the base of the live well, install the deck beams that support the livewell hatch, and built from the bottom up.


-
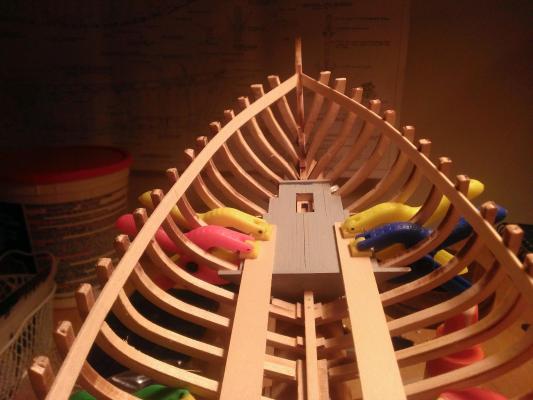
I went on a "whim" with the mast step. There is really no detail on the plans I have, I figured the mast would butt up against the false keel and not the sole. I have this week off so I plan on getting a lot done. every one enjoy your holiday.
-
I have the holiday week off. my plans are to go to the mystic seaport and take photos of the emma c. If i actually get down there I will post photos. When I was a kid, My a sister that worked at the Mystic Seaport and I got below the Emma C Berry, but that was close to 30 years ago and I can't quite remember the details.I did get to go Aloft on the Charles W Morgans Main mast. It was an easy task dock side, but I can't imagine going aloft in heavy seas.
-
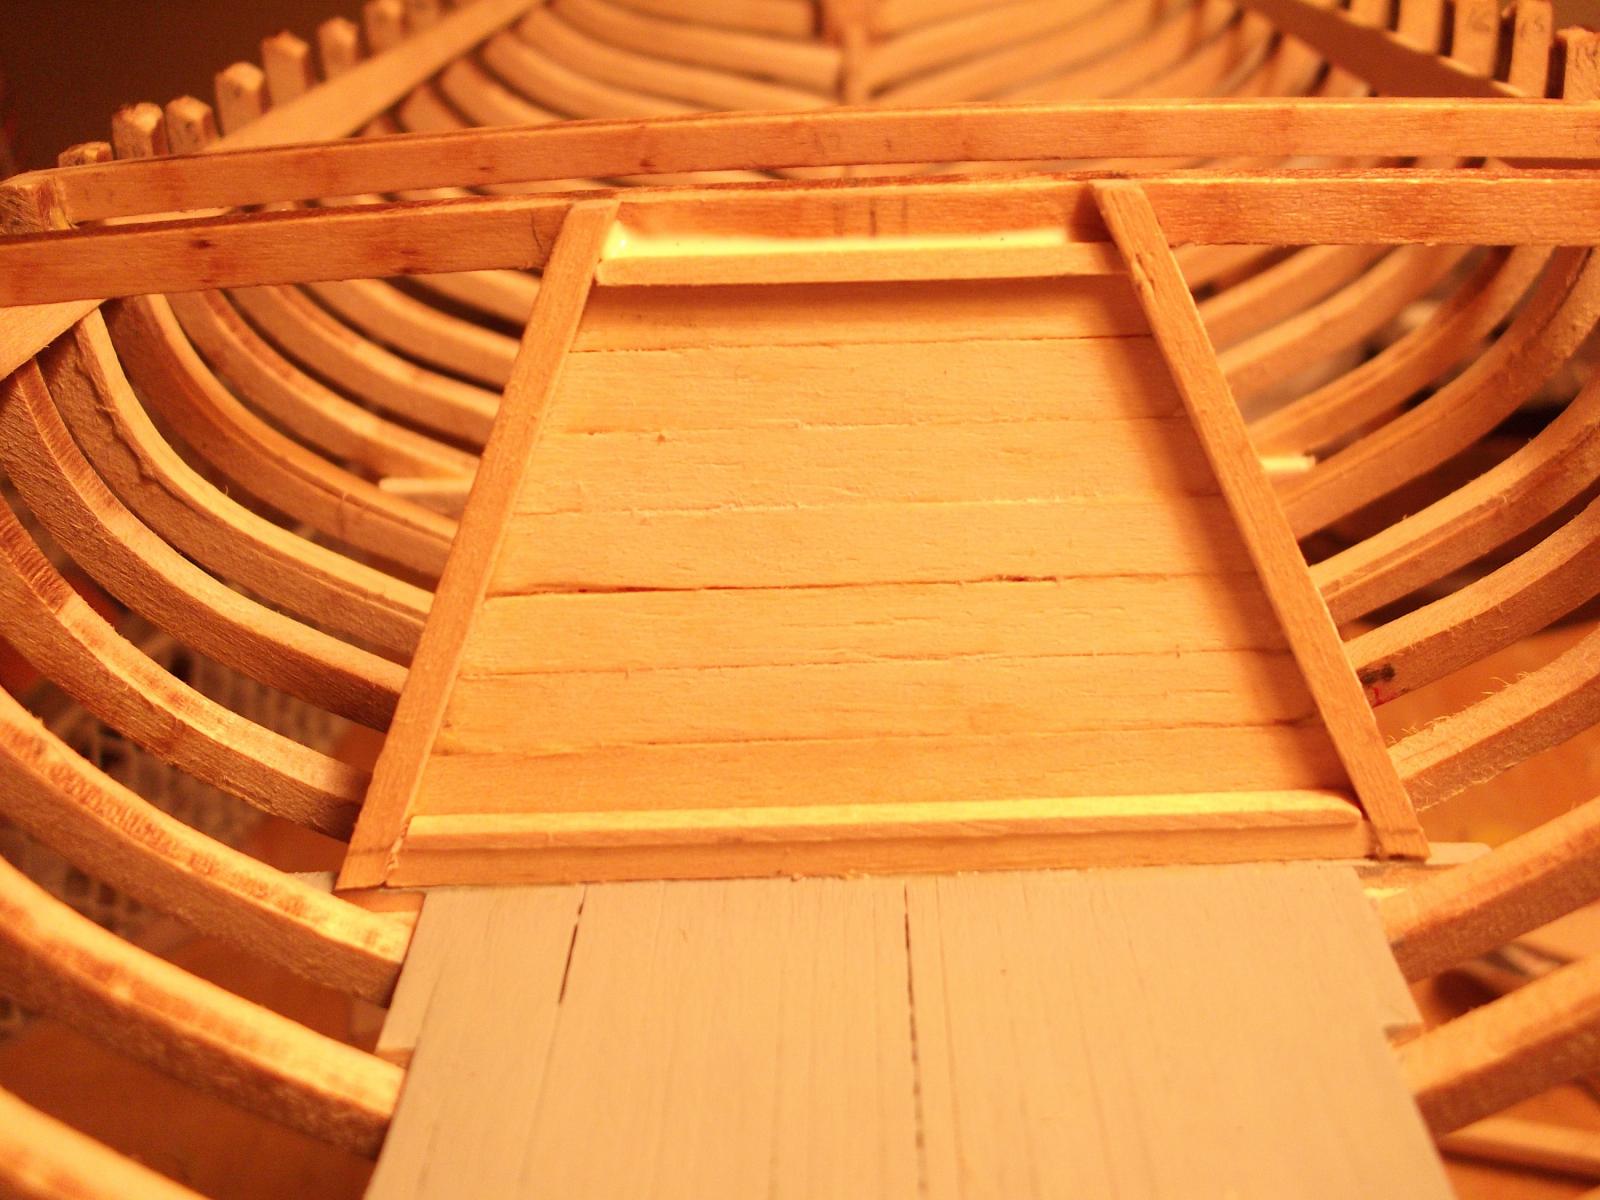
Hello again I started laying the front sole. 1st, the beams, then 1/16 x 1/16 for the floor boards. when all are laid, then off to the live well.


-
Looking Excellant. Amazing job on the live well. Hope you dont mind but I am going to use your live well for reference. I am almost done with the front sole then off to the live well.
-
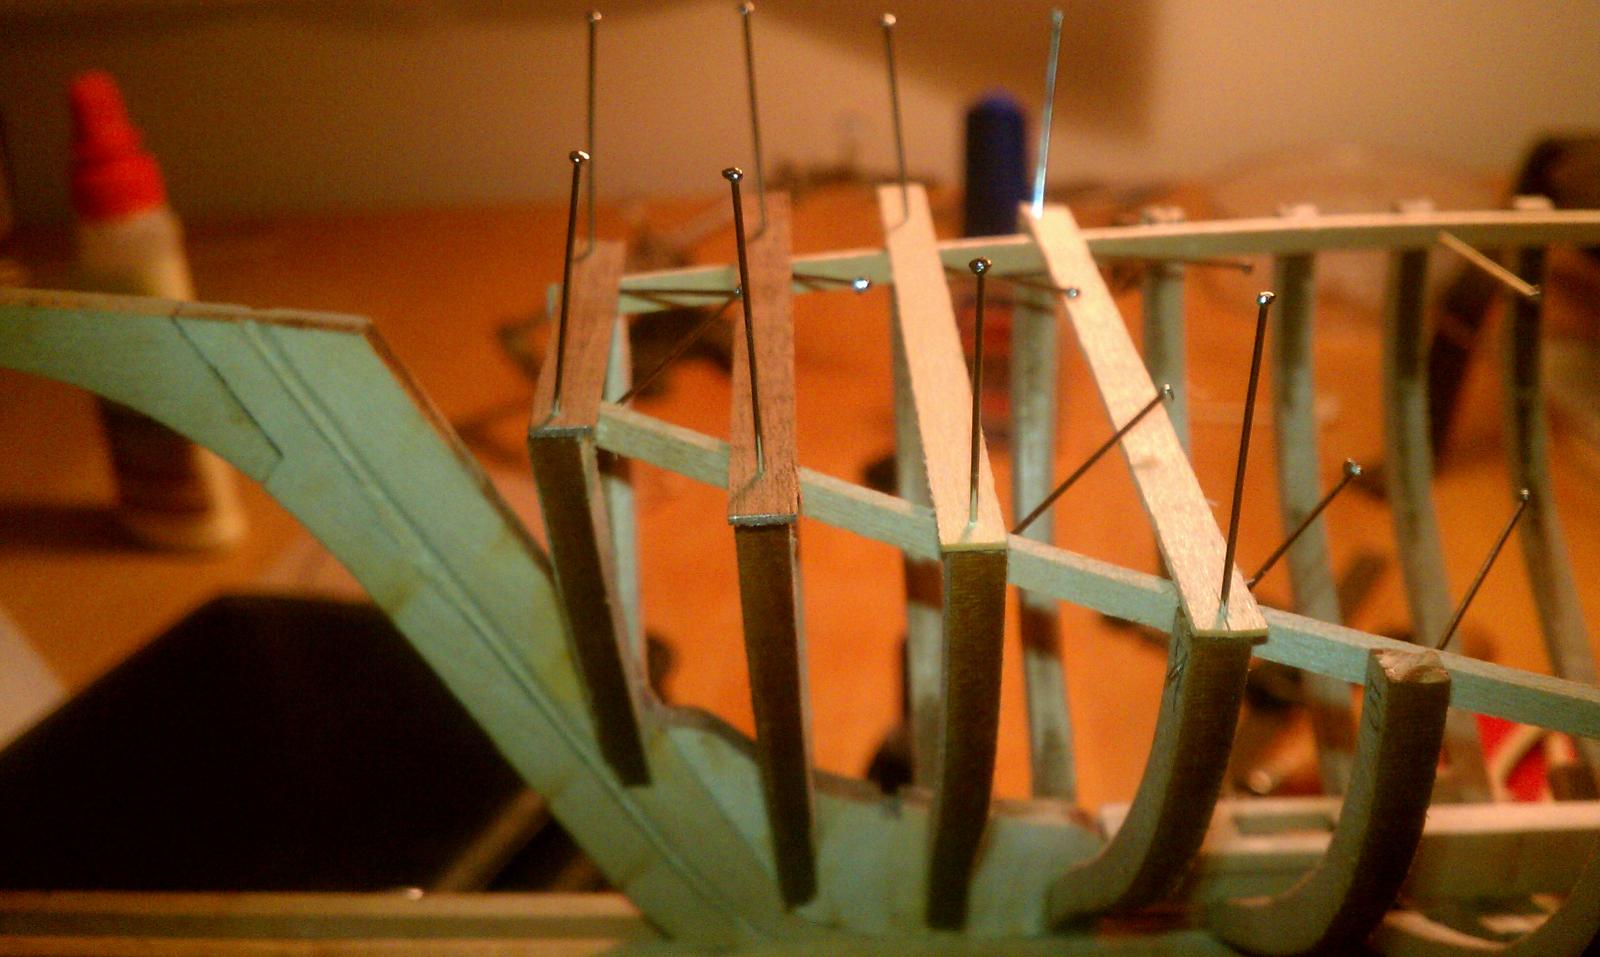
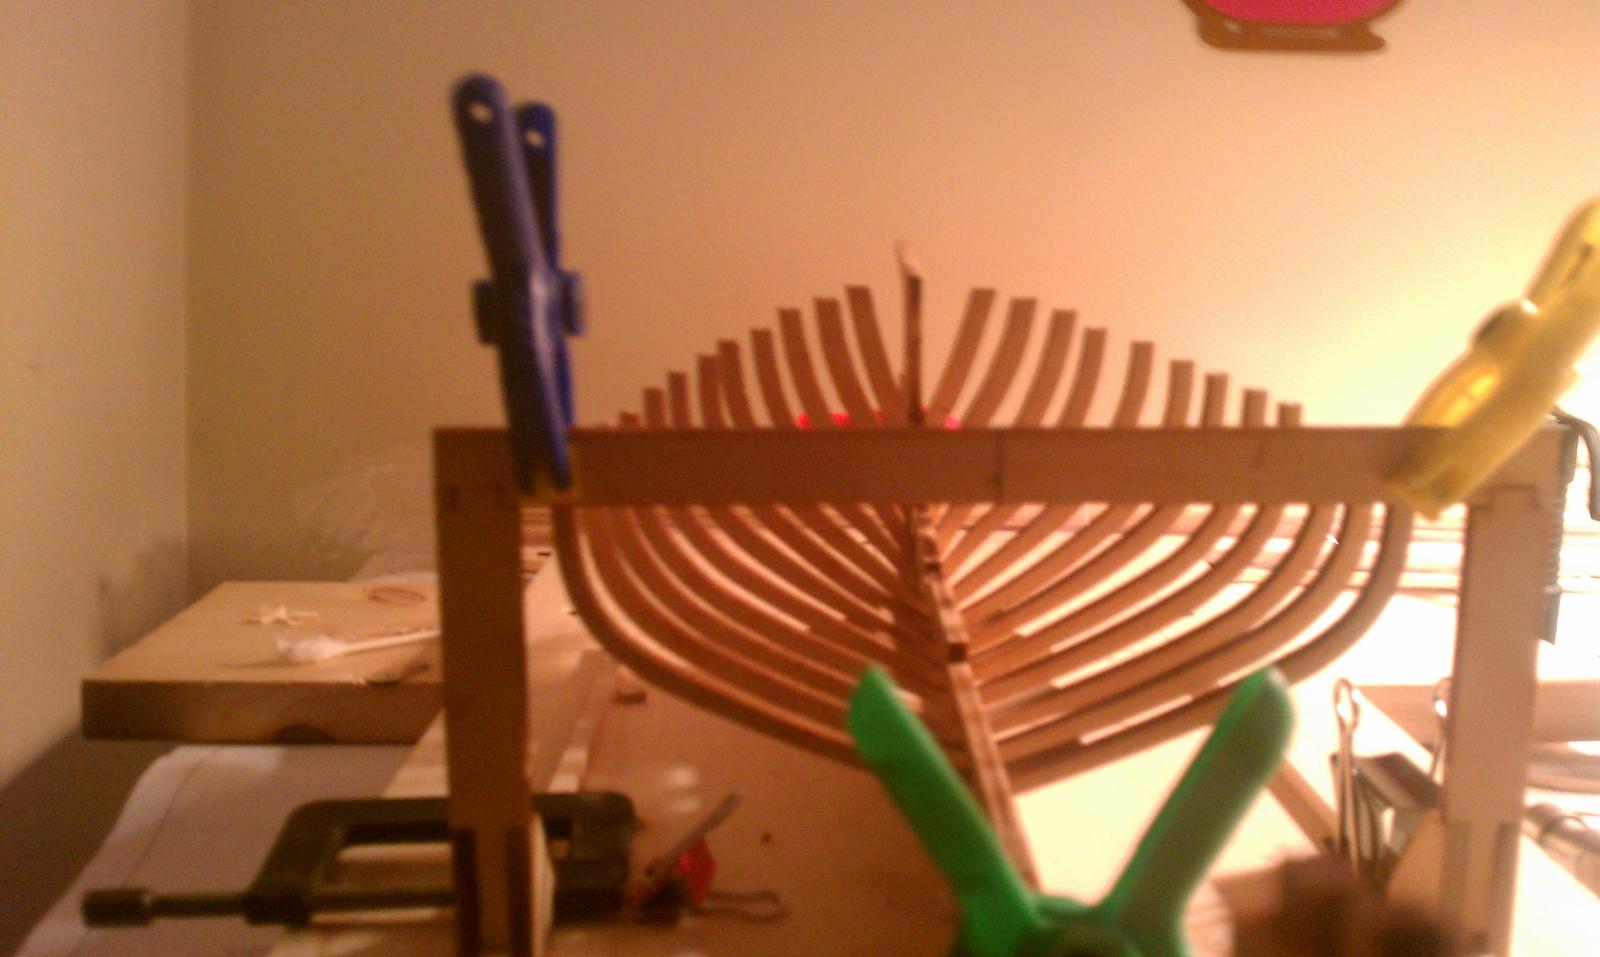
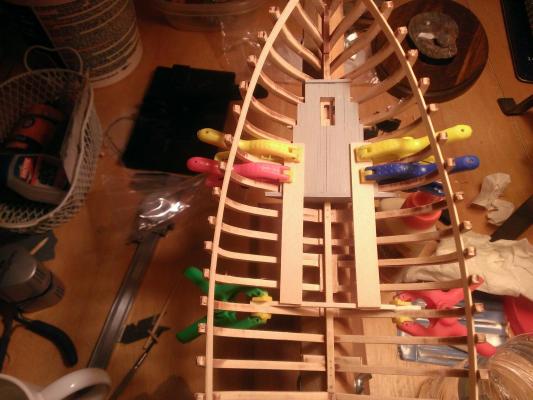
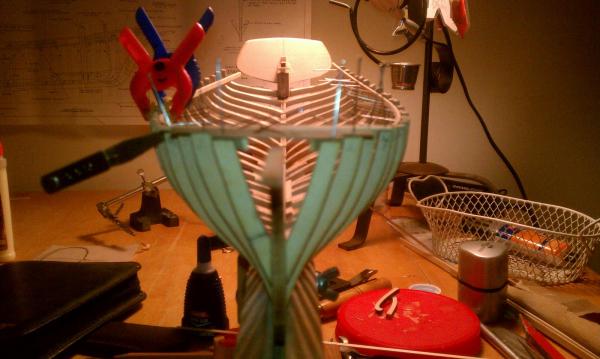
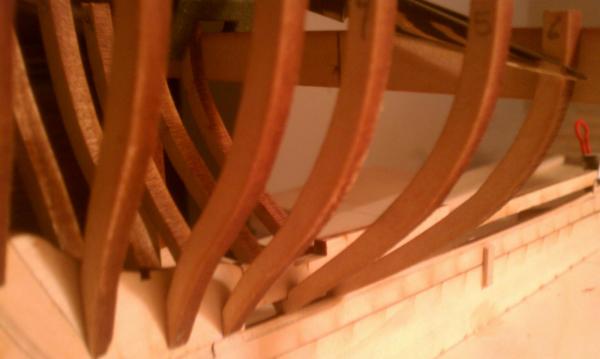
Hello everyone! Well, with the days really short and it getting a bit cooler outside its time to get back to it and get the shipyard rolling again. I finished installing the clamps, this really stiffened up the frame and made it much easier to taper and shape the frames. I did steam bend the clamps, but it did suck in a frame or two during installation, to correct this I will laminate thin strips of wood to the outside frames and shape to the correct height. Using a 5/32 x 3/16 piece of wood to allow the correct height for deck frames, I found that I under cut some of the tops of the ribs, I will correct this by glueing a piece of basswood to the top and sanding to the correct height. Plus it will give it a clean appearance. Have a good holiday to everyone .


-
Your post pics have answered a few questions I had. thanks.
-
I learned somthing, I should have left the transom off to allow easier installation of the clamps. your doing a great job.
-
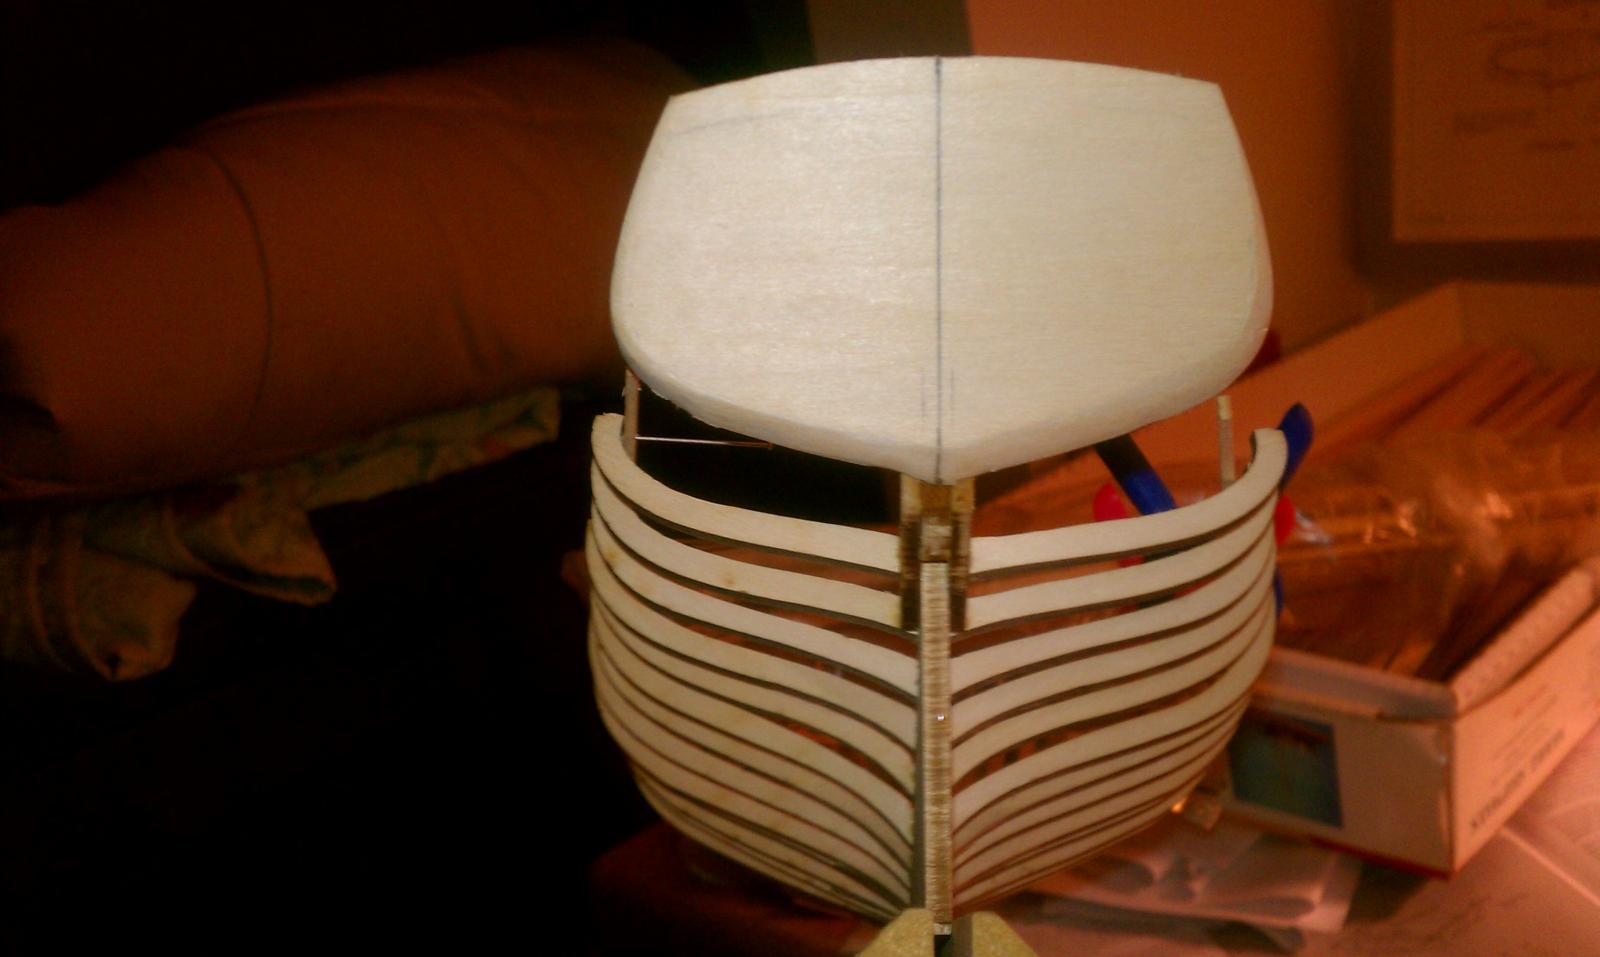
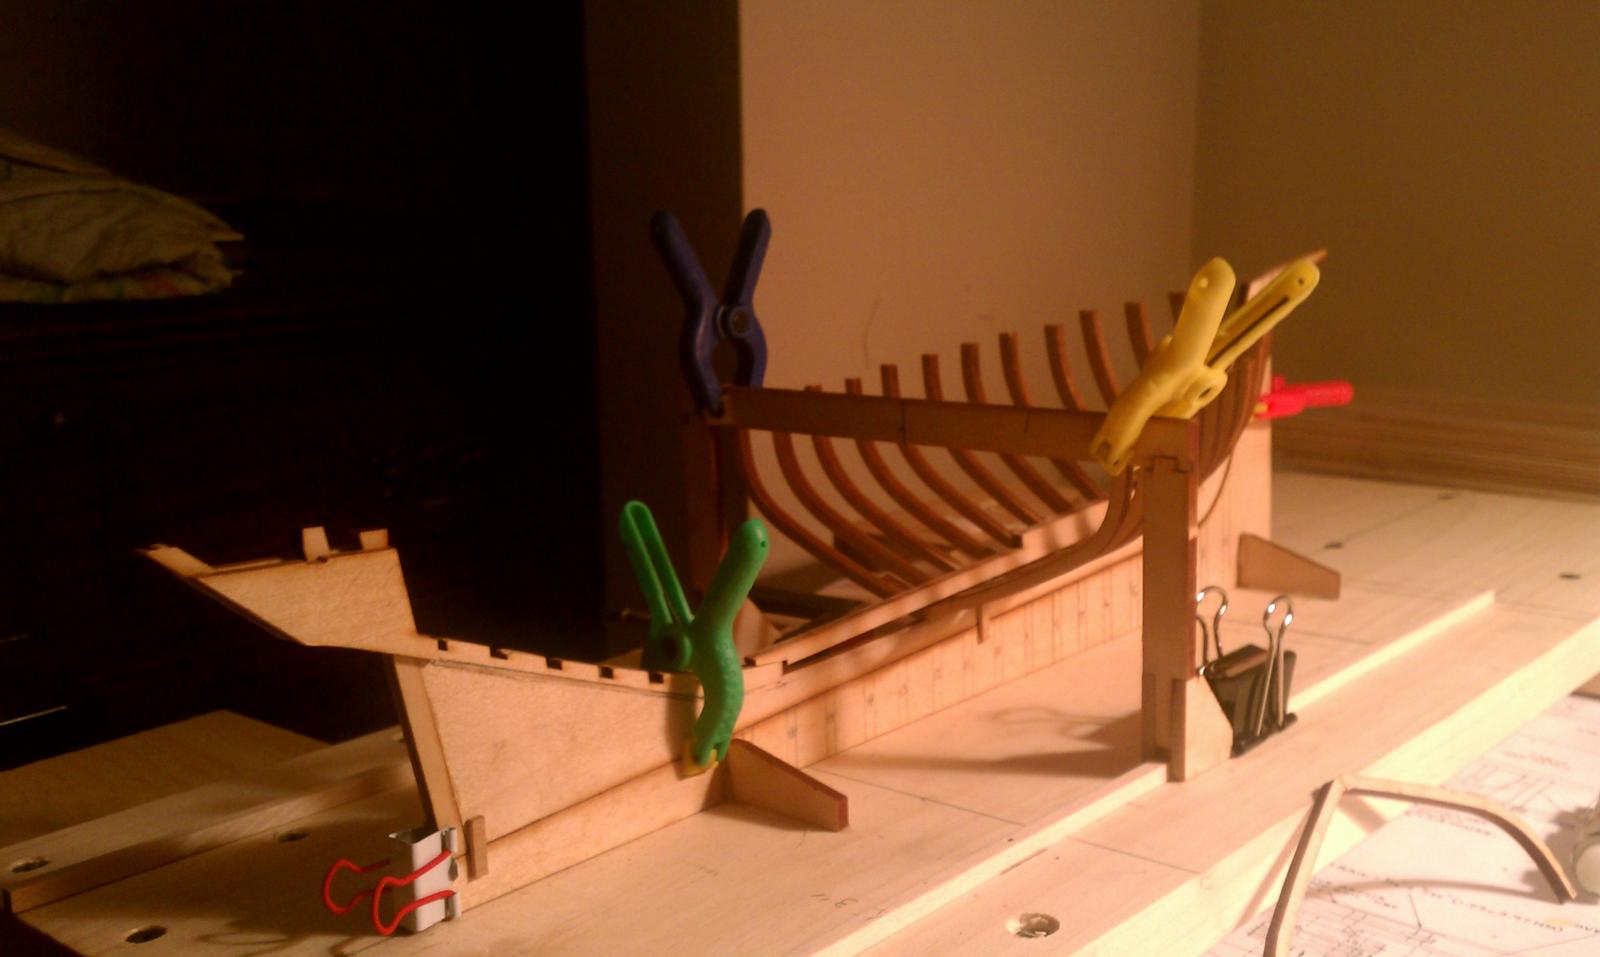
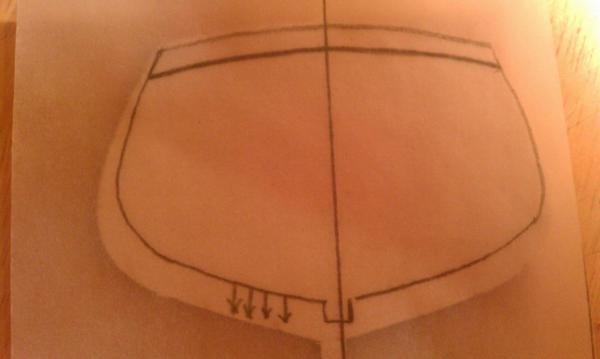
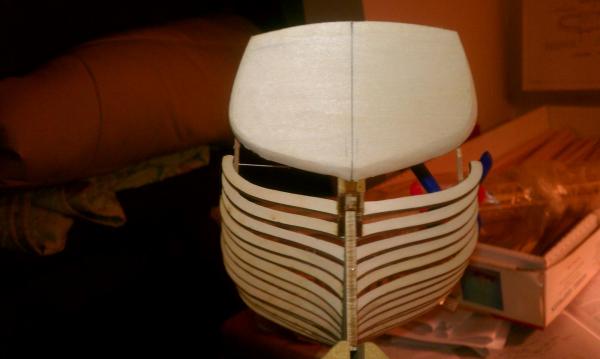
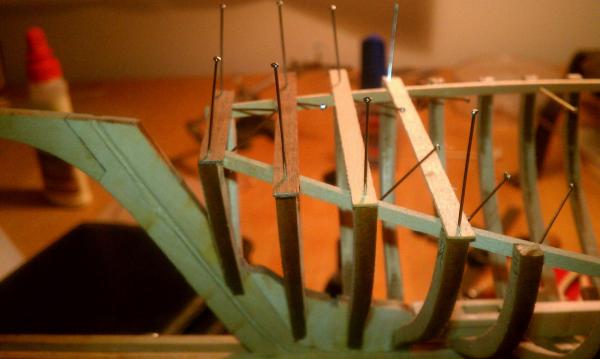
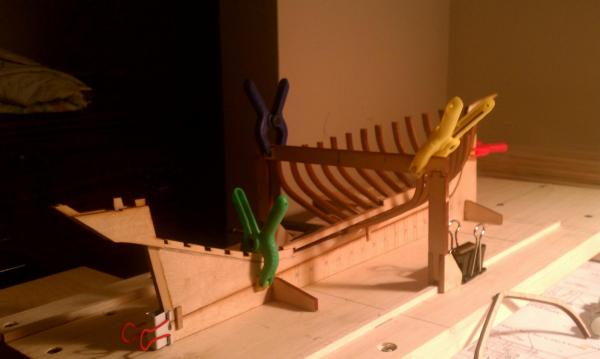
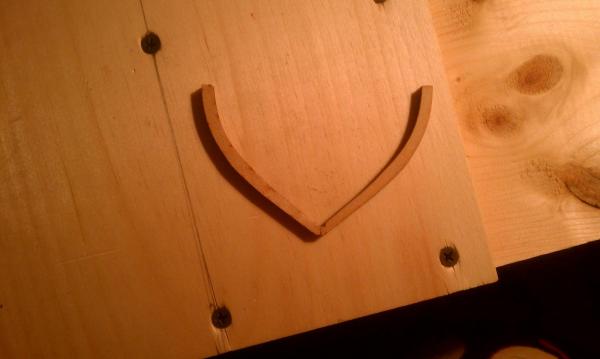
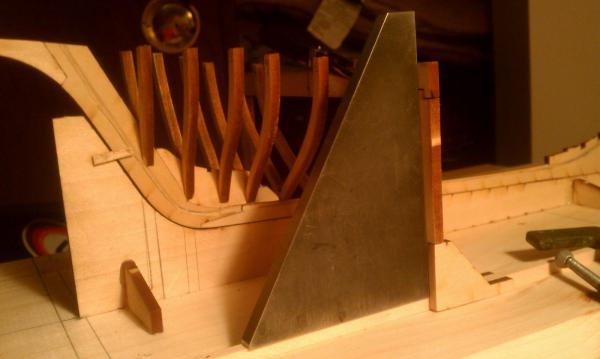
Hi Everybody... Been awhile since I last posted, May has been a very busy month. I Decided to use the laser cut transom, I will plank over it to give it a realistic look. I added a pic or two showing tracing out the bevel and the final product. I pinned in two temporary batons running along the frames, and across the top , to help gauge level and farness of the hull. Once i level up the frames, I will finish up the interior frame taper and install the clamps. I had two remove the last pair of frames at the transom, I forgot a detail and there position was wrong. One problem I am having is that this is an old kit, on my shelf for over ten years. the laser cut parts are dry and brittle. I have to be careful and have a fresh tube of superglue ready to go! I added a pic of a Scow that someone is building on Martha's Vineyard. I was there last weekend with my fiance for a little rest and surf.

-
Looking great, I like the way you used the beam on top of the frames. where did you find that working crew? Do they demand a large wage and want benefits? Are they willing to work more than 8 hrs a day?
-
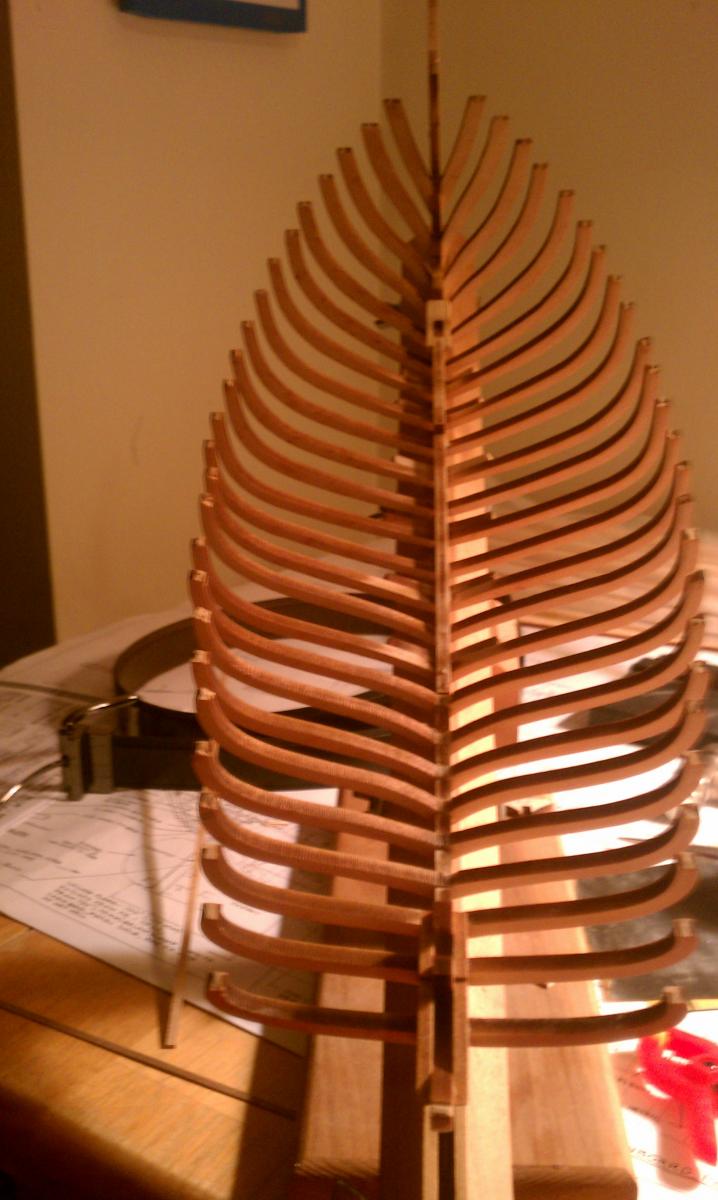
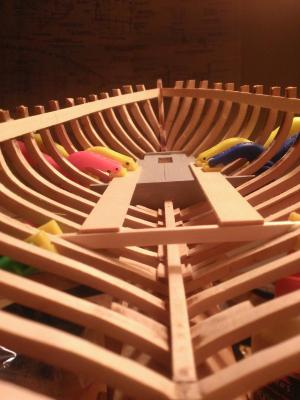
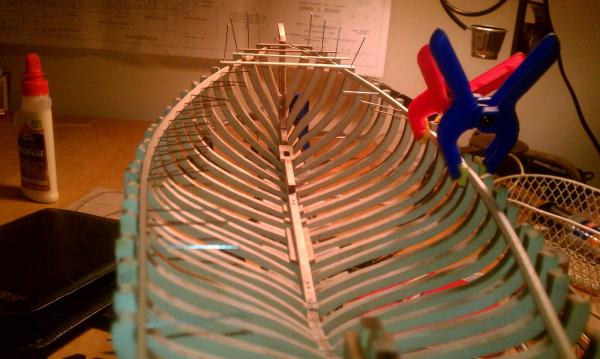
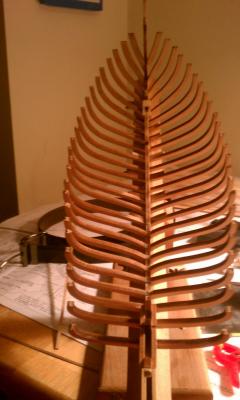
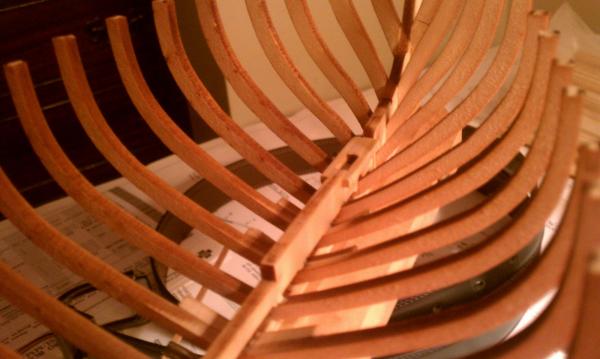
Hello Everybody, All the frames are up, and installed the keelson. I brass-pinned the keelson to the frames for a little extra strength, drill, insert pin w/a dab o' glue and insert. nip end off and file clean. Next, taper and clean the inside and outside of the frames , start building the interior. Instead of using the supplied transom I might scratch build one. Have to make up my mind...
-
Has any one here Built theThomas W Lawson?
J Haines replied to J Haines's topic in Nautical/Naval History
I have a great book written By an author from Scituate Ma, where The real Thomas Lawson built his "dream wold" estate. it mentions that vessel almost capsized at a texas port when unloading. do you have pics of your Lawson in a bottle? -
Howdy All.. Have a few more frames up. Its a slow process but it is starting to look like a boat! I have found a few errors but nothing that can't be fixed with a shim, or that will be corrected after the deck beams are installed. Have a good weekend...

-
Has any one here Built theThomas W Lawson?
J Haines replied to J Haines's topic in Nautical/Naval History
Yup! thats the Lawson!I read that there was a tug that would follow her, when there wasn't enough wind the Lawson would get towed. From Schooner to barge. take away the masts and you can see a modern tanker. -
Just curious if any one has attempted a build up of the Lawson, the only seven masted schooner ever built. Her wreck lays off the Isle Of Scilly, south west of the UK., sinking after the anchor chains let go in a major gale.
-
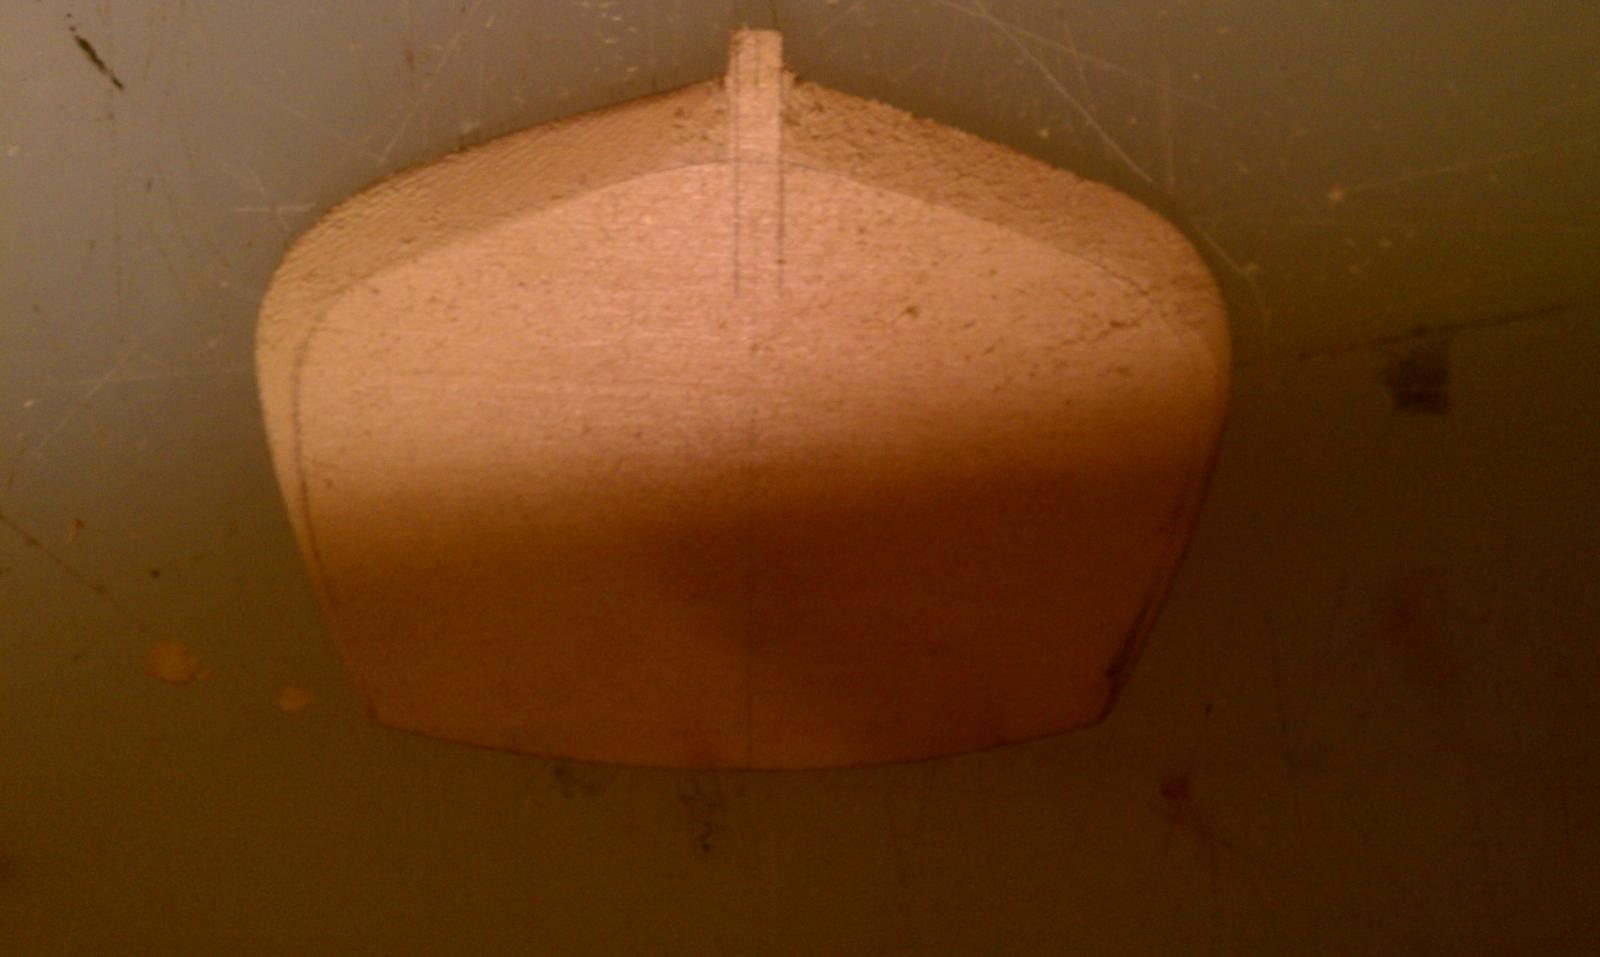
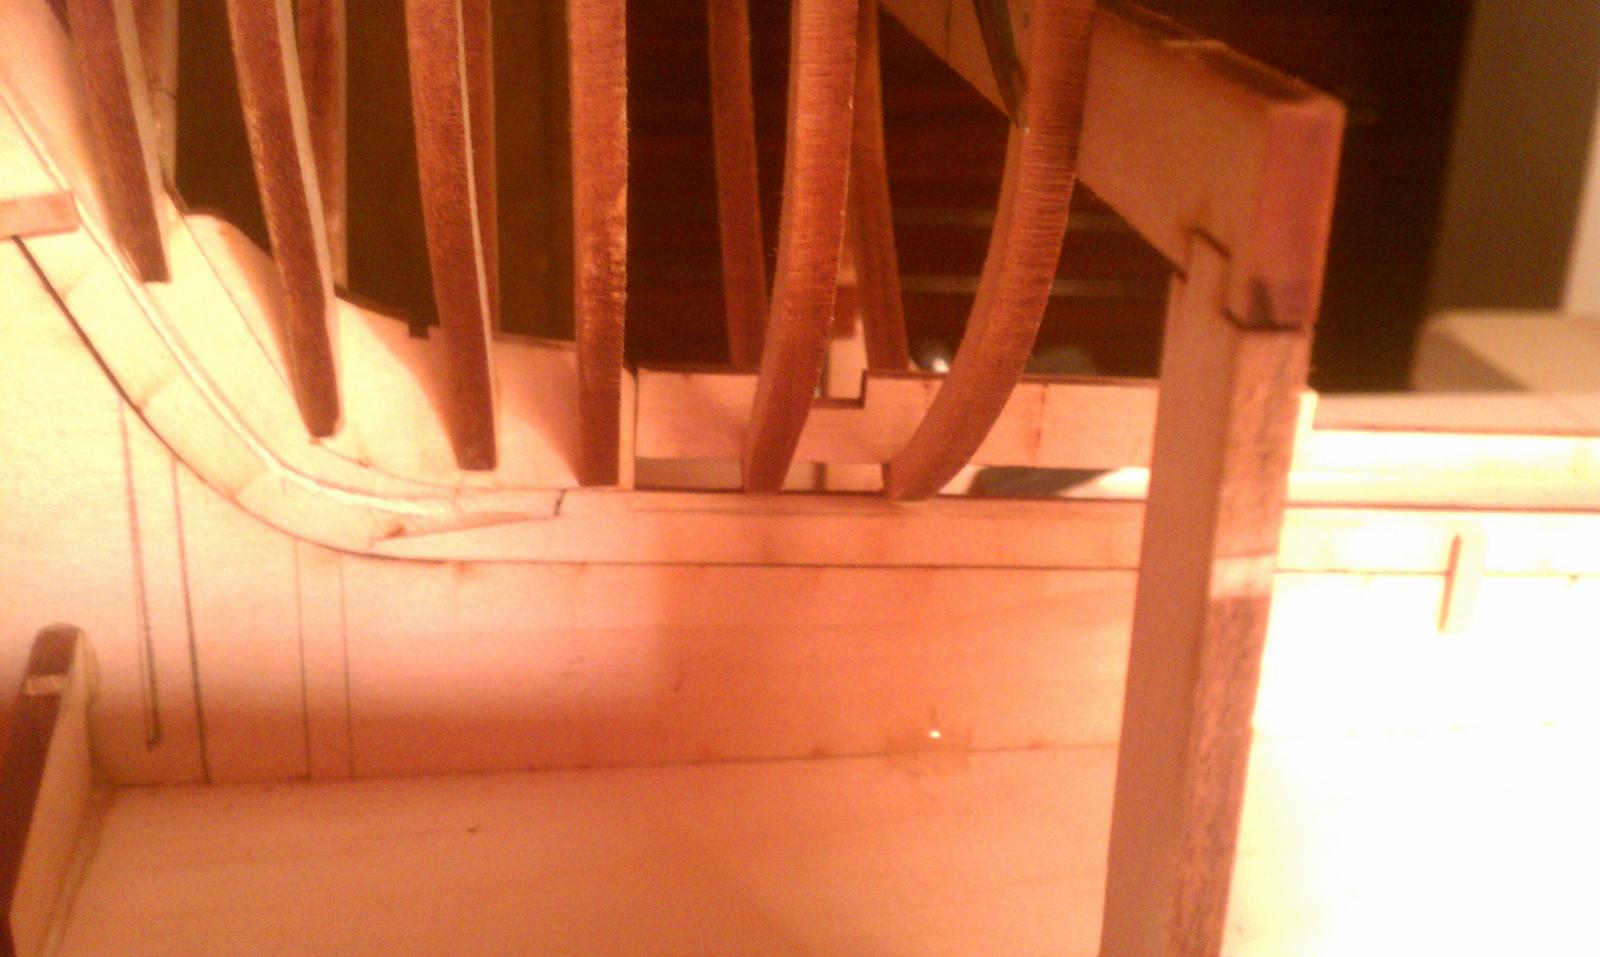
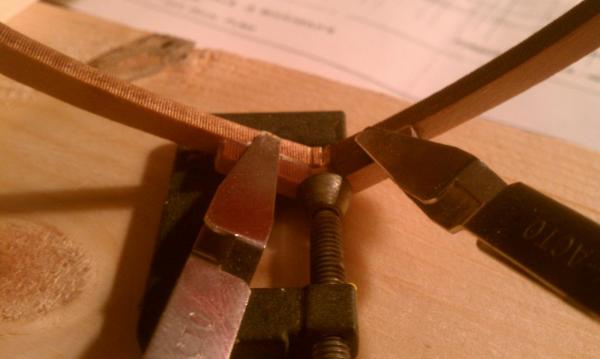
I was real nervous with this step... I used a compass with a real sharp lead, took the measurement off the plans and ran the compass down the backside of the cutwater.
-
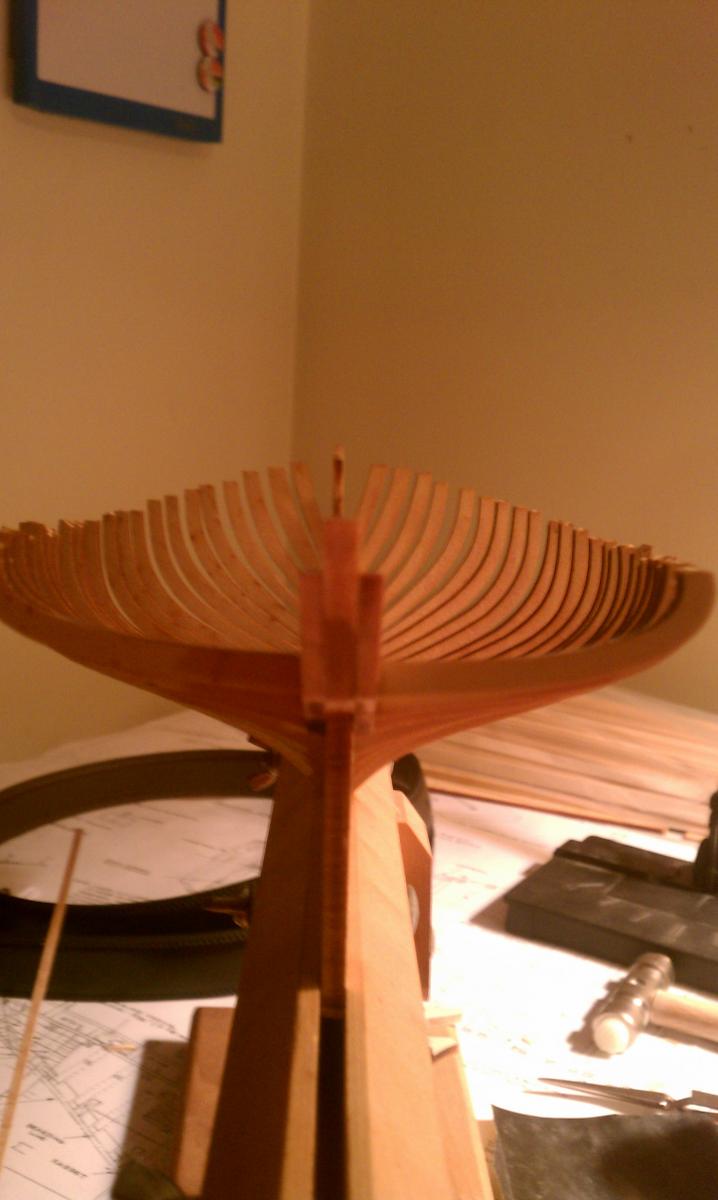
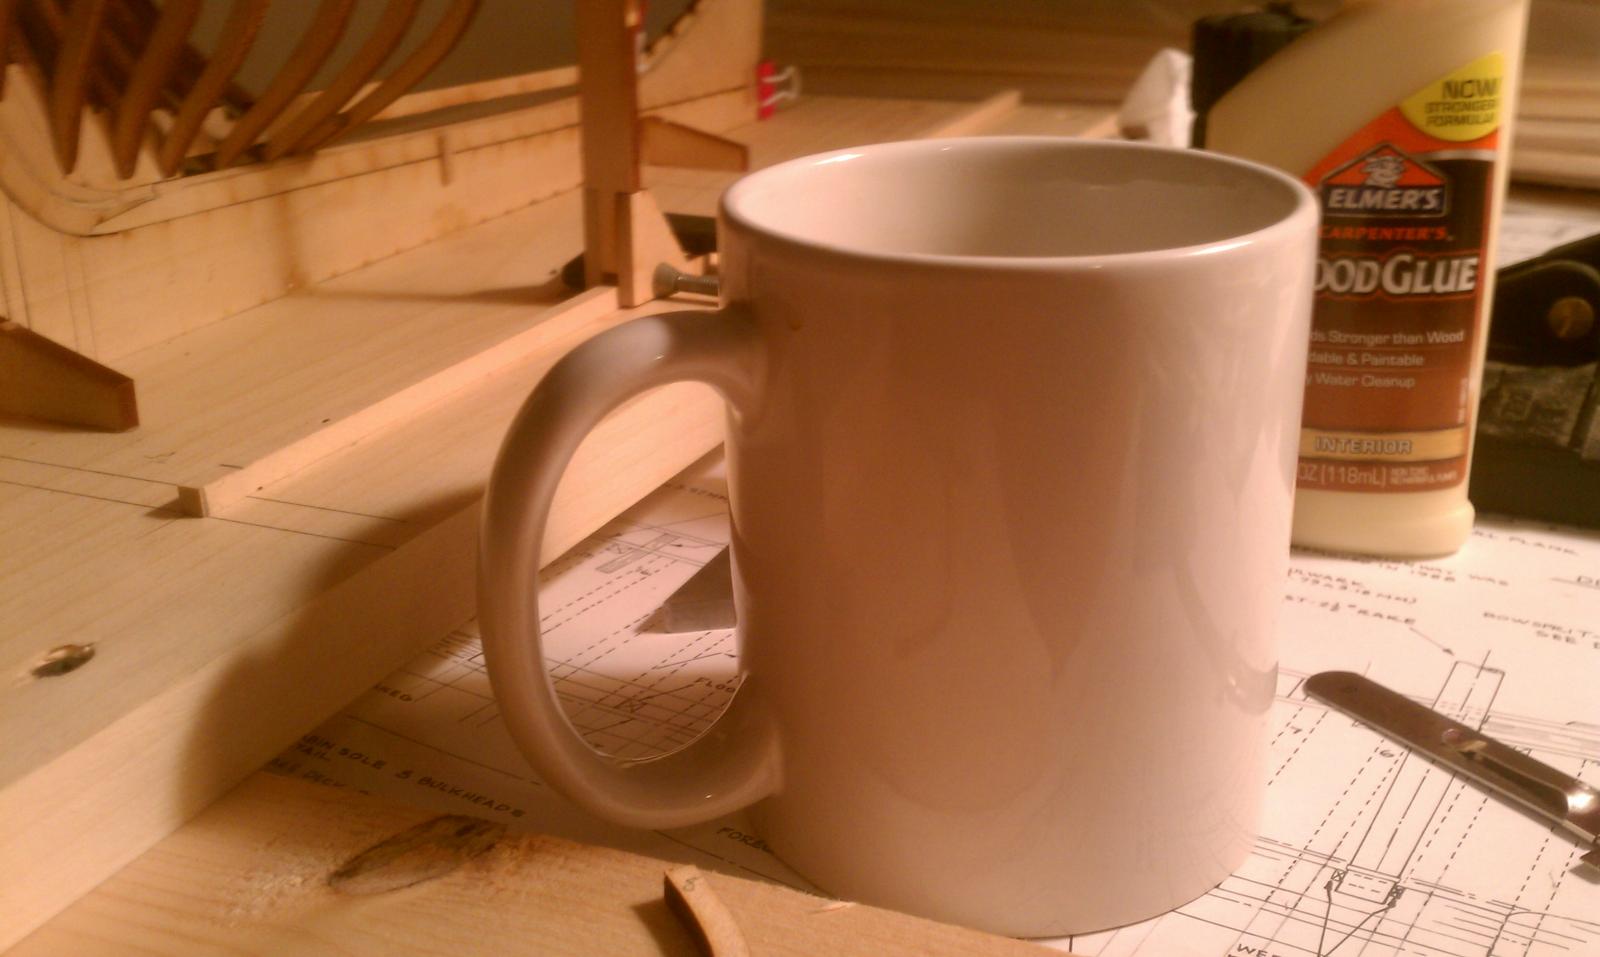
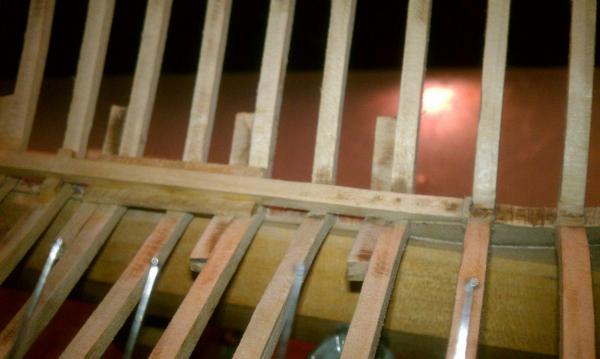
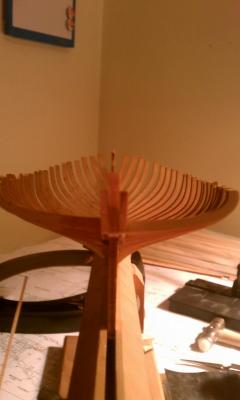
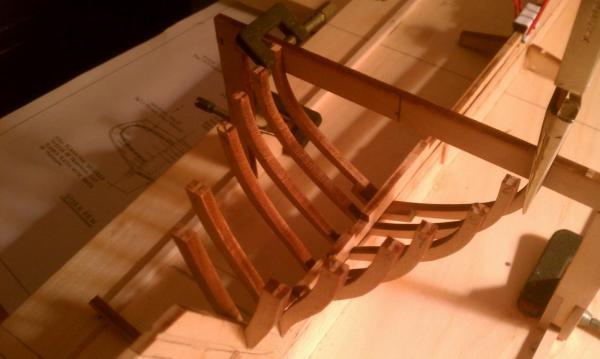
Well, have two more frames installed. I found the machinists square at a used tool store years ago, think it cost a buck or two, and it has well paid for it self. Also, I found it useful to use the keelson to check for fit and alignment as frames are installed. So far one major mistake has to be corrected, # 3 frames were installed too high and need to be lowered, you can see I removed one side, the other will need some coaxing. The cup of coffee... helps me focus. Doesn't even make me shake!


-
By the way,Looking good... Im not that far ahead of you, I have about 5 frames up.... it's a long process.