
HOLIDAY DONATION DRIVE - SUPPORT MSW - DO YOUR PART TO KEEP THIS GREAT FORUM GOING! (89 donations so far out of 49,000 members - C'mon guys!)
×
.jpg.a535f921341975feee55bce5d11e80fc.jpg)

SaltyDog
-
Posts
26 -
Joined
-
Last visited
Content Type
Profiles
Forums
Gallery
Events
Everything posted by SaltyDog
-
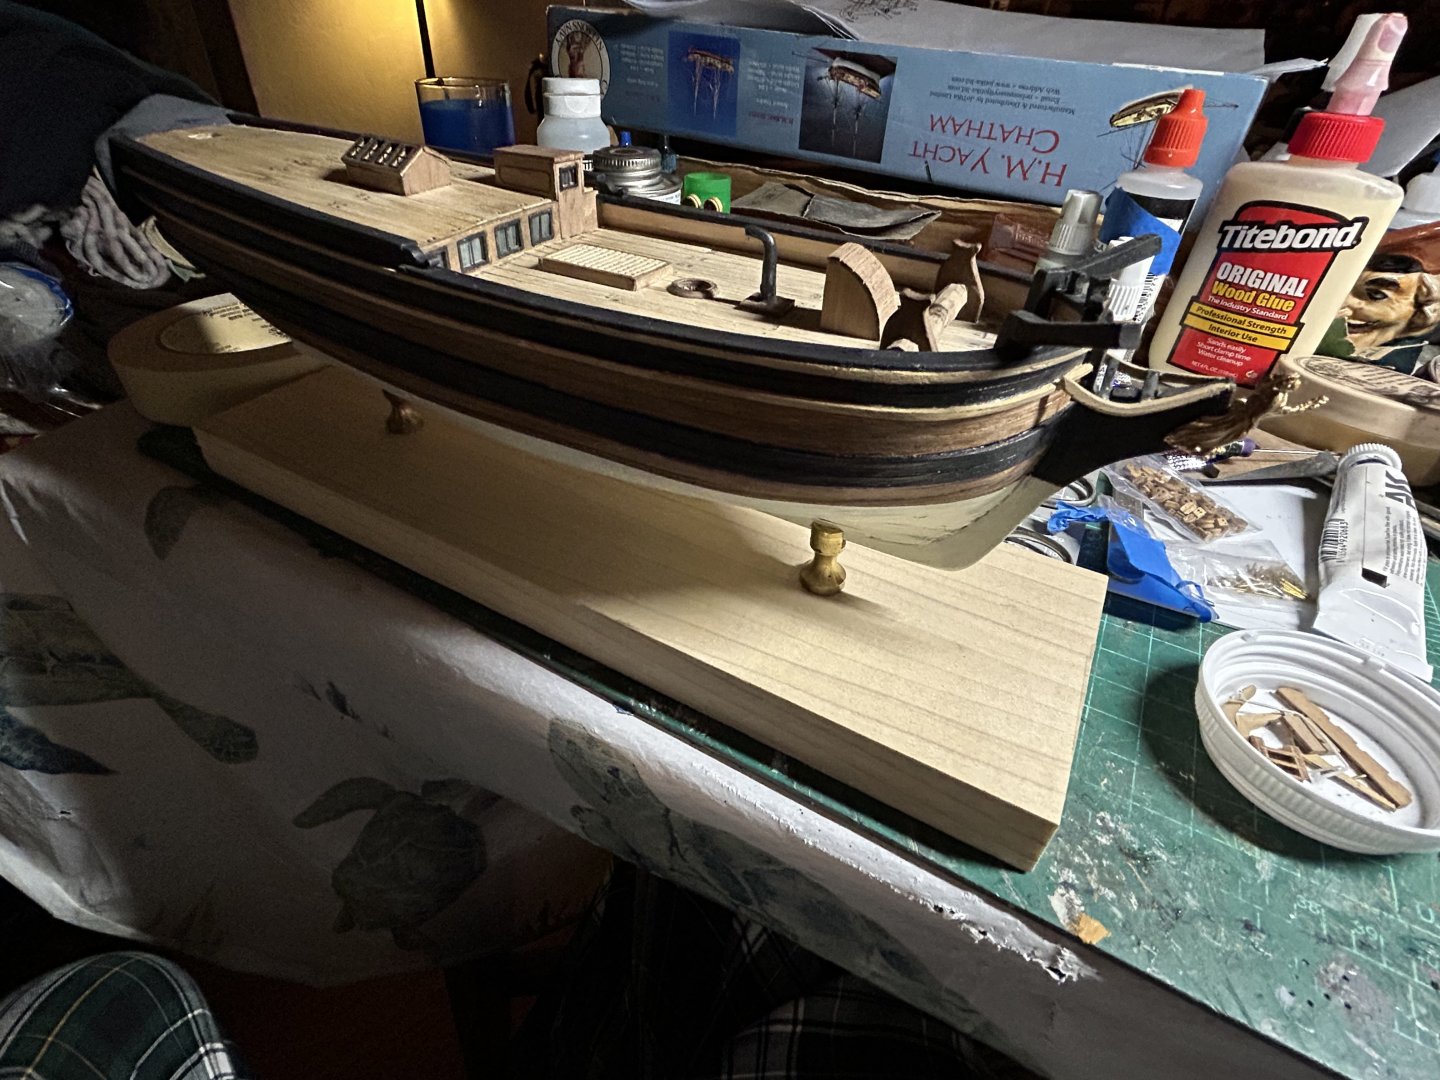
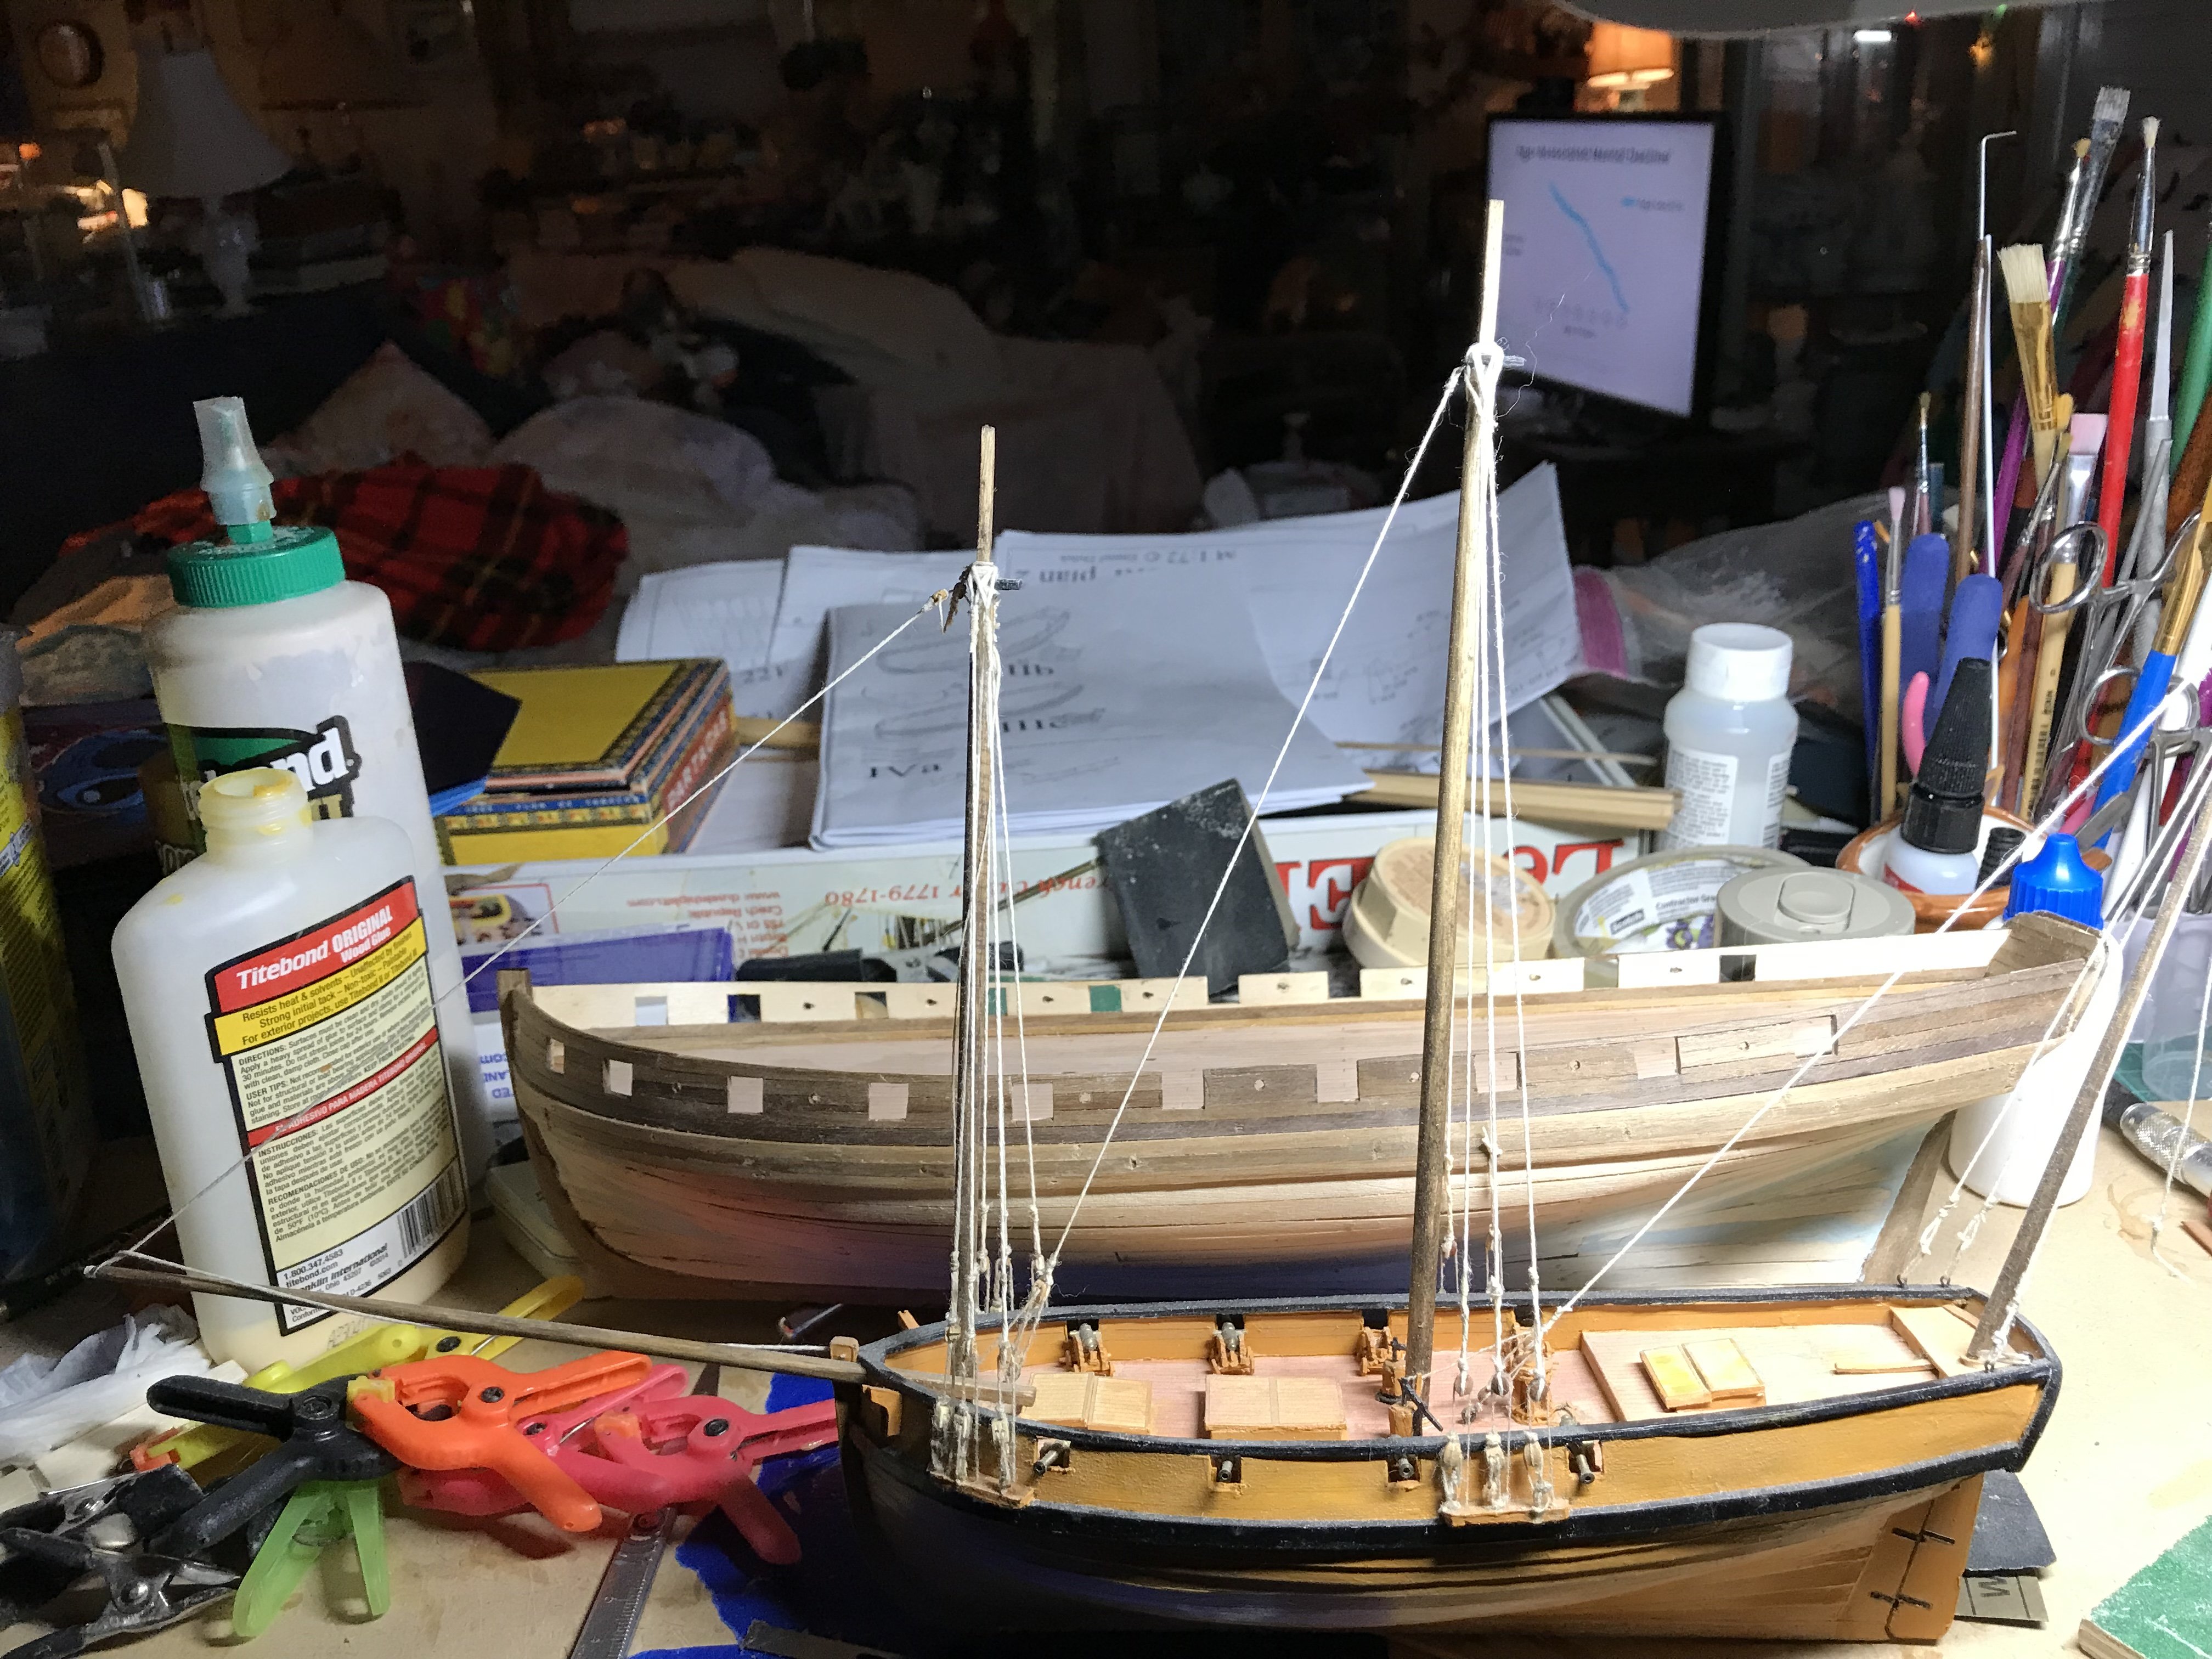
 Catopower Thanks! The hull is approximately 15” long and over 4” wide. I have attached a photo of the hull next to a 1/72 model of Le Coureur for comparisons sake.
-
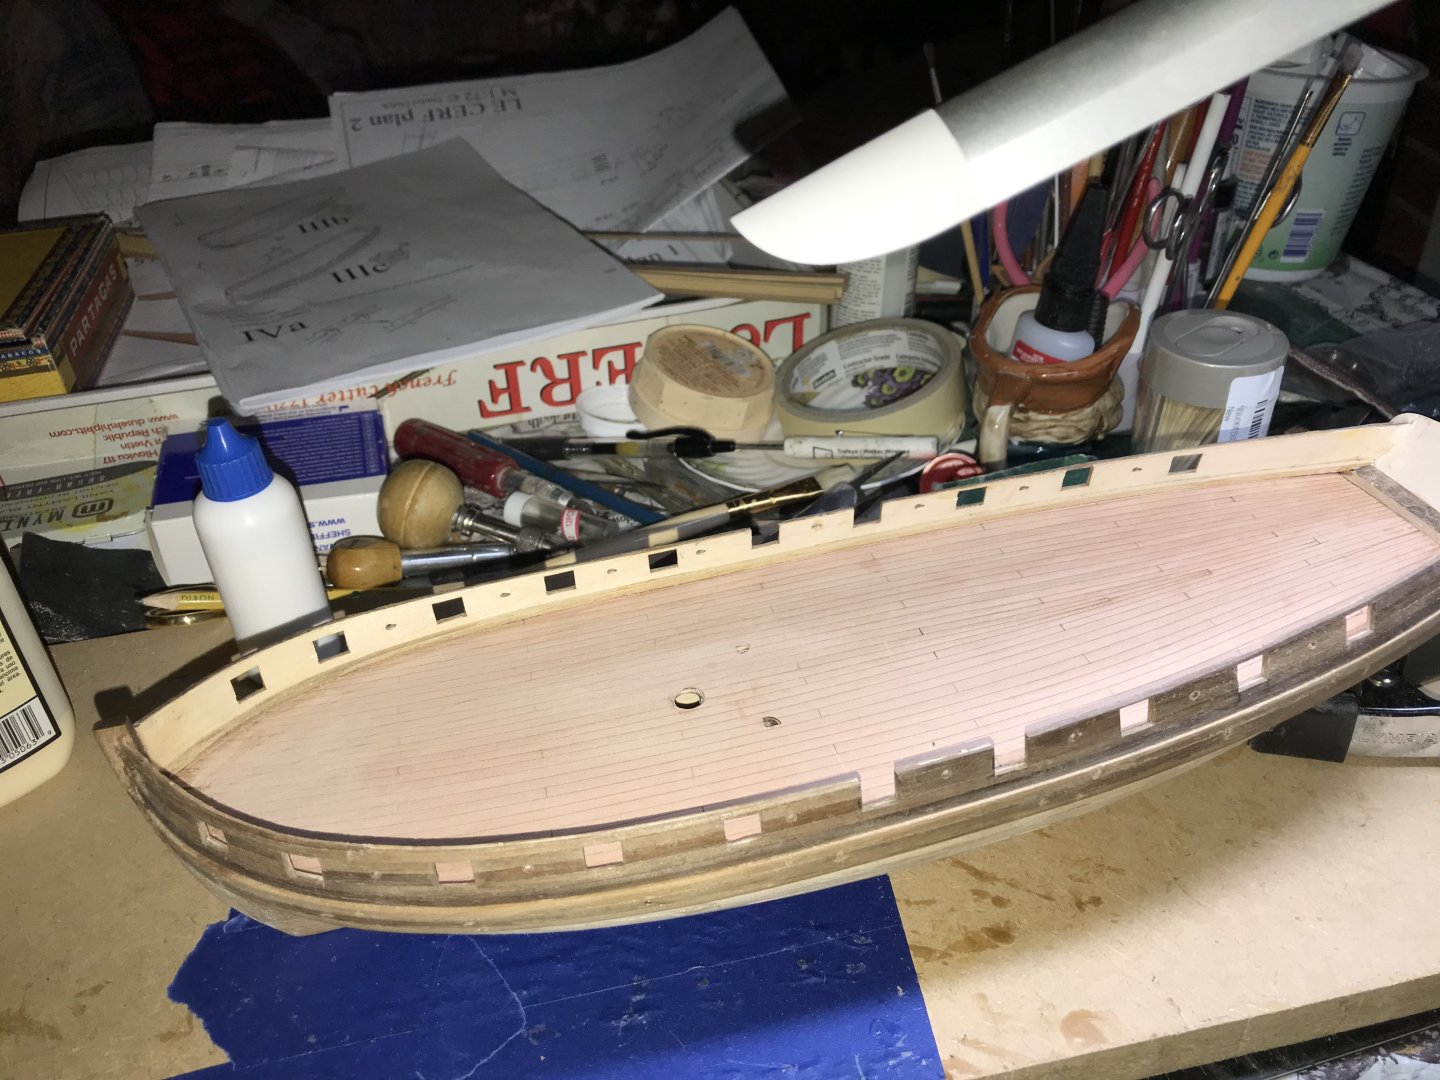
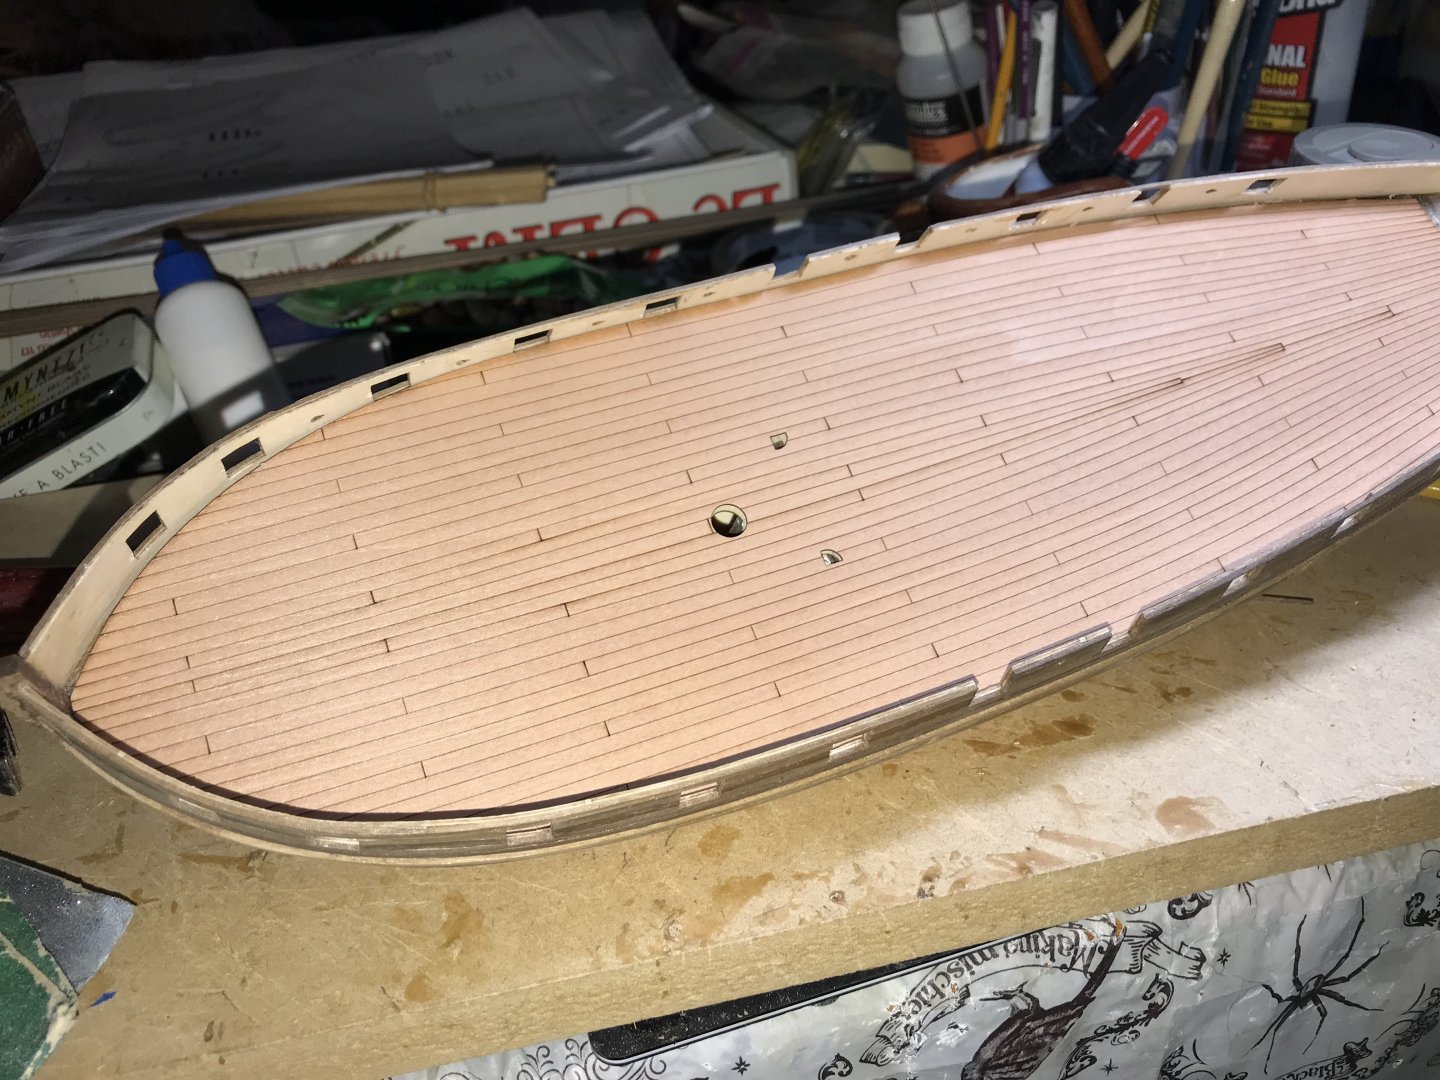
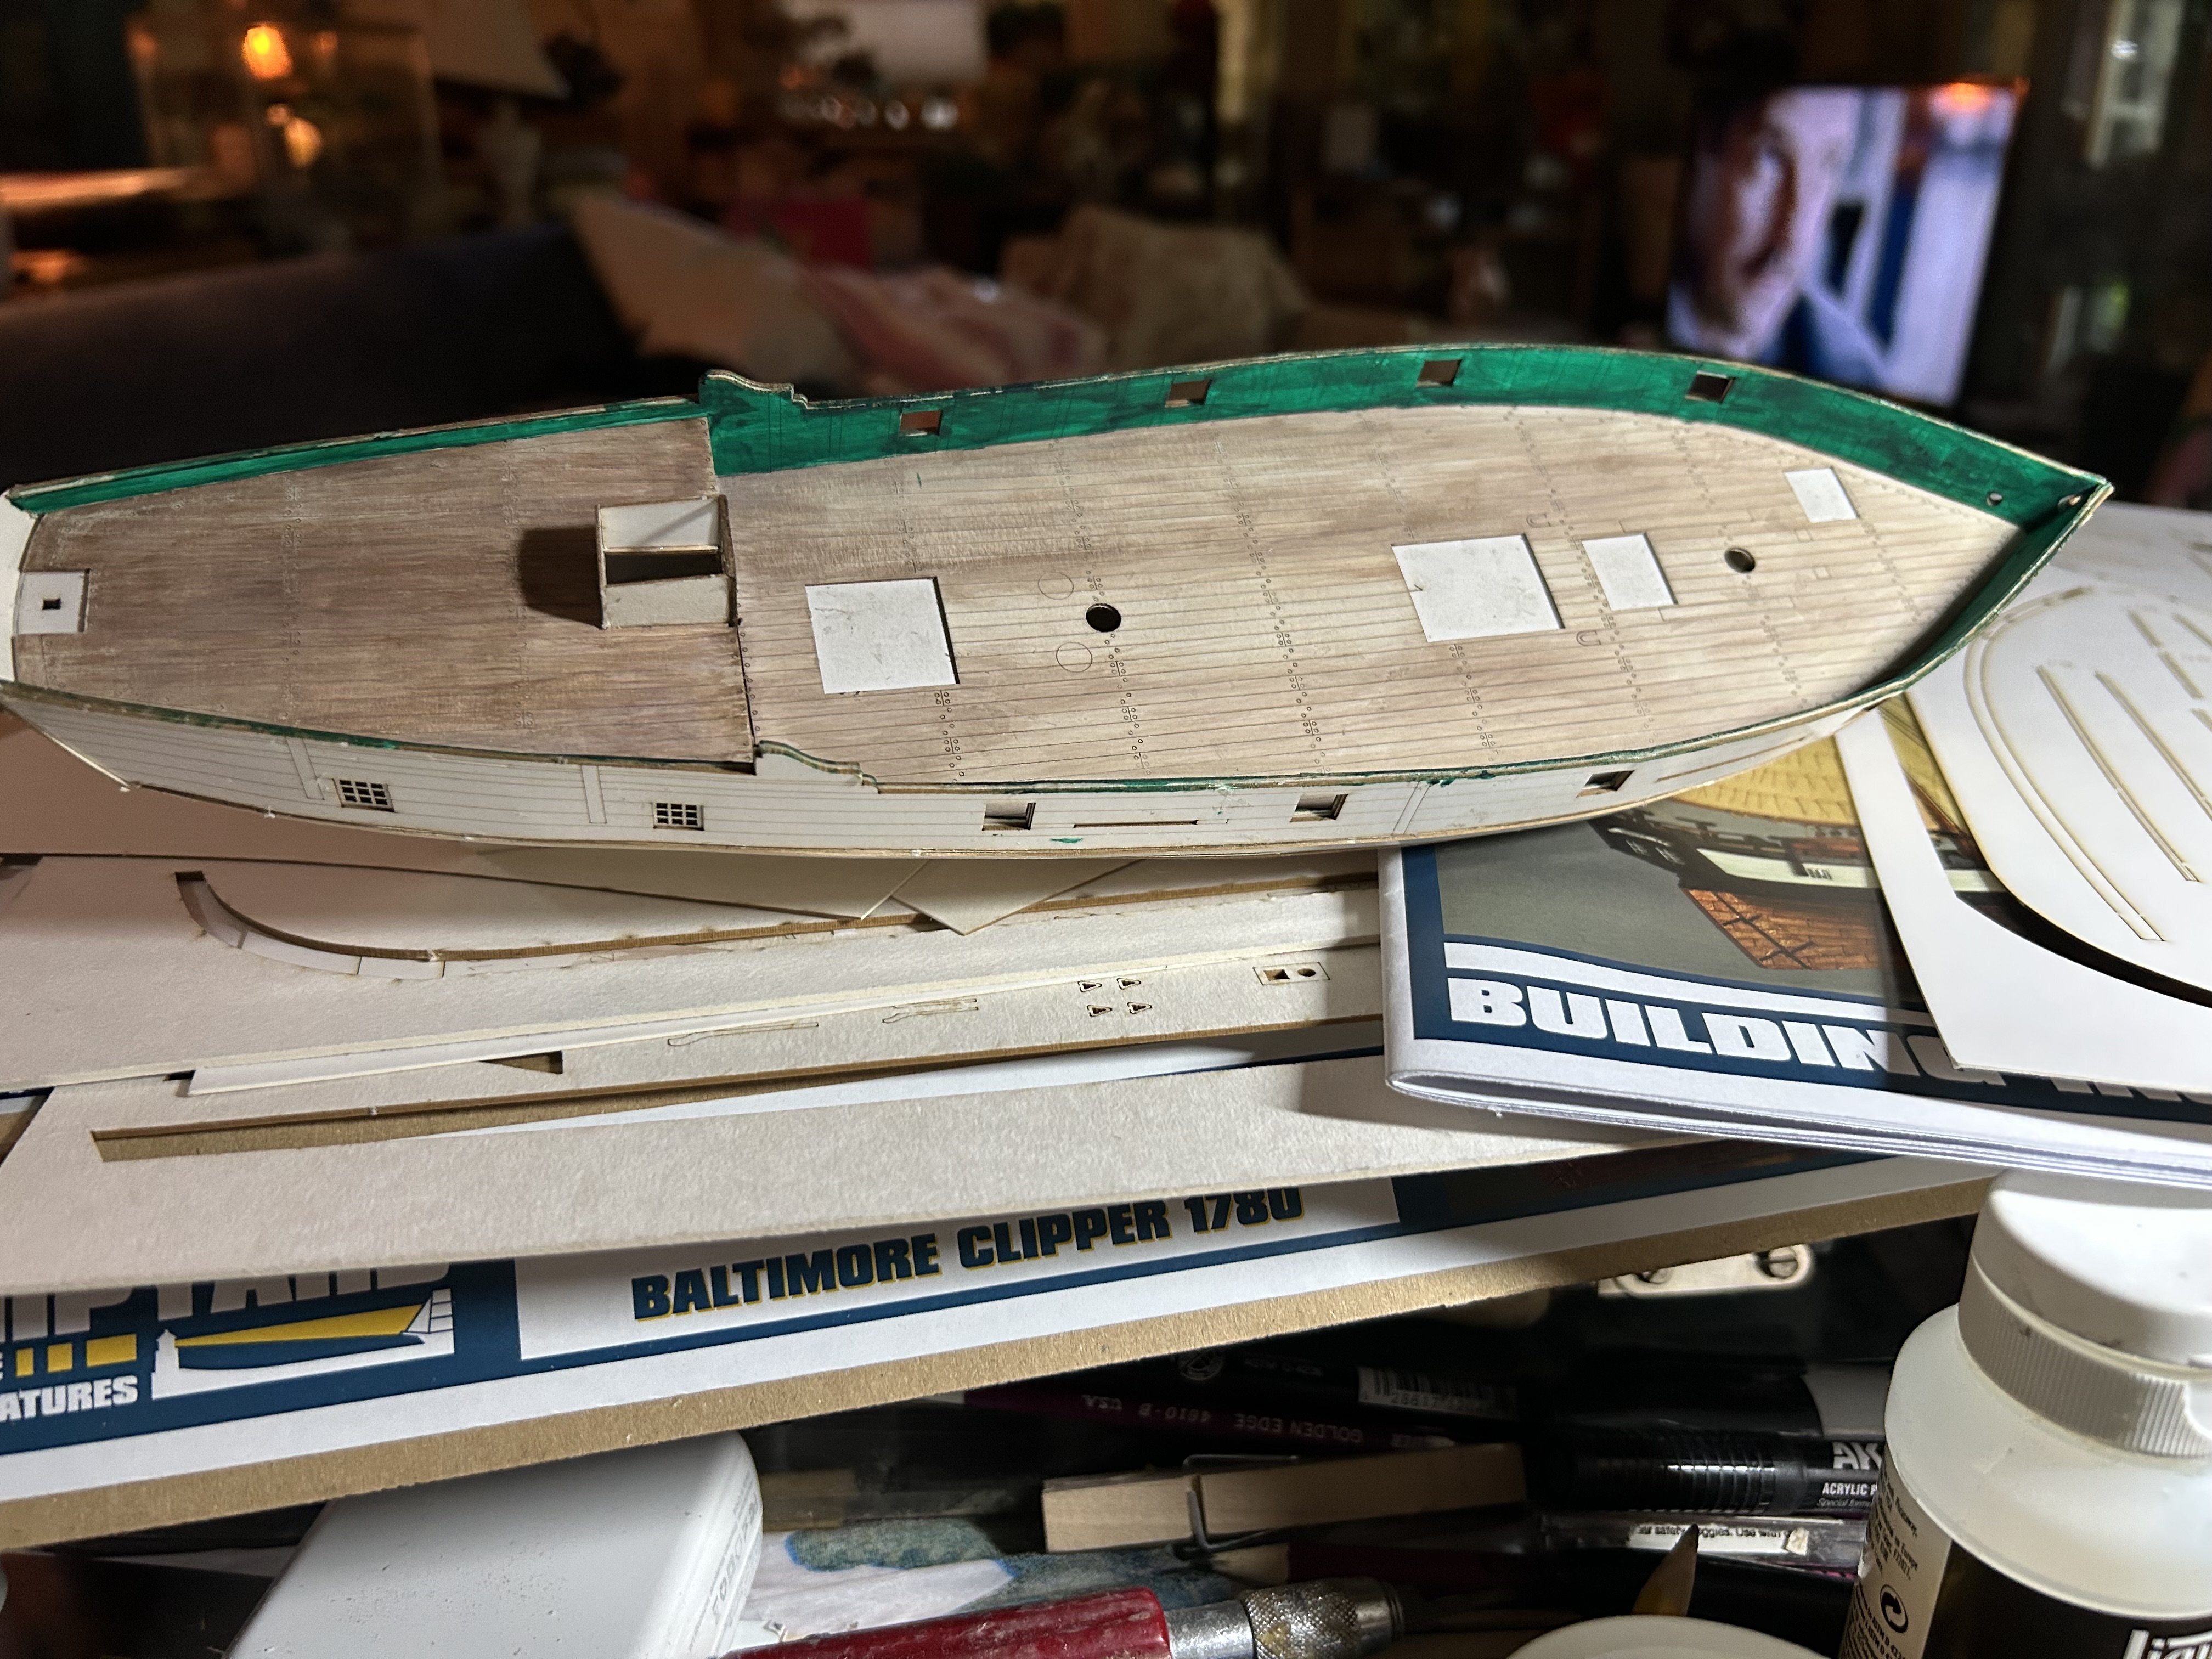
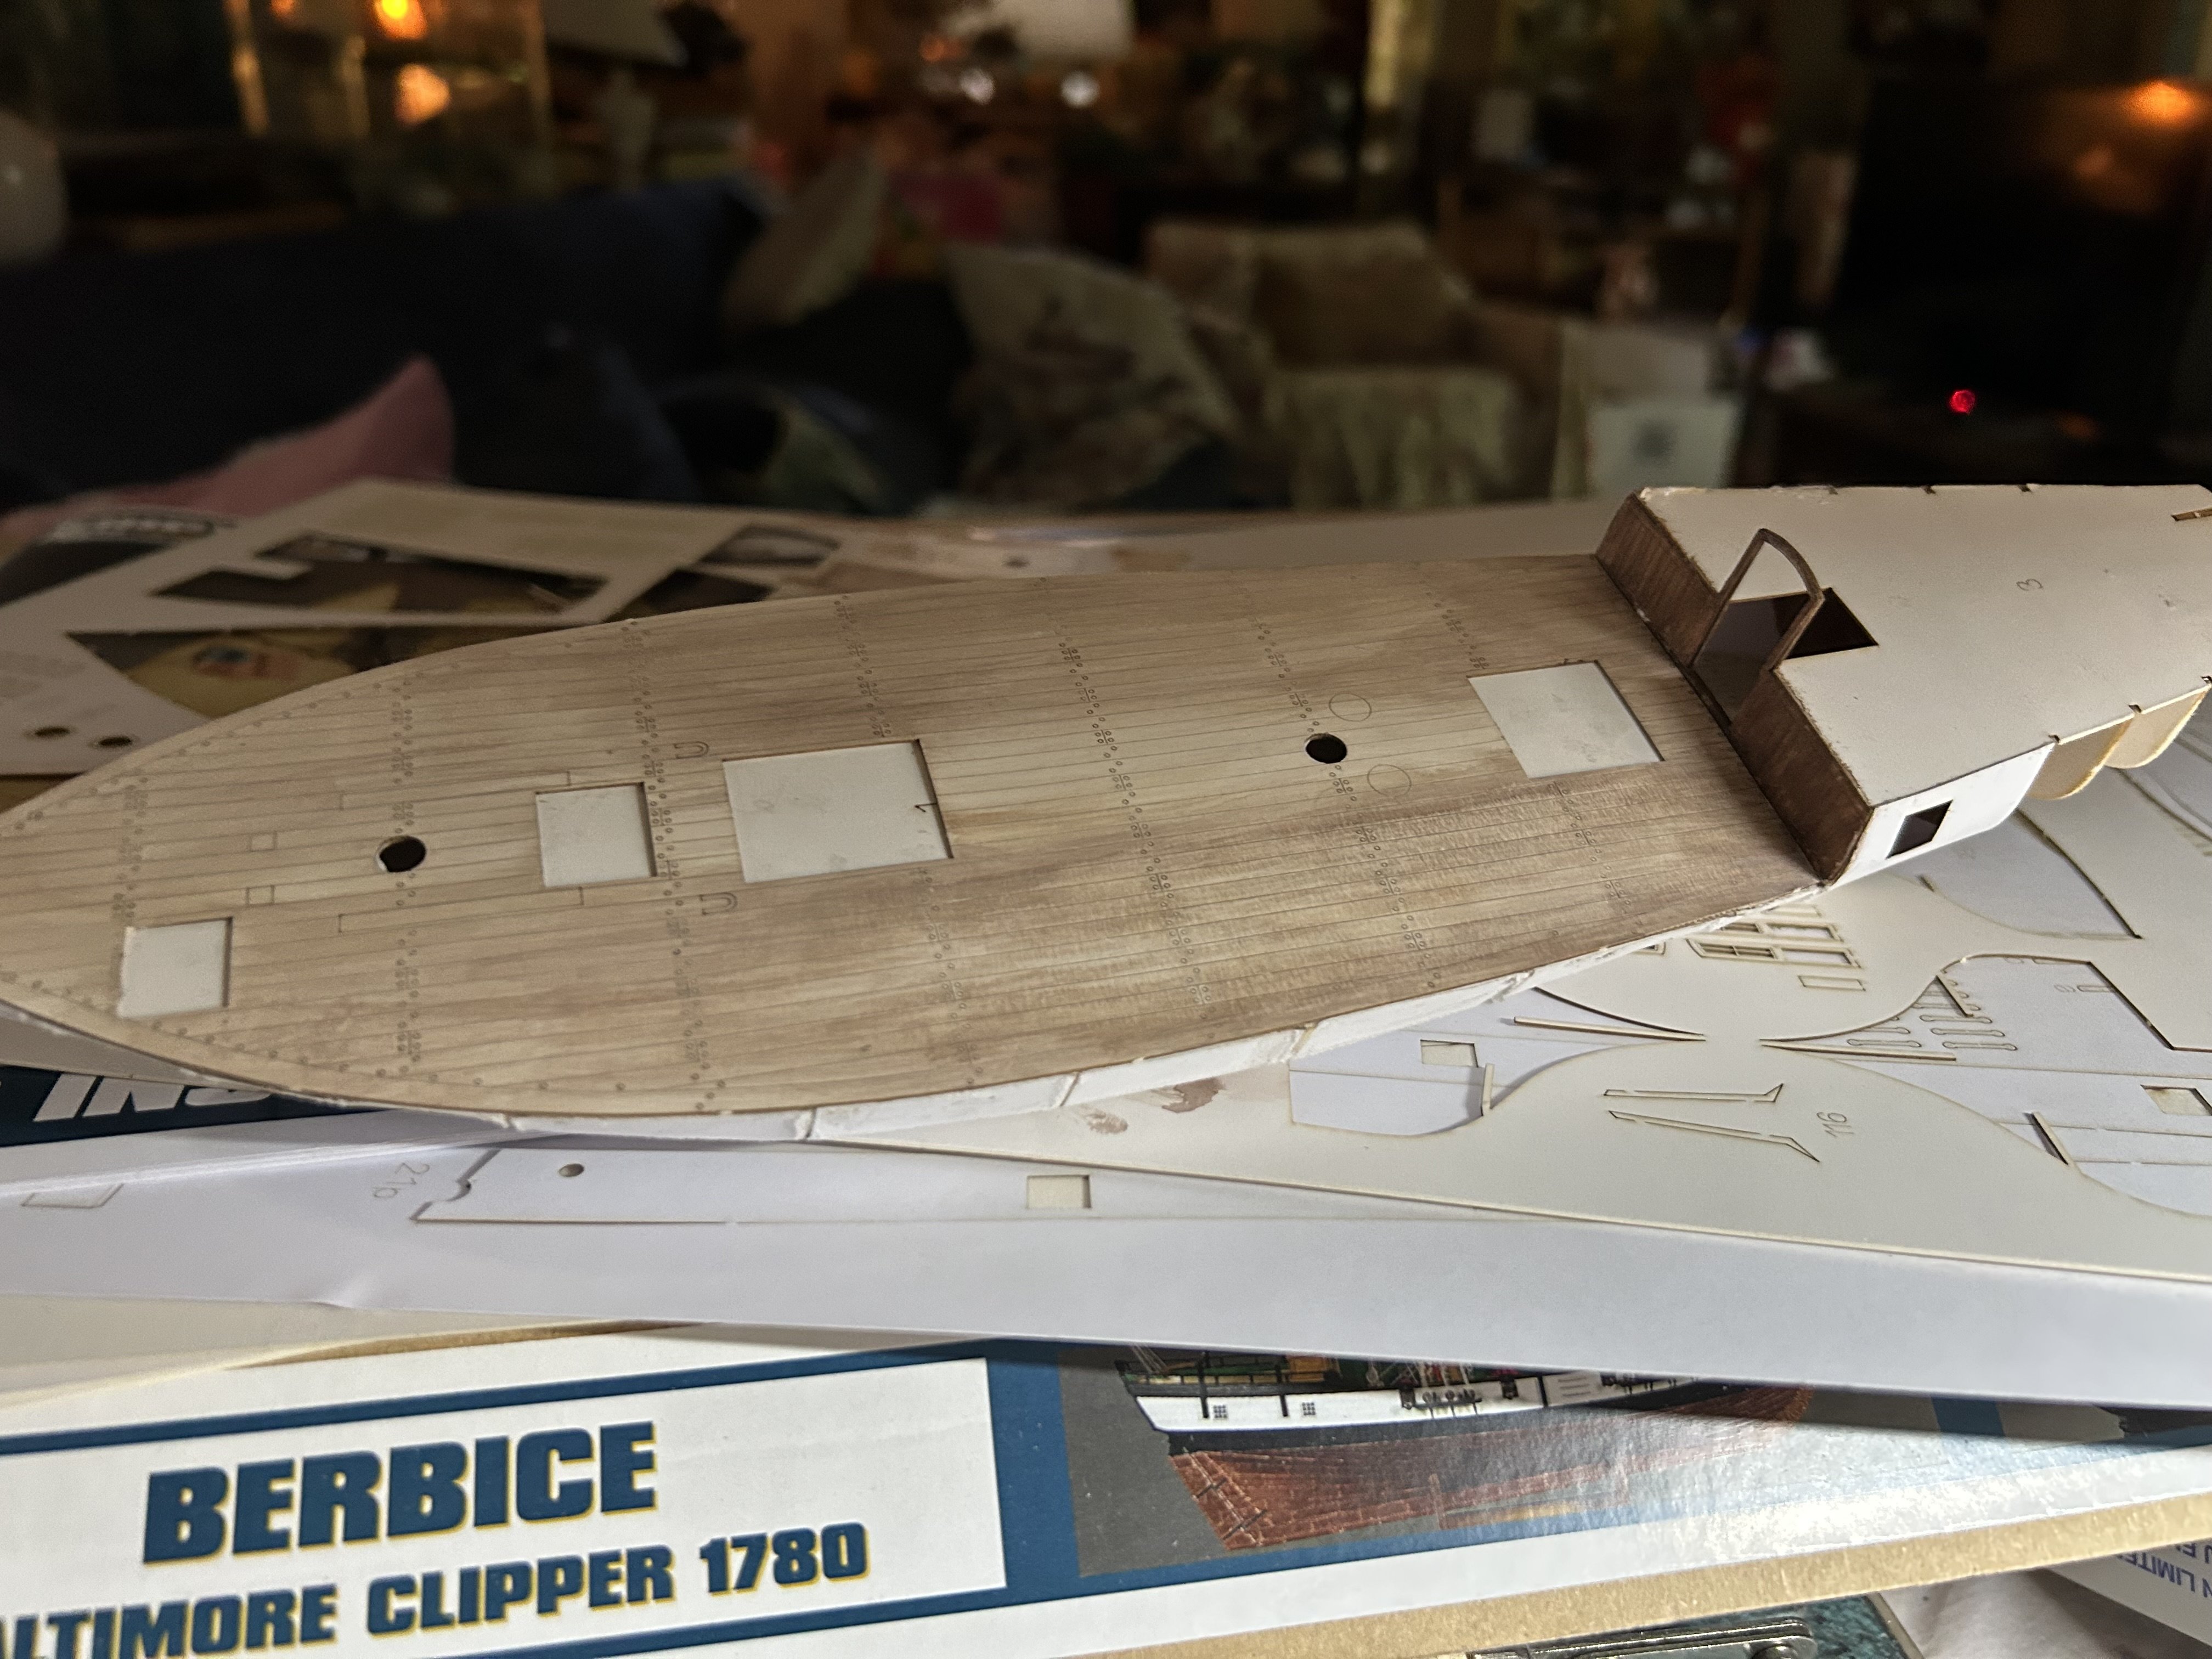
I glued the deck down using Titebond Original (PVA wood glue) applied to the veneer and deck and then left to dry. Then the two were placed together and heat was applied. This method is described on various posts on this site as well as videos that describe applying wood veneer to substrates. My observations; the veneer curled width wise when drying producing some splits/separations (the veneer was quite thin), the width of the veneer increased because of the moisture in the glue, I trimmed it against the bulwarks with a scalpel. The edge of the veneer was mostly covered by the waterways. The other thing was that the clothes iron I had (the one the Admiral was willing to let me use) was too wide to iron the deck, so I used my plank bending iron. A miniature hobby iron would be an ideal future purchase.
-
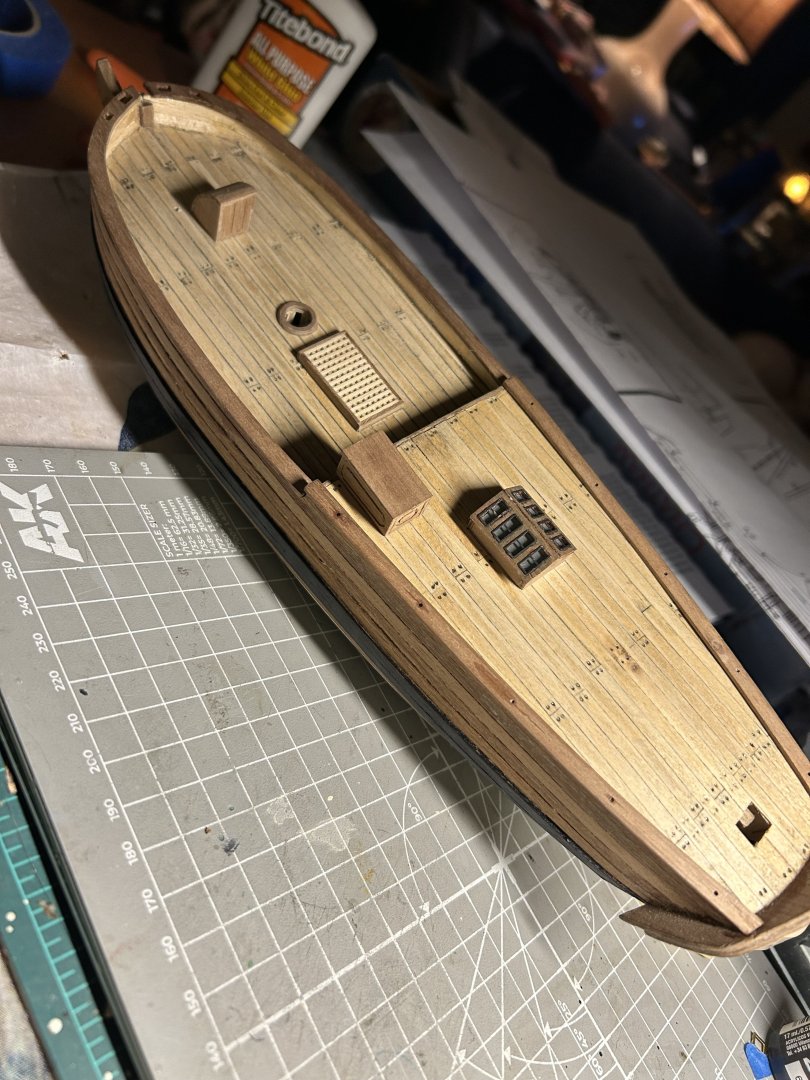
Dry fitting the wonderful laser etched veneer deck.
-
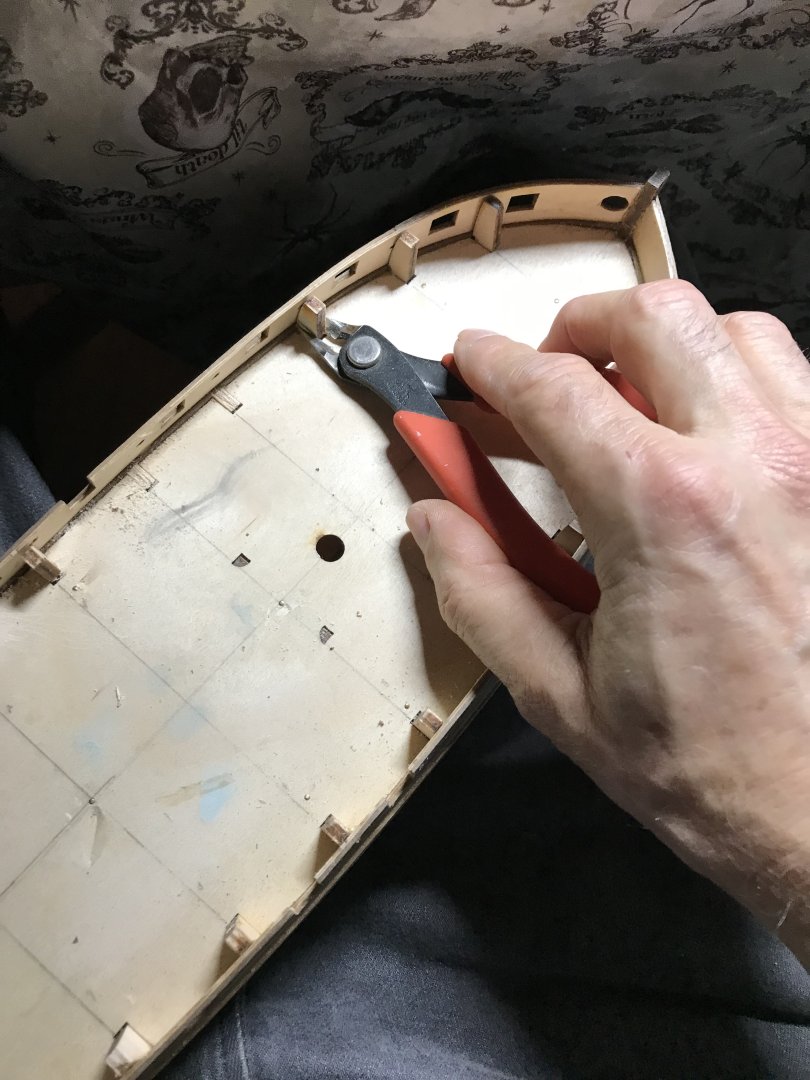
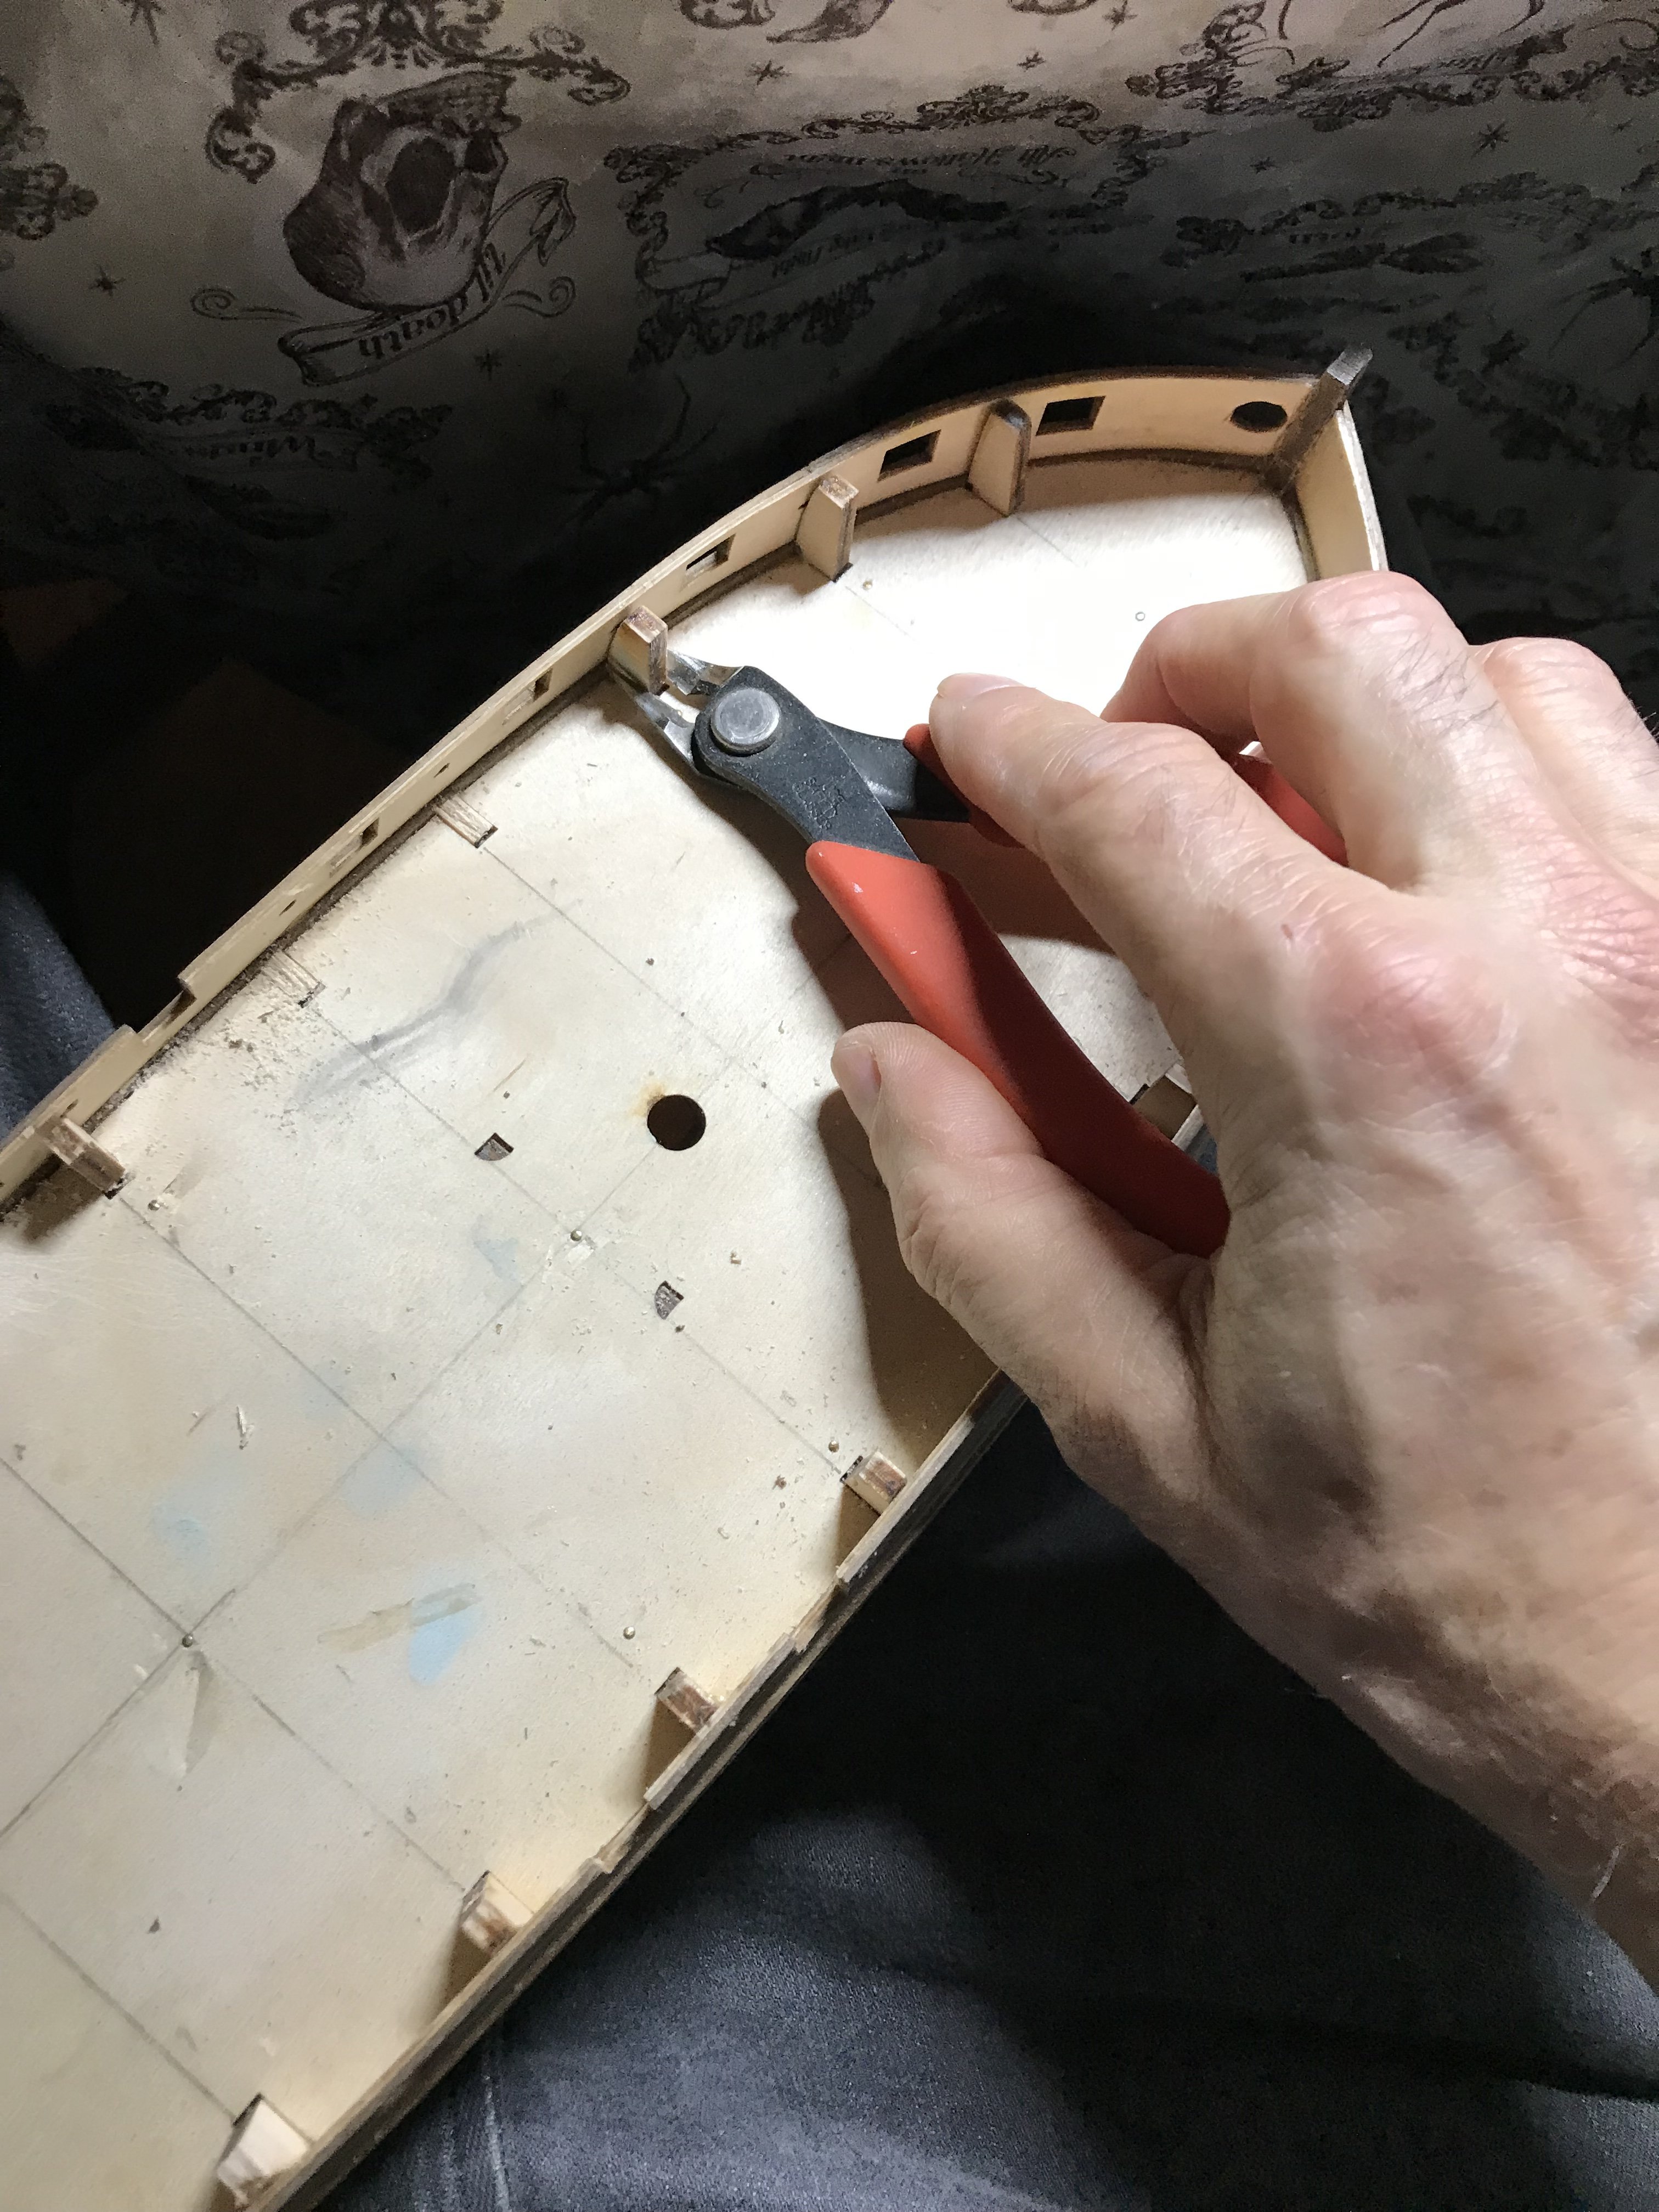
Removing the tops of the frames prior to installing the deck.
-
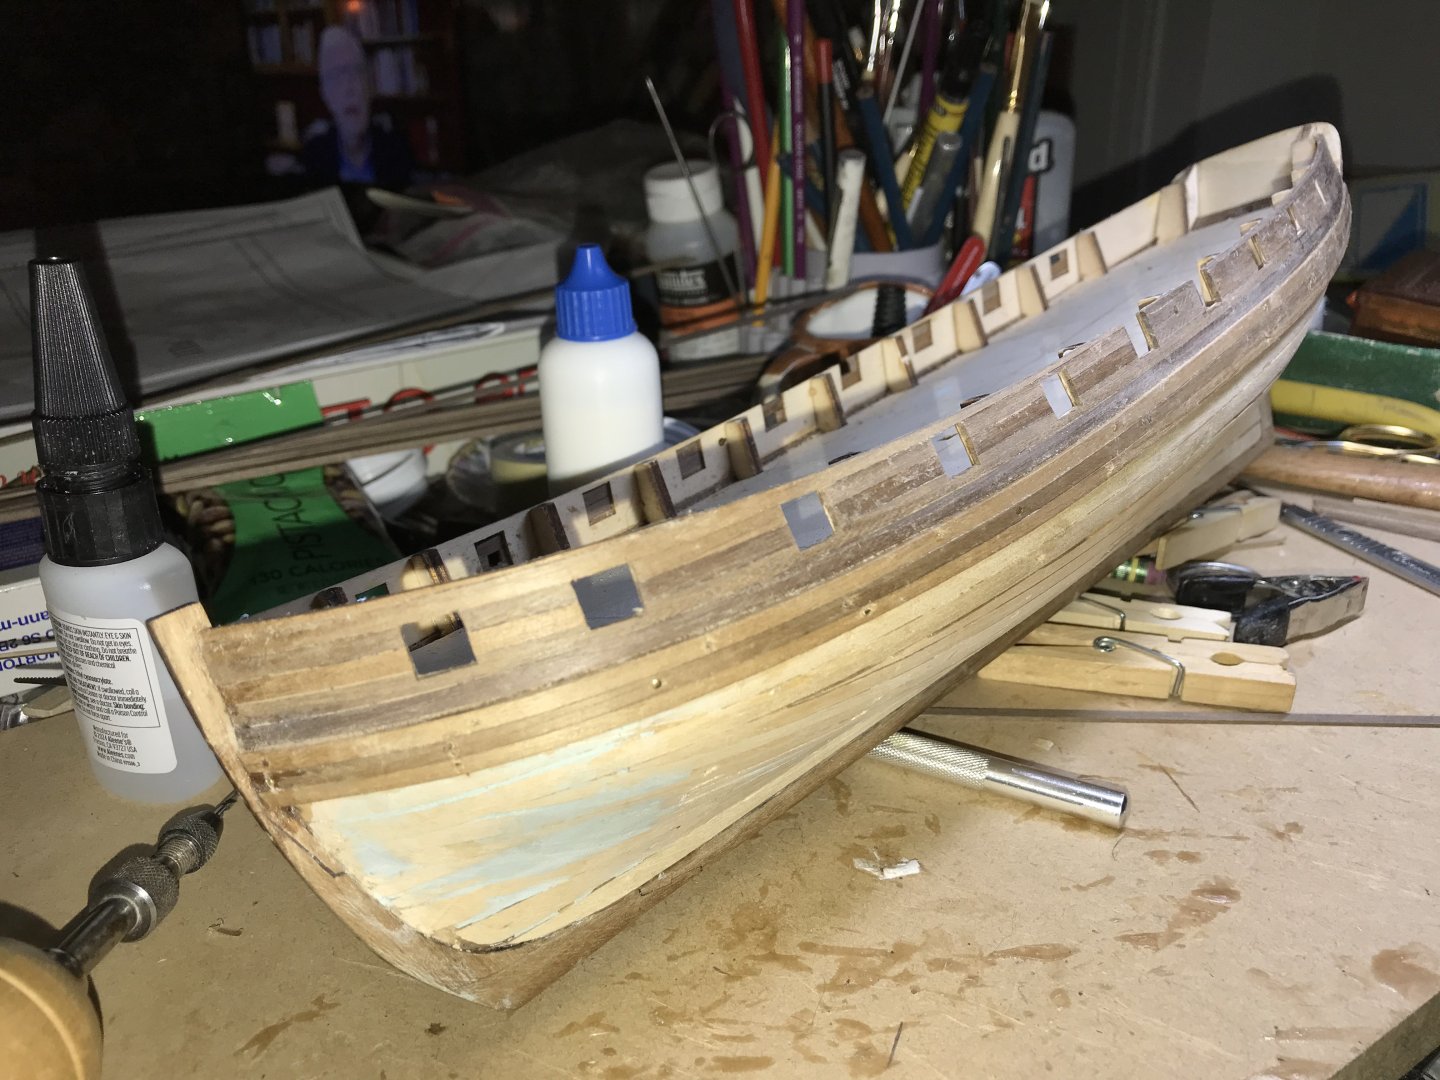
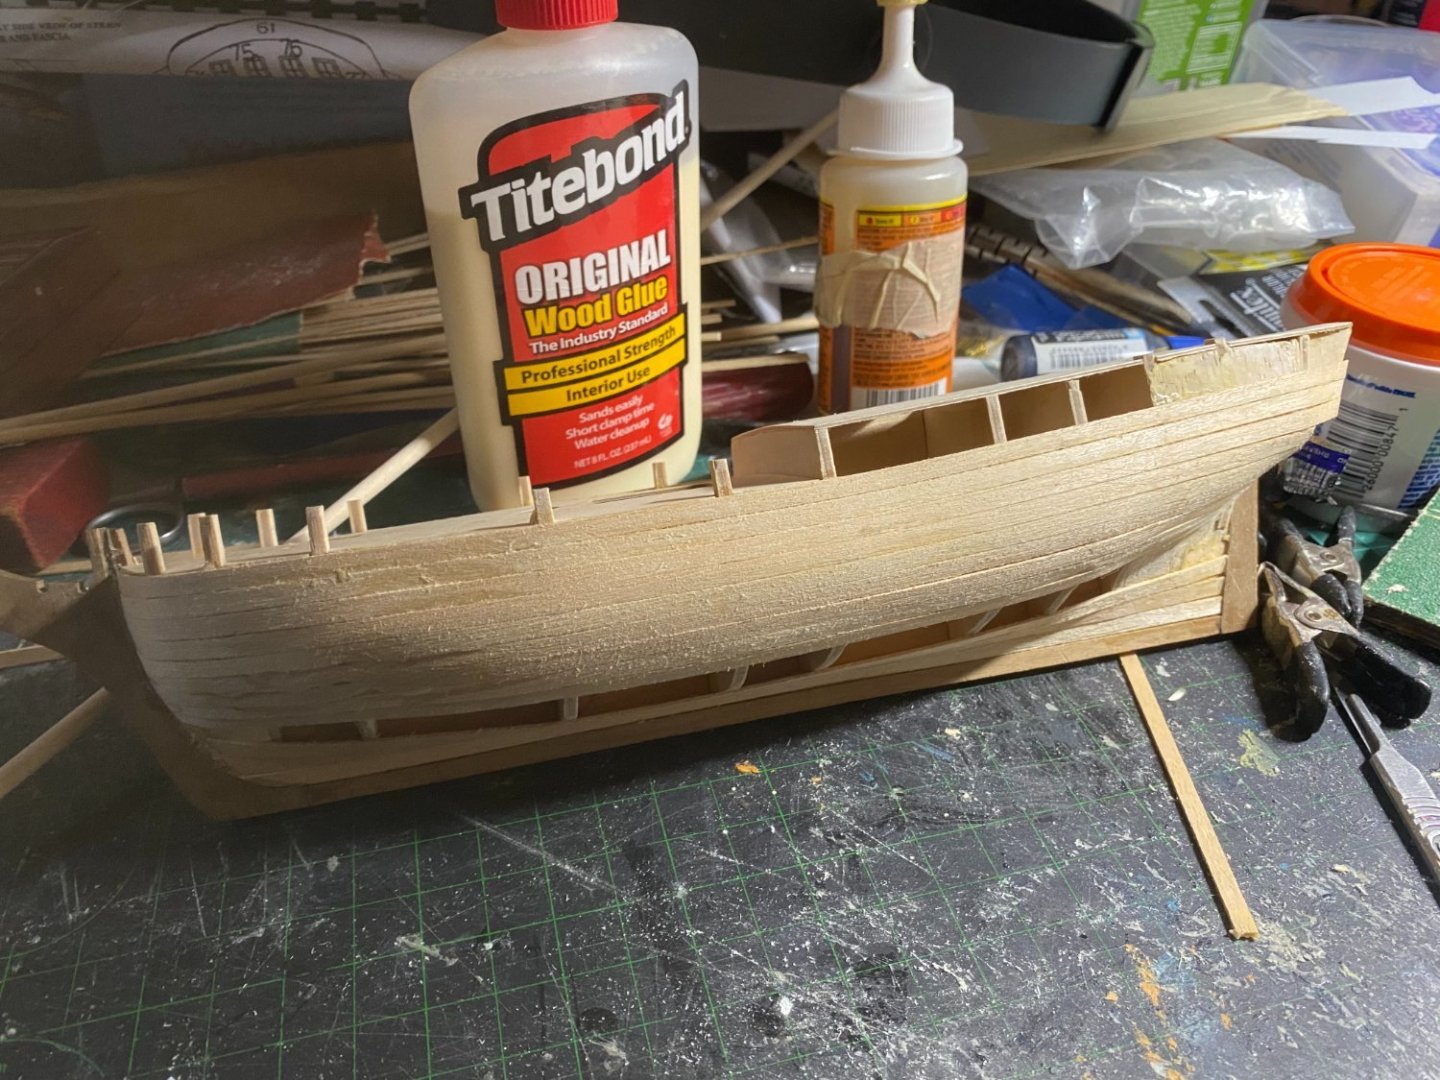
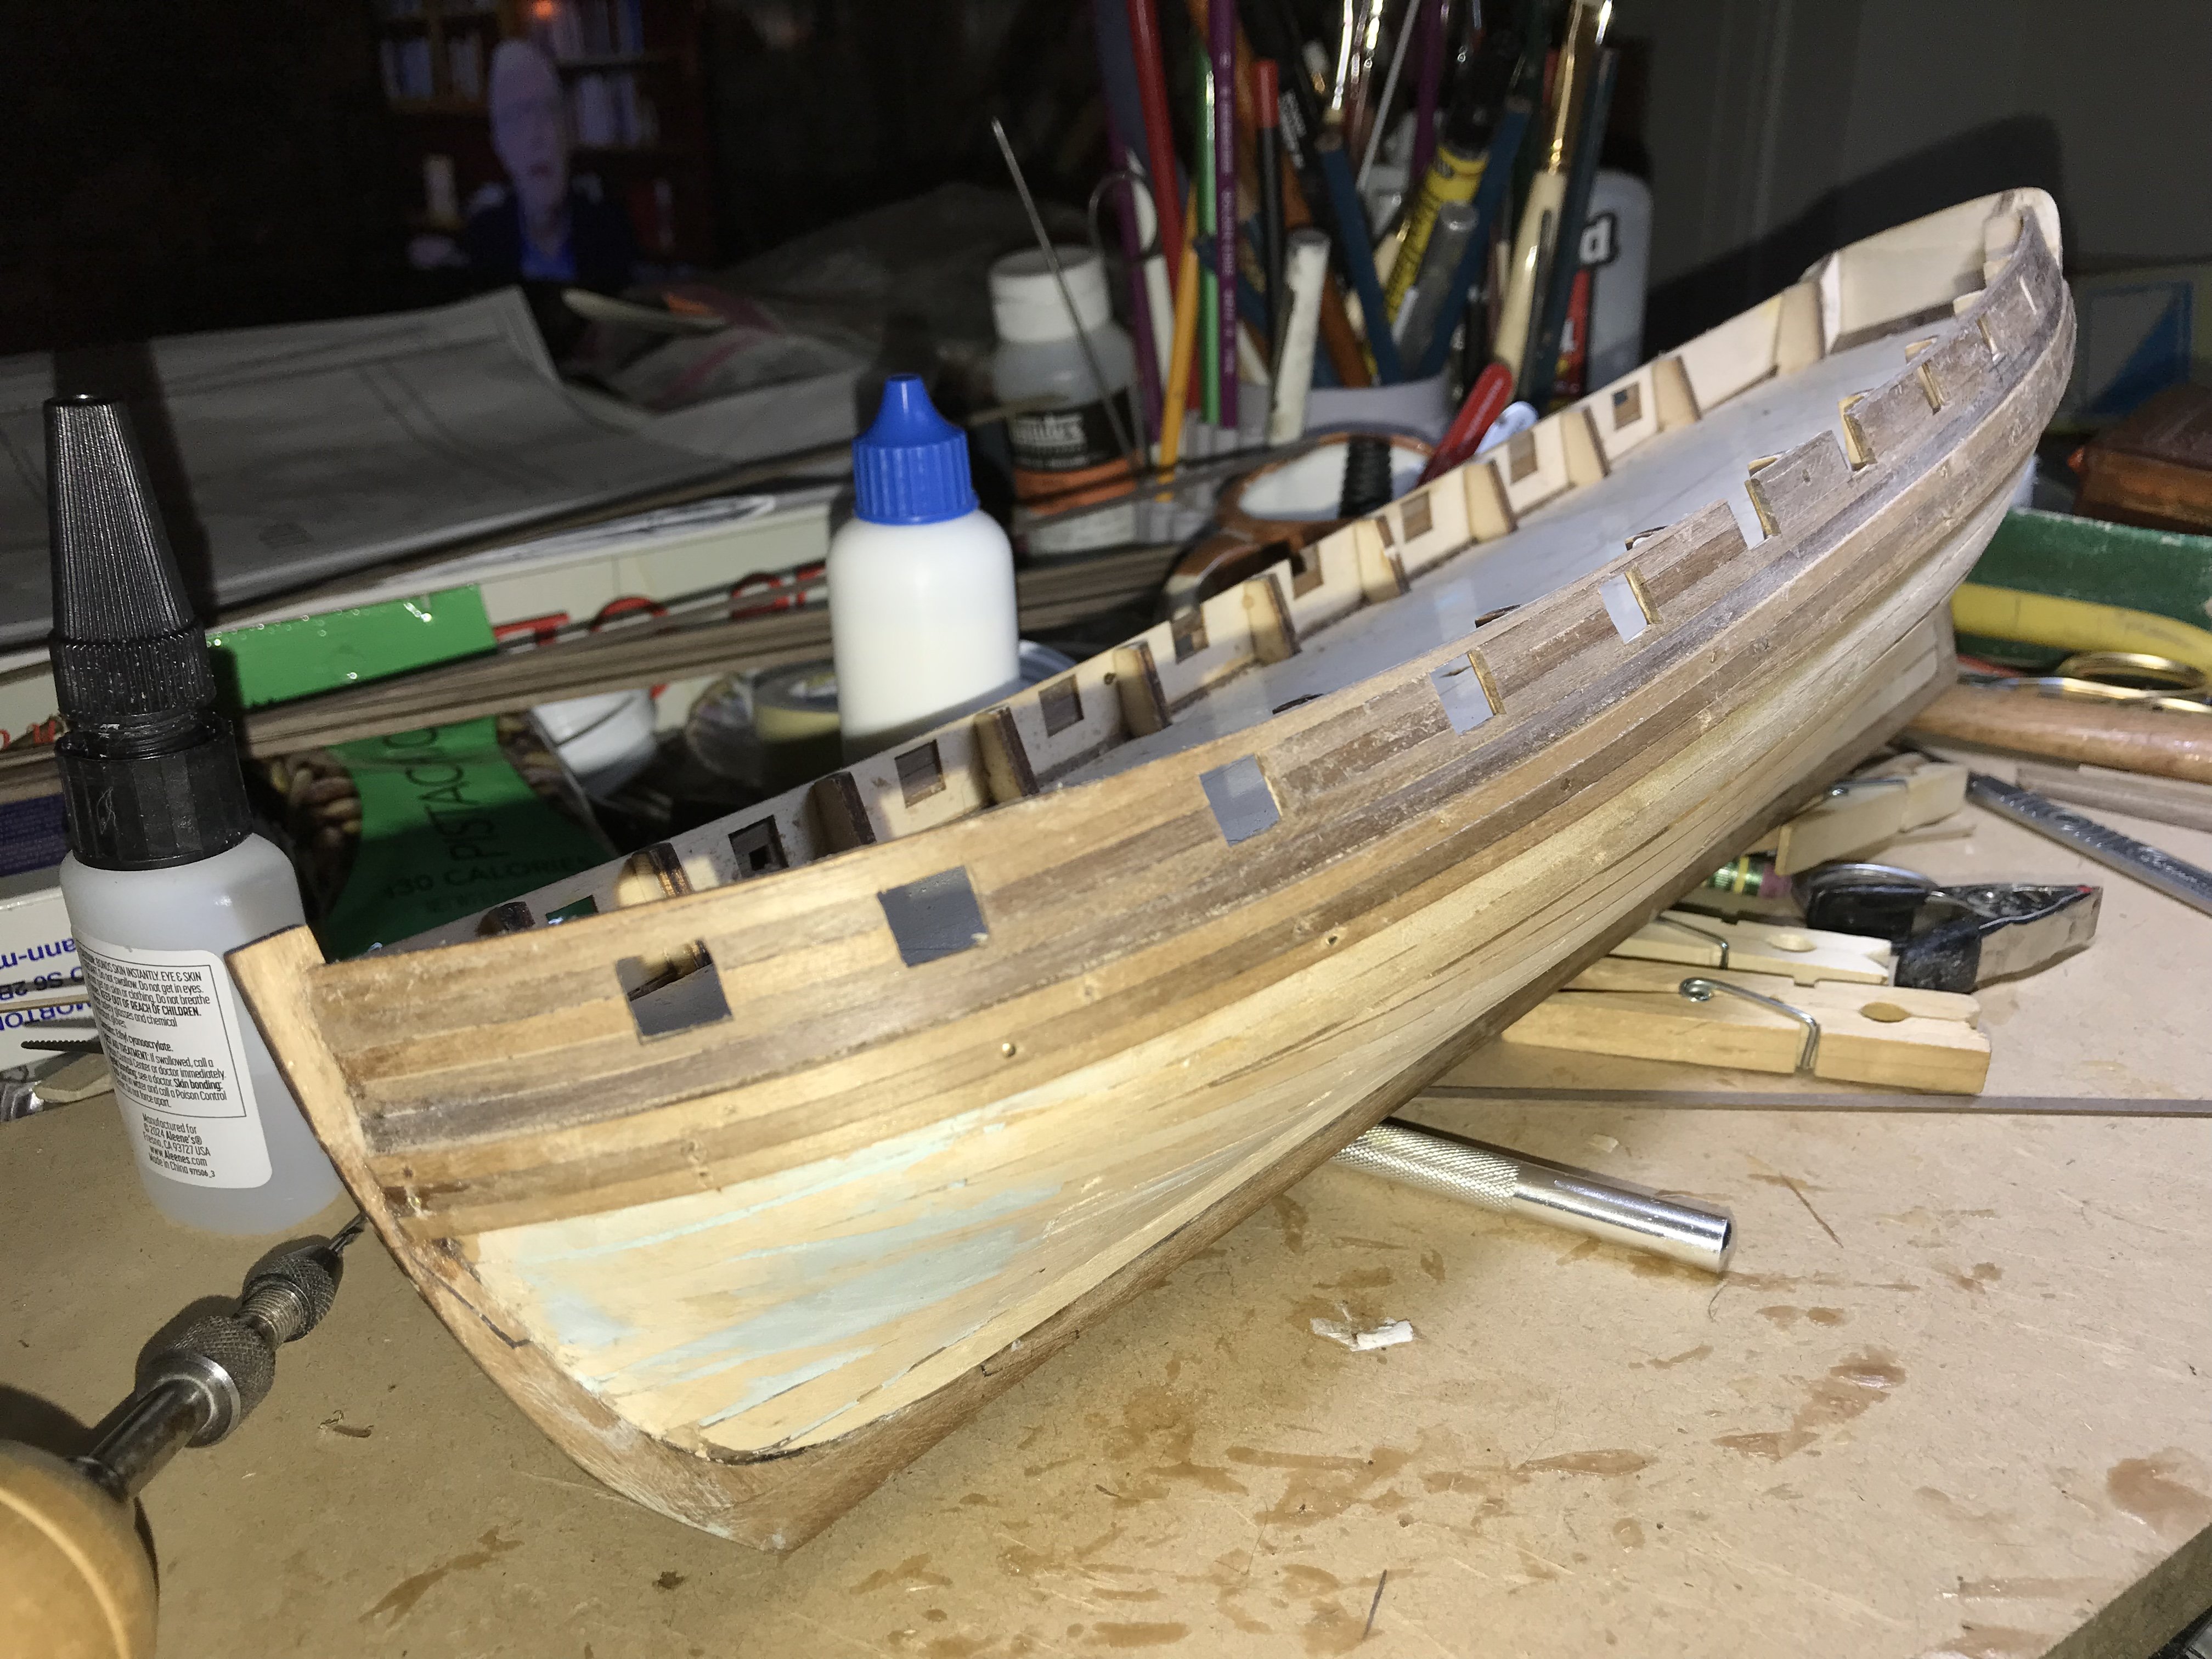
Bulwarks and upper-planking in place.
-
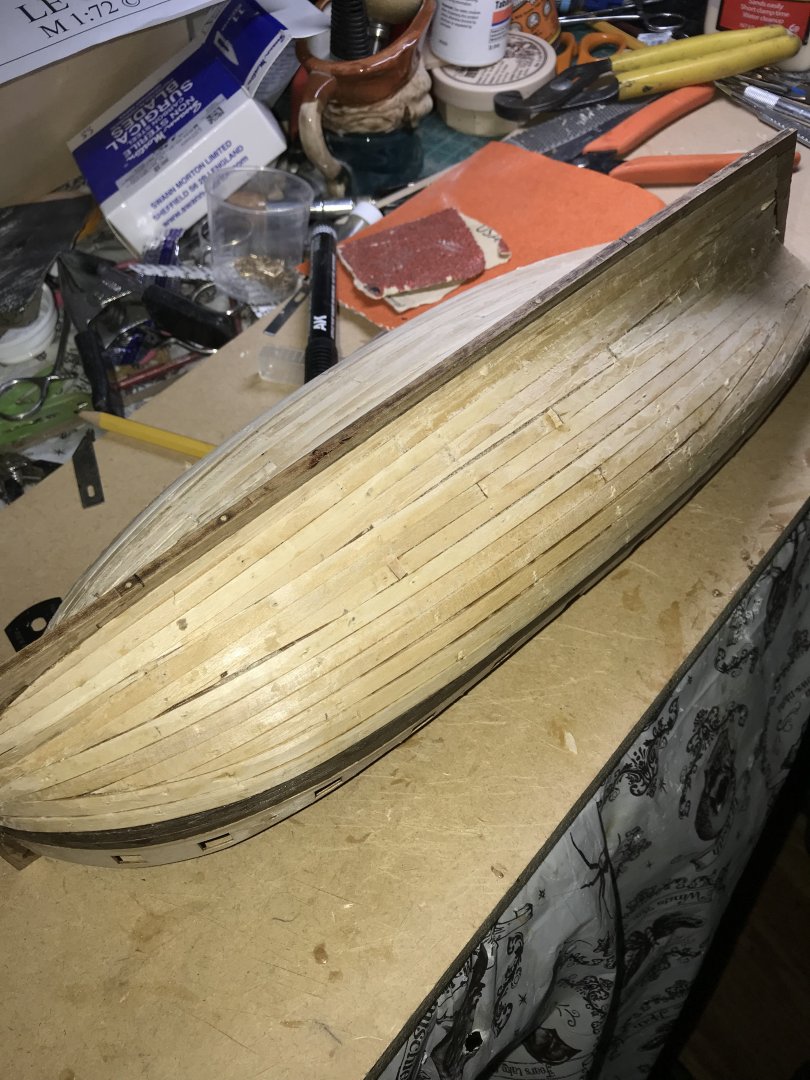
I have made additional progress on the planking. First layer of planning finished below the bulwarks. Now I have a whole lot of sanding to do!

-
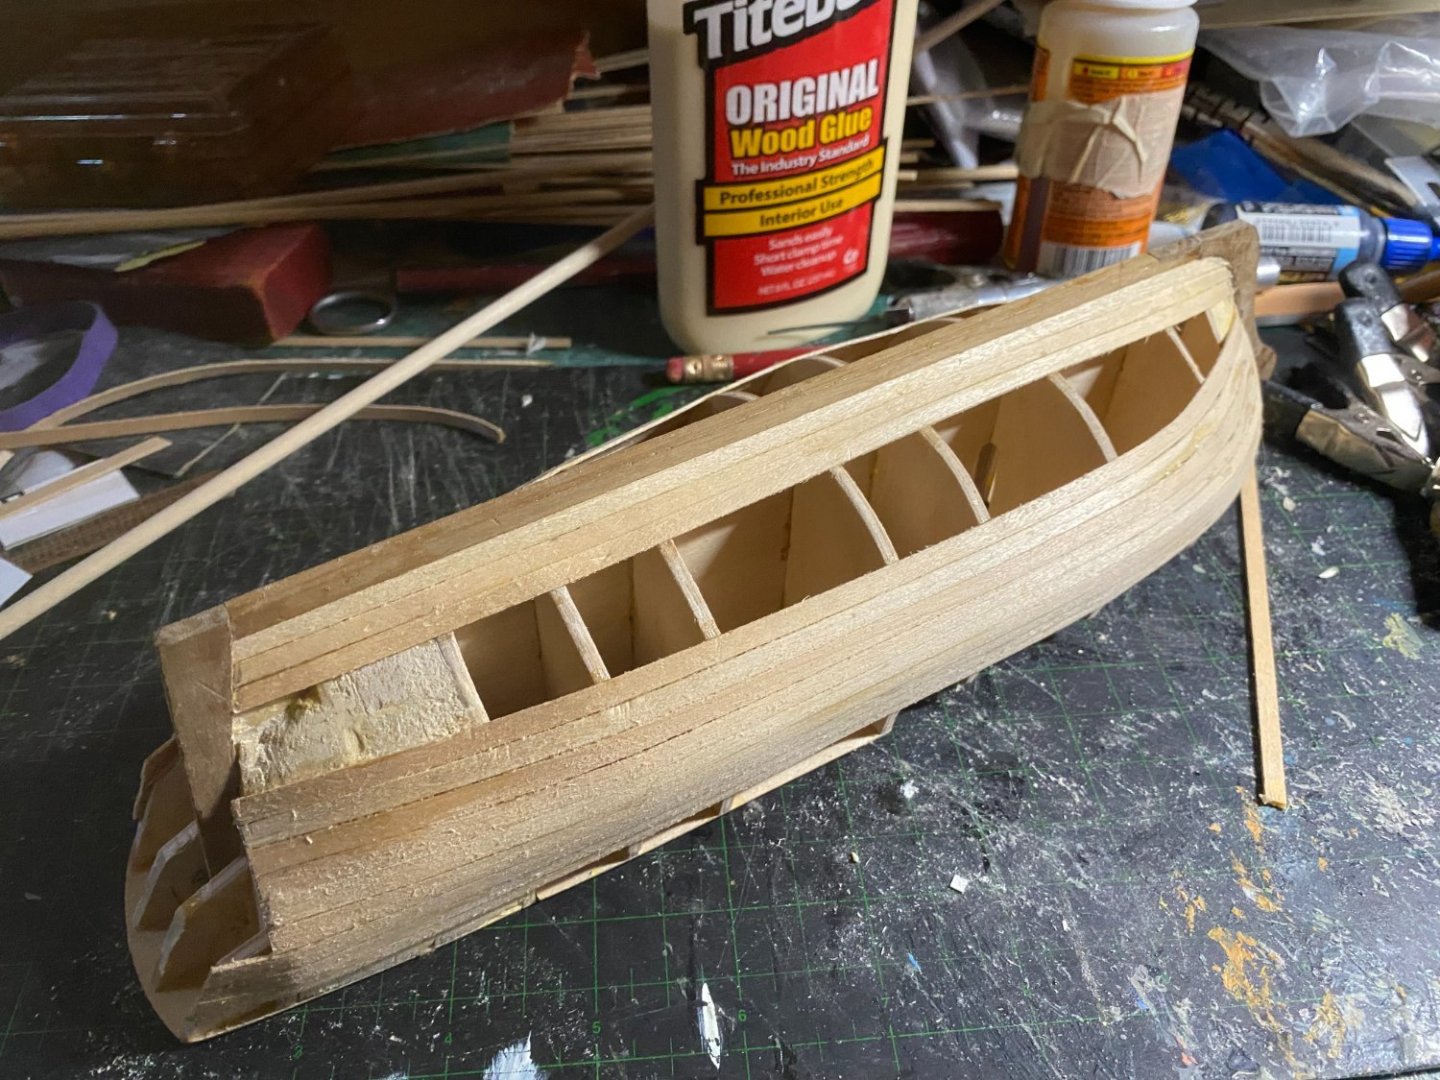
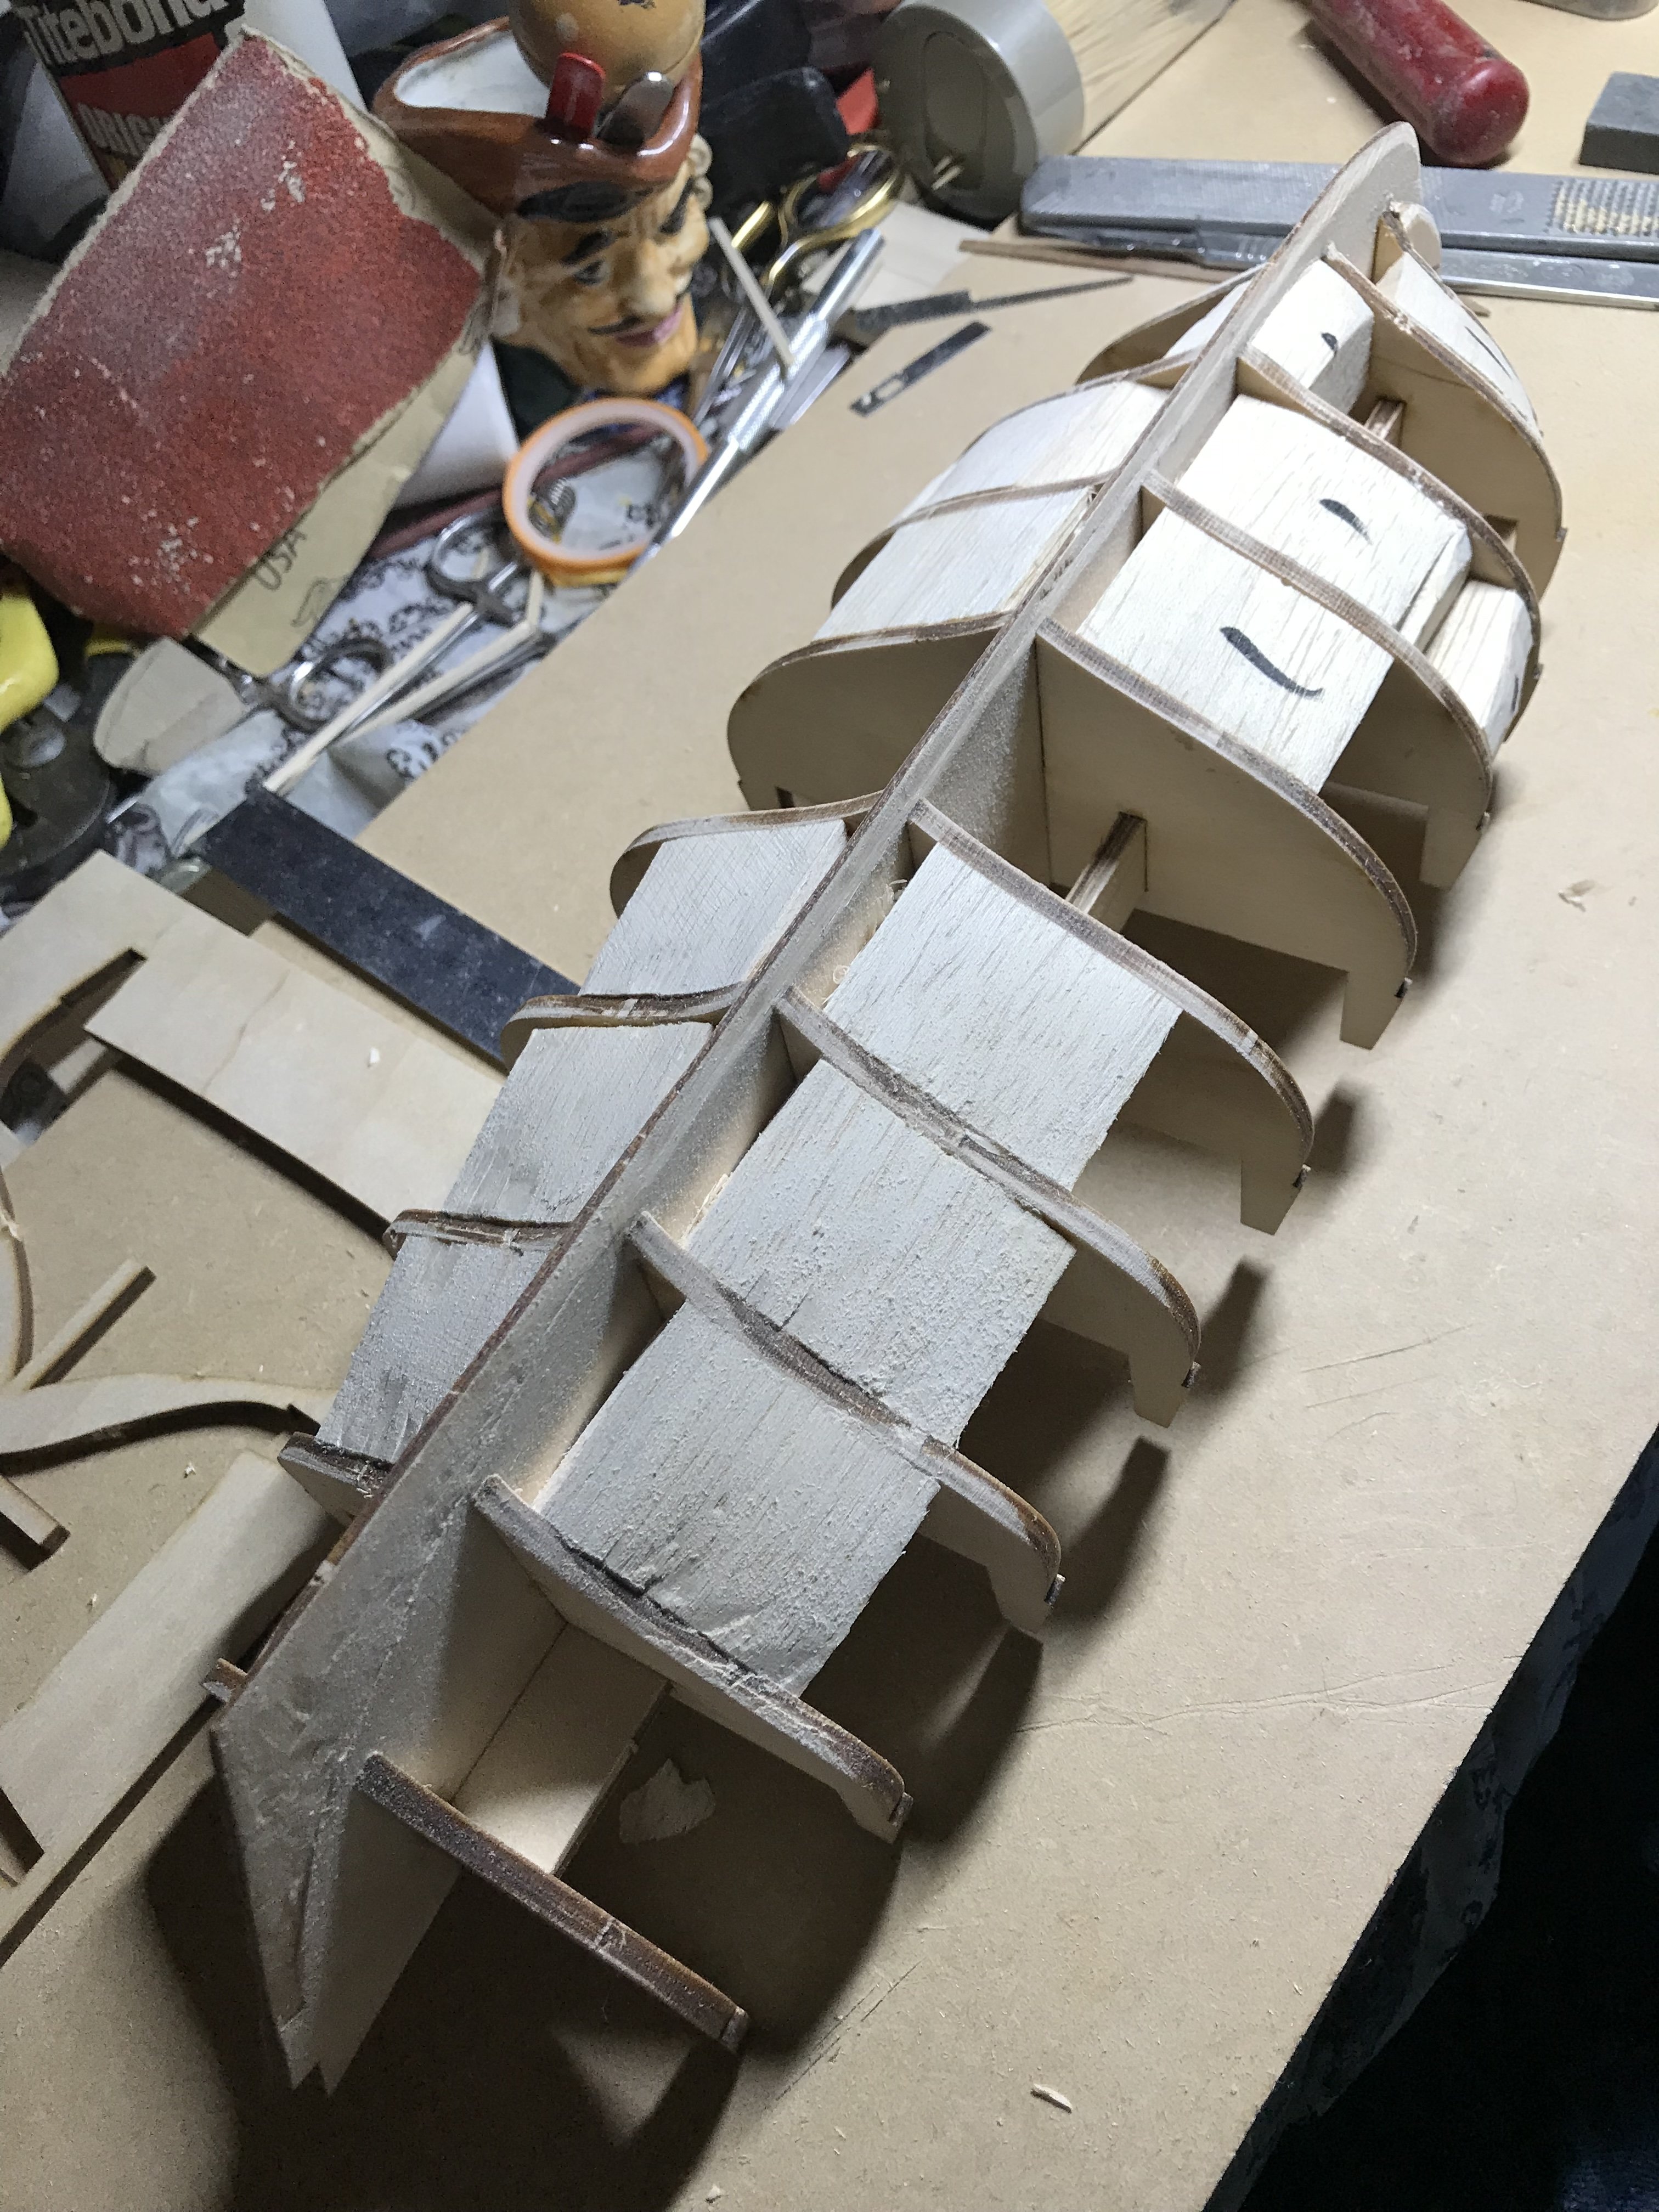
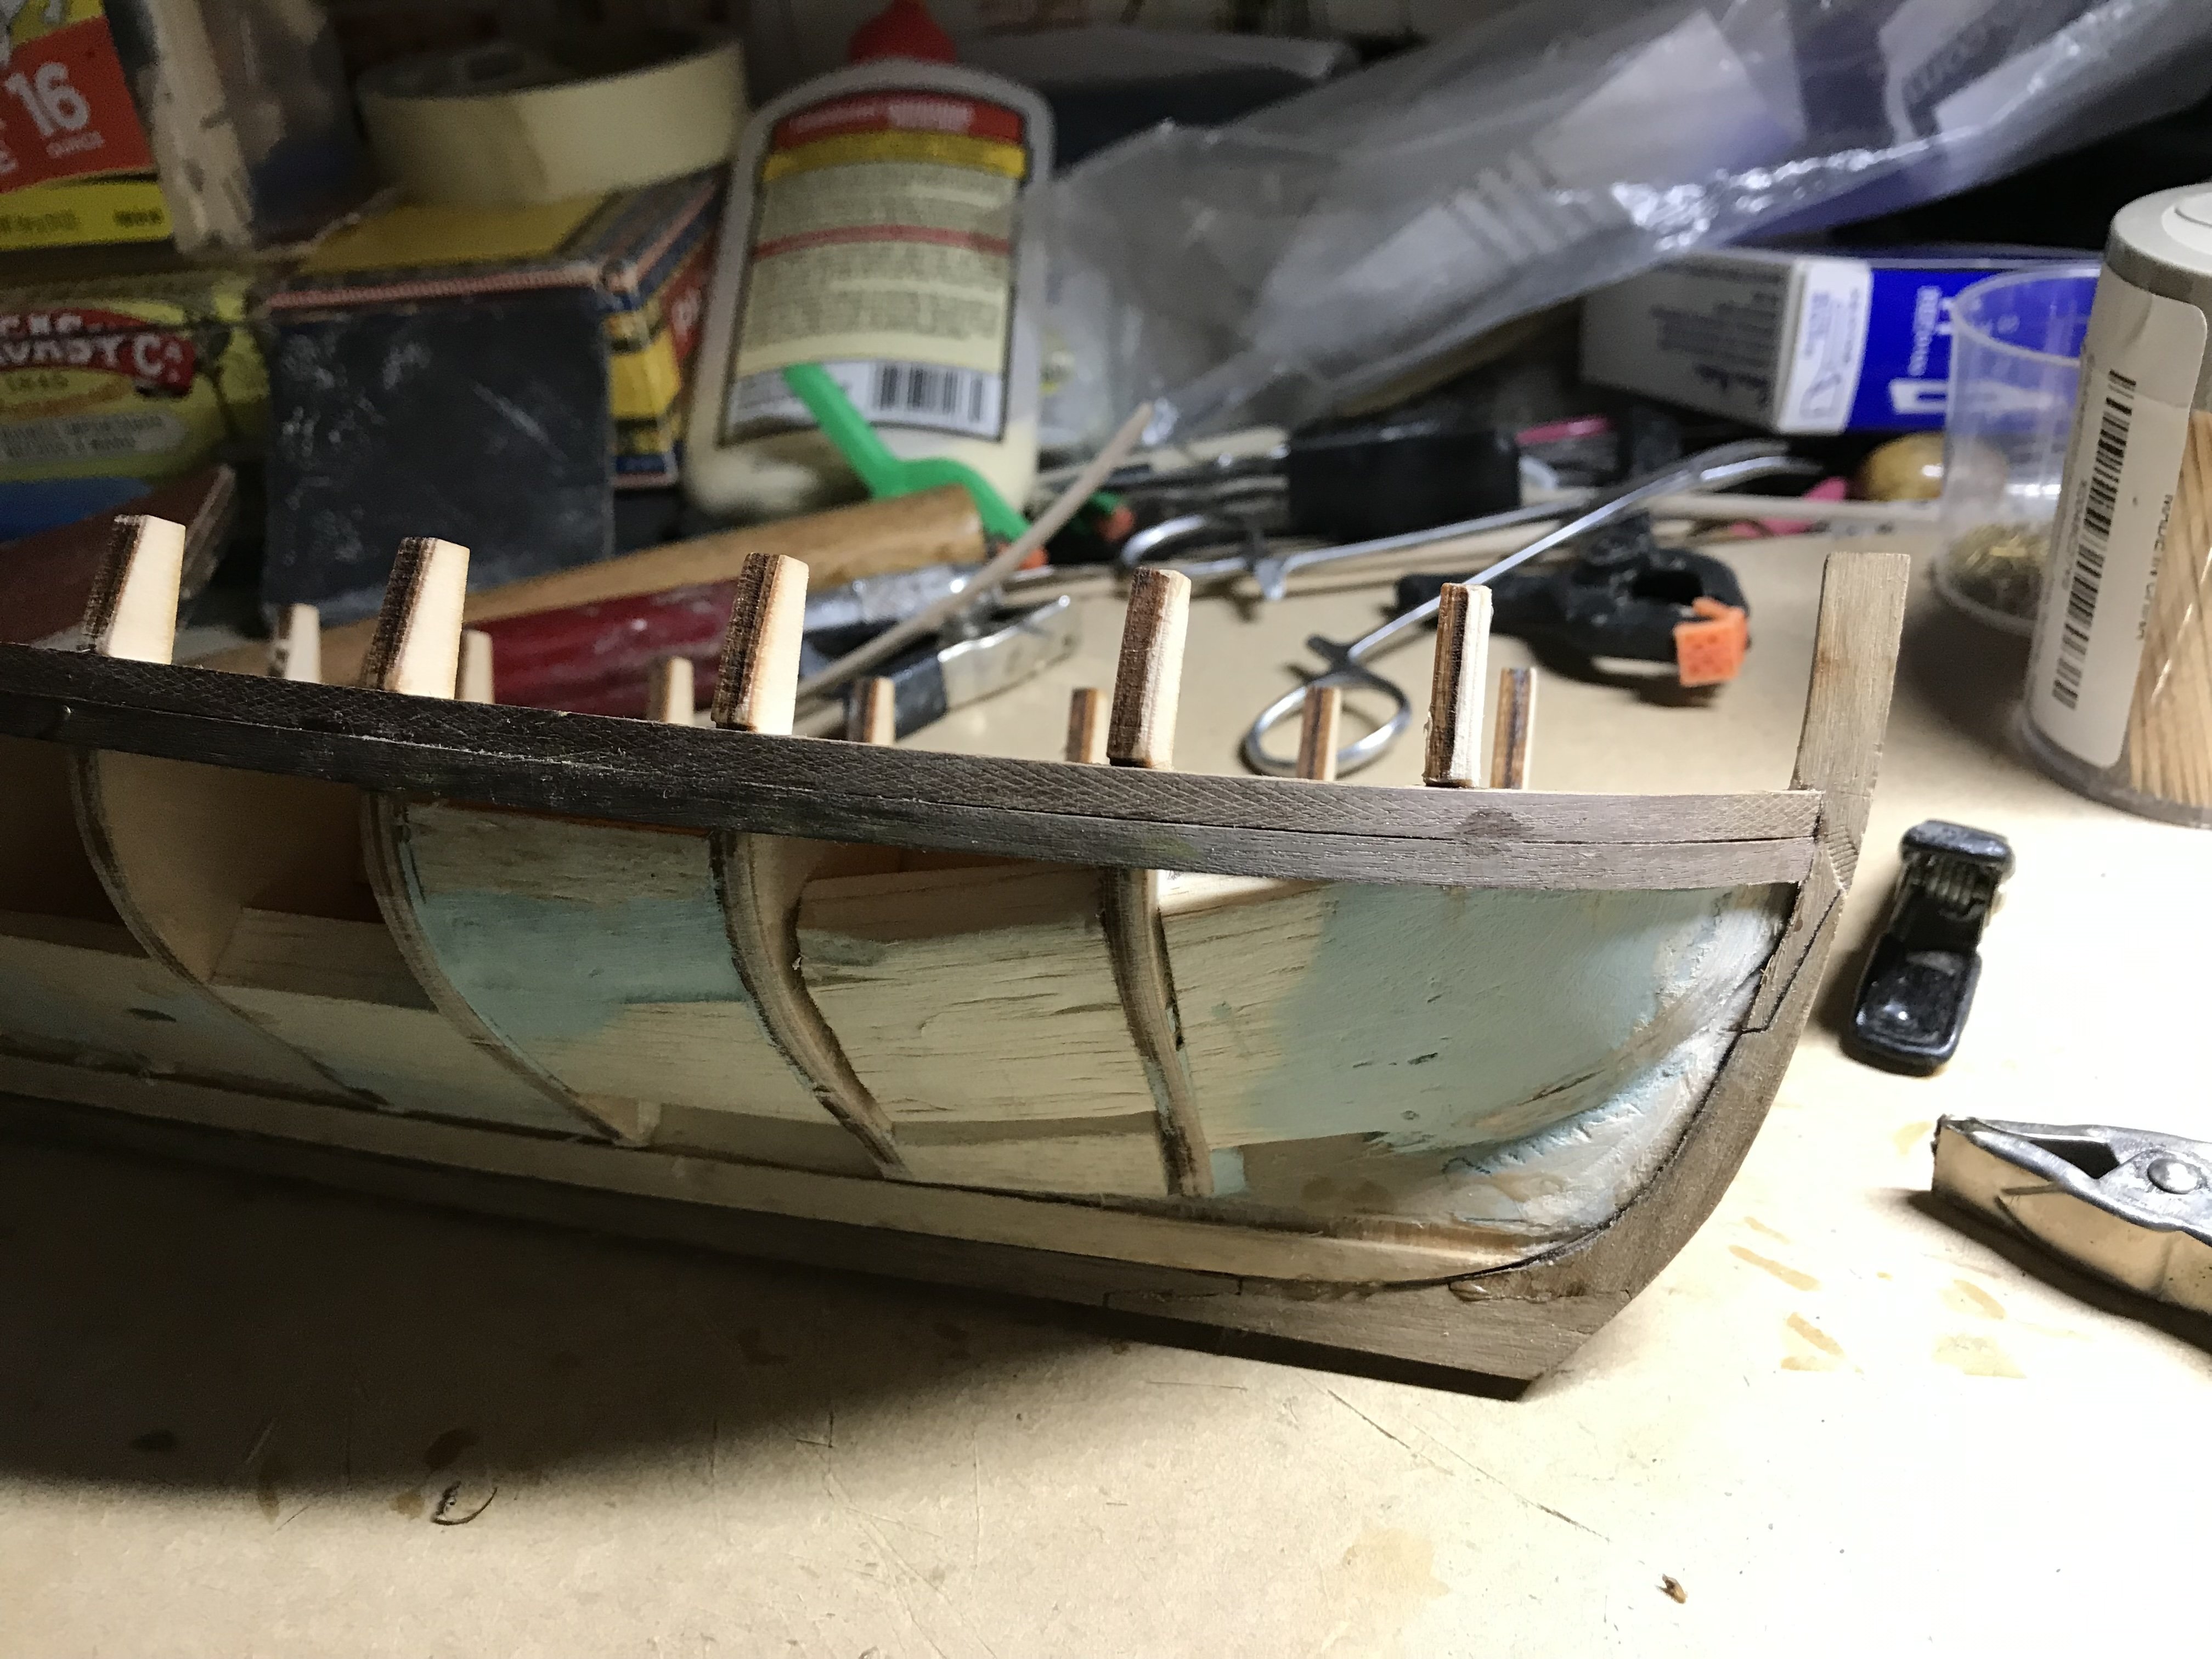
My latest project is the French cutter Le CERF building the Dusek kit.The quality of the wood, veneers, drawings and instructions is excellent! So far I've assembled the keel and bulkheads, done some infill between bulkheads with balsa and started some of the planking in the area of the deck. The kit receives a complete layer of planks in the clinker fashion, a second layer of laser cut veneer carvel style planks will be added to the lower portion of the hull.
-
I got stalled on the cleats - since they are metal and need to be painted and my 'workshop' for non indoor activities has shrunk! I need to reinitiate that. I'll bring the Jutland game to the meeting this Saturday so you can take a look at it.
-
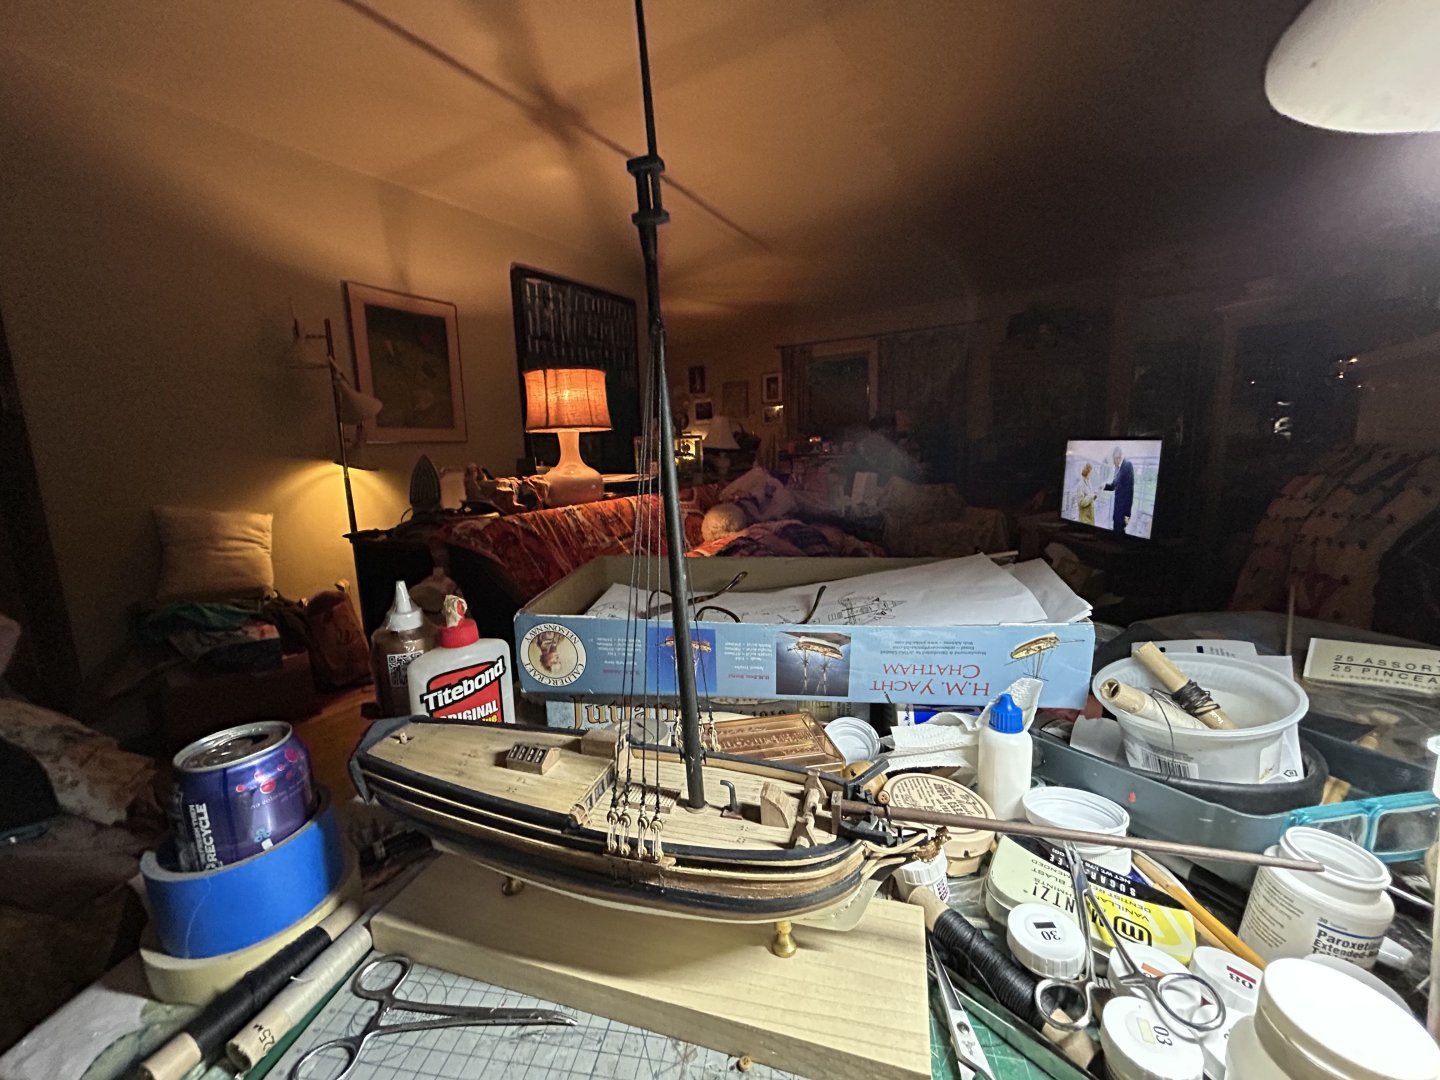
The mast and bowsprit have been attached and shrouds are in place.
-
Thank you both for the suggestions regarding the copper tape. I'll need to get a supply of one more item, patience!
-
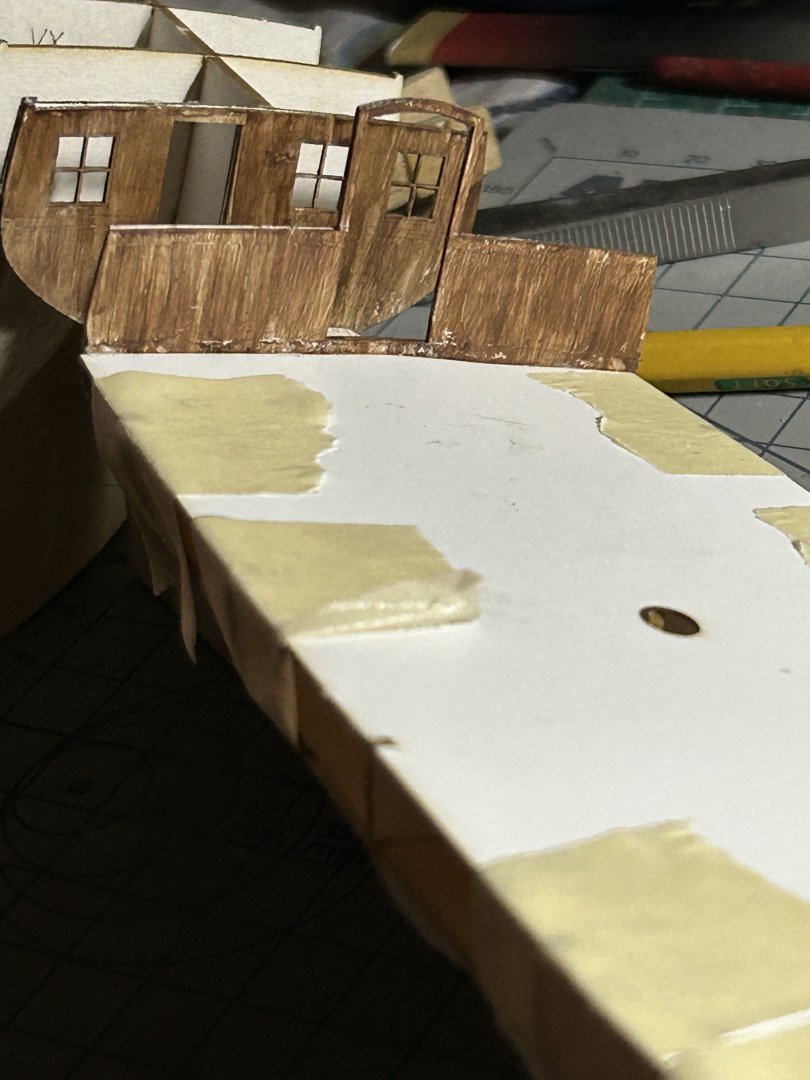
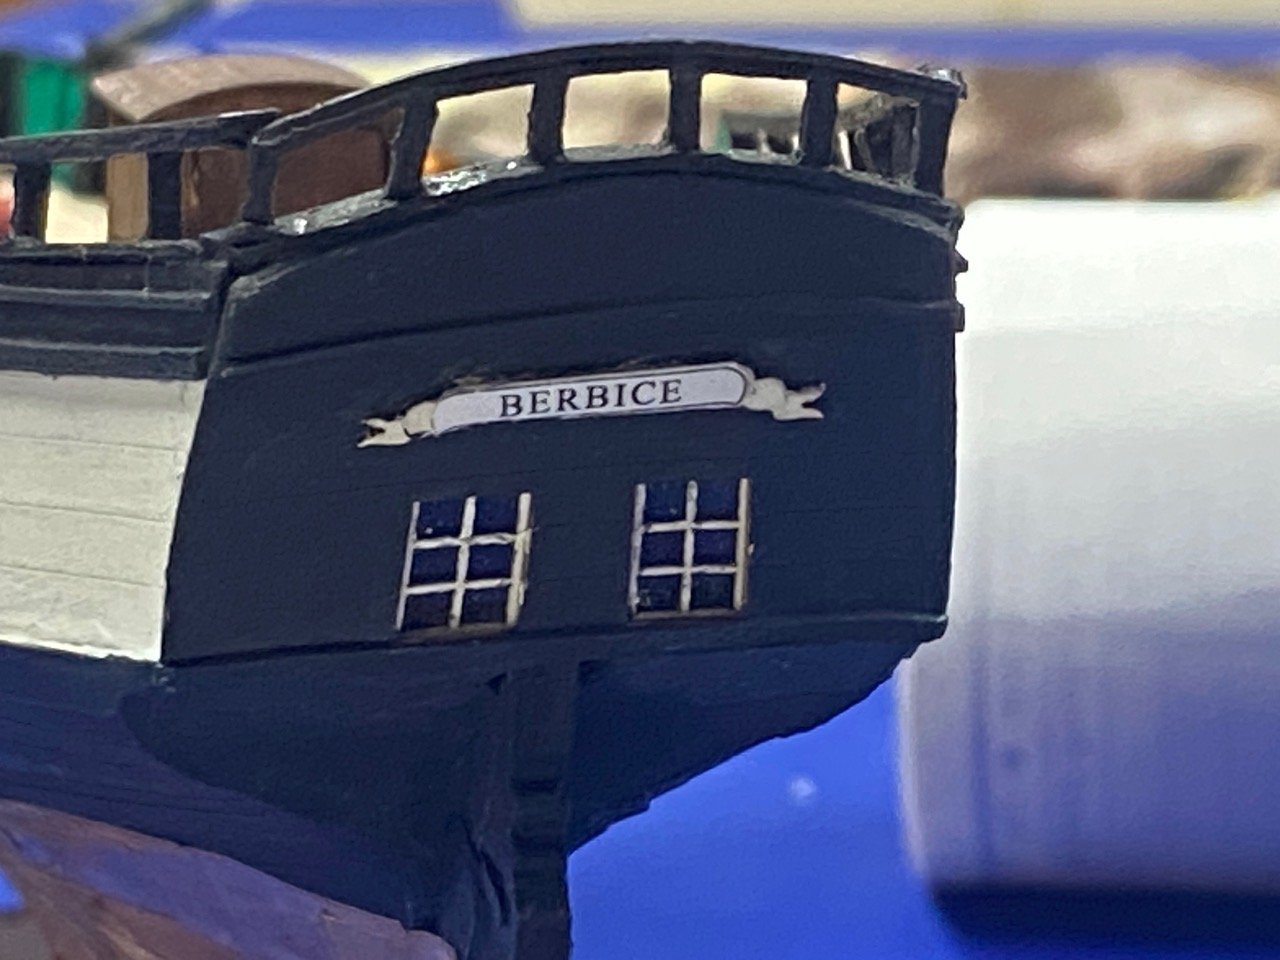
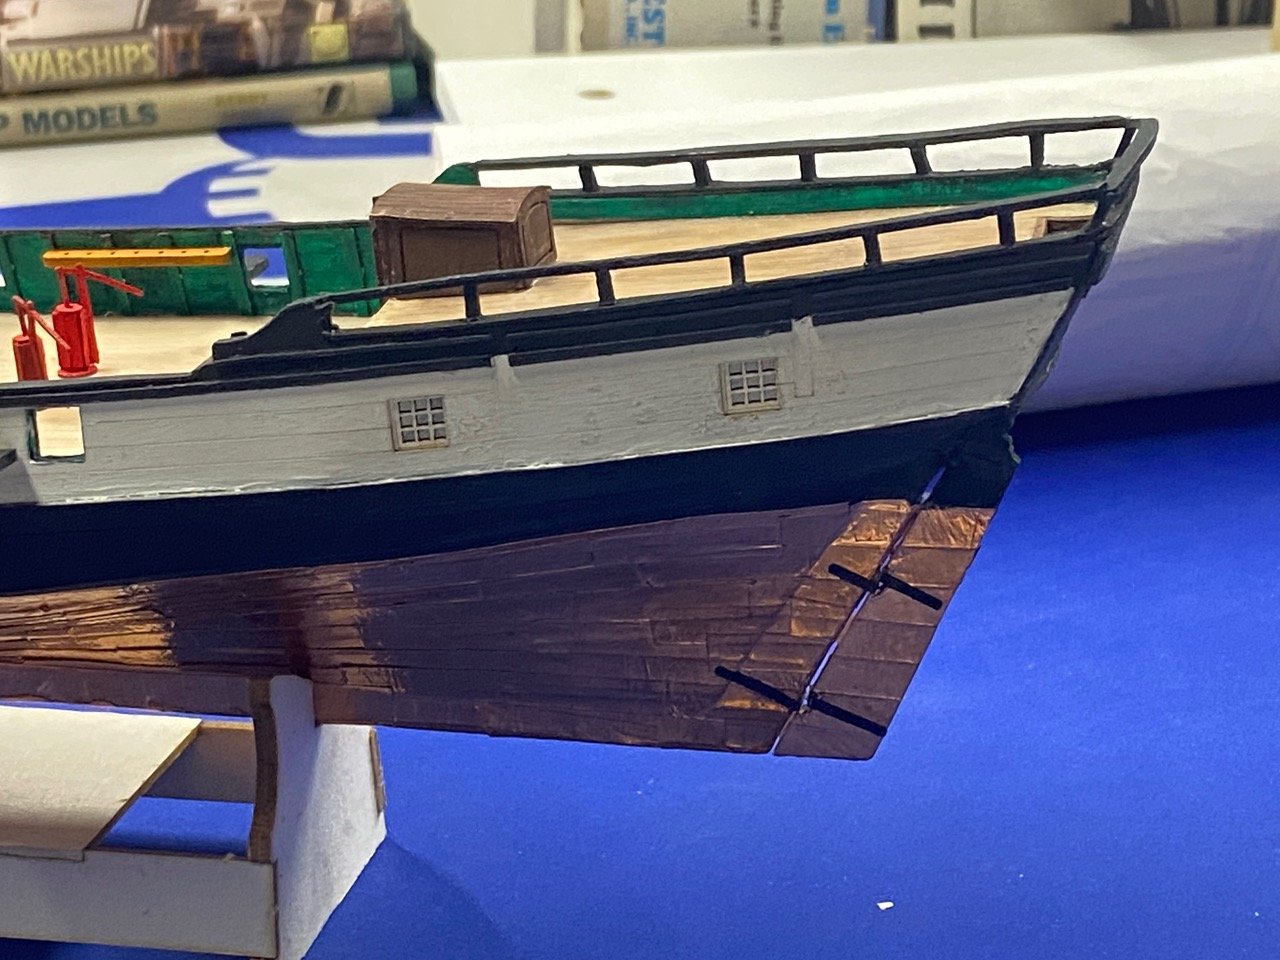
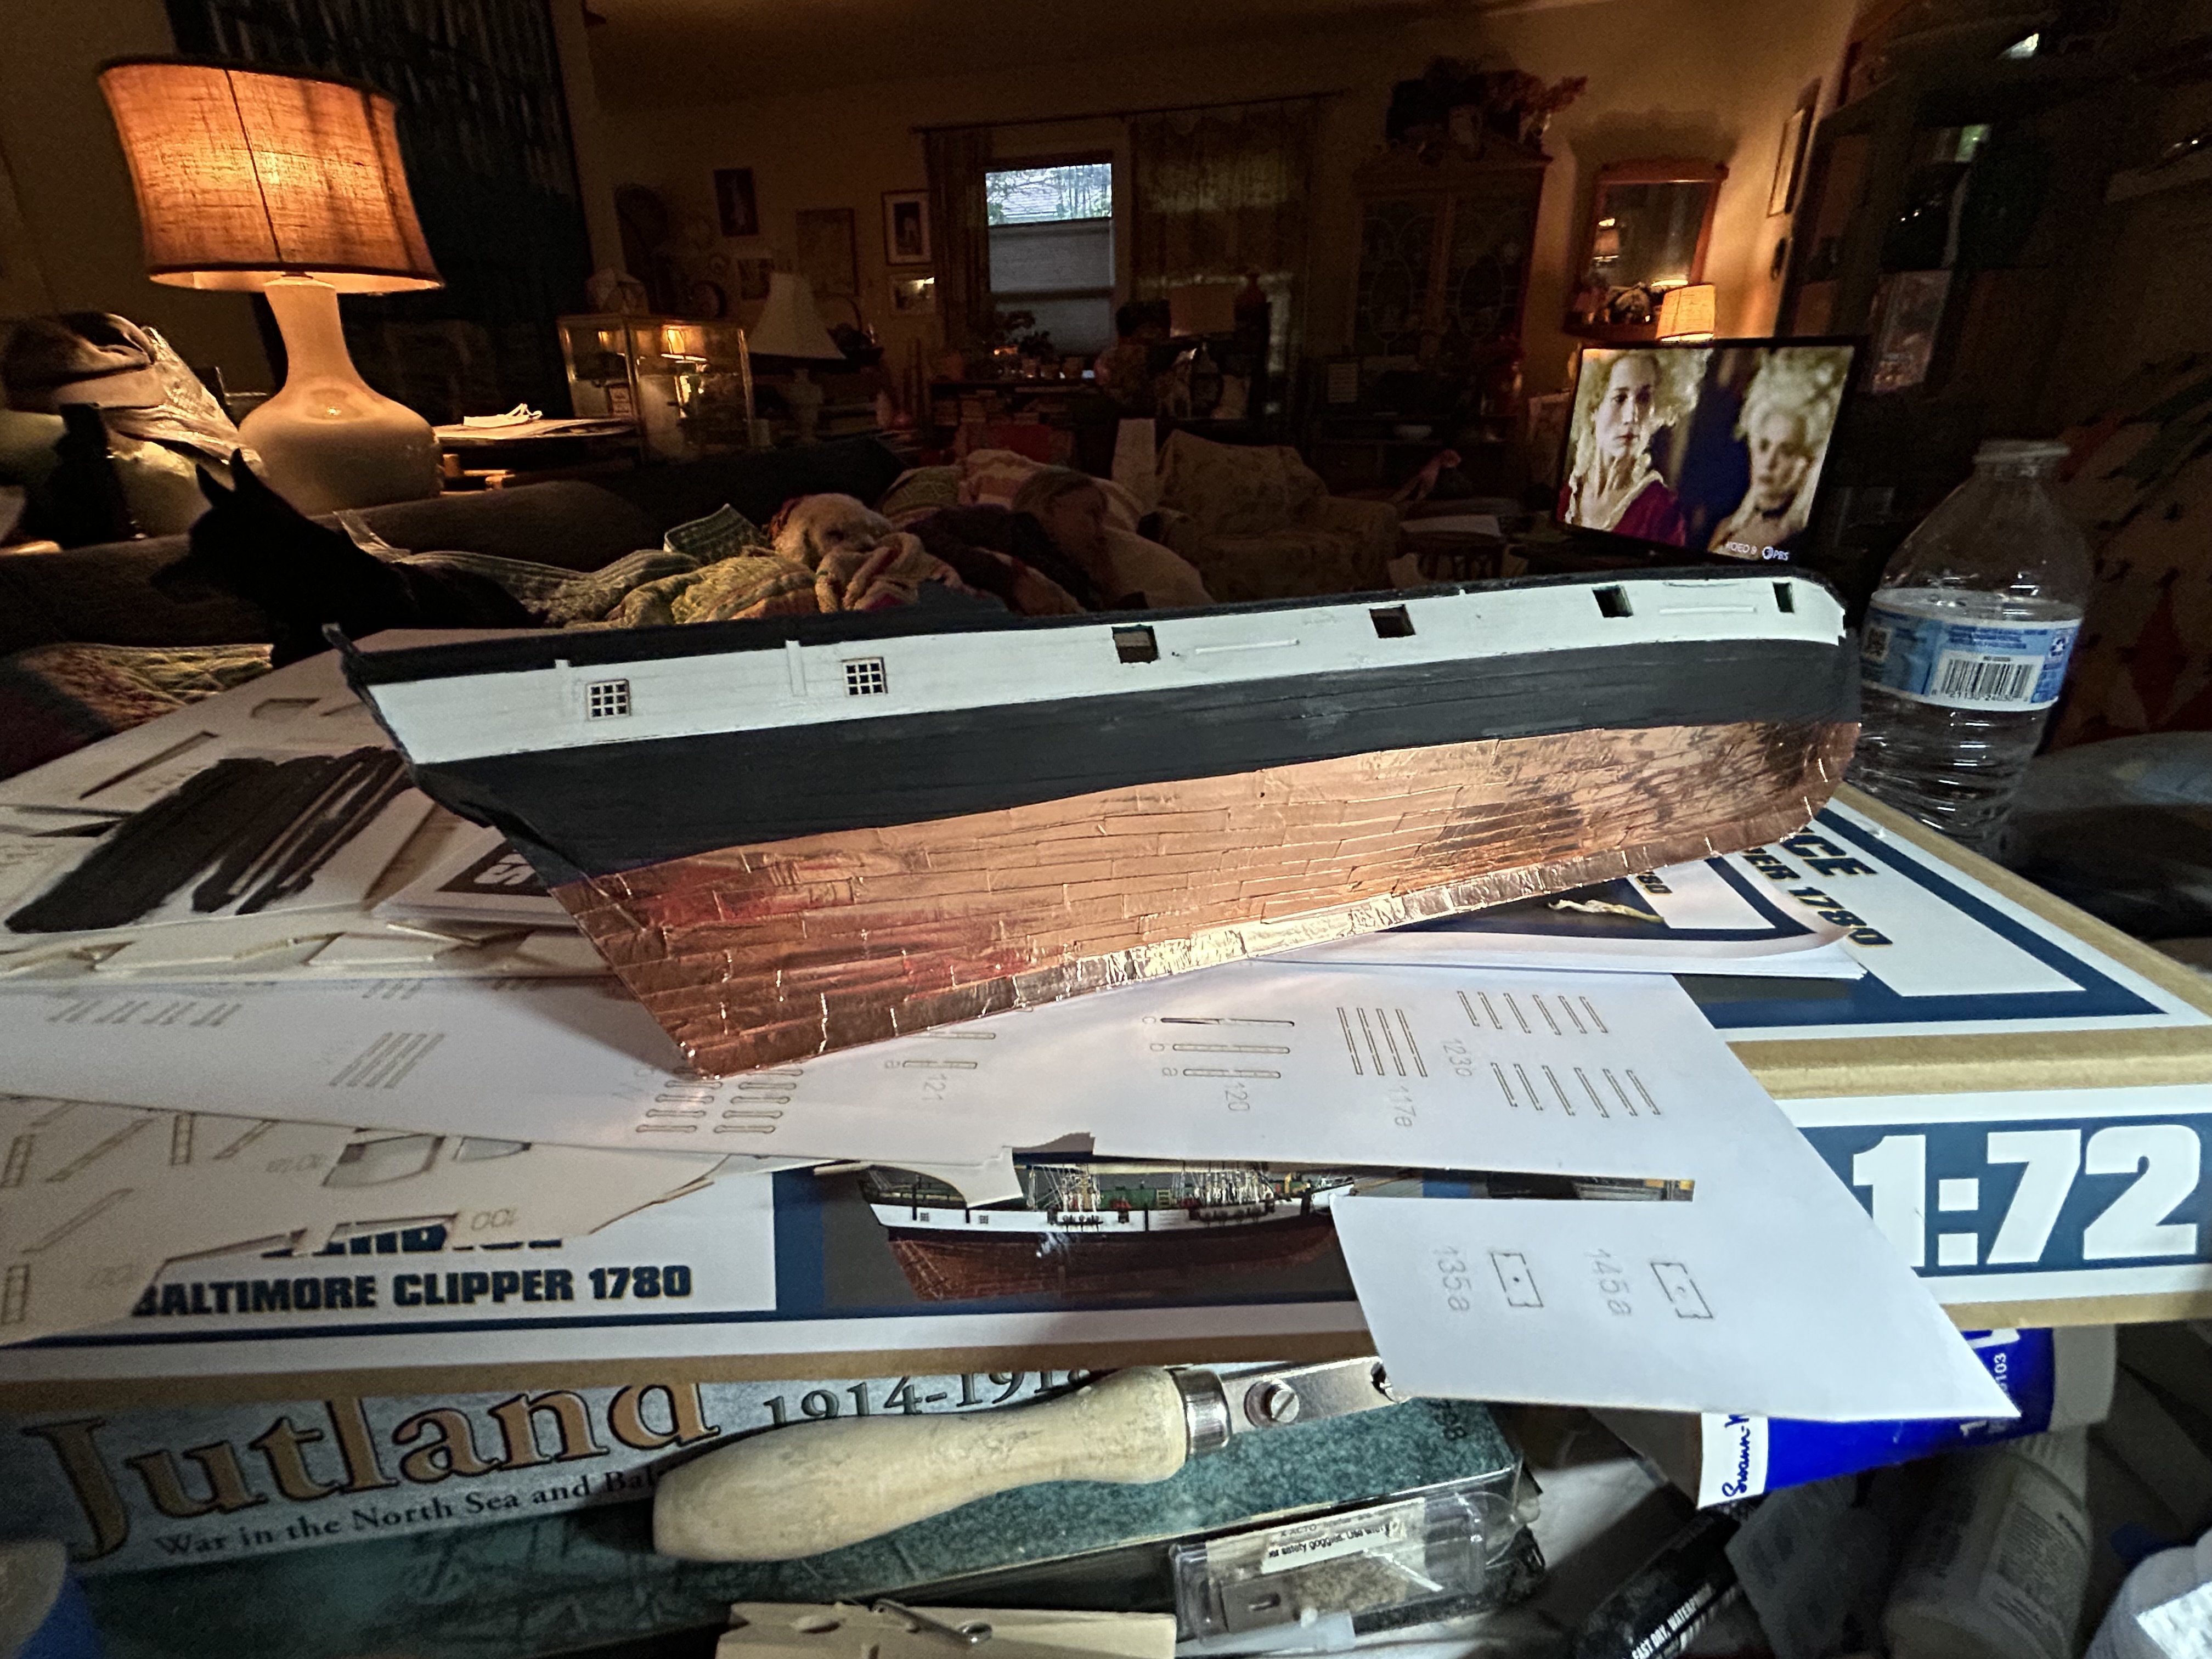
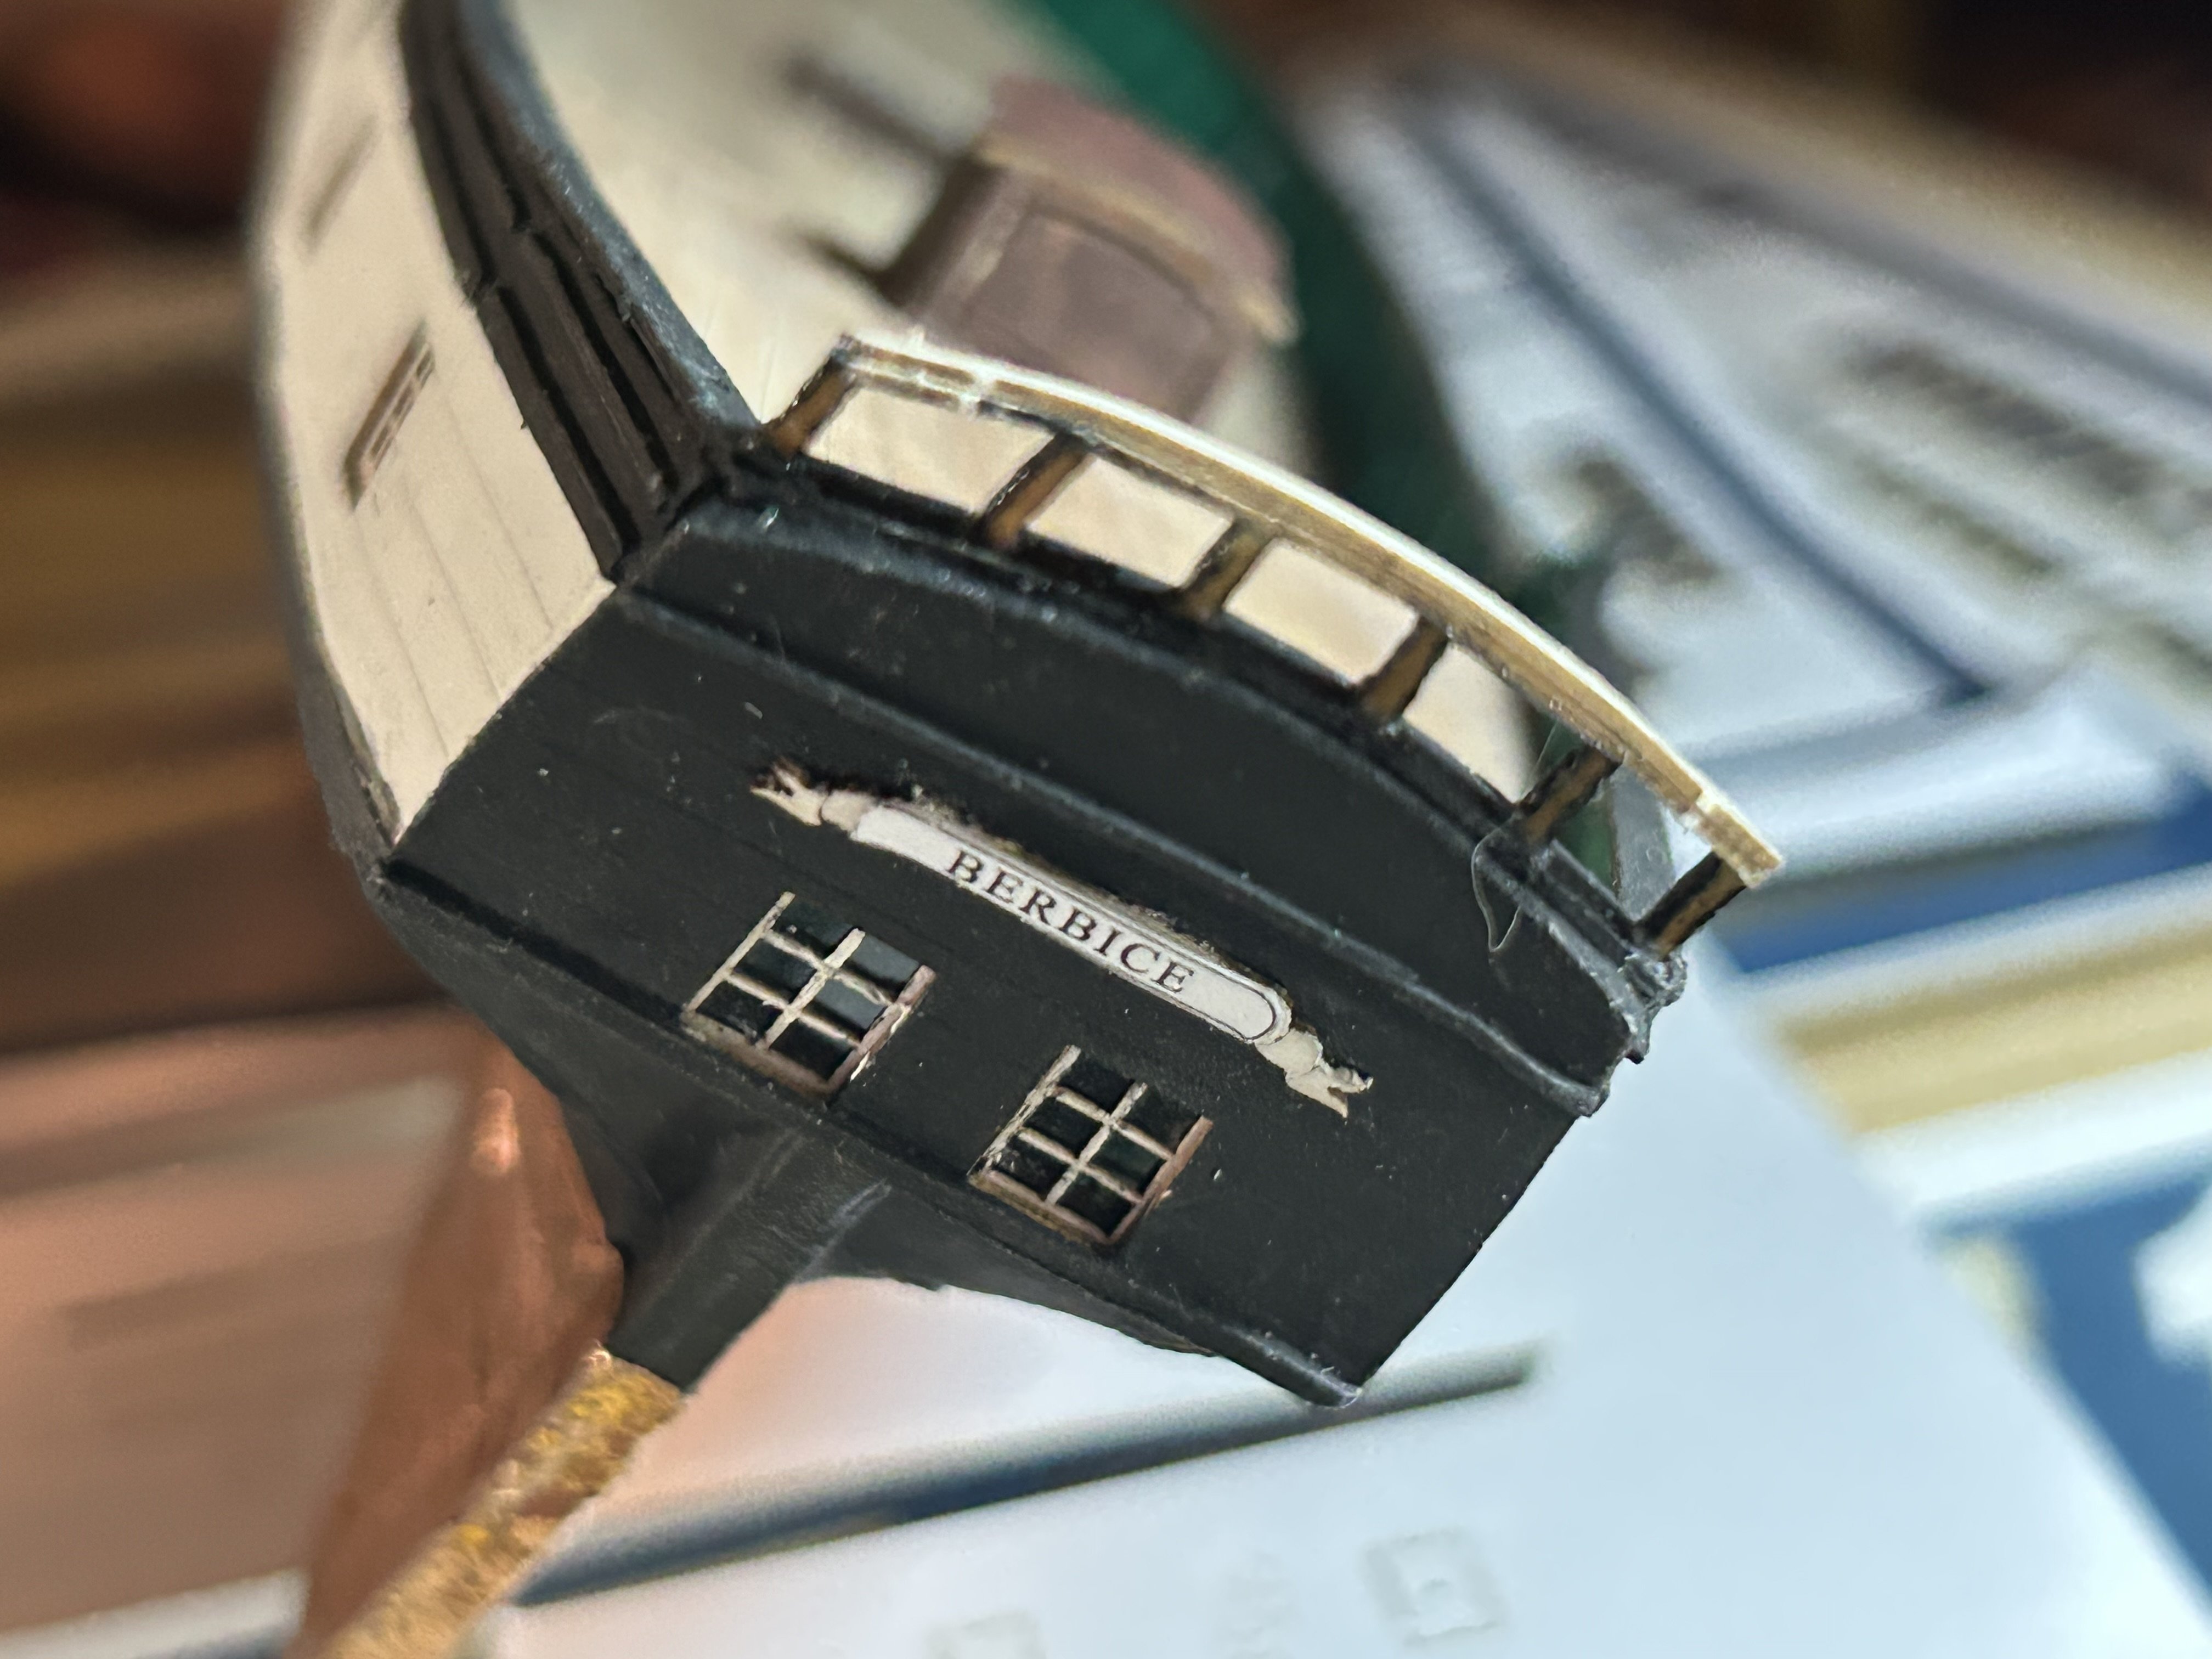
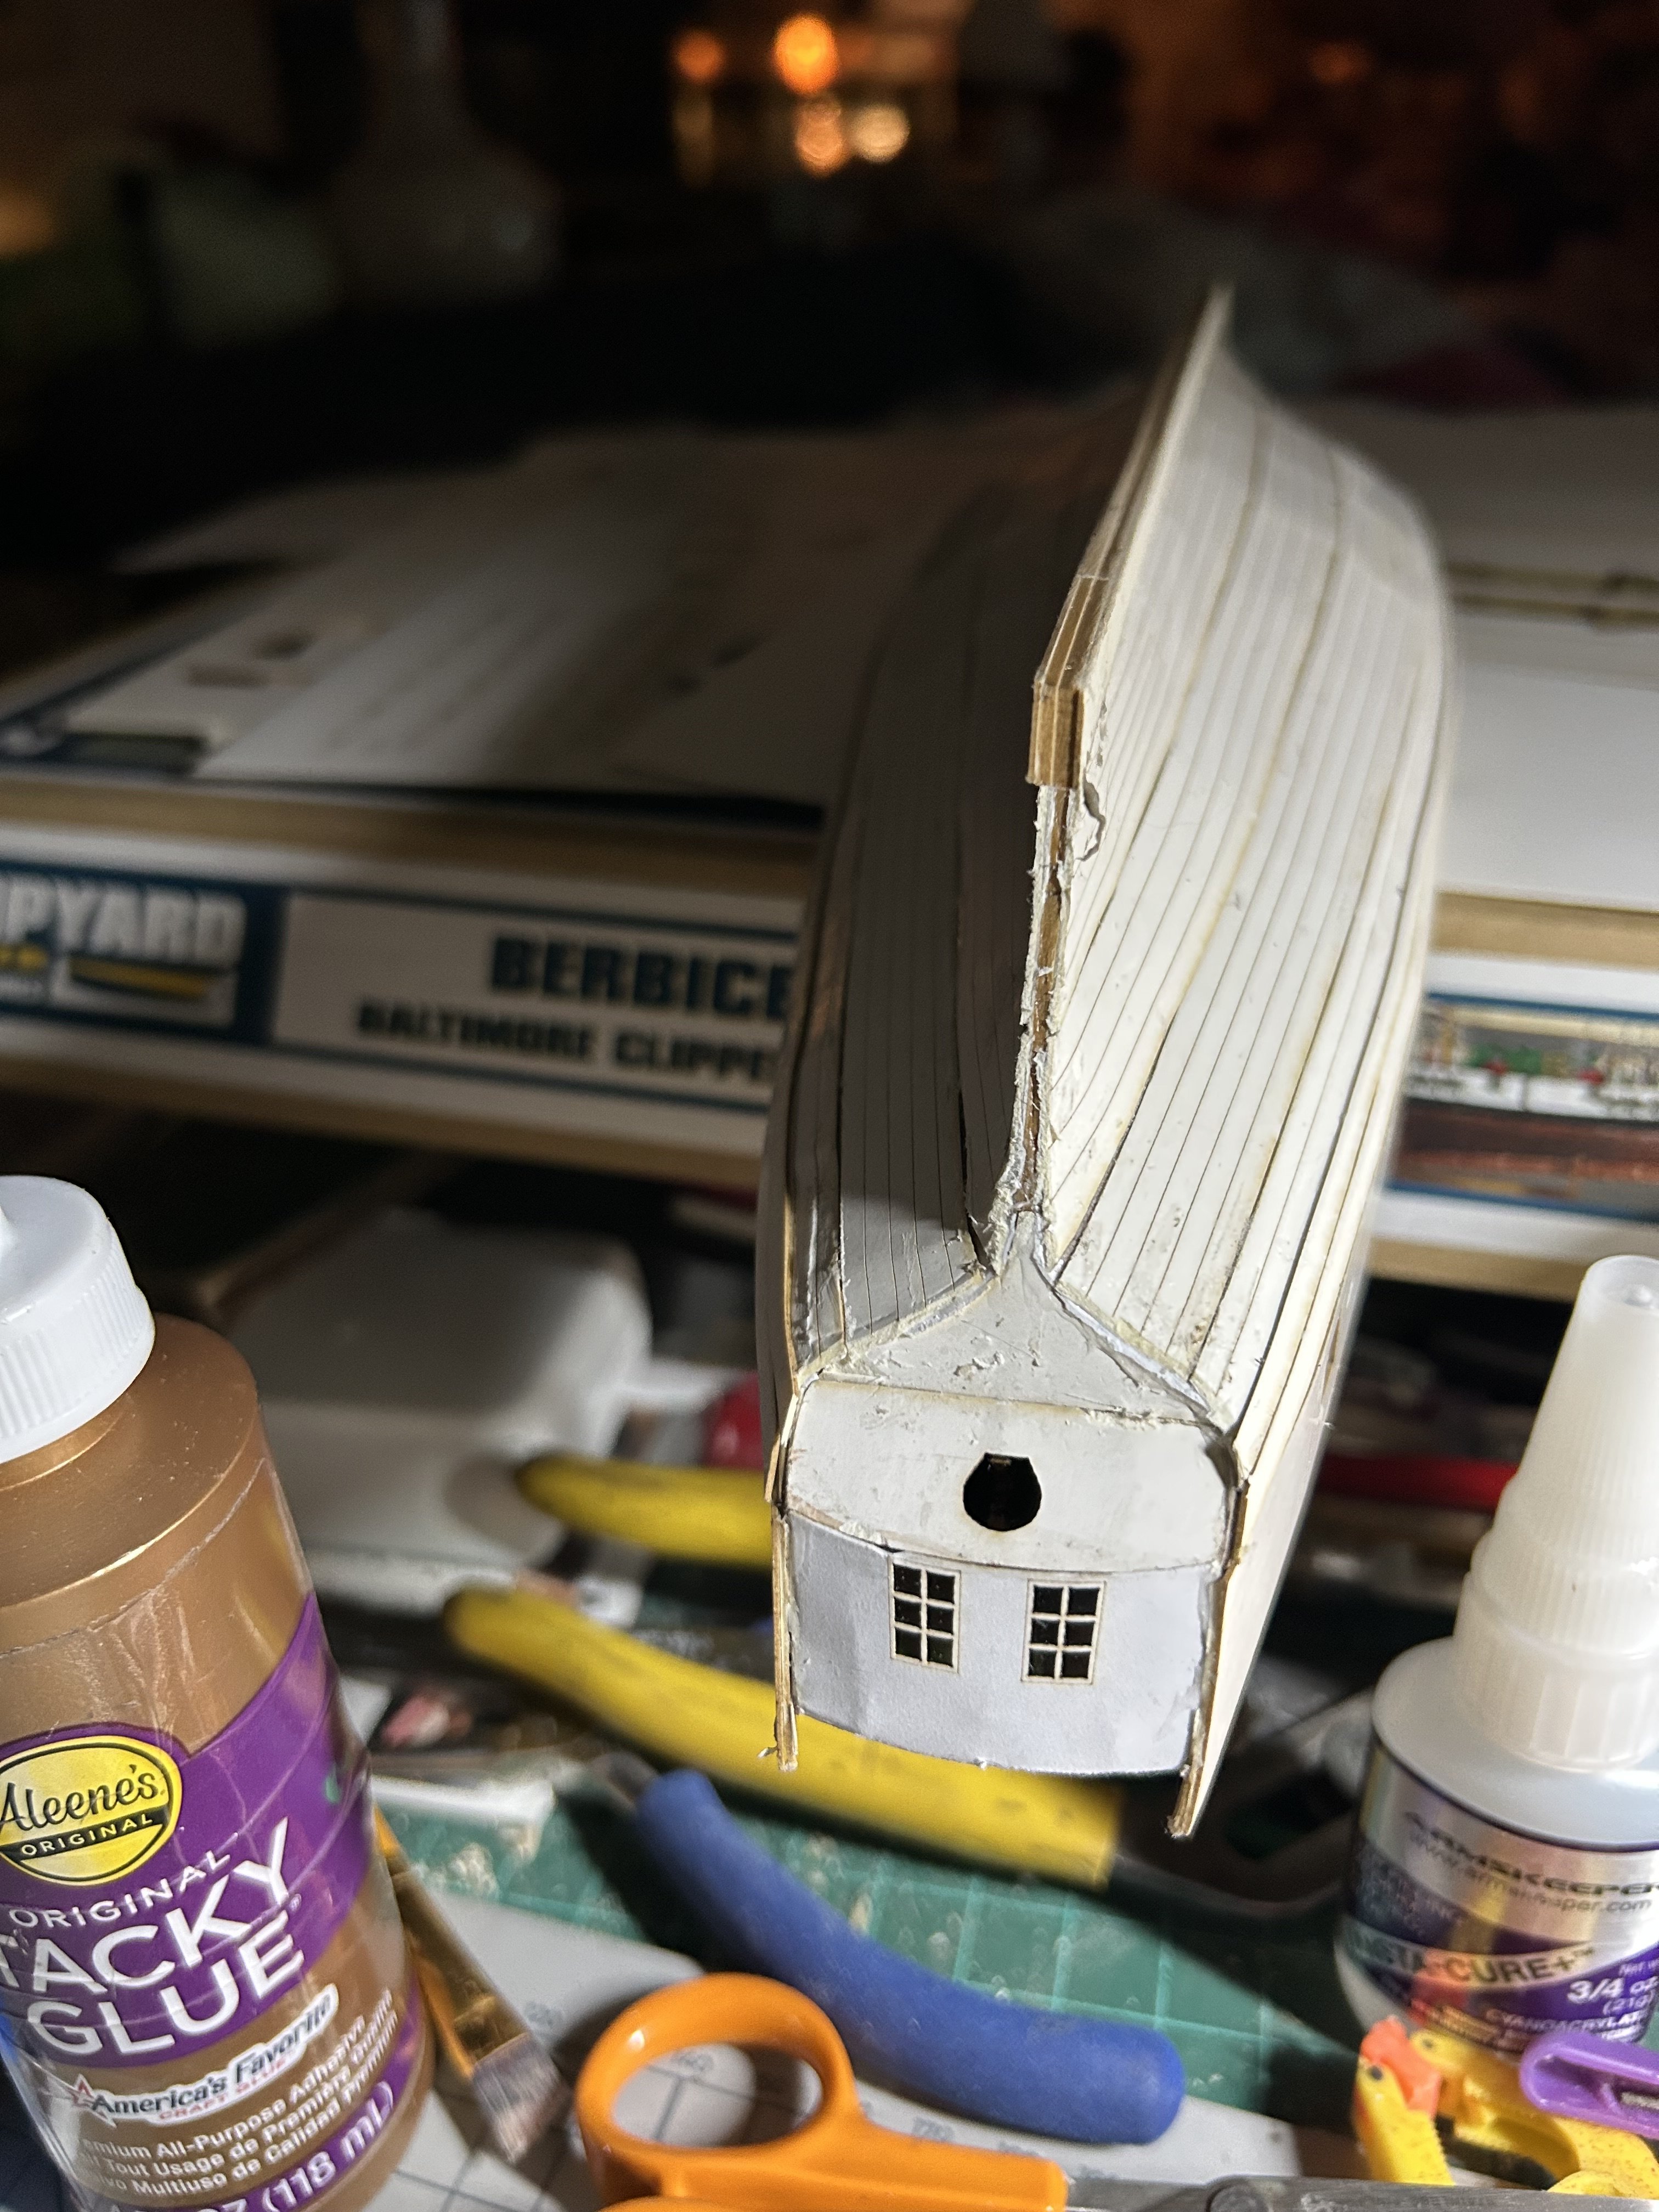
Finished with coppering the hull. It's a little too shiny for my taste, so I 'm thinking of ways to weather it a little bit. Finished the transom railing. The posts are these really malleable pieces of cardboard soonce attaching the them to the stern I applied CA to harden them and them attached the two pieces of top rail.


-
I started applying the 3rd layer of planking. The instructions tell you to finish the 3rd layer of planking before attaching the keel. However I went ahead and attached the keel so I may lay the tips of the planks at the bow to cover the small gap.

-
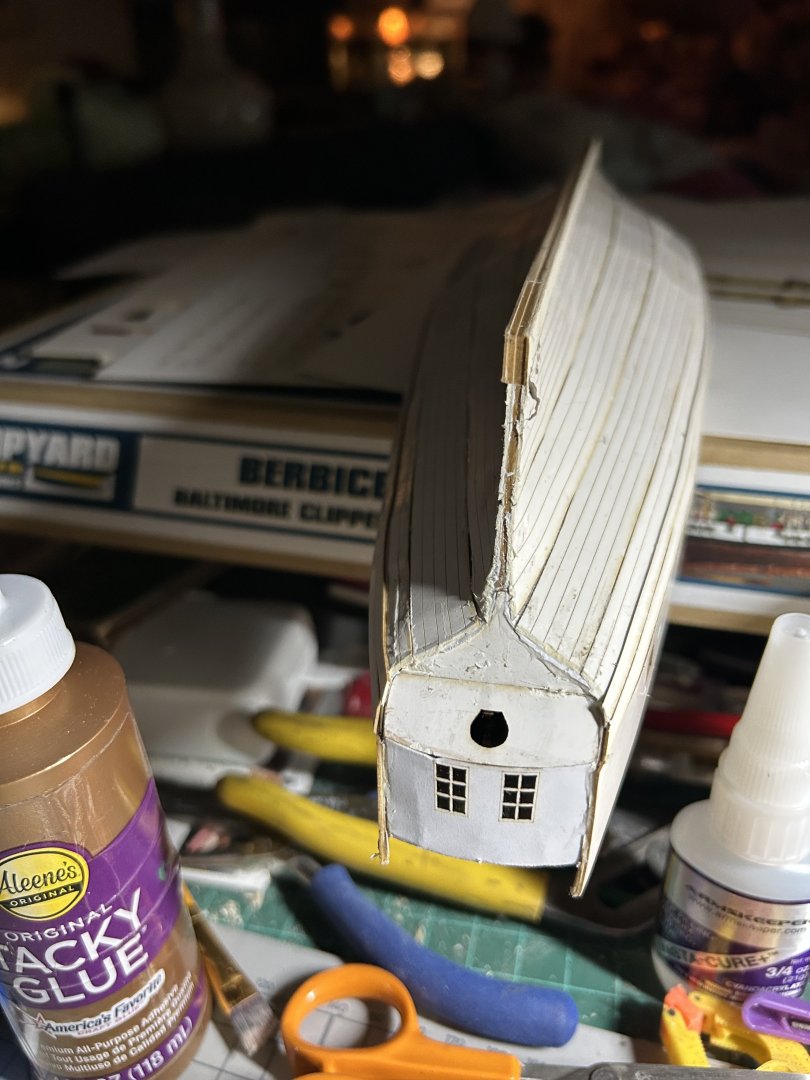
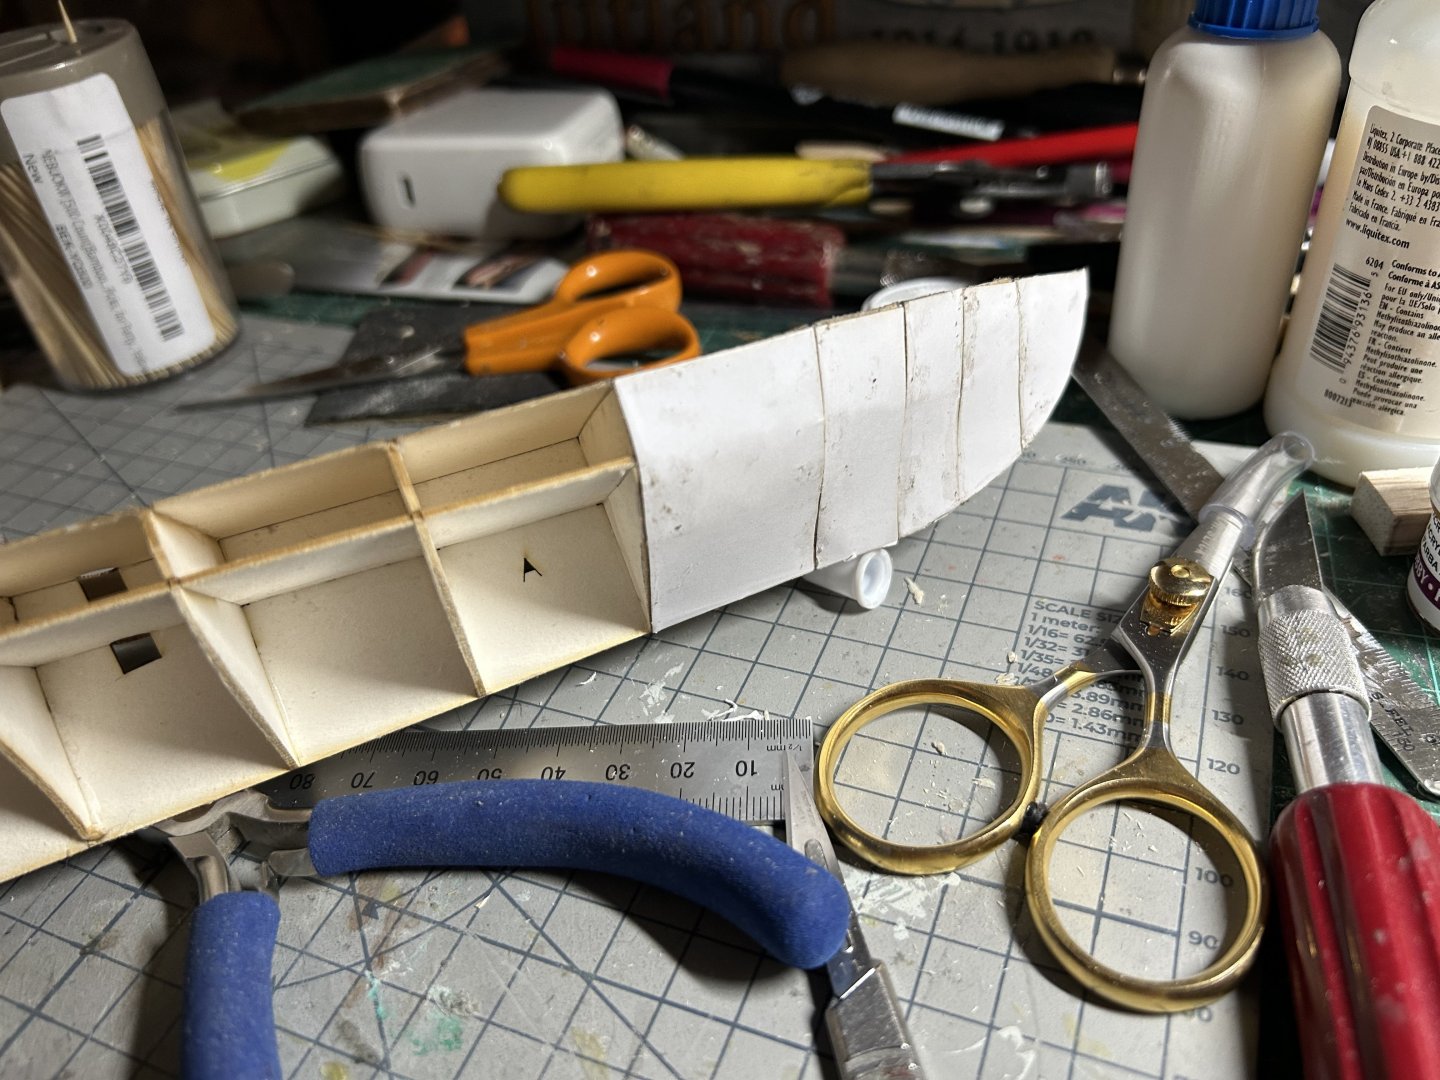
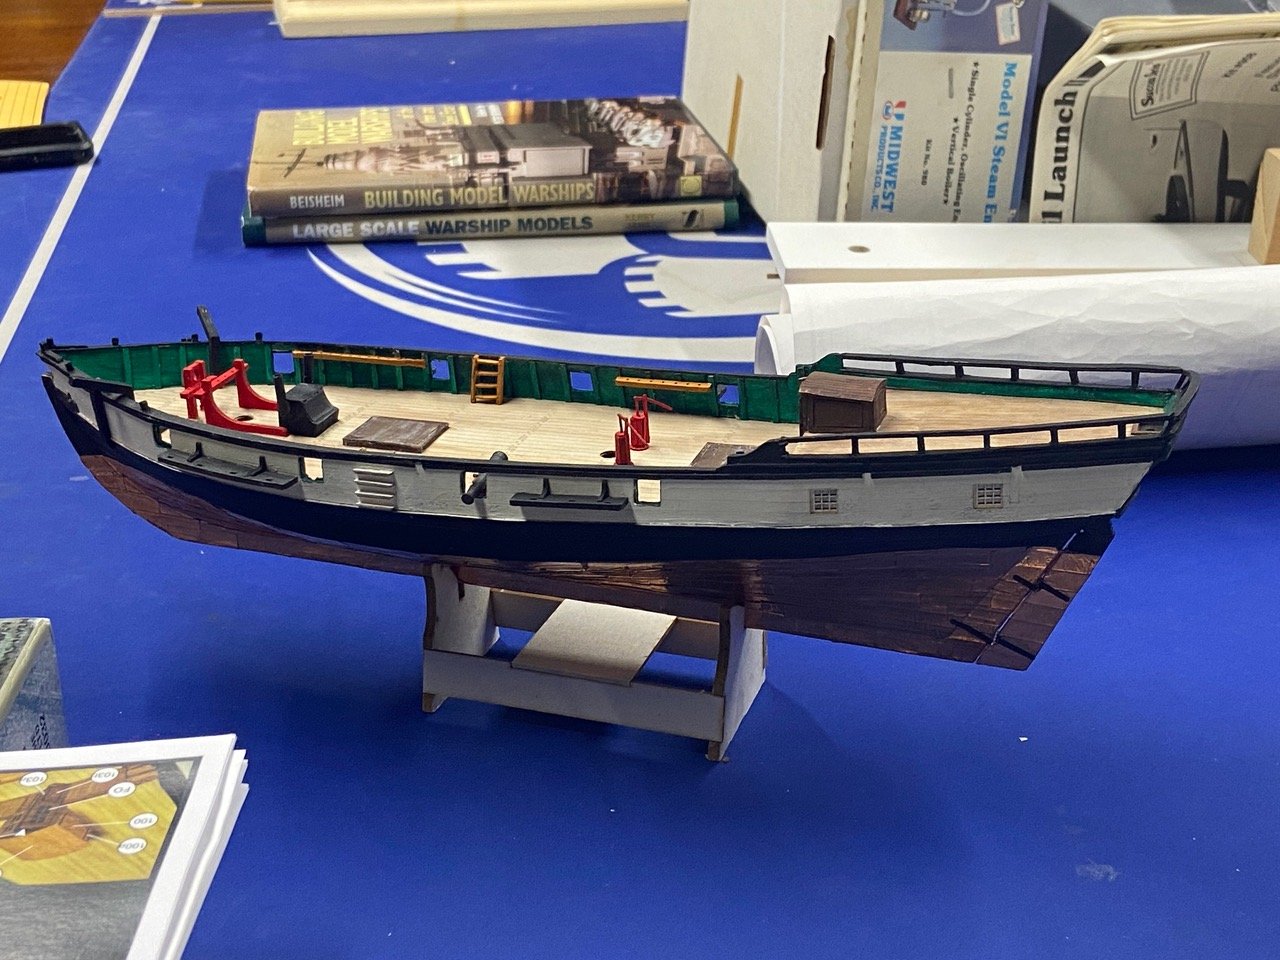
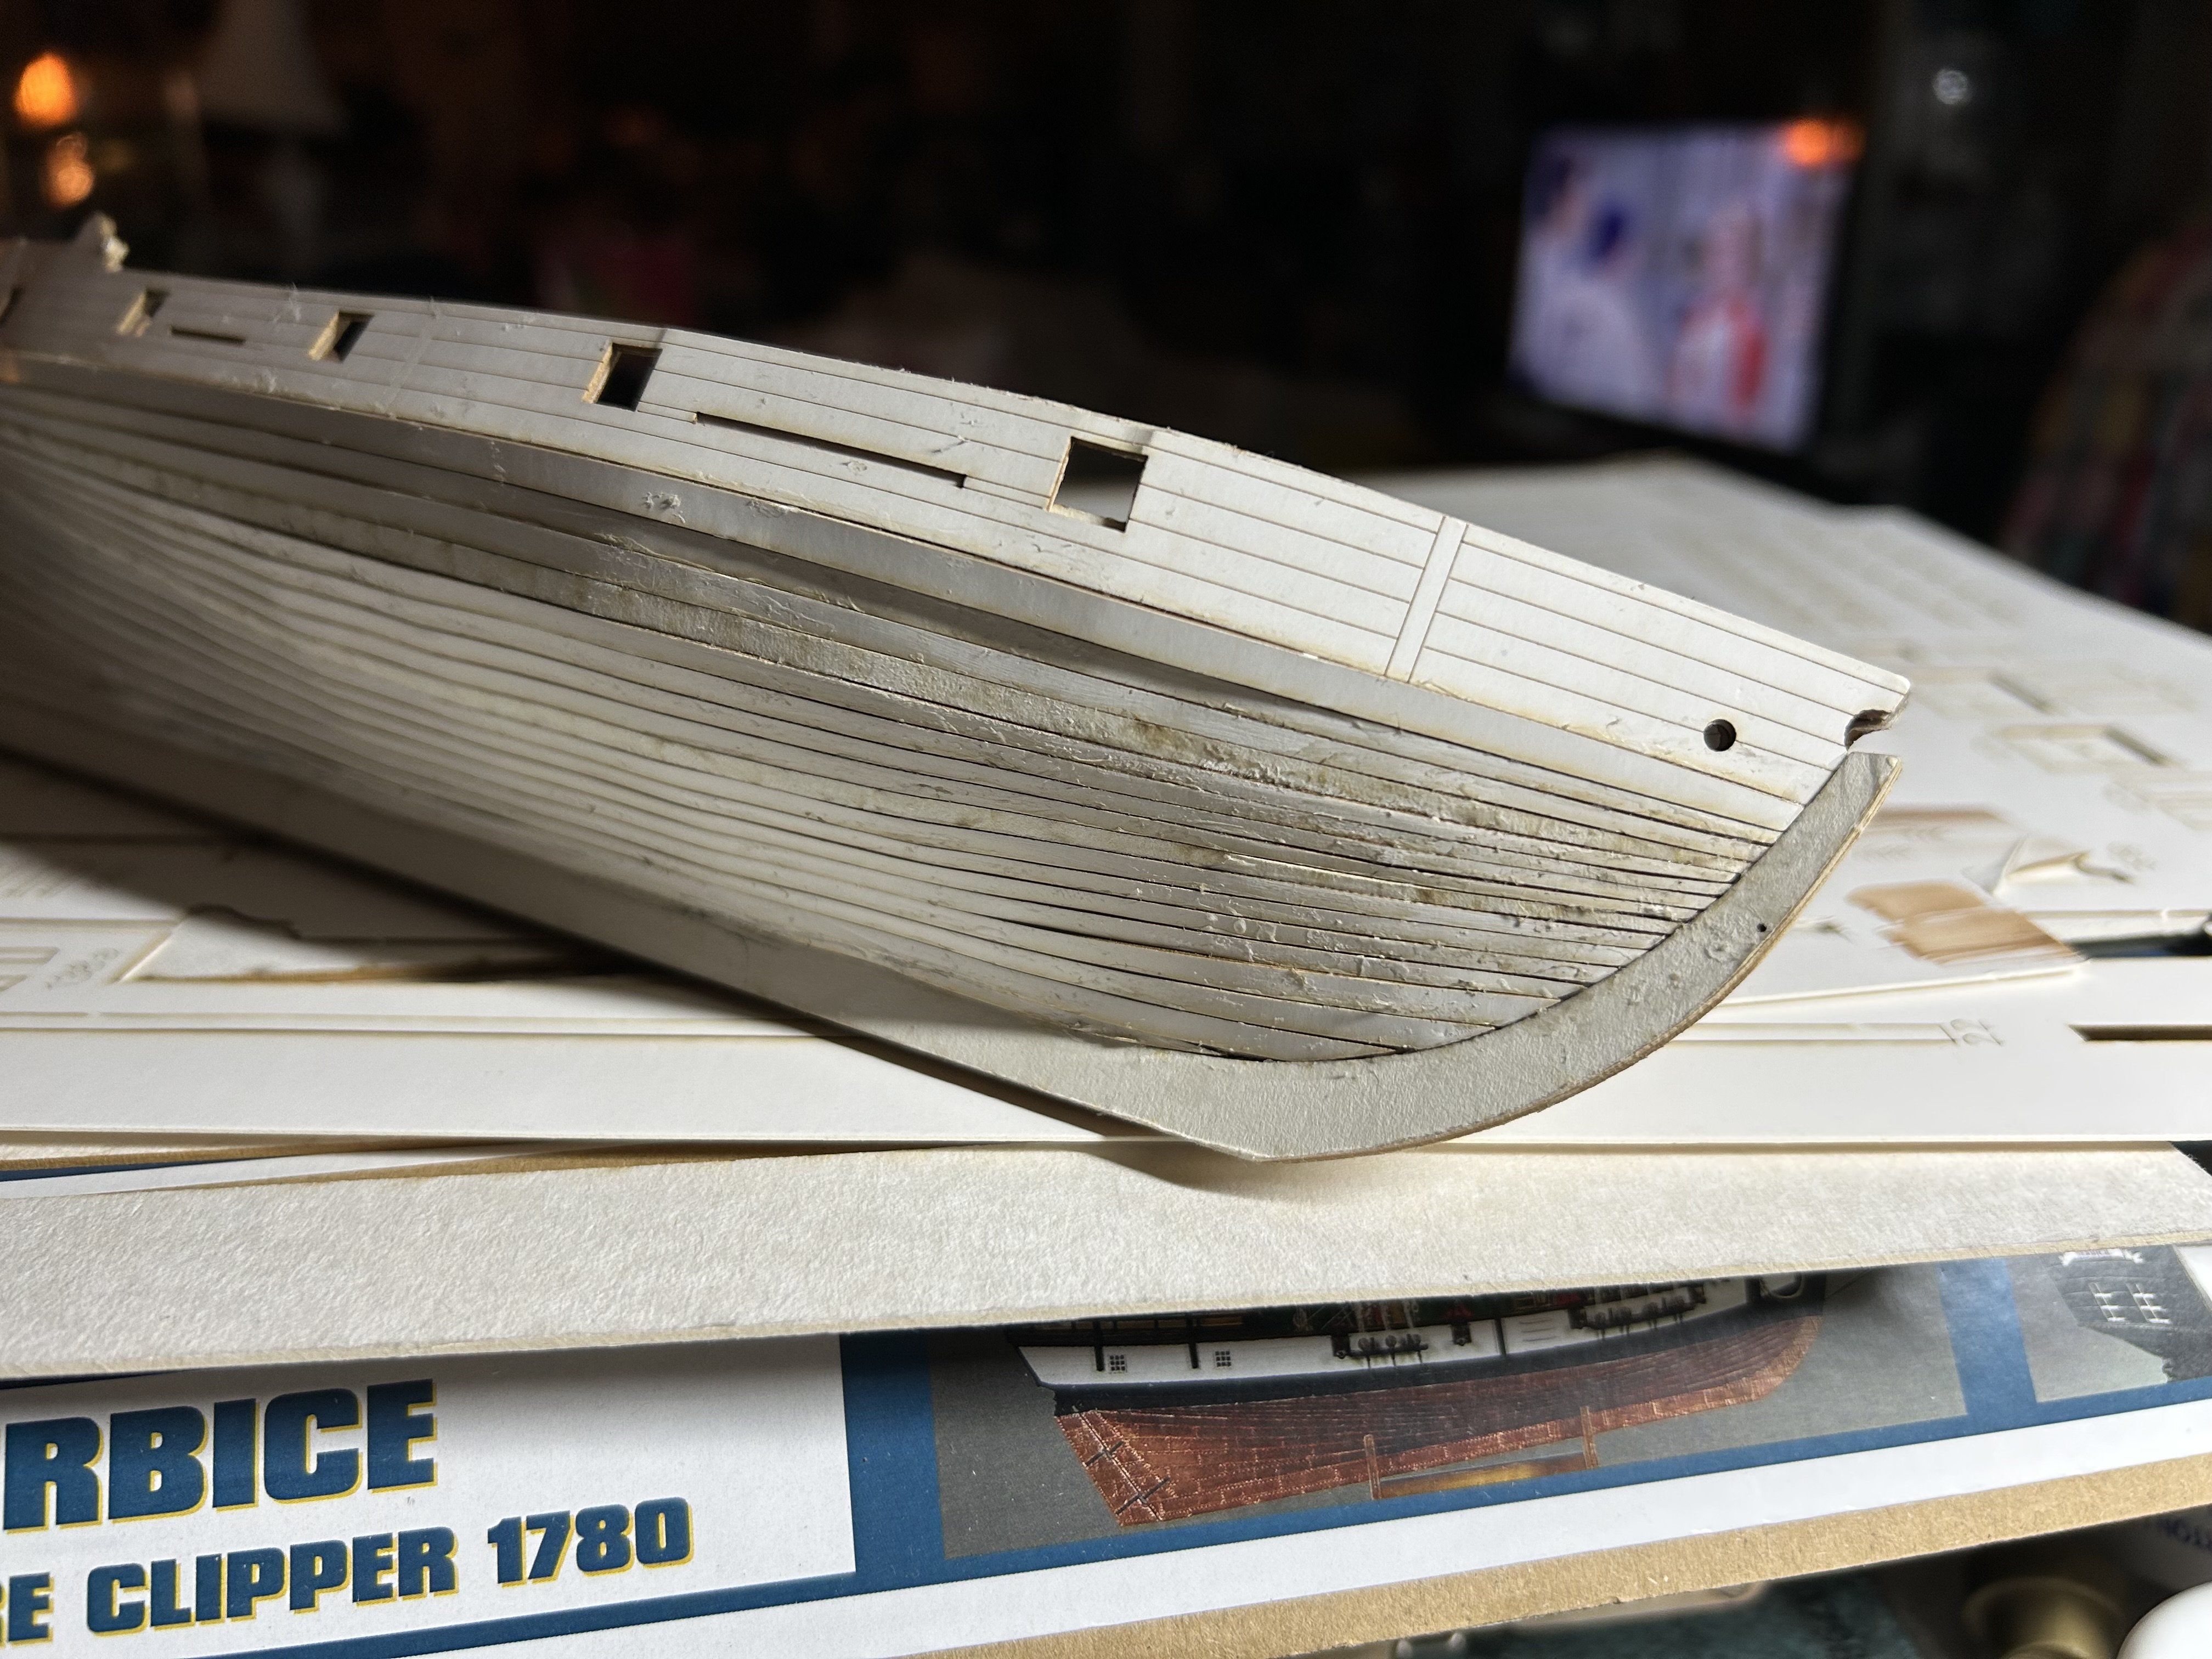
I thought I'd give paper ship models another whirl. Decided to go with a laser cut Shipyard model to make it a little easier. I purchased the Berbice 1780 Baltimore Clipper. The kit is great - great instructions - wonderful parts, resin cannons, paint and a couple of paint brushes. I made some pretty quick progress.
.thumb.jpg.911163fefac02a6c2f5bd00998d68a96.jpg)


.thumb.jpg.a5ea4ae58f1db6111830faf20665ab9e.jpg)
-
A couple of more progress photos.

-
A couple of more progress photos...


-
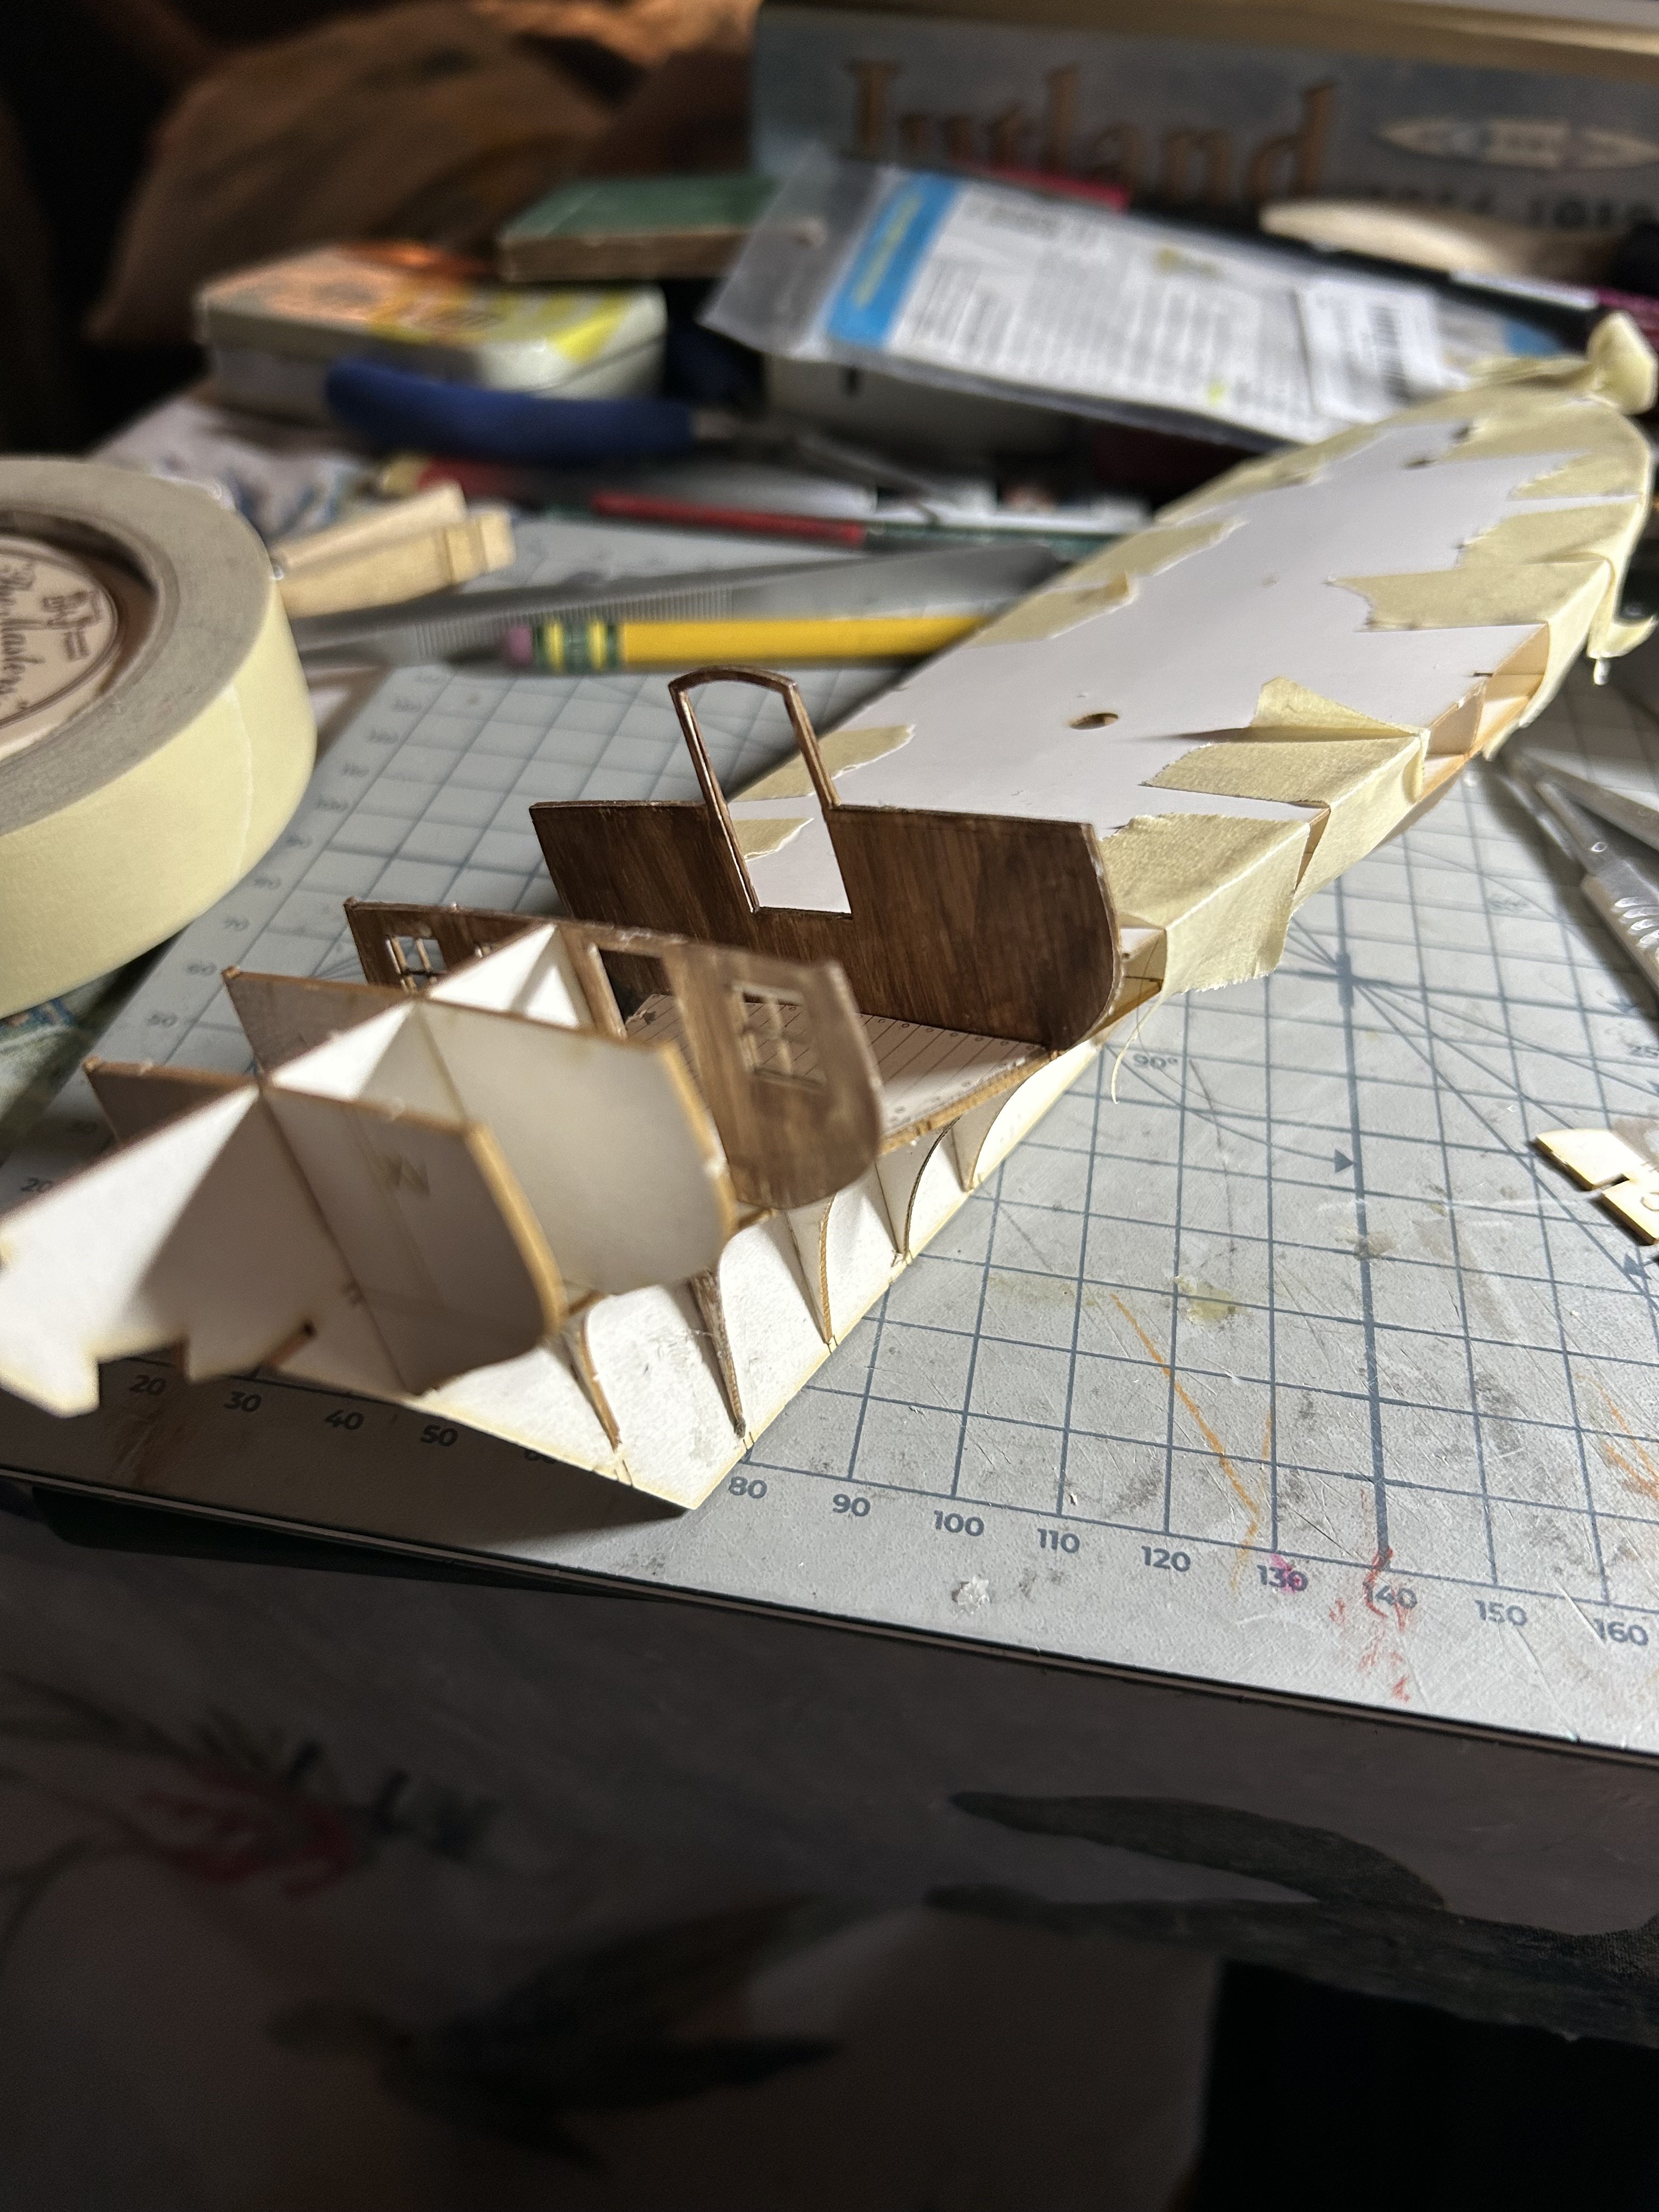
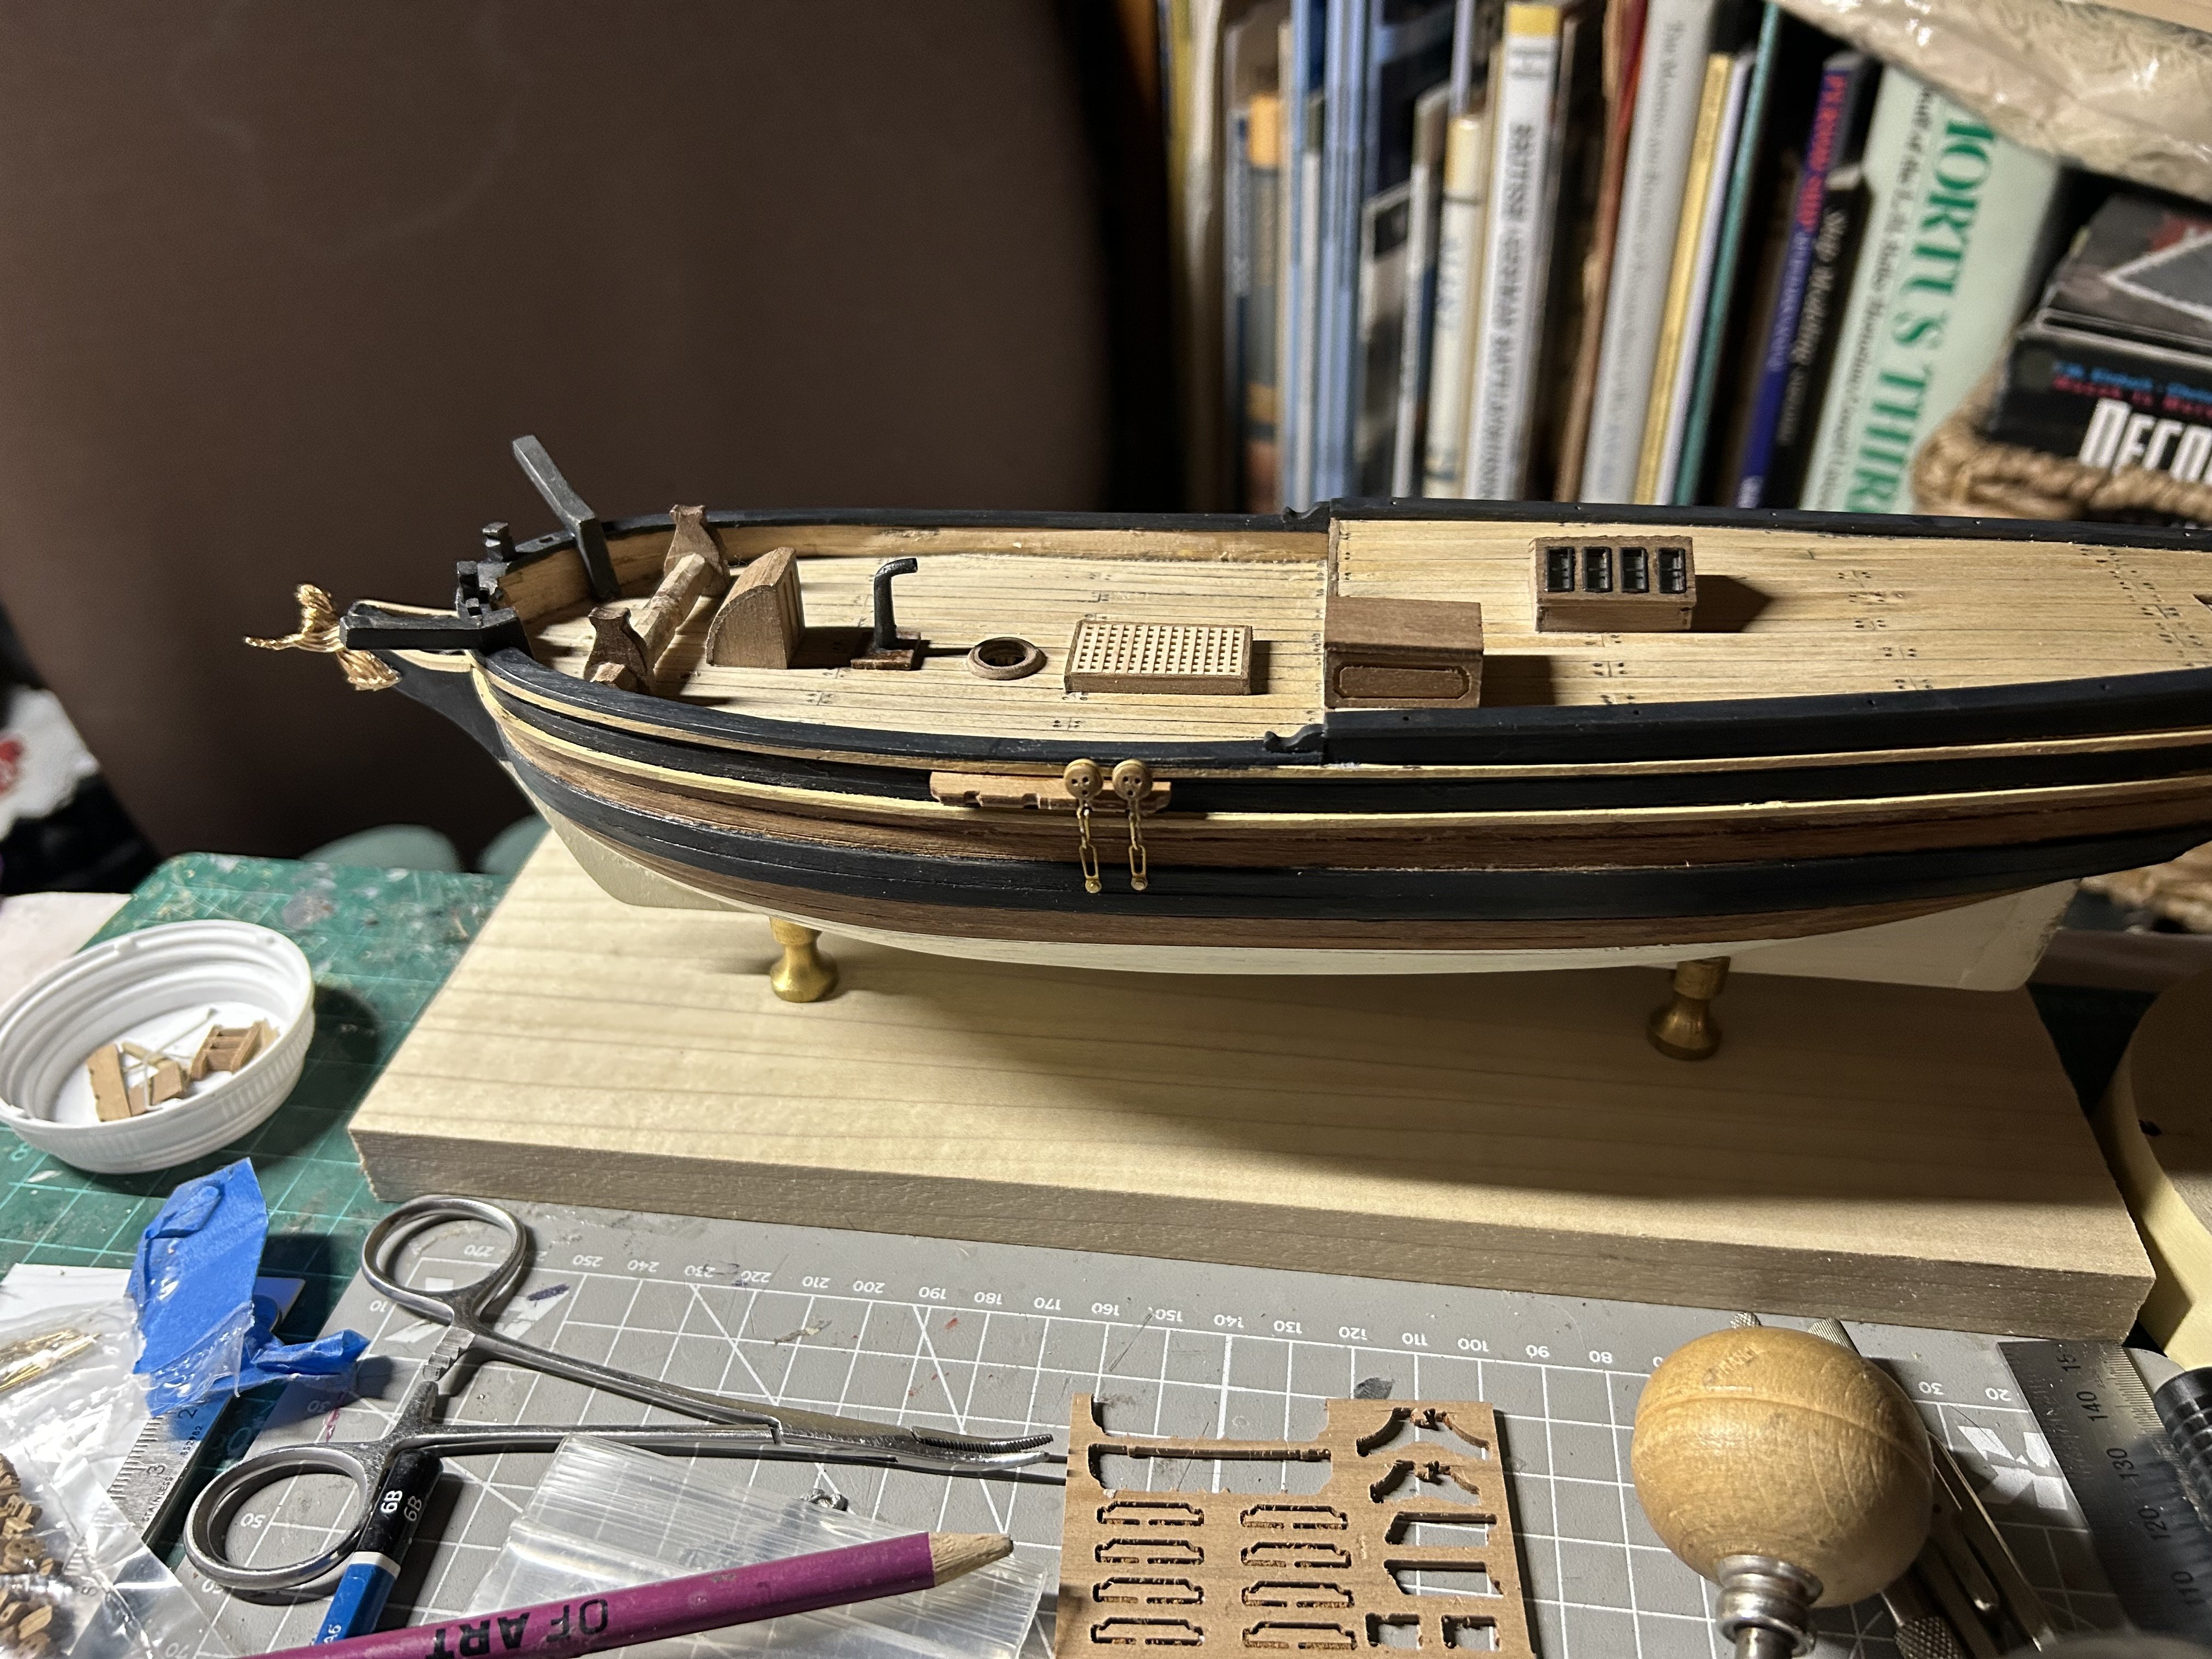
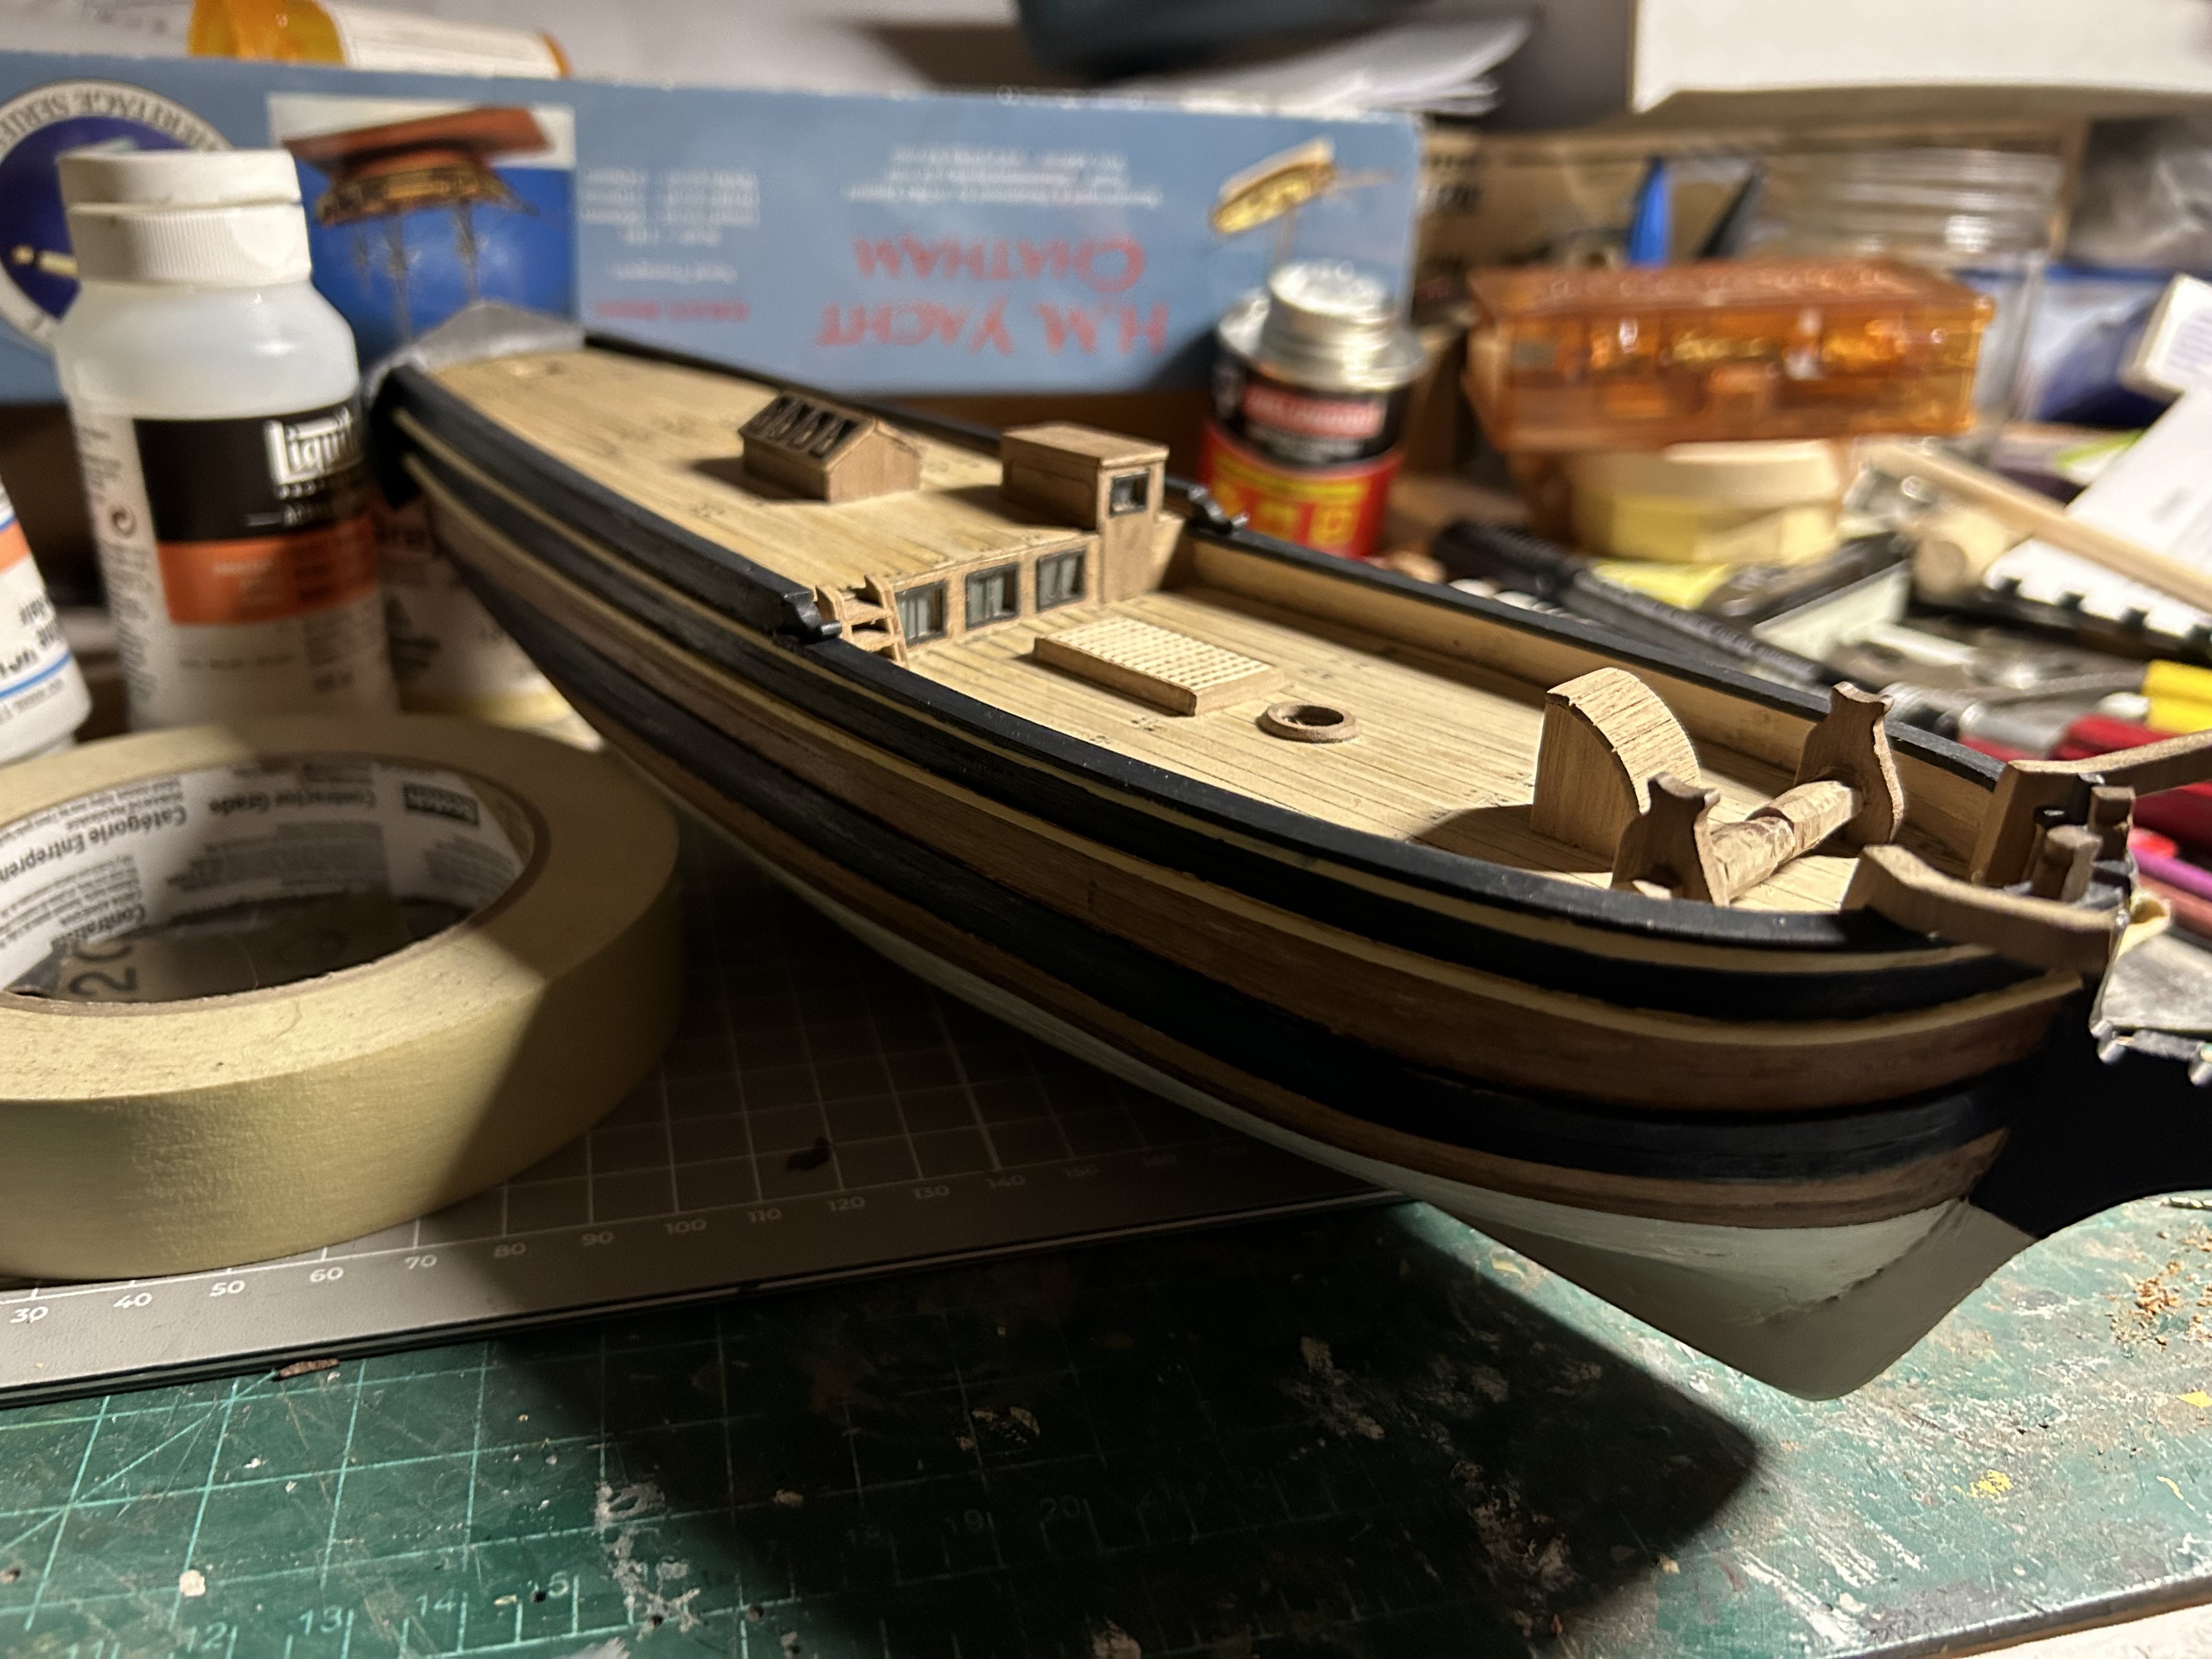
I have been neglecting making updates as I have made further progress on this model. Here are some recent photos. Have some more deck furniture add as well as the rudder before I start on the masts, bowspirit and other related details.

-
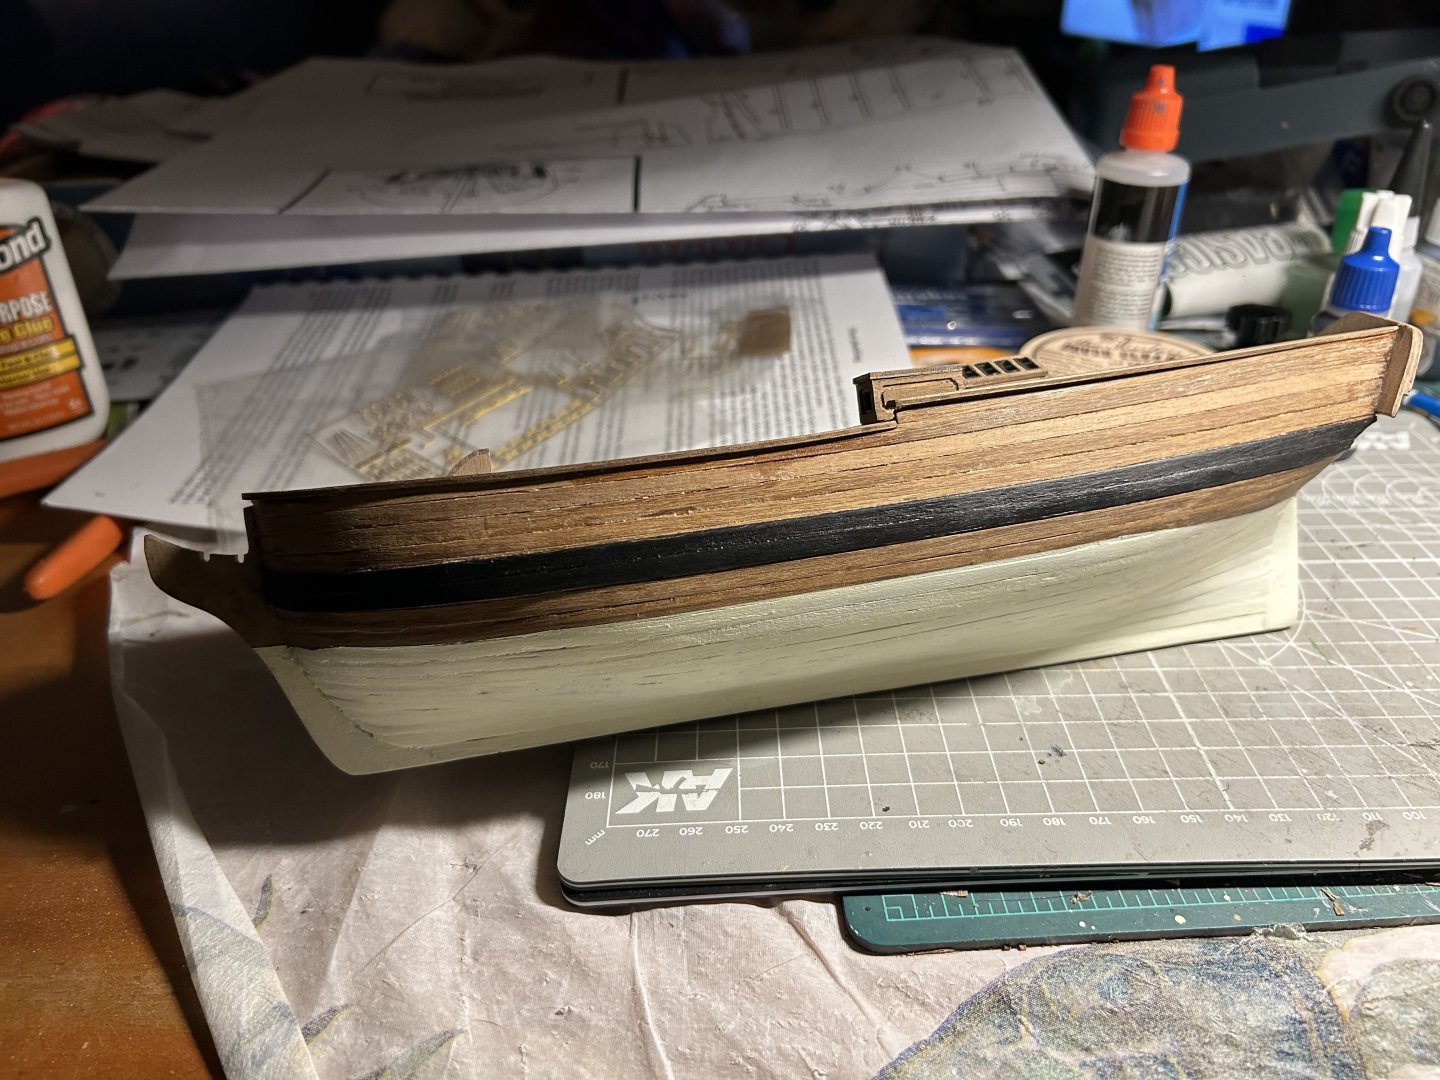
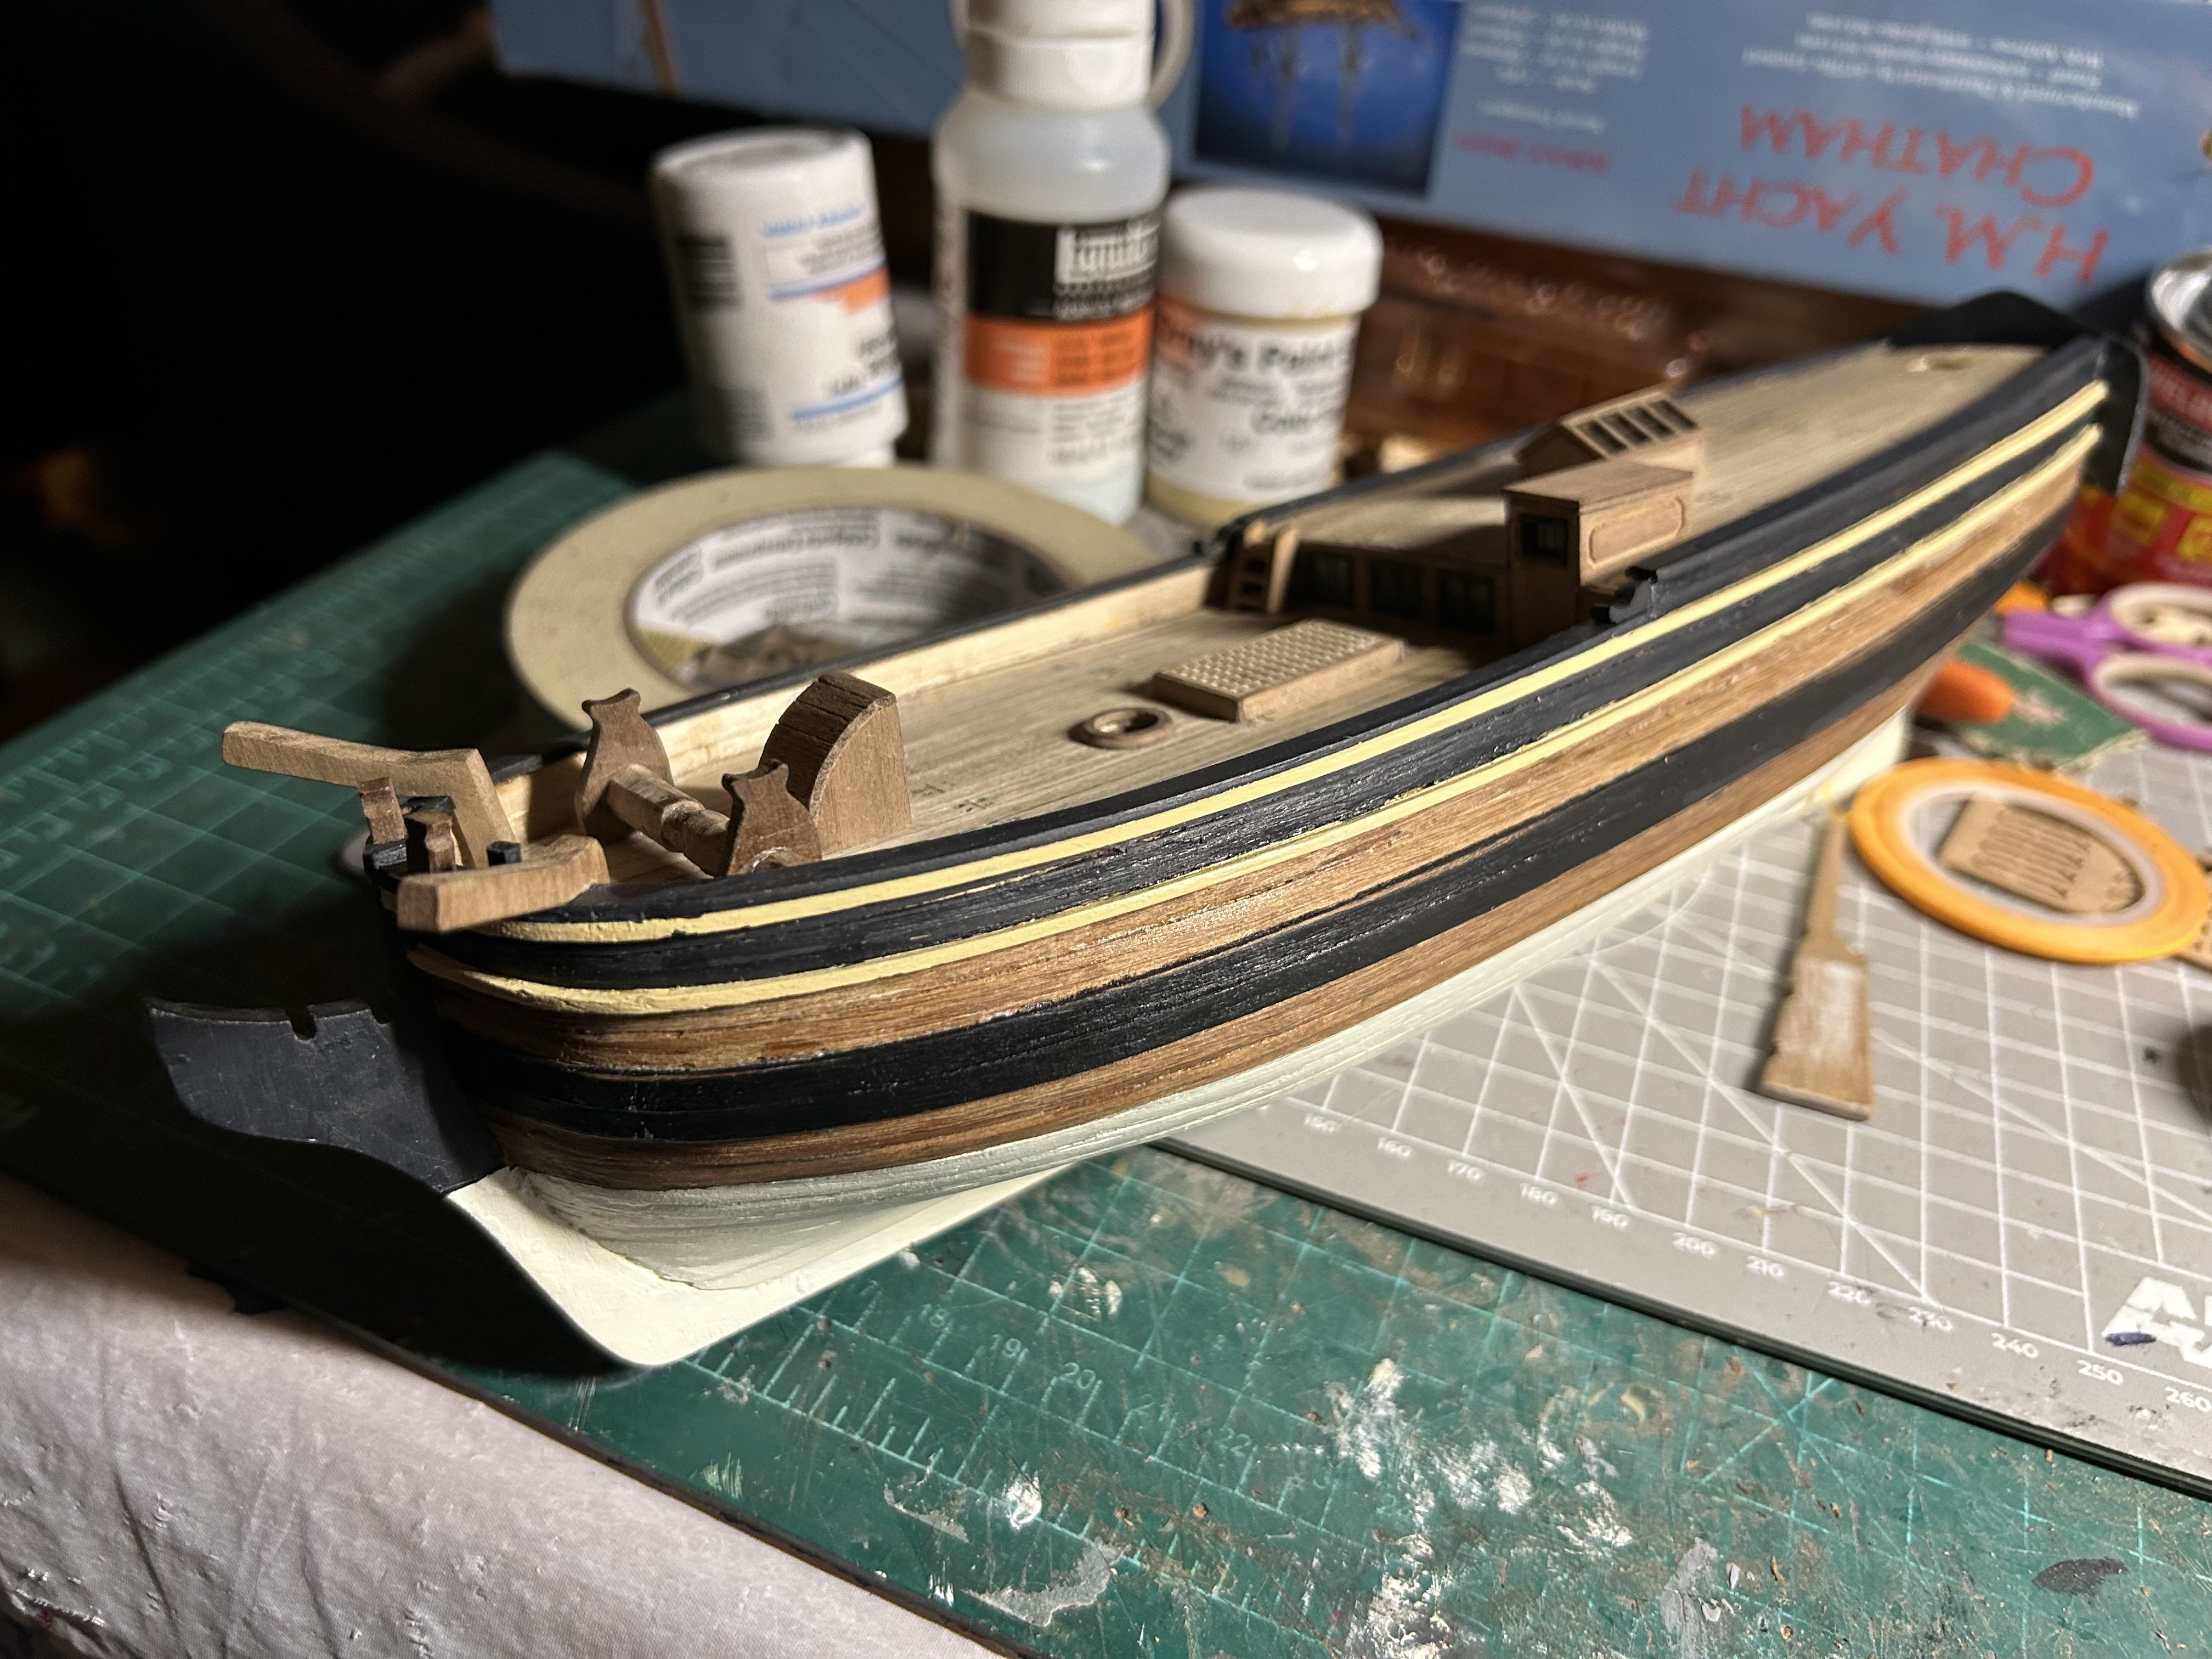
Progress continues. 2nd planking commences. Then the wale was installed.


-
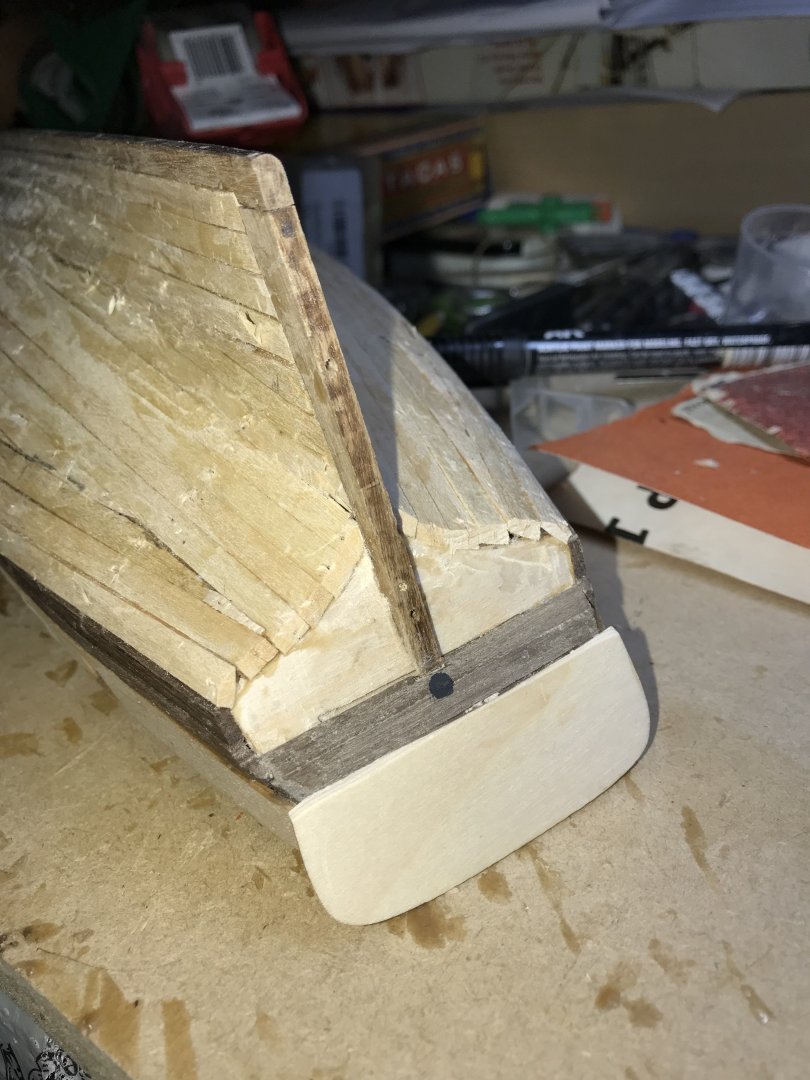
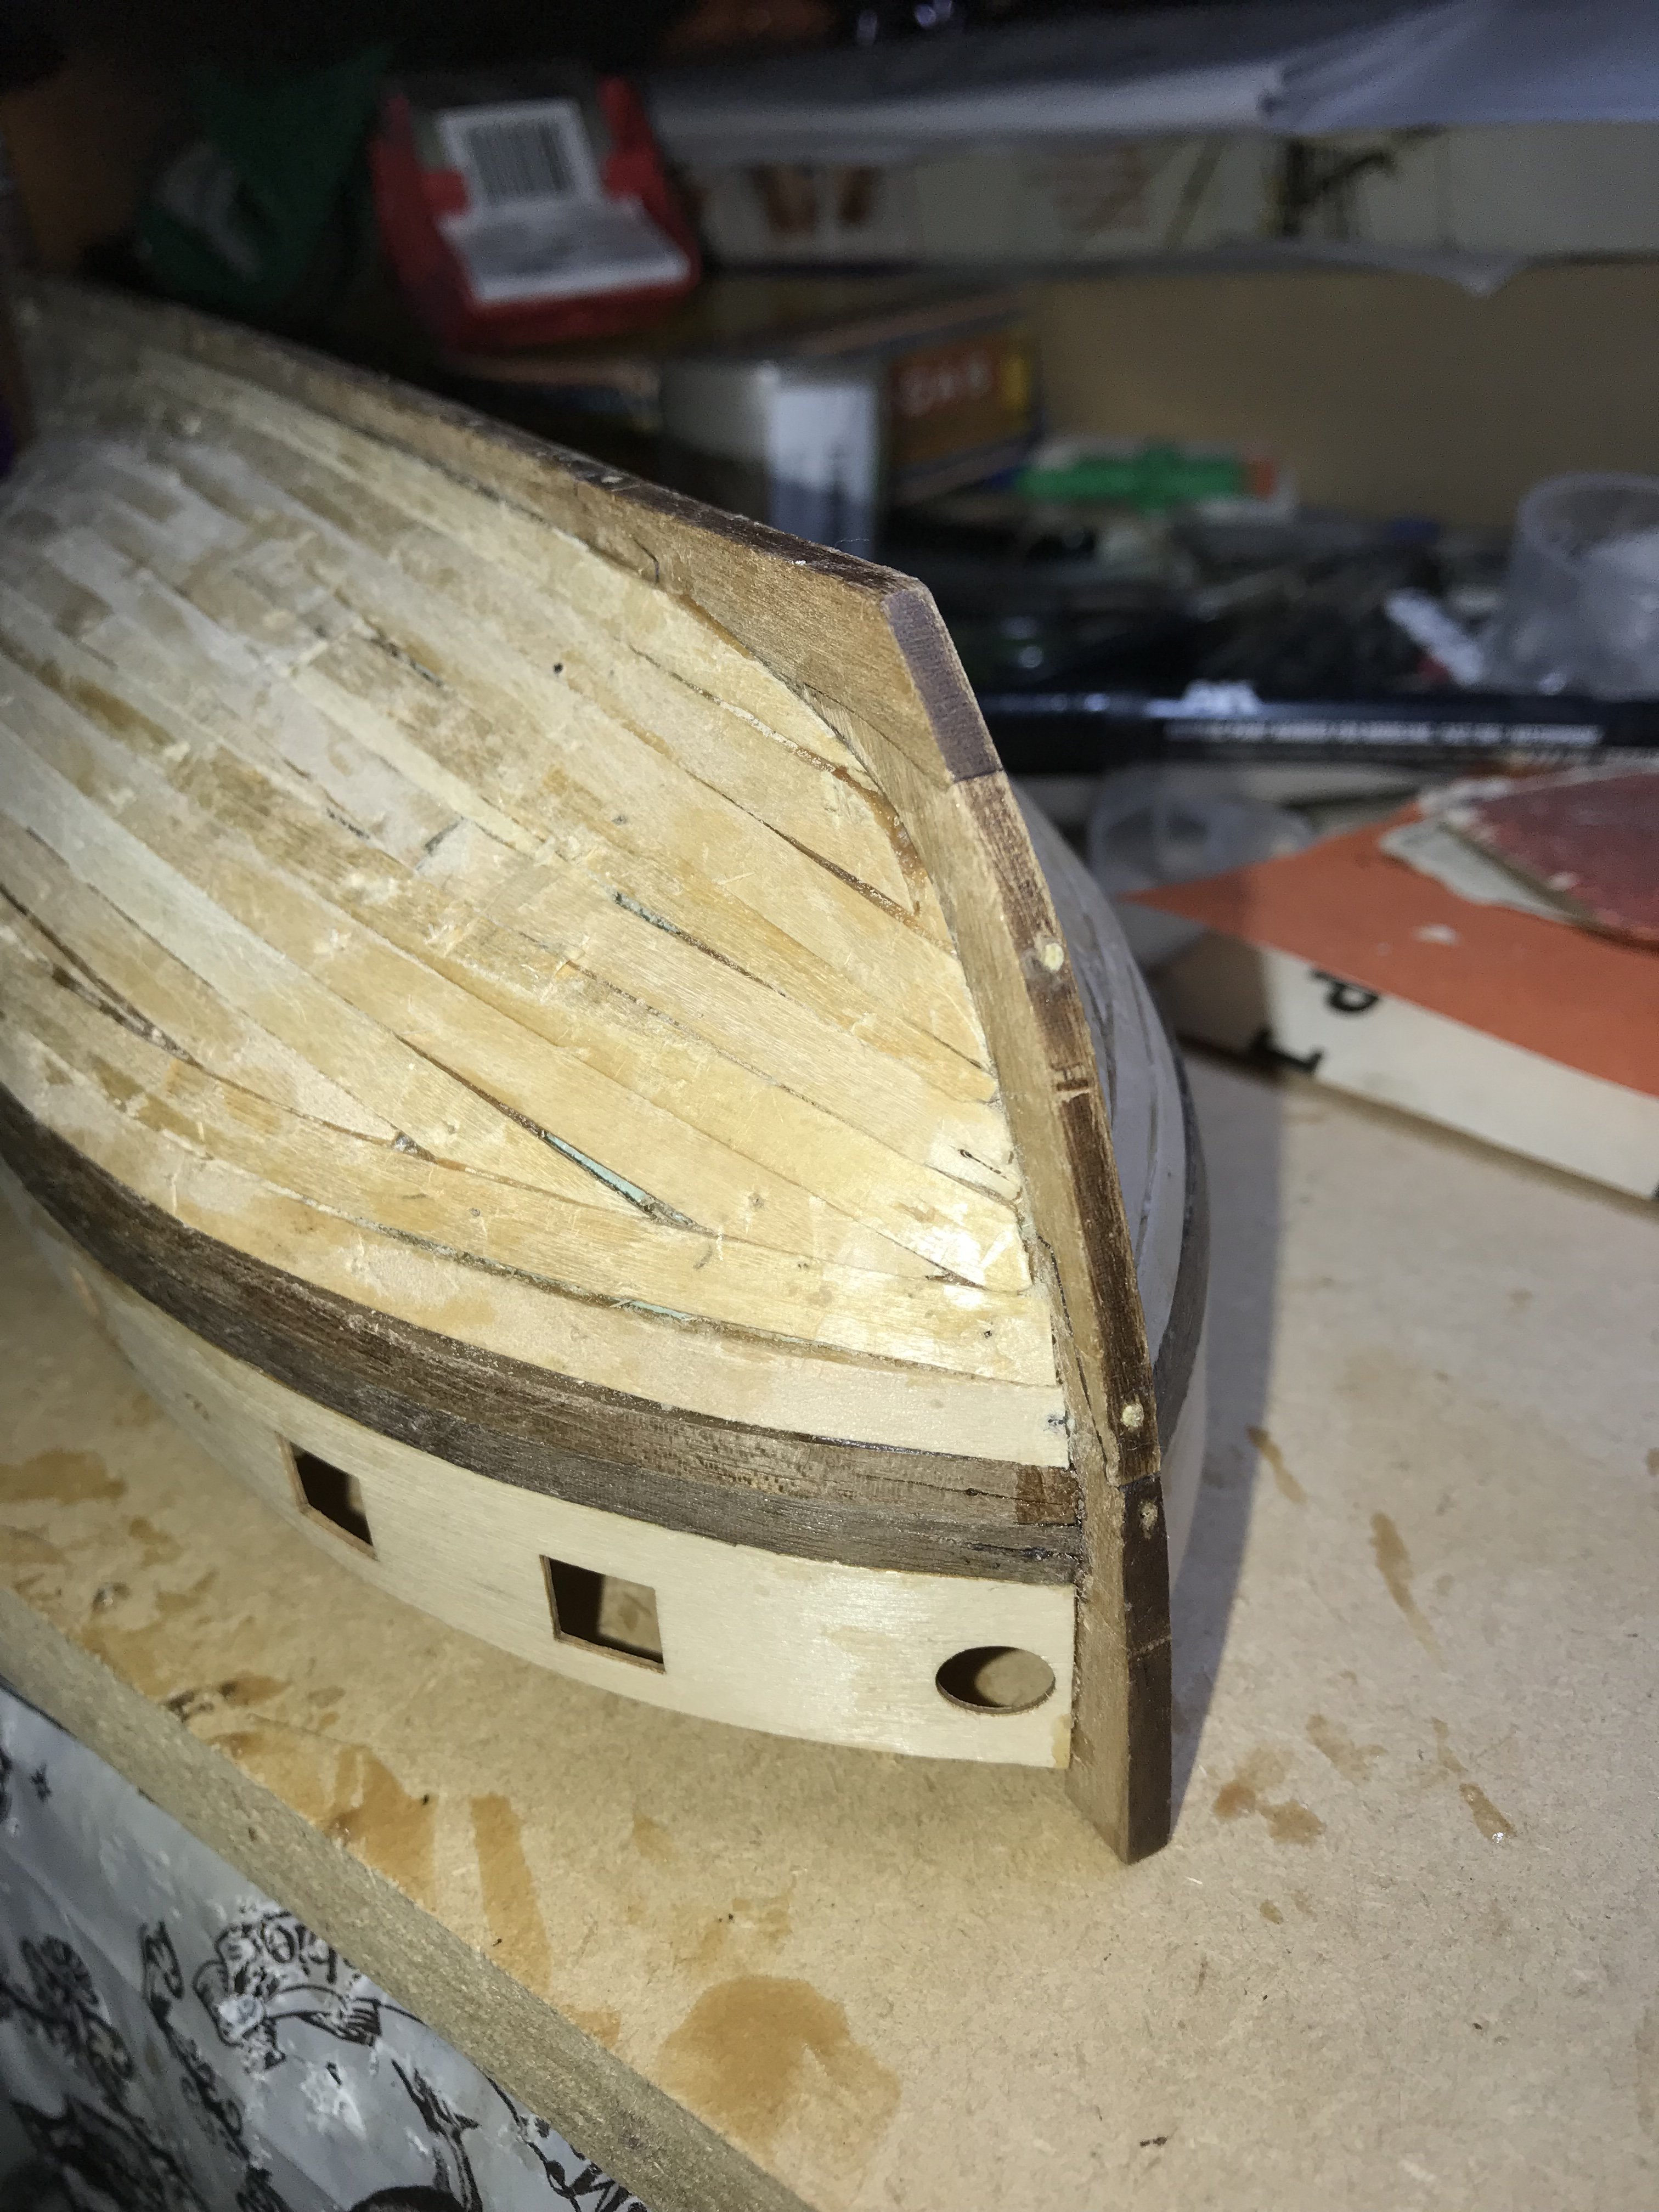
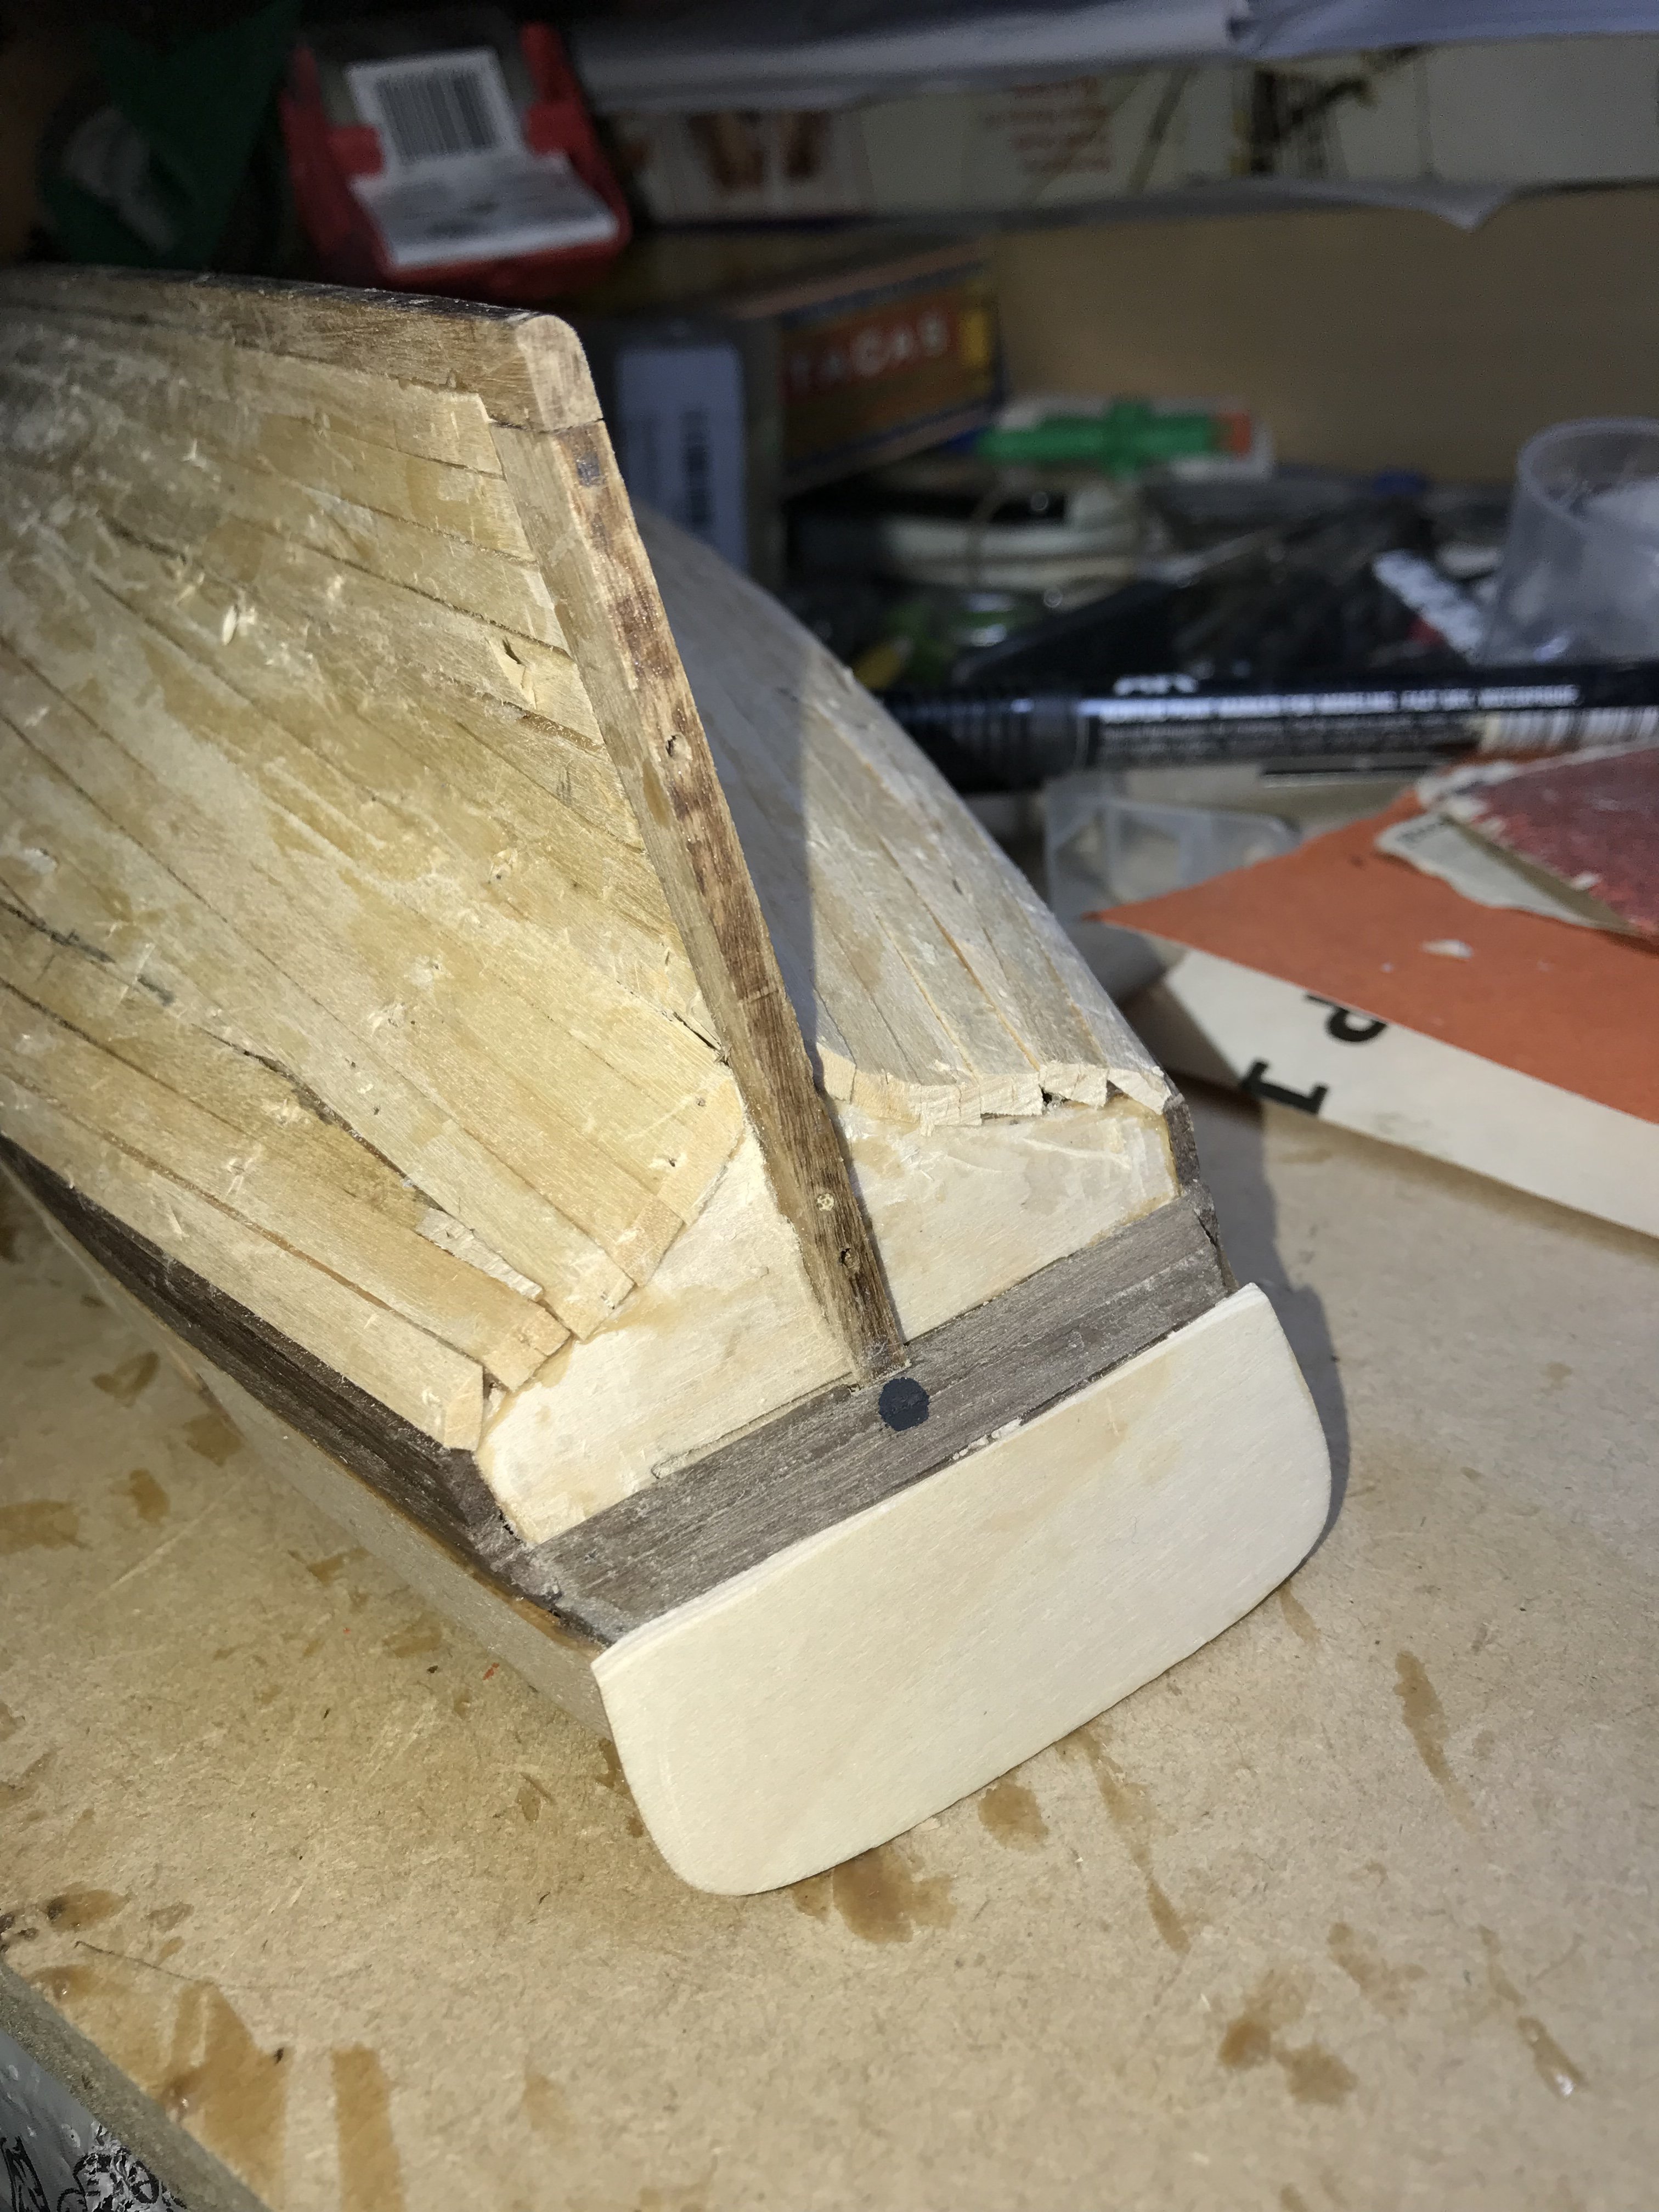
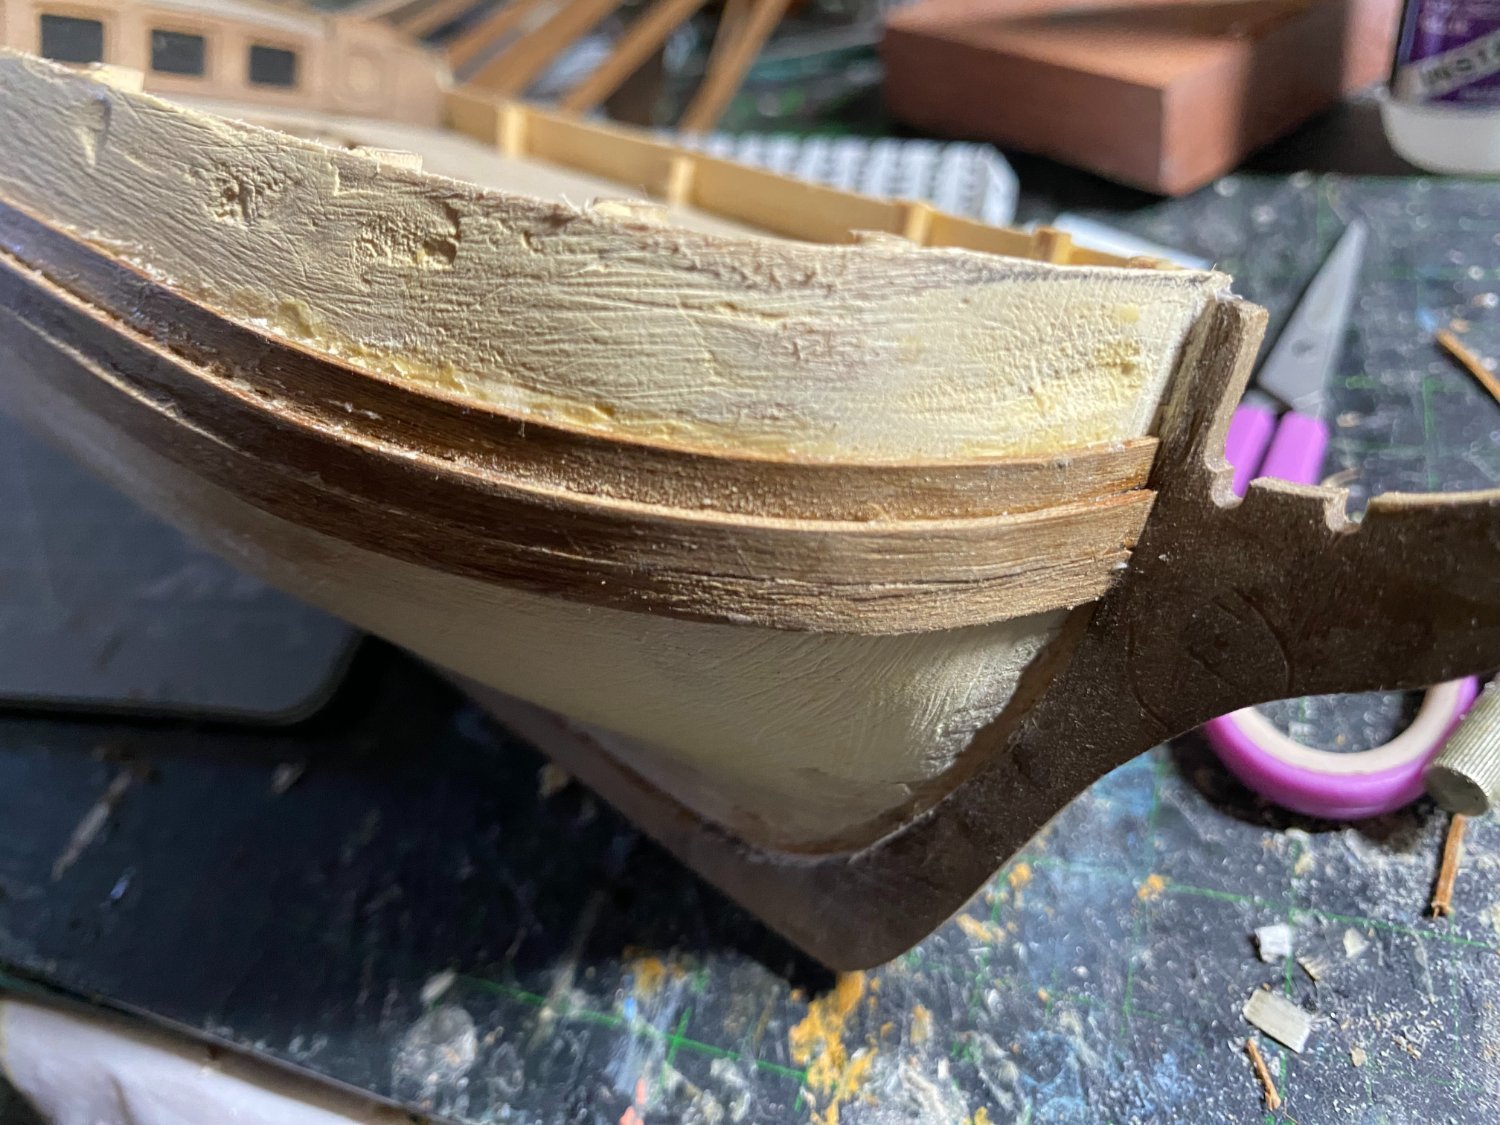
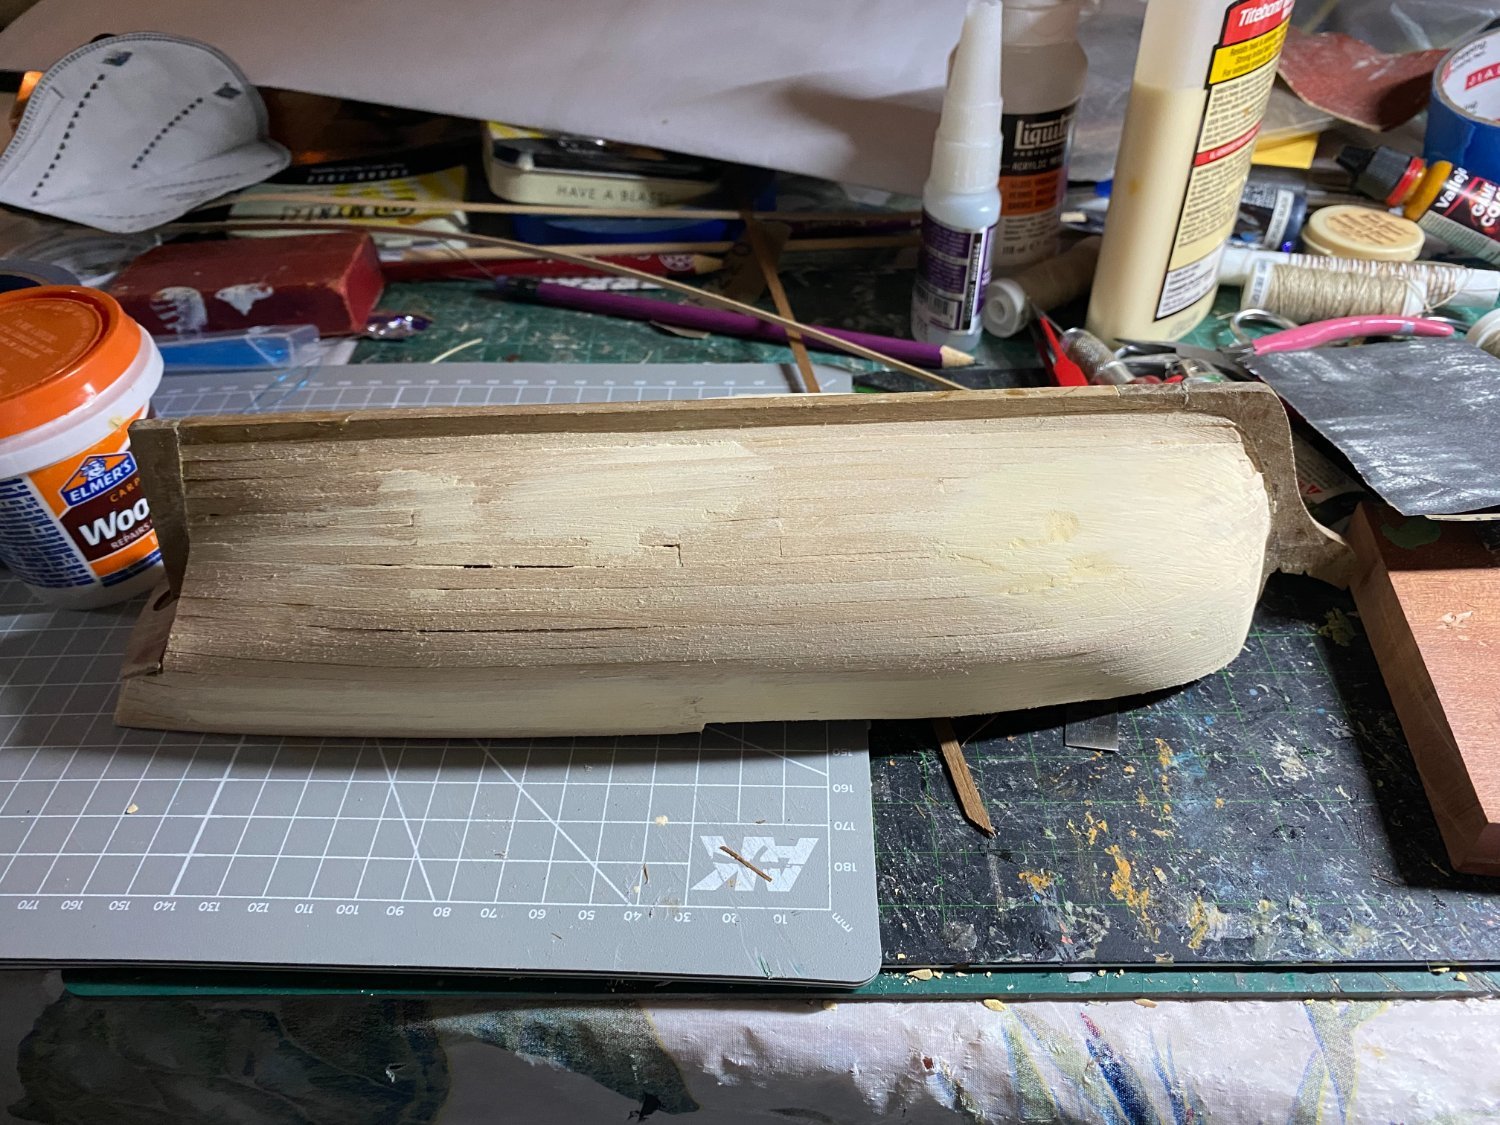
I finished the 1st layer of planking and then sanded the hull. I applied some wood filler and sanded it again. The instructions tell you to plank the bottom of the stern with walnut before starting the 2nd layer of planking.


-
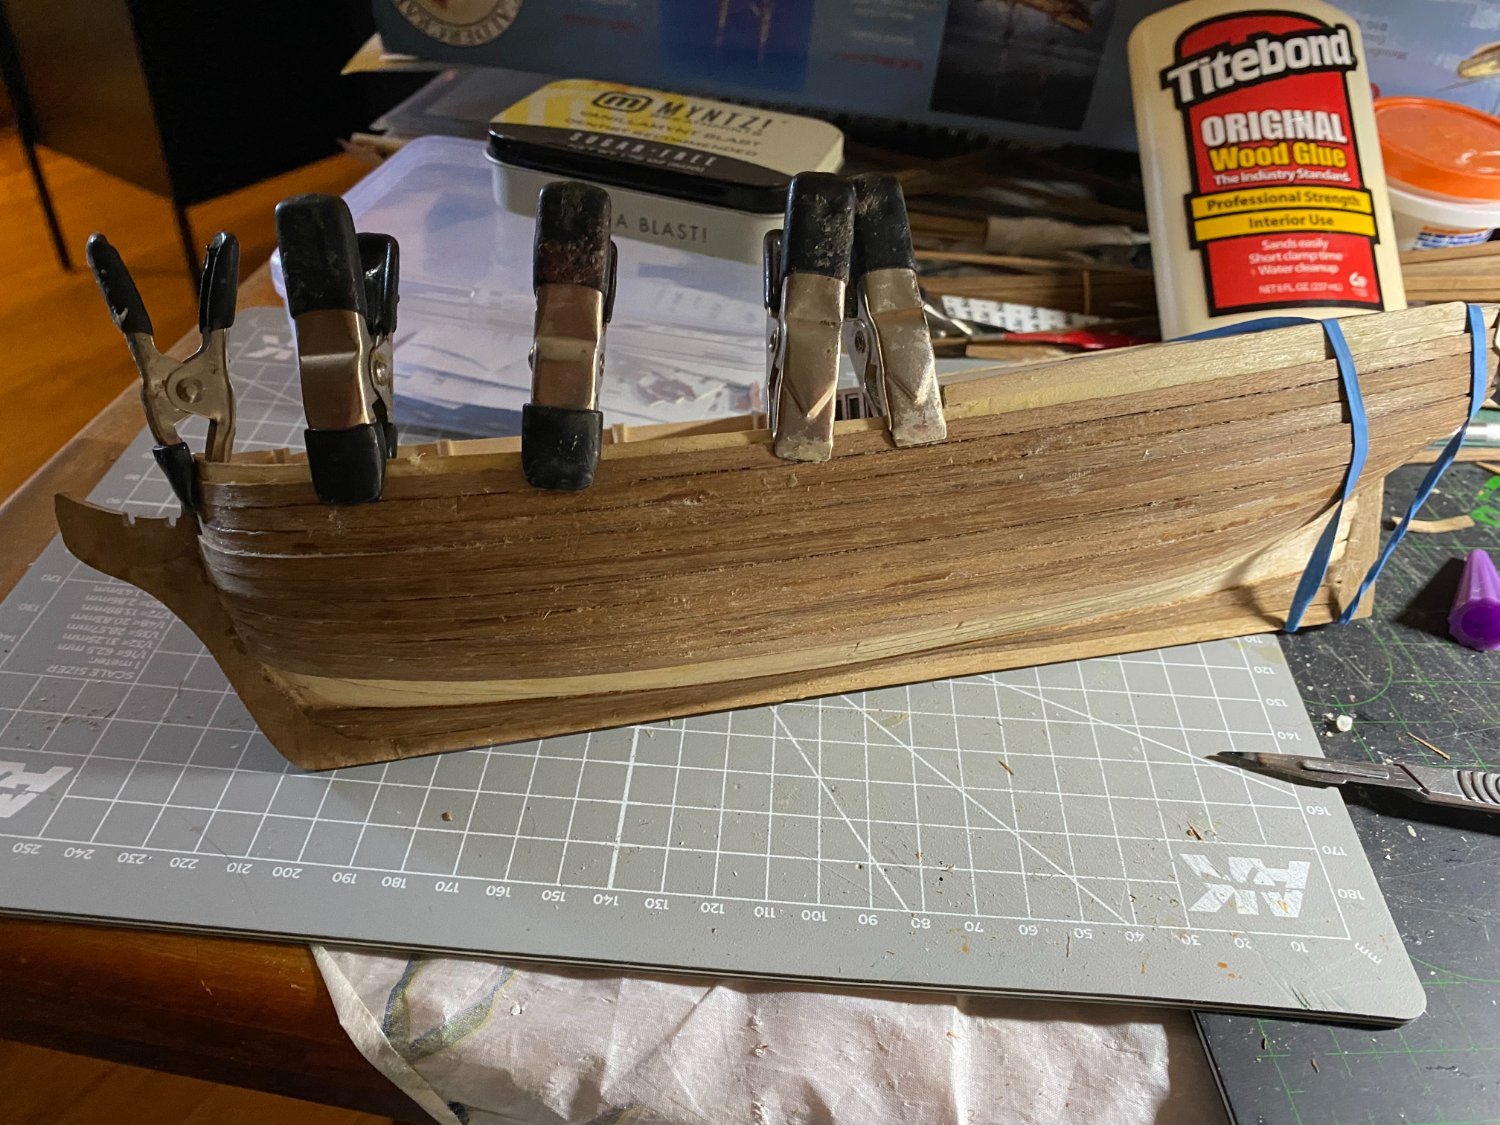
Hello I've been lurking on this website for a couple of years and building ship models to various levels of completion but thought it was actually time to build something to completion and post it on this website. The frame and bulkheads went together nicely and I am putting on my first layer of planking. I did some rabbet work and a bearding line down by the keel, stem, and post rather than following the kit instructions to the letter.
.thumb.jpg.55ac79dffeb13acd497f61ce627ceaa3.jpg)


.jpg.b634b00138e322253b8f06fcc6113847.jpg)

.jpg.ab5ba09bd1a5f49fa09831956679fc3b.jpg)
.jpg.611672e3b63dc6f008de328c8e03647c.jpg)
.jpg.b37a8ab5bd38ff8d759da02c264238ac.jpg)

.jpg.77d45621469369004af83634f34d13f0.jpg)


.jpg.3f33a3832fe86098cc2607a1125df395.jpg)


.jpg.123a6ec8182b77e9f1b75da52933f599.jpg)