HOLIDAY DONATION DRIVE - SUPPORT MSW - DO YOUR PART TO KEEP THIS GREAT FORUM GOING! (Only 20 donations so far - C'mon guys!)
×

tararasik
-
Posts
61 -
Joined
-
Last visited
Content Type
Profiles
Forums
Gallery
Events
Everything posted by tararasik
-
 This thing almost killed me but made me stronger. I'm pretty happy with the result, but I guess I reached my limit )) Guys who scratch build ships, seriously how do you do it? I think it's out of my league.
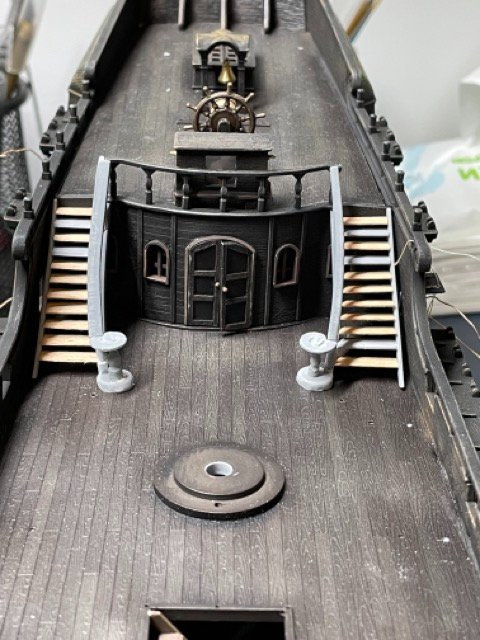
-
Thanks for the support, it inspires me ))
-
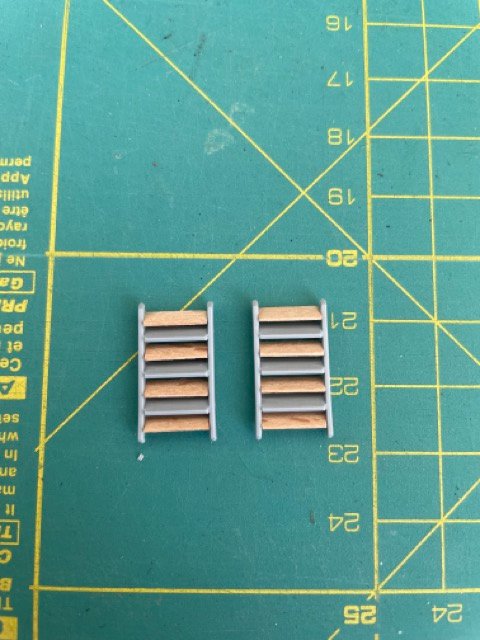
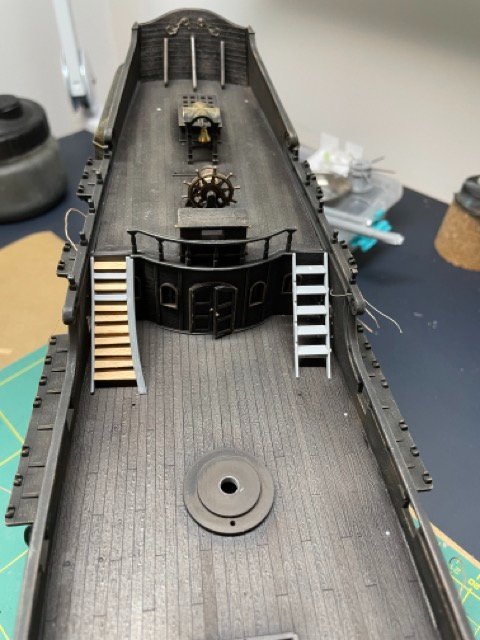
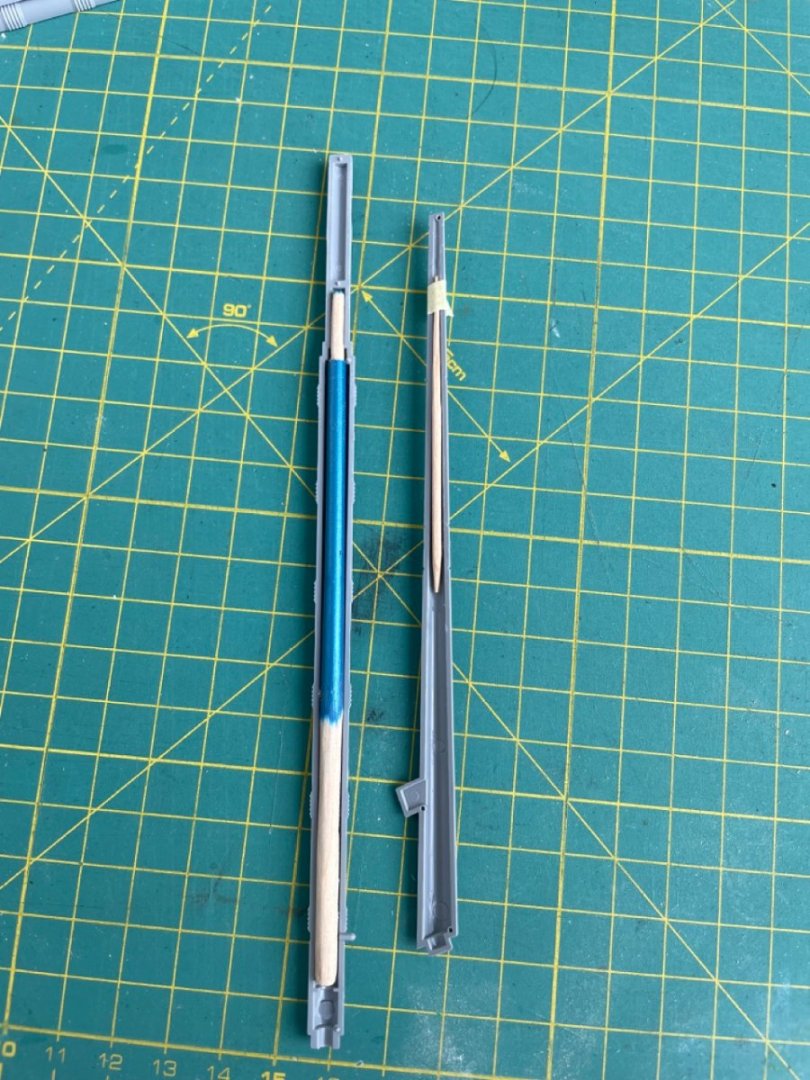
I took a rest from the guns and decided to improve the stairs. Added additional steps and those that goes to quarterdeck want to change to look more like in the movie. But I stuck with railing, can't decide how to do it.
-
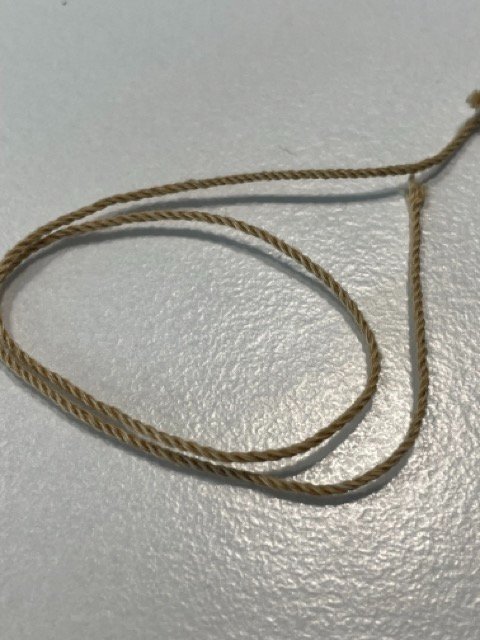
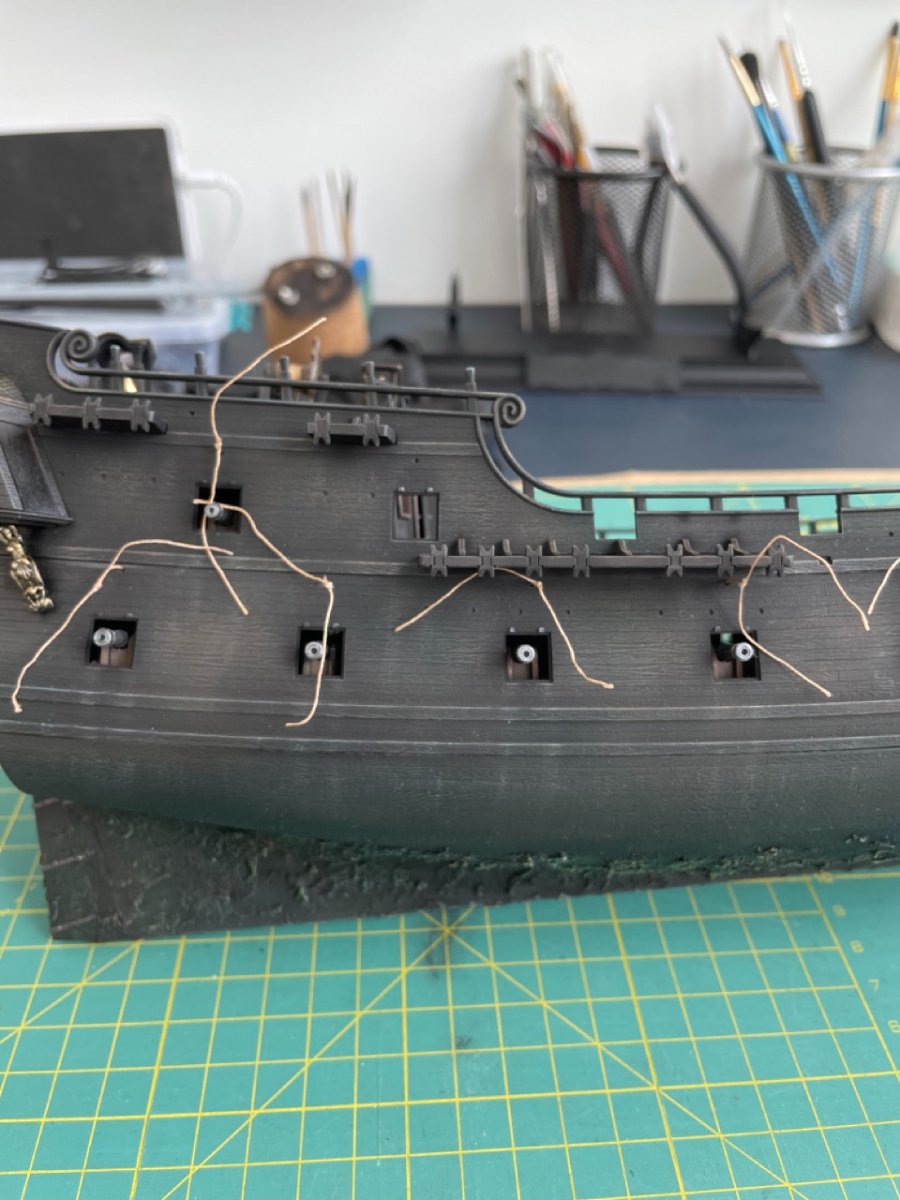
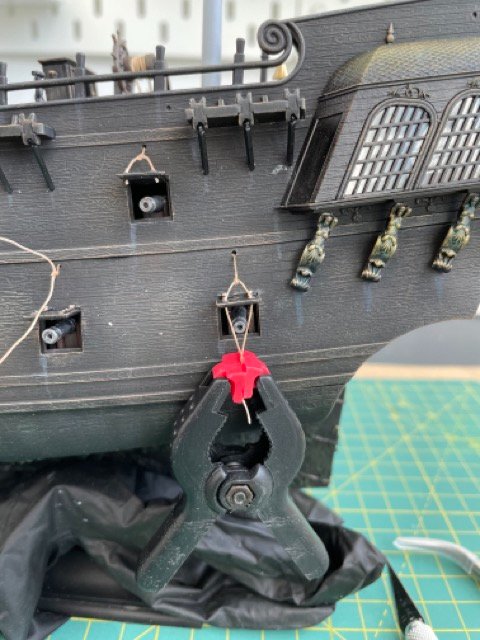
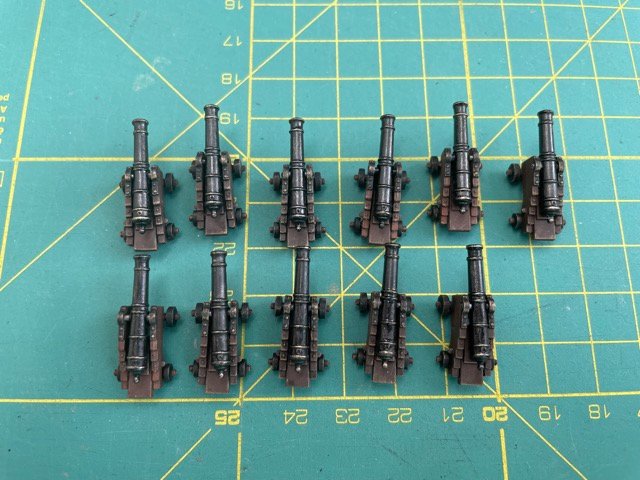
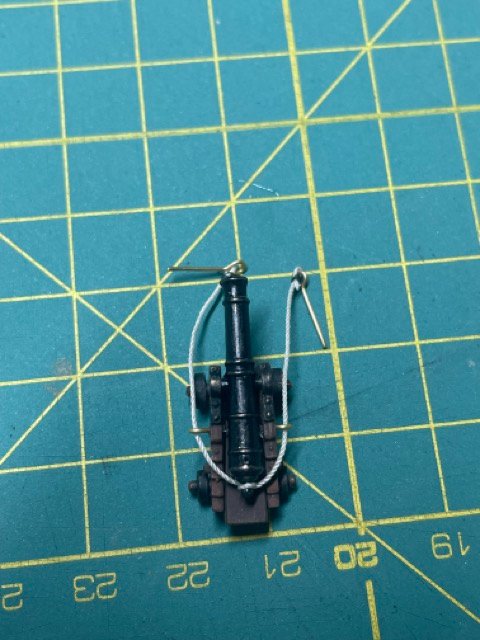
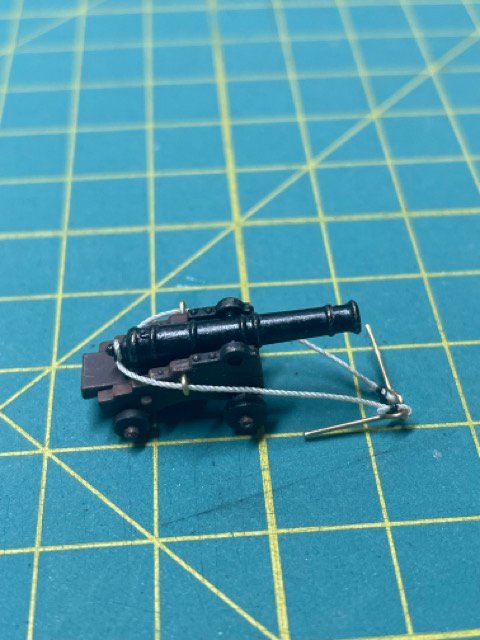
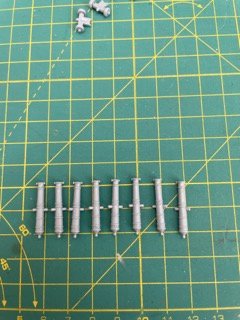
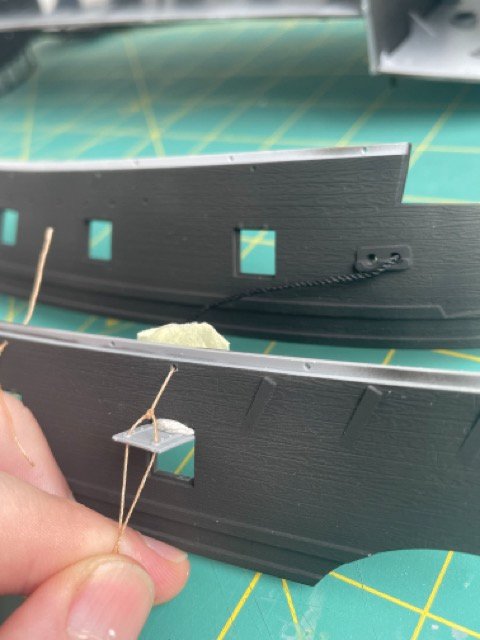
A bit of a progress. Painted gun ports and started to install. Then I remembered that I can make a proper rope and tried to install one. What do you think, is it much better to replace all the port ropes? Left is "proper" rope, right is from the kit. Painted all guns into black Made a jig for breeching and installed one on the gun. Now the hard part, I tried to install first gun on the deck and it's soooo hard. The place is in the corner near the captain cabin so it's very inconvenient, but still I was very frustrated. So I left it on the half way and will continue tomorrow.
-
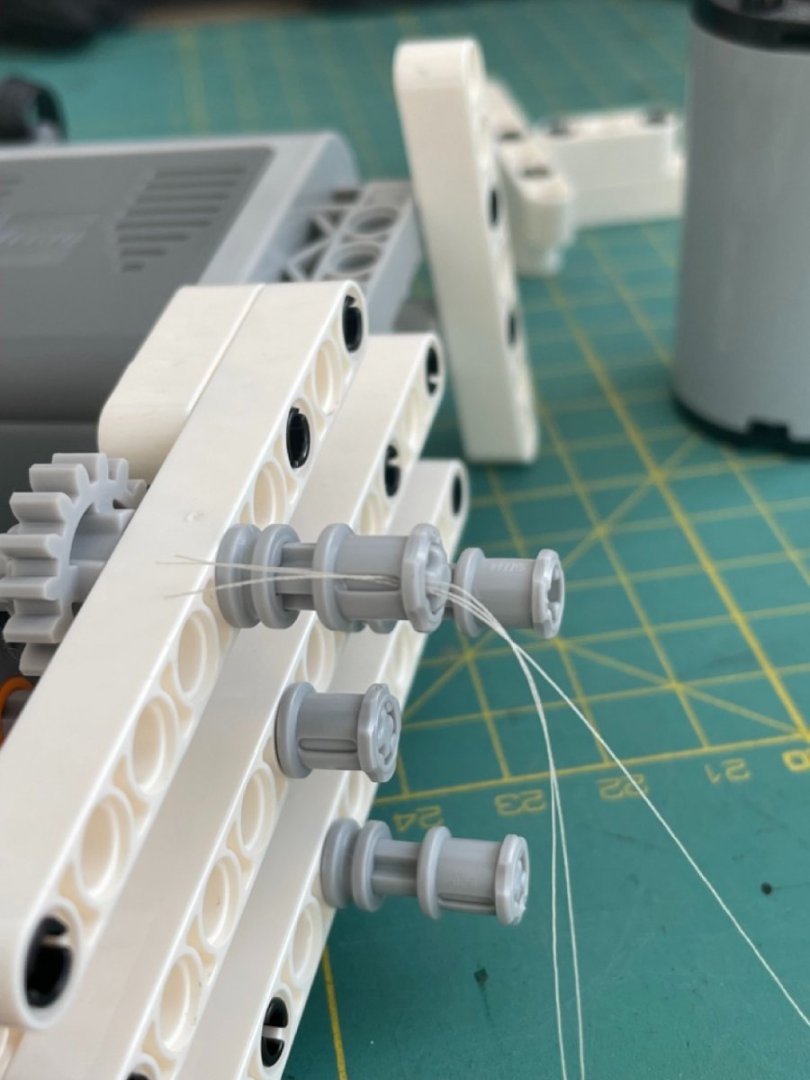
Simple LEGO ropewalk device
tararasik replied to tararasik's topic in Rope Making/Ropewalks's Discussions about Rope Making
Thanks, I've seen such things before but they look complicated, probably they're more adjustable and reliable. But I'm not going to make hundreds of meters of ropes, so I guess it's completely enough for me. I haven't started my rigging yet, so will let you know later how it go. -
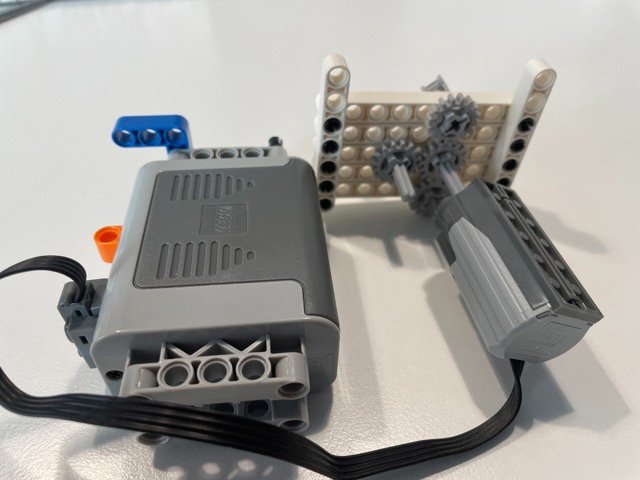
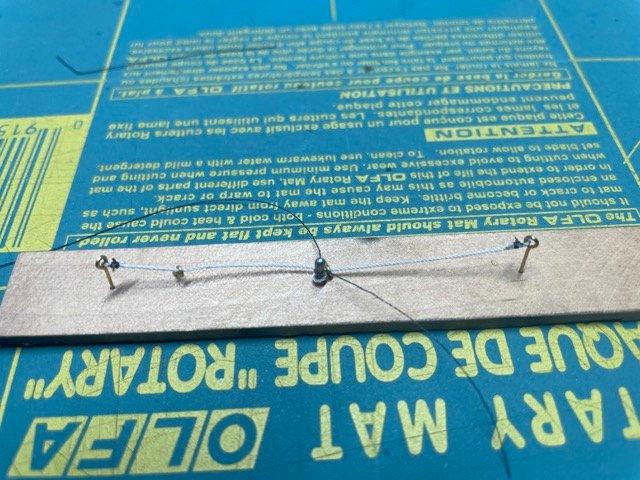
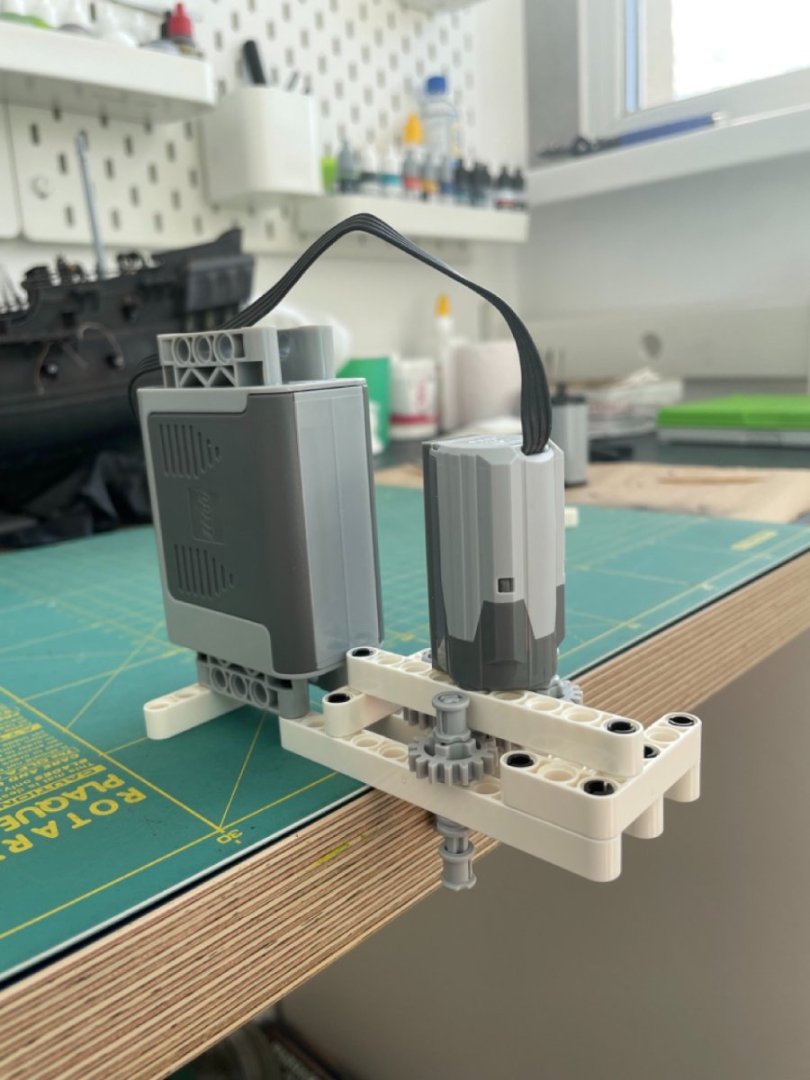
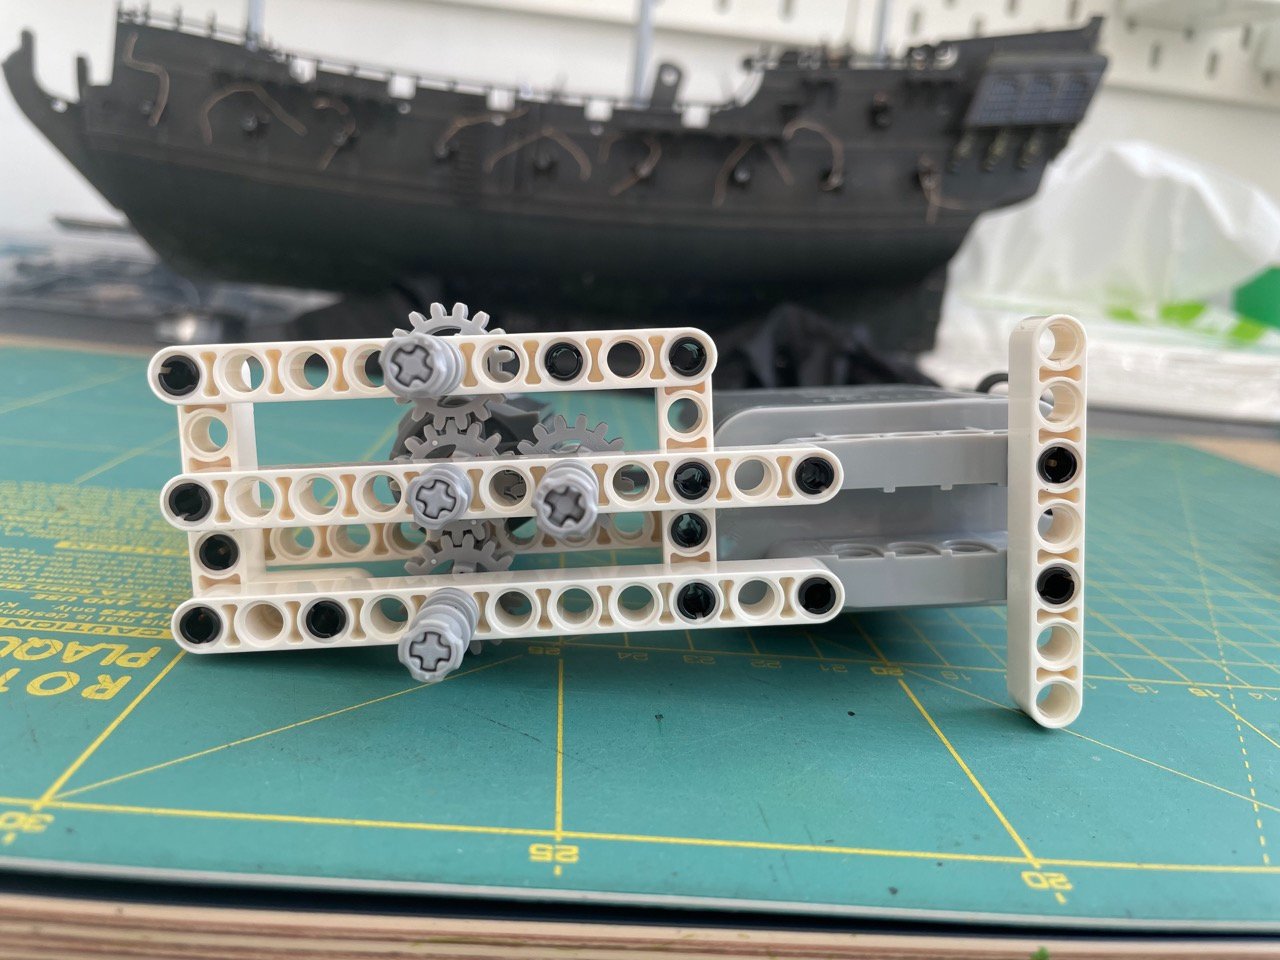
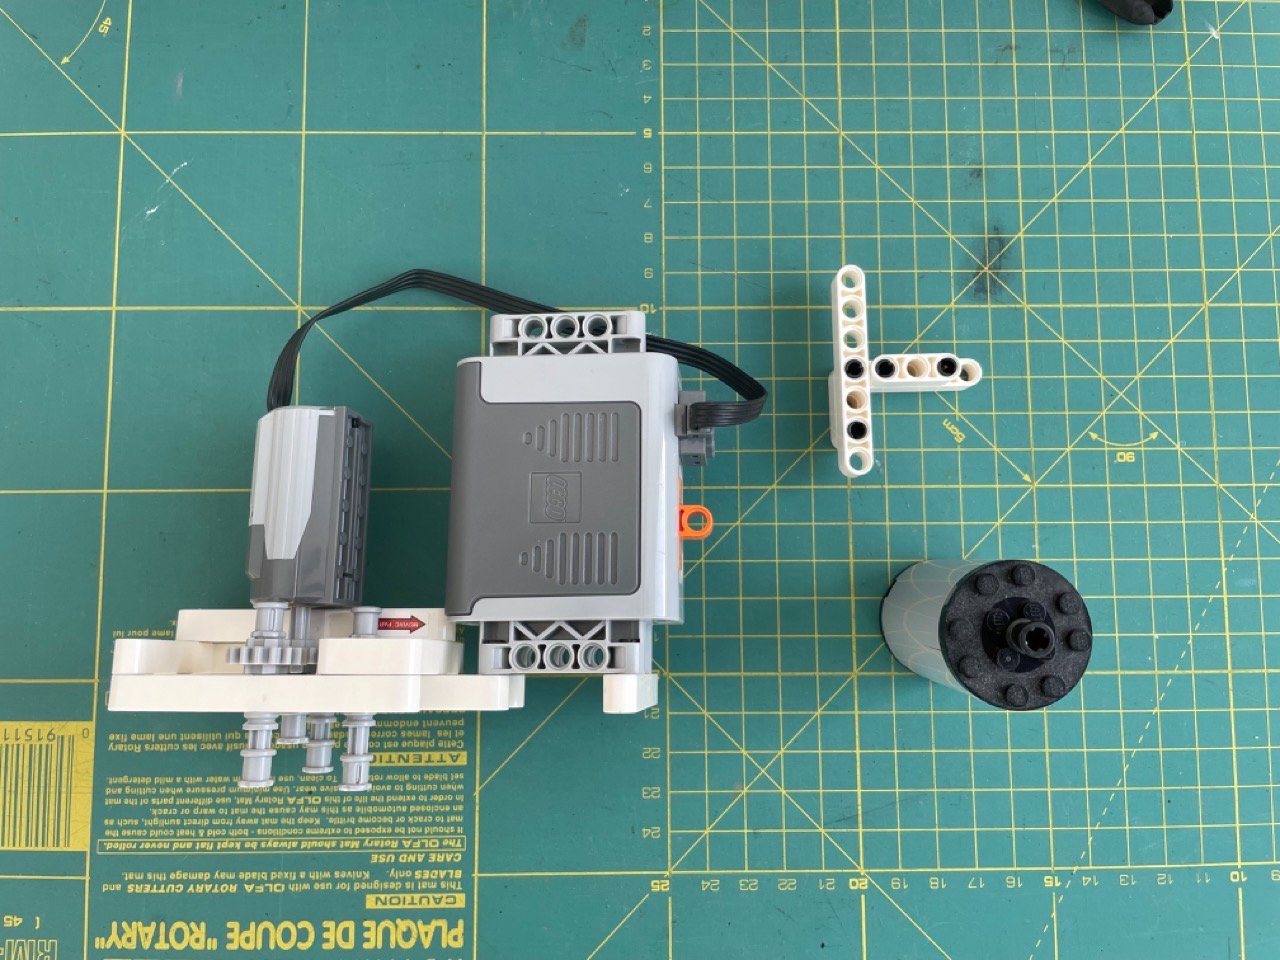
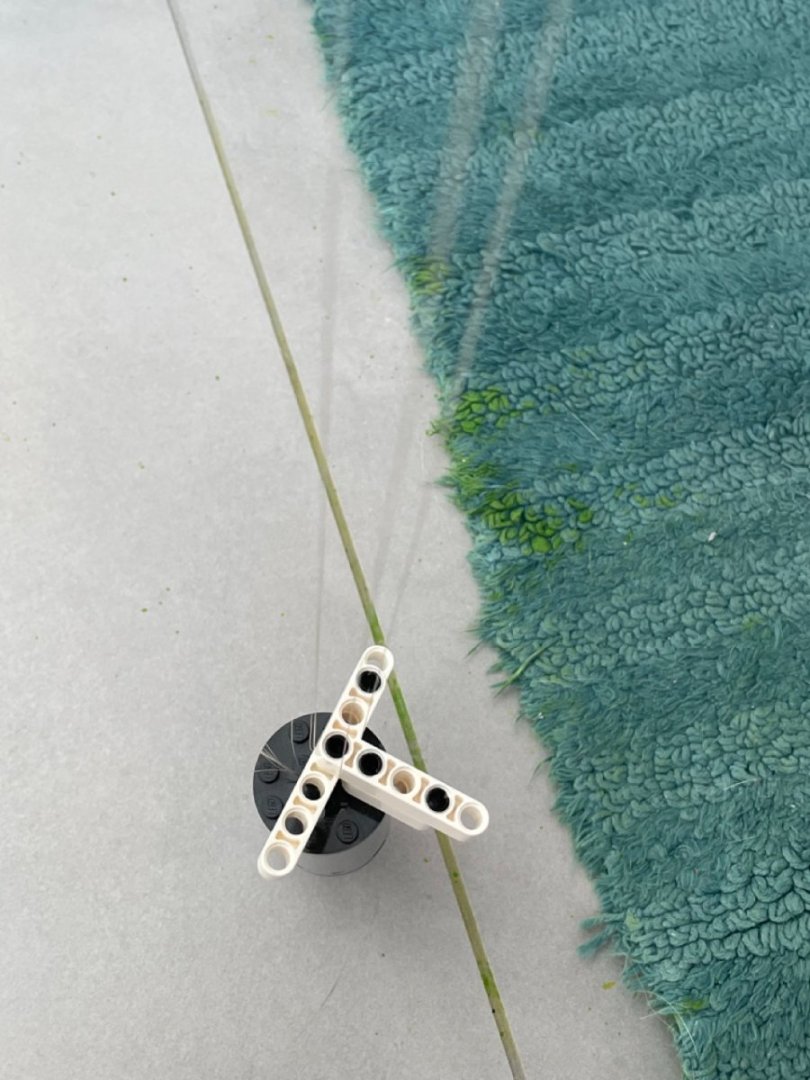
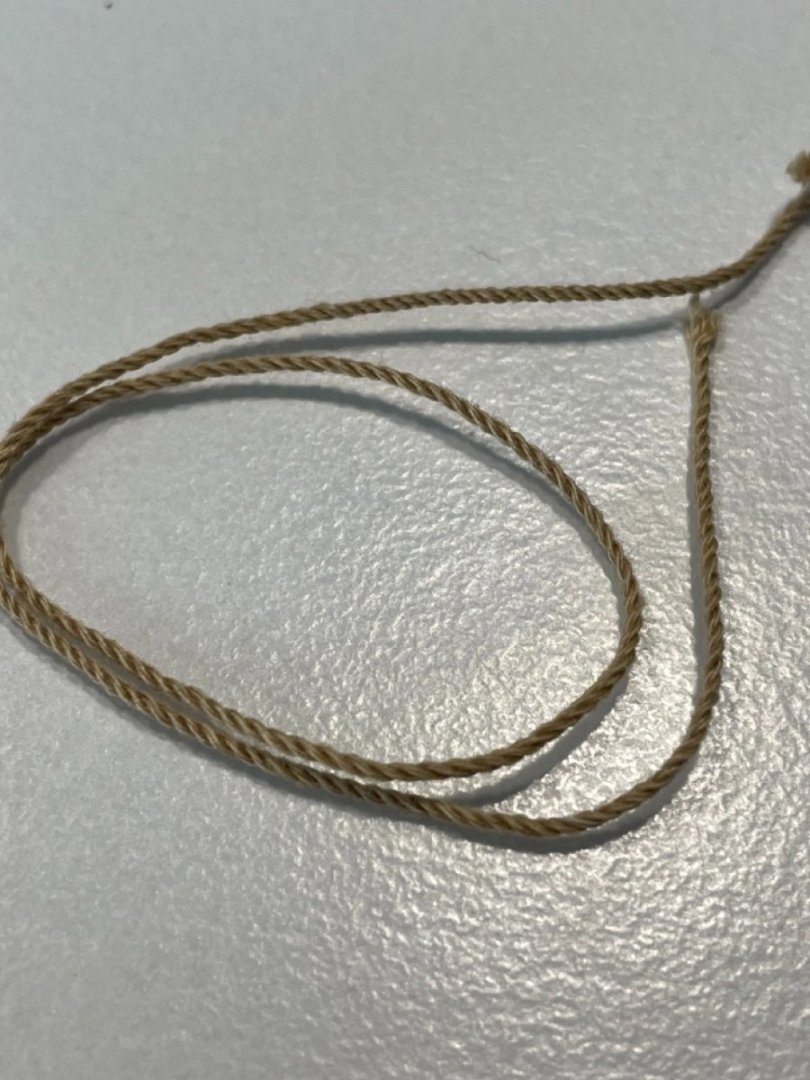
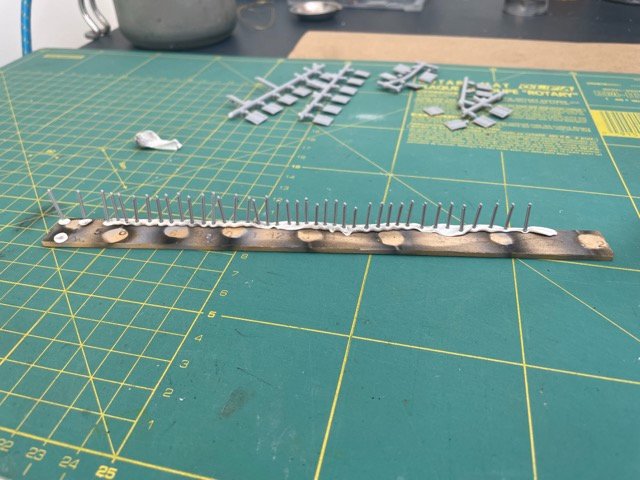
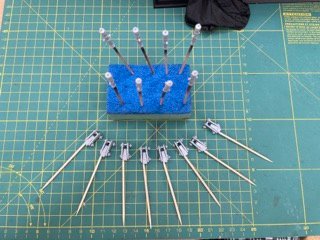
I came up with an idea to use my LEGO for the ropewalk device. It's very simple, I build it in half an hour. I just made couple ropes with it, and pretty happy. Overall look Four identical gears, I'm going to improve it to rotate faster. The complete "set" - device, weigth and divider ) This type of pins allows quickly fix the rope, so no need to make a knots. Again quick fix of weight. I added some metal inside. And the divider. Short video how it works (there you can see ropewalk v.1.0.0 without the "weight") And the first results I hope you'll find it helpful and probably will advice how I can improve it.


-
Thanks, I also like it more.
-
I'm thinking maybe change the gun colour, what do you think, which is better?

-
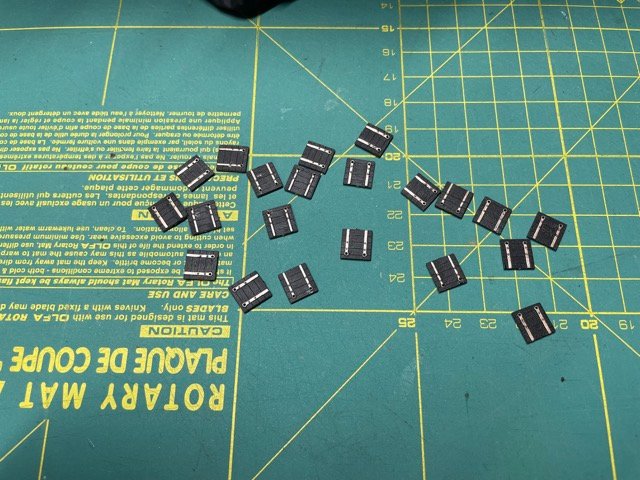
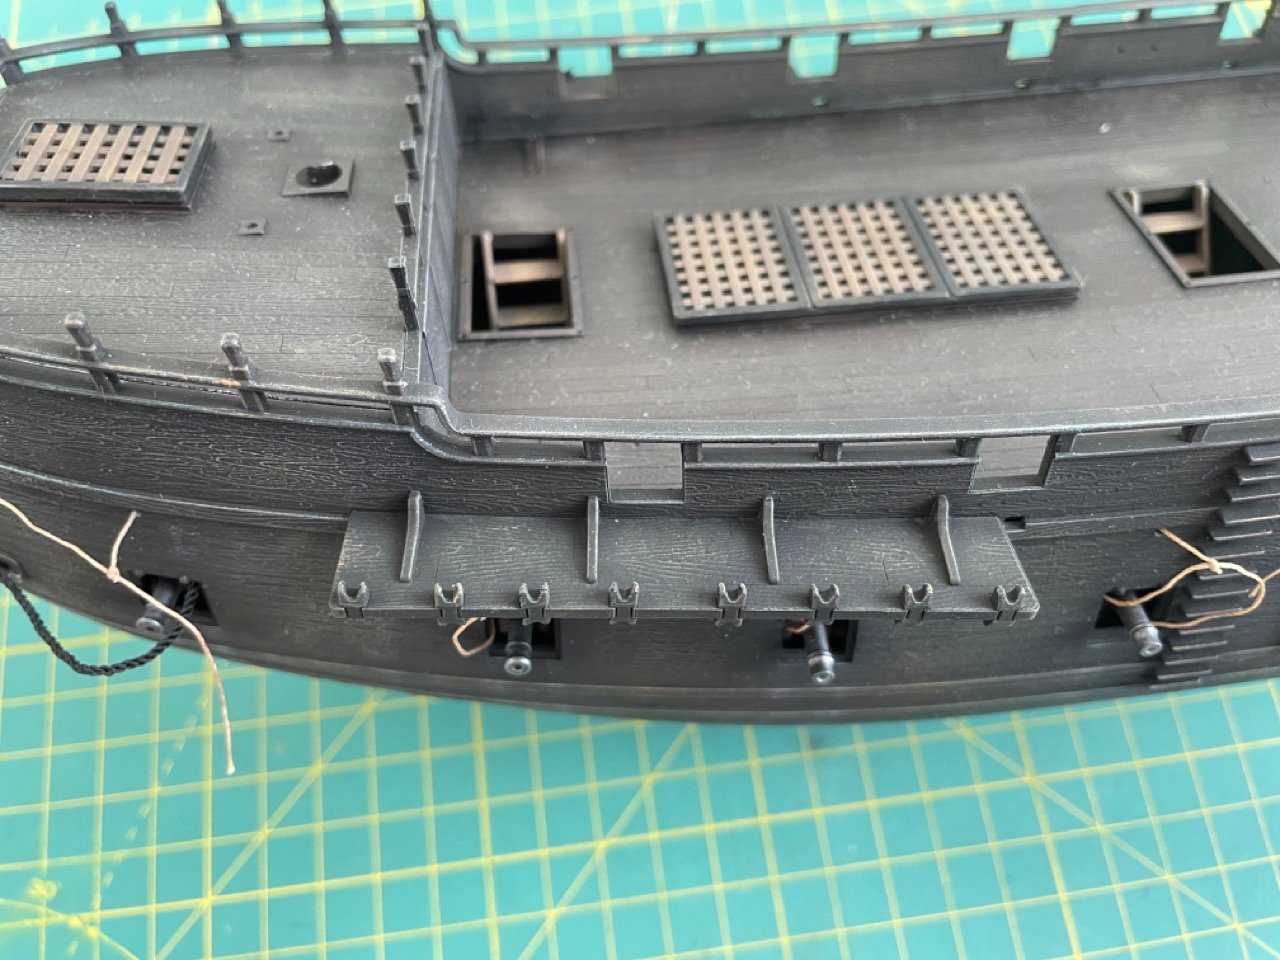
To rest from a monotone work I get another monotone work - gun ports and chain plates ))
-
Spent another day with guns, it's so boring. I'm going to do something else before rigging them.


-
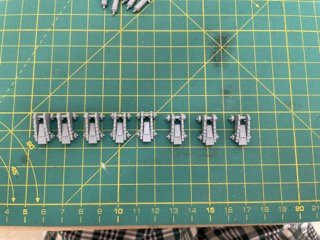
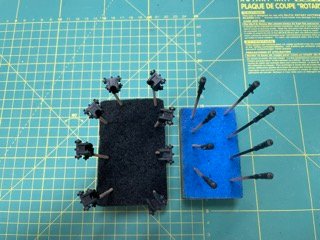
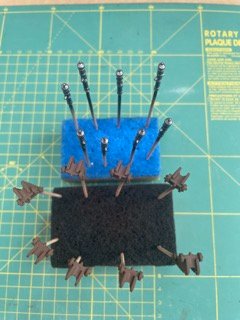
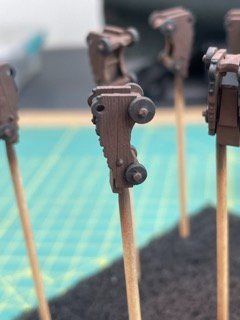
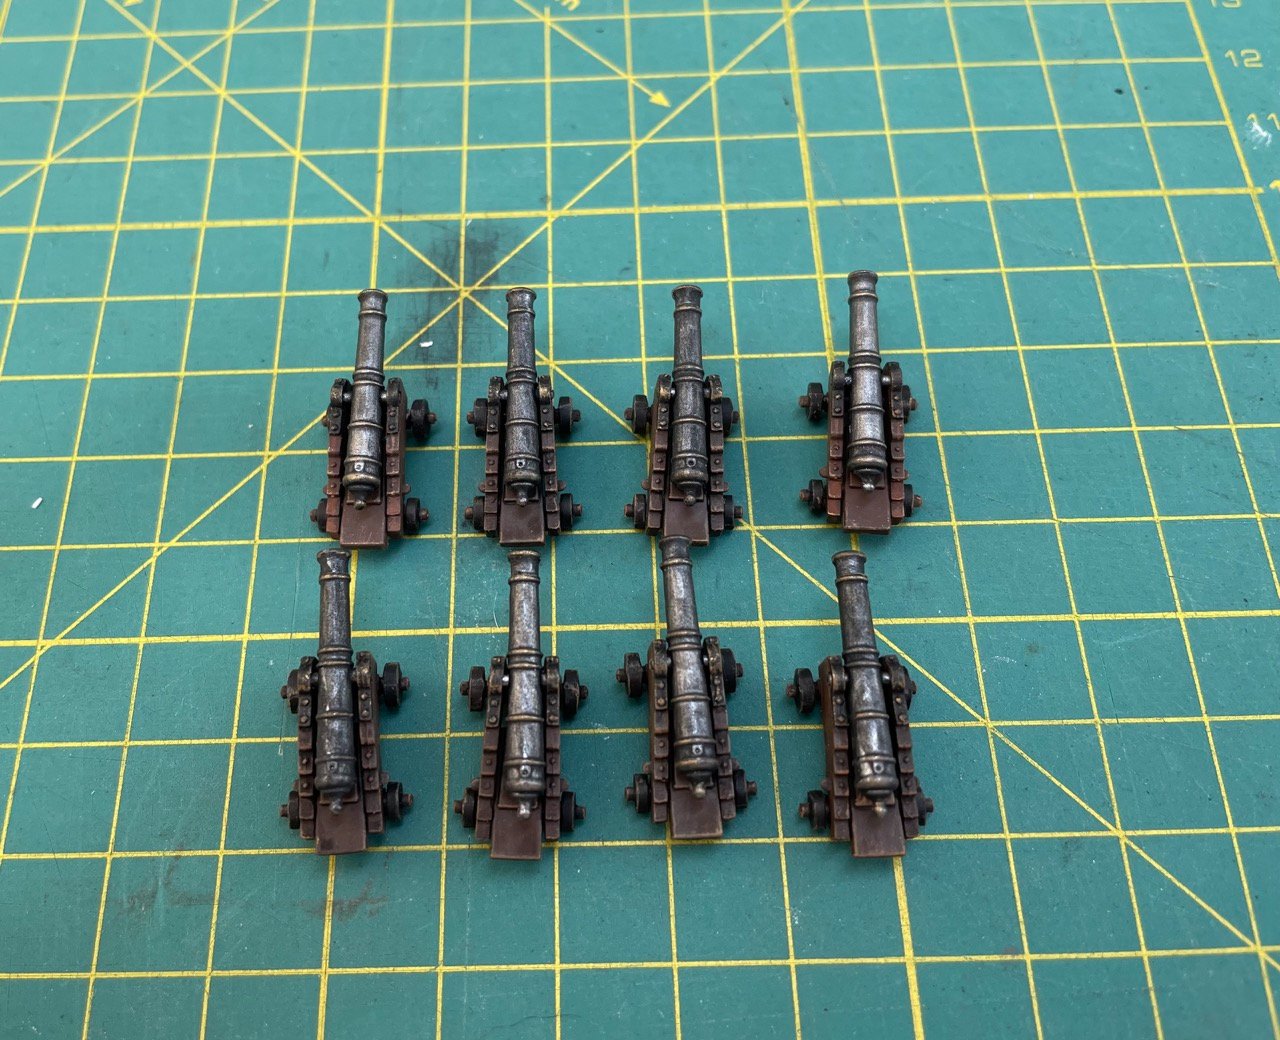
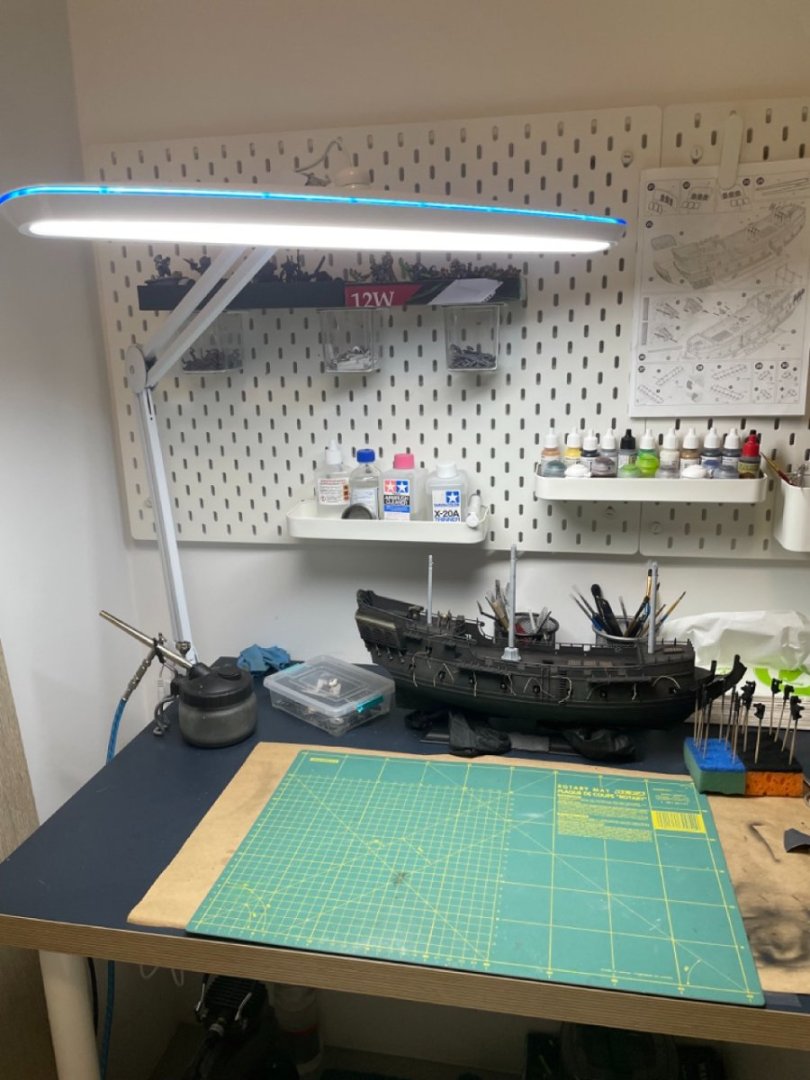
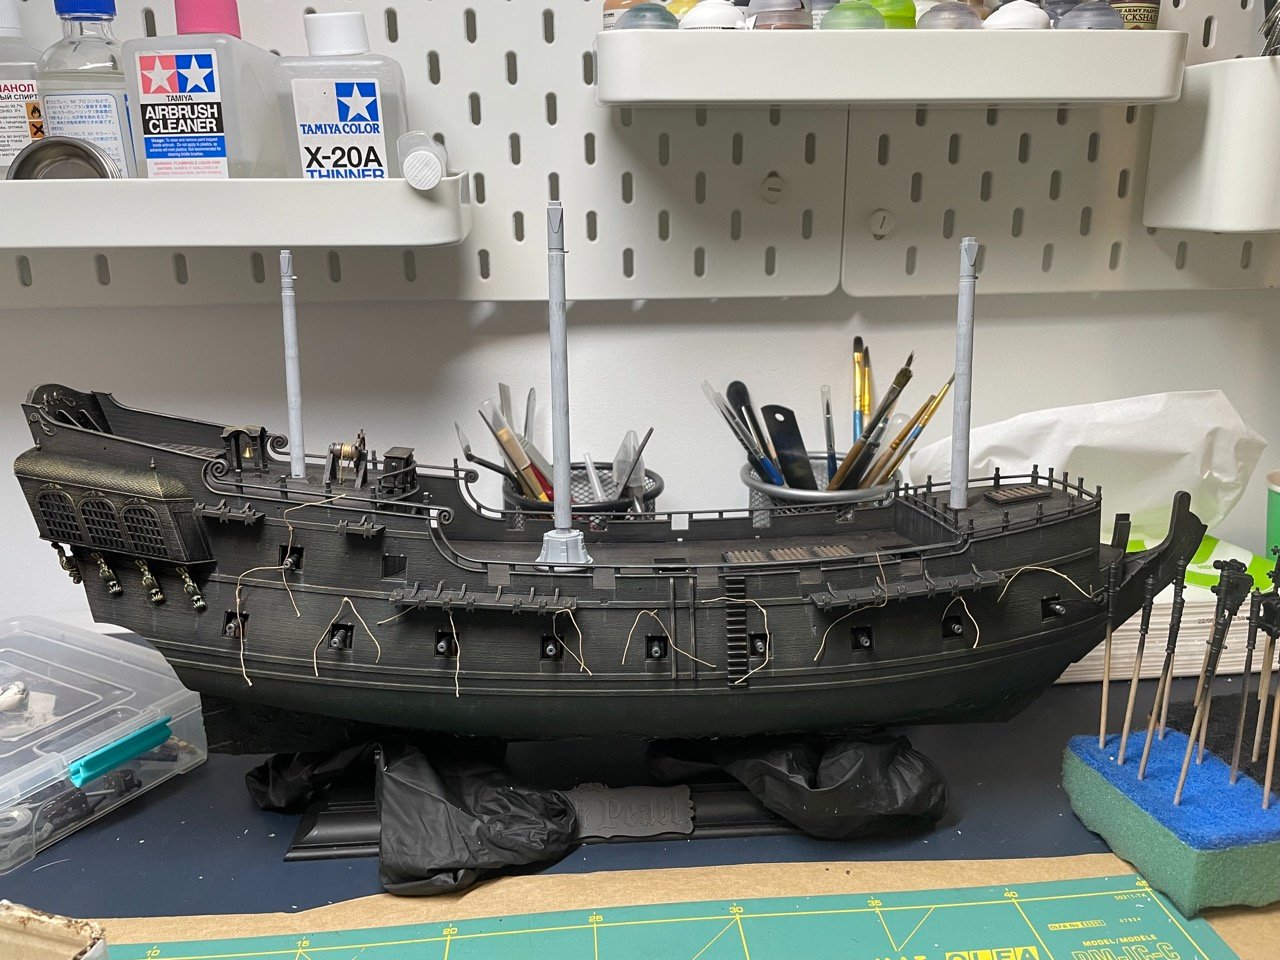
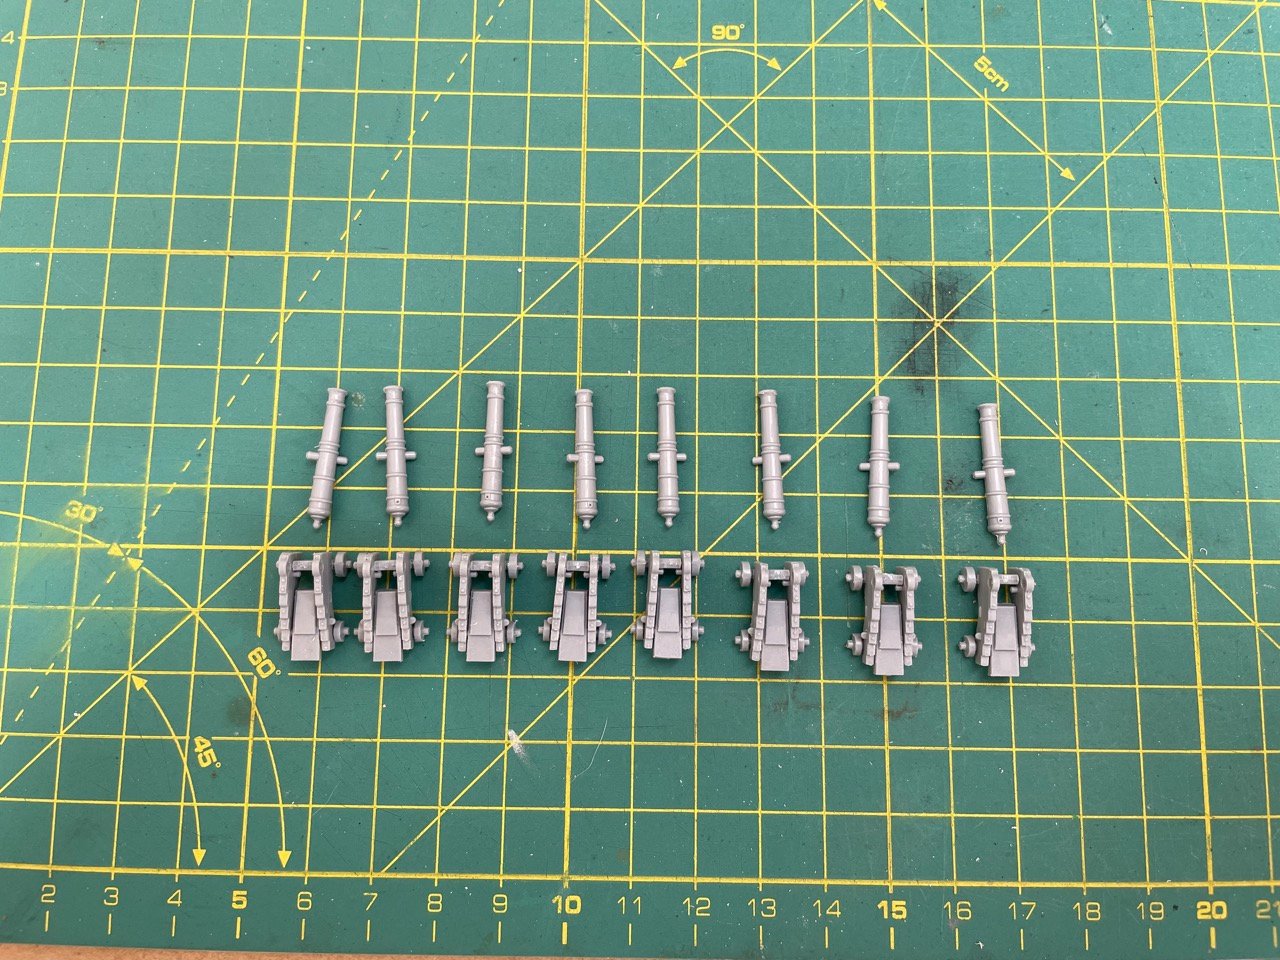
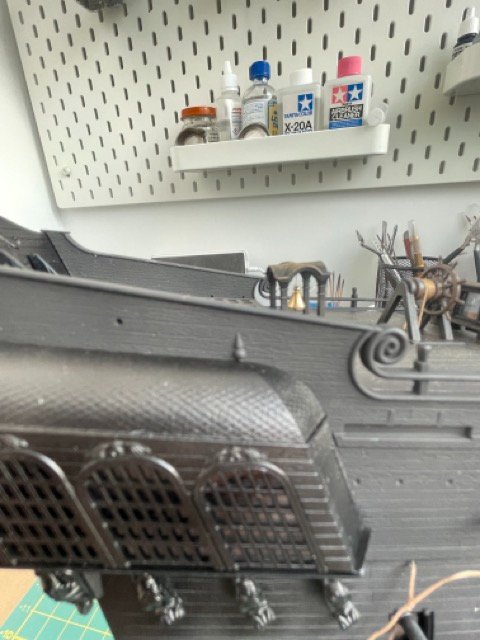
Today I spent a lot of time with the guns, they will be more visible so I tried to clean them properly, and it was a loooot of sanding. I decided to remove those hooks from the carriages. Then I added water streaks, not as neat as I imagine but still I like it. And check how the masts will look. And one more cool update - I have a new lamp, it's big, very bright and there almost no shadow, I'm super happy. z
-
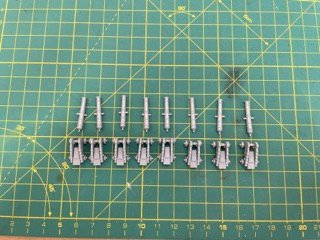
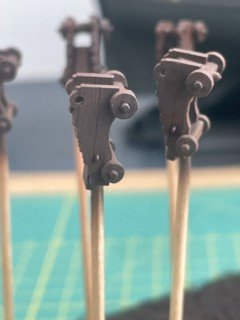
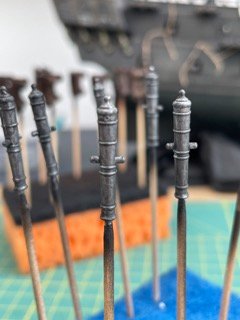
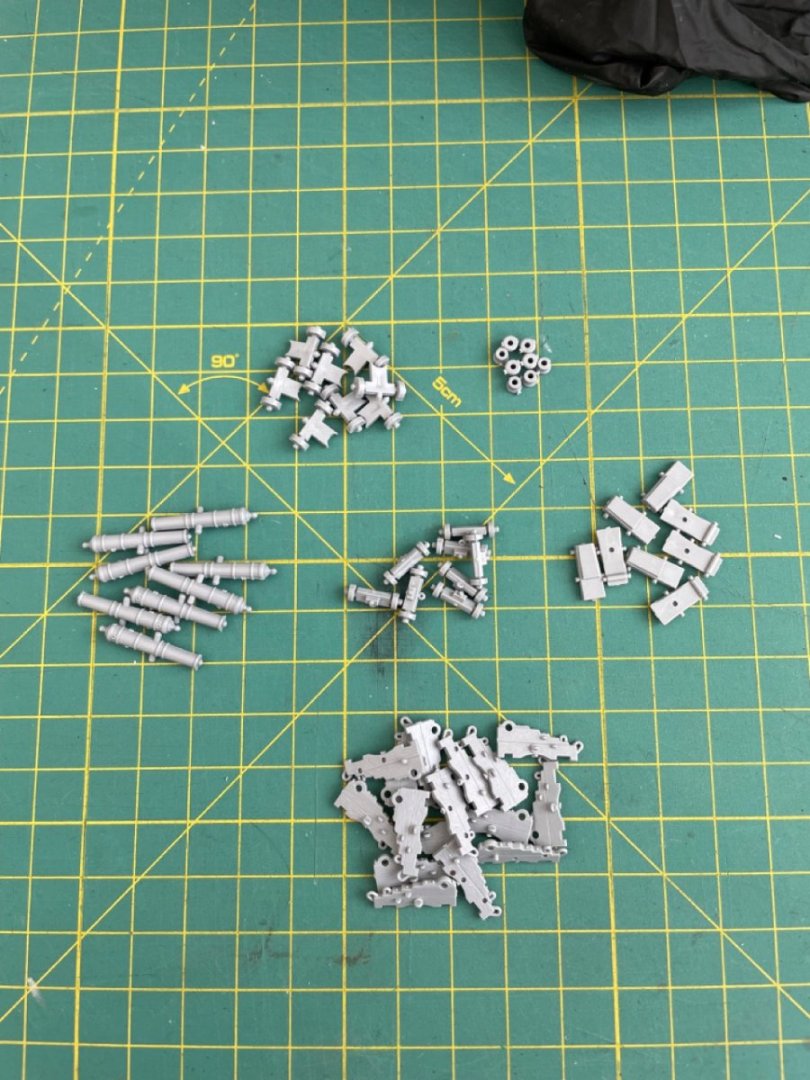
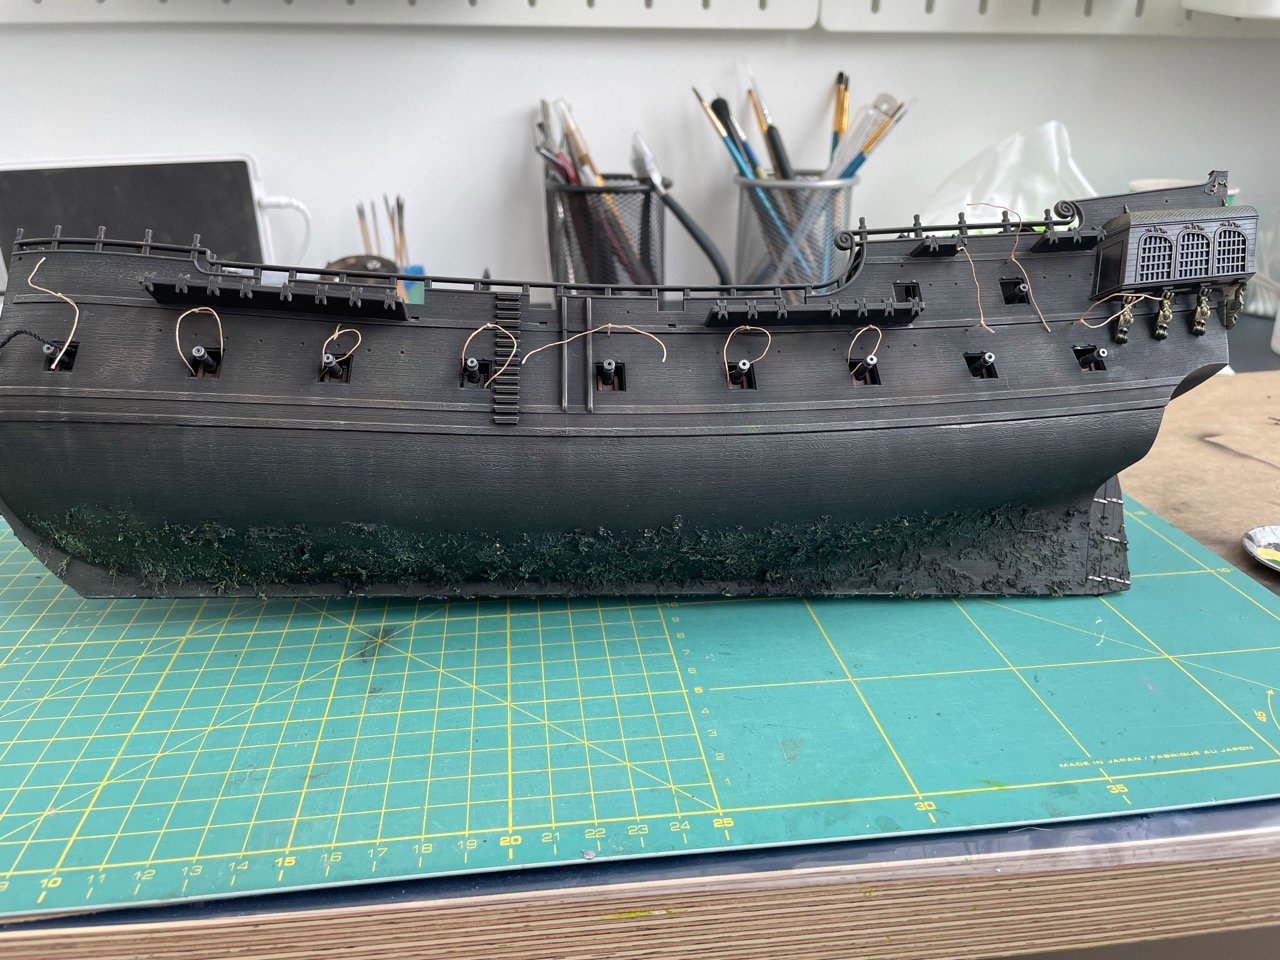
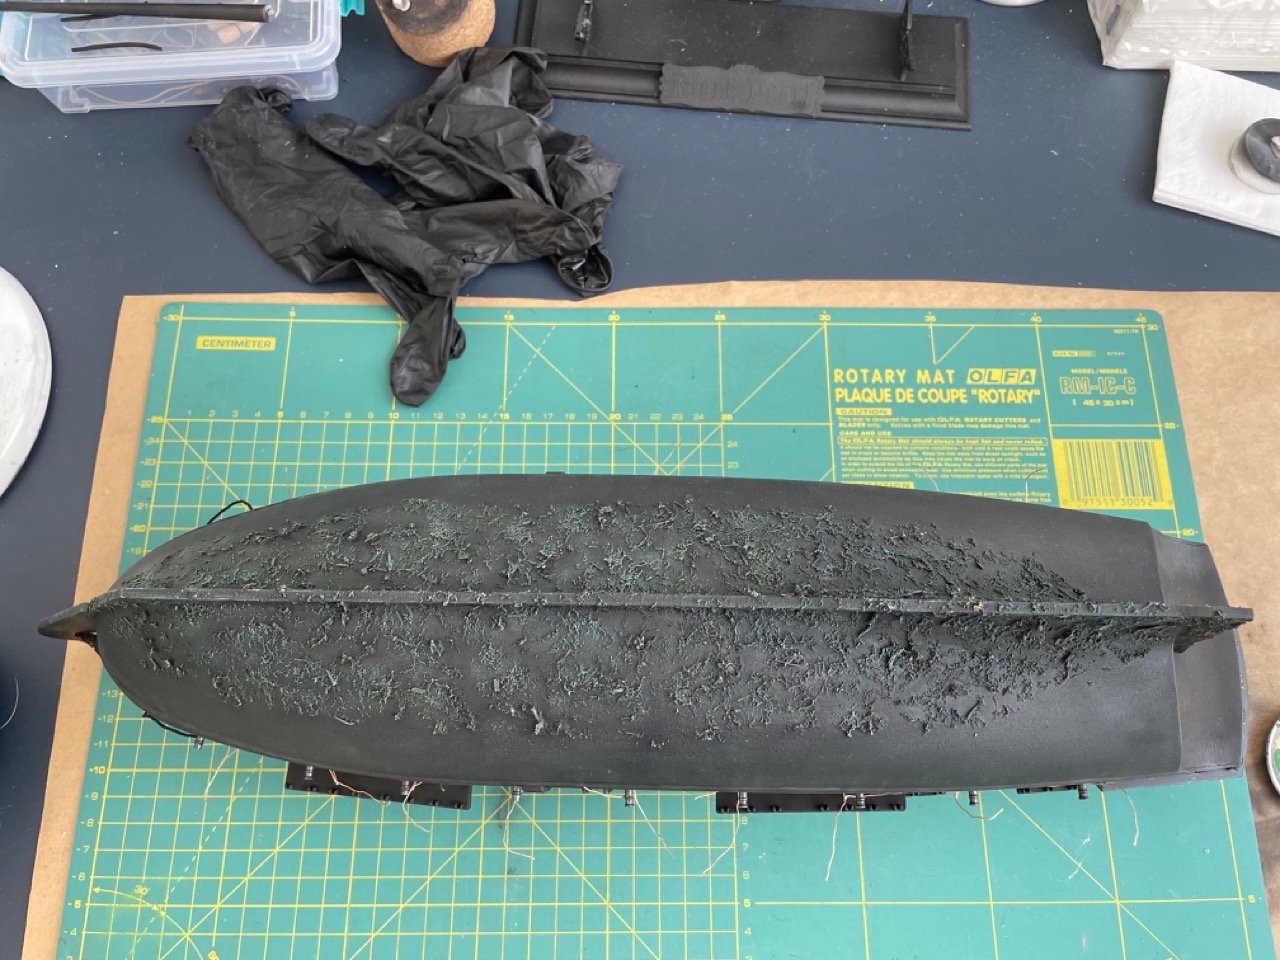
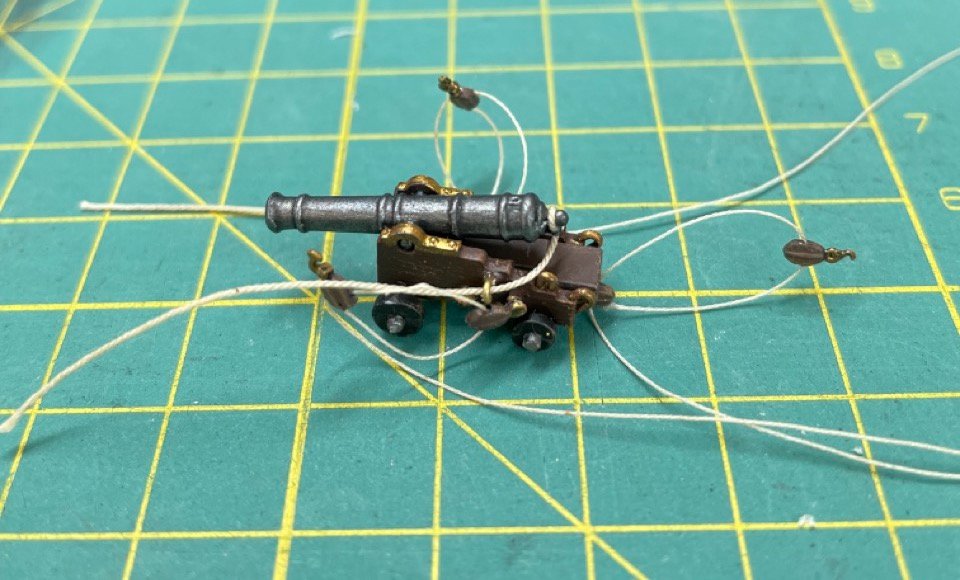
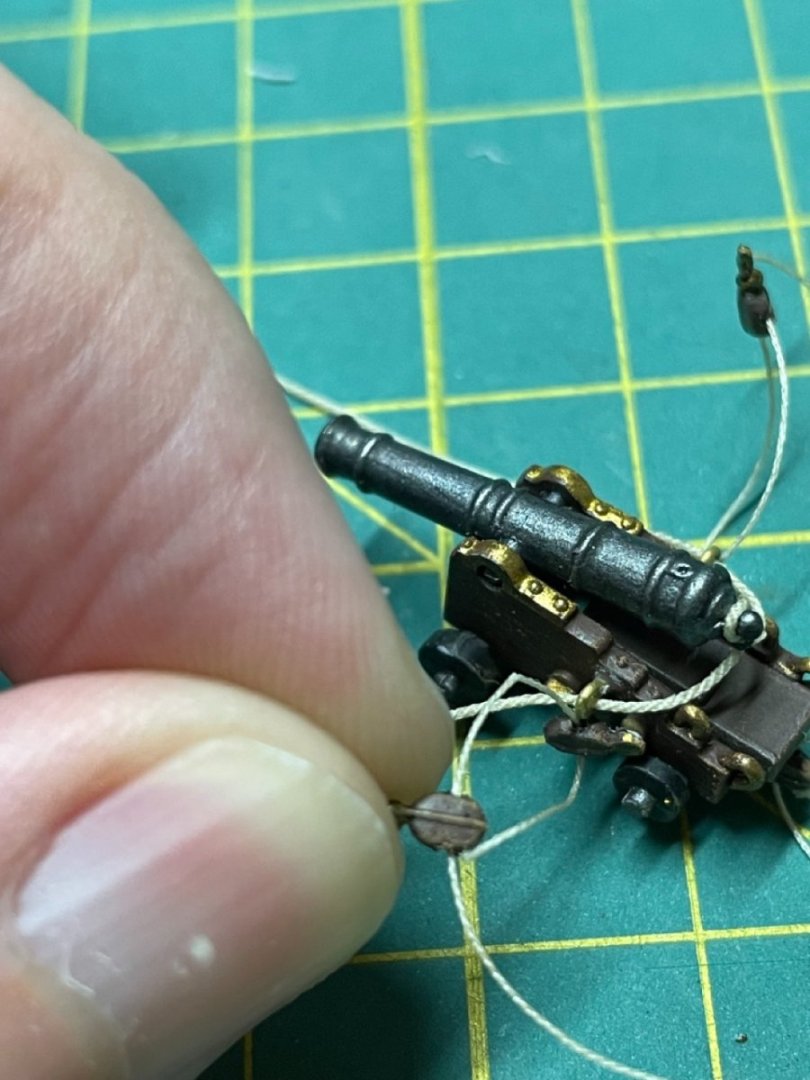
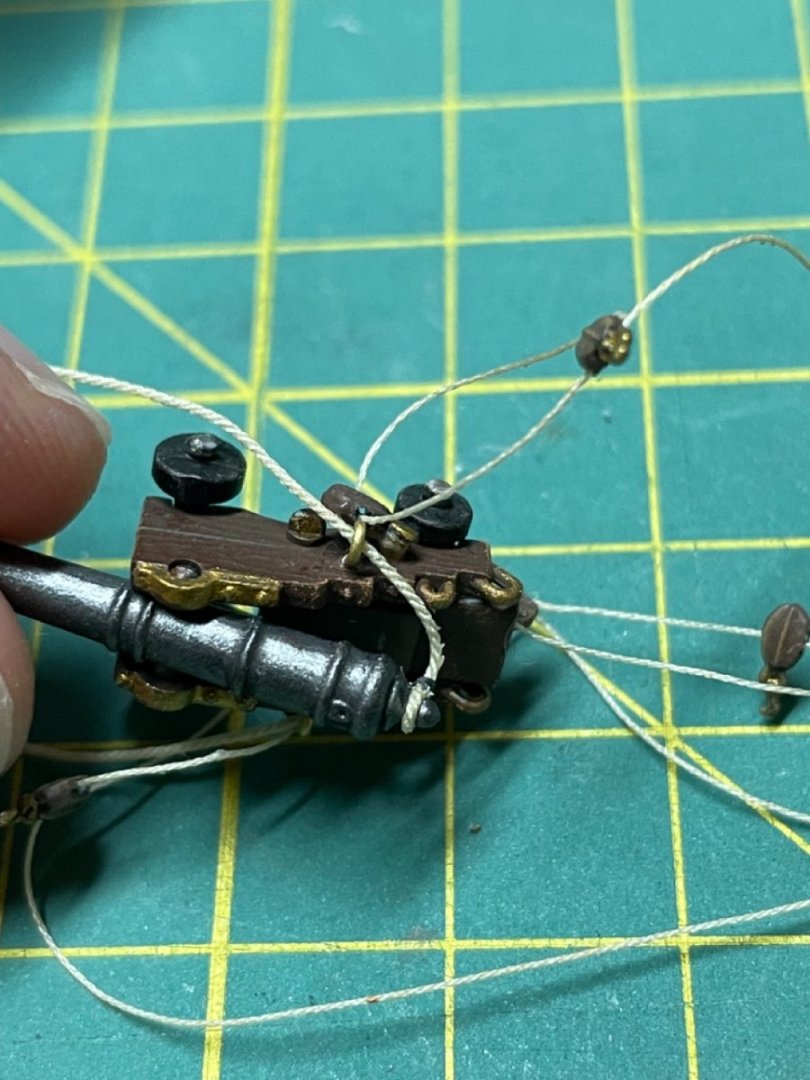
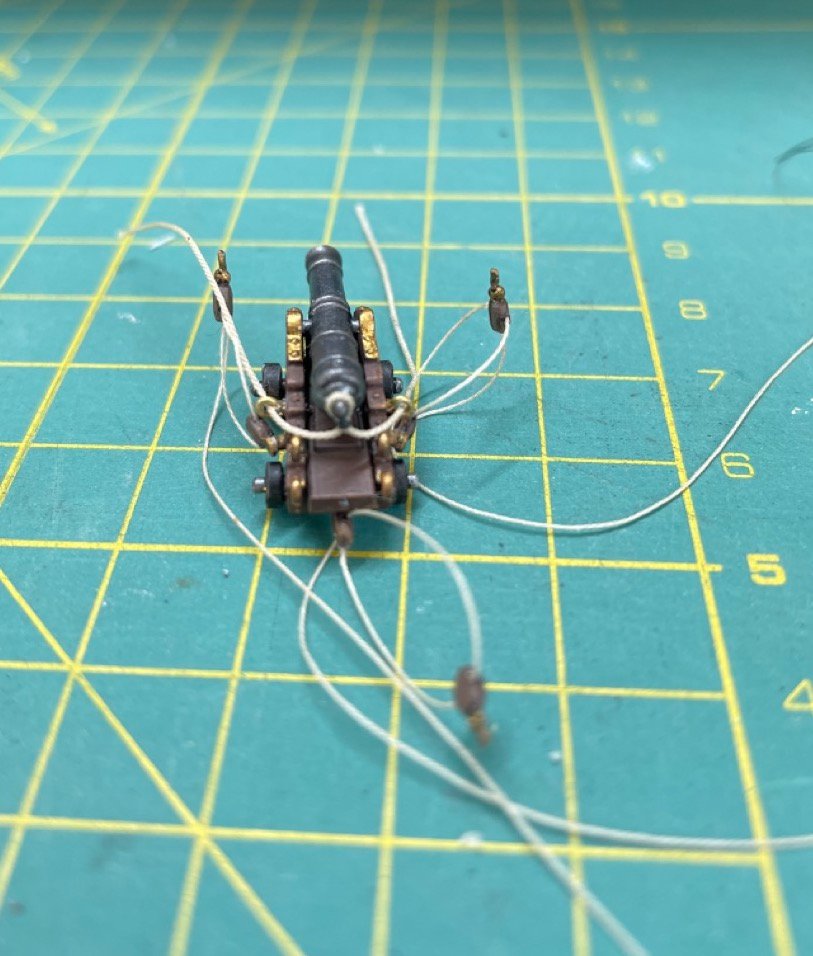
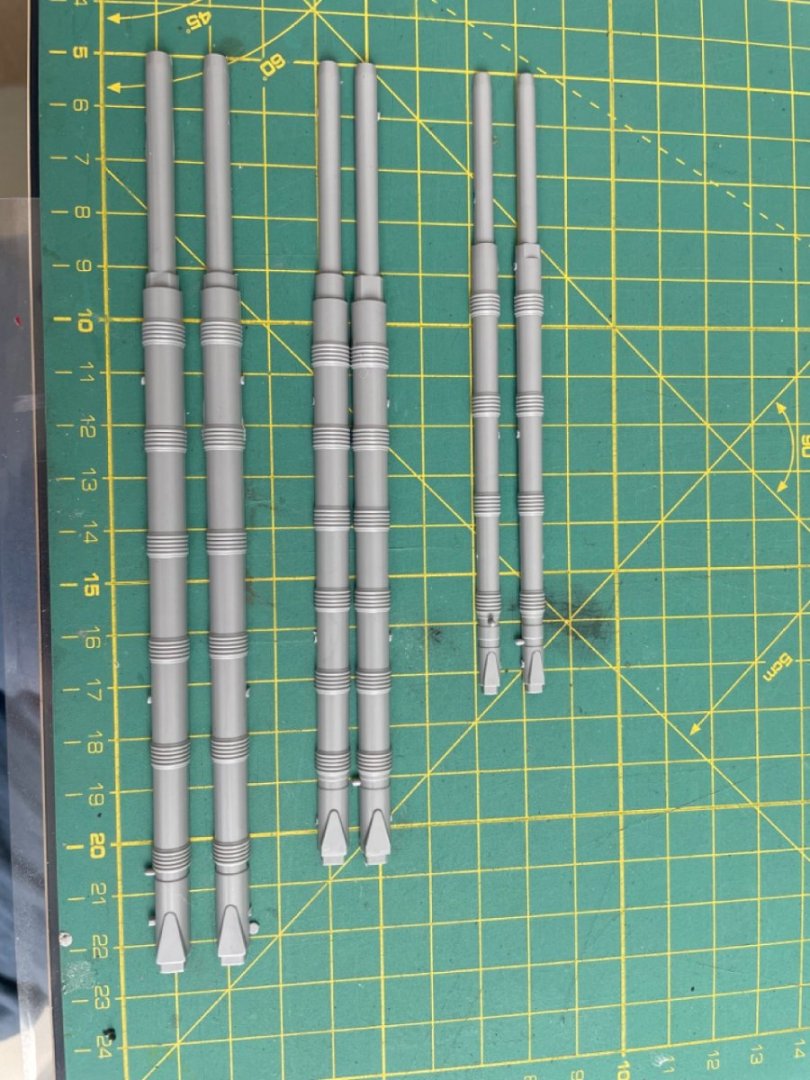
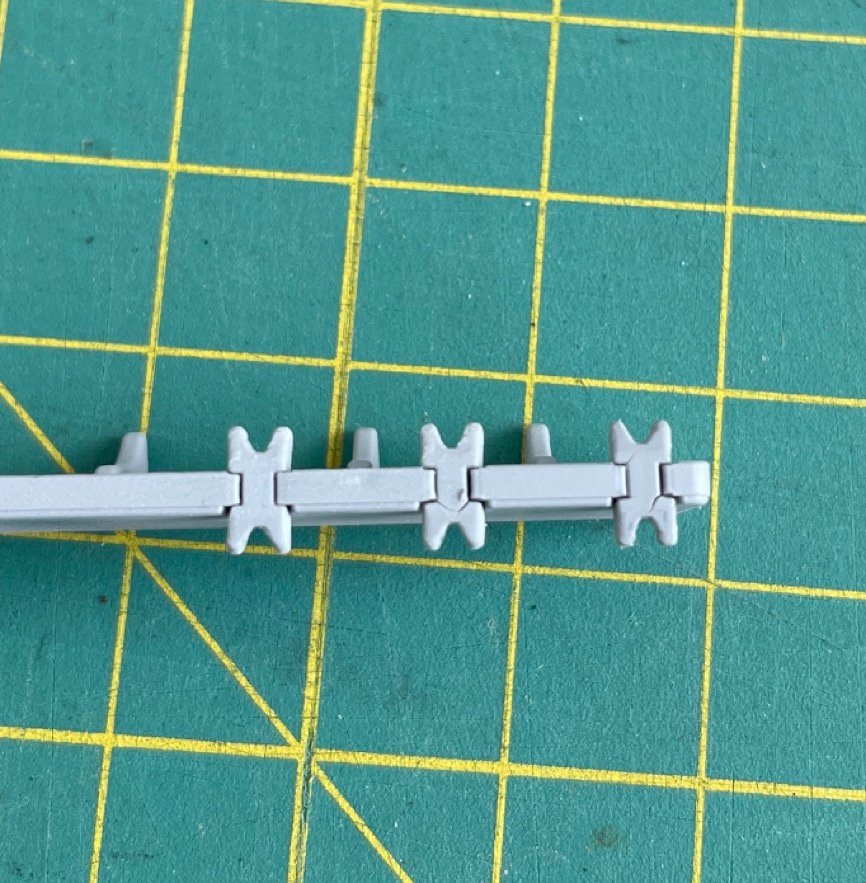
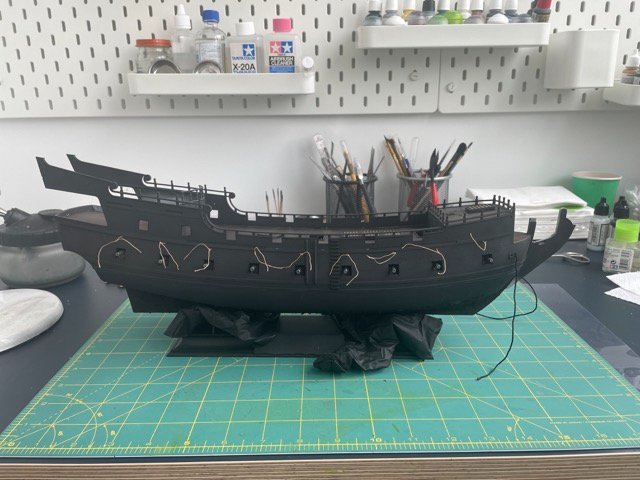
A lot of work but a small progress. Spent a lot of time on fixing holes after gluing sides together. Still far from perfect but I'll call it a battle wounds )) - painted the "dirt" on the hull - painted gallery and all the decorations - started to age the hull - installed the rudder - started building masts, insert wooden rods inside, also going to remove imitation of "ropes around the mast" and replace them with real ones - installed "channels?", had and issue with this small parts which installed to tight and started to crack after I glued them, so have to putty them a lot ( - and the most interesting part is guns. Decided to reuse plastic "blocks" but replace plastic tackles with ropes and added breeching And have two questions 1. Are these parts are useful or it's better to remove them? 2. When the cannon is in ready to fight position, the breeching is not tight to stop the recoil, but as I understand, the gun tackles are tight, because they pulled the cannon. So after the shot and recoil breeching becomes tight, but what happens to the tackles, are they manage to stretch by themselves?


-
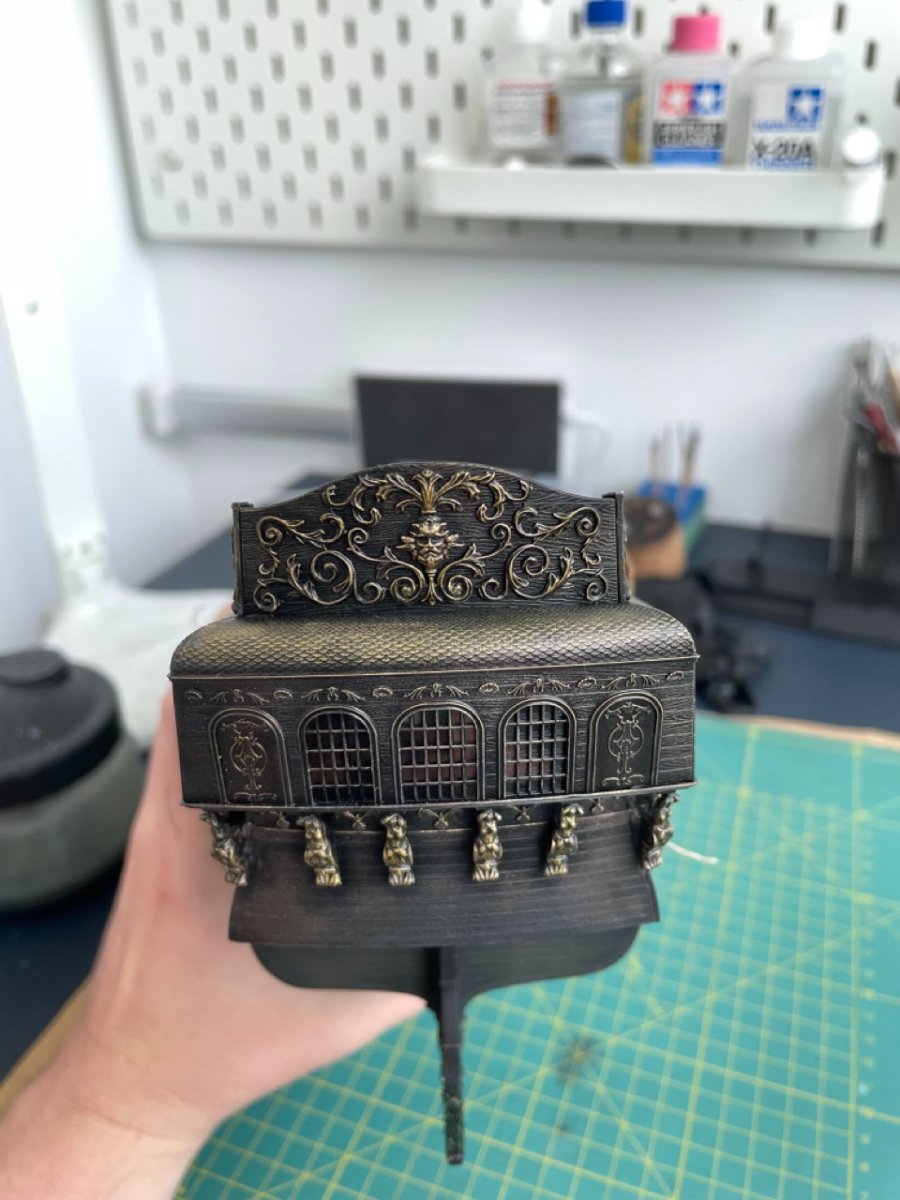
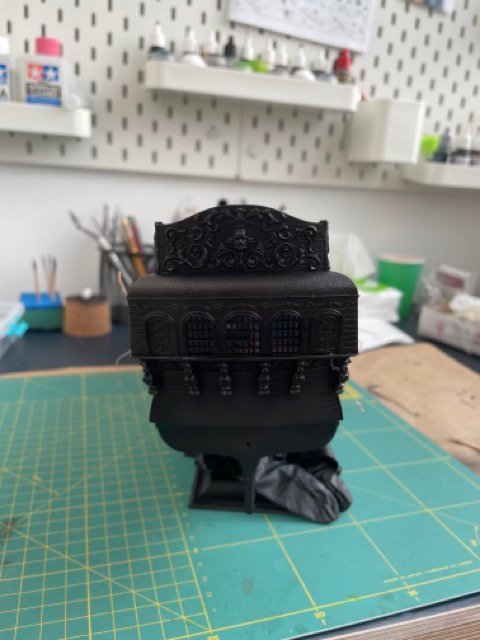
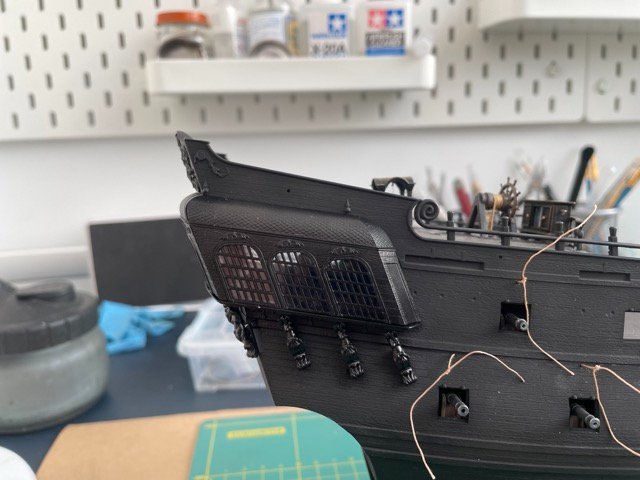
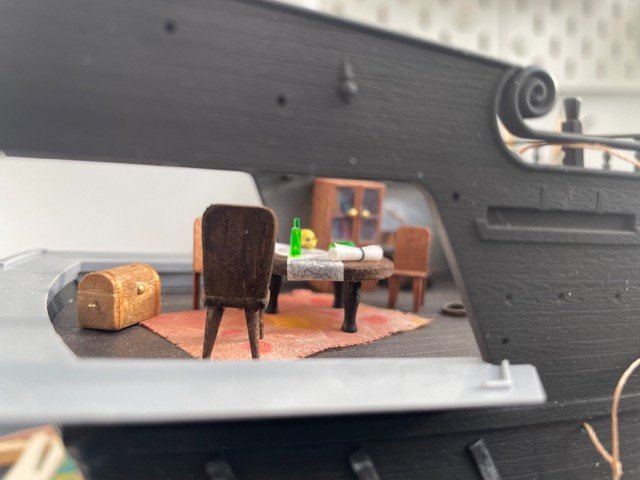
Today I installed quarterdeck and windows for the cabin. I also noticed a strange behaviour of the paint + primer. I primed whole hull with mr.surfacer and painted with matt Tamiya and it become completely matt. Windows primed with Vallejo and painted with same paint, but they turned out much glossier. It's a bit noticable on the last photo. But I hope it won't be visible after I'll age the hull. I also left one wall not glued so I can see sometimes what captain is doing ))
-
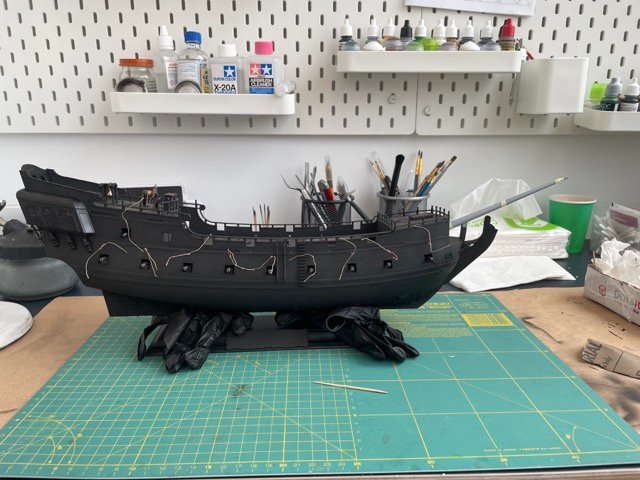
I actually think about adding some tentacles to the stand, but I'm afraid it would be too big. But who nows, maybe I'll end up with some dioram with the sea and the kraken
-
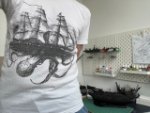
Look, I found a perfect t-shirt for my build.

-
Thanks, I hope you'll build it once
-
Thanks, welcome on board
-
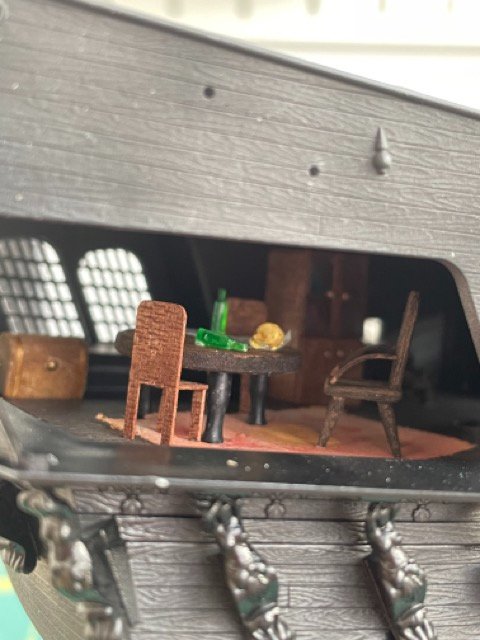
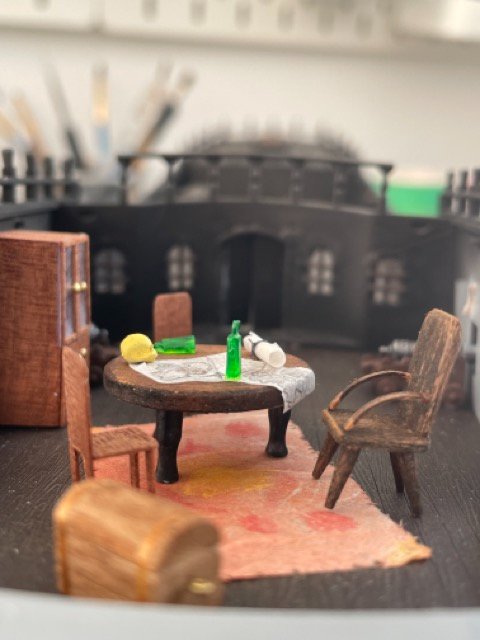
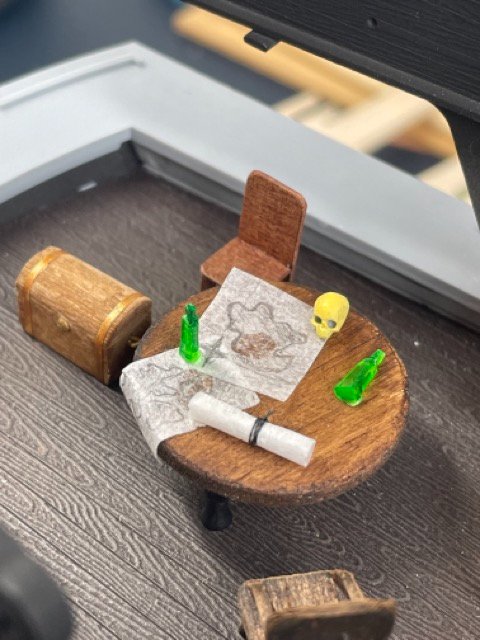
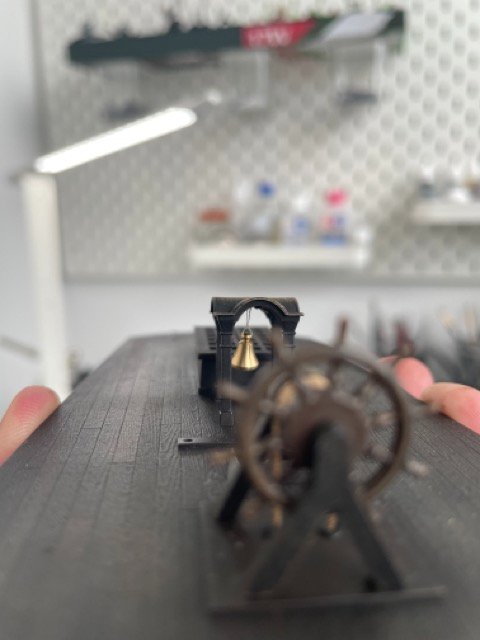
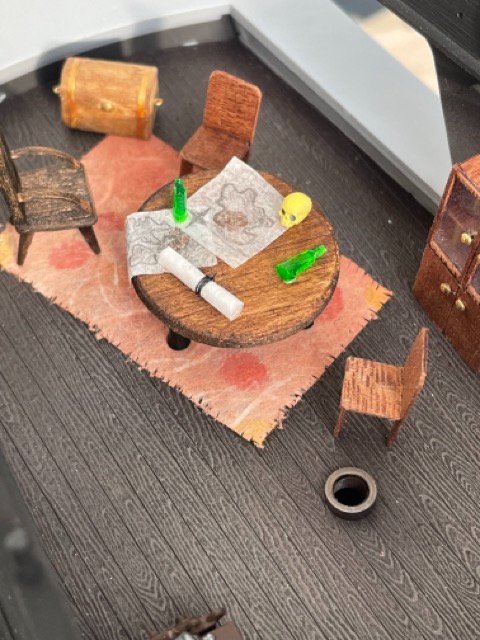
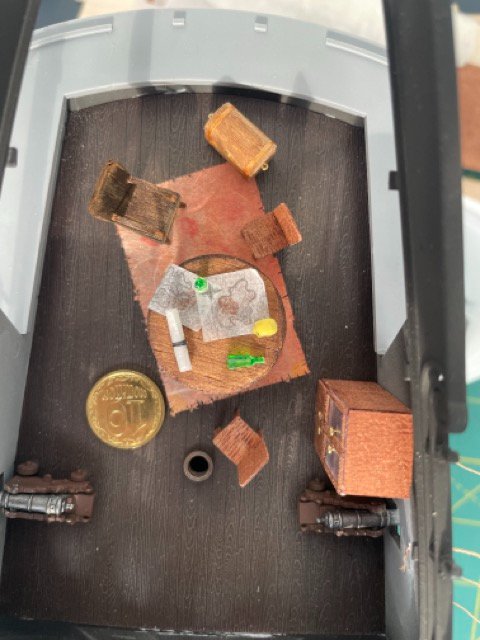
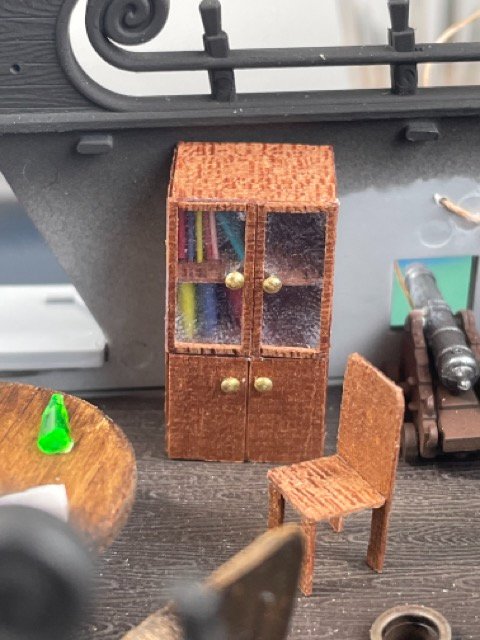
Today was a great day of miniatures ))) I decided to try making furniture and couldn't stop ))) Also hung up the bell, but don't like how the rope looks.
-
Sure, that's why I love this hobby, it's kind of art. Especially this ship which almost has no rules ) I've seen couple of dozen of this model and everyone was unique. I also consider adding some furniture to the captain's cabin. But I've spent couple of hours on this binnacle and afraid that furniture set will take a week ))
-
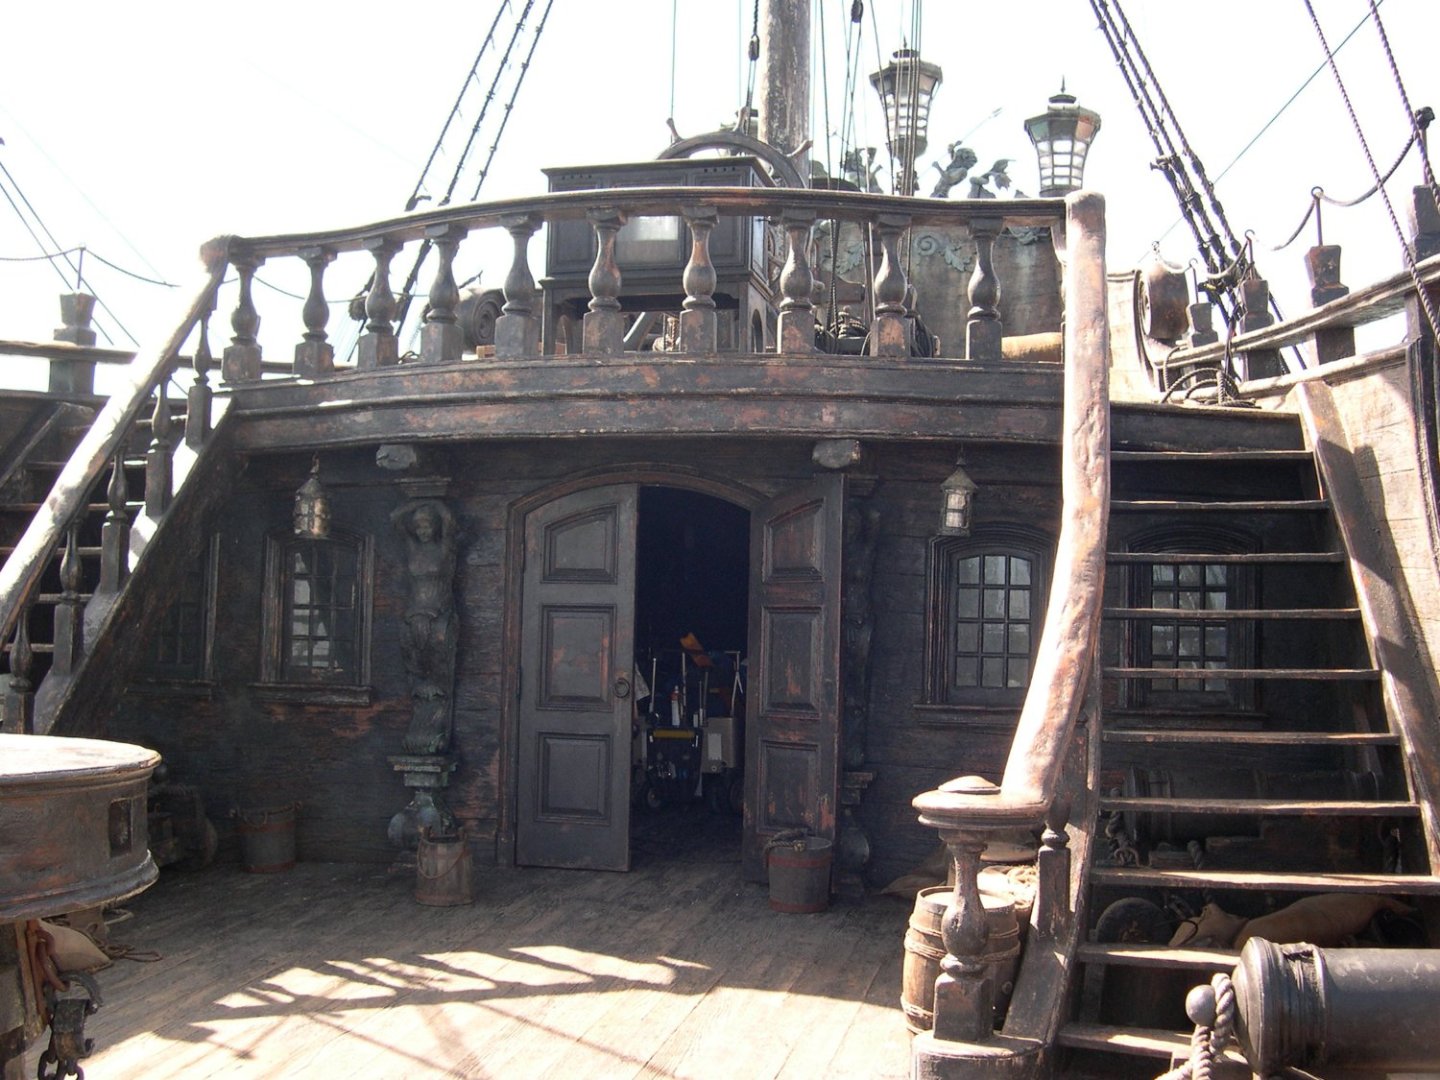
Wow, it's a pleasure to hear it from you. I read your topic about building BP before I started mine and learn a lot. Now I also want pirates on my ship )
-
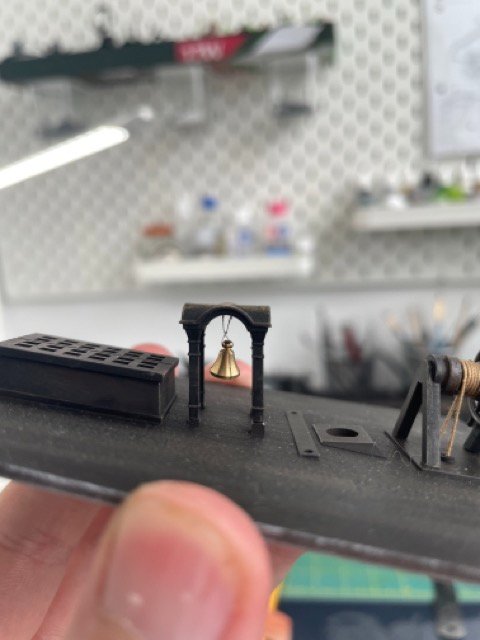
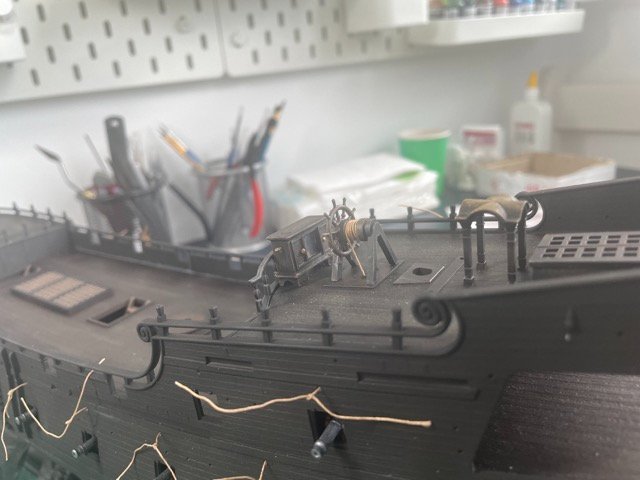
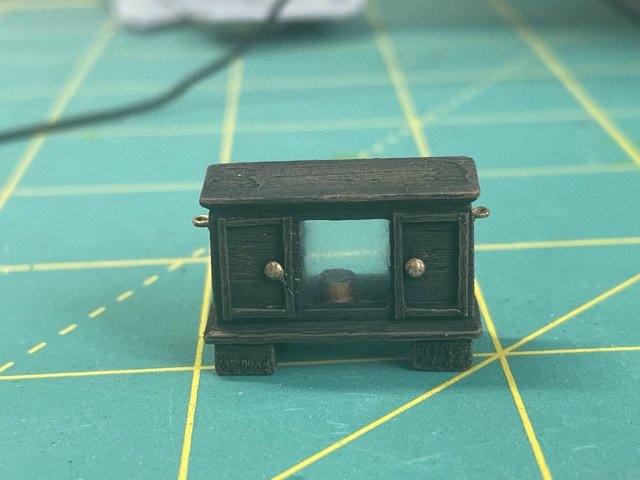
Today I made a binnacle, it wasn't in the kit, but I heard that it's the main furniture on the ship. It looks a bit big, but I like it )
-
Today was probably the hardest day. I set the sides, it didn't go smooth so still have a lot to putty. But result is just amazing.
-
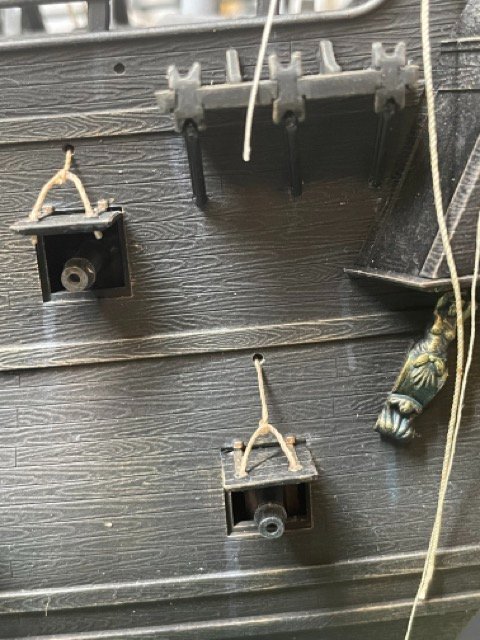
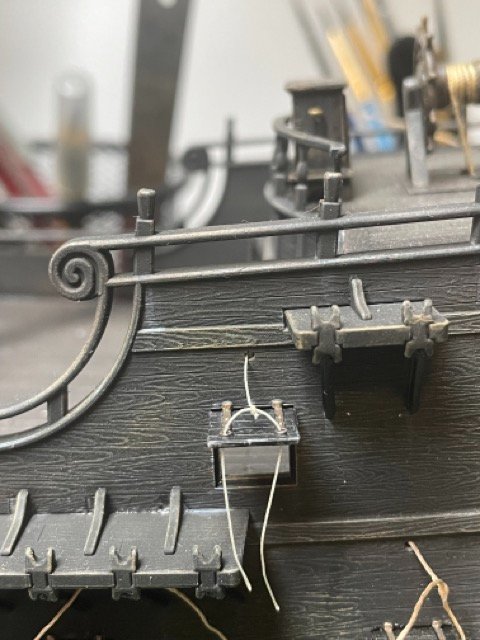
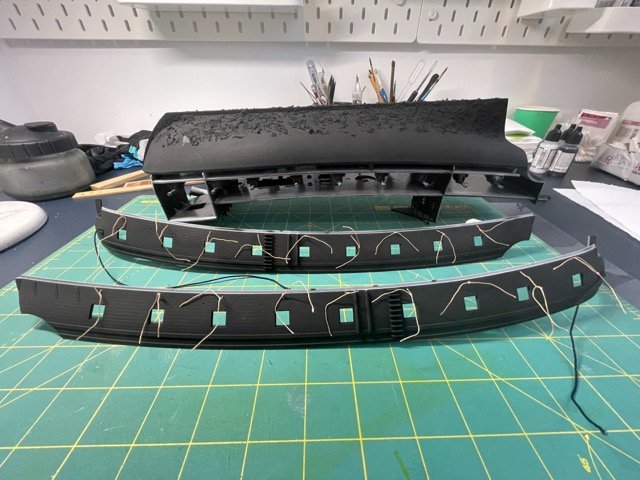
Today I made an anchor ropes, and also had to insert all the ropes that holds gun ports before I'll glue the sldes.

-
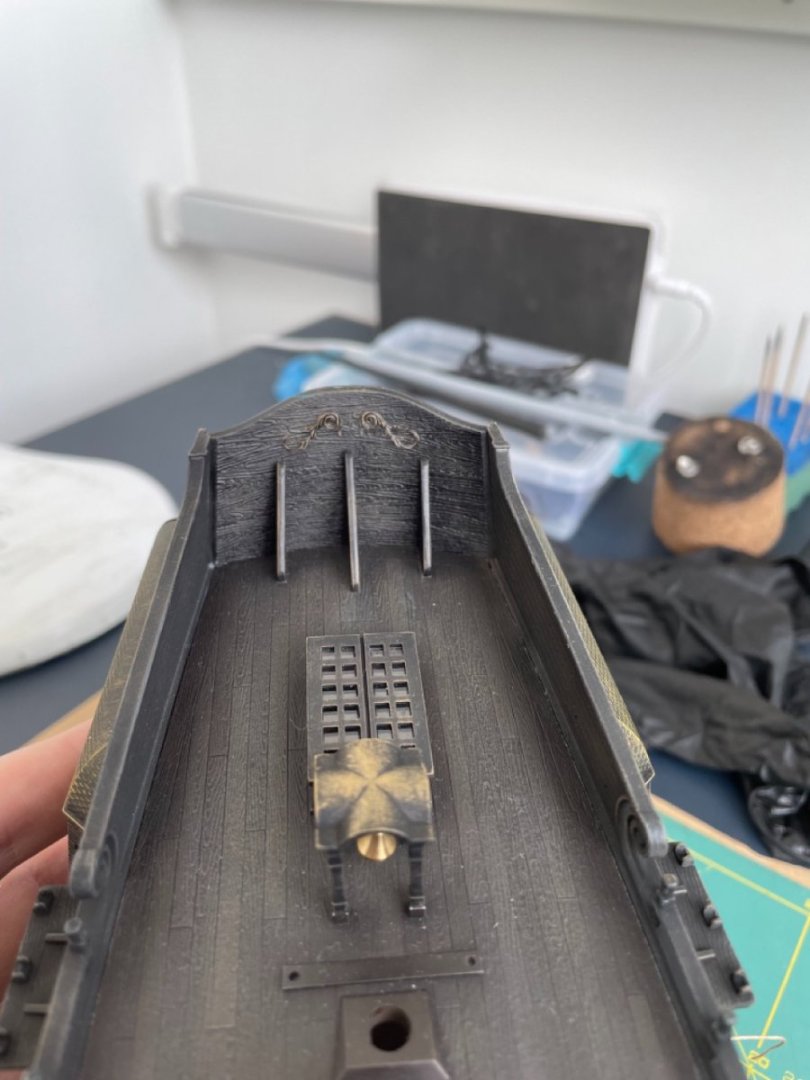
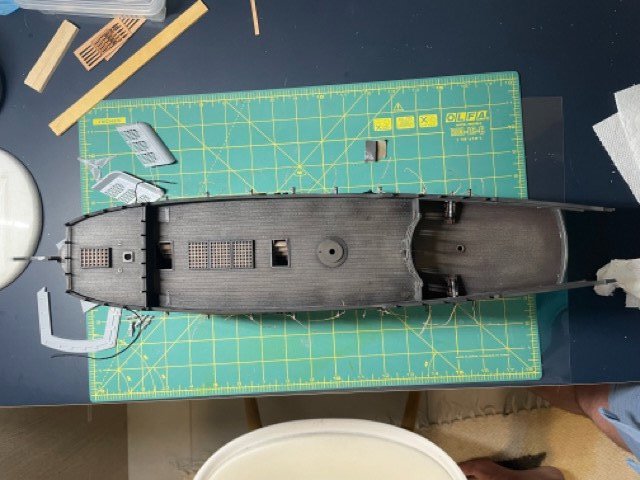
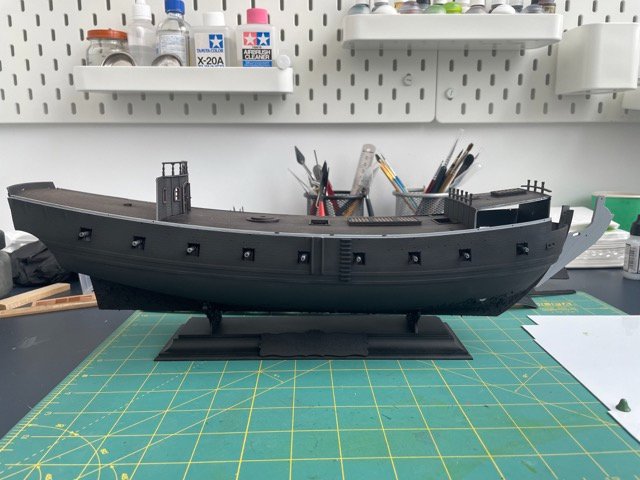
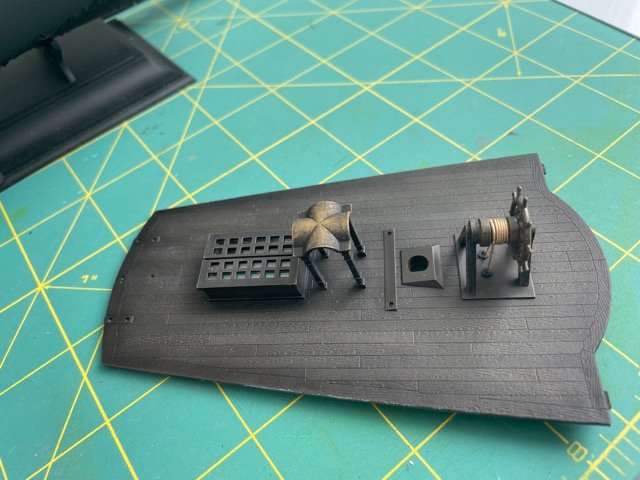
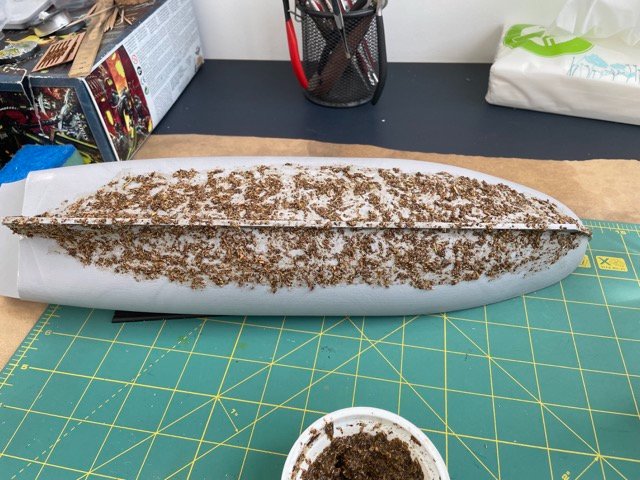
Thanks Jeff. I'm not sure about right terms so please correct me if I'm mistaken. Meanwhile a made a lot of boring job - cleaned all the sides, primed and painted hull and sides. From the interesting parts - added some bits on the quarterdeck: grates, improved a bit steering wheel with a rope, construction for the bell, also trying to make a bell, but probably will just buy it. Also added imitation of shellfish and stuff on the bottom of the hull.
-
Today I'm really excited because I constructed my own Lego ropewalk and made first rope. How cool is that )))