Tom Schongar
-
Posts
33 -
Joined
-
Last visited
Content Type
Profiles
Forums
Gallery
Events
Everything posted by Tom Schongar
-
I can`t see either,lol. i took my glasses of to do these. Only did one section a night. The rivets are big on the real ship. Should look ok when painted. The ouside ones will be much easier to do. I wanted to get the rivets done before any deck work, masts etc, more room to work, less chance of breaking stuff.
-
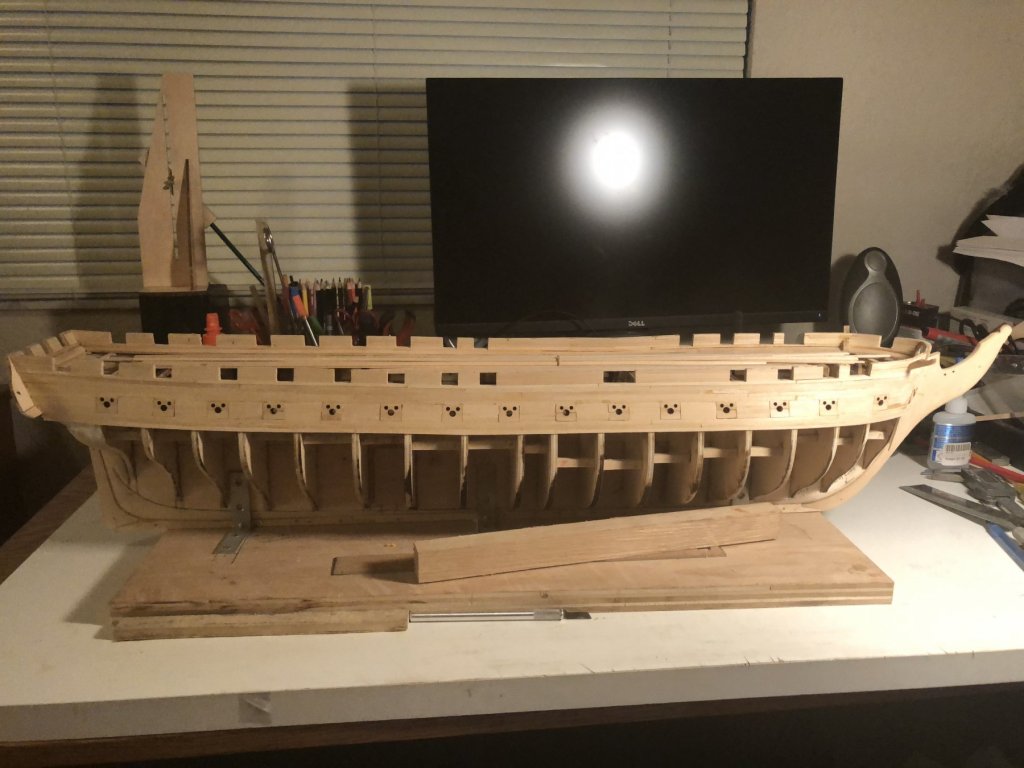
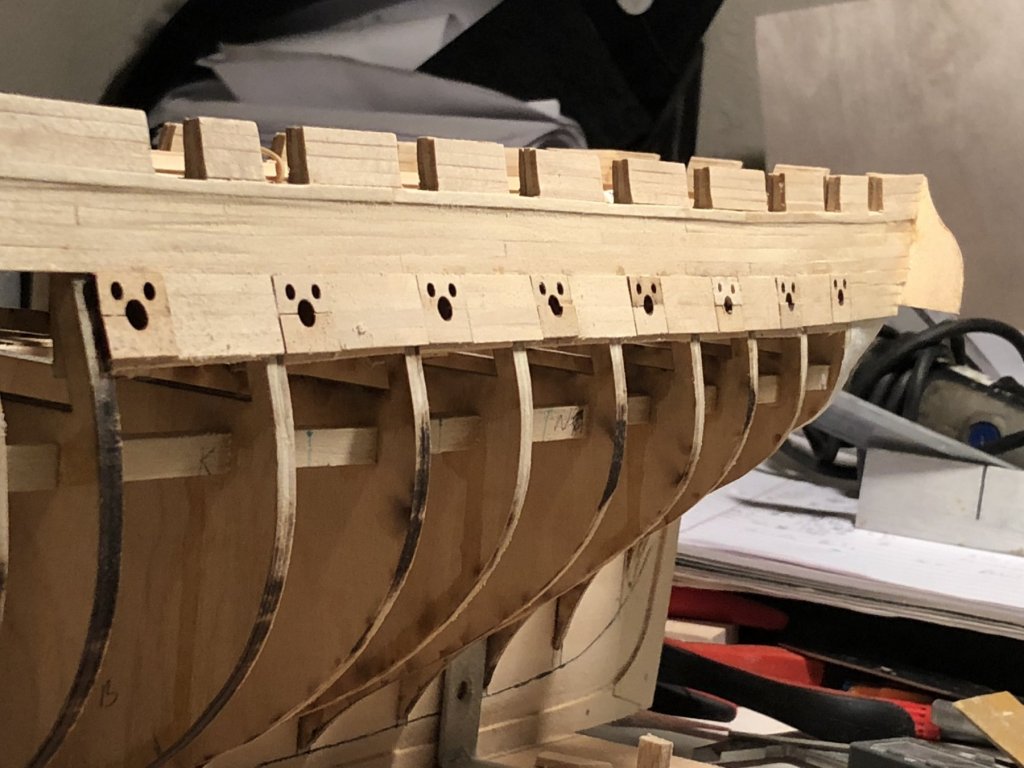
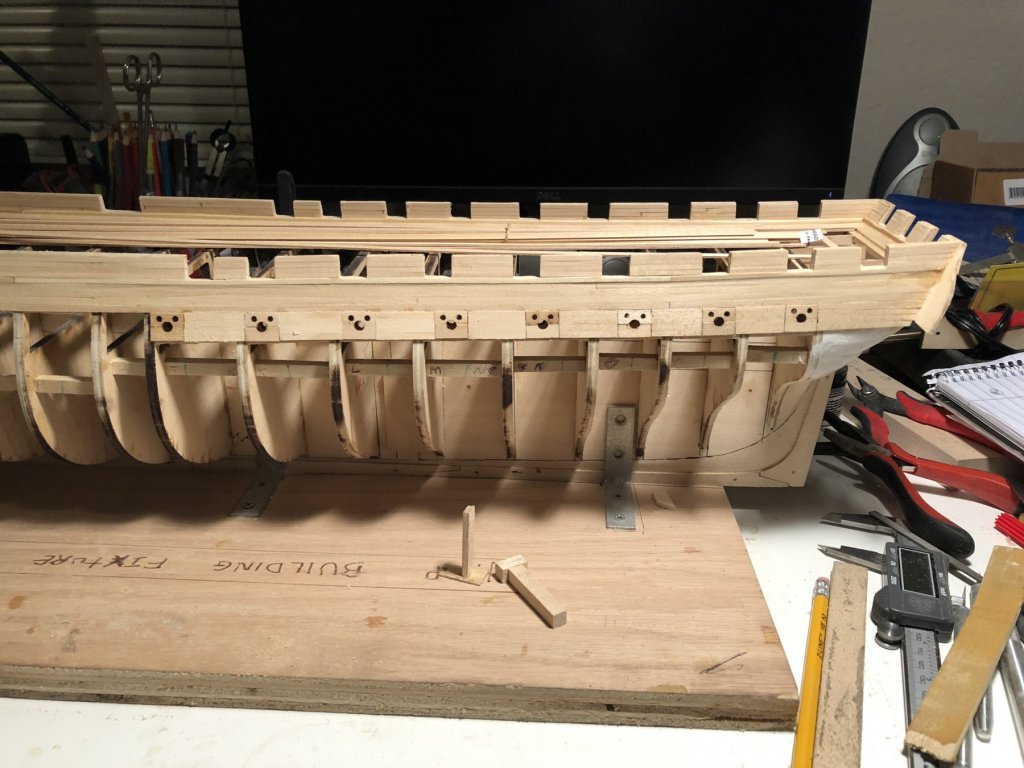
Finished some of the bulwarks rivets. Boy, what a job. Some a i little off but who cares. After 2000 lus are put in ,who will notice ? Except me,lol


-
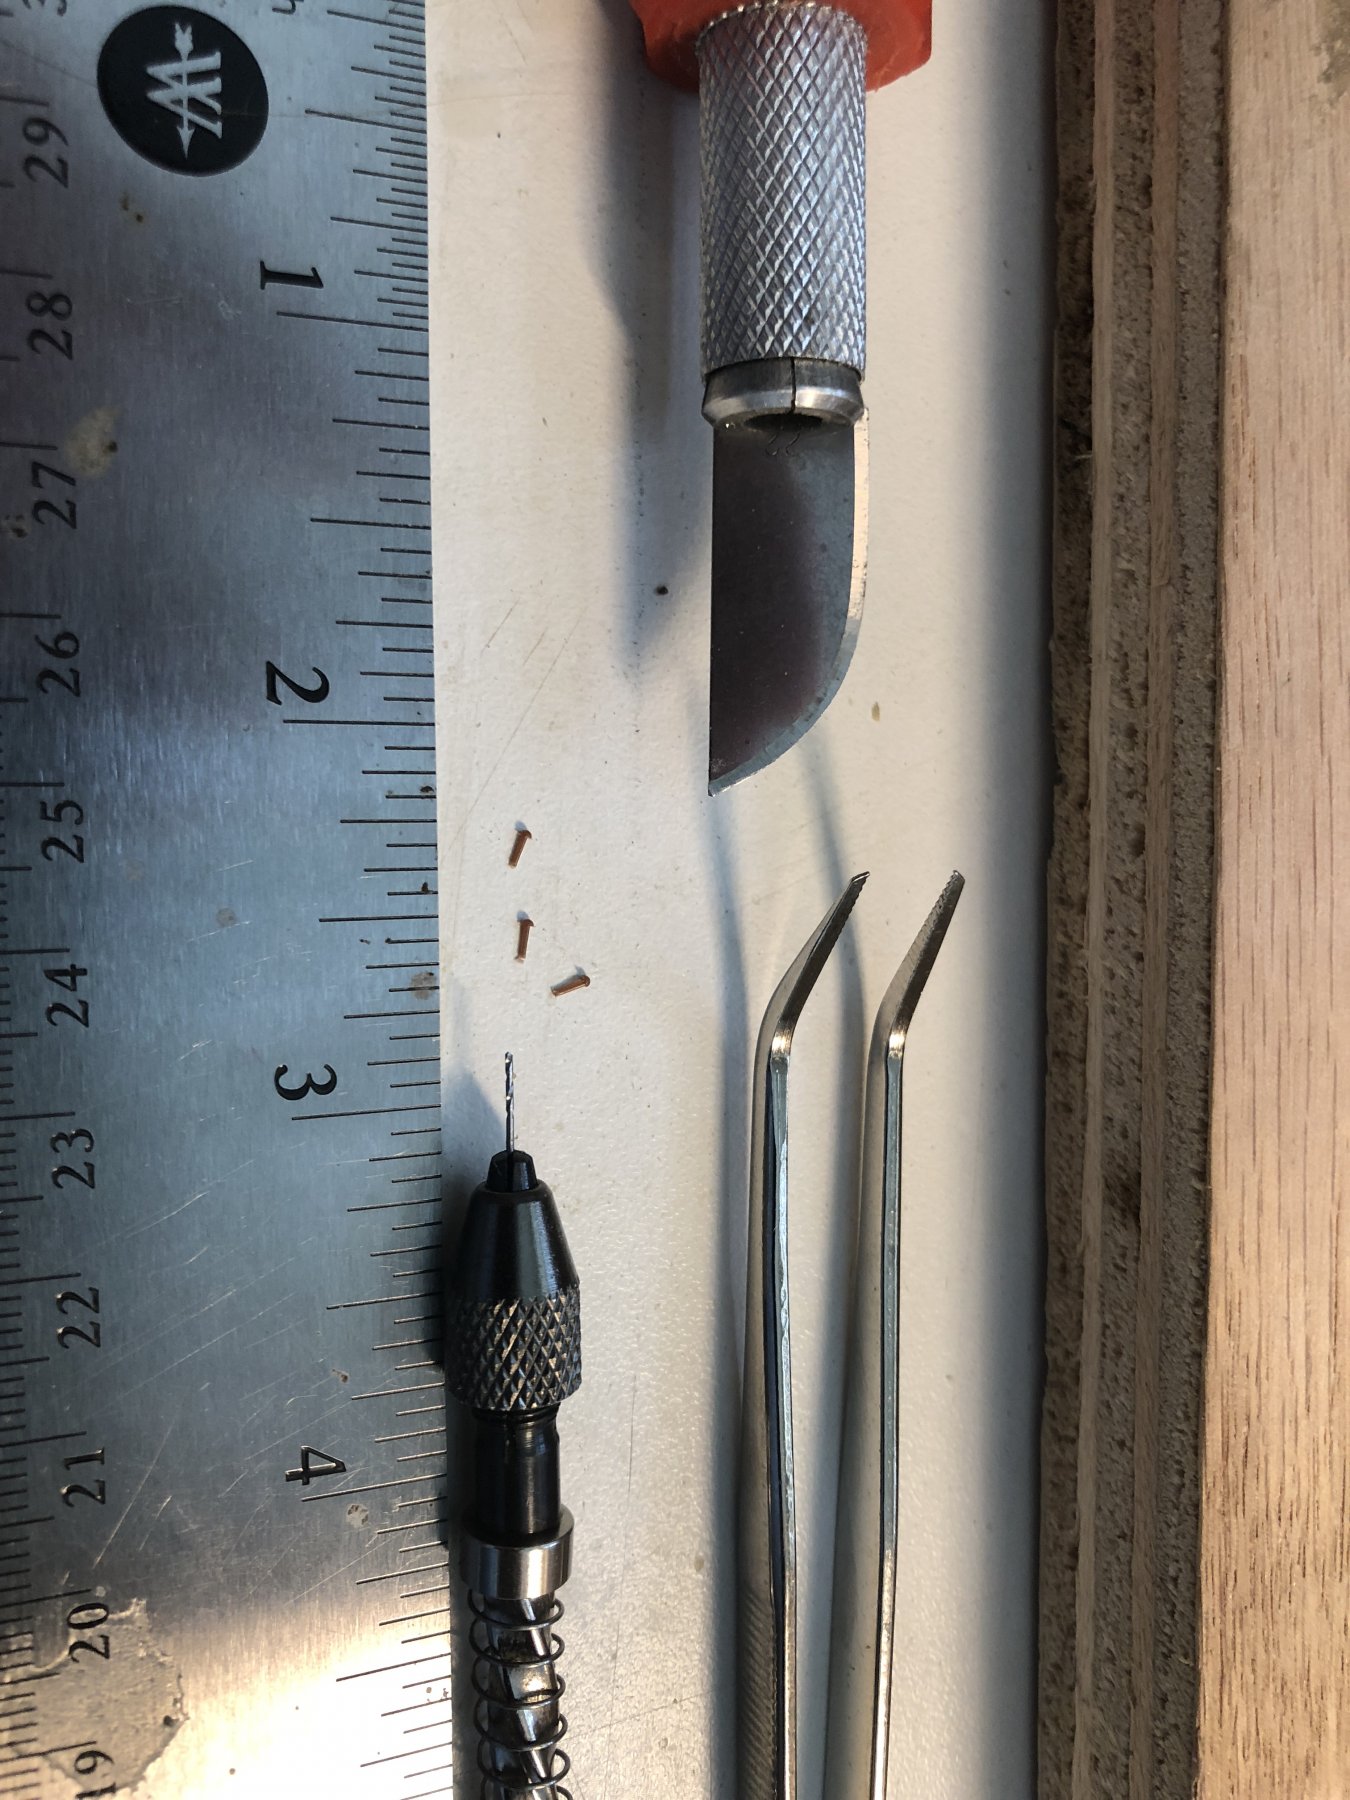
I decided to do the rivets next, instead of the hatches and deck planking. There is more room to work on drilling all those tiny holes with a #77 bit. I did about 50 so far, not perfect , but hey, you cant see them damn things they`re so small. lol. getting better as i go, the hard part is not having the rivet fall out of the tweezers. If that happens it`s gone forever. TIP: put down a white cloth under the boat and roll the edges to make a ridge so the rivets won`t get lost because you will drop them.
-
Rear gun ports done. Sanded the whole ship with 1500 grit, and applied sanding sealer. Tommorrow will sand again, one more coat of sealer, then sand again. Next week i start on the deck. Plus i bought all the rivets to do the bulwarks. Boy that should be fun. 3000 pieces that you can`t see or pick up , drill hole for each on in the right spot, lol.Good thing i have a lighted magnifier and tweezers.
-
Back at it. Had to take a break to build a changing table and a cradle for my daughter. First grandbaby due in august.. I have all the gun ports done, and am working on the three rear gun ports now.


-
I started on the starboard side lower gun ports today. I took a little break on the boat after we came back from California. Time to get back at it.
-
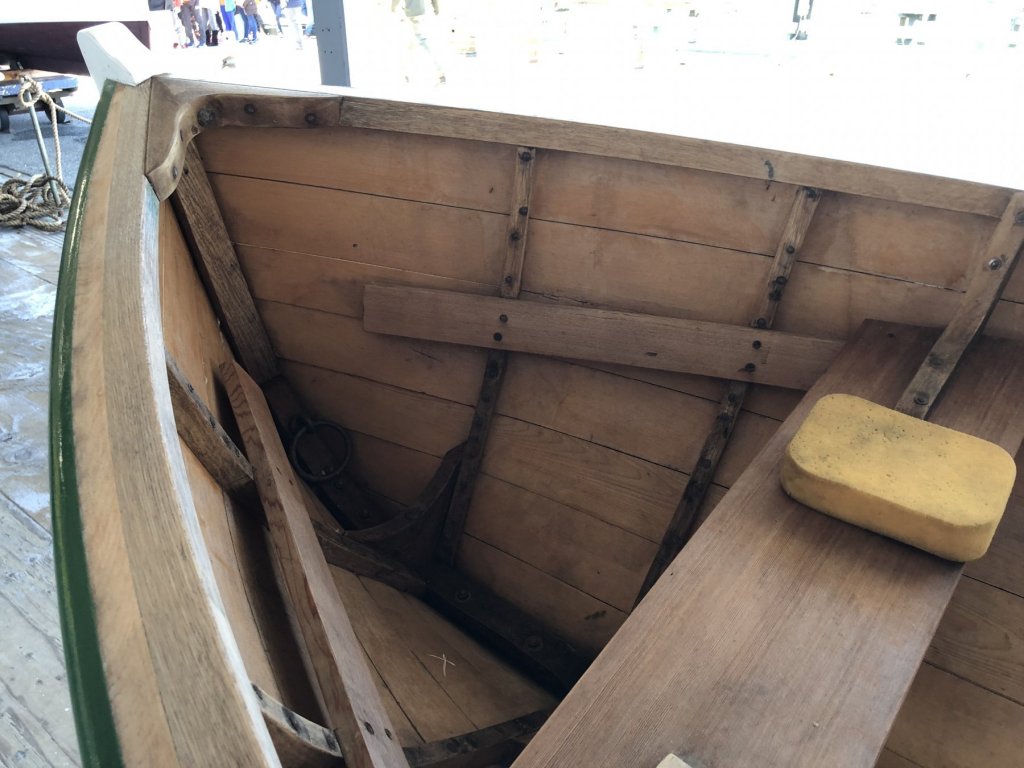
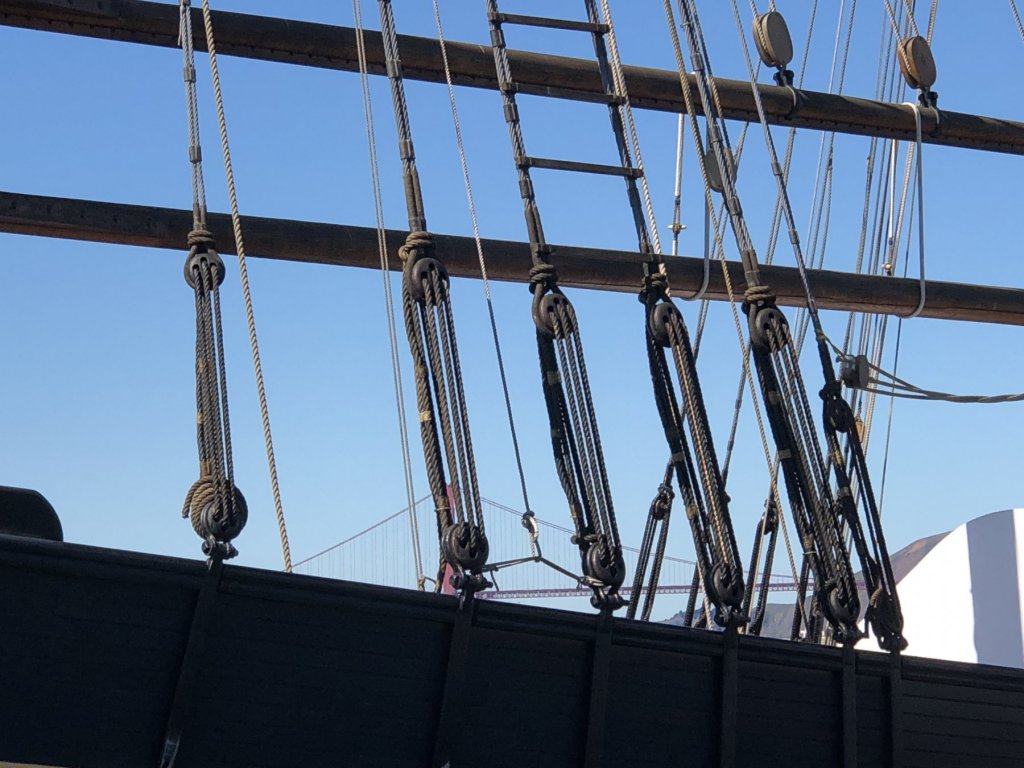
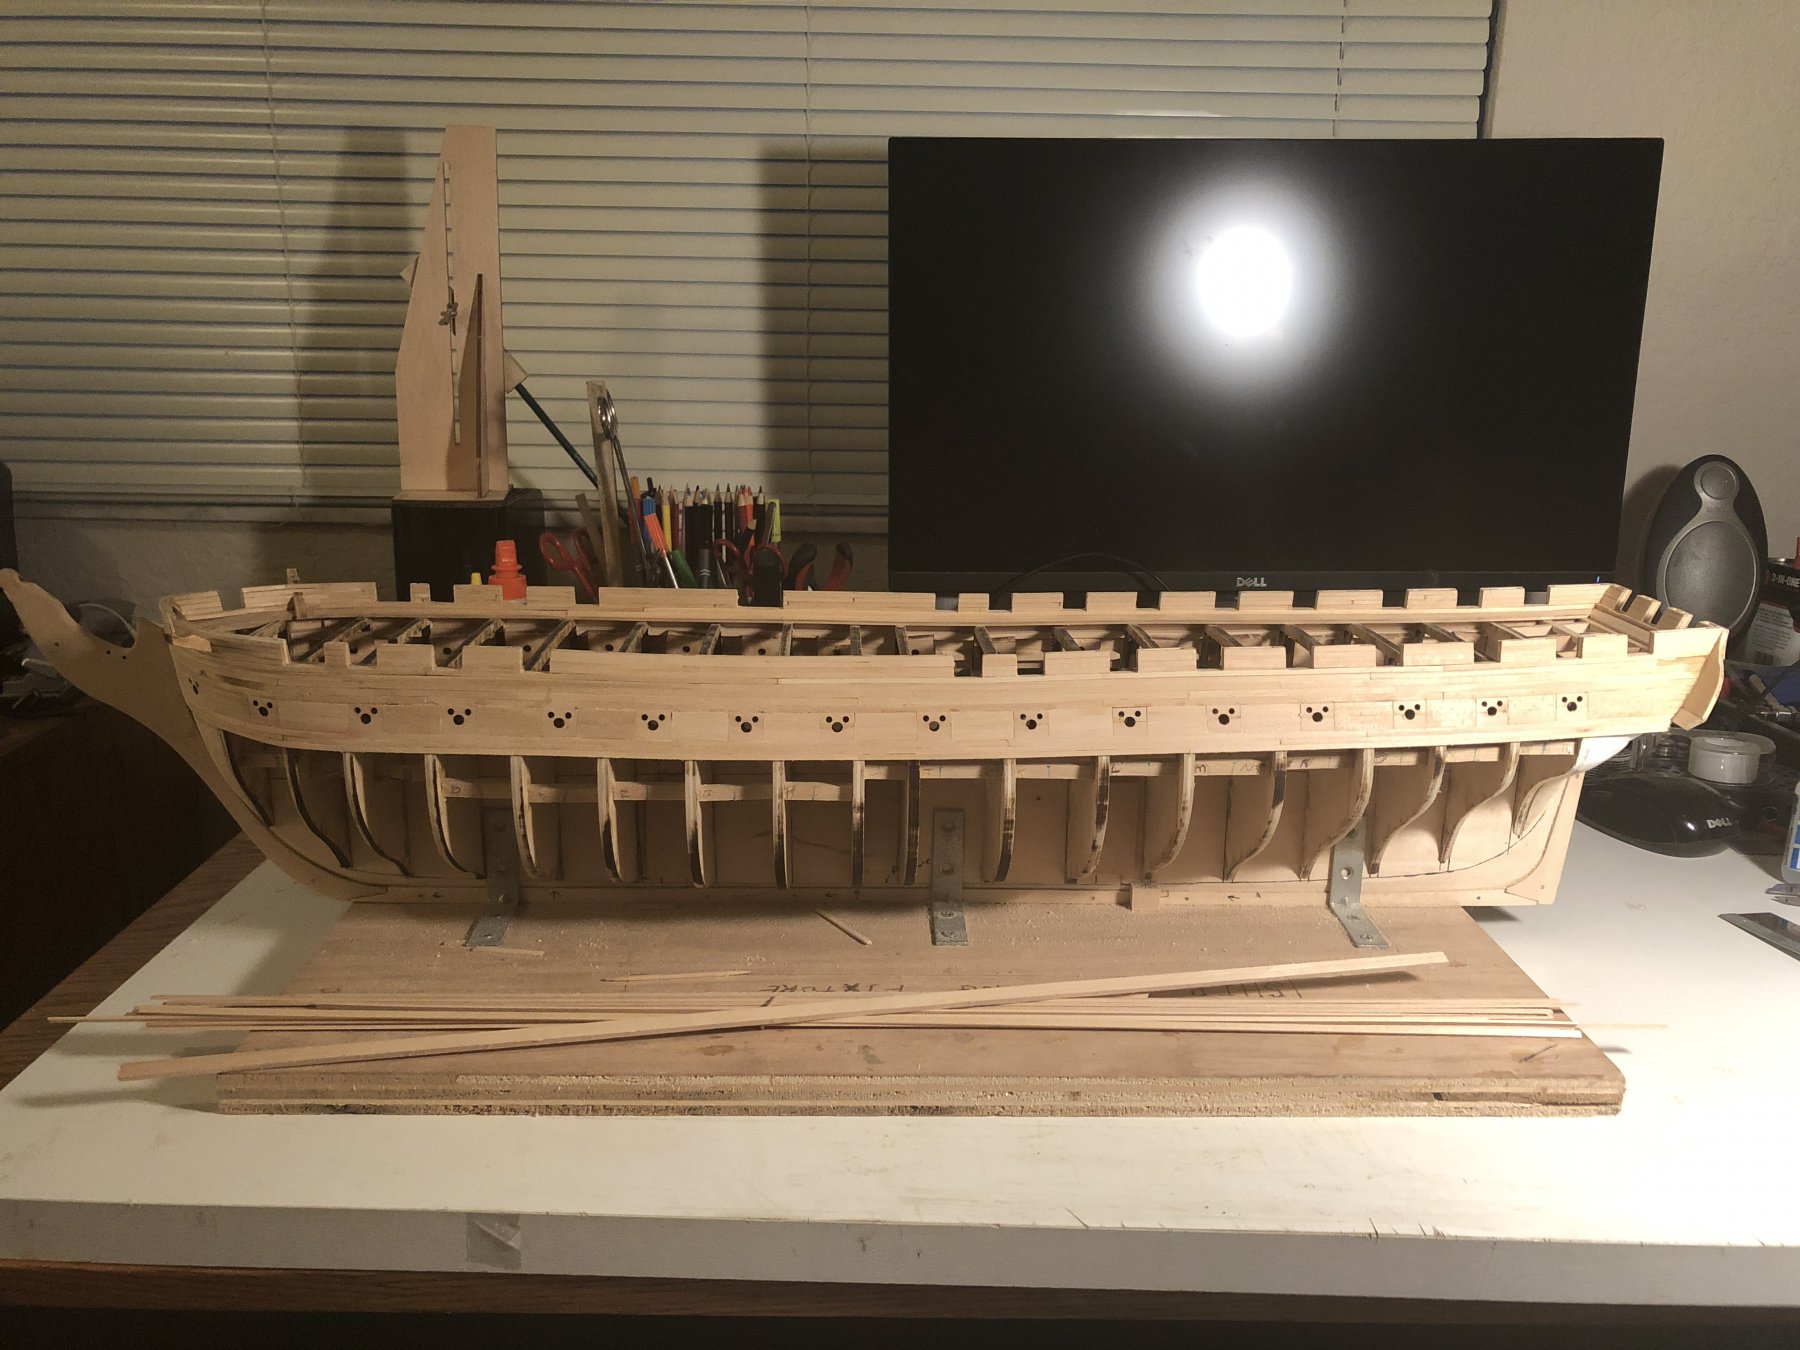
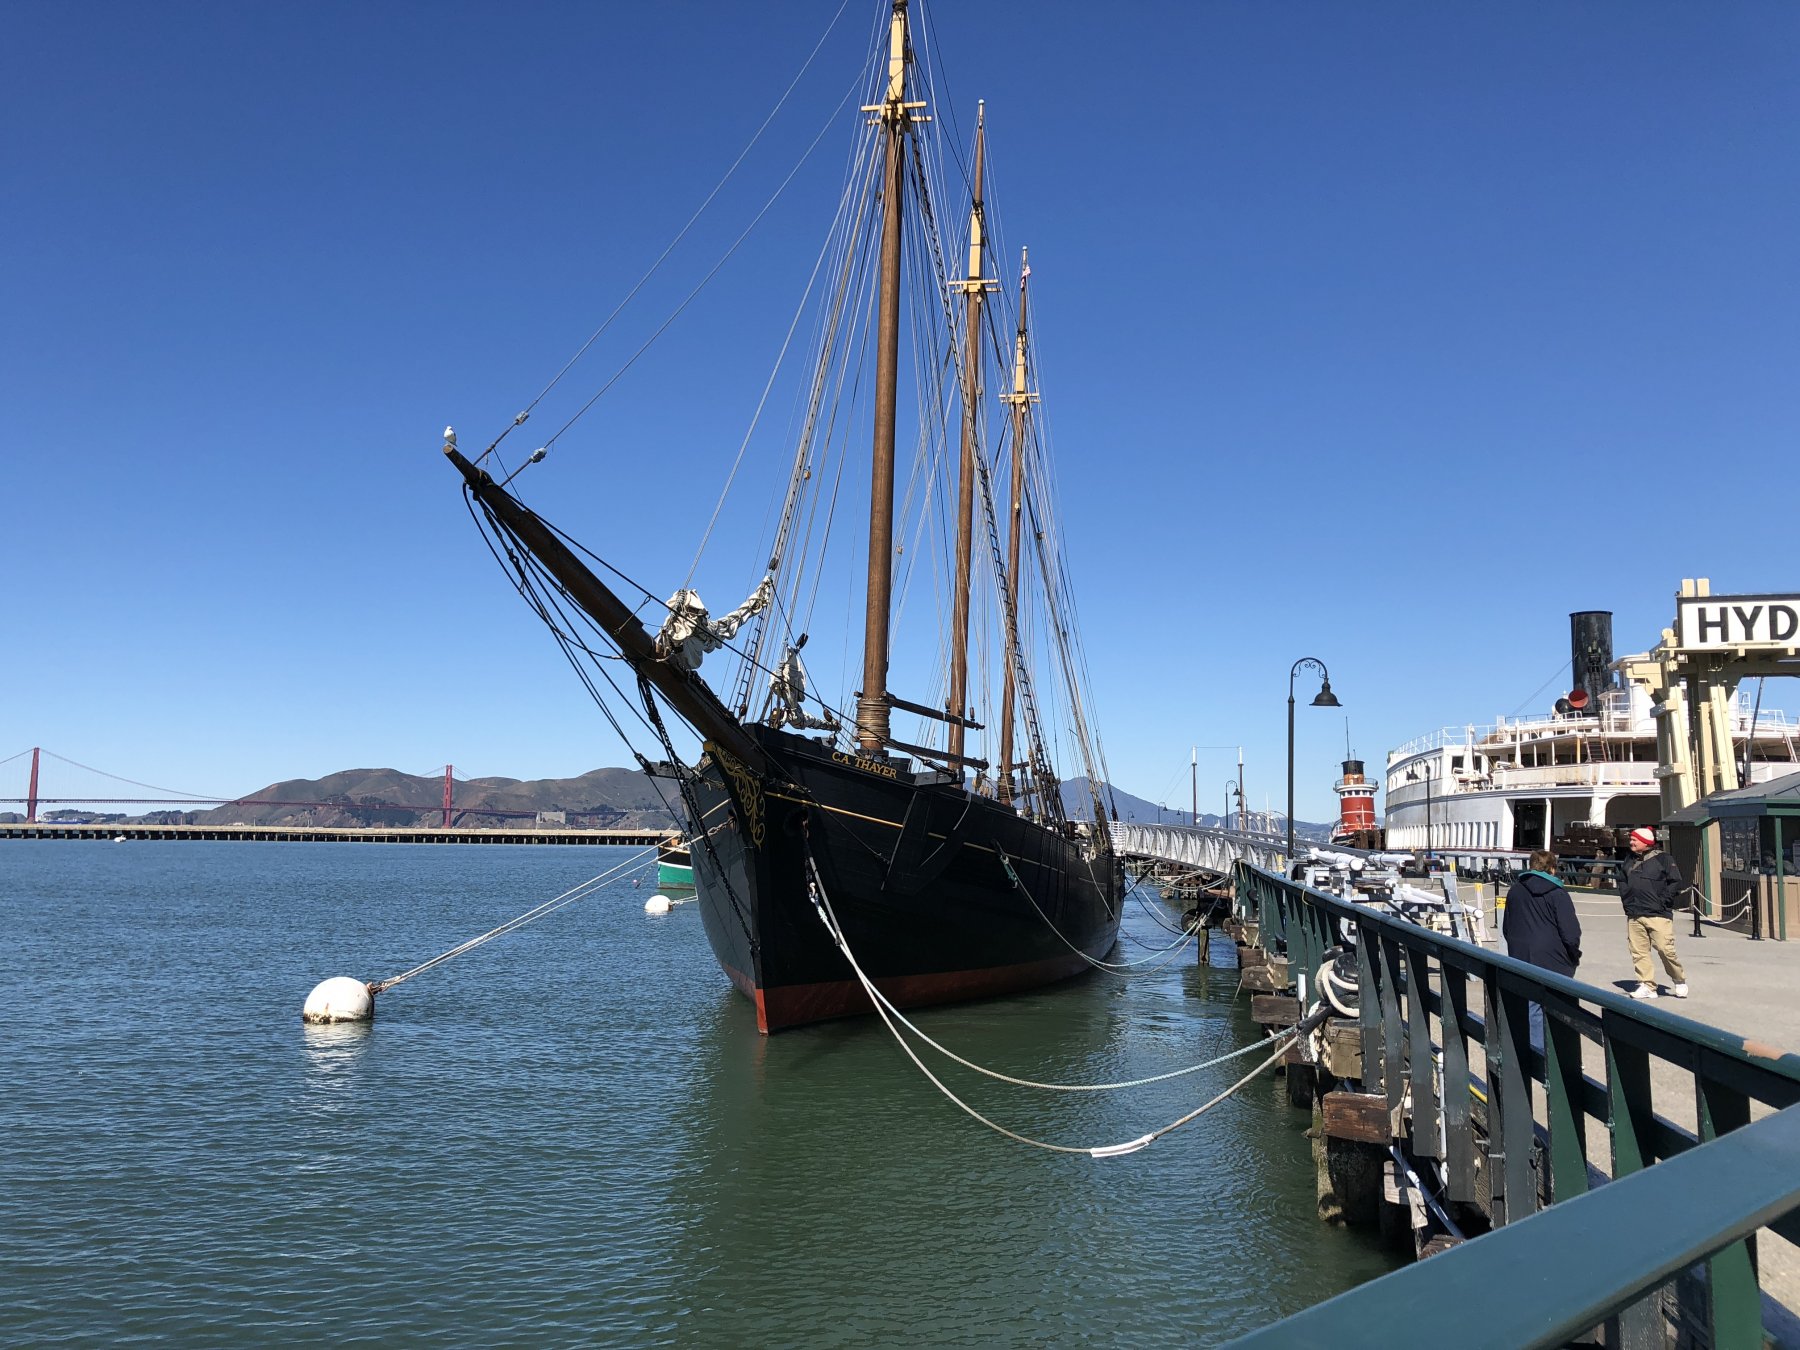
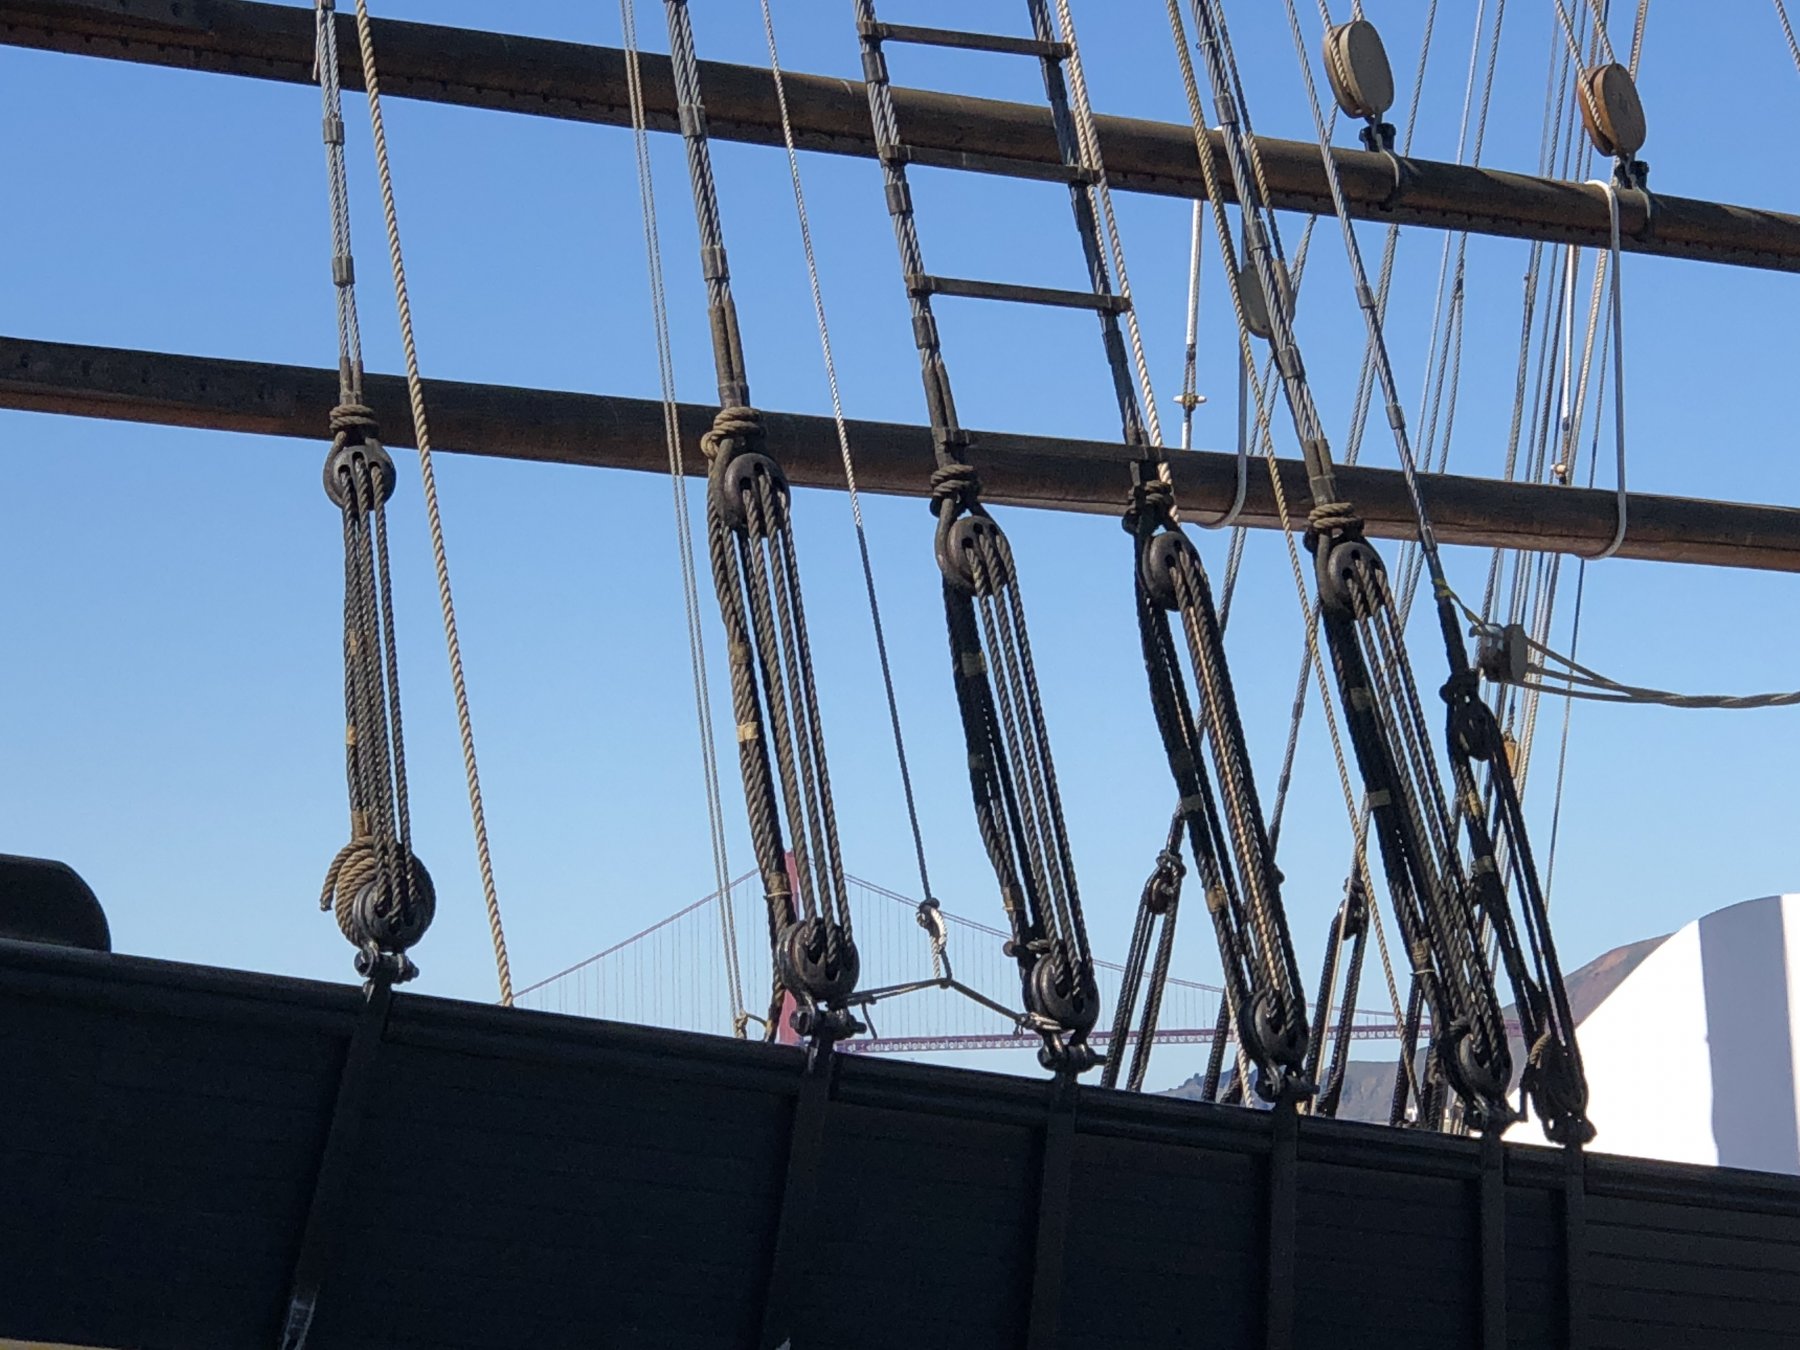
More progress on the gun ports, and some pics of rope making machine and other pics of our trip to san fransico last week. We visited the maritime museum at Fishermans Wharf. Hope you can use some refernce material on what real fittings look like. Very cool place. Plus pic of old ship. IMG_0219 (1).MOV IMG_0214.MOV IMG_0217 (1).MOV
.thumb.JPG.e0e755f8113956f680ccf008a20b4e4e.JPG)
.thumb.JPG.31cb2c0541f43e4ccdef42a3b059dfb4.JPG)
.thumb.JPG.381328e6d33d96bced60f97b78dcebf5.JPG)
.thumb.JPG.78d6643fbed84b1ceb756a5ffdc9f94c.JPG)
.thumb.JPG.b8f4c00b38af43d3c3f3b0999cc3a6cc.JPG)

.thumb.JPG.4fbd2e1b980375d72281aefd8fb410c2.JPG)
.thumb.JPG.ab9ab373a469949b39a0524406410e84.JPG)
.thumb.JPG.e0af3fbcccd5ec3fbab10acc879e1936.JPG)
-
First gun port roughed in, 27 more to go.
-
Transom extensions should be even with the top of the rear gunports and the main rail goes on top of this. Other rail ( name escapes me at the moment) is higher.
-
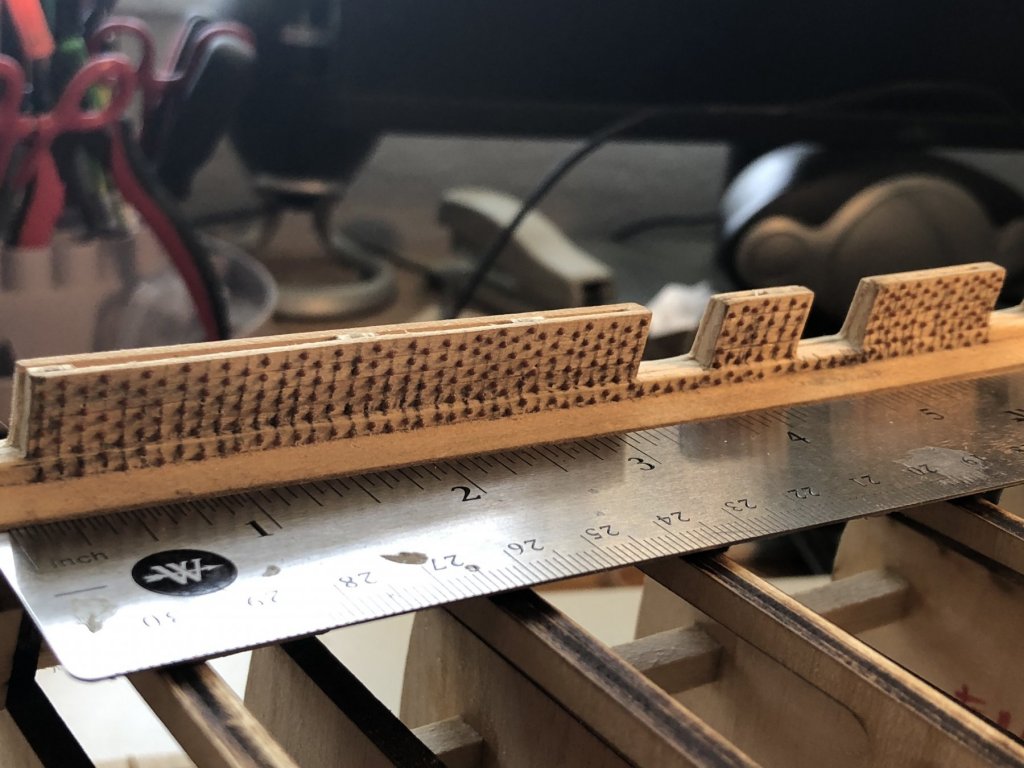
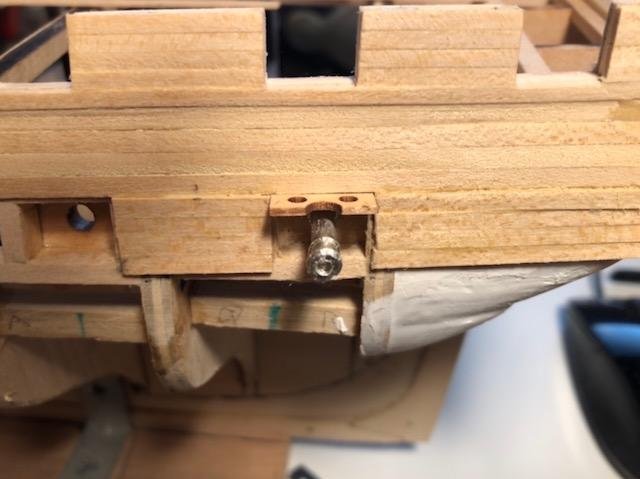
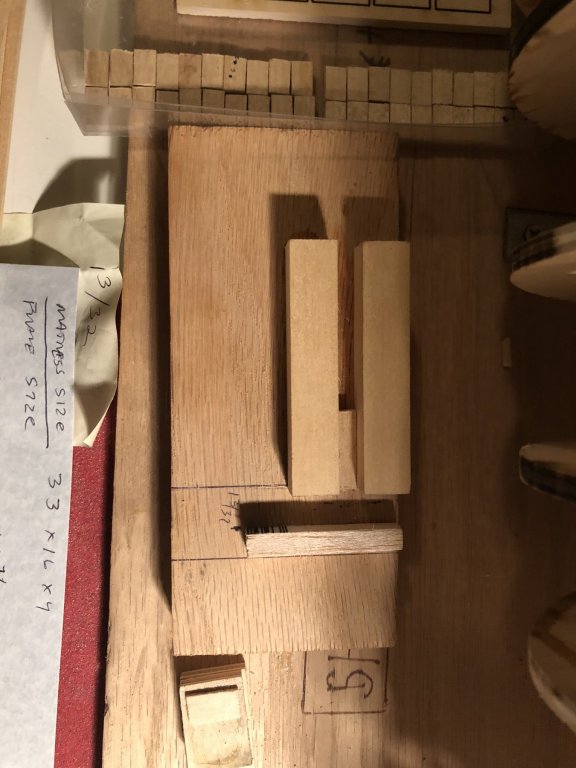
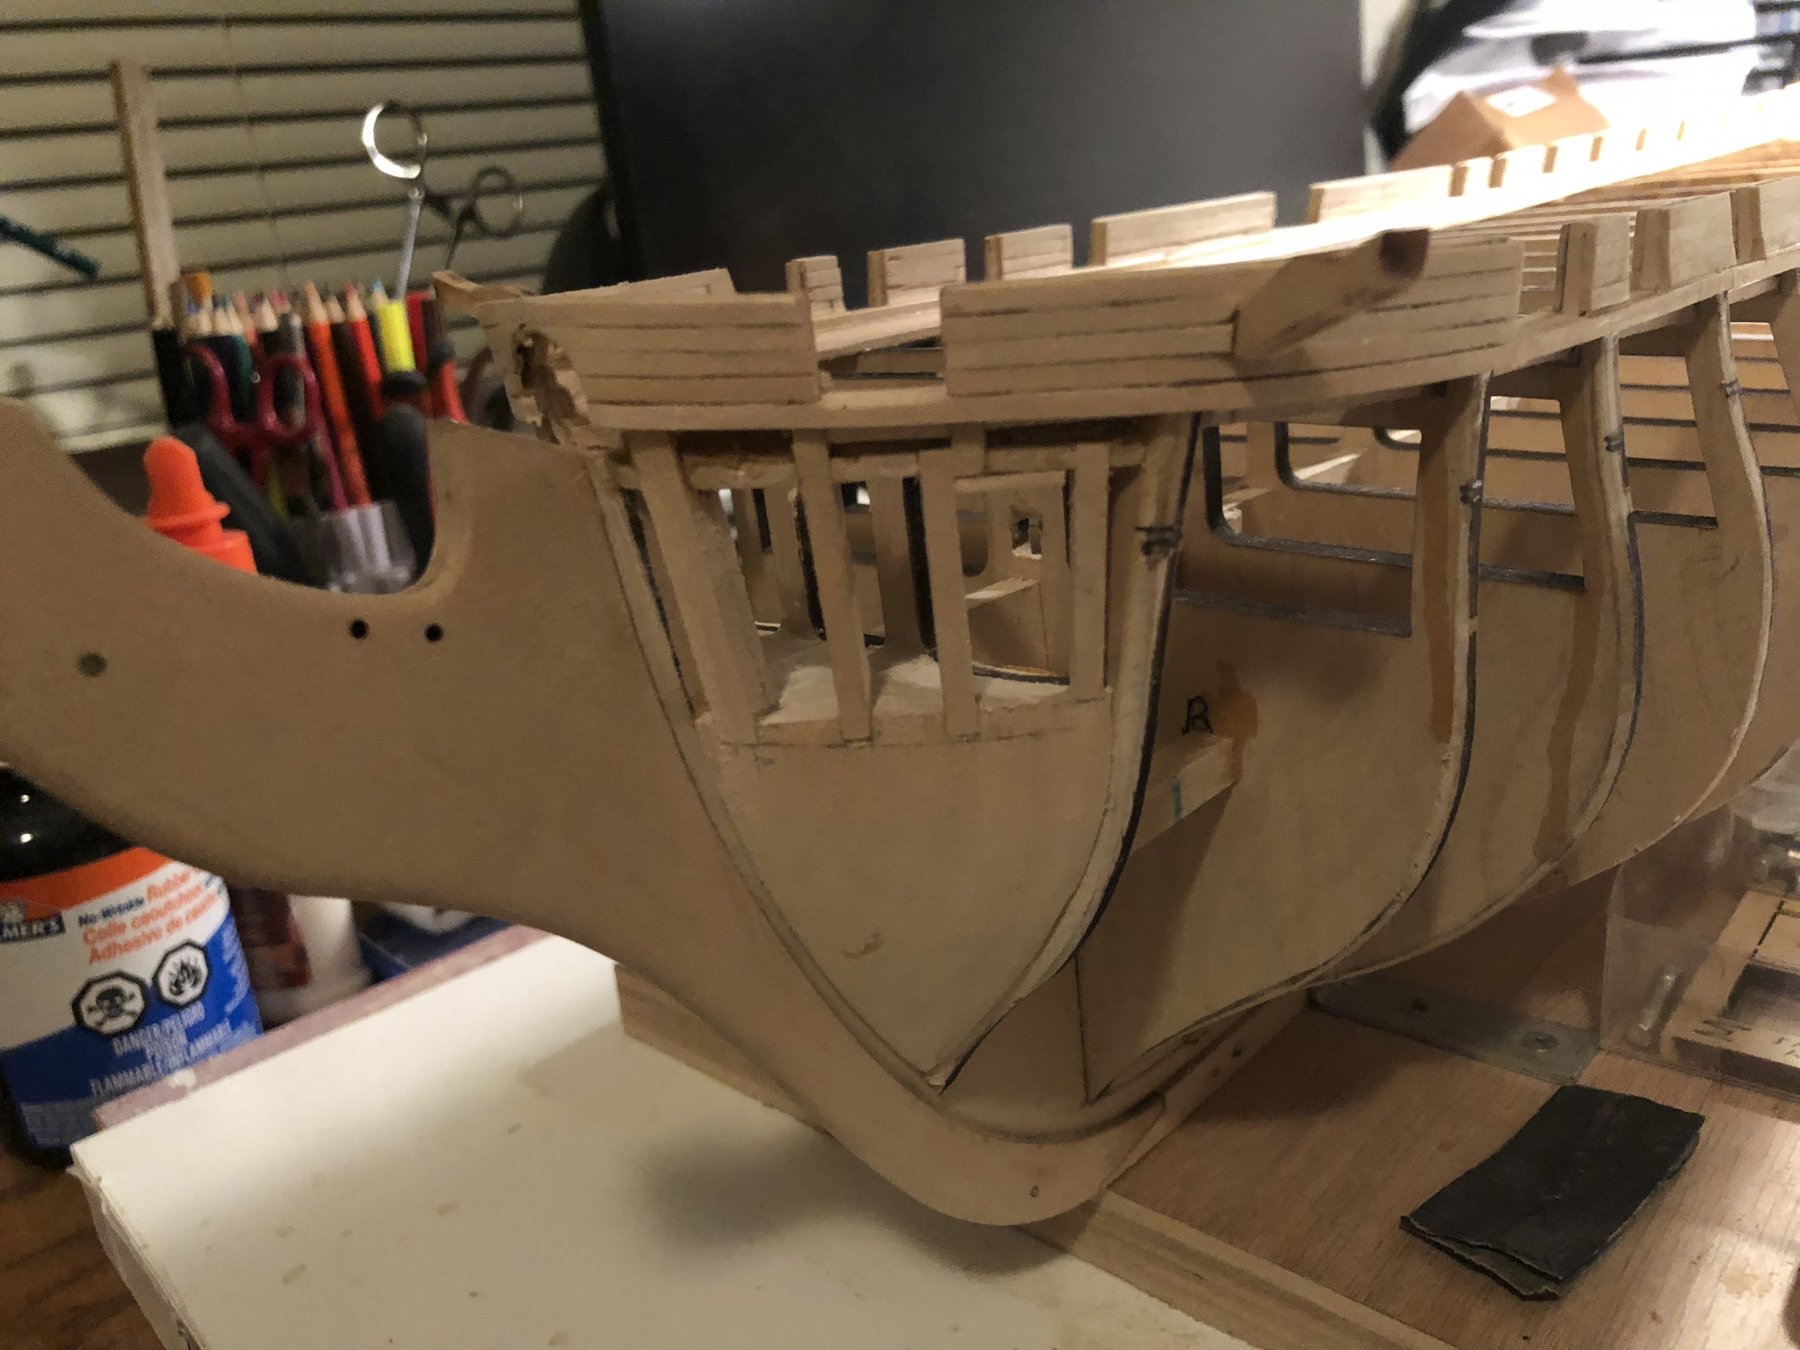
more pics. outter bulwark planking done gun ports done and catheads in. next up is the gun deck ports with the fake guns. I made a jig to cut all 55 pieces for the ports, and a little jig with 4 planks on it to get the alignment right. IMG_0006.MOV


-
Worked on the gunport frames today,

-
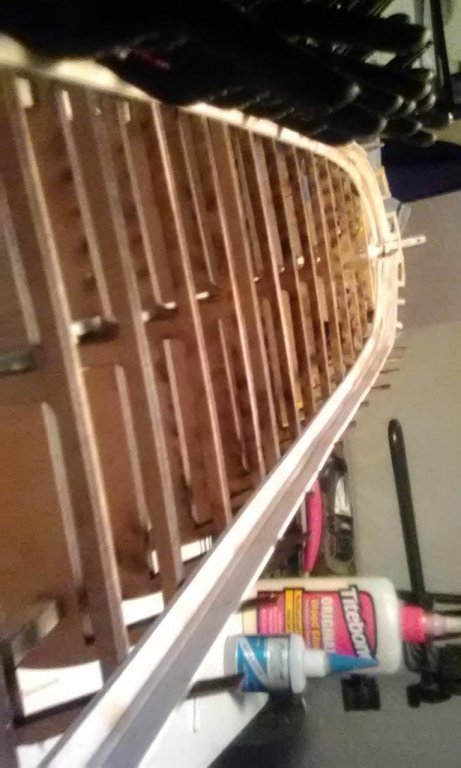
Waterways , planksheer, and inner bulwarks almost complete. Bowsprit hole cut and bowsprit fitted. Lond day 8 hrs to do inner bulwarks planks.. Im using wood glue except for the stem parts. Its easier to glue with superglue when the wood is damp so it will bend around curves.
-
Started on waterways today. Cut bevels and cut miter joints for stern section. Took about 2 hrs to get the first one cut and shaped, and 1 hr for the other side. When on a roll , stay with it. Have port side waterway glued on,and transom piece glued on. Will post pics after i get the other side done and the stem sections of the waterway in. Still have to cut them out. update: waterways and planksheer are done. Inner bulwarks on both sides almost done. 1 more plank to go on each side. Bowsprit is fitted to stem. Sorry aout pics, have to use laptop camera.
-
nice work! your almost done with the hardest parts of the ship. Take your time, your sanding stick and files are your friends. lol
- 117 replies
-
- 2
-

-
- constitution
- model shipways
- (and 1 more)
-
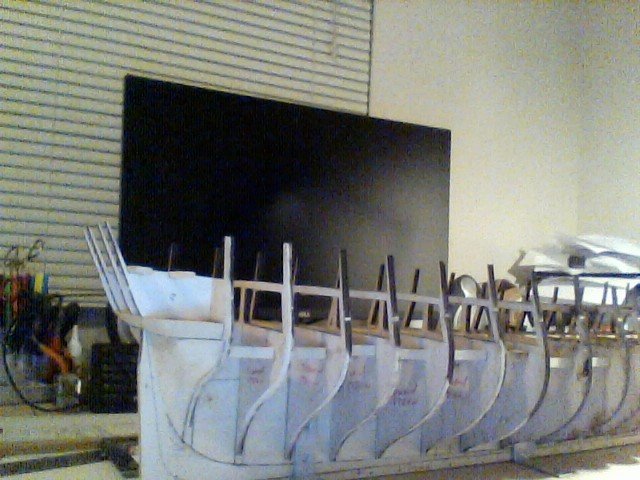
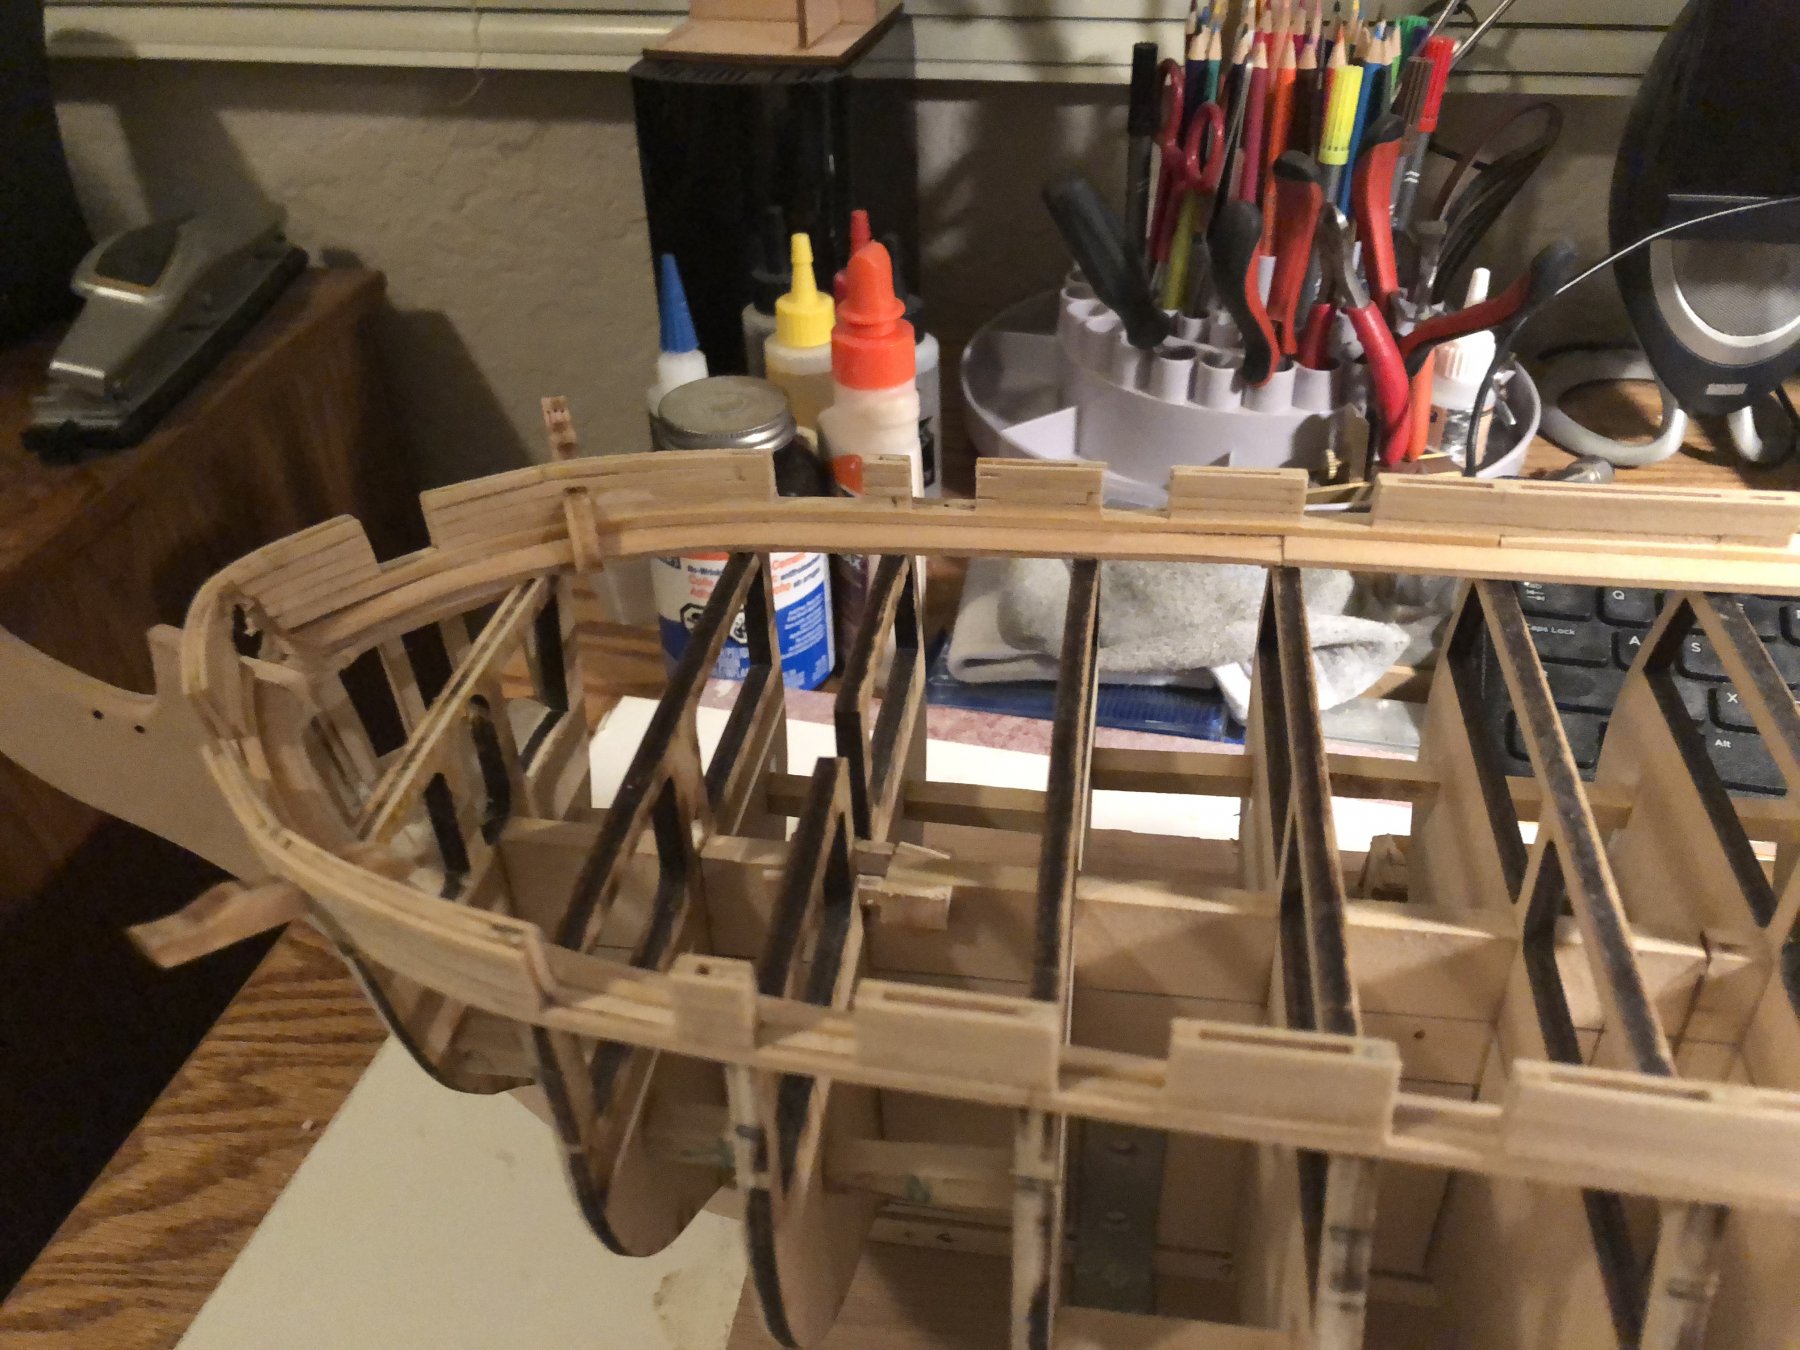
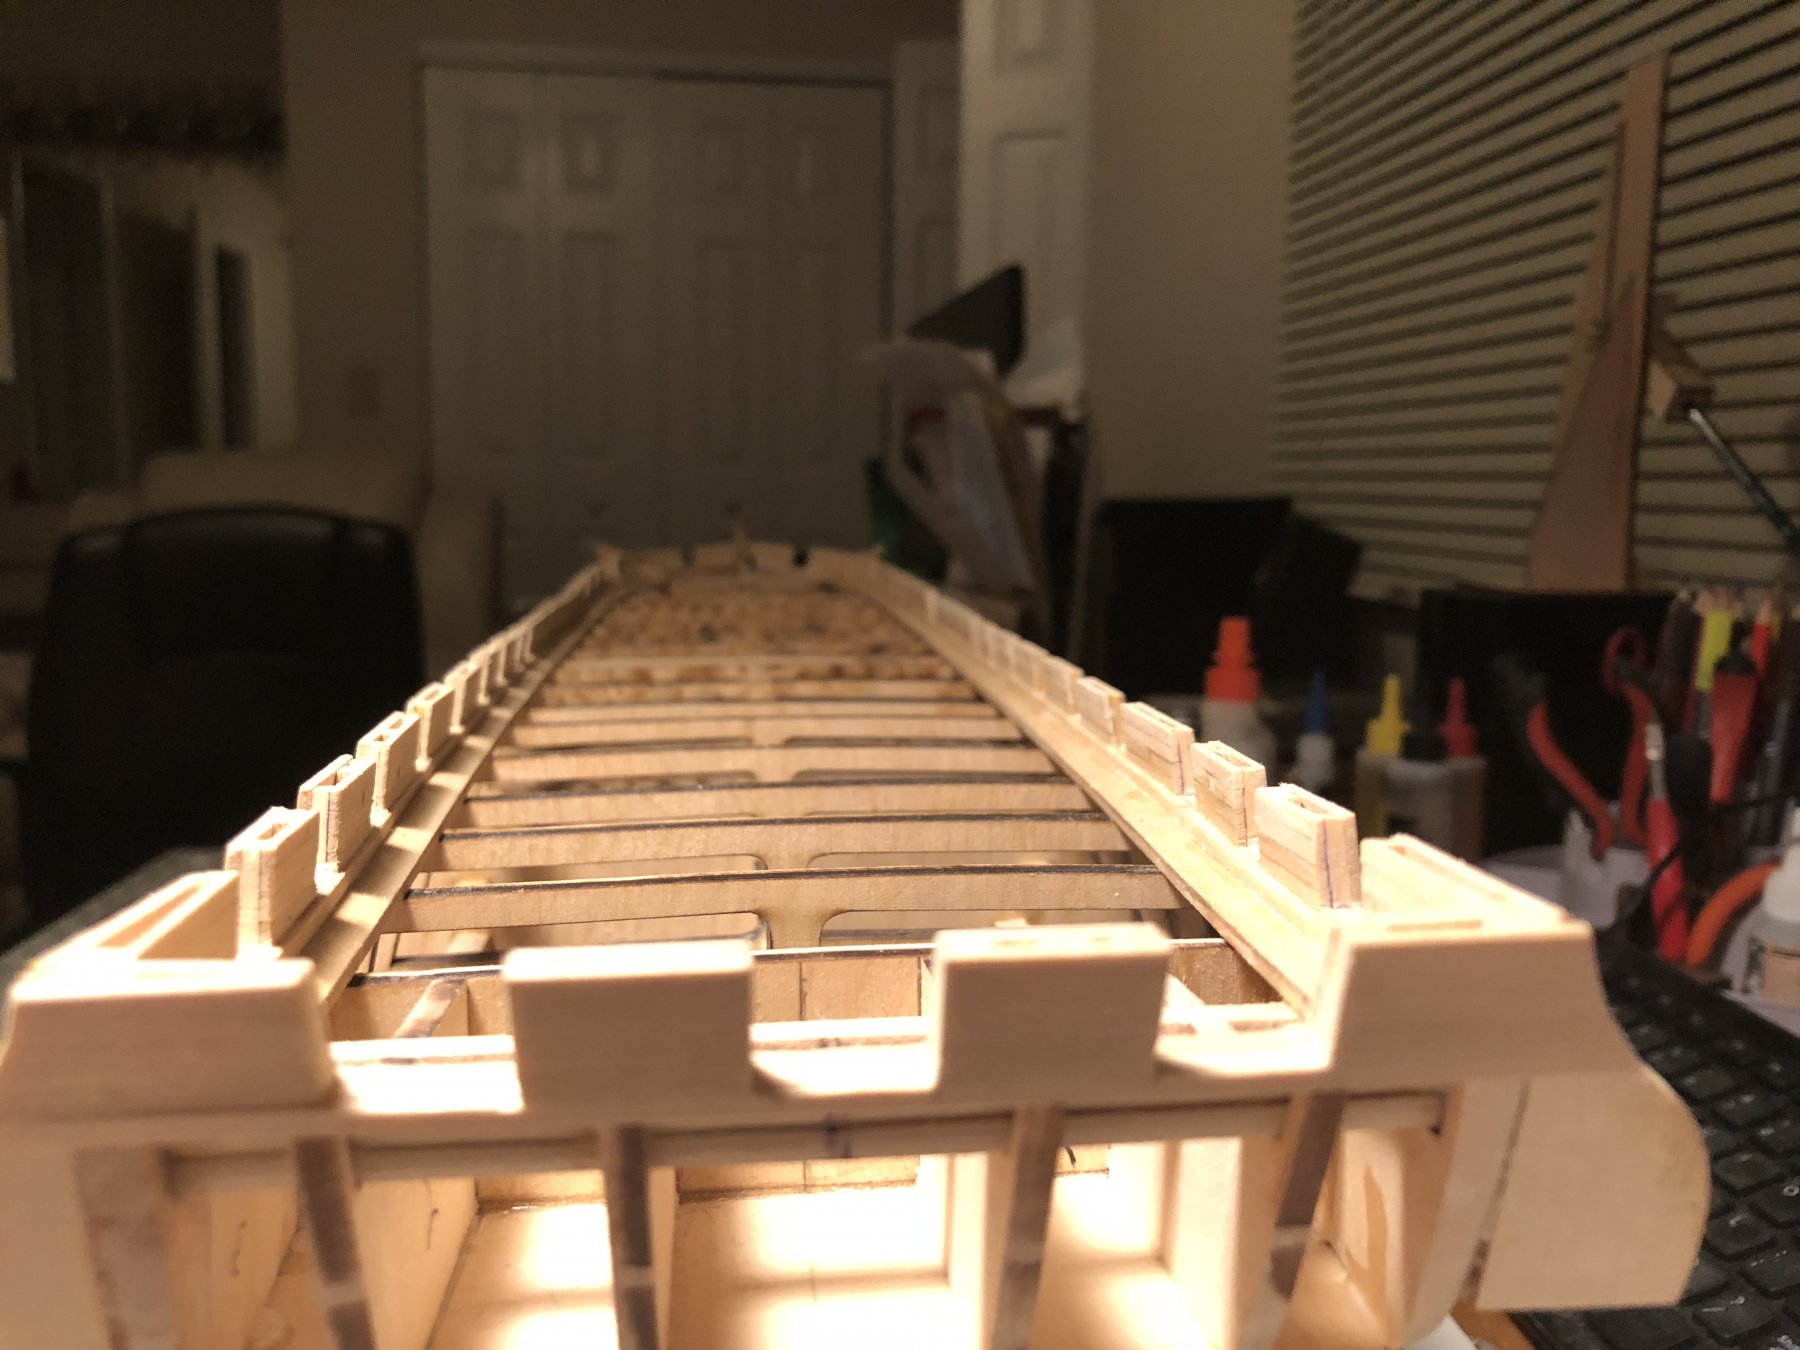
Mast supports installed.Masts knoches cut and checked. Next up is waterway.
-
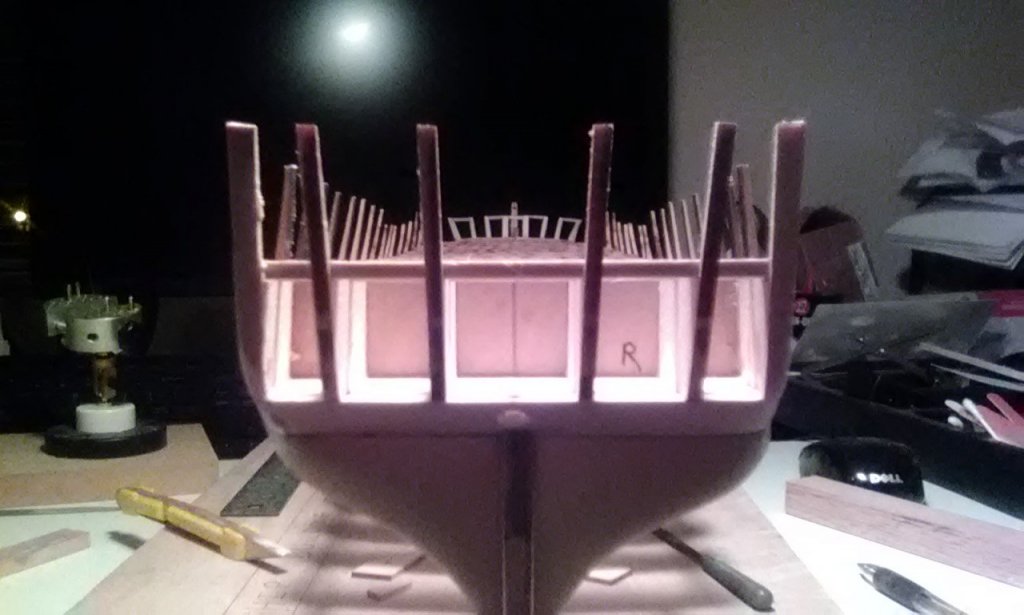
Nice job on the transom, very difficult build. You have to take your time and think though 10 steps ahead to get everything in the right place. Took me all day to do mine. I used a caliper.small trisquare,and cardboard template to get everything in the right place.then cut off the excess wood beams and sanded for 2 hrs.lol
-
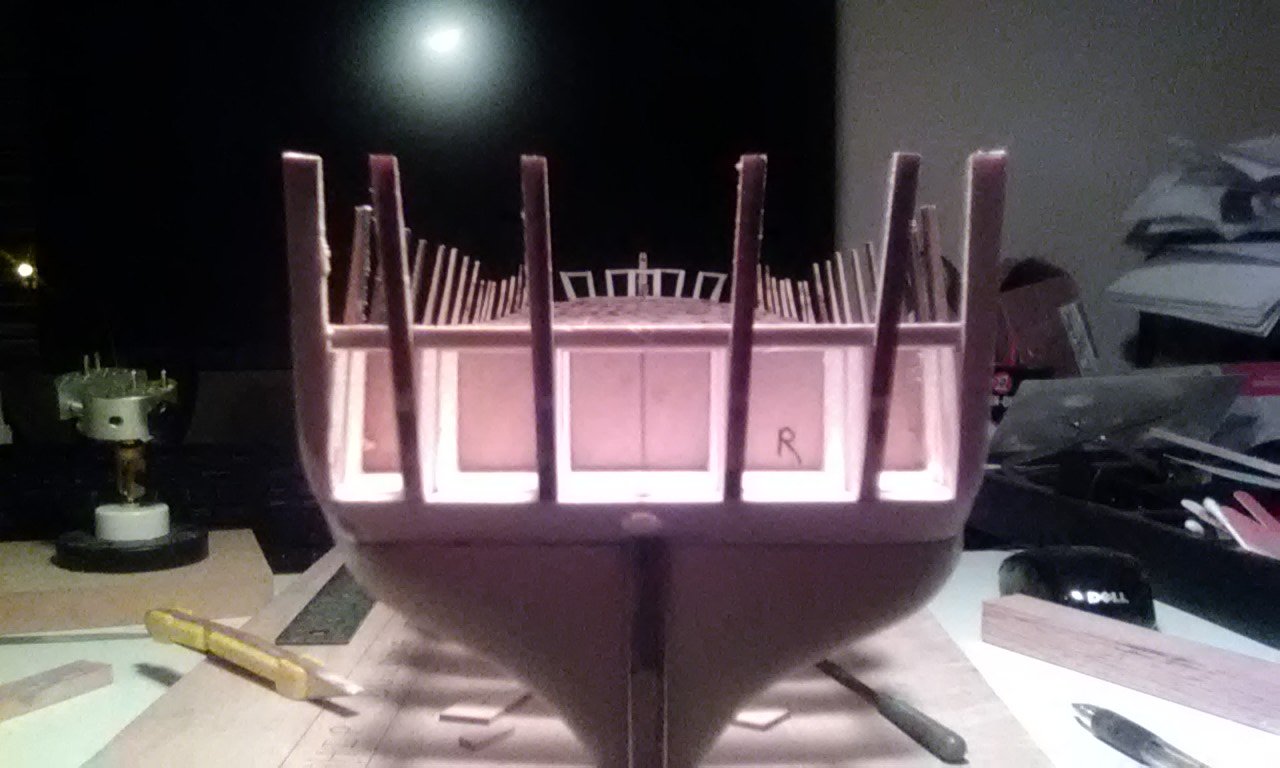
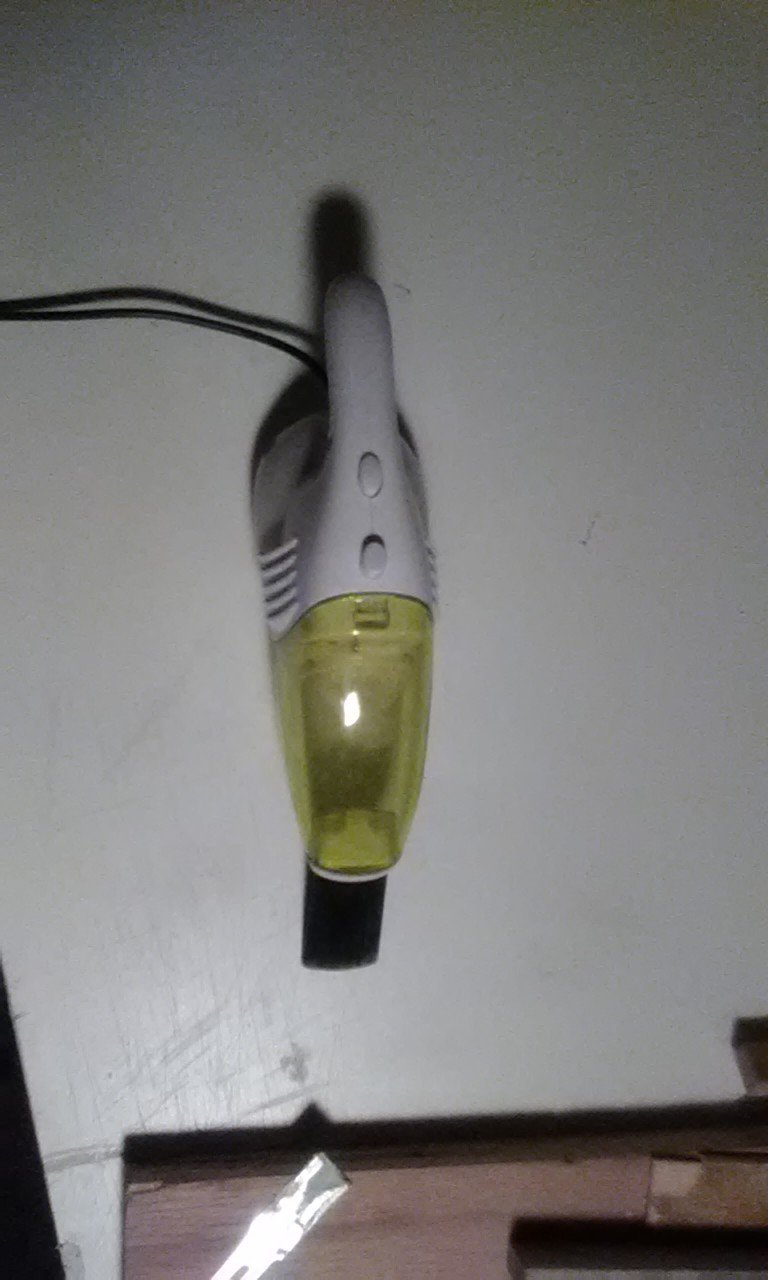
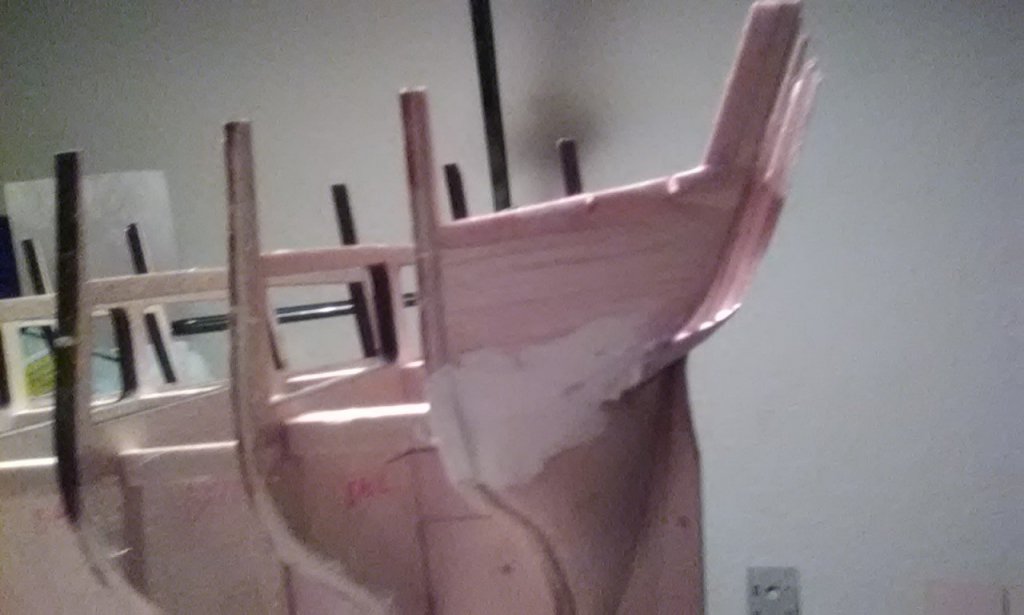
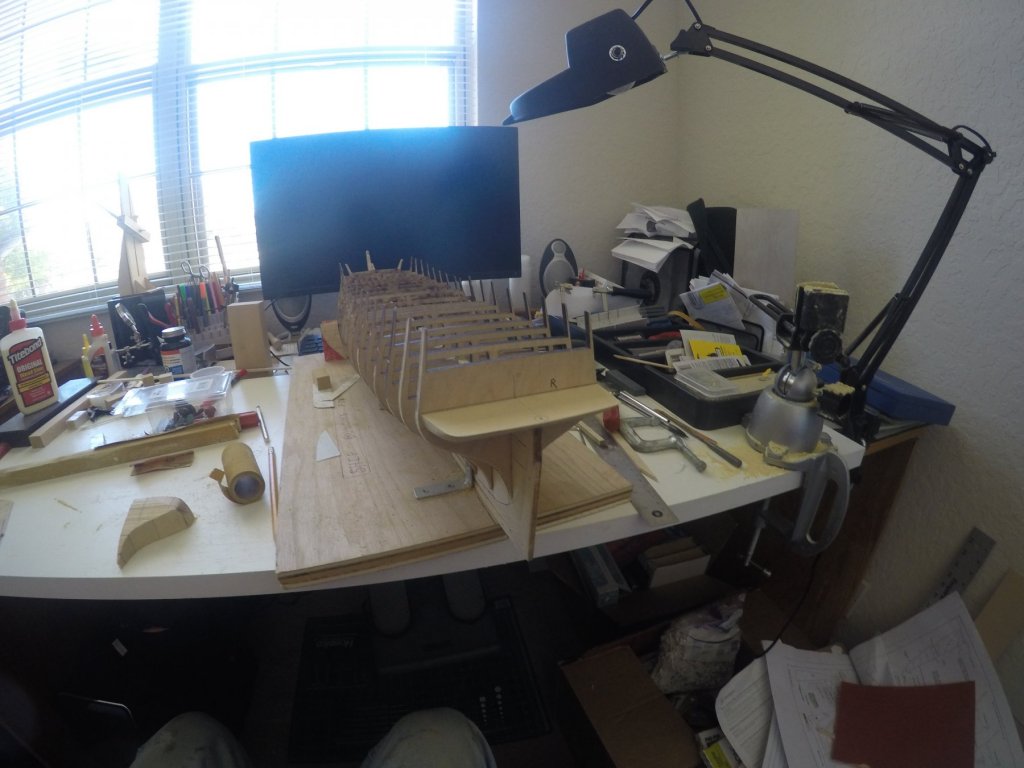
Transom almost complete. Just have to sand off some filler. You have to use a digital caliper to get the measurements correct. It took me about 3 hrs to get this part of the ship done. Complicated , but it came out perfect. Take your time and double check your measurements, and make an angle guage for the end frames 3. I got this cool little vacuum from my son-in-law for Christmas. It plugs in the computer usb port. Works great for getting the sawdust off the ship, and desk,lol.

.thumb.jpg.03f6091df63e9ce8bb858e656f5548c0.jpg)

-
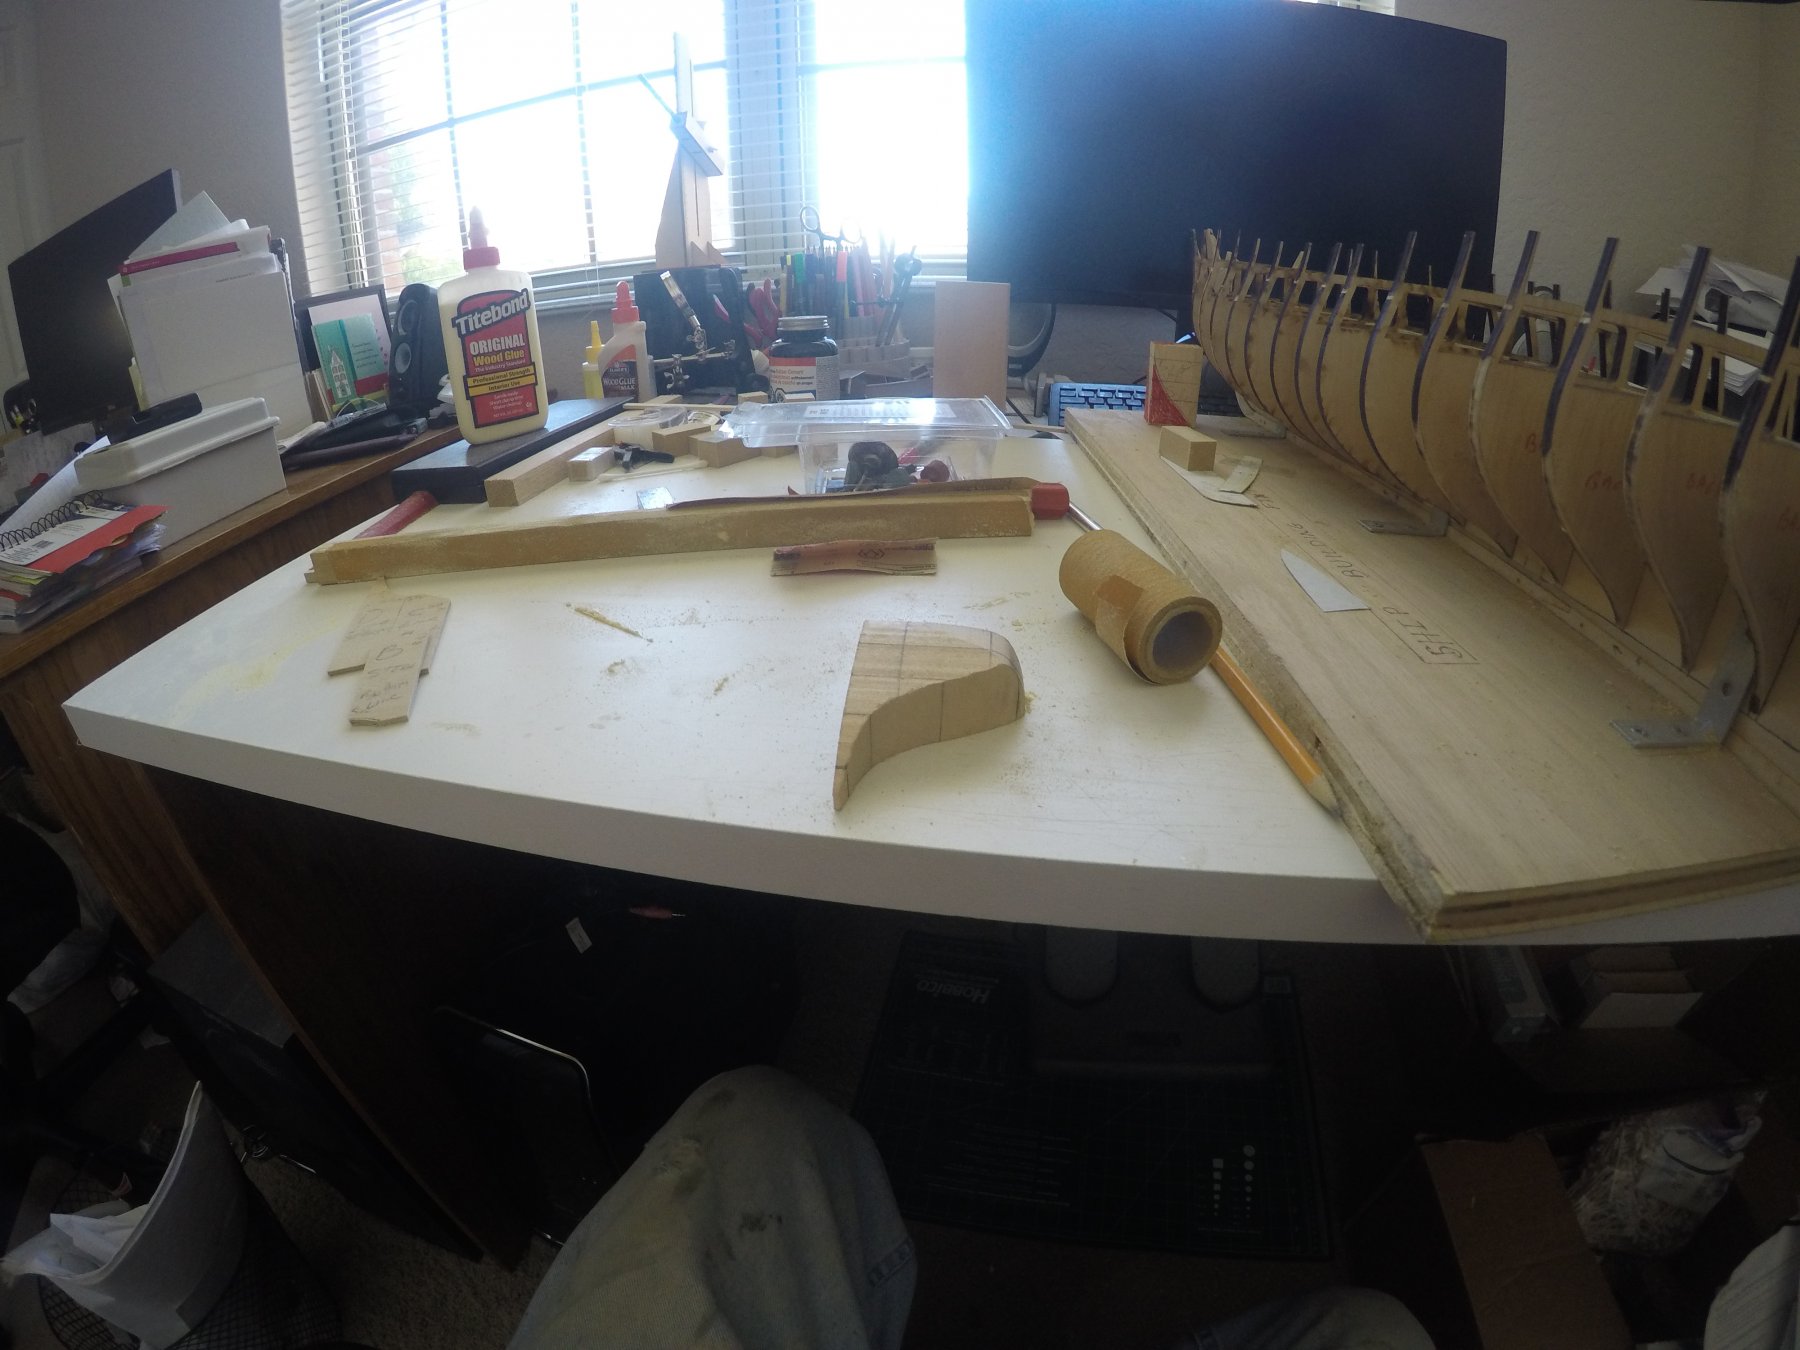
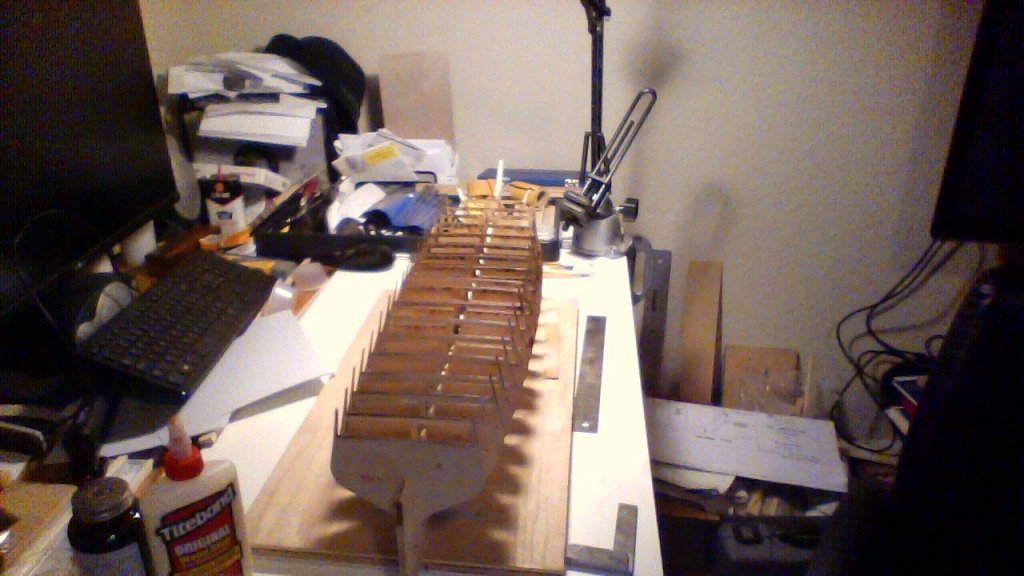
HA! This is my computer desk, covered with crap and dust. lol
-
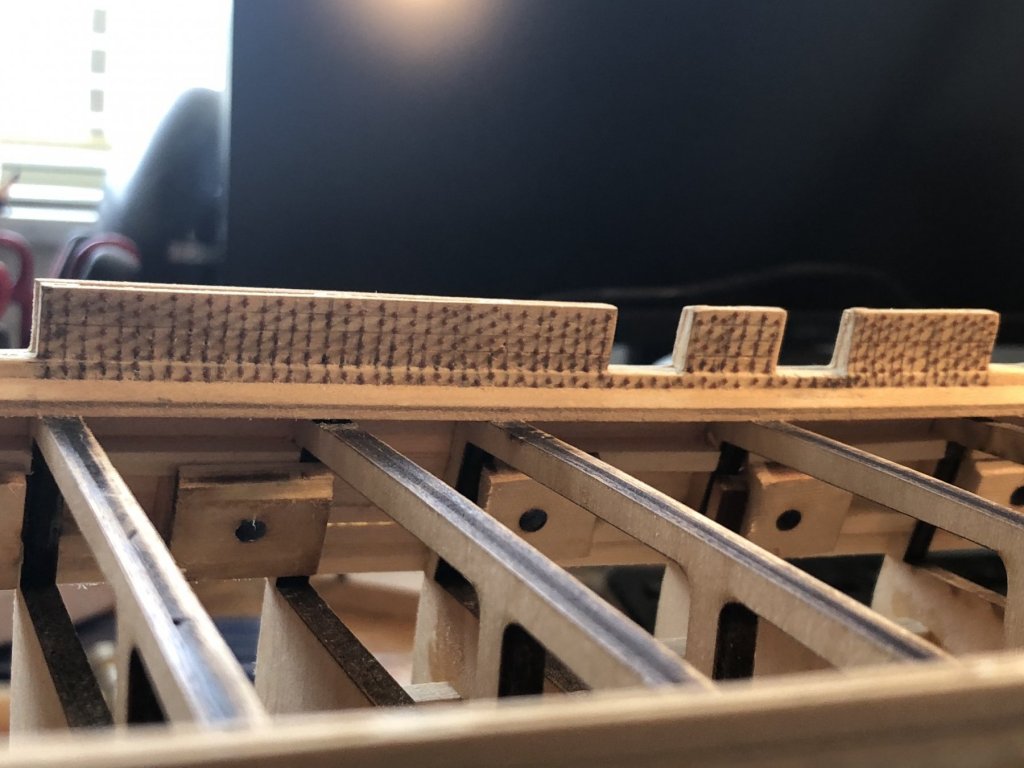
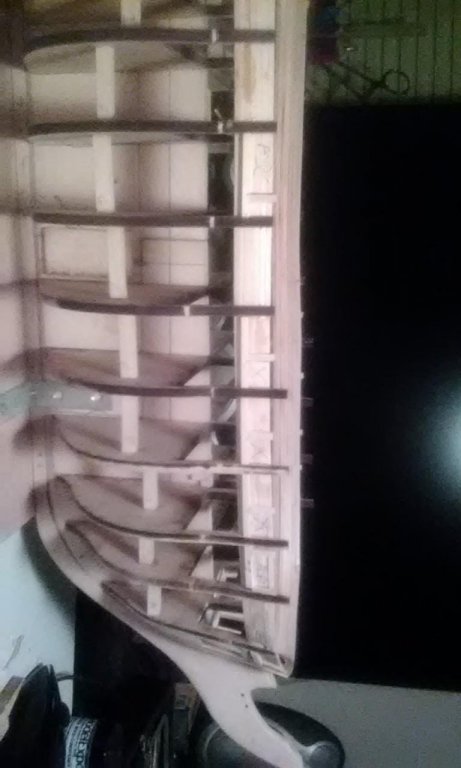
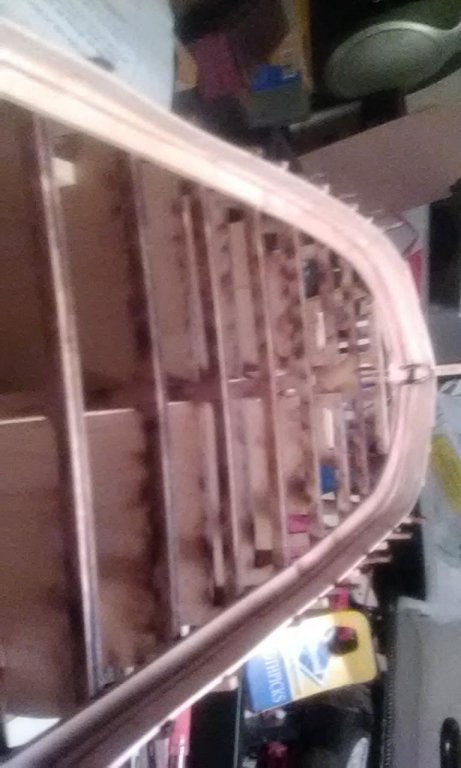
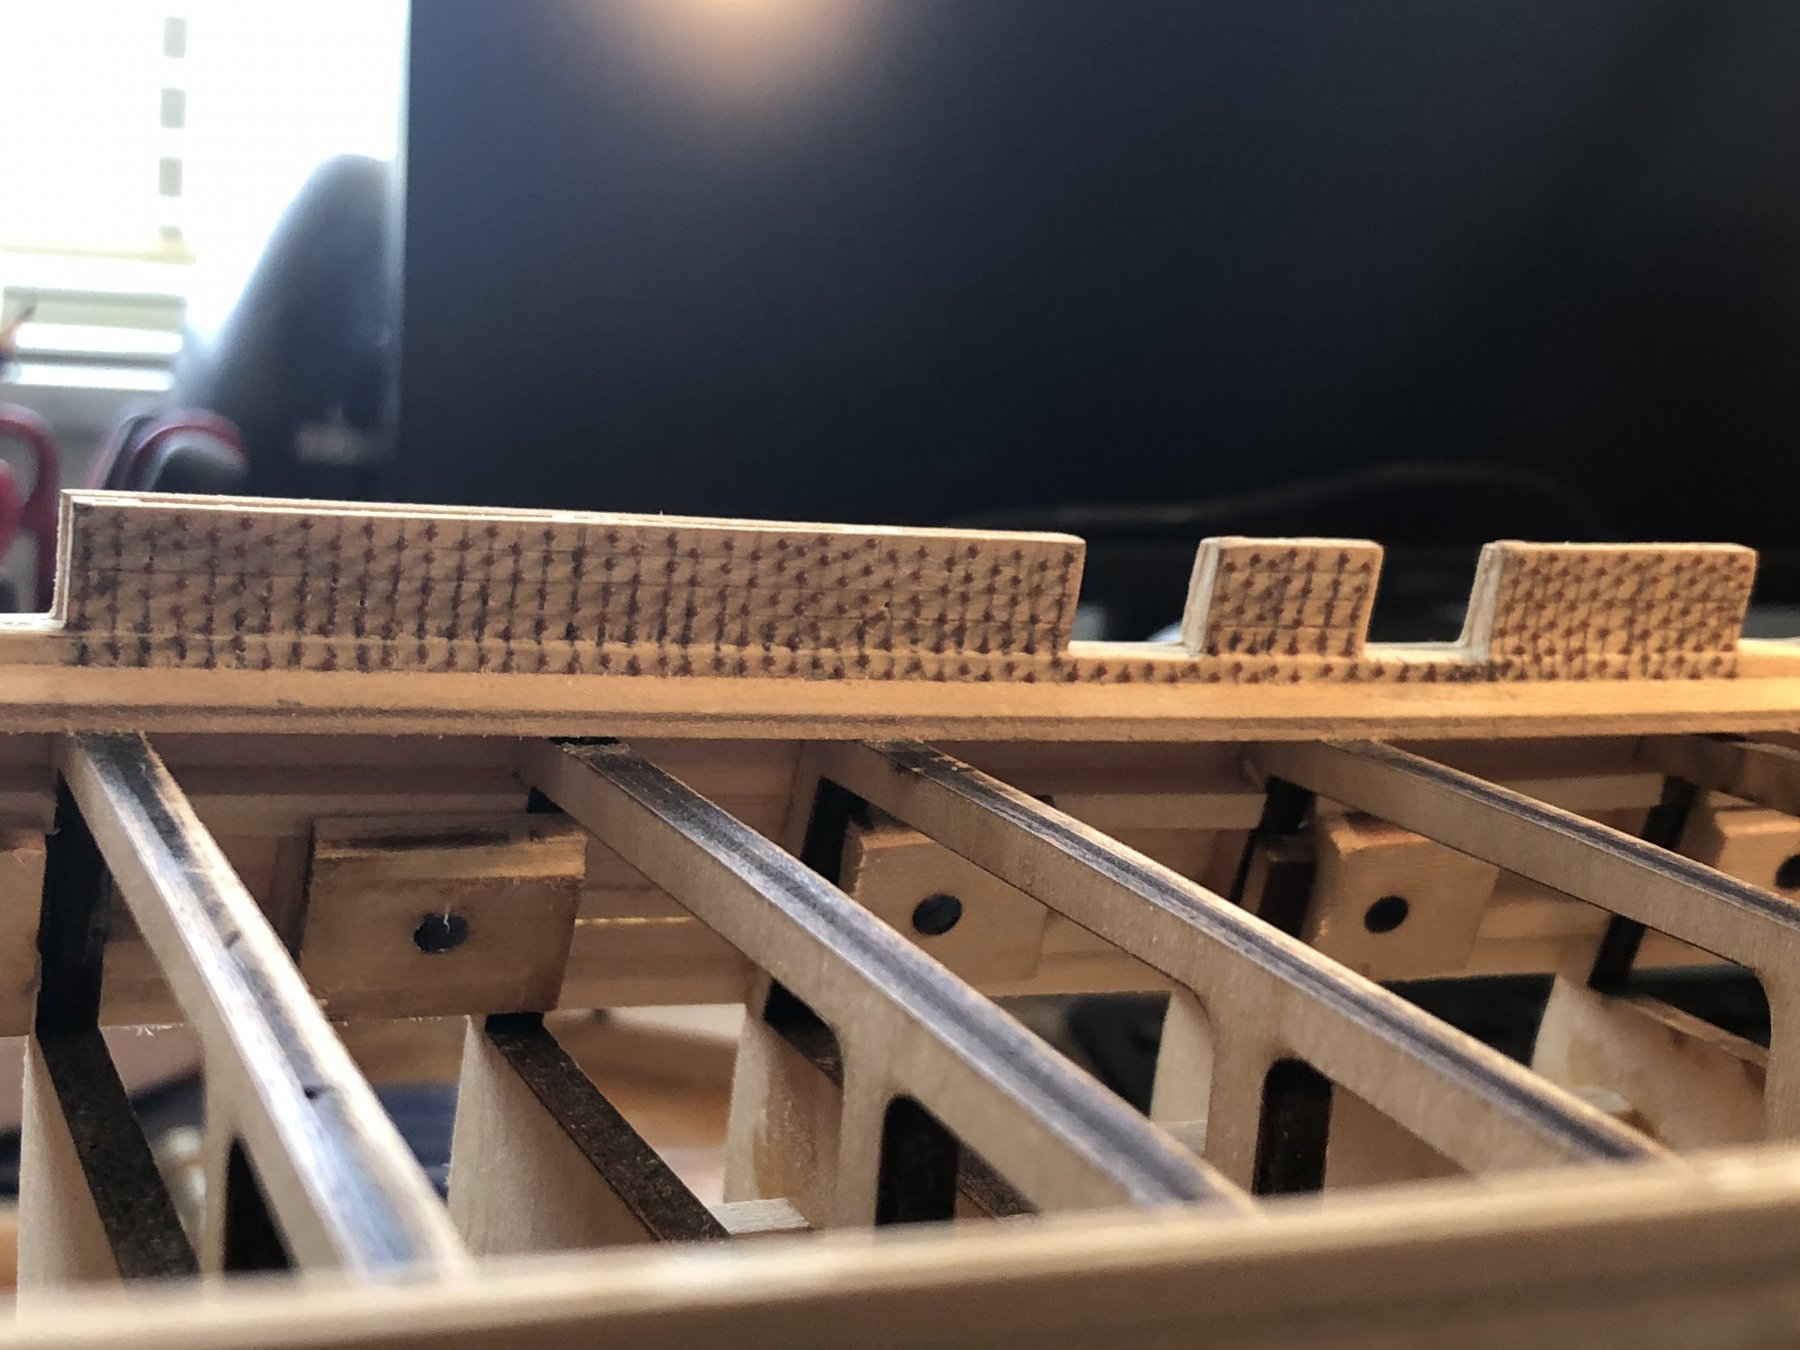
I added the braces between the bulkheads today,and started on the transom.

-
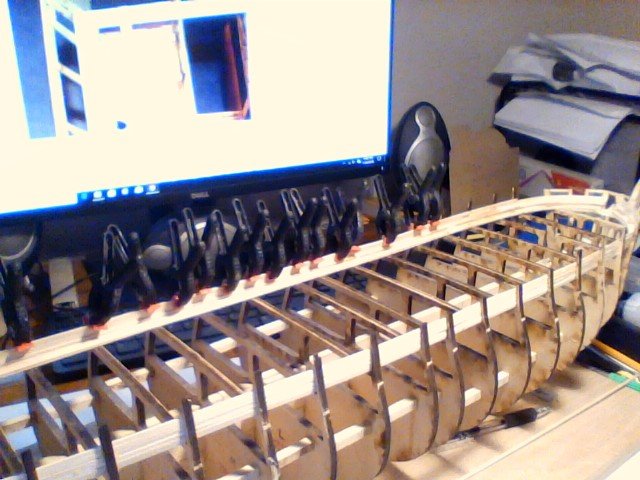
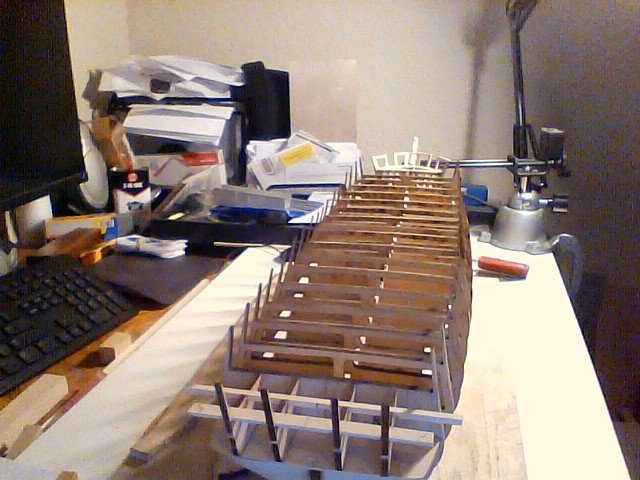
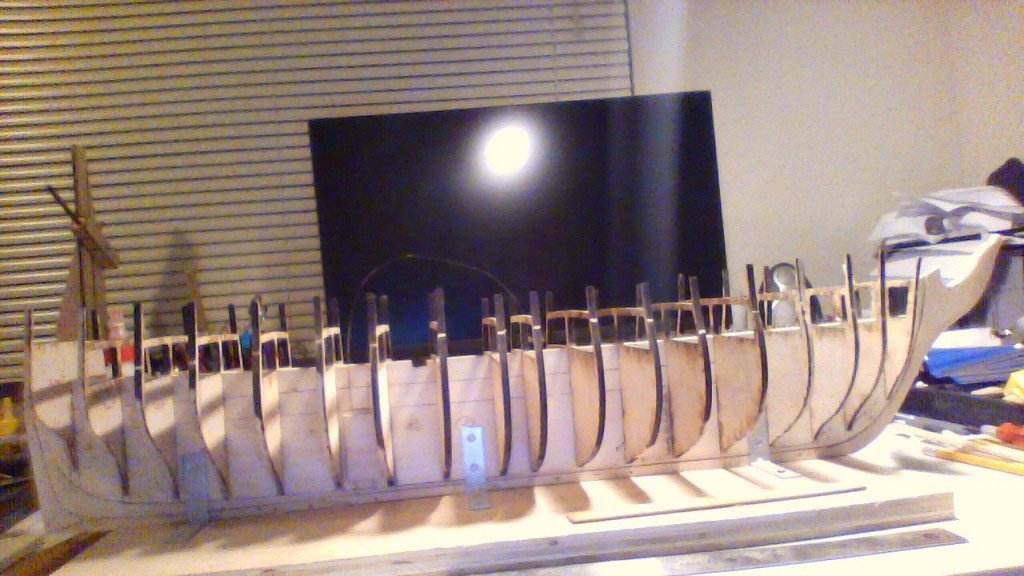
Slow and steady. I`m added the braces between the bulkheads this week. Then on to the stern parts.
-
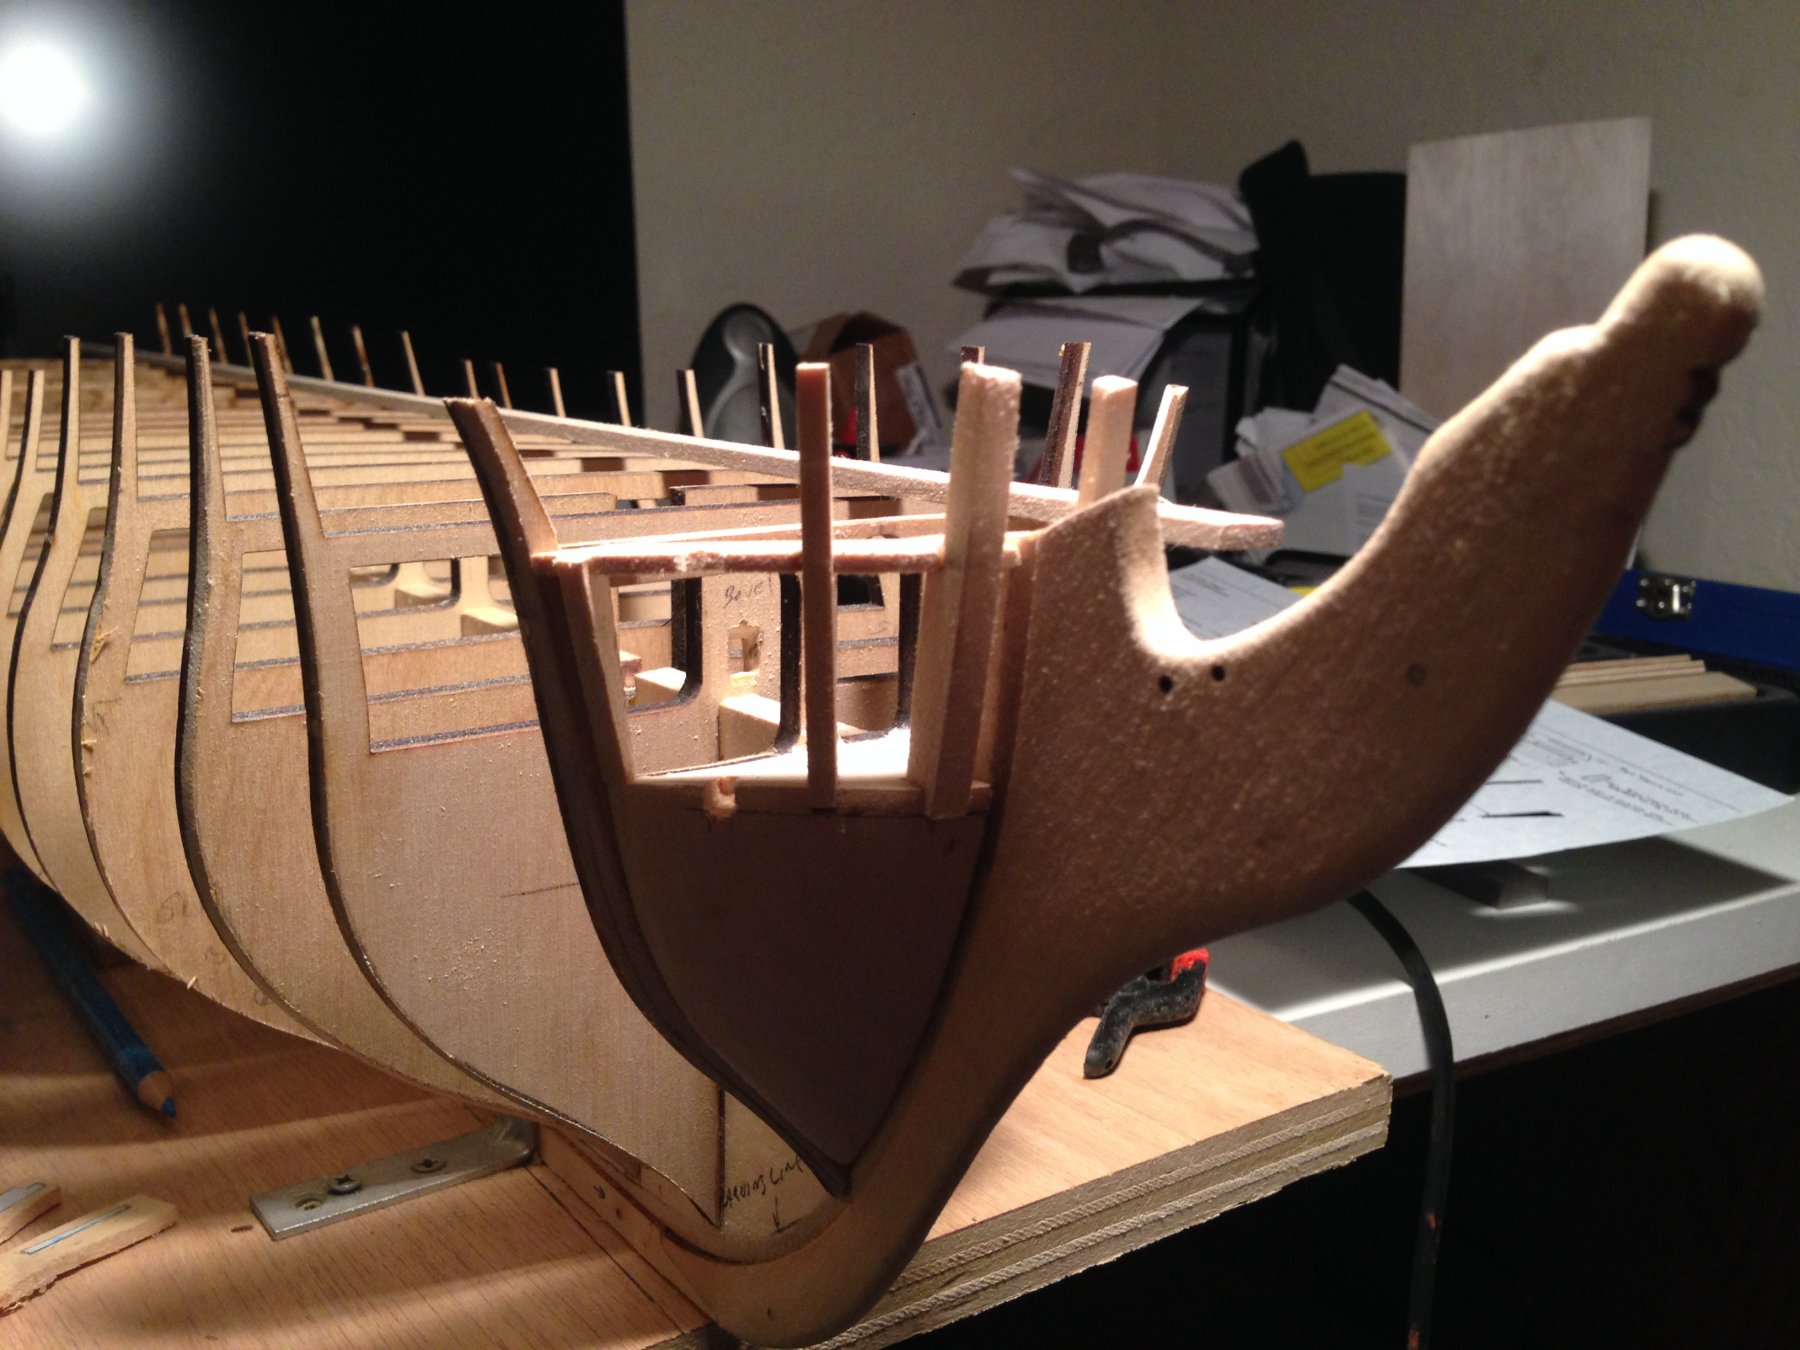
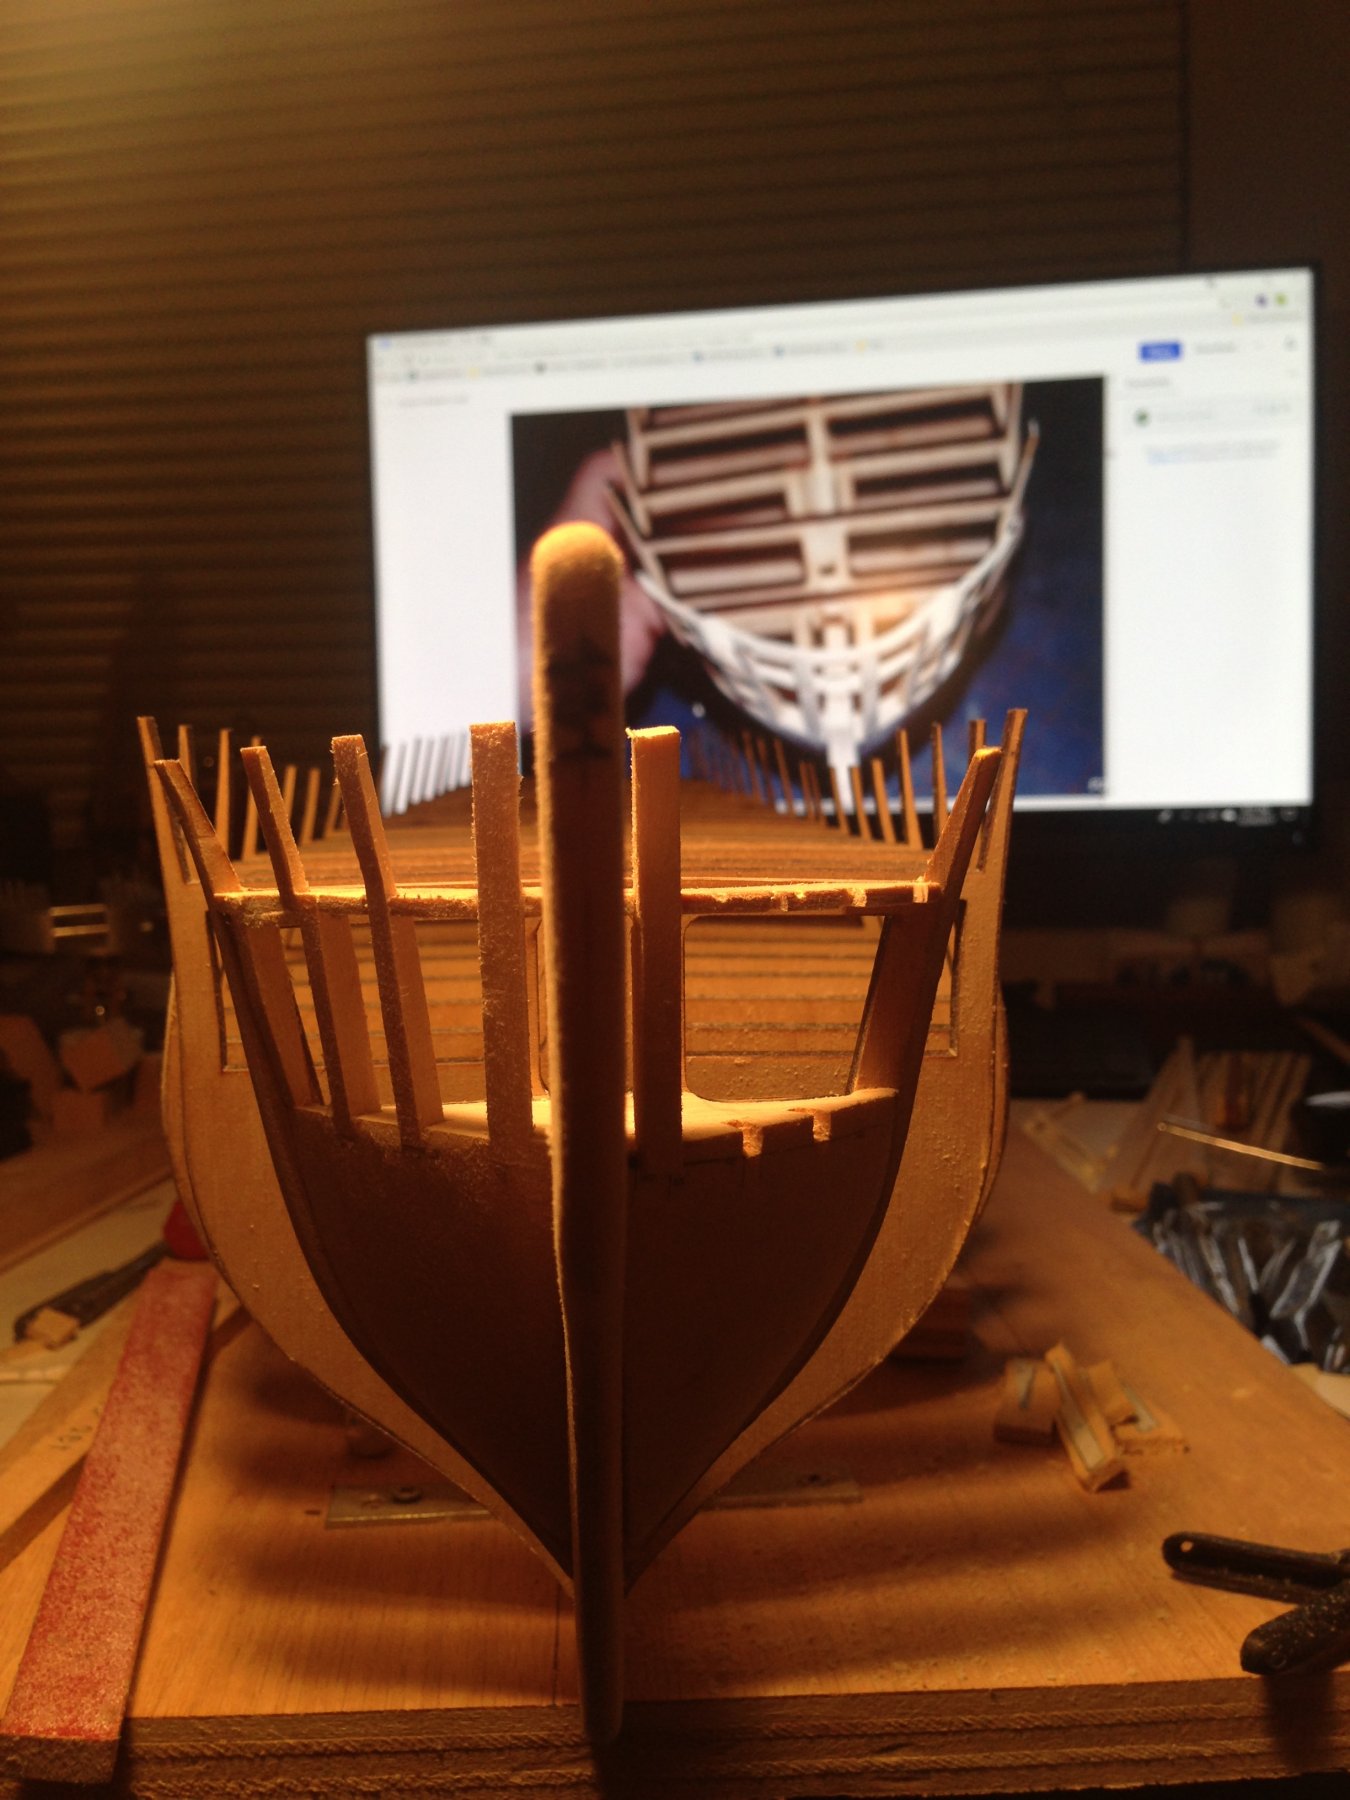
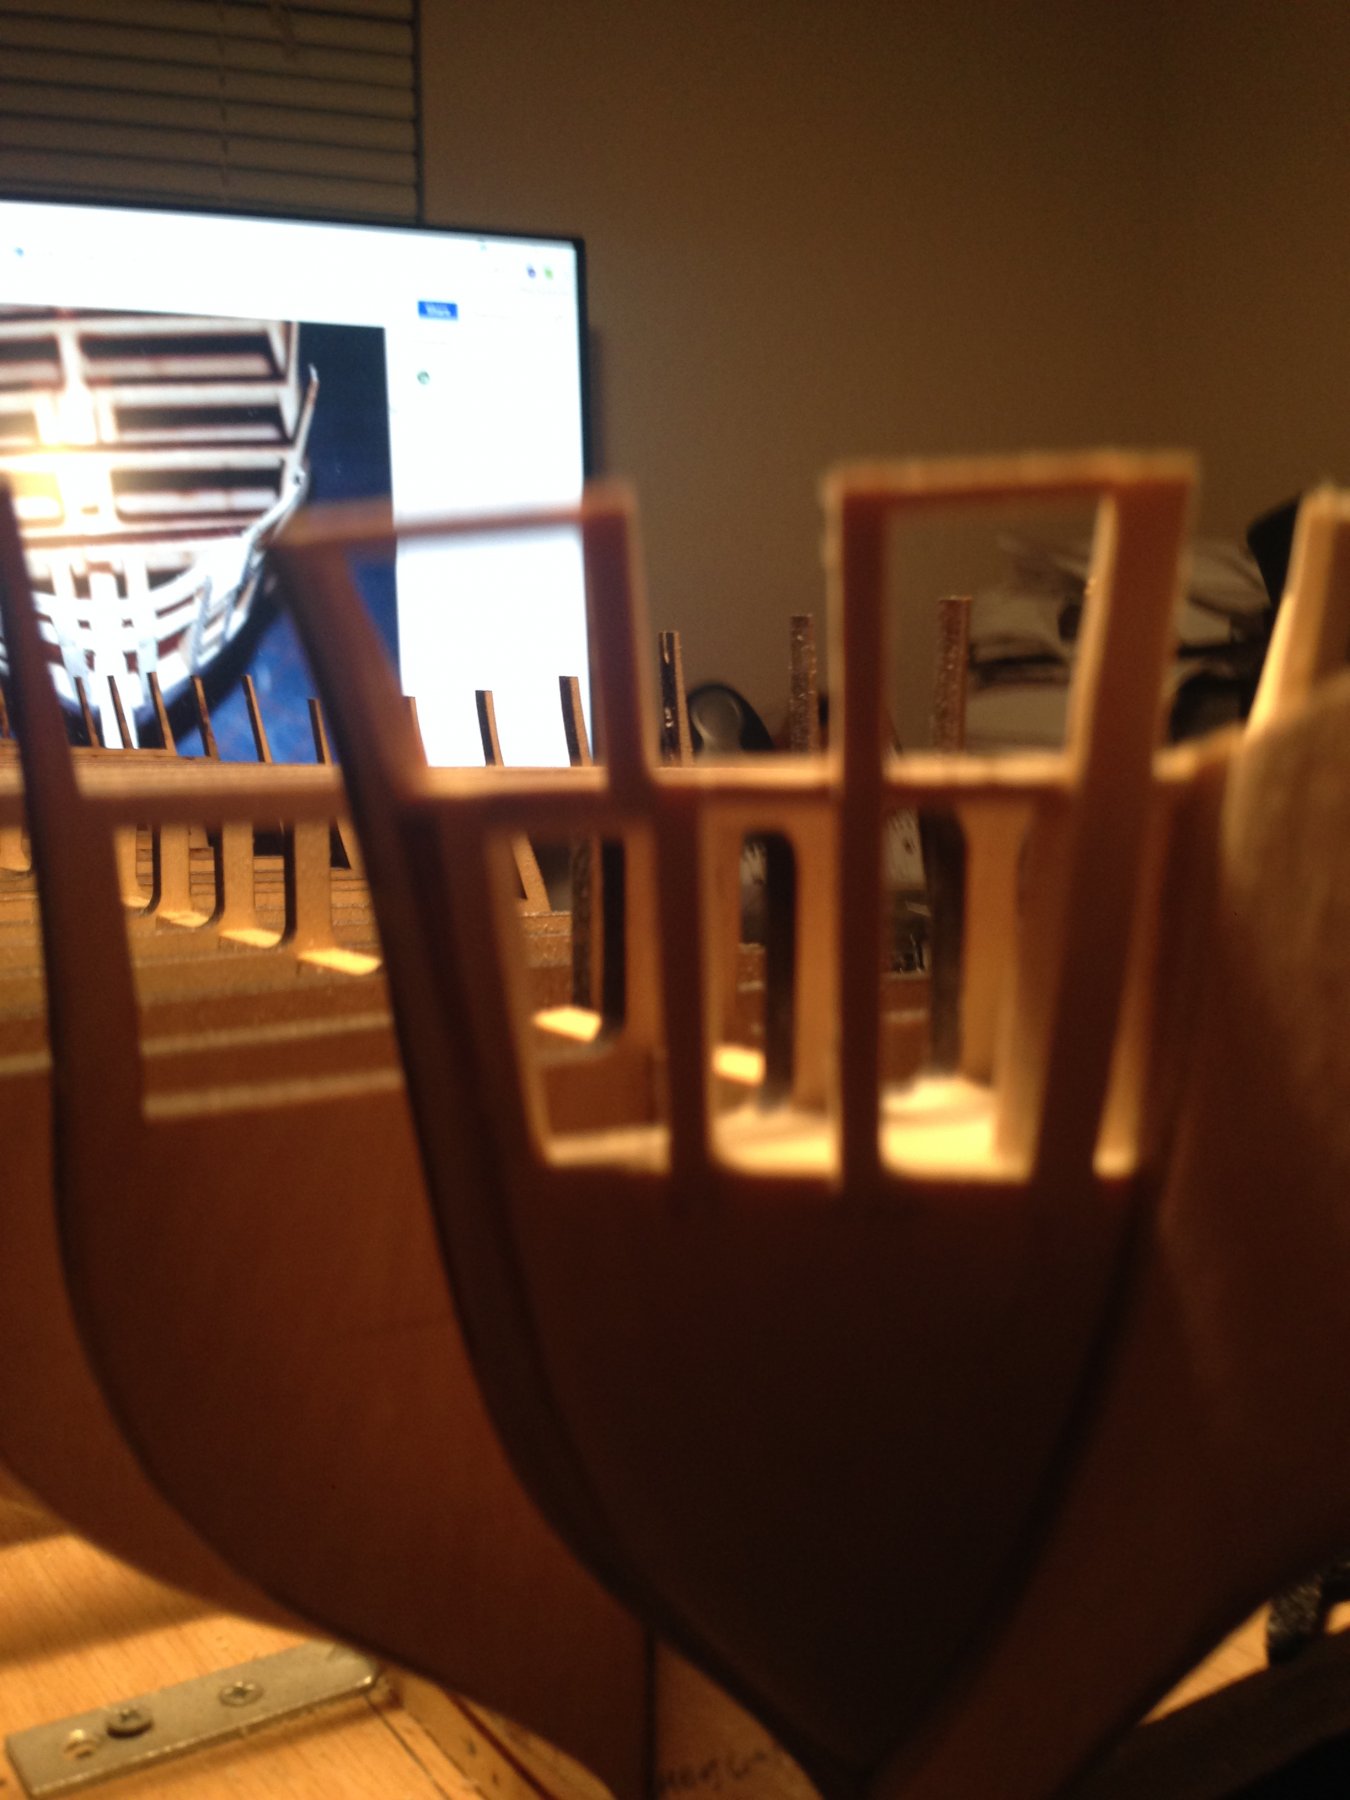
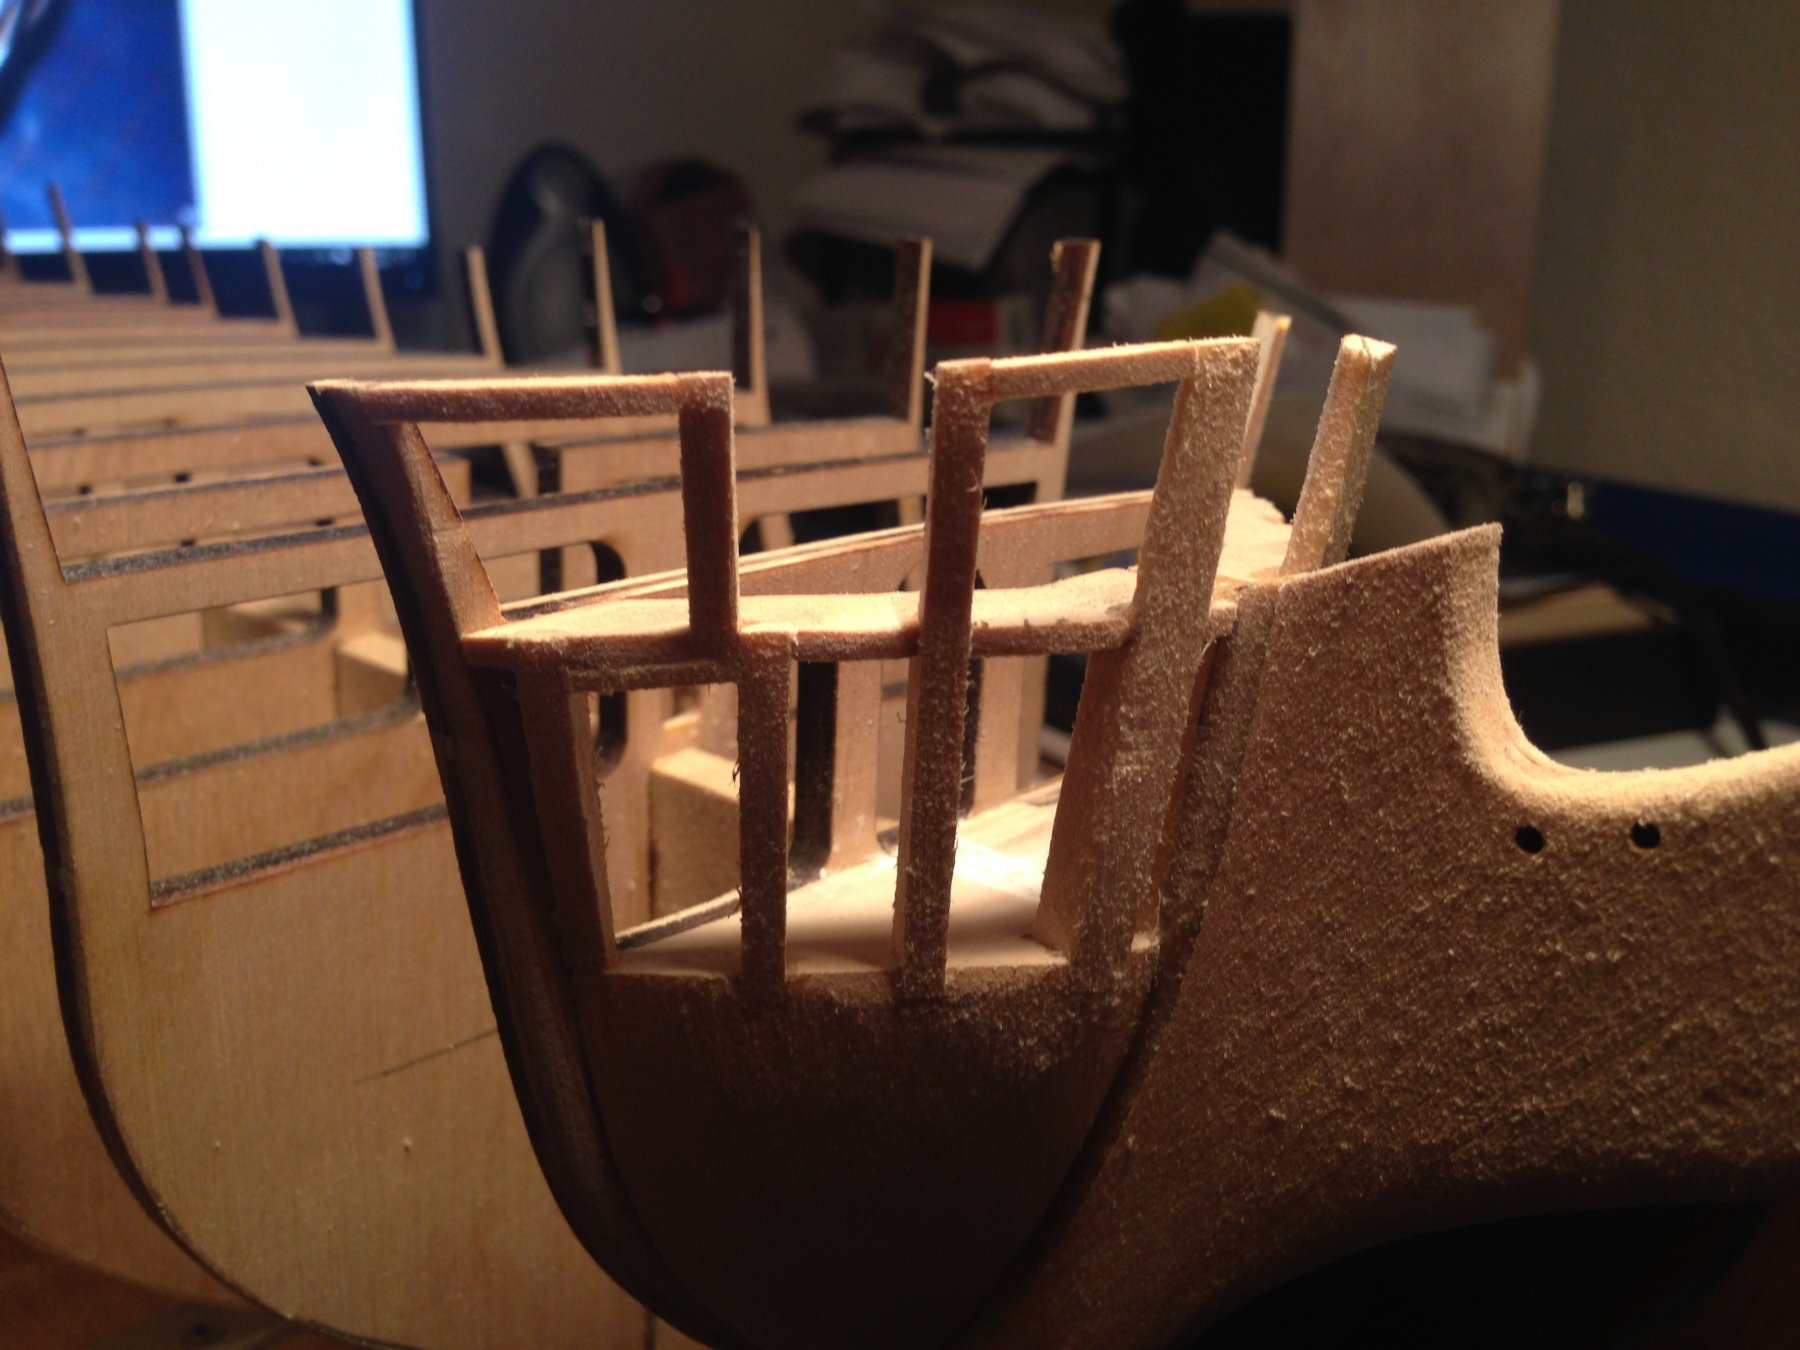
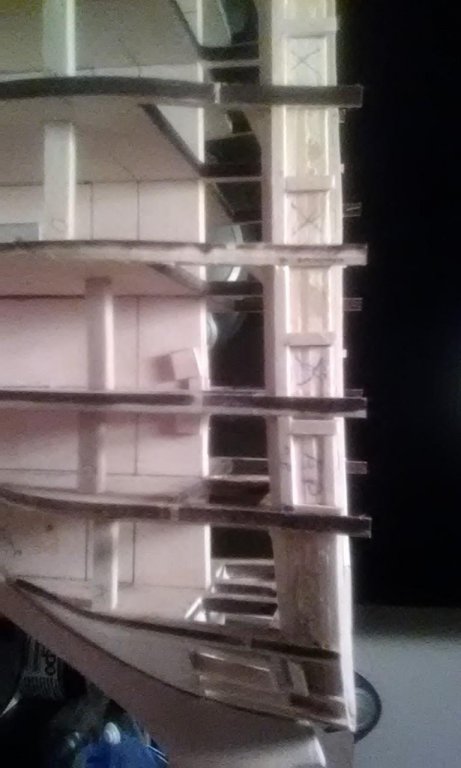
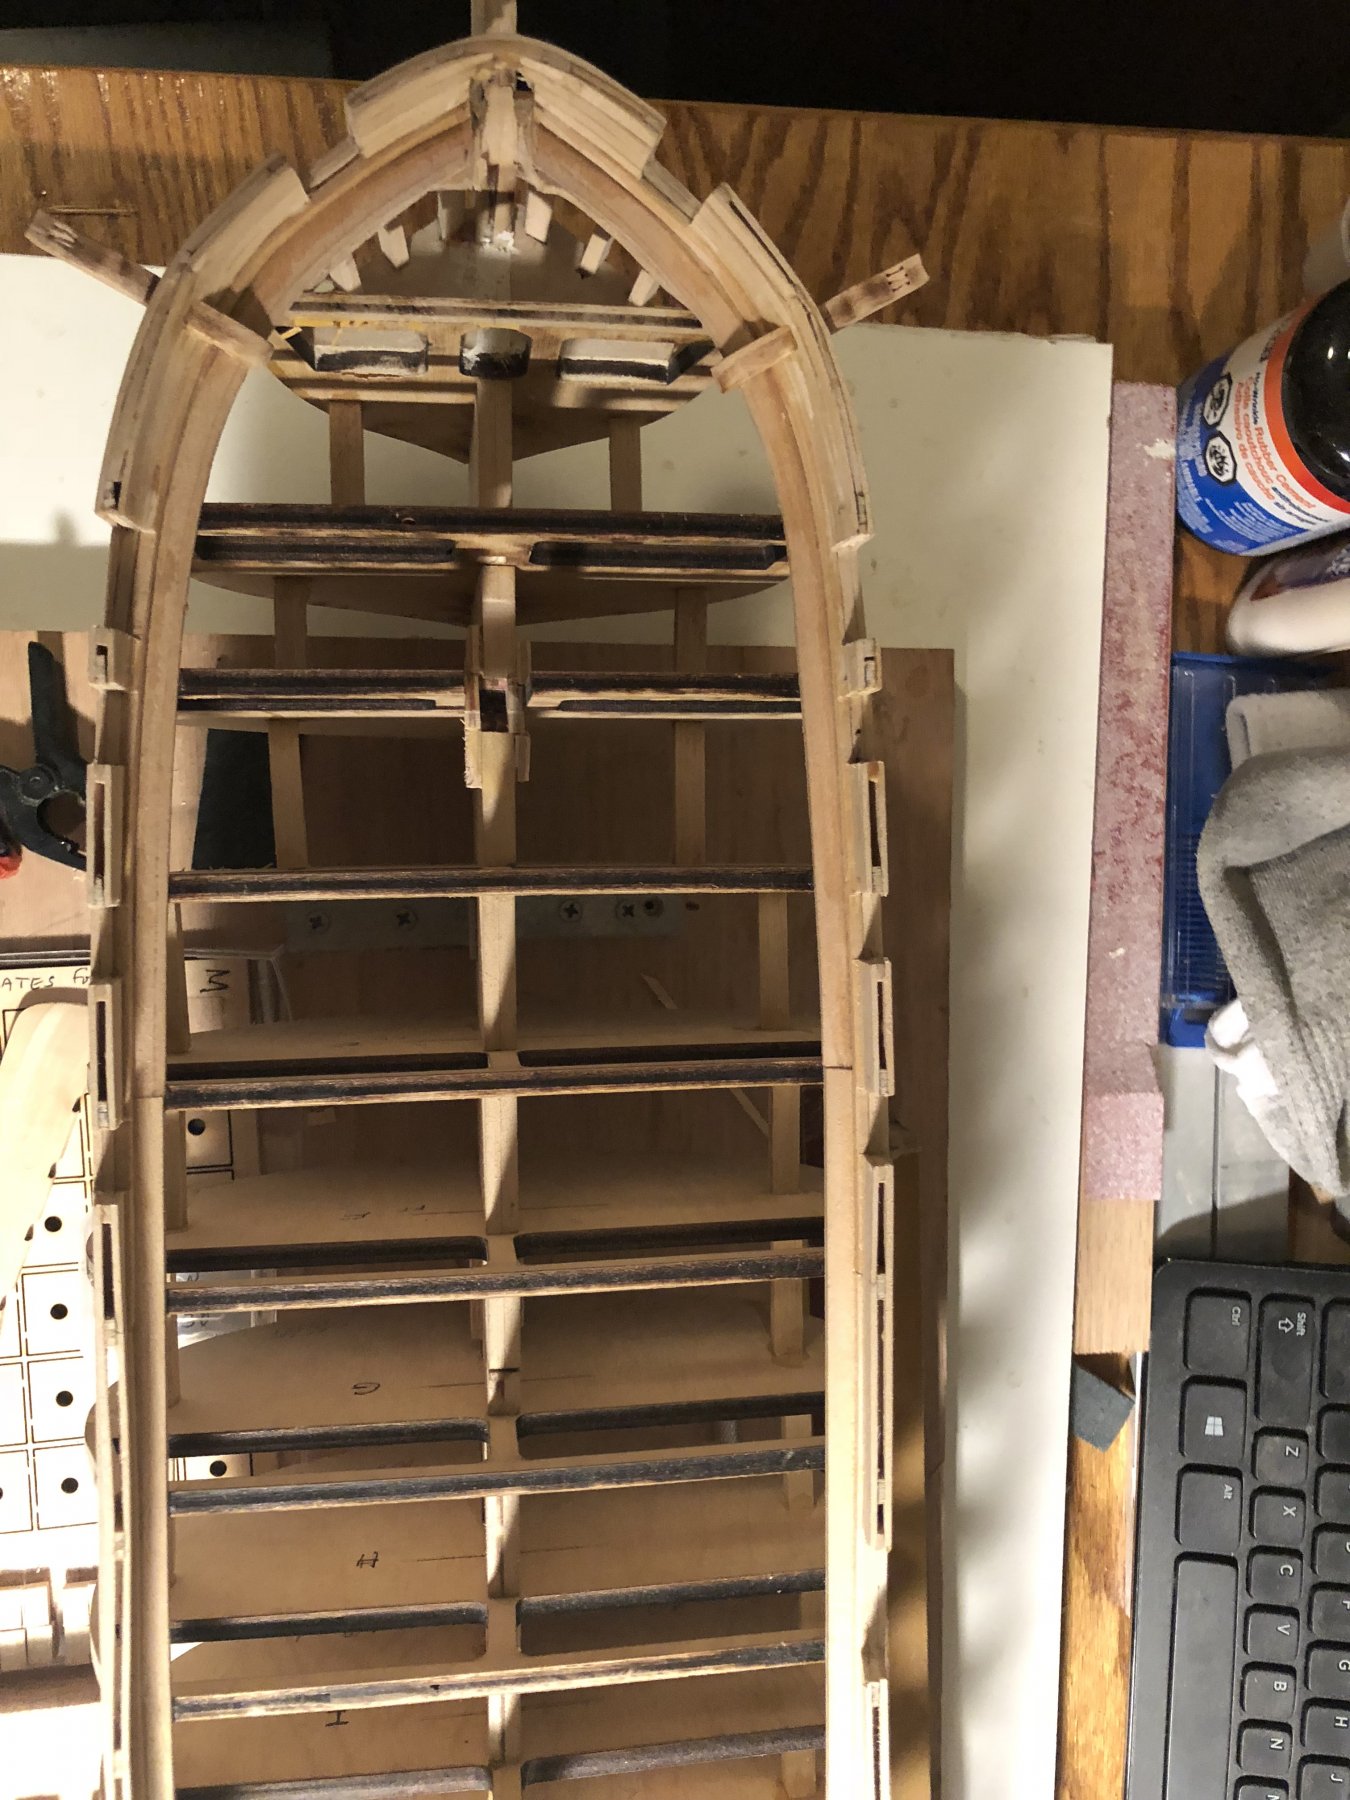
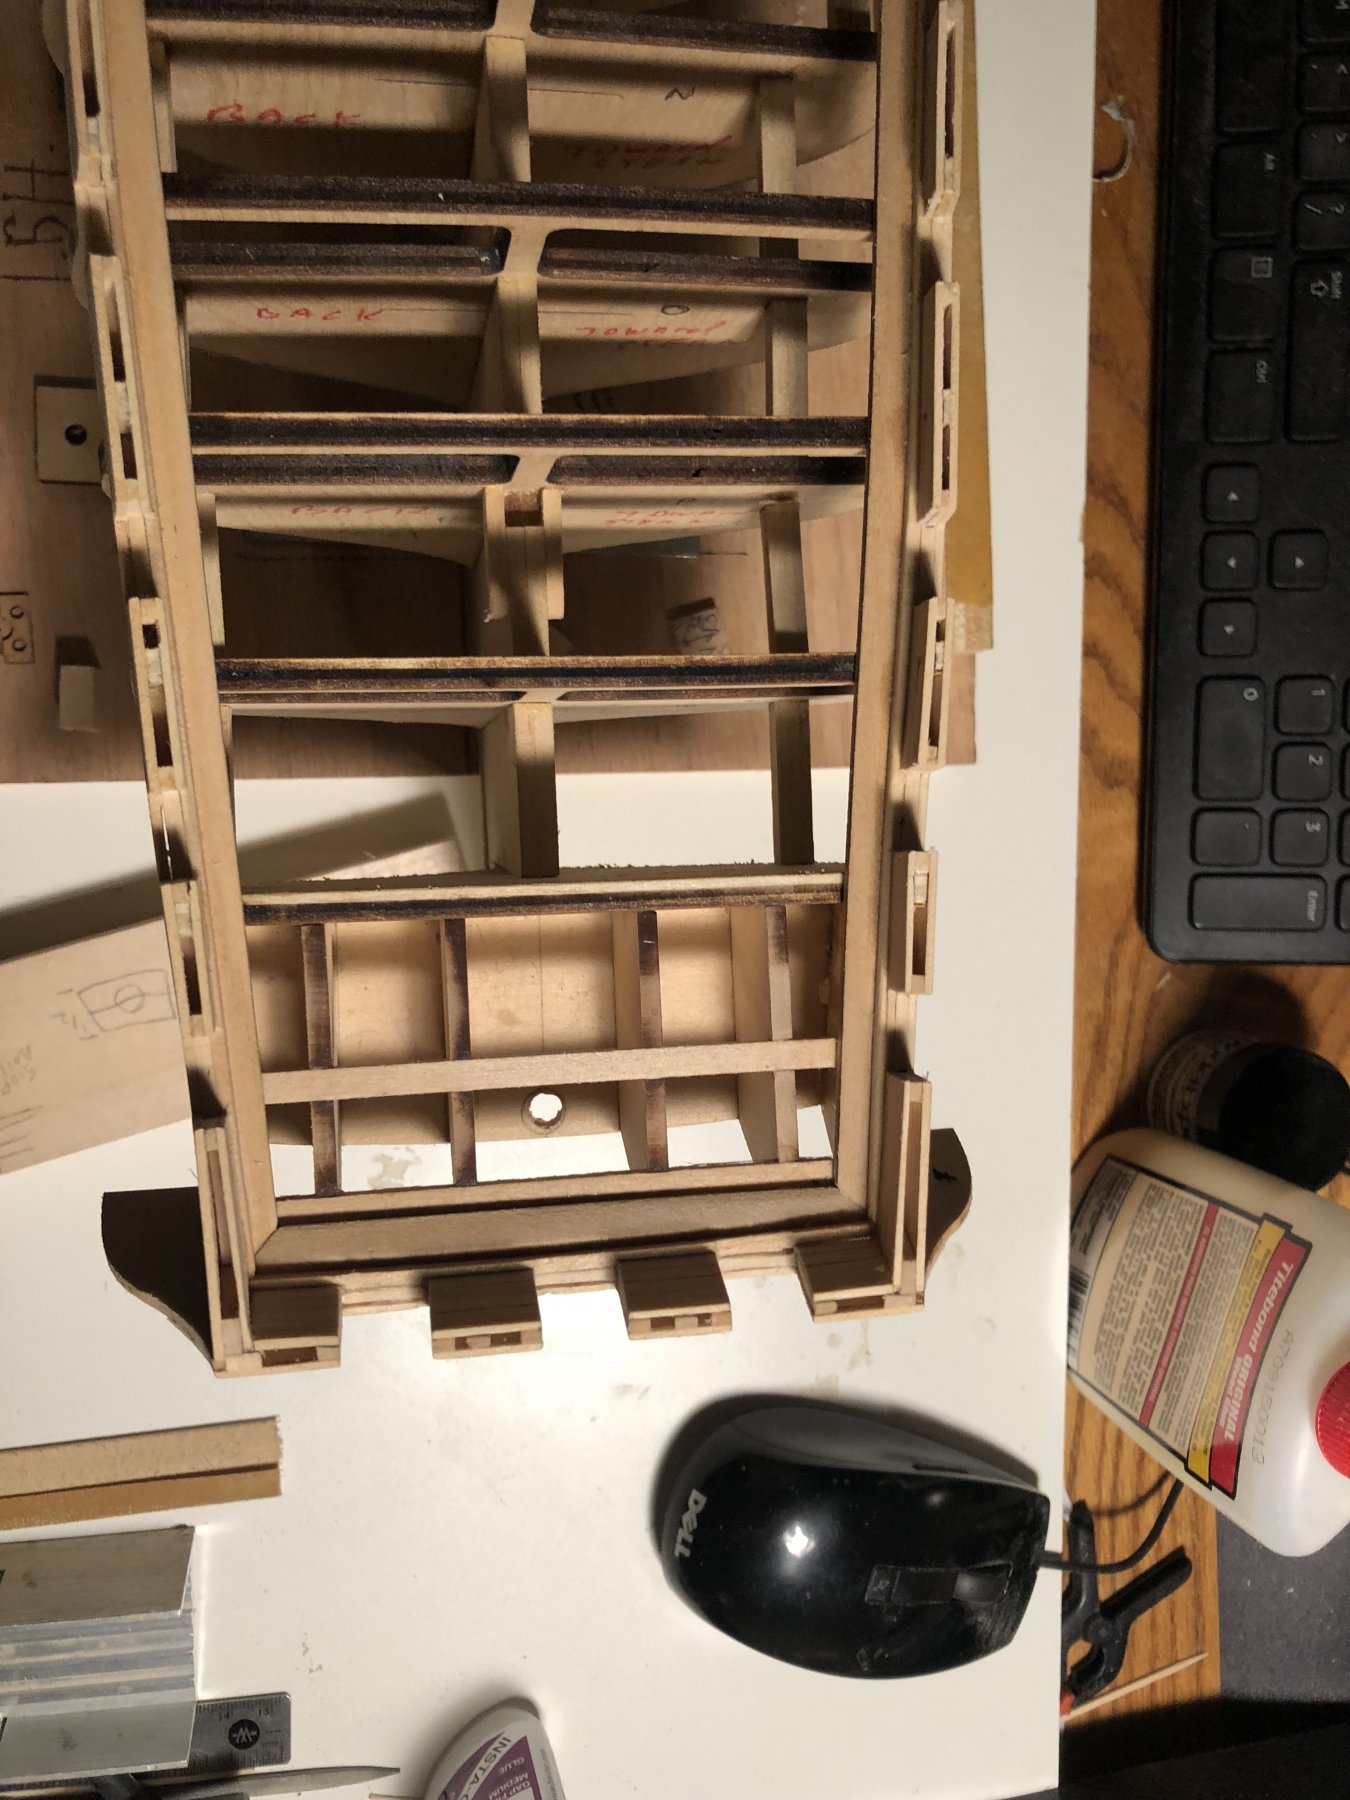
Finished the bow and stern blocks, fitted the rudder,and have half of the stem rails in place. boy, this is a tricky area to build. pieces are drawn on the plan are one size , but you need to trim the upright posts,1-5 to fit the piece that`s even with the gun deck. then sand the parts flush, and the tops should be 1/16`` wide at the top. Take your time and visualize how it should look Then sand it to shape. I have about 5 hrs into one side. looks good so far.
-
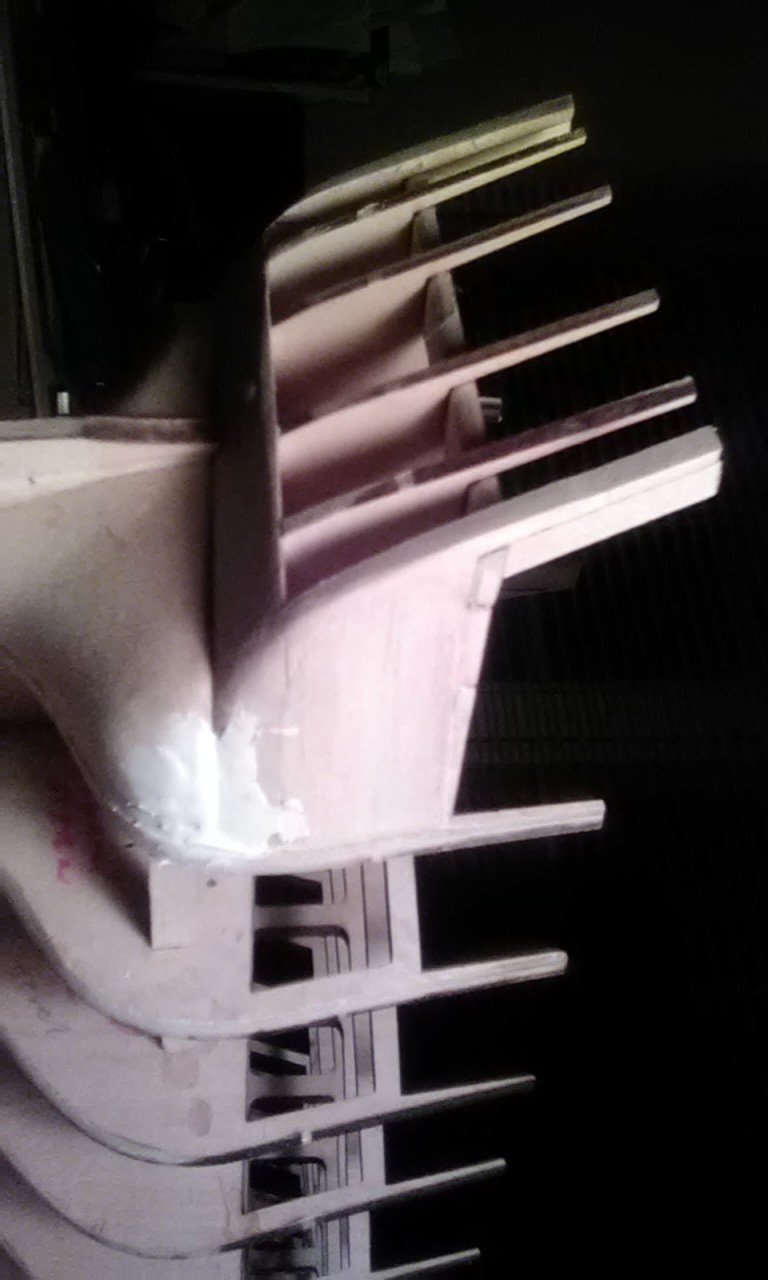
I have the bulkheads all glued in, and the counter and rudder shaped. Also spent a bout 6 hrs shaping the stern blocks and gluing them in. Next up is to stem blocks.

-
The Black Pearl is next on the list,lol Will watch your build also. good luck.
-
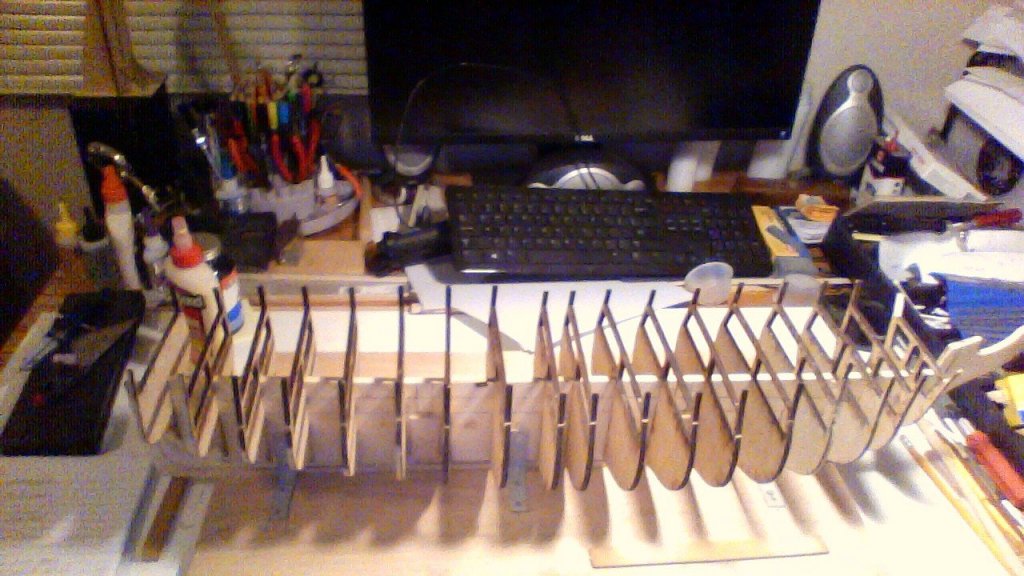
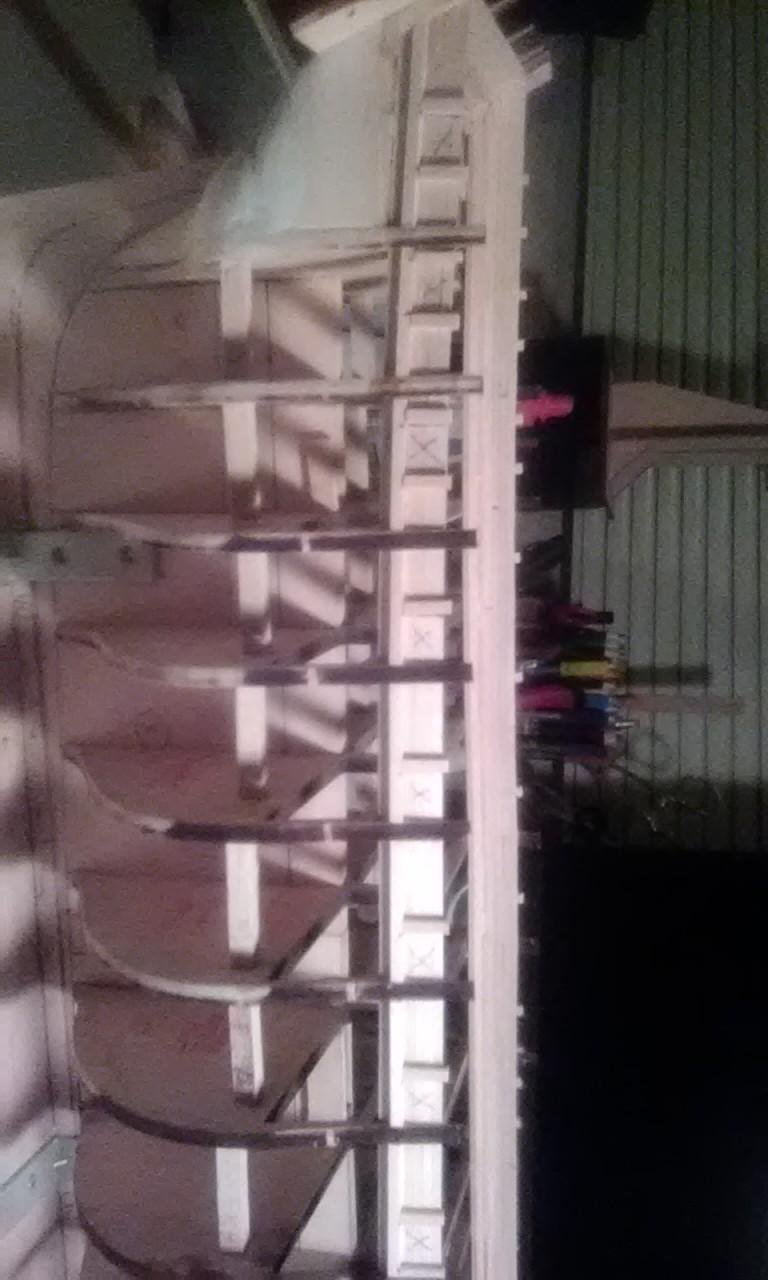
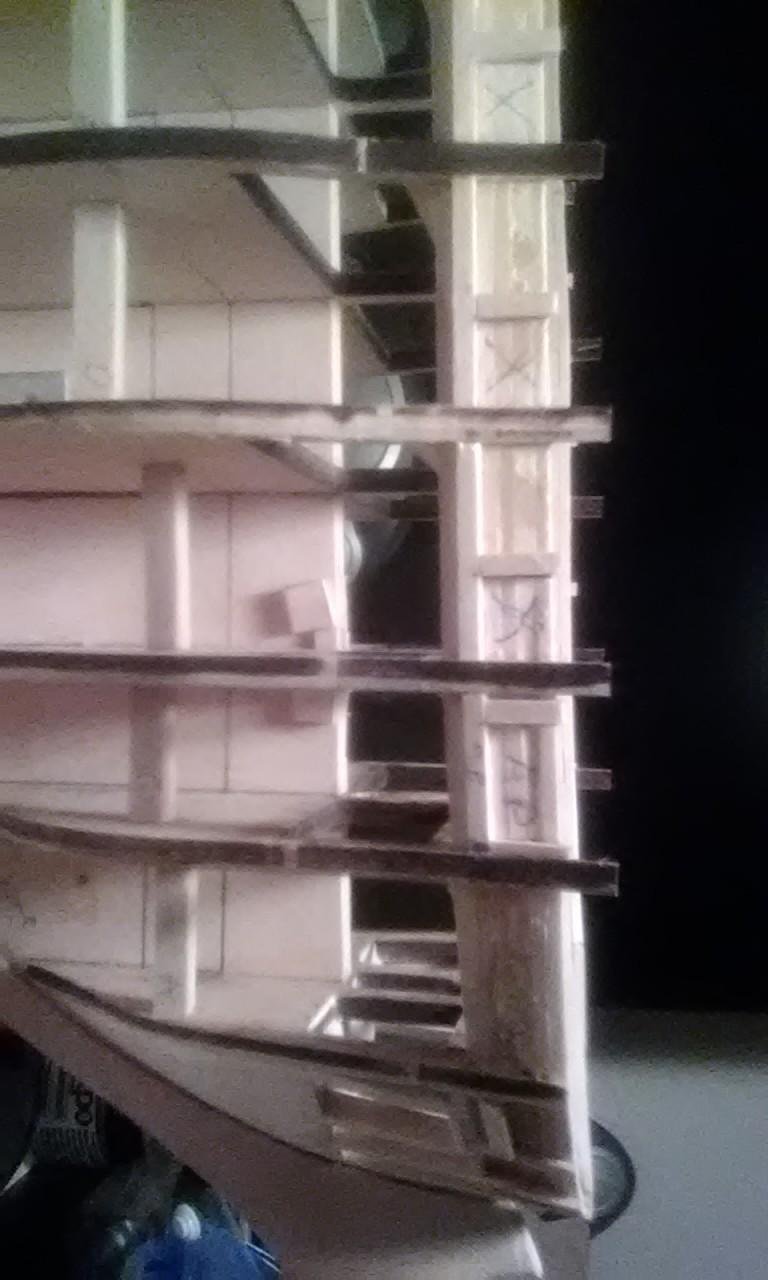
Delay in posting this week. Busy at work. I finally got around to sanding the slots in the keel and the bulkheads, so they slide together with a firm grip. Not tight, not loose. They all sit square with the keel. Next is glueing them in and making sure everyone of them is in the correct spot, and fair with the rest of the bulkheads. Iam going to add bracing between all bulkheads to keep them from rackng when i sand the bulkhead to the final form. I dont want any to break. Will try and get pics. My phone is no good, have to use laptop to take pic.


.JPG.d728f3060474afd1e73e8d8041c88902.JPG)


.JPG.c5f07054ac0fe952f262aacf1427de21.JPG)
.JPG.4aecc9a3be6d0a71e0901f4e657e2b53.JPG)
.JPG.b64a6c3ac575cb4d21dc2ca3008fb24e.JPG)
.JPG.17b5bbe60e165365e6a644635162b8e7.JPG)

.JPG.afece65efb143cd56ed4648cce4e8f81.JPG)
.JPG.8a42f885c7173f8ea06ad370e42c7048.JPG)
.JPG.cb73a11a3e1b852cb1295b2e30333a94.JPG)


.jpg.c8816fabd68f559104556974070fa21f.jpg)