DONATION DRIVE - SUPPORT MSW - DO YOUR PART TO KEEP THIS GREAT FORUM GOING!
×


Tom Schongar
-
Posts
33 -
Joined
-
Last visited
Content Type
Profiles
Forums
Gallery
Events
Everything posted by Tom Schongar
-
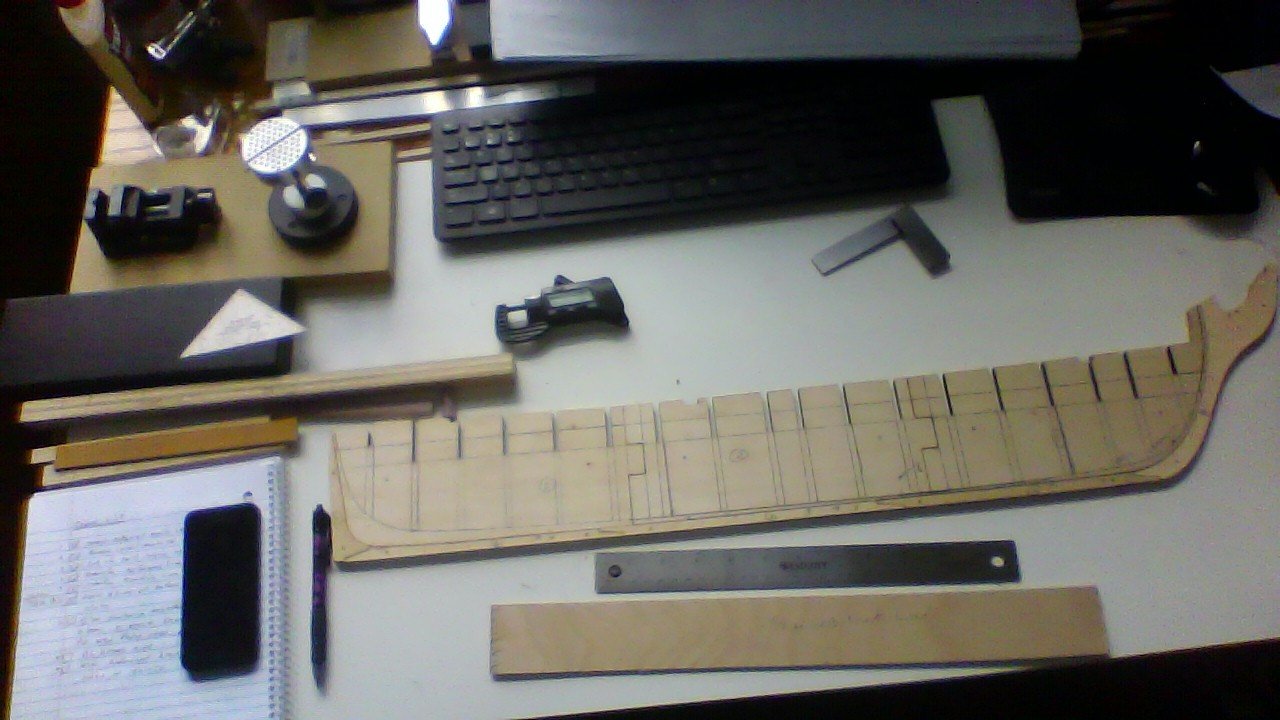
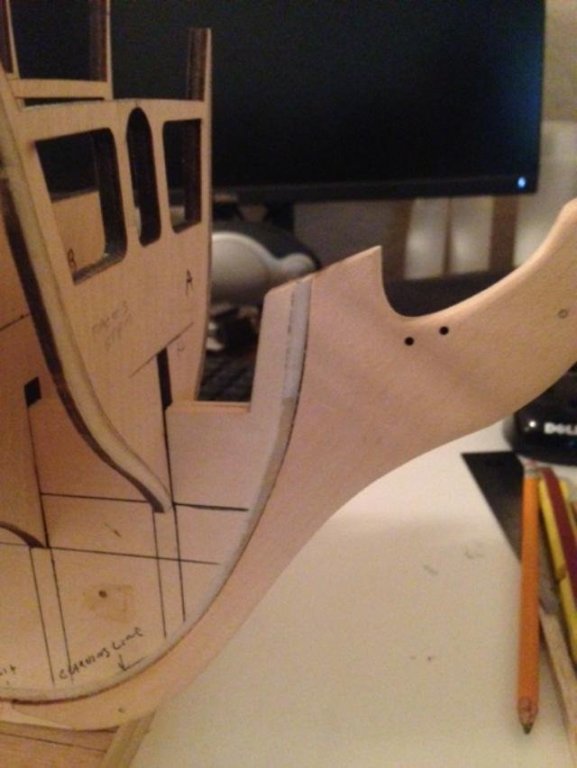
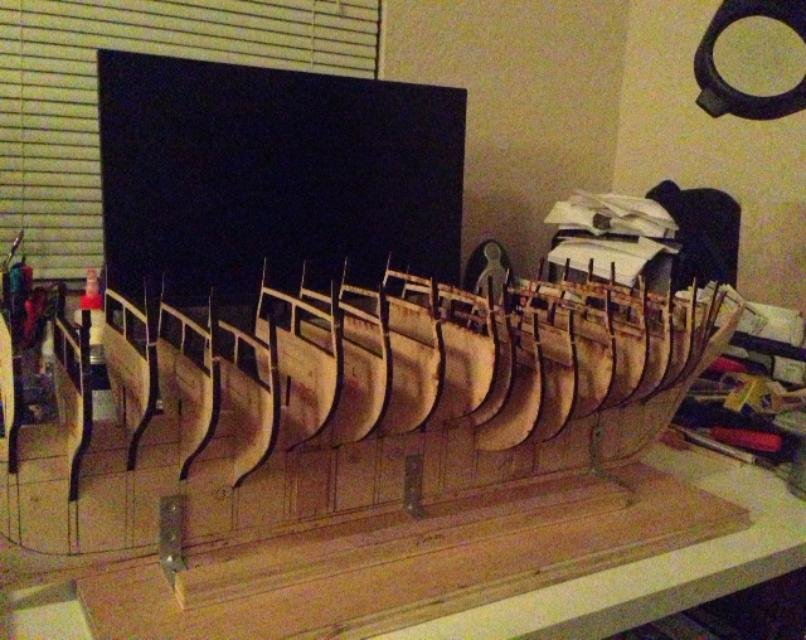
Cut out all the bulkheads, marked reference line and bevel lines. Now i just have to sand the bevels ,and the slots to get them all to fit properly.

-
stem and stern post tapered, whole keel sanded smooth. Next up is the bulkheads.
-
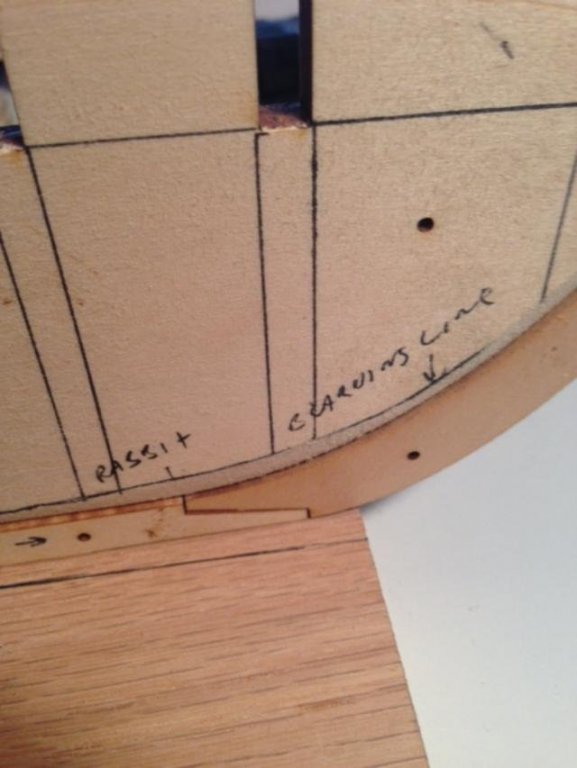
Well i finished sanding the rabbits on both sides,and fitted and glued on the lower keel pieces. So far ,so good. Cutting the rabbits were a point of concern with me because i didn`t want to screw it up. I found by drawing the lines on the sides and bottom ,then use a 1`` wide by 6`` long hardwood stick,with 100 grit paper rubber cemented on it ,i could sand the bevel to almost the line then go the length of the keel to get it perfect. Took about 1 hour per side.Next is tapering the stem post and stern post.
-
Well, I started my build yesterday. I removed and sanded all the keel parts. Then glued the 2 halves together, using 2 1/ drill bits as guides. TIP: Buy a box of med binder clips from office depot or where ever. Box of 144. You will need them. lol After glue dried overnight, this morning I sanded all the edges smooth, and test fitted the lower keel parts to the 3 main keel parts, getting them to fit properly. I used a 2 ft steel straight edge to check alignment. I them made card stock templates, as per plan. Marked reference lines, bearding line,and lower notch lines. Also marked where bulkheads will go. Next is epoxying the parts together,and adding 3/32 pieces of ply at joint lines to strengthen them on both sides.So far so good!

-
Thanks, will probably start building in a couple of weeks. after thanks giving. Still waiting on a couple of tools to get here.
-
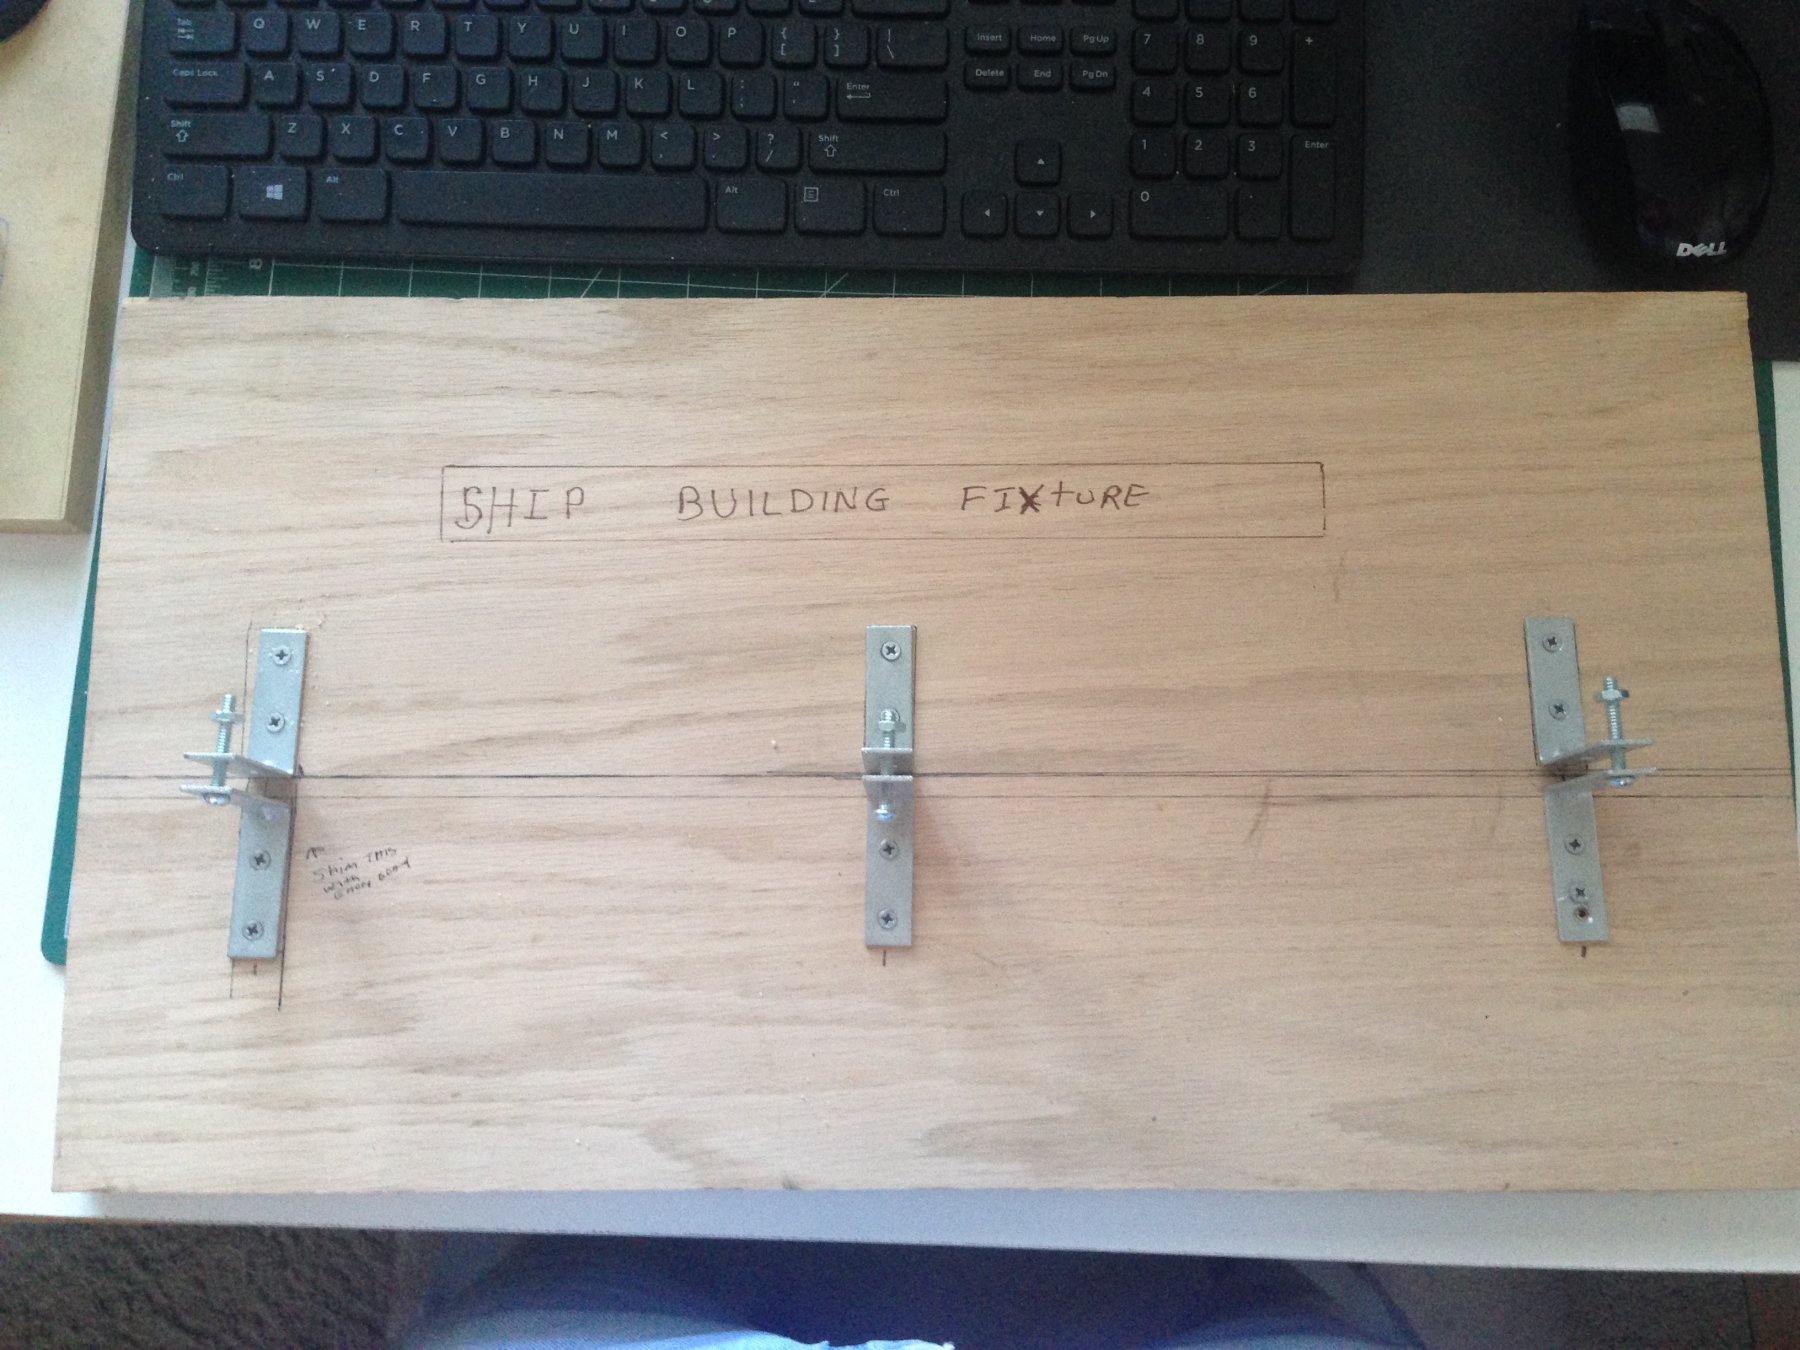
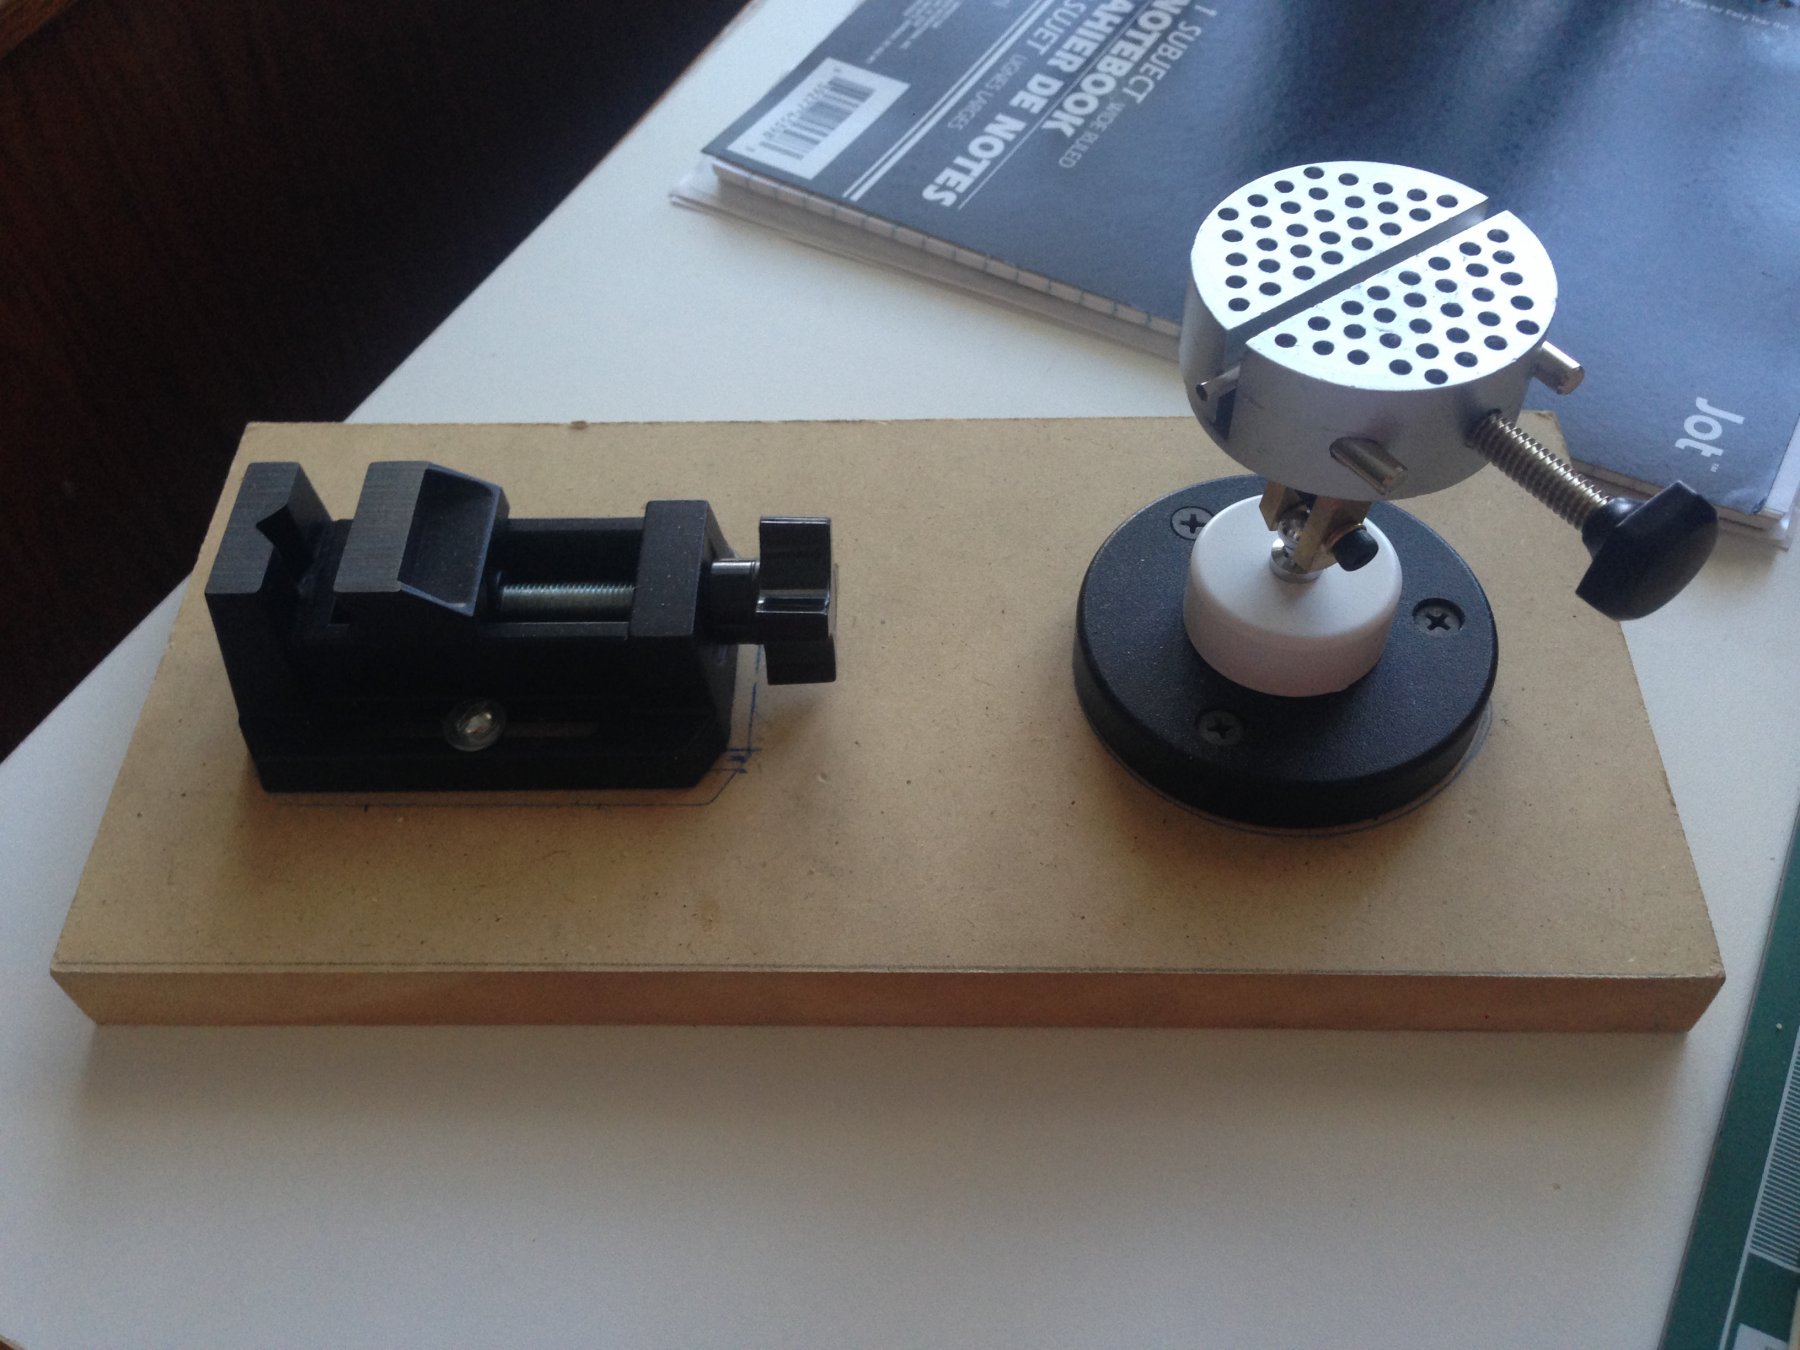
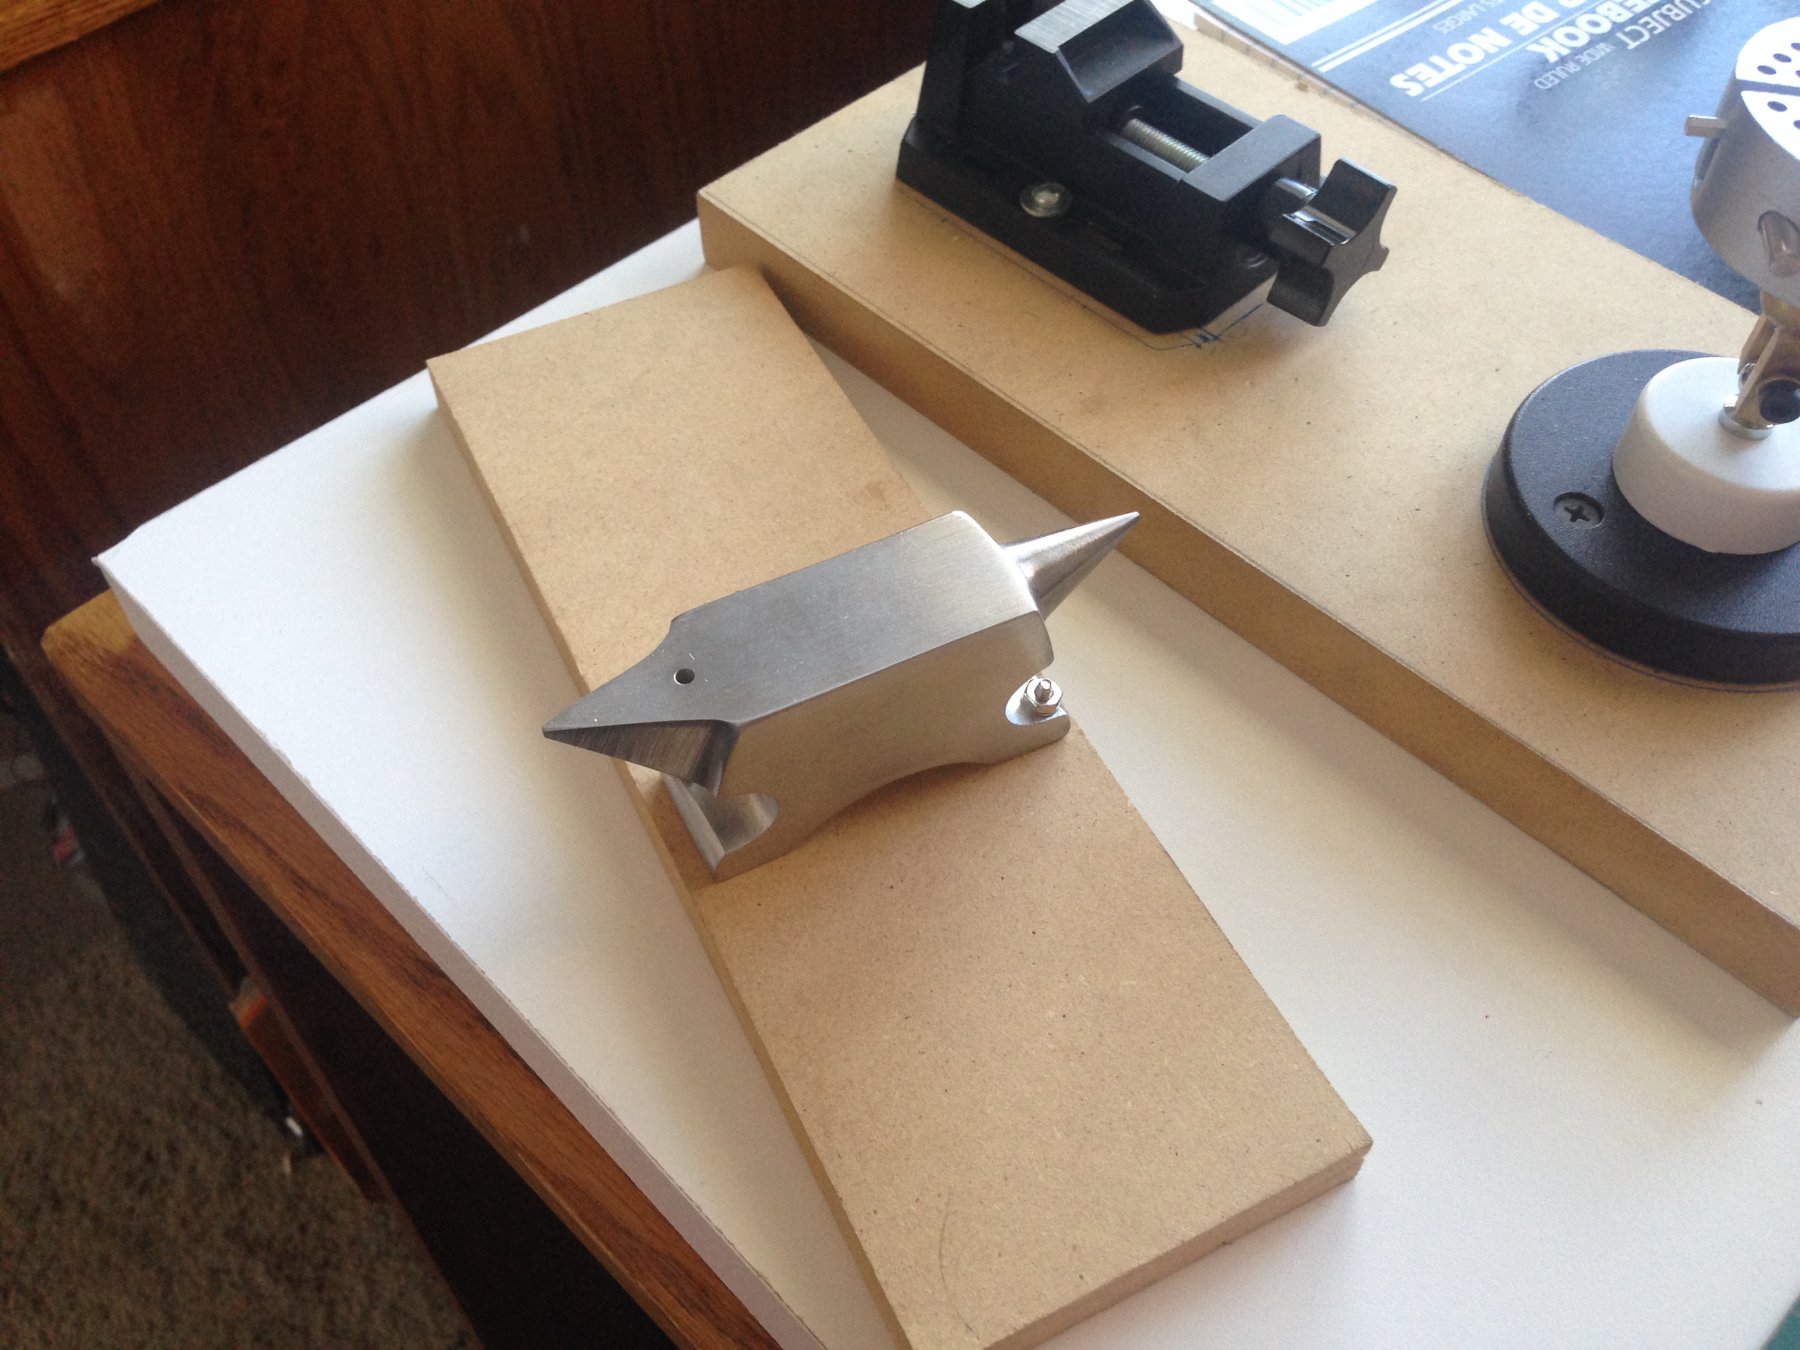
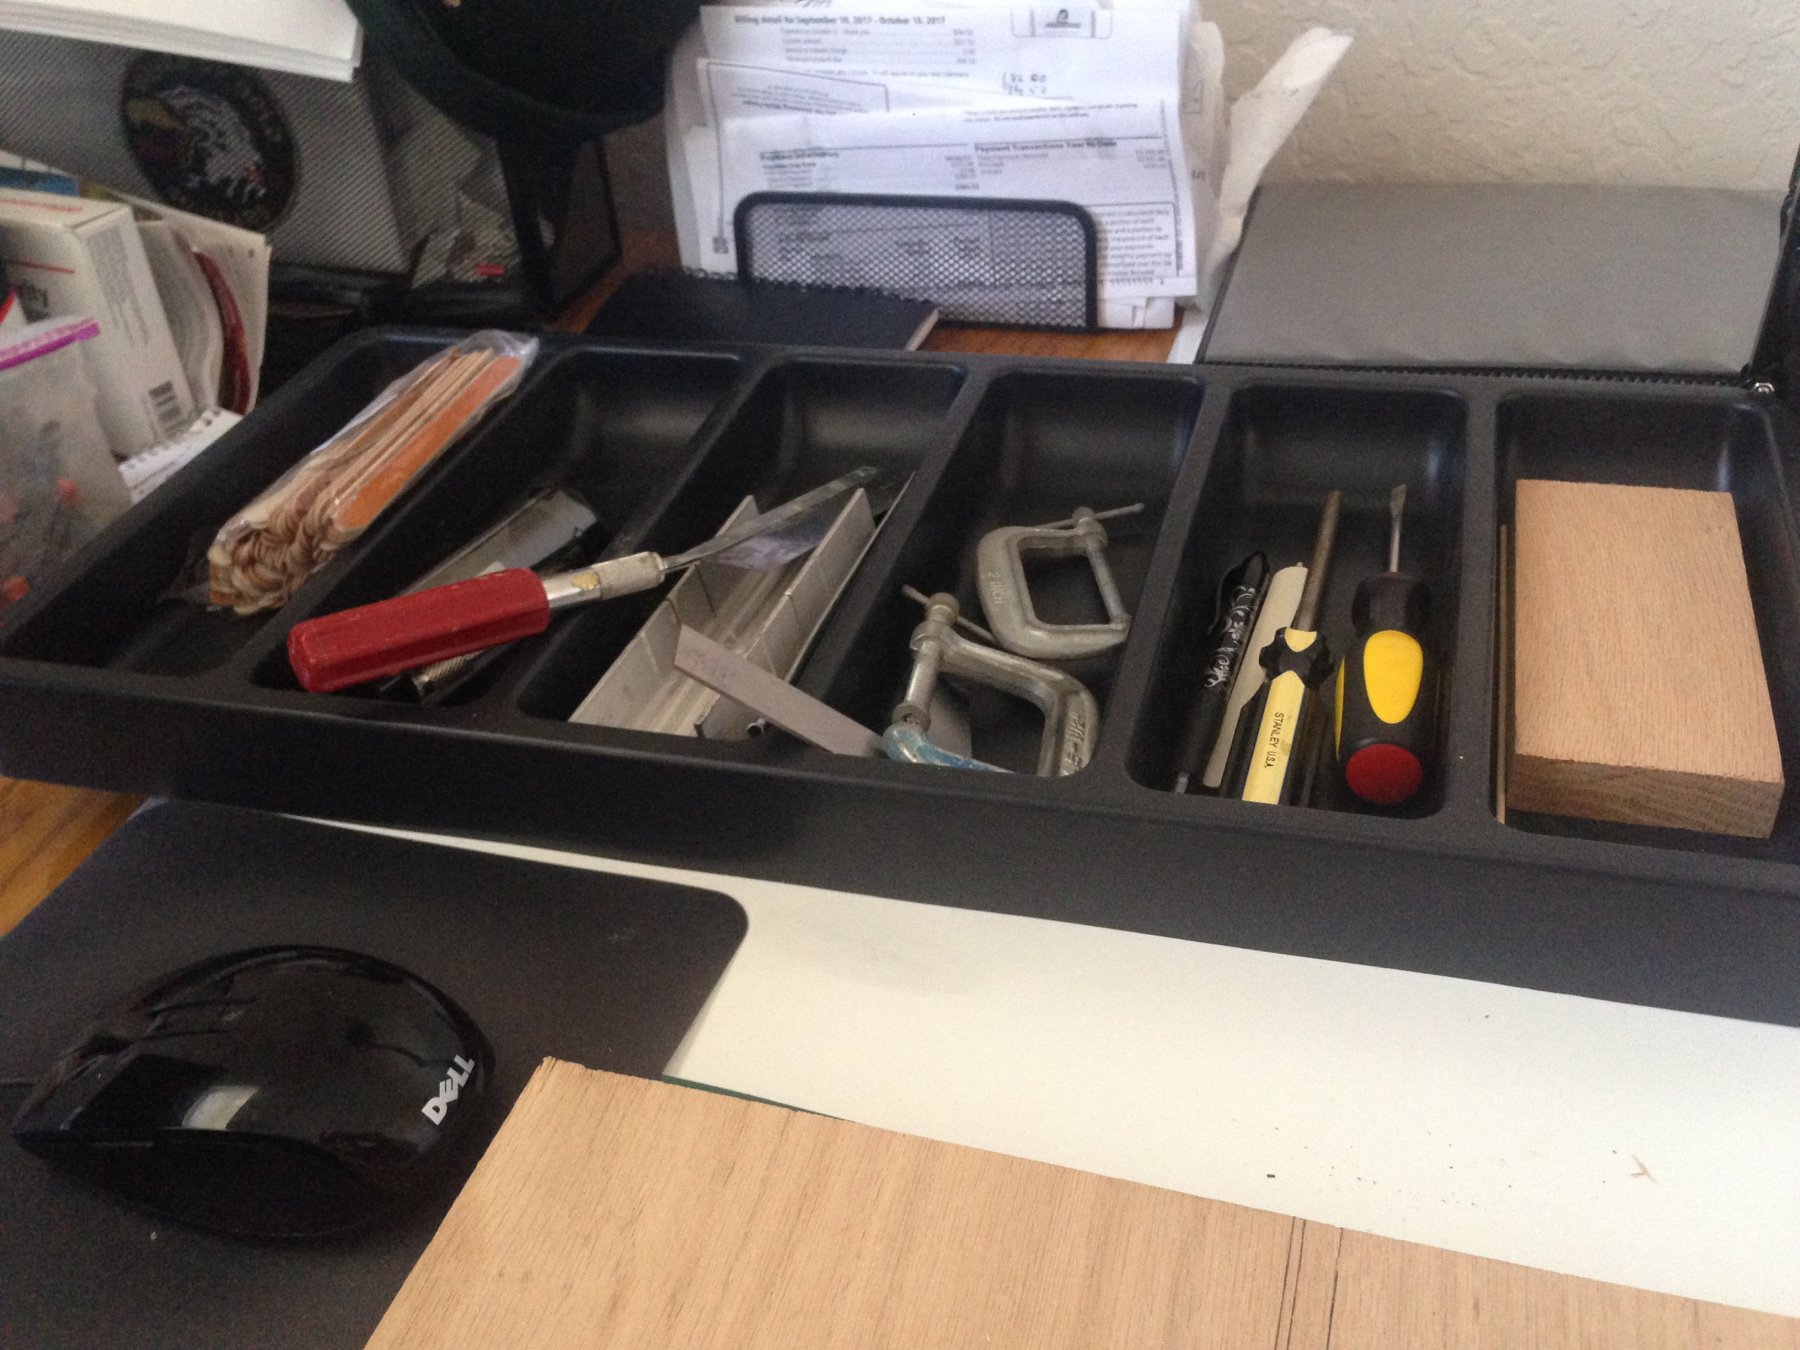
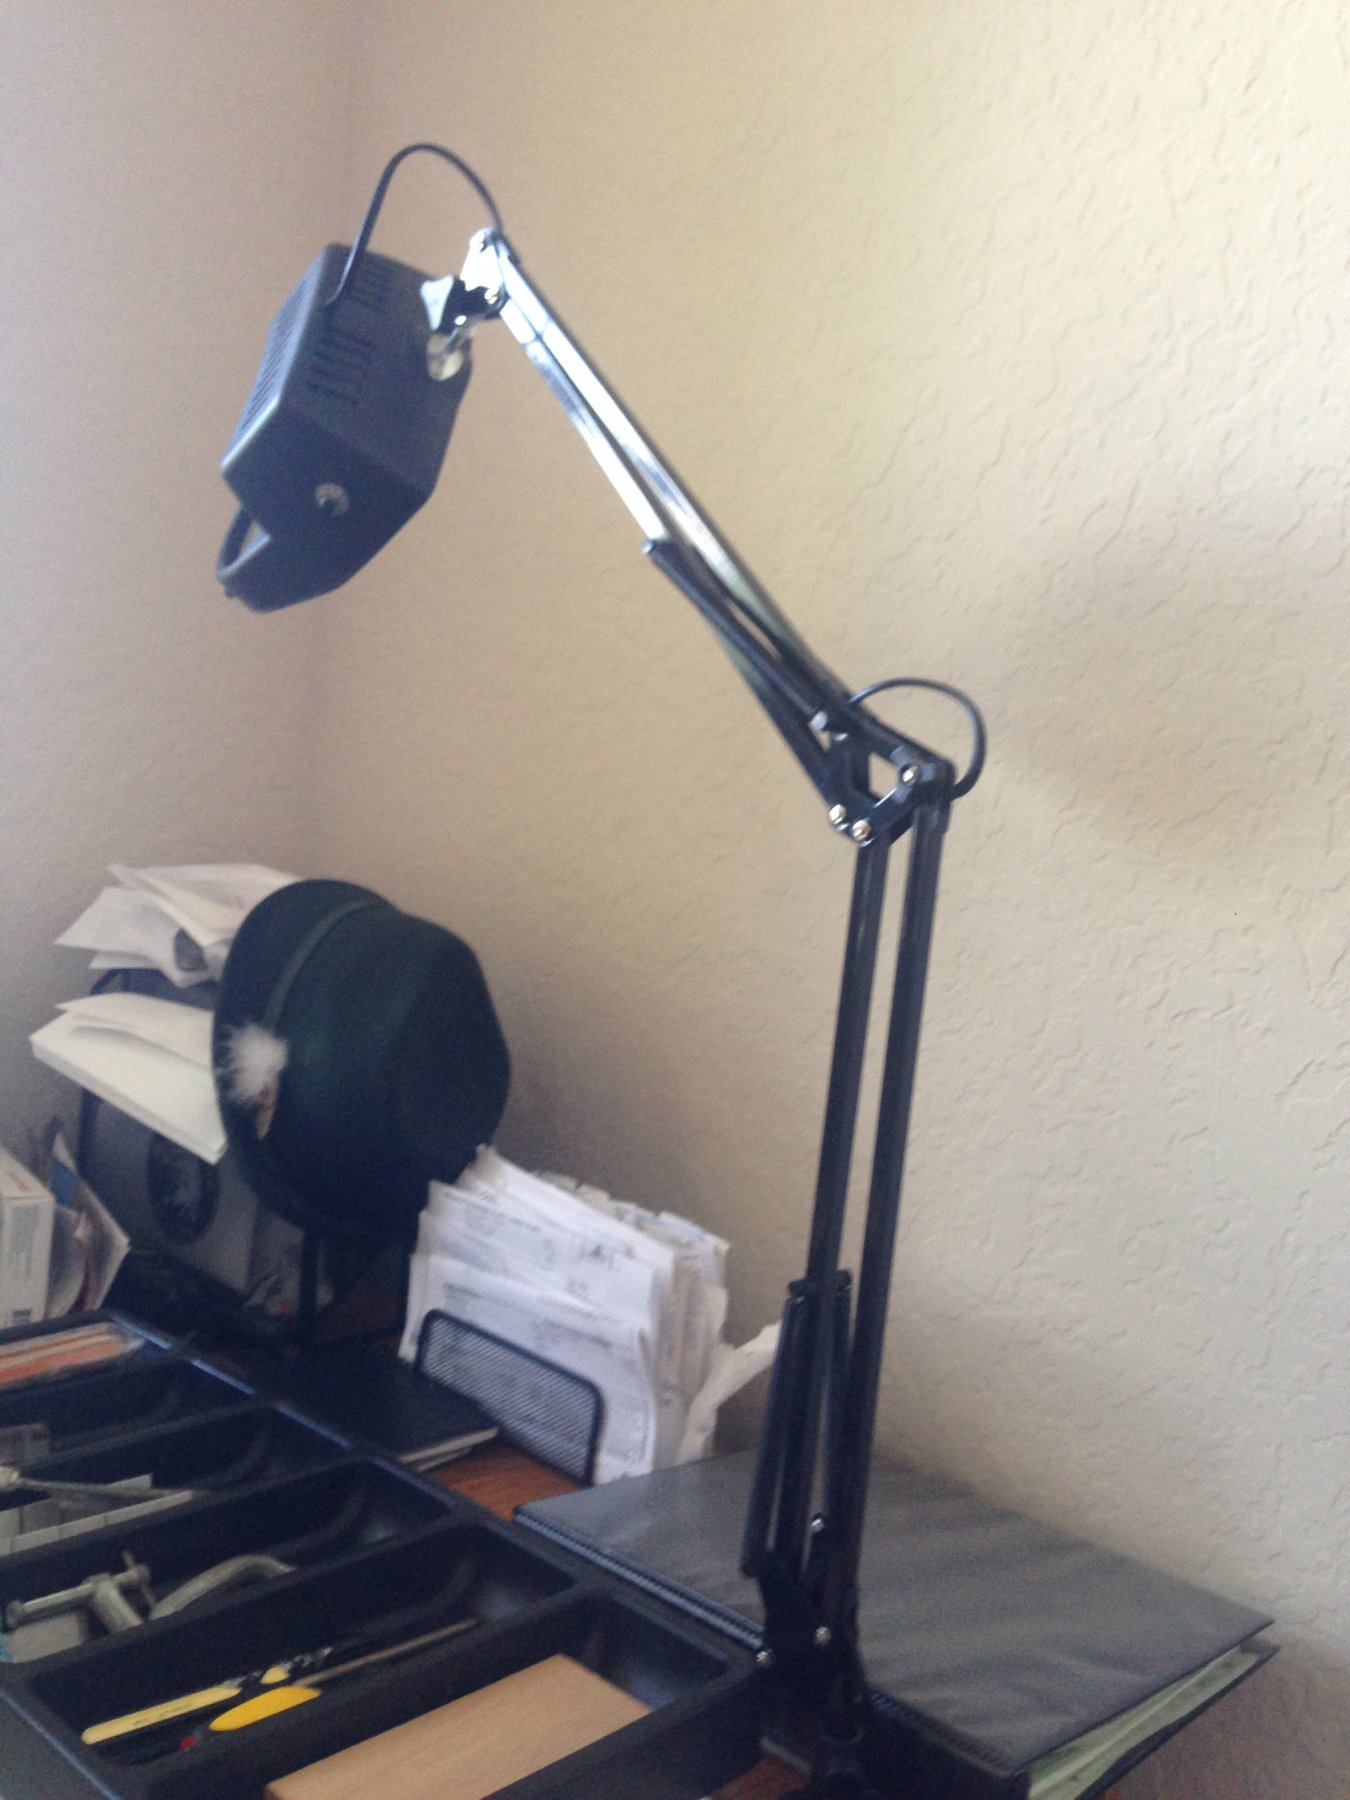
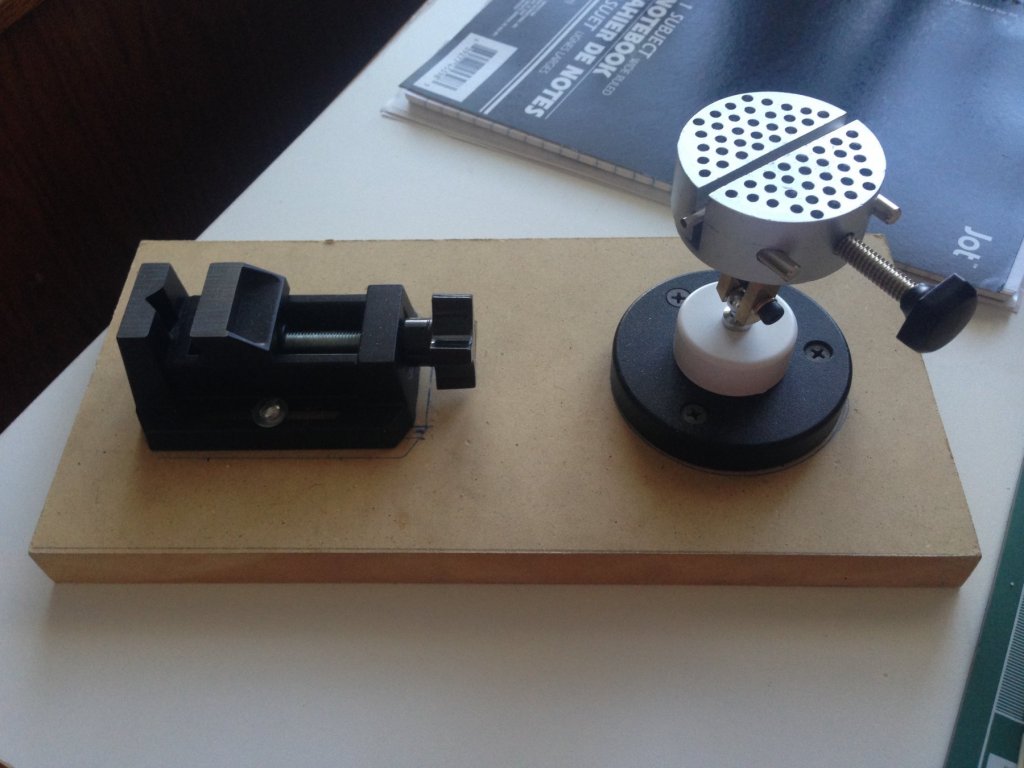
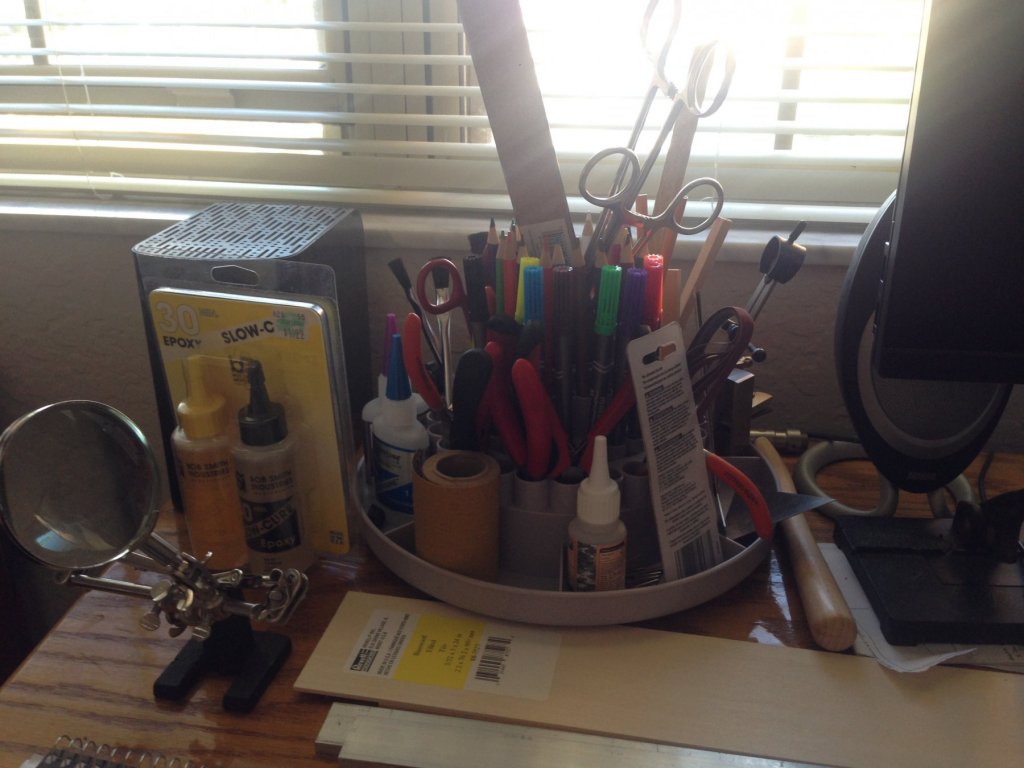
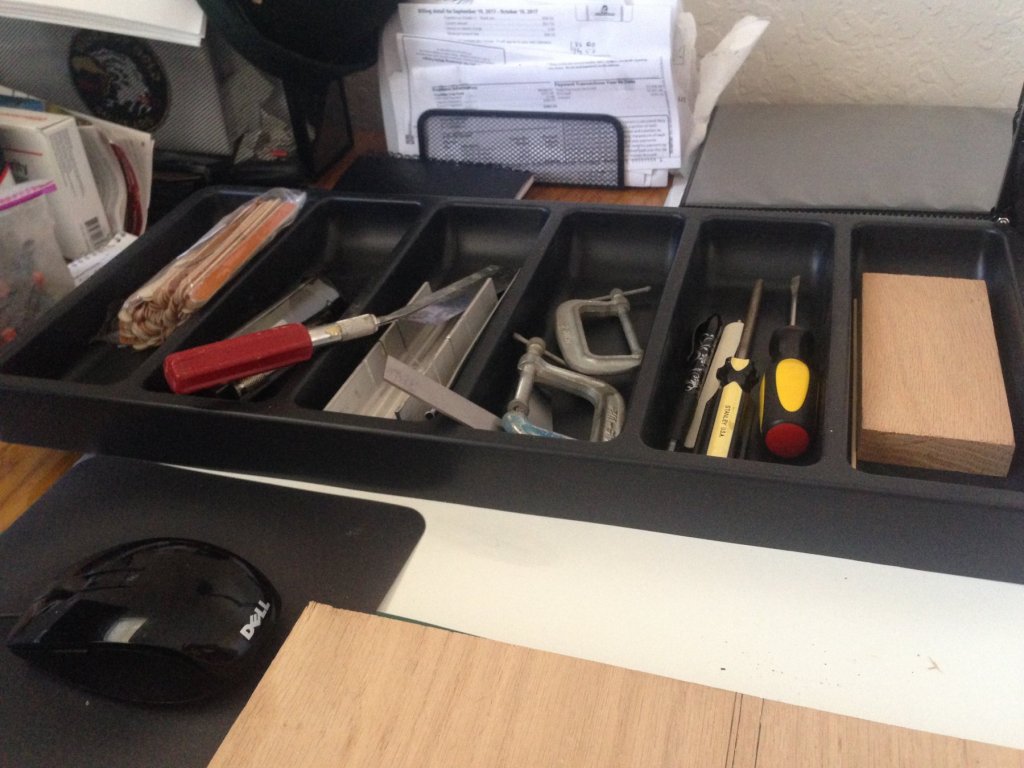
First build. Ordered all the paint and tools i need to start this build. I also ordered the cd`s for building the ship and doing the rigging. I built my ship stand, and a little piece of plywood to hold mini vise and a universal vise for small parts. i just spin the piece of wood around on the bench and clamp it down to use what ever side i need. Also bought a magnifier light/ lens. Got a mini anvil also. I usually build rc aircraft so i have a full selection of woodworking tools in my shop. Plus a sherline mill if i need it. This should be a fun project. I have read a lot of the post from other guys building this ship. Nice to know there`s help out there if you need it. I built the revell plastic model for my parents back in 1978. It took a year but it came out great. I`ve been wanting to build this ship for a long time but life gets in the way of your plans sometimes,lol. Now I have time to do it. More to come! 6 compartment tray bought at harbor freight, and they have plastic small part boxes that have 24 indivigual boxes inside with lids. Great for all the small parts to keep them seperated. you will need 2 of these. White building board is melamine workbench top 19 x 48 x 1`` thick for home depot. fits on my desk.


-
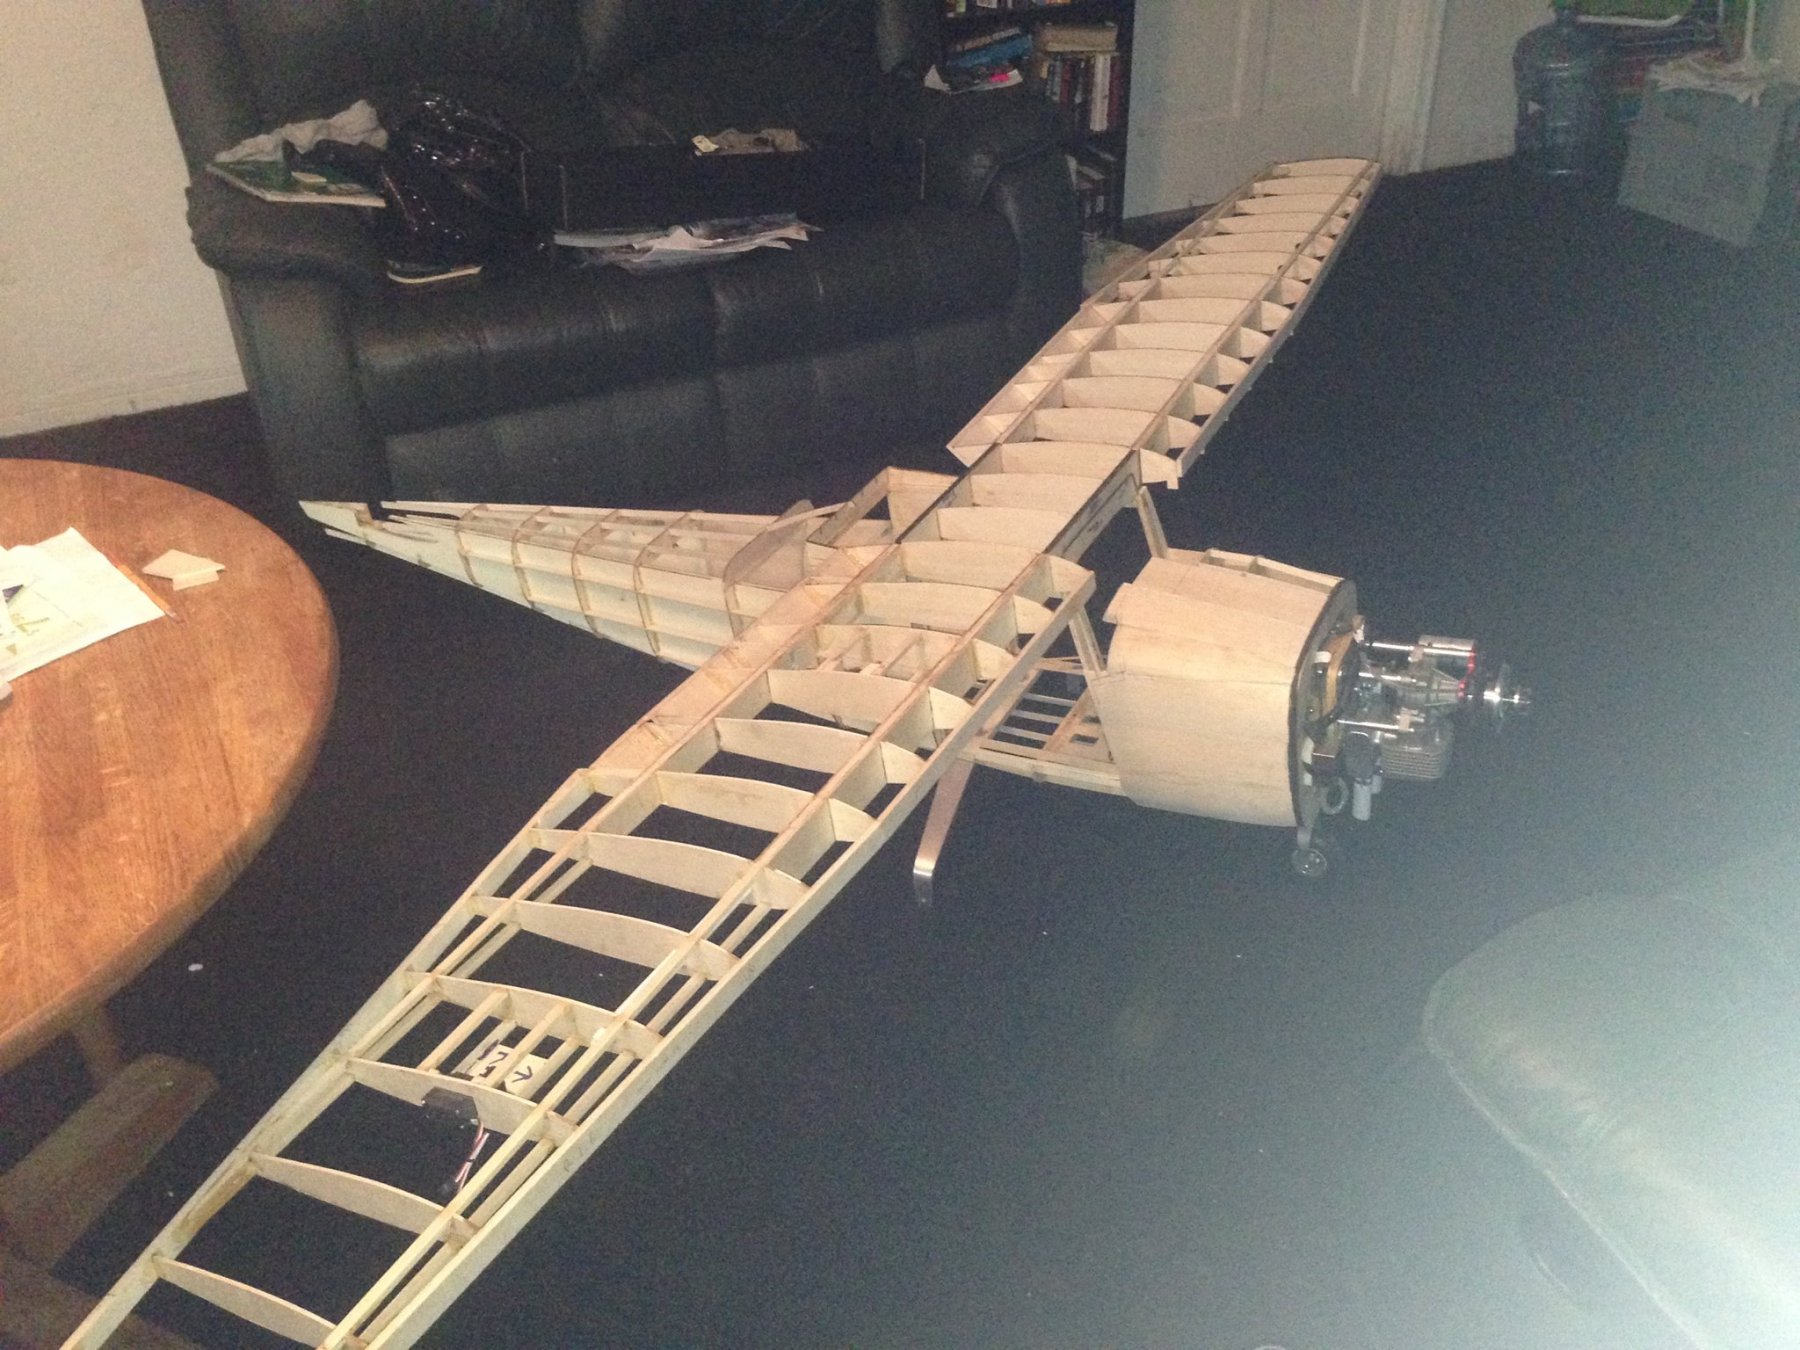
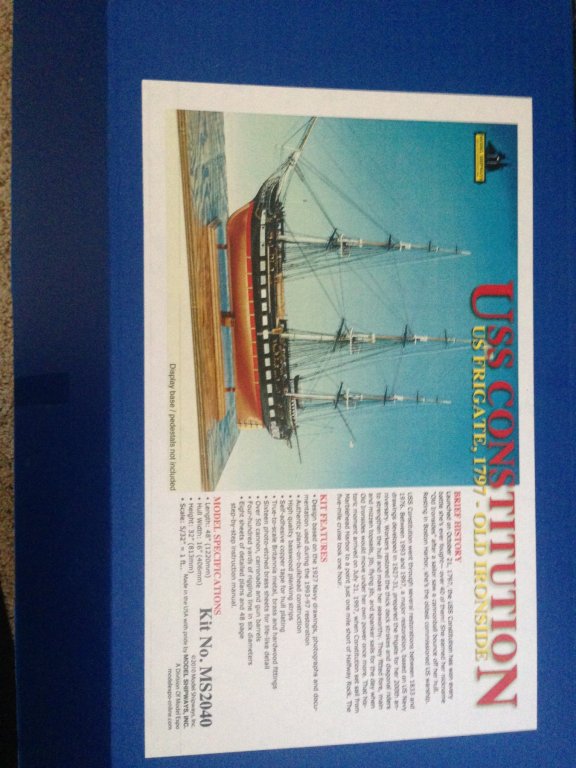
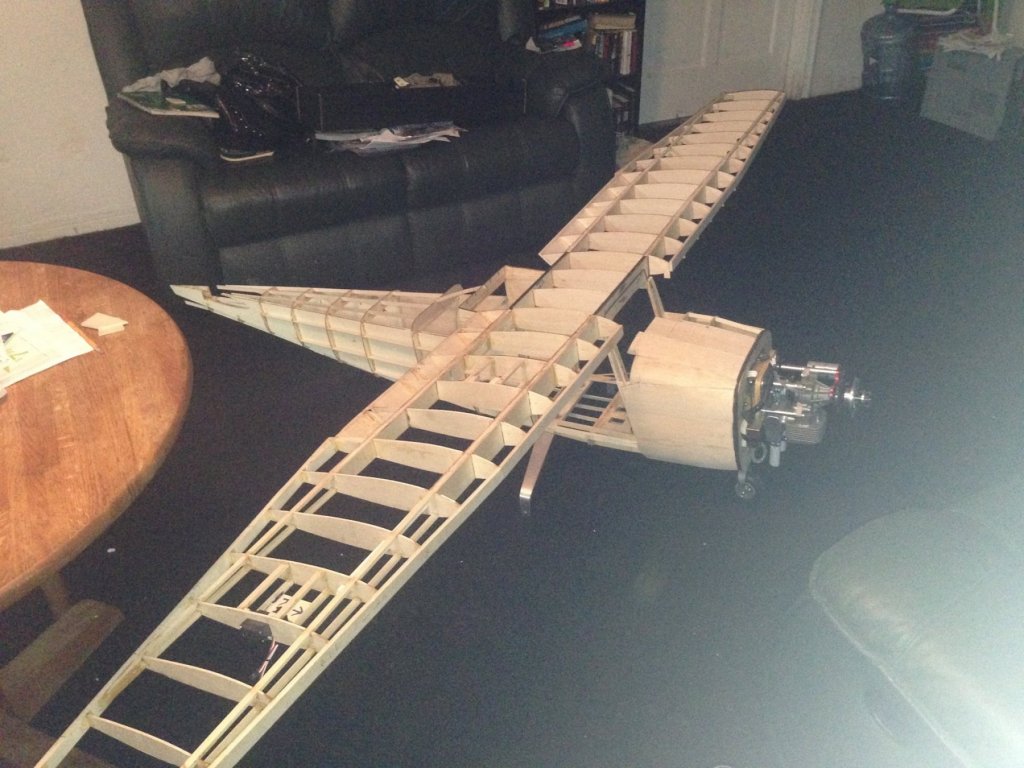
Received my ship today! Along with the paint and stains, so other stuff. Most impotant was the magnifier light. I`m going to have to hook up my gopro to the big screen to see some of these parts,lol. Plans look good. parts all there. I will be starting this after the new year,still waiting on a few things and plan to get more detailed pics of ship,rigging ect. Ihave a lot of experience bulding aircraft from plans ,so this should be fun. just a pic of the plane i`m building for fun.
-
Hi everyone. newbe here to forum. Getting my u.s.s Conny tommorow. CAN`T WAIT TO START IT. I usually build r/c aircraft, but i wanted to build the wooden conny. I built the revell 1:96 model in 1979,took a year but came out perfect. 35 yrs as a woodworker,and mechanic will make this build easier. Have all my tools now,lol. Plus a mini mill from sherline. Wish me luck!