HOLIDAY DONATION DRIVE - SUPPORT MSW - DO YOUR PART TO KEEP THIS GREAT FORUM GOING! (Only 24 donations so far out of 49,000 members - C'mon guys!)
×


dmalcolm72
-
Posts
57 -
Joined
-
Last visited
Content Type
Profiles
Forums
Gallery
Events
Everything posted by dmalcolm72
-
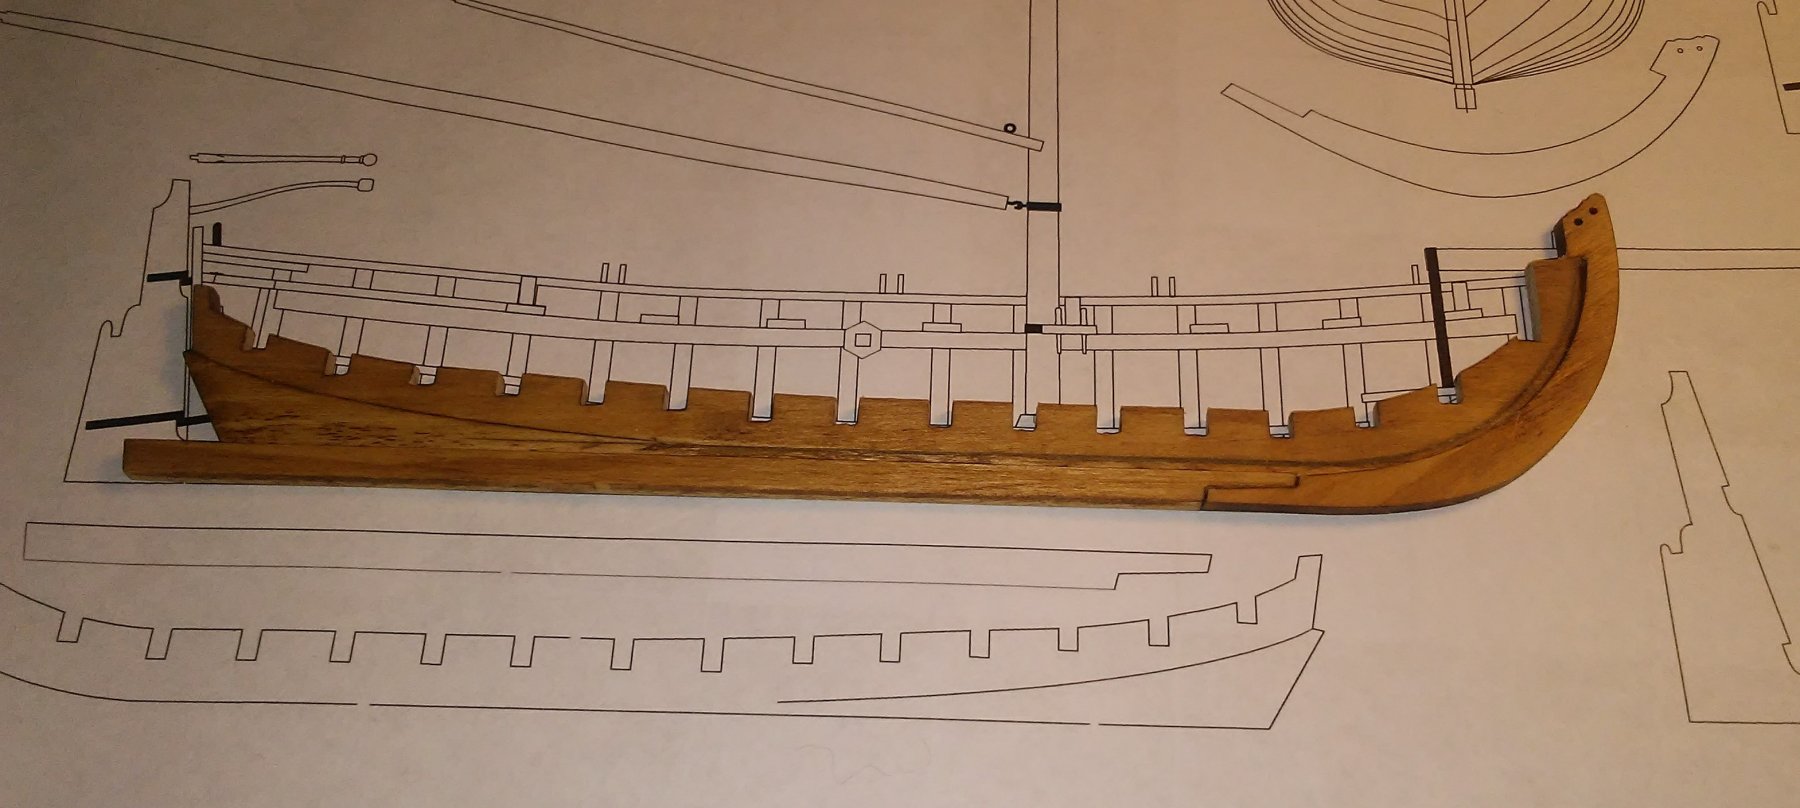
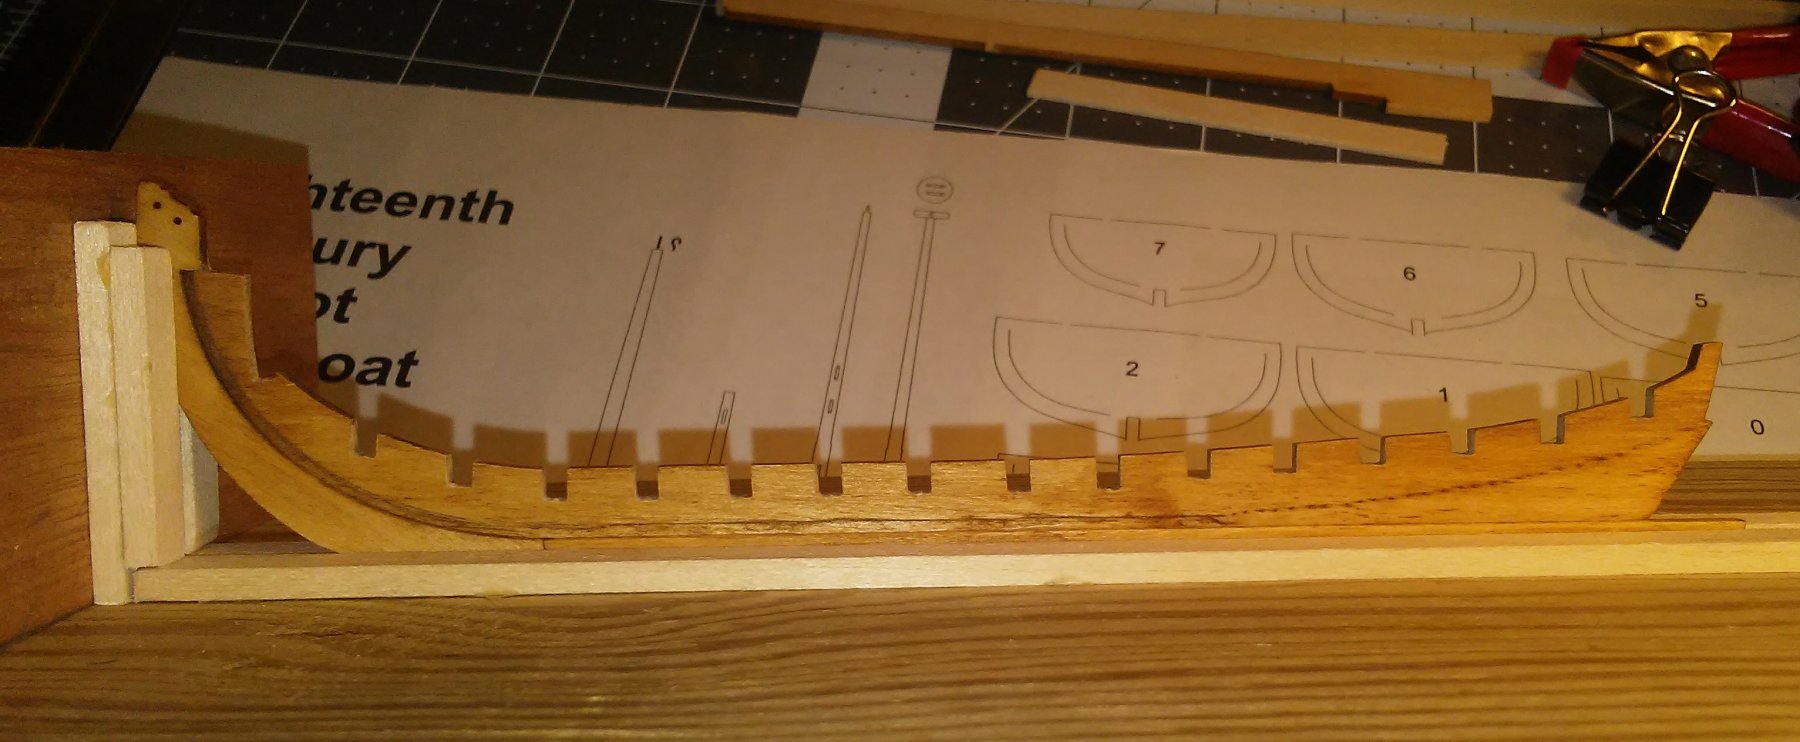
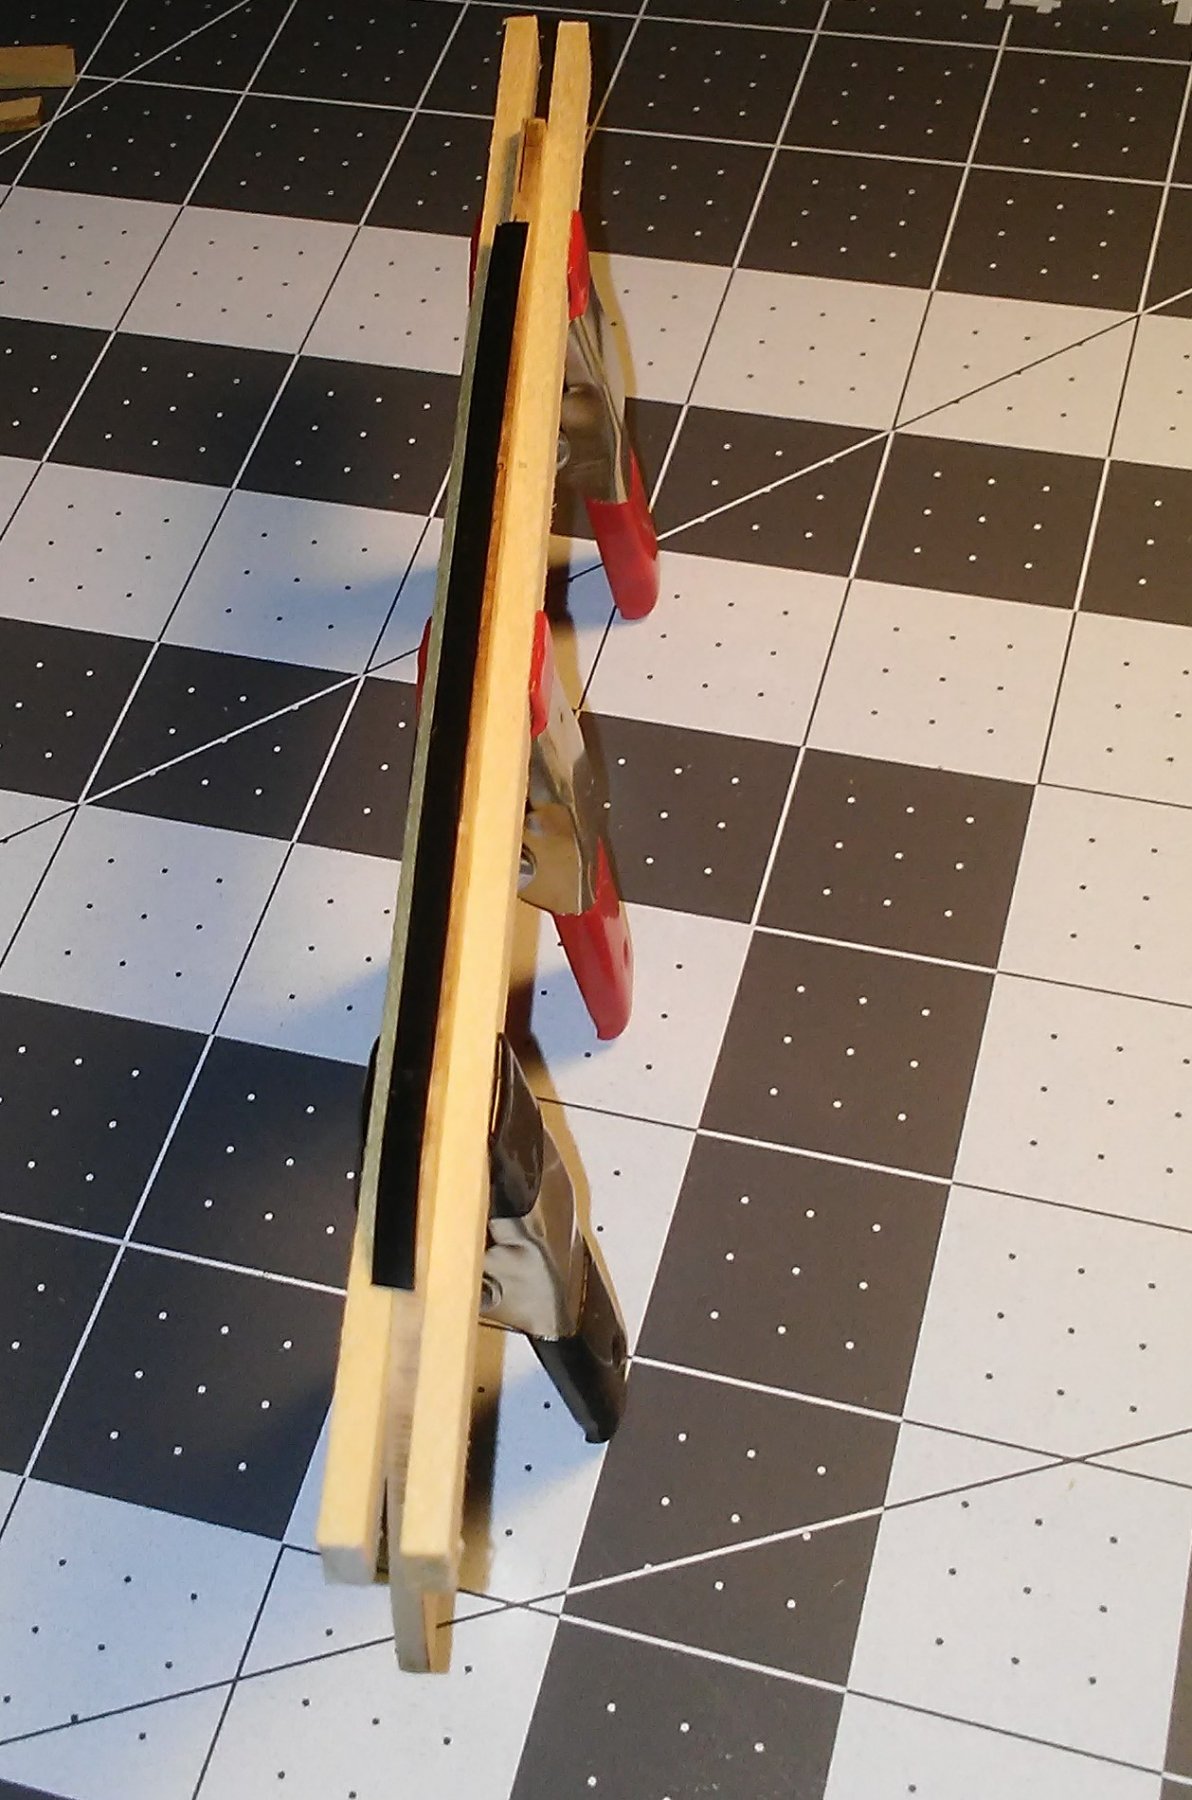
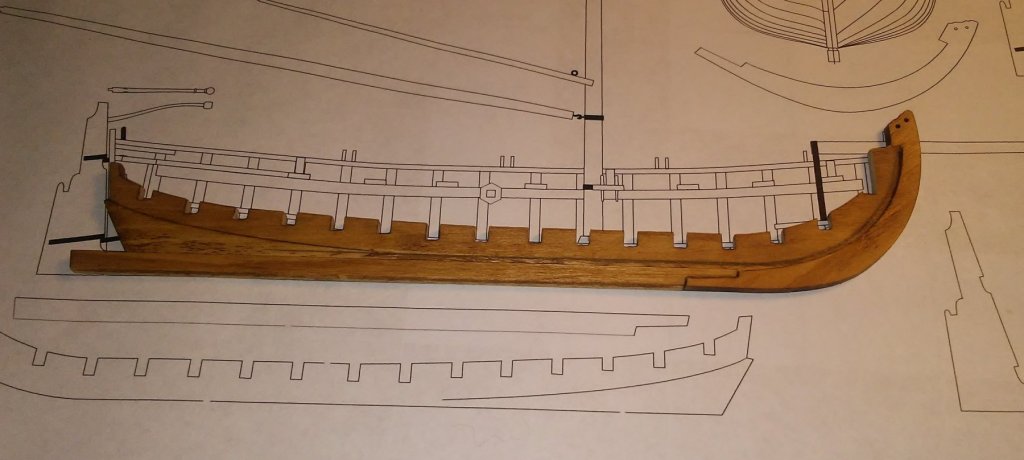
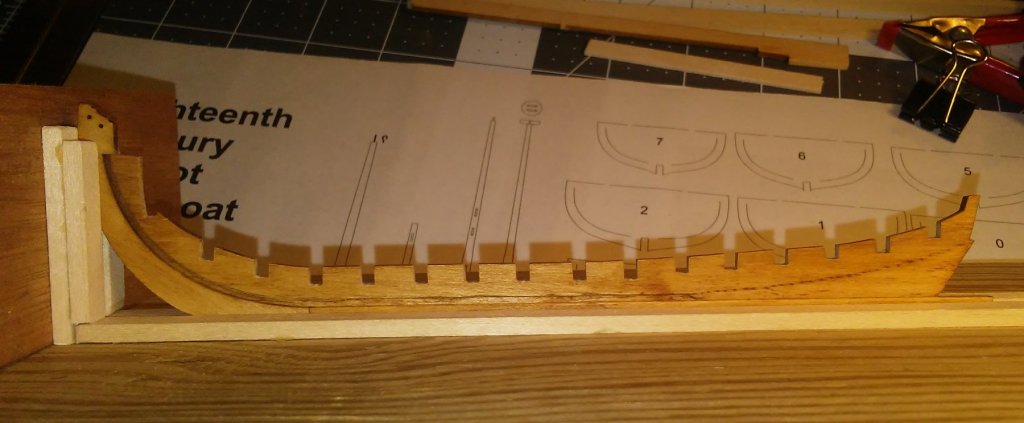
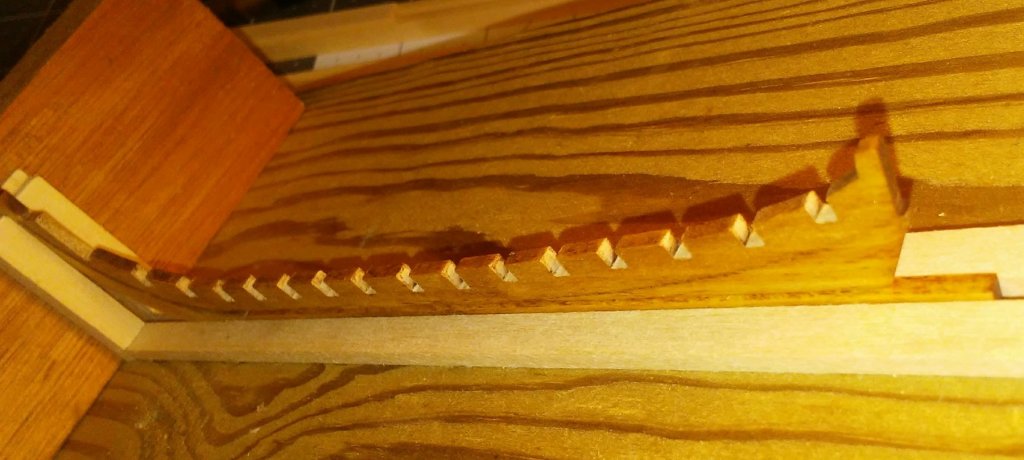
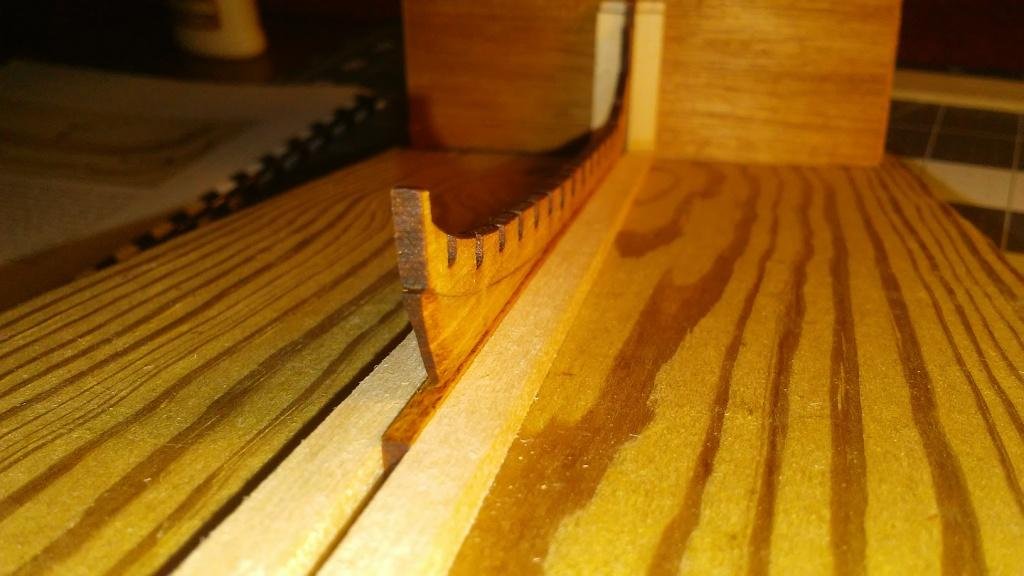
 Well, the diving last weekend was excellent. 😊 Nothing like a few hours submerged to clear your head. I spent this week adjusting the keel and bulkhead notches to give a square, sliding fit. :I then stained the bulkheads with the same oak stain I used on the keel pieces. As suggested in one of the build logs, I located the center of each bulkhead and drew a thin pencil line top-to-bottom. I think it's also advantageous to extend the line to the top of the bulkhead. to aid in alignment. I glued the keel pieces together per the instructions, first fitting the stem and then attaching the keel to the false keel. I used white glue for this so that if I needed to redo it, I could readily disassemble it. Below are pictures of the assembled keel: I've got some more reading and planning at this stage. I need to decide which bulkhead to start with on installation (bow, stern, or midships) and how to insure that they are all centered, square and plumb. I hope to get the first bulkheads assembled this weekend.
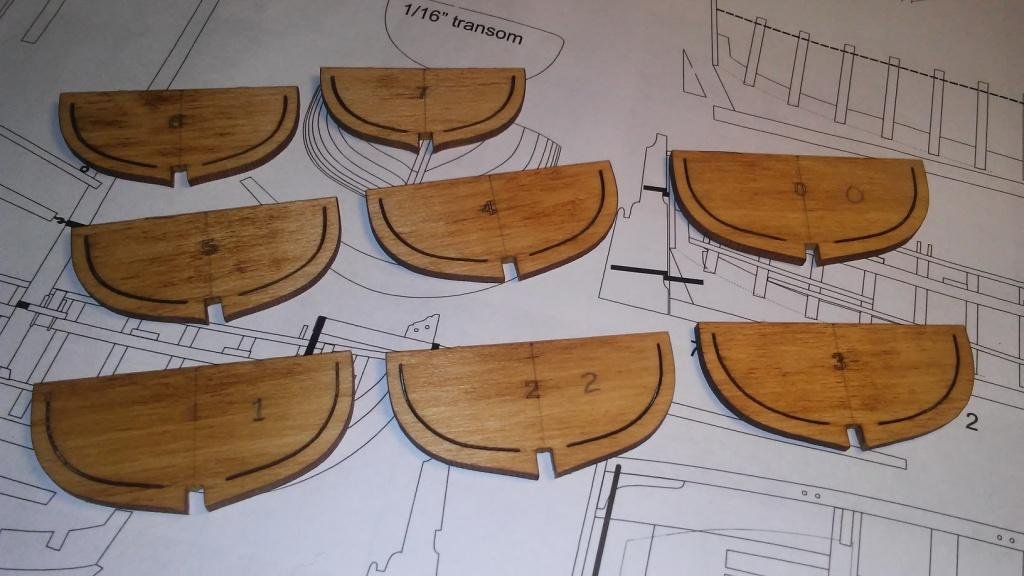
- 25 replies
-
- 4
-

-
- 18th century longboat
- model shipways
- (and 1 more)
-
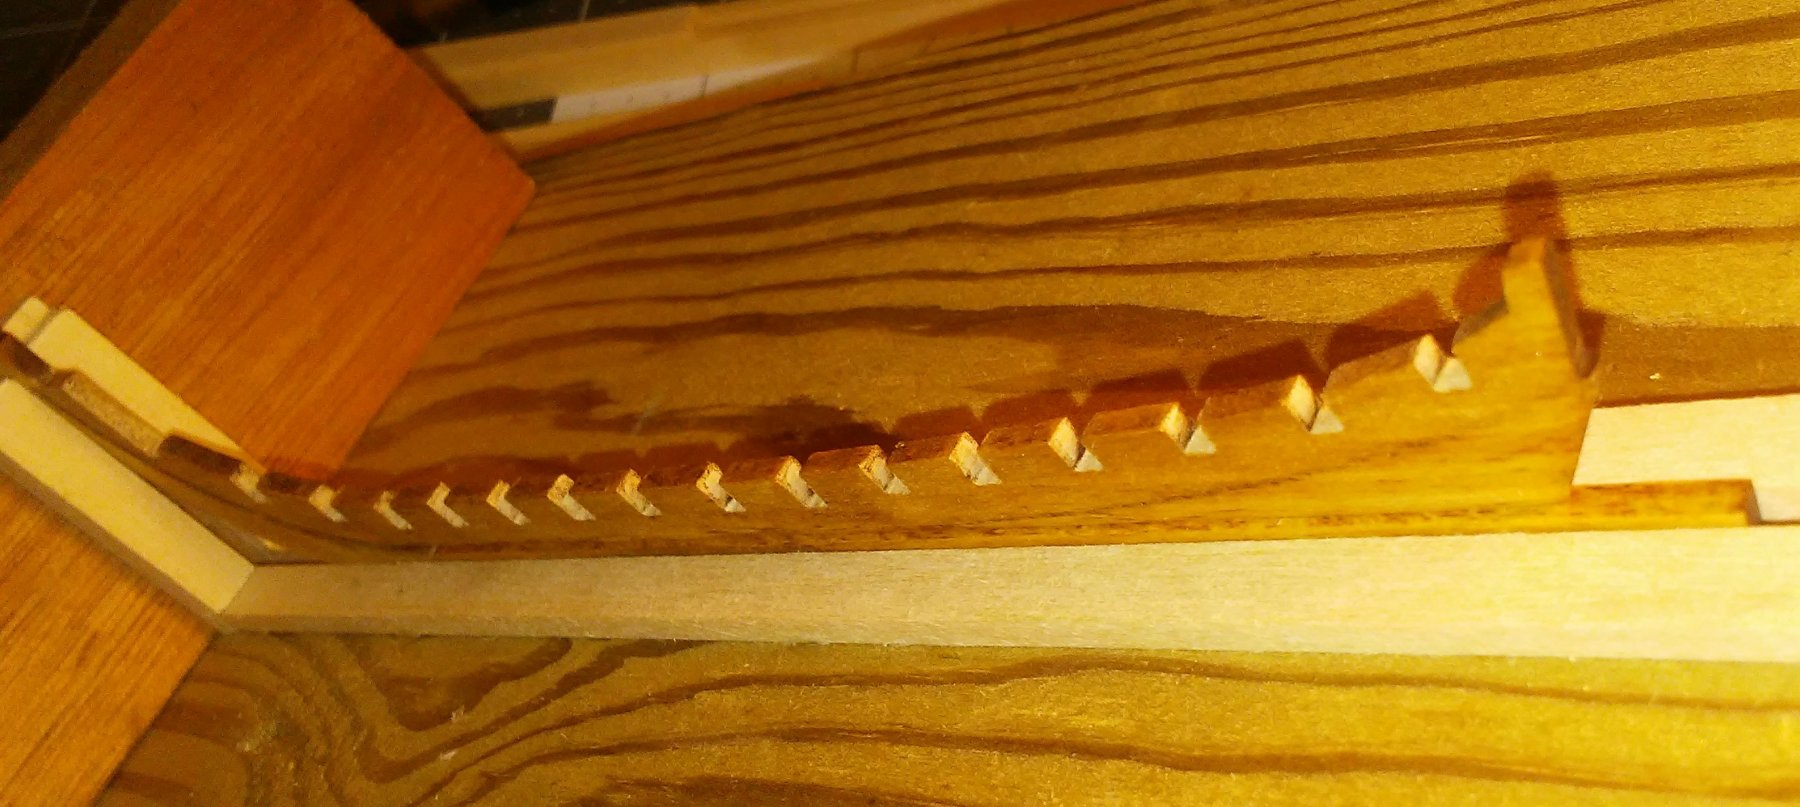
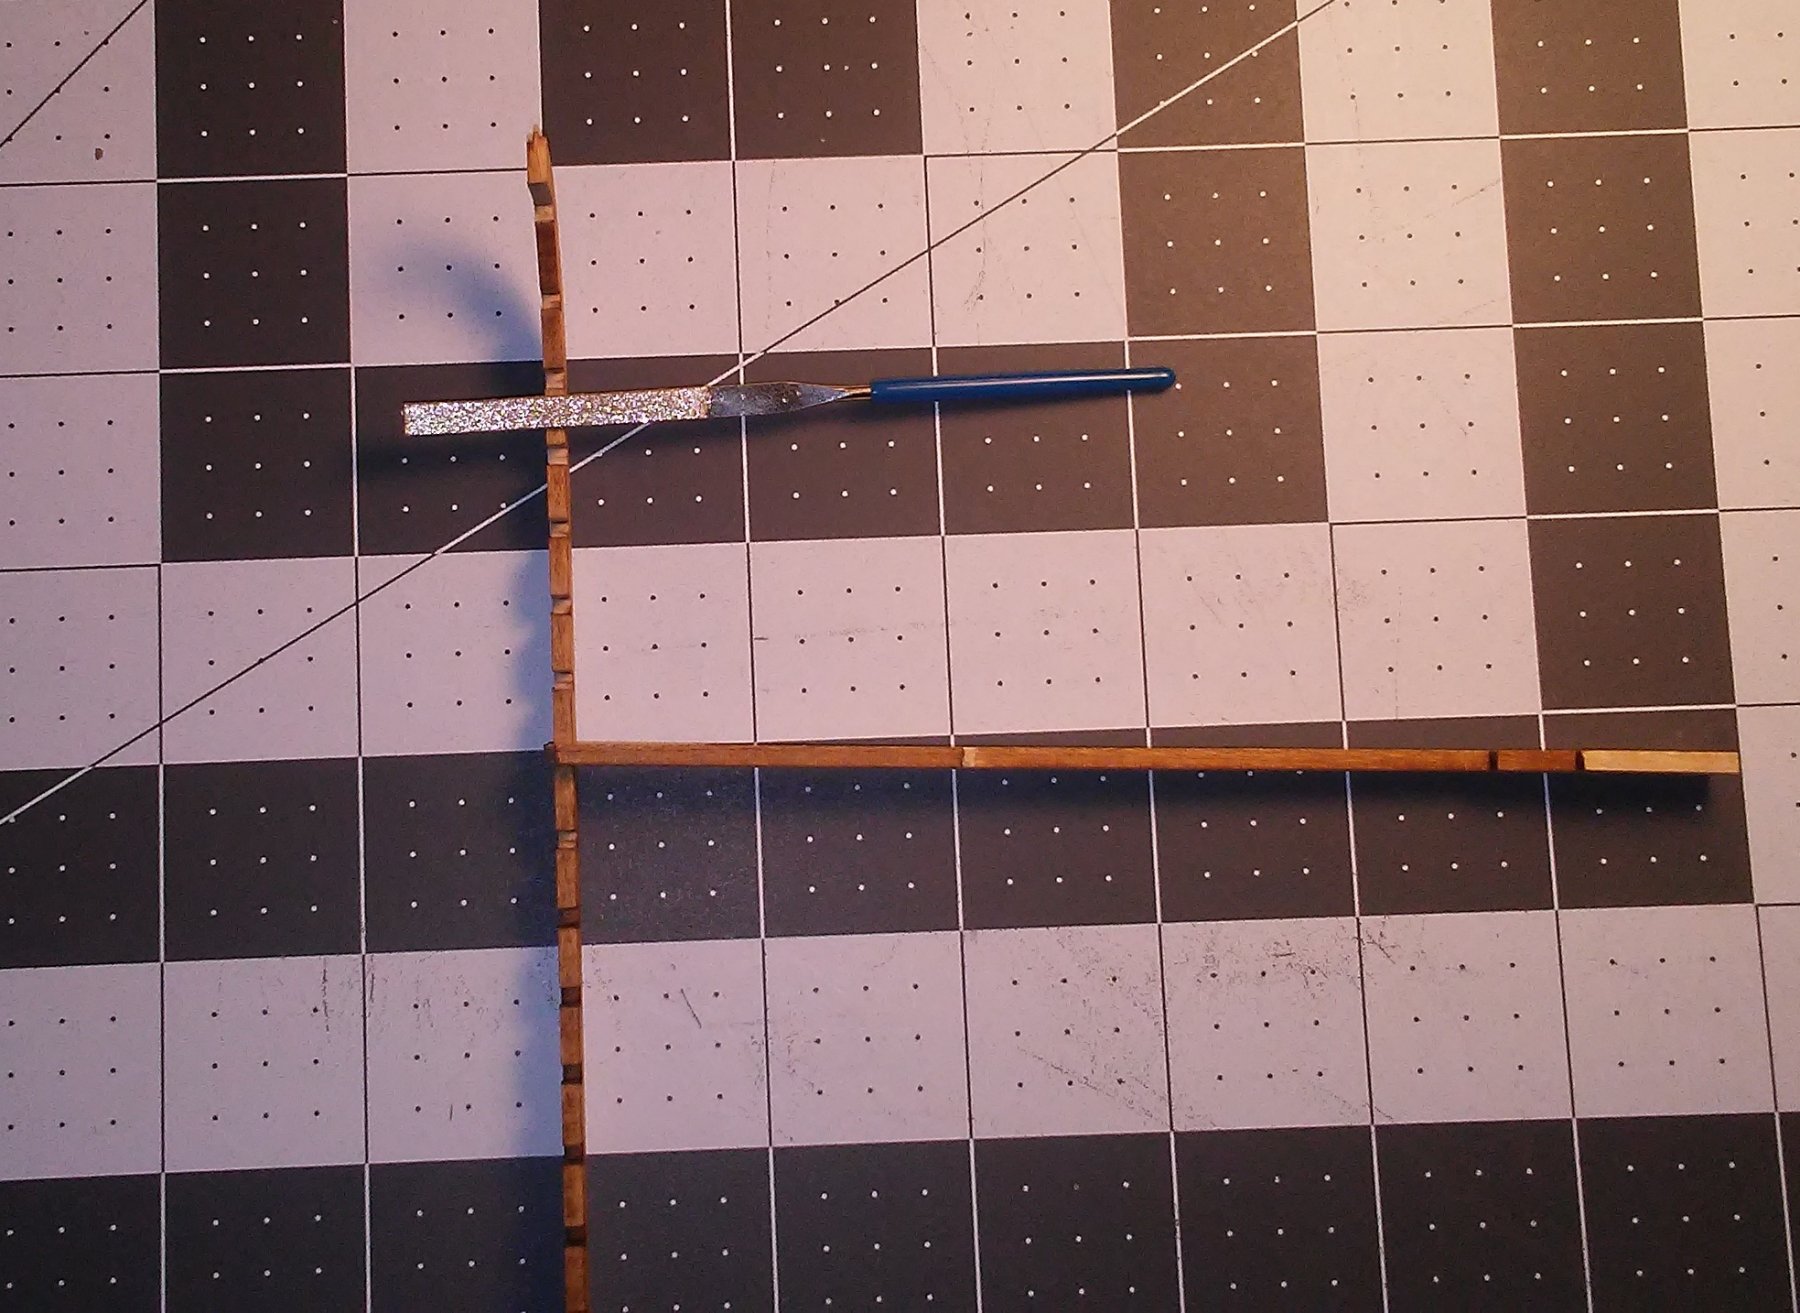
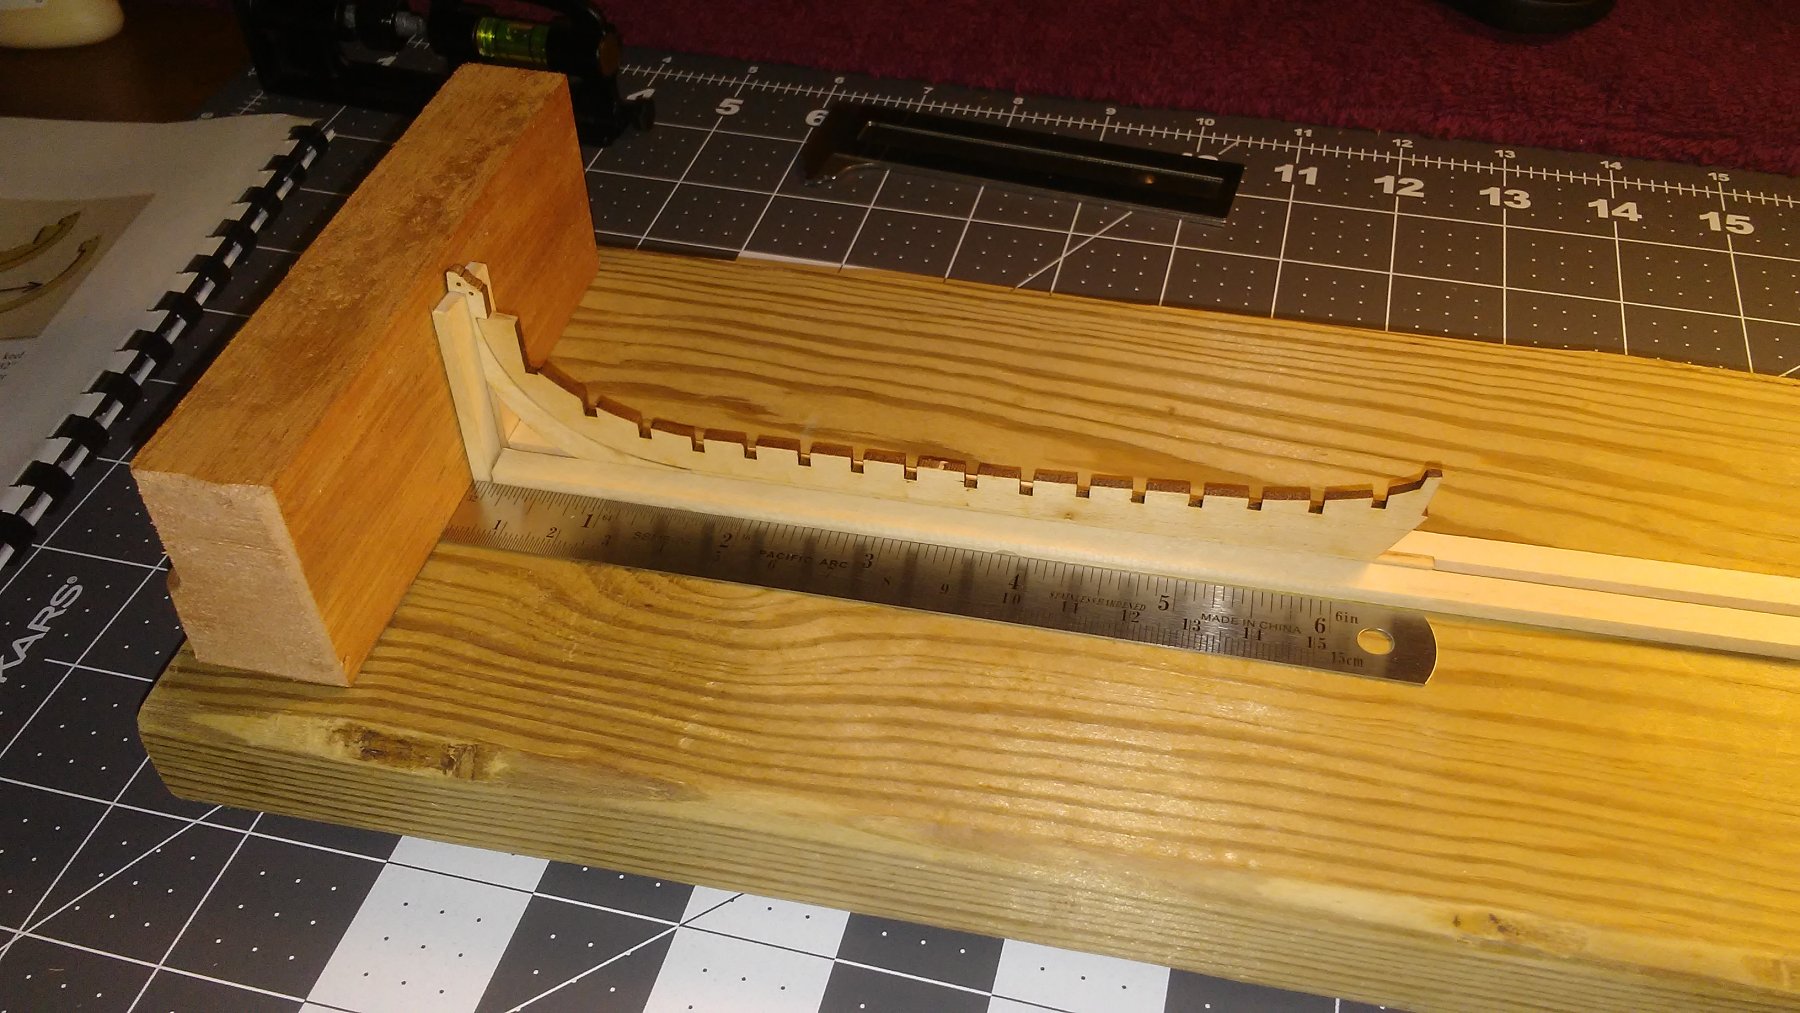
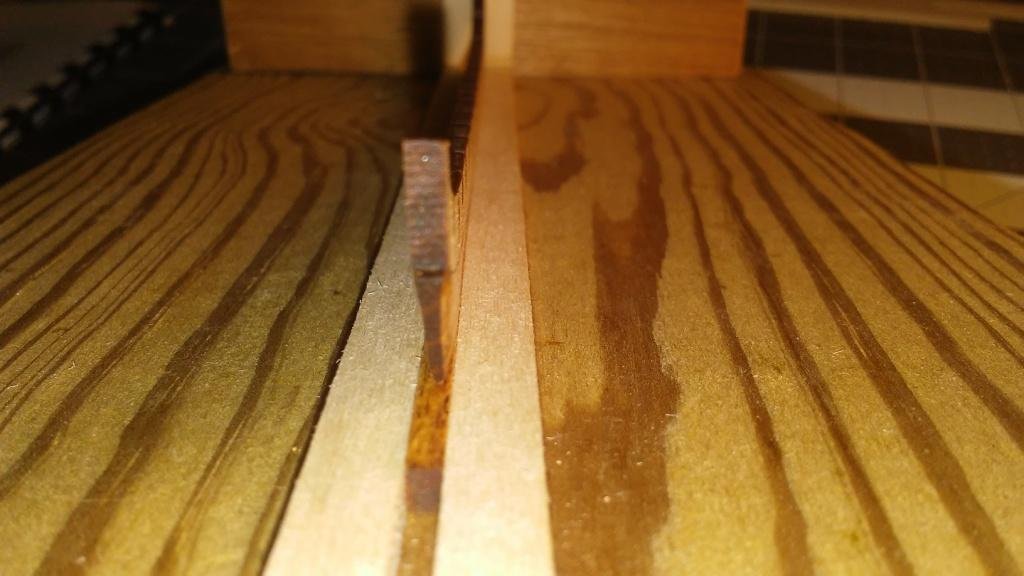
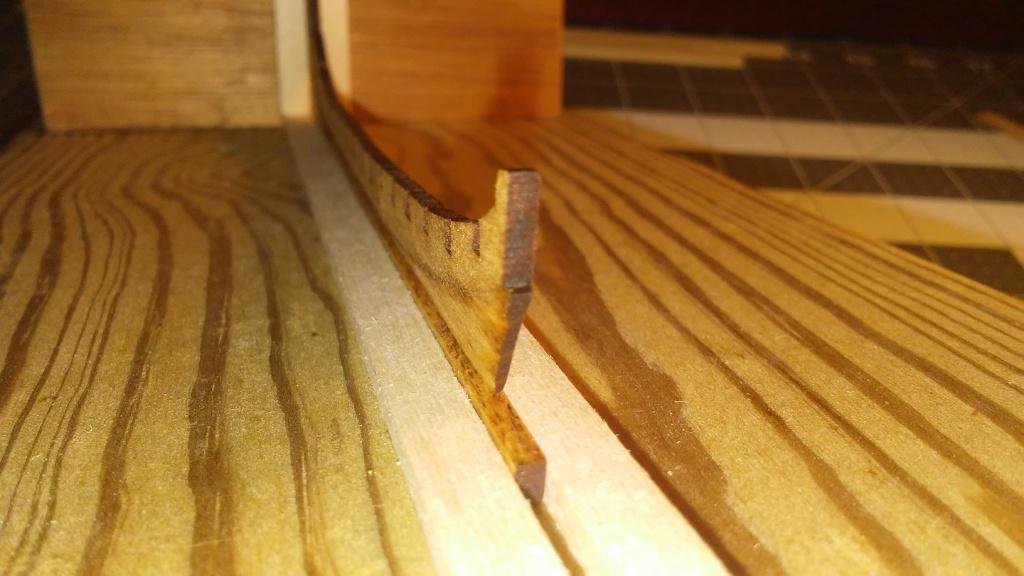
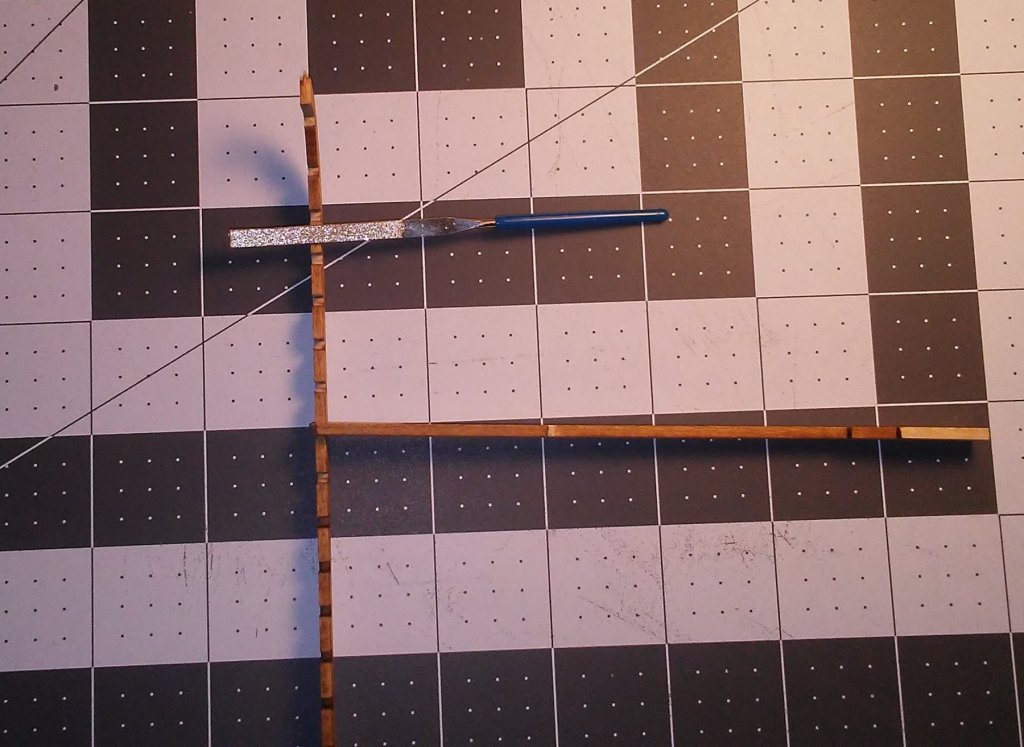
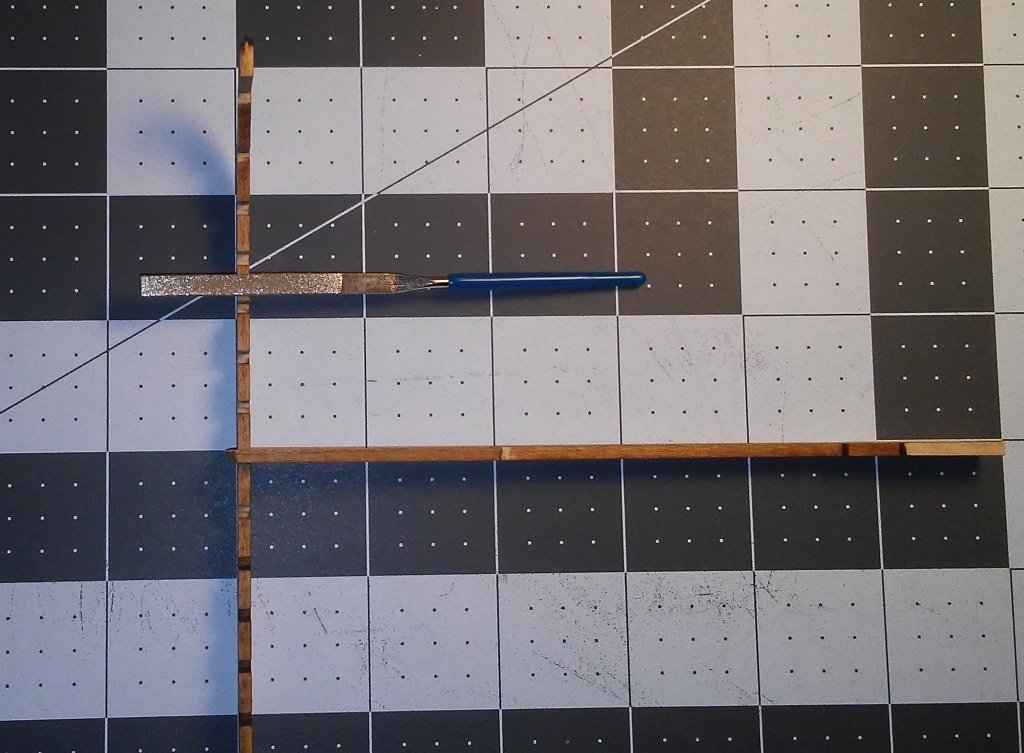
I got the stern sanded from the bearding line to the back and bottom edges and smoothed into the rabbet. I hope I'm at least close to being a smooth fit. If necessary I can sand further as I begin planking. I also stained the three keel pieces with an oak stain. My intention is to stain all of the bulkheads and planks before installation. The pictures below show the false keel post-stain and sanding. It is sitting on the keel. I think I should wait to attach the keel pieces until after I adjust the notches in the false keel for the bulkheads. Today I started sanding the false keel bulkhead notches to the proper width to seat the bulkheads. I used a small diamond file to slowly, and equally, file the notches to the proper width. I was using a small scrap of basswood of the same thickness as the bulkheads to check my progress. Working on my cutting mat it occurred to me that if I used a long, thin scrap I could get a good check for a square fit while I worked on each one. The following pictures demonstrate this with the first showing out of line, and the second showing the squared fit: I got half way through the false keel notches tonight. I'll finish the rest in a couple of days. I've got the opportunity to dive the next two days so I'm gonna go "blow bubbles." On a parallel note, there's a sunken Chinese Junk 65 feet down in the lake I am diving in. Since starting my model, its construction details have become much more interesting!
- 25 replies
-
- 5
-
-
- 18th century longboat
- model shipways
- (and 1 more)
-
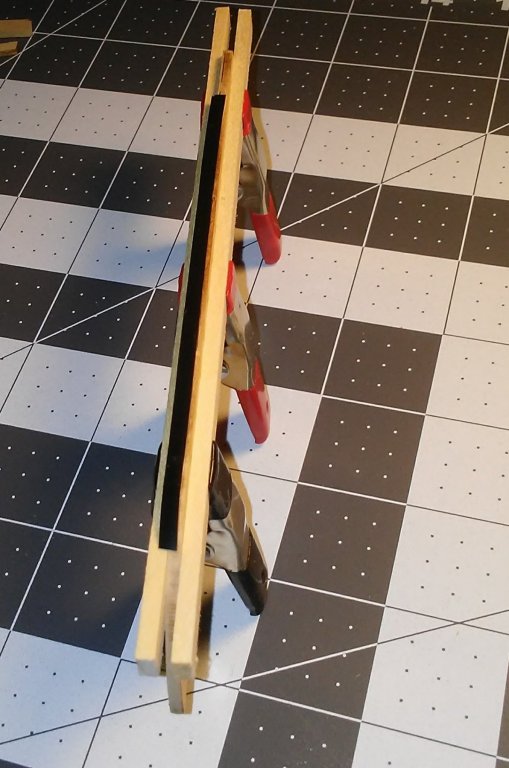
Greeting All! As I described in my introductory post a few days ago, this is my FIRST EVER build. I built plastic models when I was a kid, but that was decades ago. I appreciate the input I've received so far and look forward to learning this new skill with all y'all's help and suggestions. Having never done this, I am starting at square one. I chose this model, in part, because of the combination package that included tools, paint, and glue in addition to the kit itself. Also, if I found I got little enjoyment or was constitutionally incapable of managing the process, my downside was limited, So far I'm enjoying myself...unsure of lots of tasks, but having fun! So far, I've managed to get my work space set up (with LOTS of help from my wife) and have added some tools and equipment that should help me as I proceed. I got a little ahead of myself and removed the false keel, keel, and stem from the parts sheet and did some fine sanding to remove some of the burn marks. A trip to the hobby store got me some spare basswood pieces so I can practice techniques to improve my skills. I also built a jig to set the hull into as I progress. Nothing fancy, but adequate (the keel pieces are fitted together but not glued): In preparation for bearding the false keel and cutting the rabbet I practiced on a spare piece of 3/32" basswood. I found sanding to the required thickness at the stern is my best option. I will have to cut the rabbet with a knife. I transferred the bearding line to the opposite side of the false keel by making a photocopy of the plan. After being sure that it was properly scaled I placed it on the part and marked the keel by making pin pricks every couple of millimeters. I finally used the pricks to draw the curve using a french curve. In preparation for cutting the rabbet, I masked the bottom of the false keel with 1/16" art tape and verified my dimensions before cutting down to the appropriate depth. I believe if I cut too deep anywhere I can regain structural integrity when I get further into assembly. I then masked the other side of the false keel. Lateral cuts on the sides were done after completing the length-wise cuts.The picture below shows the masking: I'm currently sanding the stern from the bearding line to the edge of the keel and stern. I'll update after I complete the false keel and combine the three keel sections.

- 25 replies
-
- 5
-
-
- 18th century longboat
- model shipways
- (and 1 more)
-
Thank you all for your best wishes. As I said in my introduction, I'm a complete novice to model building. I'm hoping to take it slow enough to avoid major mistakes and excessive frustration, but rapidly enough to see regular progress. I don't expect that my first effort will be bound for a museum...I'll be satisfied if it looks like a boat! And I will maintain a build log as I progress. For now I'm trying to get my materials and equipment together; set up my work area (out of the way); do preliminary research and practice some skills; and then put the keel together...milestone #1. Don
-
Thanks. Yup, one step at a time; small victories breed larger ones.
-
Thanks Bob. I appreciate your insight on this. I've found the build logs database but have not read through Chuck's. This is all new to me but I look forward to working with it. This first build is an experiment. I'm keeping documentation for my future reference and also to upload as I move forward.
-
Greetings to all! I retired in December 2017 after 40+ years in the chemical industry. My main hobbies during those years were scuba diving, reading and old movies. Unfortunately that was not enough to occupy my time after retirement. Although I'd love to dive every day, I still needed something for my "surface intervals." I'd always been interested in anything nautical and saw model ships as a way to find purpose for my extra time. As of September 2018 I had NEVER tried building a wooden model ship. I built a balsa and paper model plane some 50+ years ago. That's the limit of my skills and experience. Now, on October 1, 2018 I find myself beginning my first ever wooden model ship/boat. I selected the Model Shipways 18th Century Longboat as my first try. Already I have questions about "how to..." Today I removed the false keel, the keel and the stem from the parts sheet. I began sanding the burn marks and trying to see how the pieces fit together and what my next step would be...and already hit a snag... I noticed that there are two keel pieces and two stem pieces. On the plan sheet it looks like only one of each is used. Is this correct? Do I use one of each, or only one? My current course of action is to sand off the burn residue and insure these pieces fit well. I will then try to sand the bearding line taper. What's the best way to transfer the bearding line to the opposite side of the false keel? I then plan to lay out and sand the bulkheads/frames. I'll then stain all of those hull pieces with a light oak stain before attempting assembly. Is this a good route to go? I am guessing this will take me a week or so. I also need to build myself a jig, but that's a topic for another time.