Tom Oliver
-
Posts
15 -
Joined
-
Last visited
Content Type
Profiles
Forums
Gallery
Events
Everything posted by Tom Oliver
-
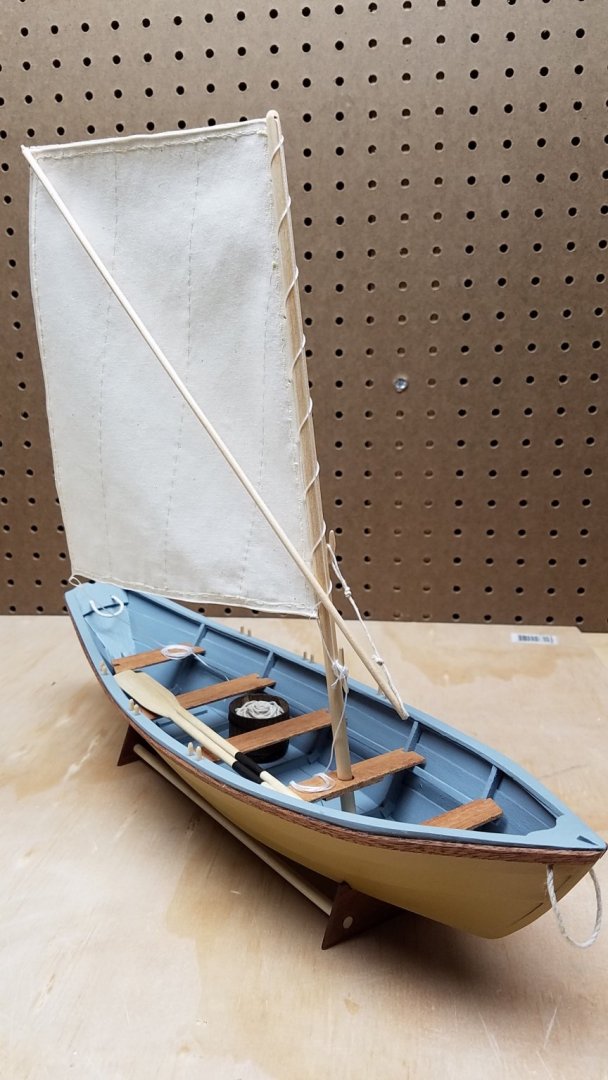
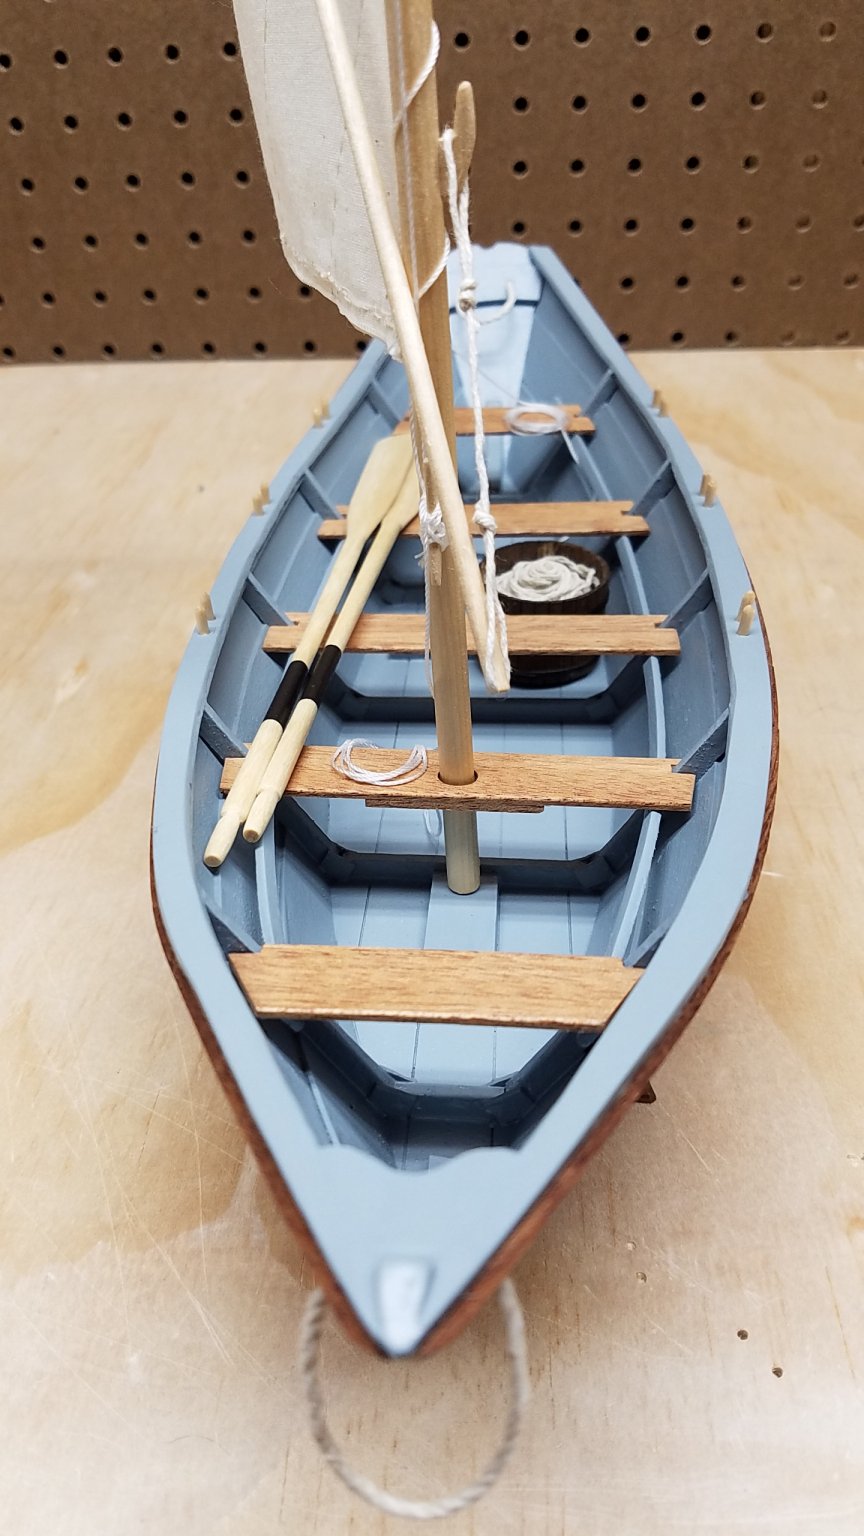
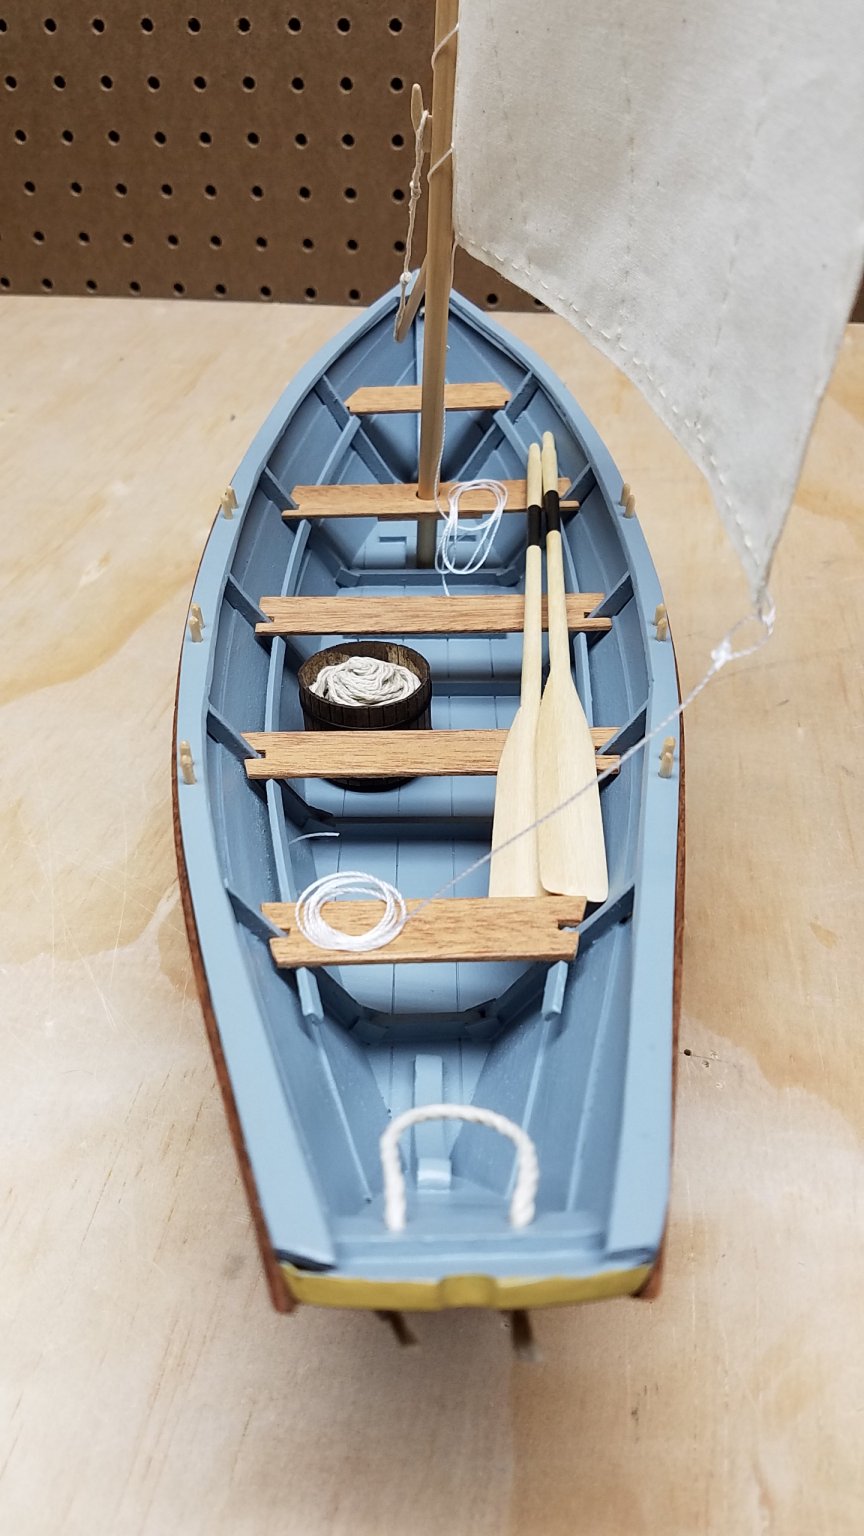
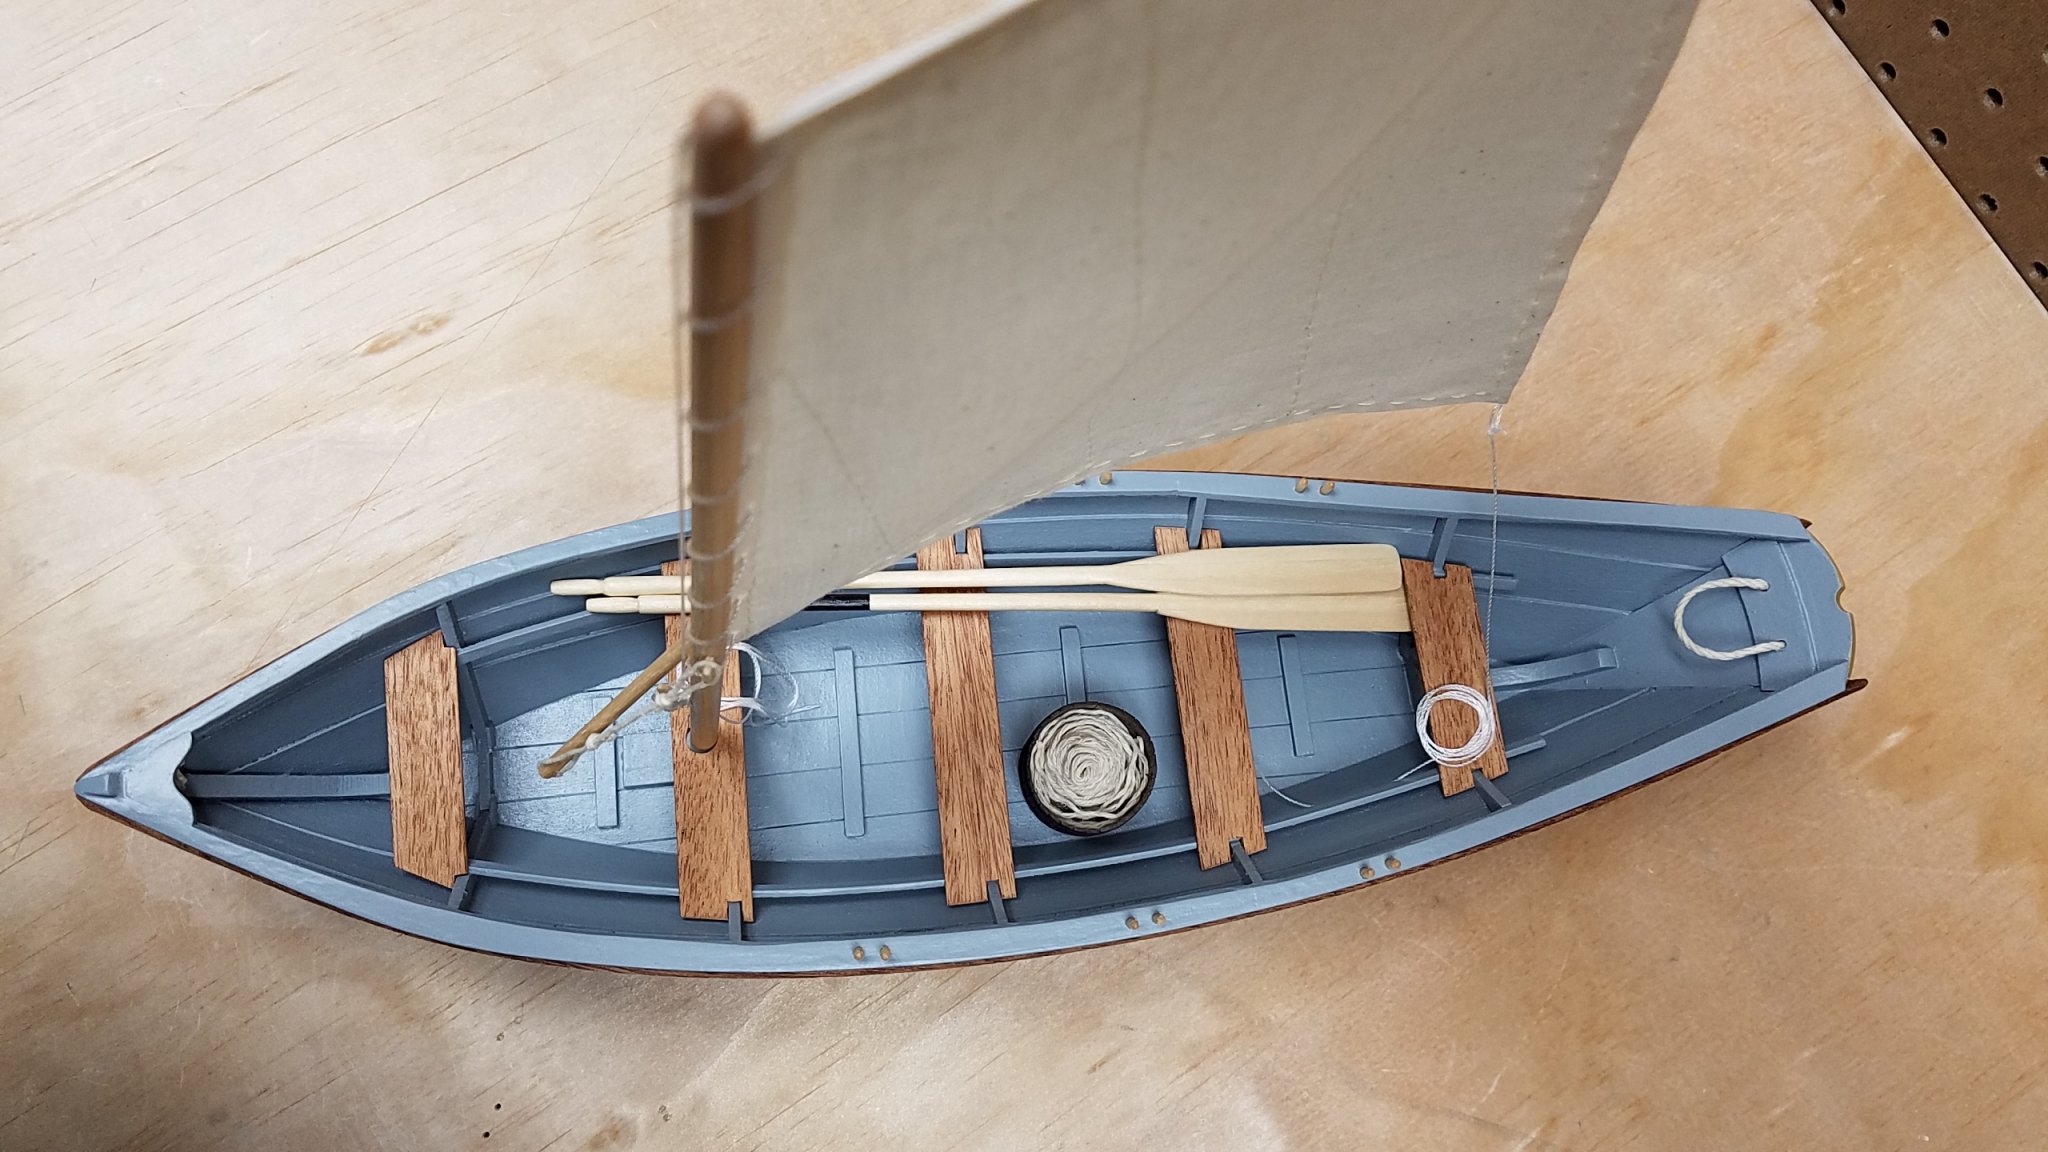
Finally got around to posting pictures of finished model! I used historical photos of working dories, to postion the lifting loops, different from the instruction manual. Am happy with the finished model boat. This was my first wooden boat model, and my first from Blue Jacket. I enjoyed it very much, no frustration at all, I liked the kit. I look forward to starting another. Highly recommend.


- 22 replies
-
- 9
-

-
- grand banks dory
- first build
- (and 2 more)
-
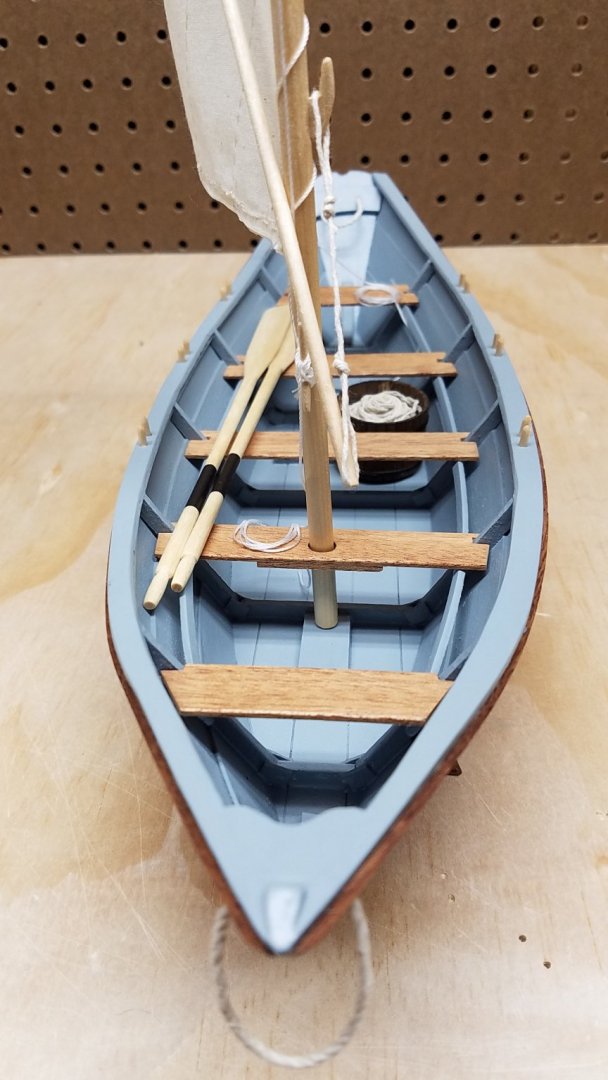
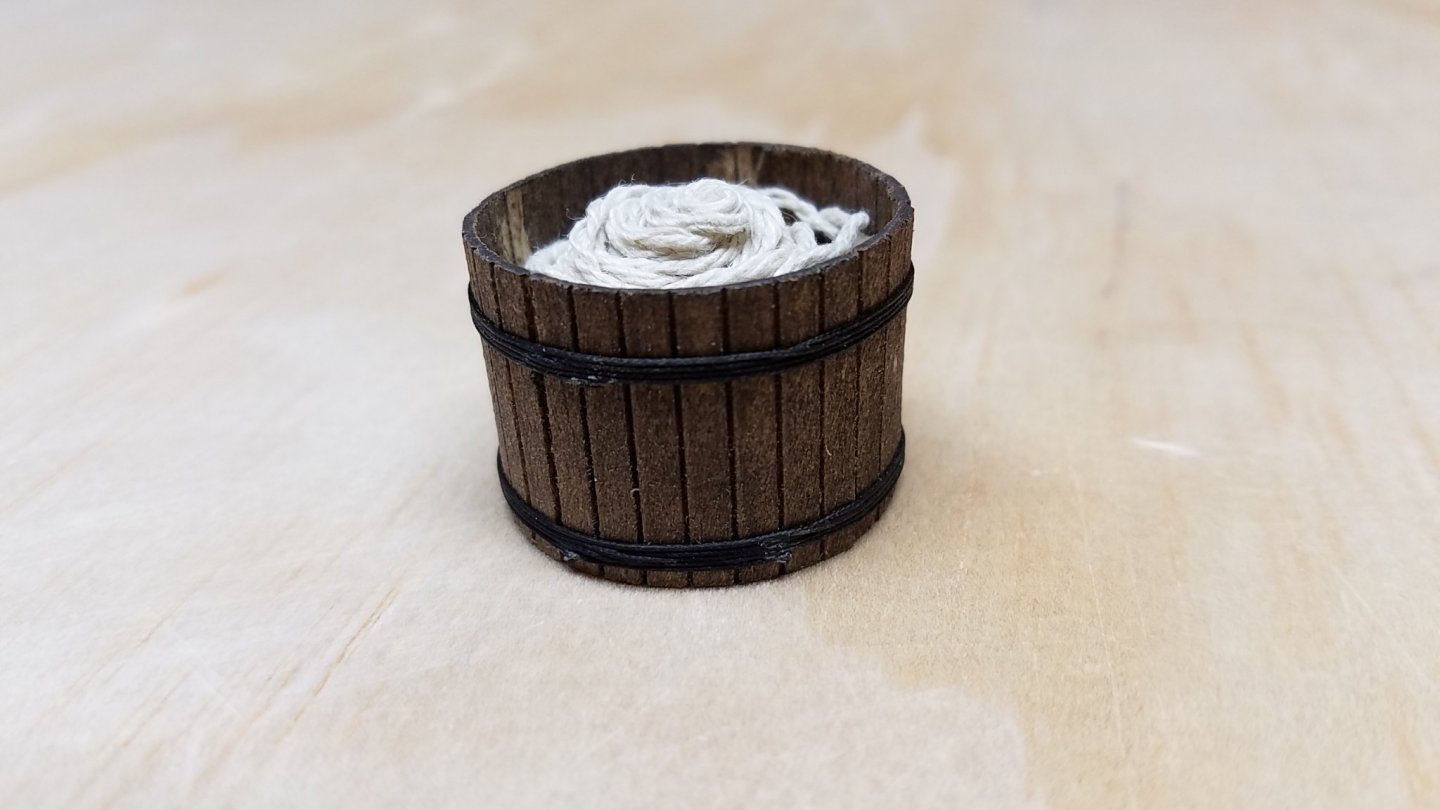
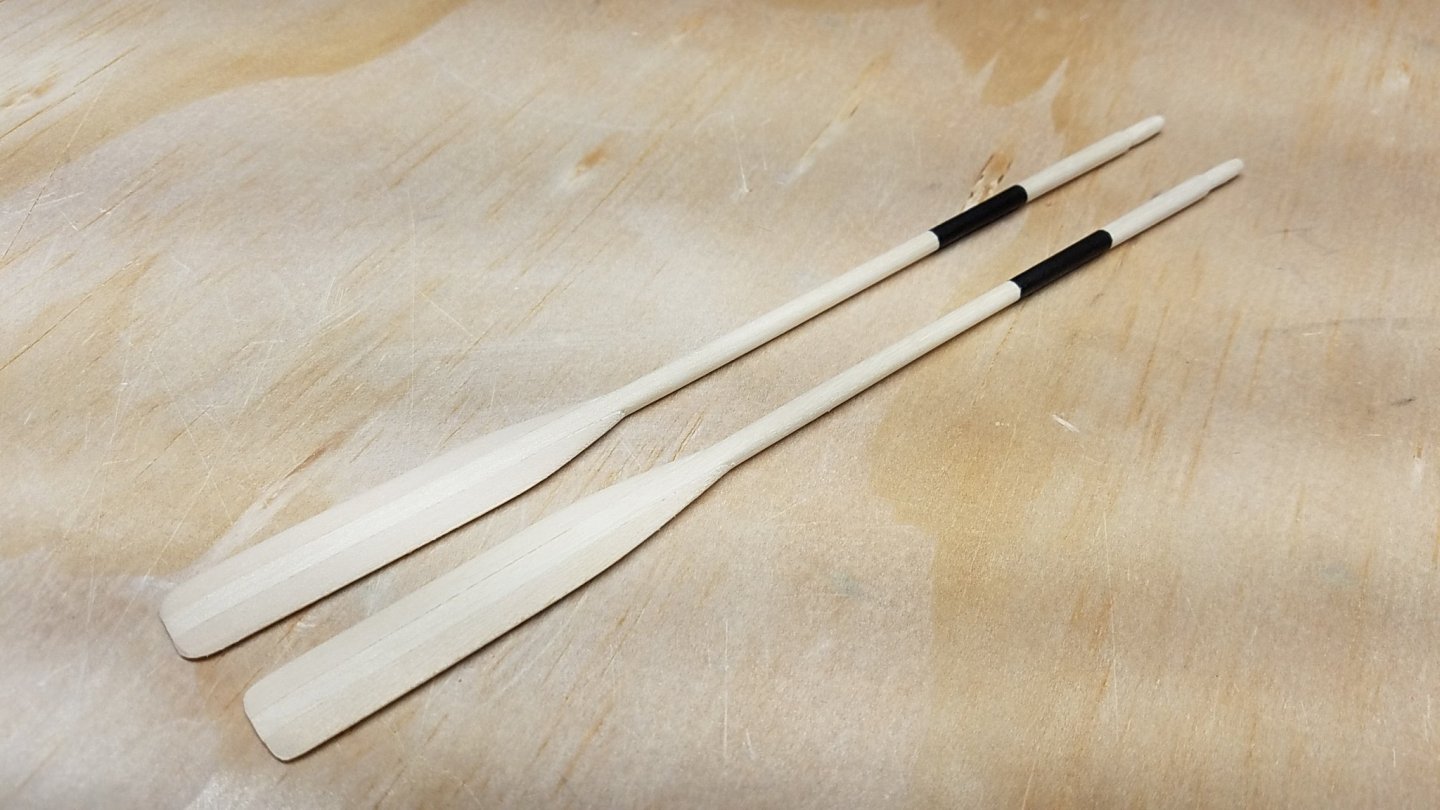
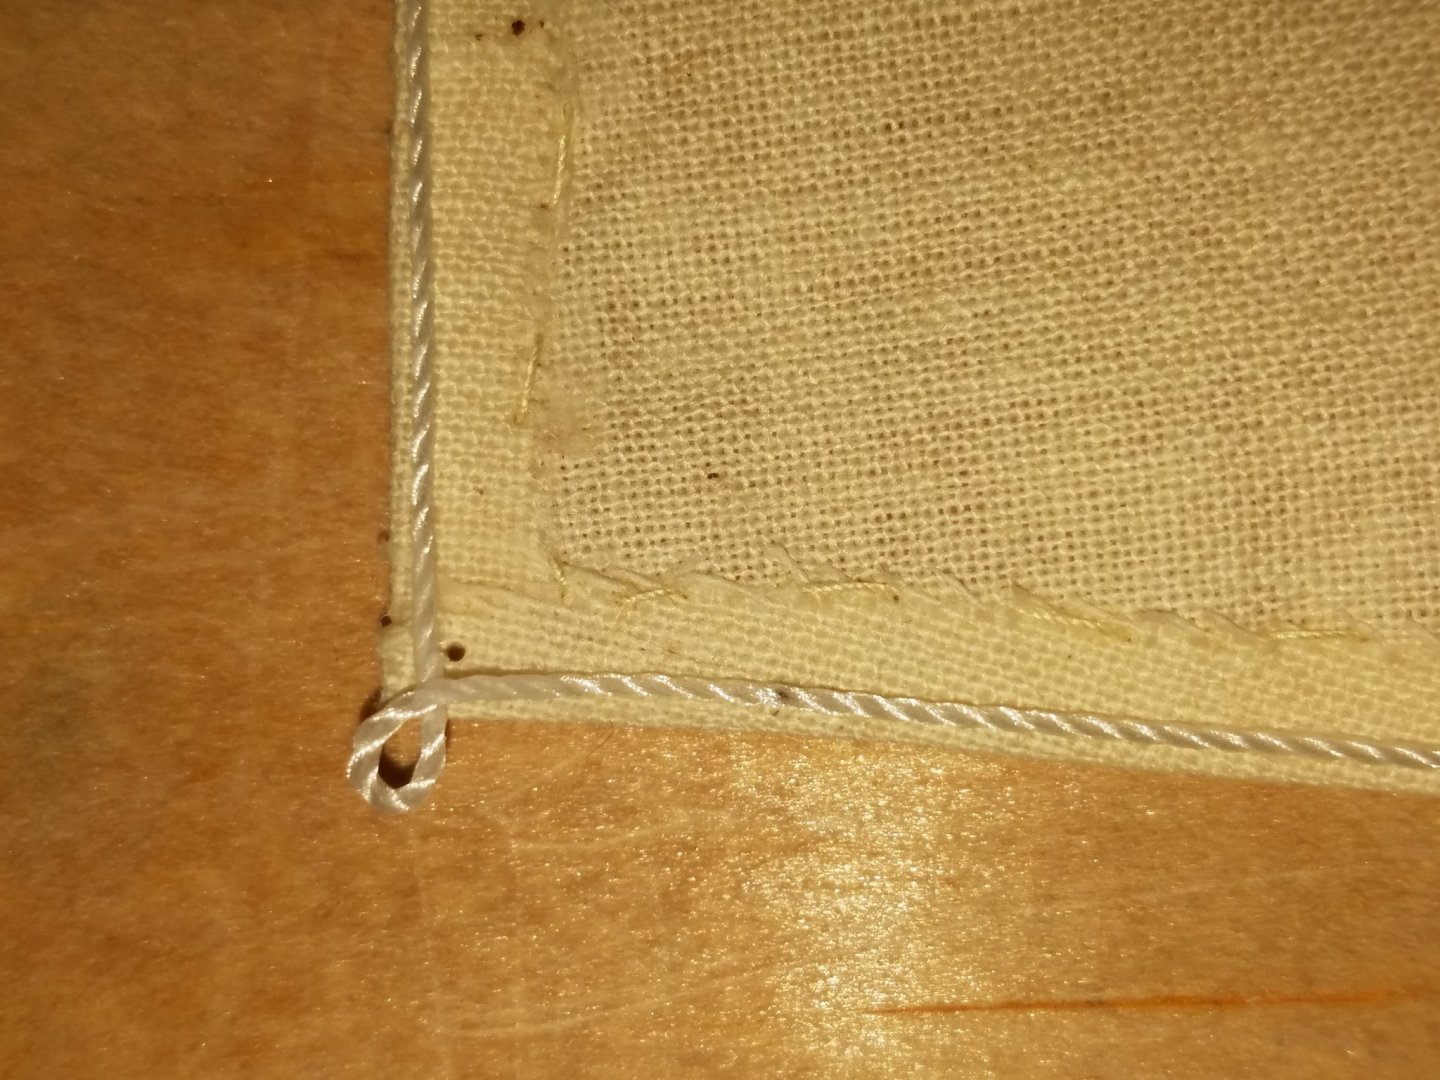
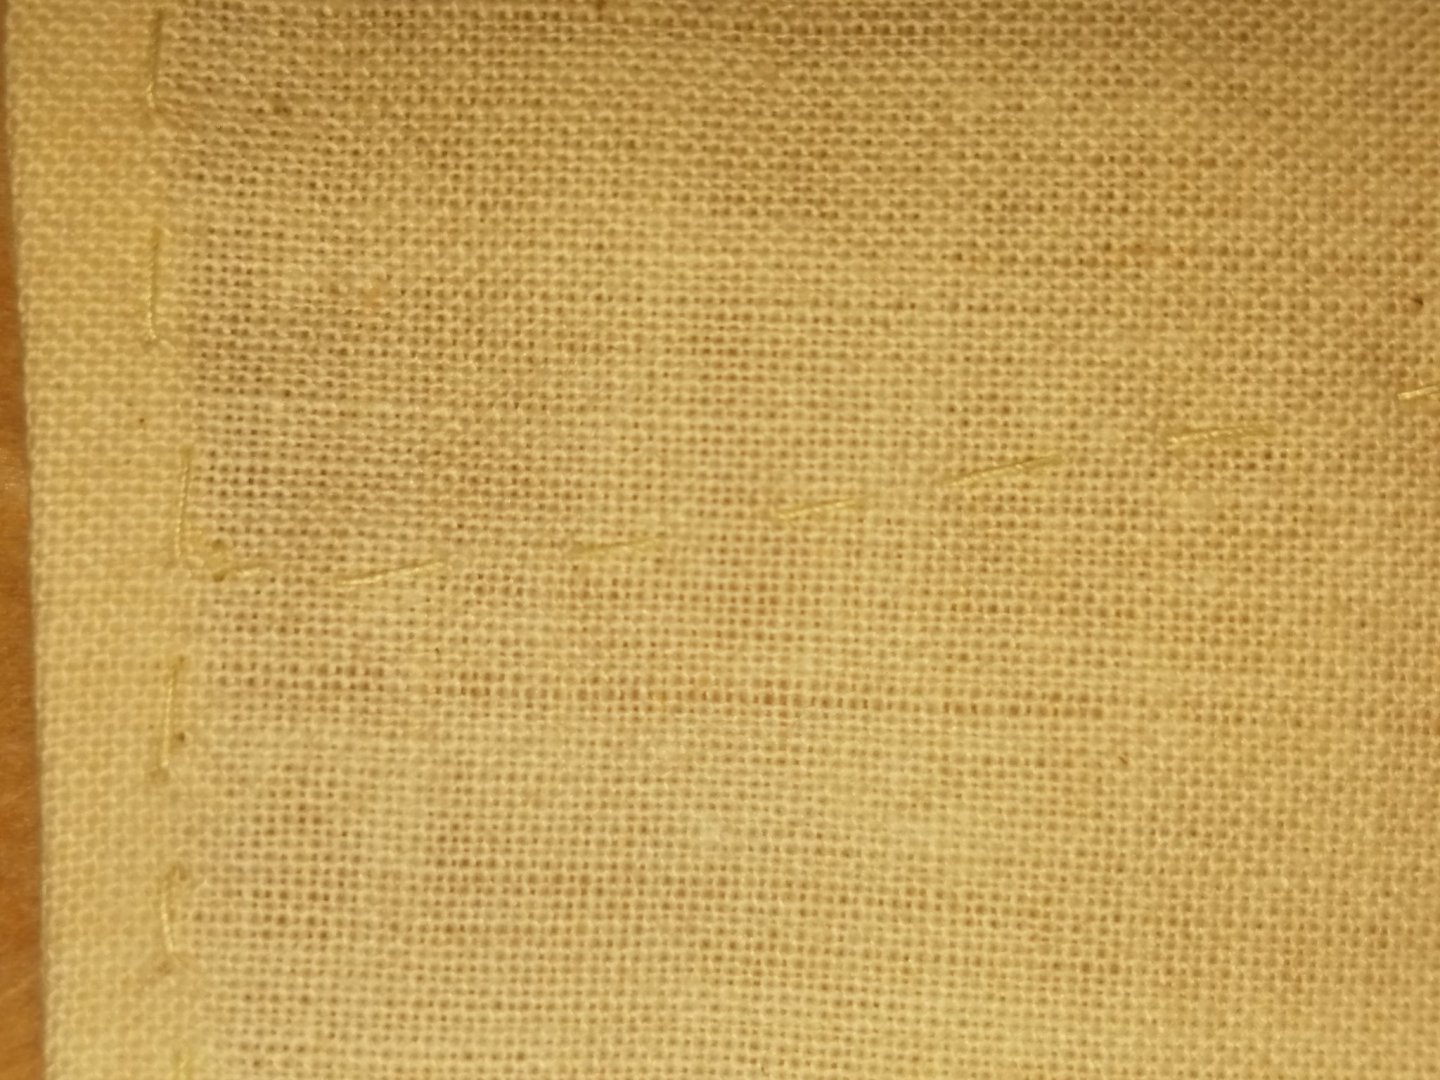
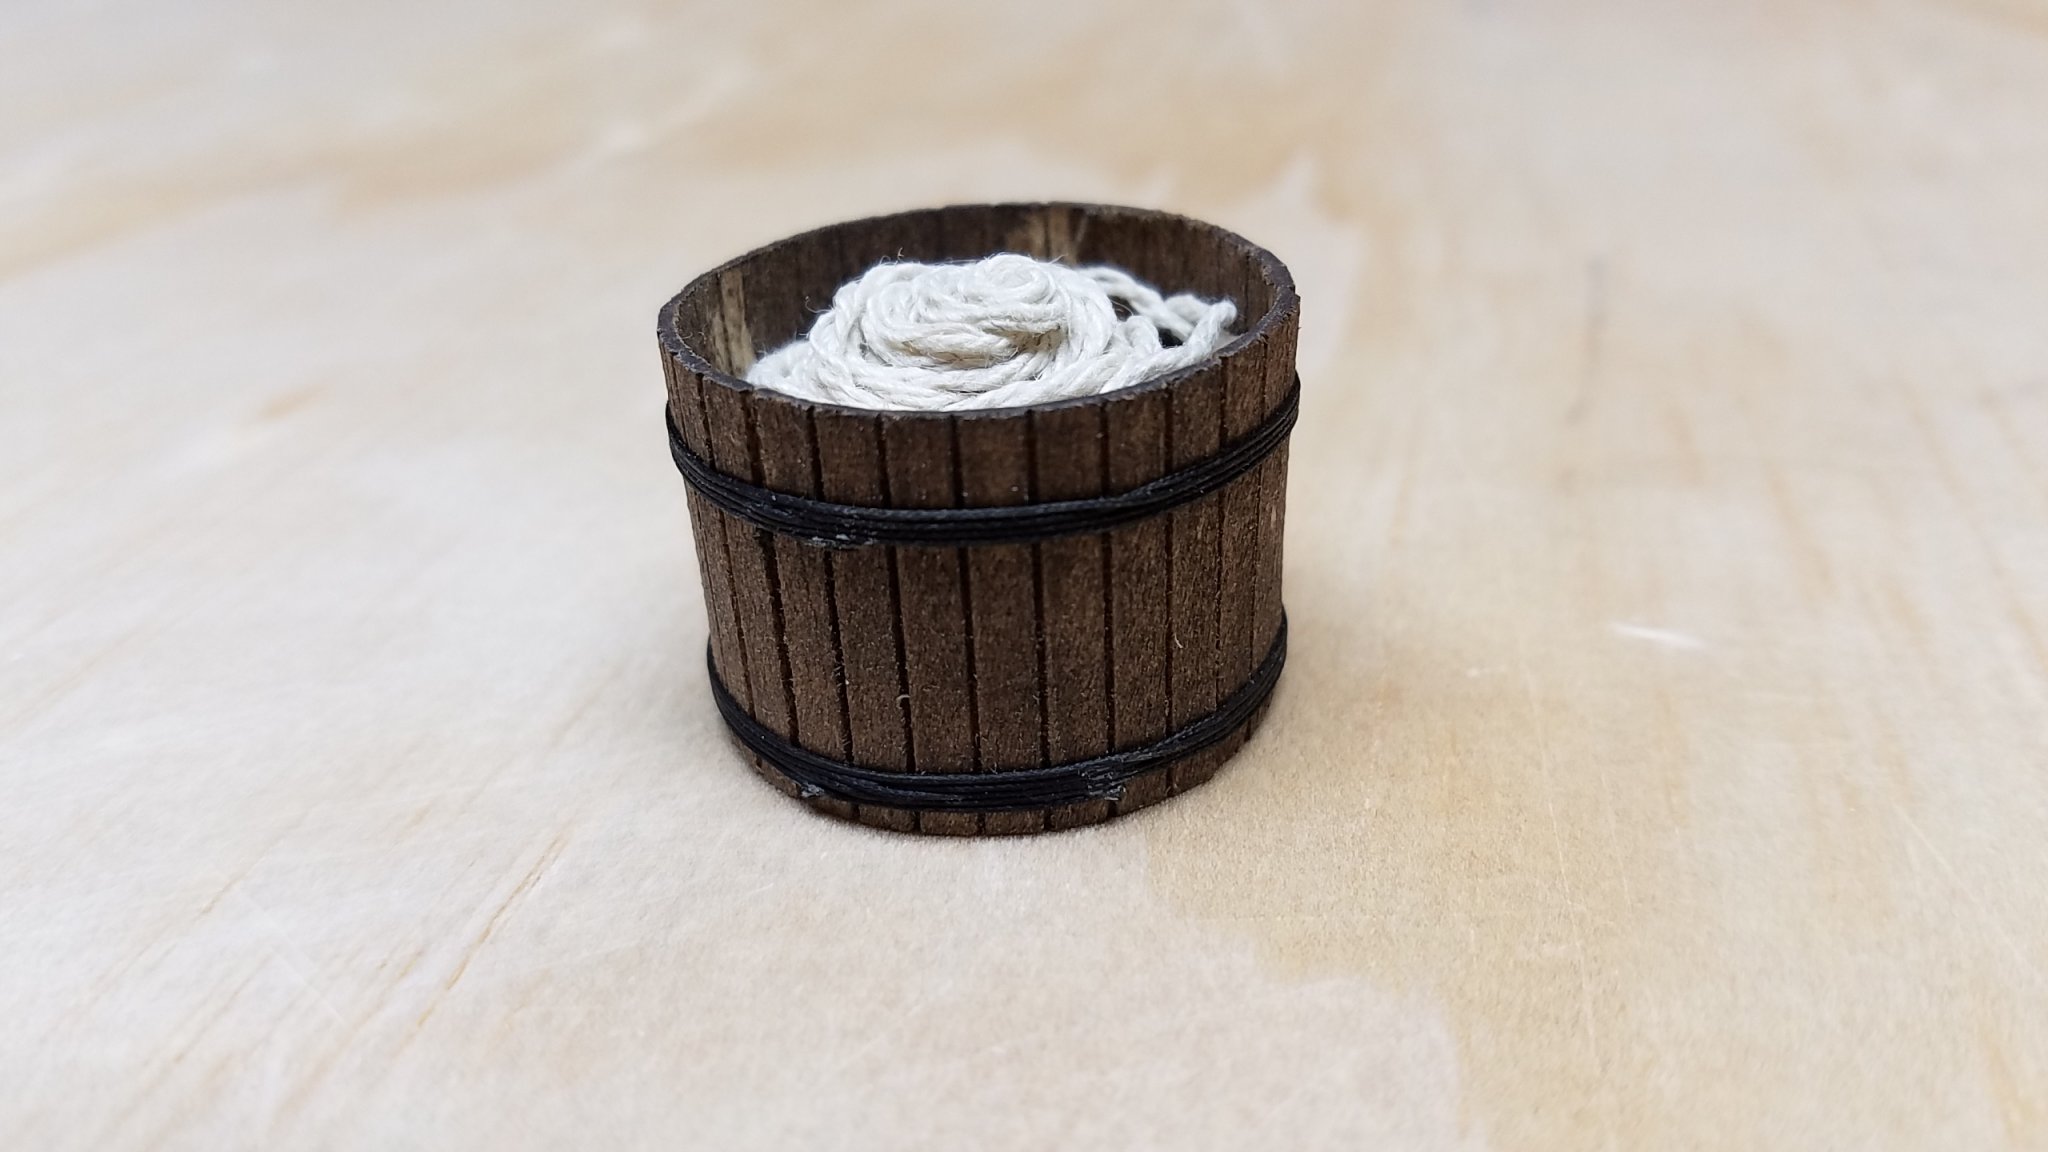
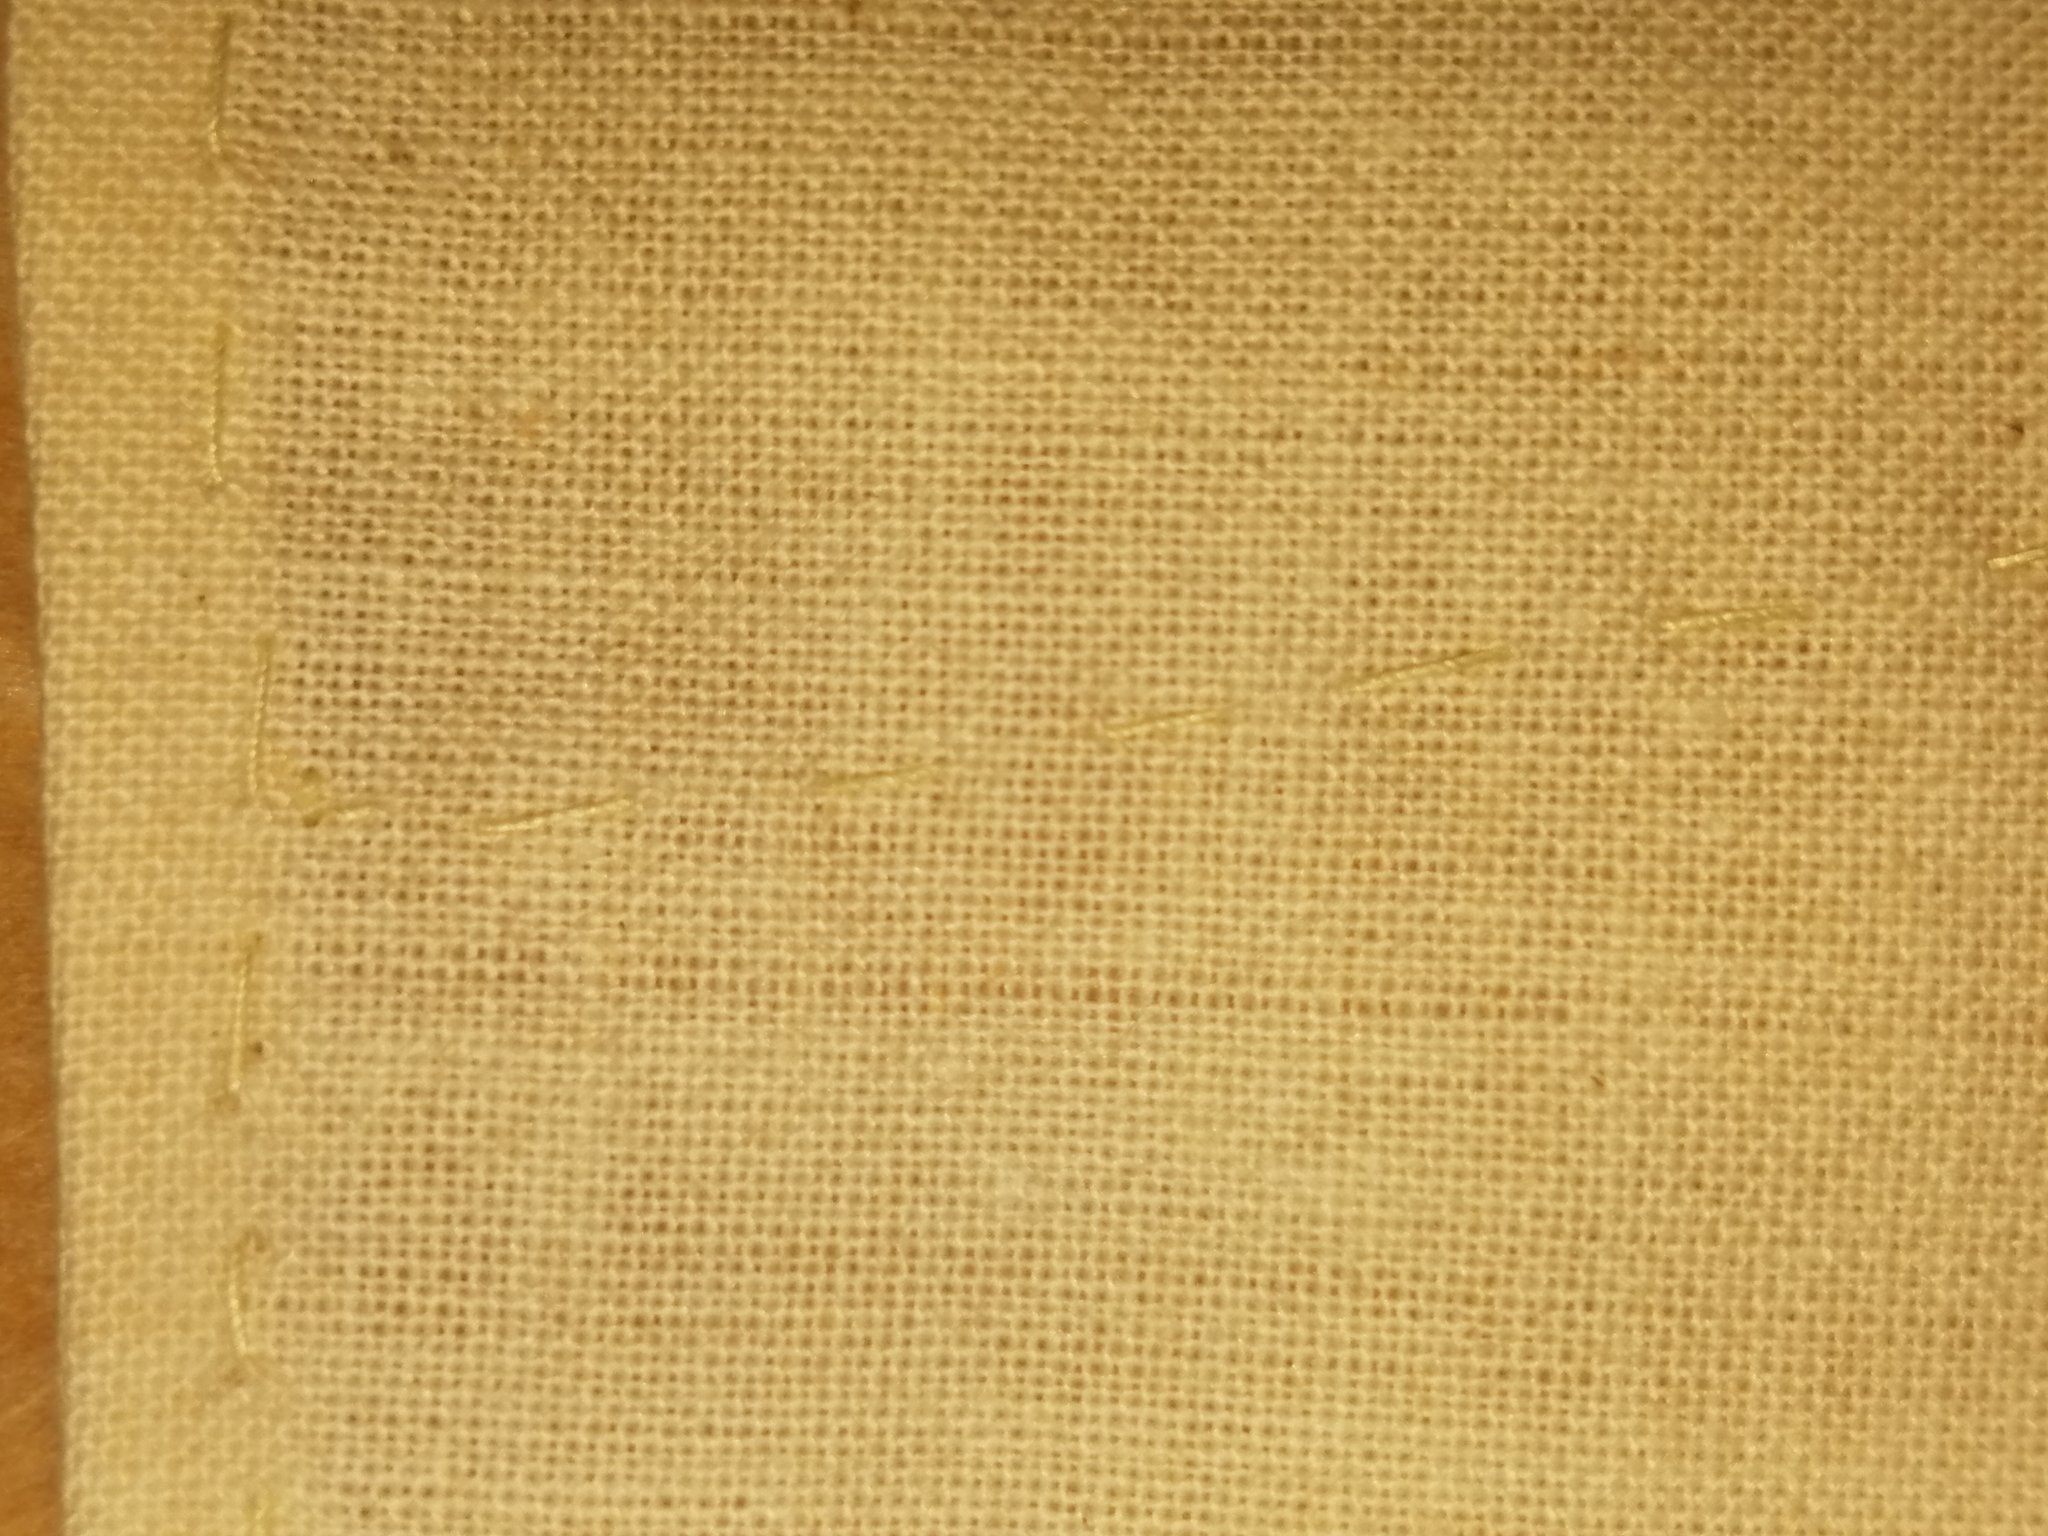
Below are the line tub. I made per plan, but did not like the shiny white line and used unraveled hemp string glued in place. Made oars per plan, built with scraps. Added a stretch of black flat paint to represent leather wraps for thole pins. I glued hem of sail, then added stitching for show and glued on bolt rope.
- 22 replies
-
- 4
-
-
- grand banks dory
- first build
- (and 2 more)
-
Thank you to everyone for encouragement! Here are photos after painting and gluing on the mahogany bands.

- 22 replies
-
- 3
-
-
- grand banks dory
- first build
- (and 2 more)
-
I have painted the hull with the paints in the kit. Grey primer over all, buff on outside (3 coats) and dark grey on inside (2 coats). Was worried the white glue would not work well on painted surfaces, so I marked out locations of mahogany strip and lightly sanded. Soaked the strips then clamped them dry in position before gluing next day. This shows first piece clamped down to glue.
- 22 replies
-
- 6
-
-
- grand banks dory
- first build
- (and 2 more)
-
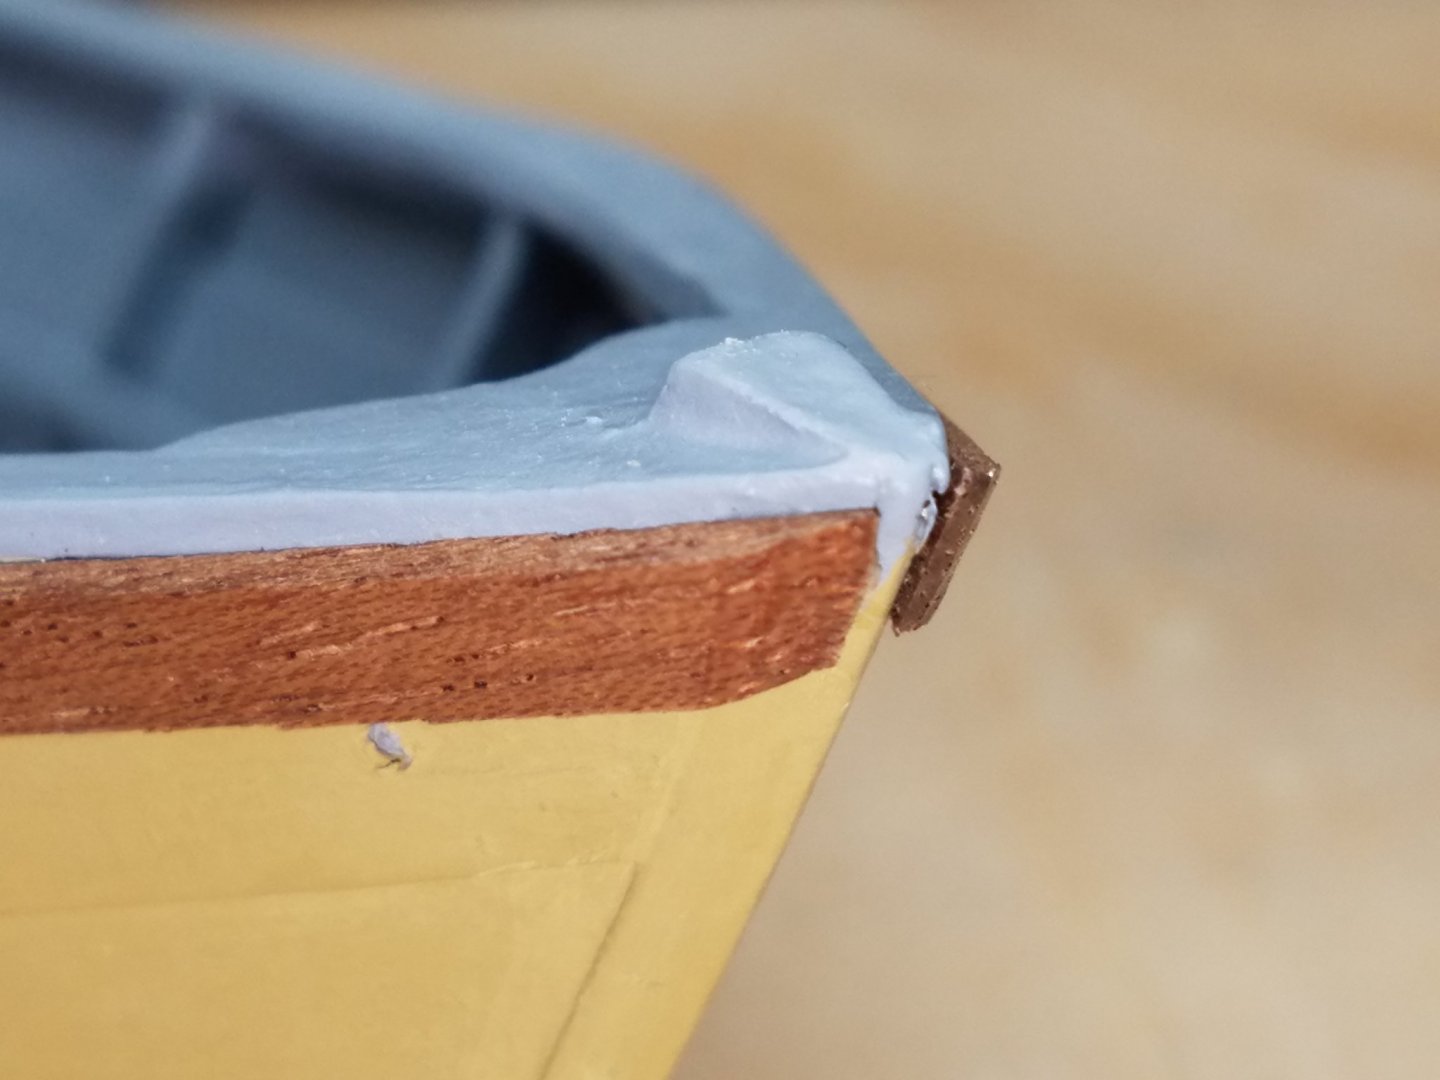
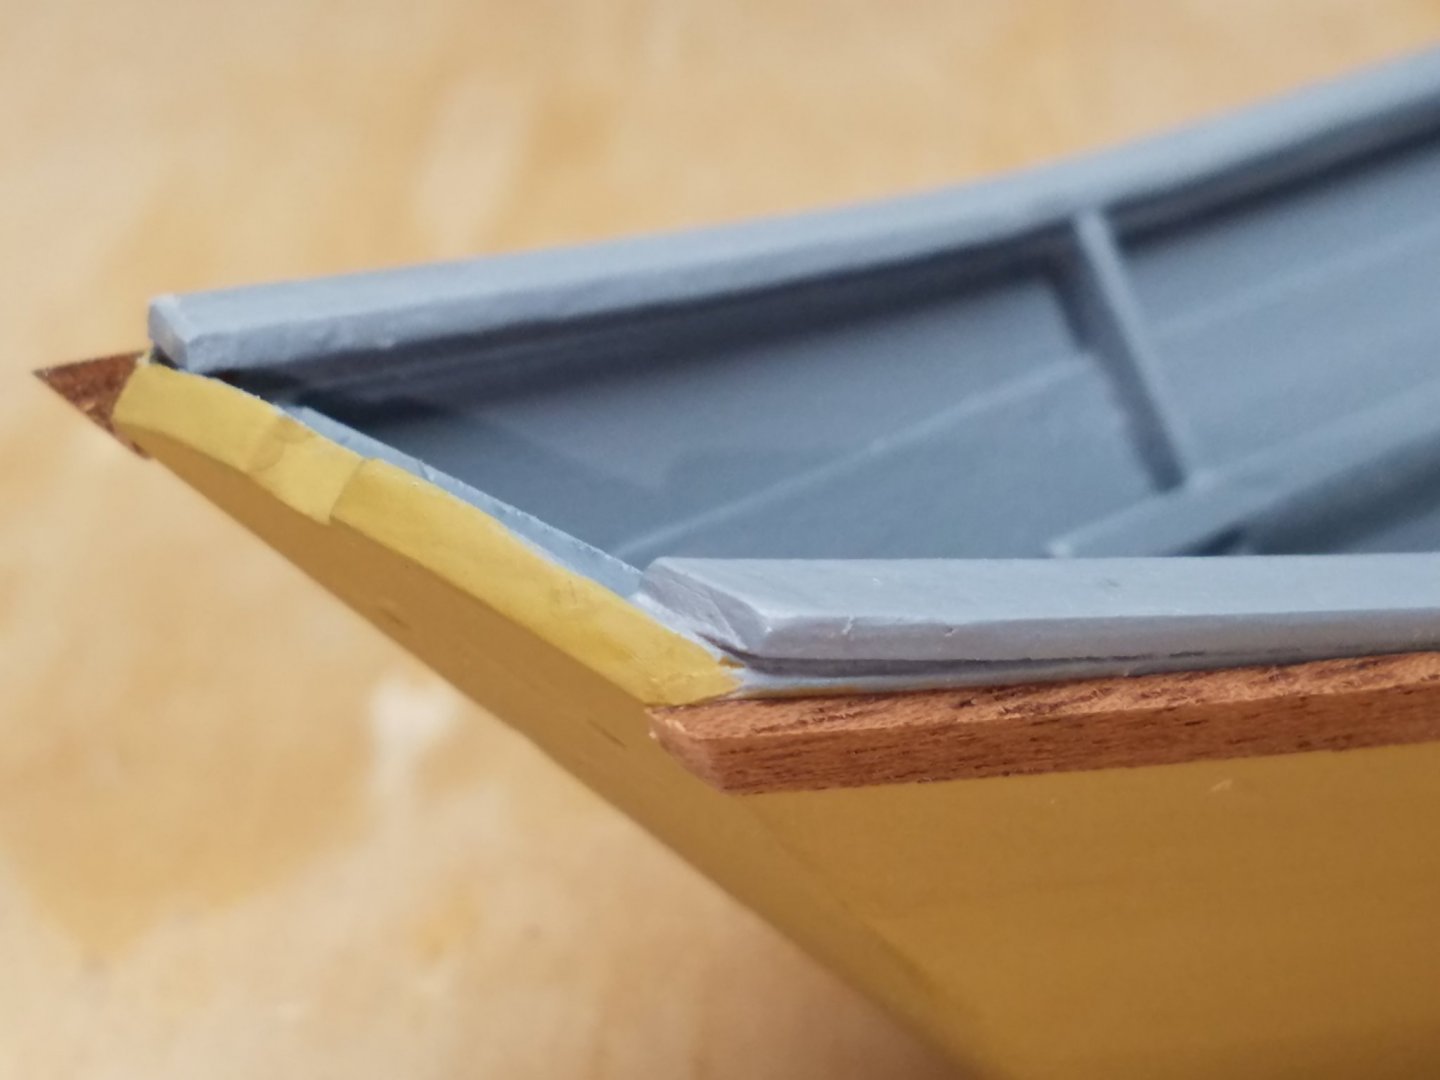
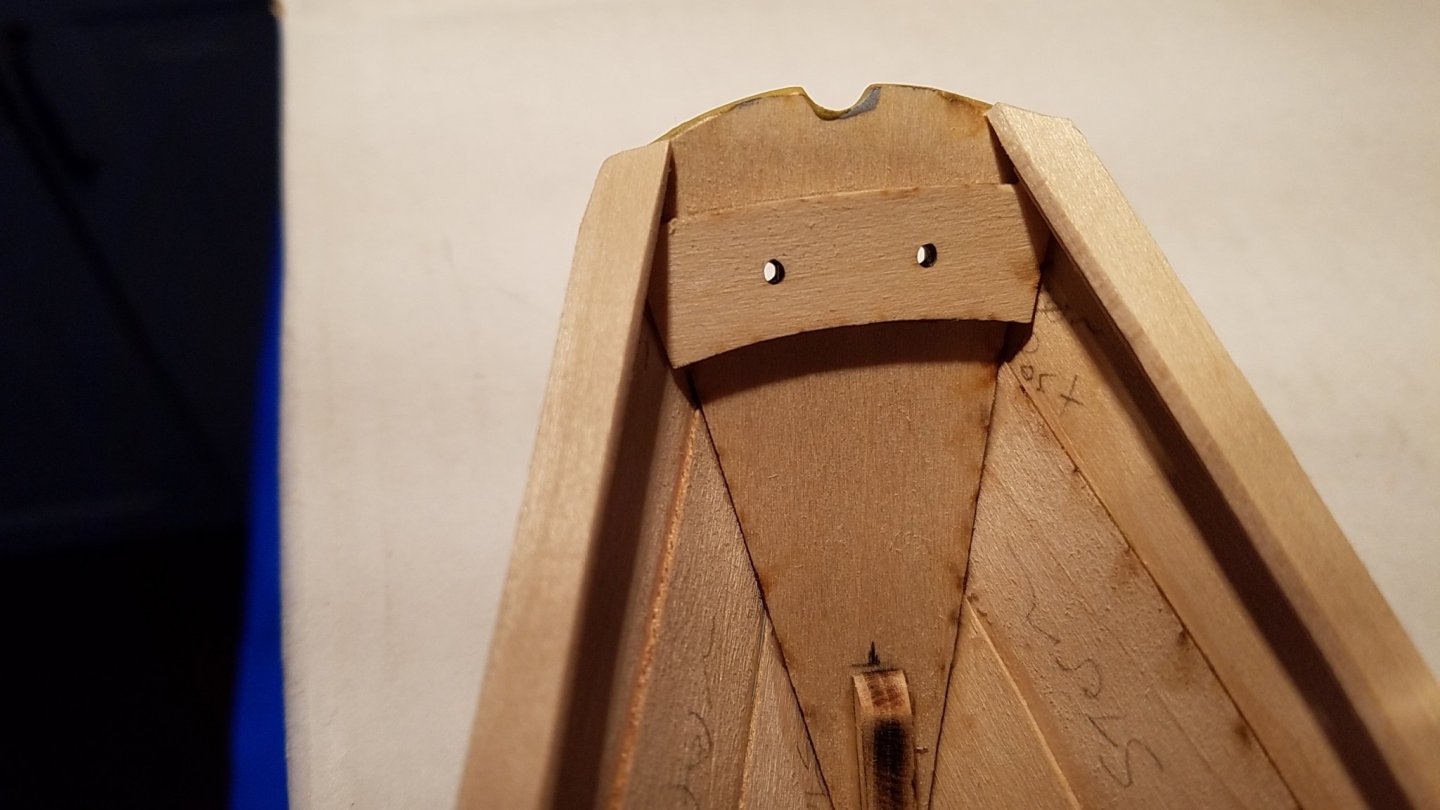
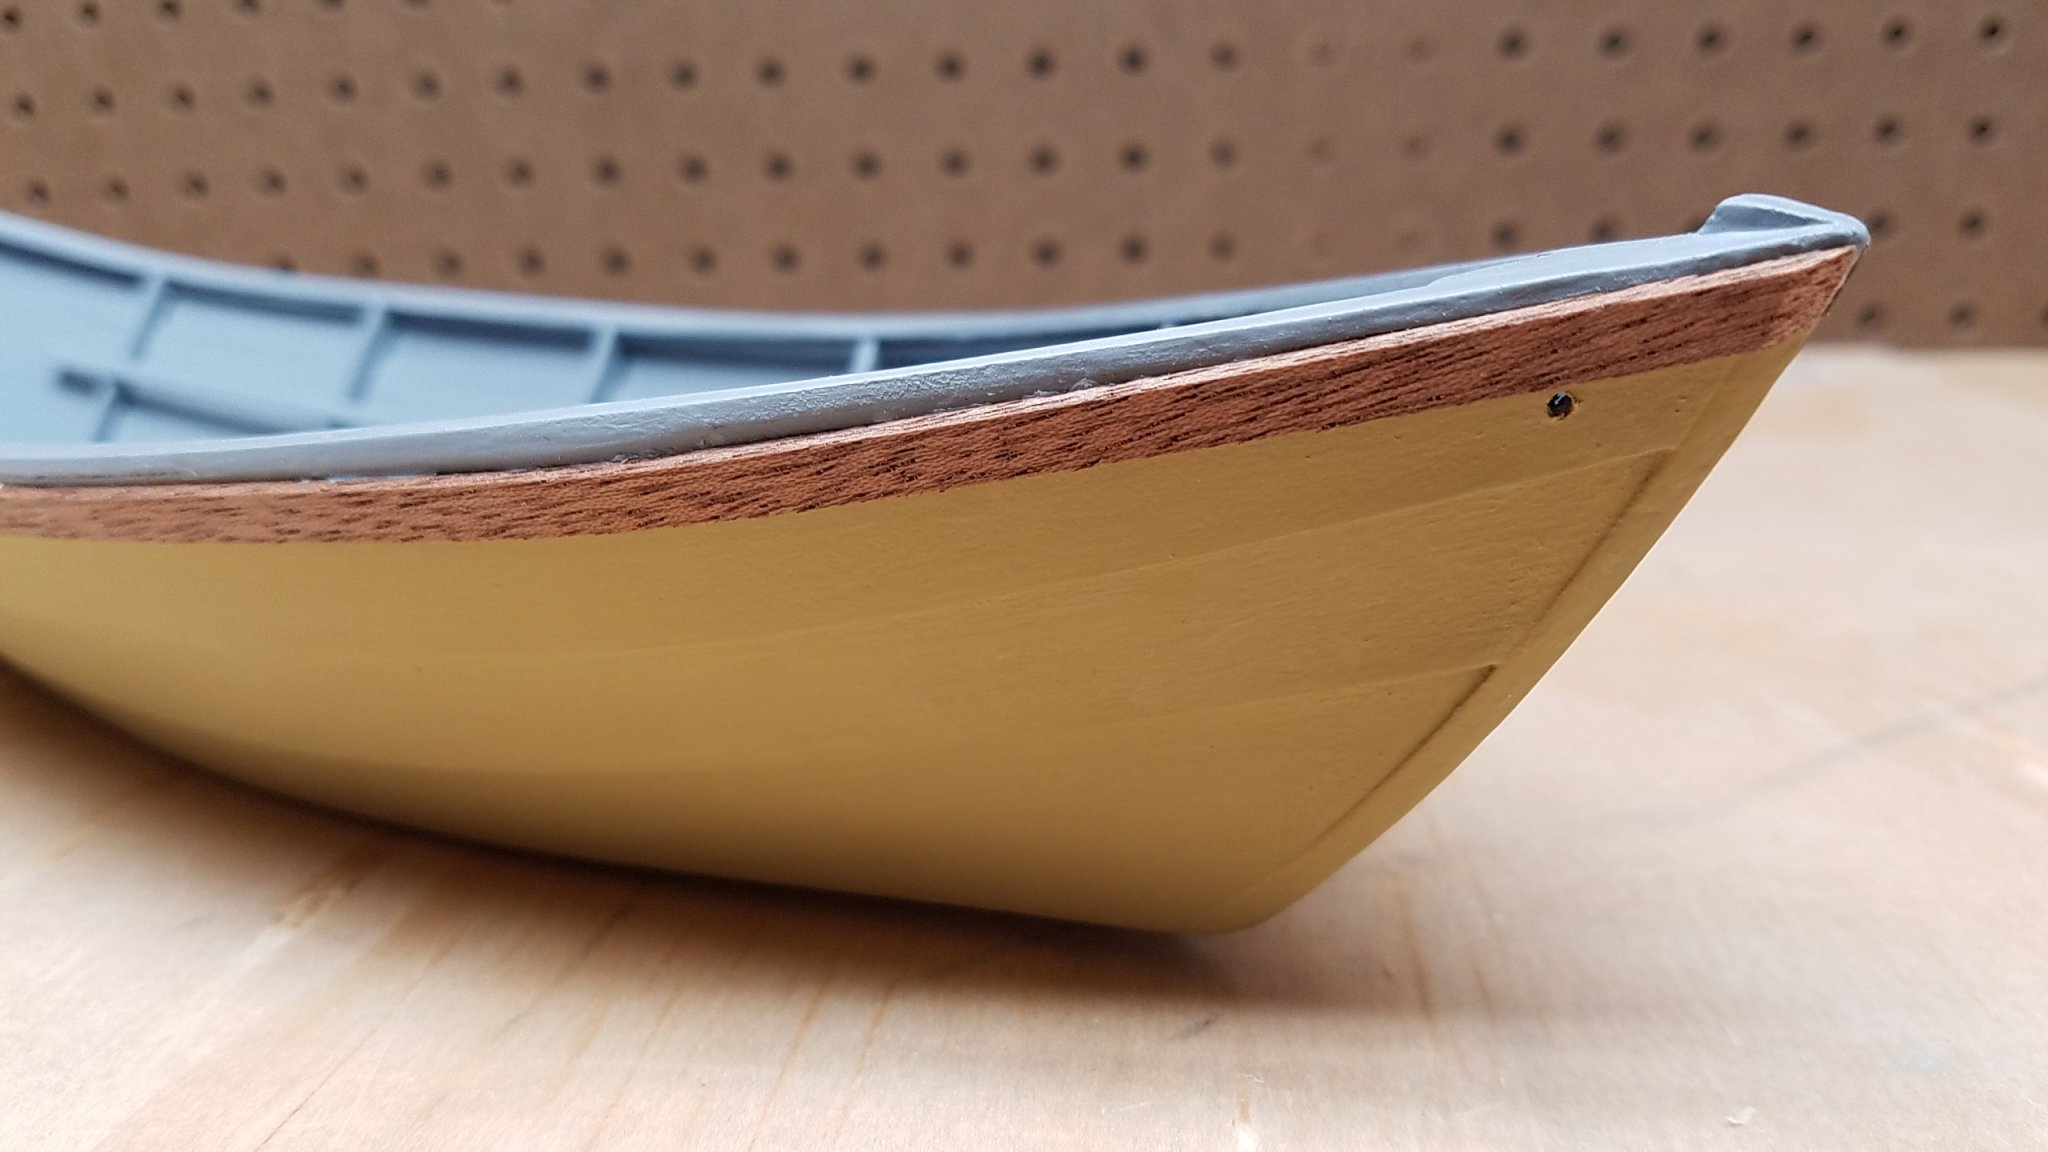
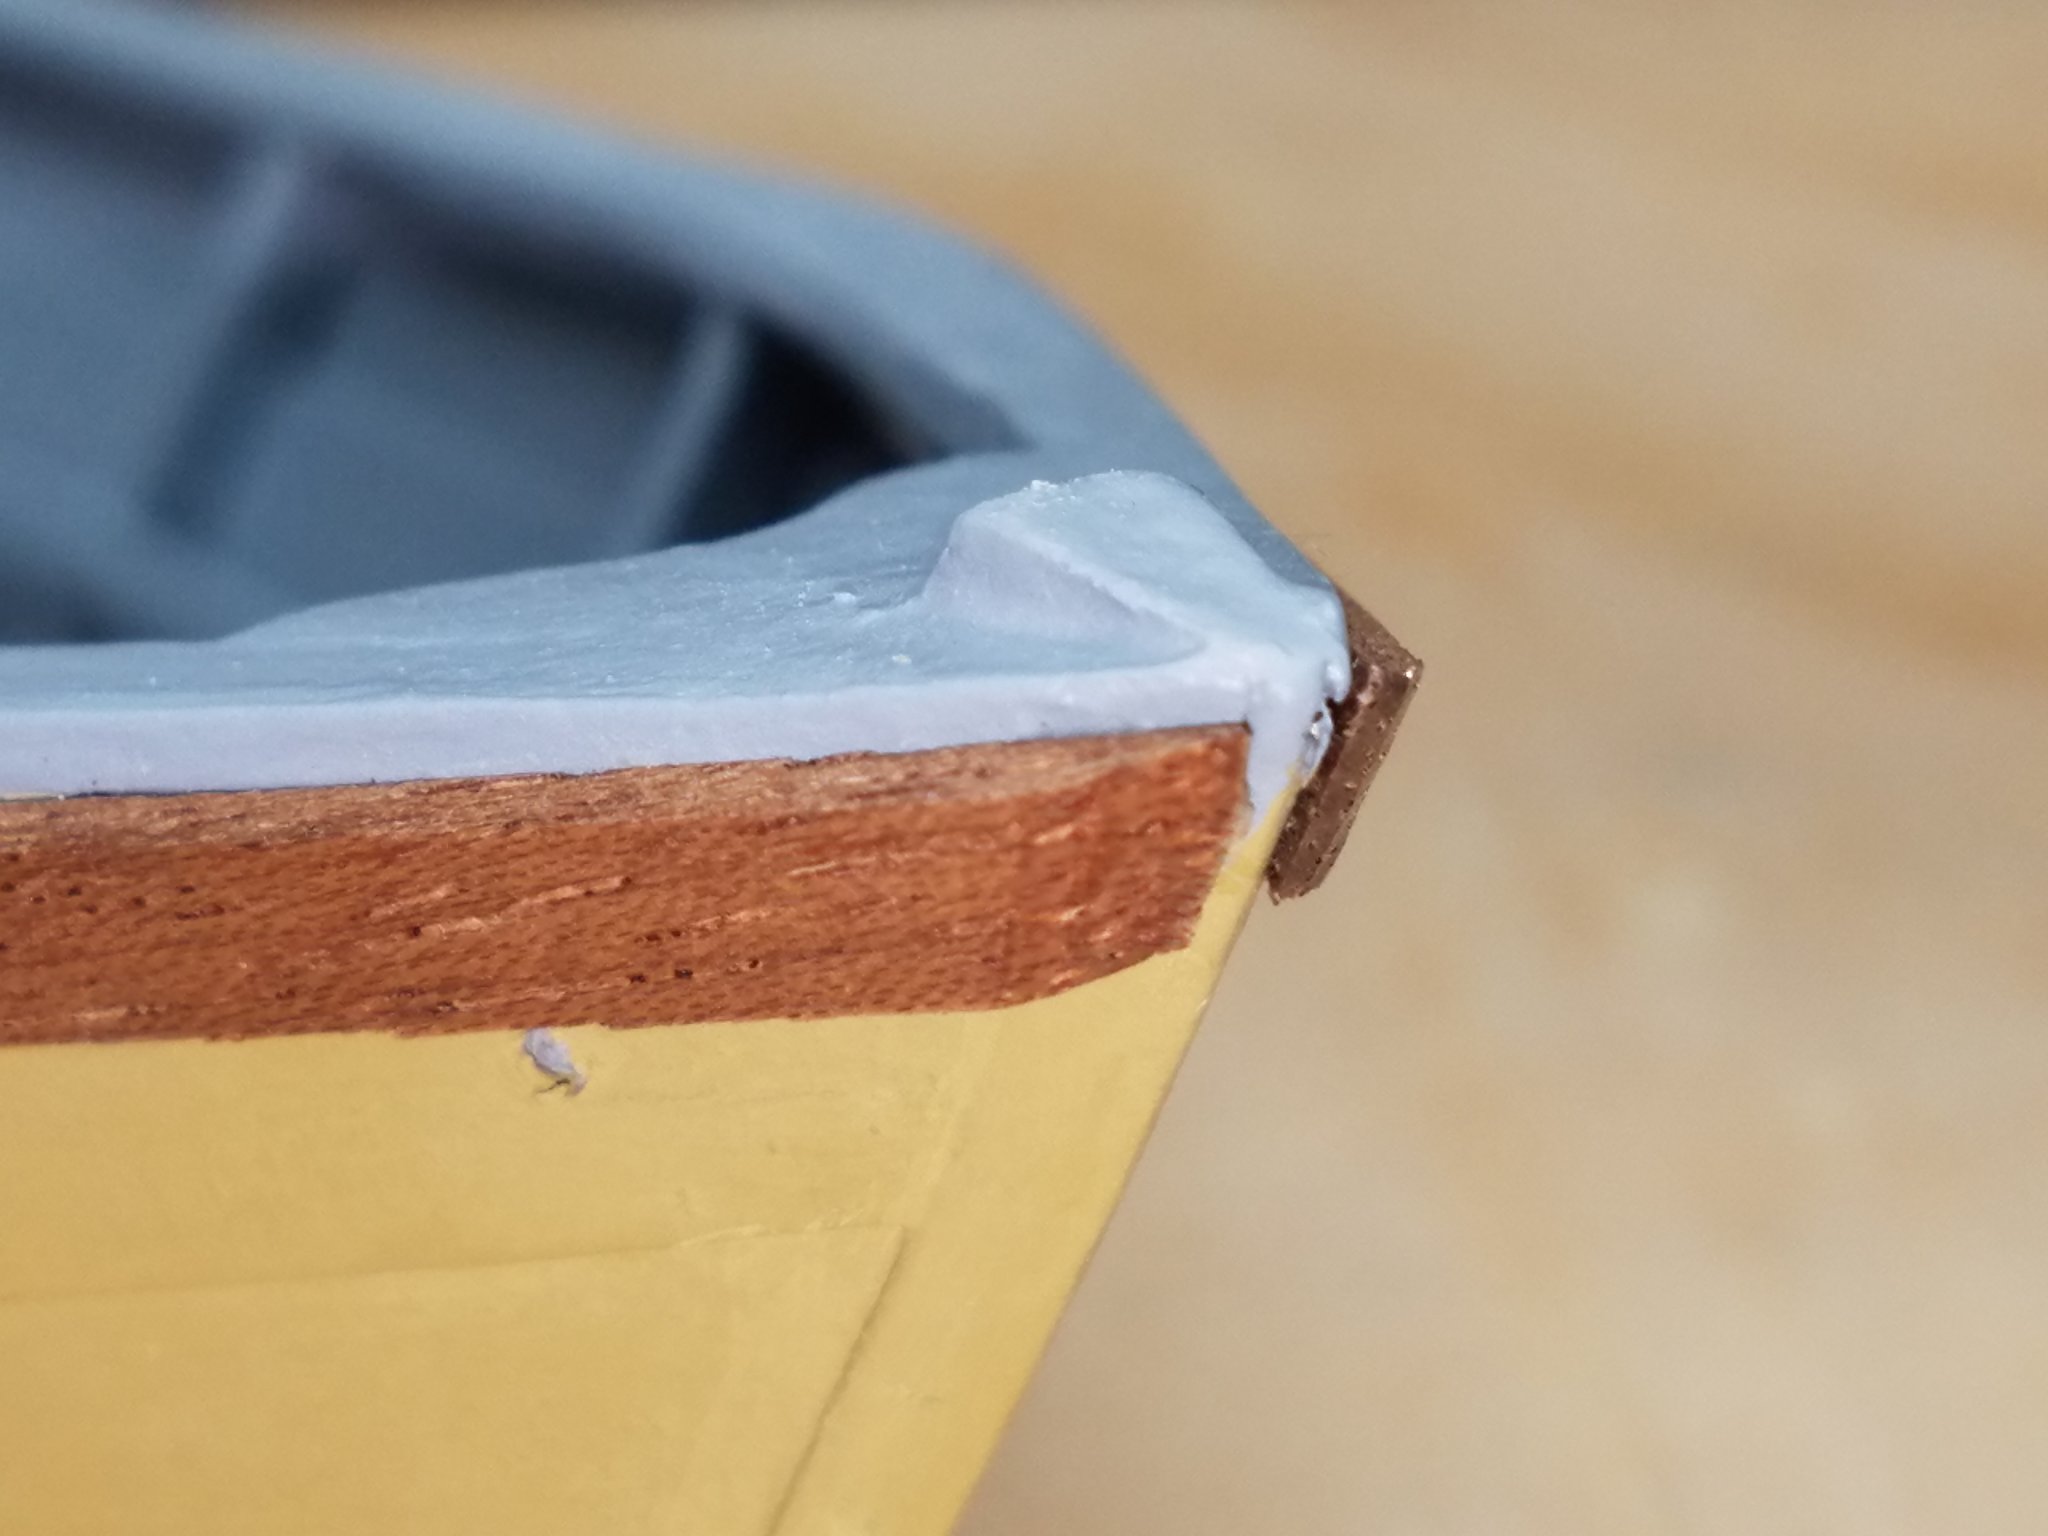
Adding the cap rails. Lots of careful sanding. Had to check all of the photos in the plans to see how to finish the bow deck and the stern. I needed a little filler on the bow deck.
- 22 replies
-
- 6
-
-
- grand banks dory
- first build
- (and 2 more)
-
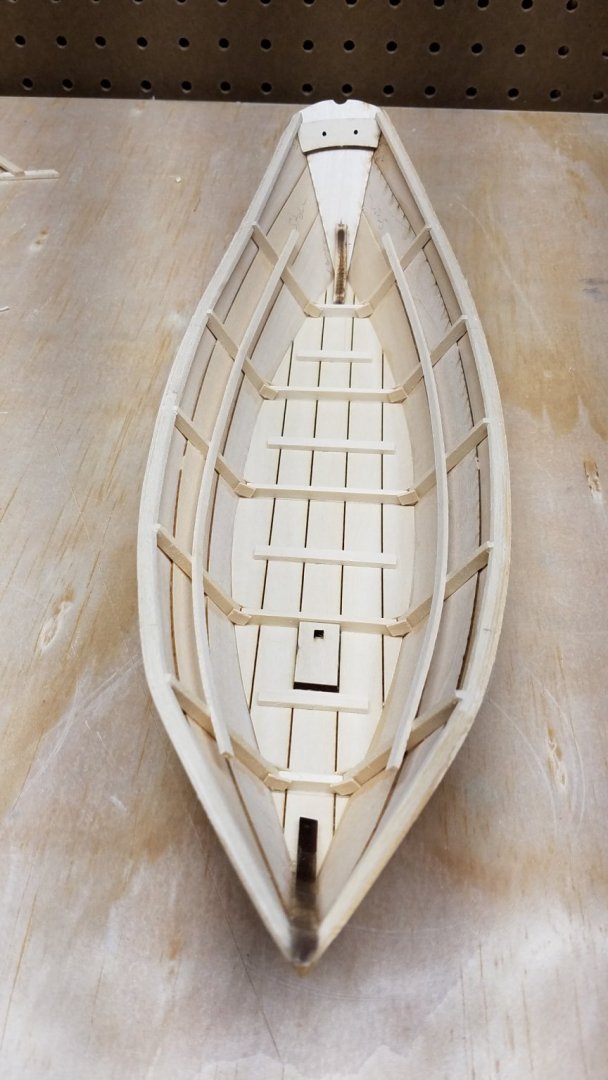
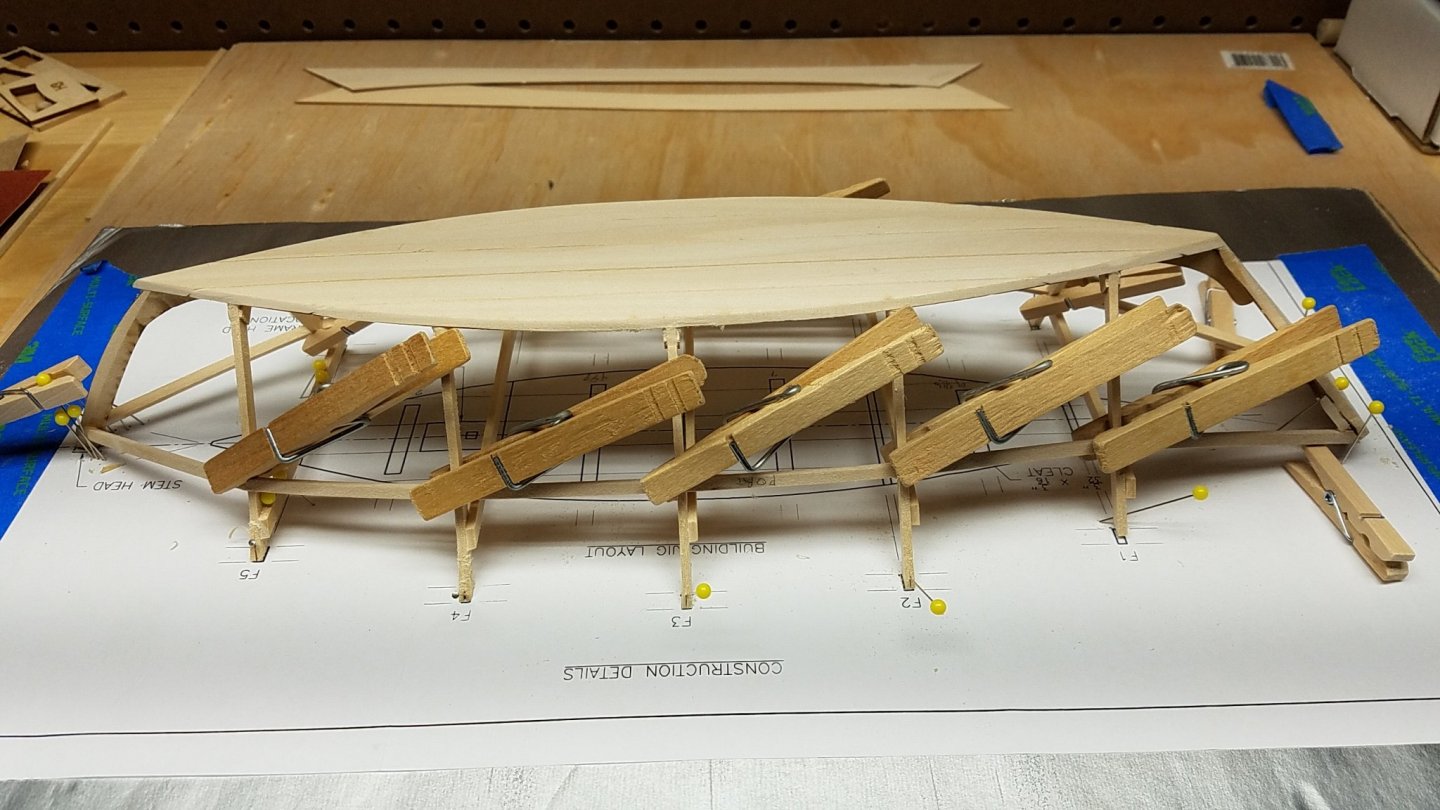
Hull after trimming planks and adding seat risers. Sanded everything.
- 22 replies
-
- 3
-
-
- grand banks dory
- first build
- (and 2 more)
-
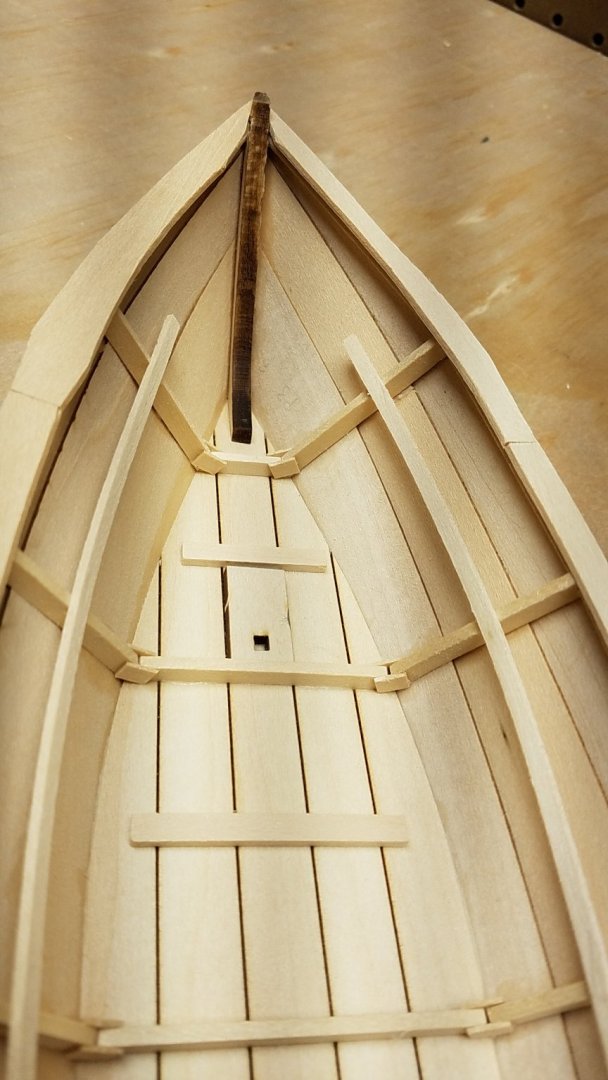
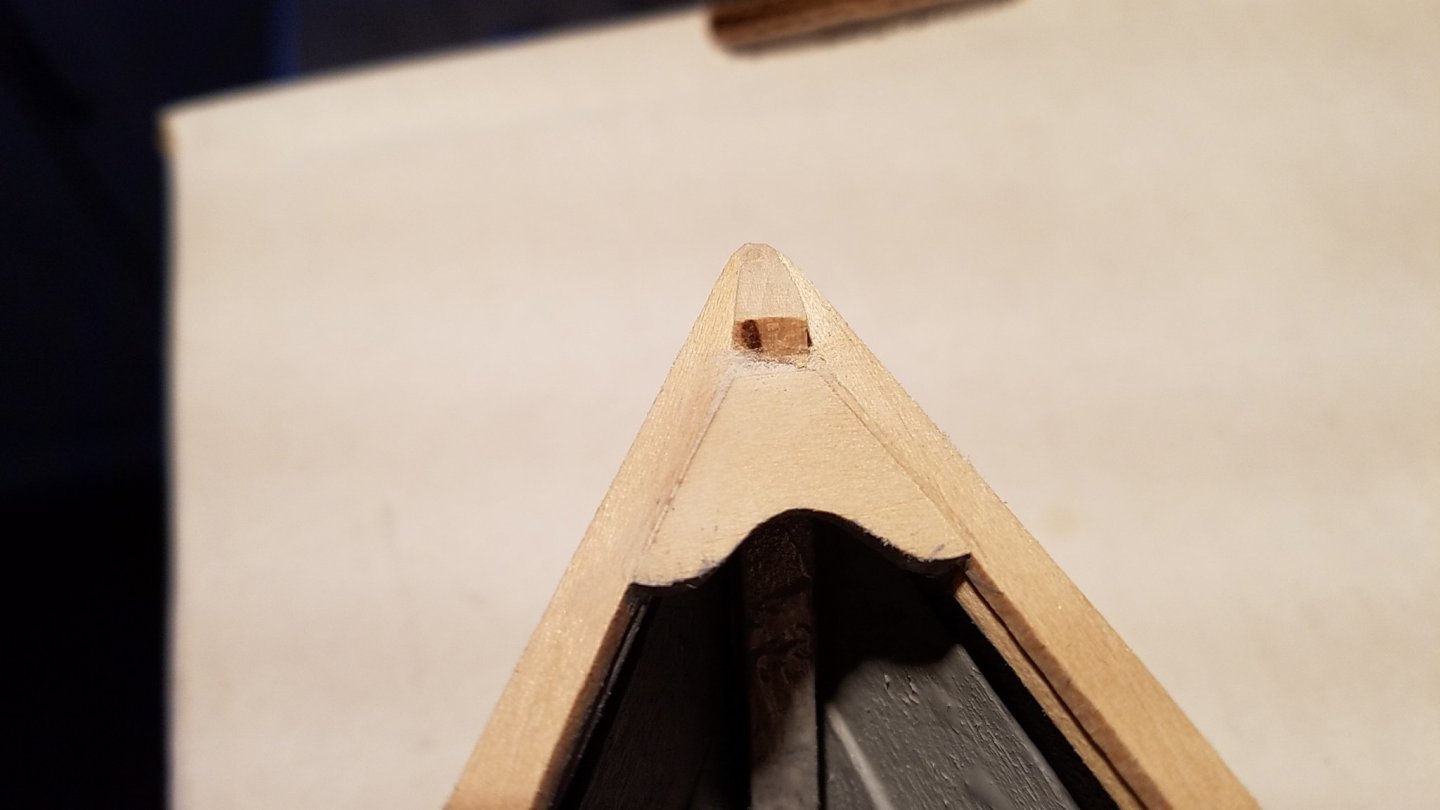
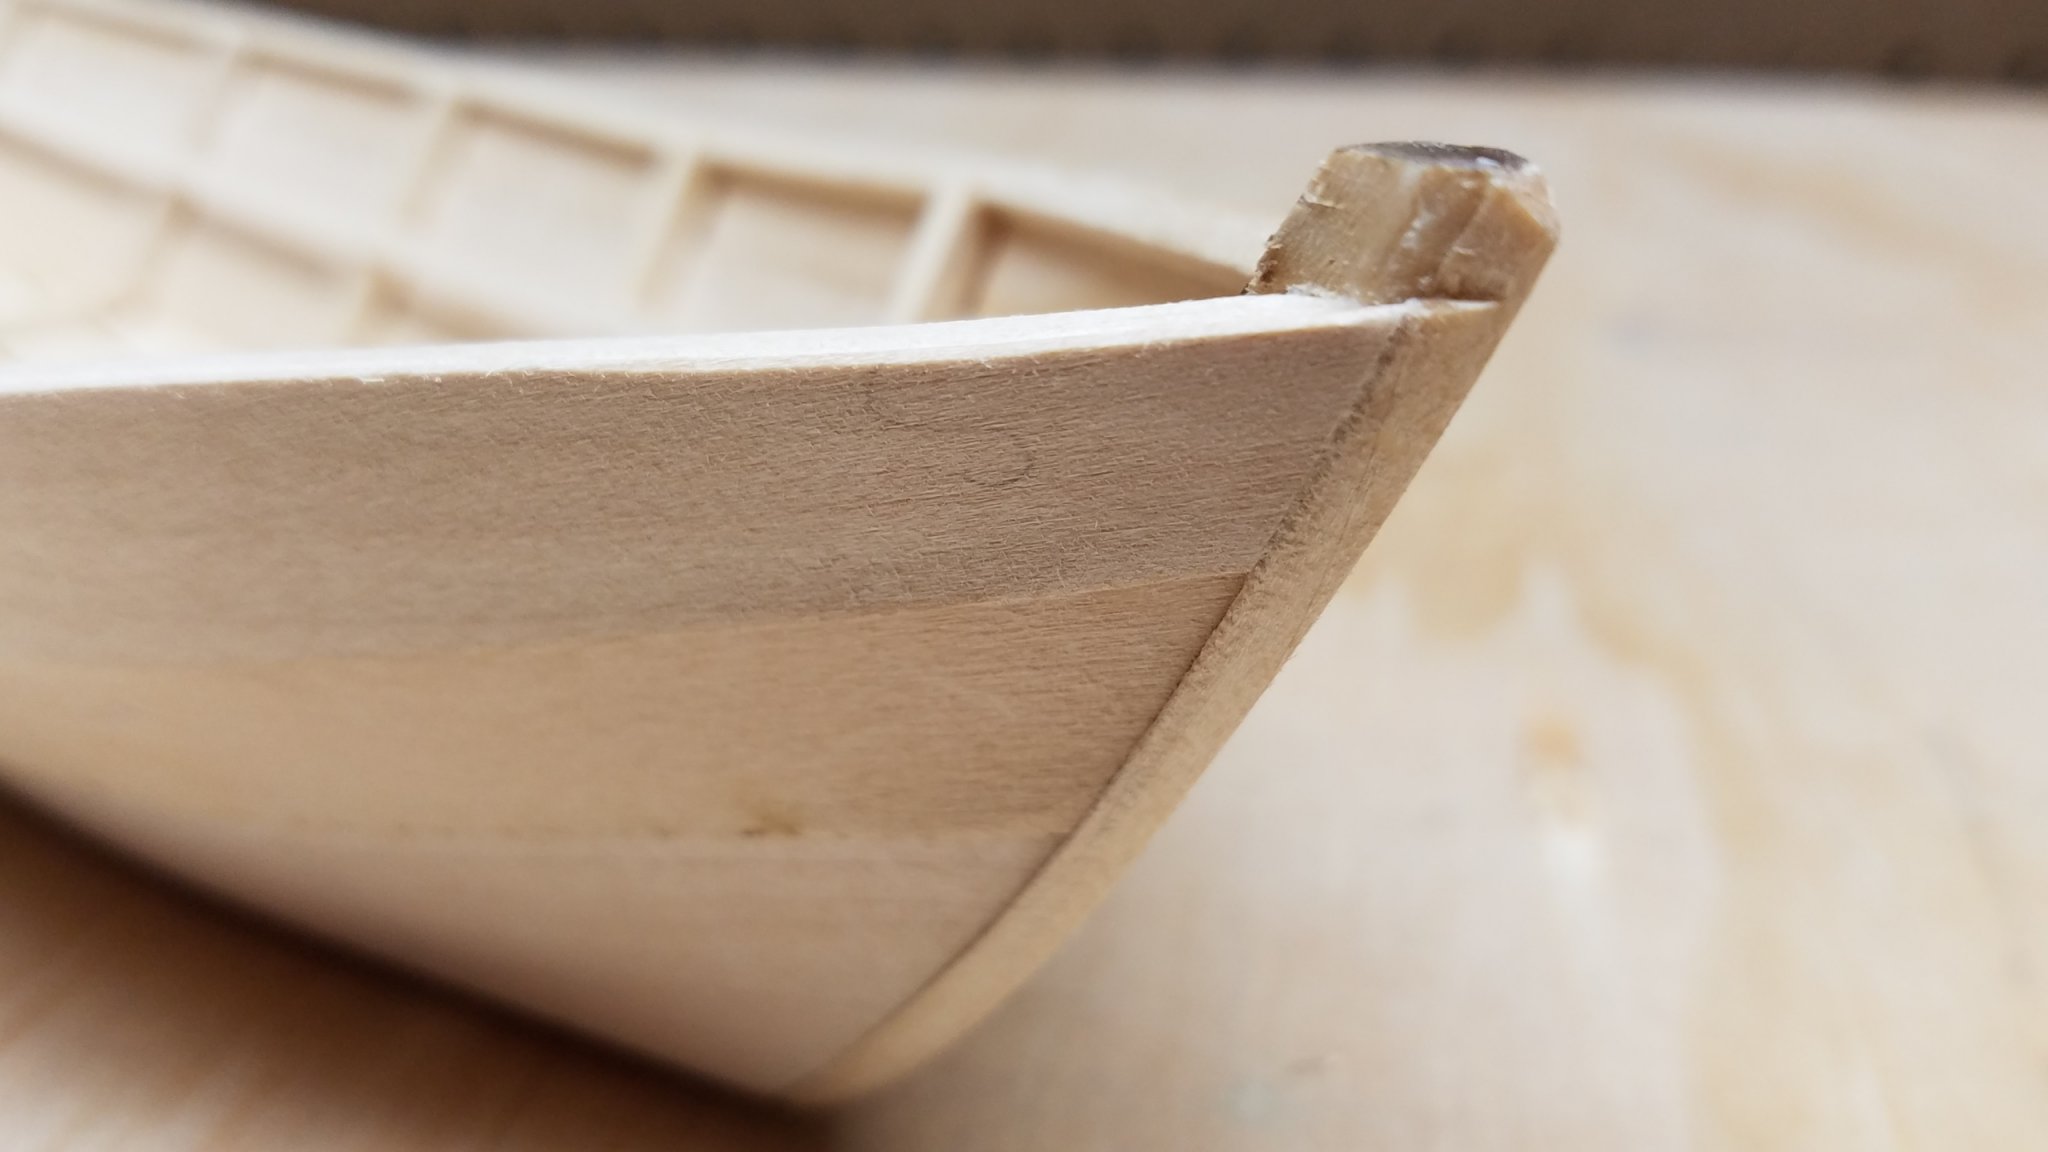
Adding the gripe to the stem. Another fun gluing set up. Then shaped the gripe to shape of planking and stem. I left the stem tall to finish later.

- 22 replies
-
- 2
-
-
- grand banks dory
- first build
- (and 2 more)
-
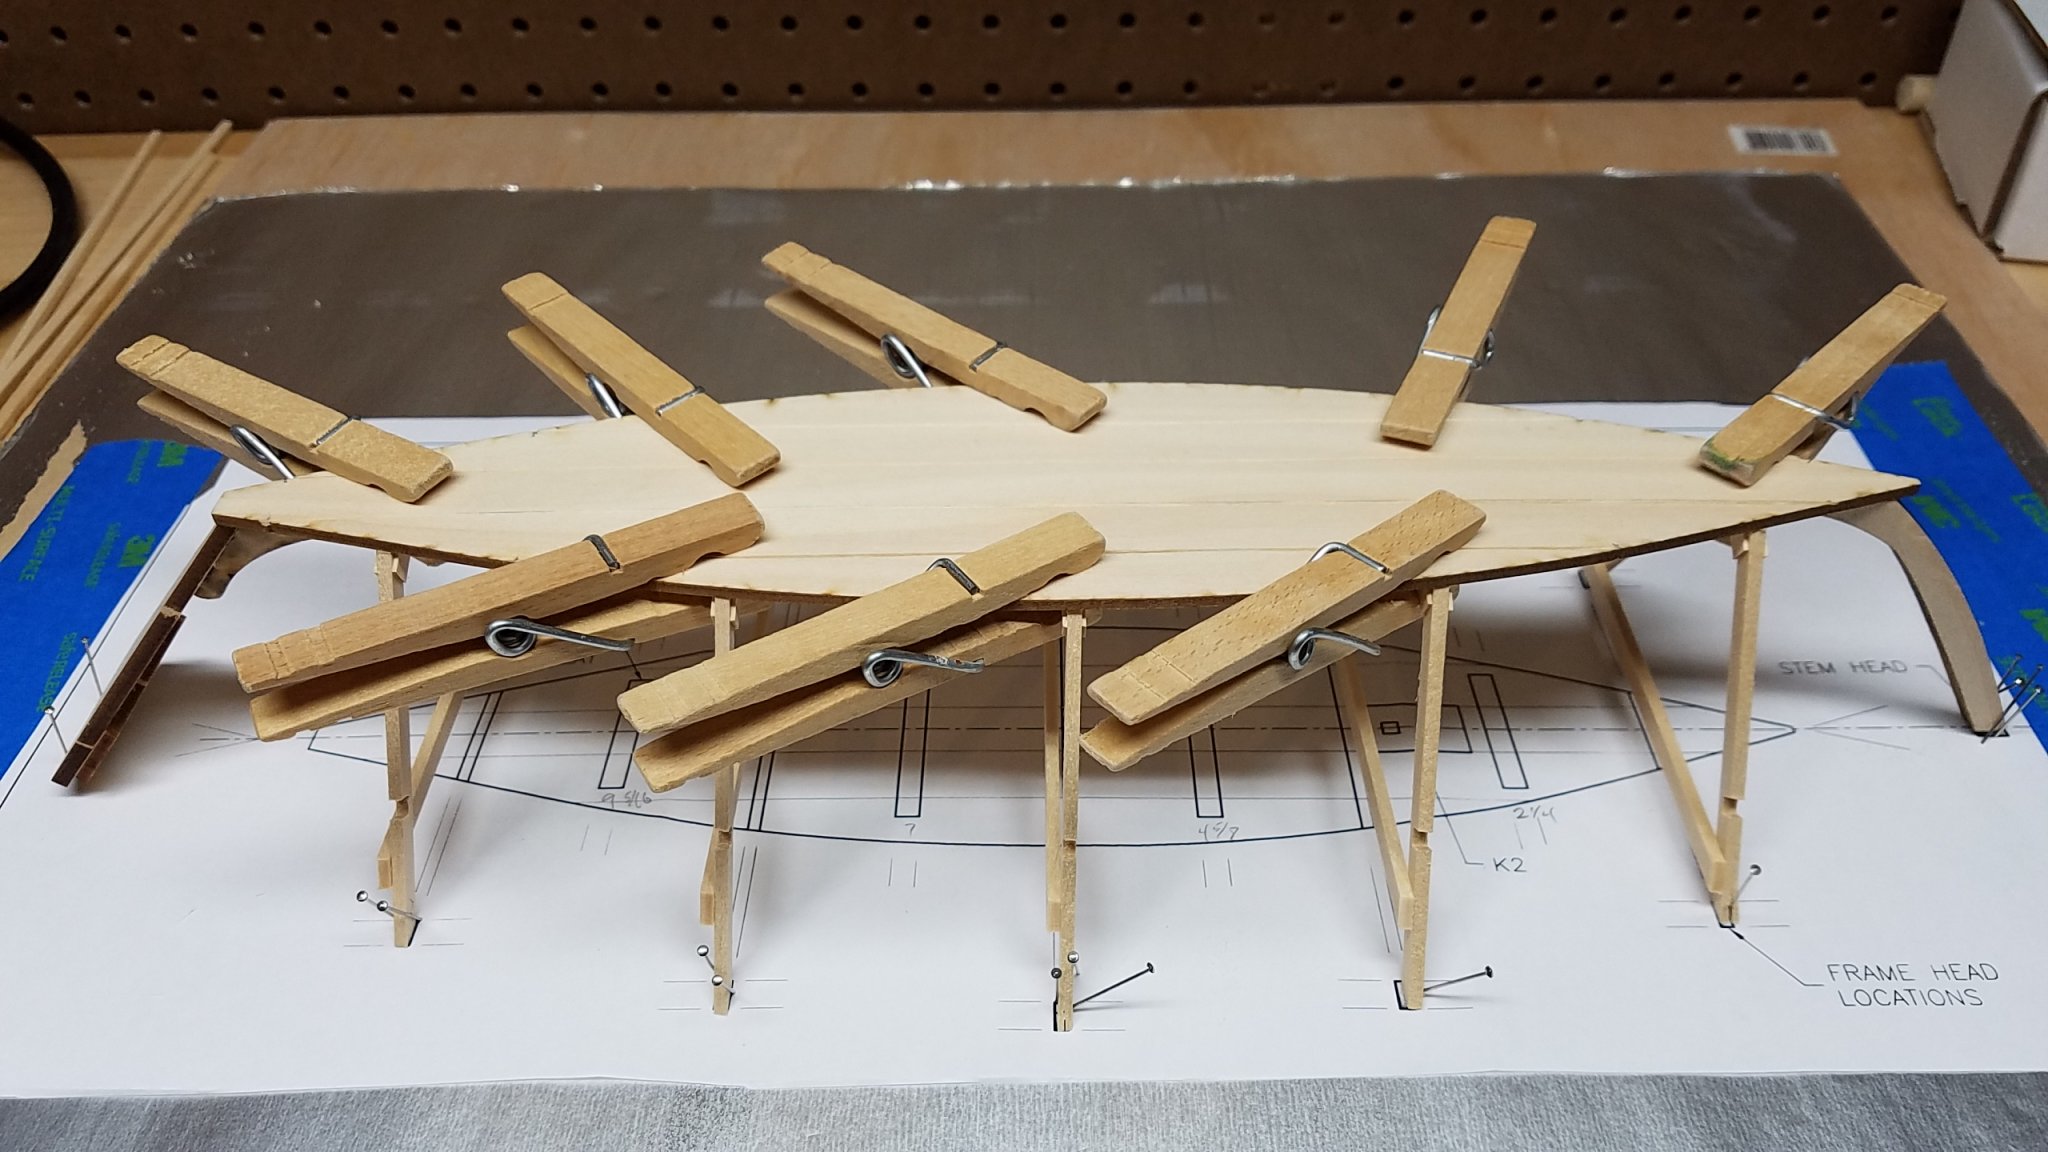
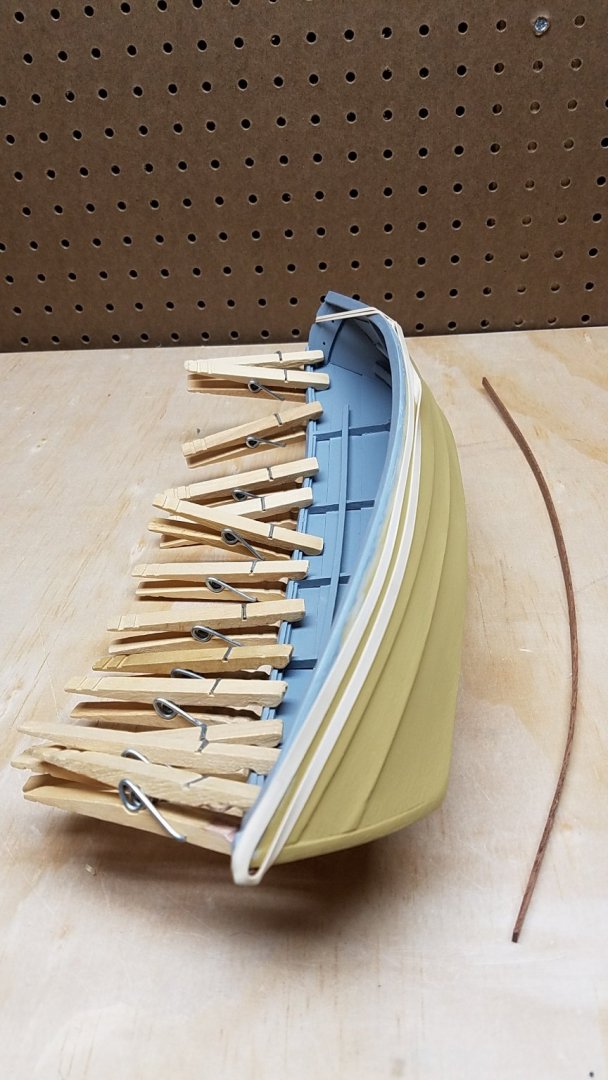
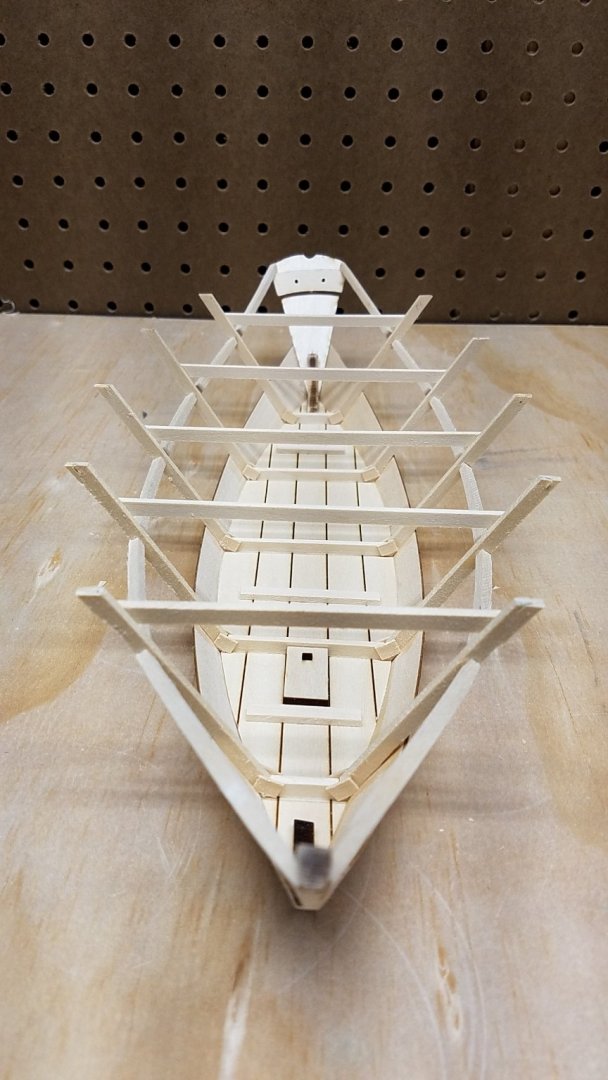
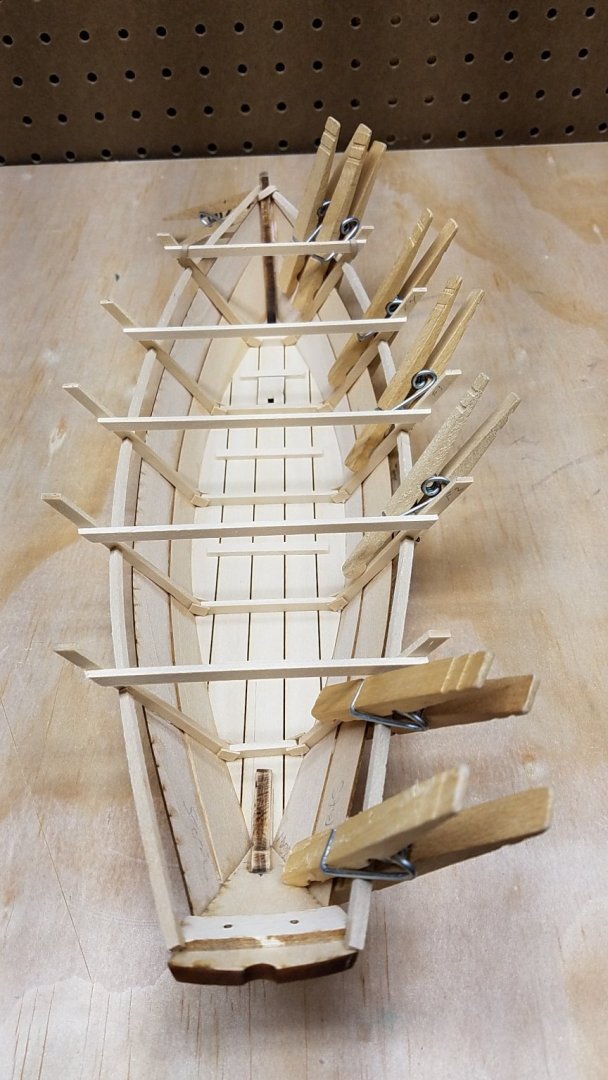
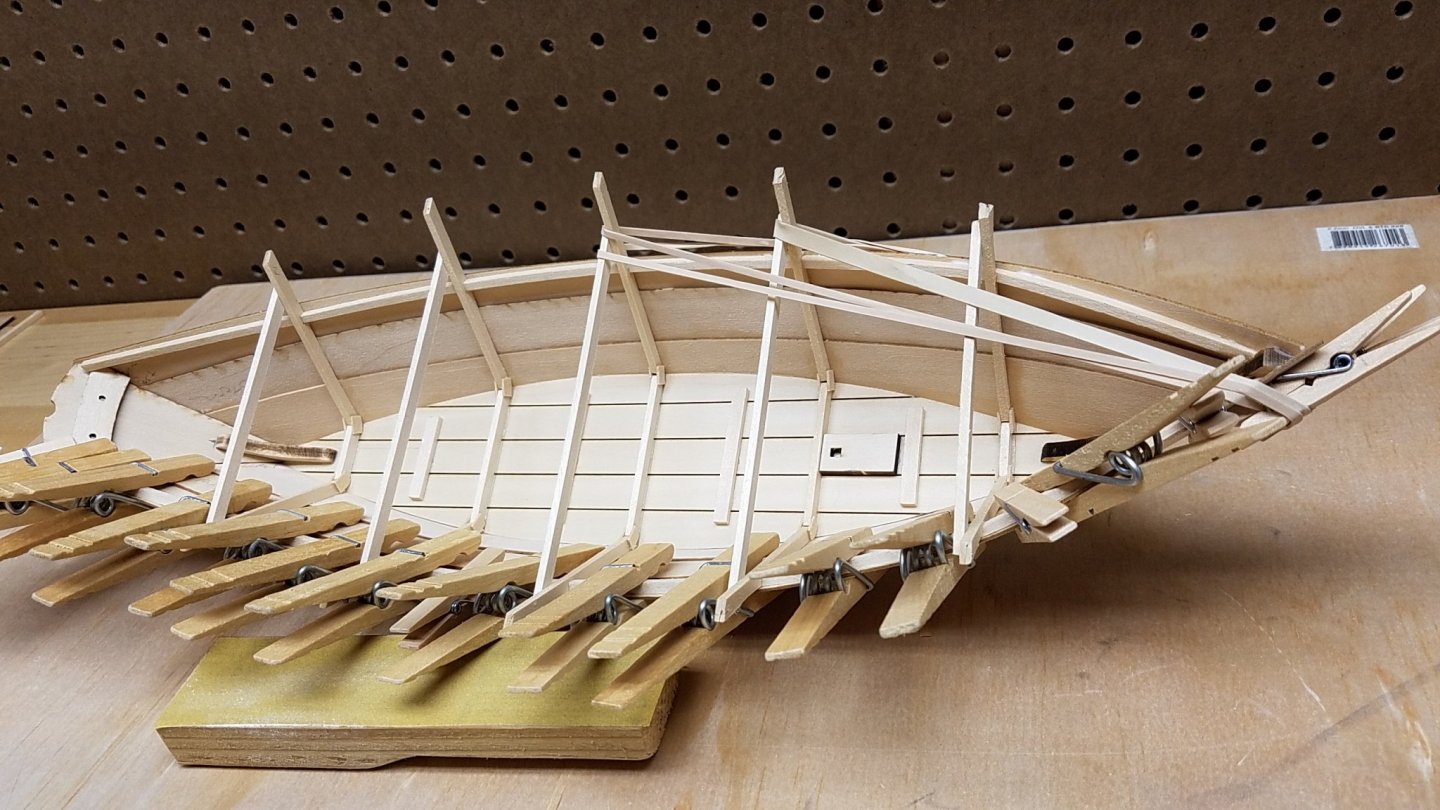
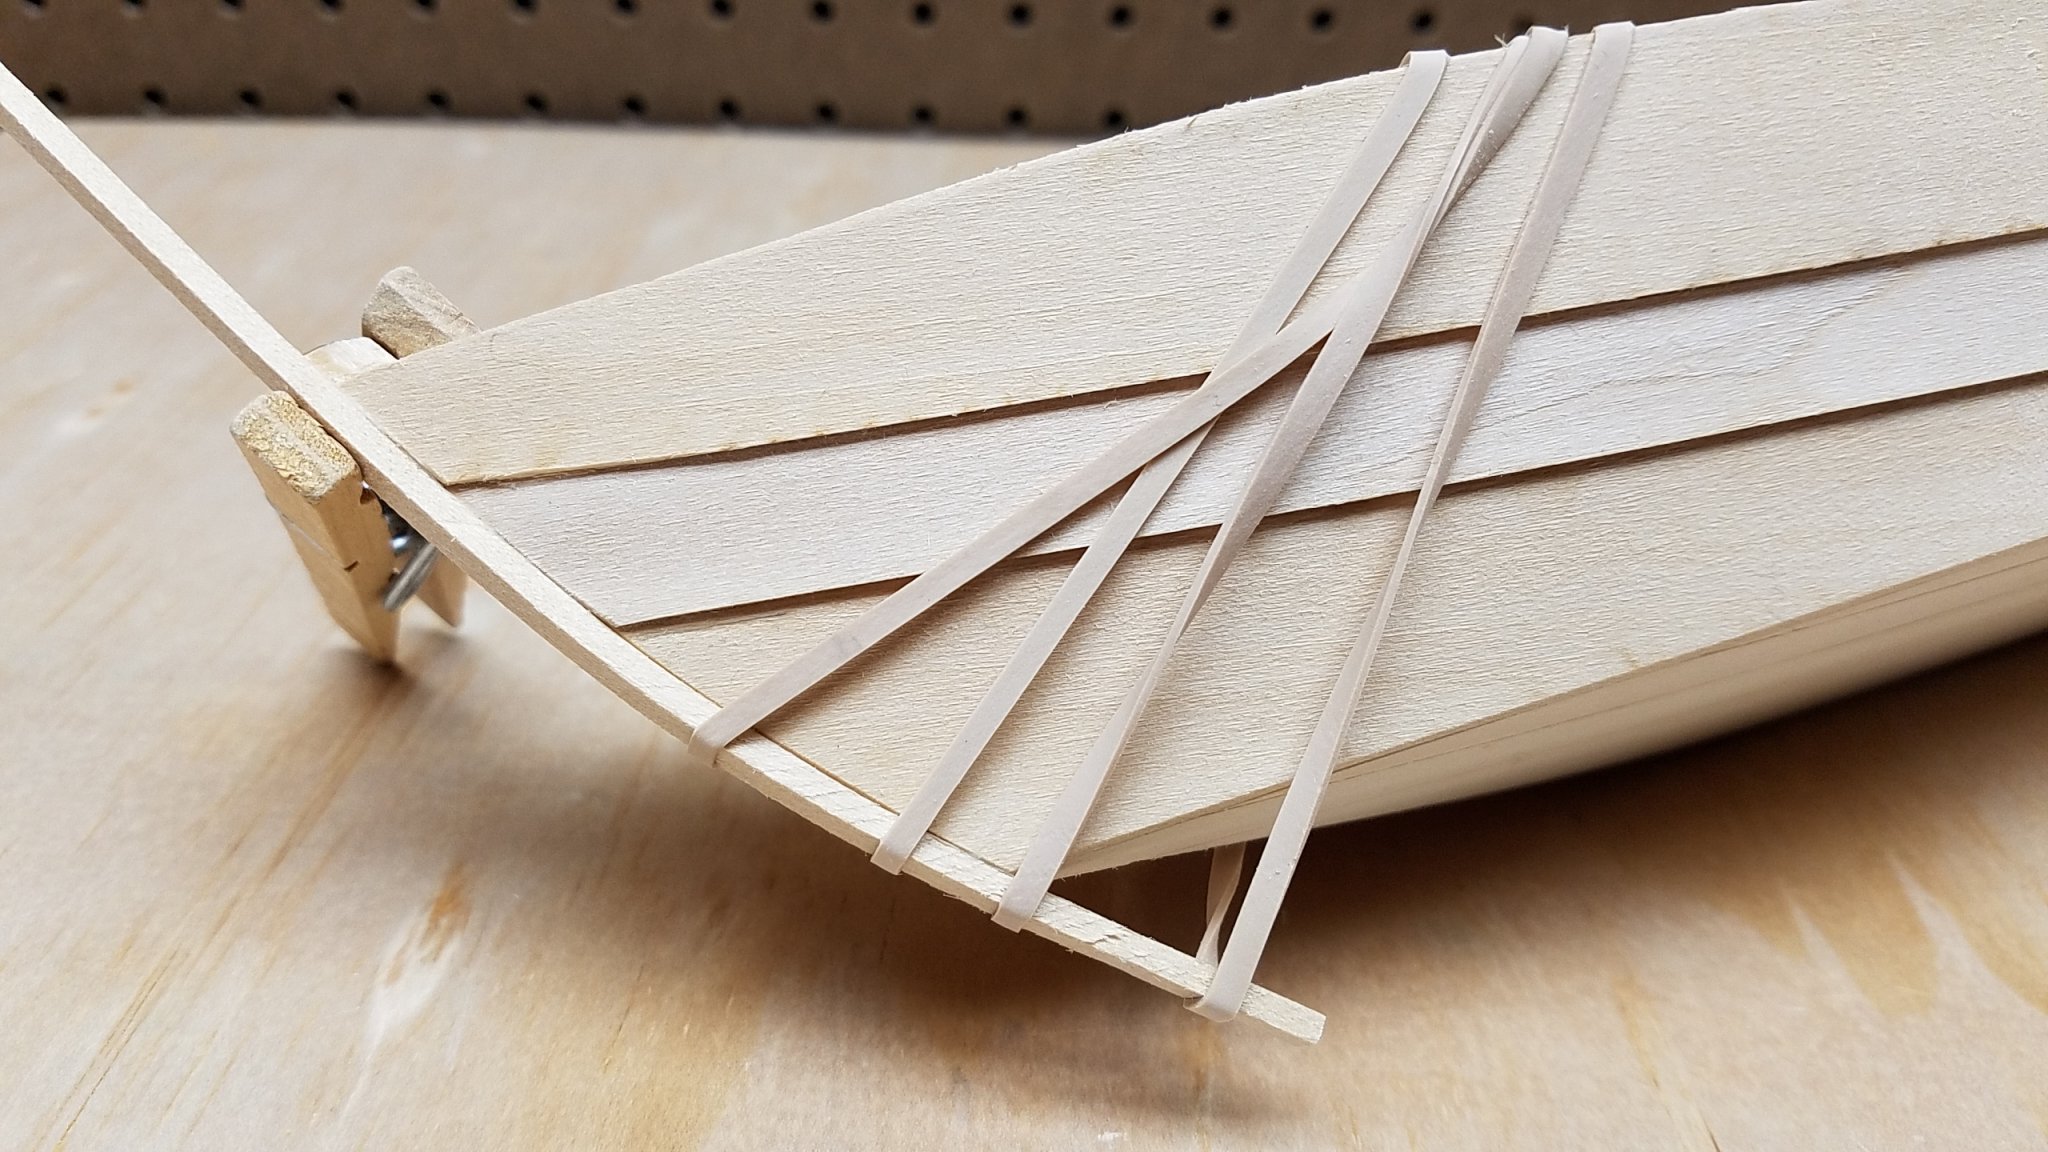
Am catching up with photos - I started November 2019. These photos show adding on the remaining planks. Lots of clothes pins and rubber bands to get the planks down tight to glue.
- 22 replies
-
- 3
-
-
- grand banks dory
- first build
- (and 2 more)
-
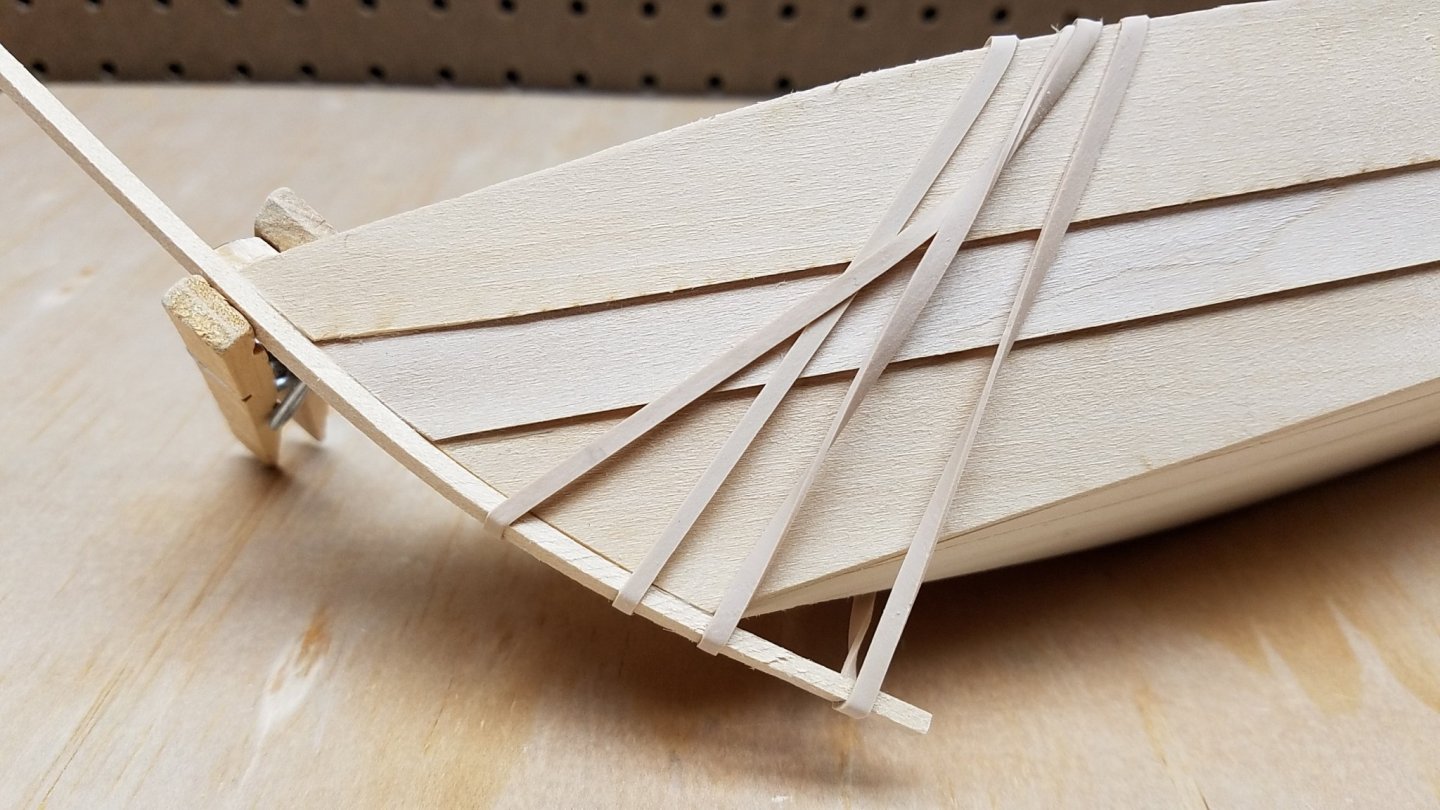
Clamping on the garboard planks. I did soften them with tea kettle steam, clamp them to dry, then glued them down. I am using Elmer's white glue.
.thumb.jpg.e439fc75dec2abf03cc64ecdf270703d.jpg)
- 22 replies
-
- 3
-
-
- grand banks dory
- first build
- (and 2 more)
-
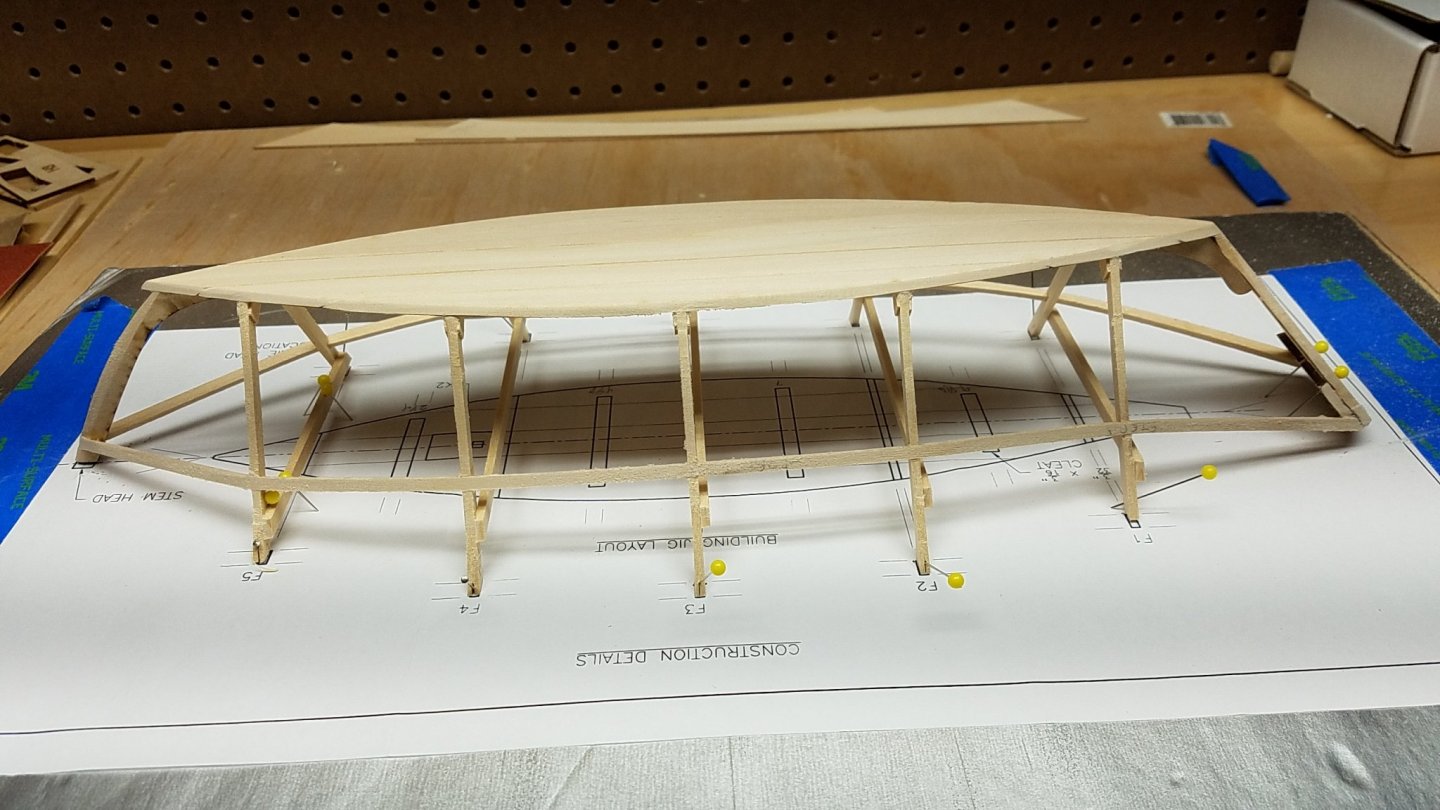
I softened the gunwale strips to help fit them in. The second photo shows both gunwales glued on to the frames.
- 22 replies
-
- 3
-
-
- grand banks dory
- first build
- (and 2 more)
-
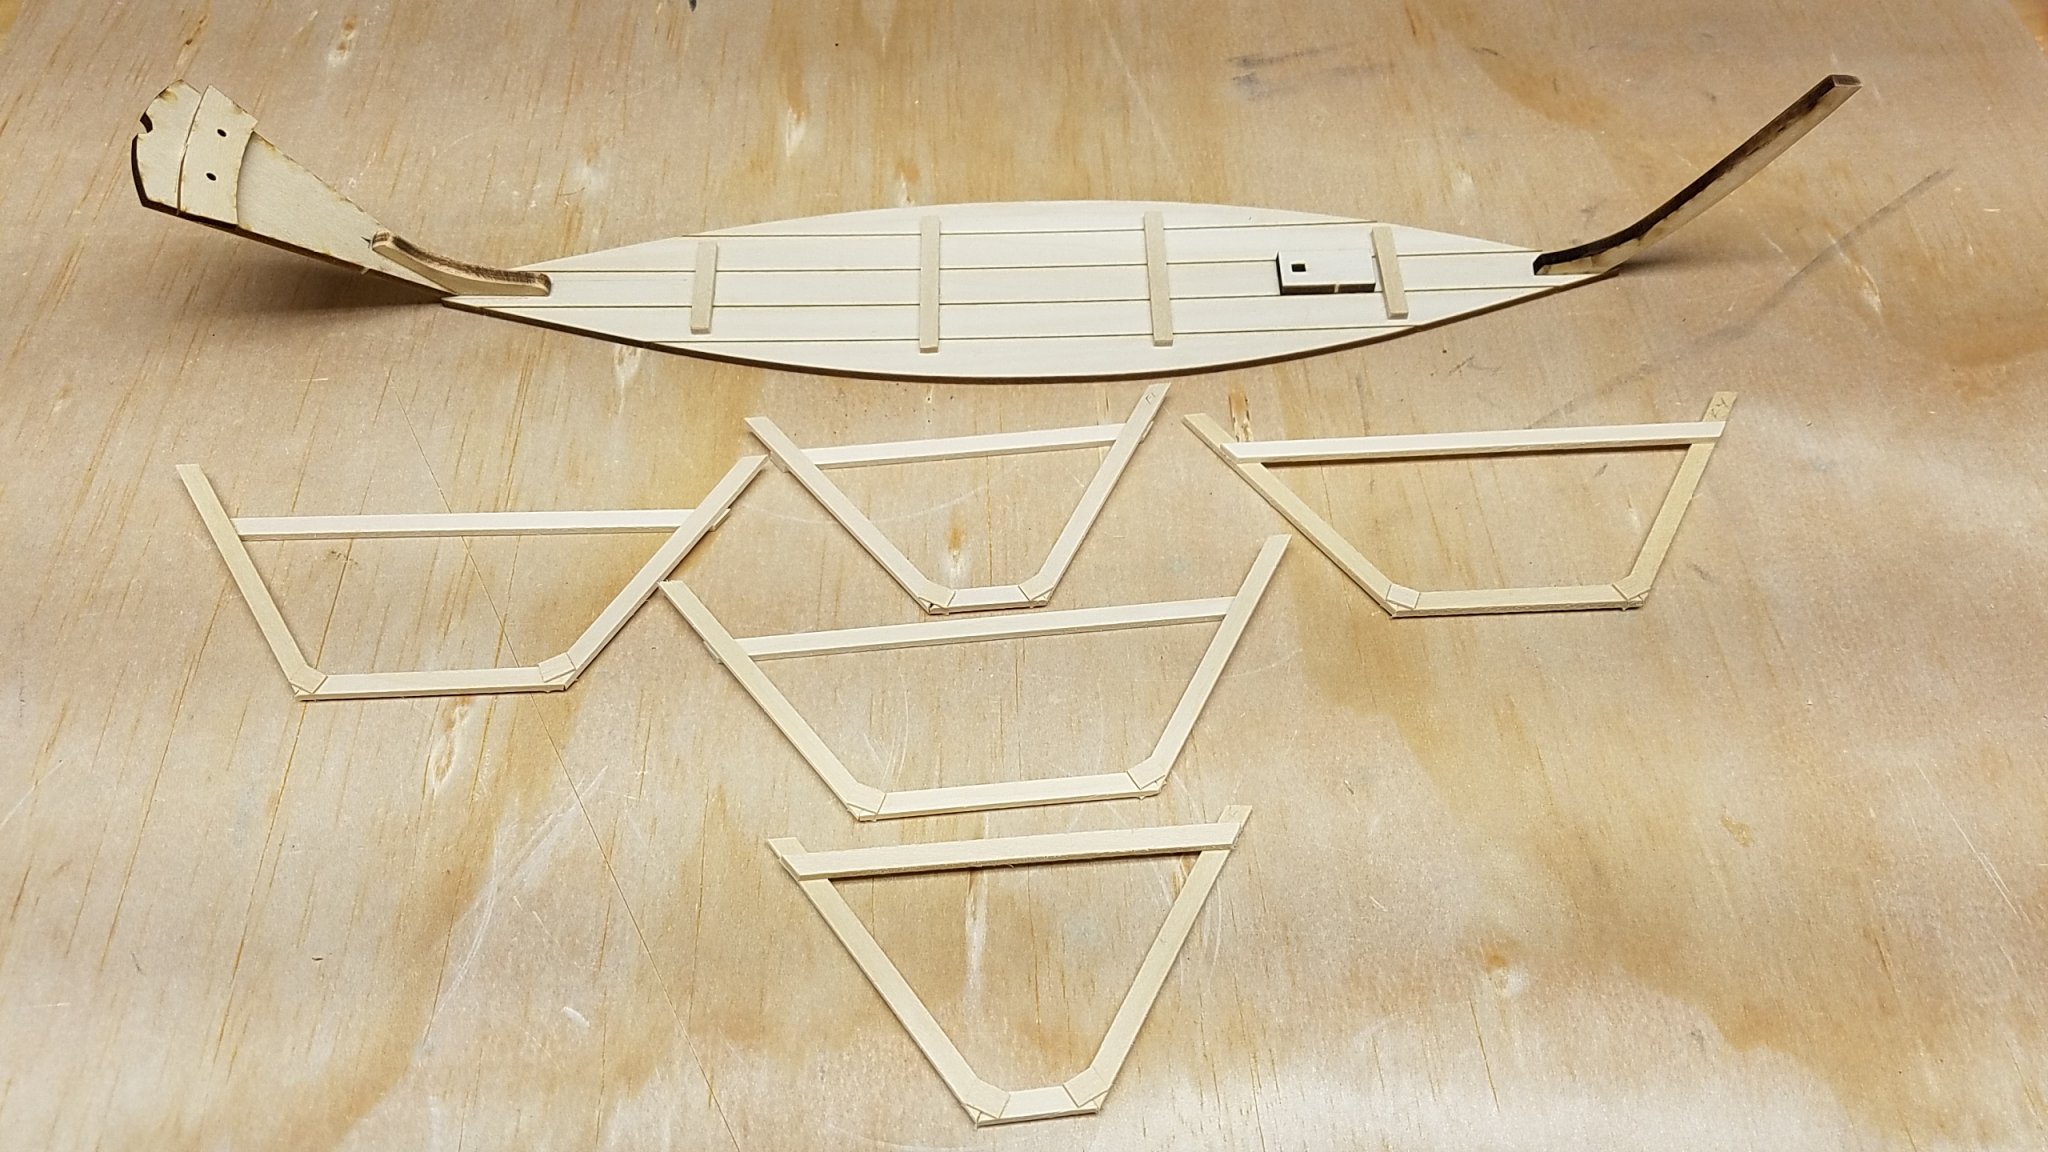
The plan was very useful for making the frames square. I chose to scribe plank lines on the bottom. I had to weight the ends of the bottom down to get the bottom to curve during gluing.

- 22 replies
-
- 3
-
-
- grand banks dory
- first build
- (and 2 more)
-
Easy to follow directions to build the frames. The joints that end up on the bottom of the boat should be fairly nice because they will show later. I will sand off the laser char on the stem post etc next time.

- 22 replies
-
- 4
-
-
- grand banks dory
- first build
- (and 2 more)
-
This is my first wooden boat model. I chose the Entry level Grand Banks Dory from Blue Jacket.
- 22 replies
-
- 2
-
-
- grand banks dory
- first build
- (and 2 more)


.jpg.3849e352de1fe142365bb3a0837ce027.jpg)