big.matt
-
Posts
10 -
Joined
-
Last visited
Content Type
Profiles
Forums
Gallery
Events
Everything posted by big.matt
-
 Thank you bolin. Yes, it is cyanoacrylate. I'll keep in mind that epoxy is stronger!
 -
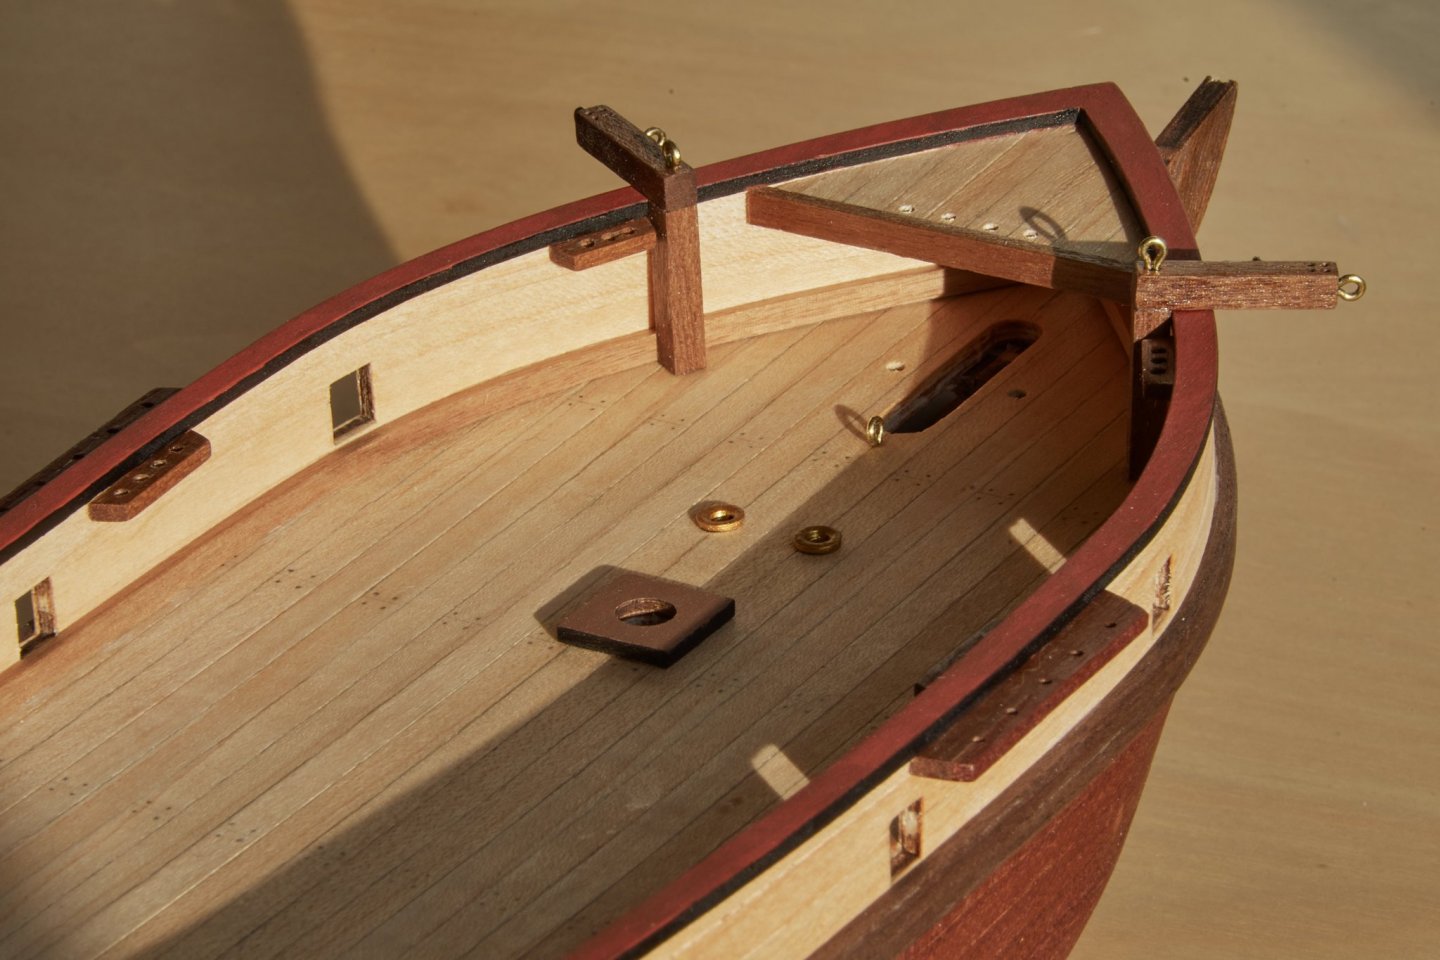
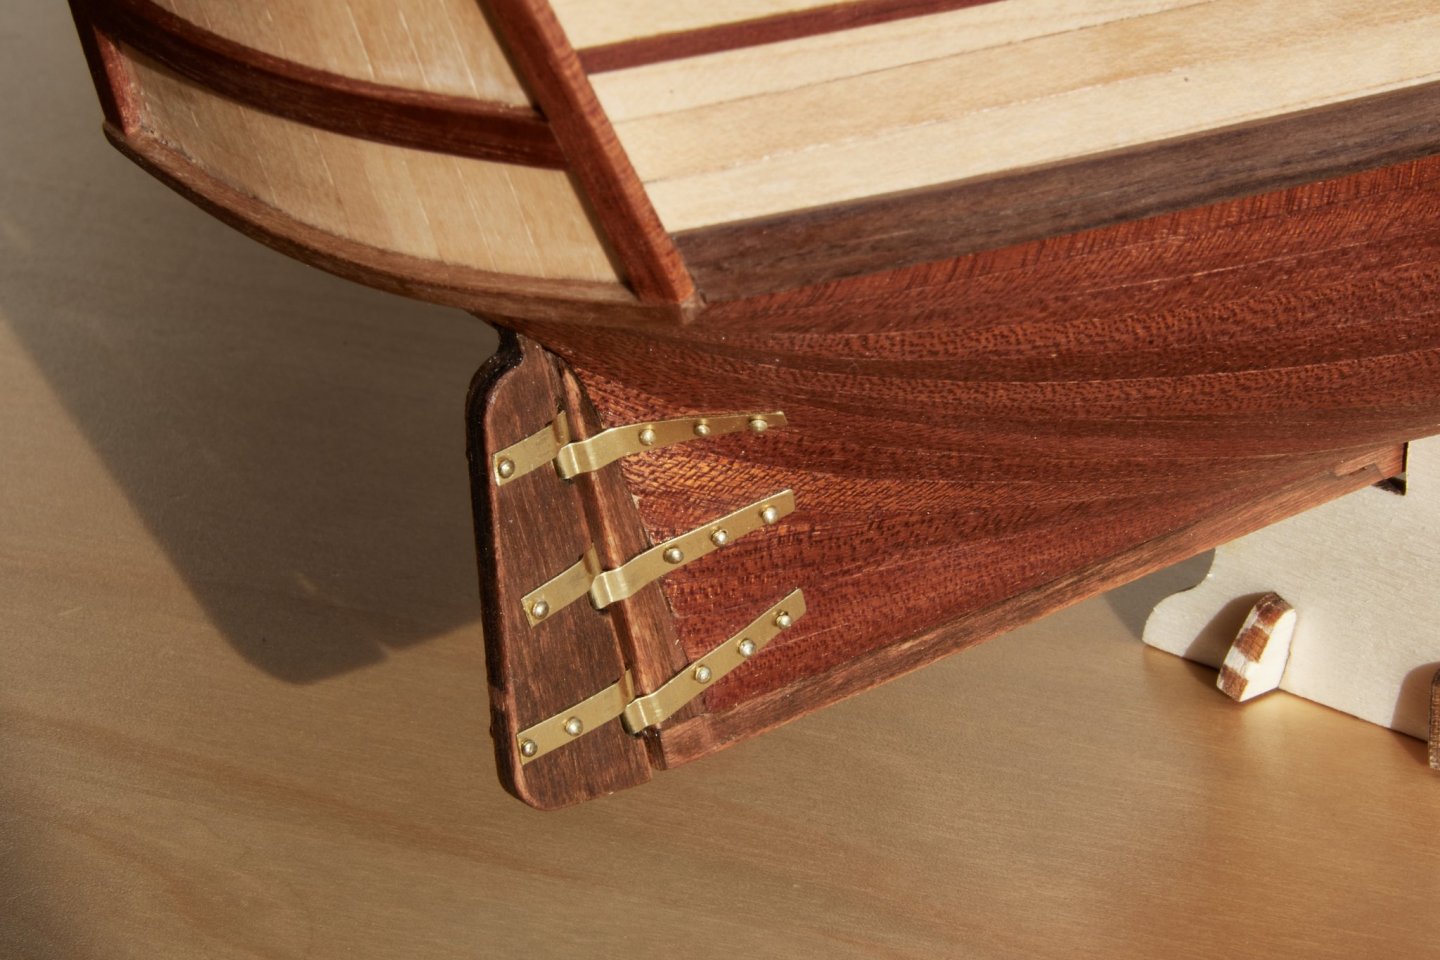
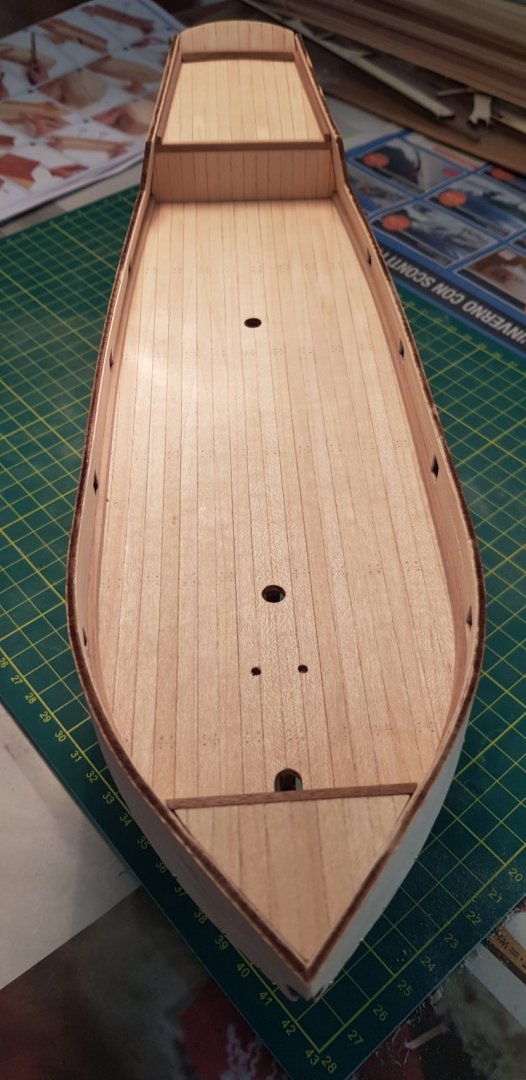
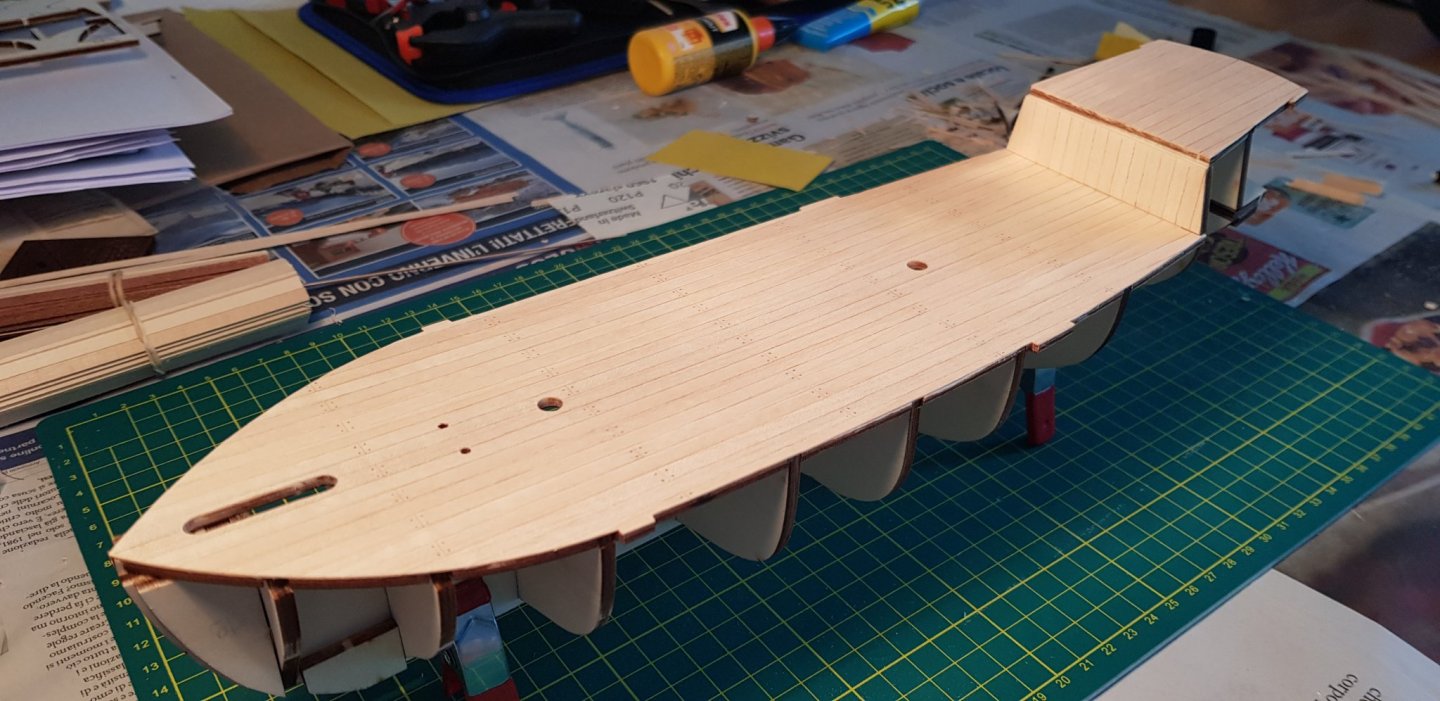
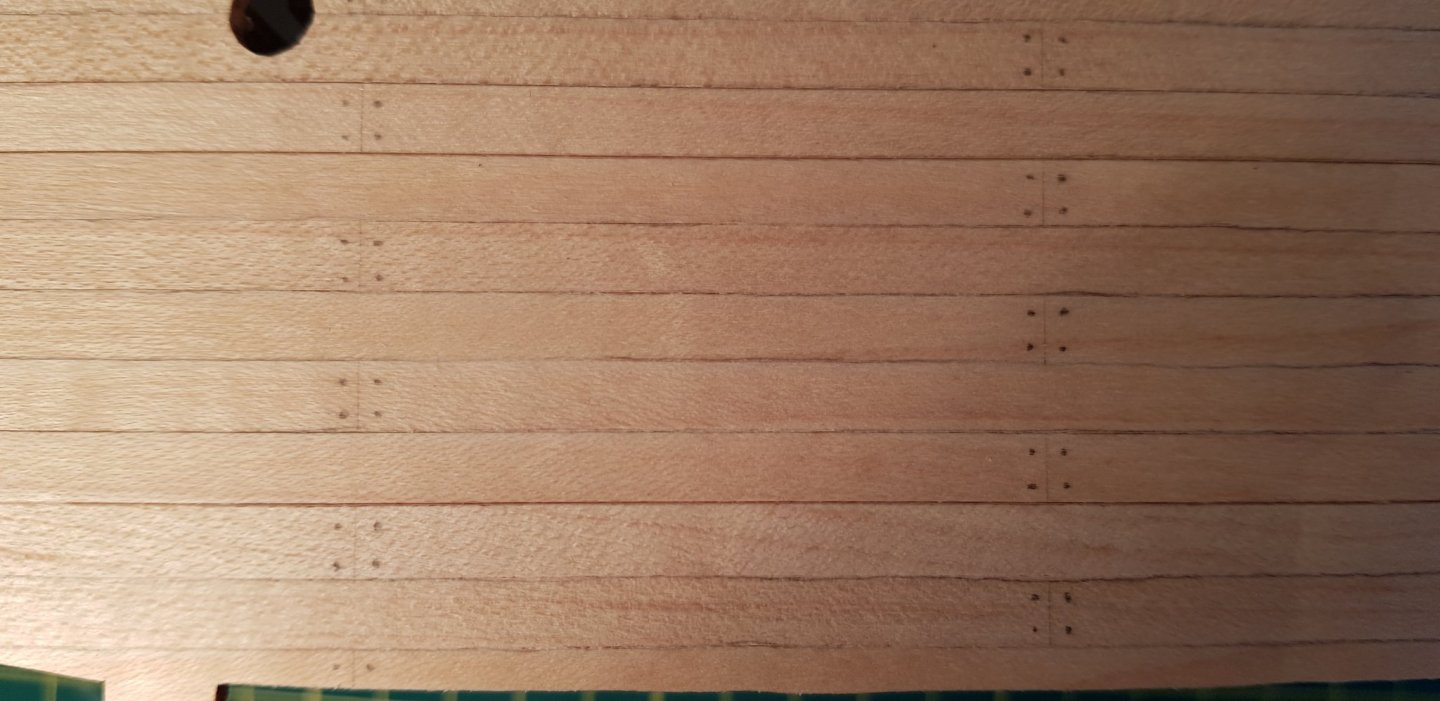
Oh boy, when I started I knew I would have been slow, but this is getting out of hand Anyway, after finishing the planking things got more enjoyable. The most satisfactory part was probably seeing the result after applying the varnish on the hull. Now I started adding details on the deck. Some of the metal parts are supposed to painted in a brass color (never mentioned explicitly, but that's how they look like in the pictures). A local shop suggested I first wash the metal parts in alcohol and, apply a primer spray and the paint over it with any type of color (I used acrylic). I like how the color looks with this process, but I also had troubles with the primer coming off in a few spots. Maybe I just got a bad quality one? How do you guys usually work with metal parts? Another dilemma was about gluing metal to wood. The guy at the shop recommended epoxy glue. It works, but I find it unnecessarily complicated (you have to mix the two components in advance). Instead I found that UHU sekundenkleber works amazingly well! Beside that, the instructions give specific measurements for the diameter of the holes (e.g. for the pinracks). I found those don't really make sense: With the pins provided, I definitely need 1.5mm instead of 1.0mm to make them fit. 0.5mm for the cat davits is quite optimistic, I don't see how I can slip the threads through that, I ended up with 0.8mm. They also recommend 0.75mm for the eyebolts. I only had a 0.8mm drill so I used that. It's still very tight, don't hesitate to try out 1.0mm if you don't have anything else. Here are a few pictures. I got new camera equipment for Christmas so I tried to improve the quality of my photos. I hope it will not take another year for the next update Cheers, Matt


-
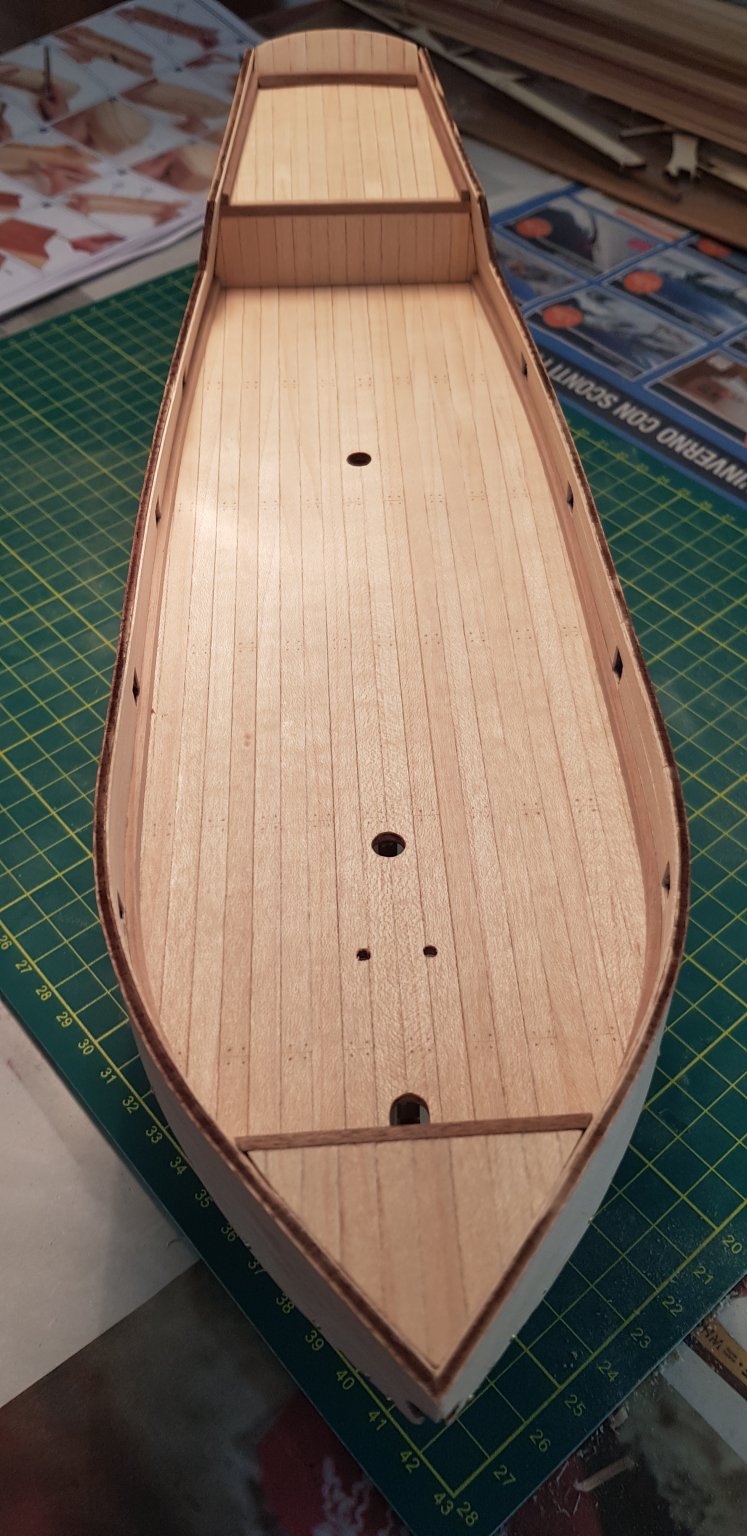
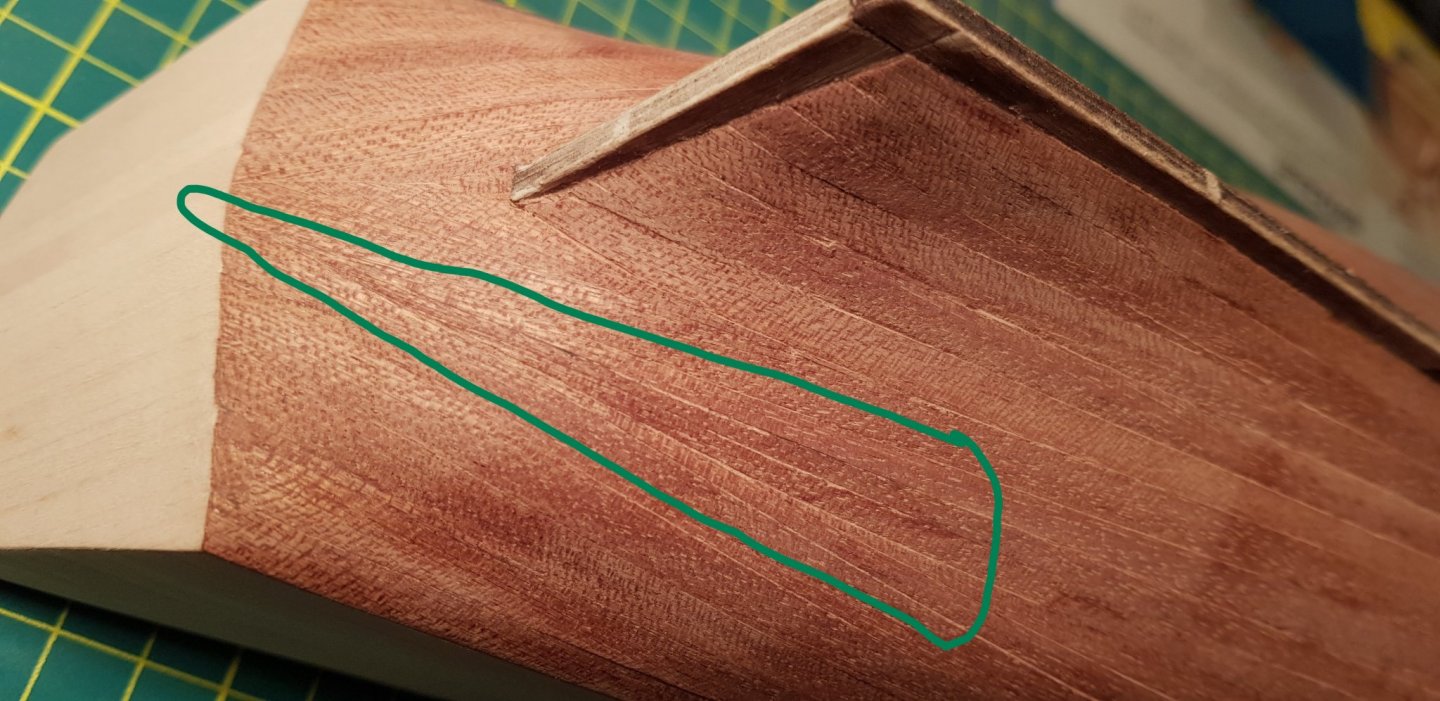
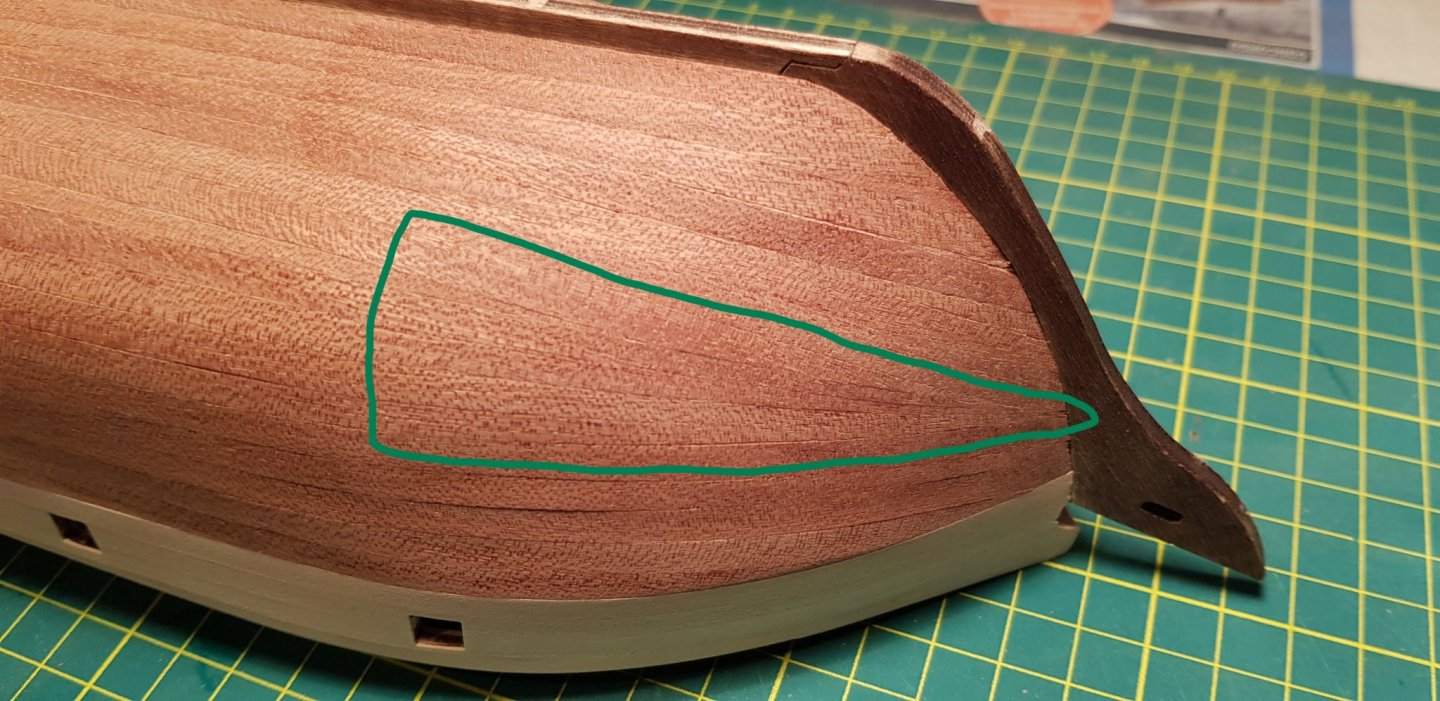
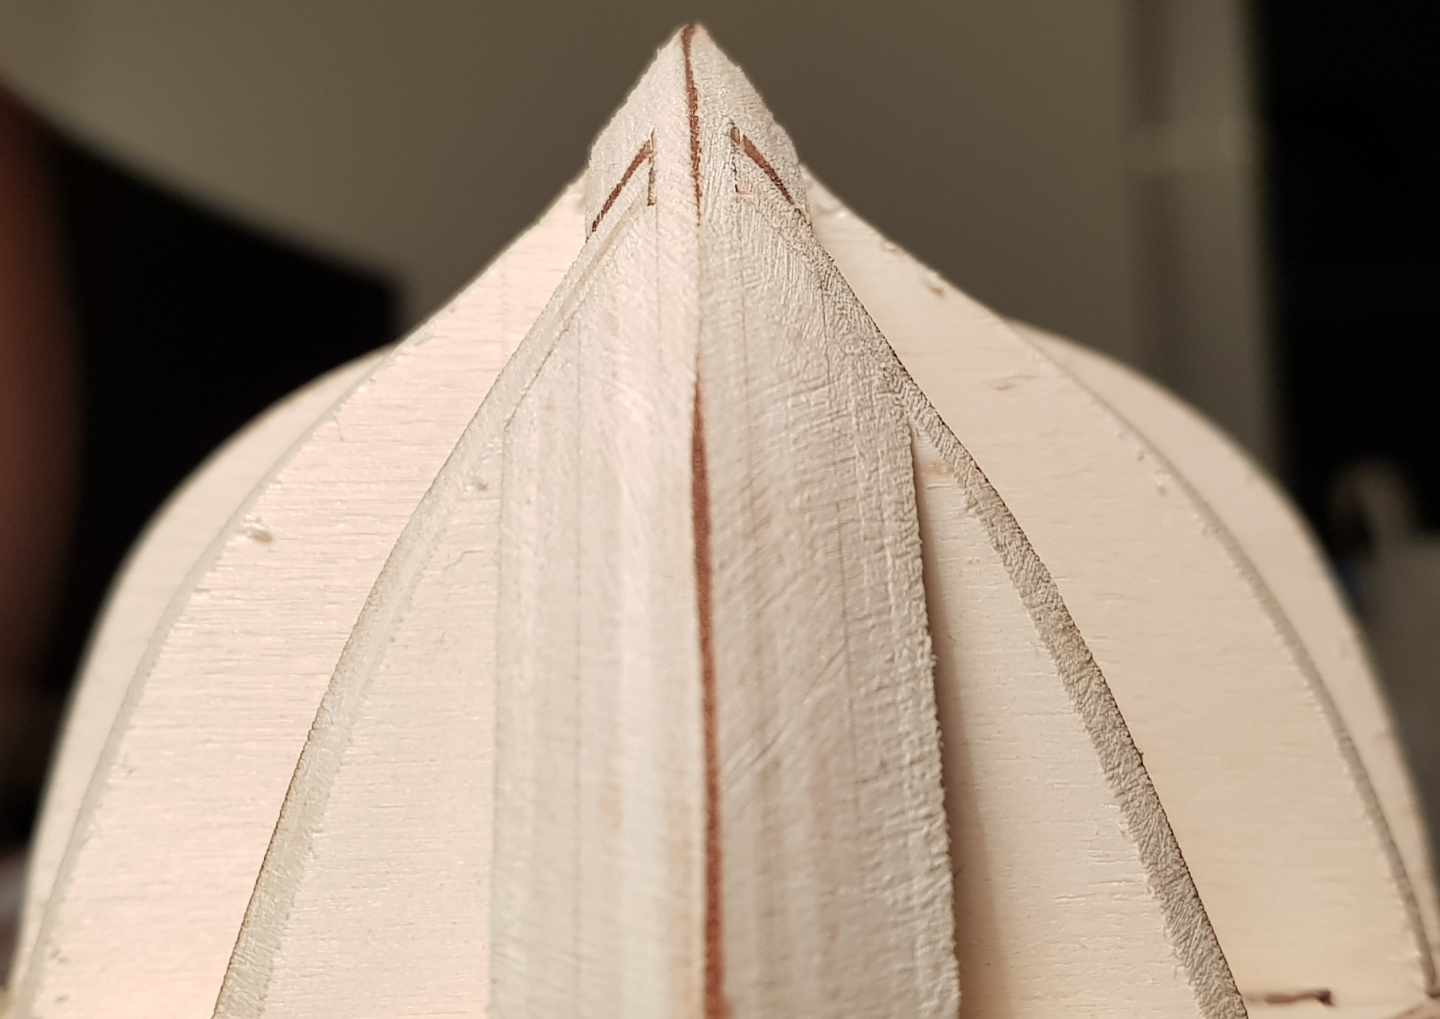
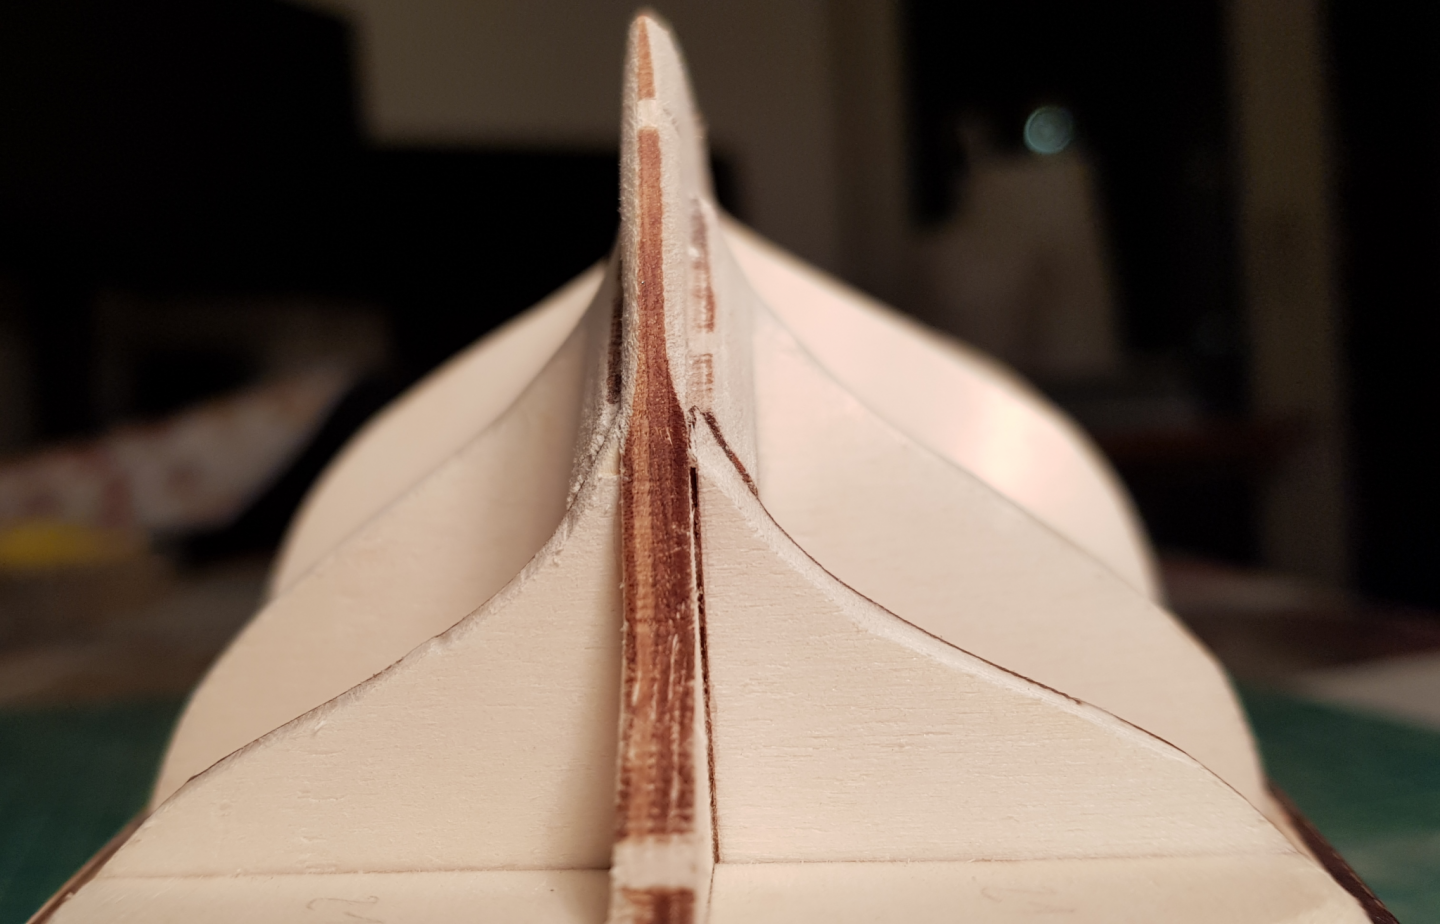
Hi all, I hope everyone is safe and healthy. After a long time without progress, I finally managed to finish the second planking. I could have been more precise with a few planks, but overall I'm happy with the result. I found quite hard to decide what shape to give to the planks. I followed Occre's instructions and started planking from top and bottom simultaneously, but I didn't like the "corners" that this would have created and tried to shape the planks such that they would all follow a more natural curve. Here a few details, note how I tried not to have corners in the middle of the hull. There is much I can improve with the next one, mainly trying to have the same width on all the planks, but I think it's already something. A general hint: let the hull decide when and how you need to reshape your planks, If you try to be lazy (as I did at first) and try to glue the planks in their original shape it will be much harder. Just follow her curves The last step was a generous sanding. Et voilà! A few months ago I also had the honor to meet @davyboy. It was great to hear his stories and tricks, but also to see his beautiful work! Time to start with the rubbing strakes! Cheers, Matt

-
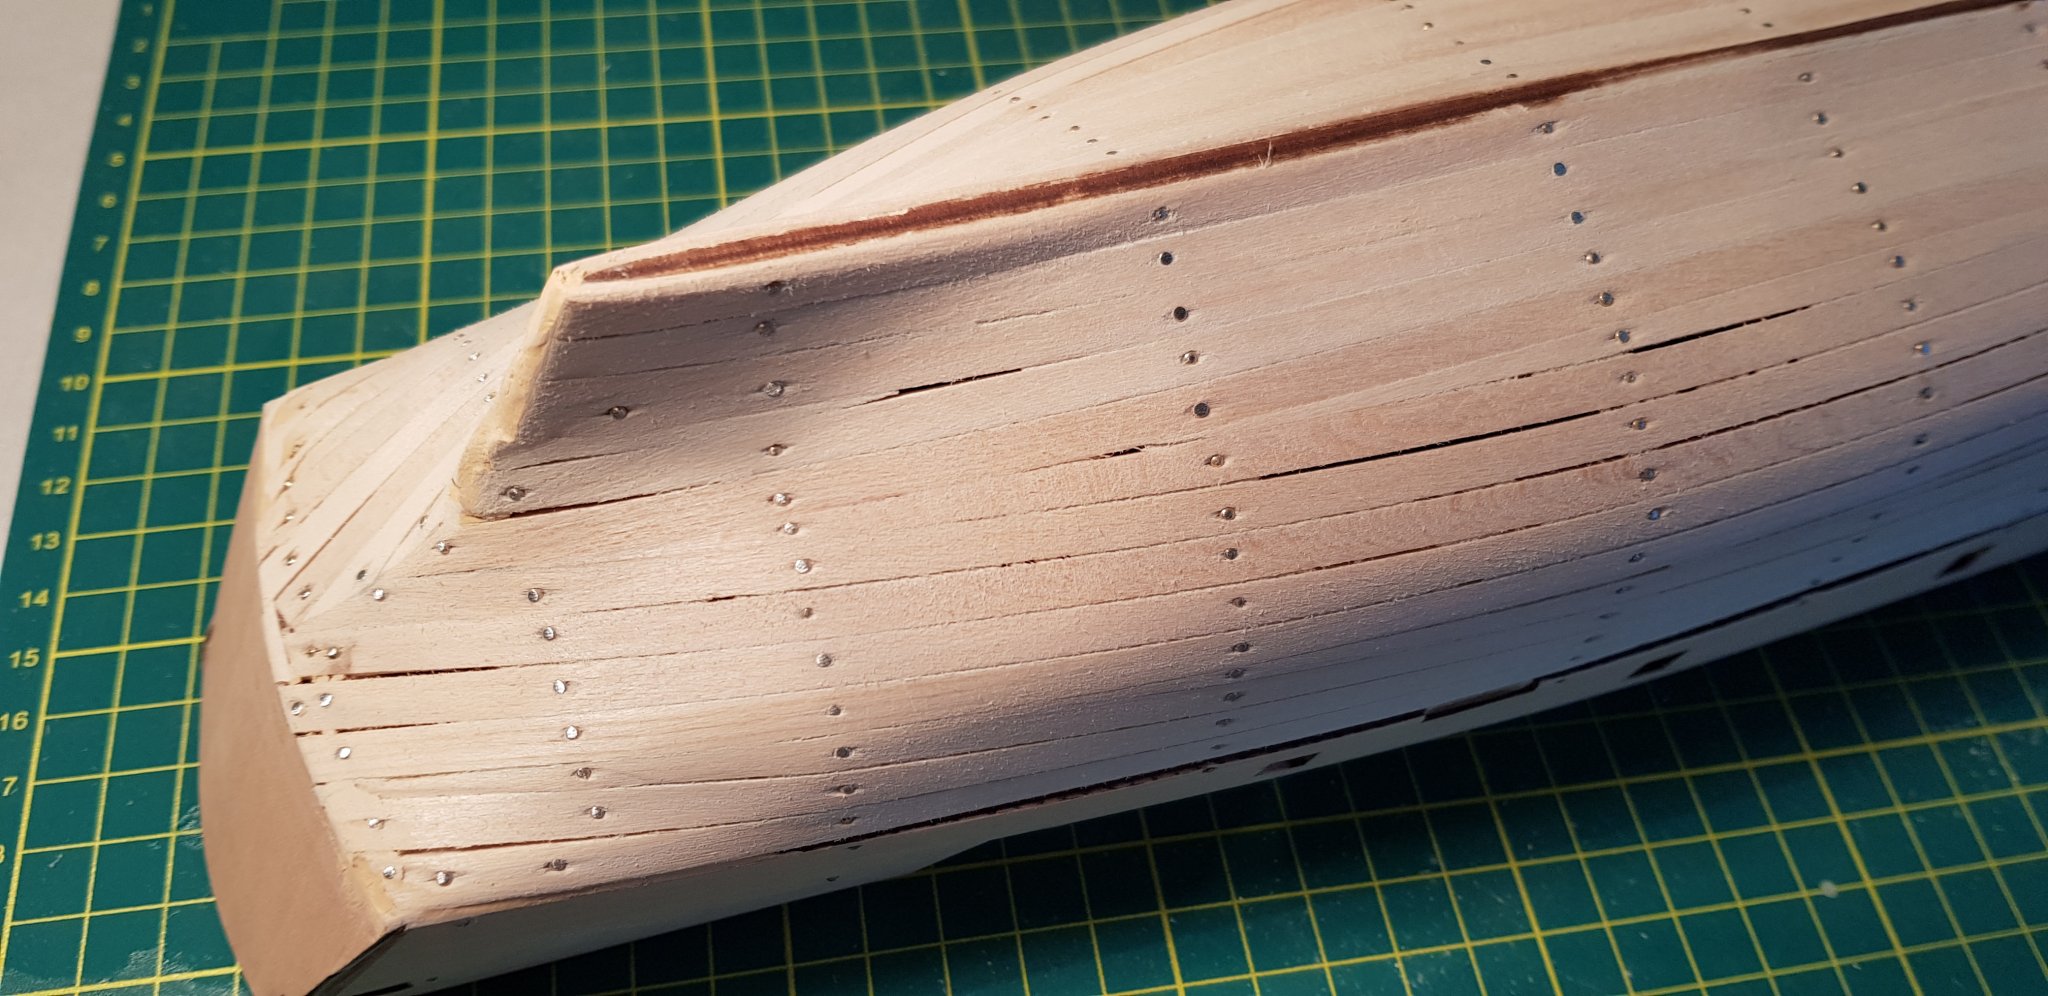
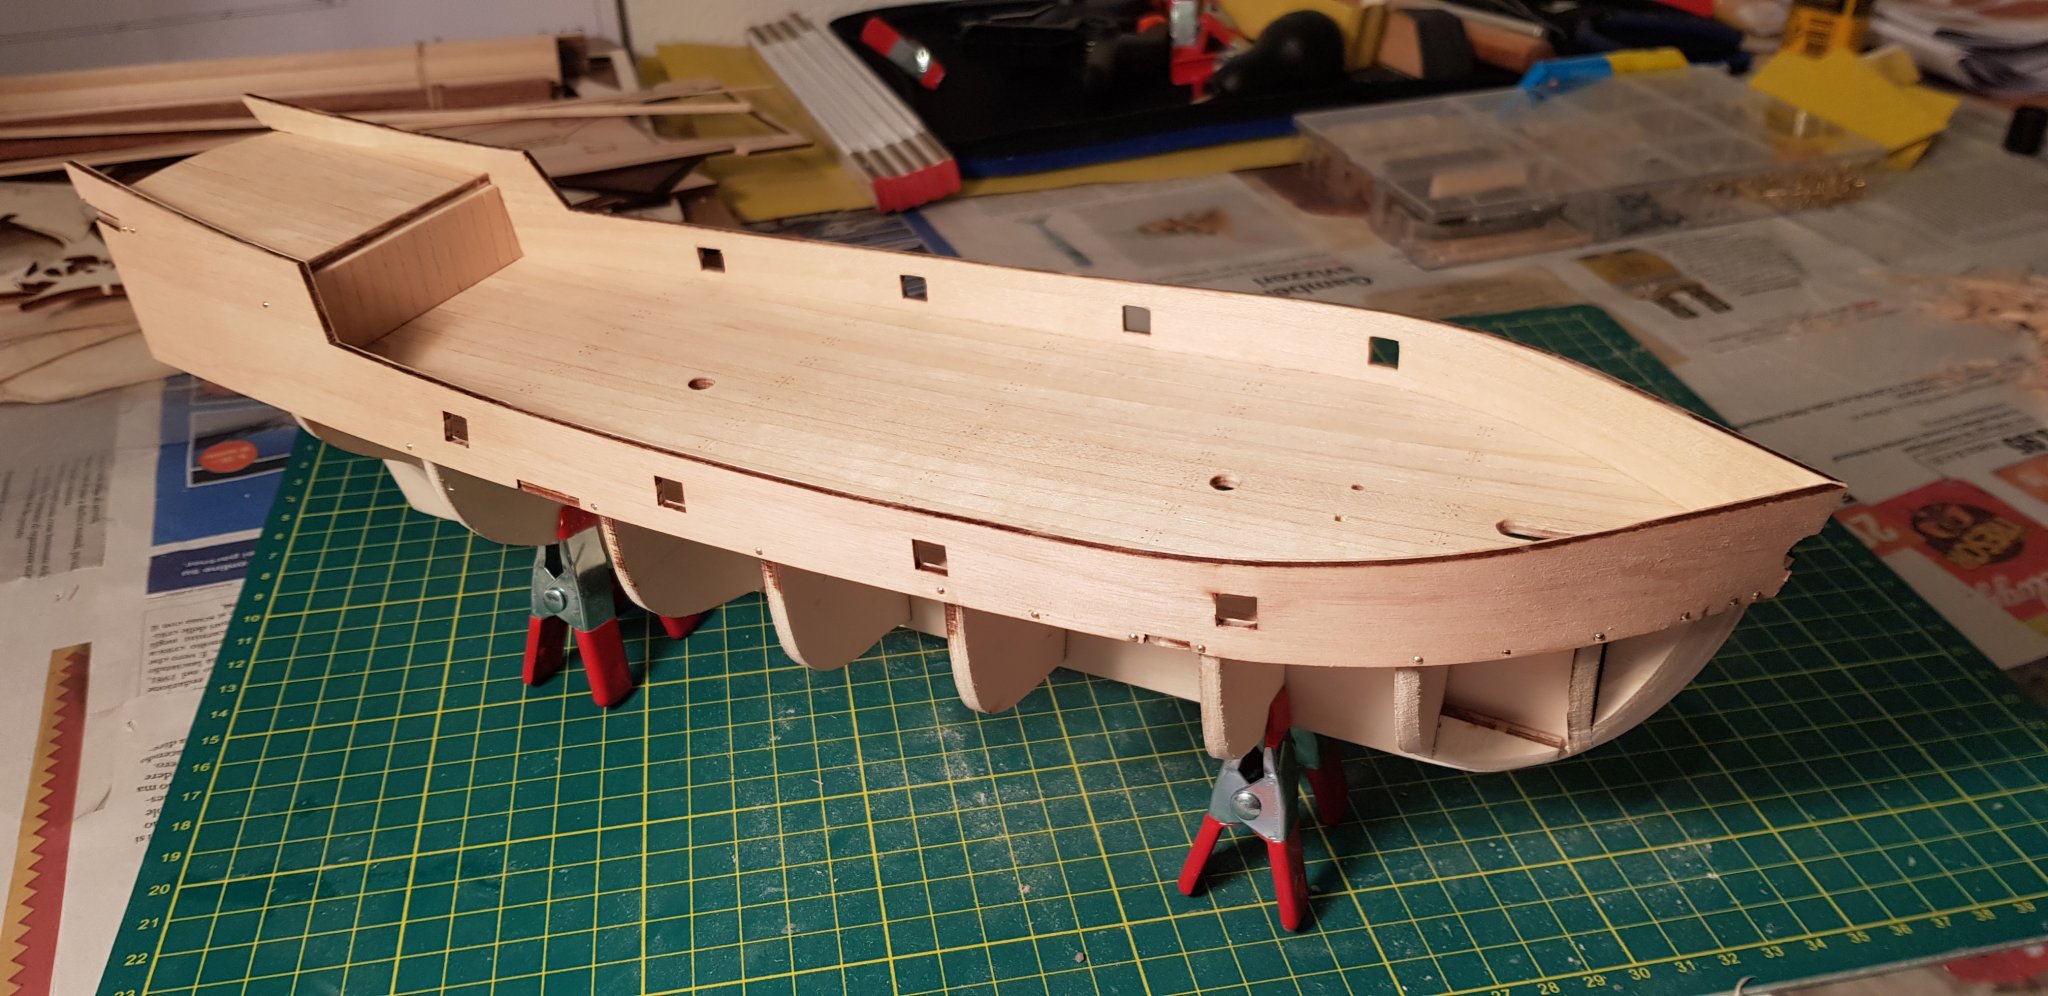
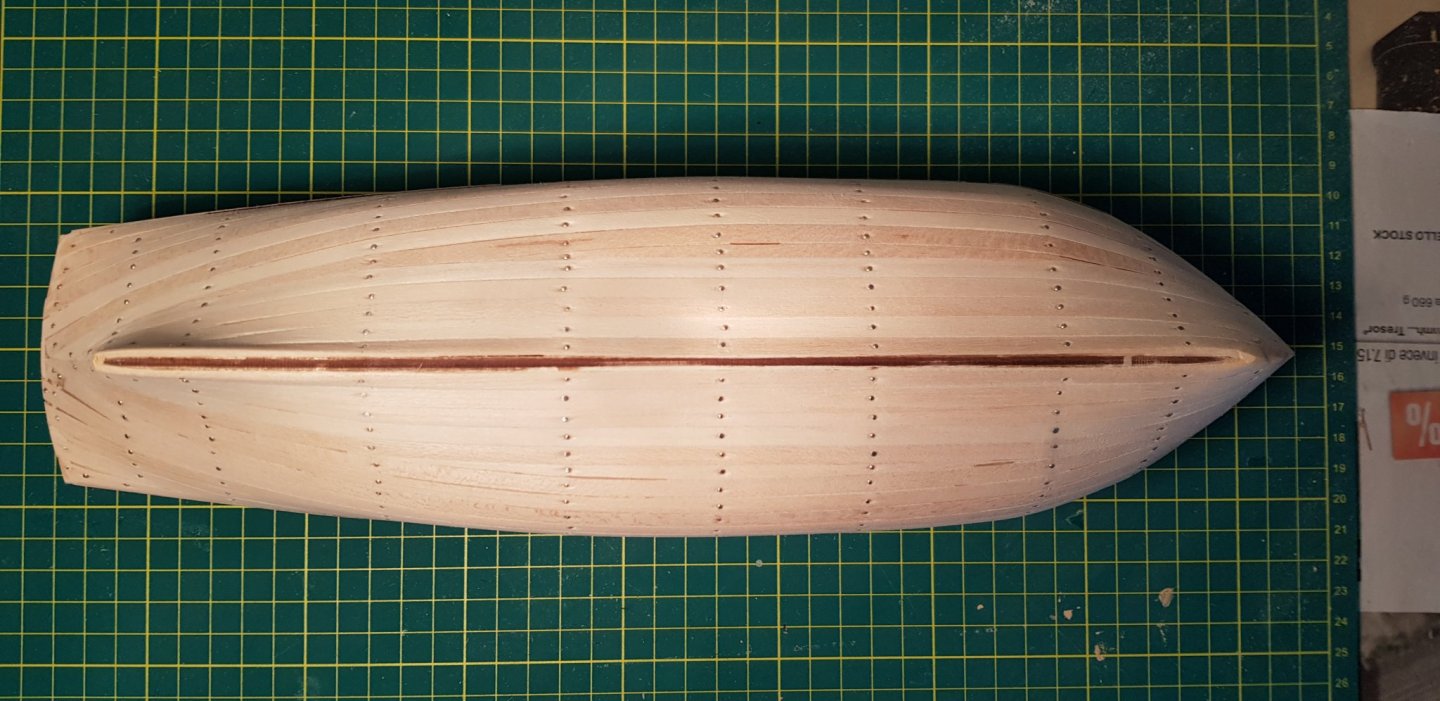
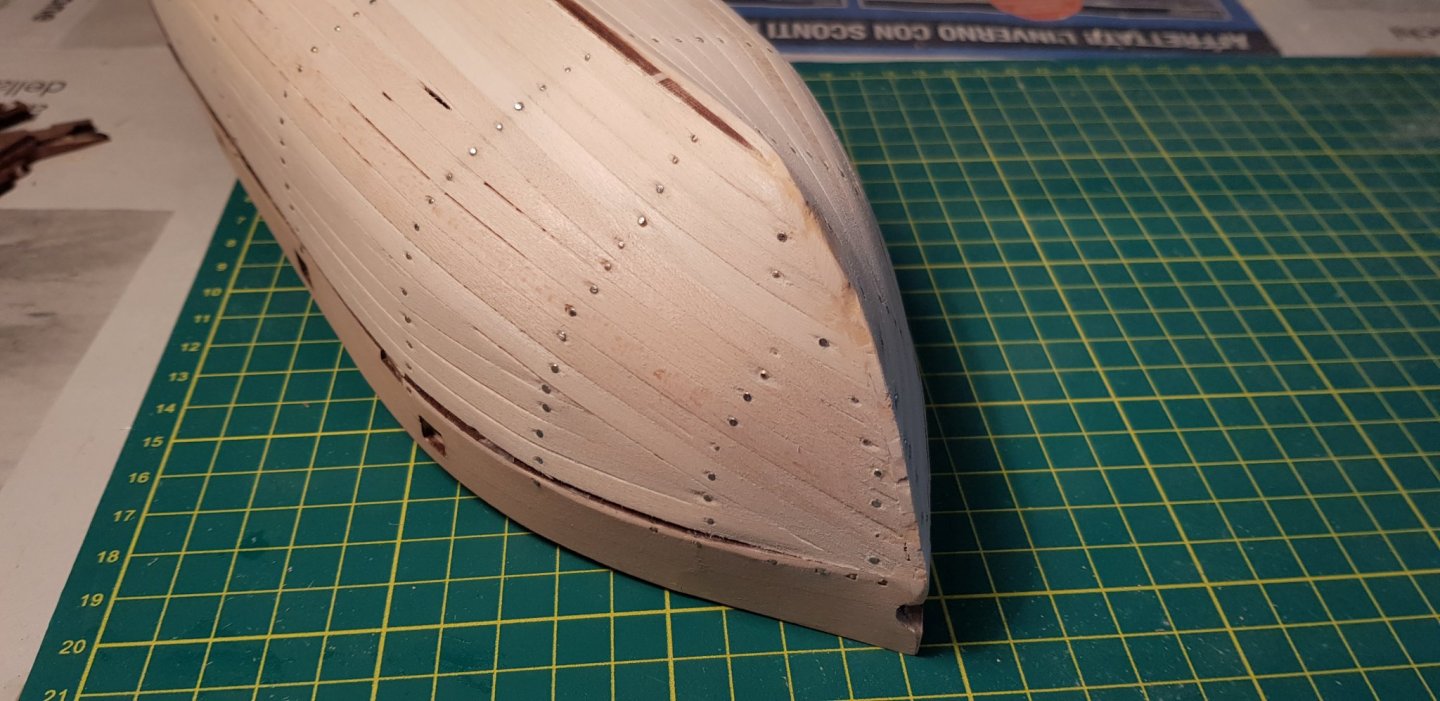
As expected, things go much slower after the Christmas holidays are over Anyway, I'm done with the first planking and gave her a good sanding. I'm quite happy with the result, the hull looks decently symmetric and sturdy. I didn't really have the tools to temporarily fix the planks to the hull for drying, so I just glued them on when they were still wet. Of course GrandpaPhil was right a few posts above, this left some small gaps between the planks after the wood dried. However, as there will be a second planking, I'm not too worried about it for this build. Unfortunately I've been a bit imprecise at bow and at stern (I should have sanded the frames better, some planks were really difficult to place). So I decided to use some wood paste to fill the gaps in order to have a smooth surface available for the second planking. Now I'll use the elements of the keel as a guide to sand down the profile to the correct size and width (4mm) and then I should be good to go with the second planking. Matt

-
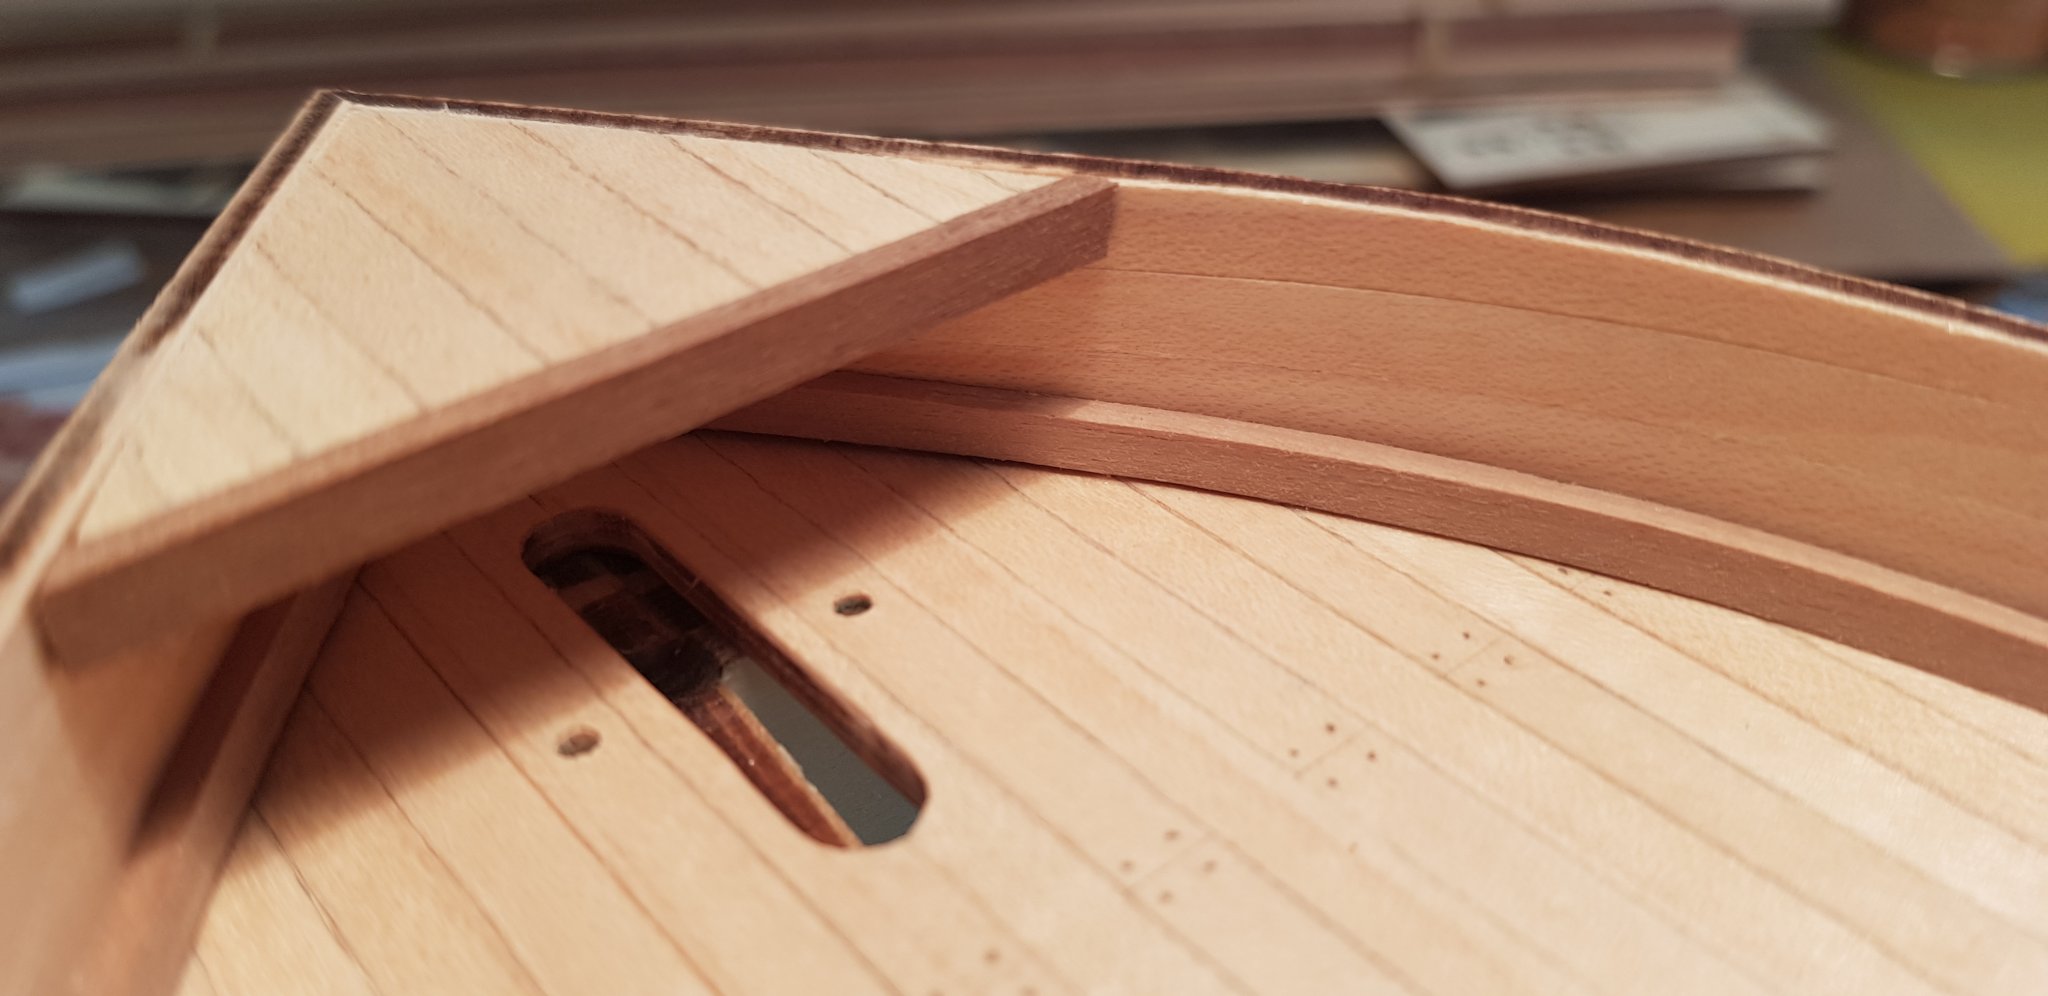
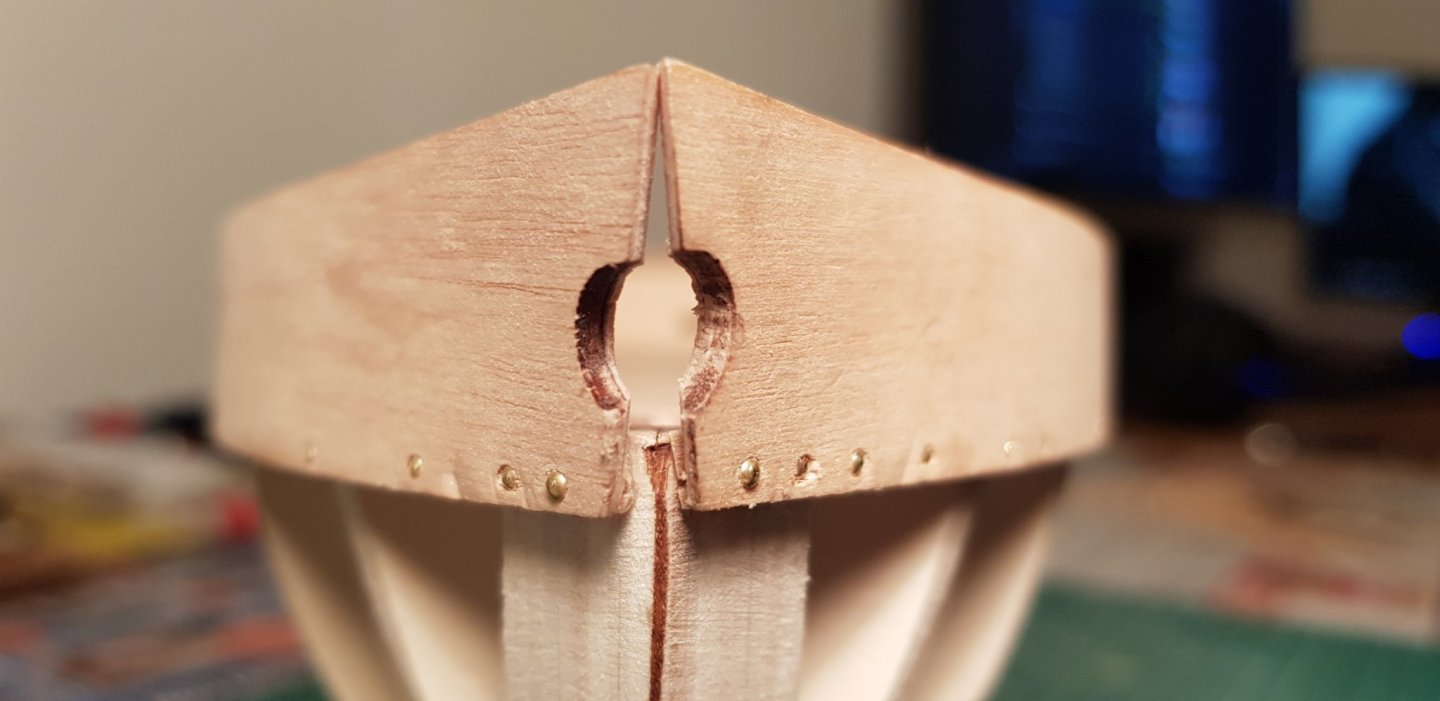
So, I finished installing the waterways. At the same time I managed to join the tips of the bulwarks. I thought this would have been a quick step, but had to sand down all the parts from 4mm to ~3mm, otherwise they would cover part of the gunports. Unfortunately I noticed too late that I didn't properly part of the waterways and now there is a 0.5mm gap at bow. At least it's not too much in sight.. 😁 Time to start planking the hull. That's the part I fear the most, wish me luck! Matt

-
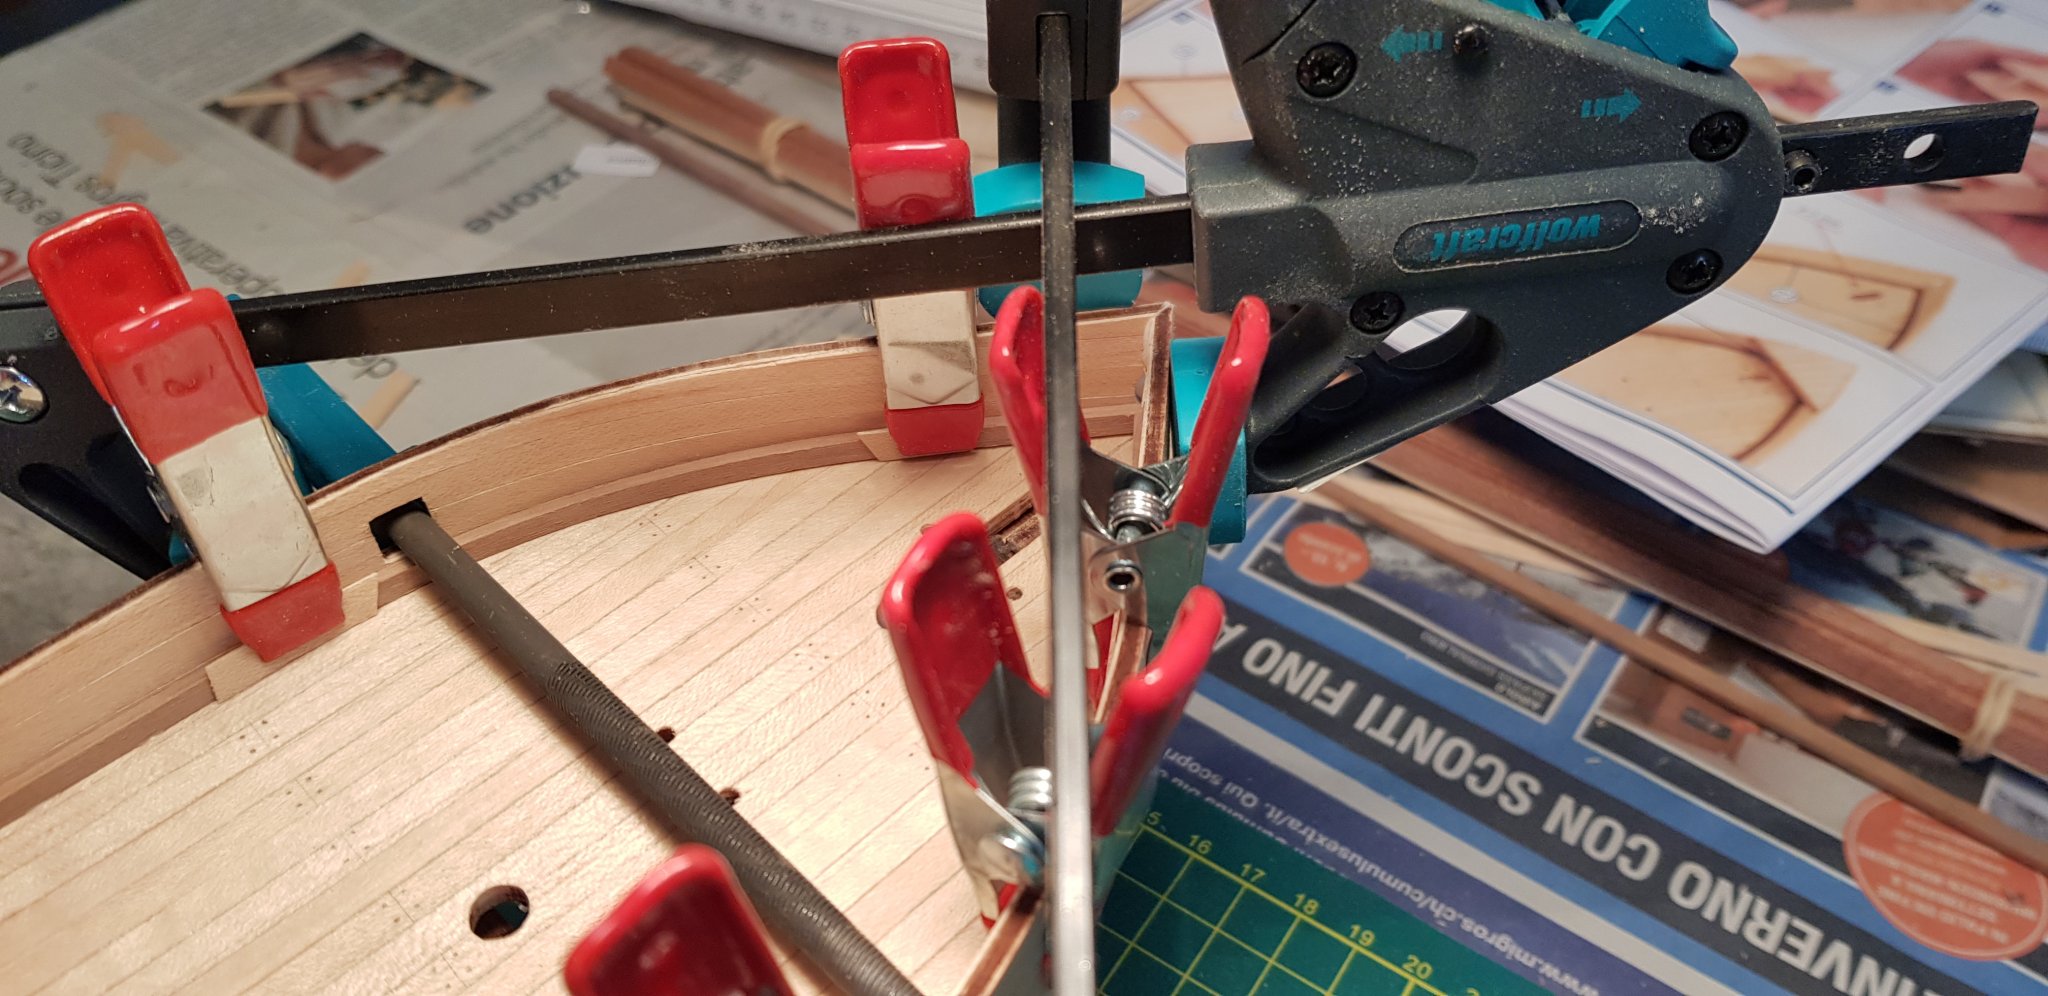
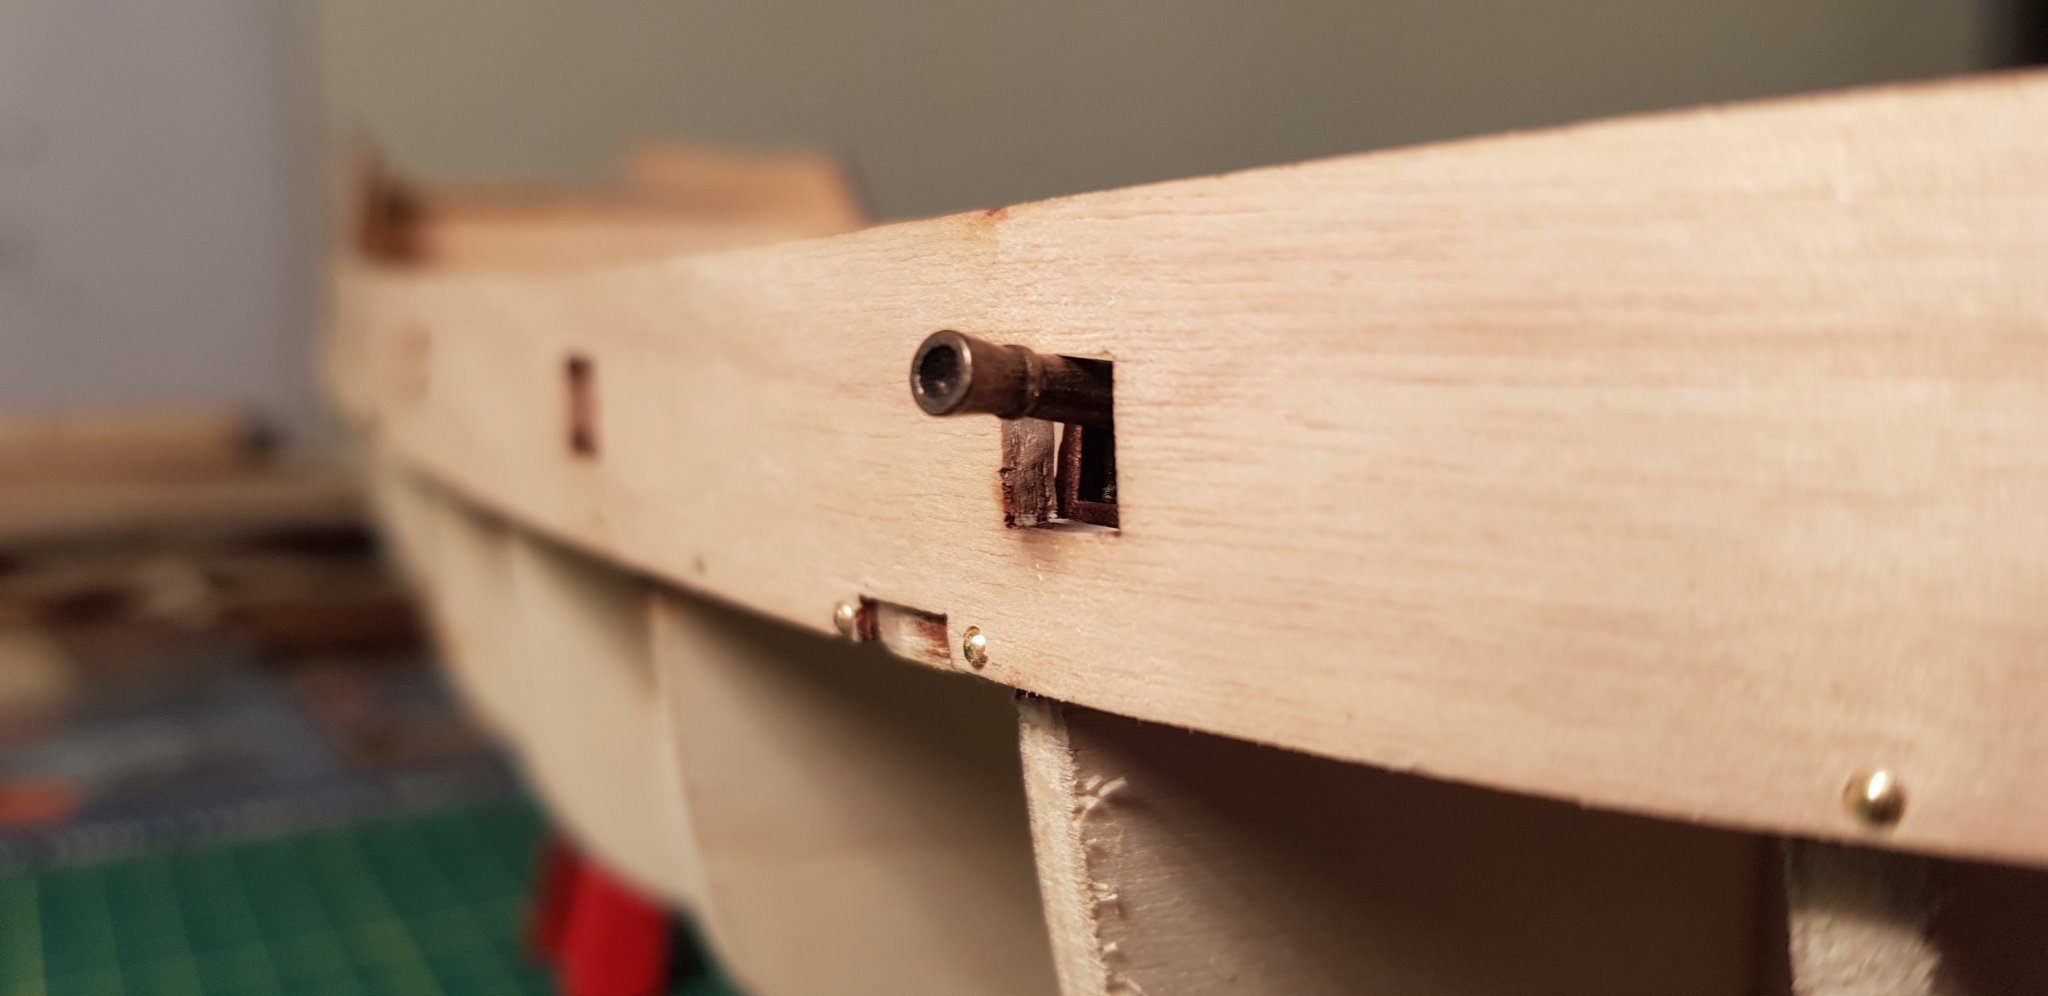
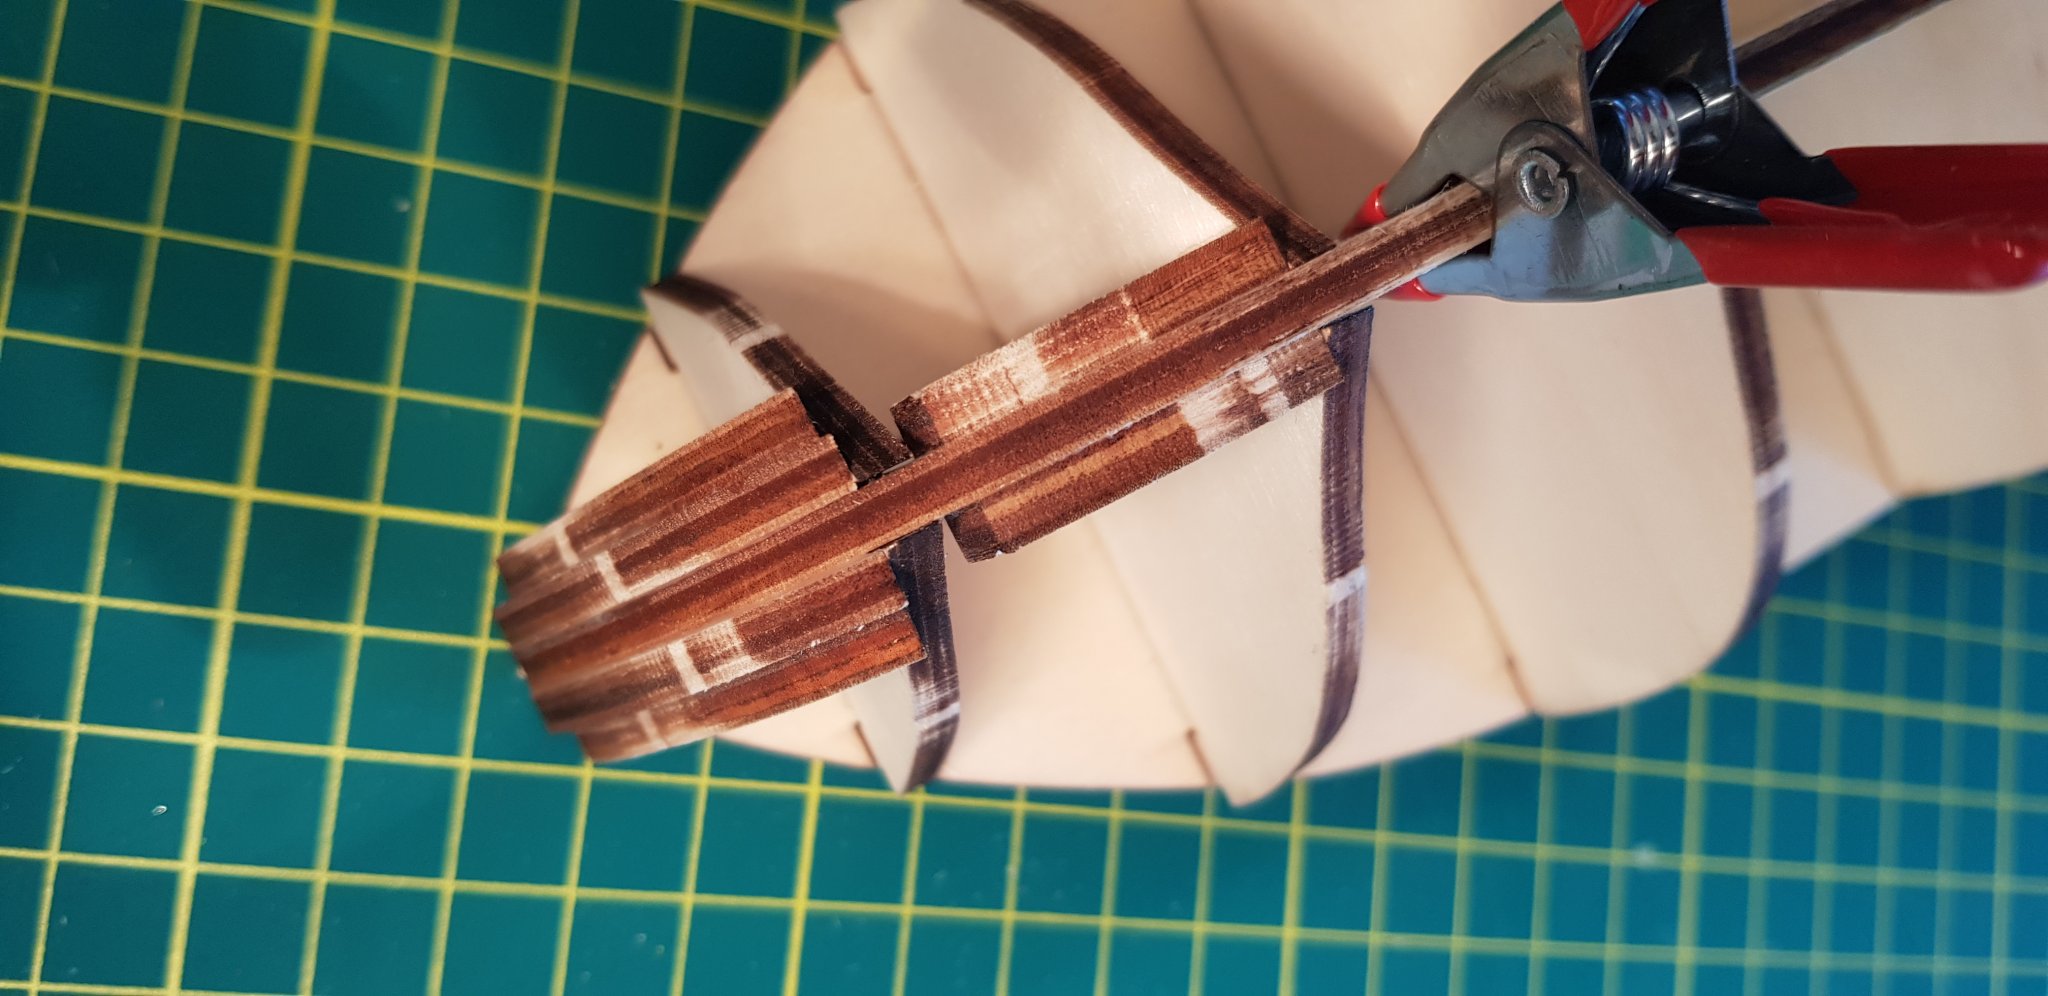
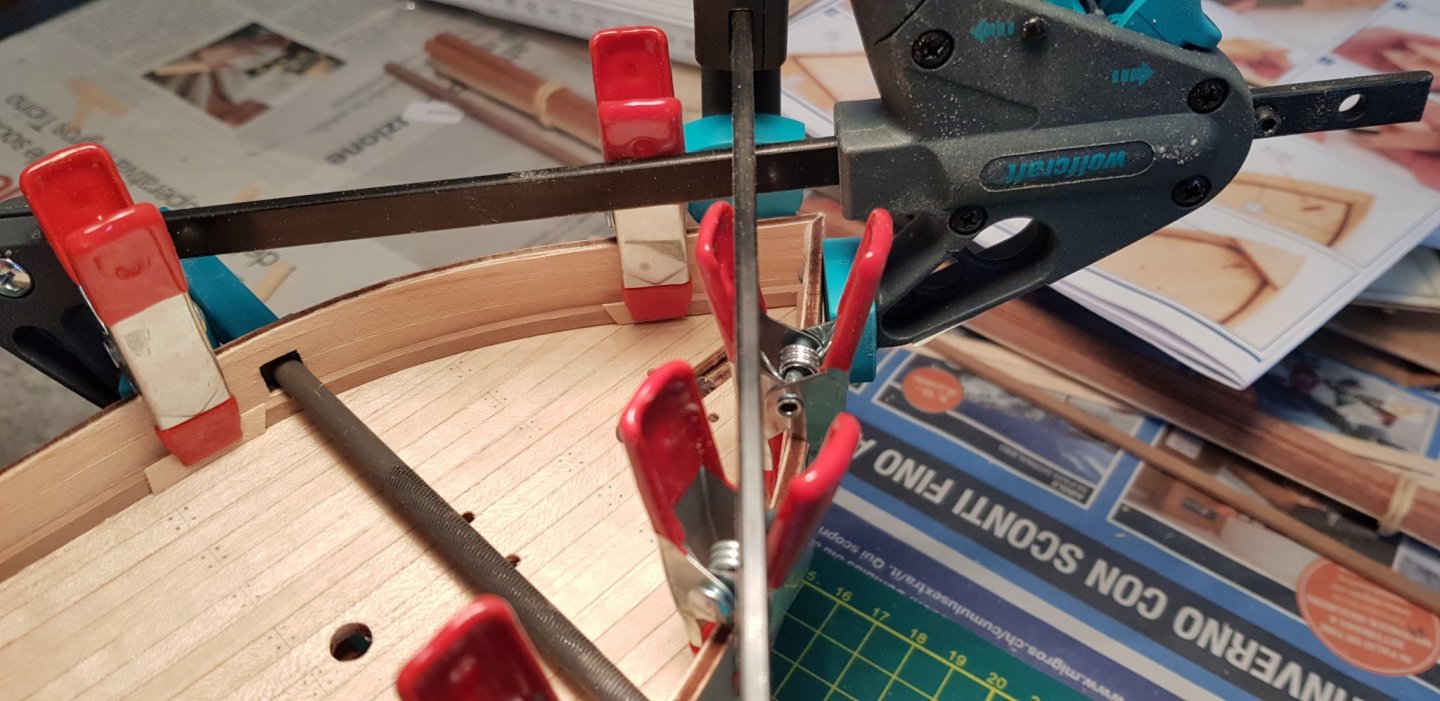
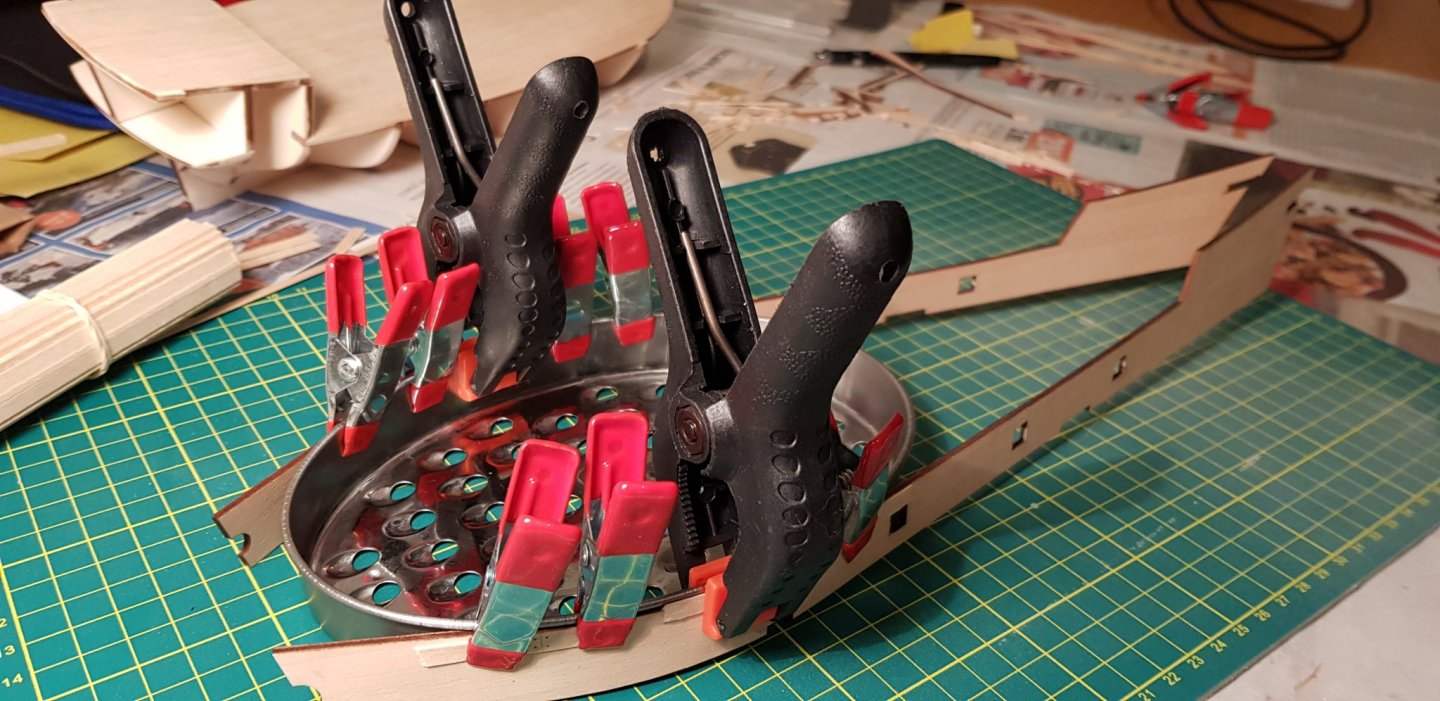
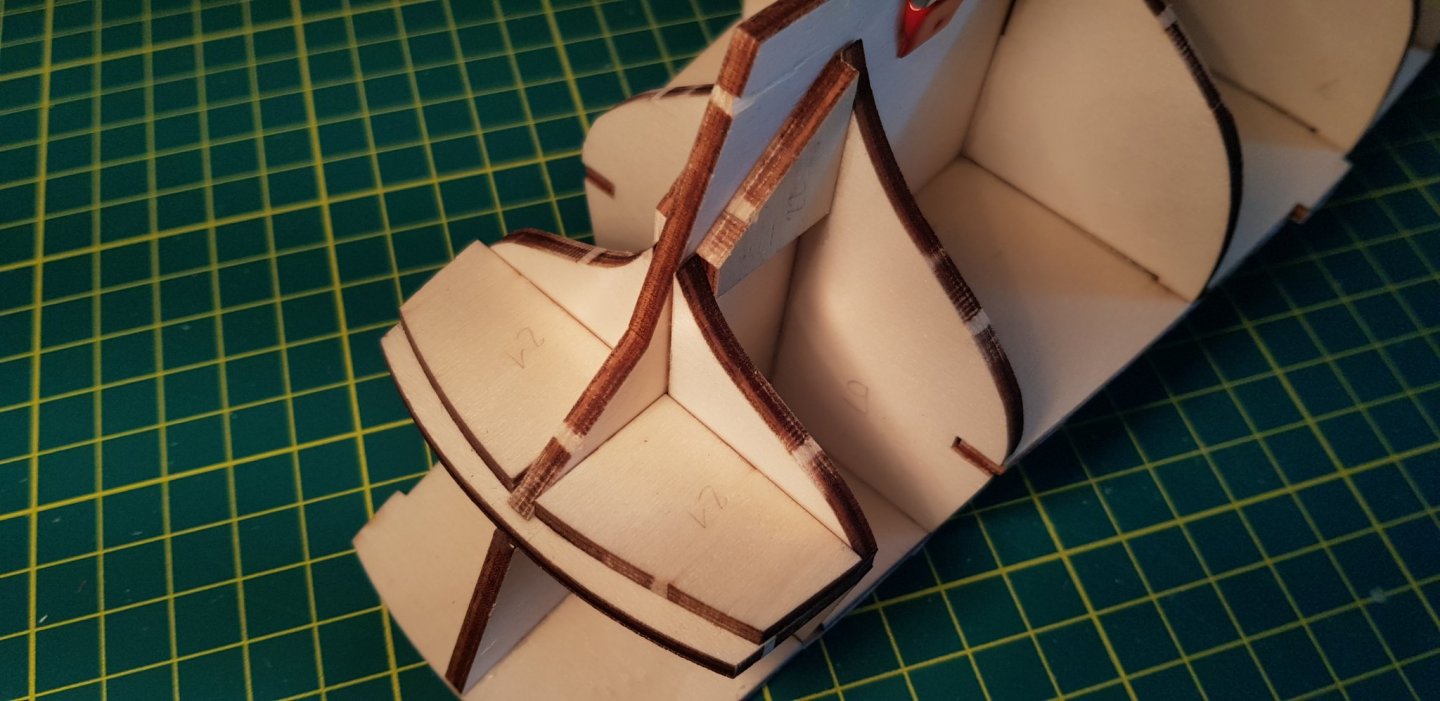
Thank you for the video tmj and Chuck, it will be very useful! After a few tests with some scraps, I decide to use steam for the plywood bulwarks. I moderately steamed the area to be bent for a few minutes and then placed them on a "support structure" (please don't tell to my girlfriend what I do with her kitchen tools). I first fixed the weakest point (the foremost gunport) under the large clamps and then slowly added the others. The bulwarks bended much easier and, once dried, maintained the curvature even after release. The new curvature is not perfect, but it's a good starting point, glue and nails will do the rest! Meanwhile I sanded the frames. I'm pretty satisfied with the shape of the bow, but I'm not sure whether the stern is correct. I guess that after planking the first ship I'll get a better intuition of how it should look like. Finally I attached the bulwarks. As I bended them already, the process was quite smooth and I only needed to apply some pressure when fixing the last few centimeters of the bow. Although Occre's instructions only use glue, I needed nails as well to maintain the shape of the bulwarks. As a first timer I'm satisfied with the result, however there are two geometry issues: (left) at bow, the bottom of the bulwarks is too short and the top is too long. (right) the cannons would touch the top of the gunports. Is this kind of problems common or did I make a mistake? For the bow I will probably use some wood paste to add the missing part, the lining will cover it anyway. However, I'm not sure about what to do for the cannons.


-
Oh right, of course. Thanks! Regarding bending the plywood: I found a few posts in other forums suggesting to steam it or wrap it in hot wet towels, I'll test both on some scraps and see how it goes.
-
Thank you for the warm welcome guys 😁 After all I decided to start one, here it is: https://modelshipworld.com/topic/22727-albatros-by-bigmatt-occre-scale-1100-first-wooden-ship-build/
-
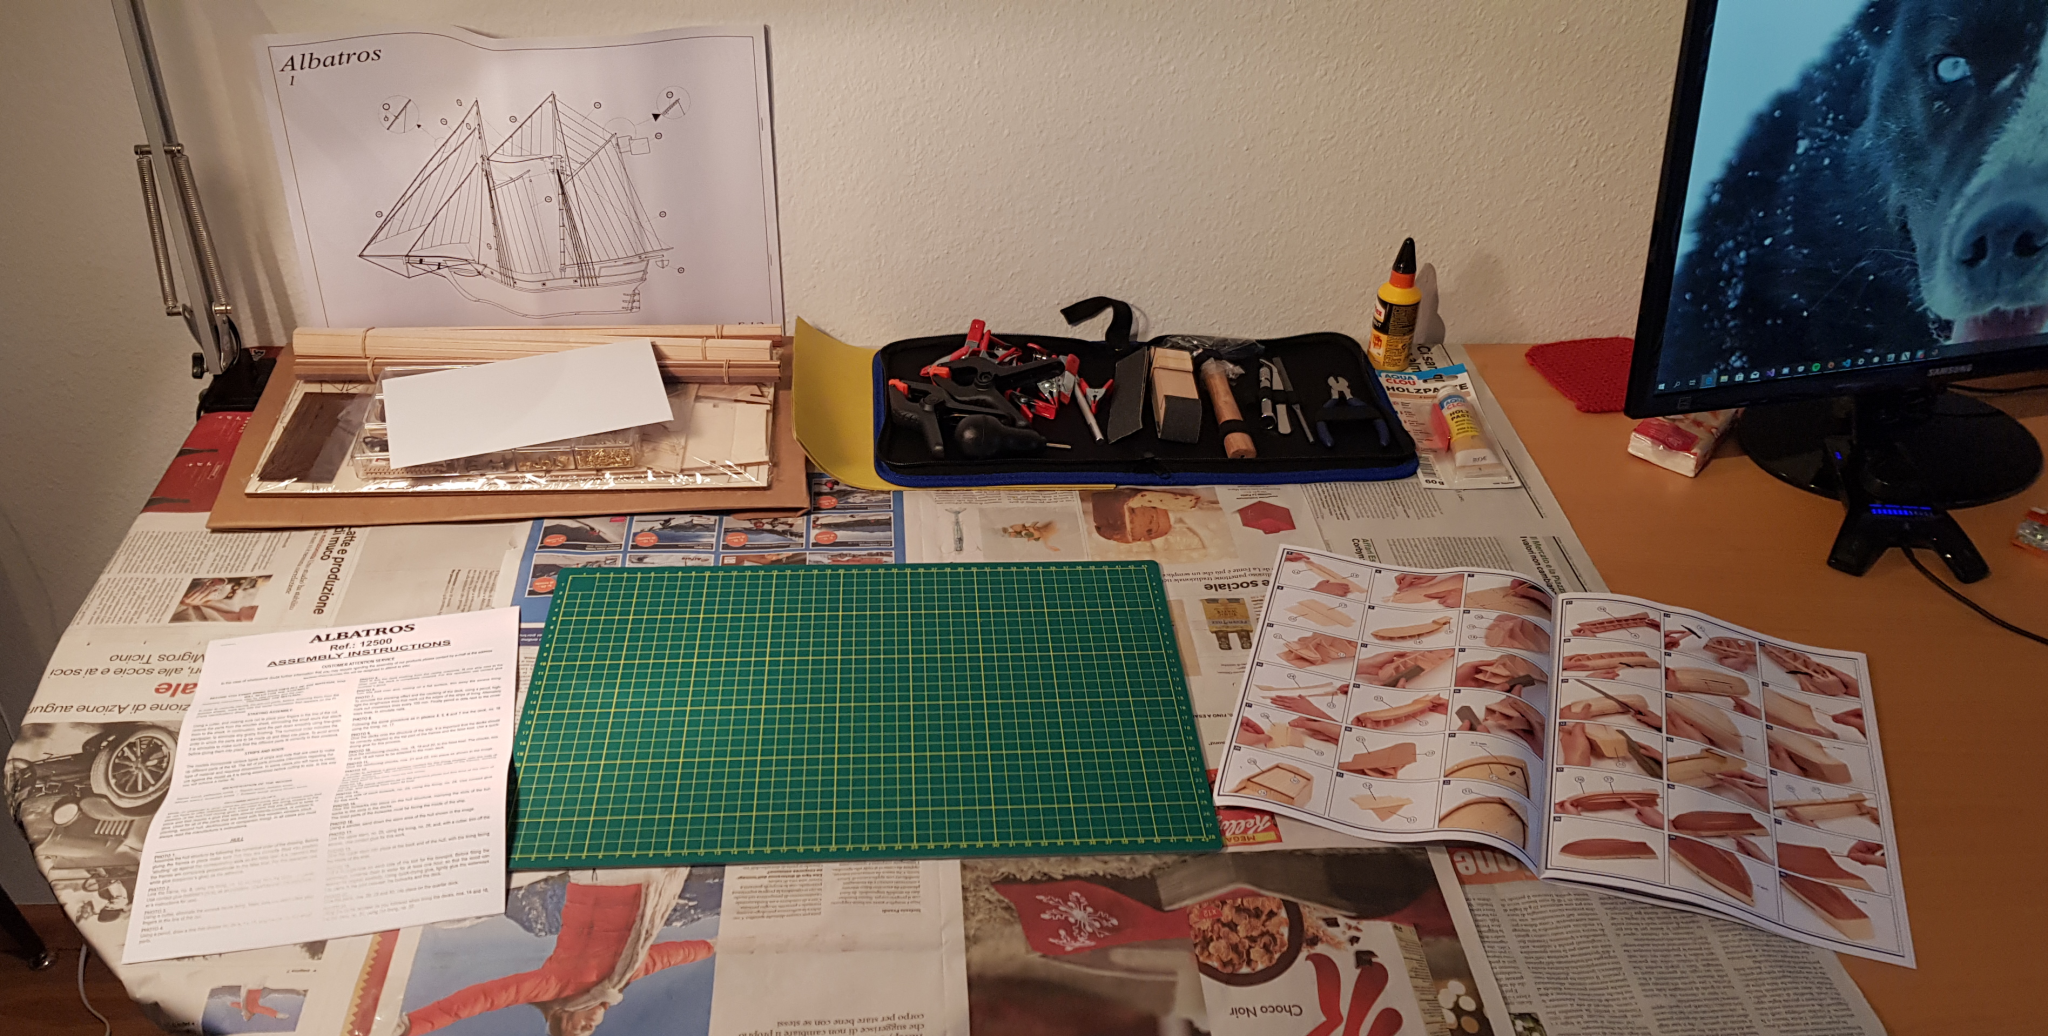
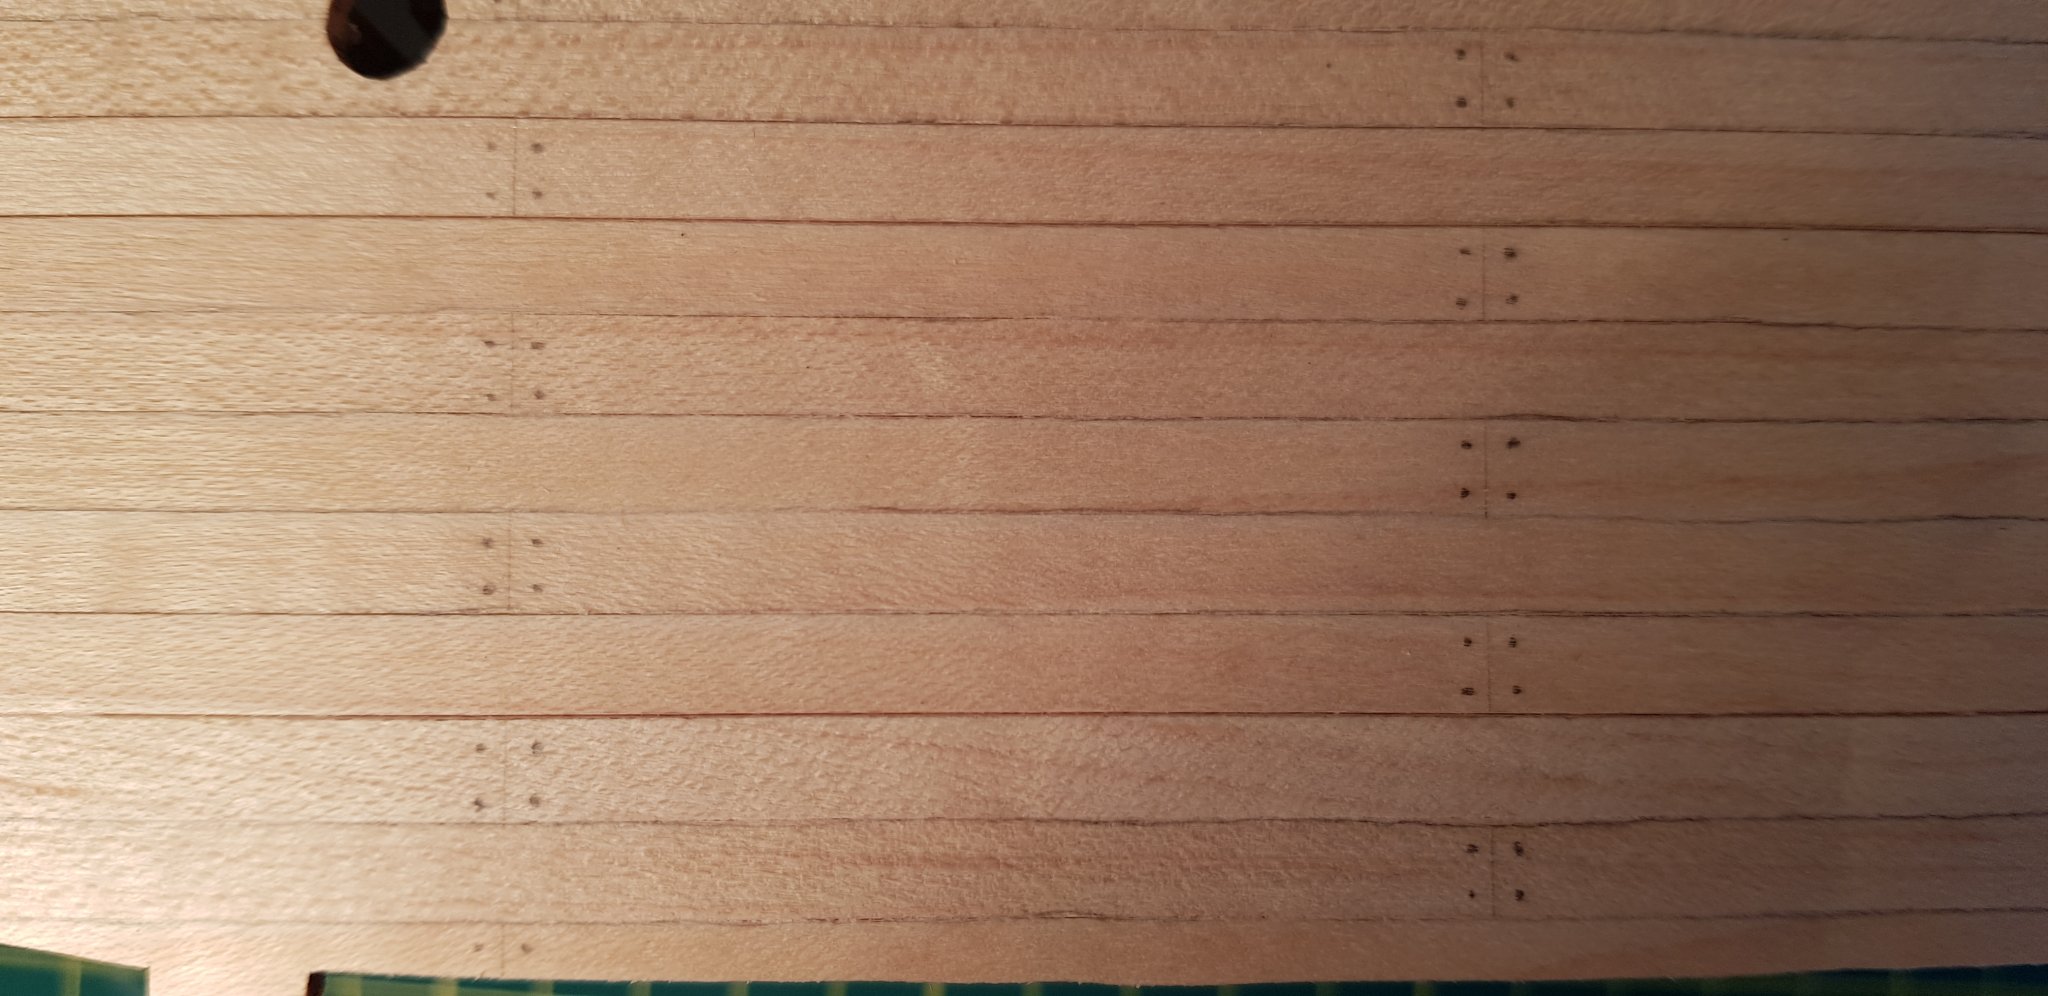
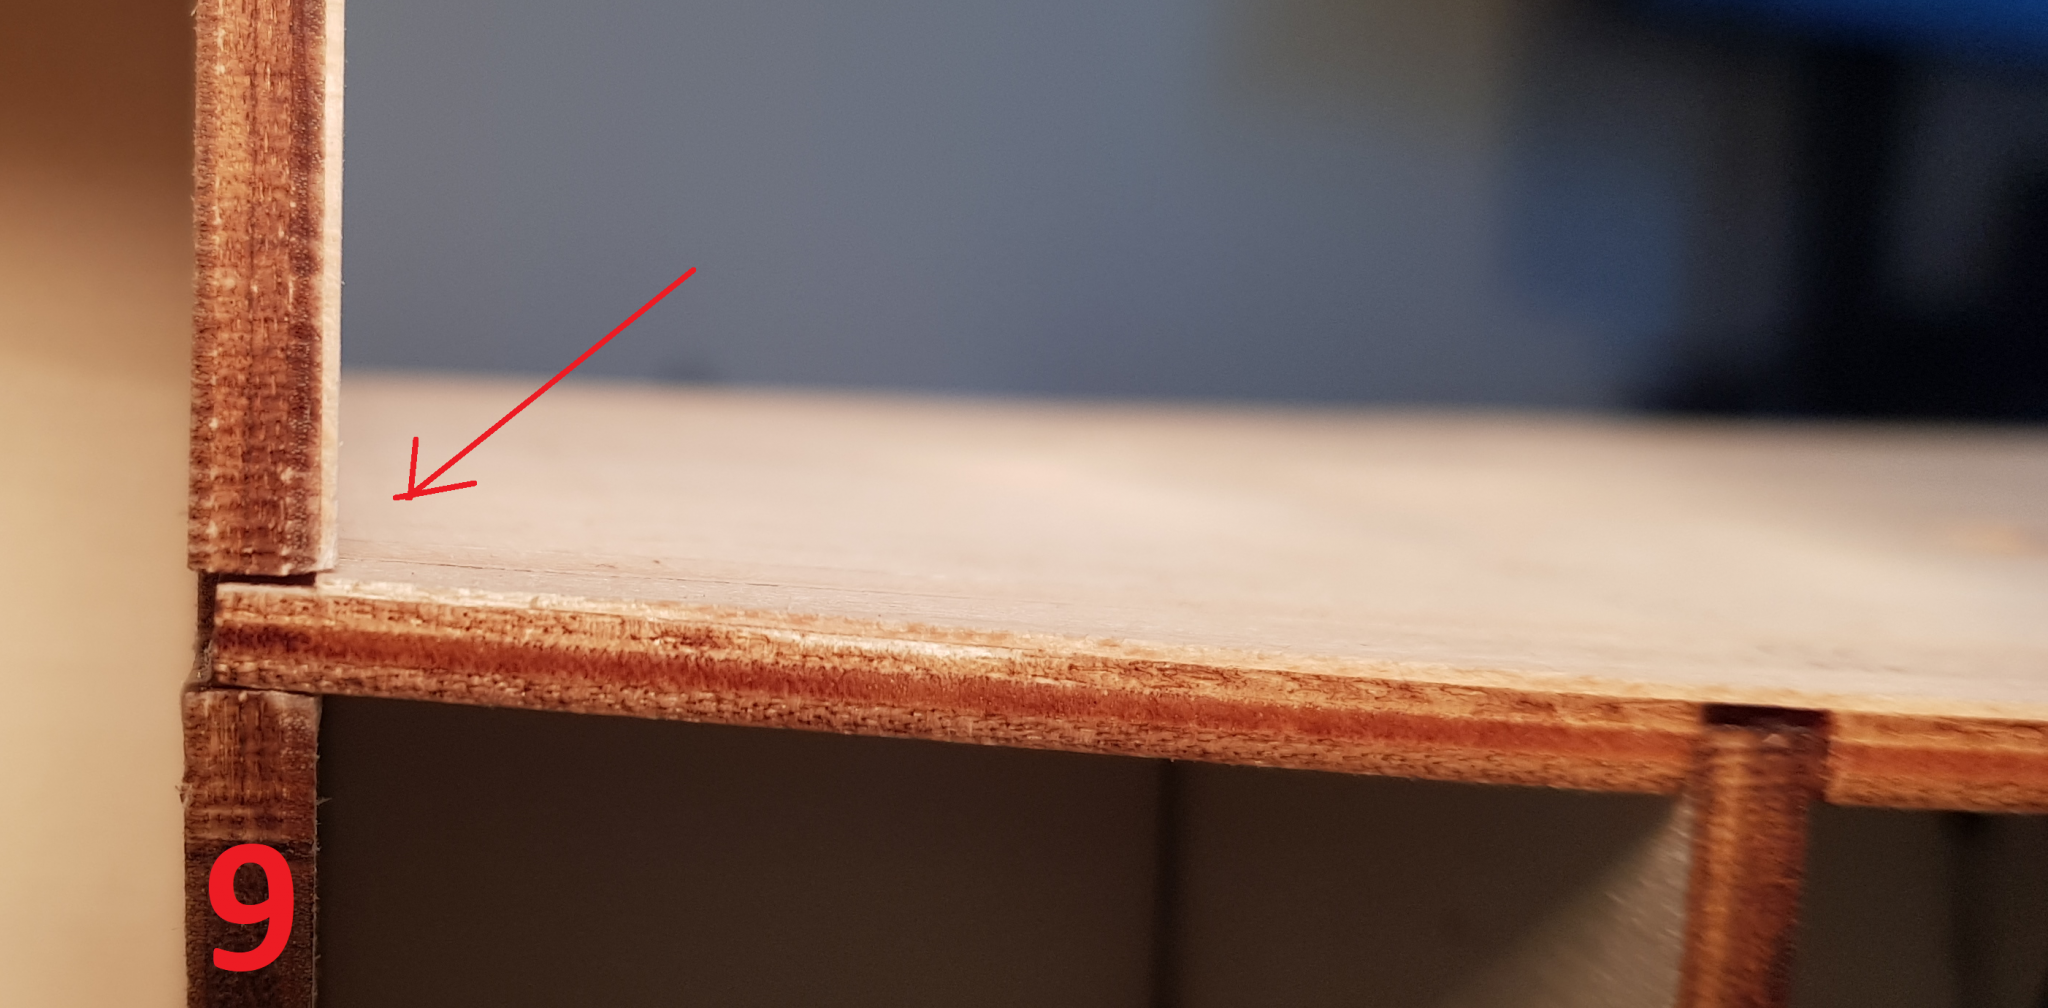
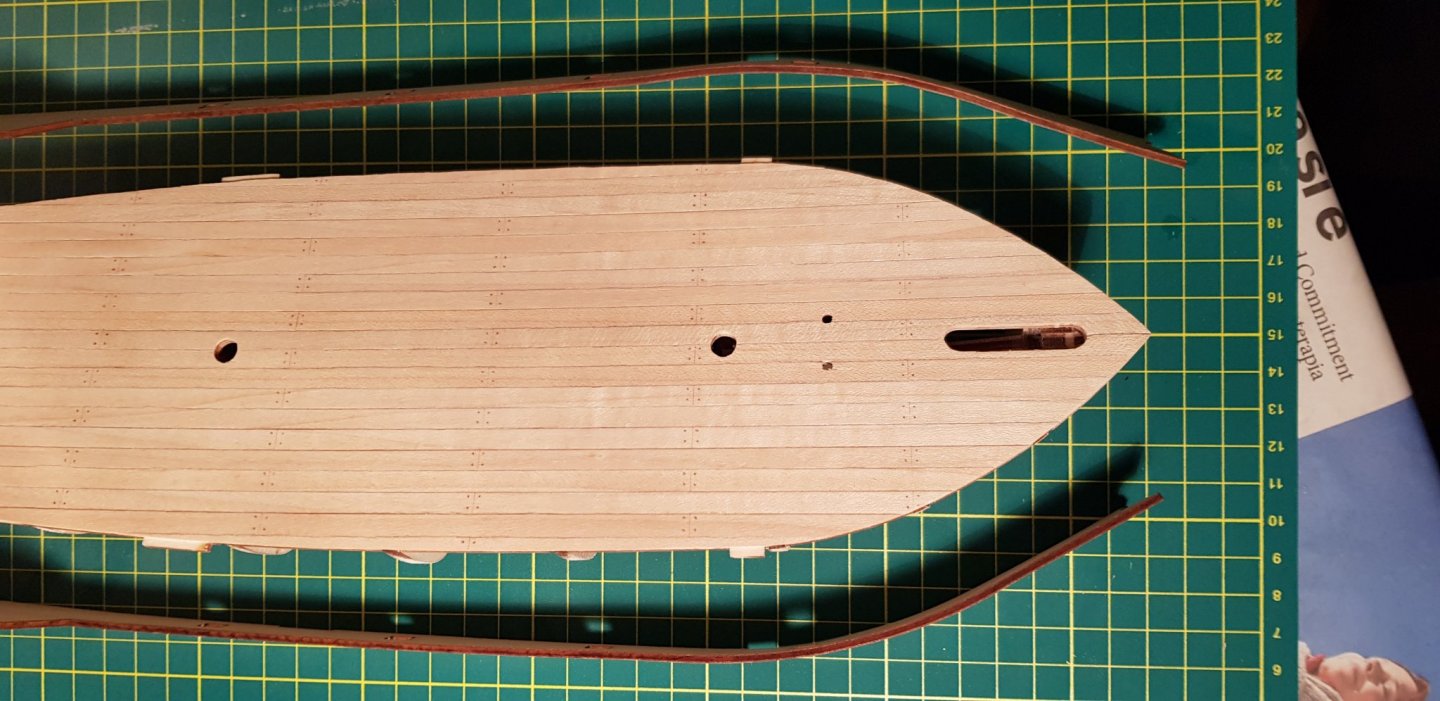
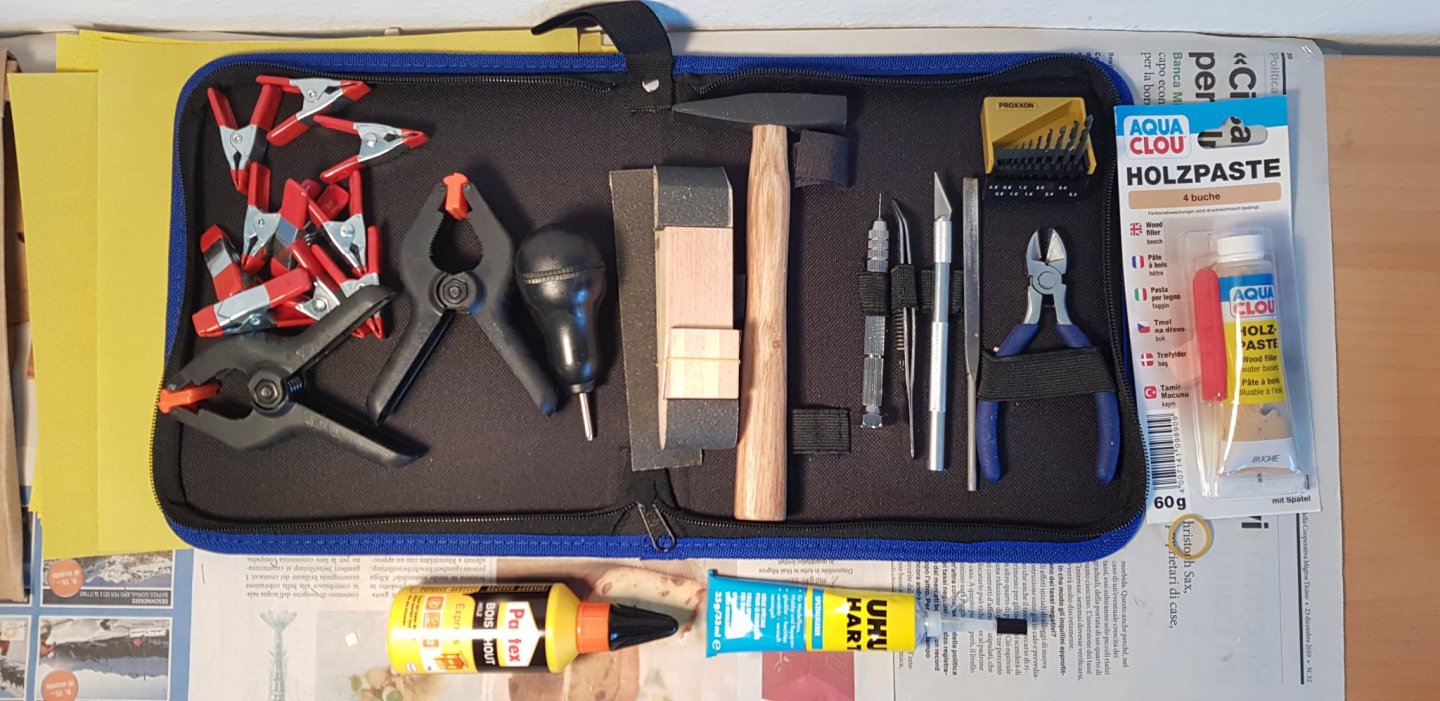
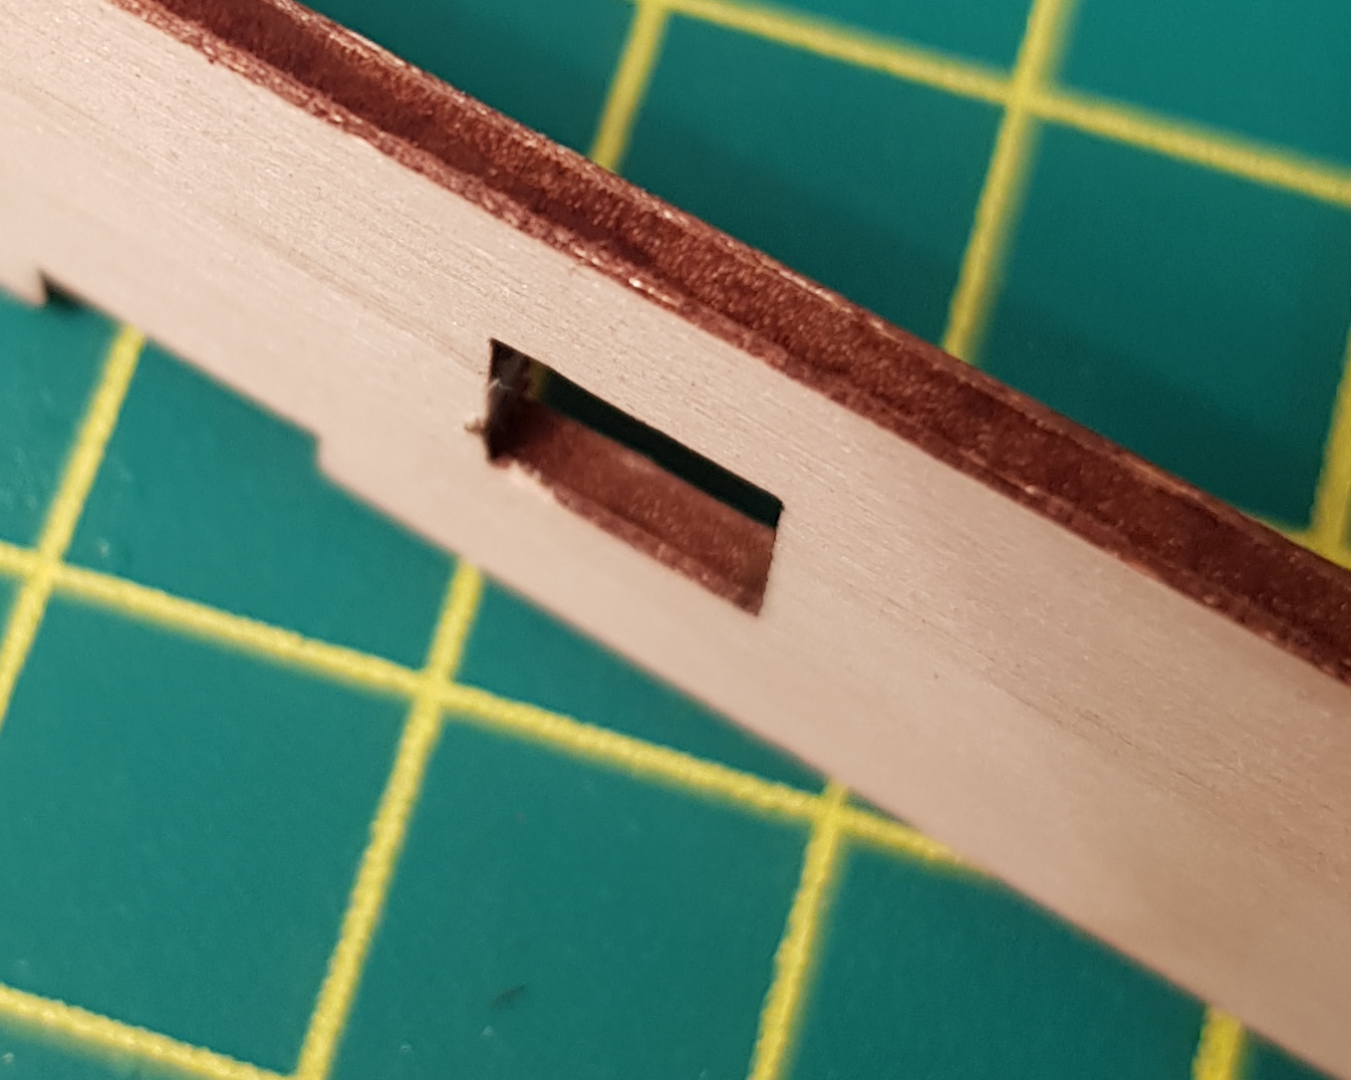
Hi, After a few clumpsy and failed attempts to build a kit as a teenager, I decided (ten years wiser) to jump give it a go to ship building again with Occre's Albatros. There is already good logs and videos on the kit around, but there are still a few unanswered questions for me. With this log I hope to get help answering them and, maybe, to help future beginners as well. Let's start with the tools: I started from scratch, getting the basic kit, the nail pusher, a cutting mat and some small clamps from Occre. Additionally I bought extra drill tips, larger clamps, white glue and contact glue from a local store. The wood paste I'll hopefully not need, but you never now. At first sight the kit looks very good and "approachable": Occre provides illustration and textual instructions for all steps of the construction. Ready to go! The first ~8 steps are fairly straightforward, but still I was able to do a few minor mistakes: Aligning the frames "by eye" was not enough for me, I still had to fight a bit when gluing the deck. I wish I had seen Barry1's log before, his approach definitely allows for more precision. Take your time when lining the deck: minimize the amount of glue and remove the excess immediately. Also, I found that the contact glue is way easier to clean up from the model than white glue, resulting in a clean surface. I used a regular pencil to draw the nails and the dirt/shadows between the planks. A light stroke seemed sufficient to me, but next time I'd probably use black for the lines. Do make a dry try before gluing the deck, in my case I had to remove 1mm at the front of the main frame and cleanly cut the bottom of the lining of frame 9 in order to have the hull fit. Next I attached the reinforcing chocks to the false keel. The scar next to the rudder in the right image is a reminder to cut out your pieces properly with a knife rather than pushing them. Luckily that part will not be visible at the end. This is the result so far, hopefully I'll quickly get past these trivial issues in the future. Now it starts to get interesting, and I have a few questions on how to continue: For the first planking of the hull. I think that many people soak, bend and let dry the planks first, and only afterwards they attach them to the frames. Is there anything wrong in attaching them when they are still wet? I've seen in other logs that the bulwarks don't bend uniformly, in particular because the front gunport weakens them. I'd like to bend them better by soaking them in water, but I also read that this can be dangerous with plywood parts as it could delaminate. Any advice? Below is a picture of the part. Cheers, and happy new year! Matt


-
Hello, I did a few plastic aircraft models and failed two wooden ships as a teenager. Now I'm almost 30, and I decided to take seriously on an hobby to clear off my mind during my doctoral studies. I played around with matches (glue-free) and built a few Ugears models in the last year and found the love for working with wood again However those models are getting a bit simple for me, so I decided to give it a try to ships again. I love models (or in general, artworks) with lots of details, and this seems the best option. Fingers crossed, the third time will be the good one! Thanks to @ccoyle's hints I cooled down my enthusiasm and started with something simple: Occre's Albatros! I see lots of videos/logs about it and I'm looking forward to draw from the experience of the seniors on this forum! If I win over my shyness I may even start a build log myself... let's see. I'll soon start the planking, let's hope everything goes well! Thanks to everyone keeping this wonderful community running, see you around! Matt