Pete_Boaty
-
Posts
3 -
Joined
-
Last visited
Content Type
Profiles
Forums
Gallery
Events
Everything posted by Pete_Boaty
-
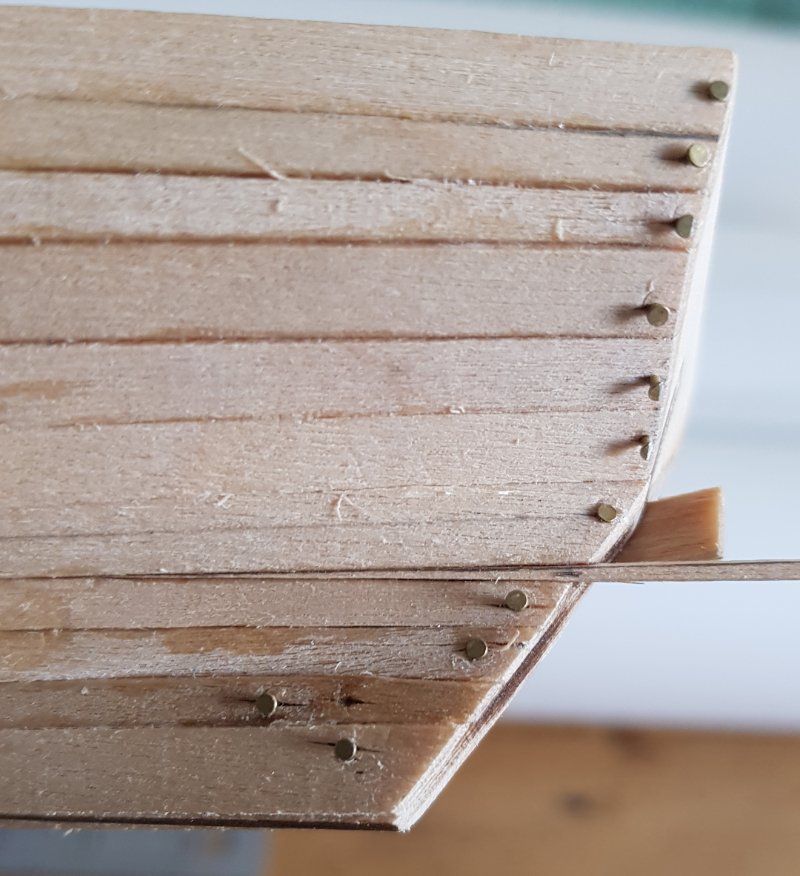
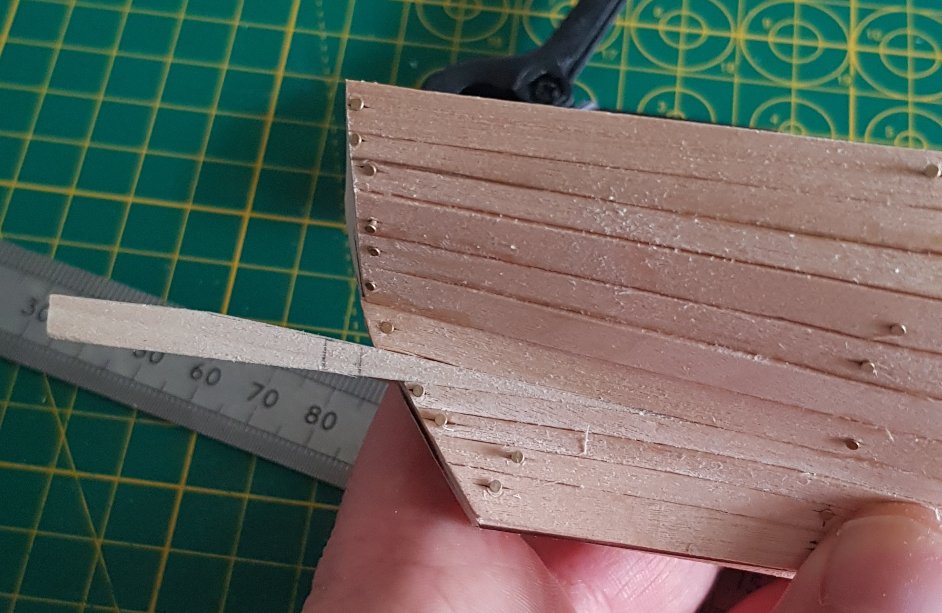
The Plankening, Part 2 As Ive gottent towards the middle of the bulkheads Ive been able to make much neater cuts with the scalpel (the plank widths and spacings however are a complete beans up, but thats a topic for the next post...) At the stern of the boat I found that the path of least resistance was to leave a couple of planks at their full width and then add a stealer plank on each side. The differing width of the stealers does show how sloppy my combined bulkhead sanding, plank planning and plank cutting has been but I am planning to fill + paint the hull rather than apply a clear coat finish. Because of this im not overly concerned with uniformity and ultimate precission with the planking on this model but I do want to be proud of it once Im done with the filler and primer. That brings me up to date (early July) with my progress on this build. Next jobs are to finish the planking (I still have a gap amidships) and get the sanding done. Hopefully ill be able to post an update with this next weekend Stay safe folks
-
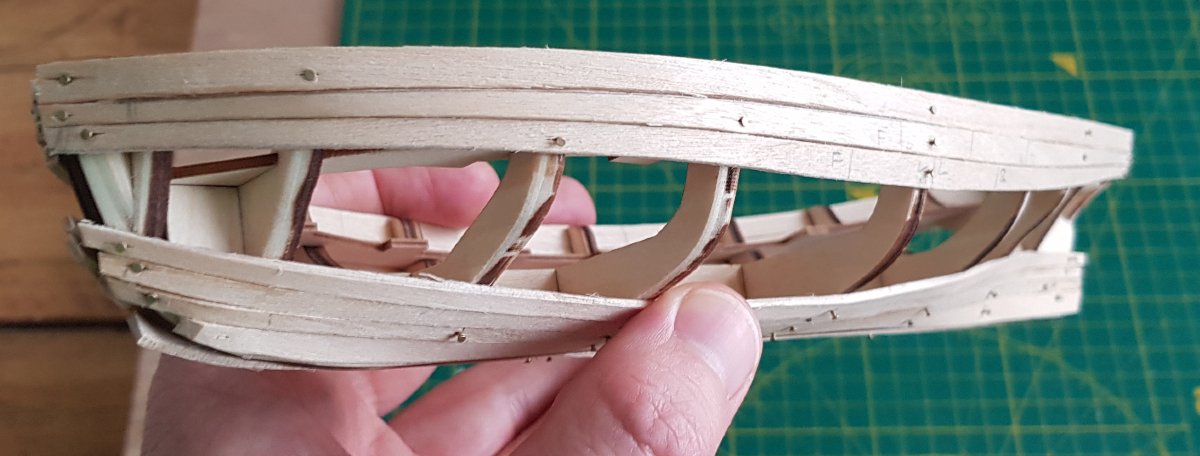
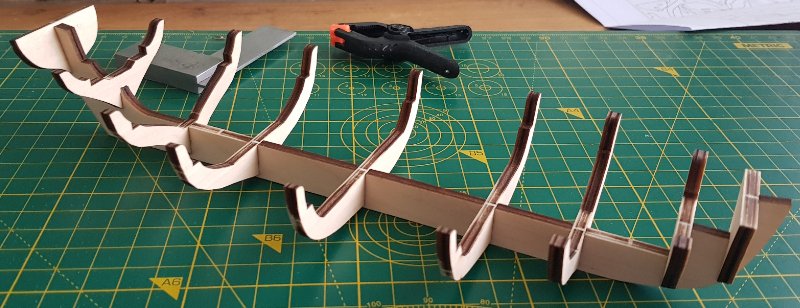
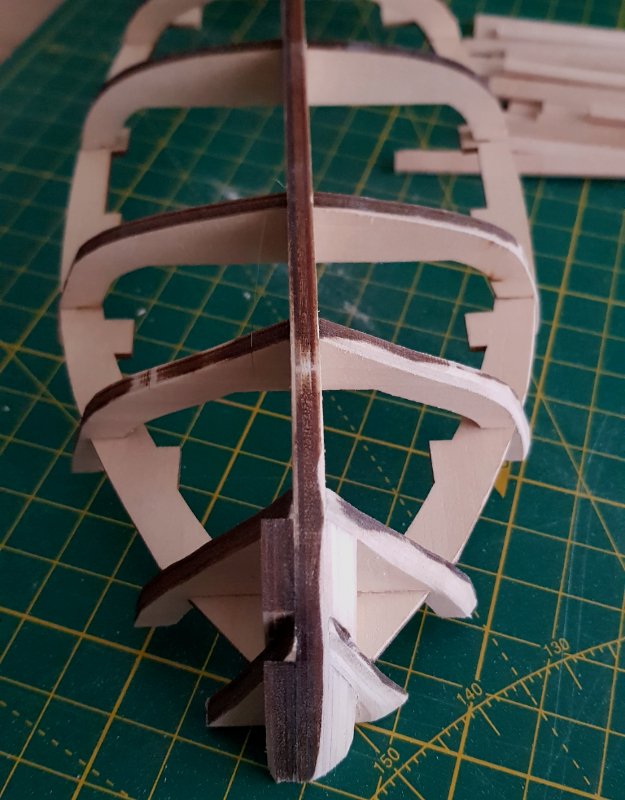
Frame Build and The Plankening, Part 1 Having read through some of the included instructions (yeah, I know..) and other build threads on this forum I decided that, as a complete beginner, the best thing that I could do with the instructions was to ignore a section of them (yeah, I know..). This kit seems to want the user to build up the hull planking in an unusual way, its probably more beginner friendly but I want to learn more planking skills for future kits so Im going to do my best to plank he hull in a more 'traditional' manner. Anticipating a few mistakes along the way I ordered some extra planking. As you would expect the first thing to do was to build up the hull frame. The bulkheads came away from the sprues easily enough and I only needed to do a bit of sanding to get everything to fit together straight and true. Off to a reasonably competent start at least. At the bow of the boat this kit included a couple of pieces to be glued perpendicular to and ahead of the foremost 2 bulkheads. Looks like the purpose of these pieces is to provide a bit more support and gluing surface to planks as they bend around to the front of the bow. As I was sanding the rest of the bulkheads to fit the bend of the planks I had to remove a lot of material here to get these pieces to fit correctly. It was hard to keep both peices uniform and I think if I were to re-do this kit I would subsitiute these pieces for some balsa wood blocks. Once I started to fit the planks I decided to work evenly upwards from the keel and downwards from the top (?) towards the middle of the bulkheads. I was able to fit full plank lengths, trimming the planks down to about half of their origional width at the bow and stern. Once the top couple of planks had been added there was a supprising amount of strength to the frame, certanly enough to withstand driving a few pins in to hold the planks while the superglue did its thing. One thing that I did notice was that the second bulkhead from the stern seemed to be too greatly recessed at the top of the boat. If I let the planks lie naturally this bulkhead did not seem to offer the planks any support and I was worried that if I sanded away enough material from the other bulkheads to bring it into line then I would mess up the lines of the hull. Everything seemed go fine with the topmost planks missing that bulkhead anyway. One thing I did have trouble with was figuring out the best way to cut my planks. Im sure that this isnt the neatest way but for this build Ive settled on marking out the line I want to cut in pencil, clamping a metal ruler to the line, and then cutting with a scalpel using many passes and a light pressure. Edited for crimes against english


-
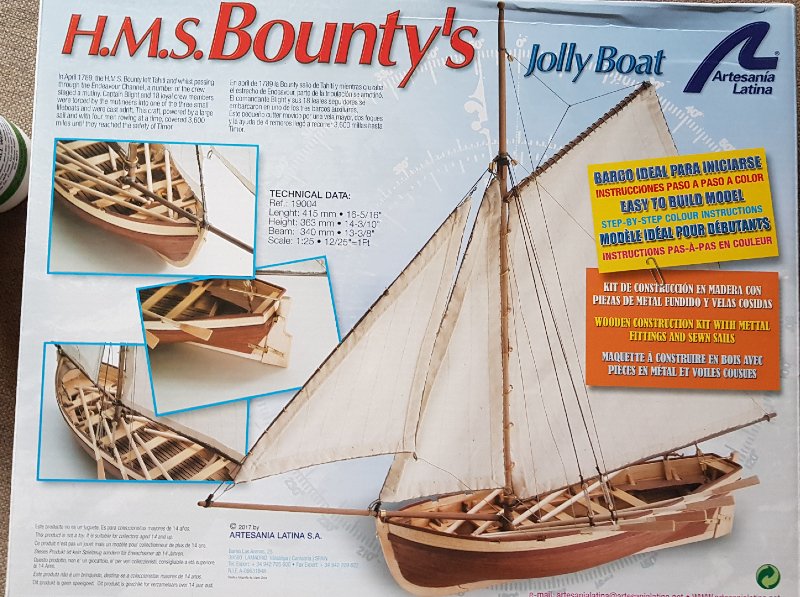
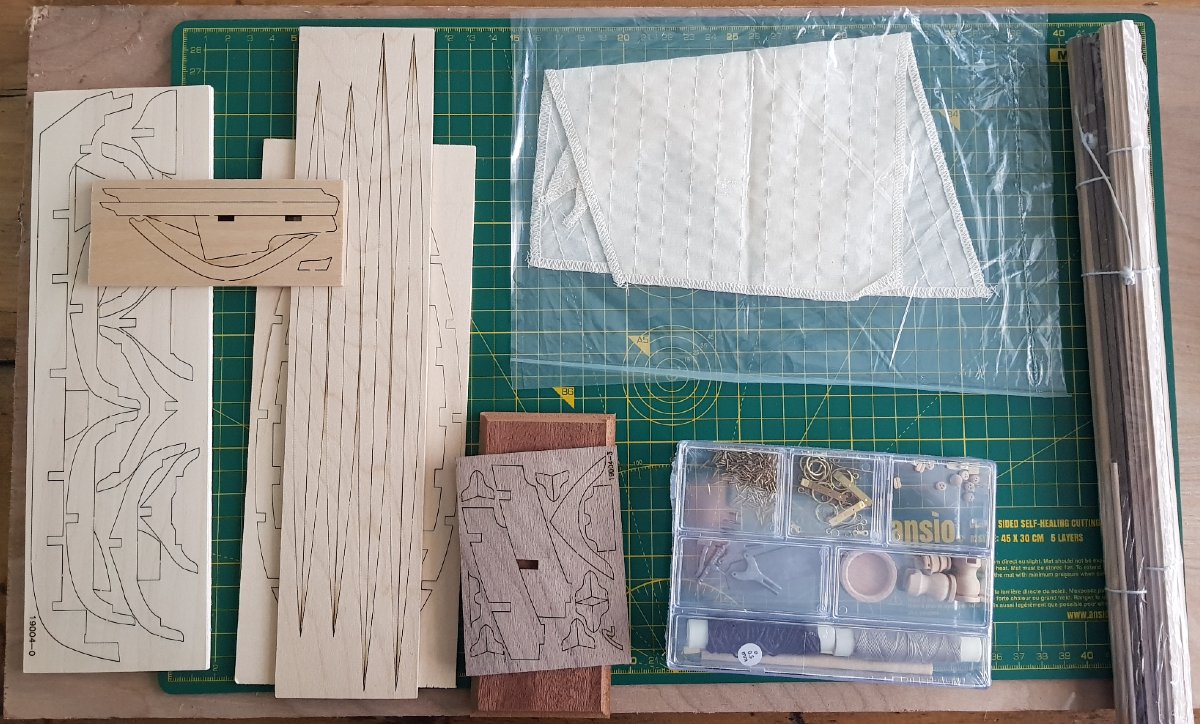
Hey Folks, A few years ago I bought a Lady Nelson Cutter kit, I had a brilliant time planning out the kit and building the model right up until I got to the first layer of hull planking. I tried to only use the included instructions as a guide to planking and, predictably, completely messed it up. By the time I had removed and re-applied the planking a couple of times the front few bulkheds were a right mess, I got somewhat frustrated with my lack of understanding and packed the kit away. Fast forward a few years and a couple of months into lockdown after browsing this forum (and learning a good bit from the build threads) I decided to have another go. I decided that the AL beginner rated plank on frame kits would be a good place to start. They looked a little faster to build than the Lady Nelson kit and my plan is to build through a few 'simple' models and work my way upwards in complexity. As Im writing this Im a month into the build so I think I can say with a farly high degree of confidence that this will not be the best build that you will glance at today. If you want to read about someone making a better fist of things with this kit I highly recommend the build by JMaitri The AL kit comes pretty well packaged in a reasonably small box, included is a small pamphlet style instruction book with colour pictures as well as a large sheet of plans with details of the rigging and a parts list. The wood its self all seems to be of good quality to my beginner eye, the softwood planking had a few splinters here and there but everything else was straight and true. The kit did have a couple of issues that I dont think were user error but there were no missing parts or warped keel which was a great start