


SeaDoc
-
Posts
16 -
Joined
-
Last visited
Content Type
Profiles
Forums
Gallery
Events
Everything posted by SeaDoc
-
Rigging the 18th Century Armed Longboat 1/24 Scale
SeaDoc replied to SeaDoc's topic in Masting, rigging and sails
Thank you to Nehemiah and Roger for responding. Both are much appreciated. I'll have to try to find some 1mm rope. I did use some AC on the end of the 1.5mm rope, and cut it to make a fine point, but it was still way to thick to fit. I'm glad to see that others have experienced this issue, and that I wasn't the only one. The manual does not specify which rope to use in all applications. I'm off to find some smaller rope elsewhere. Thanks again. Tom -
Rigging the 18th Century Armed Longboat 1/24 Scale
SeaDoc replied to SeaDoc's topic in Masting, rigging and sails
-
Hi - I am building the 18th Century Armed Longboat 1/24 scale and am having problems with the initial rigging steps for the shroud lines. The manual describes "tan rope" to be used to rig the deadeyes together. The problem is that the kit comes with three tan rigging lines: WP1241 - .2mm beige jewelry nylon (10ft); WP1244 - 1mm beige jewelry nylon (2ft); and WP1245 - 1.5mm beige jewelry nylon (10 yds). I have followed the instructions with the thick (1.5mm) rope, but I cannot thread it through the deadeyes. I tried the .2mm line, but it seems too thin and though the line threads through the deadeye fine, the knot also threads through. I would try the 1mm line as it seems the right size, but it is designated as "anchor rope" and there is only 2ft of it. I thought about drilling out the holes in the deadeyes to accommodate the 1.5mm line, but that seems an excessive way to go. I'd appreciate any suggestions. Thanks.
-
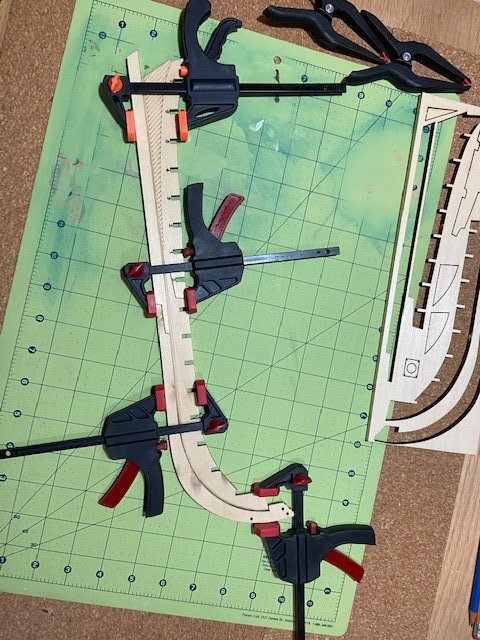
I started a build log some months ago on the 18th Century Armed Longboat 1/24 scale, but have only been able to work on it very sporadically. I'm having trouble making templates for the cap rails. I think my build of the boat probably isn't up to par with other builds, such that the hull is not level from bow to stern, making it hard to trace a good line of its upper perimeter. The cap rails on the plans don't match the contours on my build either. I'm stumped and would very much appreciate any ideas/suggestions. I hope this is the right forum for this post.
-
Thanks for the encouragement and advice. I'll admit to some nervousness about planking, but have already found that some small mistakes can be corrected with a little thought and wood filler. I'll check out Chuck's advice on edge bending and I hope to be able to get started within the next couple of days. Happy building!
-
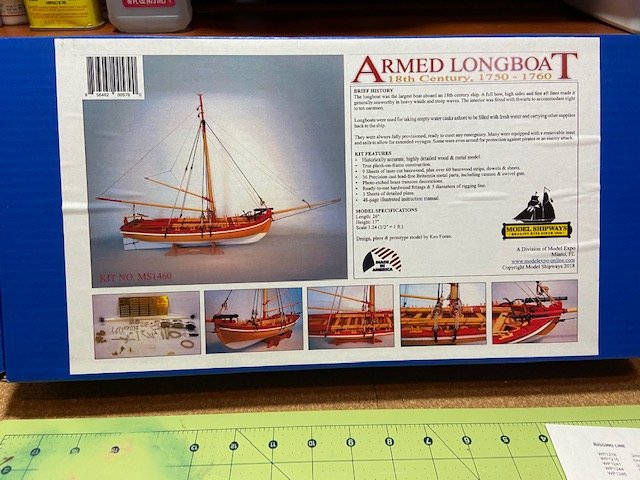
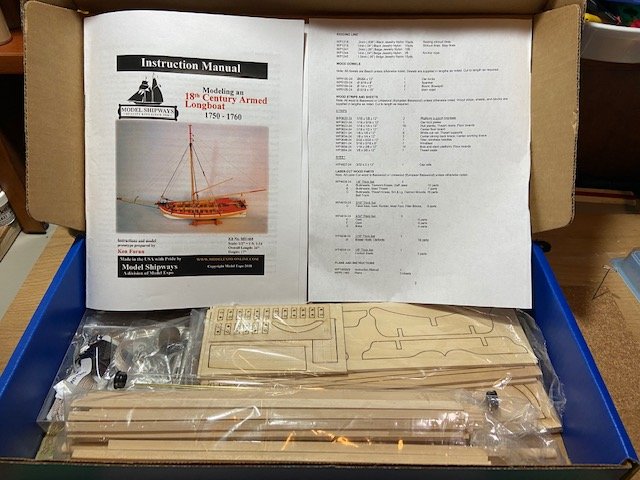
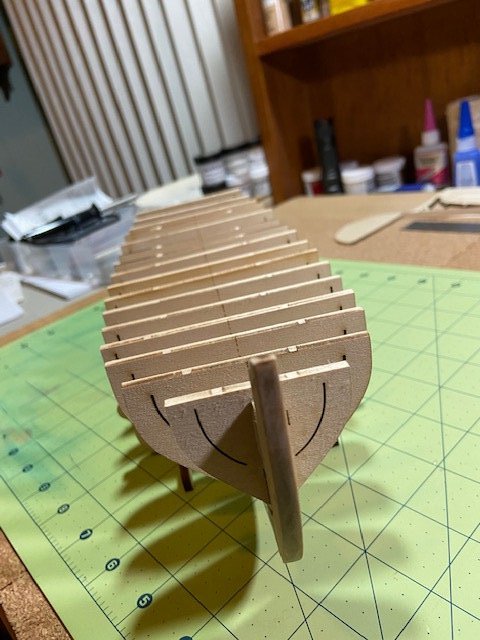
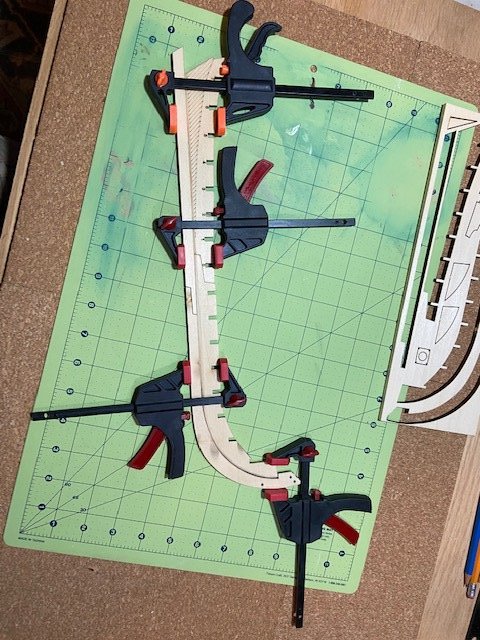
Hello folks - I'm a newcomer and rank amateur, but I decided to give this model a try now that I'm retired and itchy during this pandemic. I've noticed that on various websites popular tools are either backordered or out of stock. Guess there are others in my shoes and getting into modeling. I've actually completed one other build; the Chesapeake Bay Flattie by Midwest Products. I had the kit for a number of years, but between moves, work etc. etc. I never found myself in the right place at the right time so to speak. I've had a great time reading other's build logs, and hope to take the advice offered to advantage. First off - I think the packaging of this kit was excellent. The kit withstood the rigors of the mail delivery system, arriving quickly and unscathed. A parts inventory showed that the kit was complete and the parts intact (see images 0369 & 0370). I have a beginner's set of tools, no keel holder, hull planking vise or building slip, so the build thus far has been done on a mat at a bench or in my lap ( see images 0372 & 0373). I have to say though, that the Hobby Zone Pro Building Slip really looked good, and even better halfway through attaching the bulkheads to the false keel/keel! I did run into trouble aligning a couple of the bulkheads to the false keel and gluing them properly, so had to use acetone to remove them and ended up damaging one of them. Oh well - too late now (see images 0379 & 0381). I had to use a little wood filler to get them right. I bought an electric plank bender, and am excited to try it out!

-
Thanks again my friend! I'm off to the build-log forum - Tom
-
Thanks Ryland! I did the sanding of the false keel after figuring out how to transfer from side to opposite side with tracing paper. I think it turned out reasonably well, though it might be a little less than needed. I may be able to chamfer the plank edges to fit. I'd like to start a build log for this build. How do I accomplish that? Thanks again Ryland - Tom
-
Thanks Ryland. I did see the instructions on page 6, but wasn't sure how to effect the transfer to the opposite side of the keel pieces. I'll look into how to start a build log after I figure out the transfer and cutting instructions. Thanks again for your help. Tom
-
Hi Folks - I don't know if this is the right forum for this question, but here goes. I just received my Model Shipways 1:24 scale 18th Century Armed Longboat, and eagerly opened it up with the intention of diving right into the build. That notion was quickly abandoned though when I examined the false and true keels. I cut them out carefully, and dry-fitted them together as advised. I was all ready to whittle/sand down the false keel pieces when I noticed that the "bearding line" on the "aft" piece was on the starboard side surface while the bearding line on the "fore" piece was on its port side surface. Is that the way it's supposed to be? And, if I continue the bearding lines on each side to the other piece, should the cut/sanded surface be at a right angle to the flat port and starboard surfaces or rounded? And I thought I could just get a clean start! Thanks for any help. As you can tell, I don't think I'm ready yet to start a build log.
-
Thanks everyone for the warm welcome and good advice. My kit is in the mail, so I've got time to look at the logs suggested.
-
Hi Folks, I’m a retired PA and former USN Corpsman just a beginning modeler. Looking for advice on planking vises or clamps. Seem to me that the small part of the hull to be clamped might be pretty delicate and prone to snapping off with too much pressure being applied during the planking process. Any suggestions regarding vises vs hull clamps for a rank amateur? I just purchased the large Model Shipways 18th Century Armed Longboat and a paint set. Can’t wait to get started. Thanks for your help.
