Sterlingclements
-
Posts
44 -
Joined
-
Last visited
Content Type
Profiles
Forums
Gallery
Events
Everything posted by Sterlingclements
-
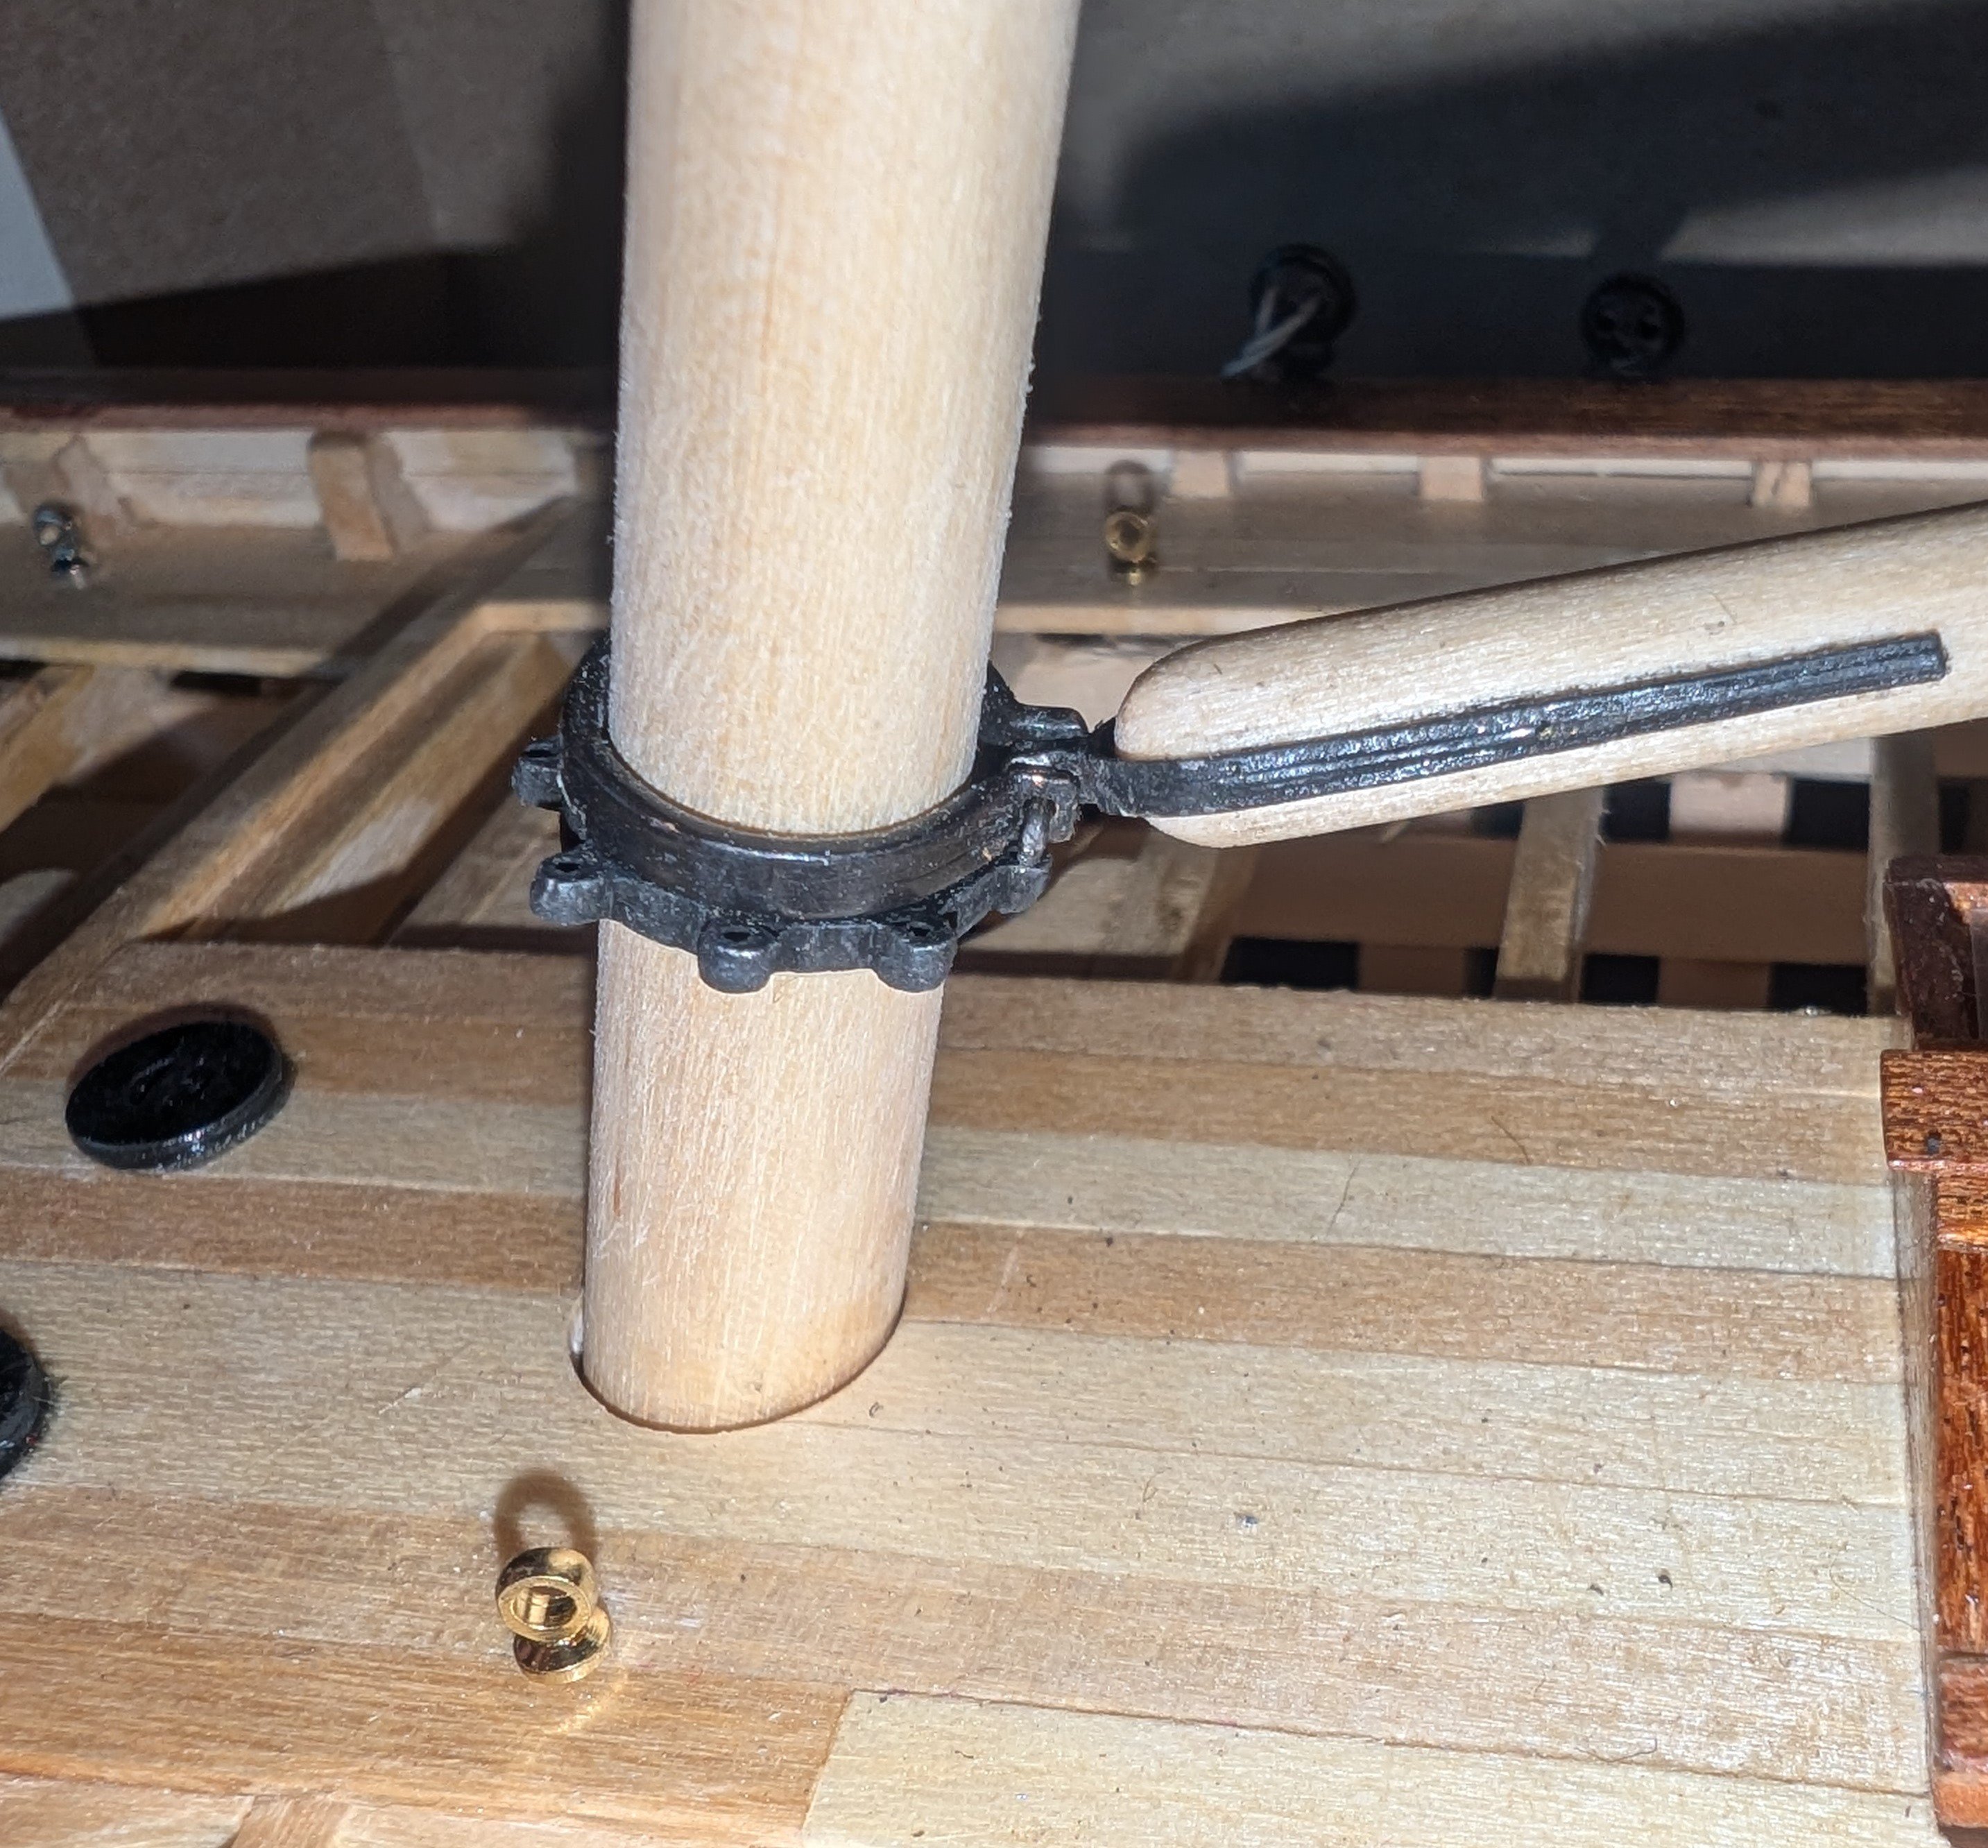
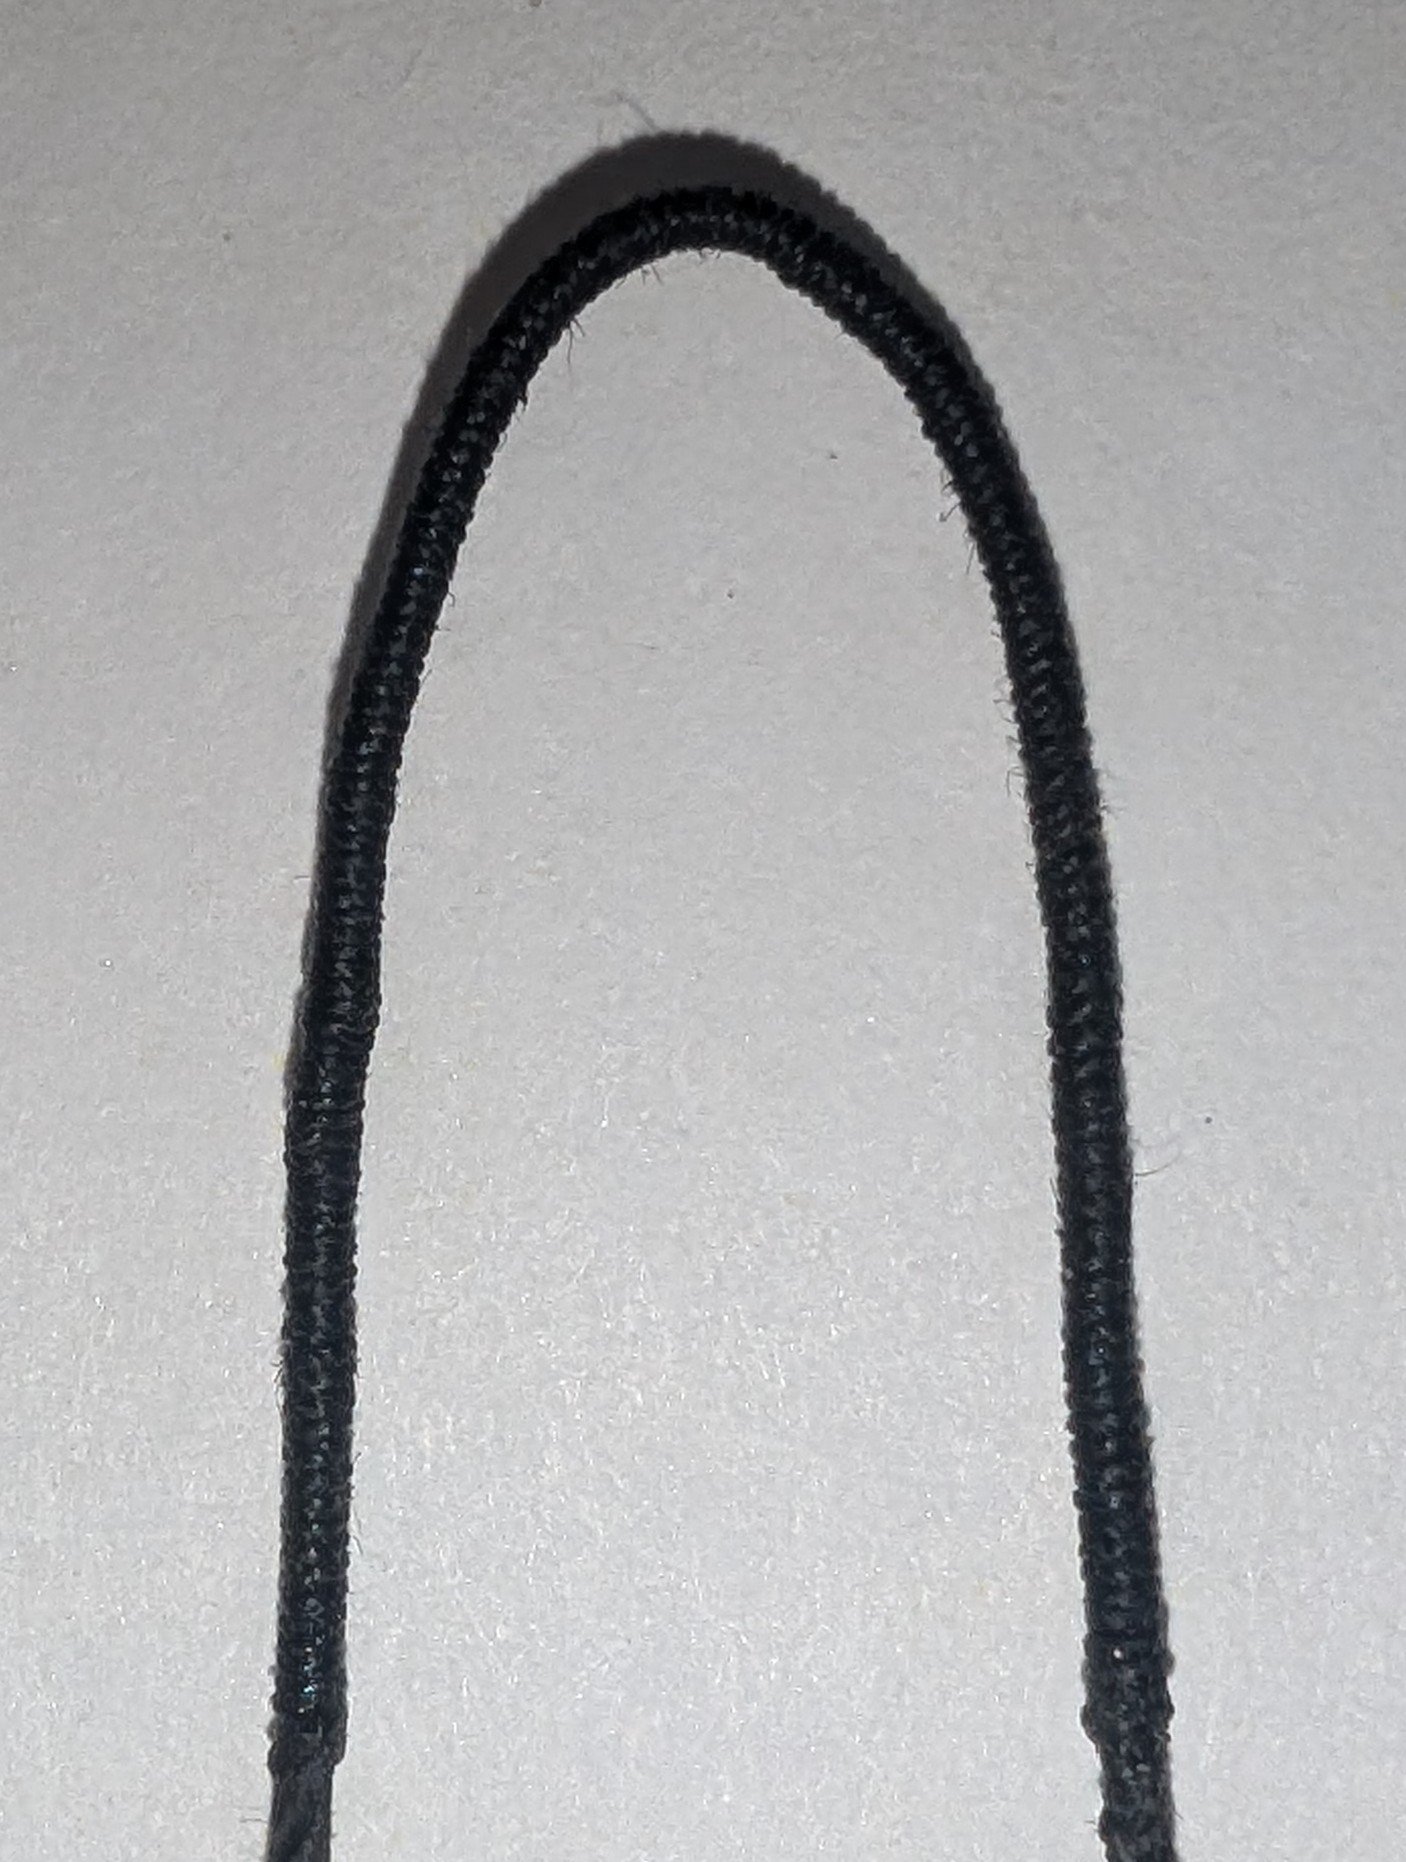
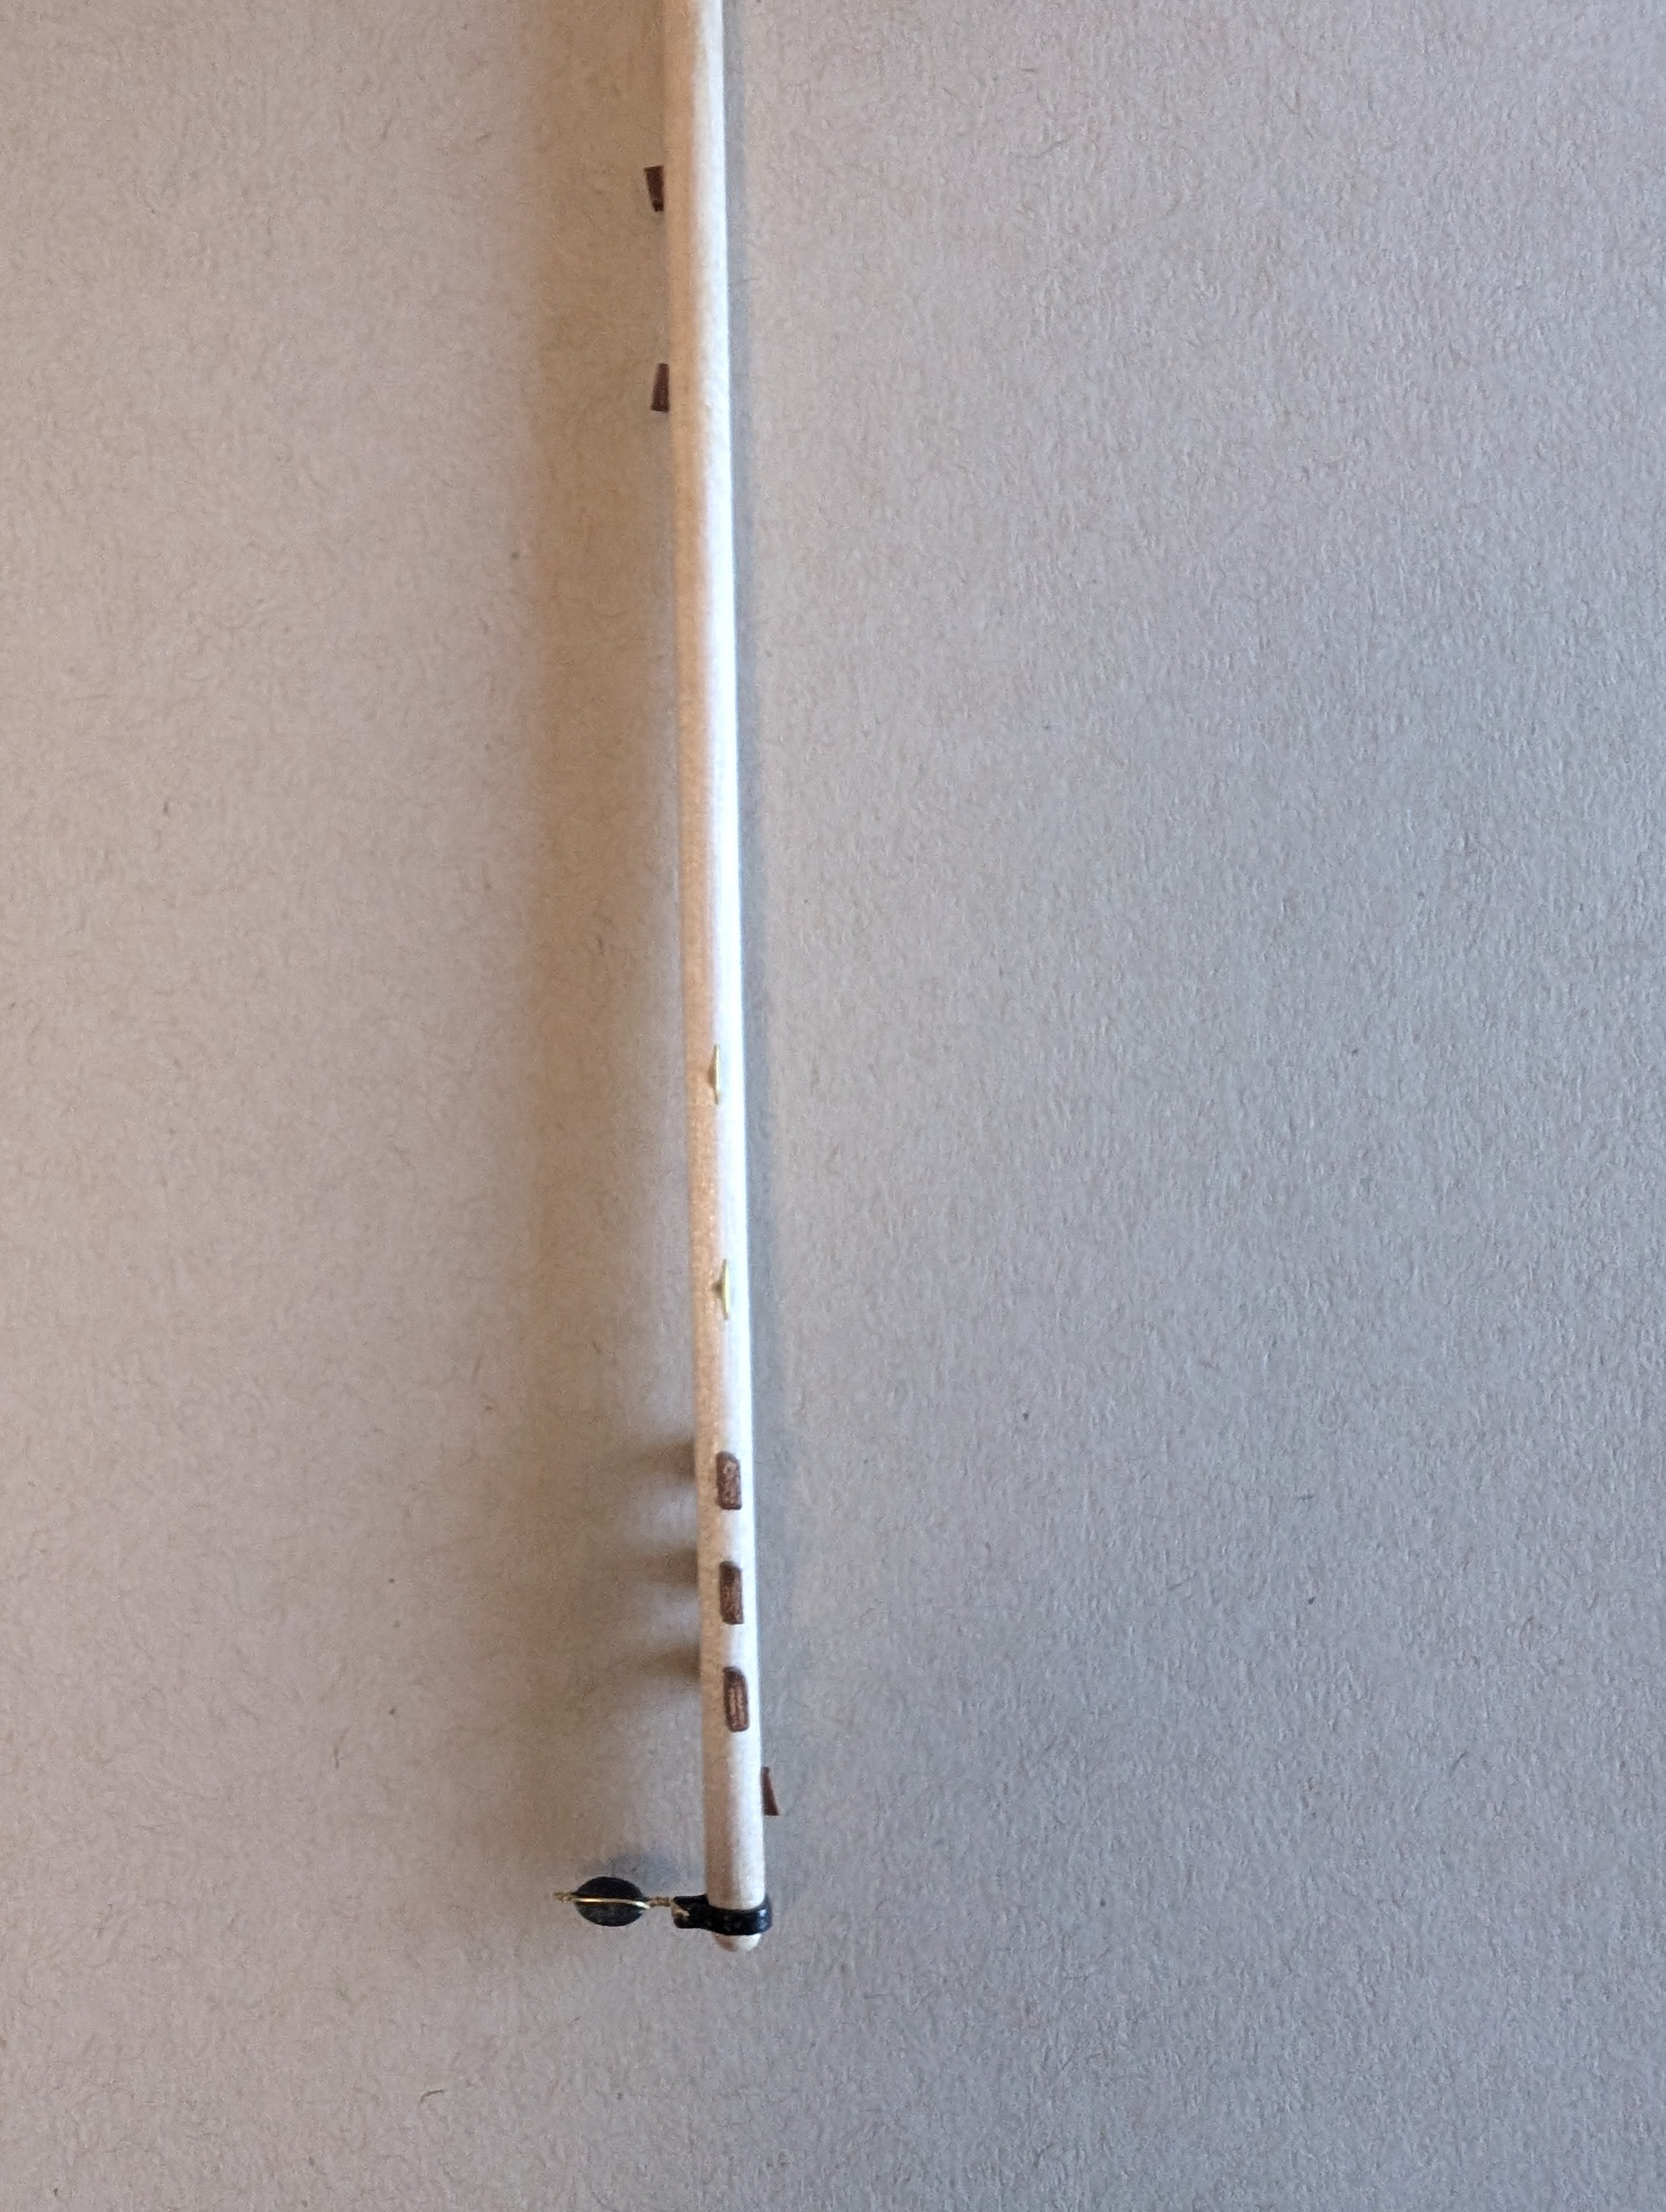
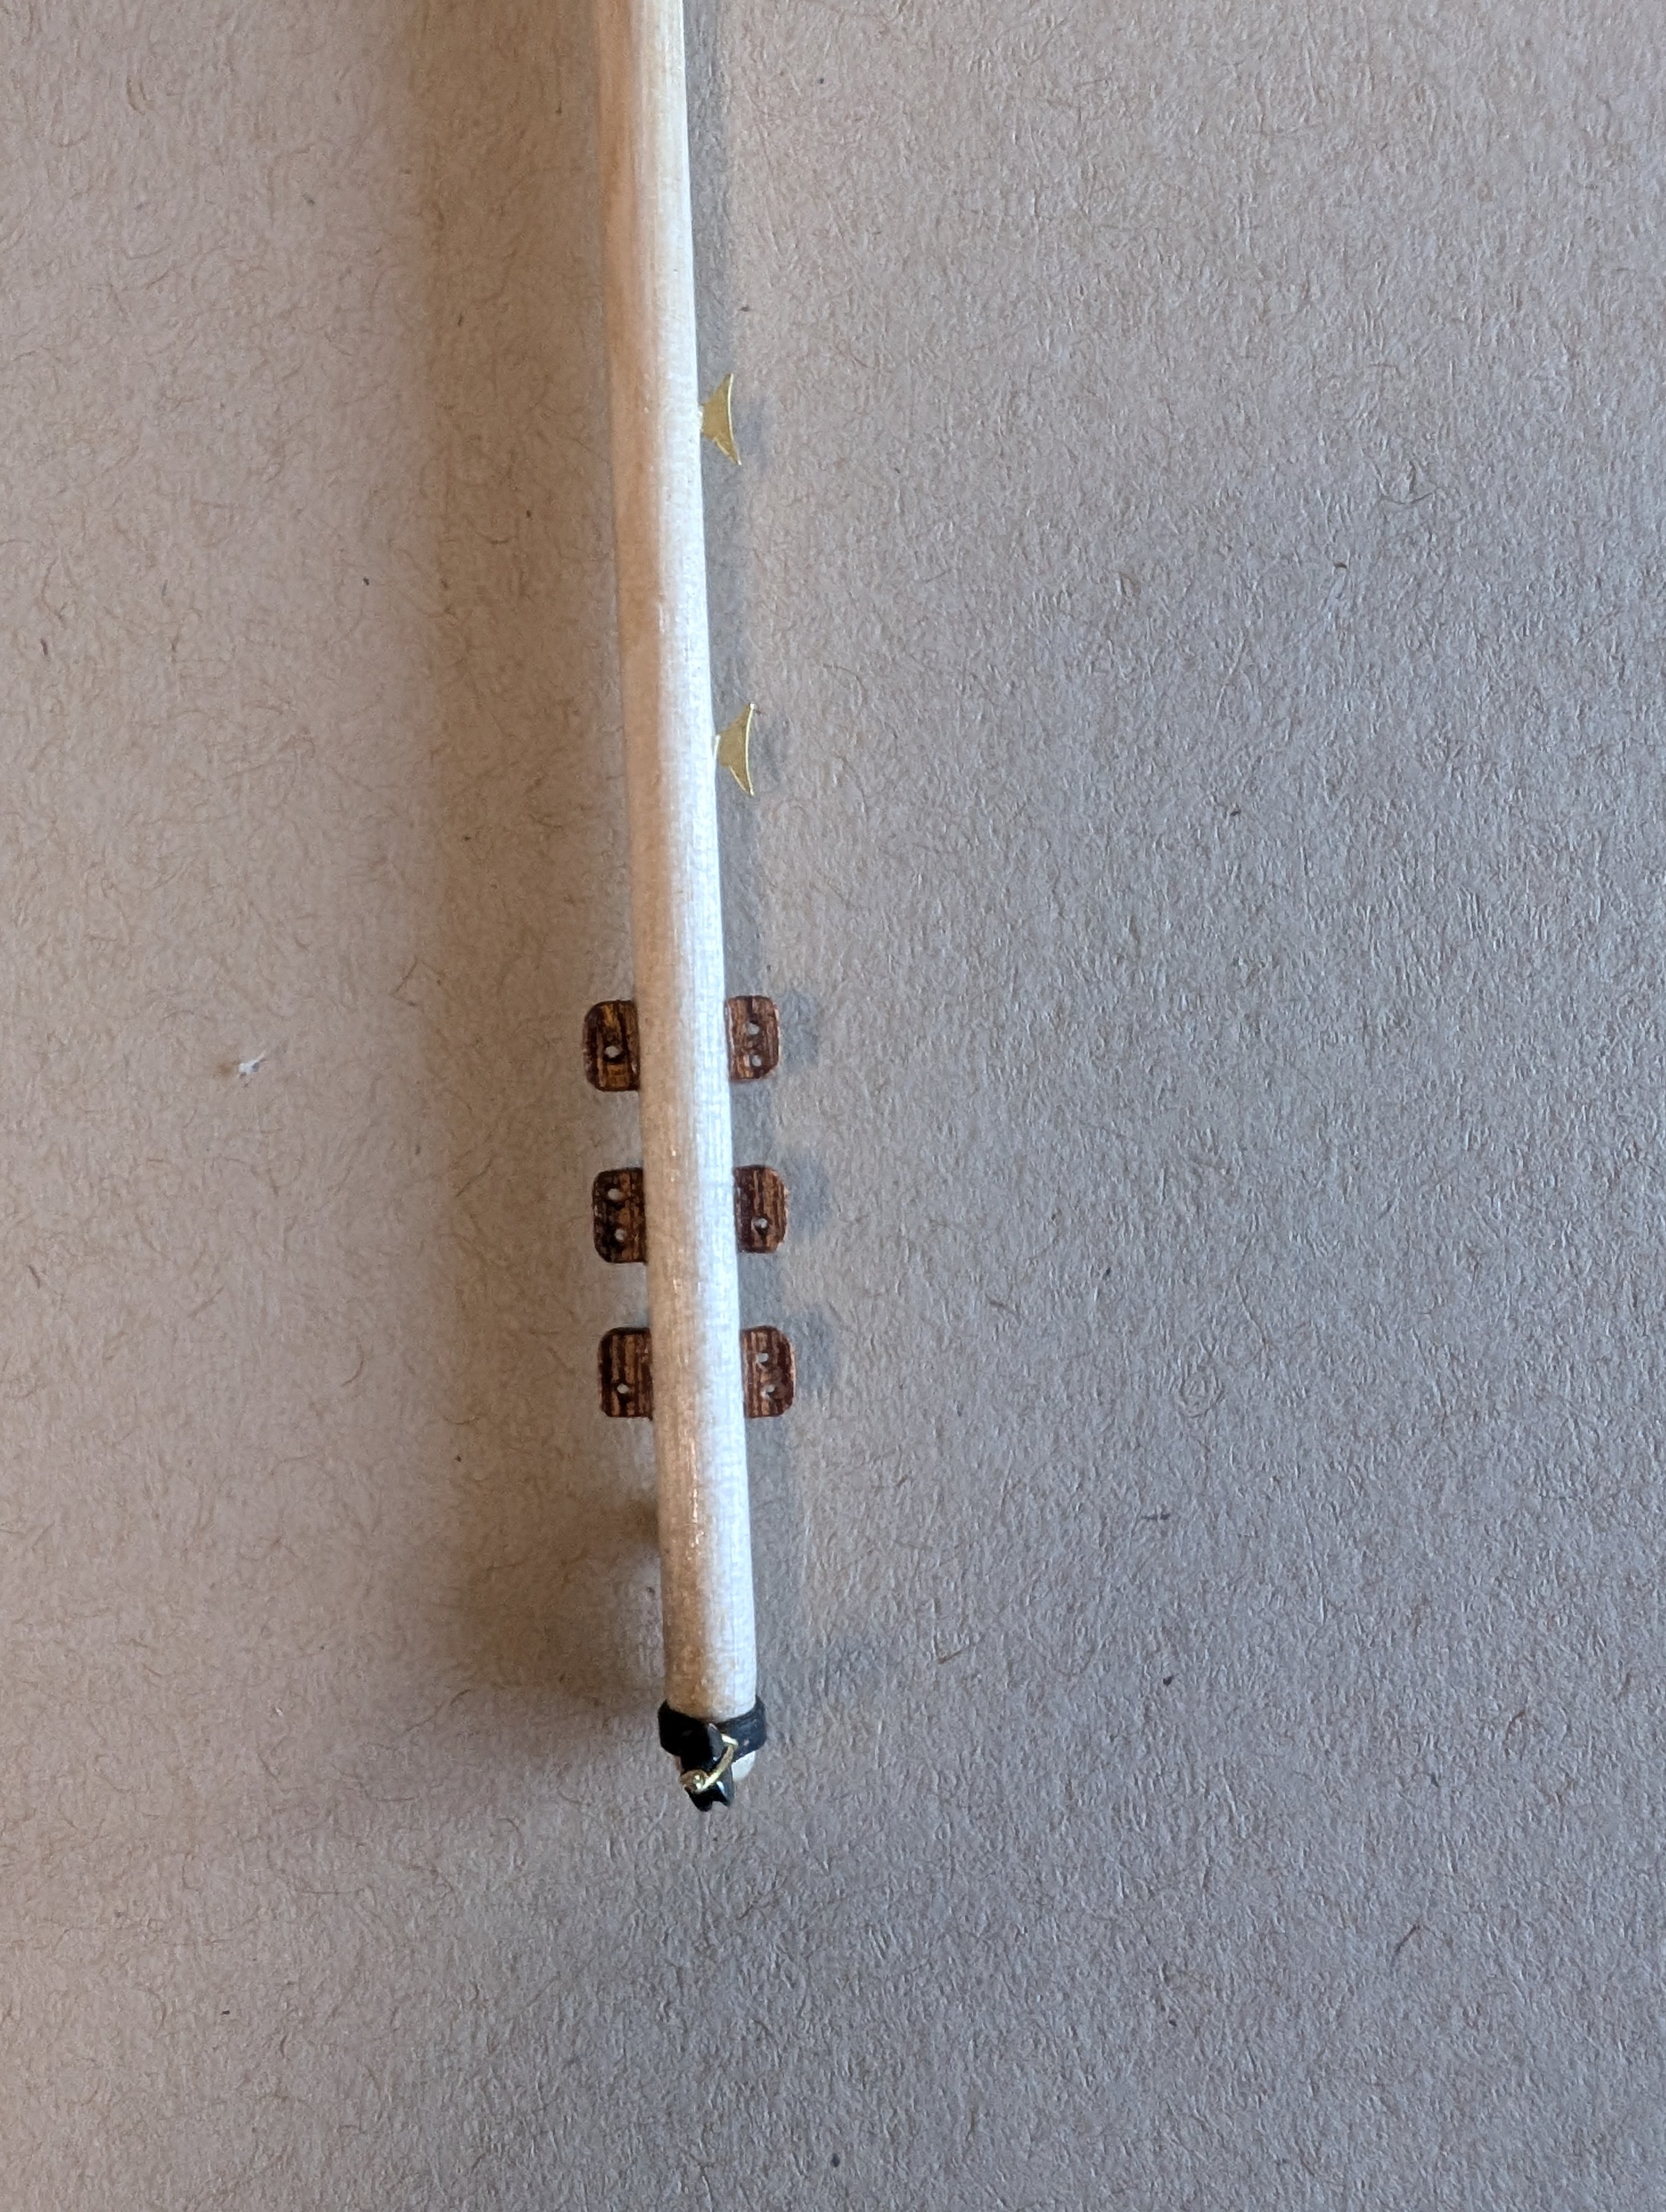
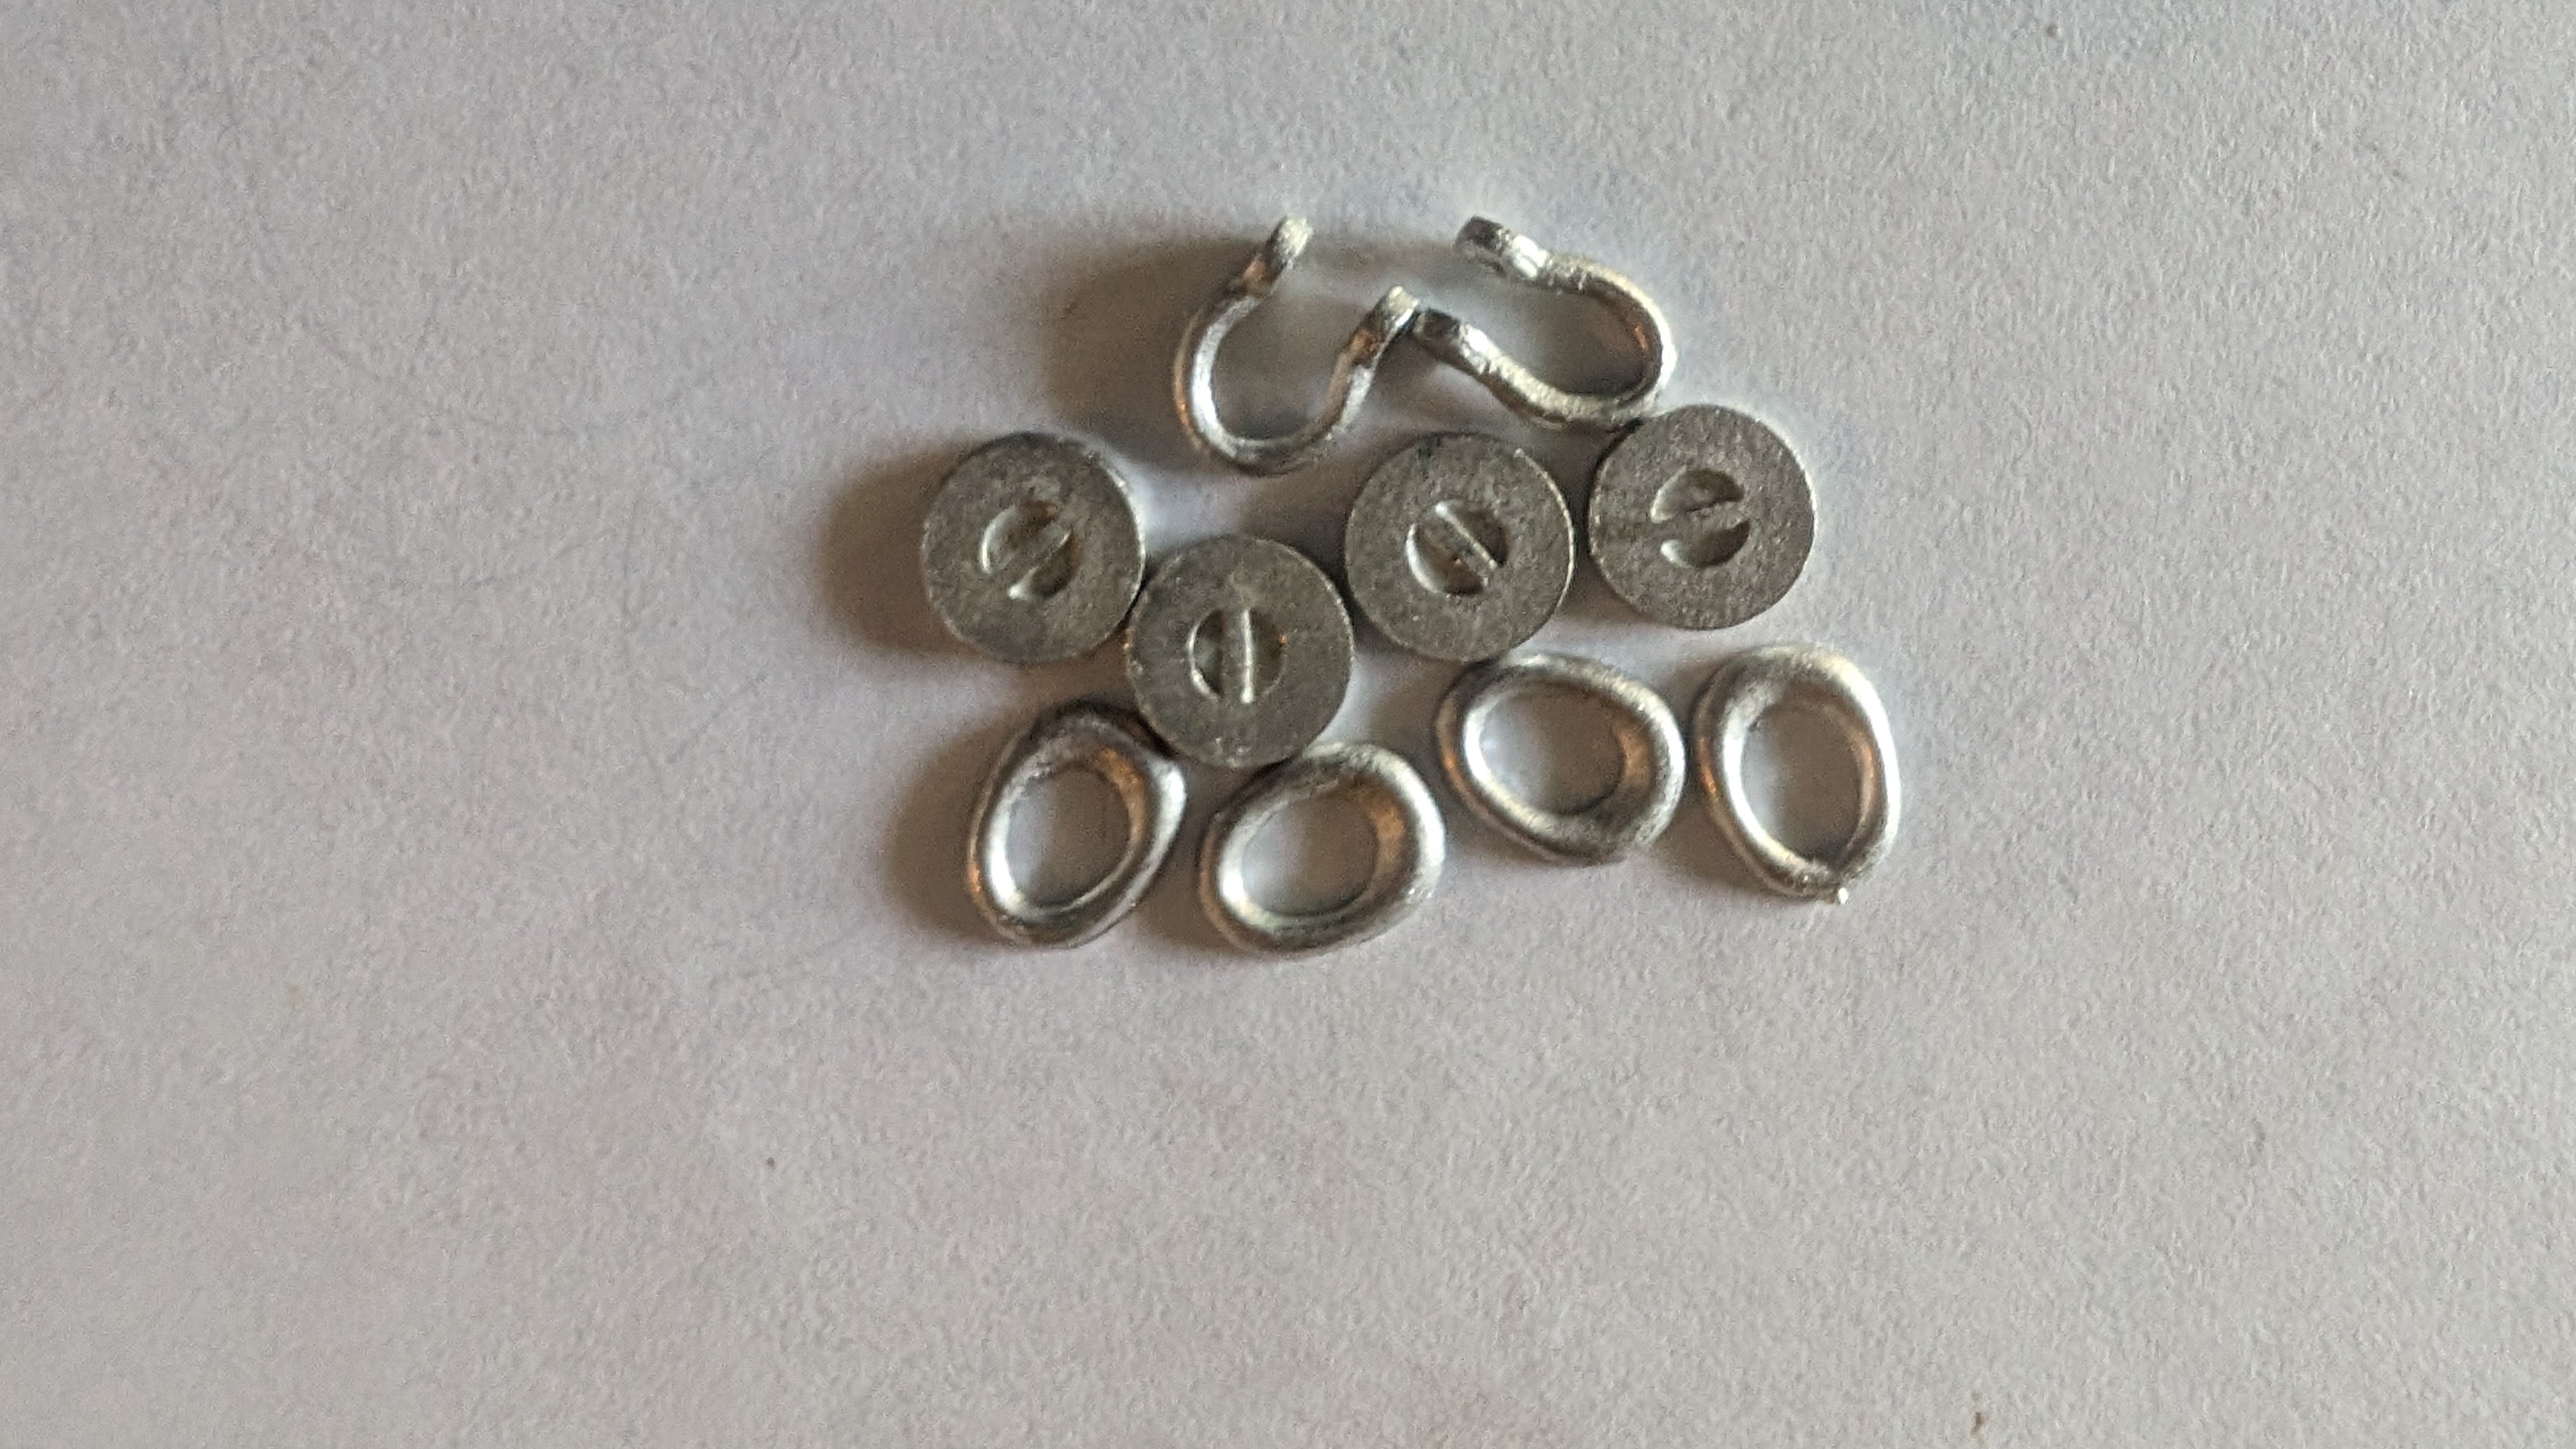
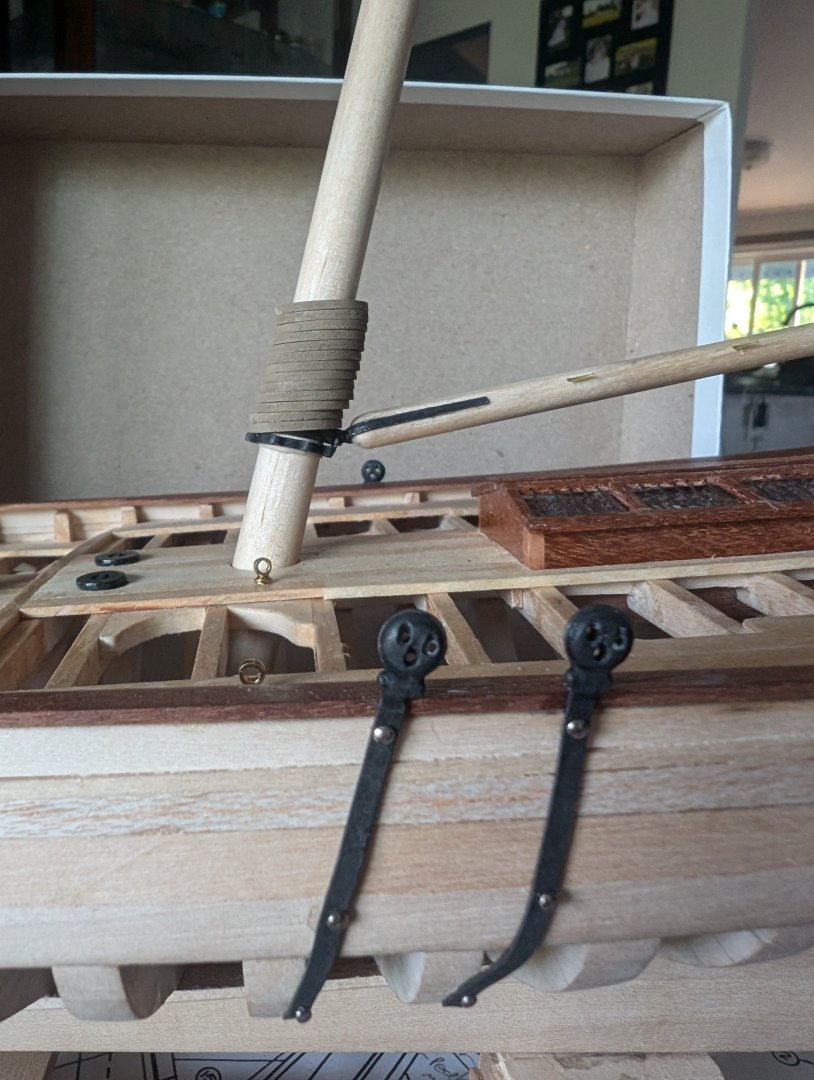
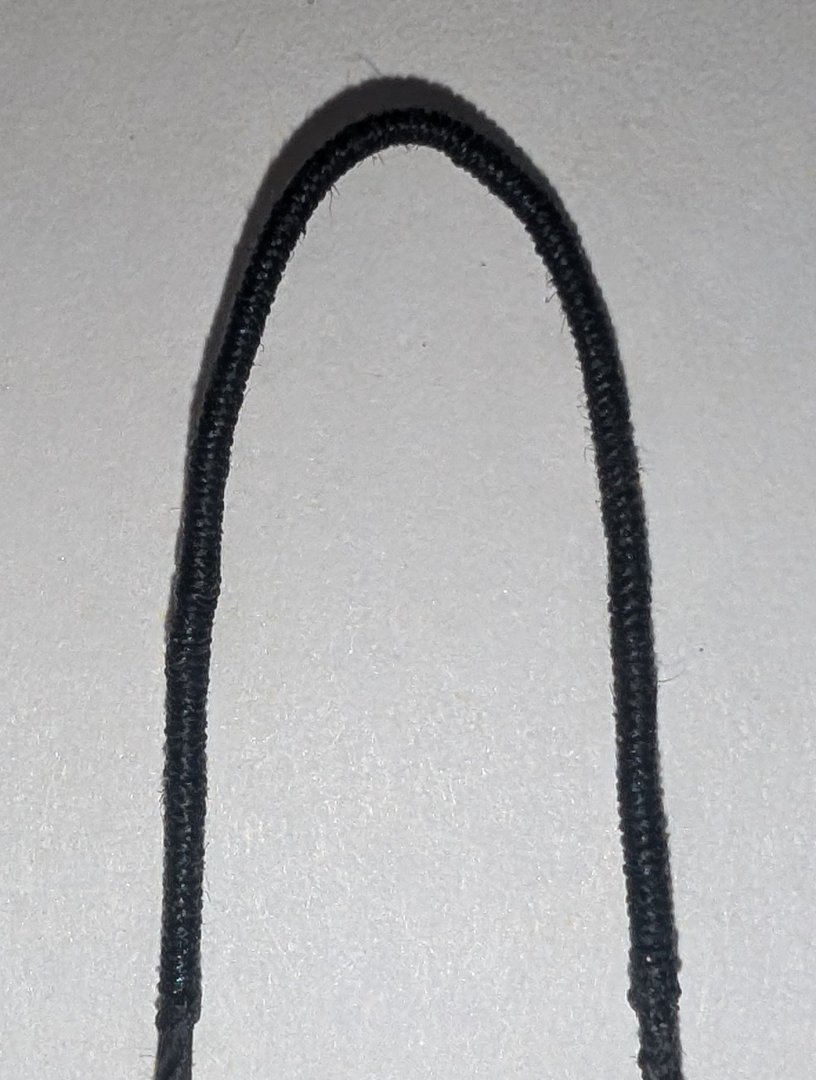
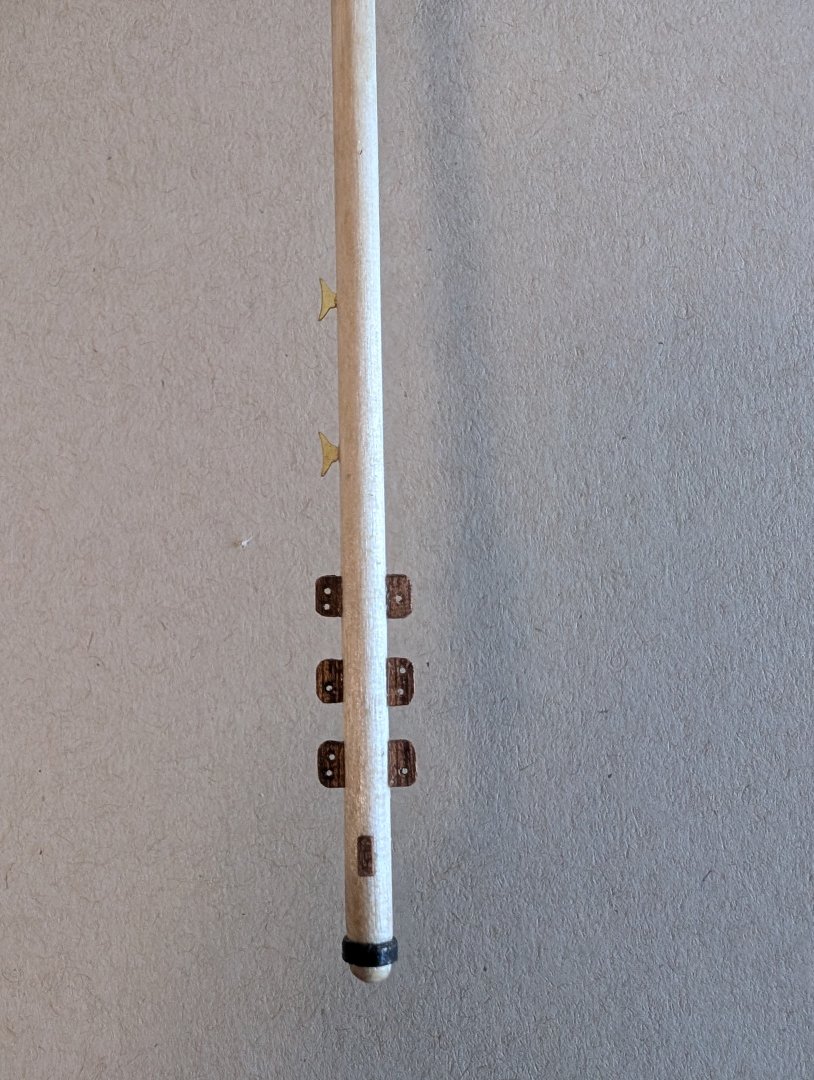
Main boom installed. I made the main boom goose neck out of brass, blackened with oxidizer. Spider bands and mast hoops installed as well. All 8 chainplates installed, ready for some standing rigging. I wanted to try my hand at serving. First attempt by hand was tedious and not nearly tight enough. I bought a hand crank serving machine....much easier and cleaner with that. First machine attempt on a shroud eye shown below.

-
Cap rail is complete. I had temporarily fastened it to the timberheads as I created each segment, to ensure the correct curvature. I them removed the fully connected assembly so I could sand the angles at the joints for smooth curve. I was then ready to permanently attach. Pics below, including the tung oil finish.

-
Thanks for the kind words Gary. I was not satisfied with my mast hoops, so I placed an order with Bluejacket for some that they offer. I included two more triple blocks in that order, along with a replacement bow sprit cap iron. I ruined the original trying to drill a hole in it.
-
Cap rail is also nearing completion, reaching from the bow to just aft of the saloon skylight at this point. Getting the angle of each segment is painstakingly slow, but I am pretty satisfied with the results. I cut and shape the aft end of each segment, line up the next piece under it, then trace the outline onto the fore of the next piece. Six segments per side so far. I've included a close up of one joint below.

-
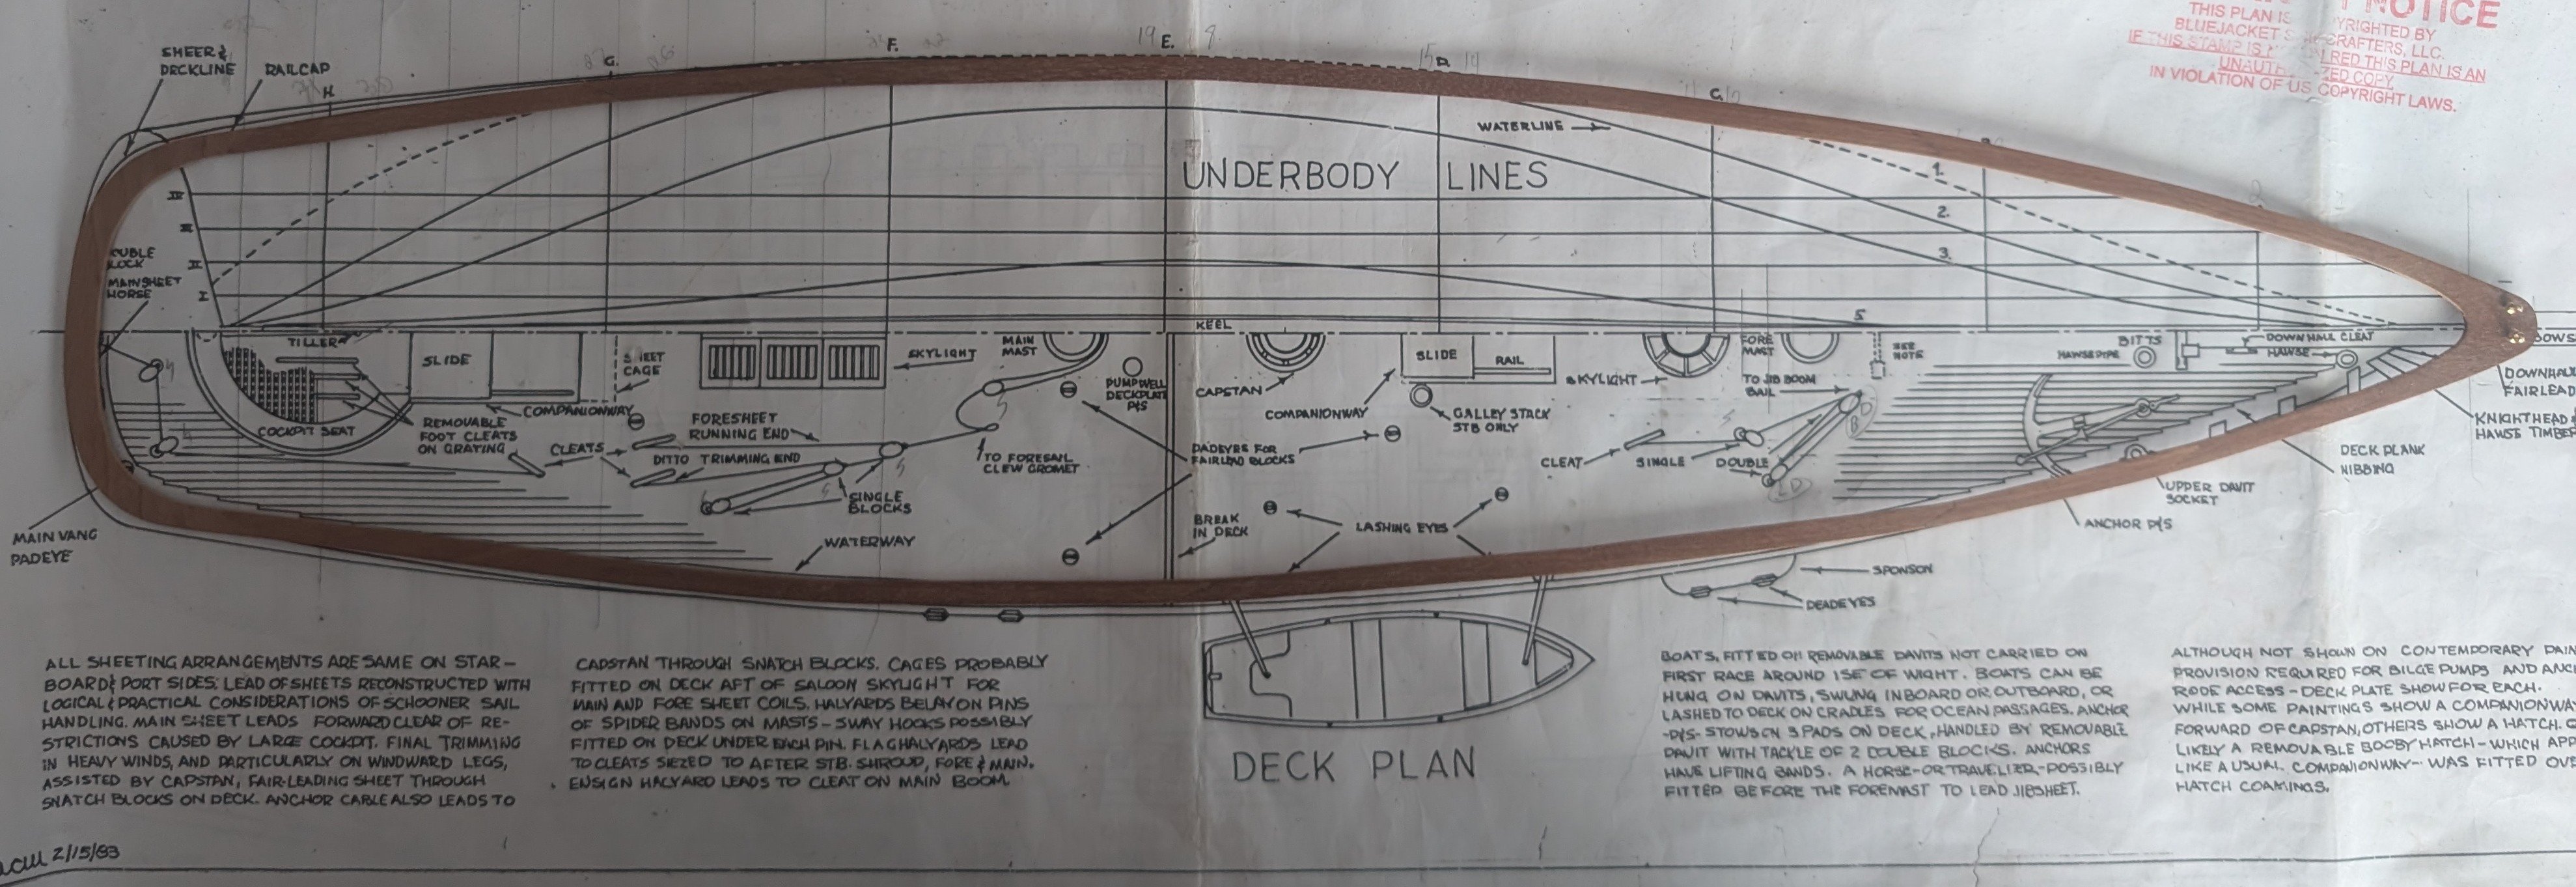
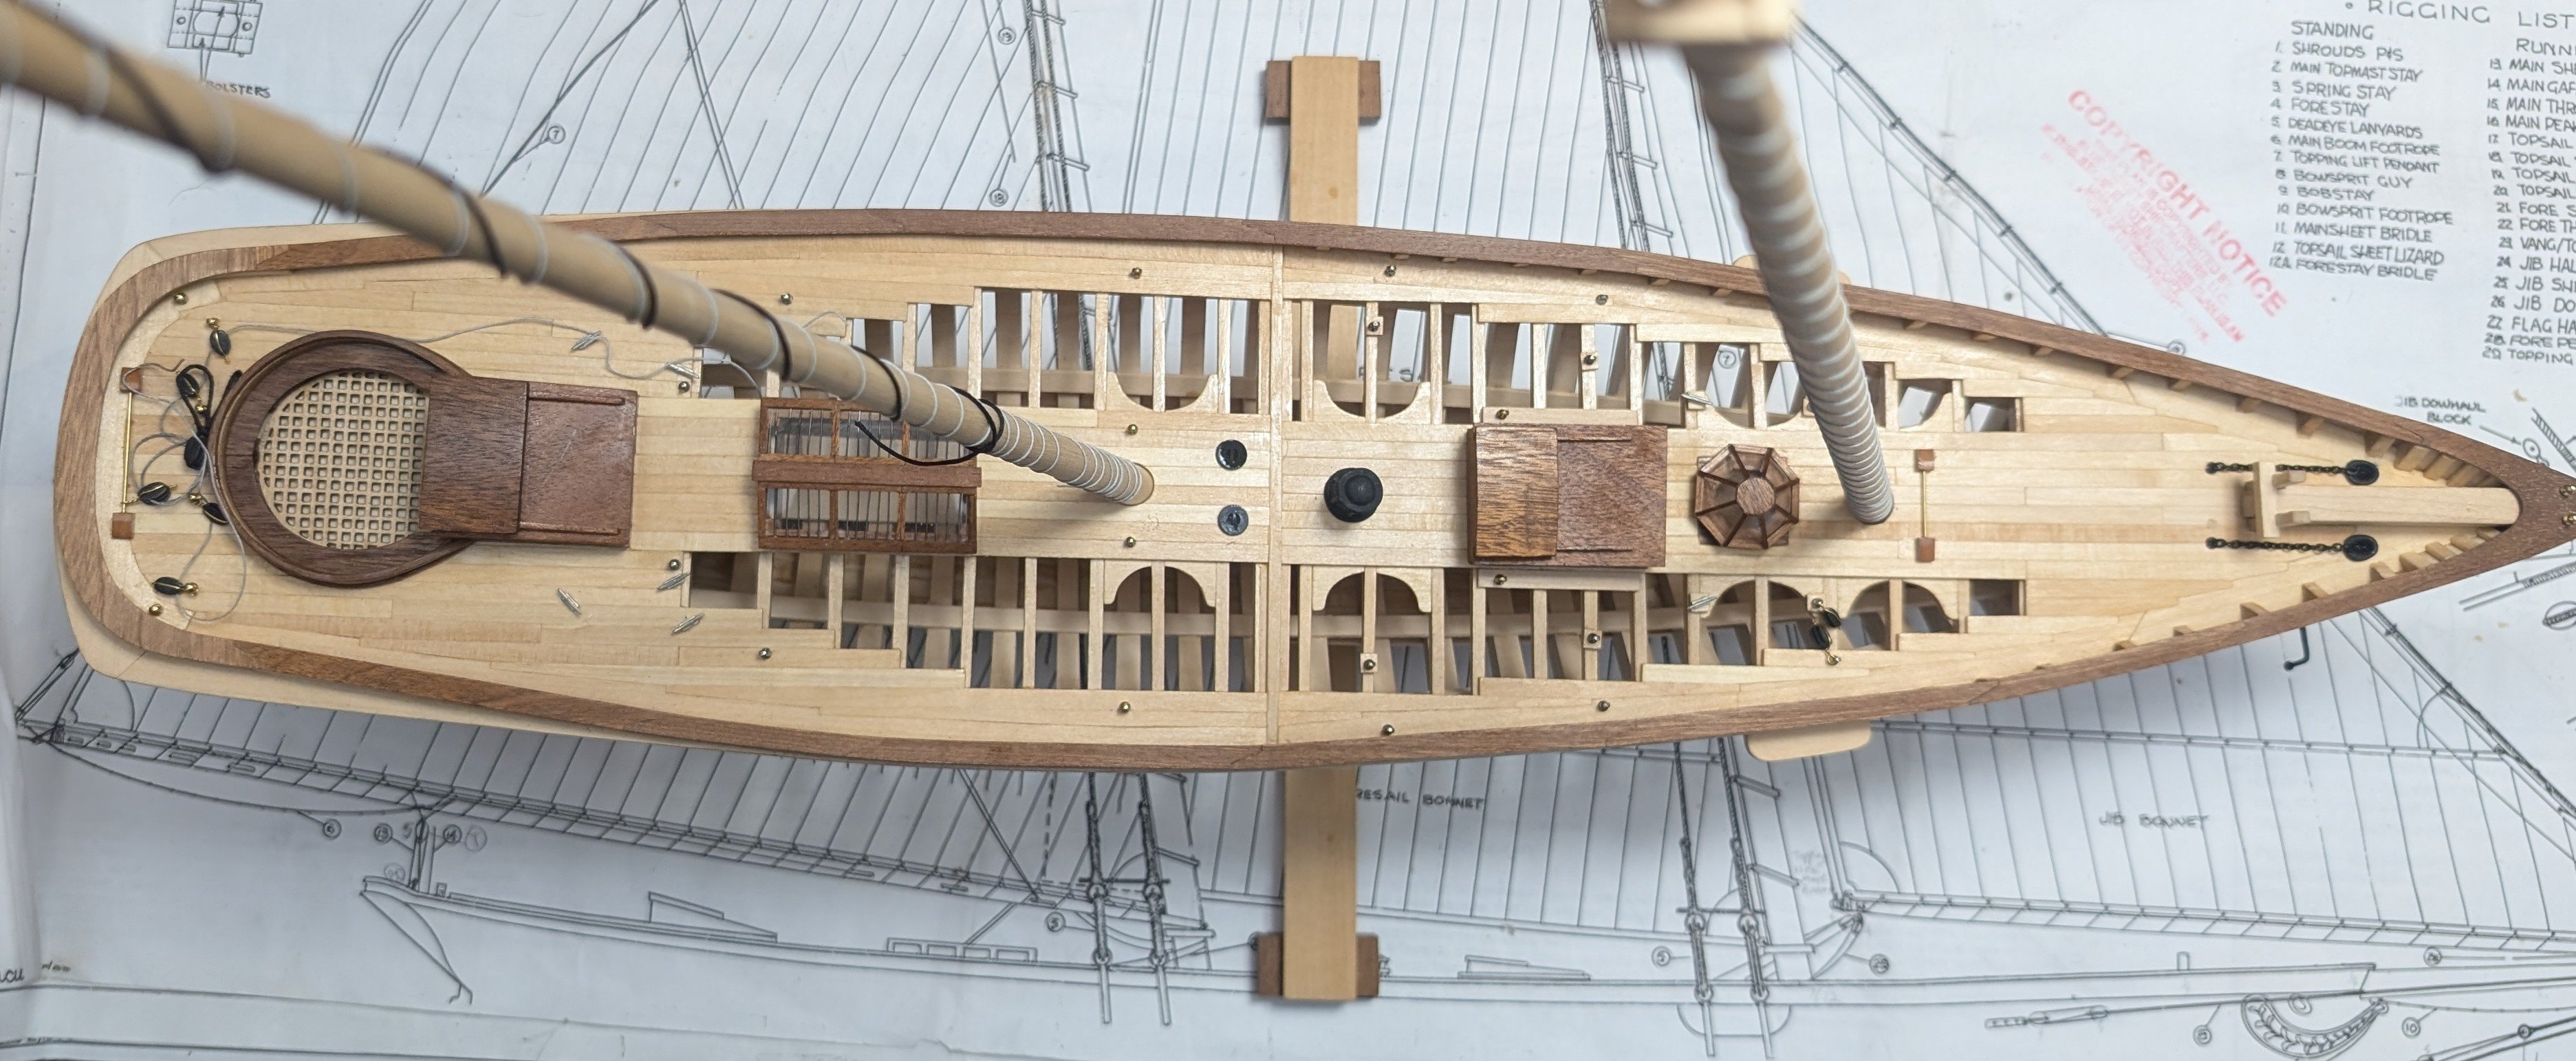
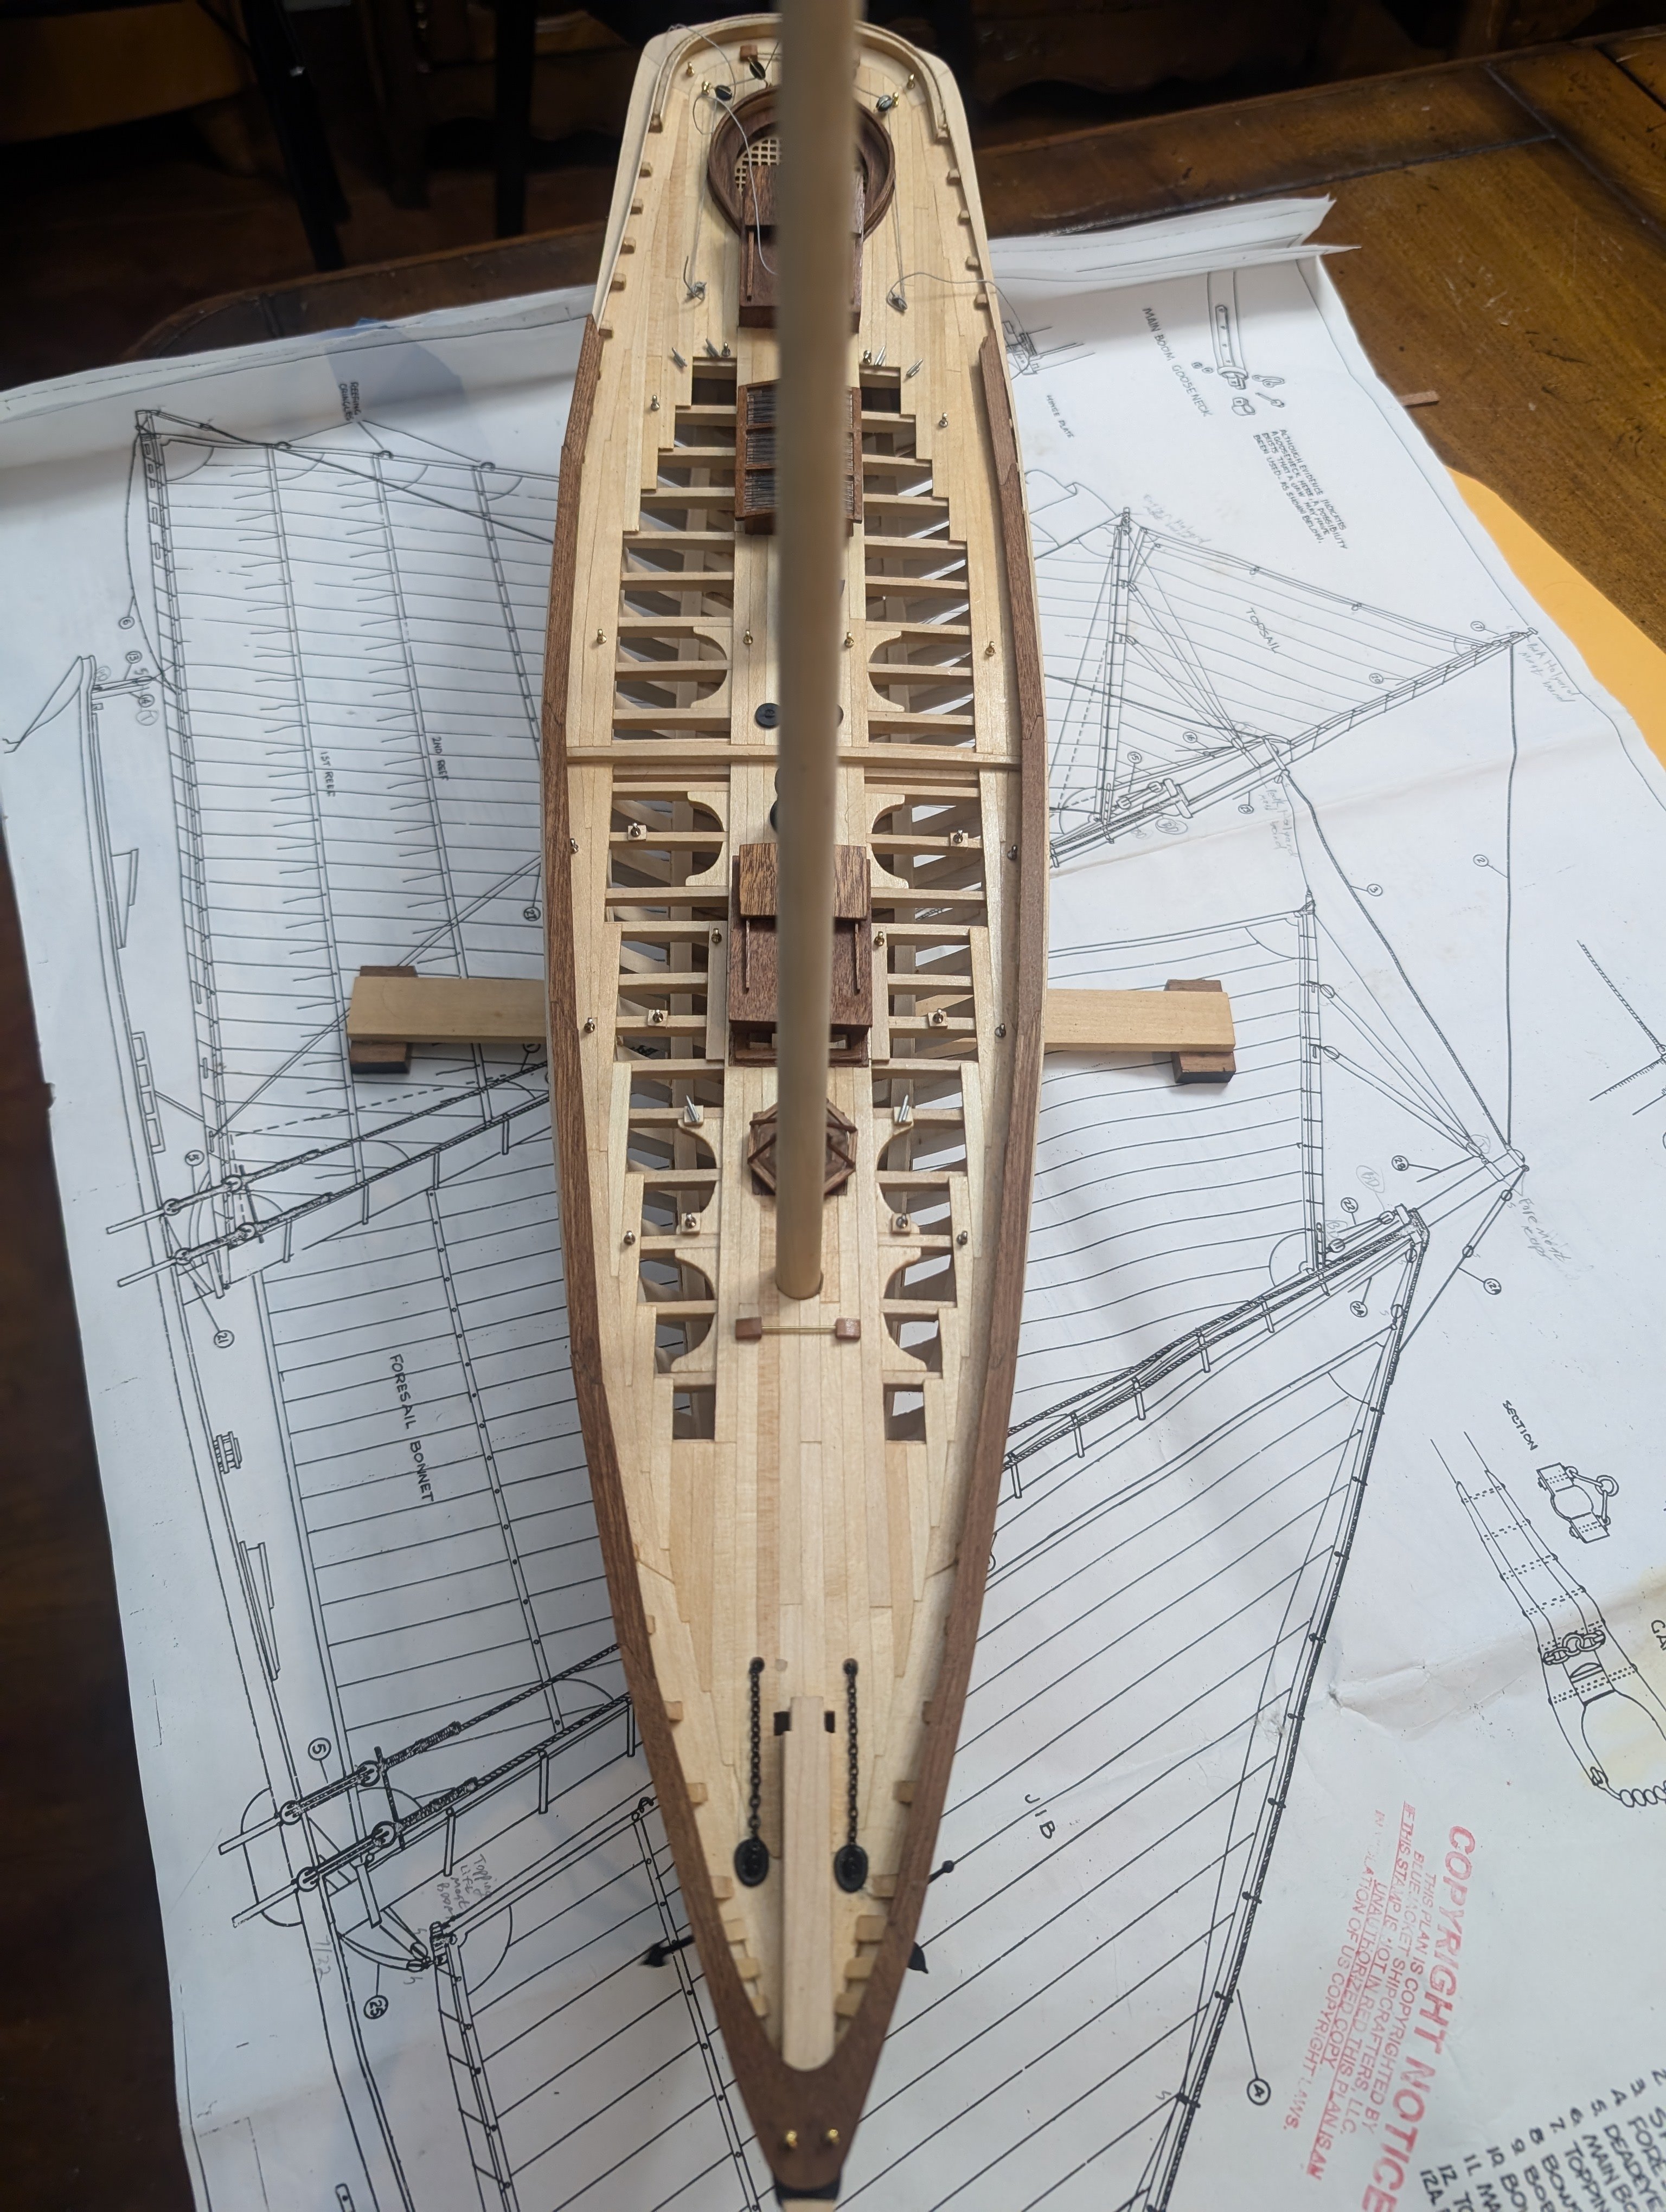
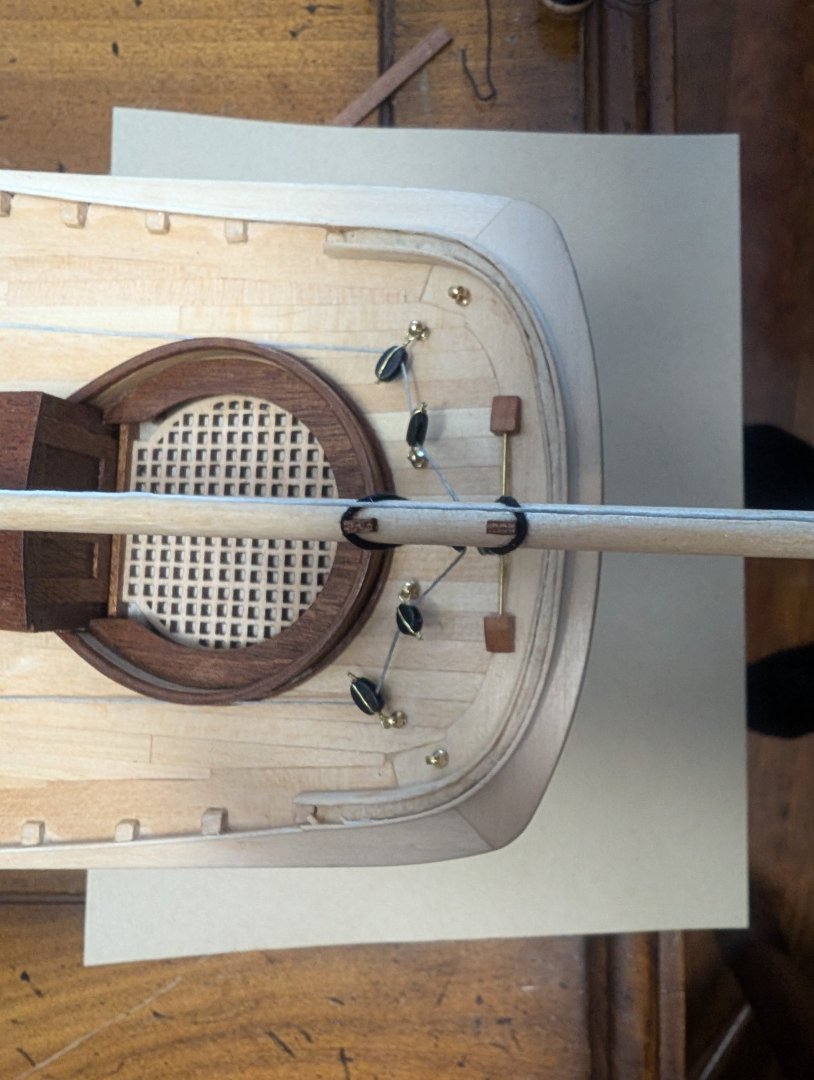
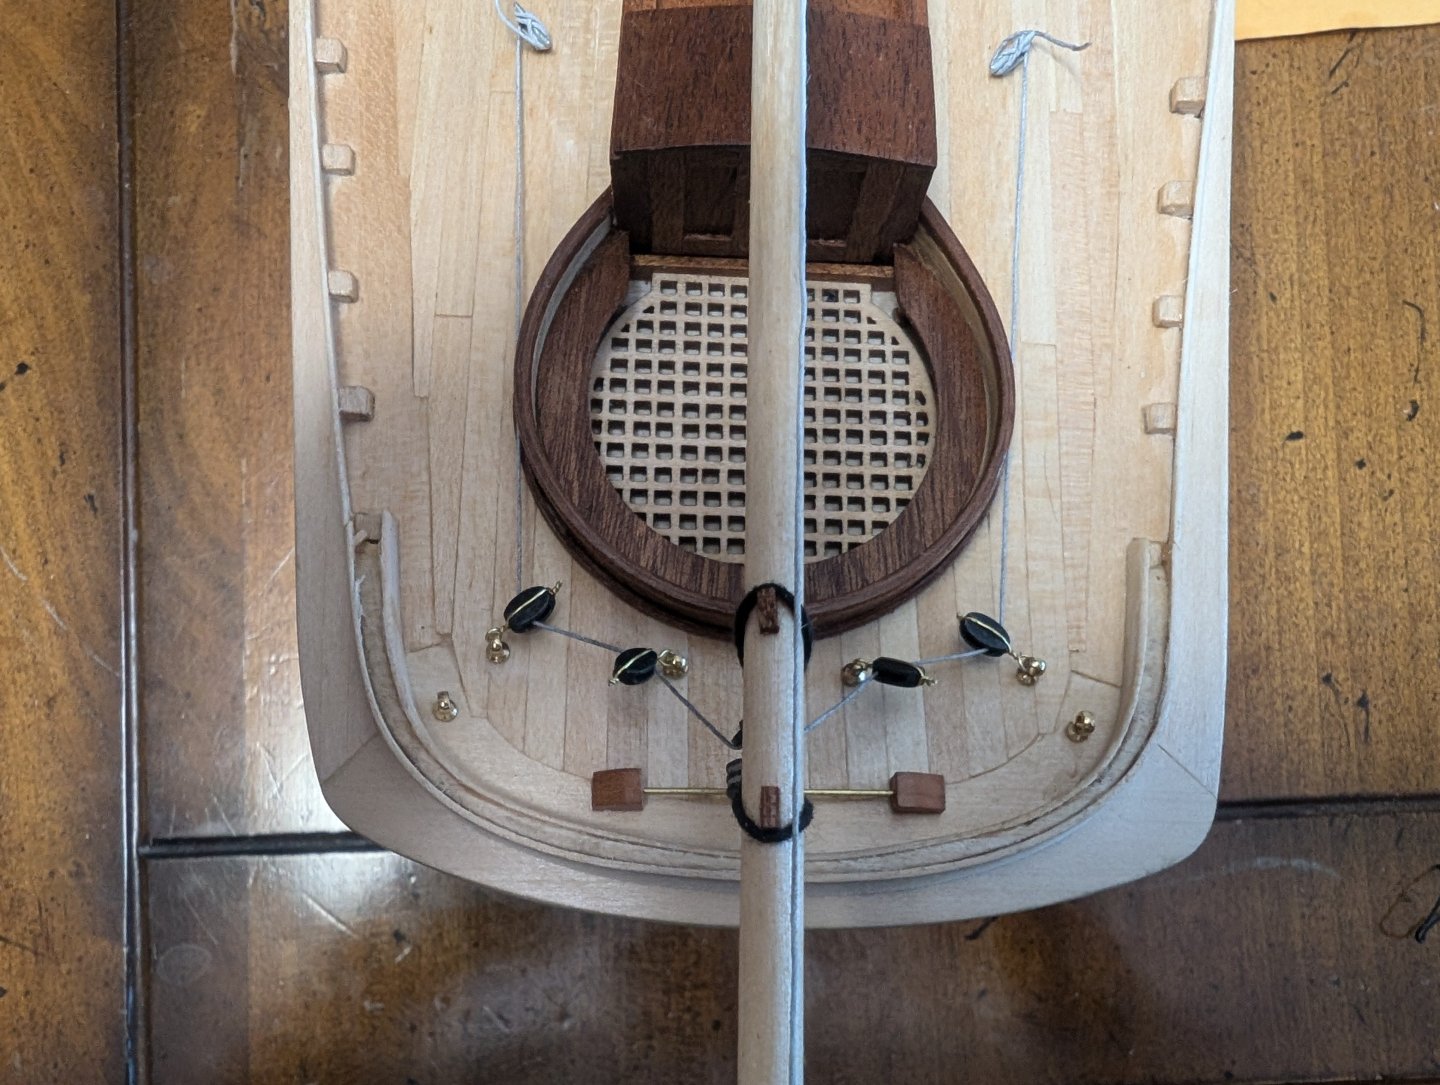
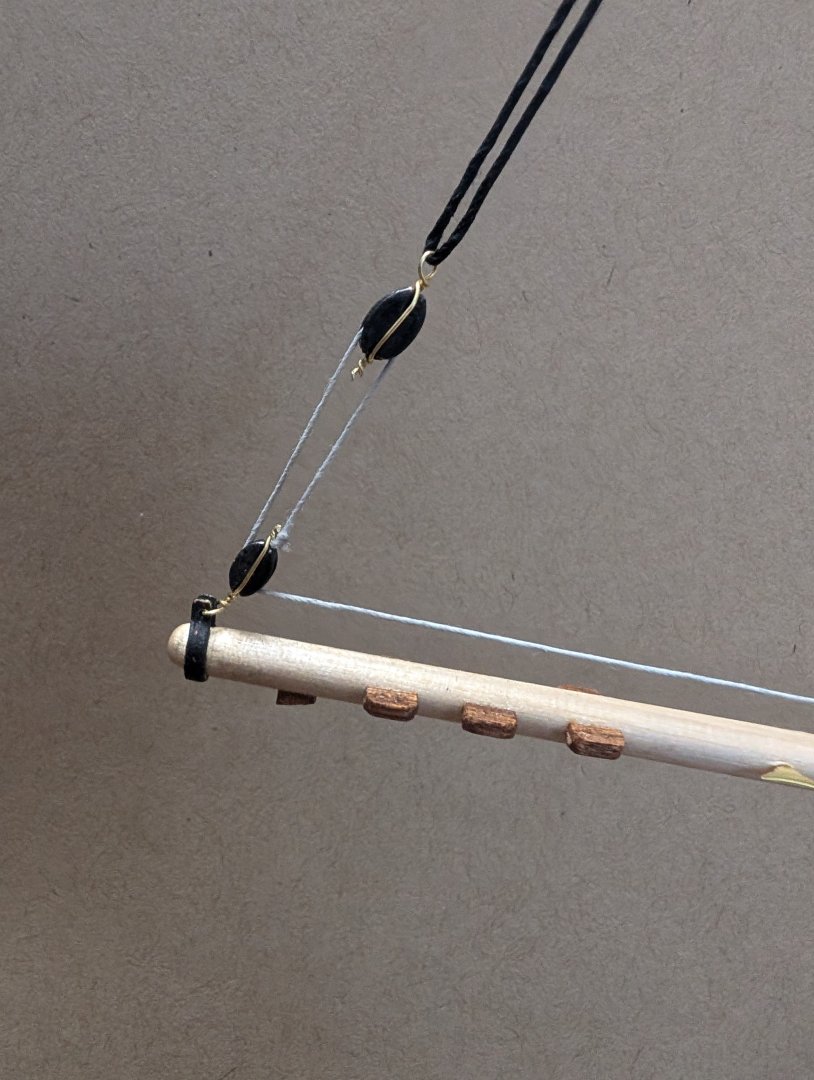
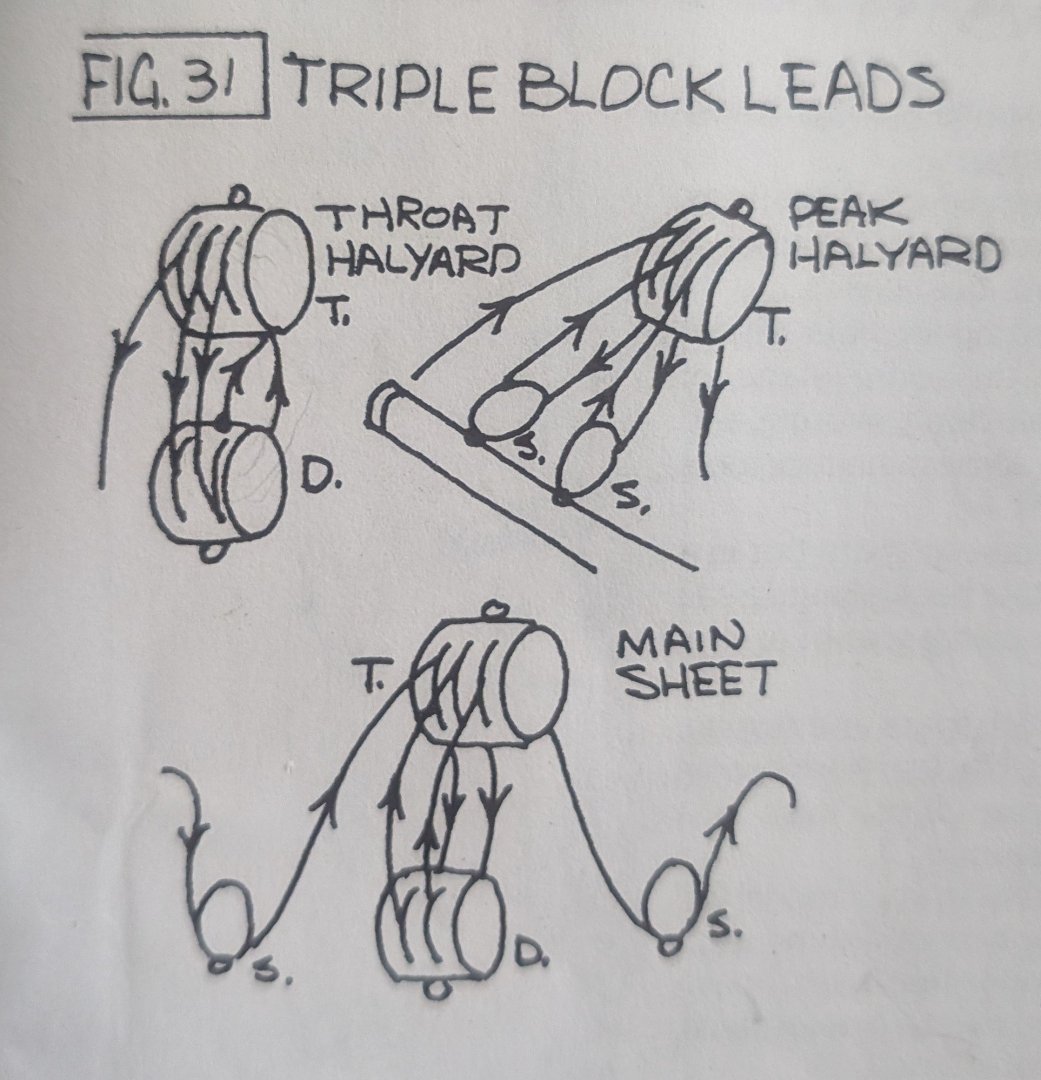
Main boom is nearly complete, with reef tackle/cheek blocks, cleats, topping lift block and main sheet bridle installed. I also temporarily affixed the main boom to the mast so I could rig the main sheet triple/double/single block assembly connected to the mainsheet horse. Some pics below. Note: the kit only supplies three triple blocks, but the plans indicate the need for five total. Fig. 31 below shows three triple block leads, but there are two each of the throat and peak halyards. One could argue only the main throat halyard needs a triple, but both peak halyards definitely need a triple.


-
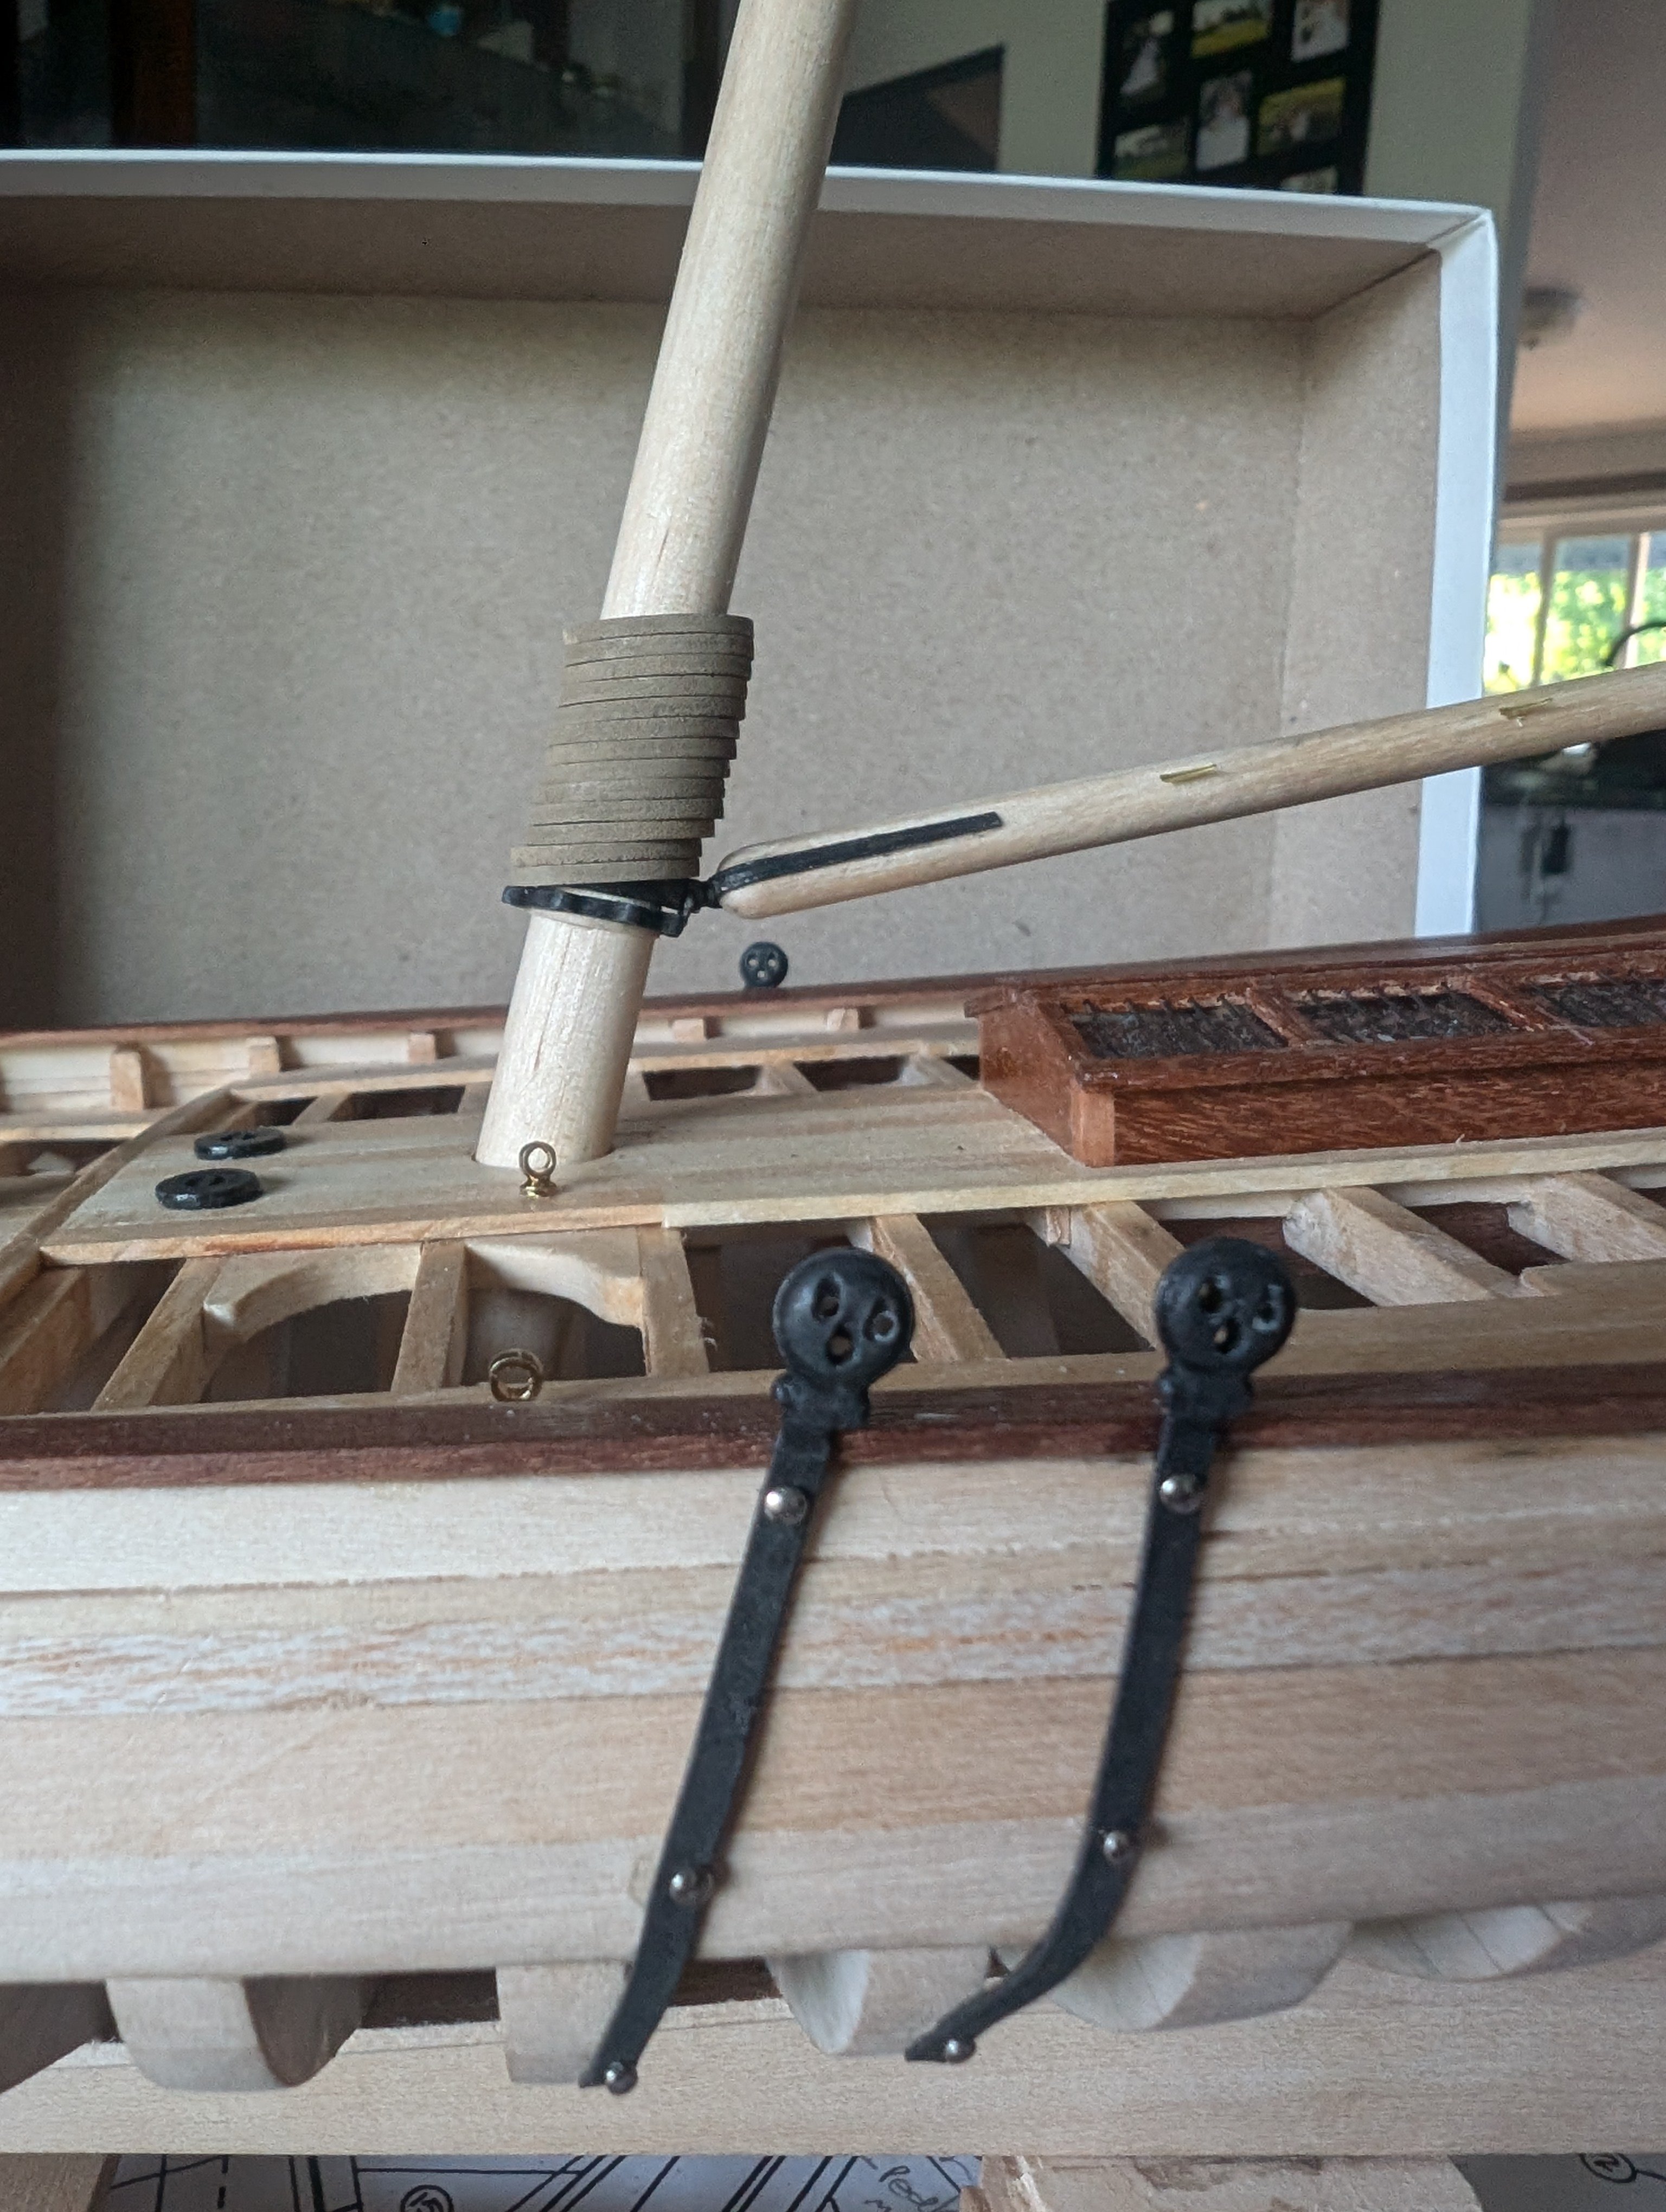
Stern decking sanding complete, tung oiled. Deck hardware installed, including mainstay and jibsheet horses, pumpwell deck plates, hawse holes, cleats and a plethora of padeyes.
-
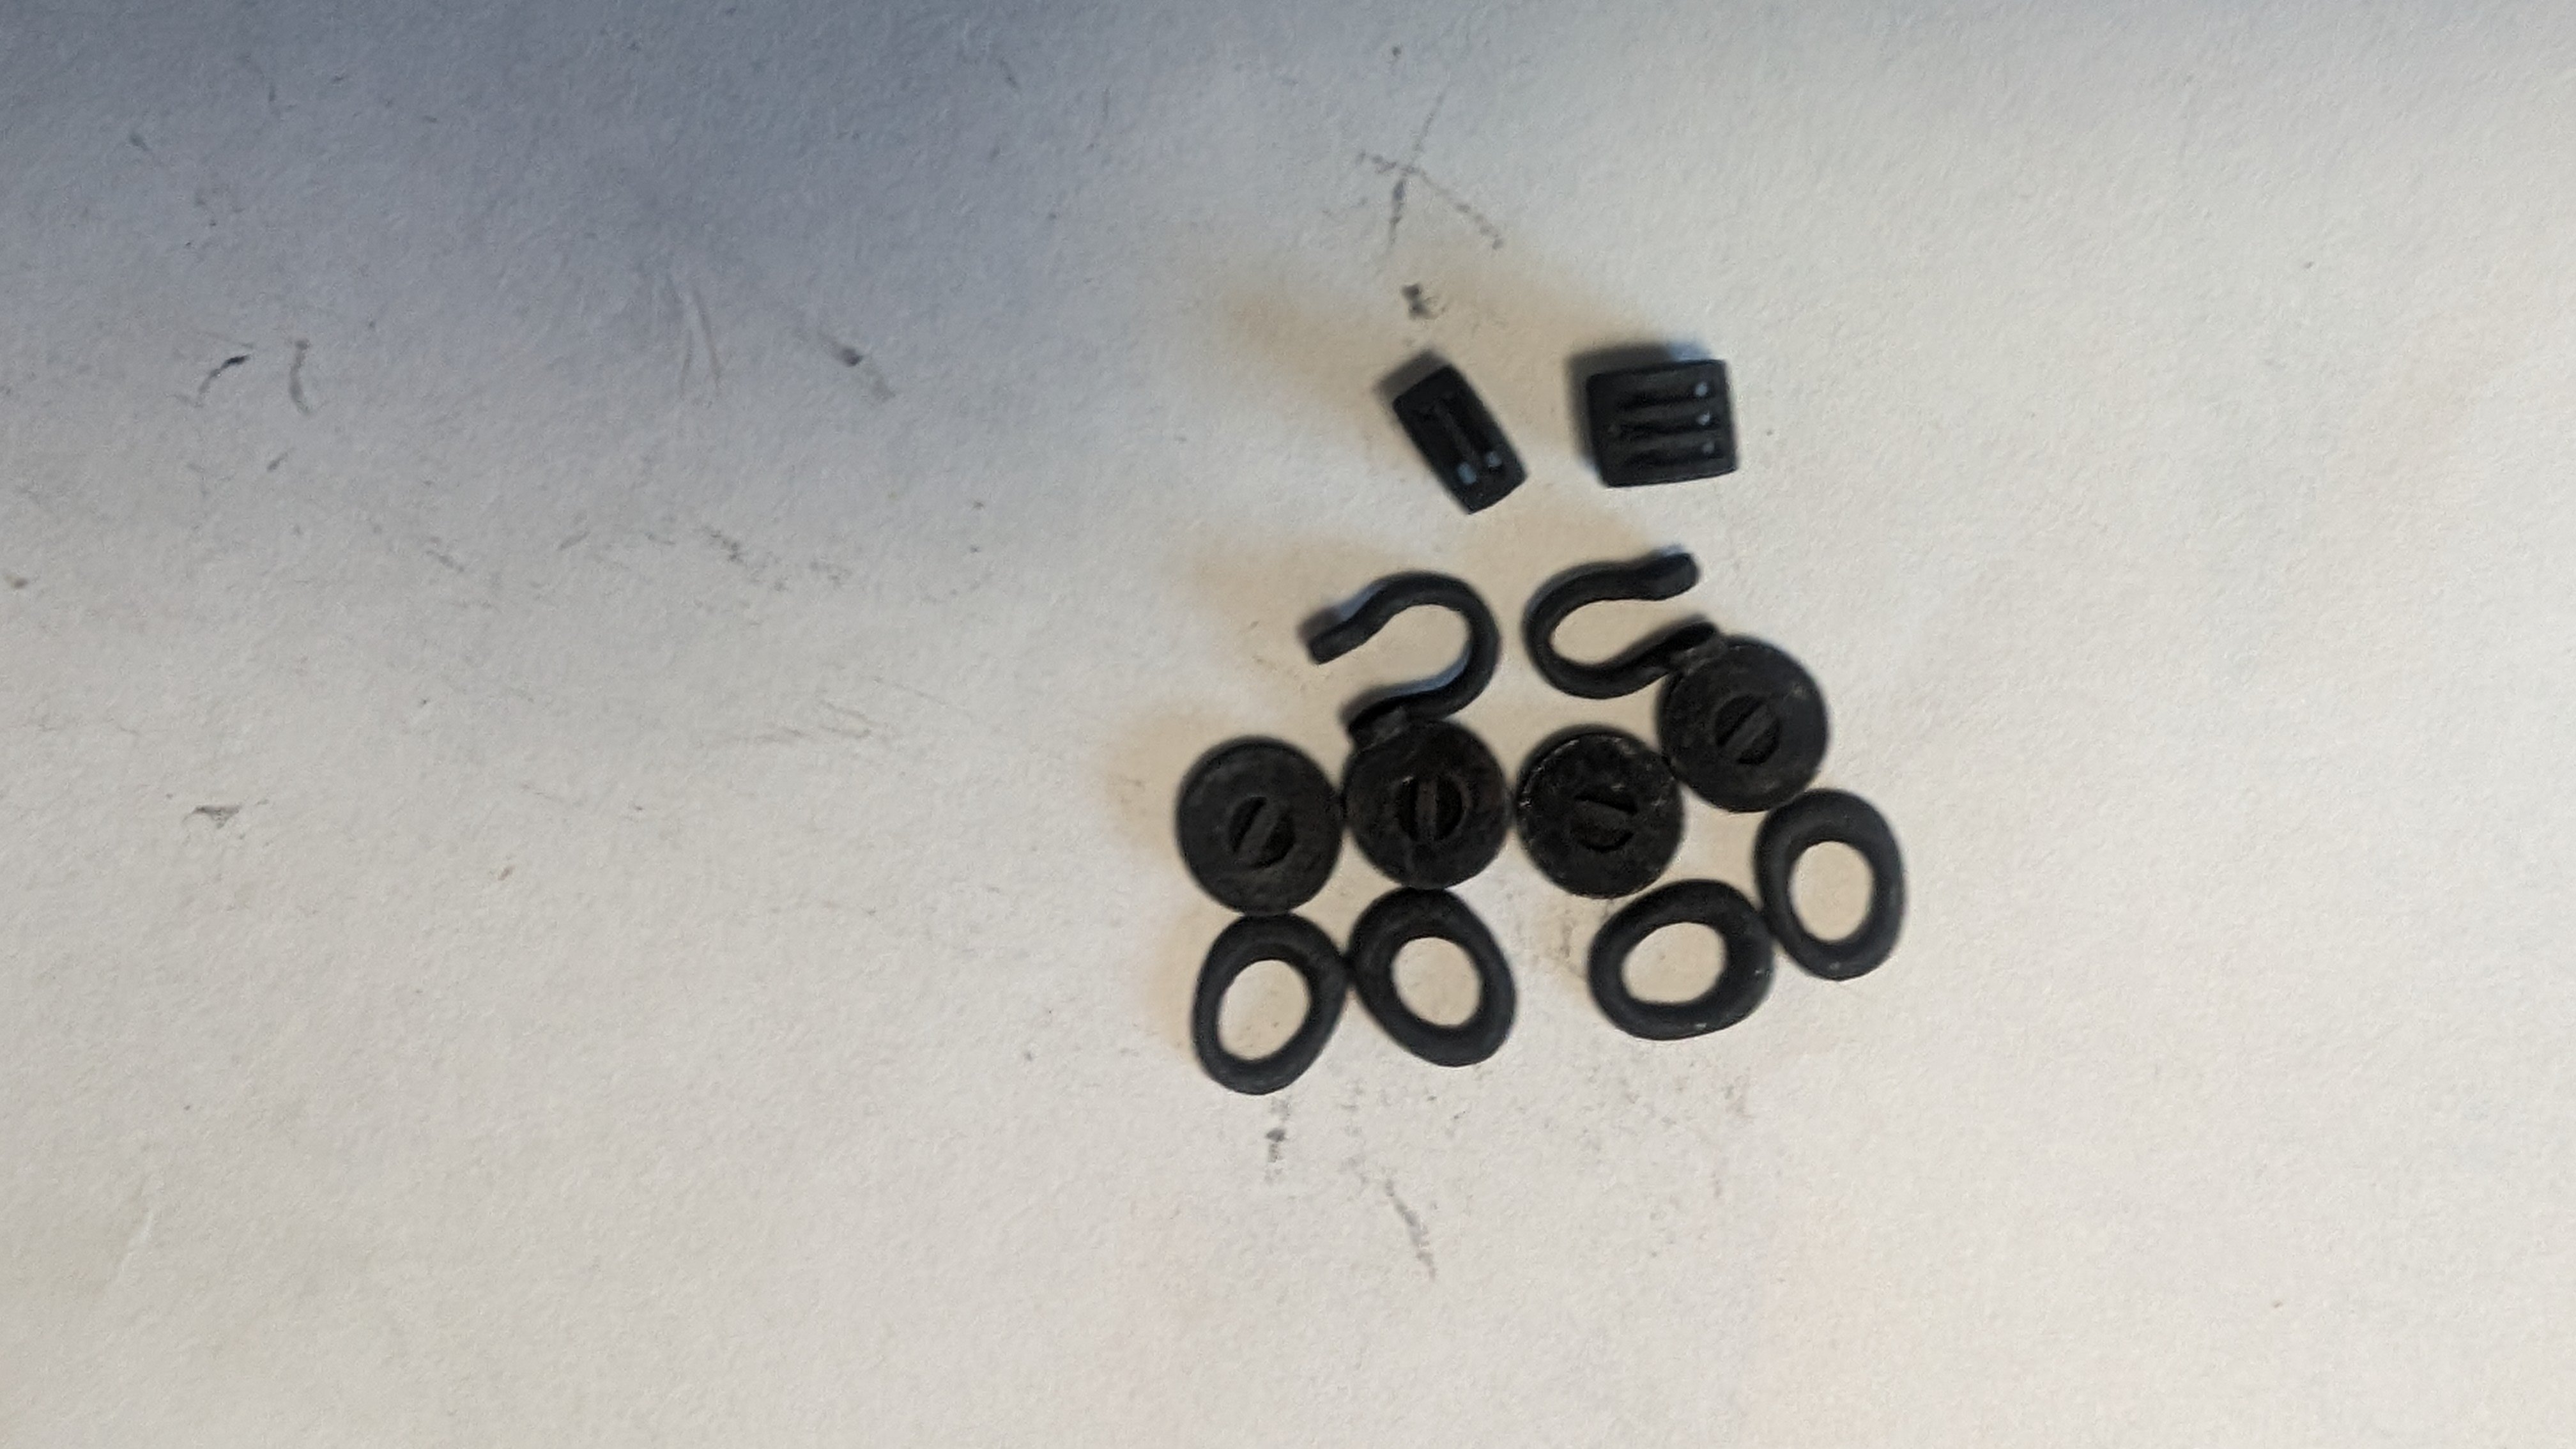
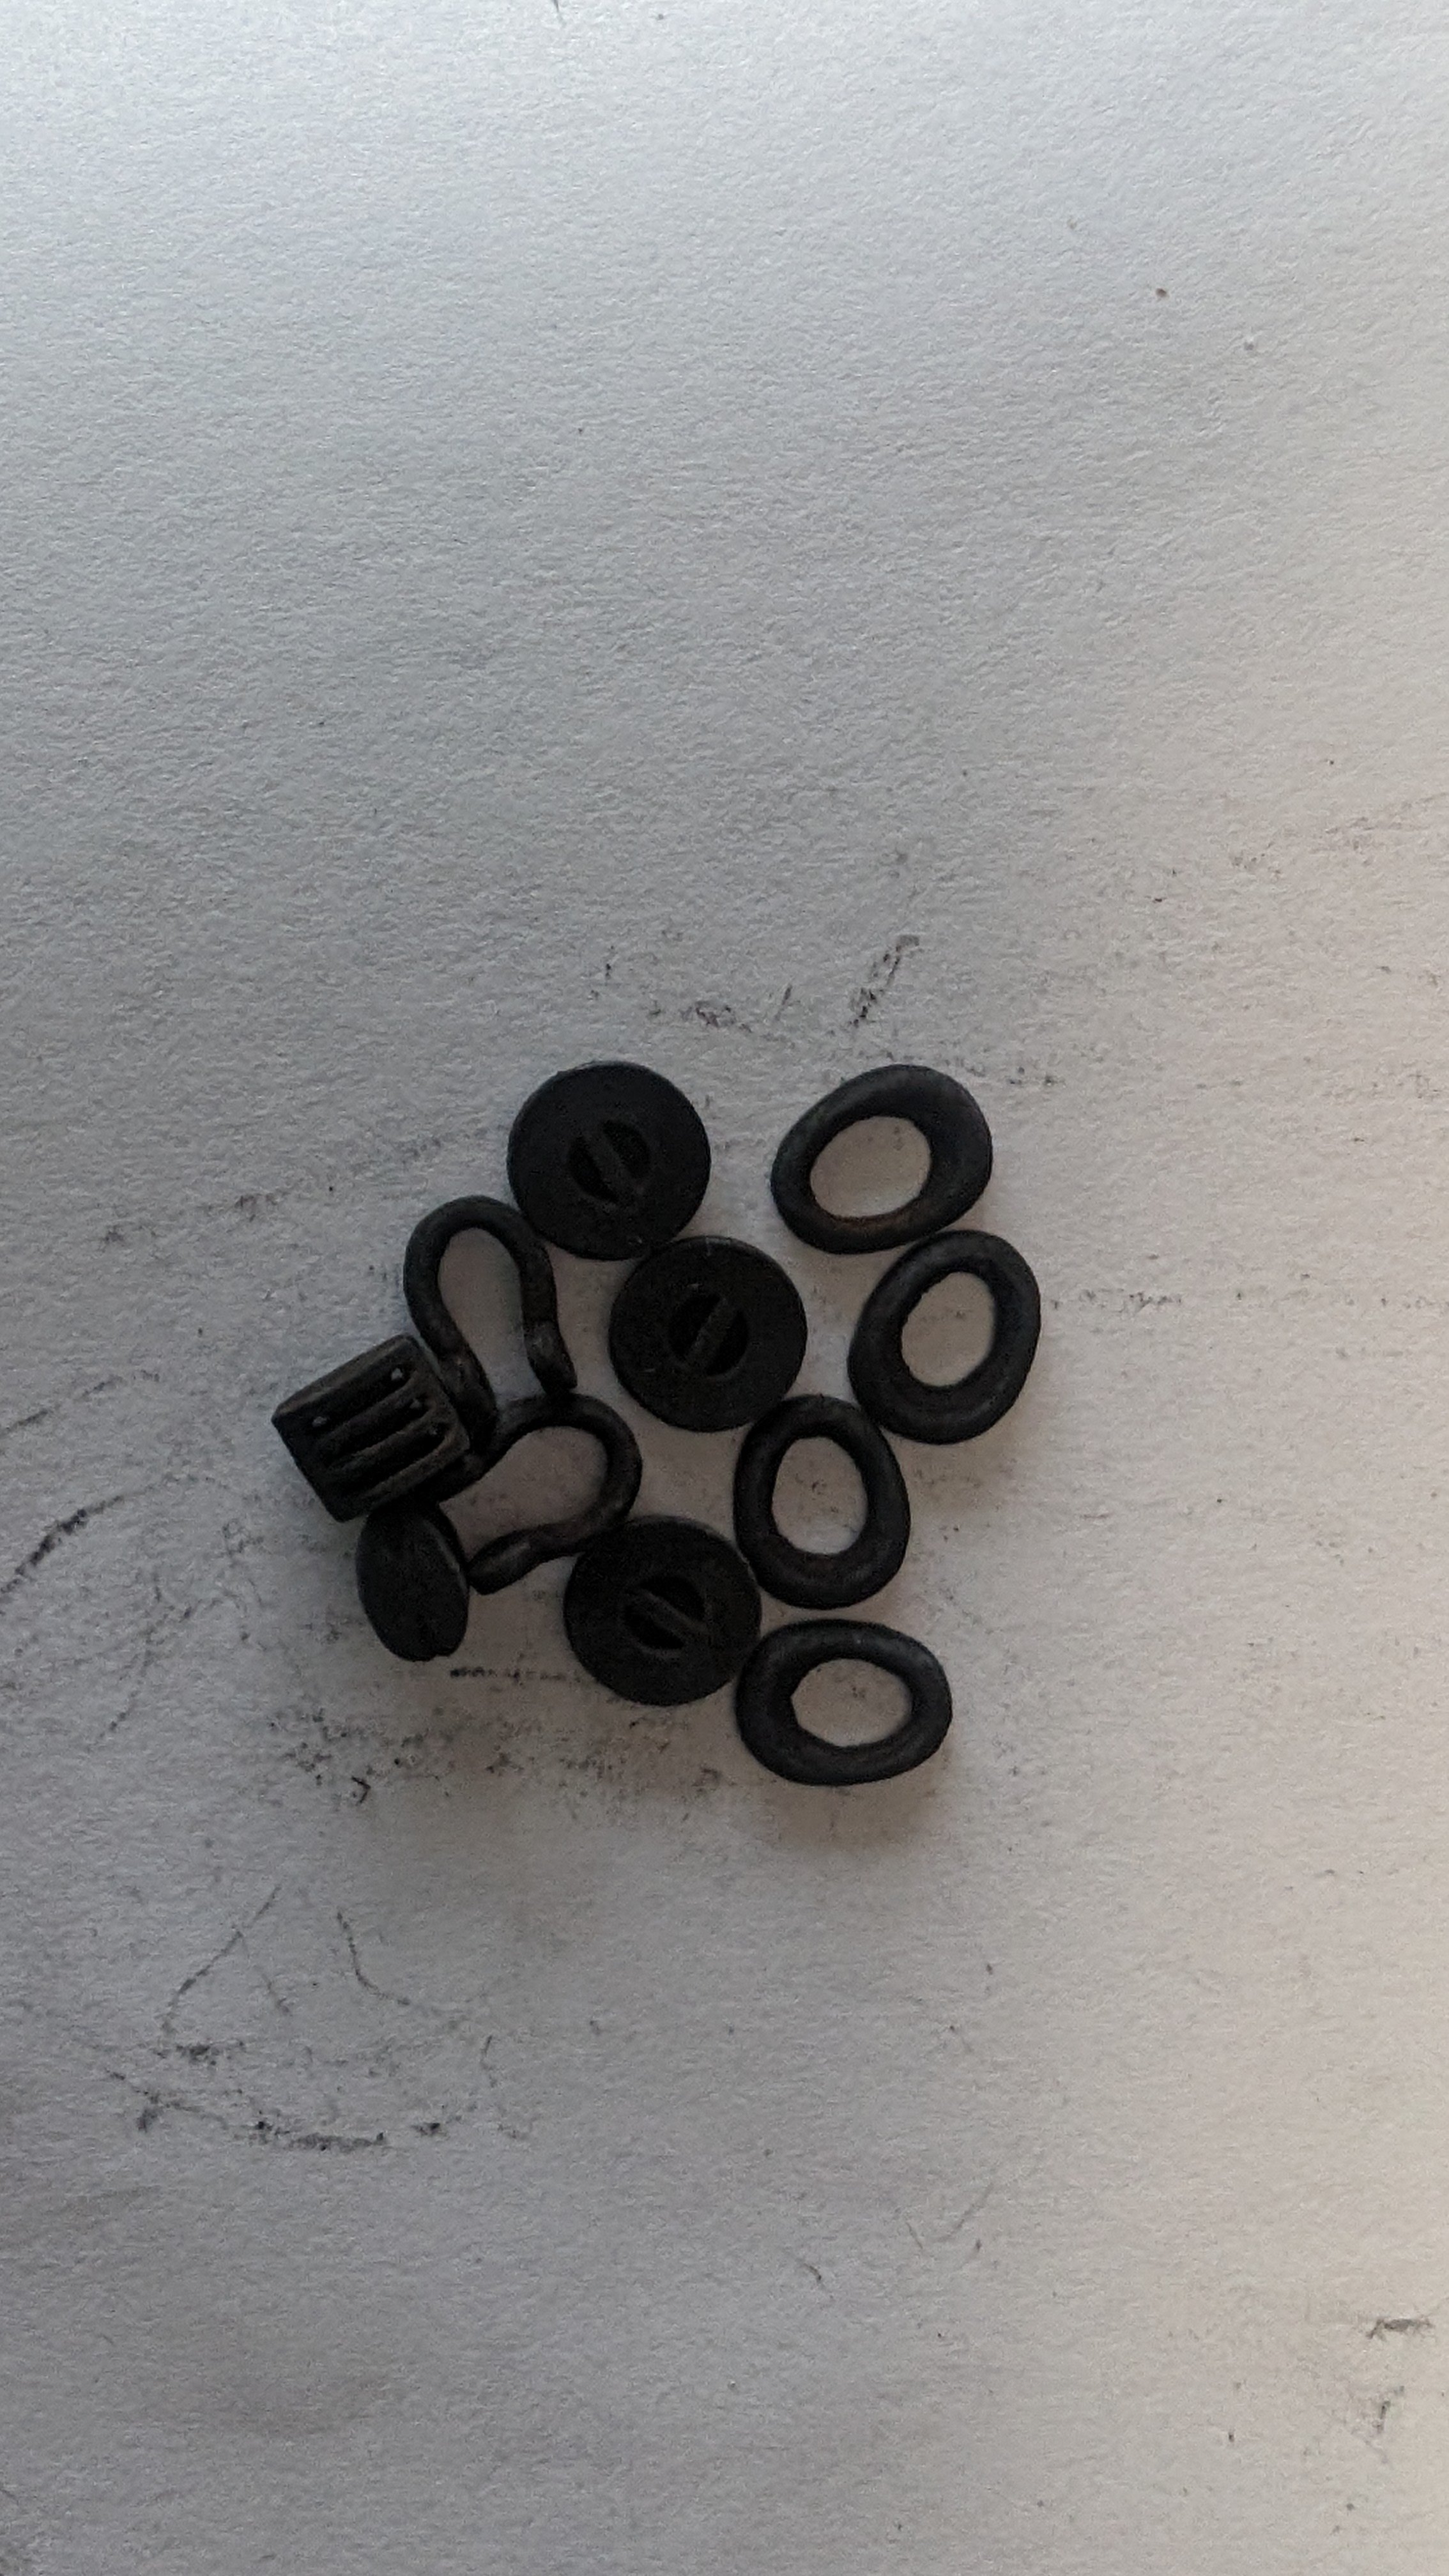
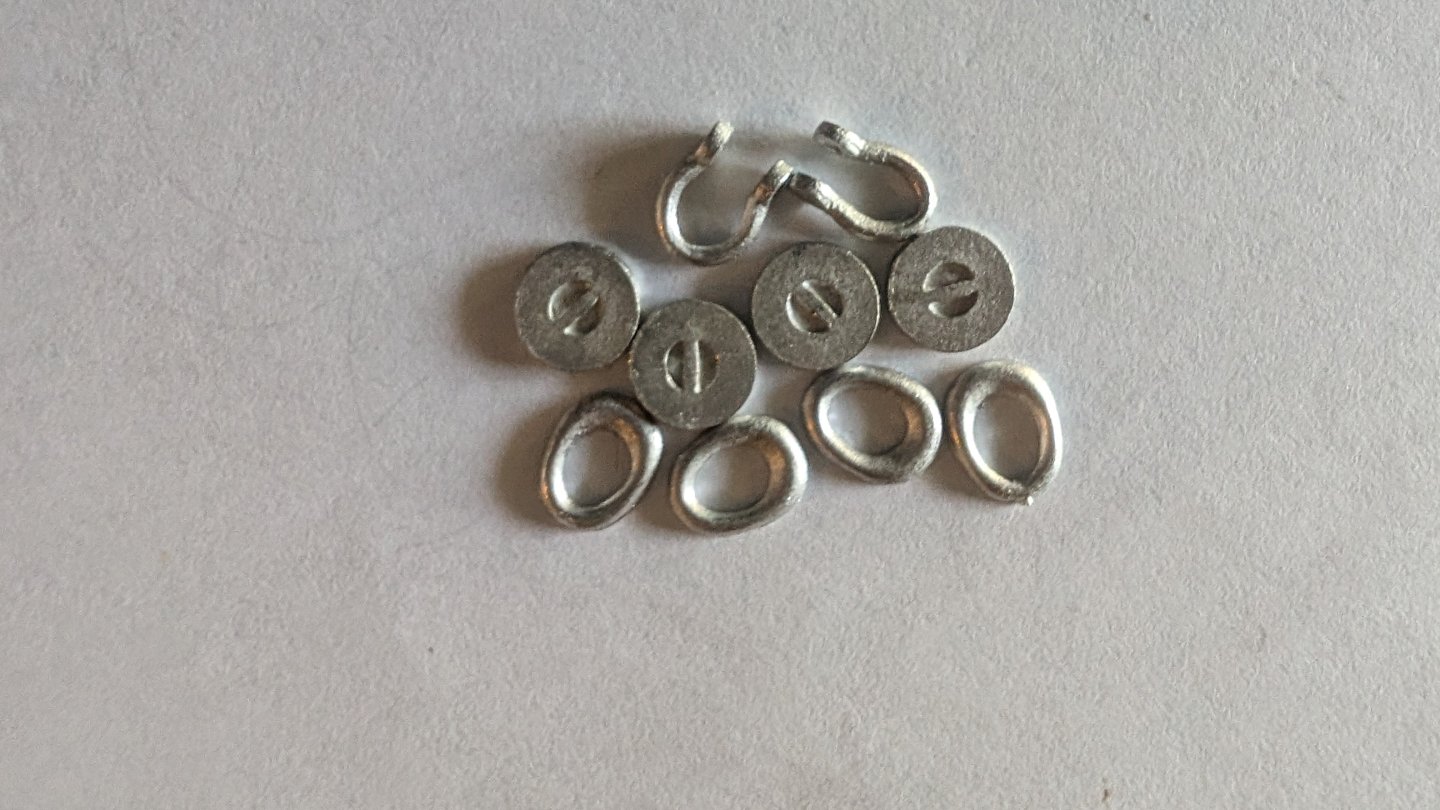
I did not like the result of painting the Britannia metal fittings black. So I decided to chemically blacken them instead. Very satisfied. Here is a before picture, after filing off the rough edges. One hawse hole unfiled for comparison, lower right. Second pic is one bath in oxidizer. Third pic is after a second bath. A light coat of clear matte poly sealed the color.

-
Agreed, uniformity made a big difference in second batch. I don't have a paper slicer, so I set up a makeshift jig to cut consistent slices.
-
Second batch of hoops is much better. Slightly thinner and consistent width.
-
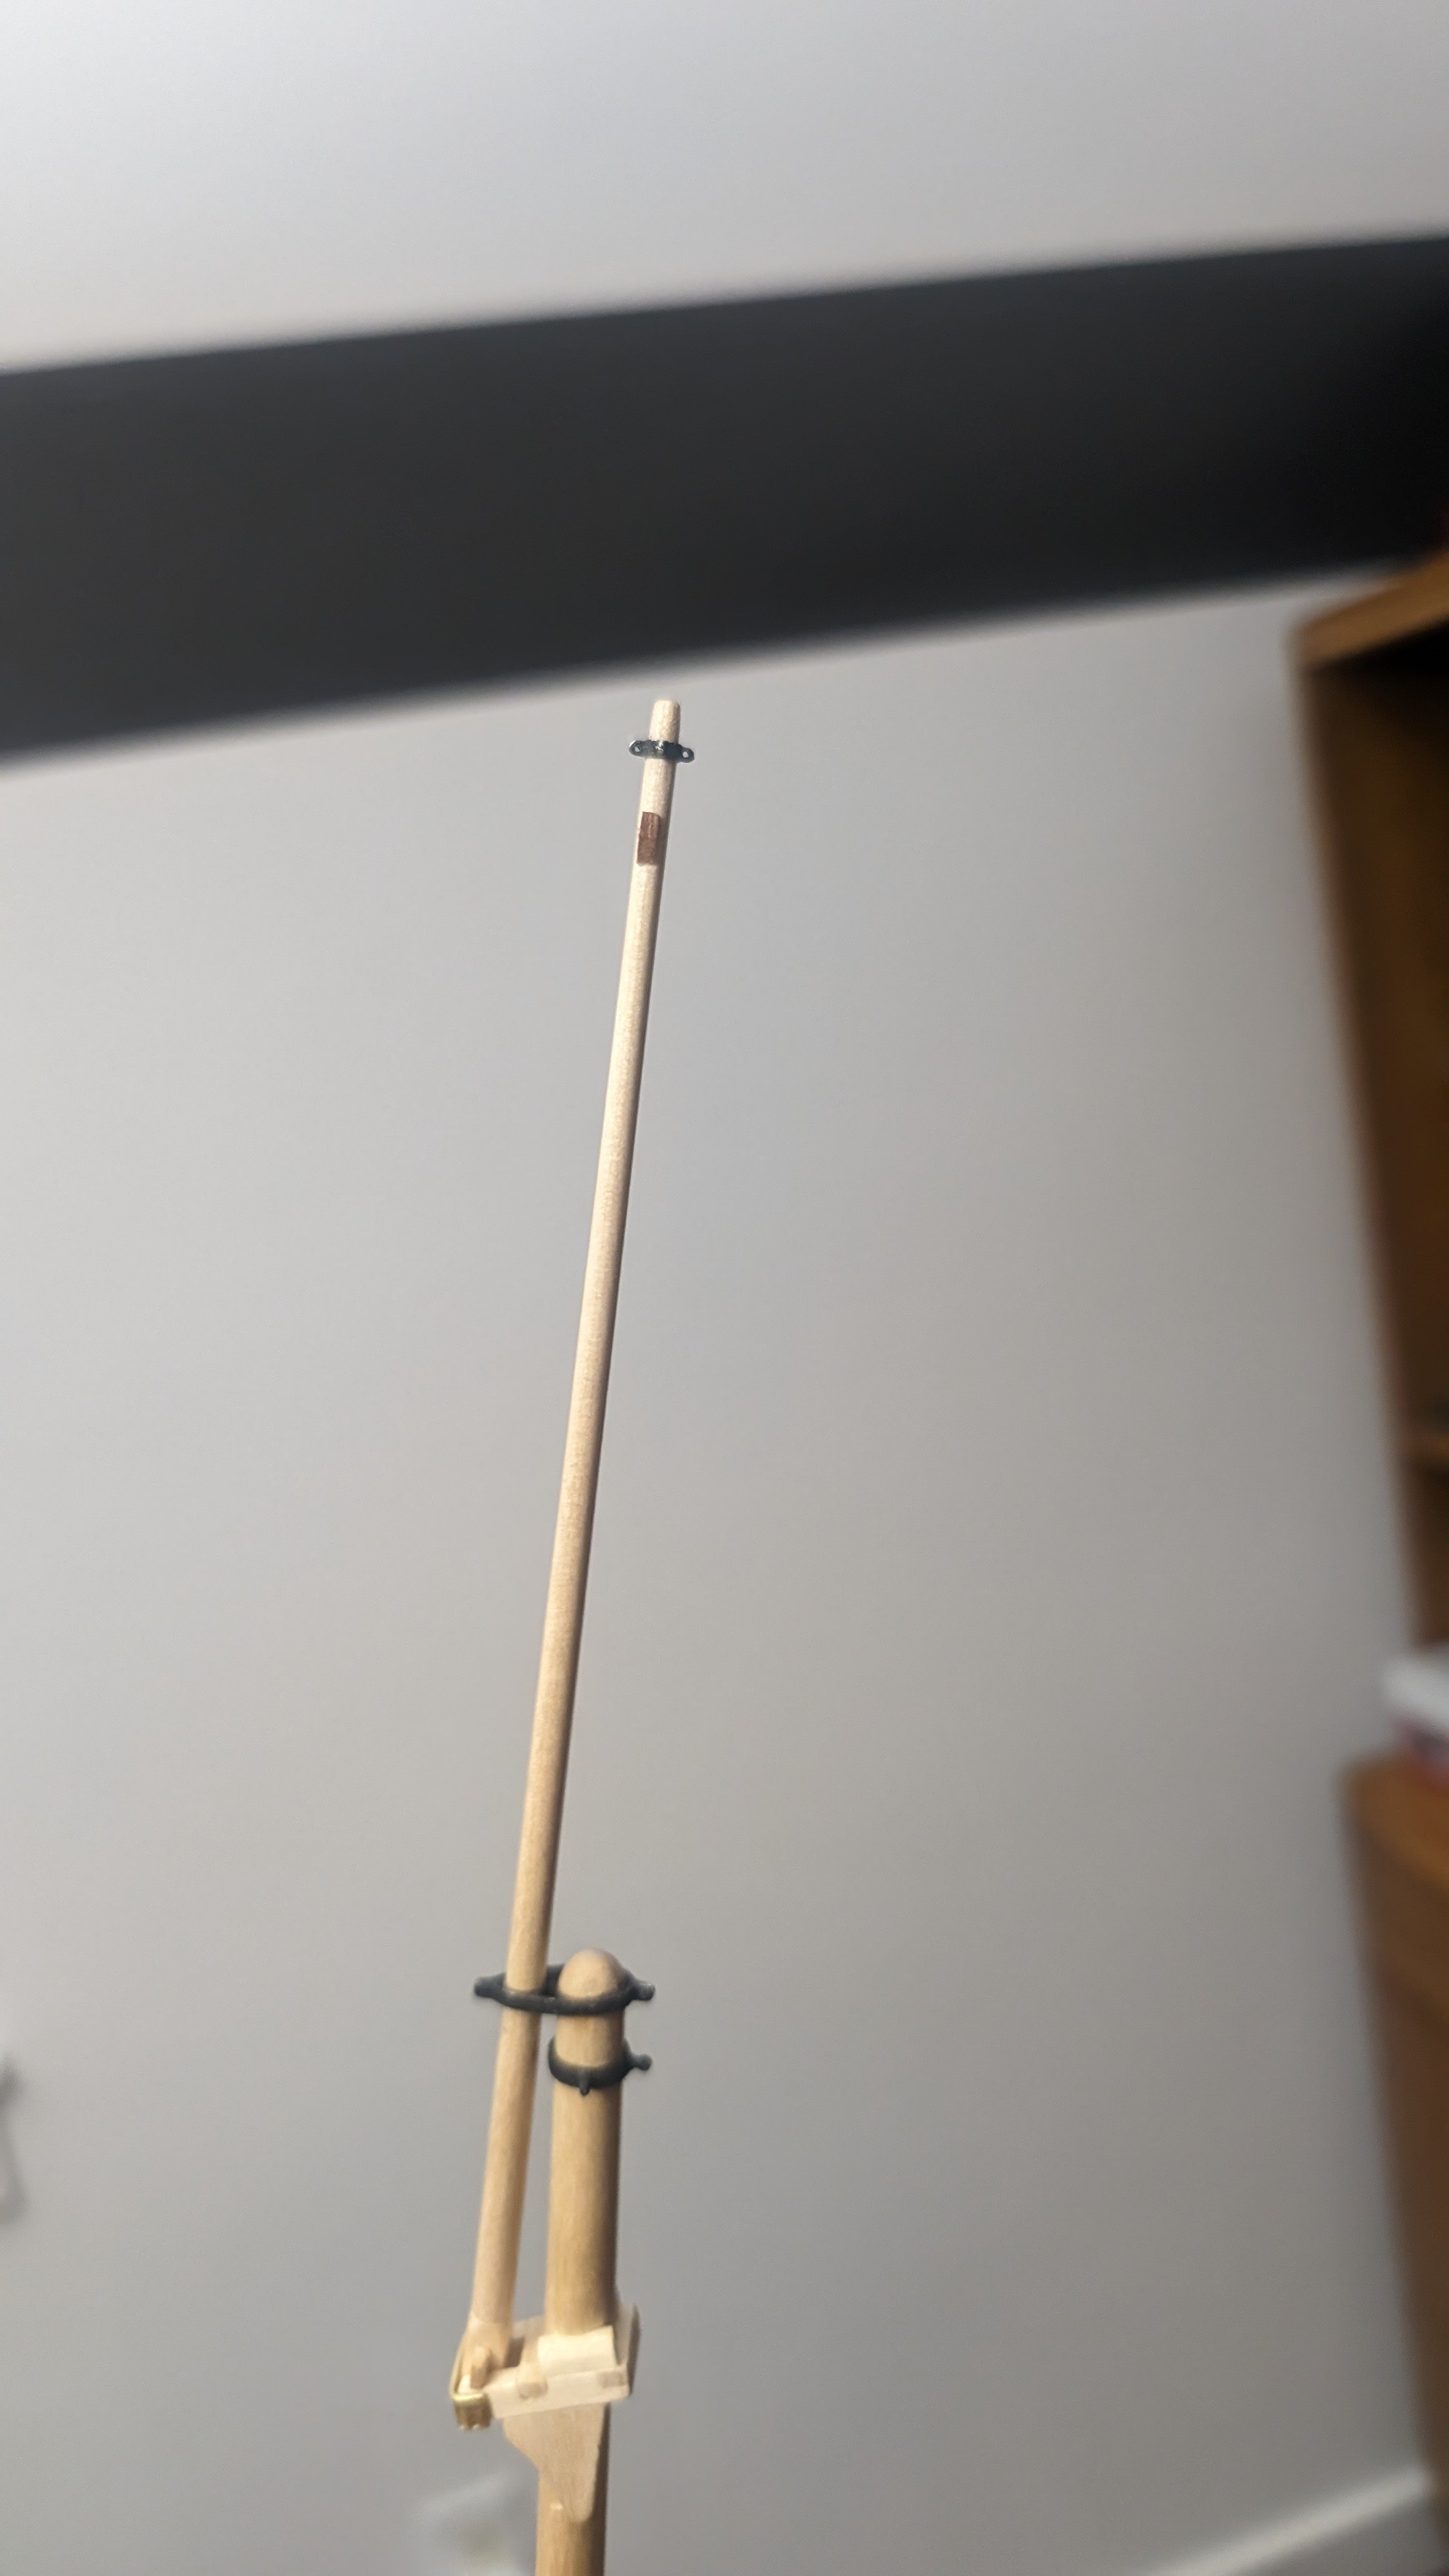
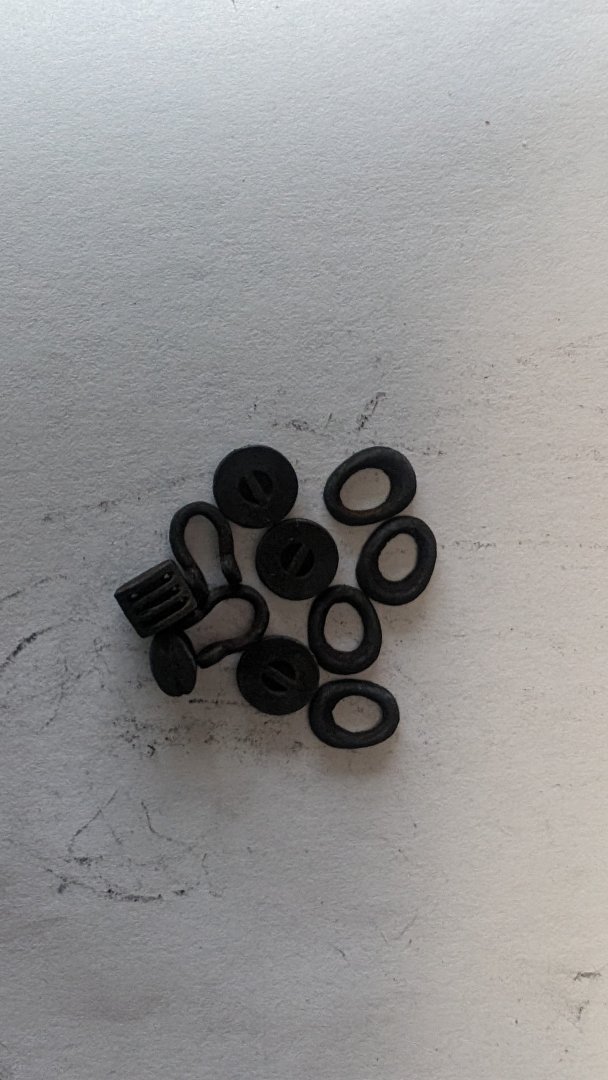
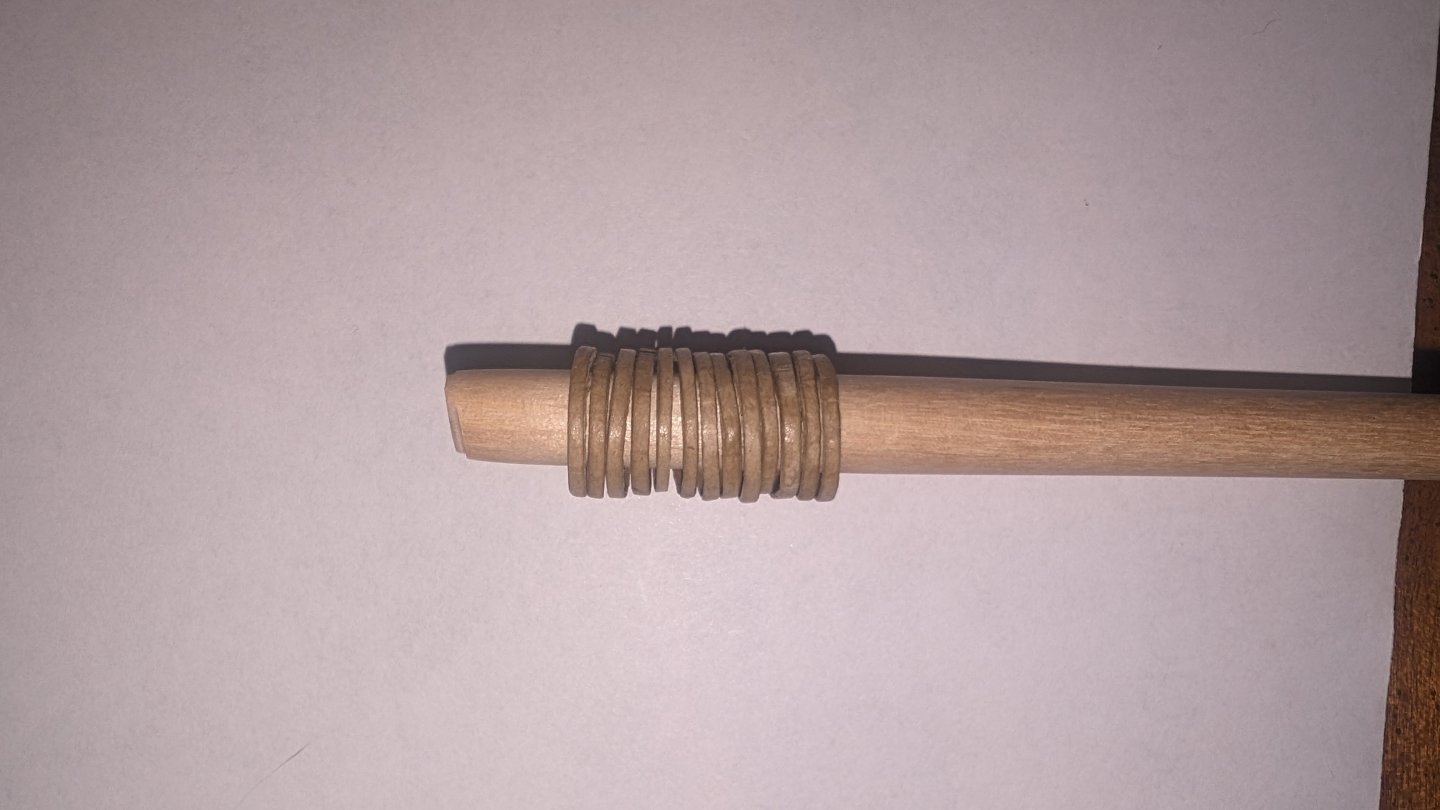
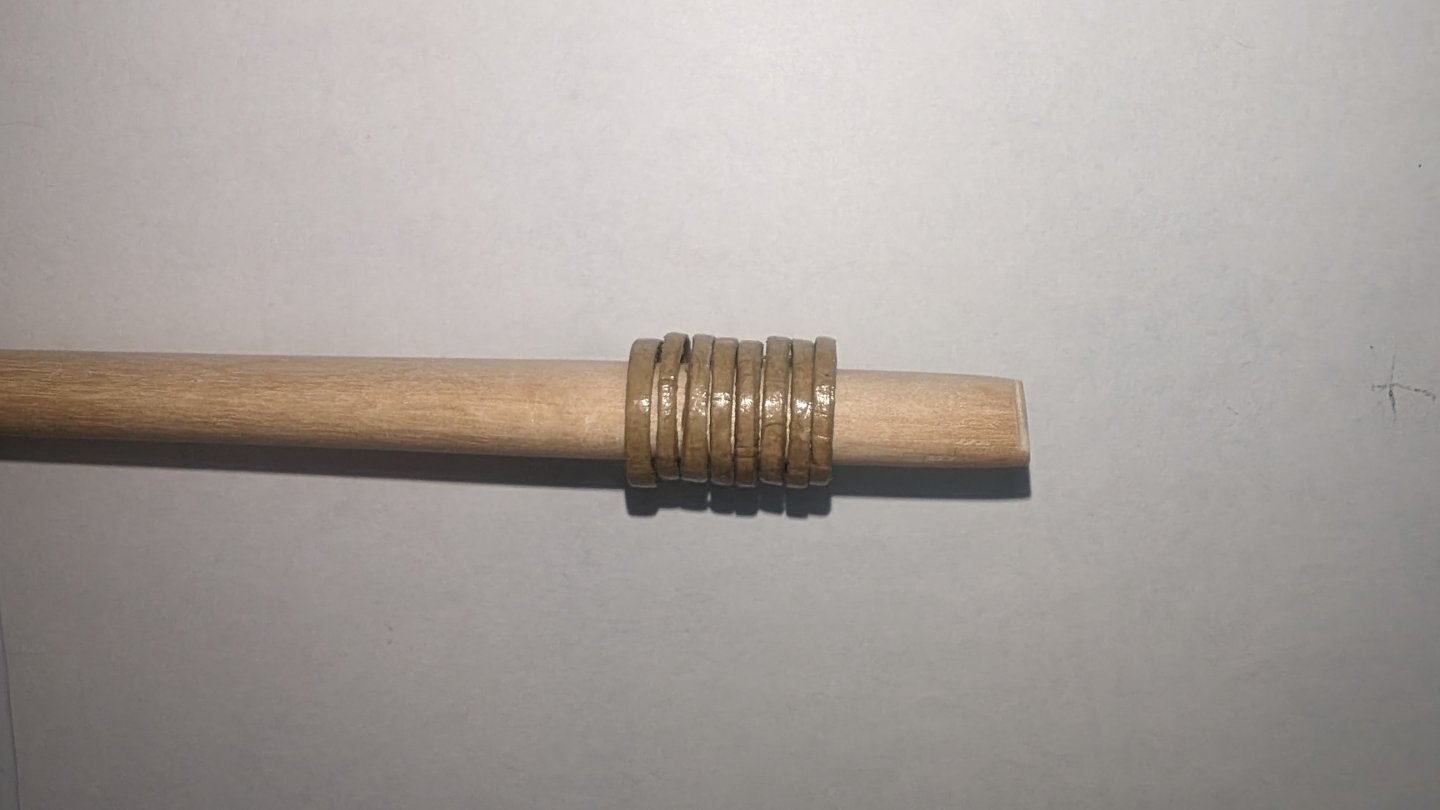
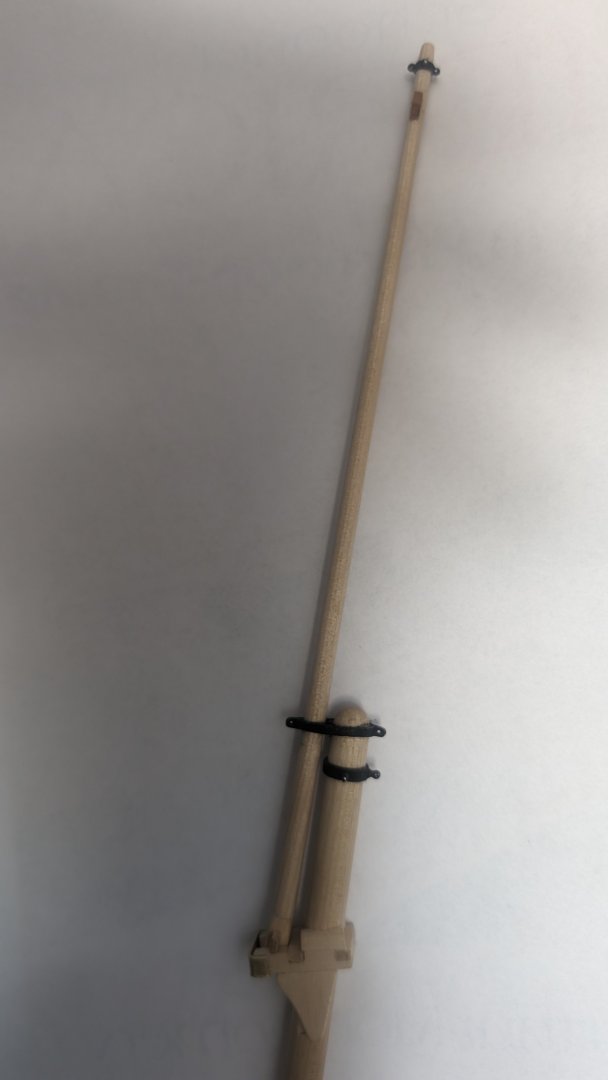
I went with some craft paper for the mast bands. Here's my first few. Not too bad for a first try. I cut thin strips, soaked them in diluted glue, then wrapped around a foil covered dowel. I later found tightly wrapping those with stretchy film got rid of ripples and voids. I will try another set applying what I've learned. Pics of first attempts below:
-
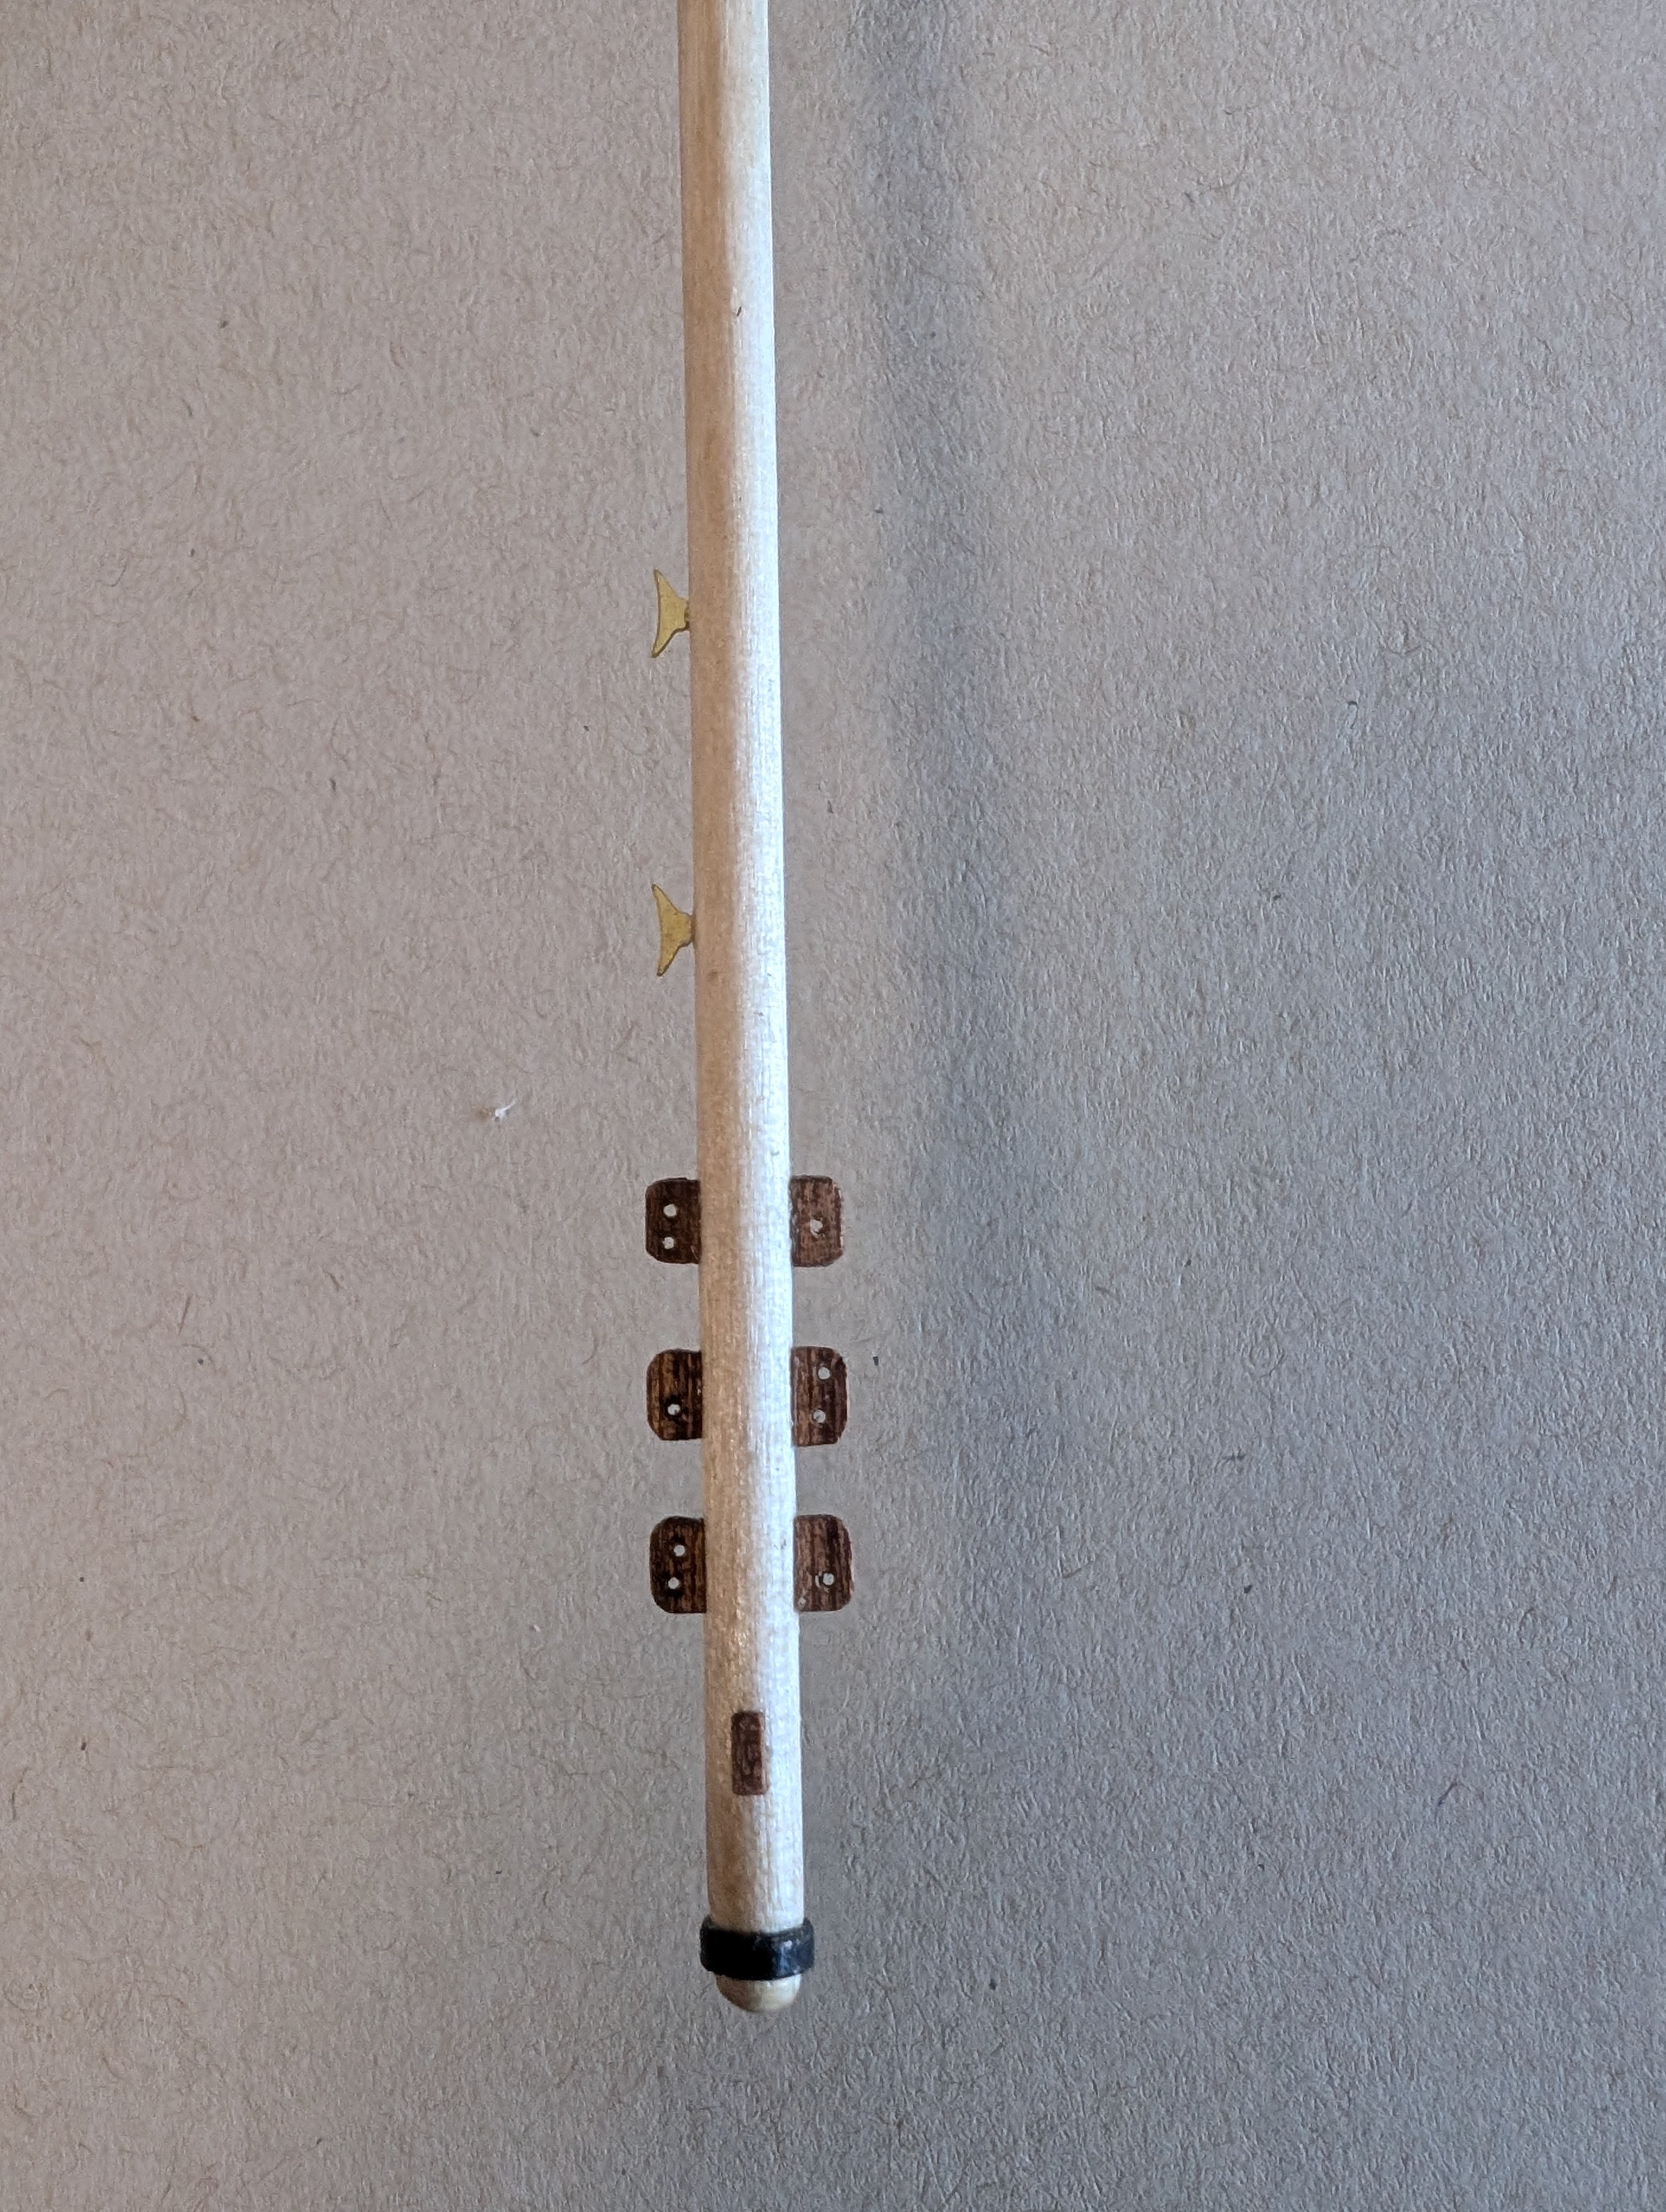
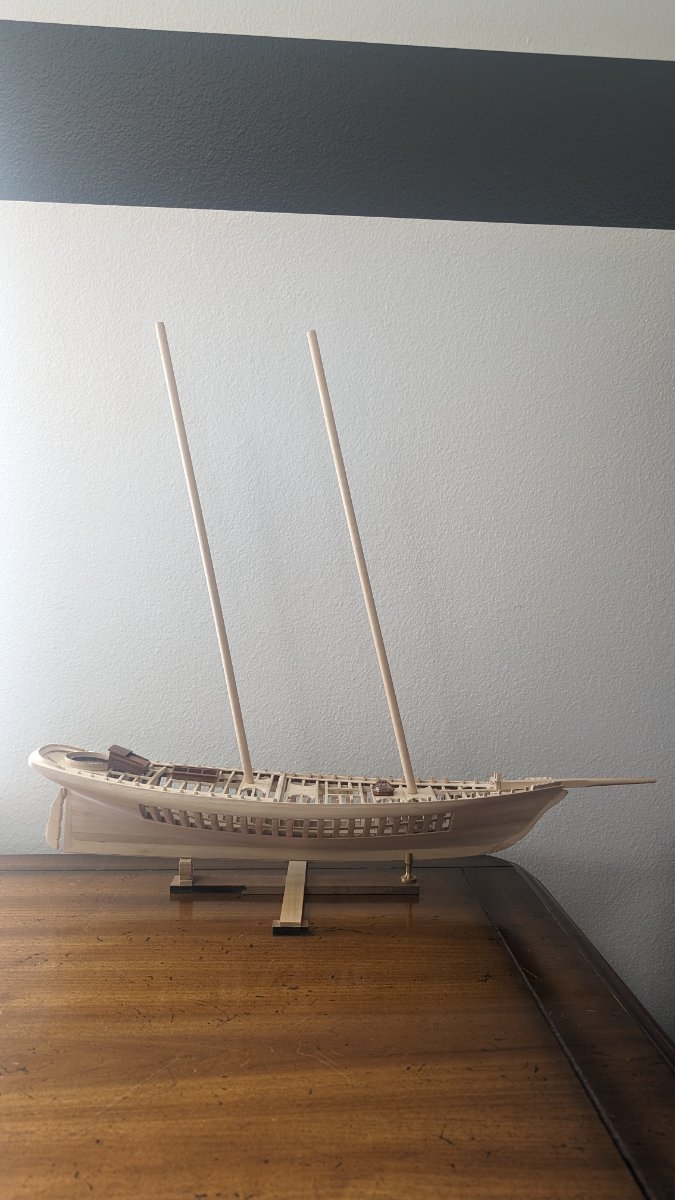
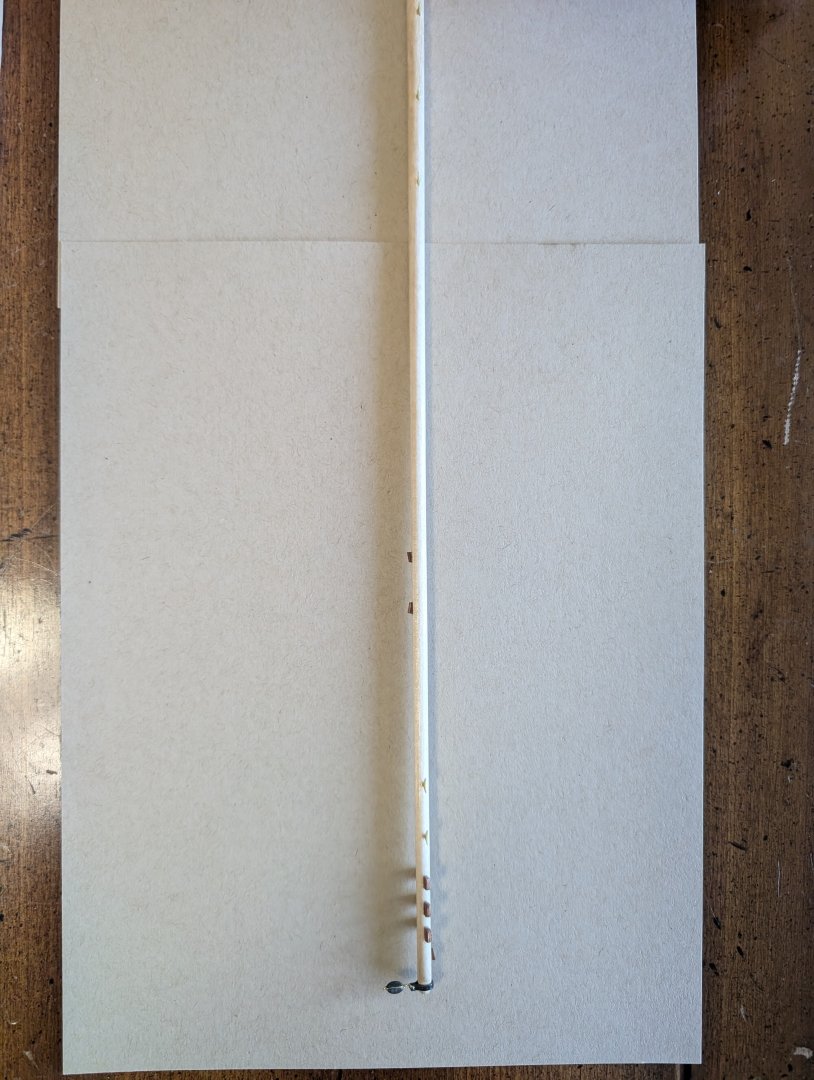
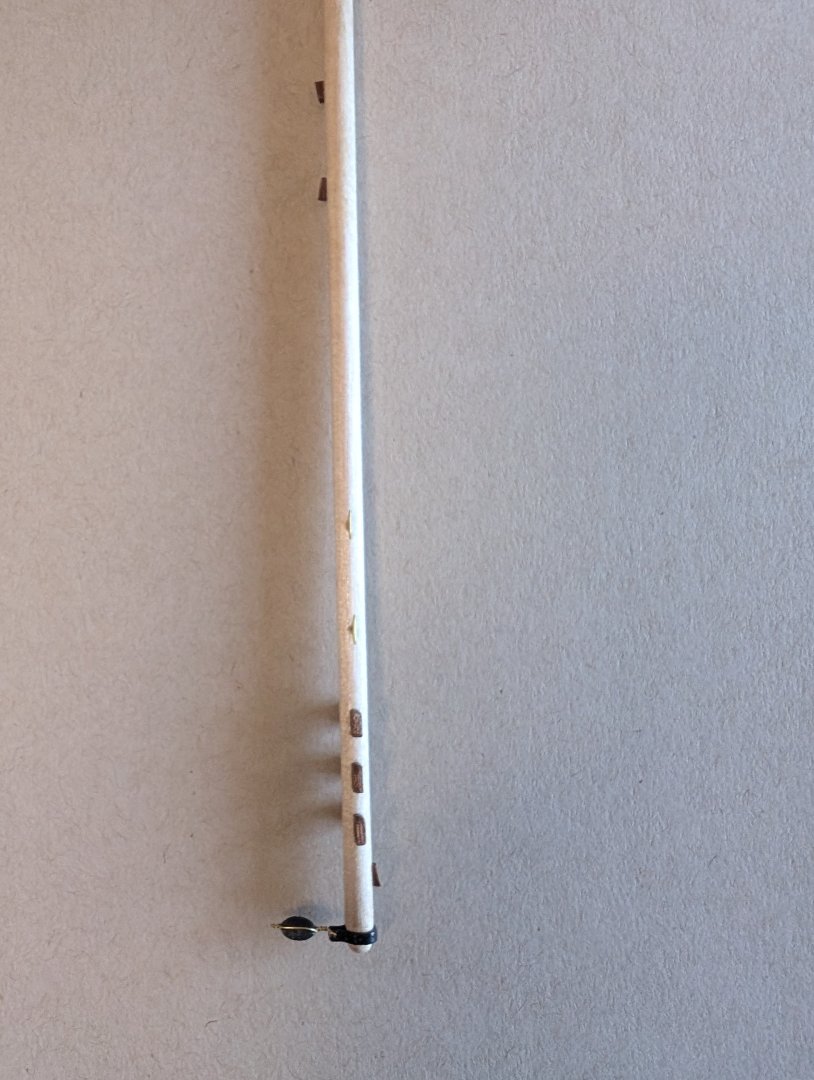
Aft deck planking installed. I have not finished with tung oil yet. I wanted to show a good contrast with the oiled fore deck. I have also started on the masts. Top mast is complete and installed on the main mast. Main mast is nearly complete. I need to install the sail hoops and spider. The kit supplied shiny brass hoops, but I am not sure how those will look. I may make my own. I'm open to suggestions on that. Here's some pics.


-
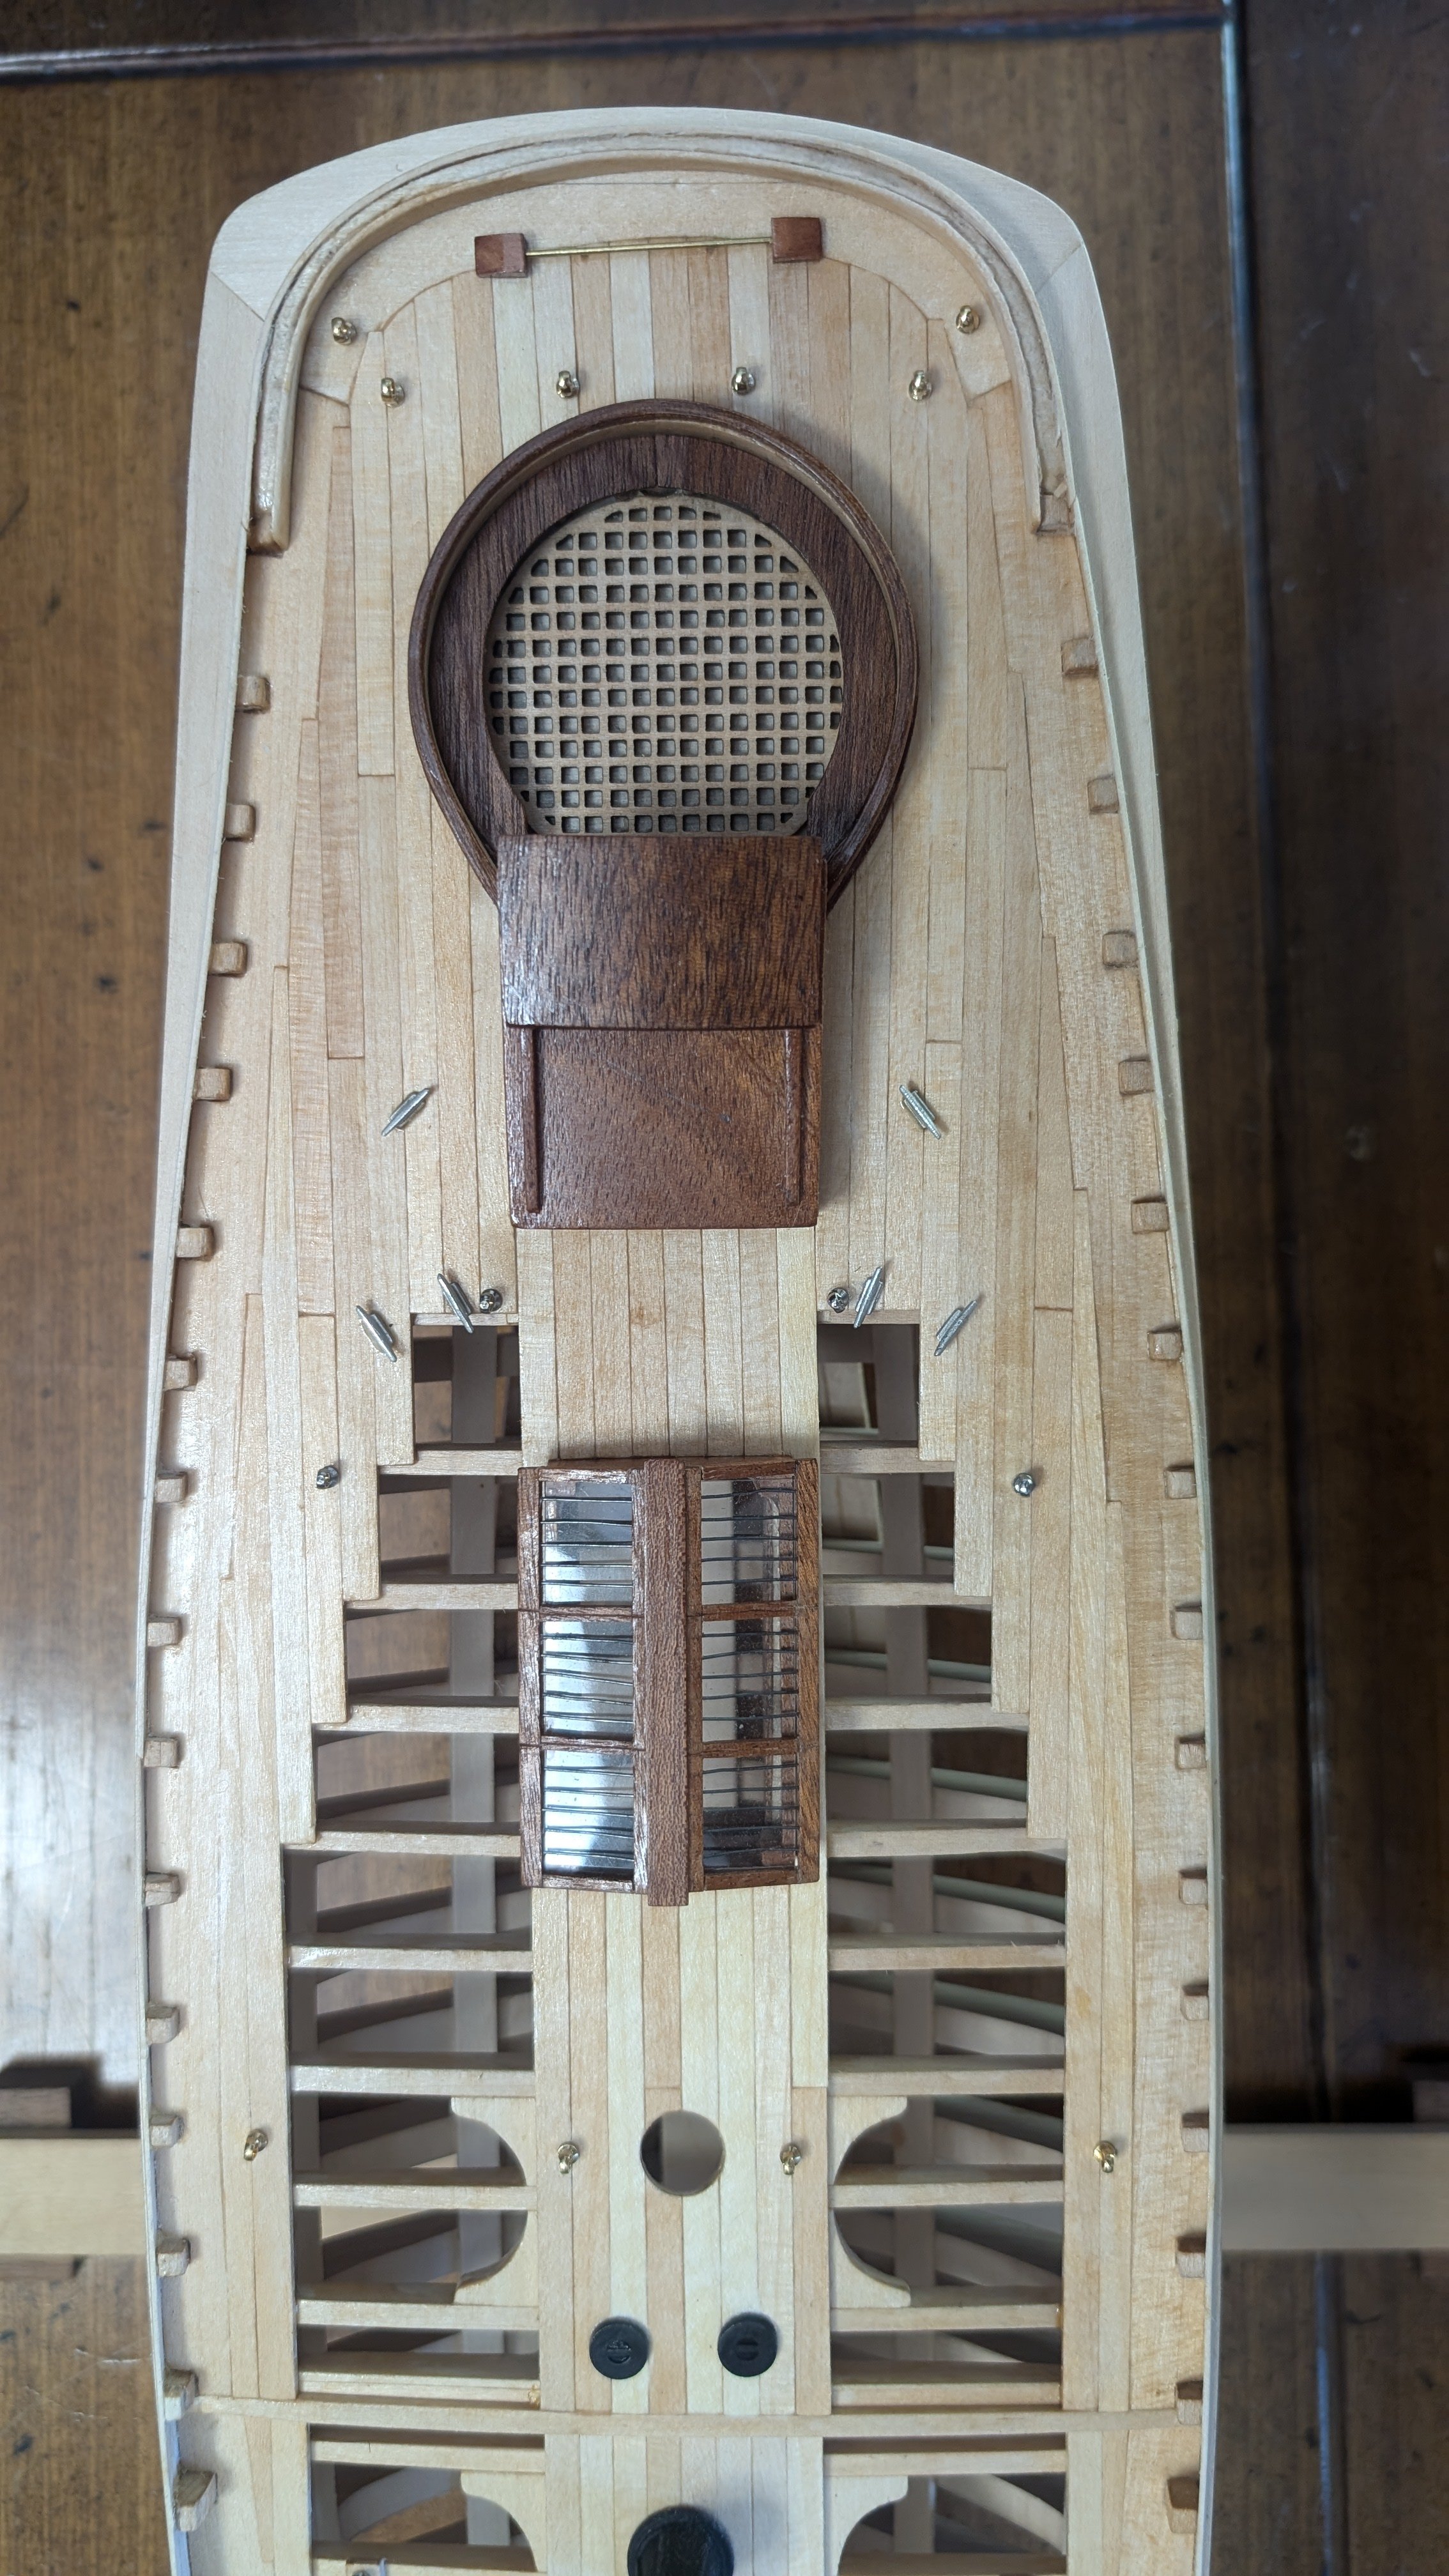
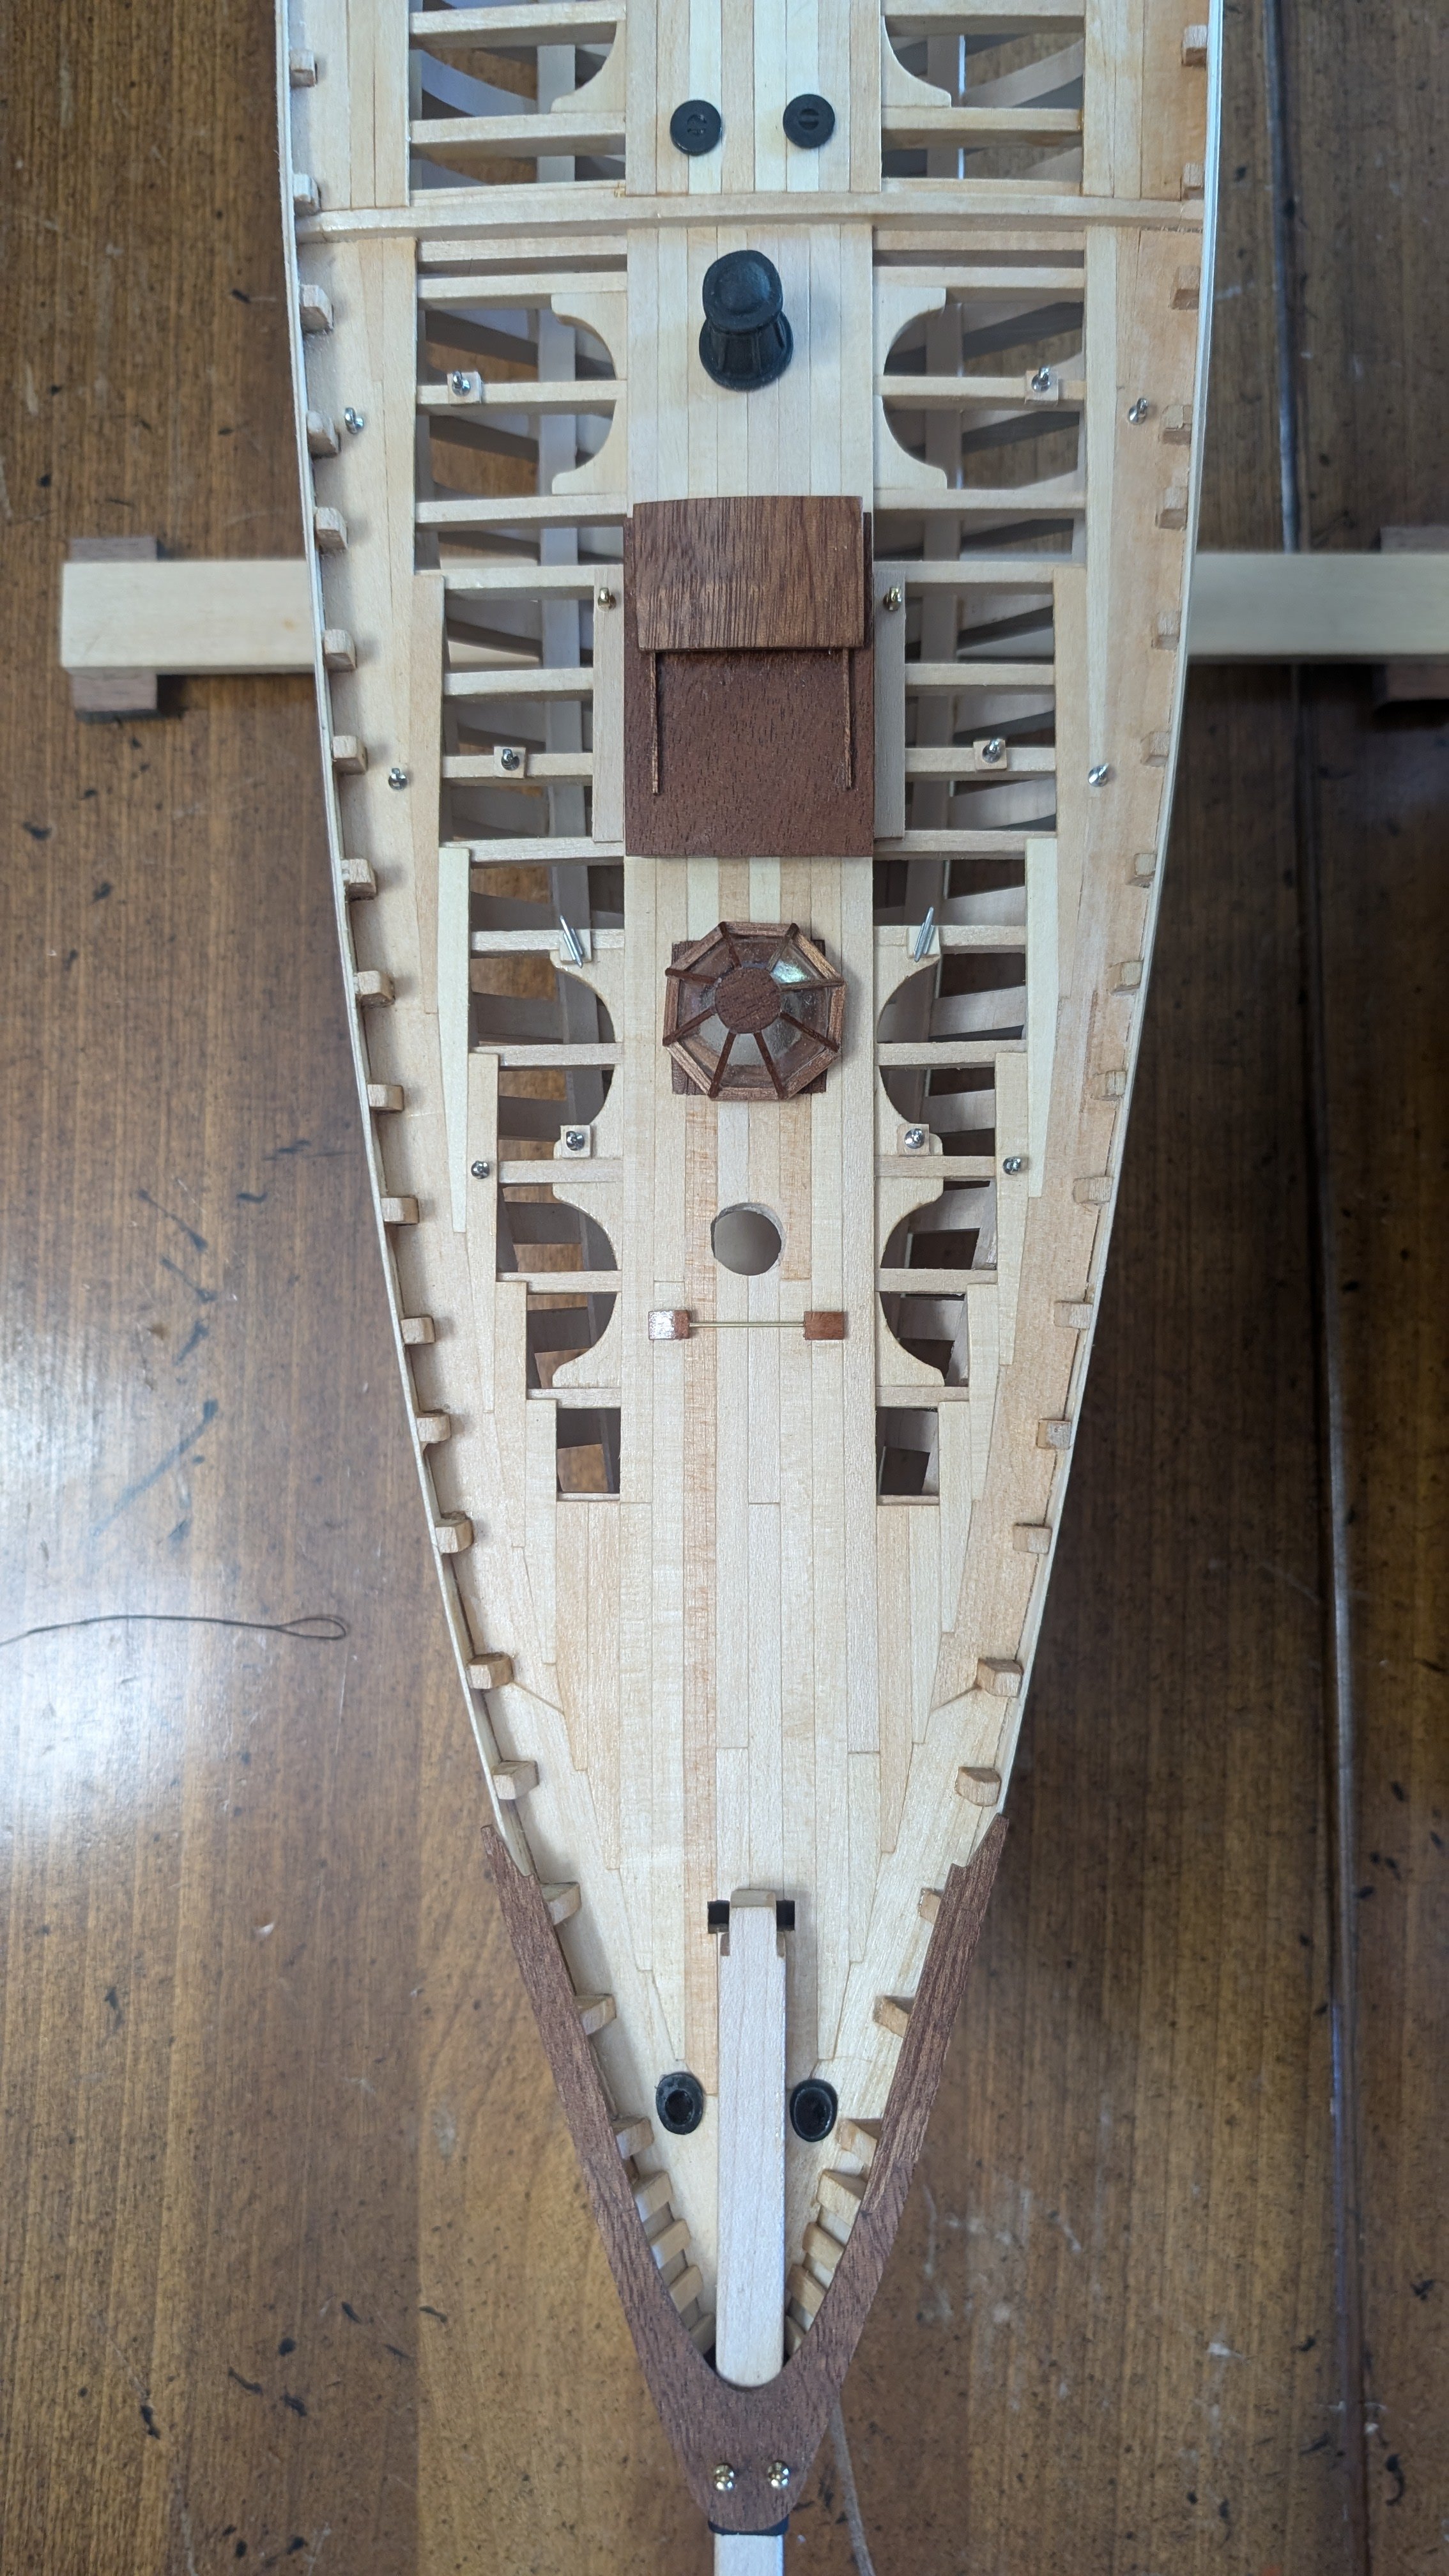
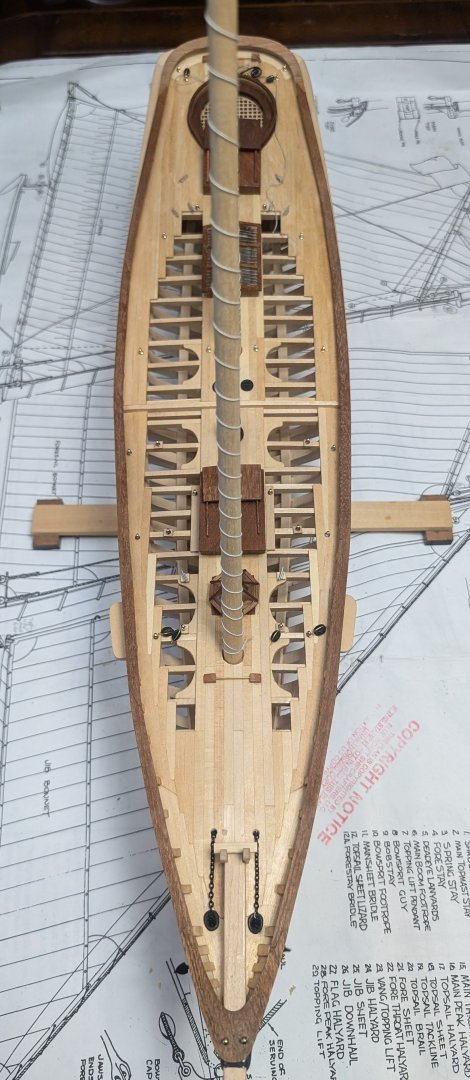
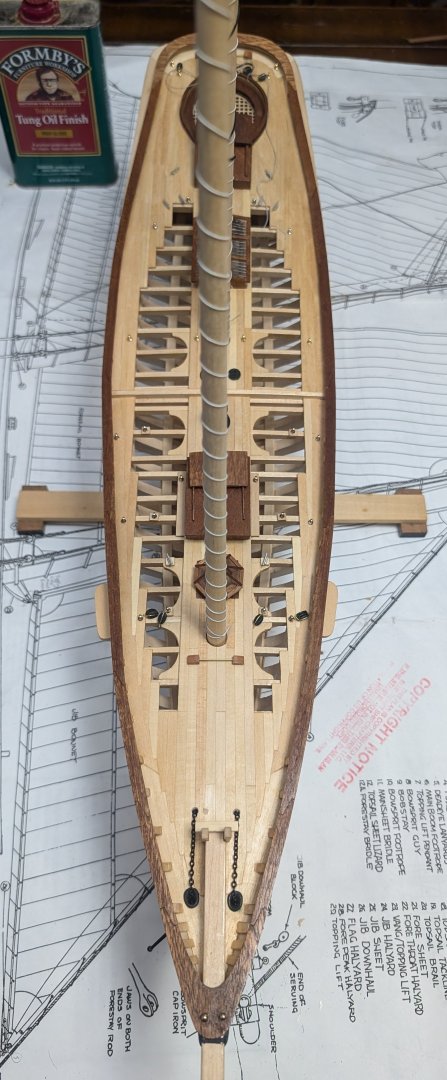
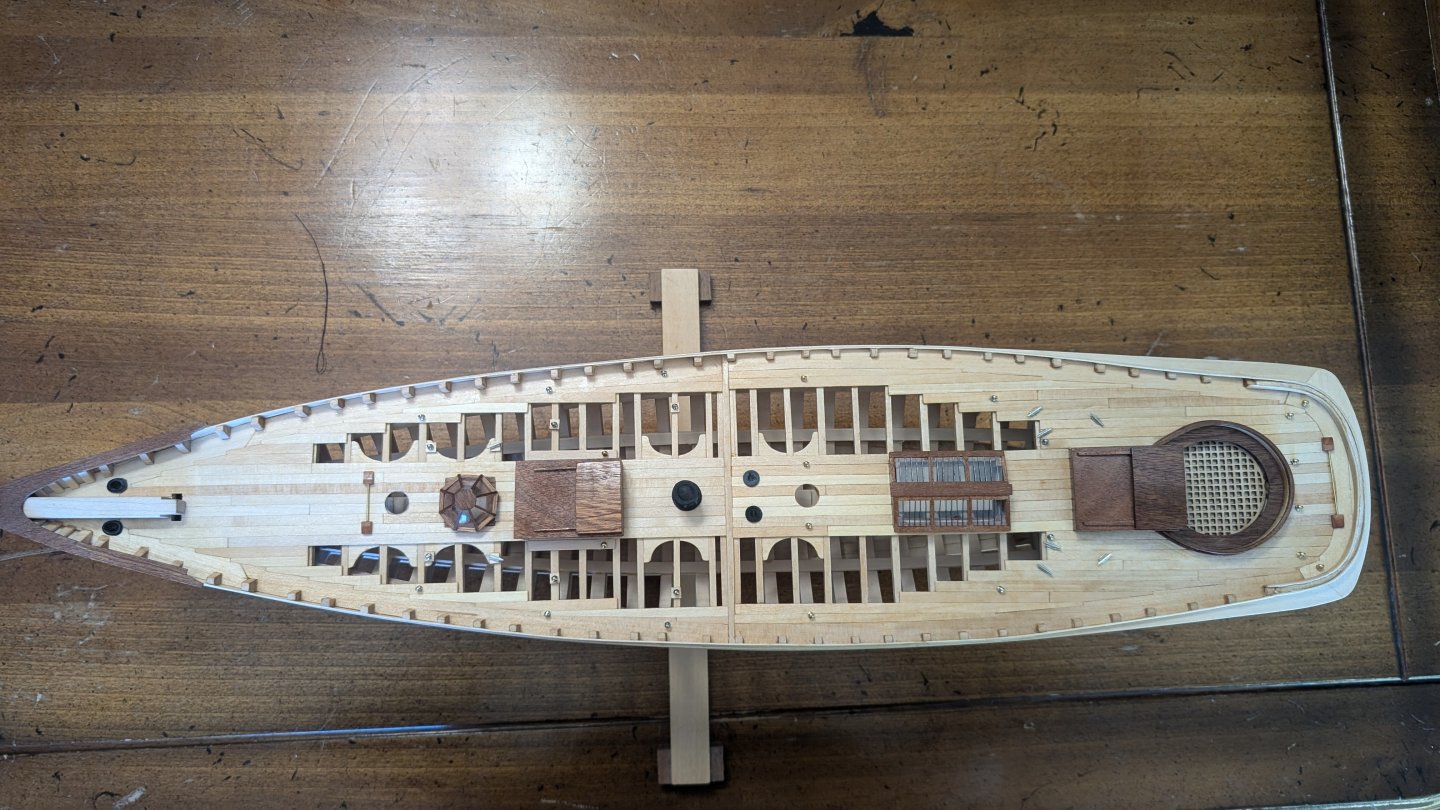
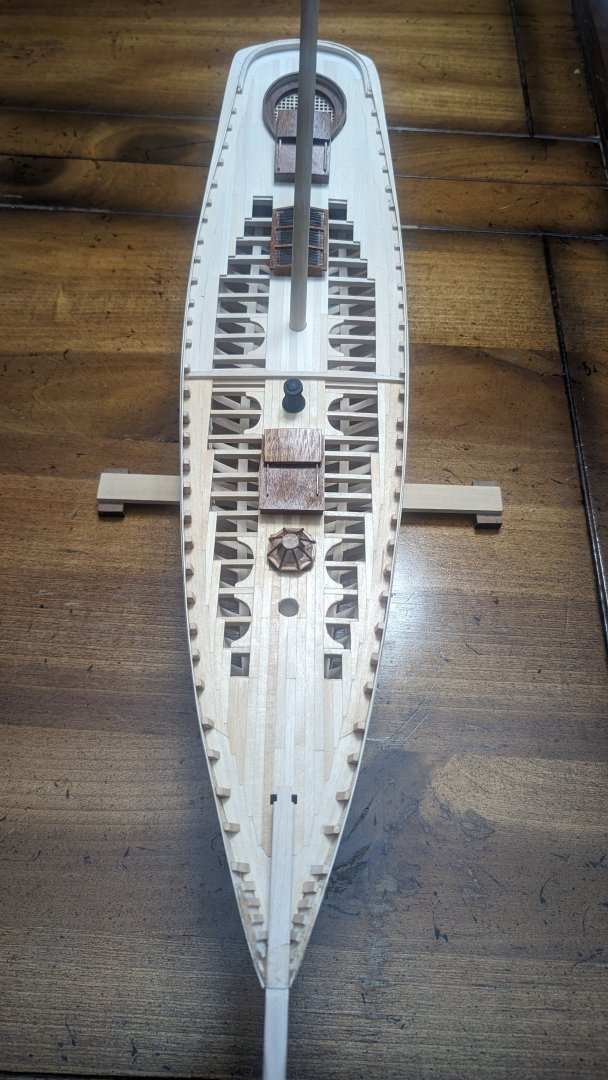
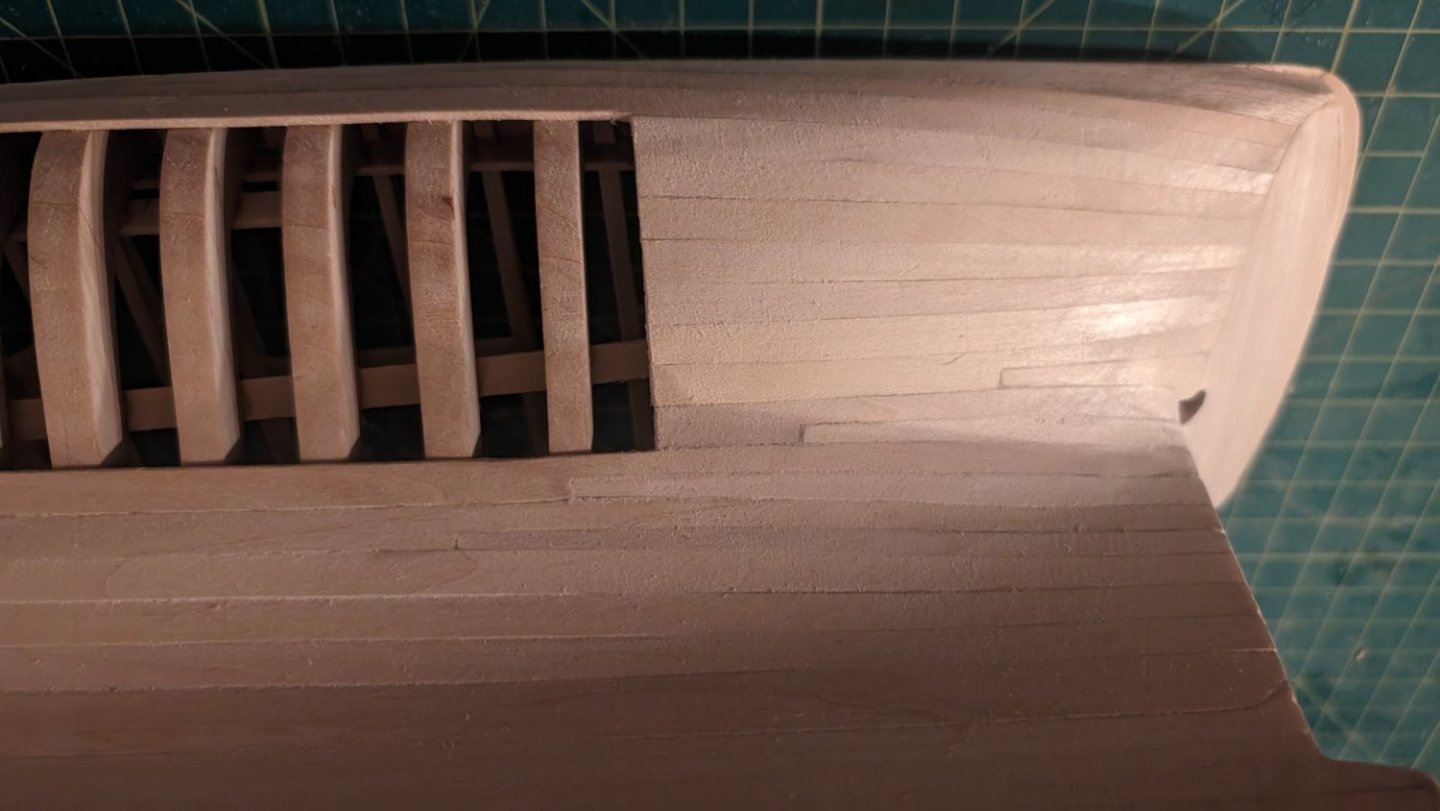
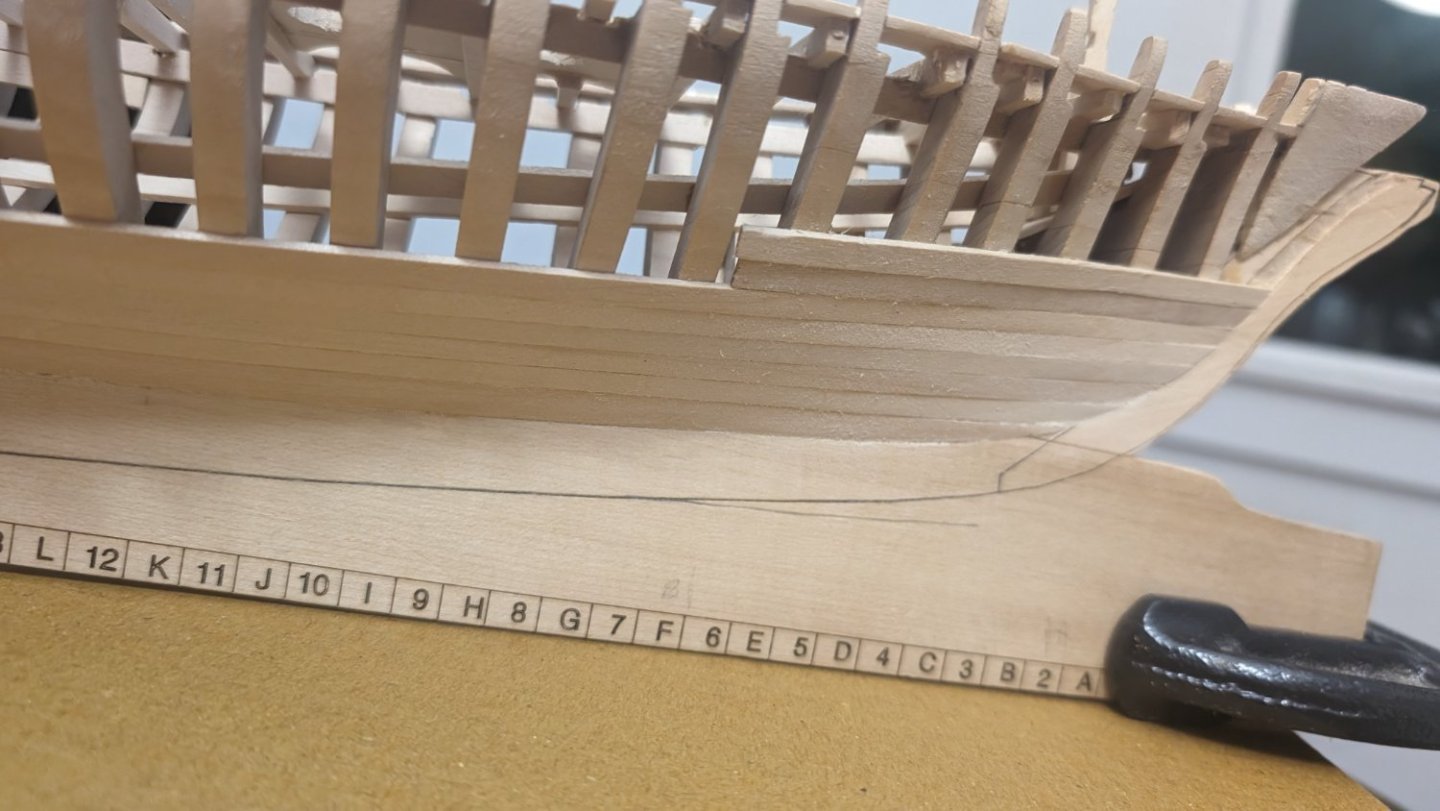
Latest update: decking is completed forward the break in the deck. I couldn't find any examples of partially planked decks online, so I went with what I thought would look good. Full planking to frame 5, but then progressively staggered open deck further aft. The nibbling was time consuming, but very satisfied with the results. Deck furniture installed as well. Finished with tung oil. I need to touch up the paint on the capstan. Aft of the break is next. The first pic below shows the difference the tung oil makes, compared to the color of unfinished aft section.
-
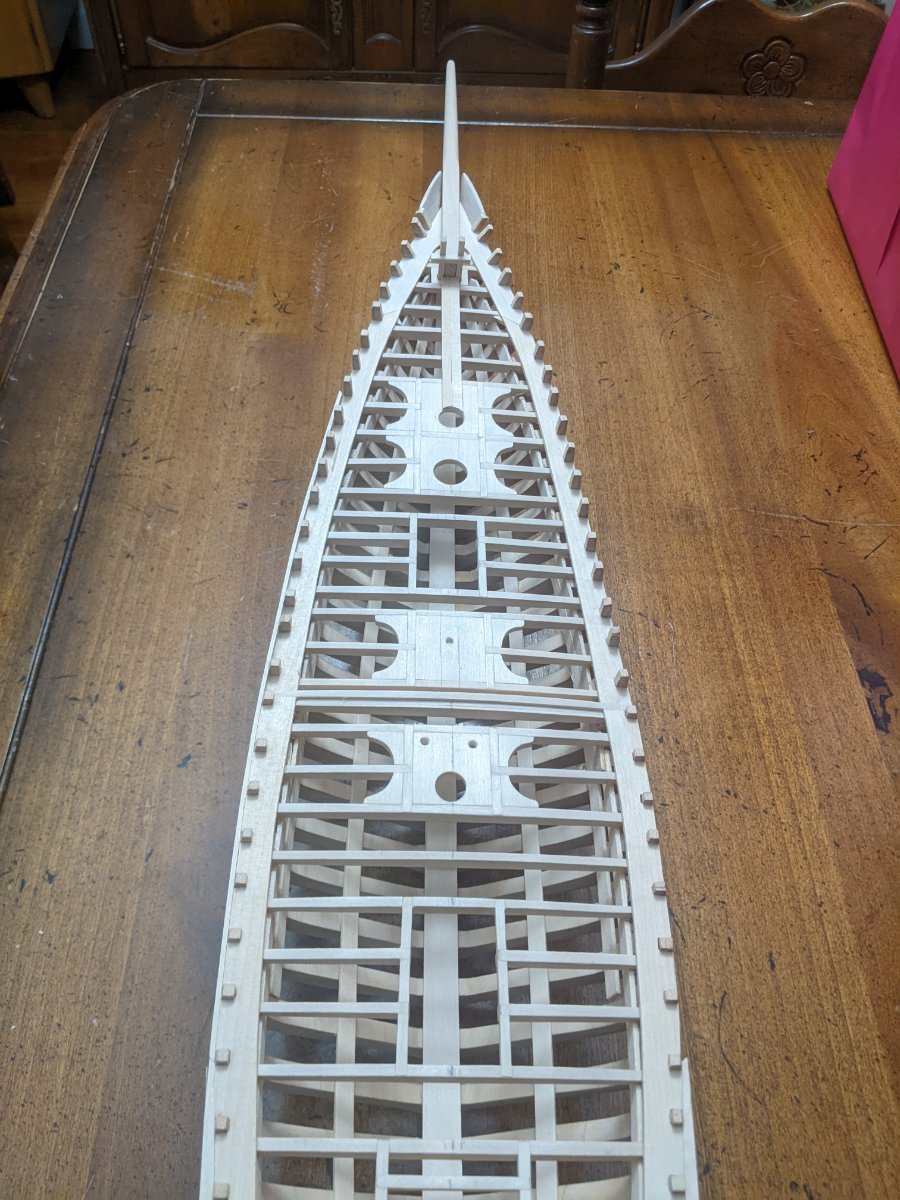
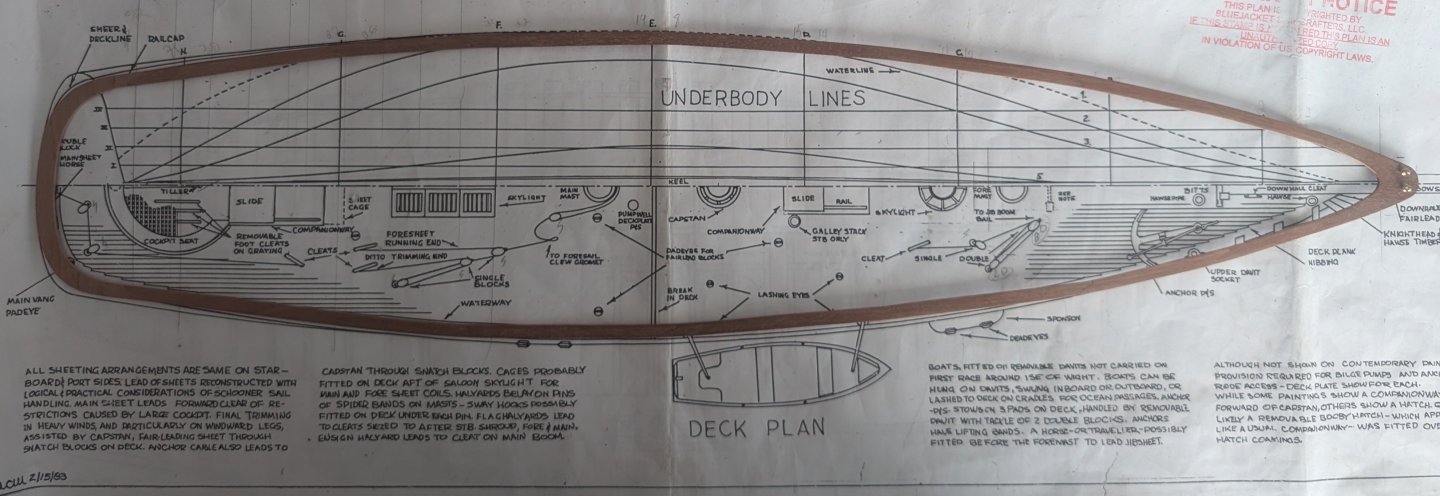
@juhu There are five detailed cross section views that roughly correspond to frames 2, 6, 15, 23 and 31. There are also 10 half-section outlines, 5 bow port side and 5 stern starboard, but there are not plans for each frame. The included plans were good guidelines, but did not really match the supplied frames very well. It is definitely more a matter of "looks good, looks reasonable" as @gsdpic said. For me, making them symmetrical first was more important. Once symmetrical, I didn't mind if the overall shape was slightly different than the plans. No one knows what the real America's exact lines were anyway. So I'm just going to assume my model's lines are dead on b**ls accurate (that's an industry term) to the original.
-
Slow going, but making progress. Last bit of planking along bulwarks/timberheads complete. I had to order some 1/32" by 1/2" basswood strips for that, as that top plank is inset slightly from the lower planking. Also started the decking in earnest. This is my first attempt at nibbling, and you can see it at the bow if you zoom in. Fine sanding still needed. Also started on the cap rail segments. Final shaping on the cap rail will smooth out the angles.
-
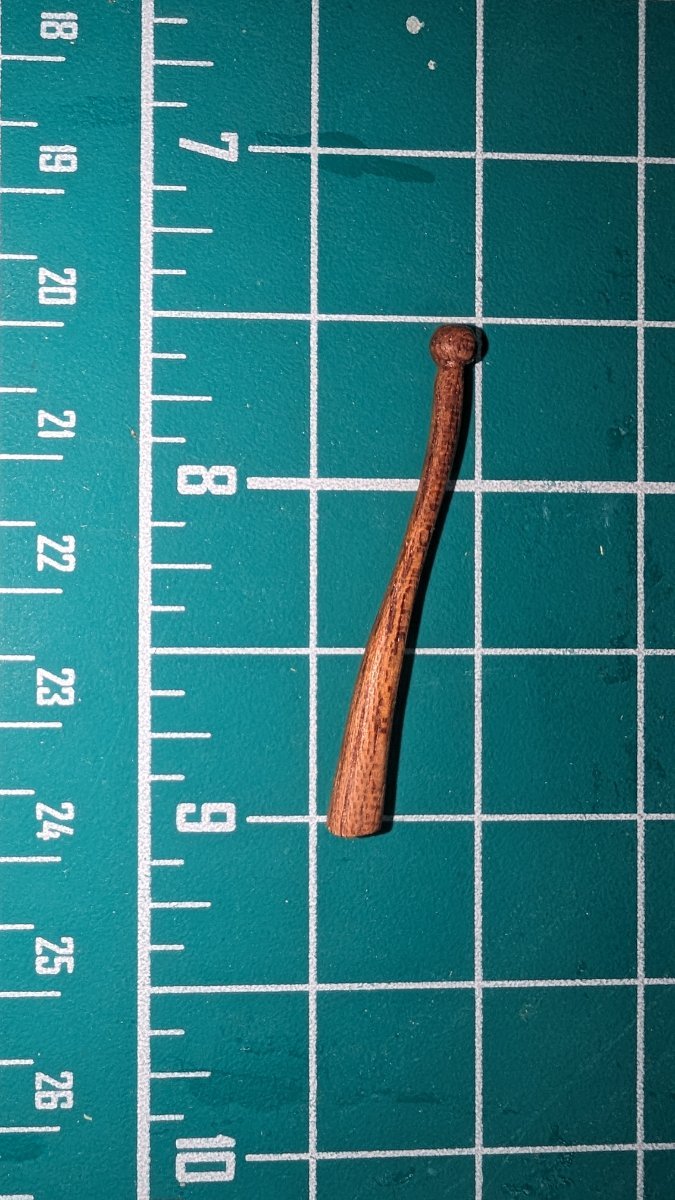
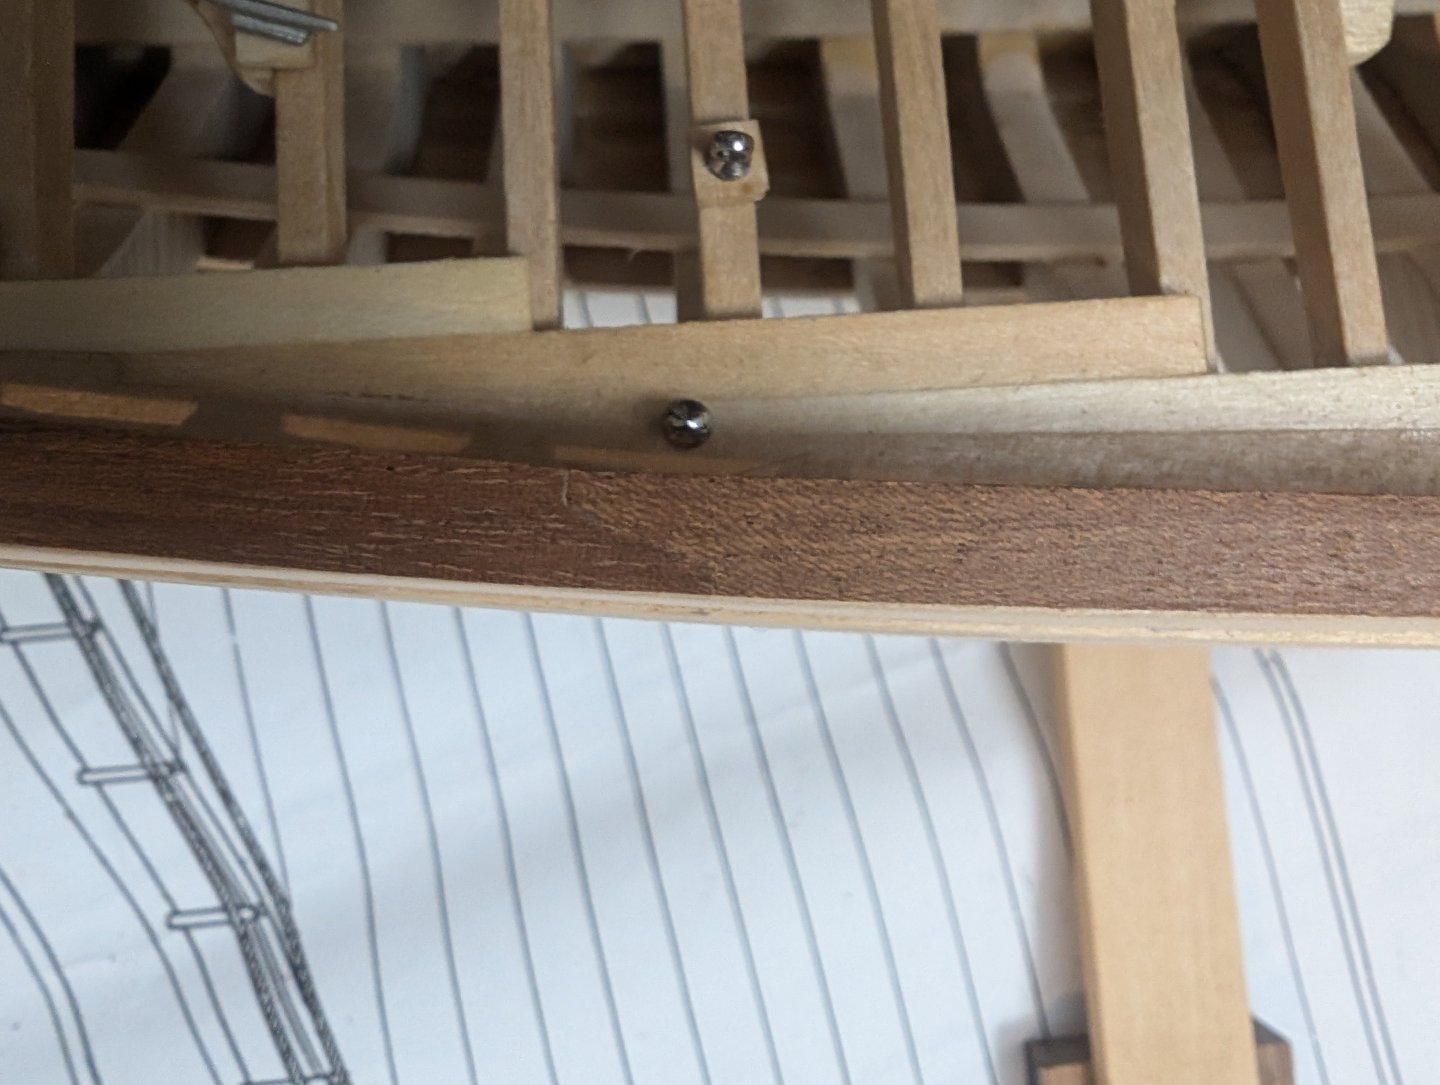
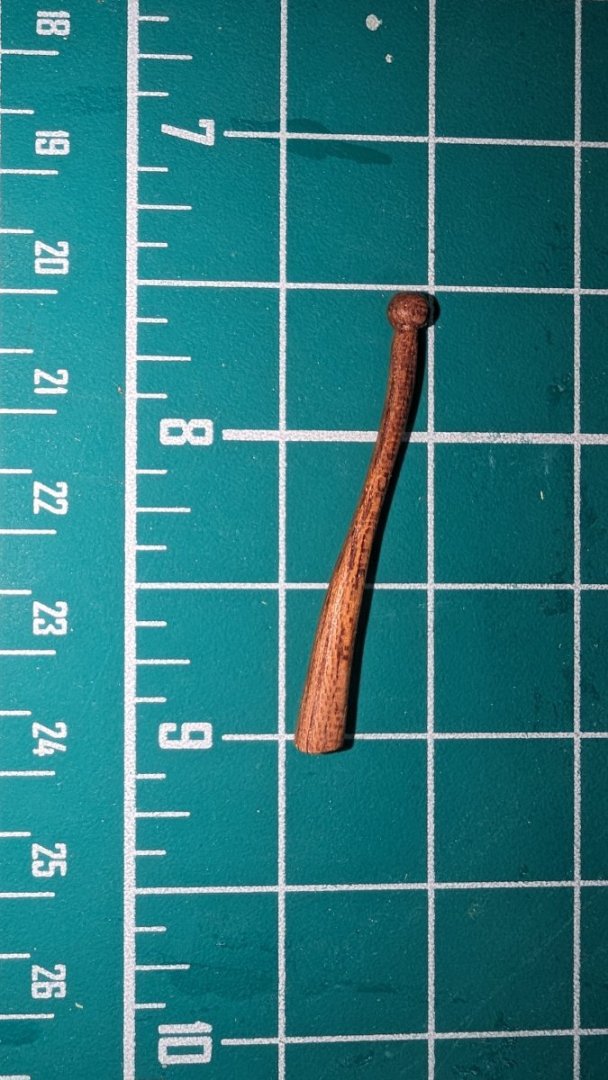
@MrBlueJacket Thanks Nic! Here are a few more pics. Sanding of the hull is complete, waste wood from keel has been removed, bowsprit with sheave installed, rudder post installed. Rudder, some of the deck furniture and mast dry fitted. Sometimes I like a preview of the finished product. There's also a close up of the tiller, hand carved.


-
All planks glued in place. Last plank on starboard bow still clamped in place to dry. Here's a pic of the port side.

-
Thanks @Roger Pellett, @Andy P2. Port stern planking complete at this point, pic shows stealers that I used. Lots of sanding ahead, but pretty smooth and tight fit at this point. Thanks for all the likes @gsdpic and everyone.
-
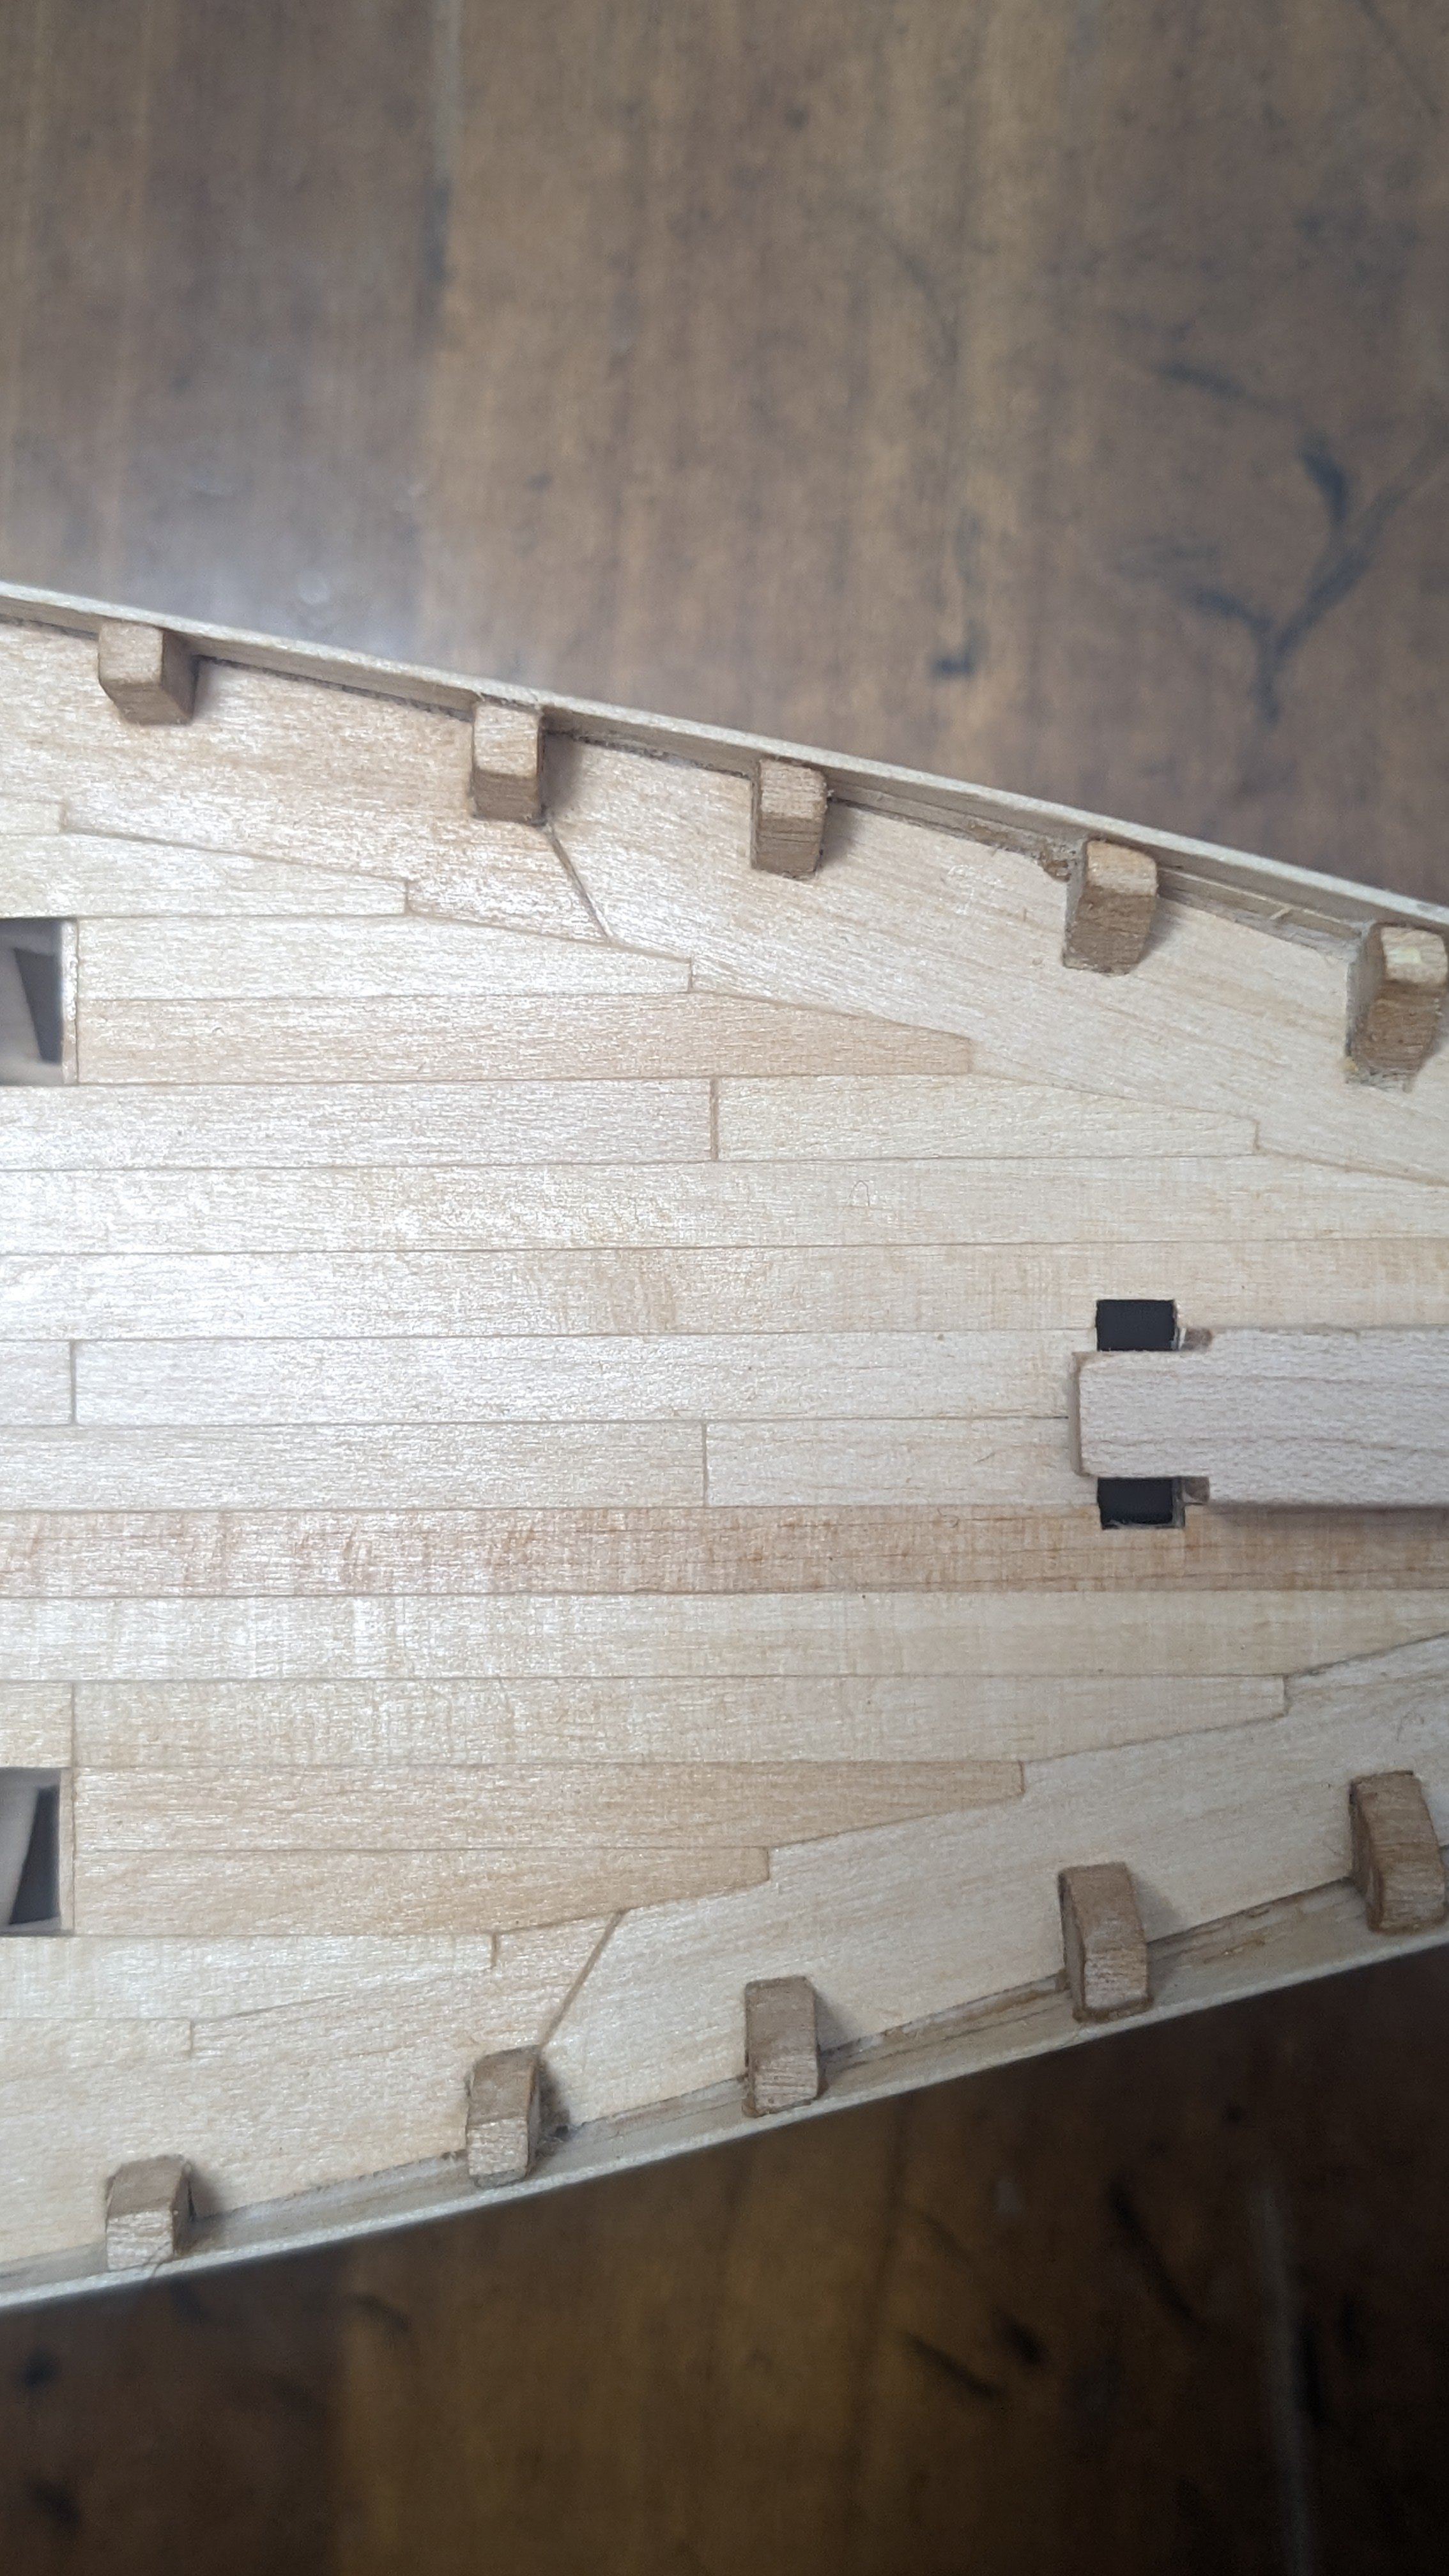
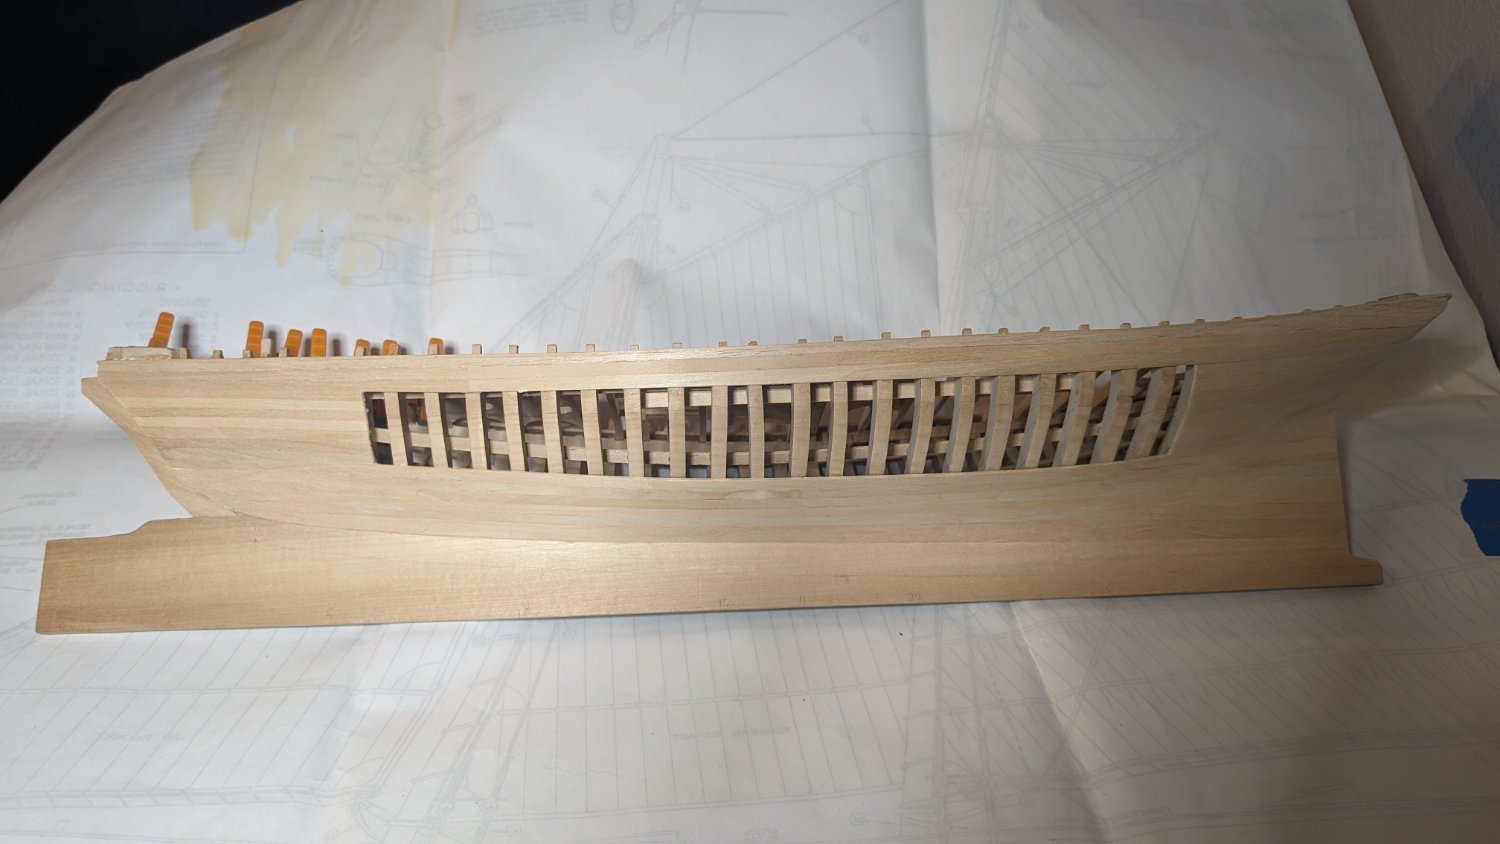
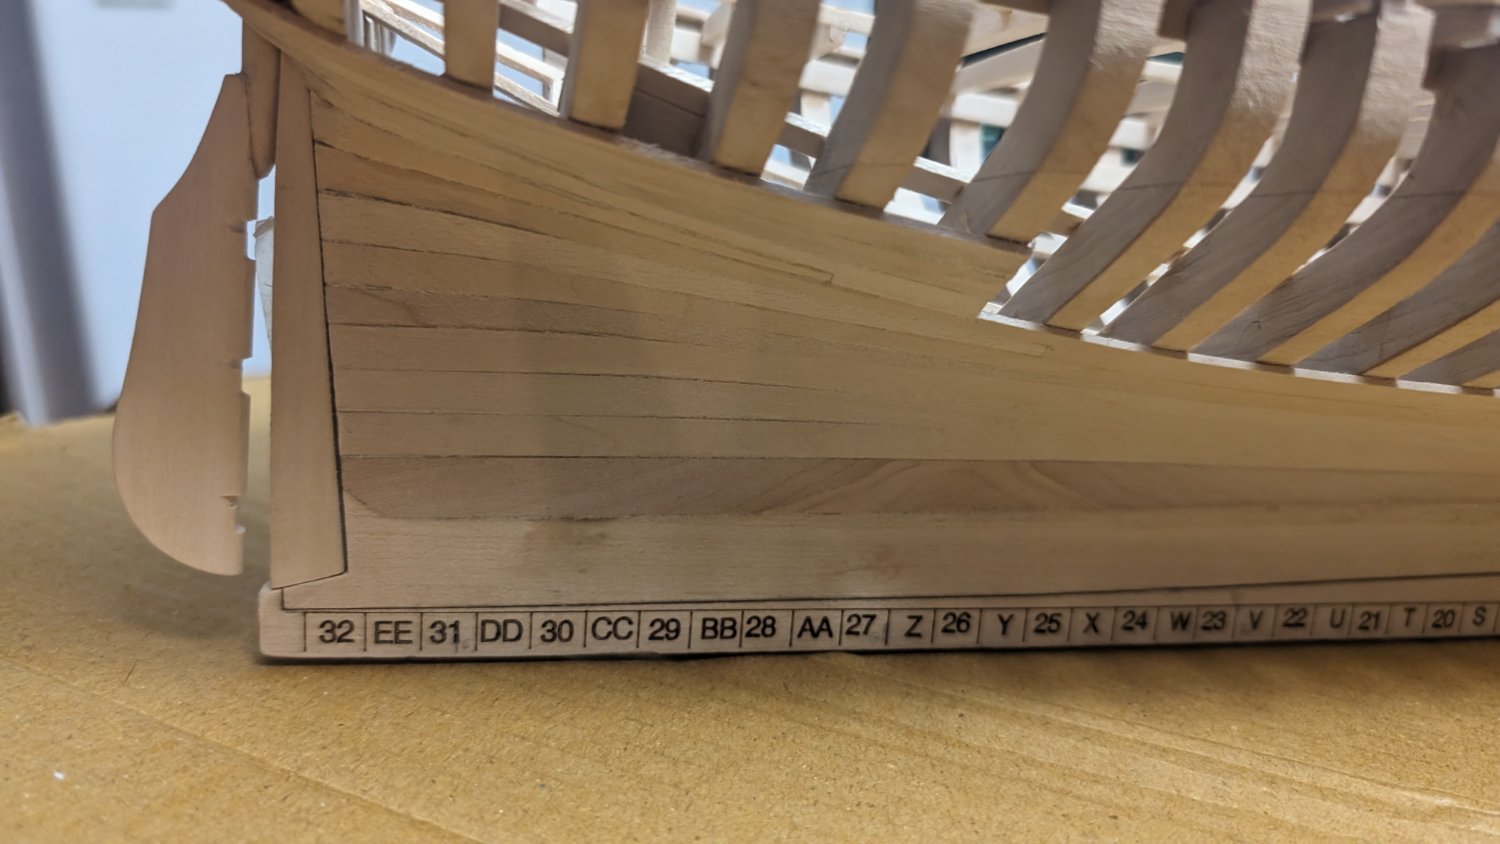
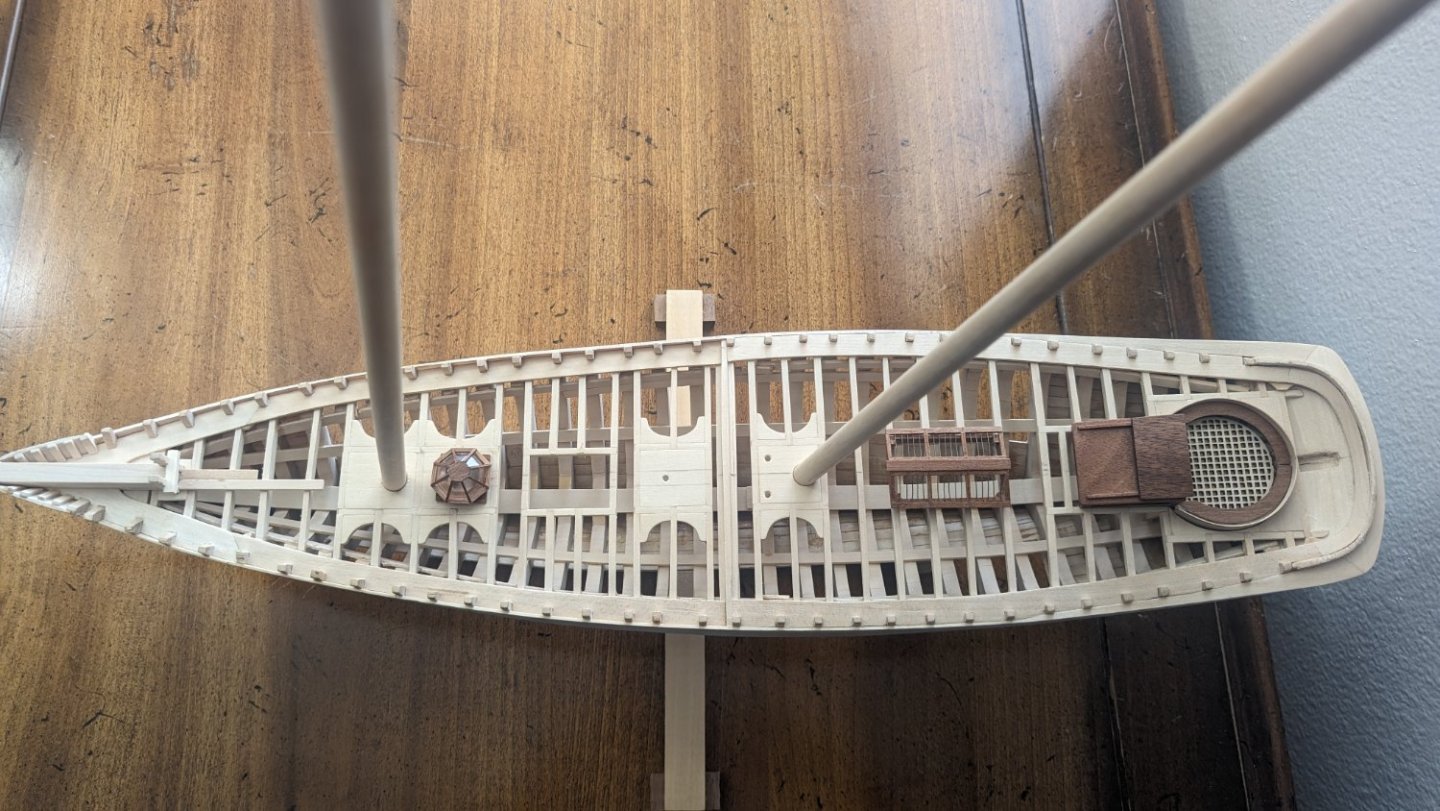
Just picked back up on this build, after an almost 2 year break to care for my father in-law. Planking is going well, some pics below. I am only partially planking so frames, sheer/bilge clamps, deck beams, etc. can all be displayed. That's why the top most rows of planks end at frame 27 aft. Same with planks at the bow. Rudder post and rudder dry fitted. Lots of sanding in my future still.

-
Looking good! I had some of the same frame struggles with my America build. Used some good tips from Gary's build log, but used a different jig. See my build log if interested. I am back to planking now after taking significant time off. Life happens.
-
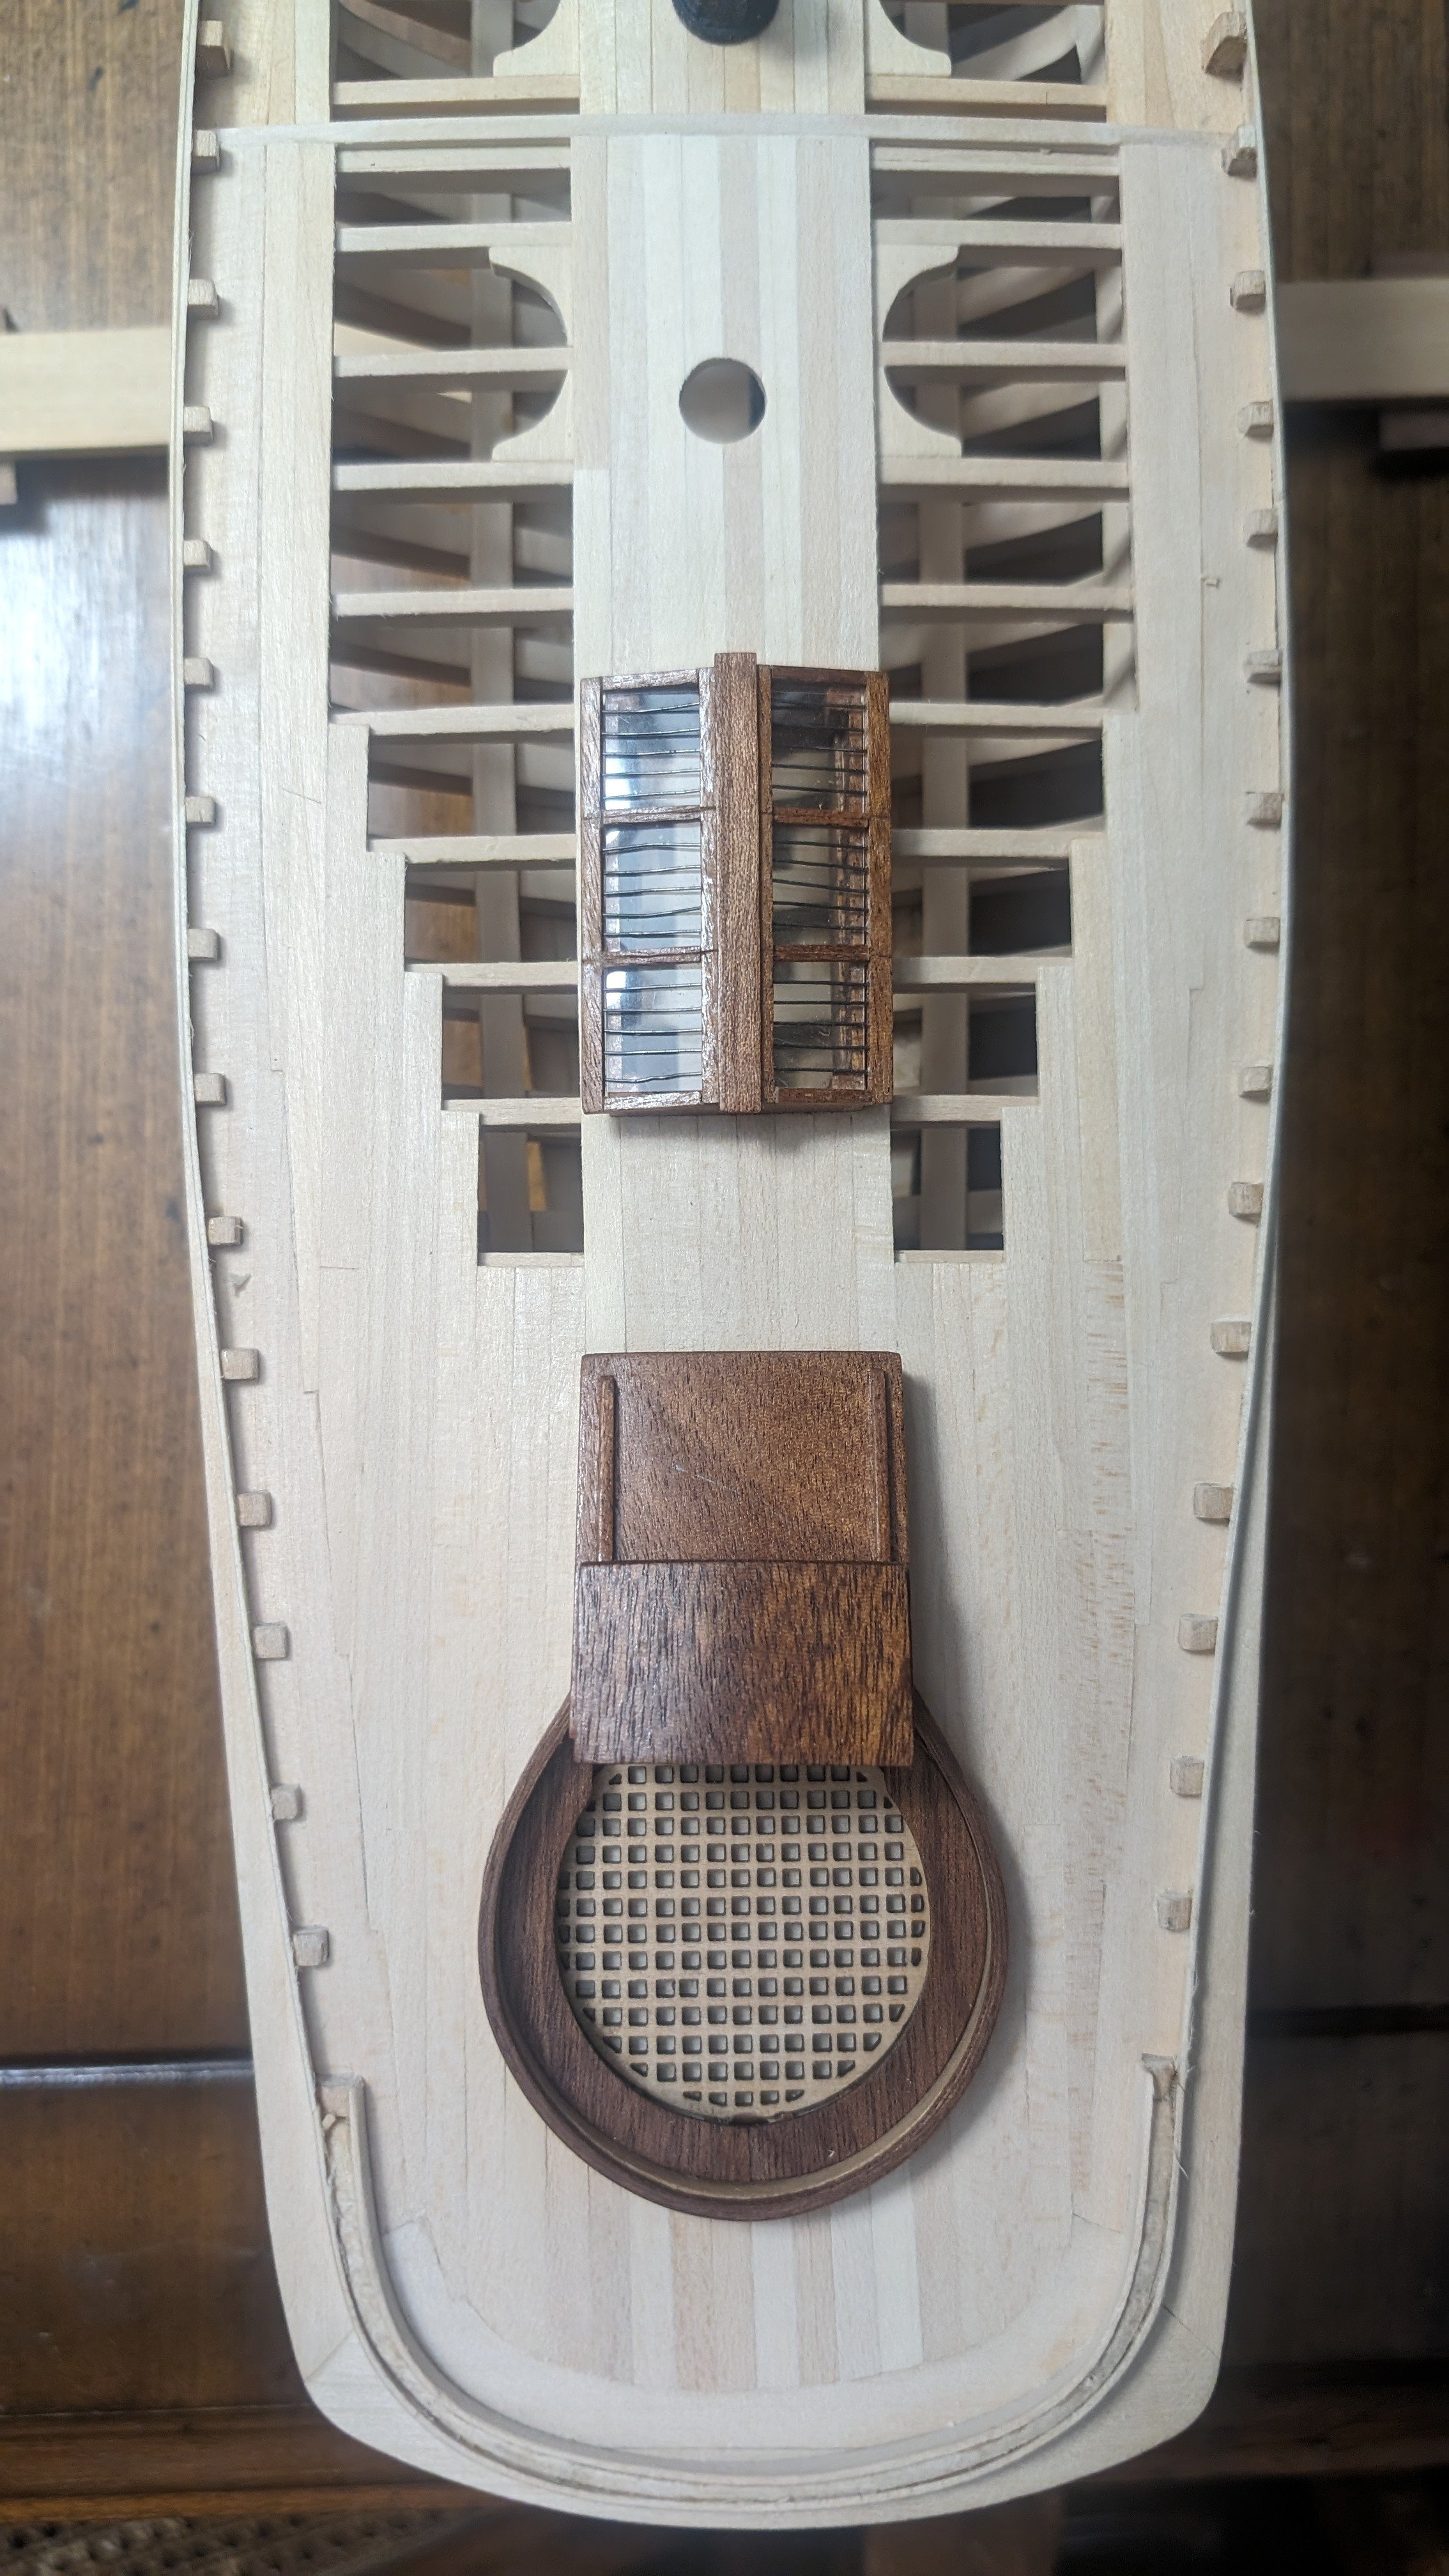
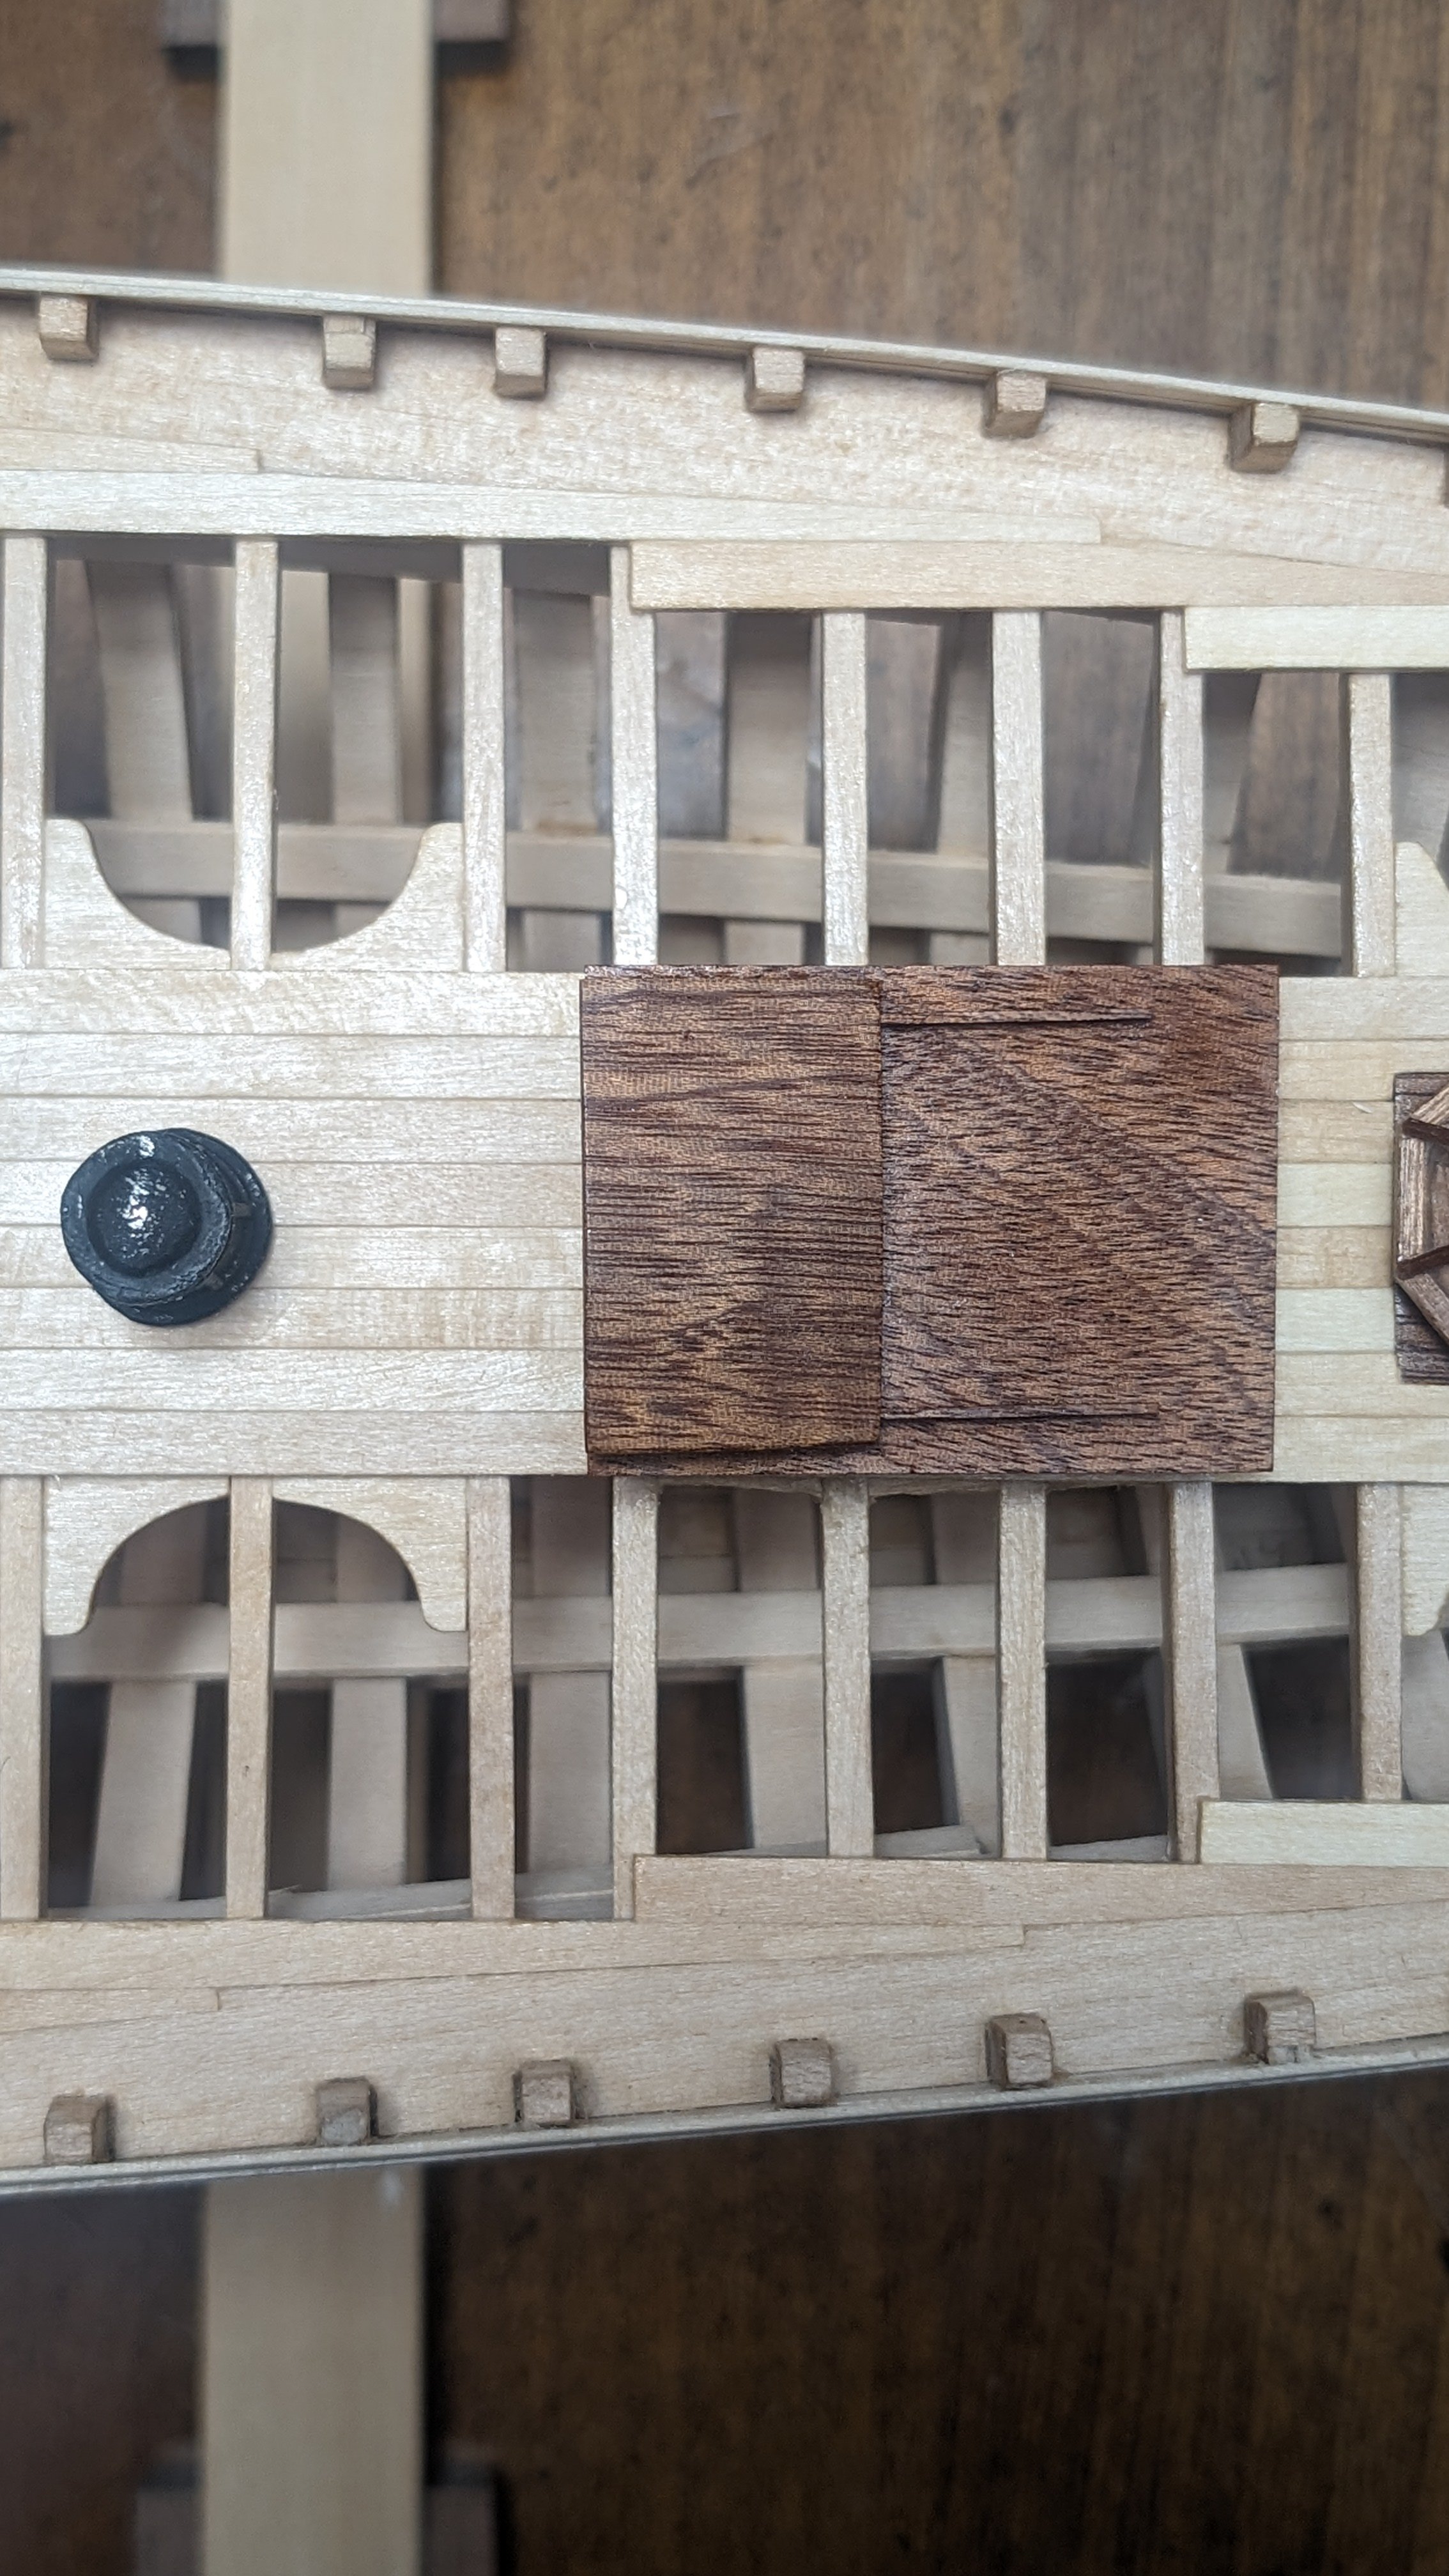
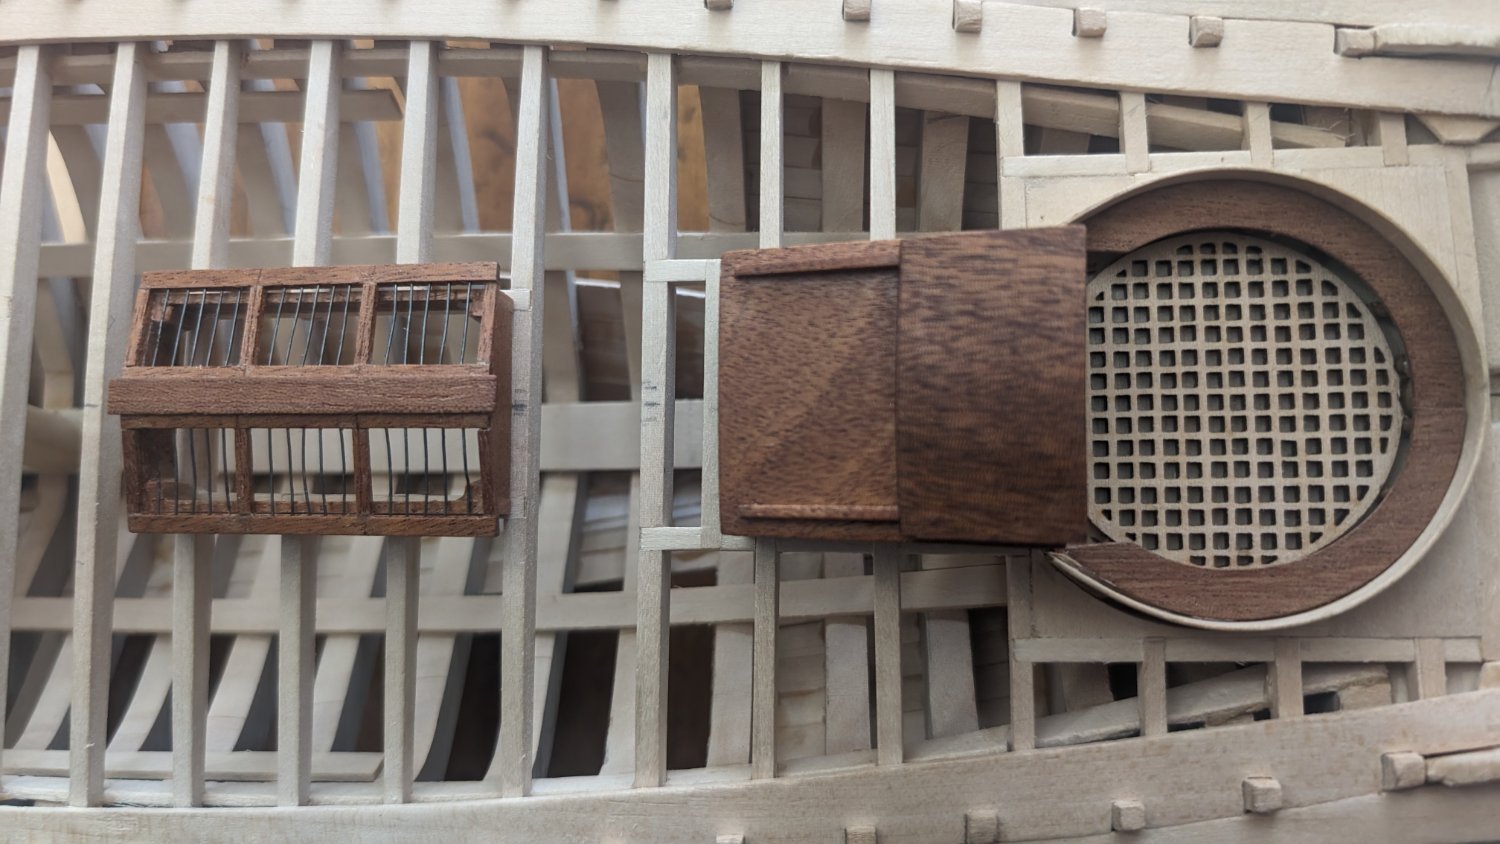
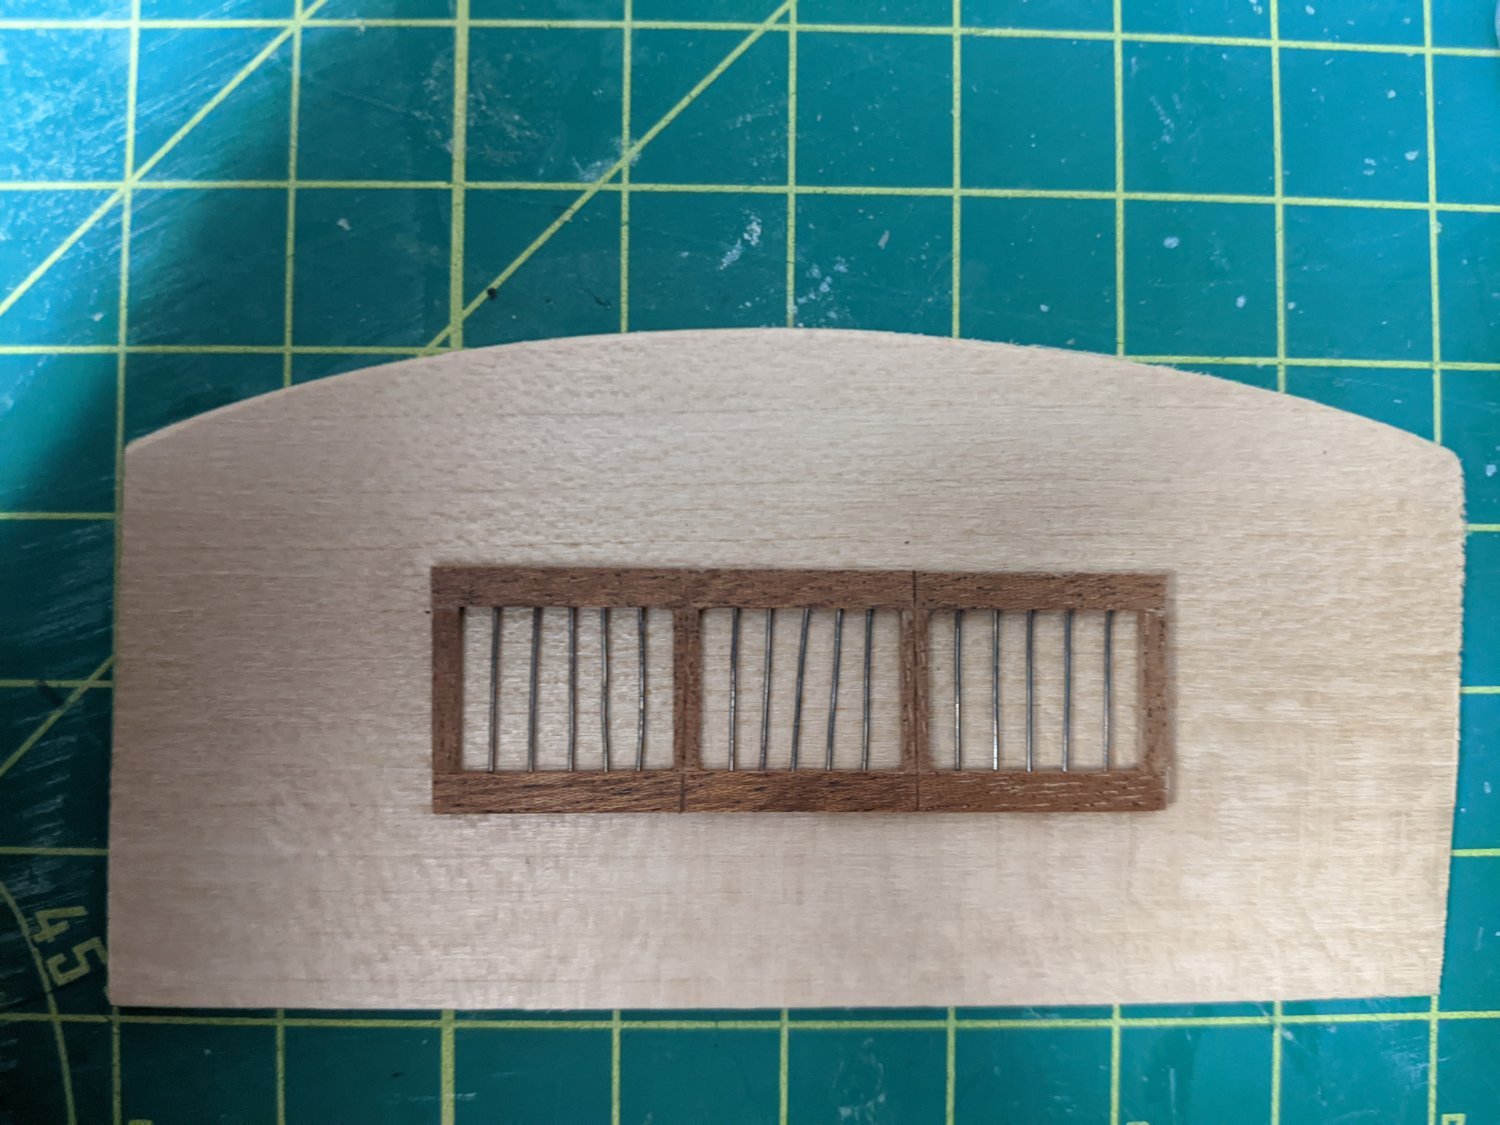
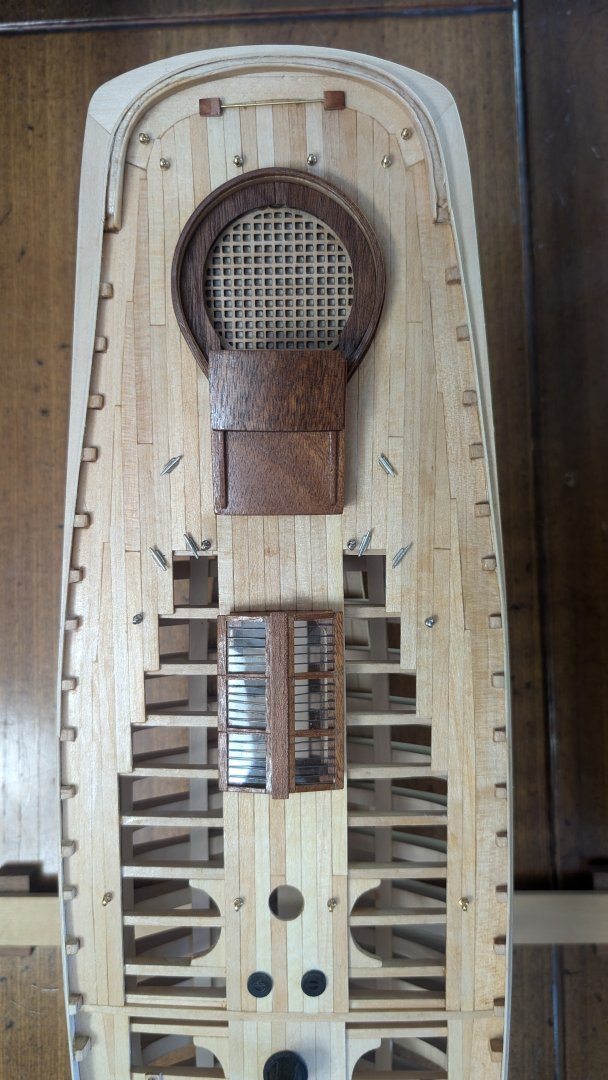
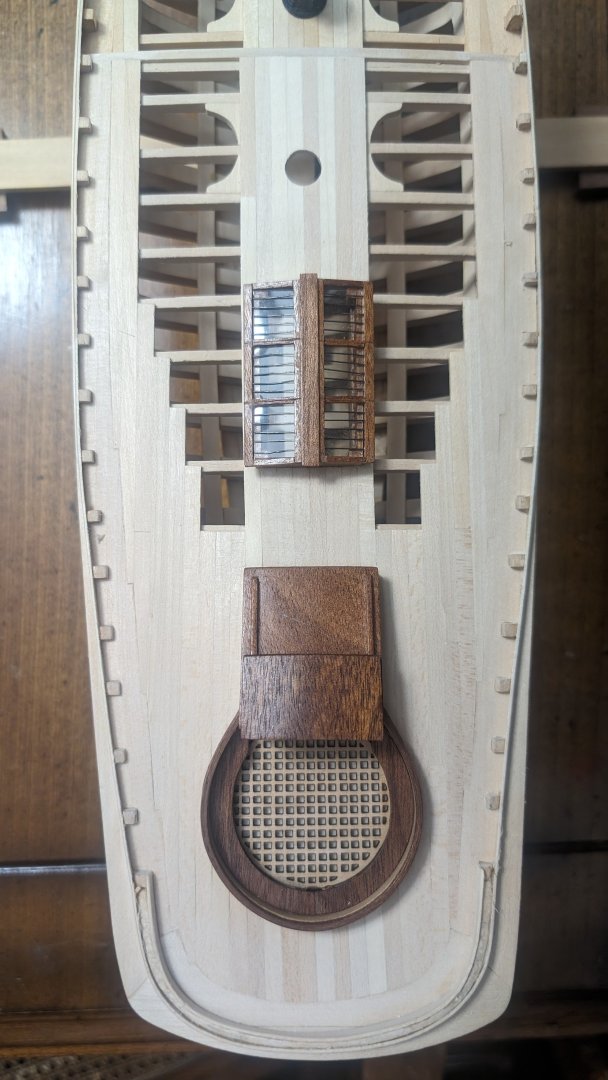
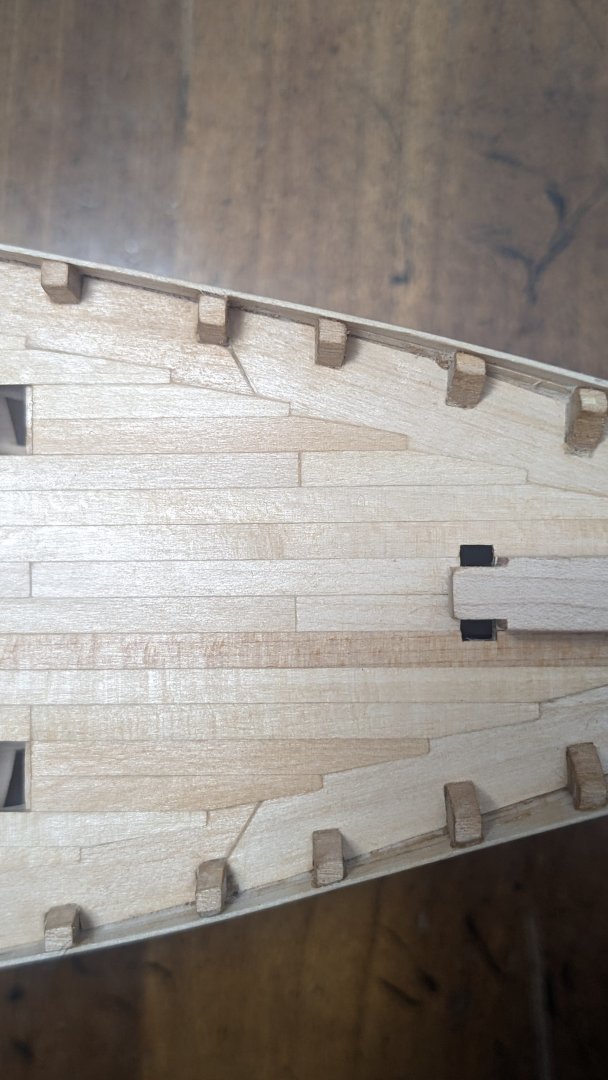
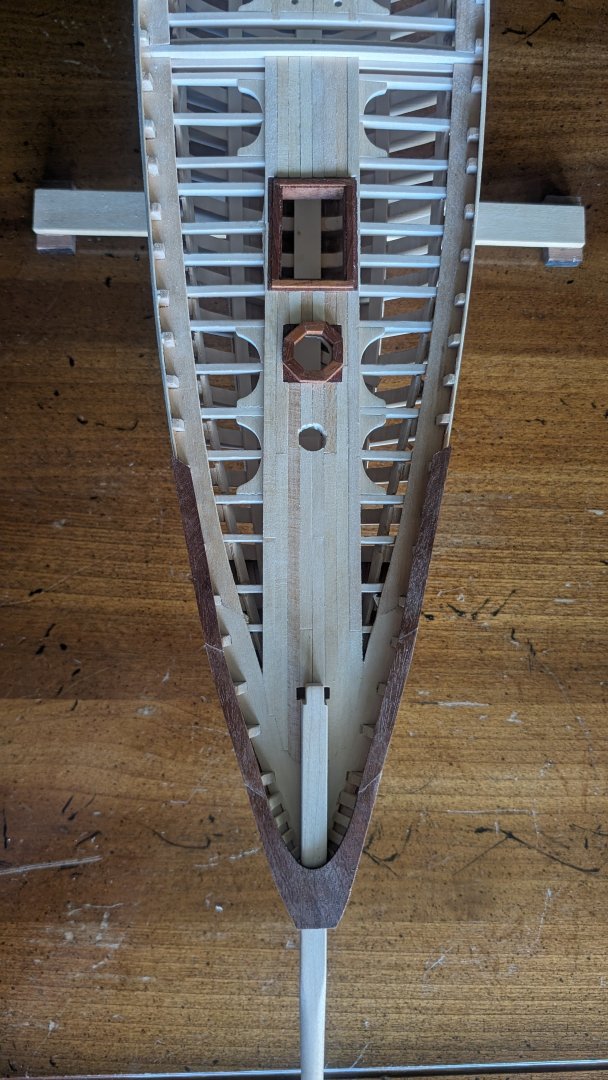
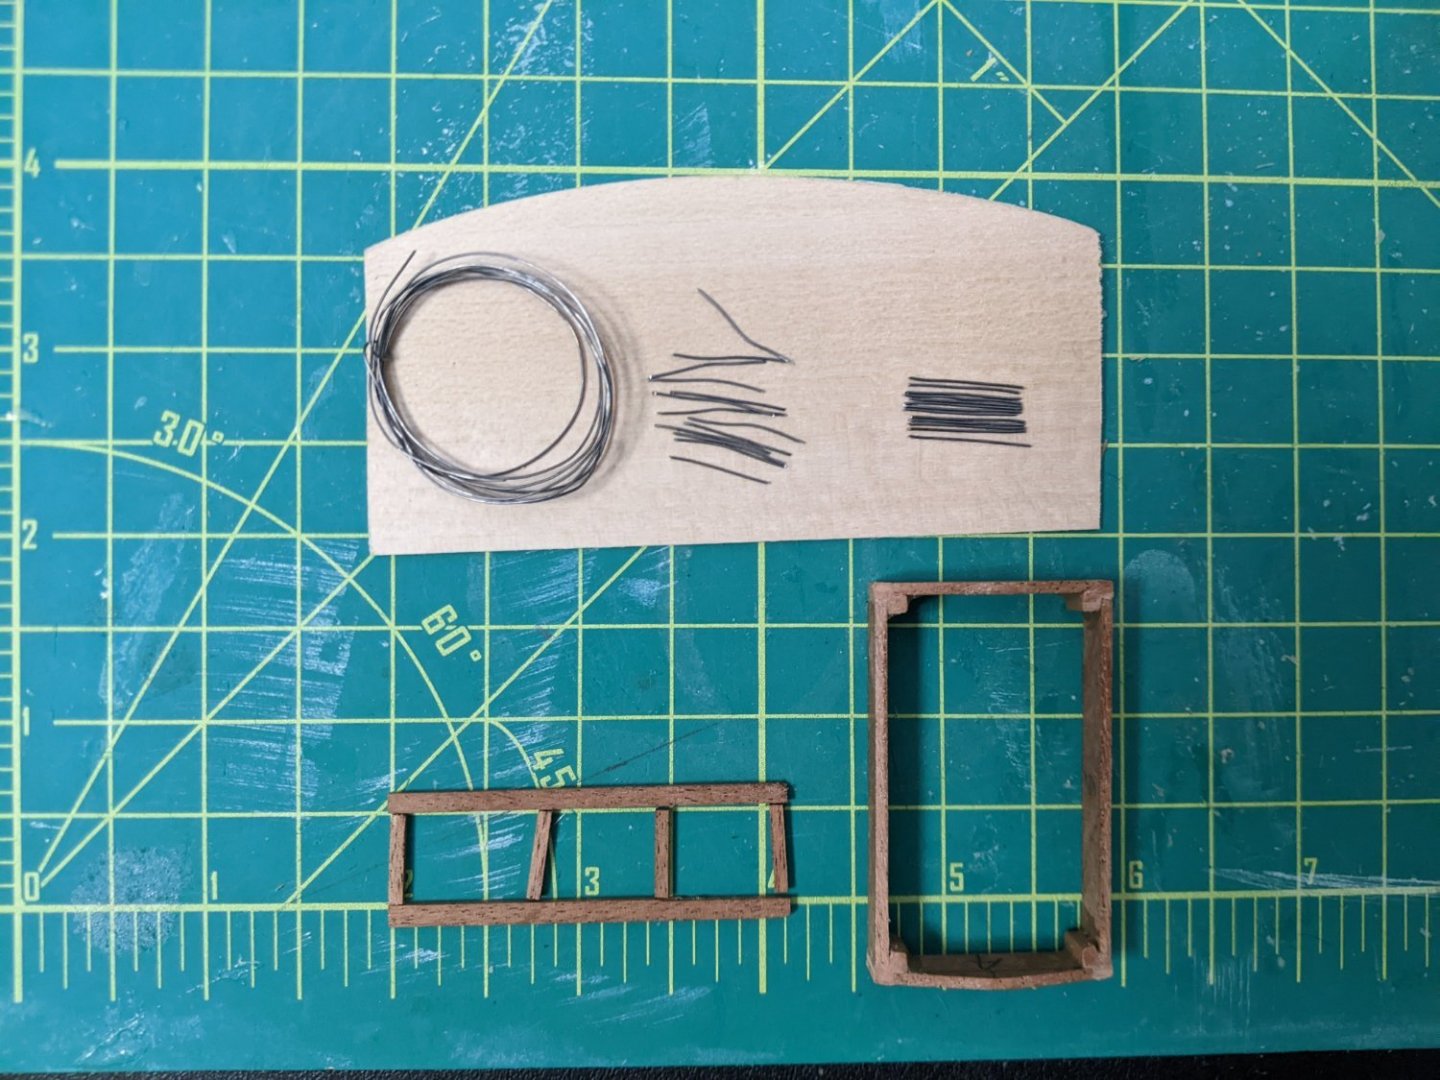
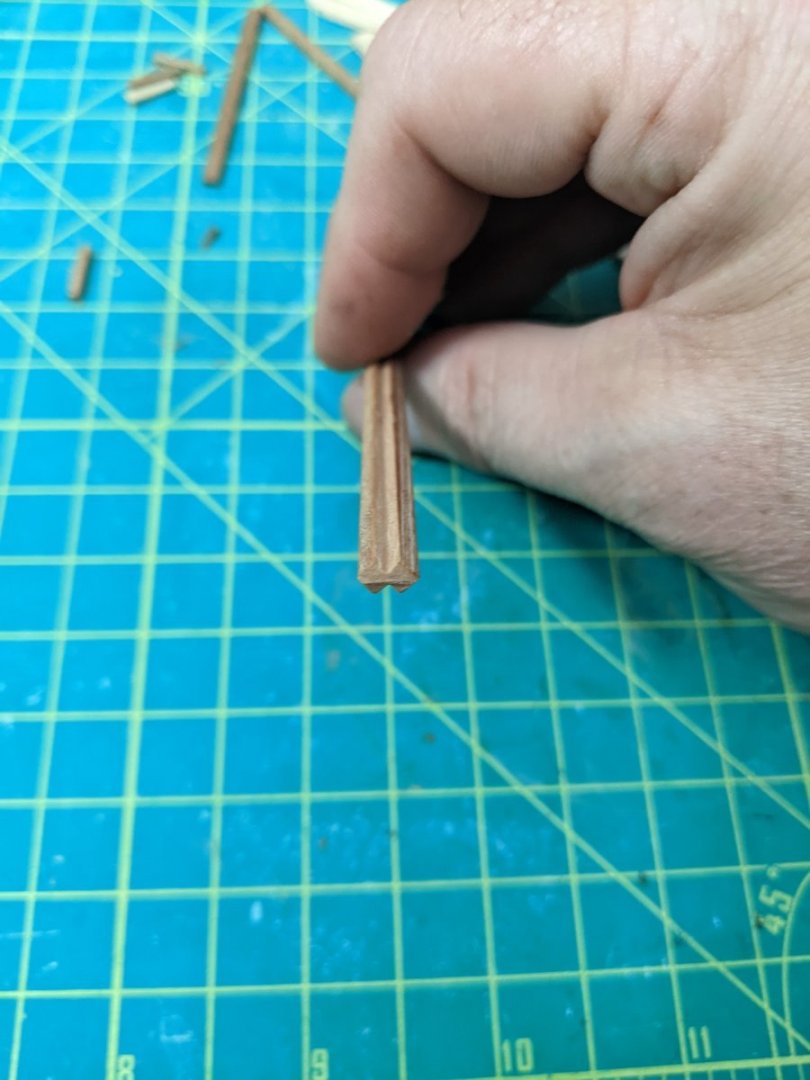
More deck furniture work. Turning 15 inches of 28 gauge steel wire into 30 straight pieces for the aft skylight. I also used my new mini table saw to make dado cuts for the skylight housing corner posts, barely visible if you zoom in on the first pic below.

-
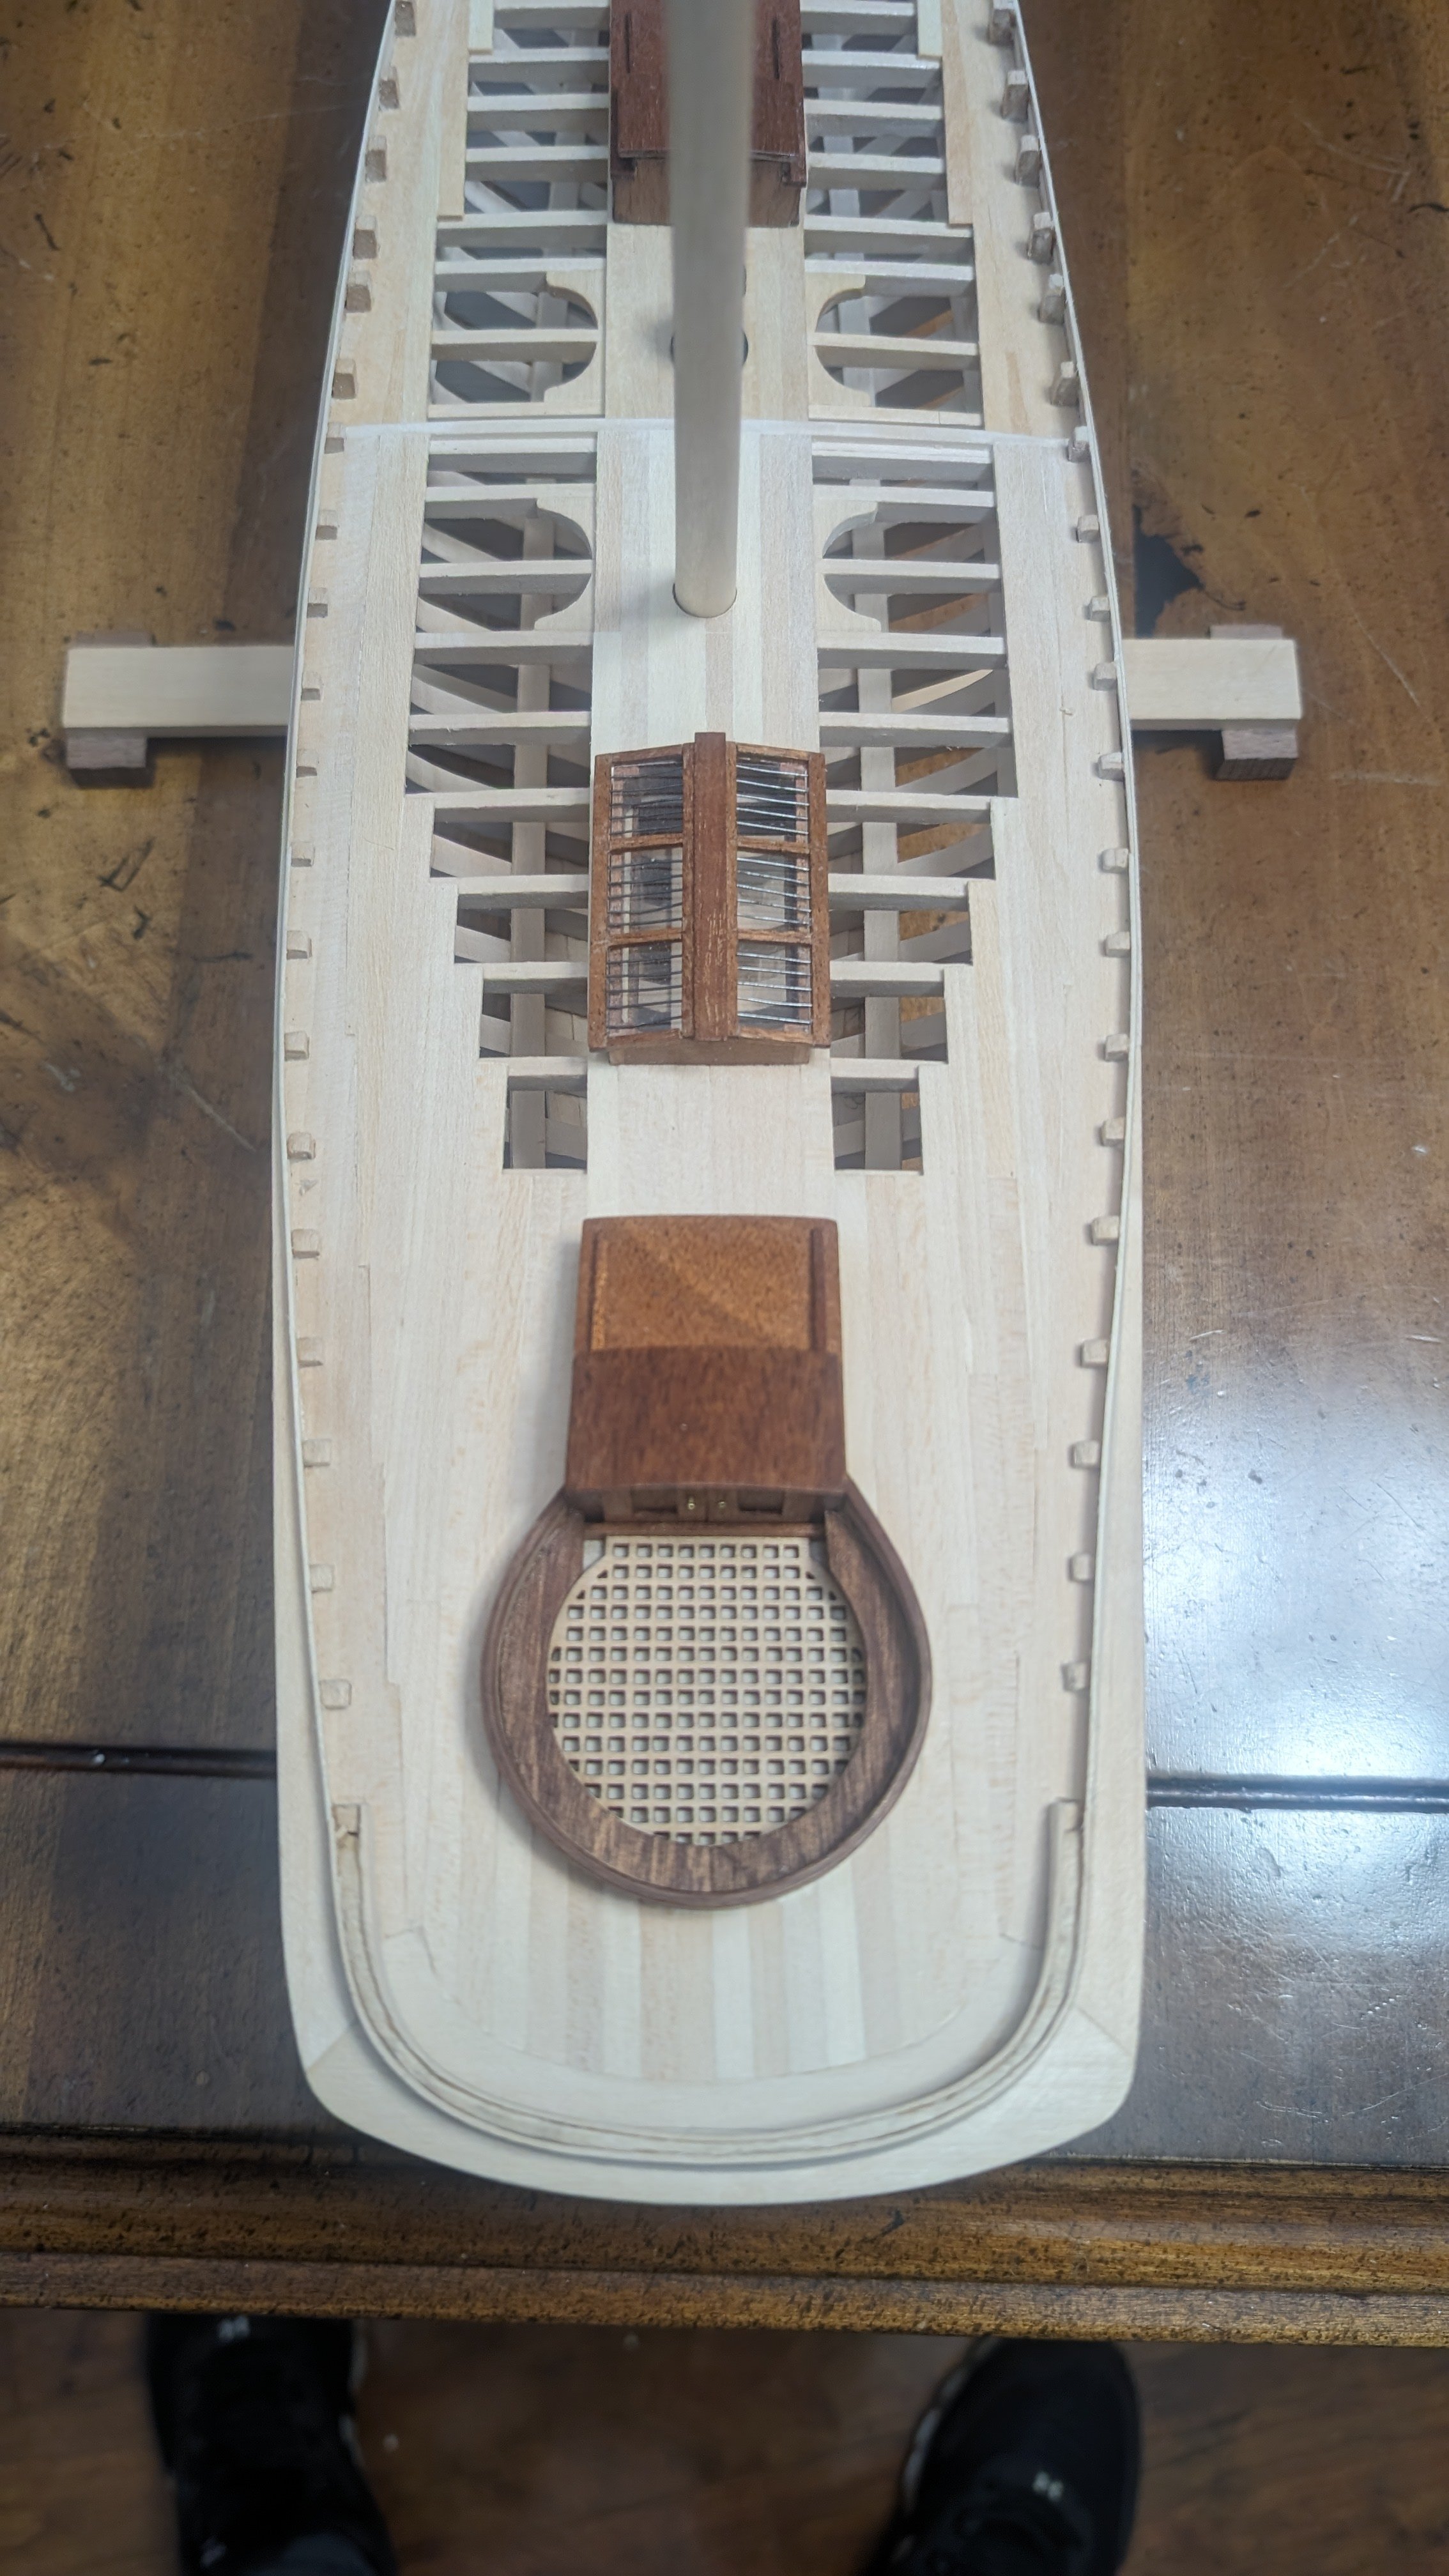
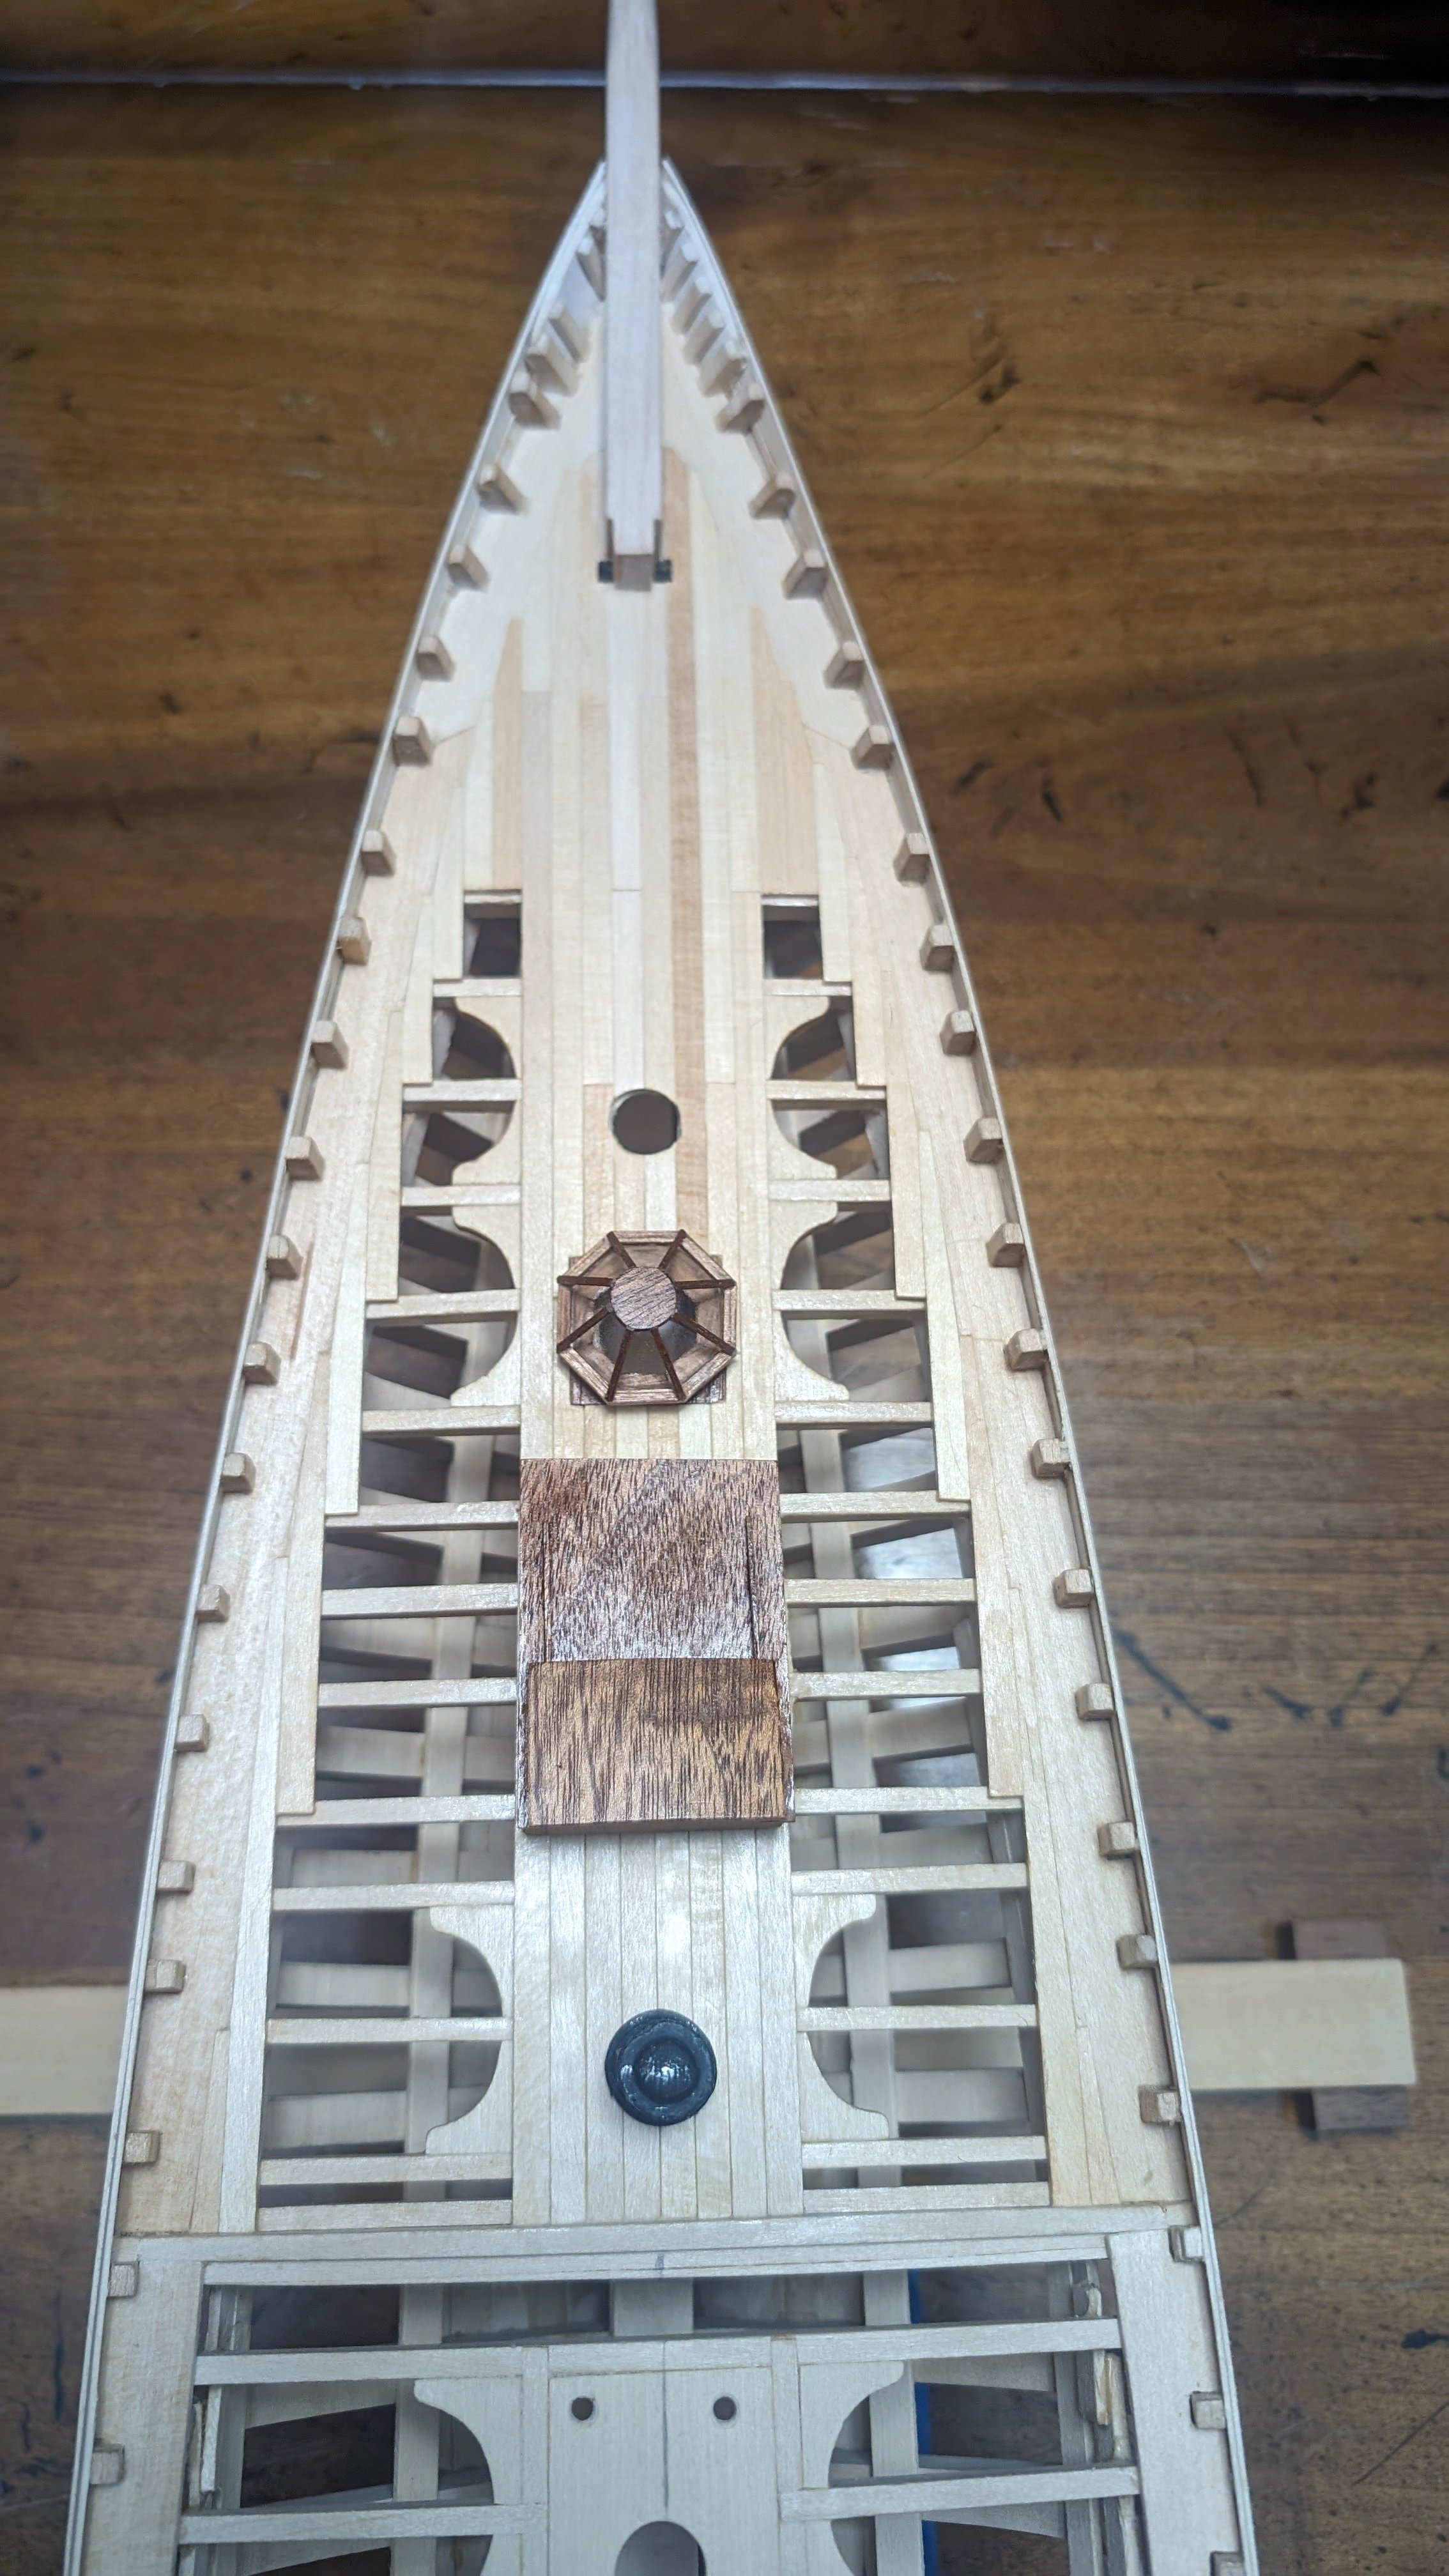
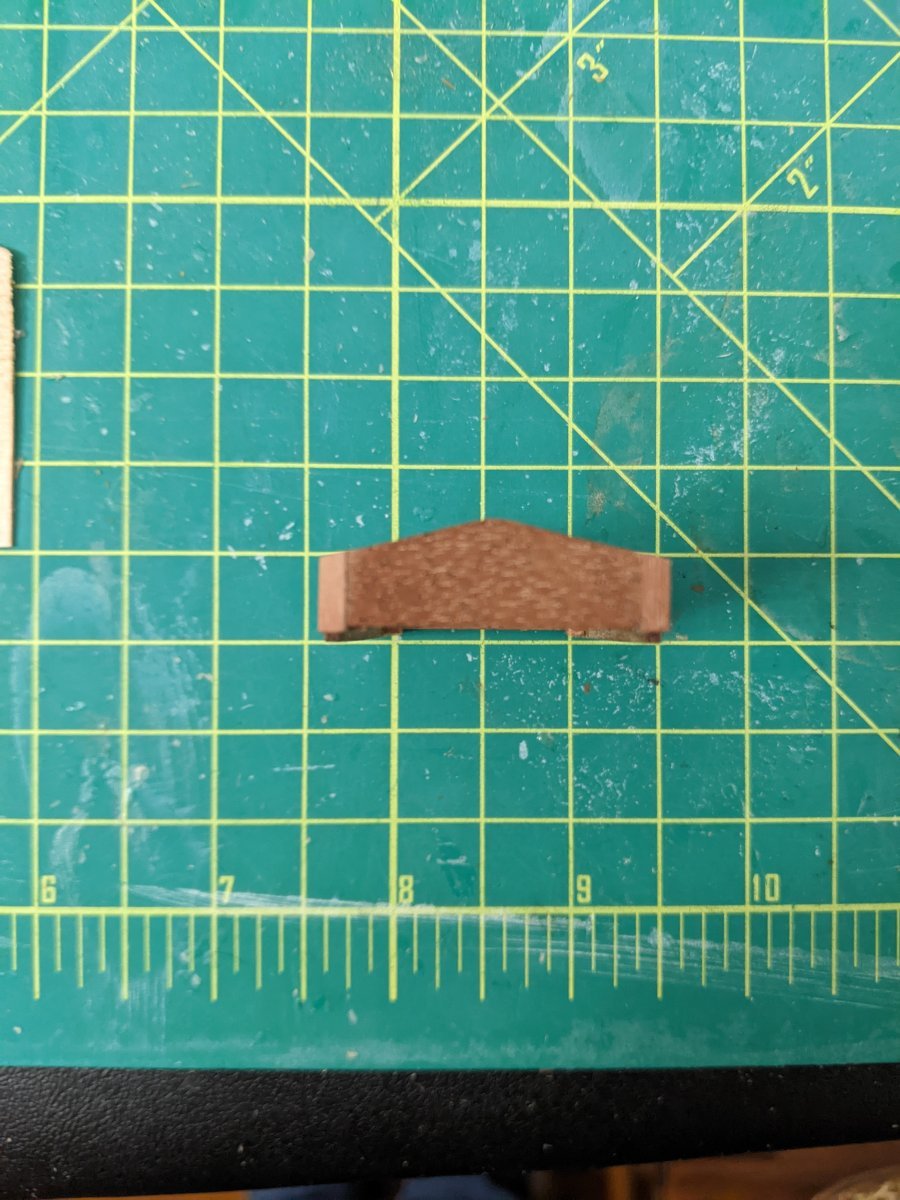
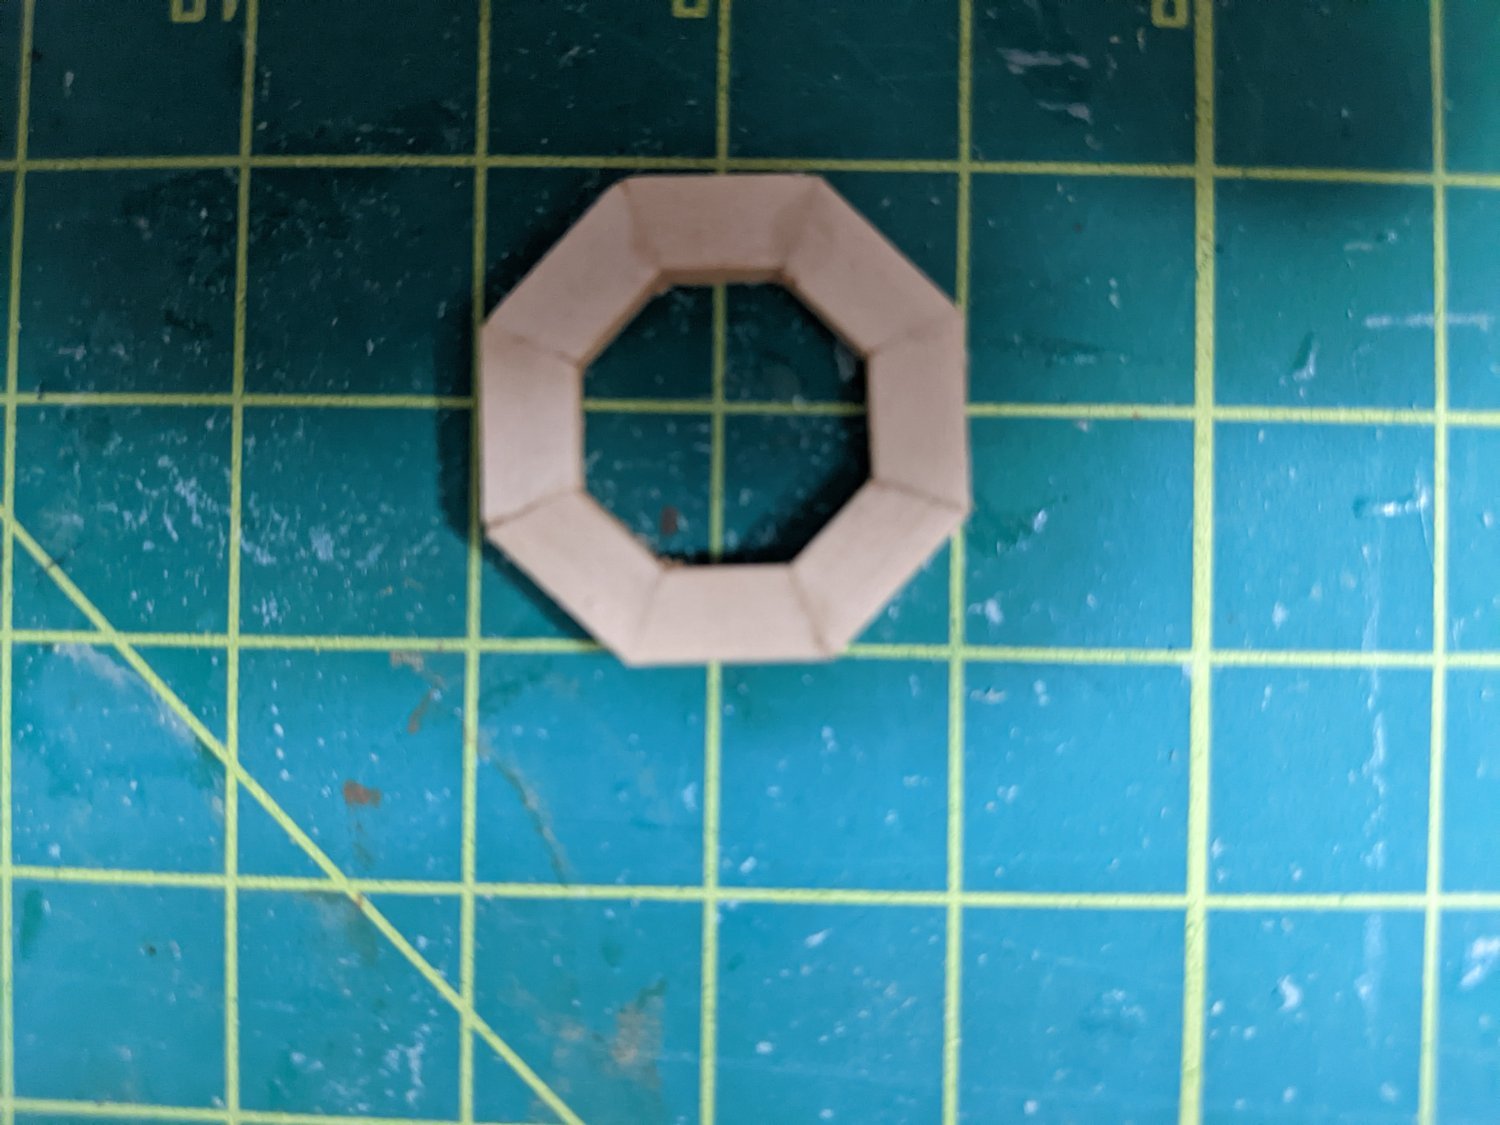
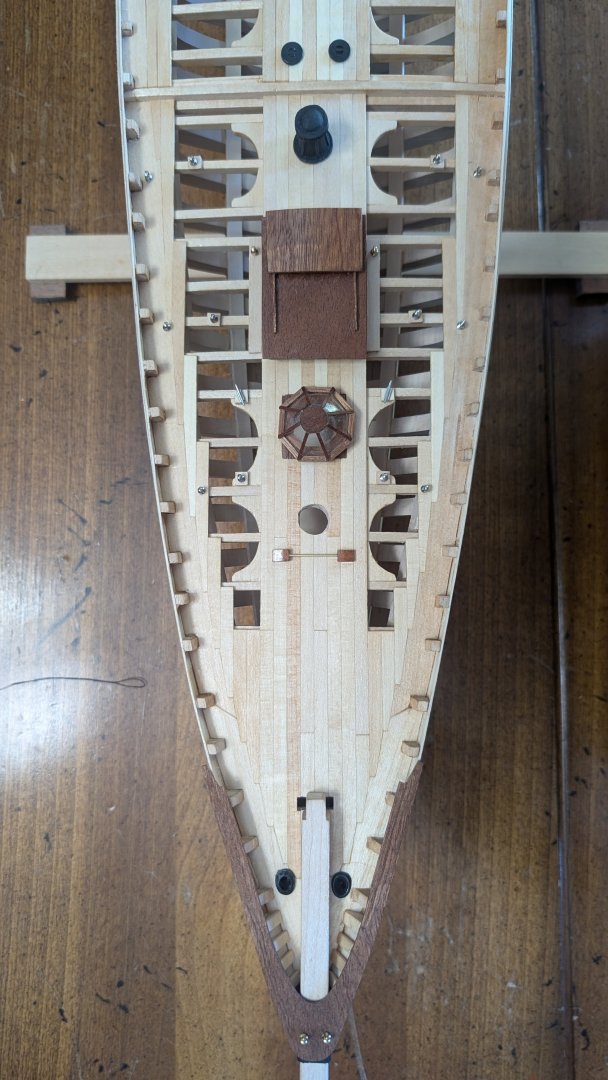
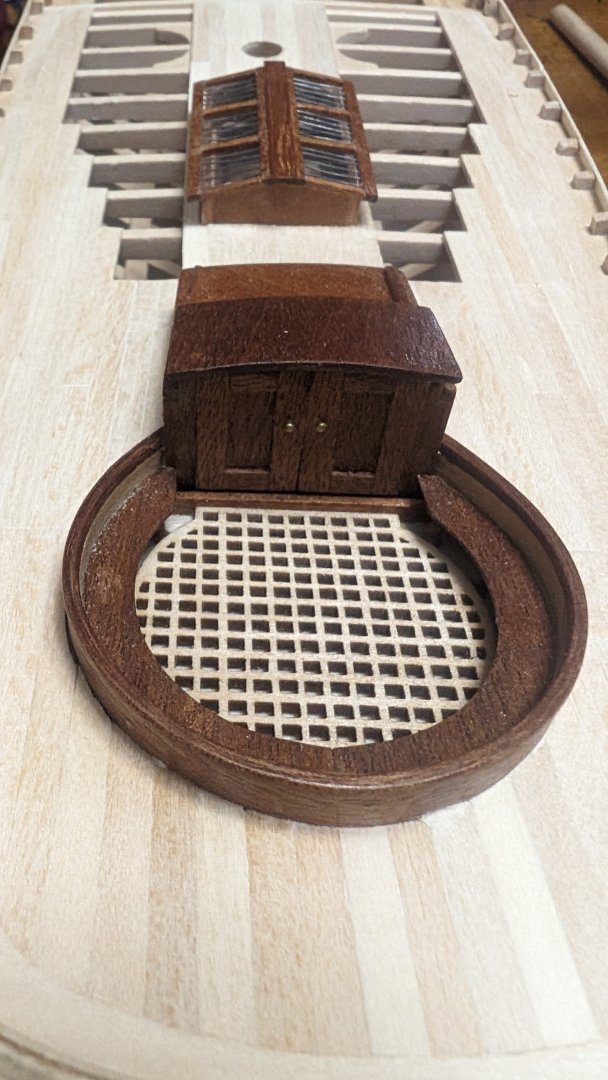
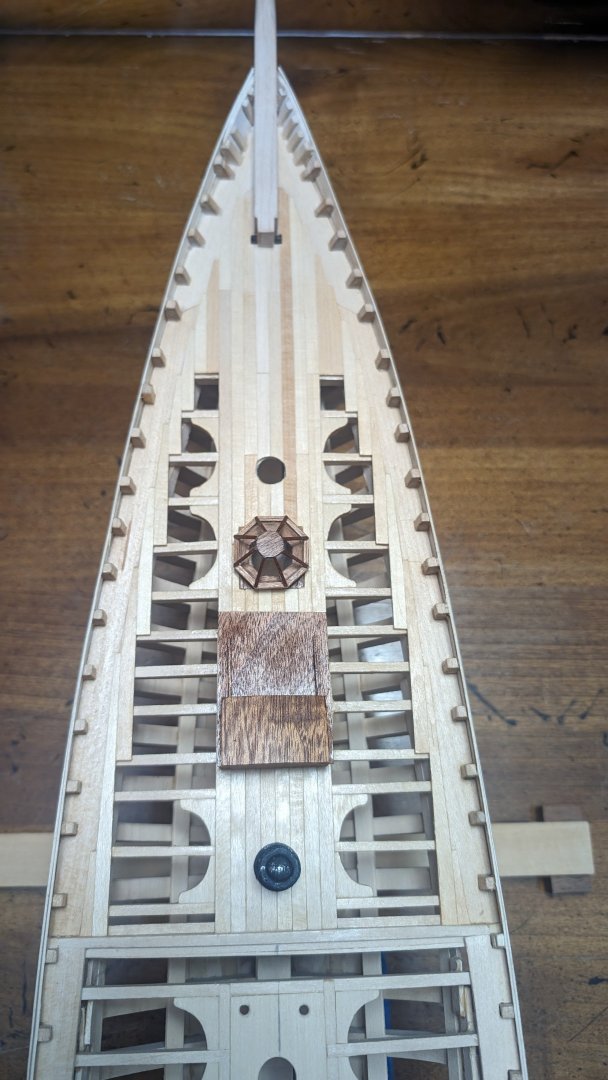
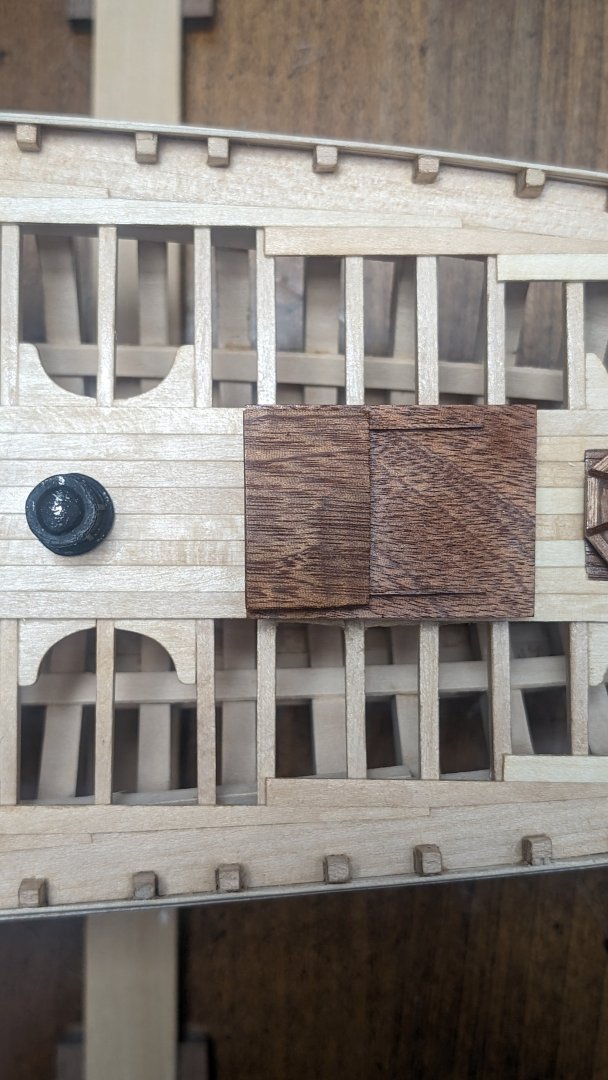
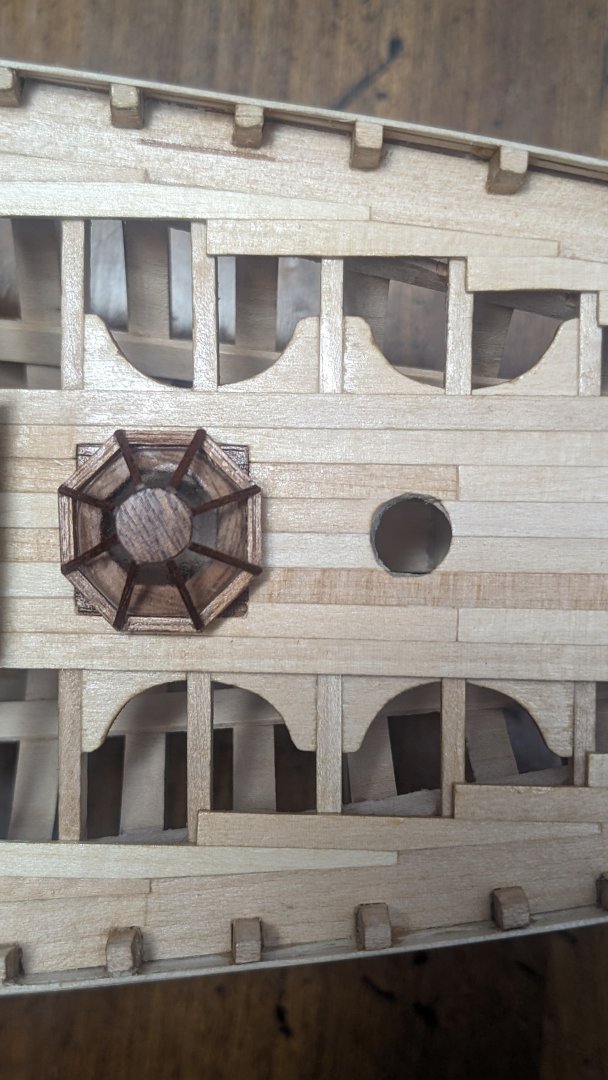
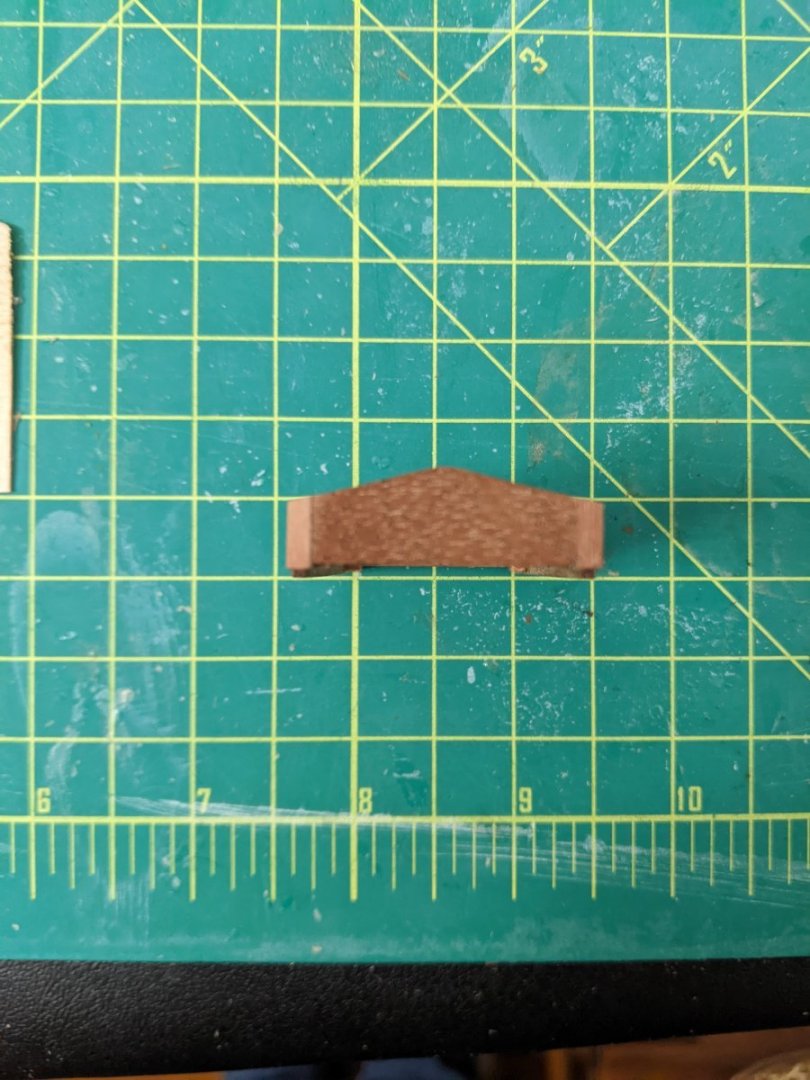
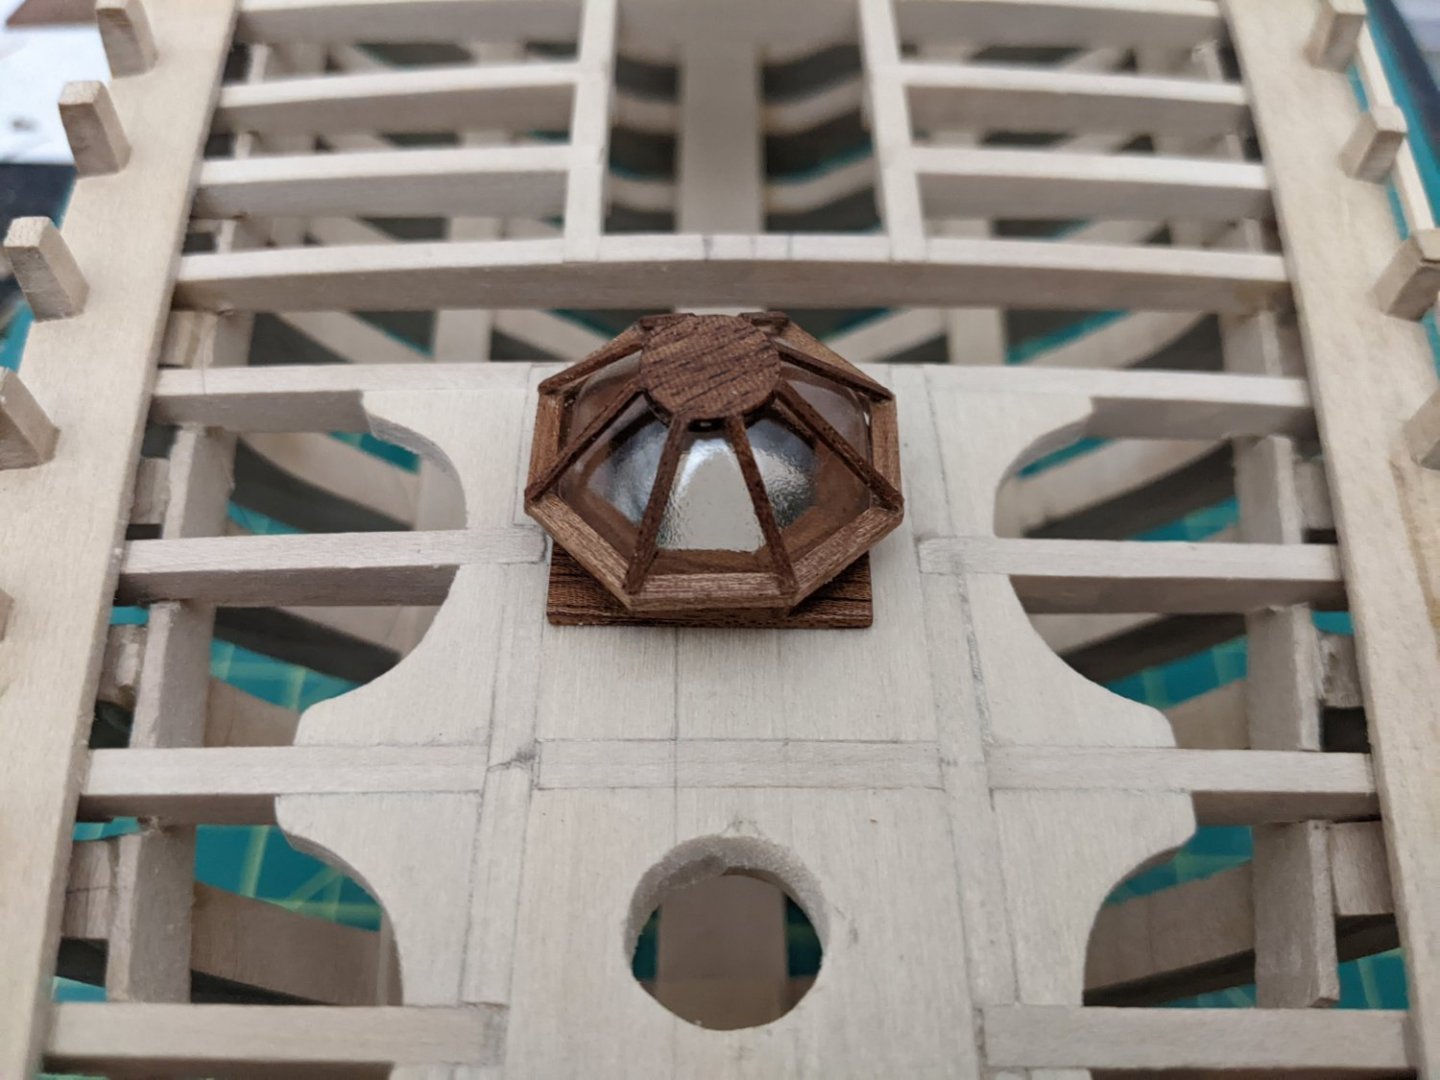
I wasn't sure the wider ones would look good. Thanks for the validation! I just built the forward skylight. The plans called for a round base with eight vanes, so I thought an octagonal base would be a good choice instead. I tested it with some scrap boxwood first. It looked decent, so I made it in mahogany. It came out pretty well. Tung oiled version in last two pics.


-
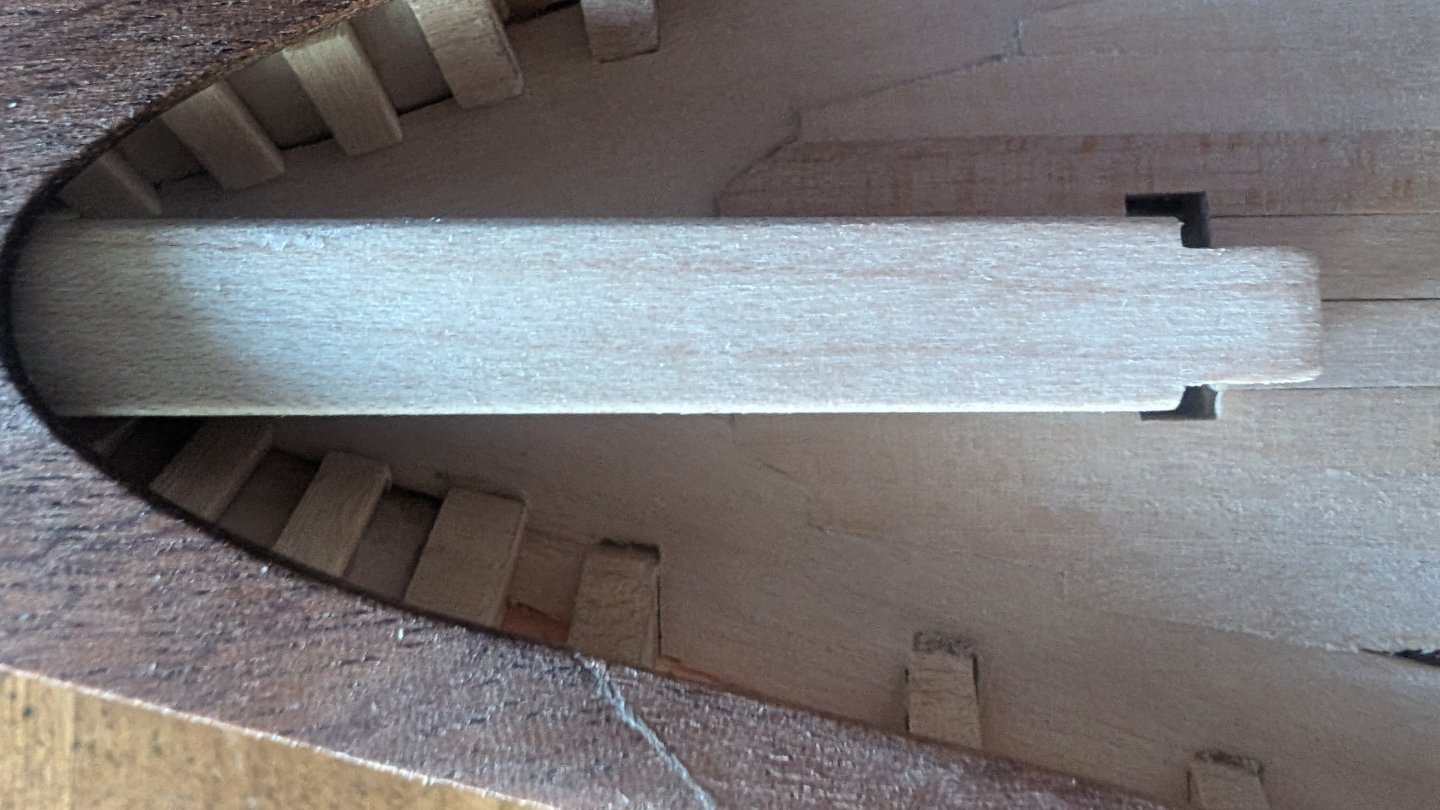
Waterways installed, sheer caps installed on stern and most of port side. Starboard side is not far behind. Sheer caps at the stern will also be trimmed down once I start hull planking. First deck planks installed under bowsprit and bitts.


-
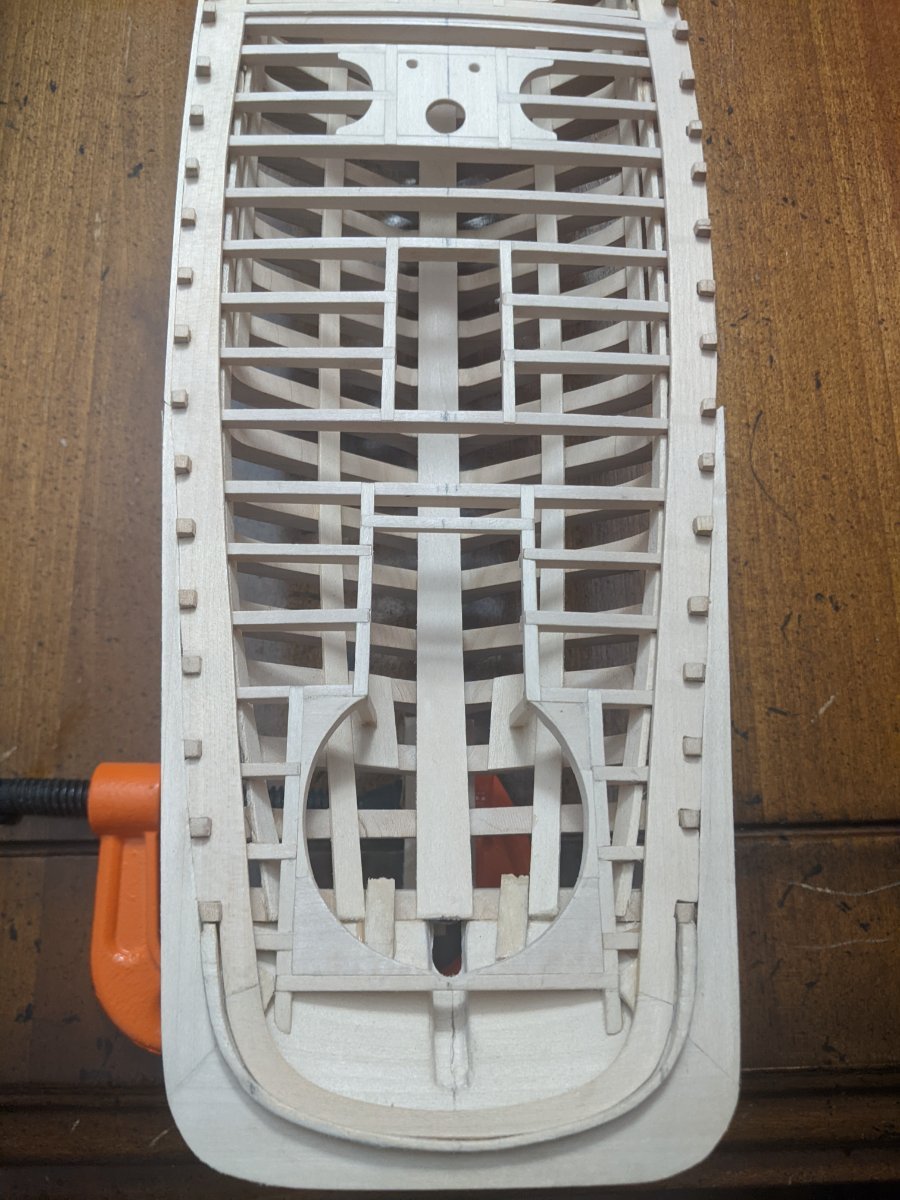
Yes, the frames took a ton of work. They were made from a solid hull that is then sliced like bread to make individual frames The solid hull looks like it was machine milled. The milling of the interior was off center, causing the frames to be very unsymmetrical. However, once I got the frames to my liking, the rest of the build has been great. Additionally, scratch building the frames is beyond my skill level at this time, so this was still the best kit for me. If you plan on fully planking the model, you are probably better off with bulkheads versus frames. I love the kit especially for the deck beam assemblies as they look fantastic, and I do not plan to fully plank so I wanted the authentic frame look.