HOLIDAY DONATION DRIVE - SUPPORT MSW - DO YOUR PART TO KEEP THIS GREAT FORUM GOING! (Only 20 donations so far - C'mon guys!)
×


Sterlingclements
-
Posts
44 -
Joined
-
Last visited
Content Type
Profiles
Forums
Gallery
Events
Everything posted by Sterlingclements
-
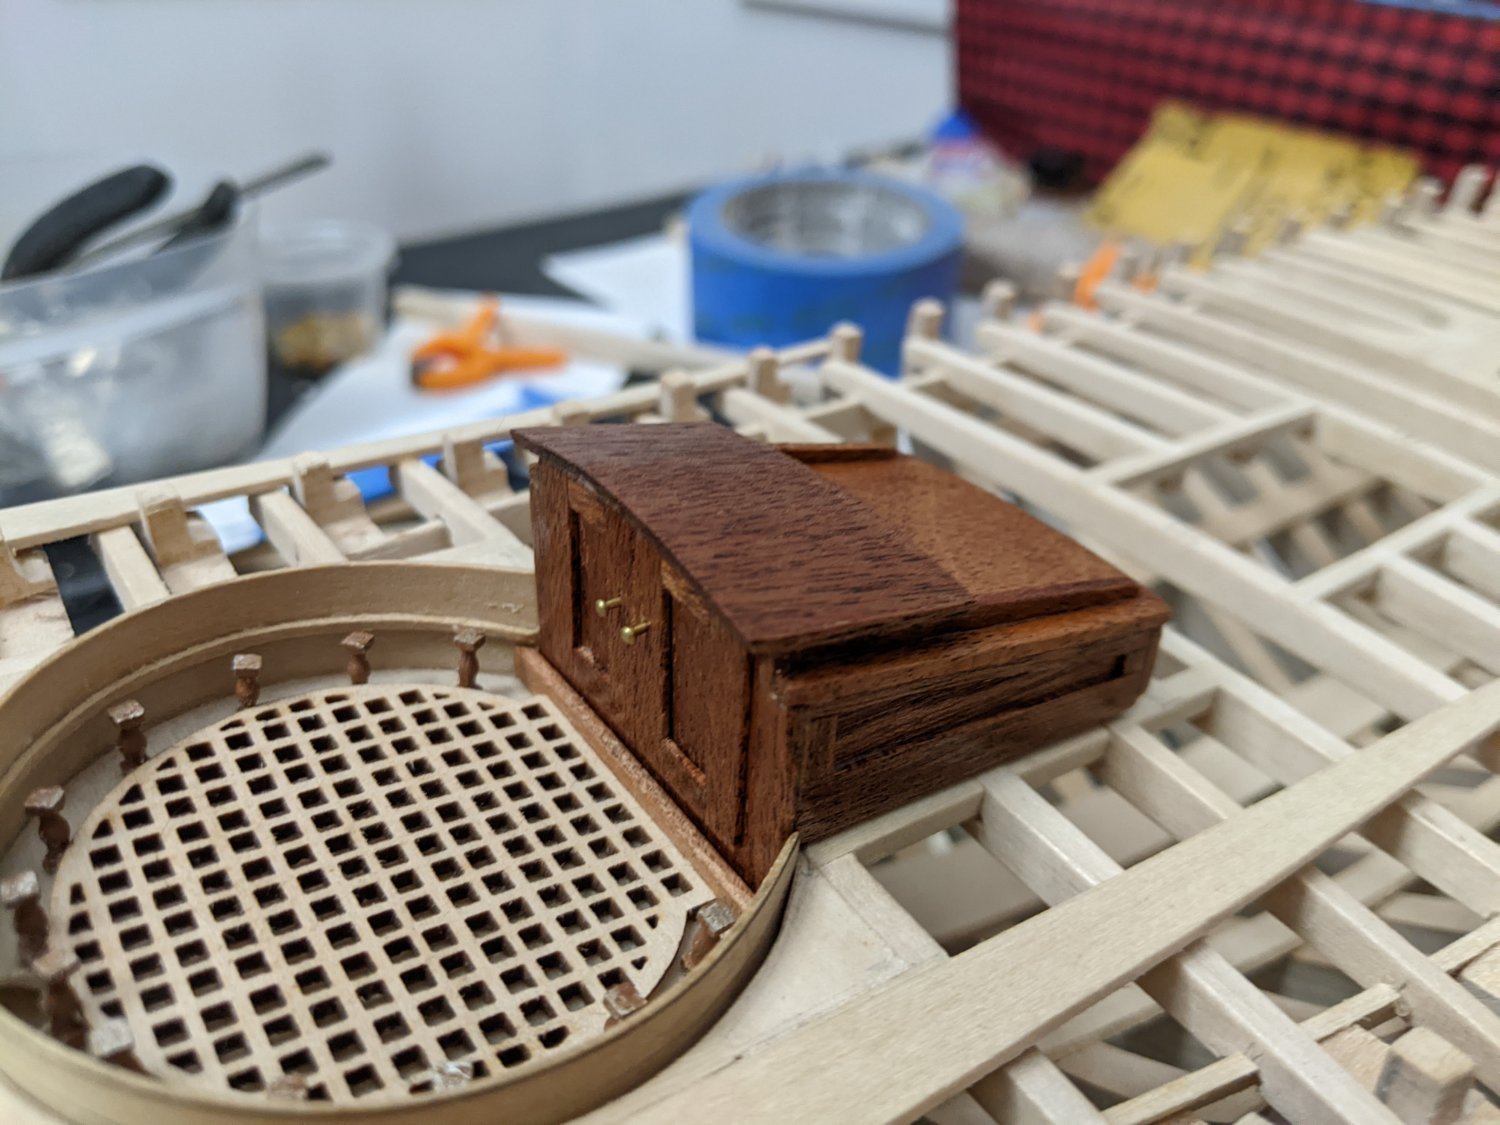
Just progressive sanding, with final sanding using 400 grit. Then apply tung oil with a lint free cloth, rub it in like car wax. In the above pic, the sill piece directly aft of the companion way doors (and fore the cockpit grating) is dry, no tung oil, for a good comparison of what a difference the finish makes. Both sill and companionway are made from the same piece of mahogany stock.
-
Companionway completed. I used tung oil to finish.

-
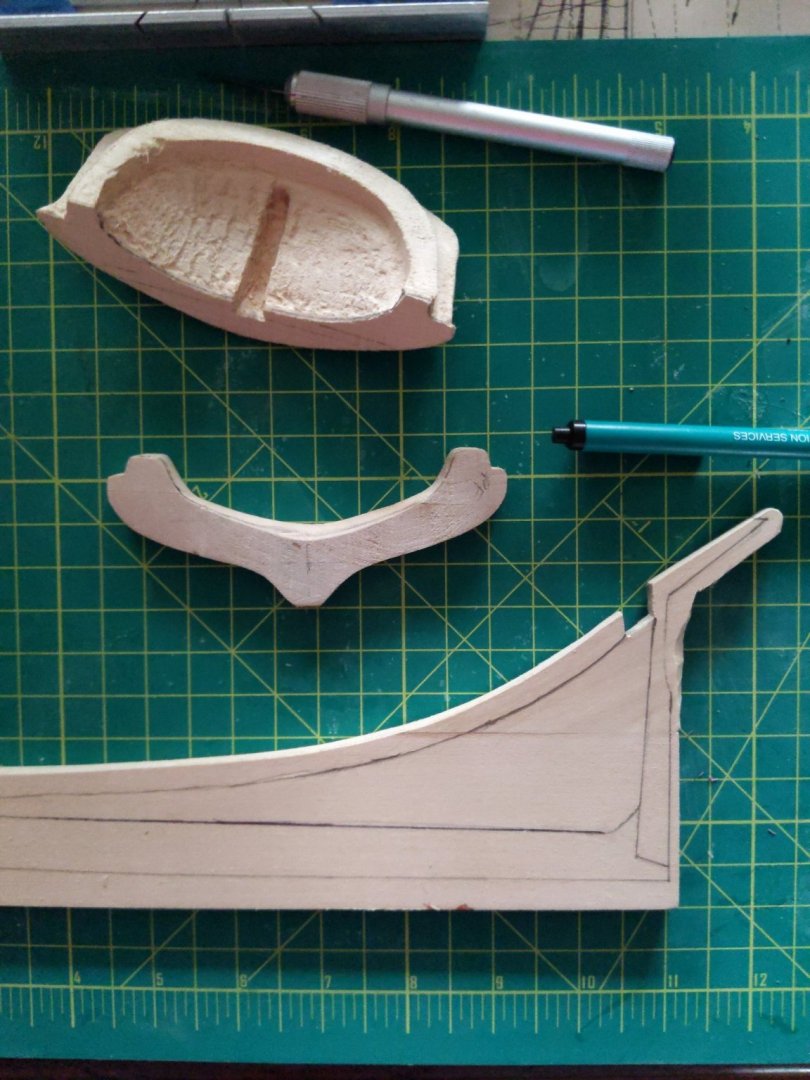
I used my Dremel with drum sander to make short work of the transom.
-
I do not plan to fully plank. I plan on doing a couple rows of planks on the deck center line and maybe one or two outboard. I plan on 1 to 3 rows of hull planking top and bottom. Need some planking to attach rigging points/deck furniture.
-
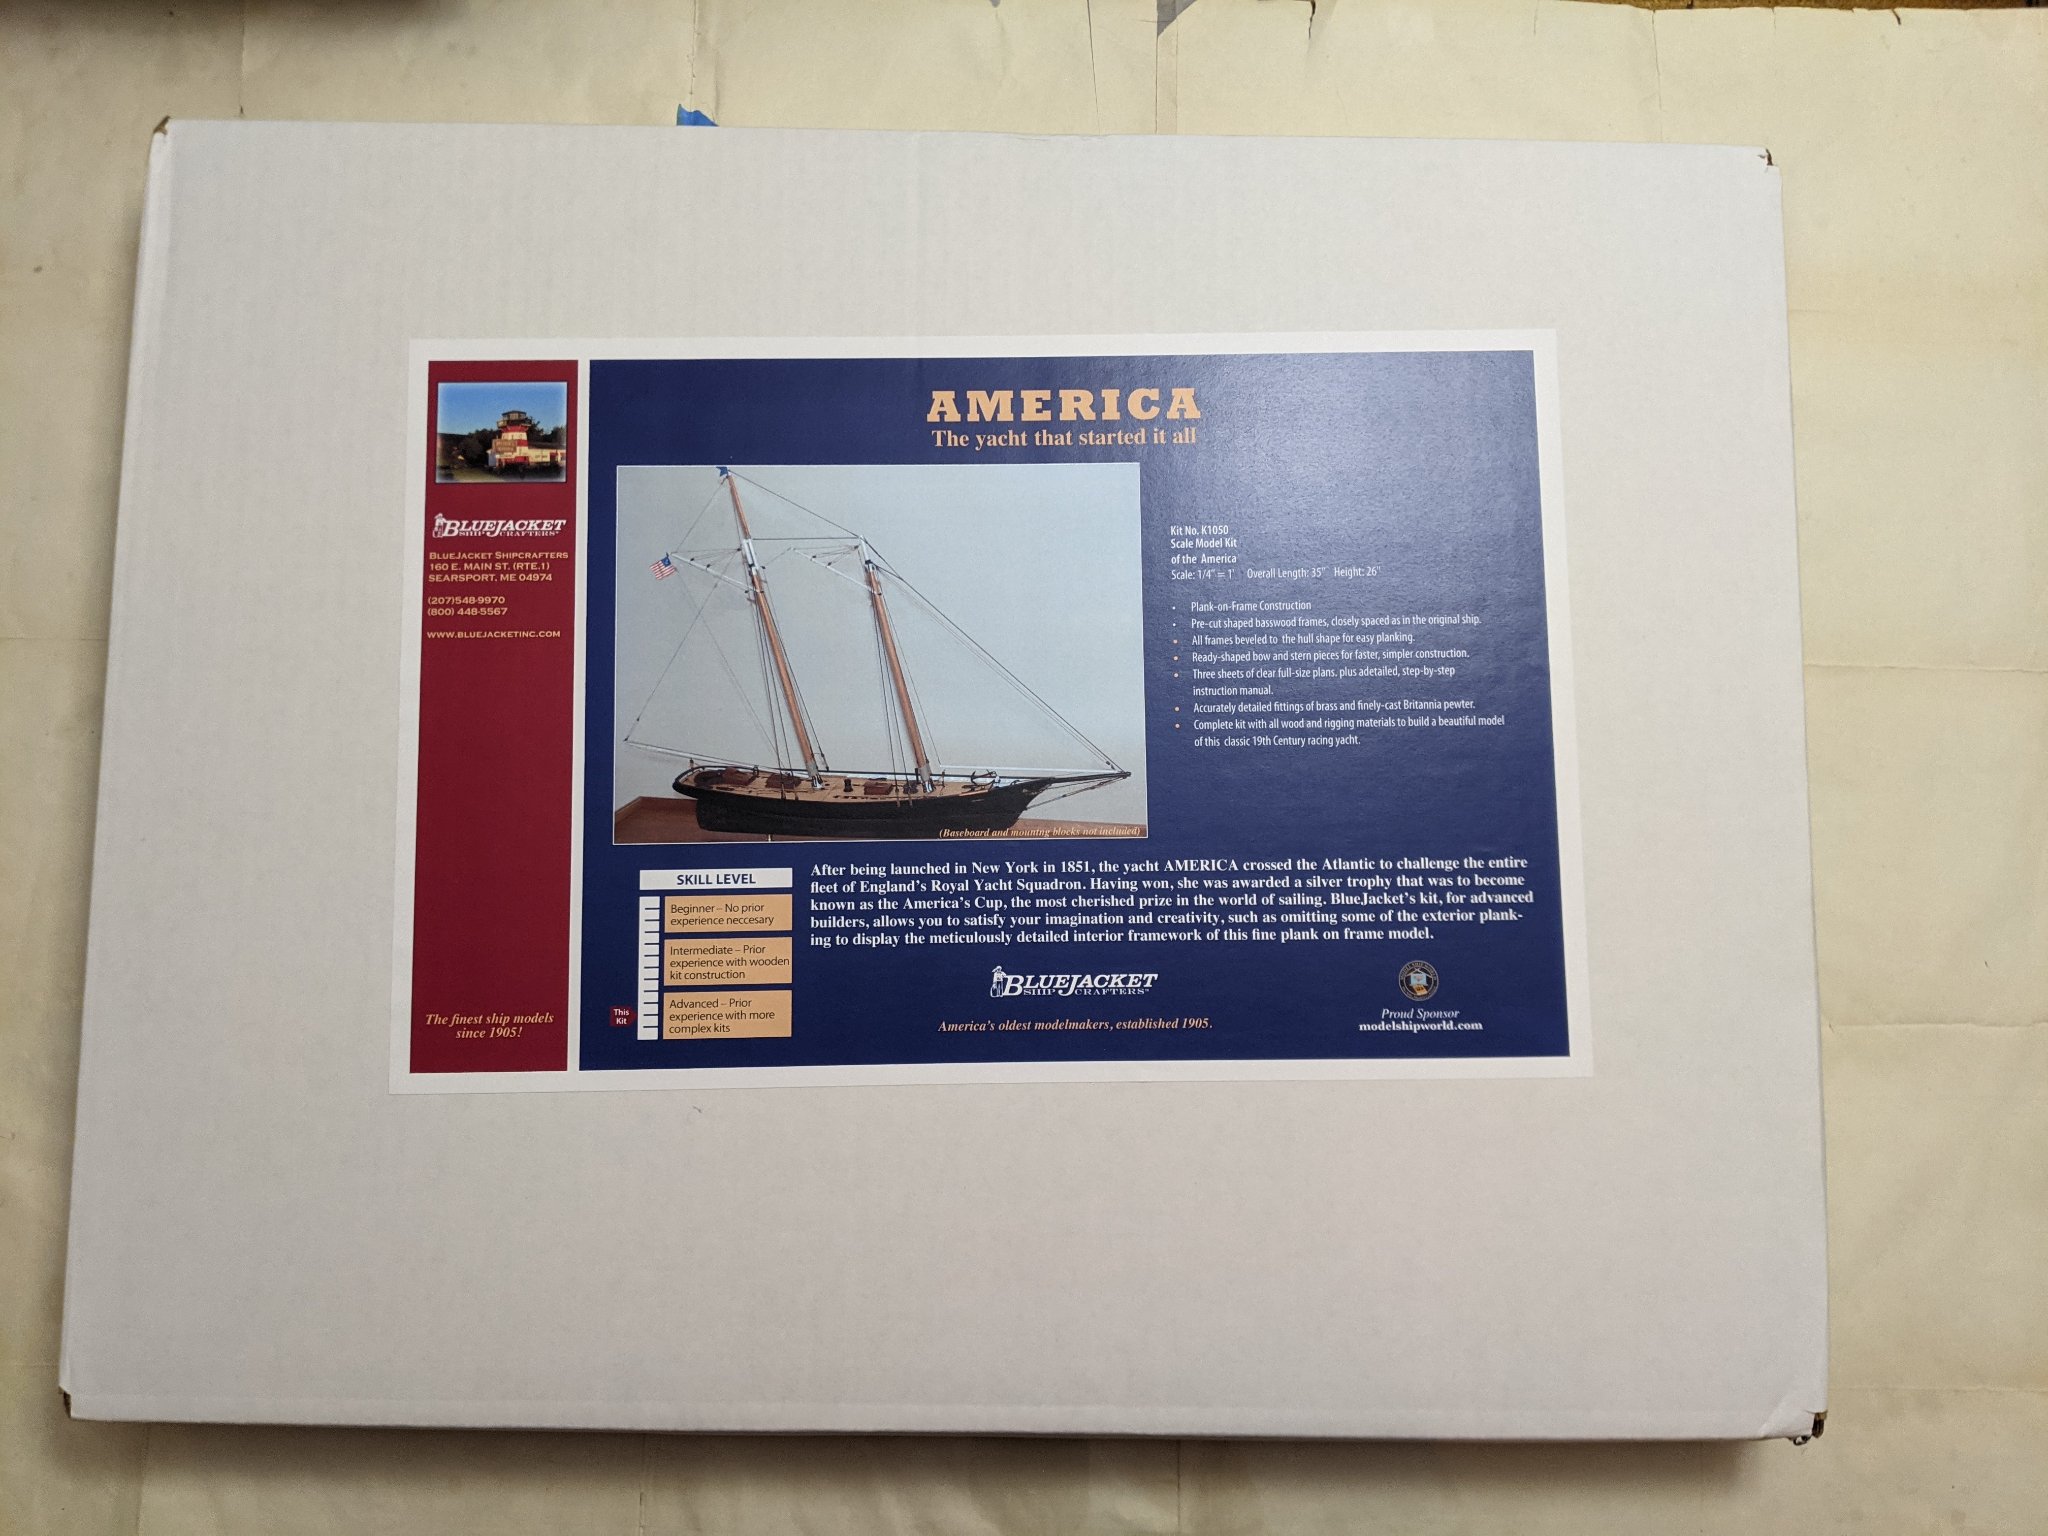
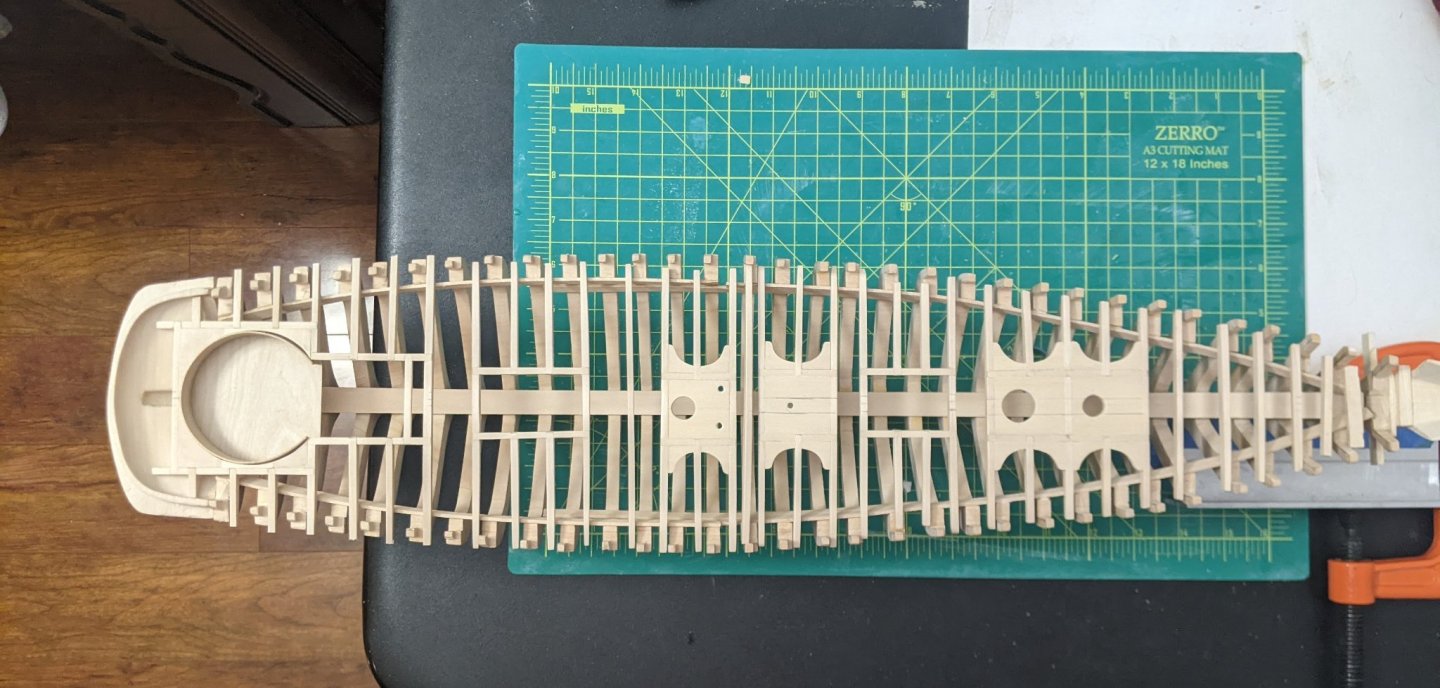
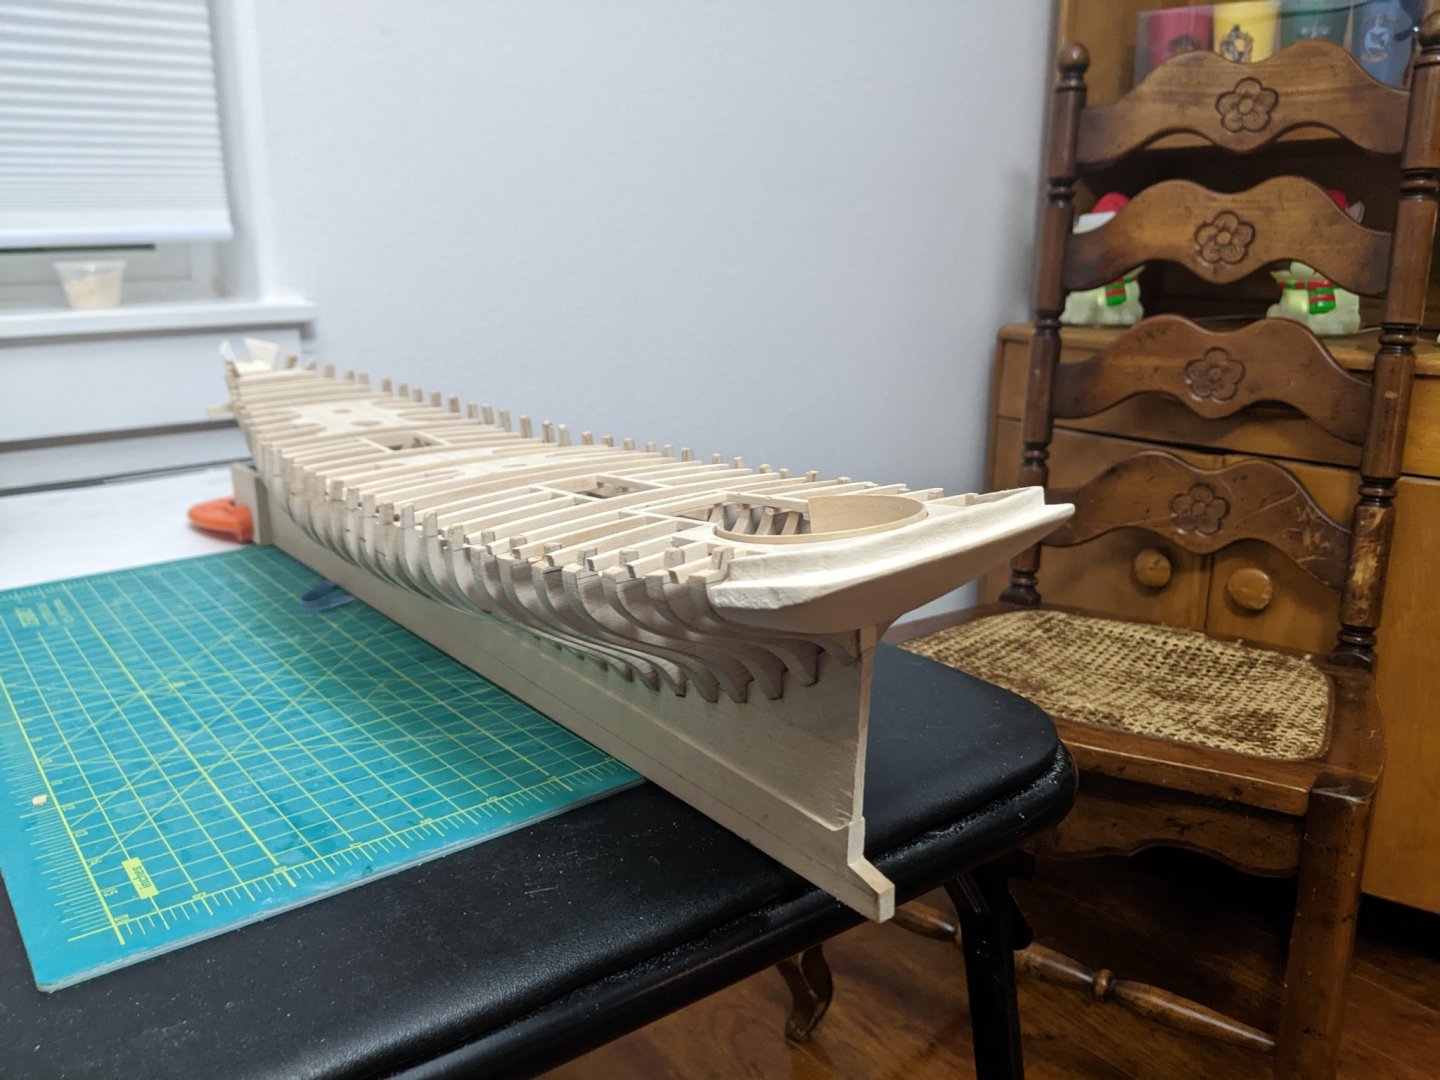
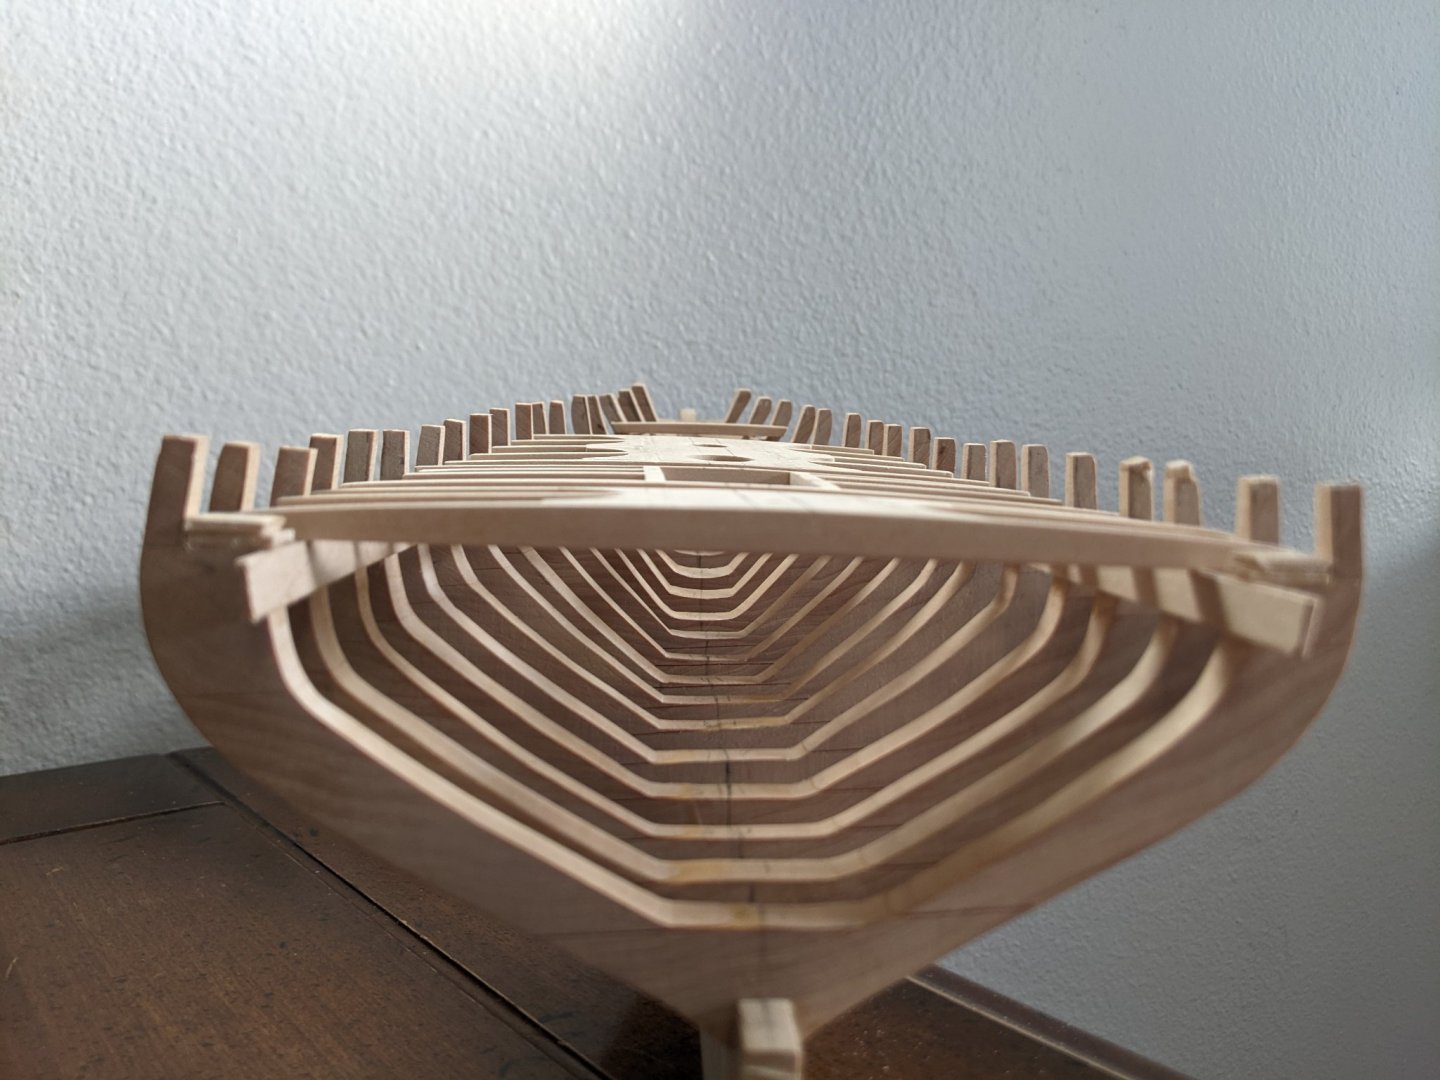
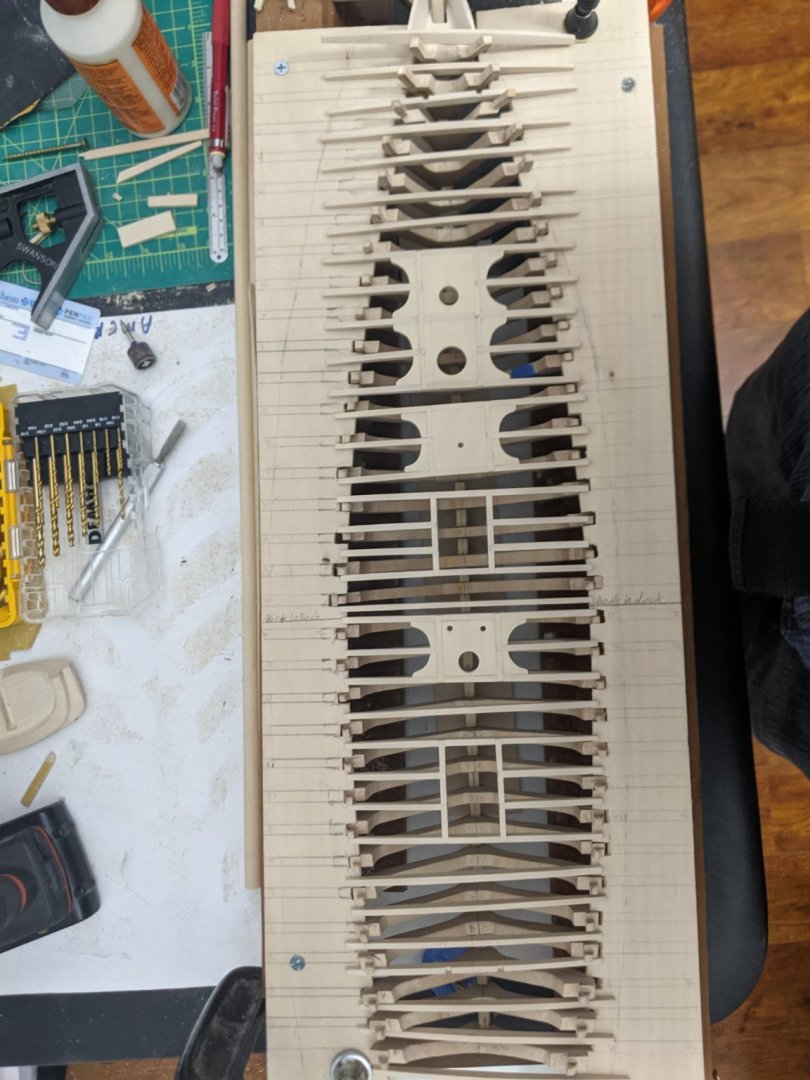
Schooner America. Frames are all glued in, stern/transom carved and glued. Shown here with deck beam assemblies dry fitted.
-
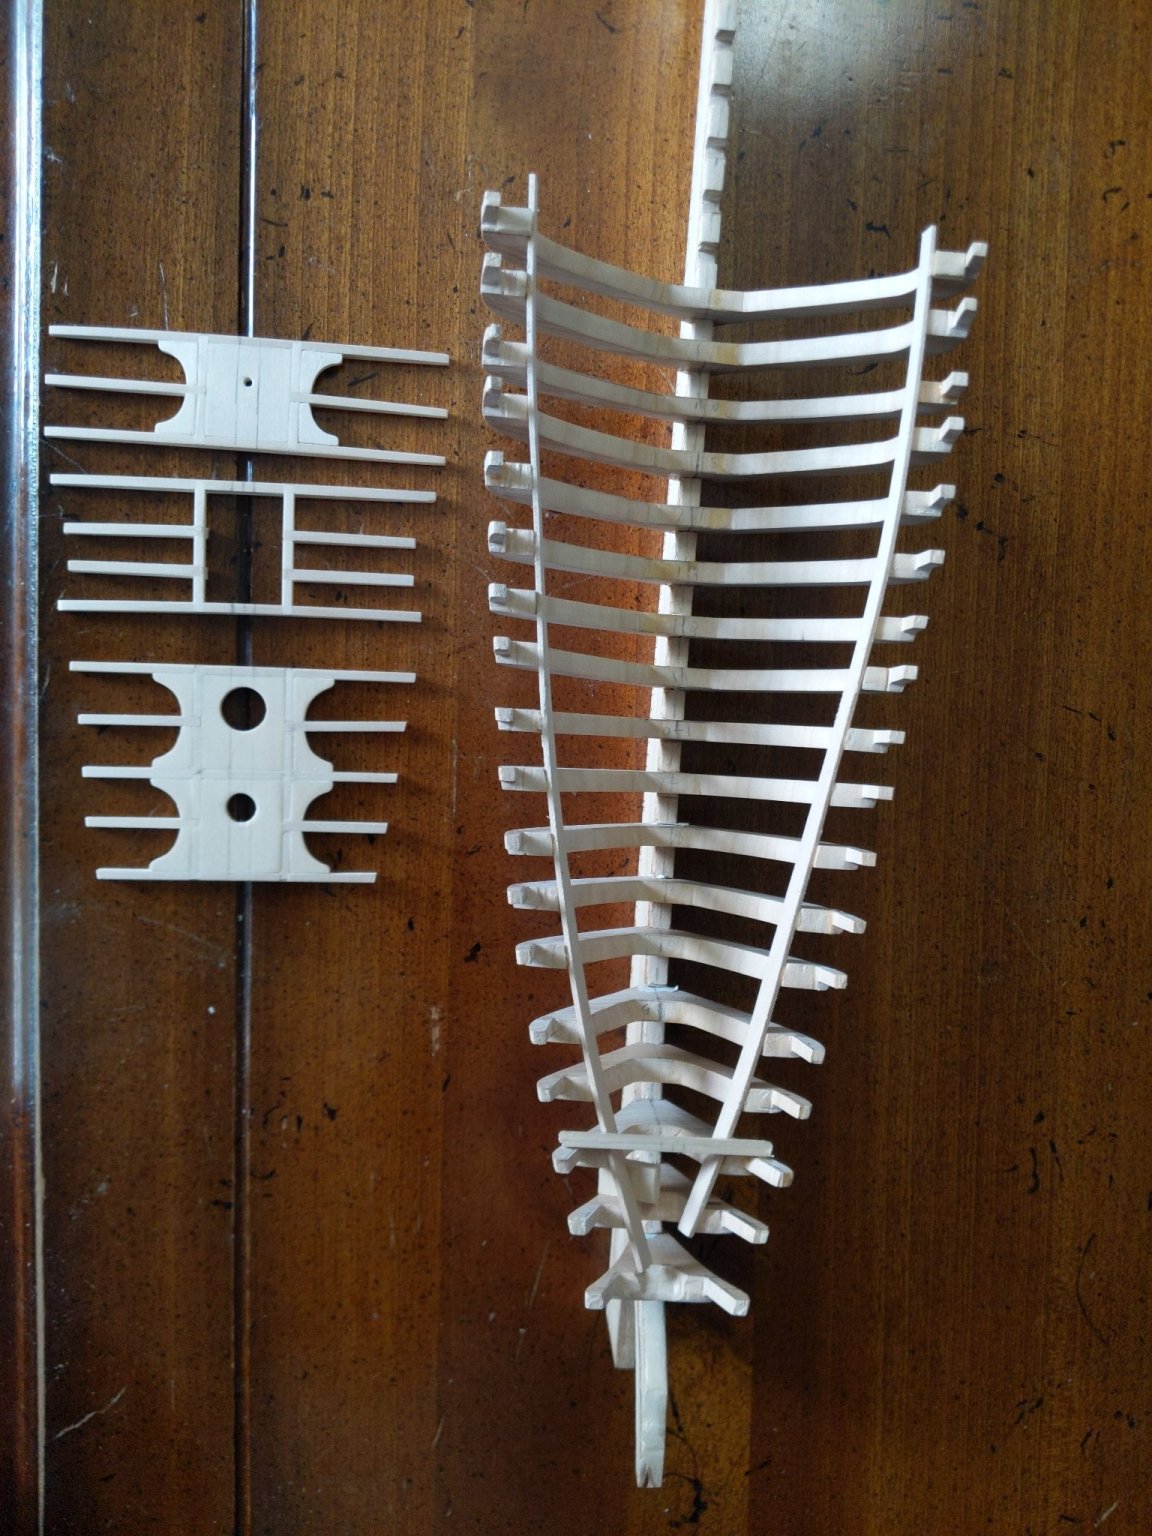
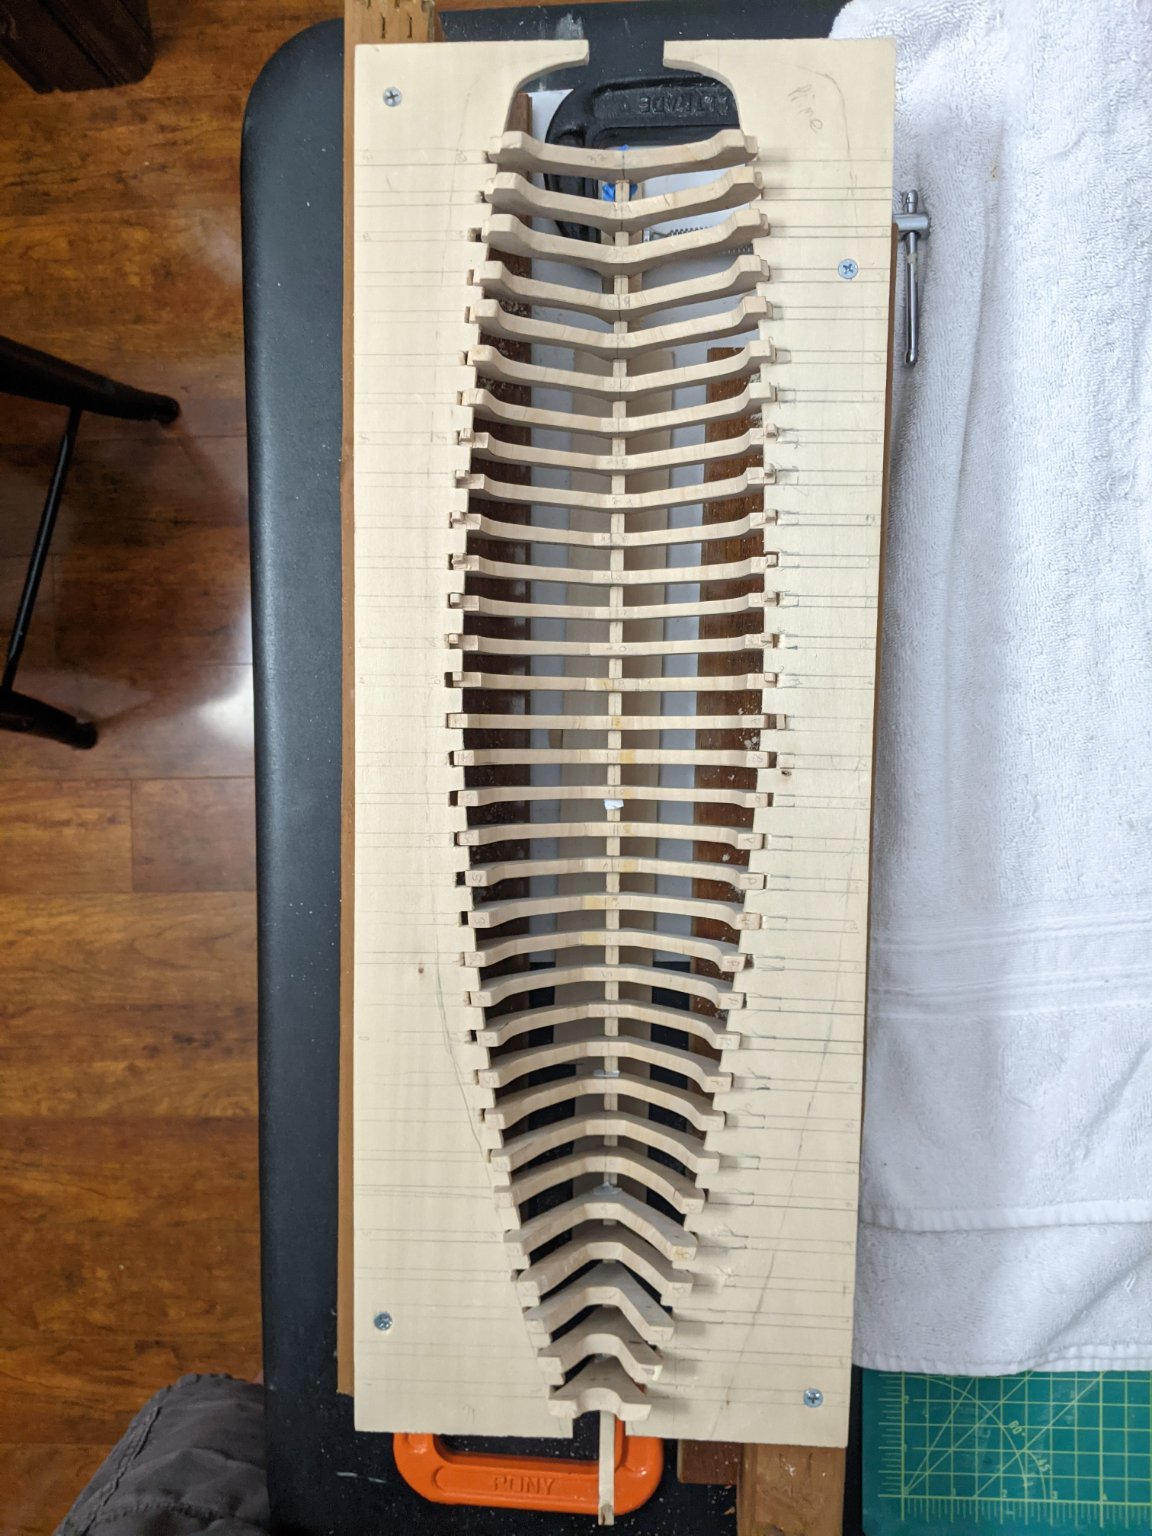
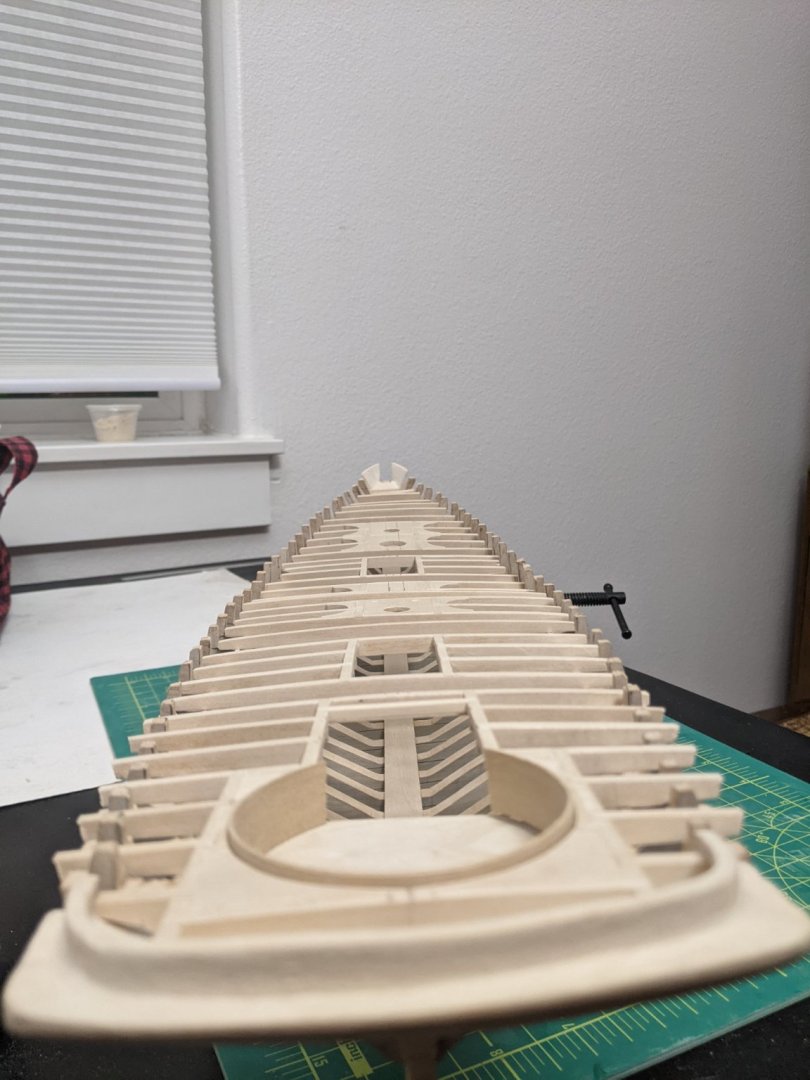
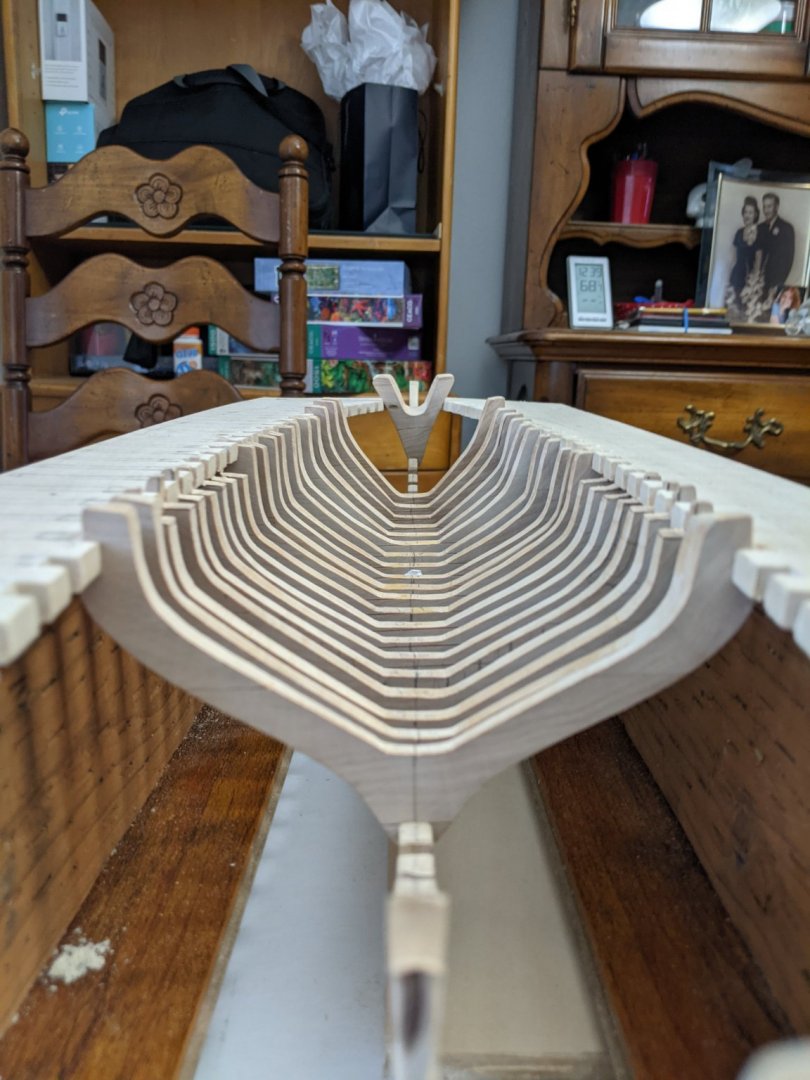
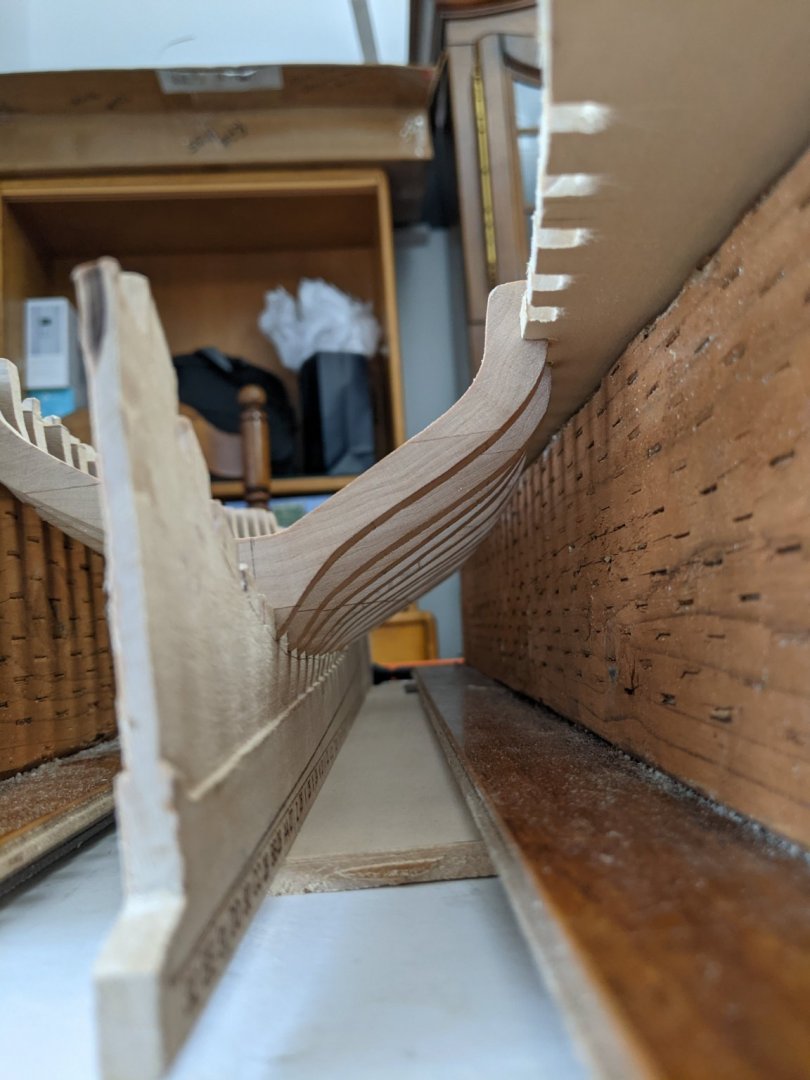
At long last, after checking each measurement multiple times and dry fitting deck-beam assemblies to verify timberhead heights, I began glueing the frames to the keel. I started with frame 18, just fore the break in the deck, and worked my way forward through frame 1. I took my time making sure that the frames were not only square to keel/horizontal but were also symmetrical in height port/starboard and in width from center line to outboard edge. Results pictured below, including temporary installation of sheer clamp so I can further check planking fit and complete any touch-up fairing as needed. I also included pictures dry fitted deck-beam assemblies and a few keel-line views.

-
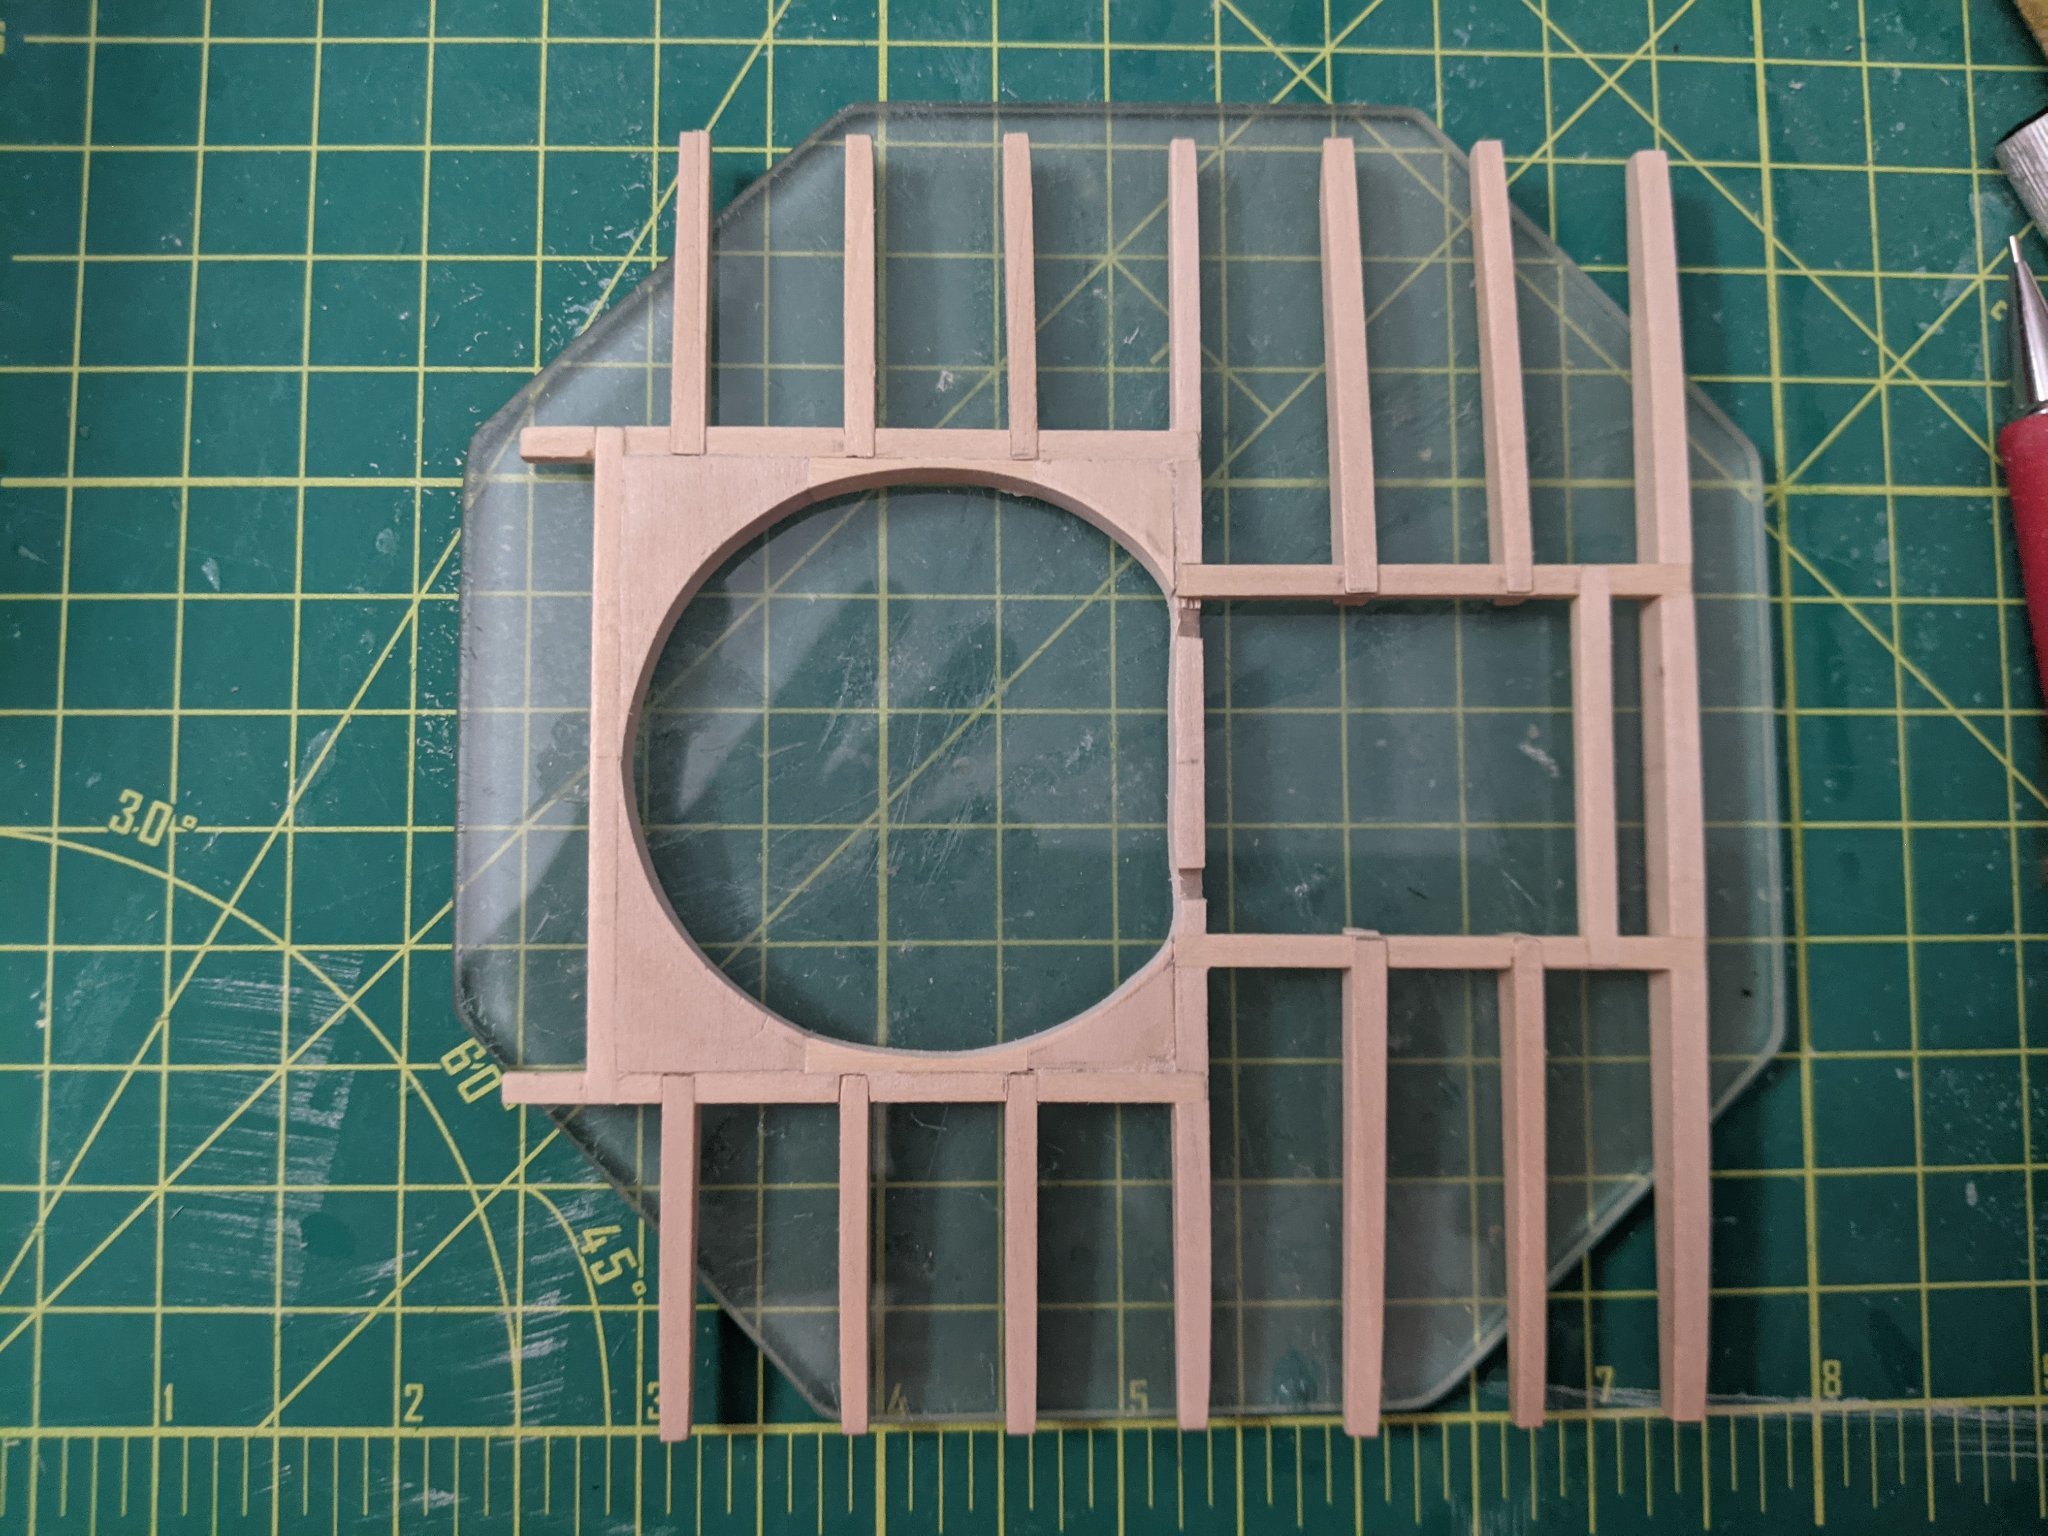
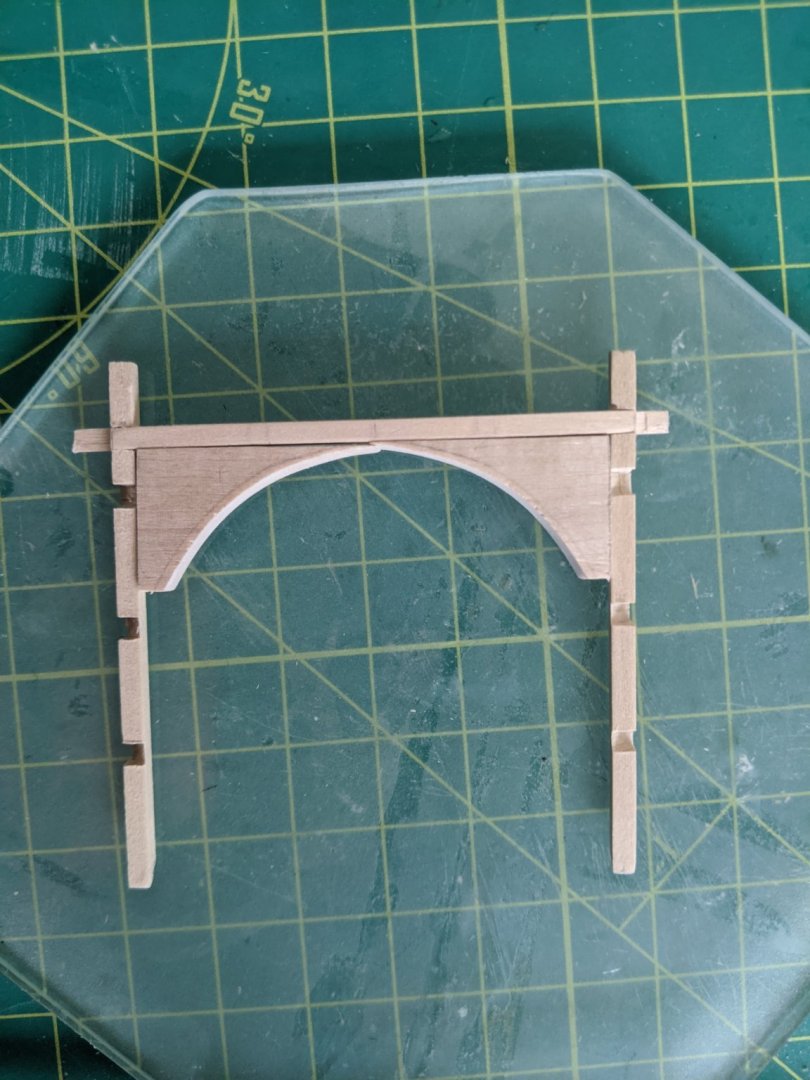
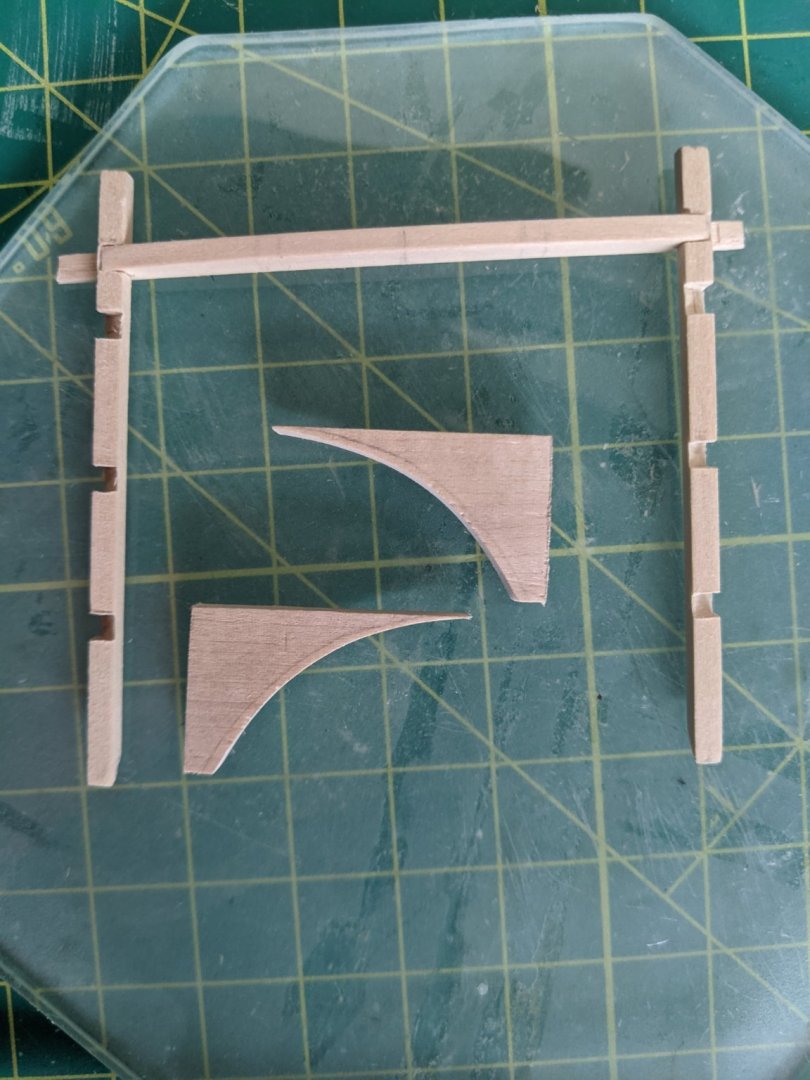
Virtually finished cockpit assembly. I will cut out the beam at the companionway entrance later, as it adds a great deal of strength and stability right now.

-
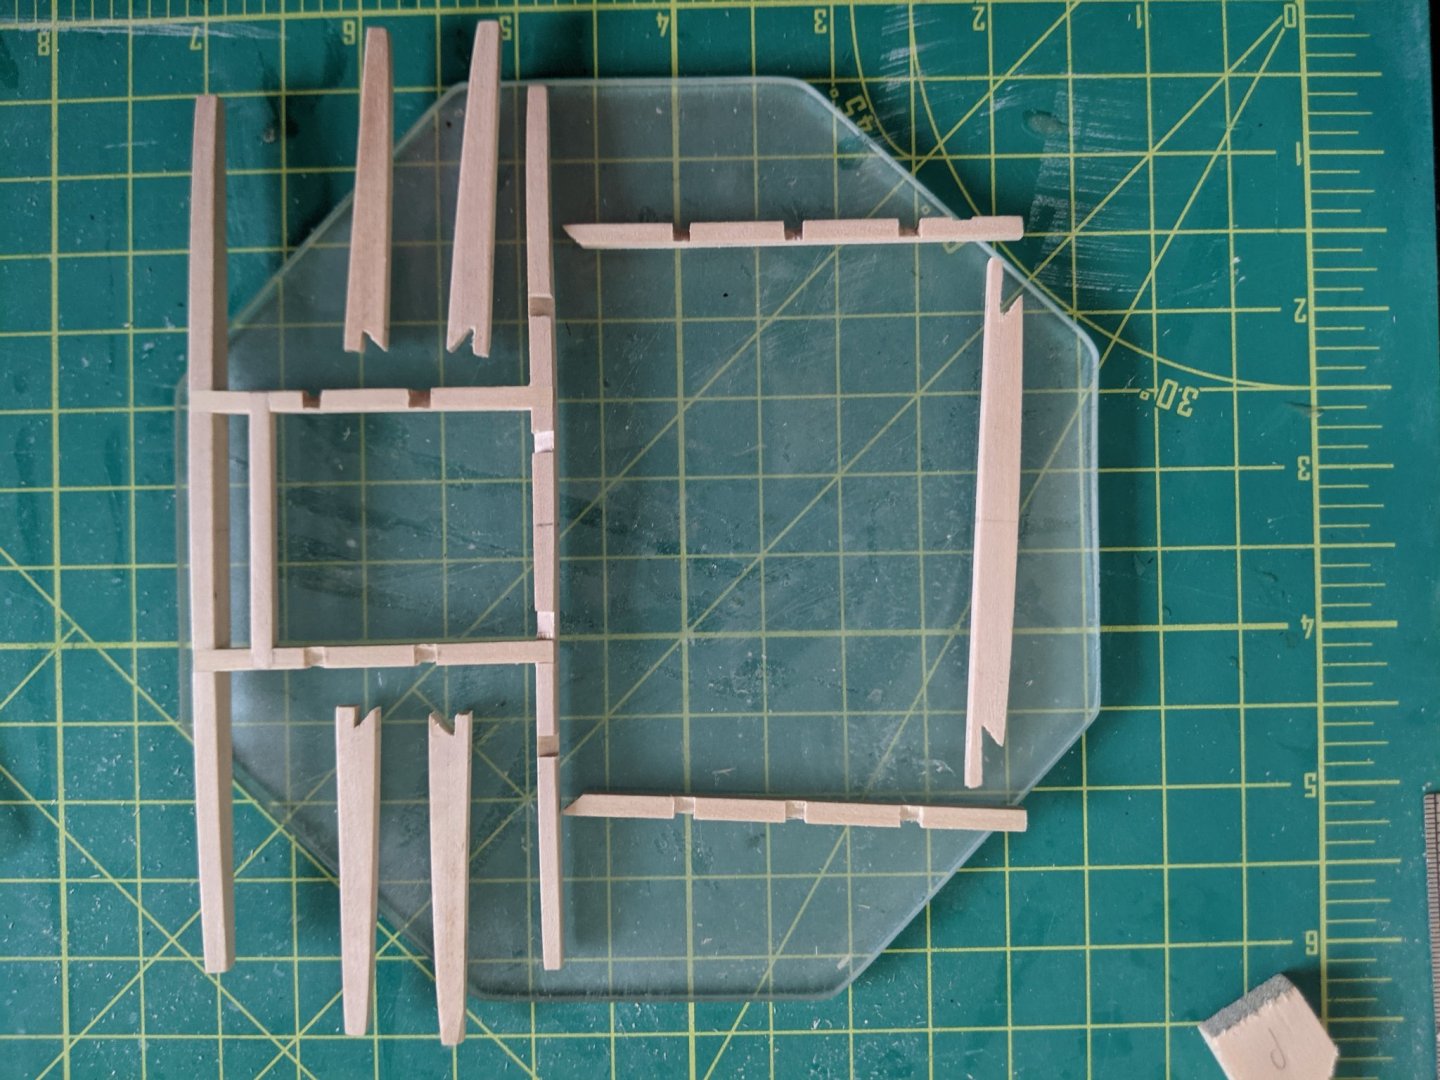
Here is some of the most intricate deck assembly work yet. This is really honing my skill with mini files. Cockpit assembly almost complete. I'll post again once it's done.
-
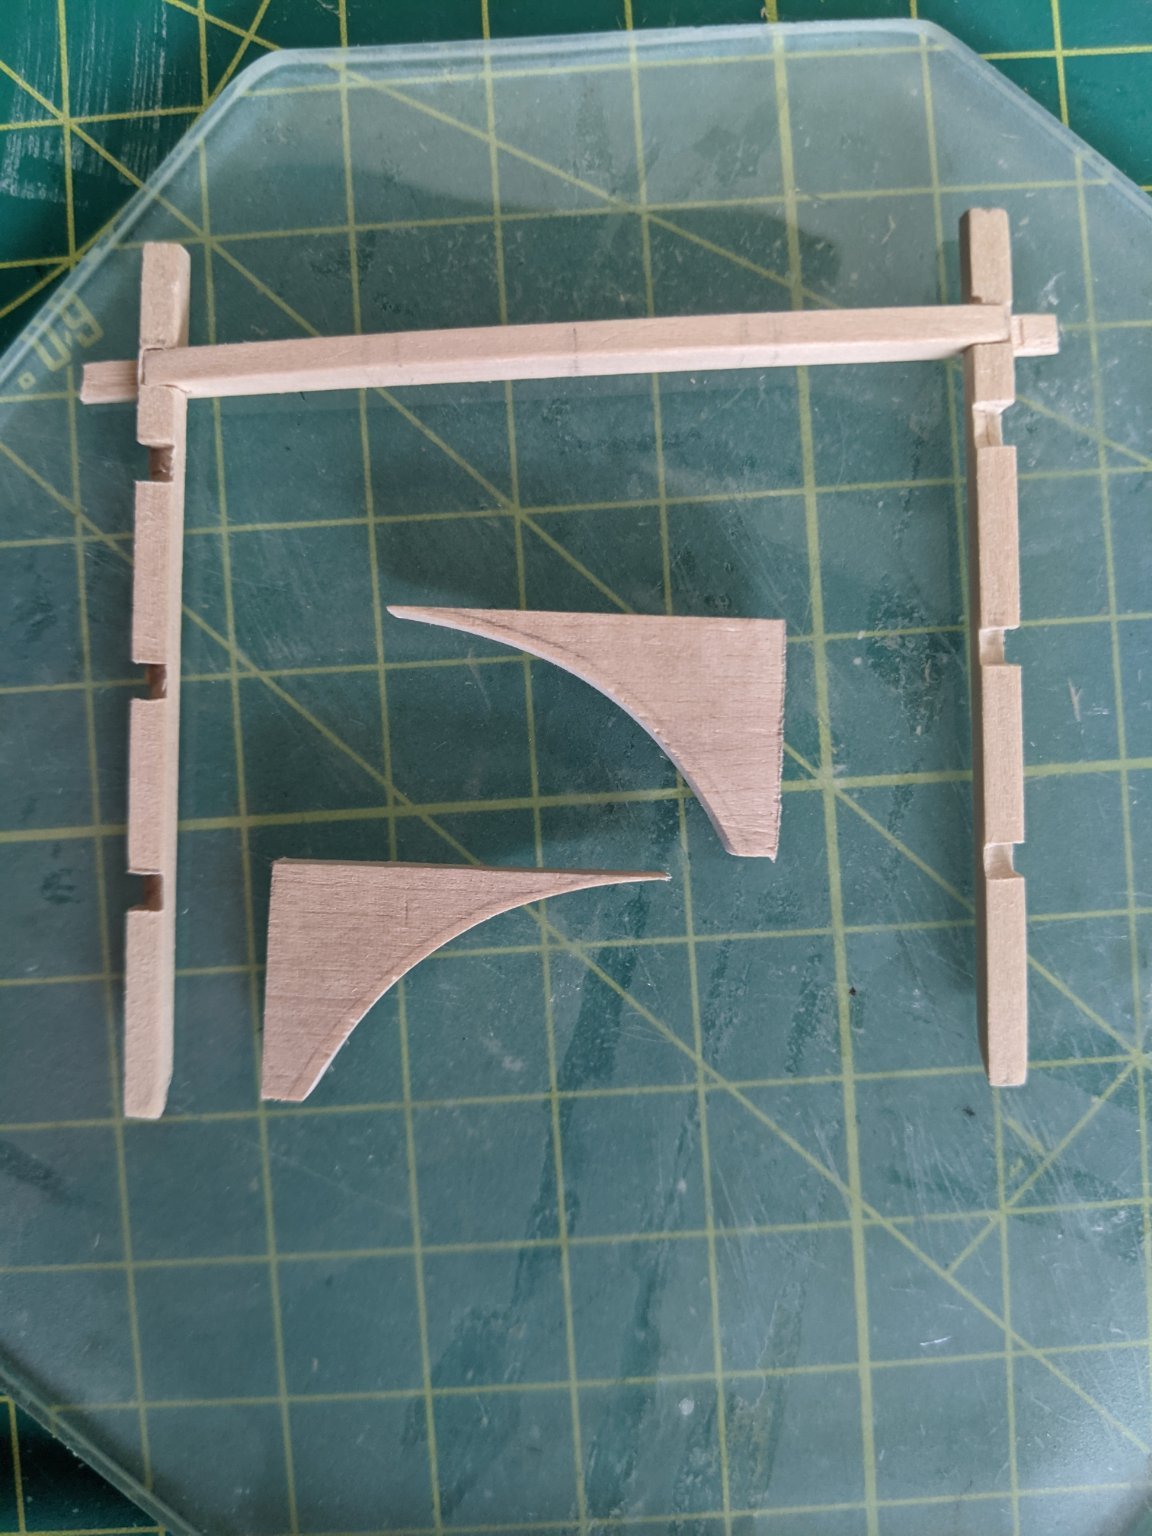
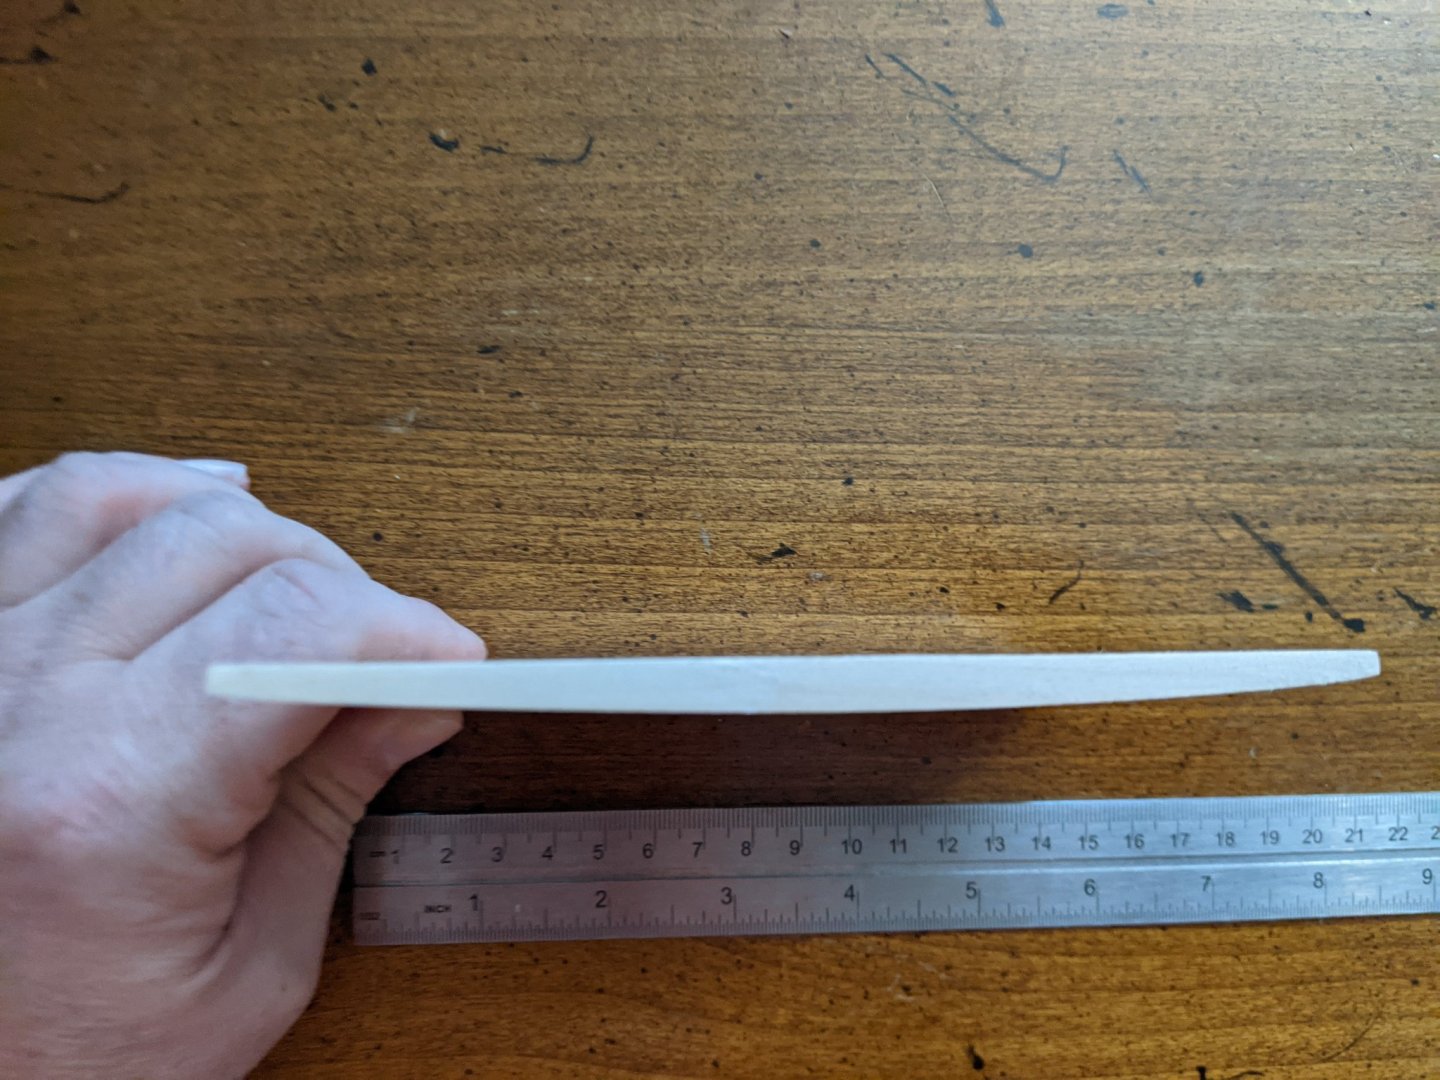
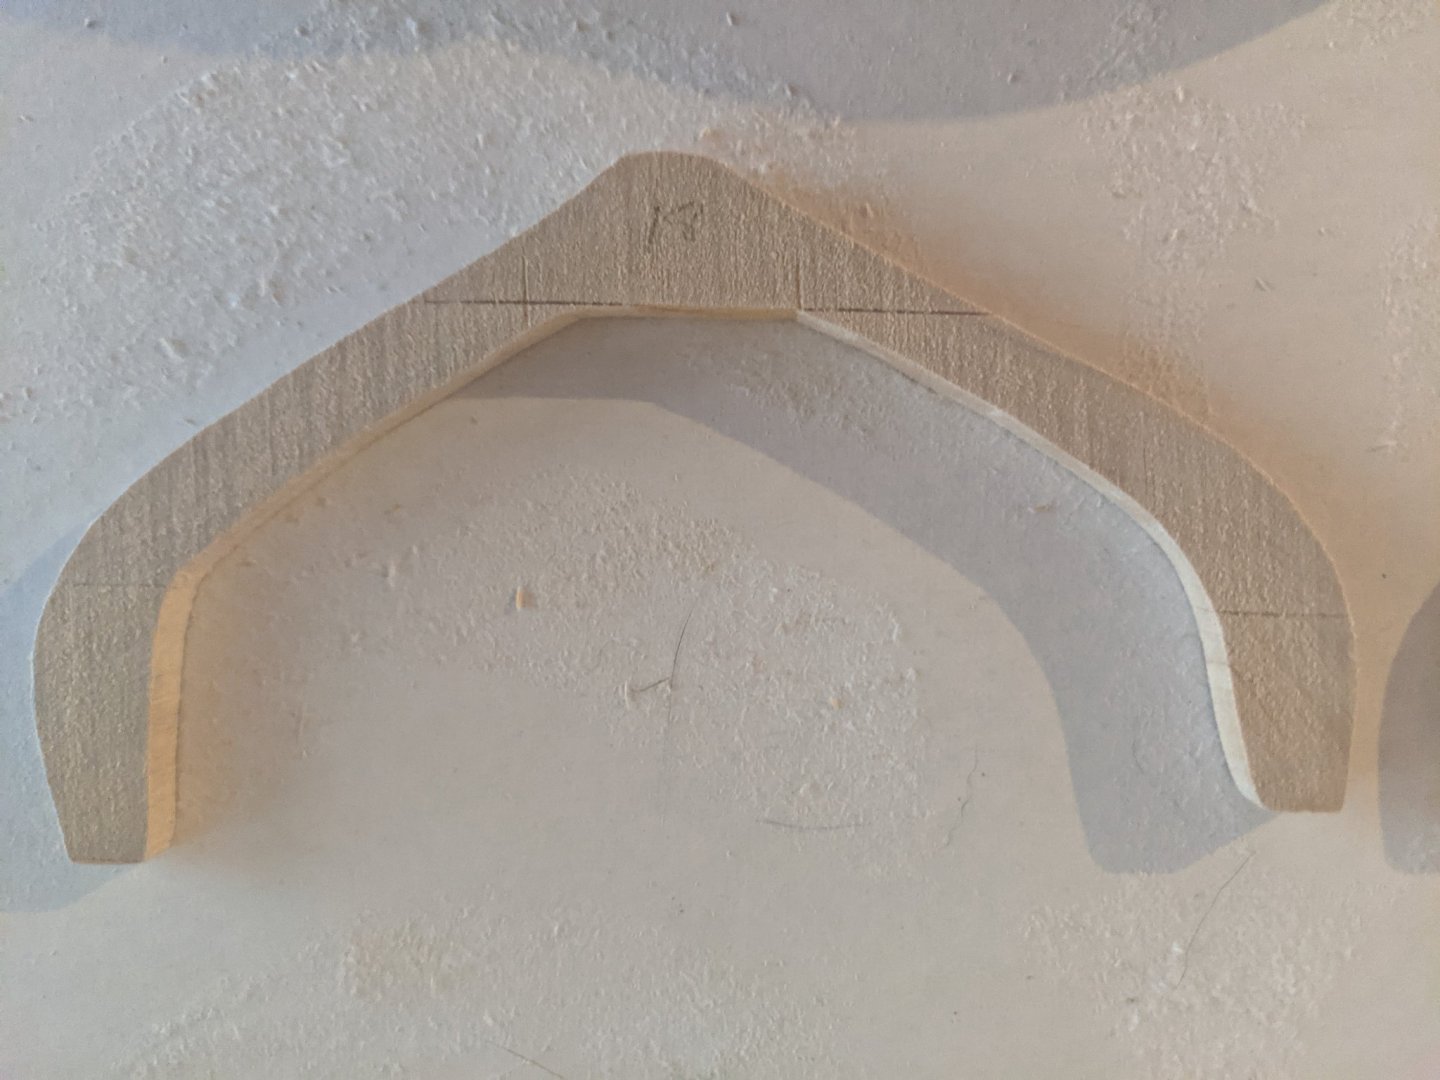
I had some leftover stock with the deck camber sanded onto it that I used for the beams. I used that to cut the cockpit blocking shown below. Worked a treat. Now those will match the deck camber as well. Perfecto.

-
Laid out assemblies and single beams on frames/jig just to get a preview of what's to come.
-
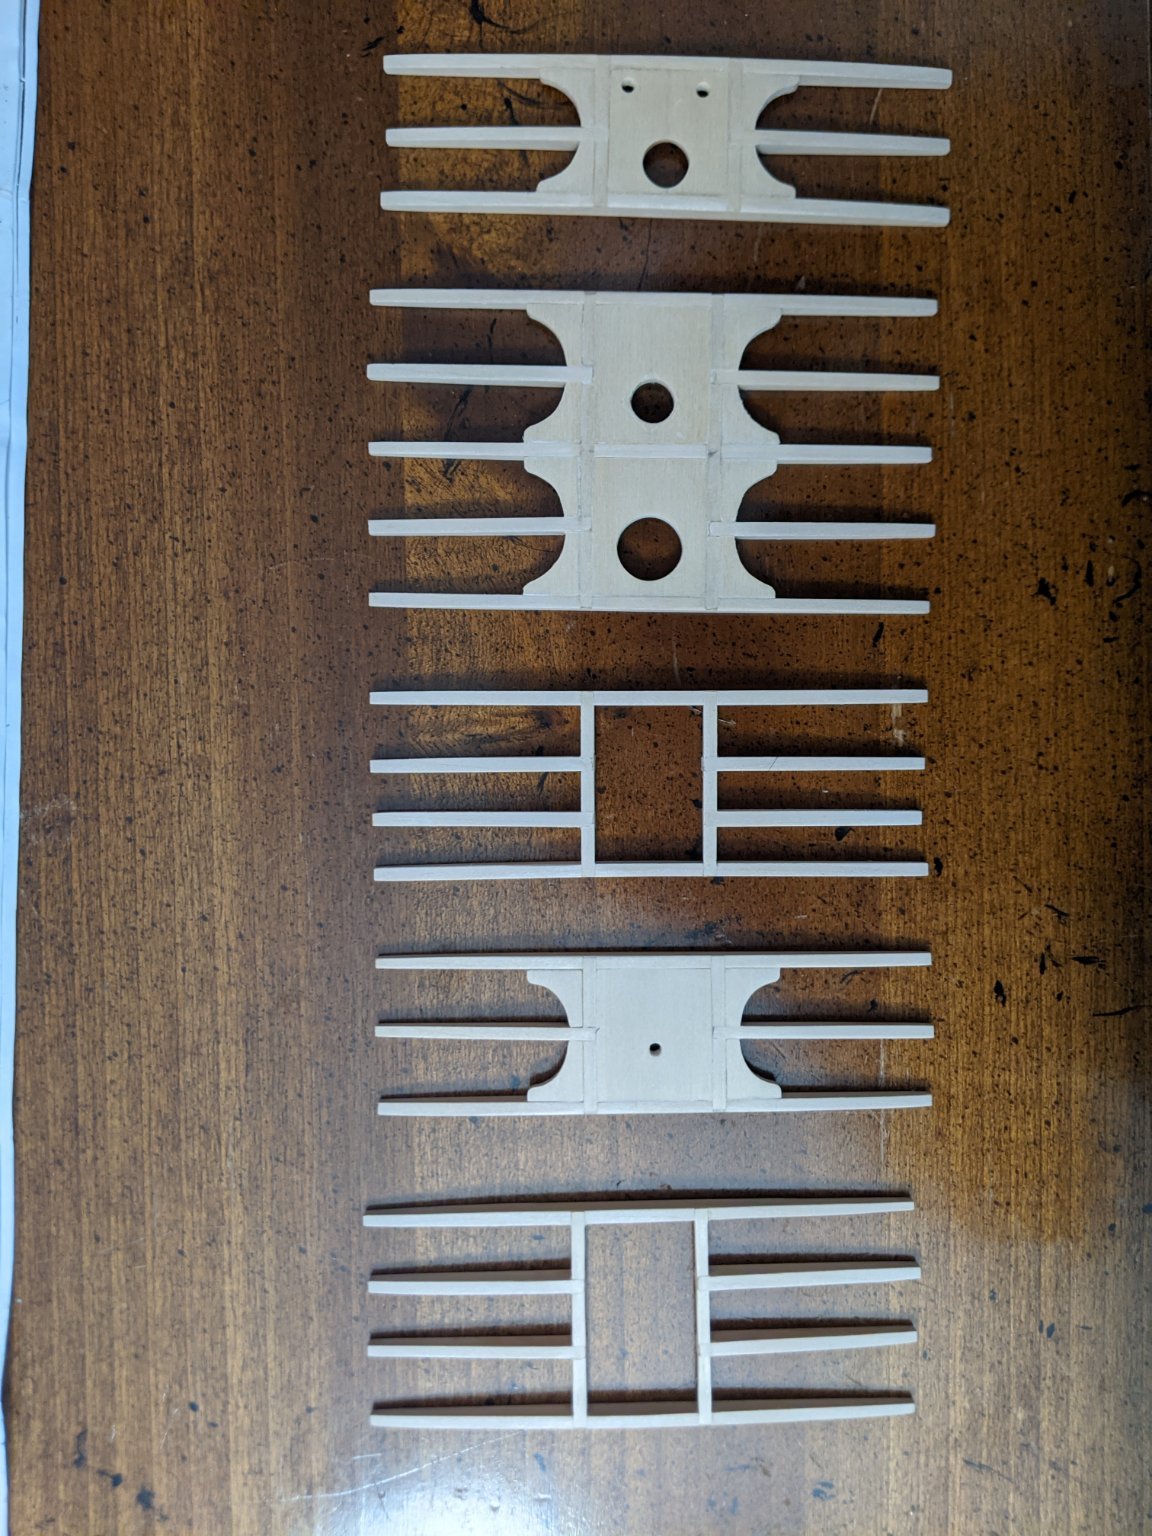
All deck beam assemblies complete, with the exception of the cockpit assembly, which is the most complex one. It is under construction at the moment. Thanks to gsdpic's log, I took extra care drilling and mostly sanding the various holes. Pretty satisfied with the results. I plan on leaving the deck partially unplanked, but do plan to plank the center rows....about as wide as the mast pads.

-
Thanks Juhu and gsdpic. I've studied both your build logs. Especially yours gsdpic...for obvious reasons. I used several of your tips, particularly the graph paper to make the frames symmetrical.
-
Aft skylight assembly completed.
-
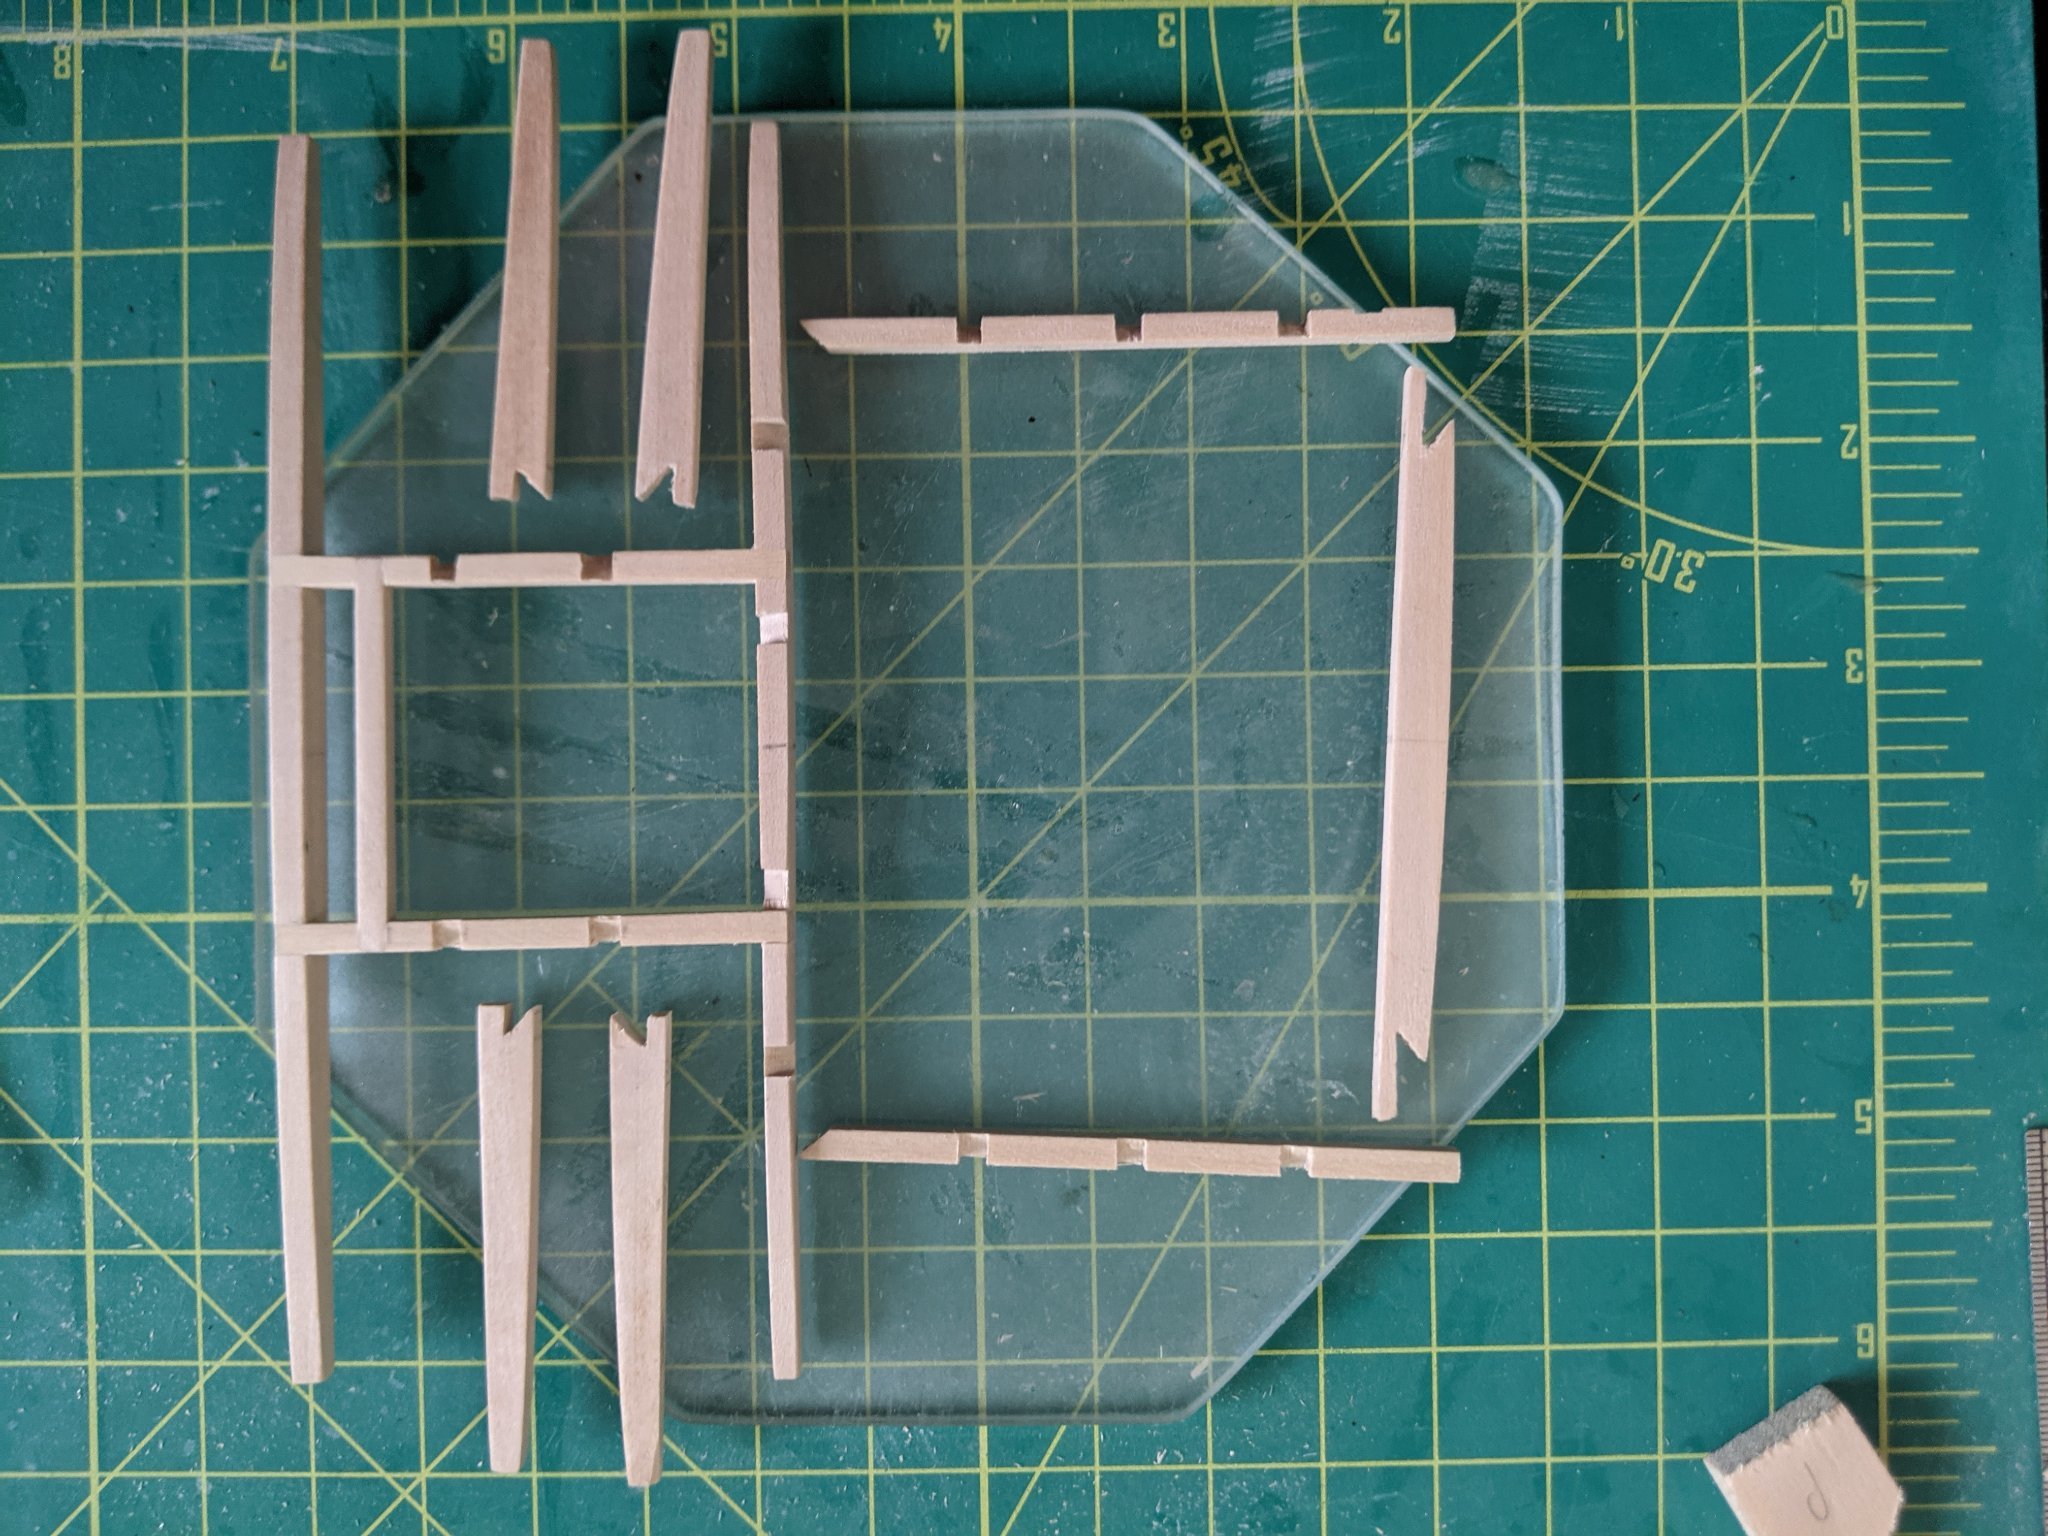
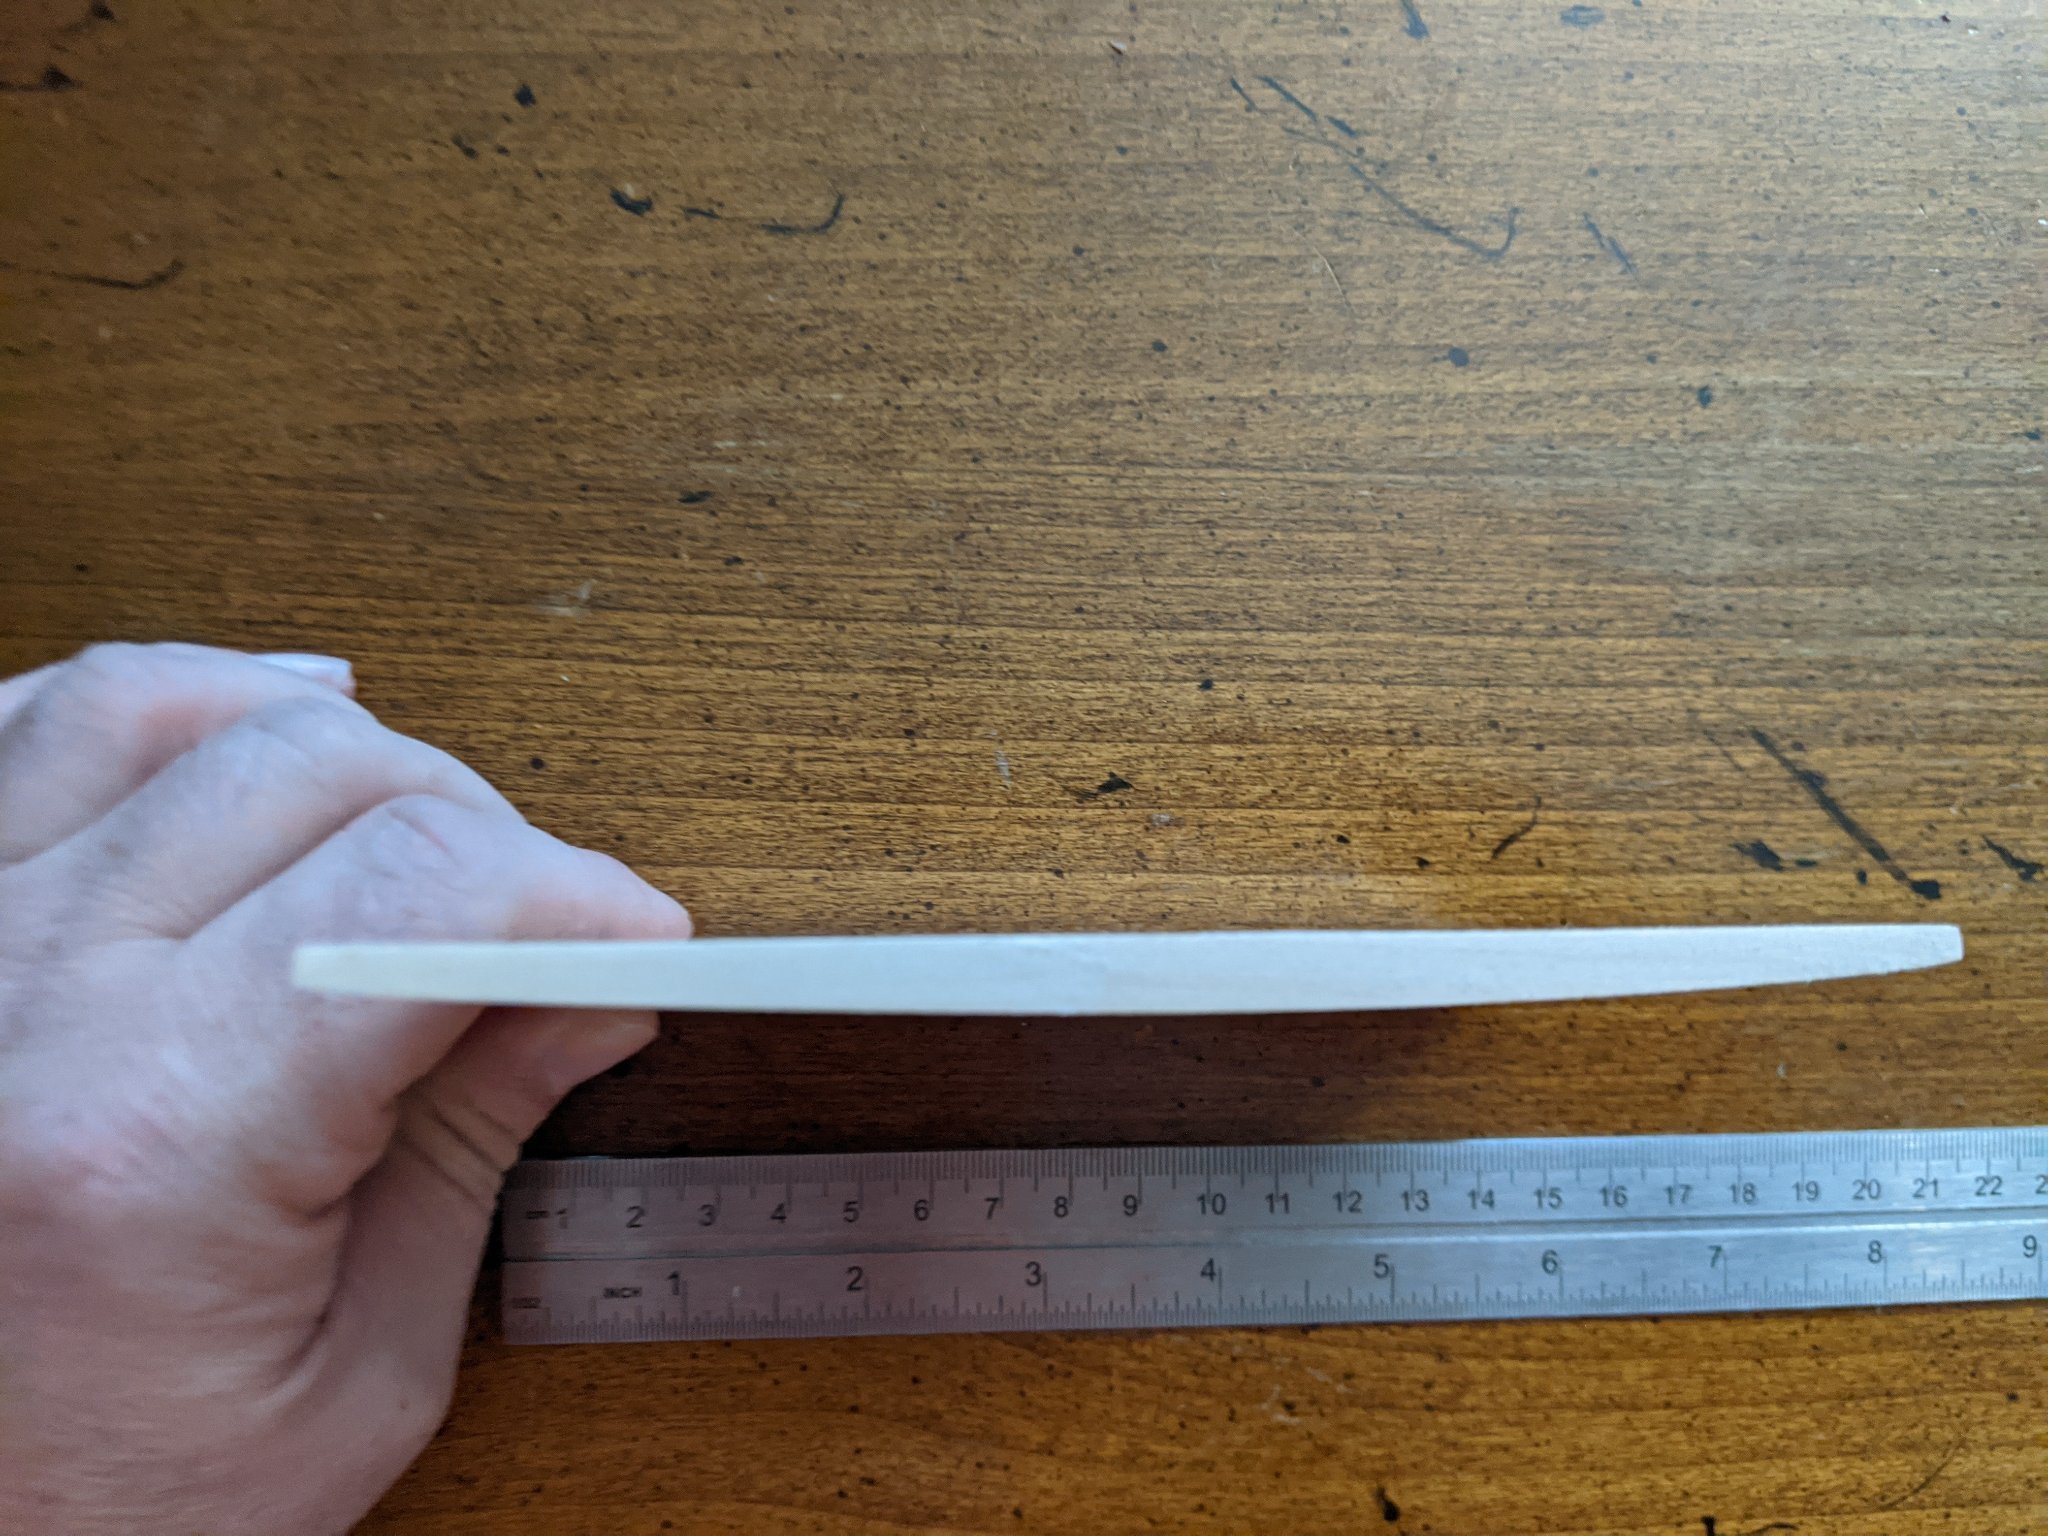
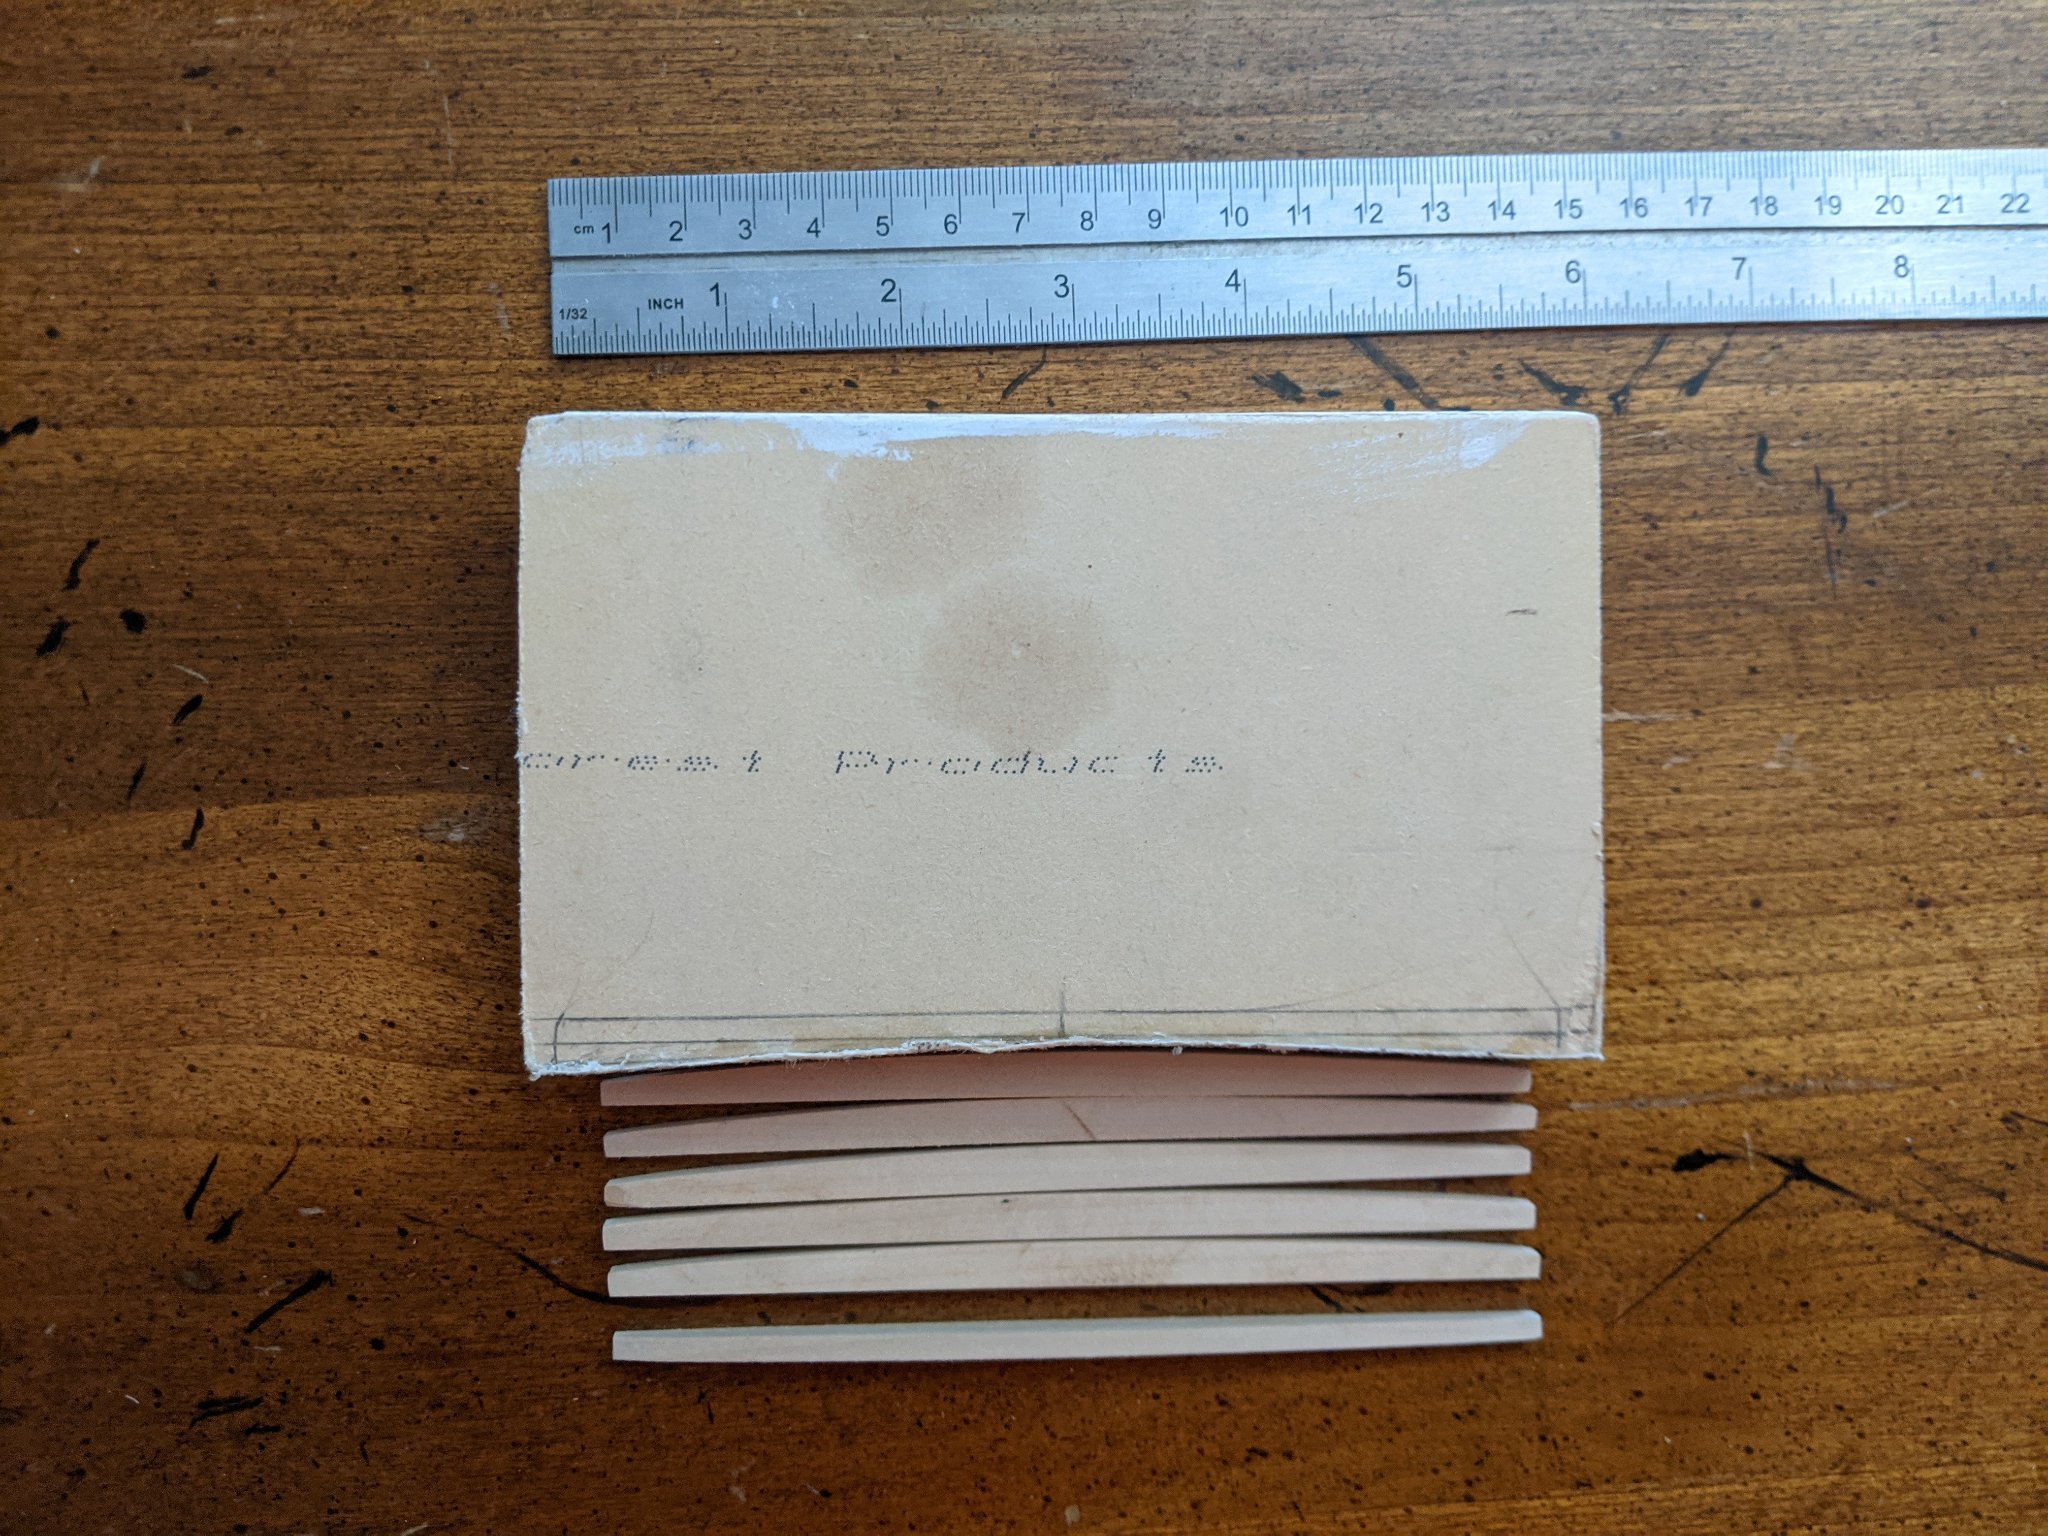
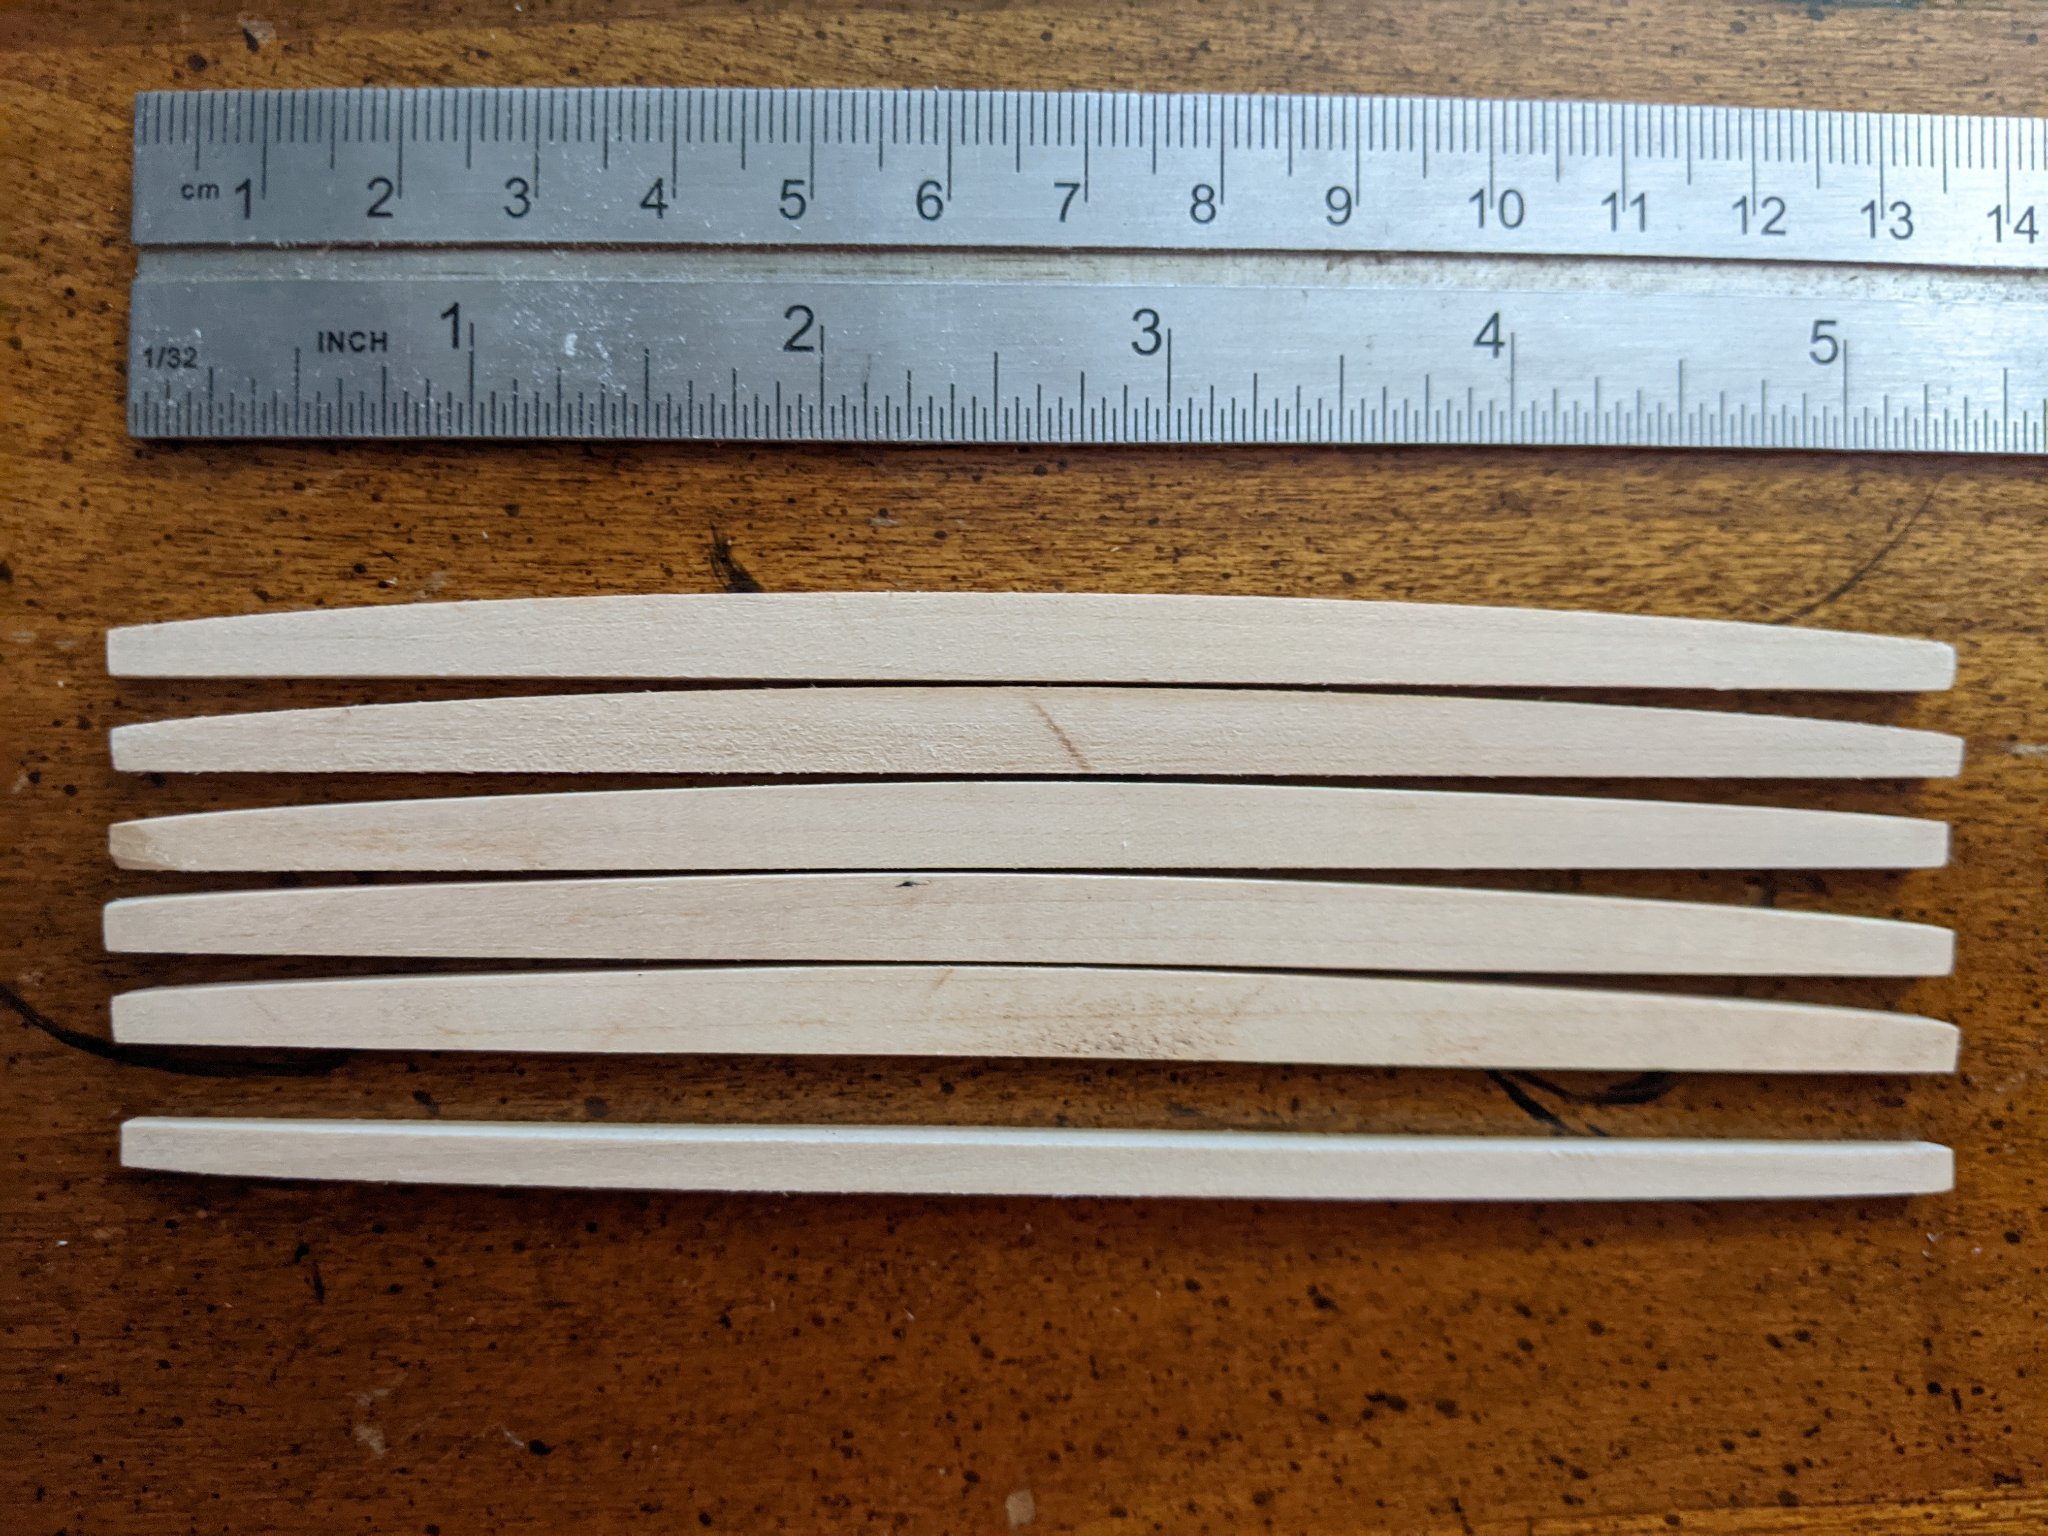
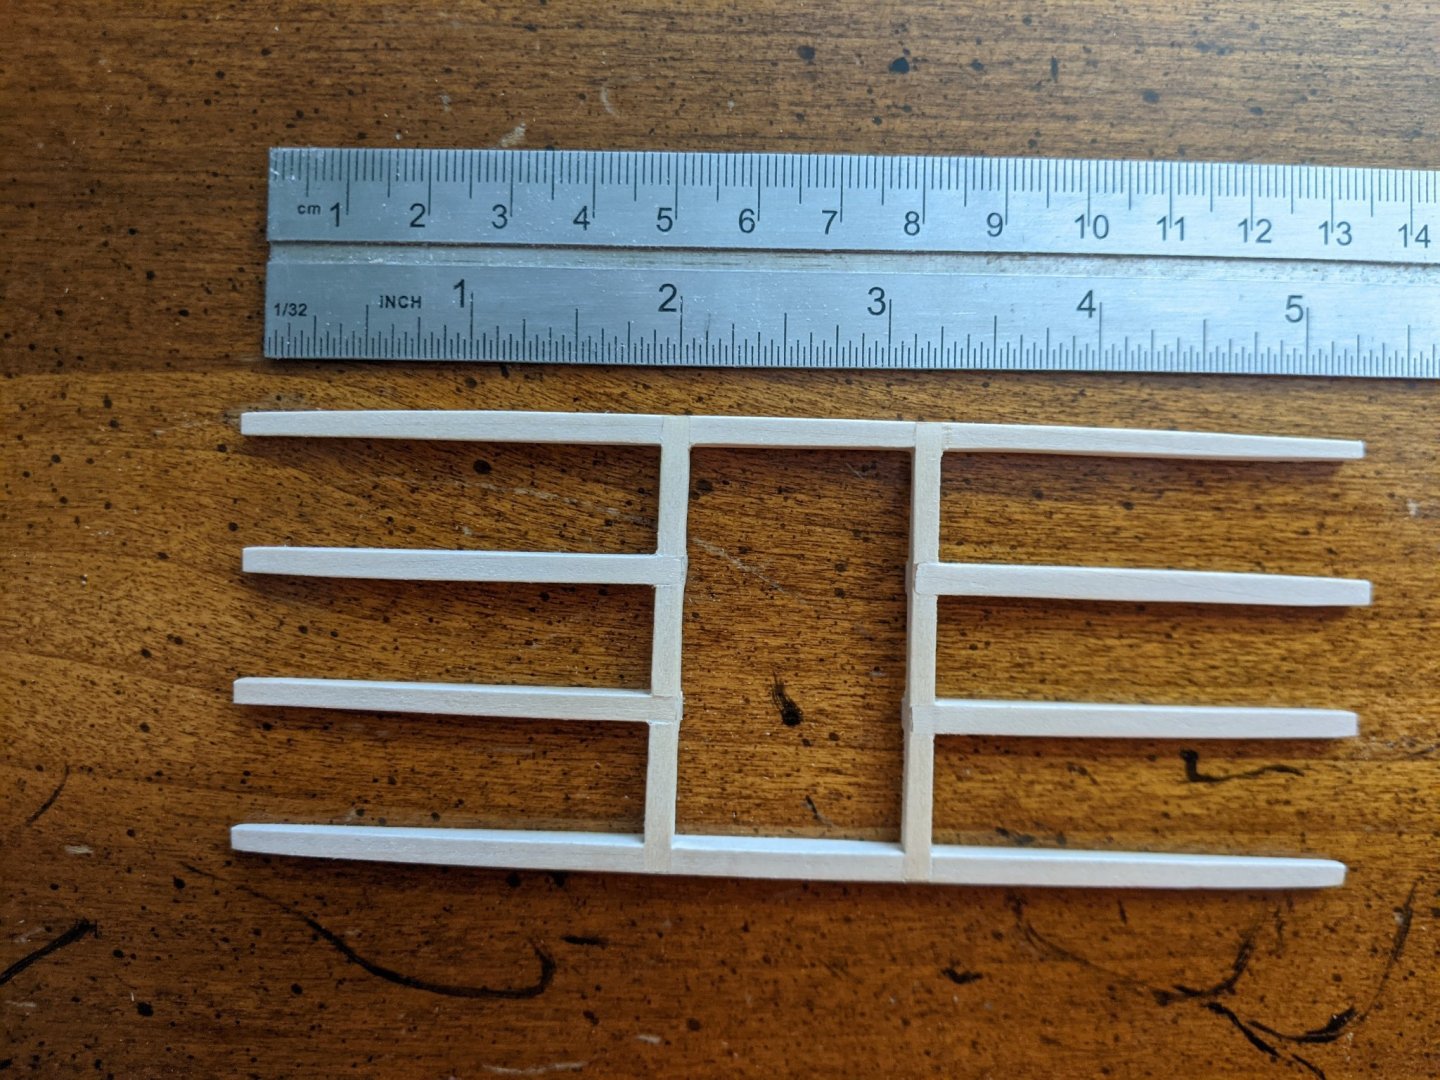
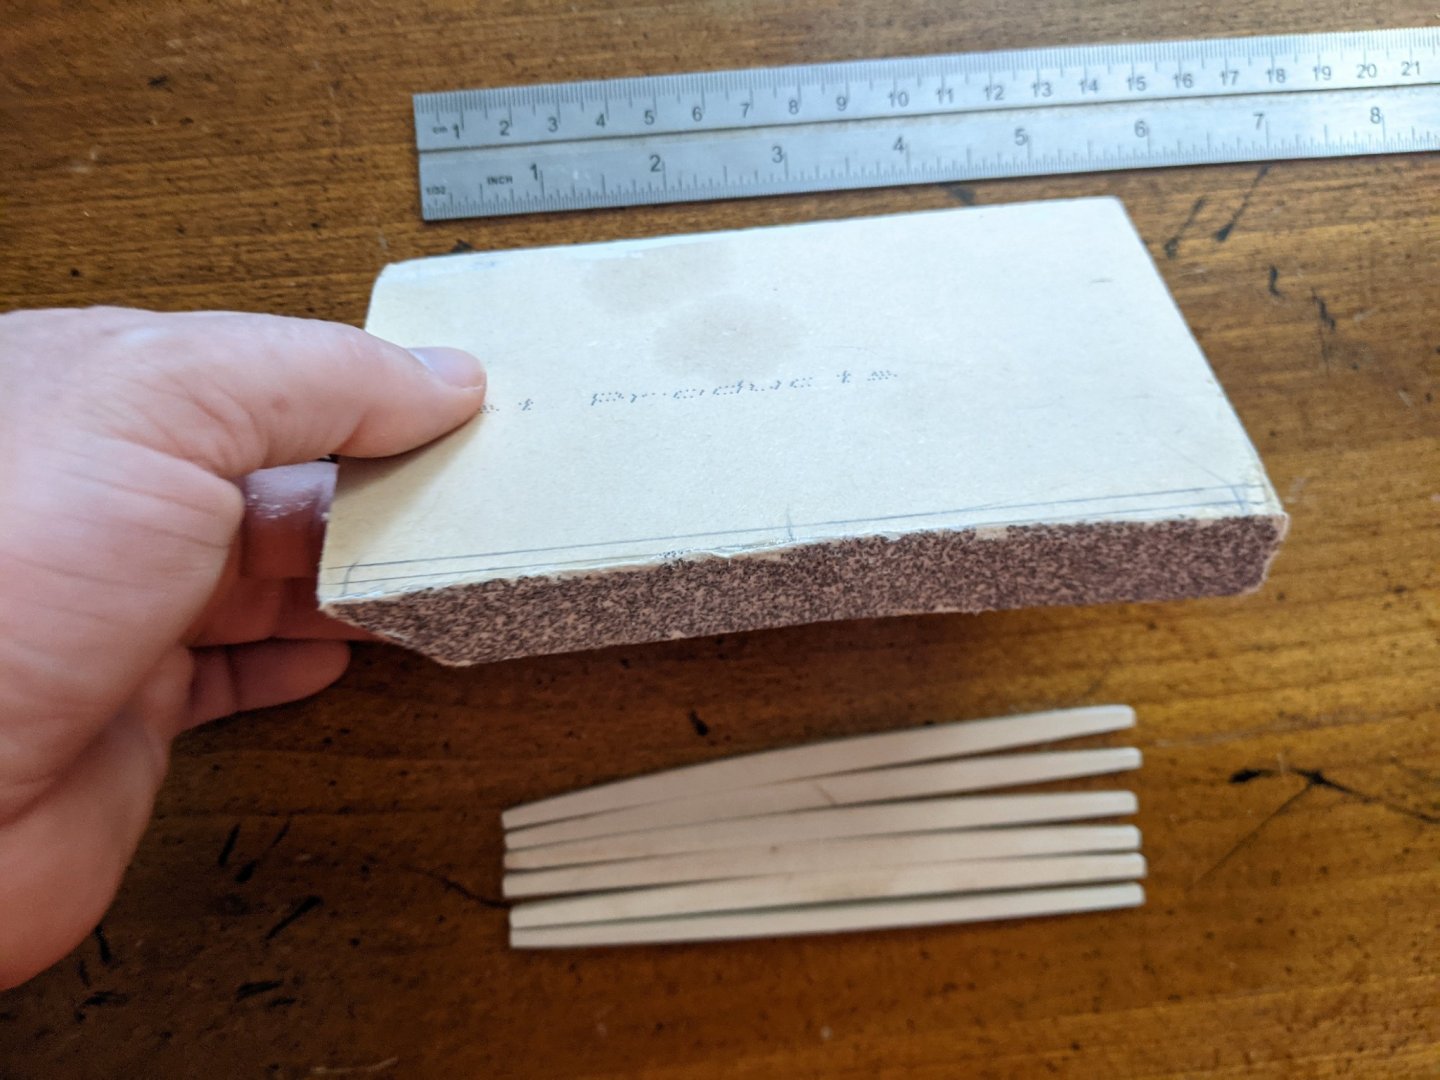
Progress: deck beams and assemblies for partners/hatches/etc. I created a sanding block with the deck camber curve to shape the 1/4"x2" stock that was glued edge to edge. I then cut 1/8" beam widths. Worked beautifully.


-
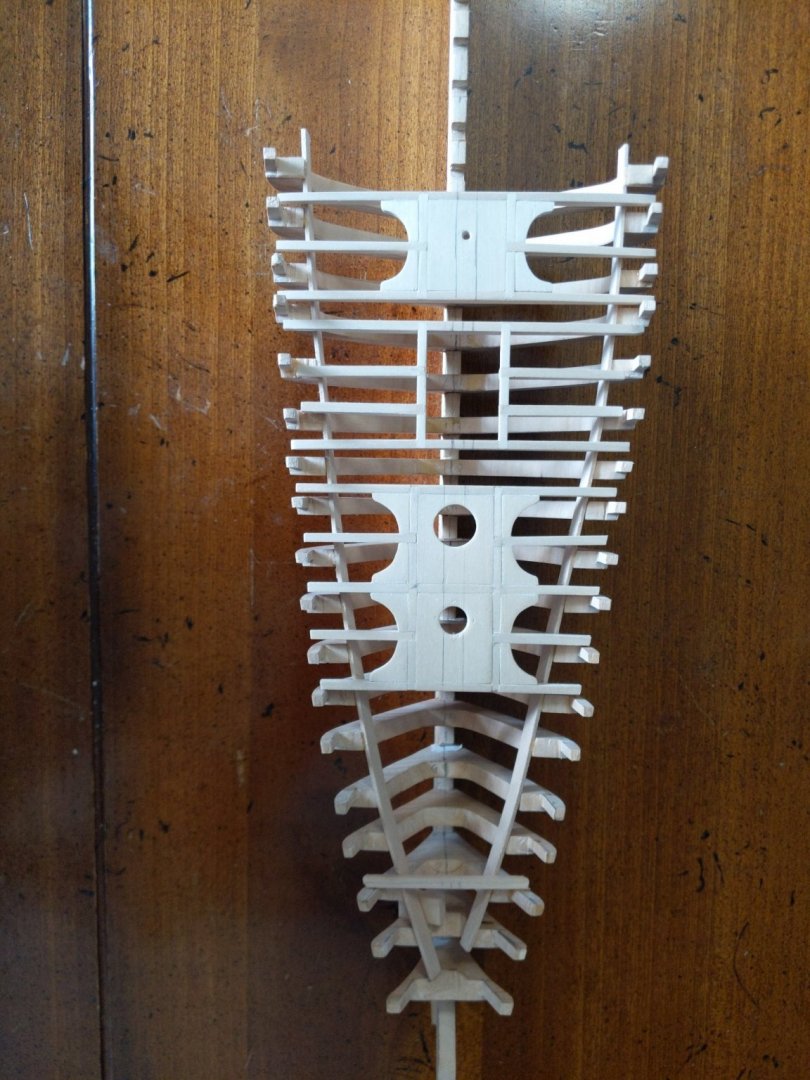
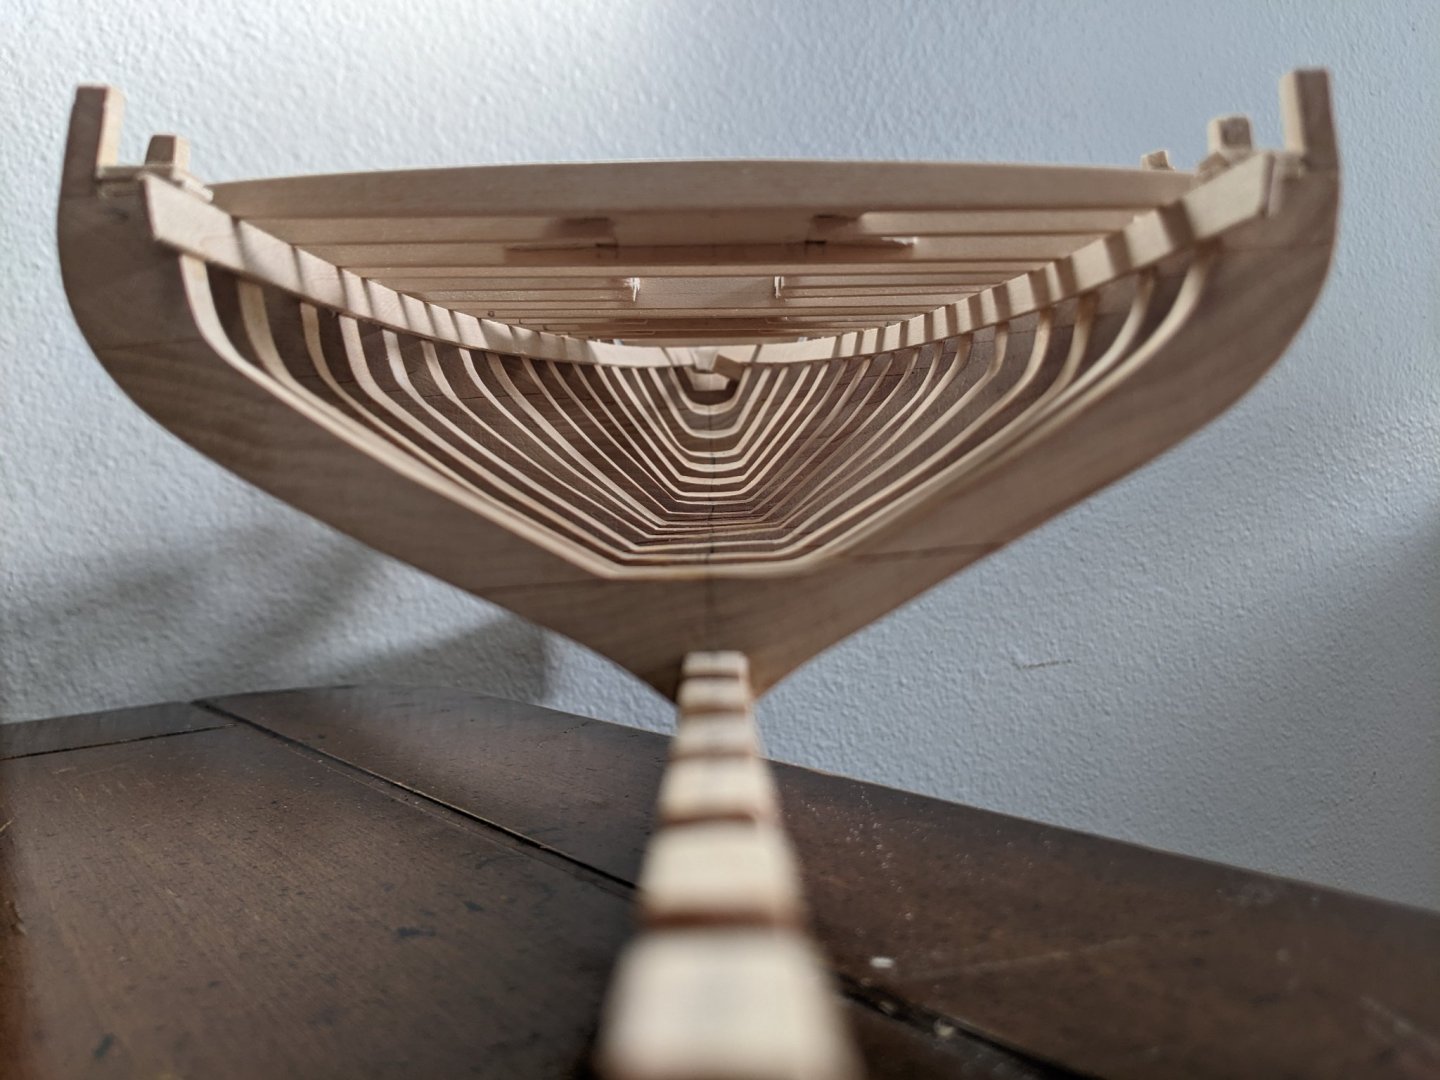
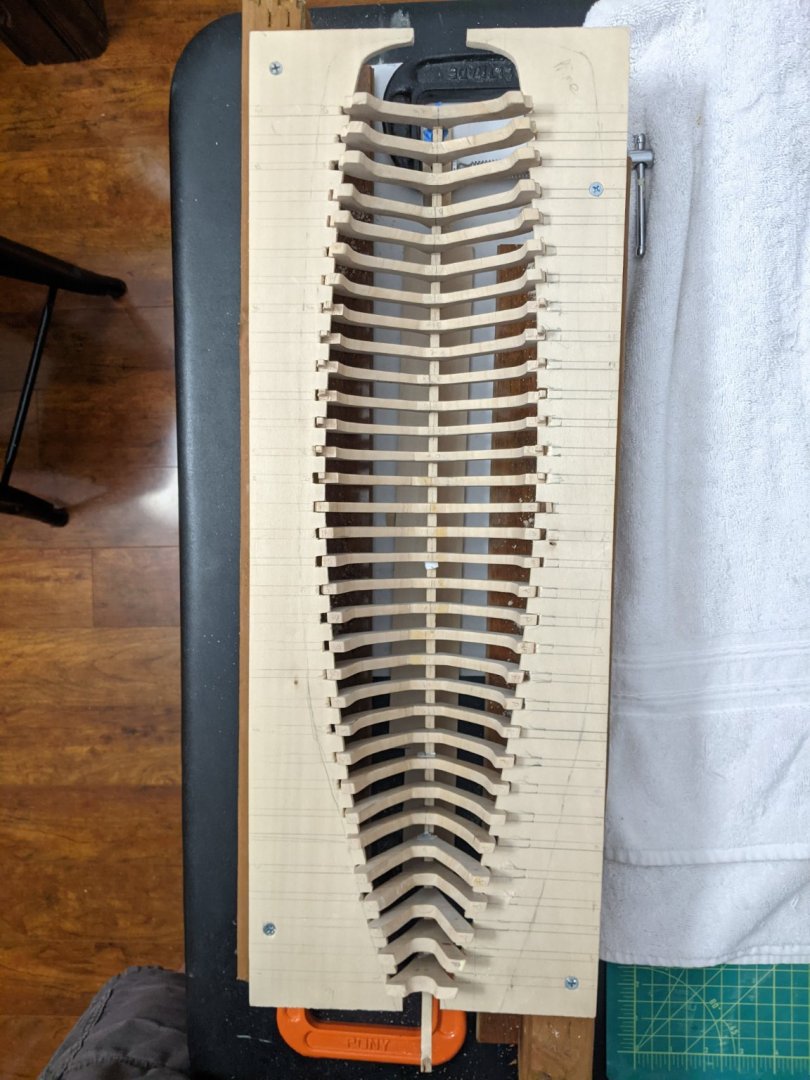
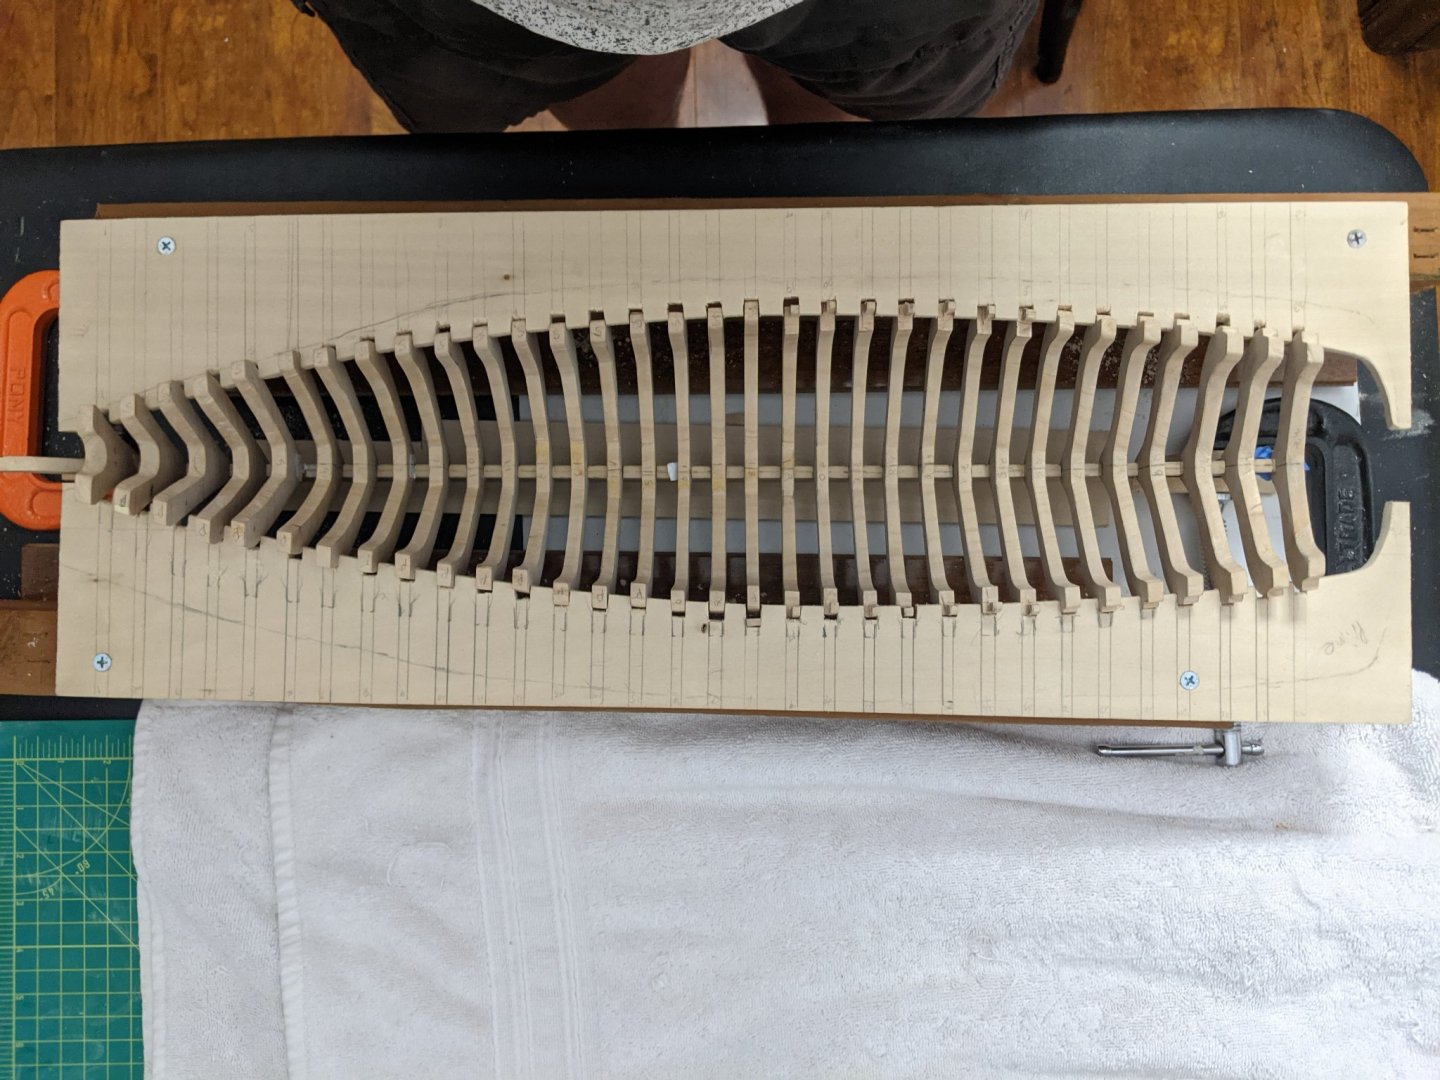
Some keel line views of frames dry fitted in jig.
-
Built a framing jig from some scrap wood. I'm close to gluing in the frames but I still need to cut some of the timberheads first.
-
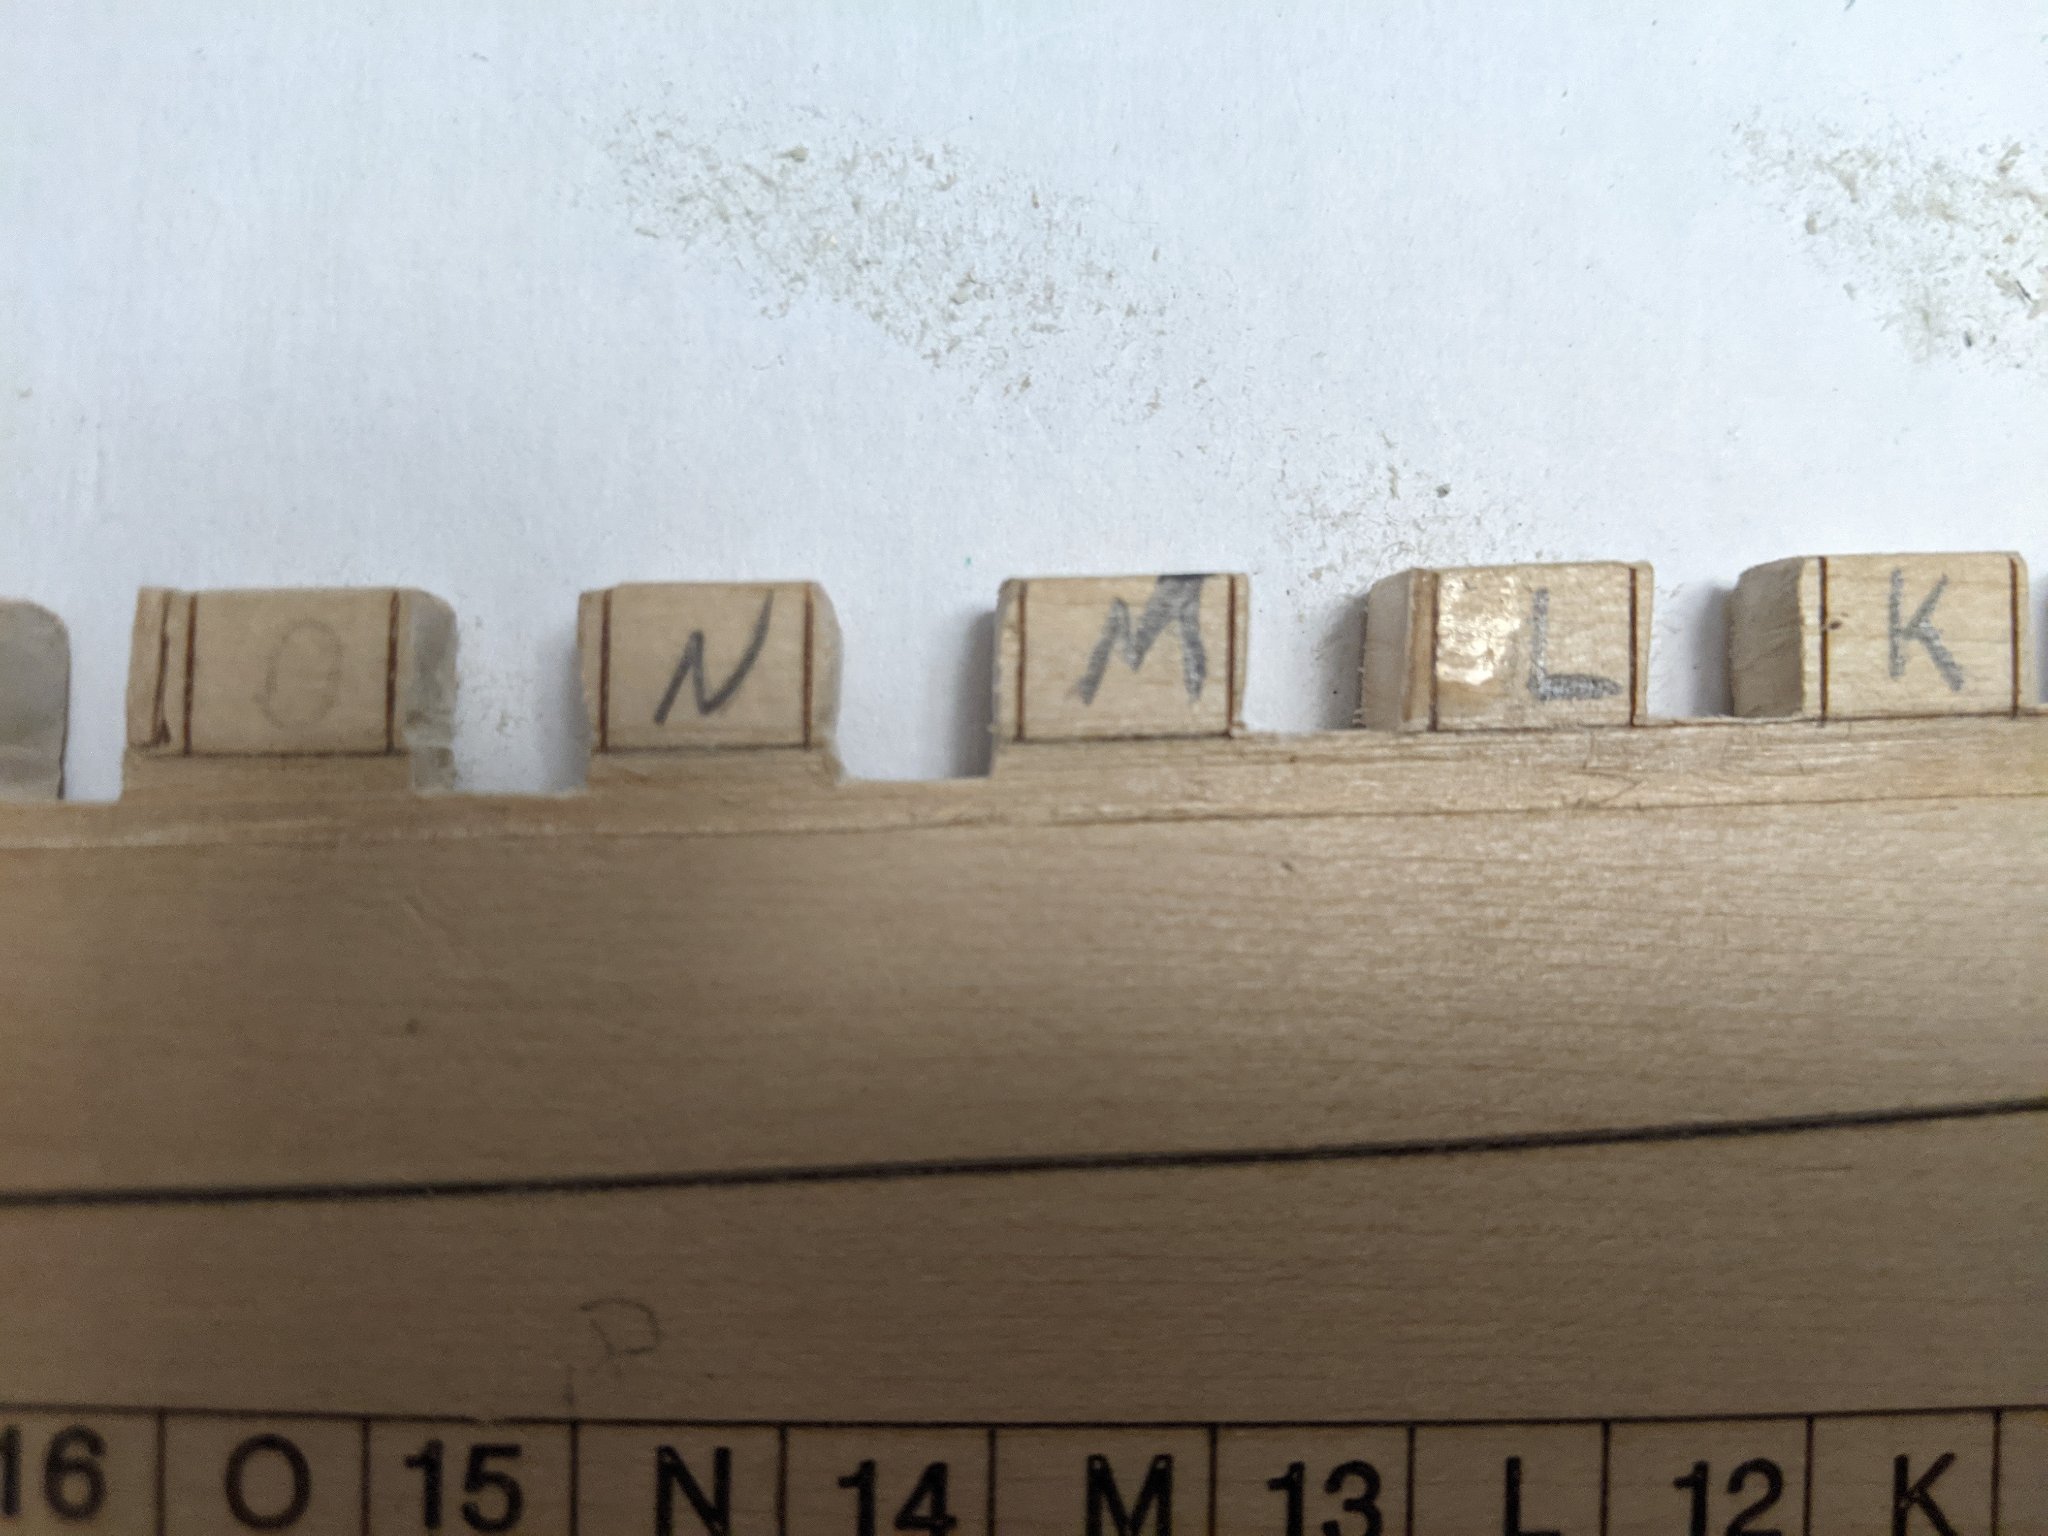
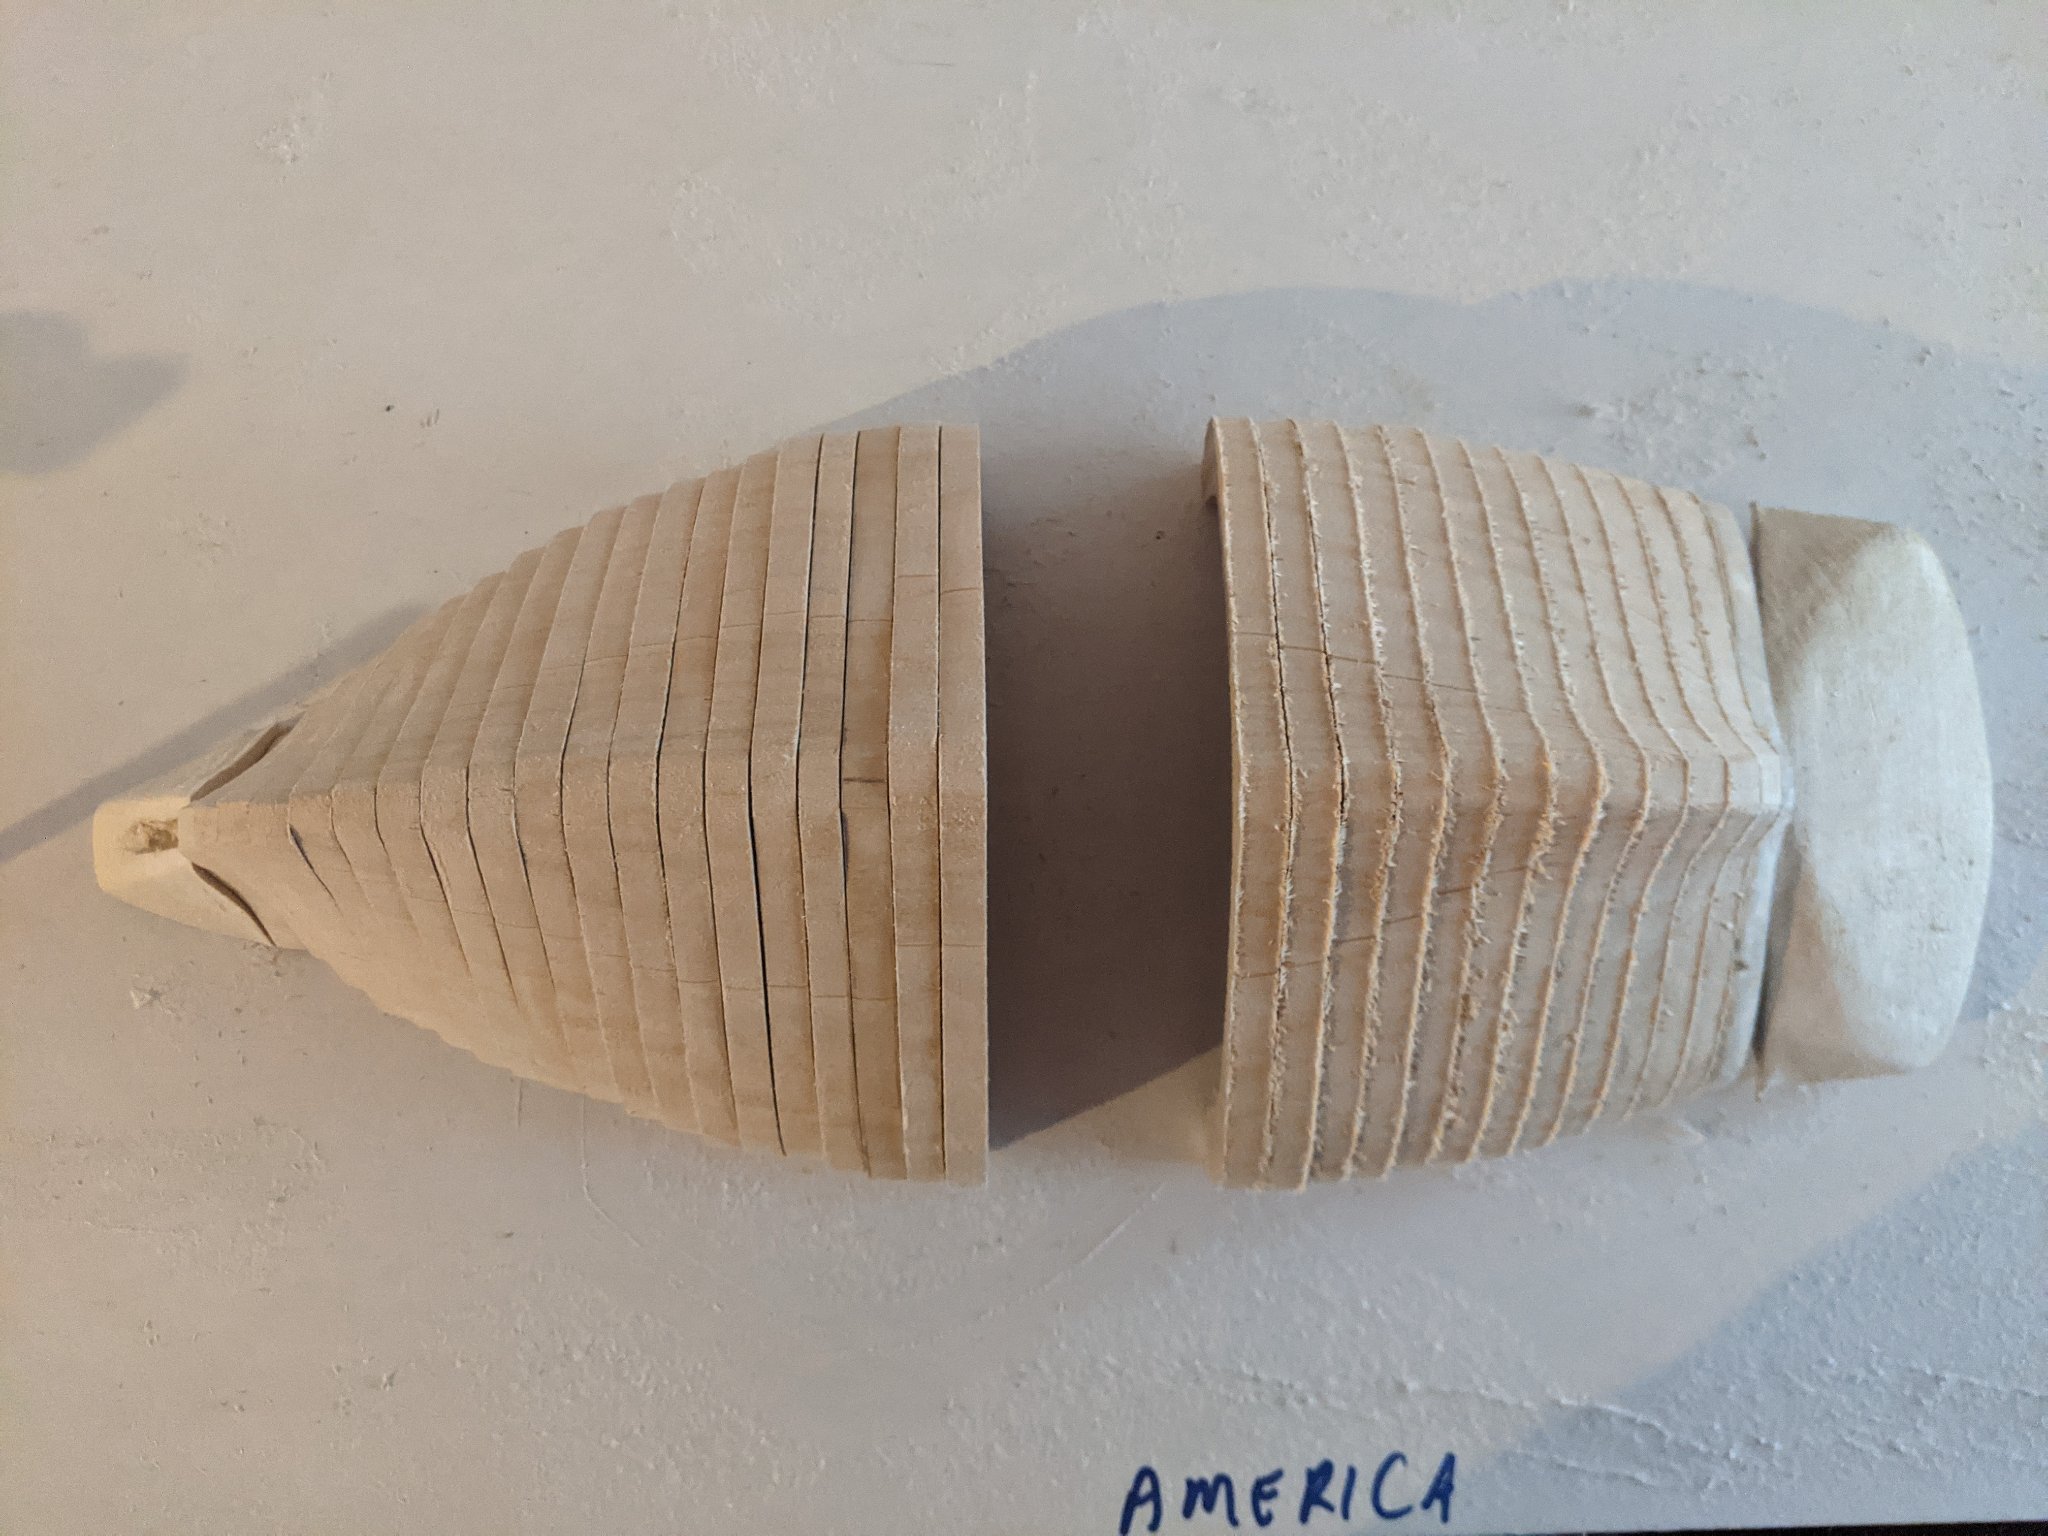
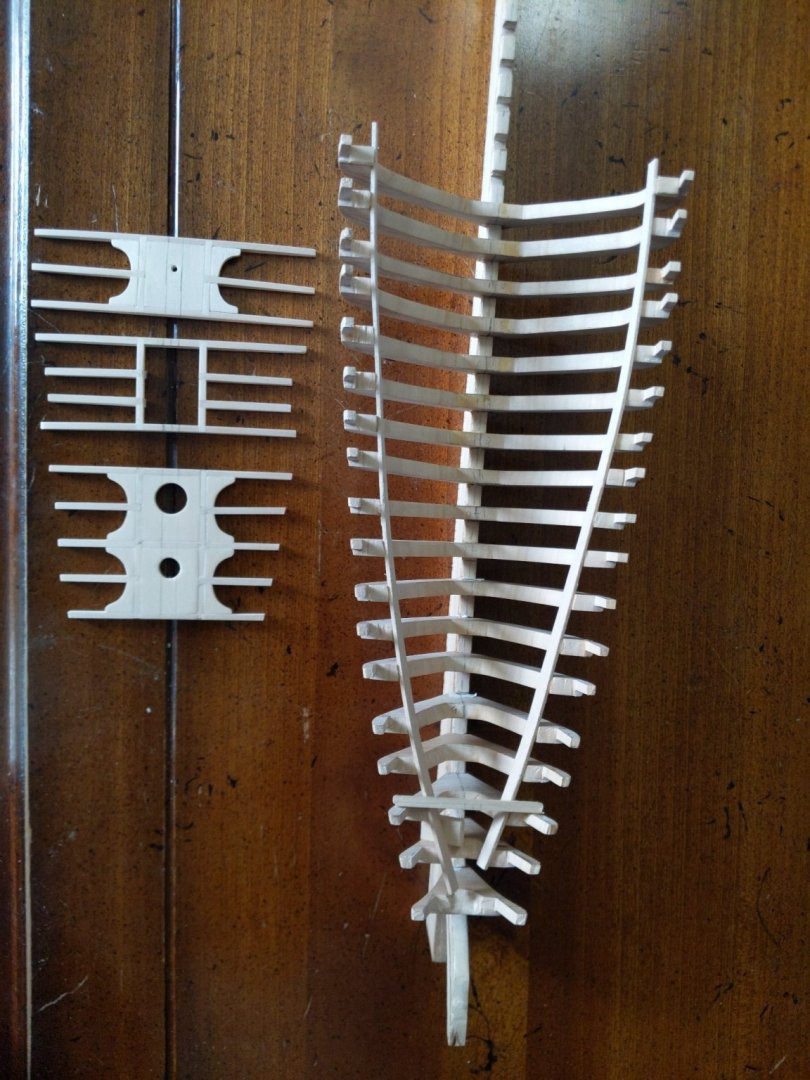
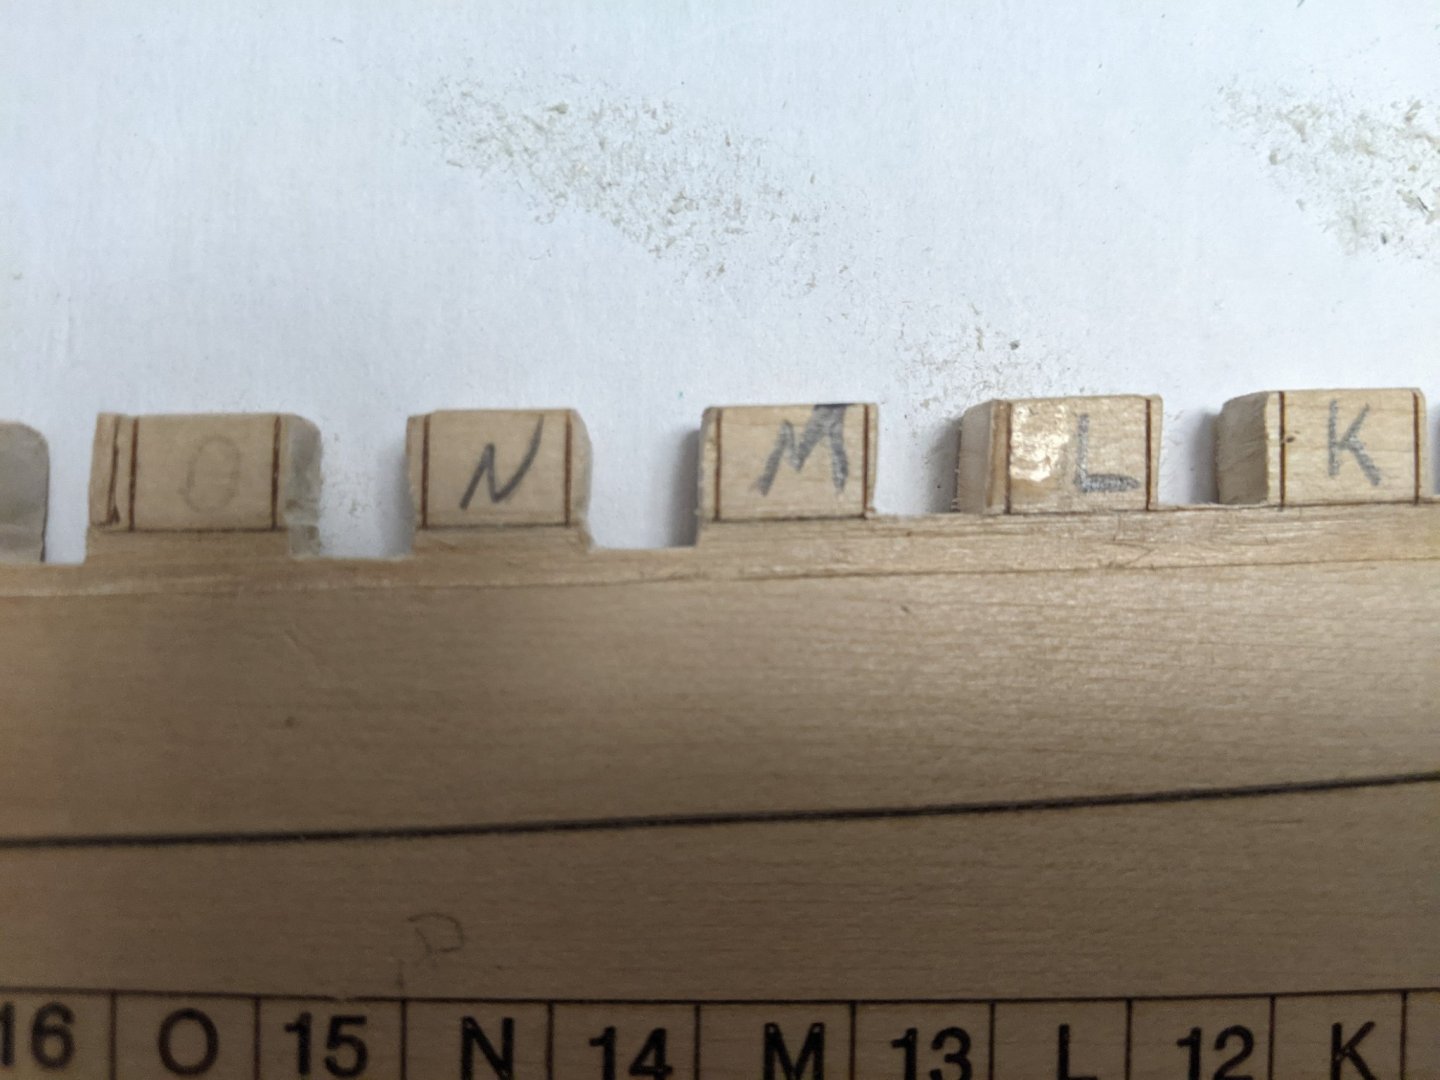
Long time since last post. frames finally ready/symmetrical. Bearding line chiseled in. As seen on @gsdpic's build log, the laser etched lines are way off. Not only is spacing for frames too wide, the rabbet line was set way too low. See picture, I had to sand down between frames N and M to make the garboard plank fit correctly to the bearding line. See the difference between frames M&L. Roughly a 1/16th to 1/8th inch difference. I will have to sand down all the remaining notches to match.
-
Half the frames are rough sanded. Individual frames will need a lot of shaping. They are very unsymmetrical.

-
Tracing the bearding and rabbet lines to blank side of keel completed. Working on making frames symmetrical.