Sterlingclements
-
Posts
31 -
Joined
-
Last visited
Content Type
Profiles
Forums
Gallery
Events
Everything posted by Sterlingclements
-
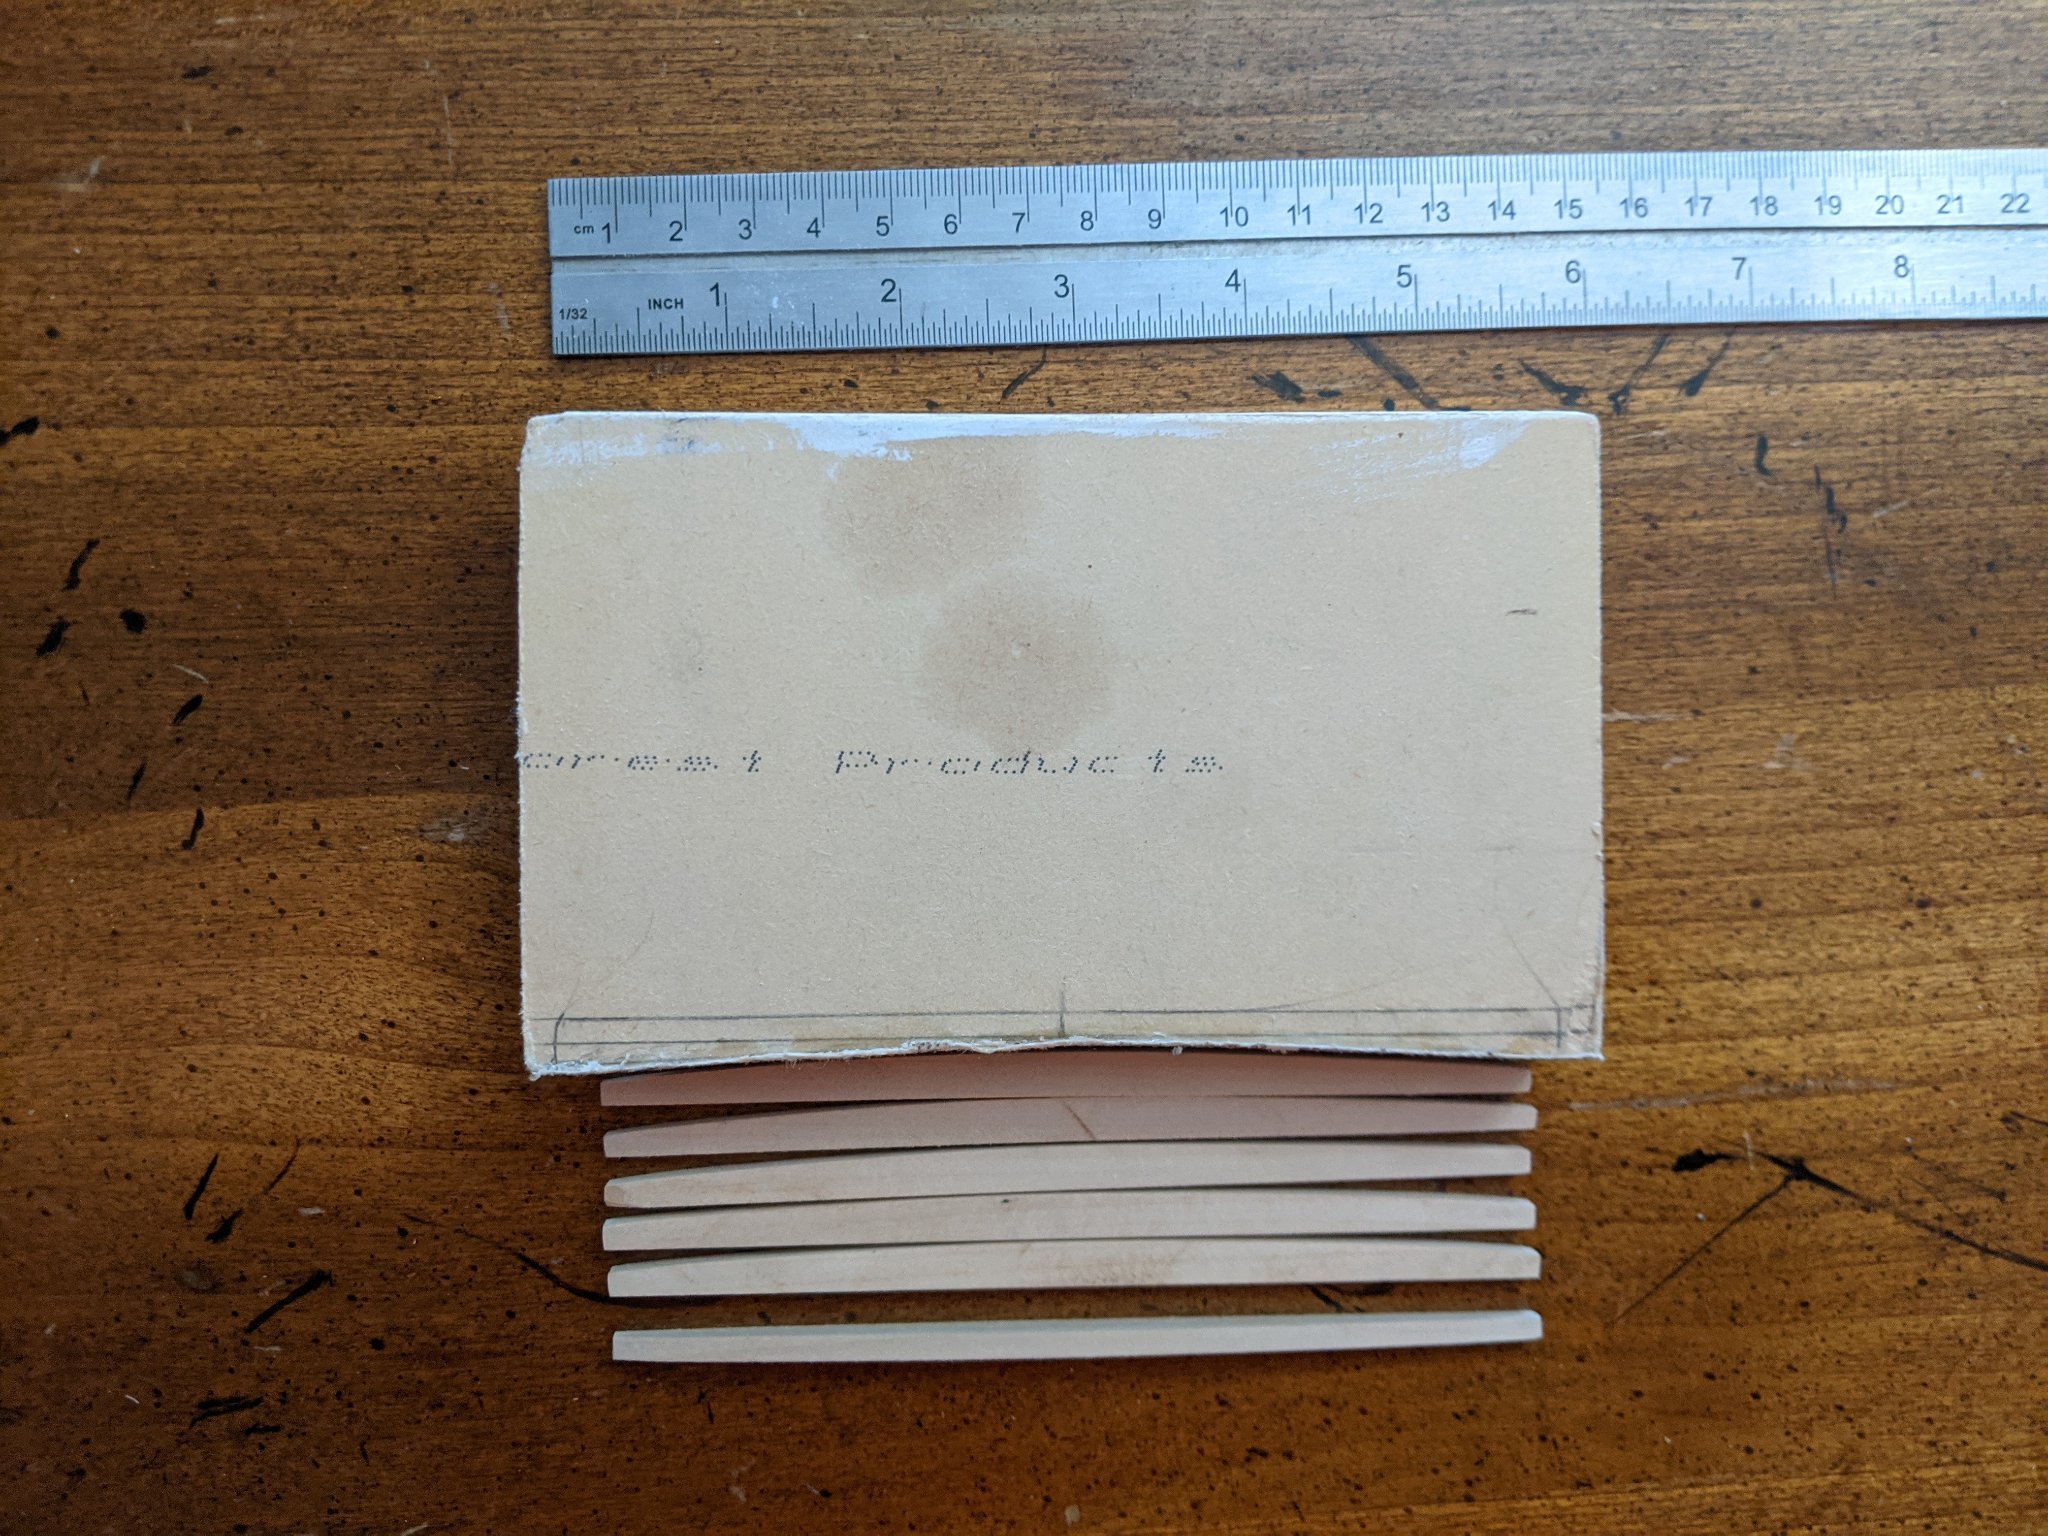
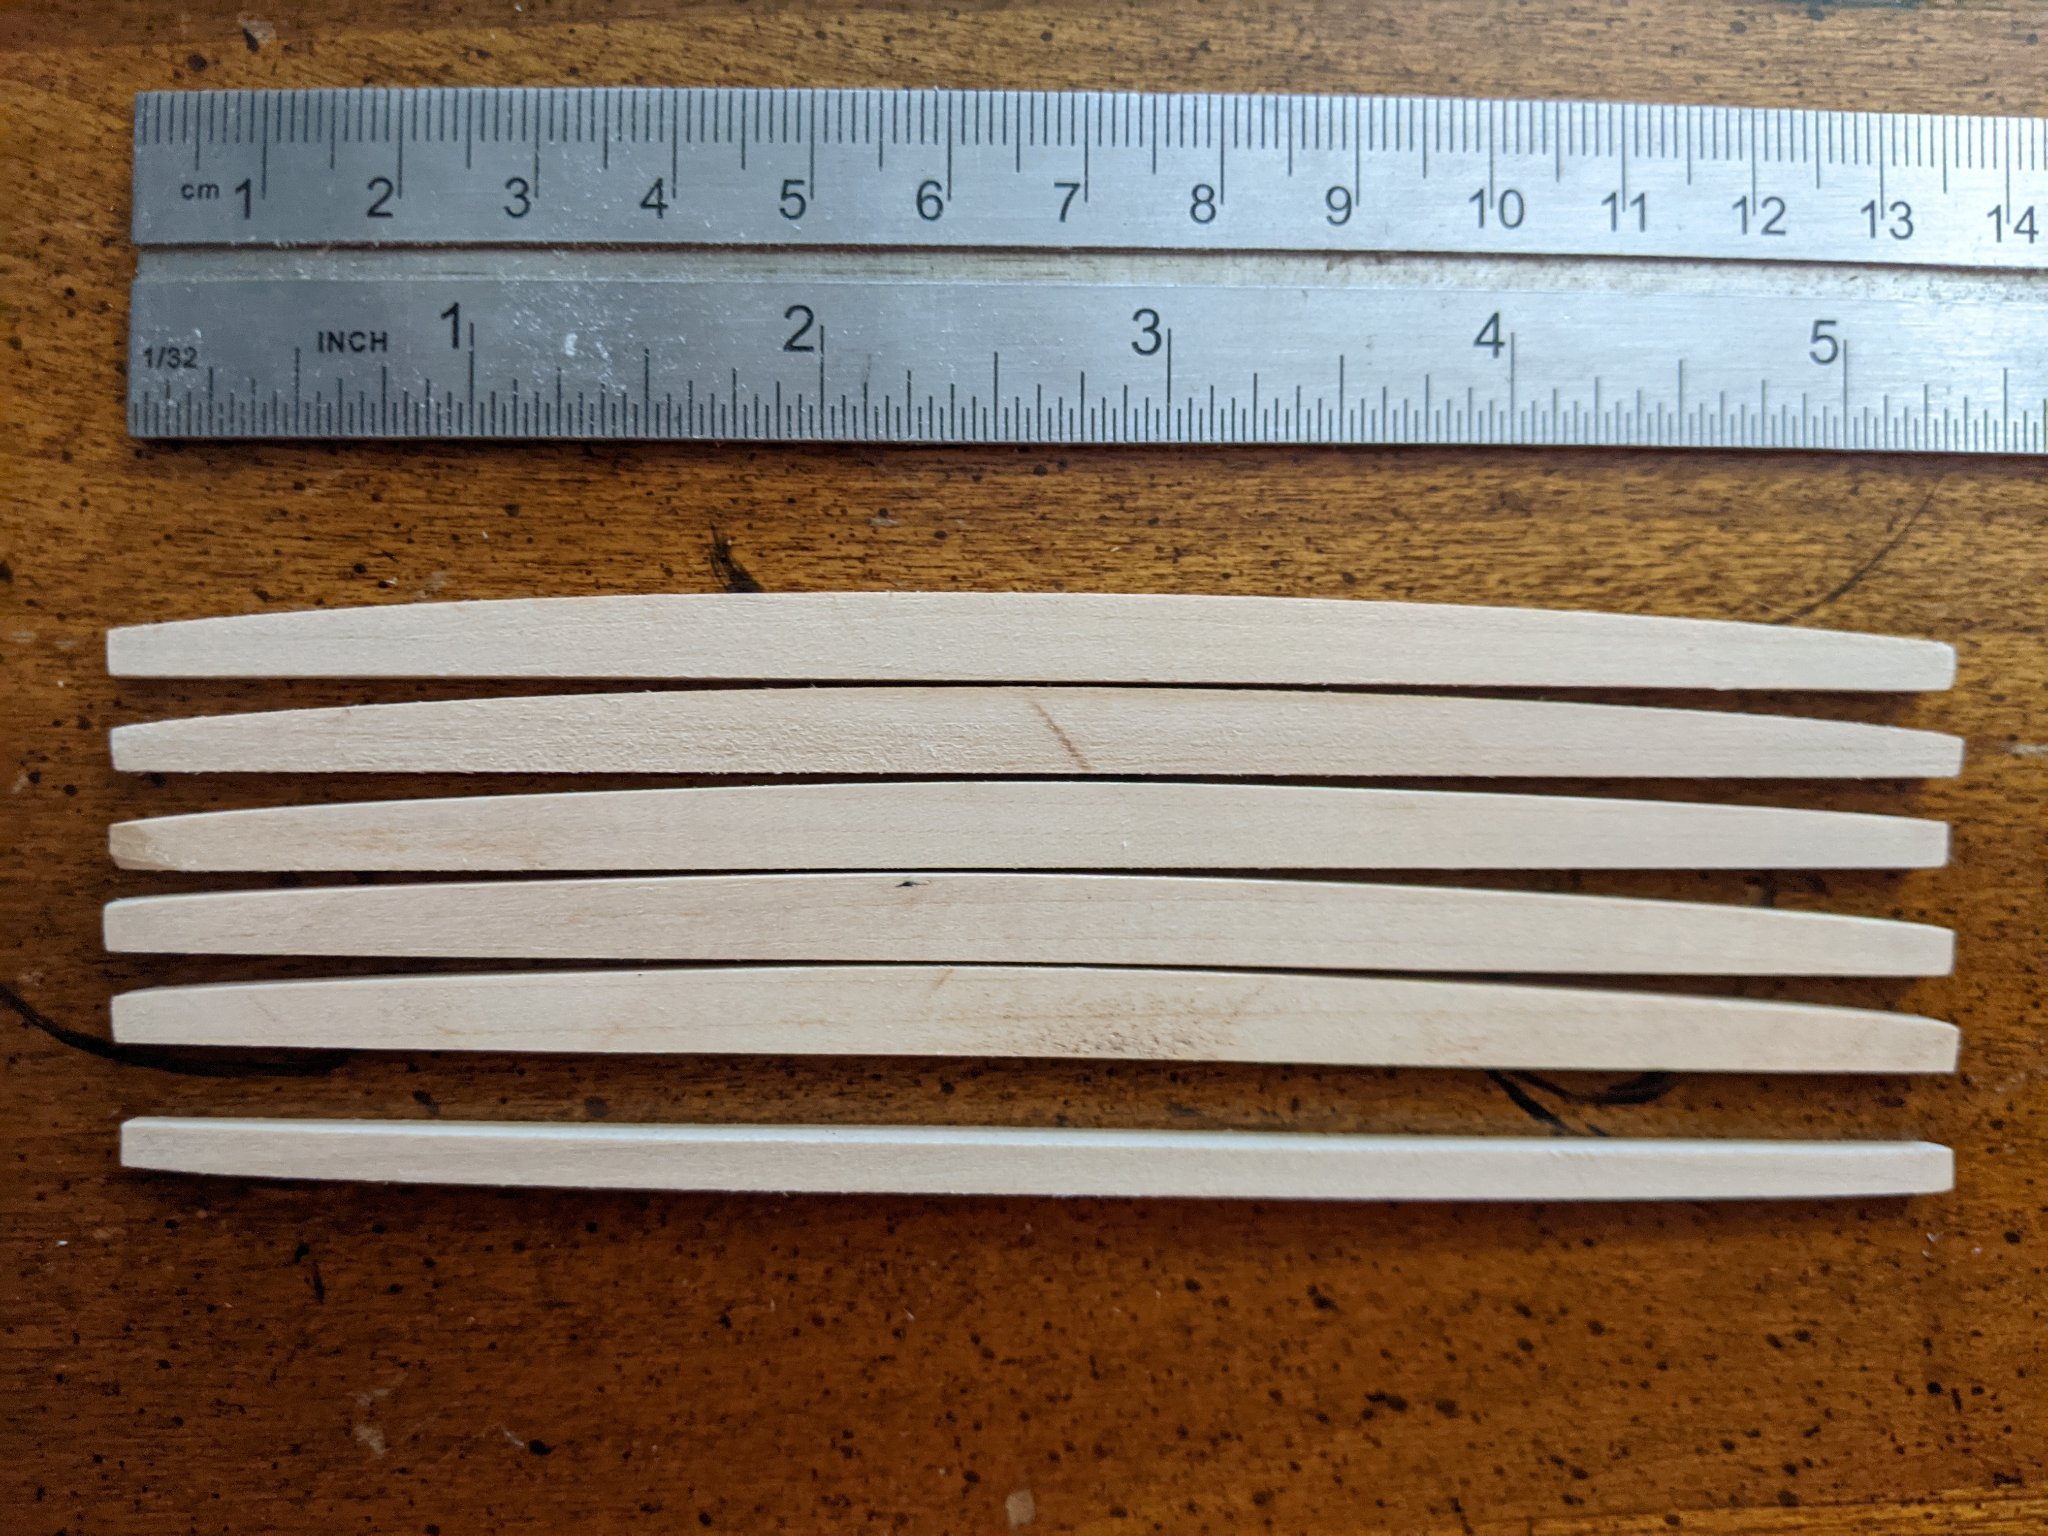
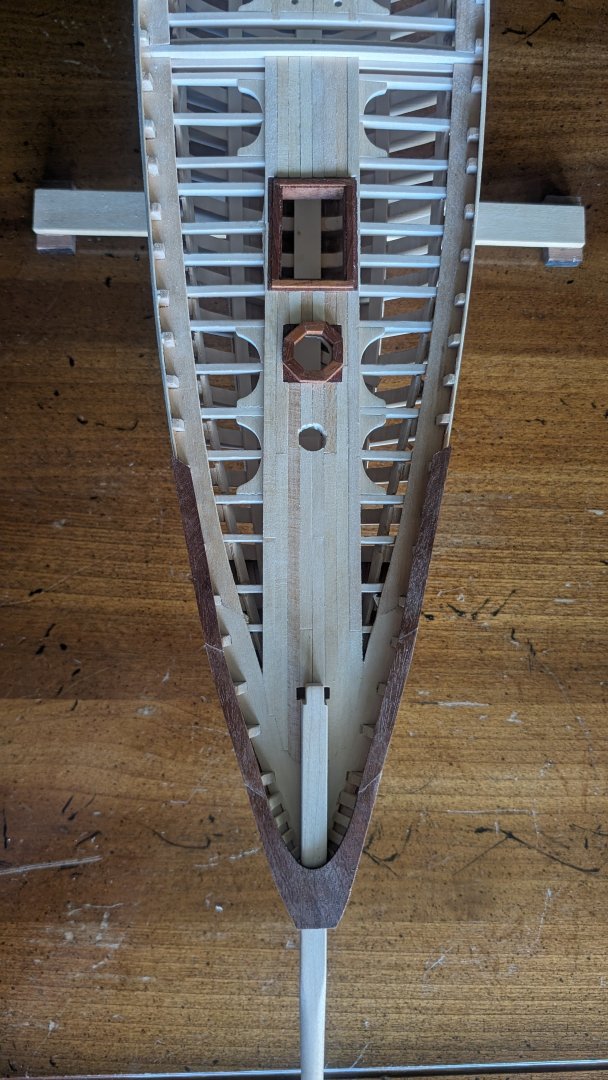
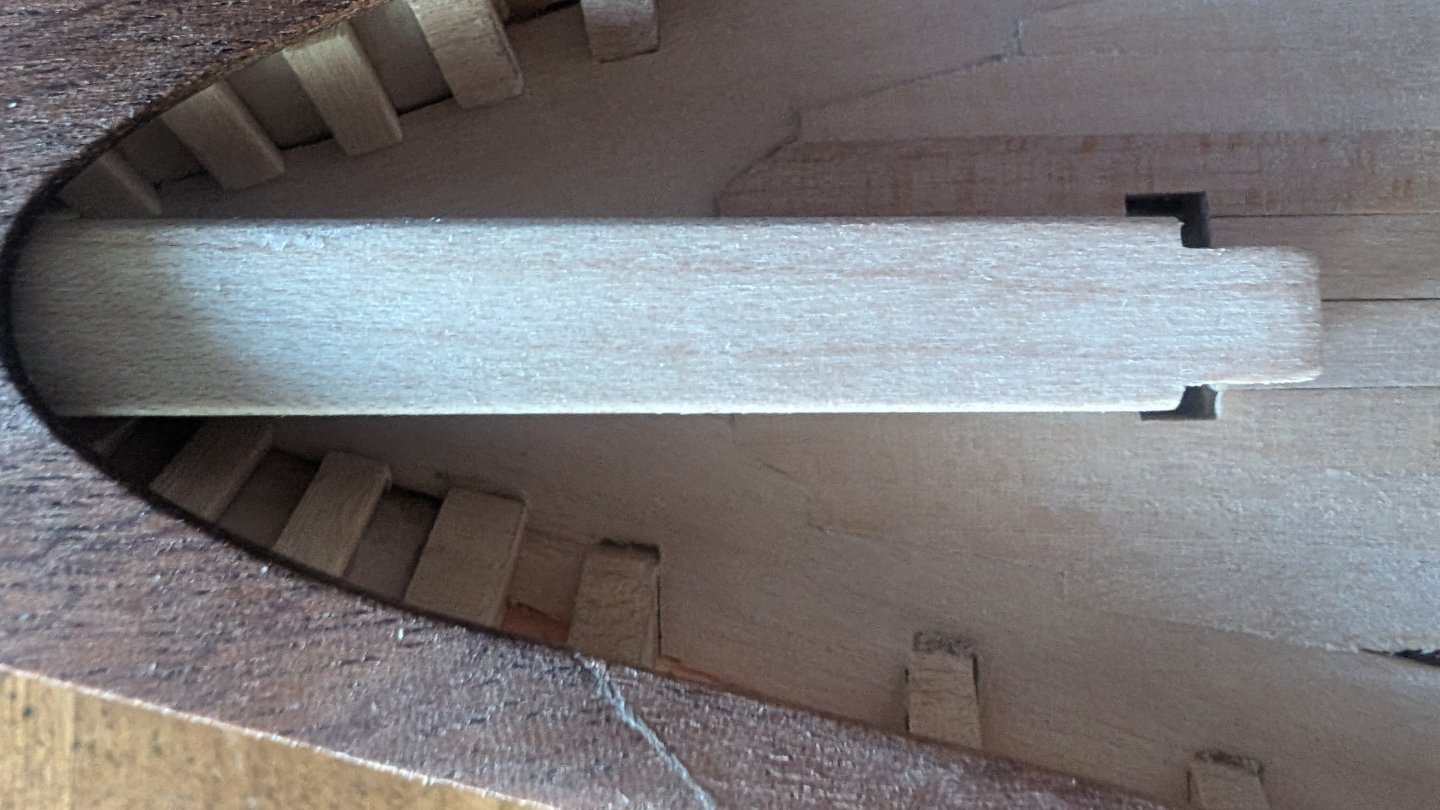
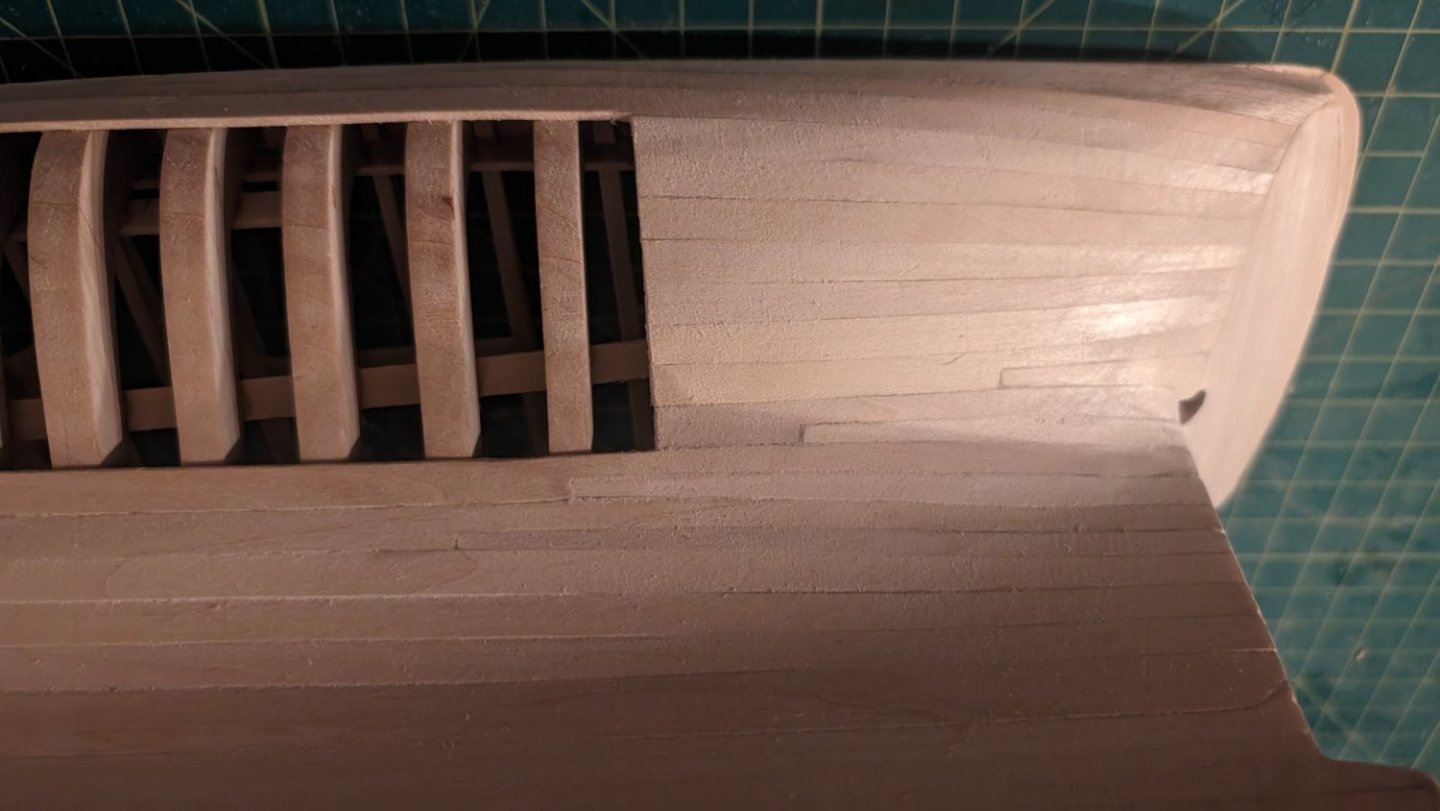
Slow going, but making progress. Last bit of planking along bulwarks/timberheads complete. I had to order some 1/32" by 1/2" basswood strips for that, as that top plank is inset slightly from the lower planking. Also started the decking in earnest. This is my first attempt at nibbling, and you can see it at the bow if you zoom in. Fine sanding still needed. Also started on the cap rail segments. Final shaping on the cap rail will smooth out the angles.
-
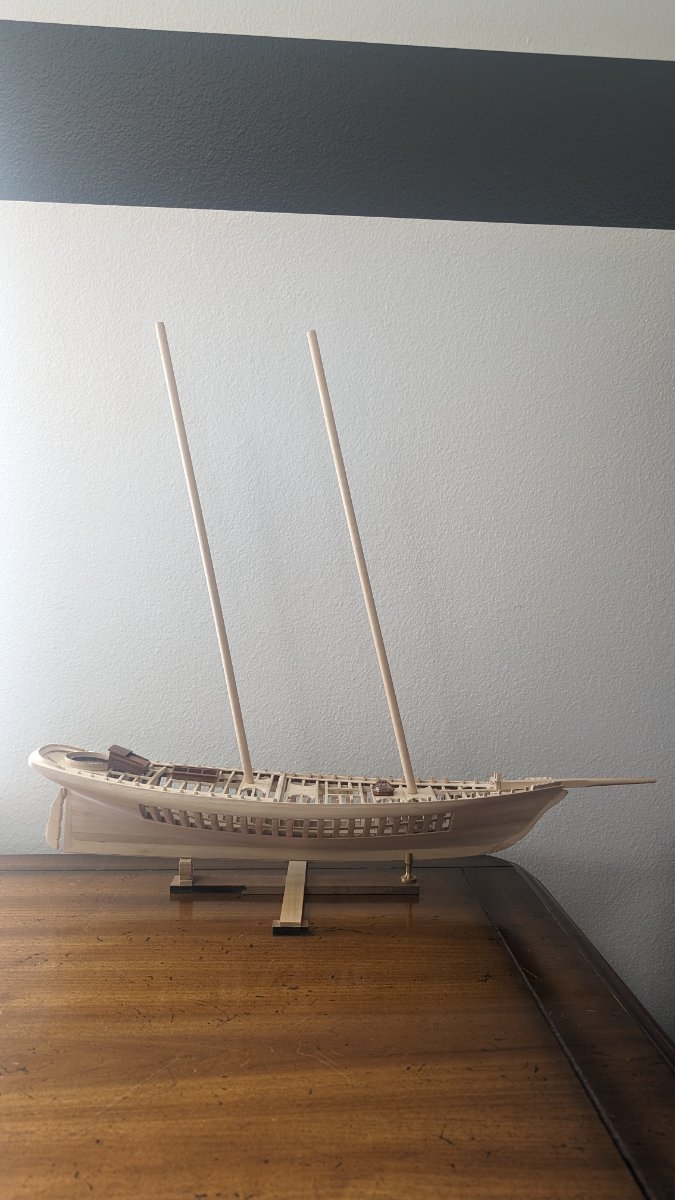
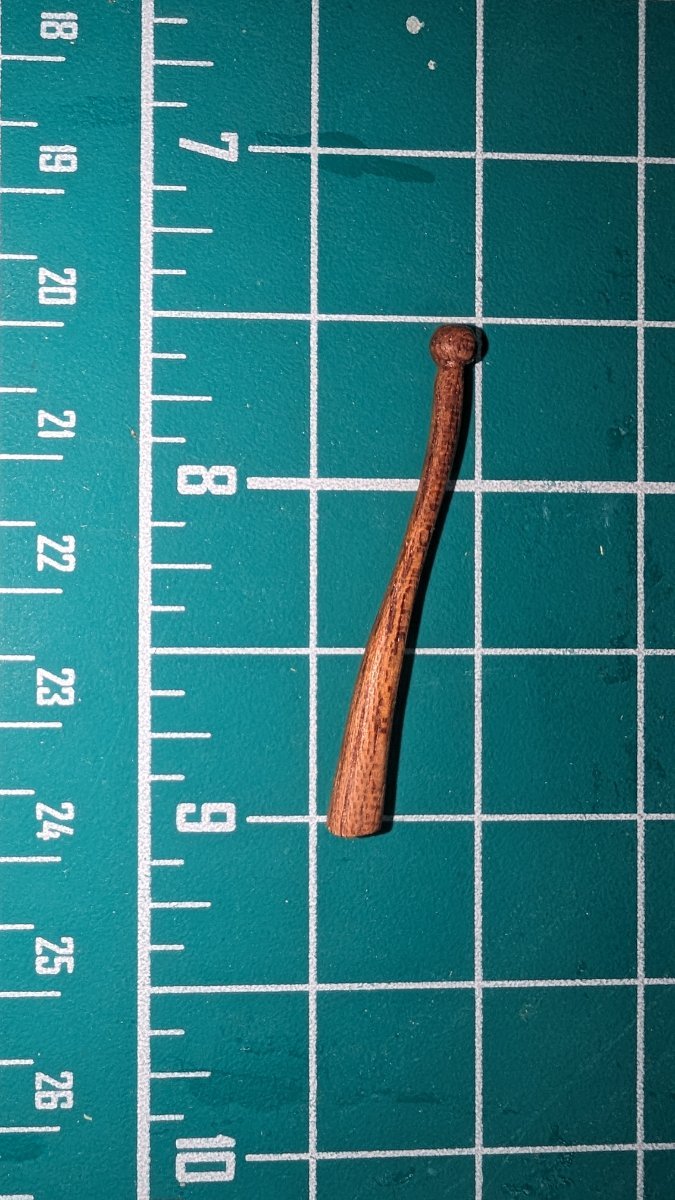
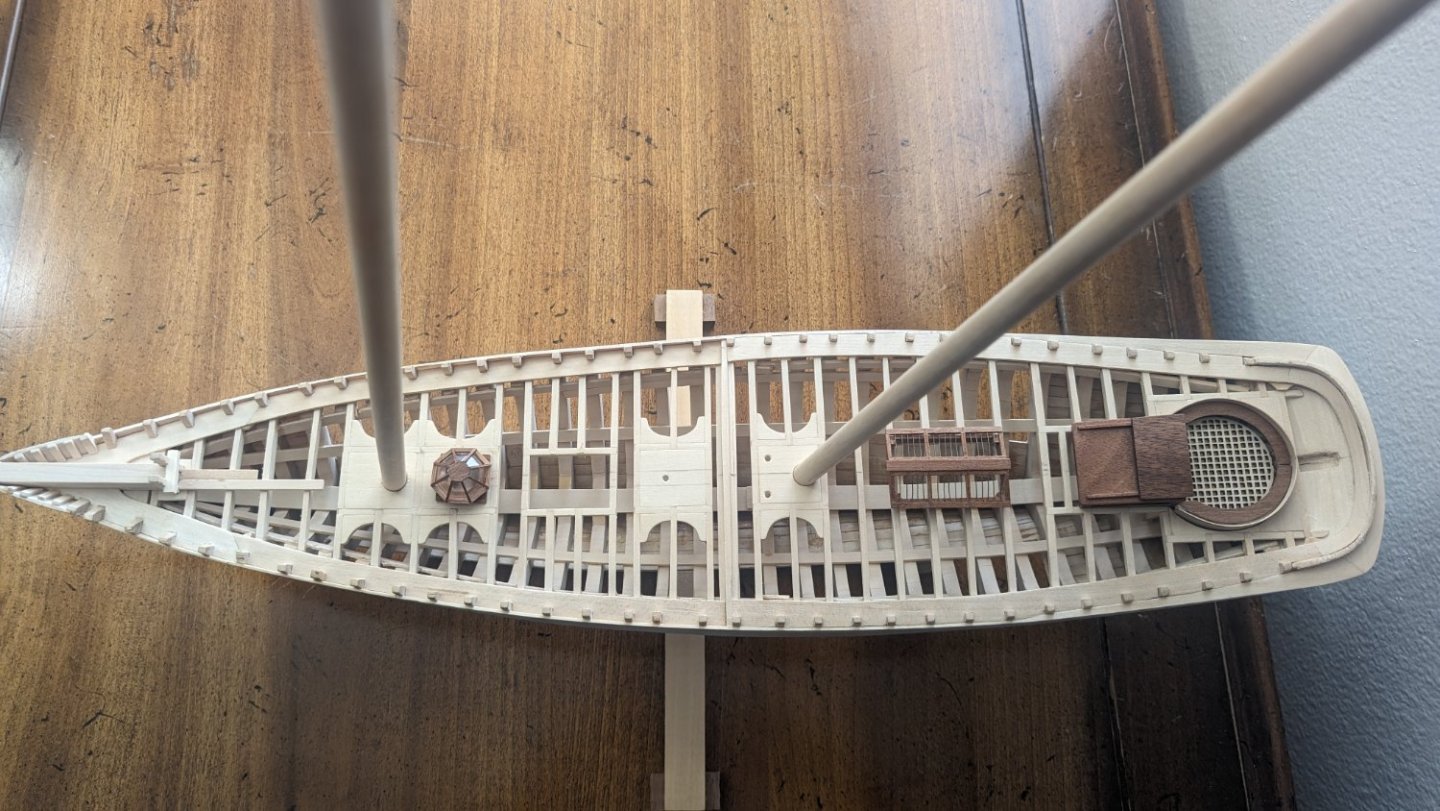
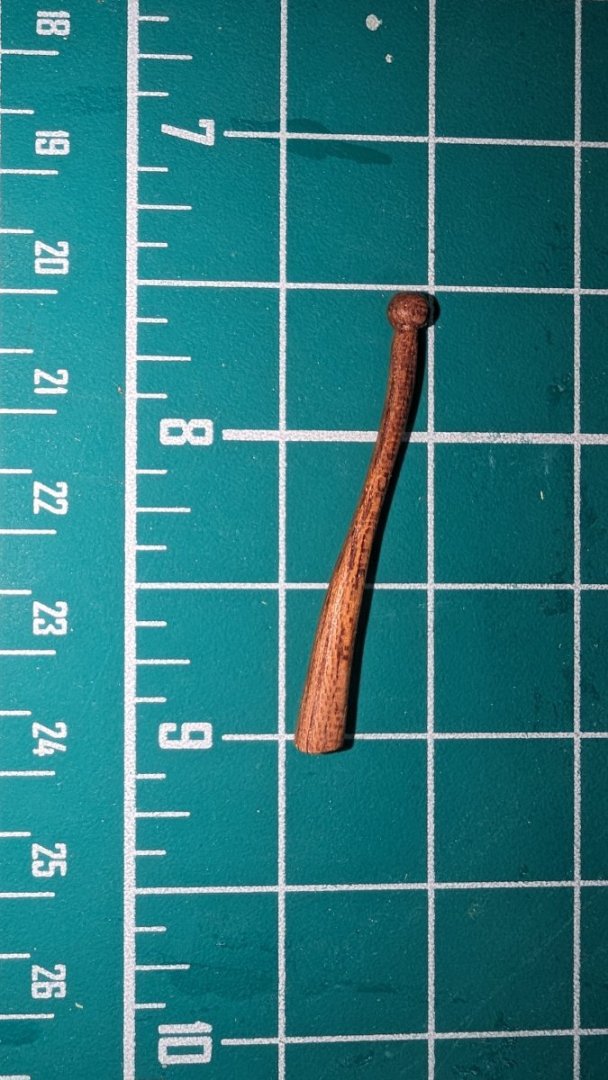
@MrBlueJacket Thanks Nic! Here are a few more pics. Sanding of the hull is complete, waste wood from keel has been removed, bowsprit with sheave installed, rudder post installed. Rudder, some of the deck furniture and mast dry fitted. Sometimes I like a preview of the finished product. There's also a close up of the tiller, hand carved.


-
All planks glued in place. Last plank on starboard bow still clamped in place to dry. Here's a pic of the port side.

-
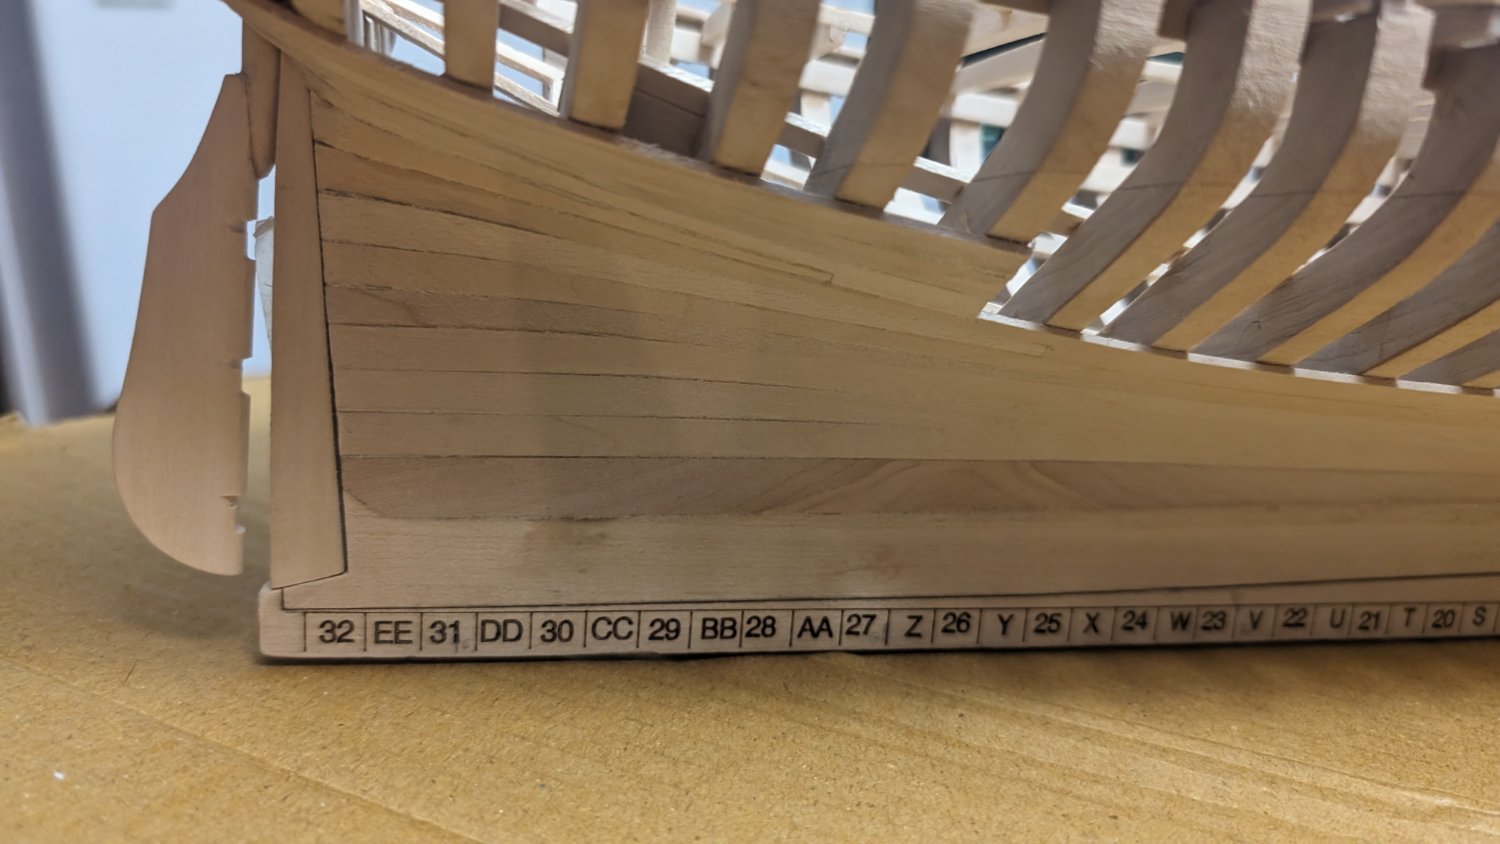
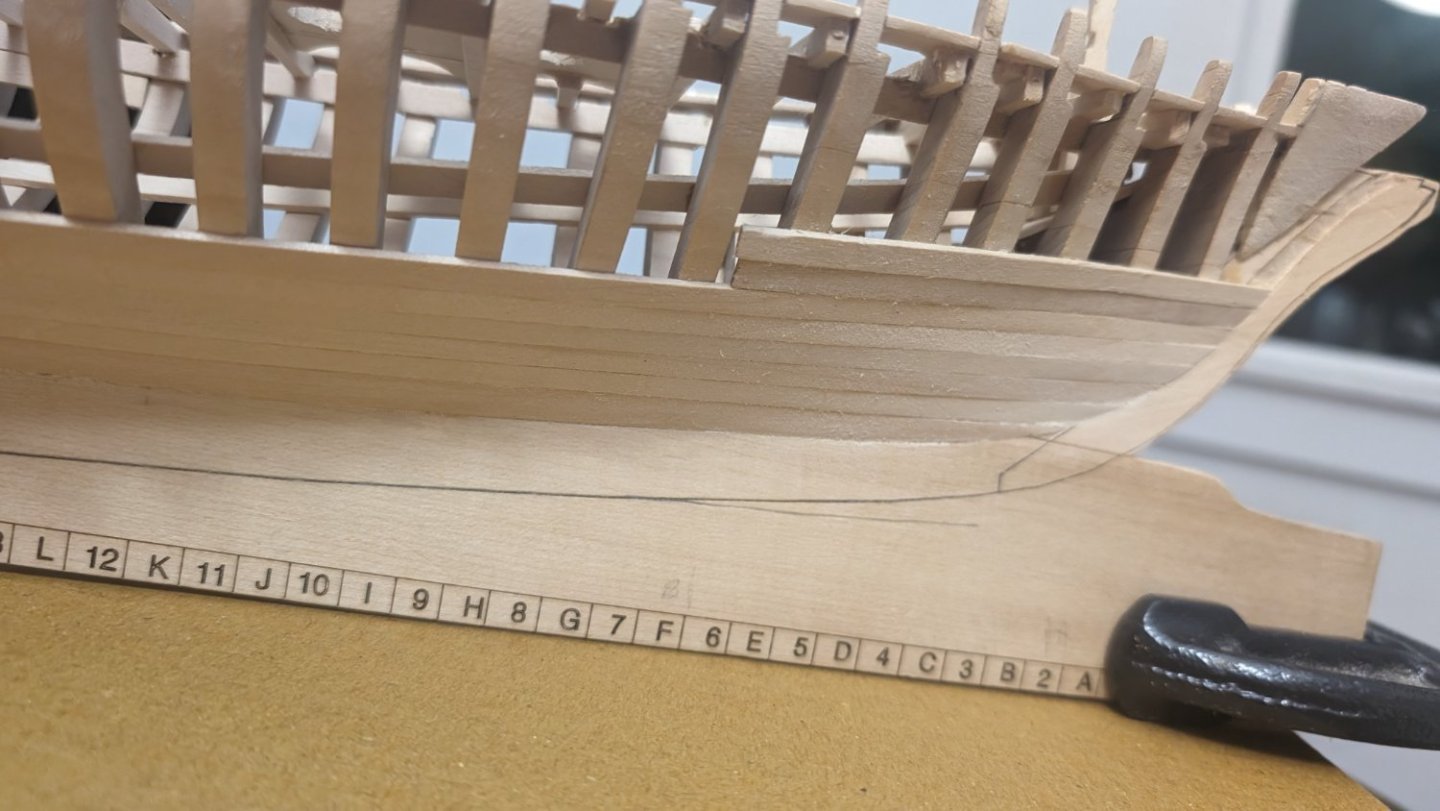
Thanks @Roger Pellett, @Andy P2. Port stern planking complete at this point, pic shows stealers that I used. Lots of sanding ahead, but pretty smooth and tight fit at this point. Thanks for all the likes @gsdpic and everyone.
-
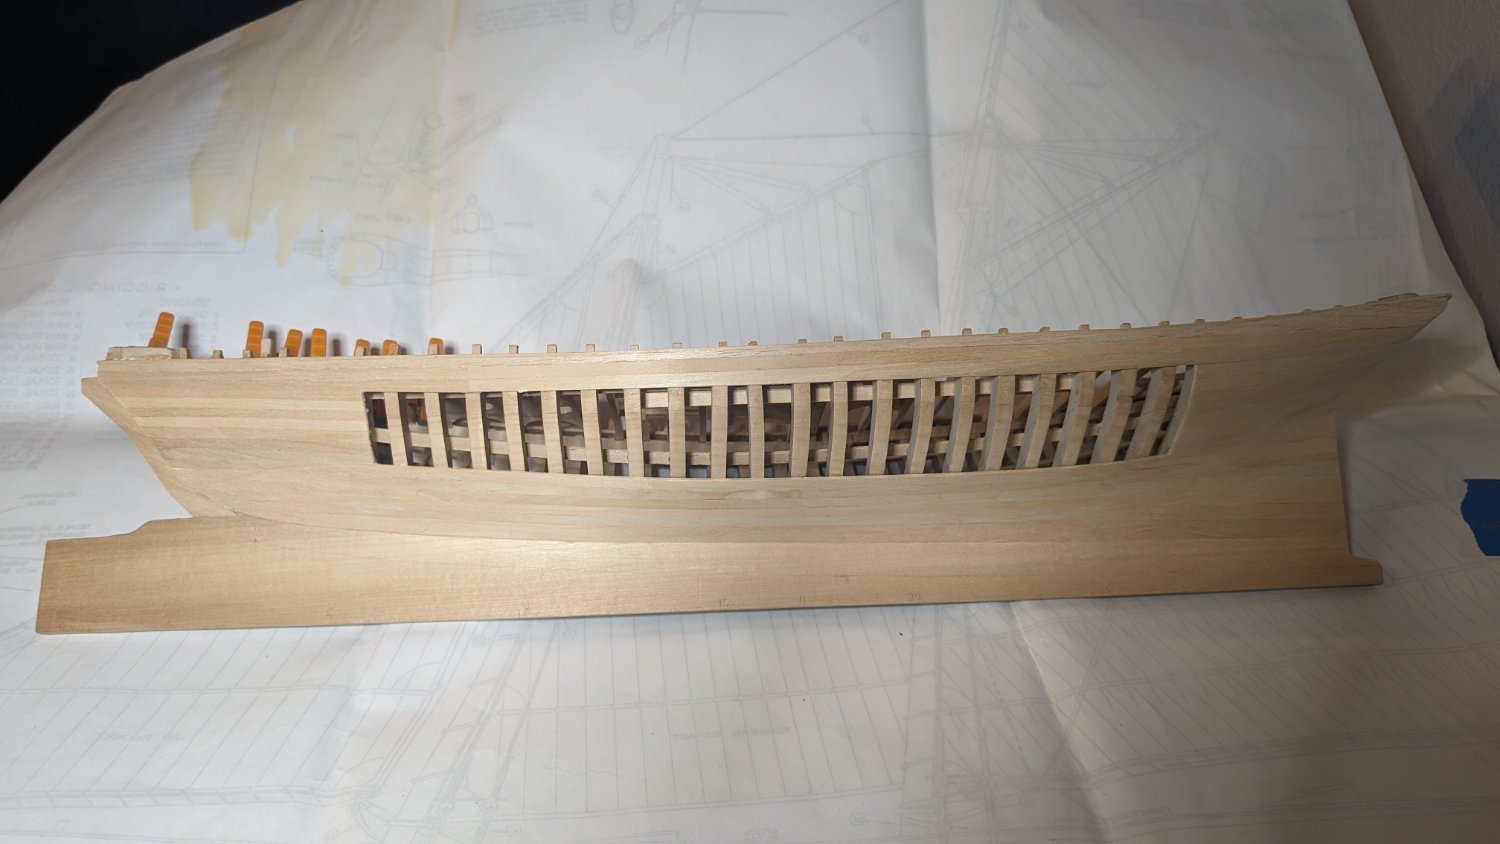
Just picked back up on this build, after an almost 2 year break to care for my father in-law. Planking is going well, some pics below. I am only partially planking so frames, sheer/bilge clamps, deck beams, etc. can all be displayed. That's why the top most rows of planks end at frame 27 aft. Same with planks at the bow. Rudder post and rudder dry fitted. Lots of sanding in my future still.

-
Looking good! I had some of the same frame struggles with my America build. Used some good tips from Gary's build log, but used a different jig. See my build log if interested. I am back to planking now after taking significant time off. Life happens.
-
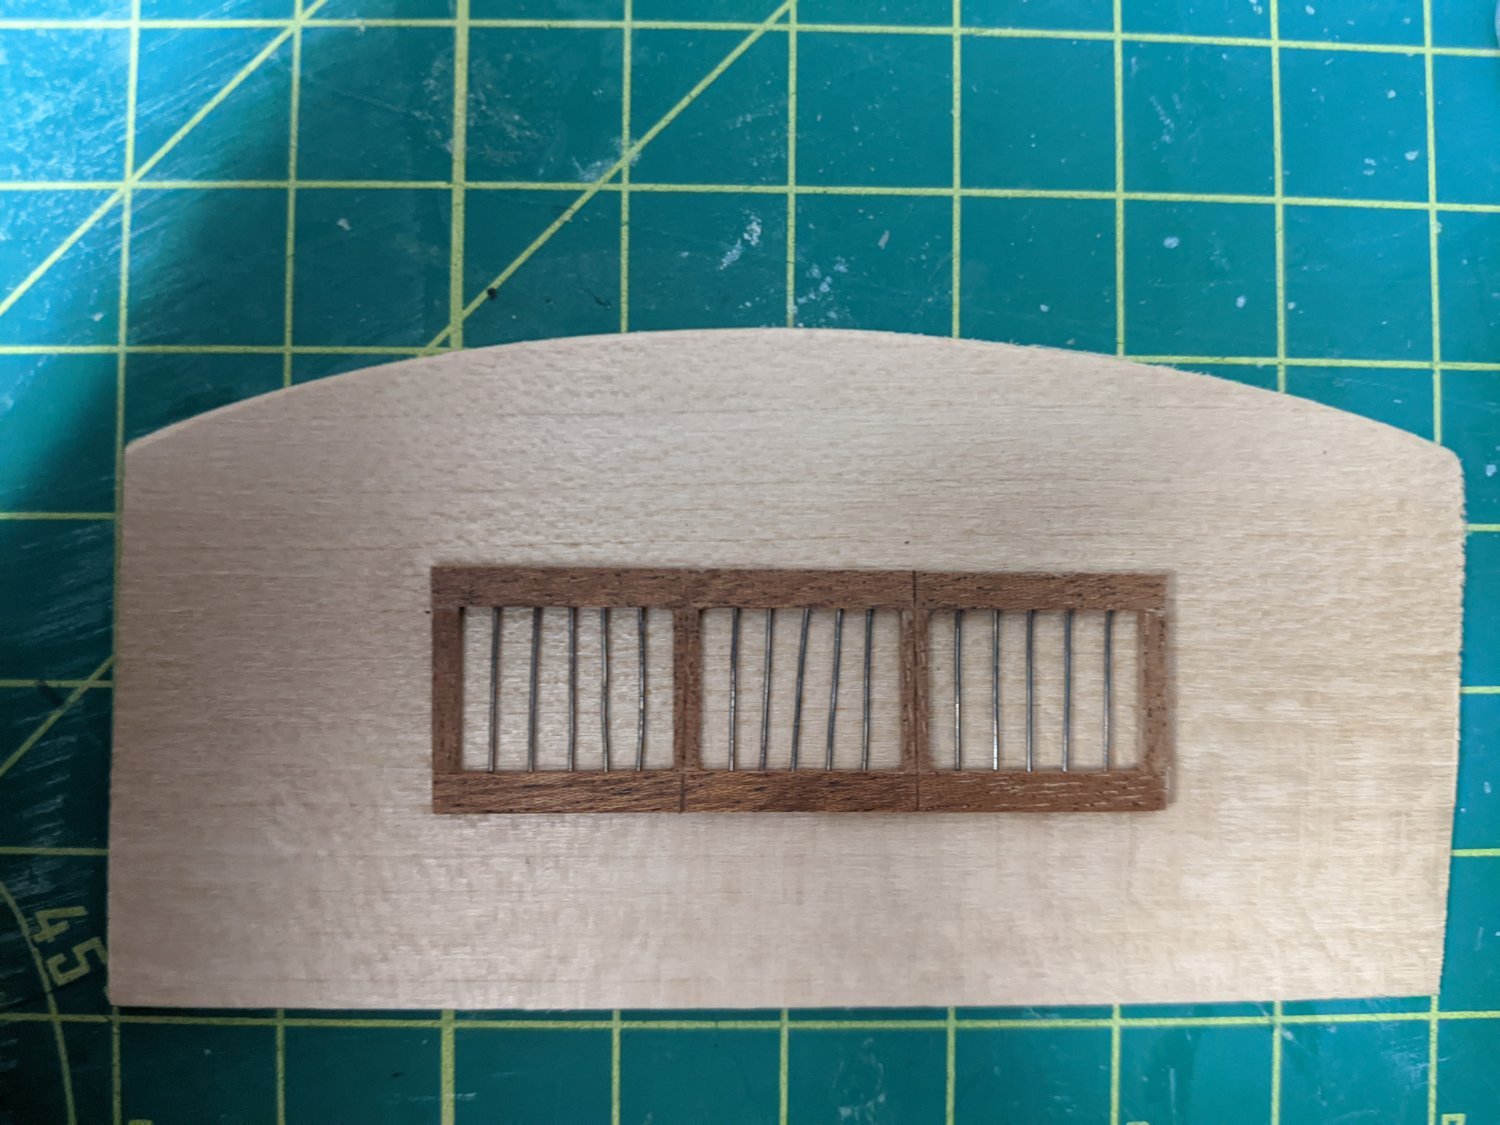
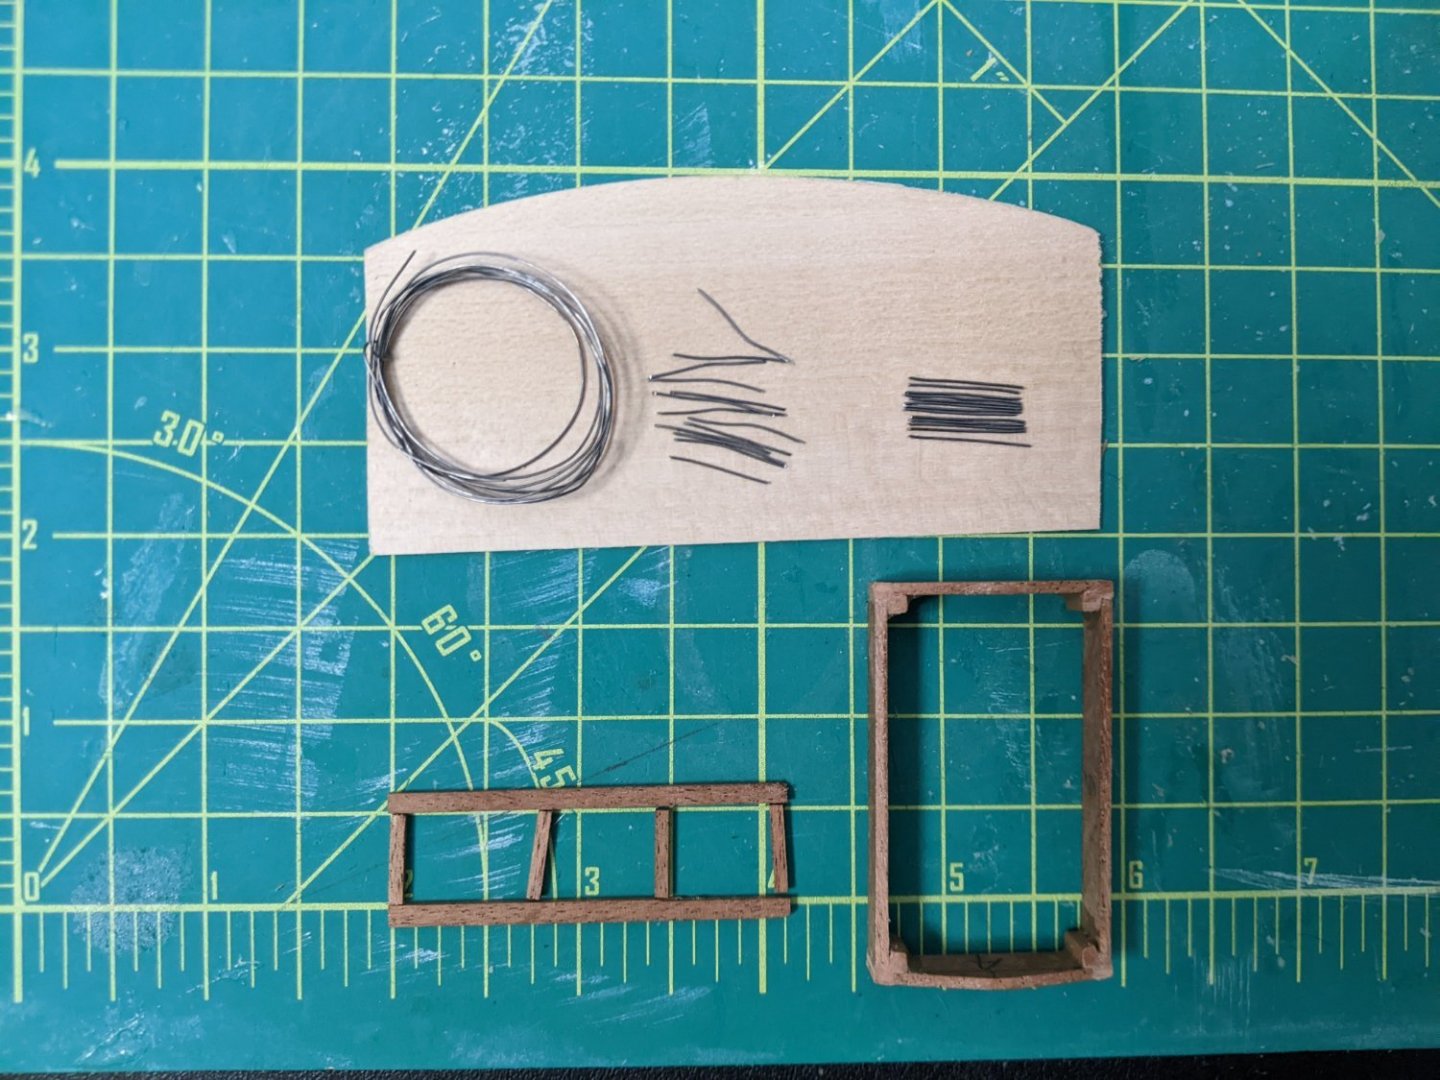
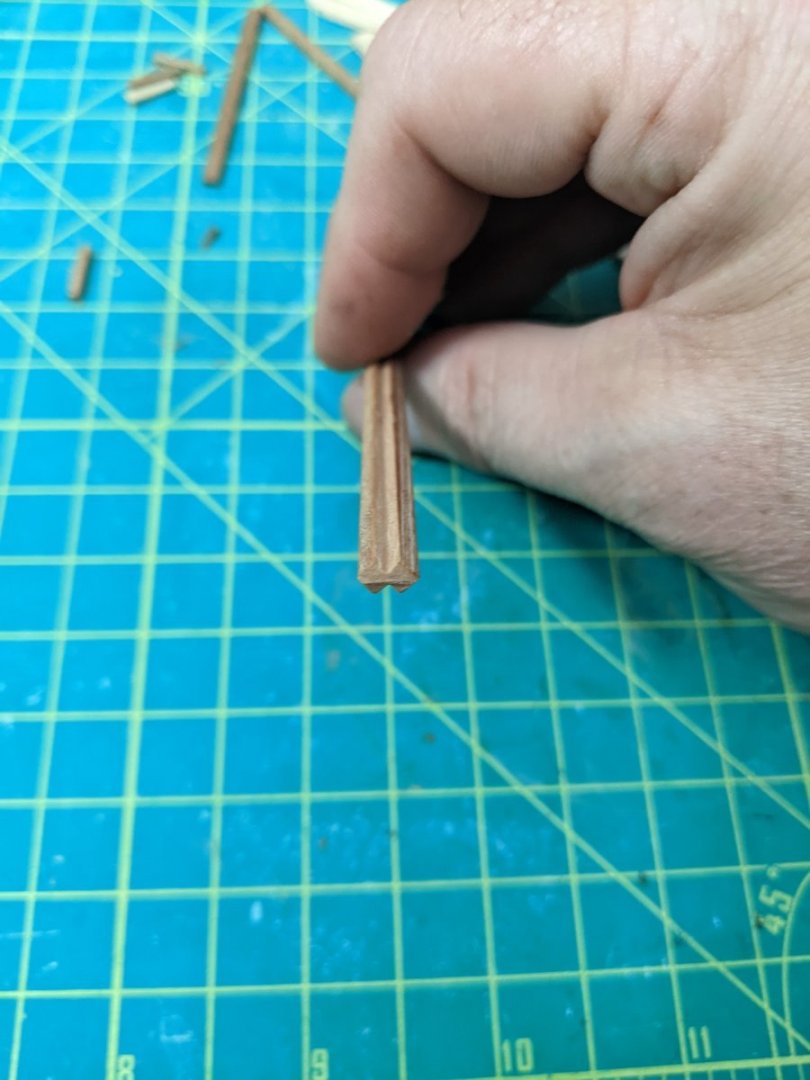
More deck furniture work. Turning 15 inches of 28 gauge steel wire into 30 straight pieces for the aft skylight. I also used my new mini table saw to make dado cuts for the skylight housing corner posts, barely visible if you zoom in on the first pic below.

-
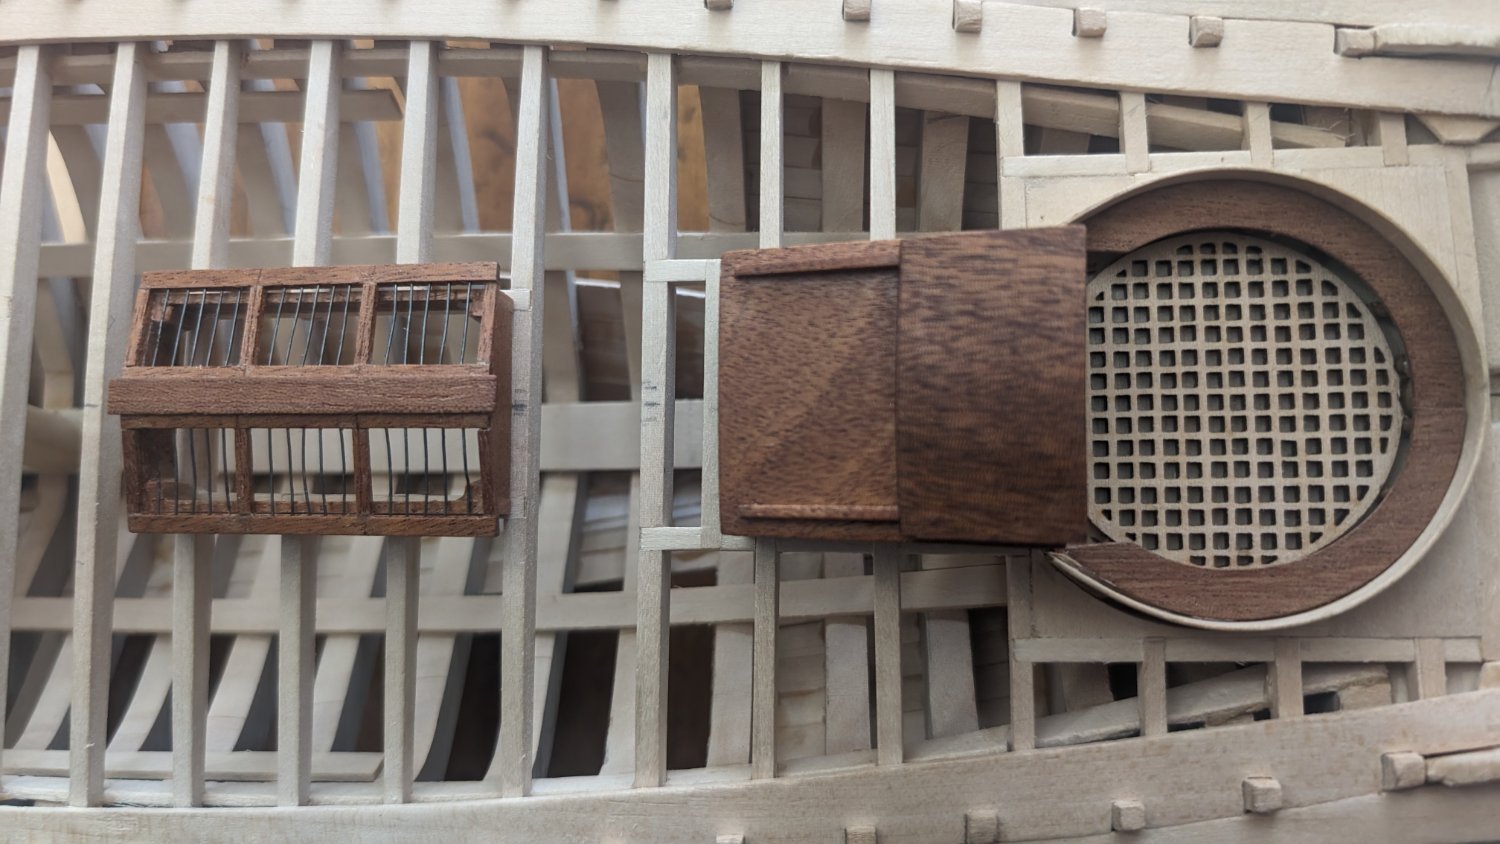
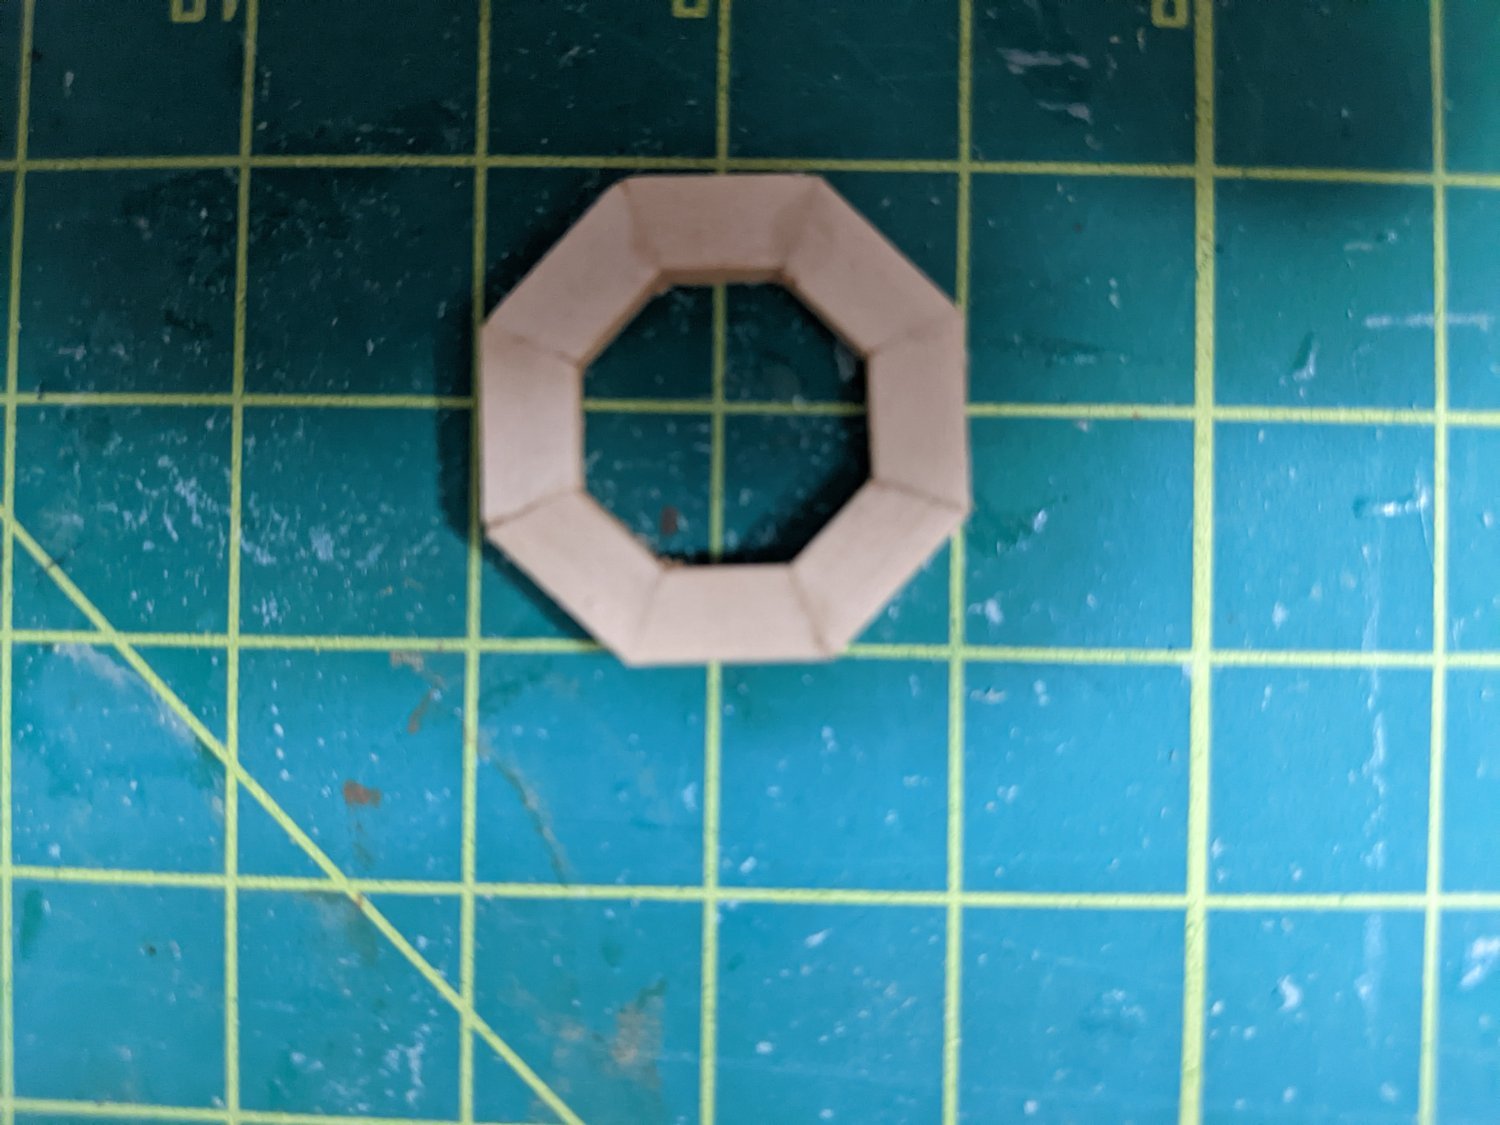
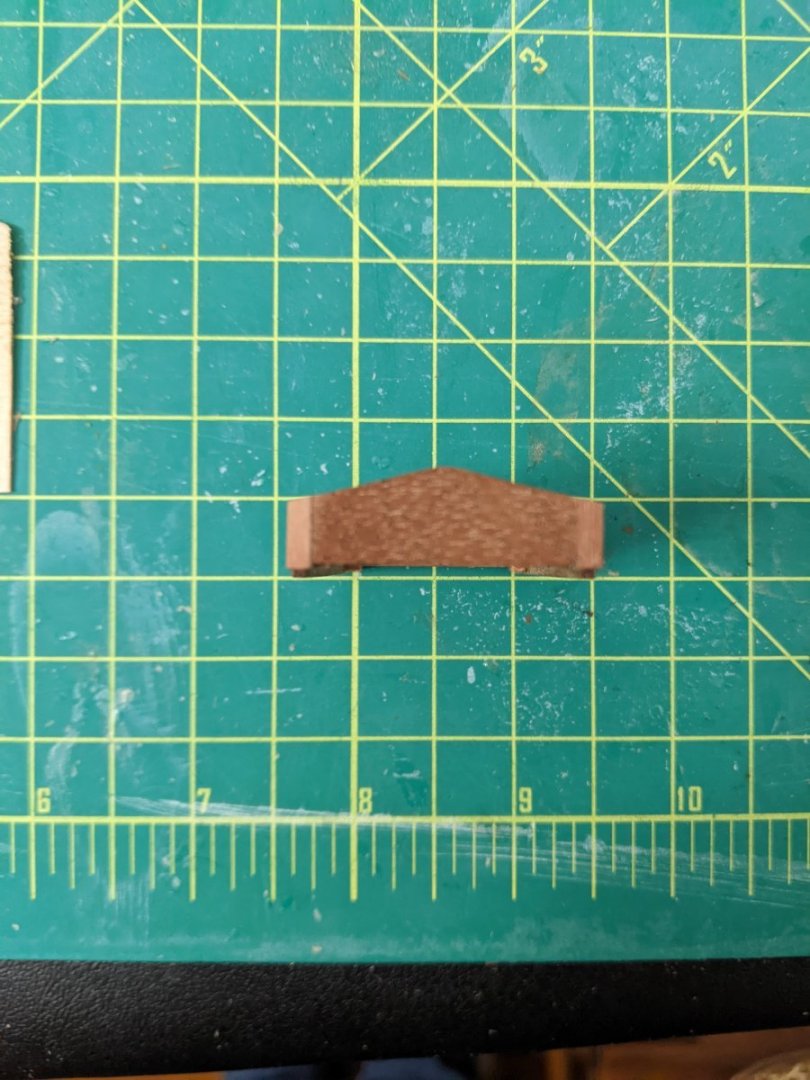
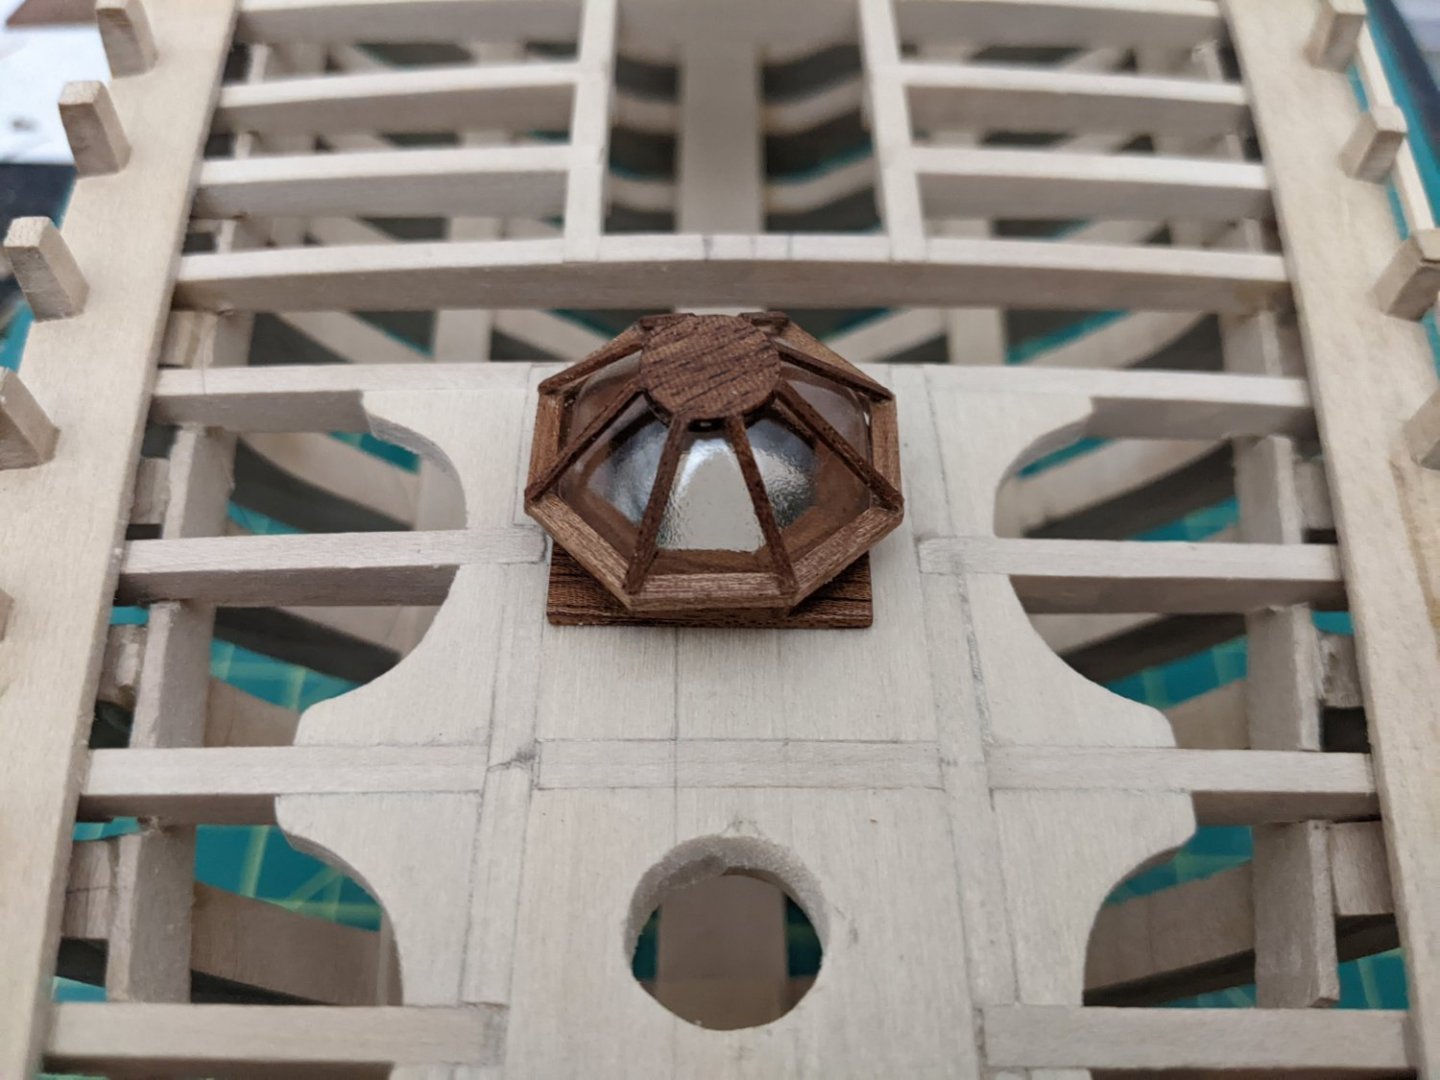
I wasn't sure the wider ones would look good. Thanks for the validation! I just built the forward skylight. The plans called for a round base with eight vanes, so I thought an octagonal base would be a good choice instead. I tested it with some scrap boxwood first. It looked decent, so I made it in mahogany. It came out pretty well. Tung oiled version in last two pics.


-
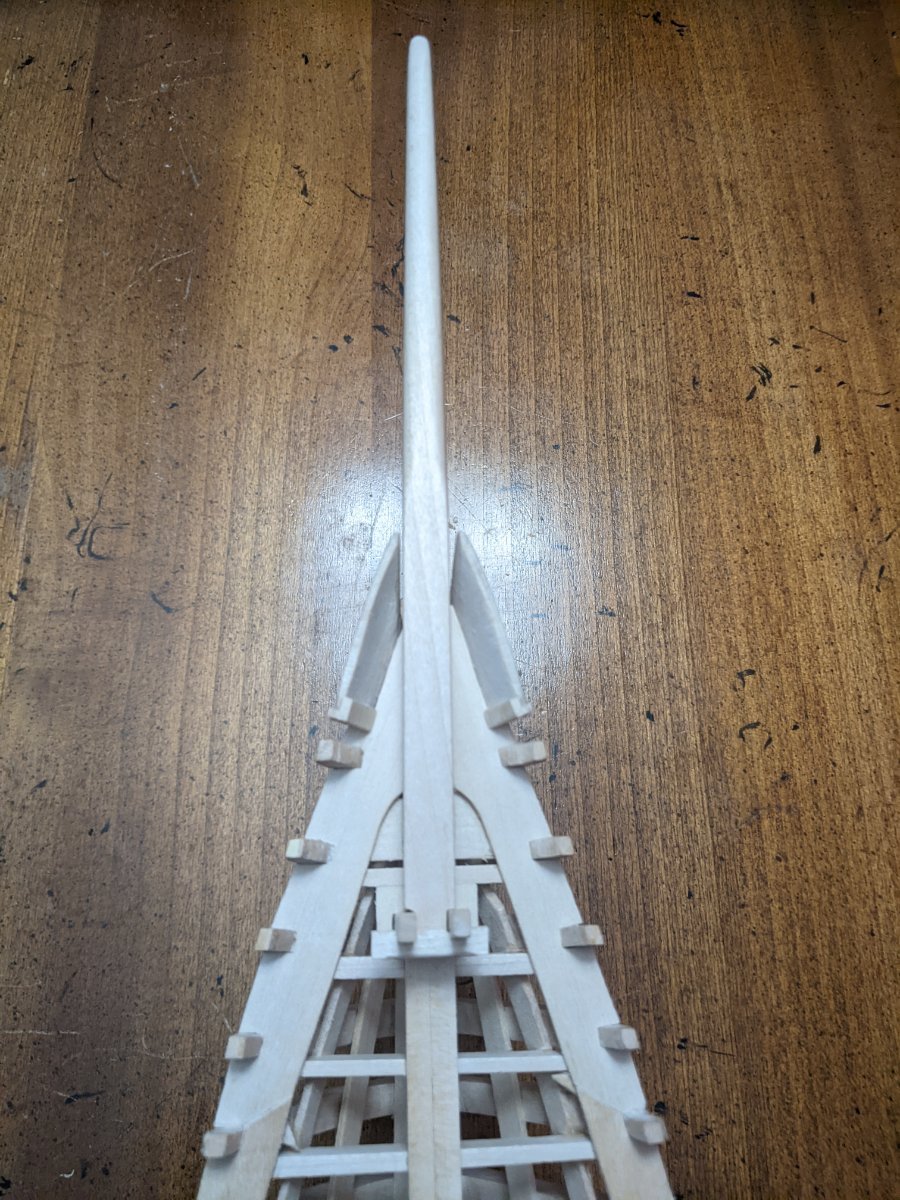
Waterways installed, sheer caps installed on stern and most of port side. Starboard side is not far behind. Sheer caps at the stern will also be trimmed down once I start hull planking. First deck planks installed under bowsprit and bitts.


-
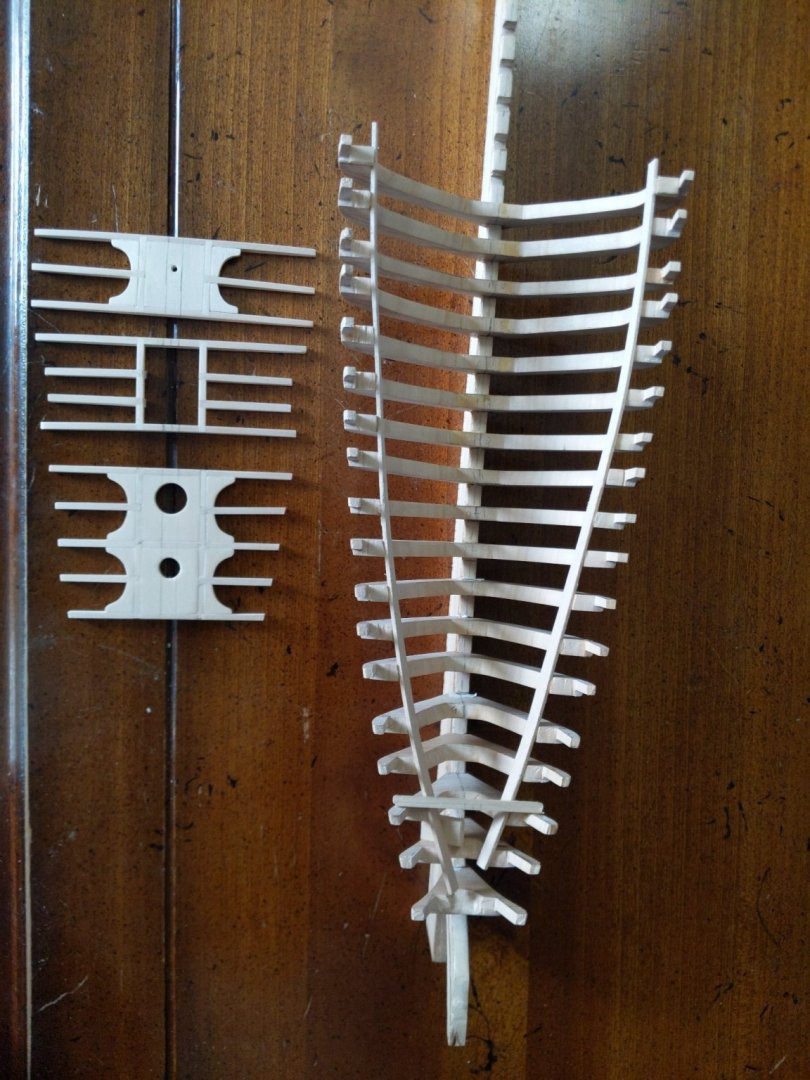
Yes, the frames took a ton of work. They were made from a solid hull that is then sliced like bread to make individual frames The solid hull looks like it was machine milled. The milling of the interior was off center, causing the frames to be very unsymmetrical. However, once I got the frames to my liking, the rest of the build has been great. Additionally, scratch building the frames is beyond my skill level at this time, so this was still the best kit for me. If you plan on fully planking the model, you are probably better off with bulkheads versus frames. I love the kit especially for the deck beam assemblies as they look fantastic, and I do not plan to fully plank so I wanted the authentic frame look.
-
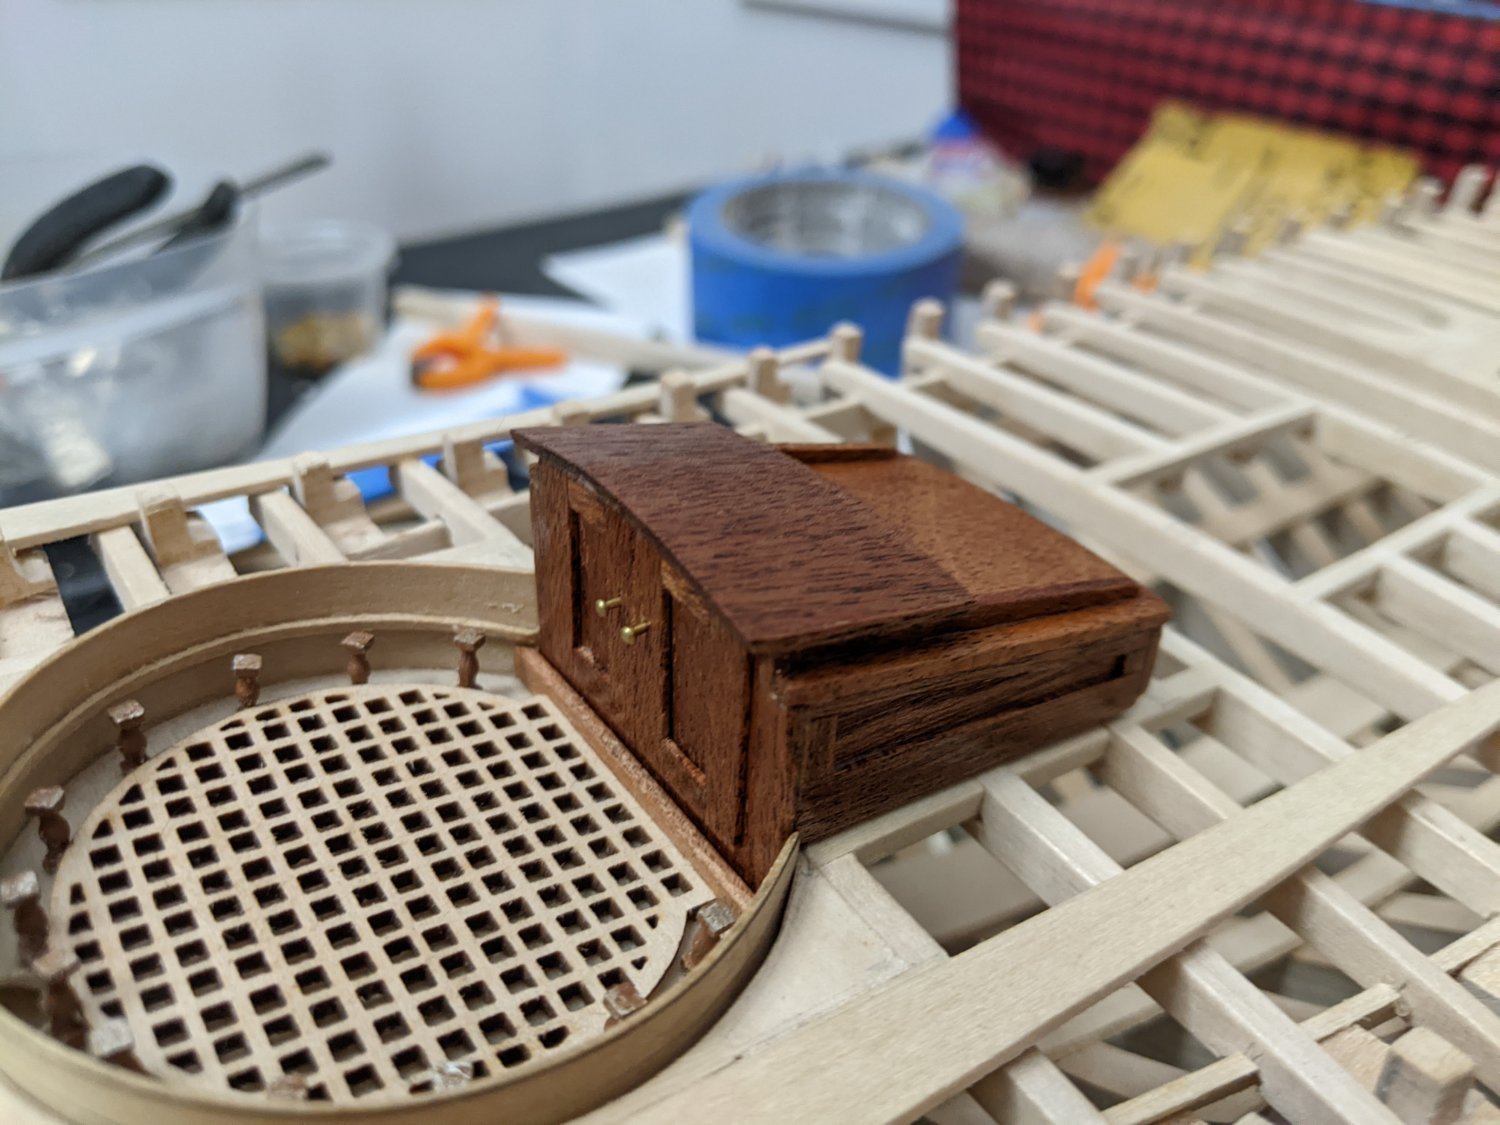
Just progressive sanding, with final sanding using 400 grit. Then apply tung oil with a lint free cloth, rub it in like car wax. In the above pic, the sill piece directly aft of the companion way doors (and fore the cockpit grating) is dry, no tung oil, for a good comparison of what a difference the finish makes. Both sill and companionway are made from the same piece of mahogany stock.
-
Companionway completed. I used tung oil to finish.

-
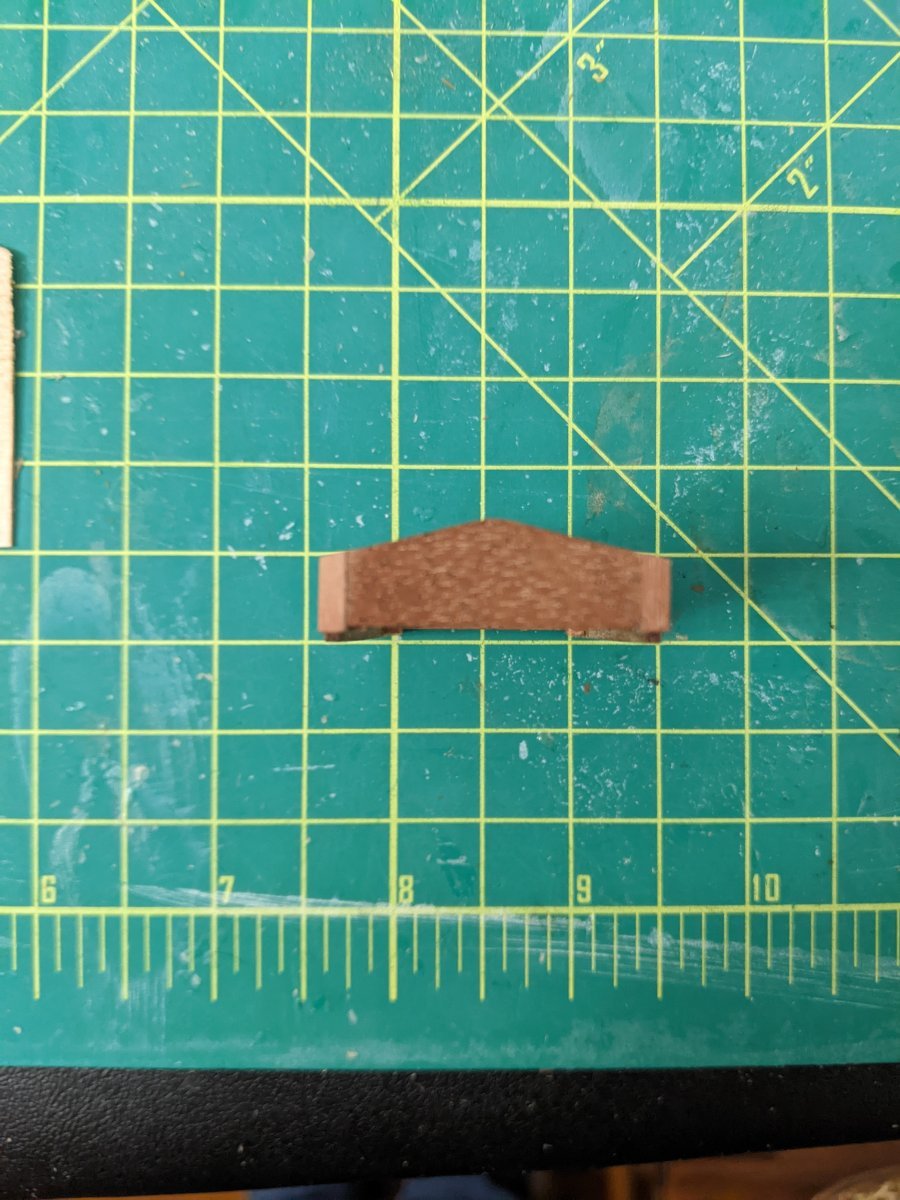
I used my Dremel with drum sander to make short work of the transom.
-
I do not plan to fully plank. I plan on doing a couple rows of planks on the deck center line and maybe one or two outboard. I plan on 1 to 3 rows of hull planking top and bottom. Need some planking to attach rigging points/deck furniture.
-
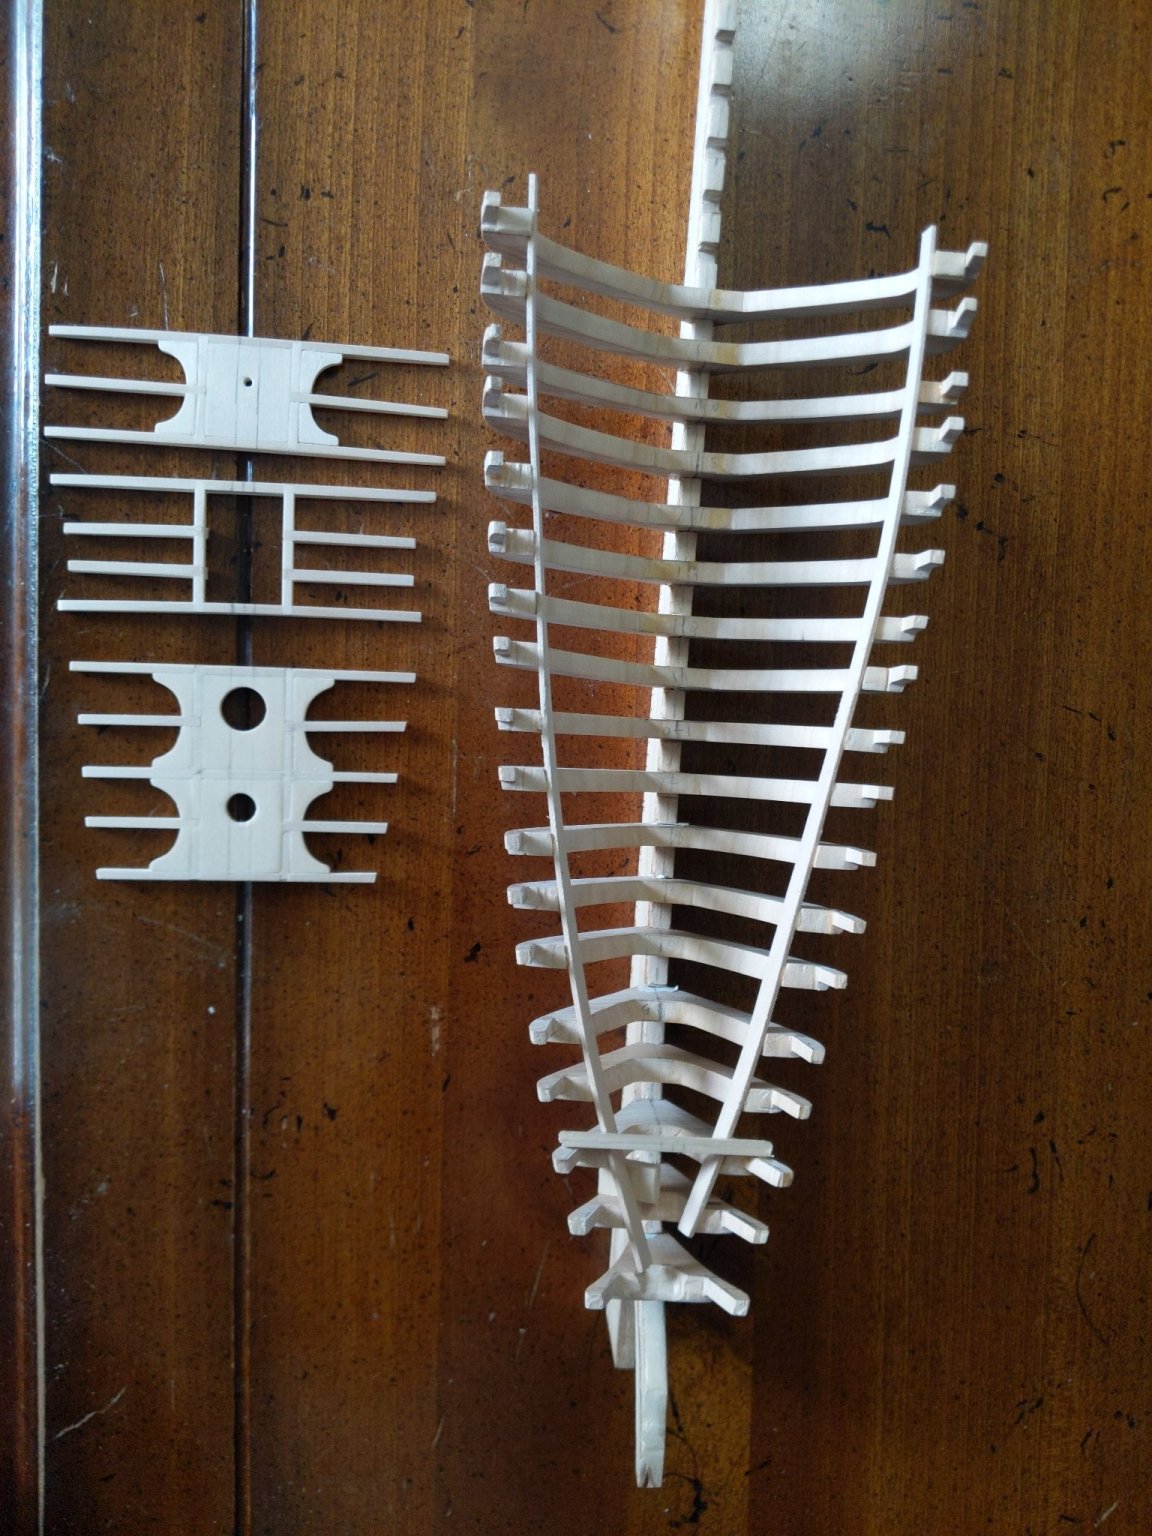
Schooner America. Frames are all glued in, stern/transom carved and glued. Shown here with deck beam assemblies dry fitted.
-
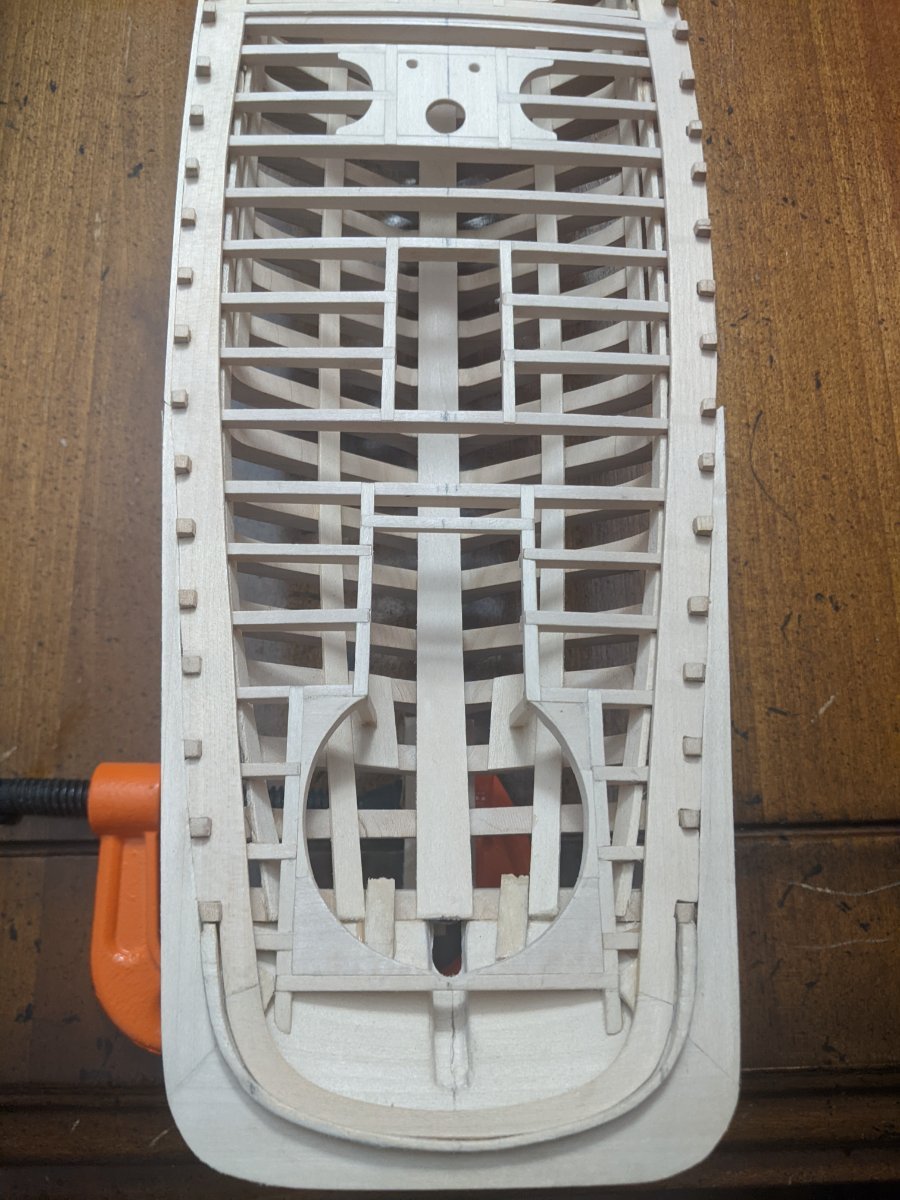
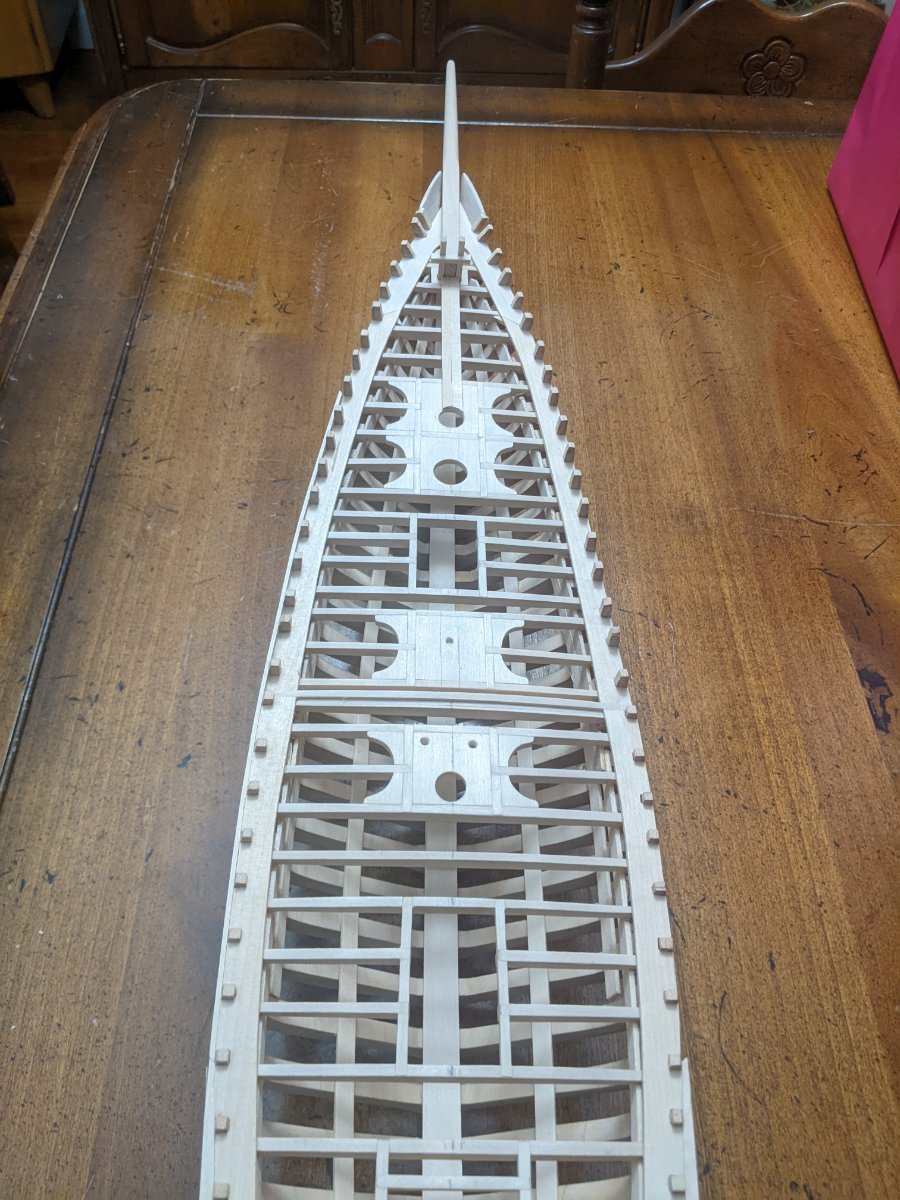
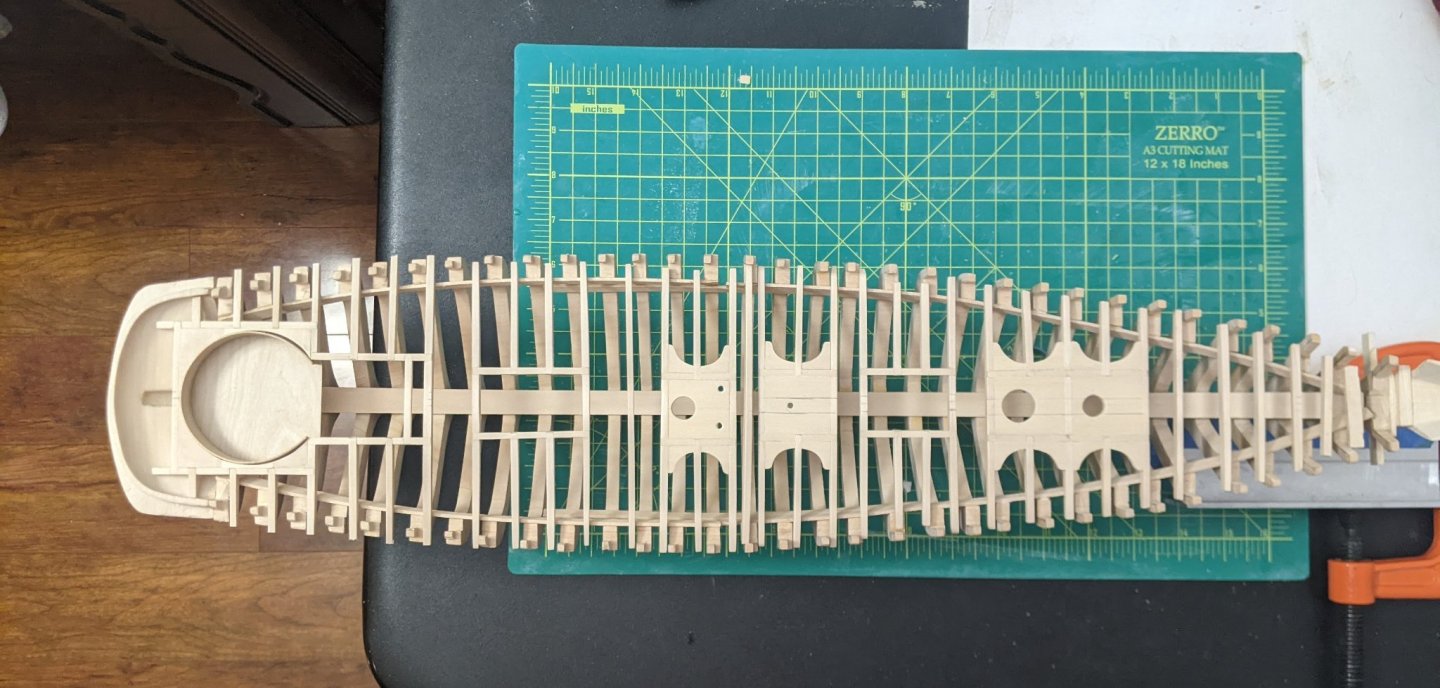
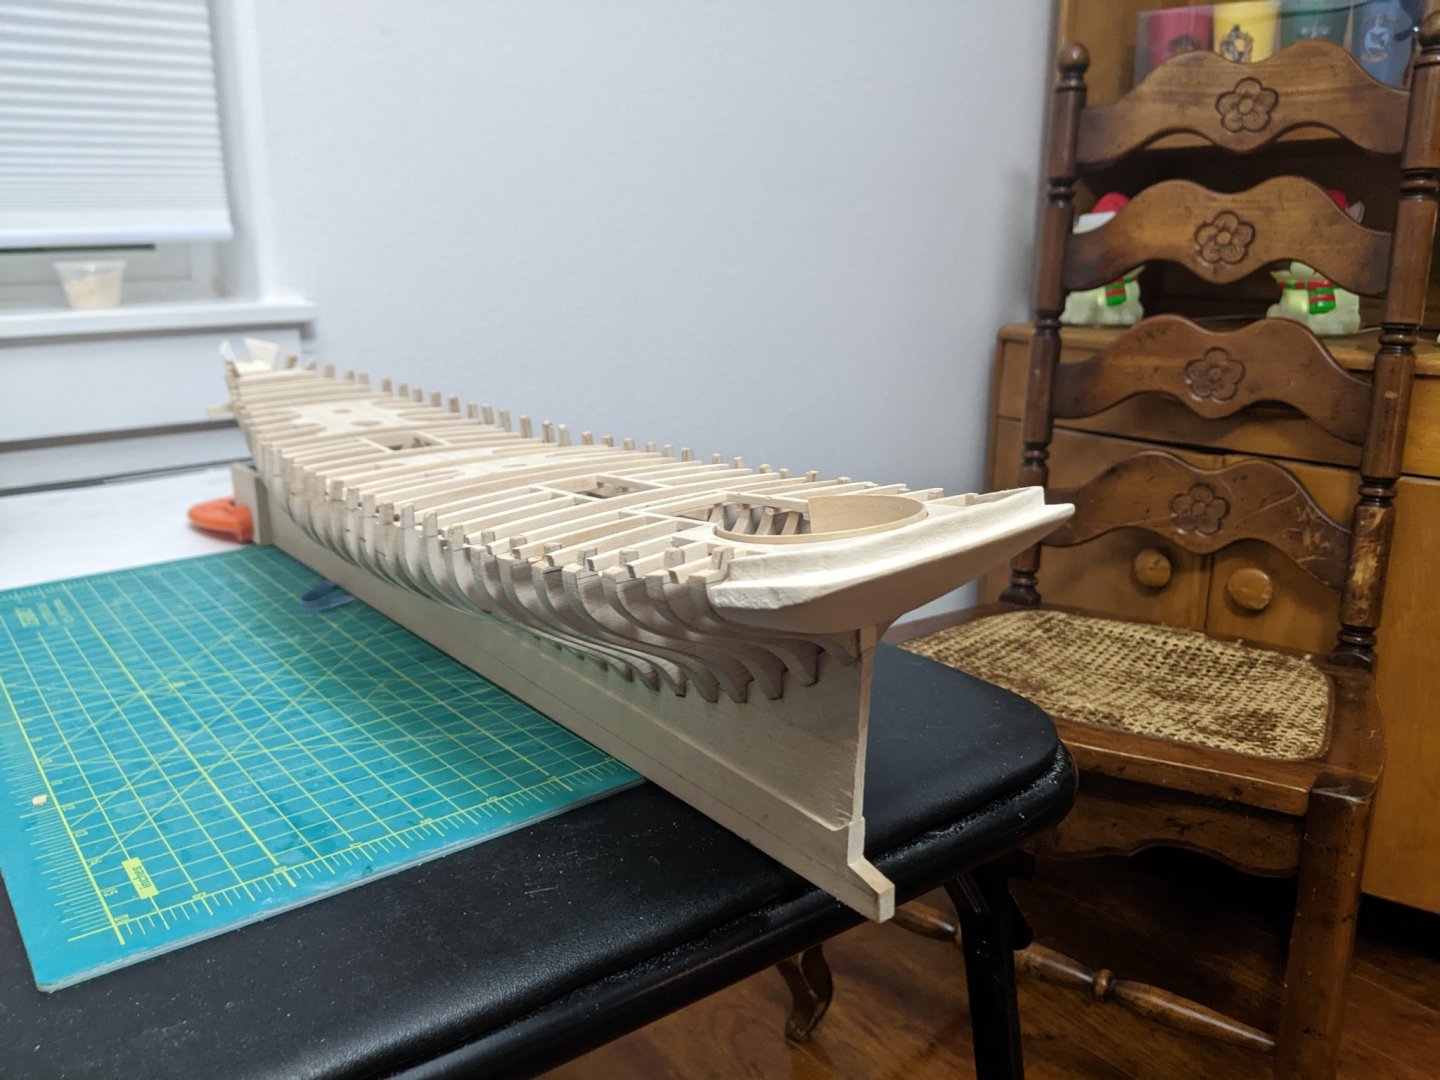
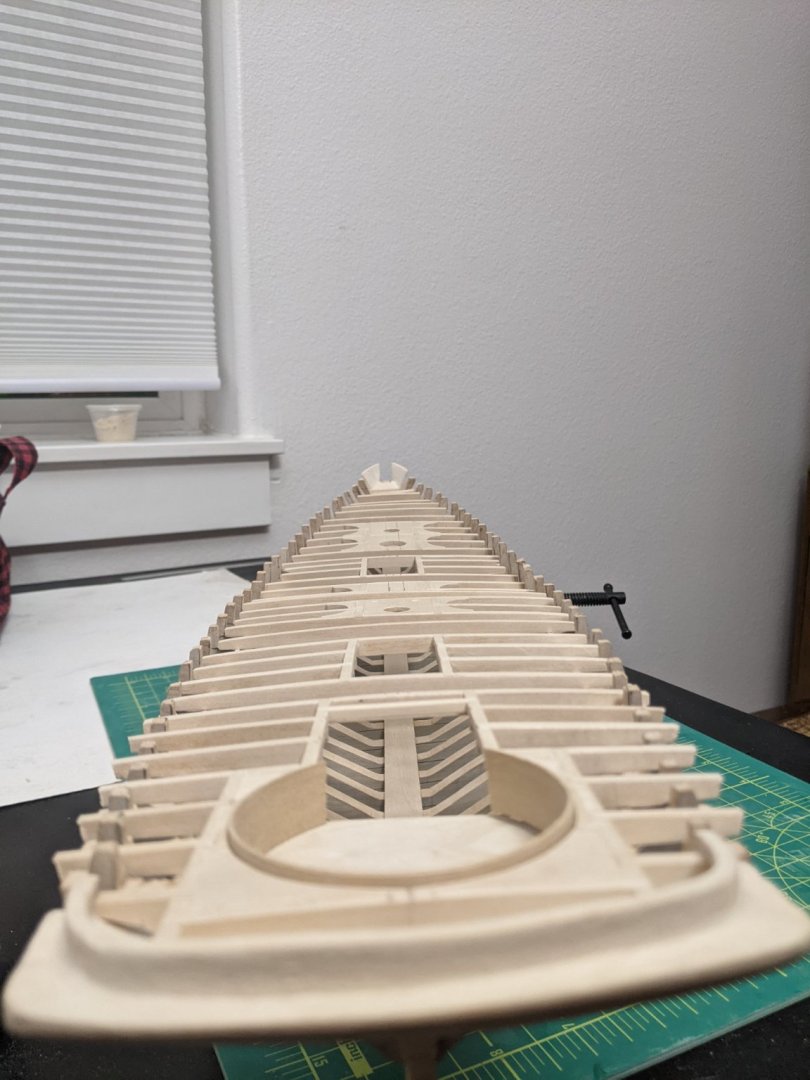
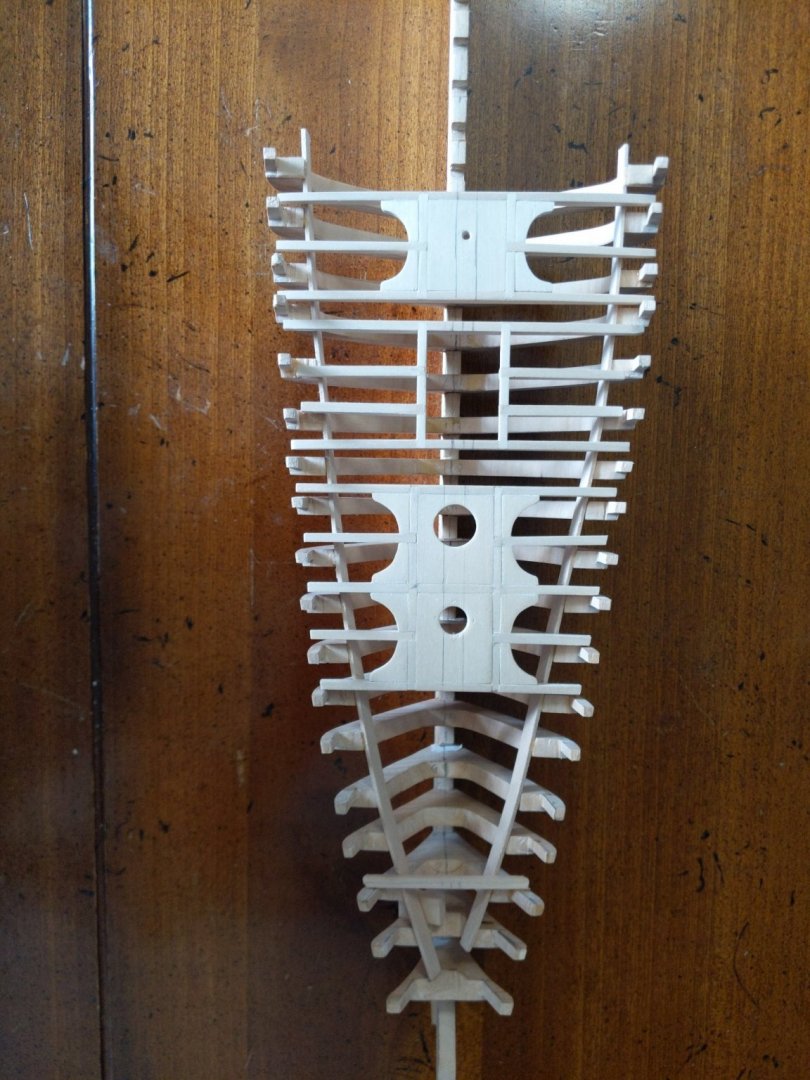
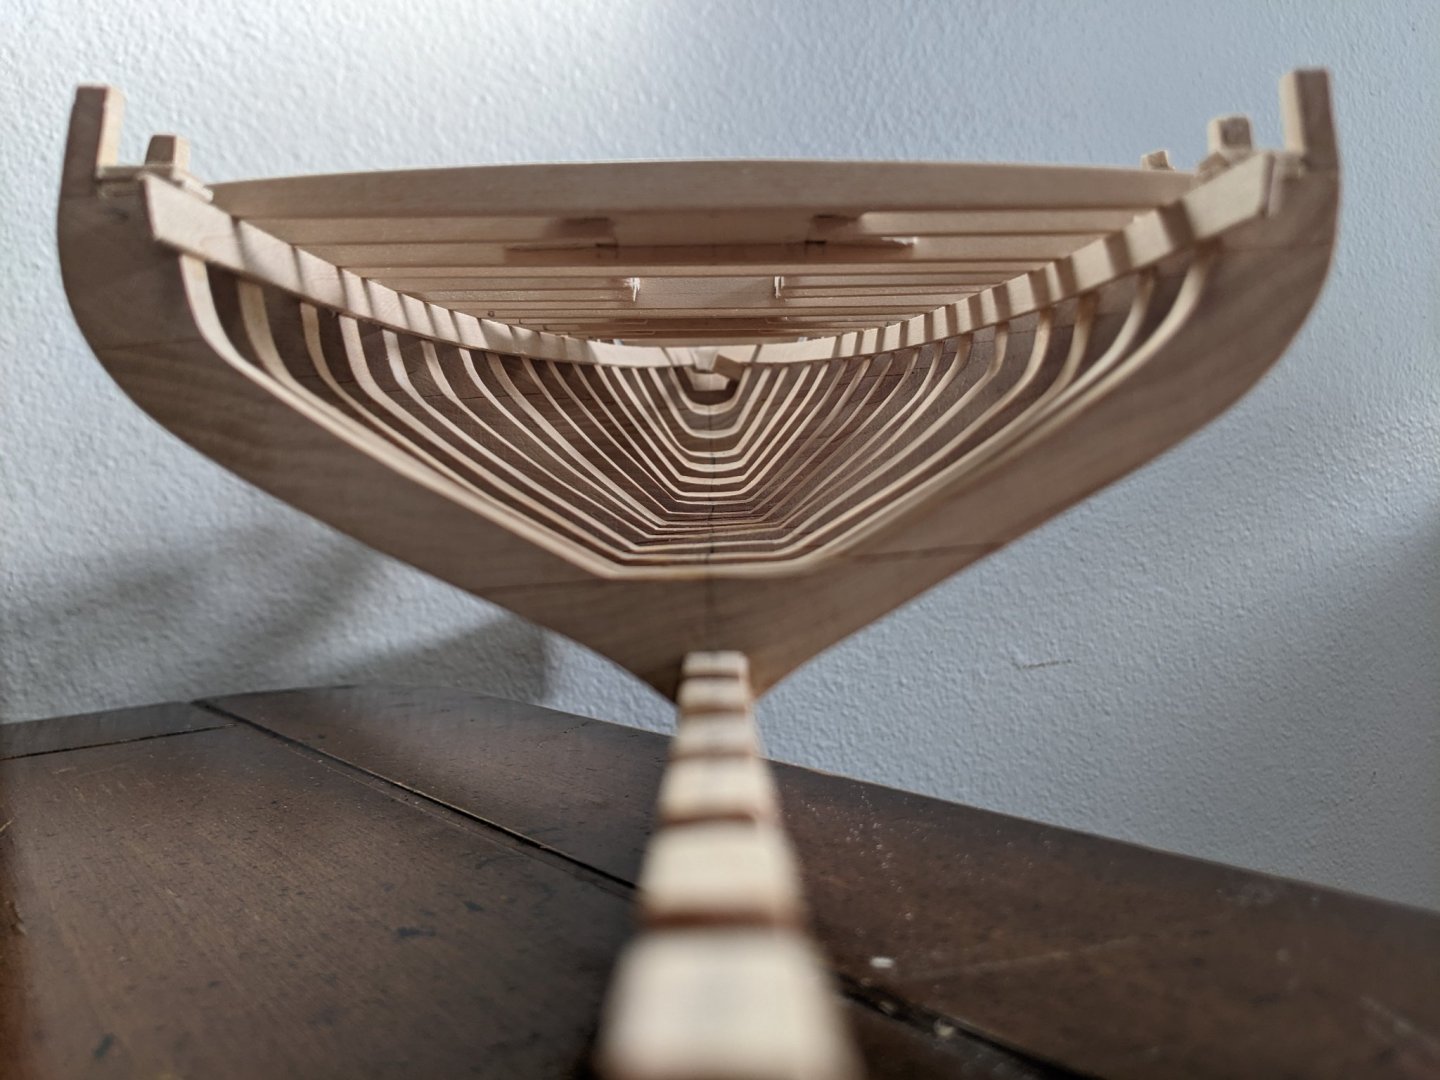
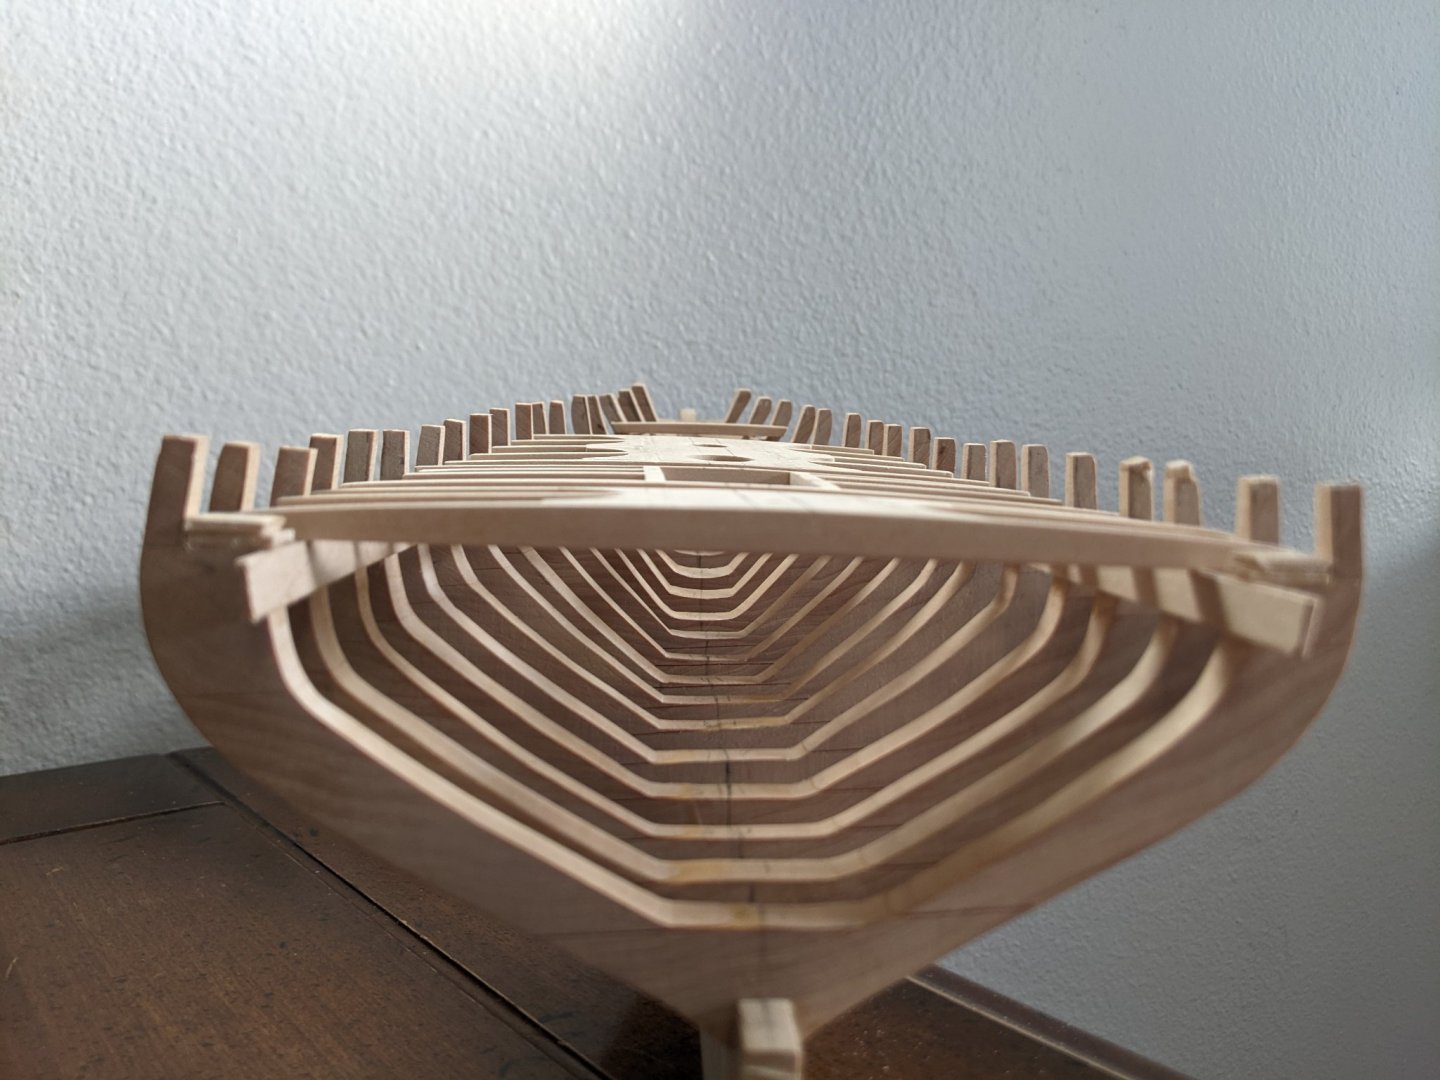
At long last, after checking each measurement multiple times and dry fitting deck-beam assemblies to verify timberhead heights, I began glueing the frames to the keel. I started with frame 18, just fore the break in the deck, and worked my way forward through frame 1. I took my time making sure that the frames were not only square to keel/horizontal but were also symmetrical in height port/starboard and in width from center line to outboard edge. Results pictured below, including temporary installation of sheer clamp so I can further check planking fit and complete any touch-up fairing as needed. I also included pictures dry fitted deck-beam assemblies and a few keel-line views.

-
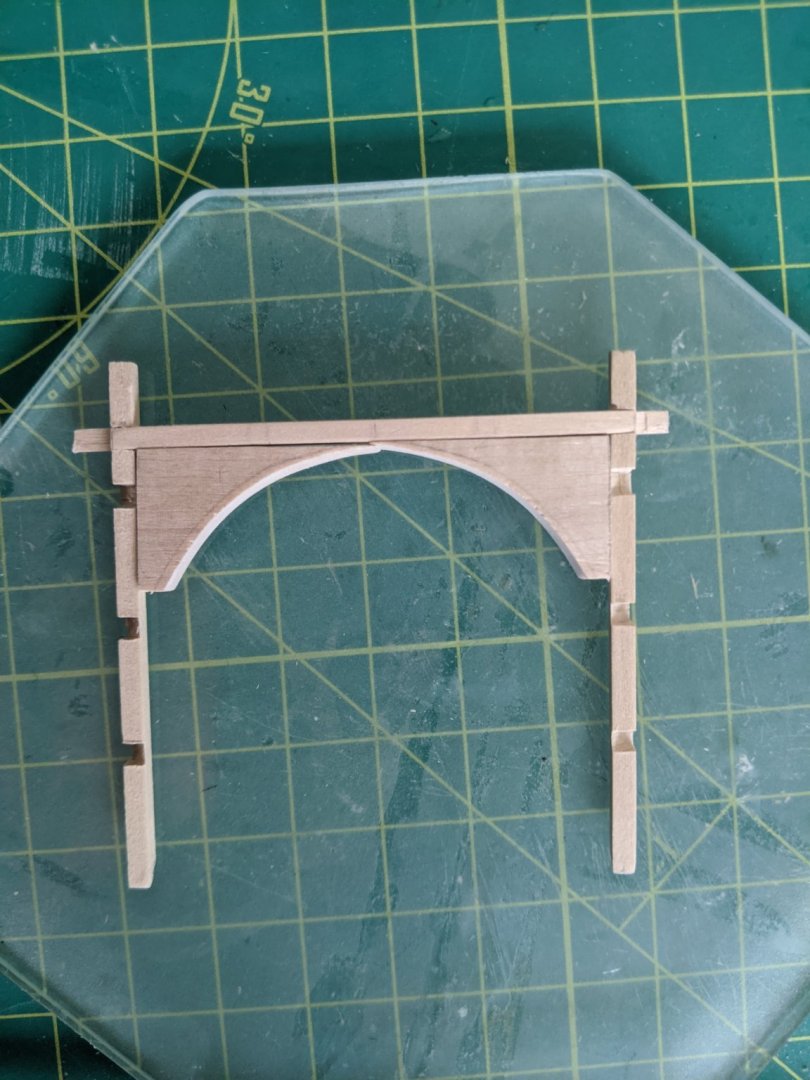
Virtually finished cockpit assembly. I will cut out the beam at the companionway entrance later, as it adds a great deal of strength and stability right now.

-
Here is some of the most intricate deck assembly work yet. This is really honing my skill with mini files. Cockpit assembly almost complete. I'll post again once it's done.
-
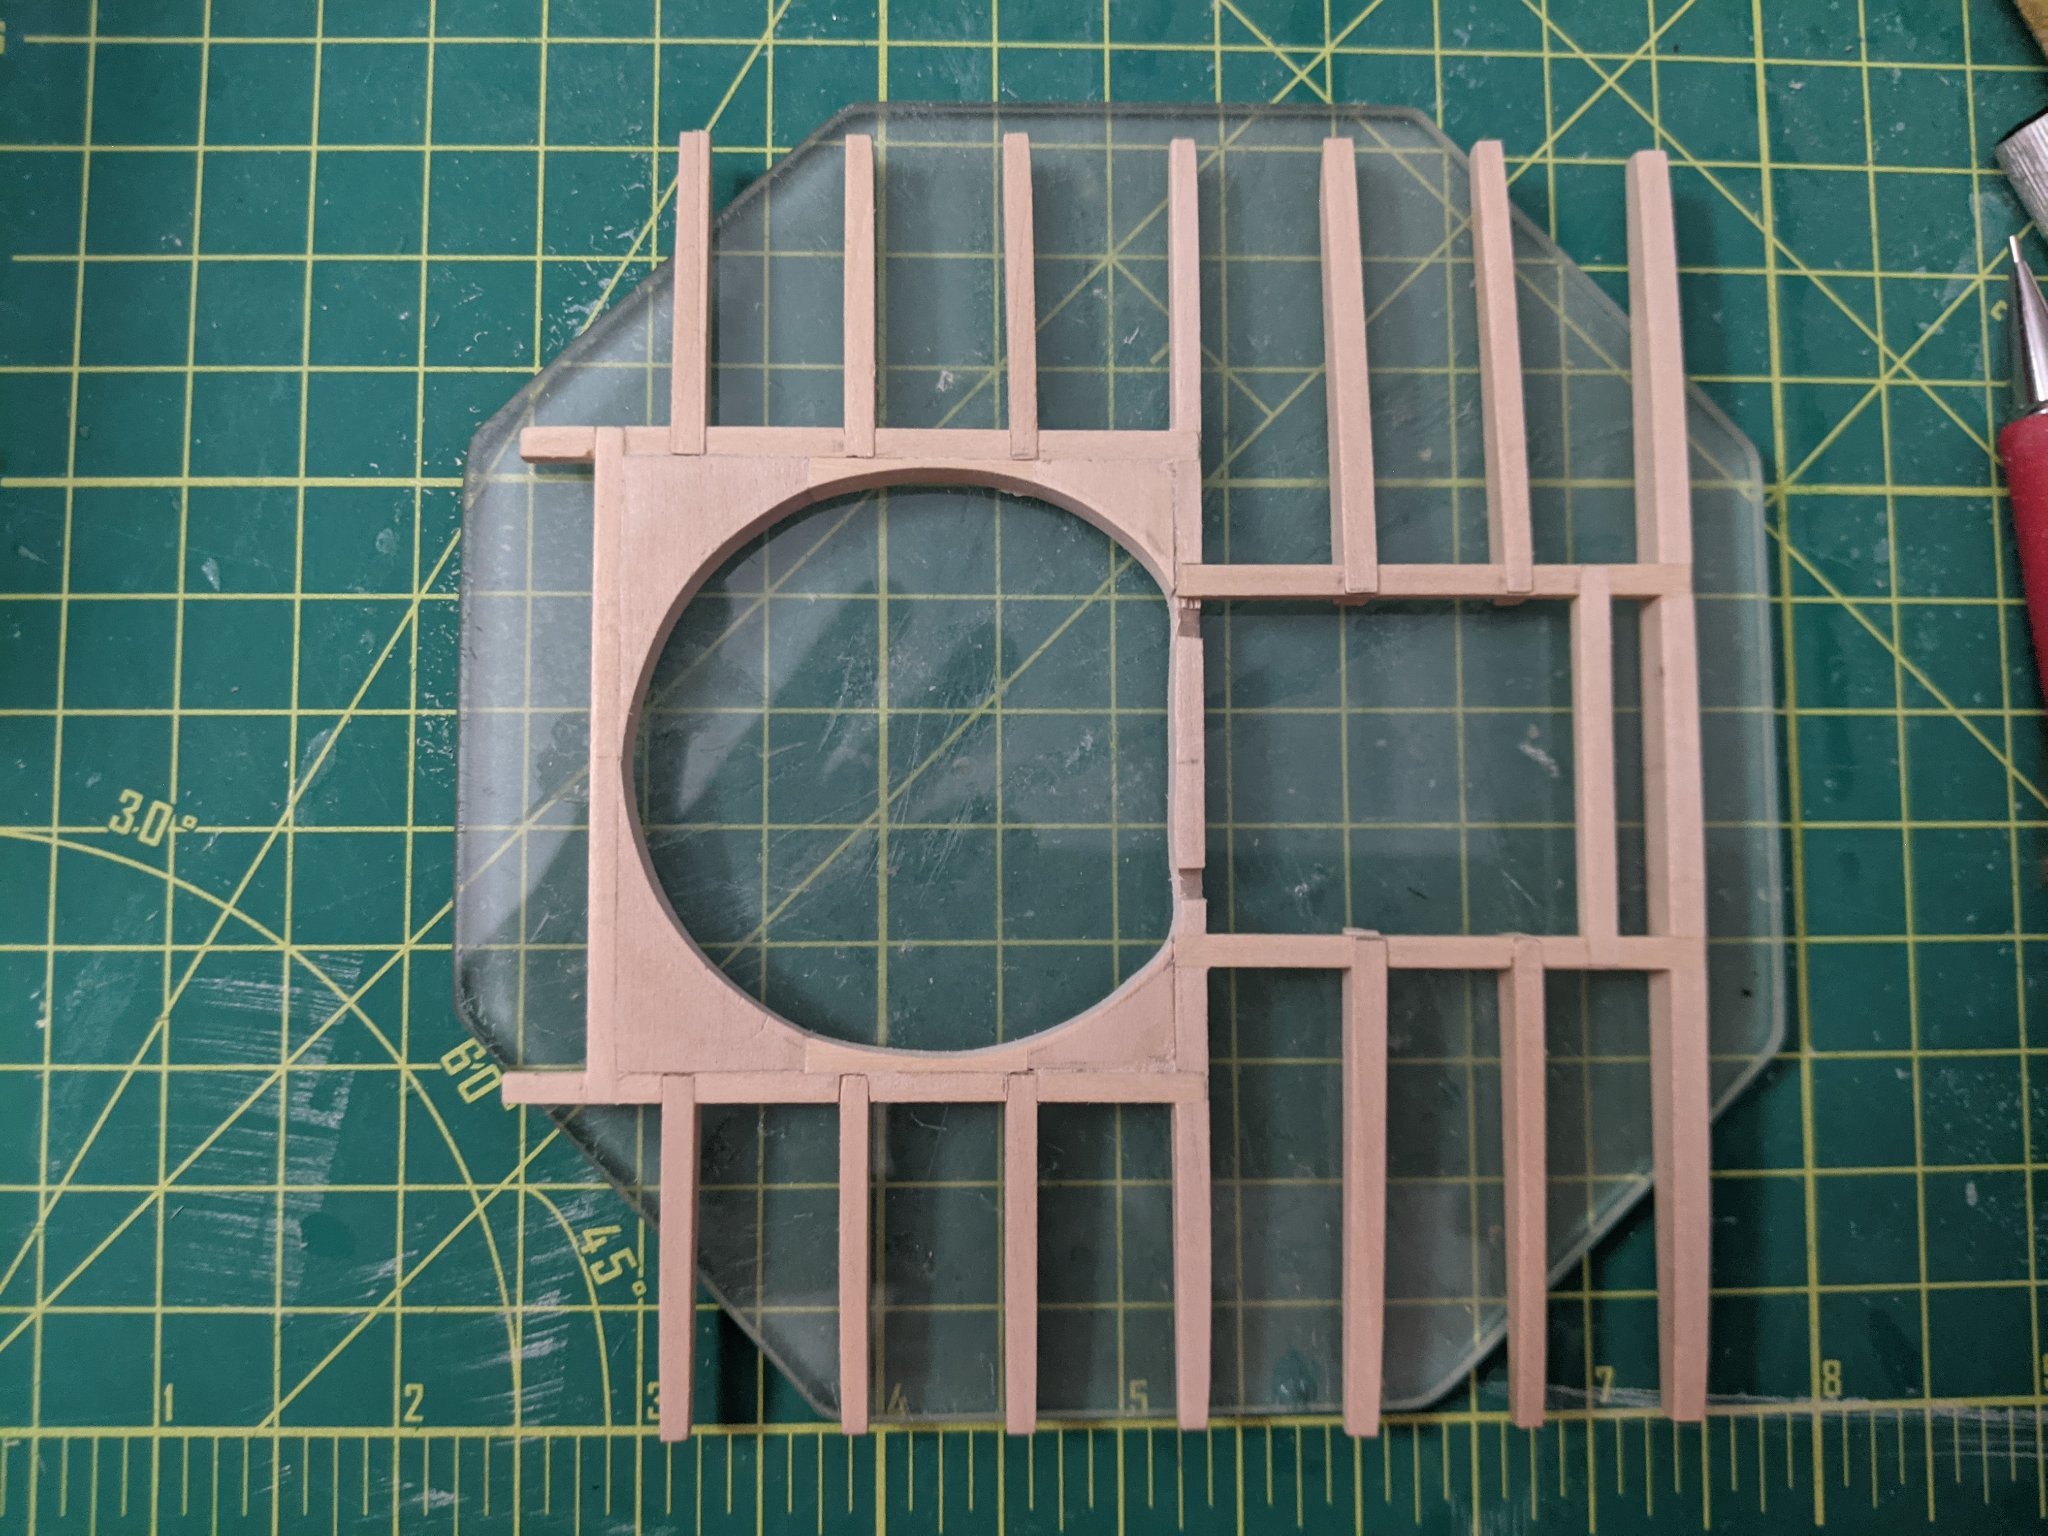
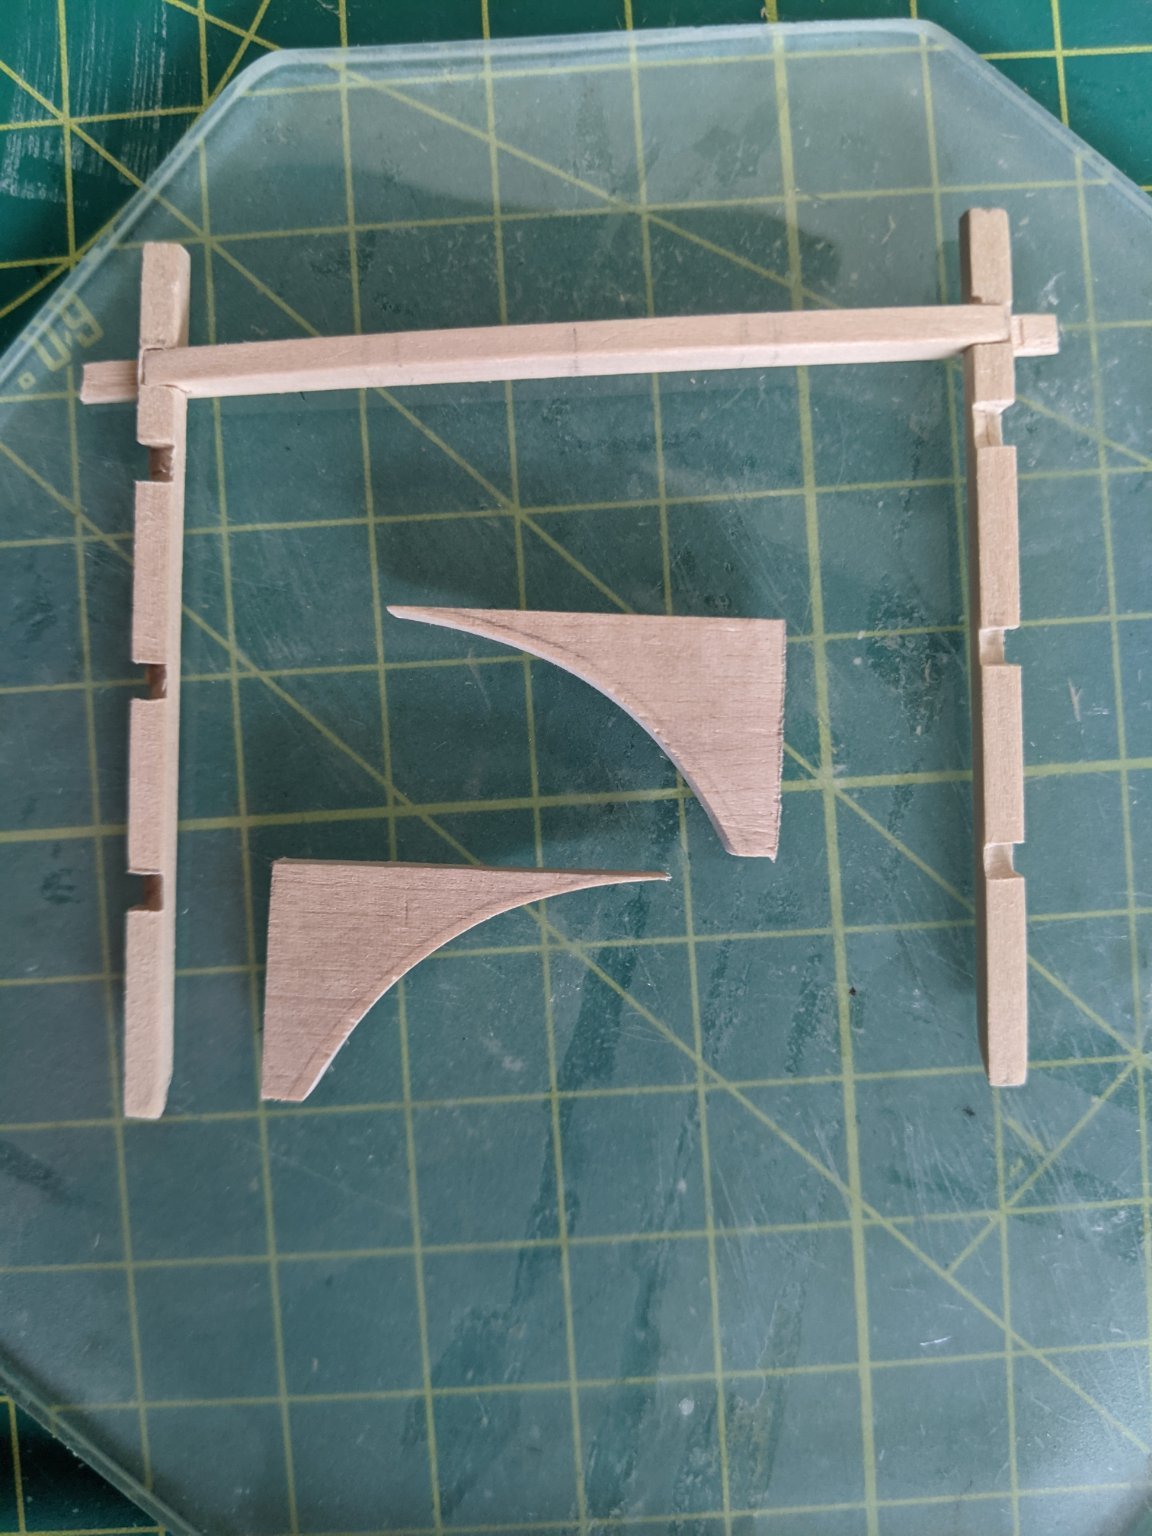
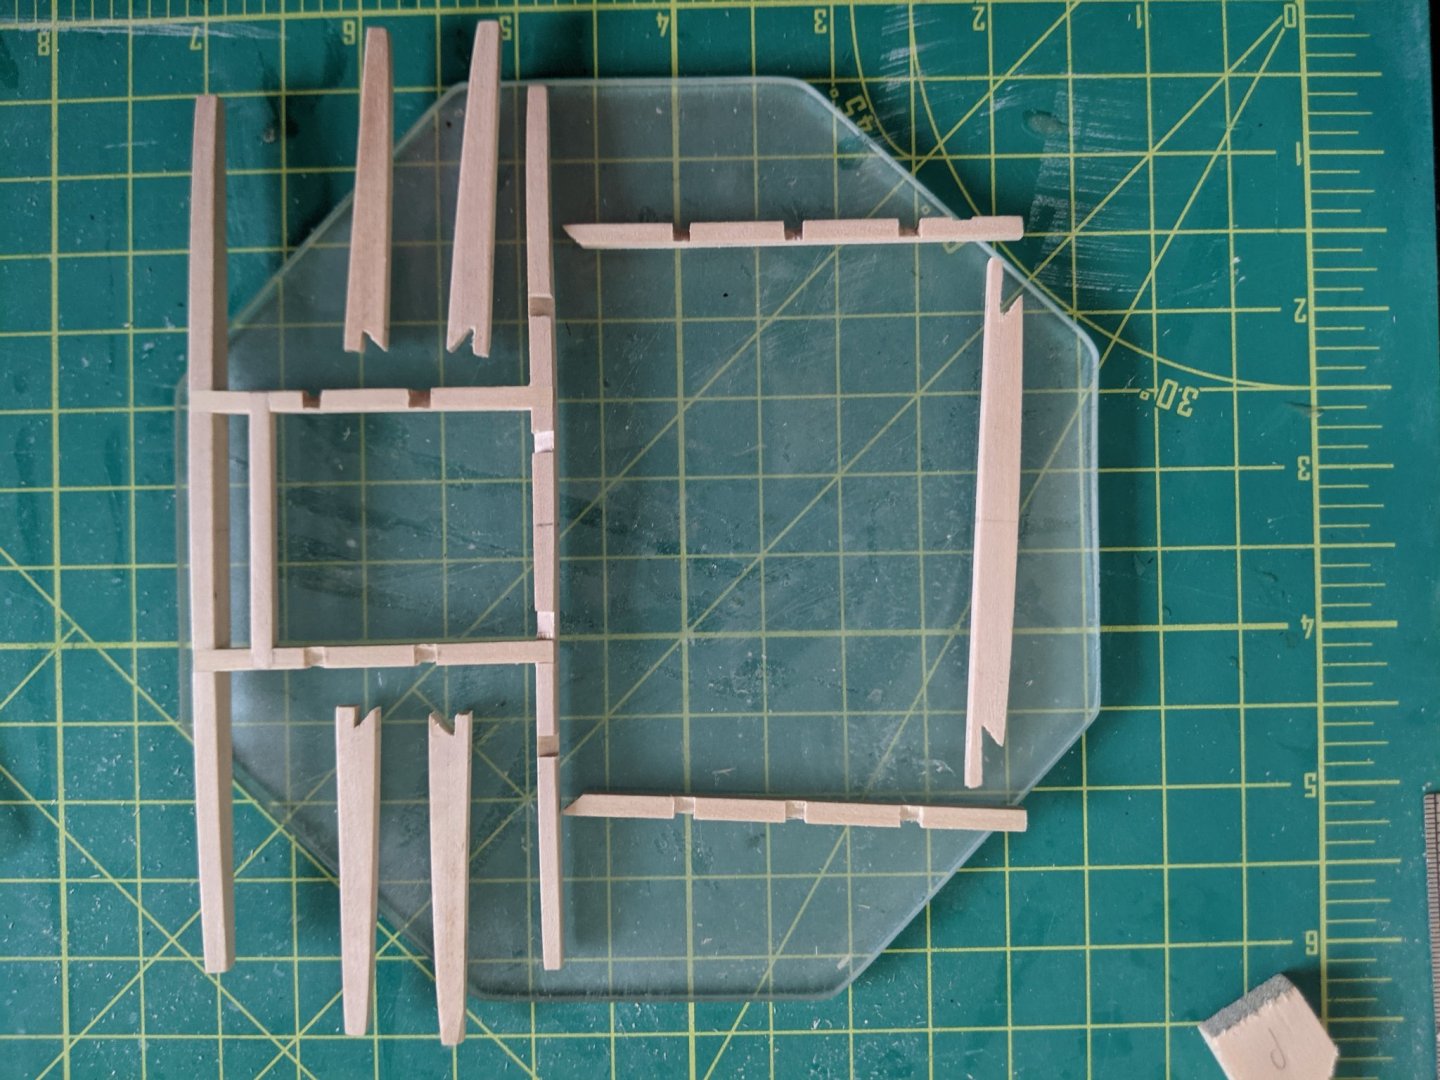
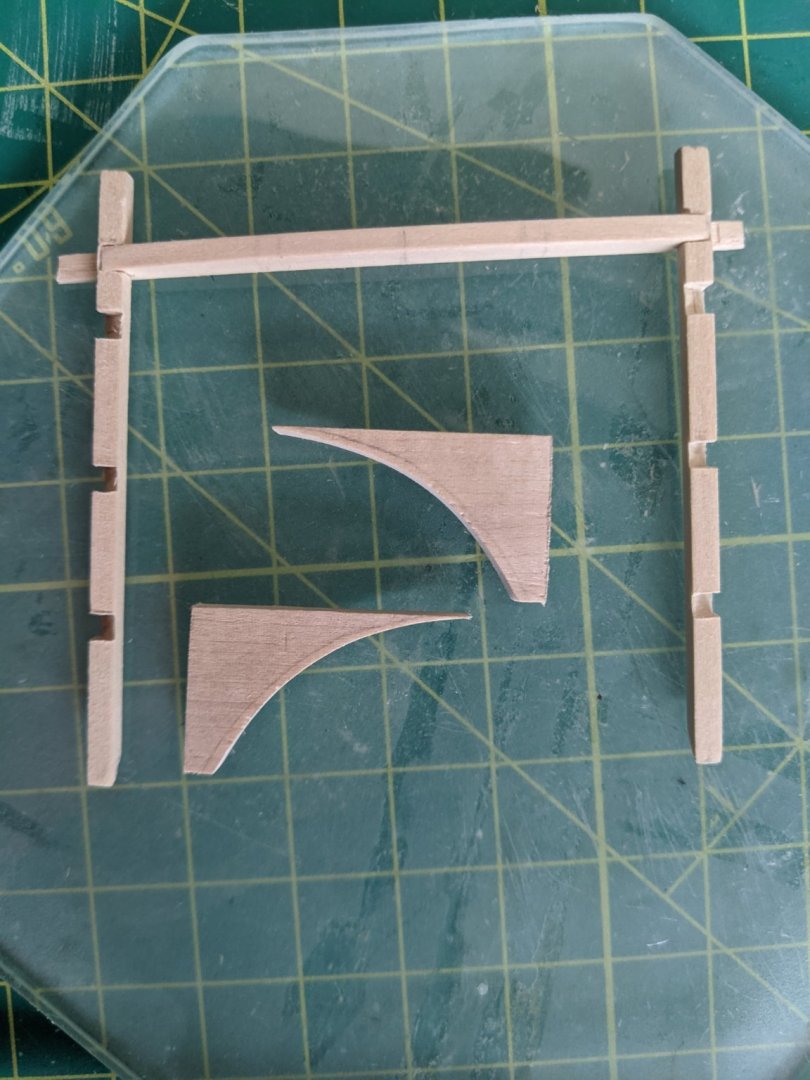
I had some leftover stock with the deck camber sanded onto it that I used for the beams. I use that to cut the cockpit blocking shown below. Worked a treat. Now those will match the deck camber as well. Perfecto.

-
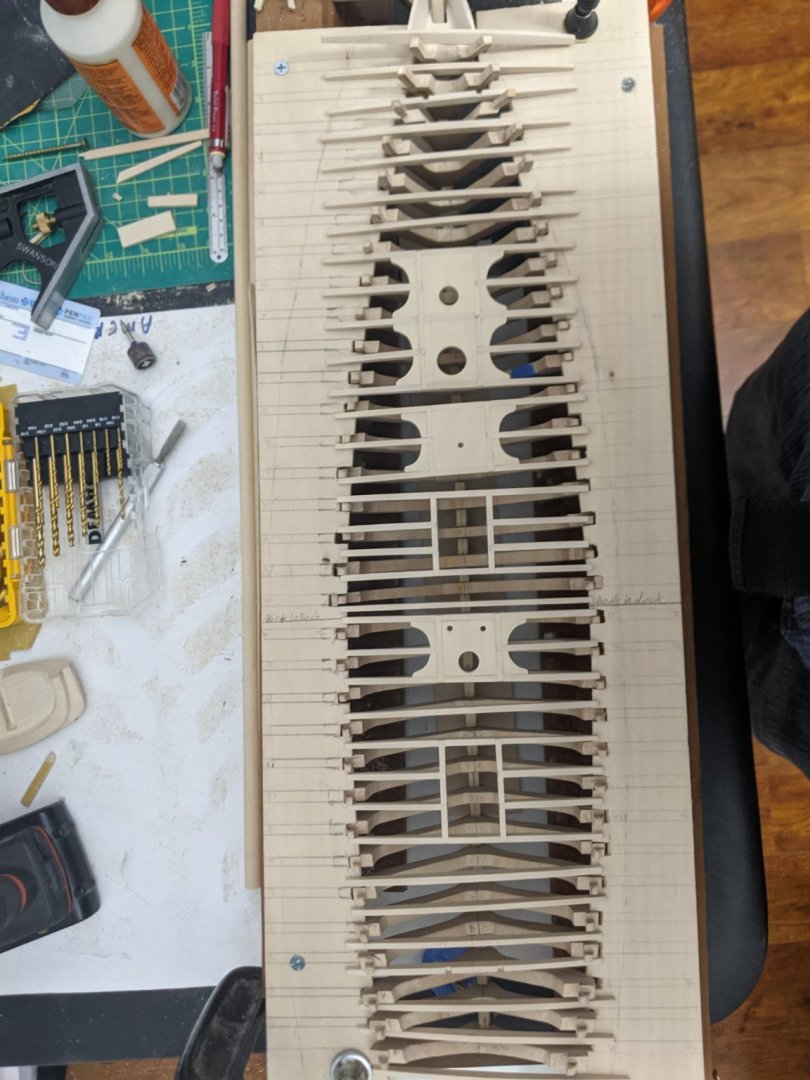
Laid out assemblies and single beams on frames/jig just to get a preview of what's to come.
-
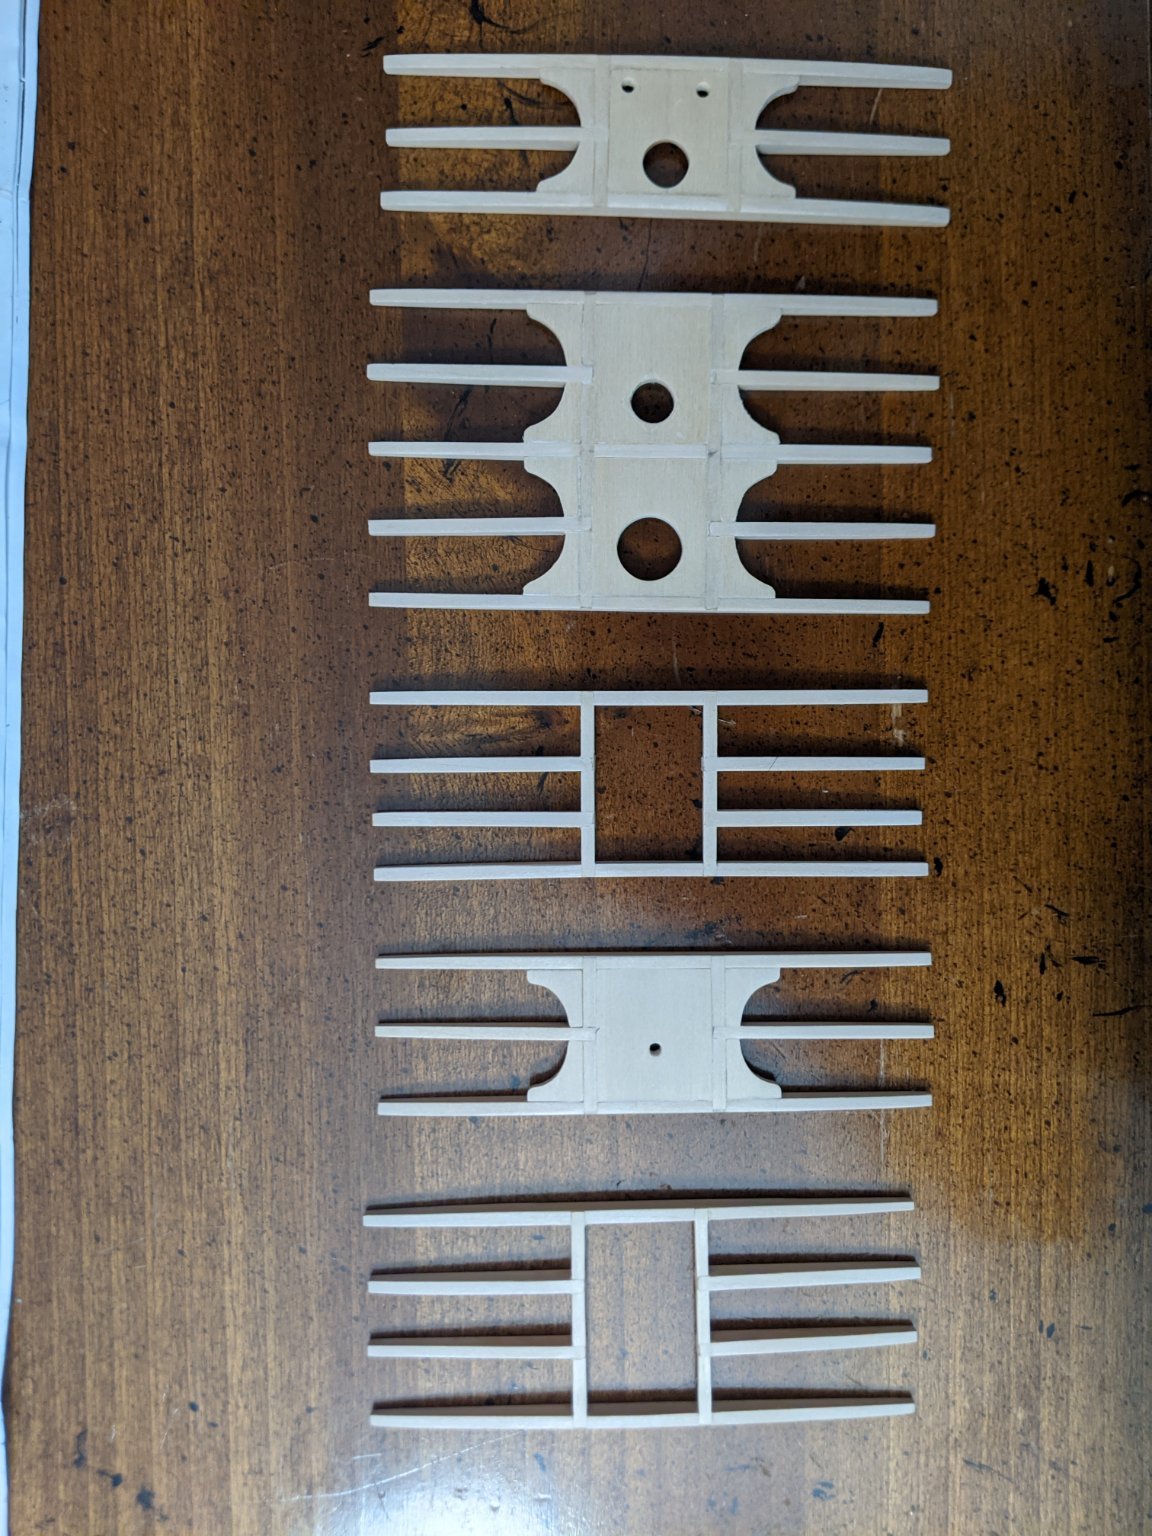
All deck beam assemblies complete, with the exception of the cockpit assembly, which is the most complex one. It is under construction at the moment. Thanks to gsdpic's log, I took extra care drilling and mostly sanding the various holes. Pretty satisfied with the results. I plan on leaving the deck partially unplanked, but do plan to plank the center rows....about as wide as the mast pads.

-
Thanks Juhu and gsdpic. I've studied both your build logs. Especially yours gsdpic...for obvious reasons. I used several of your tips, particularly the graph paper to make the frames symmetrical.
-
Aft skylight assembly completed.
-
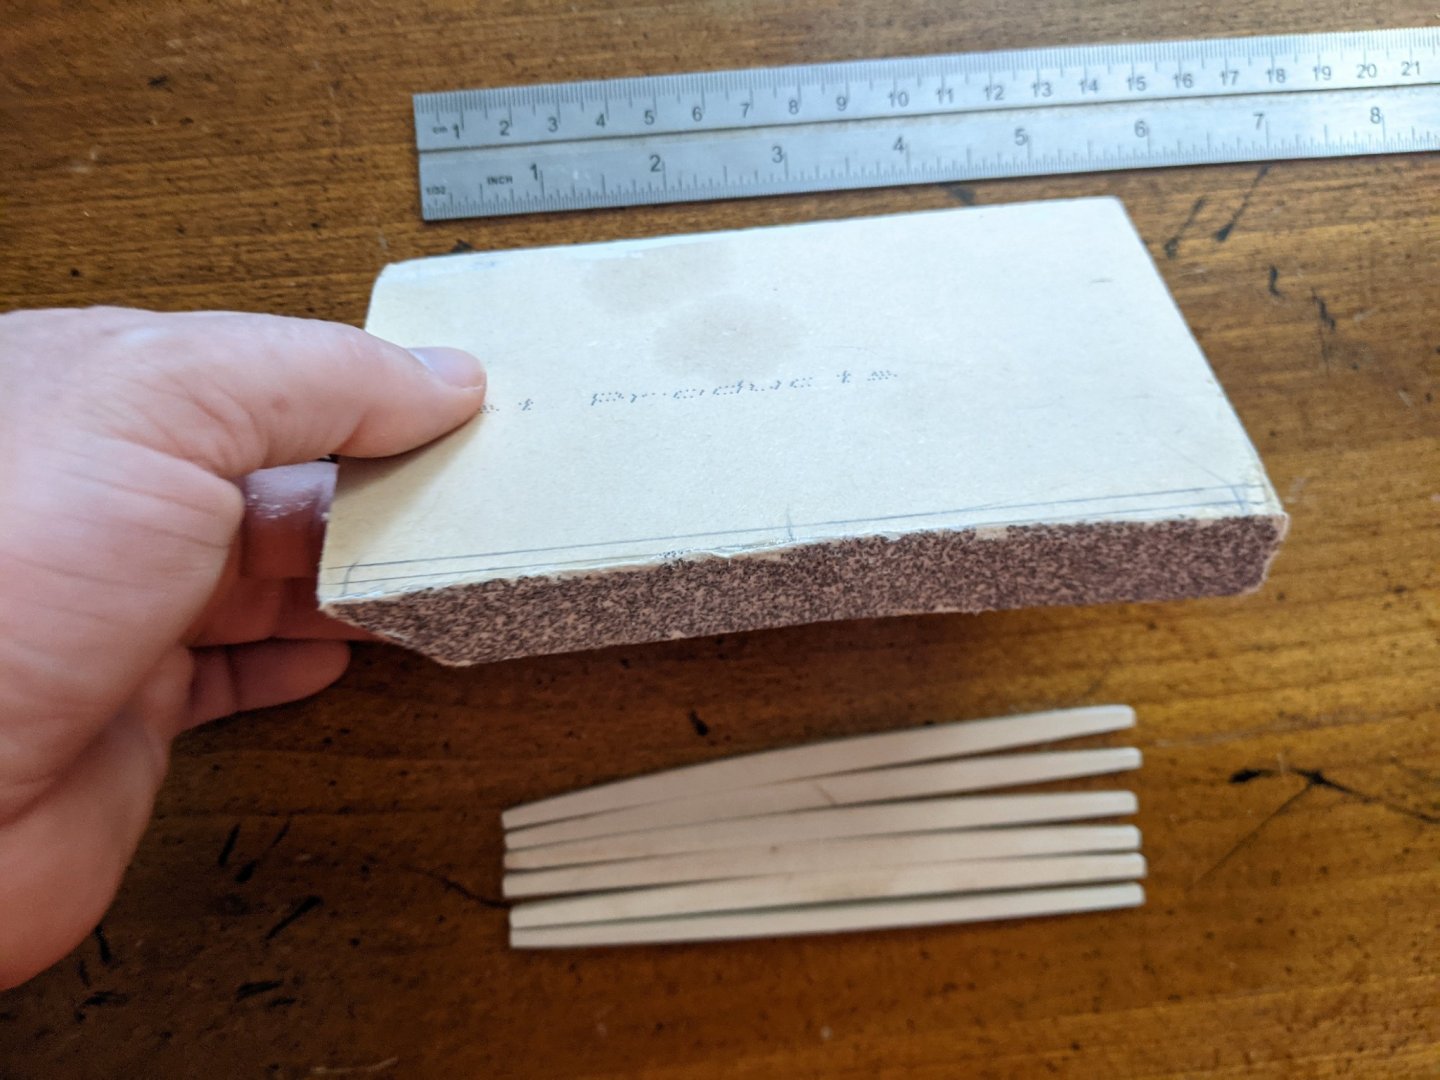
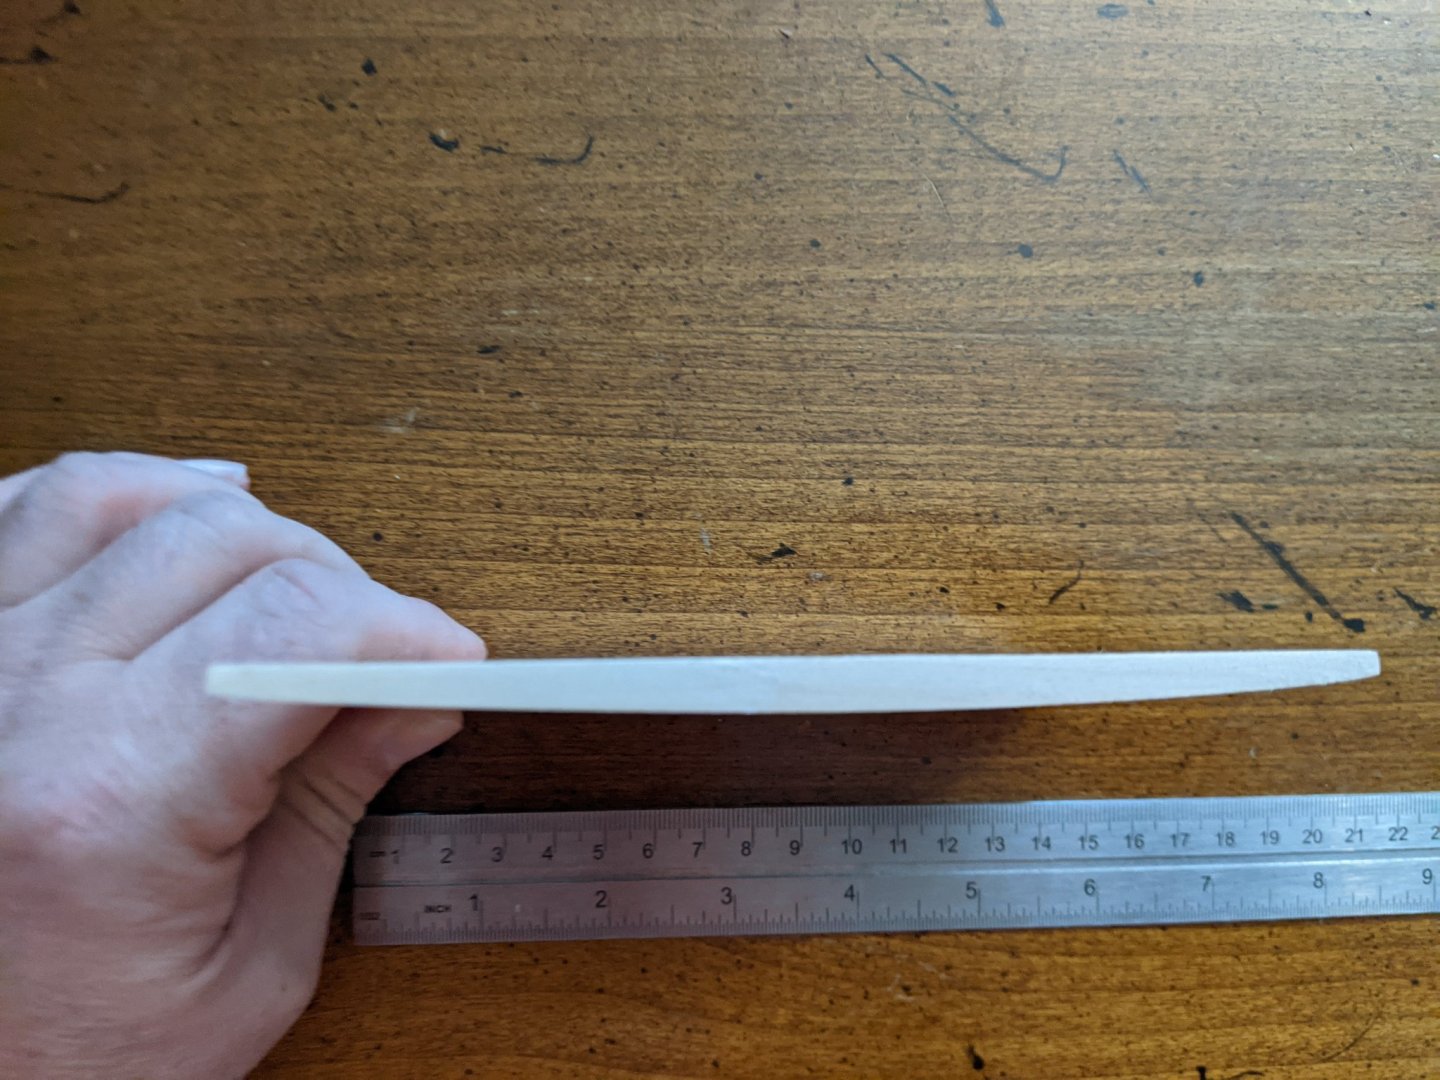
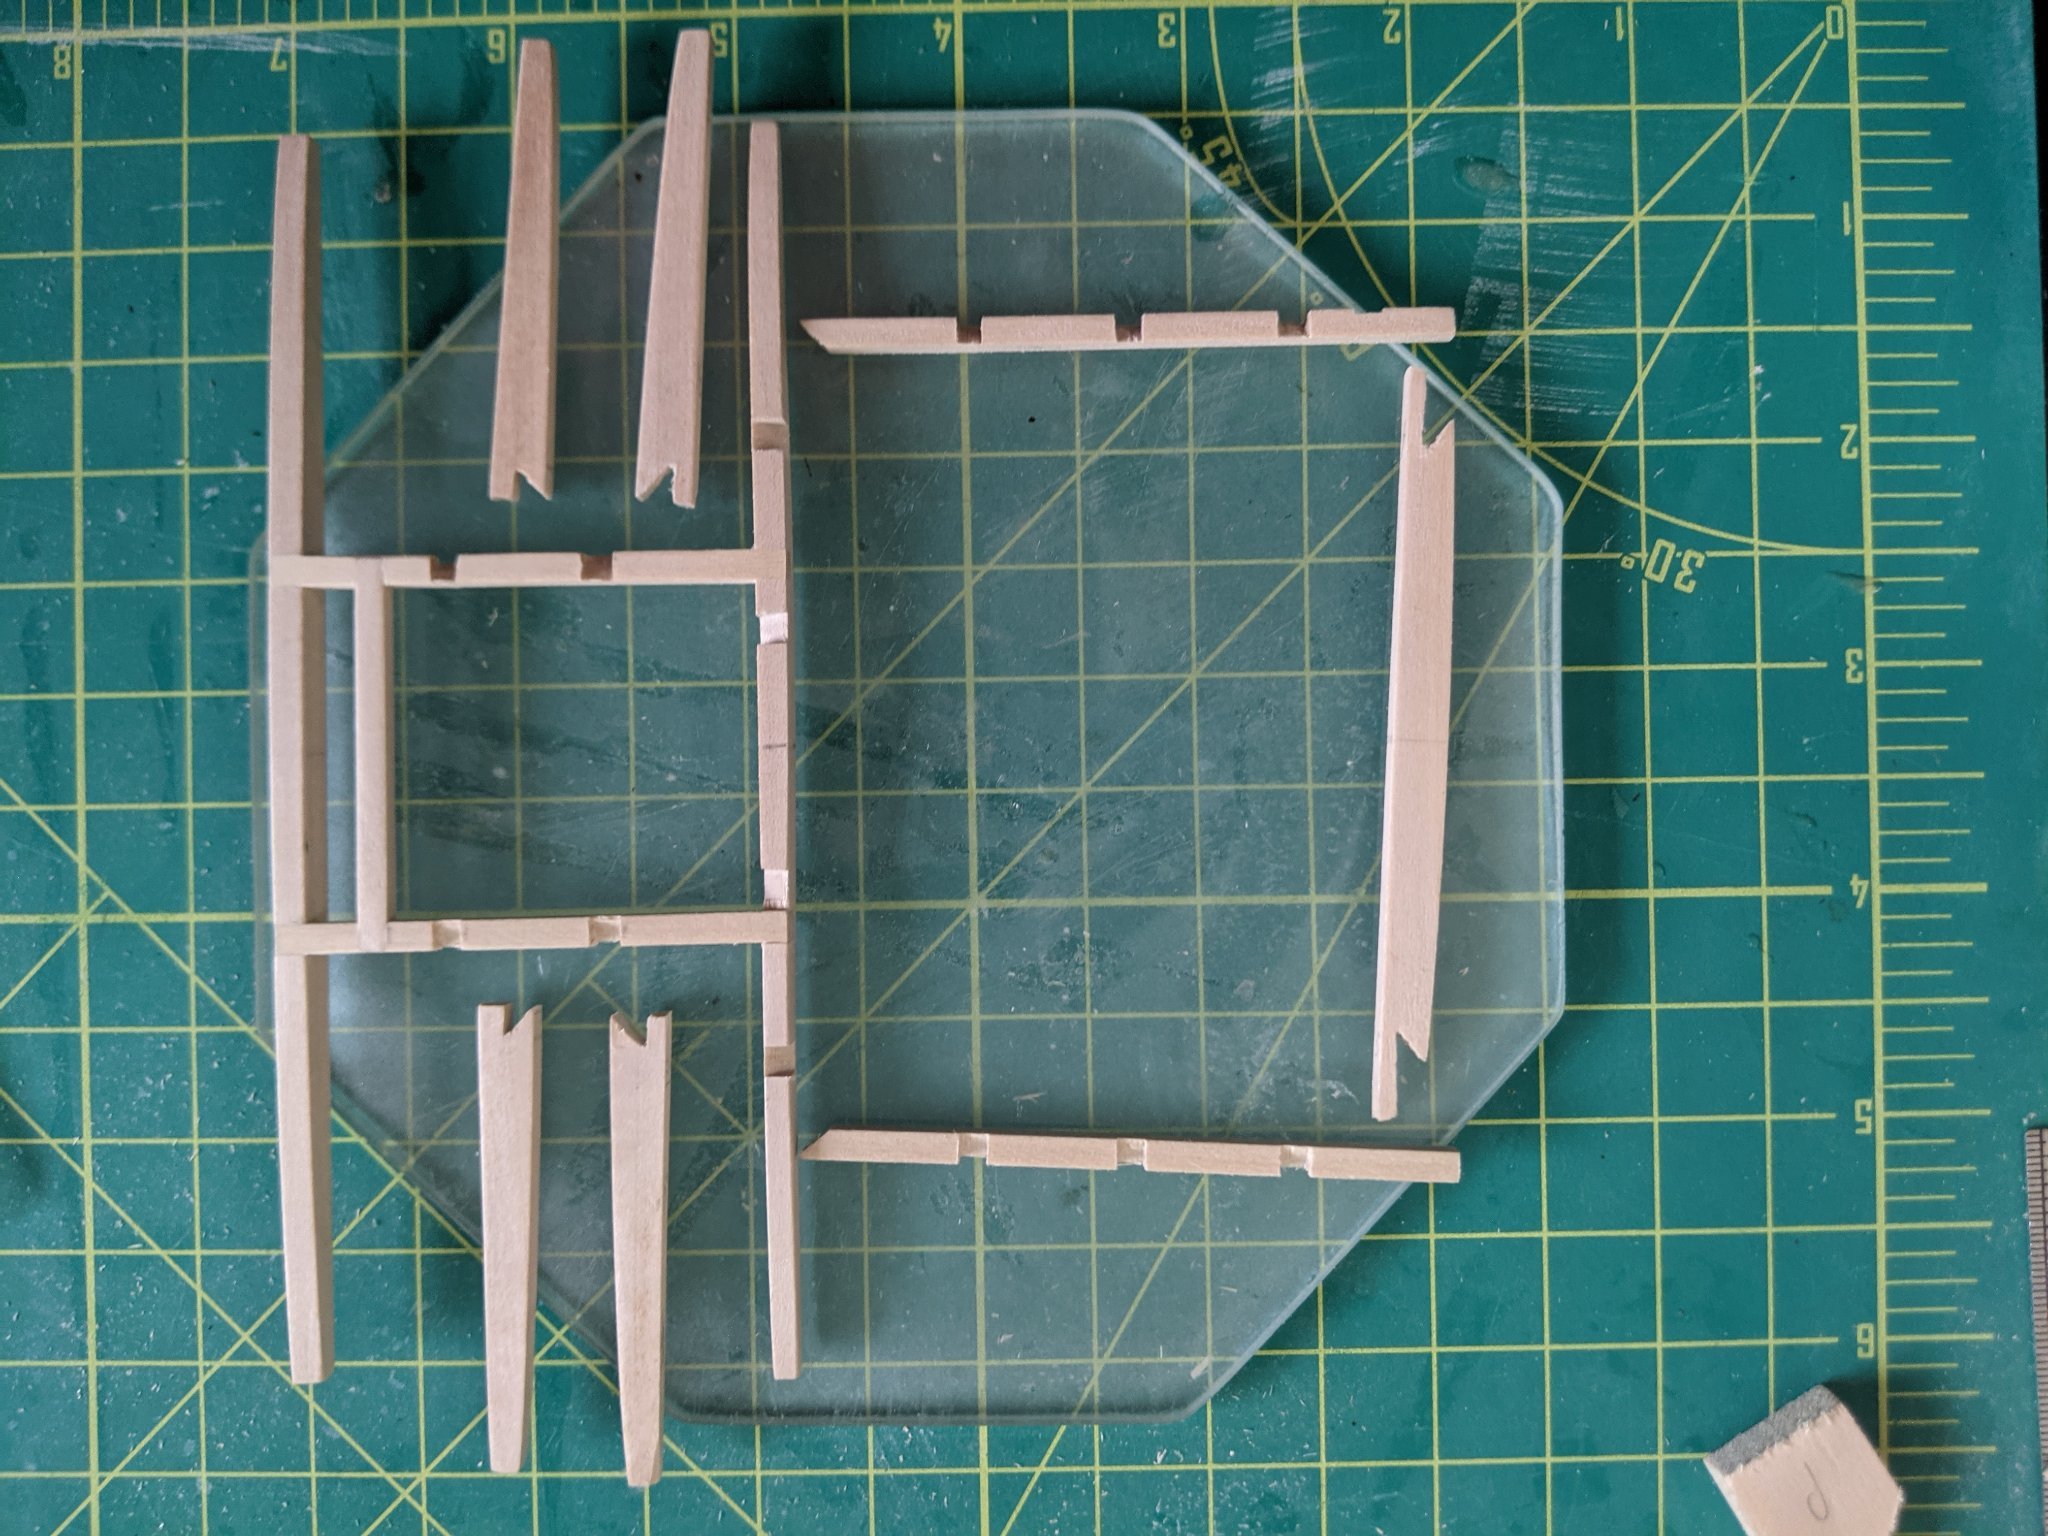
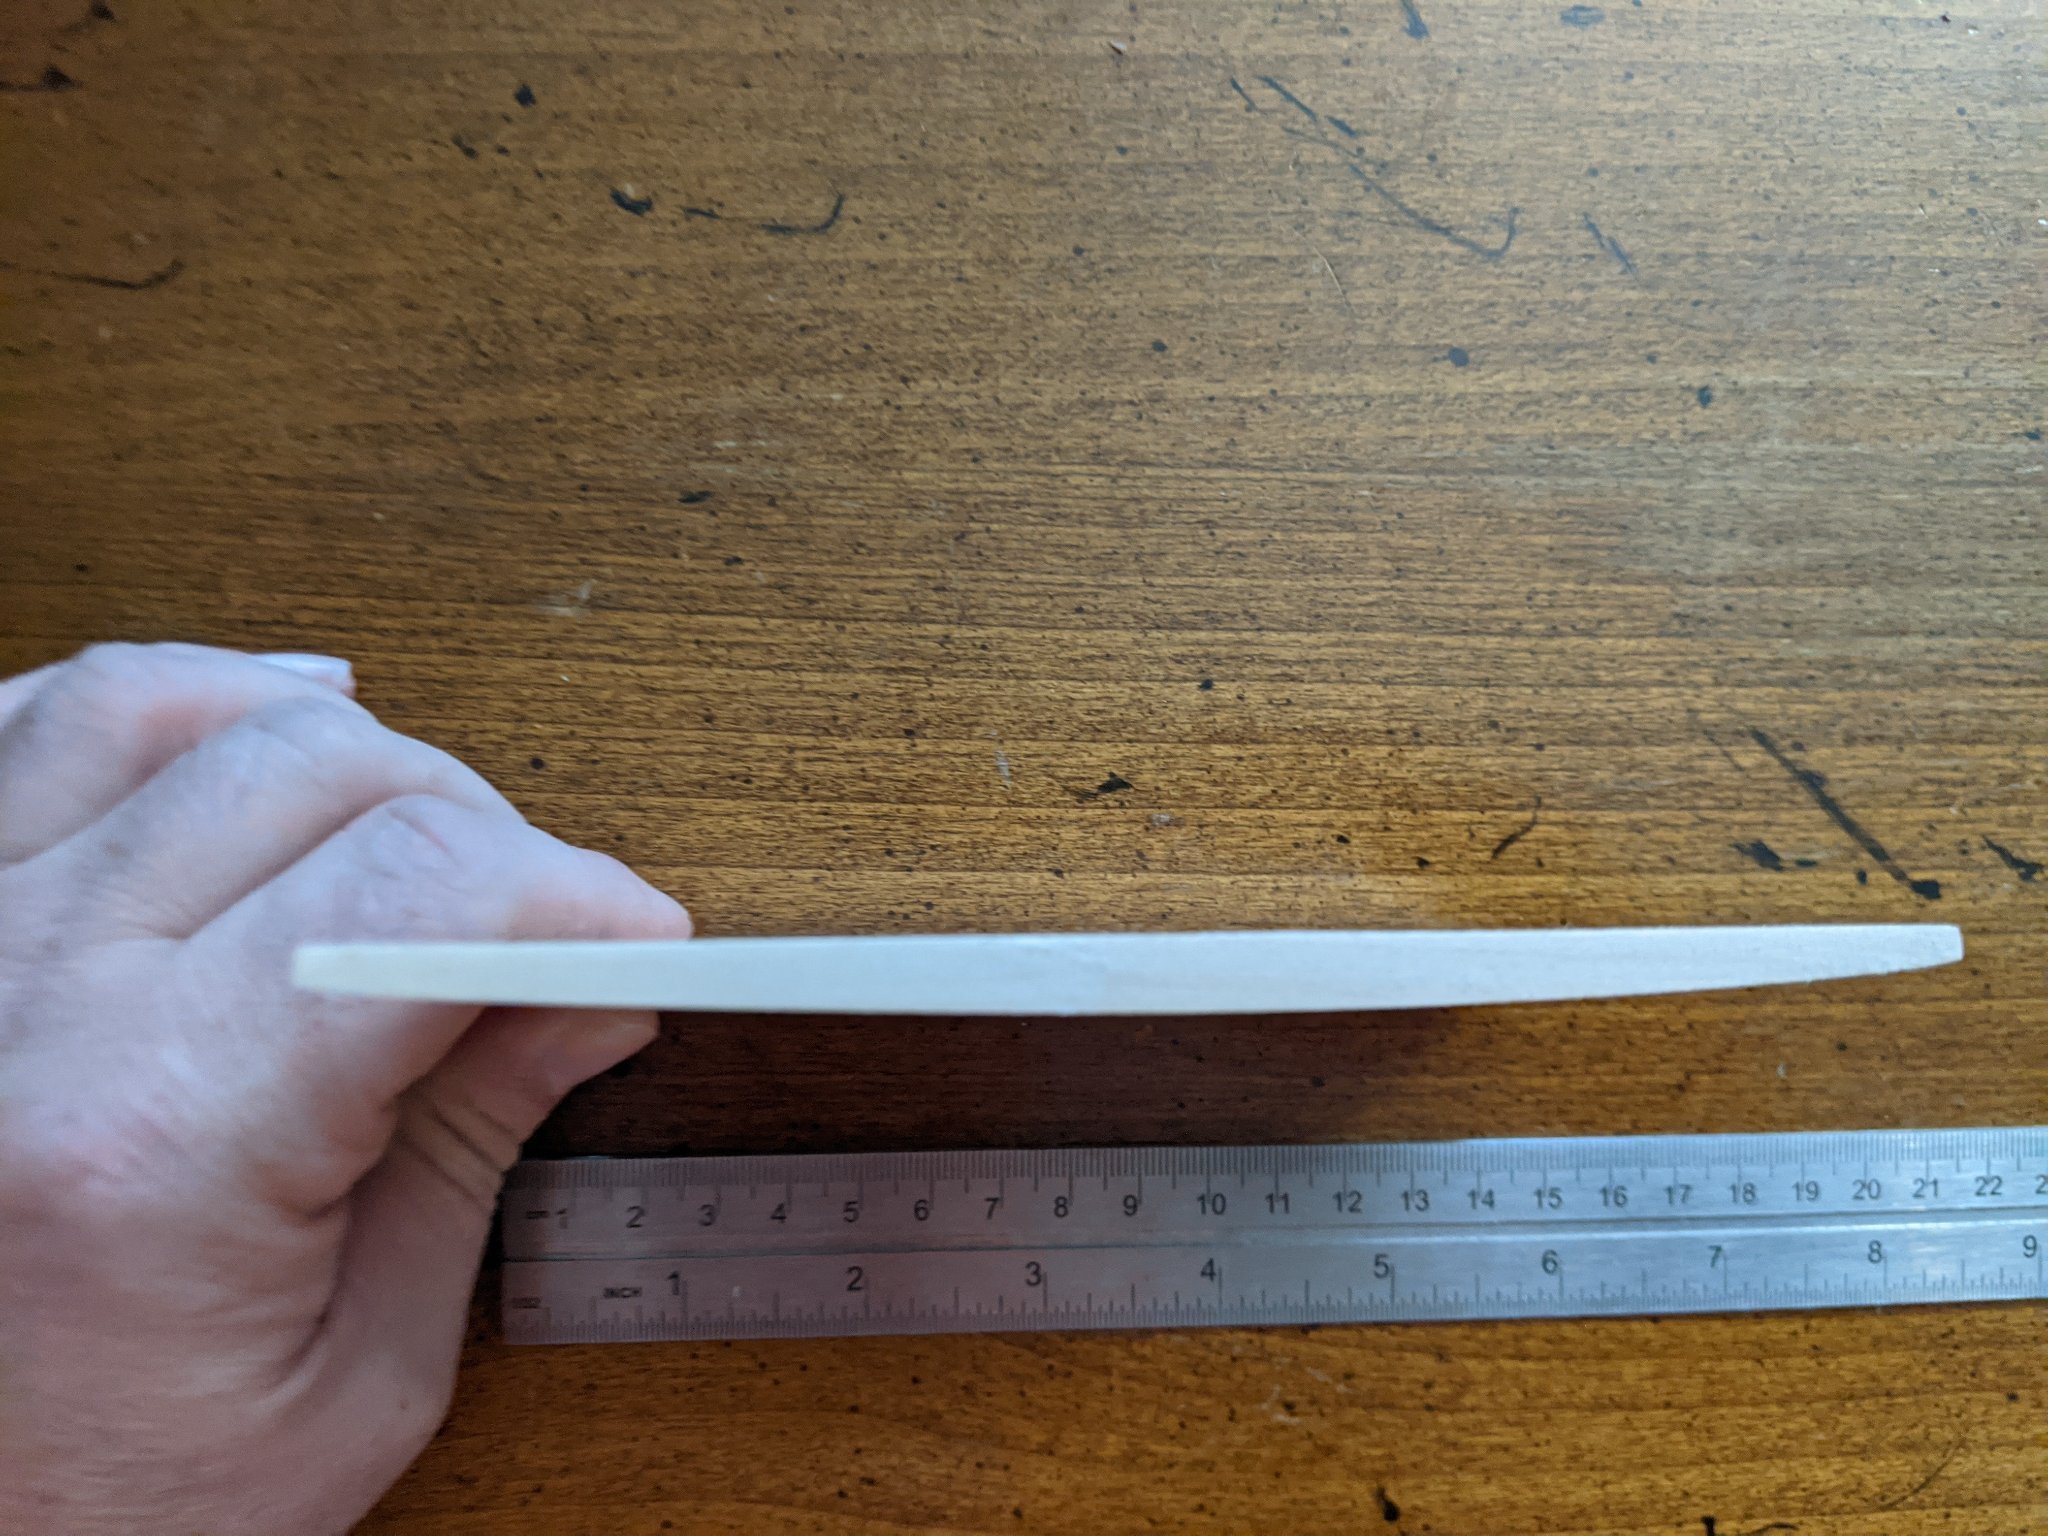
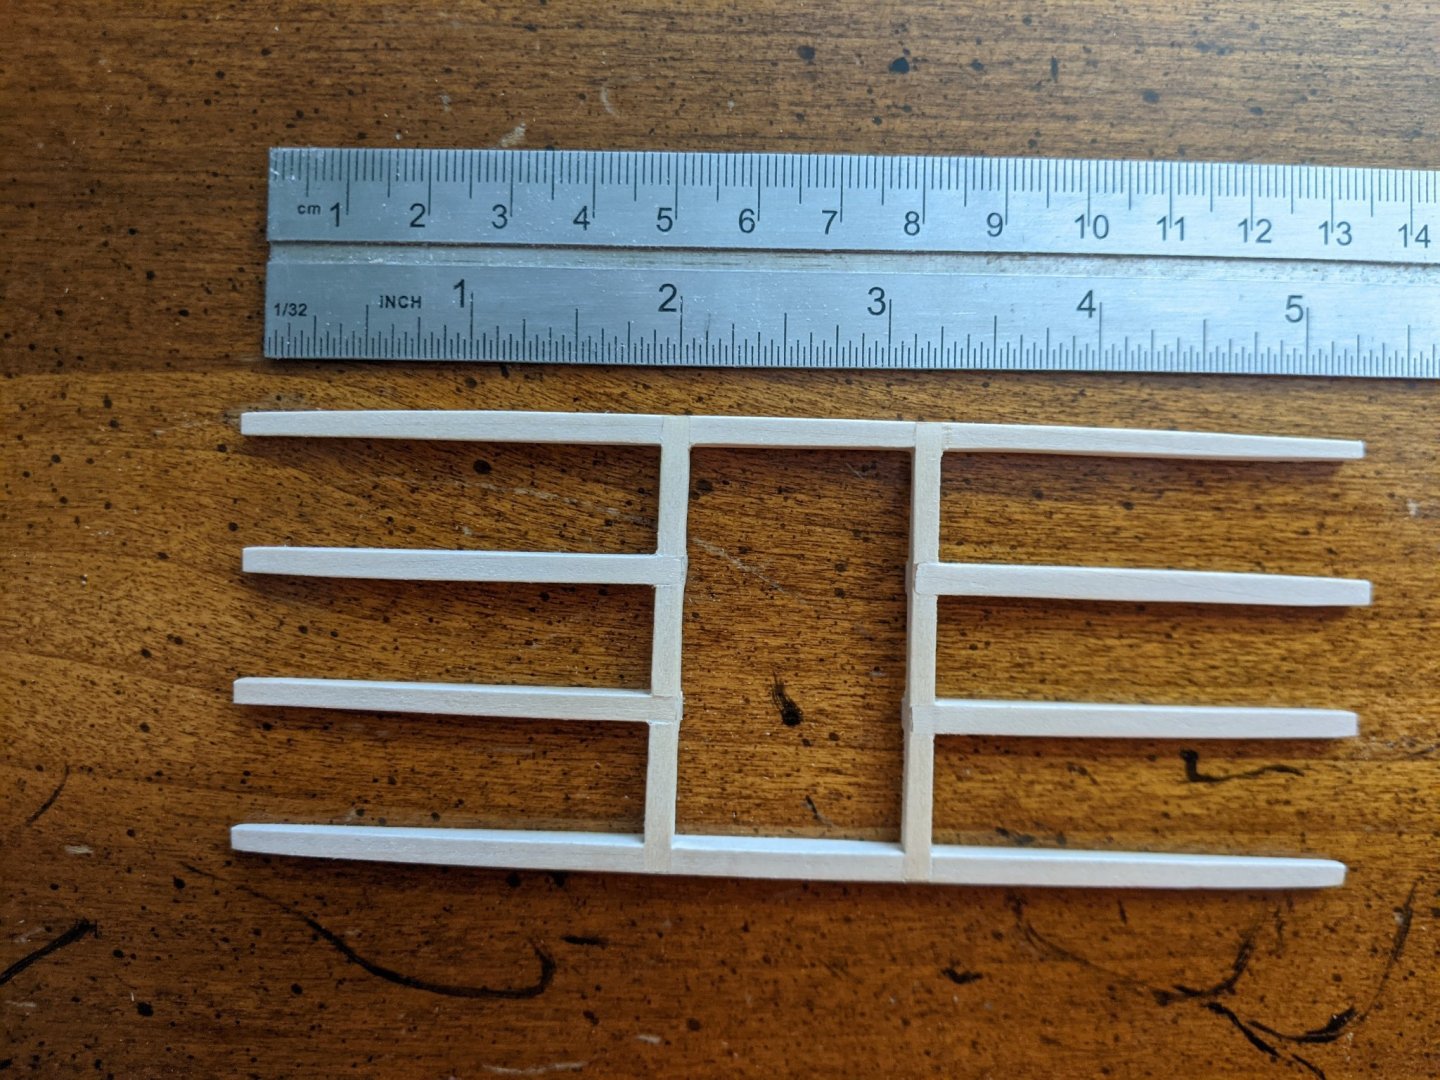
Progress: deck beams and assemblies for partners/hatches/etc. I created a sanding block with the deck camber curve to shape the 1/4"x2" stock that was glued edge to edge. I then cut 1/8" beam widths. Worked beautifully.