Hi everyone. This is my first build though I’ve been making architecture models for years from basswood and chipboard. I’m excited to dive into the ultimate model making arena! As a newbie, the amazing instructions and photos for the Syren kit made the decision easy for me. Also the great build logs here are a fantastic reference for learning, and I’ll try and do a few details differently on my Syren to keep things interesting. The kit arrived on Feb. 24 and here’s progress so far:
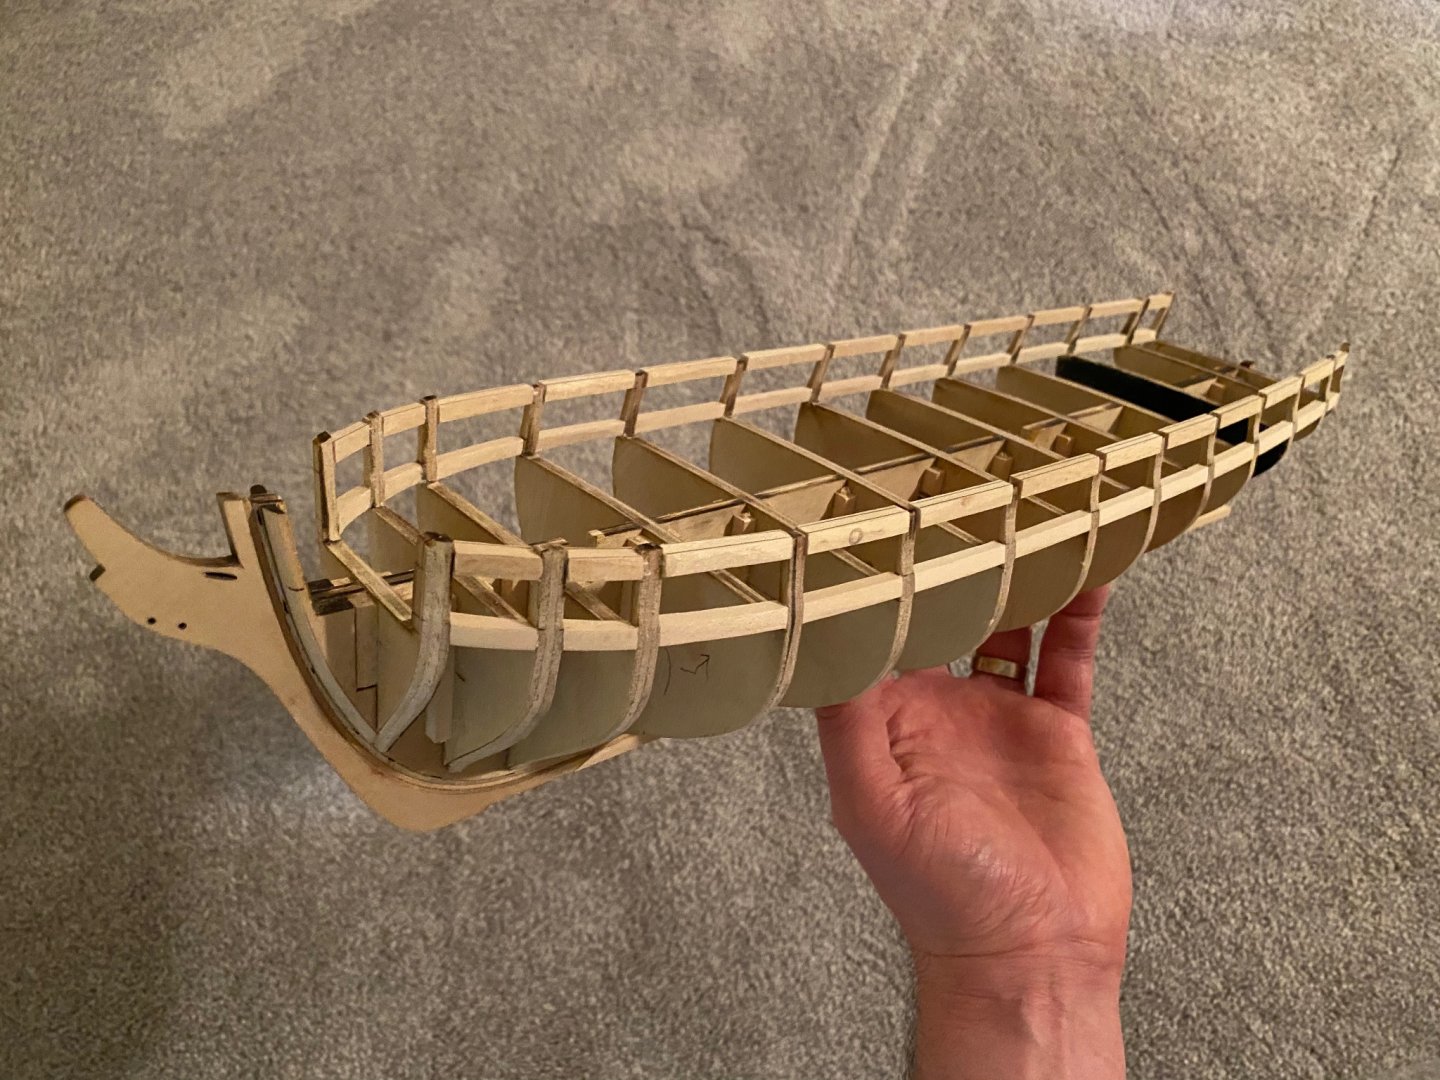
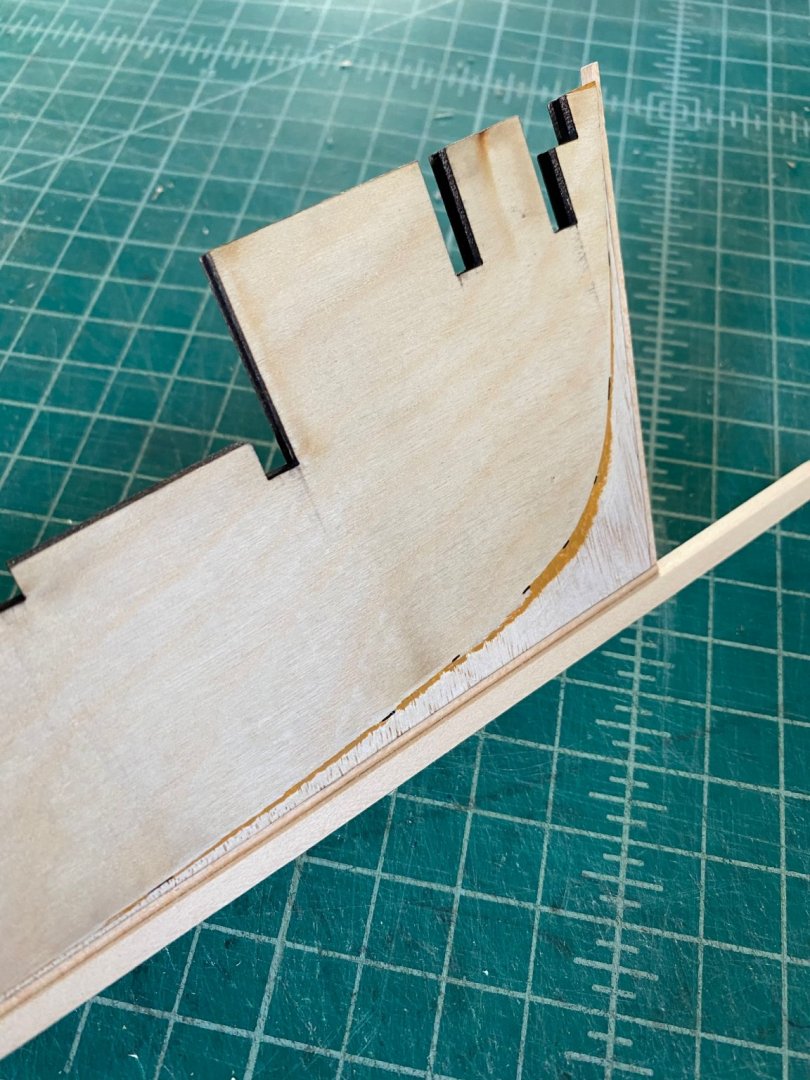
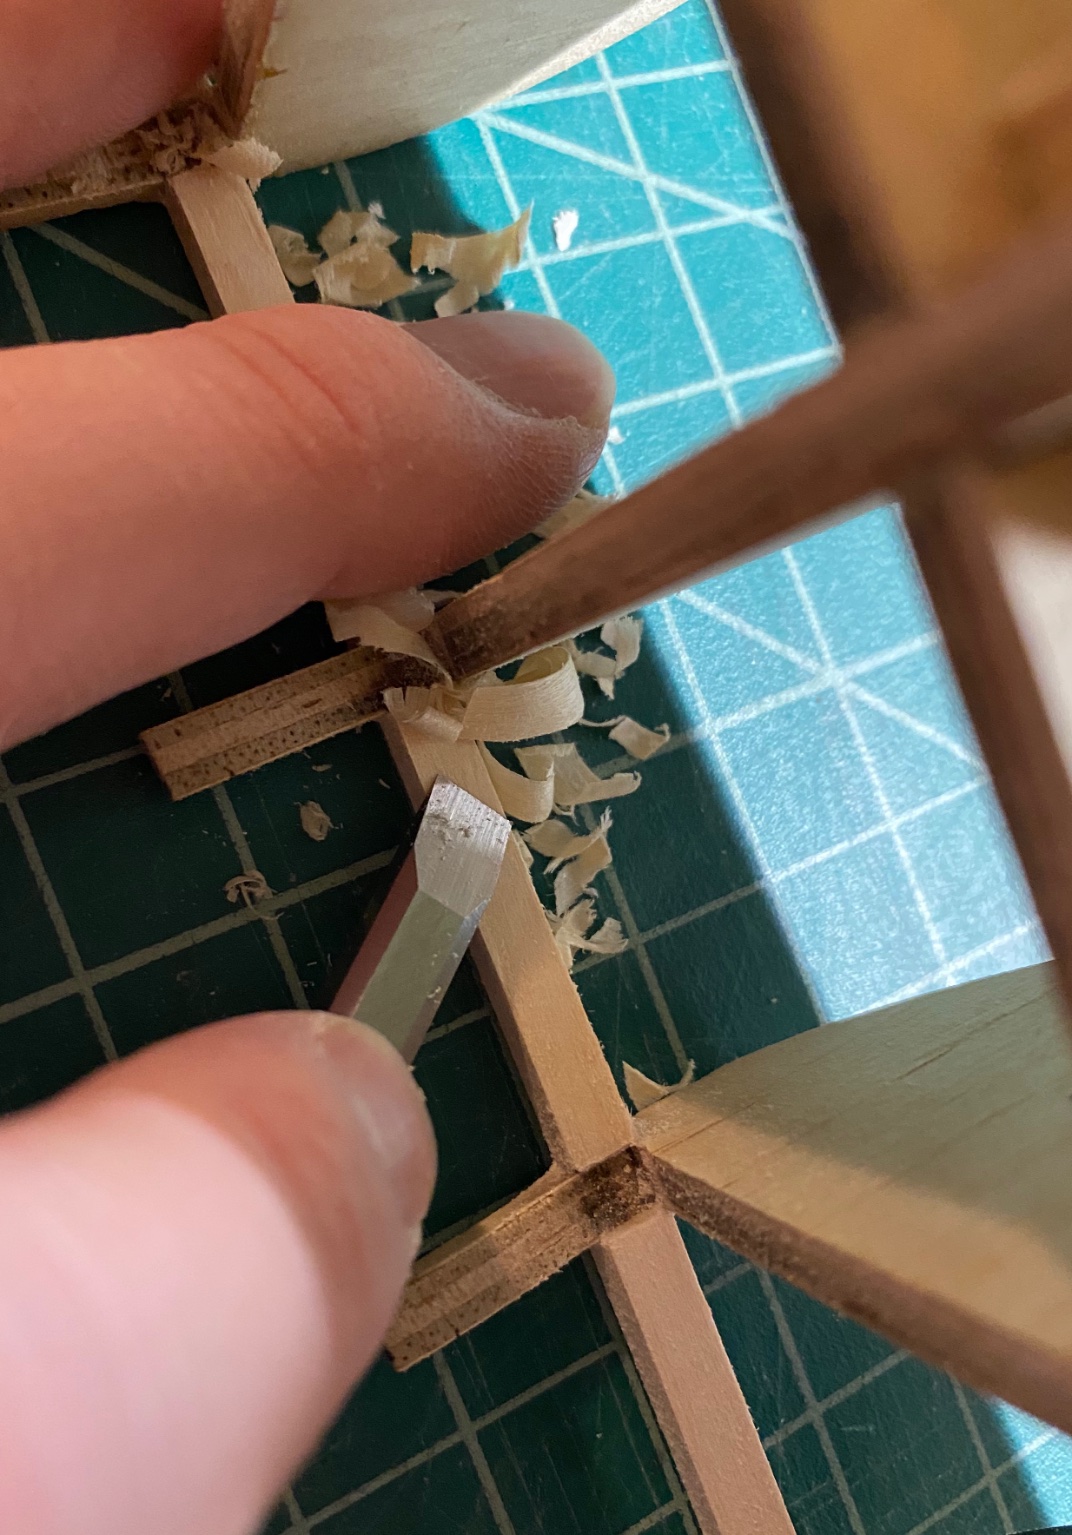
I carved the rabbet with a 1/4” chisel, sanded down, and glued the keel to the bulkhead former (had to sand this down to align with the lasercut stem piece at the bow). I carved the edges of the bulkheads where needed with a #11 blade close held close to the thumb (similar to cutting a small piece of fruit)
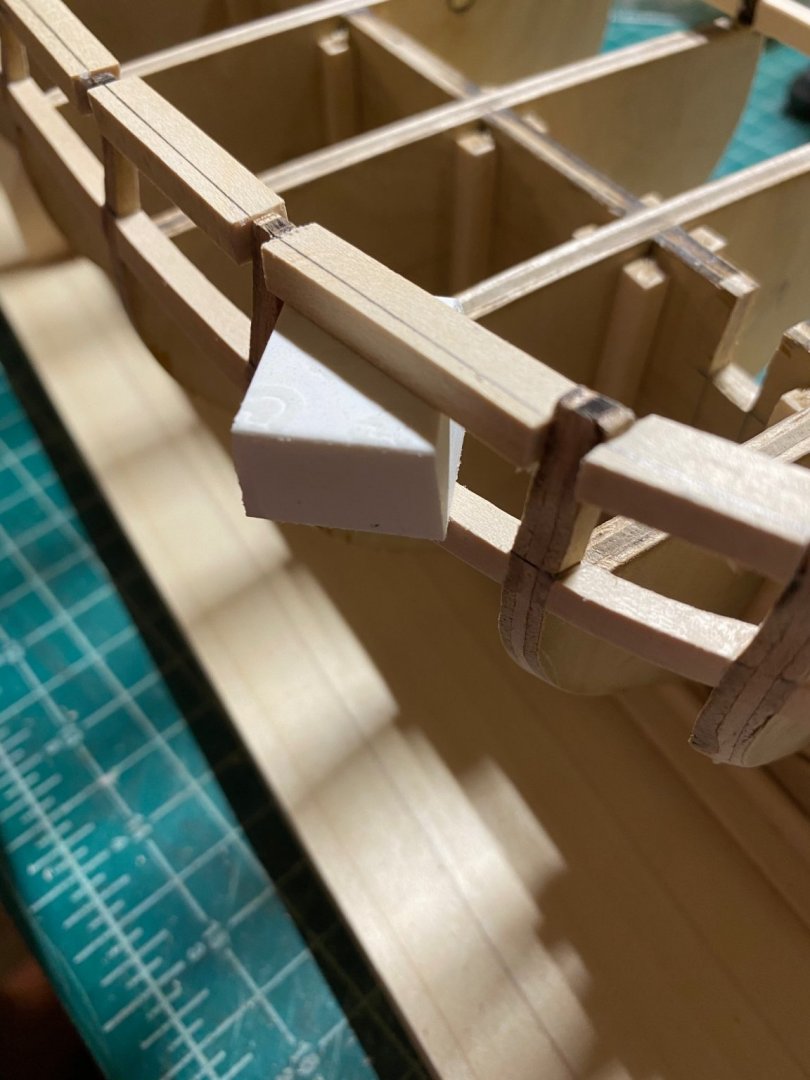
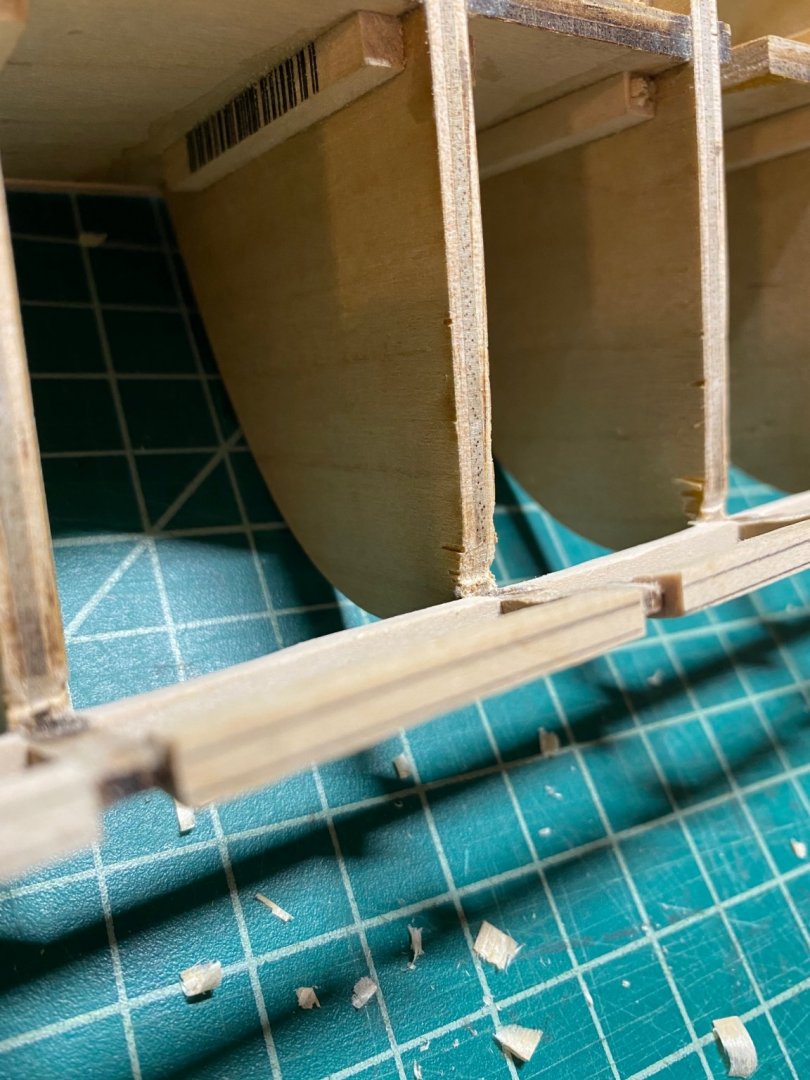
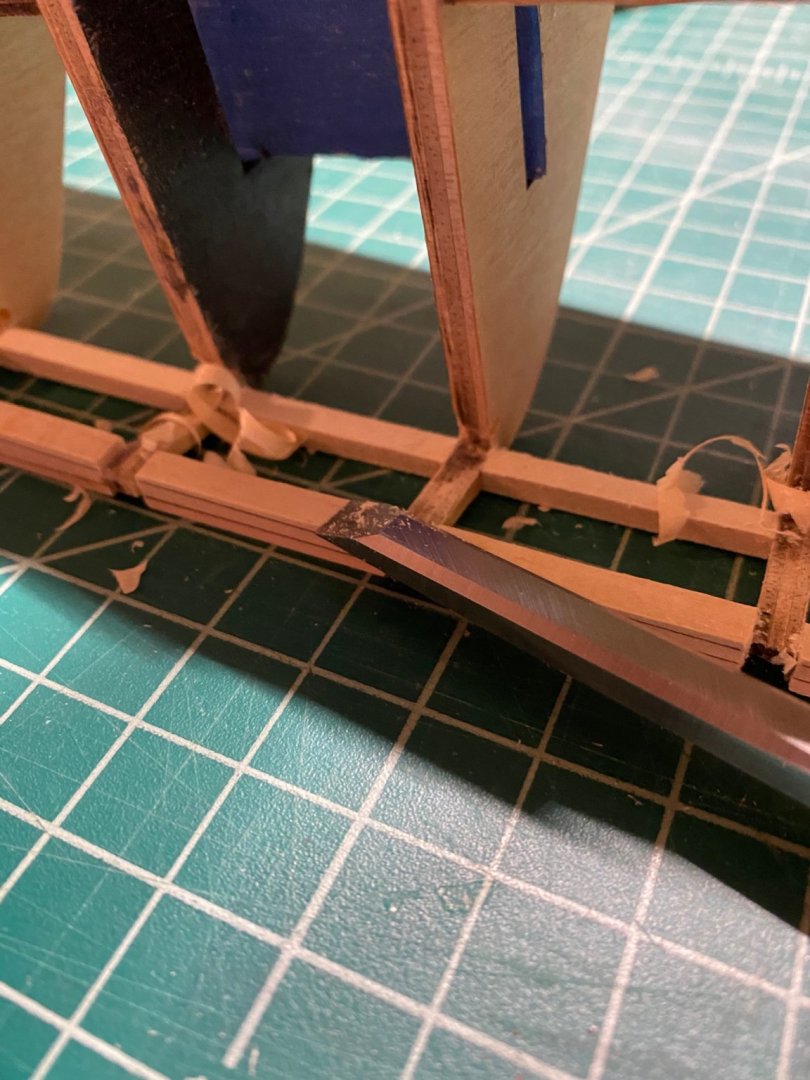
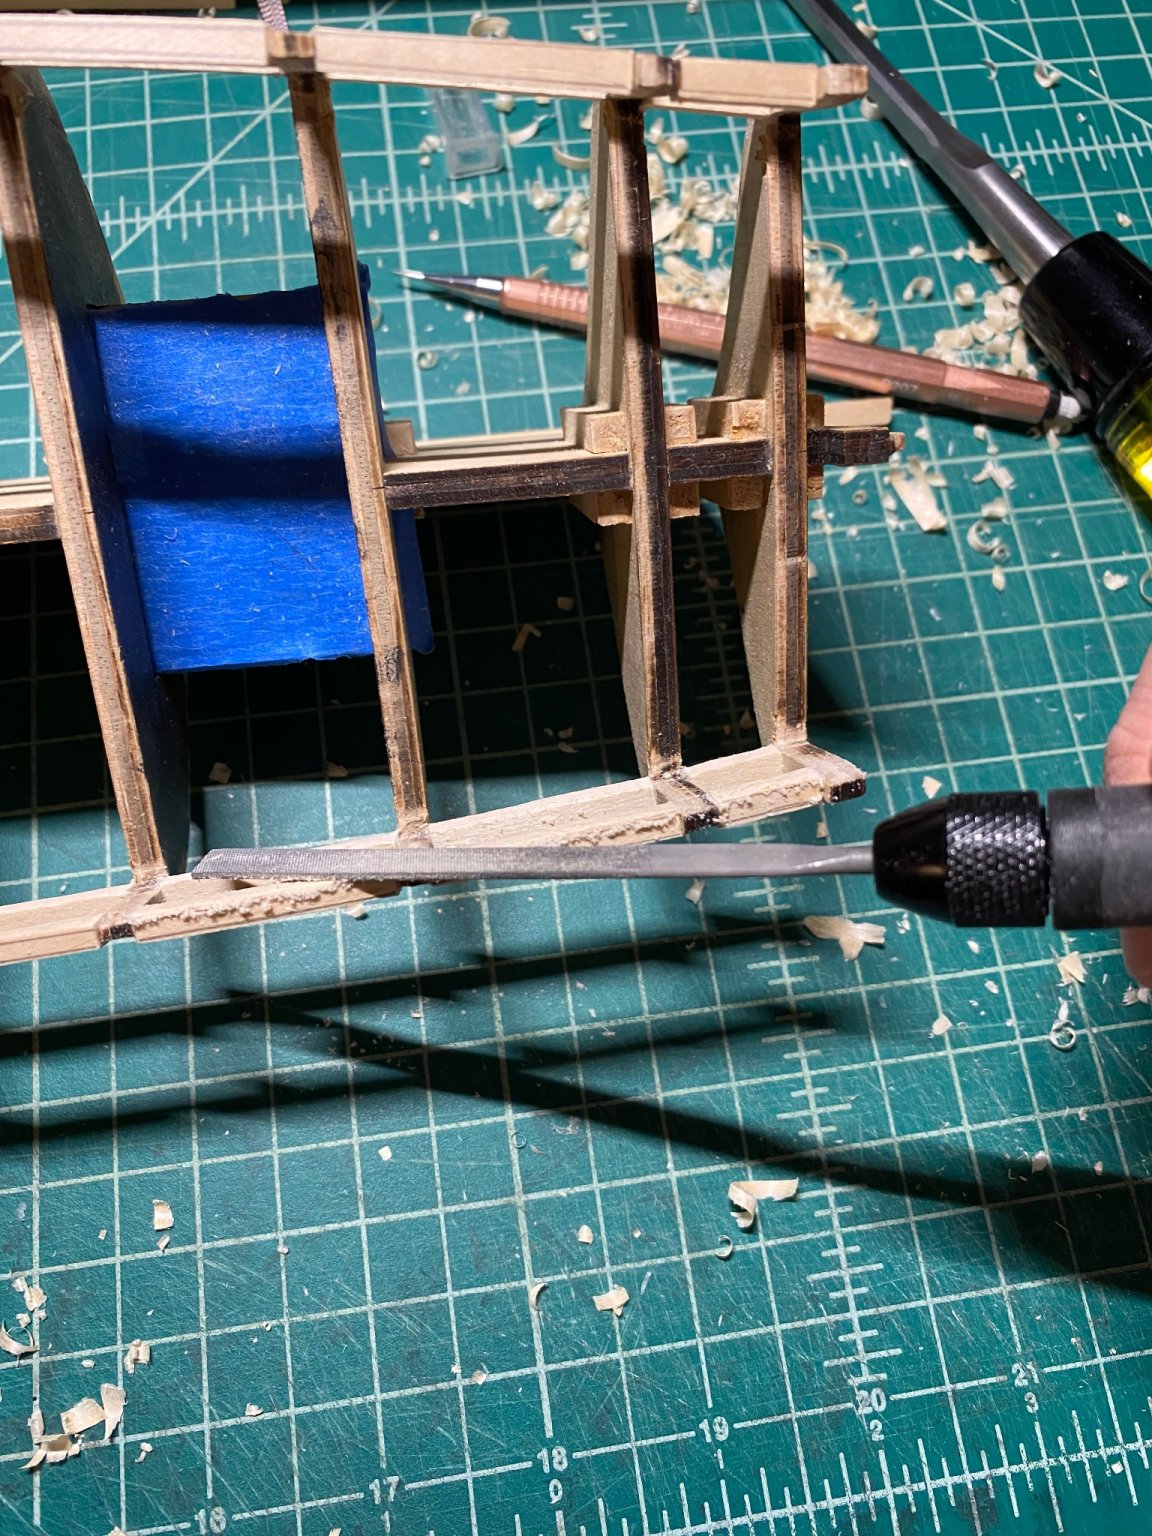
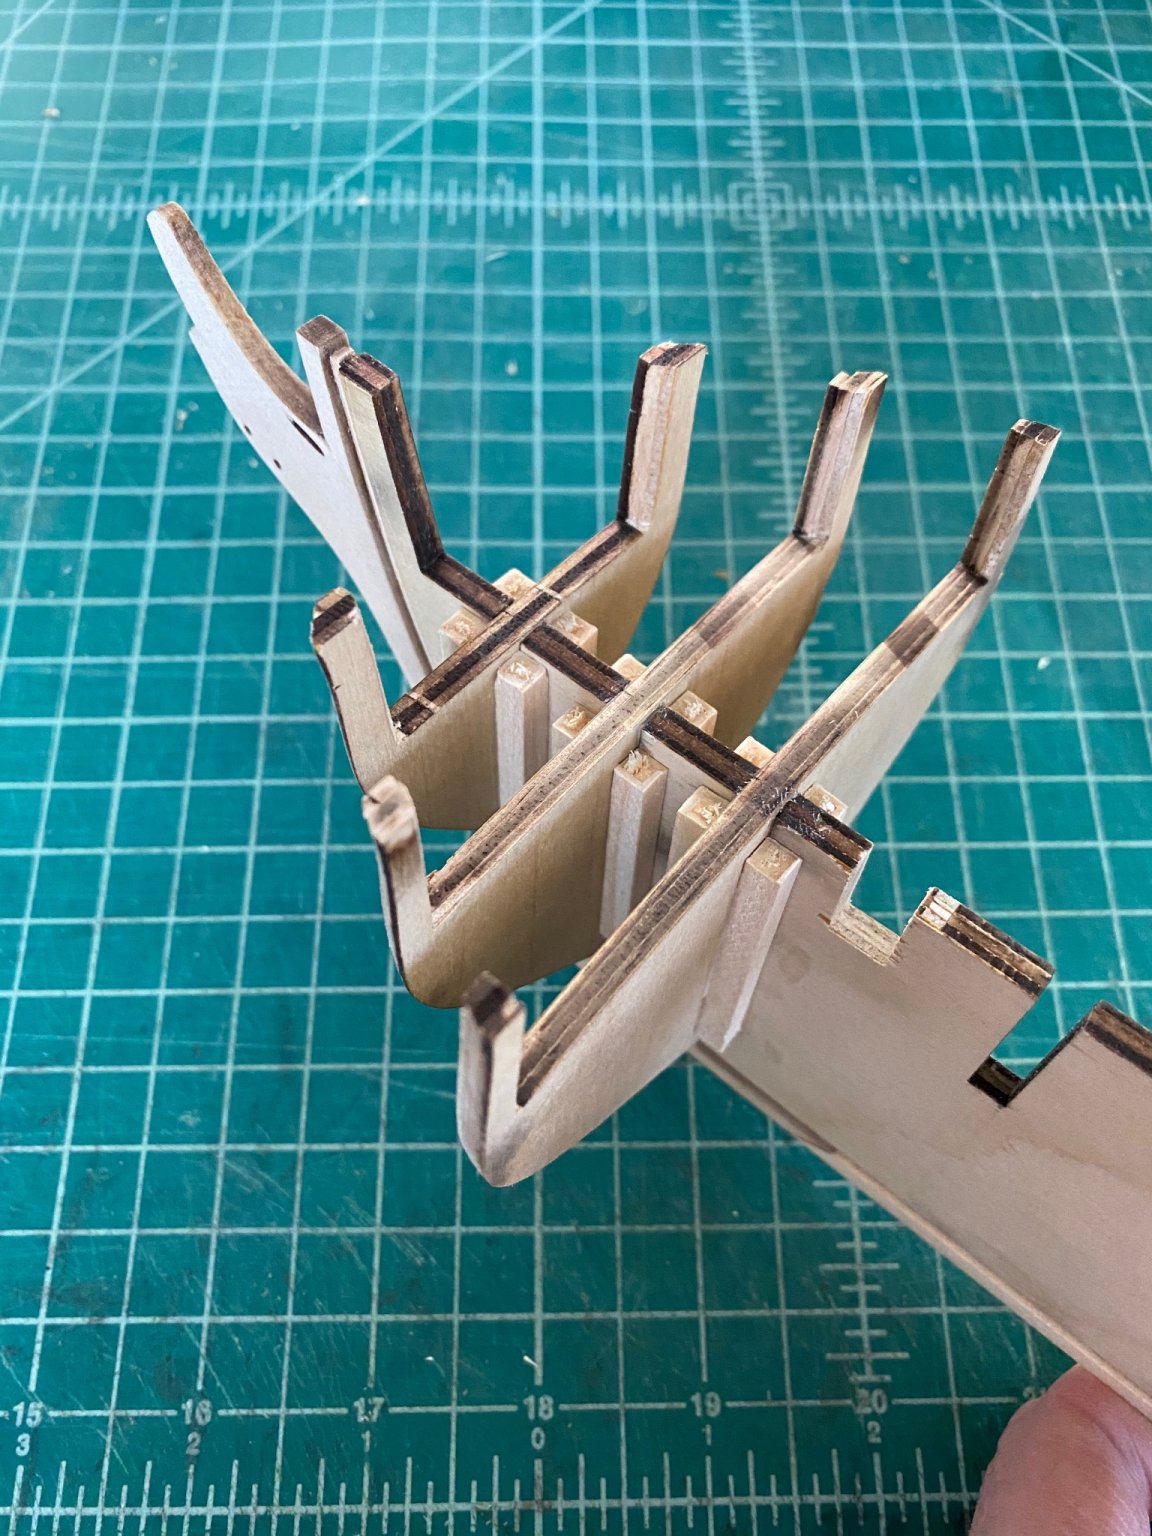
For assembling the bulkheads I’m going to try something different. I don’t have any power tools for filler blocks but I feel good about this method- using a blade to score 4 sides and snap extra 1/4” basswood I glued 4 corner braces at the same time as the bulkhead itself (increasing 4 surfaces of glue to 12). Pressing with both hands it locked in quick enough that clamps were not needed. All the kit pieces were already flat and square so this allowed me to save some time.
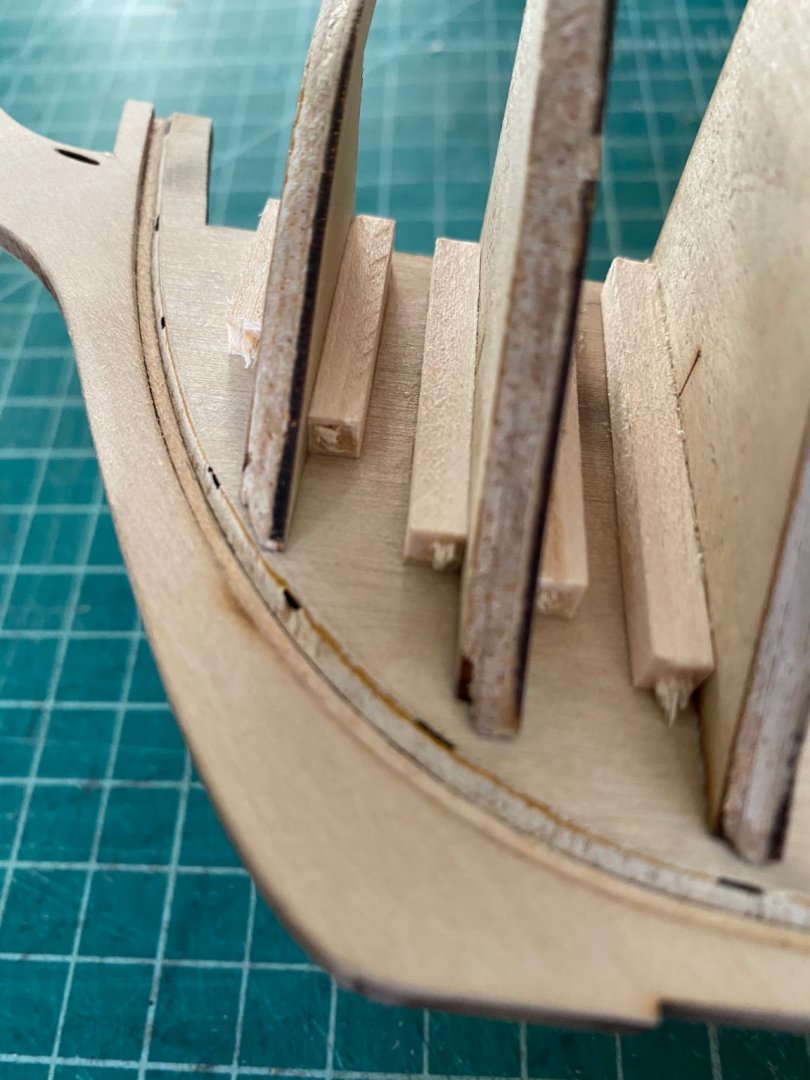
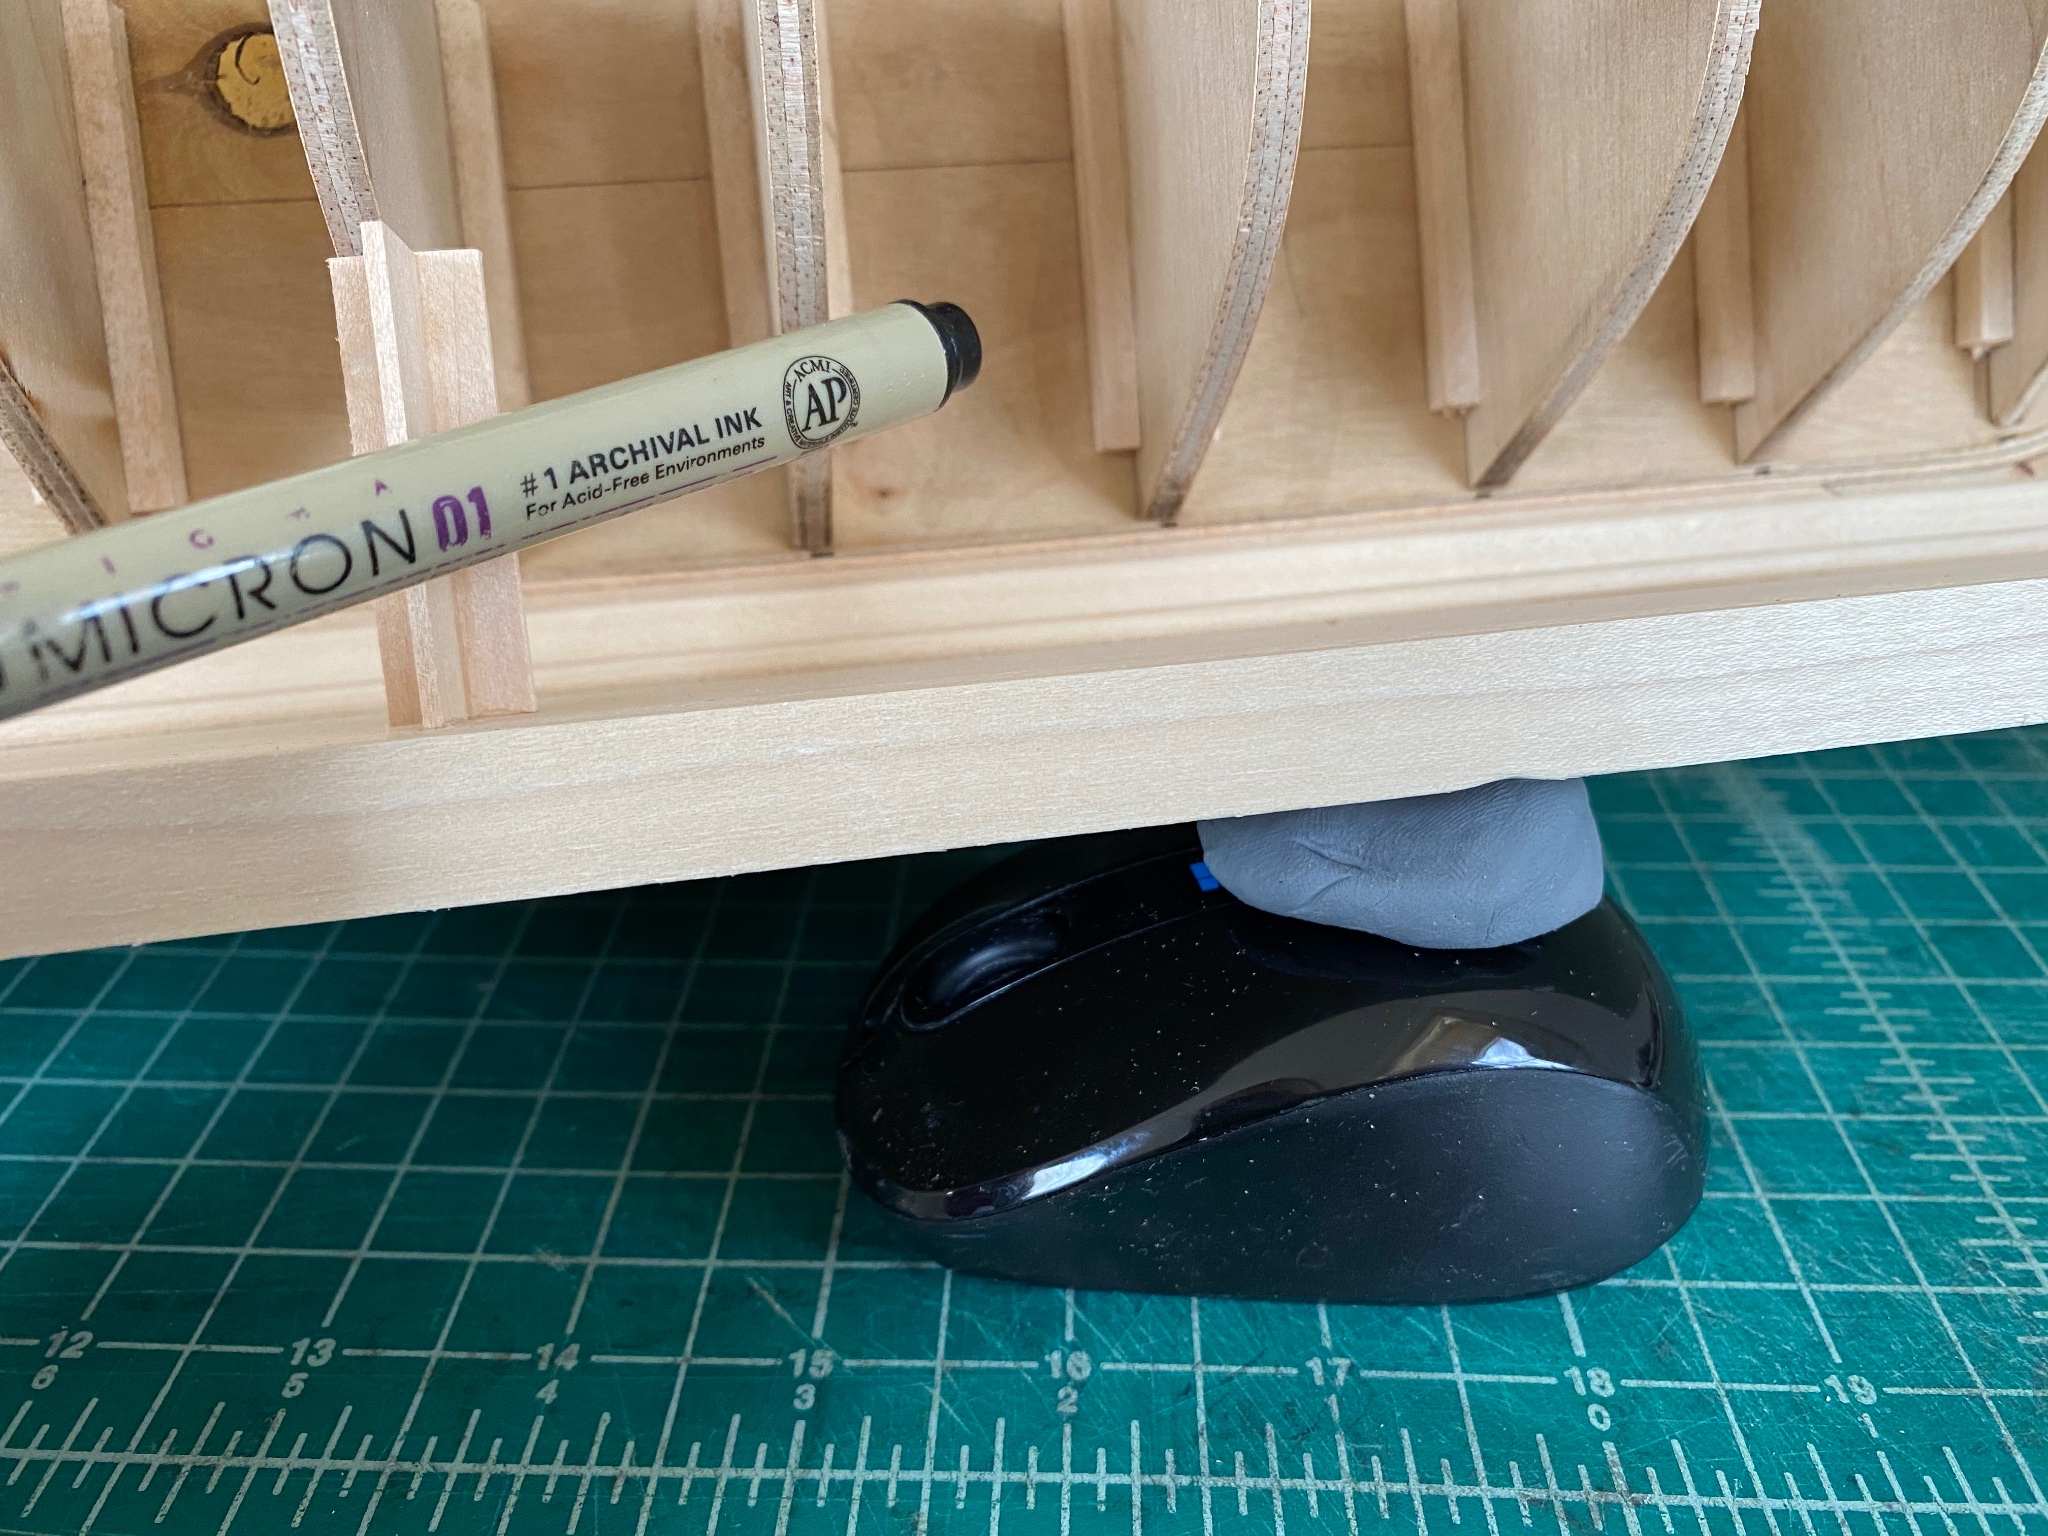
I faired the hull with angled foam sanding blocks and used extra basswood strips to define the sill of the gun ports. I used mini clothespin clamps on every other bulkhead, and then added a tiny dab of clue at the others - enough to hold it in to mark and then twist off. I found the micron marker to be very precise for the edges.
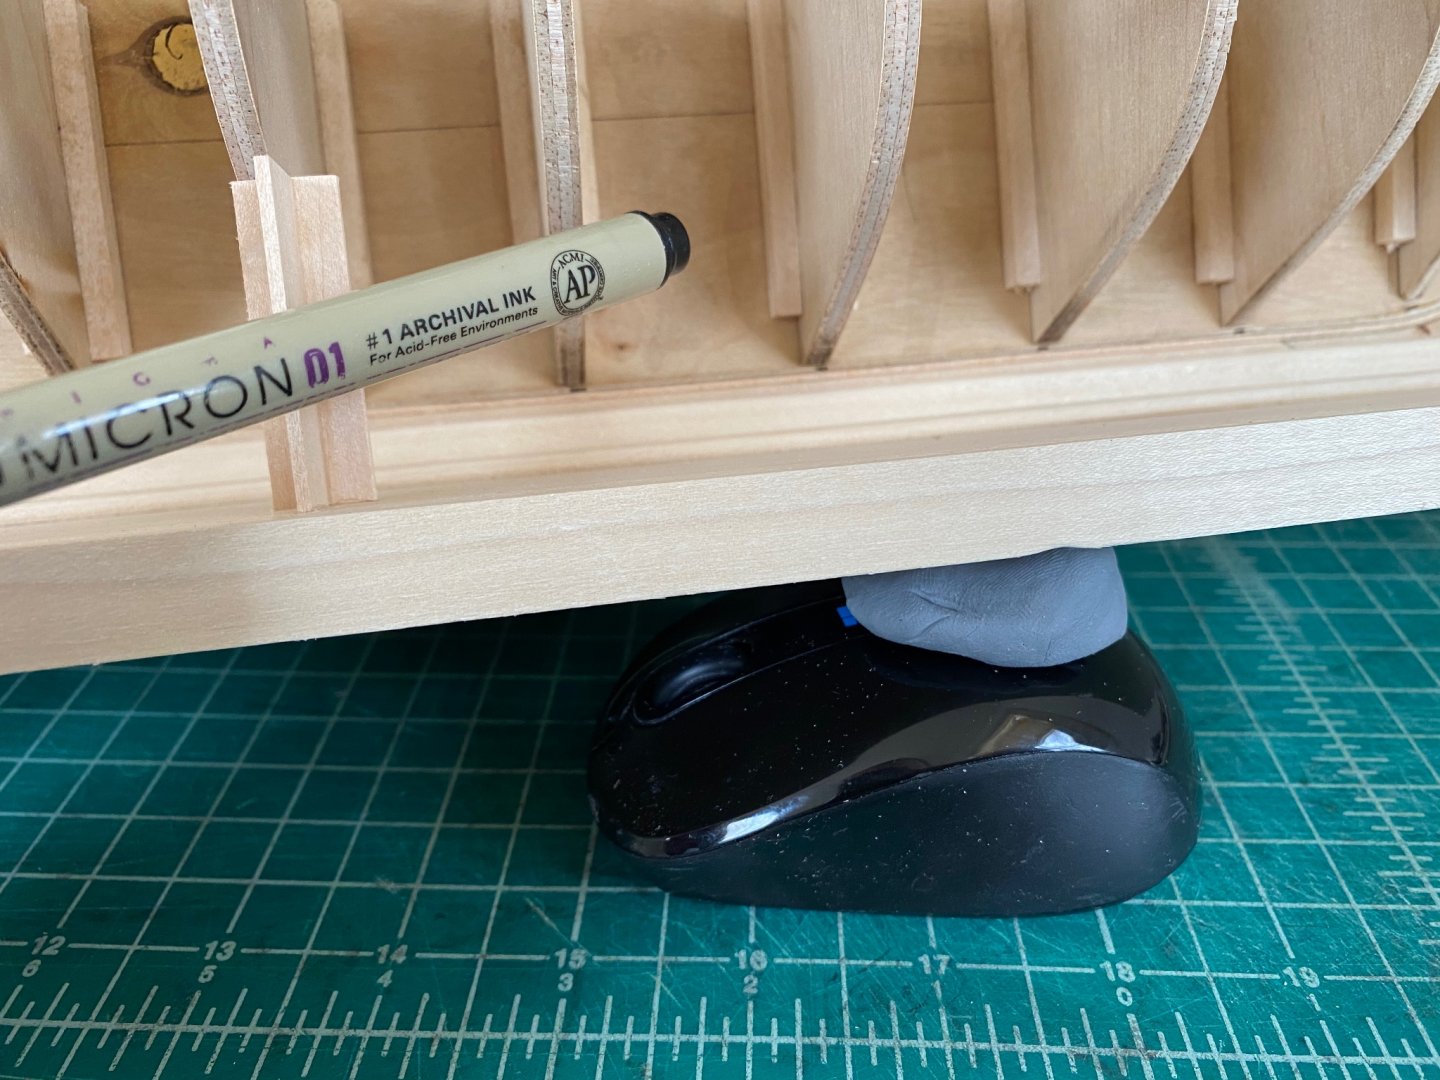
I also made a base stand with using a wood angle piece from Home Depot. This photo also shows the makeshift jack using my computer mouse and an artists kneaded eraser. It’s surprisingly stable and i coming in handy as I start gluing the gun port framing and need a different angle quickly to check alignment.


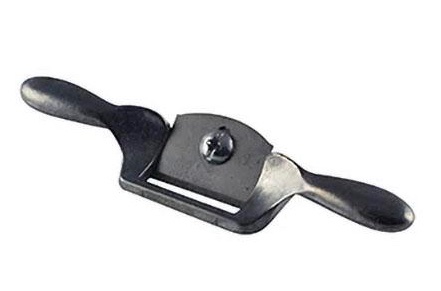
 Thank you! I remember my granddad had a mini spokeshave among his ship model tools, and I’d bet that would be handy for this step. I thought it was interesting the best price I found on one was from a surfboard shaper supply co, and might pick one up to taper planks for the hull.