HOLIDAY DONATION DRIVE - SUPPORT MSW - DO YOUR PART TO KEEP THIS GREAT FORUM GOING! (Only 20 donations so far - C'mon guys!)
×


JGoff
-
Posts
59 -
Joined
-
Last visited
Content Type
Profiles
Forums
Gallery
Events
Everything posted by JGoff
-
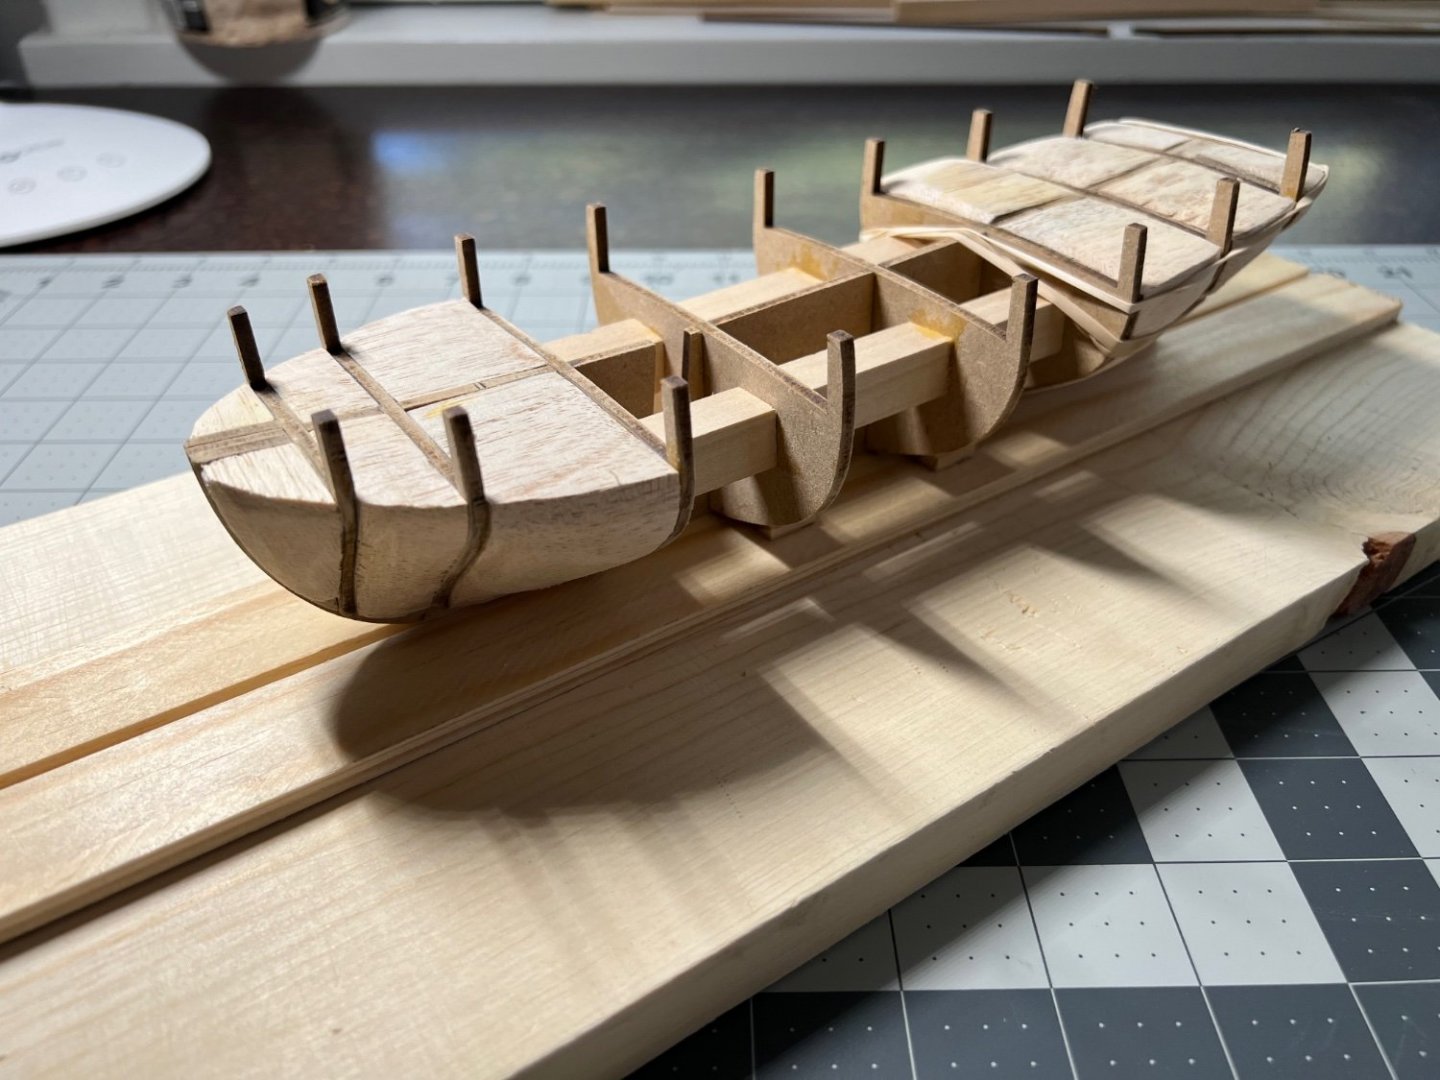
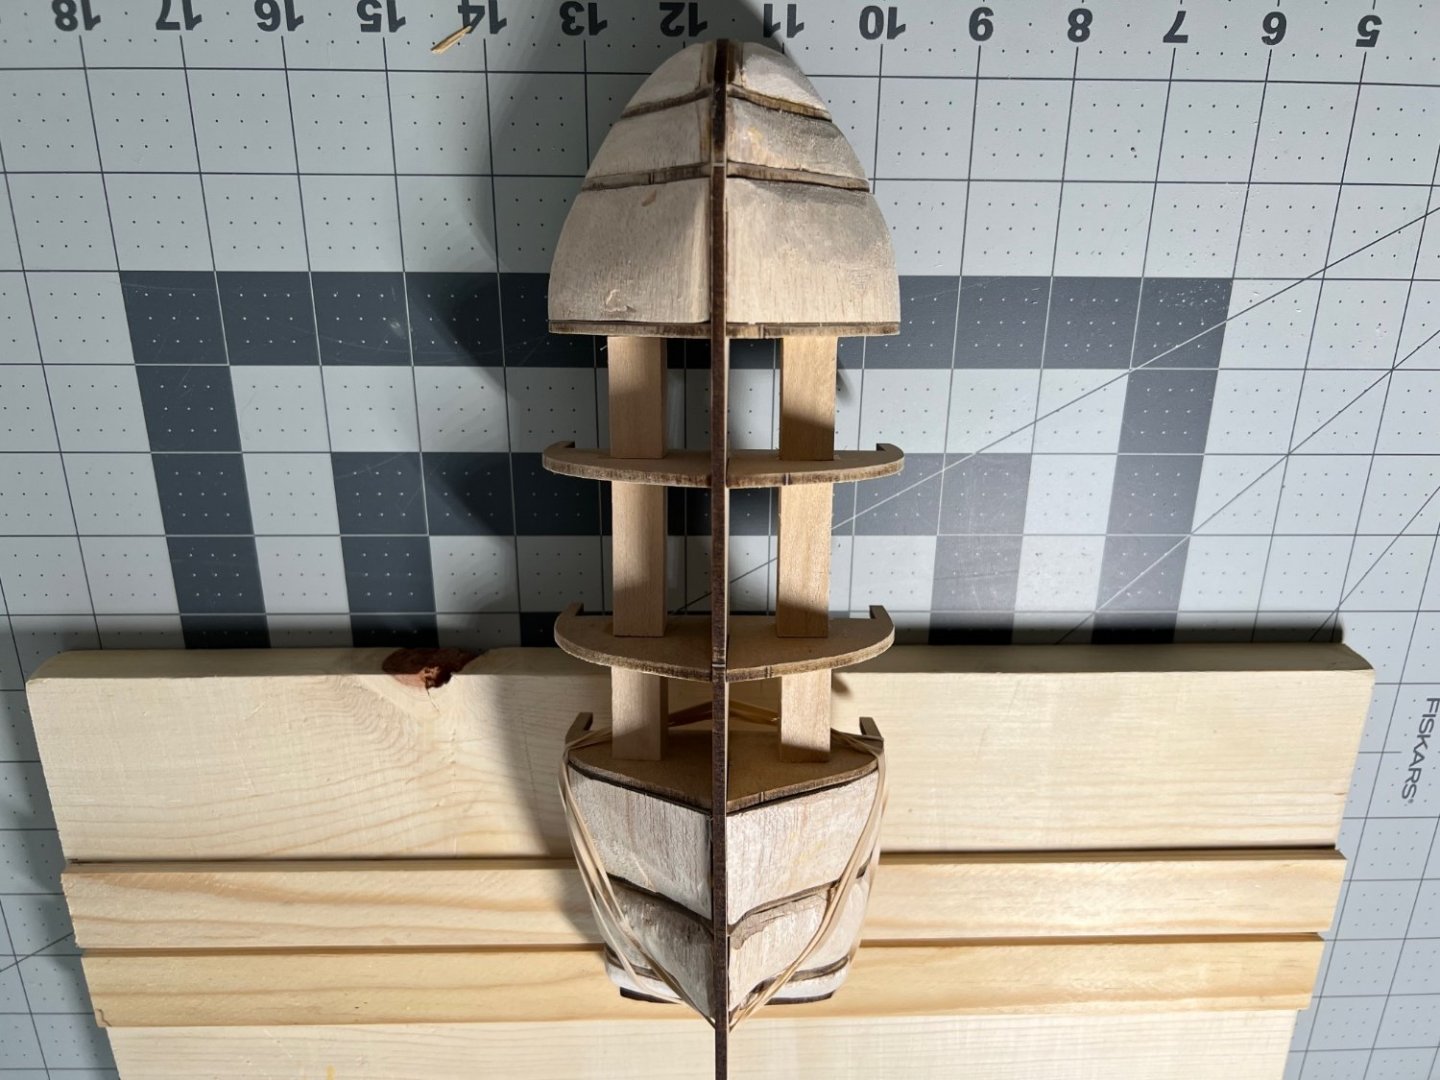
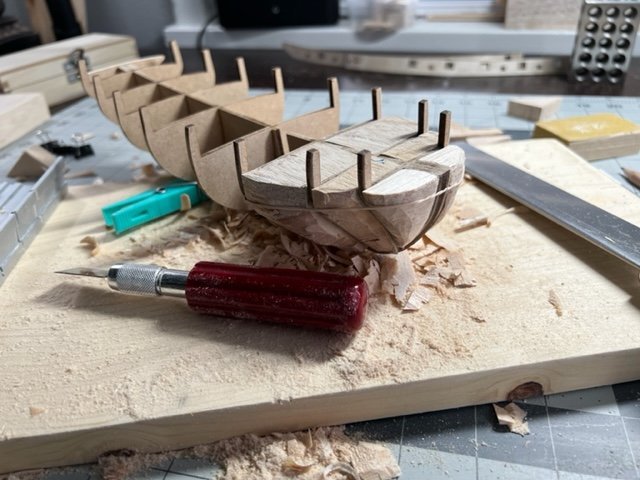
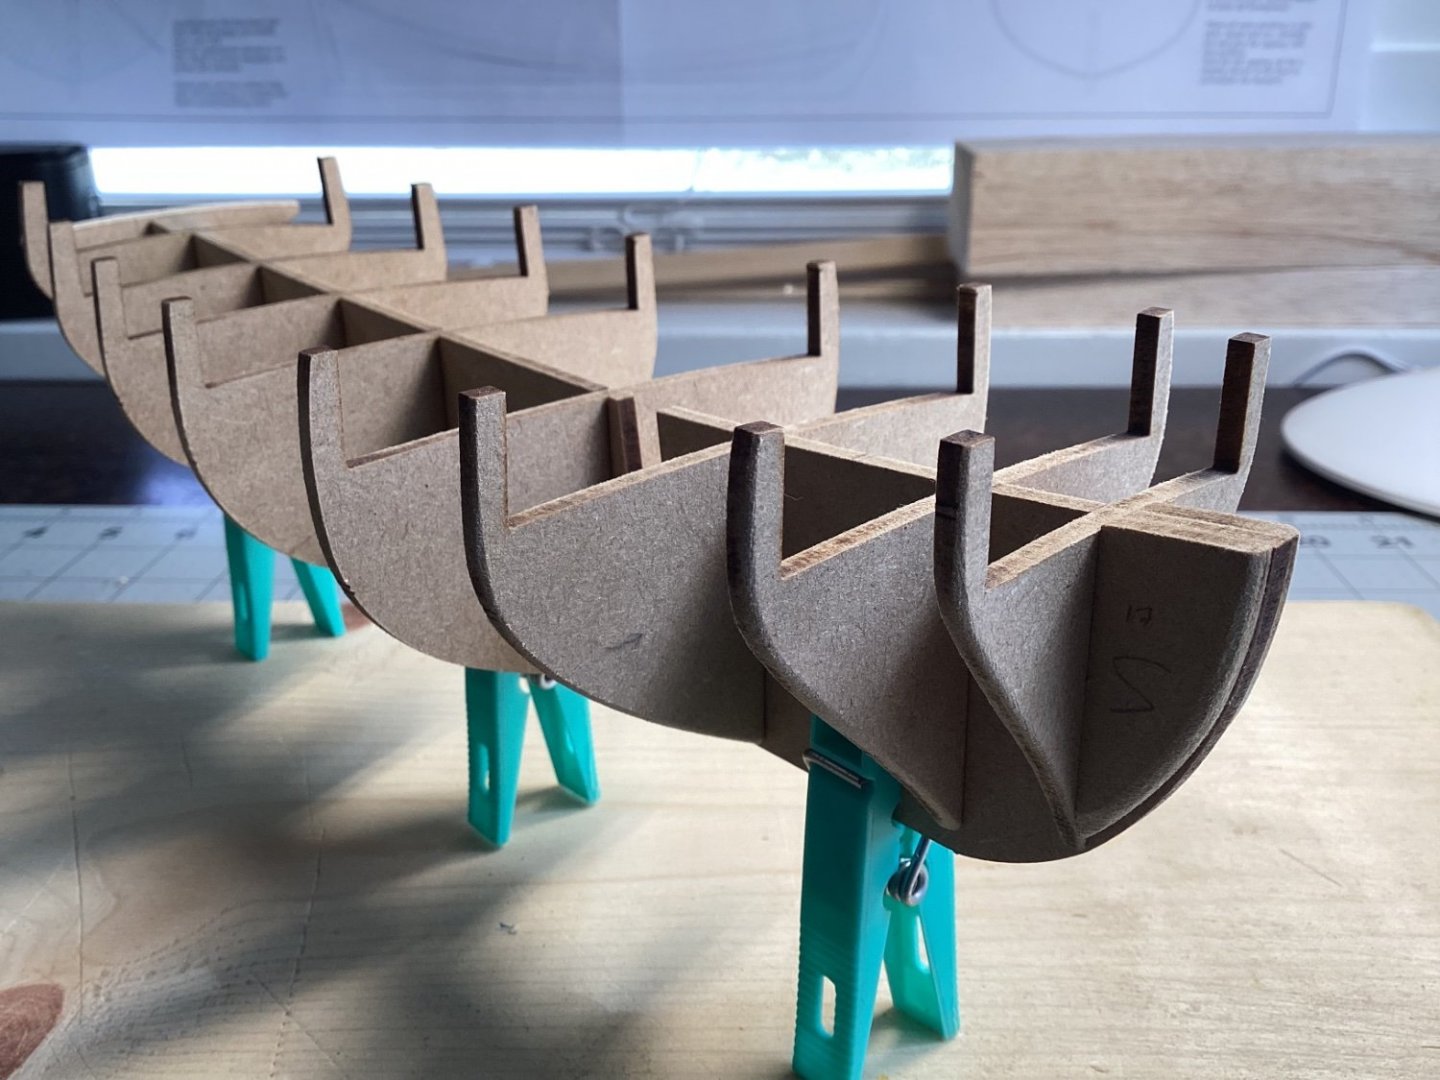
I have been a busy little bee this Sunday. I have finished cutting out and shaping my blocks to fill in between the bow and stern bulkheads, and I added some additional support between the remaining bulkheads. The bulkheads just seem to shift too much, and though I admit this might be a bit overkill, it gives me a bit more peace of mind as I anticipate the fairing process. I also made a “dockyard” of sorts, finally. Once the glue cures, I’m going to continue sanding and sanding and sanding some more before I finally start fairing the hull 🙂. Based on what I have been seeing from other logs, it seems prudent to wait adding the keel and prow until that has been completed. Stay tuned…
- 83 replies
-
- 5
-

-
- Lady Nelson
- Amati
- (and 2 more)
-
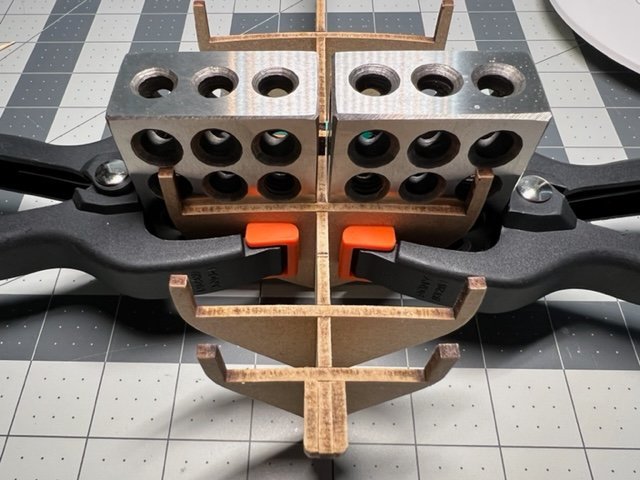
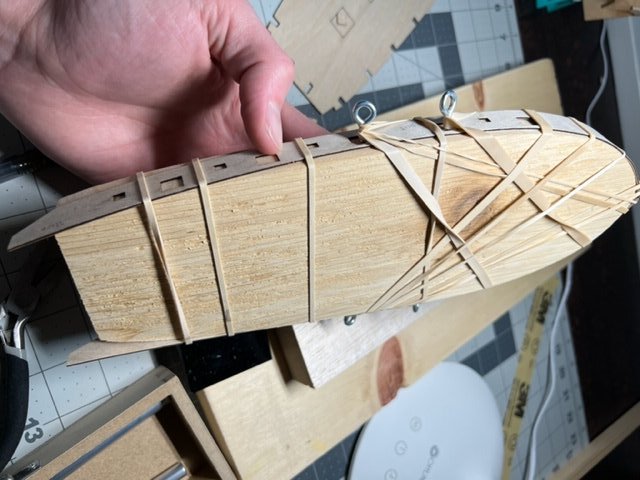
Saturday Morning Update: Taking @glbarlow advice, I took my time squaring and gluing the bulkheads, and the 1x2x3 blocks worked well with the addition of clamps. The visual @starlight was indeed helpful in moving forward. I also started bending the bulwarks. After reviewing a few build logs of the LN, it seemed that a few folks made a wood pattern for the soaked bulwark to form against. So I traced the shape of the false deck onto a scrap piece of board, cut it, sanded and proceeded with the soaking, etc before strapping them on with rubber bands. I used a pin vise and screwed whatever those little thingies are (they were lying around the house somewhere) into the gunports to anchor the rubber bands. I do not yet know whether the edge of bow will be curved enough, but as I get the false deck, keel and prow installed, I will know more then. And finally....I decided to insert balsa at the bow and stern to add support and aid in the planking. At the moment I have only worked on the bow doing some general shaping - still more and then some sanding. This part has been a little time consuming, which was one of the reasons that I wasn't sure that I wanted to go forward with that. However, after having started it, it just reminds me to accept that this will be a slow build and that I should not try and rush each step. Each little component or micro-project is a step forward in the build. And as each step starts to take shape and come together, that is exciting to watch. Thanks guys for the advice and encouragement! More to come.
- 83 replies
-
- 7
-
-
- Lady Nelson
- Amati
- (and 2 more)
-
Thanks Allan! I took @Oldsalt1950 up on his recommendation for the 1x2x3 blocks. Those should come in today. The lego jig is an interesting idea...might have to make a purchase and try those out at some point. I have finally have gotten all the bulkheads removed that needed removing, lightly sanded off some of the glue. Hopefully, I'll receive those blocks today, as well as some other necessary tool/paint purchases made a few days ago. I am leaning in the direction of adding some balsa wood blocks in between the bow and stern bulkheads. I'm sure there are some lengthy discussions about this, but I'm thinking a hand saw and sandpaper - perhaps an Xacto blade - will be all that is really required to get those fit and carved. Chisels might make the work easier? Any thoughts about the most efficient way of going about this?
- 83 replies
-
- 2
-
-
- Lady Nelson
- Amati
- (and 2 more)
-
Just call me Johnathon… Yeah I had a little square that I laser cut from acrylic. Clearly I need something a little better for this work.
- 83 replies
-
- 1
-
-
- Lady Nelson
- Amati
- (and 2 more)
-
So removing the bulkheads begins…alcohol, paint brush and dental floss. In the attempt to not oversaturate the wood, I have brushed the alcohol on the seams two or three times with some time lapse between before working the dental floss down to cut through the bond.
- 83 replies
-
- 5
-
-
- Lady Nelson
- Amati
- (and 2 more)
-
After the bulkheads have already been glued? I actually caught the misalignment when I dry fitted the false deck. You could clearly see that they were not aligned. I was also wondering if maybe placing some blocks in between each of the bulkheads (in addition to aid in planking) would also help to properly re-align the bulkheads.
- 83 replies
-
- 1
-
-
- Lady Nelson
- Amati
- (and 2 more)
-
The bow and stern plank terminating pieces were also mislabeled but also easy to catch.
-
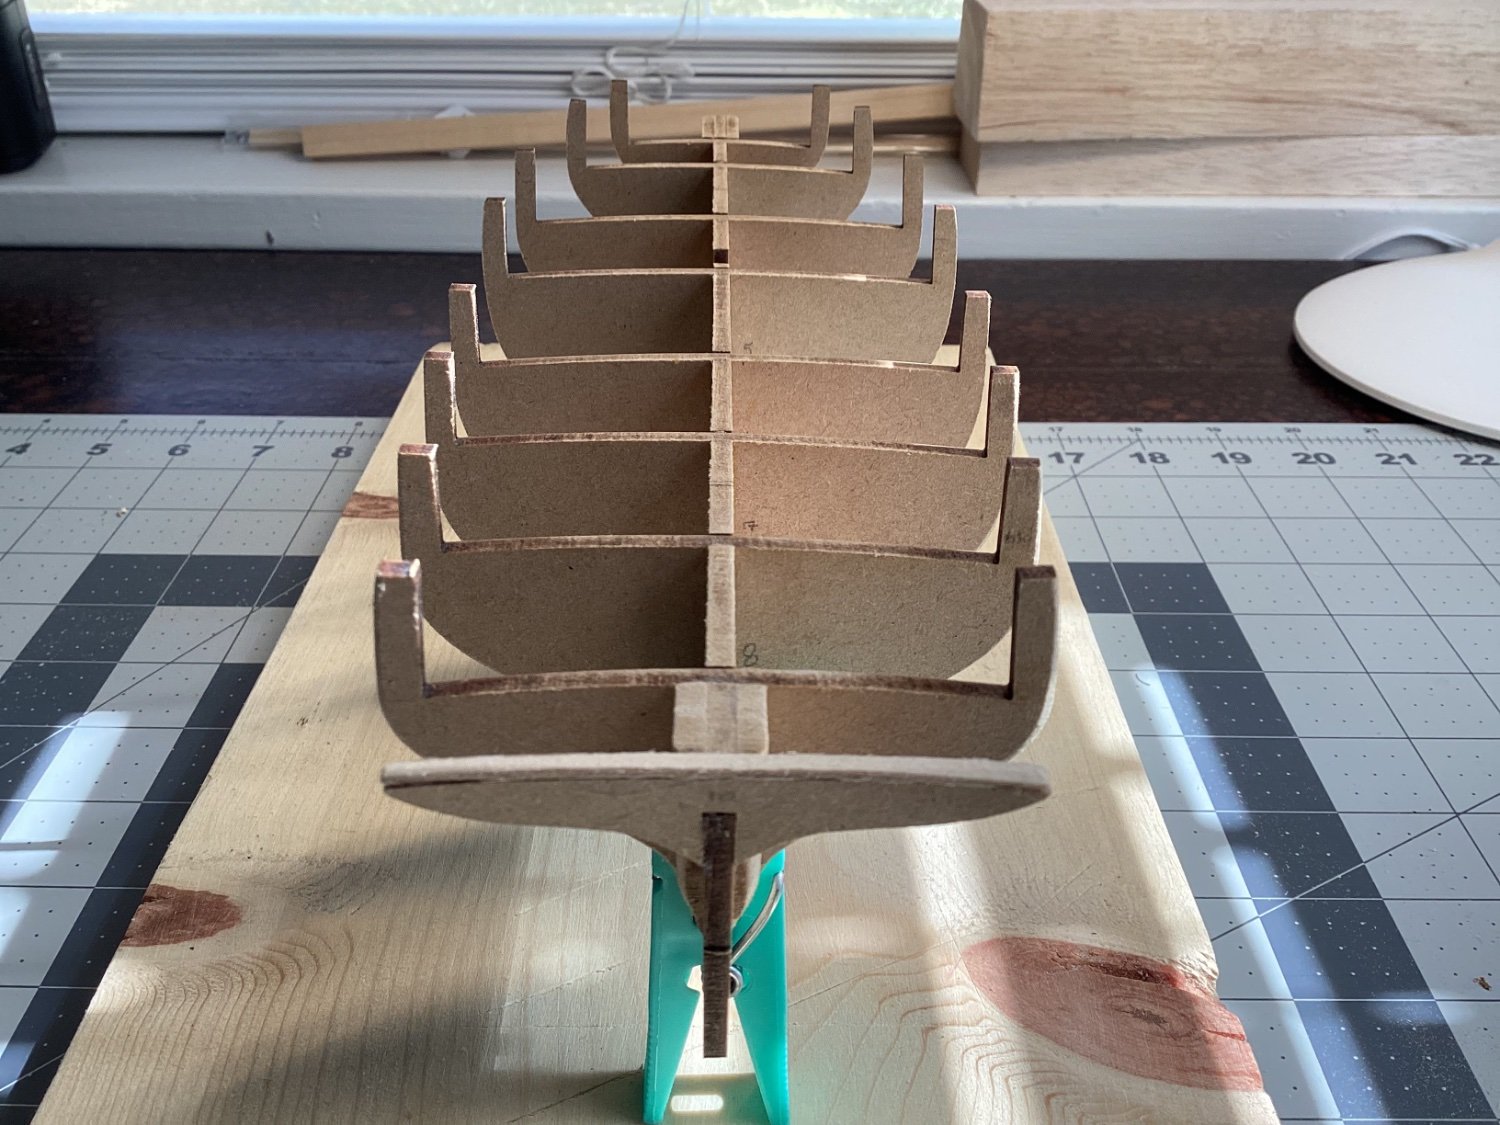
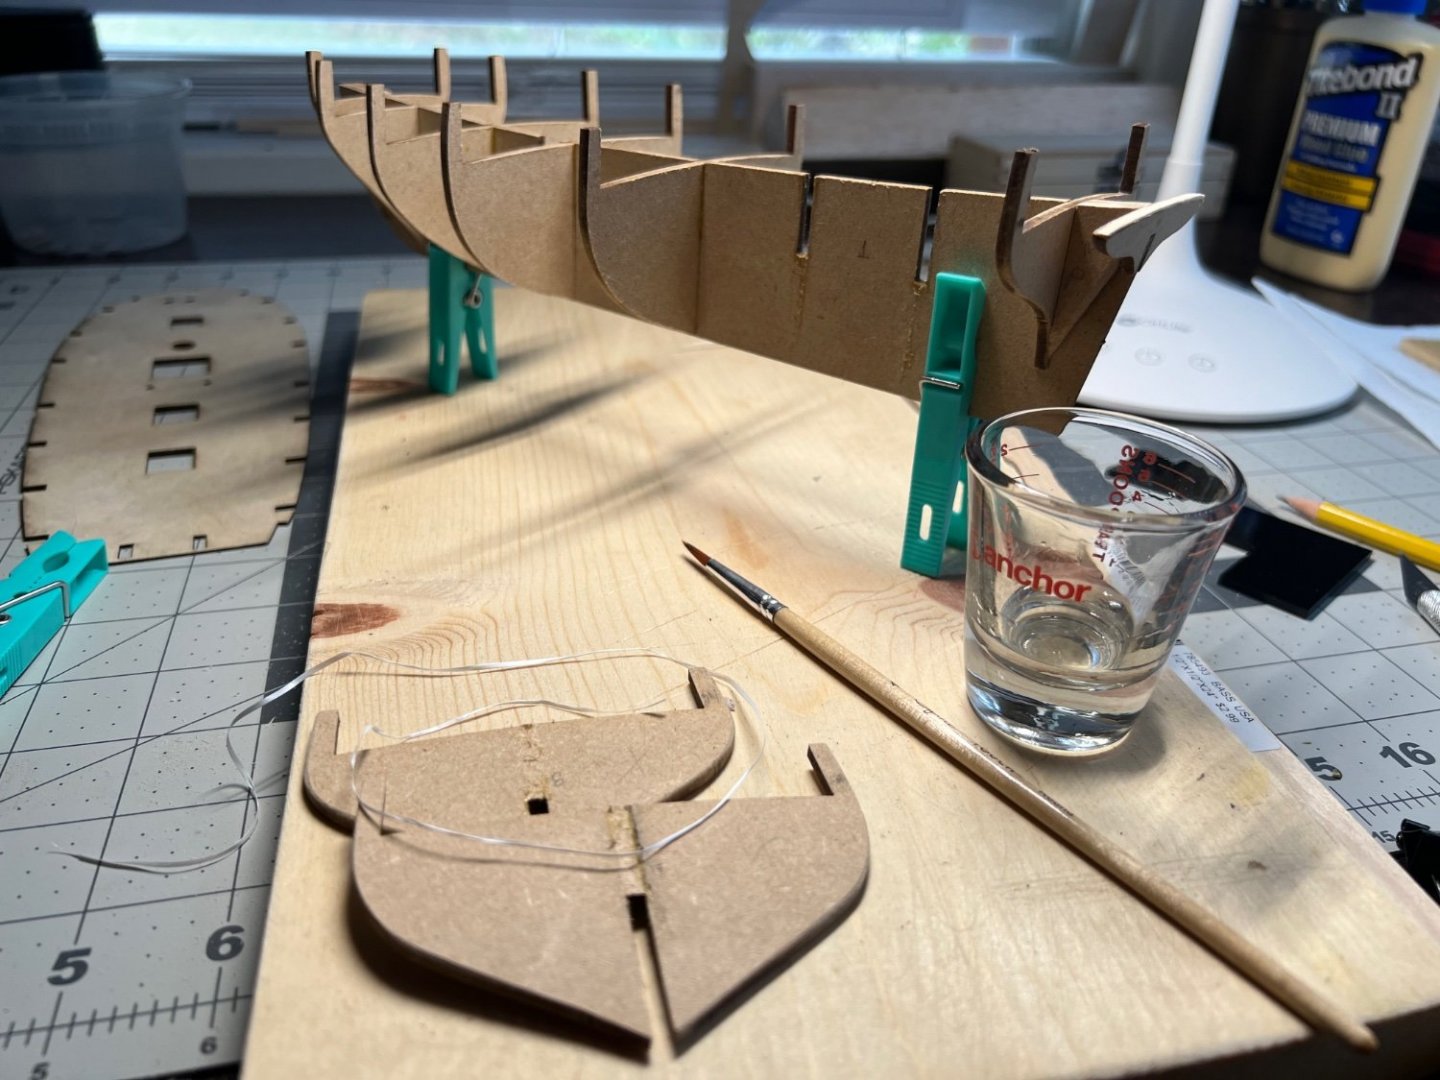
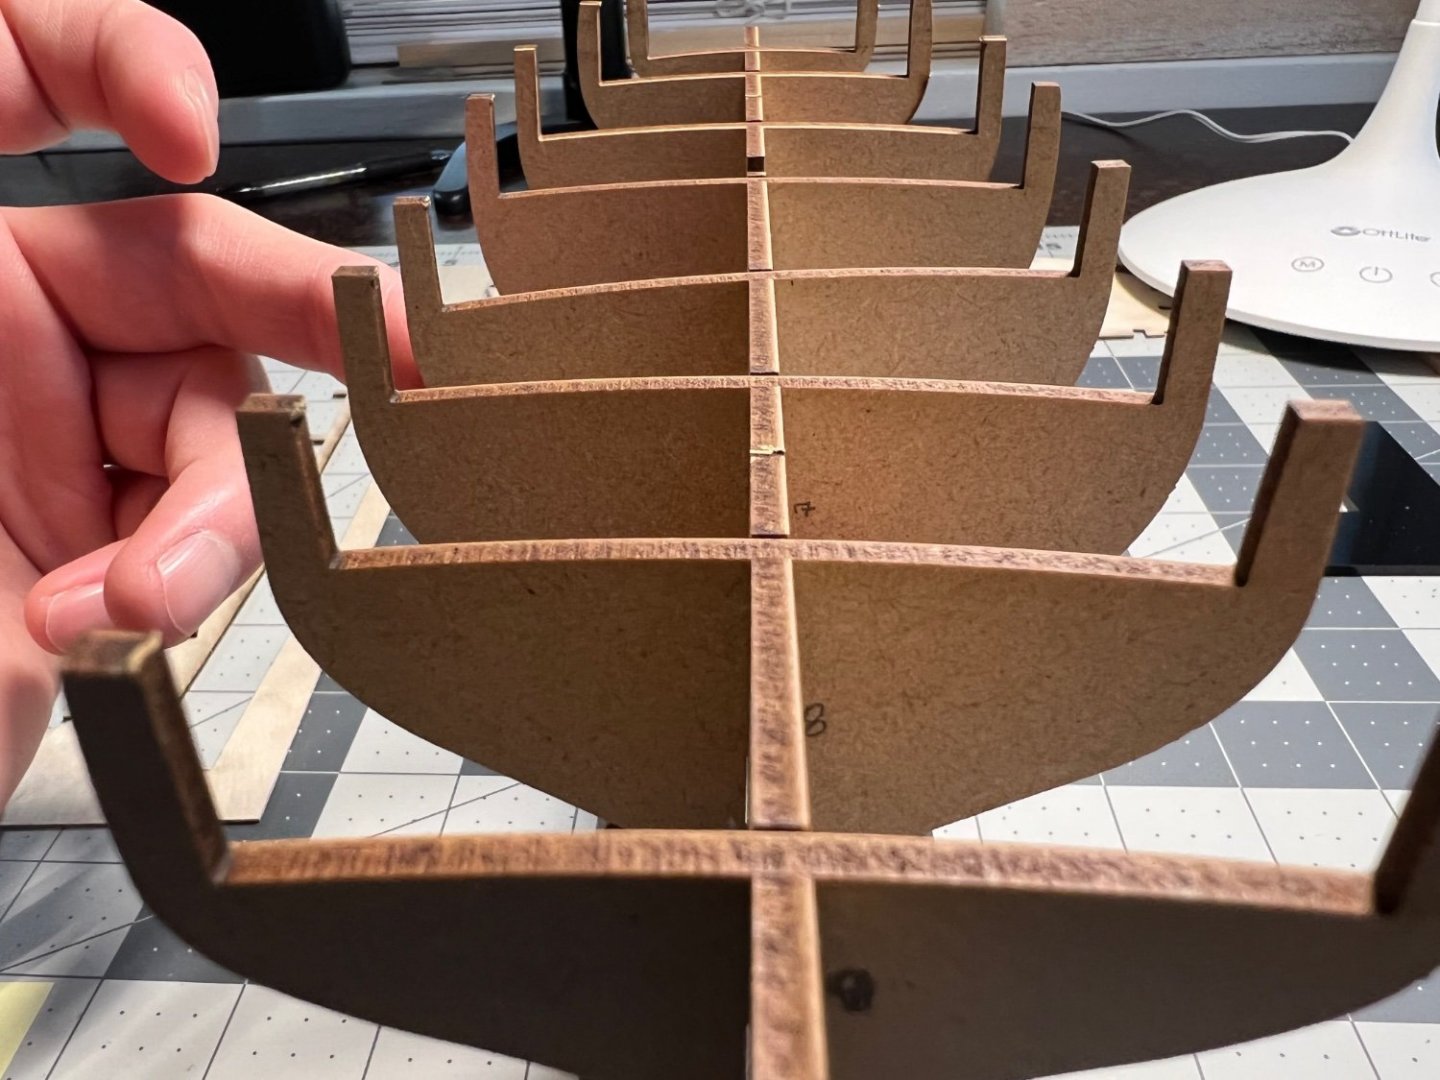
Thanks for the wisdom and encouragement guys! When I started dry fitting the keel with the bulkheads, there was quite a bit of give….more than I thought reasonable. Also, when the bulkheads were placed in the slots, the top of the bulkhead was not flush. After looking at several other logs, I did not see any complaints about it, so I made the assumption that it was quite normal to be this way. And perhaps it is. I just know that in the gluing process (PVA), trying to square and lift the bulkheads to the appropriate height and checking afterwards, everything seemed to fit and be square This afternoon, I rechecked and the bulkheads are off just a smidge. Now I am trying to determine what the next steps are here. The first photo is where I was dry fitting, the other two are photos taken this morning of the glued hull.

- 83 replies
-
- 5
-
-
- Lady Nelson
- Amati
- (and 2 more)
-
Hello all! After reading through several posts and build logs, I decided to start my modeling adventure with the Lady Nelson. I have no carpentry/wood-working experience or with many of the very practical things that go into ship modeling, but I do look forward to this craft which so many seem to have found stimulating as well as satisfying. I think my first encounter with ship modeling was through my high school band director 20 years ago, and if I’m not mistaken, his first model was the HMS Victory. Now that I have started reading through build logs and such, I am mightily curious which model kit he started with and what scale he completed! Incidentally, he also got me started reading both C.S. Forester and Patrick O’Brian, so this interest in nautical history and ship modeling has been a little ambition of mine for a long time, which I am finally starting to make good on. Reading many of the logs available on the Lady Nelson, so many folks have made different improvements along the way to the kit, and I have been having this little debate in my head as to what I might improve and whether or not I will work to elevate the model in a particular way or in several ways. In one sense, there is just the hurdle of the first build (and planking!) to surmount, and then adding various bits to the model can seem daunting when I’m not even so sure that my bulkheads are installed properly! I also understand the need to plan ahead for those improvements should I decide to make them. But all in all, I have decided to try and have fun, take on the problems as they come and let the next step be the next step. I’ll post some of my initial issues and current progress soon. Cheers!
- 83 replies
-
- 4
-
-
- Lady Nelson
- Amati
- (and 2 more)