HOLIDAY DONATION DRIVE - SUPPORT MSW - DO YOUR PART TO KEEP THIS GREAT FORUM GOING! (Only 13 donations so far - C'mon guys!)
×


Frodo
-
Posts
53 -
Joined
-
Last visited
Content Type
Profiles
Forums
Gallery
Events
Everything posted by Frodo
-
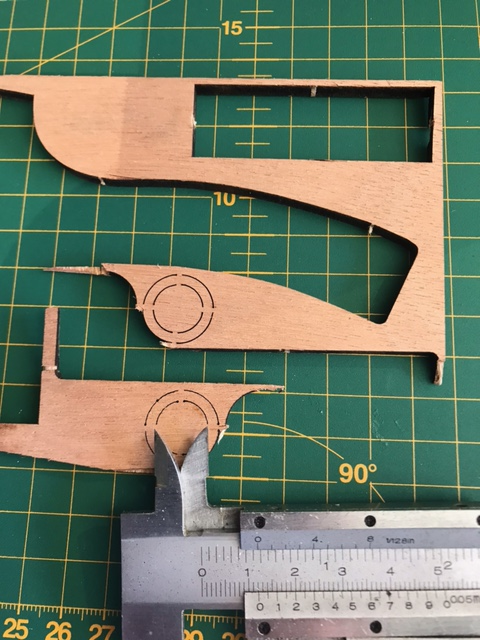
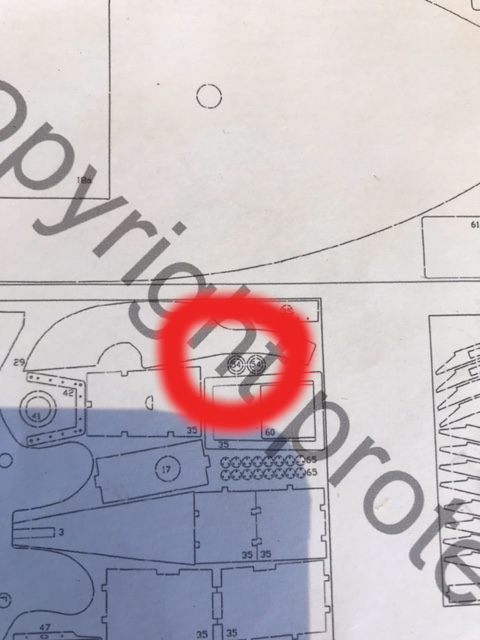
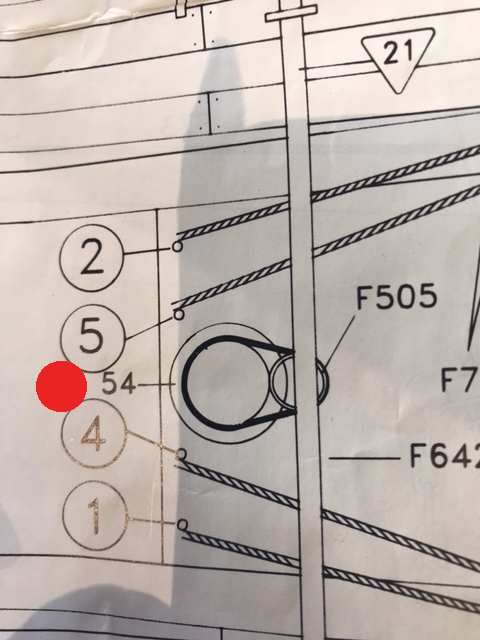
Funny, when I had used all the parts from the kit I had 2 rings extra, and I could not figure out where they were suppose to go. Apparently I've missed the nbr 54 "mast hoops". Thanks for noticing George. See attached pictures, guess they say it all 12mm rings: Pictures from the instructions (that I didnt notice until you made me aware George). I think I will cut one of them in to halves and mount at the base just for the look. I dont think there is a technical need for the support rings ("Mast Hoops").

-
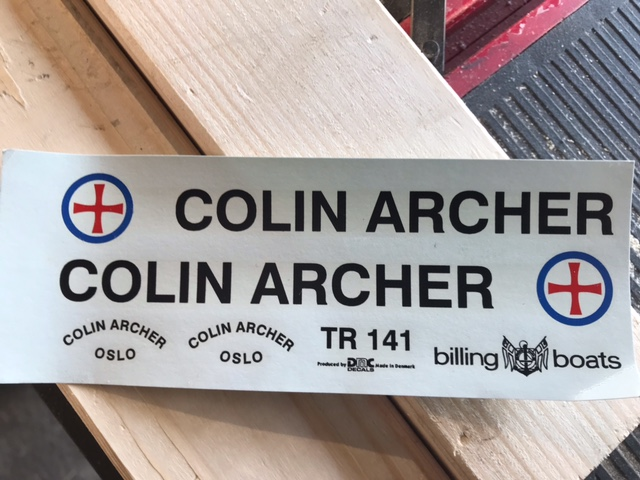
Thanks for advice, I will do so with the "TR 141".
-
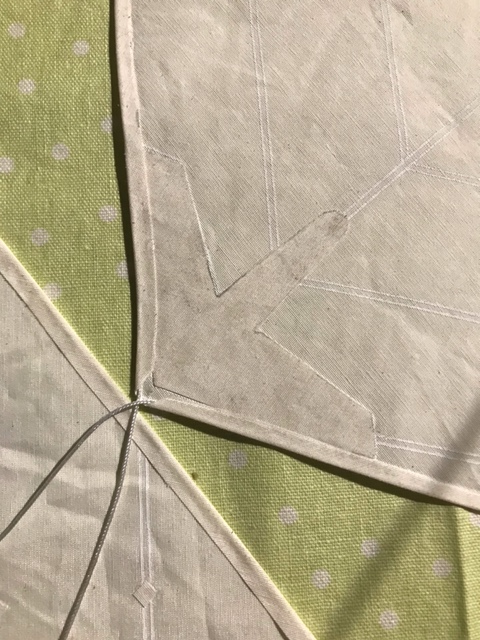
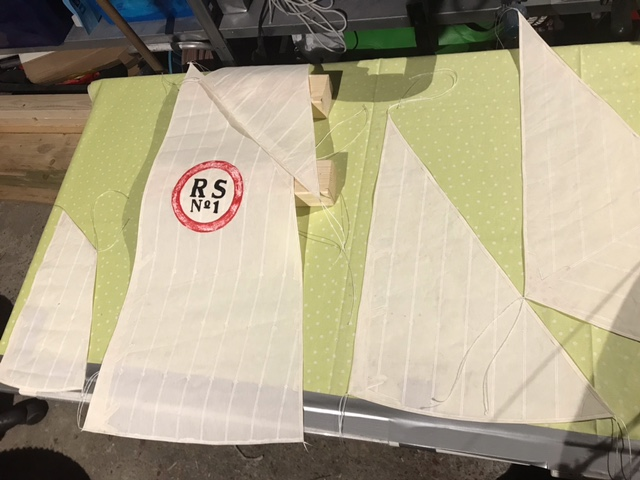
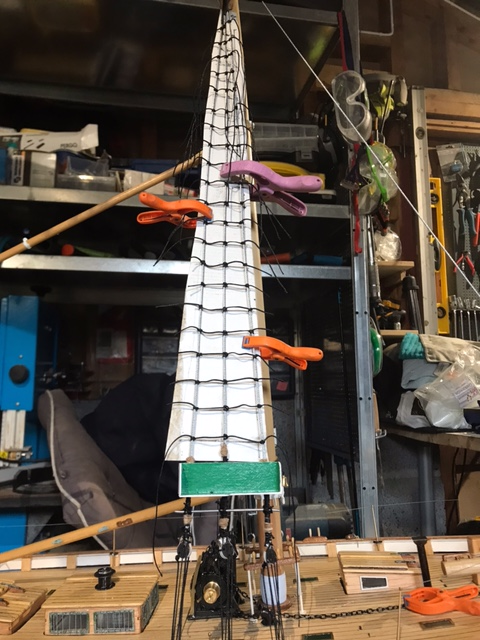
I've been working on the sails for a couple of days. The edges were folded and glued, however I decided to put a 1mm white cordline inside each fold/edge. Hopefully this will contribute to a more neat sail. Some of the excessive cordlines (white) may be used to make "loops" for clew/tackle points. Also made reinforcements at the sailcorners. Next step is to sow all the edges and whitelines... (I will not dismantle each panel, and Im not sure if its suppose to be done either) The "red ring" is made with Billing Boats Acryl and reacted to the adhesive from UHU. Needs to be re-painted once the glue has dried...

-
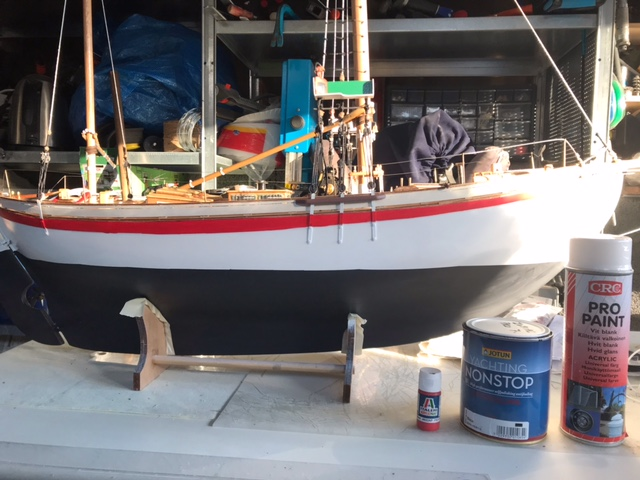
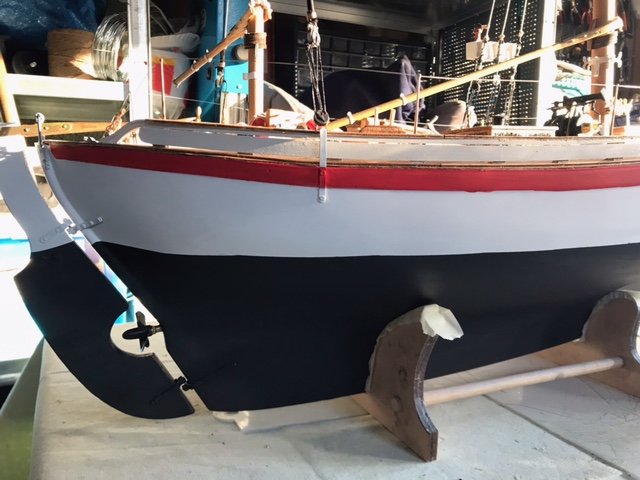
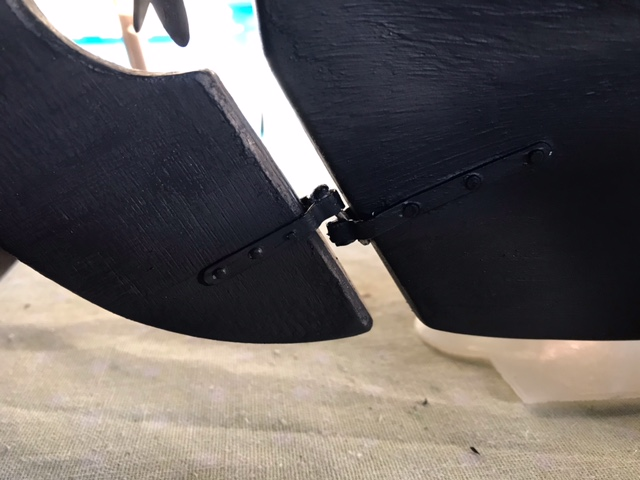
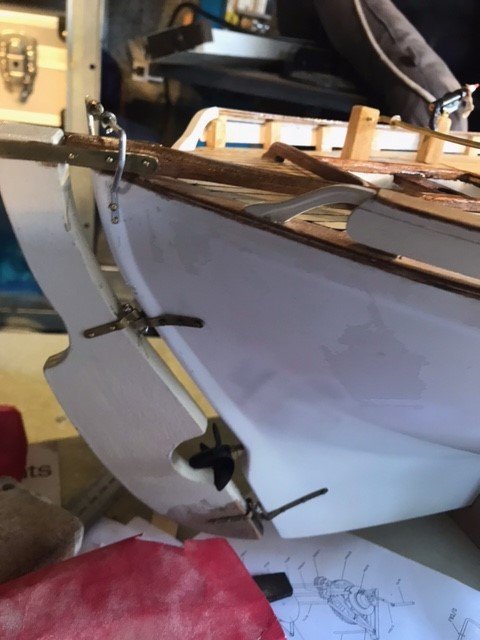
Finally we had a couple of days with sun and warm weather, and I could go ahead with the paintjob. Decided to go with black antifouling below the waterline. (Sorry for sunglare 🌞, will take some pictures later which is better) A minor mistake with the brush on the redline which will be corrected. The rudderhinge is still a mess, think I will change to pin-hinge. Does anyone know how to attach these "stickers" on the hull? With heat or water? No clue. Maybe they are broken.
-
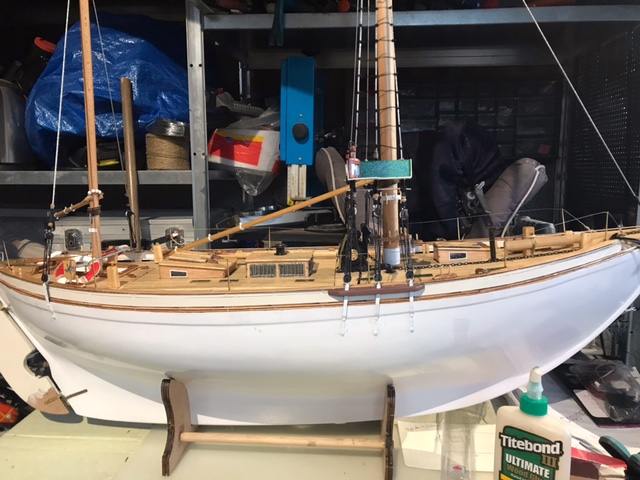
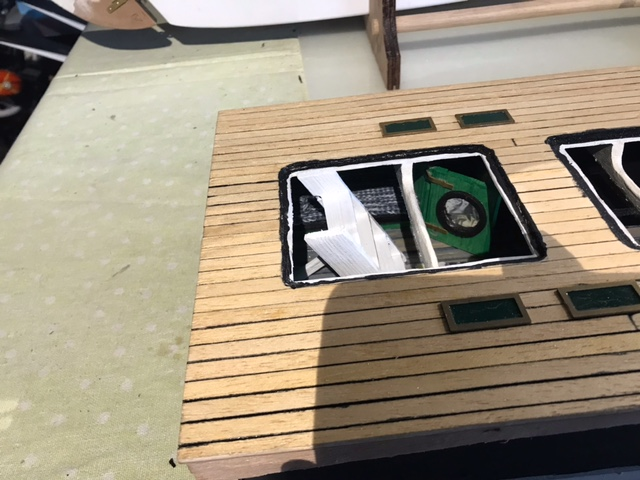
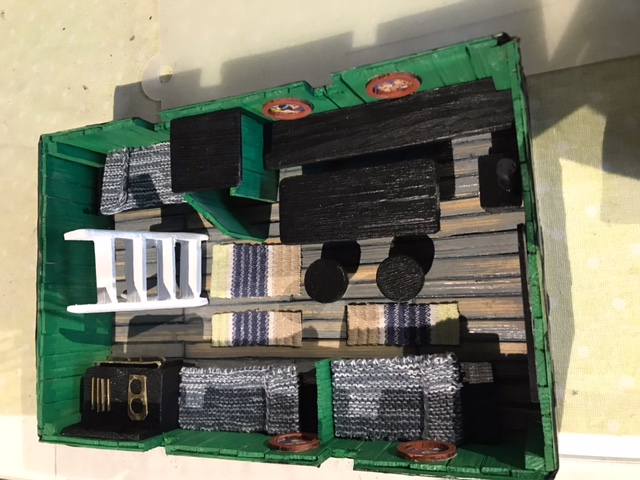
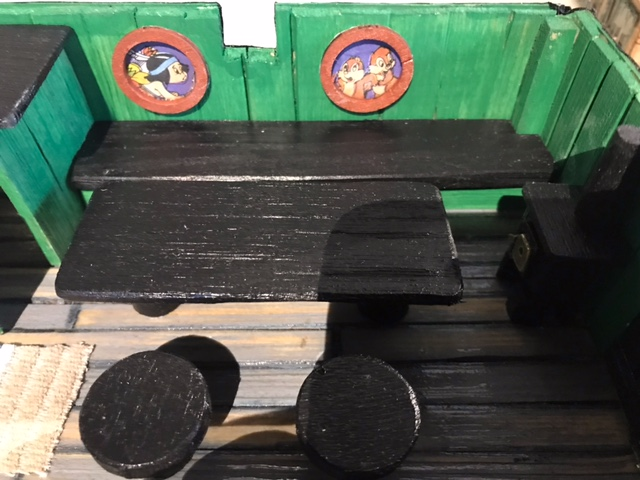
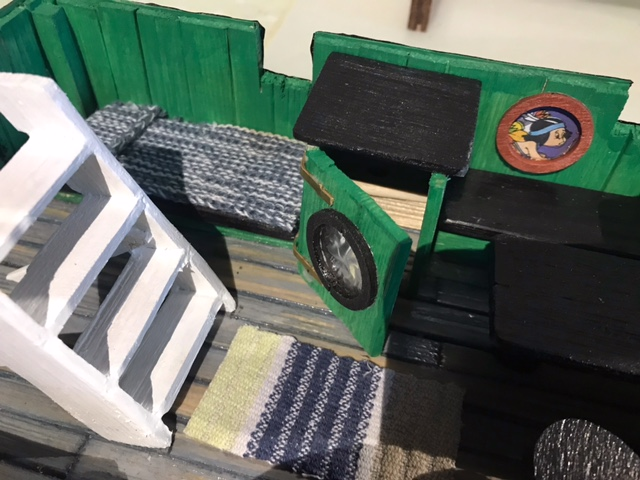
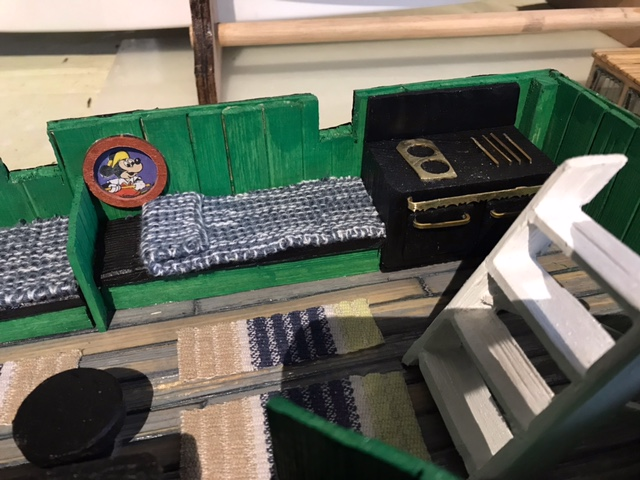
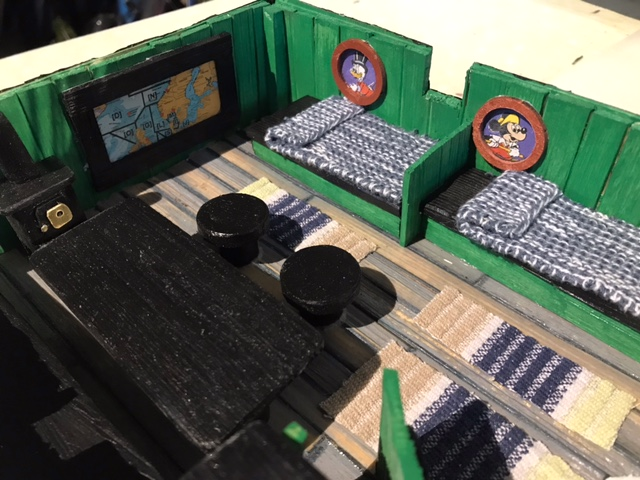
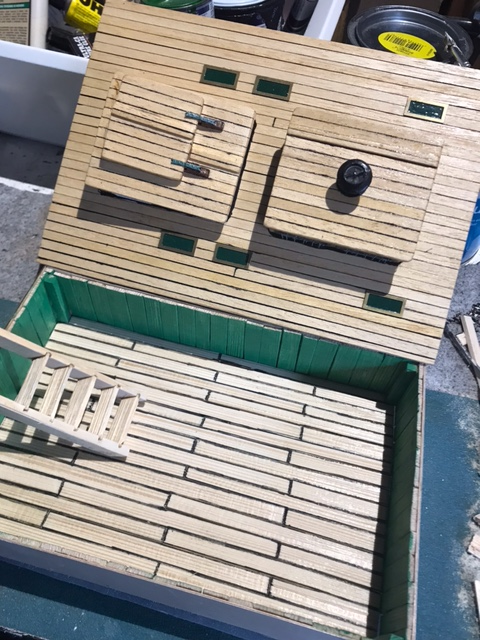
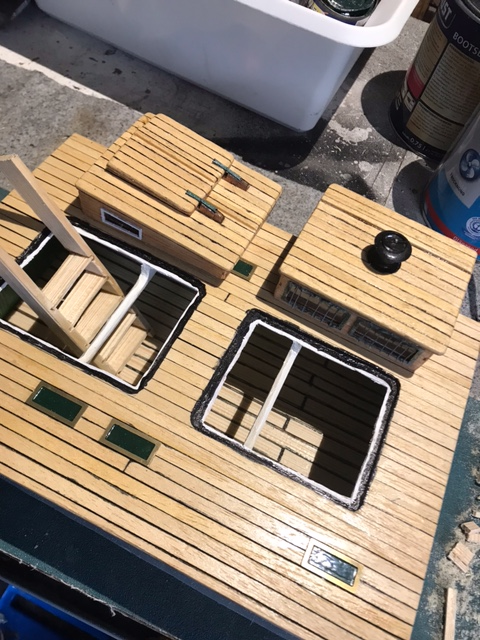
Here is an update on the Colin Archer build. Not much going on with the boat itself. I've ordered some ropes from Syren to complete the rig. They should arrive in approx. 3 weeks. However, I've more or less done the "look-alike-interior" "salon/cabin-box". Mostly build from scrap and leftovers from building the boat itself. The interior is not real-scale. But I had great fun making it (…and that's the main thing after all) The "black box", that will stand on a rack or in ropes below the removable deck, and "hover/hang" above the RC-baseplate as shown in previous posts: Removed structures: I will install some LED lights in the cabin later. Removed deck: The box is 50mm deep, 175mm wide, 255mm long. I wanted the floor to look "worn and torn", so I added some oil stains, then painted with grey and sanded with 180 paper, and at last covered in clear lacquer. Dining area with heating-oven: Its not a dishwasher, its the door to the restroom with a large mirror on the door Cooking-oven: Seamap on the wall next to heating-oven: PS. Dont tell my spouse I stole some handtowels to make linen and floor mats...

-
Hi, yours seemed to advanced for me, however I must say your "cabin solution" is fantastic. Happy Easter
-
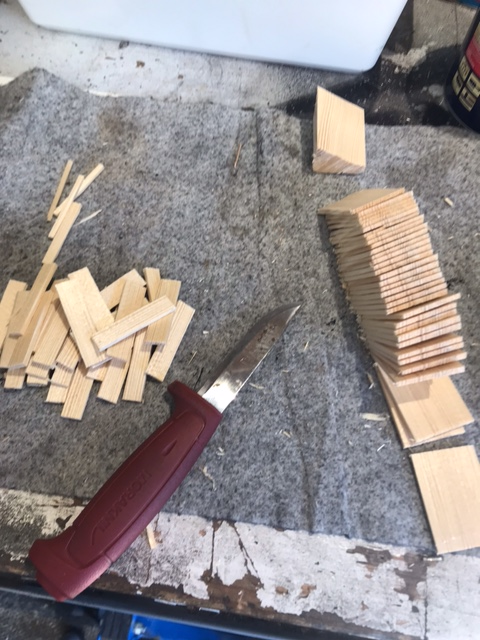
Hehe, 1:100 ish... could be closer to 1:15, Im just improvising some interior - Not as nice as the salon you are making Geam 🙂 I'm trying to build a "salonbox" above the "RC-baseplate". Making the walls from a piece of spruce: Wall: Floor: Floor is nated and will be painted/oiled later. Plan is to make some furnitures, a restroom etc in there as well. The "salonbox" is 50mm deep, and will be attached to the mainhatch (deck). Just made a small ladder to see if it will work. I haven't glued the structures to the deck, might use some magnets to make them removable so one could peek into the "salonbox".


-
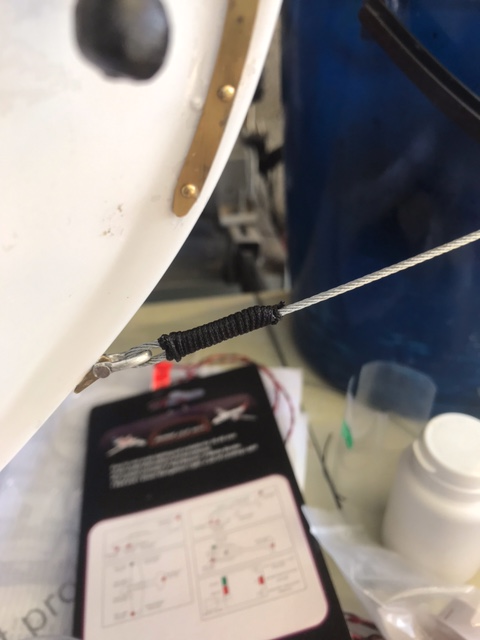
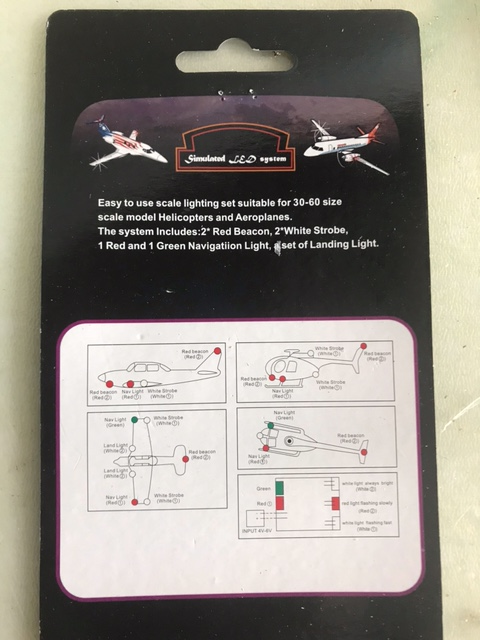
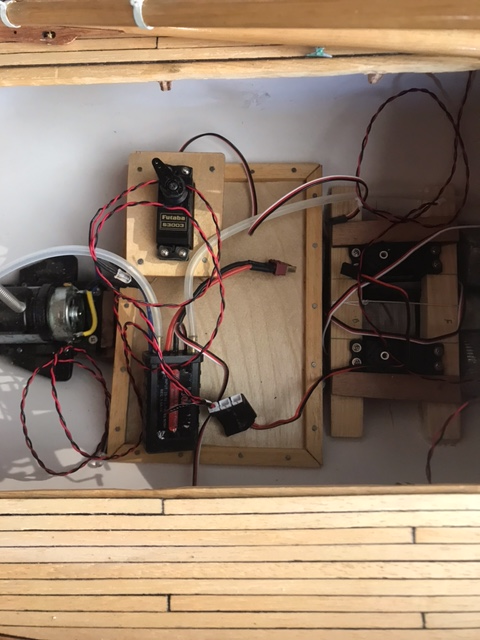
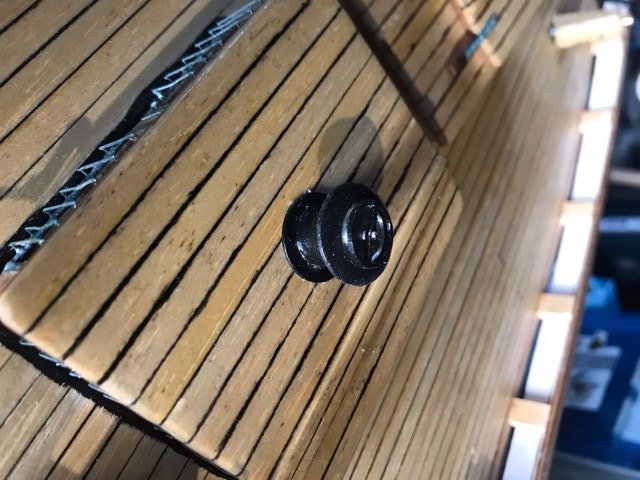
Some minor progress today. Covered the "wireloops" with rope (I'm using 1mm Black Cordline). Looks fairly ok I guess. Also bought an simulated LED system for RC-planes which should do the "lightjob" on the boat. I plan to use two white lights in the salon...maybe. It would be nice to have one of them for an aft lantern also... The red and green are installed inside the lanterns... For some odd reason the lanterncasing is hovering 0,5mm in the air, I believe this is due to the glue swells when it dries... need to cover that gap with a detail. The black and red wire (-/+) are wrapped in 1mm black cordline, so It blends in ok without showing the electrical wires. I also made an "RC-baseplate", the plan is to attach it with heavy duty Velcro on in the hull so it can be removed if required (the lead is underneath). Battery, receiver, LED-control, escalator with watercooling and steeringservo will sit on top of "RC-baseplate". The steeringservo is placed in a rack 40mm above the "RC-baseplate" so it is in-line with the ruddercontrol. Guess I will make a 1:100ish interior/salon while I am waiting for the temperature outside to increase so I can paint the boat one day 😏

-
Thanks for headsup on size. High speed sailing it is 😁
-
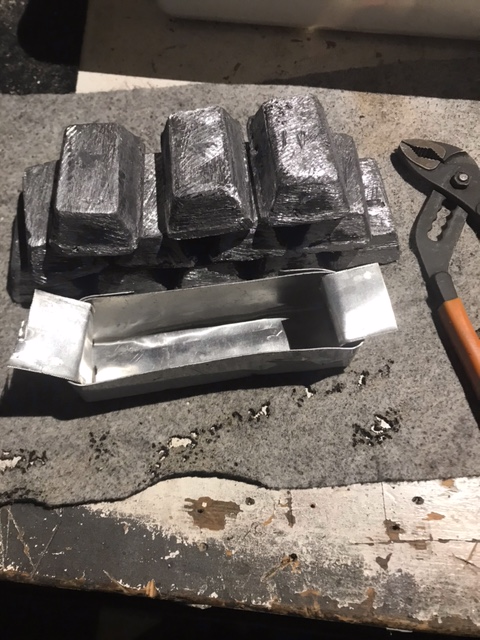
So this morning I started with the meltdown... after 10 minutes I lost my patience and looked for another solution. Instead of melting the leadblocks I could easily shape them to fit into the keel. Luckily I didnt have to do much adjustment. With some duct tape 2 halves are put together ~ 1kg. Approx 6 kg of lead in the keel. 4x0,5 kg can be moved around and are attached with heavy duty Velcro. I don't want to have a sealed lead solution in case I get water in the keel and have to remove them. Next step will most likely be to install the servos and some of the RC-stuff

-
Hi George, thanks for a great tips. I think I do as you suggested 👍. I know there can be quite som pressure on the hinges when sailing, and if the soldering snaps it will be trouble 😉
-
Tonight I prepared 6kg of lead and a boxshaped form. The plan is to make about 1cm thick rectangular plates. Never tried to melt lead before, but I've been watching some YouTube videos... to be continued 😁
-
PS. Another way to rotate pictures: -Download Gimp (free). -Open the picture in Gimp, (Gimp will normally ask automatically to rotate) edit as required. -Export and save as .png file. -Upload in forumthread.
-
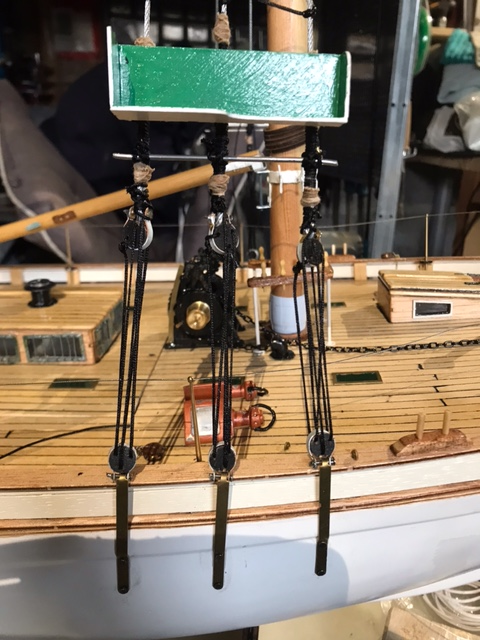
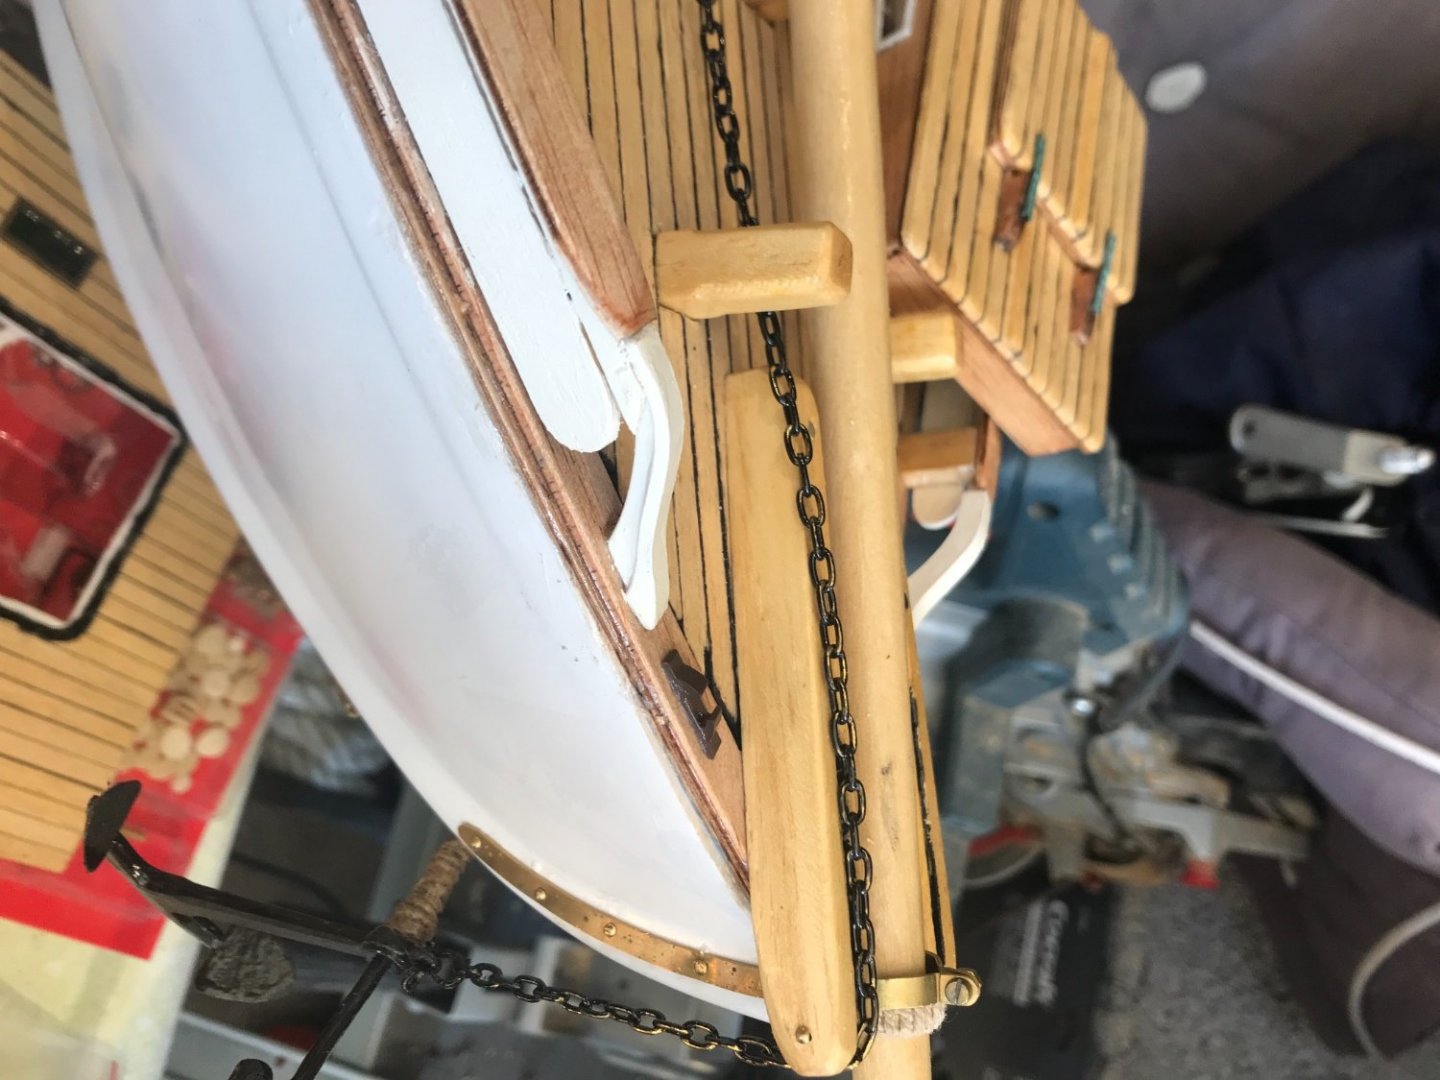
Since the rig is tightened with 1,5mm stainless steel wire, I decided to make the tensioners 12mm longer than what the buildinstructions depicted. I'm hoping that this will give me the possibility to tighten the forestay before it goes sailing in summertime. (Current buildtemperature is around 5 Celsius, and I expect the rig to slack a bit at 20-30 Celsius).
-
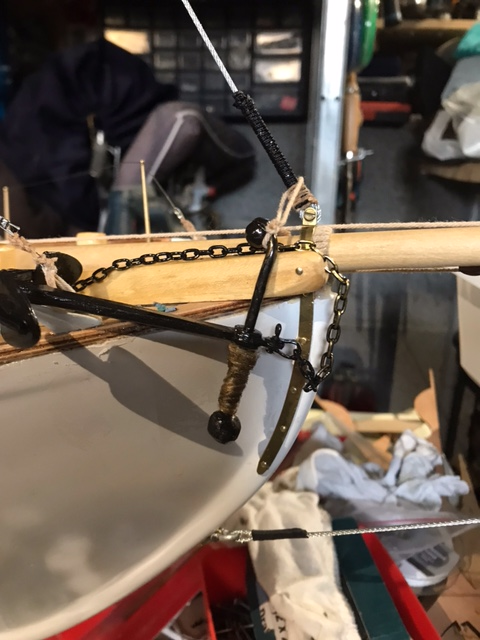
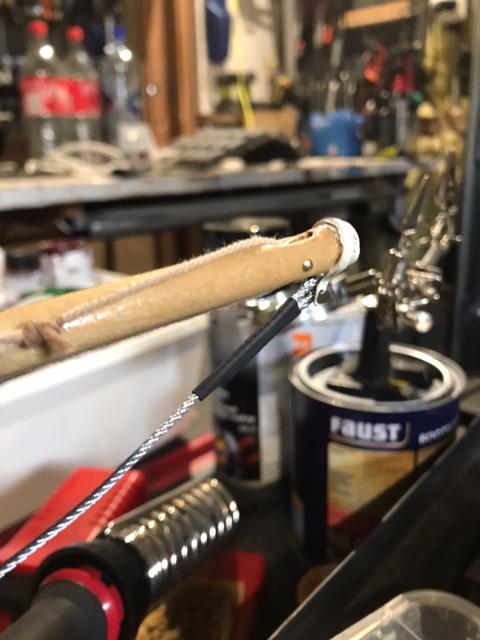
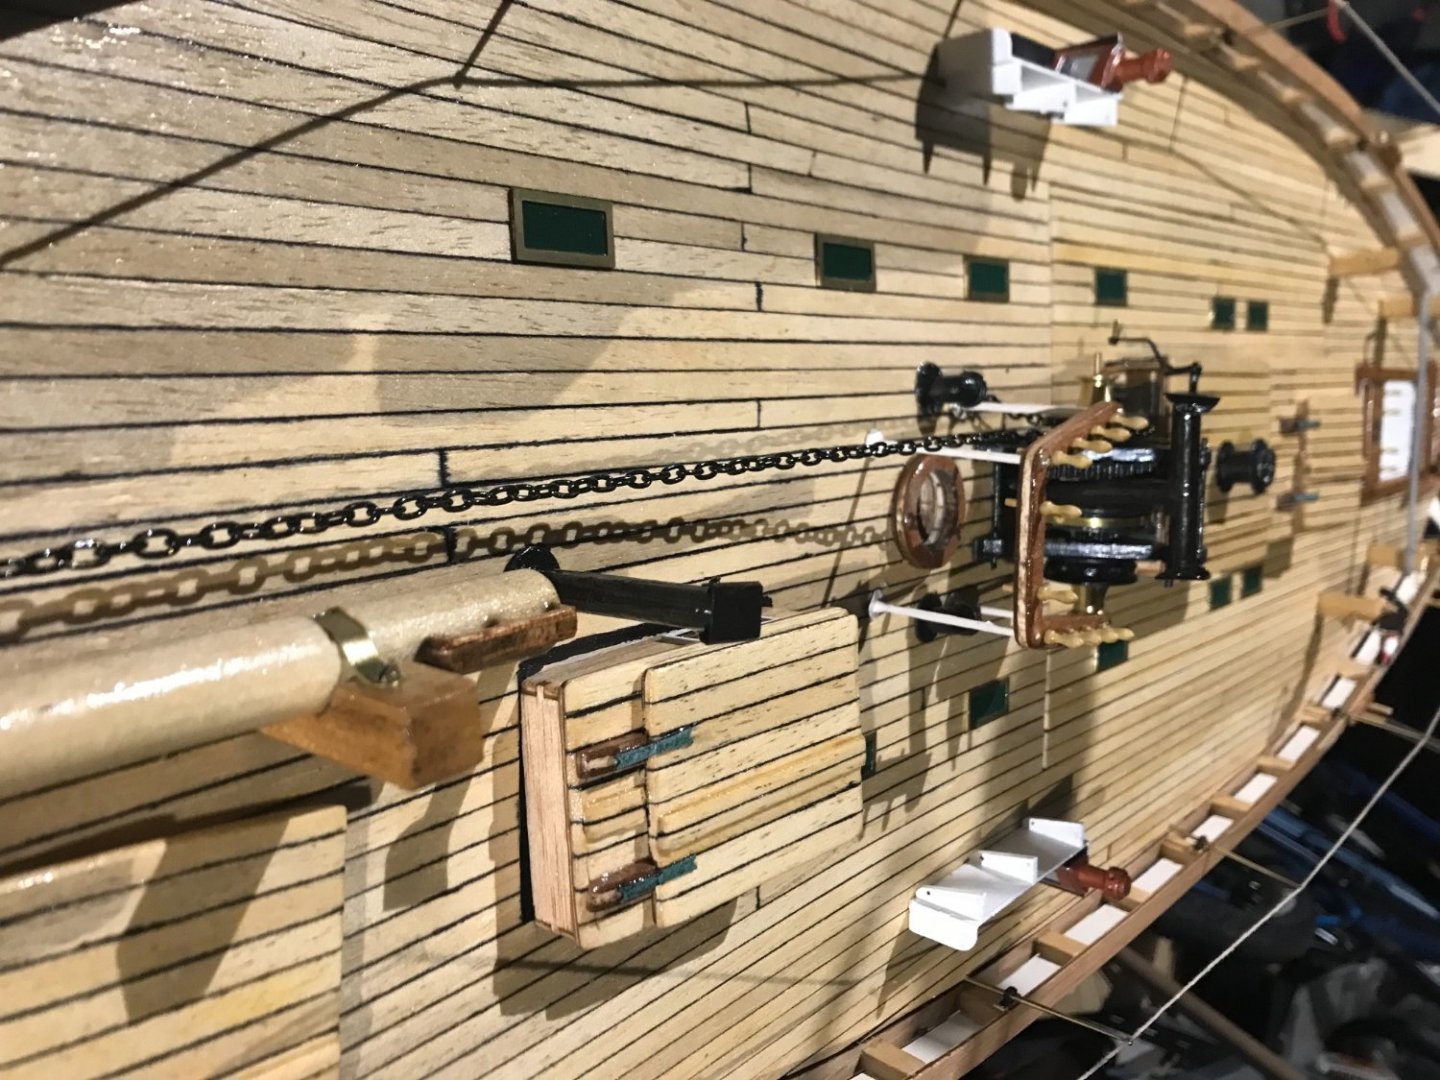
The bow is almost complete, and ready for paintjob as the rest of the hull. Shackle at end of wire is made of "lead steel", which is easy to work with and robust enough to hold the bowspear. Bowspear, 1,5mm stainless steel wire. Currently it is soldered and covered with shrinktube, plan to cover it with a rope.
-
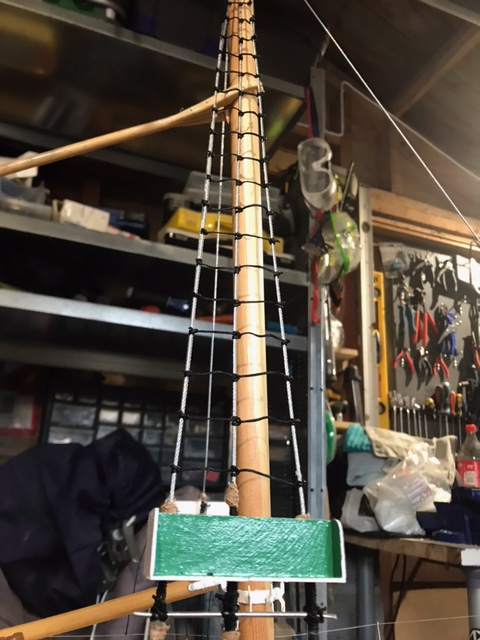
The "ropeladder" is coming in place. Using CA-glue on each knot. Only the right side of the boat will have a "ropeladder".
-
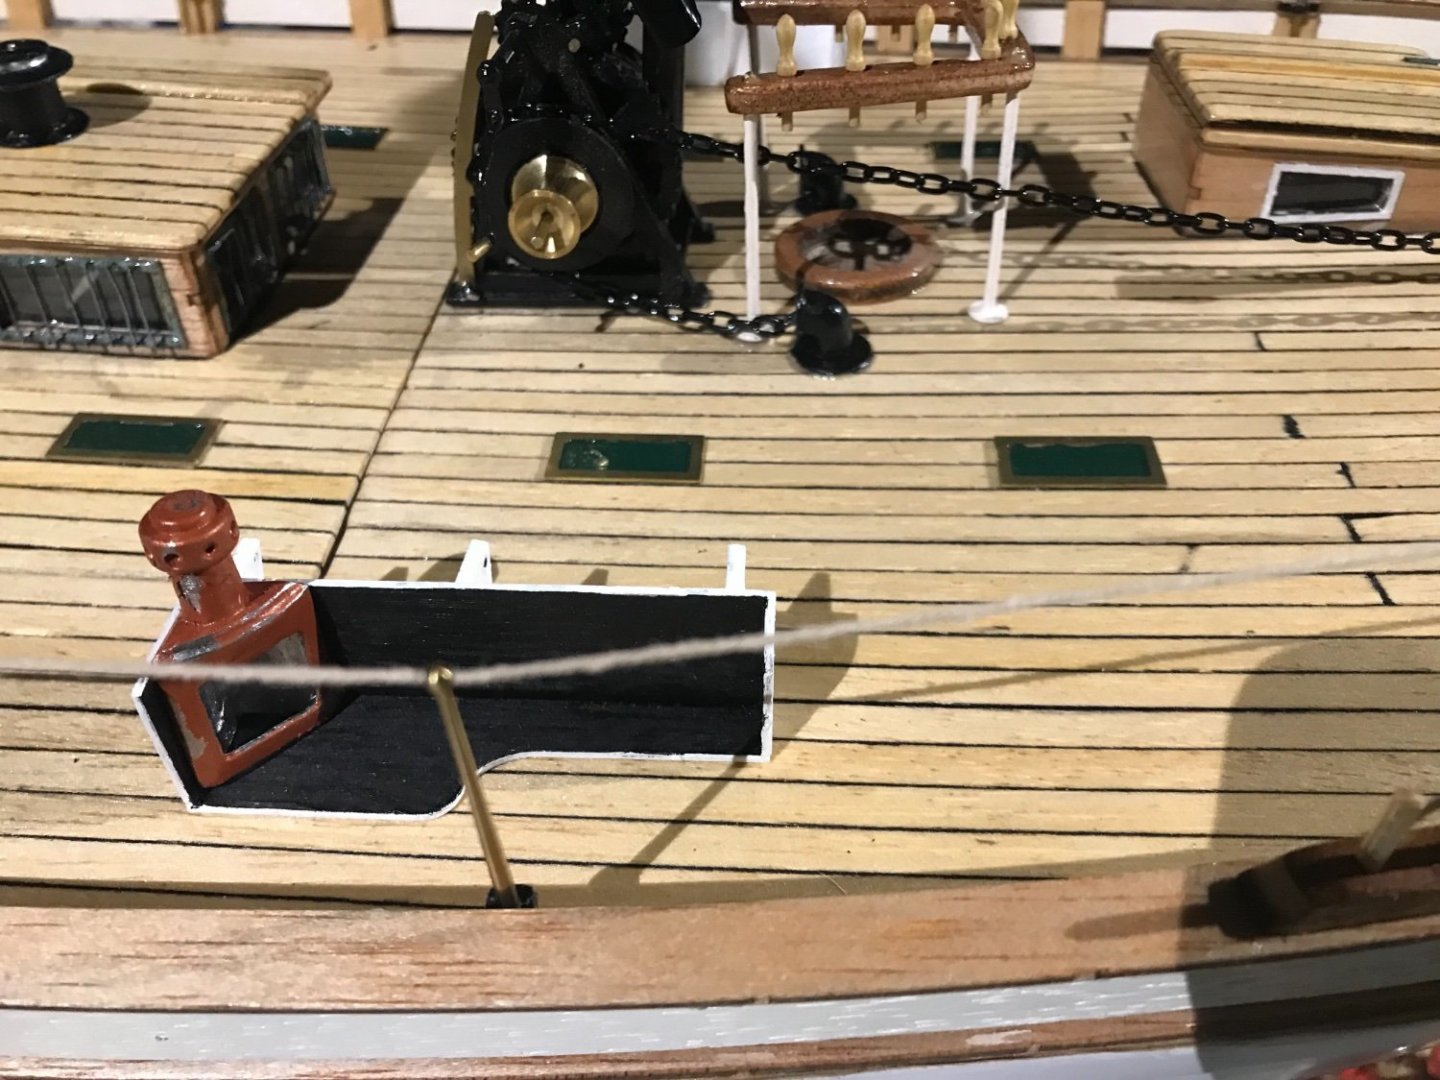
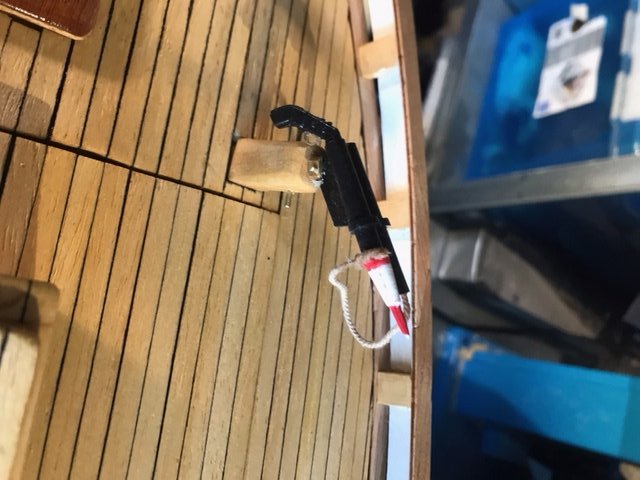
Some more detail and fittings tonight… The lanterns painted with copper and then brushed. Railpoles and -lines are installed.
-
Hmm, made a stupid mistake. I didnt read the manual carefully and installed the short railendings at the bow of the boat. Not sure if I will correct the mistake….it looks okay anyway… The wrong railend… The correct railend…🥴

-
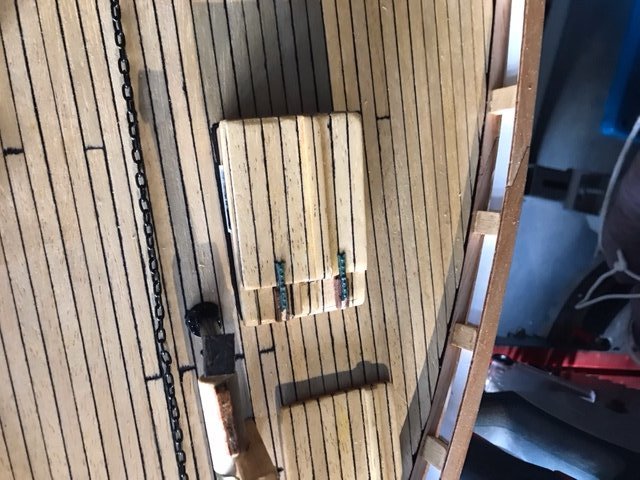
Some more detailwork today, lots of bits and pieces coming together in this kit. The ventilationhat was put together. Added the hinges for the hatches. To give them a rustic look I gave them a foundation of black, and then a mix of darkgreen and grey on top before some golden lacquer.
-
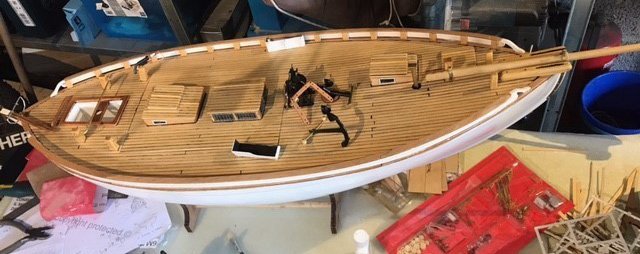
So far. Now it is time to add some more details in the days to come before it is all painted and start with the rig-work.
-
I will re-paint the rudder and the hull in the same glossy white color. I am not impressed by the hinges for the rudder, think I will re-make something slightly more robust.
-
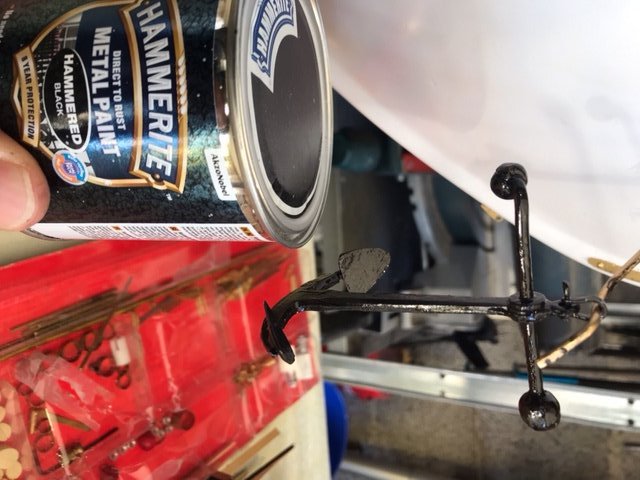
Some details coming together. I've used the Billing Boats paint, but for the black metaldetails it turns out the Hammerite gives a more rustic/weather-beaten look. PS. I am also trying to figure out why some pictures are rotated when I upload them
-
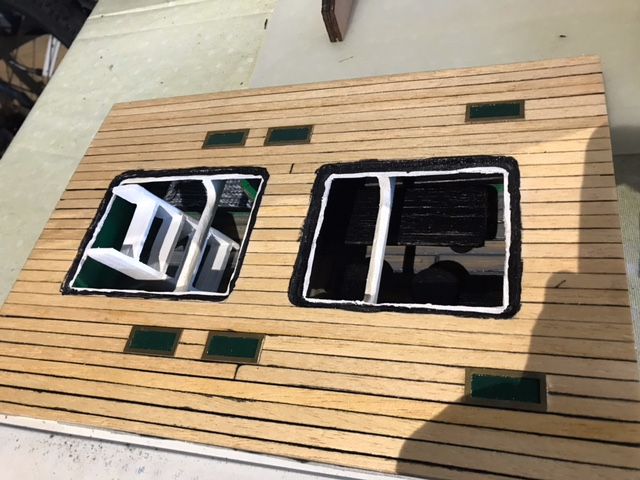
Soldering is not my strongest skill, I never seem to figure out the correct heat, and my hands are a little trembling. Making the protection for the windows was a big hazzle, and requires a lot of patience (which I lack...)

-
The deck color came out quite nice. Golden lacquer gave a fairly "pine-looking" wood. Later, I plan that the wood on details and rigging will be in a darker tone.
-
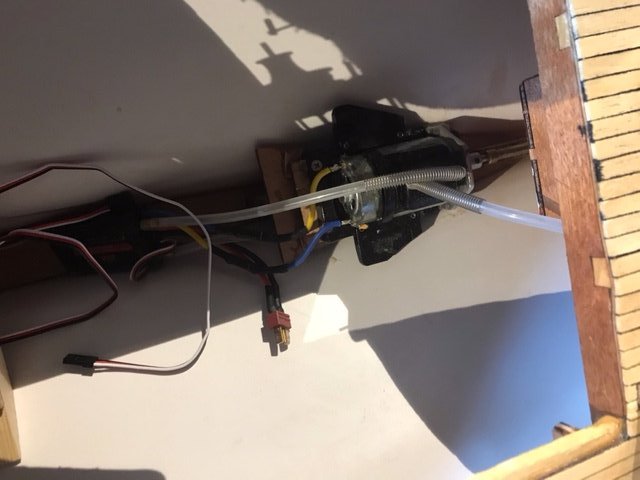
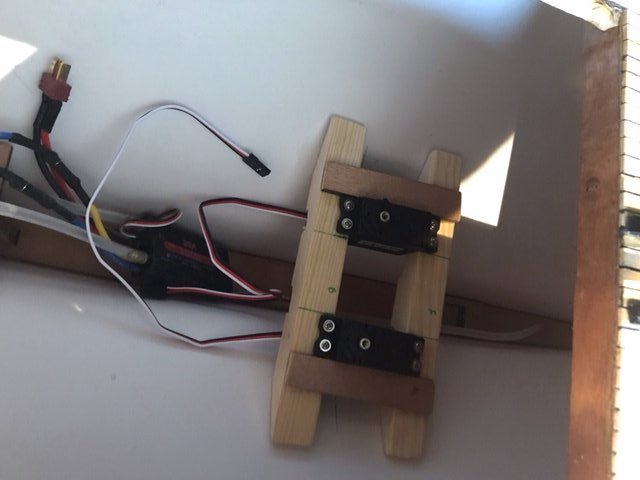
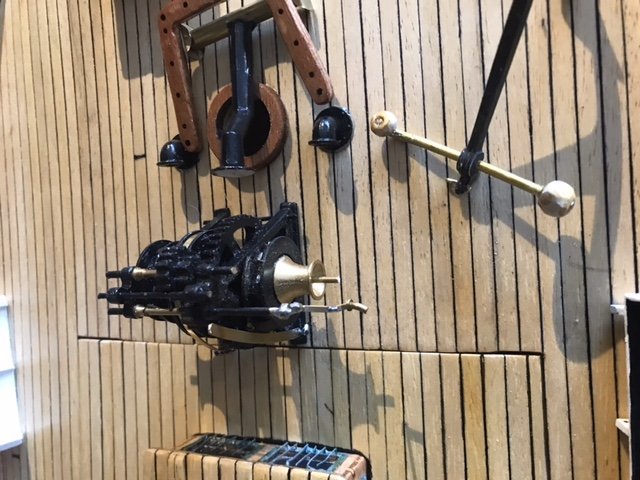
The engine fitted spot on, and even came with a water cooling system incl a regulator. 2xWindforce 1006MG Sailwinches from Krick (www.krick-modell.de art nr 79073) as depicted in pic nr2 was mounted on a bed. My plan is to wait until the rig and sails are complete to decide where to place them in the hull. I am considering velcro-straps...