


Linda DOBLE
-
Posts
6 -
Joined
-
Last visited
Content Type
Profiles
Forums
Gallery
Events
Posts posted by Linda DOBLE
-
-
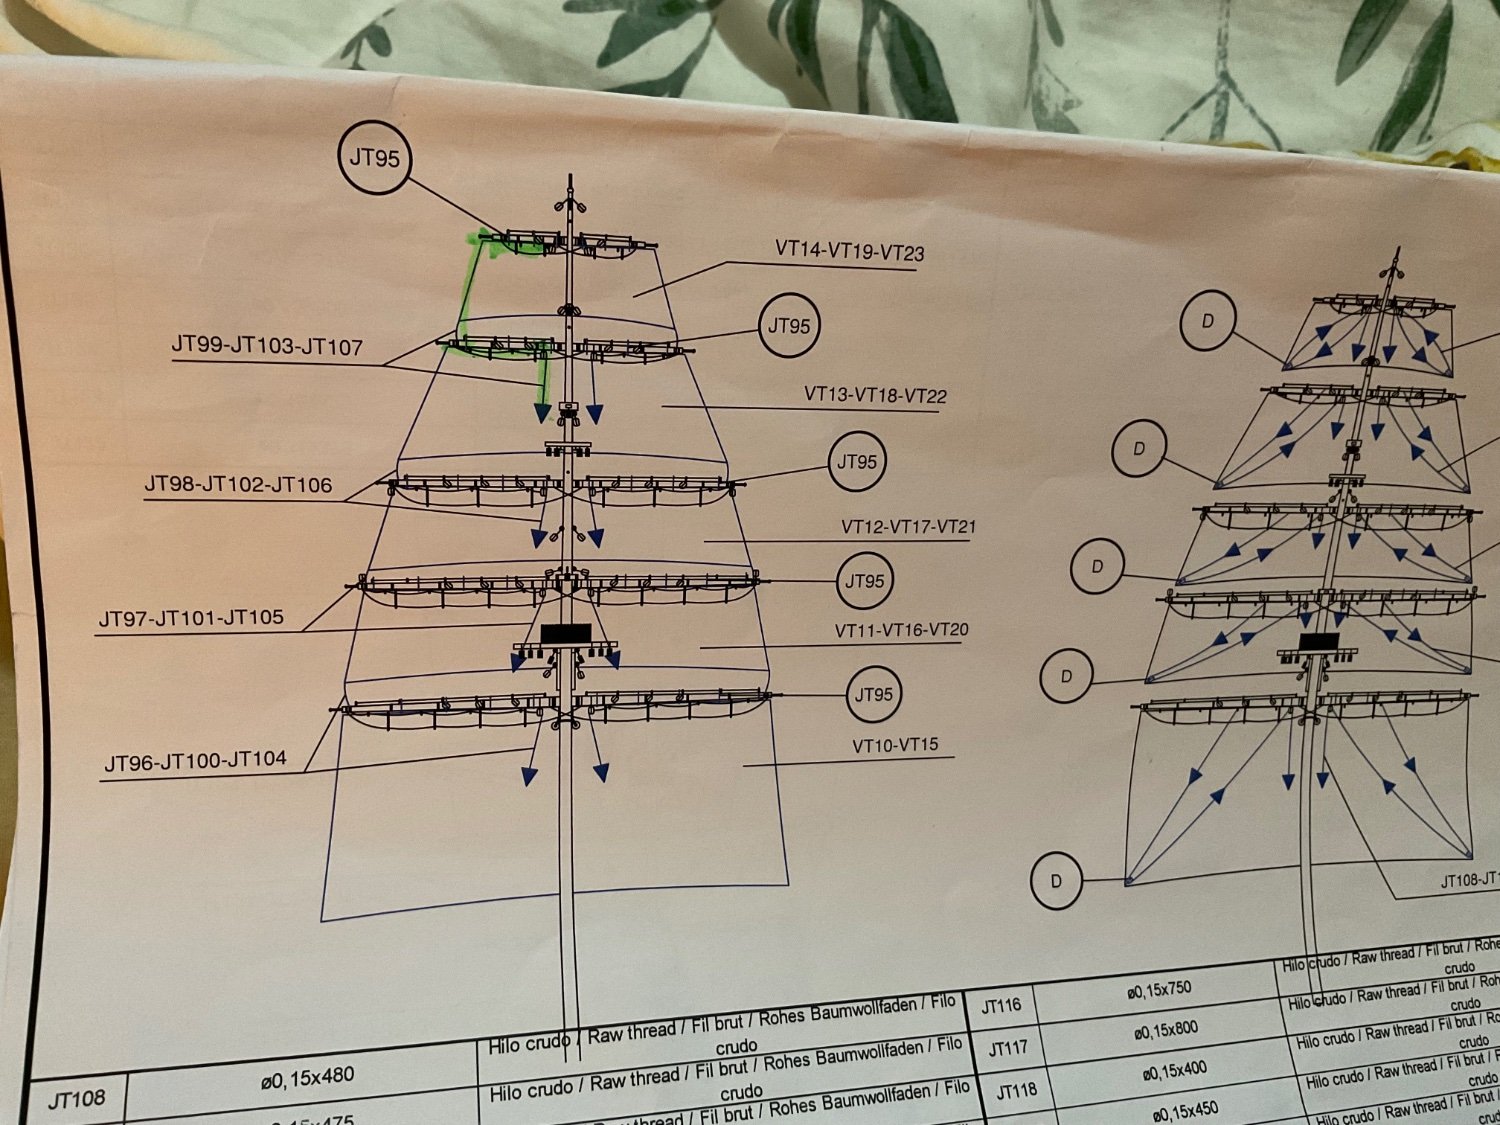
Hello everyone! Pardon ahead of time for my naval ignorance, I’m an old retired woman who loves to make model ships - but I don’t know much about how they work- just love how they look. . I’m wondering if one of you learned and experienced model ship builders can tell me from this diagram what to do. Let’s just take JT-99 on lefts side, and follow it from start to finish. My confusion is this.. so I should tie a line to top mid yard (left) then Do I tie it to the end of the same top yard and then tie to the sail below it at the bottom left corner then travel it through eyes of the yard below, etc.?
 I would appreciate your help very much. I’m stuck. Cheers, linda
-
-
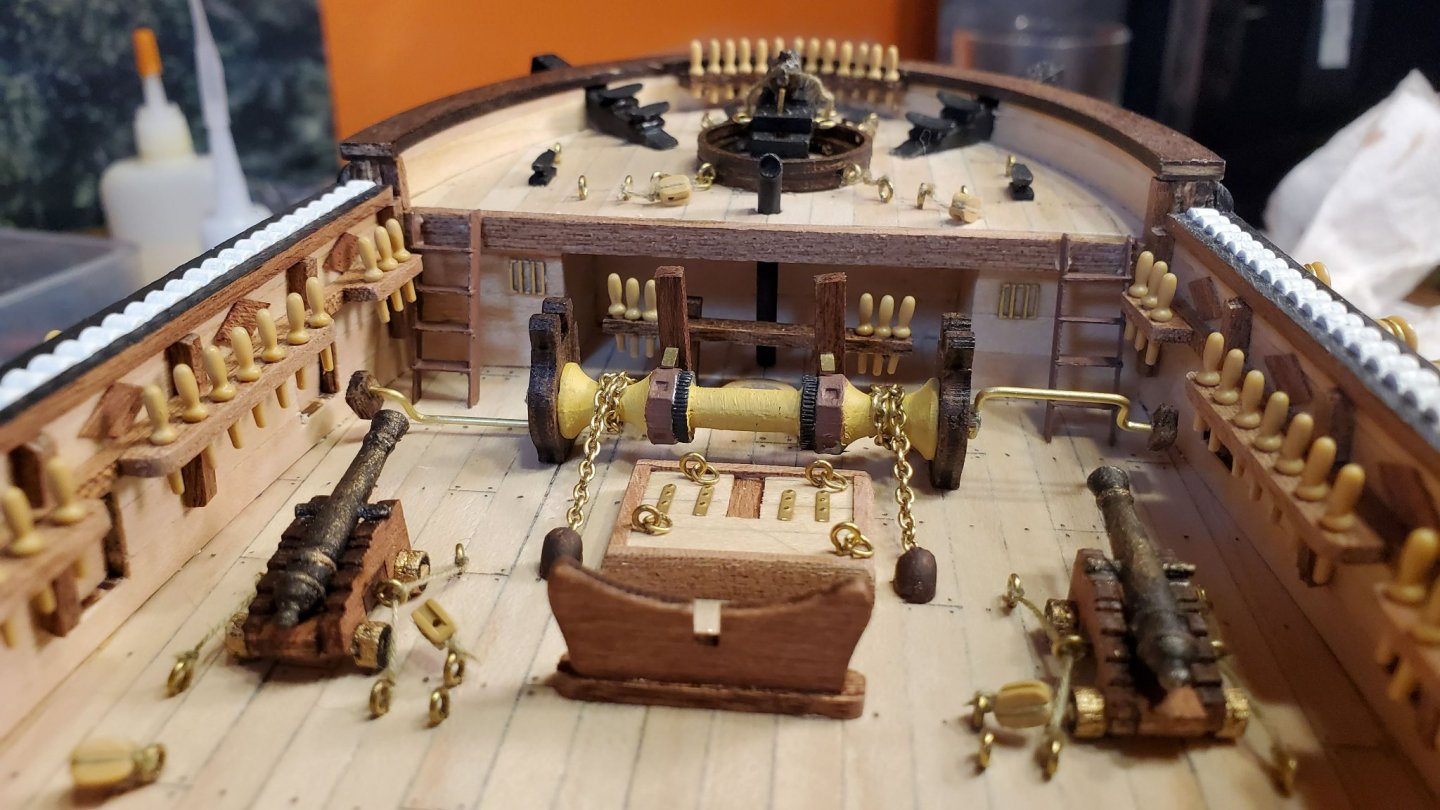
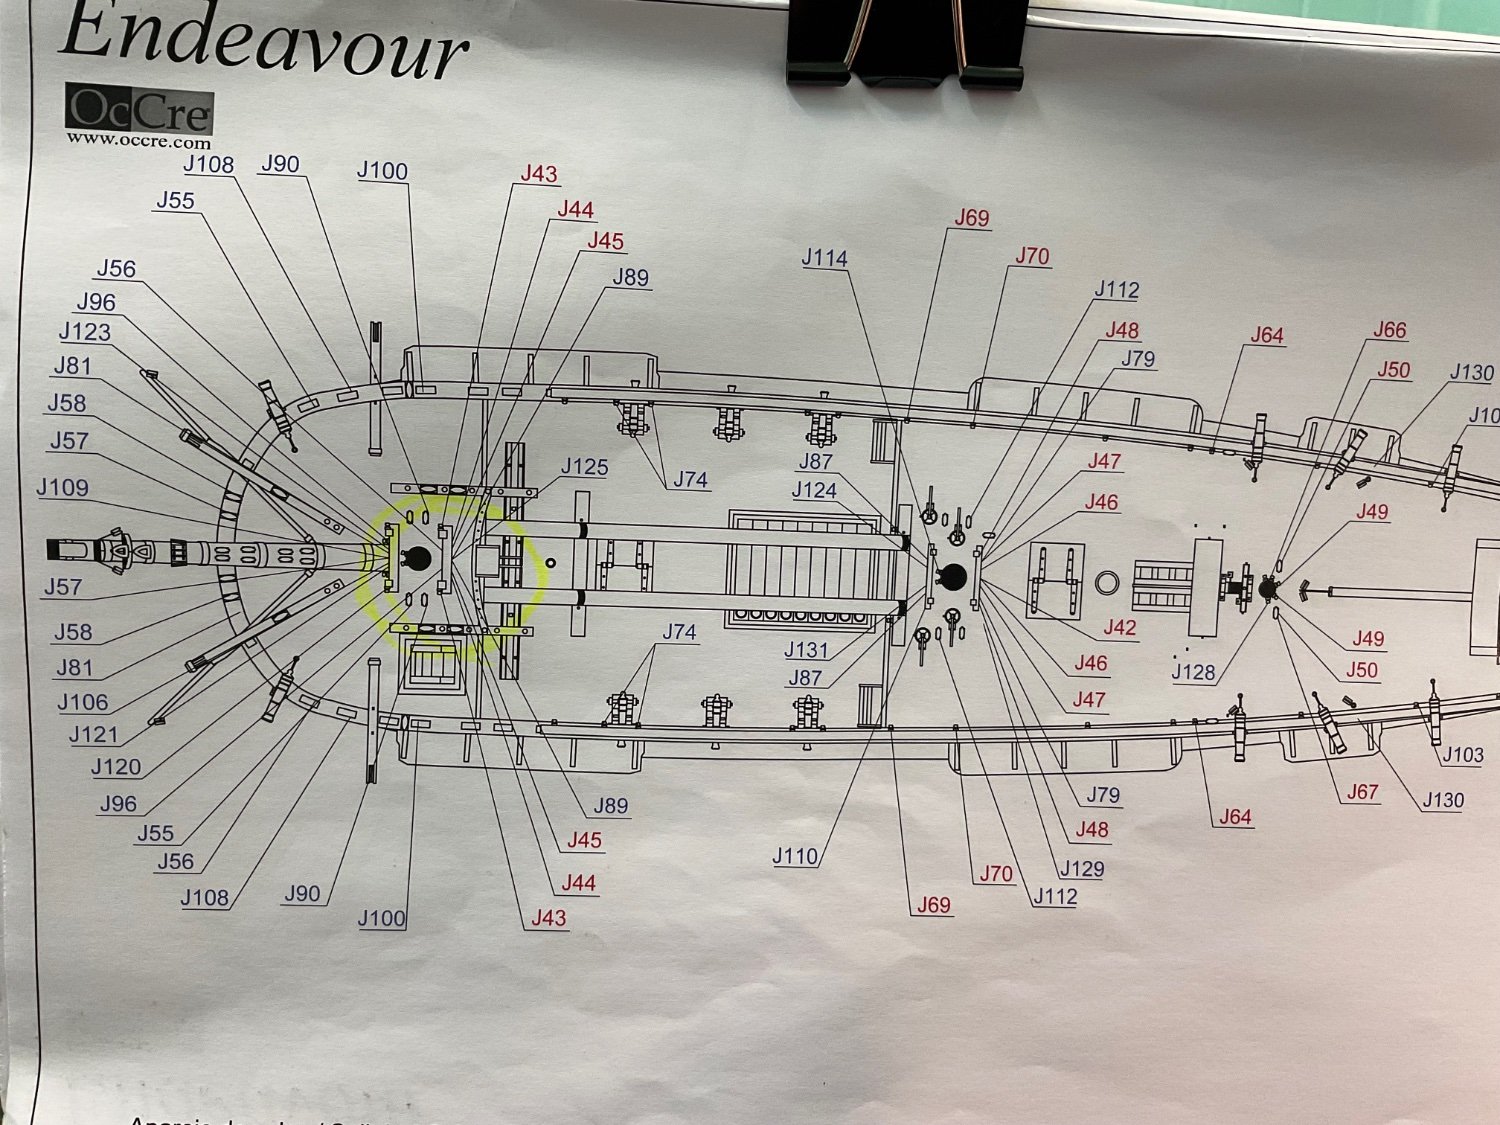
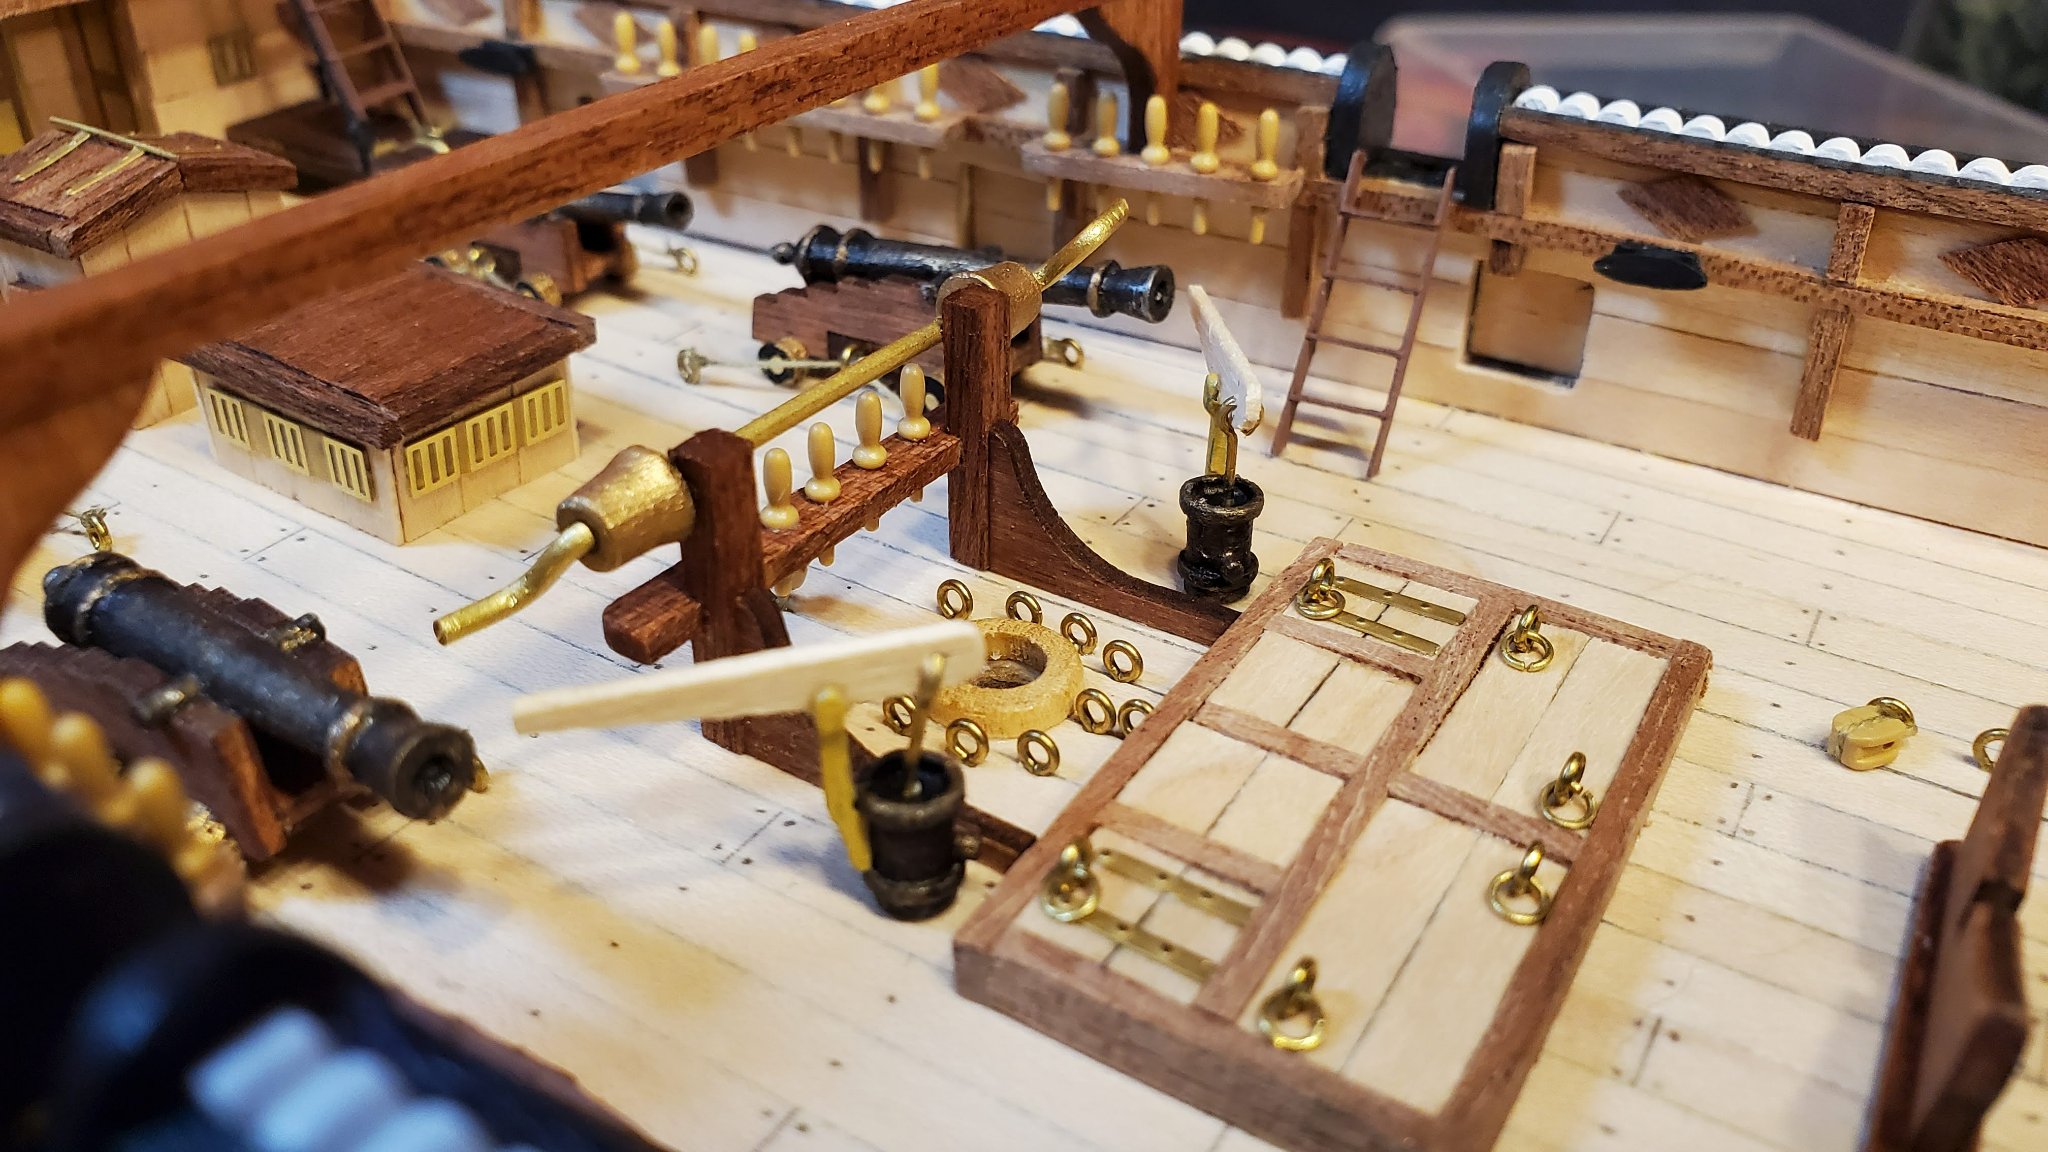
Hello everyone- hope someone can help me. The diagram I’ve attached is from the rigging plans - see where I have circled -j43,j44,j45,j89 etc -they have 8 threads going under this structure, but there are points to tie off the threads under this structure , I don’t understand why the lines are all going there. ?No pins or cleats. What do you do in the situation? Should I add pins under it? Thanks for any advice.
-
On 4/11/2021 at 1:43 PM, Techtonic said:
Thought I'd throw my hat in to the growing number of logs for this ship - I guess the more the merrier!
I'm a little late to start a log - I started building in late February doing 2-3hrs work most days. I would guess I've put in the best part of 100hrs so far.
This is my very first wood model ship. I've done a lot of Metal Earth type models over the past year or so, including a few ships such as PieceCool's very decorative Wind Breaker
and Black Pearl
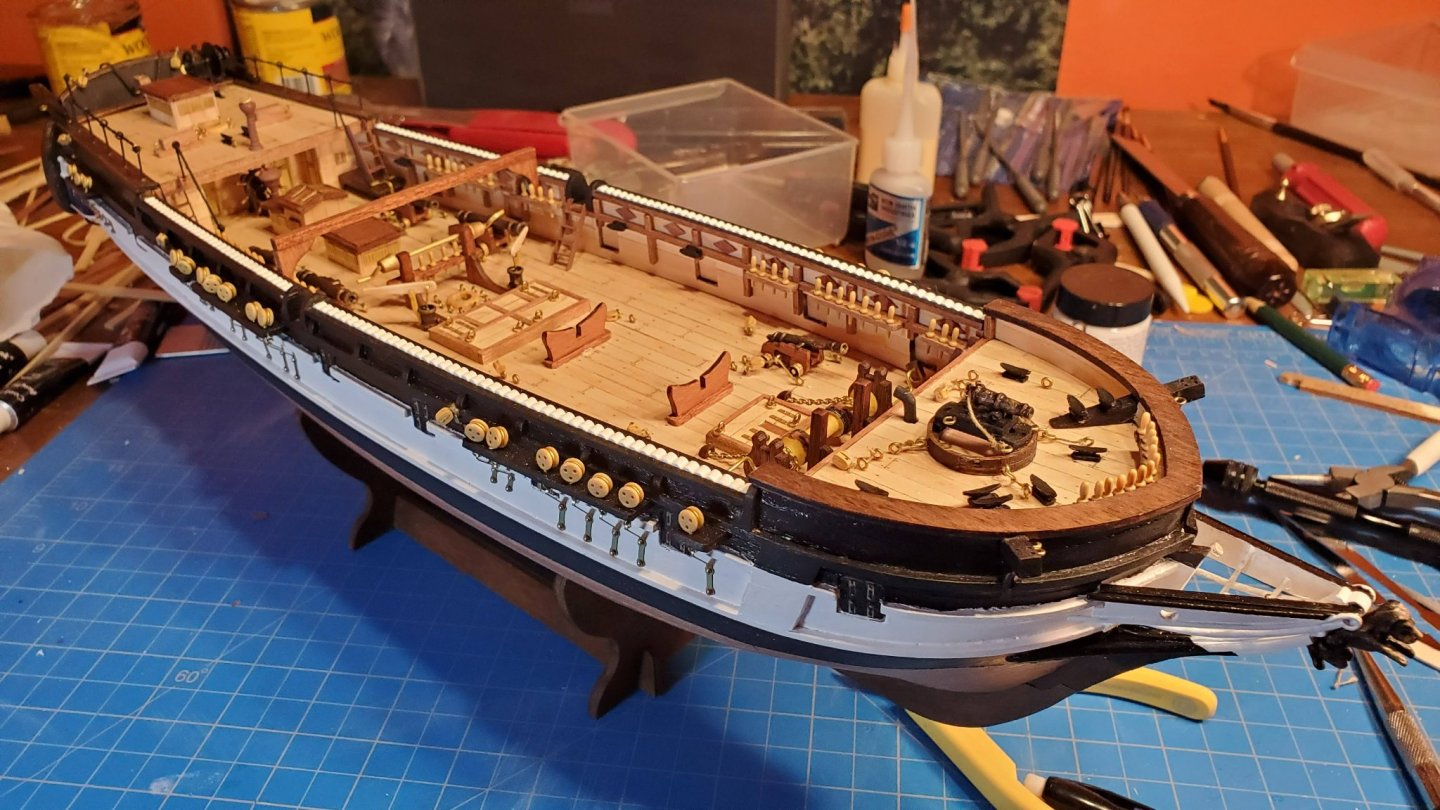
This has given me a lot of experience at working at a small scale so I hoped this skill-set would help with building a wooden ship. So decided to opt for an ambitious first build of the Beagle. The scientific significance of ship was also very appealing to me. This choice was also heavily swayed by the availability of OcCre's YouTube step by step build videos. And these have indeed turned out to be an invaluable resource.
Here's another excellent online resource I found for visualizing the ship: https://www.cloudtour.tv/beagle/. There are some differences in the OcCre ship compared to the virtual model in the details - but the general layout out of both versions are very similar.
I only have a few pics from early in the build, just after the first planking. As you can see in these pics I was concerned about being able to remove the pins after the glue had dried. So I made myself a whole bunch of small rectangular washers from cereal box cardboard. These worked really well - you could push the pins in all the way with a pin-pusher so it holds the wood down securely. Then when dry, the pins could be easily removed by sliding a flush cutter under the cardboard washer and pulling out.

You'll also see in these pics I opted to go for the more traditional way of tapering the planks along the whole length rather than the way OcCre suggest of using full width planks then inserting triangular sections to fill the gaps. I'm not sure there is any advantage to my way over OcCre's way other than it may have given me more useful experience for future builds.
For bending the planks I used one of these: https://www.agesofsail.com/ecommerce/amati-form-a-strip-am7381.html. In my research I've seen many people say not to use these - but I found them really useful and made bending the planks easy and quick. The only thing is you can't use them if the inside of the bend is going to end up visible as you end up with a bunch of indentations on the inside.
For the deck planking and second hull planking I highly recommend the way they do it in the OcCre videos using contact cement. I was a bit nervous about using that method as I was afraid that as soon as I attached the plank it would adhere and would not be moveable to adjust and close gaps. But this is not the case - it does not adhere properly until you apply firm pressure, so it is easy to adjust just right, then when a section is complete just apply firm pressure with a rounded wooden object and everything will stick firmly. I used DAP Weldwood Contact Cement which worked great for this application.
I did manage to put quite a major slice in my thumb with an Xacto knife due to a plank splitting when I was trimming the top edge flush with the deck - certainly learned my lesson to be more careful when making cuts like that. Fortunately didn't cut through any tendons so it's all good now other than a numb section due to cutting through a nerve.
So skip forward a month and I'm now just before building the dinghies and long boats. I'm very pleased with how it has progressed. There were a few mistakes along the way which required some effort to rectify - but that's how you learn right?
I did have an issue with my set in that it is short probably two lengths of the 1mm brass wire. I had to start substituting the 0.5mm and 1.5mm wire for some things, and some 1mm steel wire I had laying around for some parts that get painted.
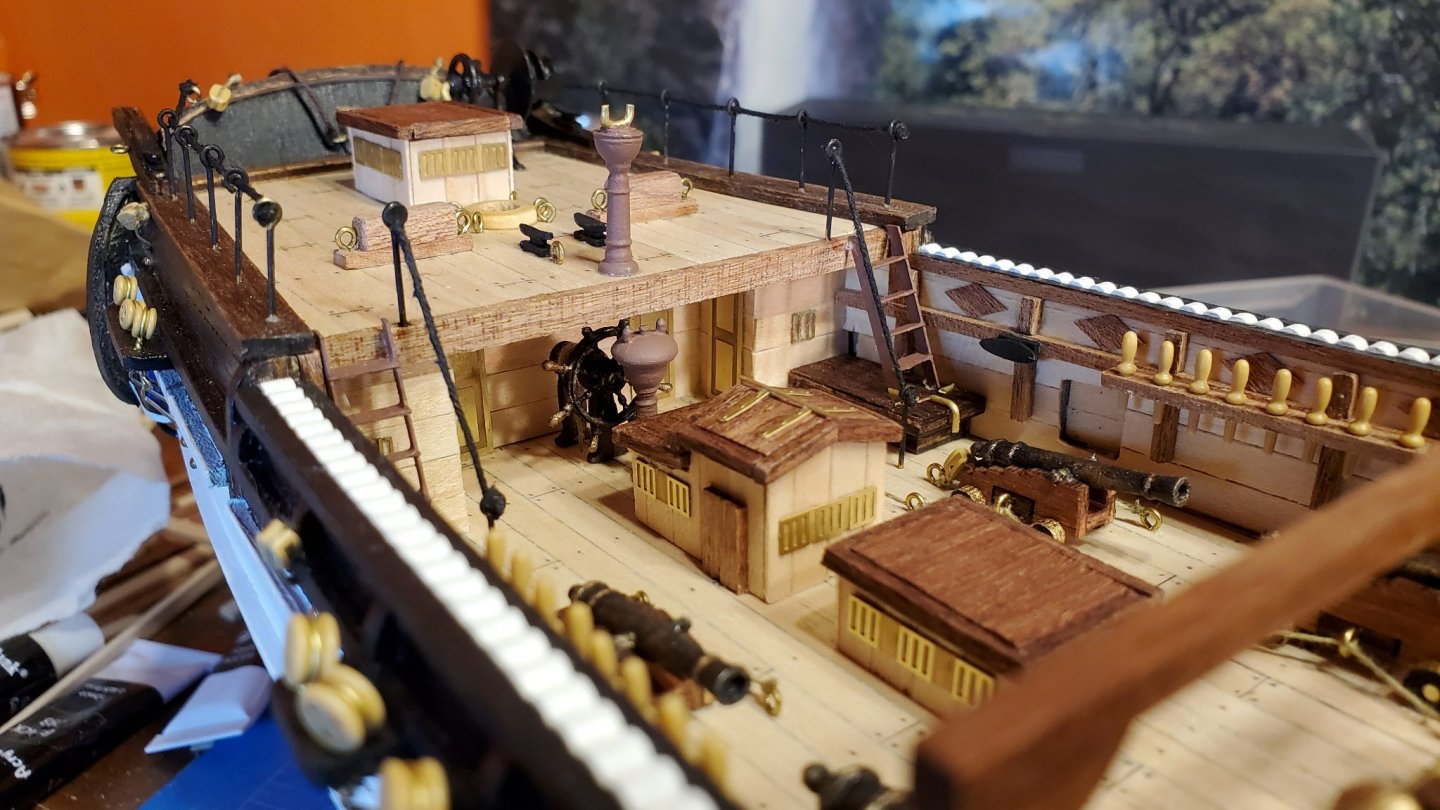
Talking of paint - I used Historic Ships brand Black and White paint for the hull. This gives a semi gloss finish which looks really nice. It does take about 3 or 4 coats to get a consistent finish, but it dries pretty fast. I also used Historic Ships Clear Satin varnish for everything that needs varnishing. This dries fast and is very quick to clean off brushes with water.
For stain I used Minwax Dark Walnut and Red Mahogony, and more recently got some Red Chestnut which I prefer and used for later parts of the build (e.g. the deck house roofs). In hindsight I wish I had treated all the interior sapelli wood with the Red Chestnut as that would have given a nicer contrast.
For all the black fittings I used matte acrylic paint, firstly because it only needs one coat to get a good finish, and second my understanding is that on small objects gloss does not look very realistic.
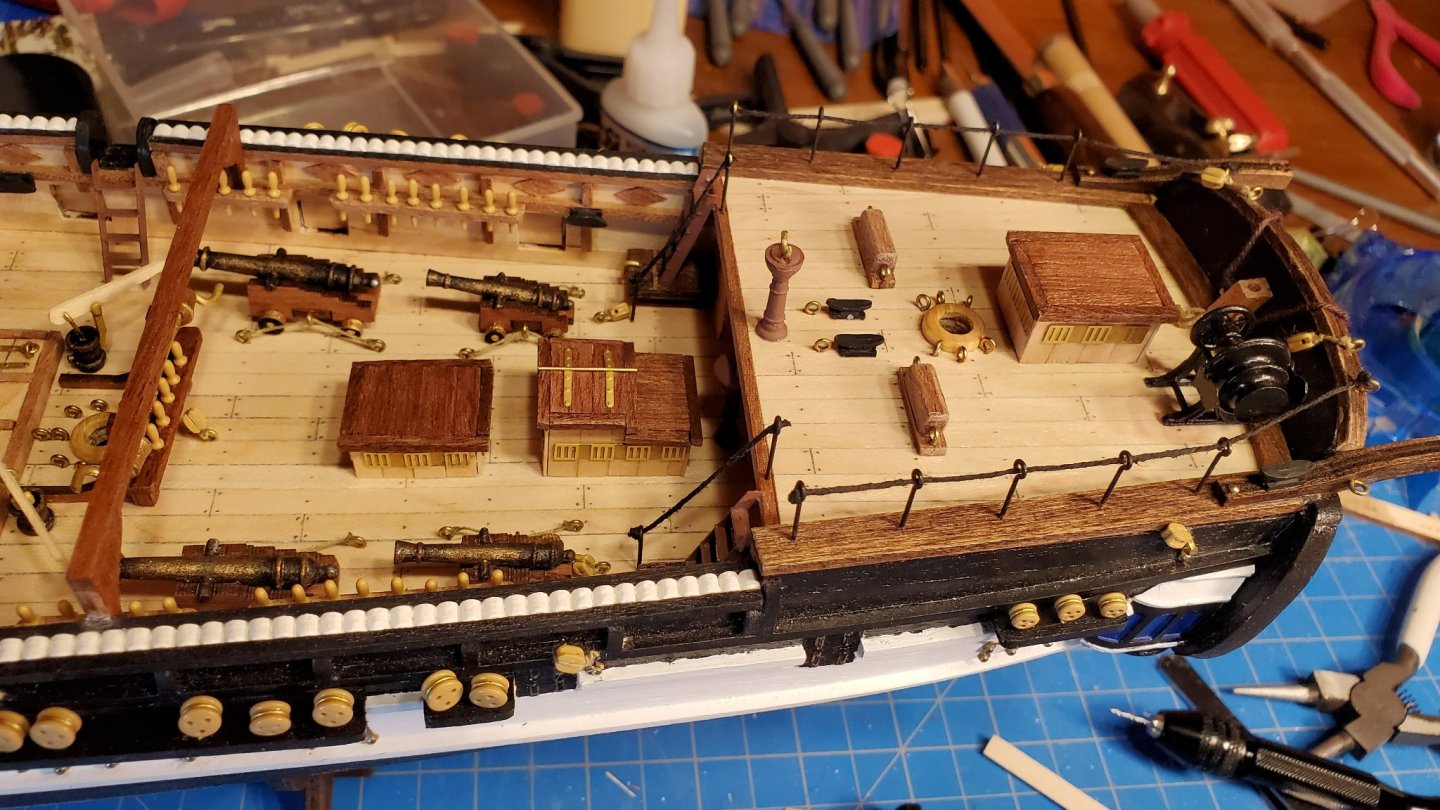
For the cannons and figurehead I used a mix of matte black acrylic and Liquid Leaf Classic Gold. I actually mixed the paints together in various proportions to get the desired patina rather than using the black then gold method shown in OcCre's video. Then I used a very small amount of the semi gloss black dry brushed on top to get relief around the nooks.


In the next pic you can see I had to substitute 1.5mm instead of 1mm brass wire for the axle on the central pin rail due to there not being enough 1mm in the set. Looks OK though I think.

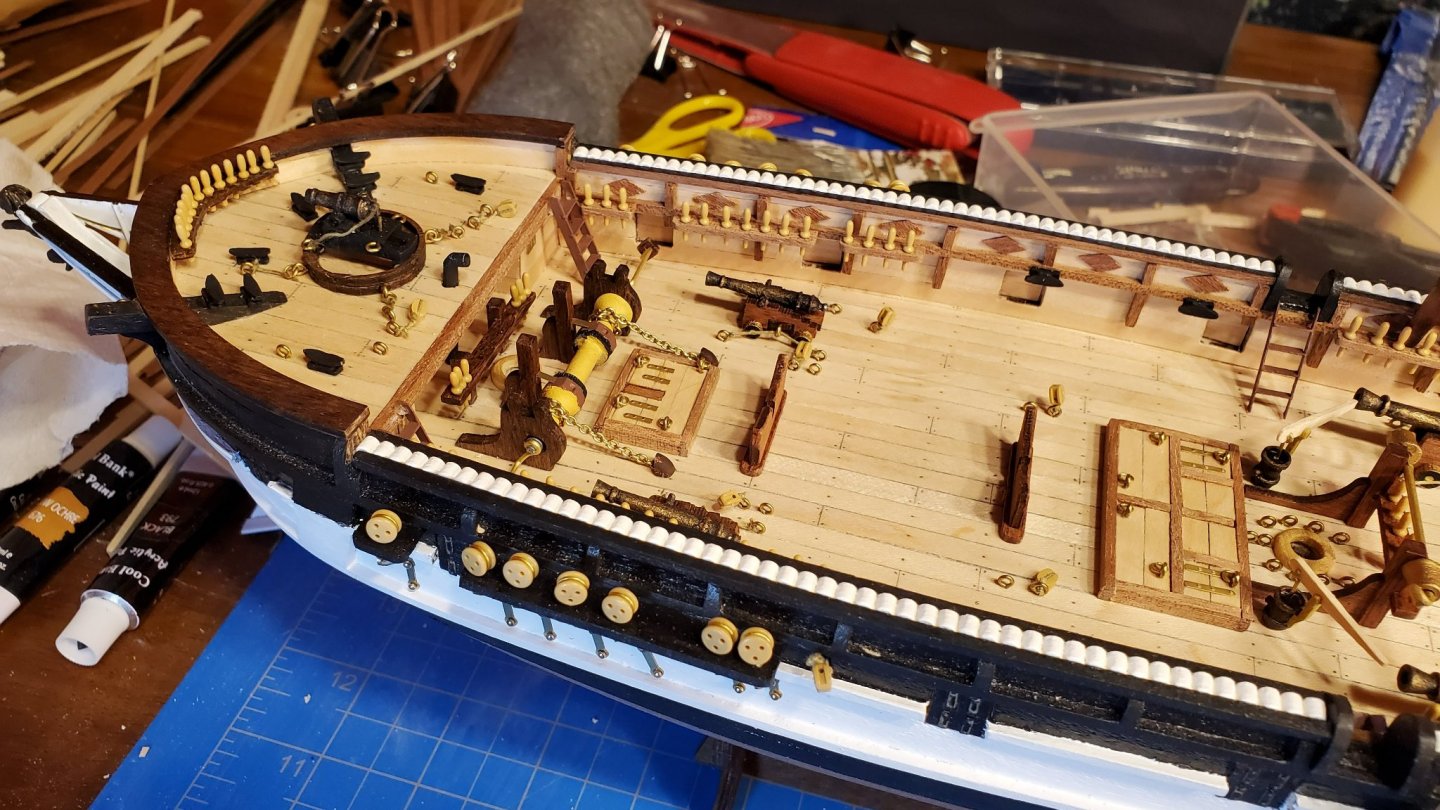
In the next pic you can see an issue with the foremast belaying pins. I spaced each set of three pins exactly as shown in the scale drawings in the instructions. But this makes them too close and each set of three pins will not insert all the way due to interference. I almost remade the whole piece but in the end just decided to put up with it. If you are building this ship I would suggest spacing these pins out slightly more than shown on the drawings.
There a small gap between the keel and the hull that can be seen in the next pic. I should have spent more time test fitting and shaping the keel here.
I was happy with how the wire bending went for the transom decorations, I think my Metal Earth experience helped here as you have to do a lot of careful forming and shaping of metal sheets. You can see here I did not sand down the internal support blocks at the stern on the starboard side enough. It wasn't clear in the instructions that they basically need to be sanded down to the width of the keel at the very back.
Here you can see another mistake I made. The anchor wale on the port side shown here is correct. But compare it to the first pic, you'll see on the starboard side I accidently made it slope the other way, towards the back as you go down. It's one of those errors that no one viewing the model would ever spot as you never see both at the same time - but I know it's there, grrr!
Another mistake I used the wrong thickness of wire for some of the wires that make up the bow (this is not why I am short on the 1mm wire though).
Well that's it for now. I'll post further updates as progress is made.
-
Hi guys, I am a novice and attempted to build the Endeavour by AL years ago - I ended up so frustrated with the cheap materials and very bad instructions, I scraped it. Now I’m 66, looking for a Gratifying hobby so thought I’d give it another go.
After reading many of the comments, I’ve narrowed my next model brand between Caldercraft or Occre. May I please have your experienced and expert opinions on which one to get? I’m interested in clear instructions and good quality.
thanks - Linda


Help with understanding the rigging diagram
in Masting, rigging and sails
Posted
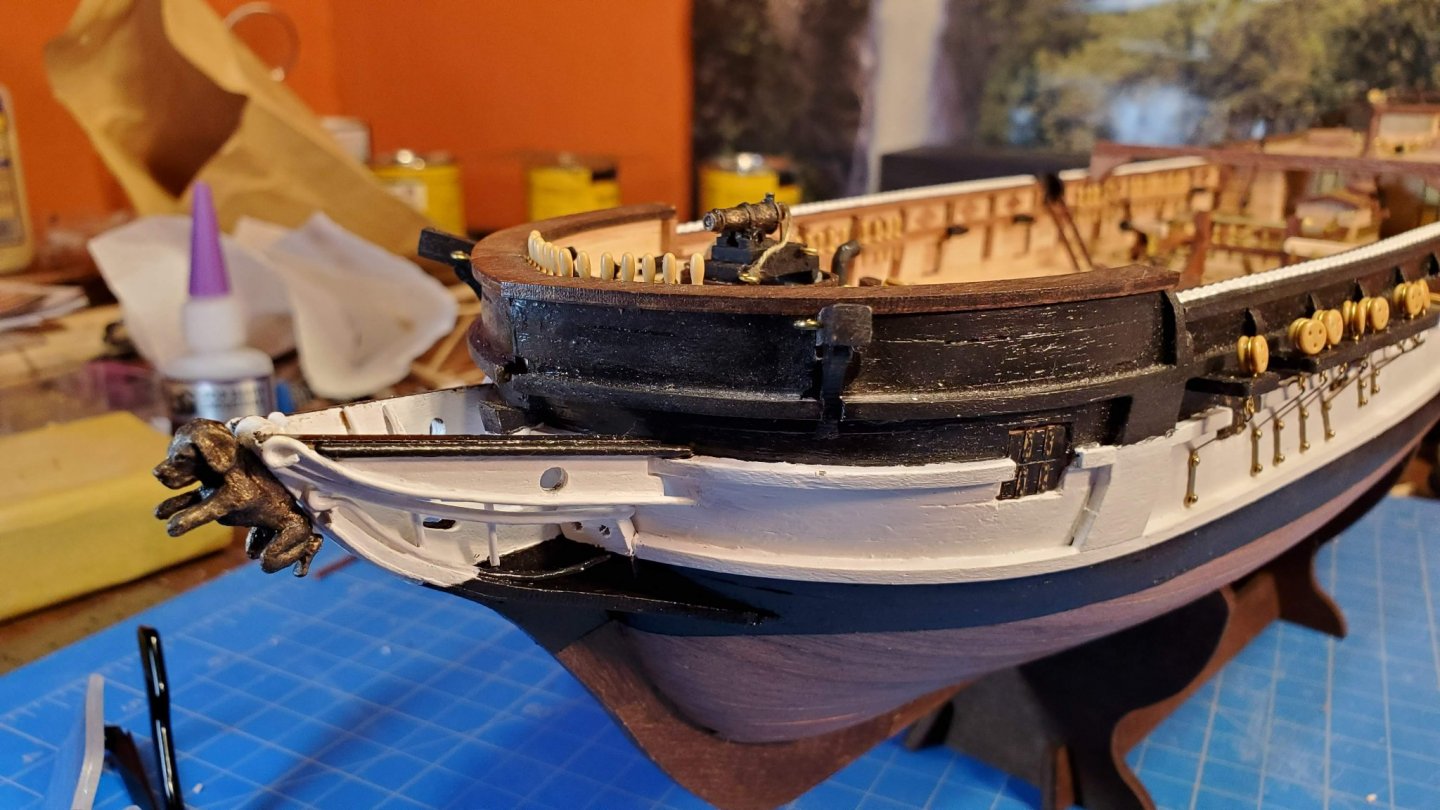
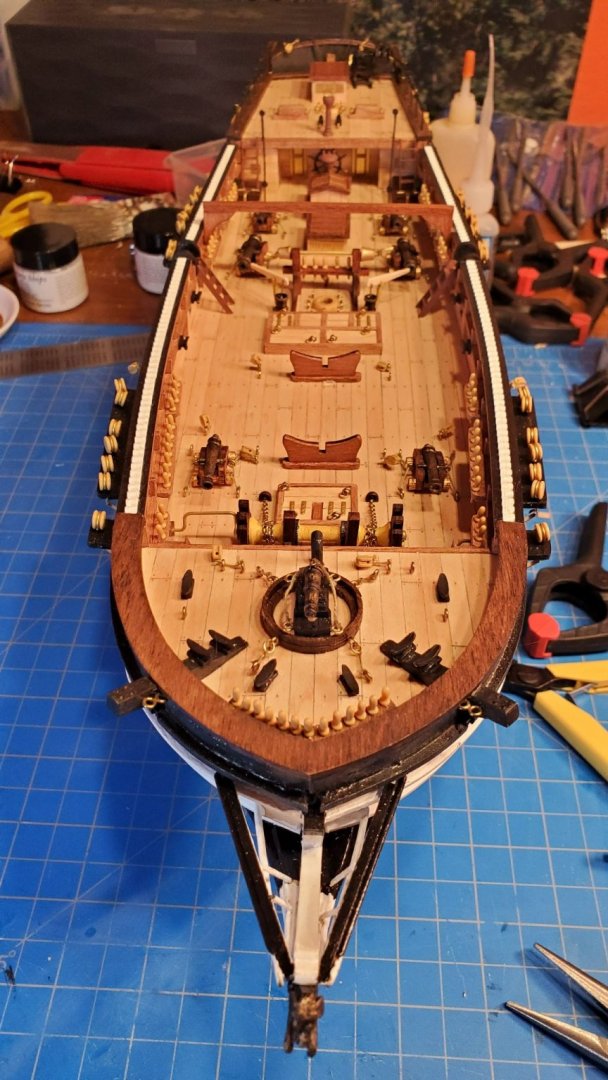
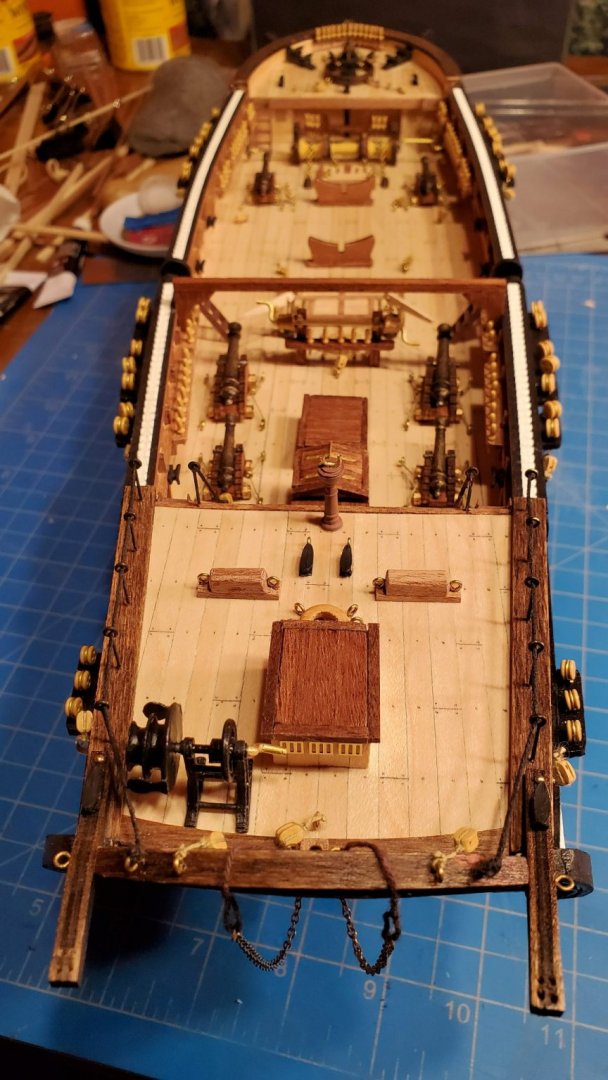
thank you Ross - Yes I am attempting the Amerigo Vespucci by Occre. (Great detective work) - I know it is above my skill level but when I saw this ship in the water (on YouTube) it gave me chills so I wanted it in my living room. yes I do indeed have 1mm holes at the end of the yards. I will have to study more about these sheet lines you all speak of.
Roger I think you hit the nail on the head with your explanation. I wish they would at least show this line clearer in the photos. Some of the sails are set, while others not and they don’t really have a good photo showing this particular line on the furled (or half furled) sails.
Mark P - thank you as well, it’s so complicated, the rigging, and I am going to get this book as well…
‘I do have some of these books mentioned, but I have a problem with transferring the info into the current builds - sometimes I don’t even know what I’m looking for.
Thanks for the help guys, much appreciated - cheers