Unit66
-
Posts
23 -
Joined
-
Last visited
Content Type
Profiles
Forums
Gallery
Events
Everything posted by Unit66
-
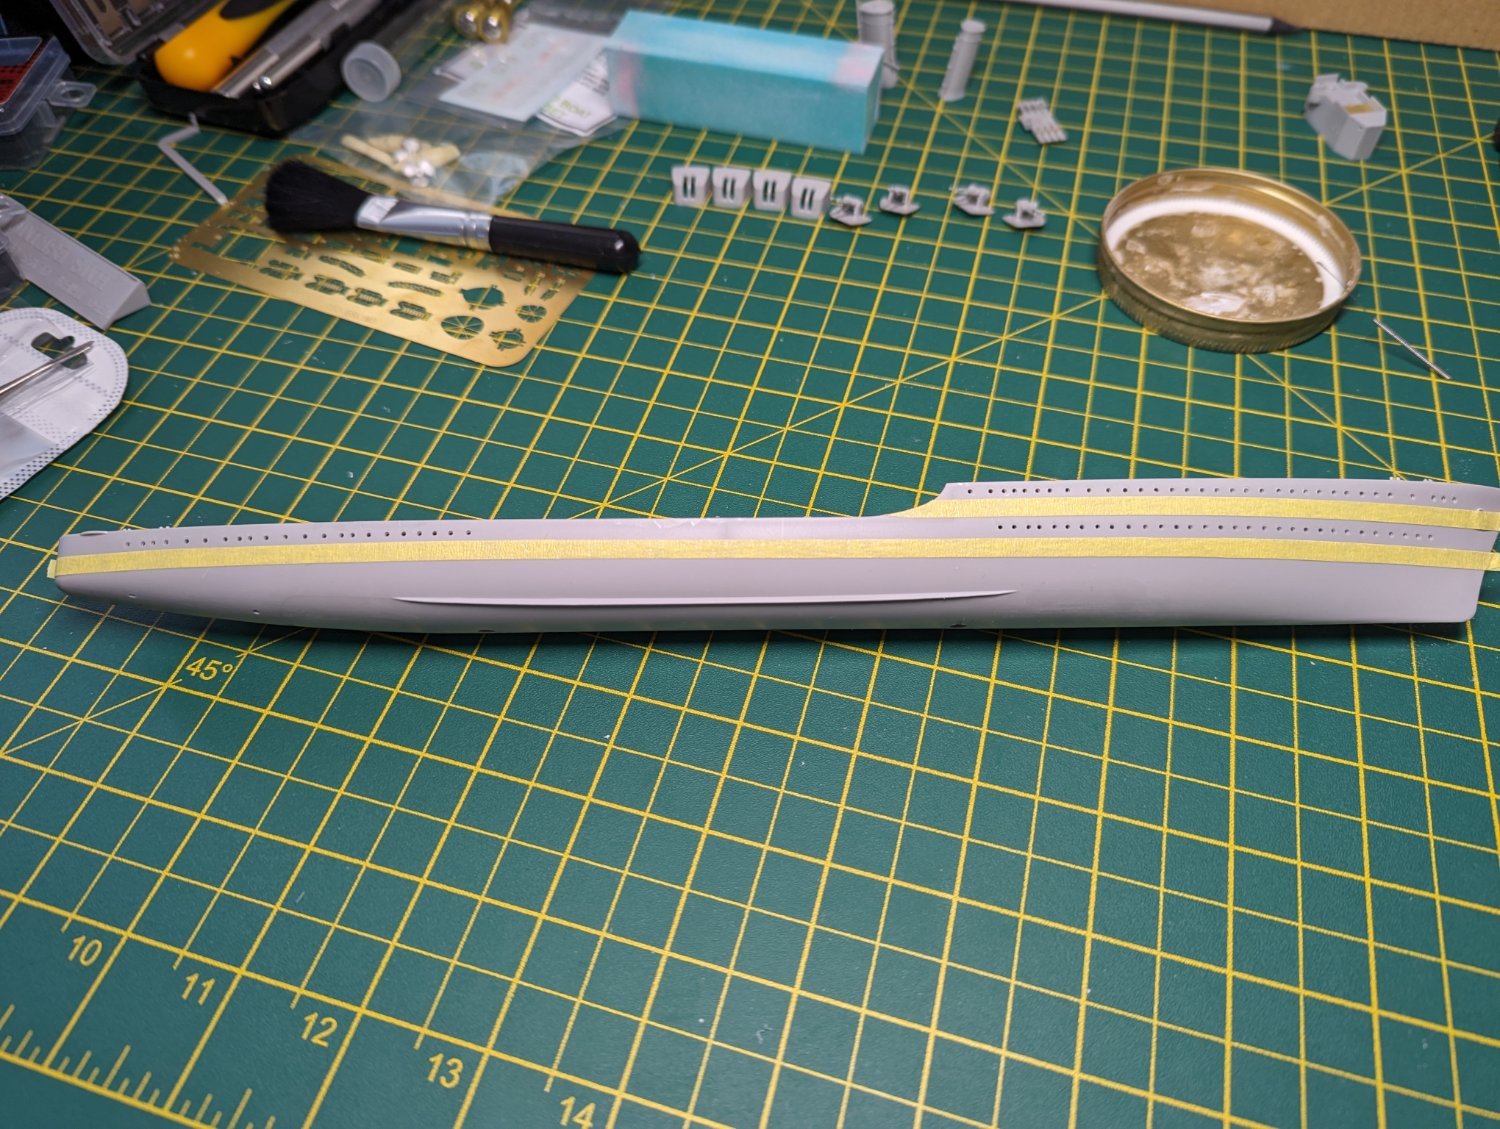
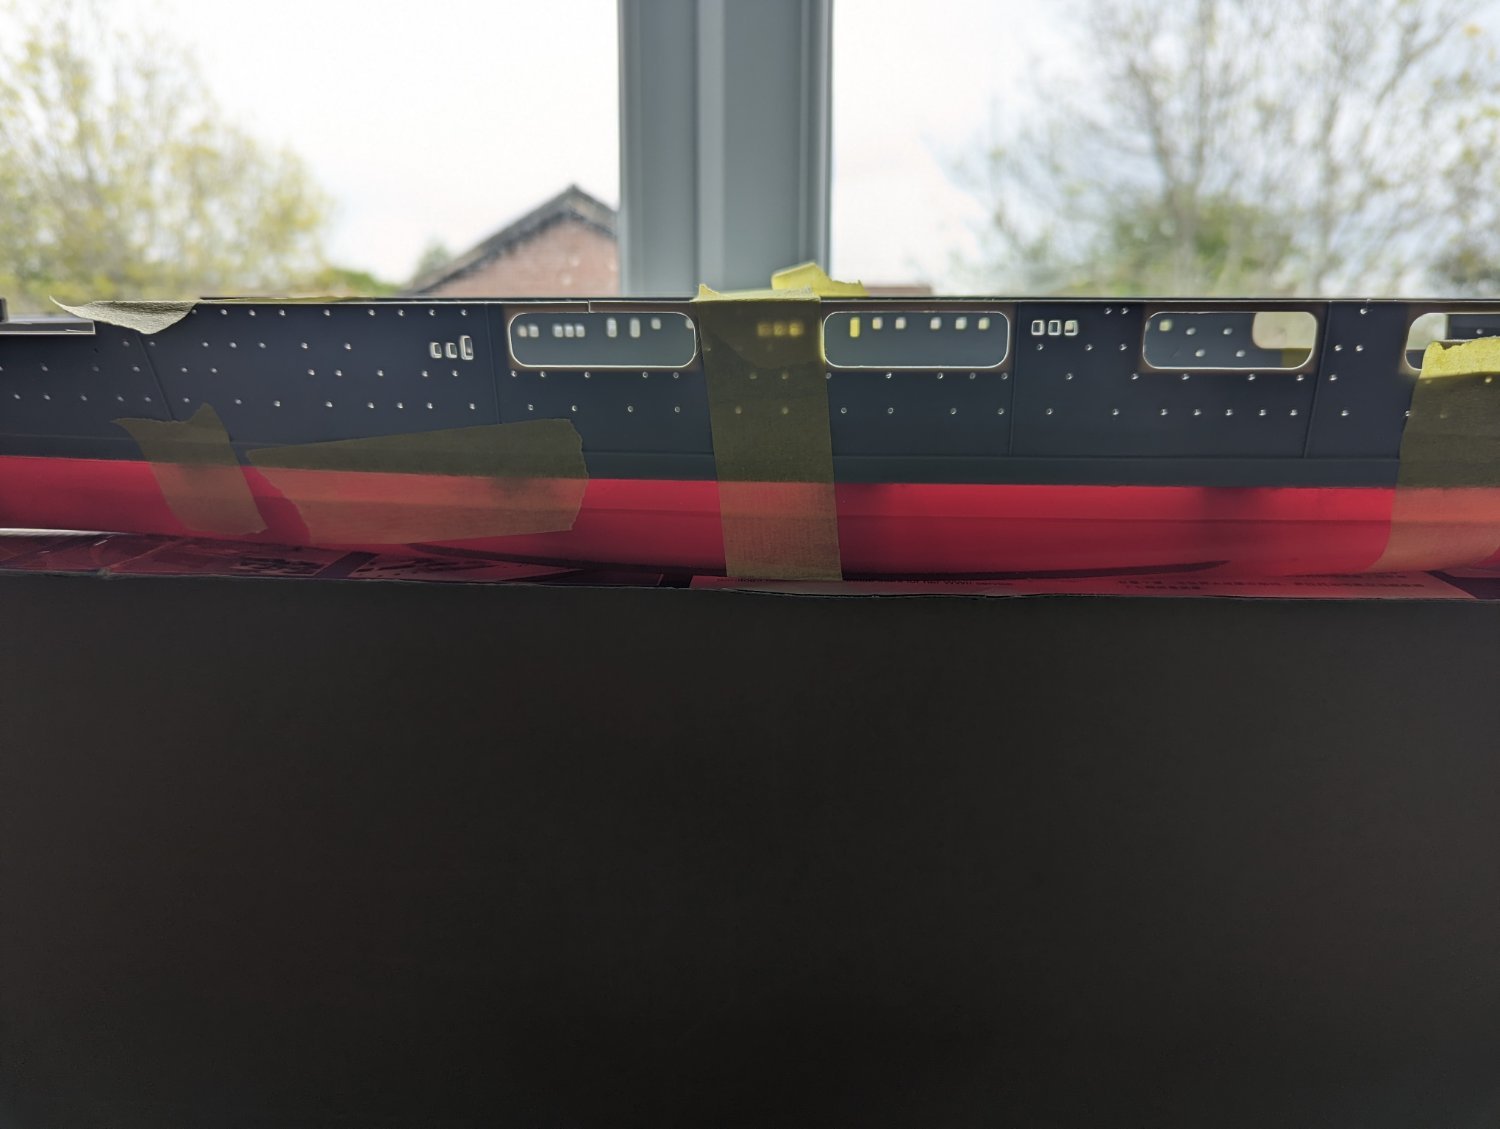
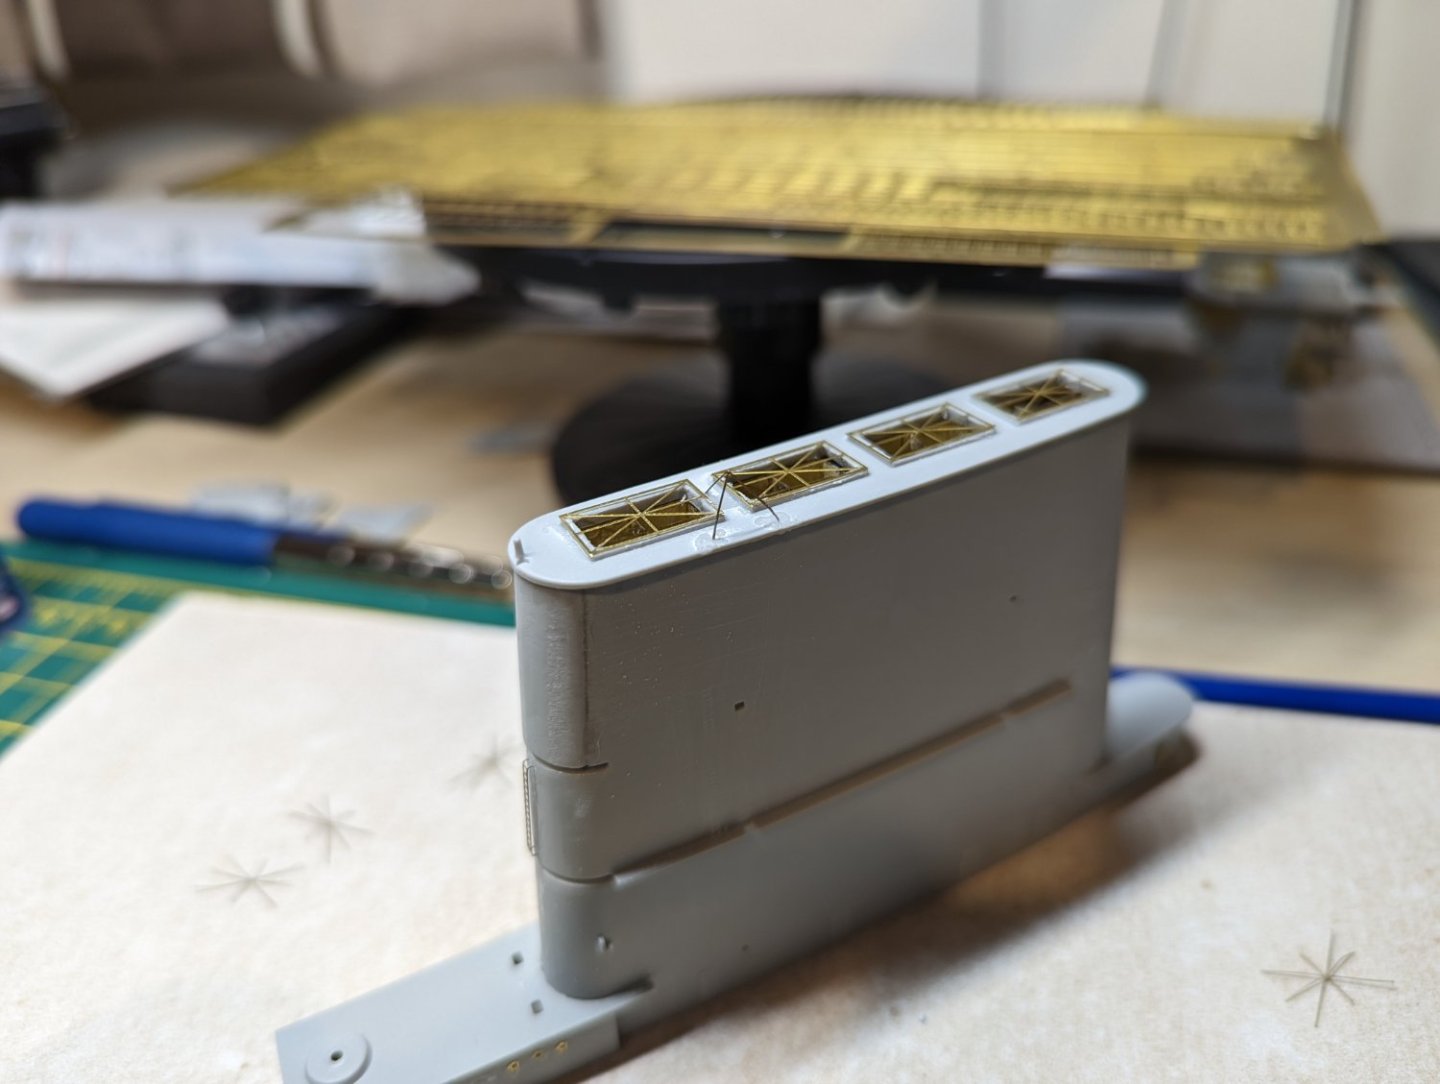
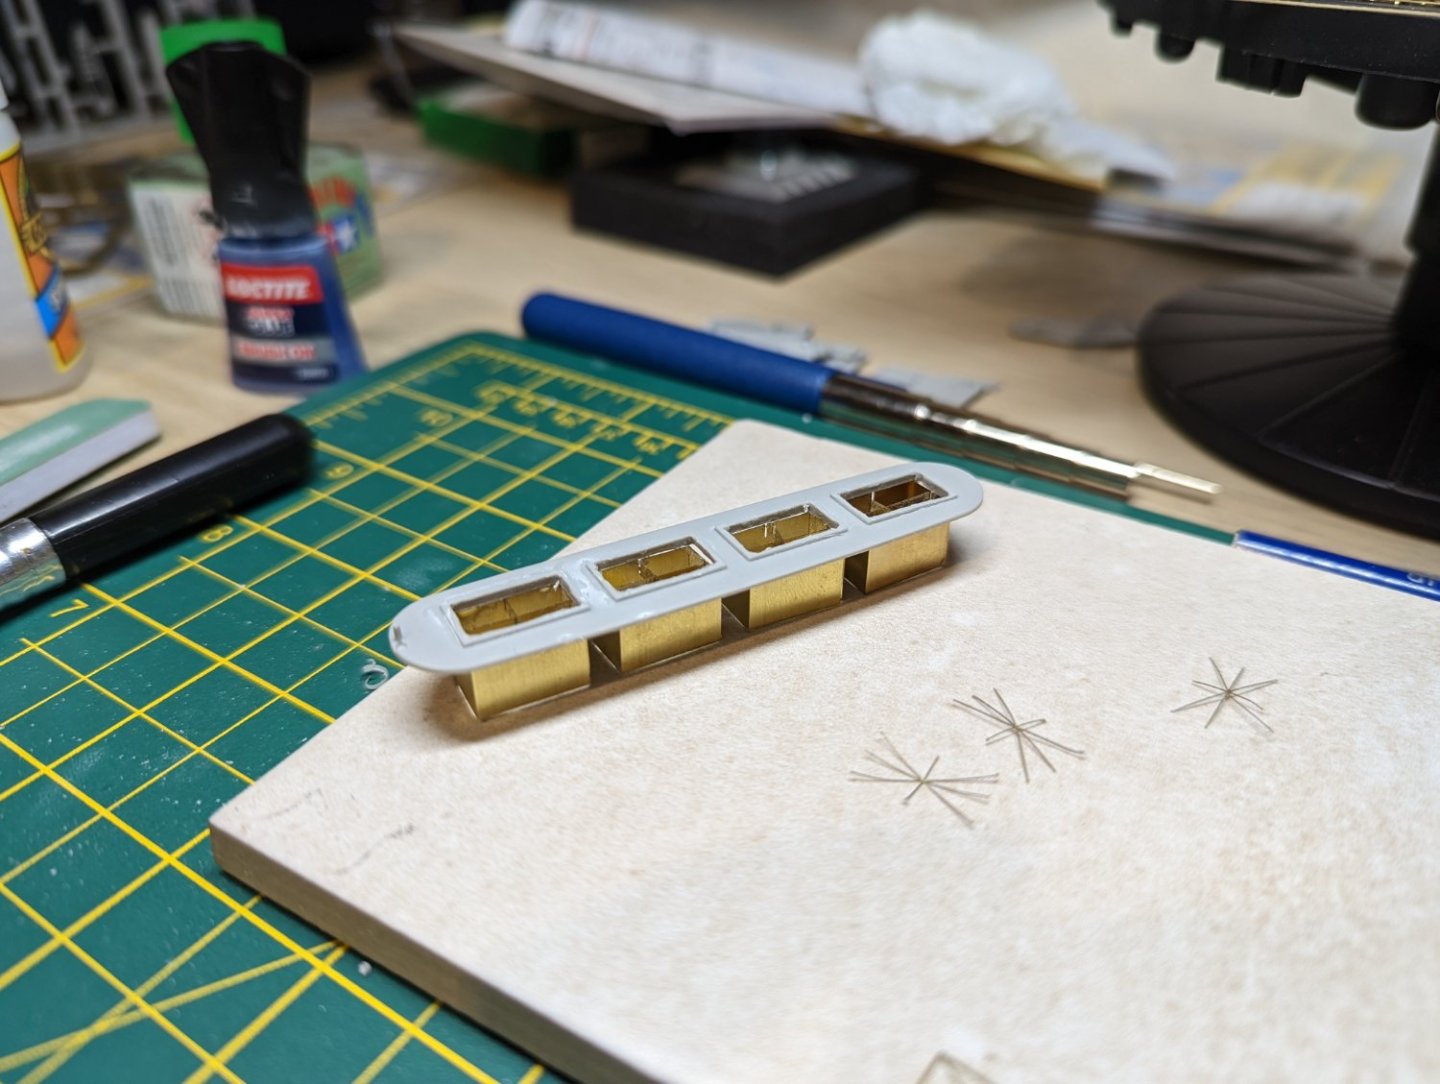
 Update: I may have ruined my airbrush by misusing AK758 Grey as it has left a fair amount of residue in the barrel so I will need to figure out how best to clean it. IPA seemed to help but we will see. I was attempting to use the primer to add in some weld lines with the help of some masking tape, however I feel like this didn't really work as the edges although crisp add little to no bumps or ridges along them. I am wondering if there is a technique or better primer to use to get the raised edges, in any case I will clean the airbrush and practice adding in rivet lines. Some sections came out ok, with a little raised edge but the majority is barely noticeable. Any tips for future attempts as this one may have failed but we will continue? Regards, Ryan


-
I was originally planning on it, but I wasn't confident in my ability to sand down the bow and then raise the deck correctly. So I chickened out, I'll have to find a way to make smaller alterations that don't run the risk of potentially ruining the model for practising with.
-
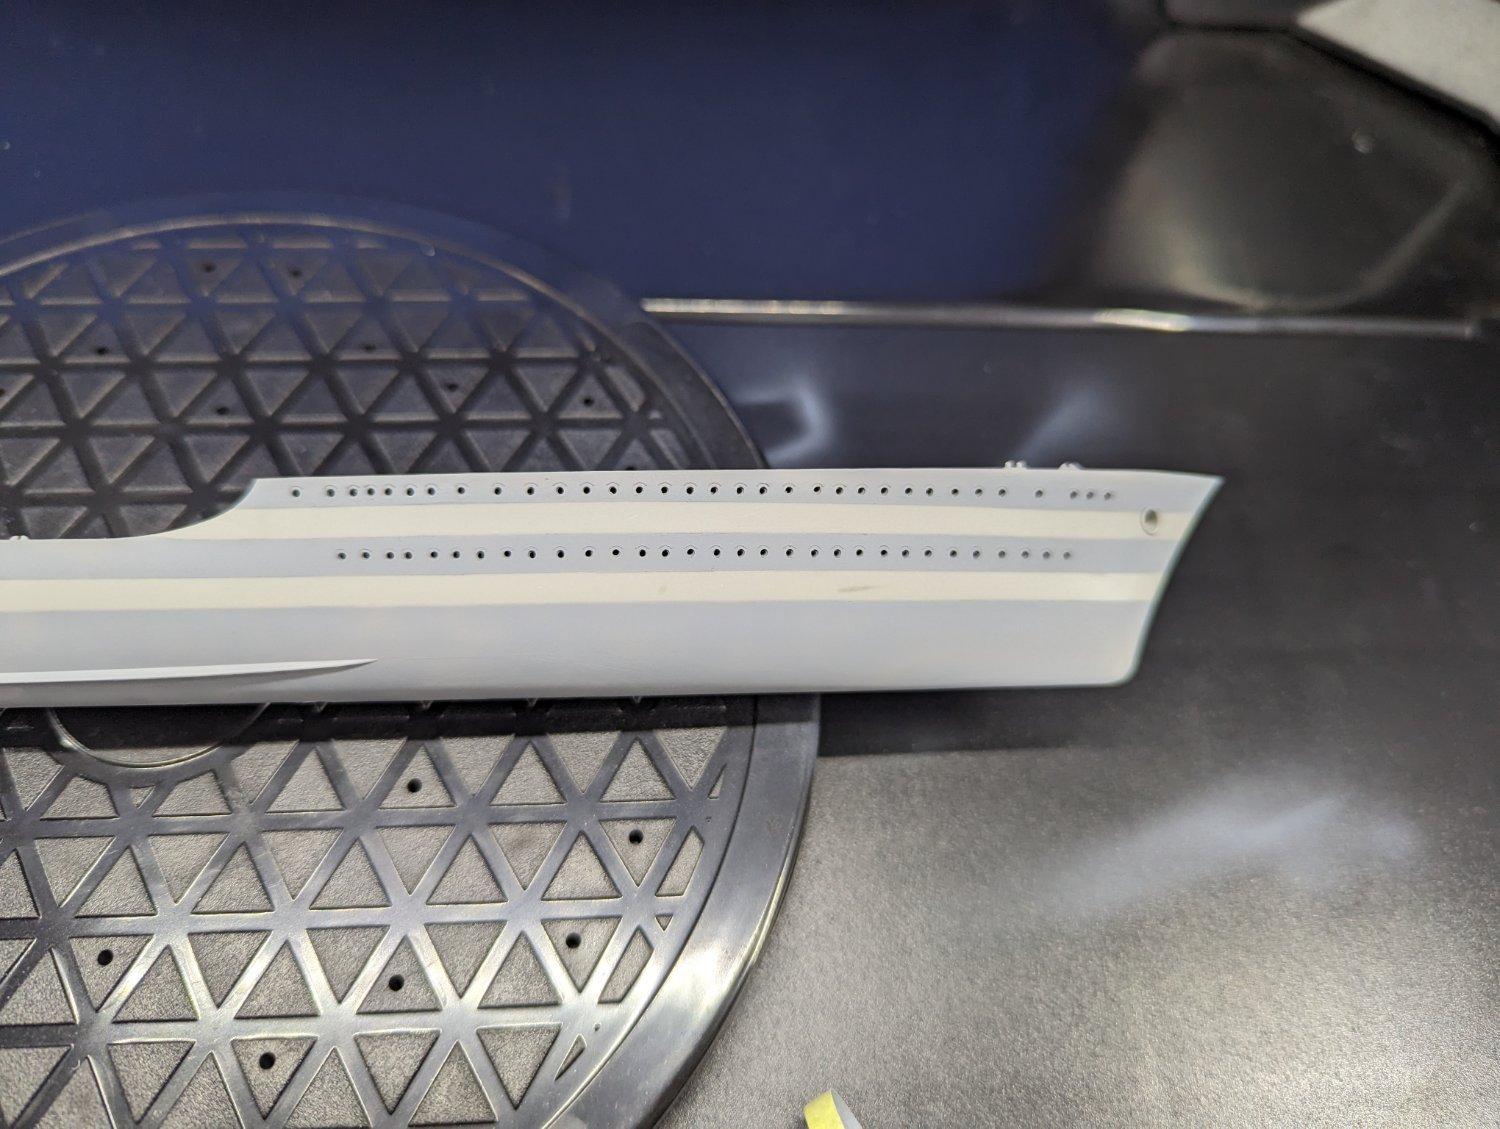
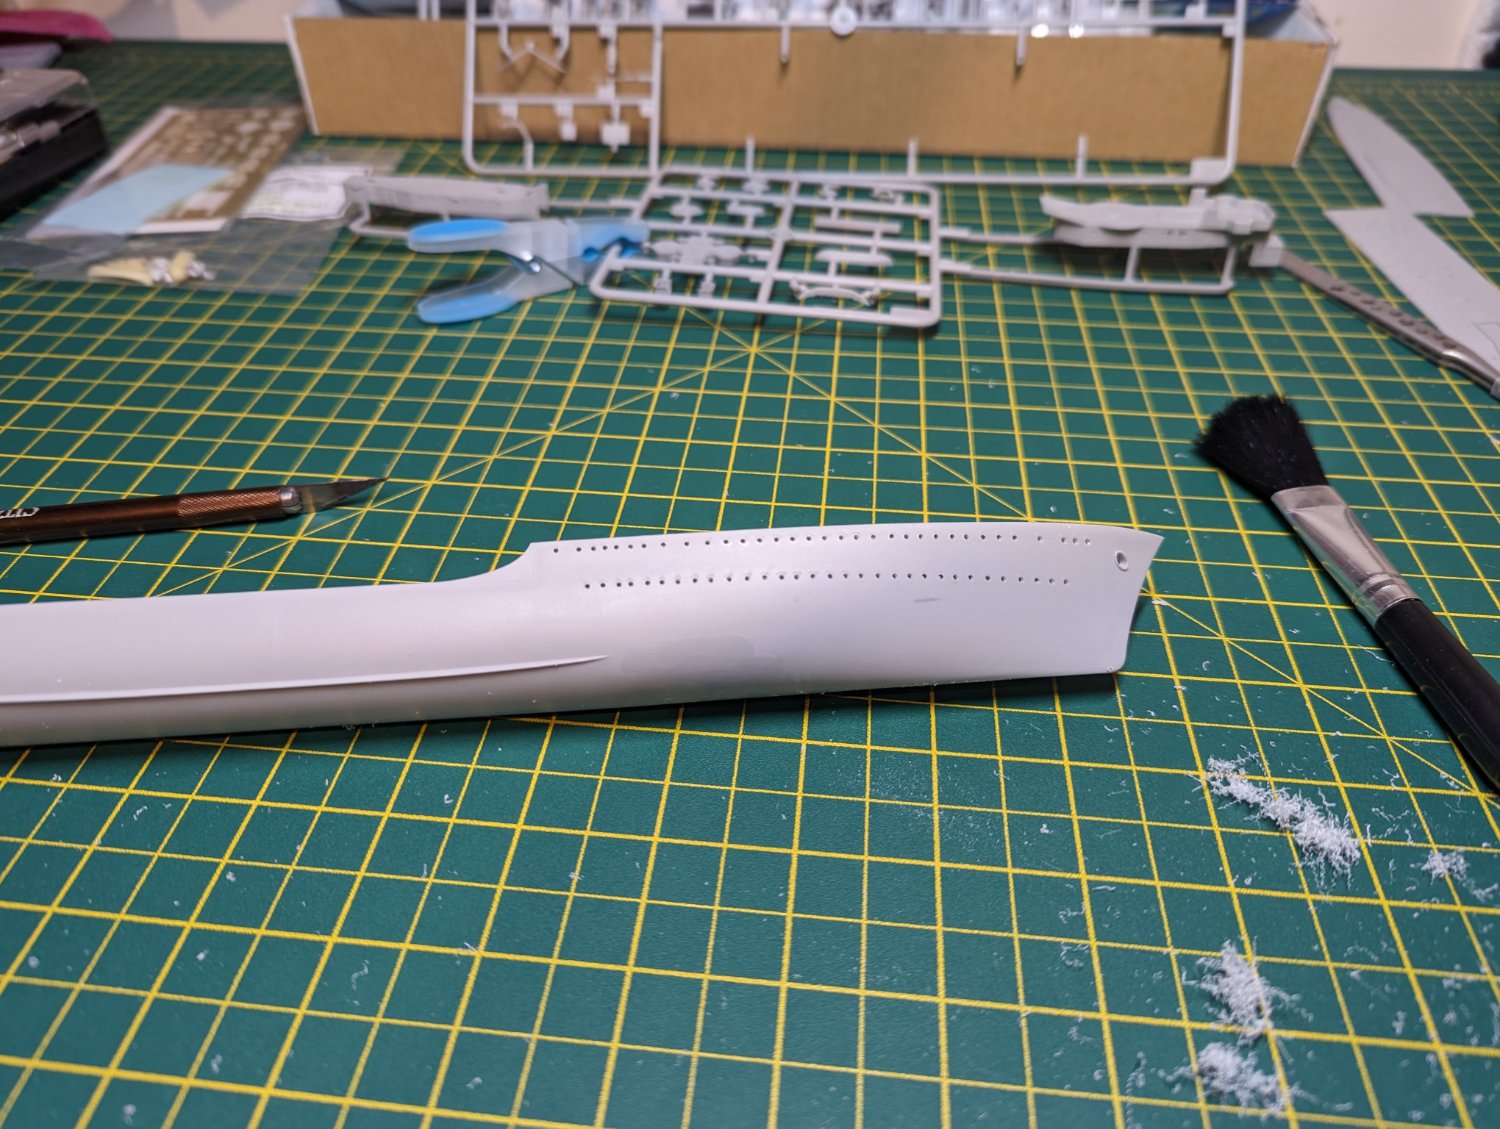
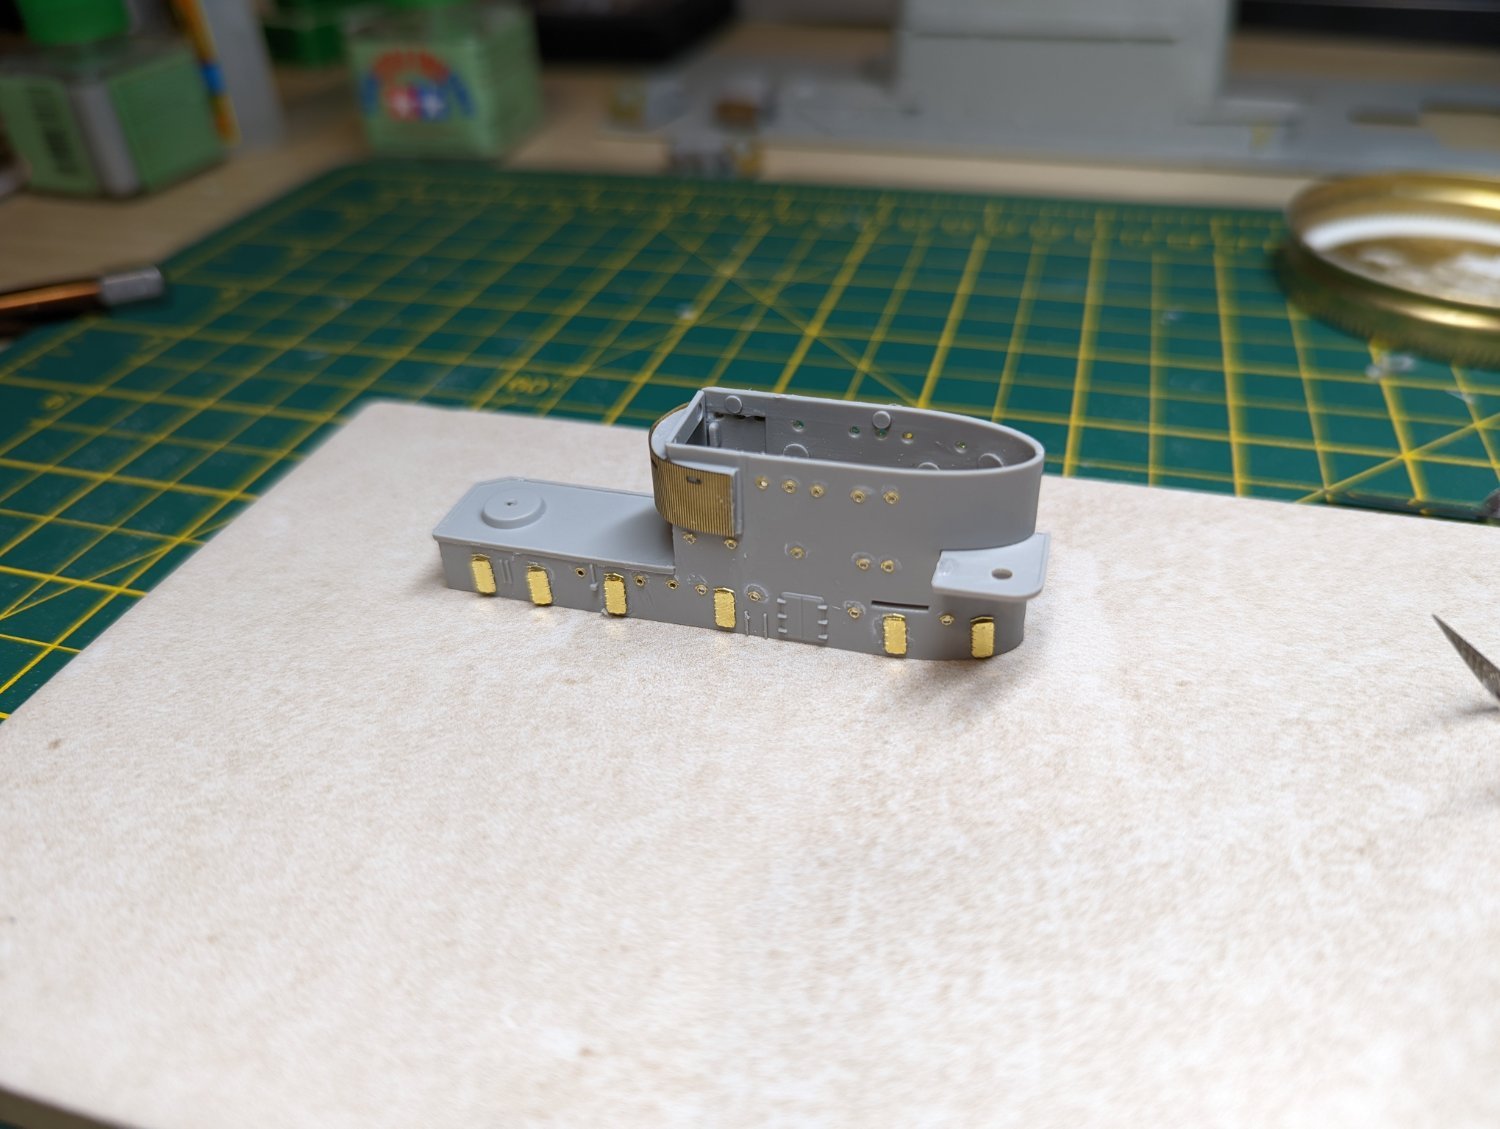
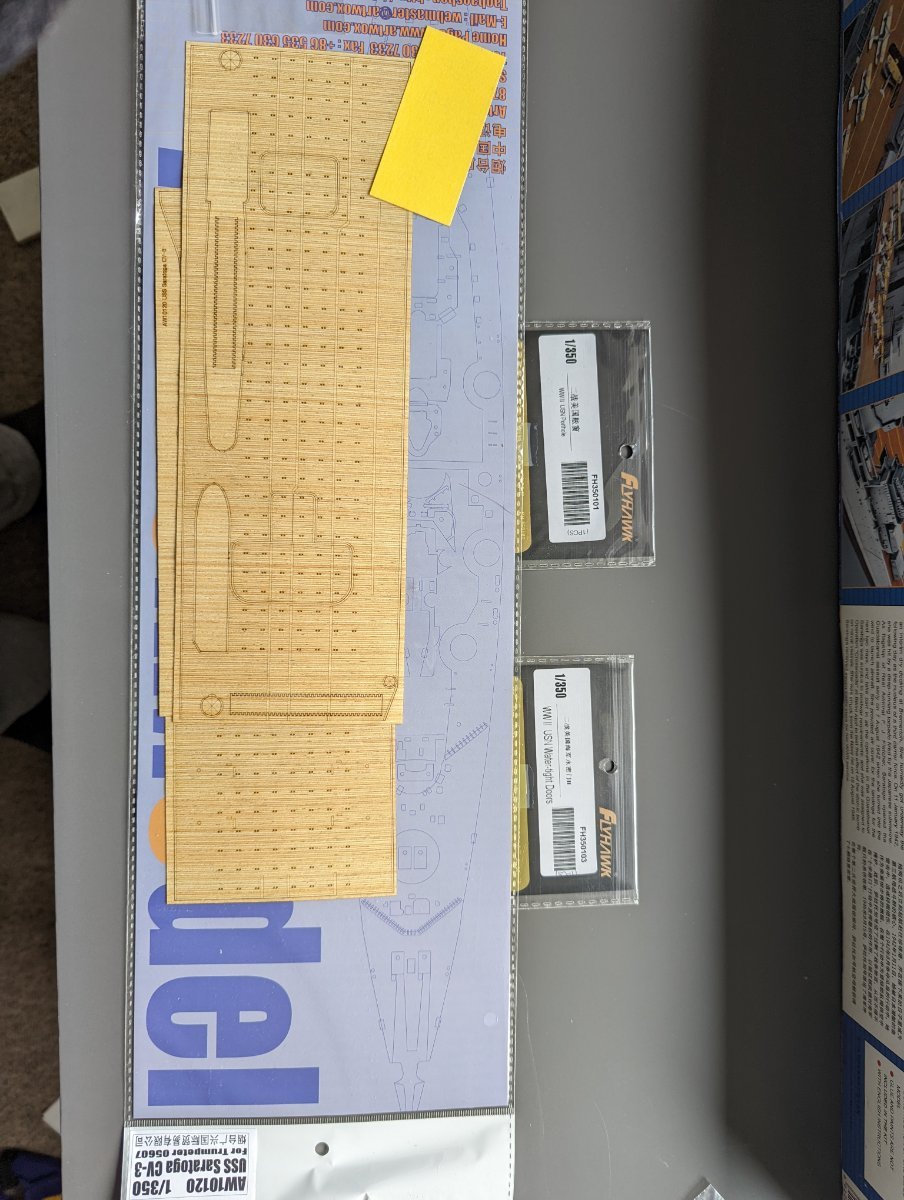
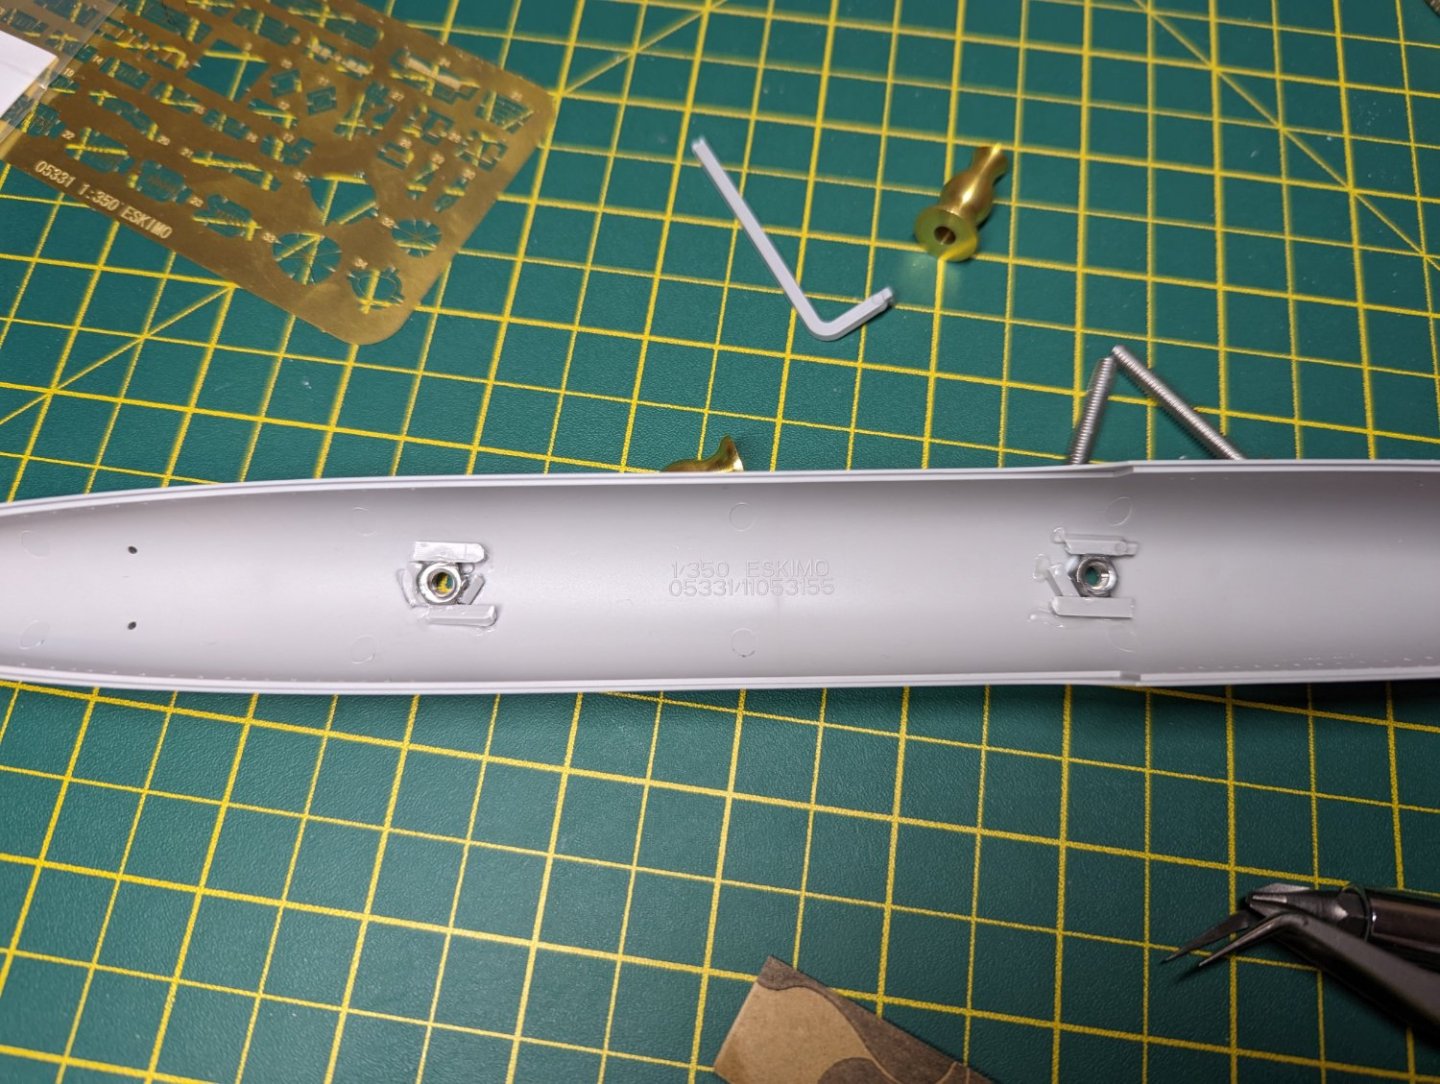
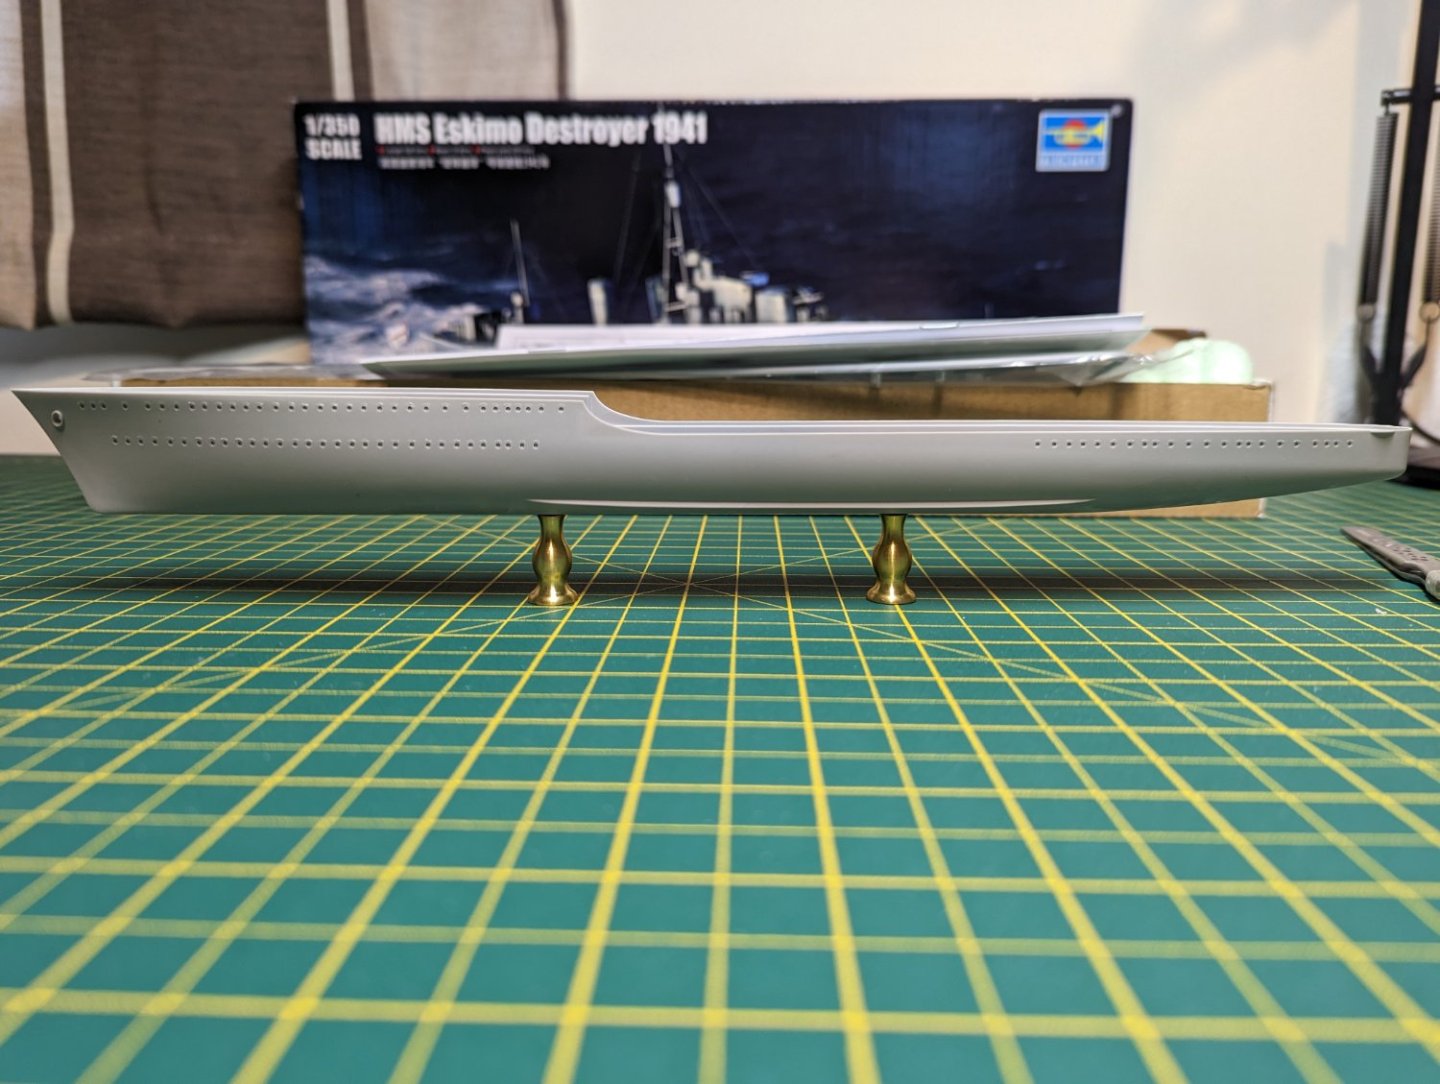
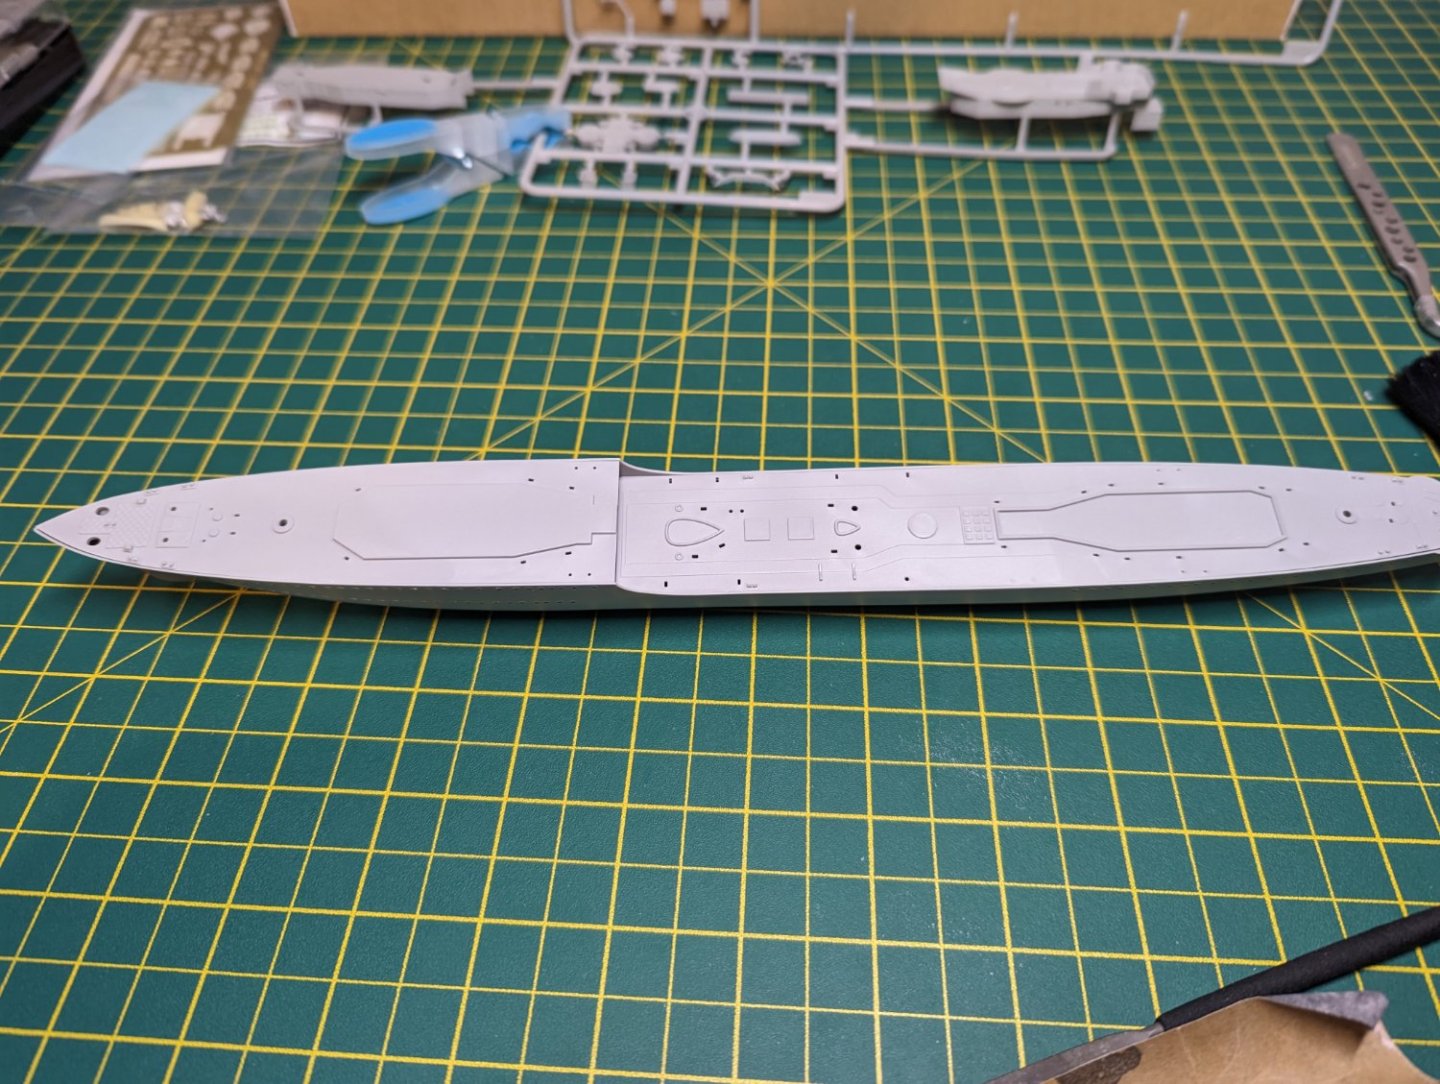
Good Evening, The ship has had all it's portholes drilled and I was tempted to run some fibre cables through them to add some lighting, but the hull is a little to cramped so I'll work on getting that in the next build. I dry fitting the parts and drilled in the guide holes for the pedestals, as far as mounting goes it looks messy but it'll be hidden so no matter. Some of the ladders also have no PE parts and without spares I'm going to drill in and use 0.1mm wire to add in some depth. I'm forgoing the original mount and getting a wooden plate made, courtesy of my father as he seems to have every tool in existance, I've also ordered a rivet tool to try and get the marking on the hull showing. Kind Regards, Ryan

-
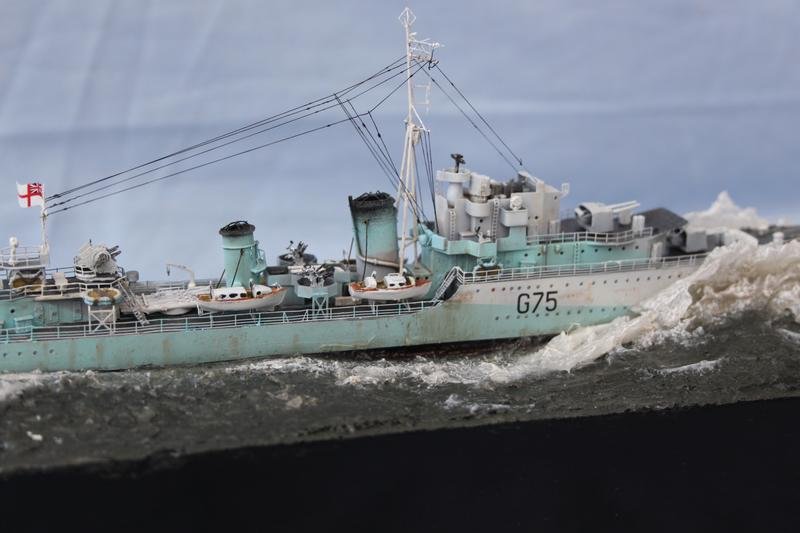
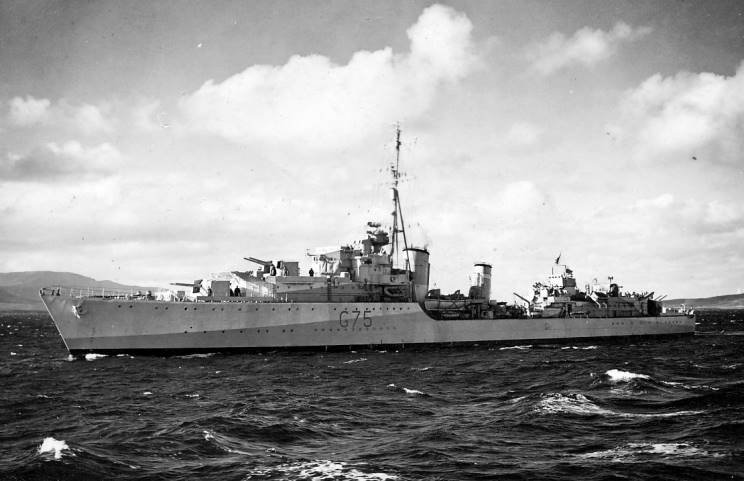
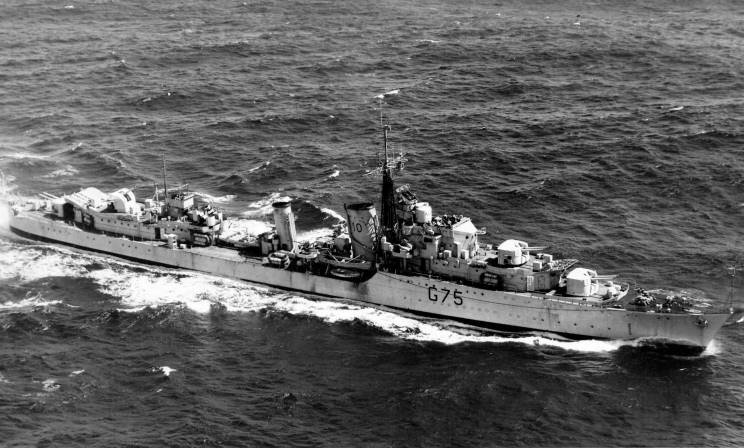
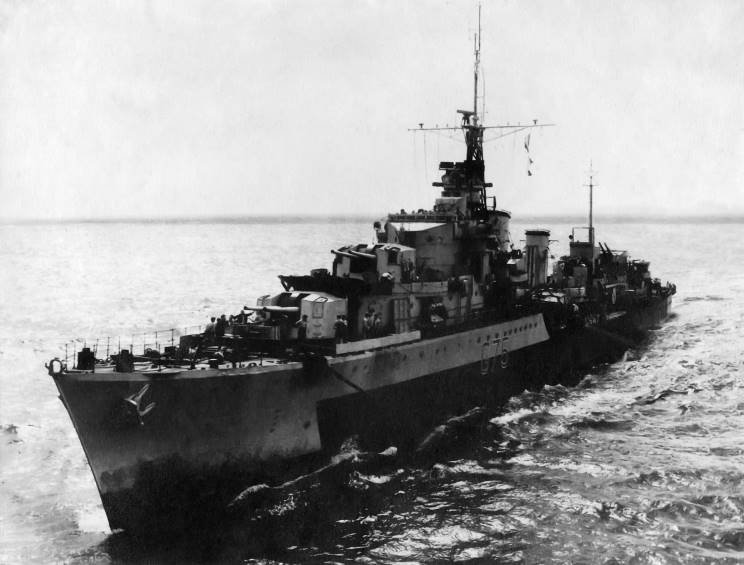
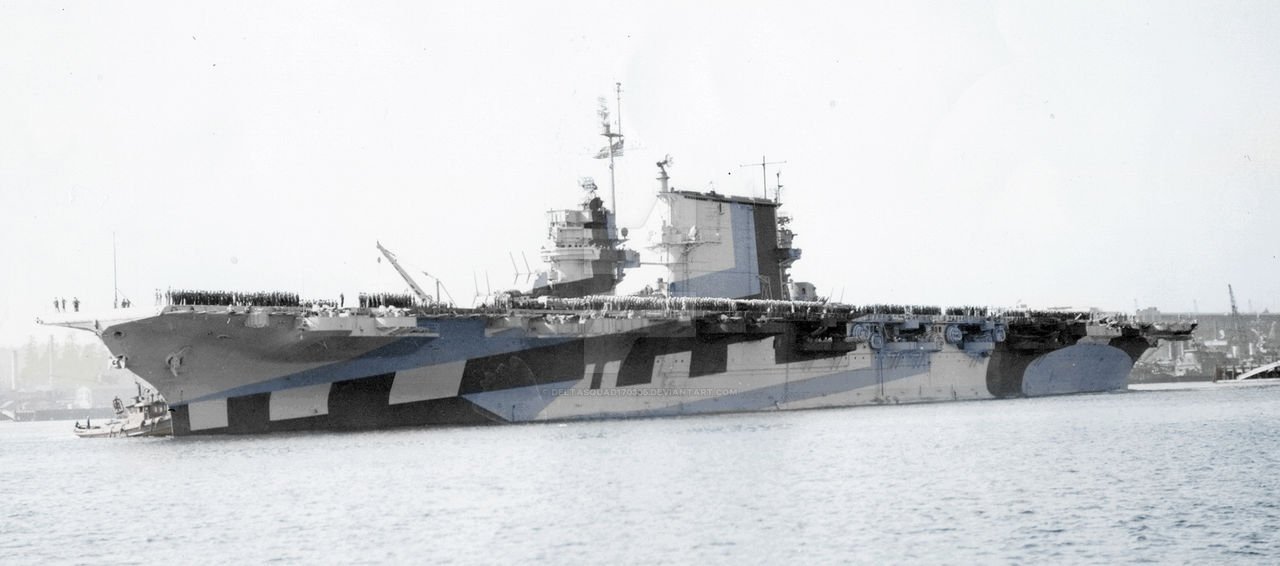
Good Evening, I've been looking for some reference pictures of this ship, but it appears that these are some what uncommon or from a distance, making them not ideal. Additionally the ship seems to have had a variety of paint schemes as the photos I did find show this, so that part of the build is up in the air at the moment. I did find a really nice diorama of Eskimo on Brit Modeller which shows a lot of detail. For now, the plan is to drill out the port holes and sand off mould lines on the hull and figure out the where to place the pedestals. Kind Regards, Ryan.
-
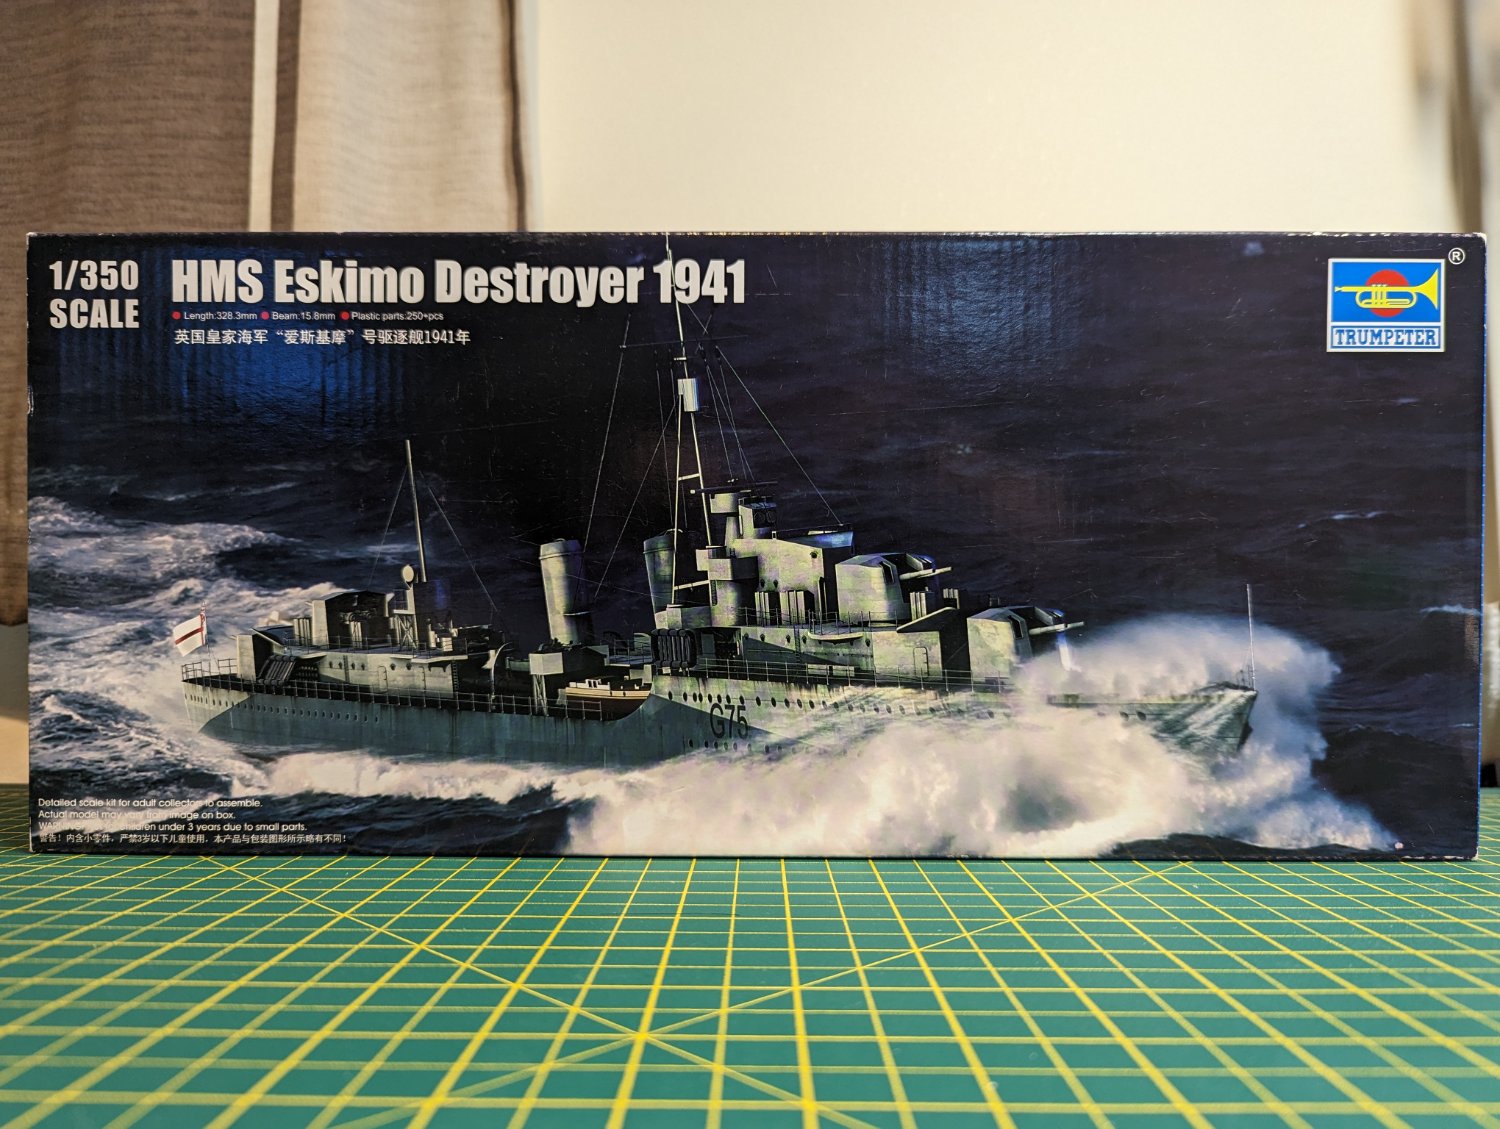
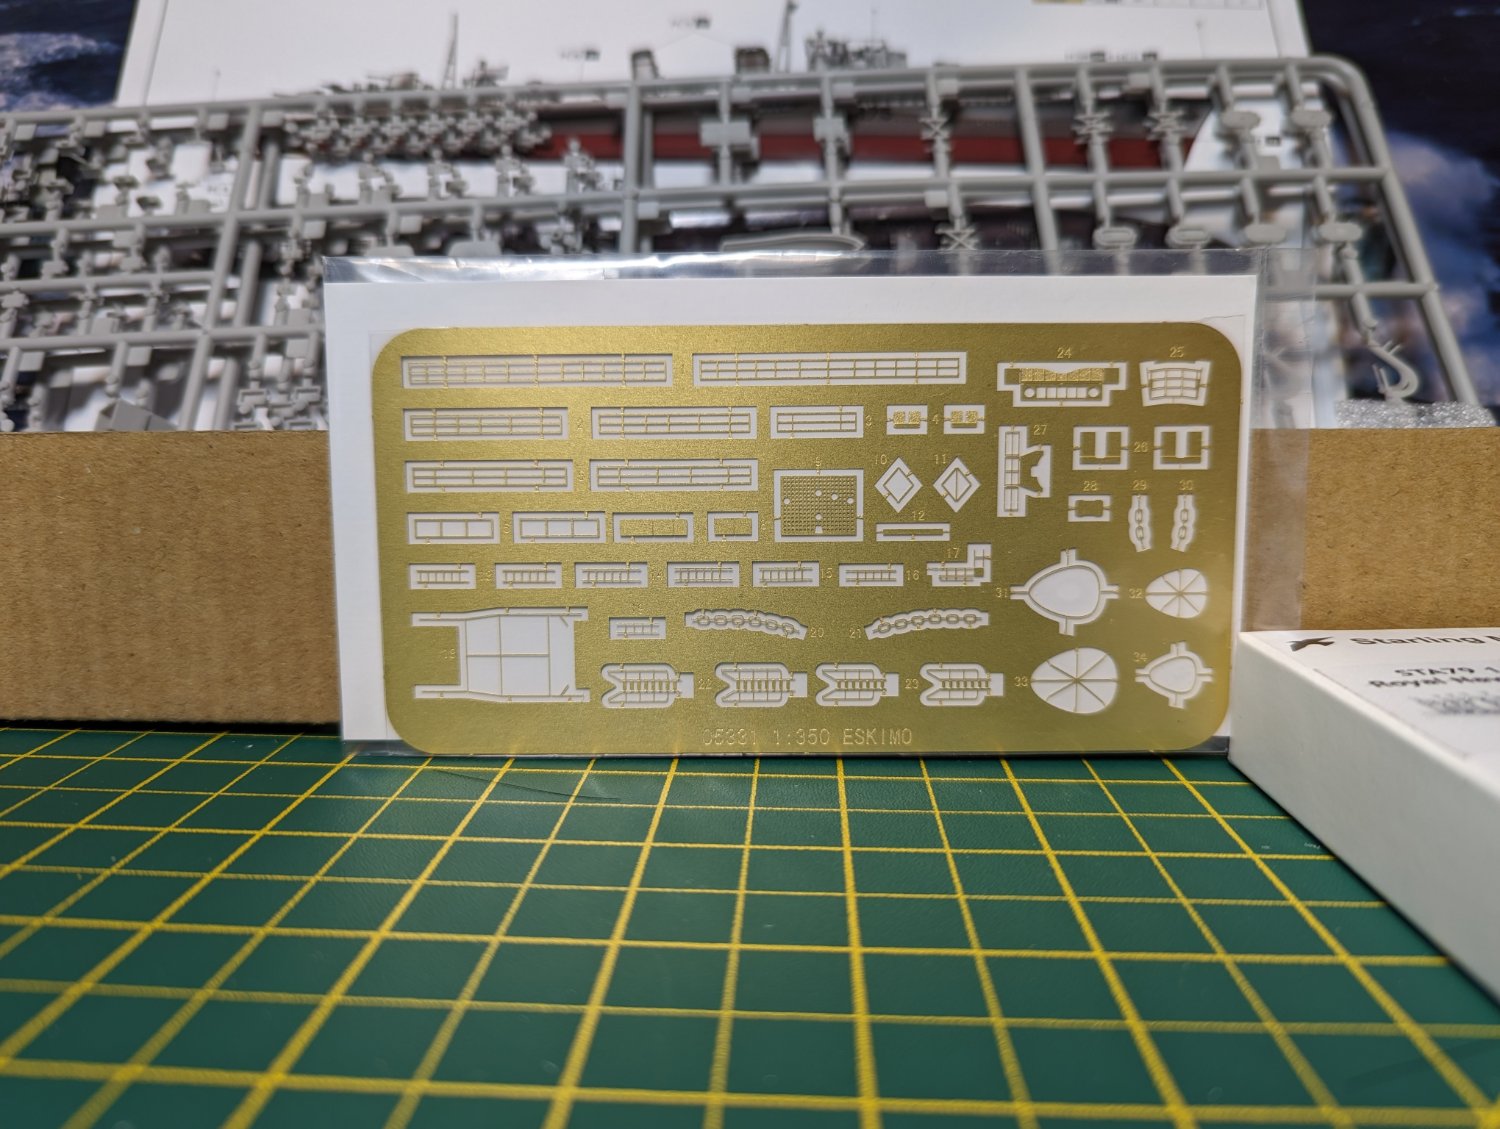
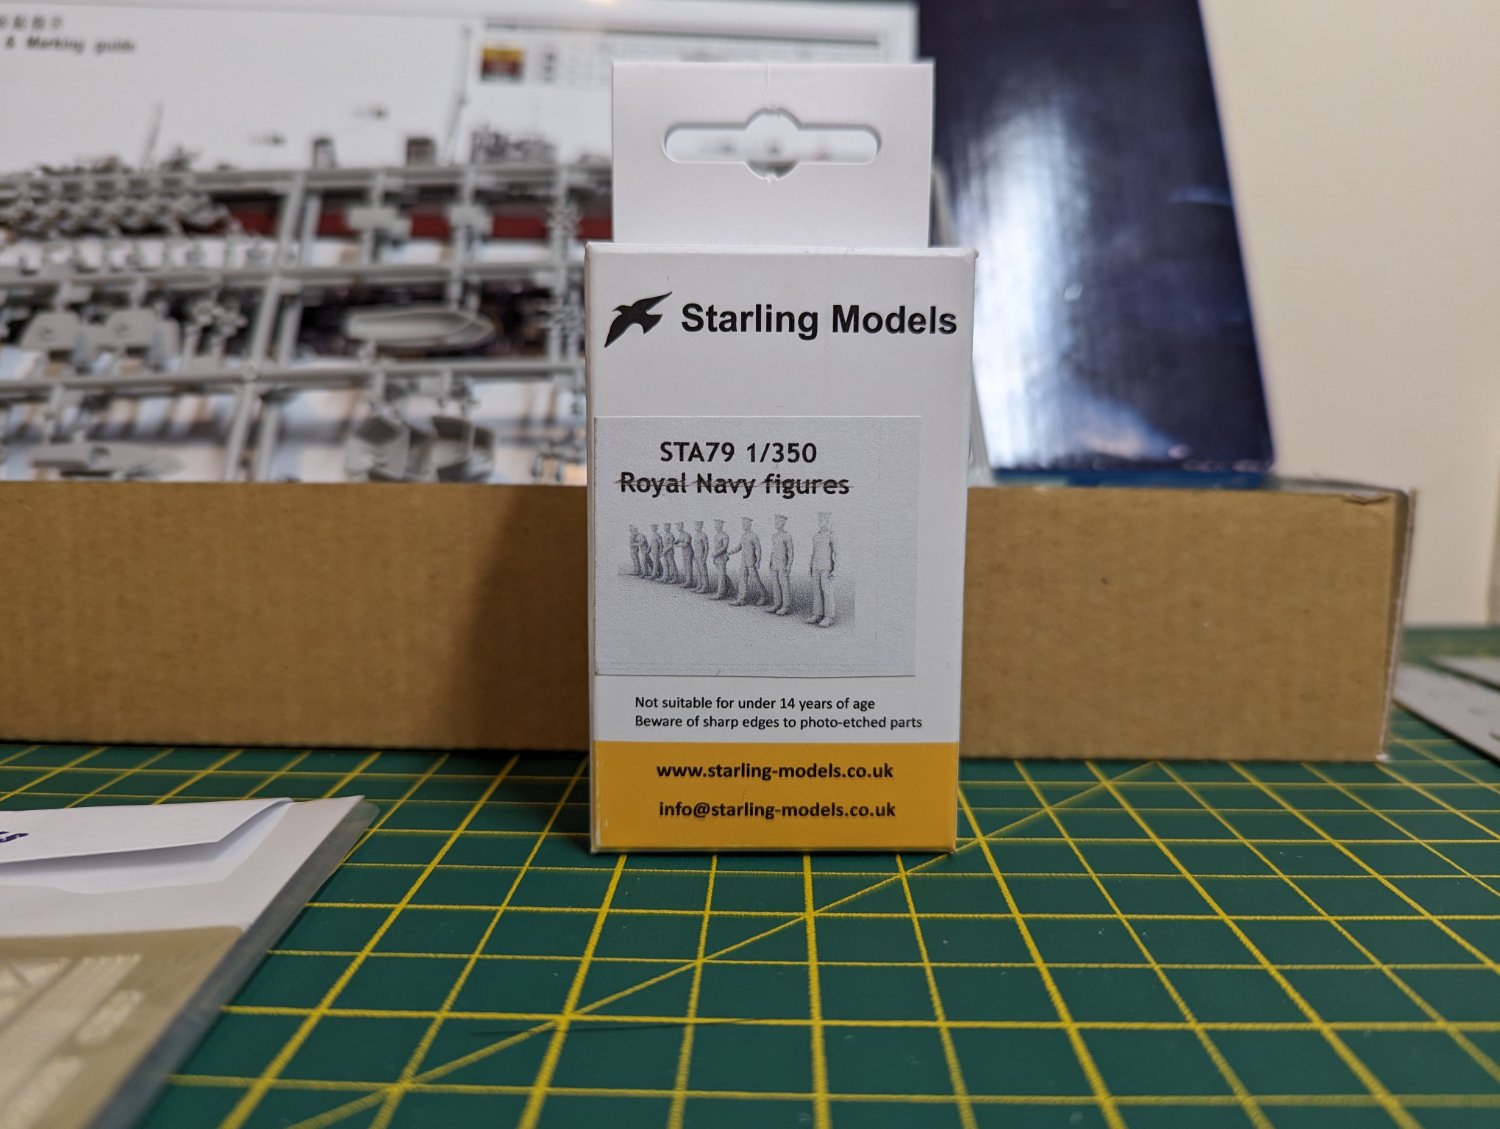
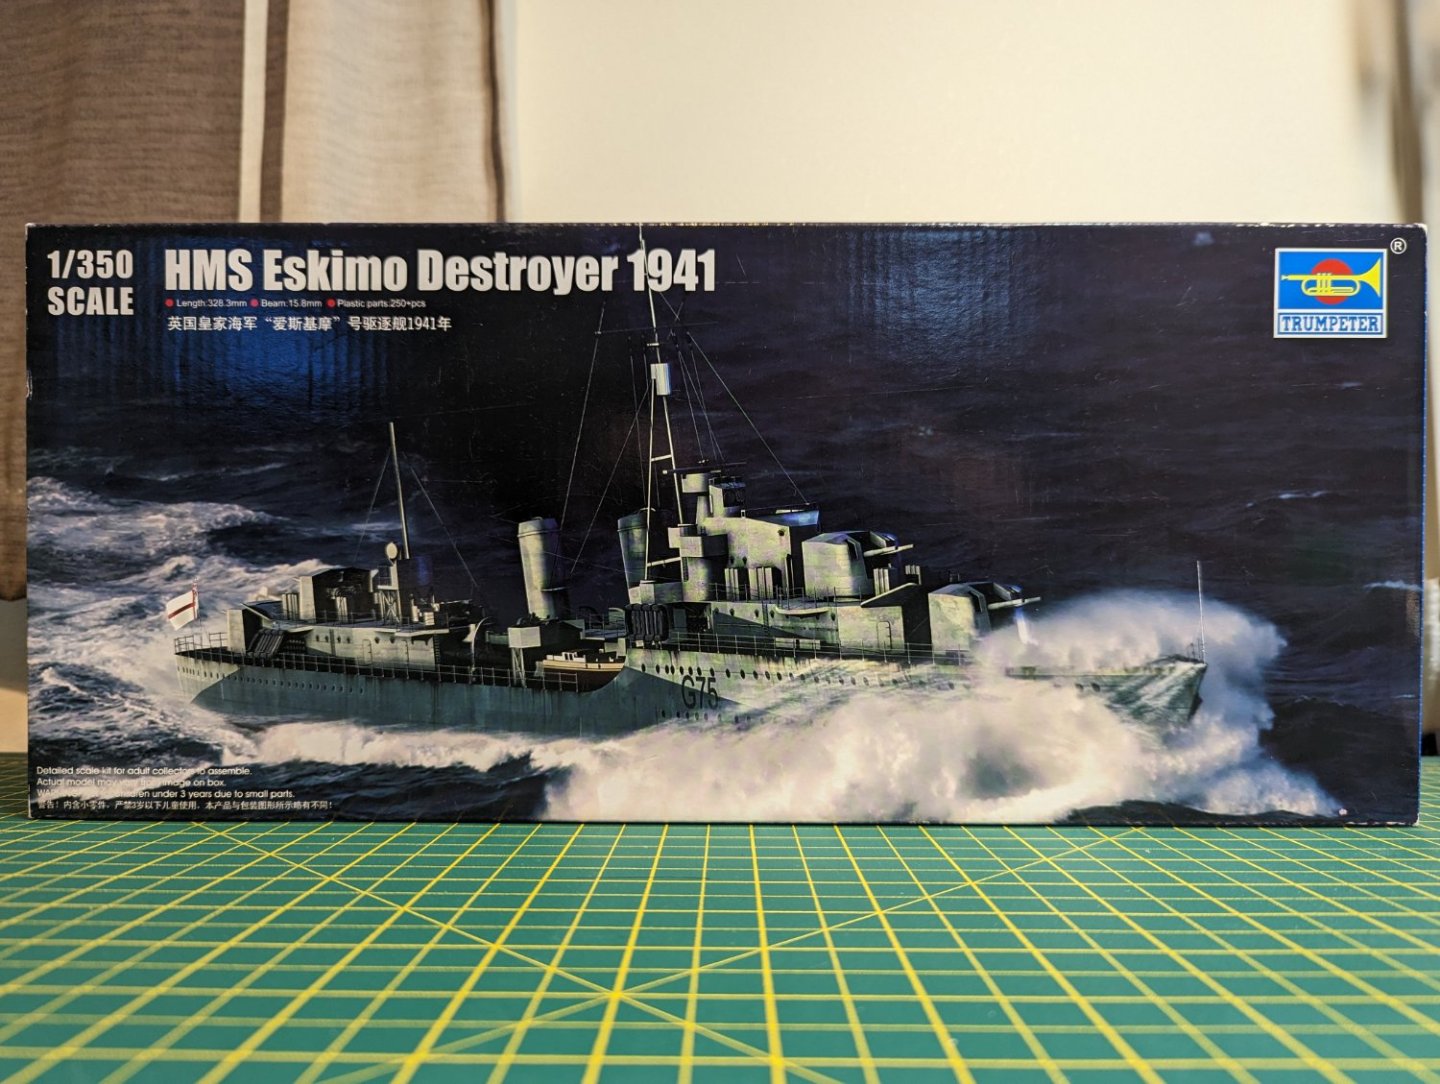
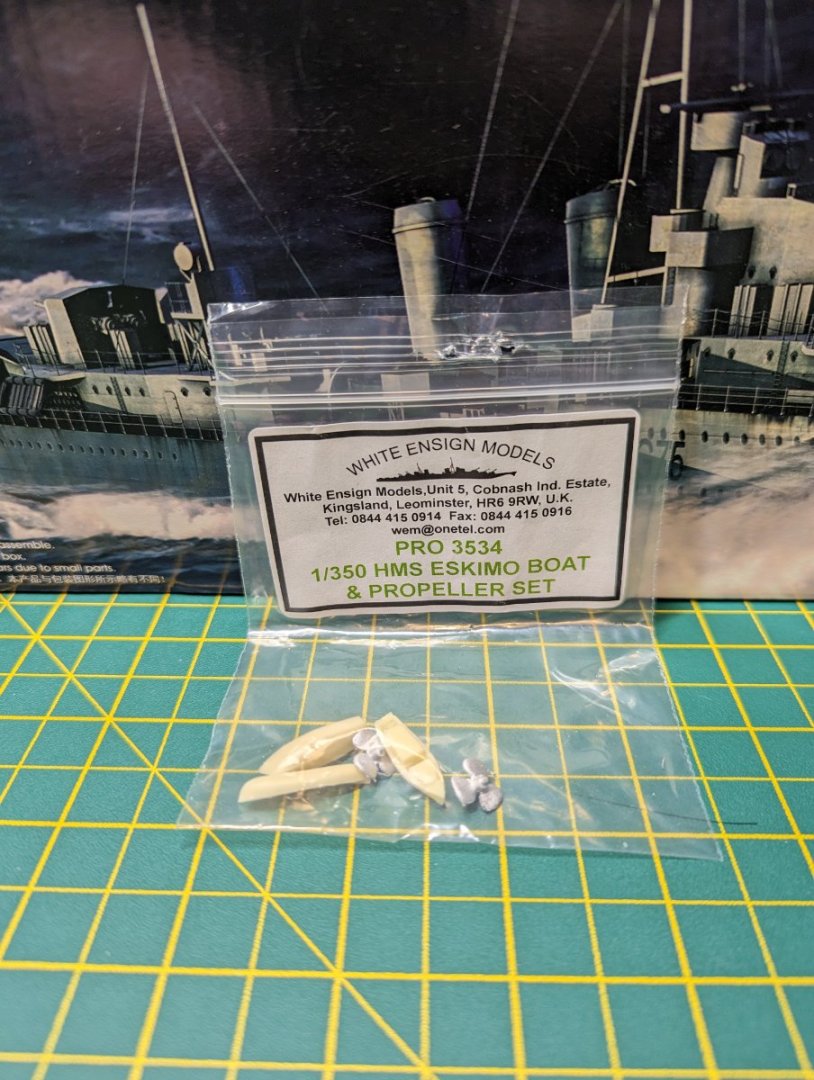
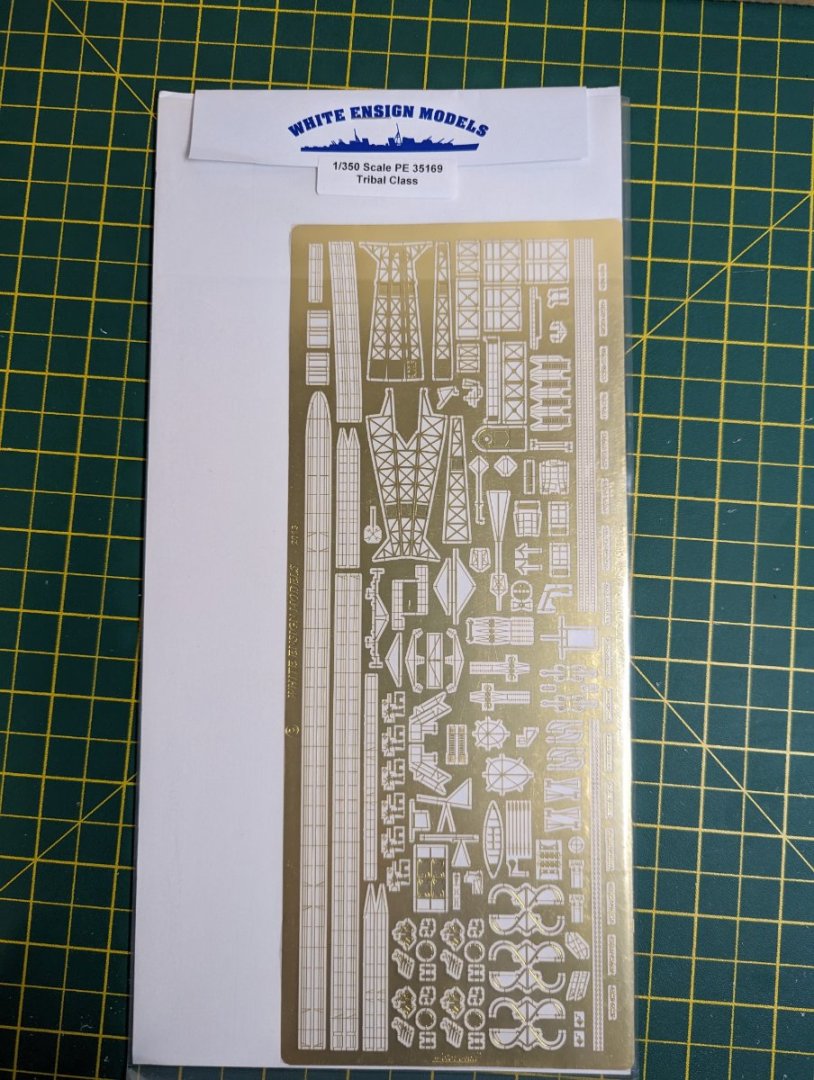
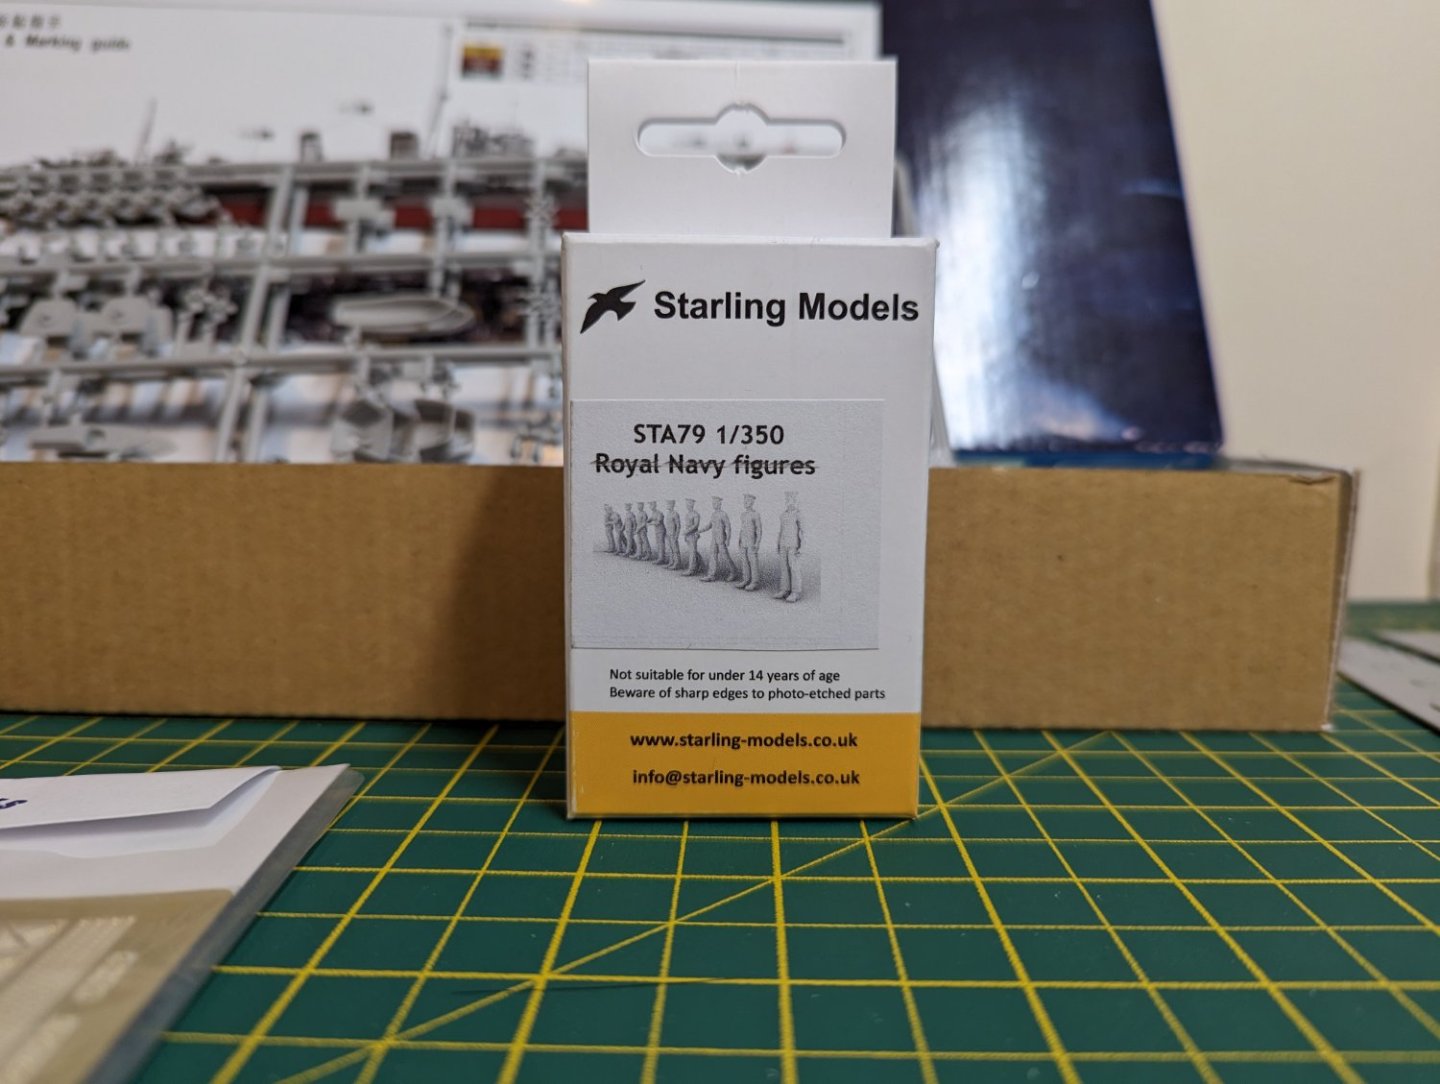
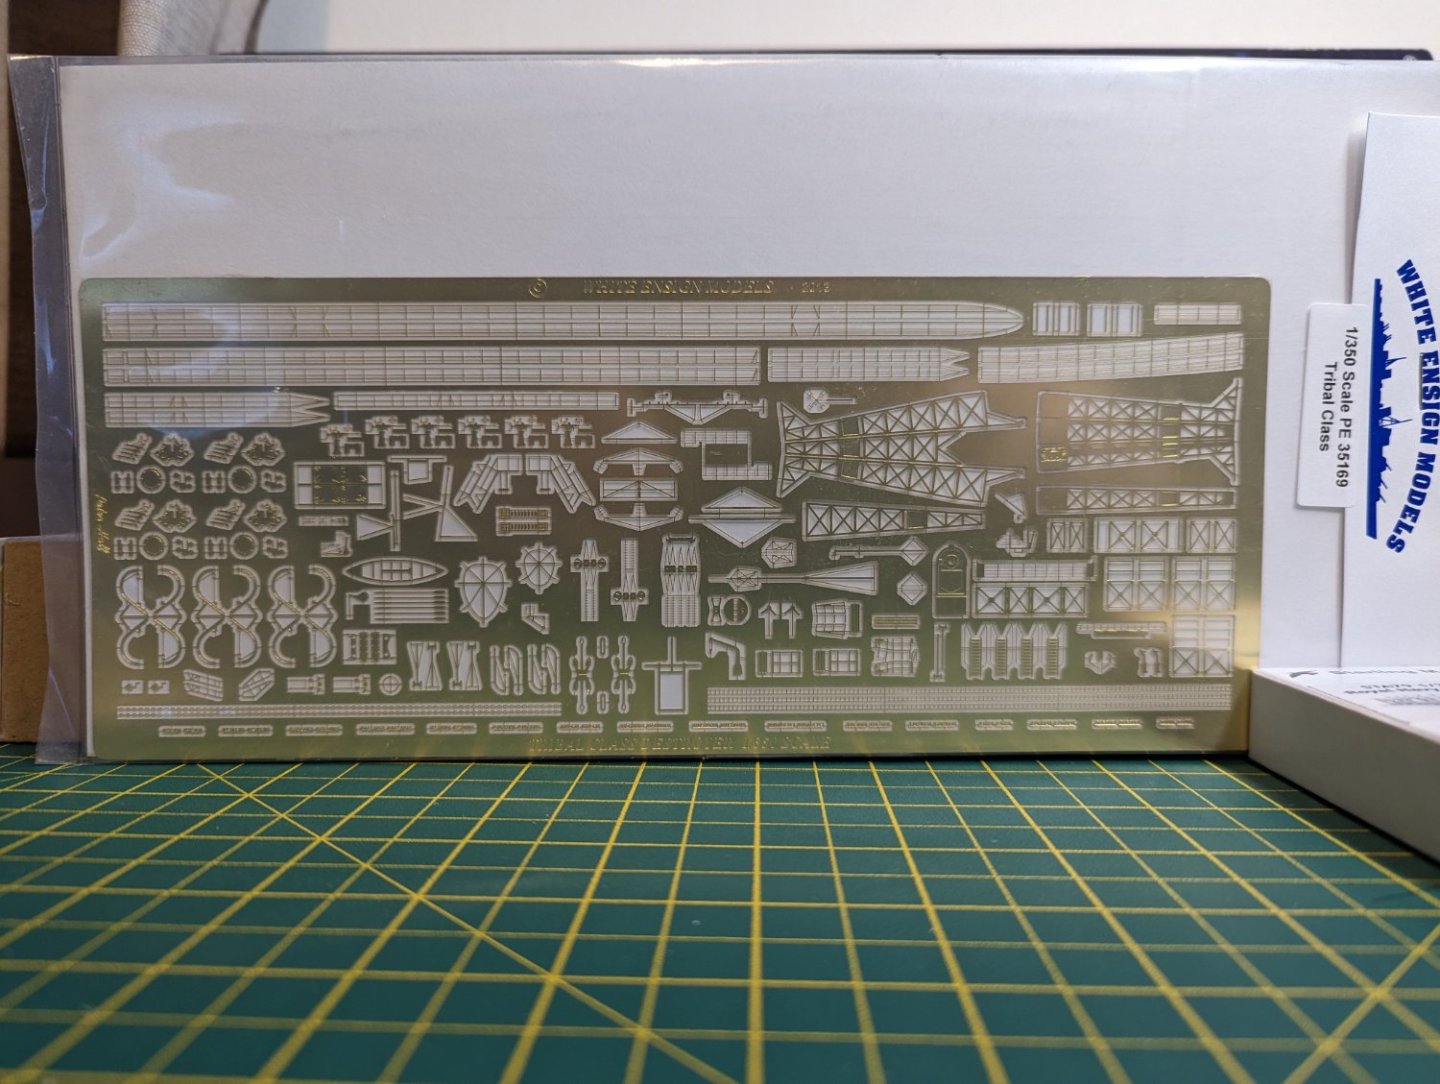
Good evening, It has been a very busy period so I haven't been able to sit down and continue with Saratoga (who is now sitting on top of a display cabinet in a mess), but now that things have calmed down a bit I've decided to work on a smaller model to clear out the backlog a little faster. I picked up this kit a little while ago that came with a few extra parts from the seller, I then ordered a White Ensign PE kit and some RN crew to get some extra detail. I am planning on modelling then printing off some more detailed parts for the gun mounts and torpedo launcher, this will have to wait until I can keep the printer in a warmer area as it is currently to cold. For now I will settle on preparing the hull for mounting on a wooden base. Kind Regards, Ryan

-
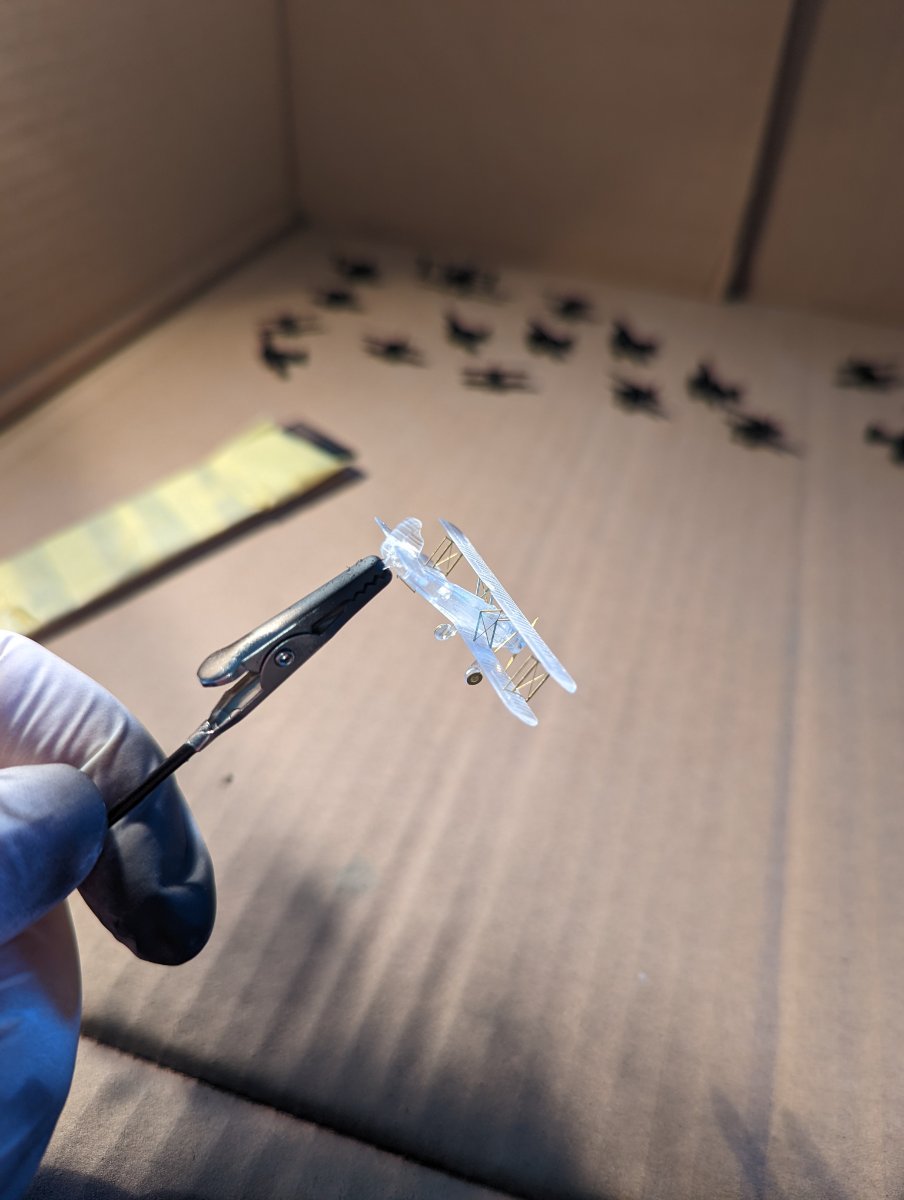
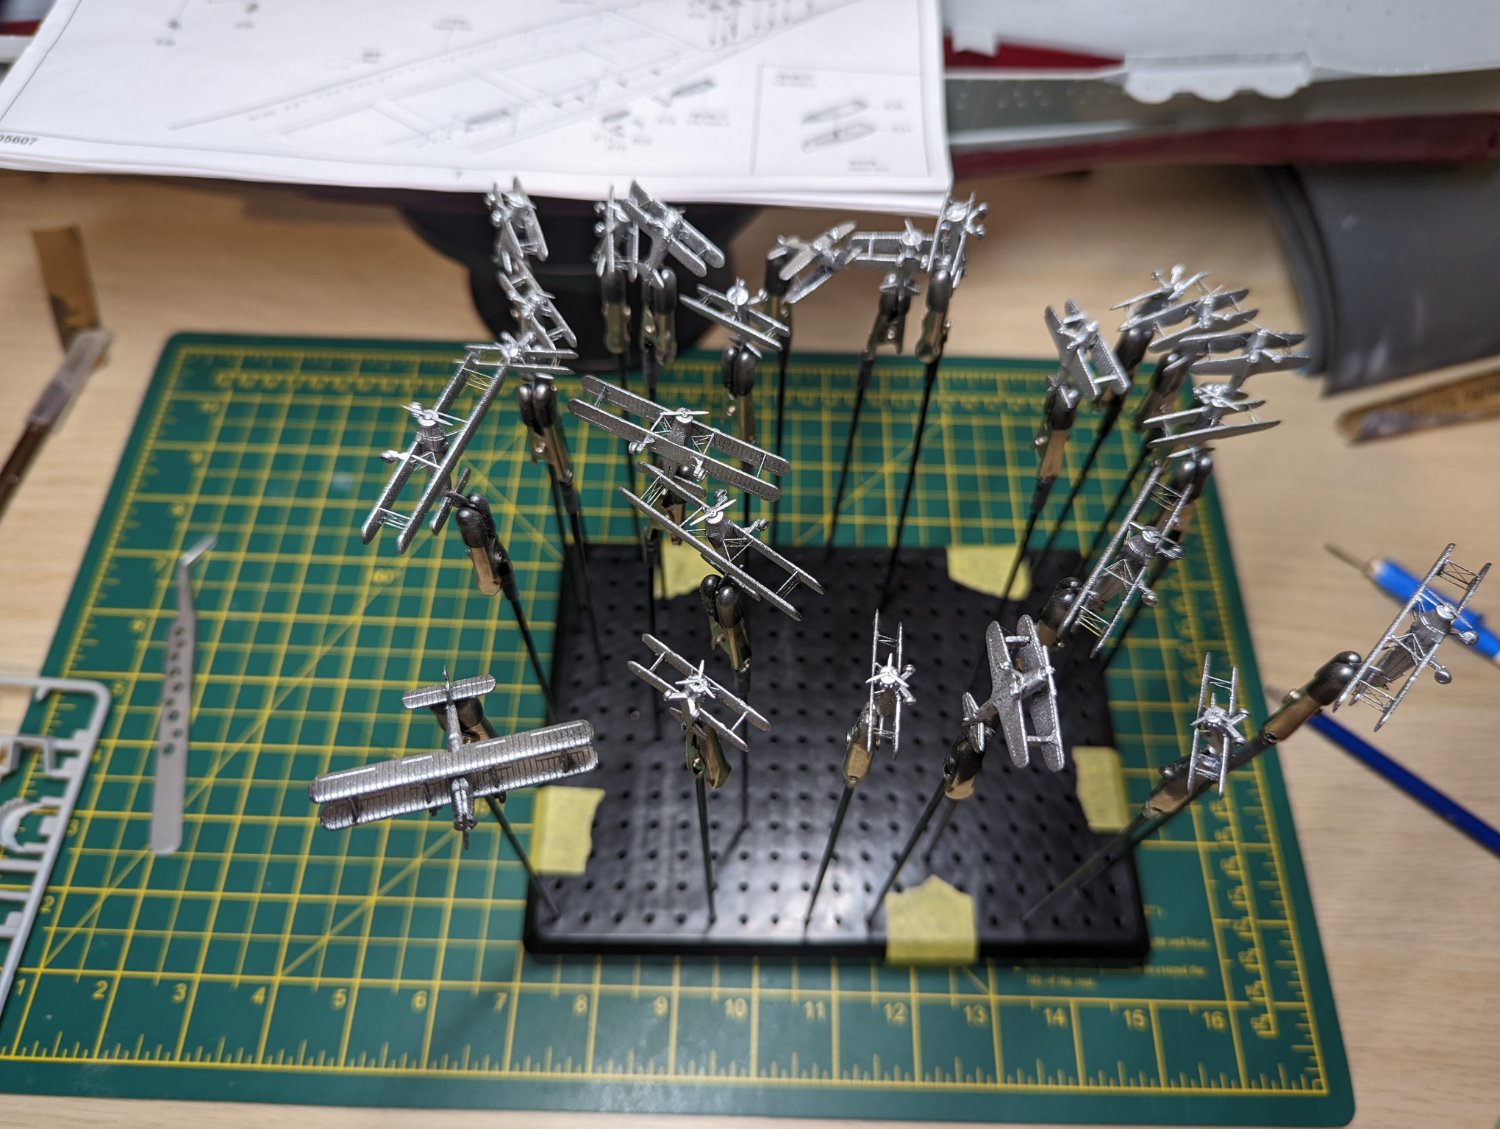
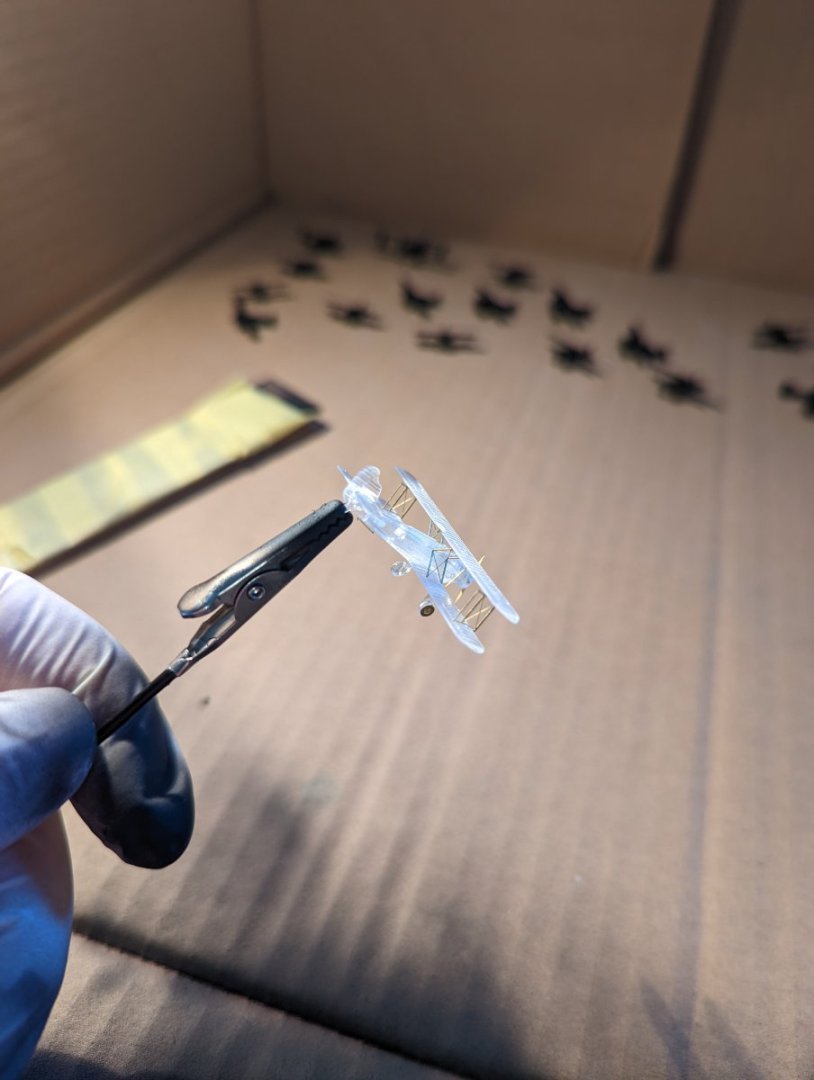
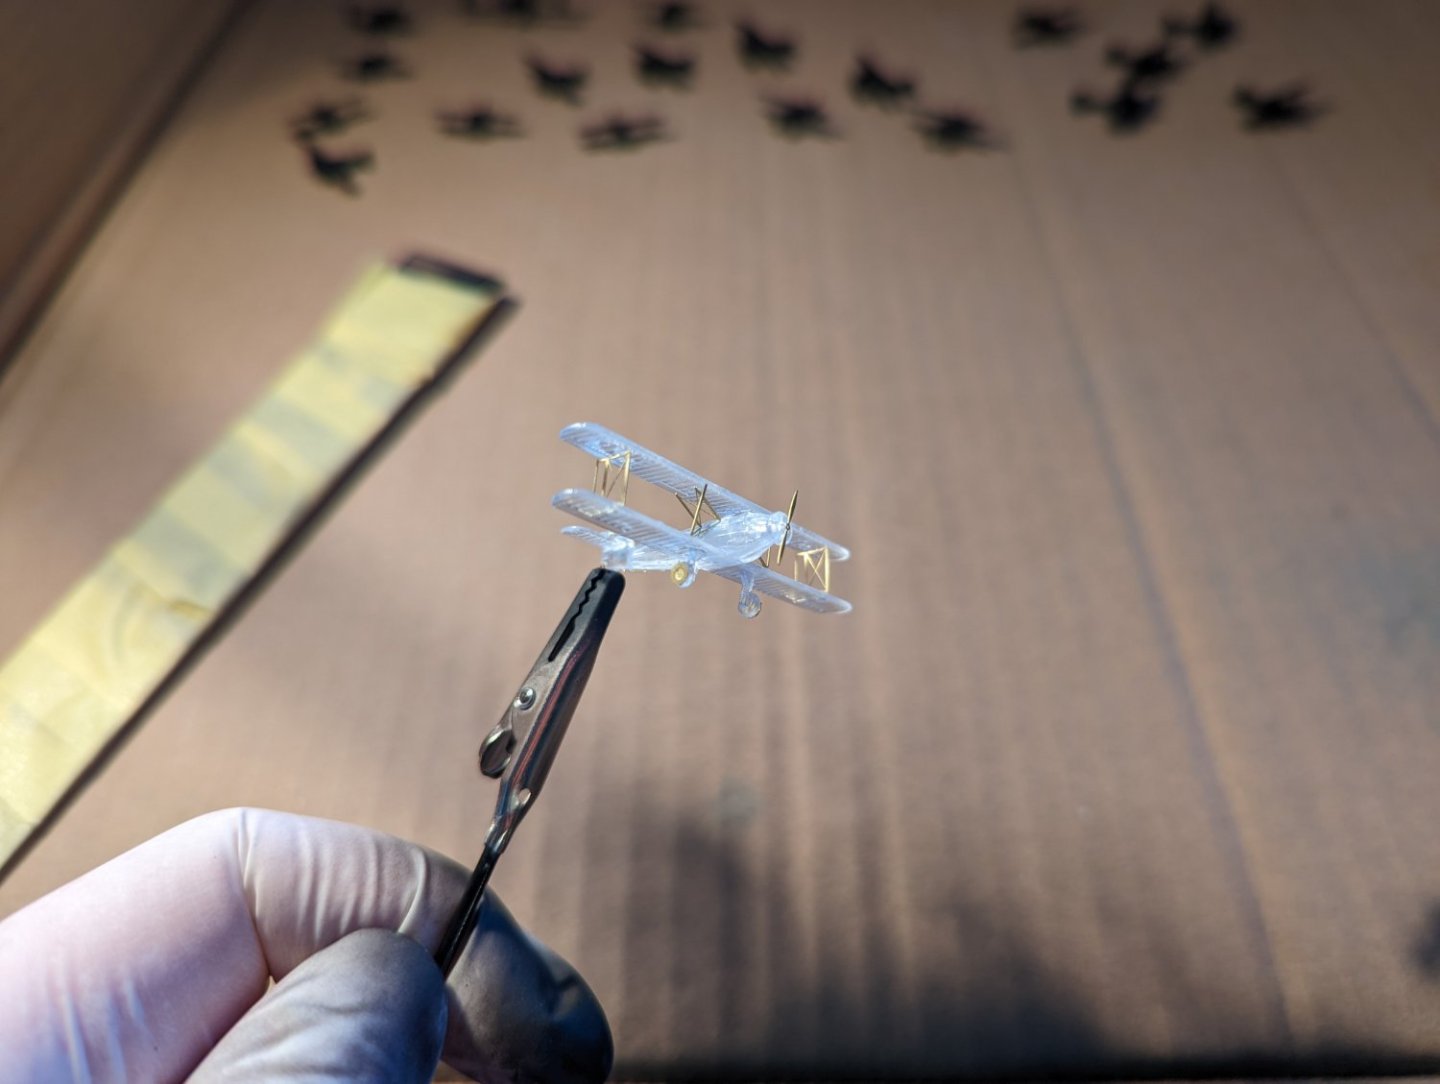
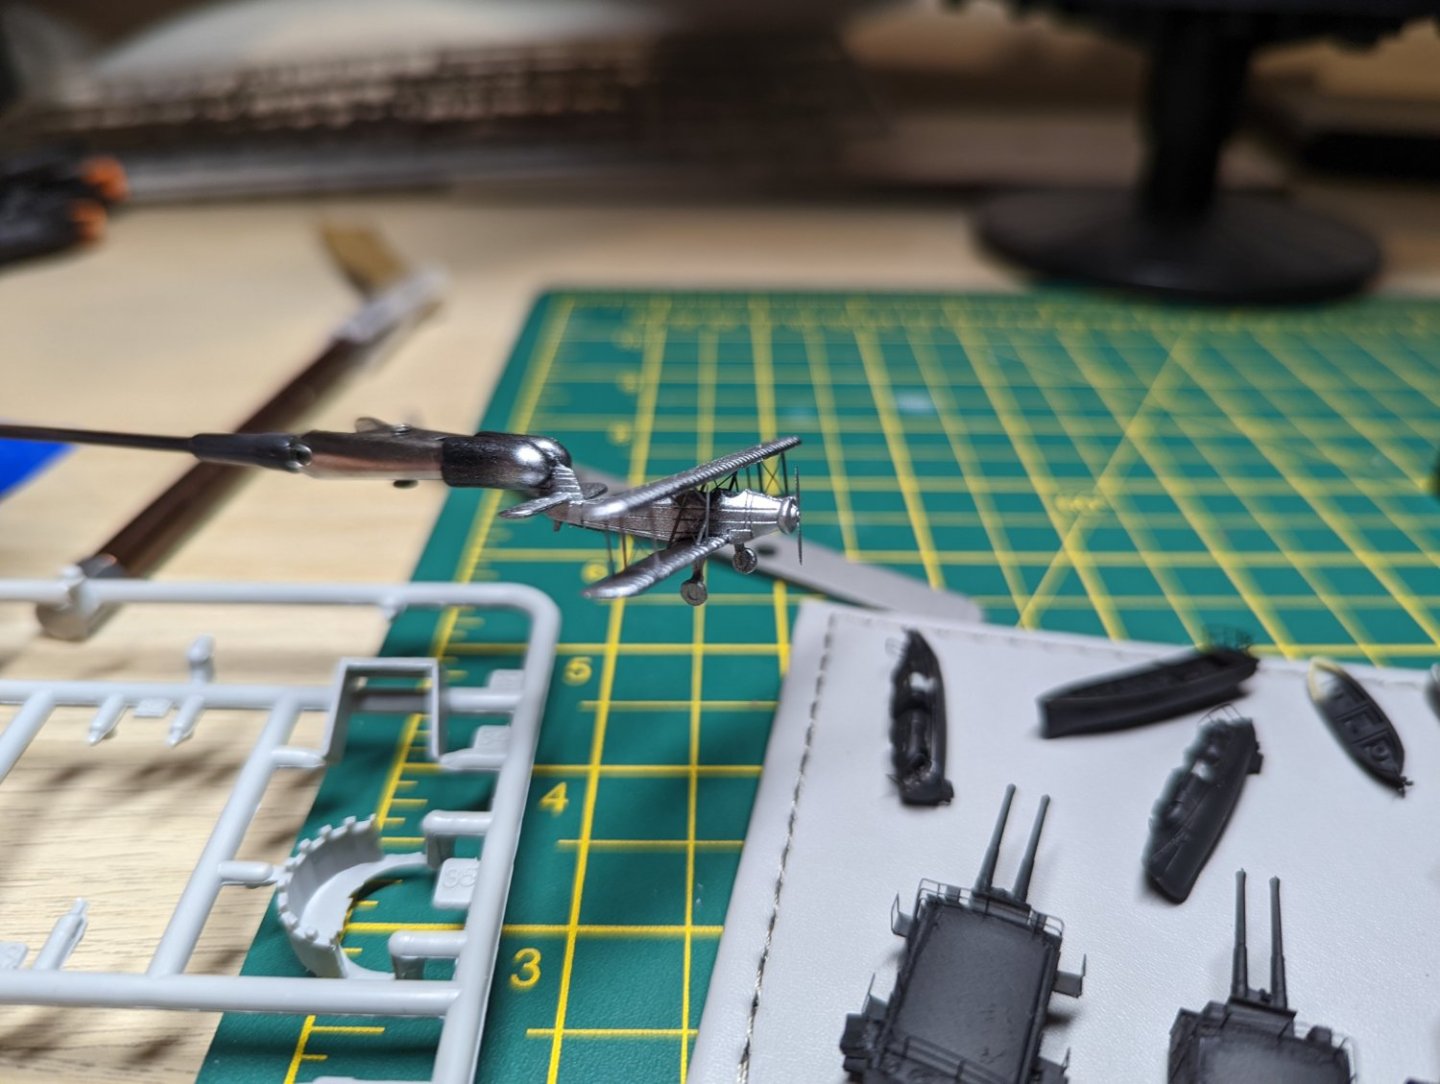
Progress Update: I have bitten the bullet and primed some of the parts now, the planes have also got their silver paint scheme until the yellow paint arrives for the upper wings. I do not really fancy trying to mask the wings for that stage so I may just hand paint them, they came out a little better than I thought they would even if I dropped and then stepped on one. Thankfully it stayed in large pieces so nothing went missing. I did try out the stick wrapped in tape to mass paint them, thank you for the idea, but I have some weak tape, fortunately the crocodile clips can just about hold onto the tail wheel bump. I will try out some other tape. I'll need to go back over the guns and life boats as I seem to have missed the parts where the clips were and thin layers in other areas. Hopefully now that the stands have arrived I can go back to the hull and give it another sanding to clear my poor attempt at gap filling. But first the planes need their decals. Kind Regards, Ryan


-
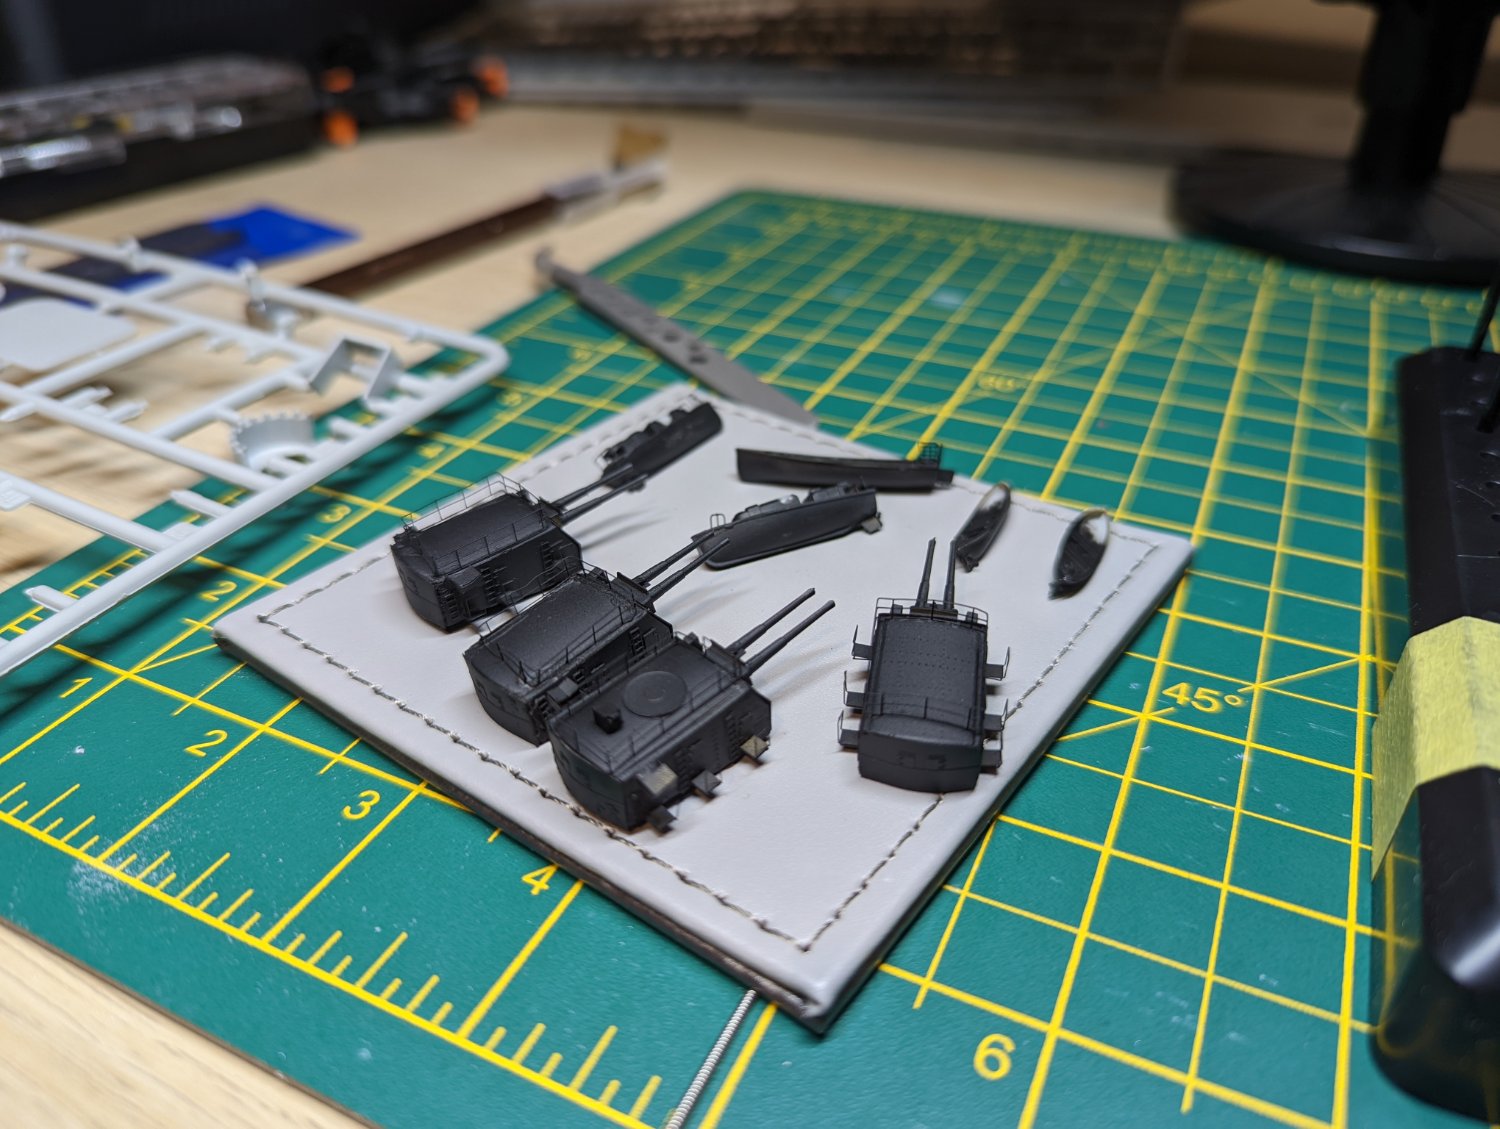
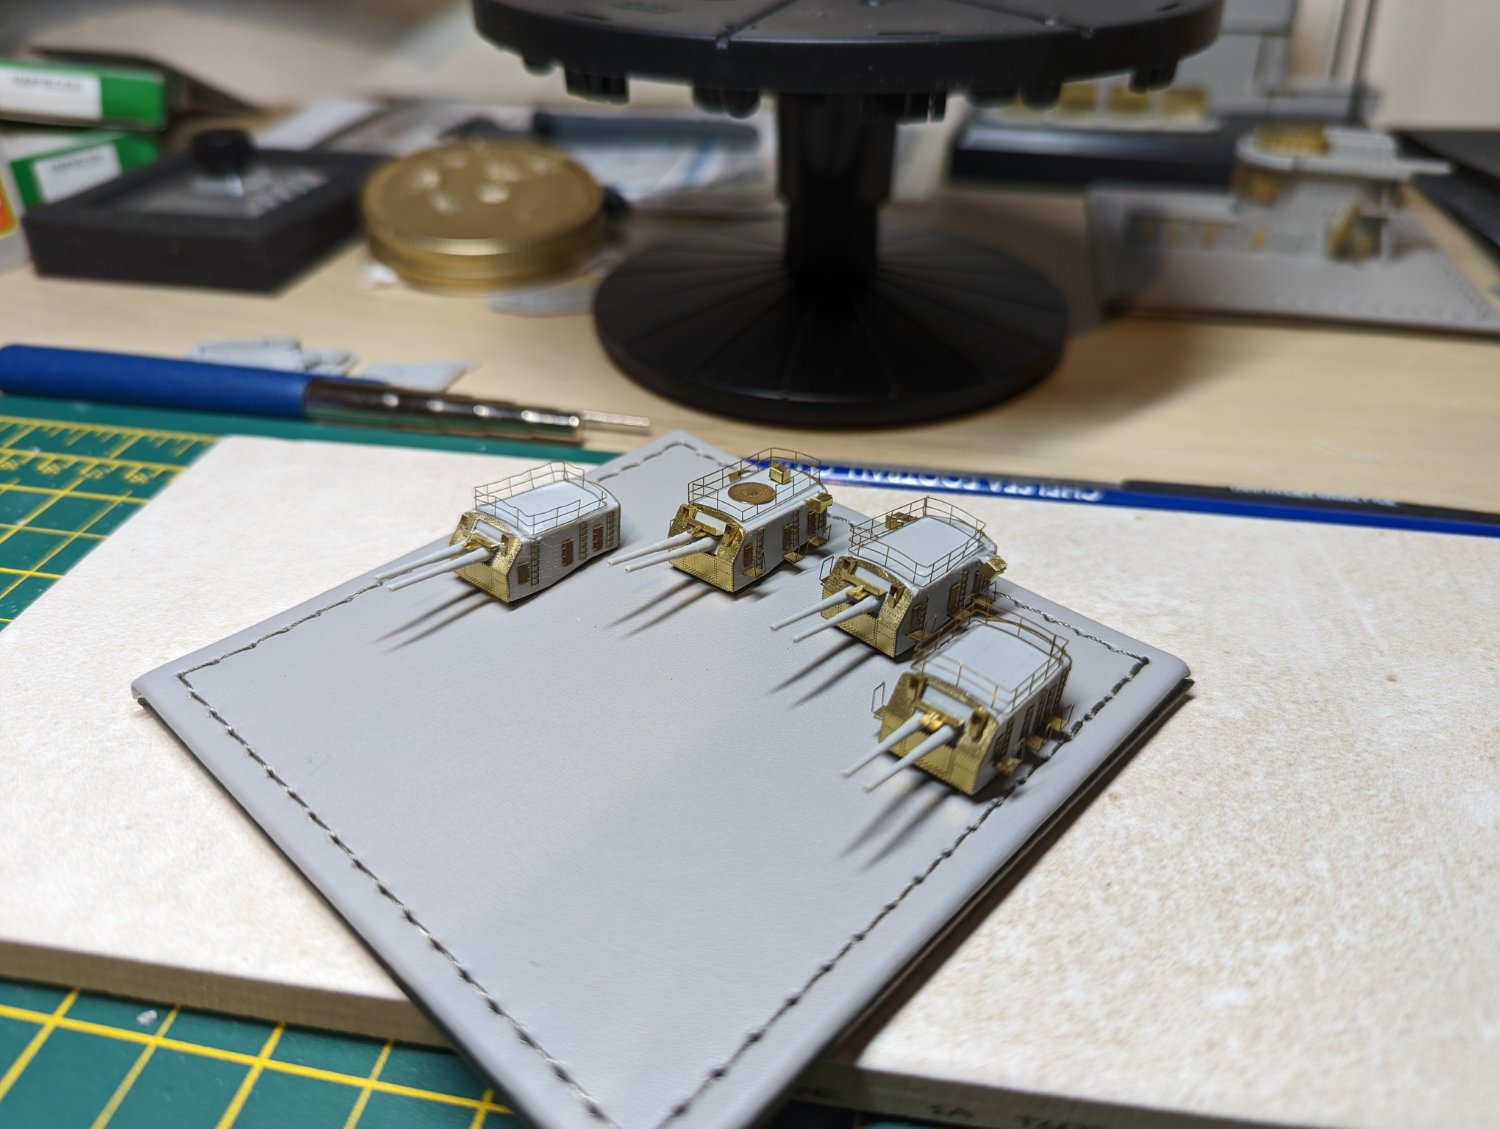
Progress Update: All turrets are now complete and join the planes to await priming. Unfortunately it appears that by having 2 PE sets for the same ship has led to a mistake being made with the funnels; I had put them on the outside rather than the inside. After some careful prying and some help from a lighter I managed to detach the funnels and put them on the correct way. Going forward I'm going to split the PE kits and use the best elements for each, as one comes with arrestor cables to place on the deck. Kind Regards, Ryan

- 36 replies
-
- 12
-

-
Thank you Steve. I'll hopefully be painting them once the final few paints arrive, for now my attention is split between this and modelling an Arado 196 and turret for my next build. Kind Regards, Ryan
-
I have seen these in the past never really knew what they were. I've got some on order now so hopefully they'll work a treat. Cheers for the recommendation. Kind Regards, Ryan
-
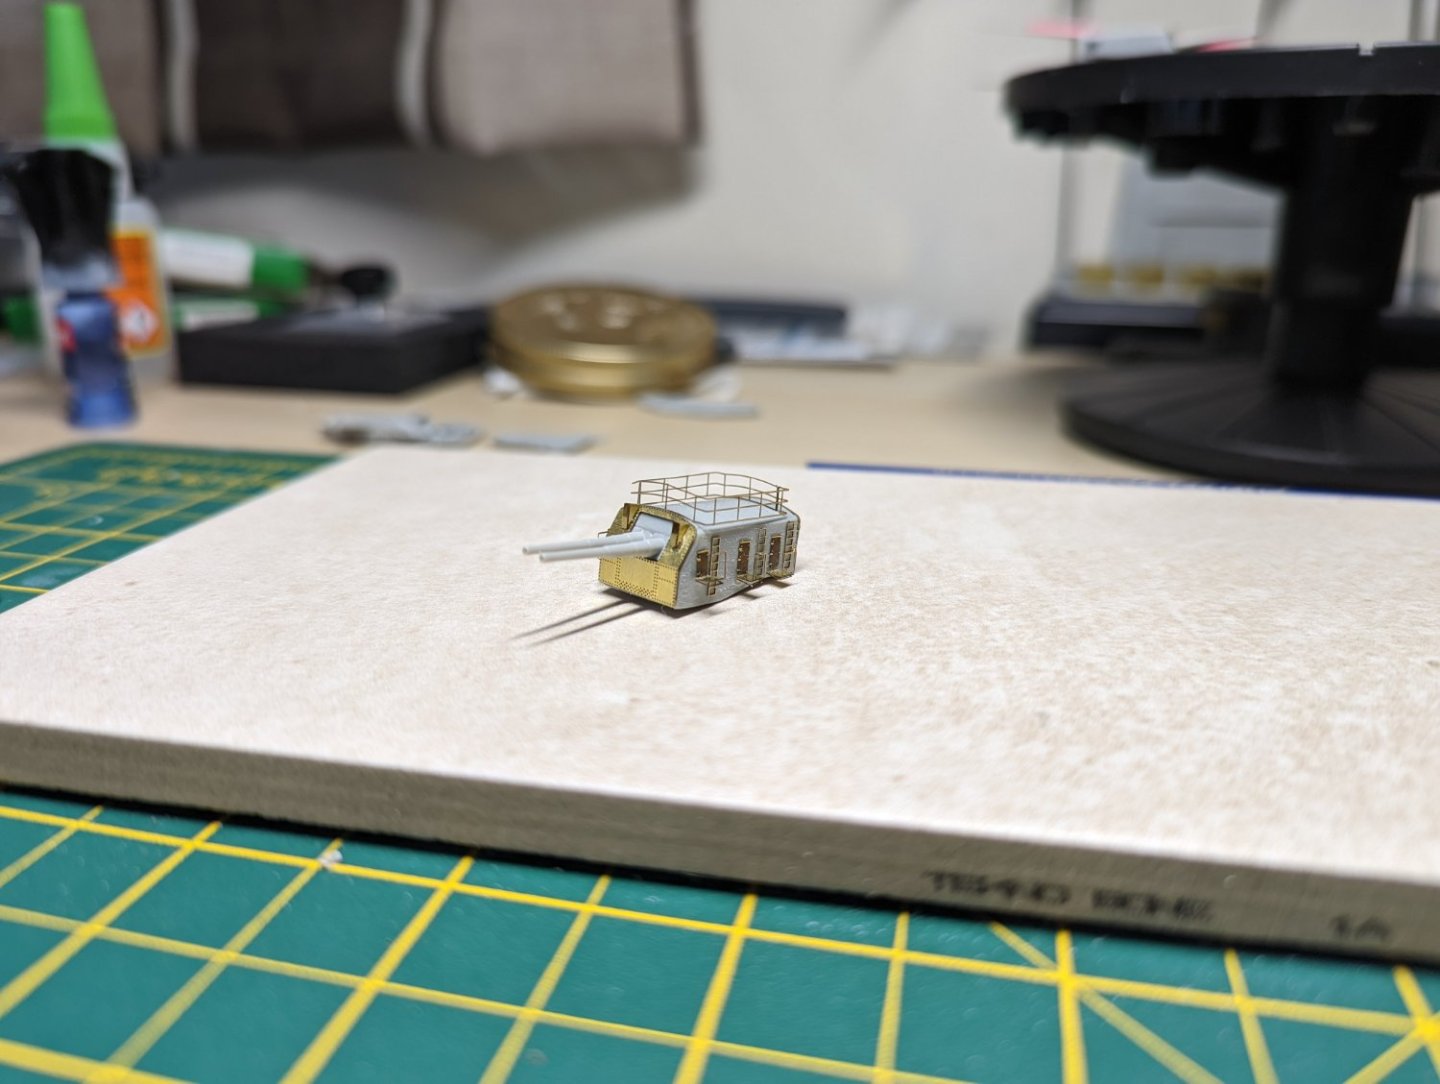
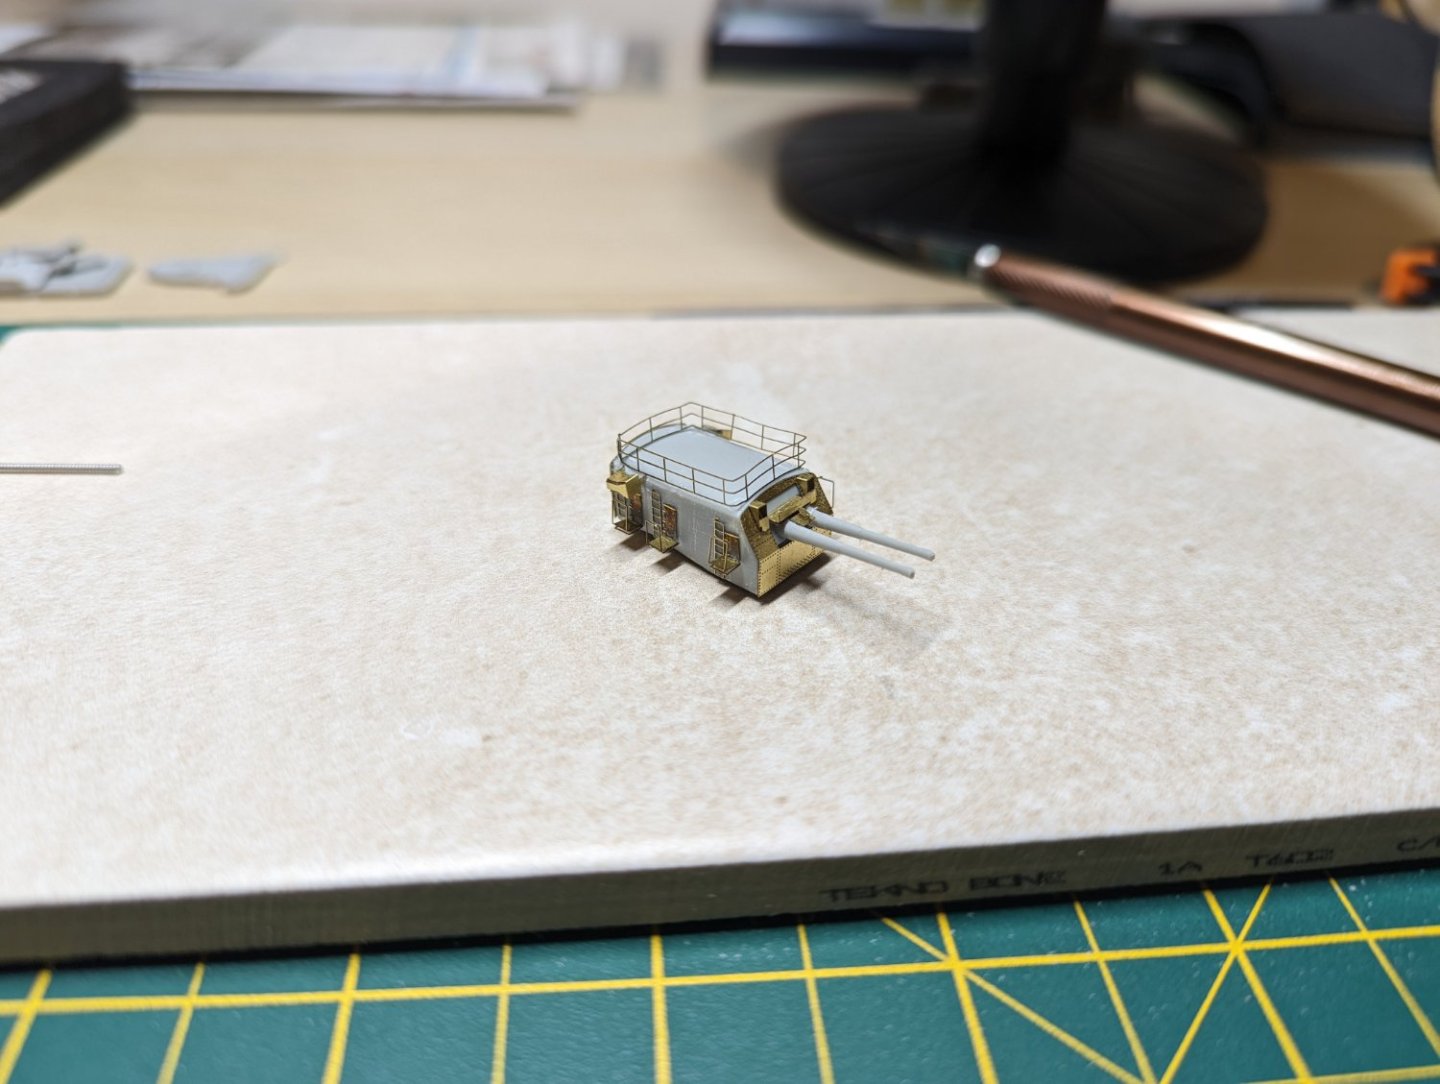
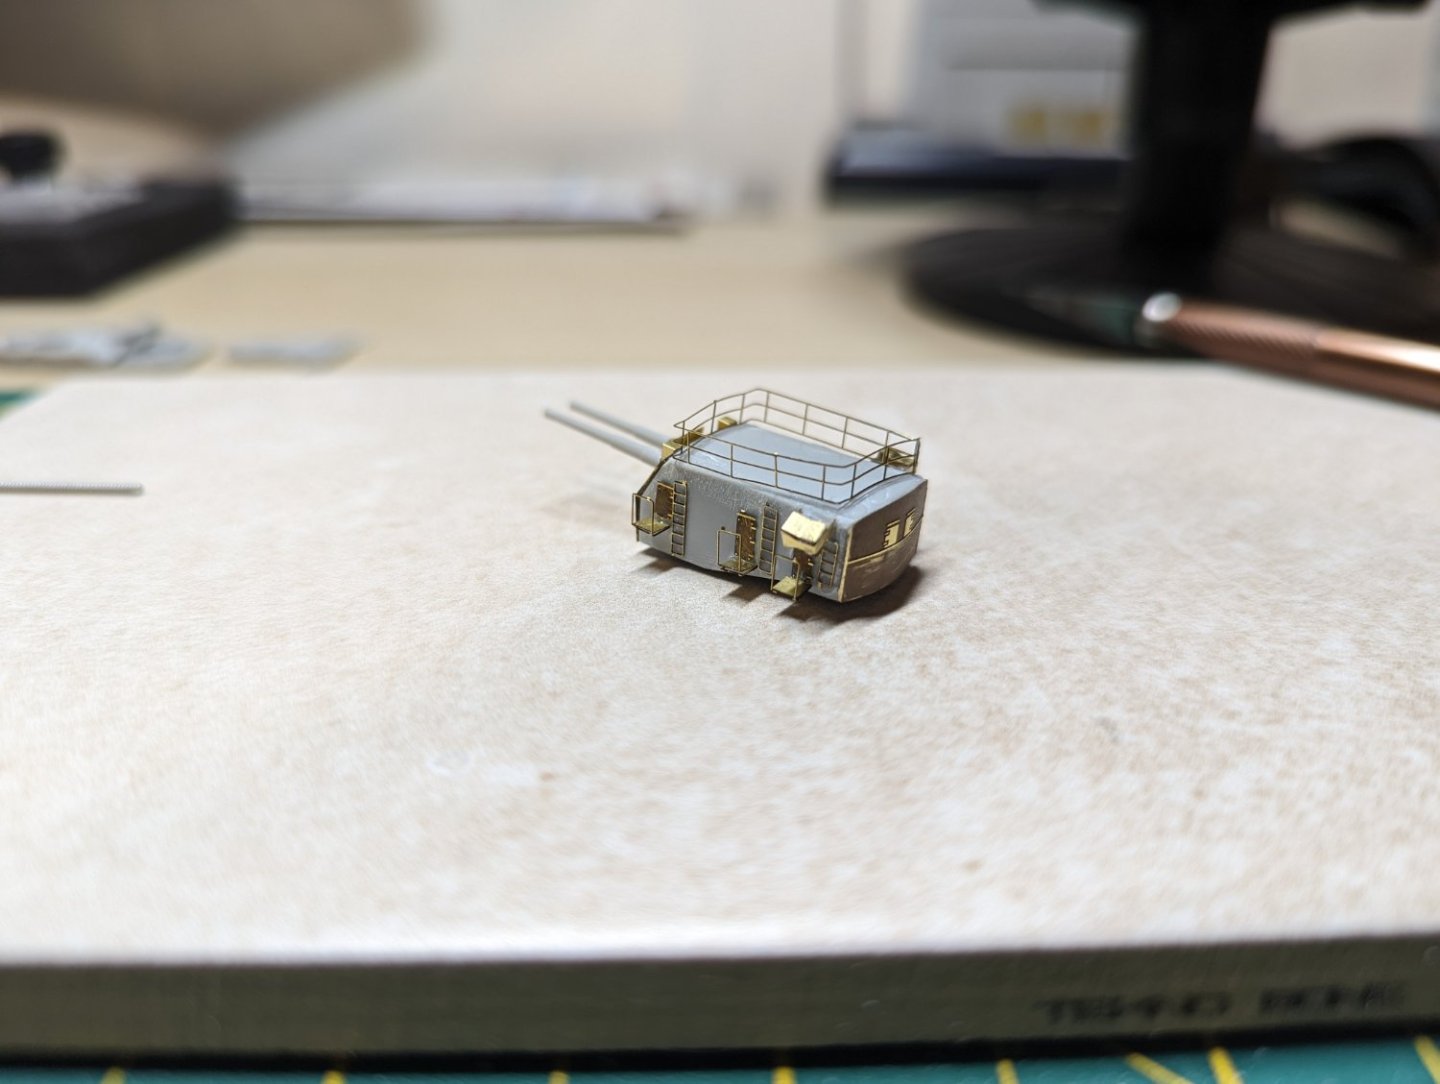
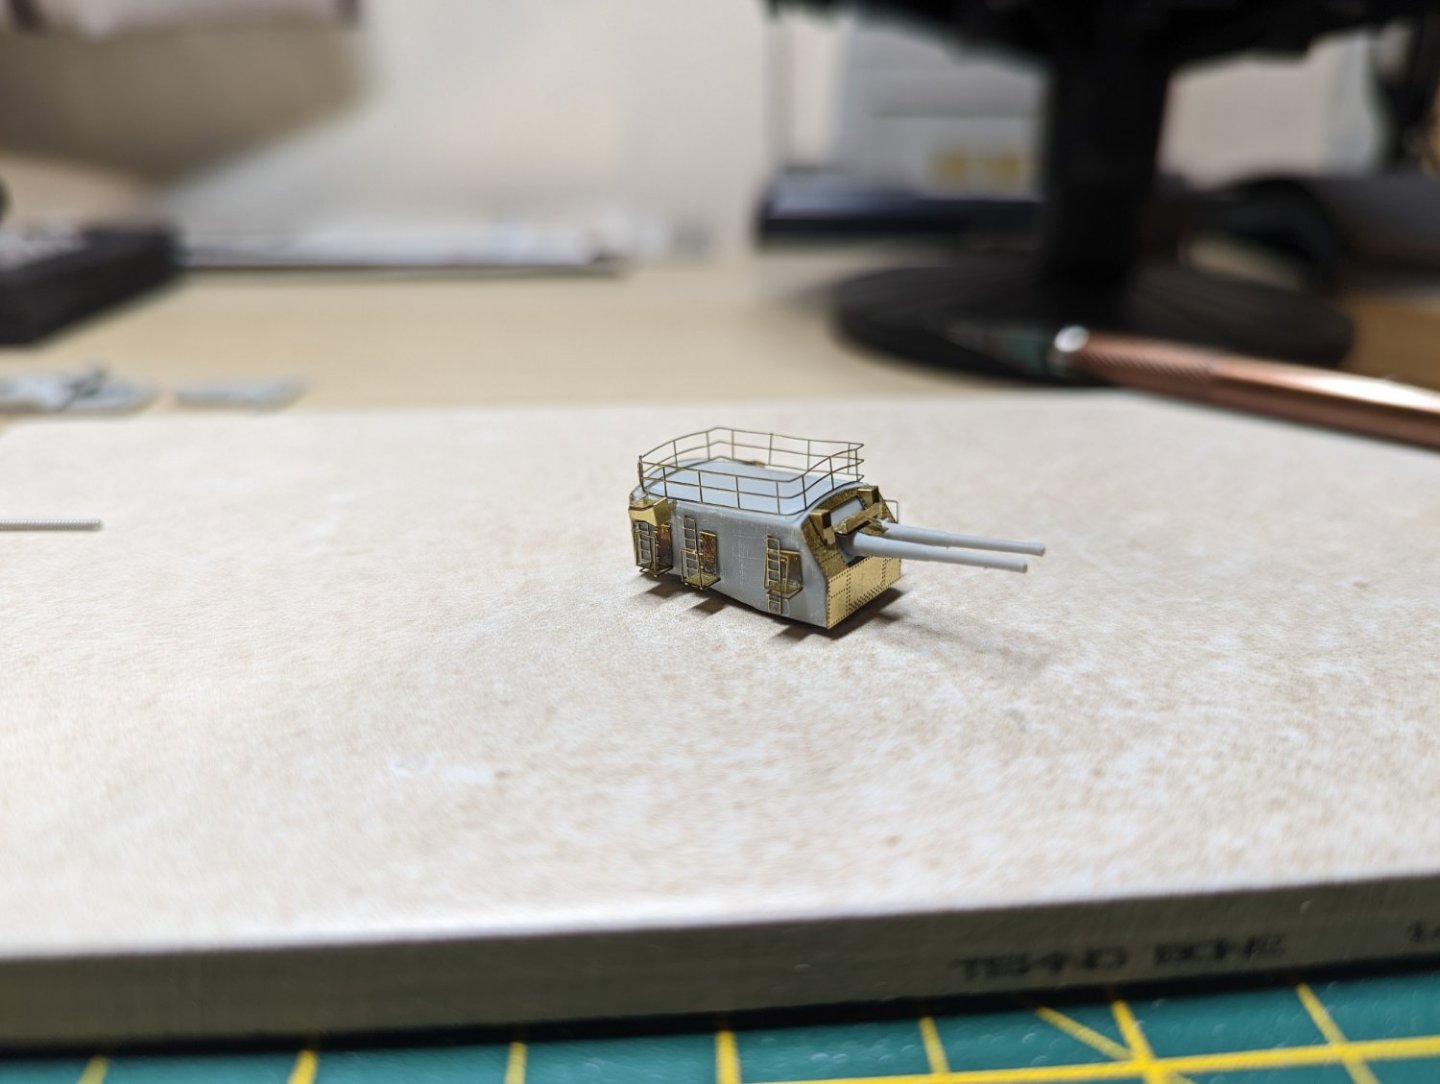
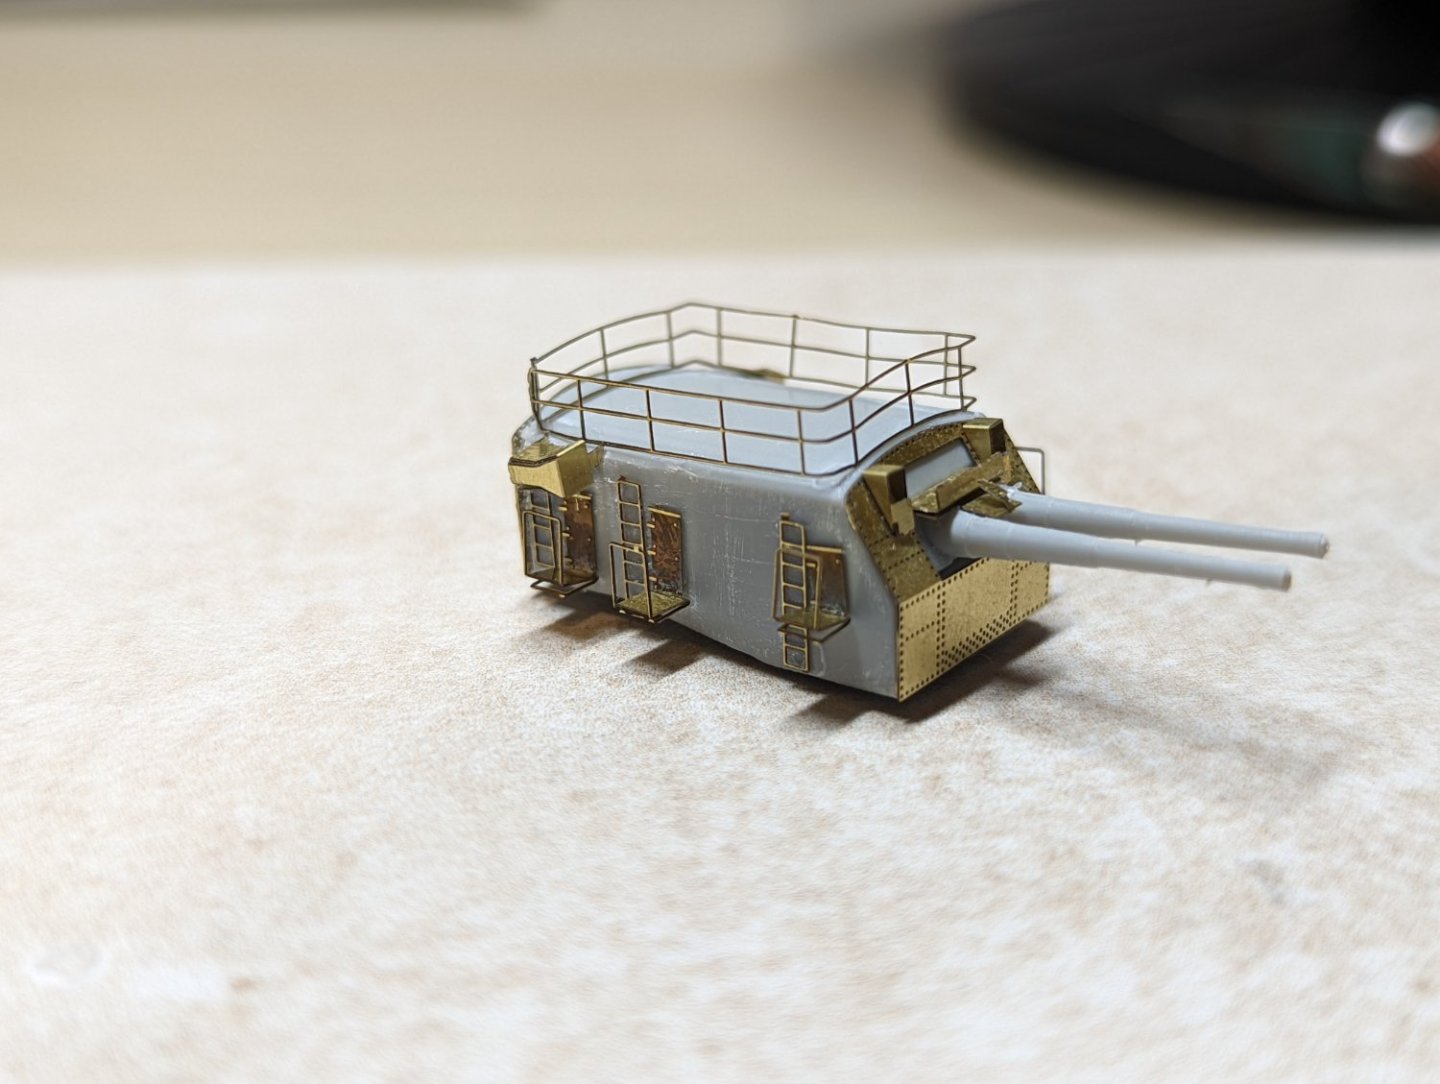
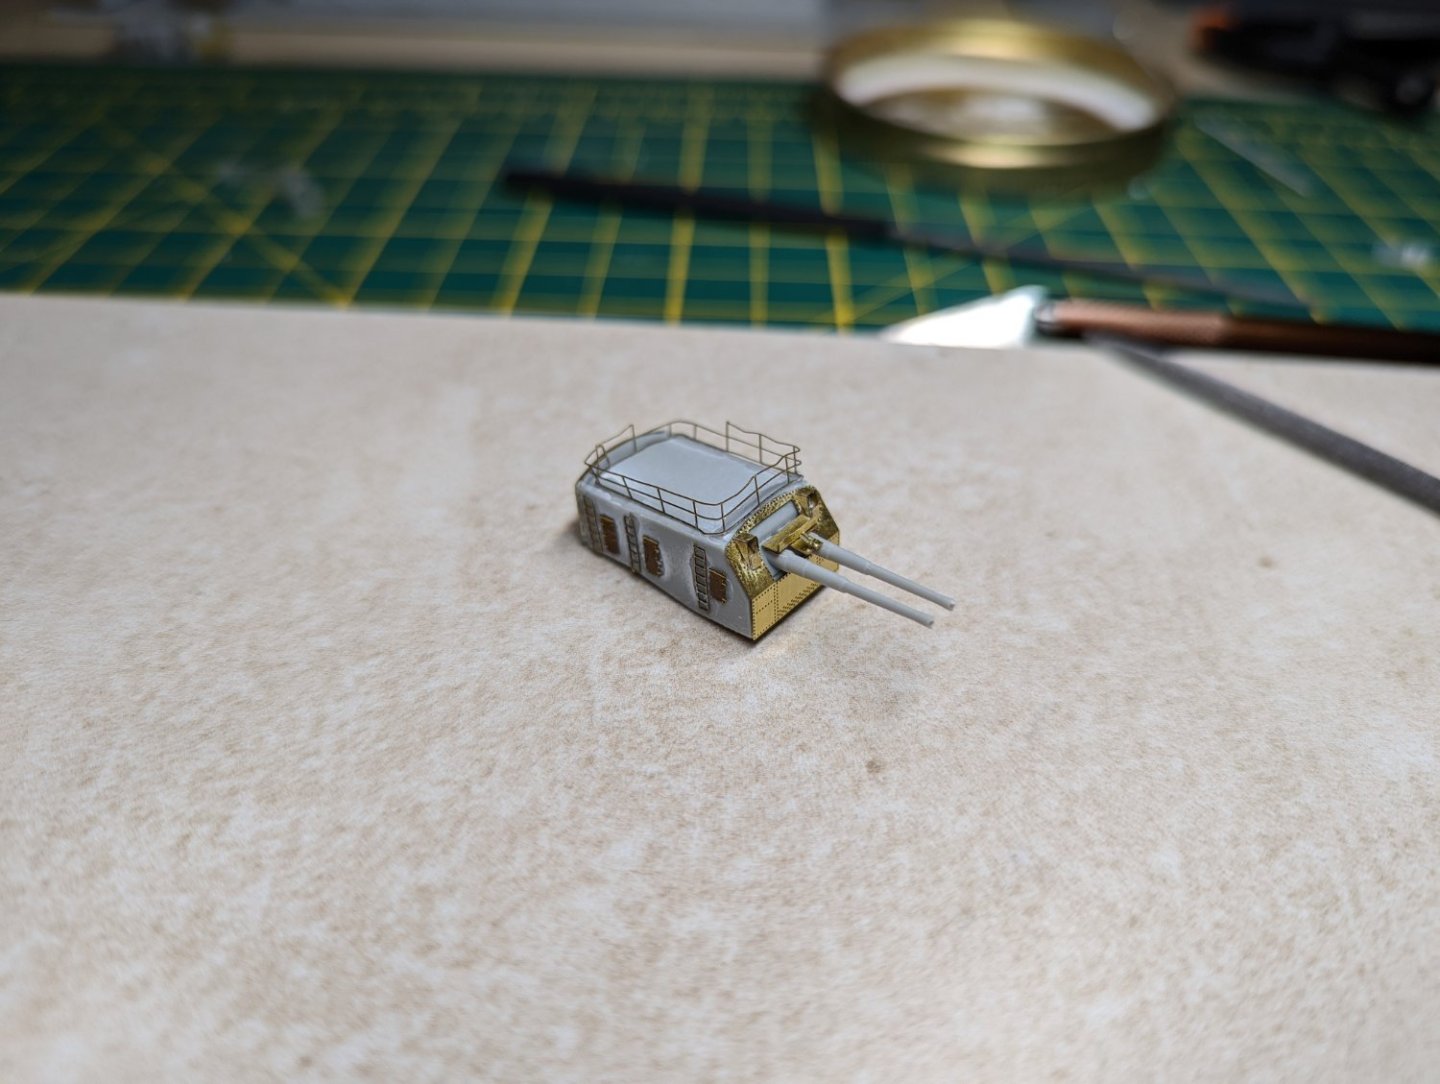
Progress Update: Turret C now joins turret A in completion. Looking back on it I wish I'd got the brass barrels as the kit ones feel like they're bent, also that I didn't fat finger one of the periscopes on the turret as it is now drooping. Might add in some crew around the turret in question to make it look like it is undergoing maintenance. I was also trying out a new setting on the camera to try to make the images look a bit clearer, especially on the smaller parts although they were compressed when moving them onto the computer so may forgo this in future and stick with the phone. Kind Regards, Ryan

- 36 replies
-
- 11
-
-
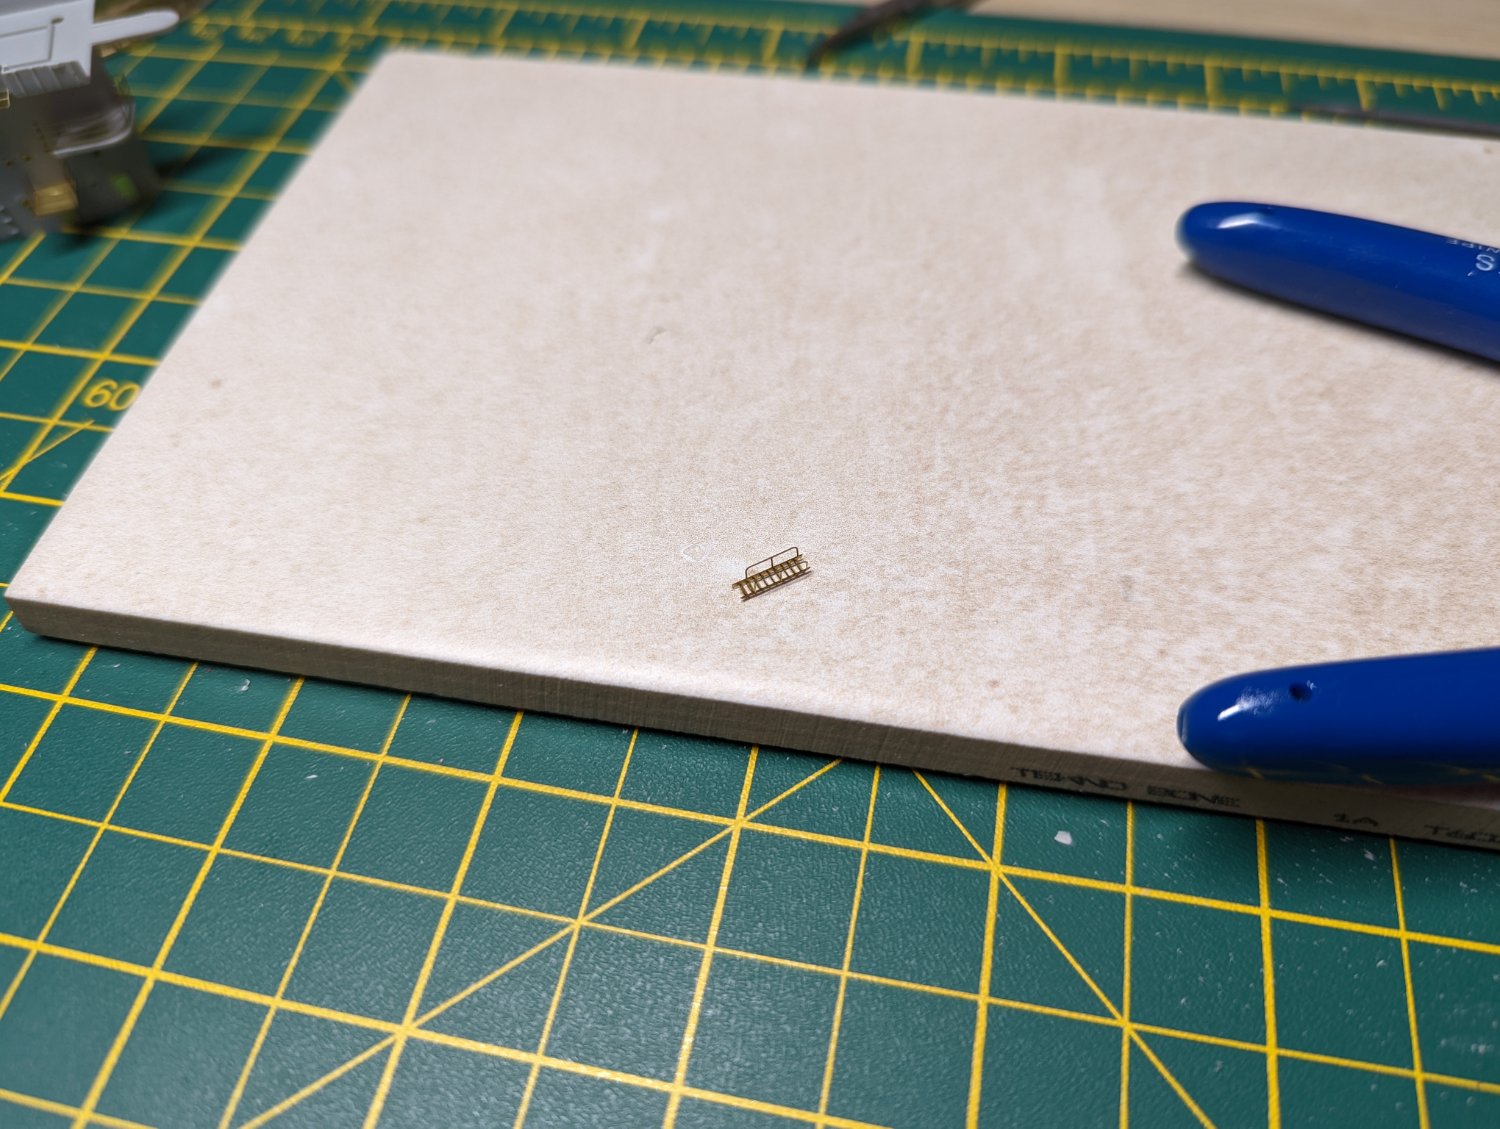
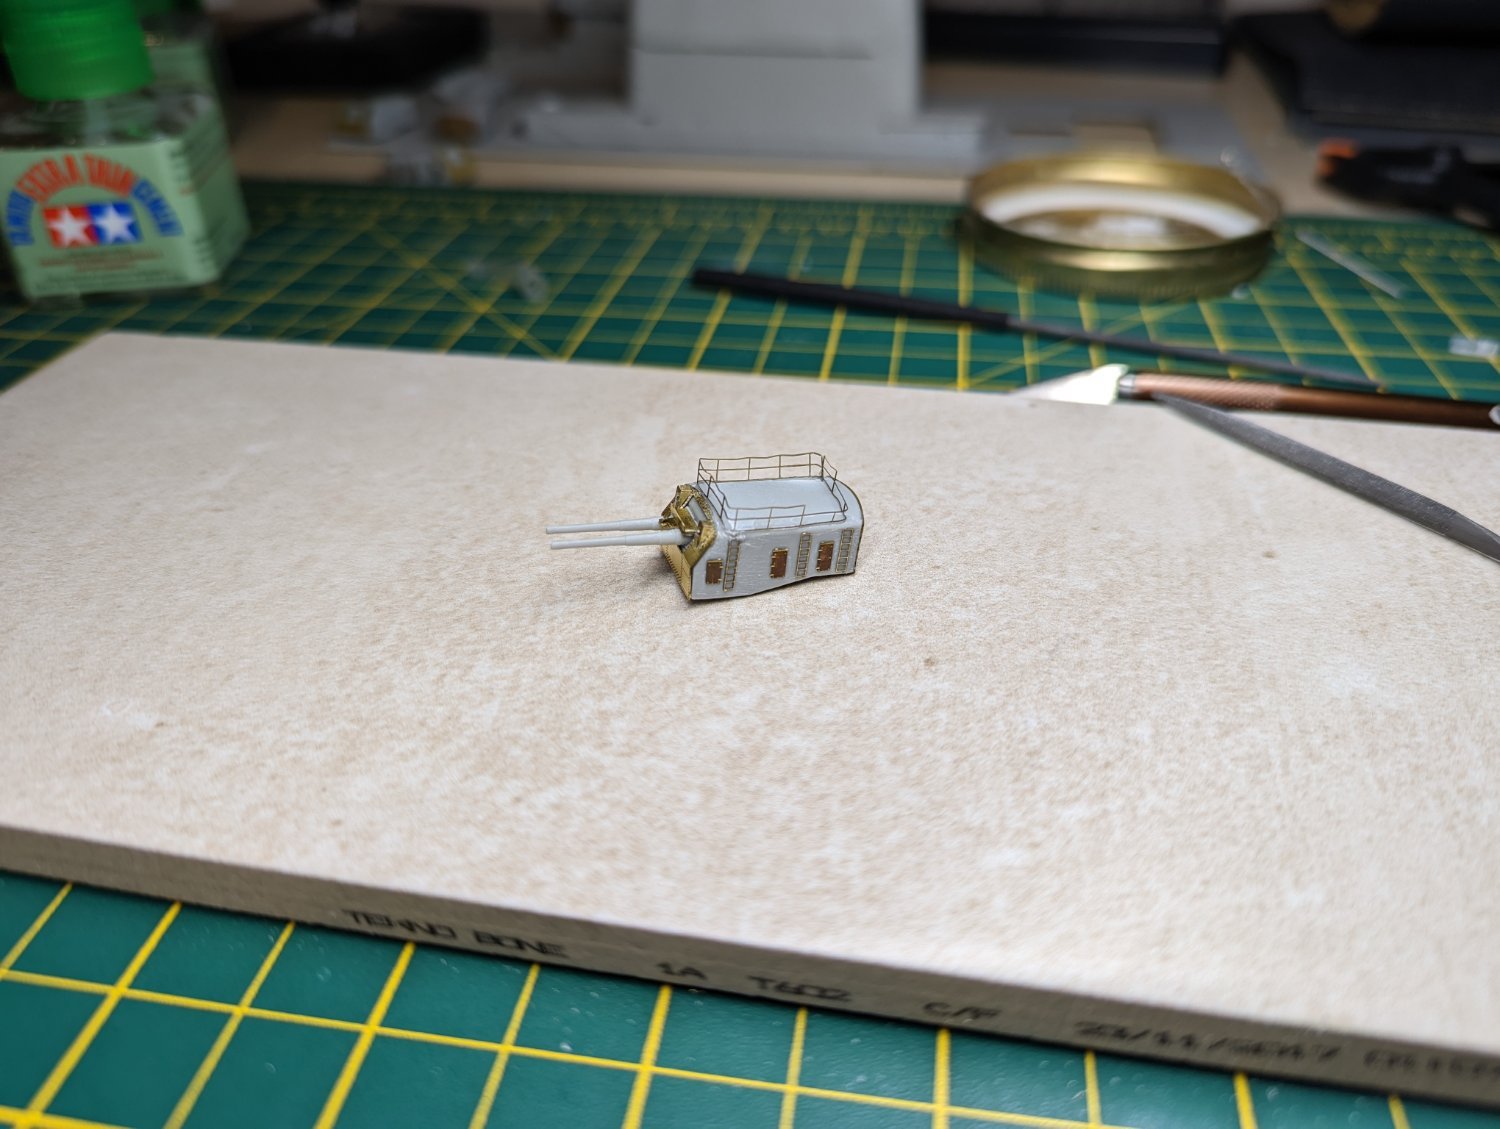
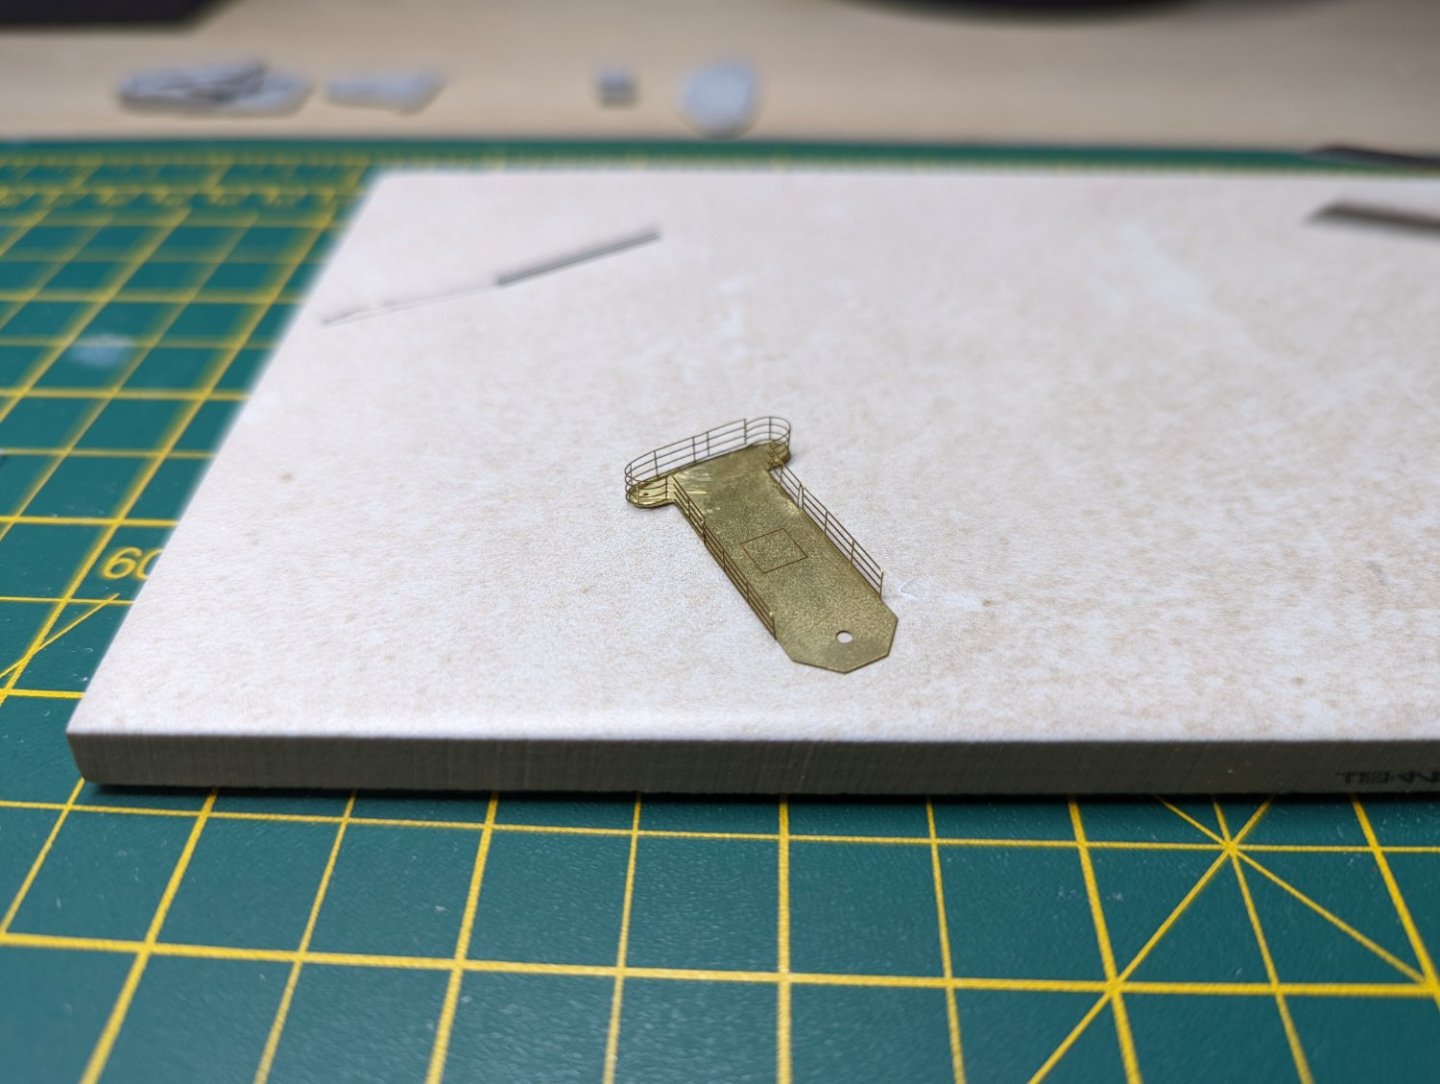
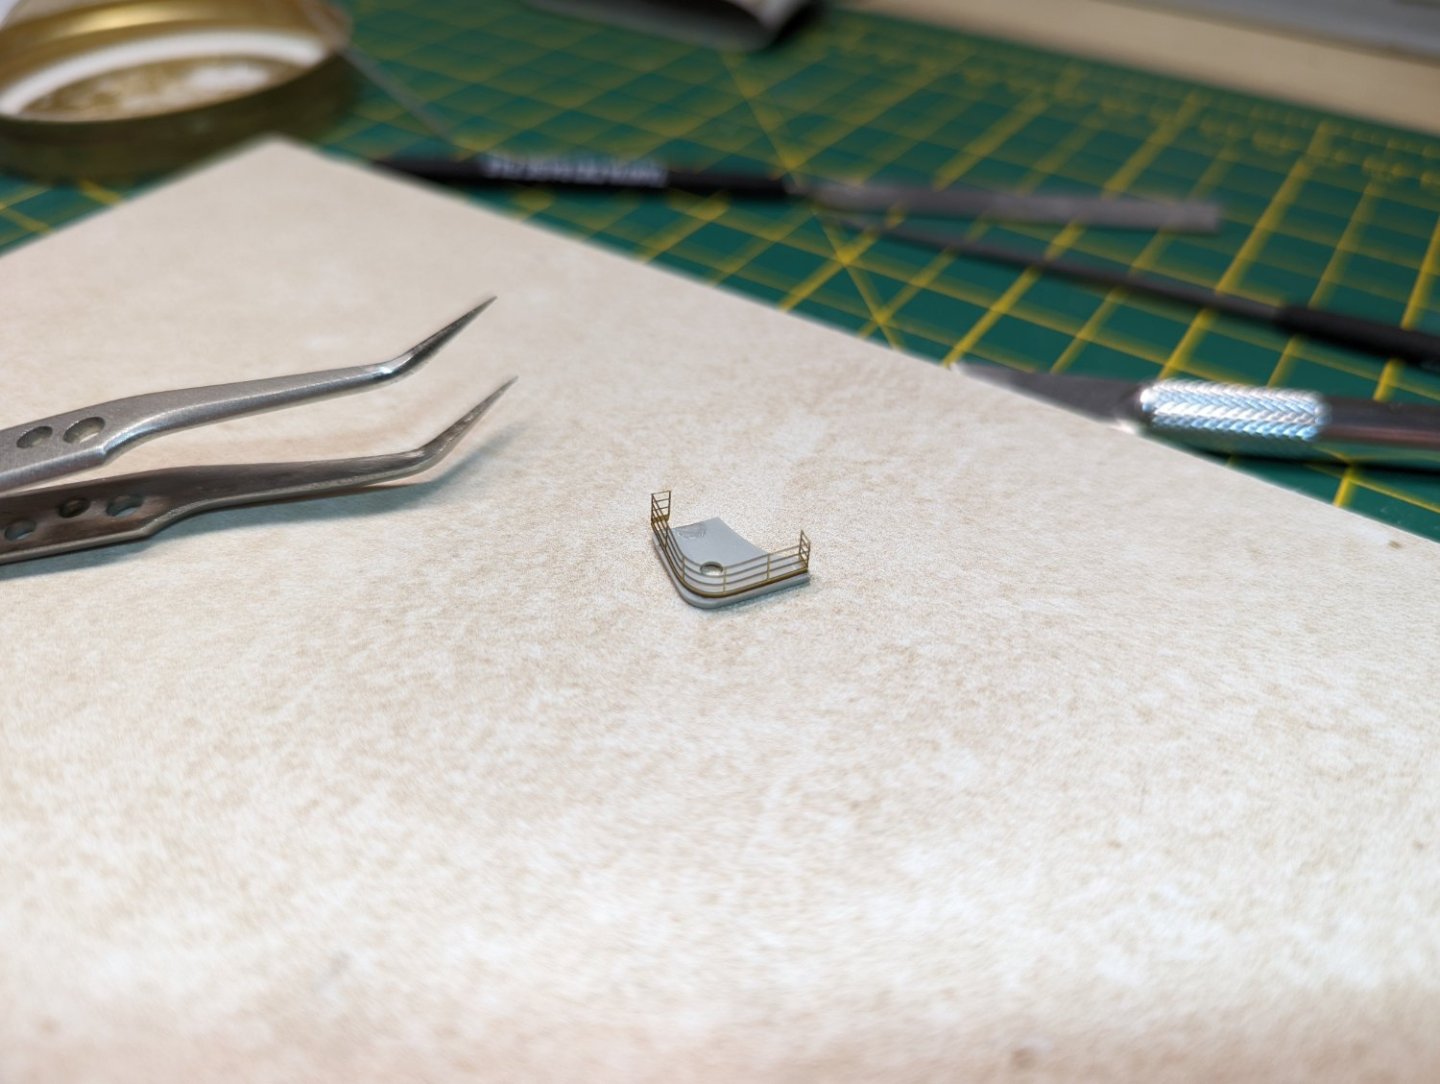
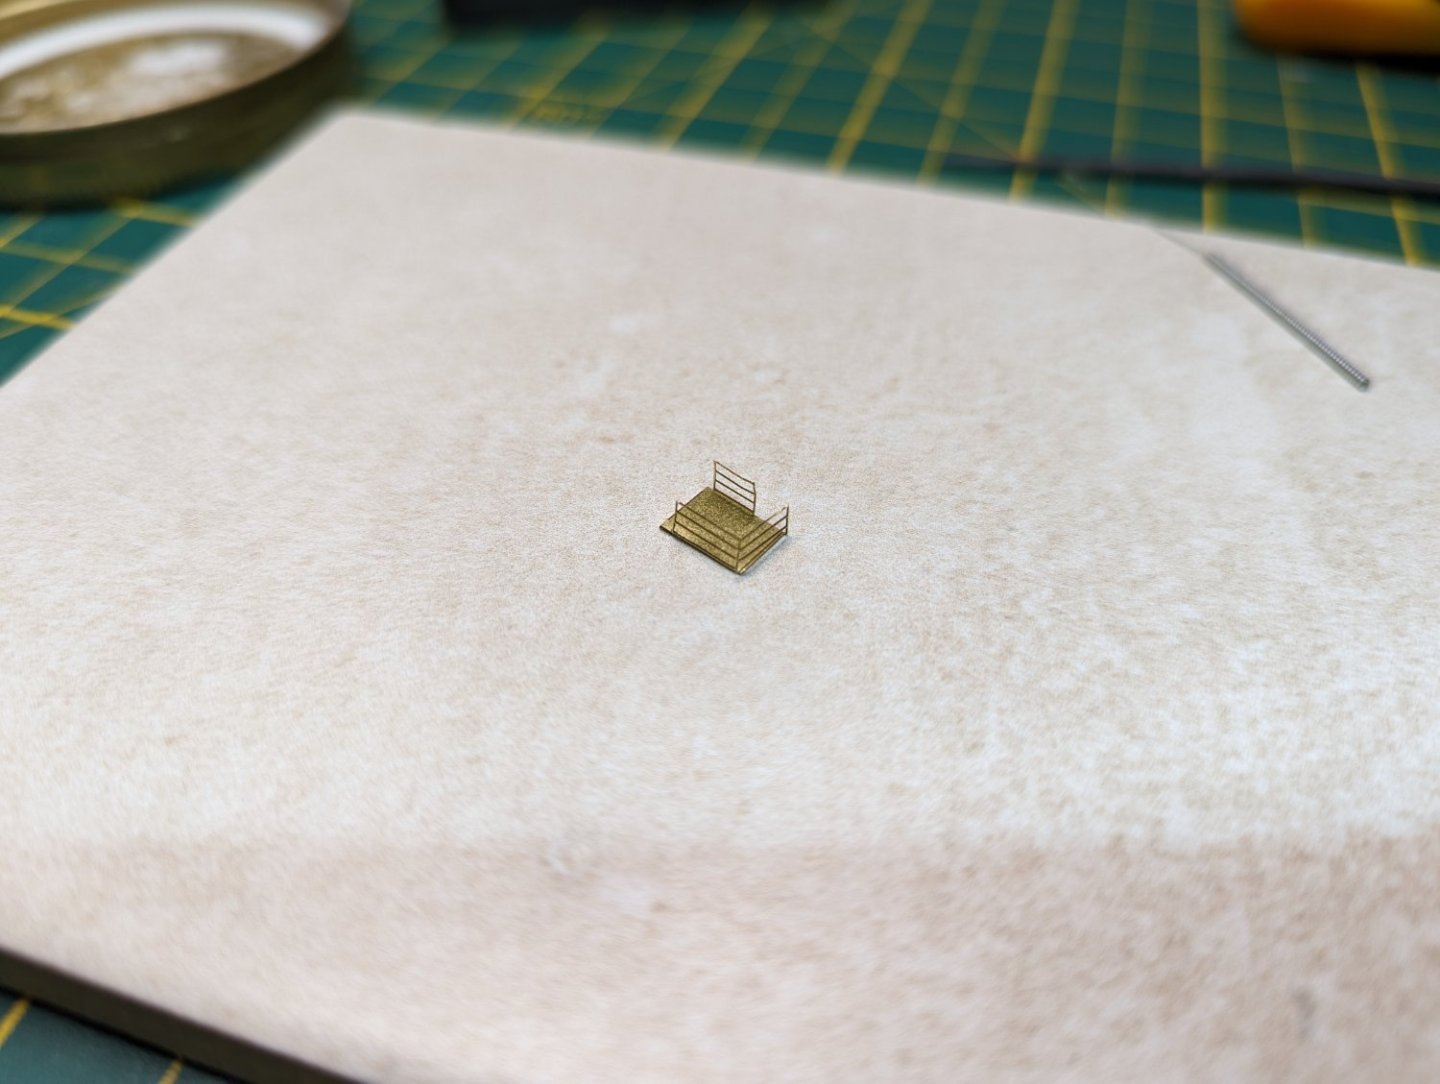
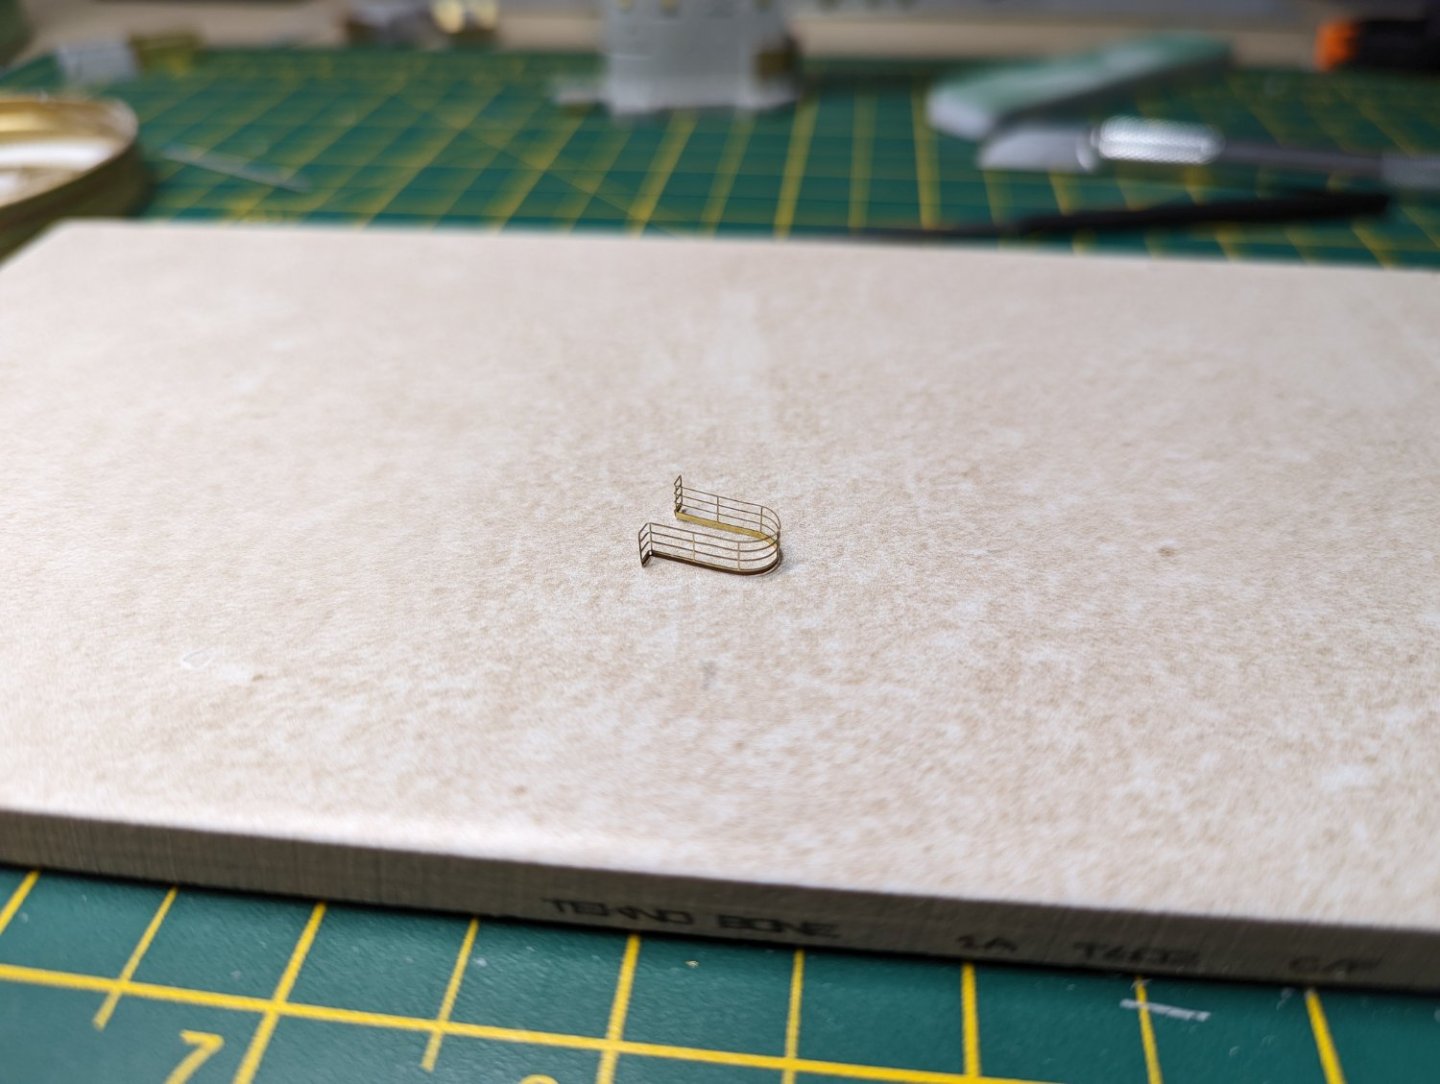
Progress Update: Another short one. These full PE parts are very fiddly and without a suitable brace point means that aligning the parts becomes very difficult and the solution was to add super glue and accept that we can fill in any gaps later. The railings for this part I cut them into pieces for the bends to try to better align them, an idea I got from a video. Plan for tomorrow is to finish the armament so that the priming can begin on the smaller parts. Kind Regards, Ryan


- 36 replies
-
- 12
-
-
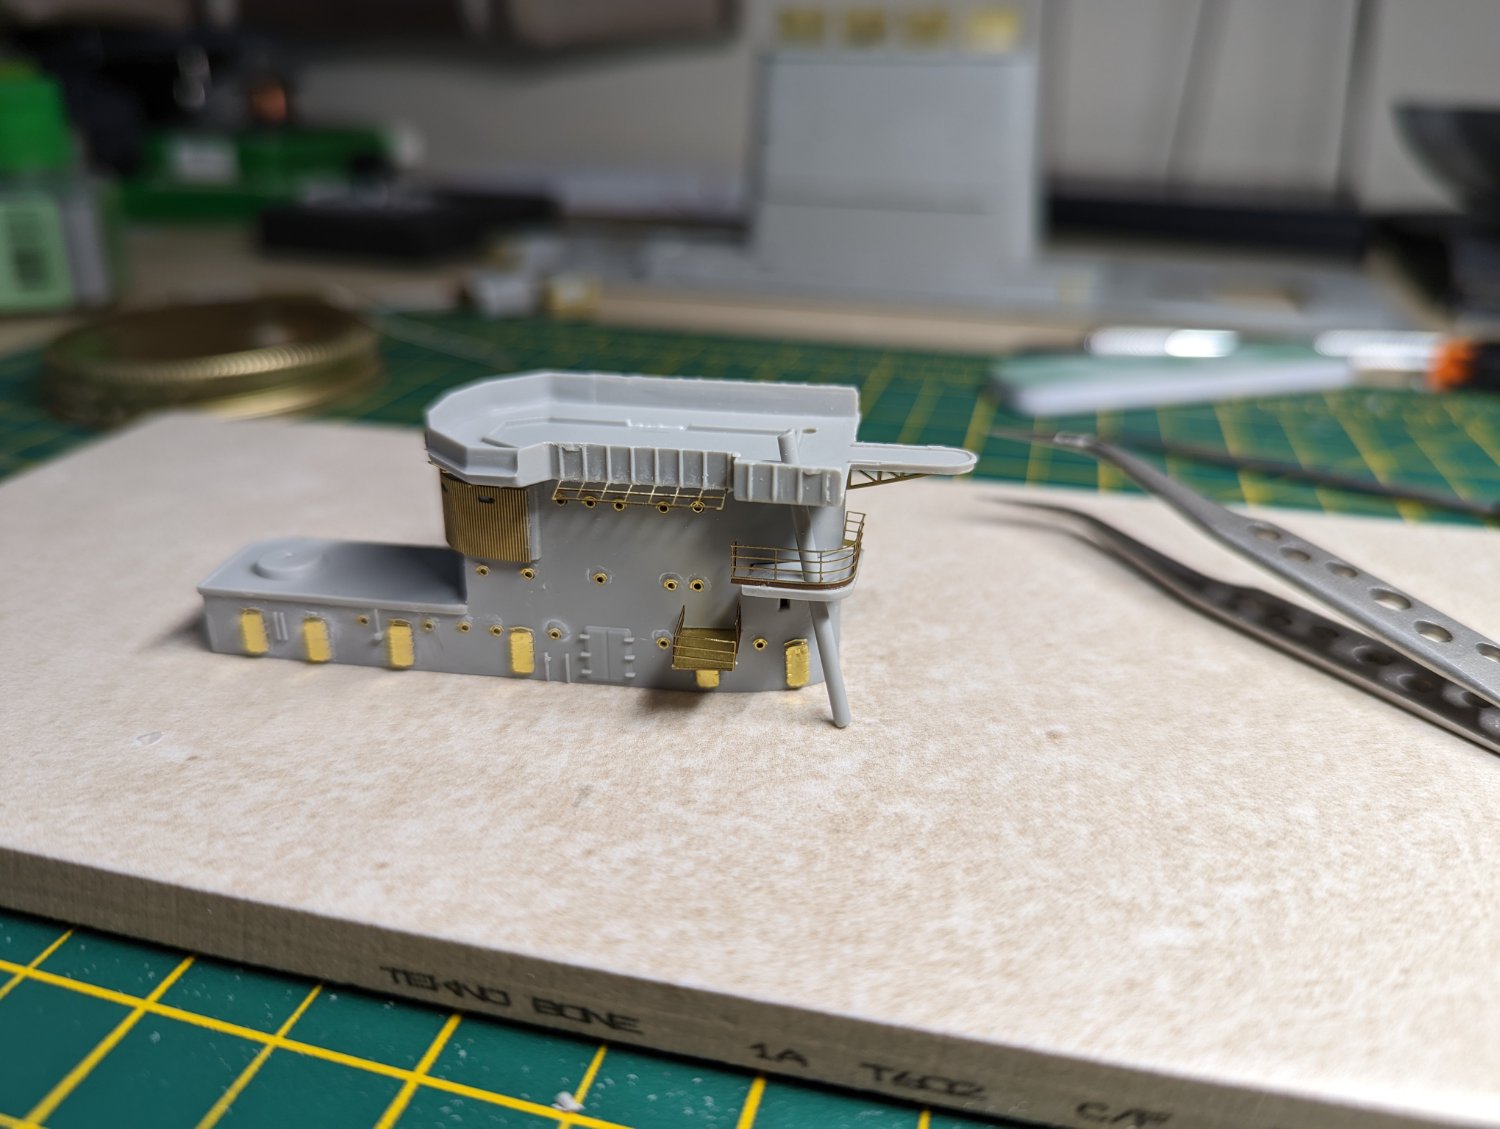
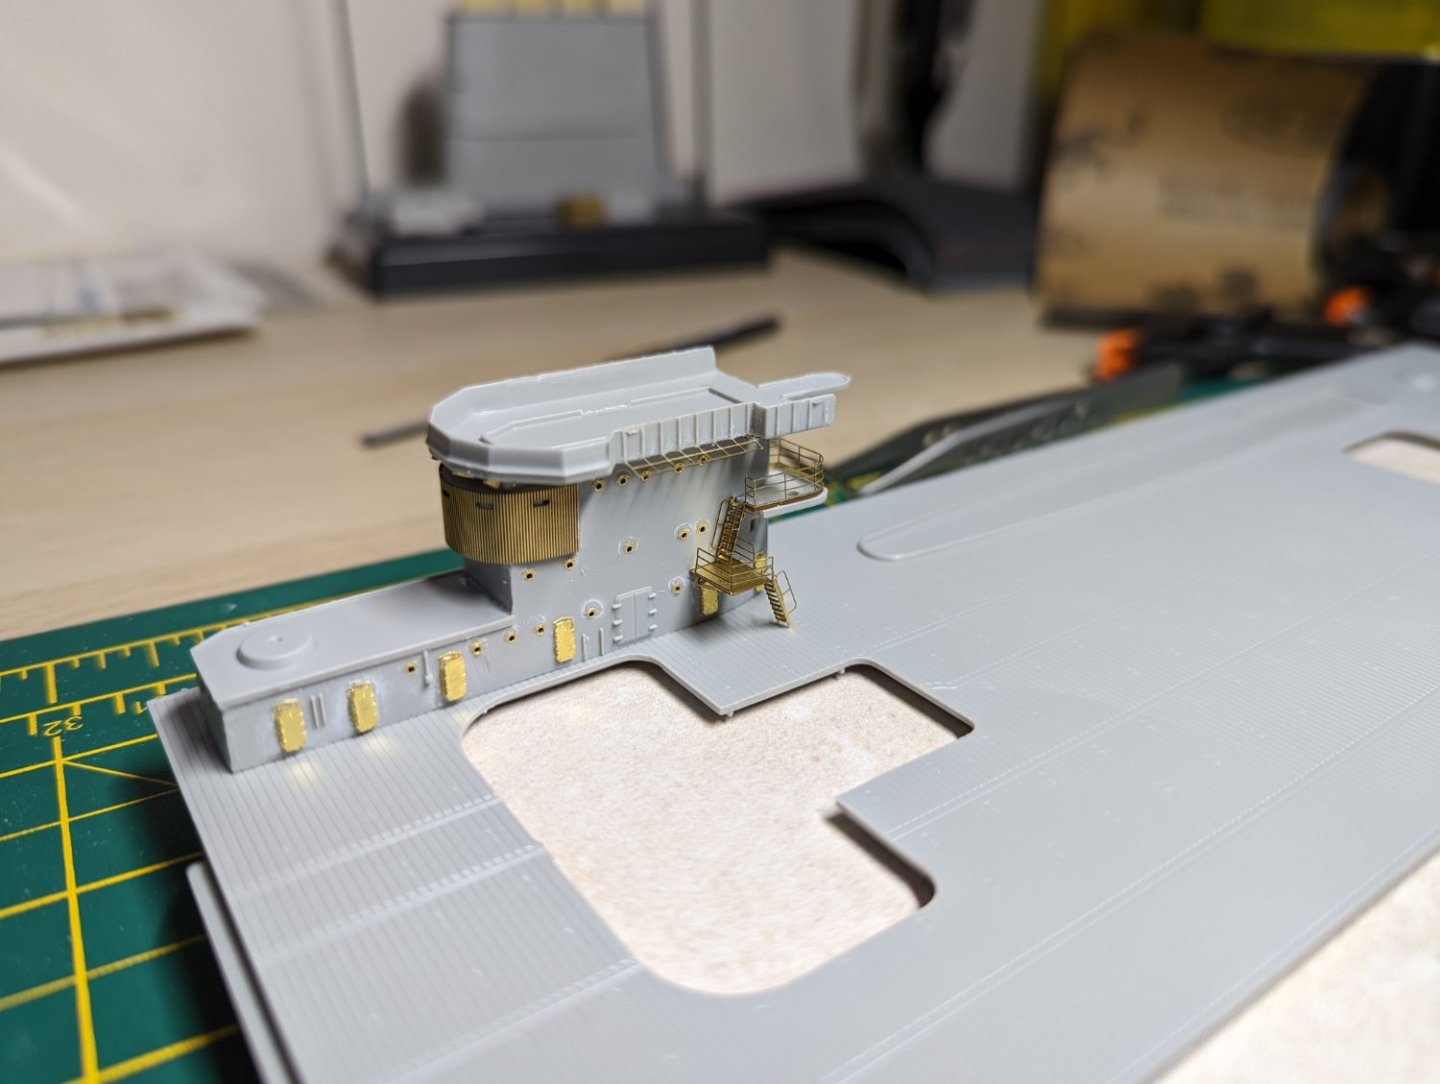
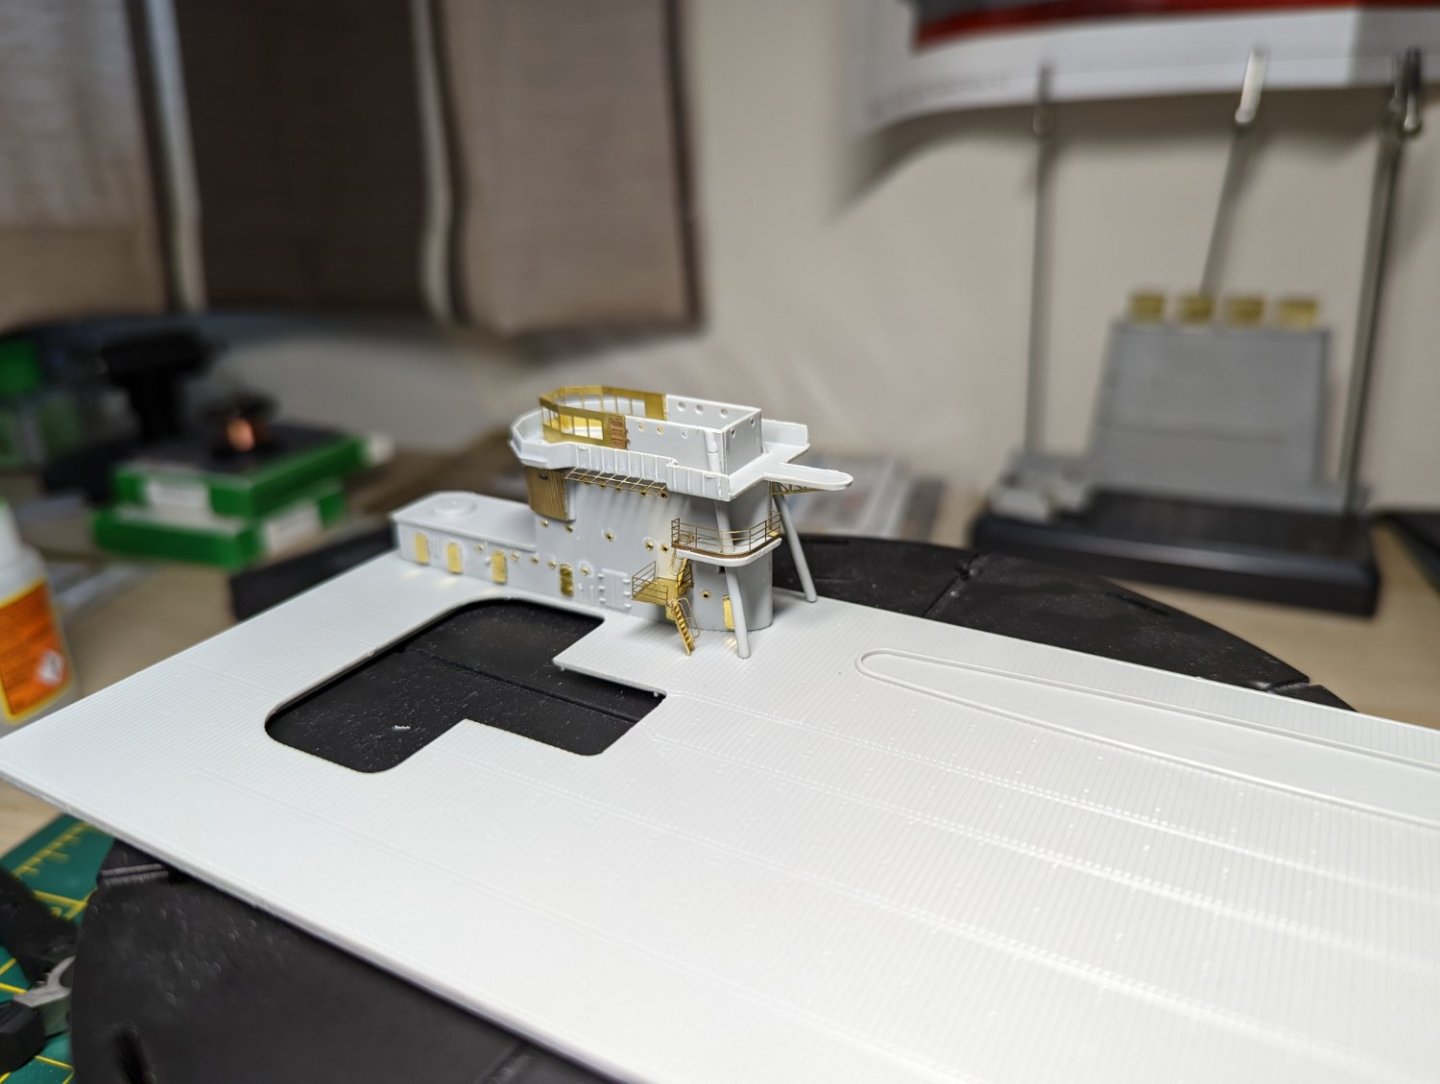
Progress Update: It's been a busy week so the updates have been a bit sparse; my attention is split between this and the next build that I've been planning on doing, which I am aiming to begin building probably next month once this one is complete. Today's session was spent adding the stairs on the conning tower and gluing down the structure on top with the support beams. I may regret the lower stairway as I have yet to add the PE braces to the underside of the platform above it, we will find out tomorrow. Kind regards, Ryan

- 36 replies
-
- 10
-
-
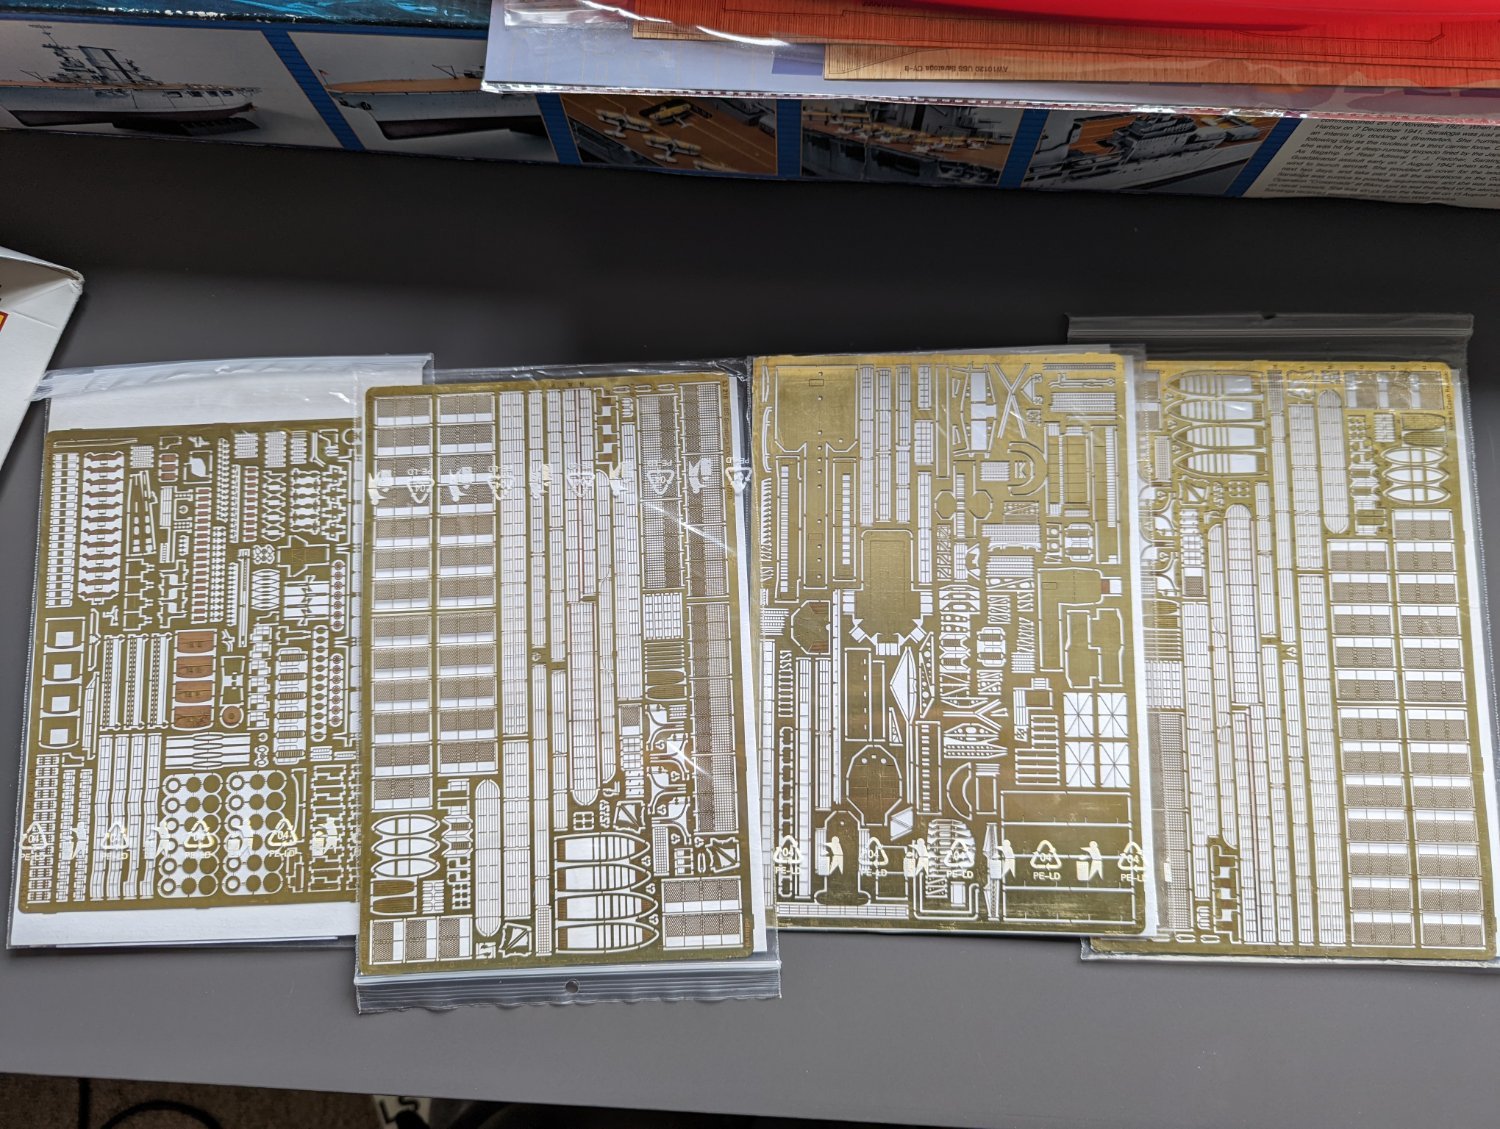
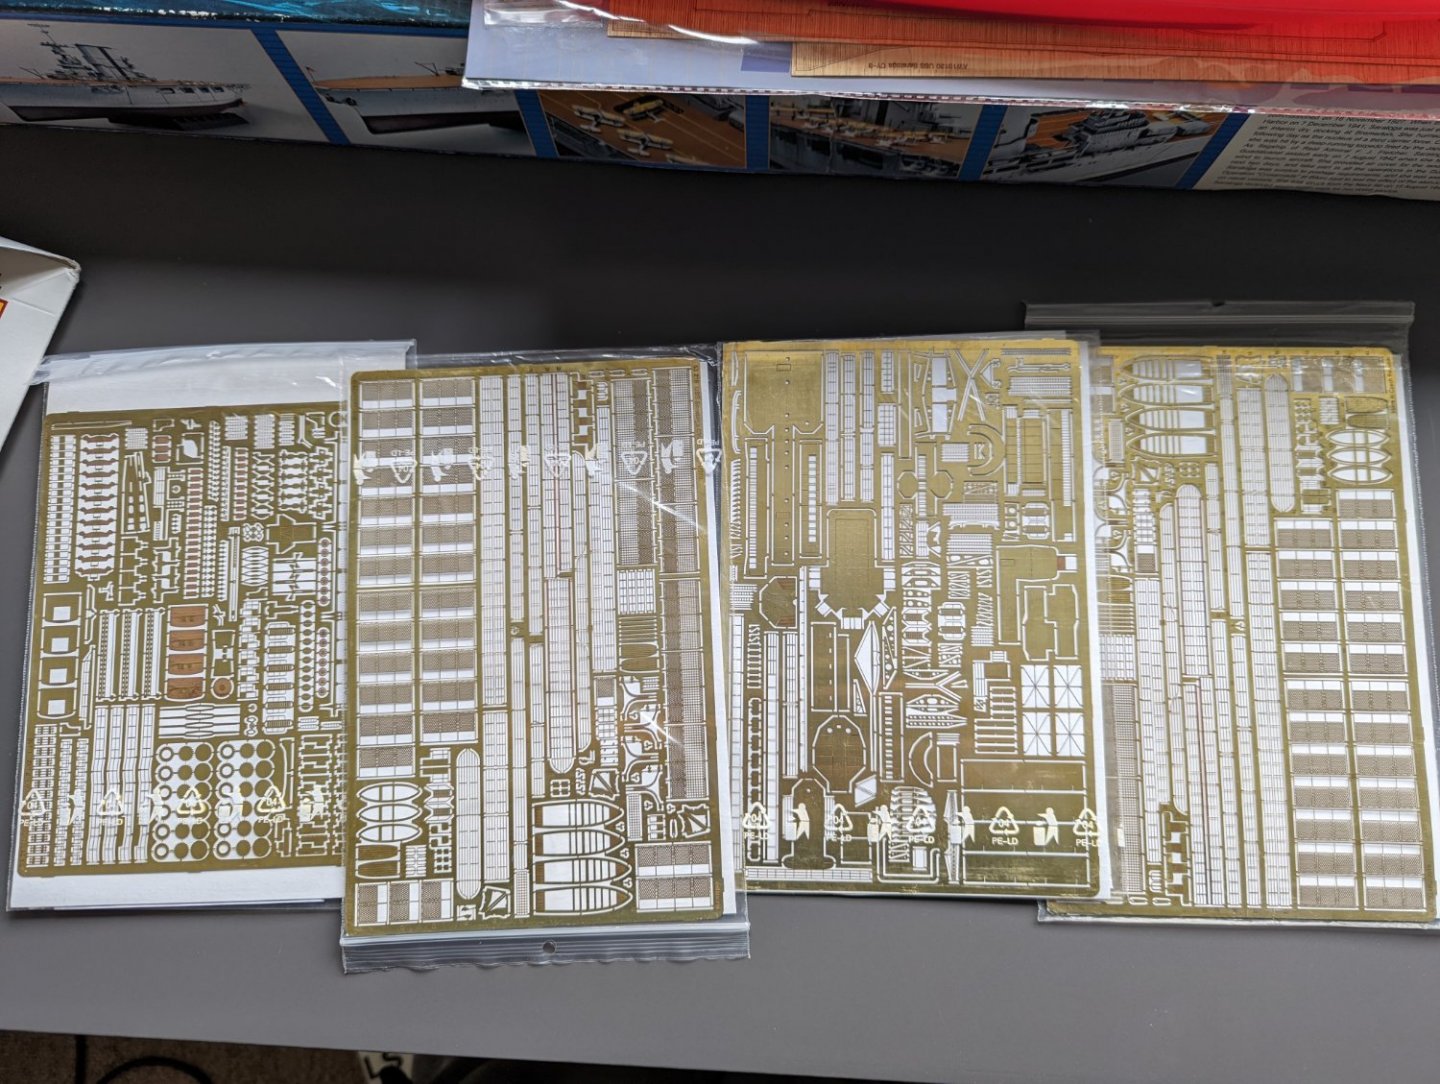
Good Evening Mike, It is Eduard yes, not a massive fan how they split their PE into different parts as it sometimes gets confusing. I'd love to see that Enterprise, I like the more modern air wing, especially the helldivers. I was tempted to print off some of the more modern aircraft seeing as Saratoga did get some towards the end of the war. I've seen your destroyer and really love how you've done the armour sheeting on the hull. Think I might try something similar on the carrier with some melted sprue sanded down. Regards, Ryan
-
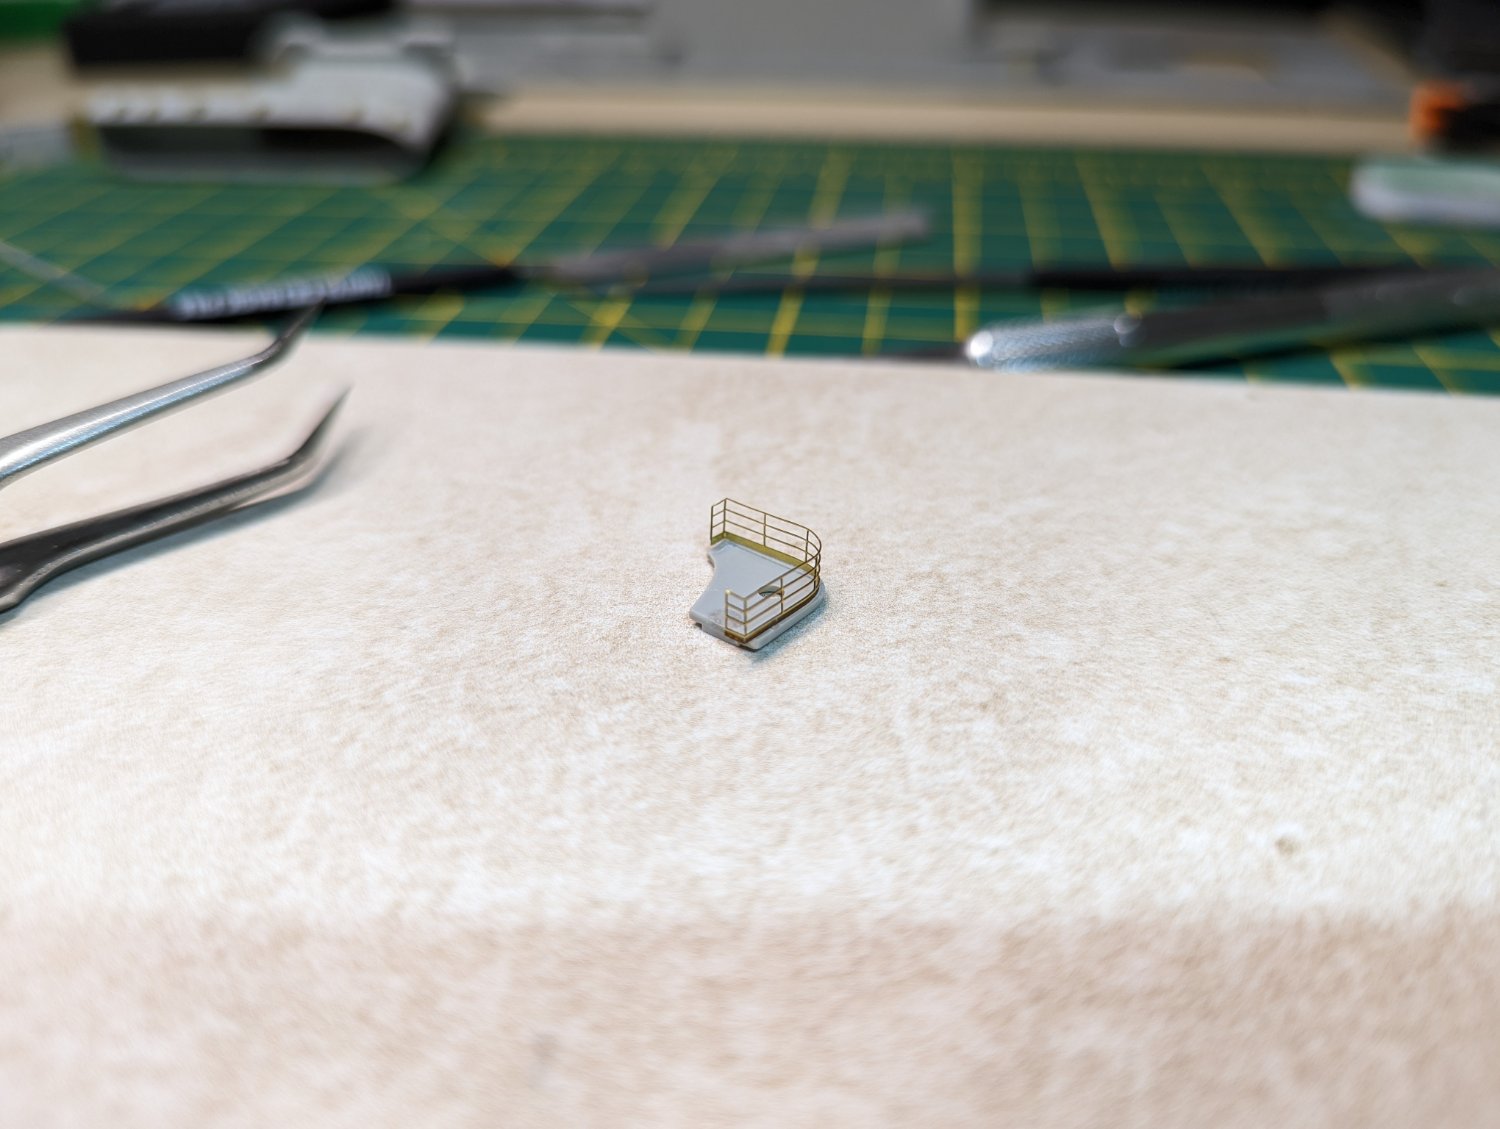
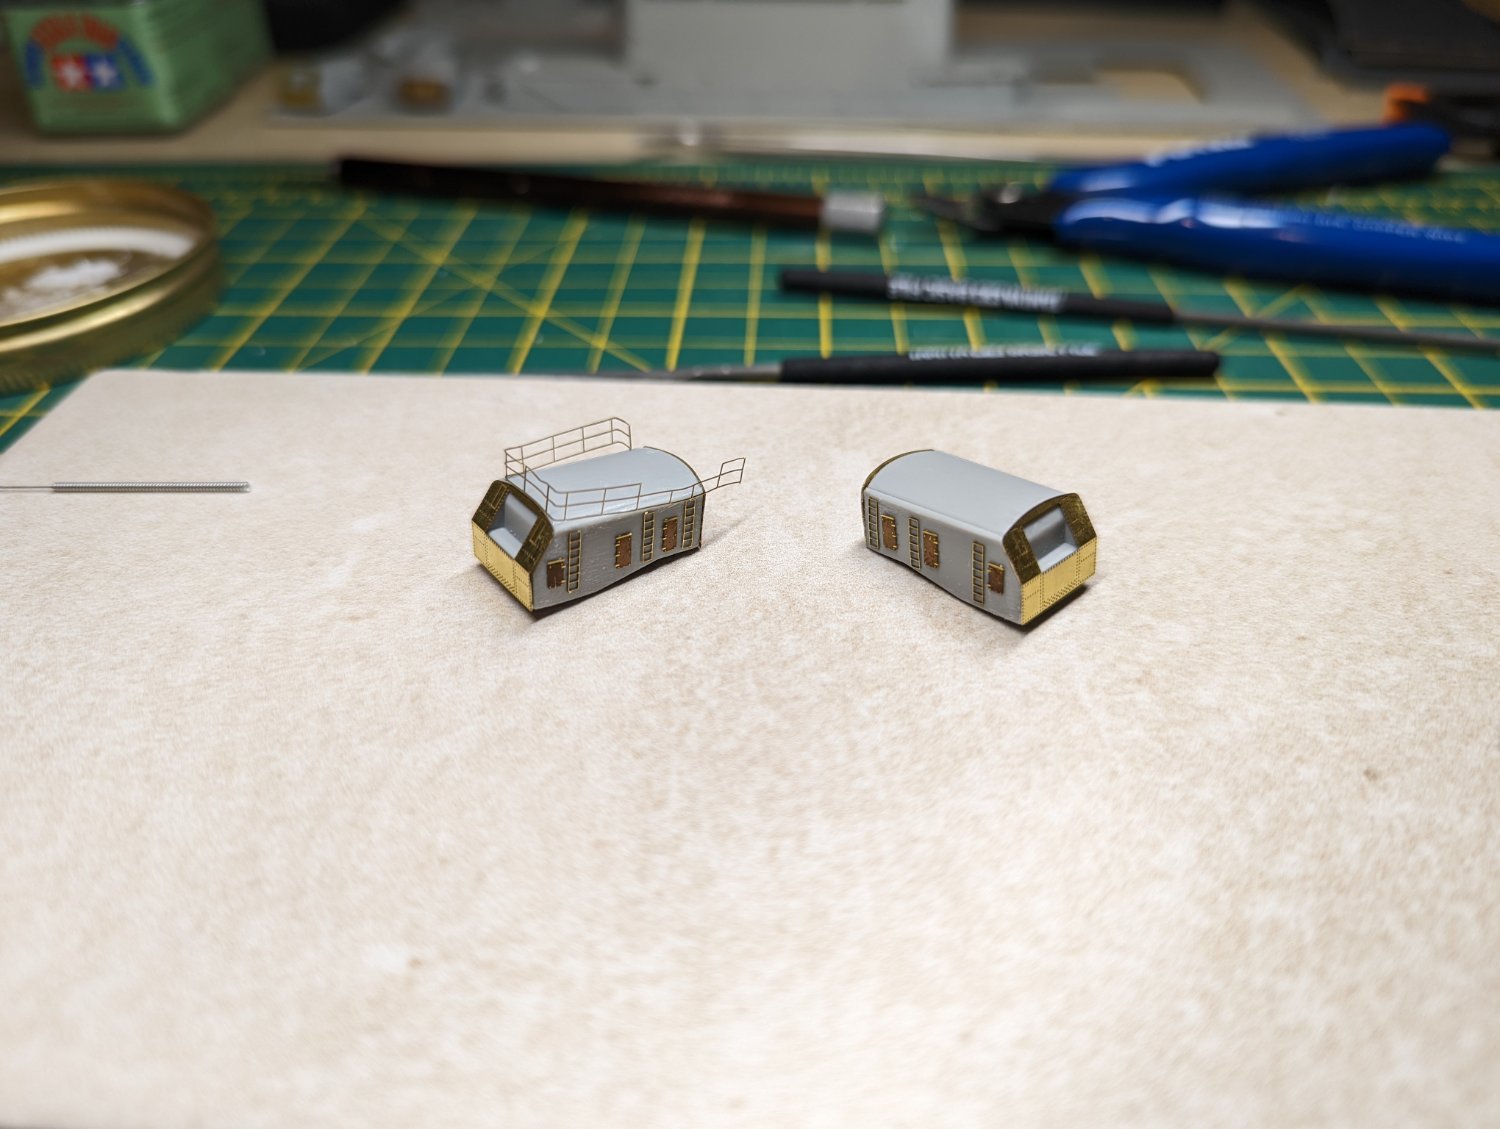
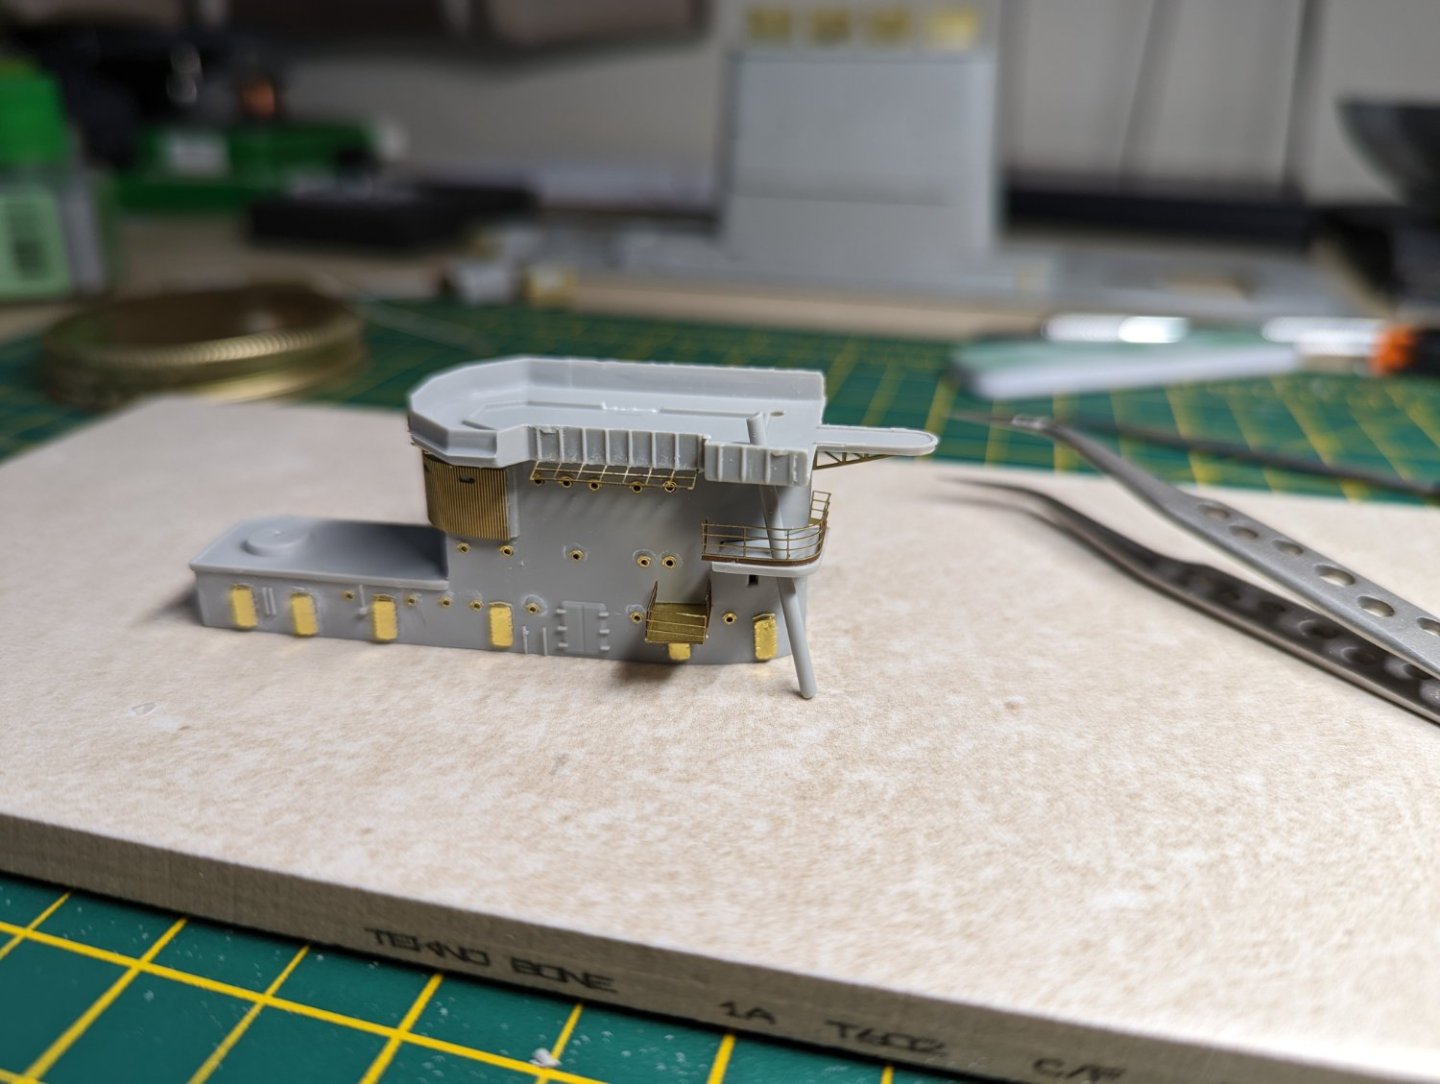
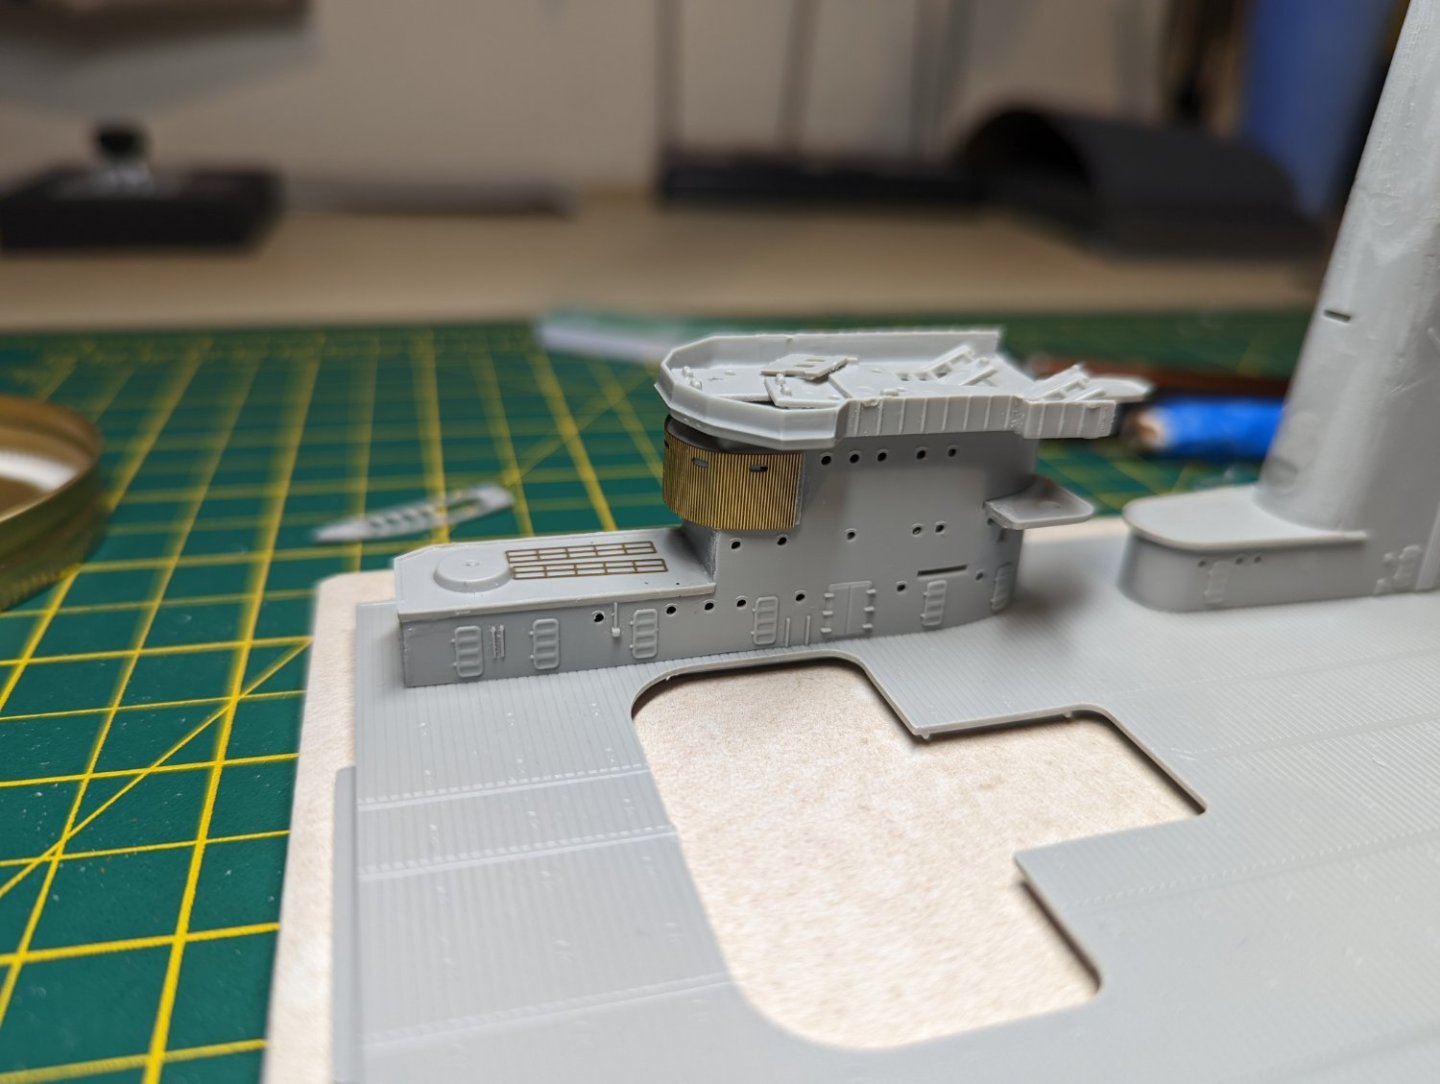
Progress Update: I have continued with the conning tower adding in the support beams and some of the hanging decks. I didn't realise at the time that I got one of the railings back to front so there's some minor overhang, I'm going to try to link the stairs into it to hide it. I have been spending some time looking at how different modelers address bending and placing railings to try to get better. So far it has definitely made it a little easier, right up until the piece gets fat fingered and bent. Regards, Ryan


-
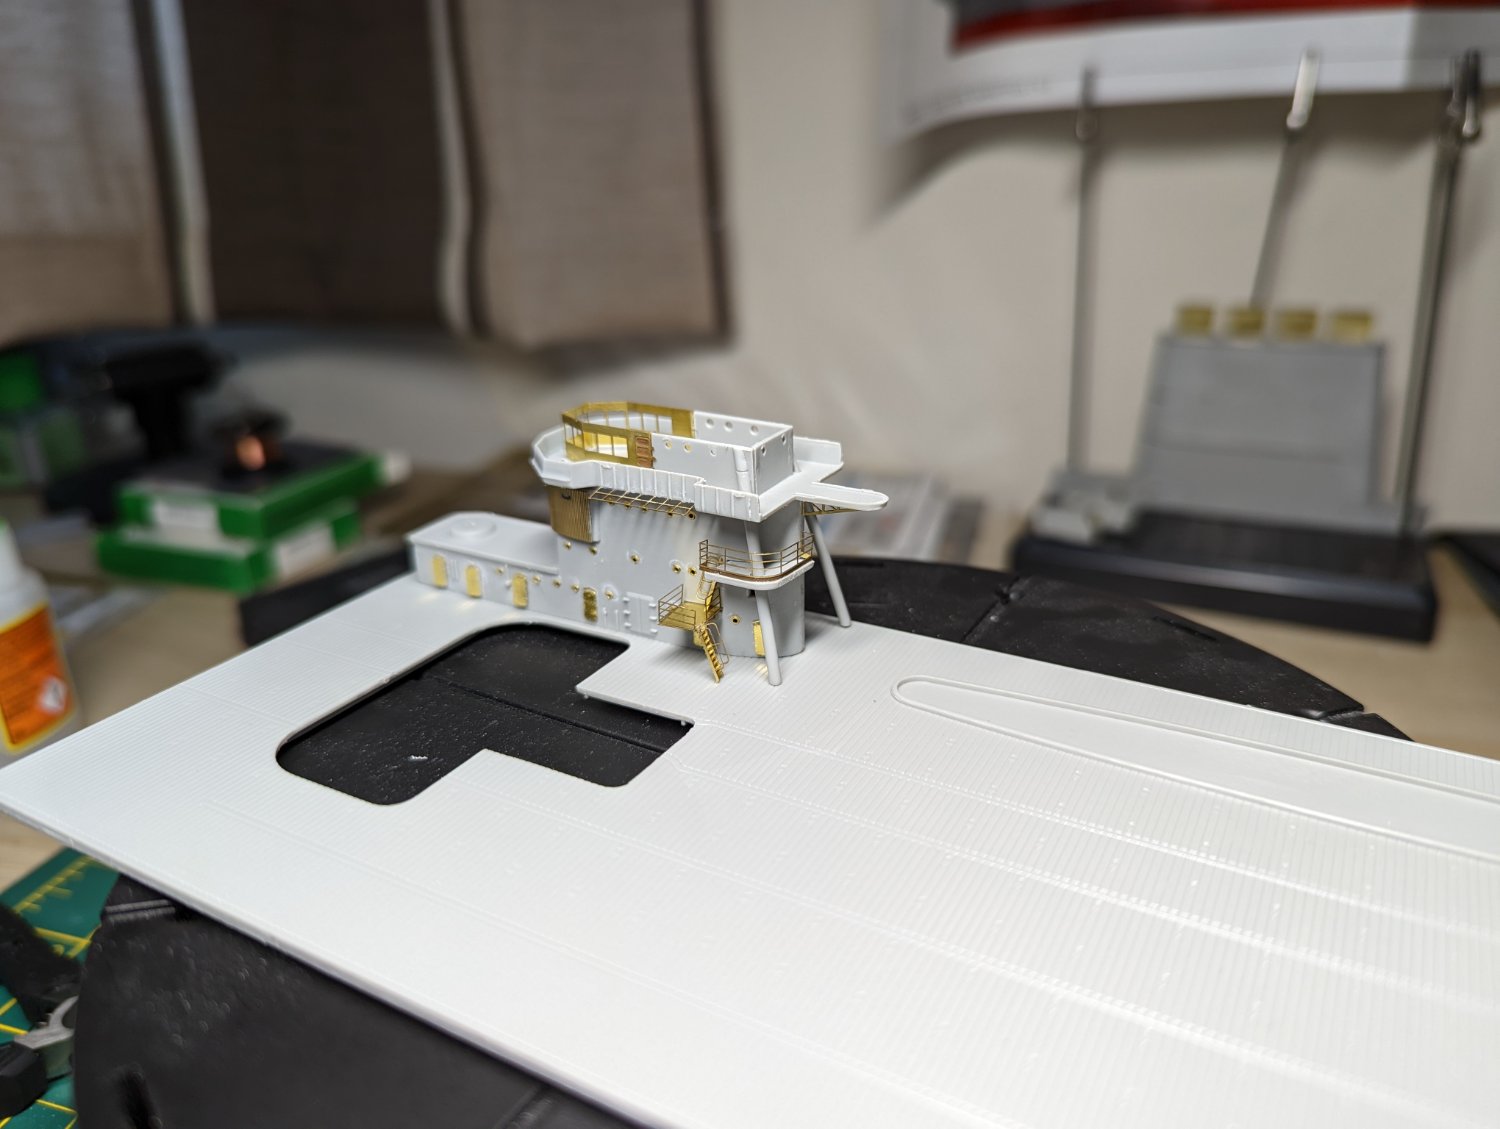
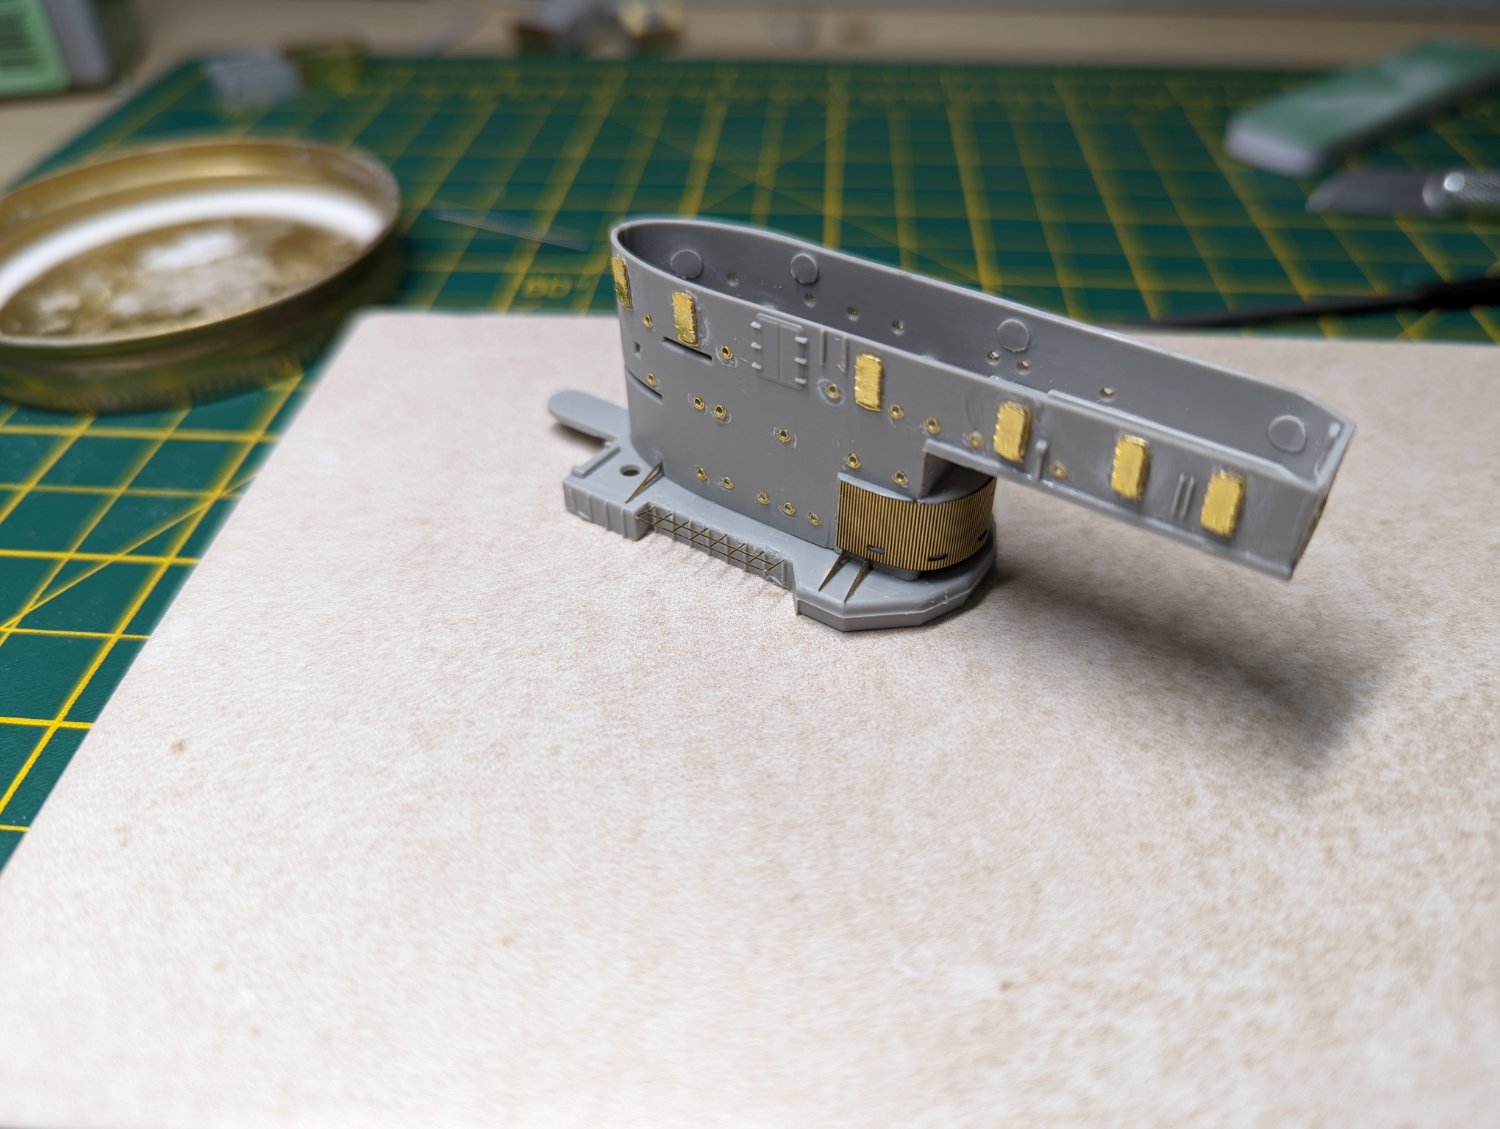
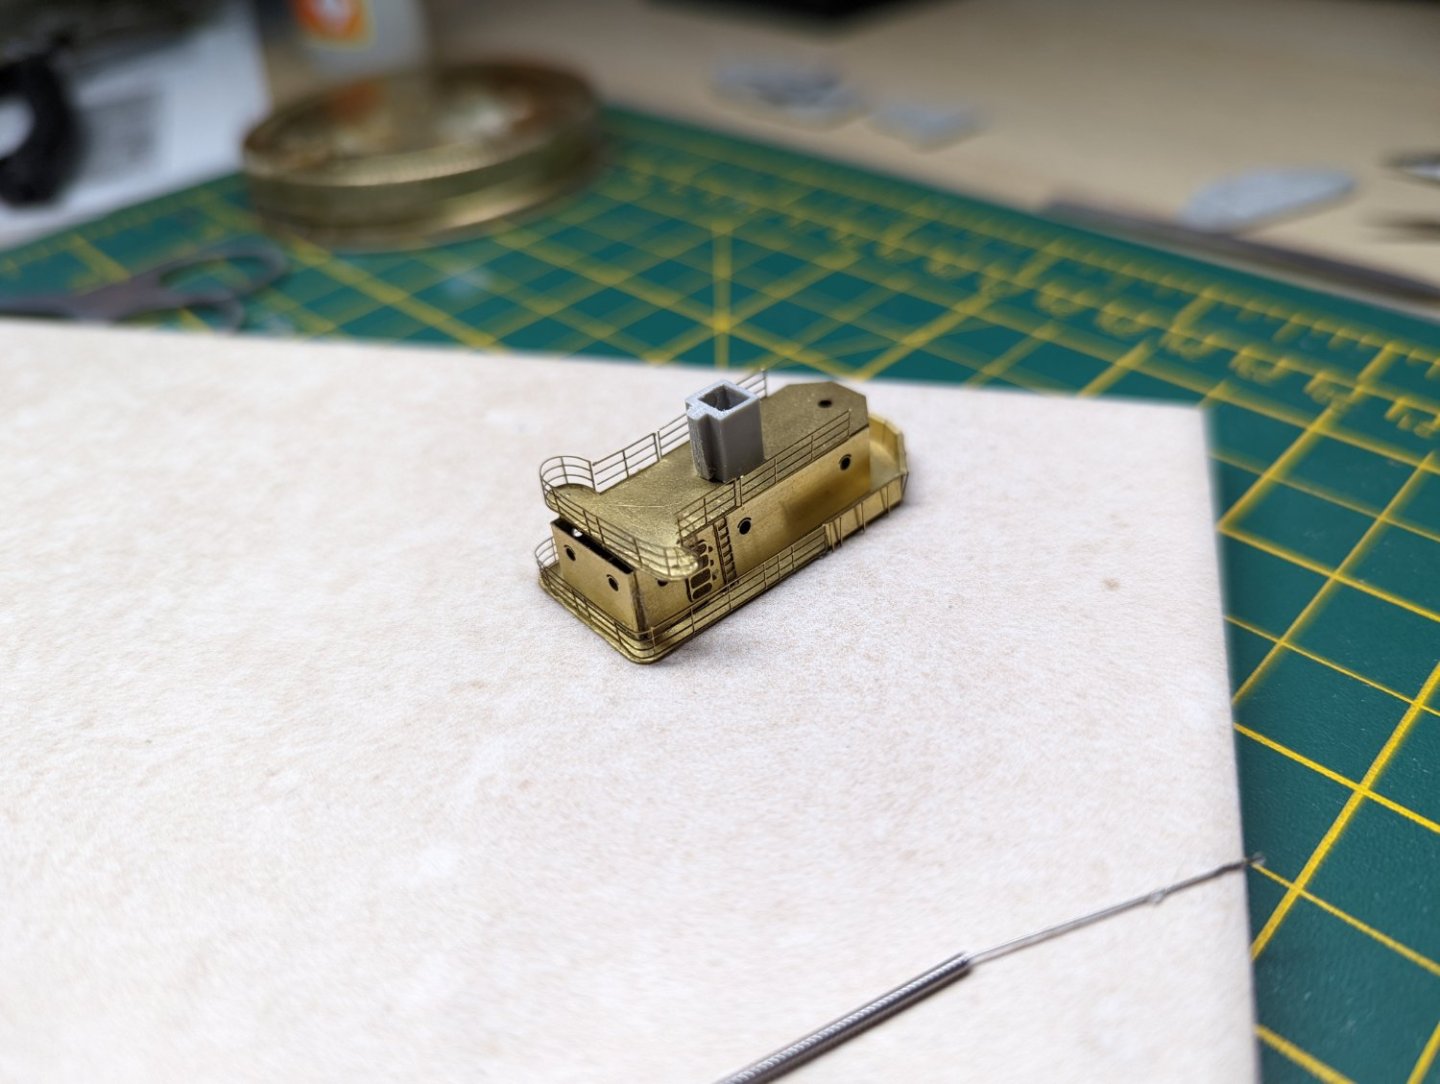
Progress Update: A bit of a short one as England is having a heat wave and building whilst overheating is not something to be enjoyed. I have moved onto the funnel spouts as well as the bridge. Both of these PE parts required parts of the original model to be removed to facilitate them which always feels uncanny. The grills on top of the spouts were a pain to bevel but I did find some success with the handle of a chisel. The PE bridge was very fiddly to try to get aligned correctly, for now it will work. Regards, Ryan


- 36 replies
-
- 12
-
-
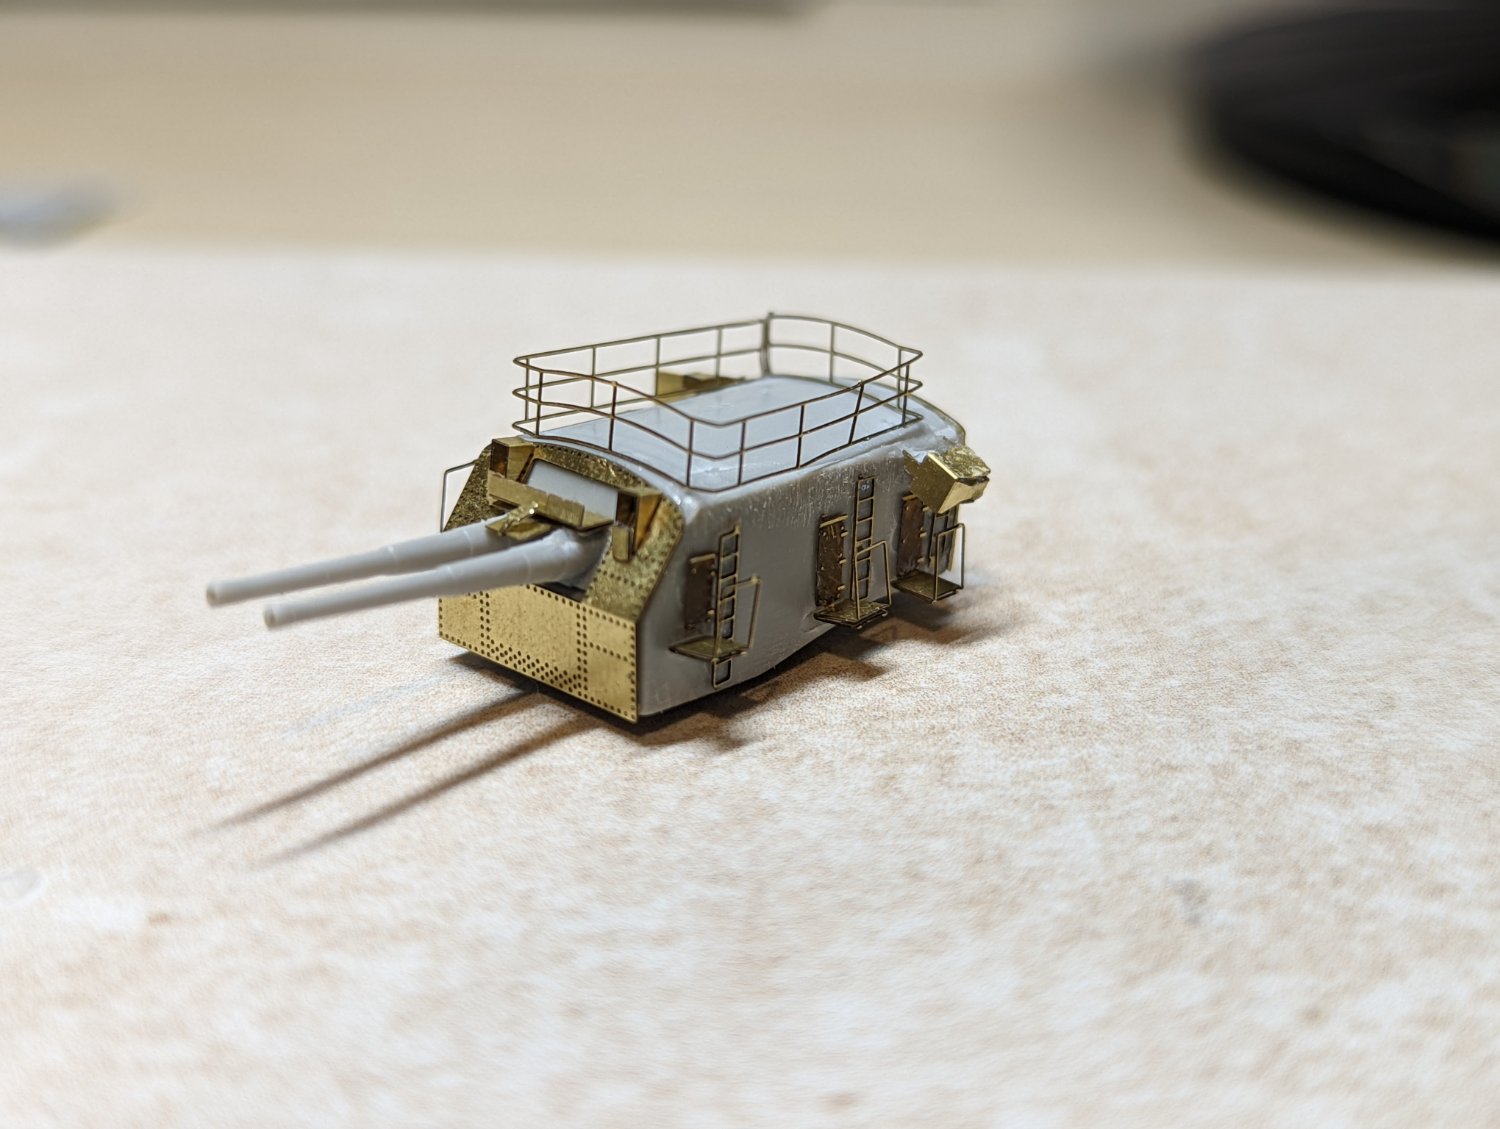
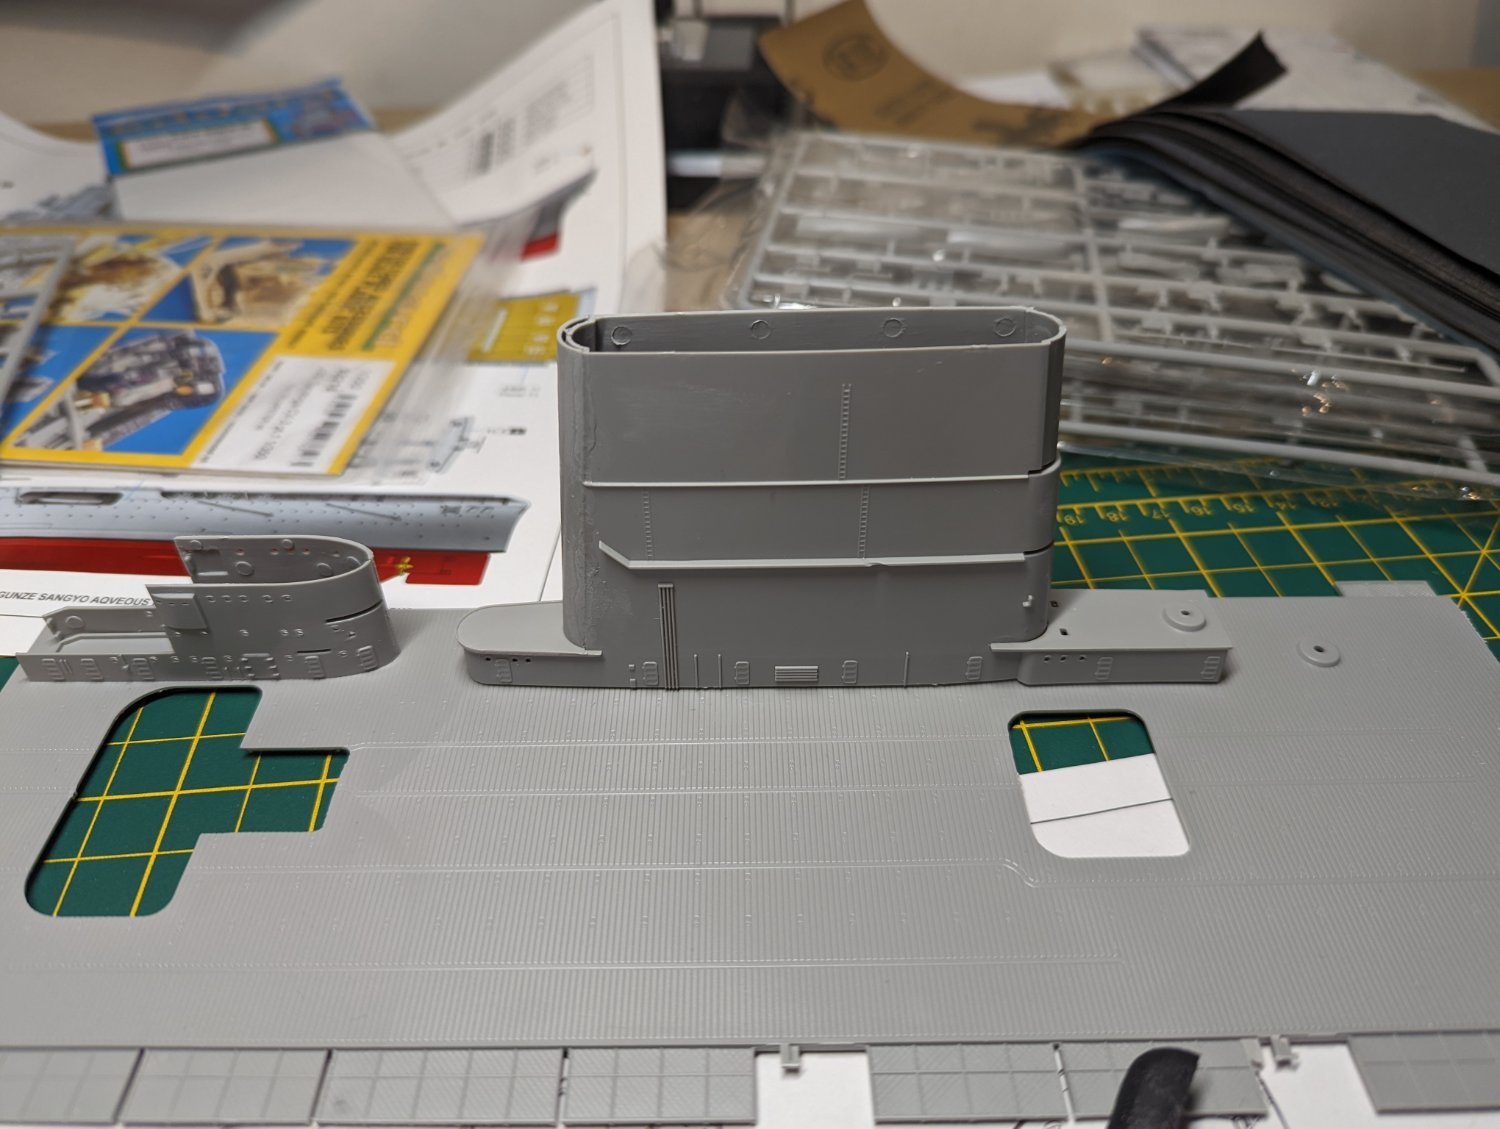
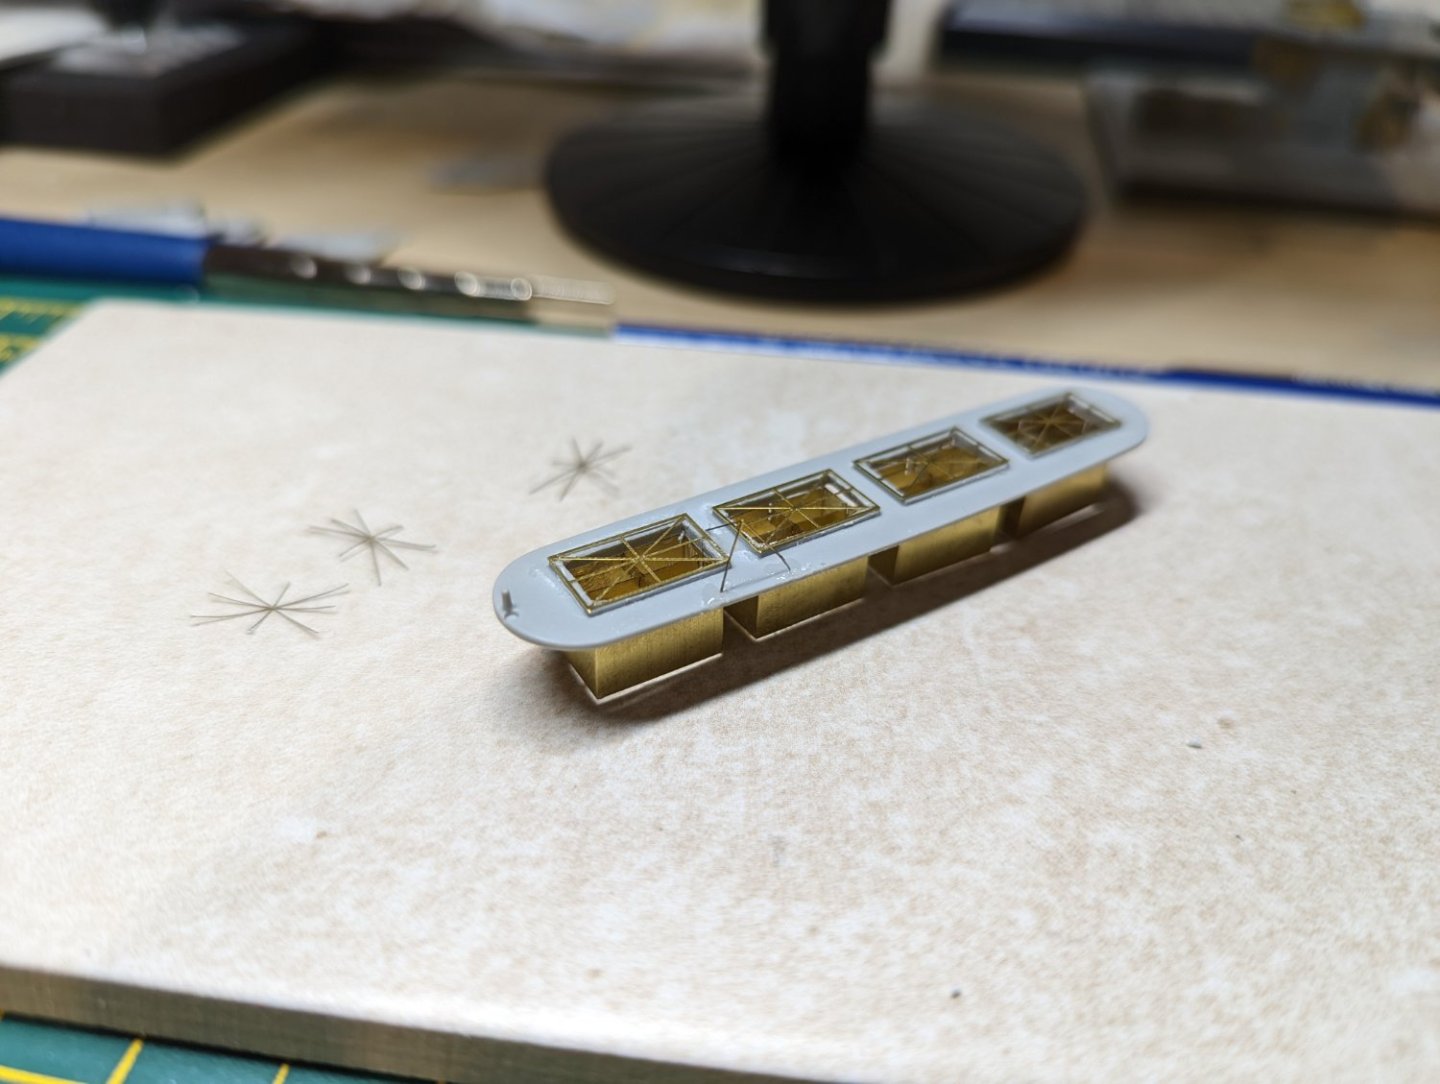
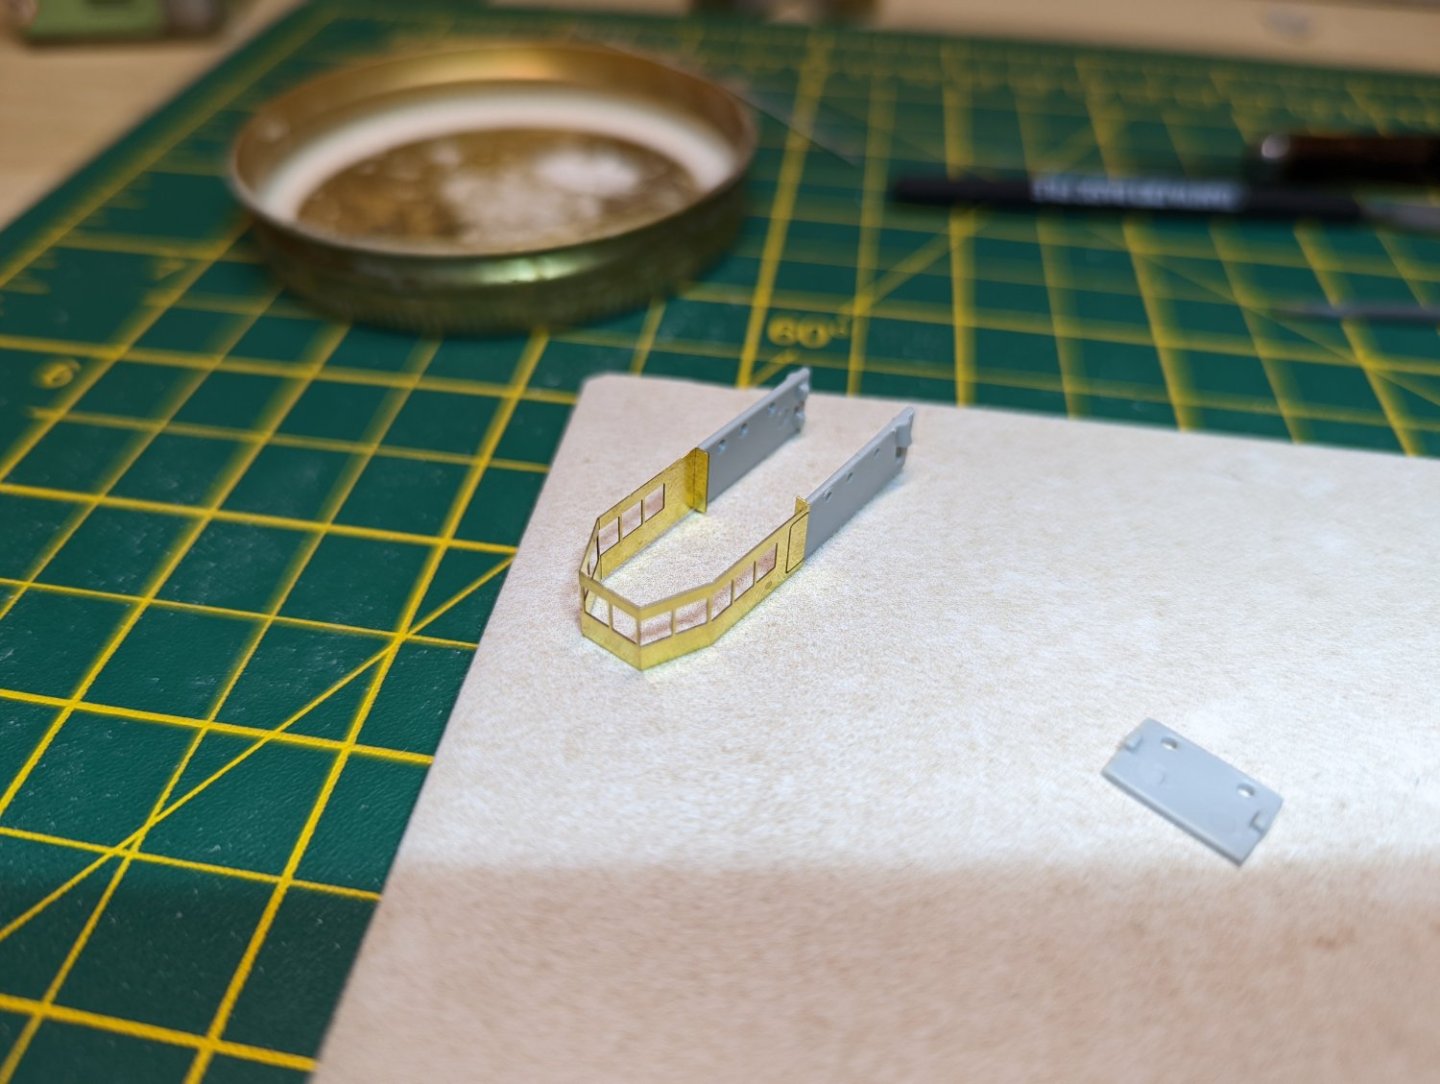
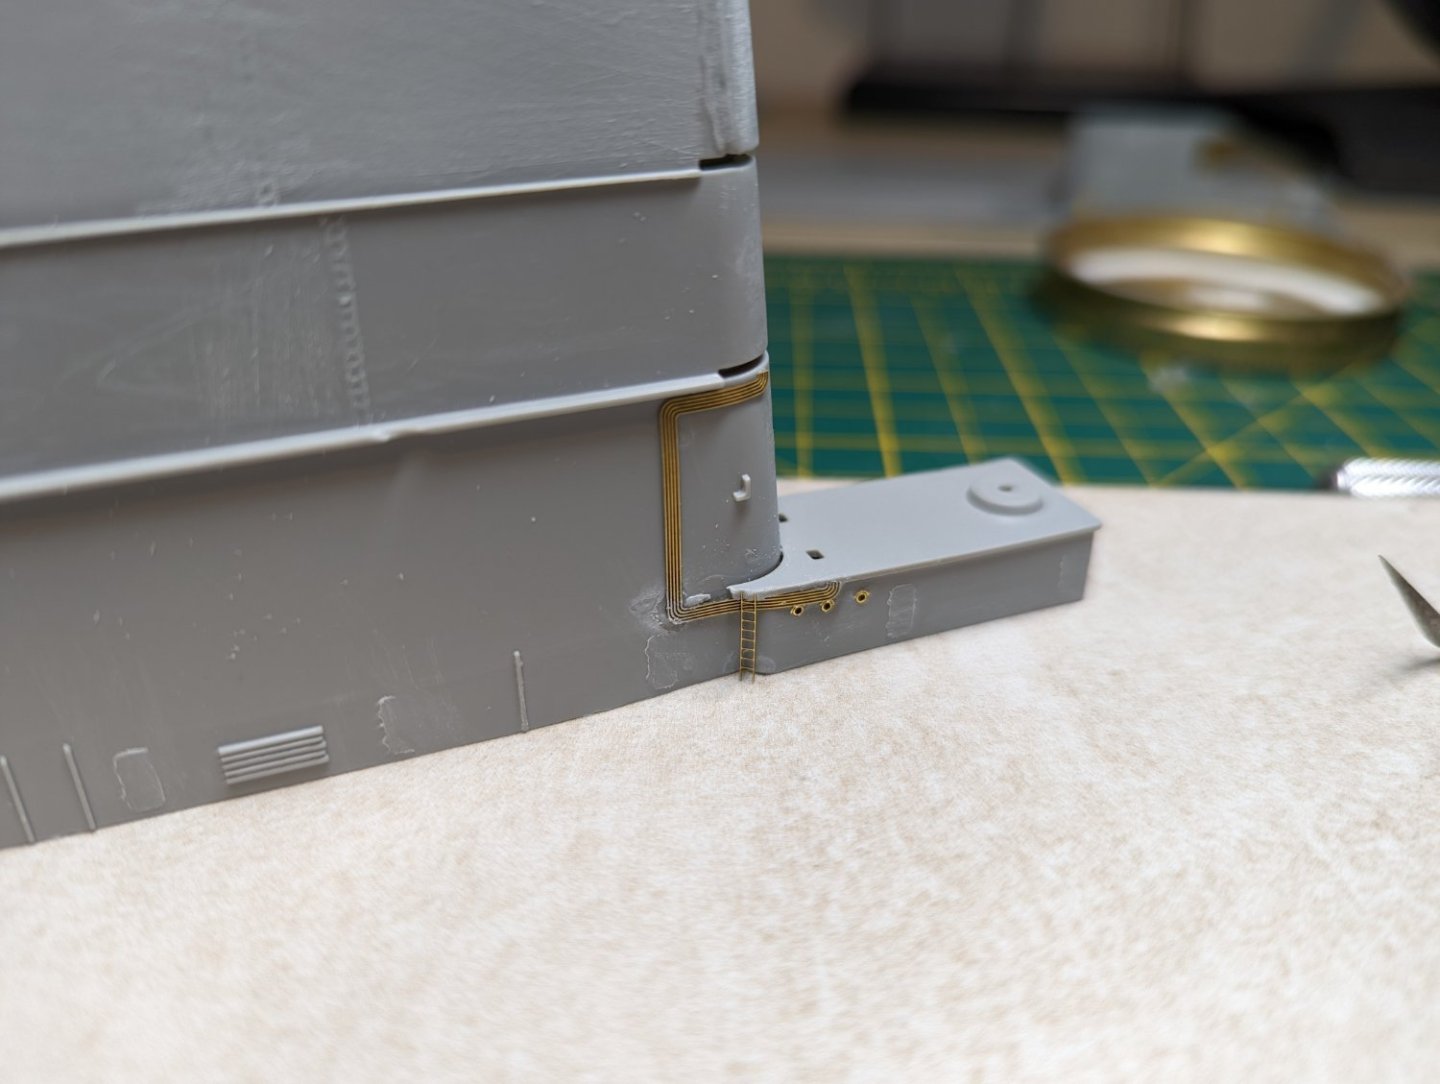
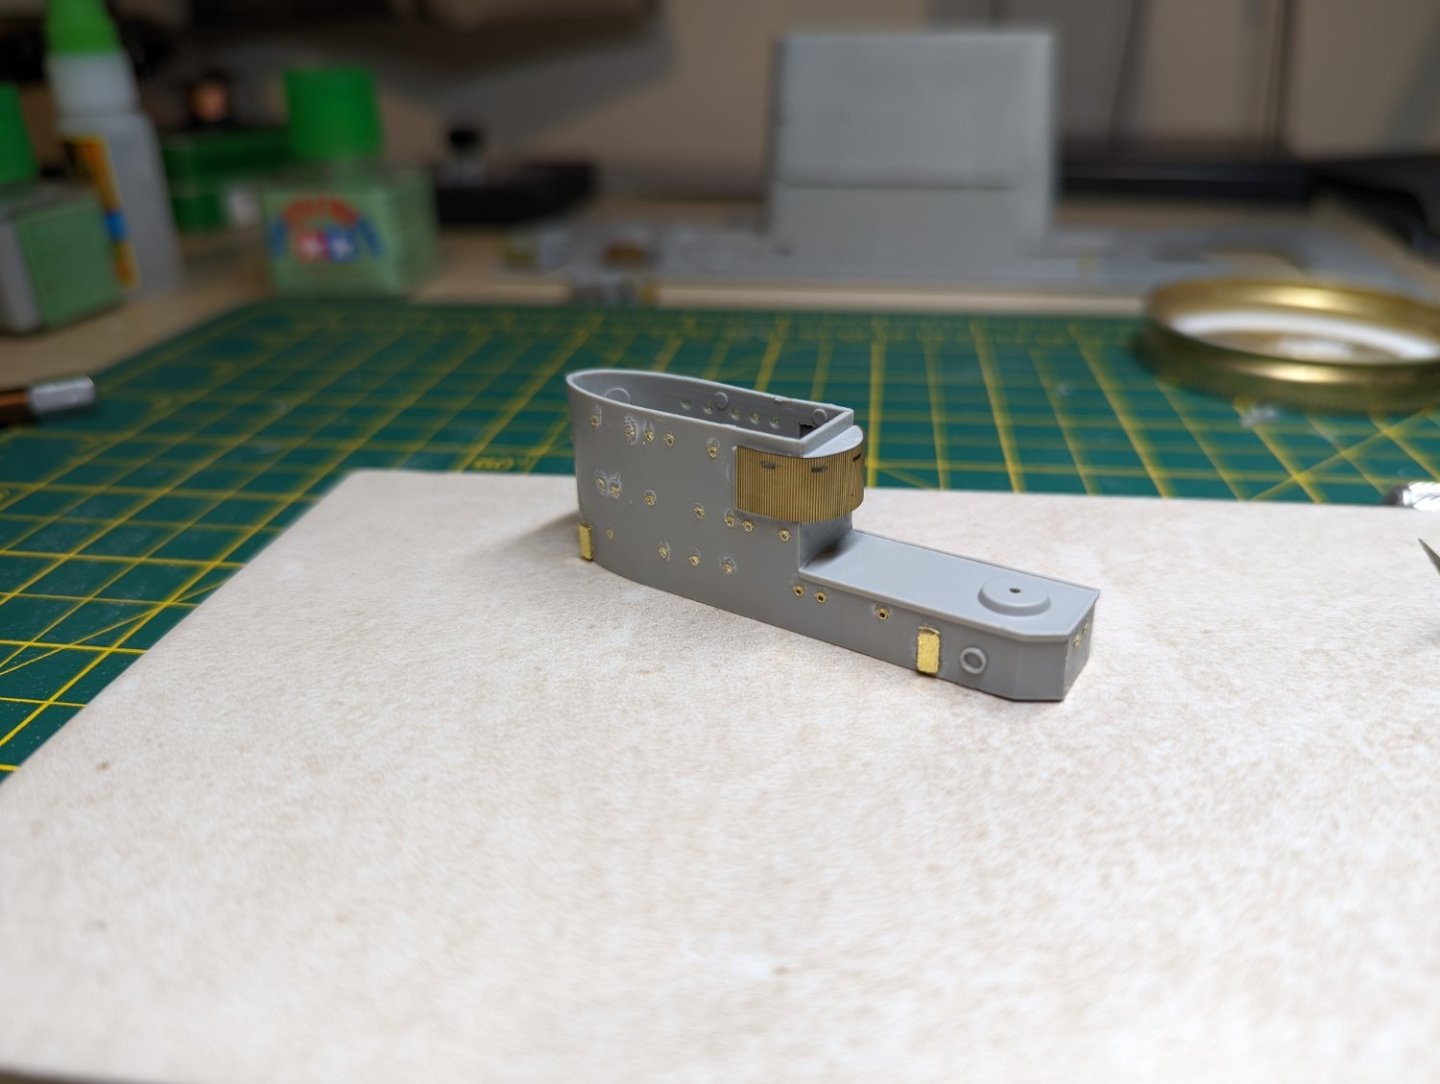
Progress Update: Despite saying that I'd move onto the superstructure I only got halfway before getting distracted. I've tried to clean up the funnel and bridge to then add on the PE doors and portholes, I'm still trying to work out a reliable way of getting the portholes aligned consistently, though not really noticeable unless looking closely I know and that bothers me, although nowhere near as much as PE railings. The wiring/piping I was debating to do with some thin copper wire as you can see I struggled getting this part to adhere to the surface whilst pushing it into the right shape. I'm not abandoning that the idea of using extra wires to act like lighting just yet, so I'm looking for some more detailed pictures of her to see if they can be used somewhere. I did also build and begin putting on the PE on the 203mm turrets, although I've stopped with only turret A completed owing to the accursed railings that had to be added, and until I can settle on a suitable solution I intend to avoid any of the railings for the moment. I will carry on with the bridge tomorrow and get the roofing added to that part. Regards, Ryan


- 36 replies
-
- 11
-
-
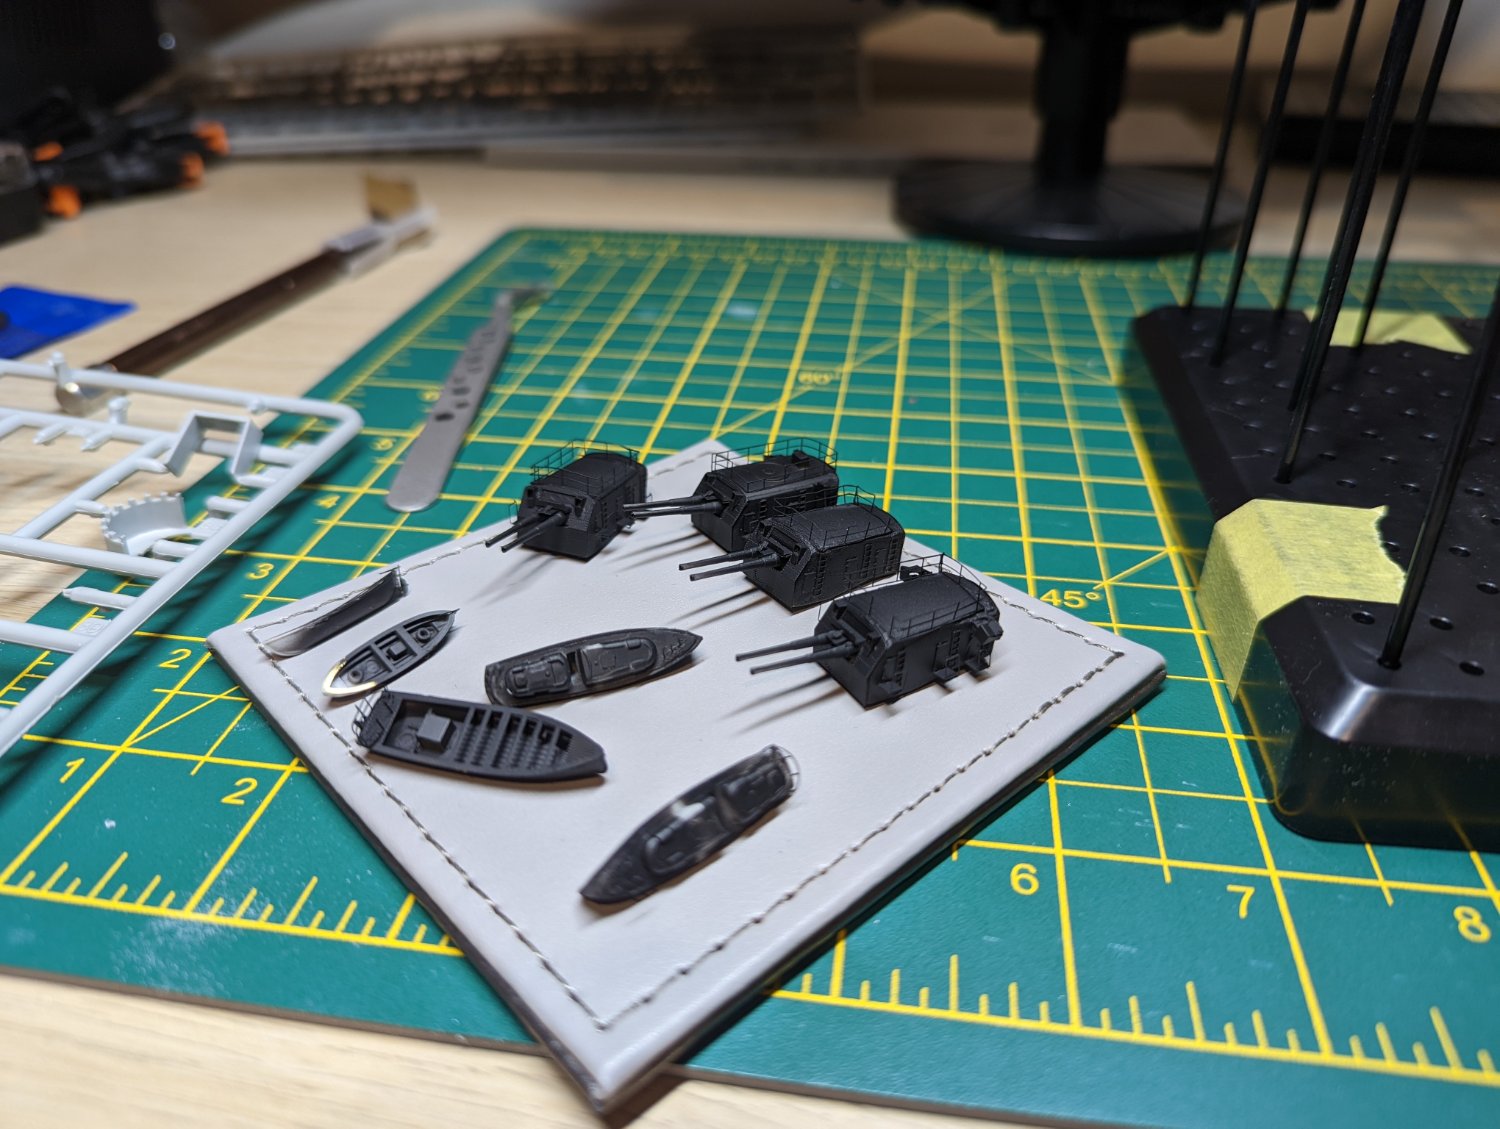
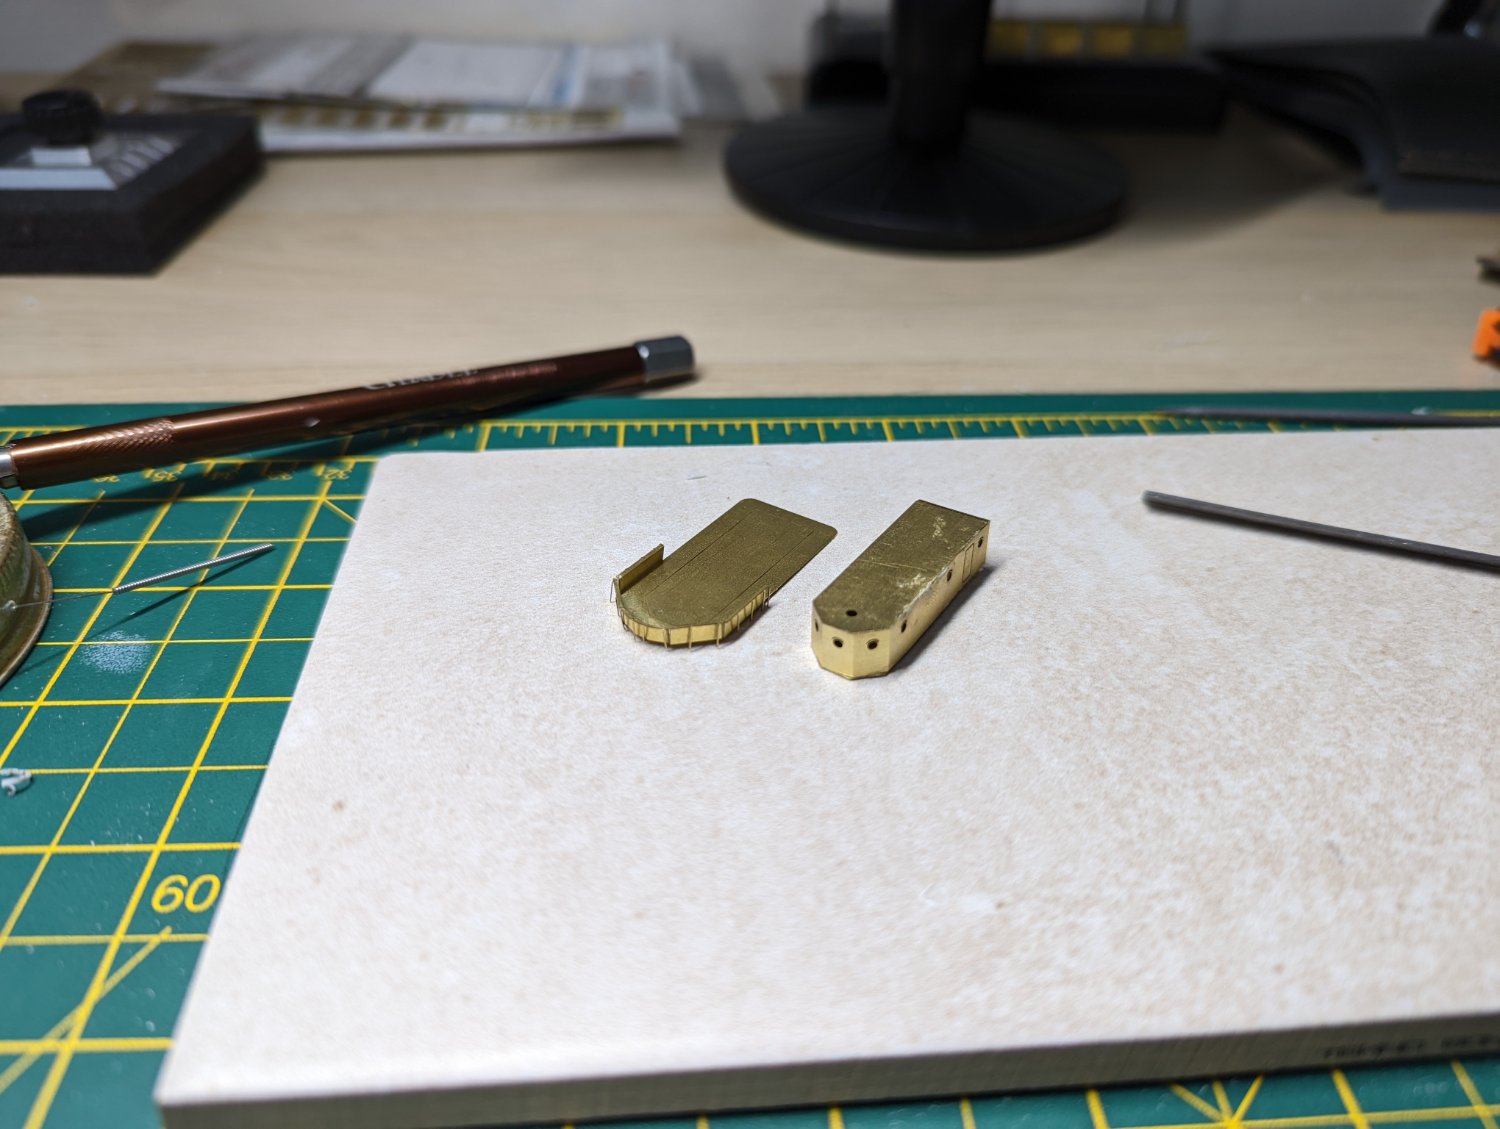
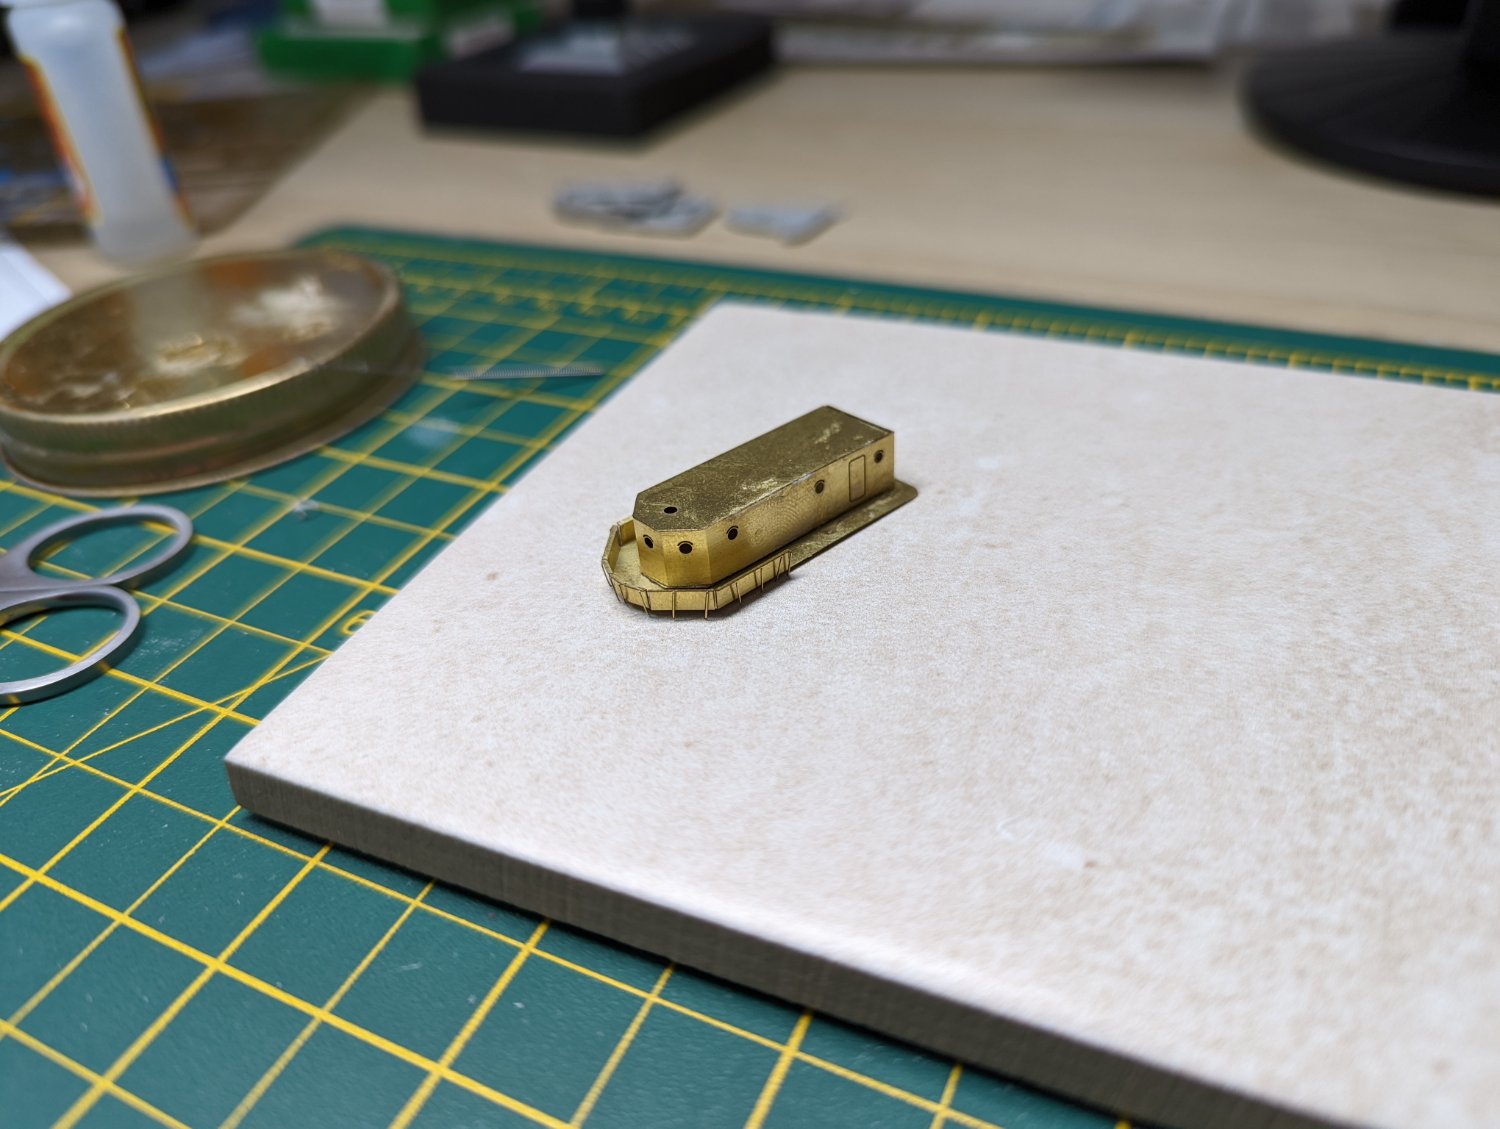
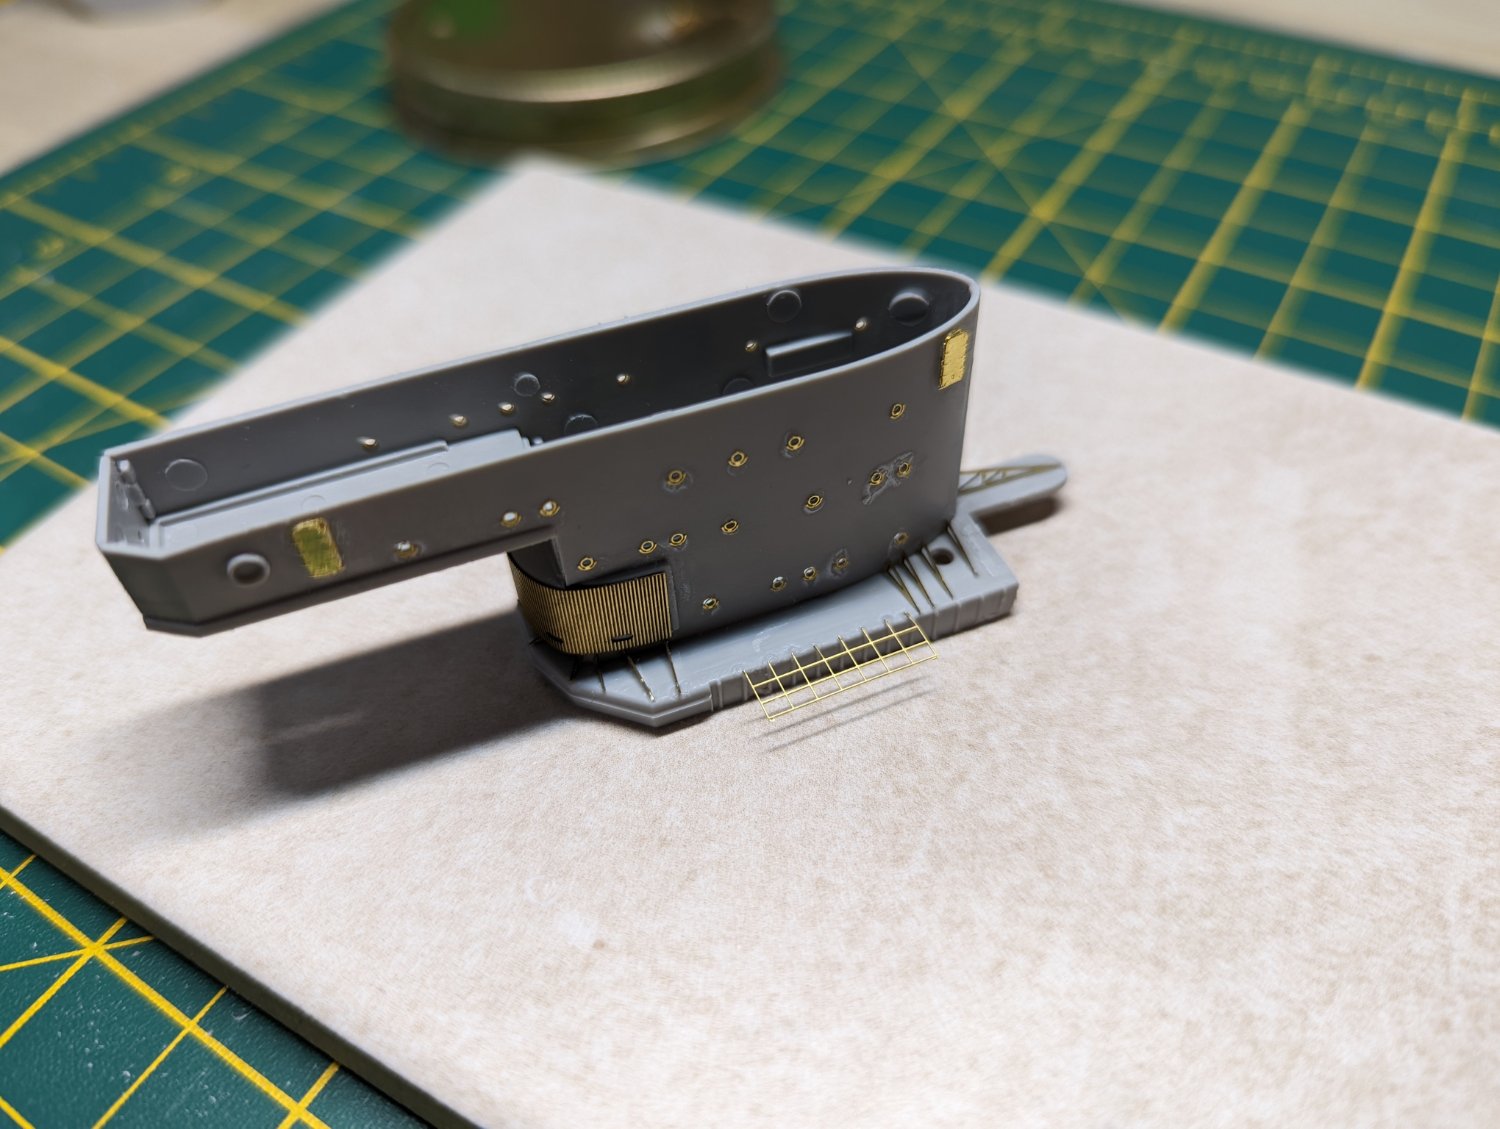
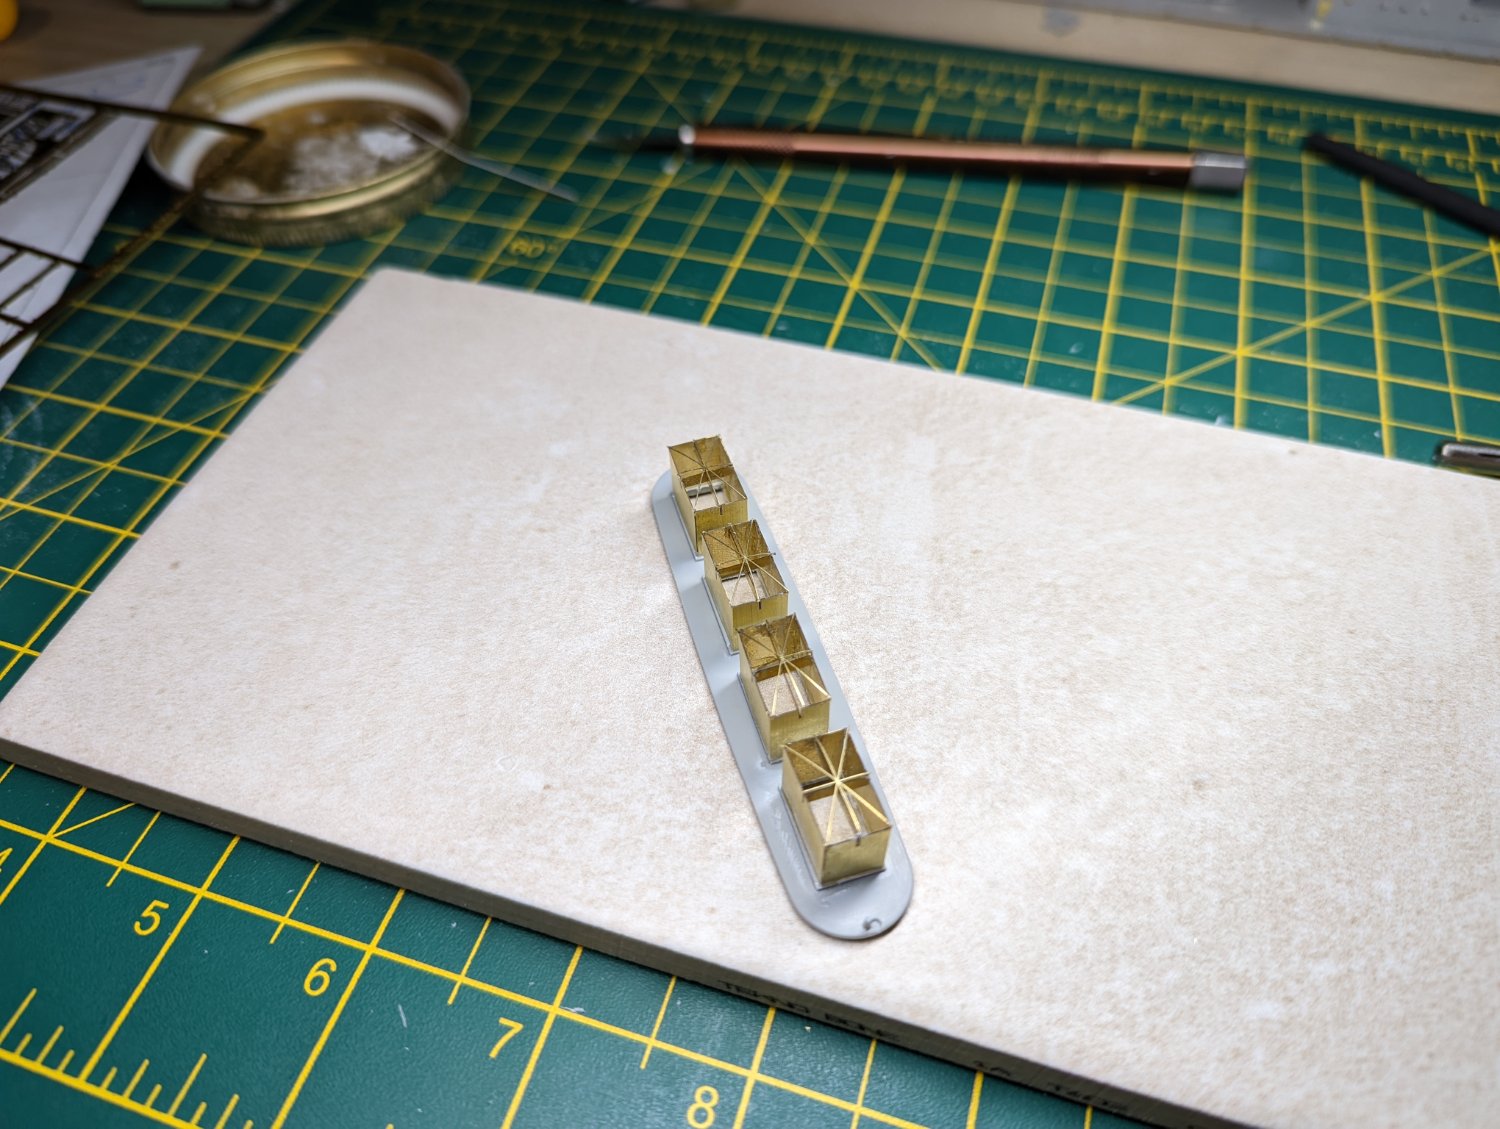
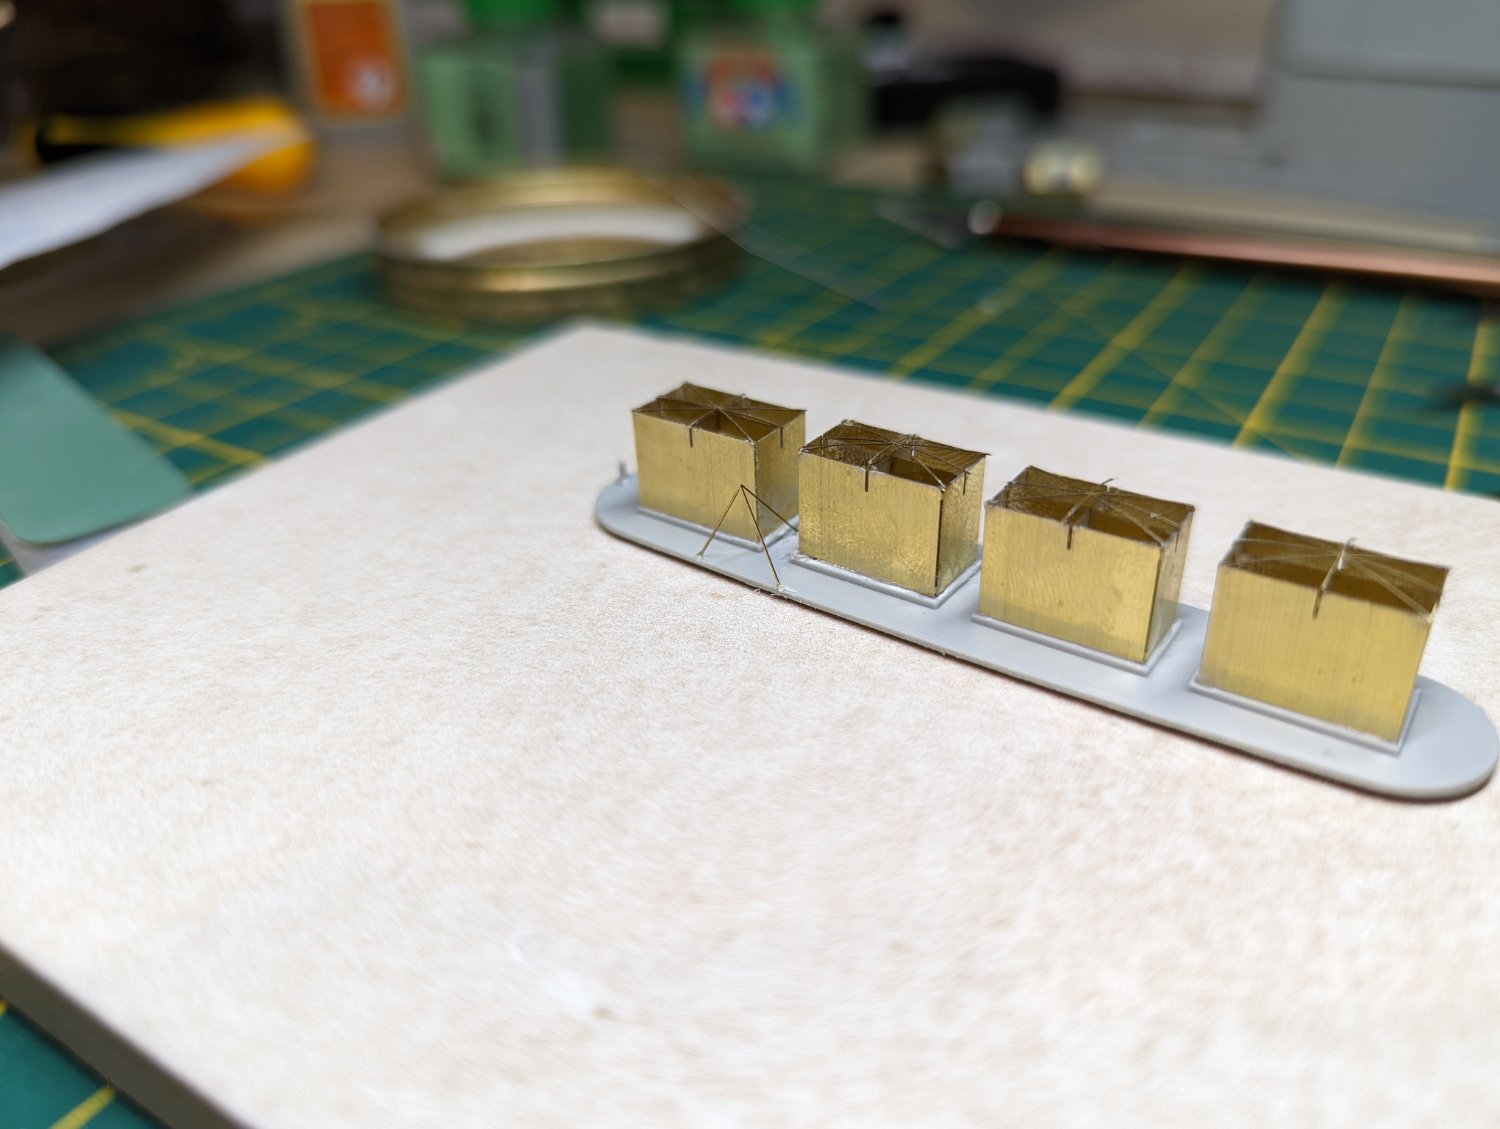
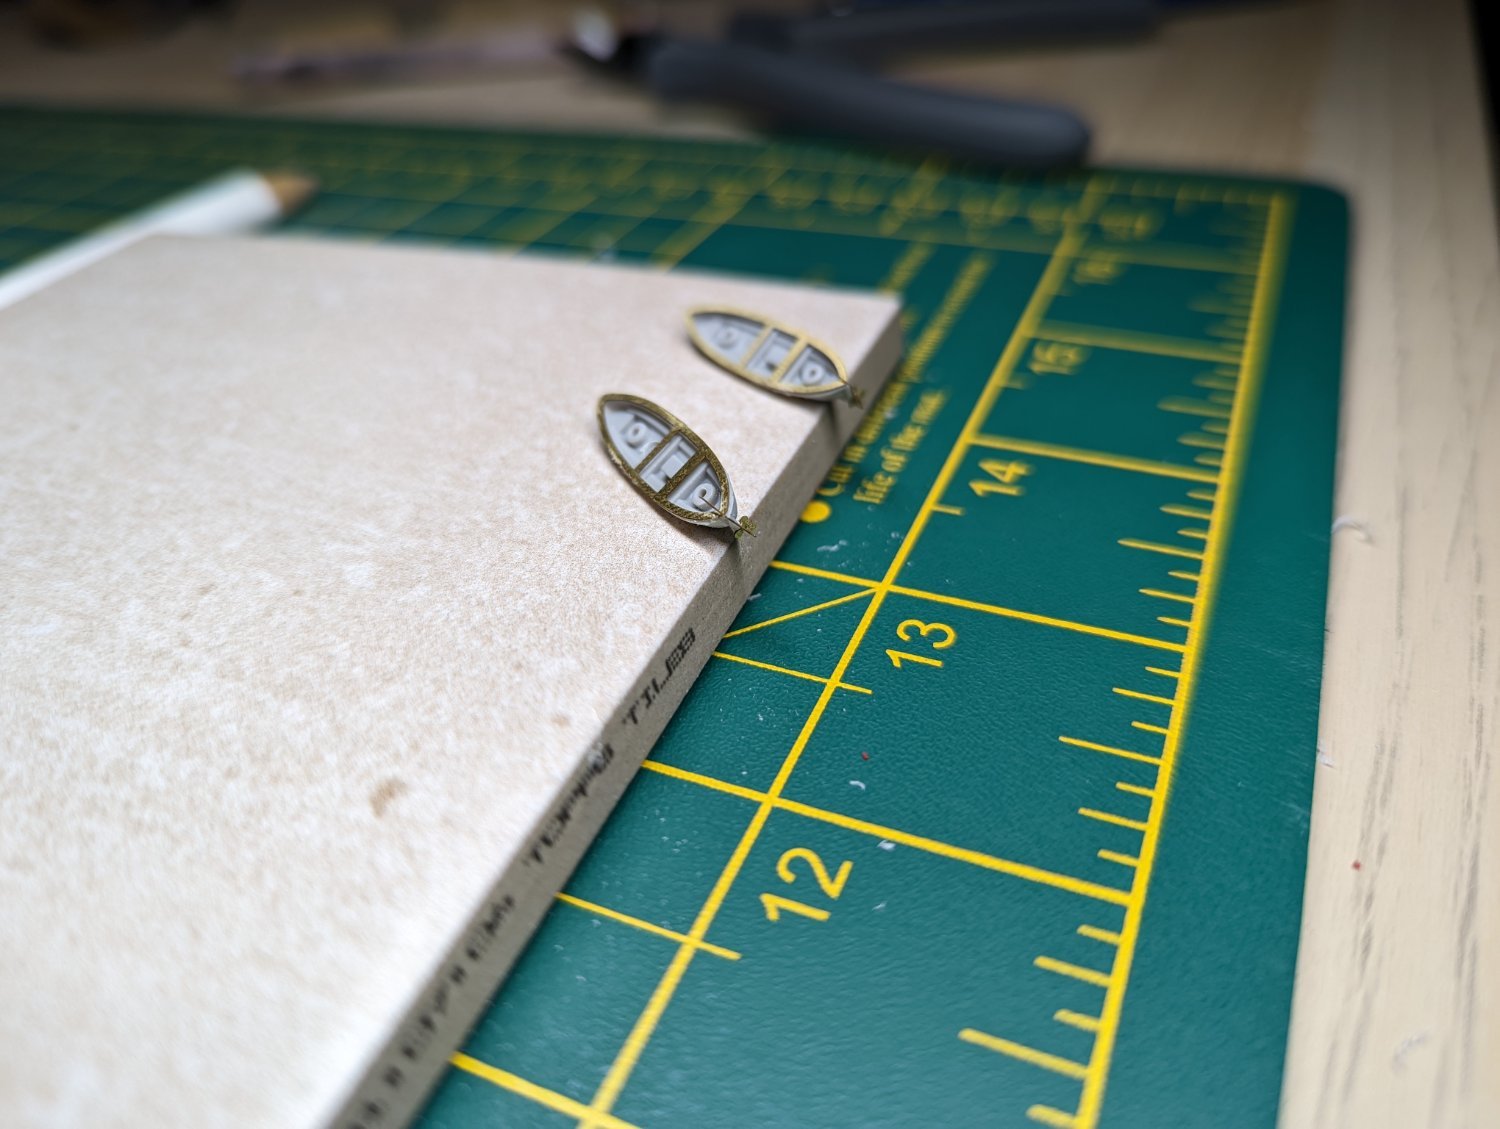
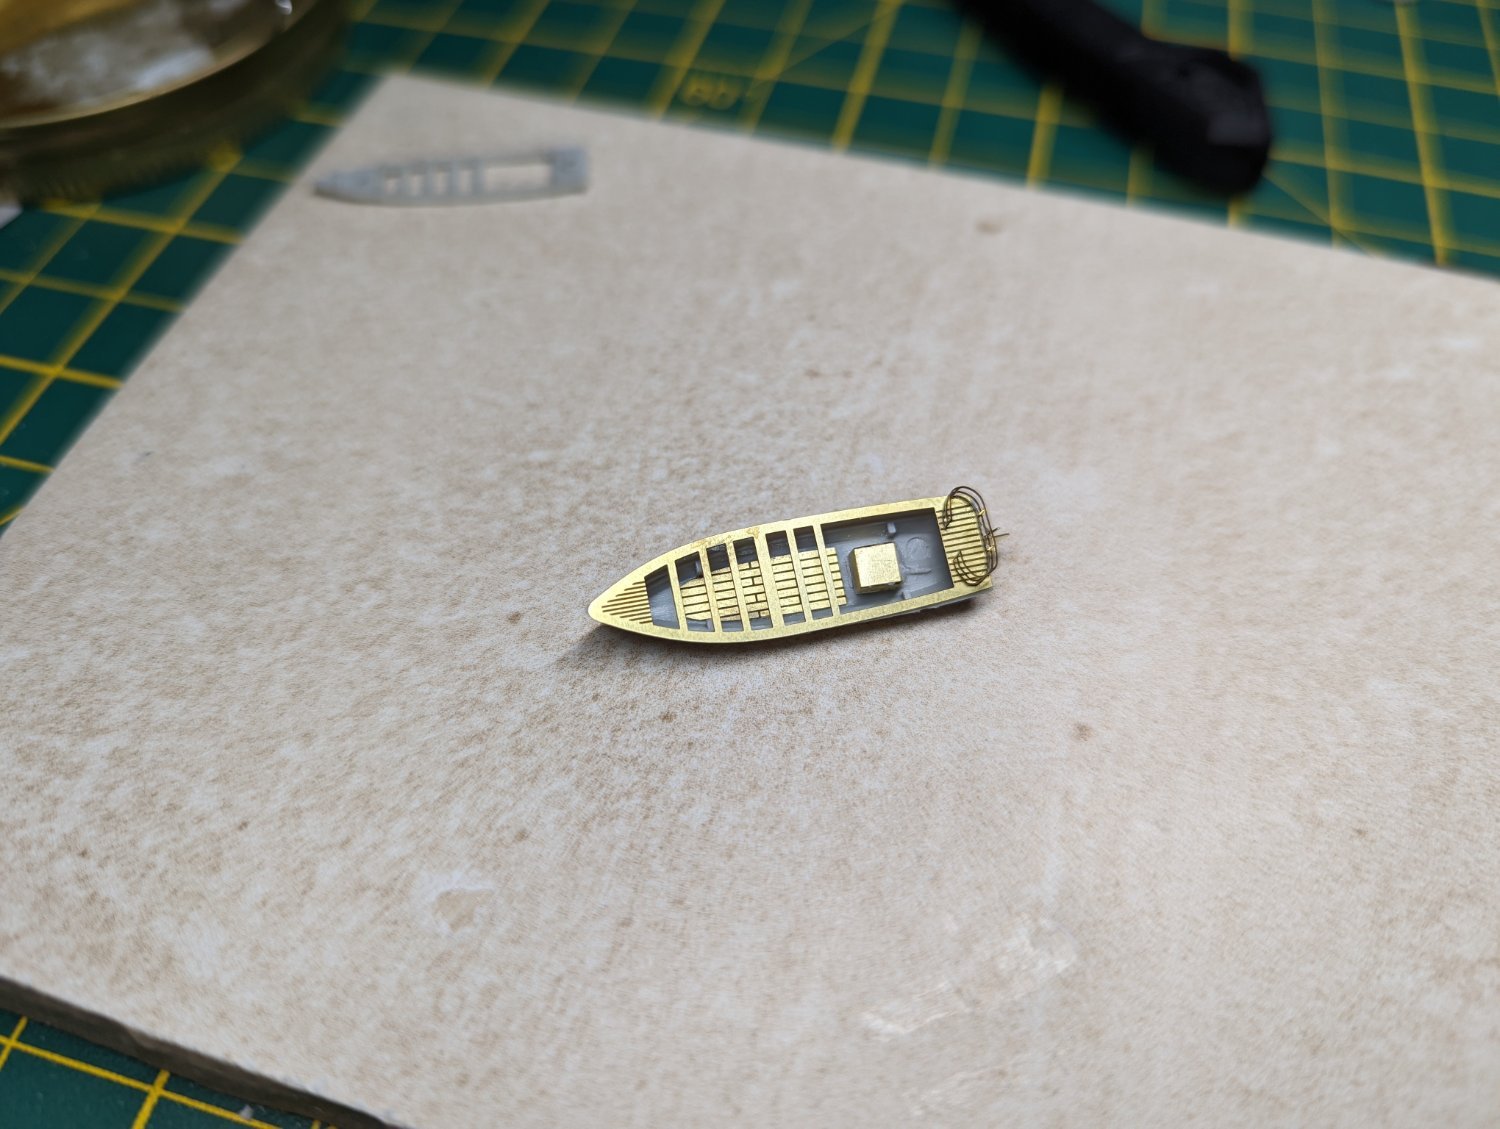
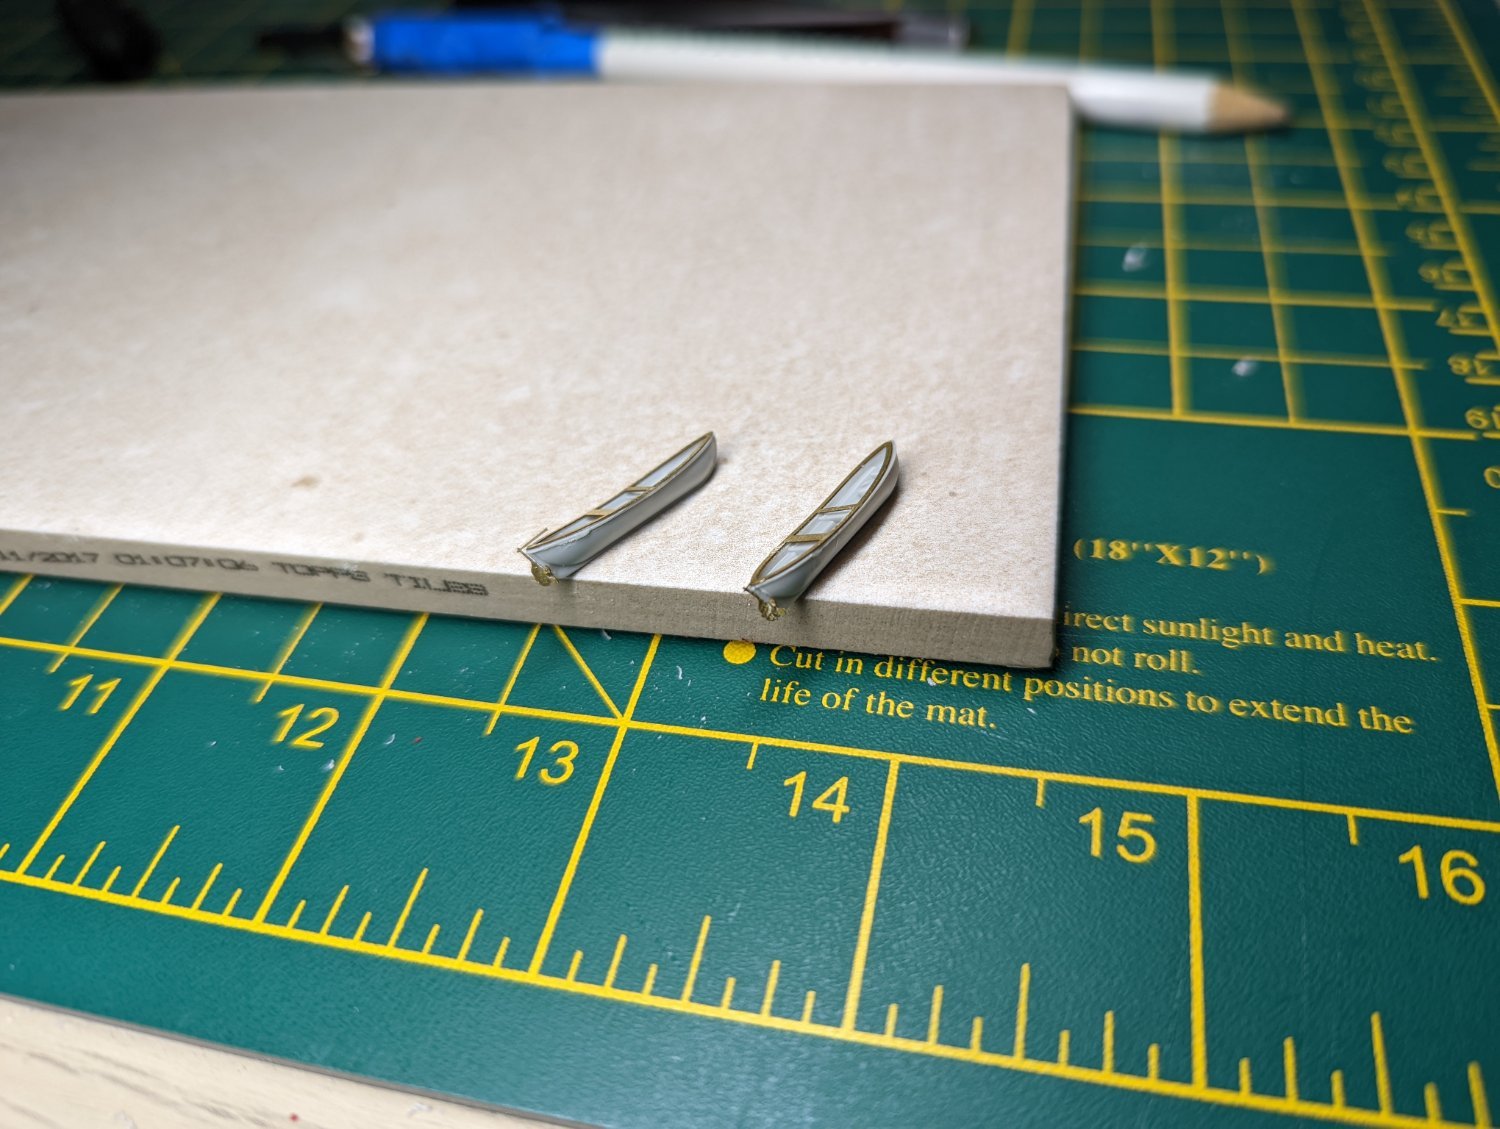
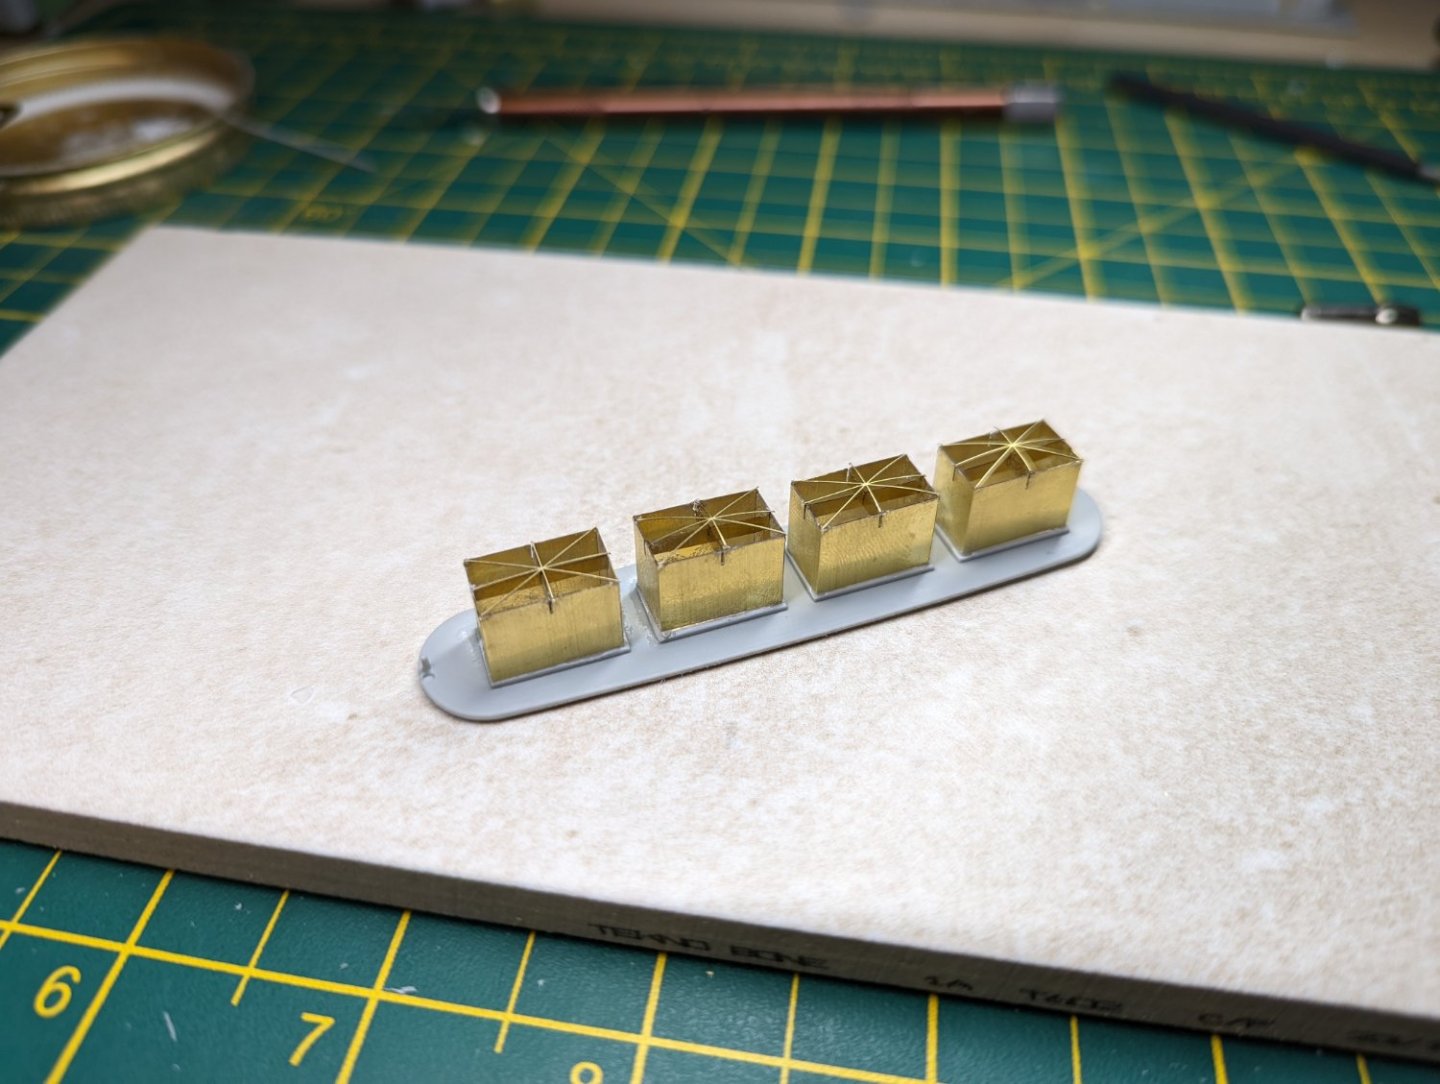
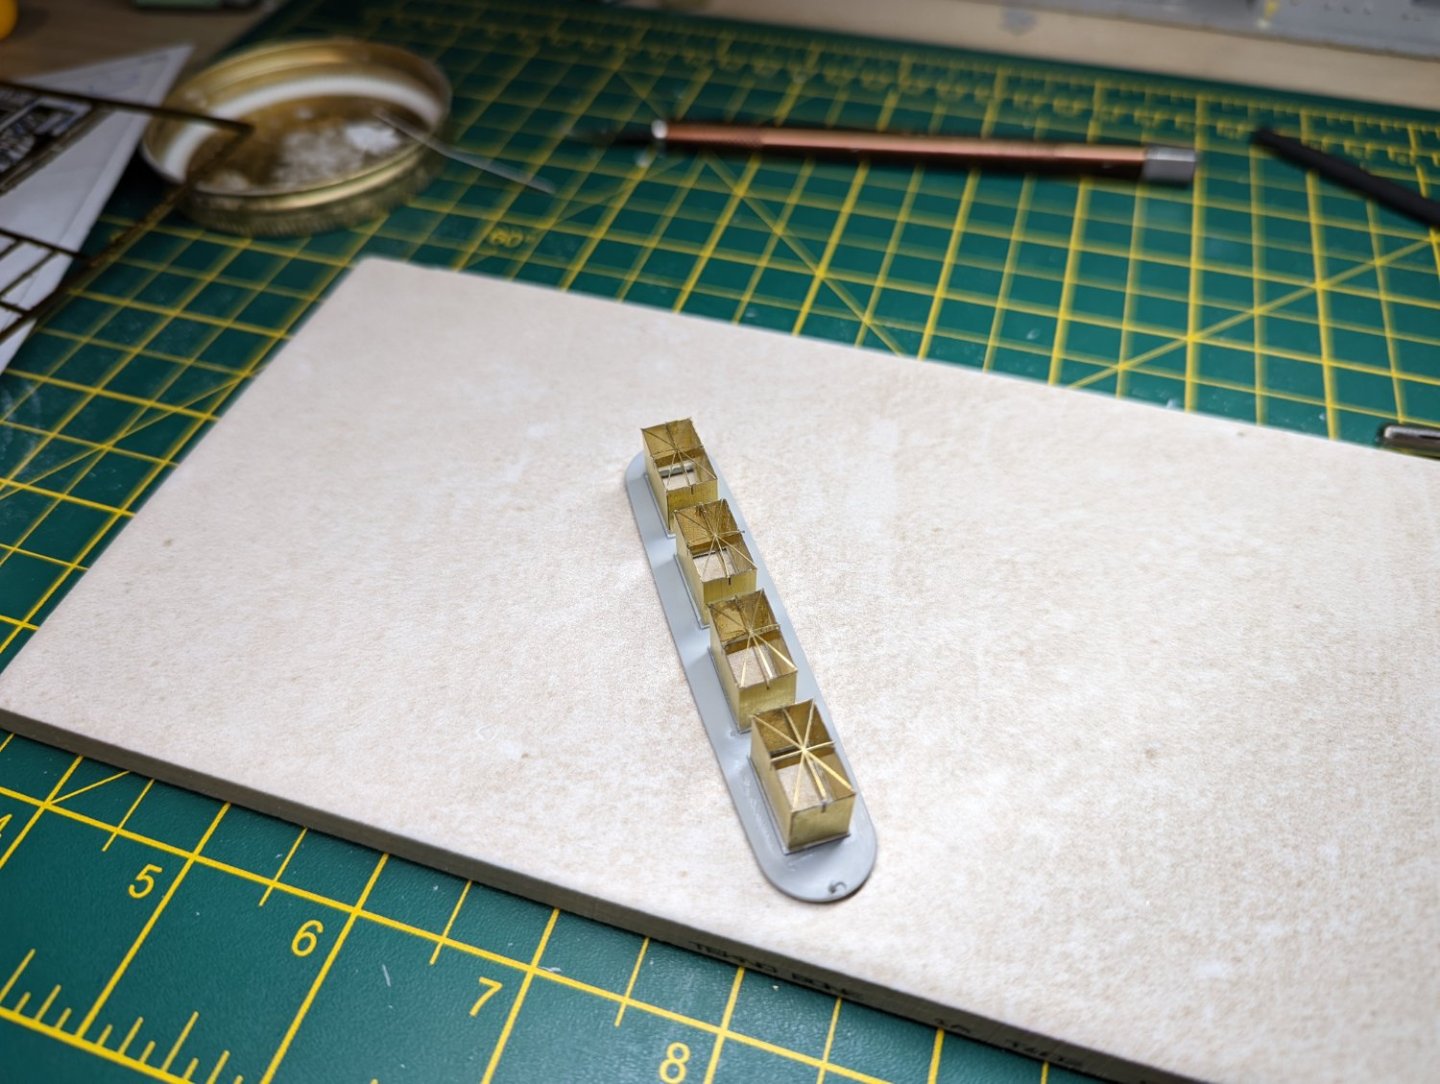
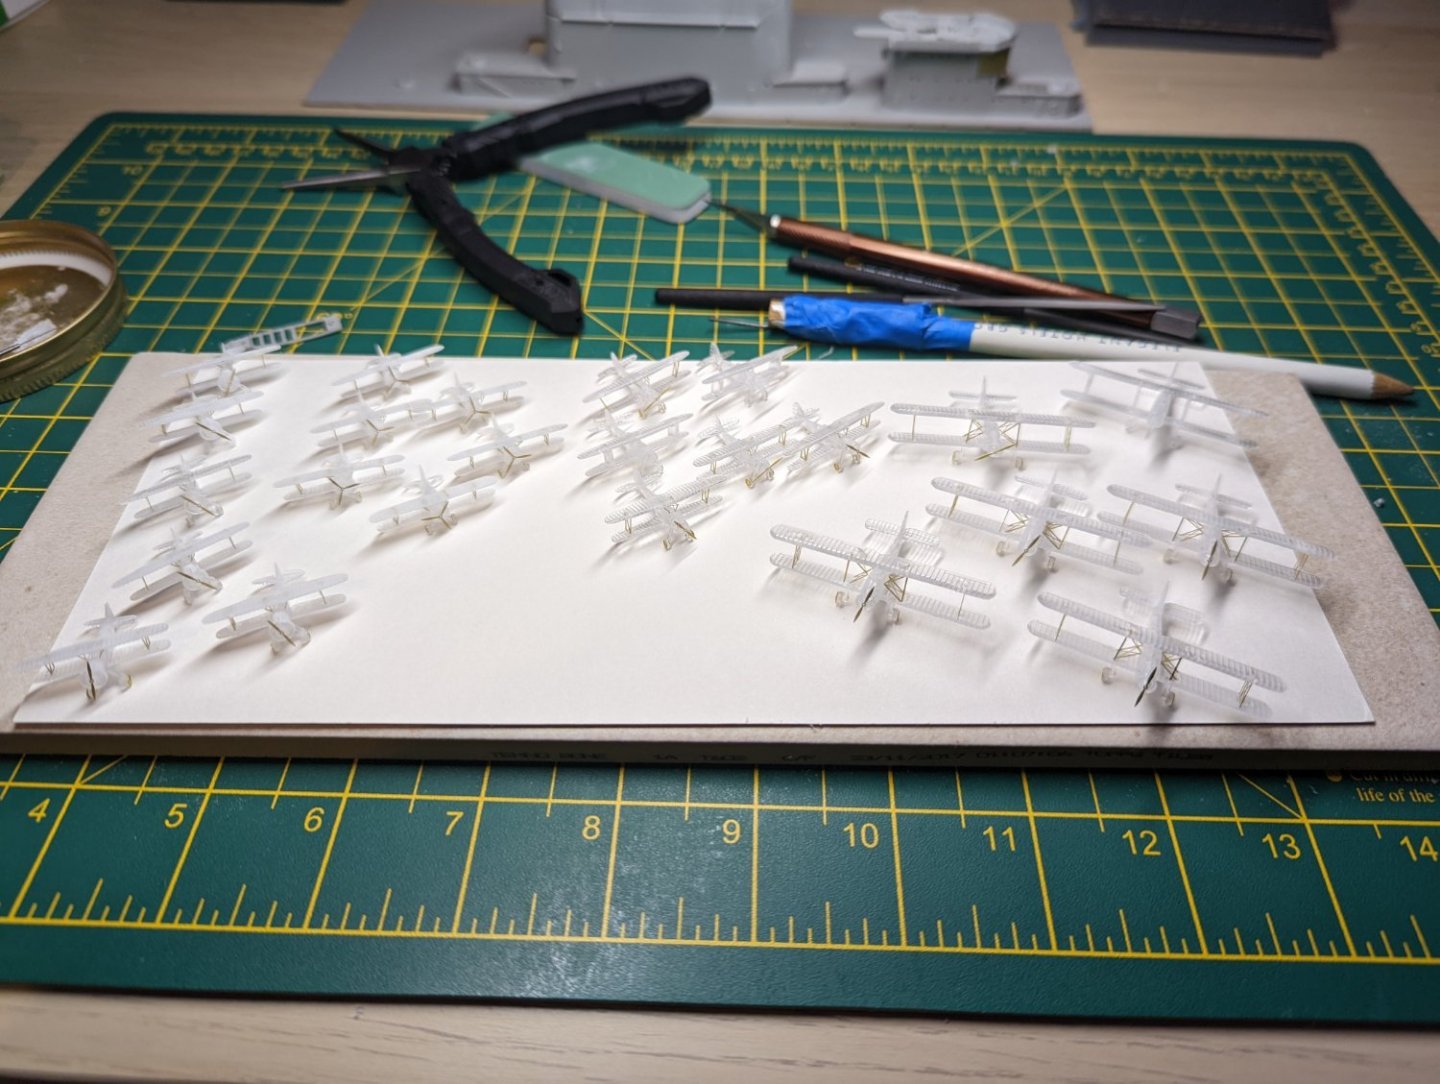
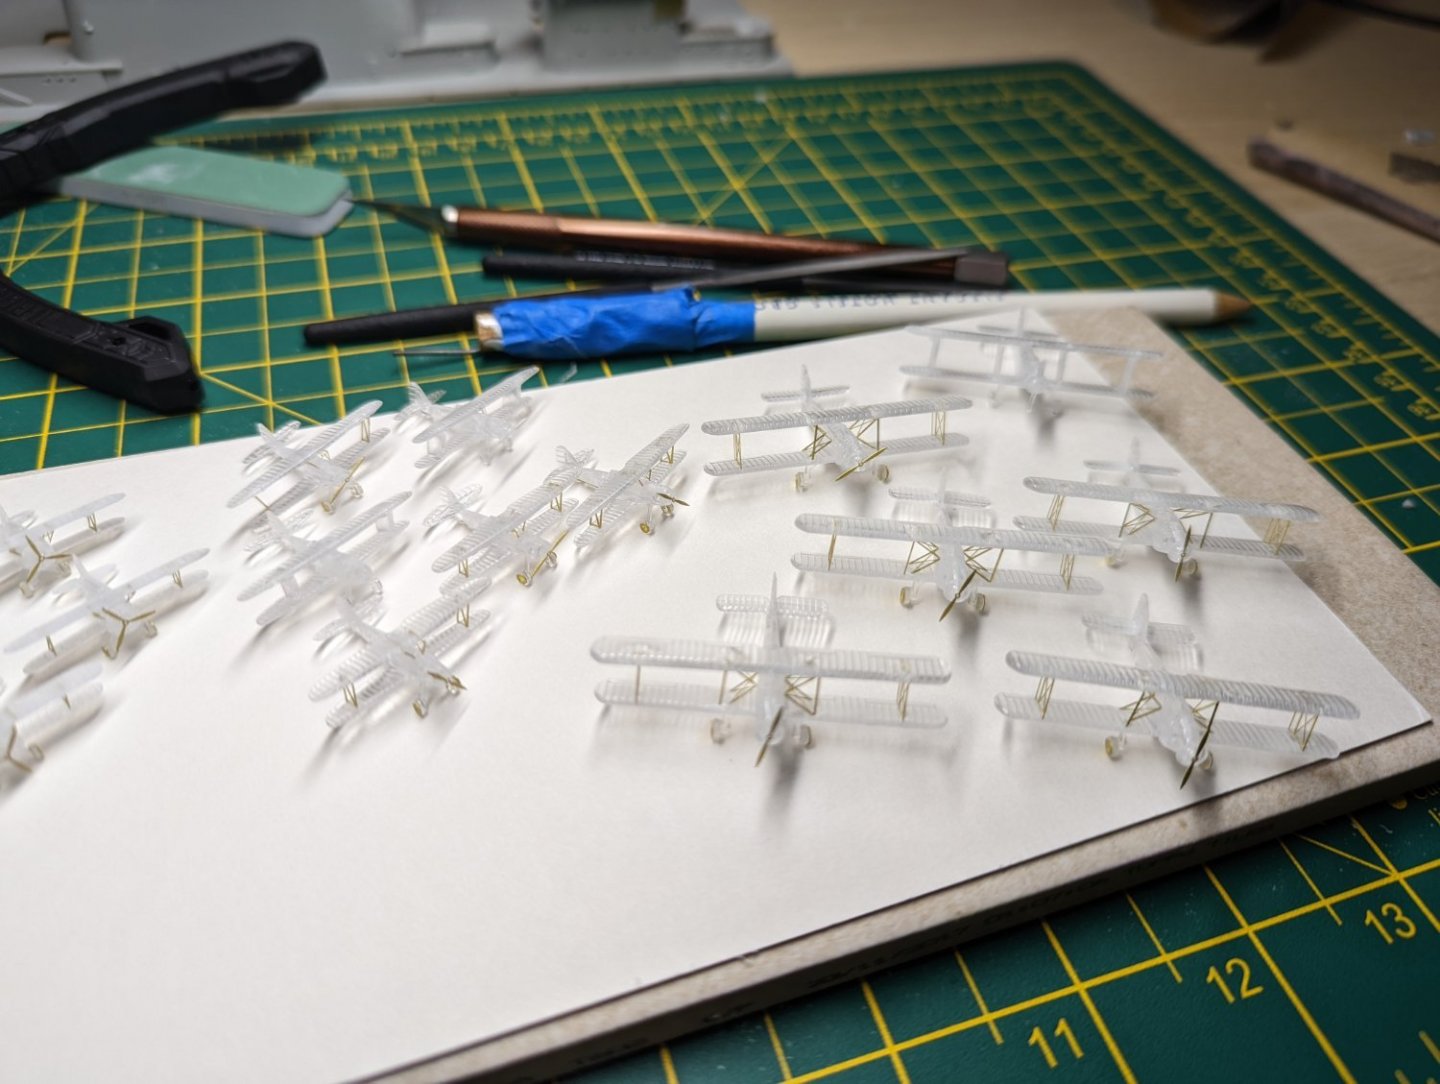
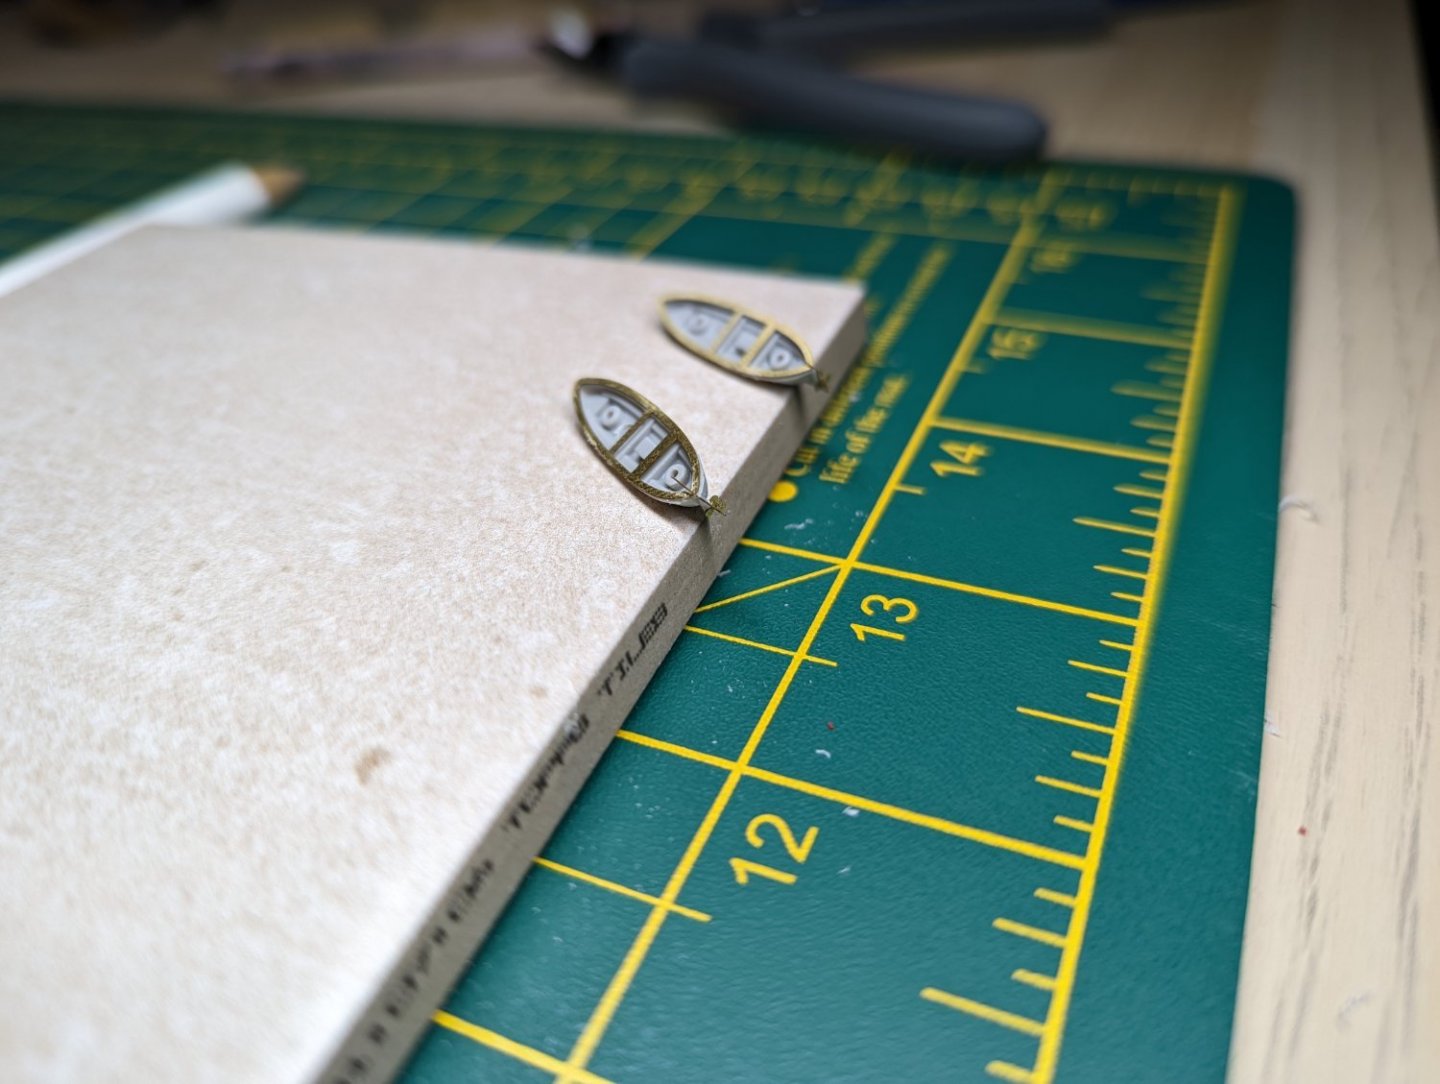
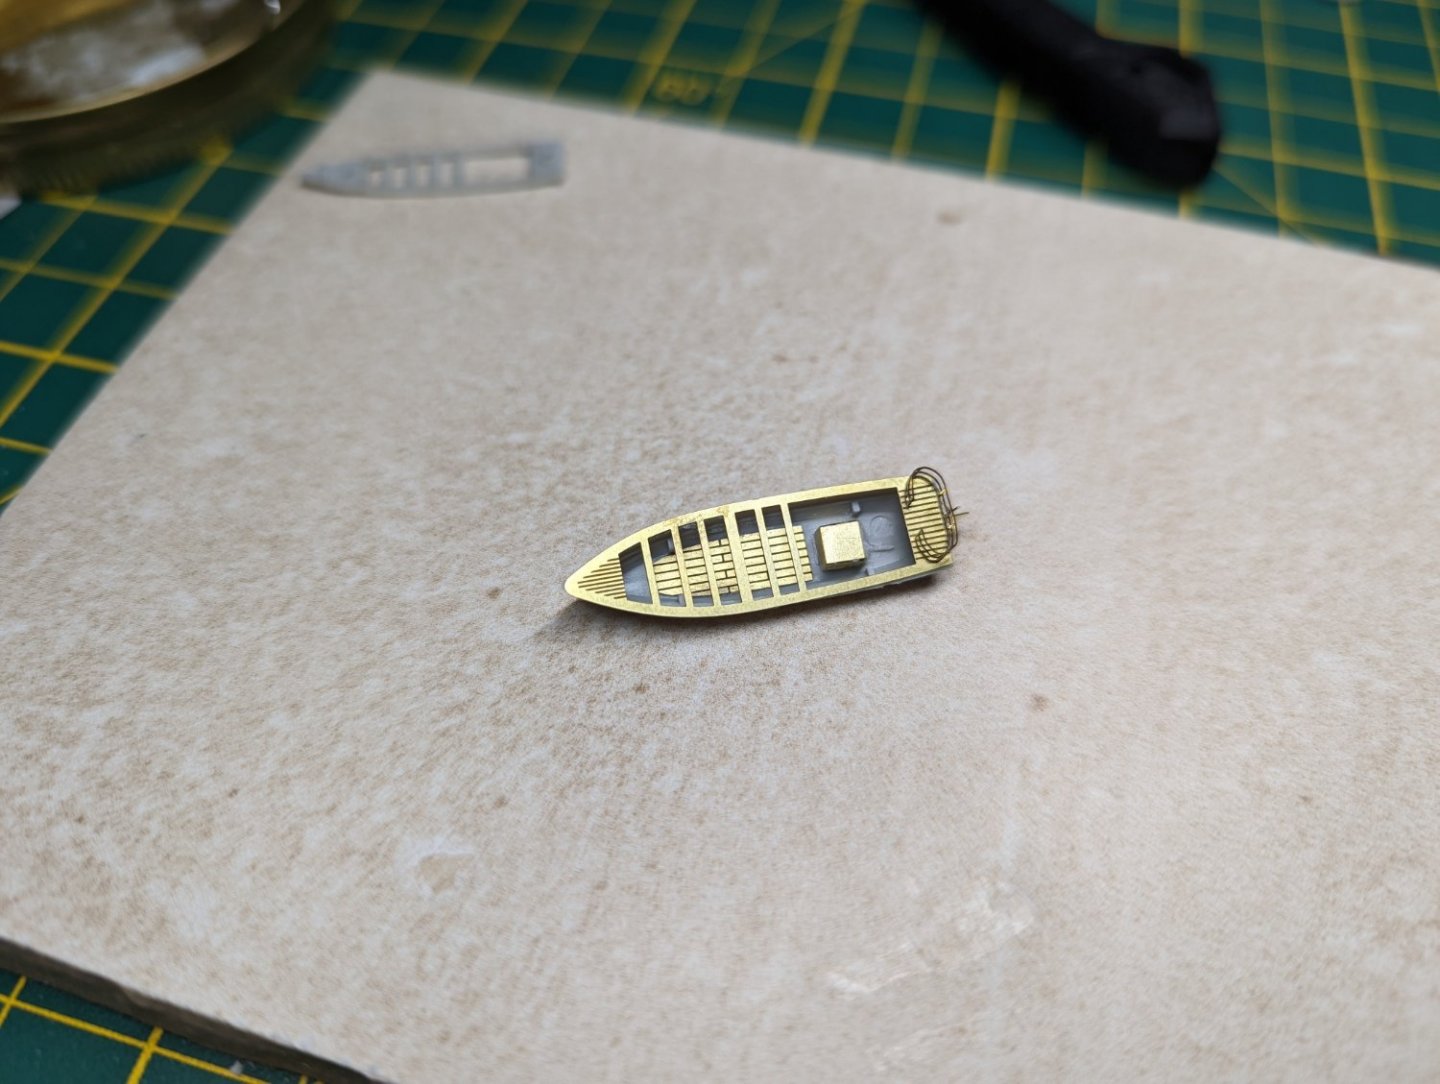
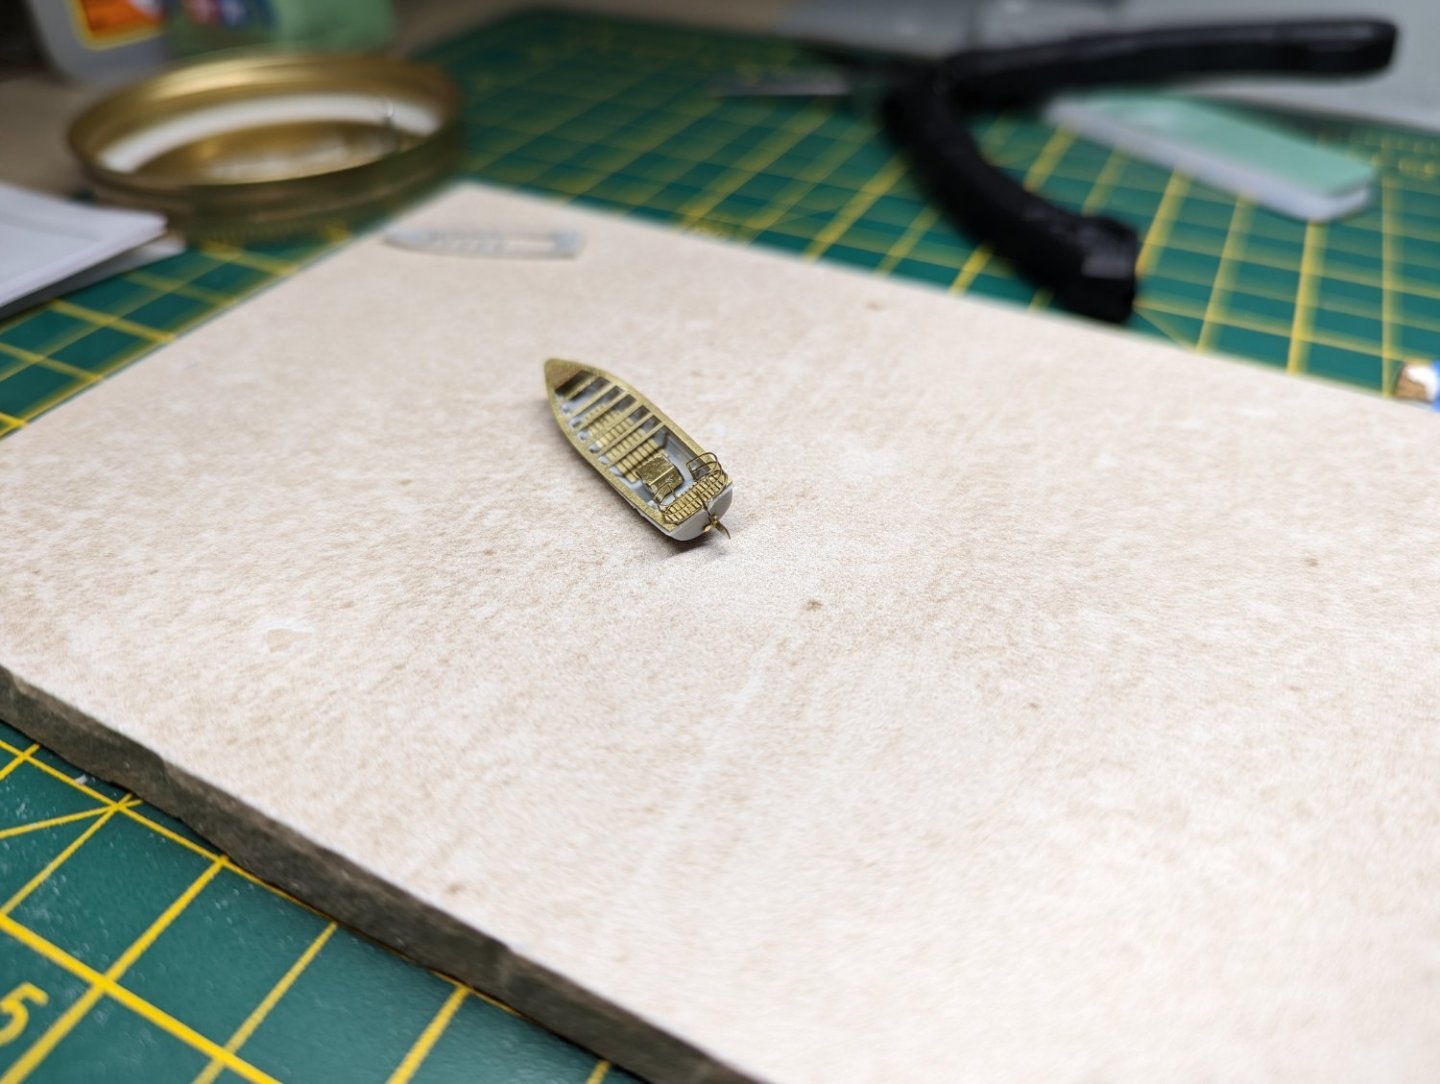
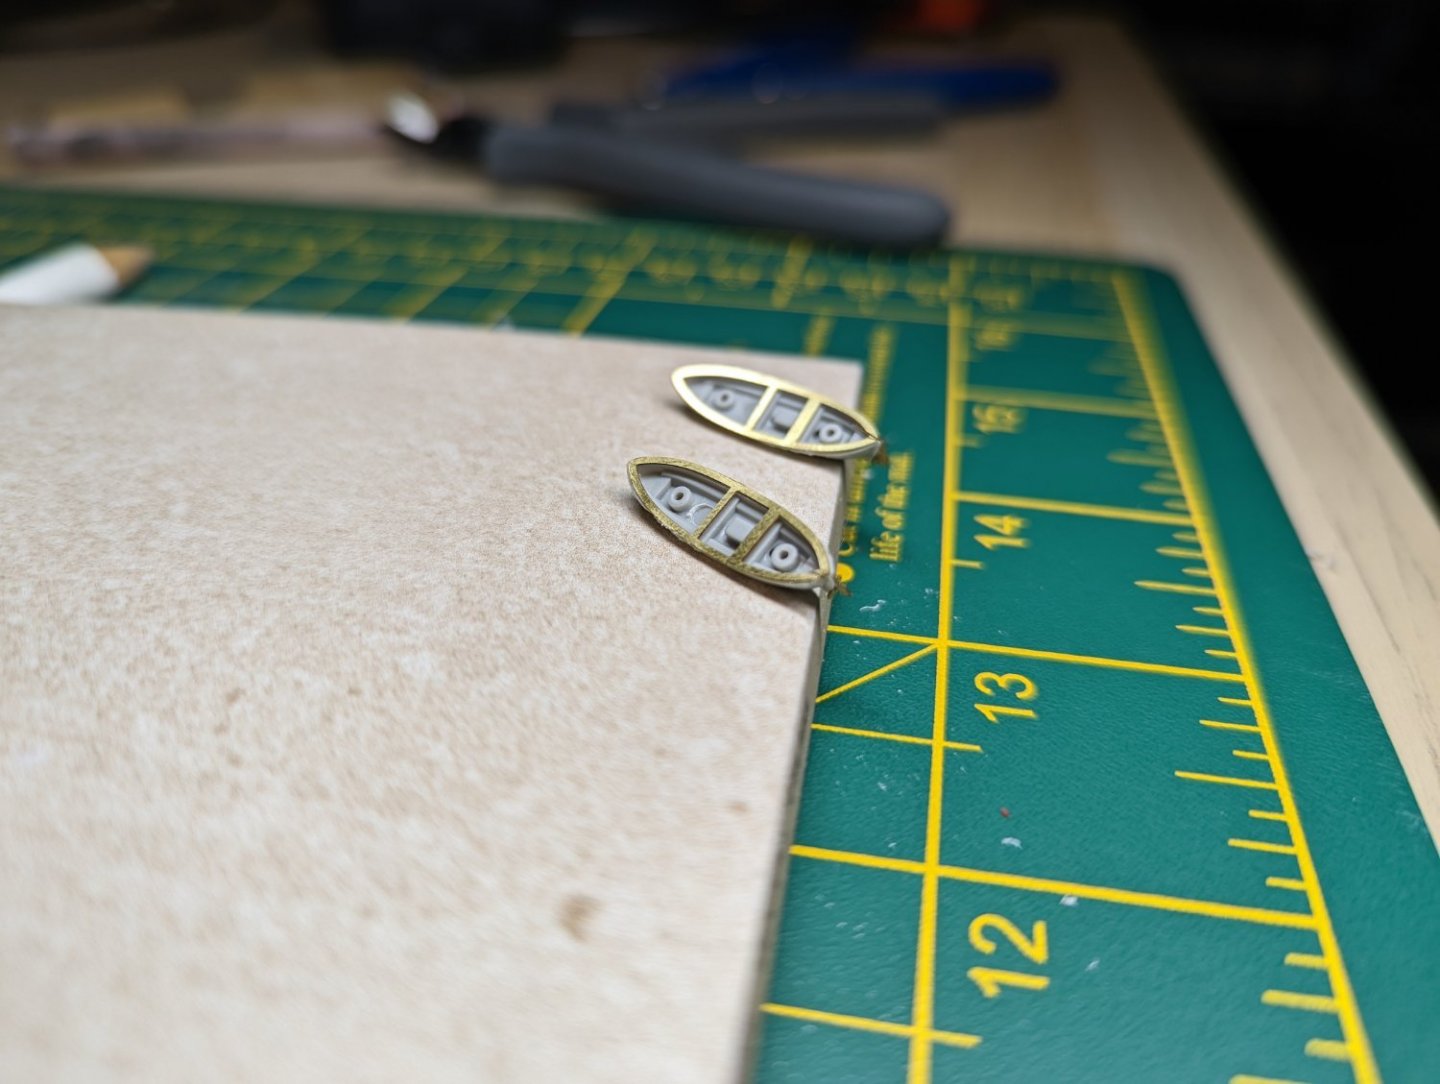
Progress Update: Work and Covid have had me being a bit slack with updates on the build and even just going back to it. However I am now committed to getting the building completed by the end of July, bar the pedestals for the hull as my order is somewhere in its' journey. But the planes, life boats and the armaments will be painted up. I have not been completely idle since my last update; all of the complement of aircraft are built up and a couple of the lifeboats as well. I'm still annoyed at the airframes that are missing the PE parts, but following the advice given, I'll hide them in the deck lifts so that they are hidden slightly. The stowage box on the last life boat drove me spare as the top is supposed to be bevelled but for the life of me it refused to stay stuck in position. Fortunately with it being so small this will only annoy me and should disappear amongst all the other clutter of the final ship. The next piece that I'll be working on tomorrow will be the funnel and conning tower. Regards, Ryan


-
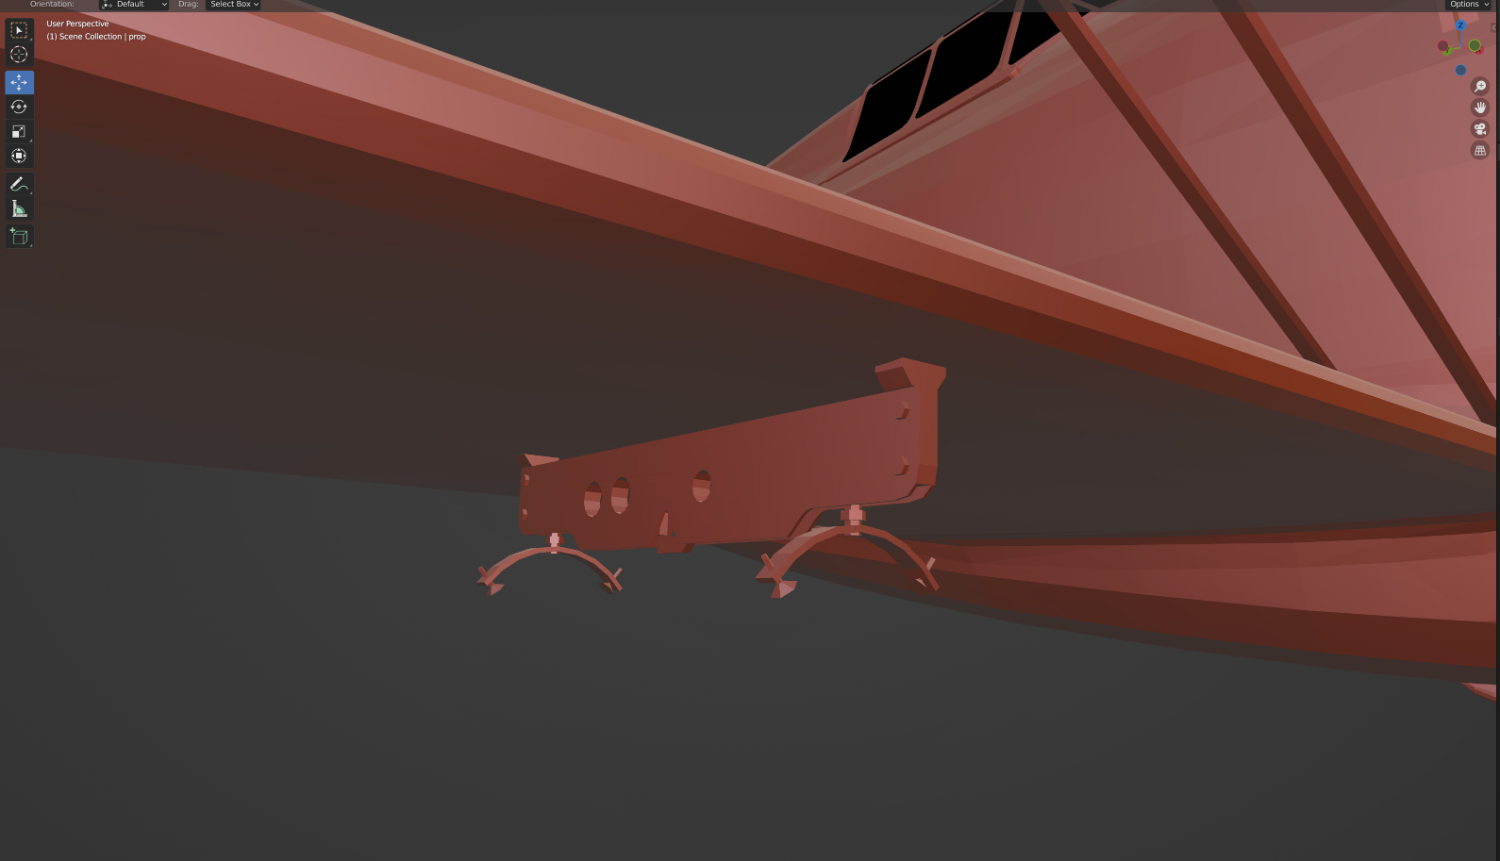
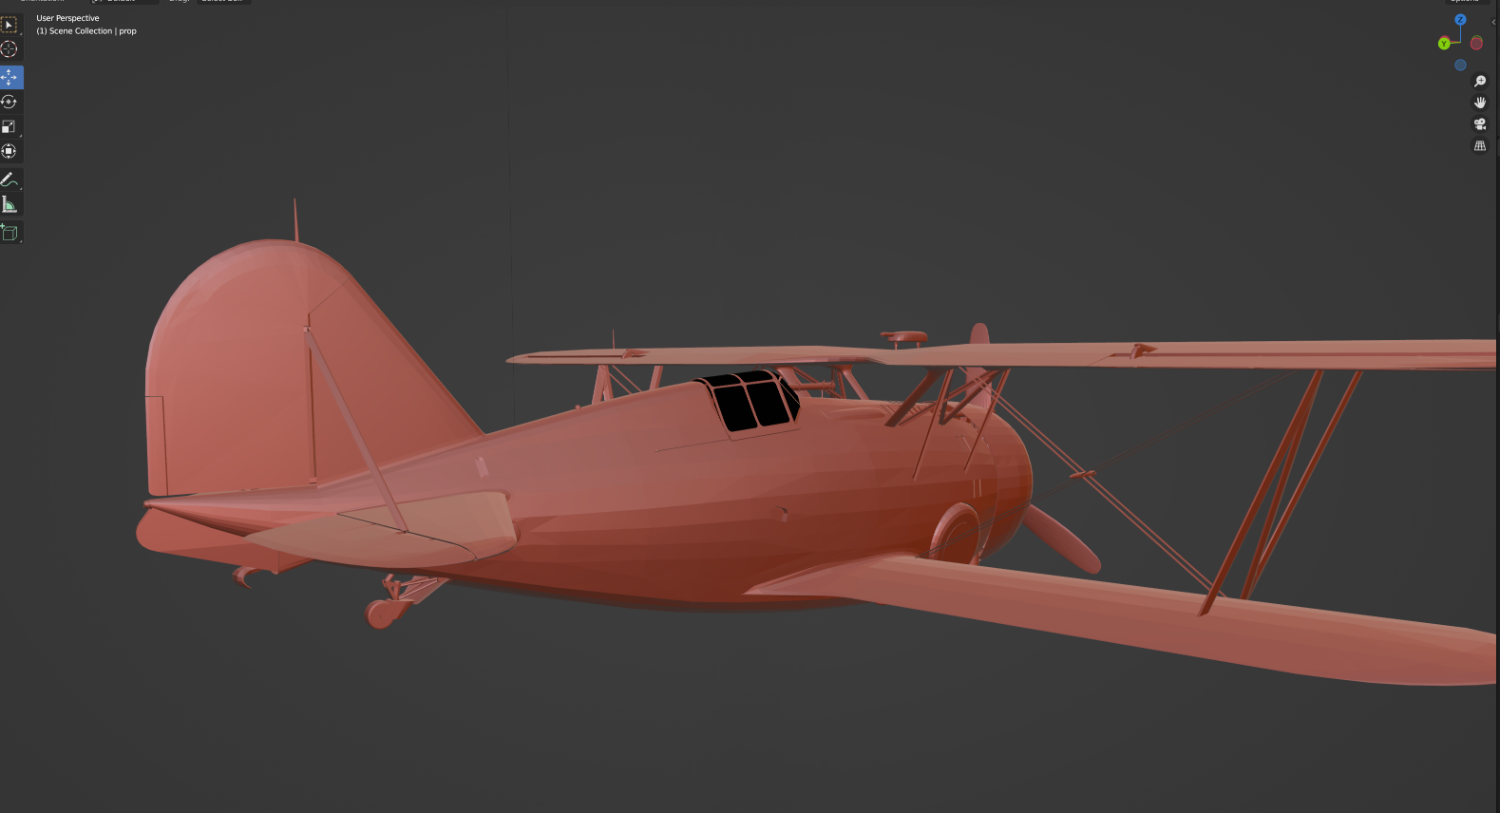
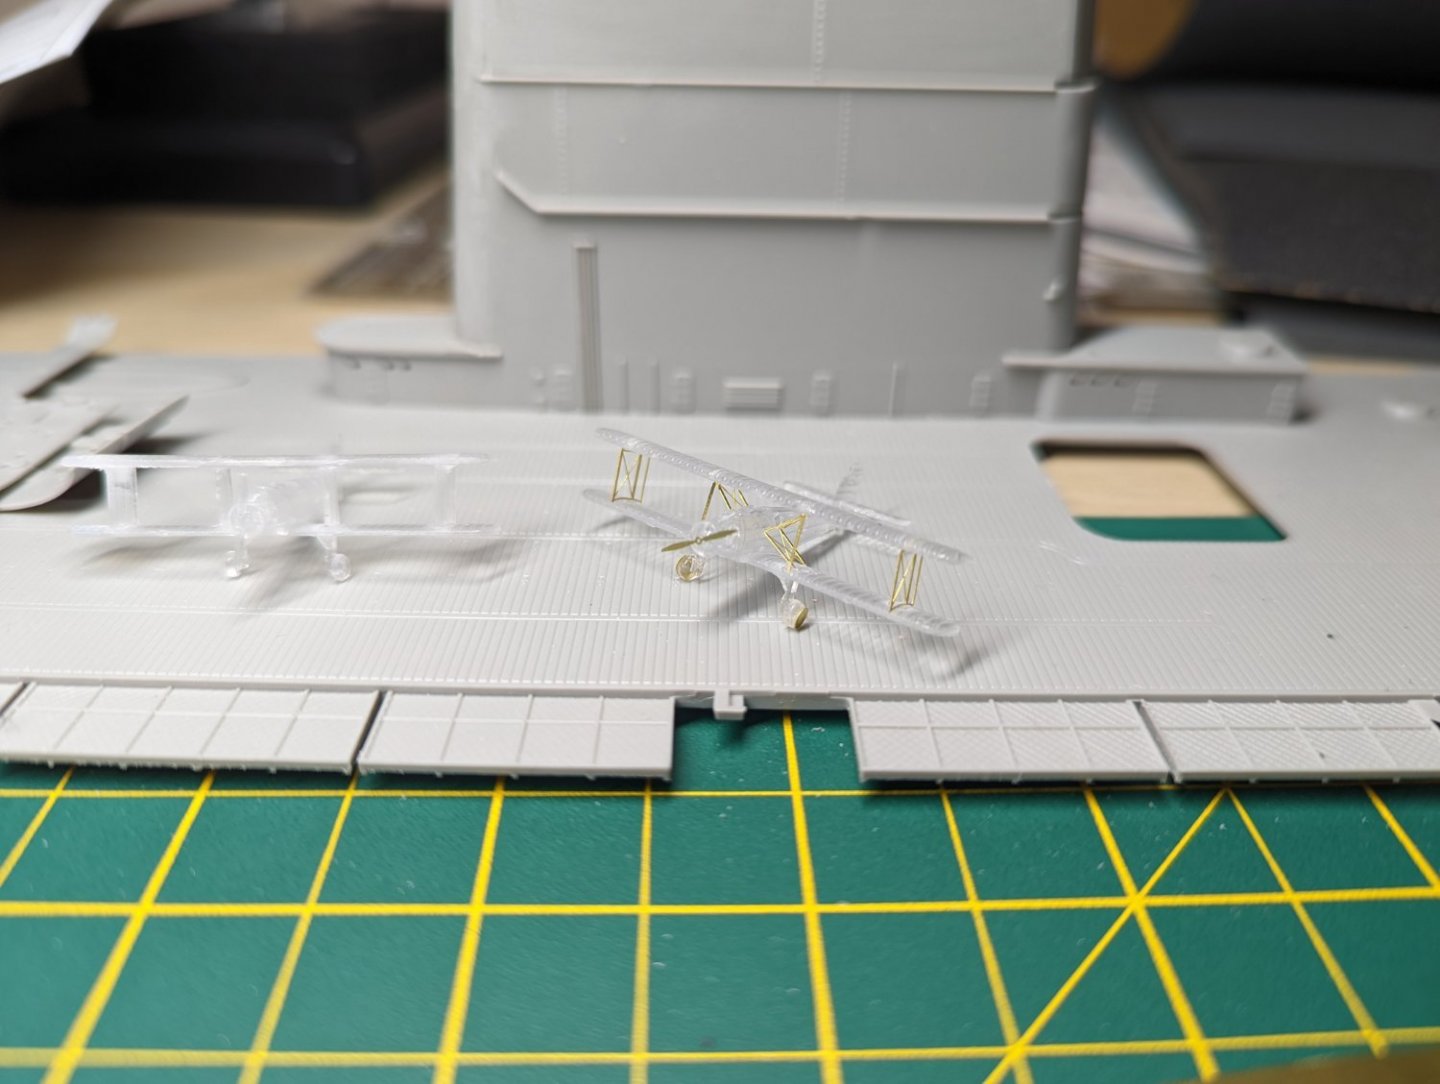
Progress Update: I lost myself when modelling the F3F and now I feel like I've put far to much detail into it now for this scale. I may print it out slightly bigger just for a laugh. Things that I can see that need adding would be some more overt panel lining on the larger surfaces, especially the wings, and the forward landing gear as I've been lazy and just done the wheels. I have it in my had now to have the deck full of extras re-arming the planes for another sortie. Any feed back on anything else that might be worth adding into the model or extra props to place along side it would be great. Regards, Ryan


- 36 replies
-
- 12
-
-

-
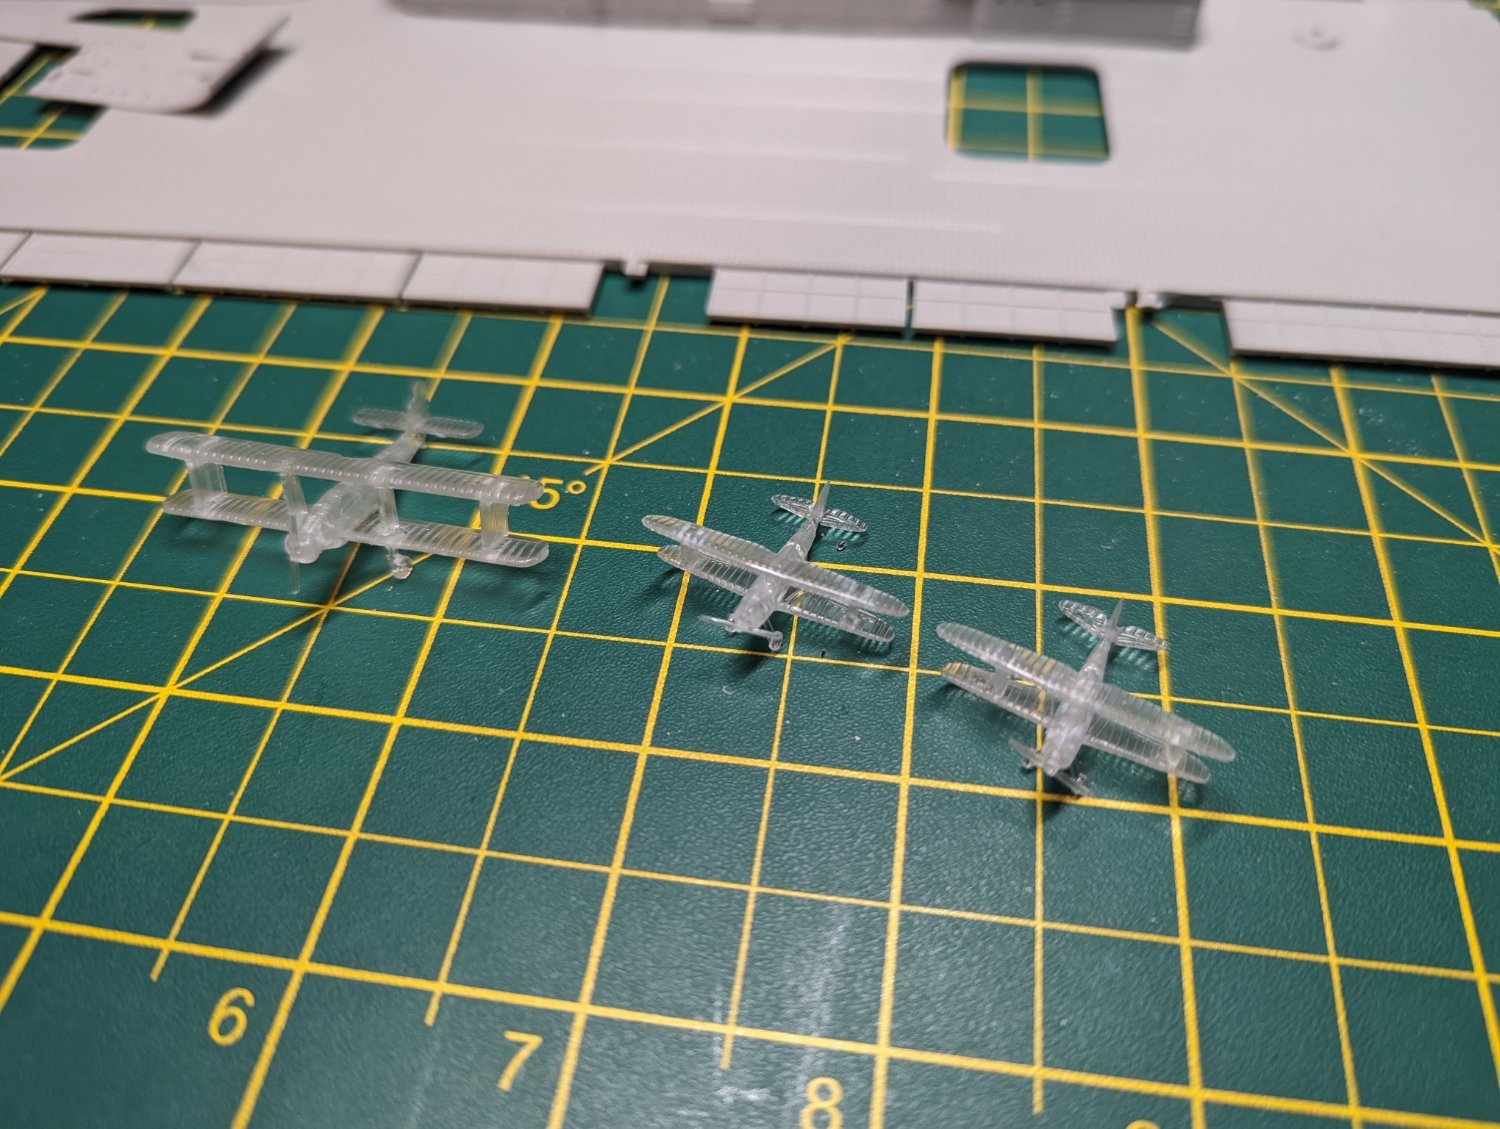
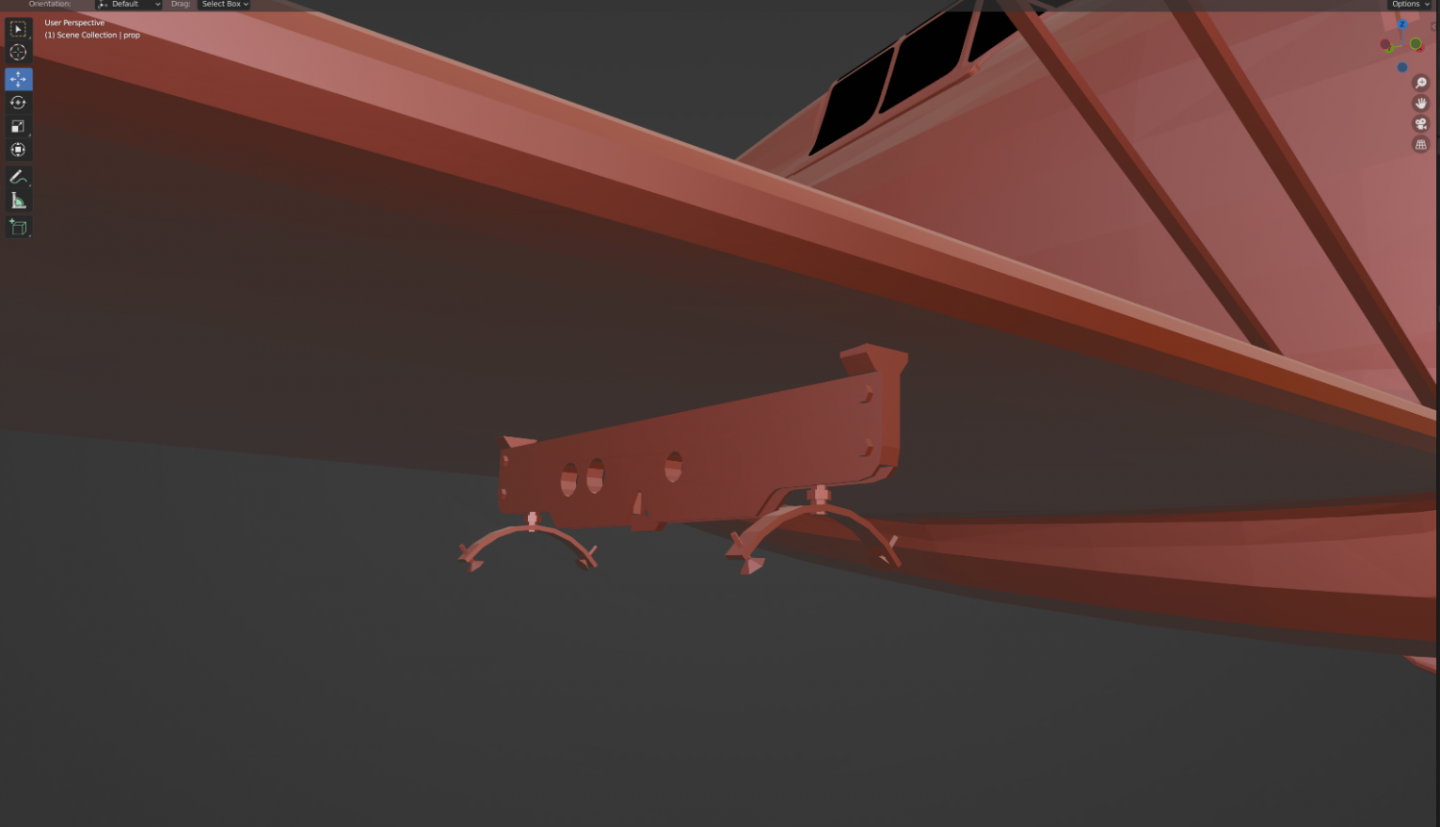
Progress update: Thanks Alan for the idea I'll be giving that a shot when I get to painting. I have been working on some 3d models of some more planes to make the CV feel more like its' carrying a full compliment and then some. I also want to justify the resin printer and figured that this would be a perfect test for it, at the very least it will help get rid of some ugly gaps on the models and the fidelity of the printer should be roughly on par with the PE parts on the stock models. I will post some renders of the models and then the printed versions to see if they will hold up when compared with the PE fitted ones. Regards, Ryan
-
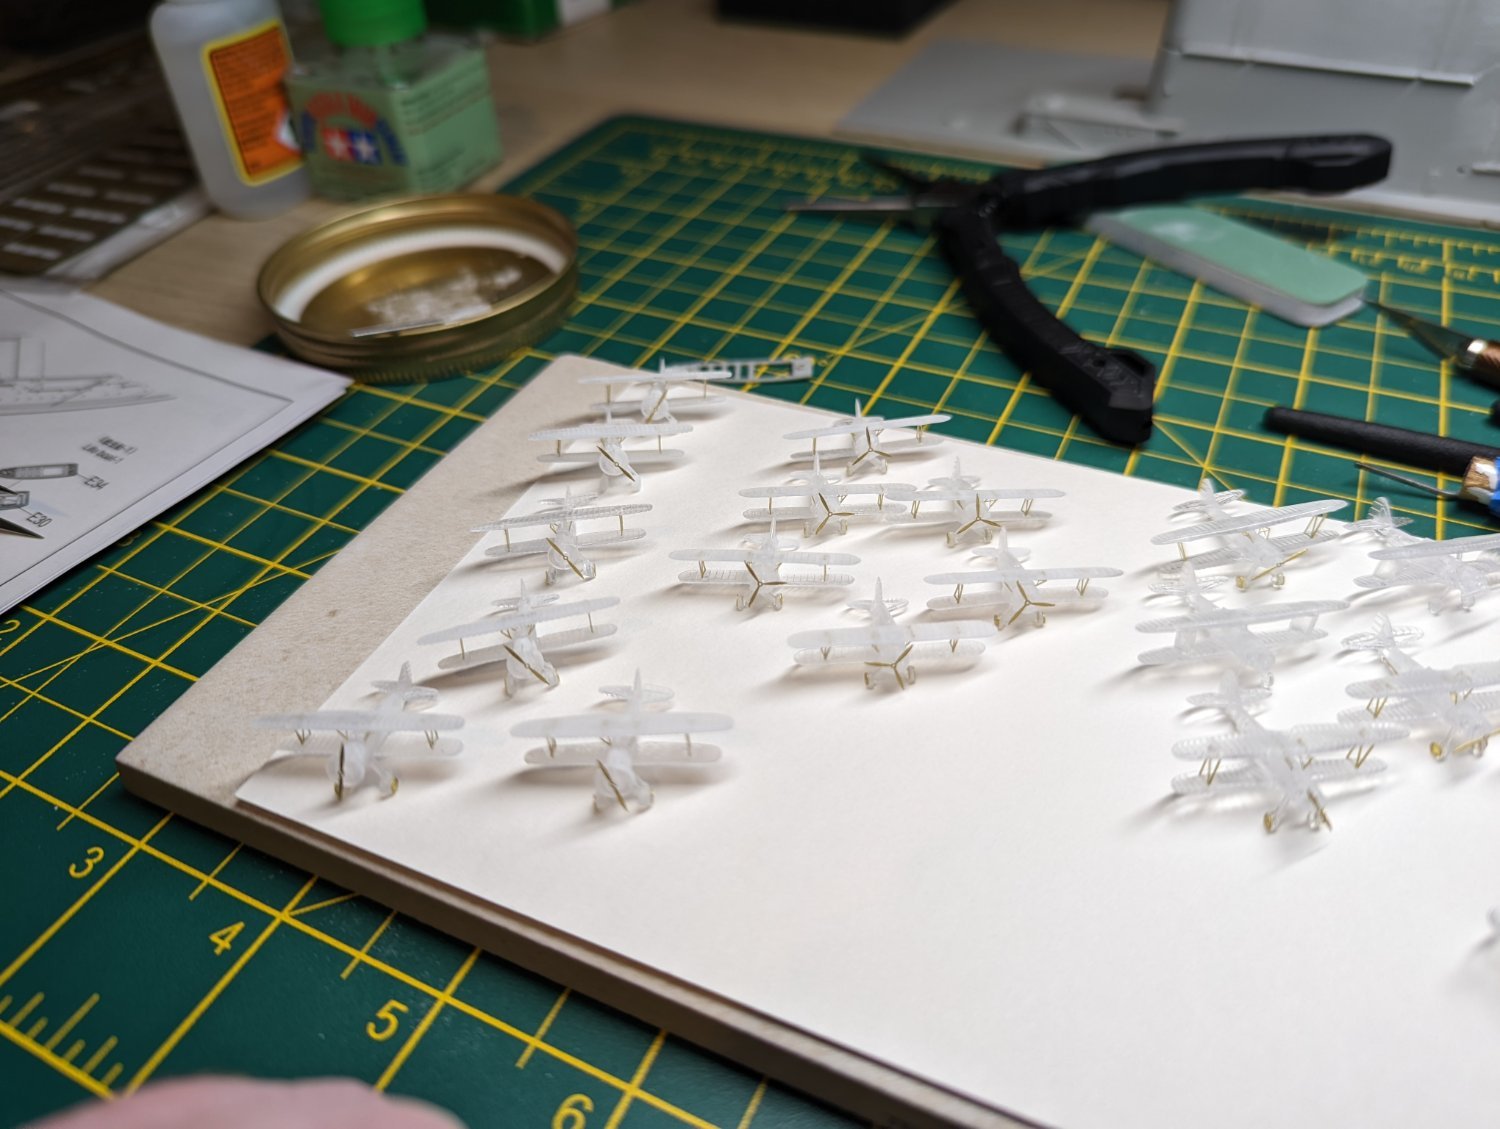
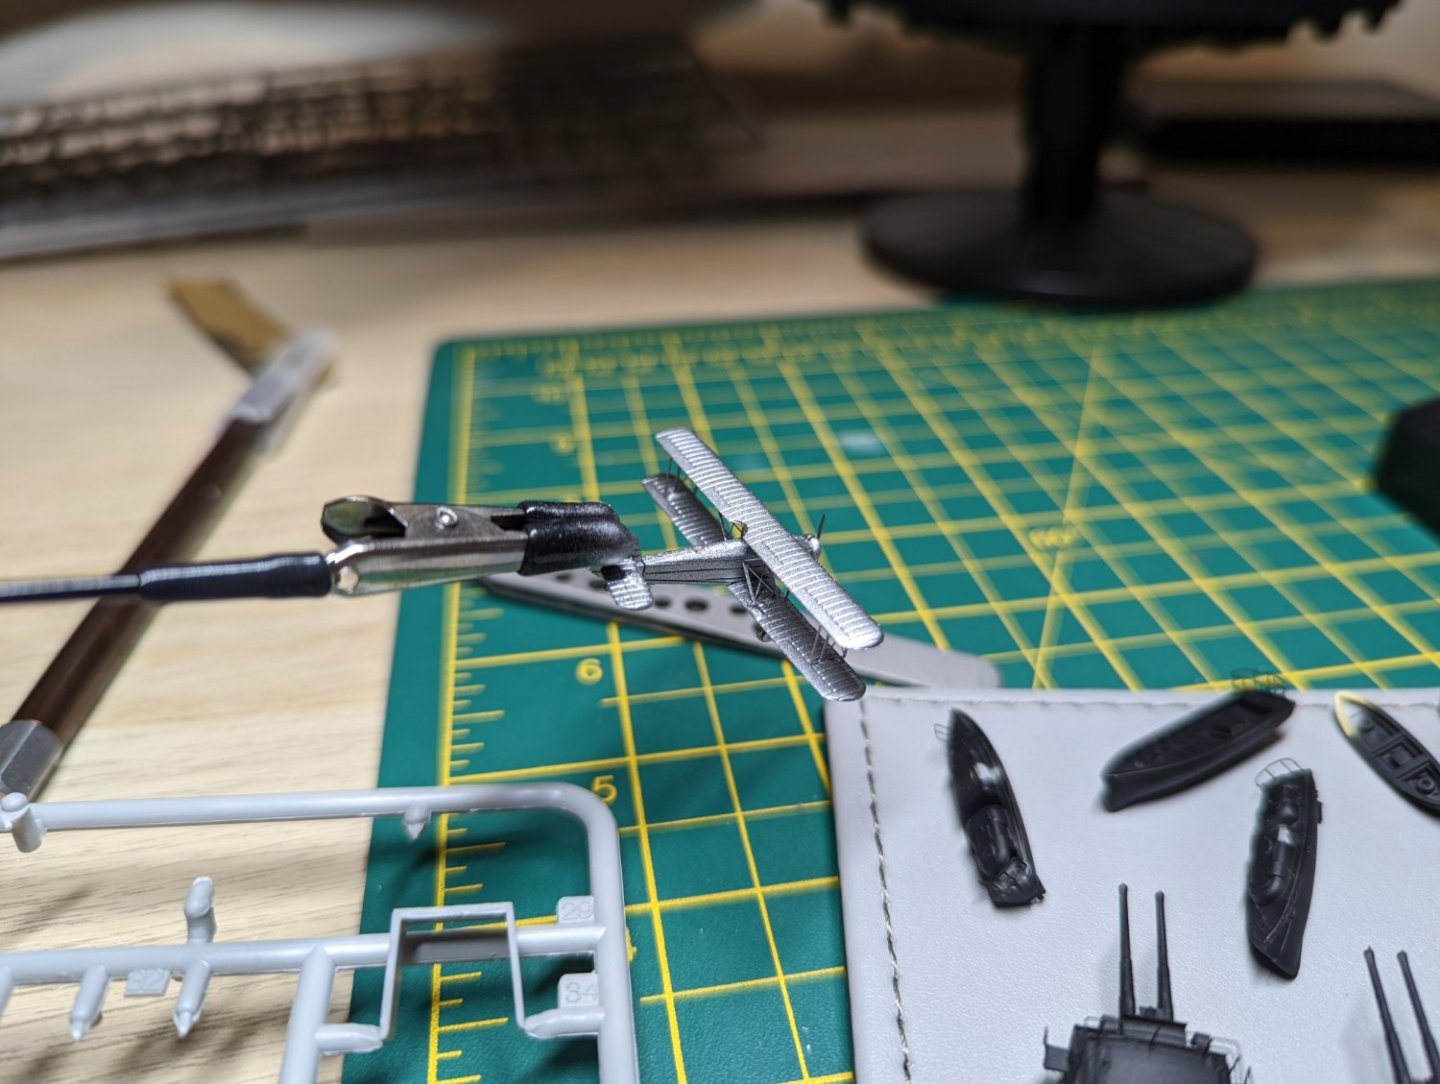
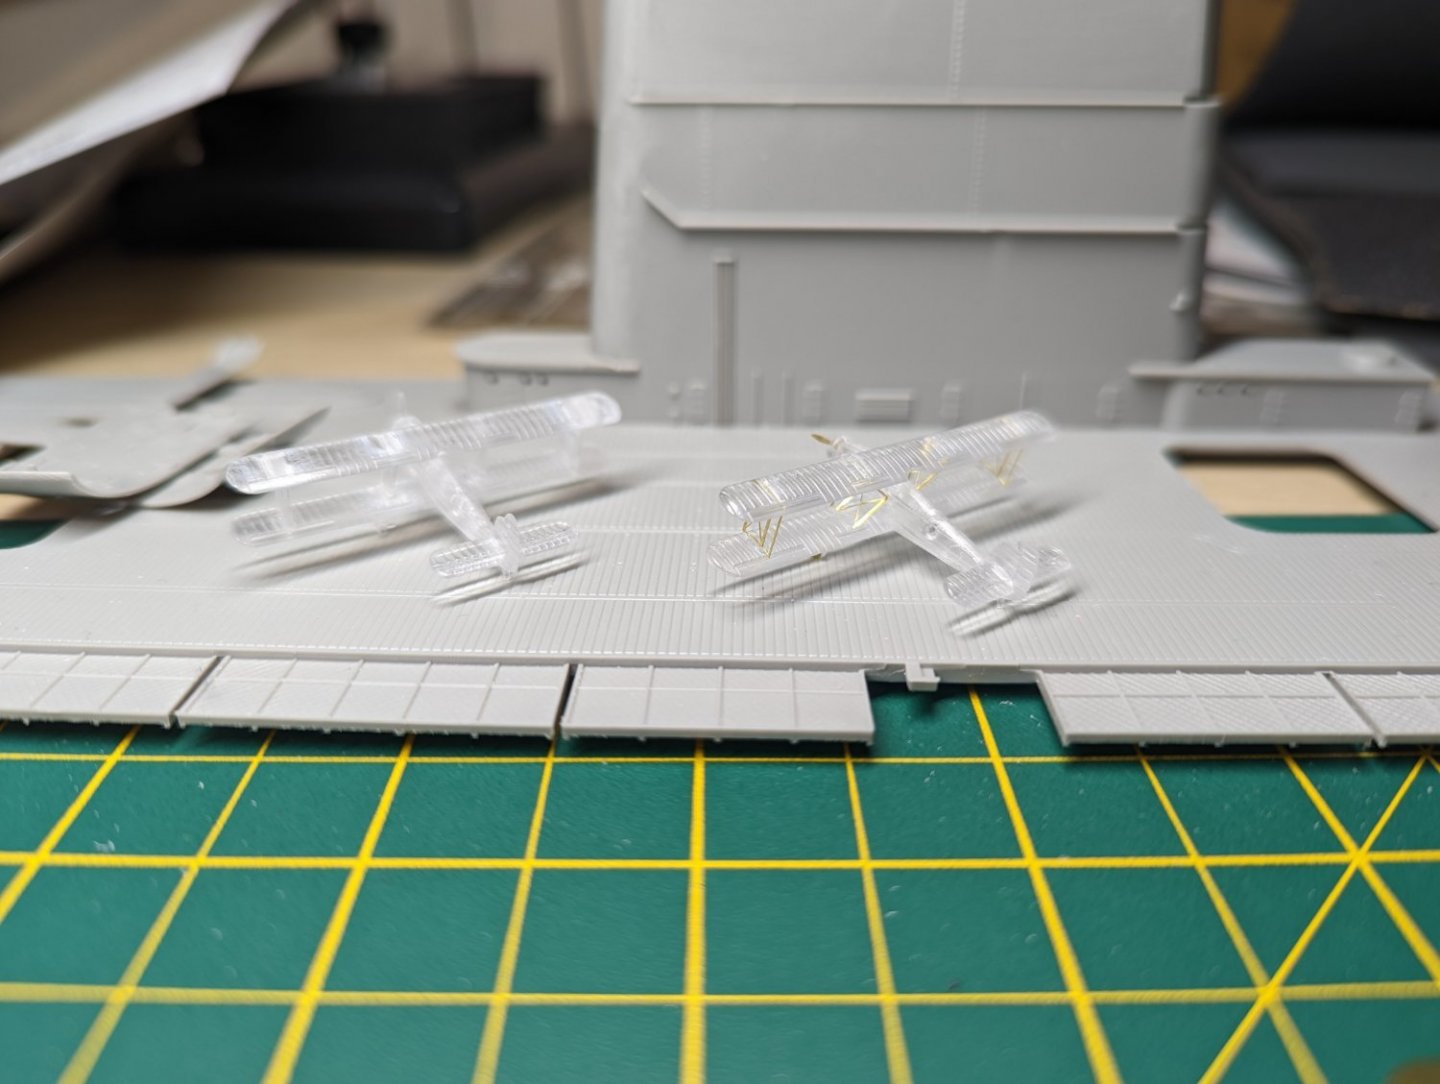
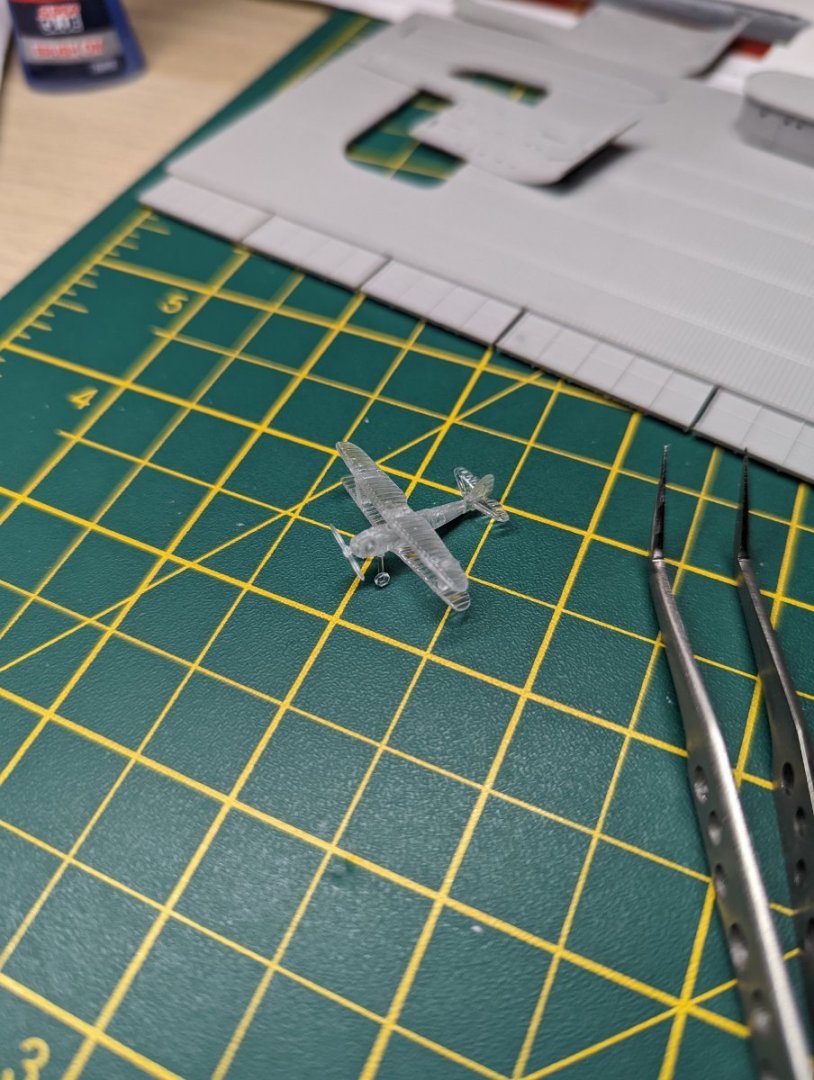
Progress update; I took your advice and although it took an hour to complete just this one (with around 10mins looking for the elevator that I dropped twice) I am glad I did so. This extra detail really does a world of difference to make the aircraft look less bulky and more like an actual flying machine. I am a little nervous about how to paint them in future as they feel so dainty, especially the prop and tail hook. Any advice for painting them when the time comes? Regards, Ryan
- 36 replies
-
- 12
-
-
Progress update; I decided to do a few of the planes after work as I was tired and figured that it would be relaxing. Sadly I built a couple of them before remembering that I have some PE parts for them. Although I think they came out fine, I'm not sure whether to save the PE or just use it on the rest. Regards, Ryan

- 36 replies
-
- 12
-
-
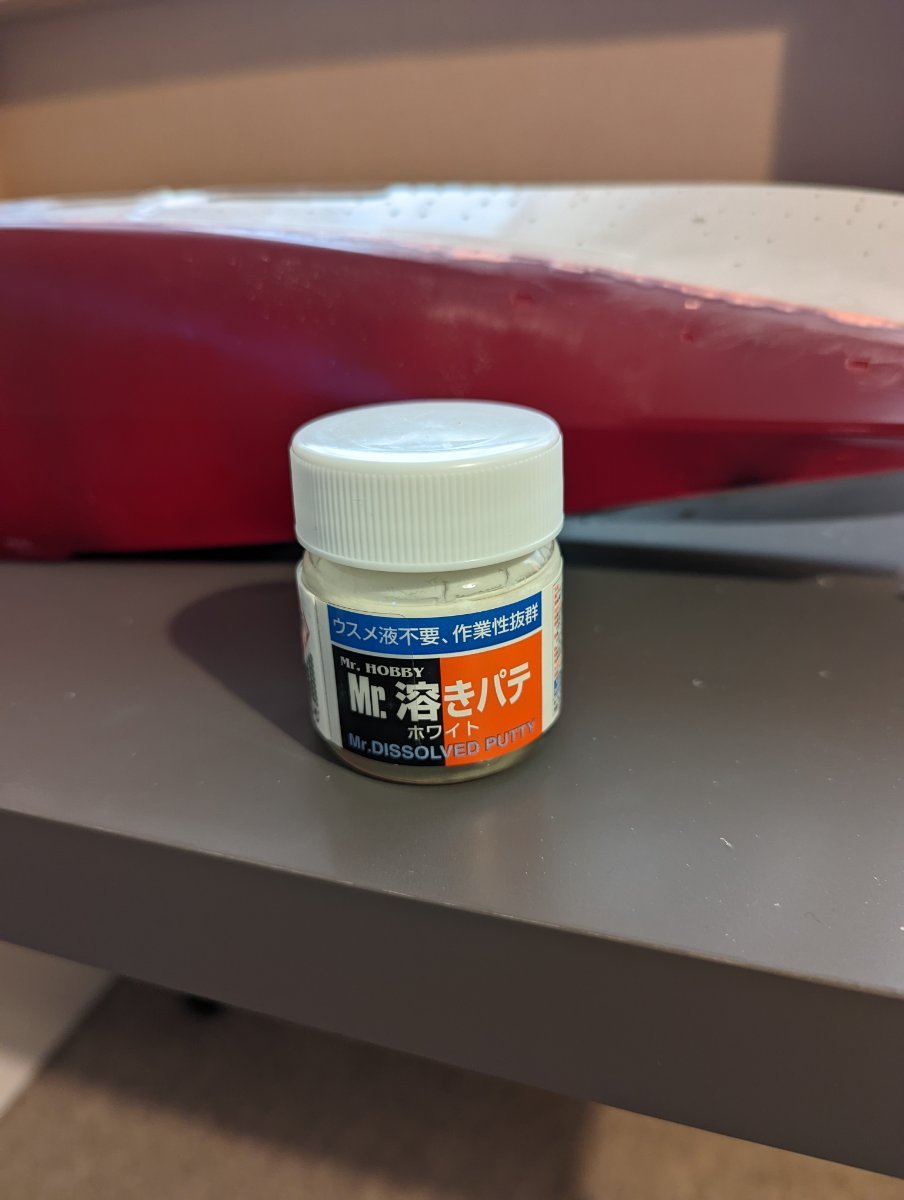
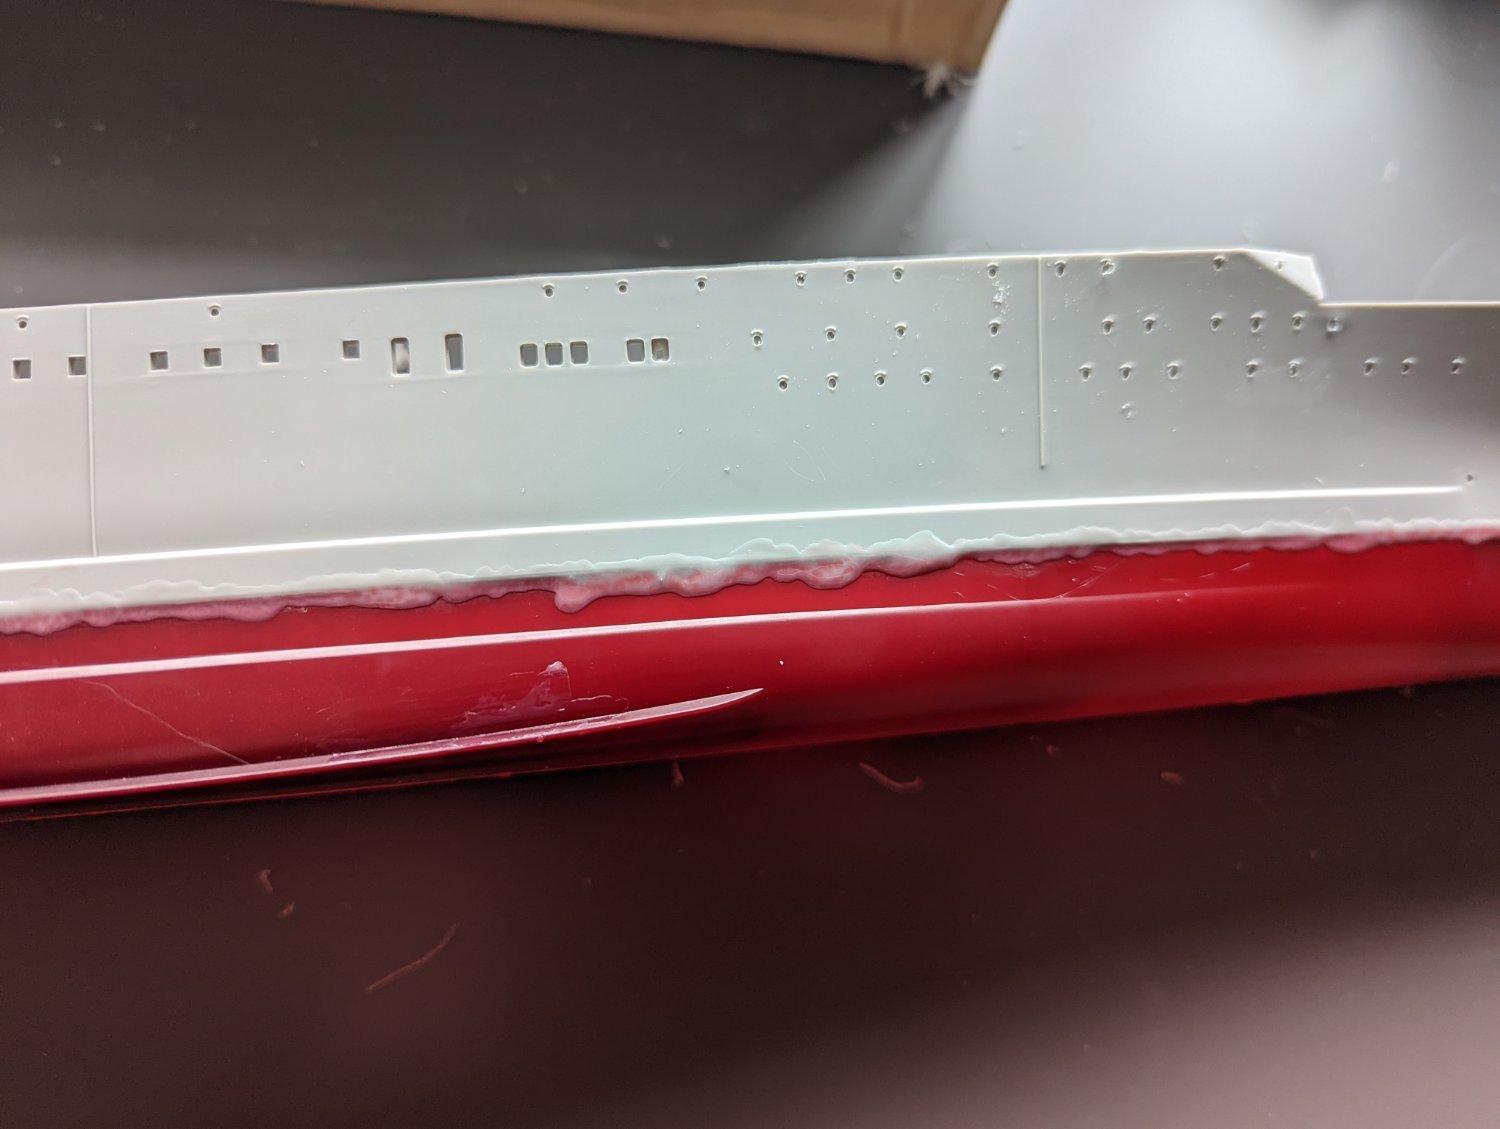
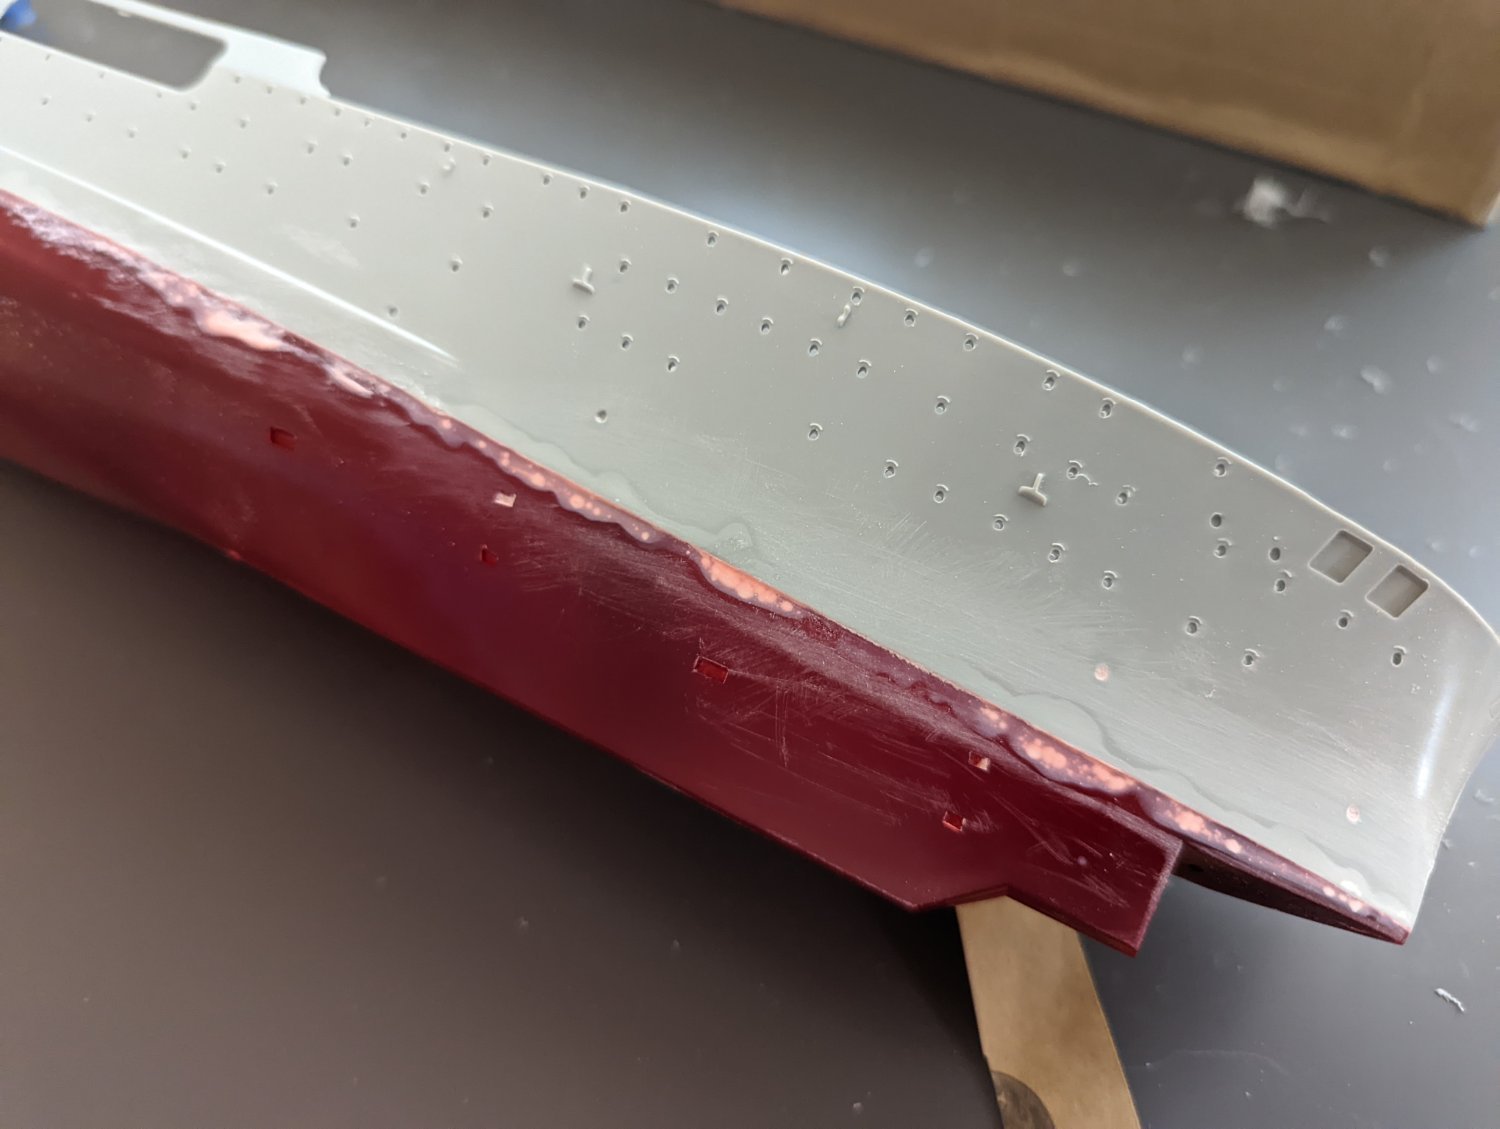
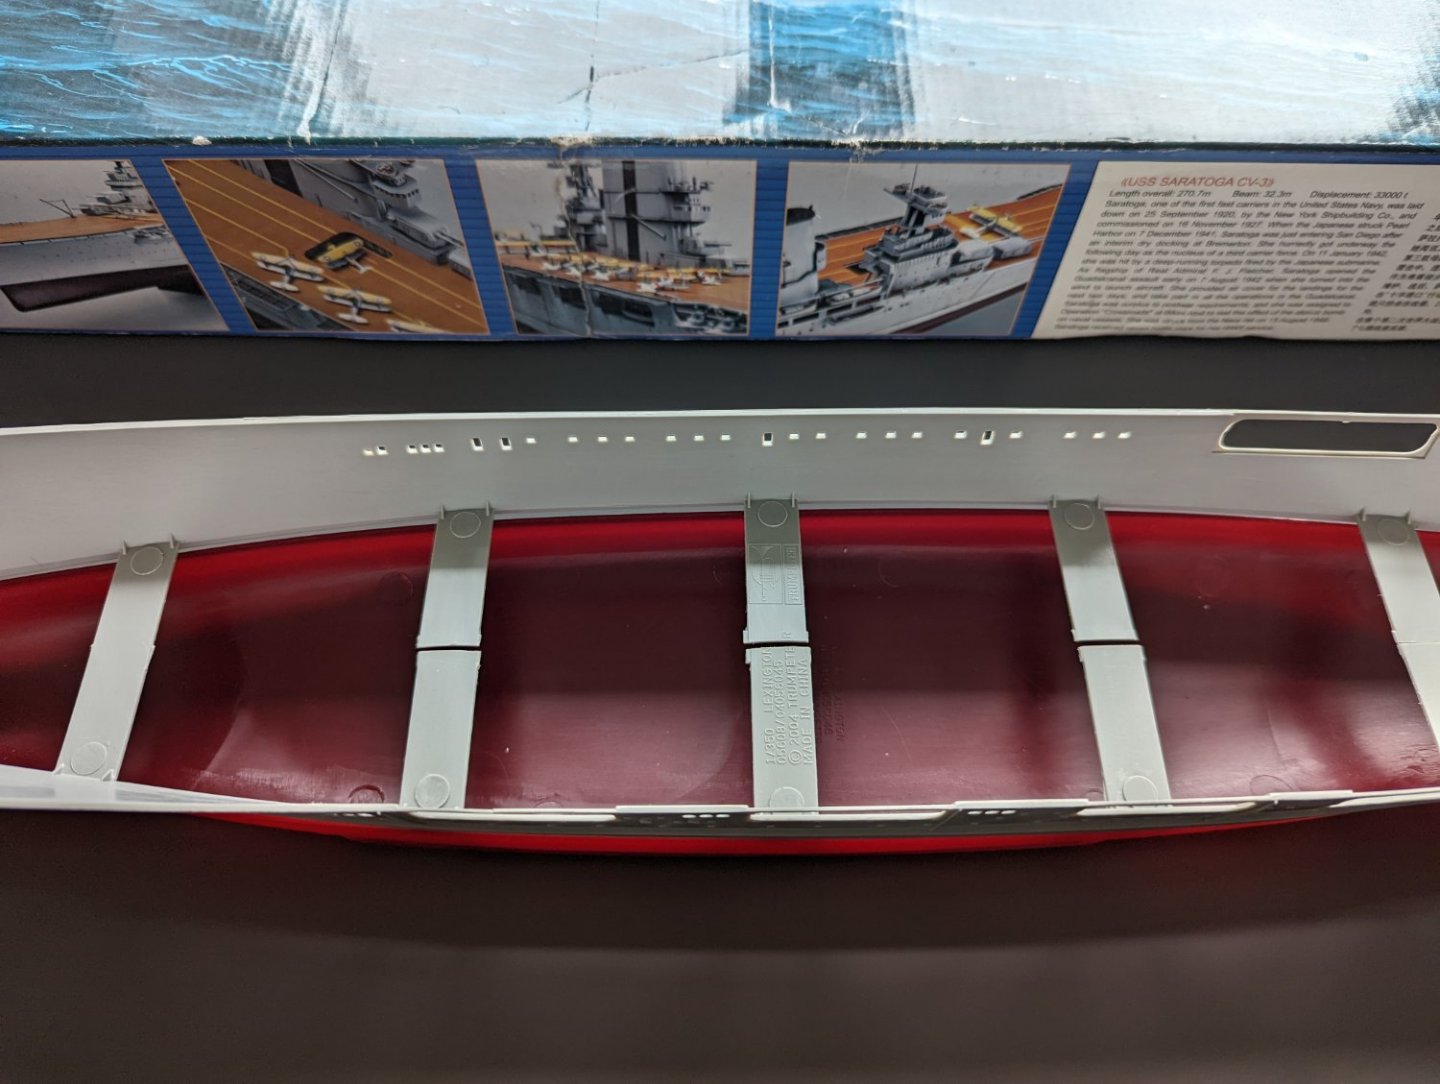
Progress update; Brass fittings and a plinth are on order so that step will have to wait. In the mean time I had great fun trying to align the hull together. As I feared both top and bottom were quite heavily bowed so there are some larger gaps between the two pieces. However I did use the opportunity to play with the Dremel and drill out all the portholes. In order to fill in the gaps I flooded the inside gaps with super glue then with a mixture of sprue-goo and Mr Hobby dissolved putty to fill in the outer gaps. I have no idea why it came out like it was growing mould but given how bad this stuff gives my head aches it isn't surprising. In order to sand down the heavier areas I plan on using the Dremel again with a mask on and all the windows open once the weather improves as the dissolved putty has quite a few warning labels on it. In the mean time I plan on beginning the task of building the super structure and the gun batteries as these do have some PE to start on. Regards, Ryan


- 36 replies
-
- 10
-
-

-
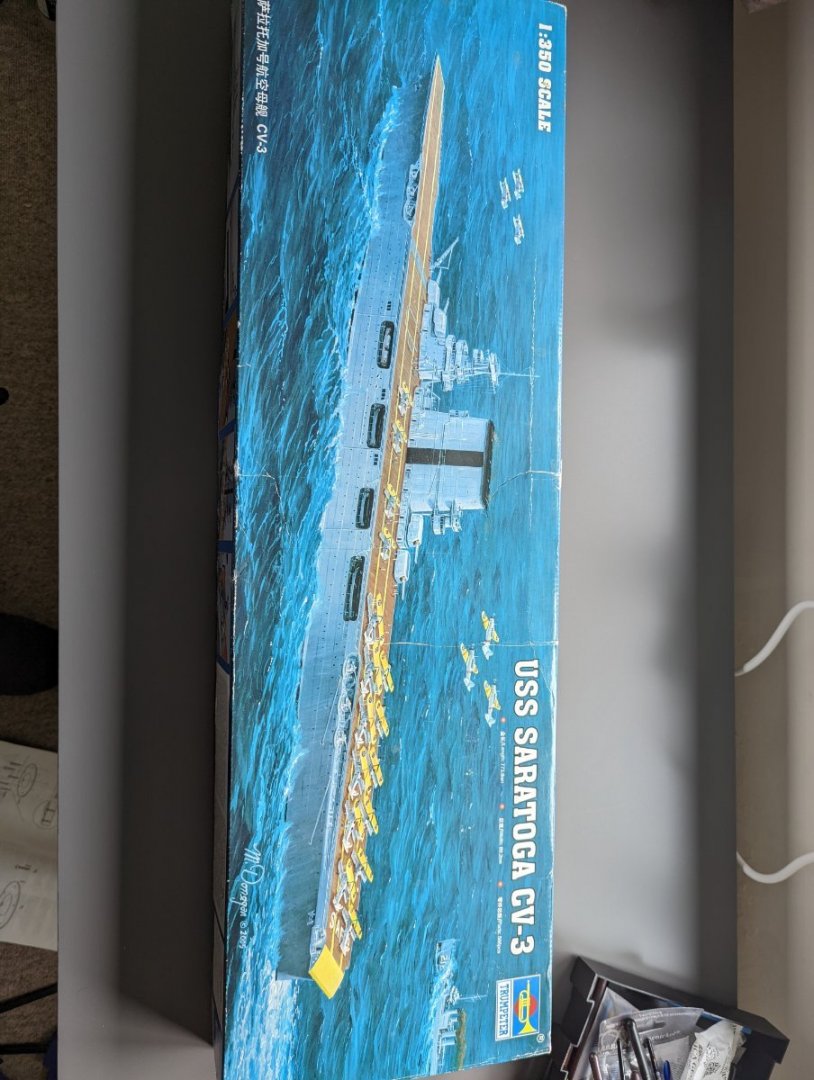
Good Morning, I found this great deal on this kit that came with some PE for less than MSRP so I had to get it. This will be the first build of this size that I have done, and I figured would be a good practice kit to get started with. I've always loved dazzle paint schemes as the idea of it when I first heard of it sounded like it just wouldn't work, but seeing a Challenger 2 in the Berlin Brigade scheme changed my mind. Seeing as a lumping big grey CV looks somewhat dull to me I am challenging myself to get a dazzle camouflage looking like it has seen long tour at sea before trying some other kits. Sadly the kit has suffered some damage, so far only to the main hull body itself, but looks repairable. Given the price of the kit plus extra's however I'm certainly not complaining. Below is the slight damage to the kit that I've seen so far. The aim for the weekend is to get the hull fixed and attached, drill the portholes and place mounting lugs into the base. Kind Regards, Ryan

- 36 replies
-
- 12
-