MORE HANDBOOKS ARE ON THEIR WAY! We will let you know when they get here.
×


Dave Wood
-
Posts
93 -
Joined
-
Last visited
Content Type
Profiles
Forums
Gallery
Events
Everything posted by Dave Wood
-
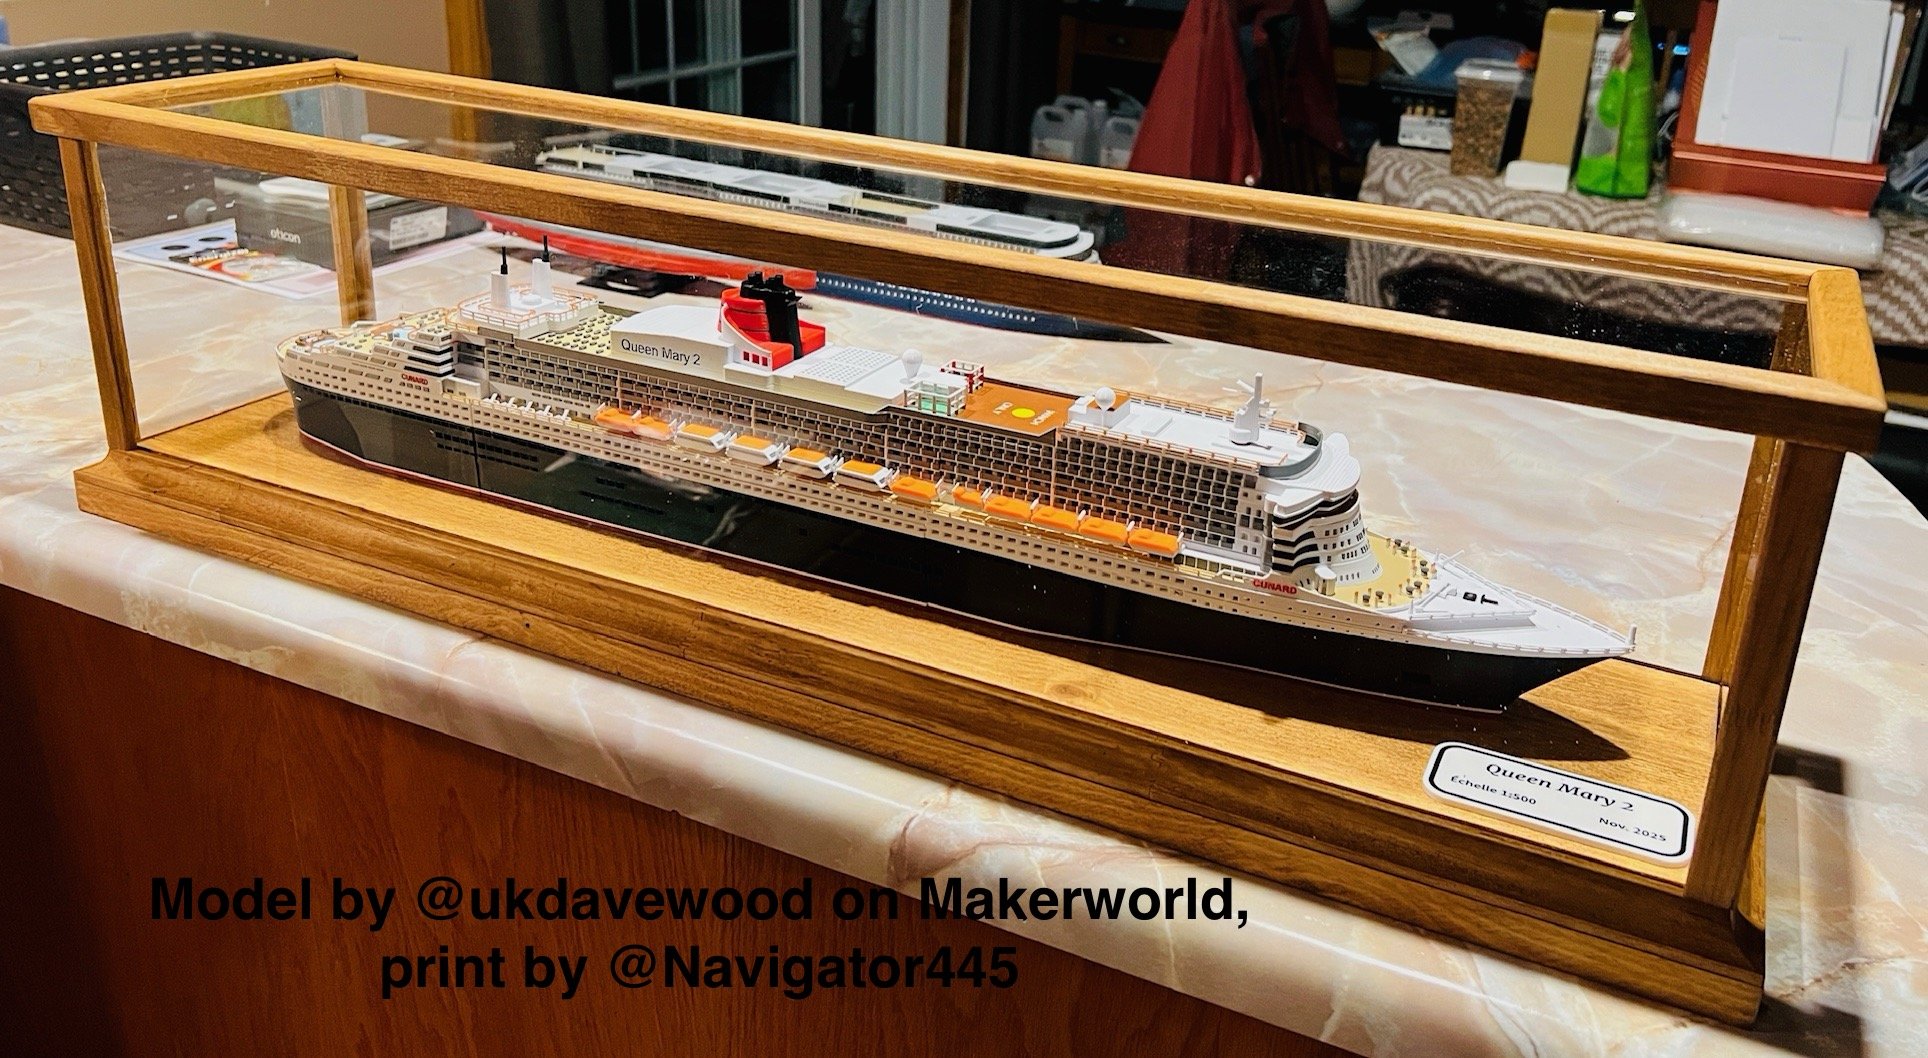
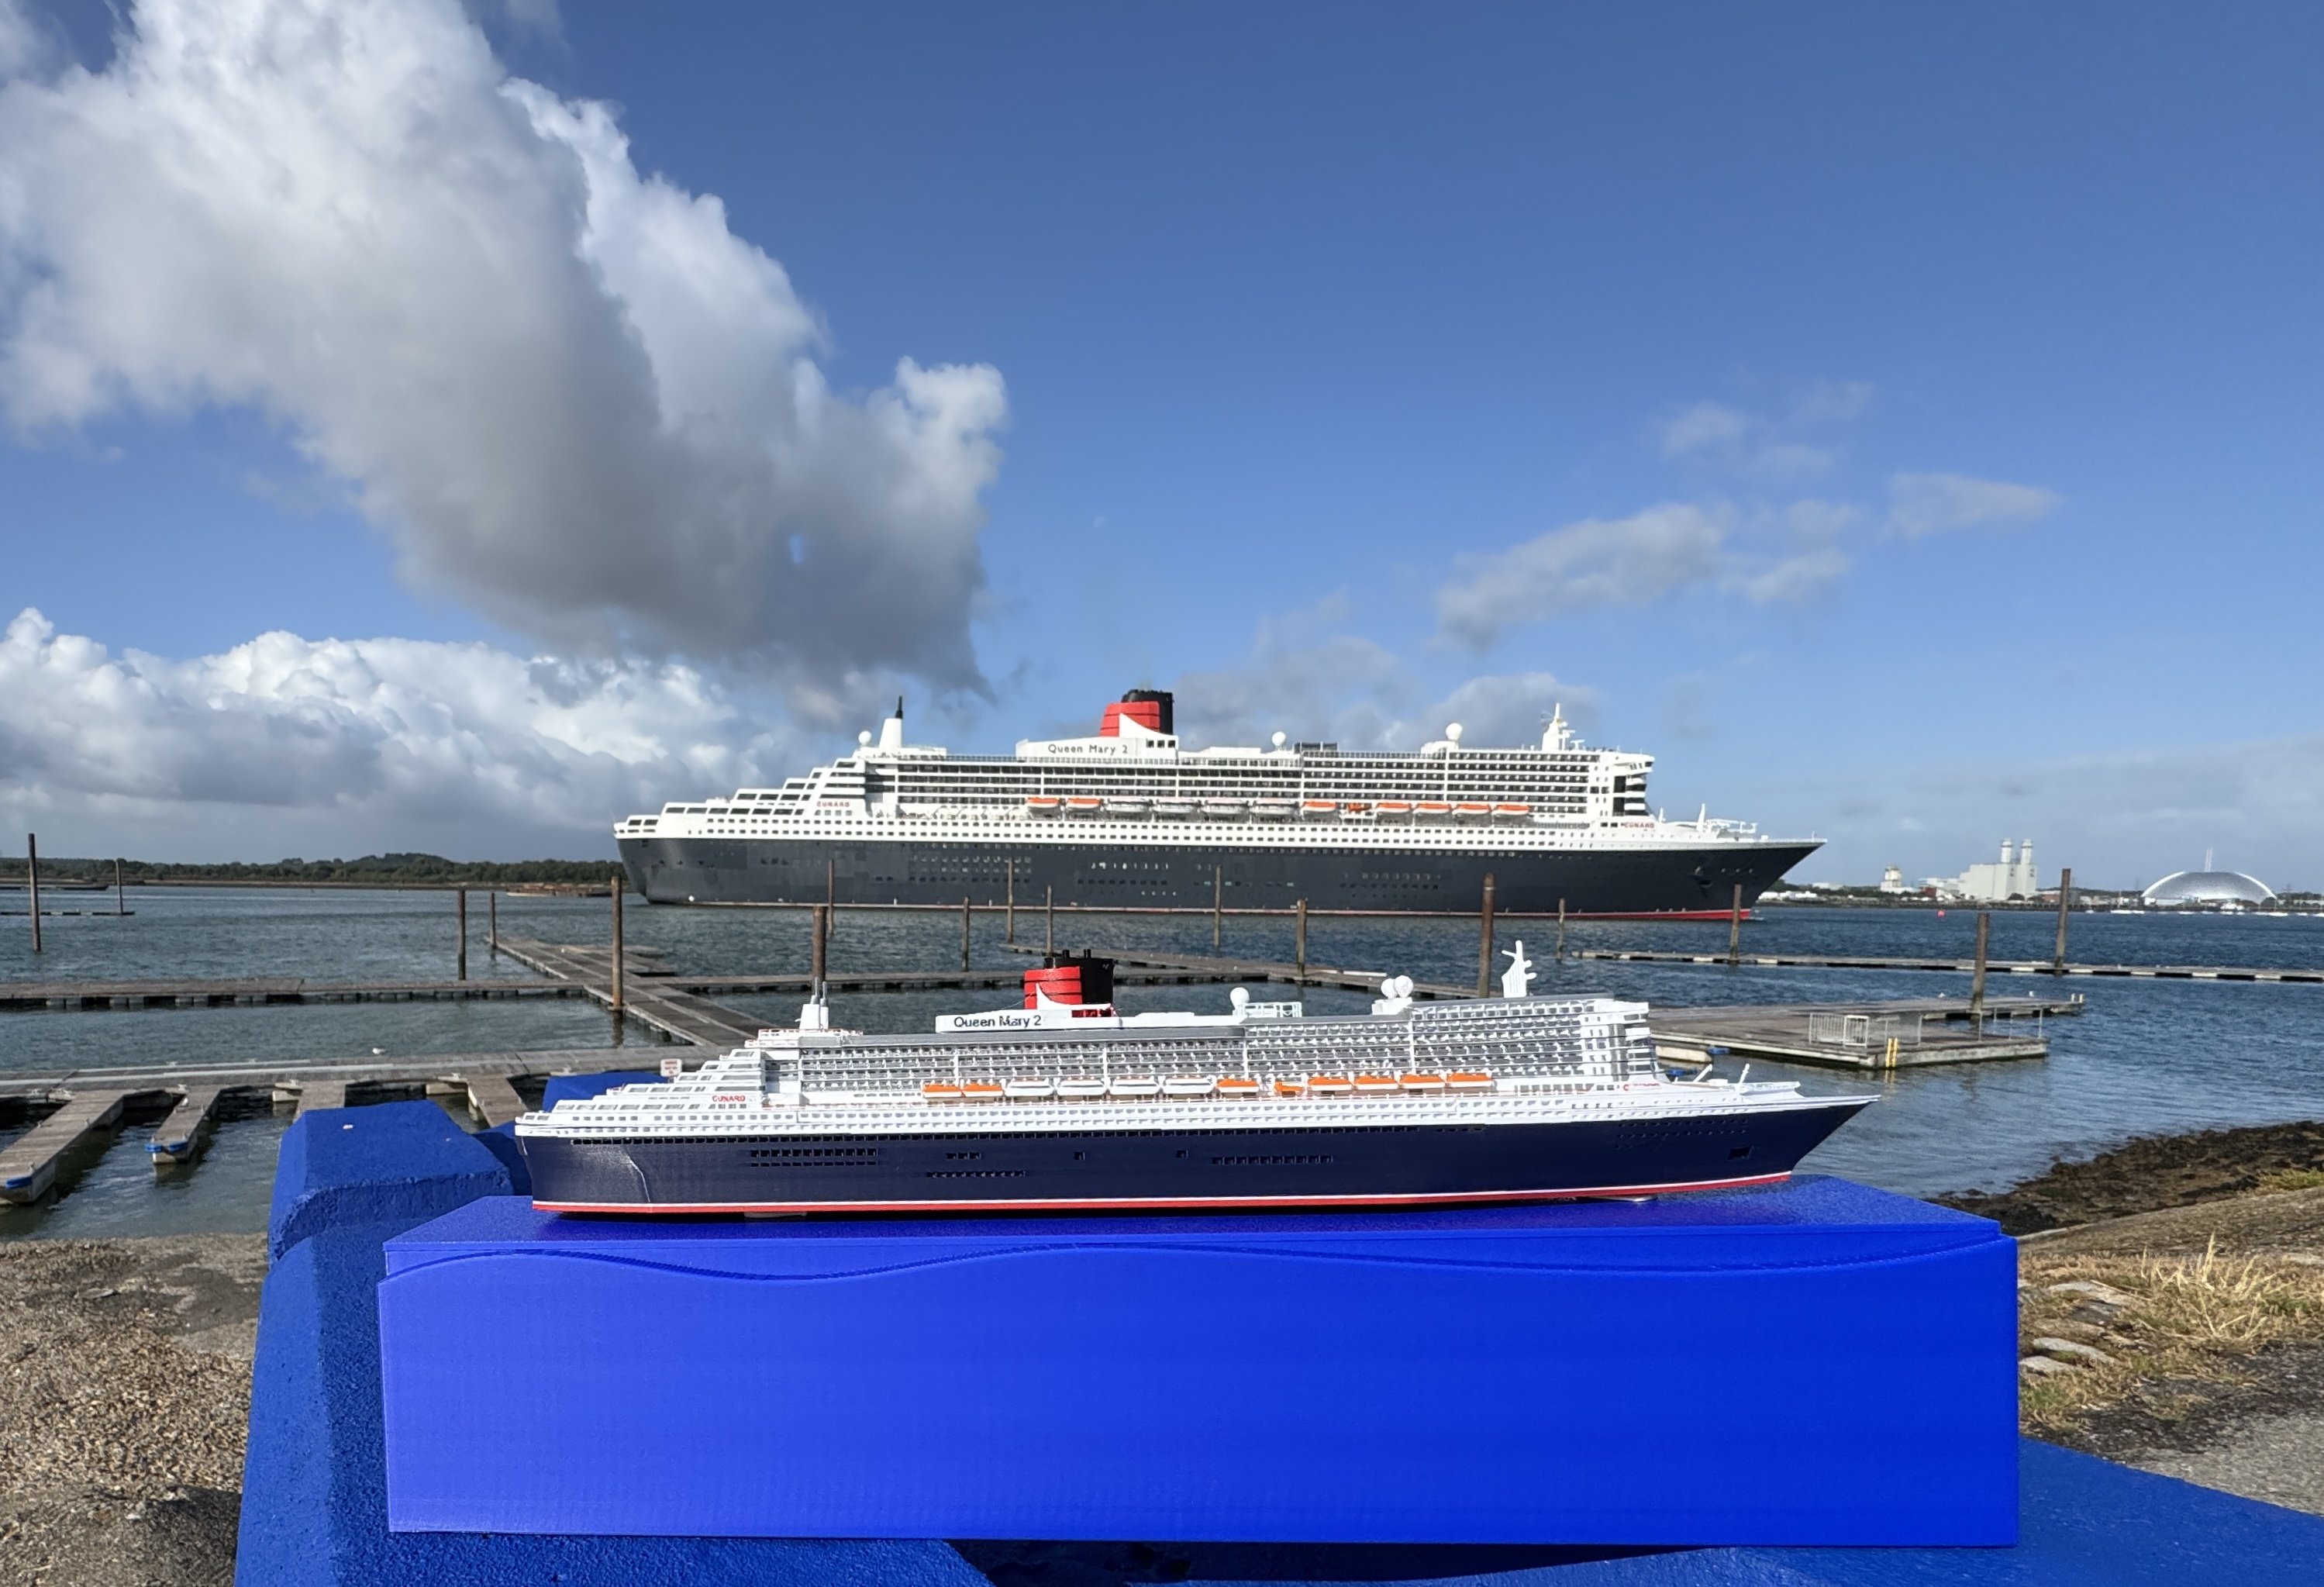
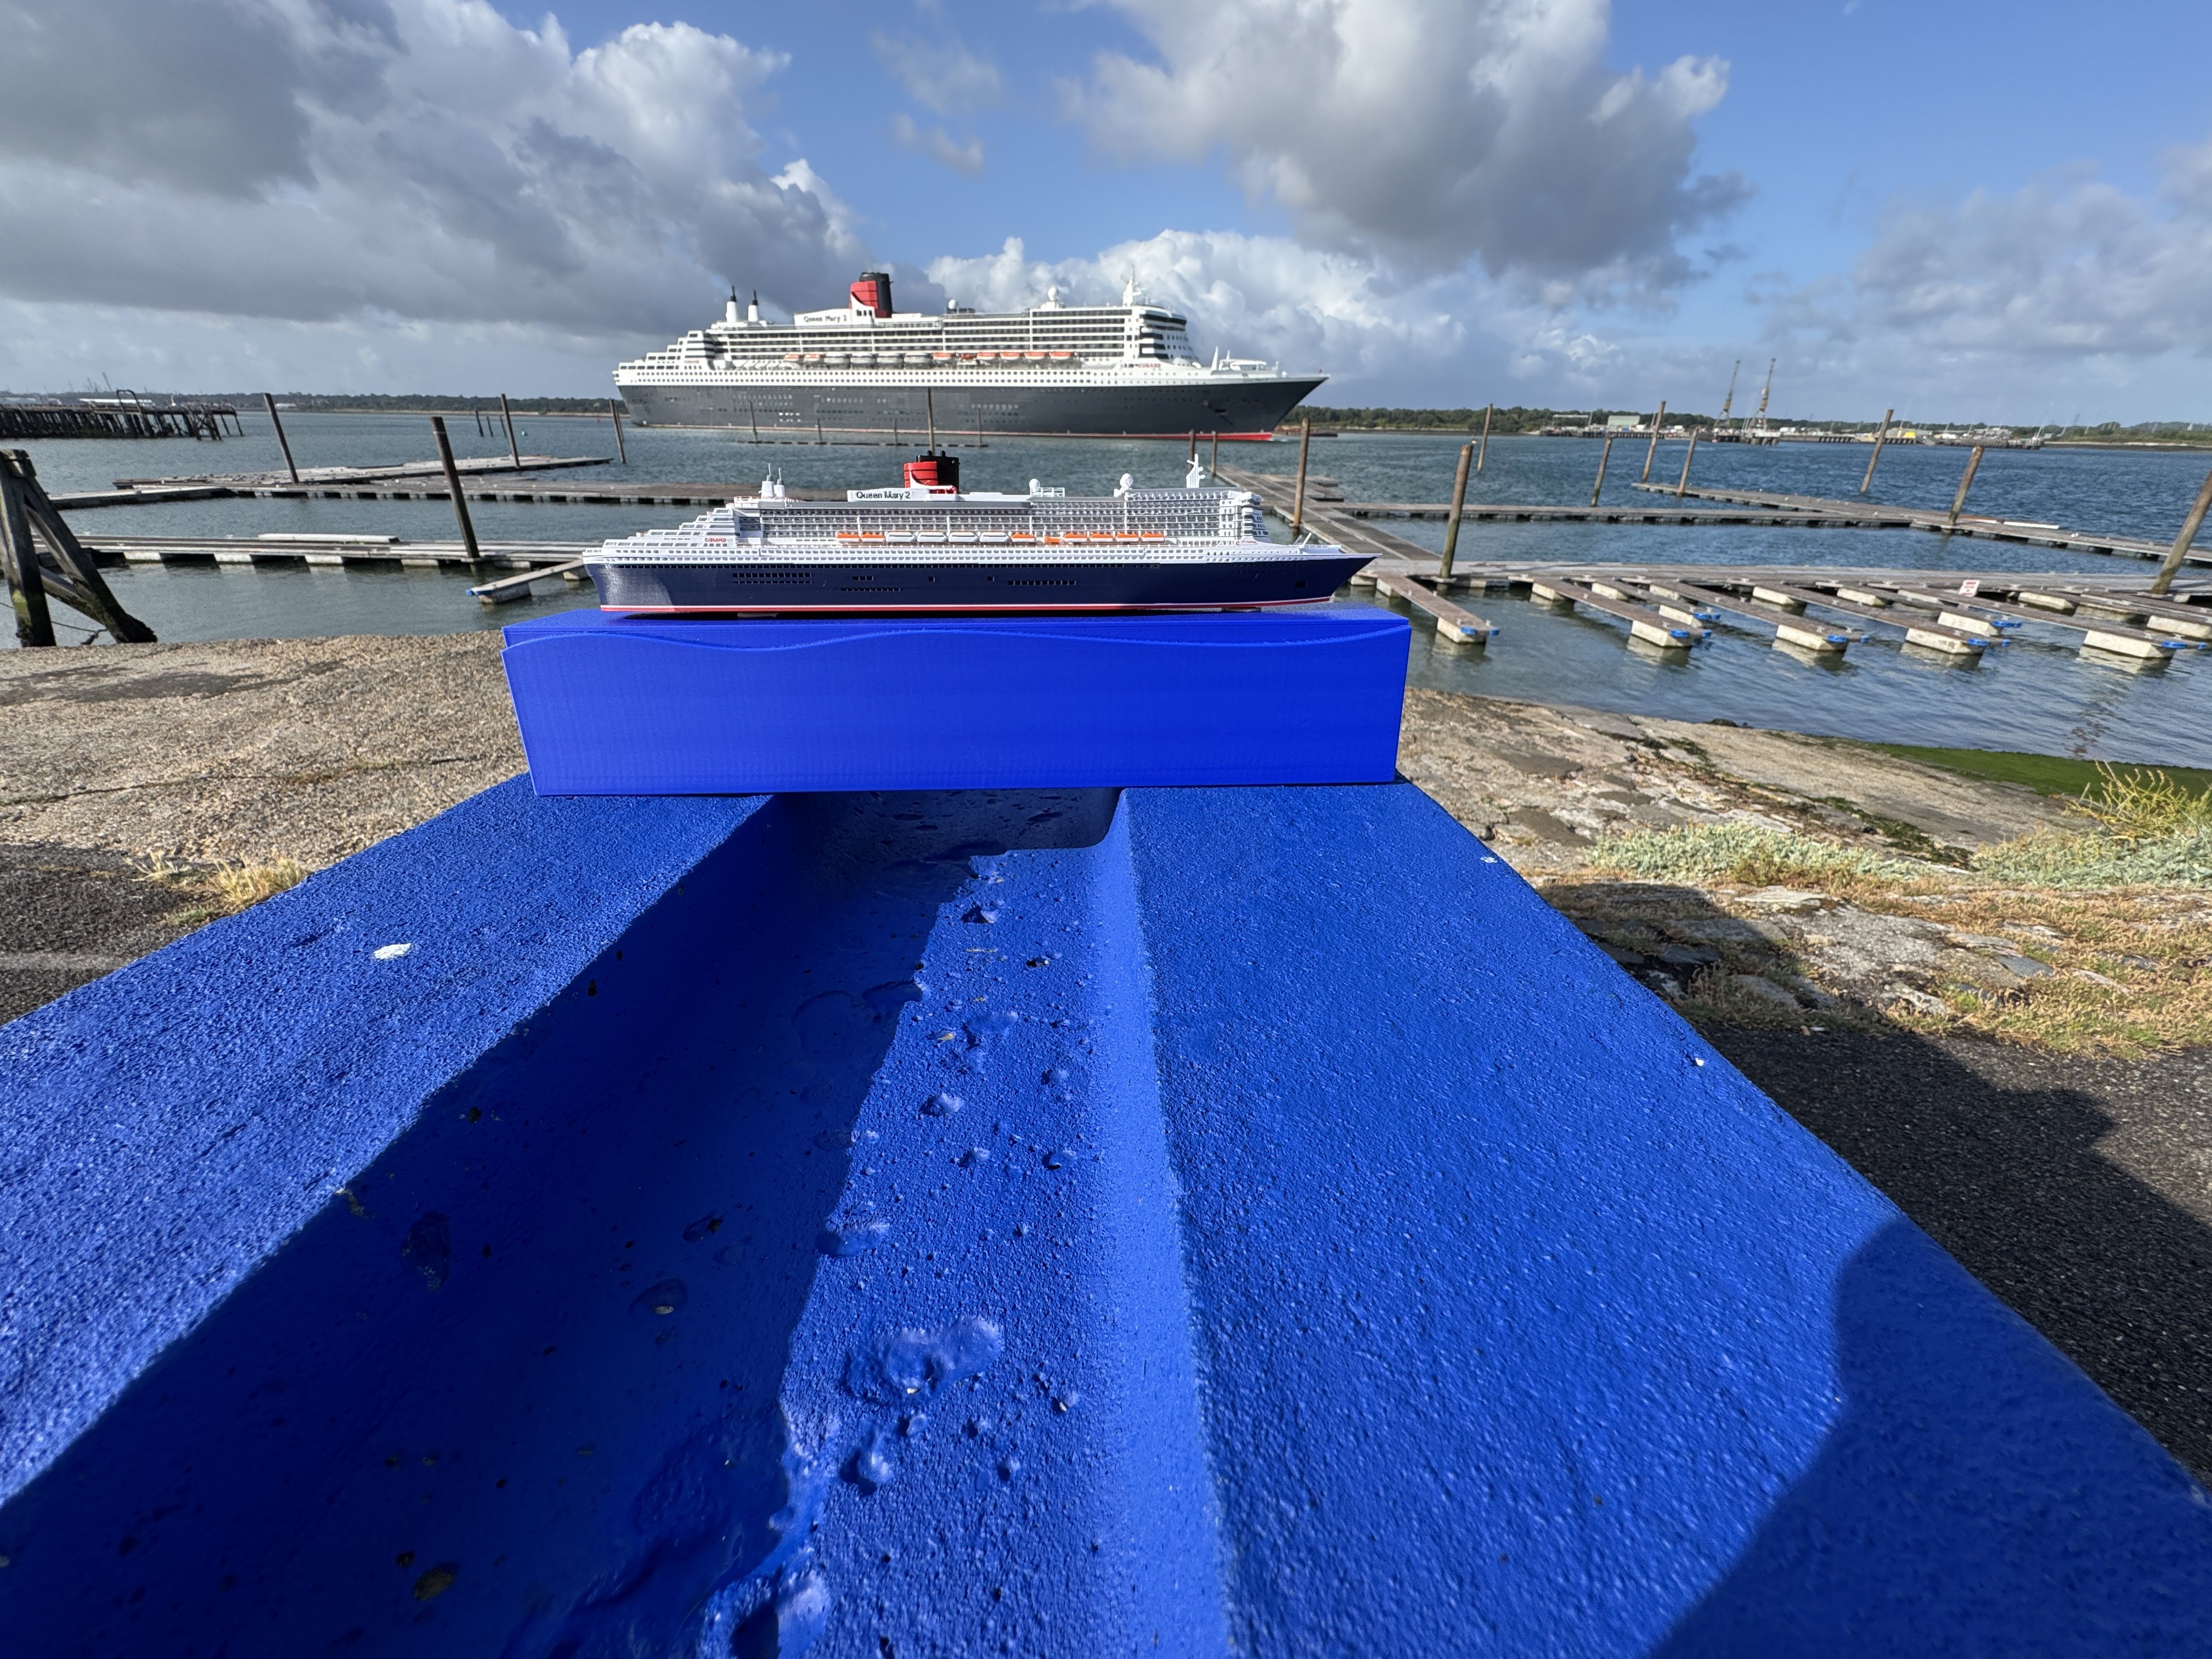
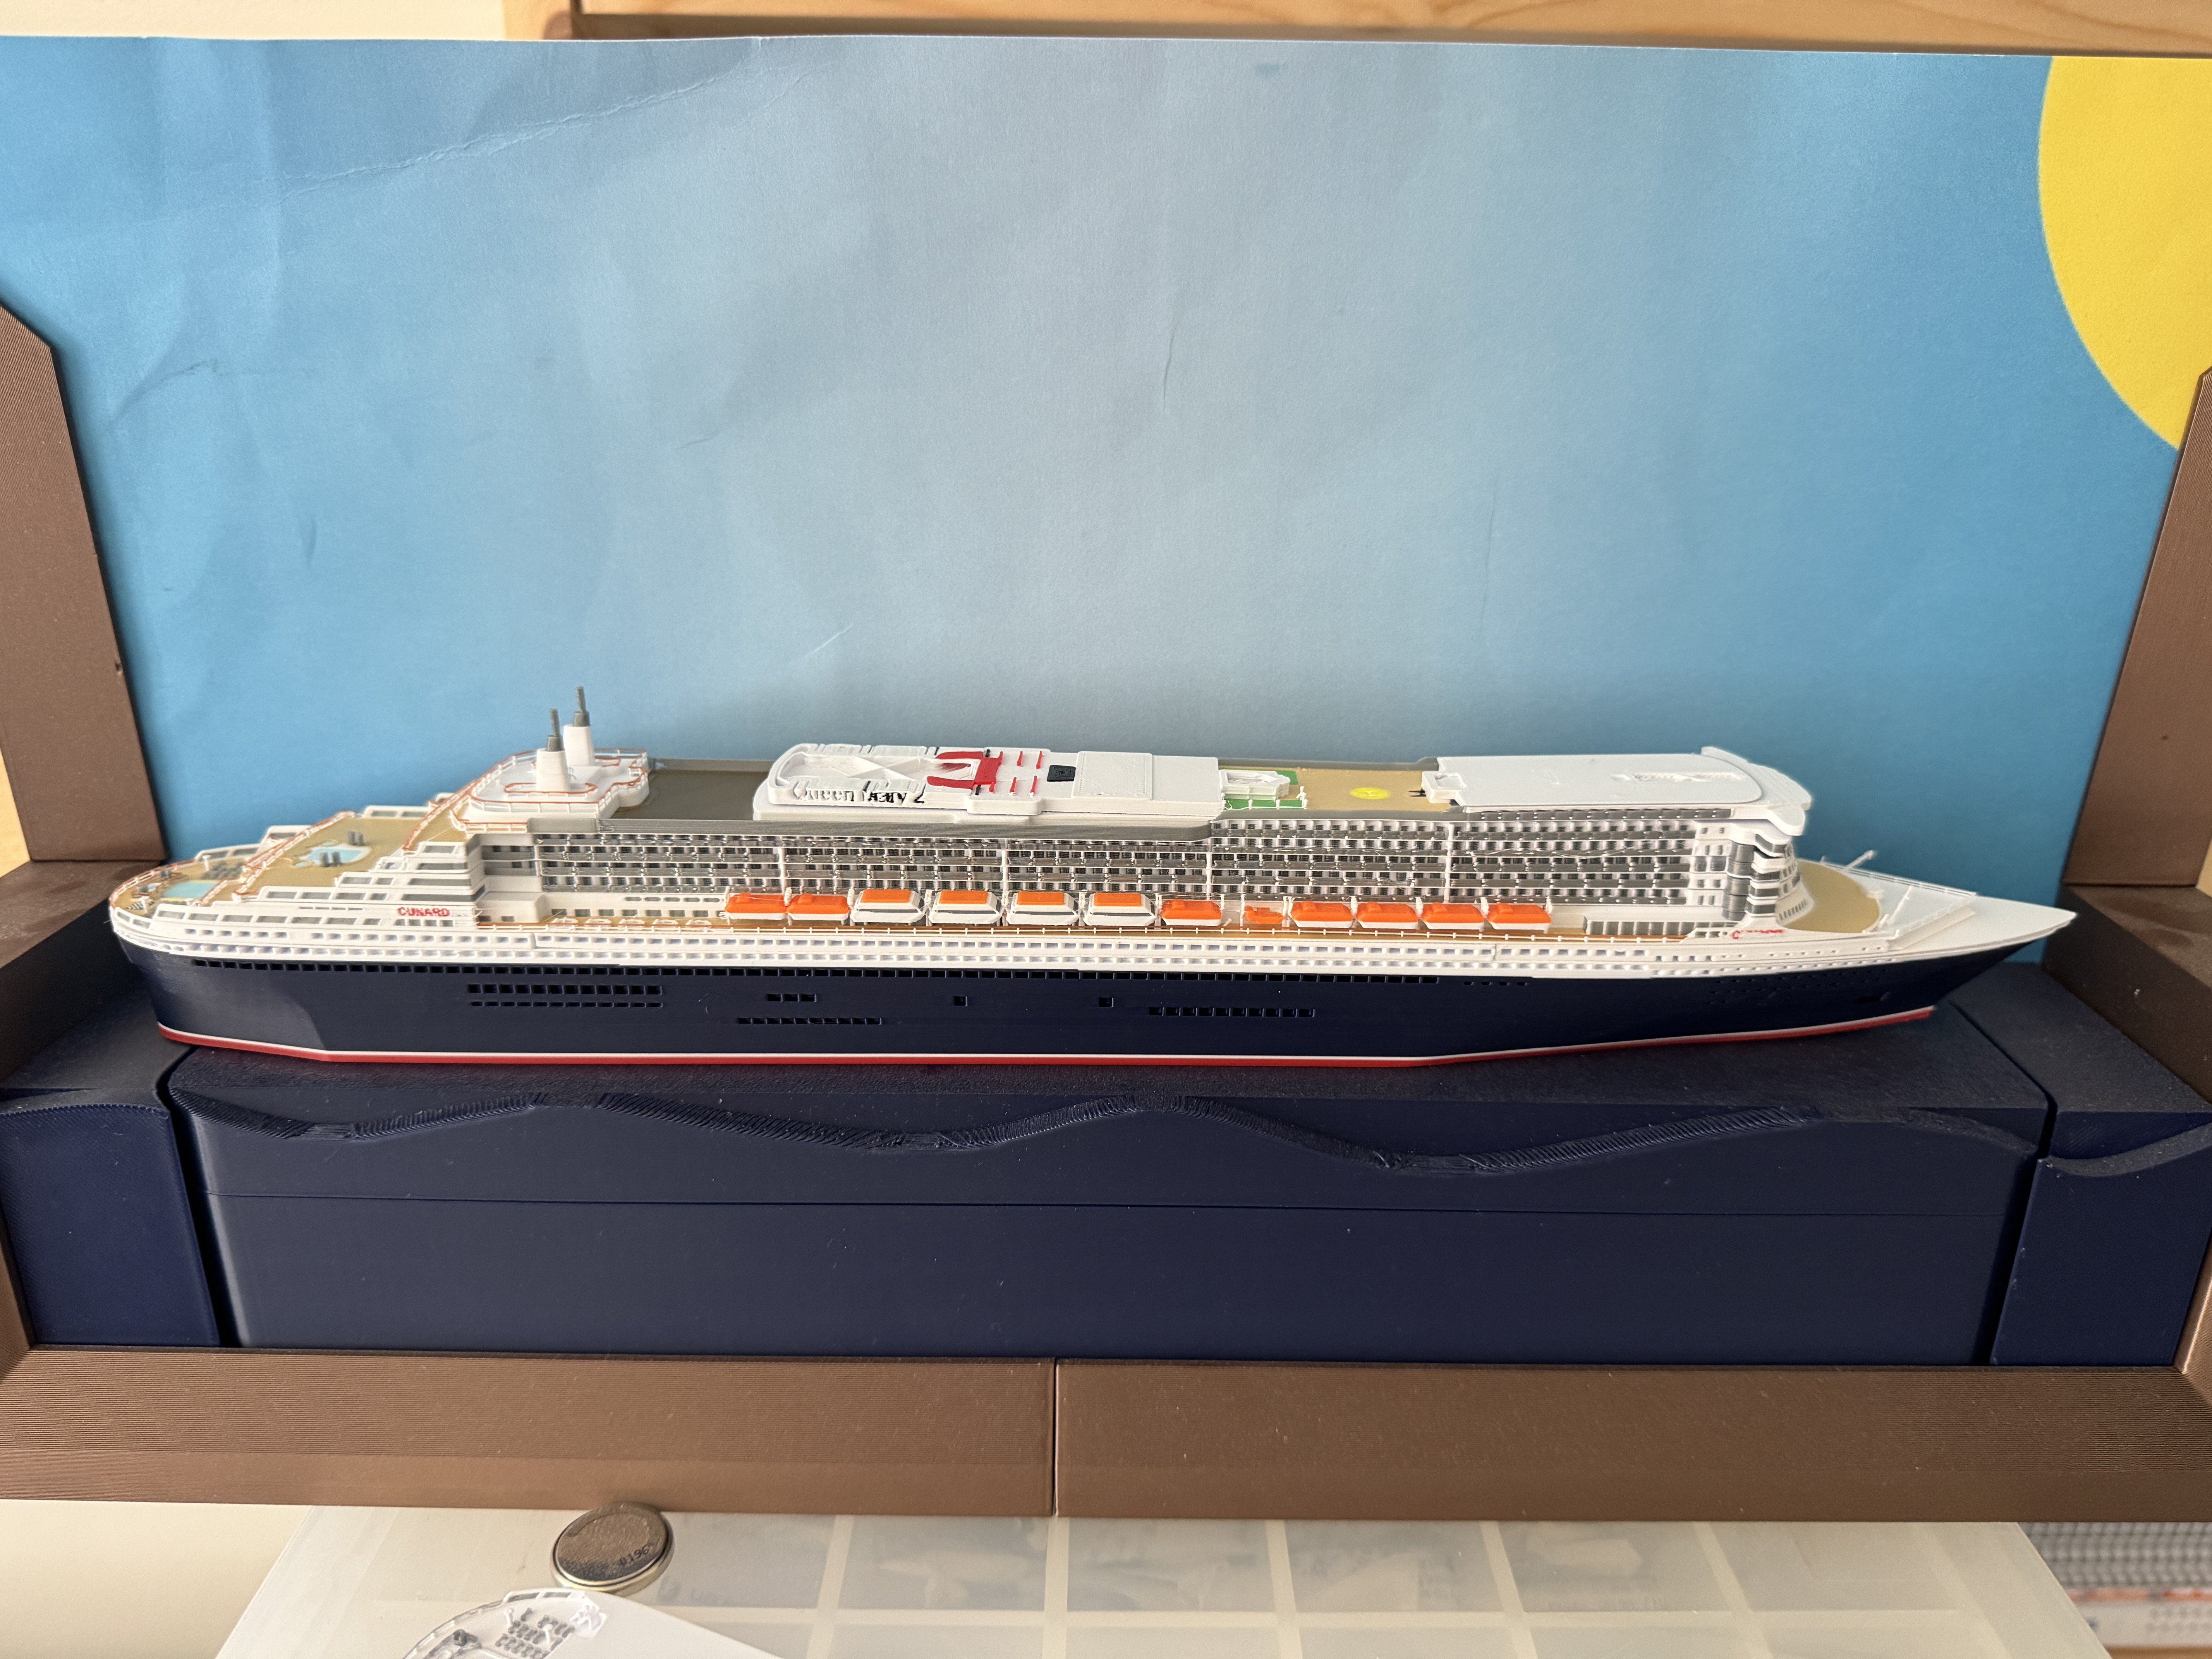
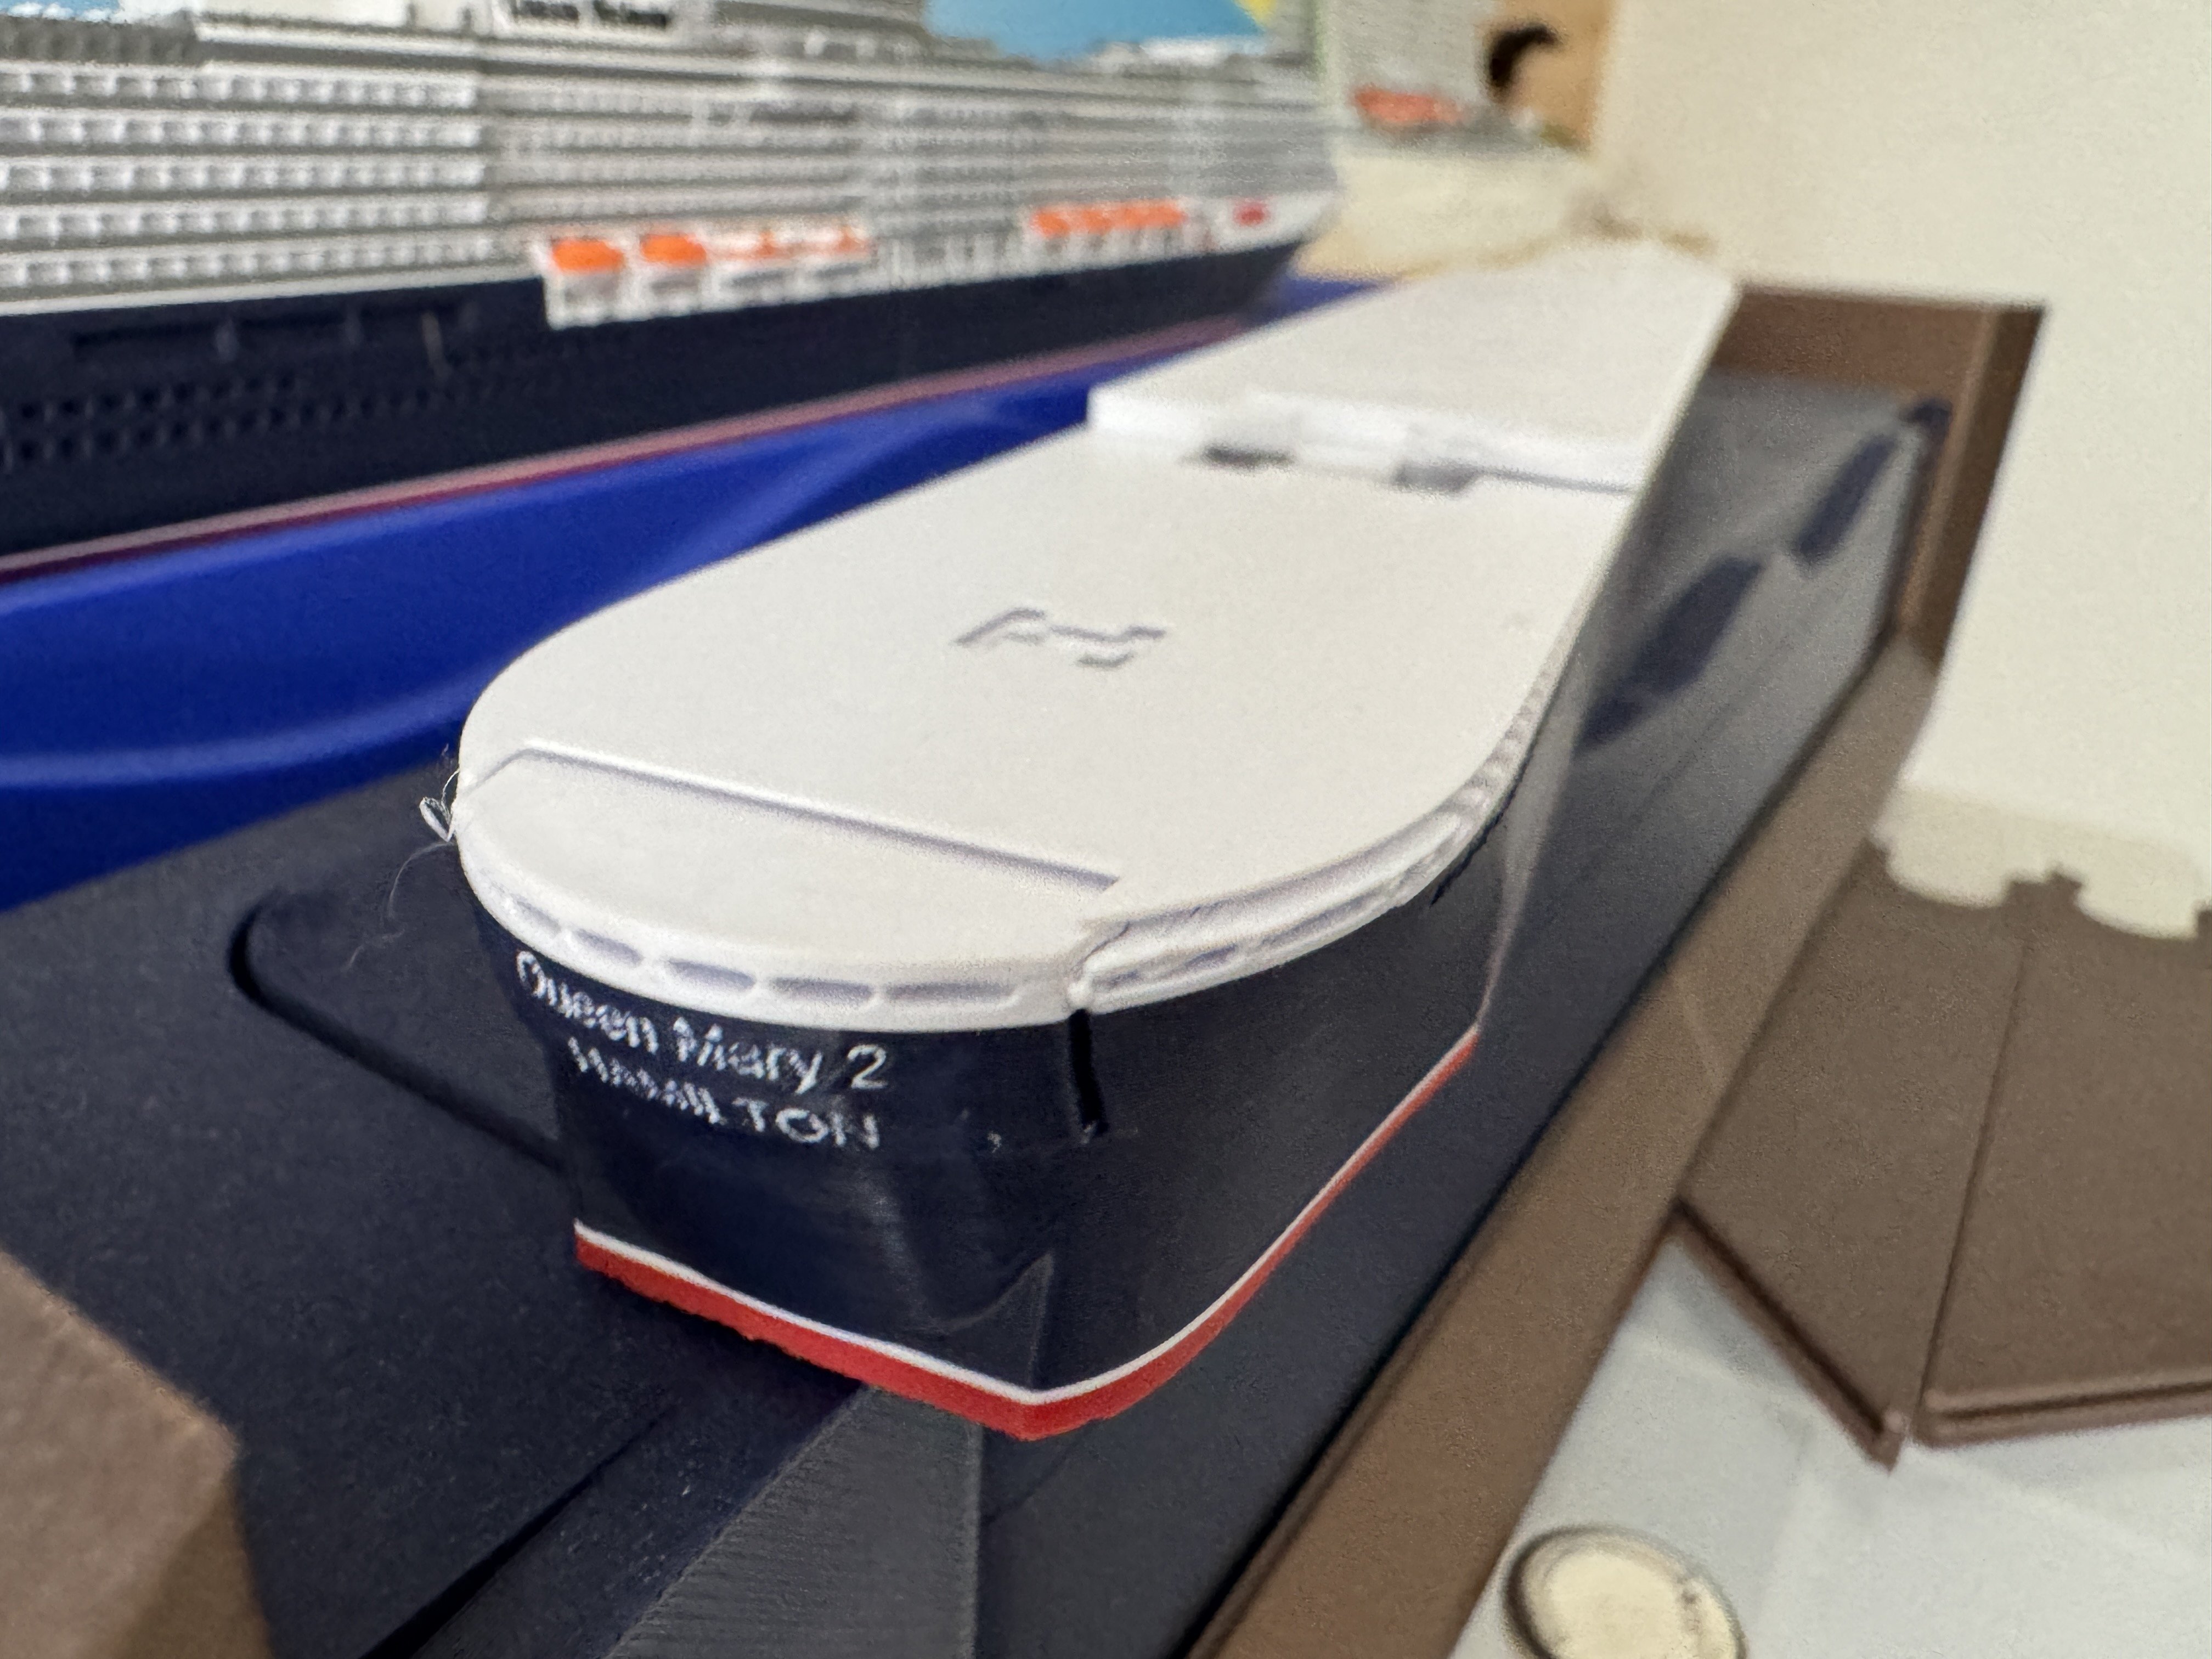
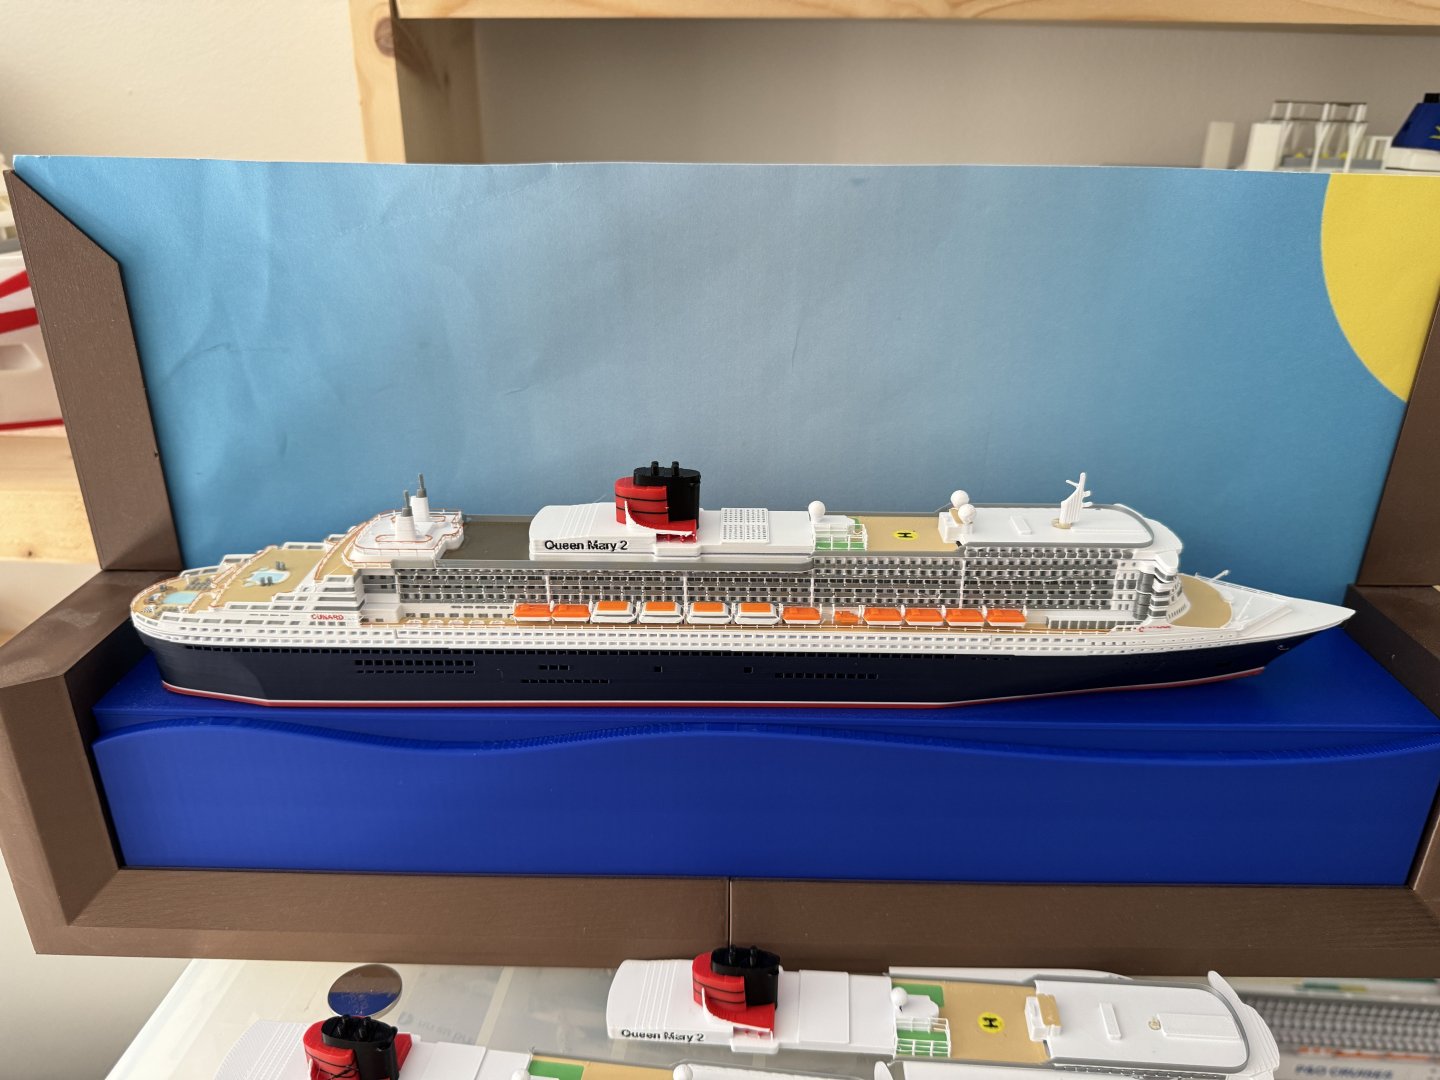
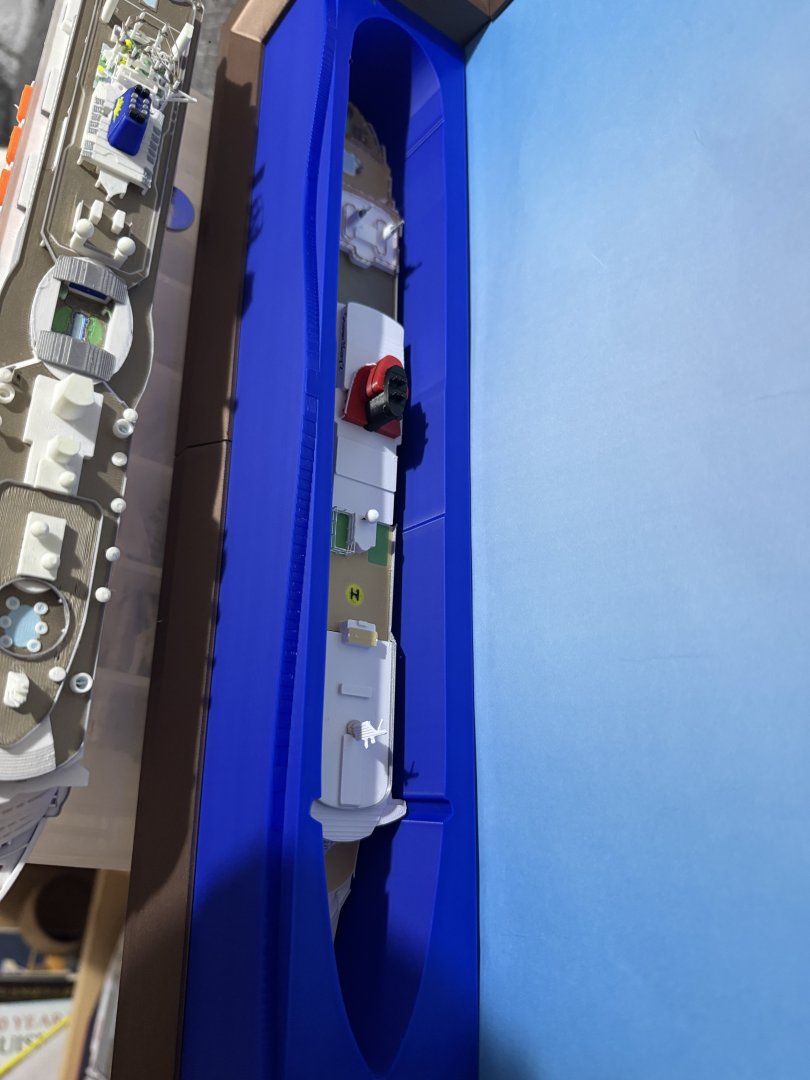
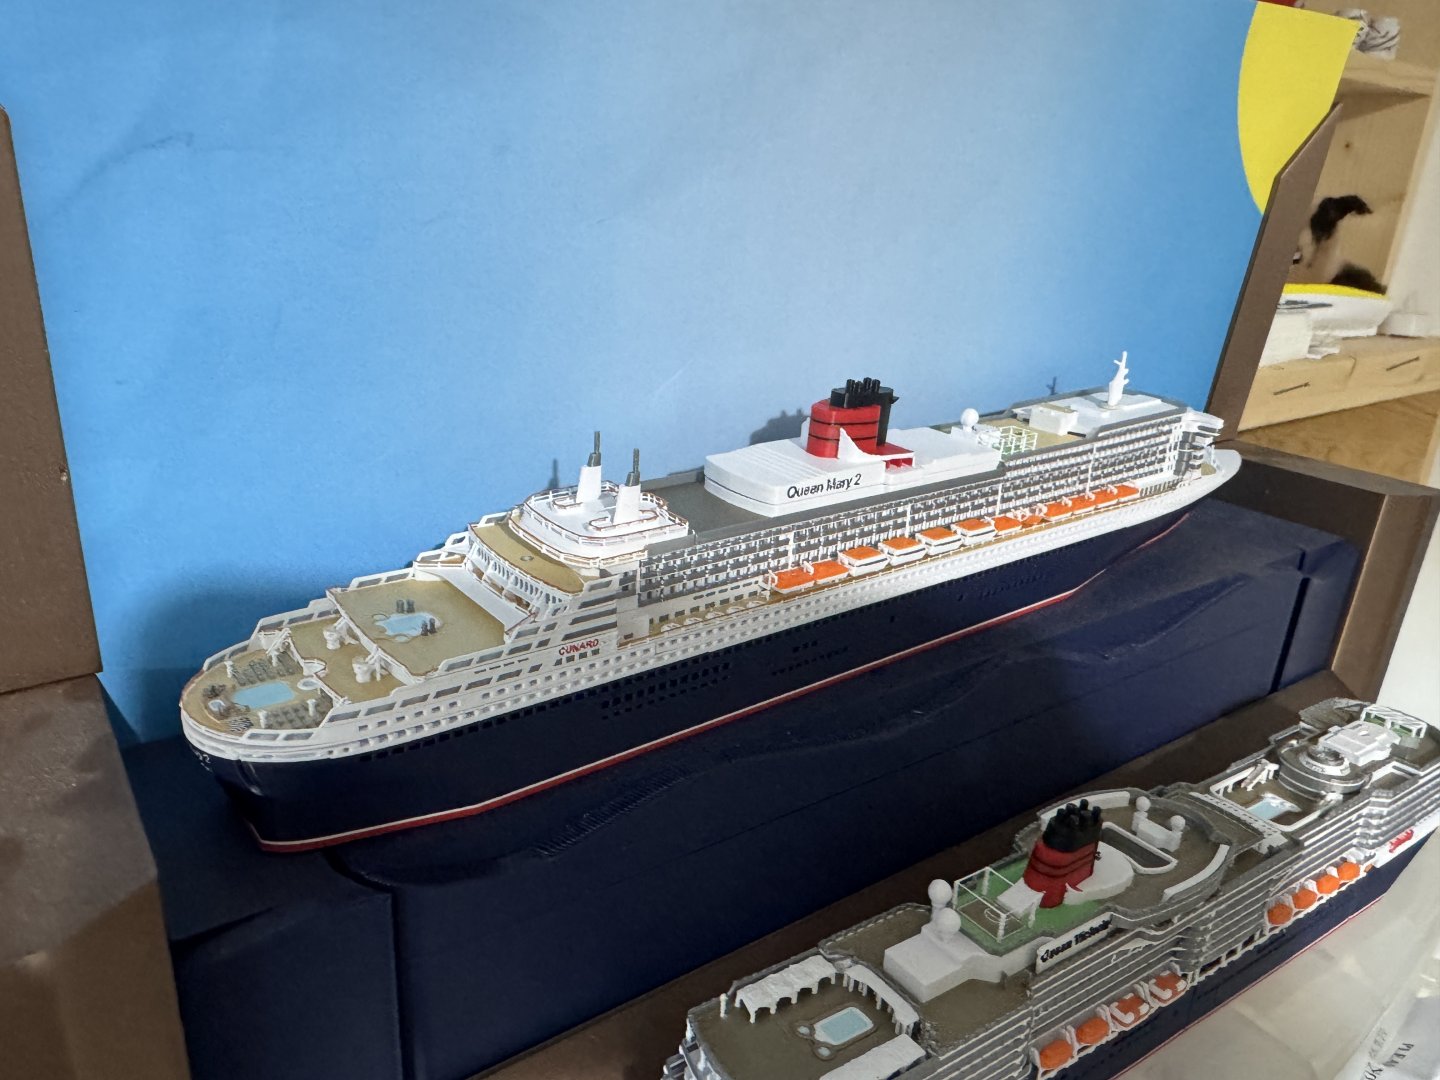
One of the people who downloaded my model from Makerworld has put it in a nice case - I thought it was a real display model for a minute..

- 34 replies
-
- 2
-

-
- Queen Mary 2
- 3d printed
- (and 1 more)
-
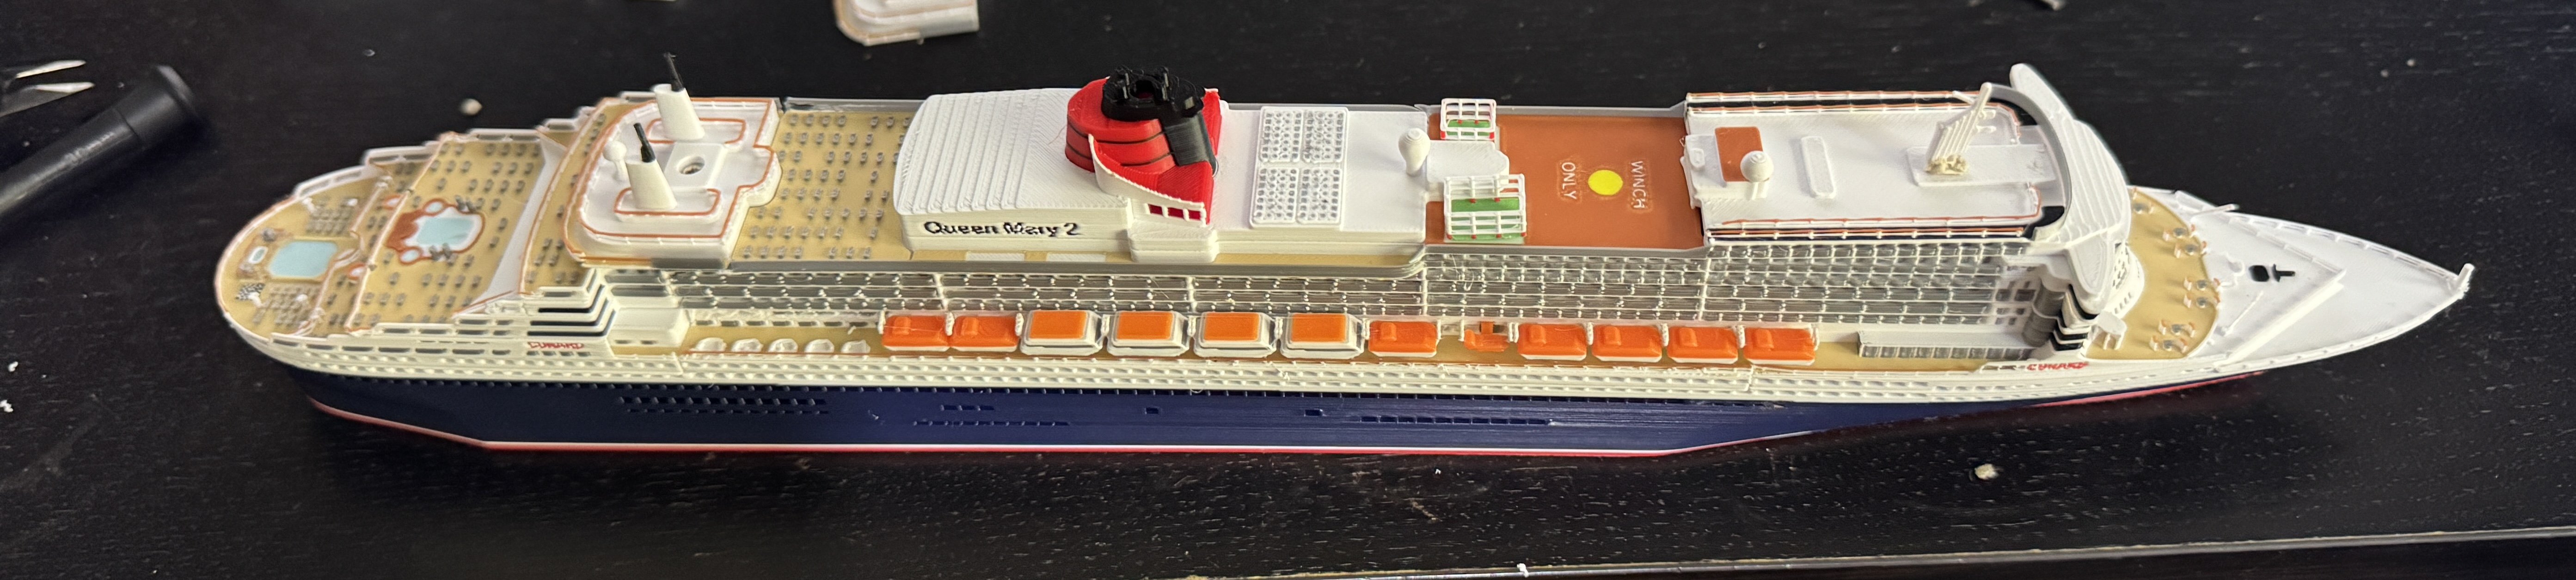
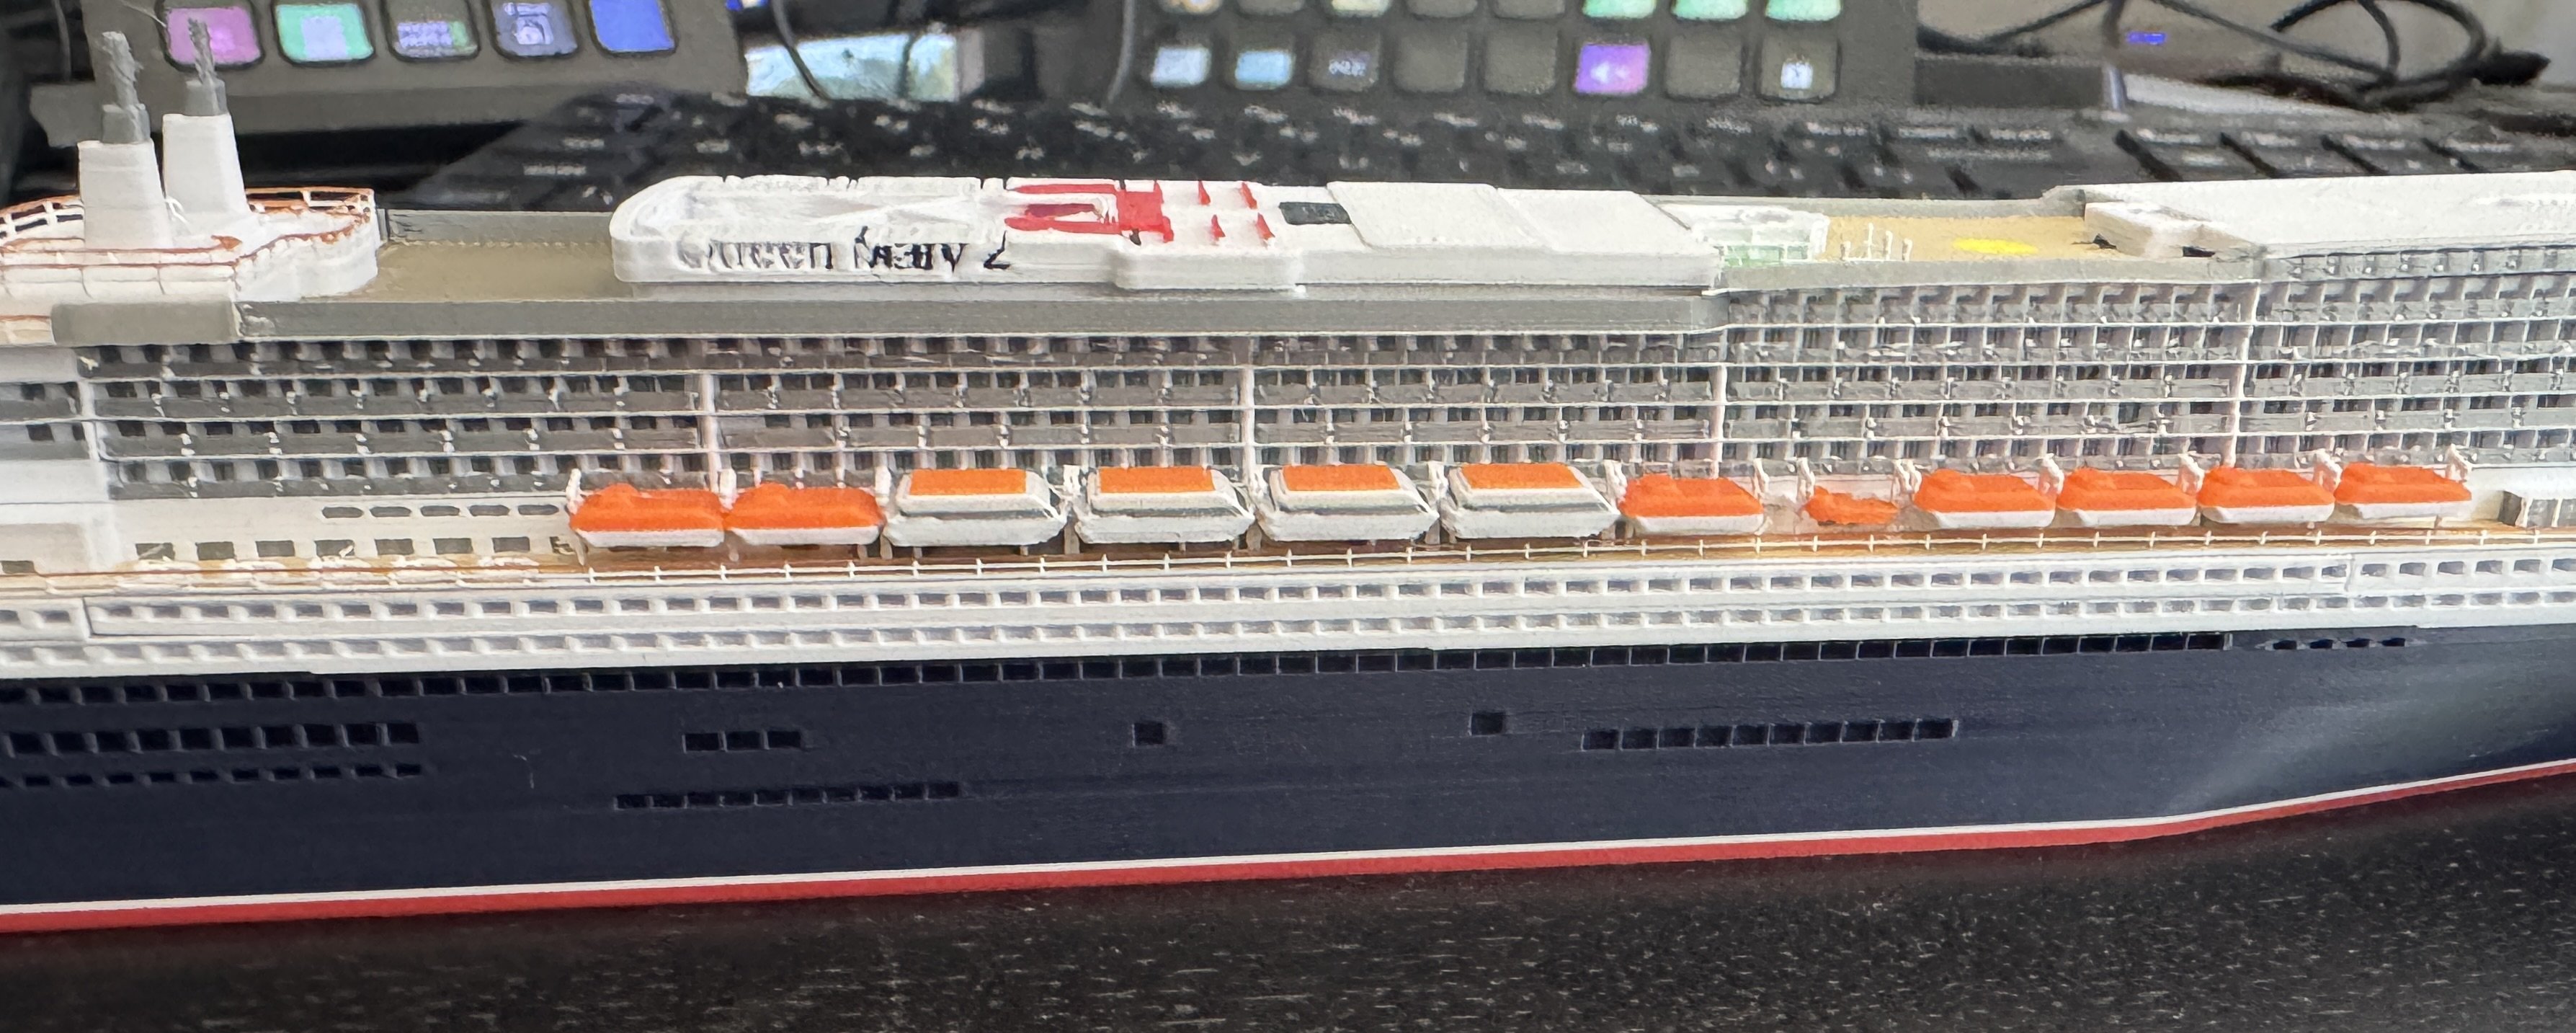
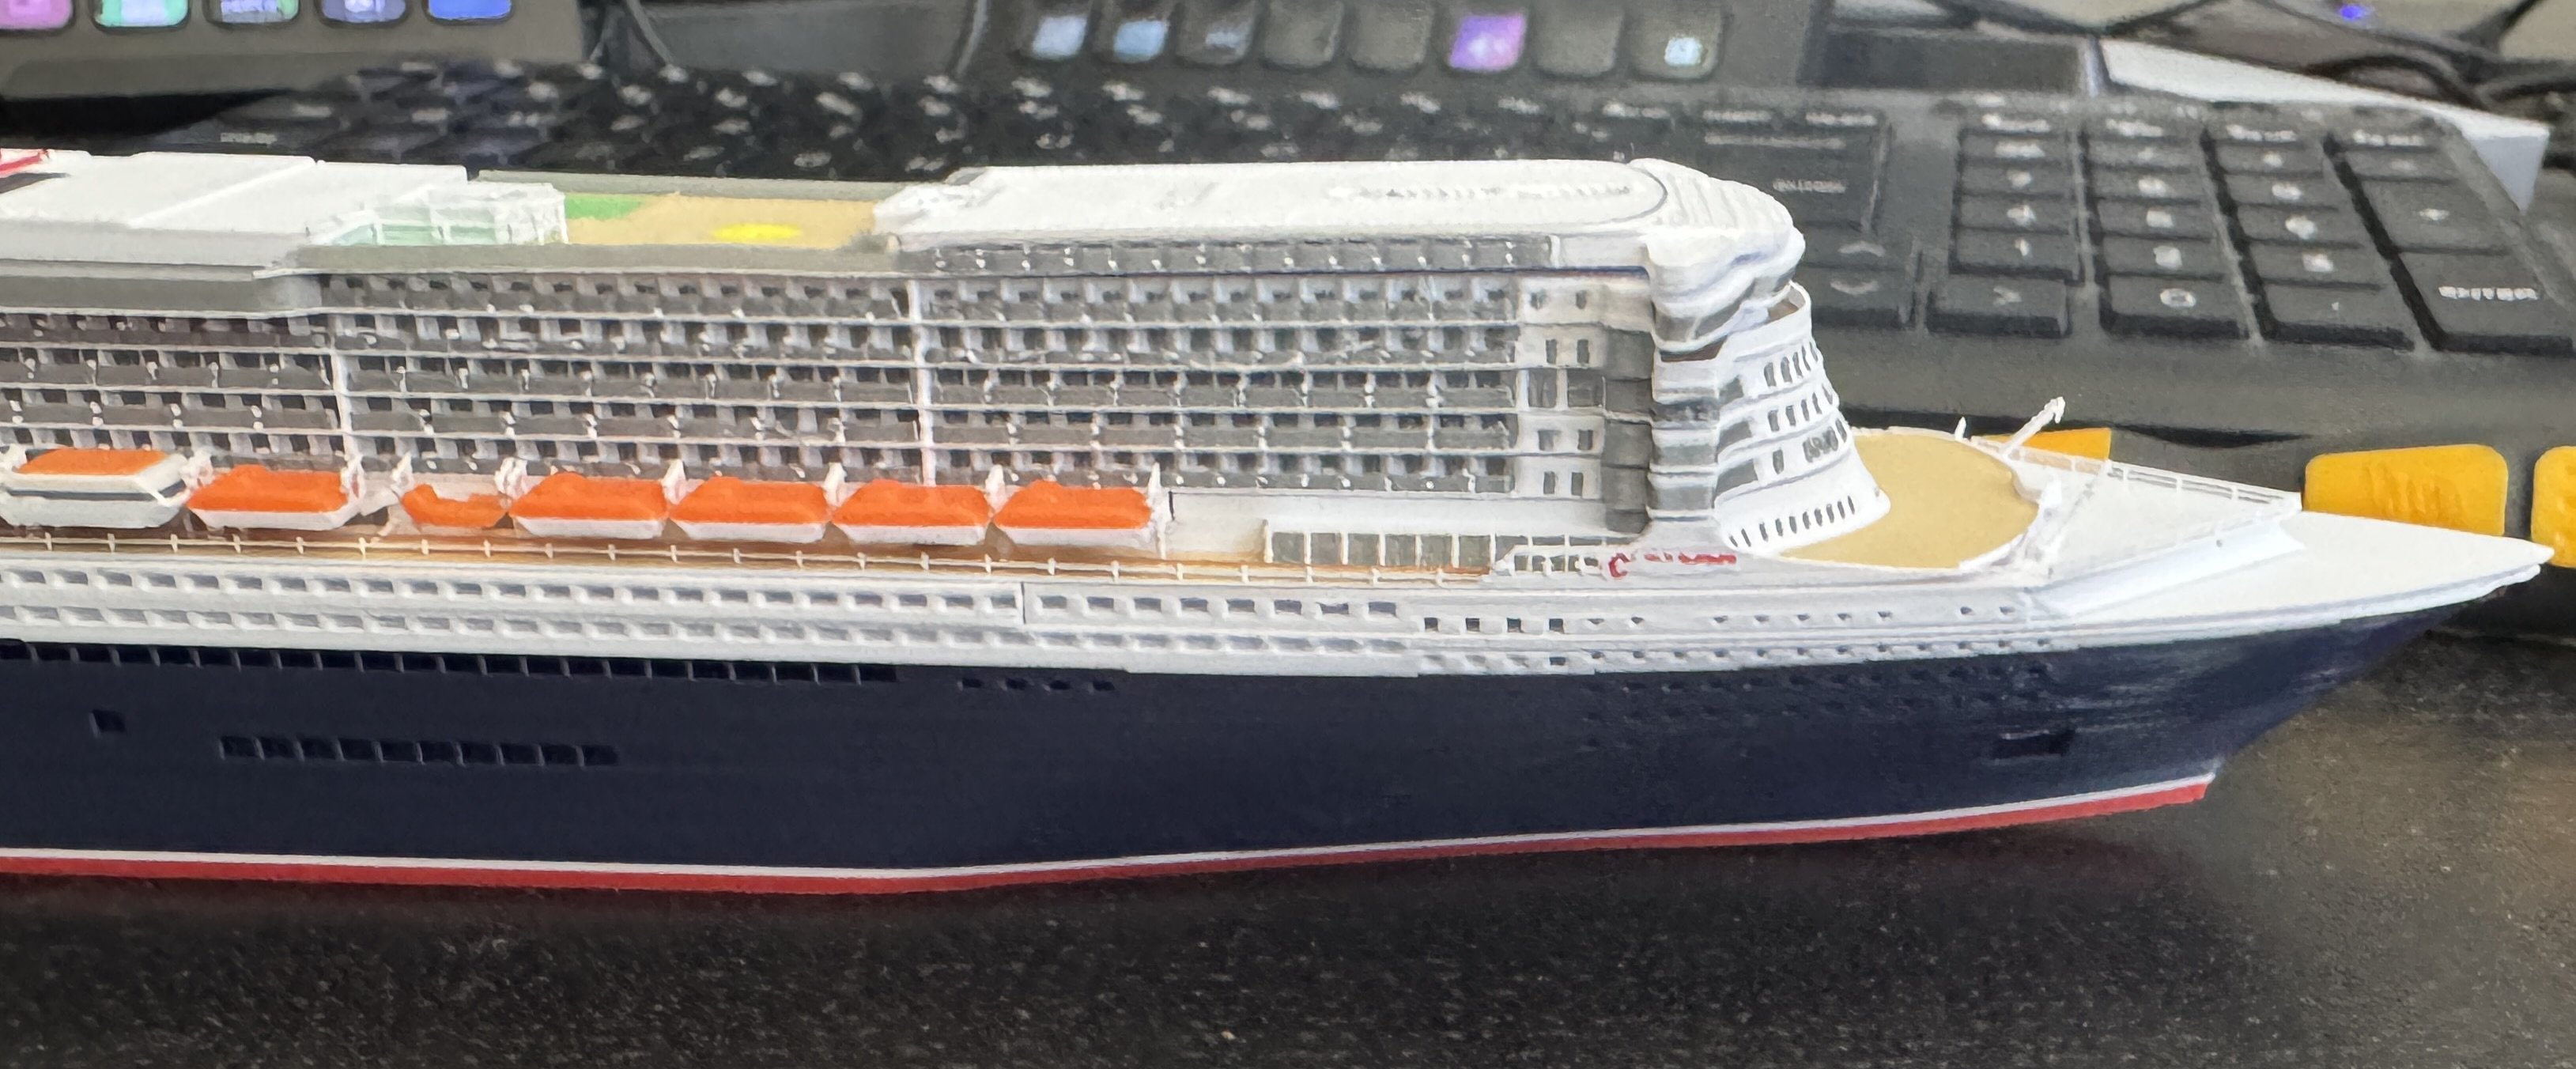
Model finished - and published on Makerworld Link in video description
- 34 replies
-
- 2
-
-
- Queen Mary 2
- 3d printed
- (and 1 more)
-
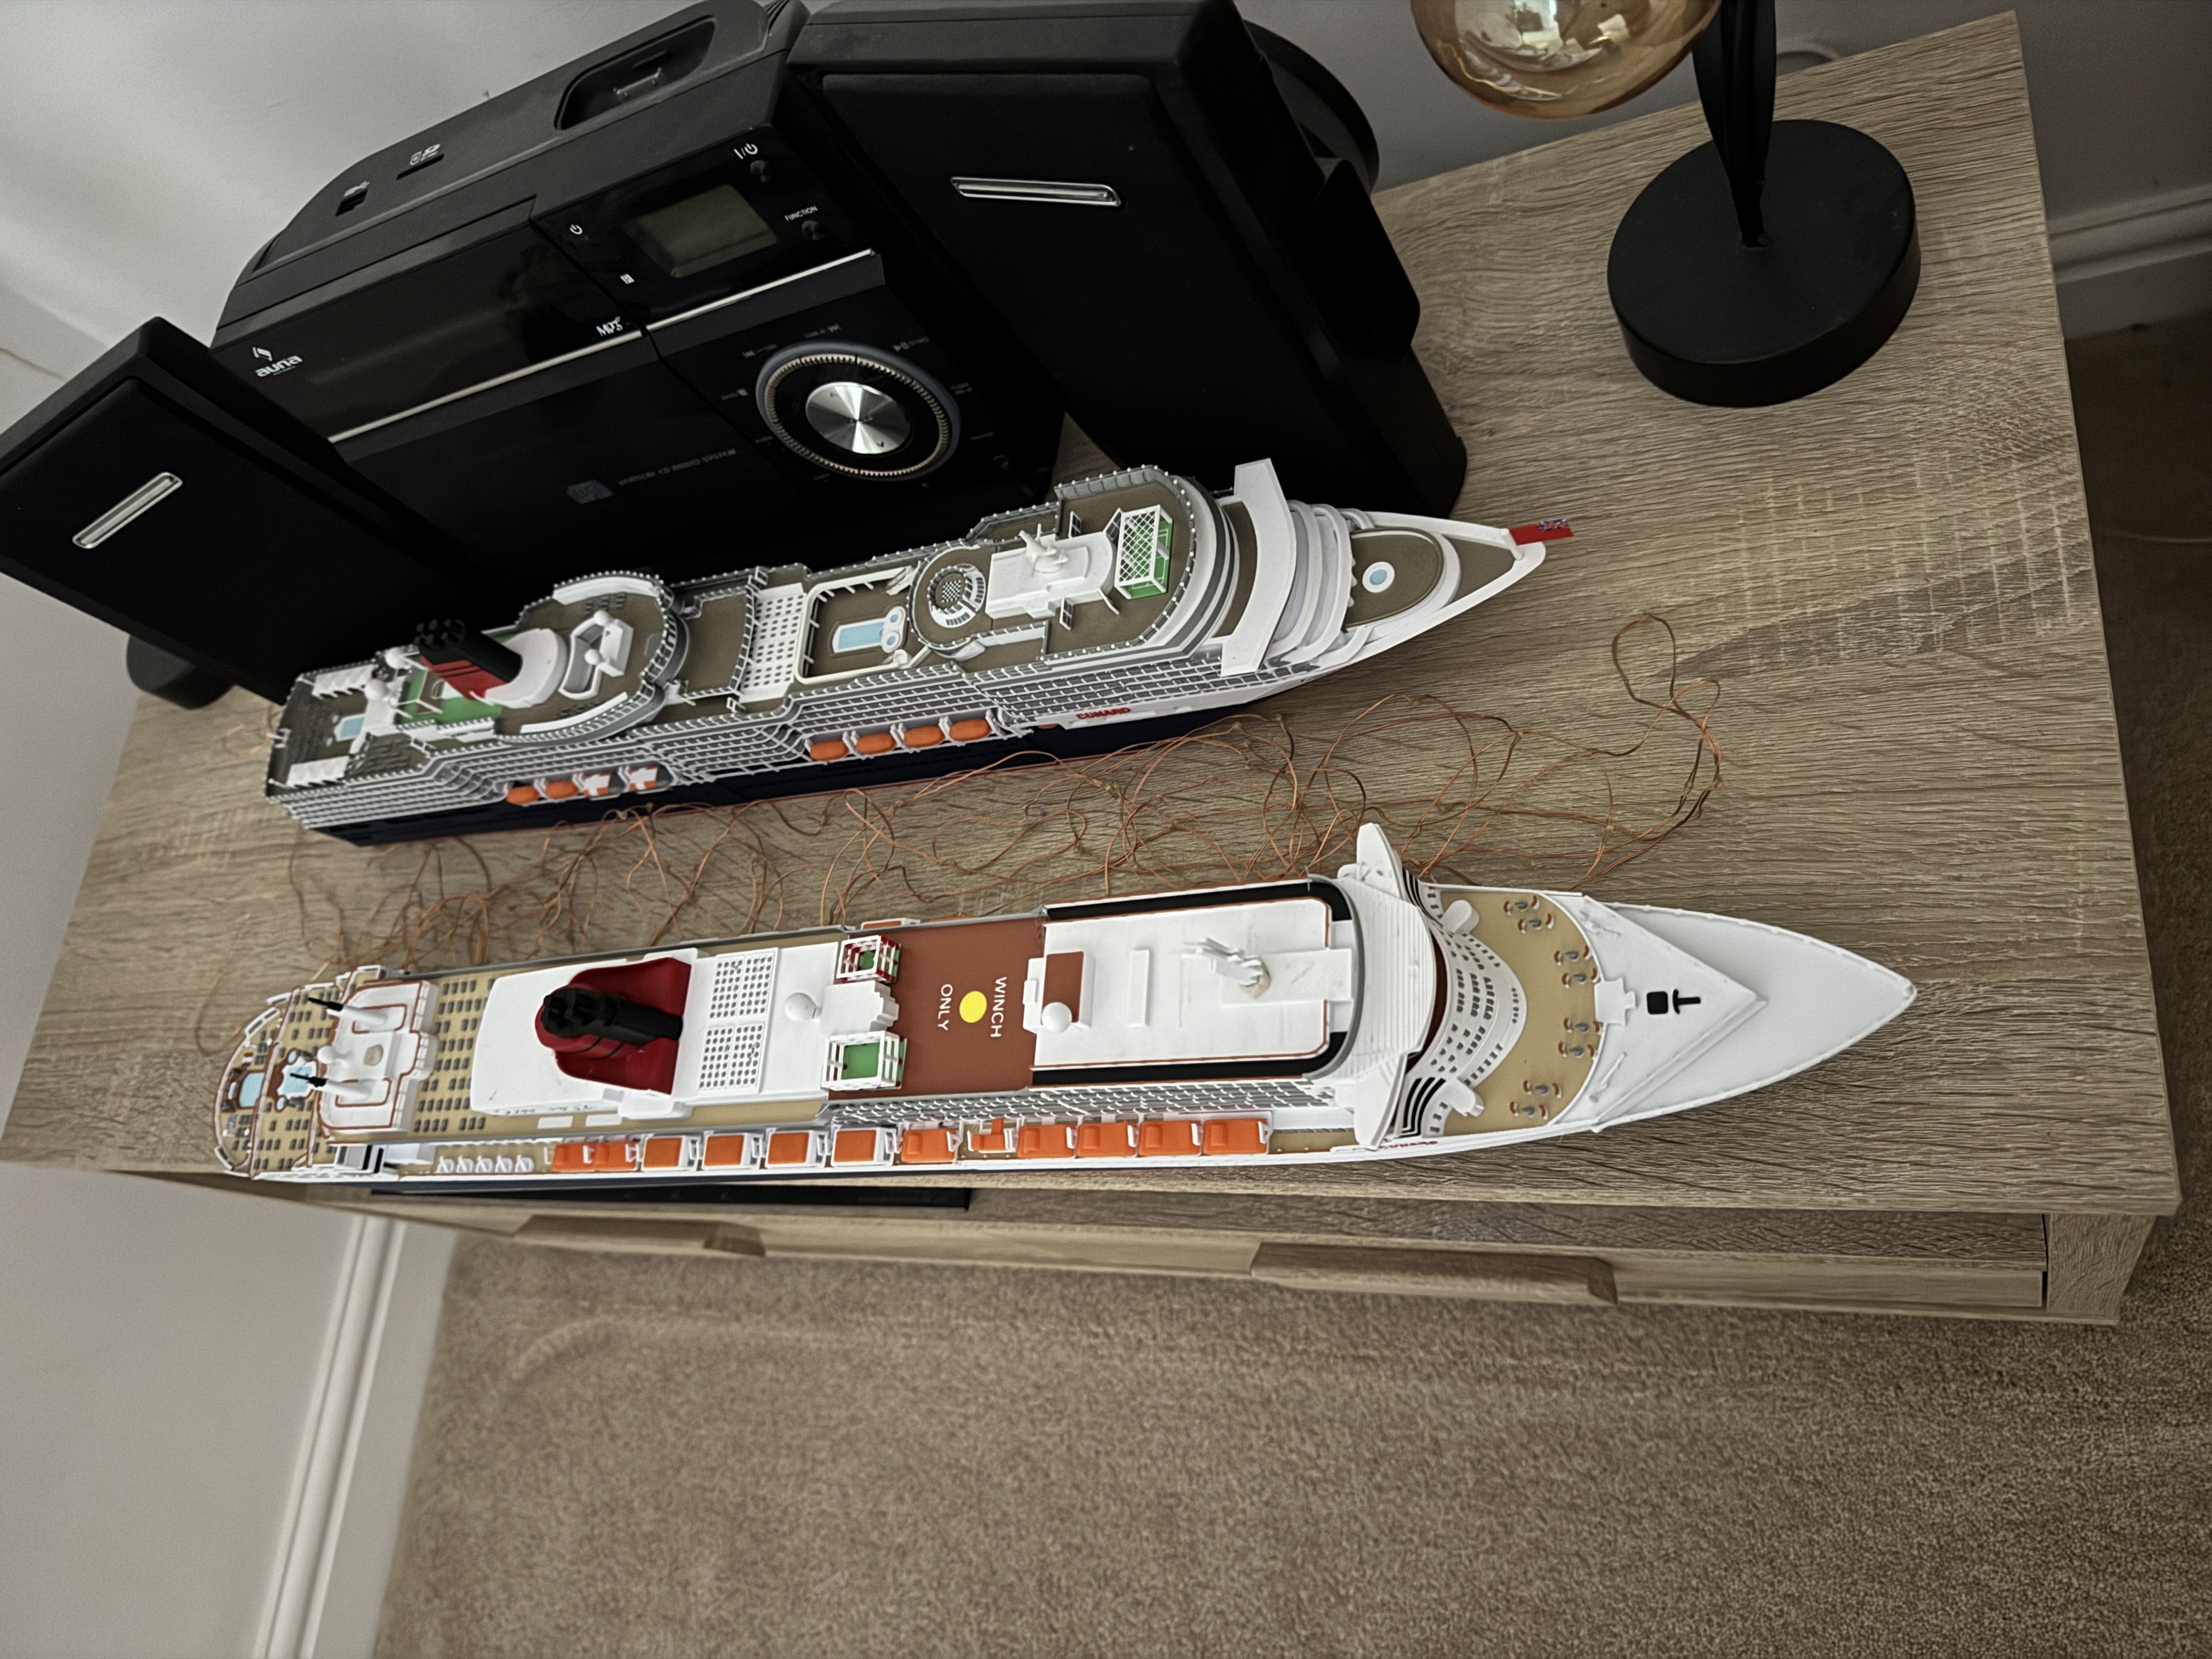
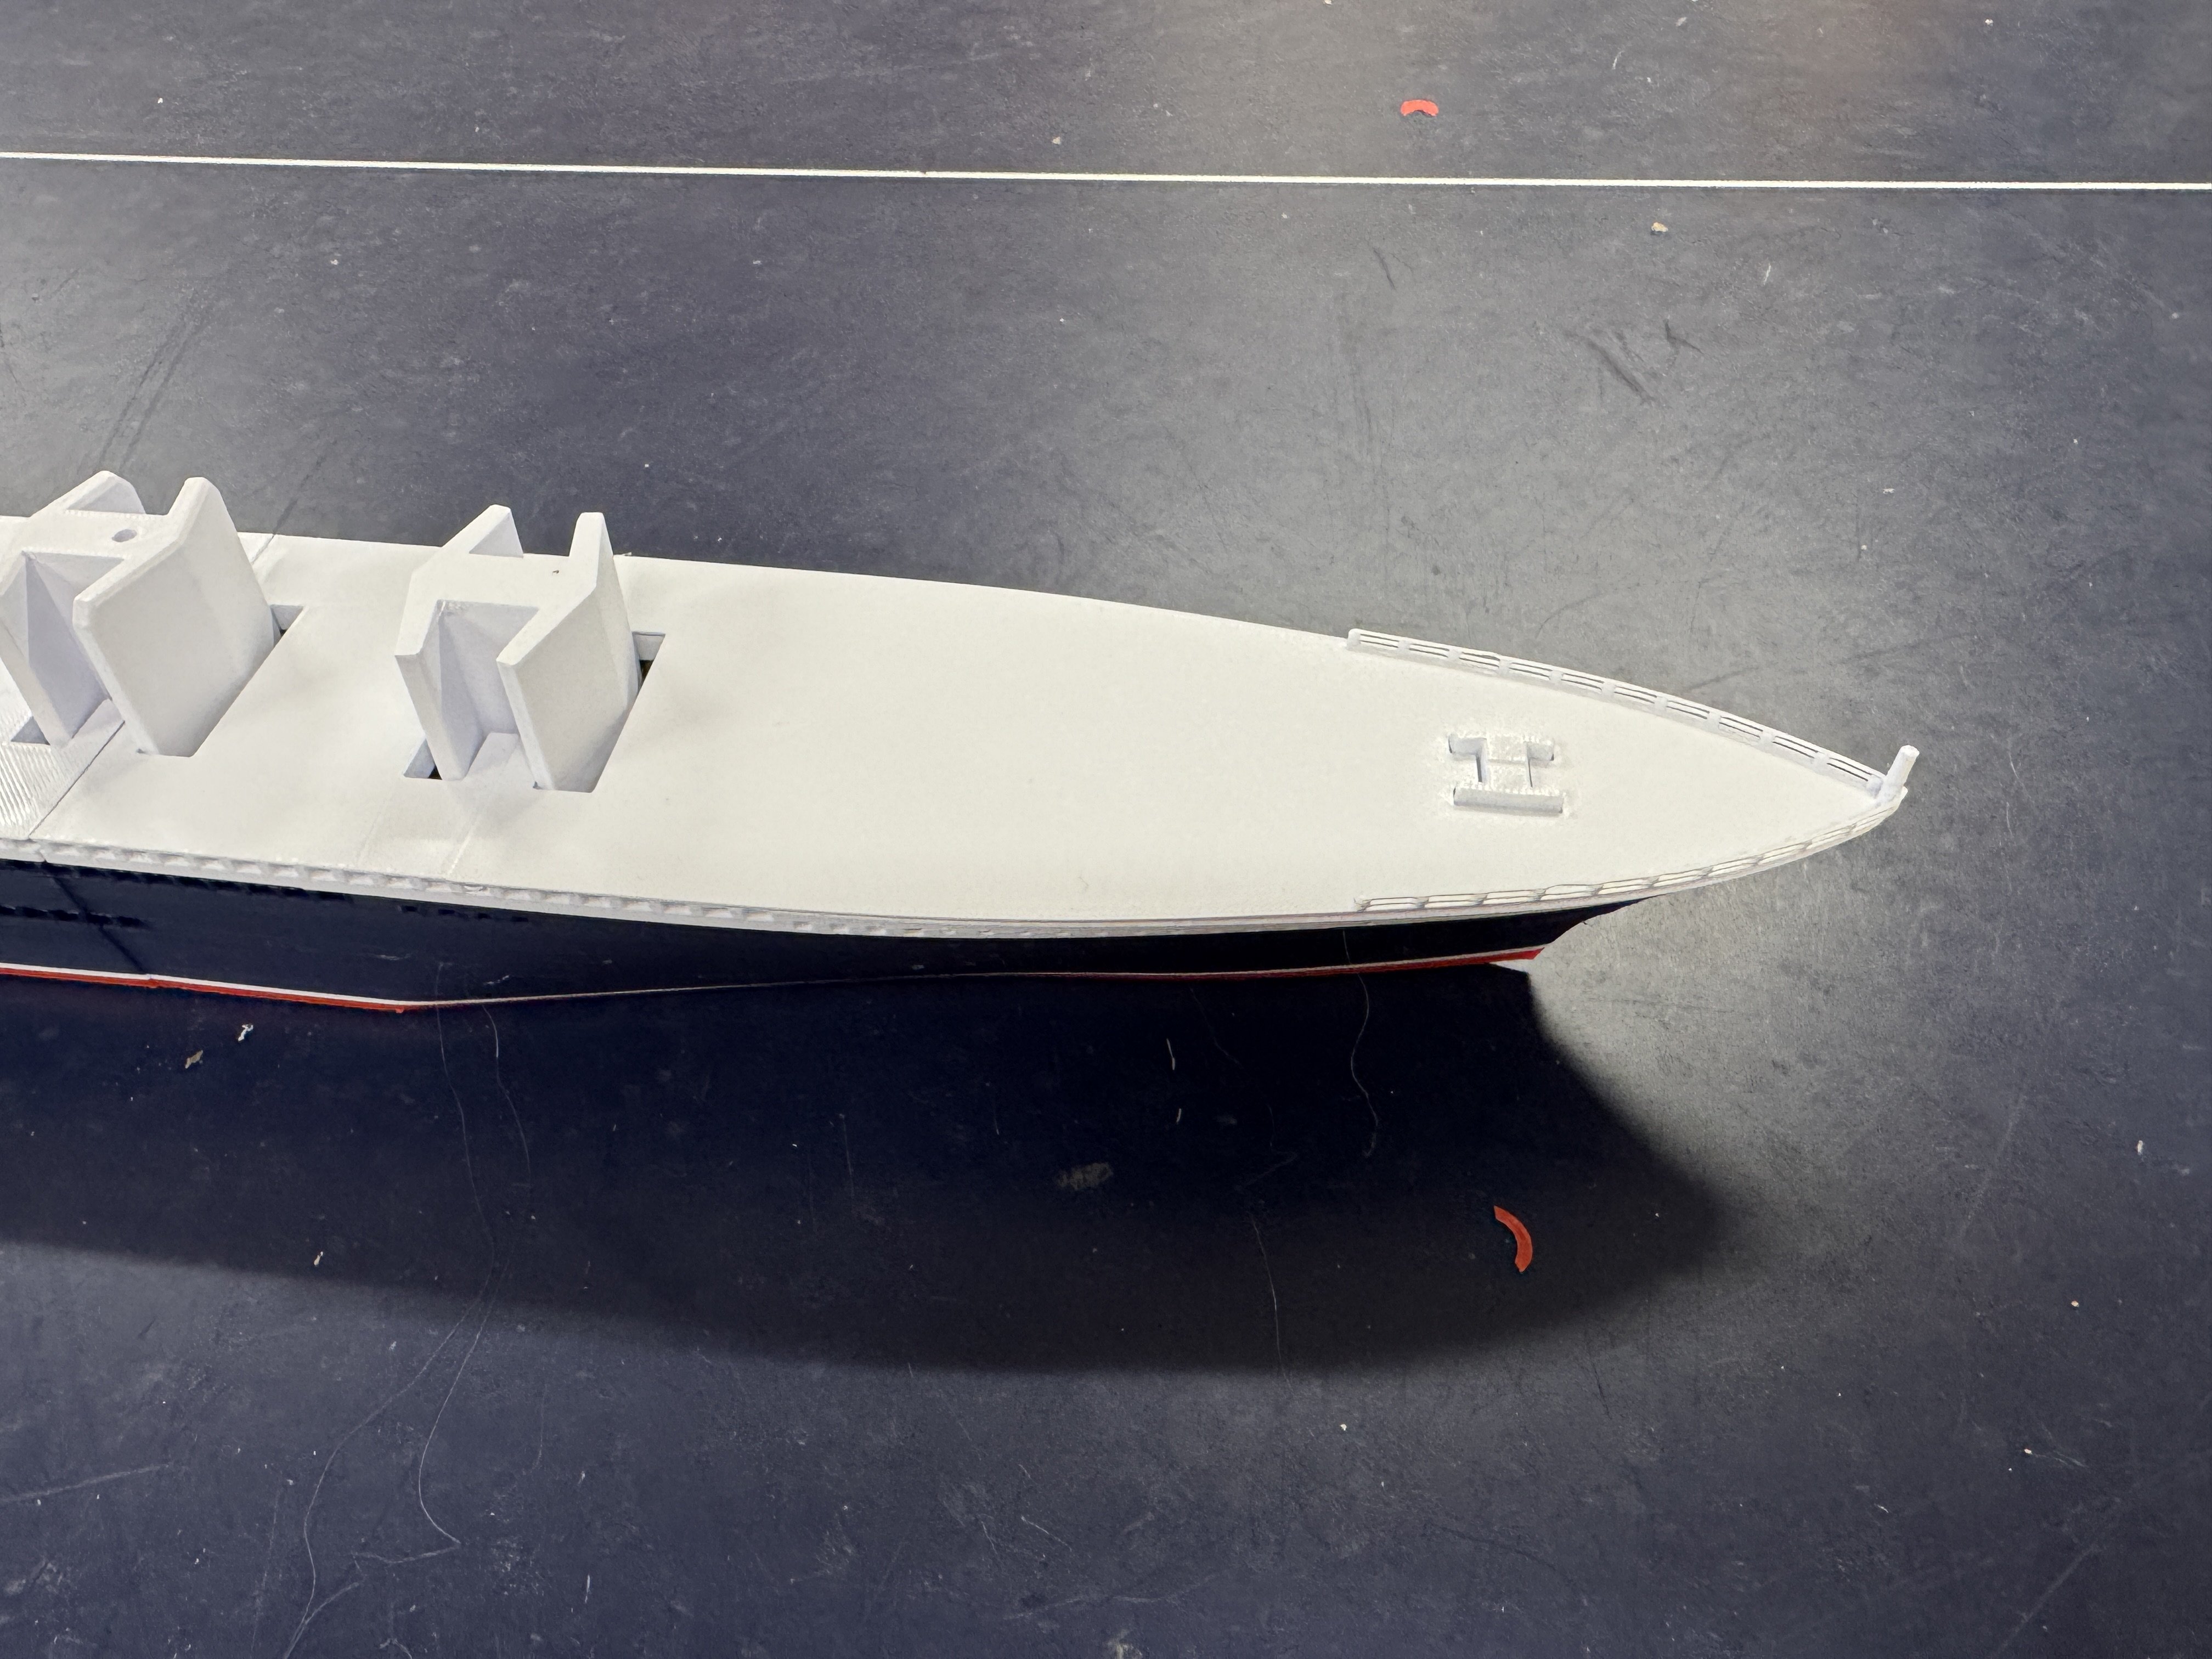
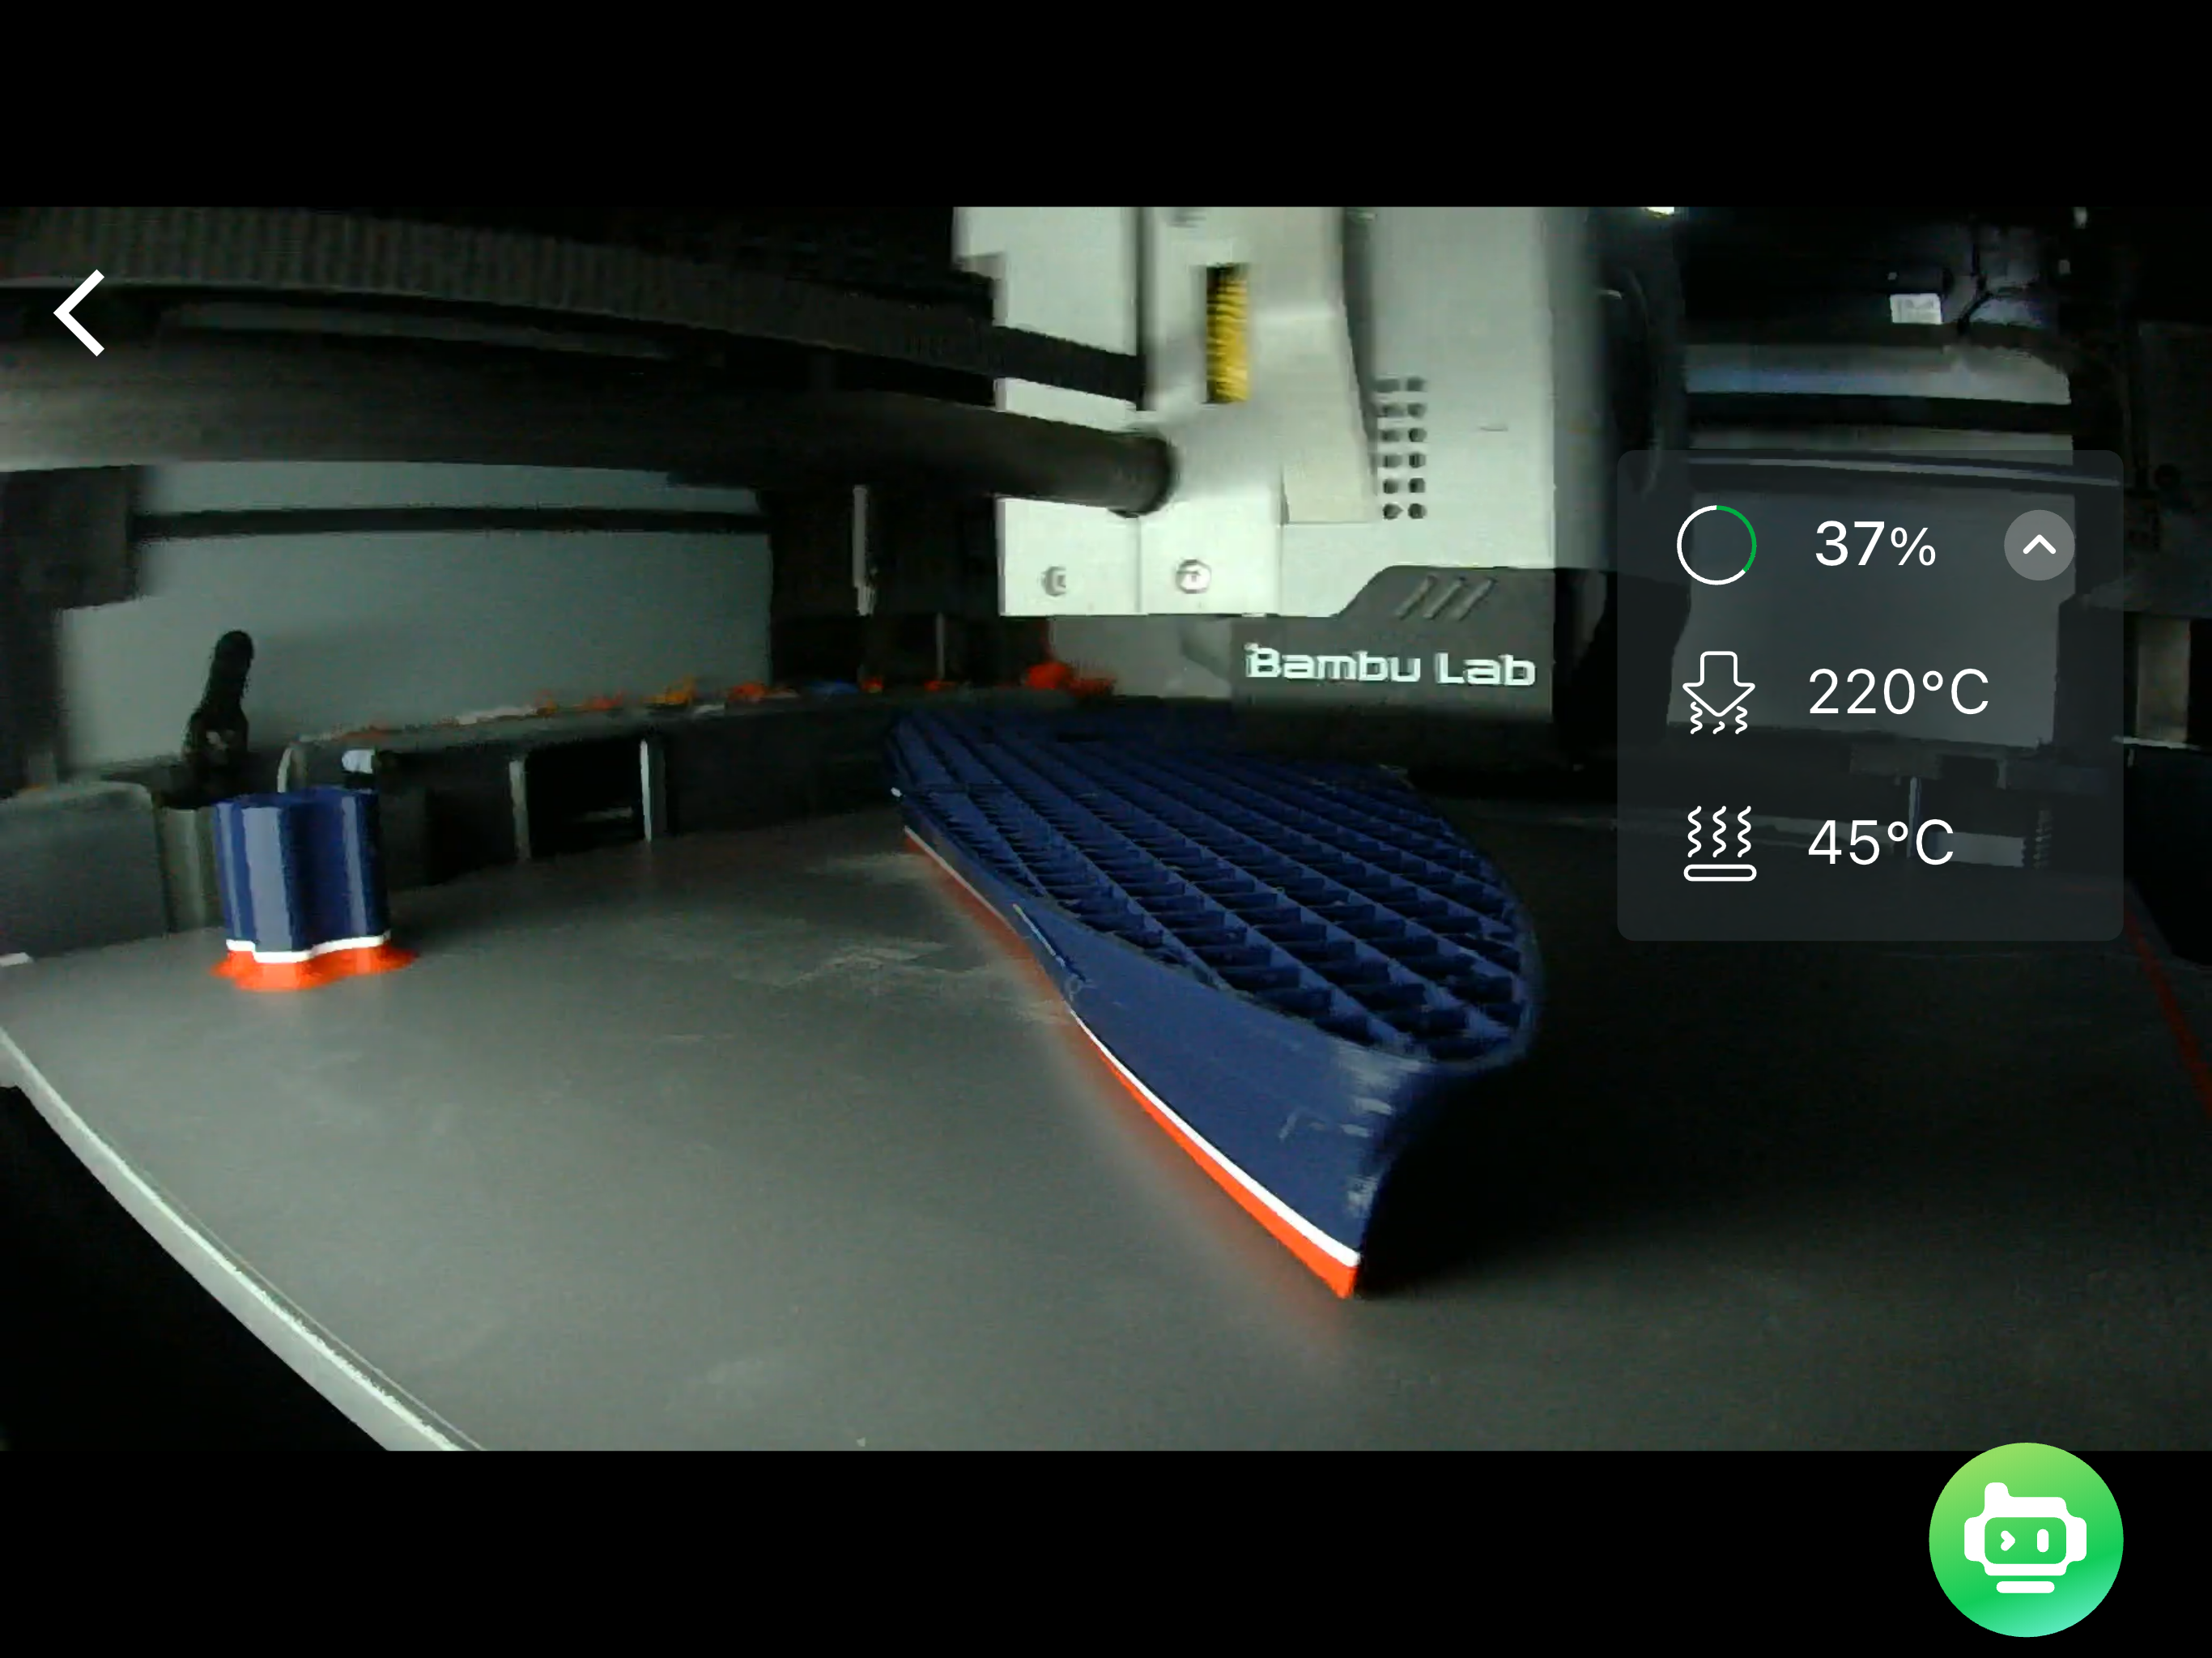
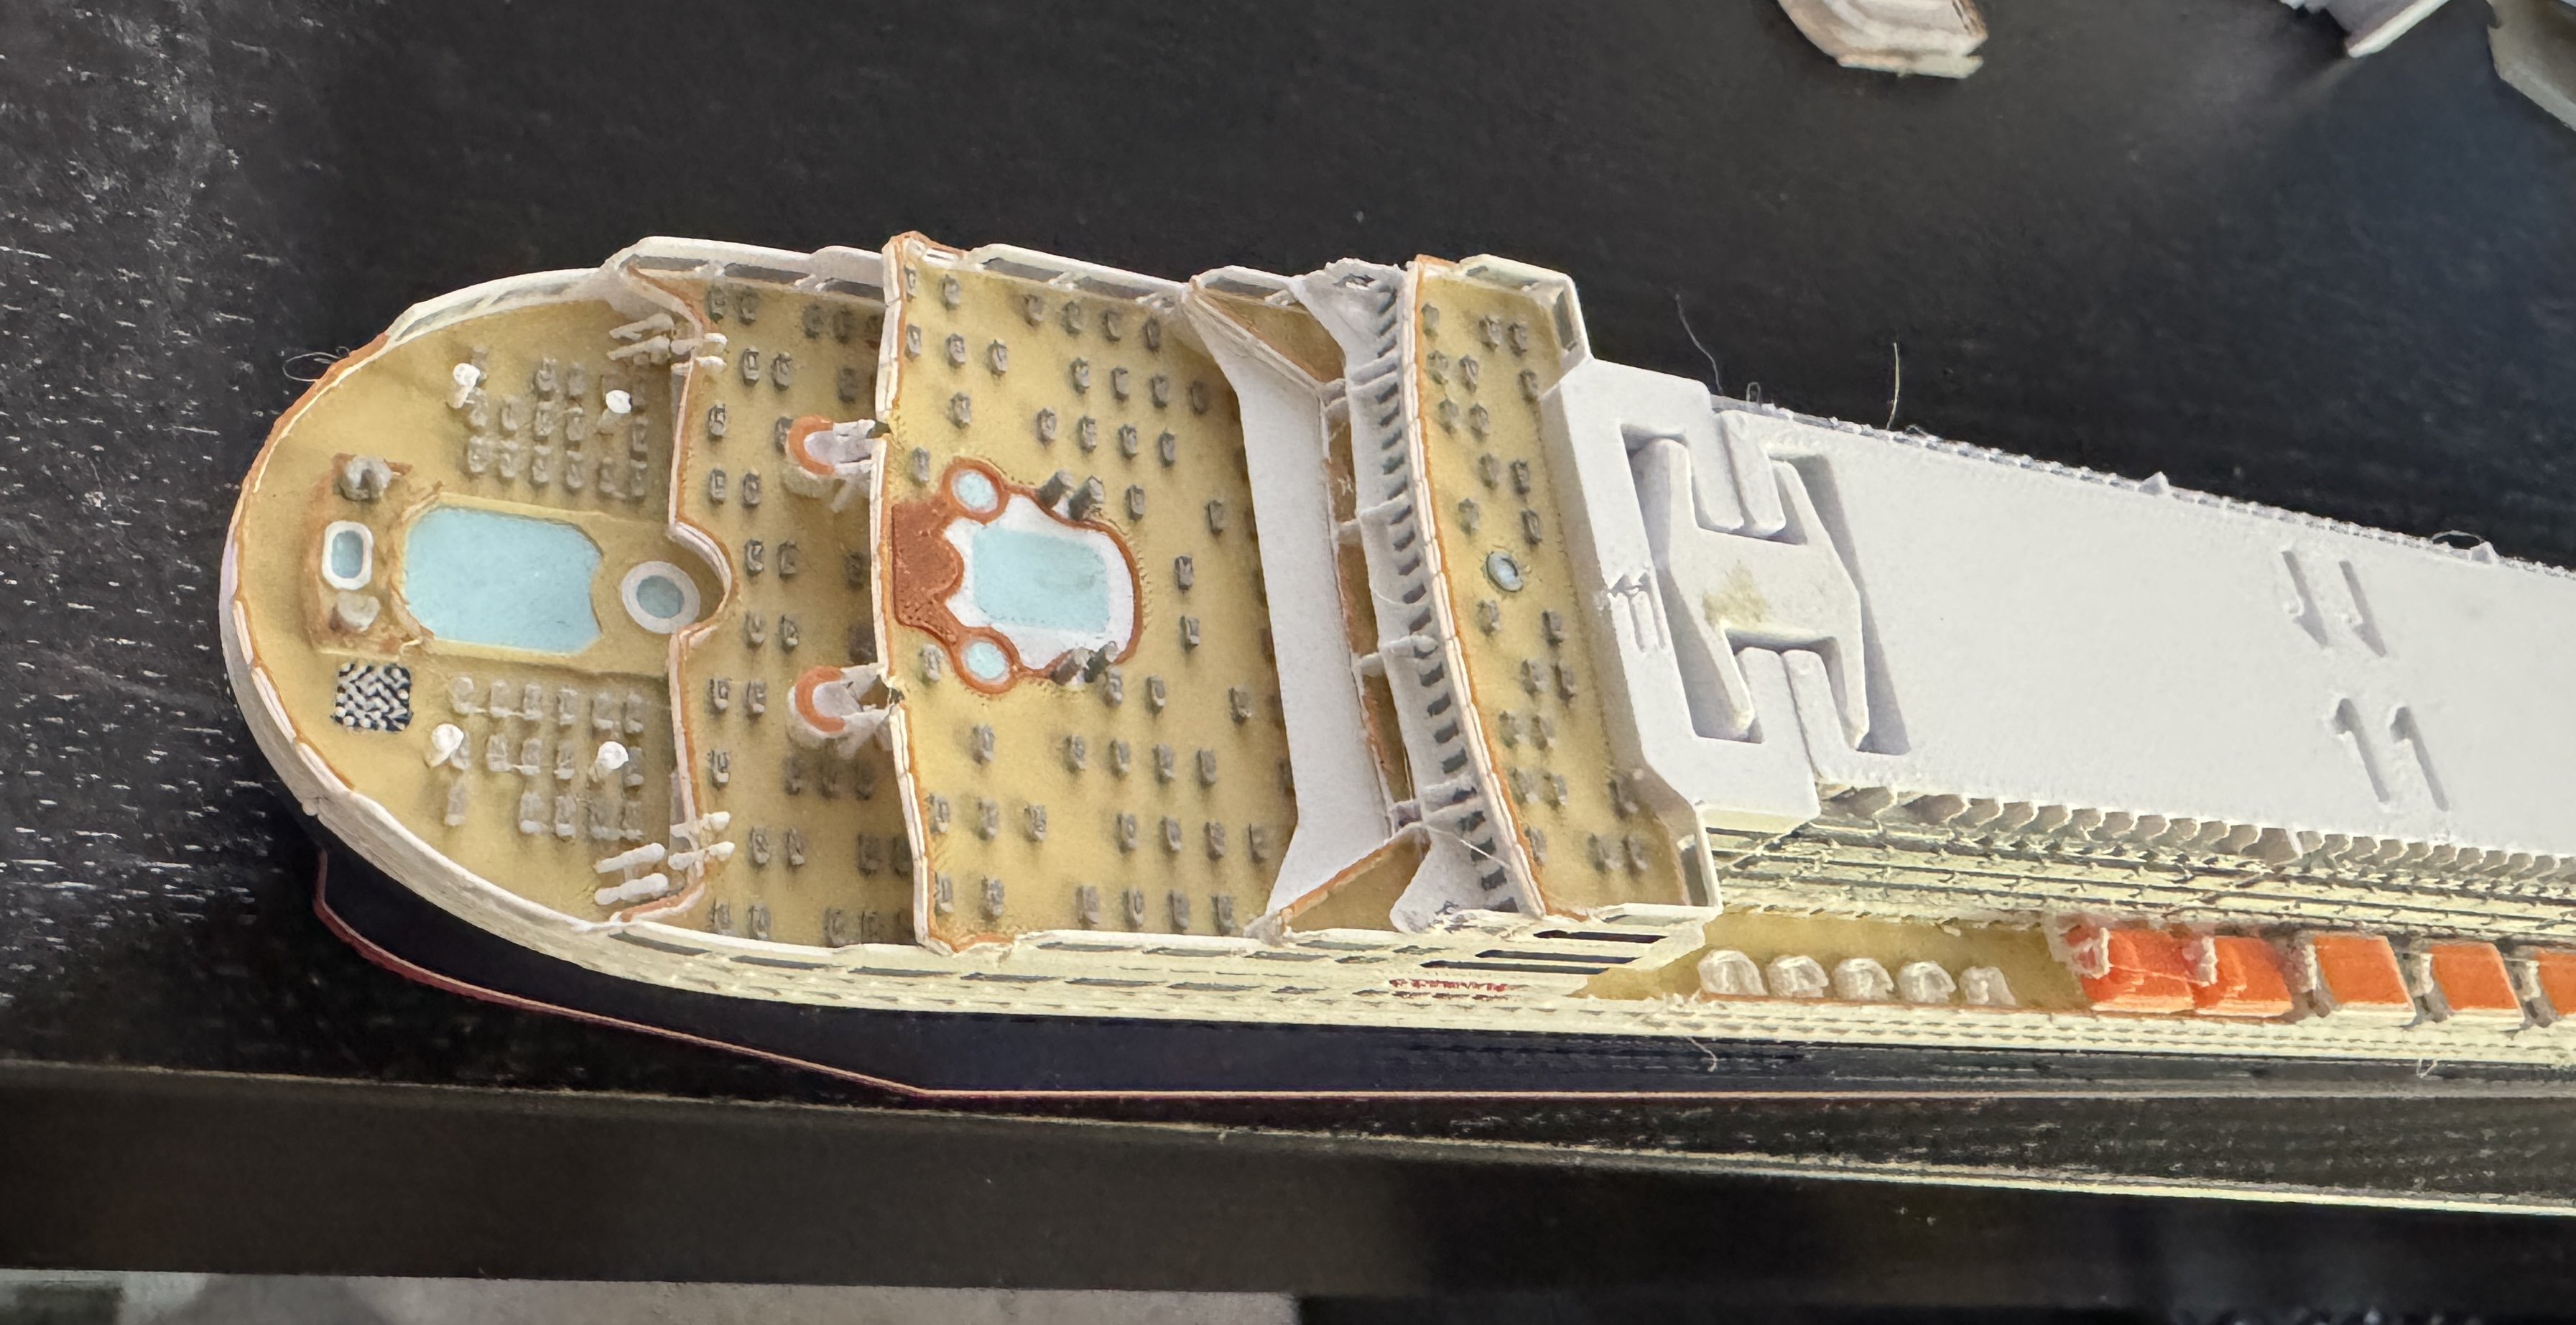
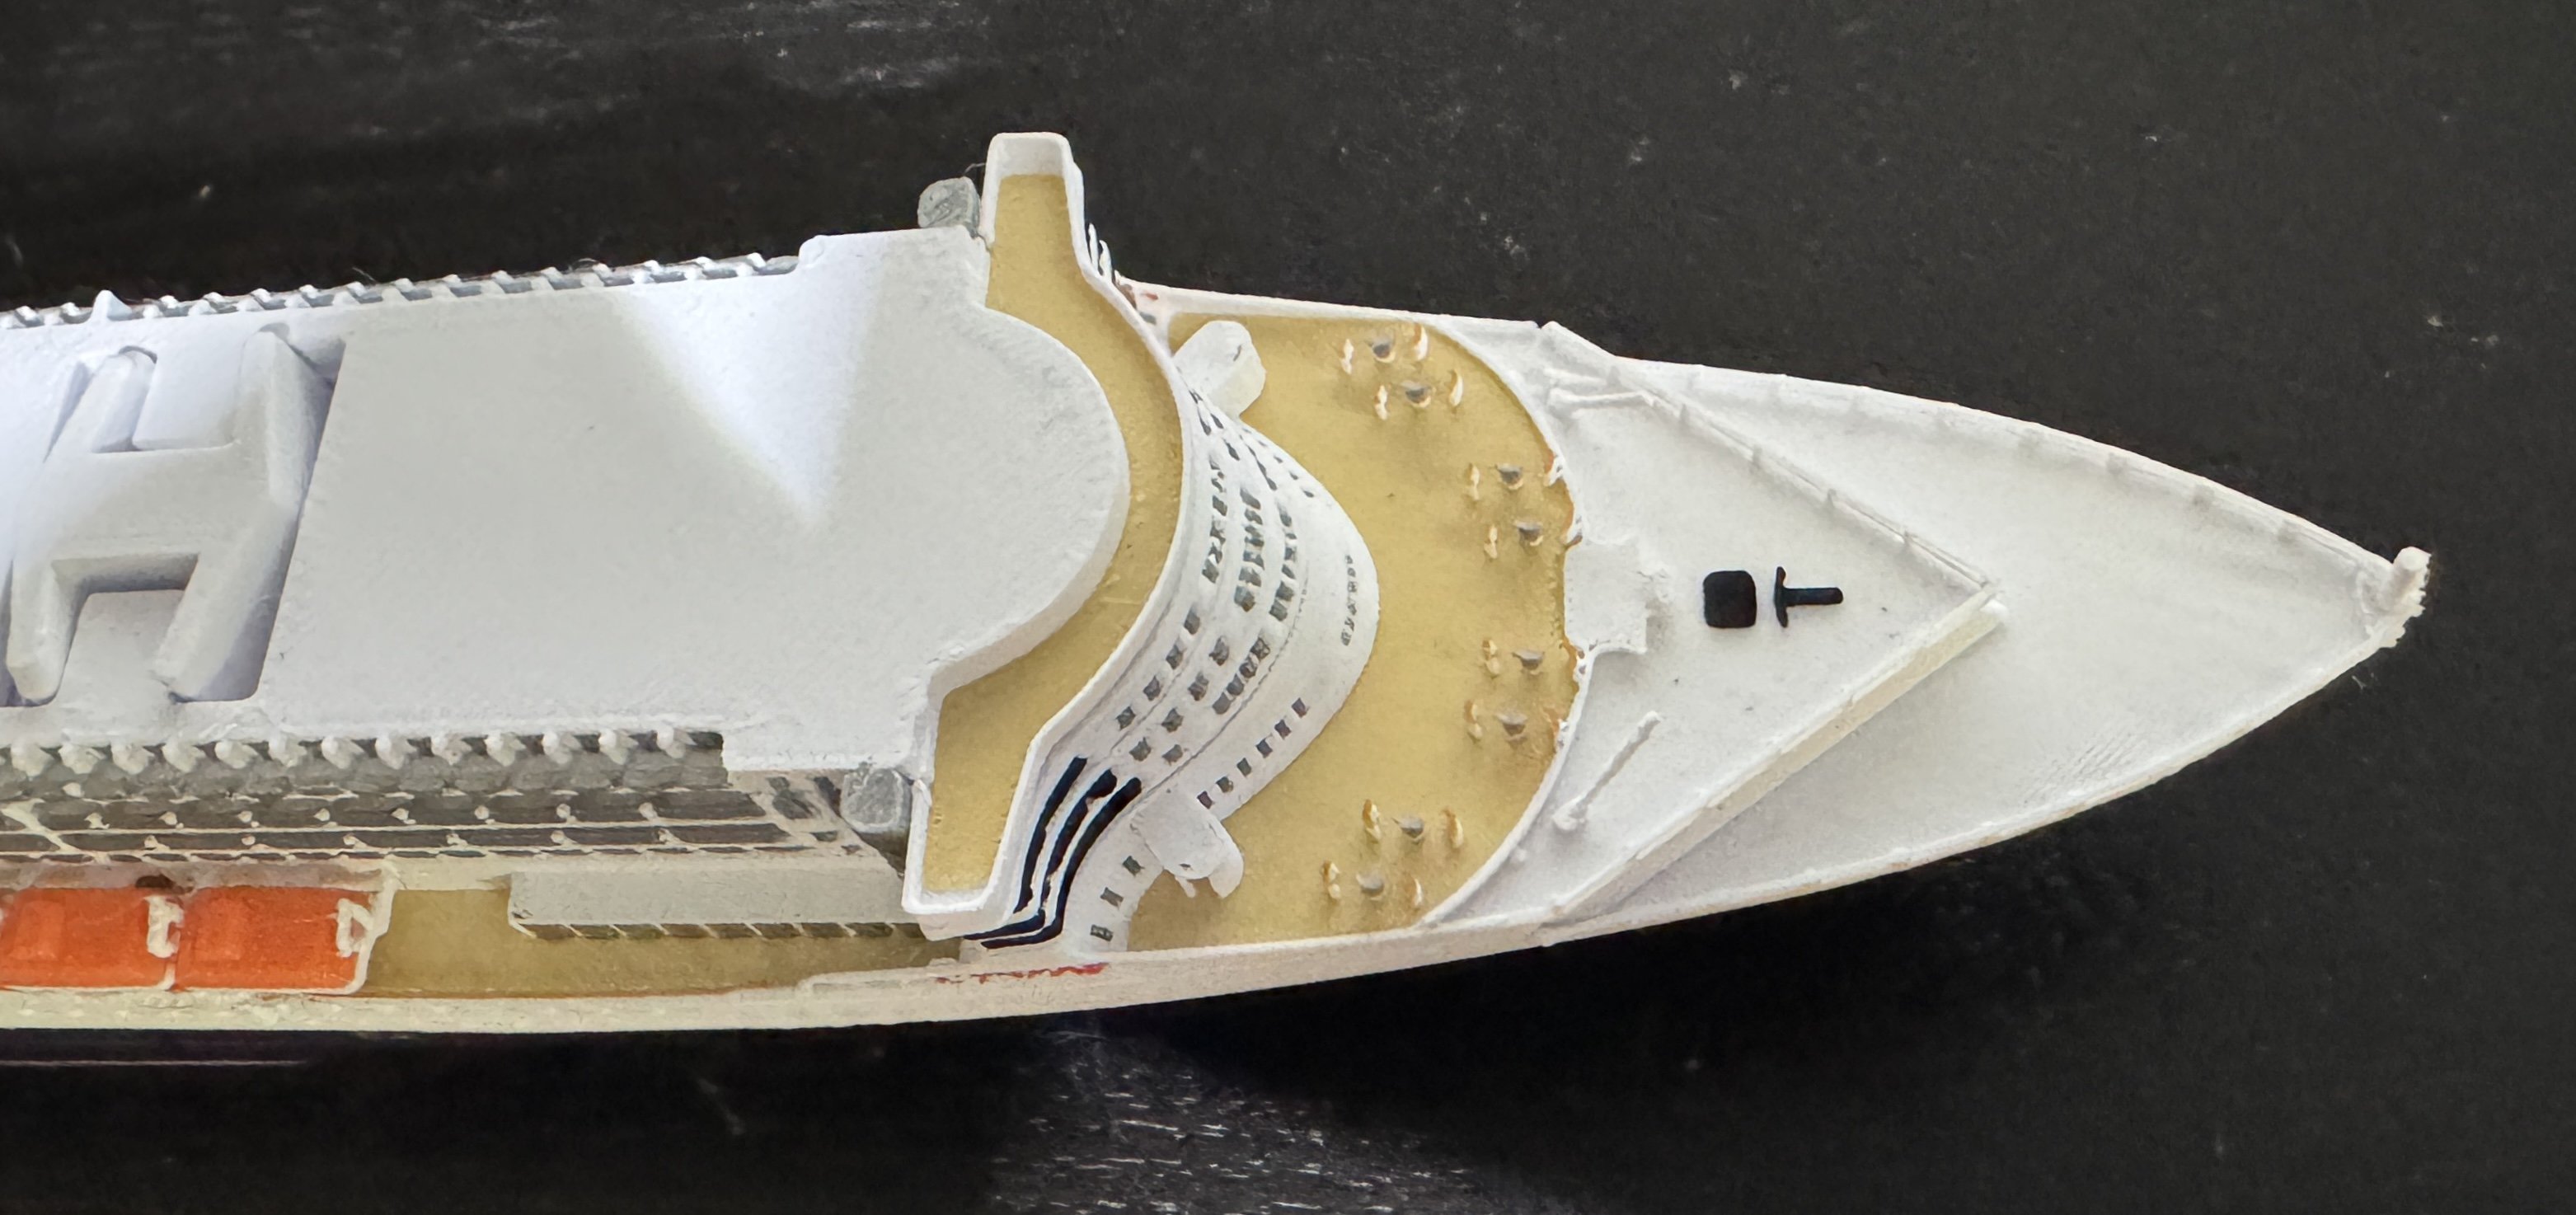
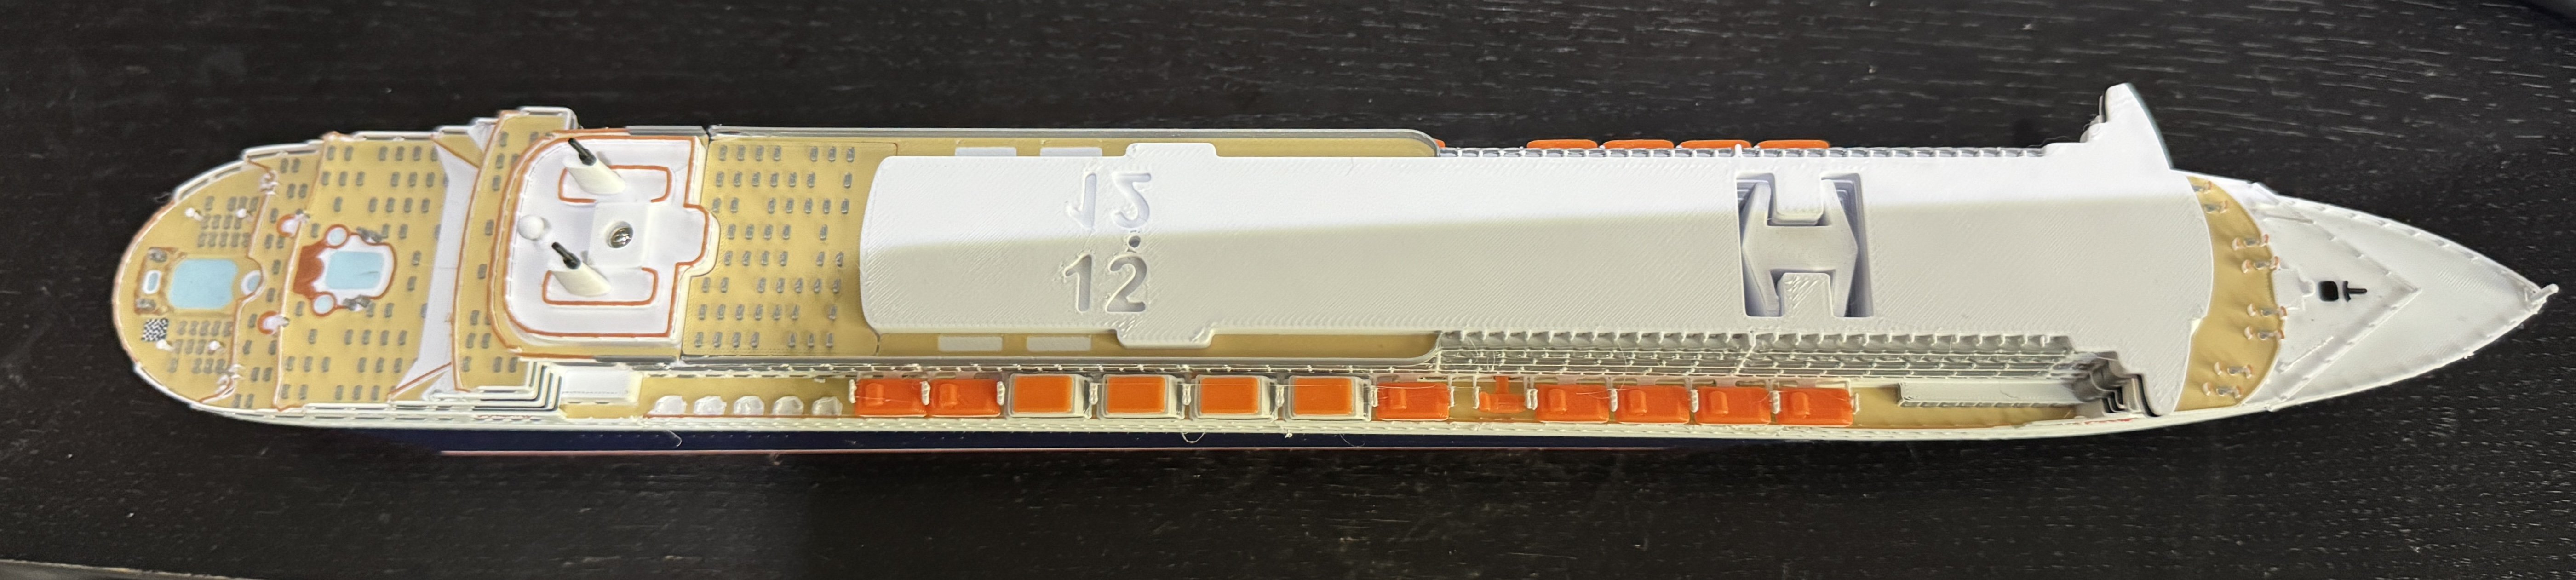
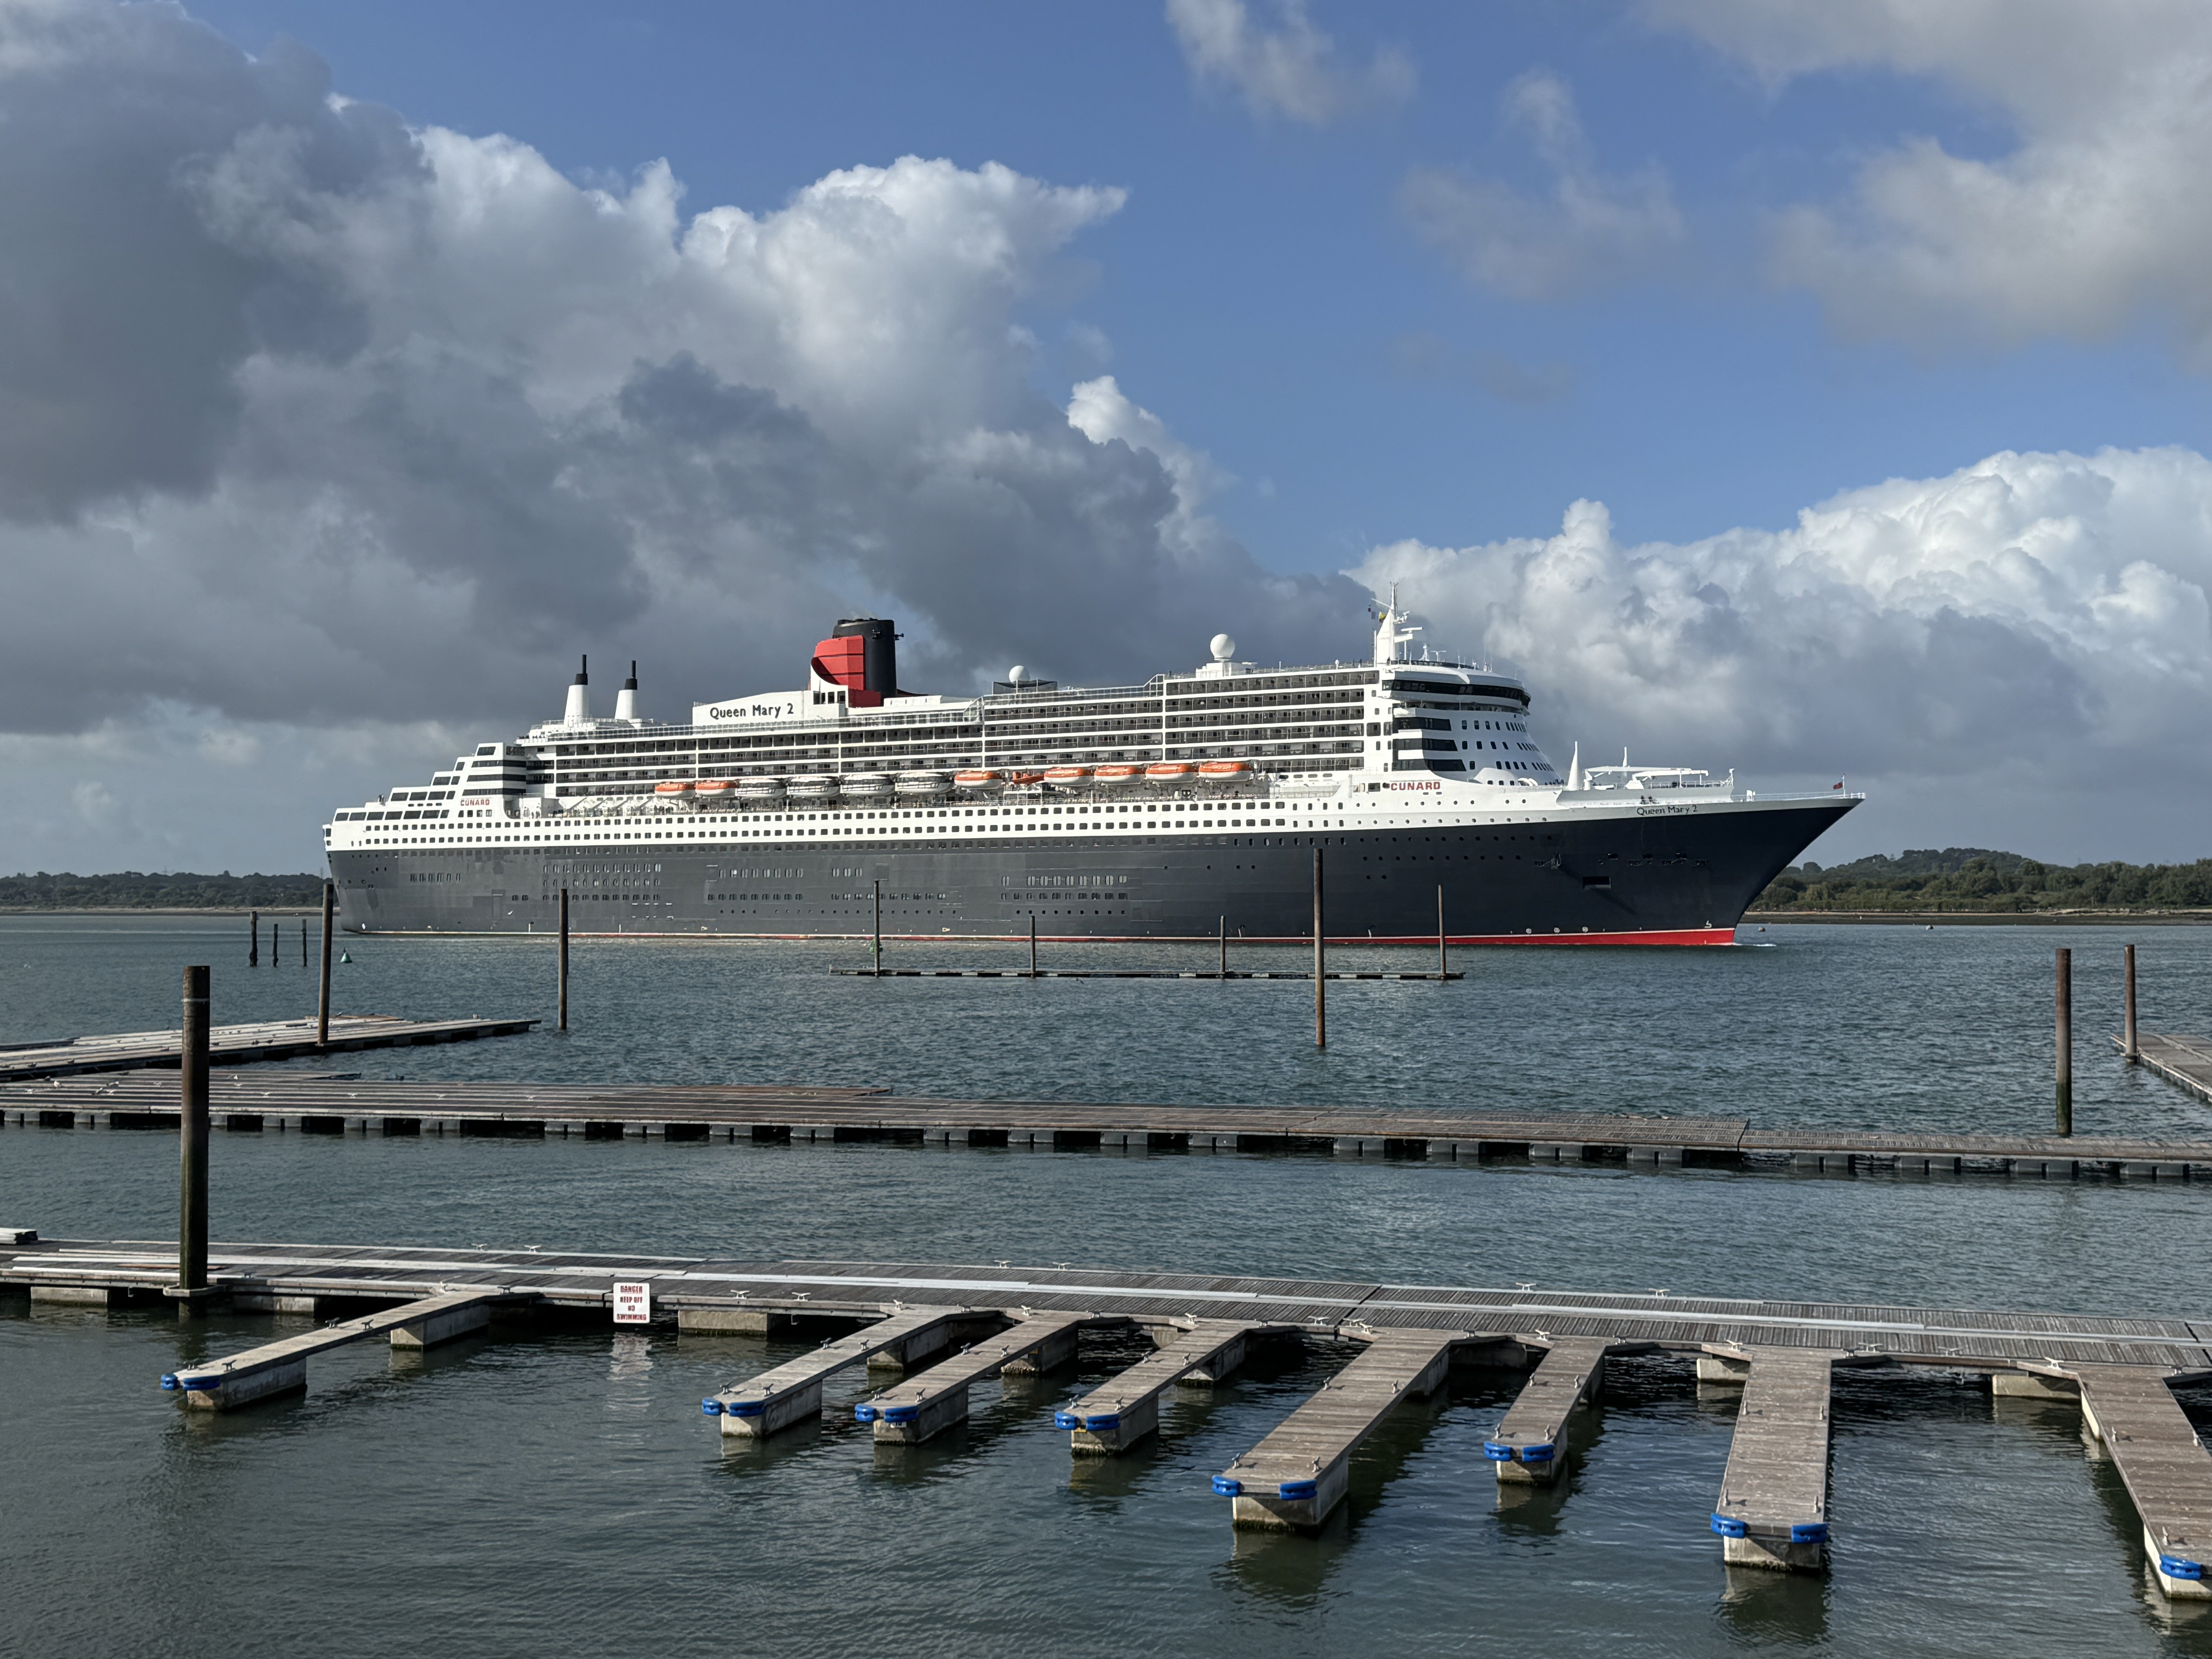
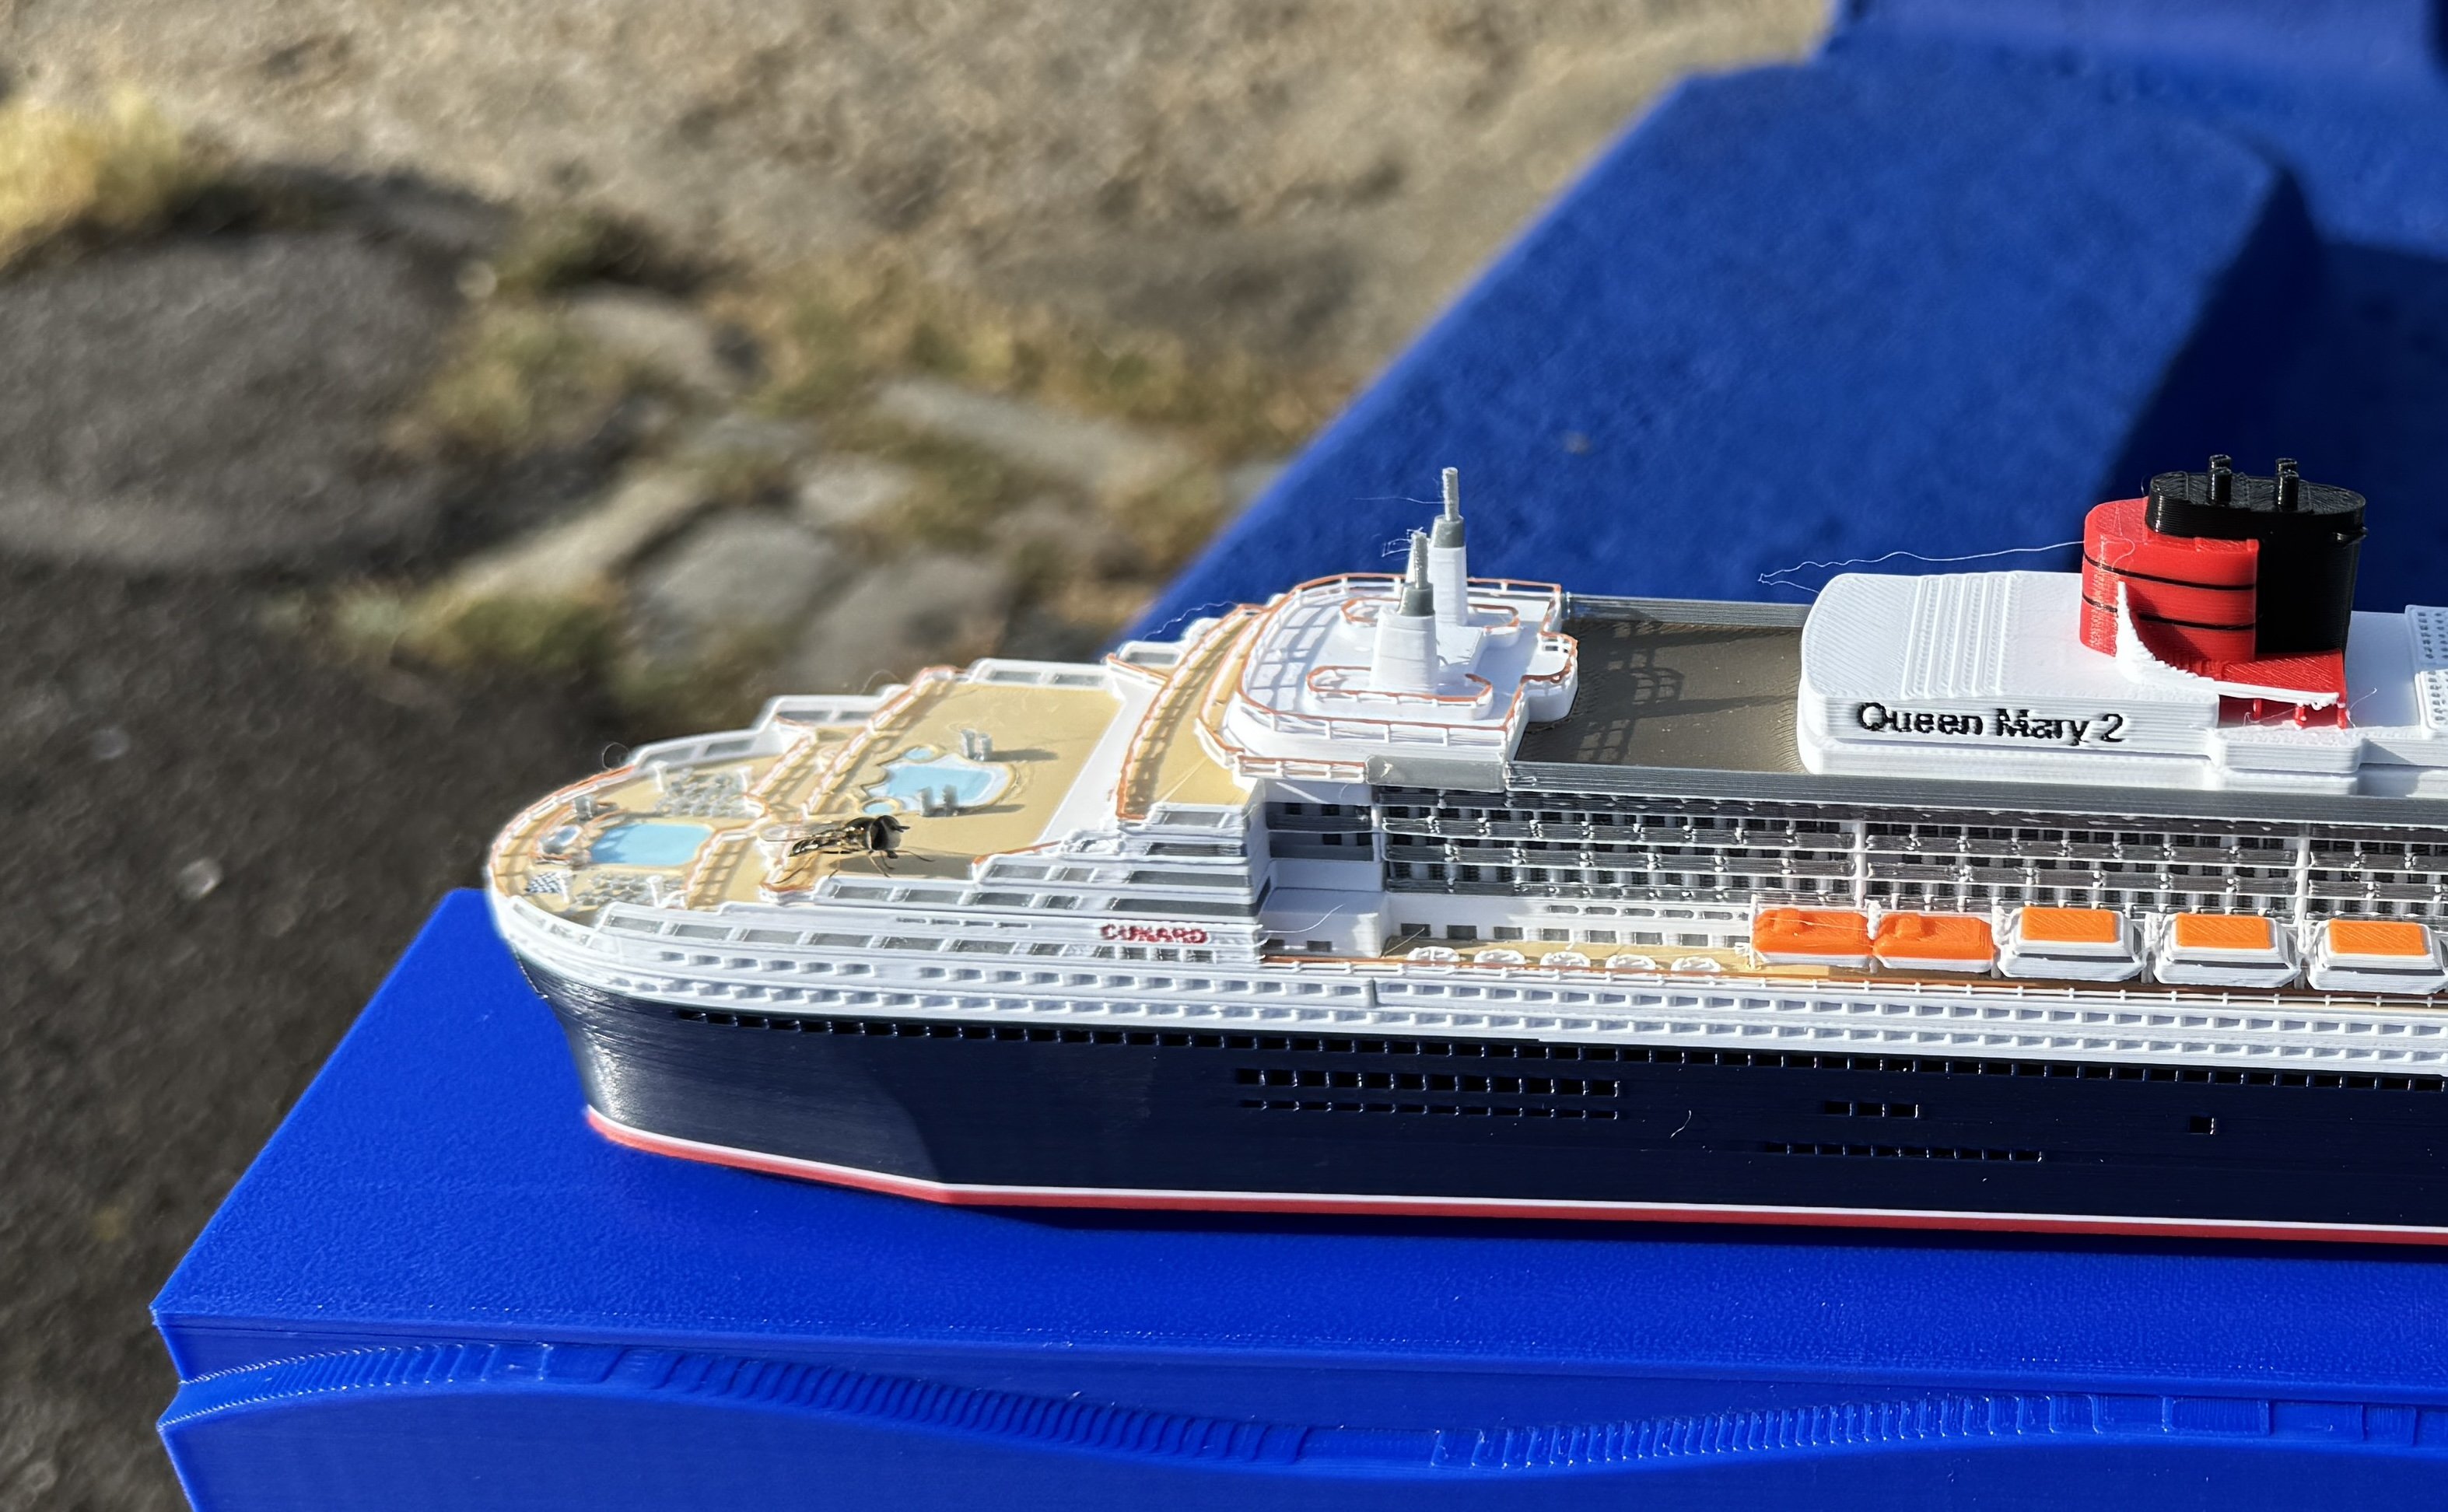
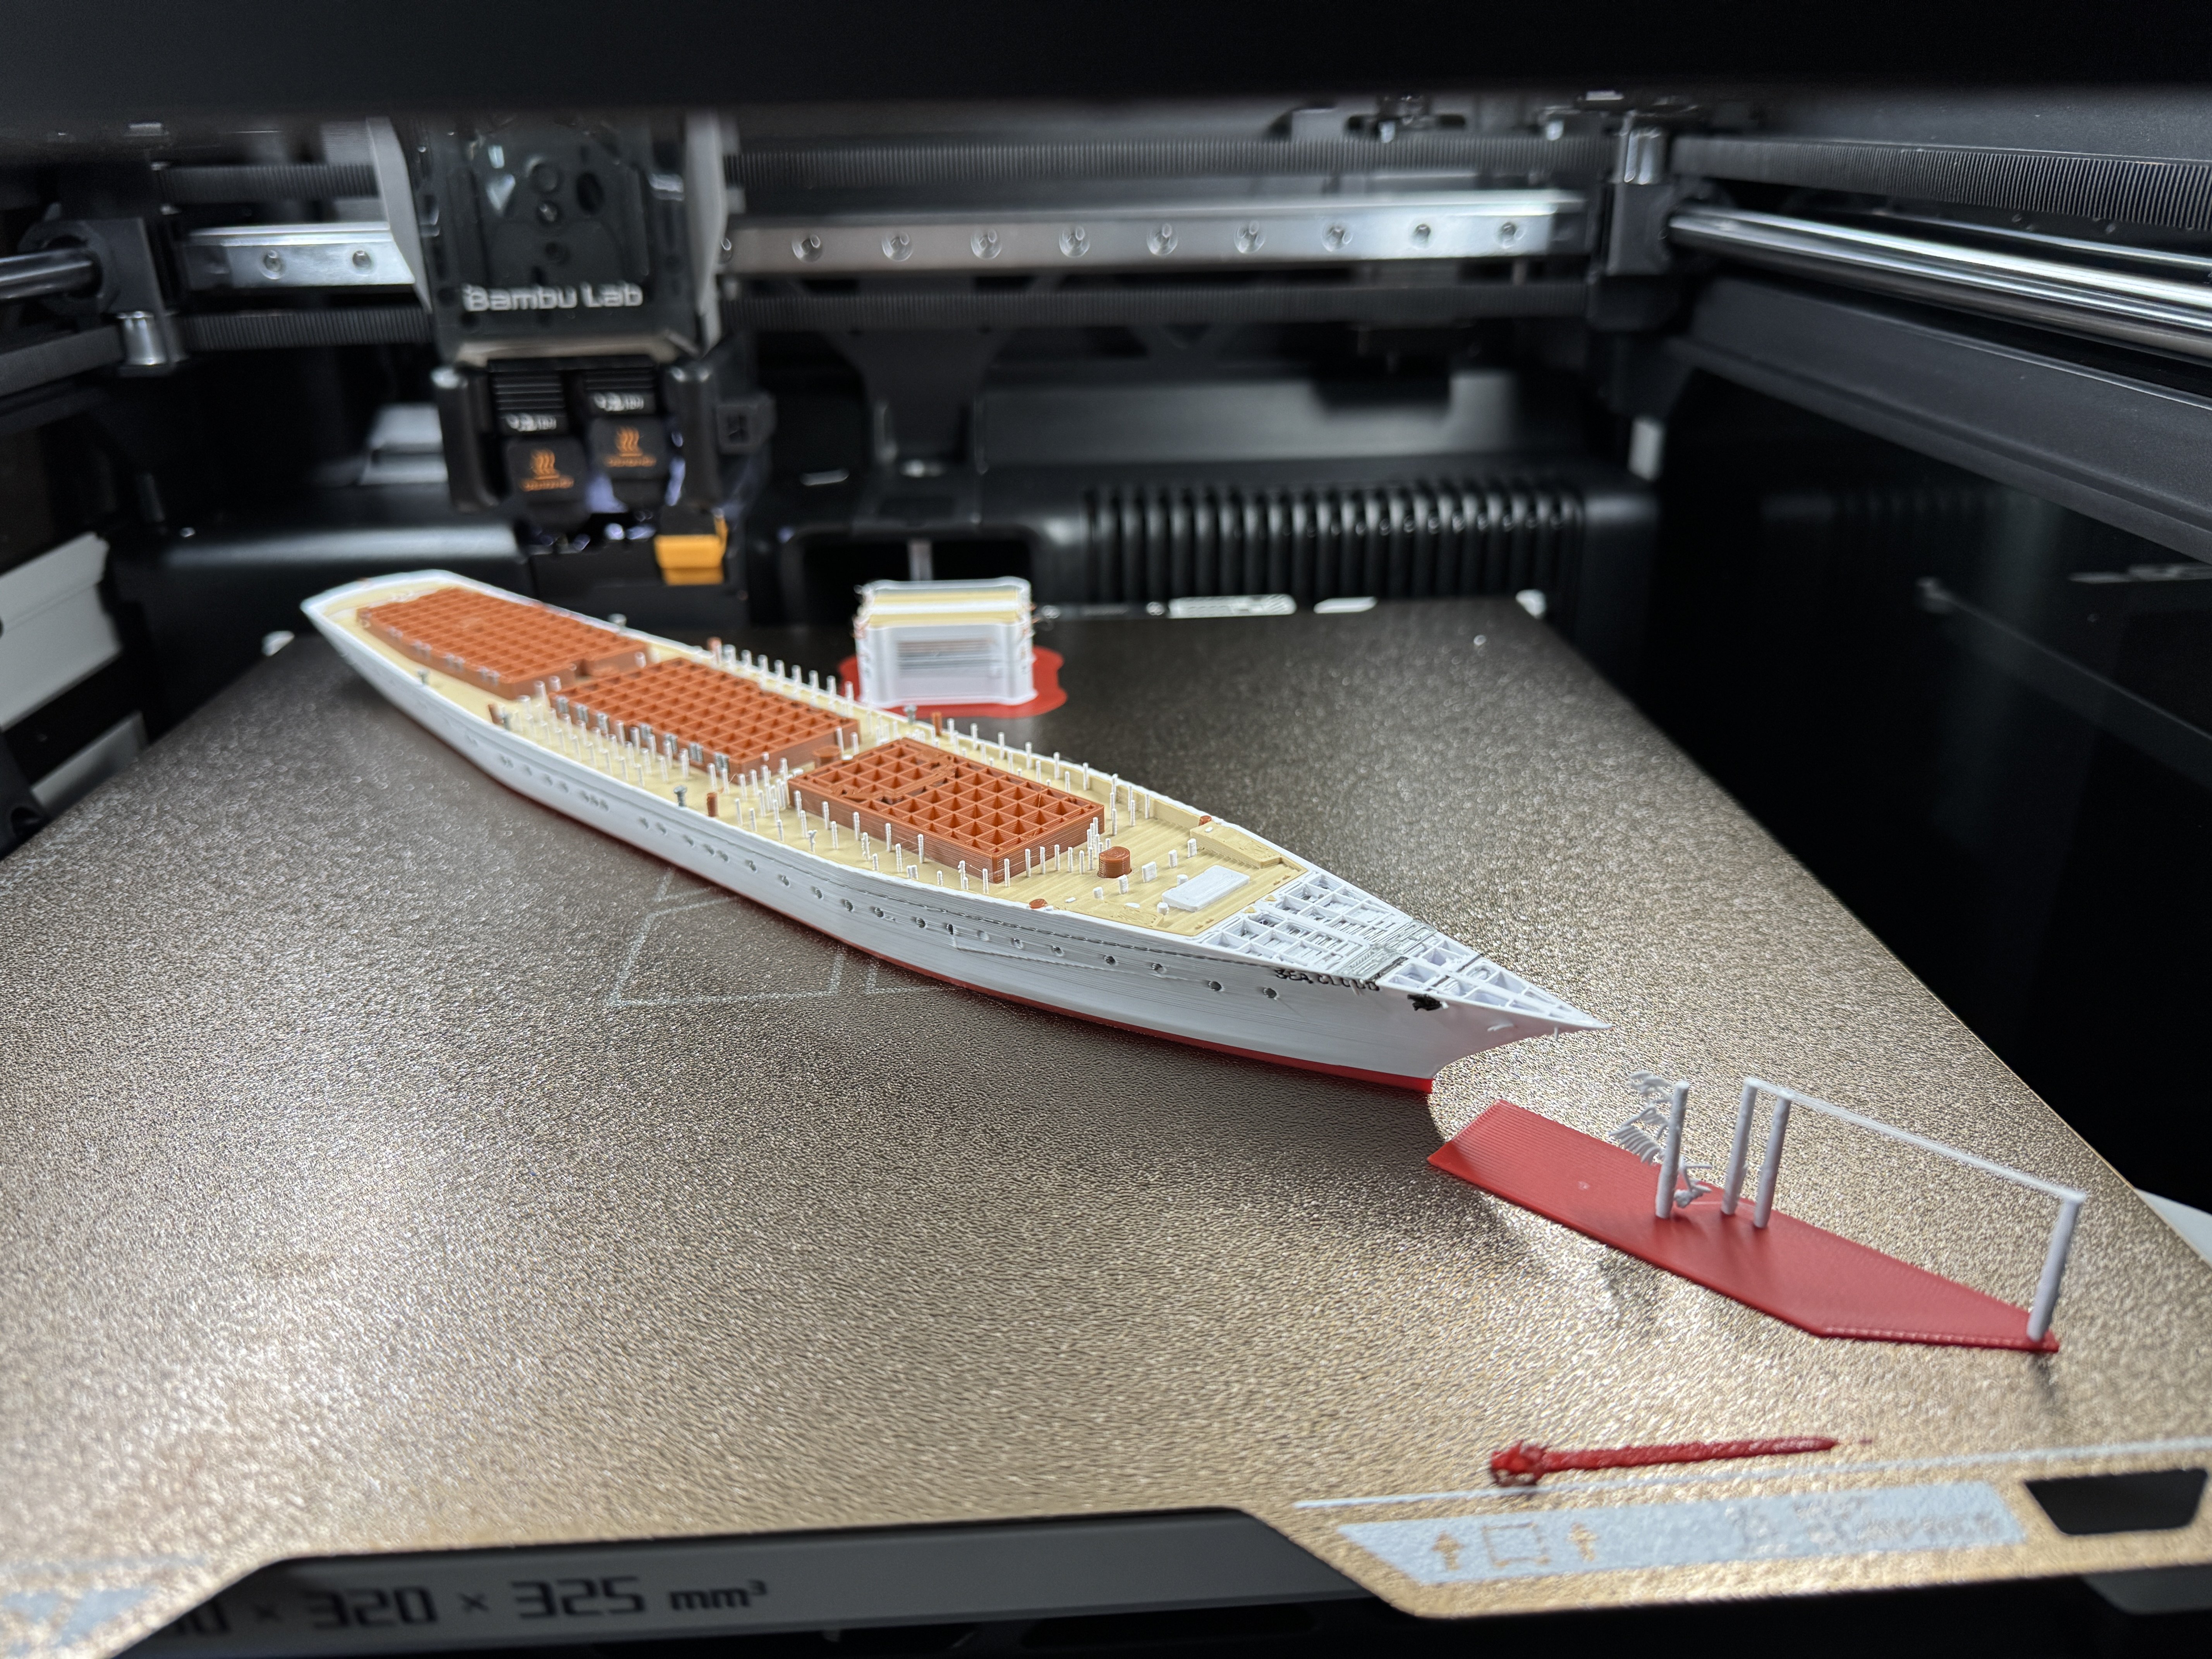
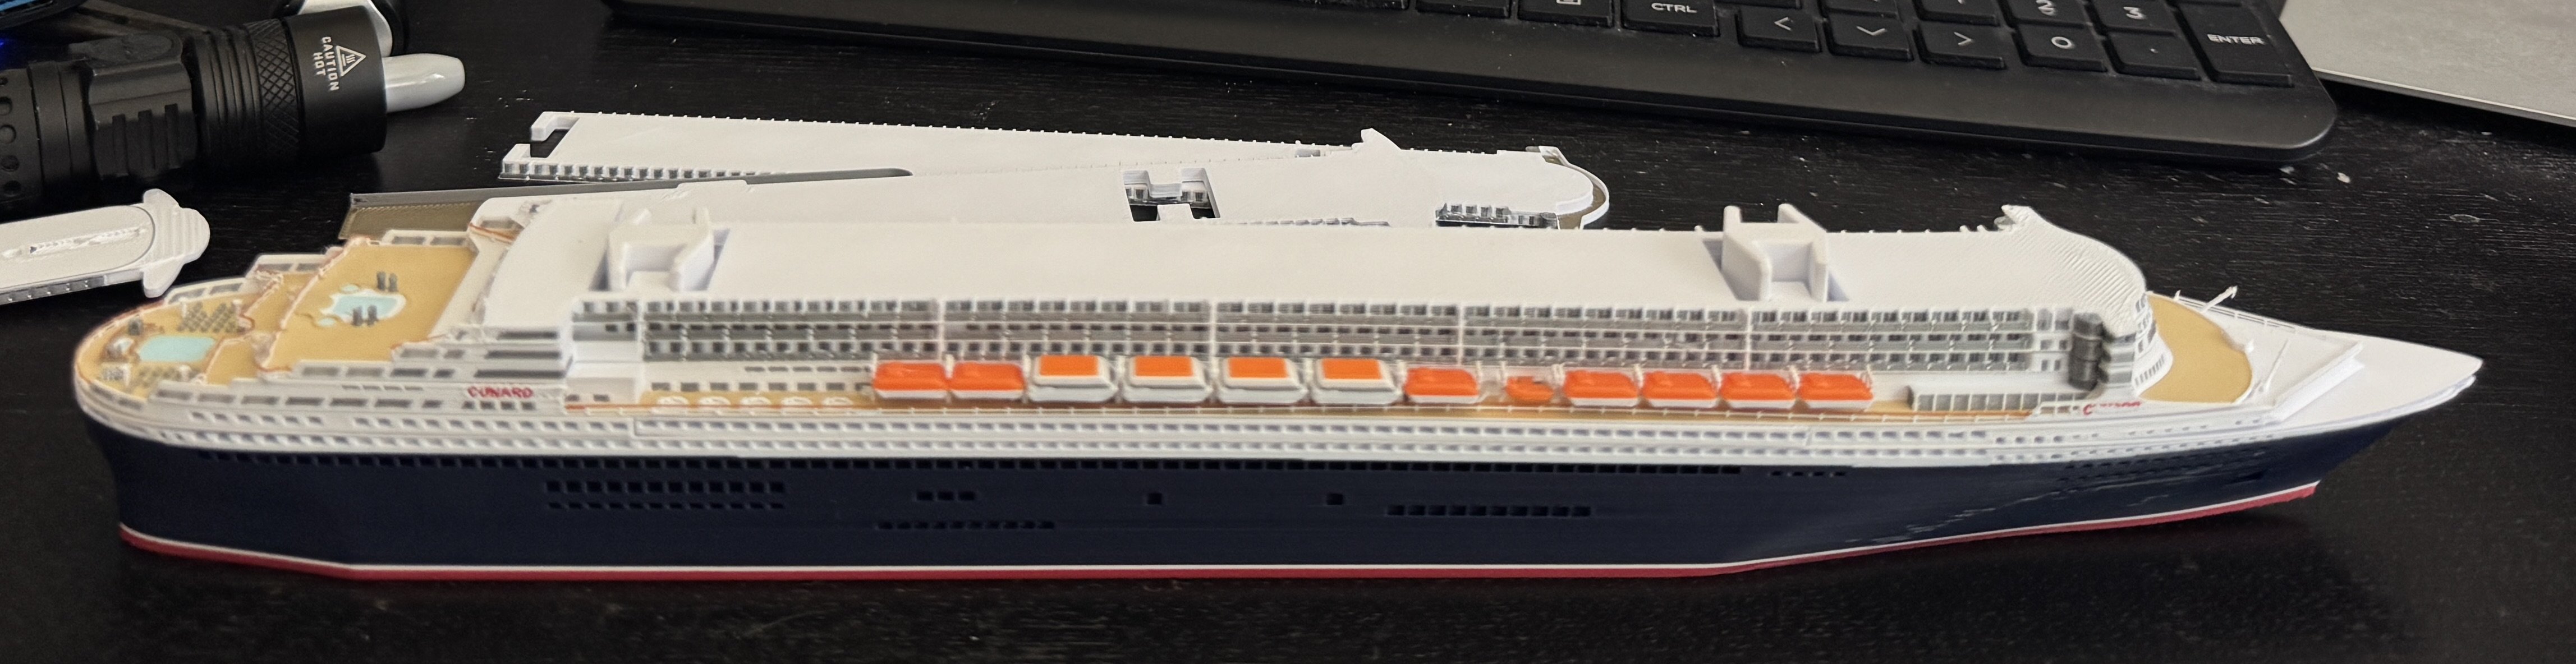
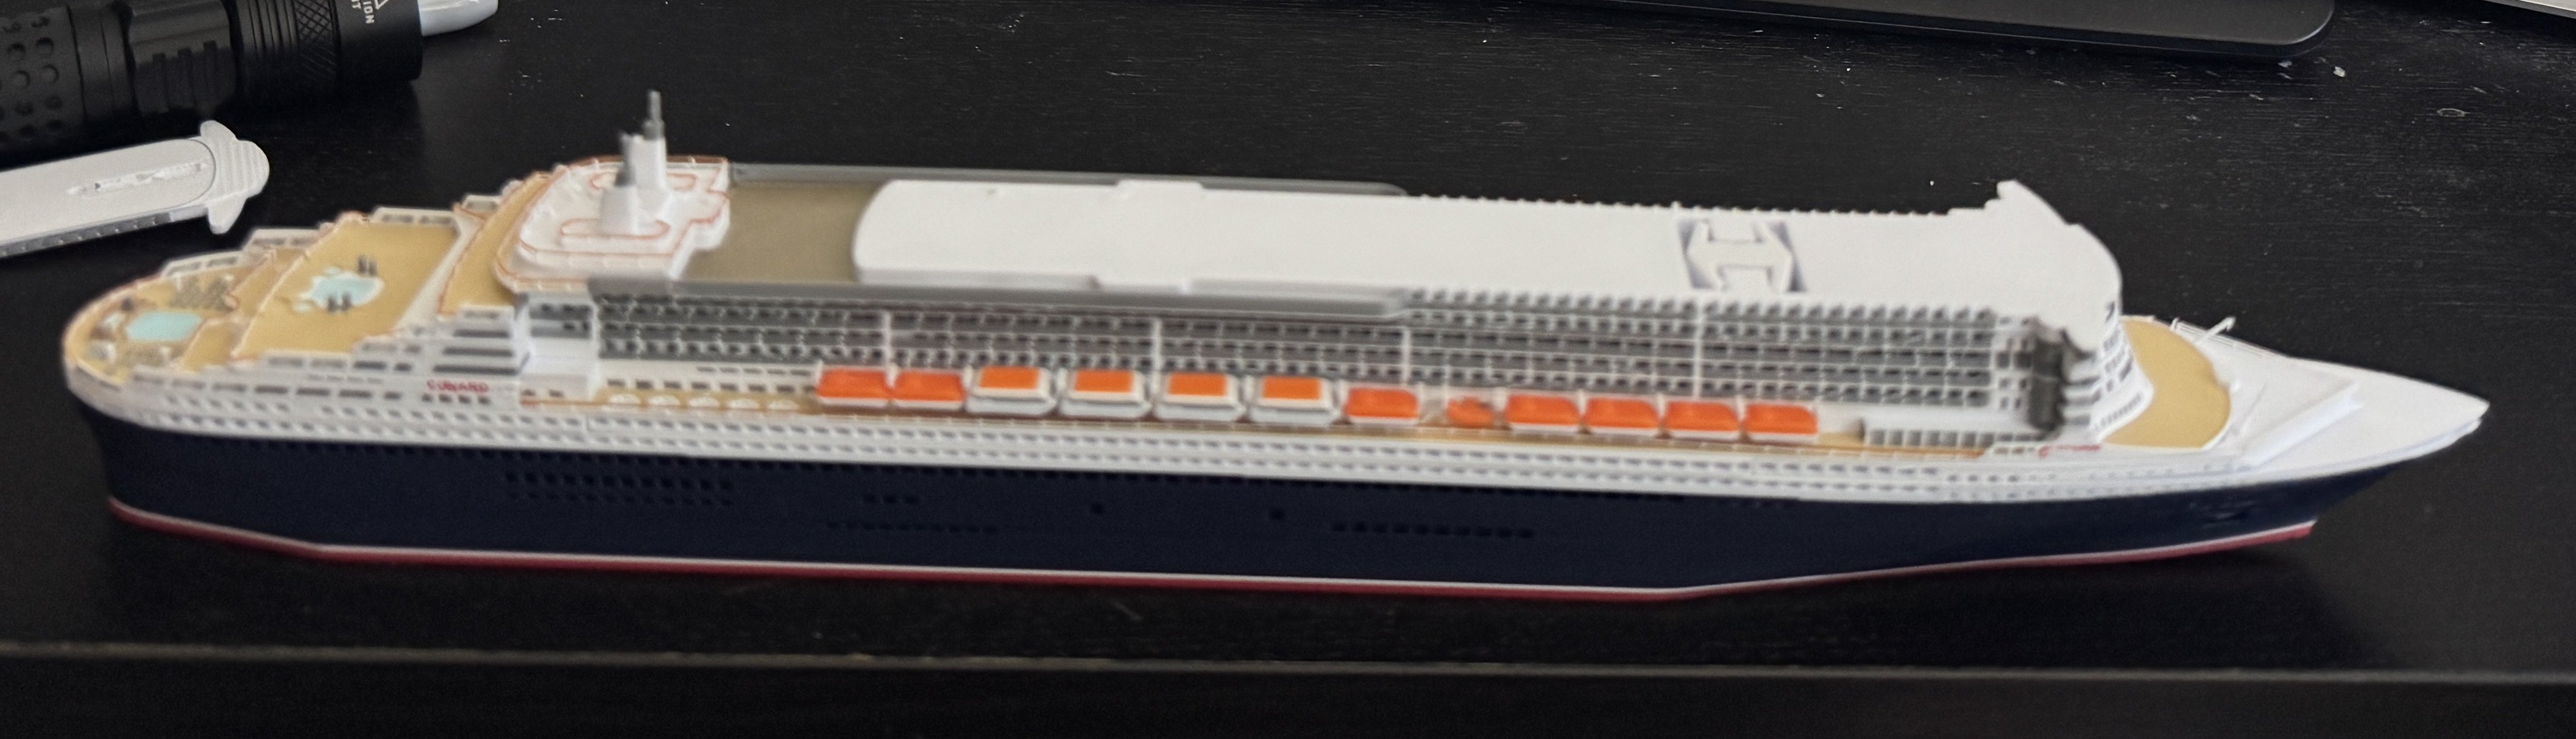
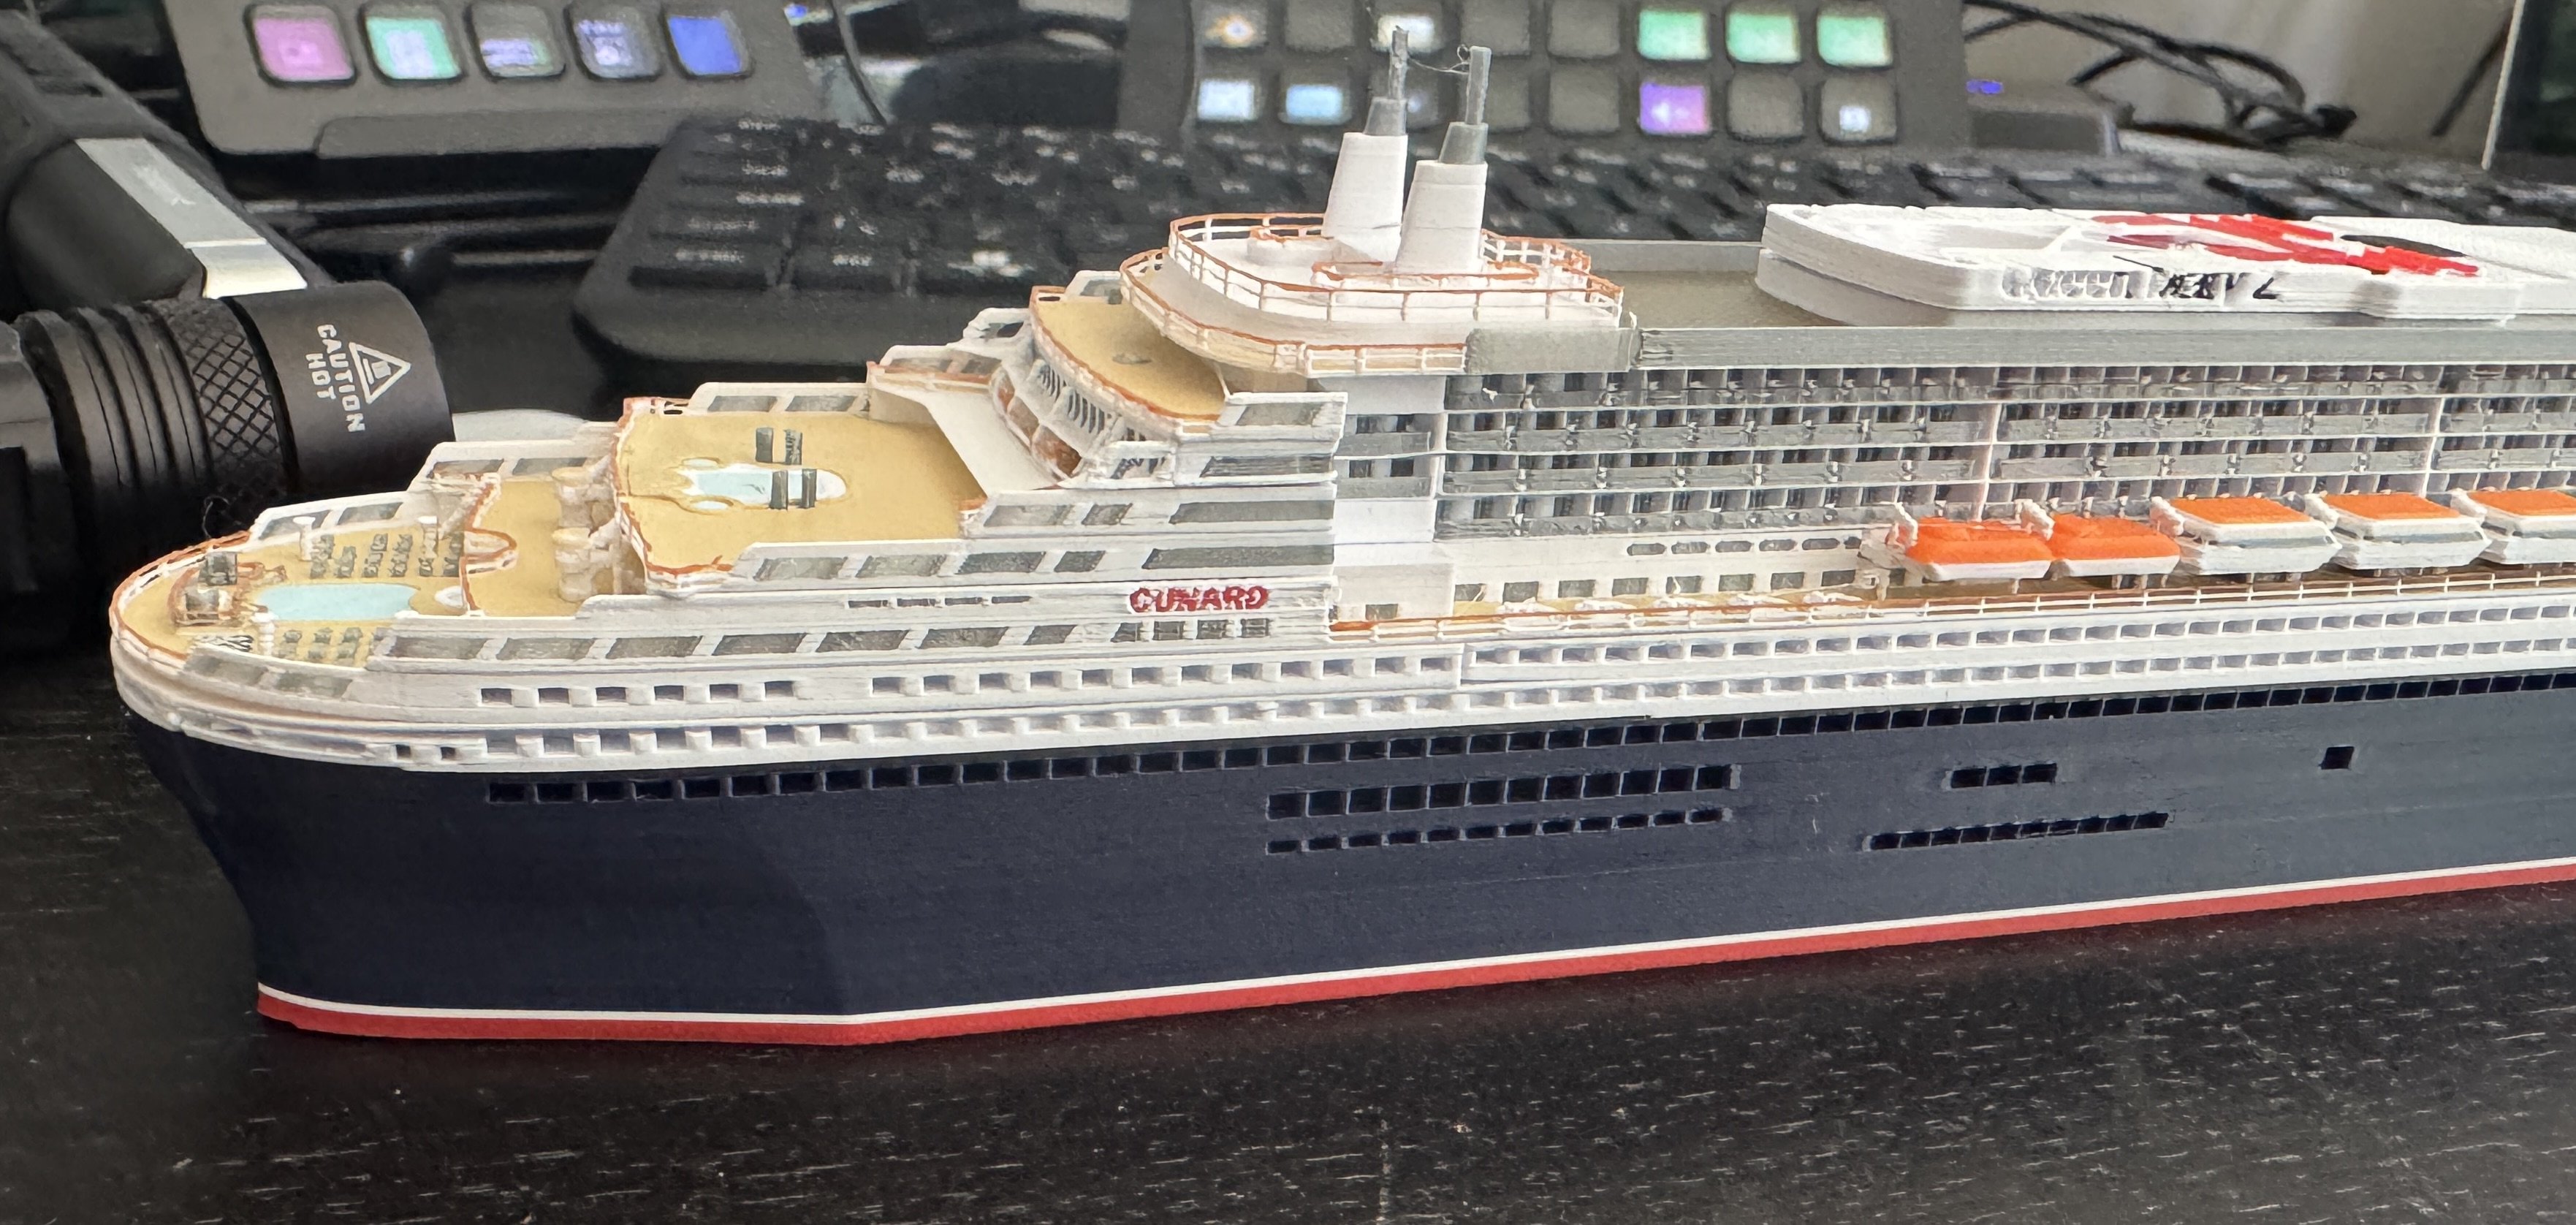
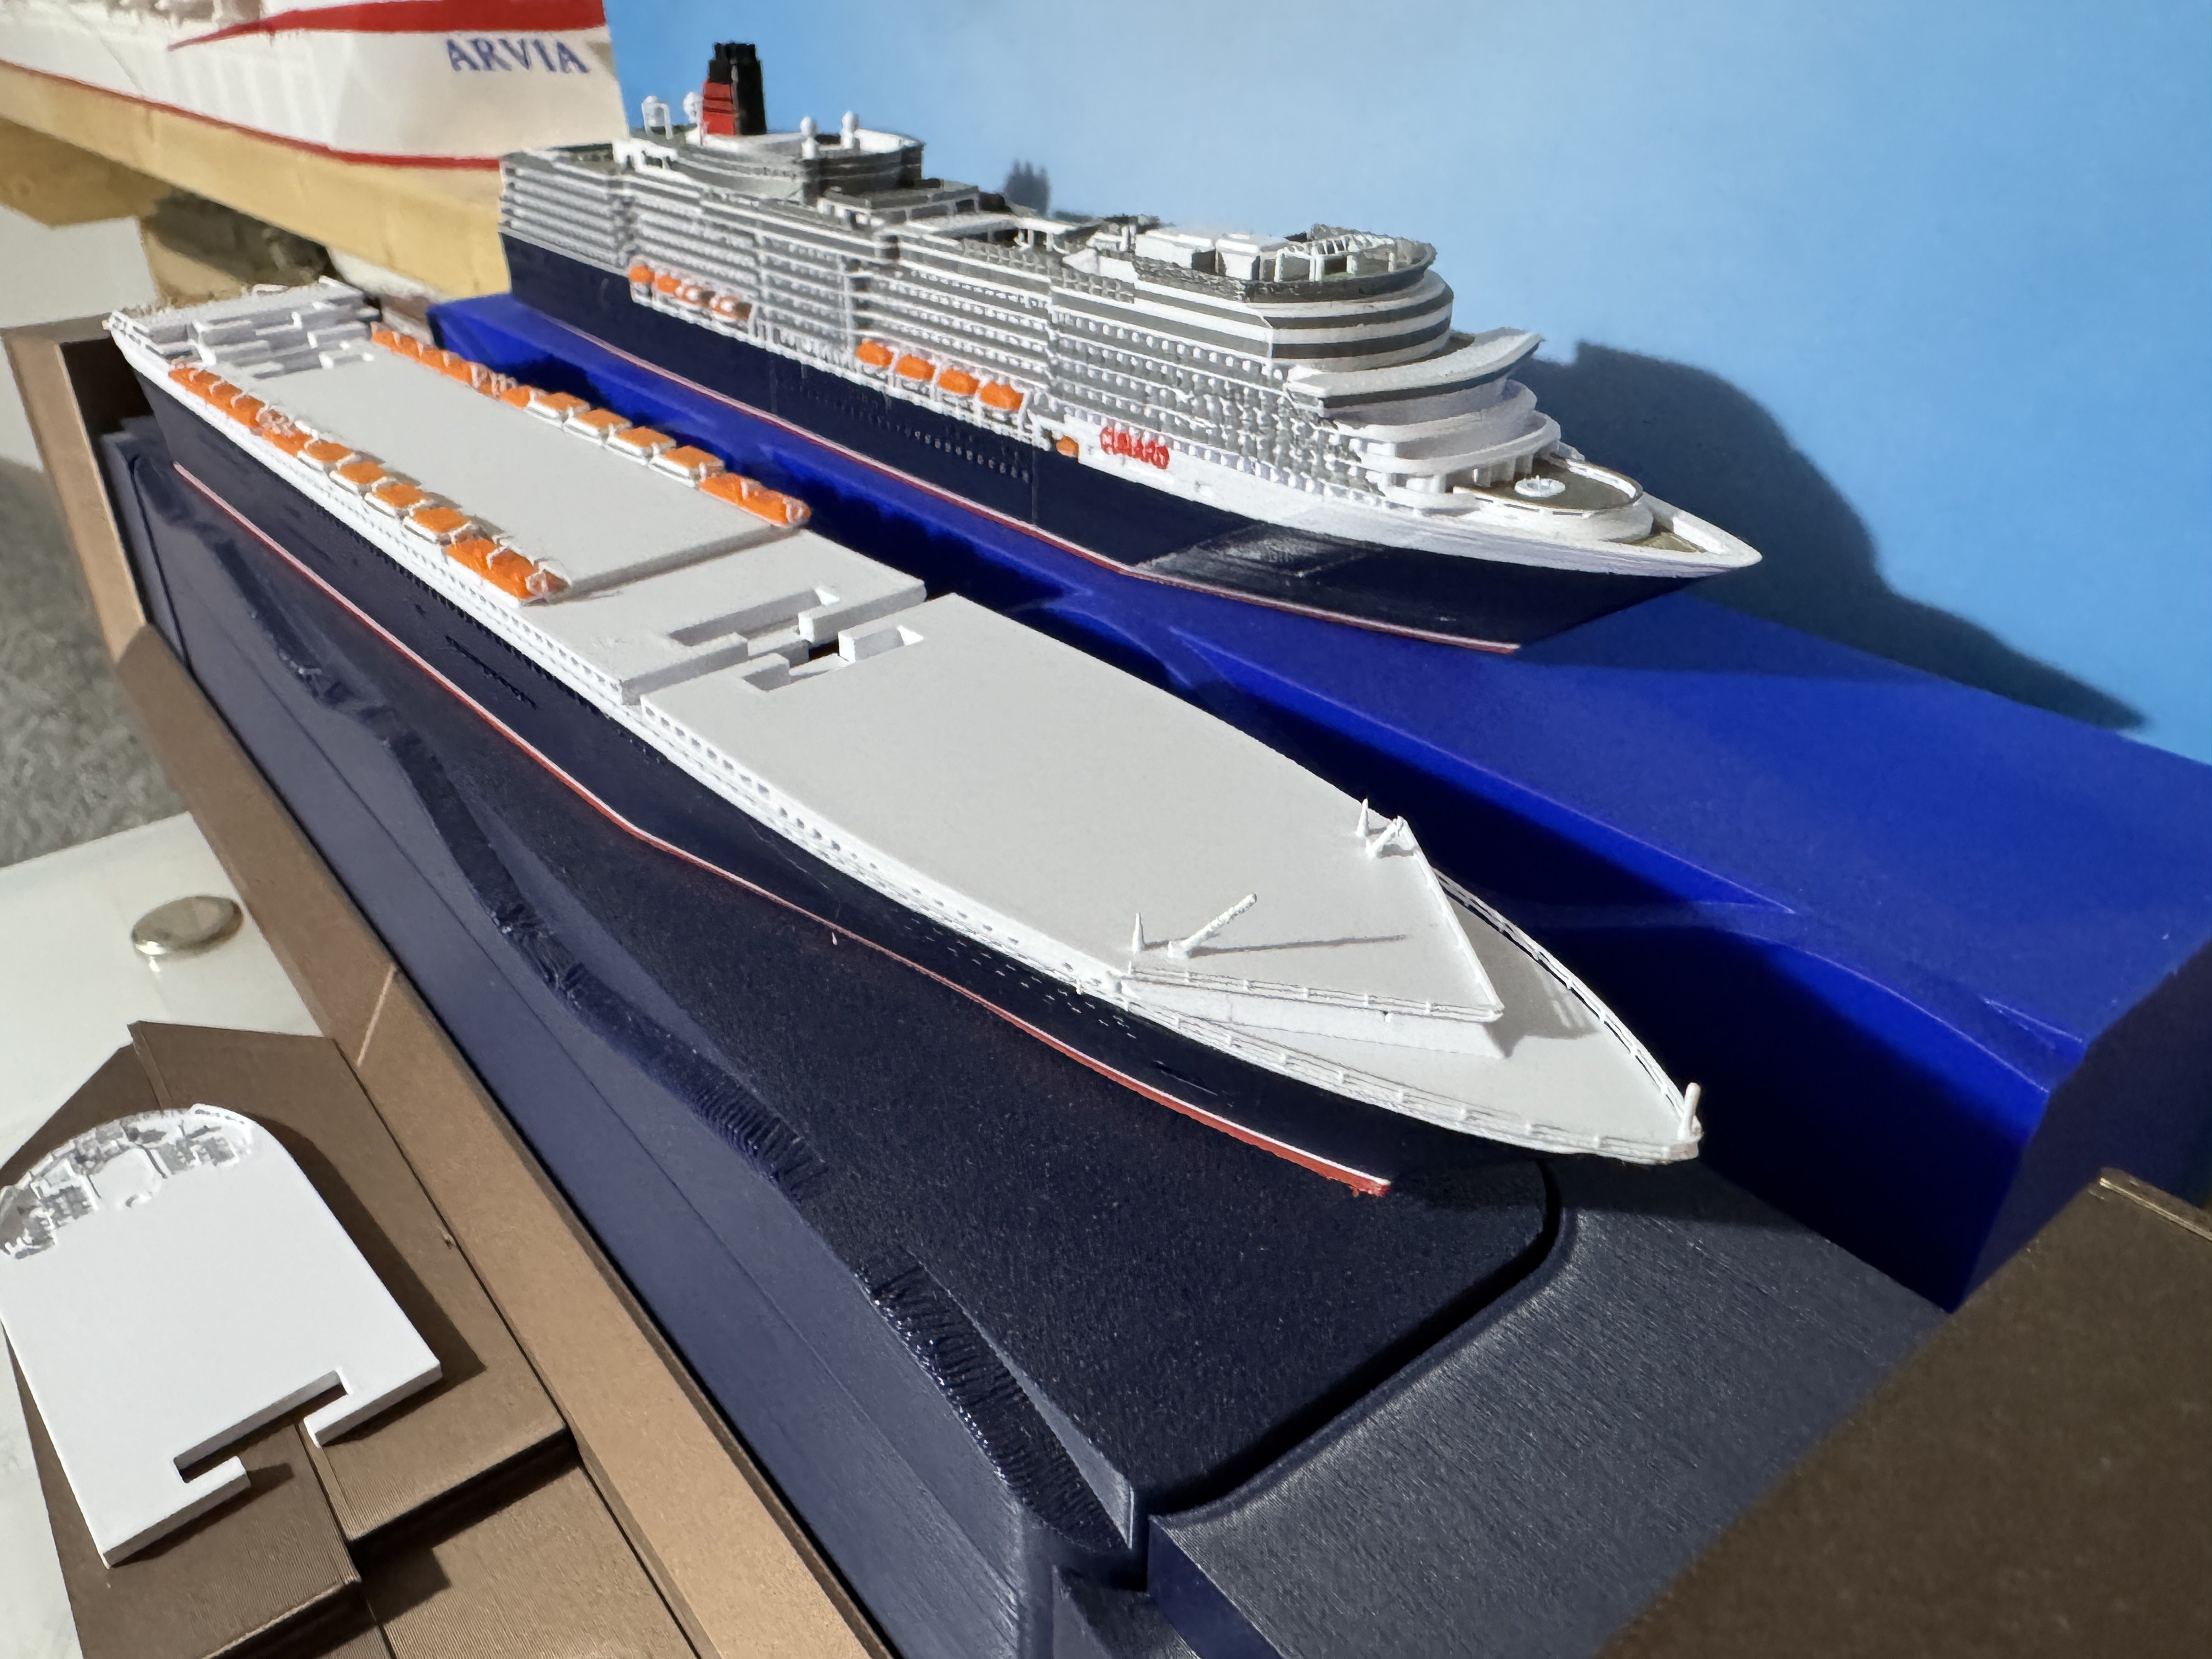
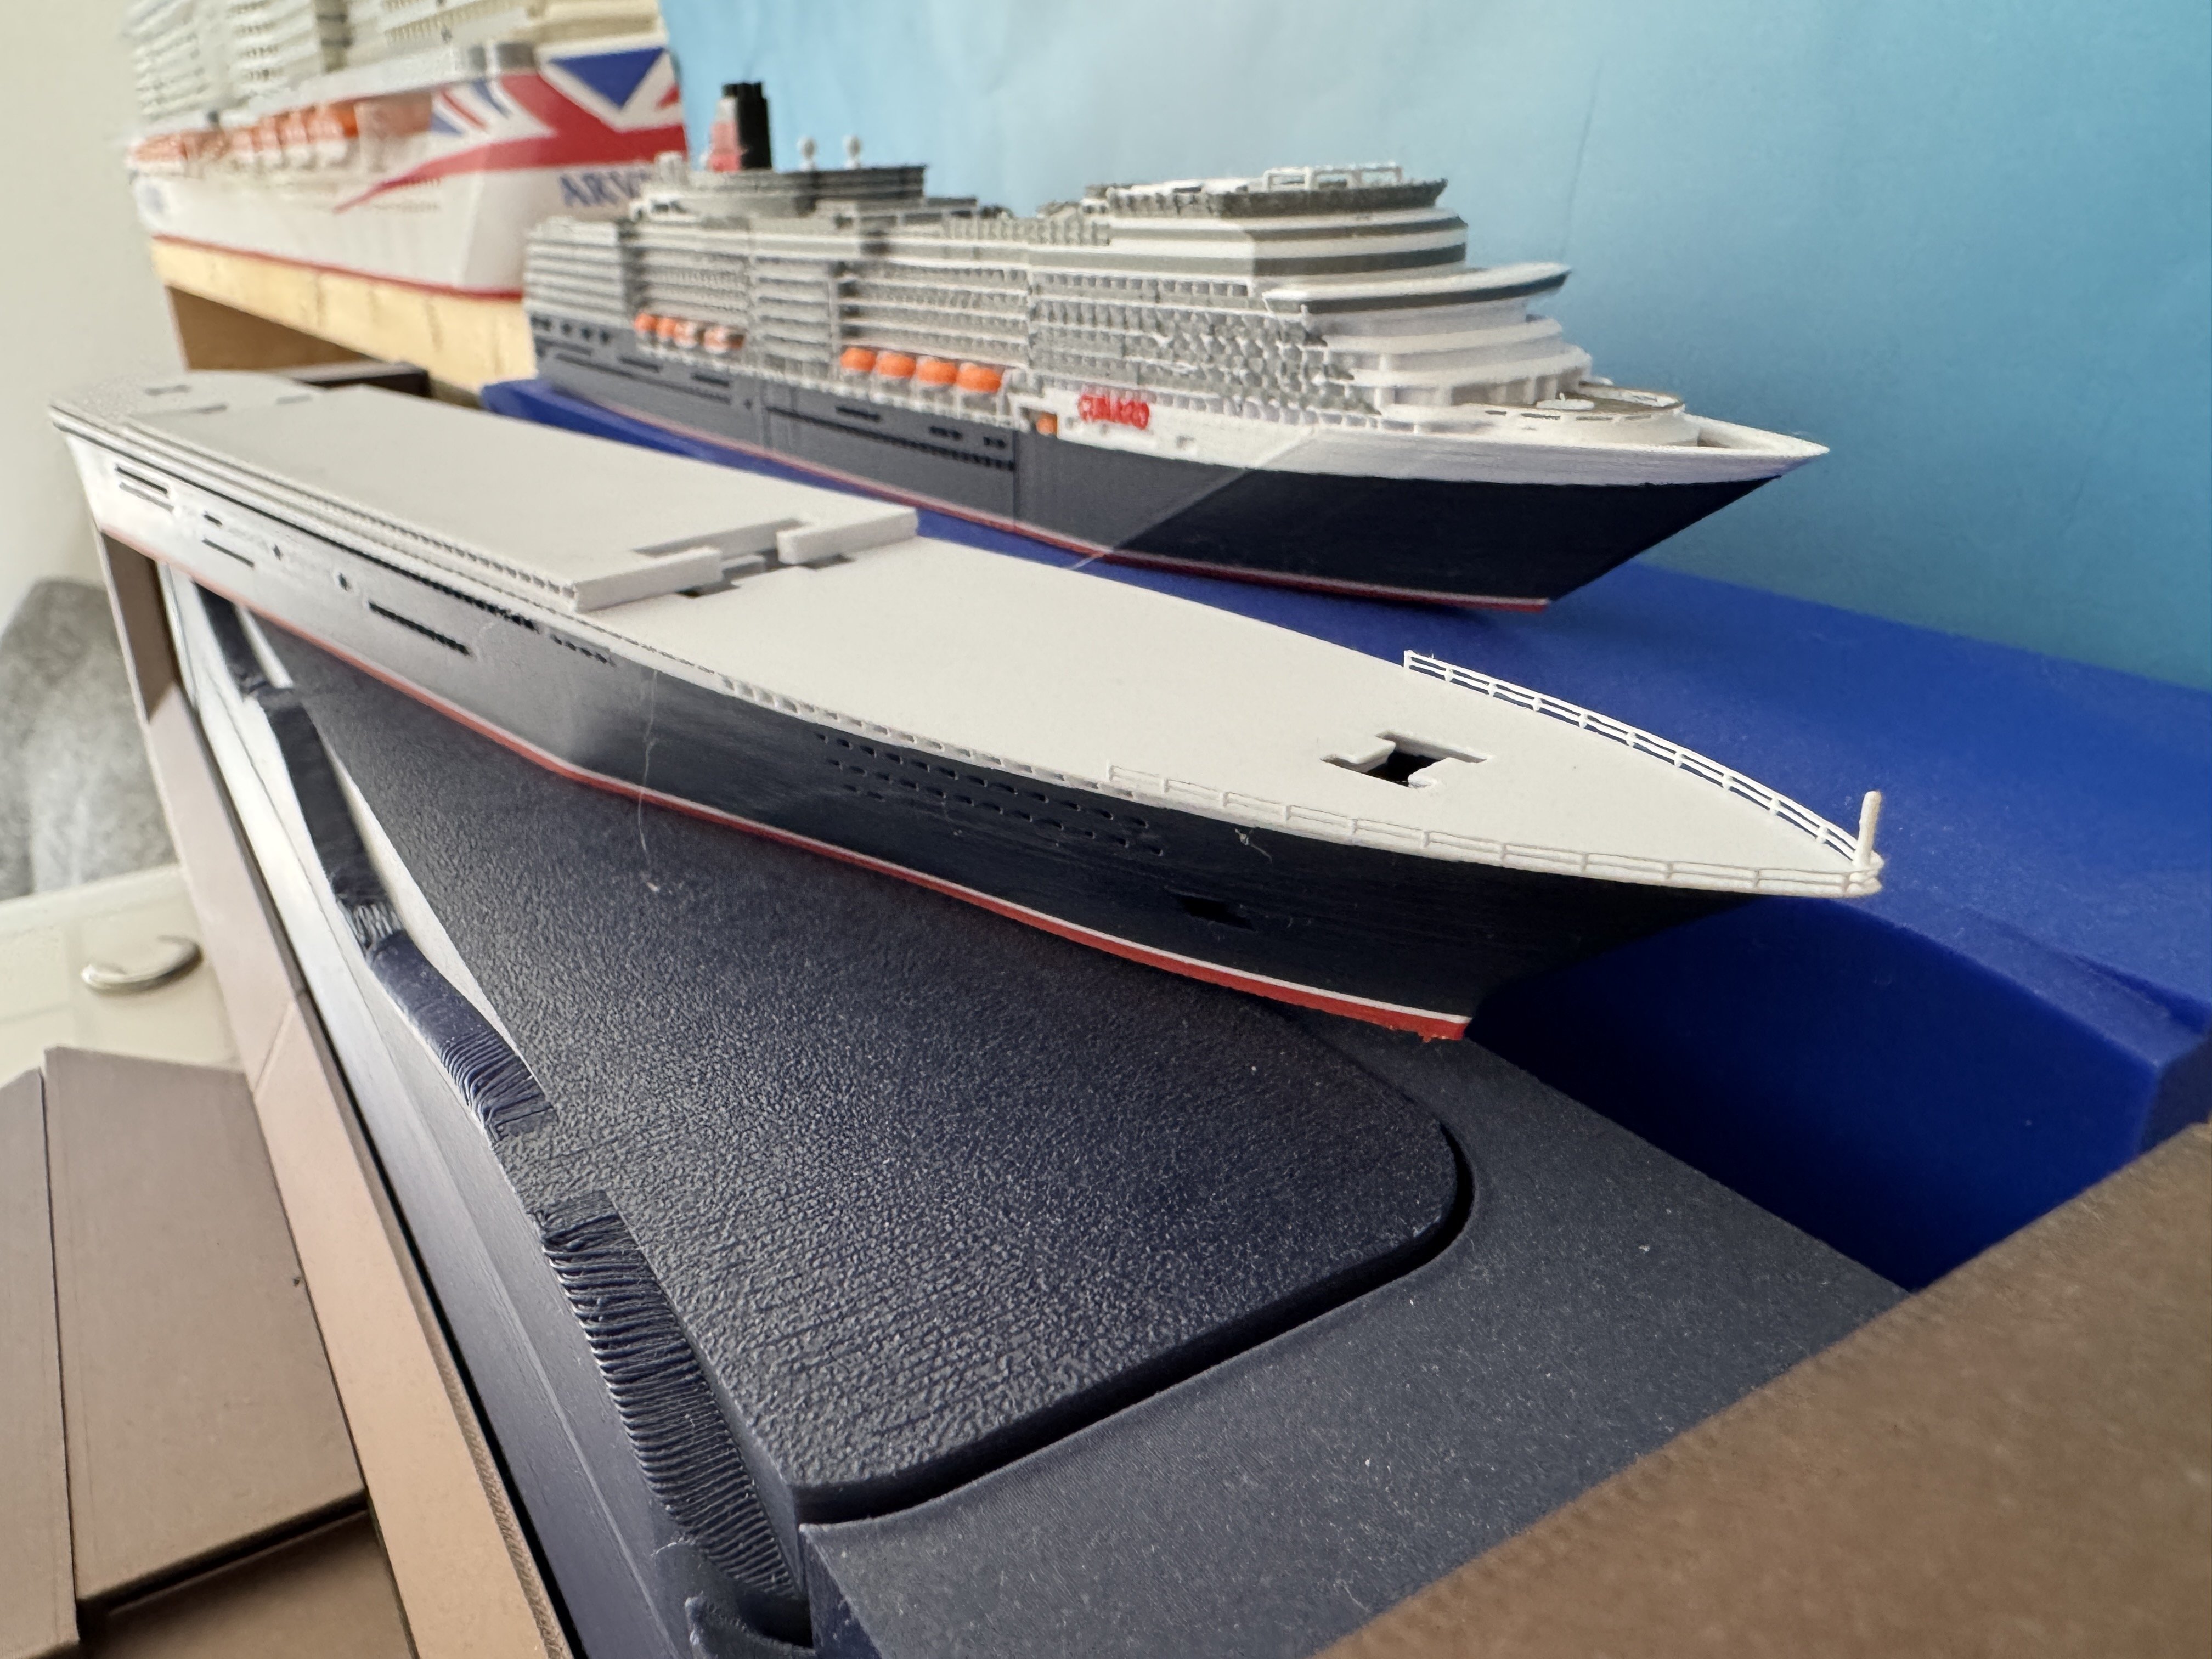
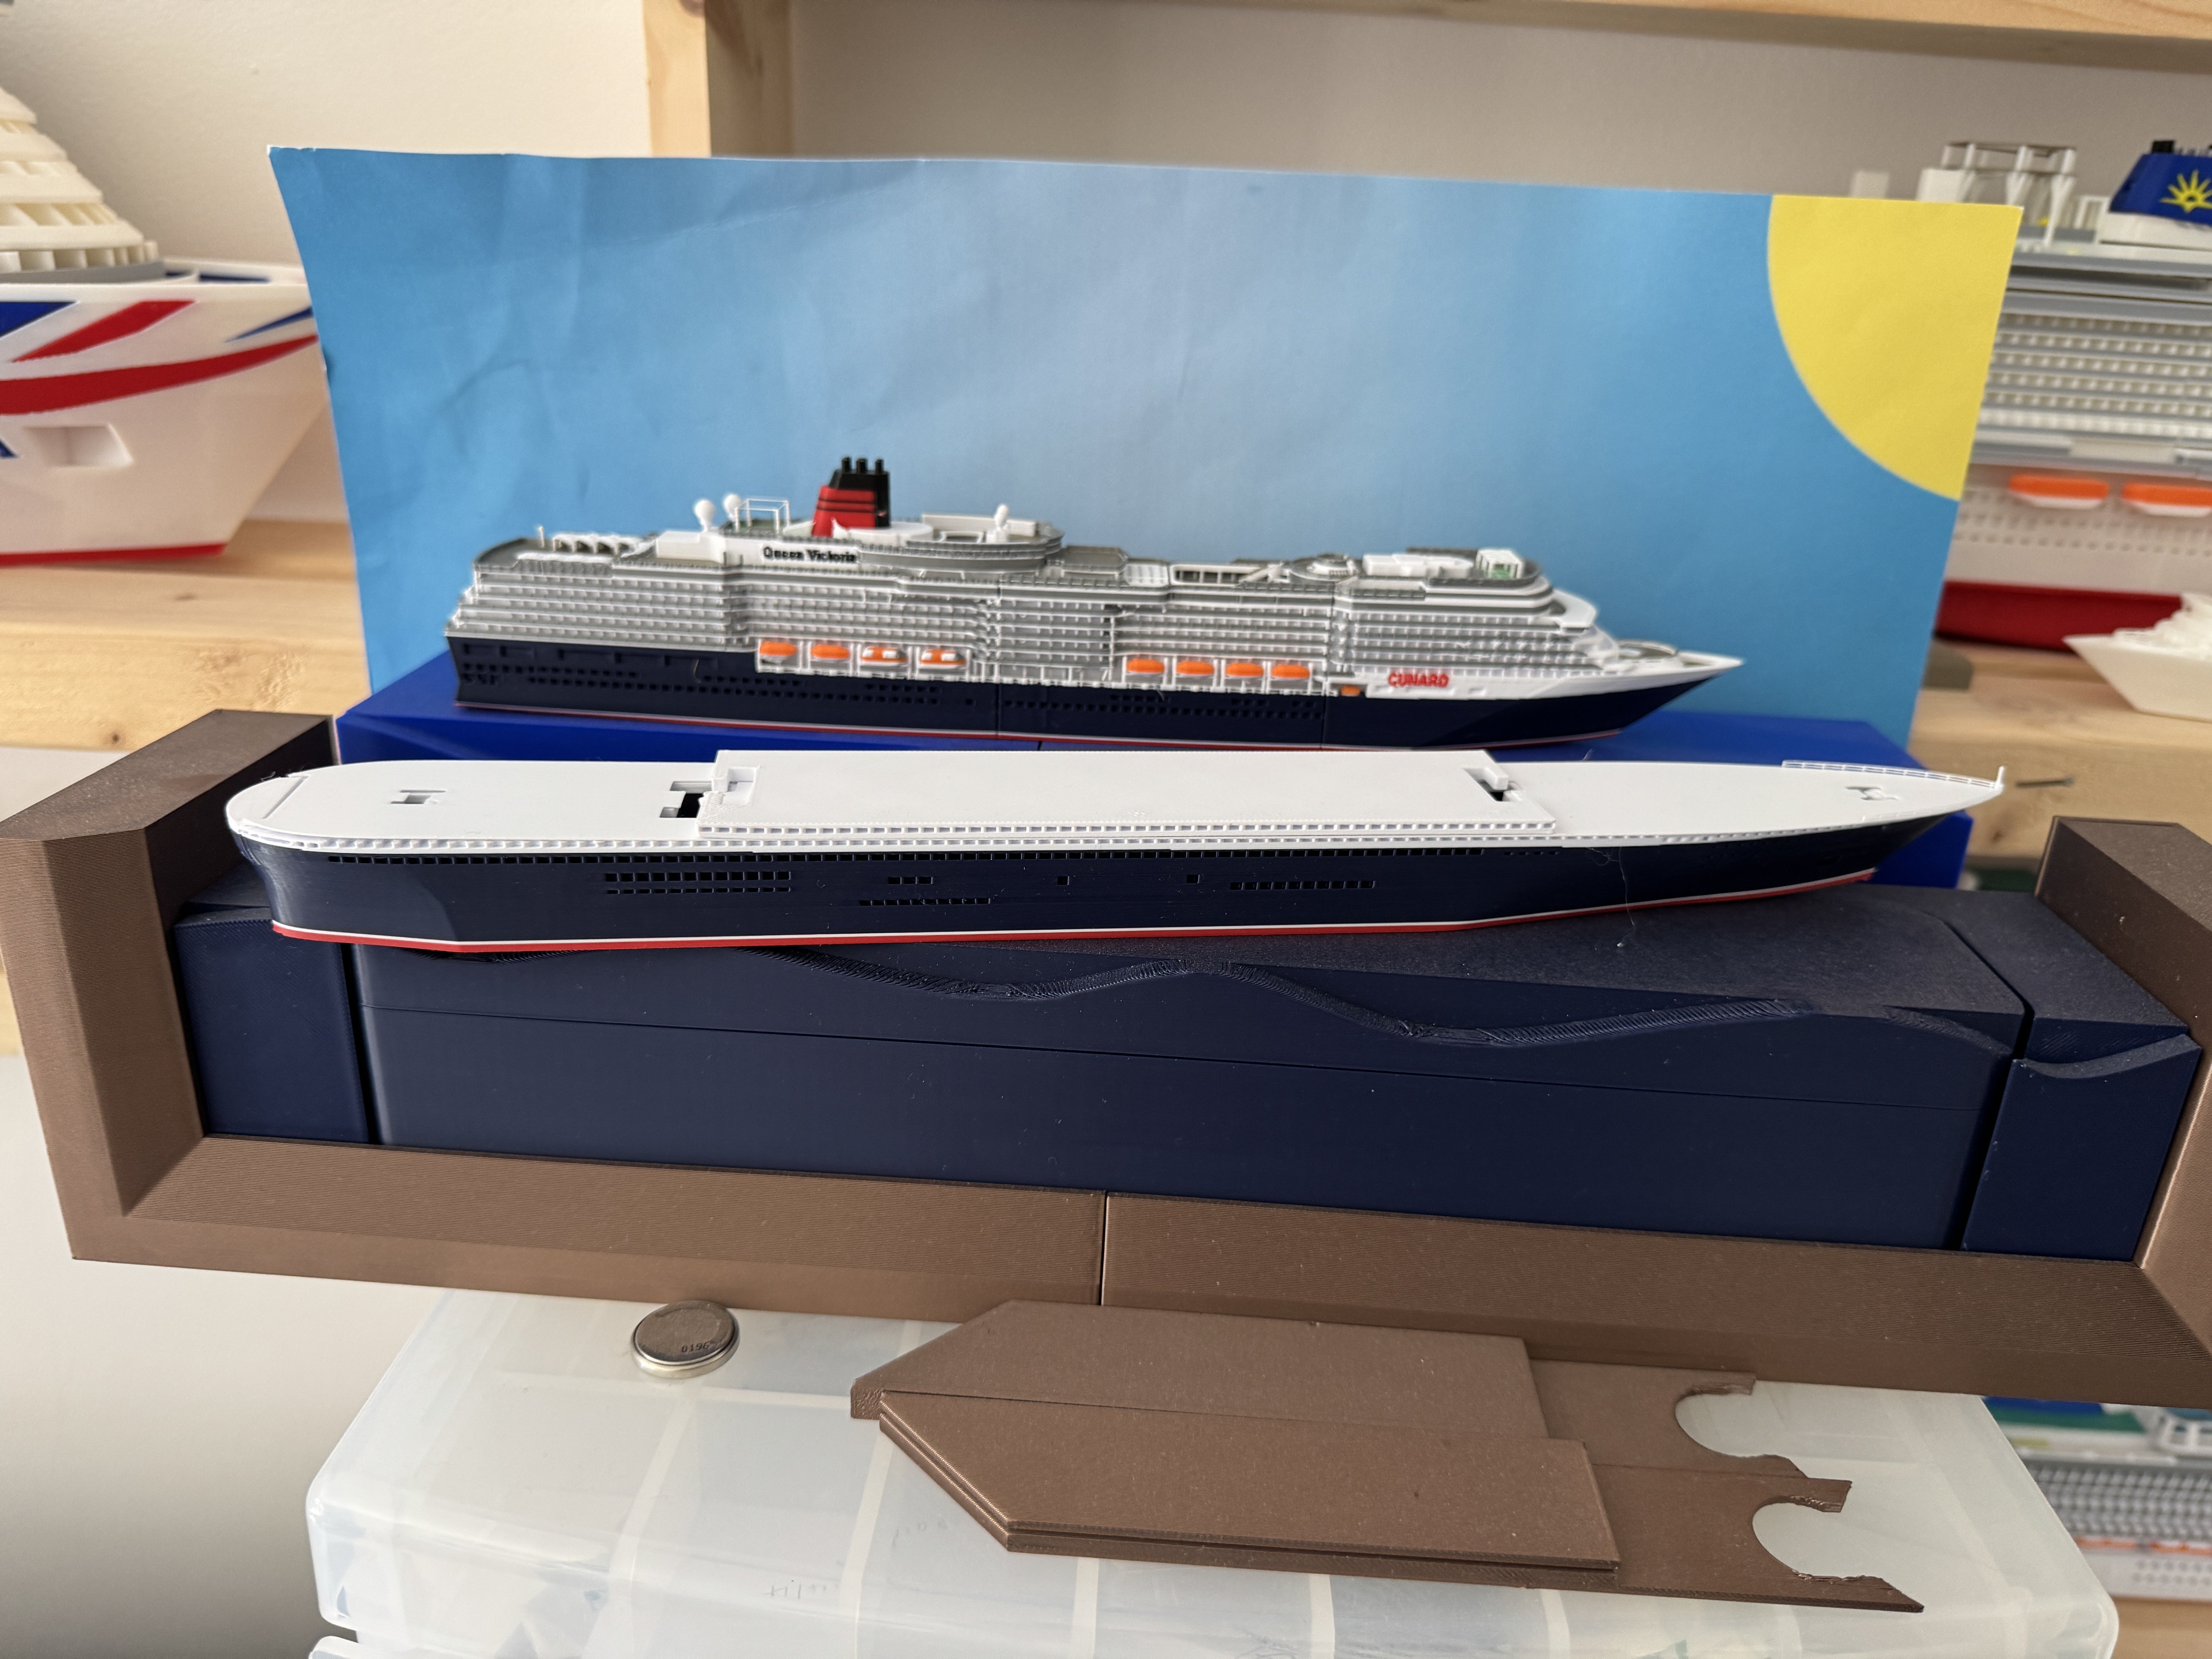
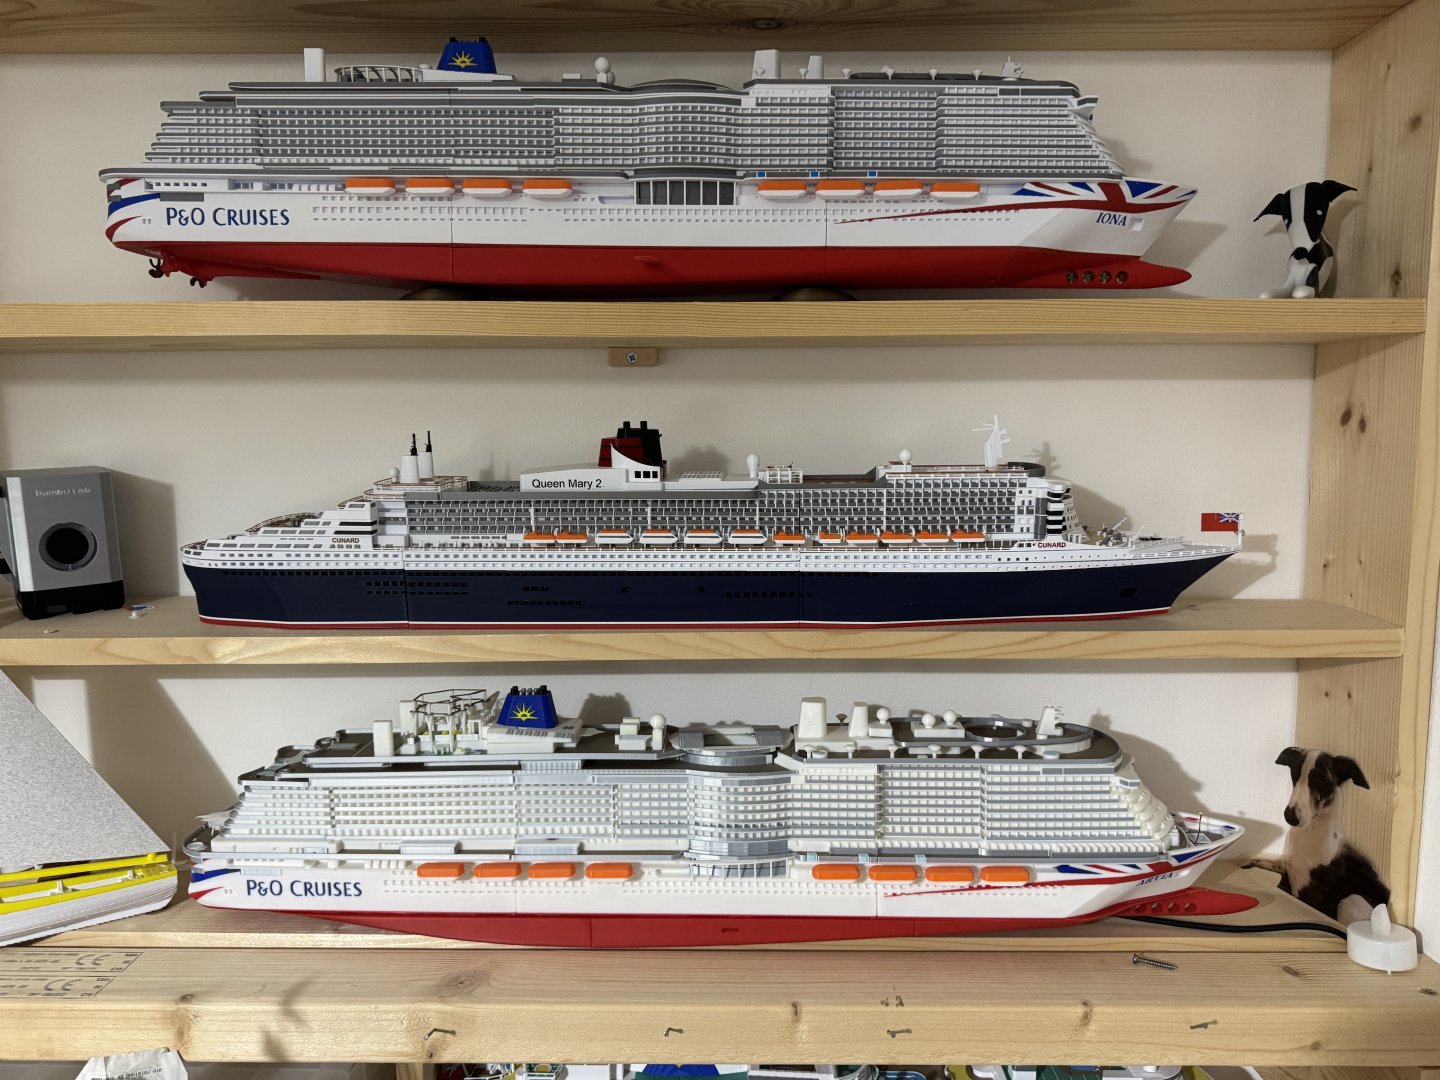
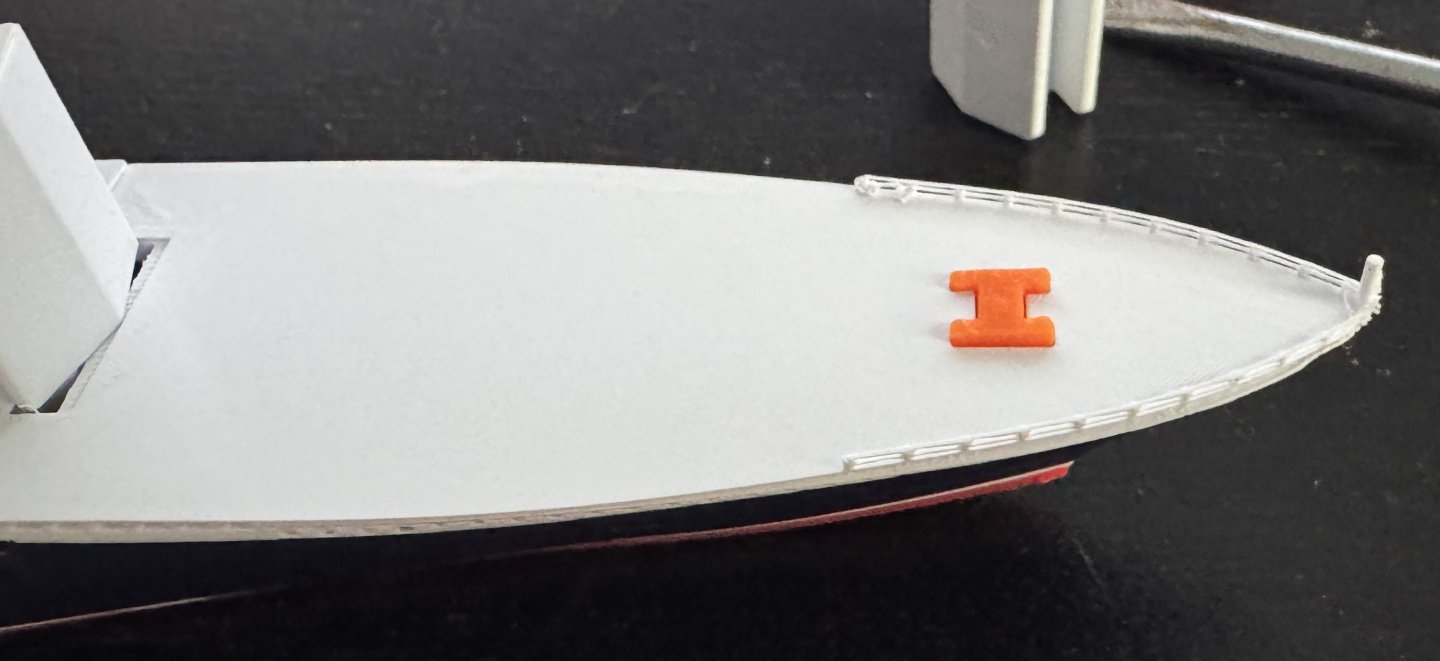
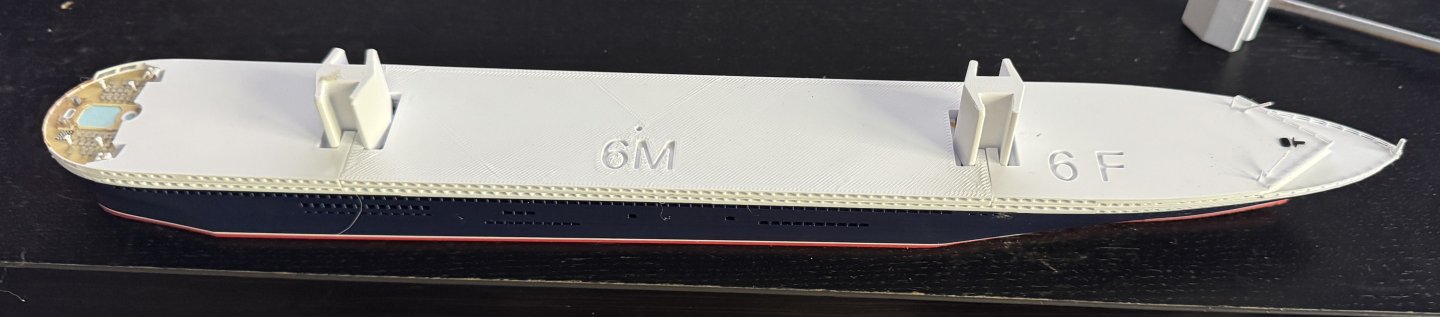
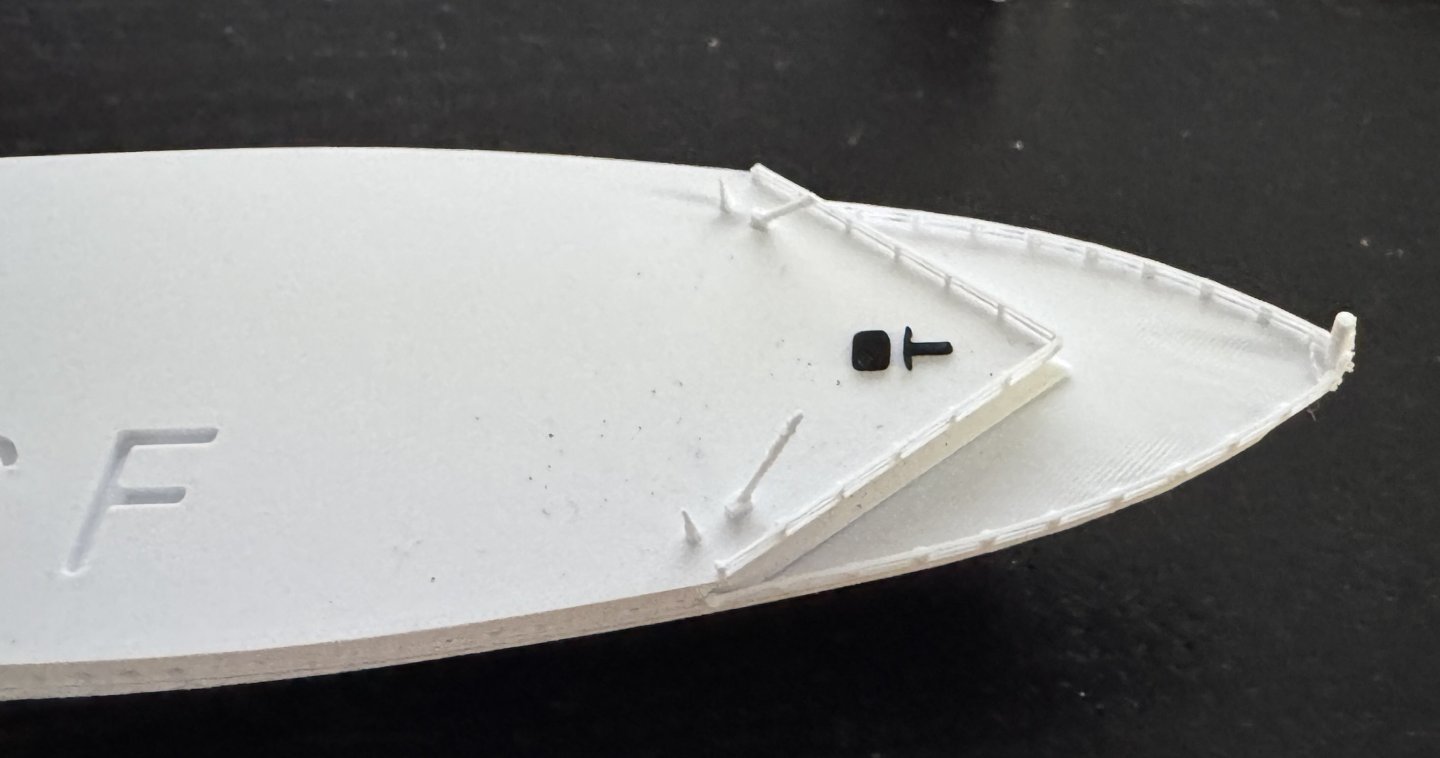
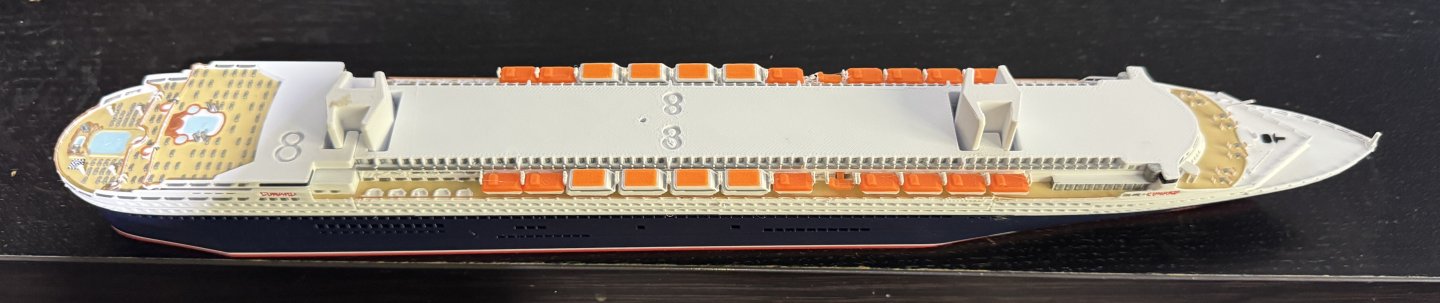
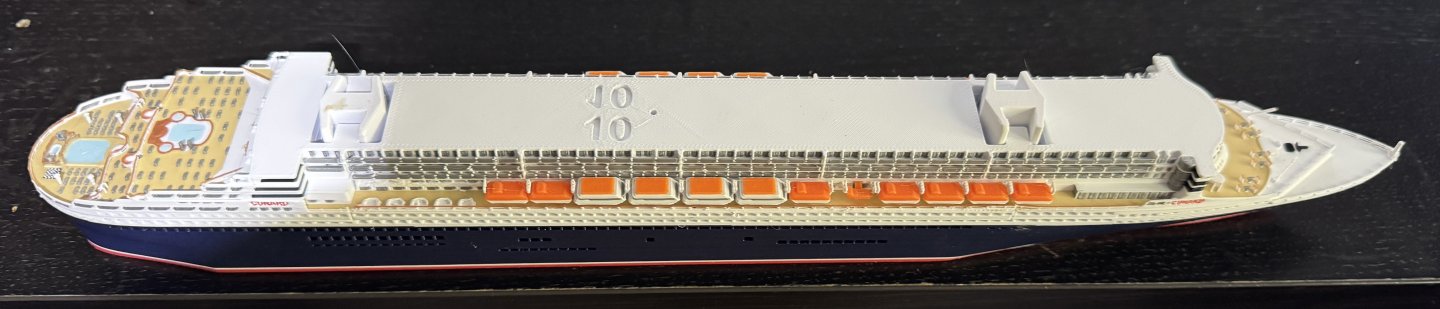
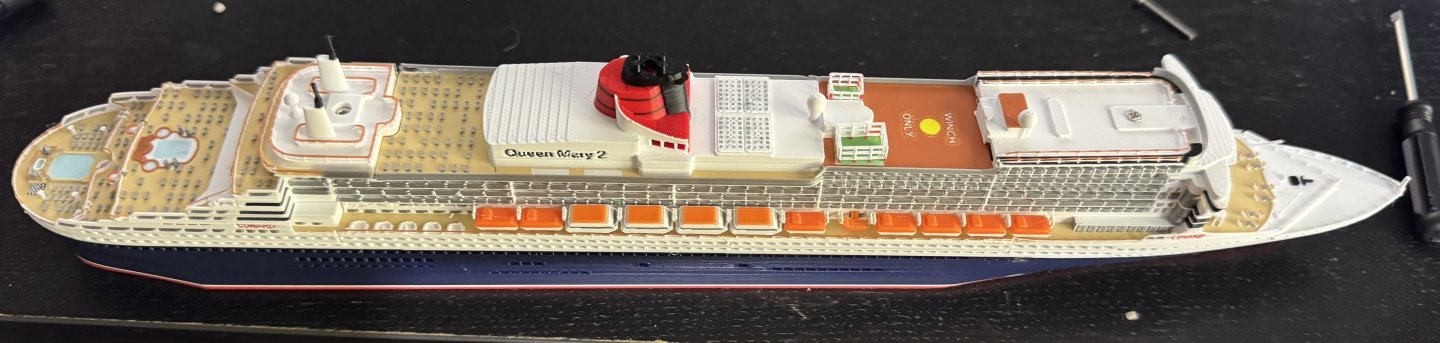
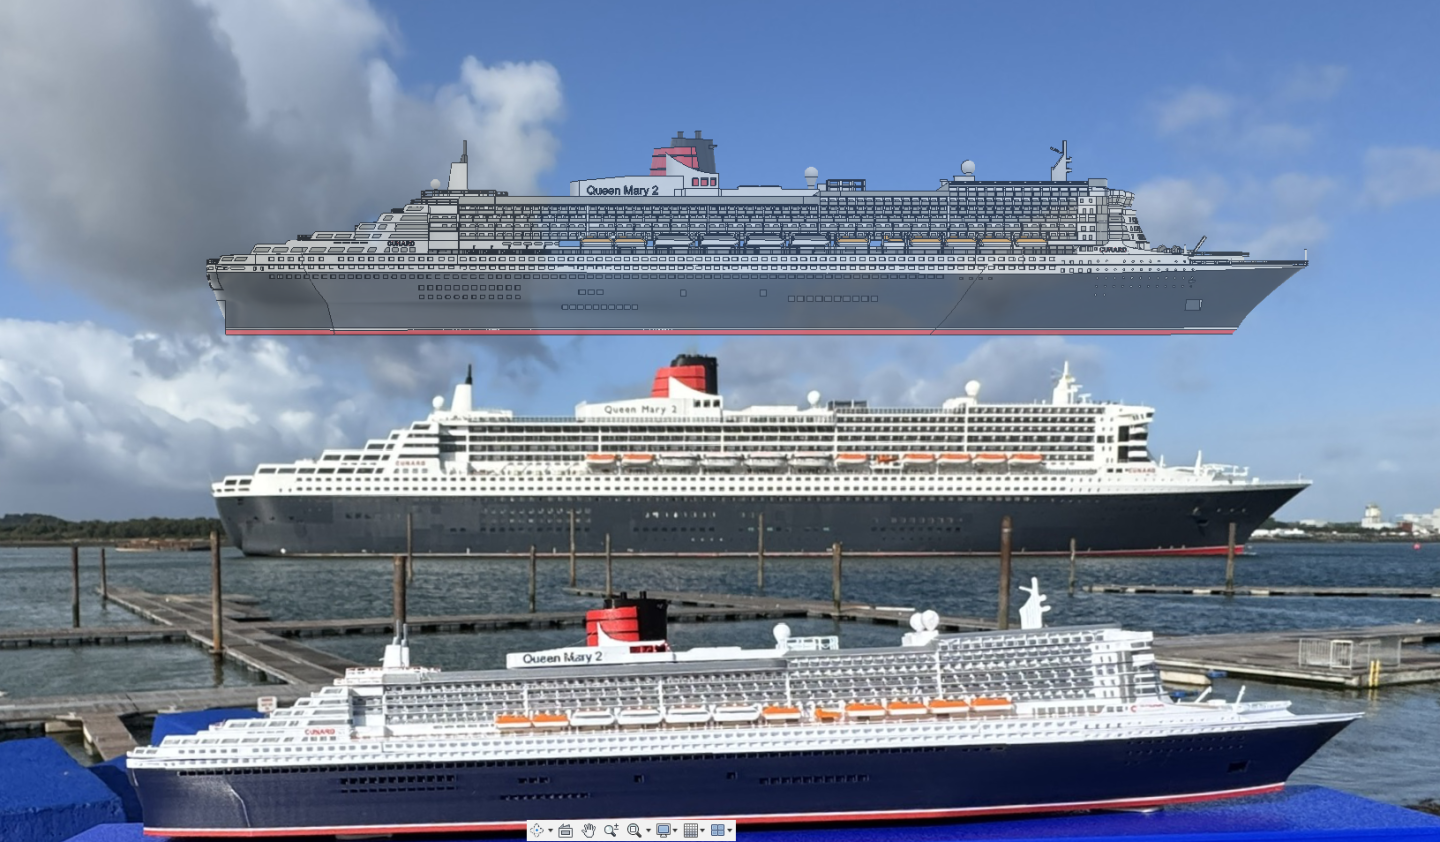
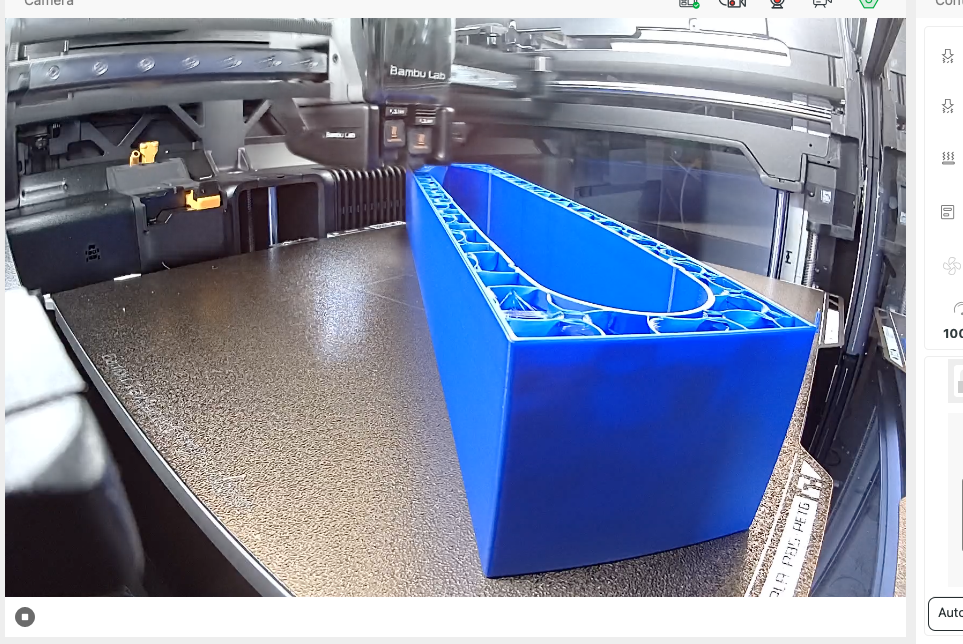
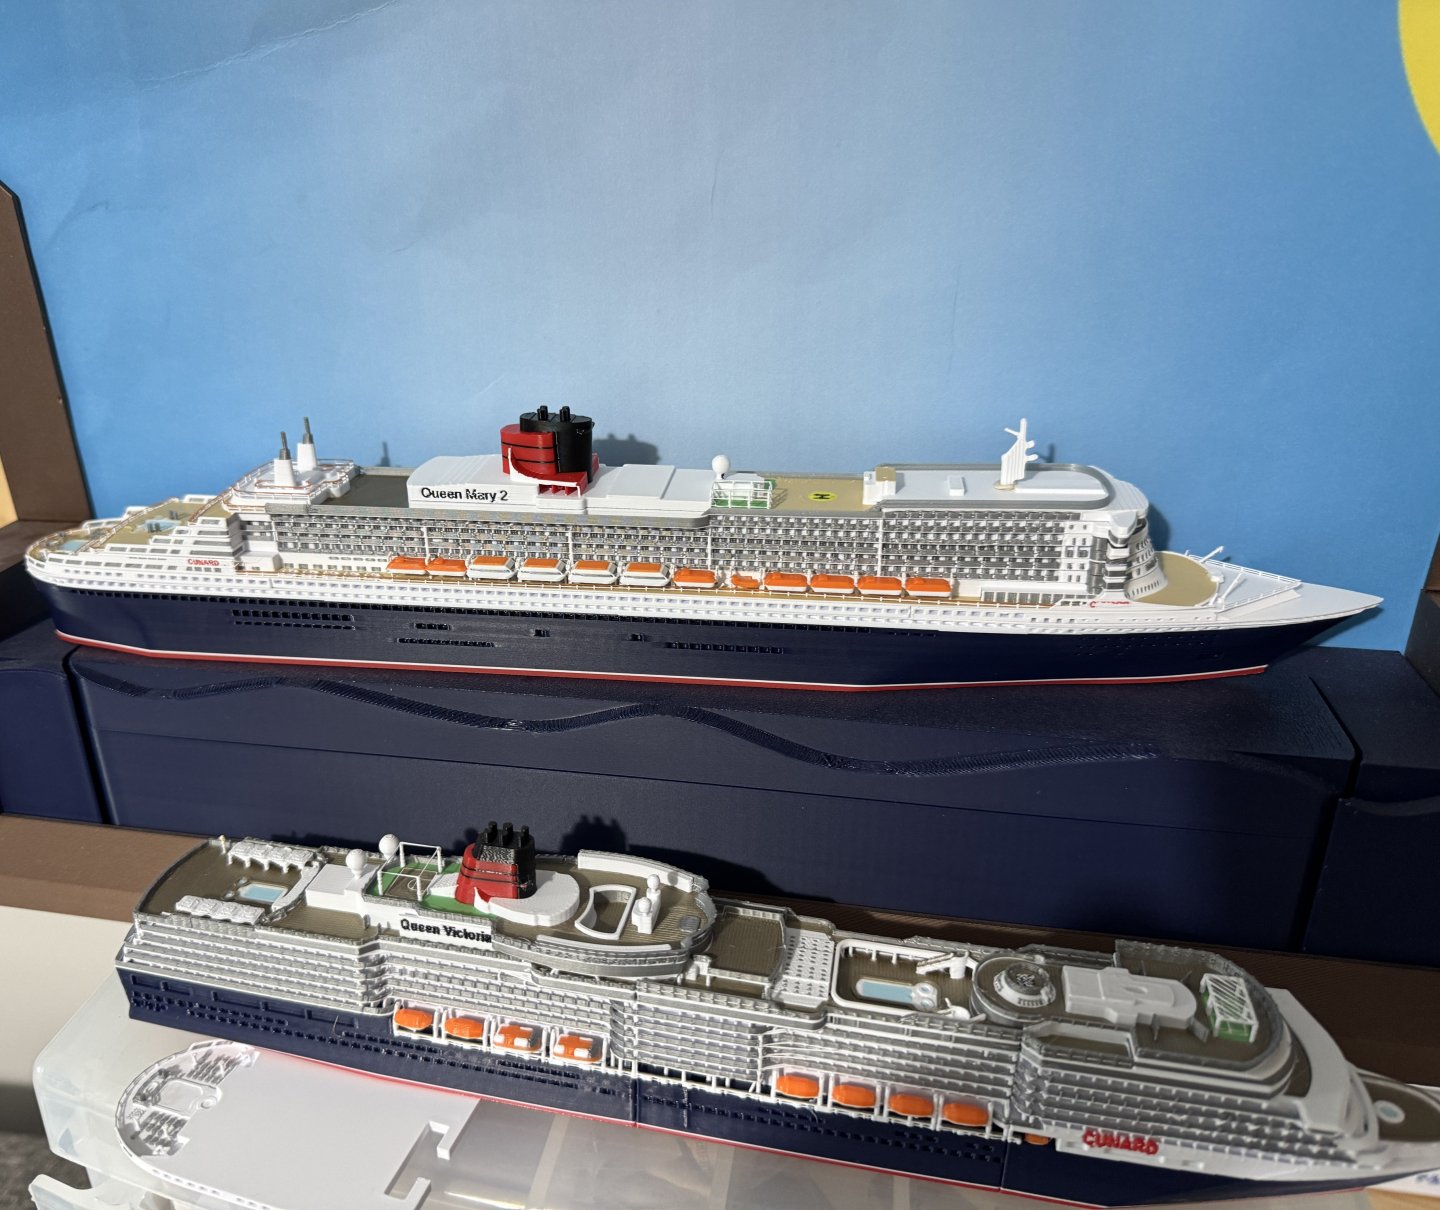
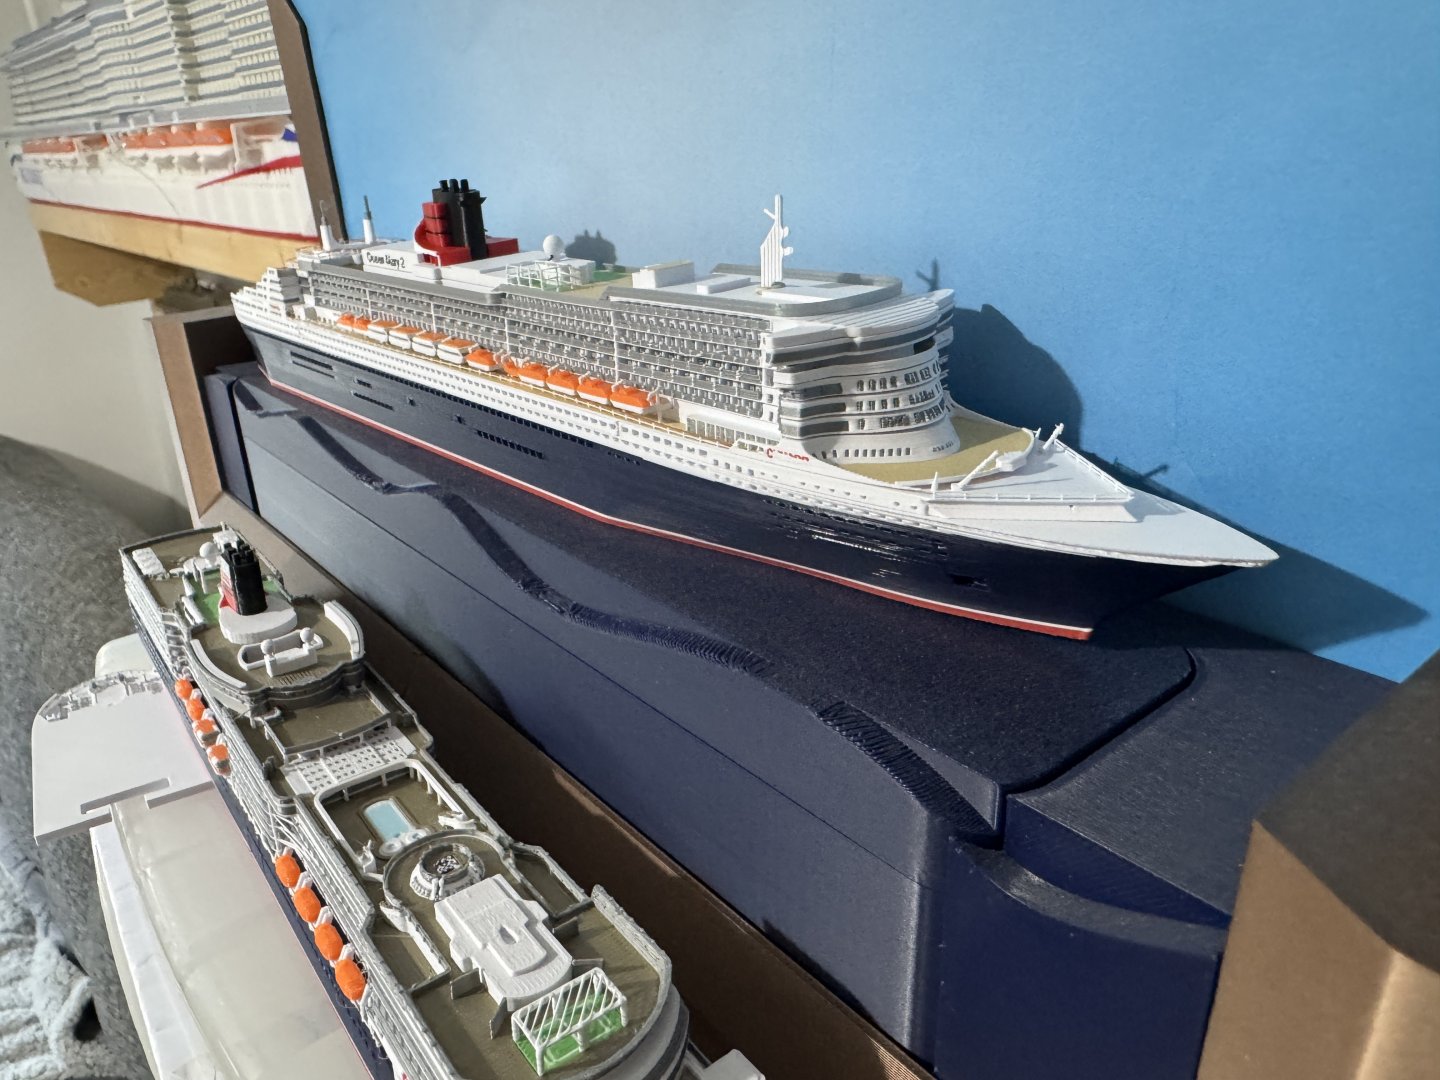
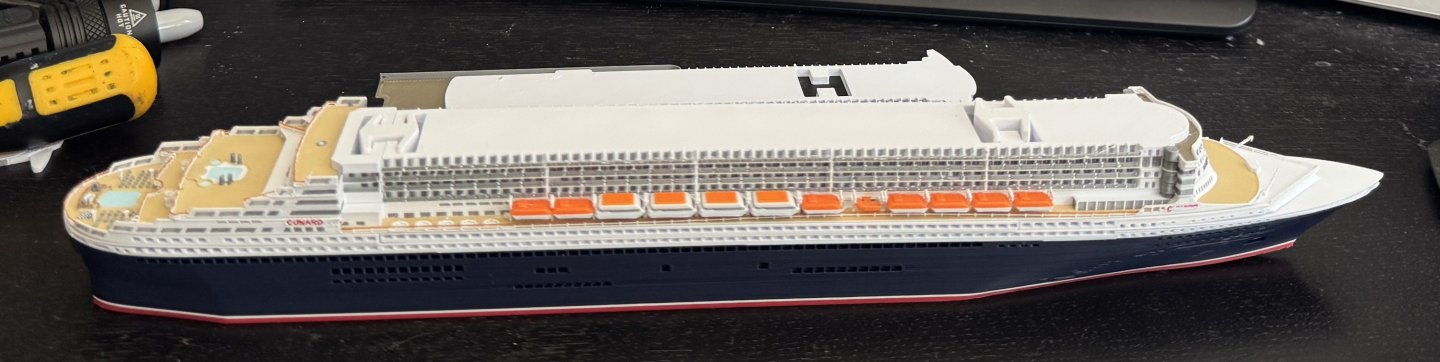
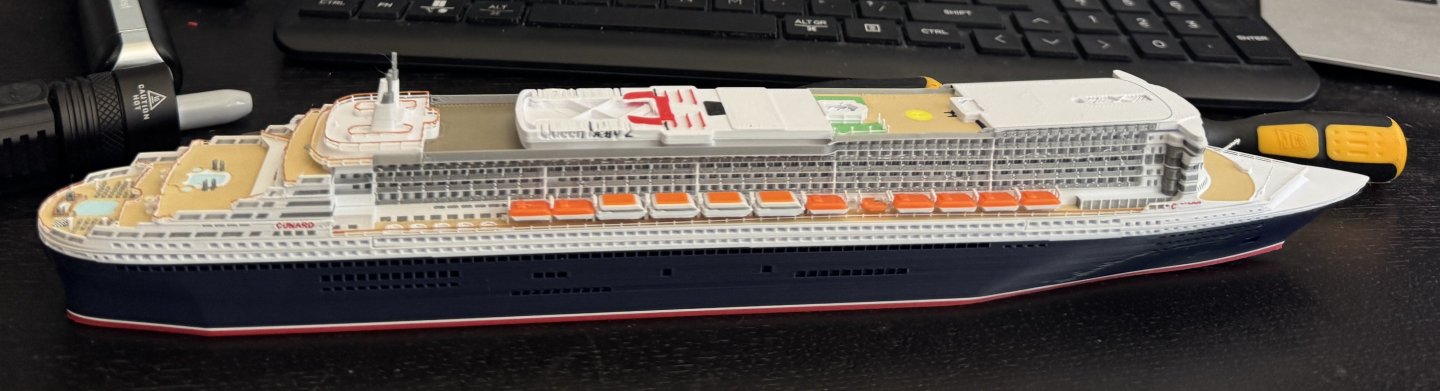
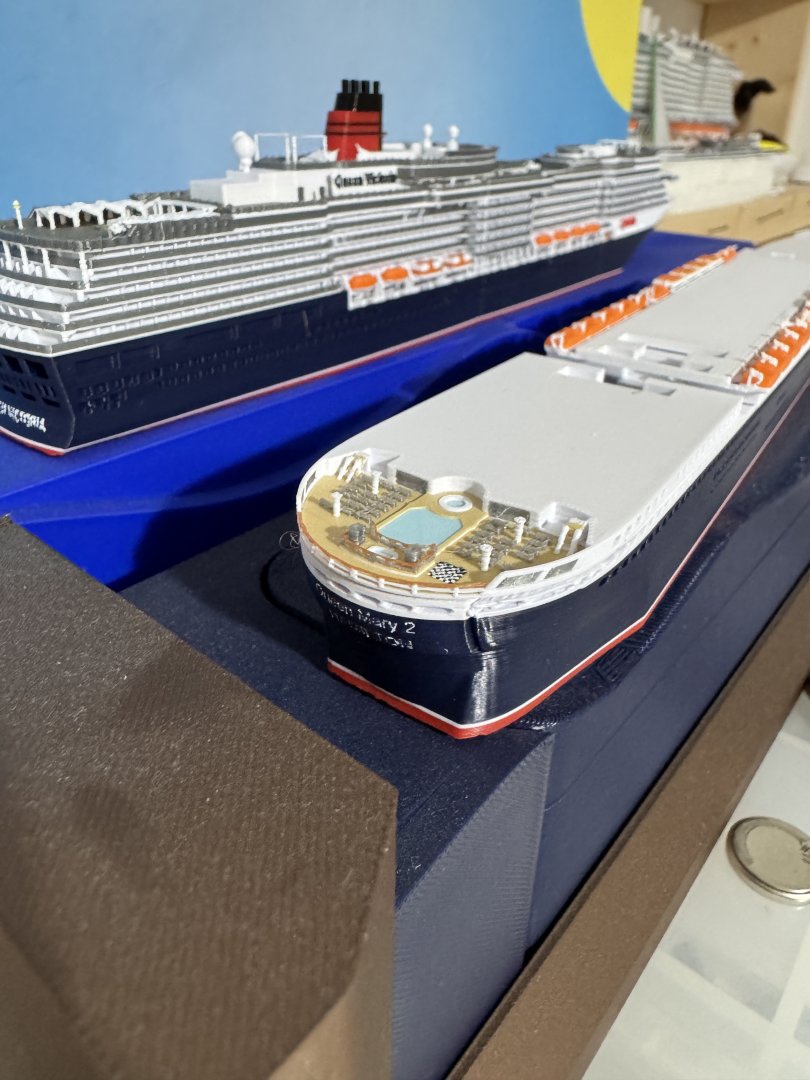
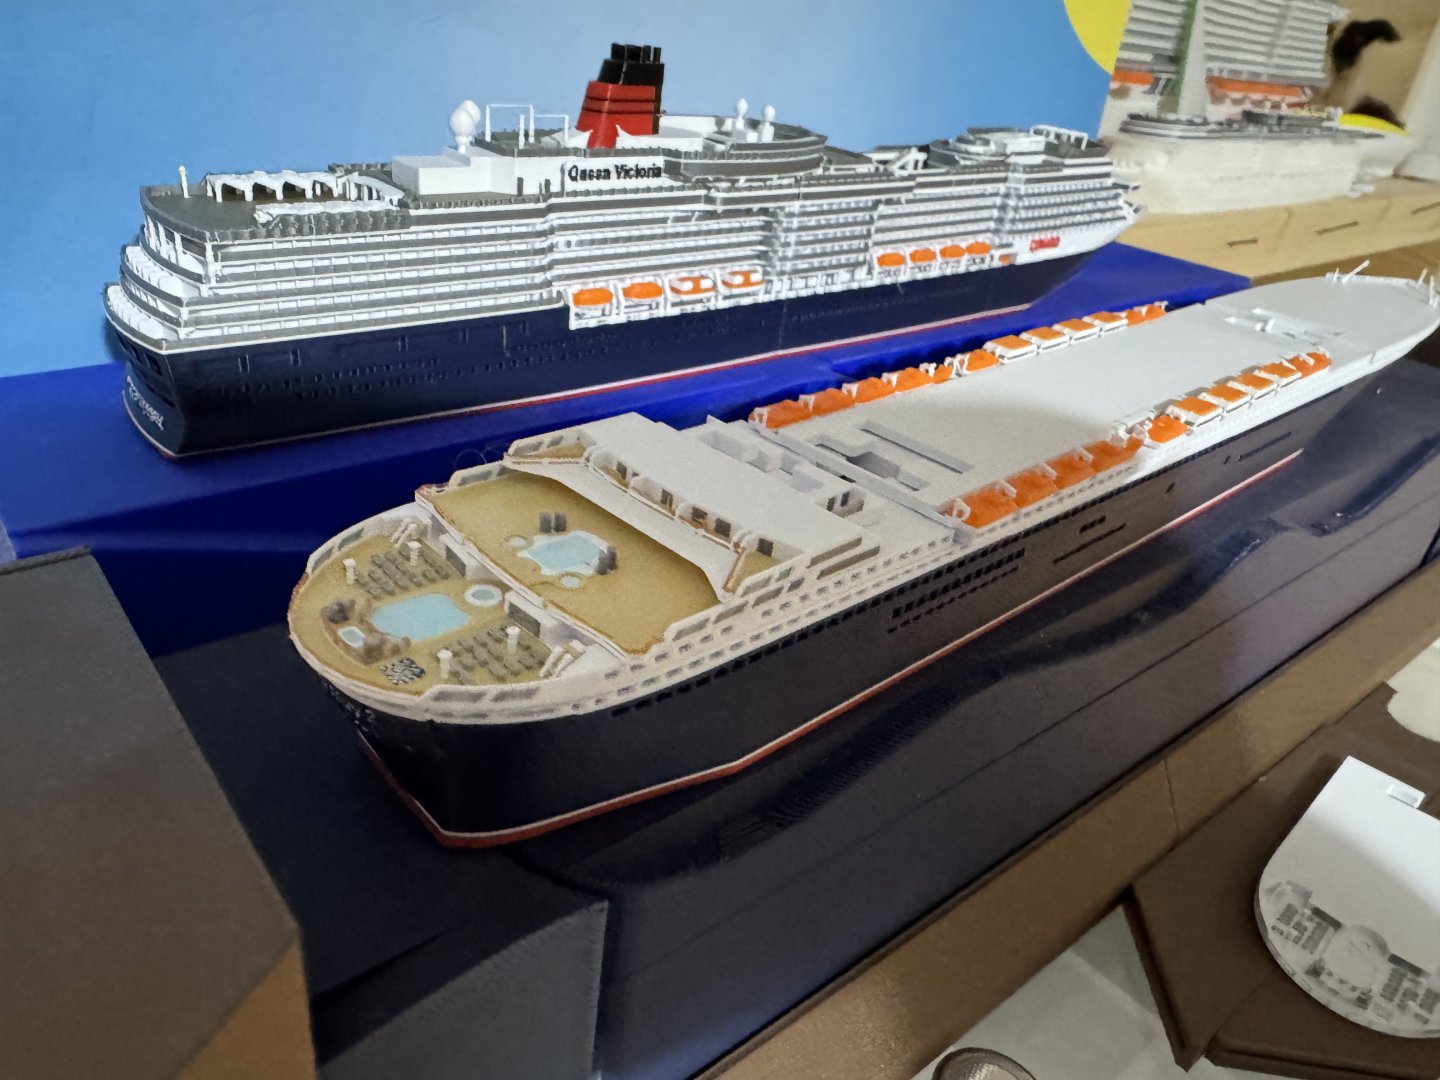
1:500 now pretty much finished. Just need some screw covers - it used 2 x 12mm M4 Cap head bolts and 1 x 30mm - Will put it on Makerworld shortly. 1:1000 and 1:500 QM2 With my more detailed 1:500 Queen Victoria. with P&O Iona and Arvia 1:500 Timelapse of final 6 hr section. video_2025-10-03_16-48-50.mp4 Overview IMG_8415.MOV

- 34 replies
-
- 2
-

-
-
- Queen Mary 2
- 3d printed
- (and 1 more)
-
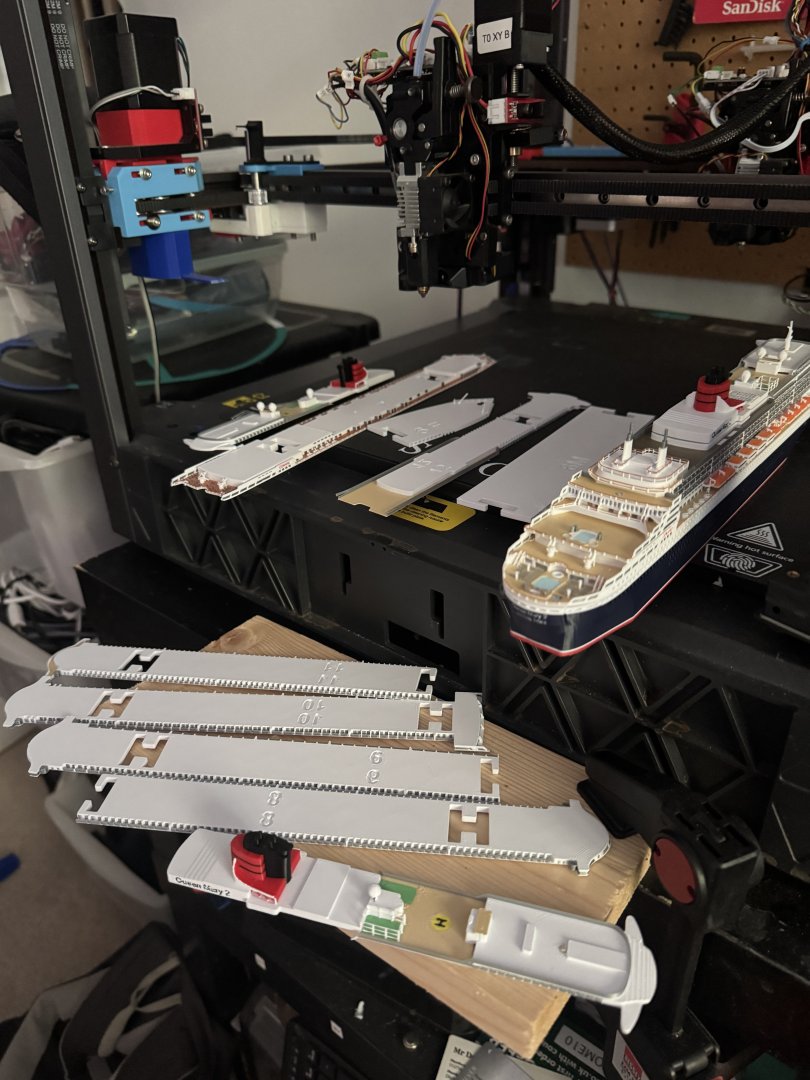
Thanks for the suggestion - I've never know what the best scale is for the bigger models - 1:200 definitely possible - might do that instead of 1:250 - because whilst it would be nice to have a 1:250 to compare with my Arvia model (in background - with Arvia and Iona 1:500 above any below)


- 34 replies
-
- 2
-
-
- Queen Mary 2
- 3d printed
- (and 1 more)
-
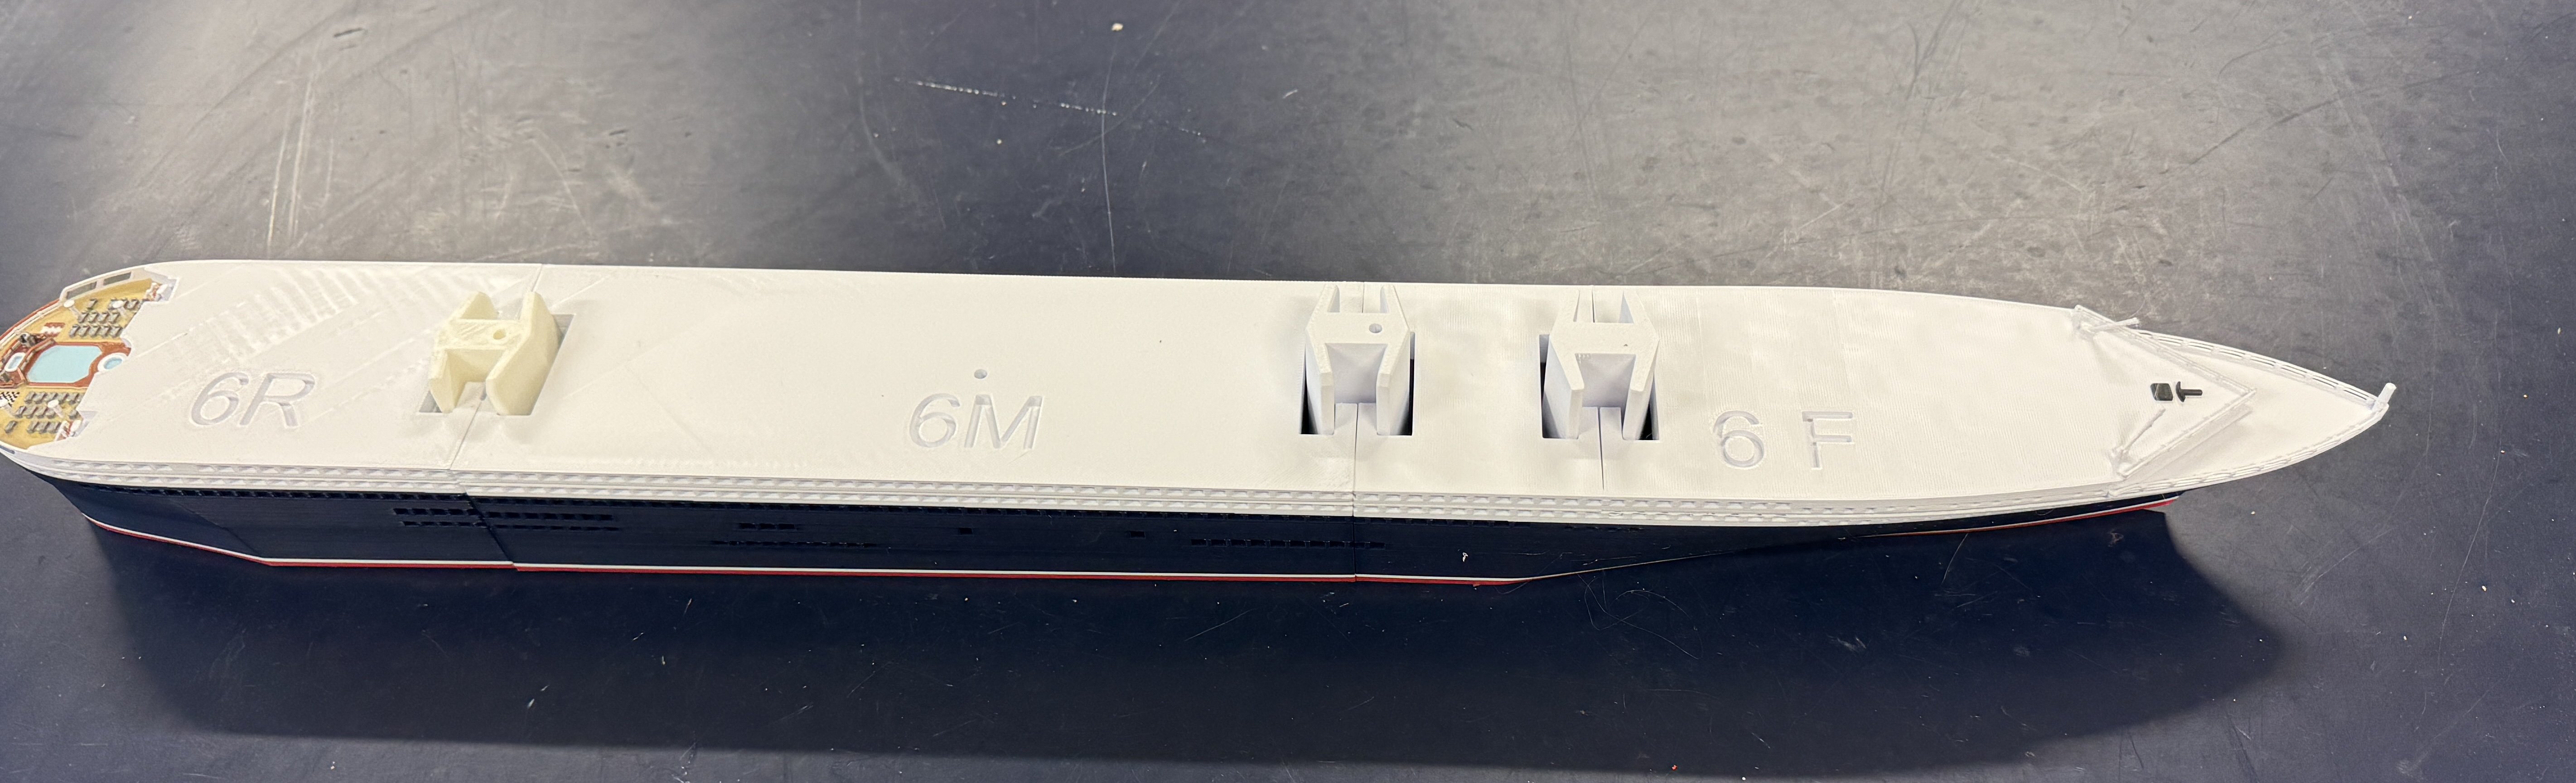
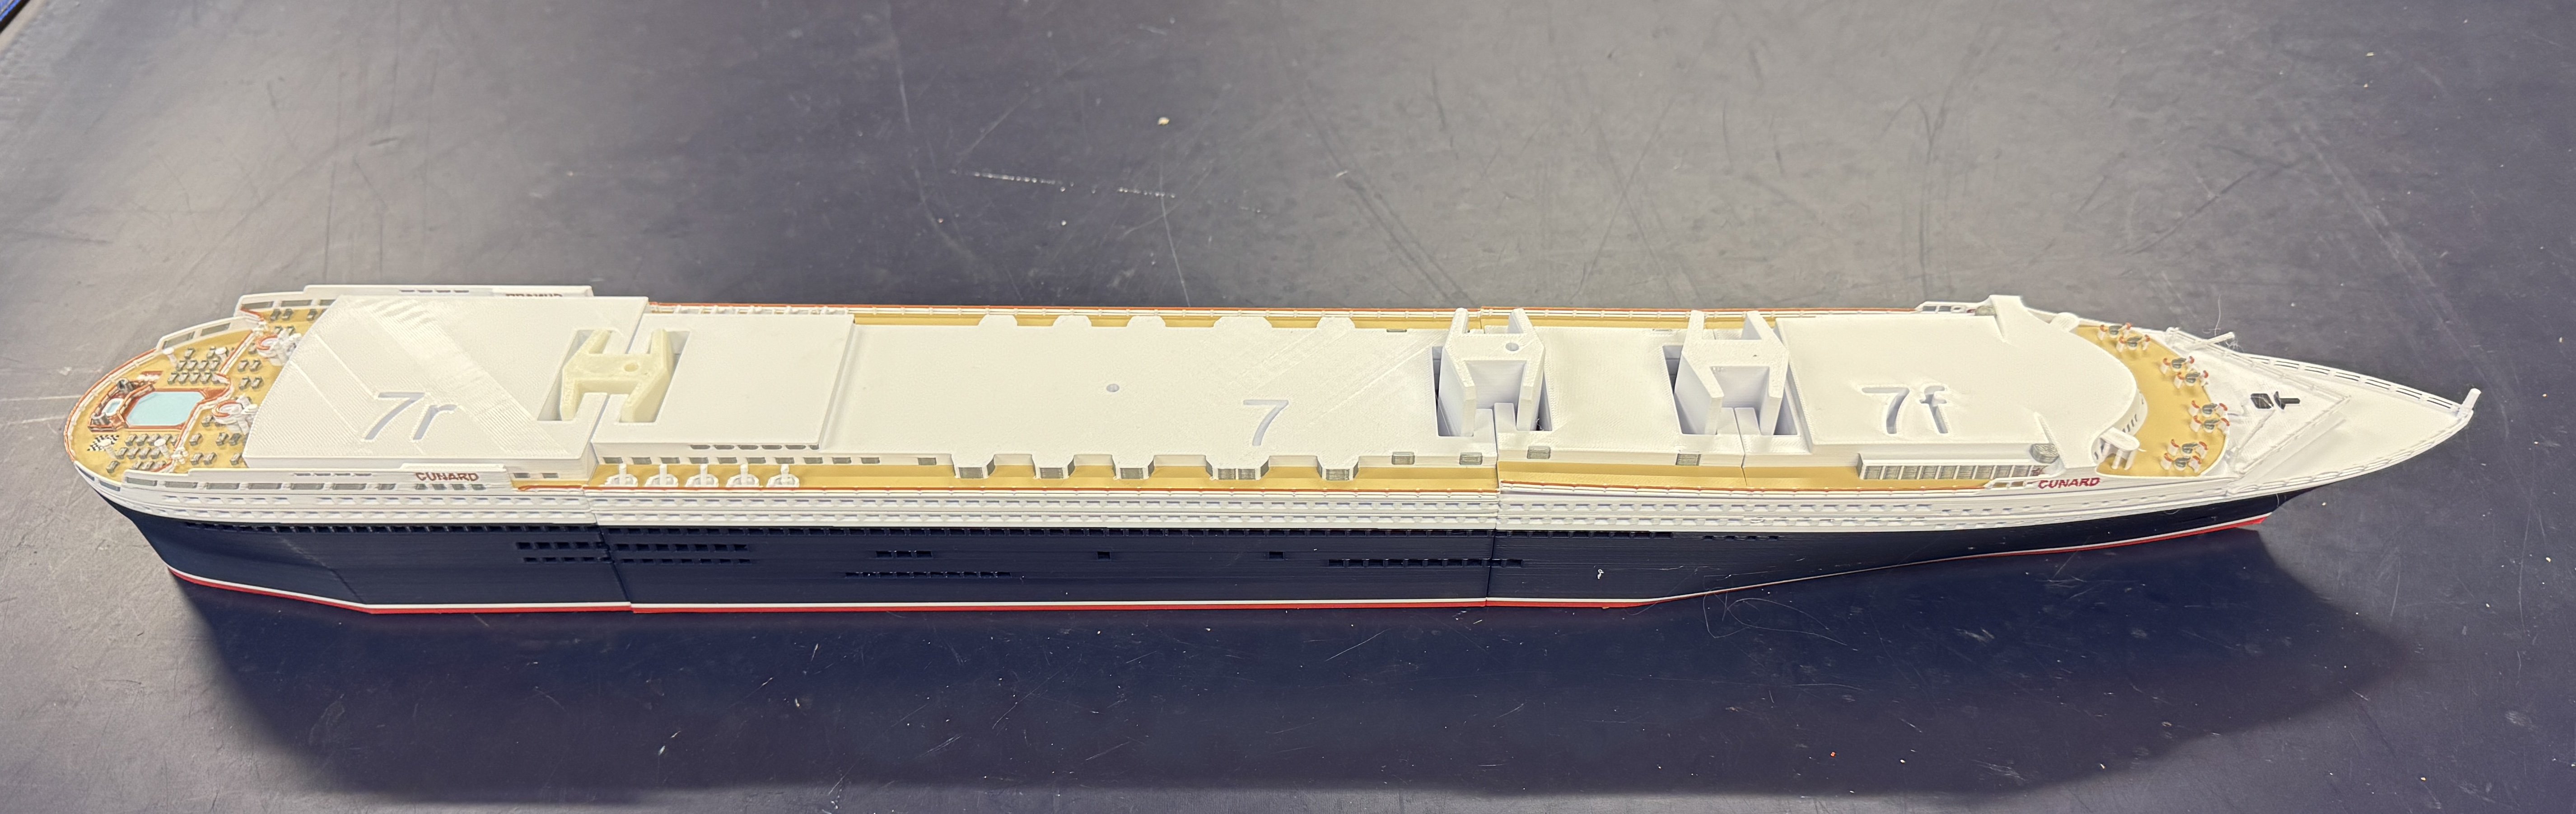
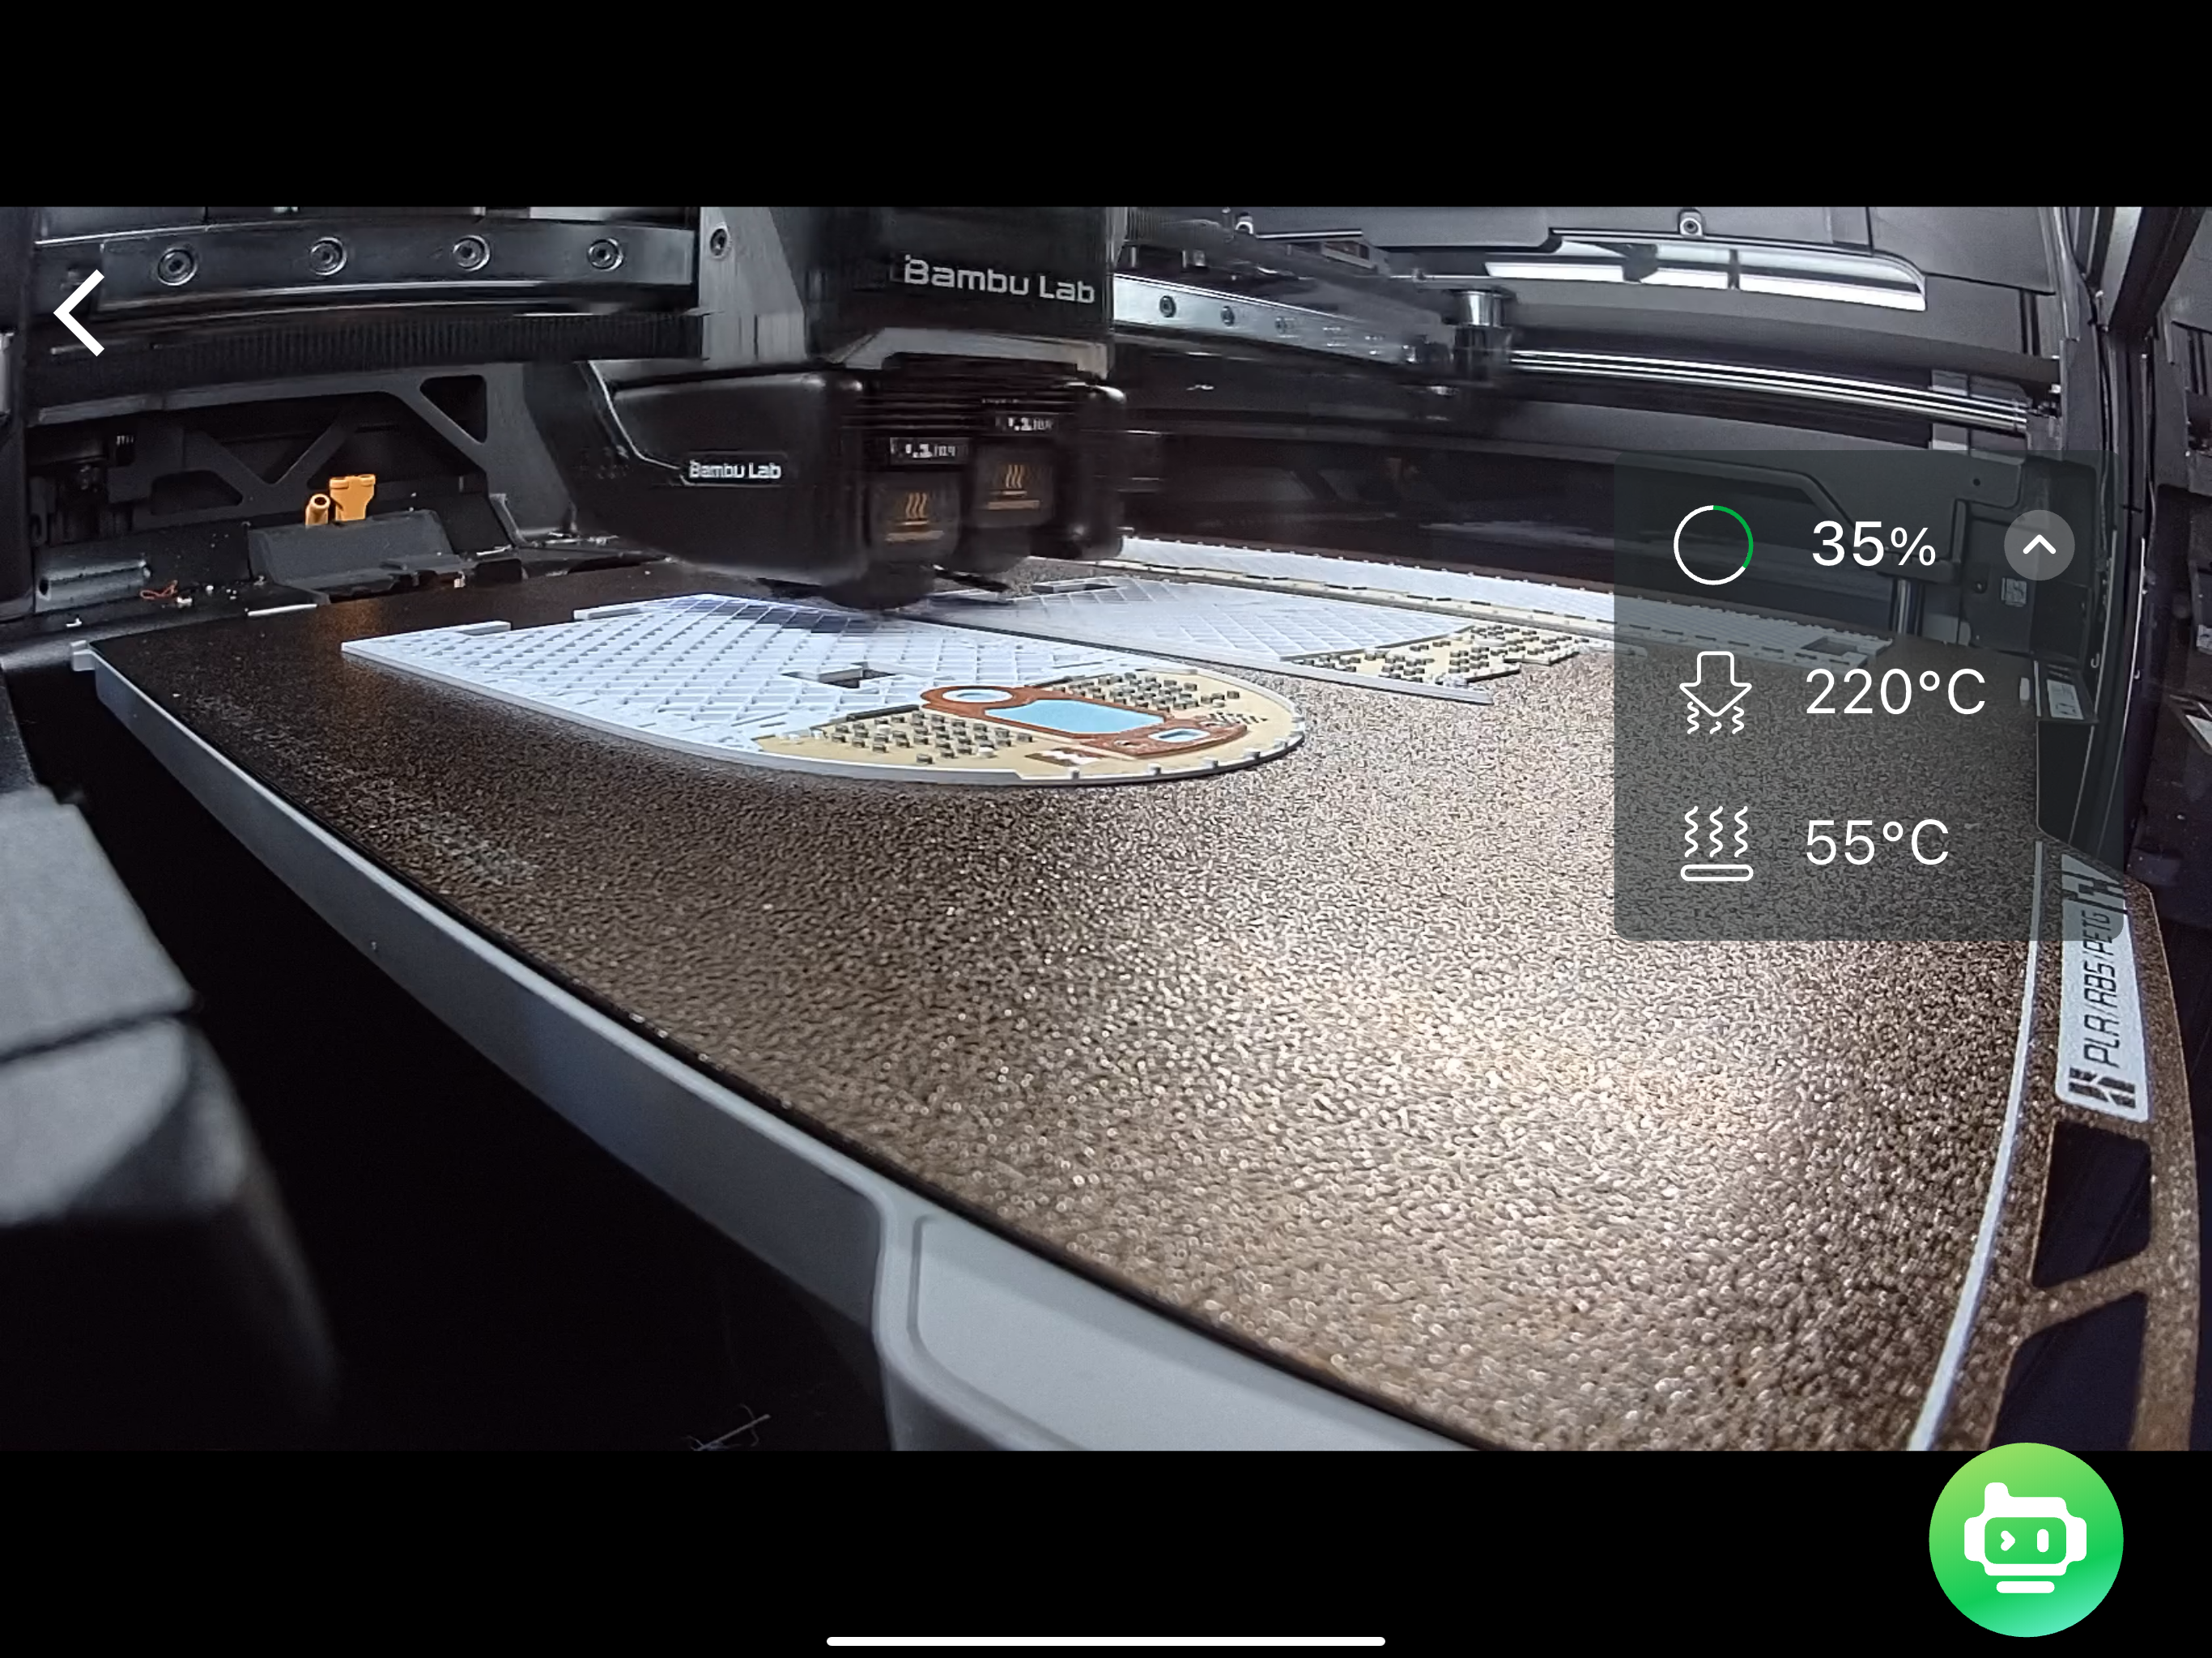
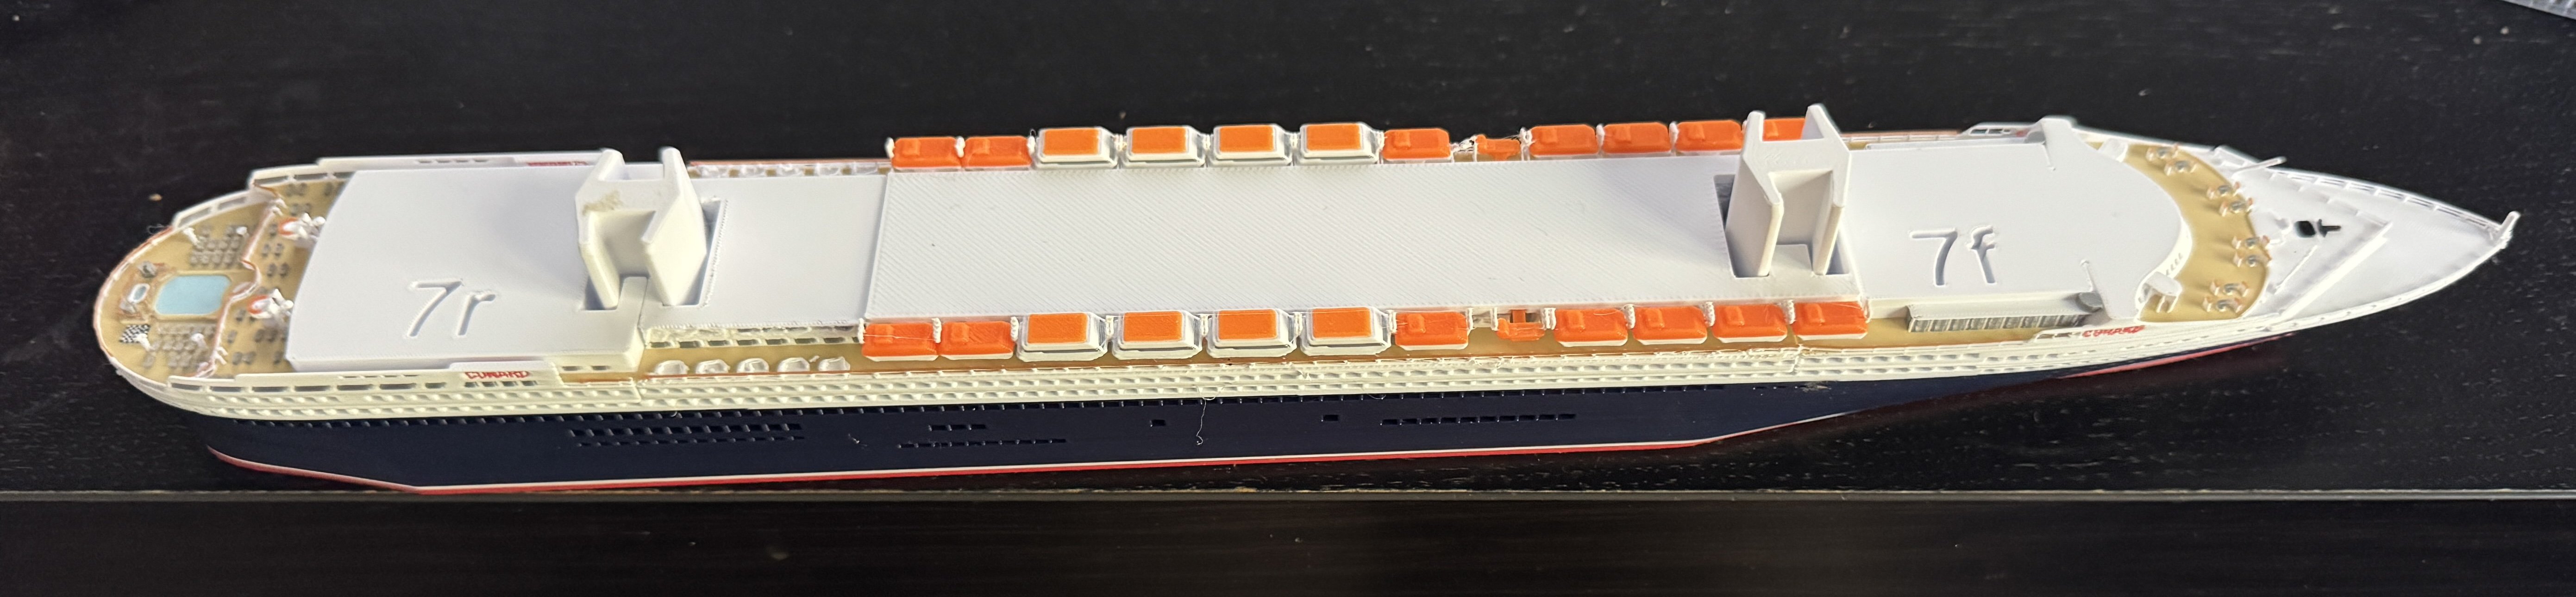
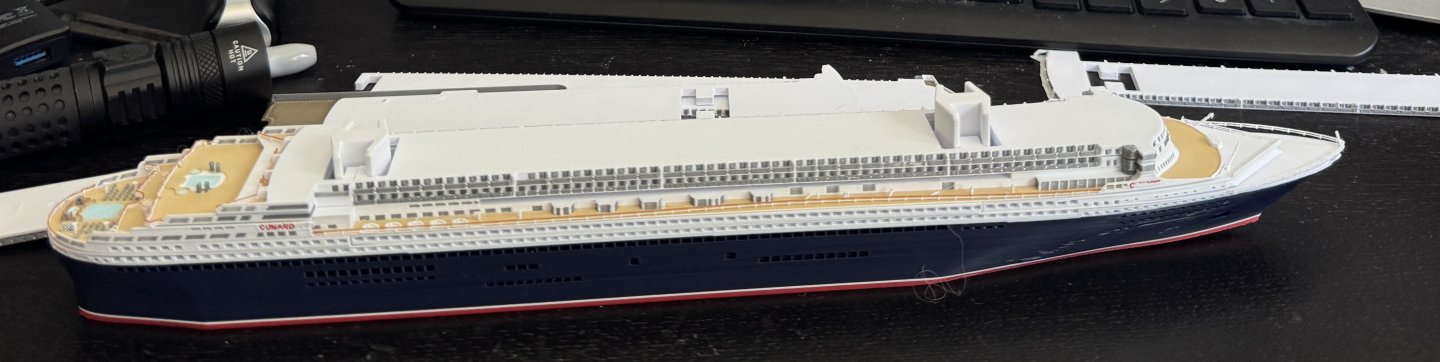
A few more decks - only 1 section left to go - but it is nearly 6hrs


- 34 replies
-
- 2
-
-
- Queen Mary 2
- 3d printed
- (and 1 more)
-
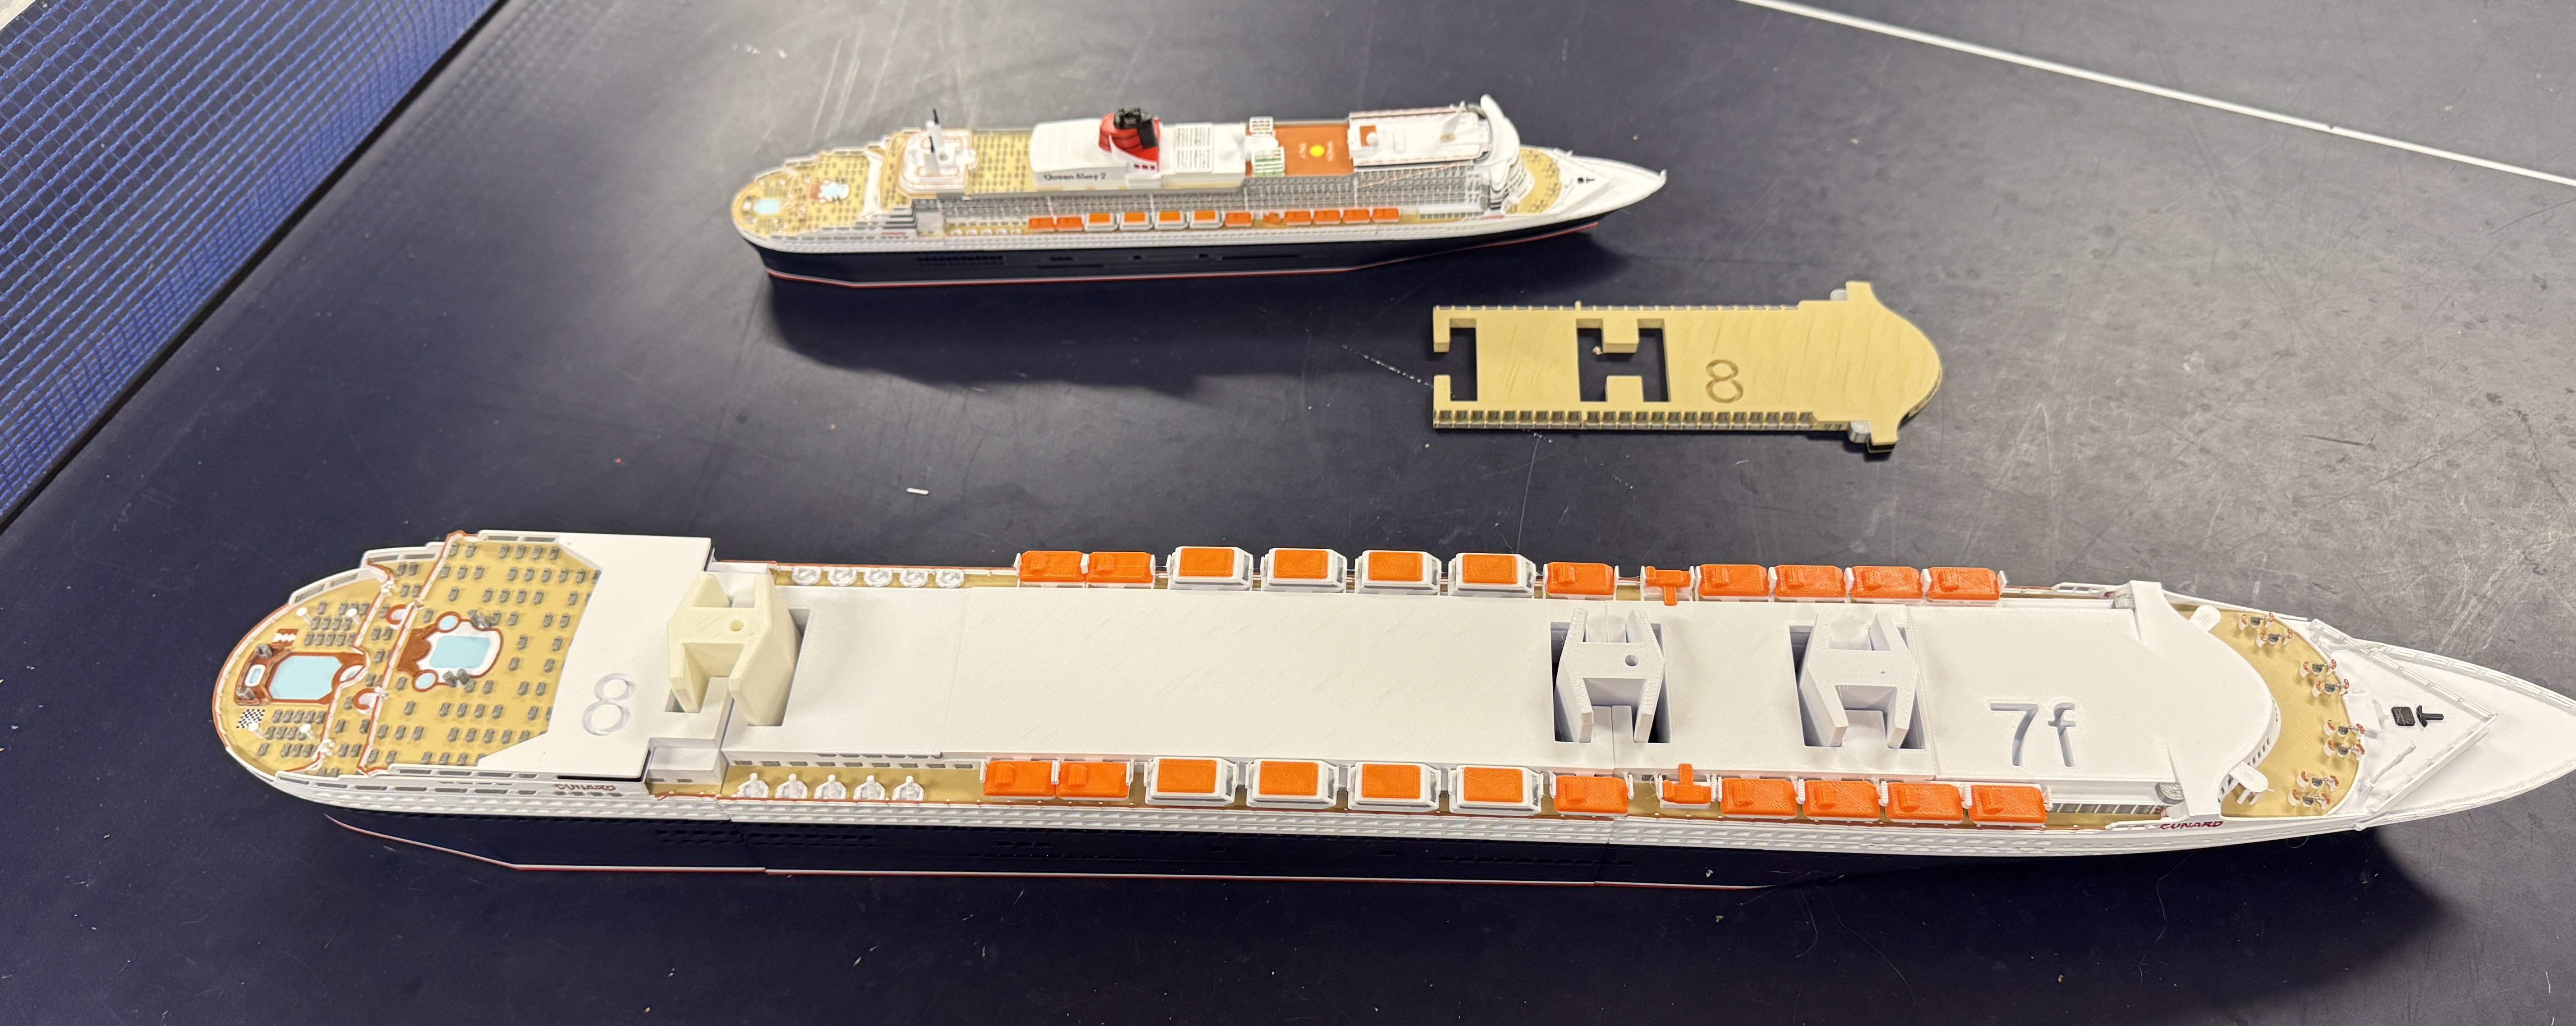
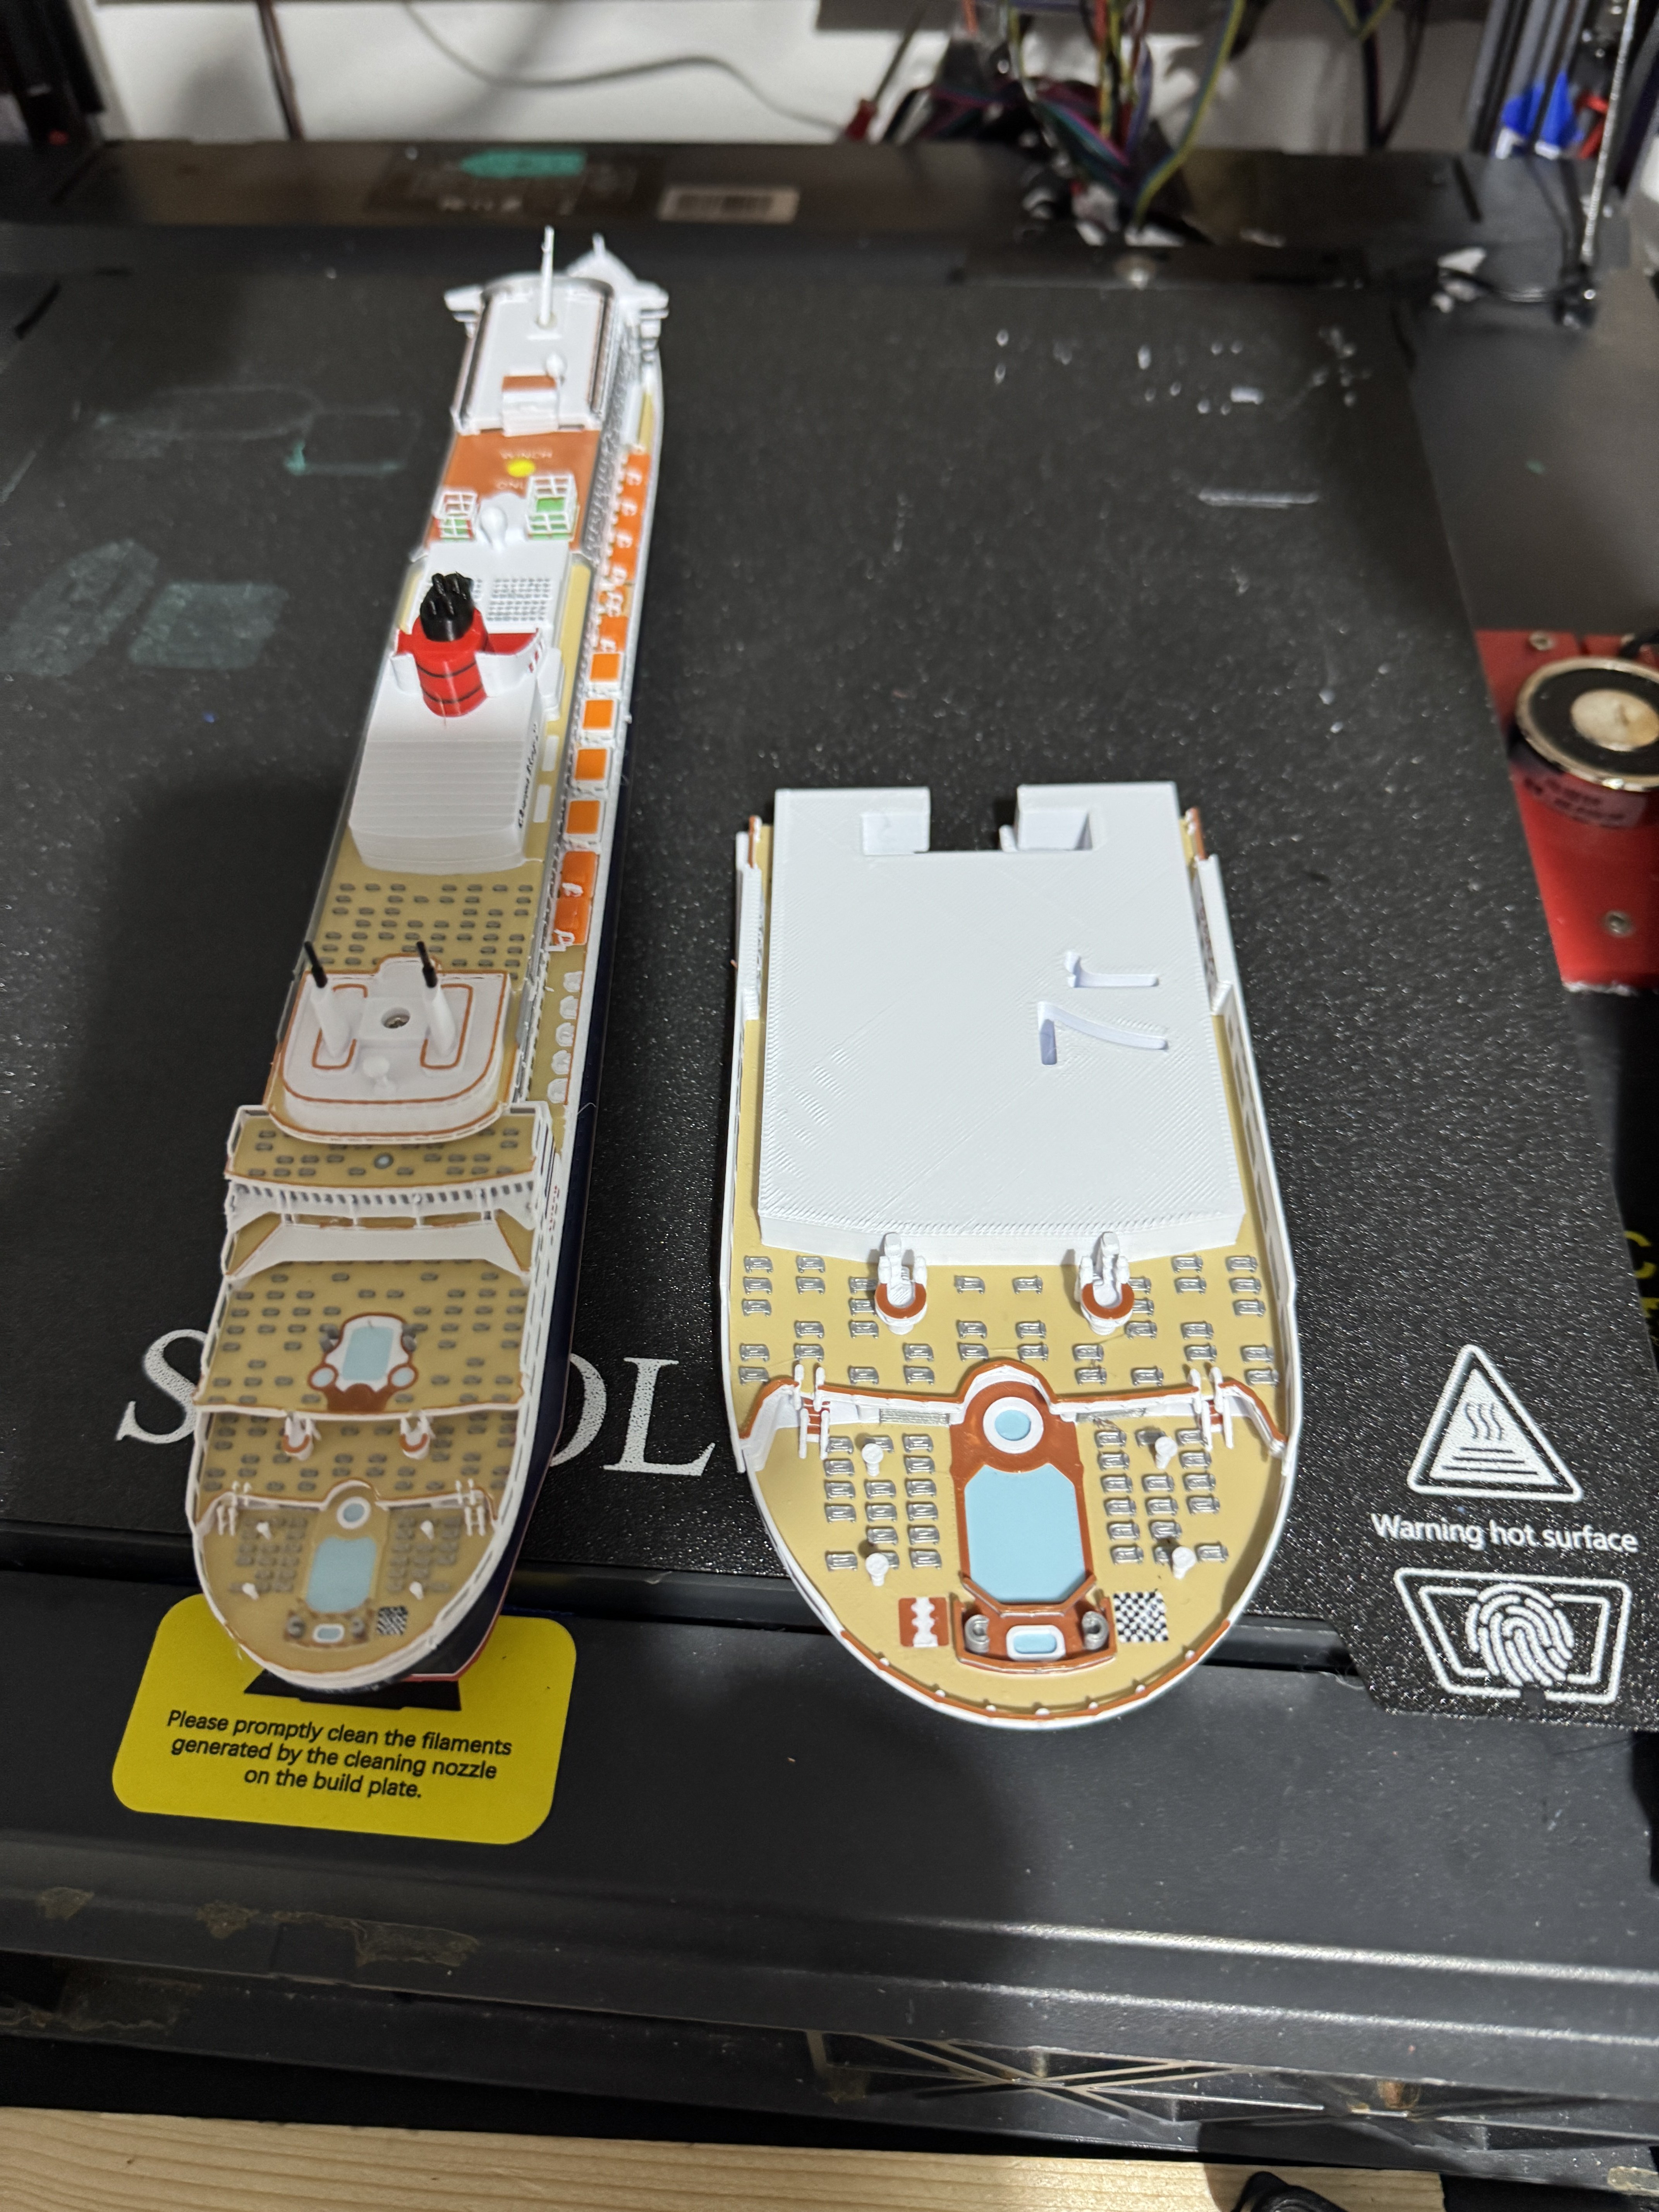
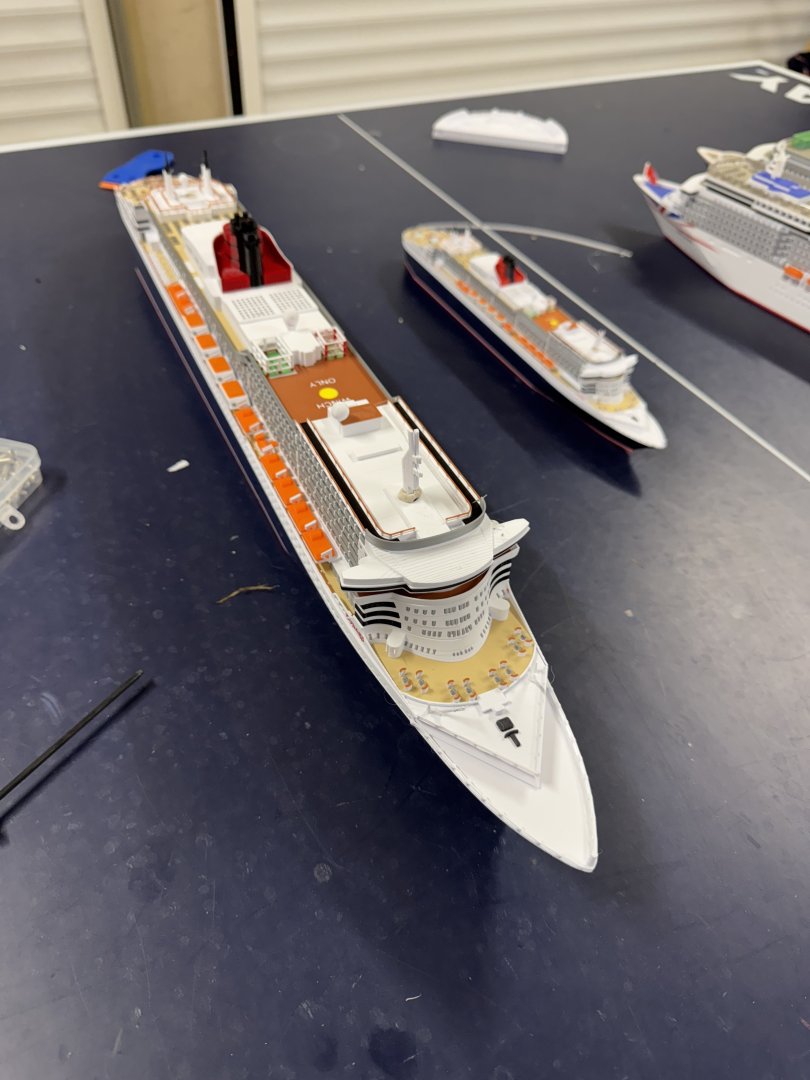
Deck11 now complete on 1:500 model - Also making a start on the 1:250 version - taking detail up quite a lot First single colour test print worked fairly well - interesting to compare the sizes of the 3 scales. 1:1000, 1:500 detail level 1:250 detail level S


- 34 replies
-
- 3
-
-
-
- Queen Mary 2
- 3d printed
- (and 1 more)
-
With Queen Victoria and P&O Arcadia (which was originally built as QV). - All at same 1:500 scale - with 1:1000 QM2 at the front.


- 34 replies
-
- 4
-
-
- Queen Mary 2
- 3d printed
- (and 1 more)
-
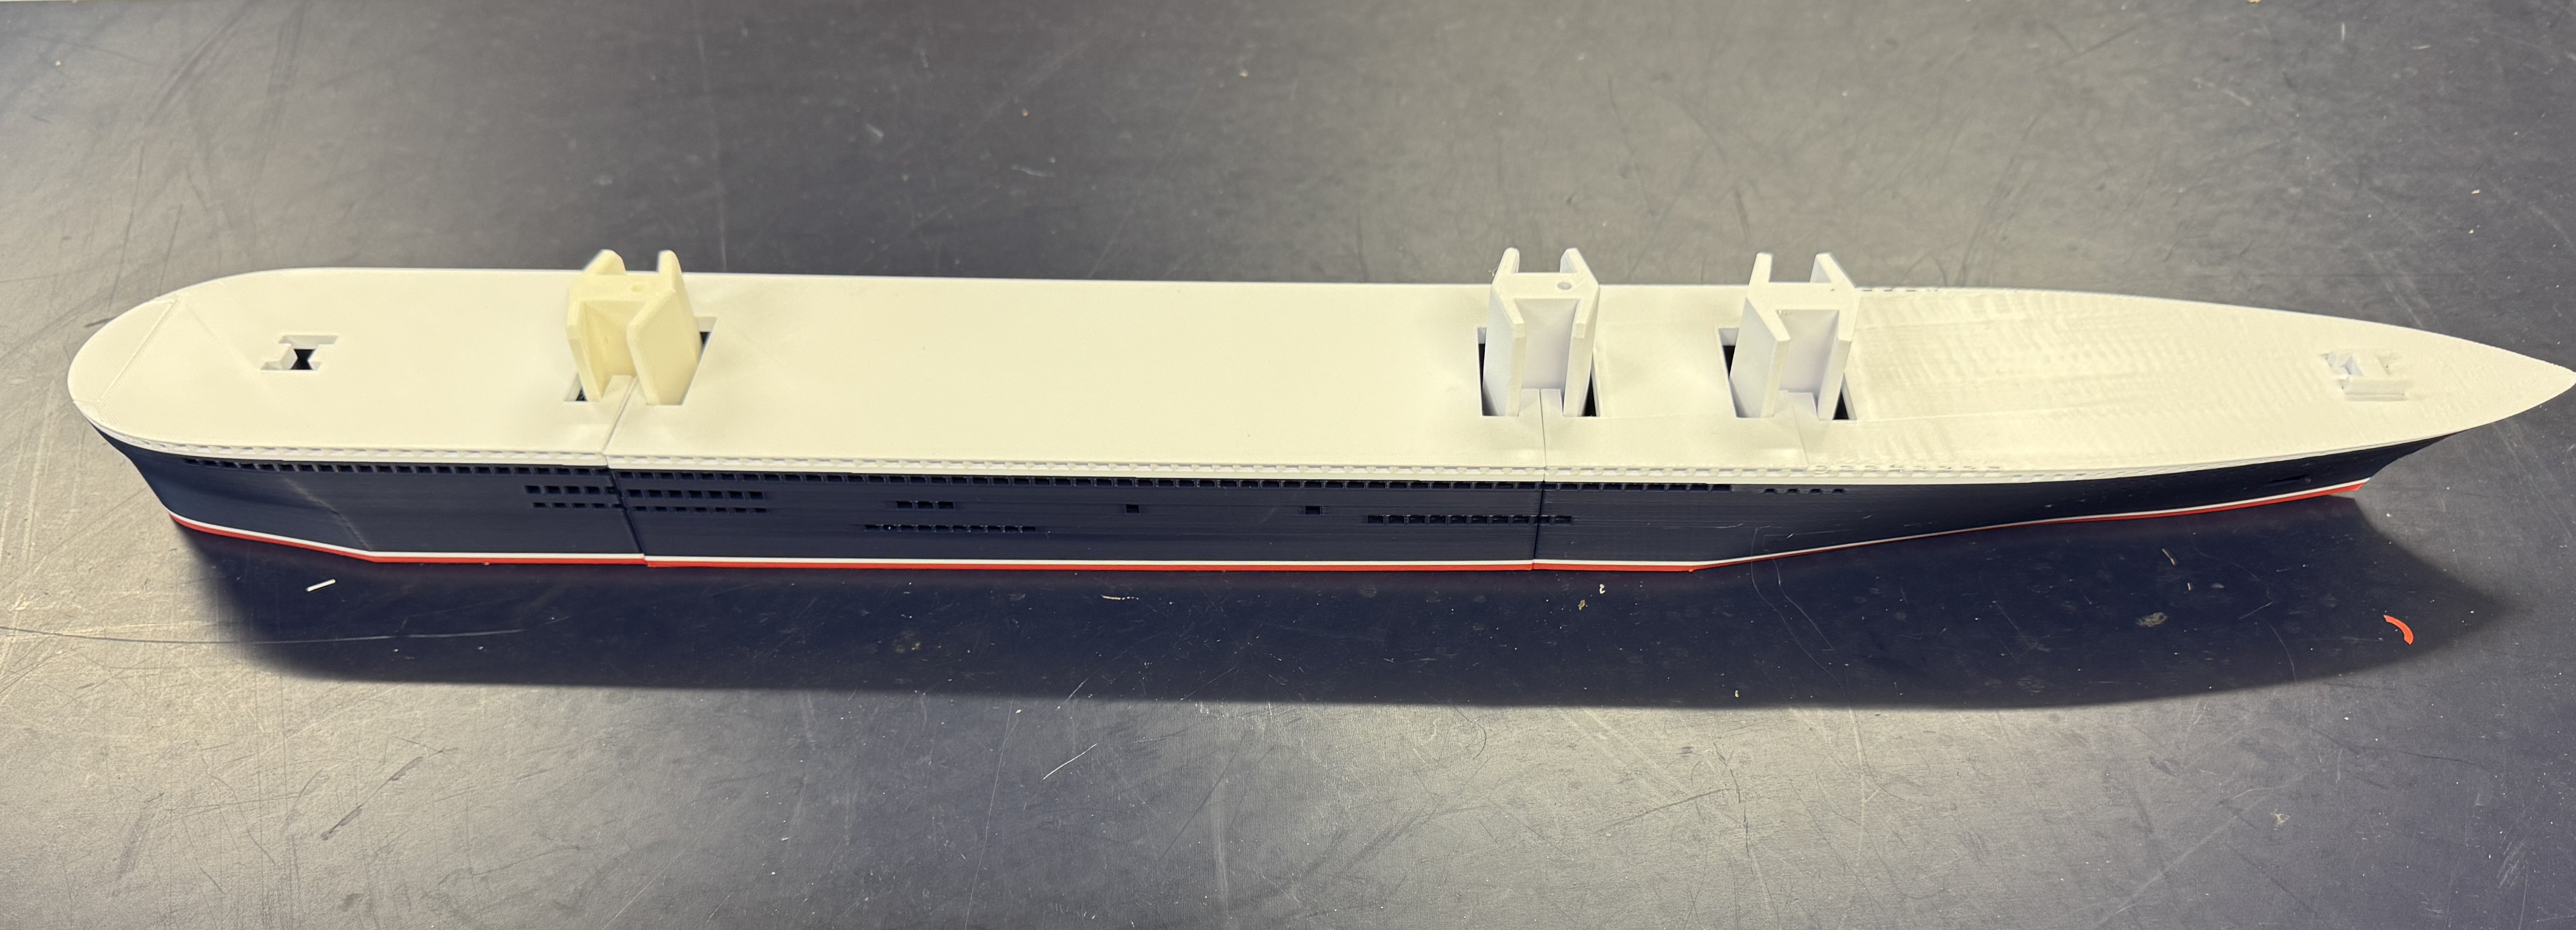
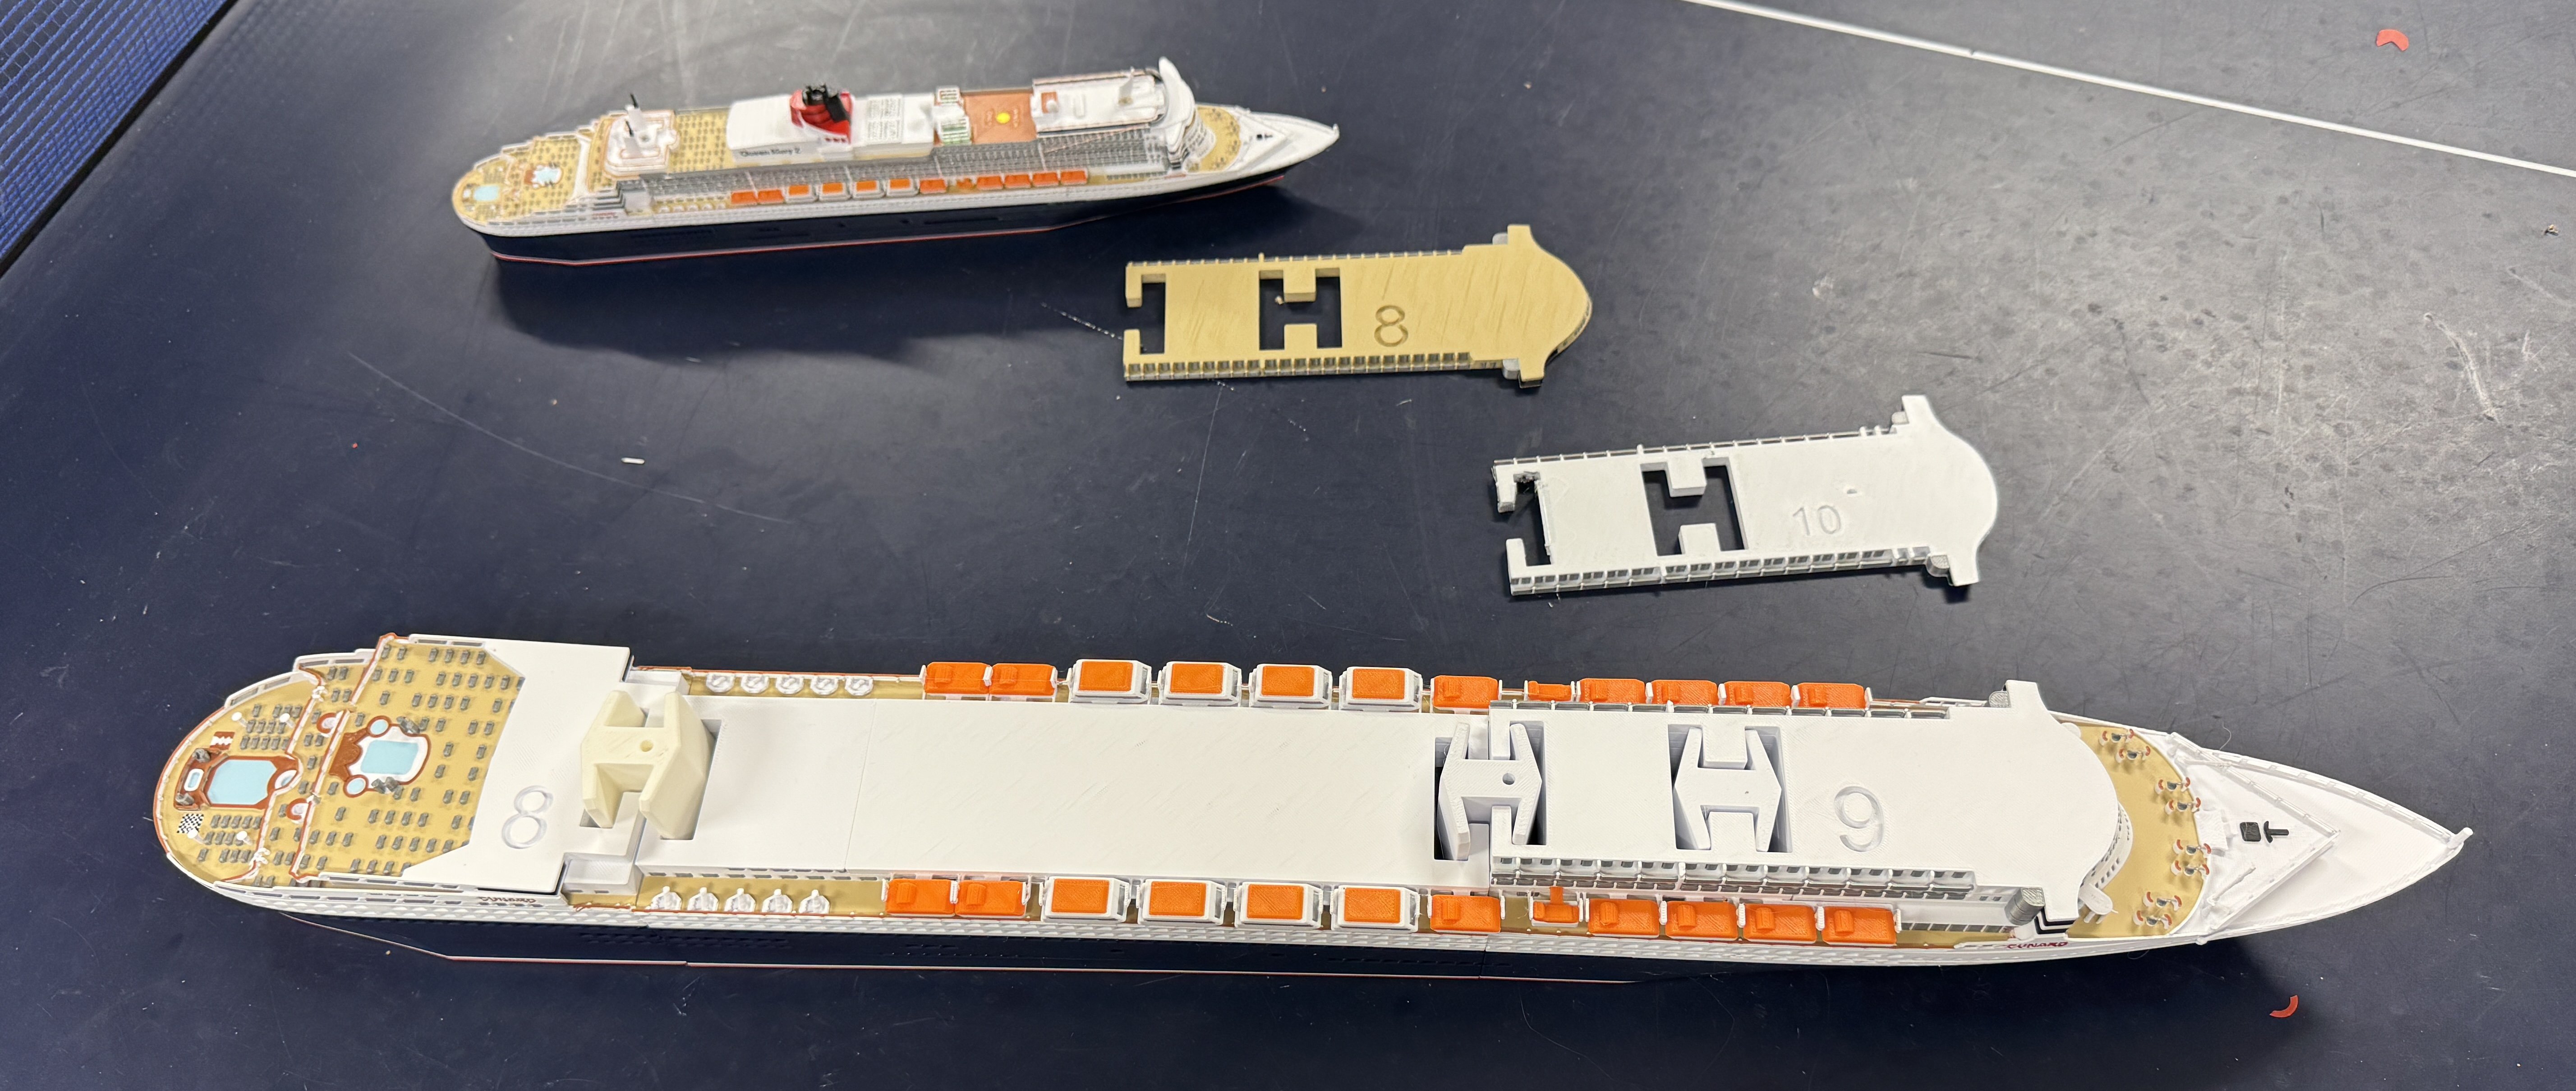
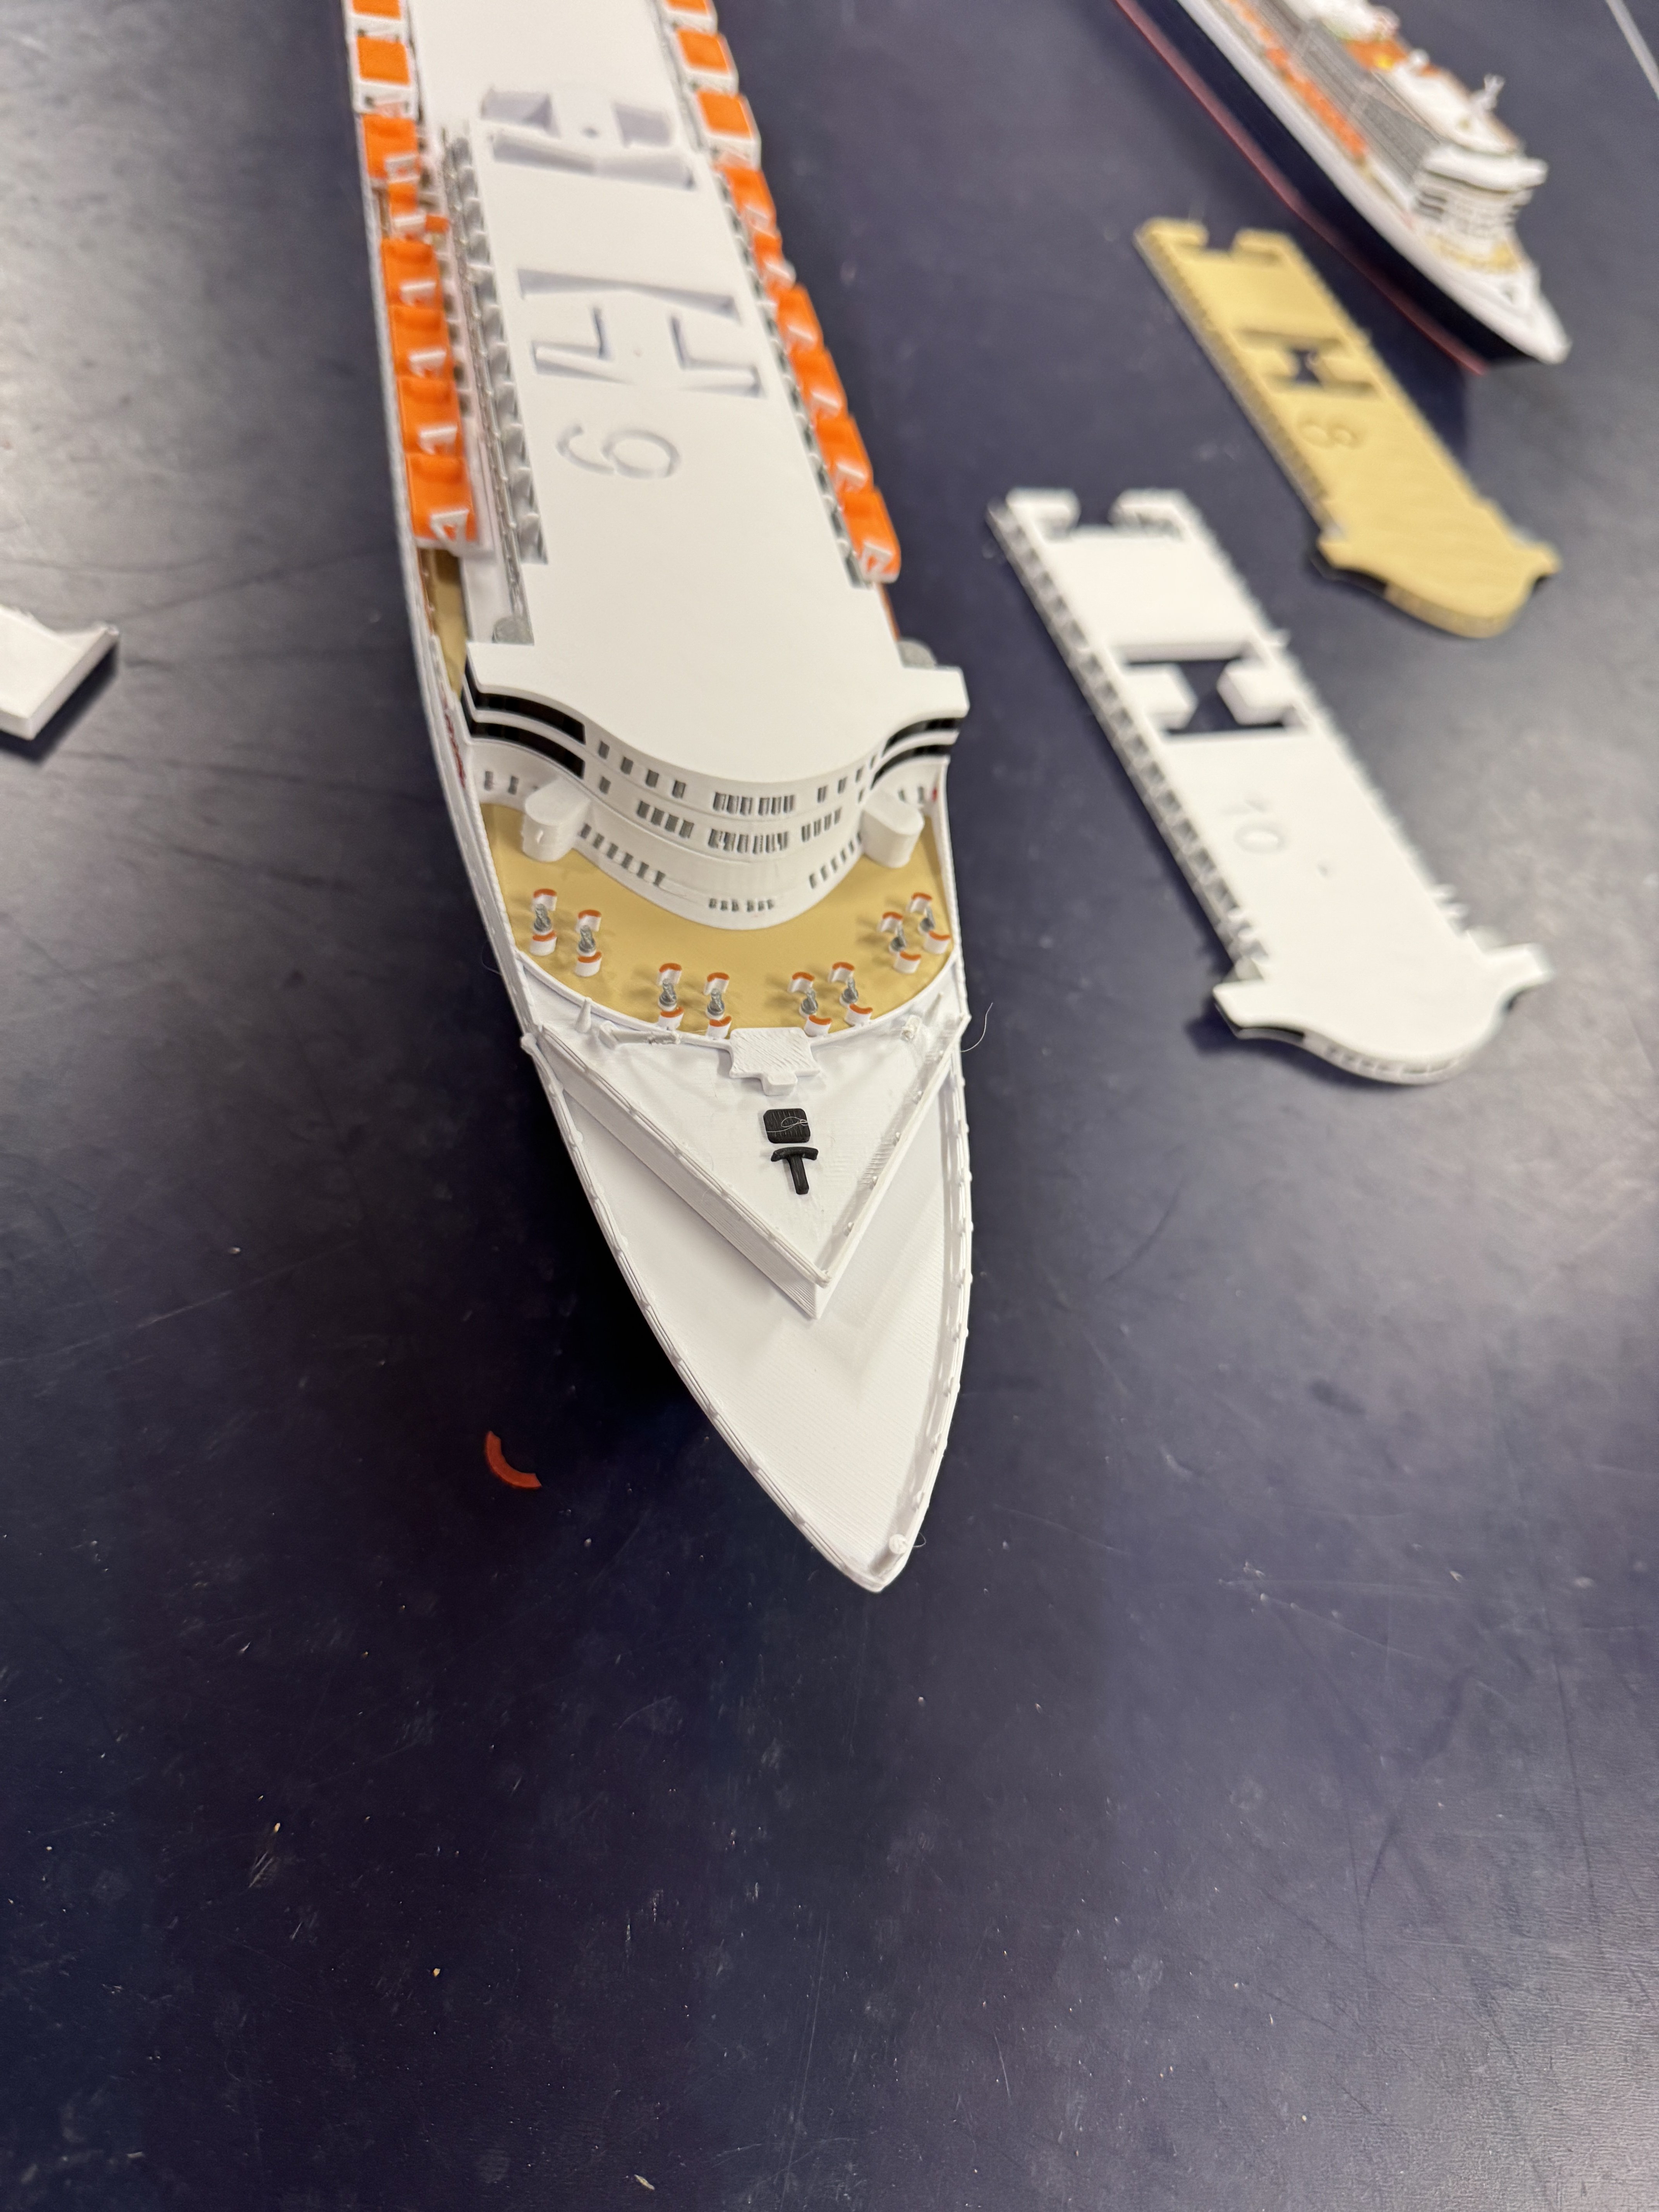
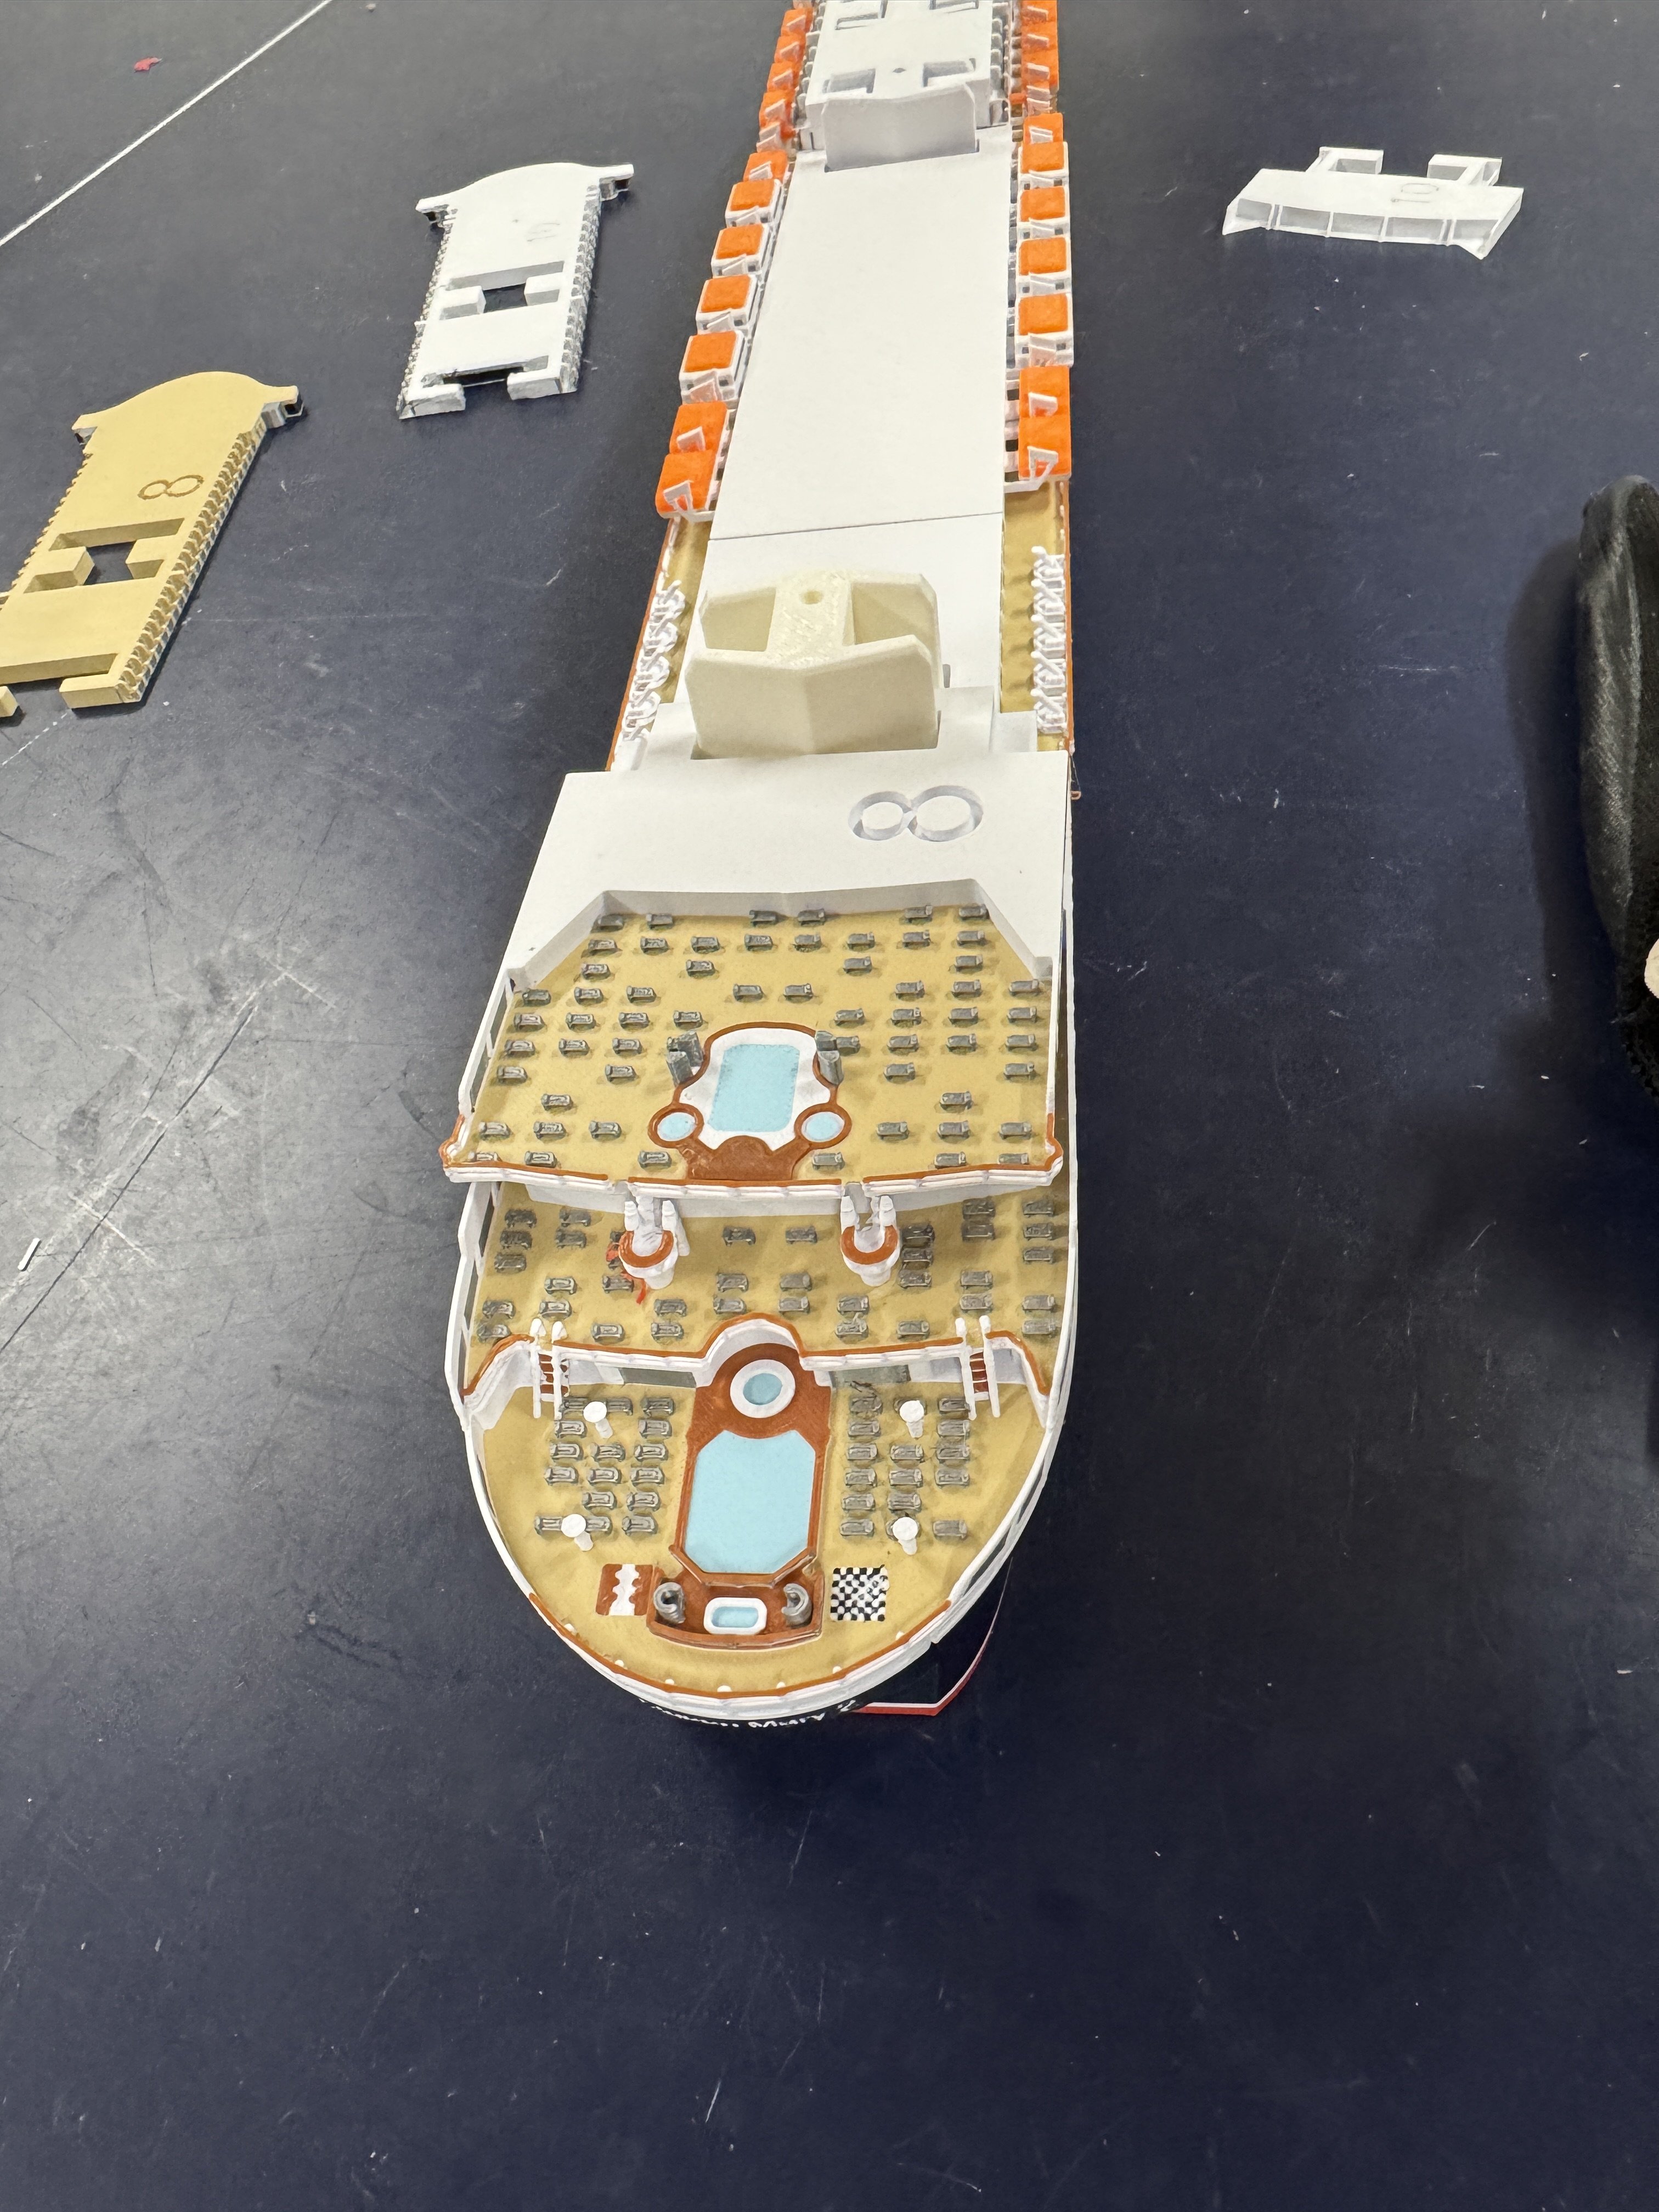
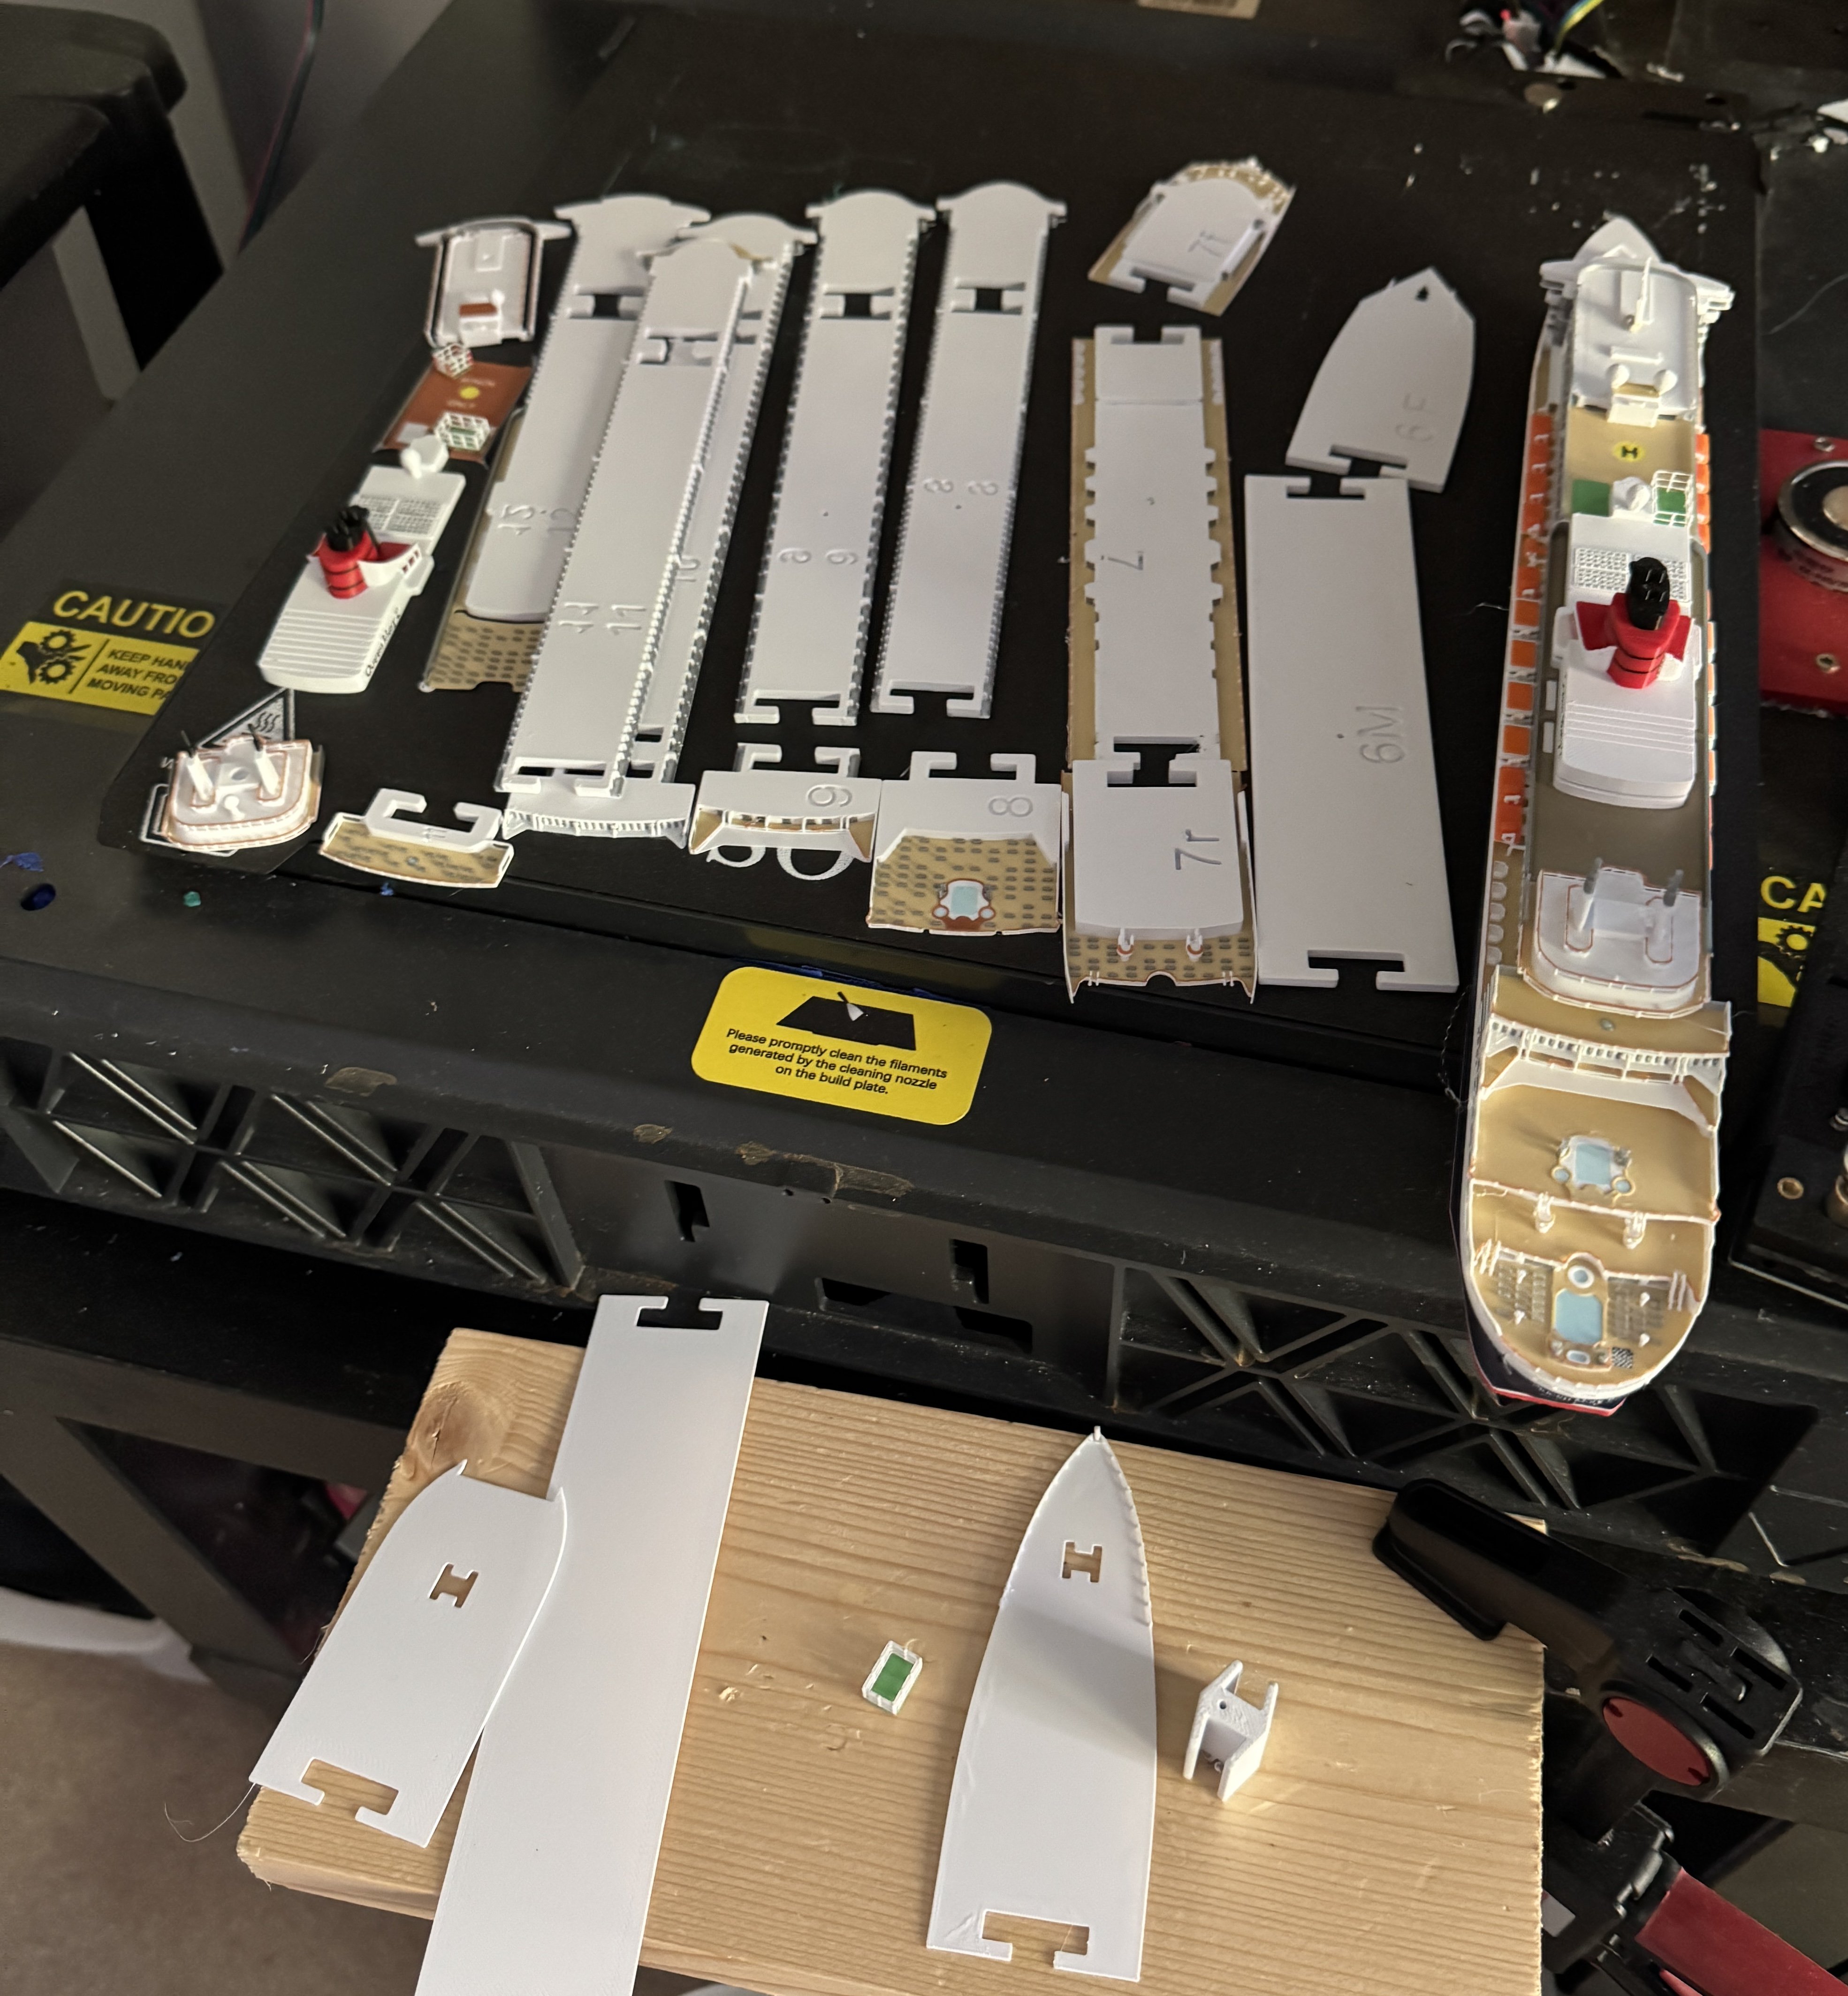
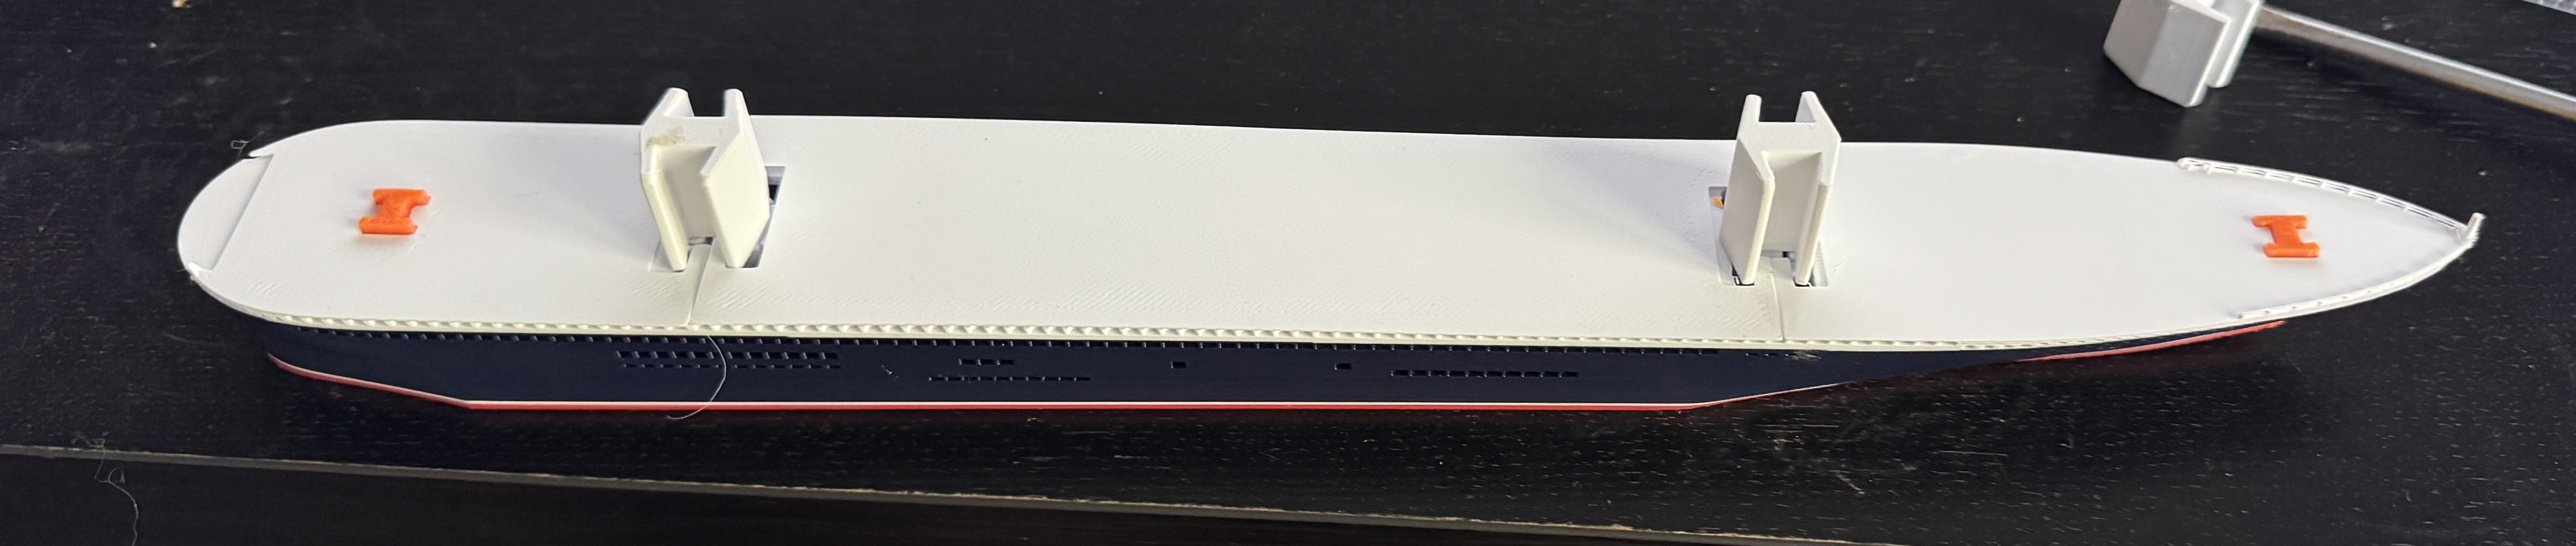
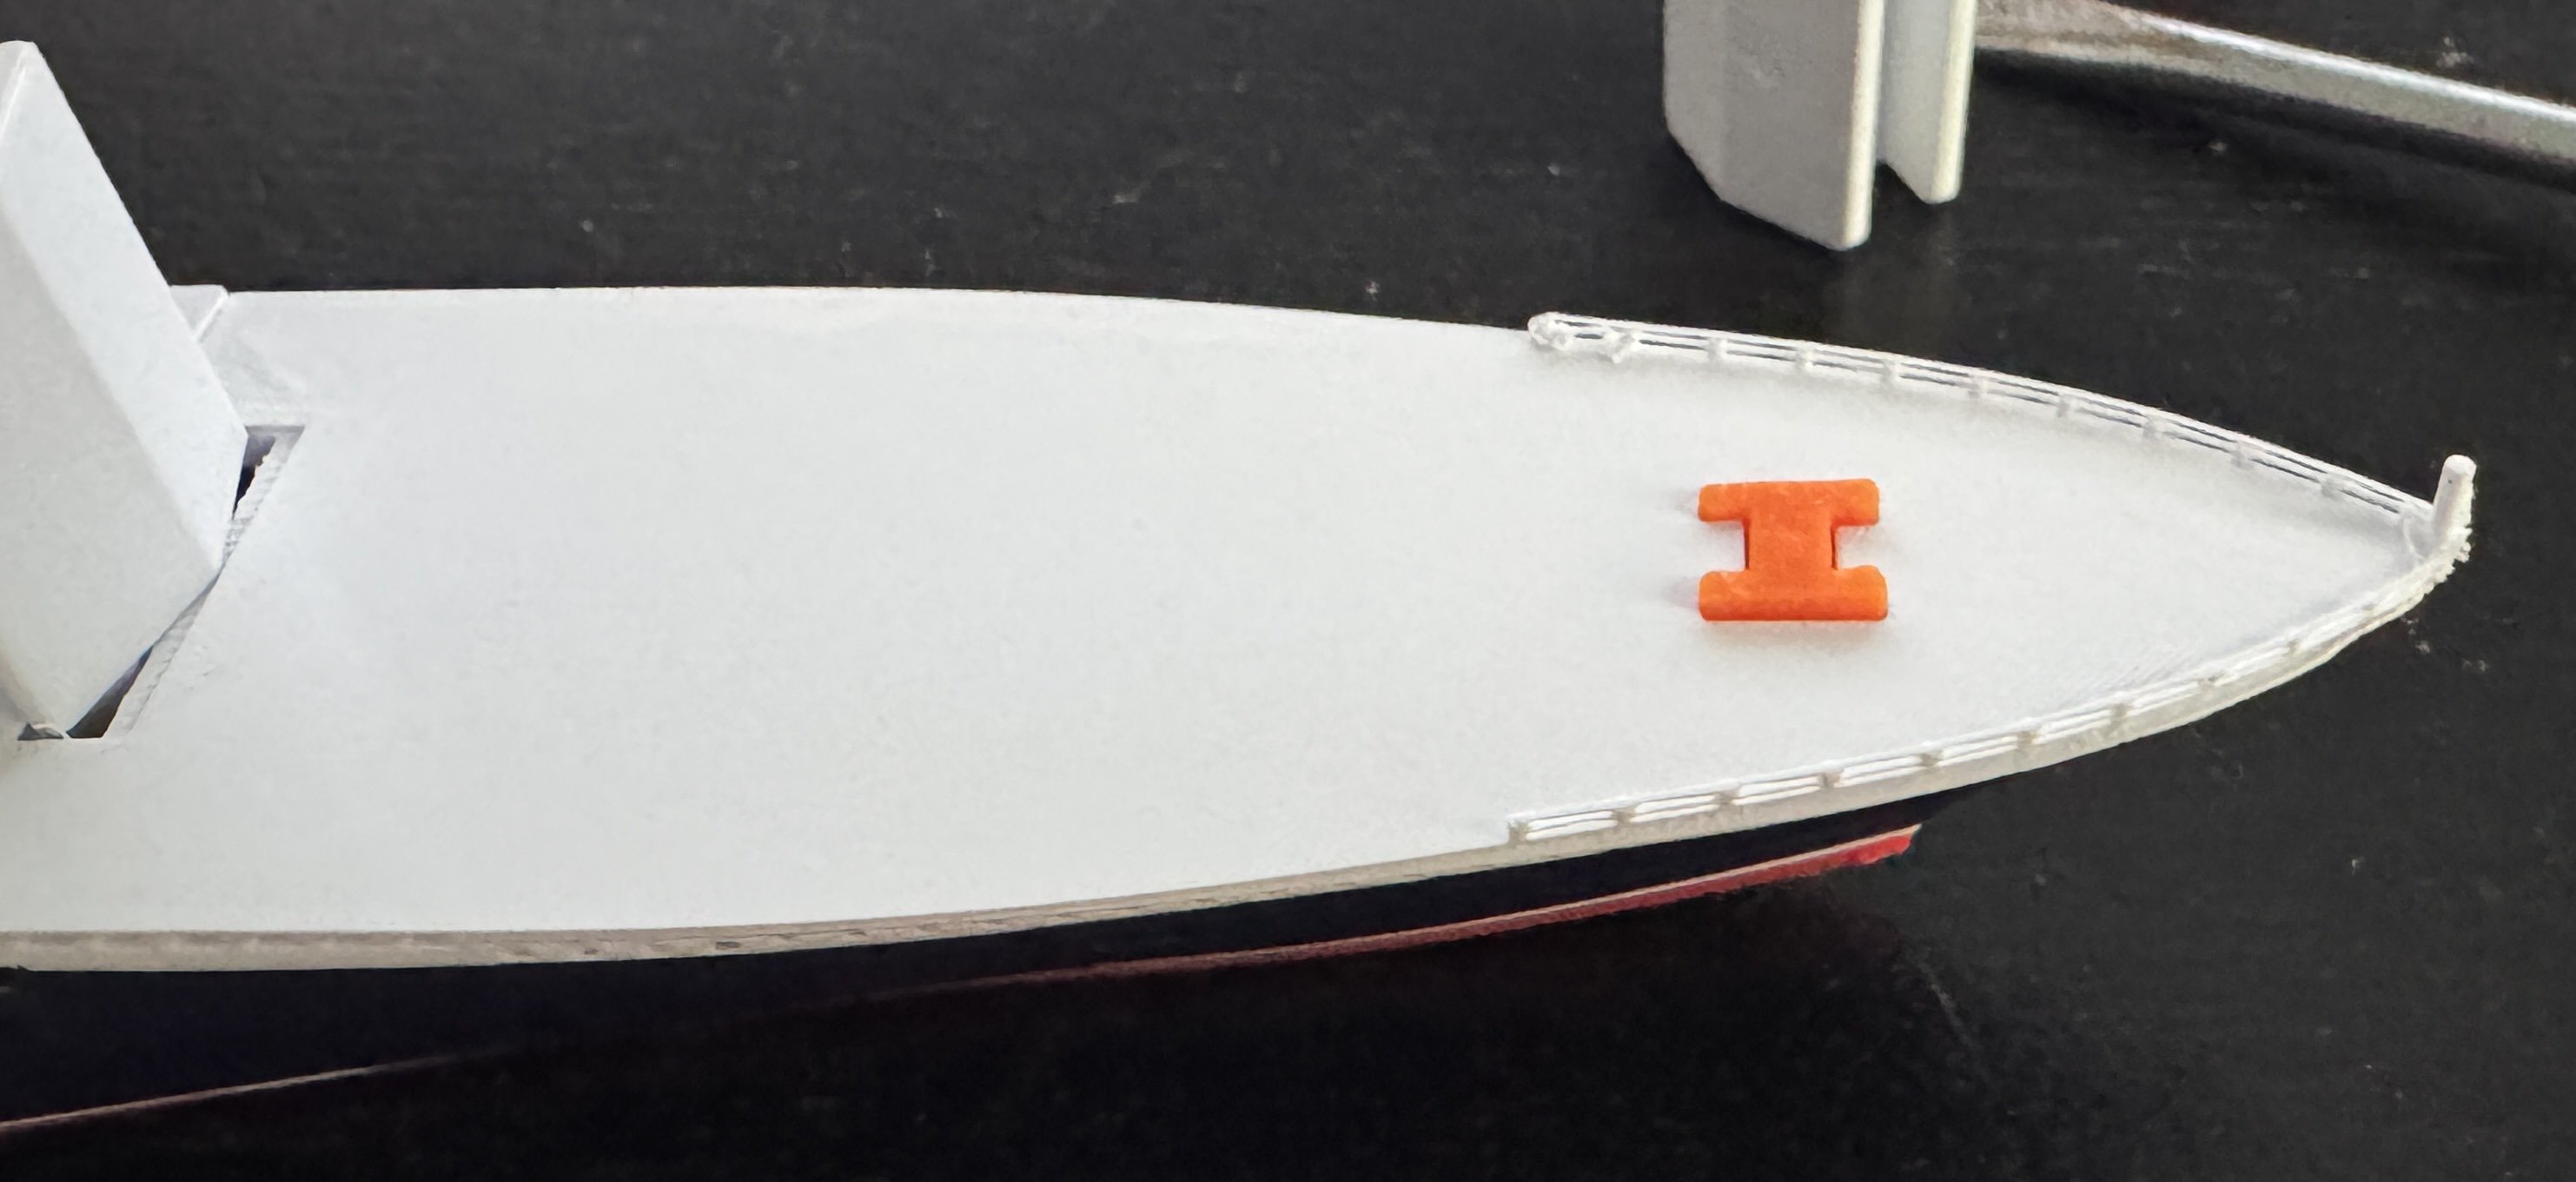
First few parts completed - its amazing how much bigger the 1:500 model parts look than the 1:1000. Much easier to see the detail.

- 34 replies
-
- 3
-
-
- Queen Mary 2
- 3d printed
- (and 1 more)
-
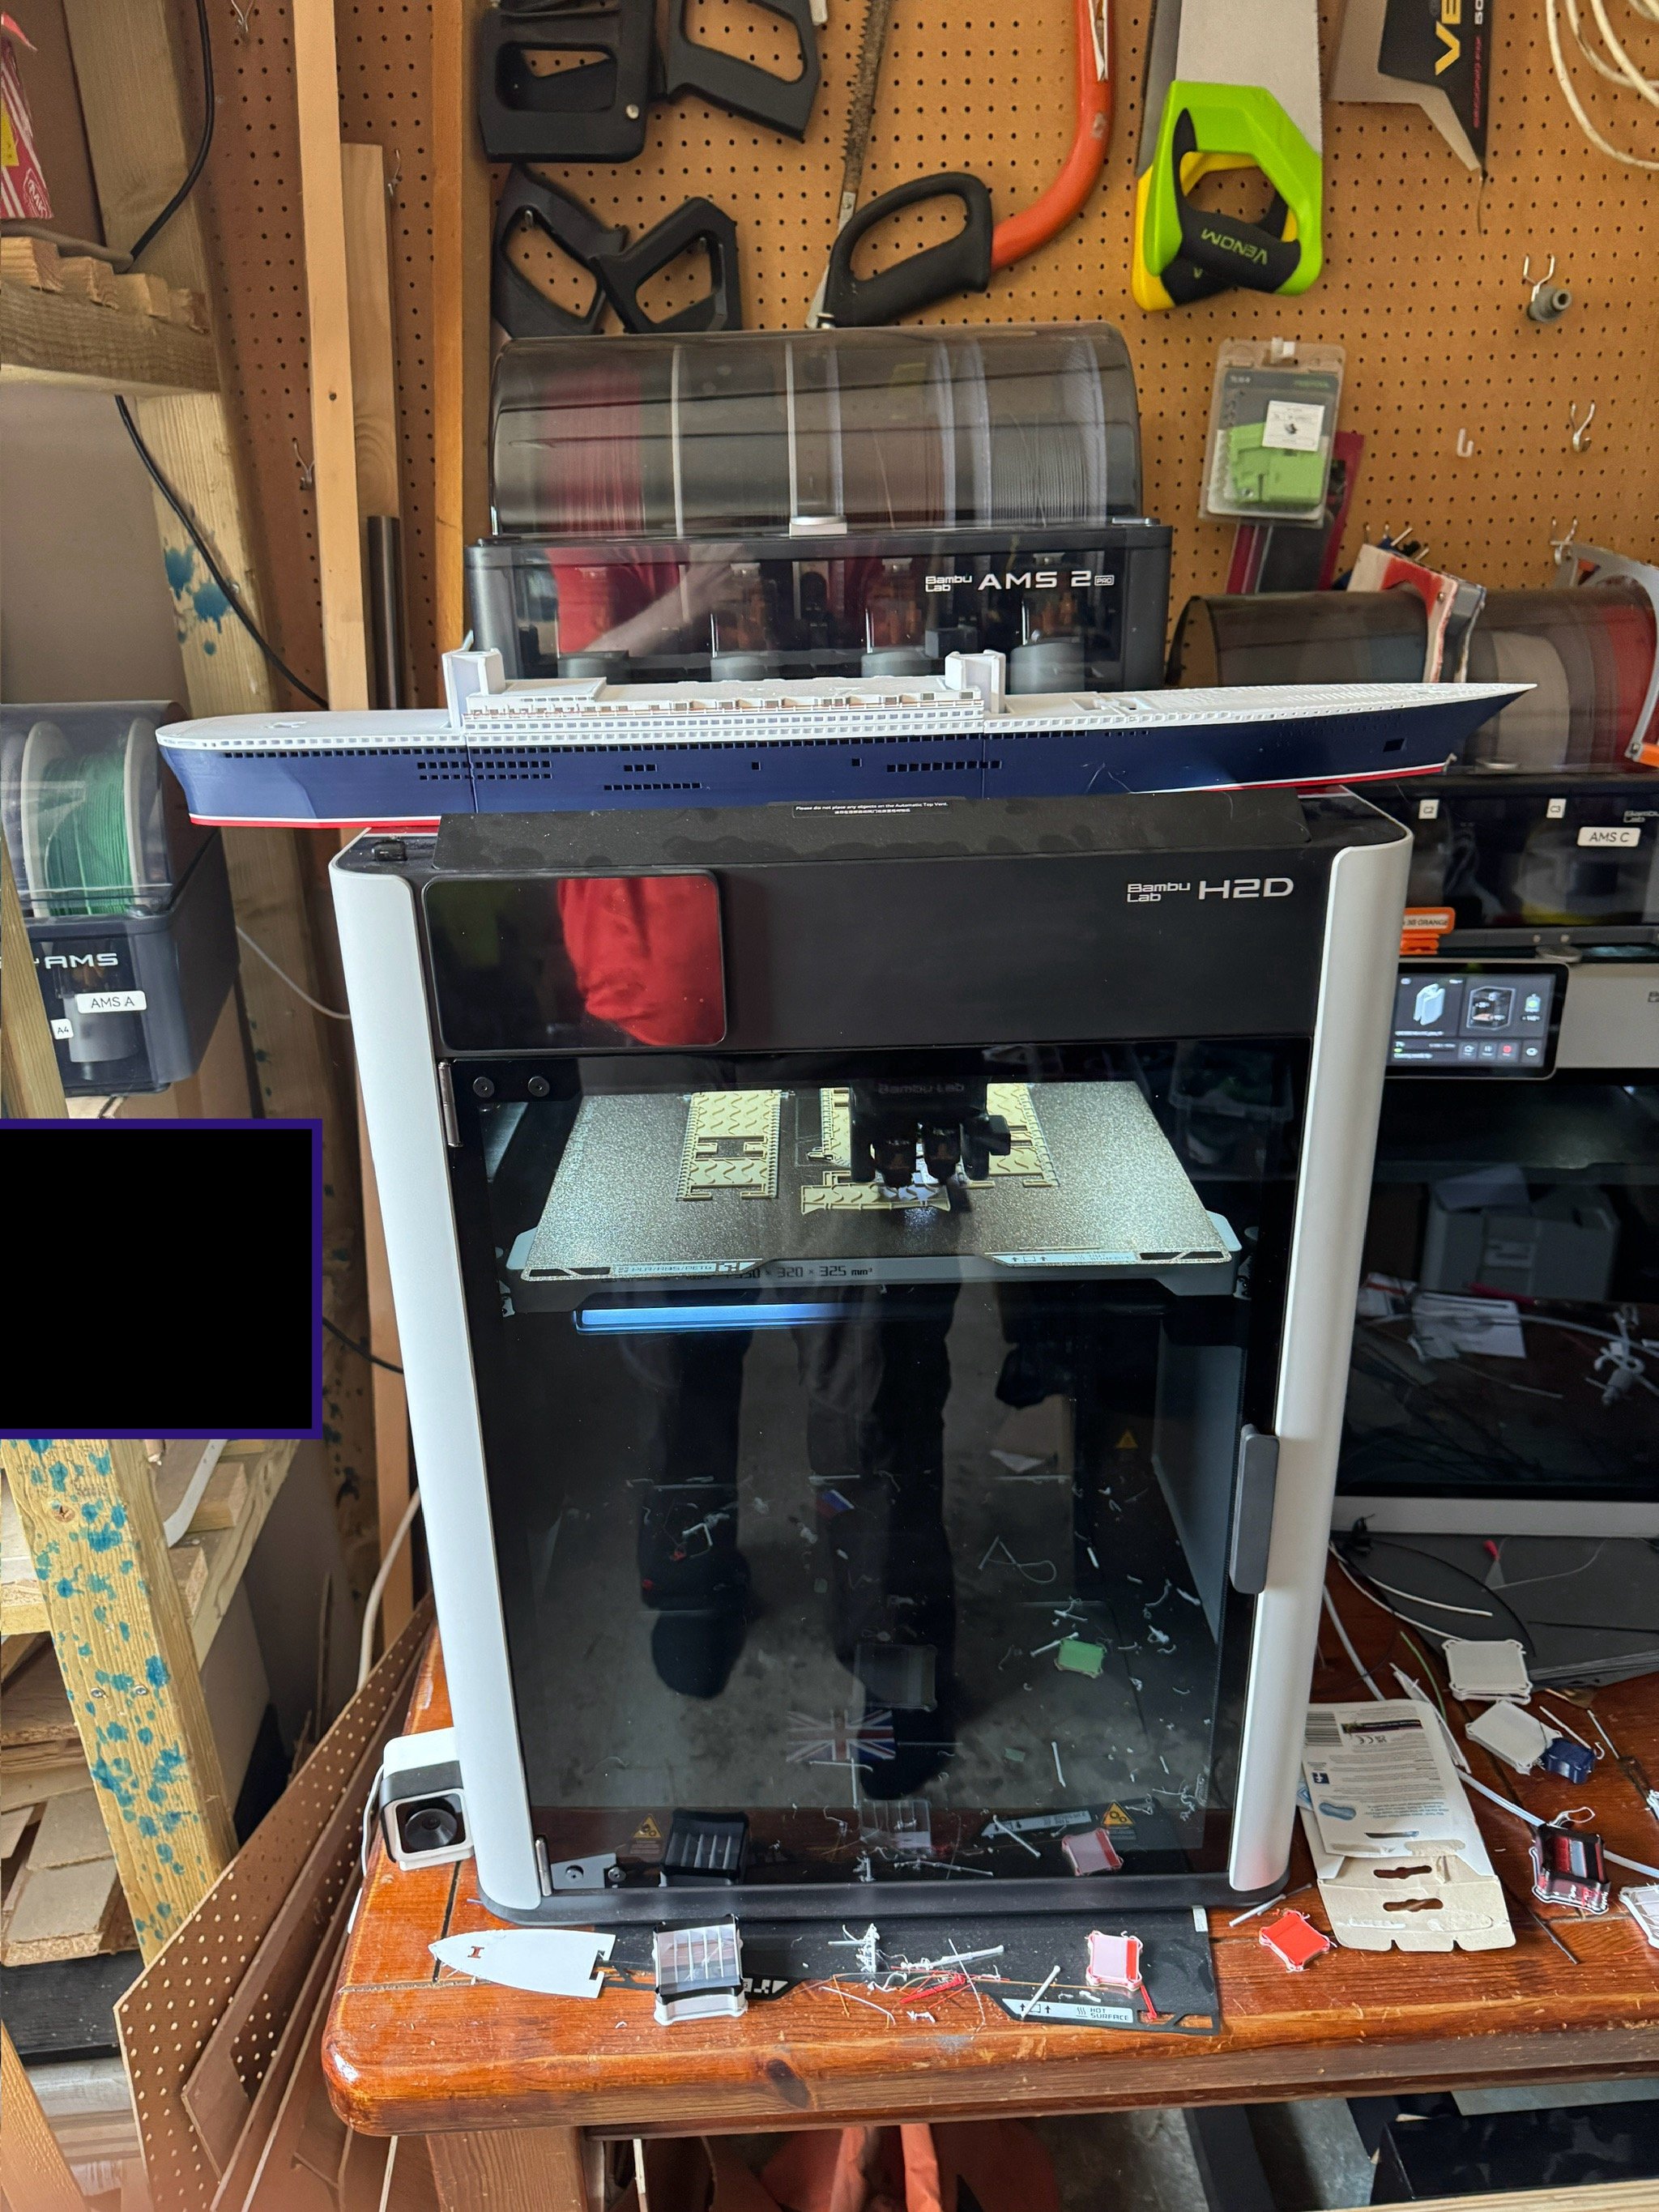
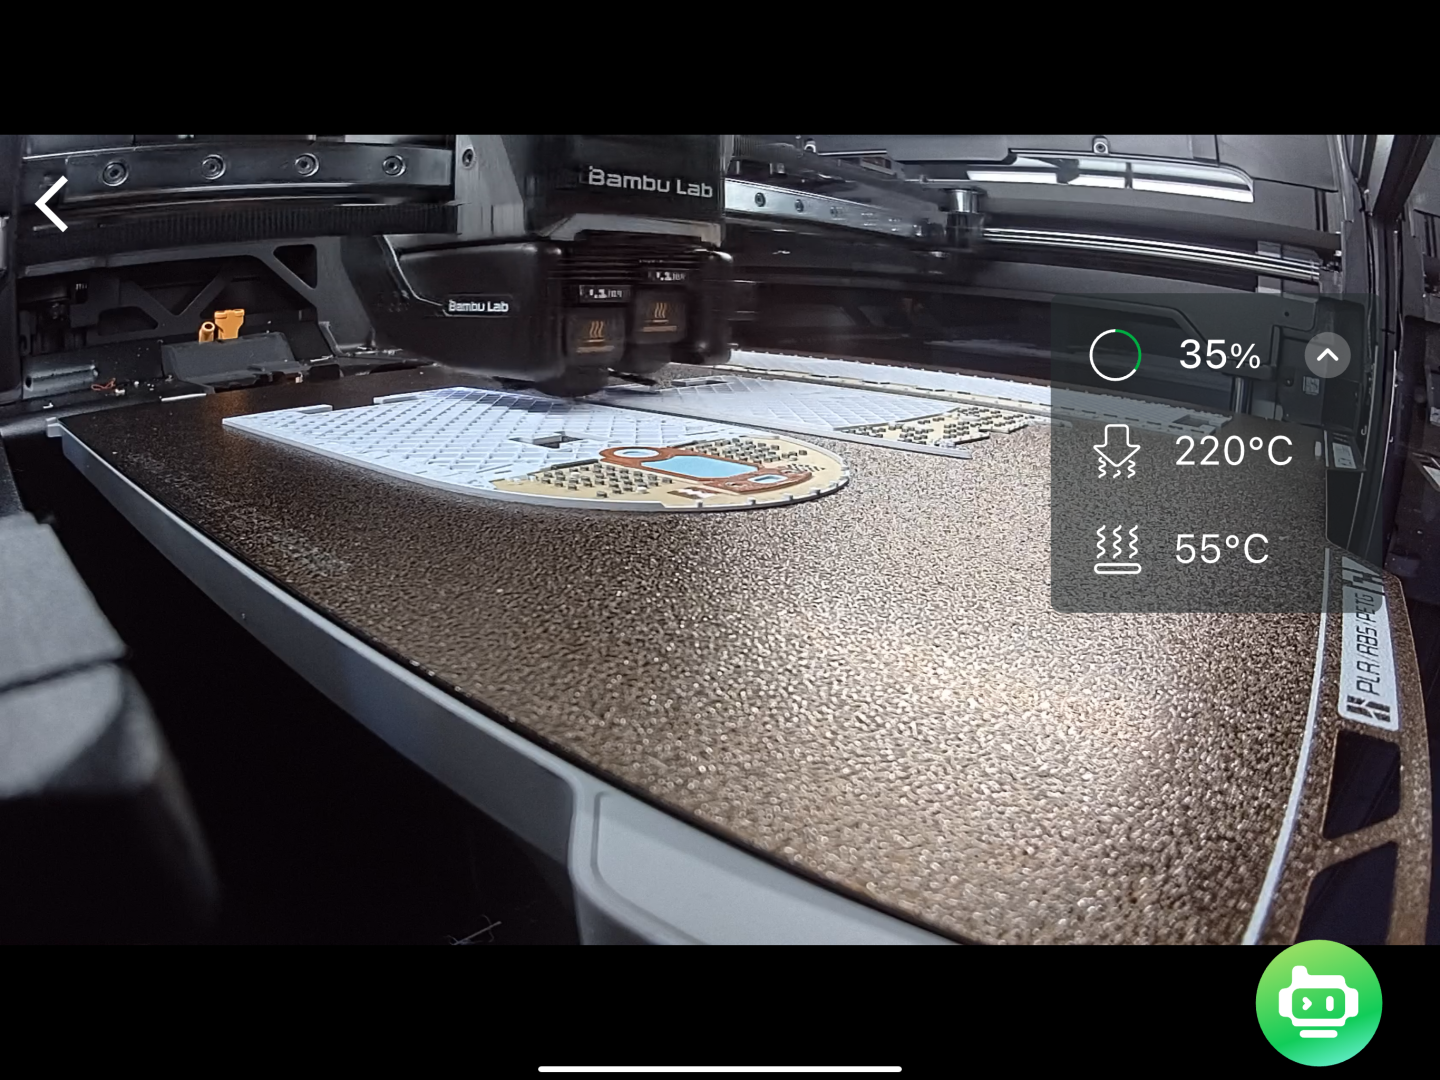
Making a start now on the 1:500 version - probably about 48hrs worth of printing to do - on 2 printers (H2D and X1C). First plates on each now underway.


- 34 replies
-
- 4
-
-
- Queen Mary 2
- 3d printed
- (and 1 more)
-
Improved more detailed 1:1000 version now pretty much complete. Printed partly at 0.4mm resolution and partly at 0.2mm. Next stage is the scale everything up by 2x - to get the same print at 1:500 scale - will do the whole print at 0.4mm resolution (0.4mm nozzle). IMG_8366.MOV IMG_8366.MOV Ship yard Decks being fitted one at a time


- 34 replies
-
- 5
-
-
-
- Queen Mary 2
- 3d printed
- (and 1 more)
-
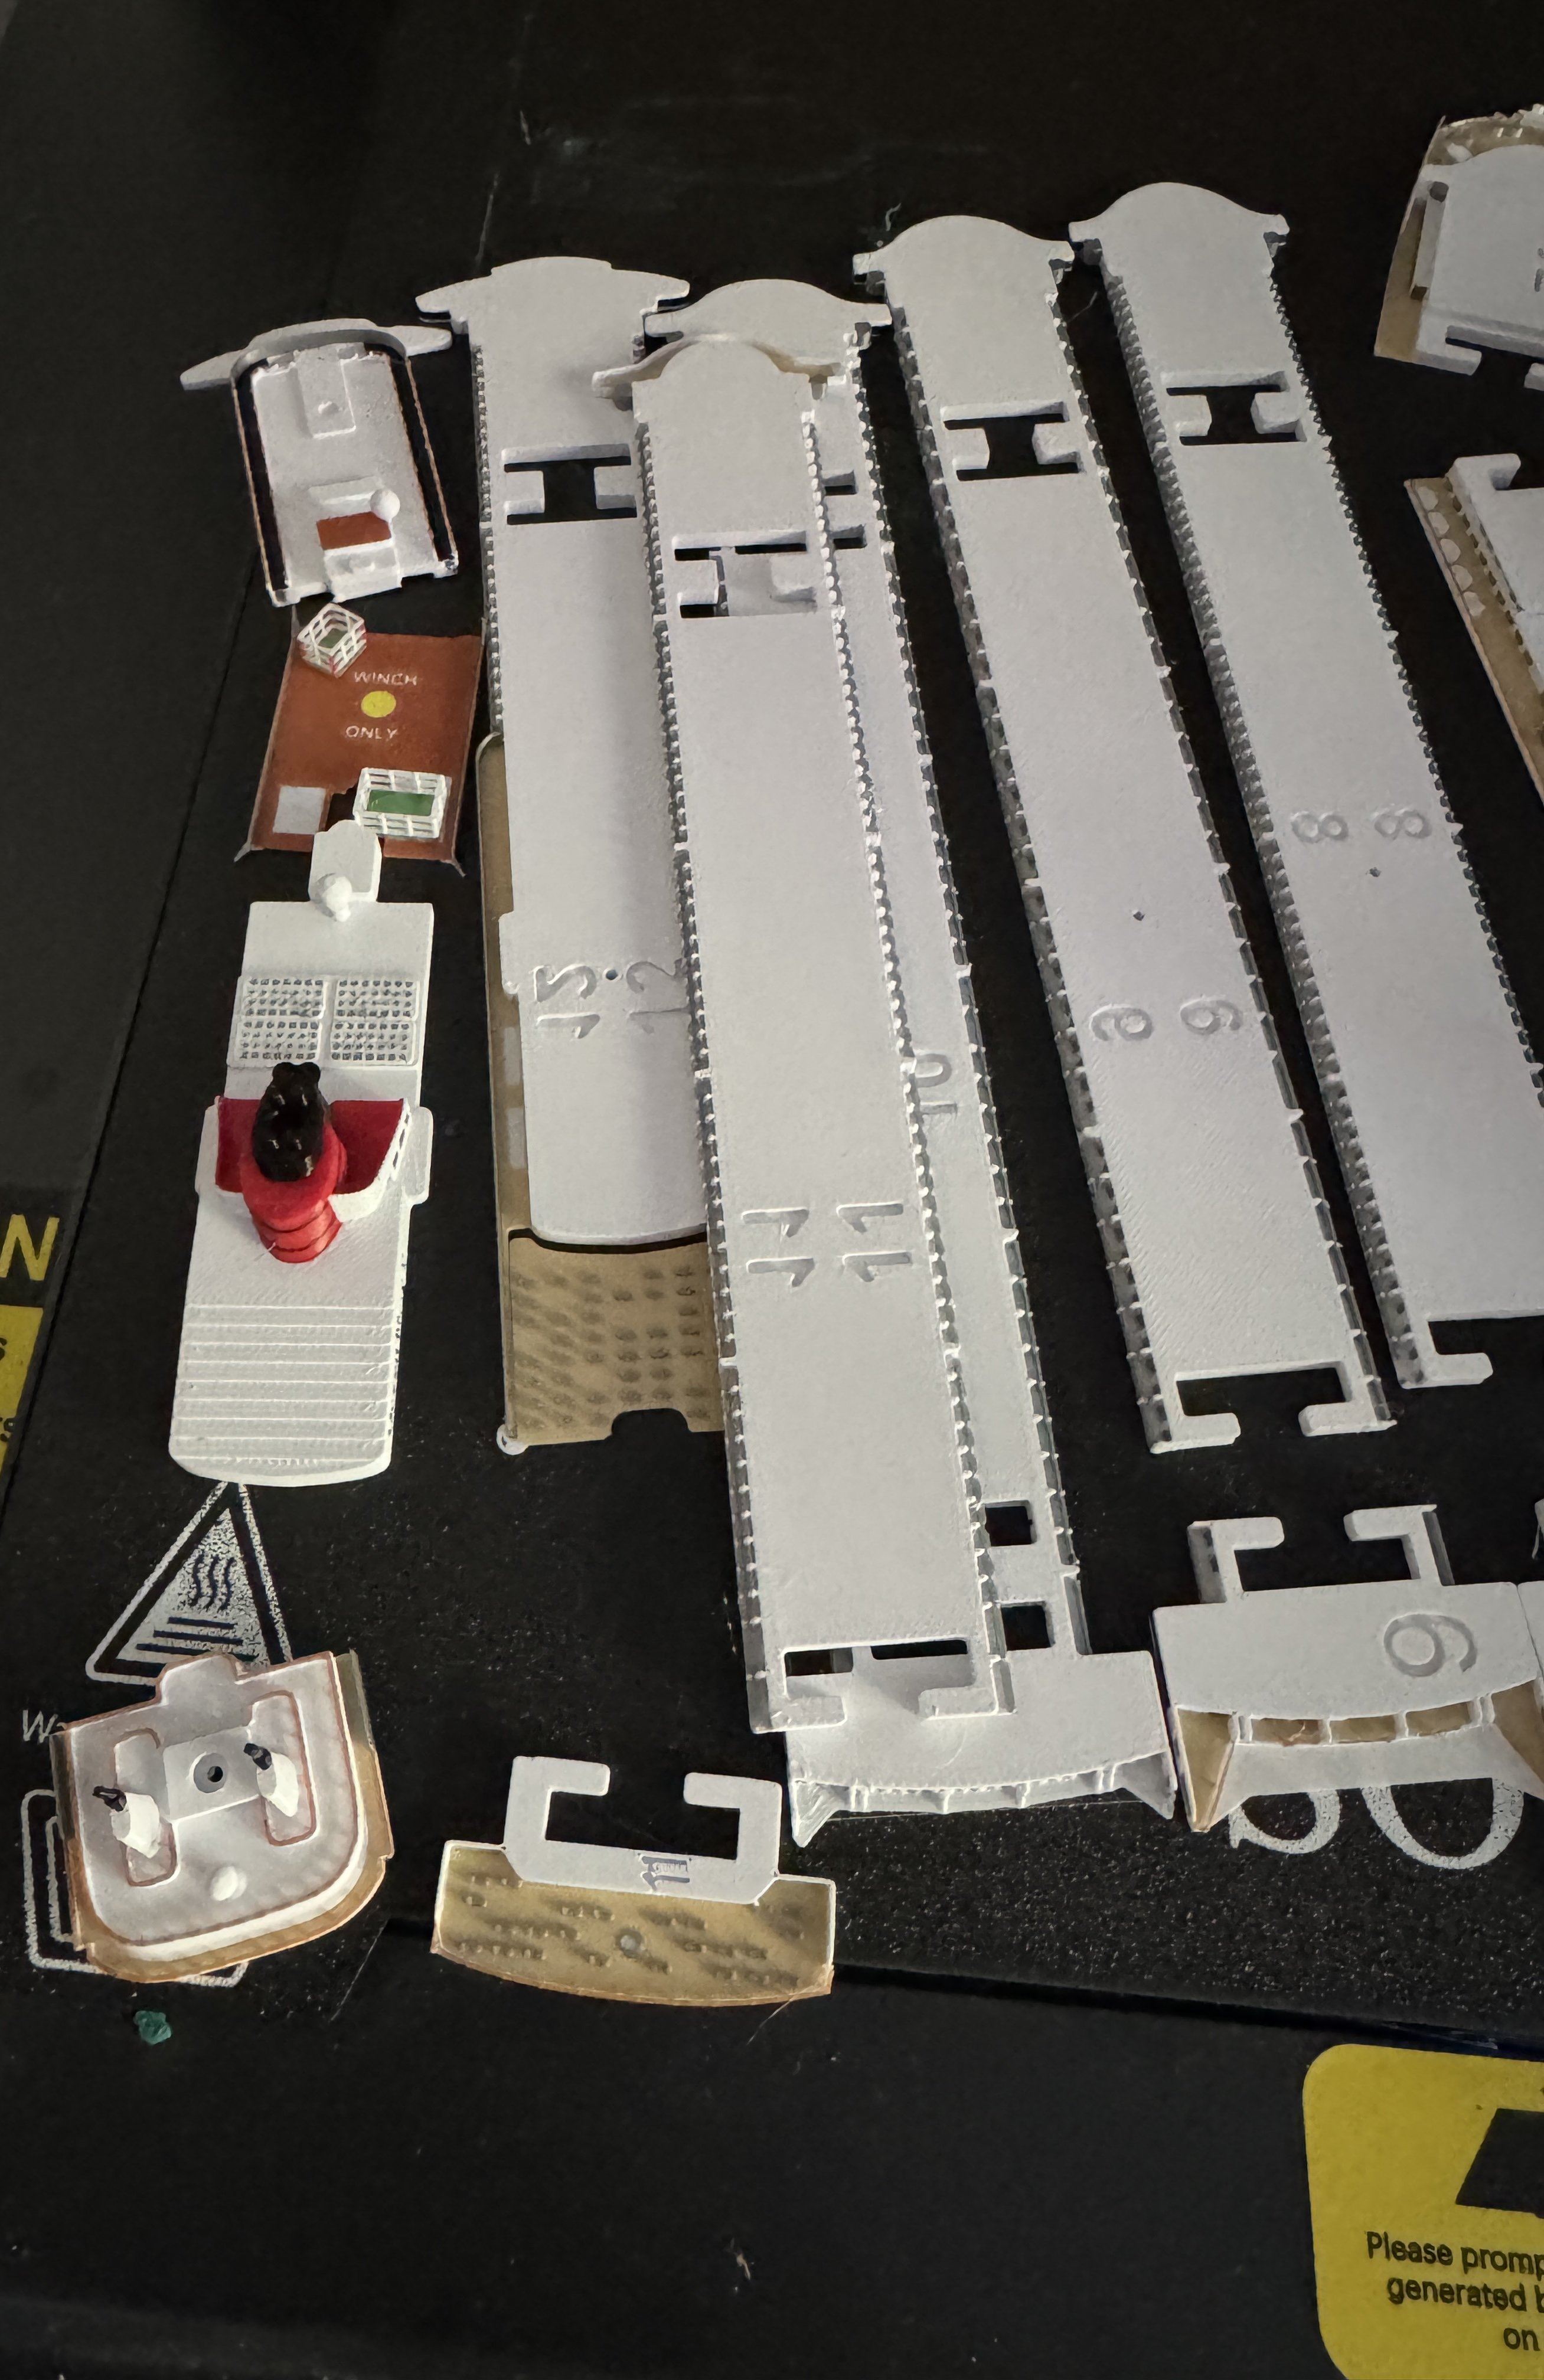
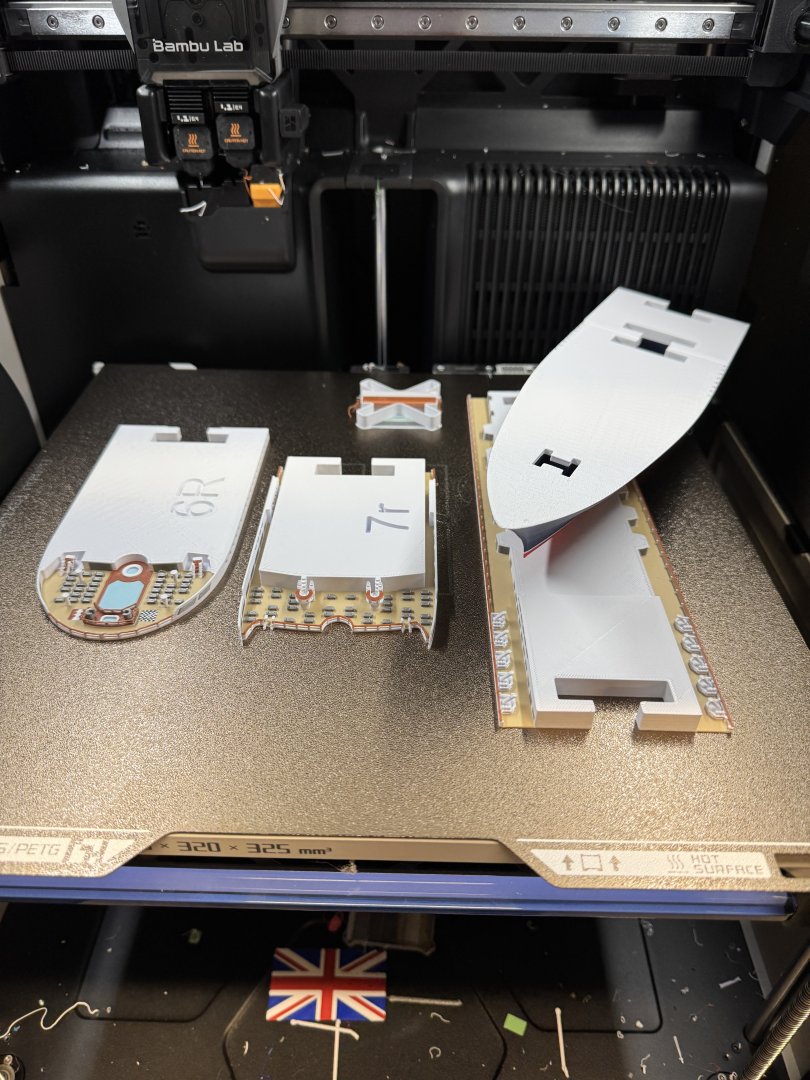
Finally back to reprinting the corrected details - detail is so small printer is having a bit of trouble - so having to enlarge some parts. Deck 7 needs to be reprinted due to failed stairs (8 hr print) S Having a bit of trouble with deck 12 rear Ship yard (on multi headed SV08 - which is currently not ready for this sort of print) - using H2D and X1Cs at the moment


- 34 replies
-
- 6
-
-
- Queen Mary 2
- 3d printed
- (and 1 more)
-
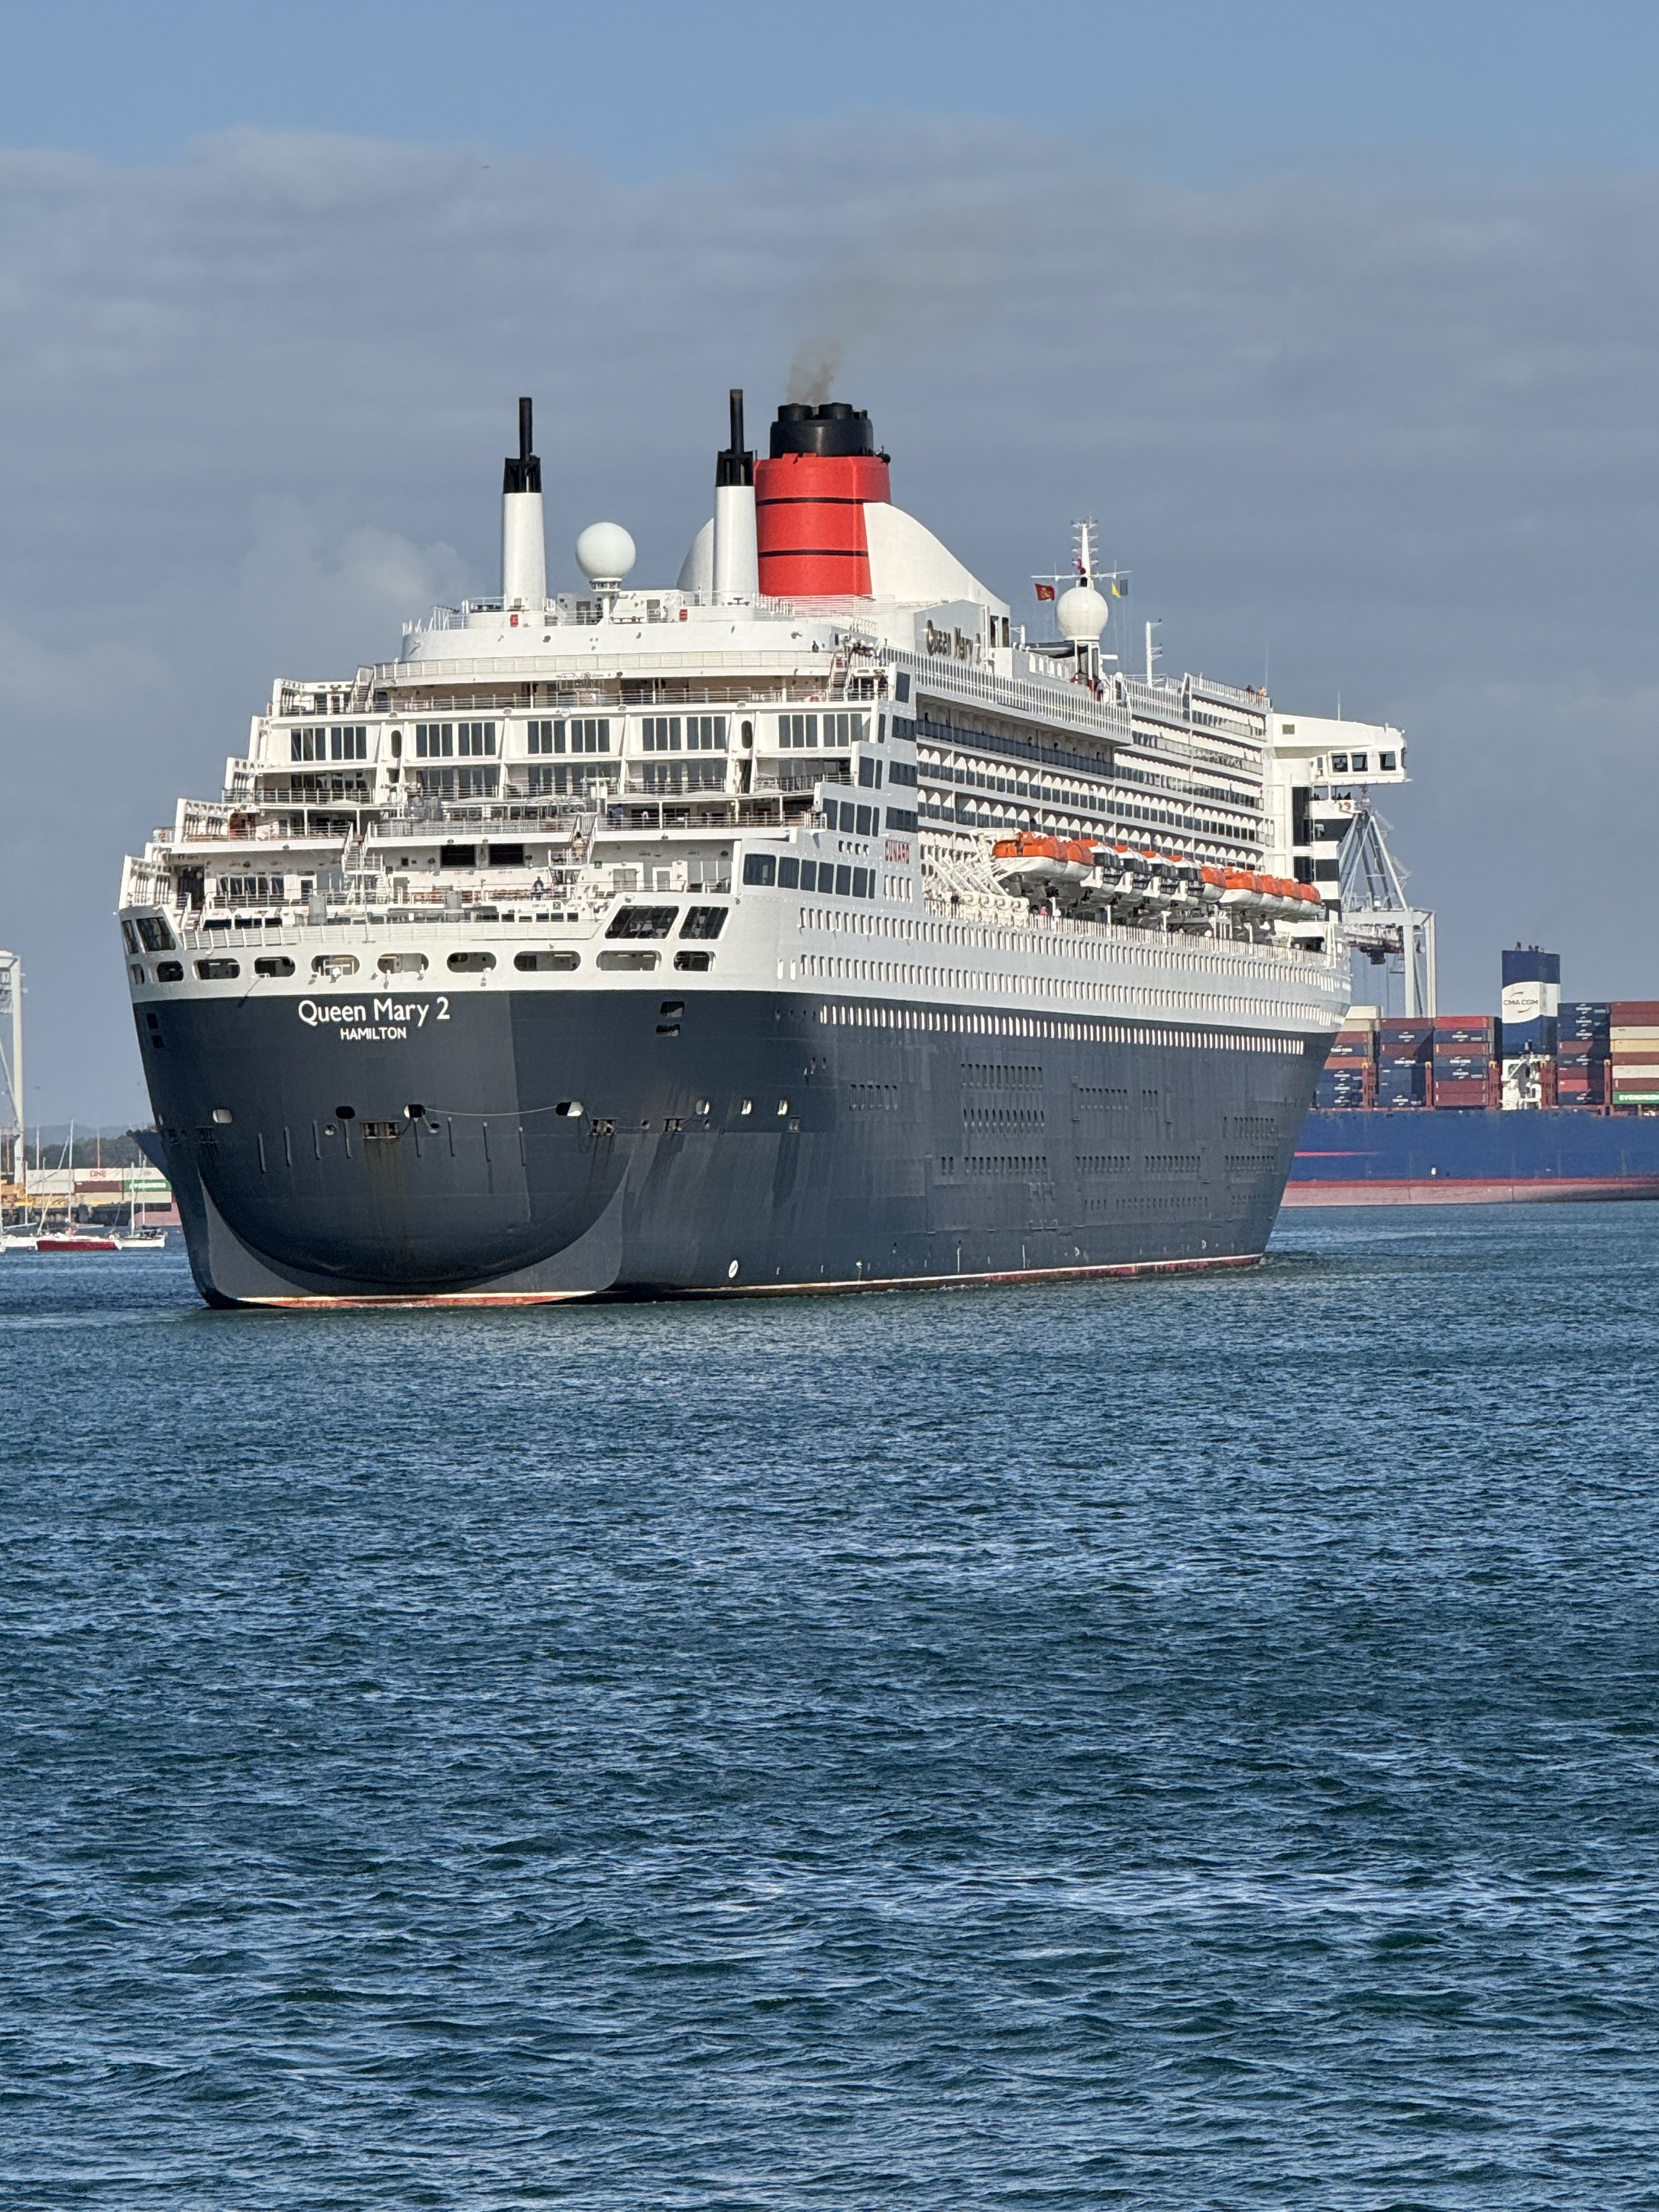
Various tweaks made to design to make it closer to the real ship Most complex was funnel shape. New design at top, real ship middle, previous design below
- 34 replies
-
- 3
-
-
- Queen Mary 2
- 3d printed
- (and 1 more)
-
2nd run worked almost perfectly - Timelapse included in this video Supports a bit hard to remove - so probably easier to print it in parts - but still pretty pleased at how the print came out

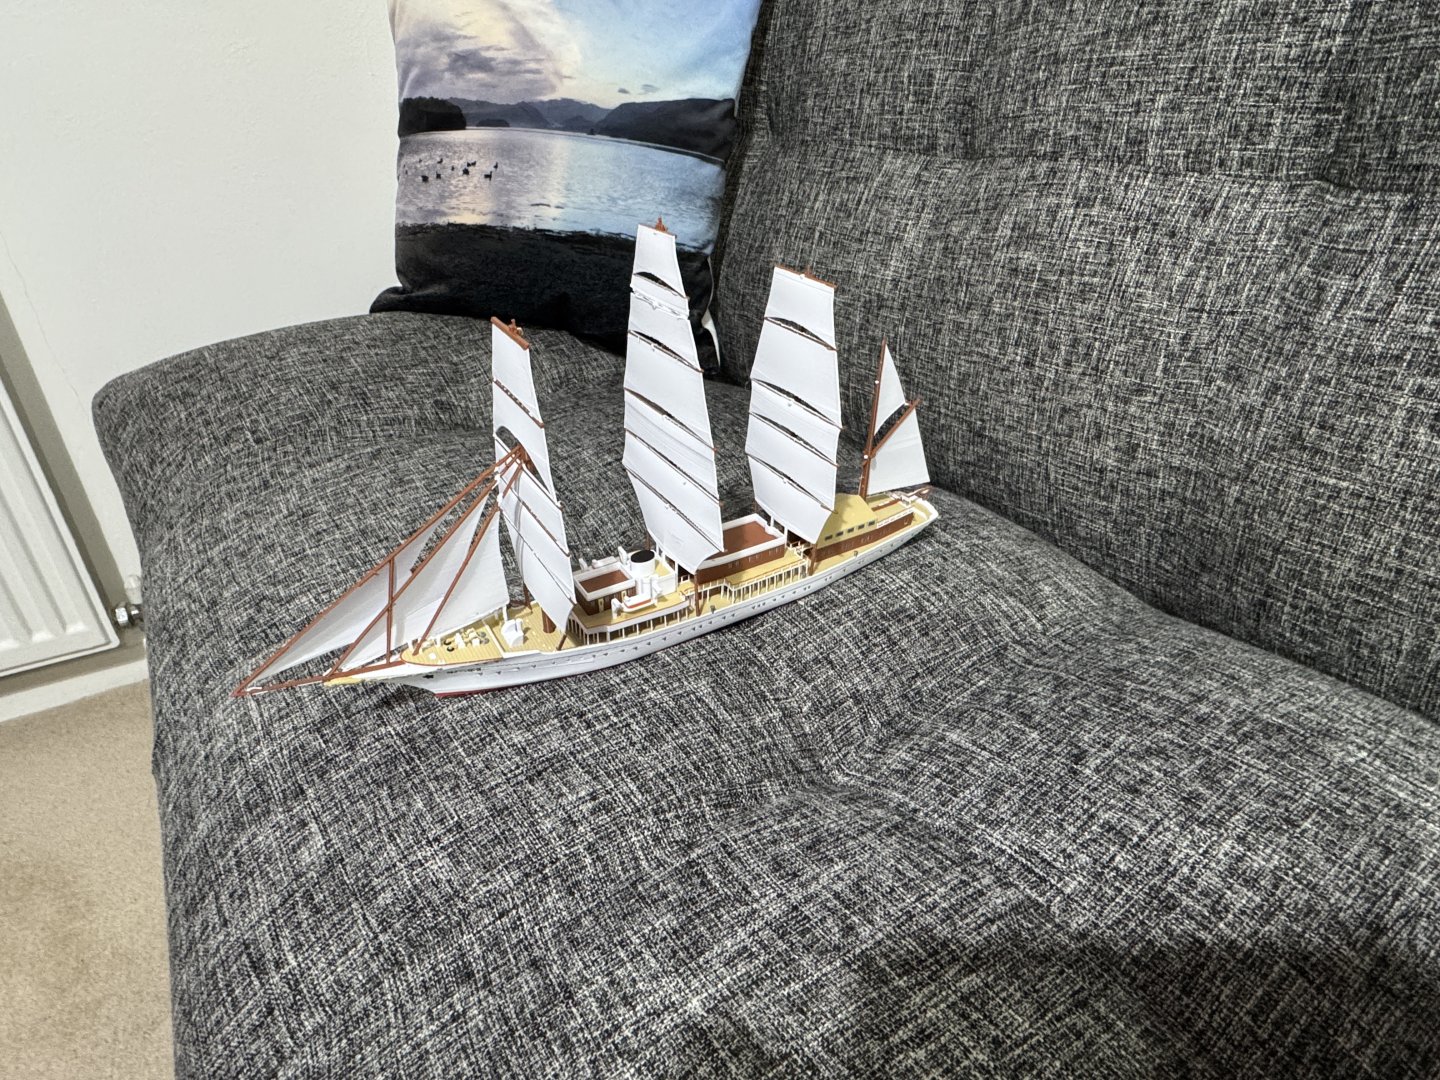
-
First full multi colour print ultimately failed due to incorrect gaps between the spars and the supports - that I think were introduced when I sliced off the sails for printing separately. Errors corrected, plus a few more stabilisers added. Short Timelapse showing the failed print attached in case it is of interest. https://youtube.com/shorts/-zQjY5tjEkU?si=aOISvMHEPT9lEw5r
-
Had a few problems about 65% in with the supports for the front and middle sails failing. Managed to recover with some white Blutac - and print now up beyond brown spars for both problem sails. Might be due to the 5% size reduction or a general weakness in that part of the design - will beef up the supports before next print.
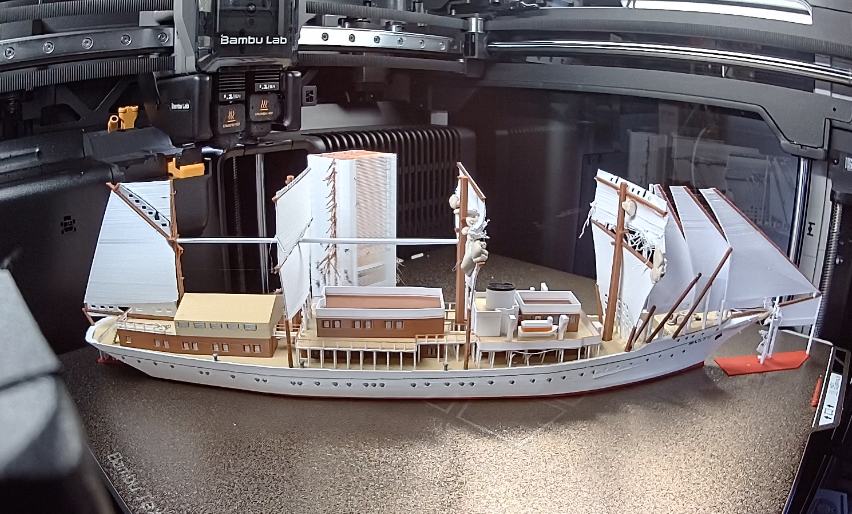
-
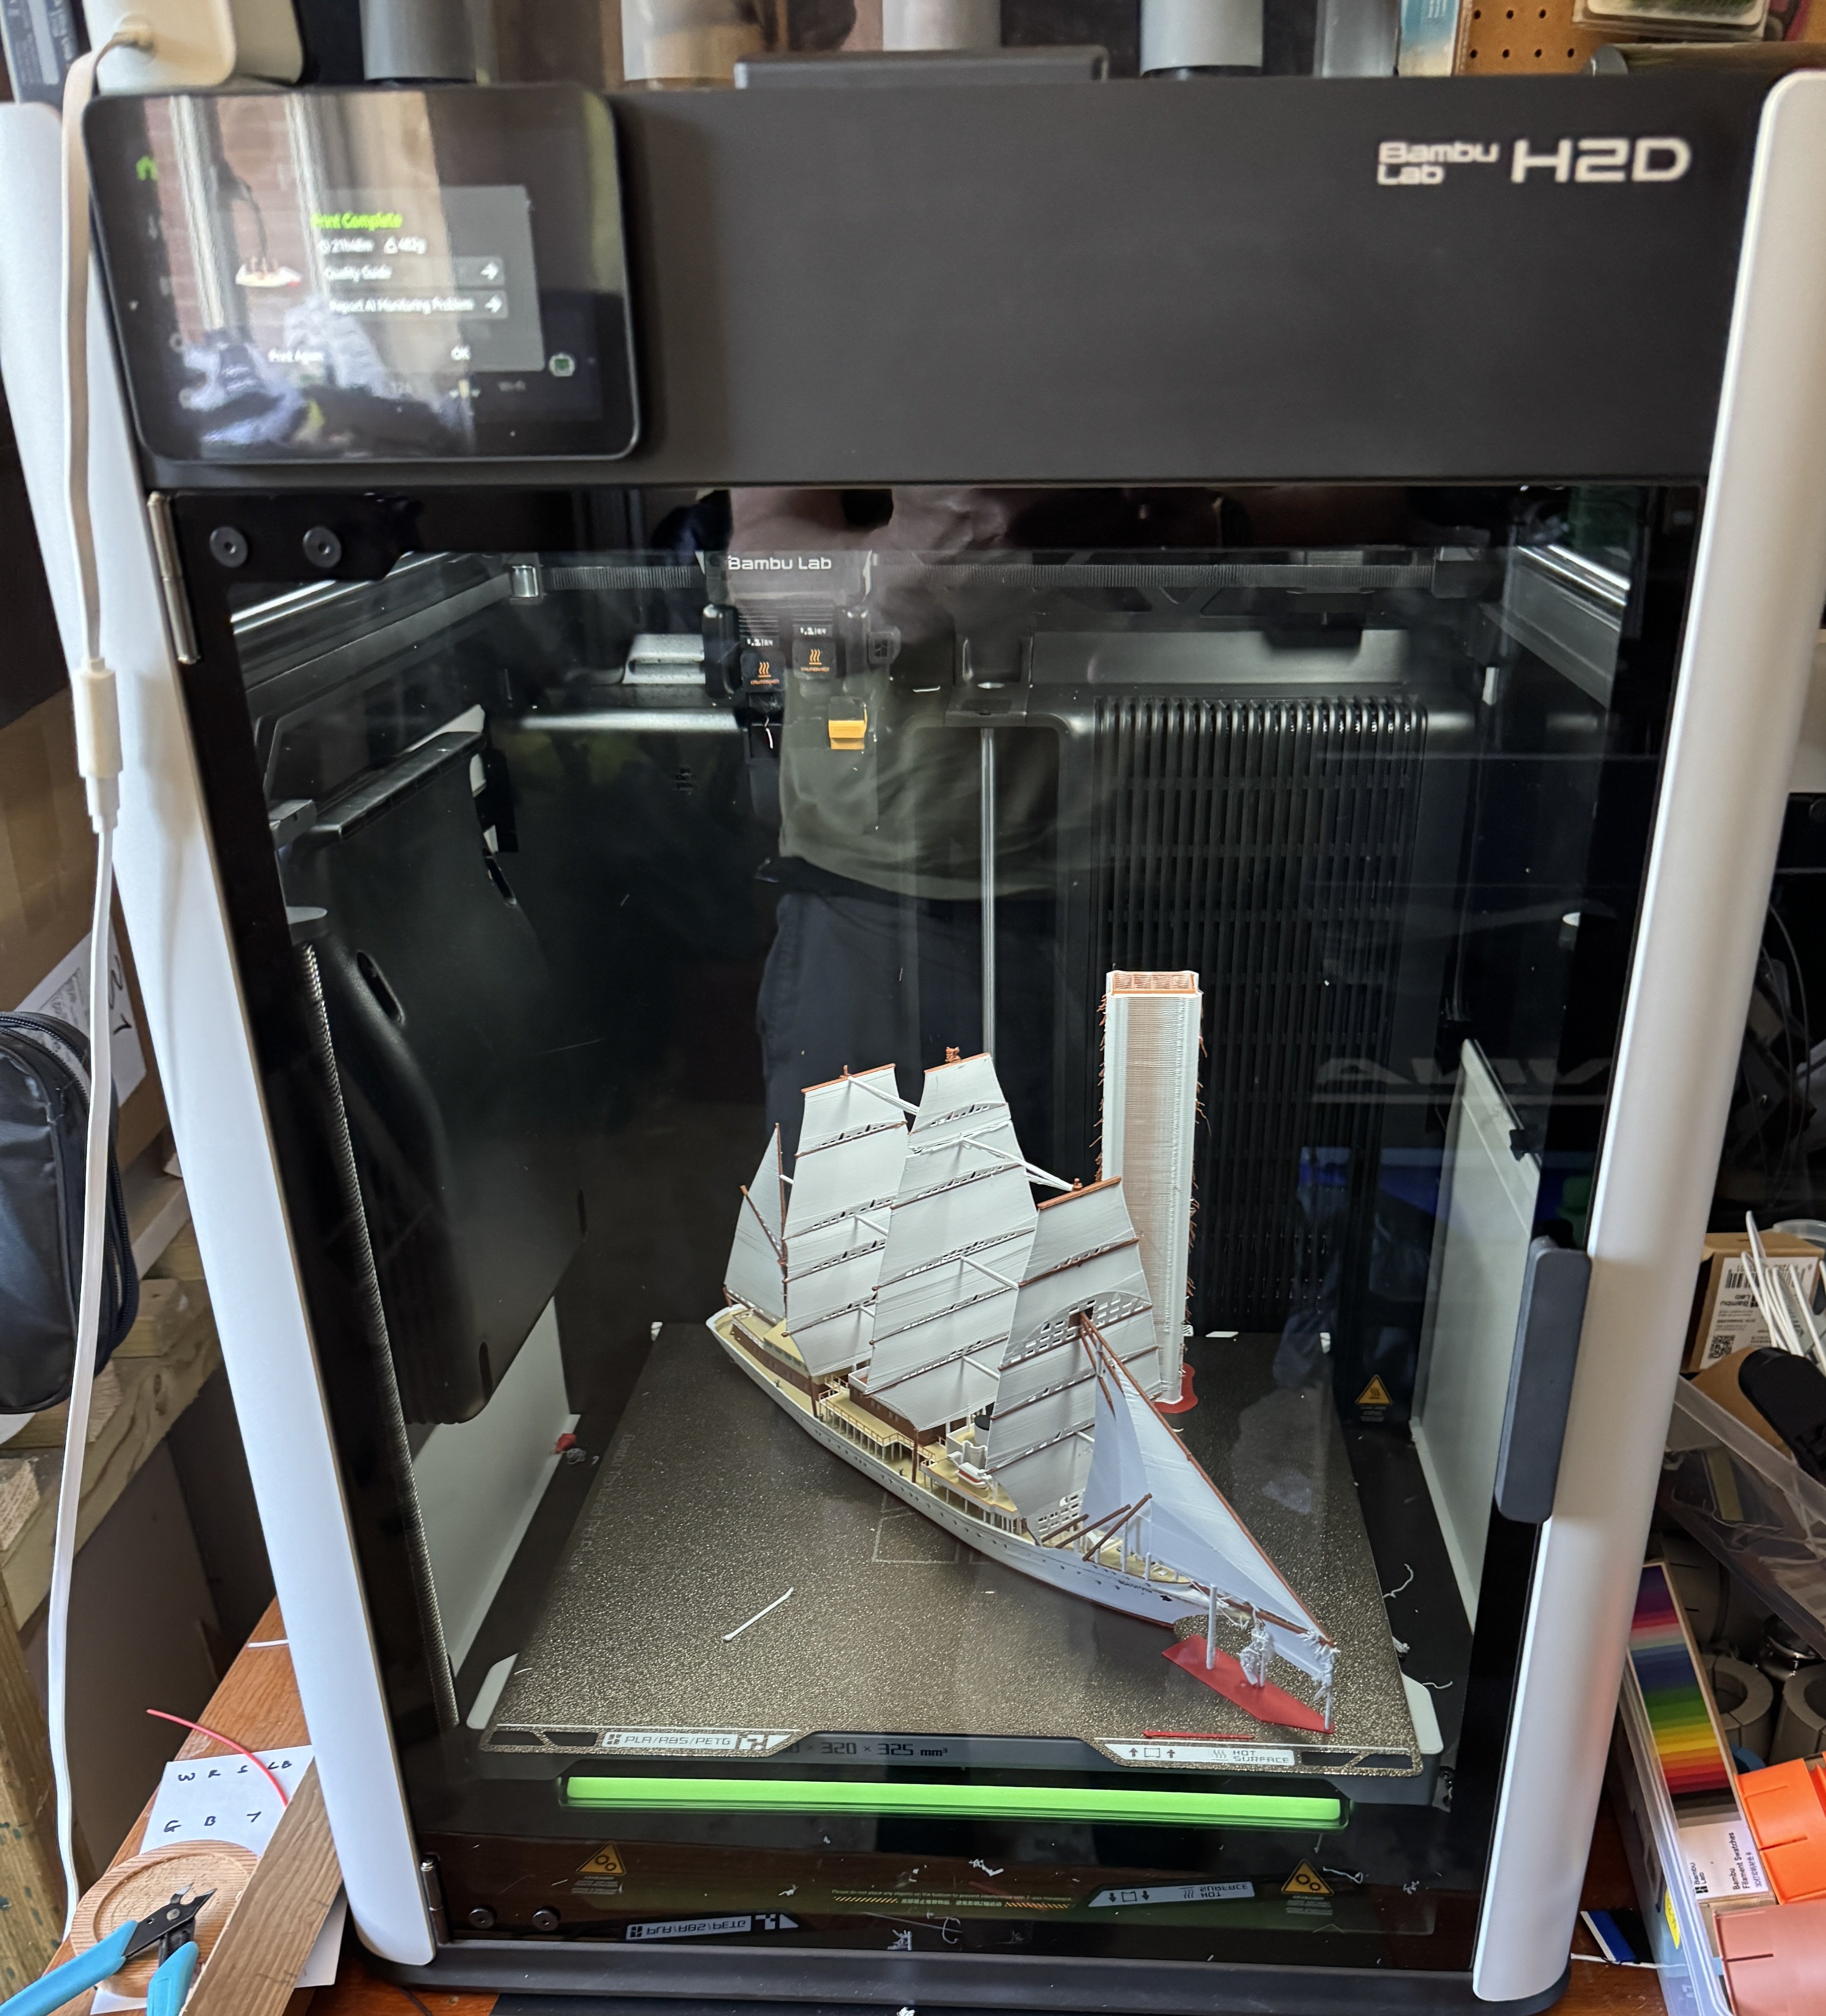
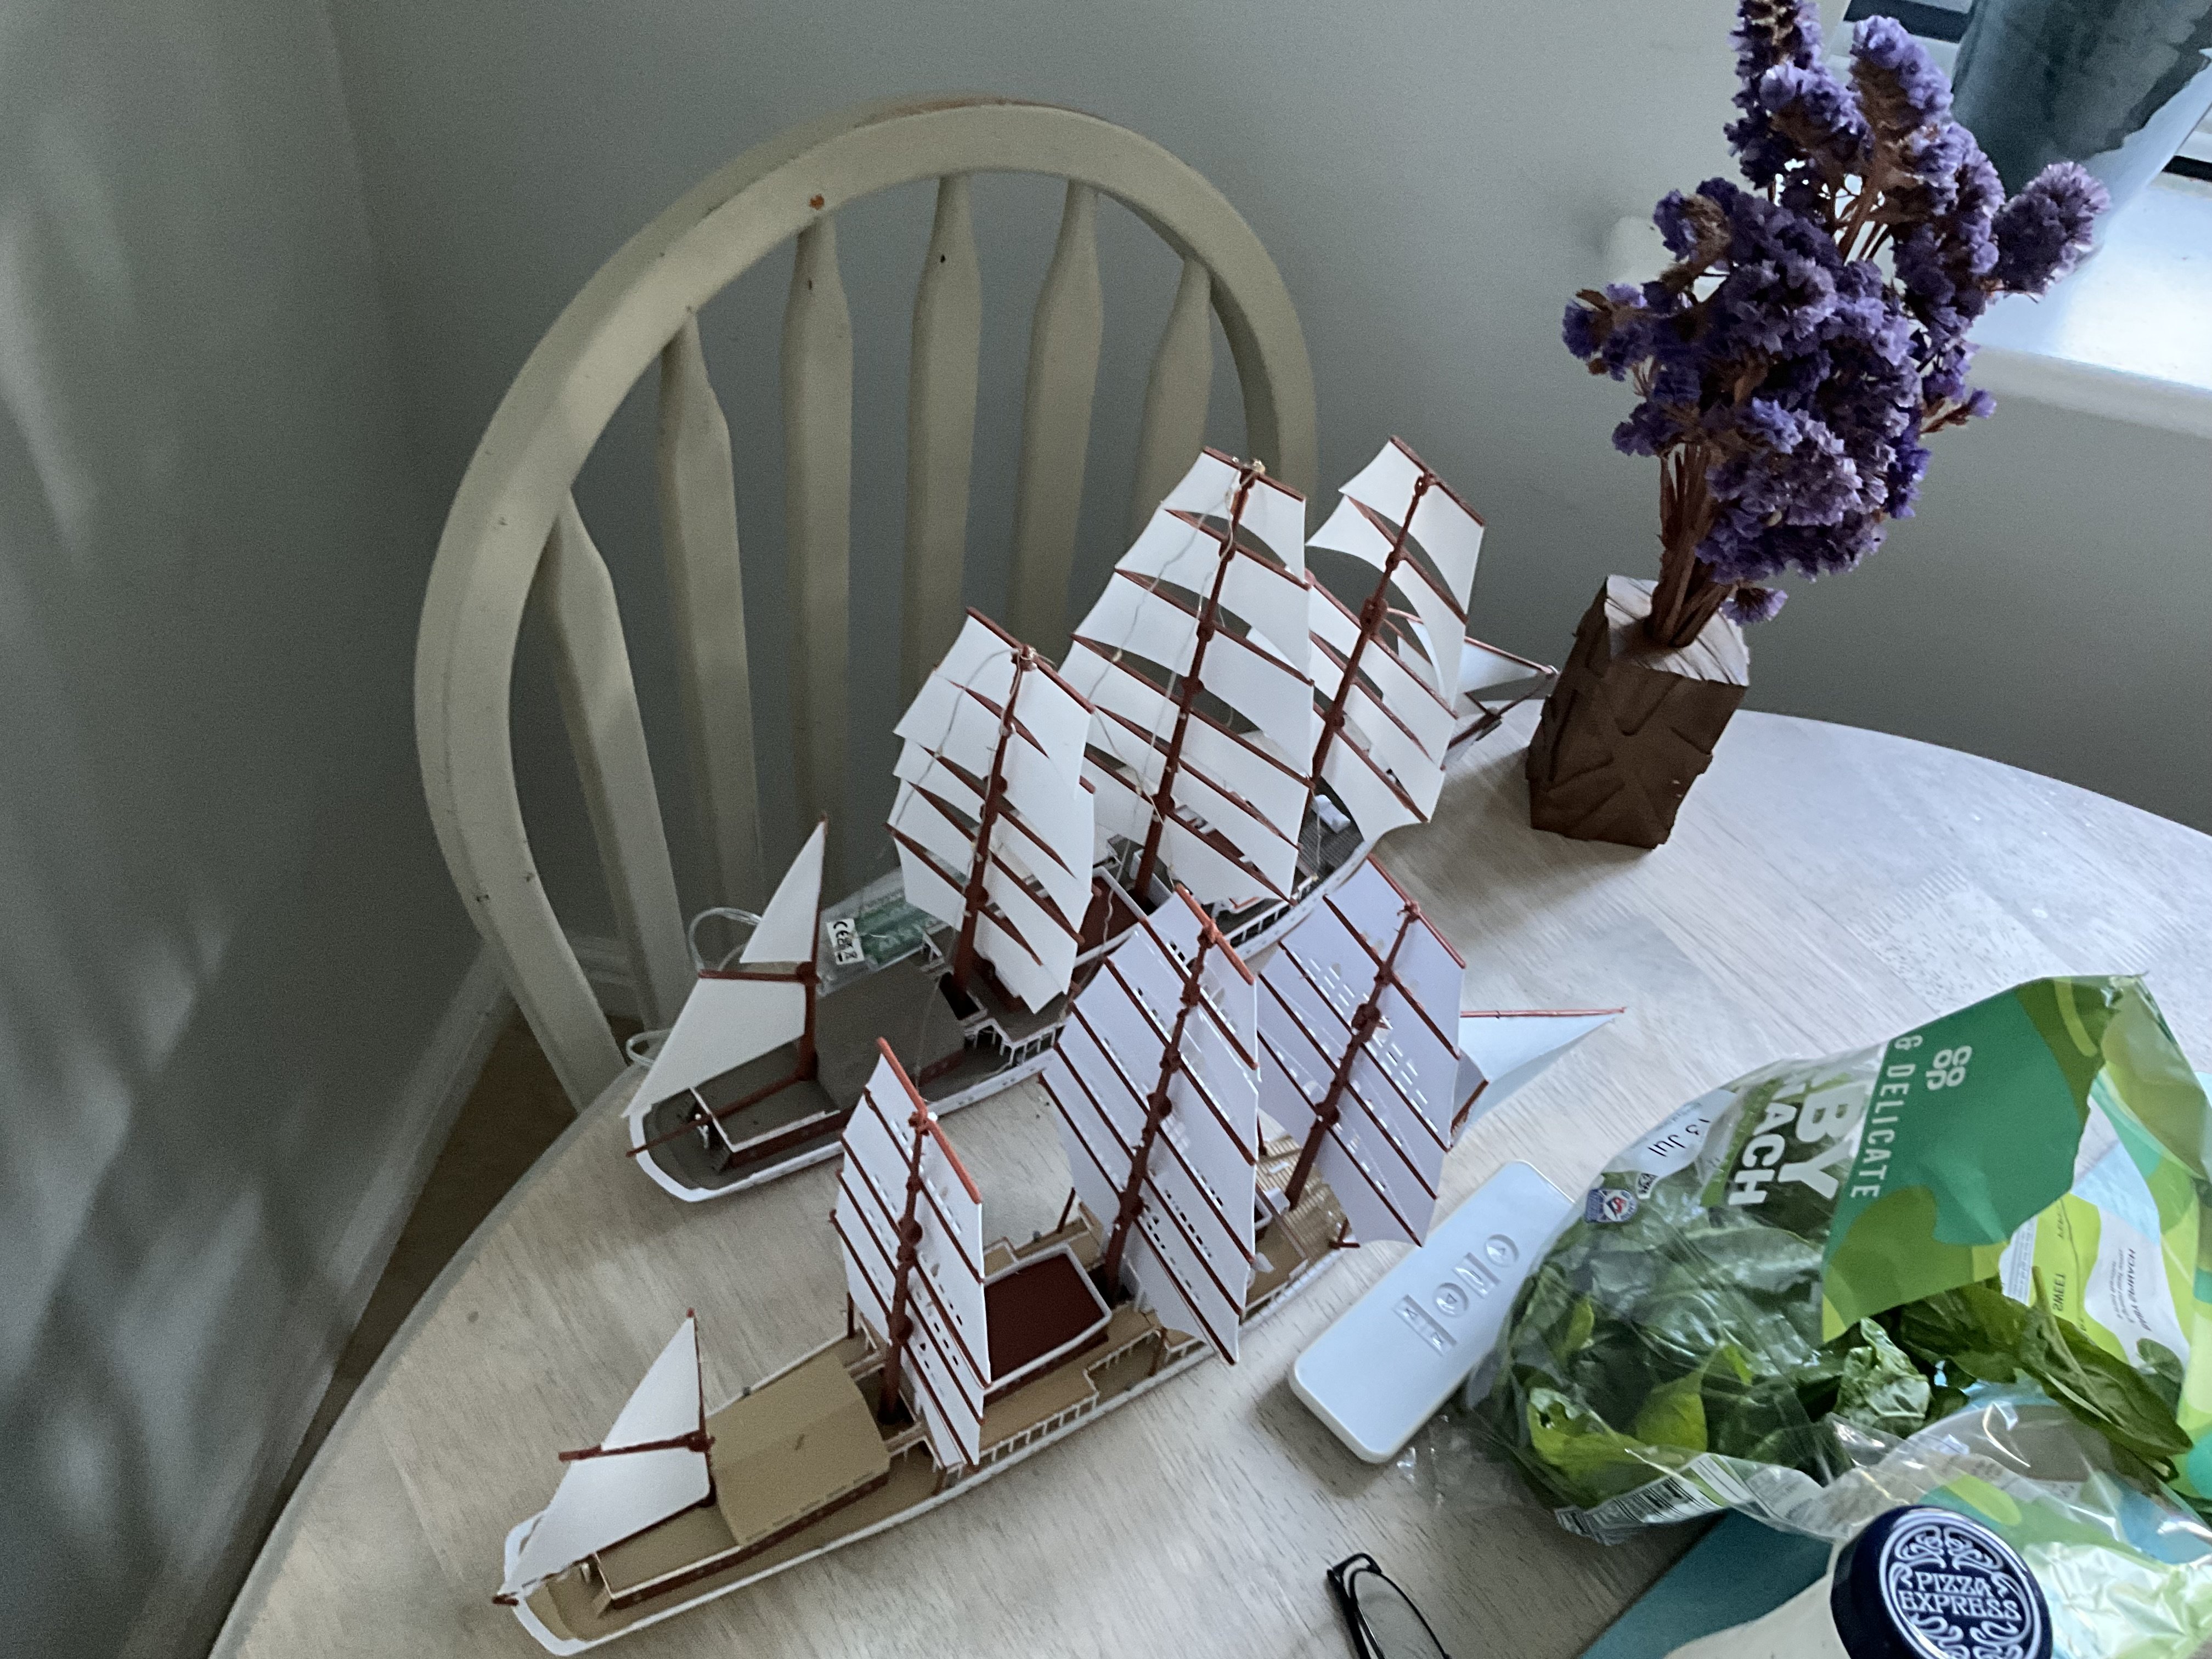
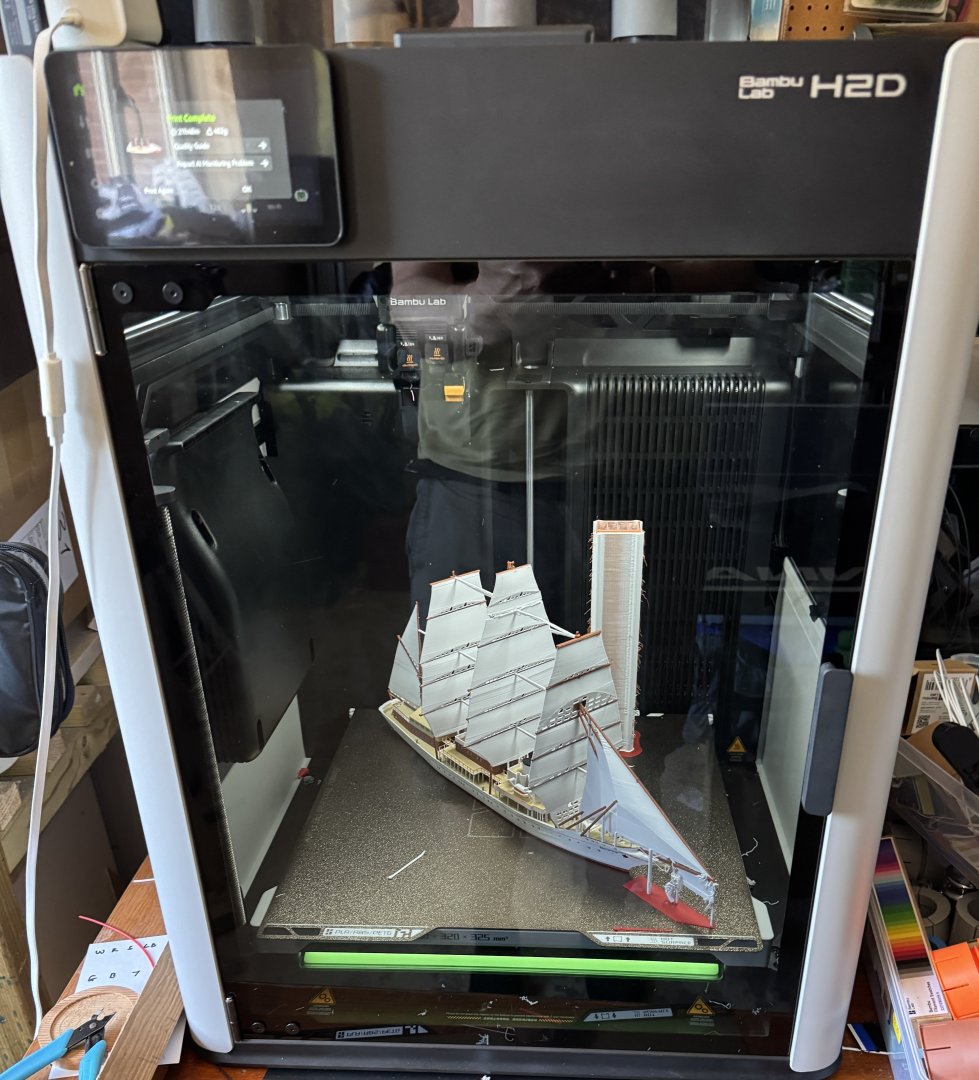
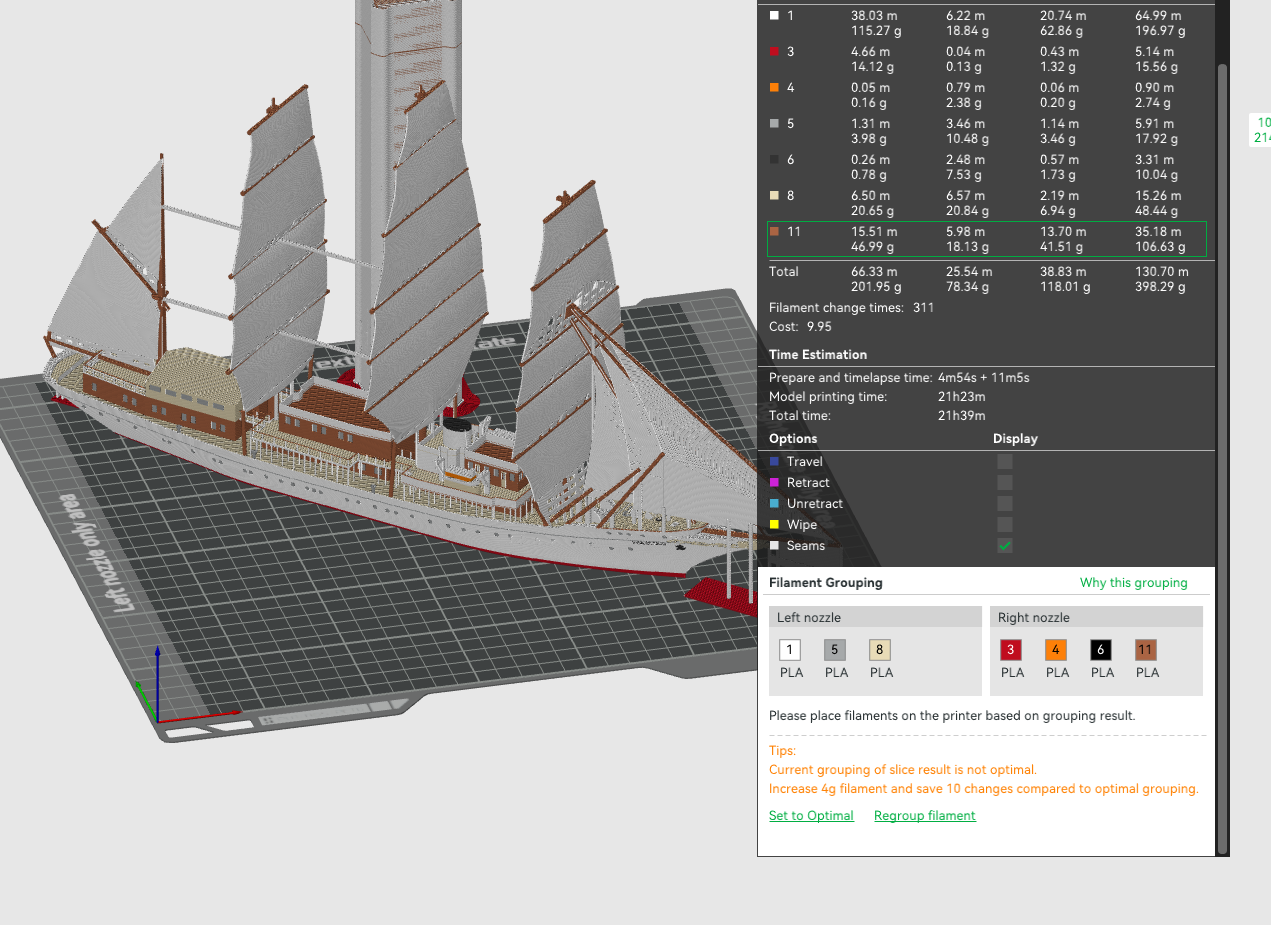
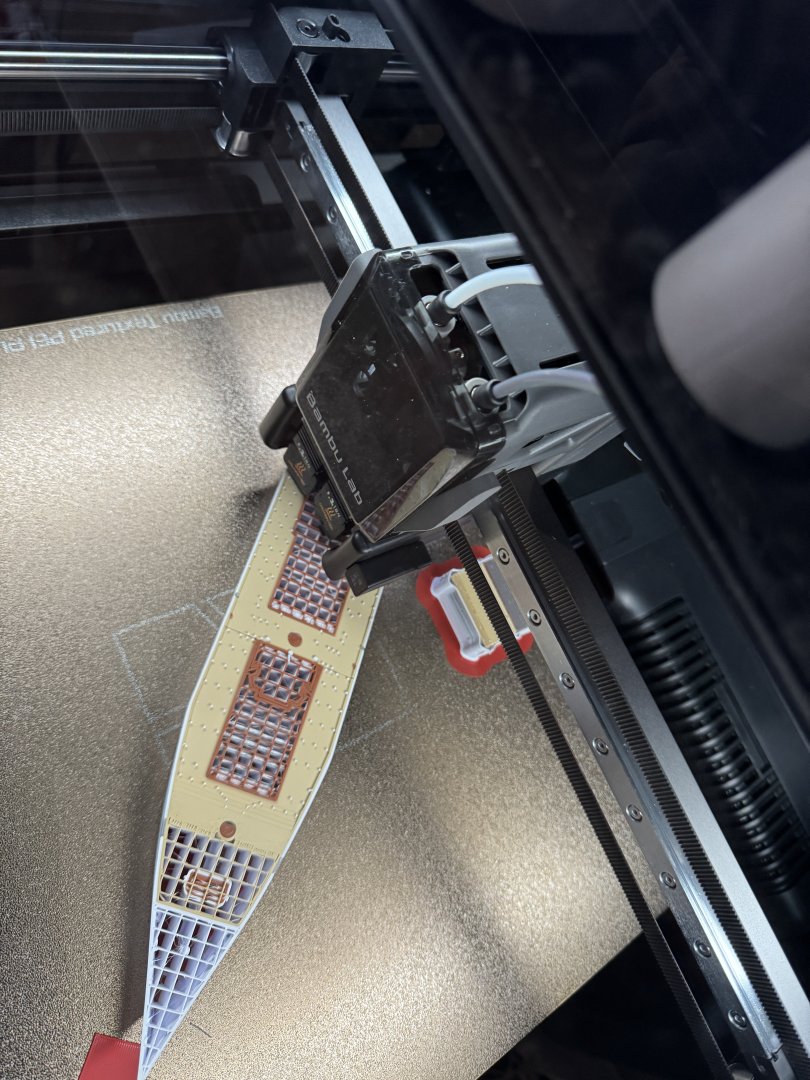
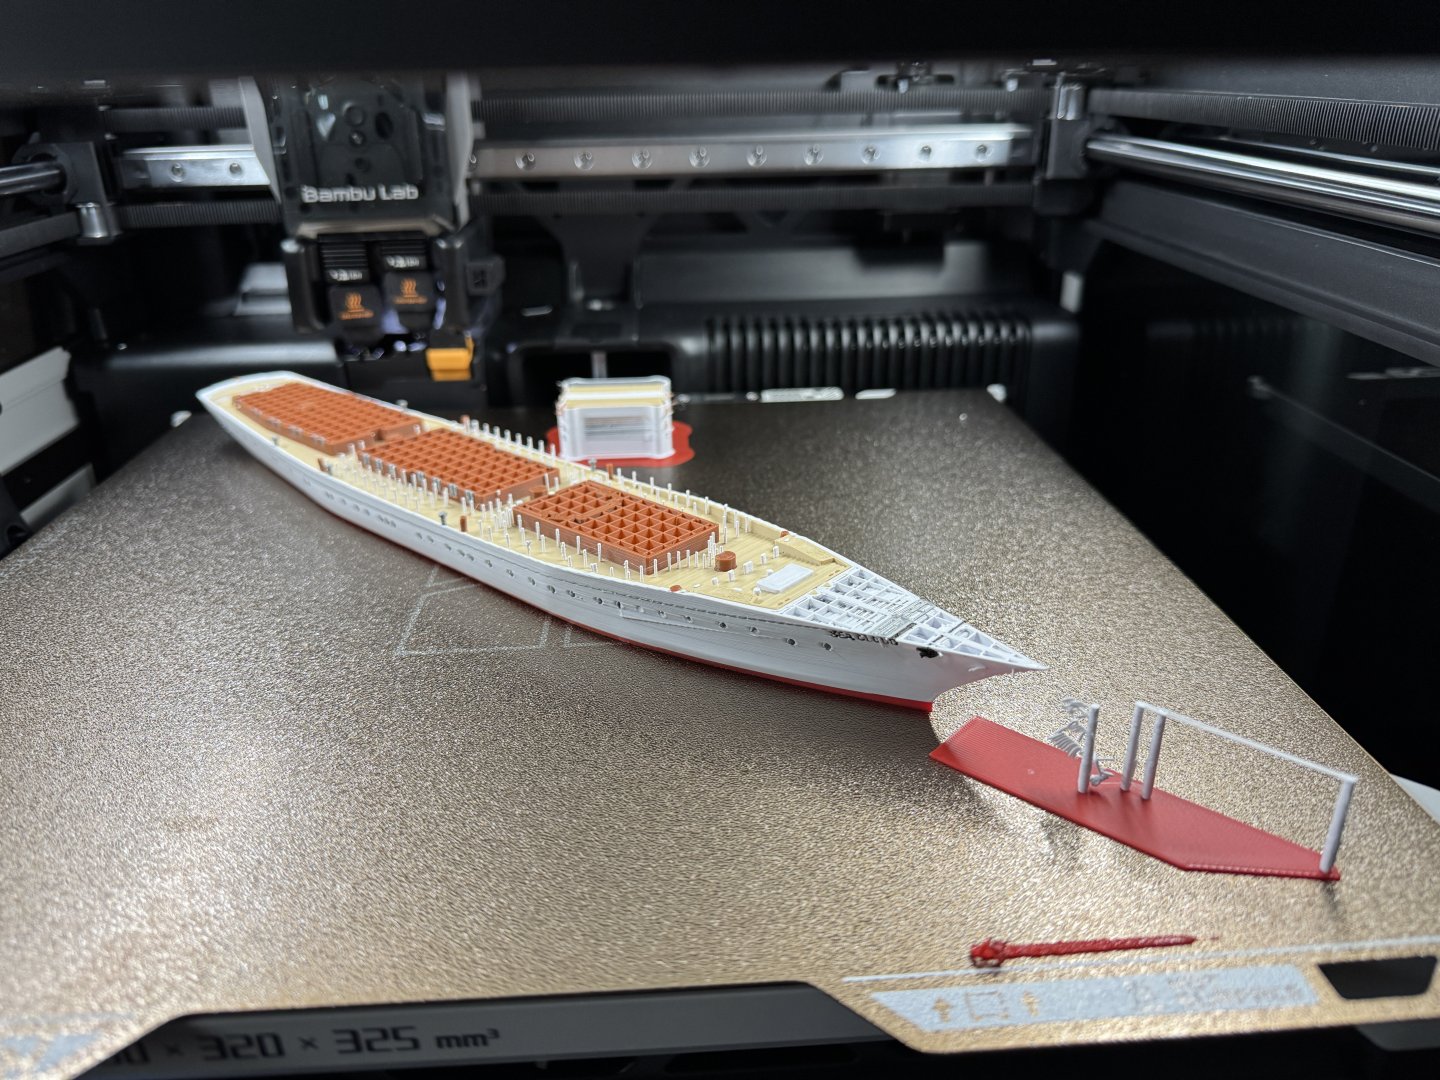
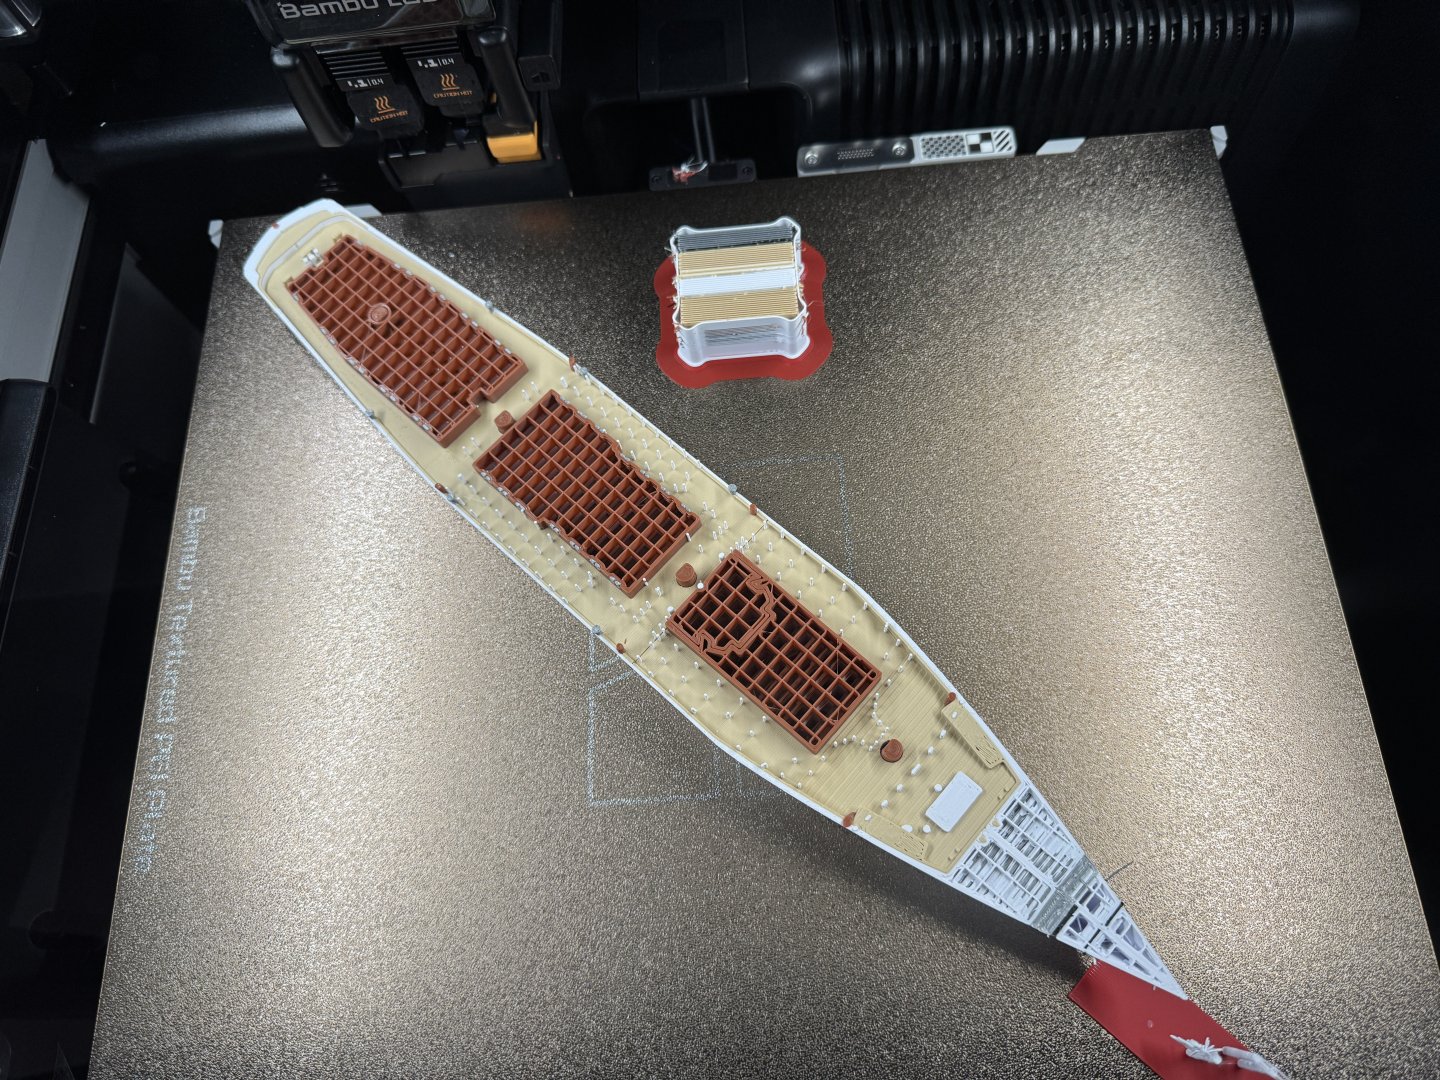
Reprinting Sea Cloud on a BambuLab H2D as a single multi coloured print. Had to reduce the scale down to 95% to make it fit on the centre section of the build plate - which greatly saves on print time. About 22hrs projected - with H2D doing about 950 of the 1200 changes via nozzle swaps - between brown and white - so no purging required. Print about 30% complete with no issues so far.
-
Deck13 reprinted - this time with the correct balcony height, retractable roof tiles showing and domes now printing well. Will probably leave the rest of the decks for now as most of the faults are invisible to my naked eye - and only really show up on close ups.
- 34 replies
-
- 4
-
-
-
- Queen Mary 2
- 3d printed
- (and 1 more)
-
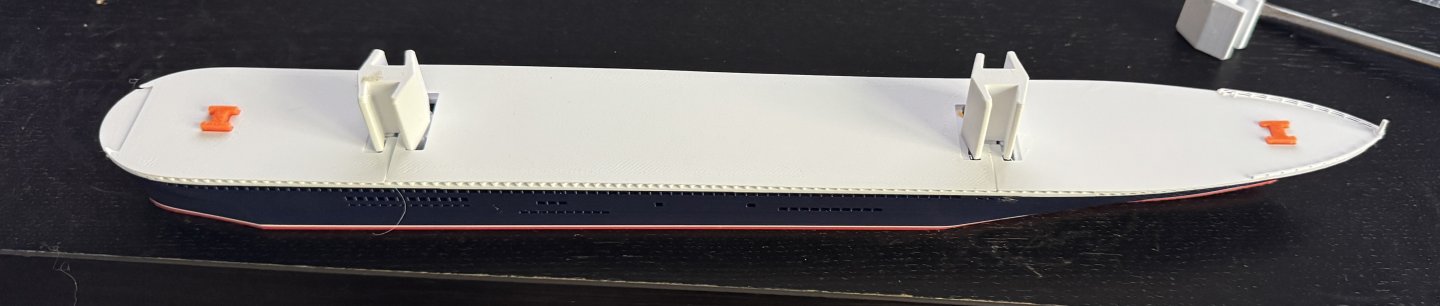
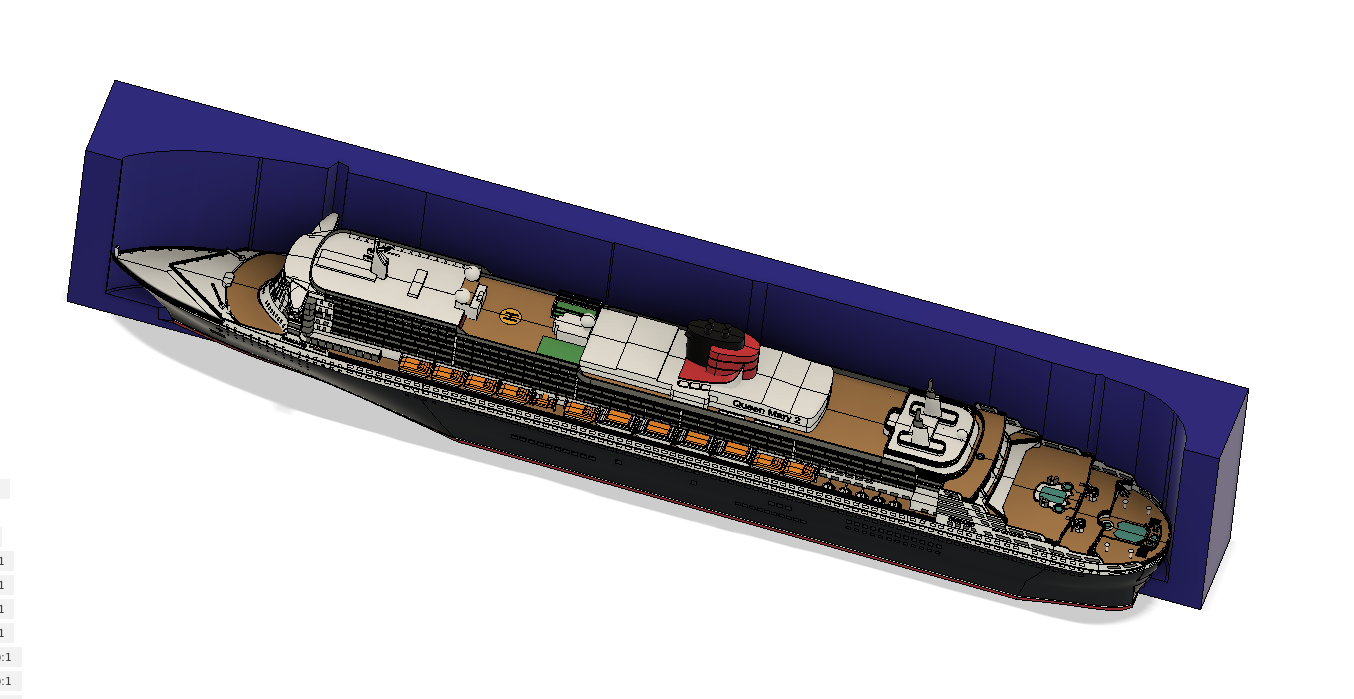
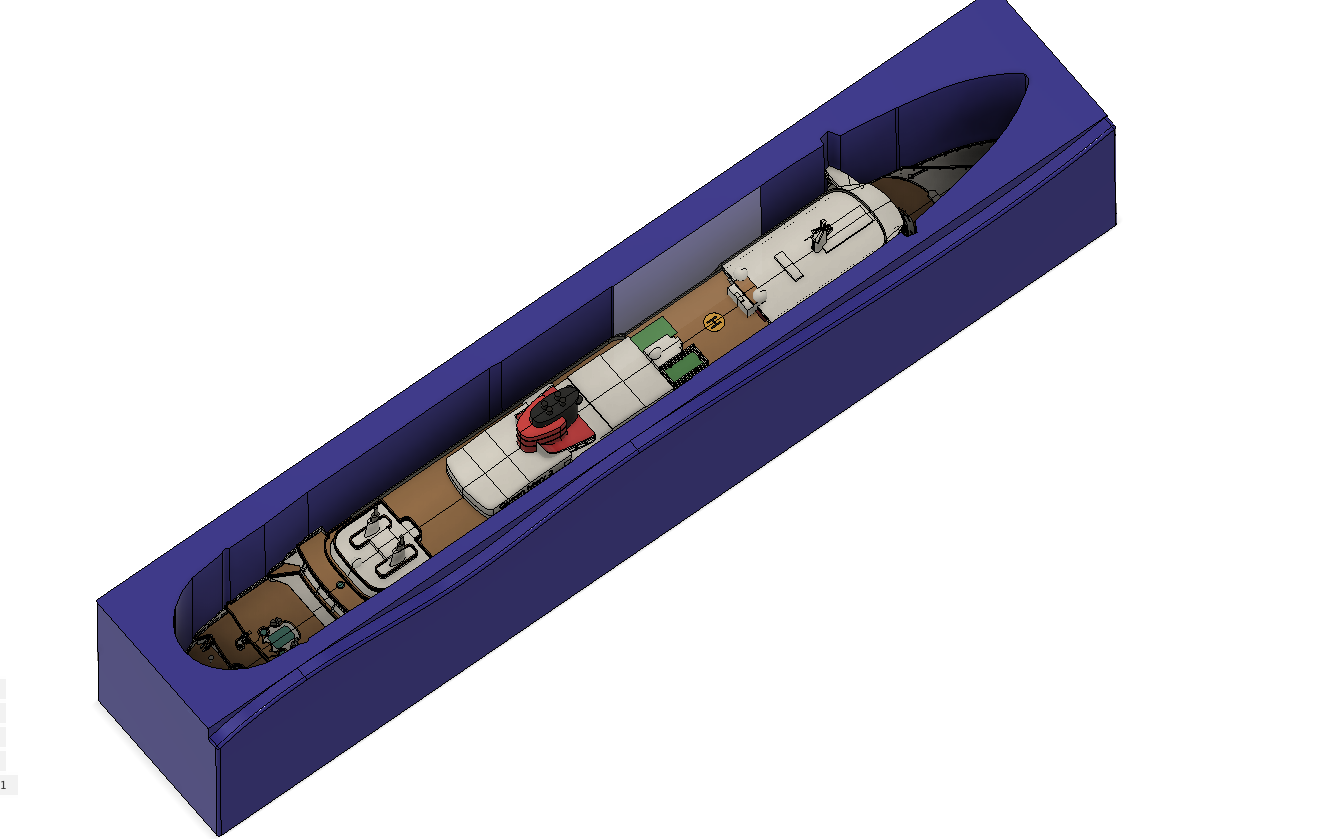
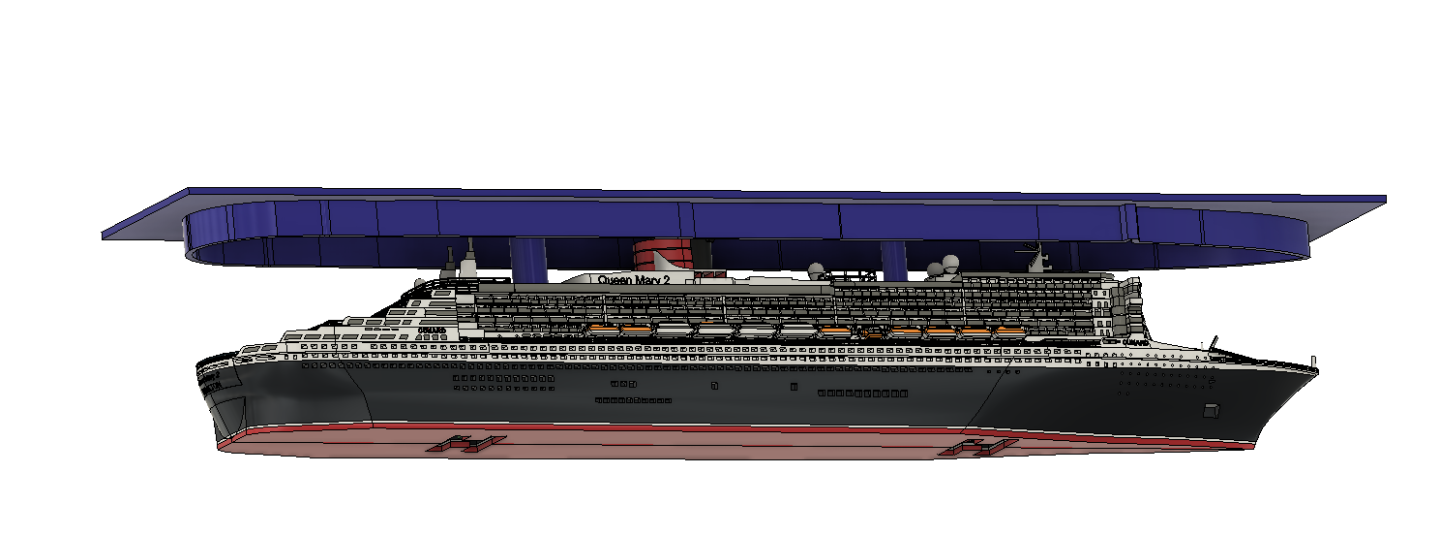
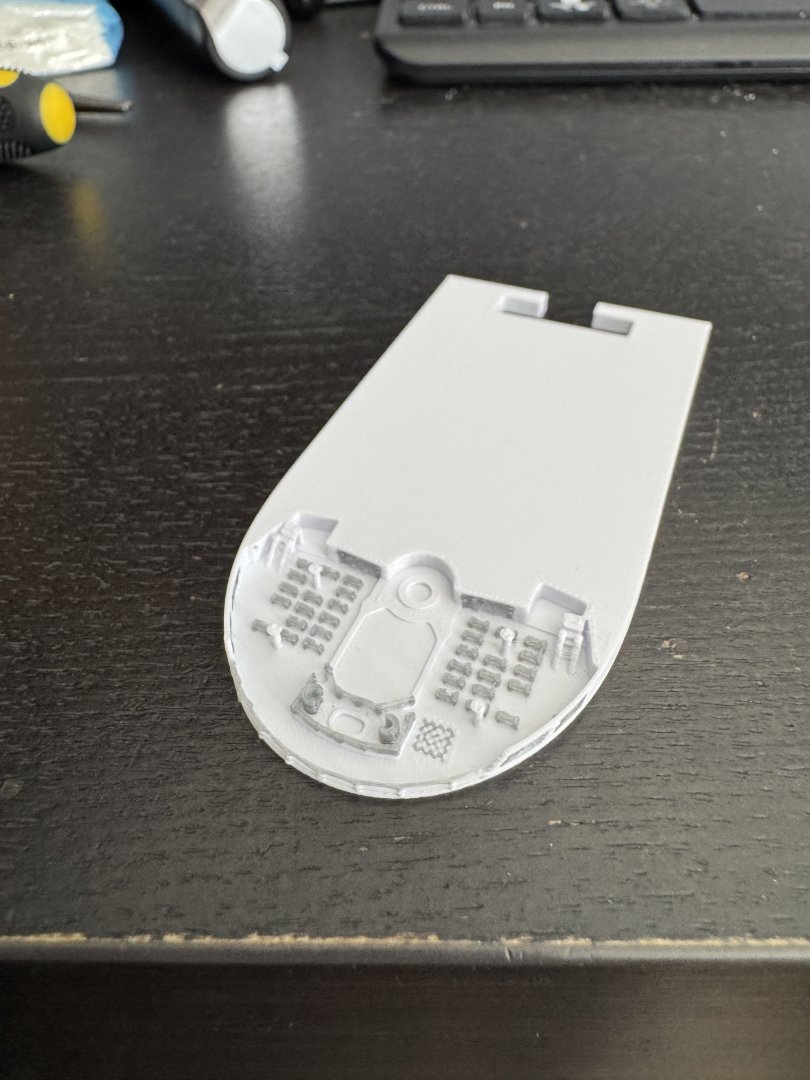
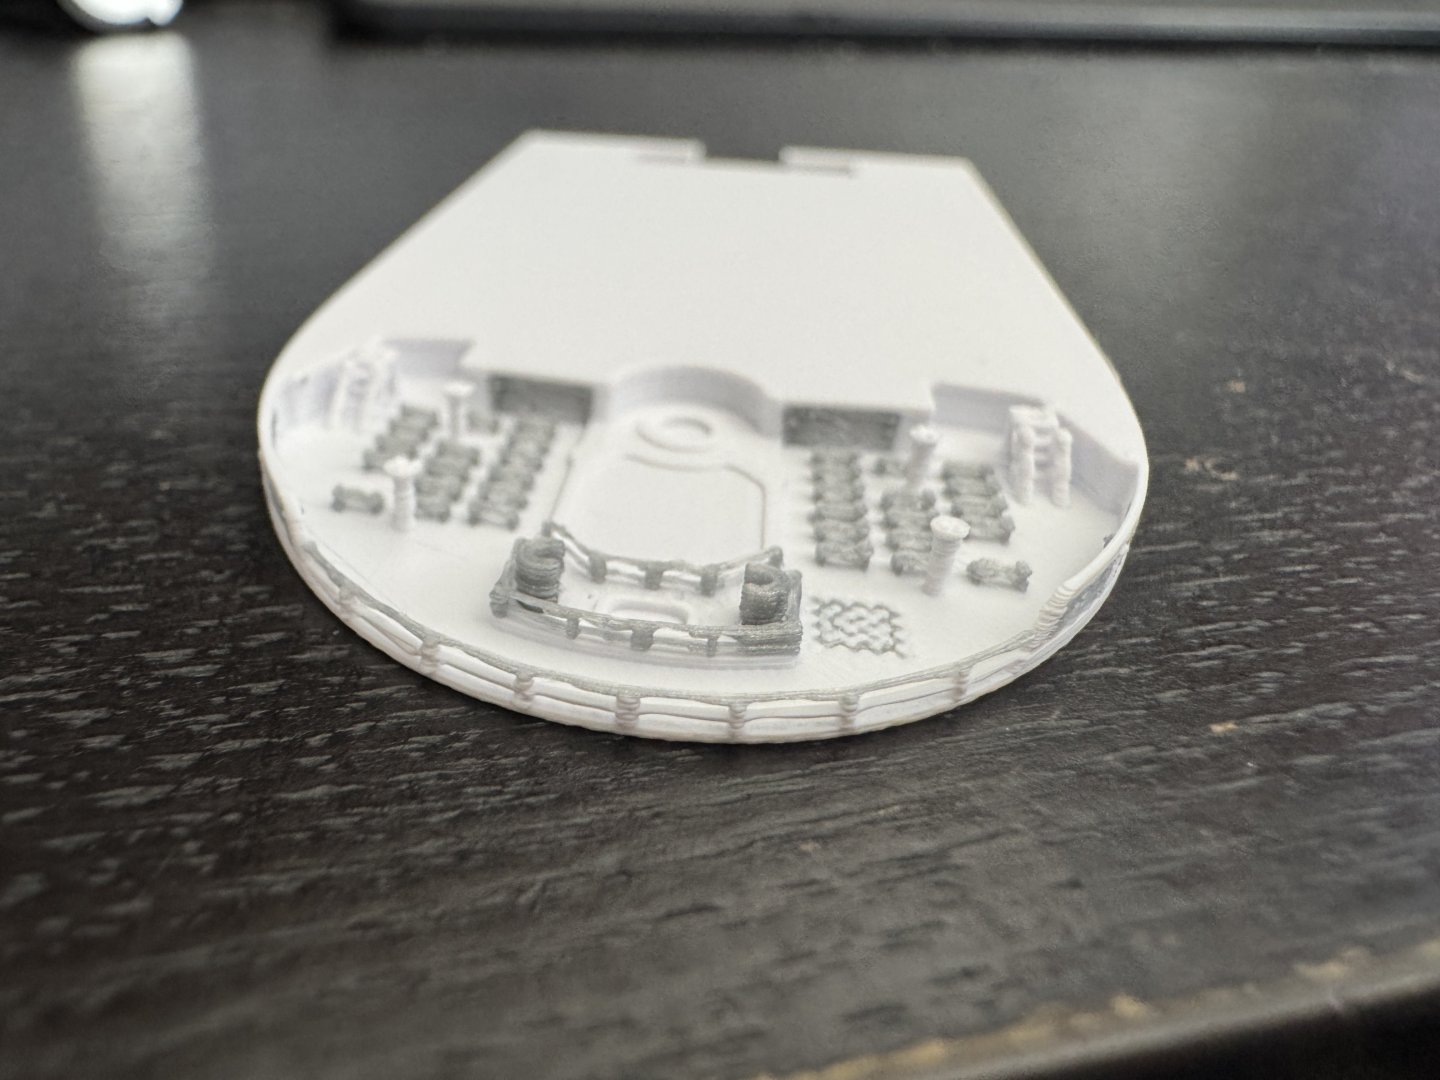
Pretty much every part needed tweaking to overcome minor issues - so complete reprint will be required. Am going on the real ship in a few weeks - so might wait until after the trip before doing the reprint - in case any further corrections identified. Most significant correction is deck13 balconies - which didn't have enough height in the first print - so will reprint deck 13 at lease now. Also created a transport / magnetic display adaptor for QM2 to make it easier to take onto real ship.
- 34 replies
-
- 3
-
-
- Queen Mary 2
- 3d printed
- (and 1 more)
-
First test print complete - the first time I think I have ever used full colour for the first test print - deck 13 came out pretty well - just two of the radar balls didn't quite work. A fair number of updates required - but overall quite happy with the ship so far.
- 34 replies
-
- 4
-
-
- Queen Mary 2
- 3d printed
- (and 1 more)
-
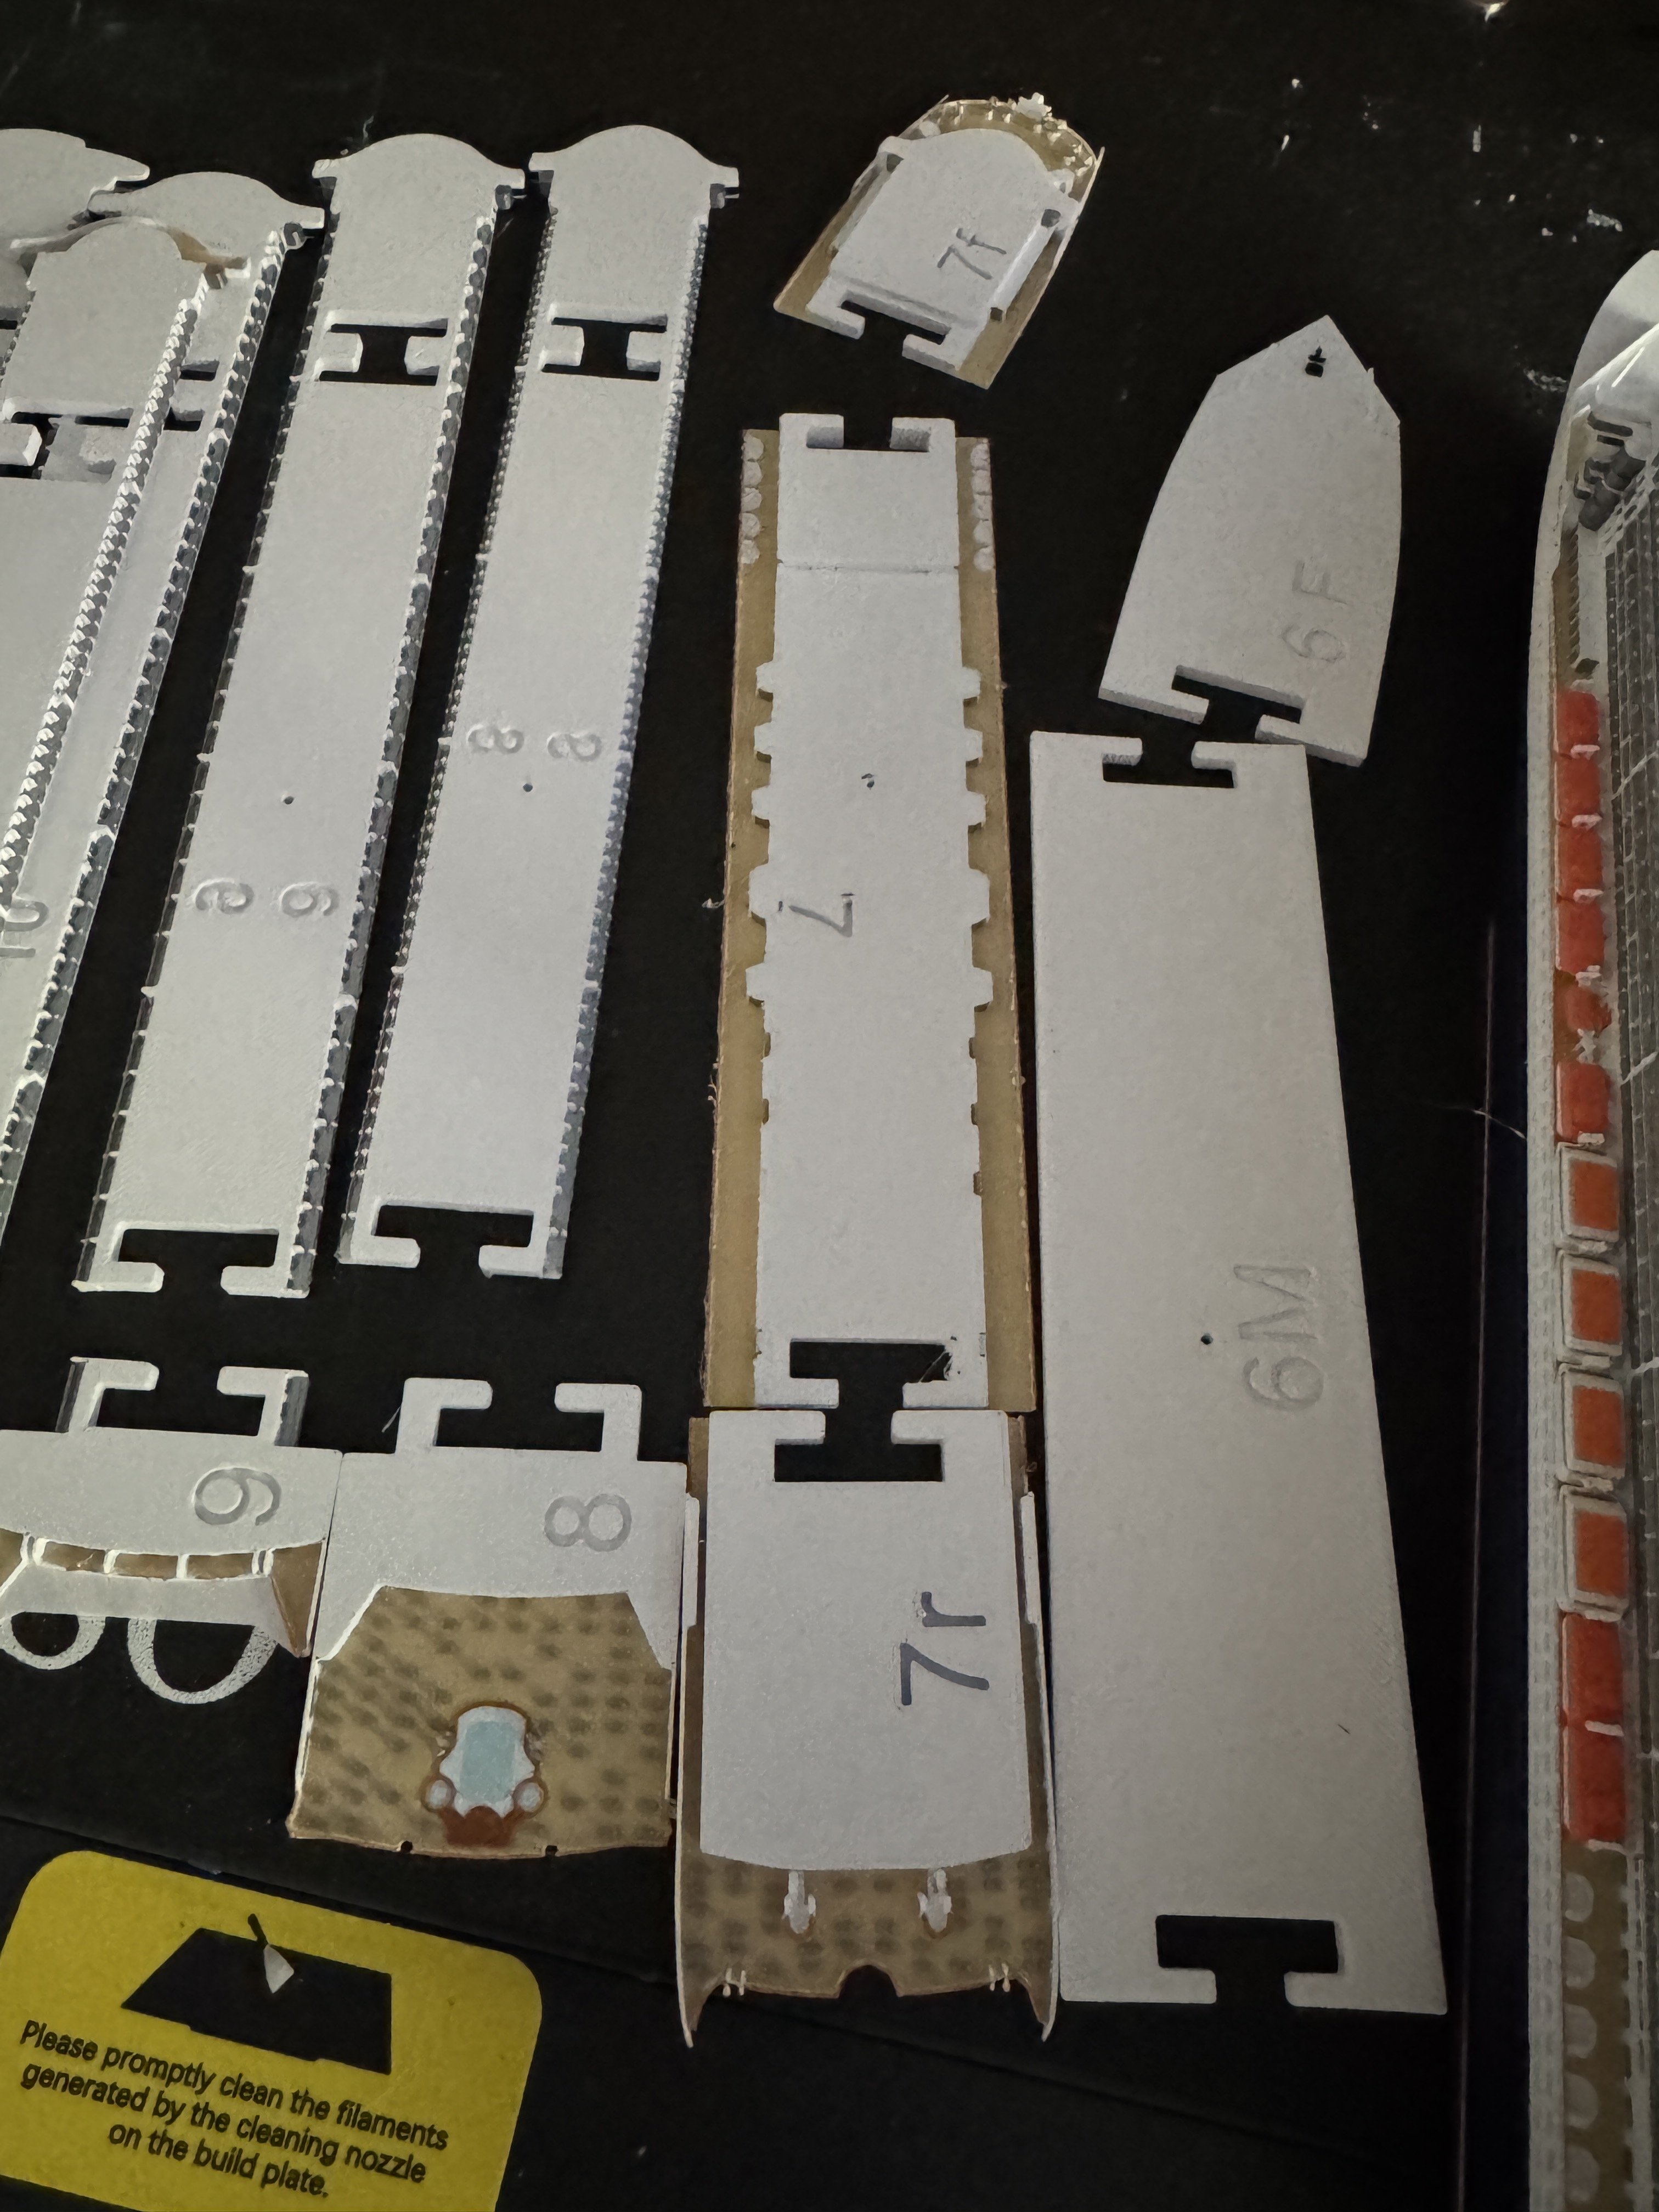
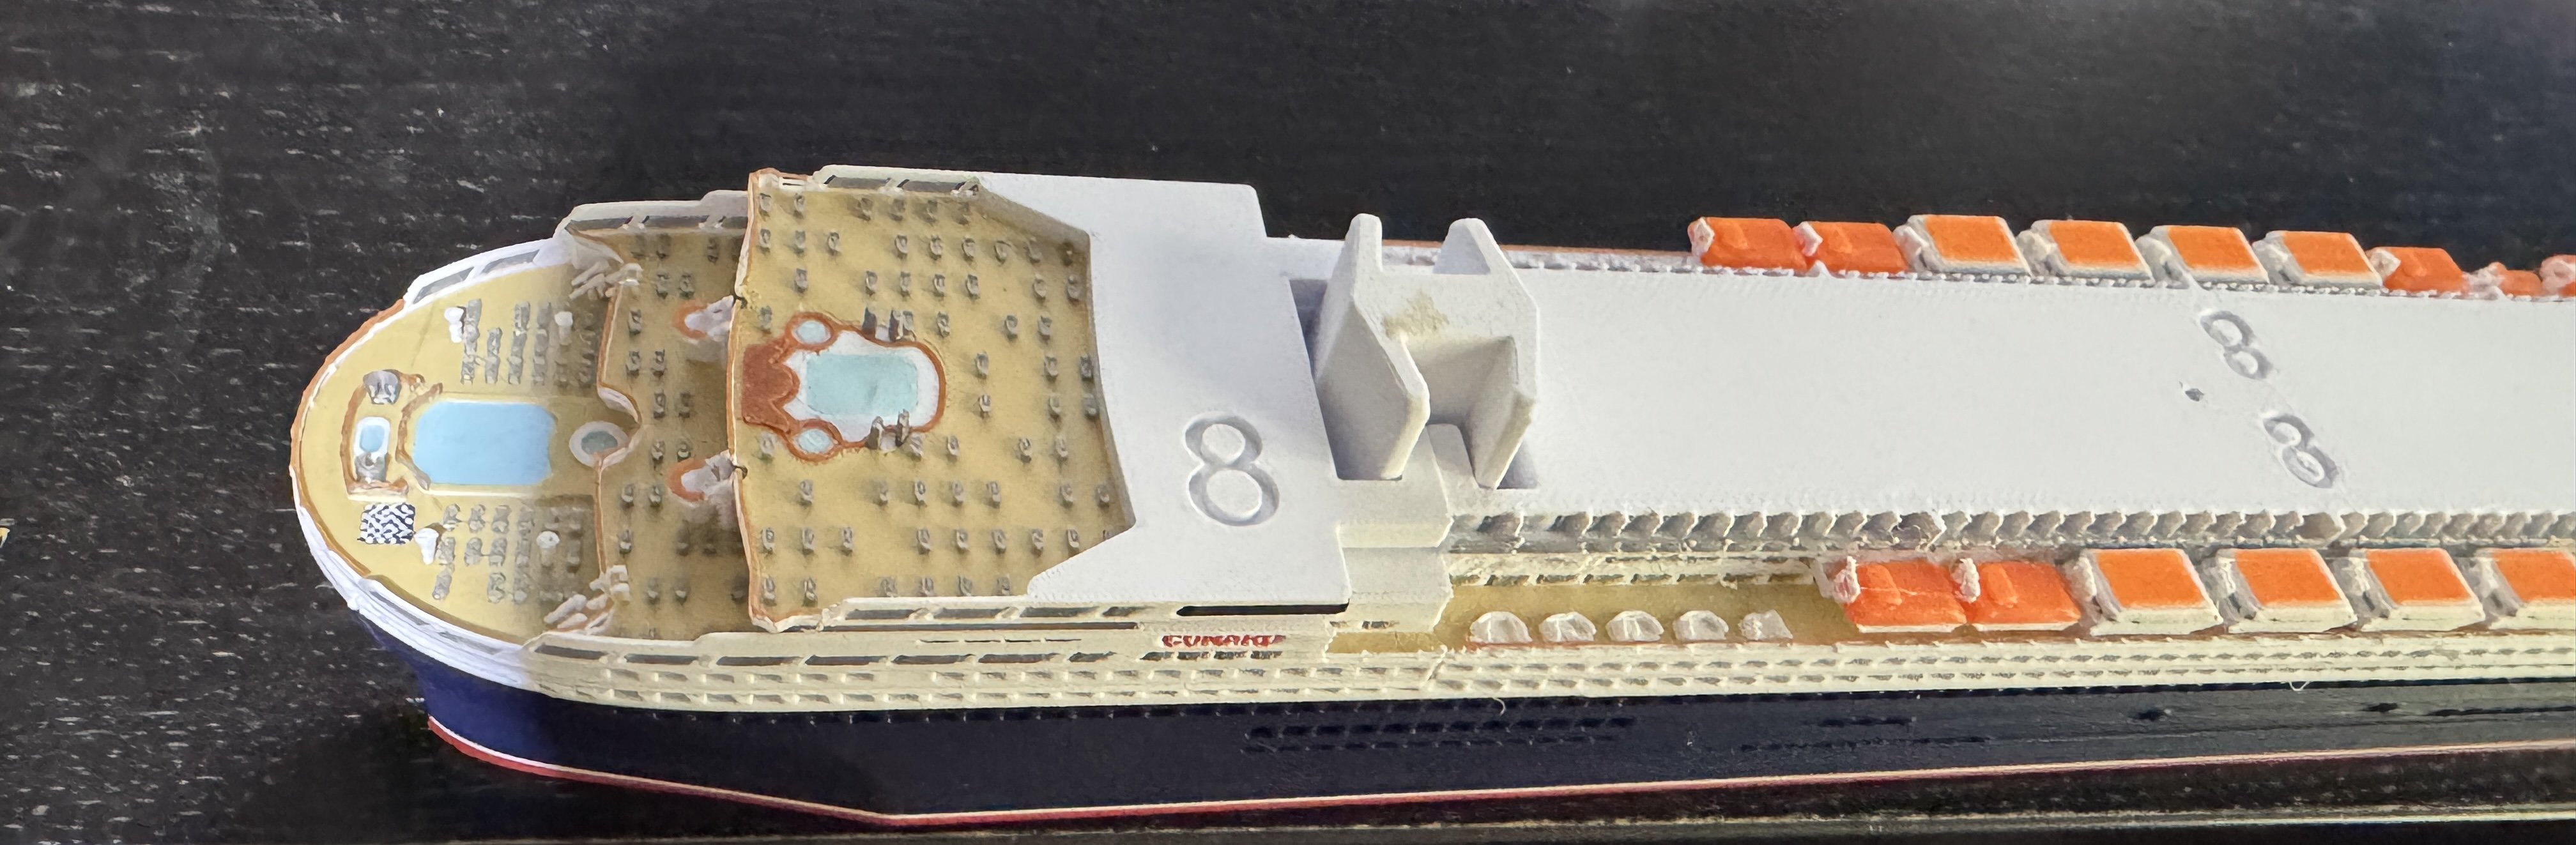
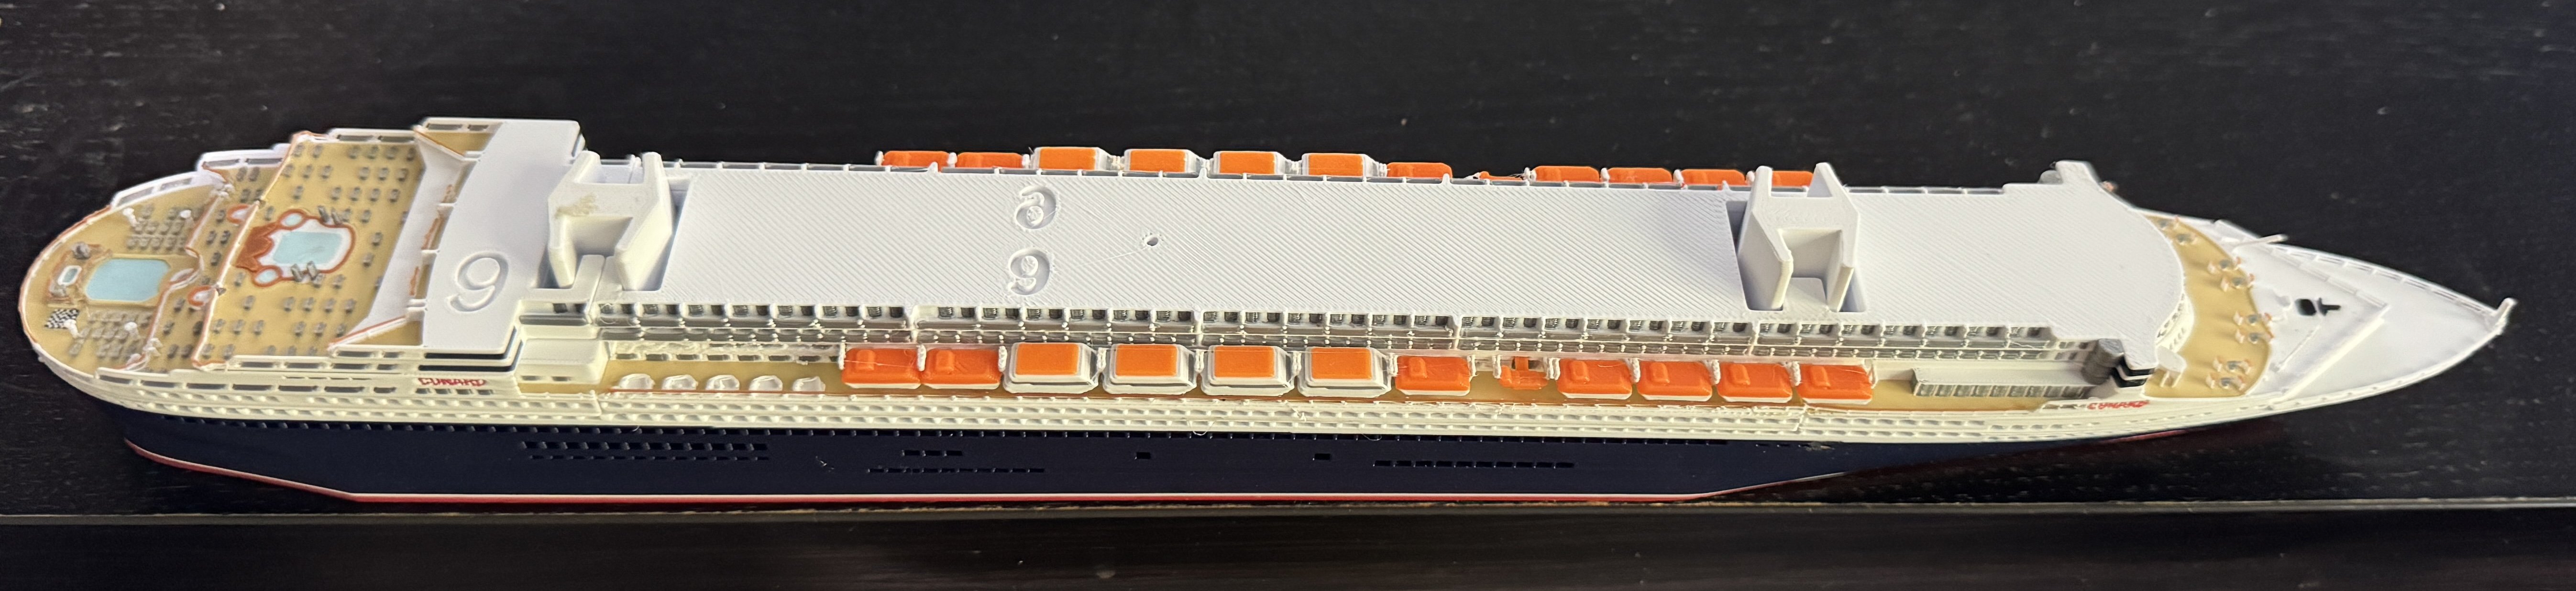
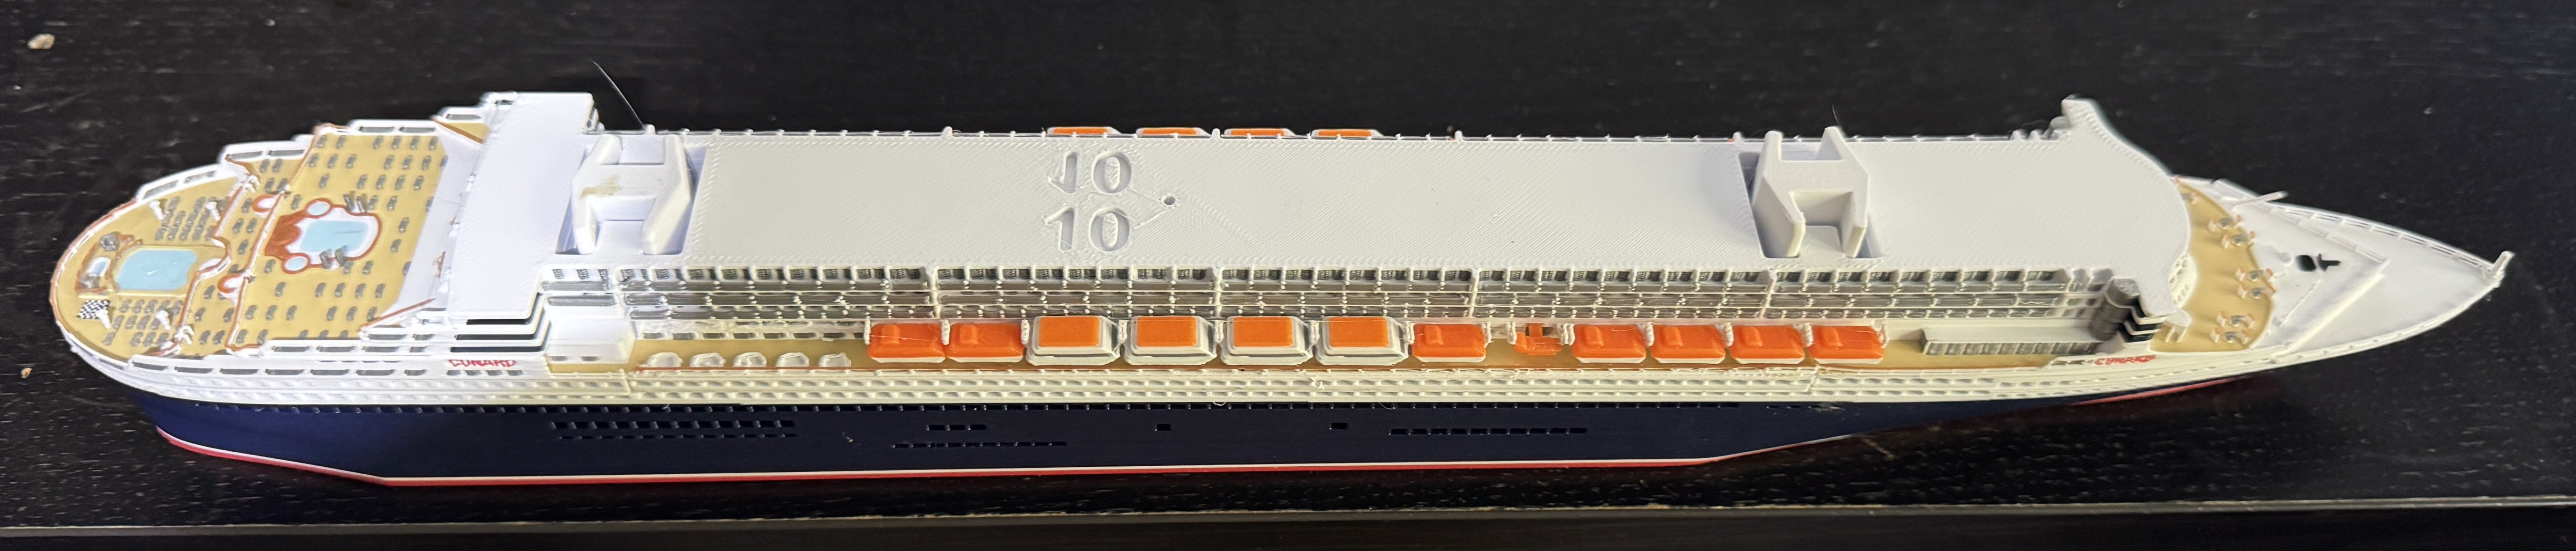
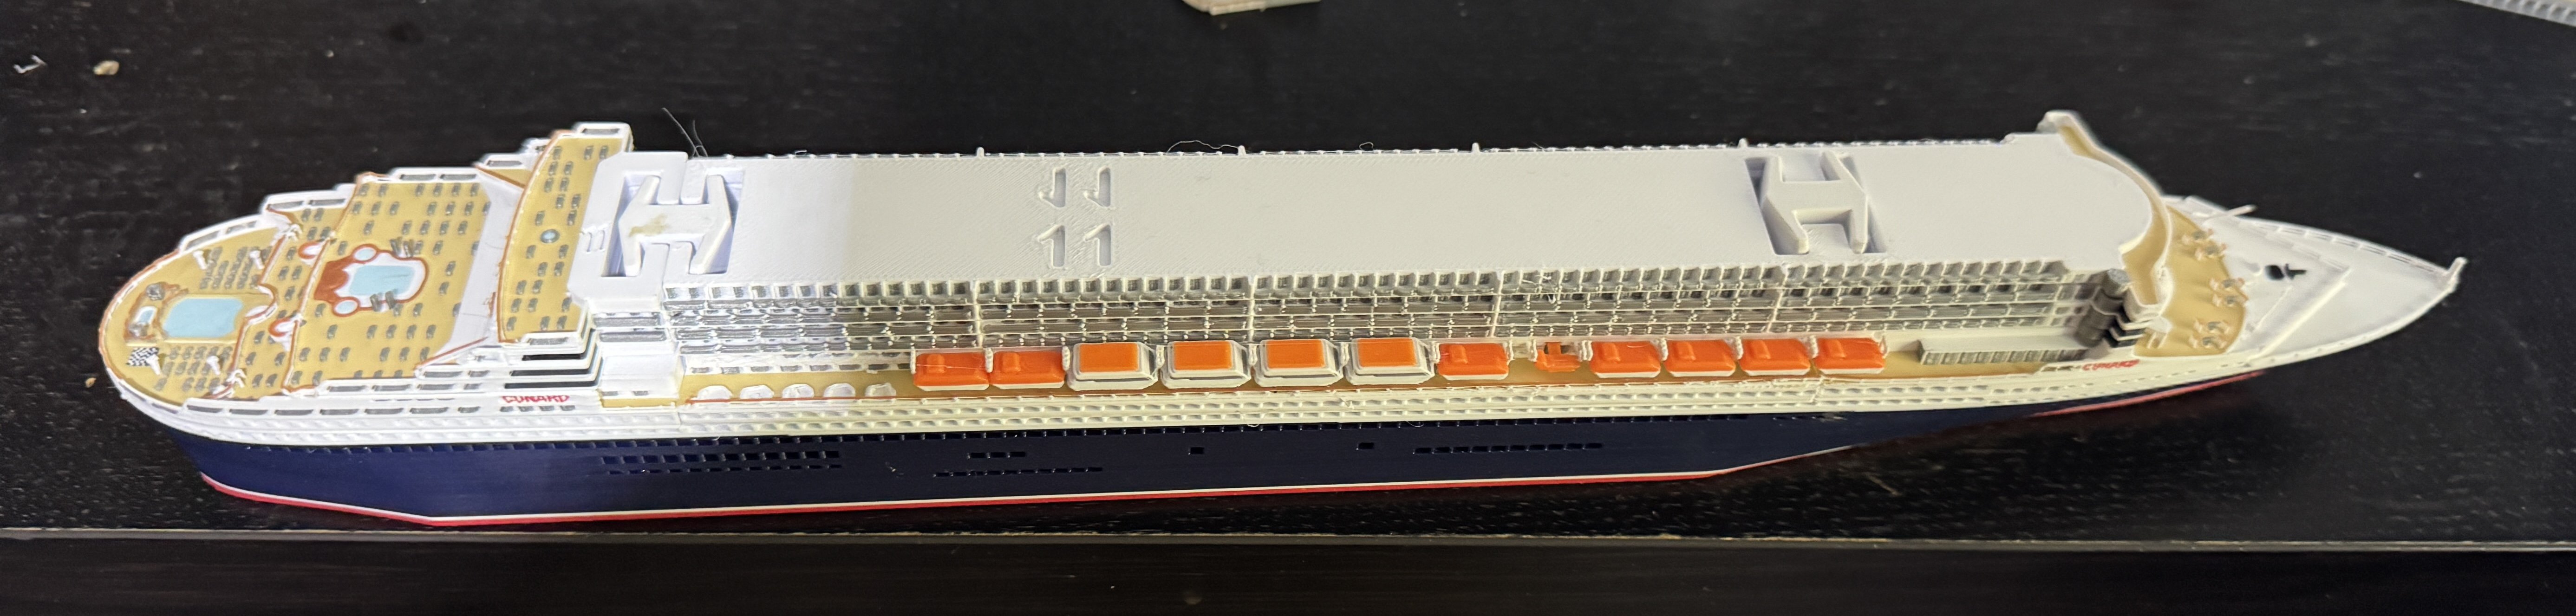
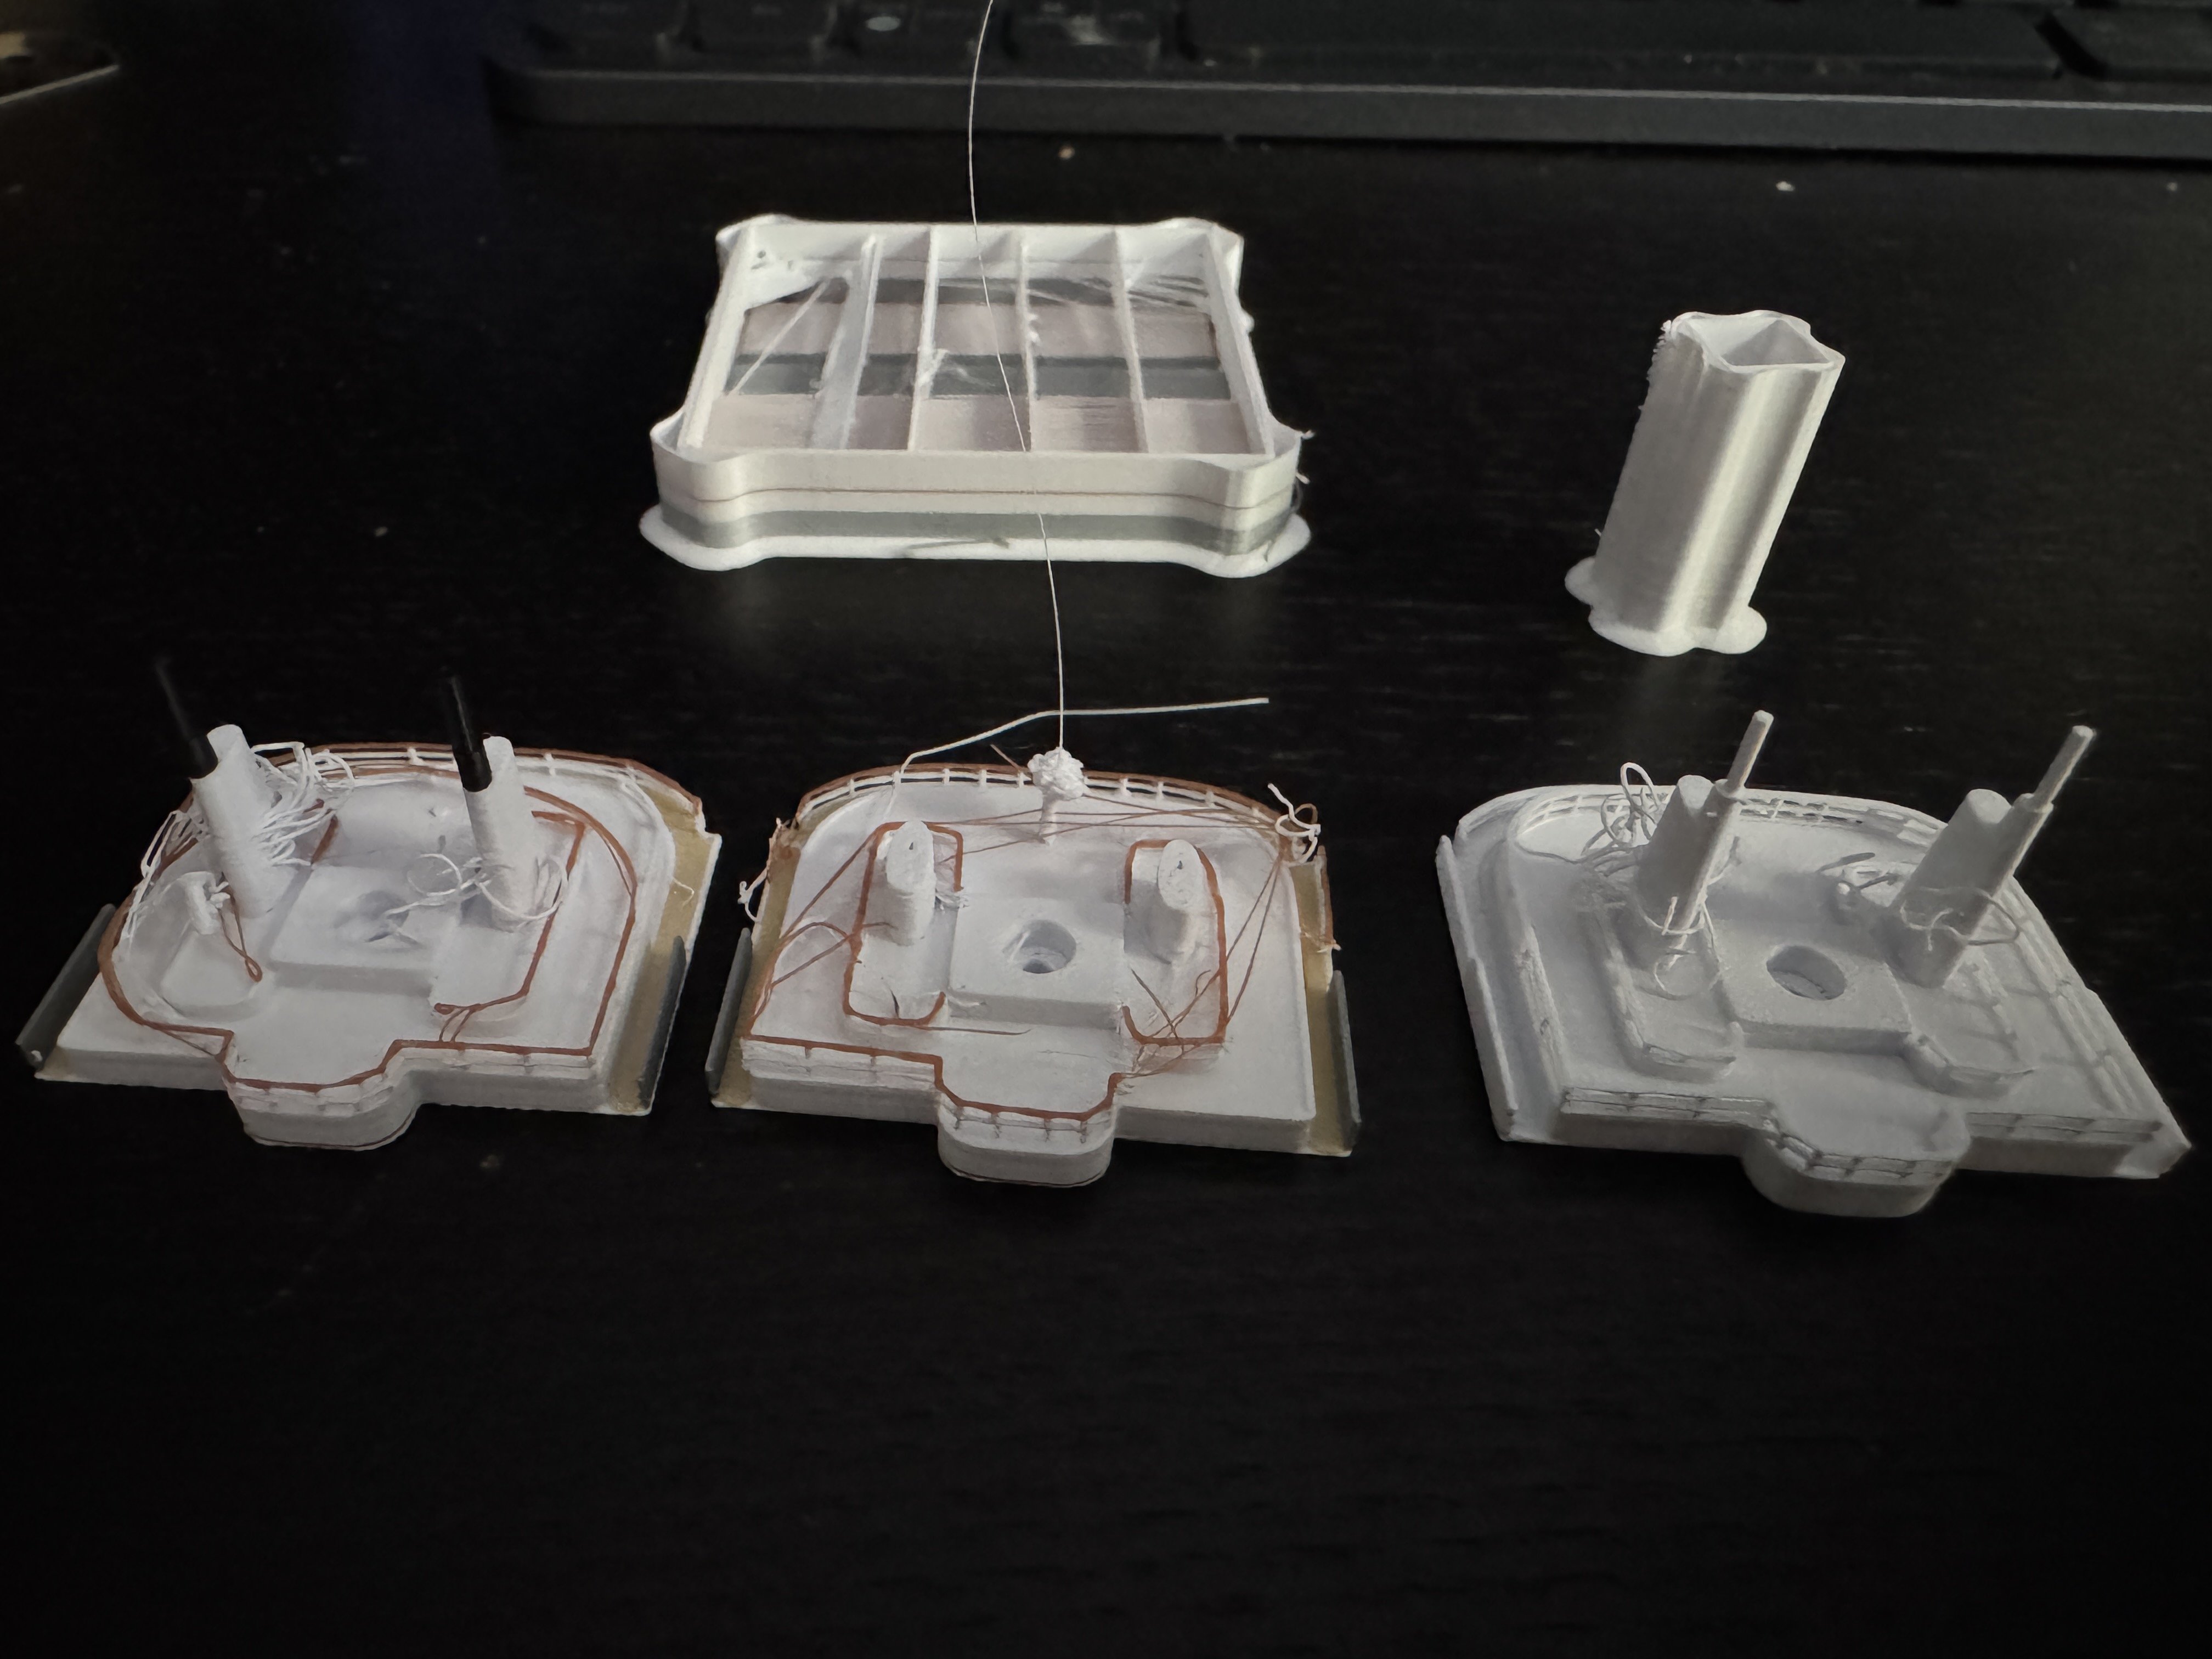
Almost complete - just deck 13 to go. Hull + Deck6 Deck7 Deck8 Deck9 Forgot life boats part of Deck7 - so had to take it apart again to add them + Deck10 Deck11 Deck12 With part printed Deck13 - which I had to cancel due to misalignment of black Close up of back - a bit mess - so some beefing up of railings needed. Middle - some balcony glass issuesFront - problem with Cunard text and a few balcony glass issues. More work required - but fairly pleased so far. Just need deck 13 print to complete - which is about 3hrs in total.


- 34 replies
-
- 4
-
-
- Queen Mary 2
- 3d printed
- (and 1 more)
-
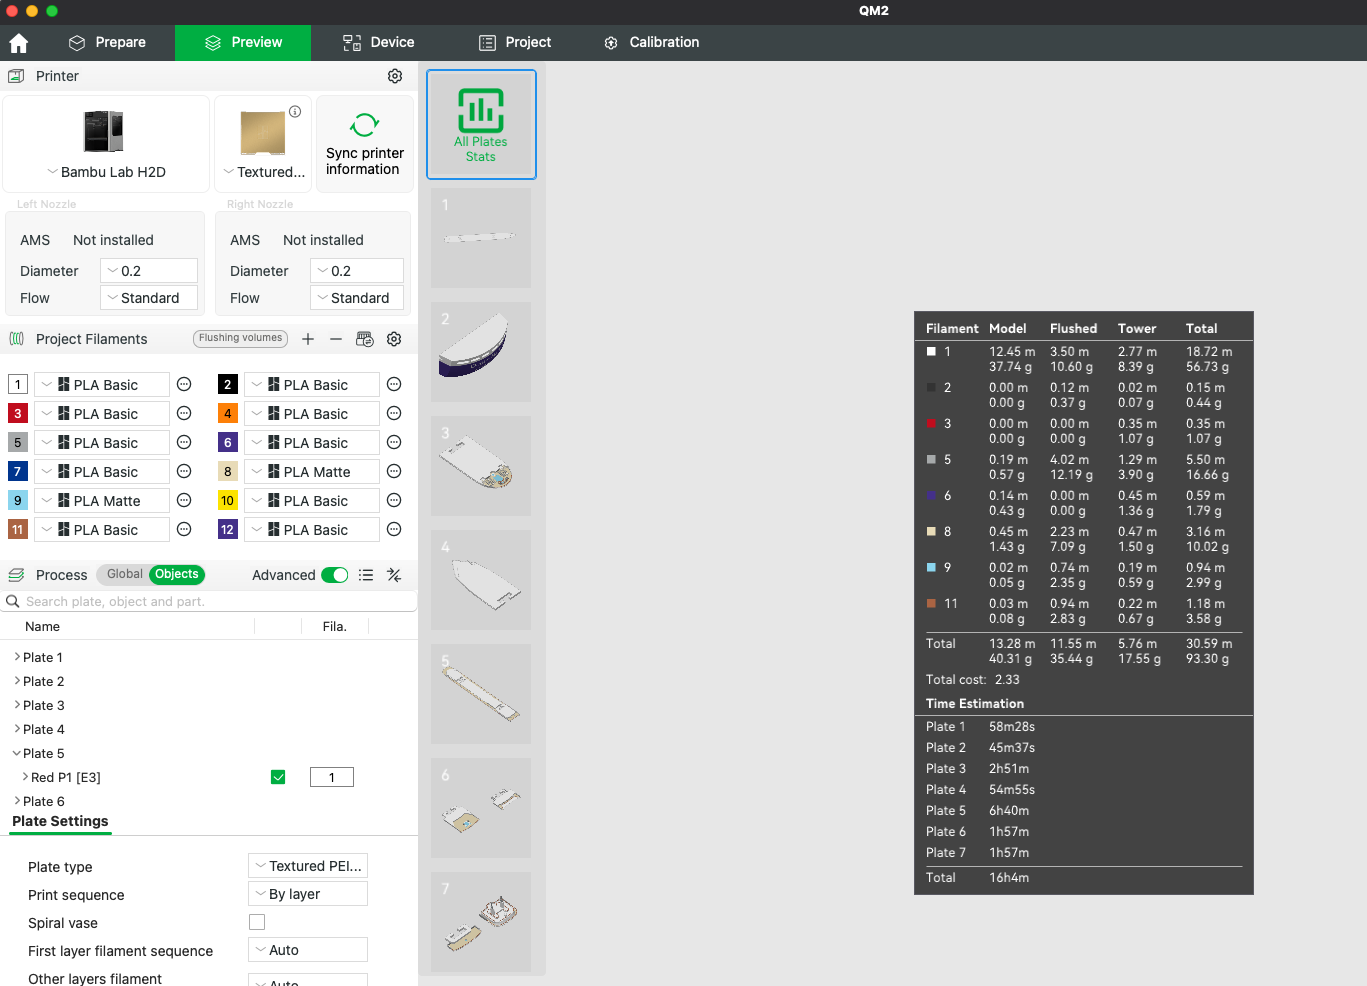
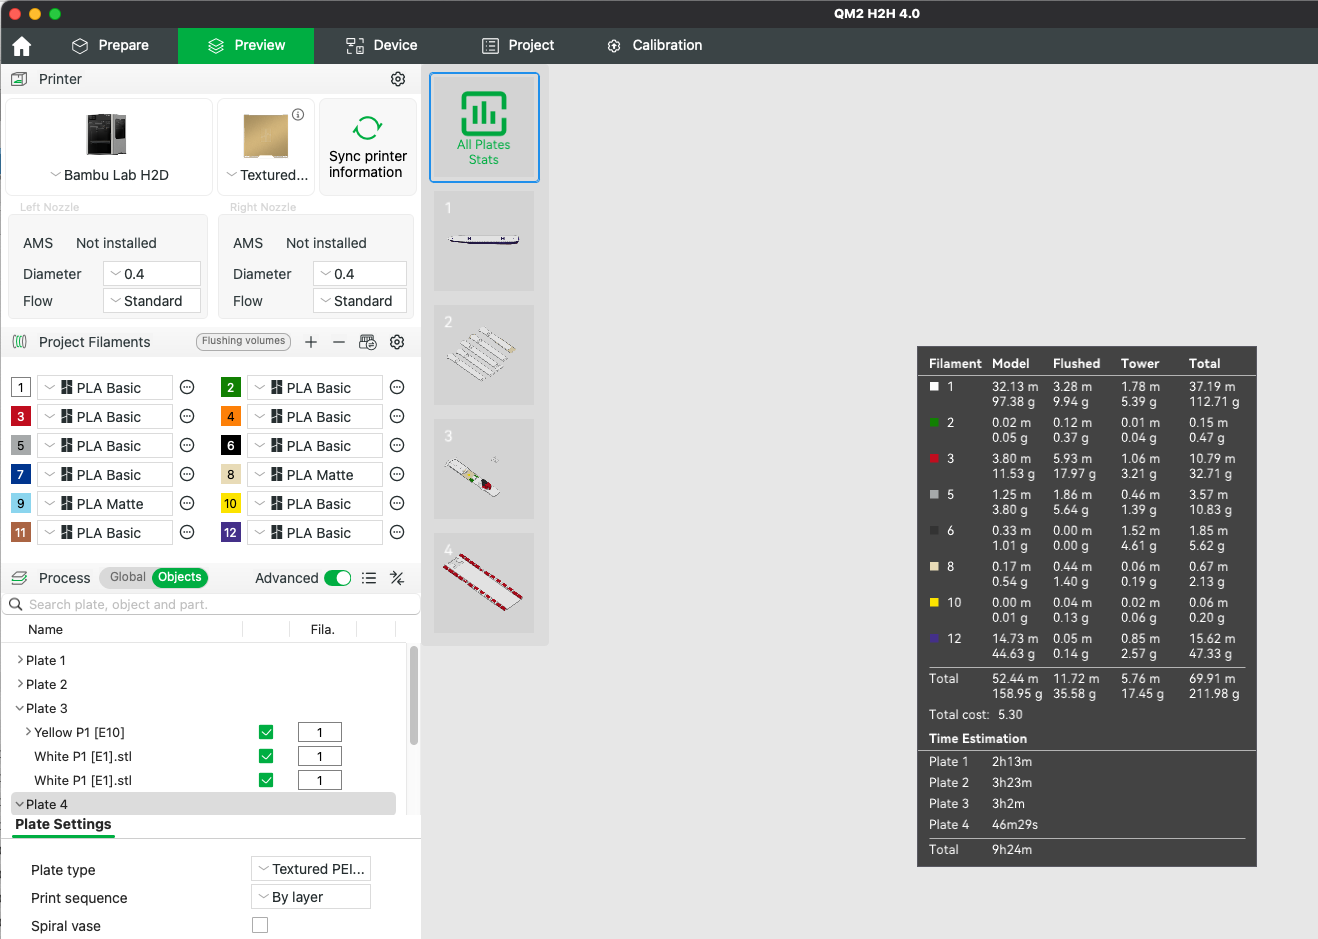
1:1000 version of Model now fully sliced. - 11 colours in total. 0.2mm sections - total projected print time 16h4m. - plates 5,6,7 to go - so about 11h more printing to go. 0.4mm sections - 9h24m - plates 2 & 3 to go - about 6.5hrs more printing to do.
- 34 replies
-
- 2
-
-
- Queen Mary 2
- 3d printed
- (and 1 more)
-
Multi Colour mostly 0.2mm Nozzle looking quite good. Deck6,8 & 9 aft shown - Deck7 all at 0.2mm still to be printed (will make about 5hrs) Life boats and centre sections and main part of Hull printed 0.4mm

- 34 replies
-
- 6
-
-
- Queen Mary 2
- 3d printed
- (and 1 more)
-
Started 1:1000 print. I am print some parts - with small details like railing and text on a BambuLab H2D with 0.2mm nozzles. With the less detailed parts on a BambuLab X1C. Tiny text Tiny detail - in initial 2 colour test print of deck6 Aft Whole ship so far. Using this approach for the 1:1000 model will hopefully mean I can in the first instance simply print the exact same model at 1:500 scale but all on 0.4mm nozzles, split down into smaller parts when print size does not allow it to fit.


- 34 replies
-
- 3
-
-
- Queen Mary 2
- 3d printed
- (and 1 more)