Firs49
-
Posts
25 -
Joined
-
Last visited
Content Type
Profiles
Forums
Gallery
Events
Everything posted by Firs49
-
I have seen a tip recommending the fixing of the keel prior to the second planking being installed. Is this a good approach?
-
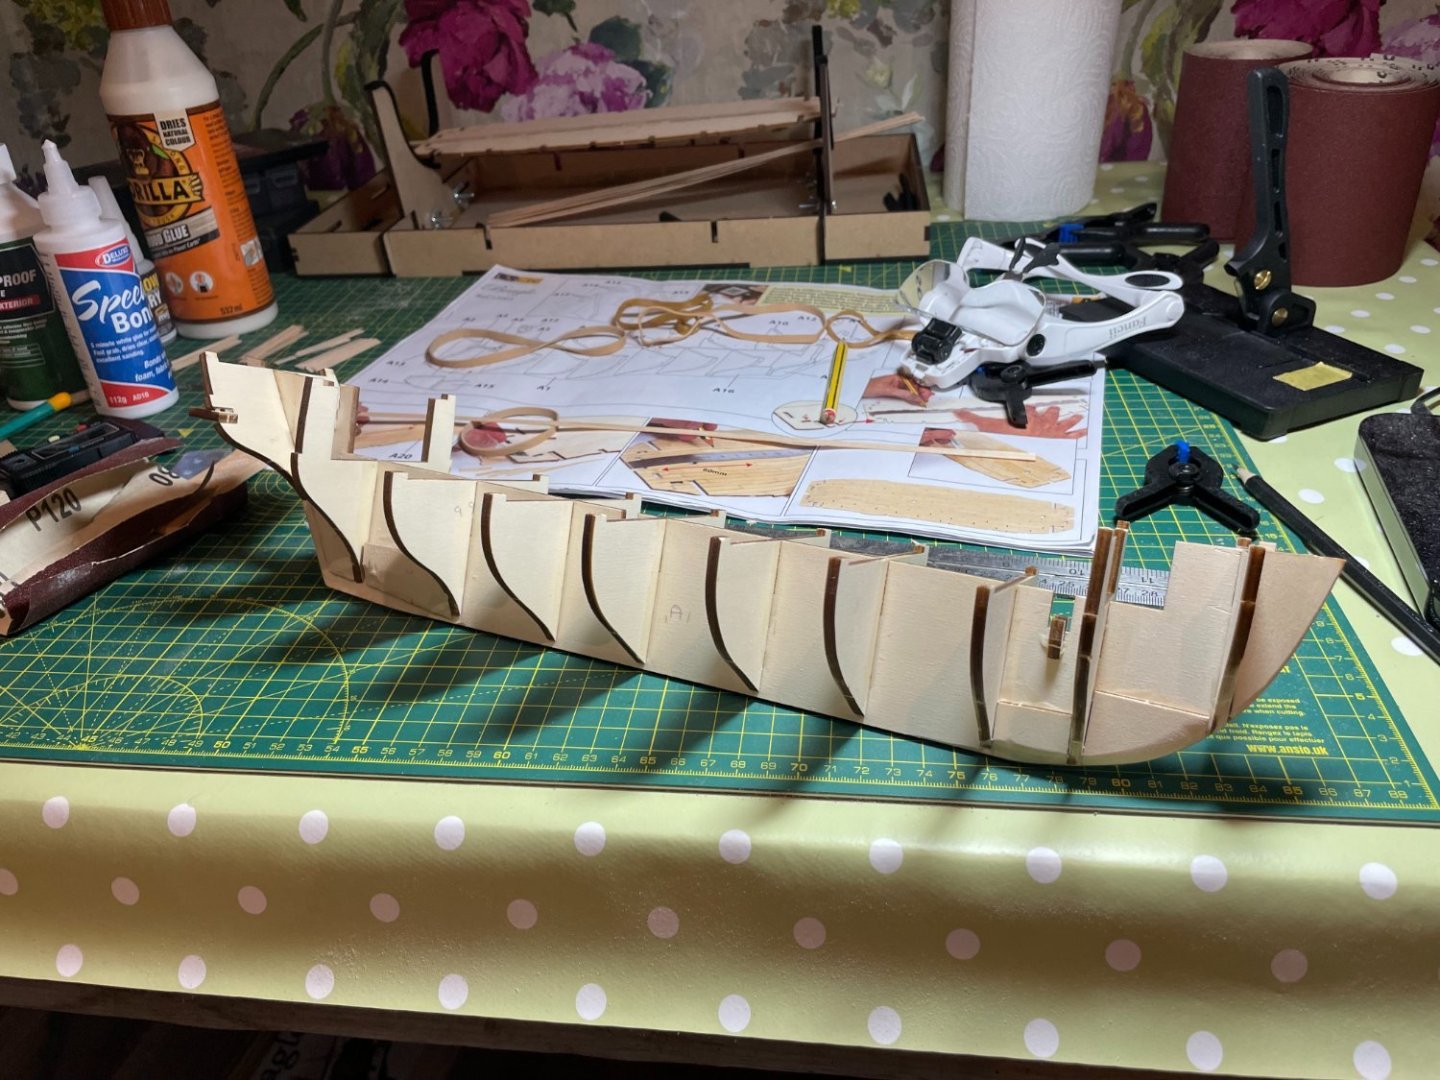
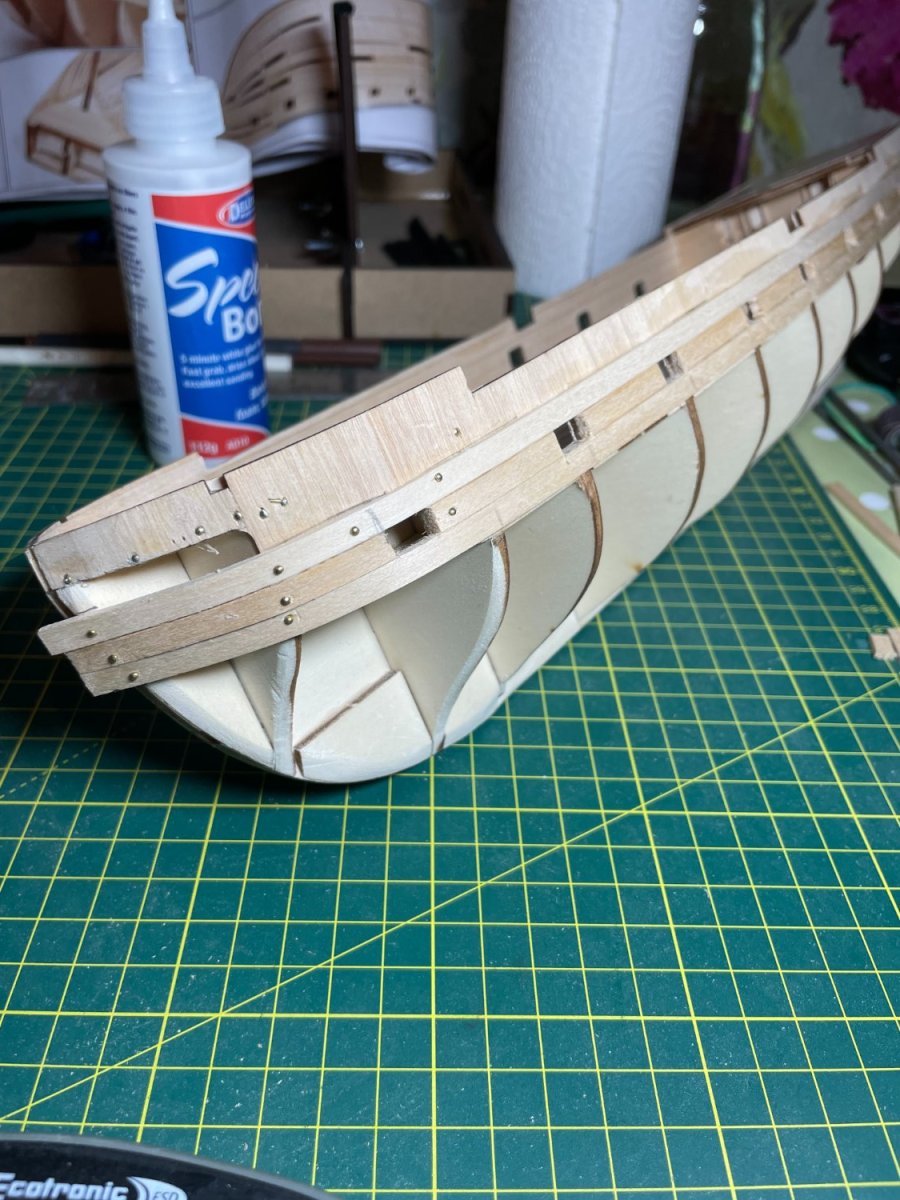
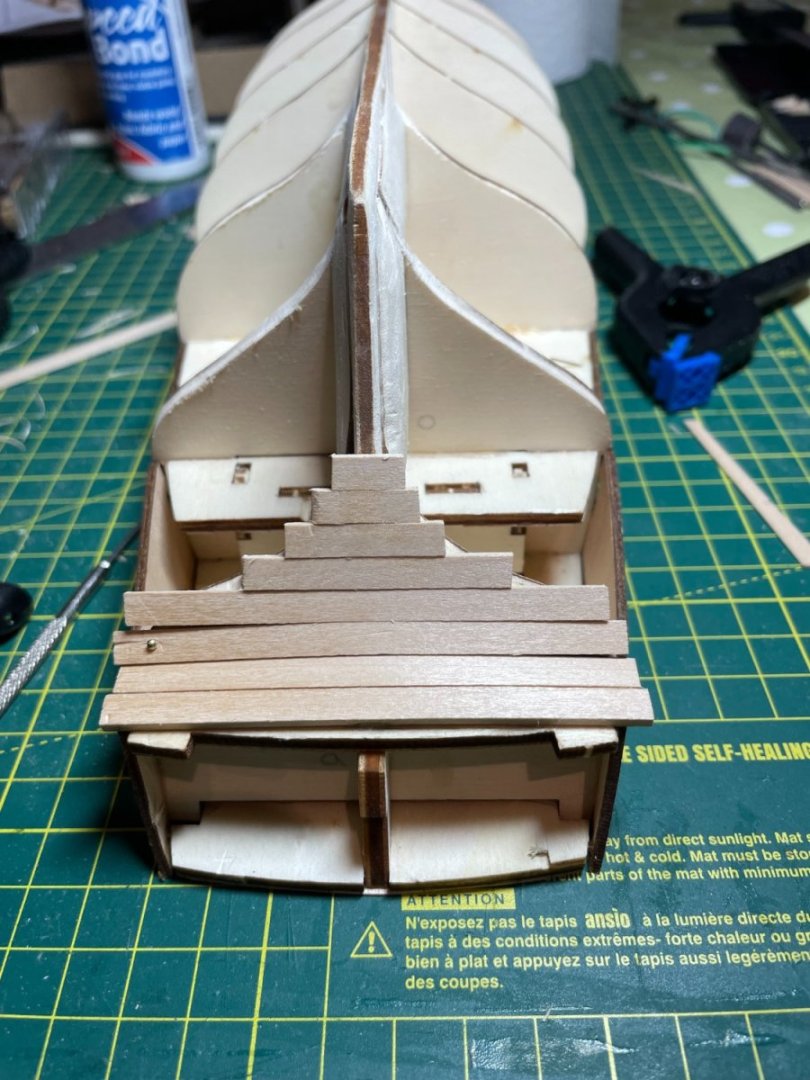
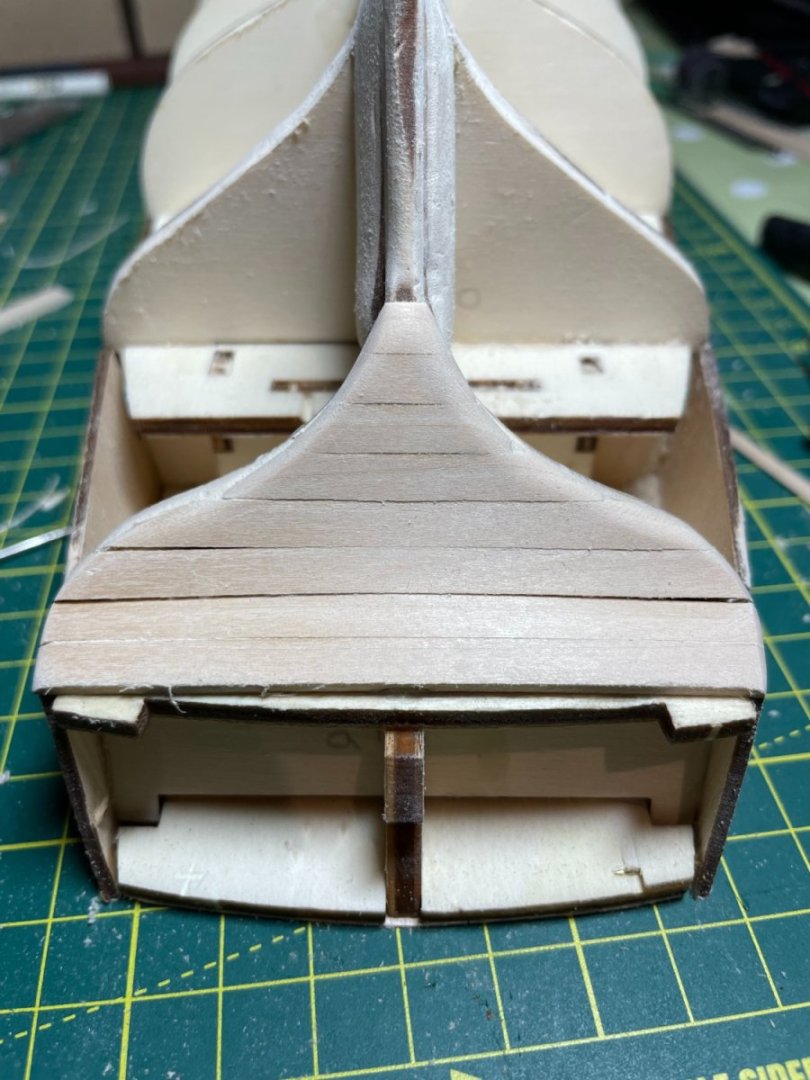
Next mess up is at the bow as I noticed by looking ahead that the keel needs to slot into the frame which I had covered with planking. So some cutting away has taken place and reshaping with sandpaper needed!
-
Thanks for the warning and the wood filler is ready to go as I haven't put any on yet as trying to get the basic shape there ready for filling.
-
If you are not happy with the part then I would go on the Occre website and request a replacement. I did this for a couple of parts in my Beagle kit and they replaced them free of charge and I received them within a week of requesting which considering they came from Spain I think is a great service.
-
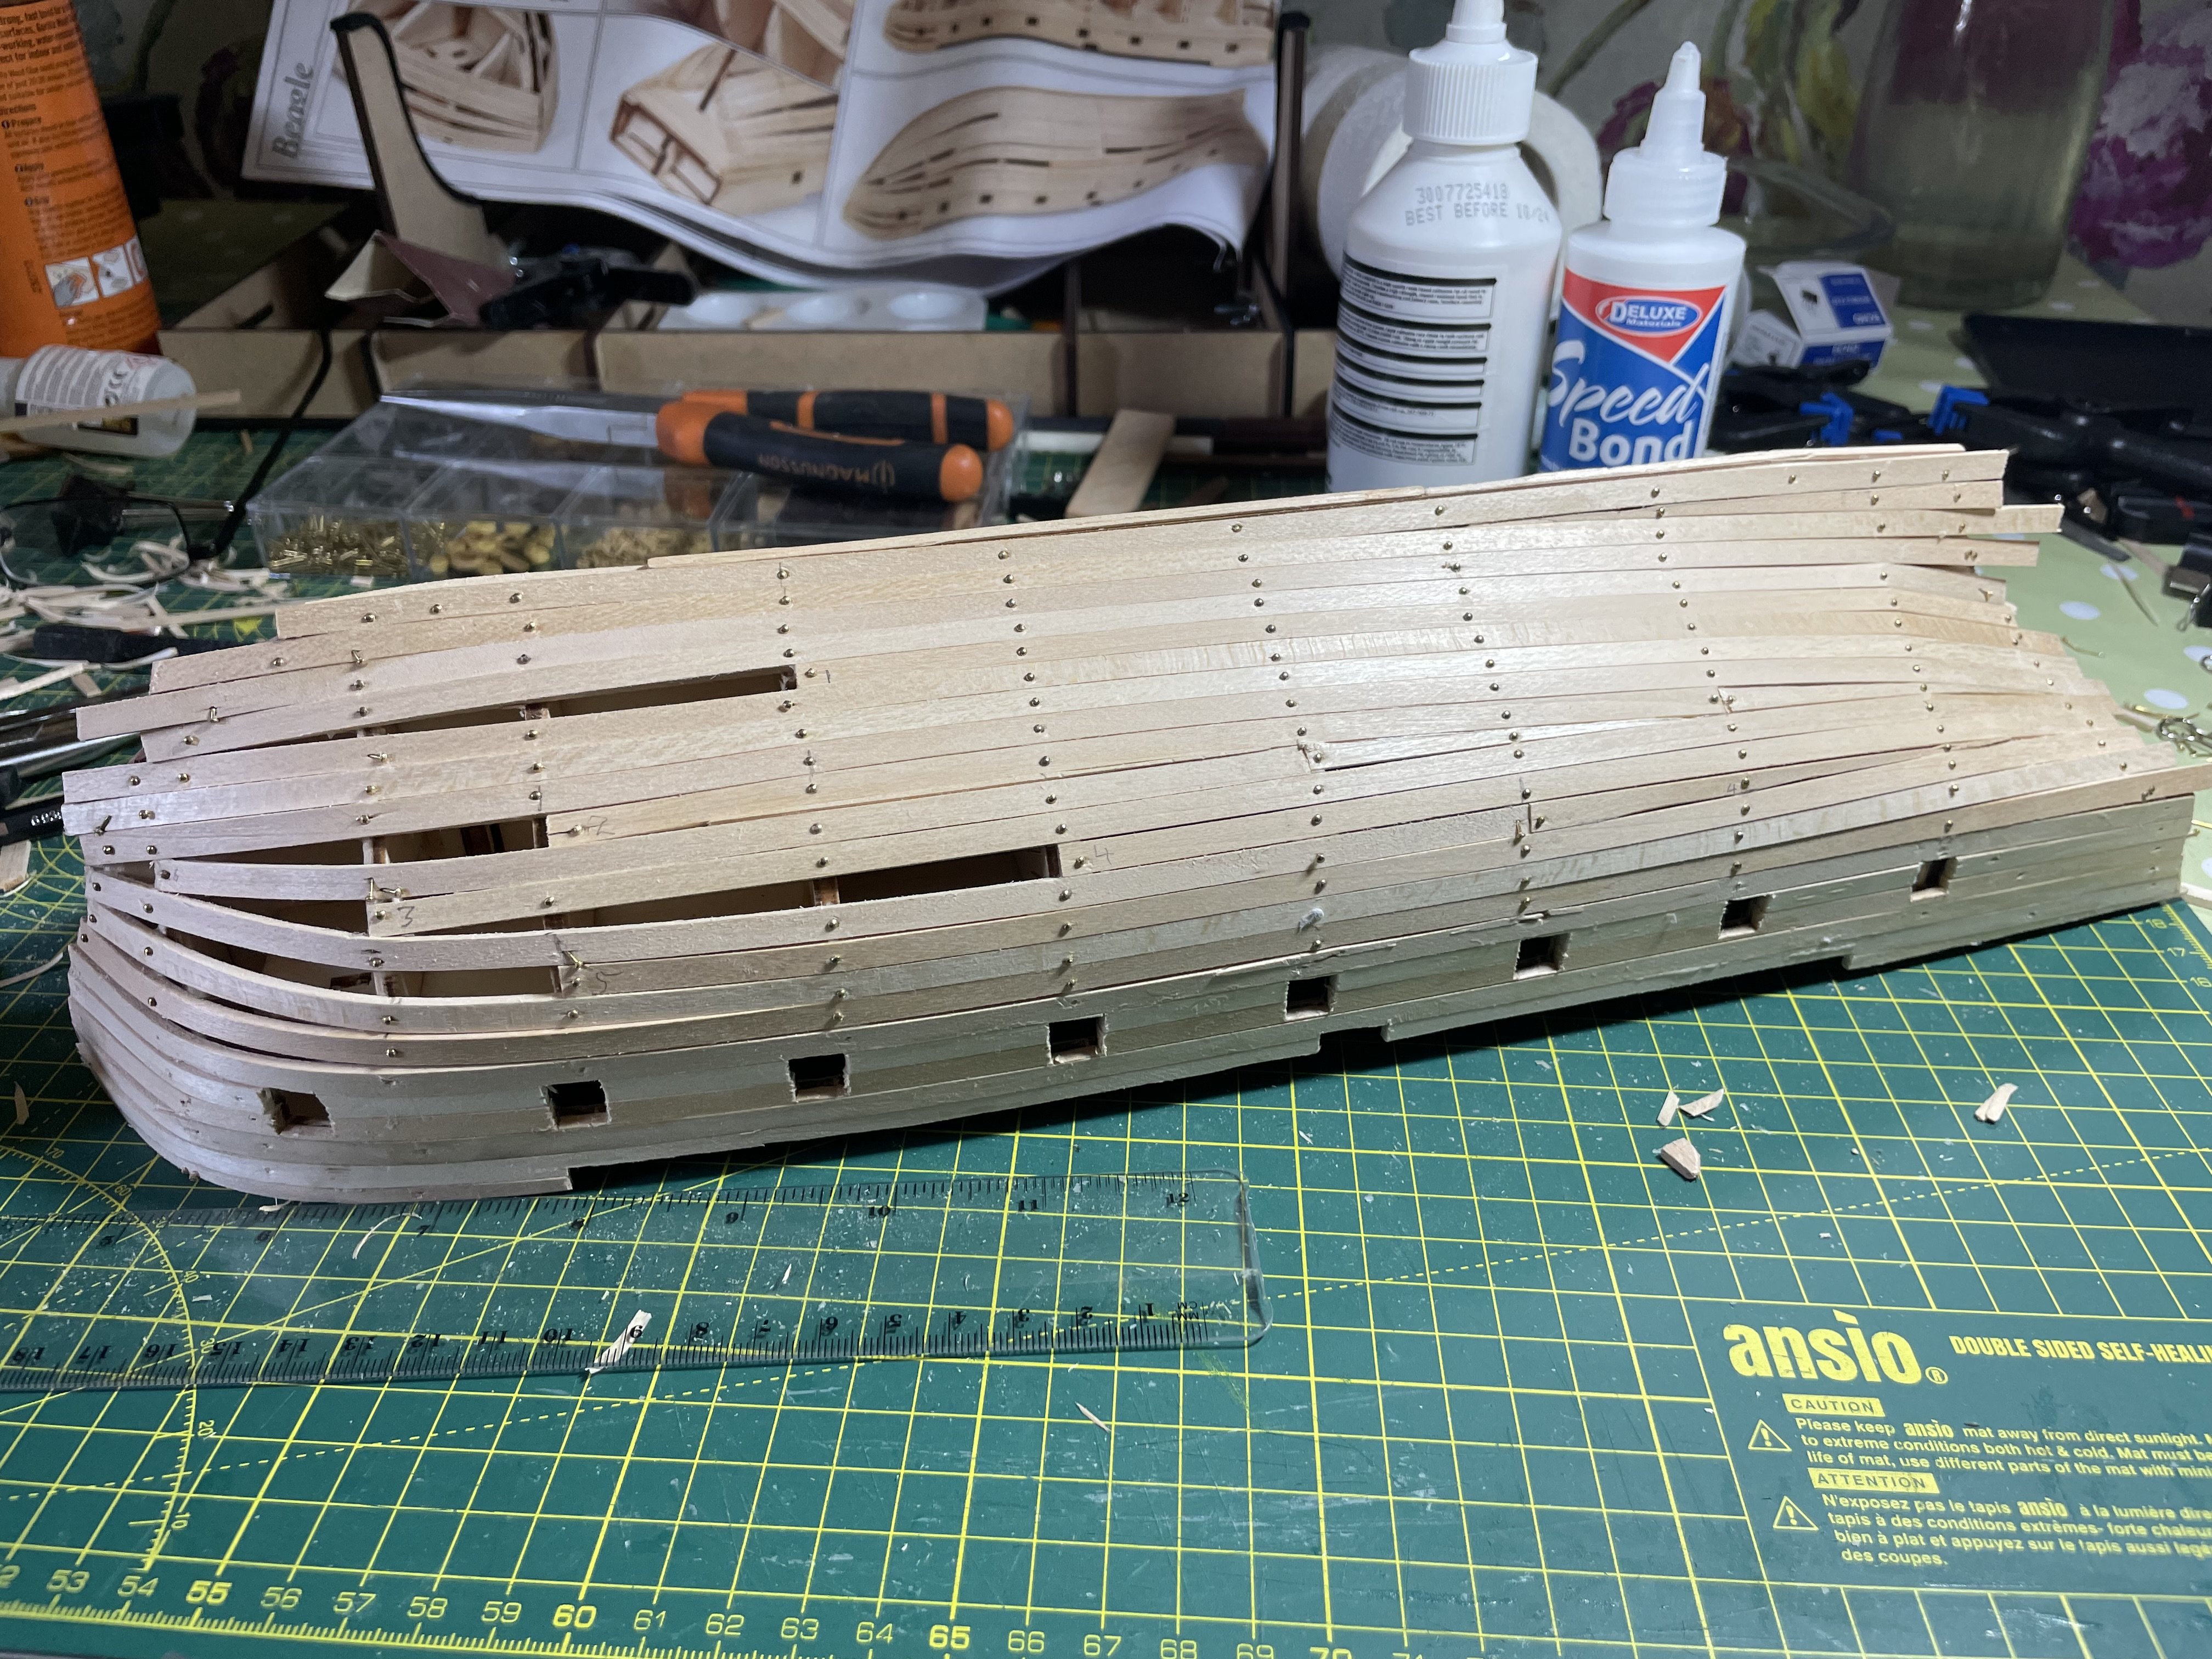
First few planks trying to follow Occre's instructions. Can foresee a lot of sanding ahead.


-
Thanks Ross. At this stage I'm not so worried about historical accuracy but something that turns out reasonably on a visual basis.
-
So planking around the bulwarks is nearly complete now so I am reaching out for advice. I have studied various approaches to planking the hull which are quite varied so I could do with some pointers on would be the best approach for someone who has never planked a hull before. I know the first planking layer is not so critical but I would like it to act as a guide for the second layer. Any comments welcomed. Thanks
-
Thanks for the hint. I have got something similar but found it a bit harsh on the narrow strips. Hopefully it will better on the planking strips.
-
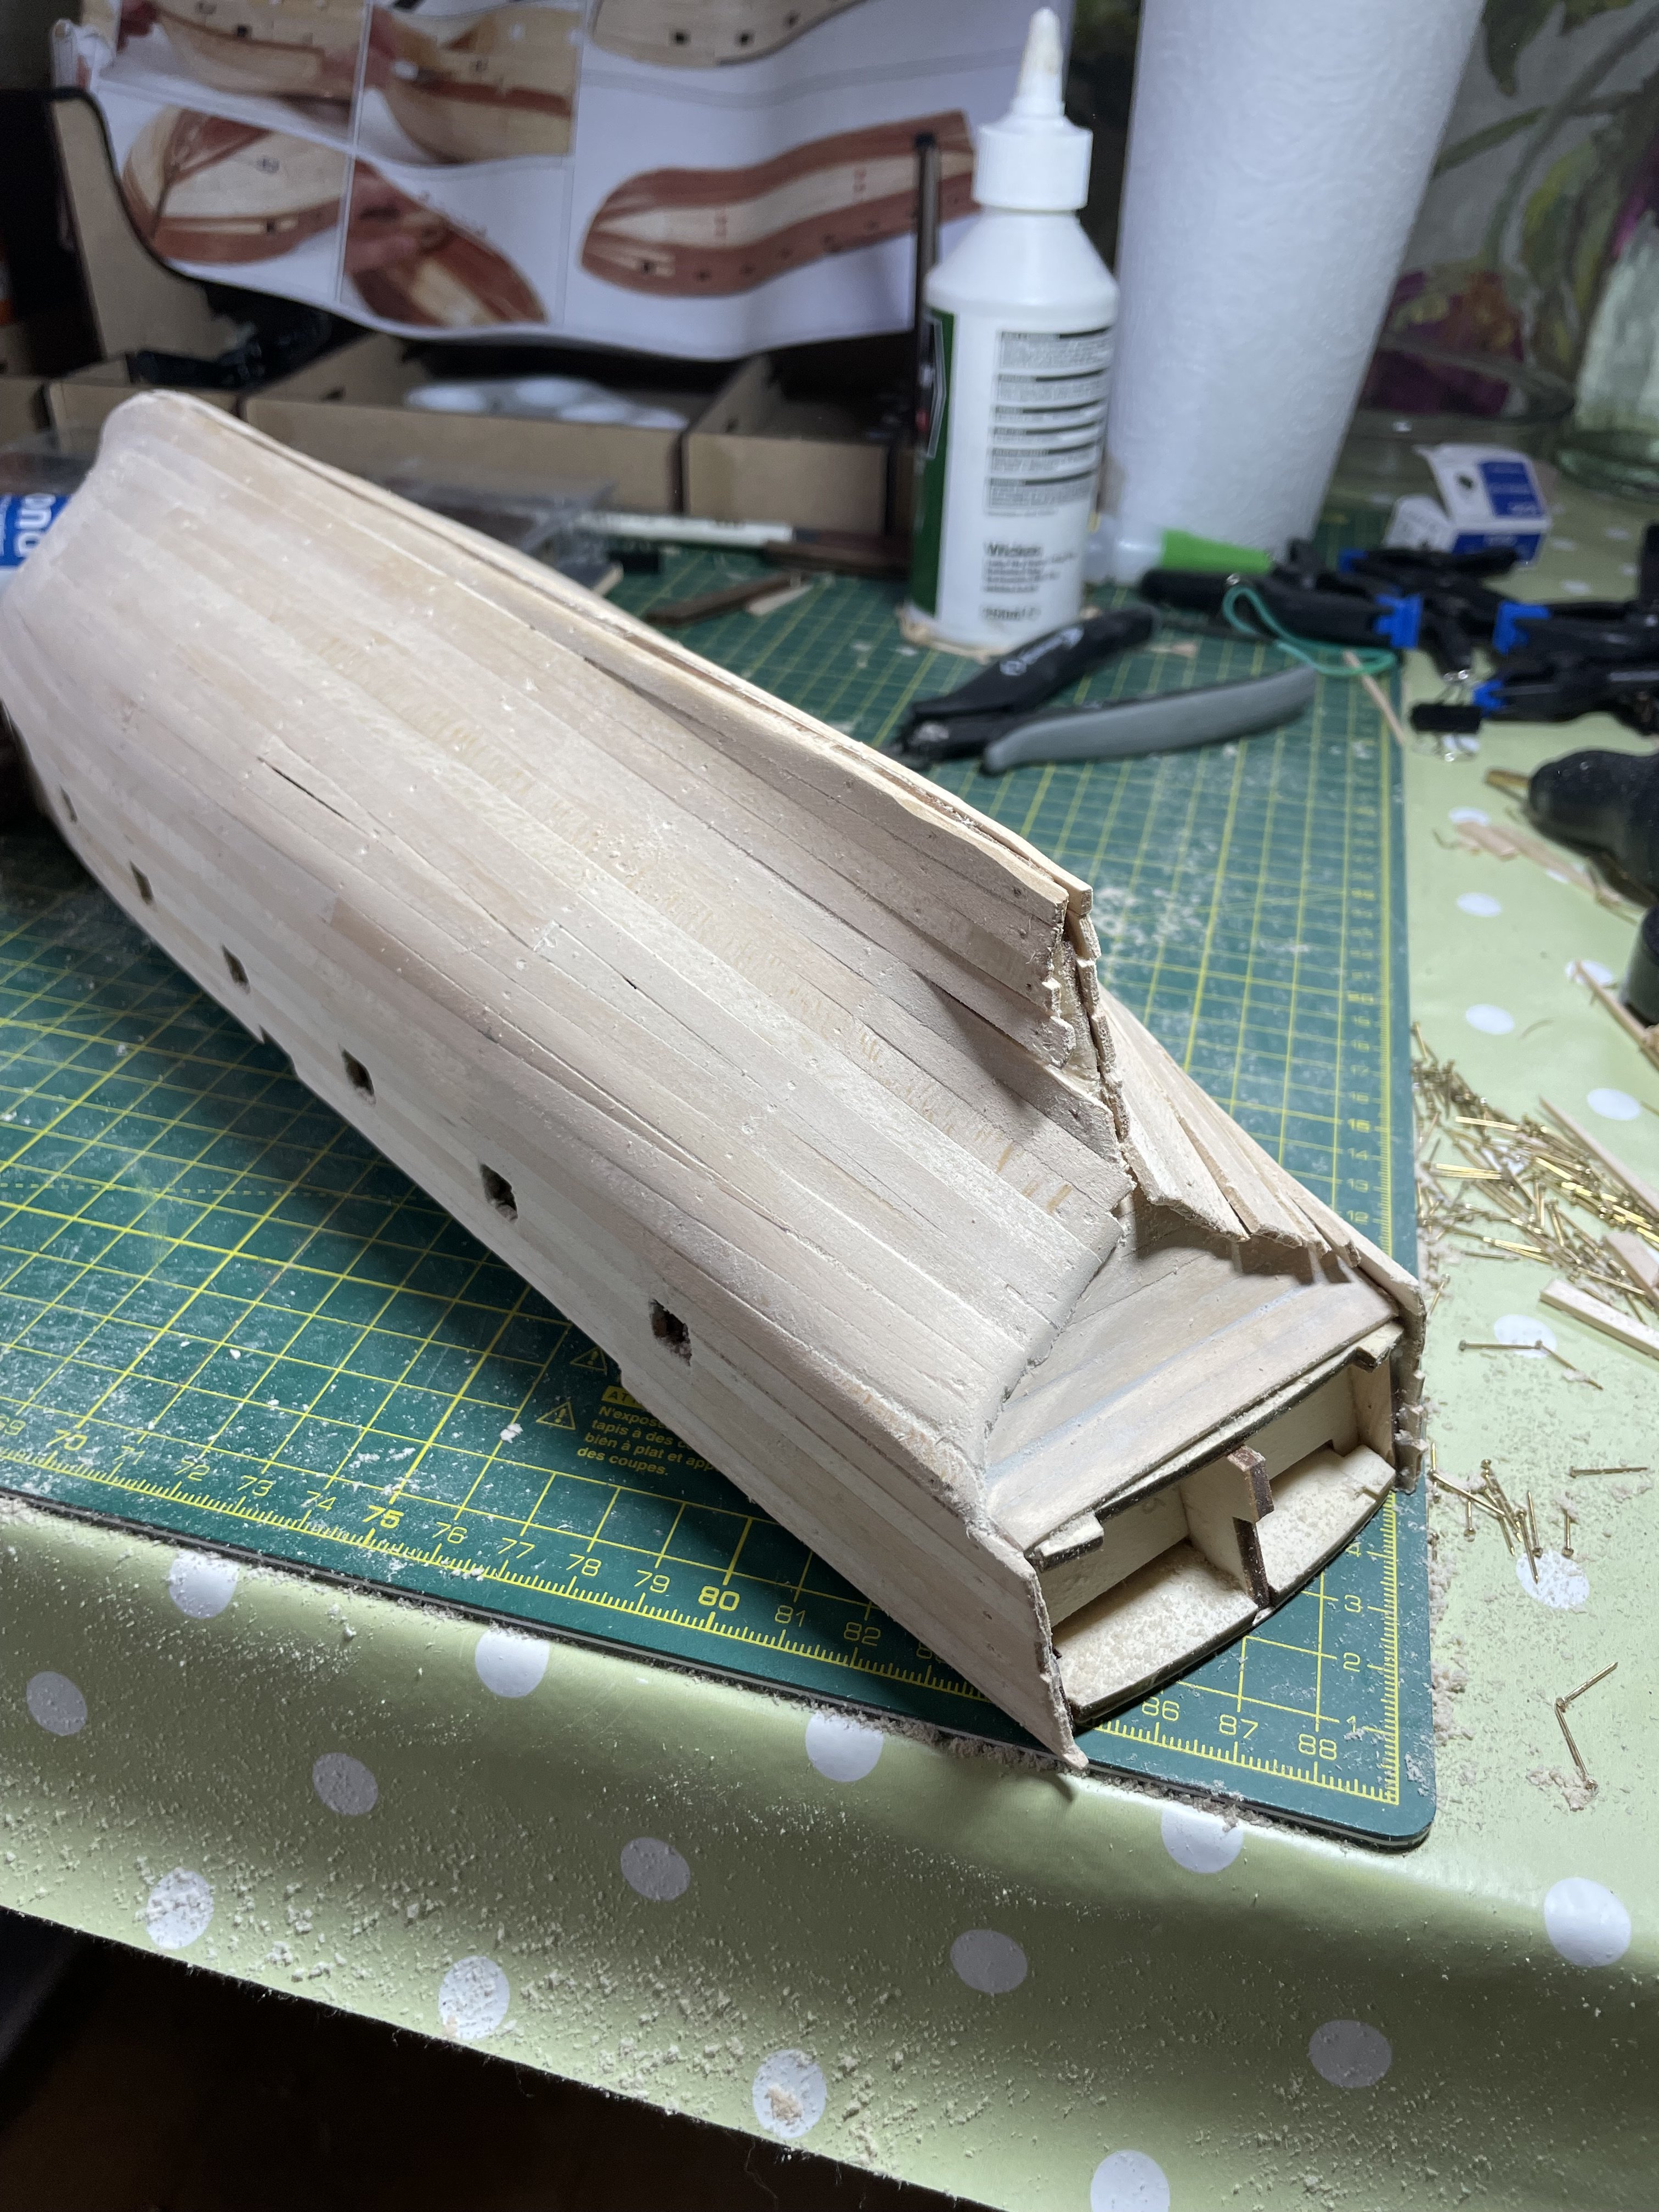
First planking on stern complete. Ended up using super glue gel with clamps to secure planks. A few gaps which I will use filler on and final sanding.
-
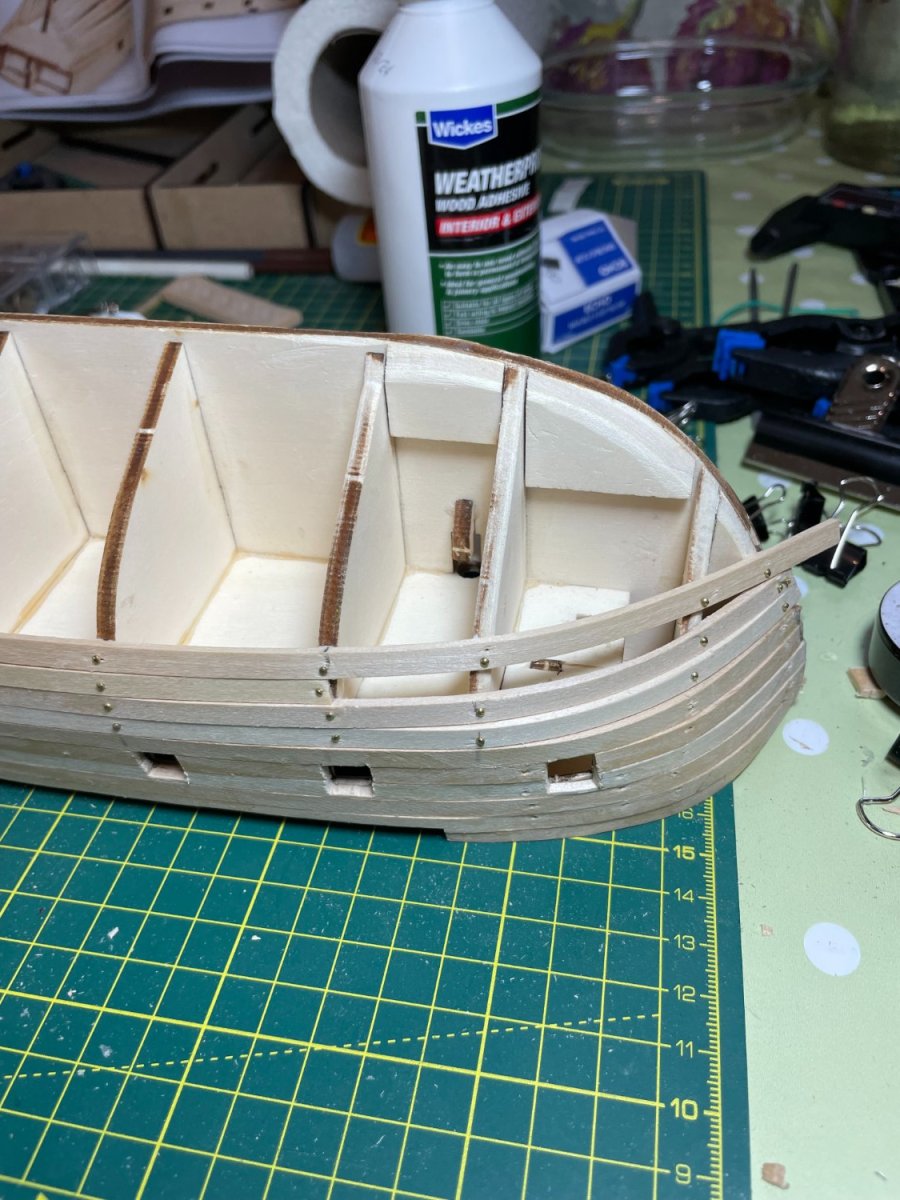
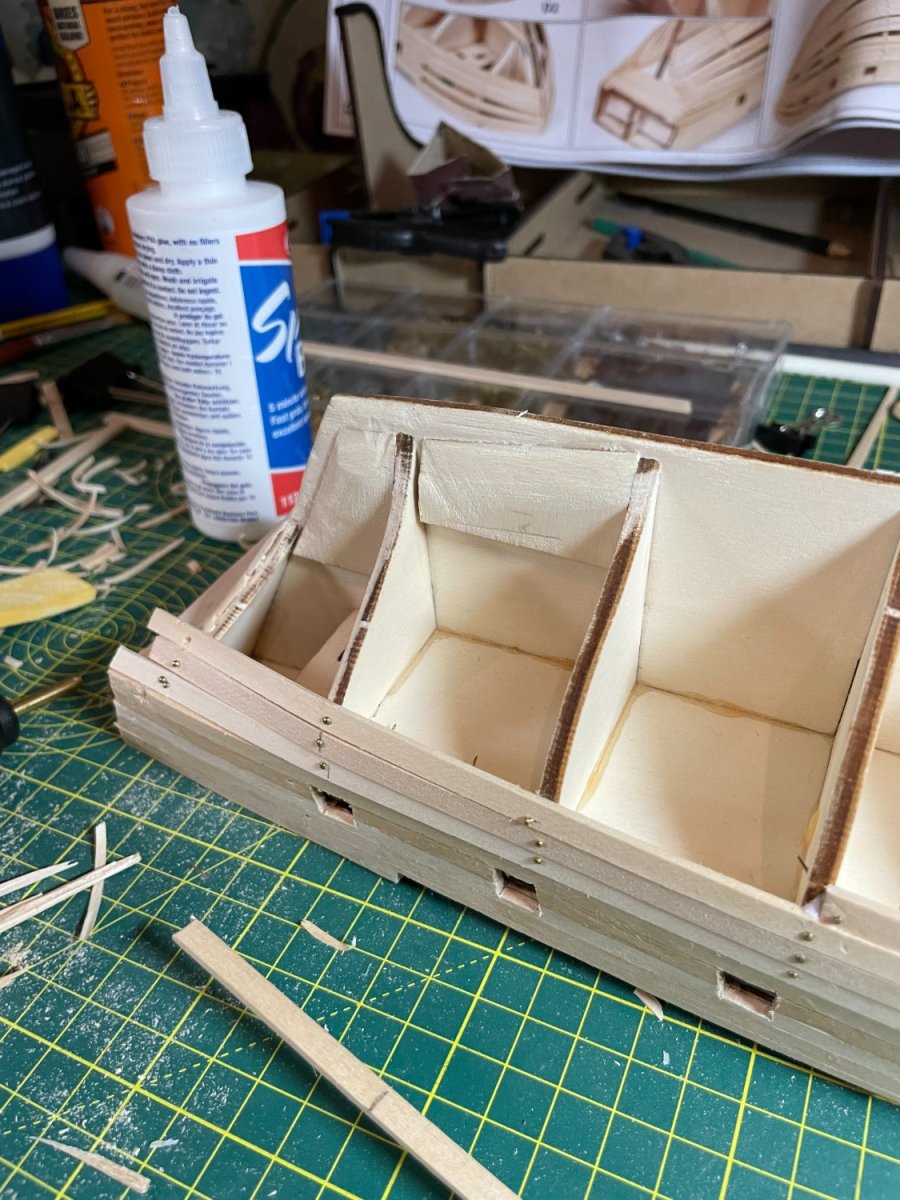
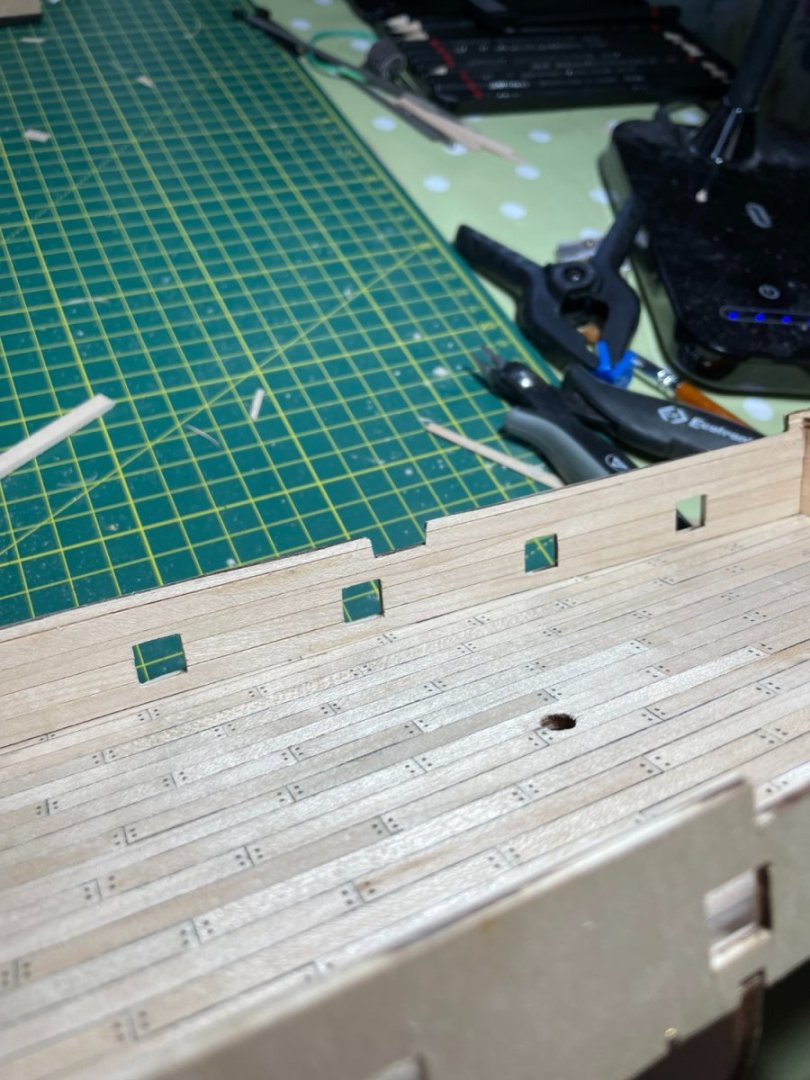
Internal planking to the bulwarks complete. Cutting out of the holes was not that easy.
-
Just trying to fix first planking to stern and having some issues with the glue. Have tried super glue but does not seem to want to grip the wood to wood bond. Any suggestions welcomed. Thanks
-
Hi Chris. I did soak it but I don't think it was for long enough. Lessons you learn along the way!!
-
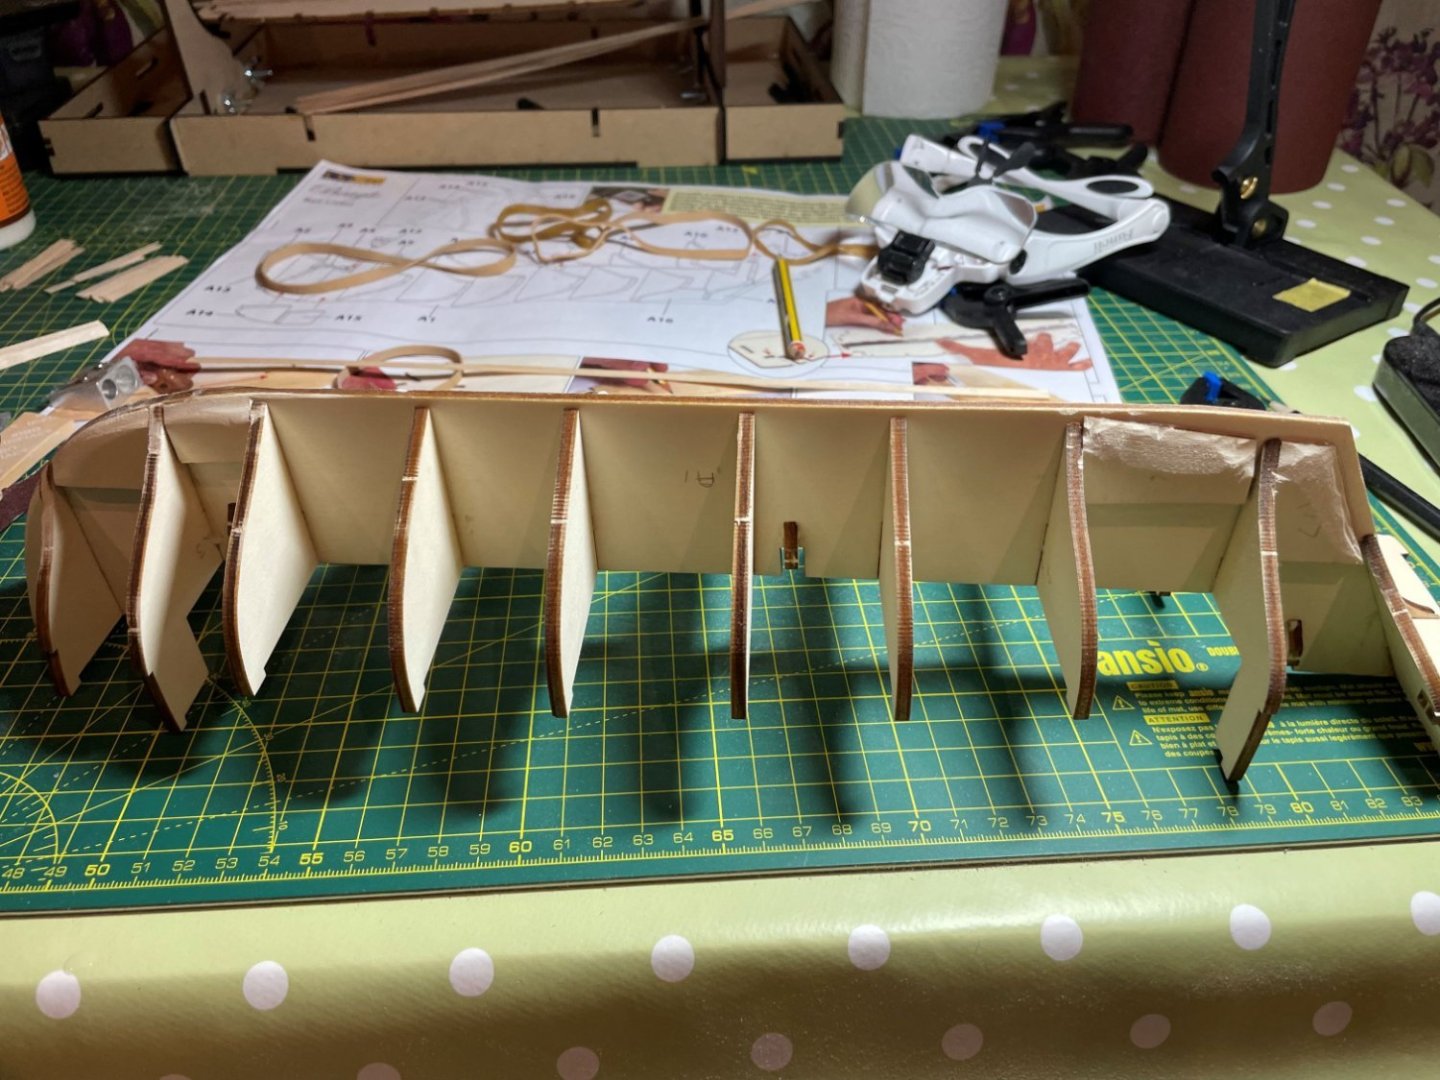
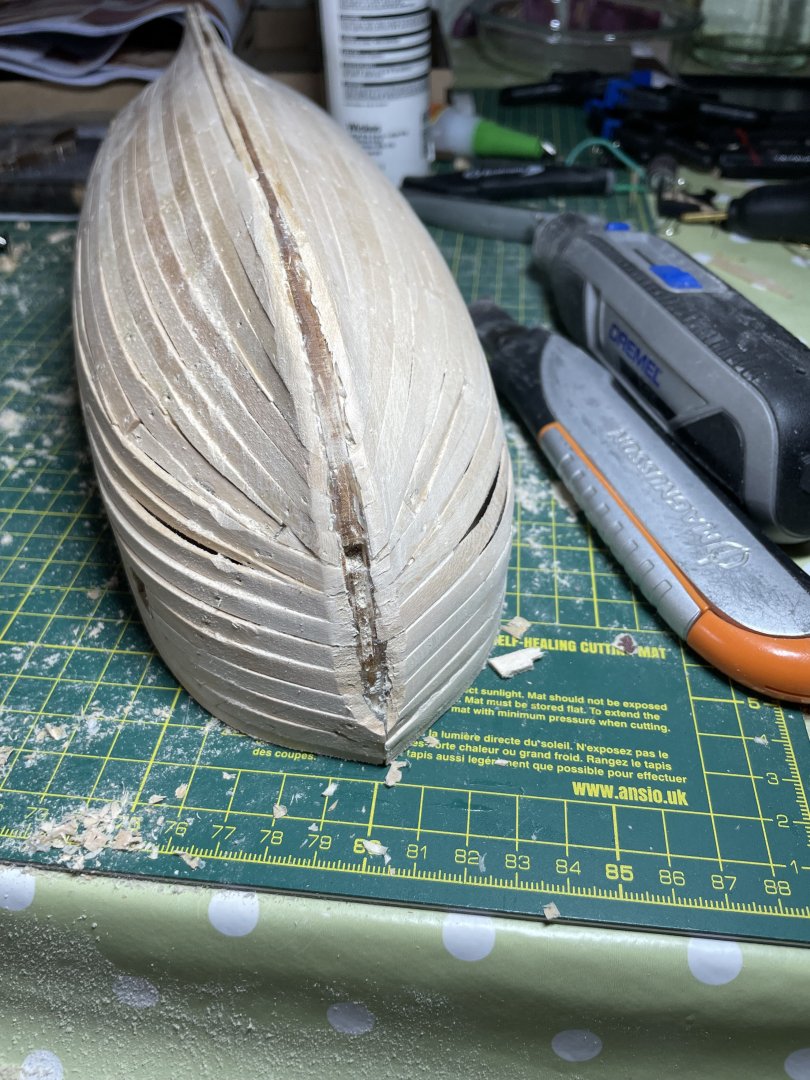
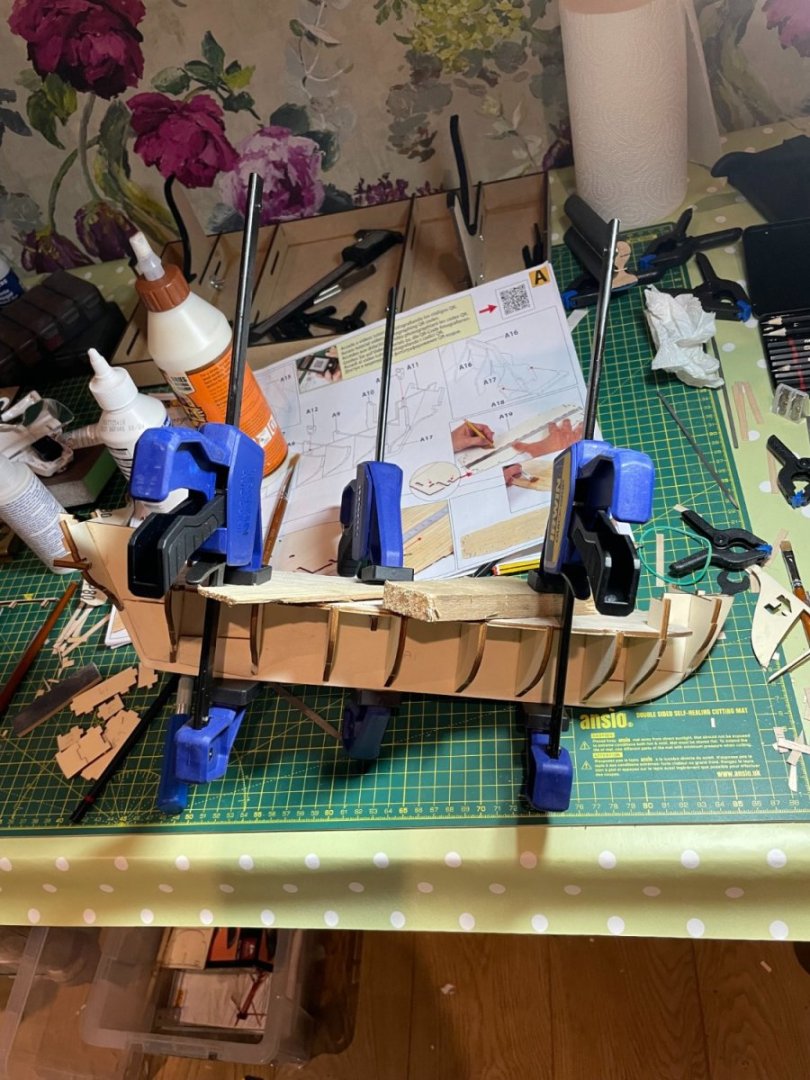
First (of many I am sure!!) disaster with trying to bend the bulwark for the bow. The wood split leaving me with a bit of a repair job to do. Already 'looking forward' to planking and what that involves.
-
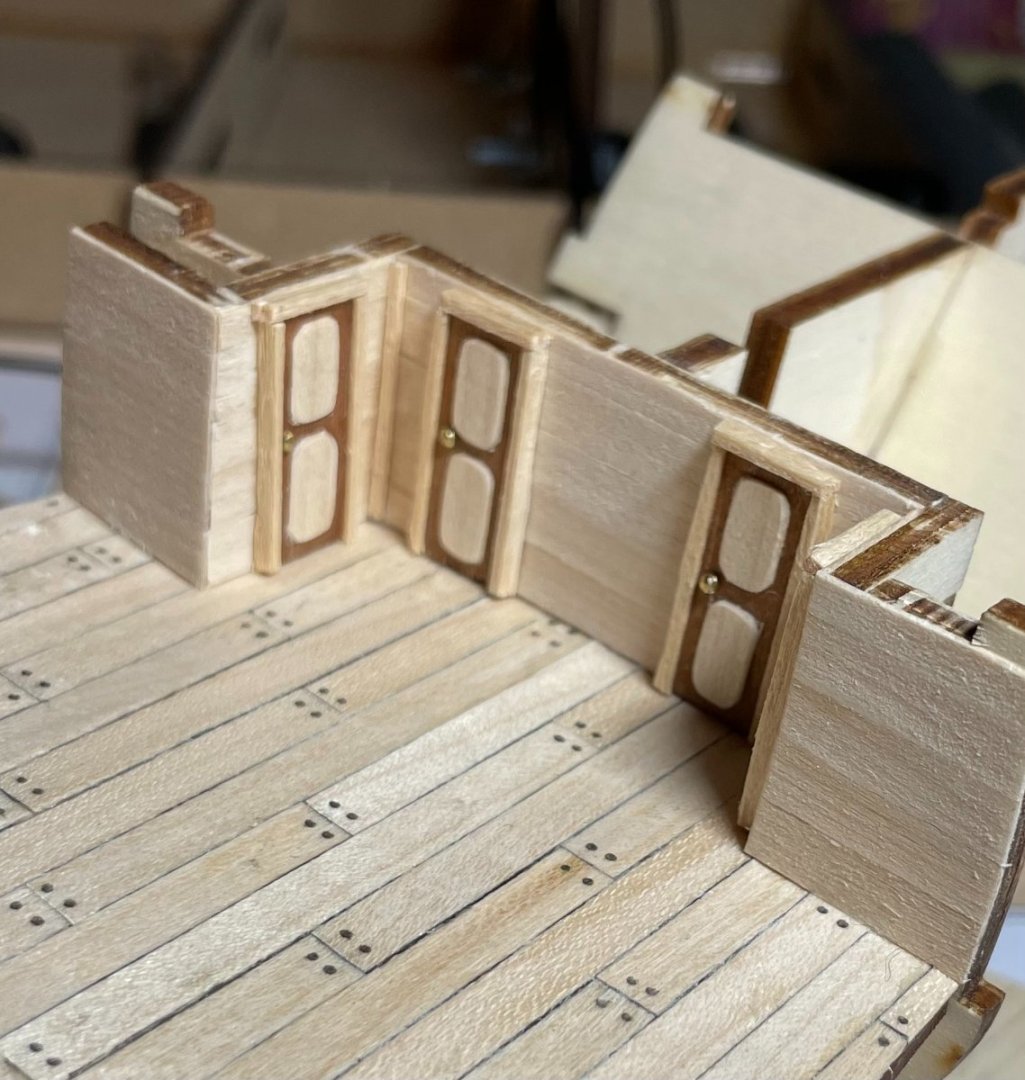
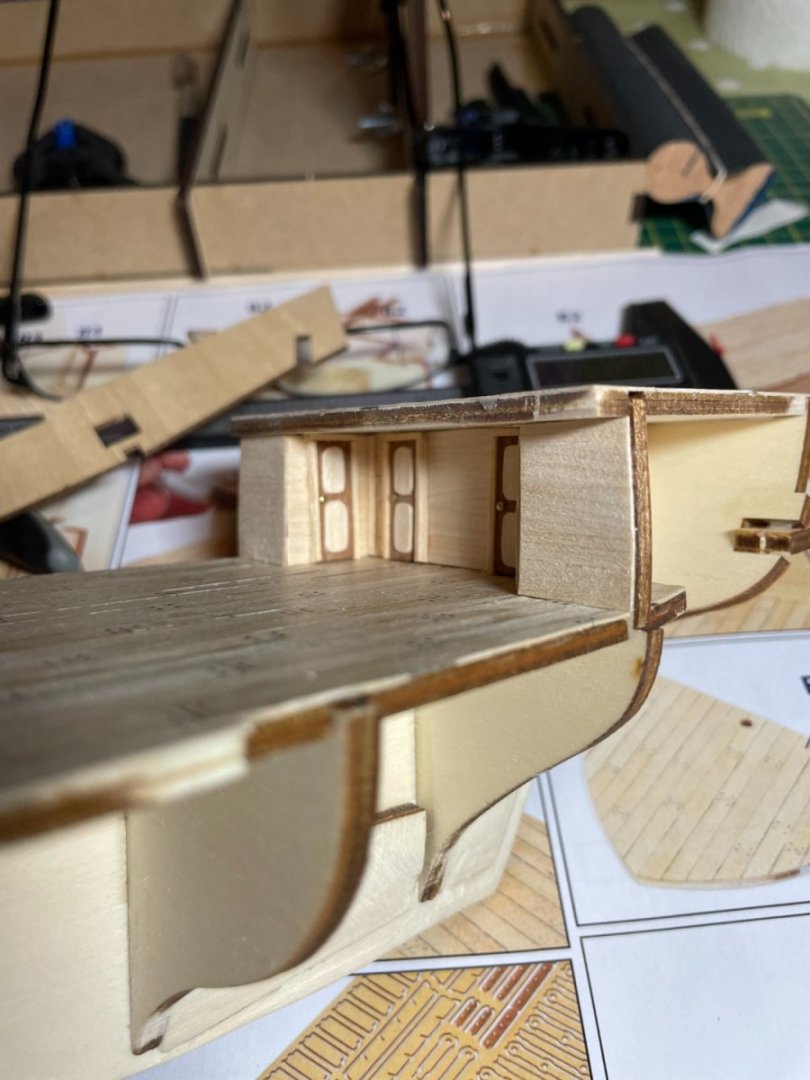
Well played around with the doors and fixed them on and now looking at attaching the bulwarks.
-
Anything to delay planking which I must admit I am dreading.
-
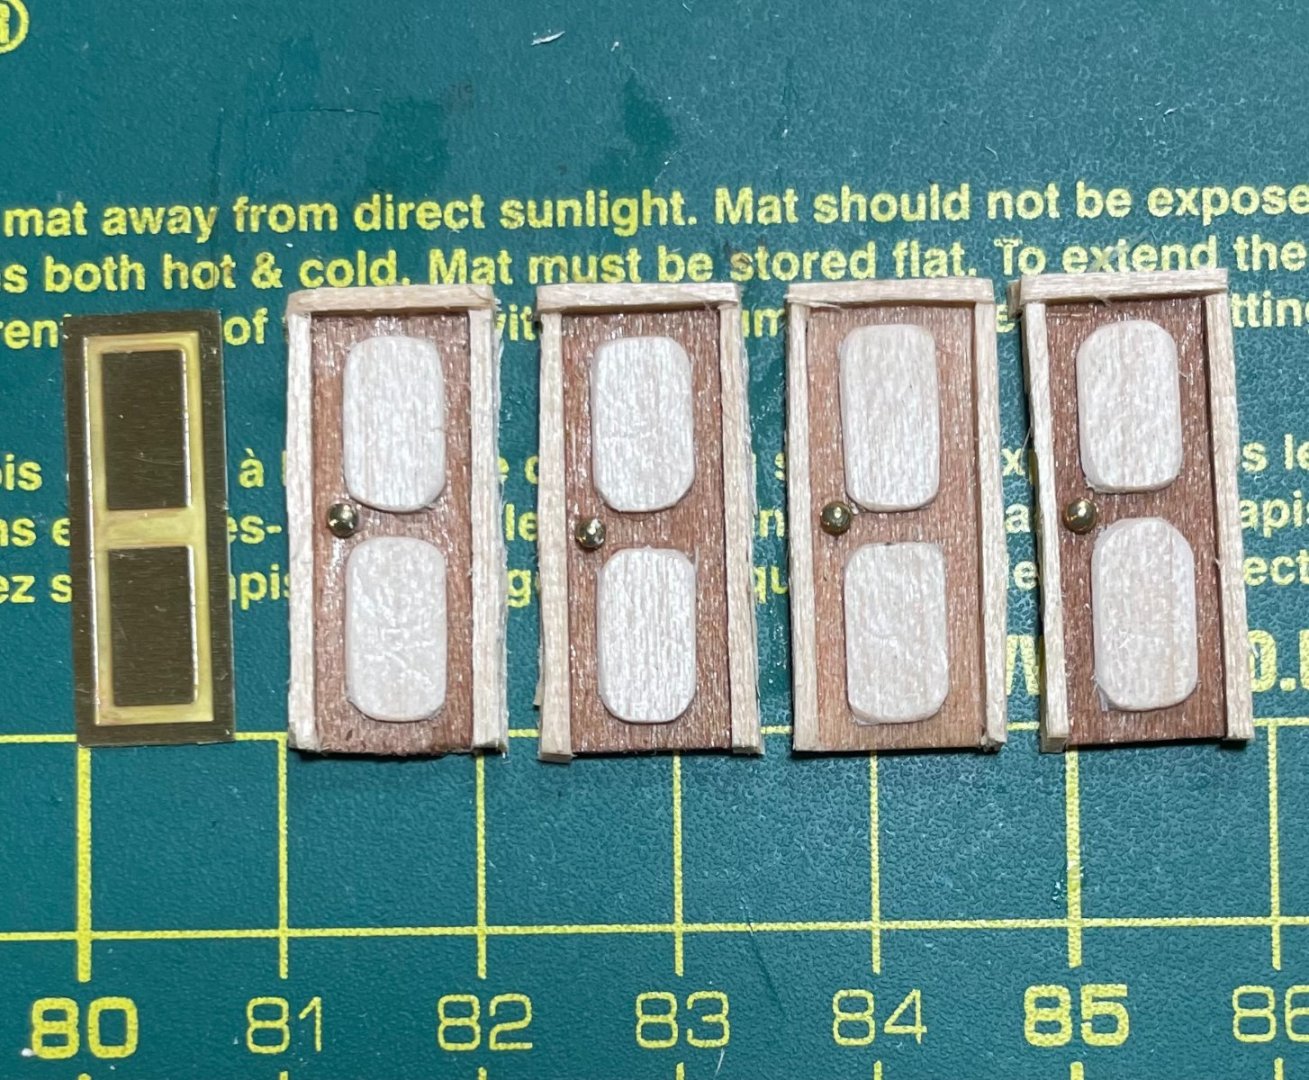
Thanks for the feedback. That is the way I am going to go with one addition and that is thinning the doorframe down with a scalpel. If it helps I glued a 1/32" thick piece of basswood to the photoetch door - to get the same size and also gives a bit of thickness to glue the frame to. I used the sapelli stain on this basswood and the two inserts on the door were from planking lefts overs with edges sanded. The door knob was from a pin in the kit which was snipped and glued and the frame came from the small square pieces in the kit that are meant for something else later in the build which I hopefully won't run short of now.
-
I know the doors in the kit have been causing some negative views so I had a go at trying to build alternatives. Could I get views on which of the two options I tried would look better on the build. Thanks.

-
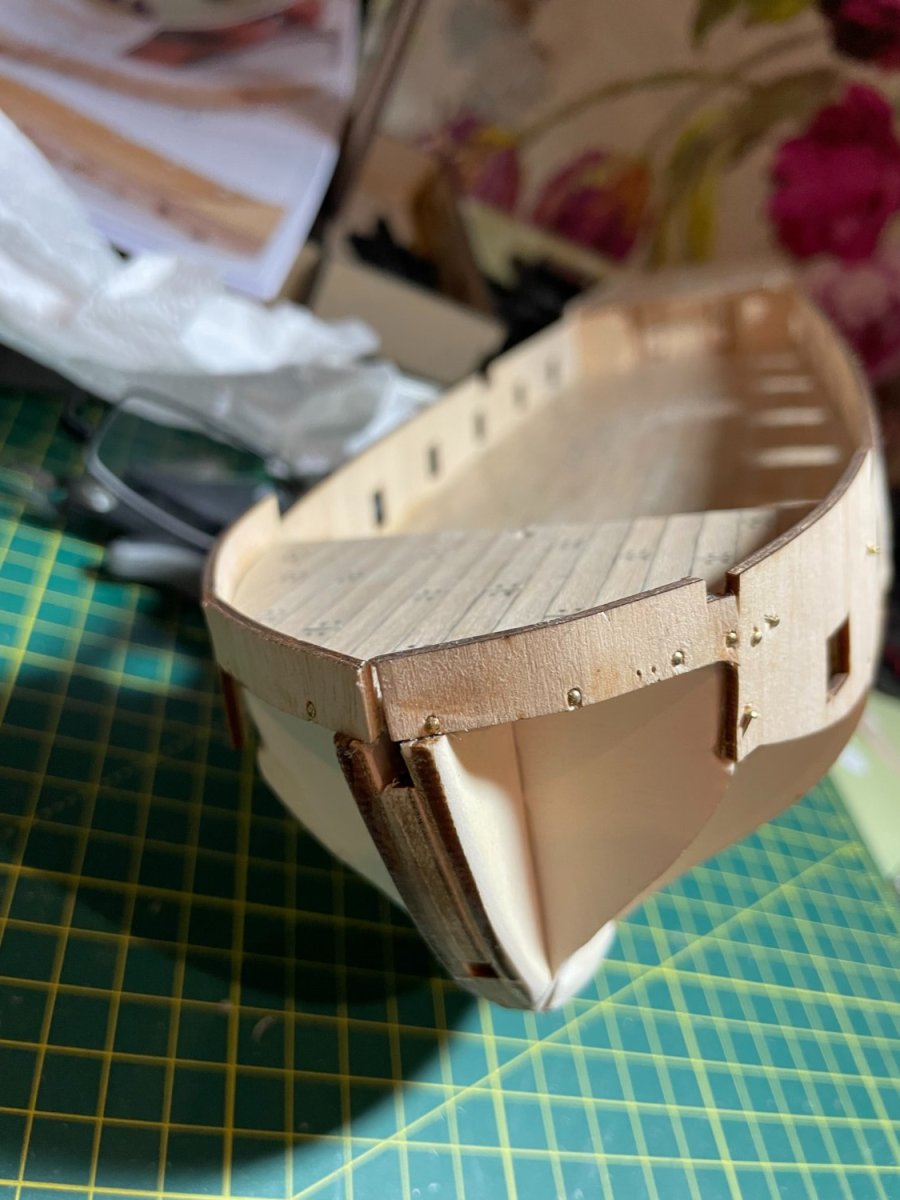
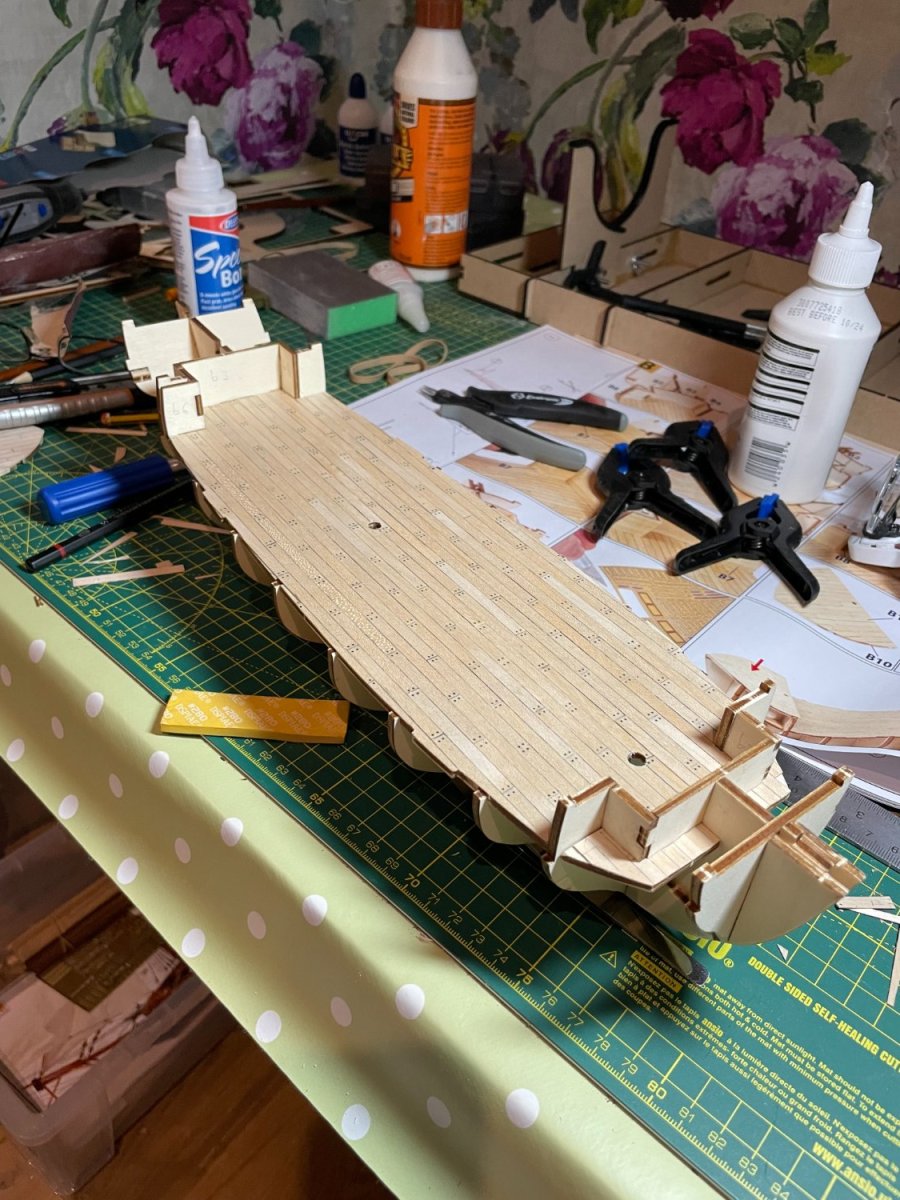
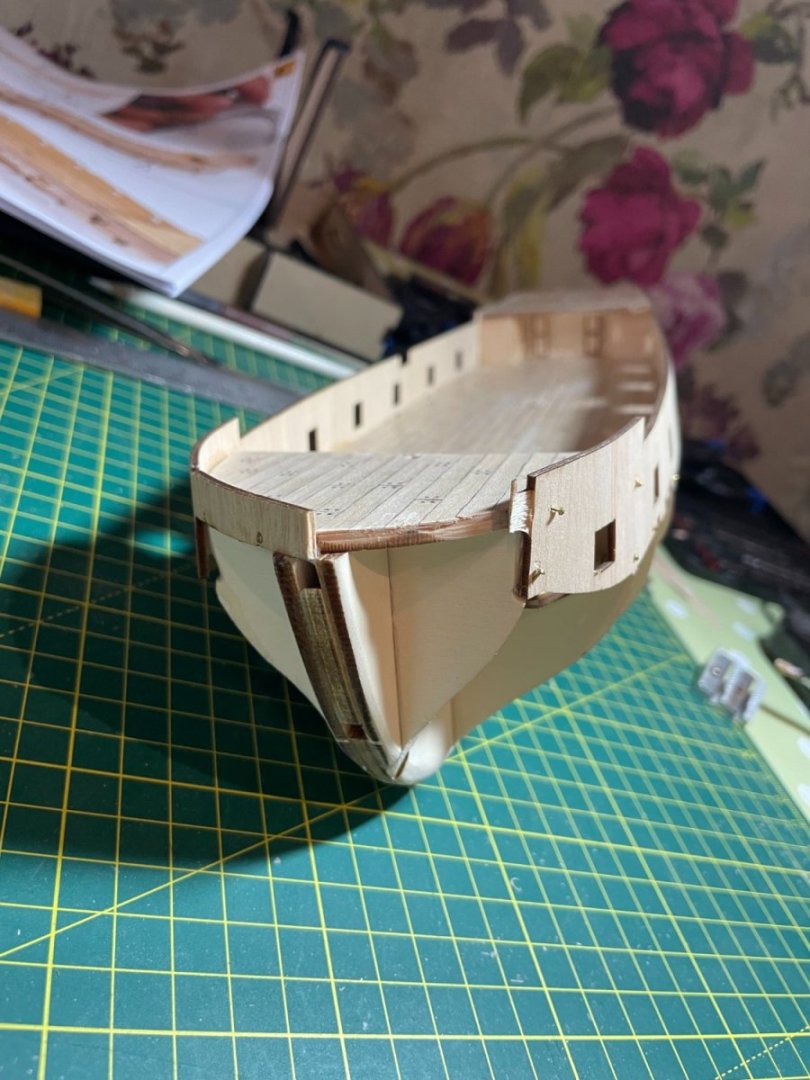
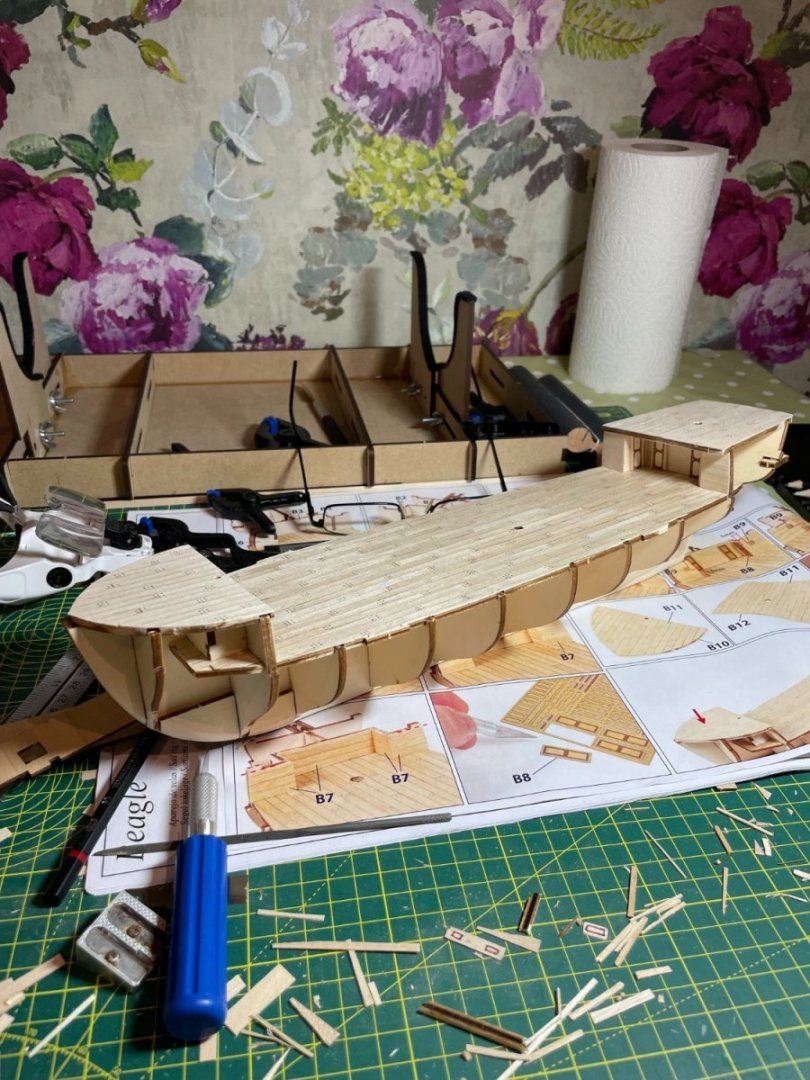
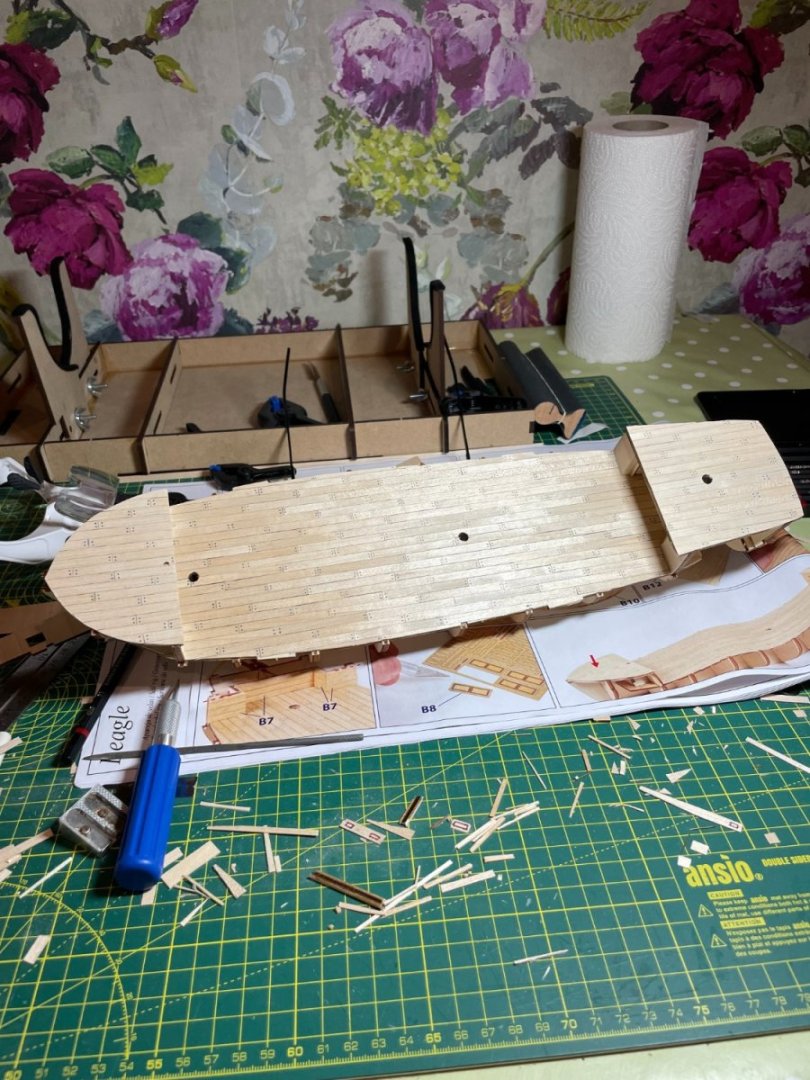
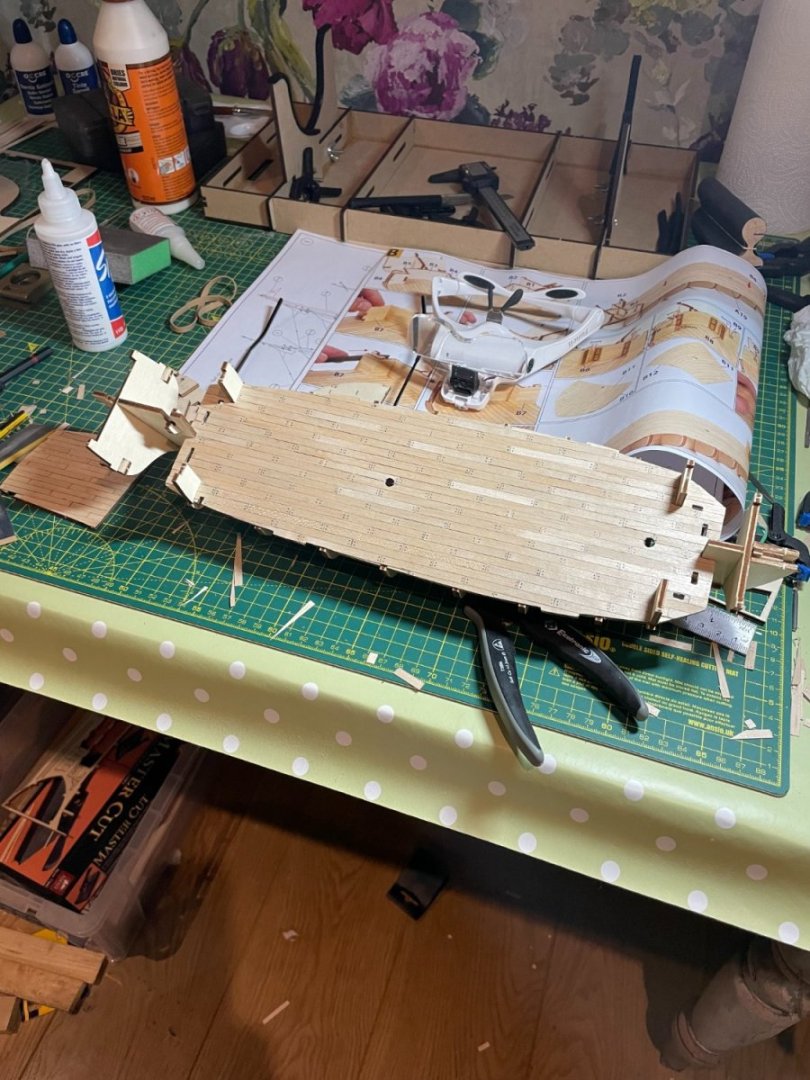
Managed to fix the main deck to the hull without too many issues and gave it a coat of the Occre satin varnish. Then fixed the end walls on the main deck which were a bit fiddly but clamping certainly helped get them in place and started planking the other deck pieces.

-
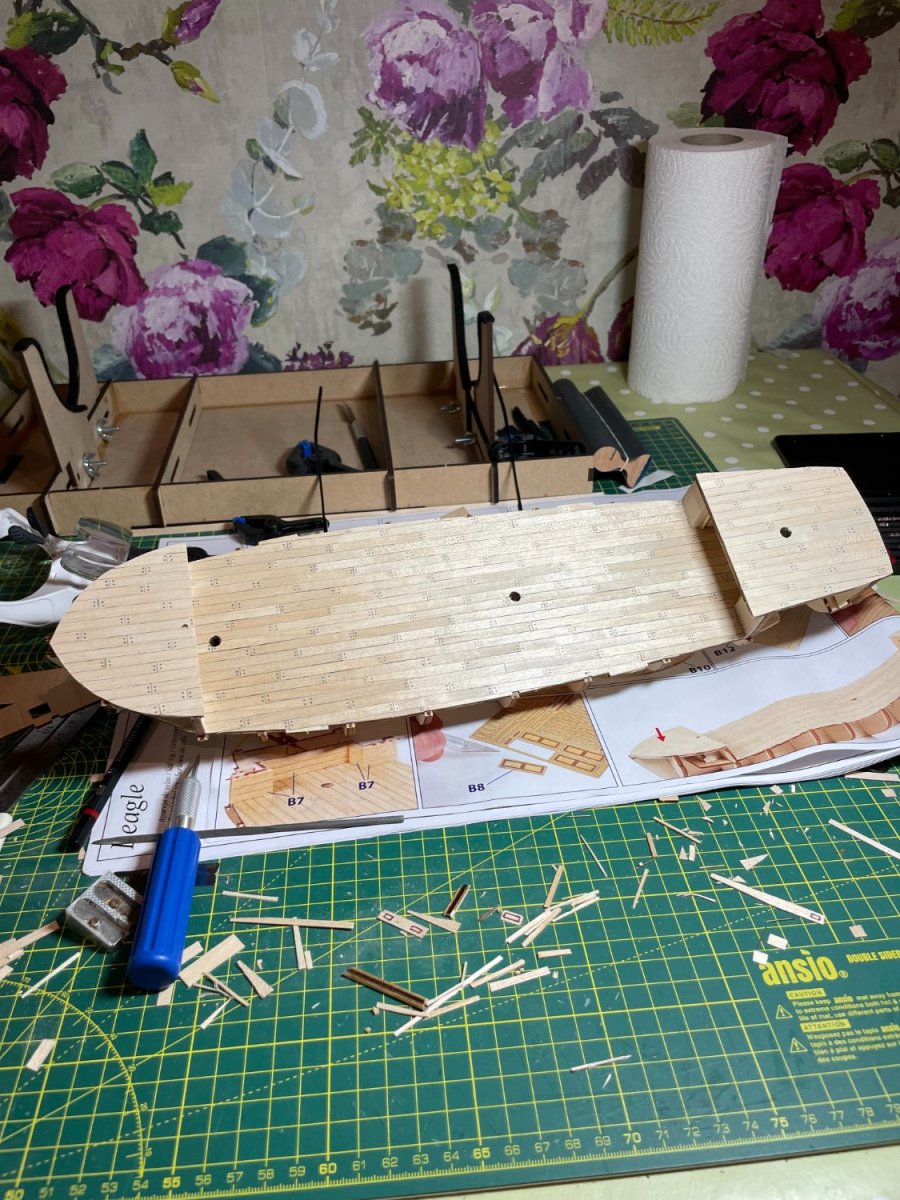
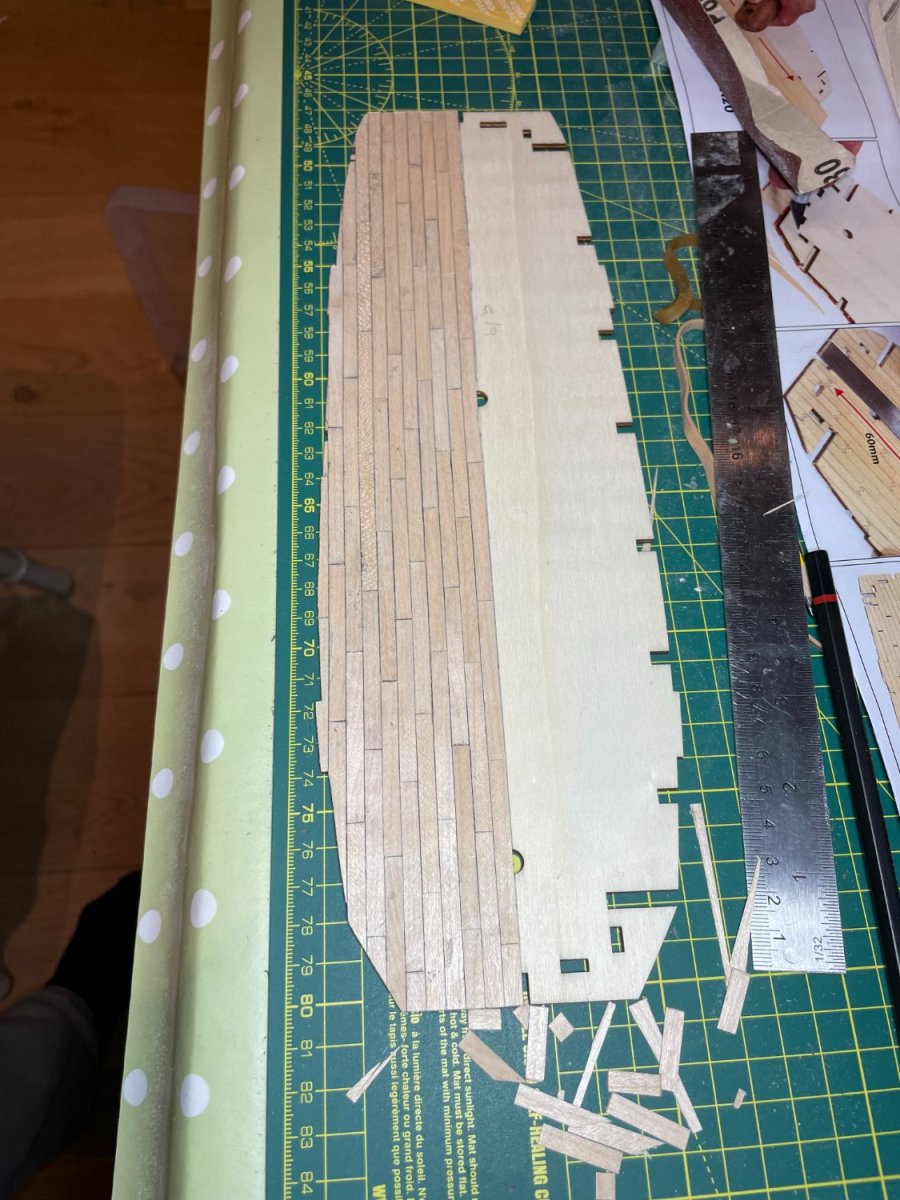
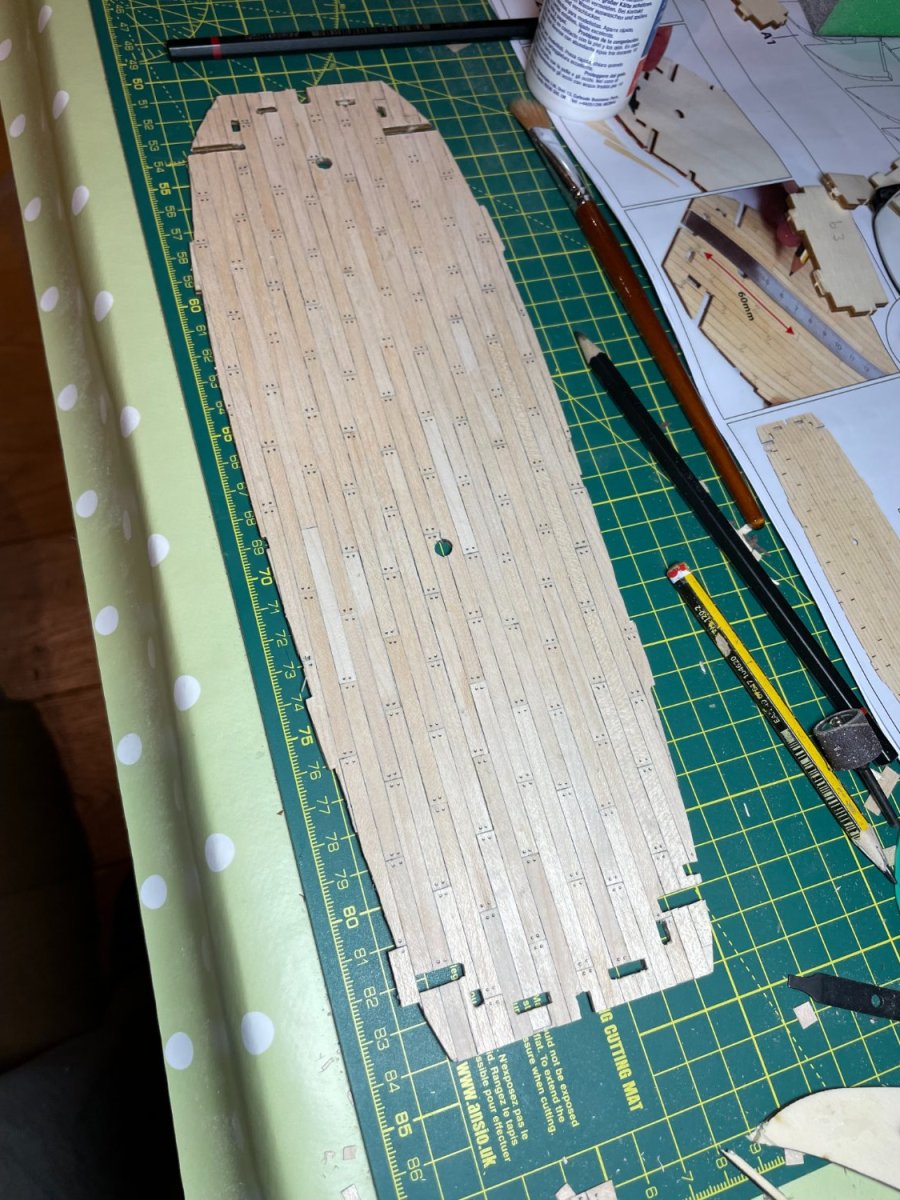
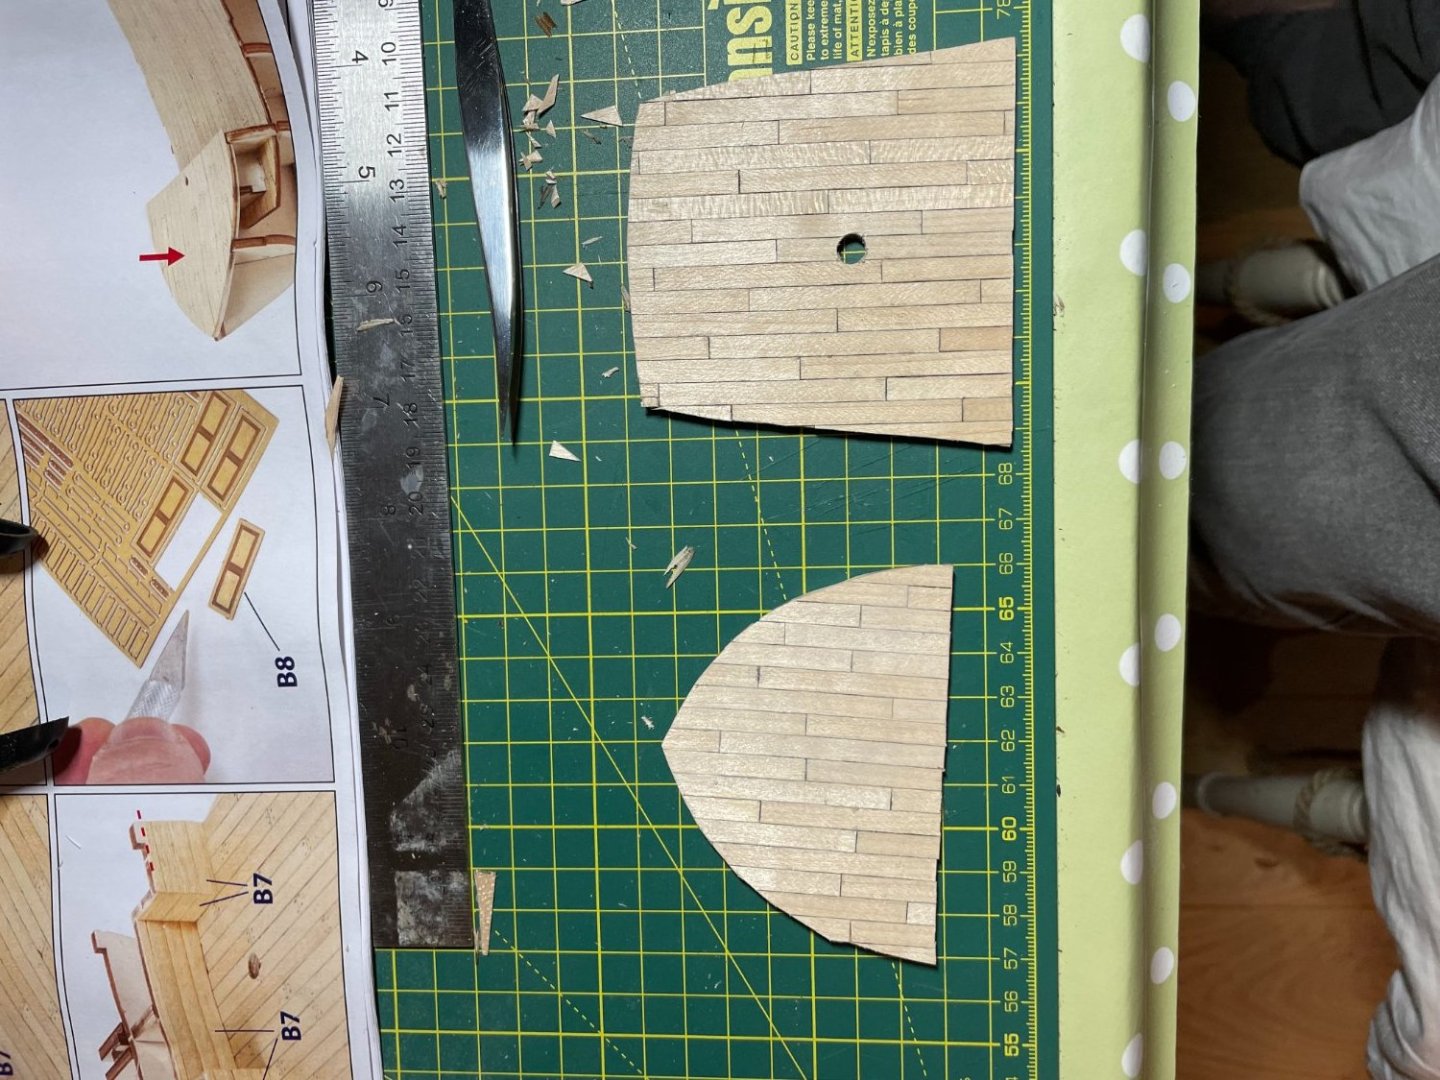
Started the main deck planking and thought I would try the individual plank route with graphite marking on the edges. First error was that I cut planks too short (50mm instead of 60mm) but decided to plough on any way.


-
This is my first ever build but it is something I have wanted to try for years so thought I would jump in the deep end despite reading lots of horror stories of those who have started something too complex for their first build. Anyway I started after Christmas after looking at some of the other build logs and thought I would share progress as a complete newbie.